
Chapter 8: The Dawns Light
Orion’s gone crazy. After stealing his necklace the madman escaped and dragged Erin onto the huge ship the Graven are building called the Dawn’s Light. Now the only choice left is to follow him, stop him somehow and remove the energy from Erin’s body without her dying. It’s time to pay the price...
Chapter StatsCollectible Loot Items: 2 Common Loot Items: 52 Pockets to Pick: 25 Locks to Pick: 7 Threats (Freaks): 8 Threats (Graven): 22 |
Thieving Challenges
| Challenge | Playstyle | Reward | |
|---|---|---|---|
 |
Remain undetected | Ghost | 550 G |
 |
Take no damage | Opportunist | 325 G |
 |
14 kills or knockouts | Predator | 175 G |
 |
Lift all loot items | Hybrid | 325 G |
Objective 1: Discover Where Orion Has Taken Erin
Area 1: Mine Tunnels
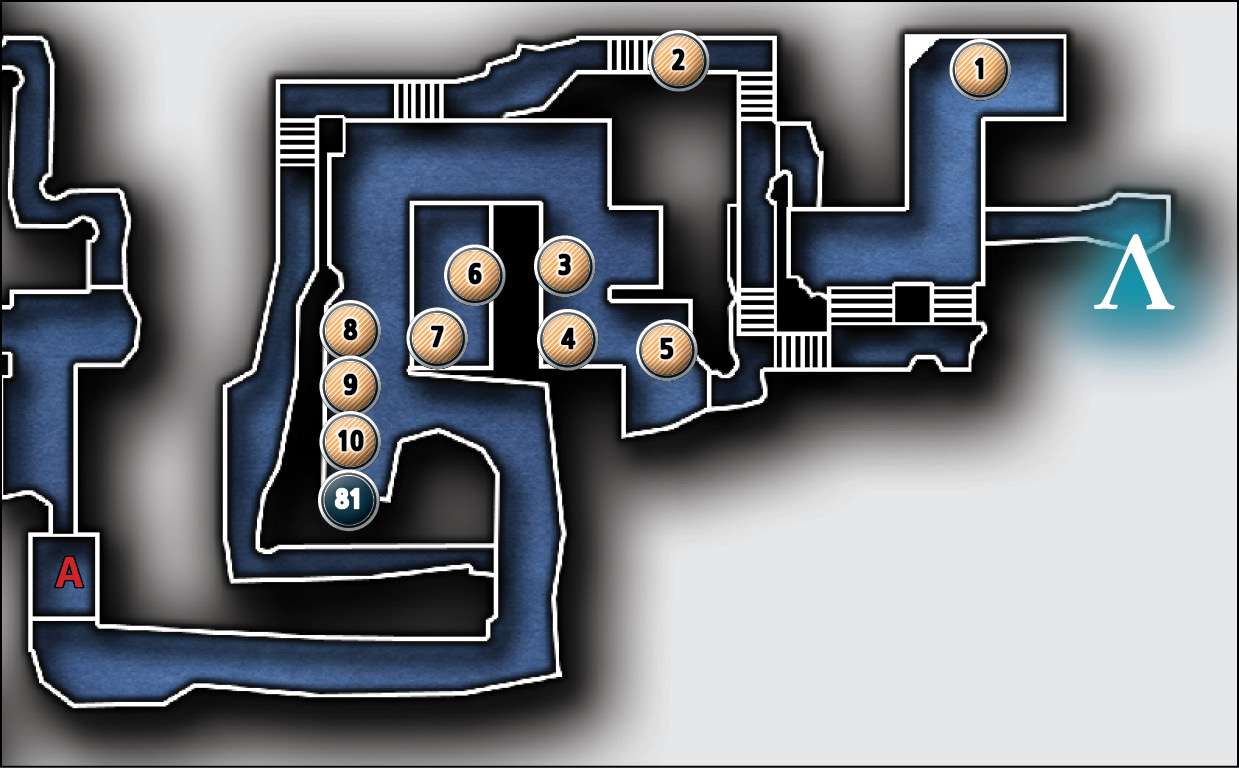
Common Loot
| Map Icon | Item(s) |
|---|---|
 |
Ancient ingot |
 |
Ancient ingot |
 |
Ancient ingot |
 |
Ancient vessel |
 |
Ancient ingot |
 |
Ancient armlet |
 |
Ancient vessel |
 |
Candlestick |
 |
Hairbrush |
 |
Turquoise brooch |
Collectible Loot
| Map Icon | Item(s) |
|---|---|
 |
Mourning Bell |
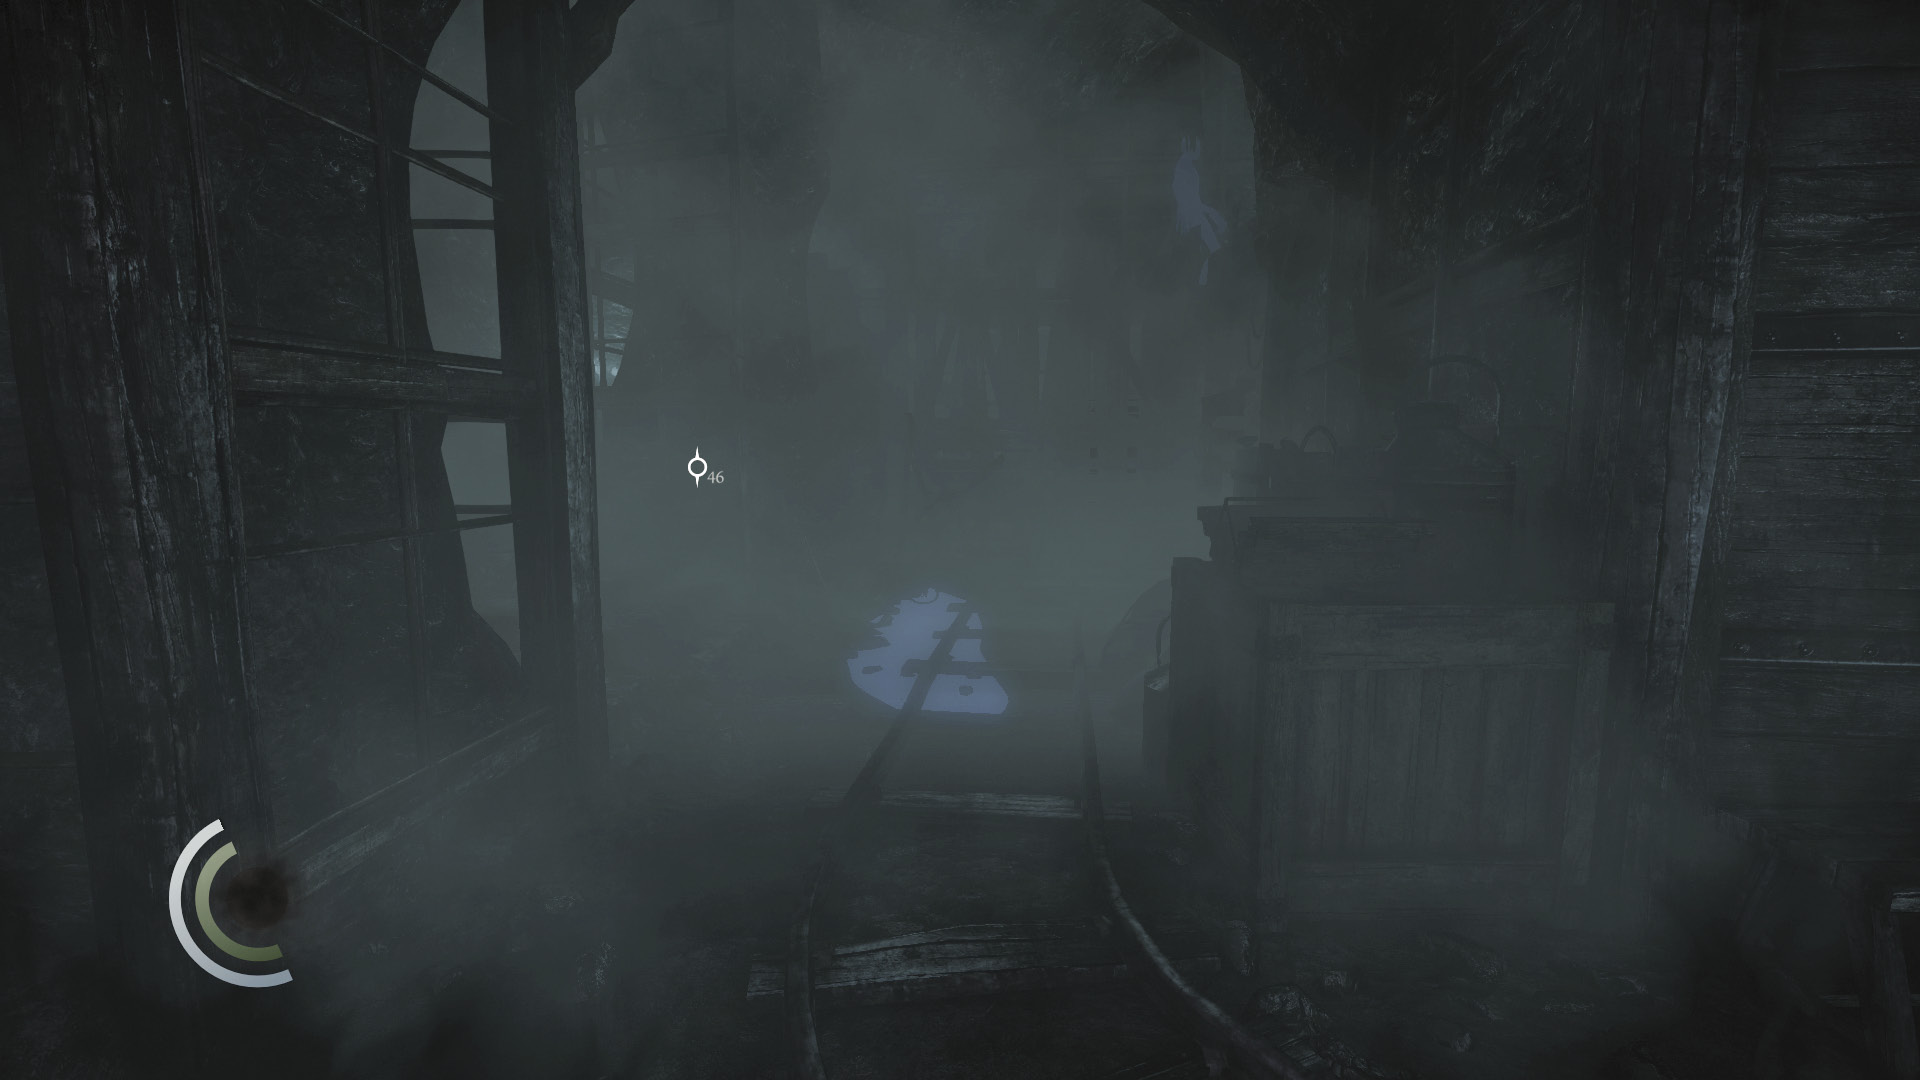
You begin this mission in a dark mine tunnel. There are Freaks to fear here, so be on your guard. Explore the short north passage to discover an ancient ingot among the rubble.
 Thieving Challenge: “Lift all loot items” (1/52)
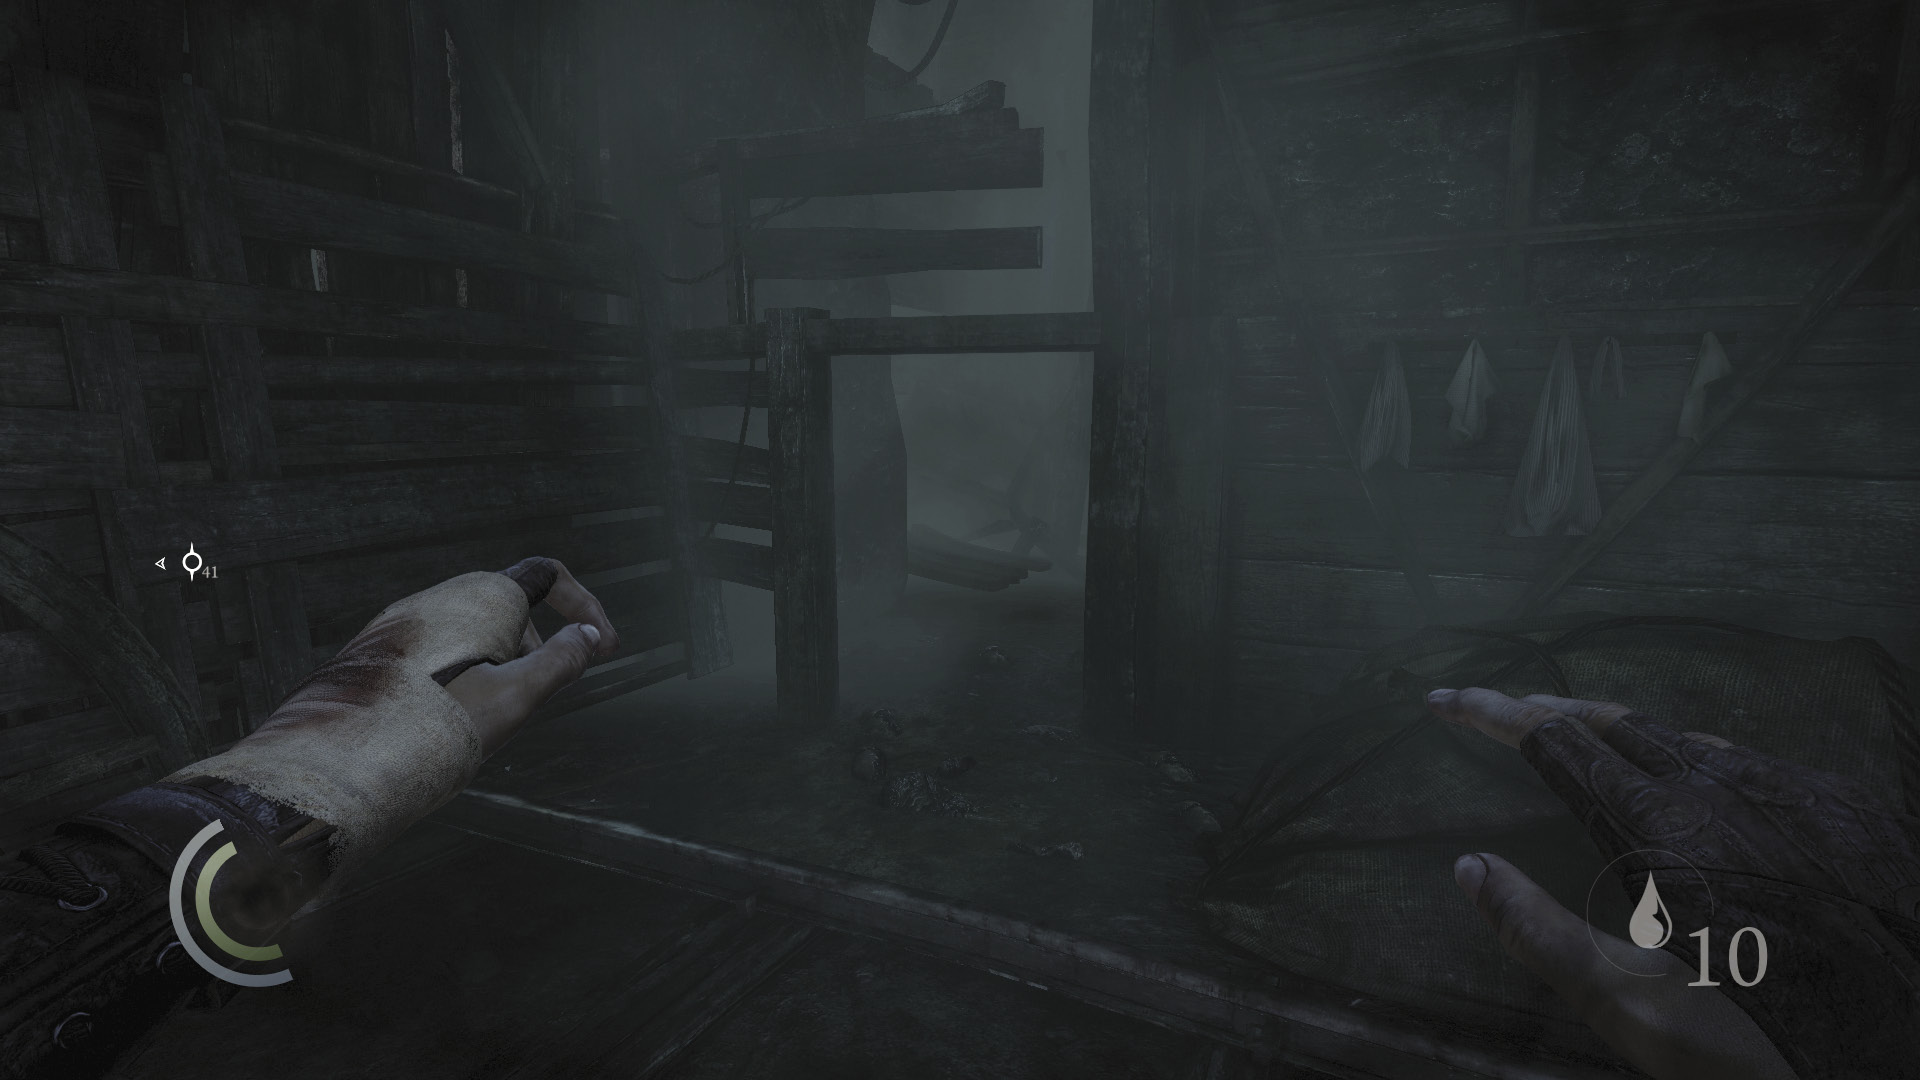
Head west and spy a small opening in the north wall. Sneak into here to discover a secret crawl space that provides a significant shortcut through the tunnels; you’ll end up at the lower mine rails. This is a good route to take if you’re trying to avoid the Freaks, but there’s nothing of interest in the crawl space, so we’ll guide you along the longer, more challenging route.
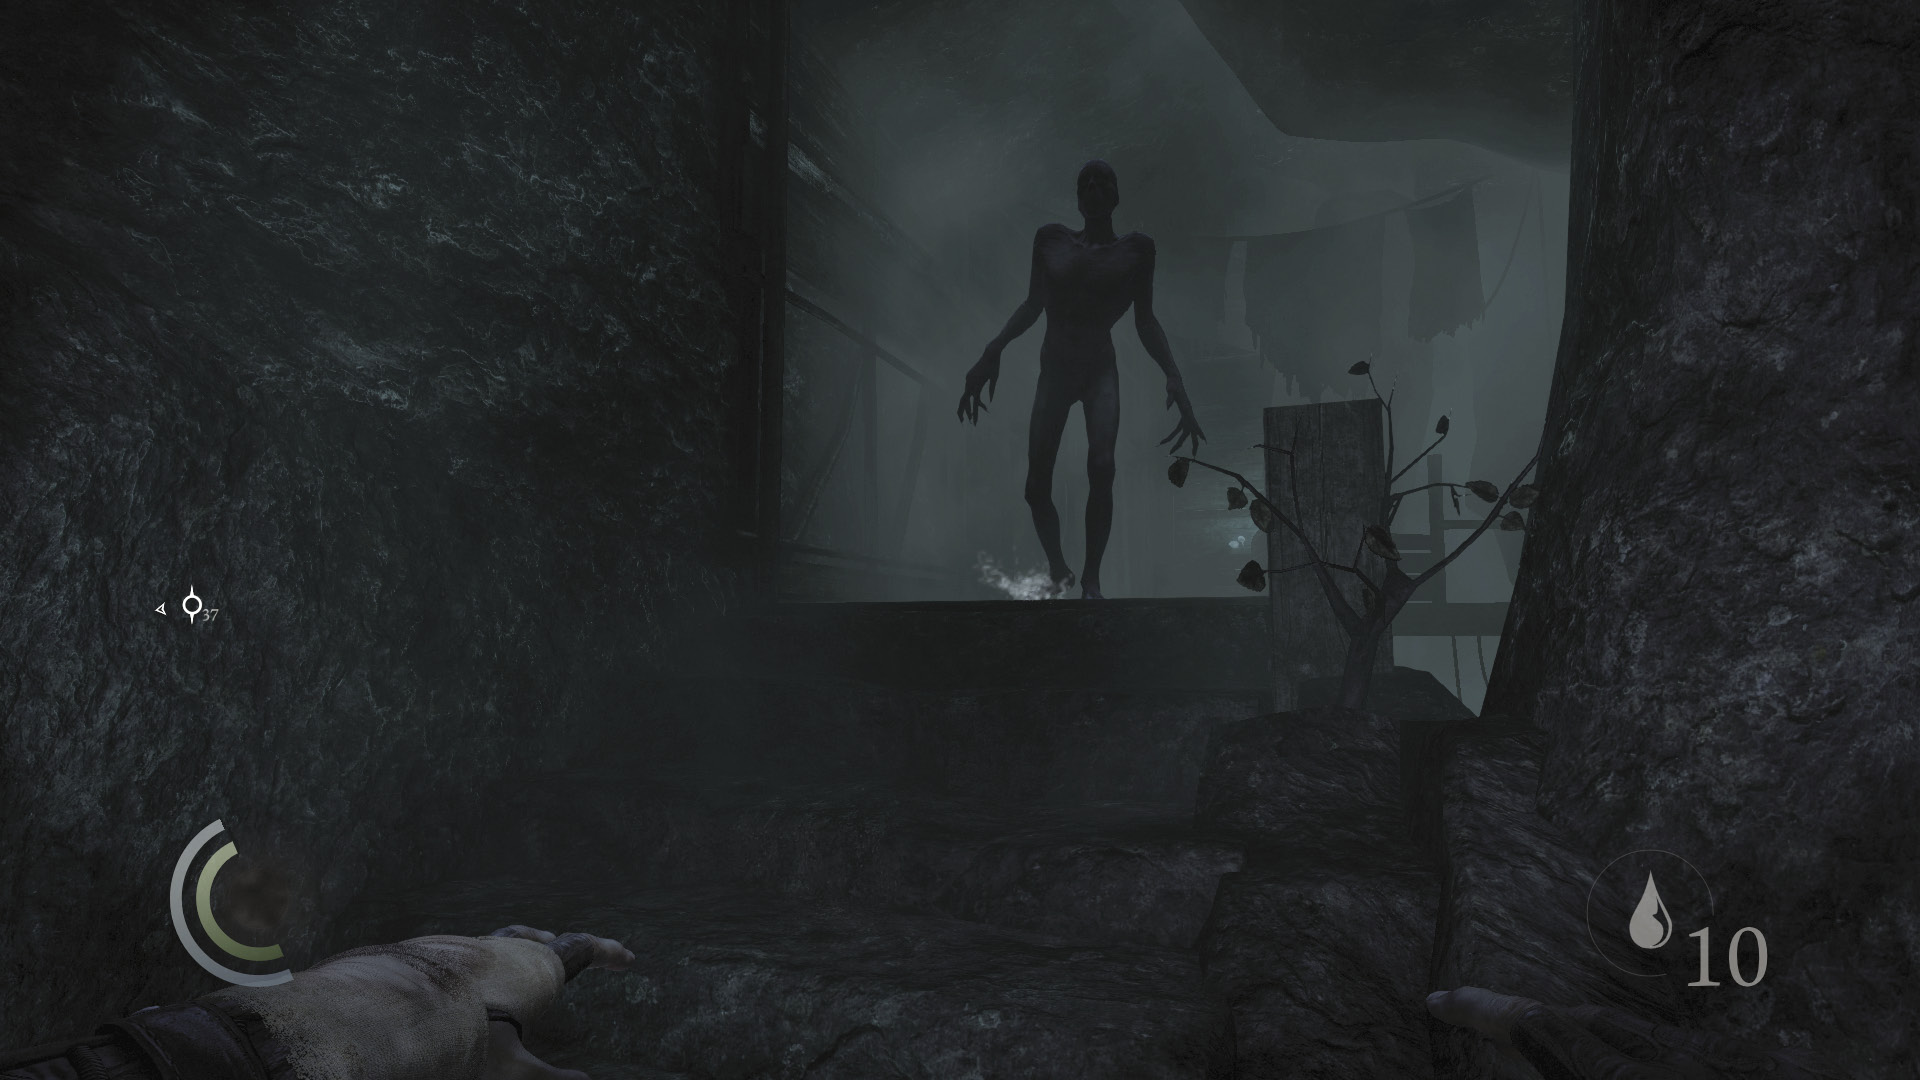
Beware: A Freak stalks the high west passage. To avoid him, approach the aforementioned crawl space, then climb up the west wall to reach the higher passage; you’ll be past the Freak. You can also pick off the Freak with a fire arrow headshot, or attempt to lure the monster into the flammable liquid in the lower passage and set him ablaze.
 Thieving Challenge: “14 kills or knockouts” (1/14)
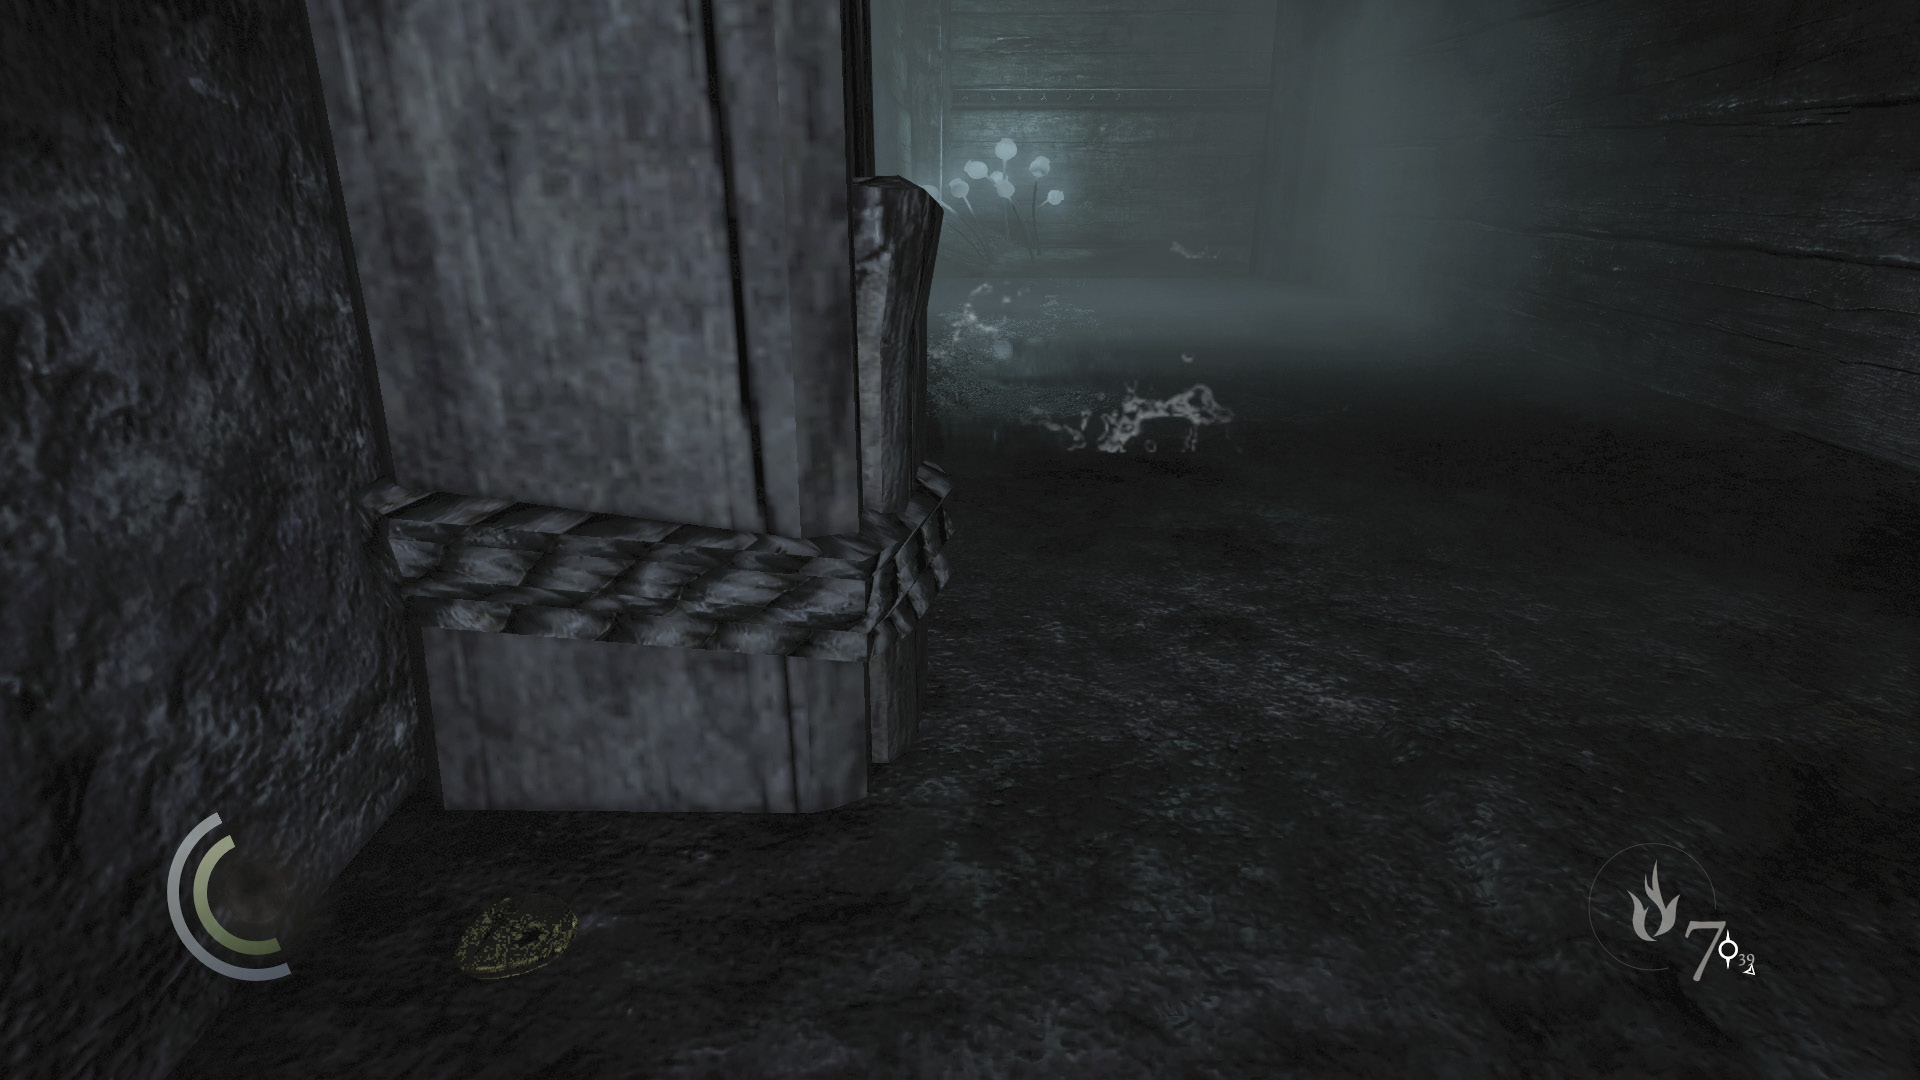
Take the high north passage and then round the corner, heading west. After descending the next set of steps, turn around and grab the ancient ingot that sits on the ground near the tunnel’s wooden support frame.
 Thieving Challenge: “Lift all loot items” (2/52)
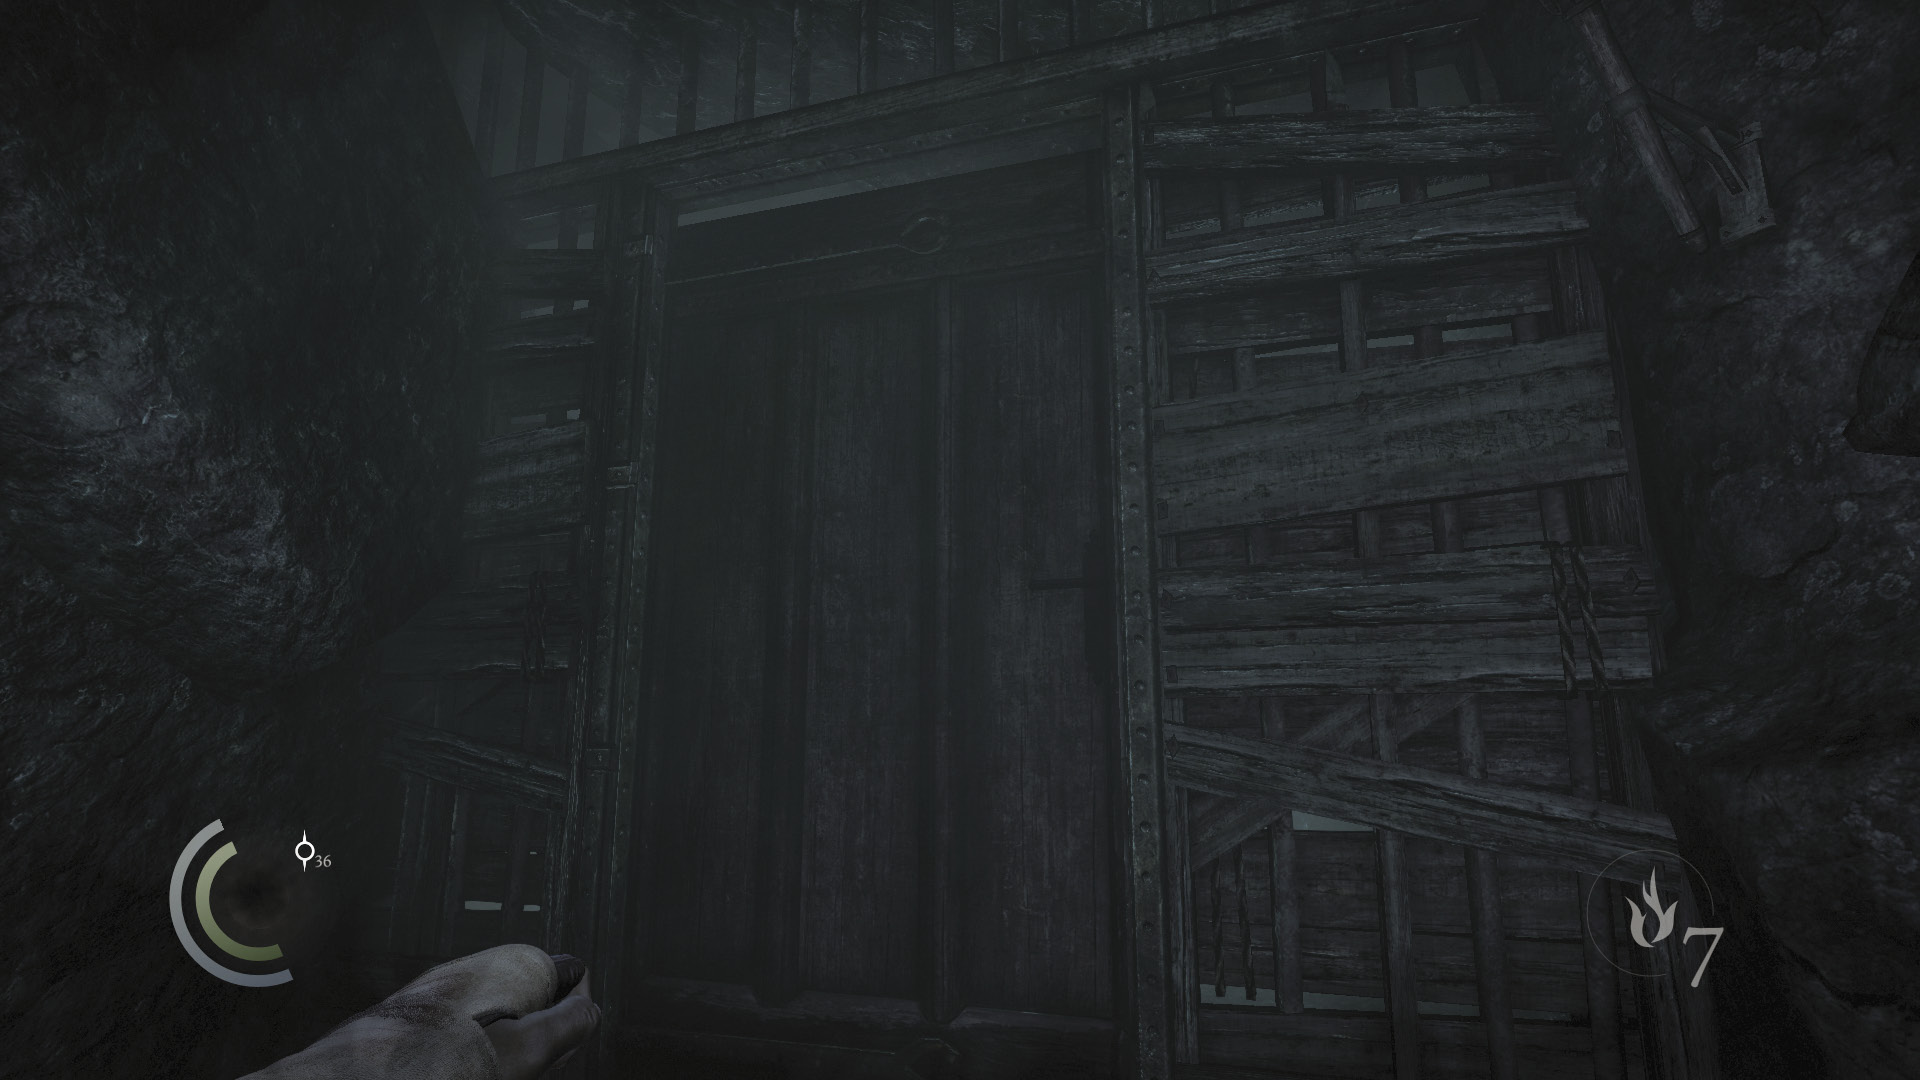
The door ahead is locked, and picking its lock—even if you make no mistakes—can raise the suspicion of the Freak that lurks on the other side. Peer through the keyhole and wait for the Freak to move away from the door before picking the lock and moving through.
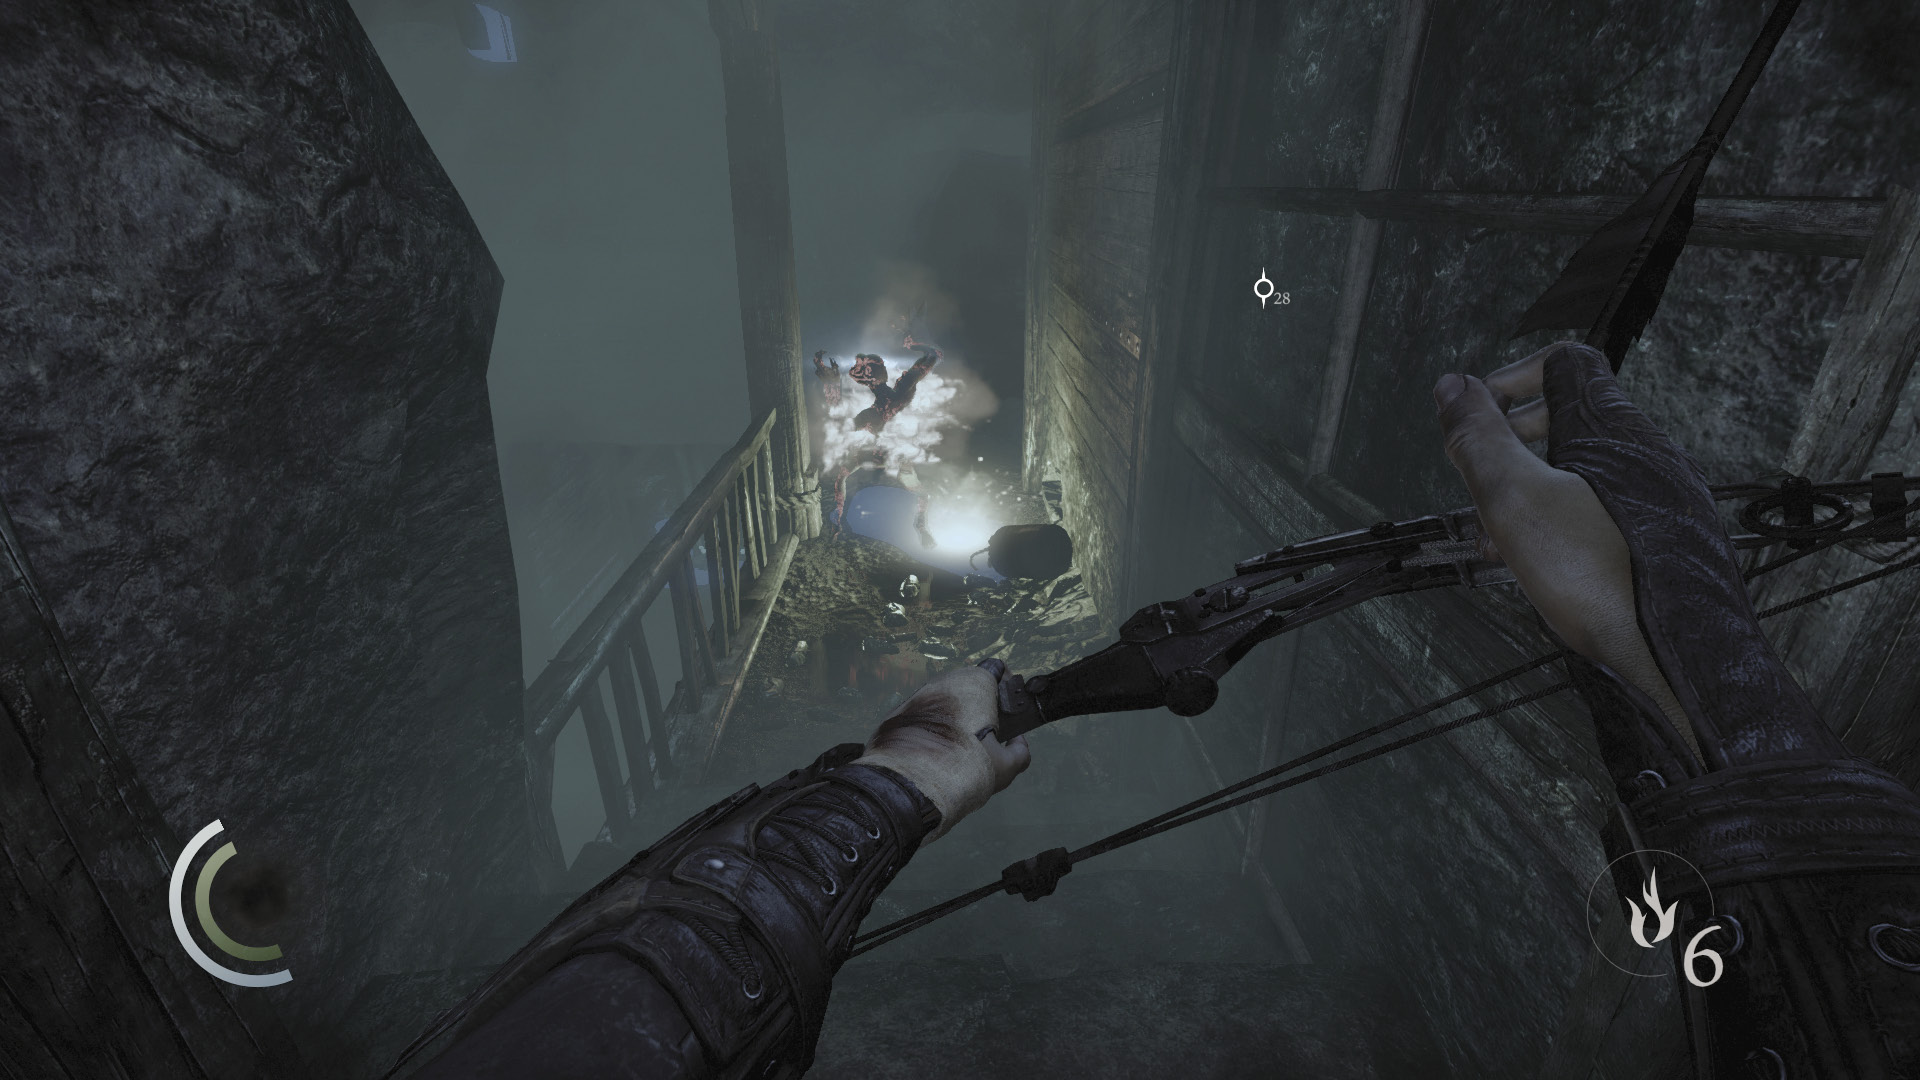
Once you’re past the door, use a fire arrow and ignite the liquid in the south passage, wiping out the Freak. If you’d rather just give him the slip, close the door behind you and drop off the ledge to reach the lower mine rails.
 Thieving Challenge: “14 kills or knockouts” (2/14)
Lower Mine Rails
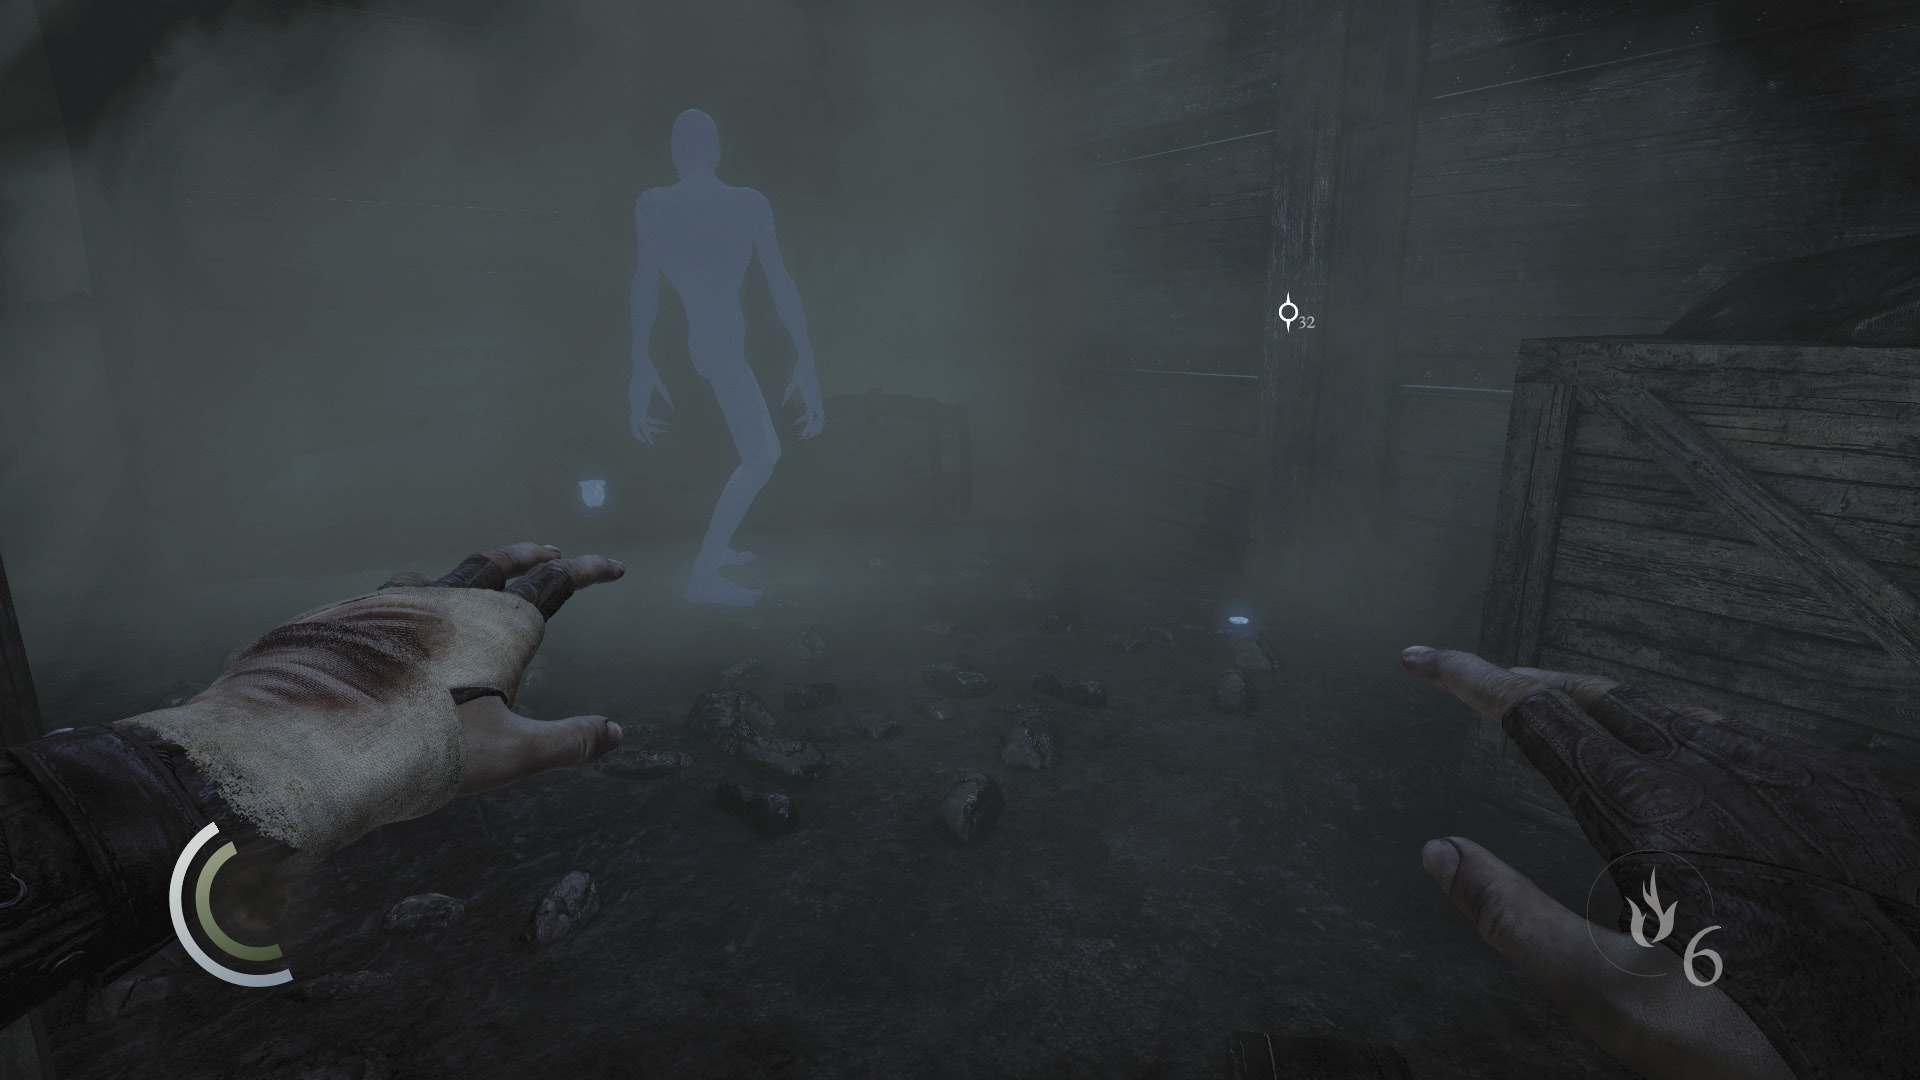
A stationary Freak stands to the east, with an ancient vessel and an ancient ingot lying on the ground right nearby. If you sneak very slowly, you can collect both of these items without raising the Freak’s curiosity. A fire arrow to the monster’s melon certainly makes things easier. You can also try to lure the creature toward the north flammable liquid.
 Thieving Challenge: “14 kills or knockouts” (3/14)
 Thieving Challenge: “Lift all loot items” (4/52)
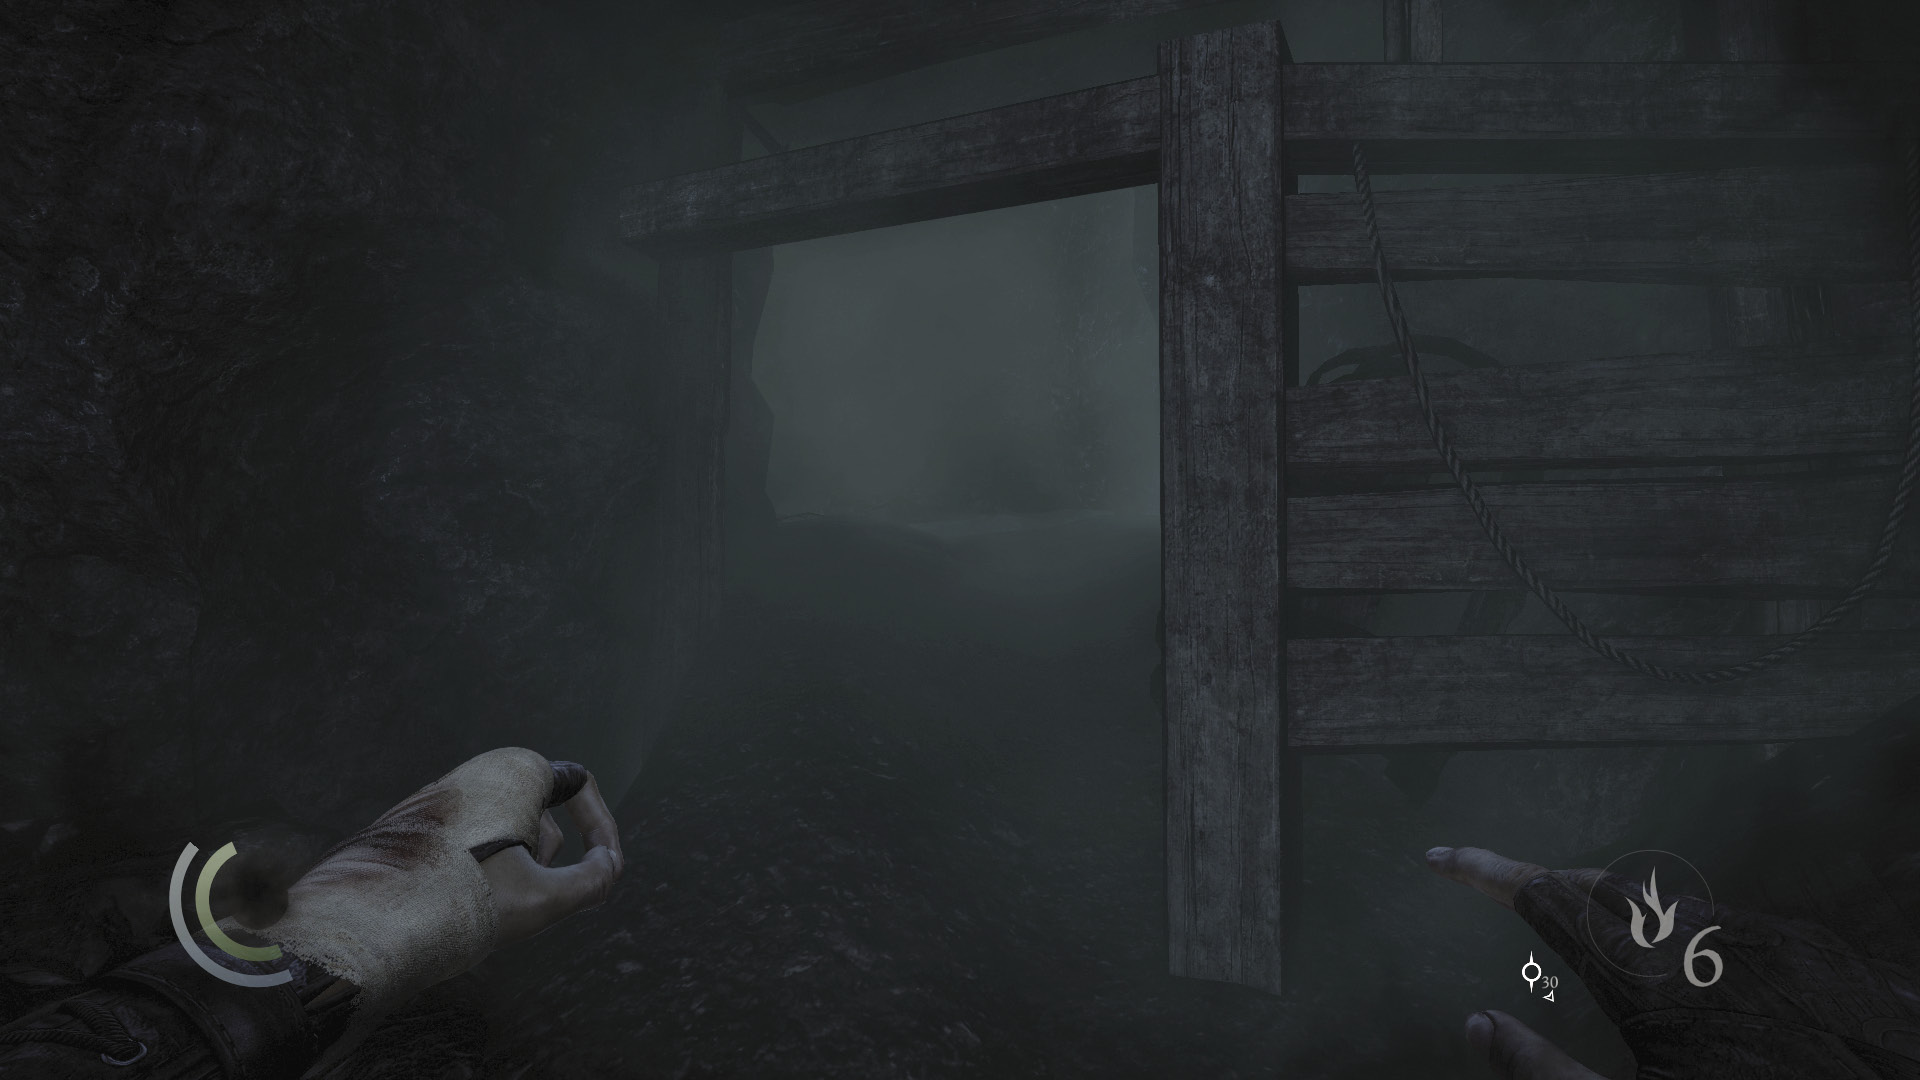
Kill or sneak past the Freak and steal another ancient ingot off the barrel in the southeast nook. The exit of the crawl space near the area’s entry is right nearby, but again, there’s nothing of interest in the crawl space.
 Thieving Challenge: “Lift all loot items” (5/52)
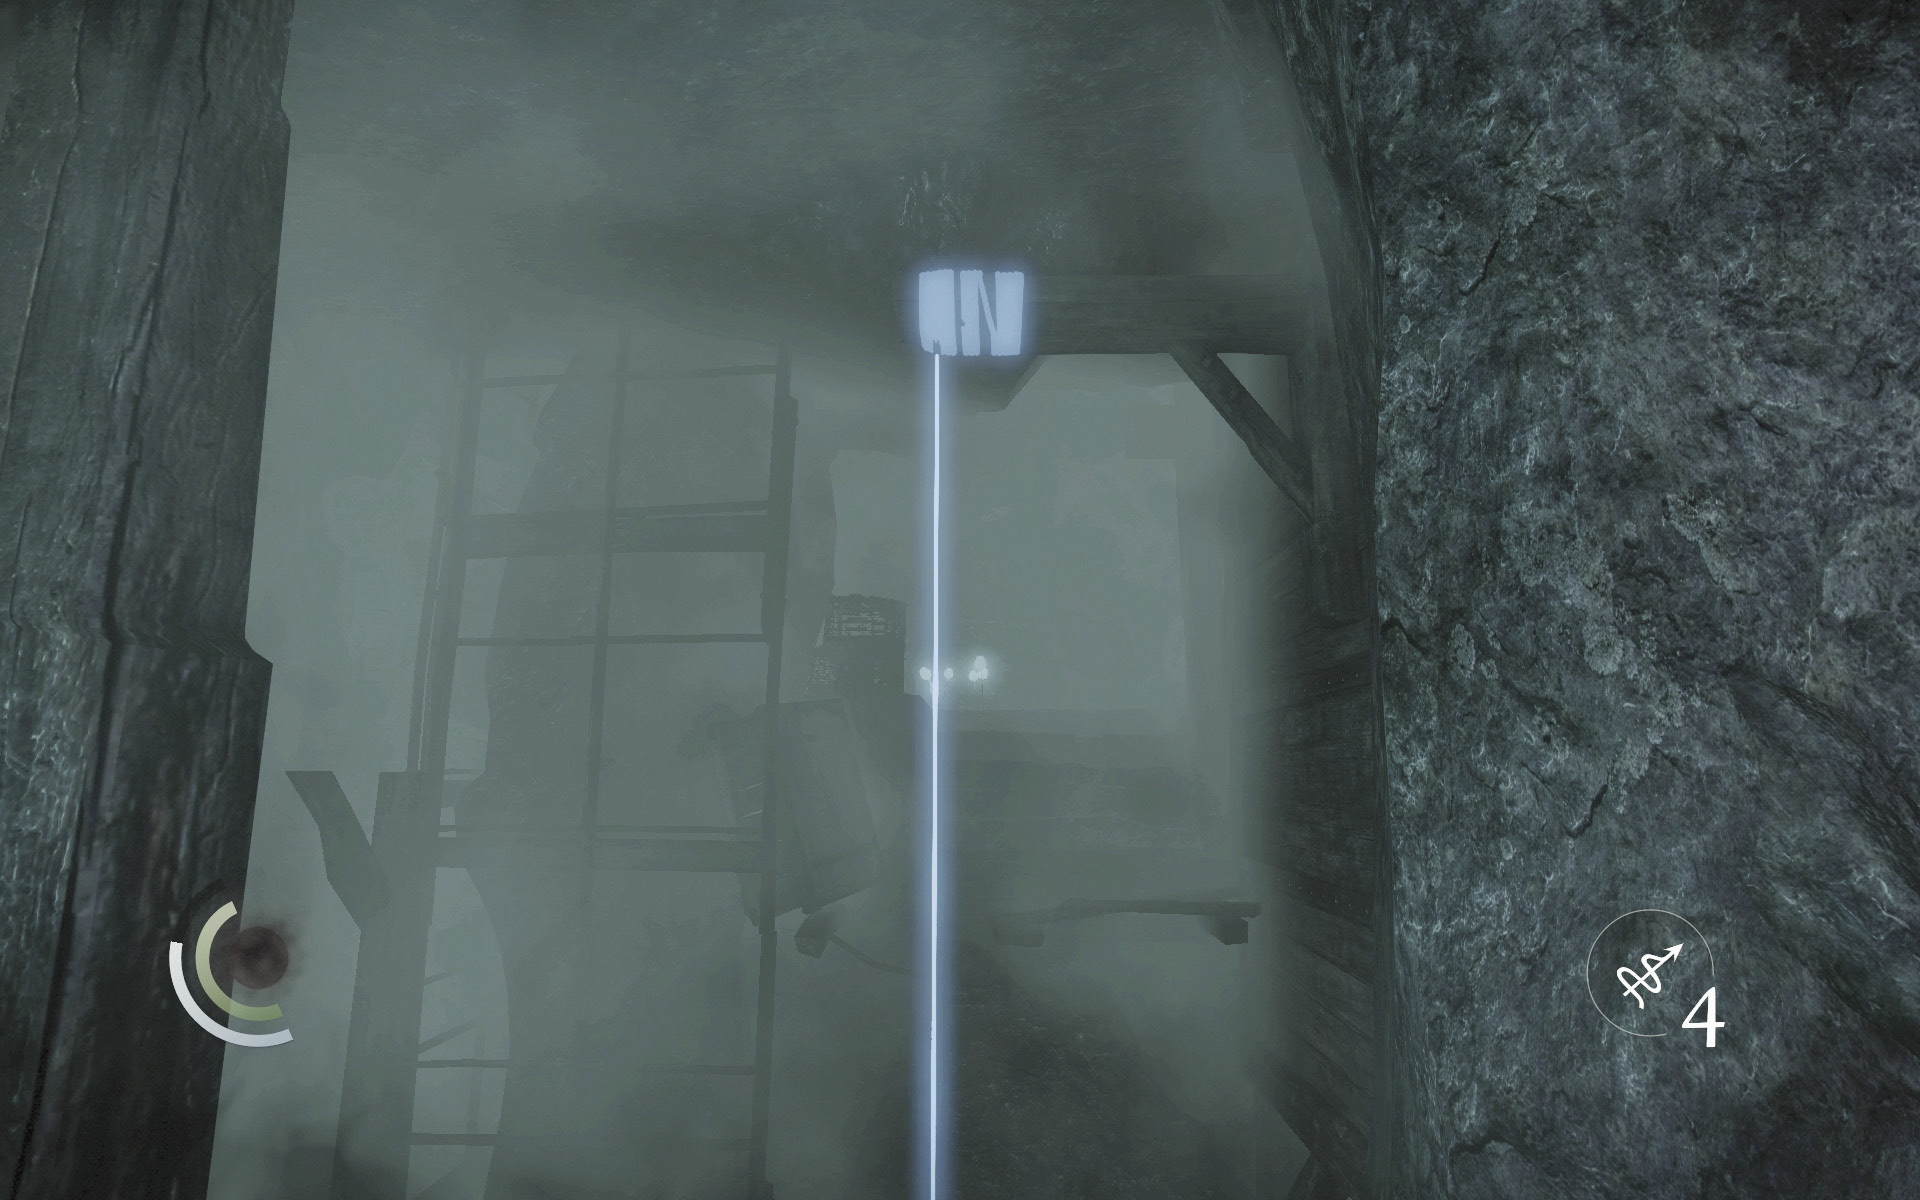
Sneak past the Freak again (if you didn’t kill it) and climb back up to the higher path. Look for an anchor beam near the ceiling and stick a rope arrow into it, then leap over to a high nook that contains an ancient armlet and an ancient vessel.
Thieving Challenge: “Lift all loot items” (7/52)
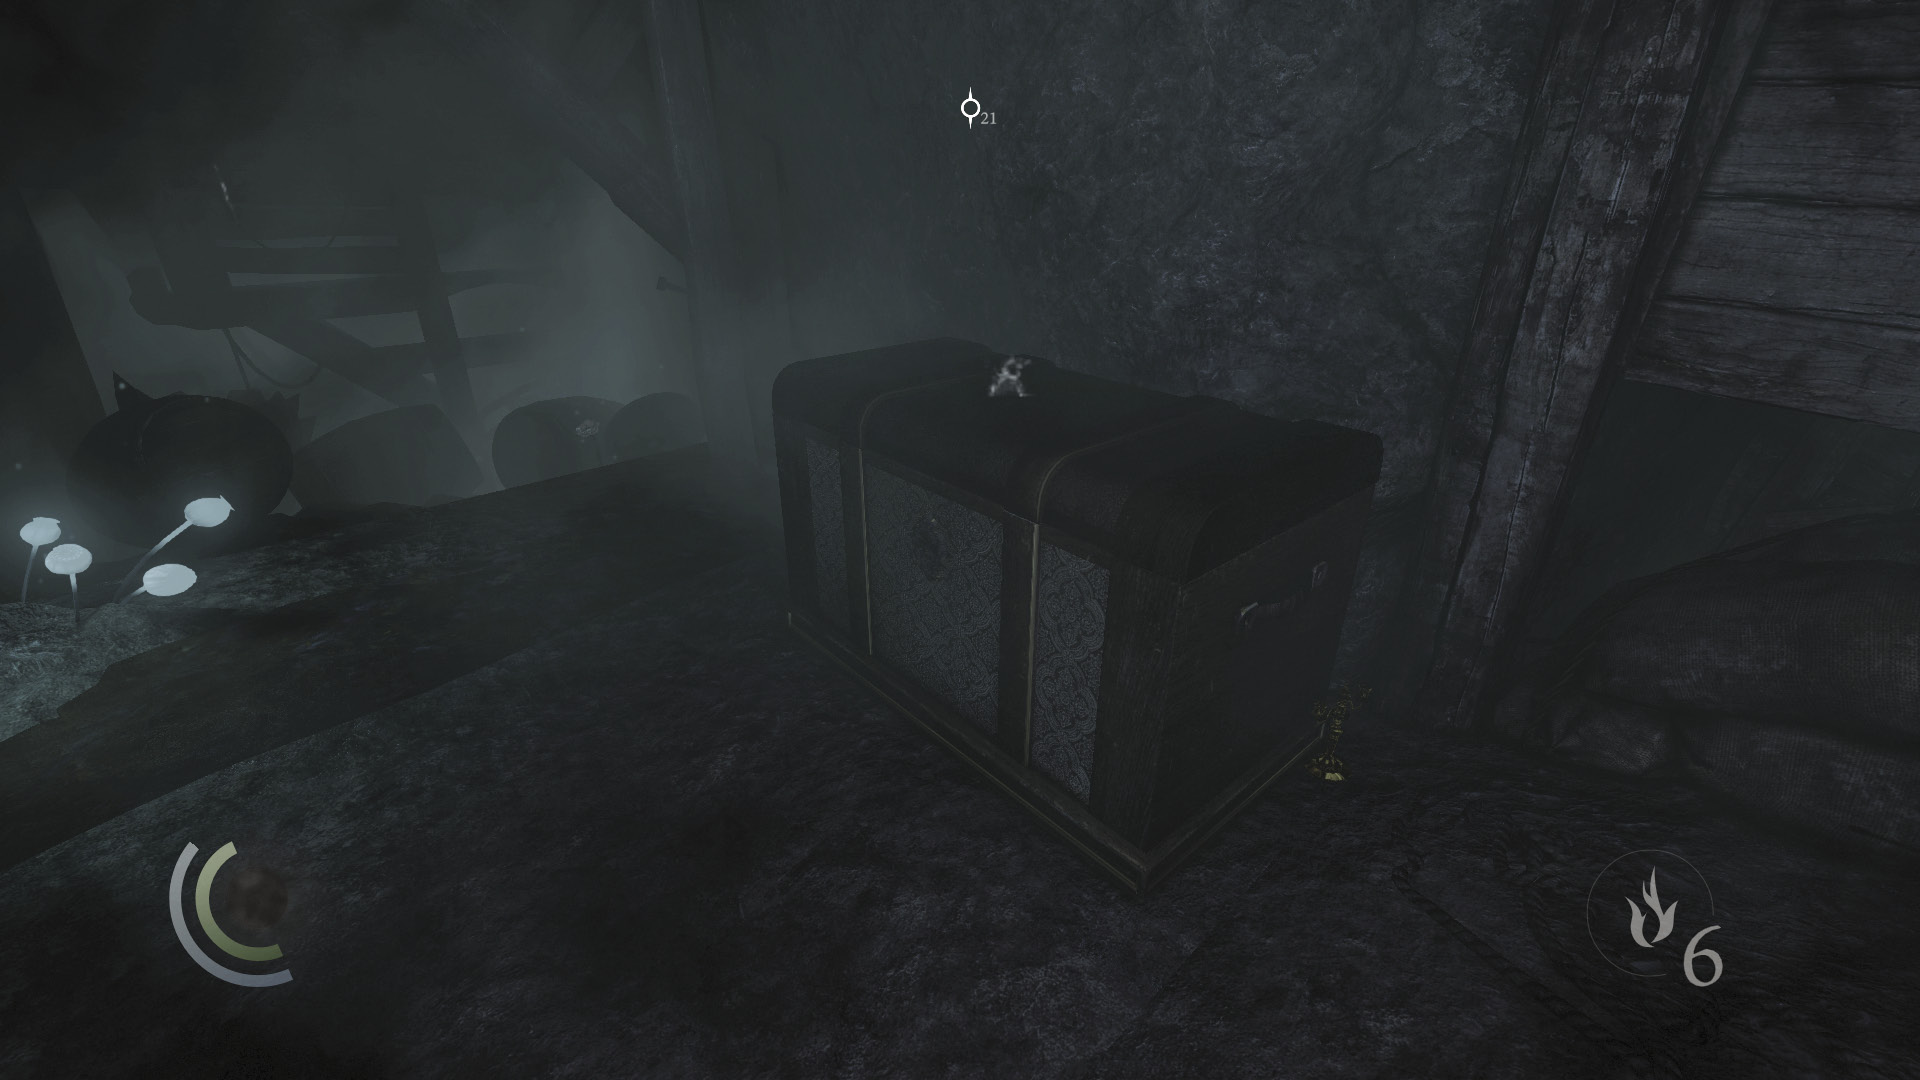
Drop from the high nook and explore the rest of the lower mine rail. Another Freak stalks the railway’s west passage; follow behind the monster to reach a locked chest.
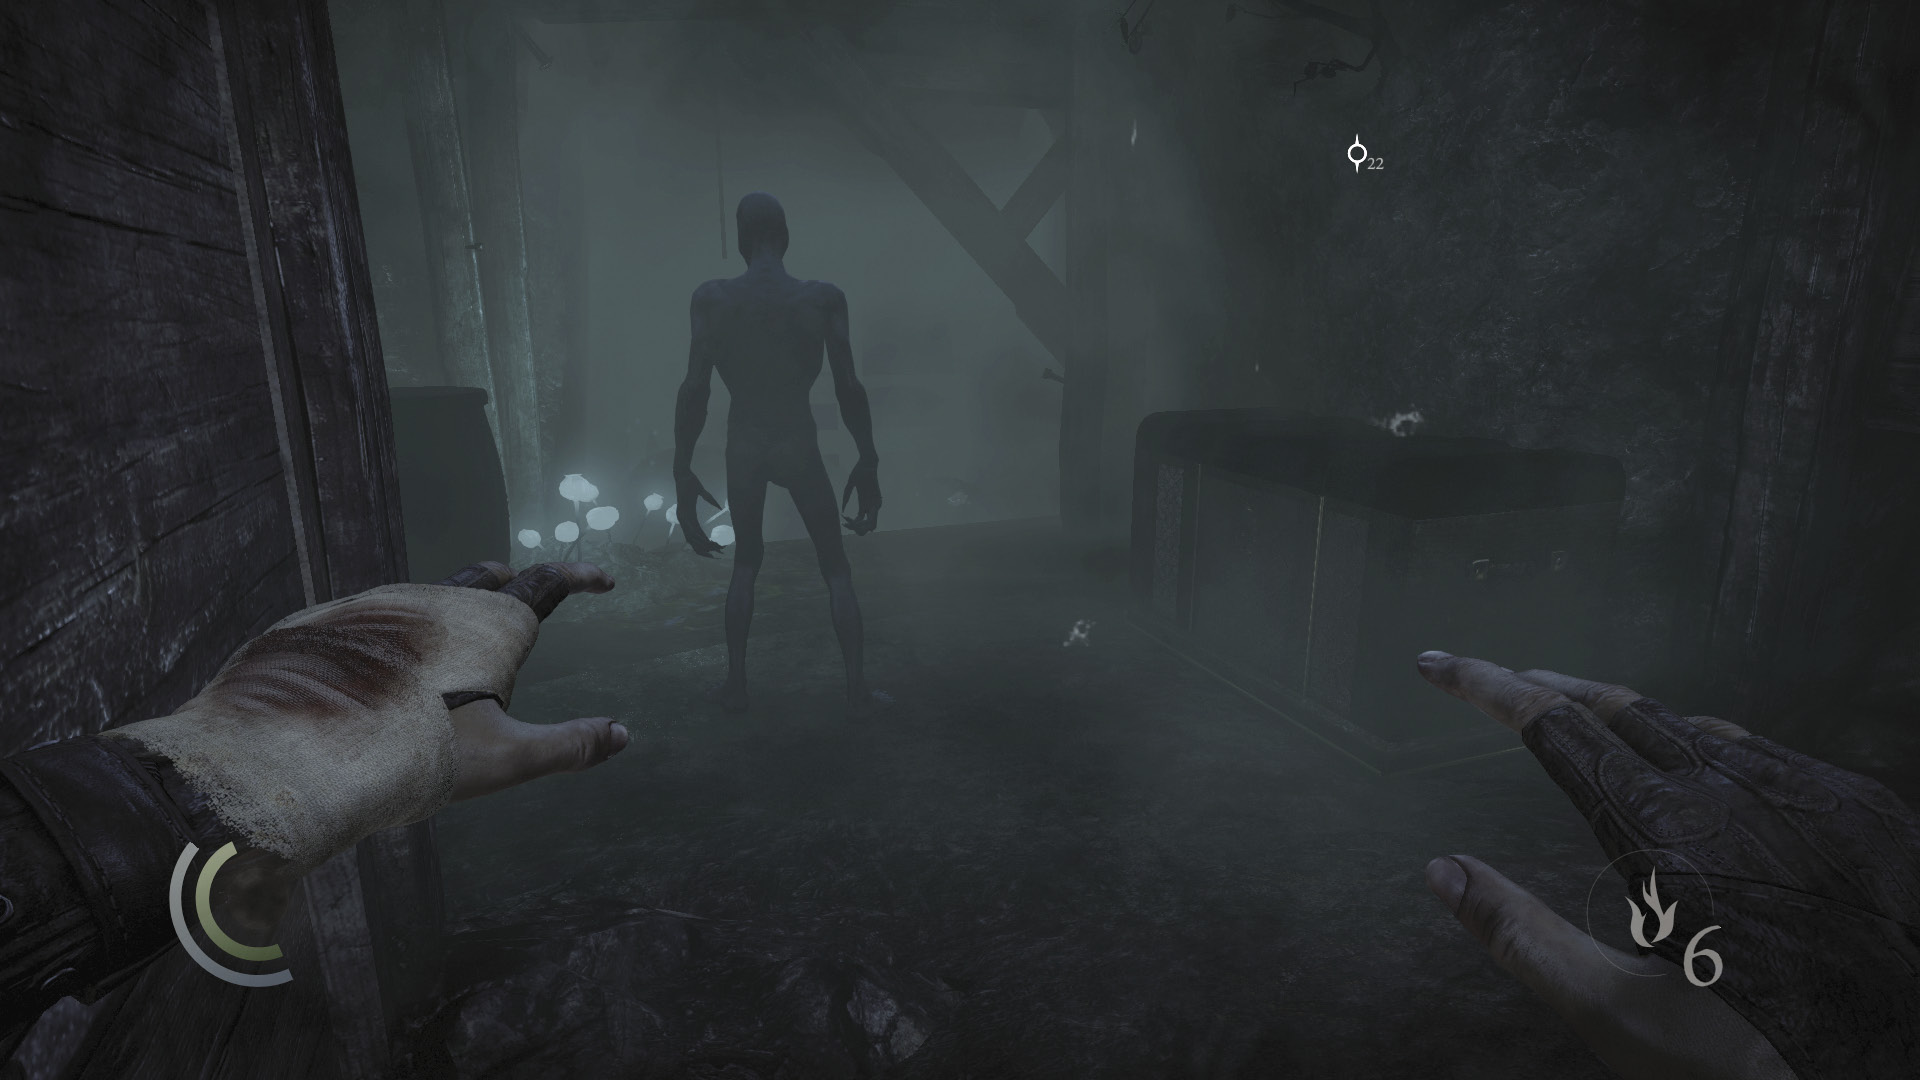
The Freak crouches down near the chest, giving you an opportunity to set the nearby liquid ablaze and kill the creature. The nearby barrel is also volatile and will explode, ensuring the kill. If you’ve killed every other Freak encountered thus far, then this is the final Freak in the area. If you’re sneaking past the Freaks, wait for this one to move east, then collect the candlestick from the ground near the chest and set about picking its difficult lock.
 Thieving Challenge: “14 kills or knockouts” (4/14)
 Thieving Challenge: “Lift all loot items” (8/52)
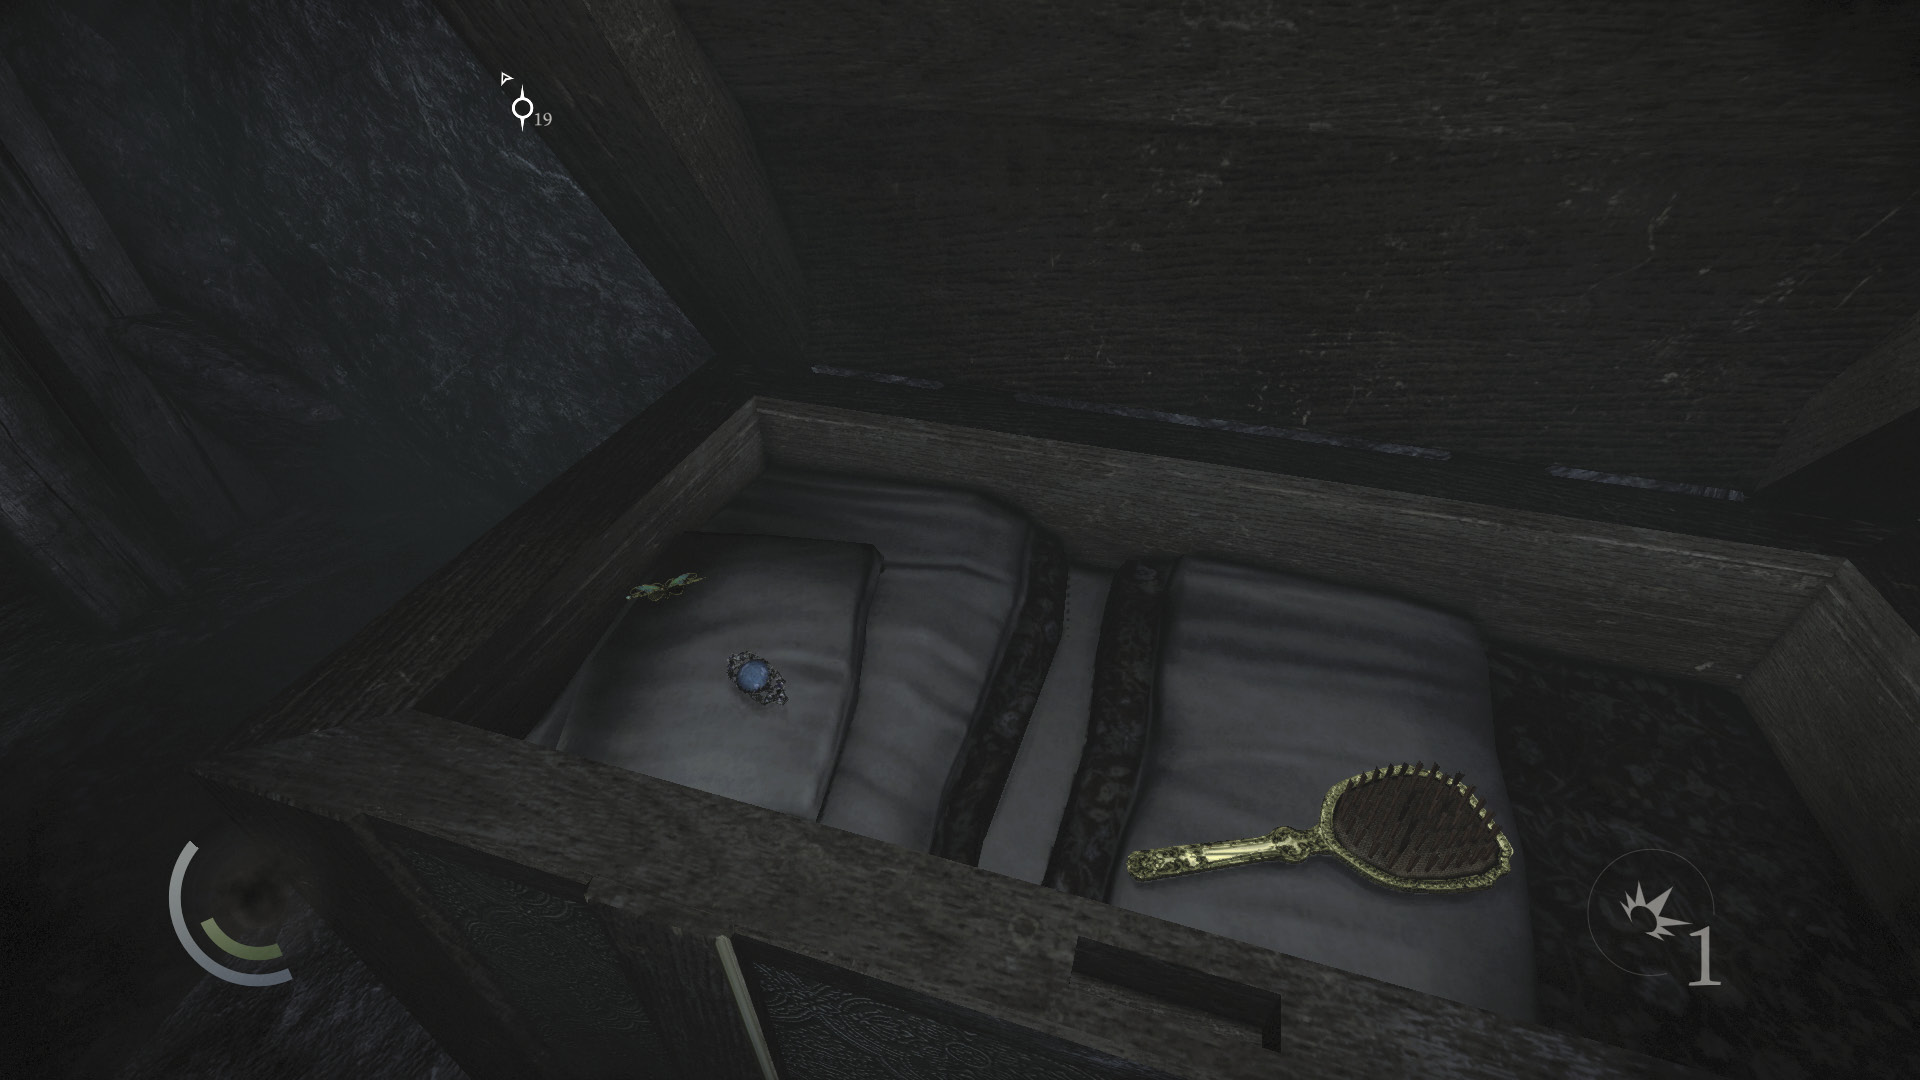
You have plenty of time to work on the chest’s lock before the Freak returns, so take your time and avoid making mistakes. The chest contains a hairbrush, a turquoise brooch, and a collectible loot item. Pluck the poppy that grows near the chest after pocketing your score.
GOODIE BOXCollectible Loot #81 The Pinned Castinets (6/6) “Mourning Bell” |
 Thieving Challenge: “Lift all loot items” (10/52)
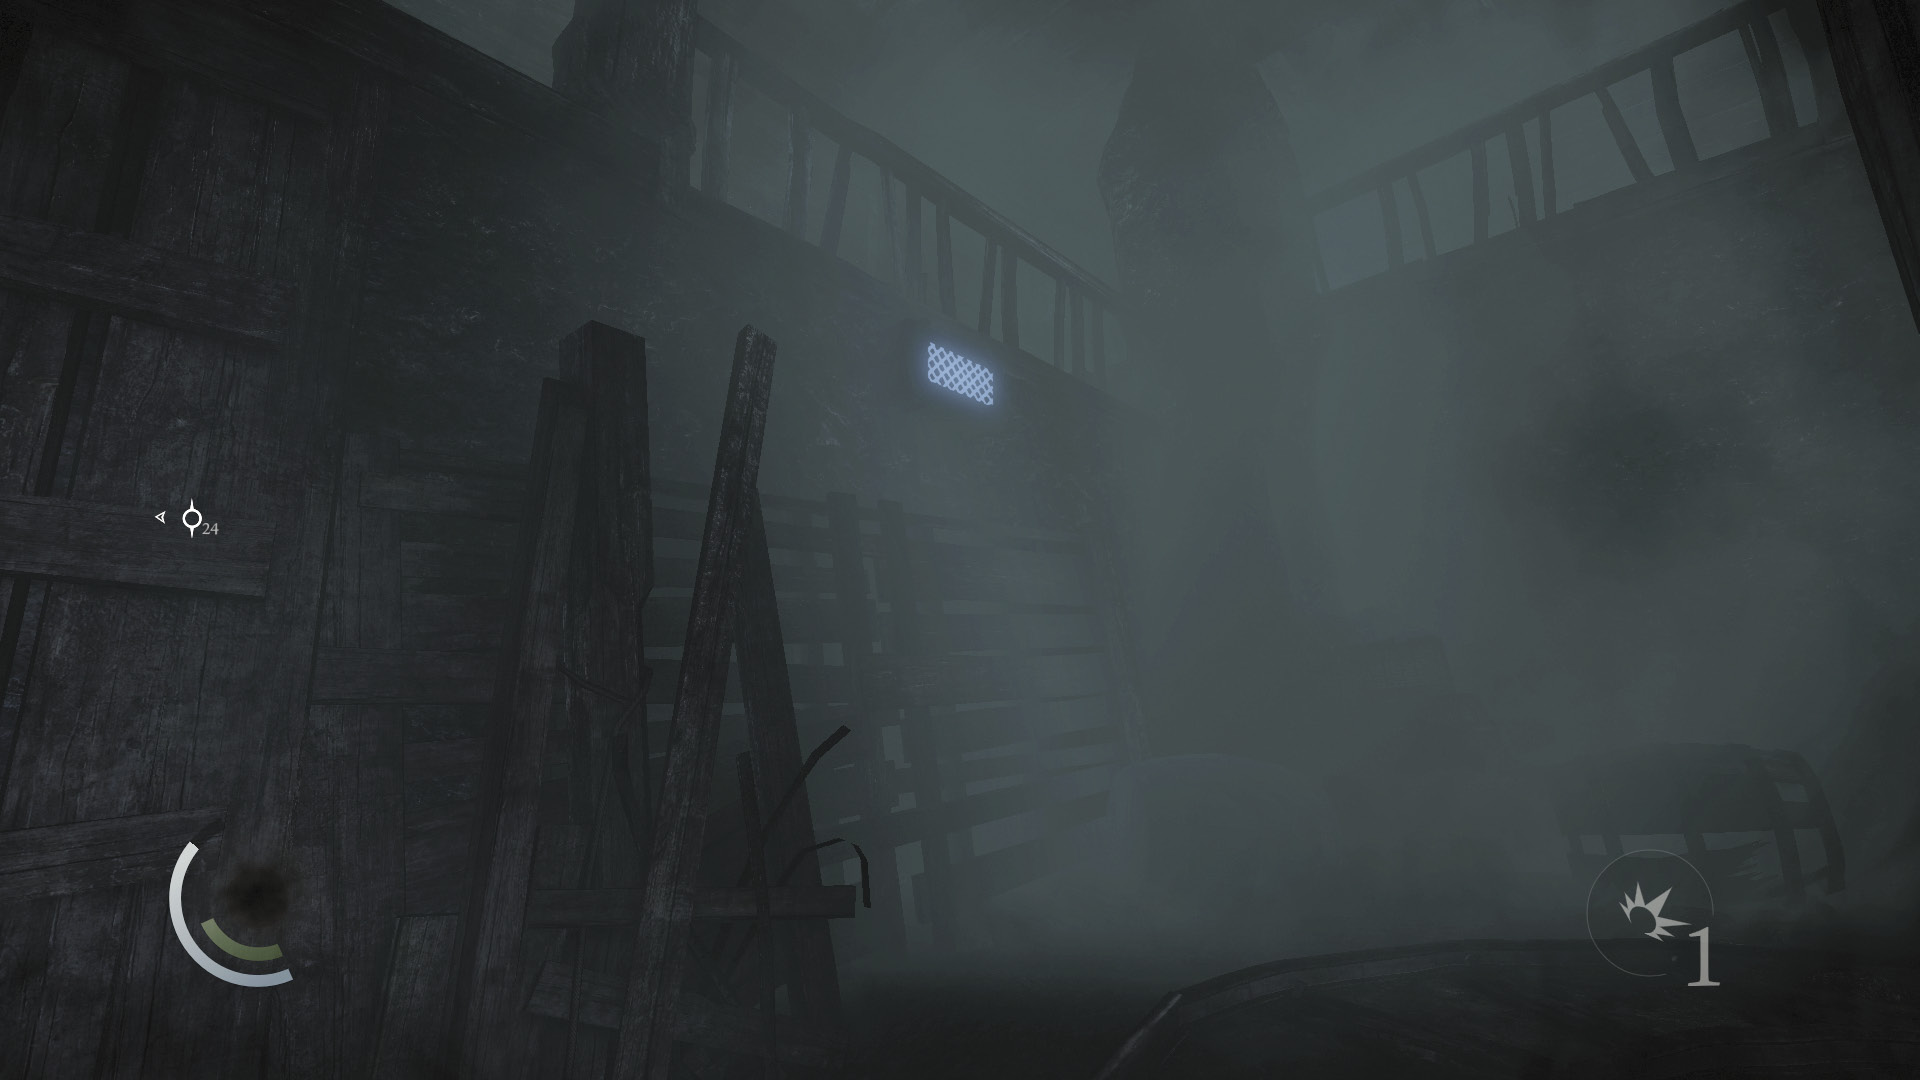
If you allowed the Freak to live, it will eventually be returning. To avoid it, backtrack north from the chest and scale the northwest wall to reach the higher passage. Before climbing up, ensure that the Freak roaming this passage isn’t about.
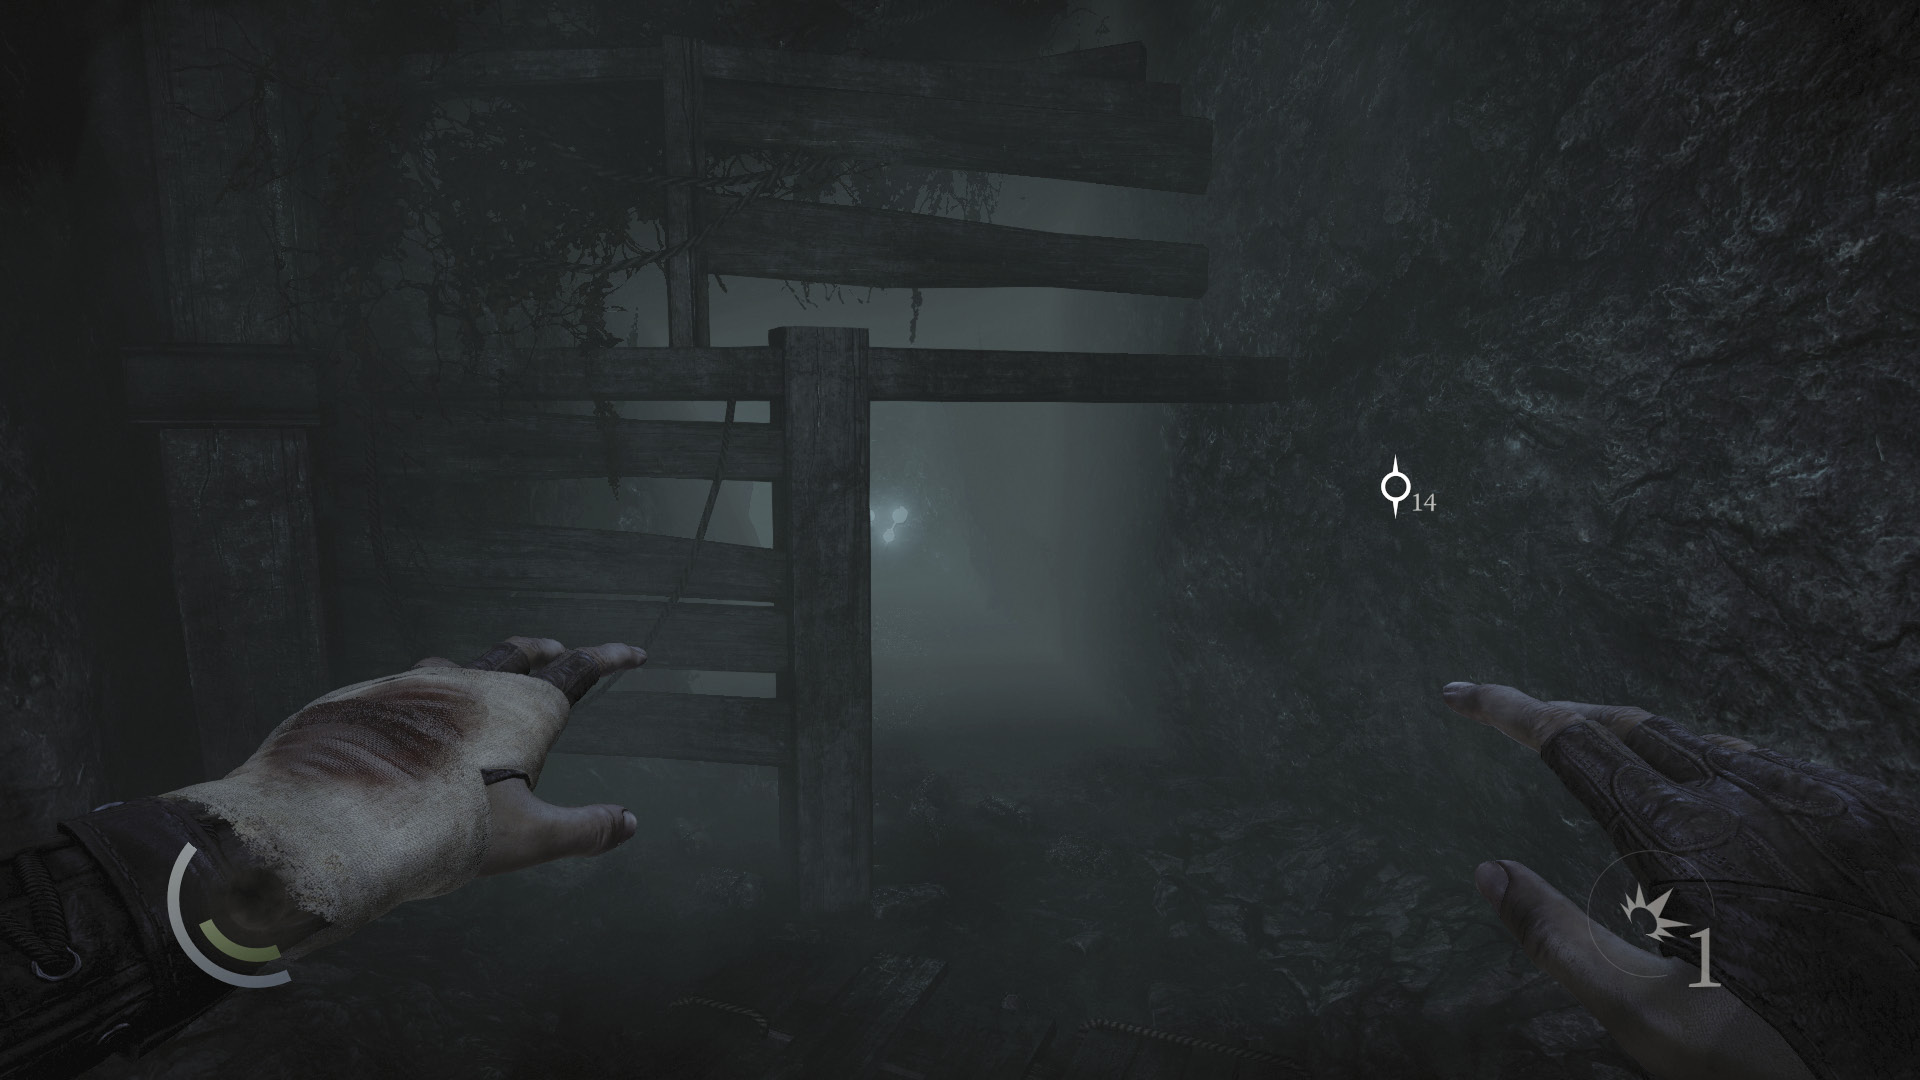
Follow the higher passage south to reach a crawl space. Move through to reach the passage’s end, then drop back down to the mine rail. You’ve now circumvented the Freak that stalks near the chest.
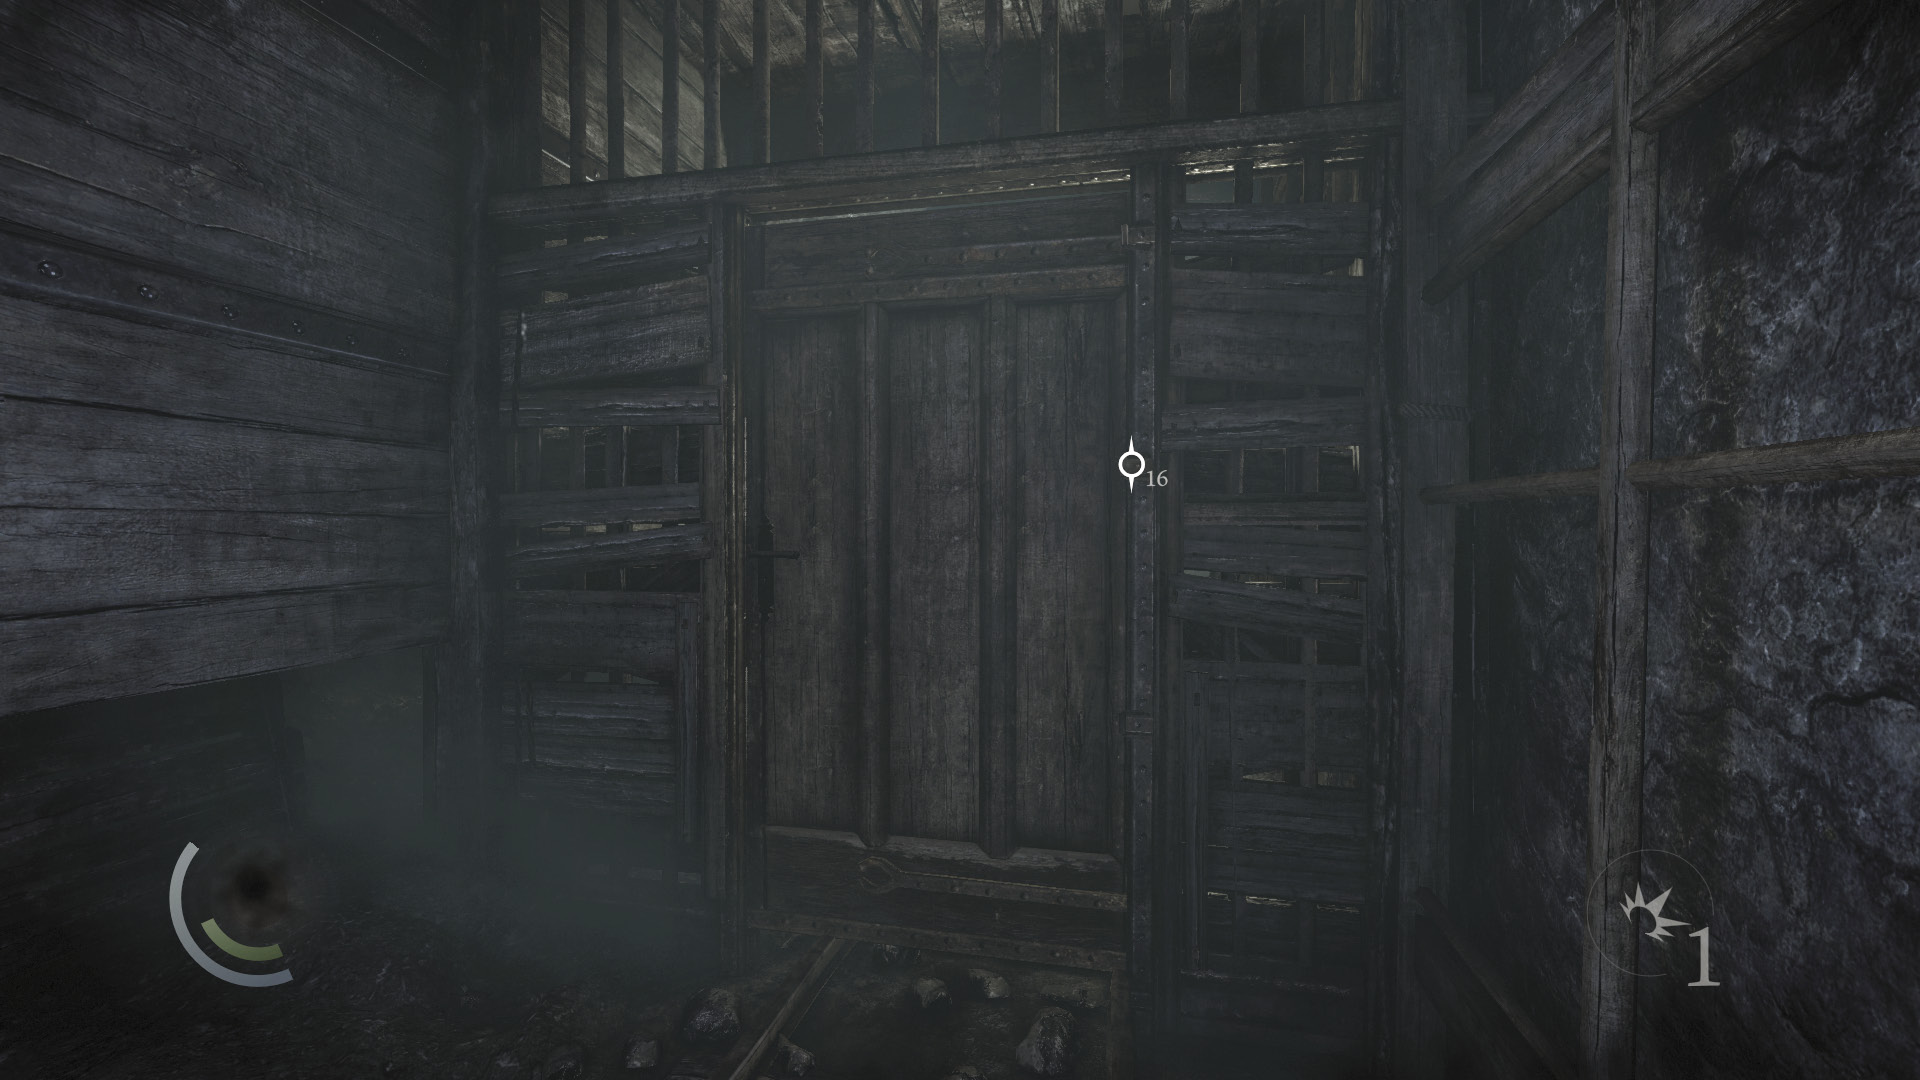
Follow the mine rail to a locked door. No Freaks lurk on the other side, so simply pick the lock and head through.
Orion’s Vessel
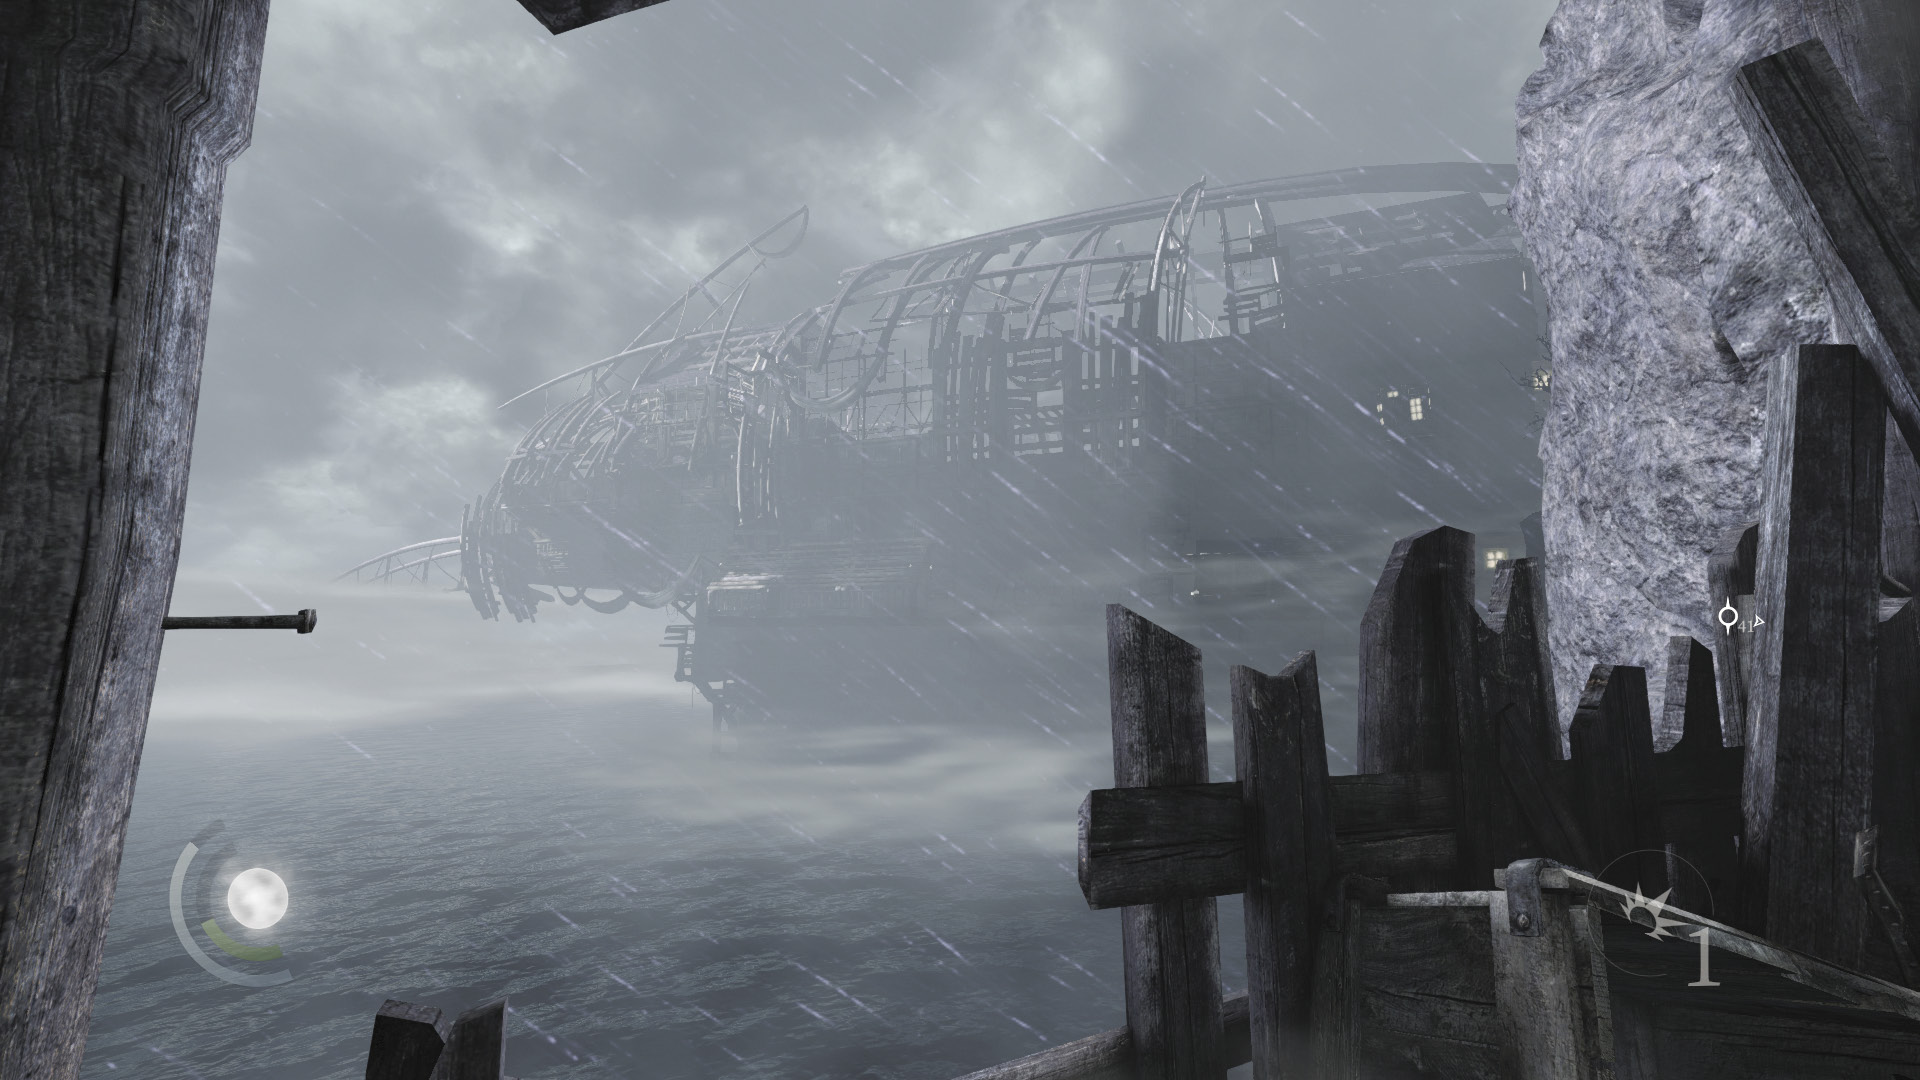
Just beyond the door, you catch a glimpse of Orion’s massive ship, the Dawn’s Light. The madman certainly has been busy. Drop and slide down the nearby slope afterward to reach the next area.
Objective 2: Find a Way to the Boat
Area 2: Old City Bluffs
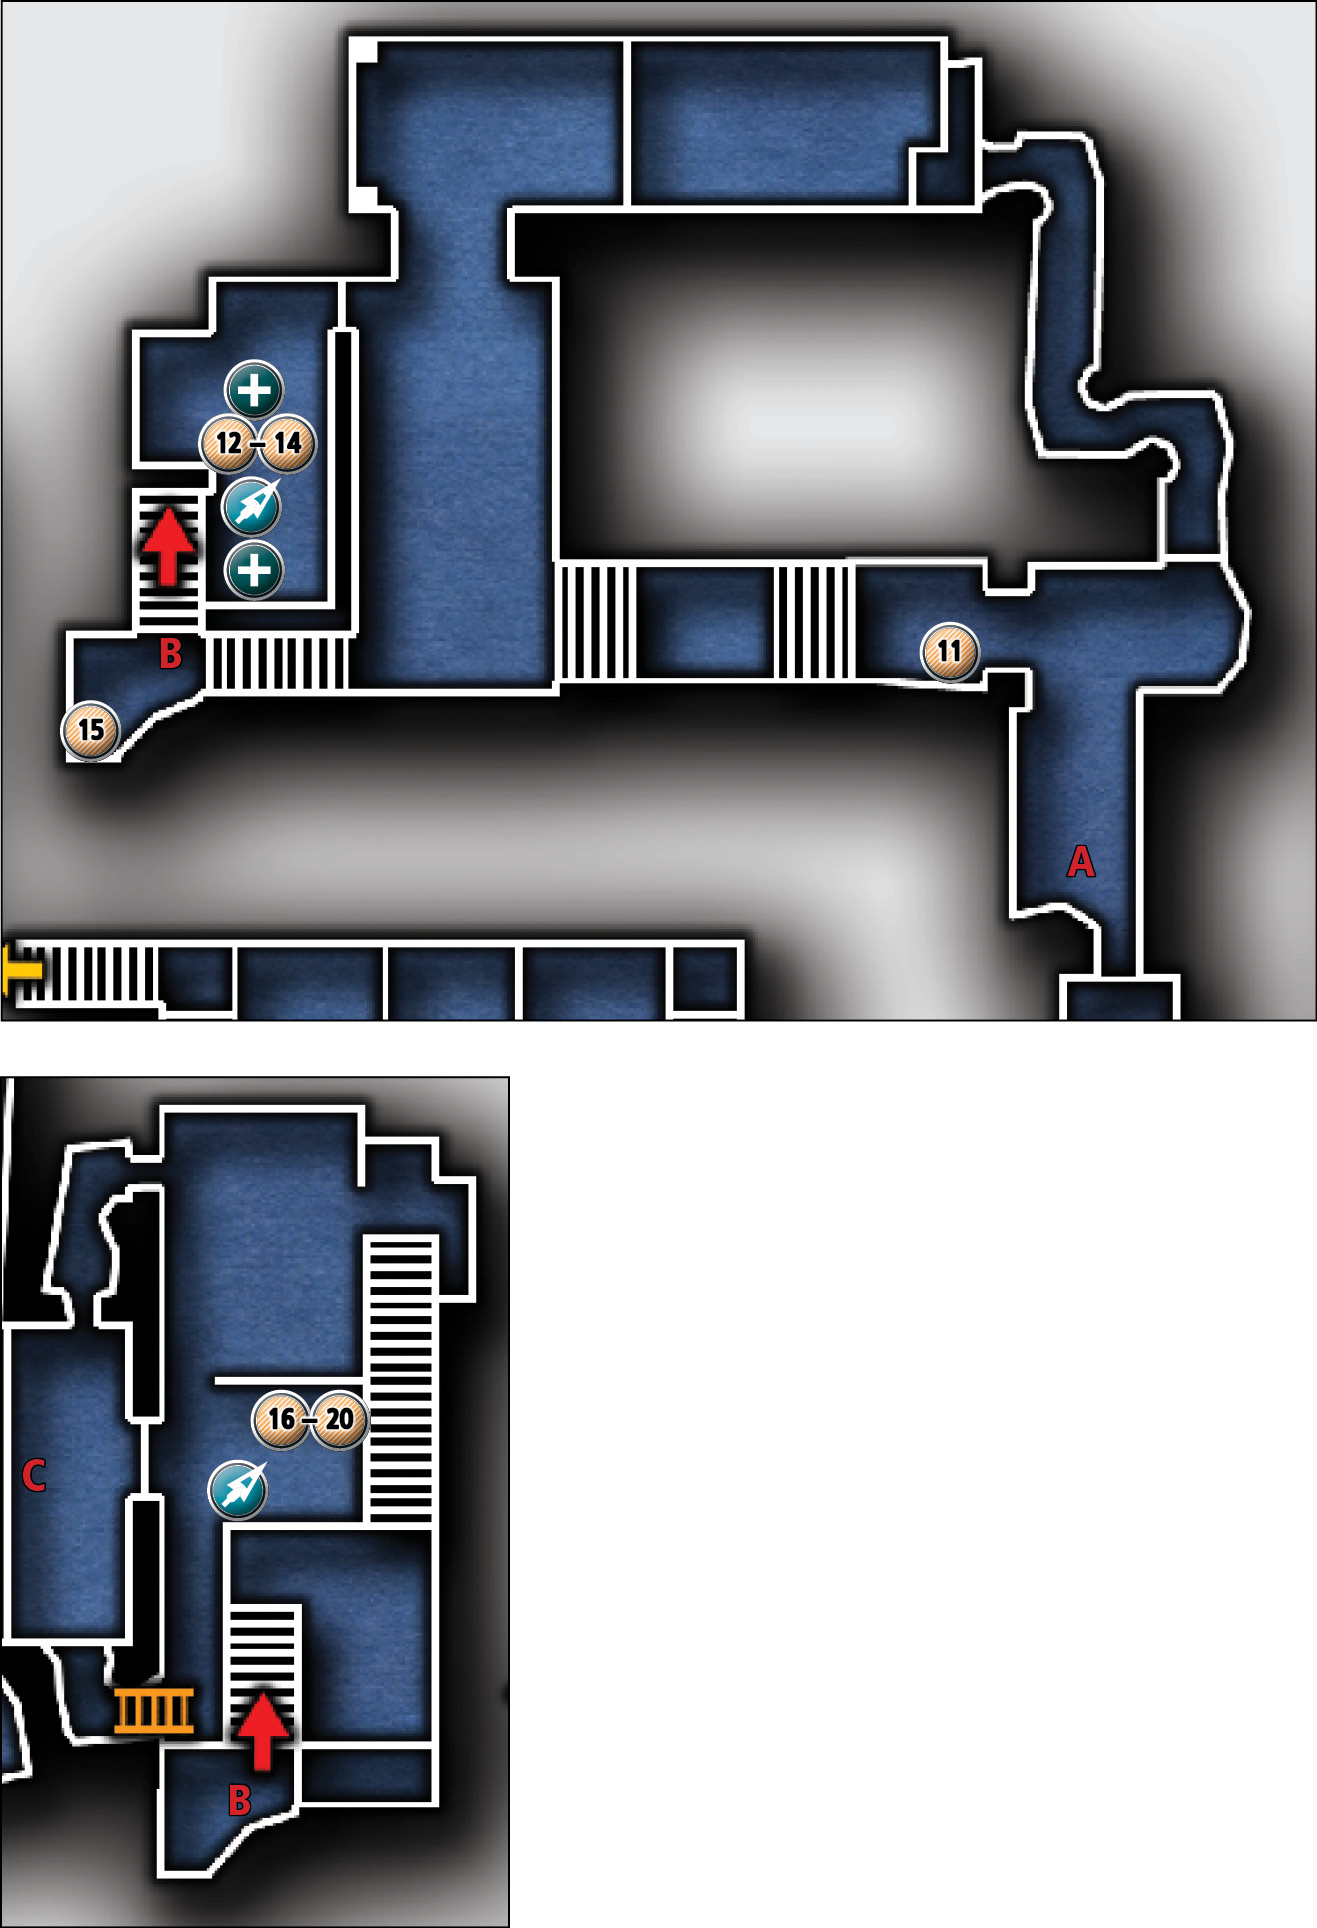
Common Loot
| Map Icon | Item(s) |
|---|---|
 |
Ancient armlet |
 |
Wineglass |
 |
Wineglass |
 |
Gilded bottle |
 |
Ancient armlet |
 |
Saucer |
 |
Saucer |
 |
Teacup |
 |
Teacup |
 |
Teapot |
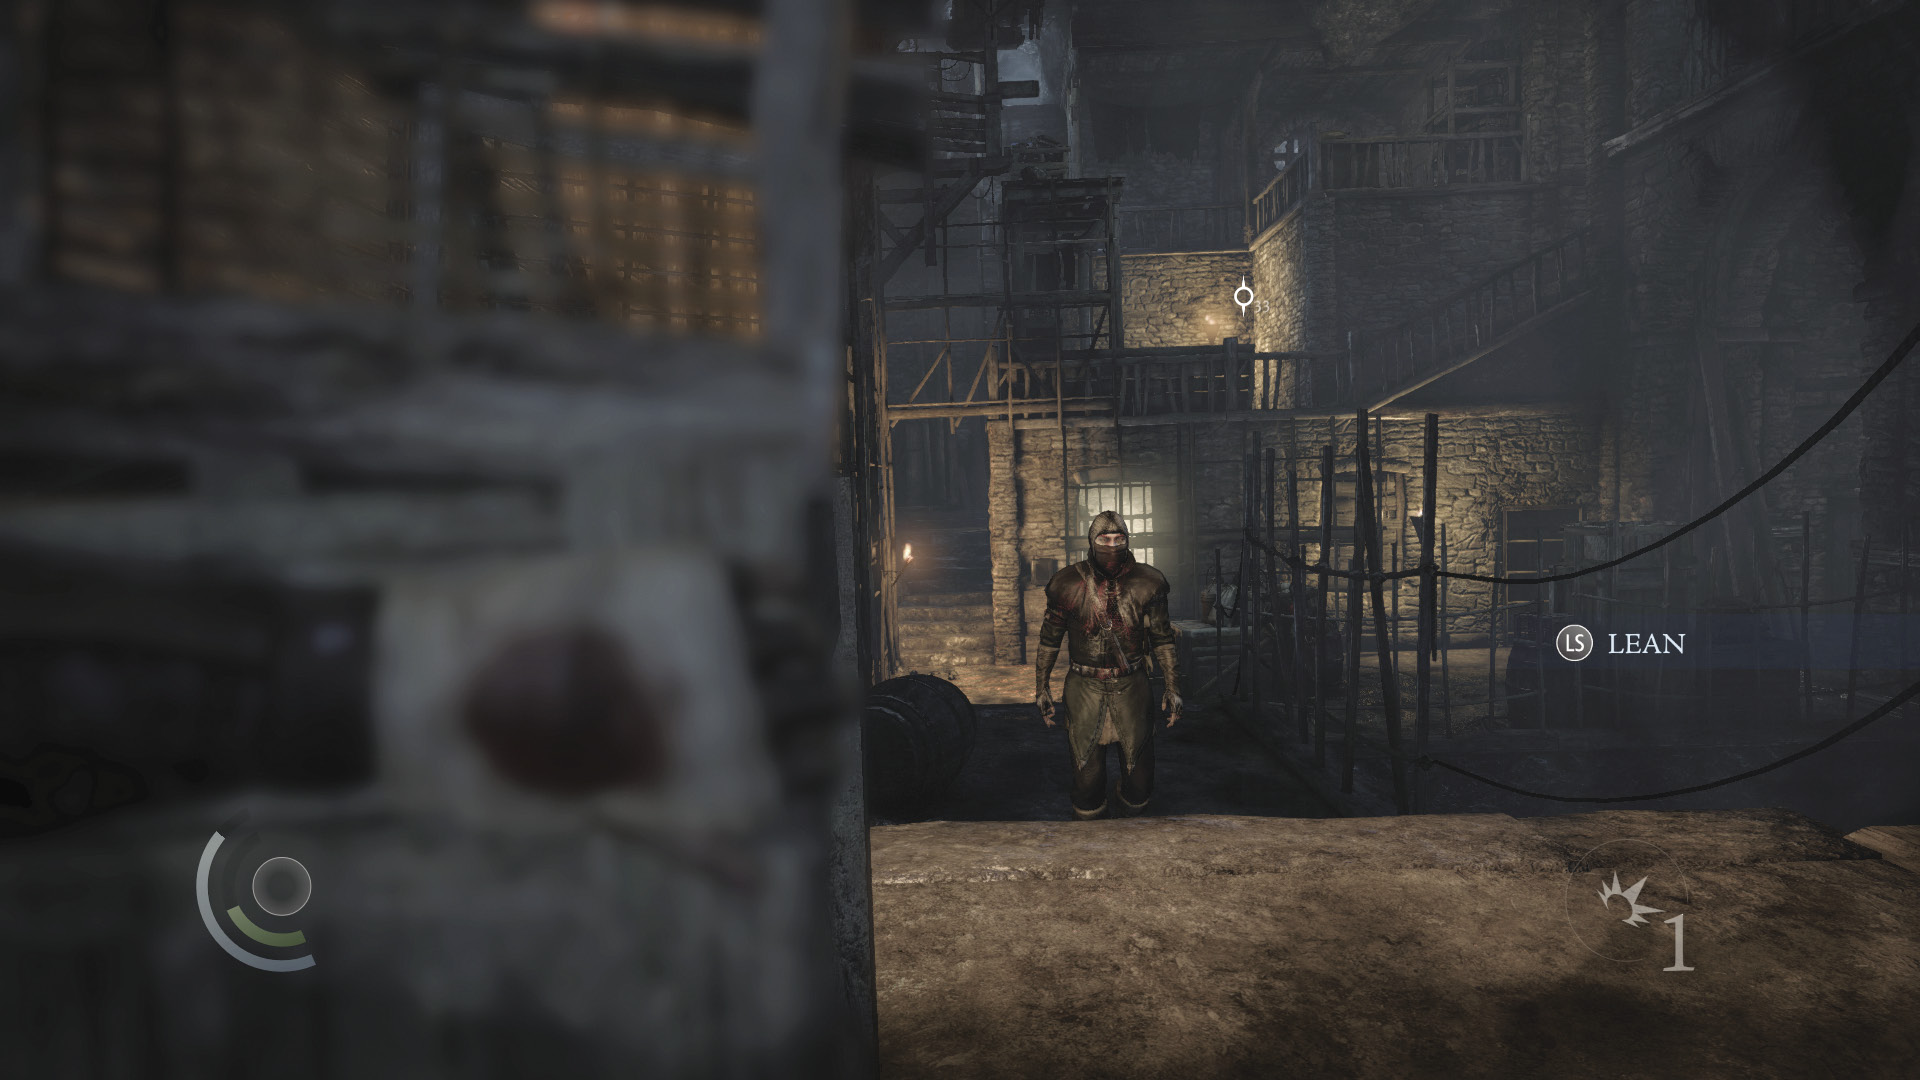
Sneak to a crate and peek around the corner, eavesdropping on the Graven ahead. When the captain finishes his pep talk, one of the Graven heads directly toward you.
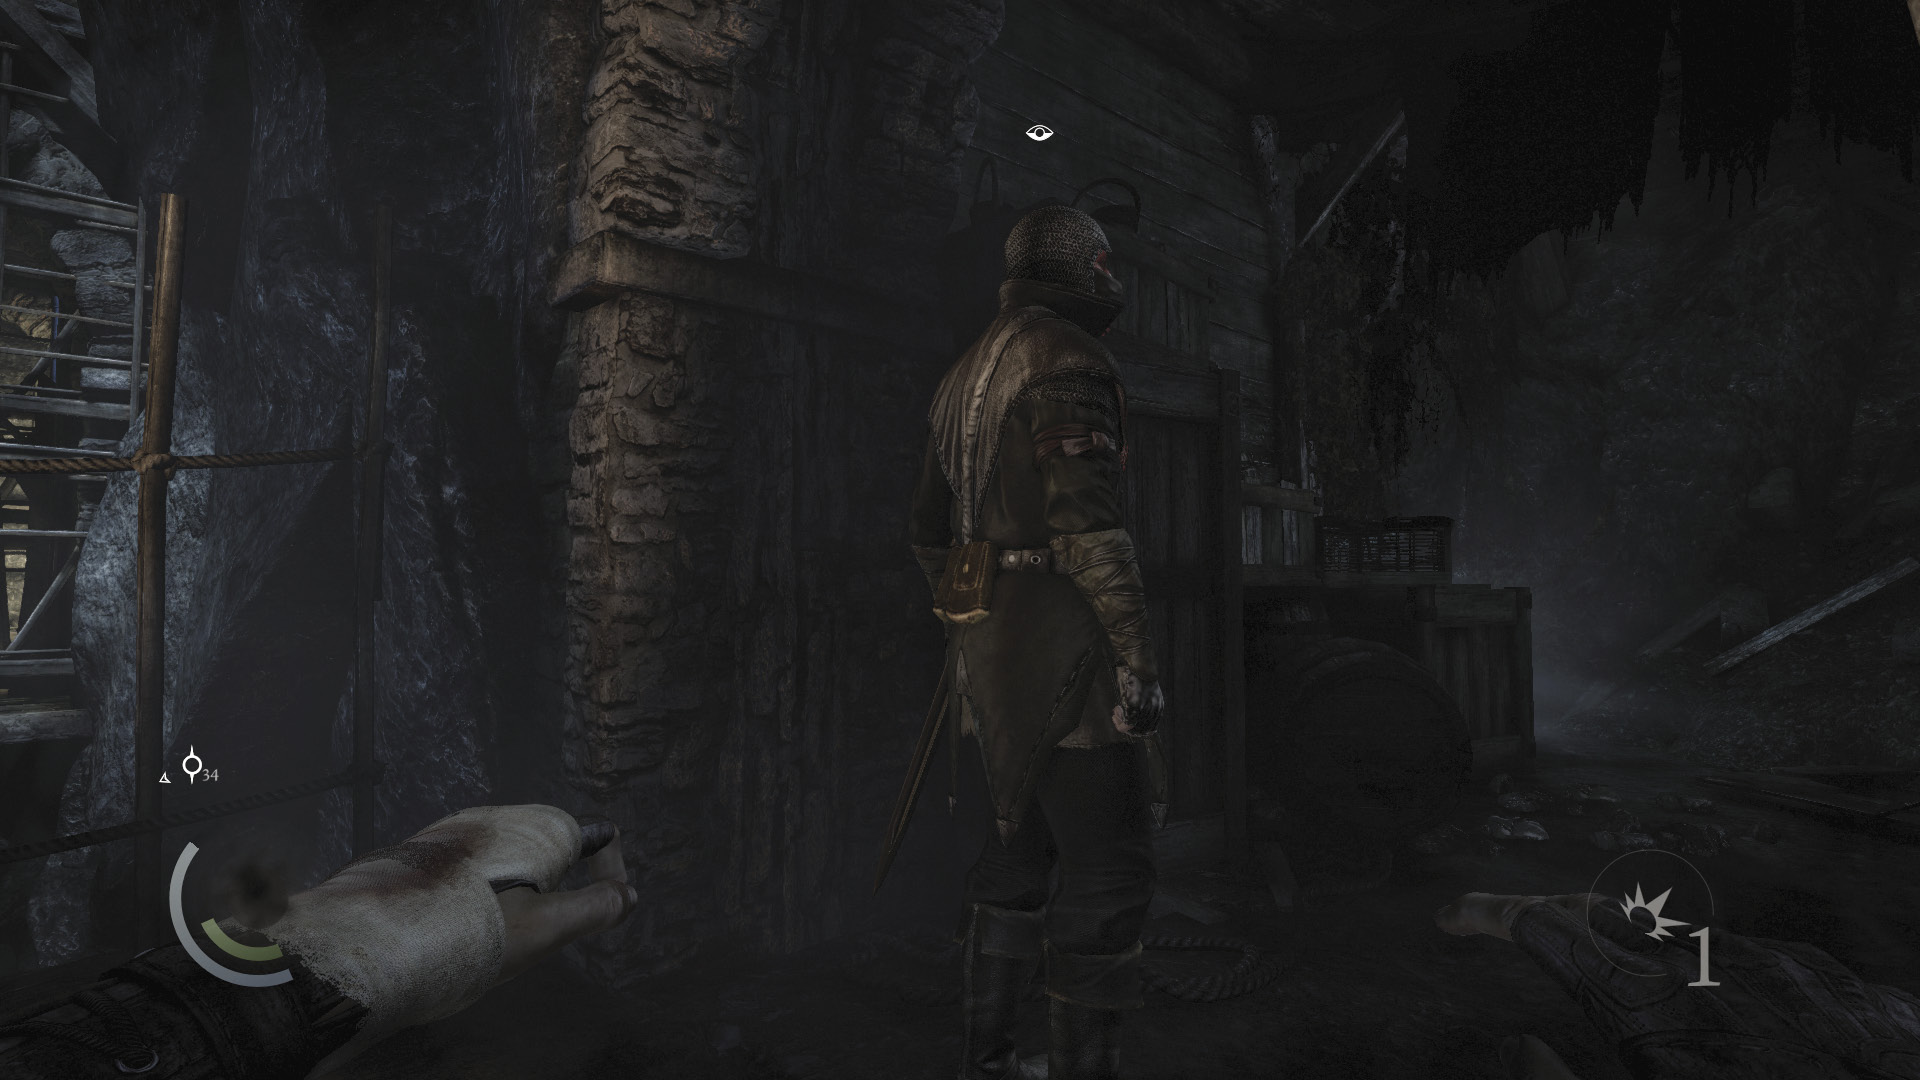
Remain near the crate and wait for the Graven to walk past. He won’t spot you as long as you remain completely still. The Graven stops in the shadows just beyond the crate. You have just enough time to steal both his coin purses and knock him out before he turns around.
 Thieving Challenge: “14 kills or knockouts” (5/14)
Secret Crawl Space
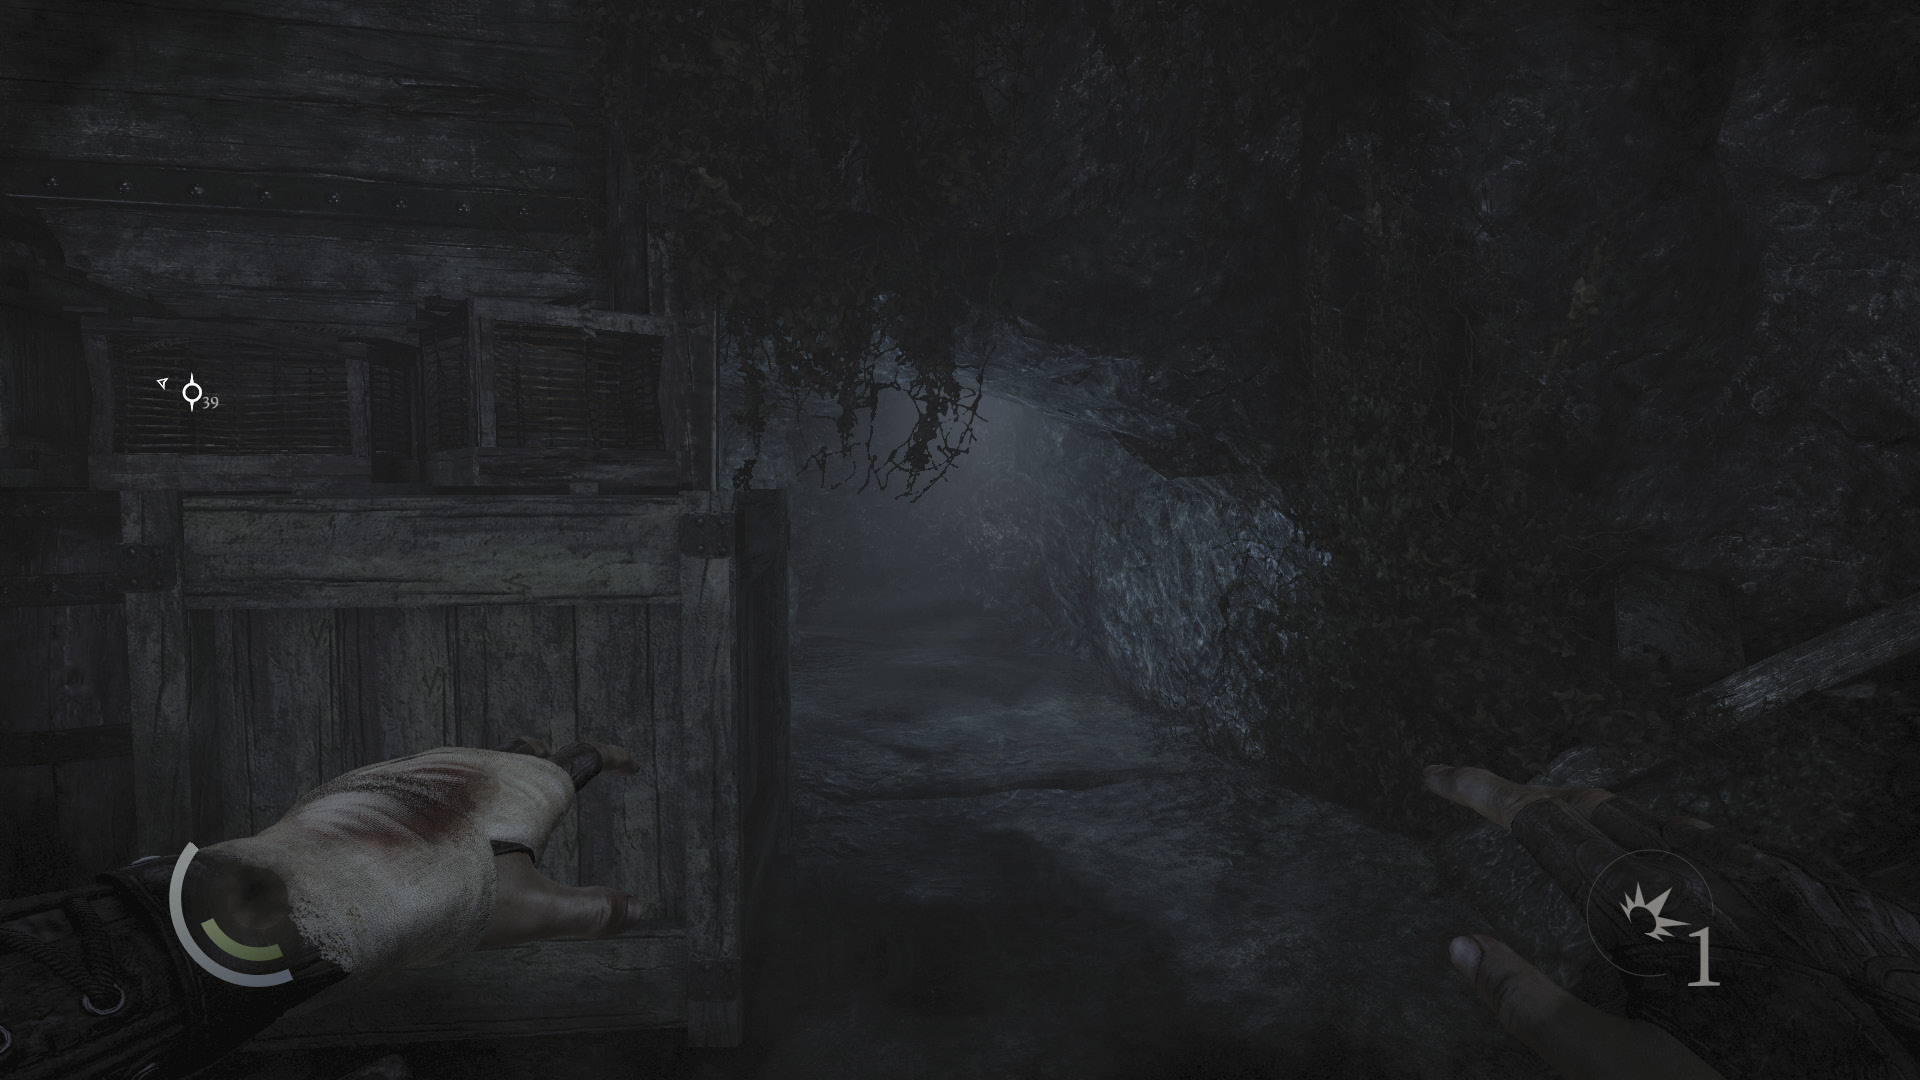
When you’ve finished with the guard, collect the ancient armlet on the ground near the crate, then check the nearby east nook to discover a secret crawl space. Go through to take a shortcut to the north.
 Thieving Challenge: “Lift all loot items” (11/52)
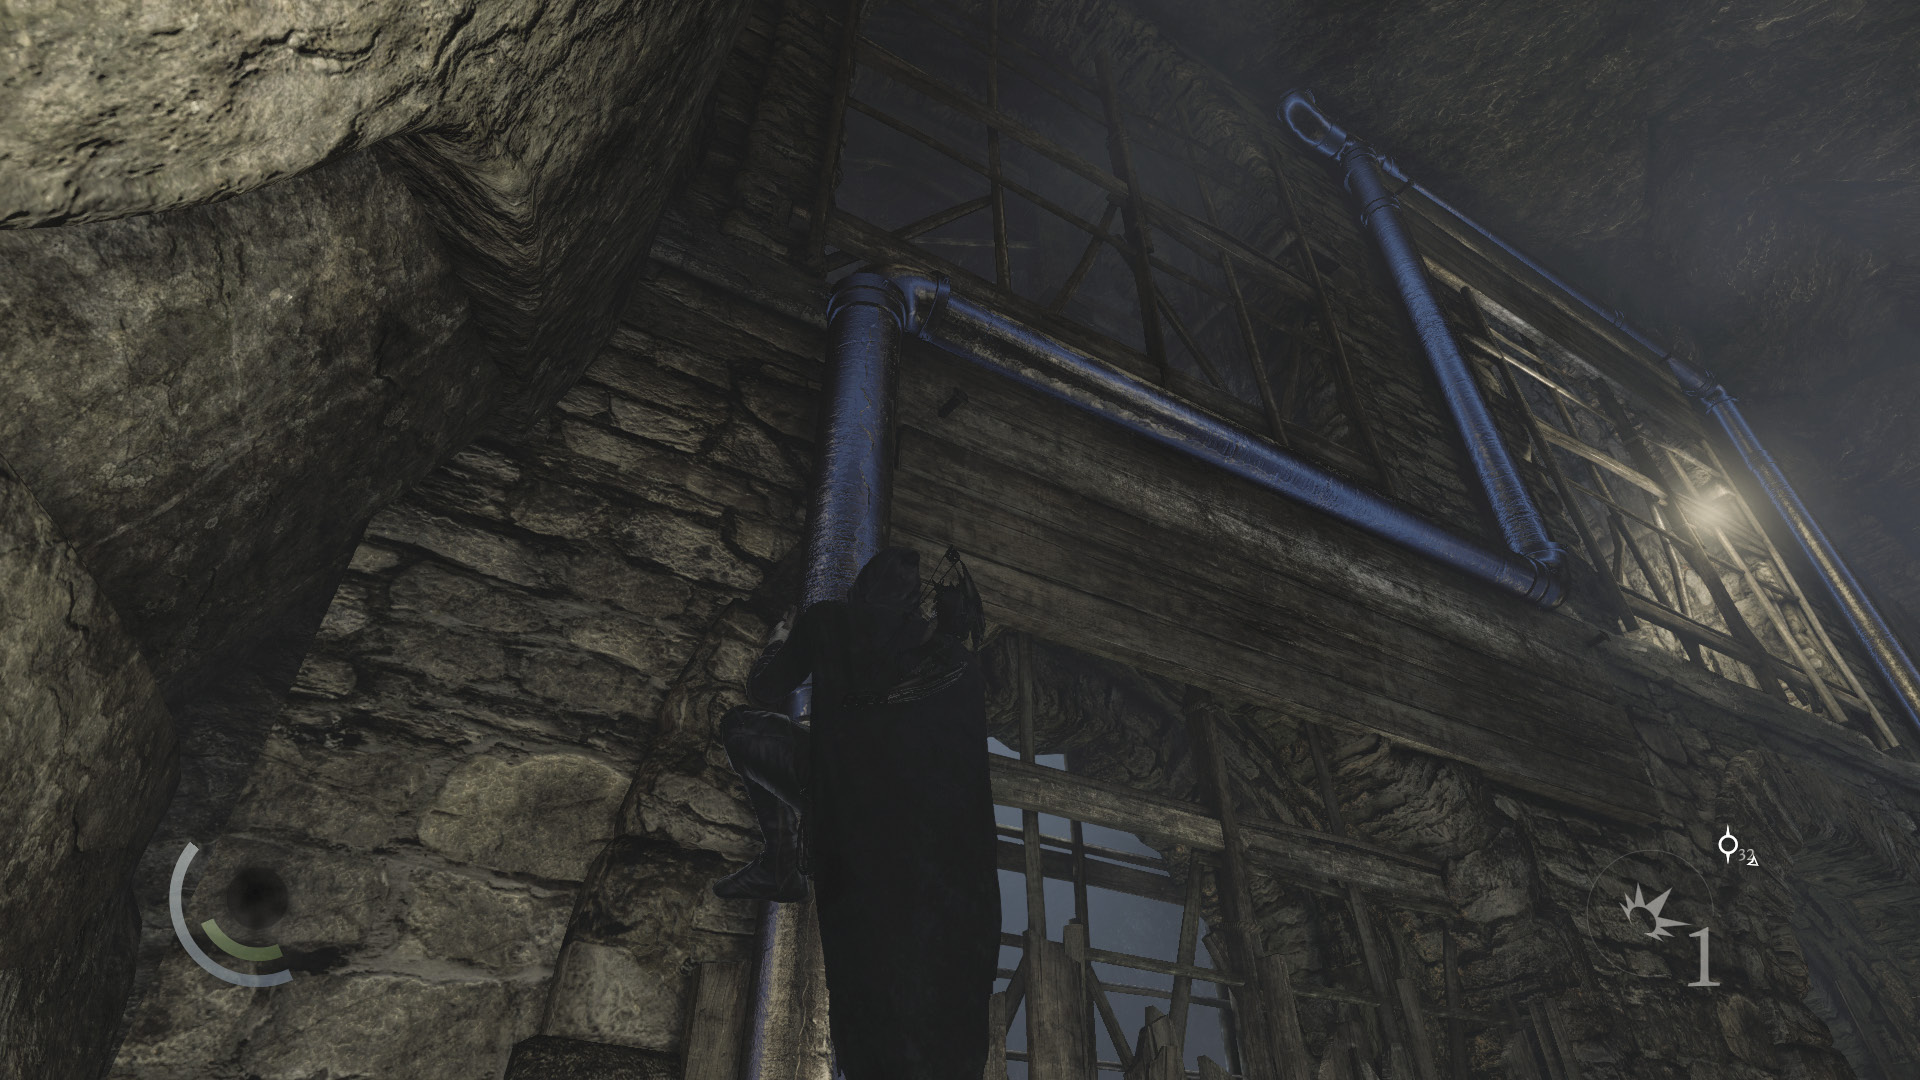
When you exit the crawl space, climb onto the nearby wall’s pipes. Maneuver across the pipes to cross the chasm and reach the west ledge.
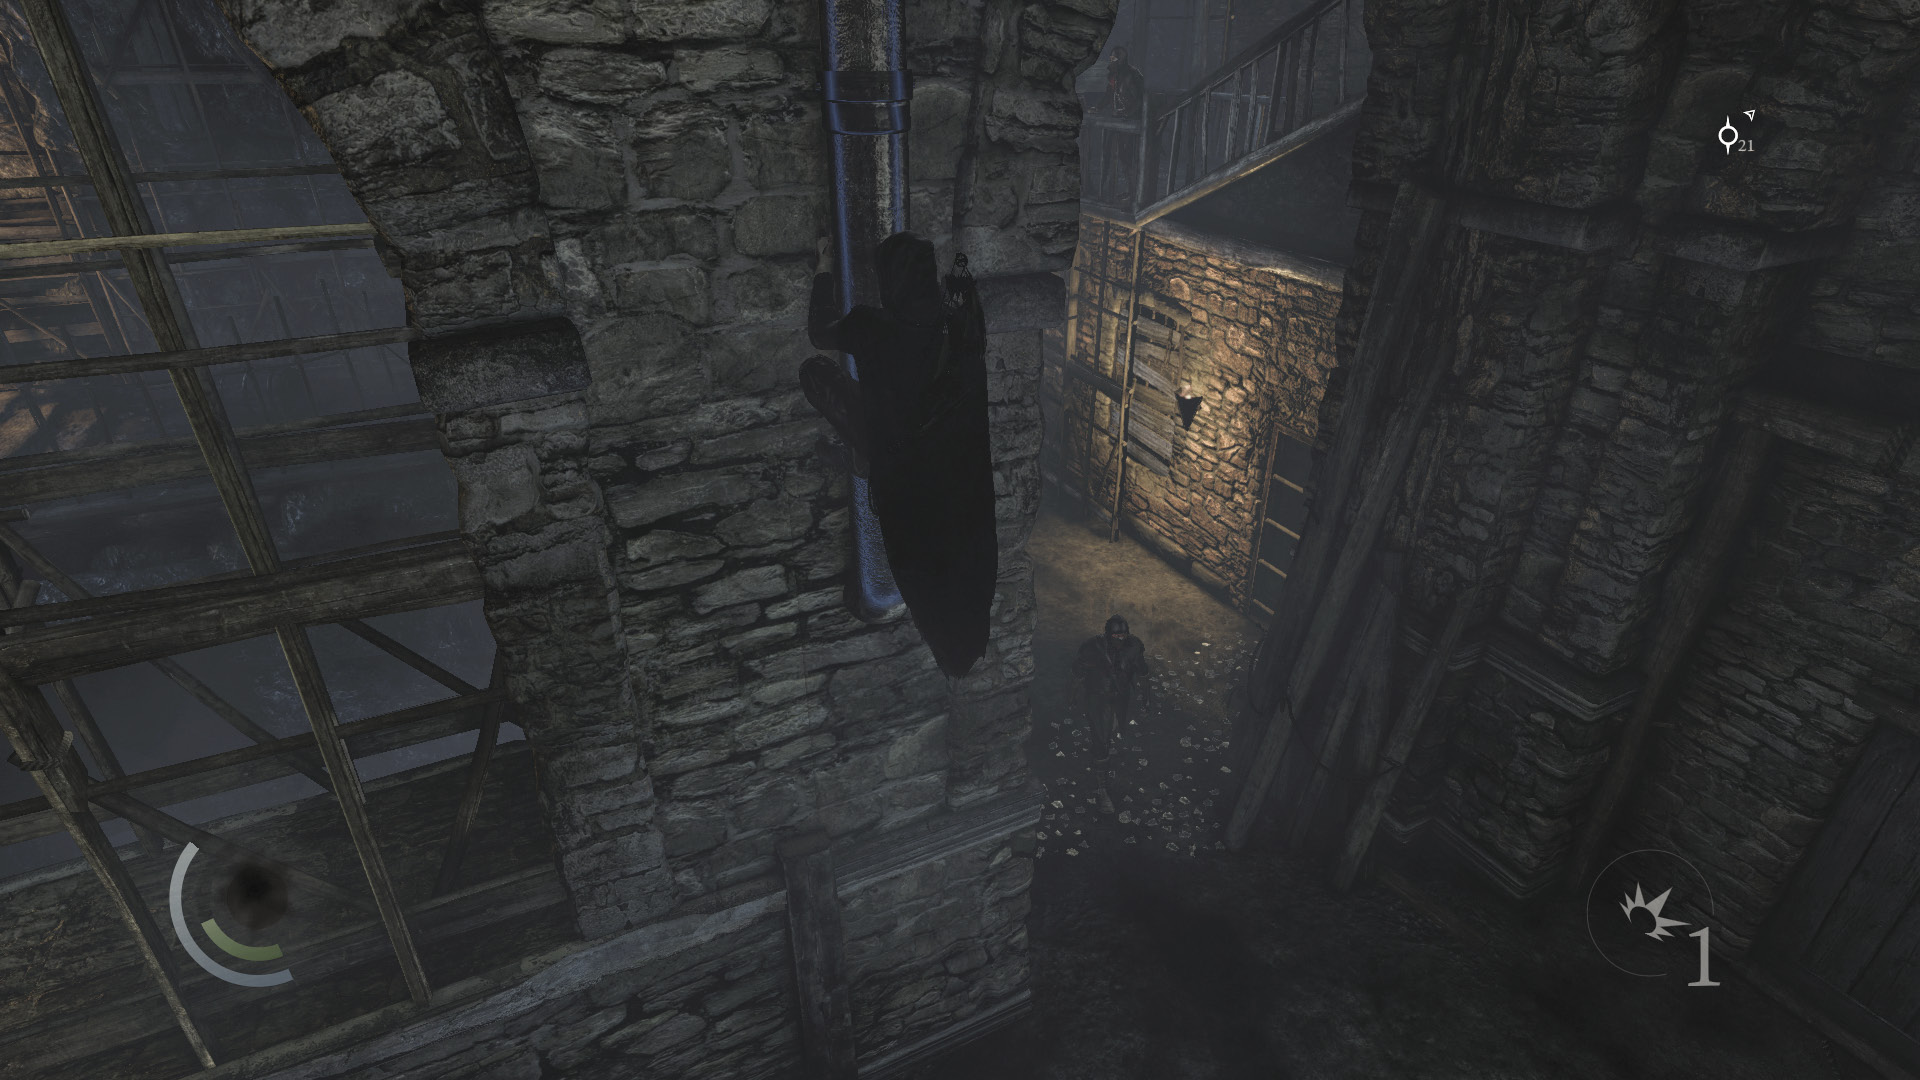
Linger at the bottom of the final pipe, and wait for a Graven to walk close. Drop from the pipe when the Graven leaves, then sneak to the north shadows and ready a broadhead arrow. Save your game and pick off the Graven with a headshot as he approaches. Time it so that his body lands in the shadows.
 Thieving Challenge: “14 kills or knockouts” (6/14)
Treasure Room
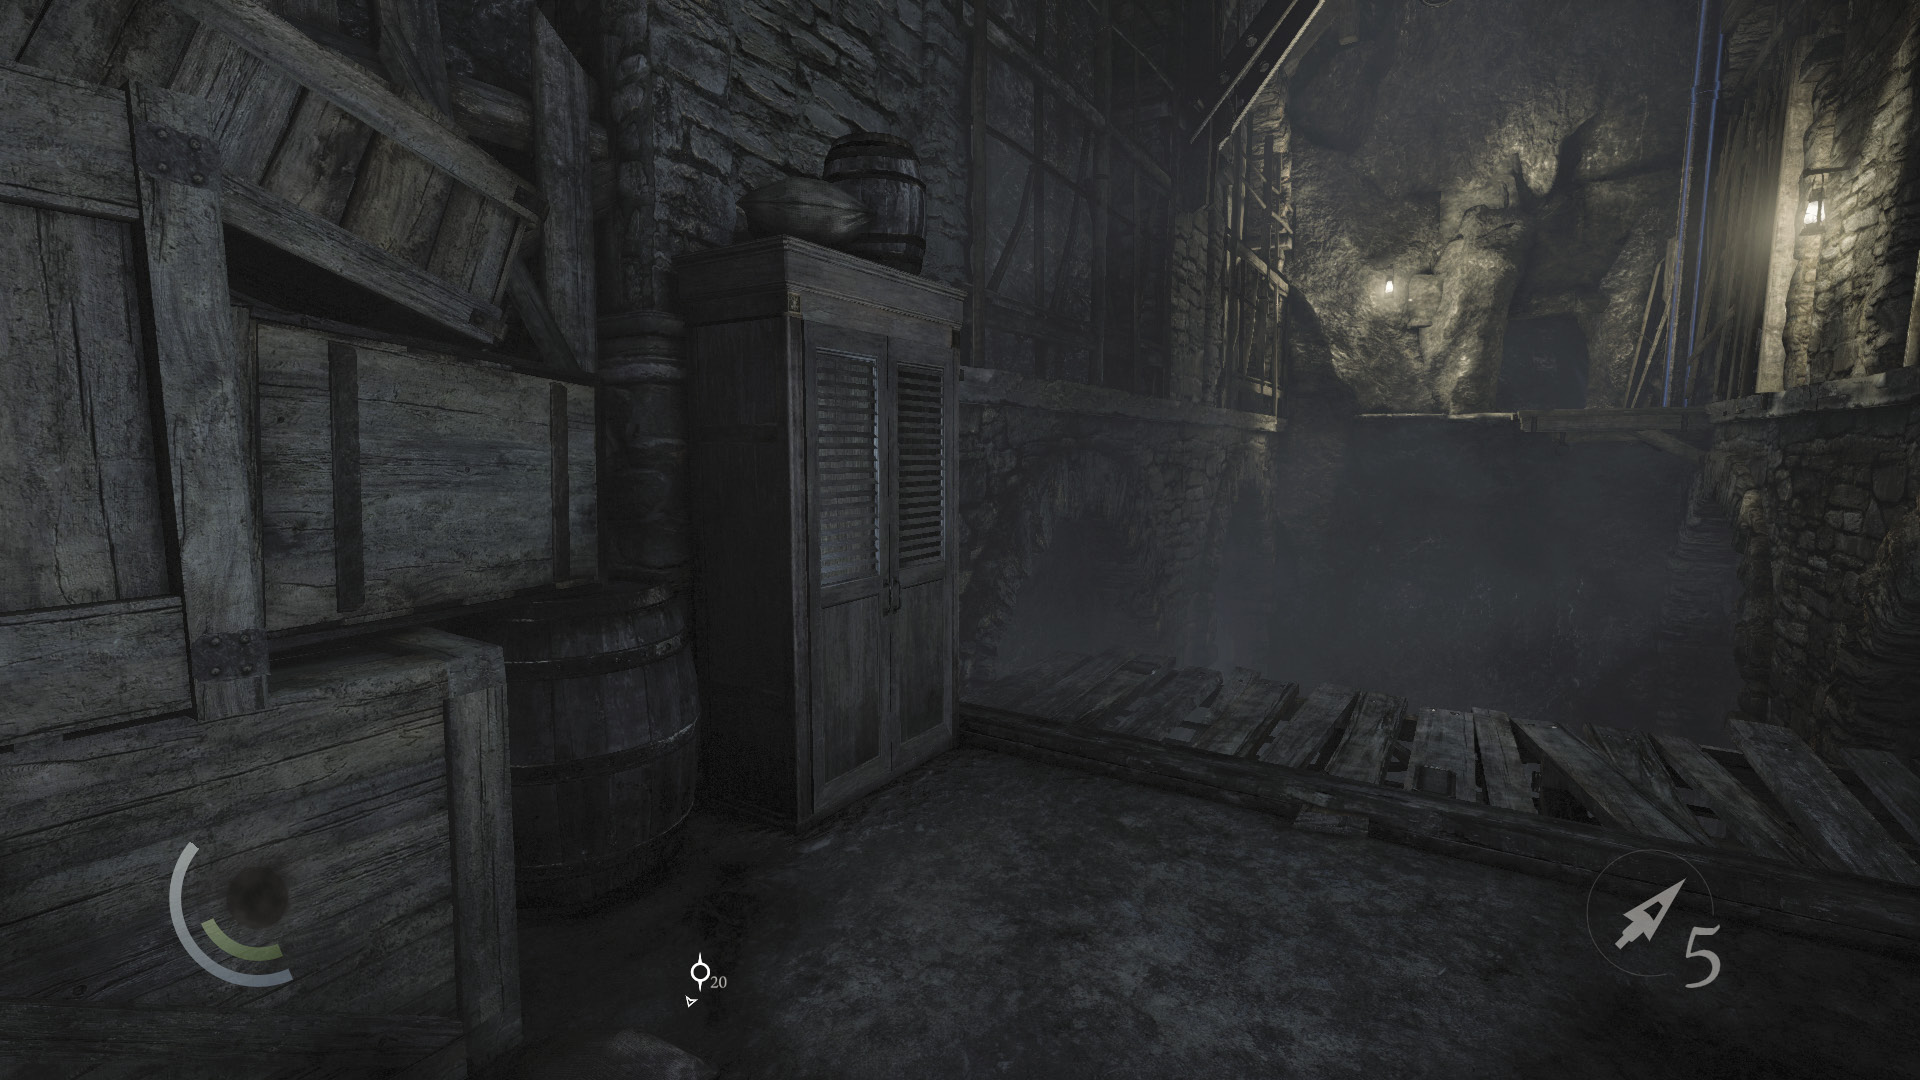
Use the nearby cabinet to save, then sneak south very slowly to avoid making noise in the broken glass. Keep to the shadows to avoid being seen by the captain as you head for the southwest stairs.
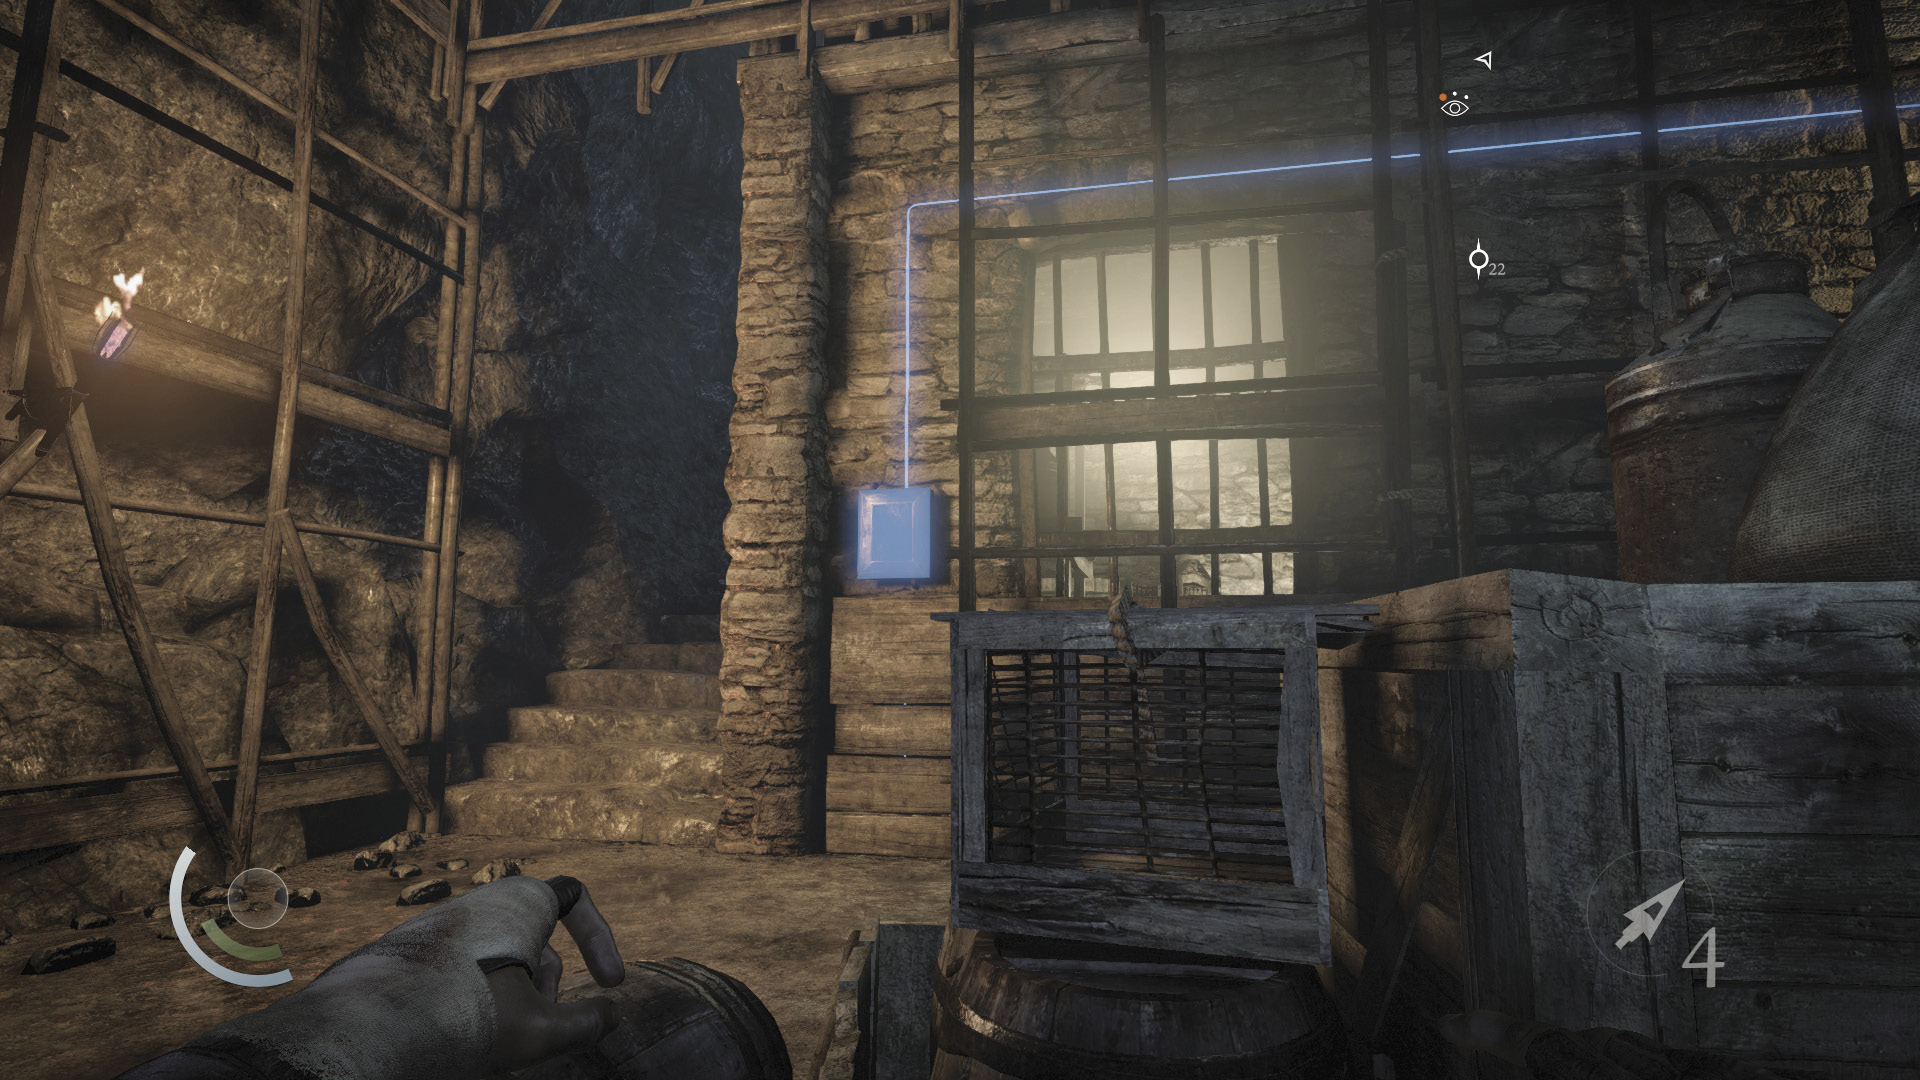
The captain can’t see you while you hug the west wall. Hack the control box near the stairs to unbar the nearby door.
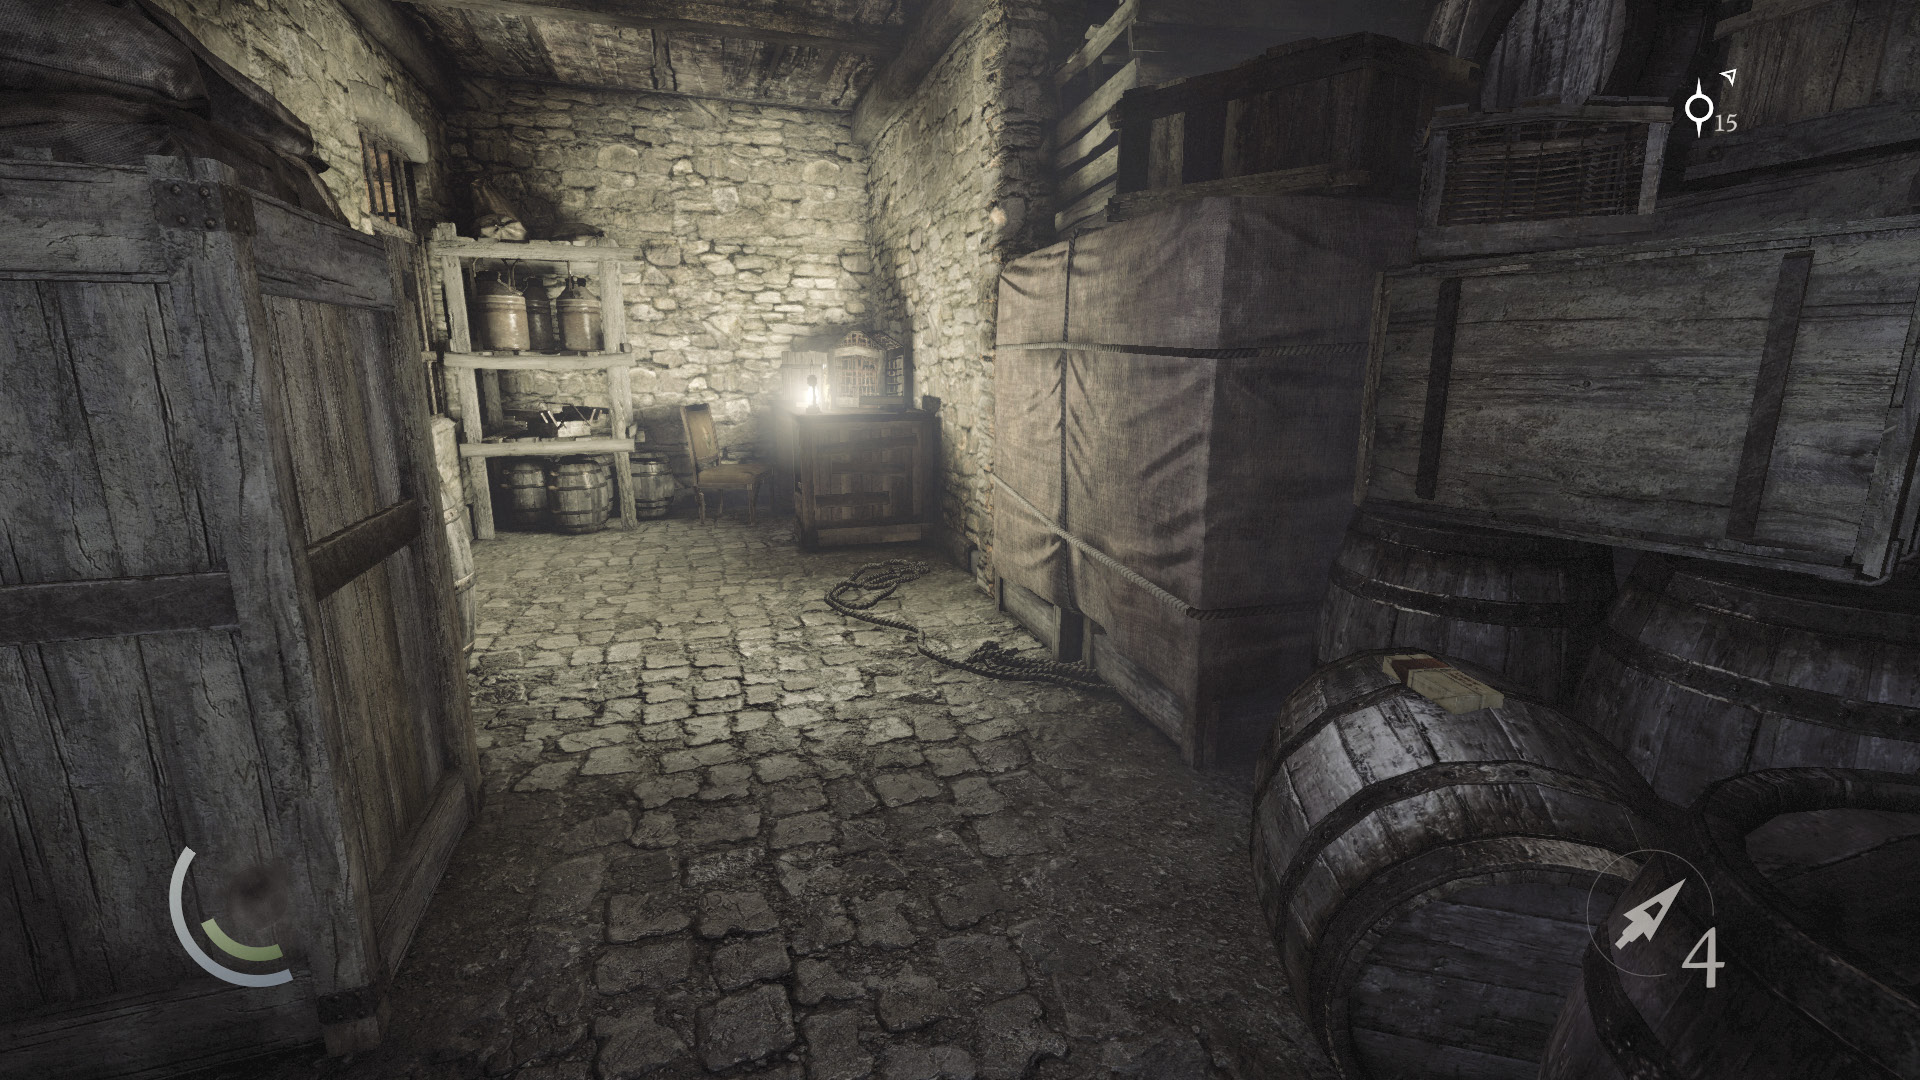
Sneak over to the door, hugging the west wall to avoid detection by the overhead captain. Enter the room to discover two food items, two wineglasses, and a gilded bottle. Open the small box on the table to claim two fire arrows and two water arrows.
 Thieving Challenge: “Lift all loot items” (14/52)
Captain Bashin’
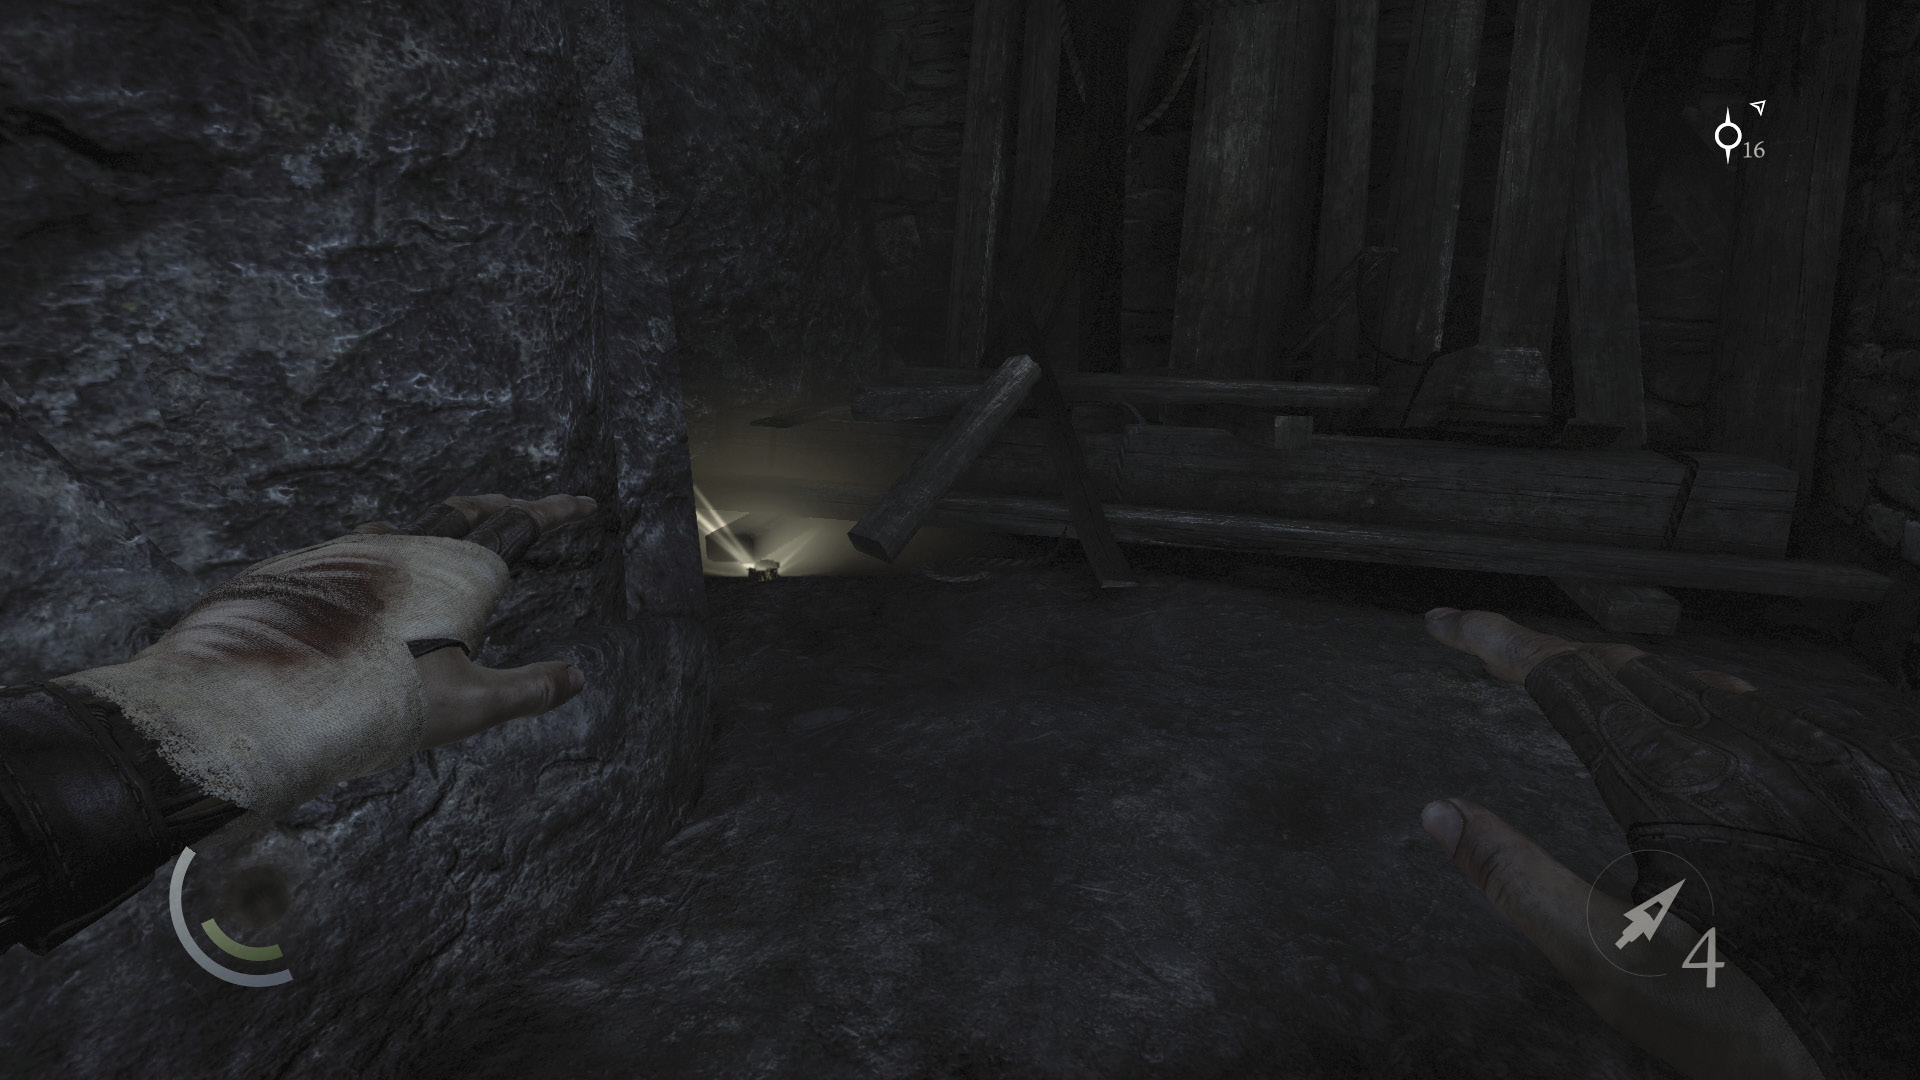
Exit the treasure room and return to the southwest stairs. Sneak up and collect the ancient armlet on the landing. Sneak up behind the captain, pick his pockets, and then knock him out.
 Thieving Challenge: “Lift all loot items” (15/52)
Gabbing Graven
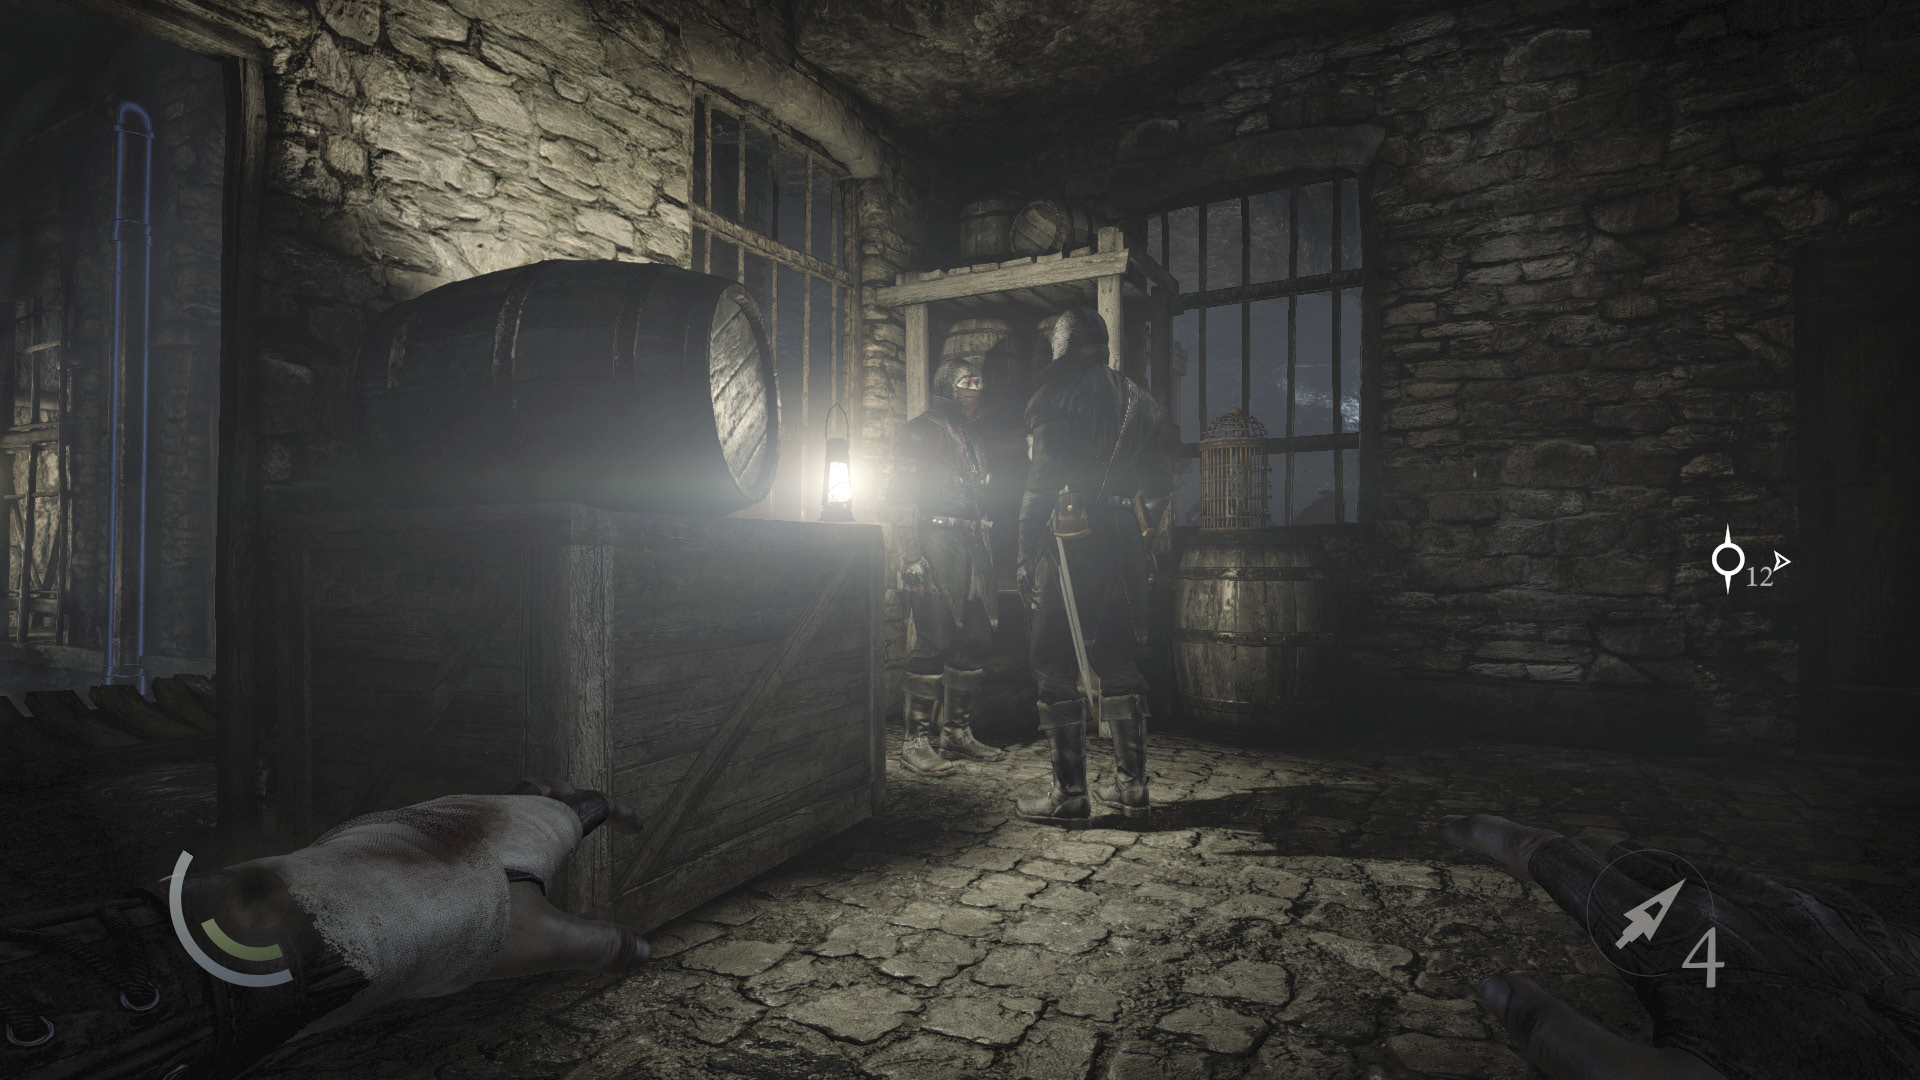
Carefully sneak into the room at the top of the stairs. Two Graven are having a conversation in the room. When their conversation ends, one of them exits through the south door, and the other begins to walk around the room. Sneak behind the Graven in the room and knock him out.
 Thieving Challenge: “14 kills or knockouts” (8/14)
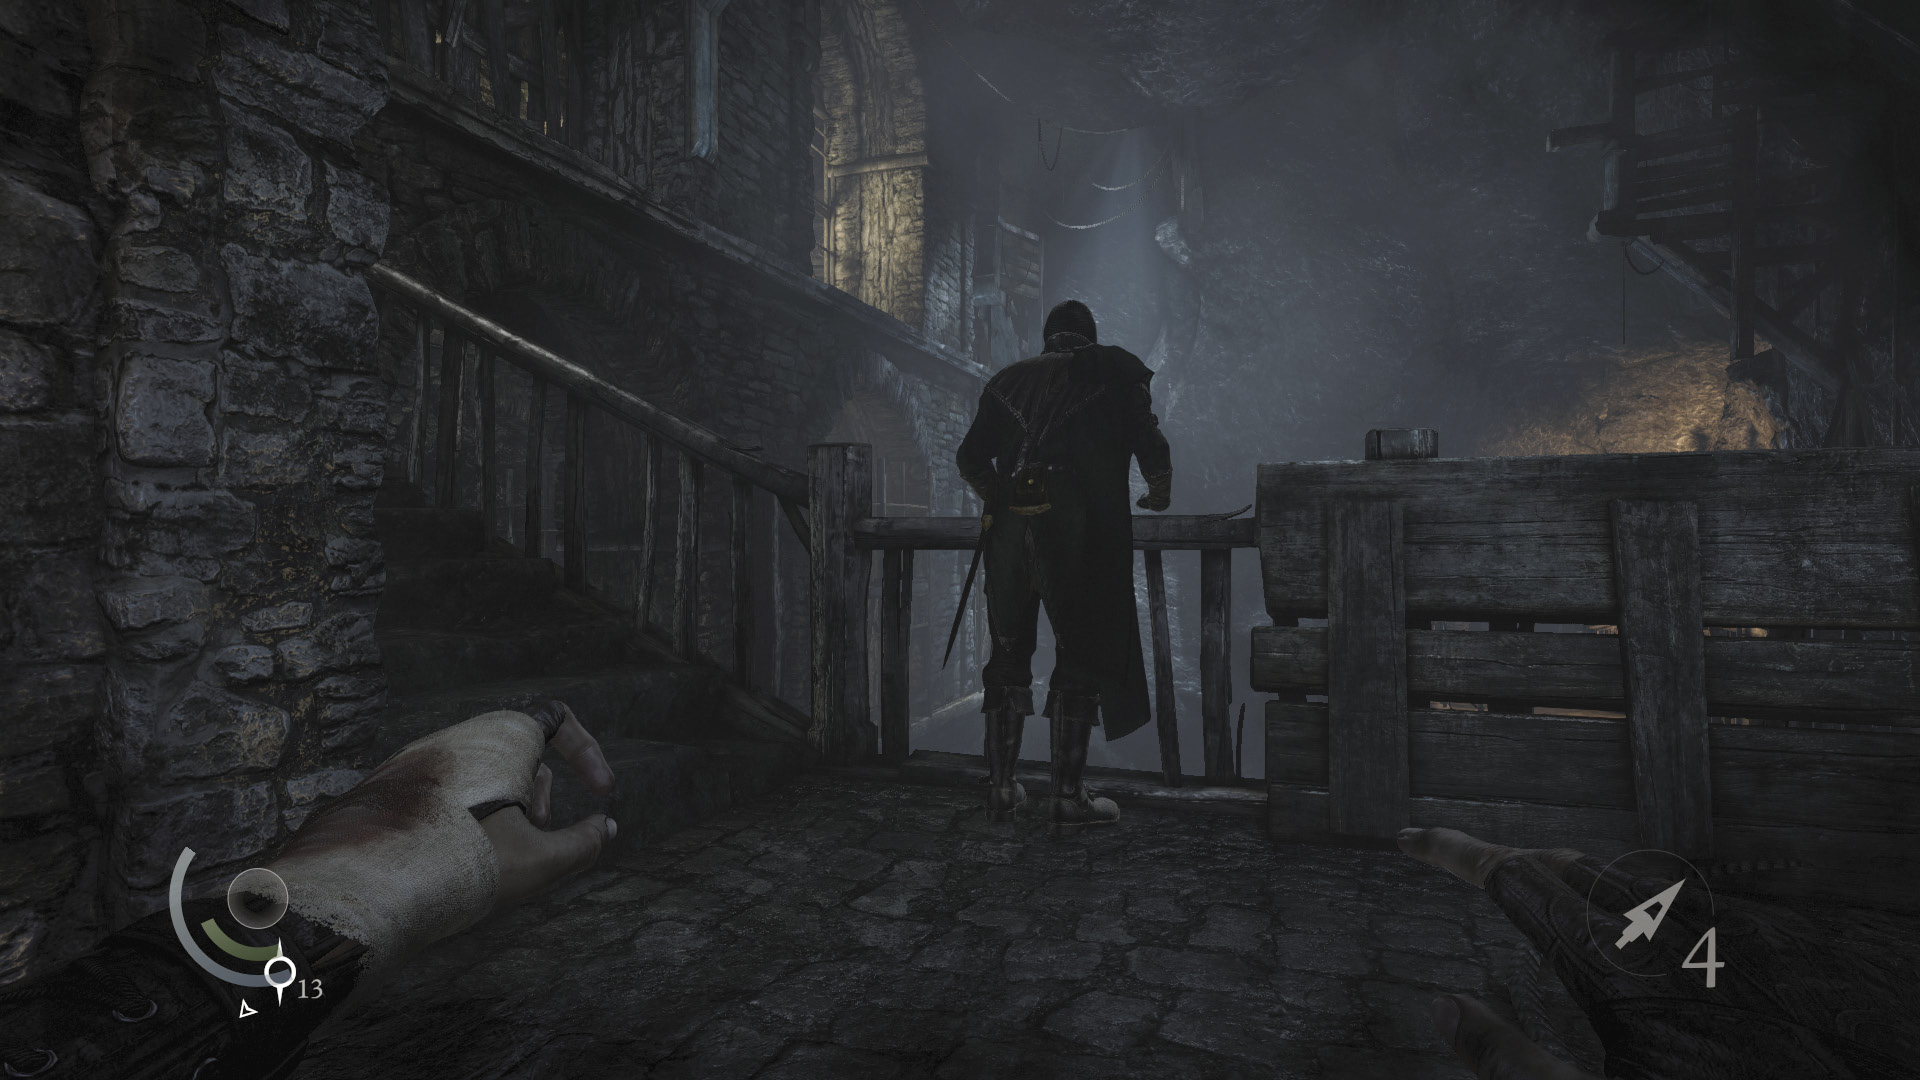
Sneak behind the other Graven, who’s leaning over a railing. Pick his pockets and knock him out as well.
 Thieving Challenge: “14 kills or knockouts” (9/14)
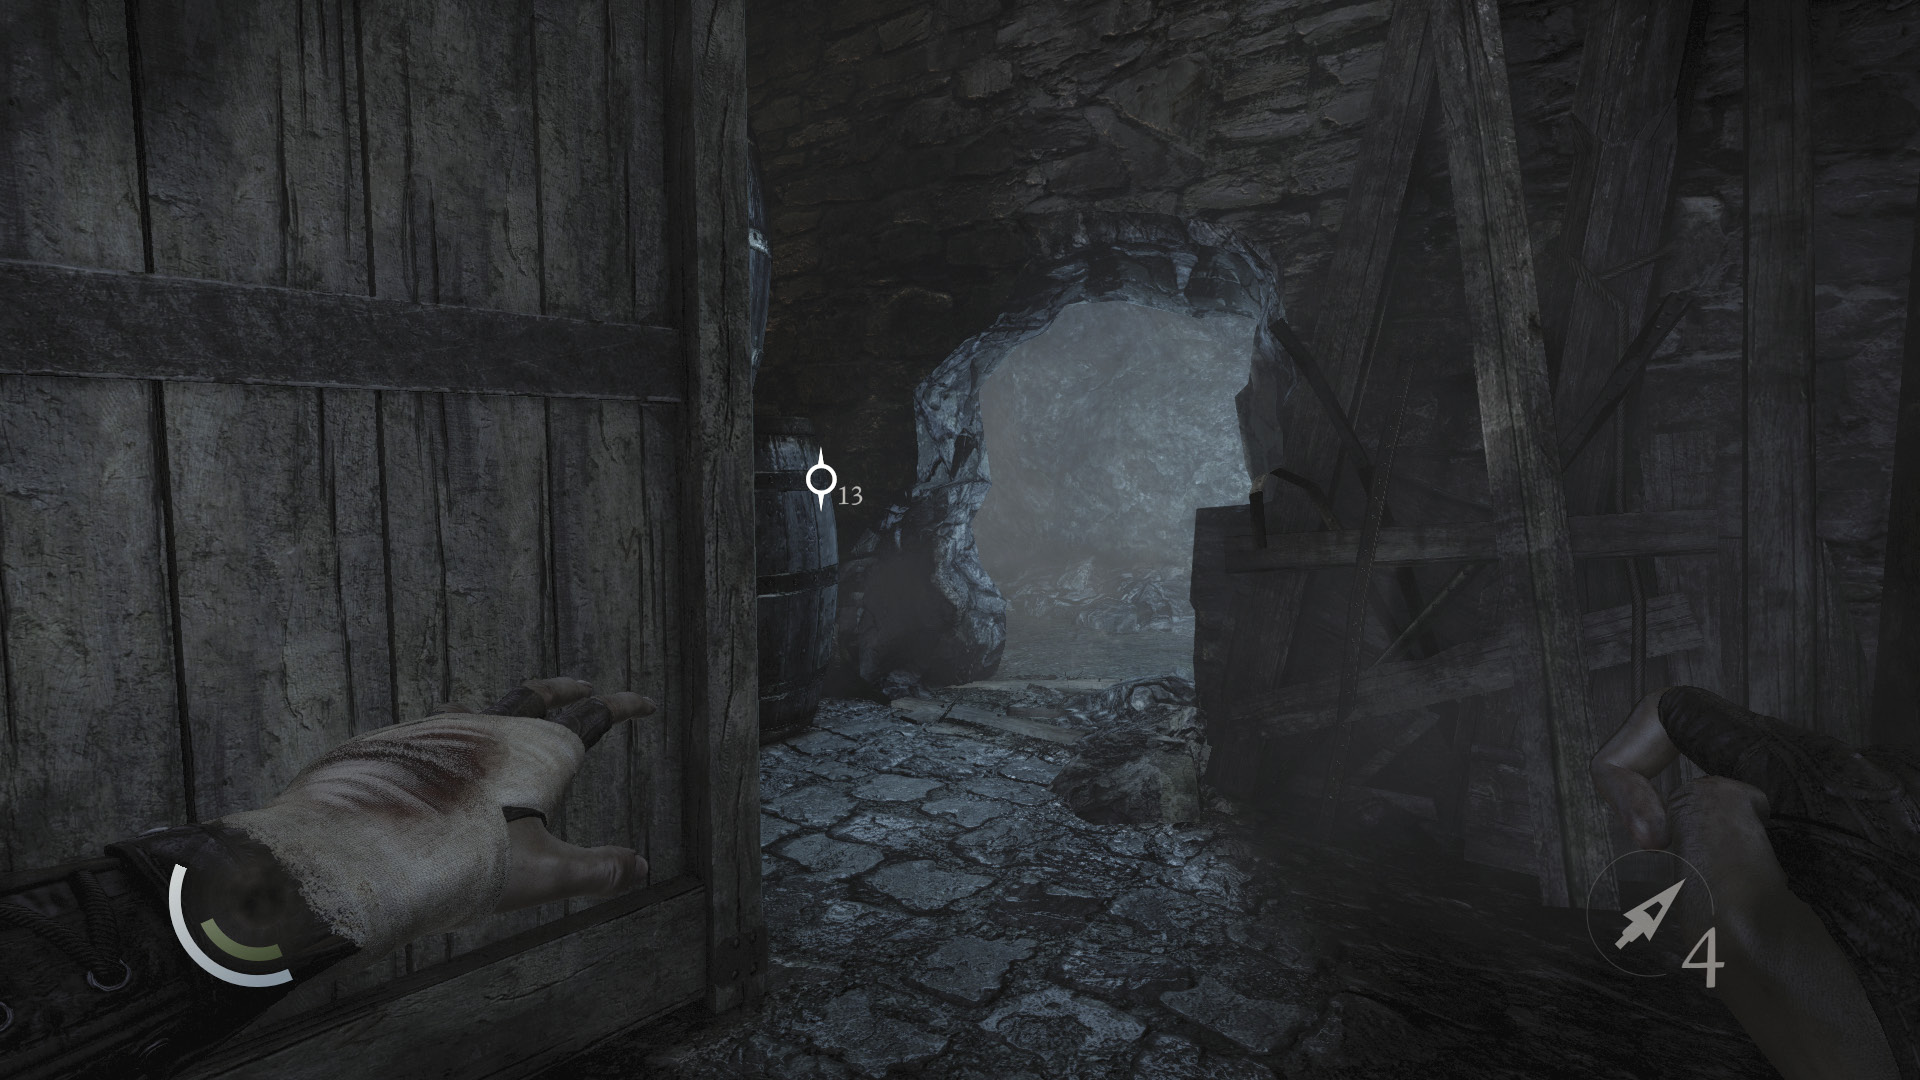
Snatch a flash bomb out of a small box that sits on a crate near the room. Collect two saucers, two teacups, and a teapot from the nearby shelf as well, then either scale the west wall or use the room’s crawl space to advance.
 Thieving Challenge: “Lift all loot items” (20/52)
Objective 3: Board the Dawn’s Light
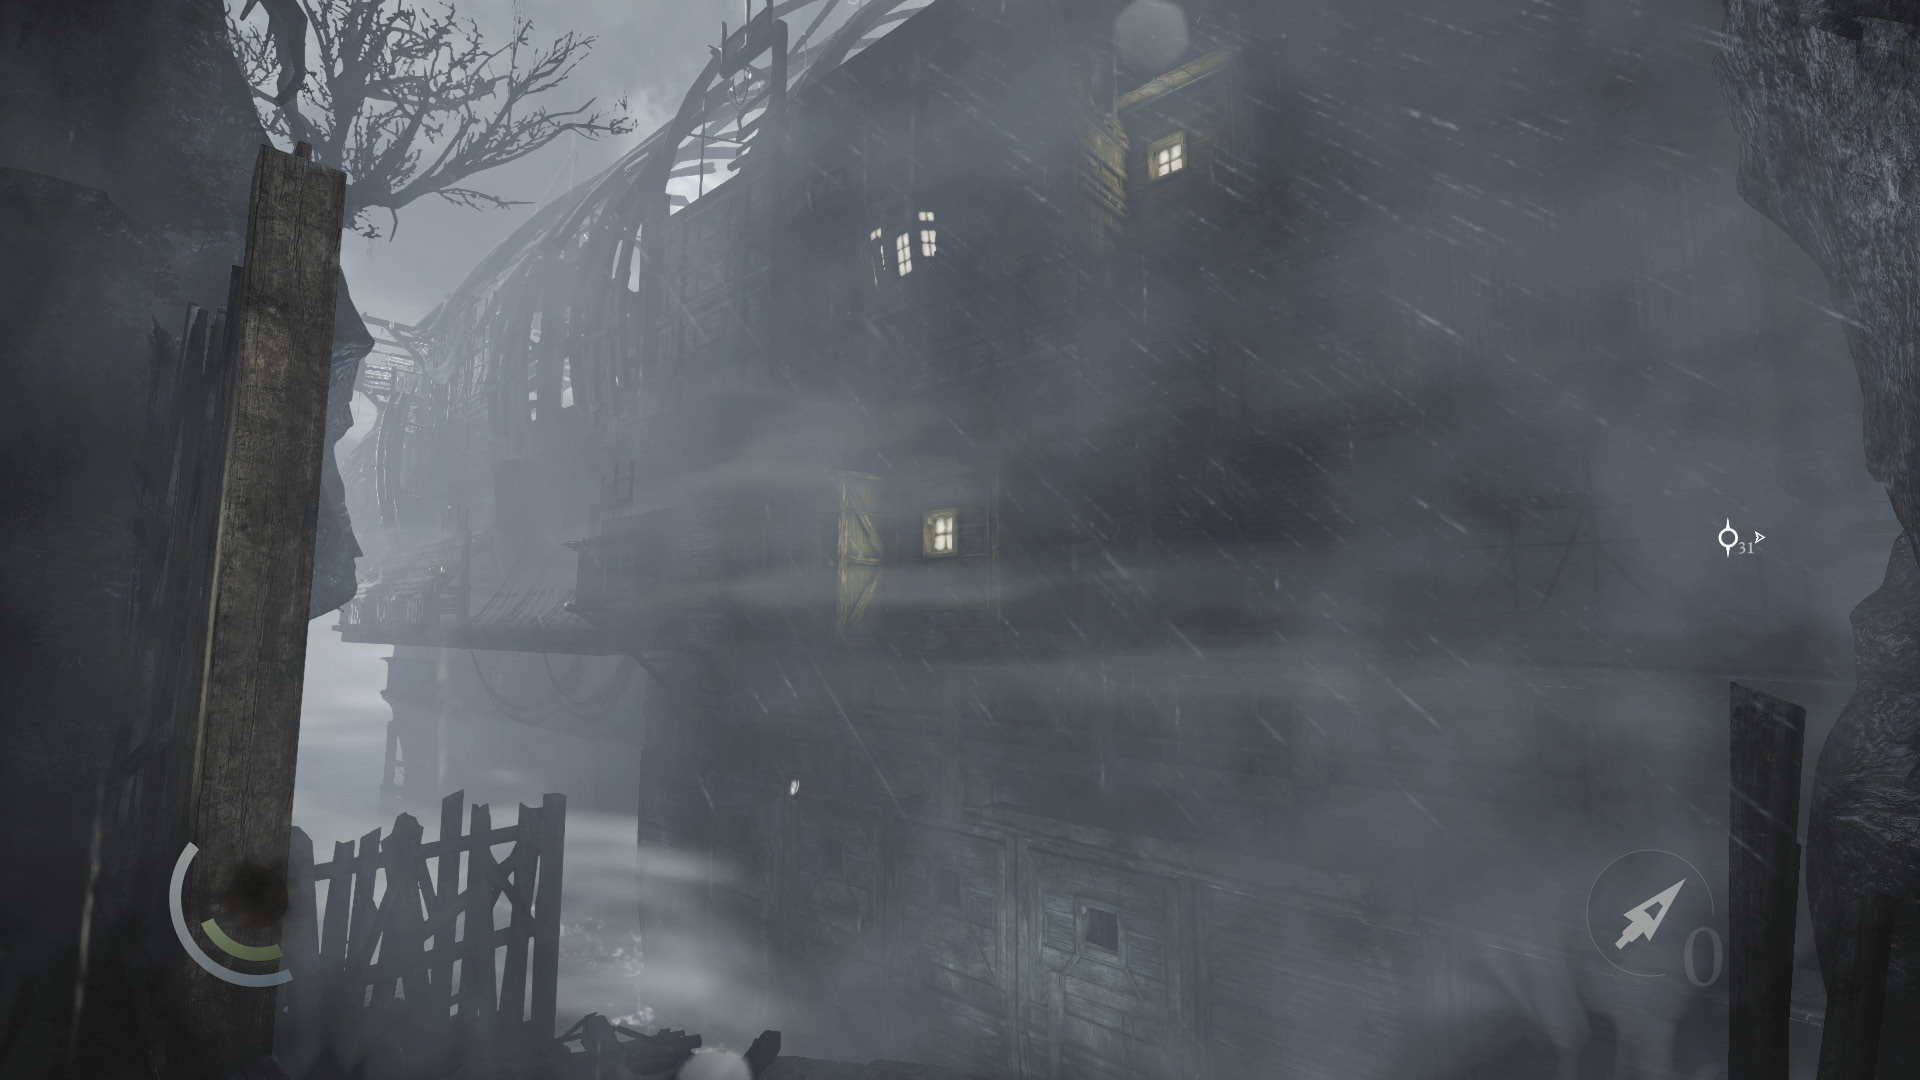
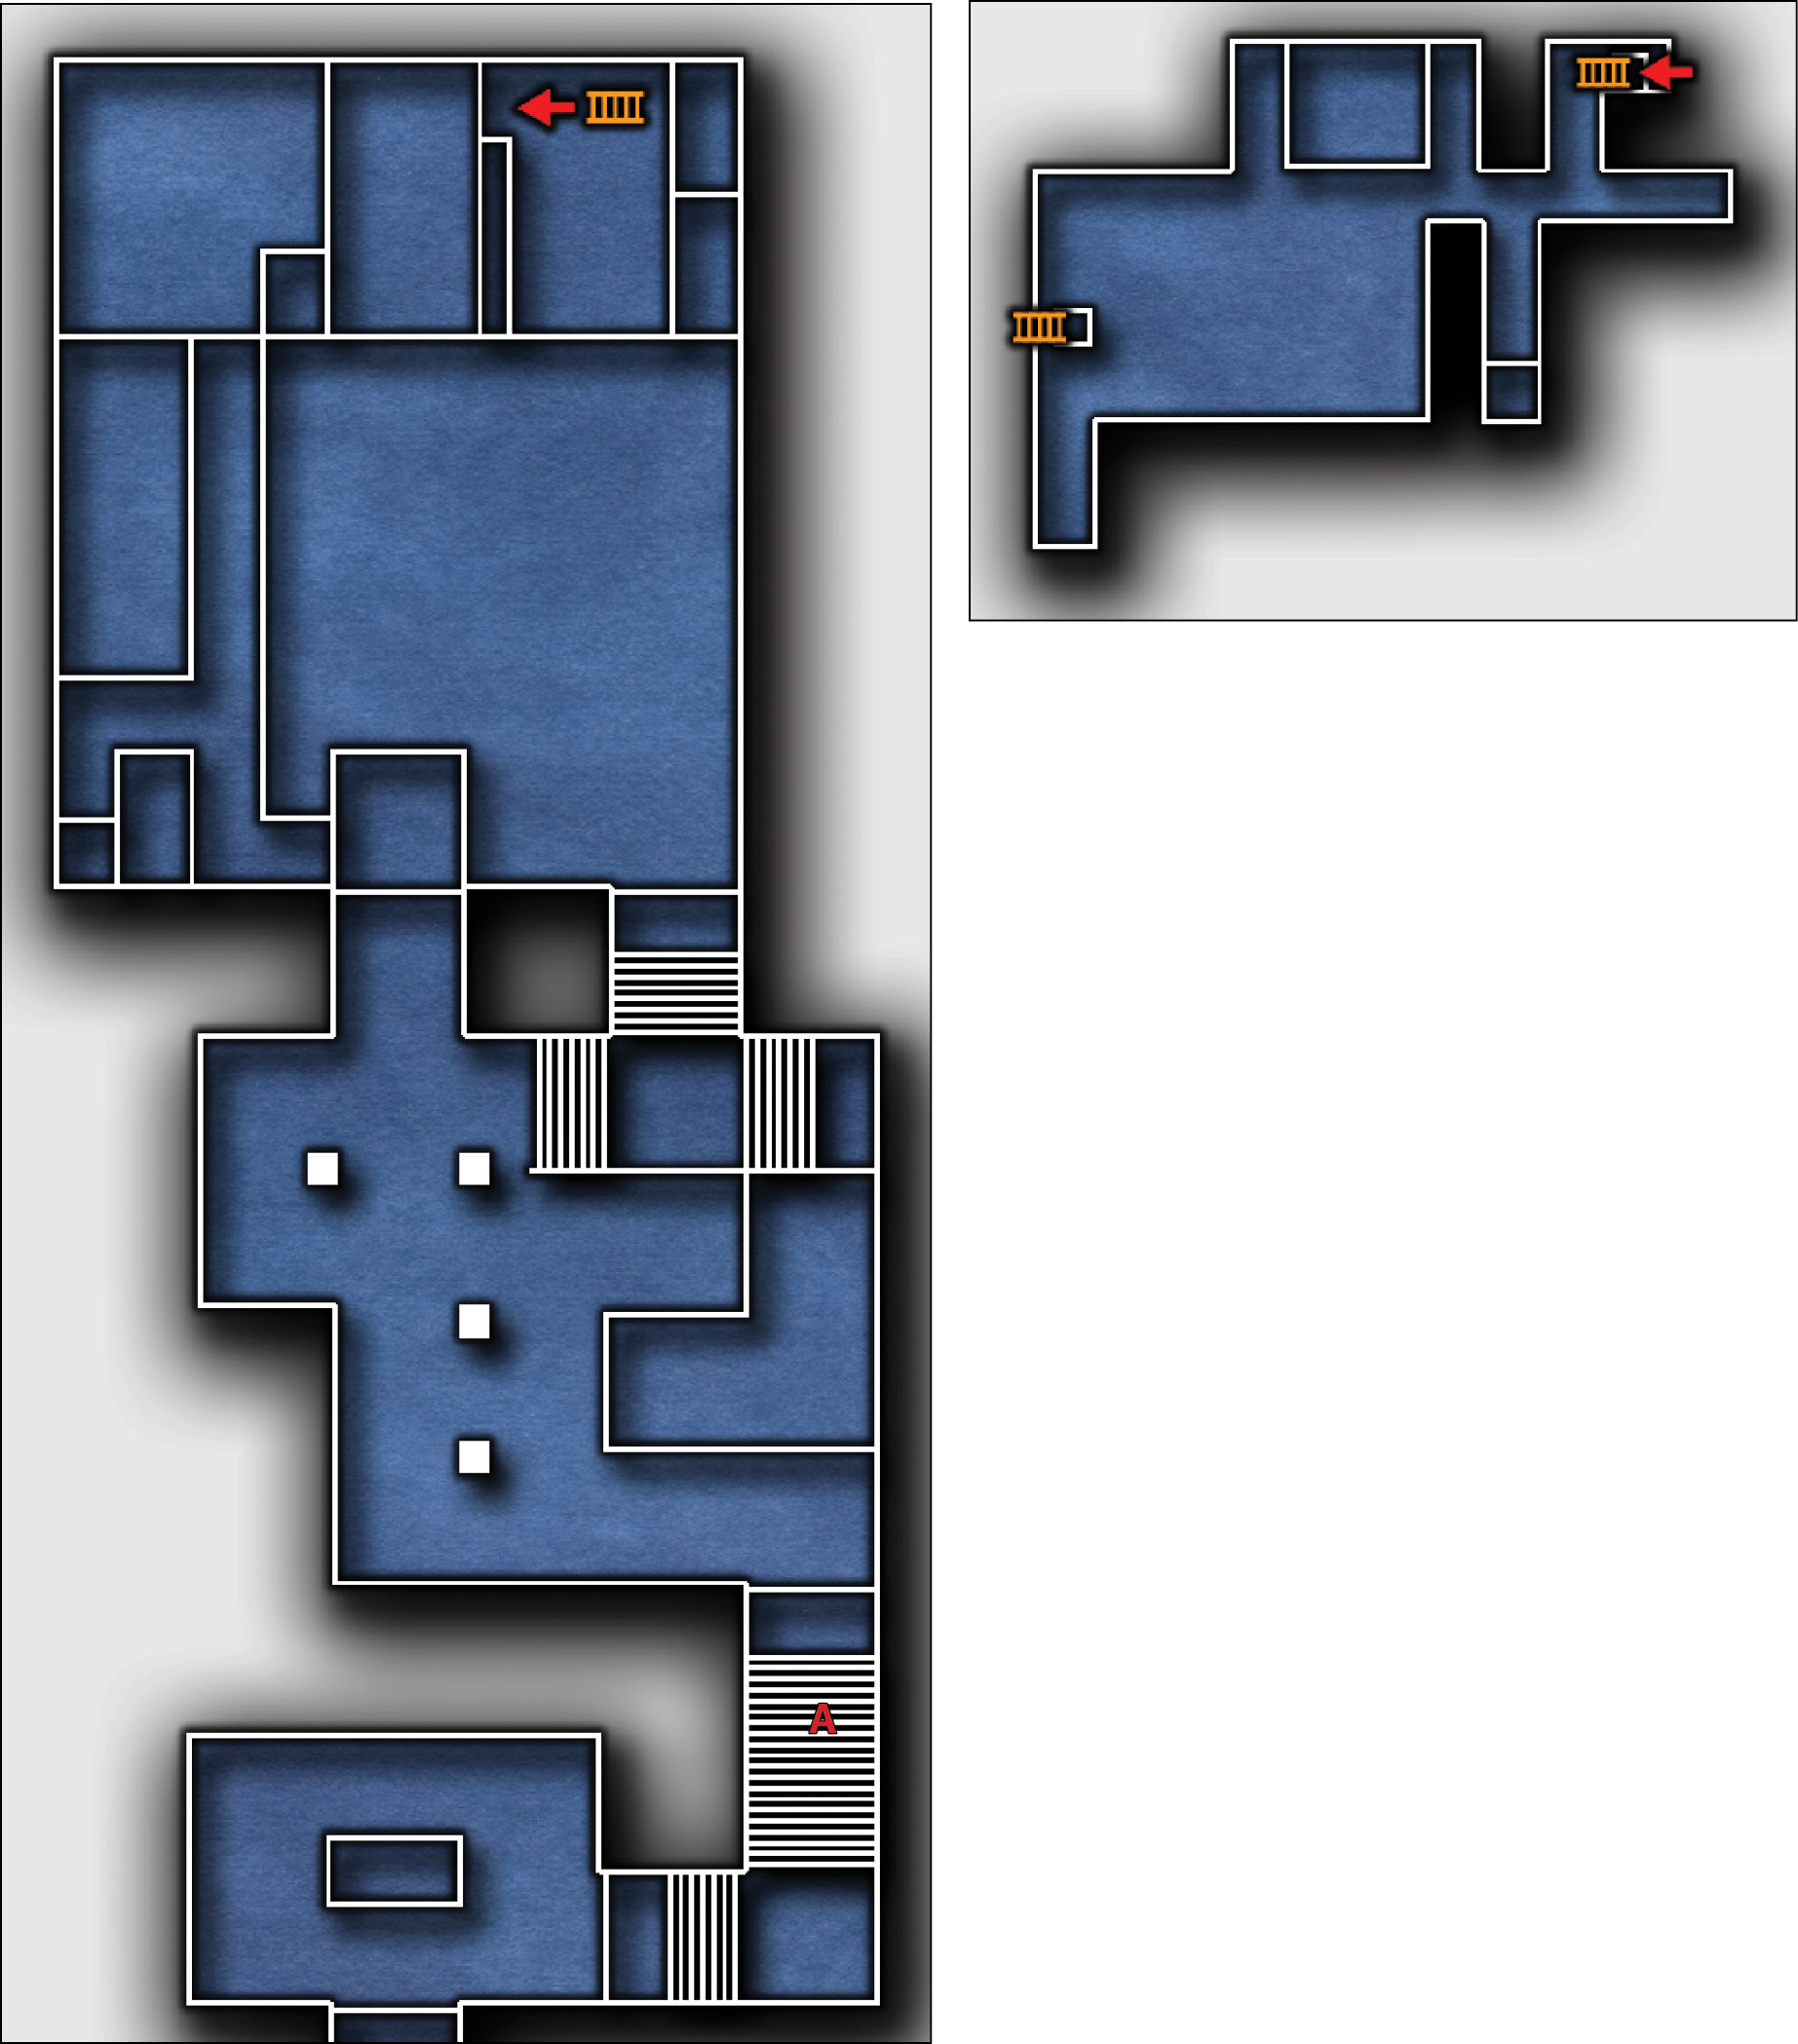
The crawl space leads you outside. You’re right near Orion’s ship, but the gangplank has been removed. You’ll have to find another way aboard.
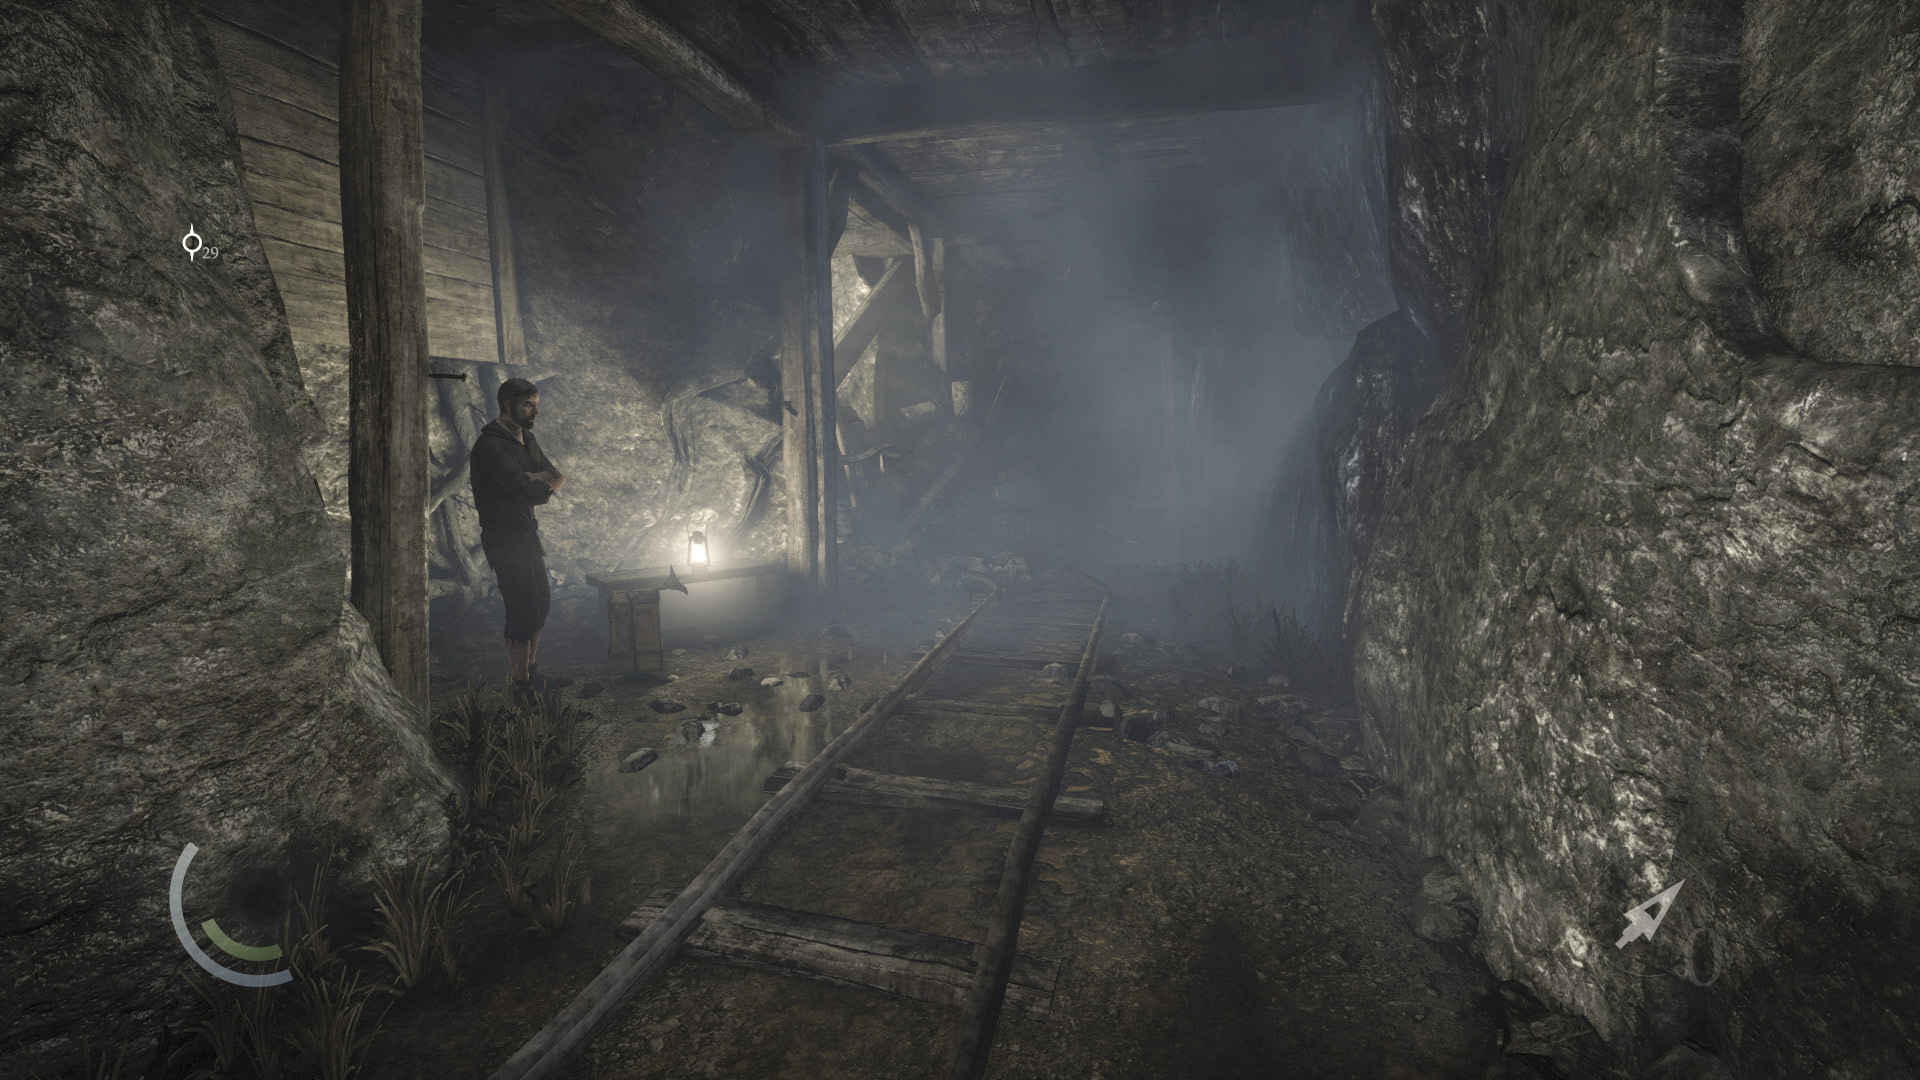
Drop from the ledge and trade with the merchant in the nearby tunnel if you like. Make sure you have some rope and water arrows. Climb the crates to reach the next area.
Area 3: Dry Dock
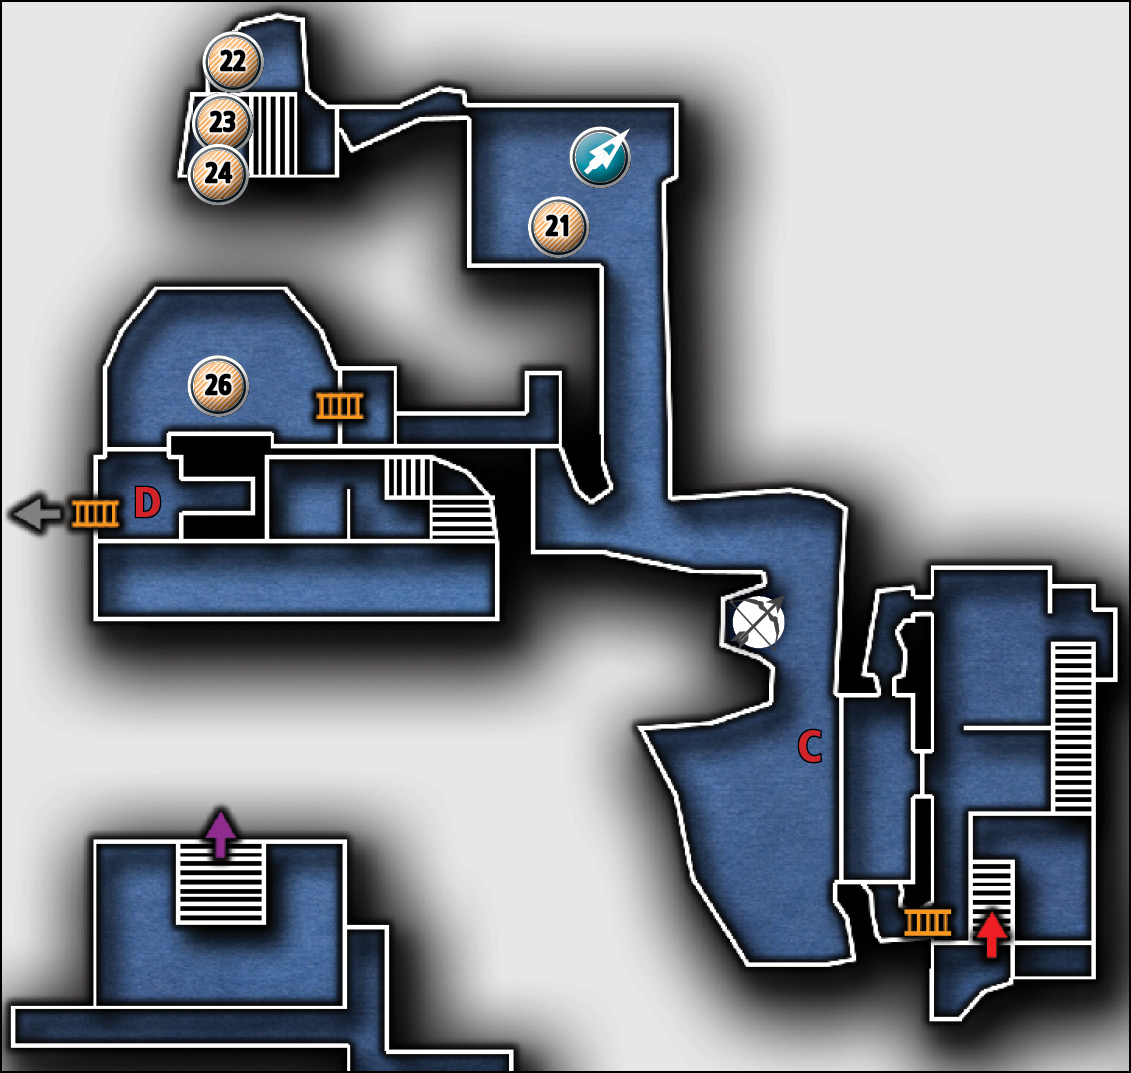
Common Loot
| Map Icon | Item(s) |
|---|---|
 |
Ashtray |
 |
Gold coin |
 |
Pile of coins |
 |
Coin purse |
 |
Syringe |
 |
Gilded bottle |
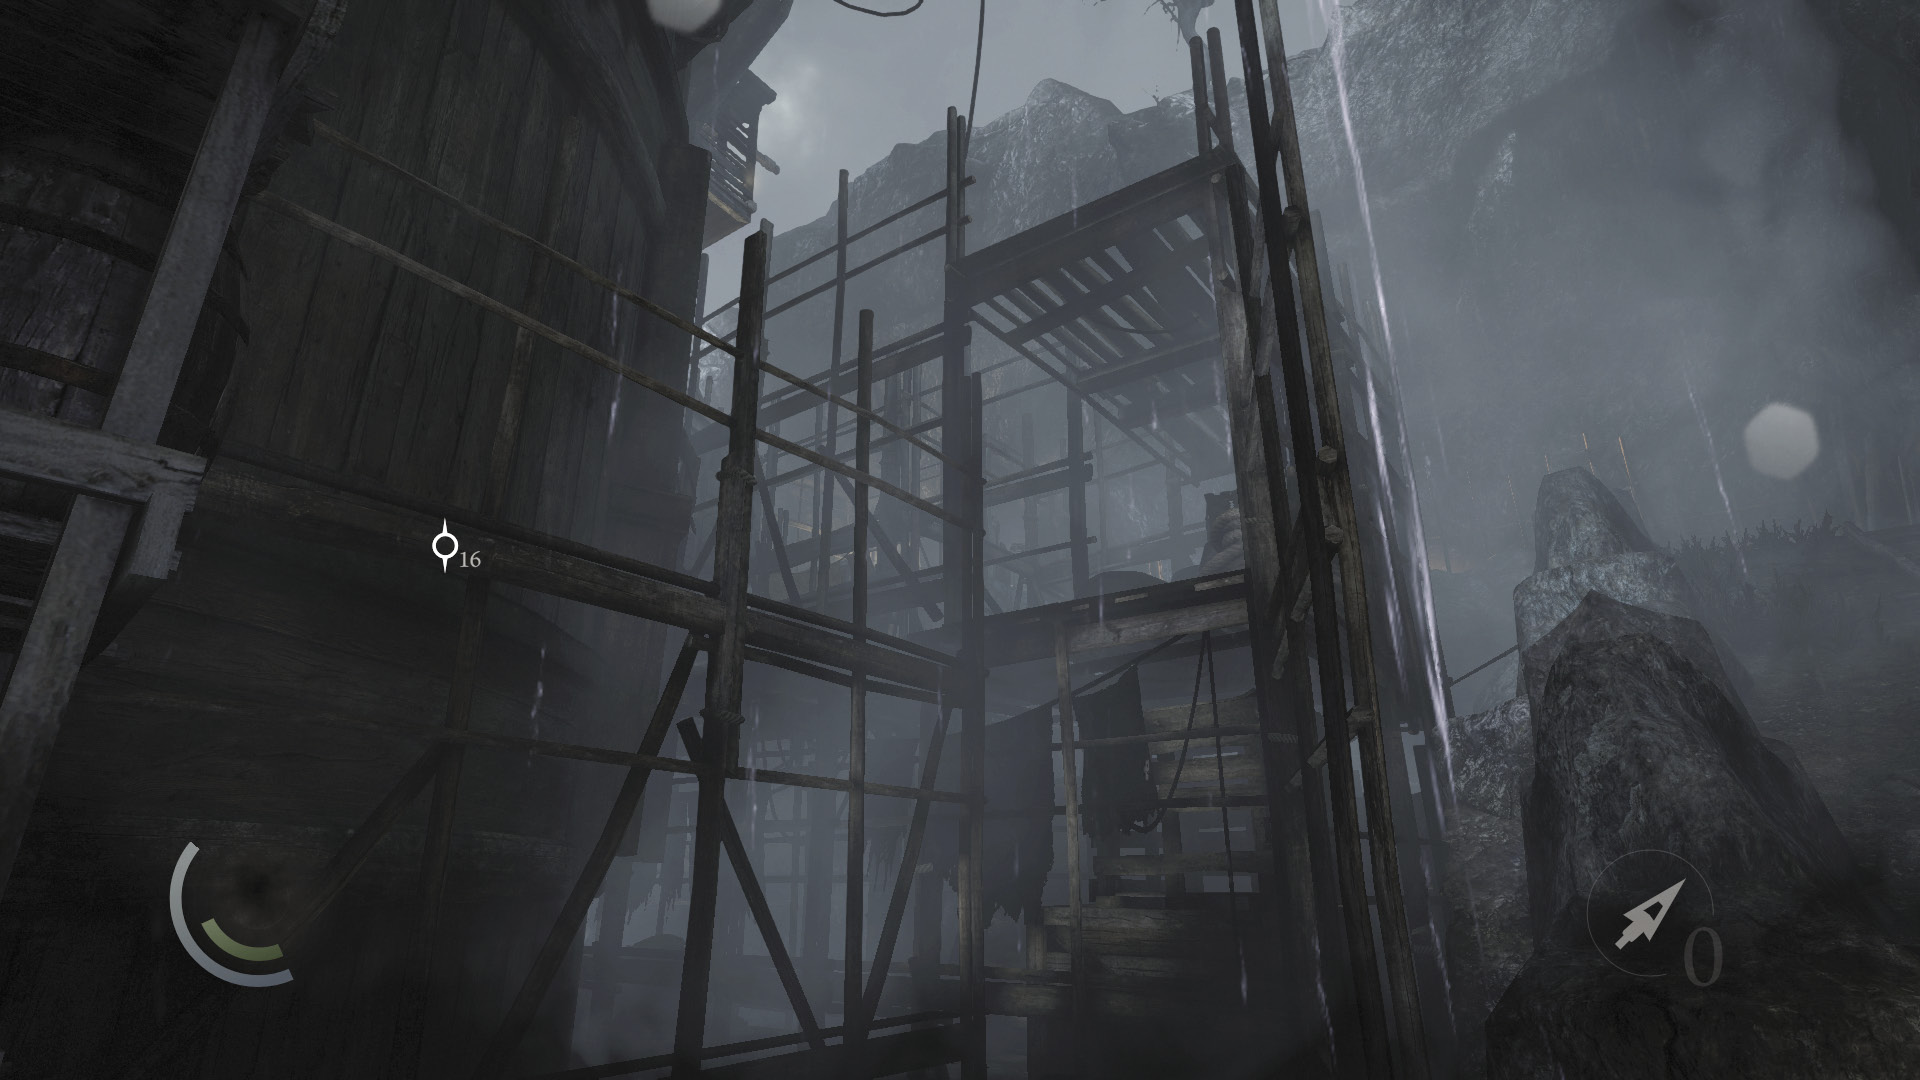
You’re getting close to the Dawn’s Light, but a few more Graven lie between you and Orion’s impressive vessel. Before moving up the nearby slope, check the nearby scaffolding to discover that you can climb it. This provides a swift means of sneaking past the Graven and boarding the ship, but you’ll miss out on a few loot items if you go this route.
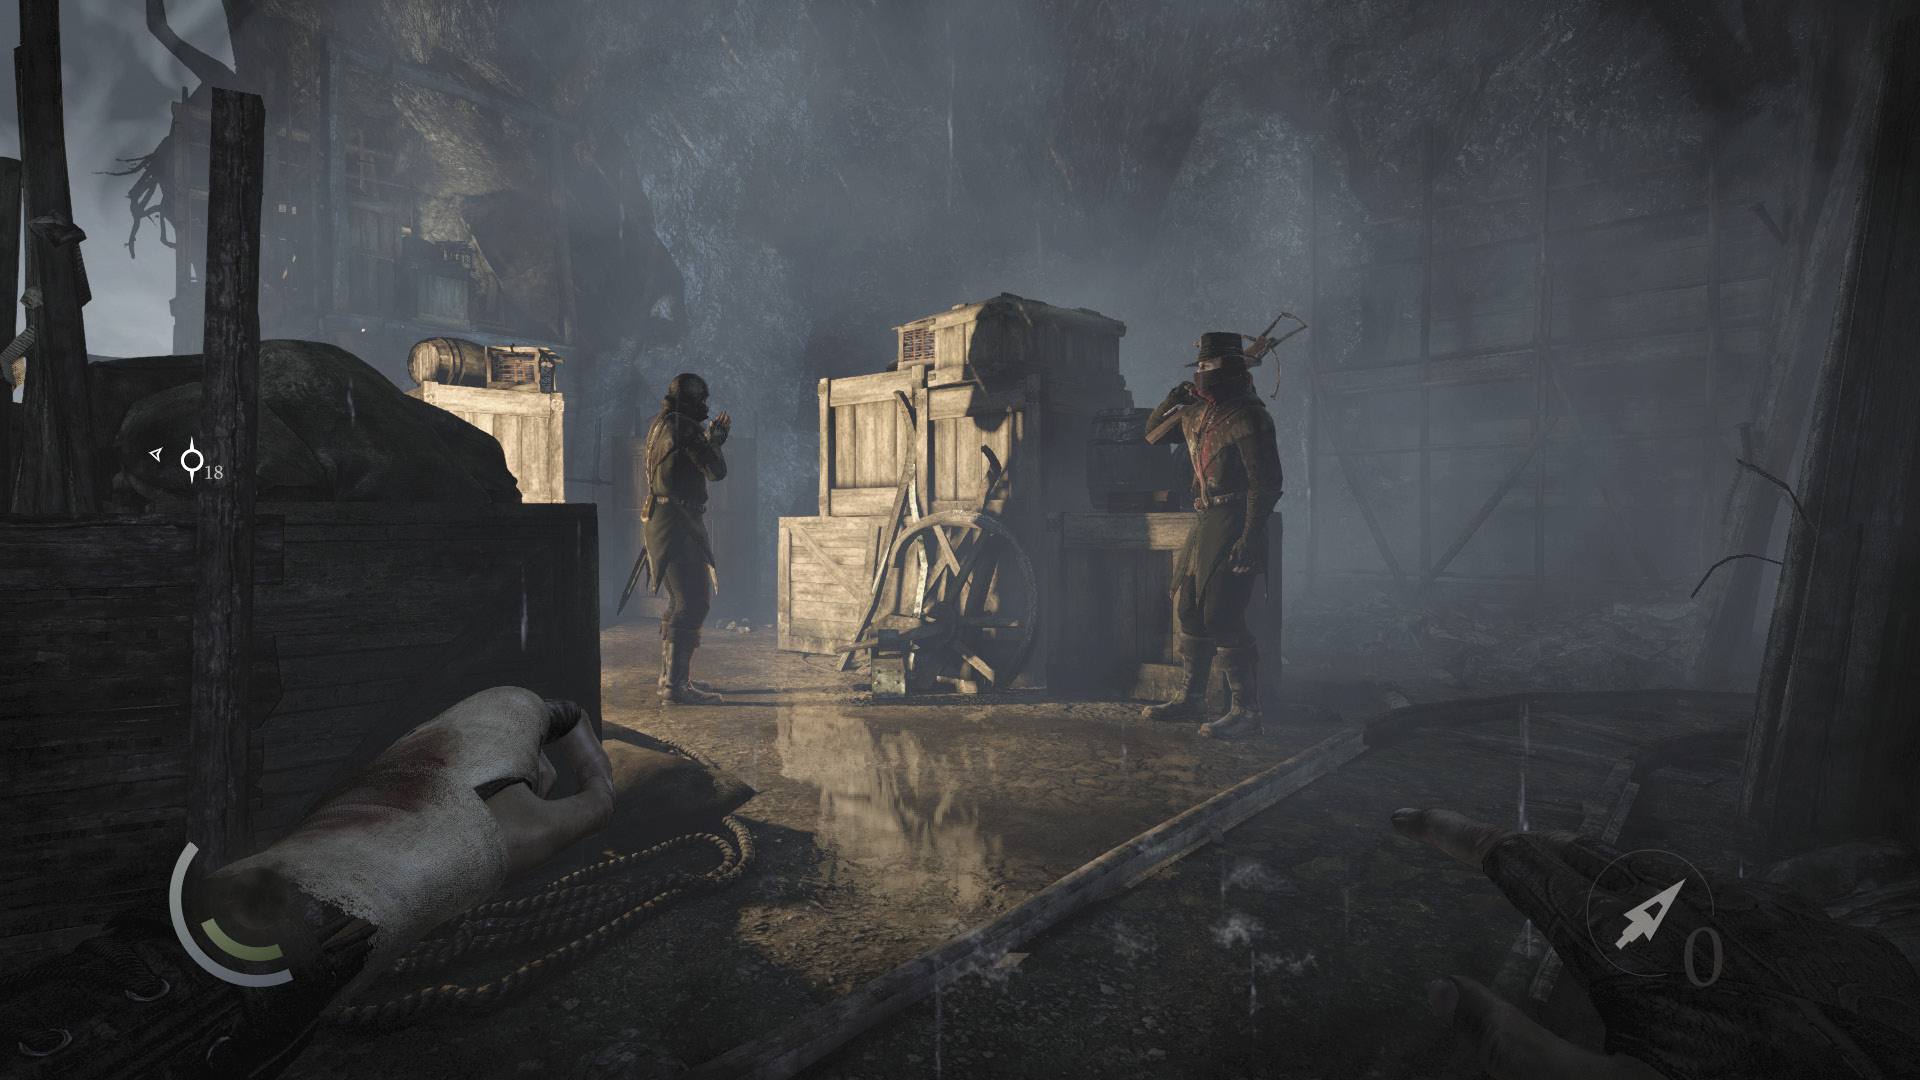
Instead, sneak up the slope until you move close to two Graven. When they finish talking, the crossbow guard will begin to patrol the slope. Quickly swoop back down to the scaffolding and take cover in the dark corner.
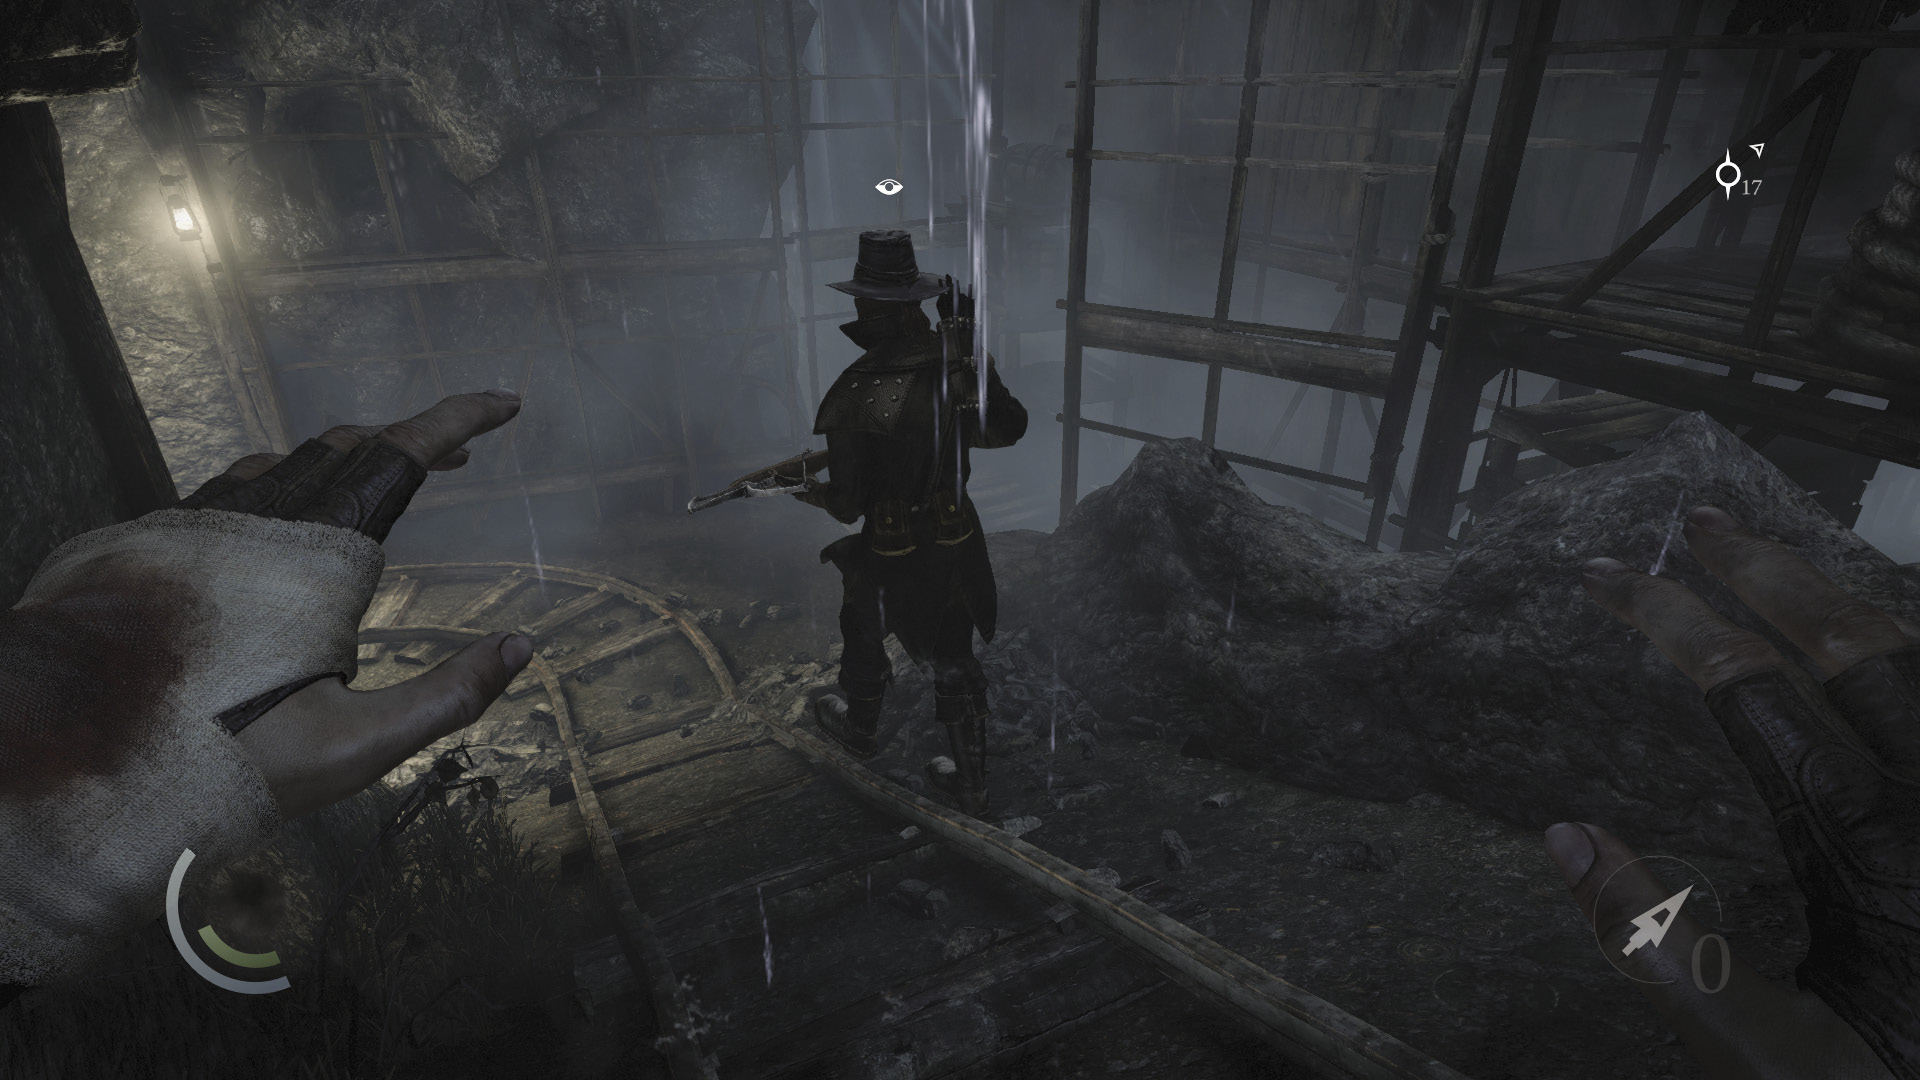
When the crossbow Graven ascends the slope, sneak behind him and steal both of his coin purses, then knock him out. Be sure to knock him out before he climbs too high or his partner may be alerted.
 Thieving Challenge: “14 kills or knockouts” (10/14)
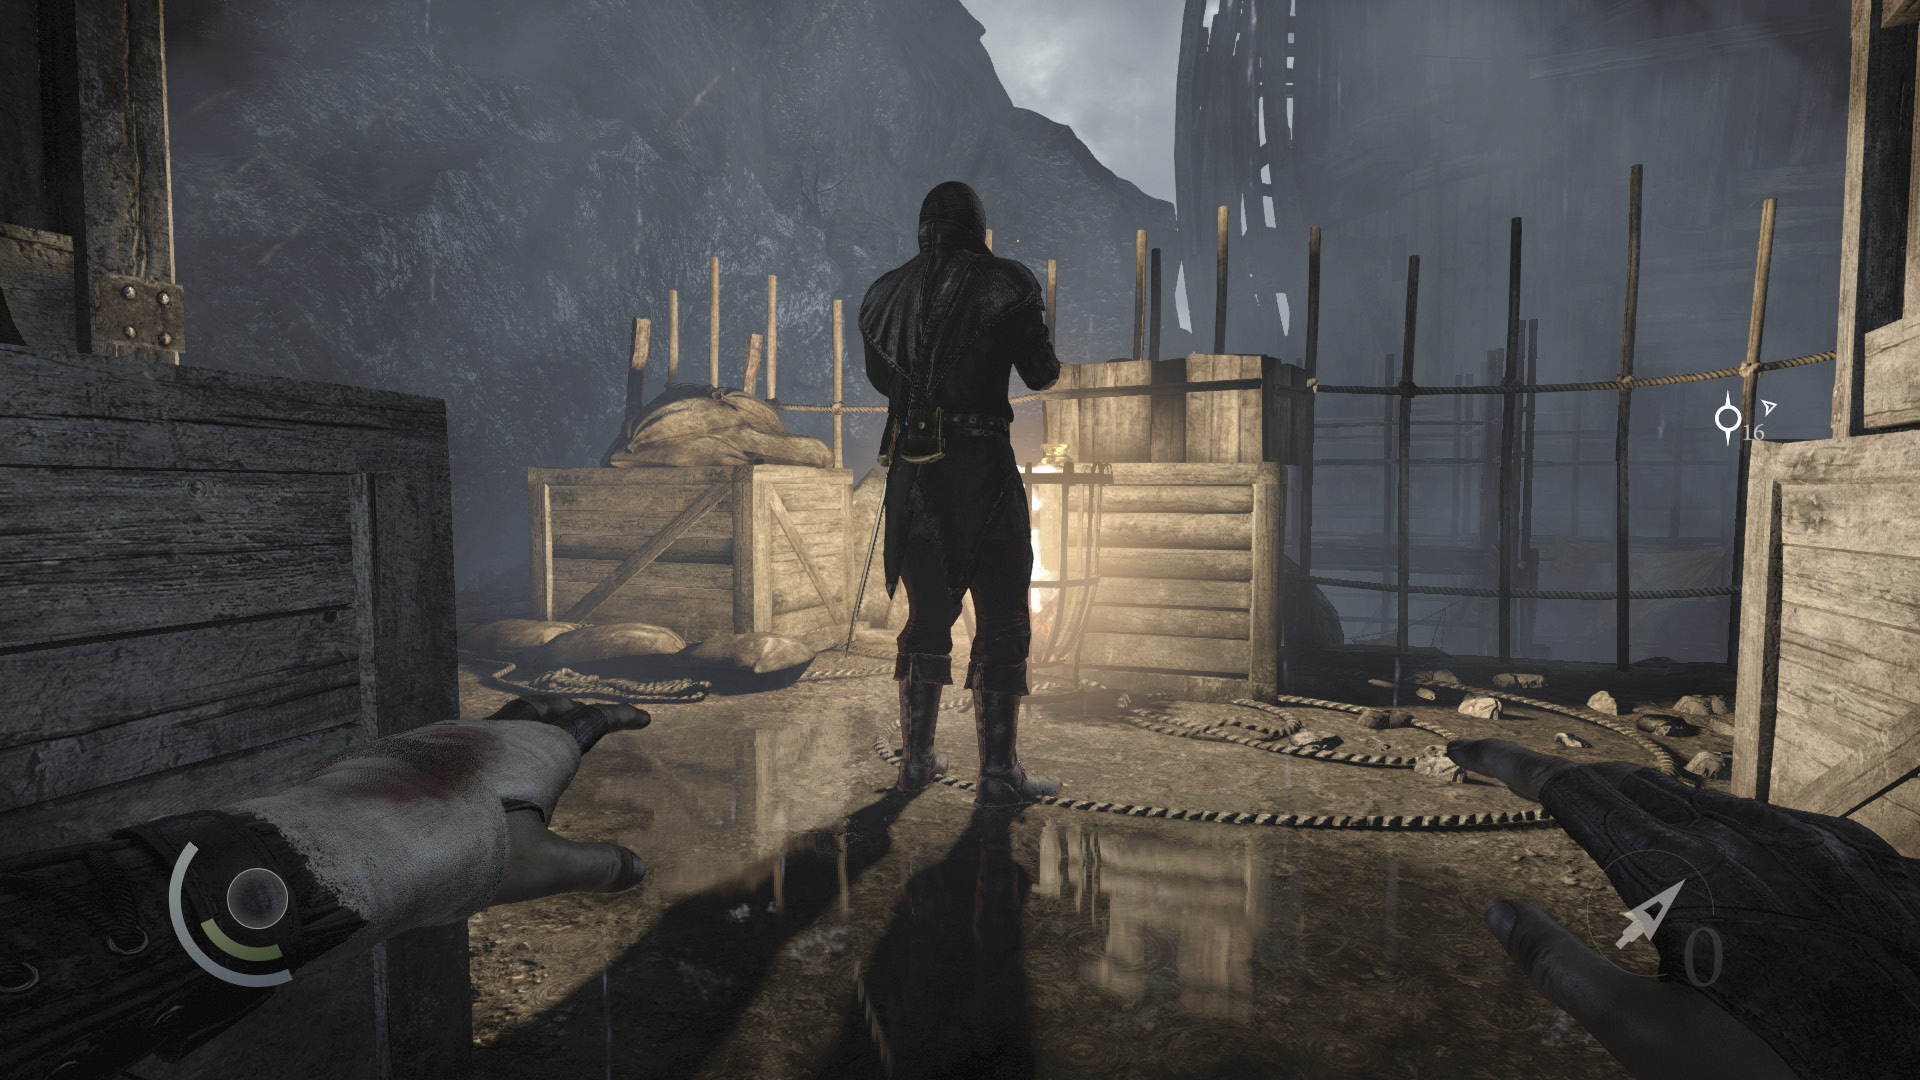
Once the crossbow guard is down, the remaining guard is easy pickings. Sneak around the crates to slip behind him, and pick his pockets and knock him out as well. Once this guard is down for the count, you can safely swipe the ashtray that sits on the crate near the brazier. Open the small box on the crates as well to claim two sawtooth arrows.
 Thieving Challenge: “14 kills or knockouts” (11/14)
 Thieving Challenge: “Lift all loot items” (21/52)
All Aboard
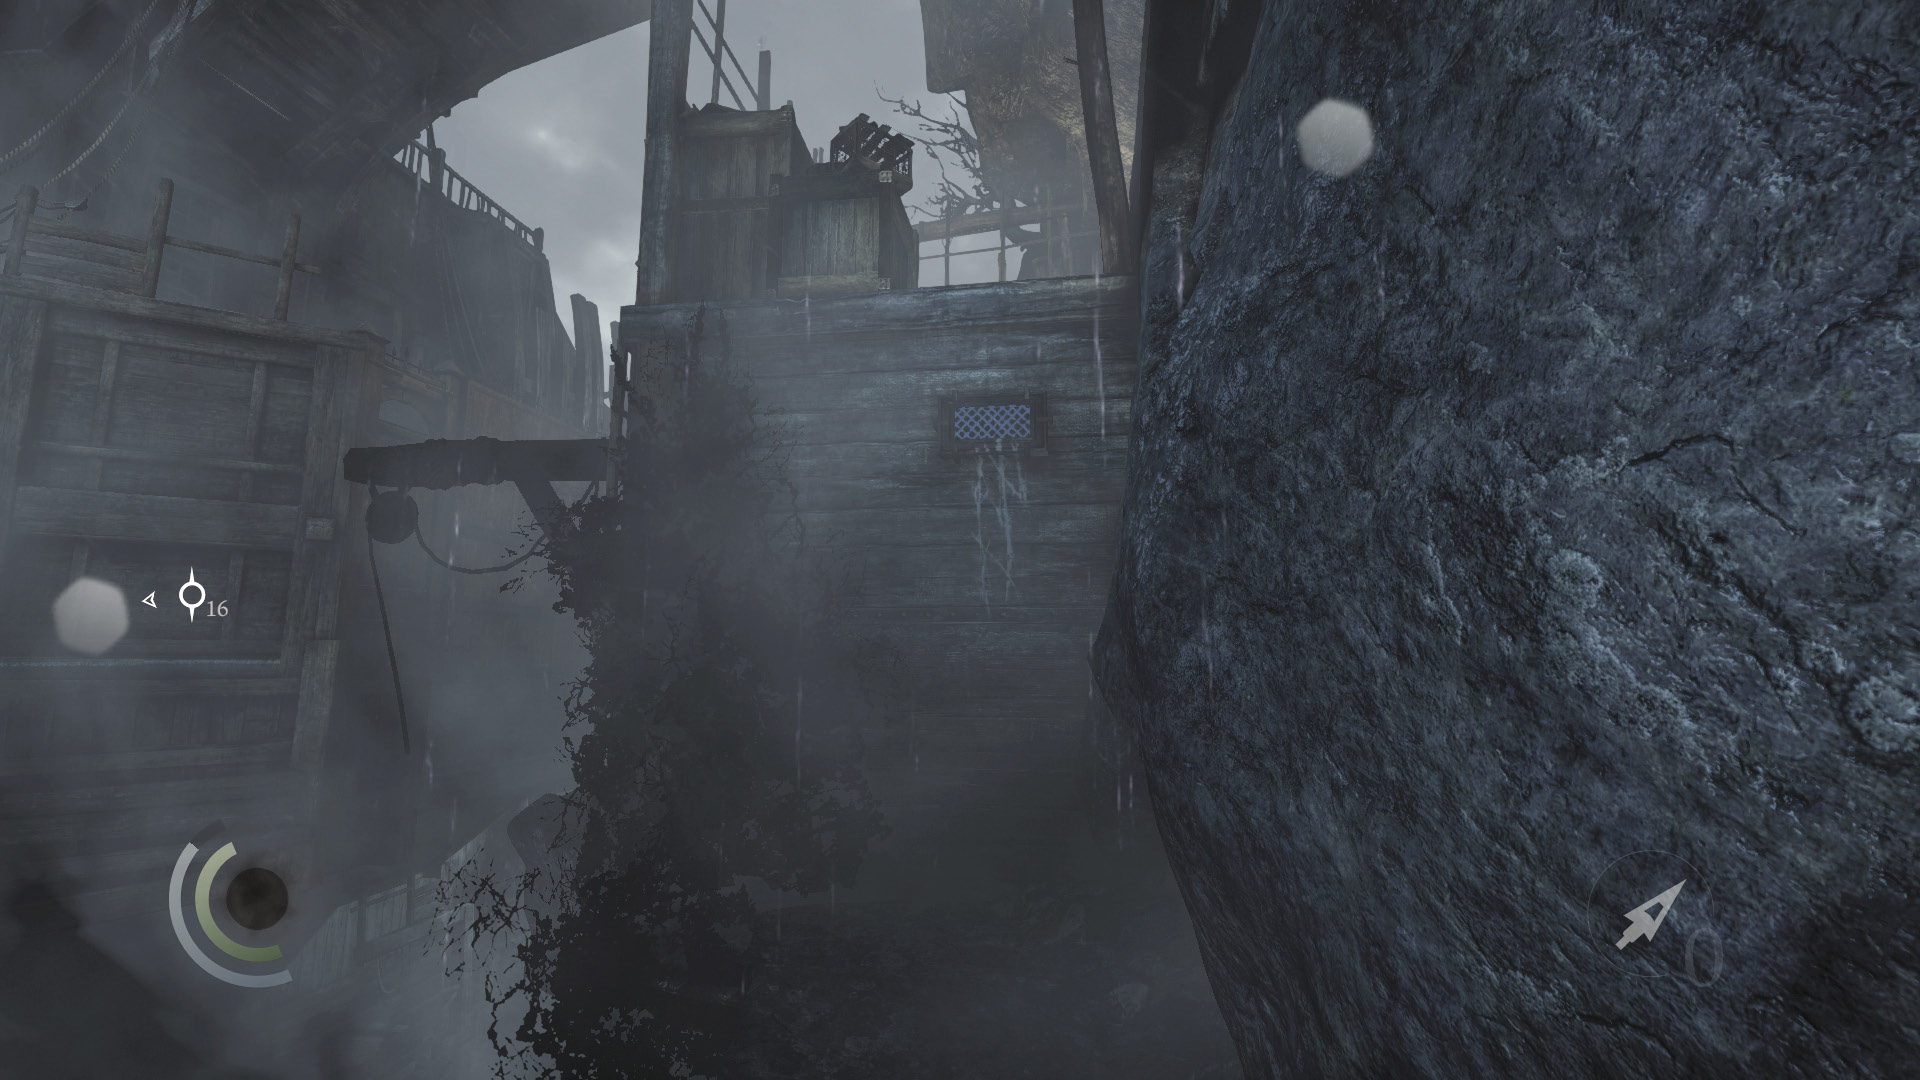
Cross the ledge beyond the Graven, climbing a wall to reach higher ground. When you come to some stairs, check to the right to discover one gold coin and a pile of gold coins hidden nearby. Next, scale the stairs and swipe the coin purse that rests on the nearby crate.
 Thieving Challenge: “Lift all loot items” (24/52)
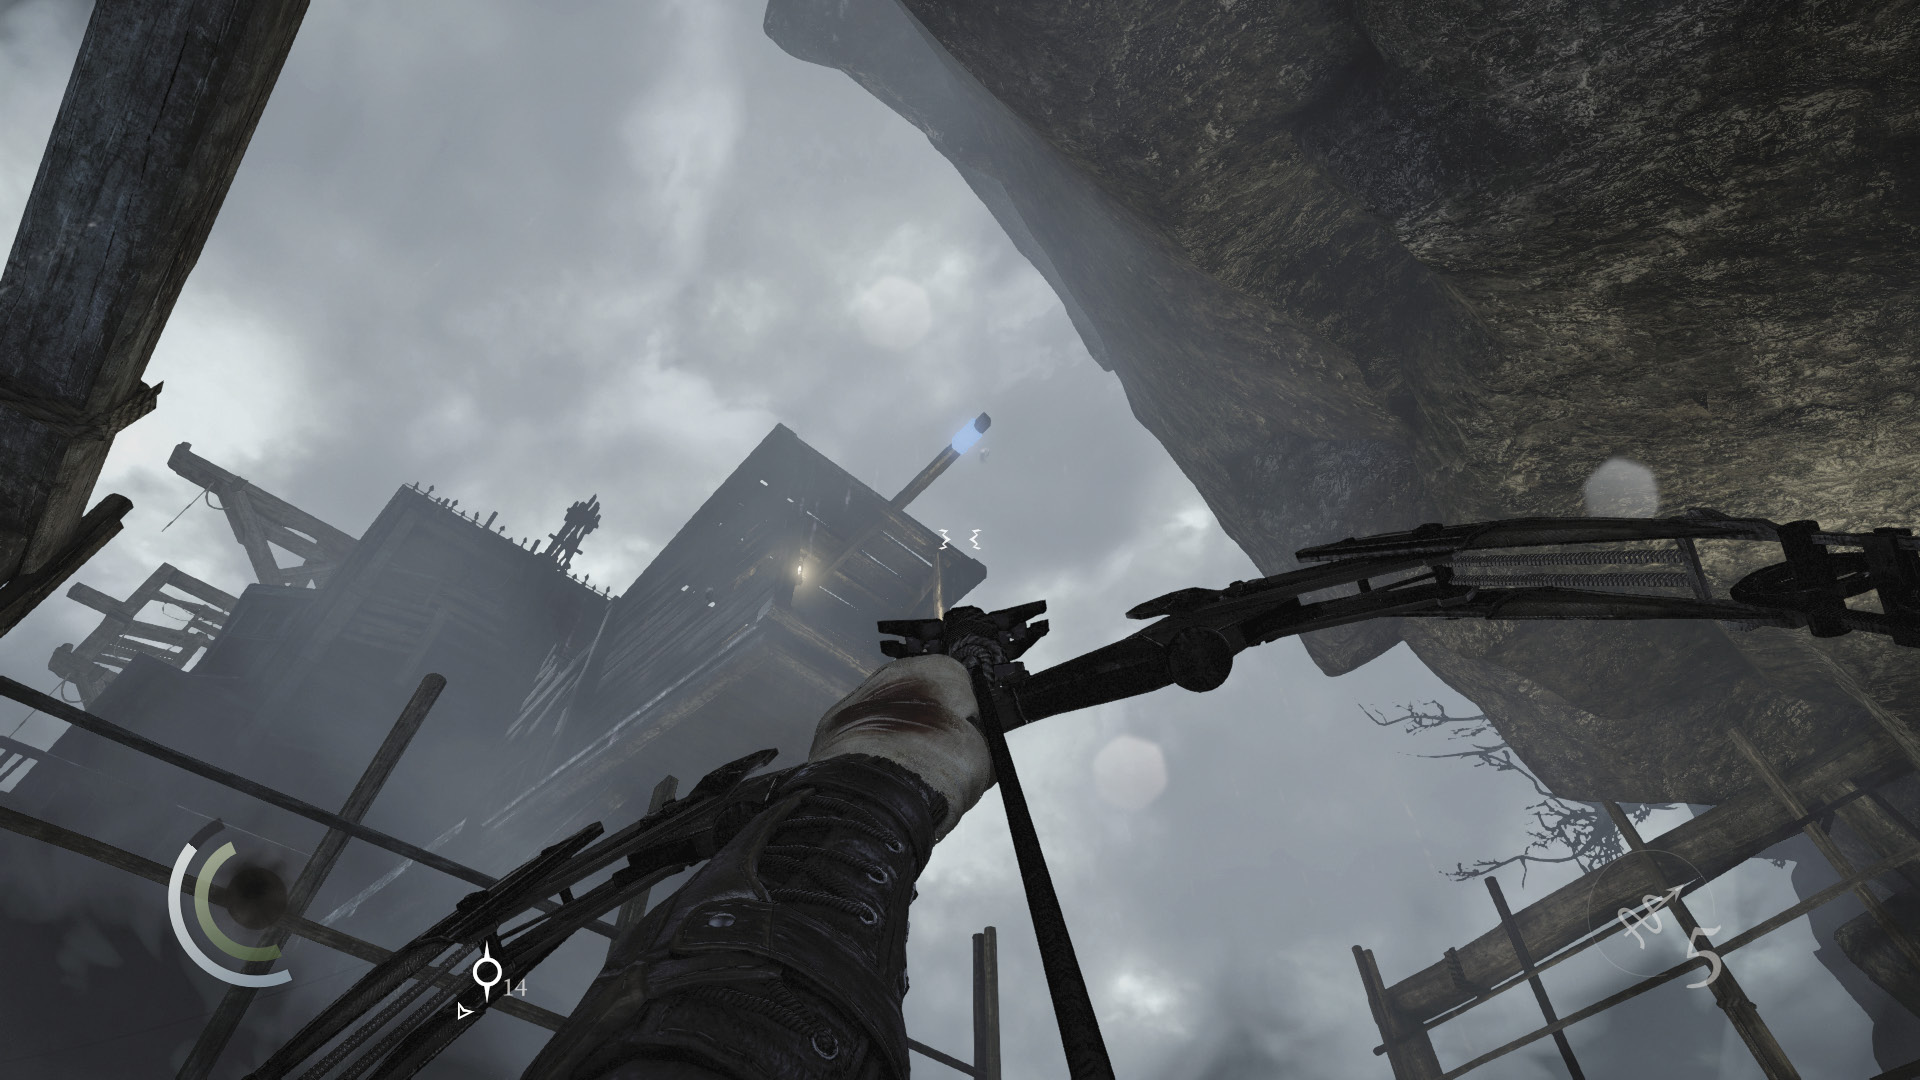
Look up to spy an overhead anchor beam. If you have a rope arrow, use it to infiltrate the Dawn’s Light. You’ll then be able to collect a syringe and gilded bottle. If you don’t have a rope arrow, you’ll have to backtrack to the scaffolding and climb onto the ship the old-fashioned way. Either way, you’ll end up on the Treadwheel Deck.
 Thieving Challenge: “Lift all loot items” (26/52)
Area 4: Treadwheel Deck
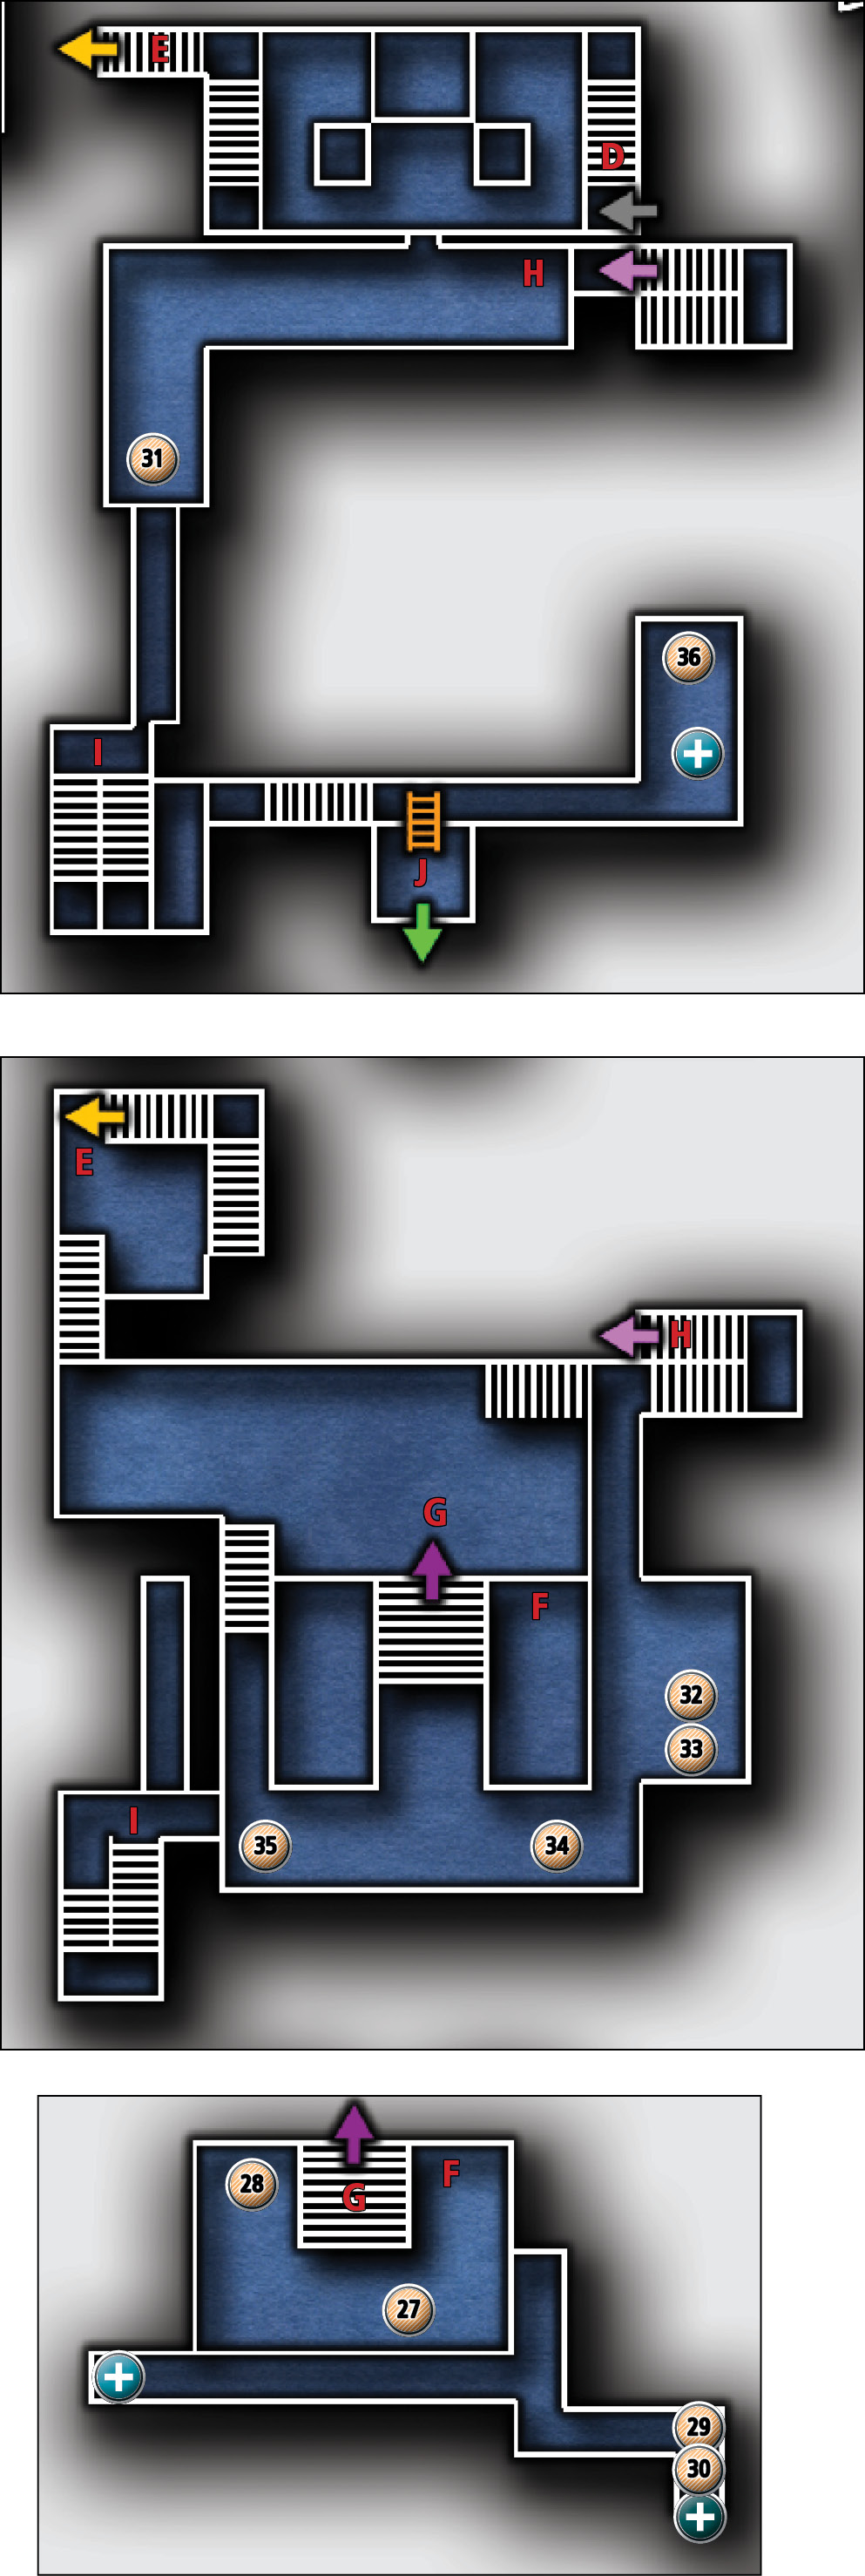
Common Loot
| Map Icon | Item(s) |
|---|---|
 |
Vase |
 |
Coin purse |
 |
Coin purse |
 |
Telescope |
 |
Scissors |
 |
Microscope |
 |
Gear |
 |
Fork |
 |
Vase |
 |
Desk bell |
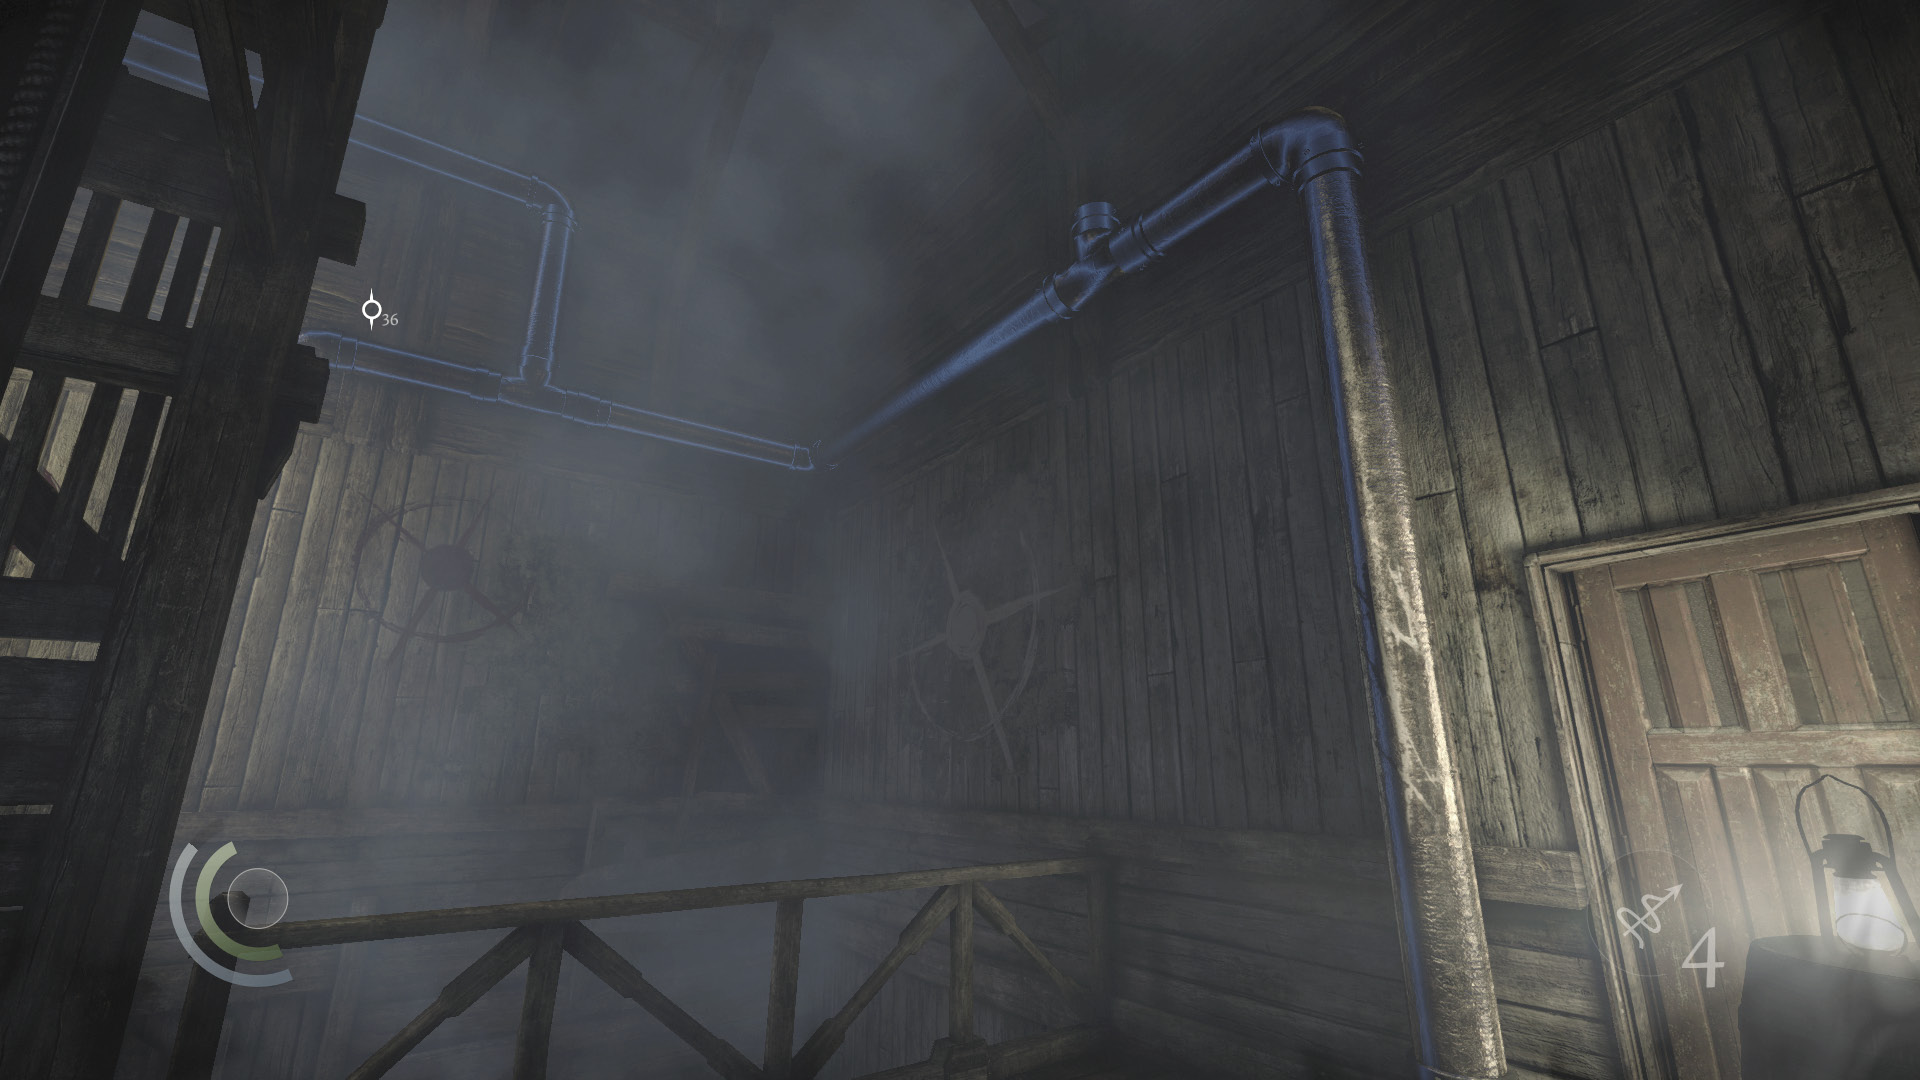
No matter how you’ve chosen to board the Dawn’s Light, your first task involves navigating a series of pipes affixed to the wall. There’s no need to rappel, for there’s no floor beneath you. Make sure you don’t fall as you work your way up to a higher deck.
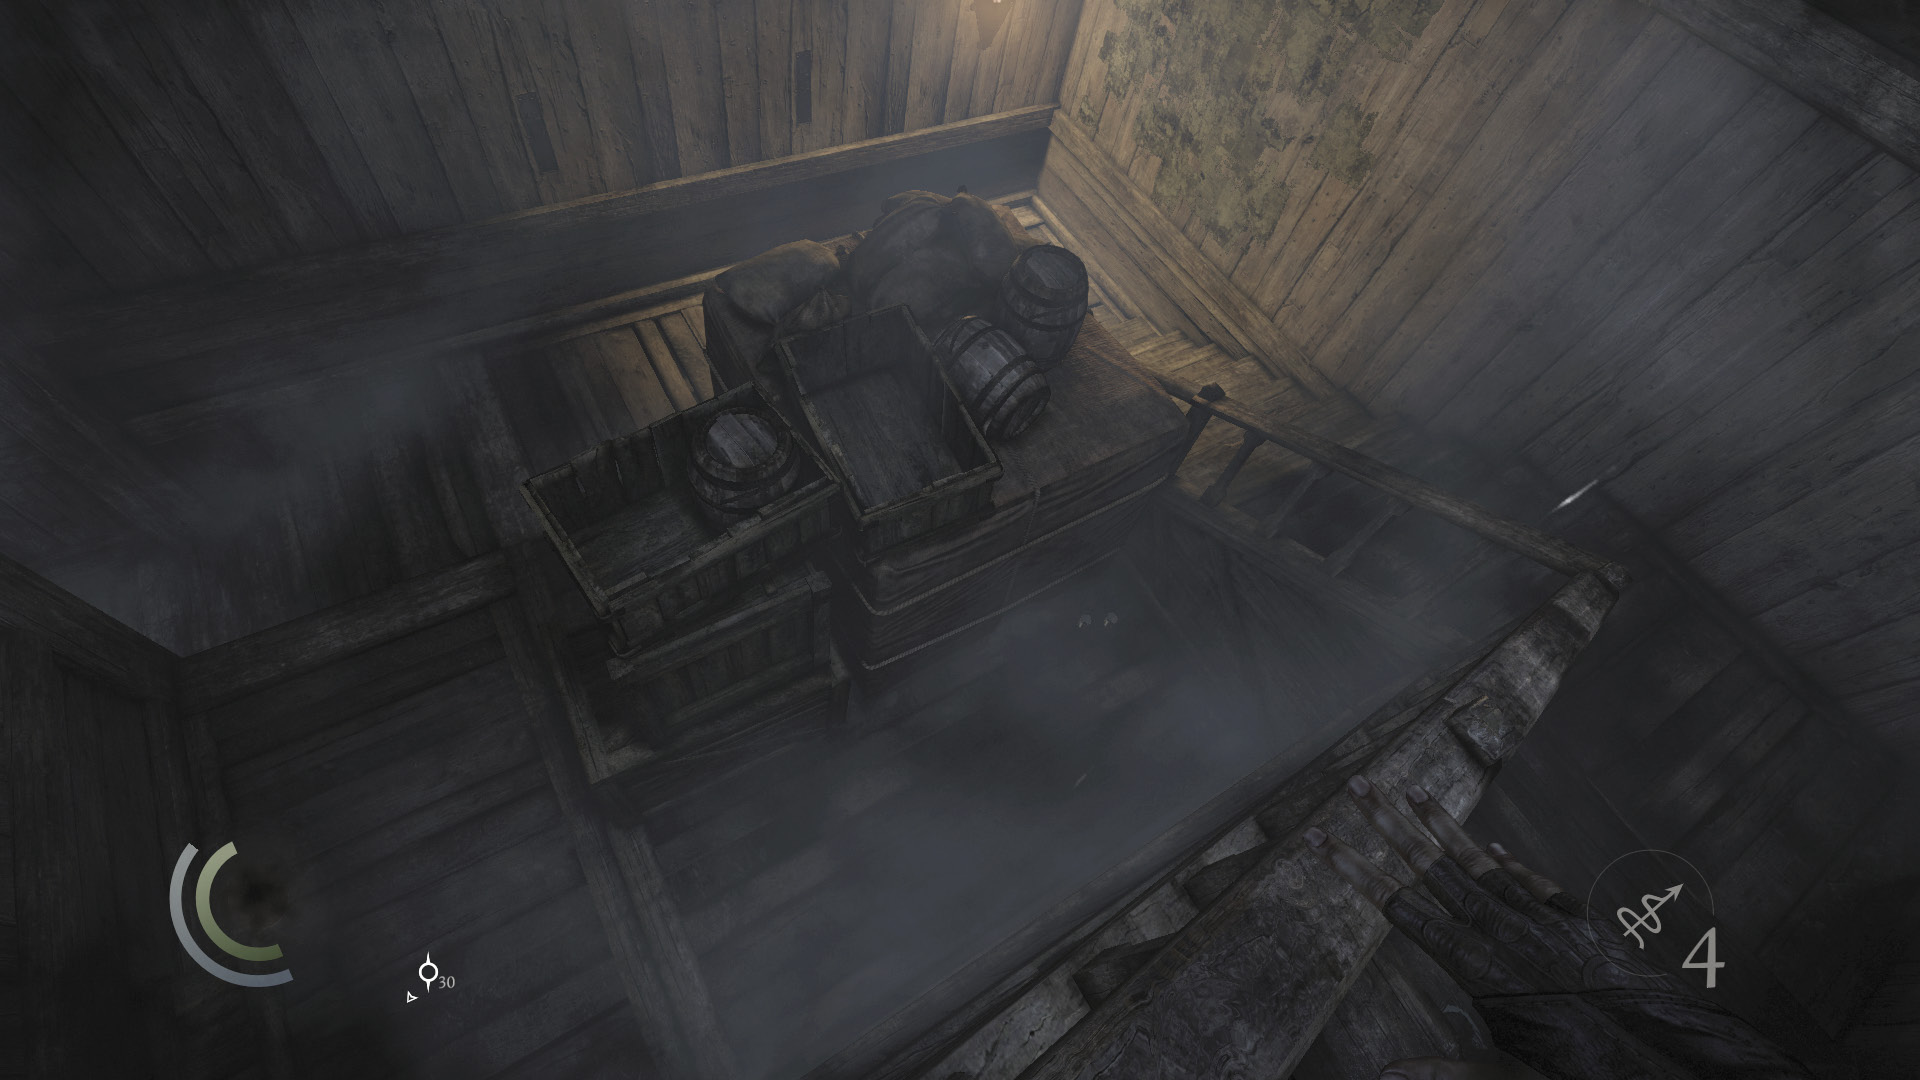
Head upstairs after dropping from the final pipe and head west. Ignore the door on your left as you go; it leads to a well-lit balcony that’s patrolled by a Graven, and opening it is risky. Descend the west stairs instead to reach the lower deck.
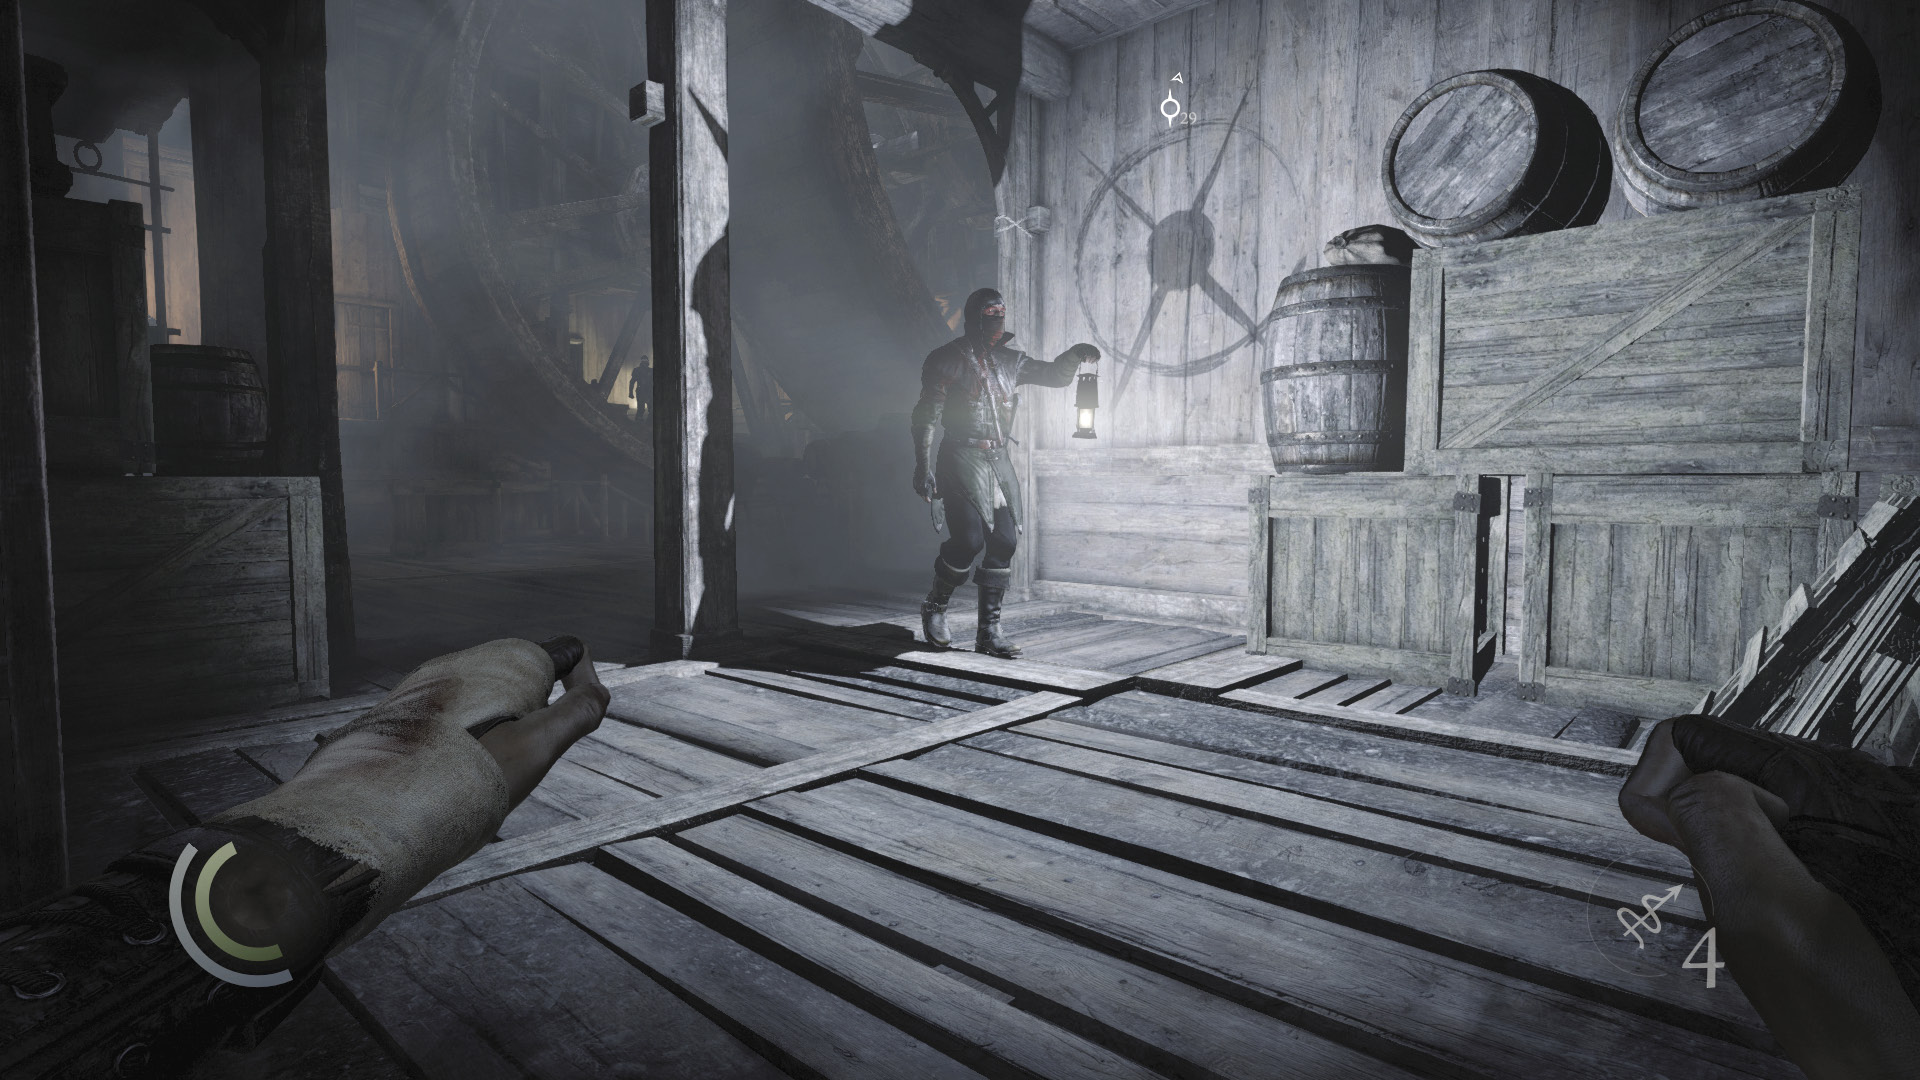
Careful: A Graven with a lantern patrols the lower deck. Remain in the stairwell until he moves to check the west crates, then sneak behind him, steal his gold, and knock him out.
 Thieving Challenge: “14 kills or knockouts” (12/14)
Down in the Darkness
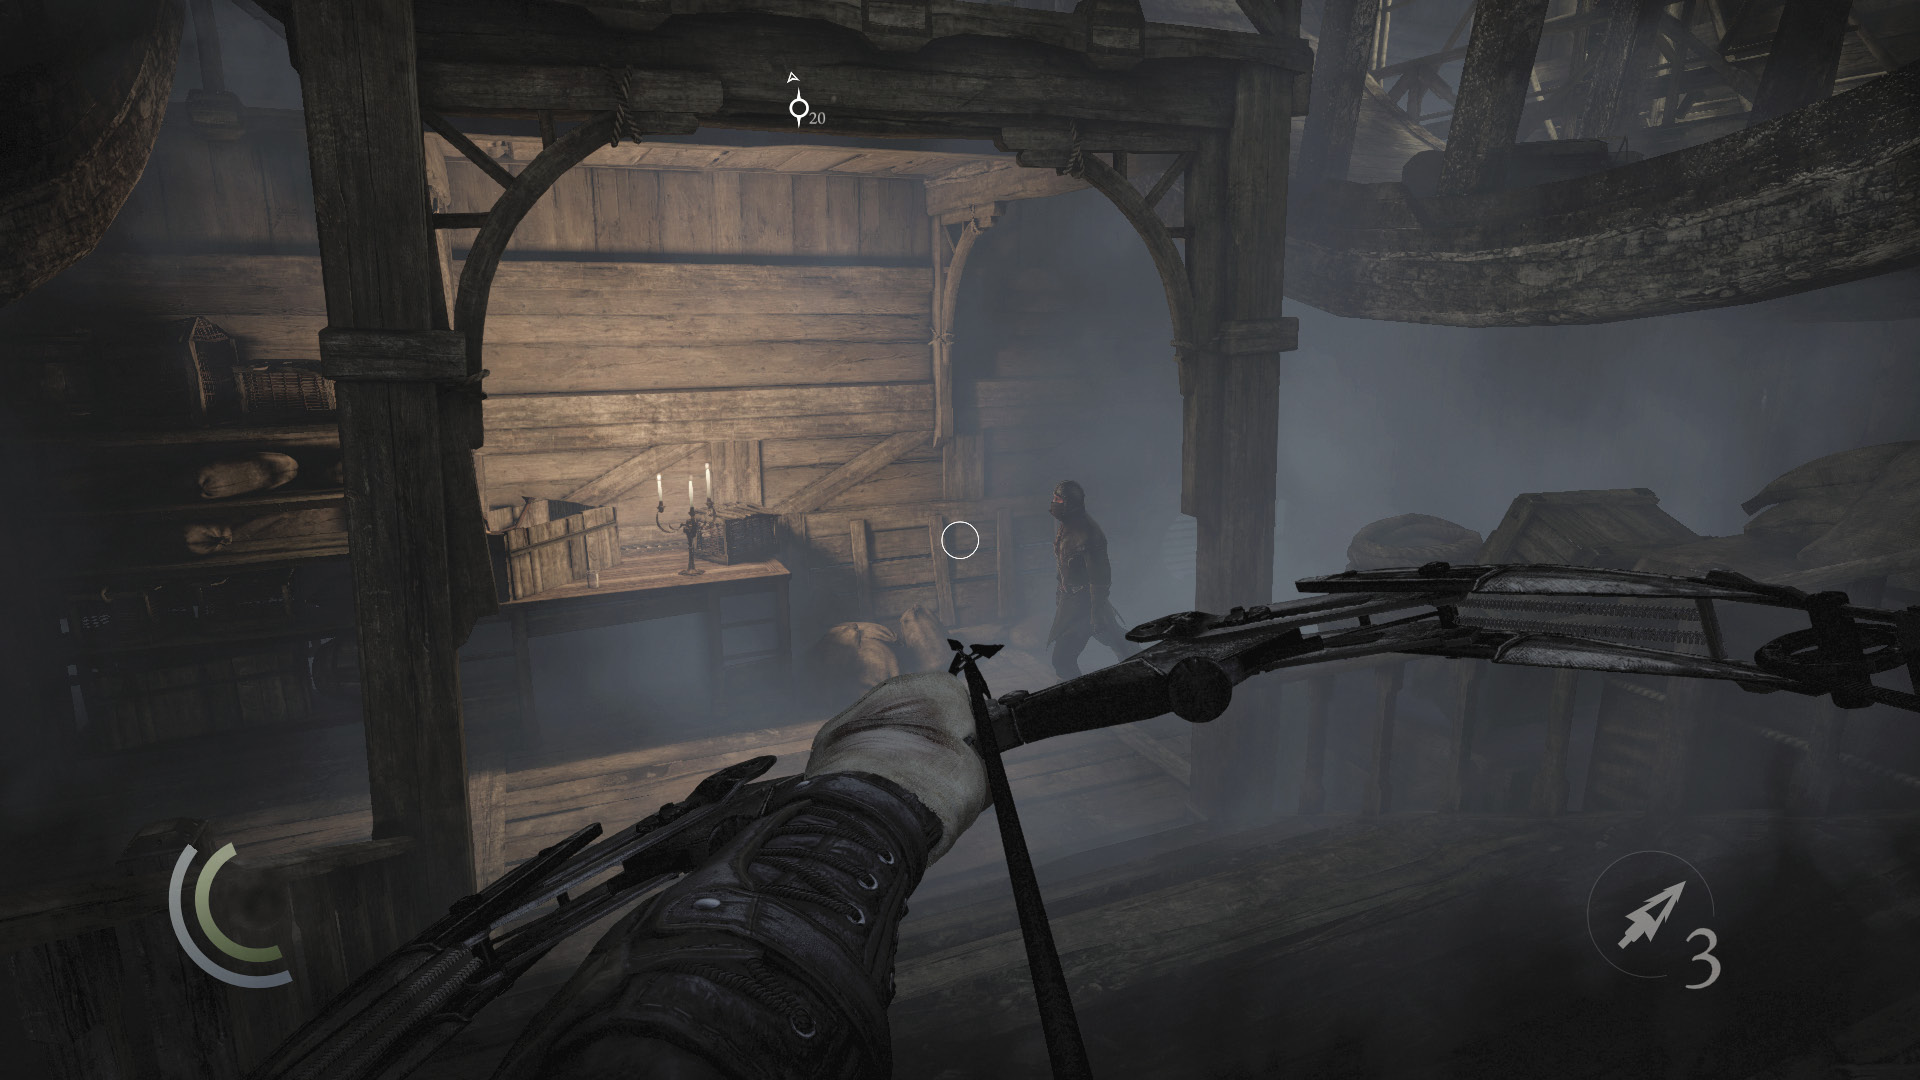
With the lantern Graven down, sneak east, heading for the south stairs. Don’t descend the stairs, but keep going east to discover a spot where you can drop down to the shadows. Pick off the south Graven with a headshot before dropping down.
 Thieving Challenge: “14 kills or knockouts” (13/14)
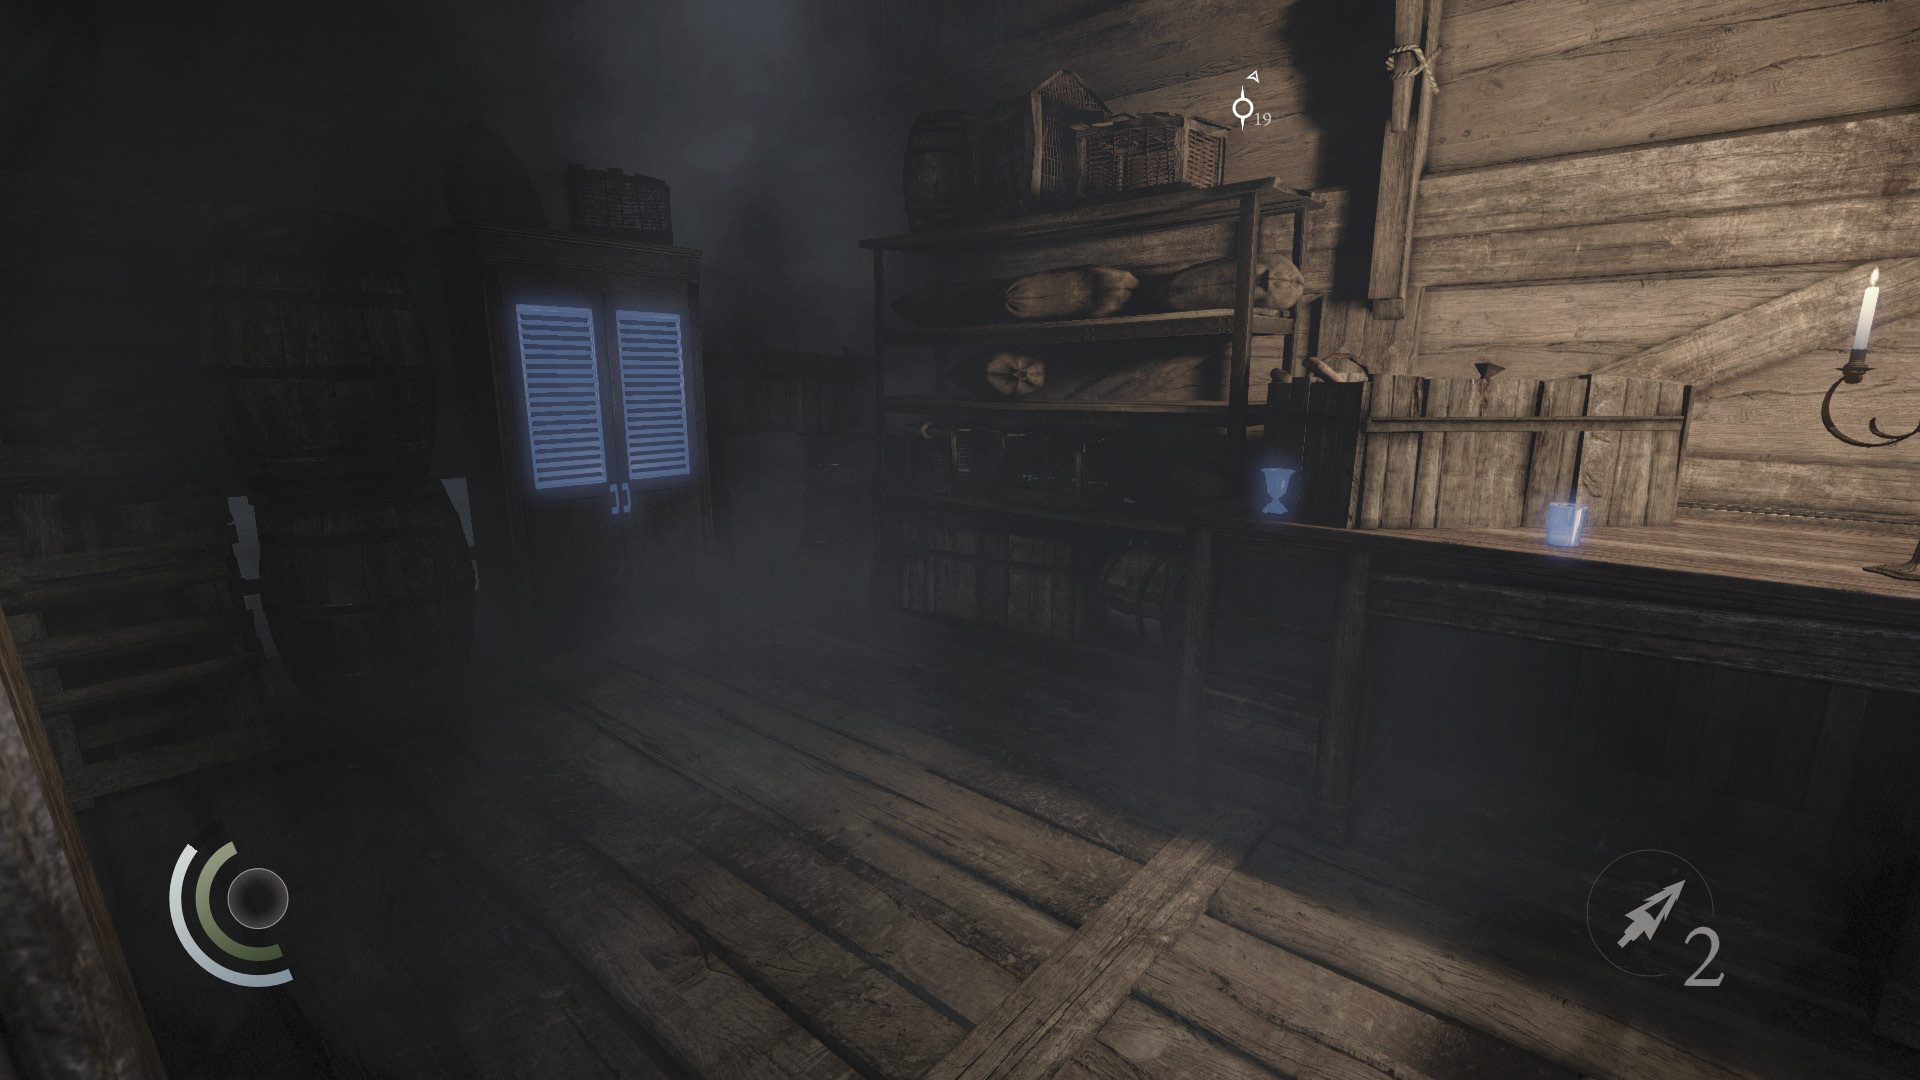
Loot the dead Graven’s body and then enter the nearby cabinet to save. Swipe the vase off the nearby table and snuff out the table’s candles to ensure no other Graven spot you down here.
 Thieving Challenge: “Lift all loot items” (27/52)
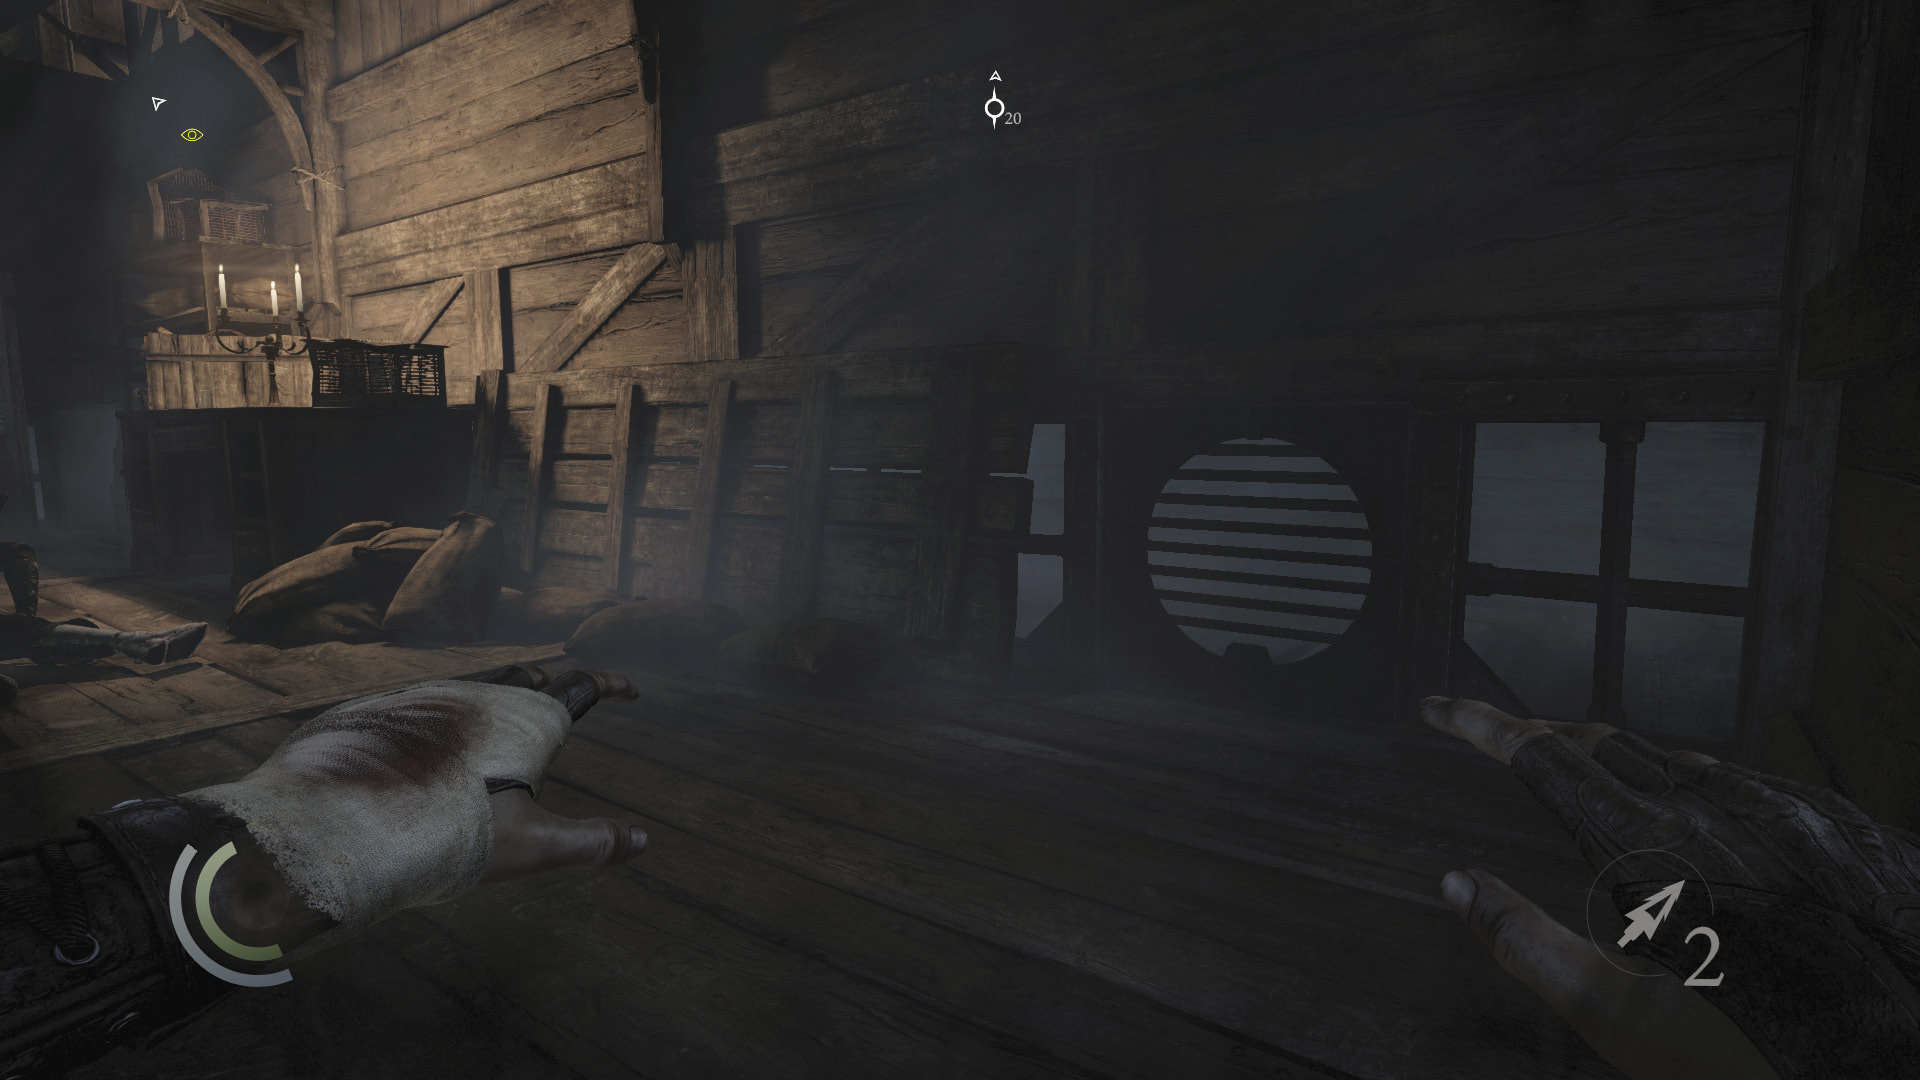
Go west to locate a crawl space that requires the wrench tool to enter. Before unscrewing the vent, collect a coin purse that sits on a crate behind you.
 Thieving Challenge: “Lift all loot items” (28/52)
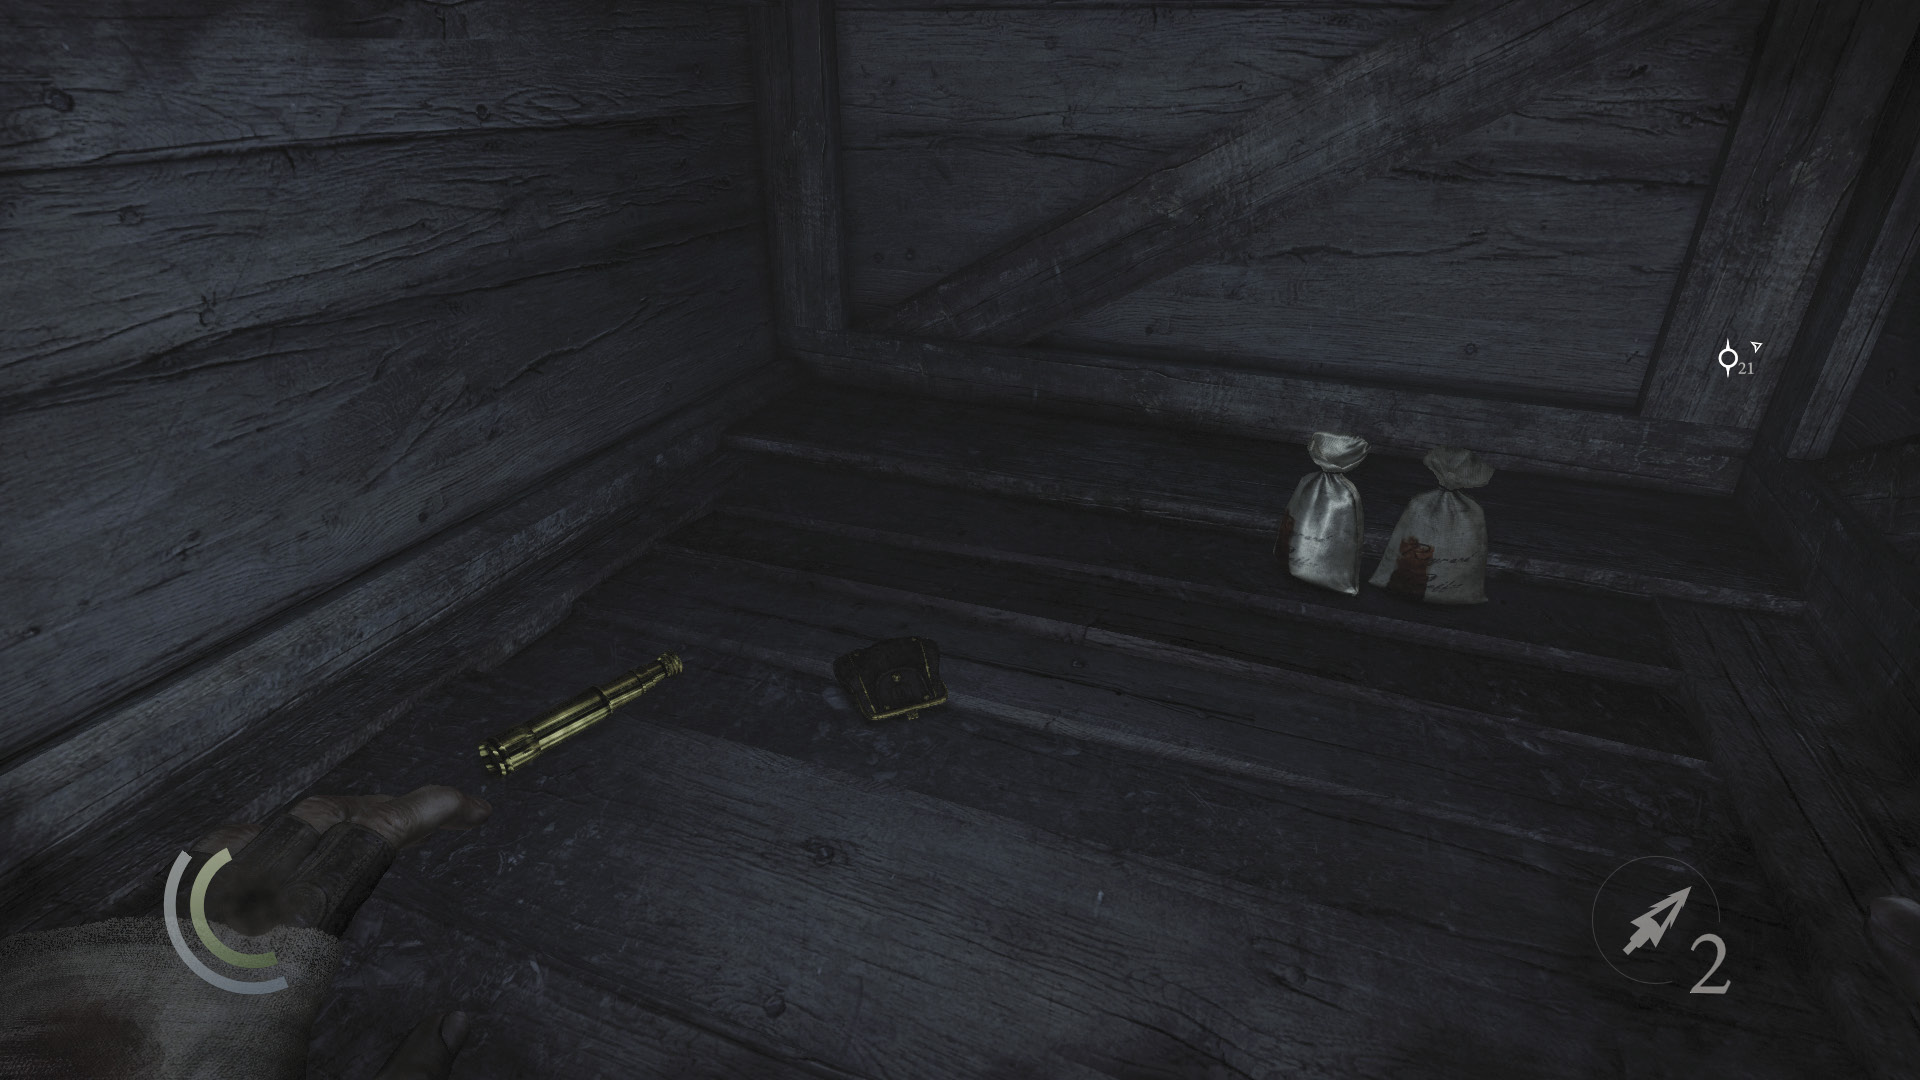
Enter the crawl space to discover a poppy, two bags of food, a coin purse, and a telescope. The crawl space is a dead end, so backtrack out.
 Thieving Challenge: “Lift all loot items” (30/52)
Balcony Battery
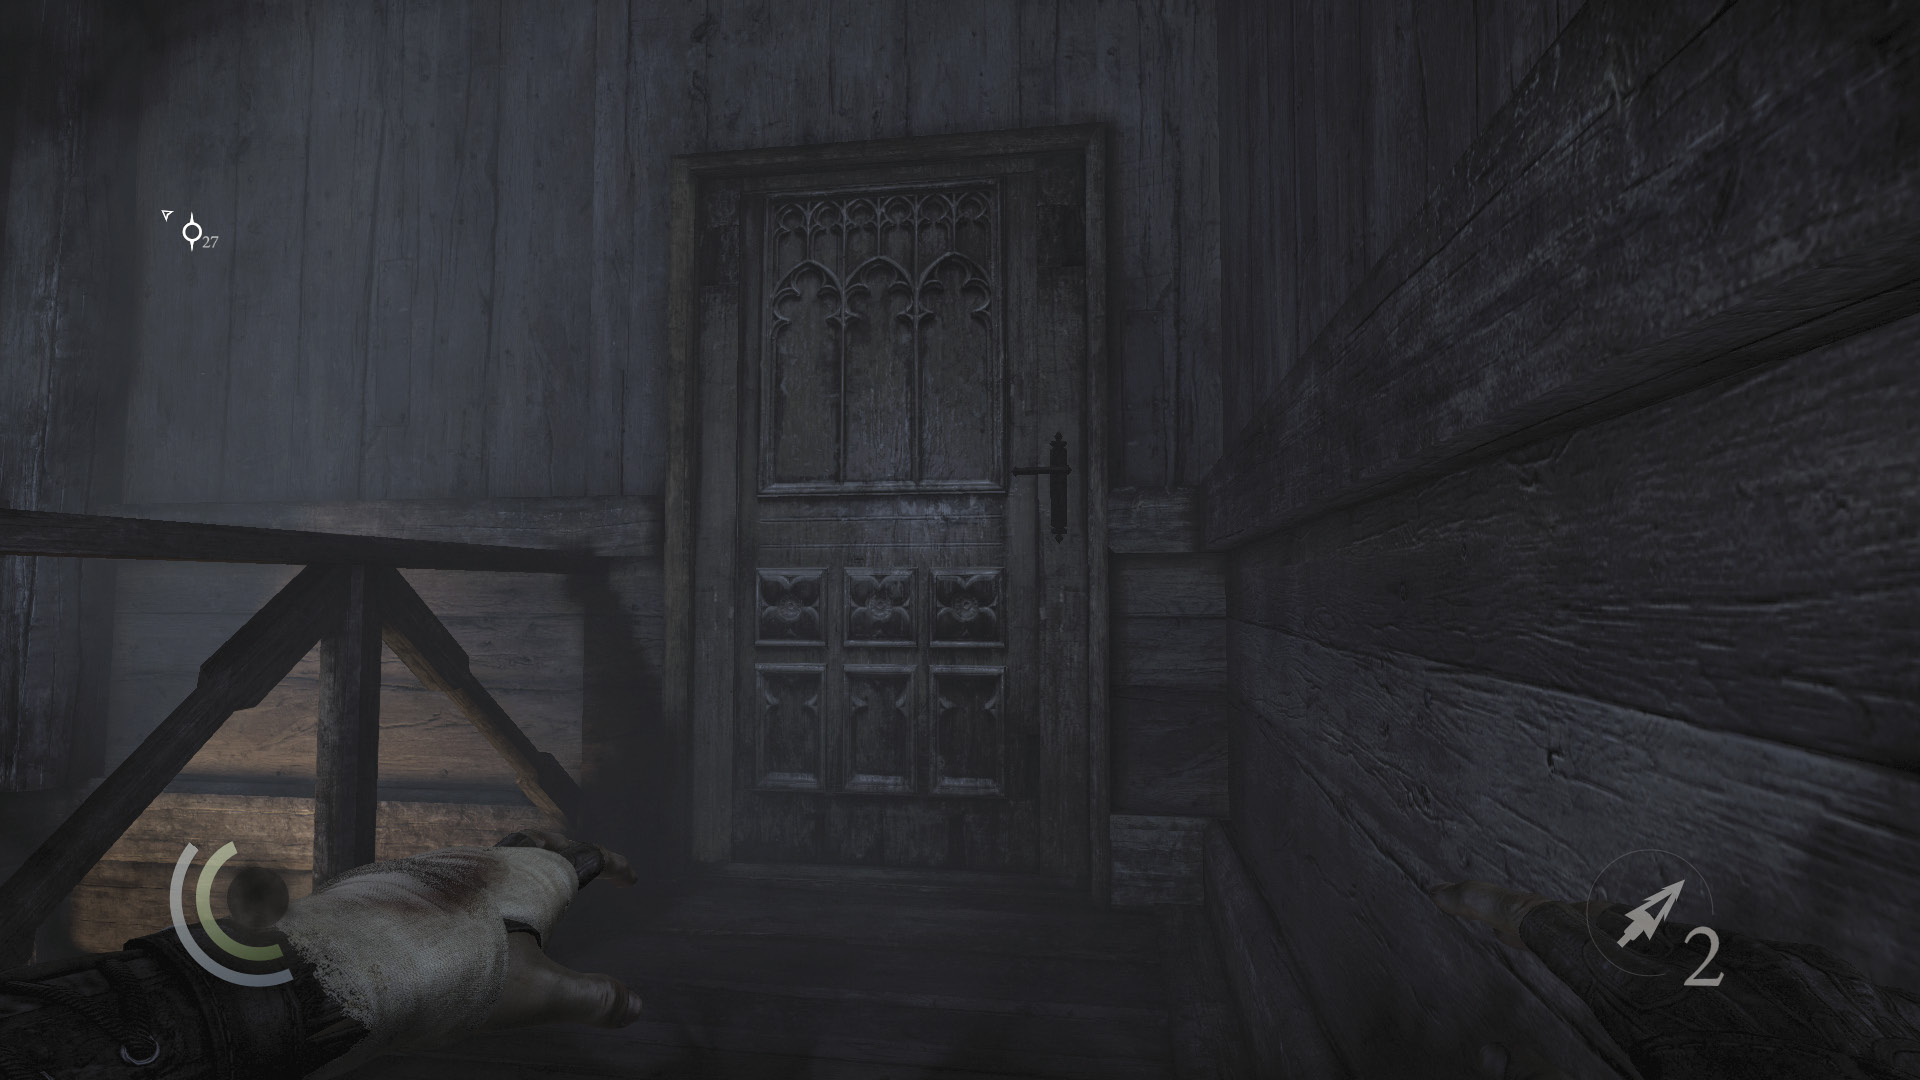
Your next victim is the Graven on the north balcony. Head for the east stairs, swooping past a lantern’s light. Swoop past the torchlight on the landing as well, and keep moving upstairs to reach a door that leads to the balcony.
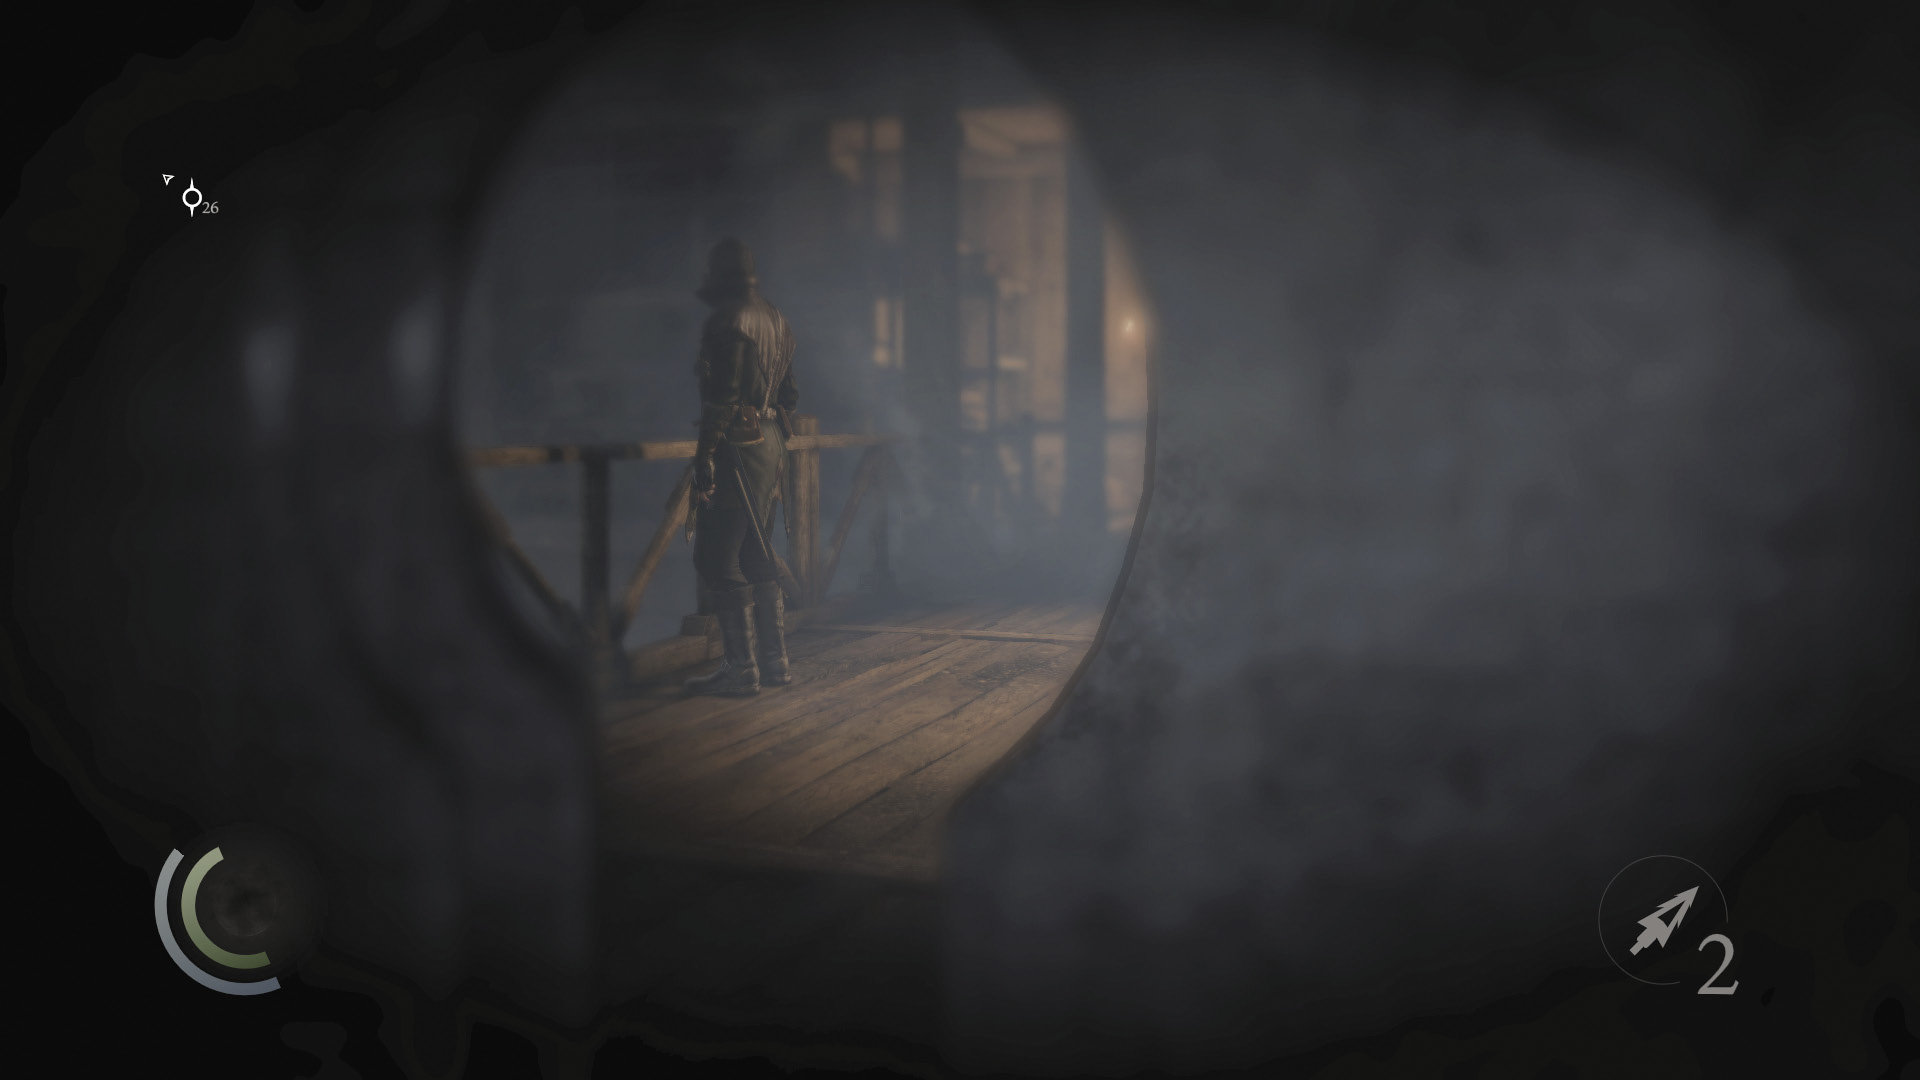
Peer through the keyhole before opening the door, and study the balcony’s patrolling Graven. You have a much better angle on his movements from this vantage. Open the door and sneak onto the balcony when the Graven is moving west (away from the door.)
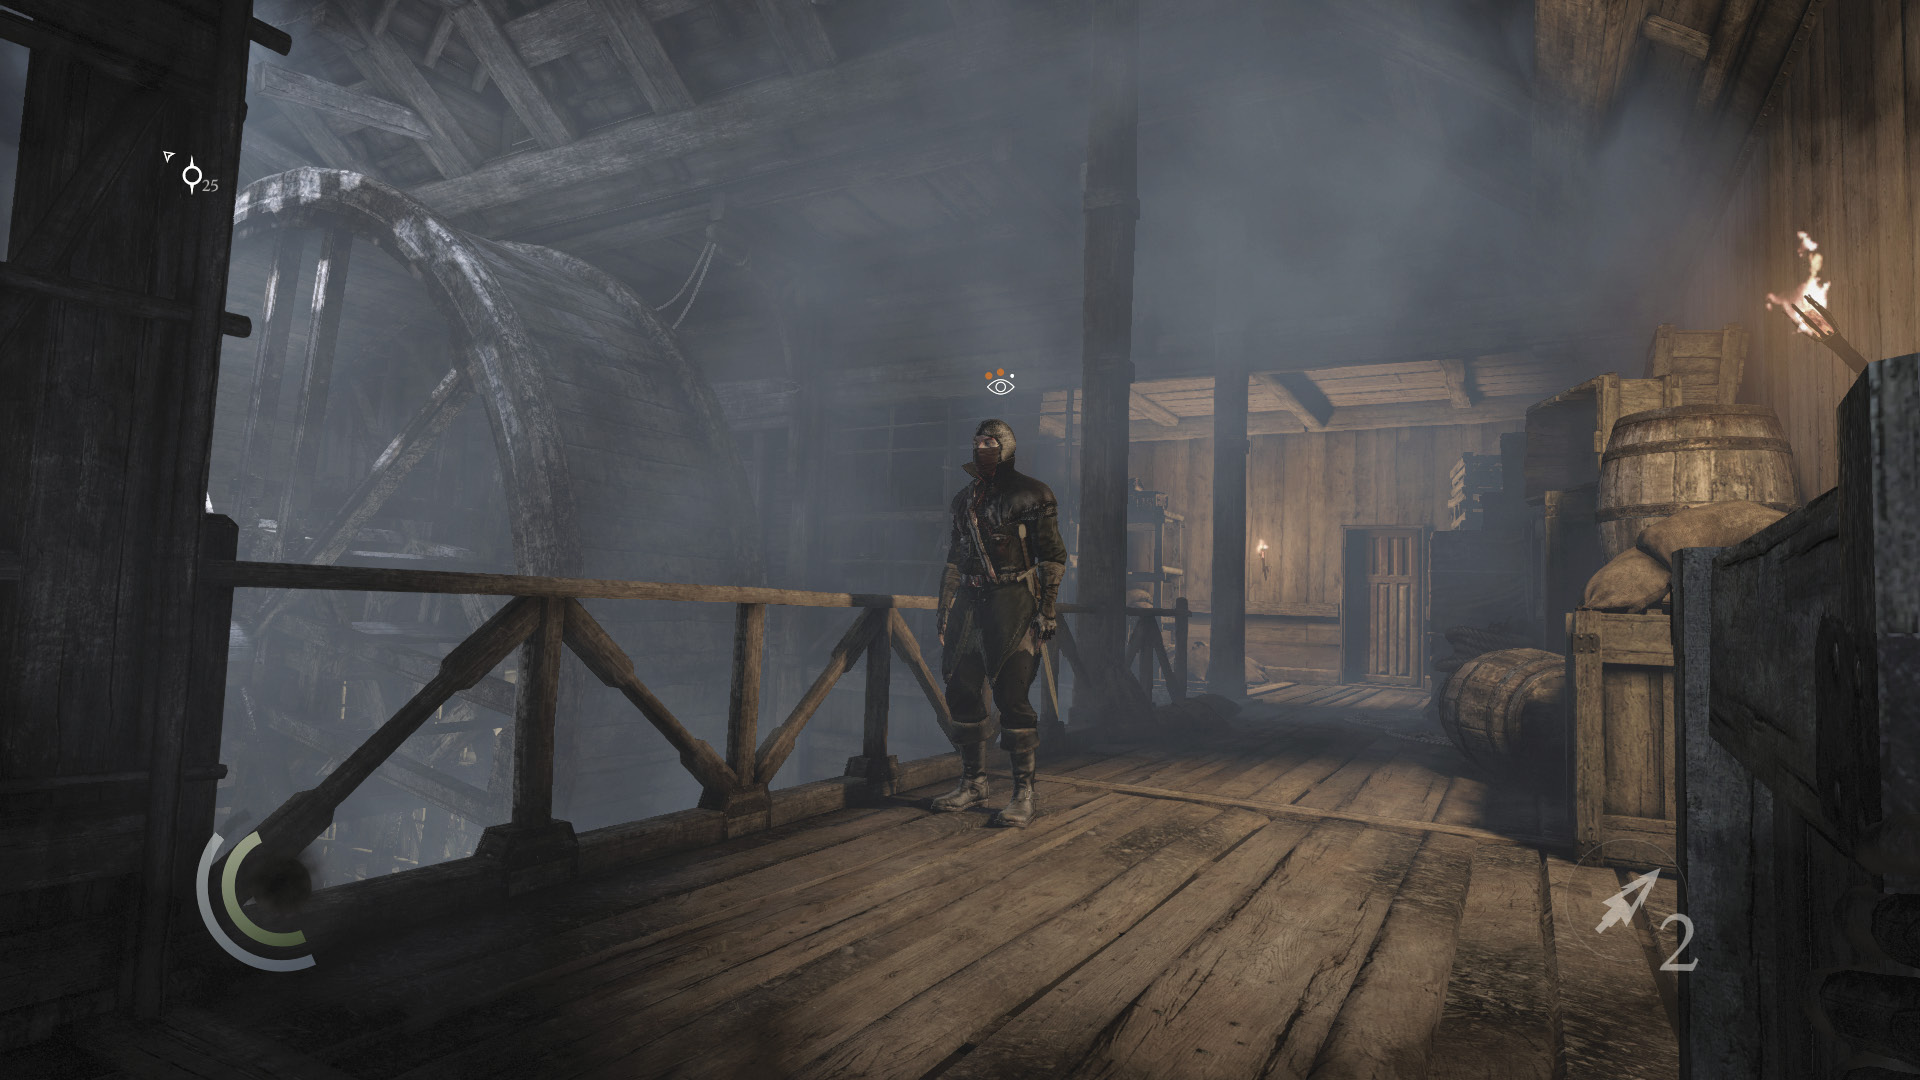
Swoop behind the Graven as he moves west. Don’t worry about any other Graven seeing you; they won’t. Pick the balcony Graven’s pockets and knock him out at your convenience.
 Thieving Challenge: “14 kills or knockouts” (14/14)
Wrench in the Works
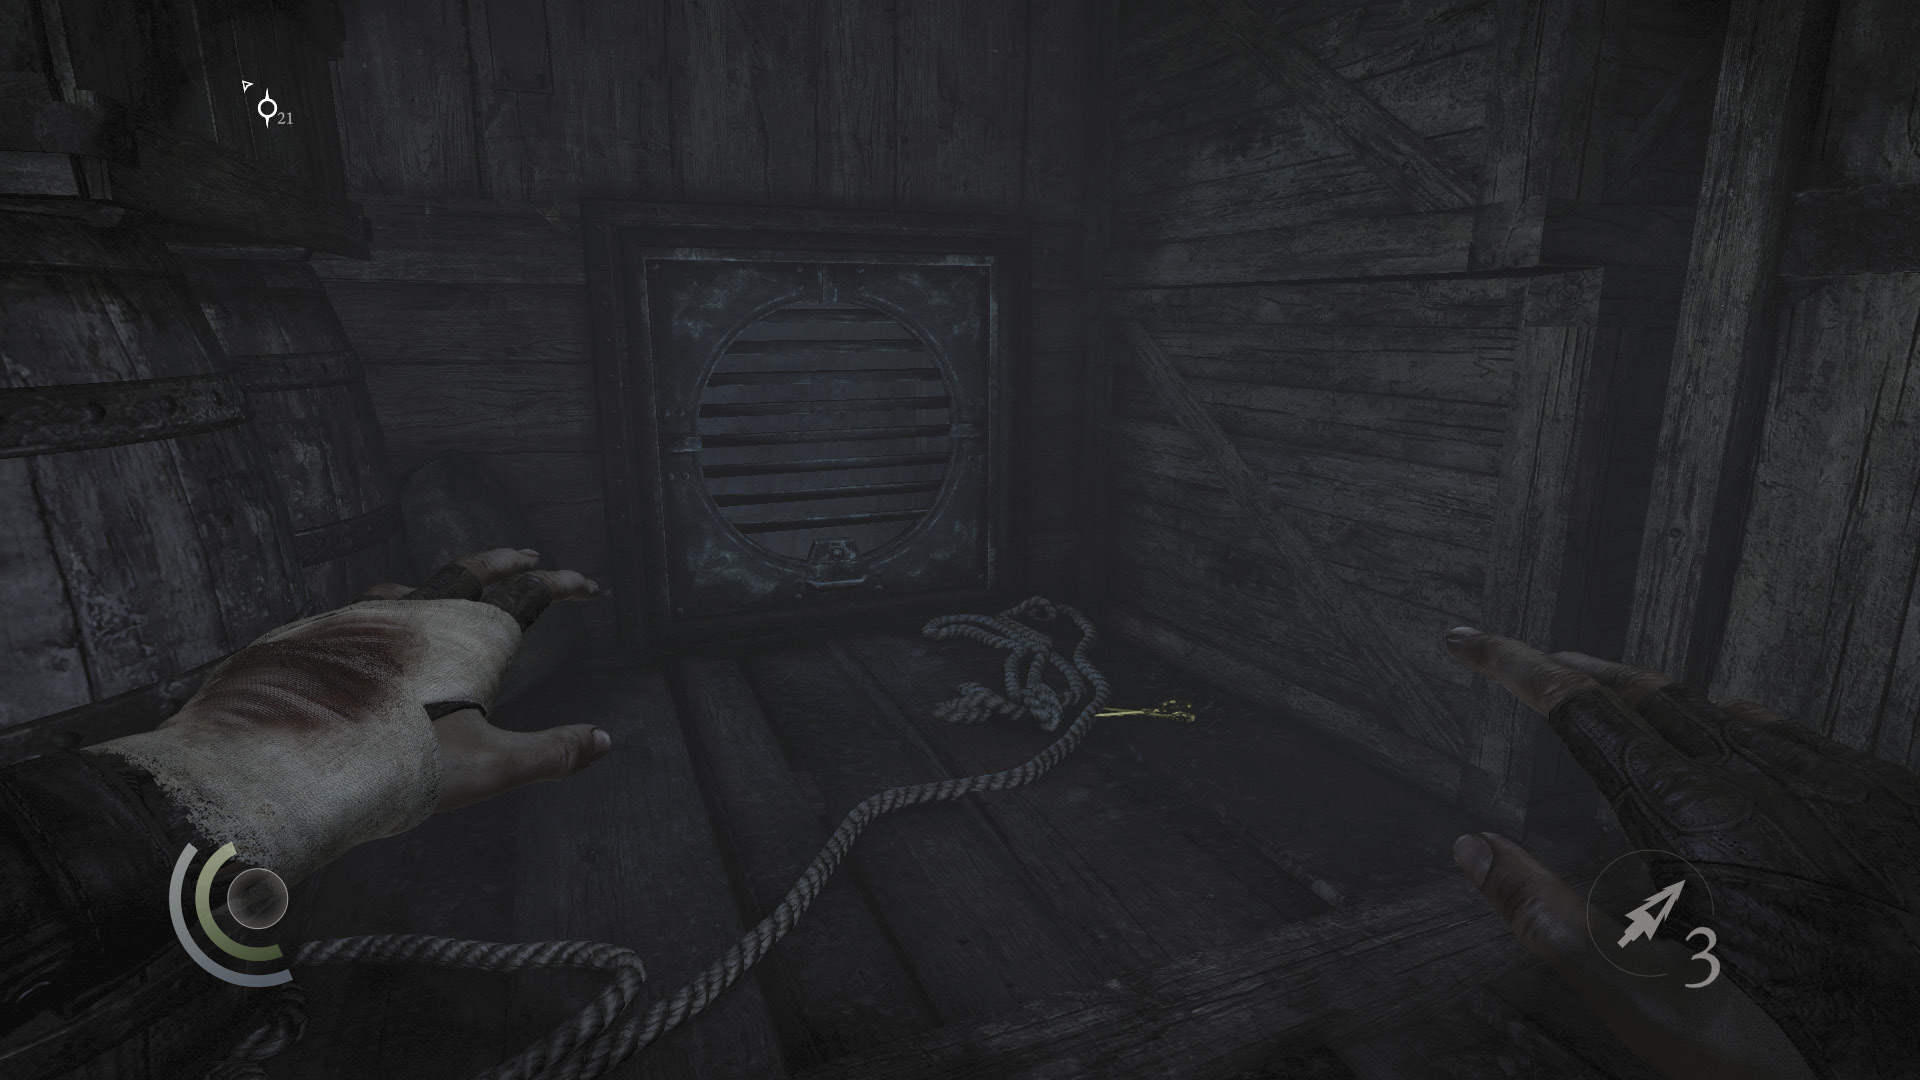
After KO’ing the balcony Graven, collect the pair of scissors on the ground near the west vent. If you unscrew the vent, you can slide down a crawl space to slip past the remaining Graven, but it’s a one-way trip. The crawl space is an excellent way to quickly sneak through the ship, but you’ll miss a few pieces of loot if you take this approach.
 Thieving Challenge: “Lift all loot items” (31/52)
East Walkway Approach
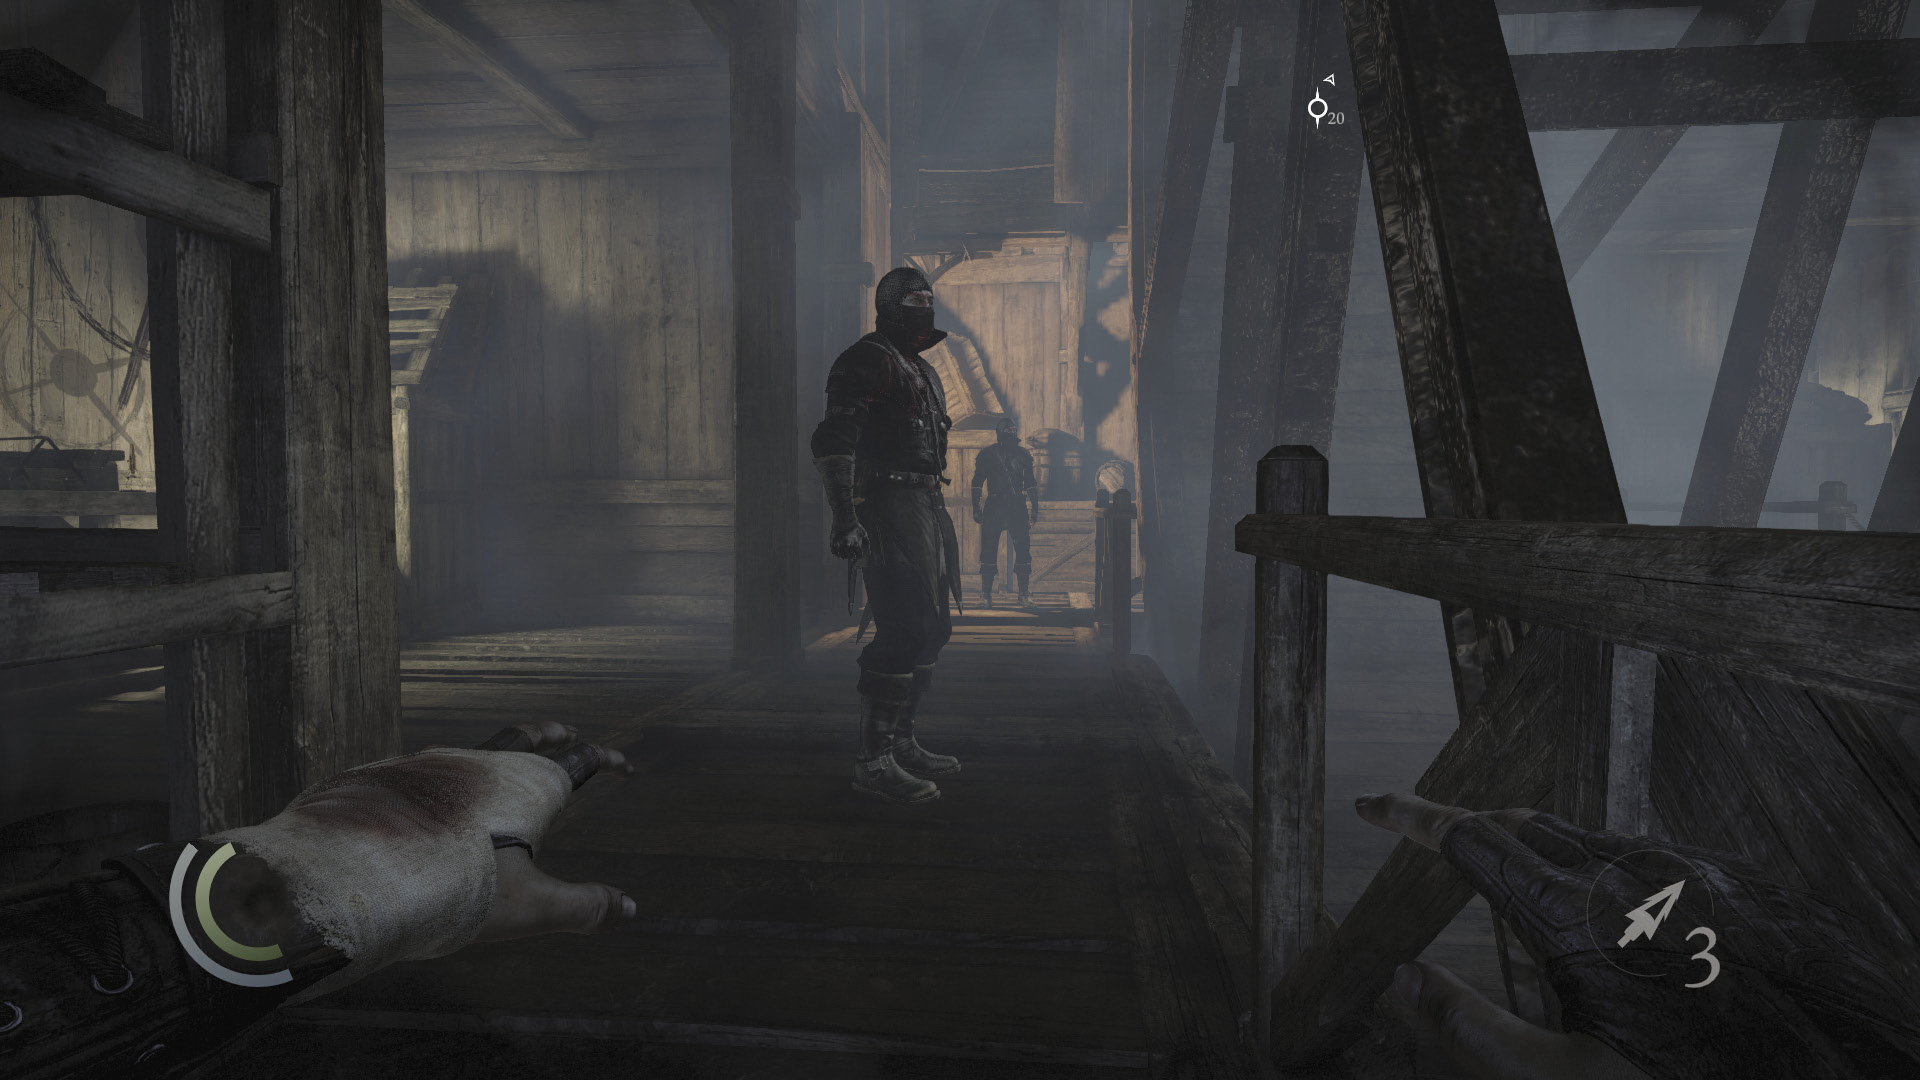
If you don’t have the wrench tool or if you simply want to wipe out the Graven and collect more loot, then backtrack down the east stairs and peek around the corner when you reach the bottom. Study the Graven down the walkway ahead. One periodically walks out from the east alcove, while another regularly moves to the walkway’s far end.
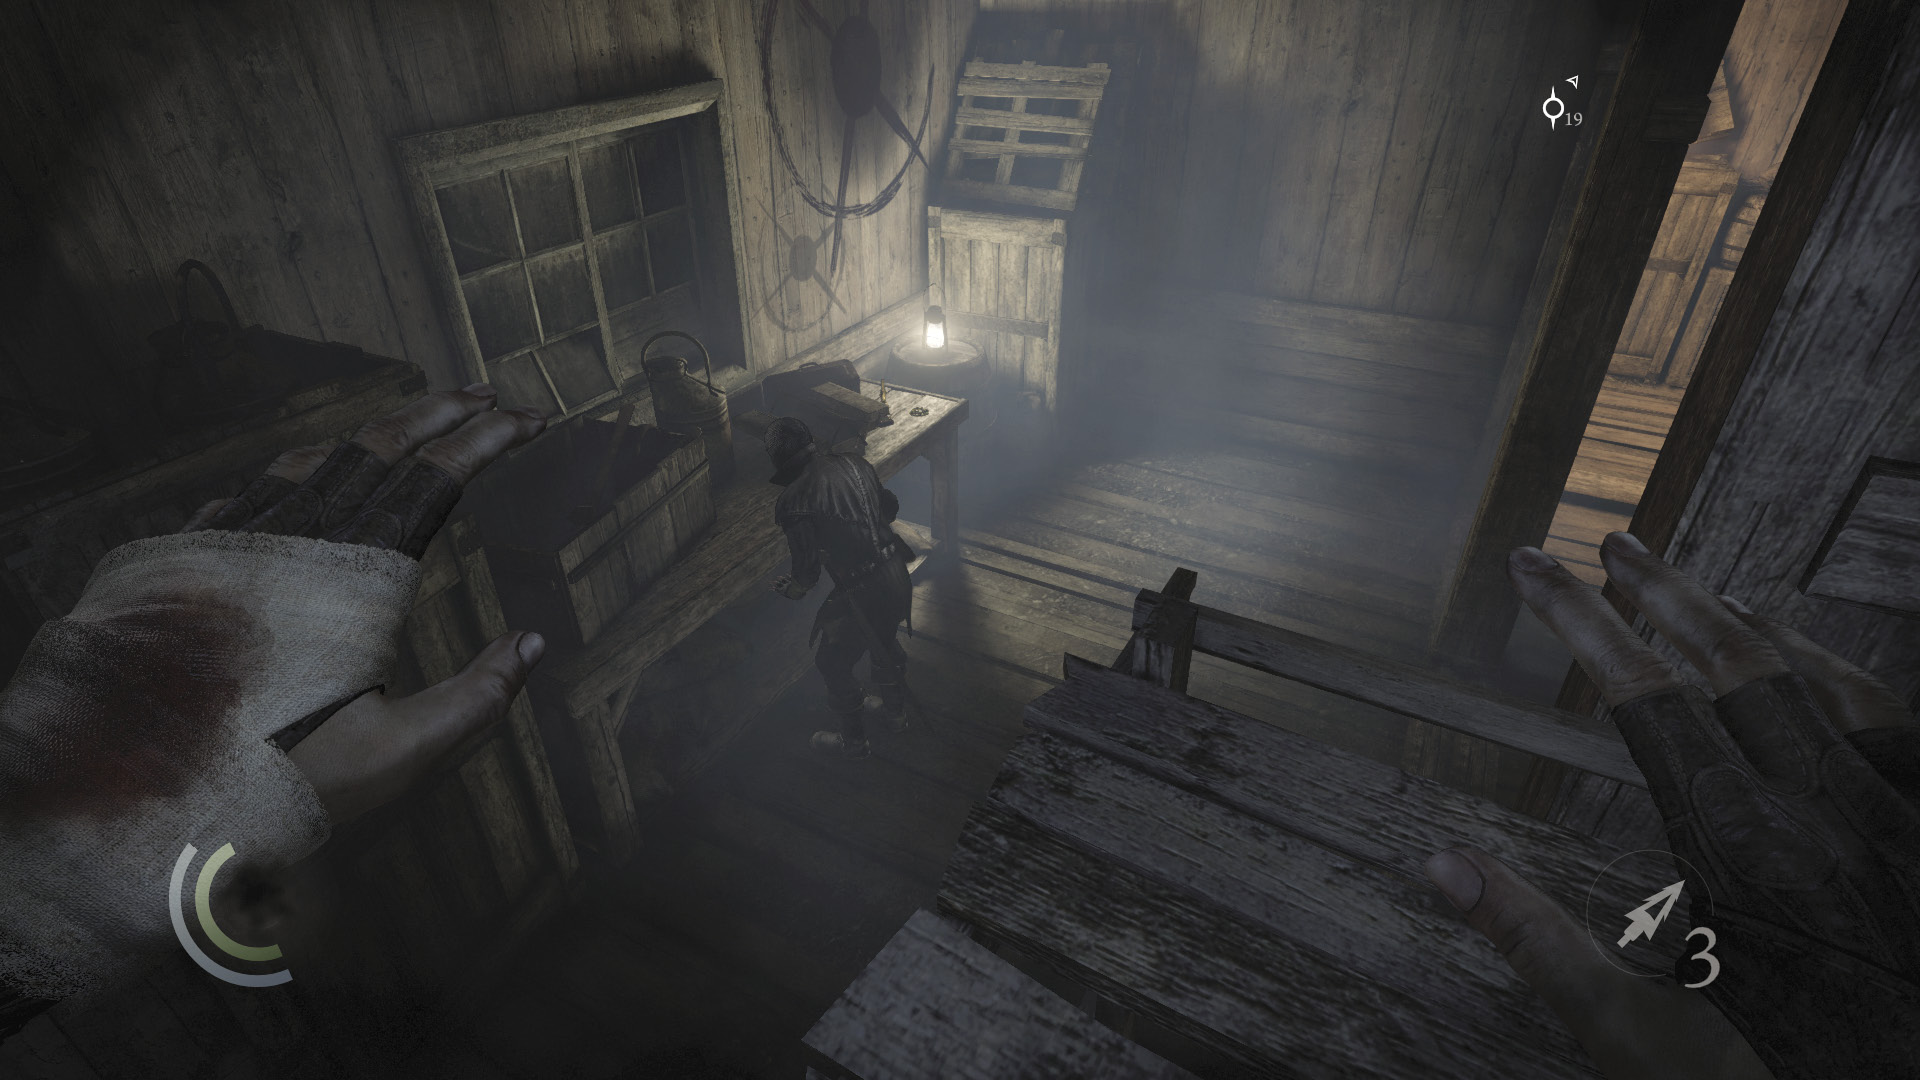
Wait for a moment when both Graven are moving away from the walkway (out of your sight). When this occurs, swoop past the torchlight and then quickly climb onto the shelf on your left.
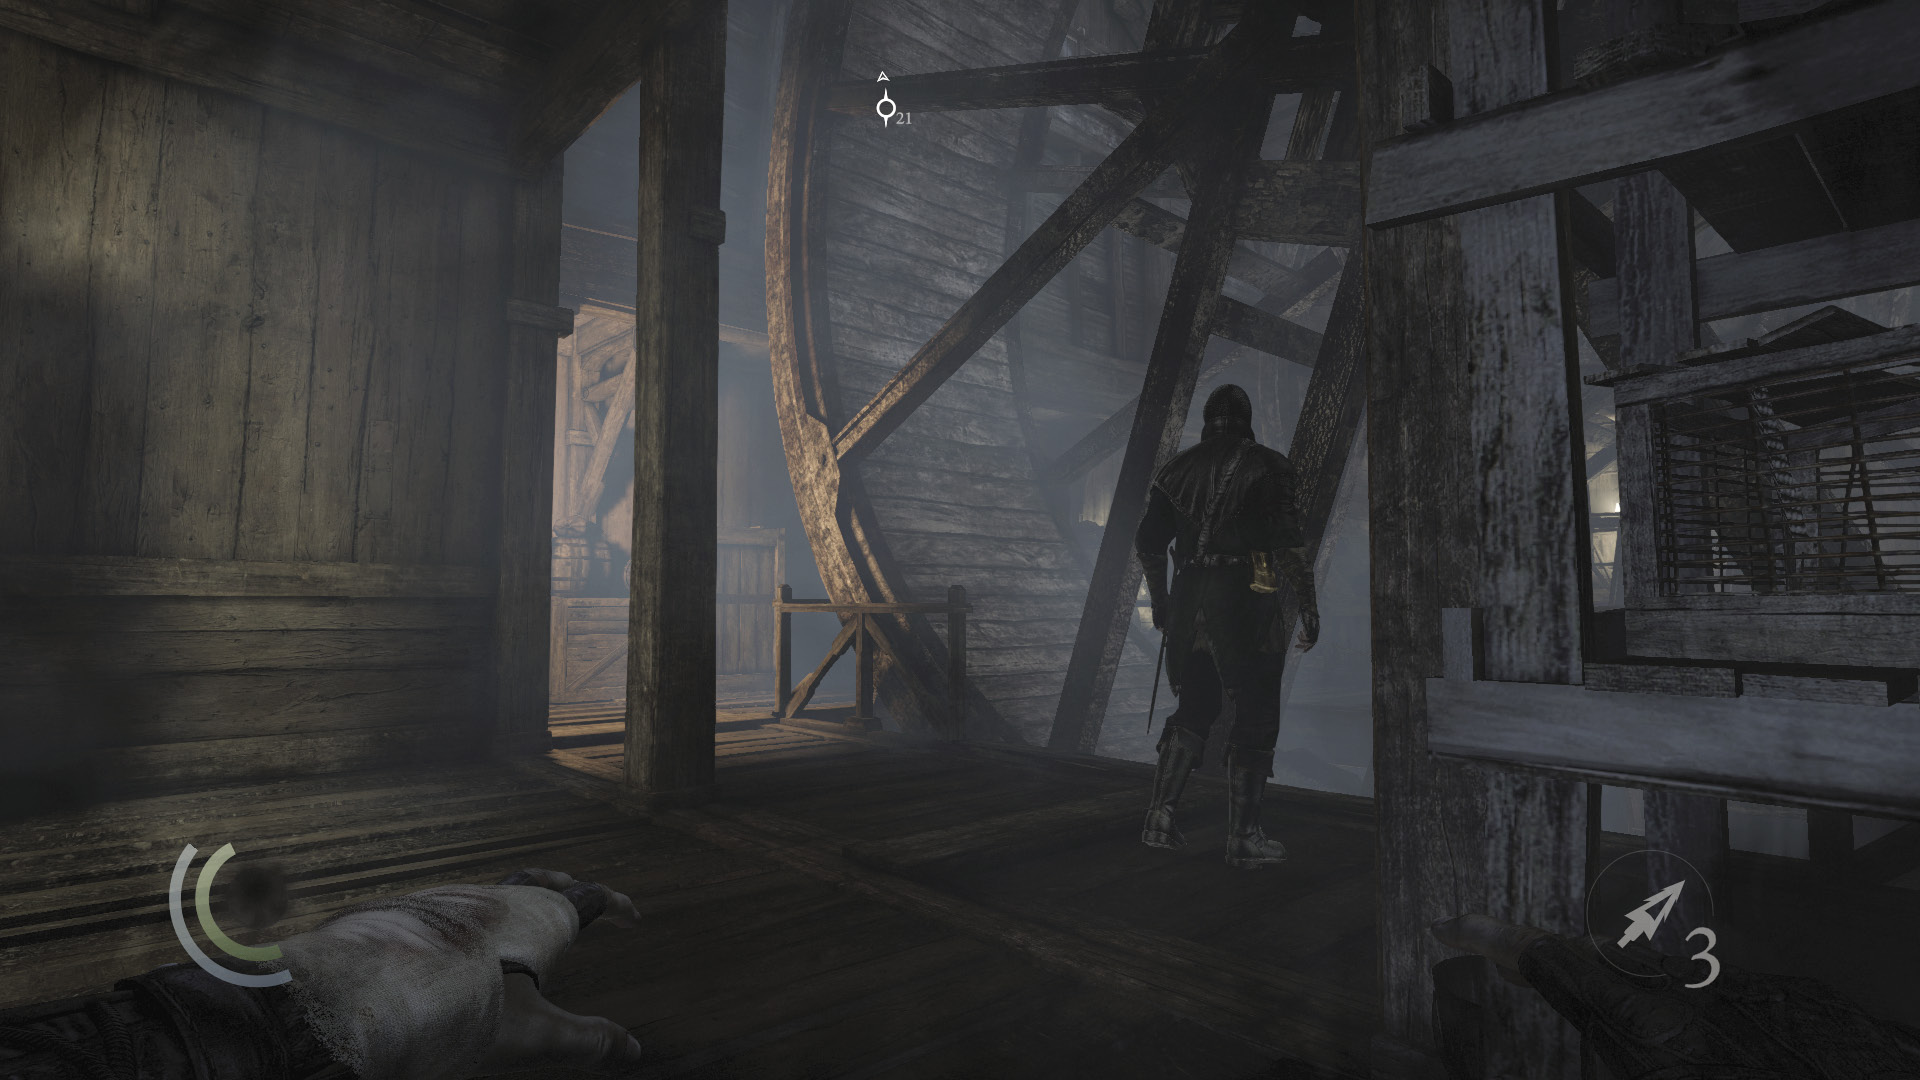
From the height of the shelf, you have a perfect view of the Graven. You can perform an aerial takedown on the alcove Graven from here, but it’s far too risky. Instead, drop from the shelf and hide in the alcove’s north shadows while the alcove Graven is out on the walkway.
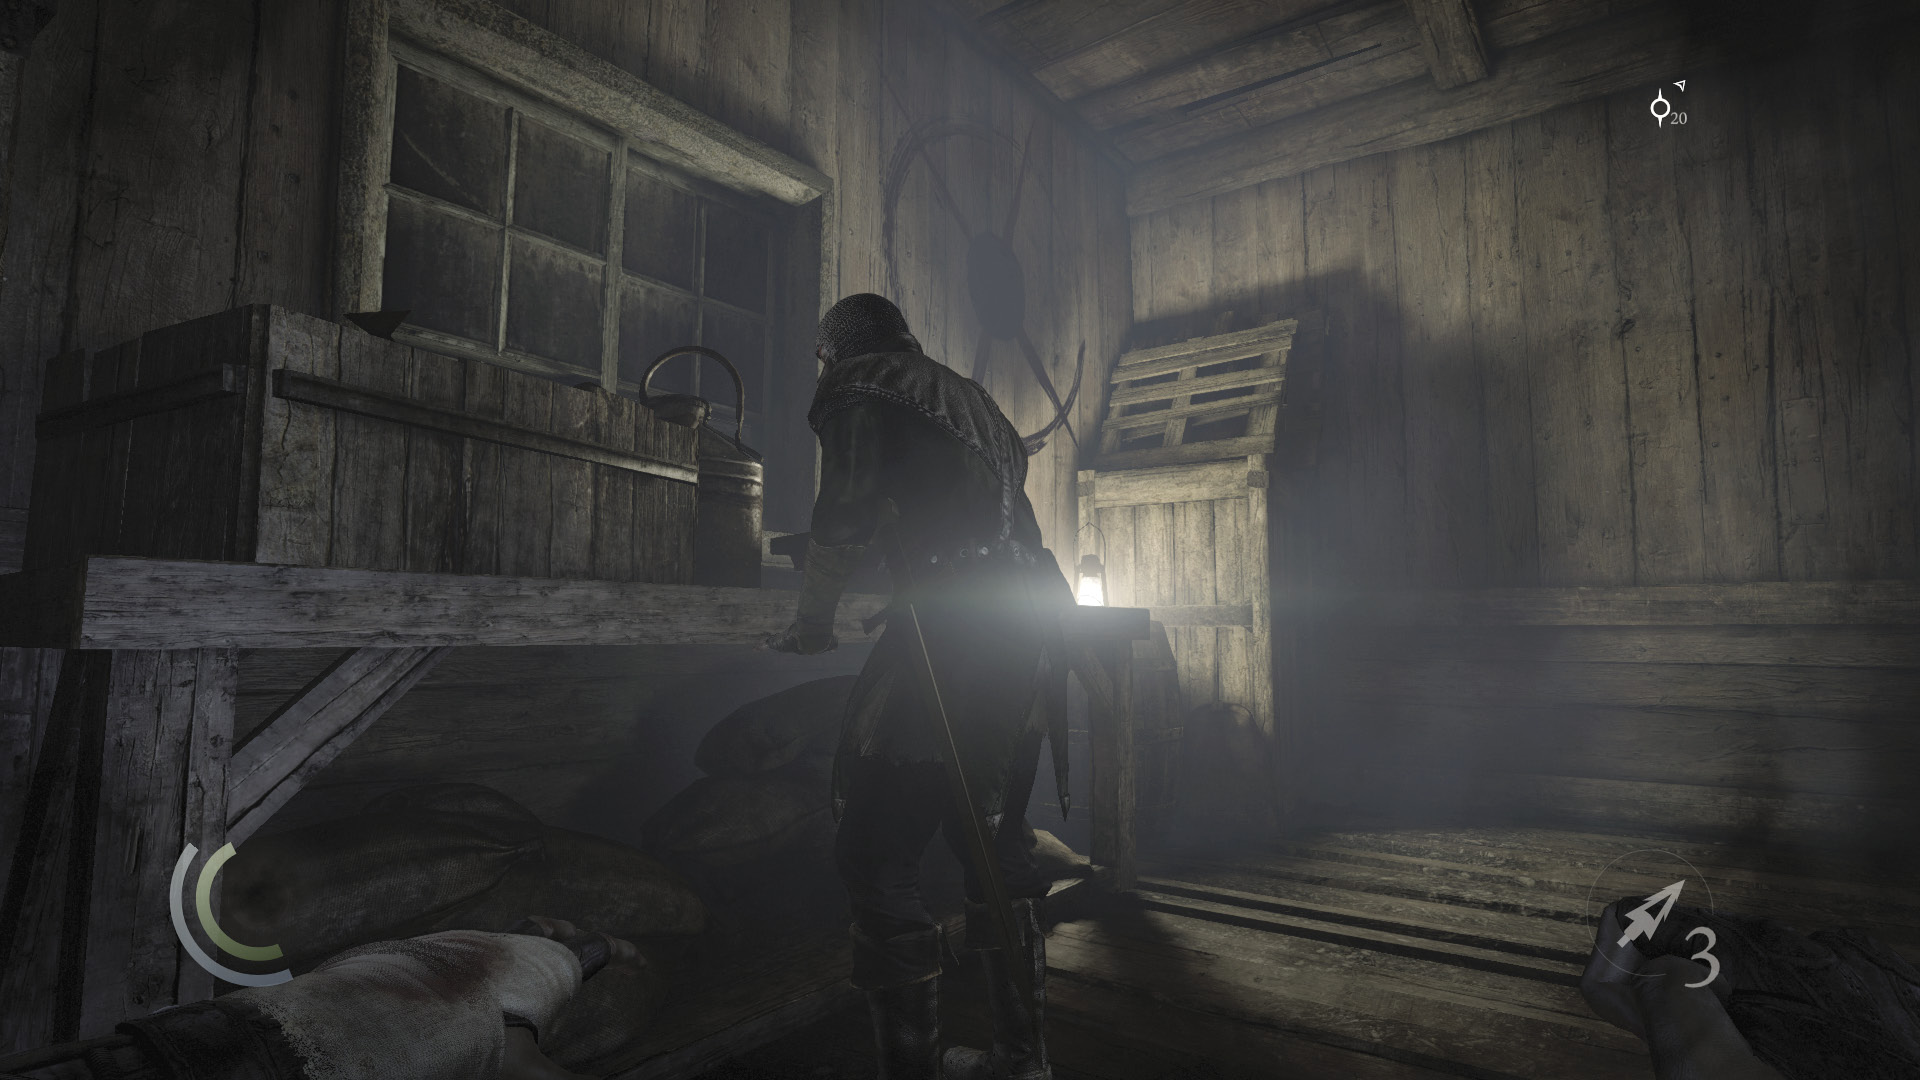
Wait for the alcove Graven to return, then steal his gold and knock him out. The other Graven at the end of the walkway won’t see or hear the struggle.
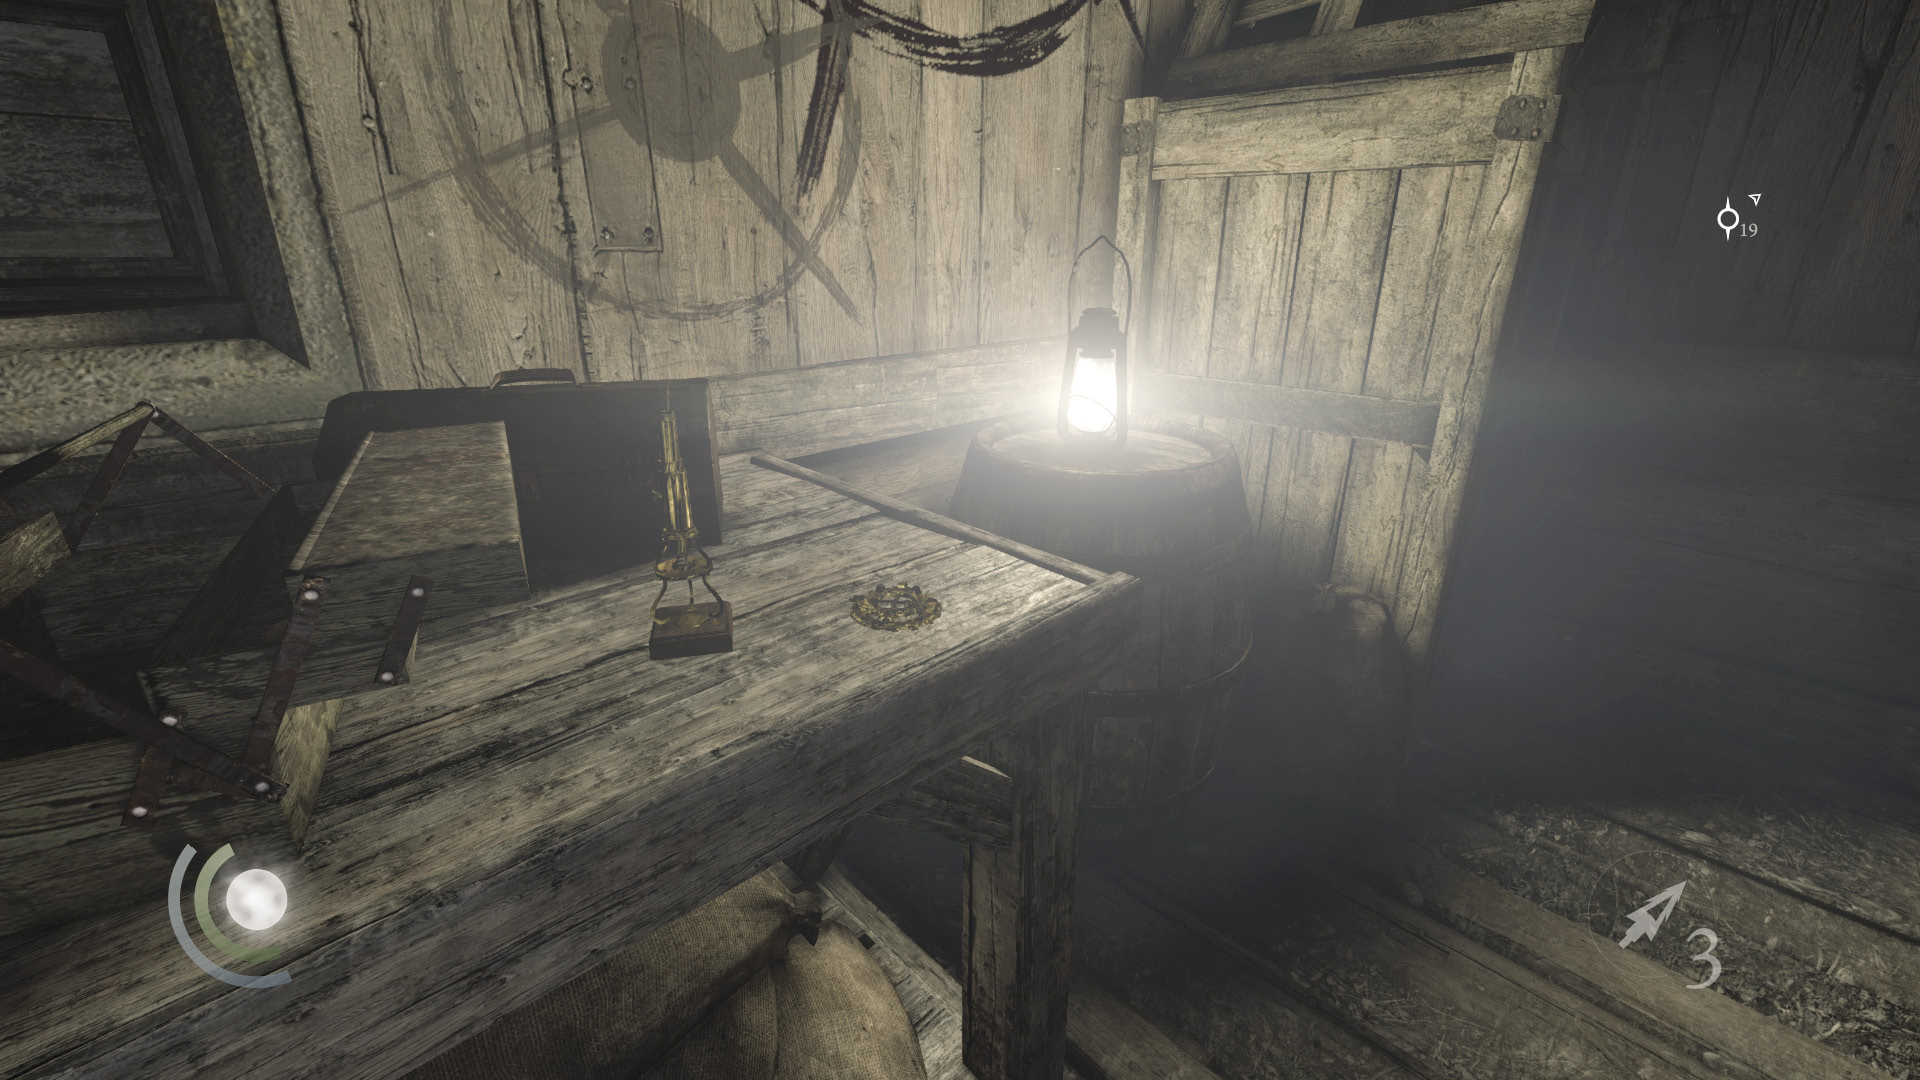
With the alcove Graven down, swipe a microscope and gear from the nearby table, being careful not let the other Graven see you. Climb back over the shelf to return to the east walkway.
 Thieving Challenge: “Lift all loot items” (32/52)
Southern Graven
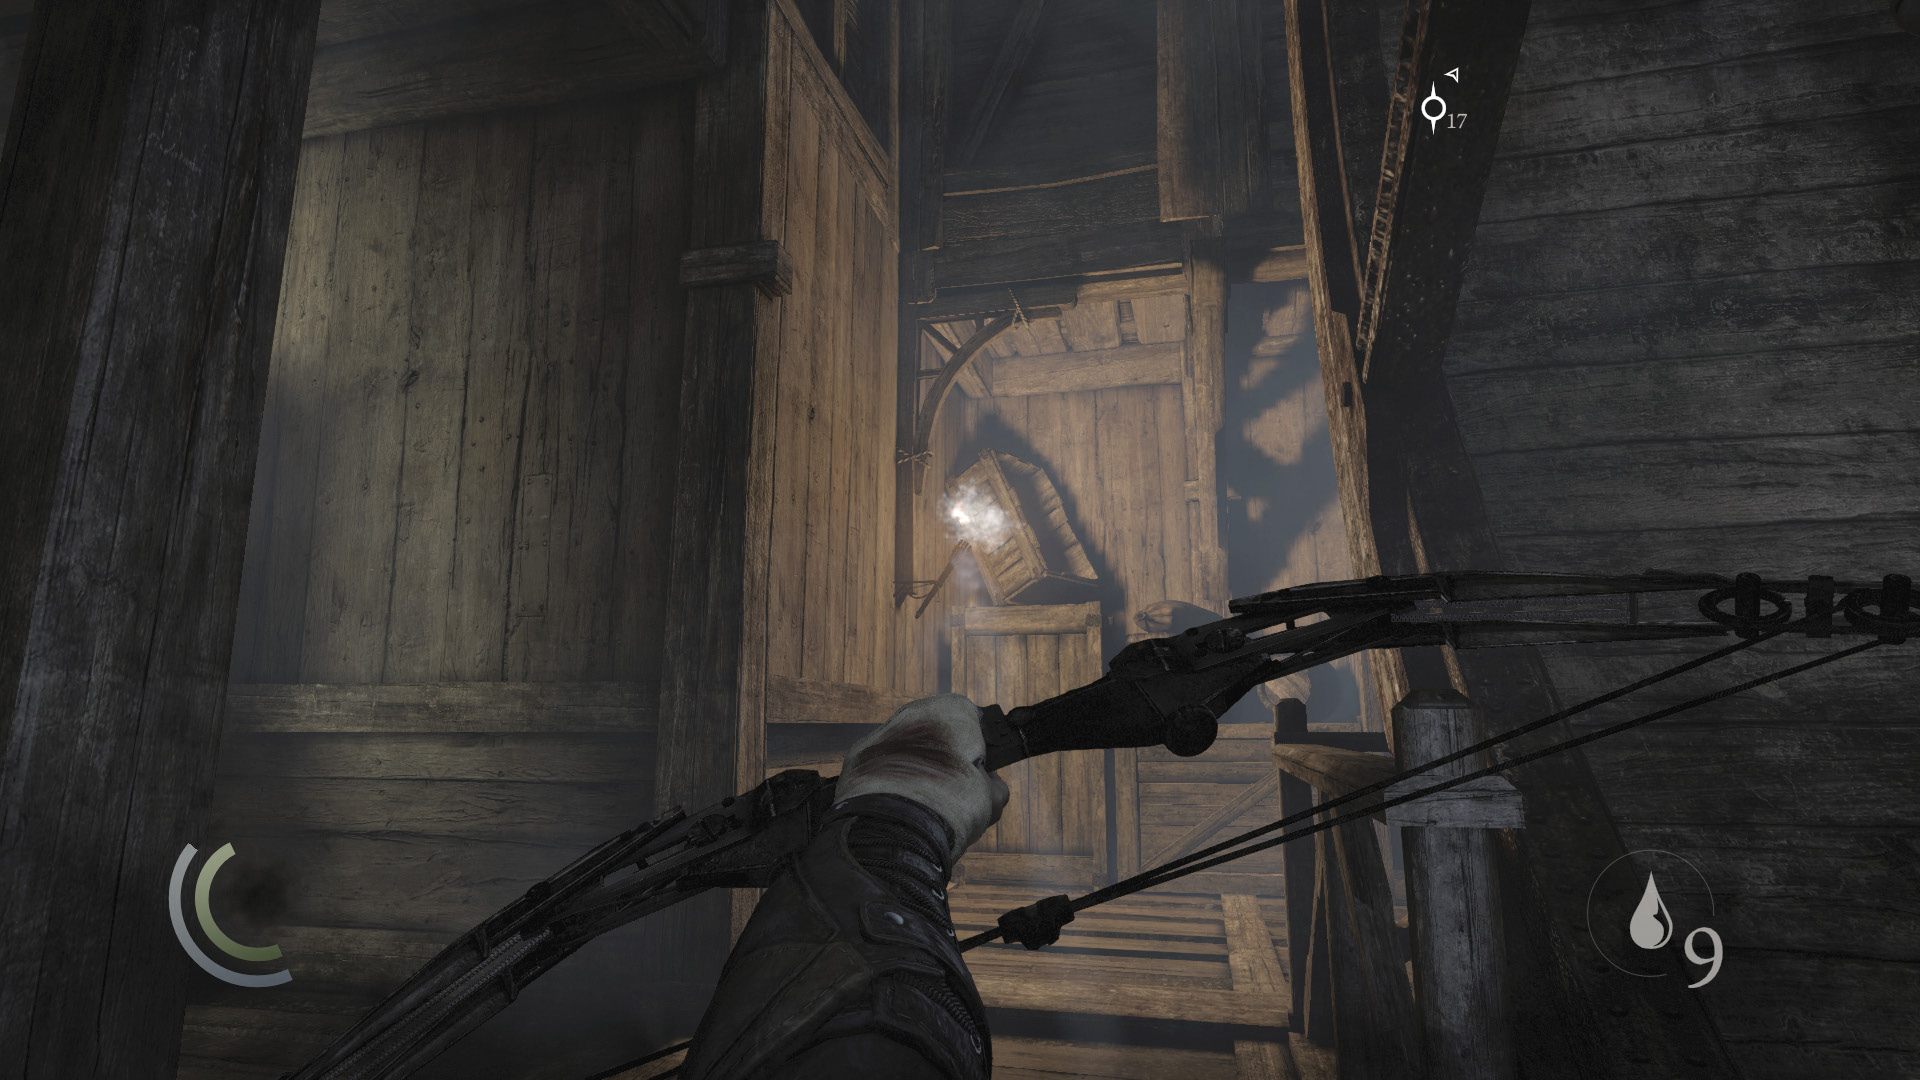
Now let’s get the Graven who patrols the walkway’s south end. Wait until he’s moving off to the west, then loose a water arrow to douse the torch on the wall. As long as the Graven isn’t near the torch or looking at it, he won’t become curious or bother to relight it.
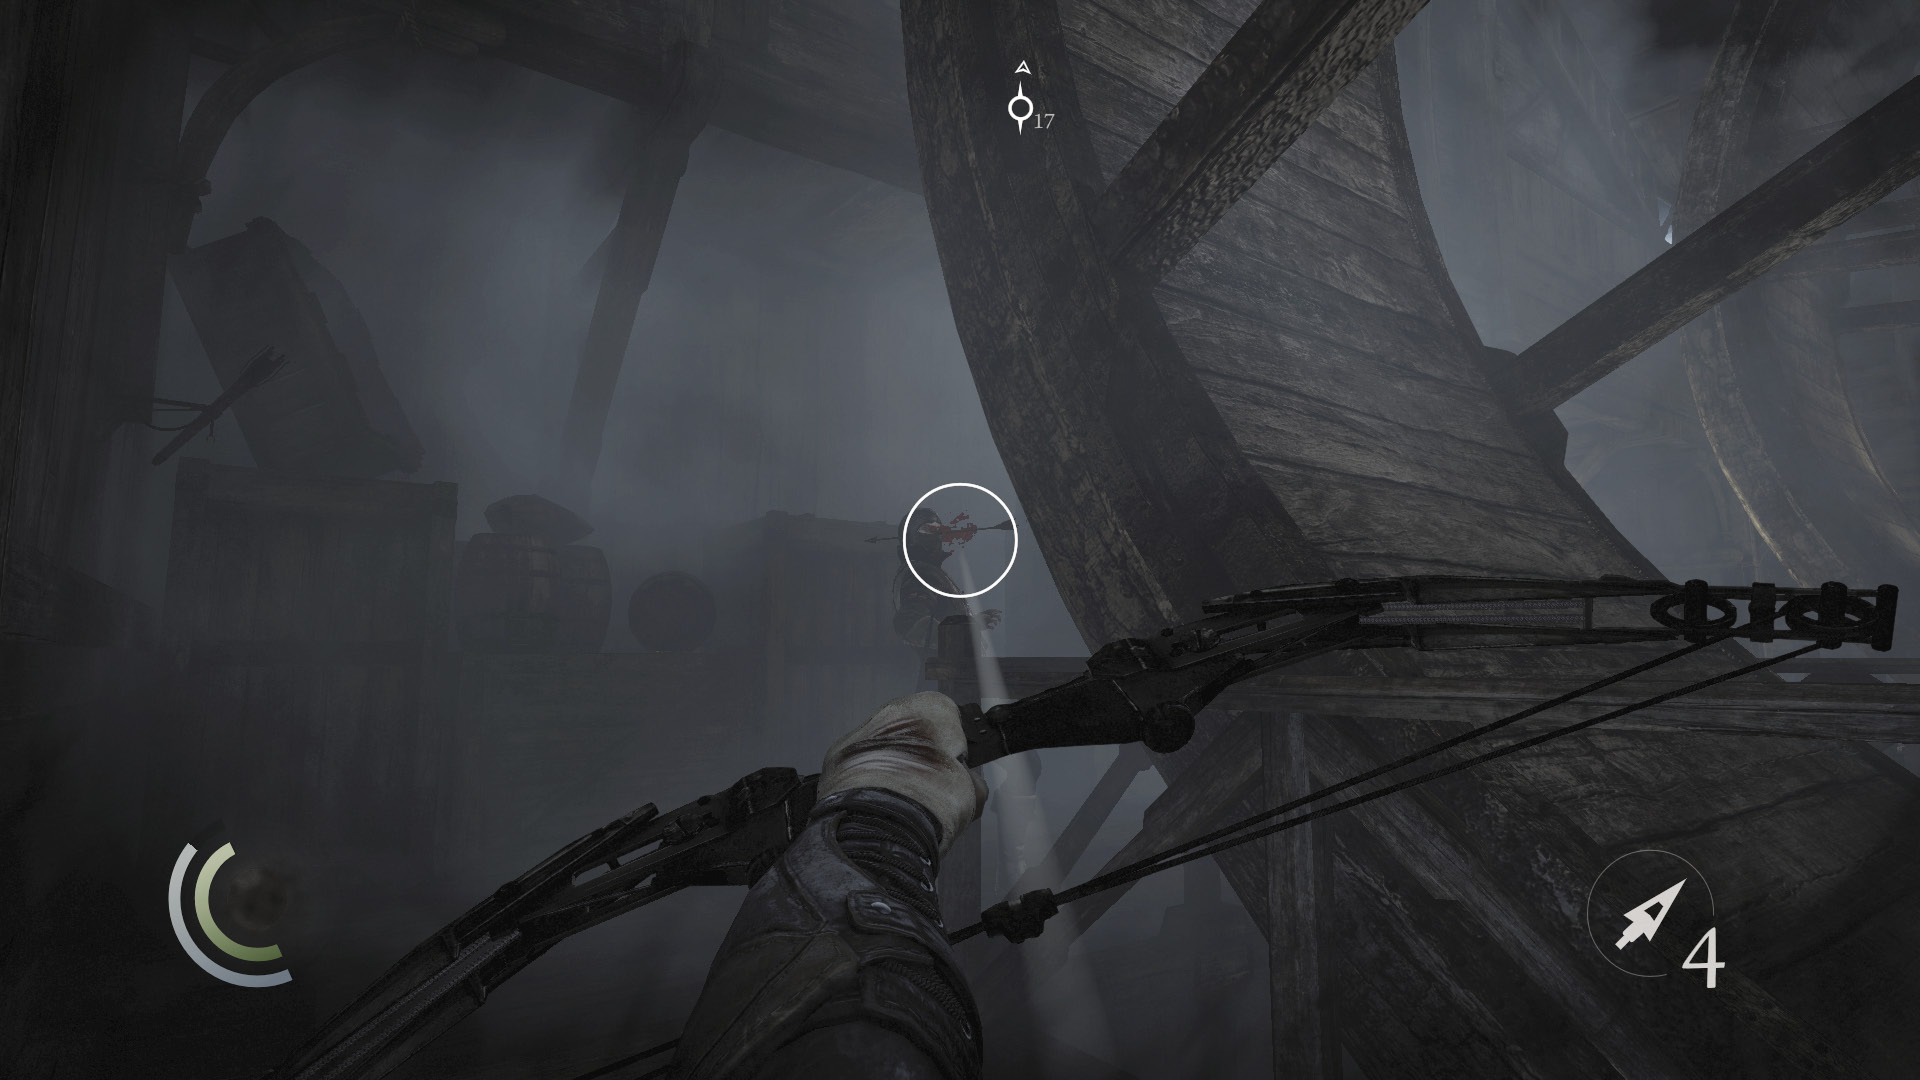
With the torch out, wait for the Graven to return, then slay him with a headshot. With the torch out, no one will witness the murder. Alternately, pursue the Graven, take cover among the south crates, and go for the knockout when he moves toward the doused torch. Either way, swipe the fork off the crate afterward.
 Thieving Challenge: “Lift all loot items” (34/52)
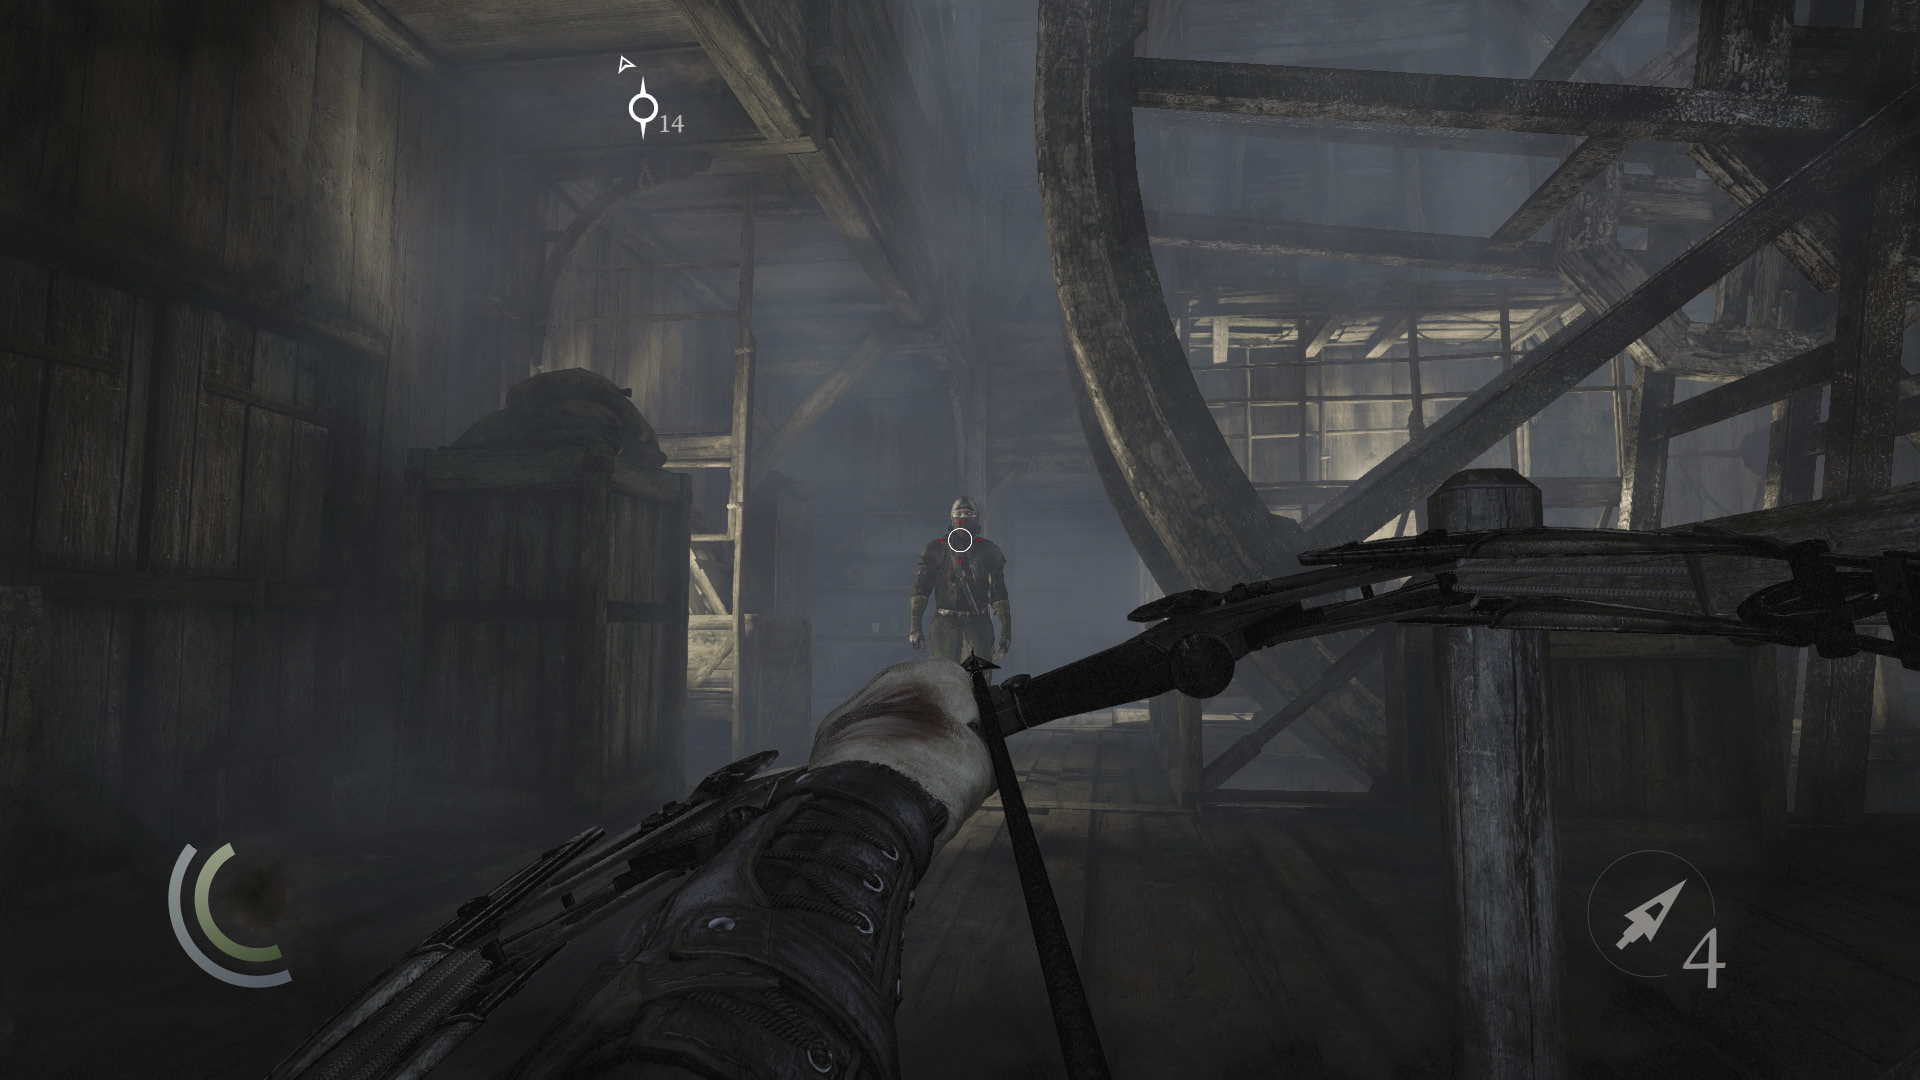
Only two Graven remain. One is stationary to the west, while the other patrols the walkway ahead. Pick off the patrolling Graven with a headshot when he pauses at the end of his walk, facing you. Then simply sneak behind the remaining Graven and crack his skull. Swipe the vase off the nearby shelf and use the cabinet to save before heading upstairs.
 Thieving Challenge: “Lift all loot items” (35/52)
Moving On
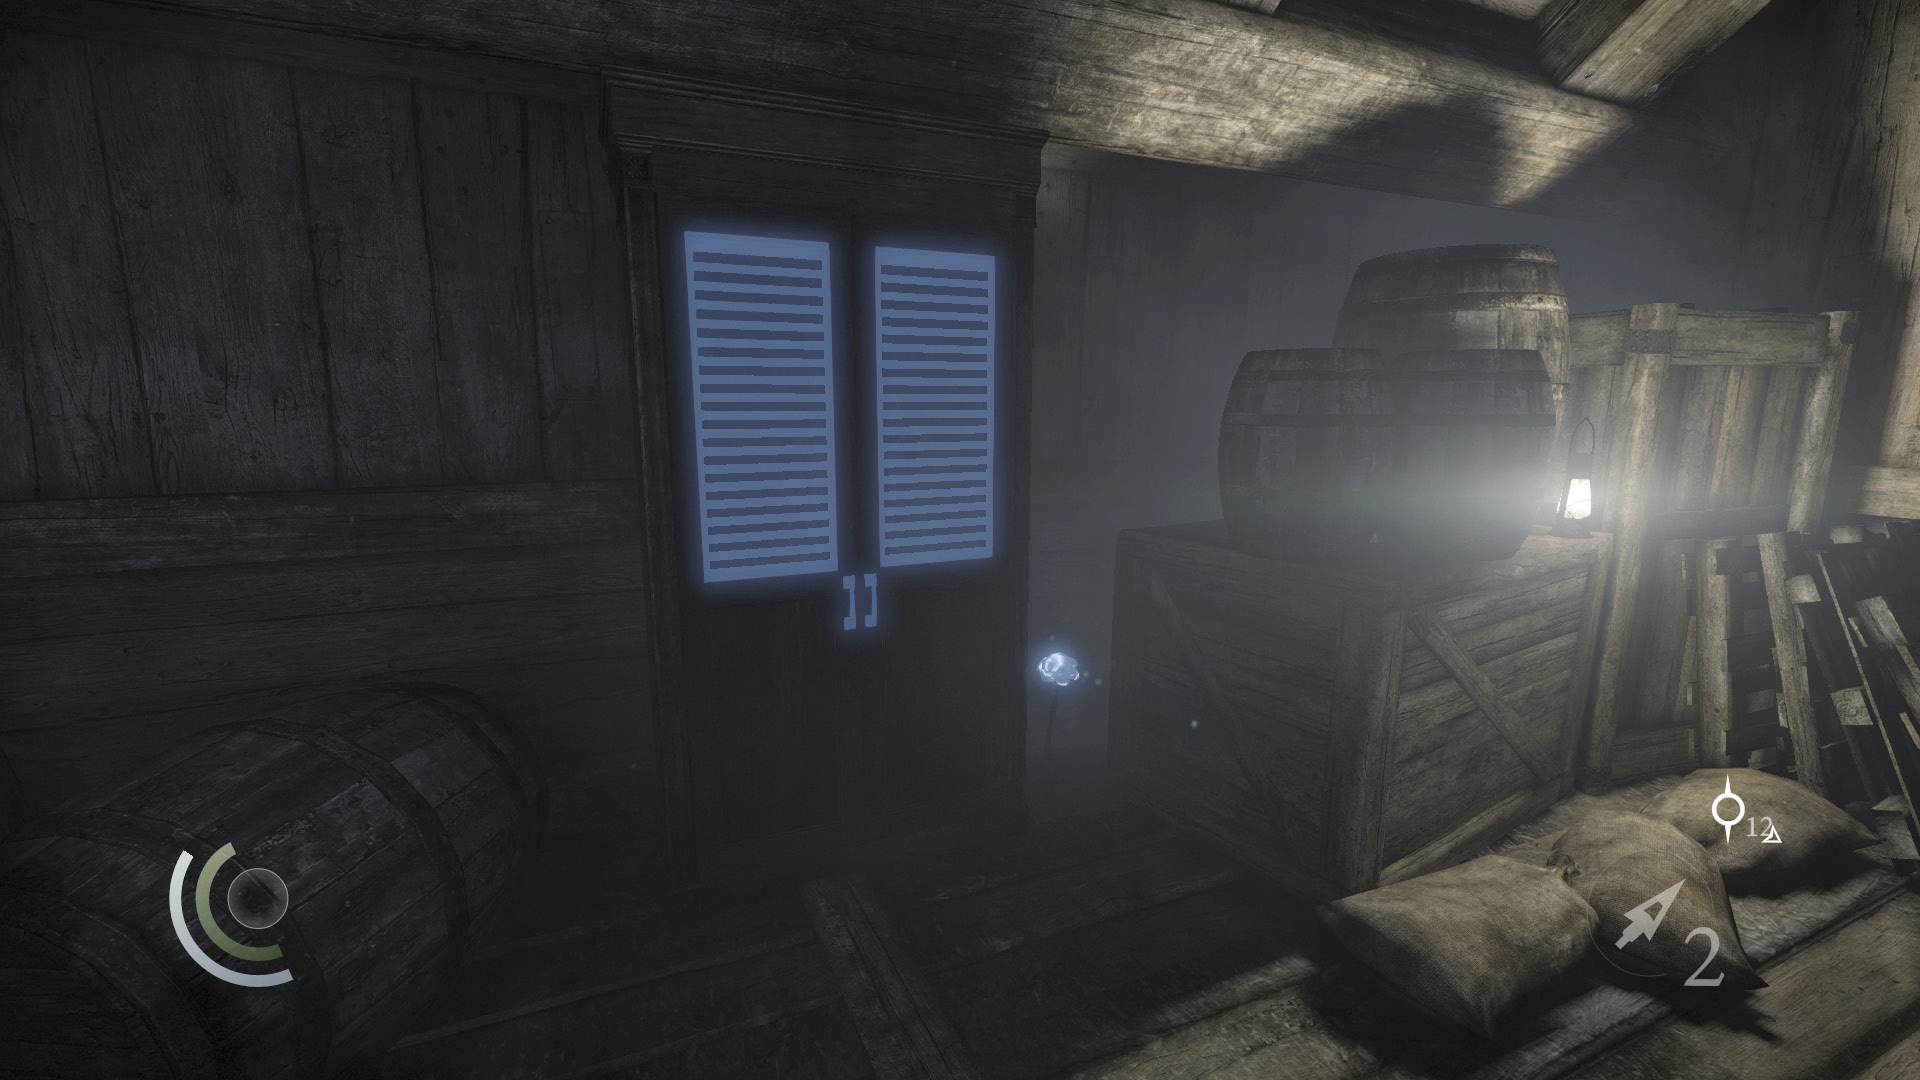
Upstairs, snatch the desk bell and poppy near the cabinet, then use the cabinet to save. Scale the south wall to slip through a window and land on a cargo lift.
 Thieving Challenge: “Lift all loot items” (36/52)
Area 5: Stowage Deck
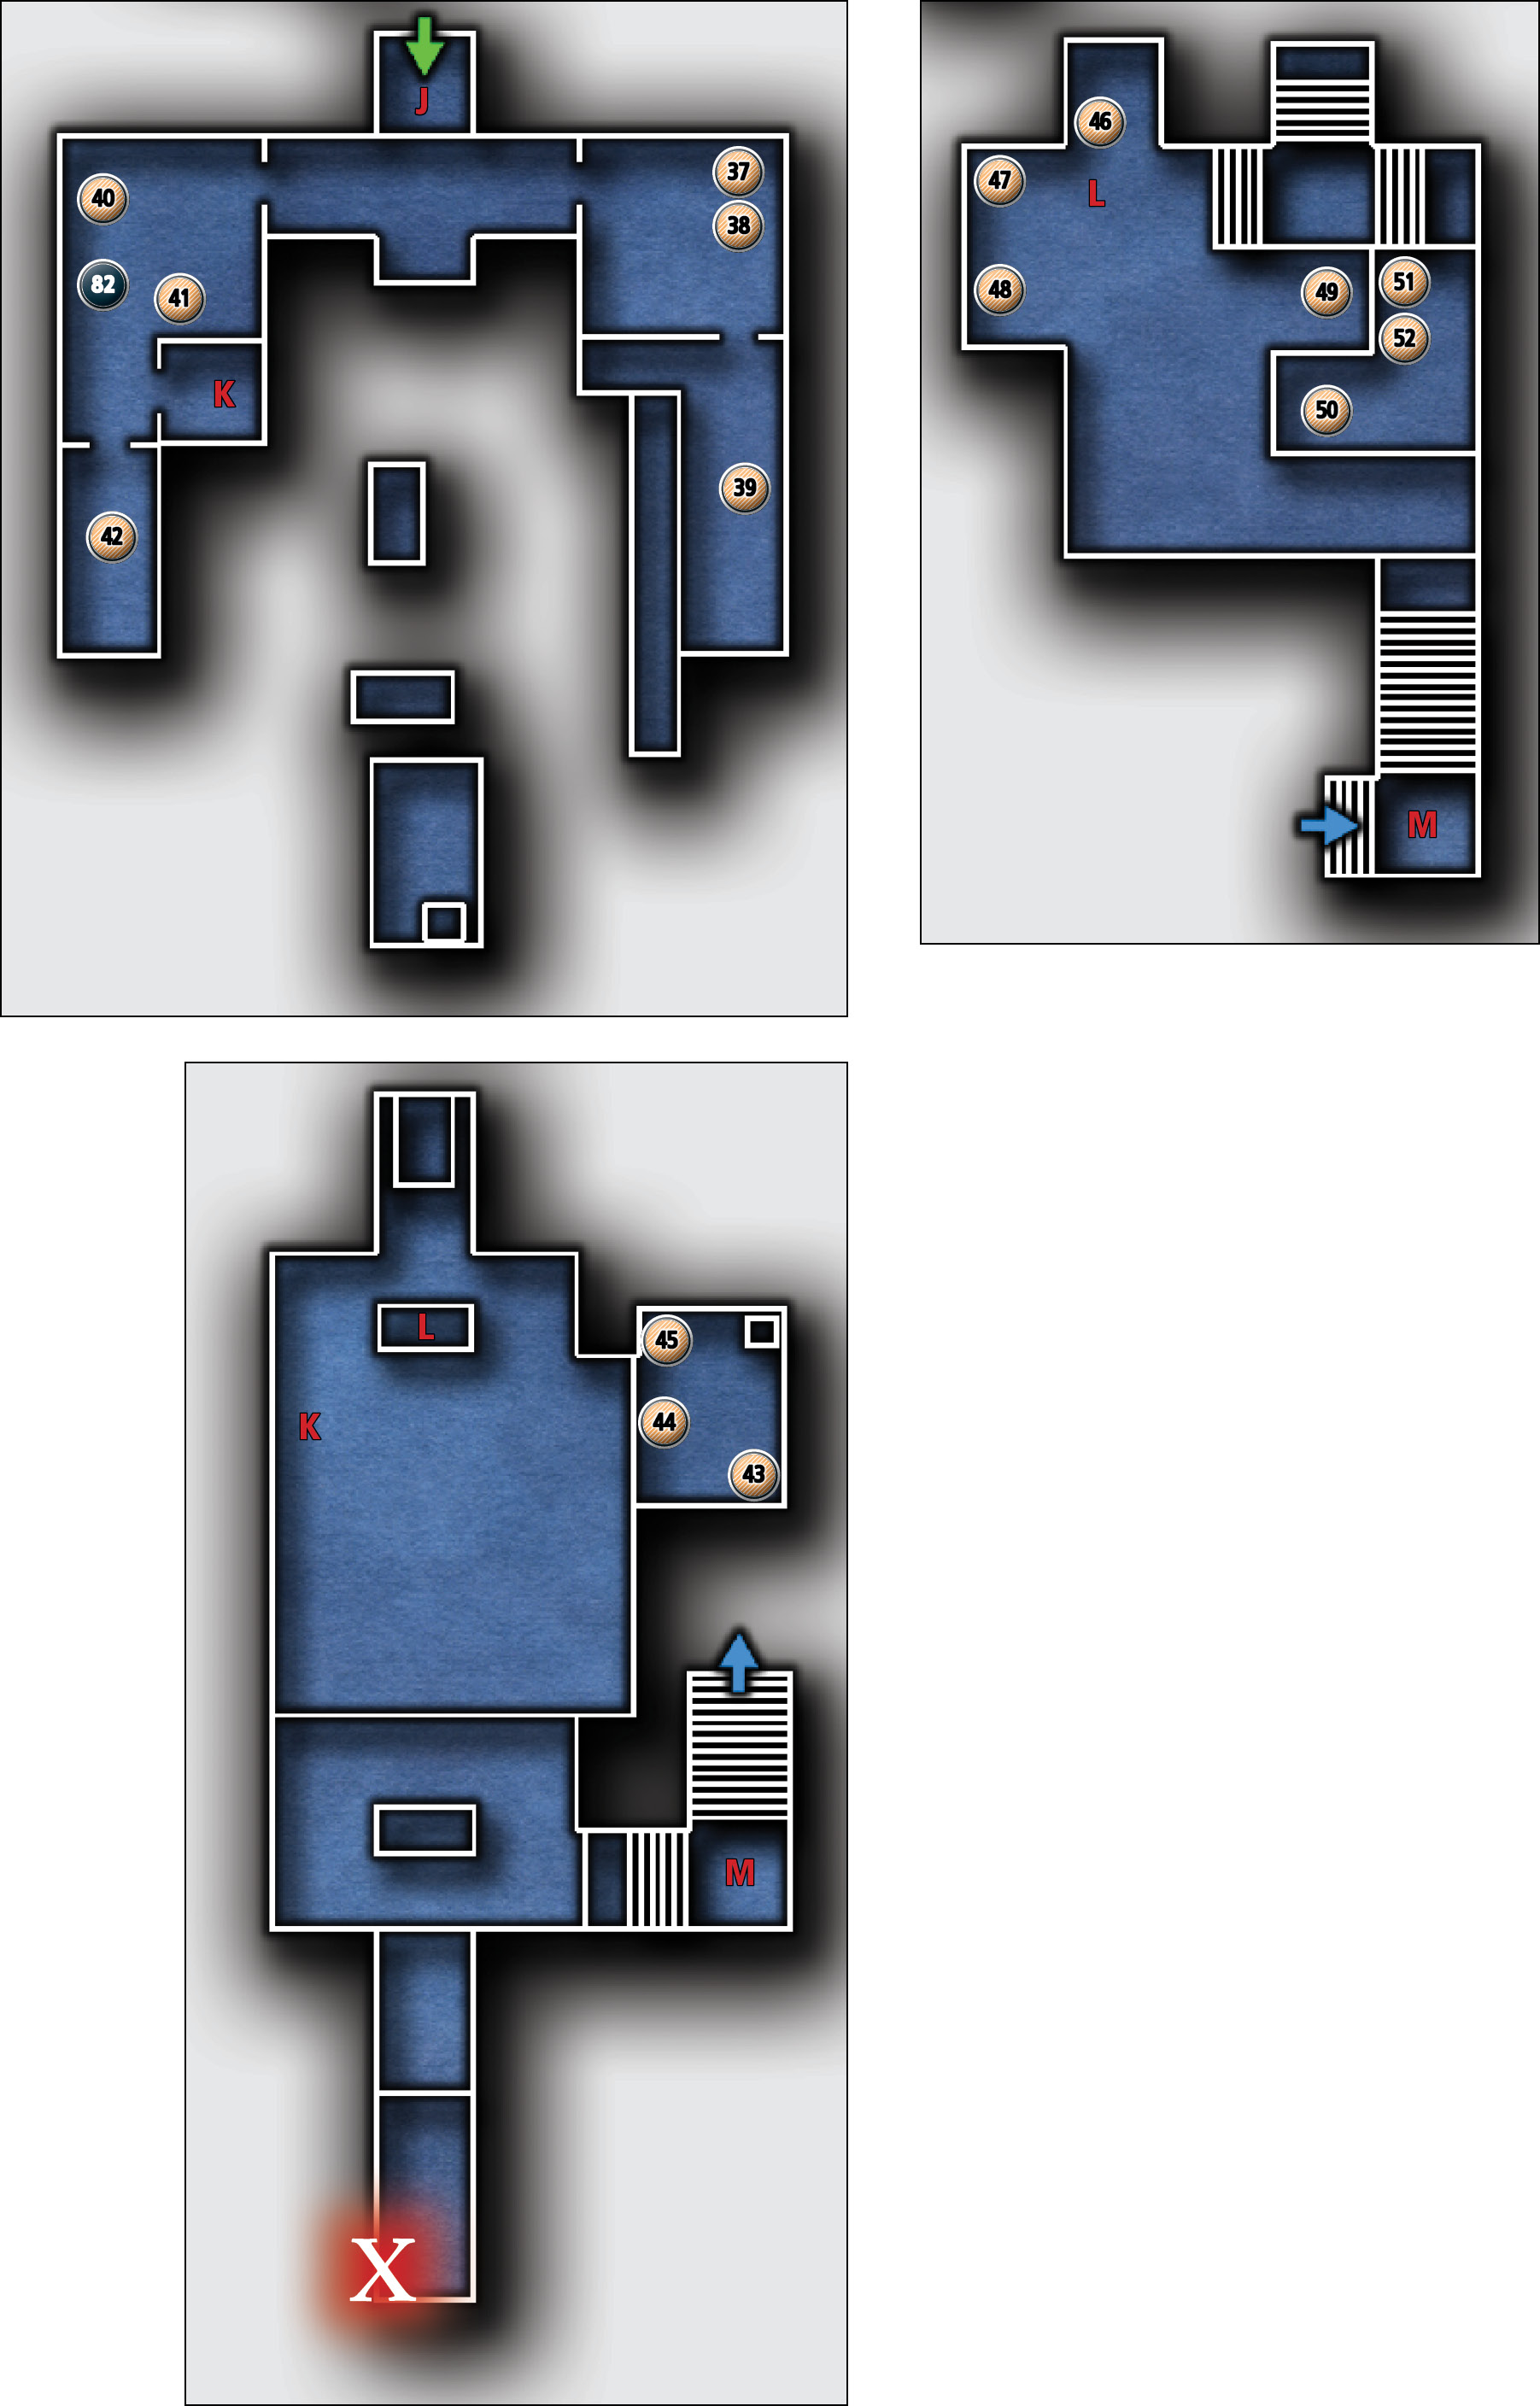
Common Loot
| Map Icon | Item(s) | Found? |
|---|---|---|
 |
Teacup | |
 |
Teapot | |
 |
Surgical scissors | |
 |
Syringe | |
 |
Magnifying glass | |
 |
Gilded bottle | |
 |
Urn | |
 |
Surgical scissors | |
 |
Gear | |
 |
Gilded bottle | |
 |
Magnifying glass | |
 |
Surgical scissors | |
 |
Urn | |
 |
Syringe | |
 |
Telescope | |
 |
Gear |
Collectible Loot
| Map Icon | Item(s) | Found? |
|---|---|---|
 |
Compassion, Foul |
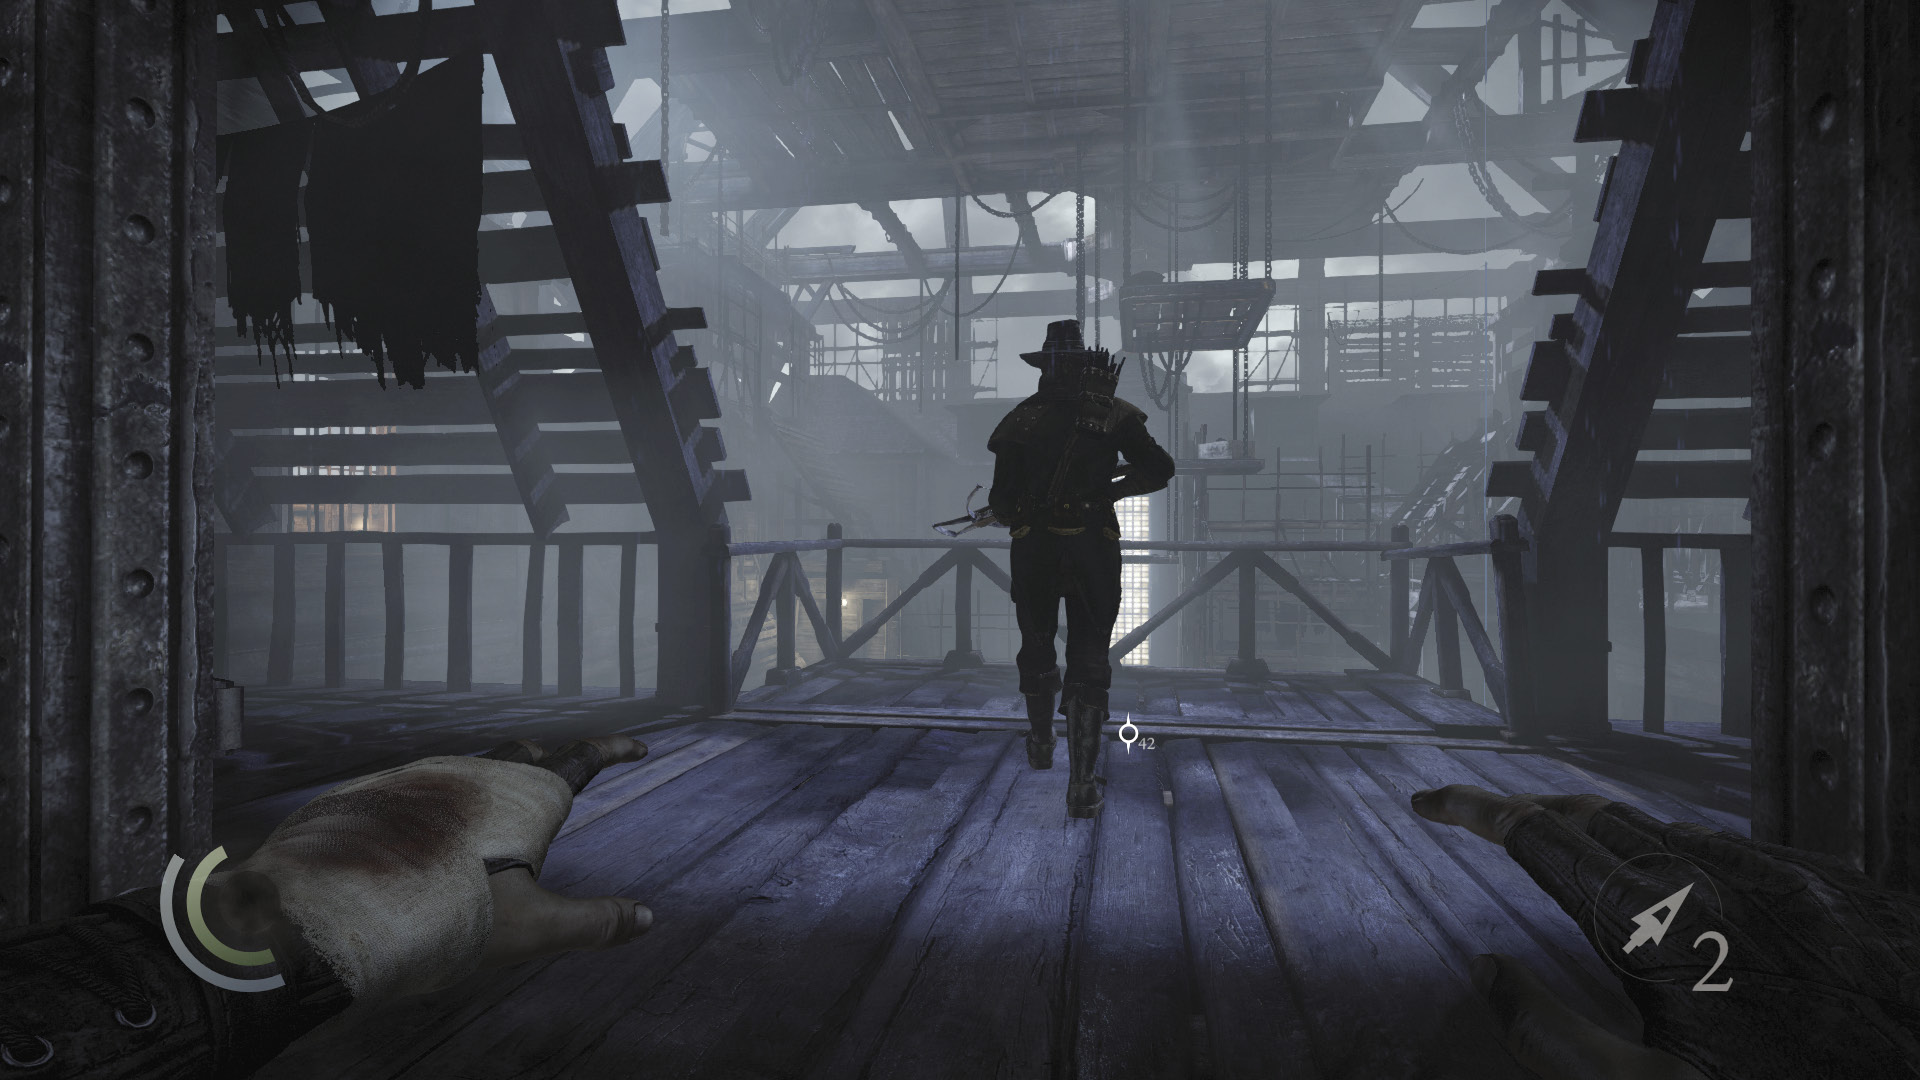
The lift groans under Garrett’s weight and slowly delivers him to a lower deck. Crouch and press your back against the lift’s rear wall to avoid being spotted by the crossbow Graven who patrols the balcony ahead.
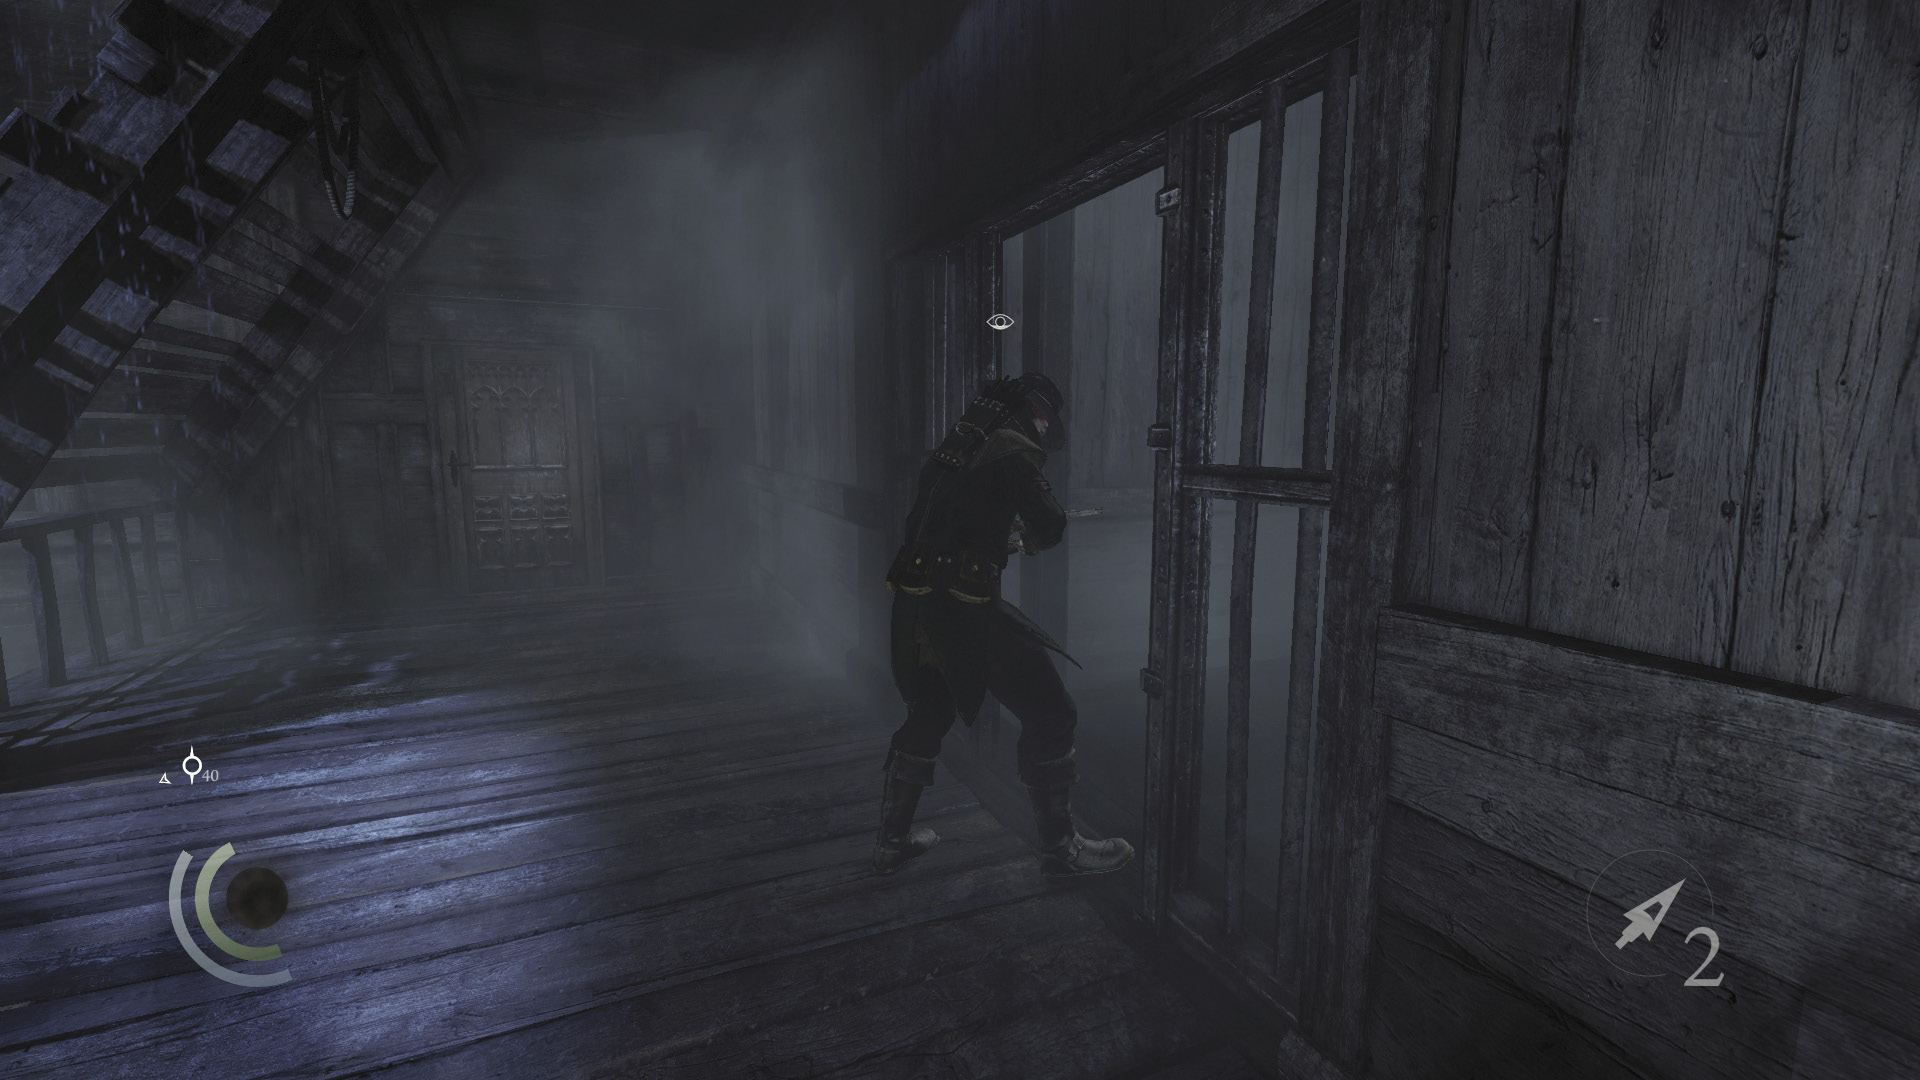
When the Graven turns to check the south balcony, sneak out of the lift and steal all three of his purses. Swoop to the shadows afterward, waiting for him to move back to the elevator. Knock him out from behind when he does.
East Room and Balcony
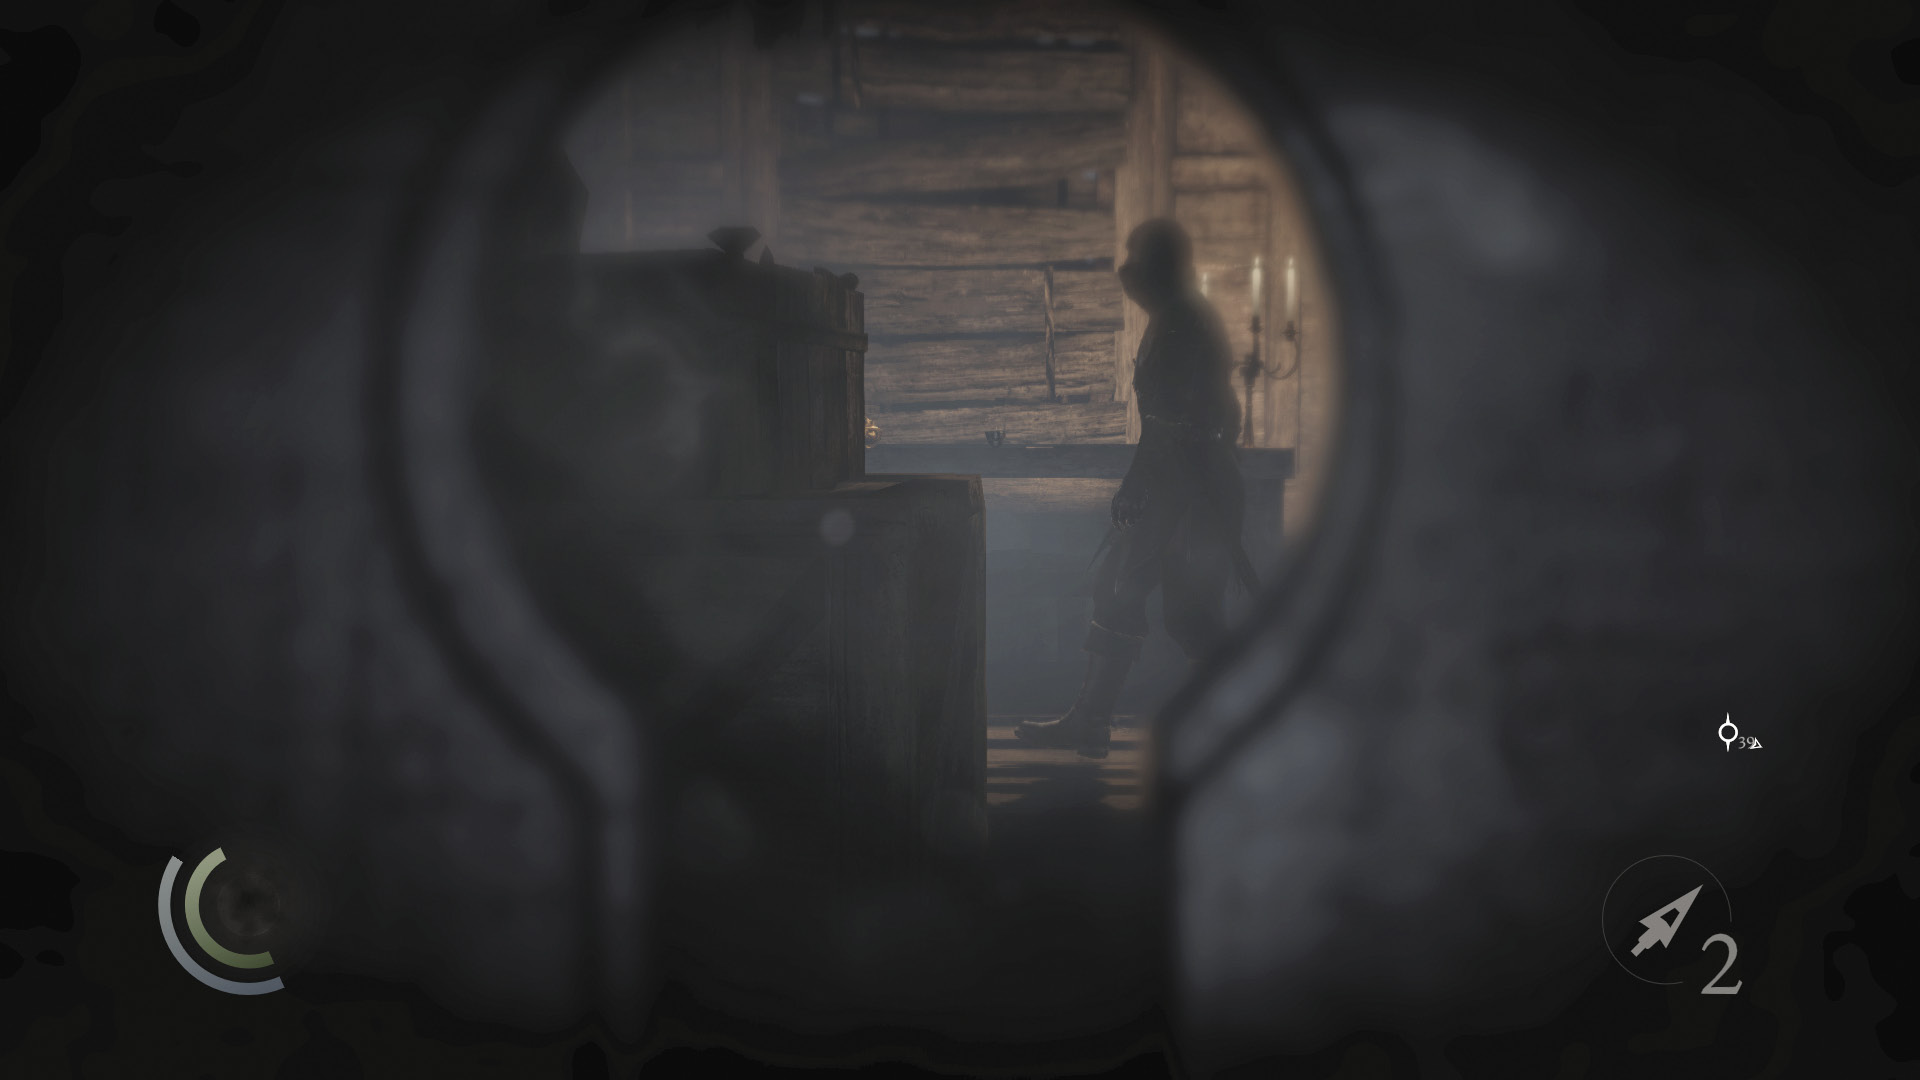
Peek through the east door’s keyhole after dropping the crossbow Graven. Spy another Graven pacing back and forth in the small room beyond. Open the door when the Graven is moving to the right (south).
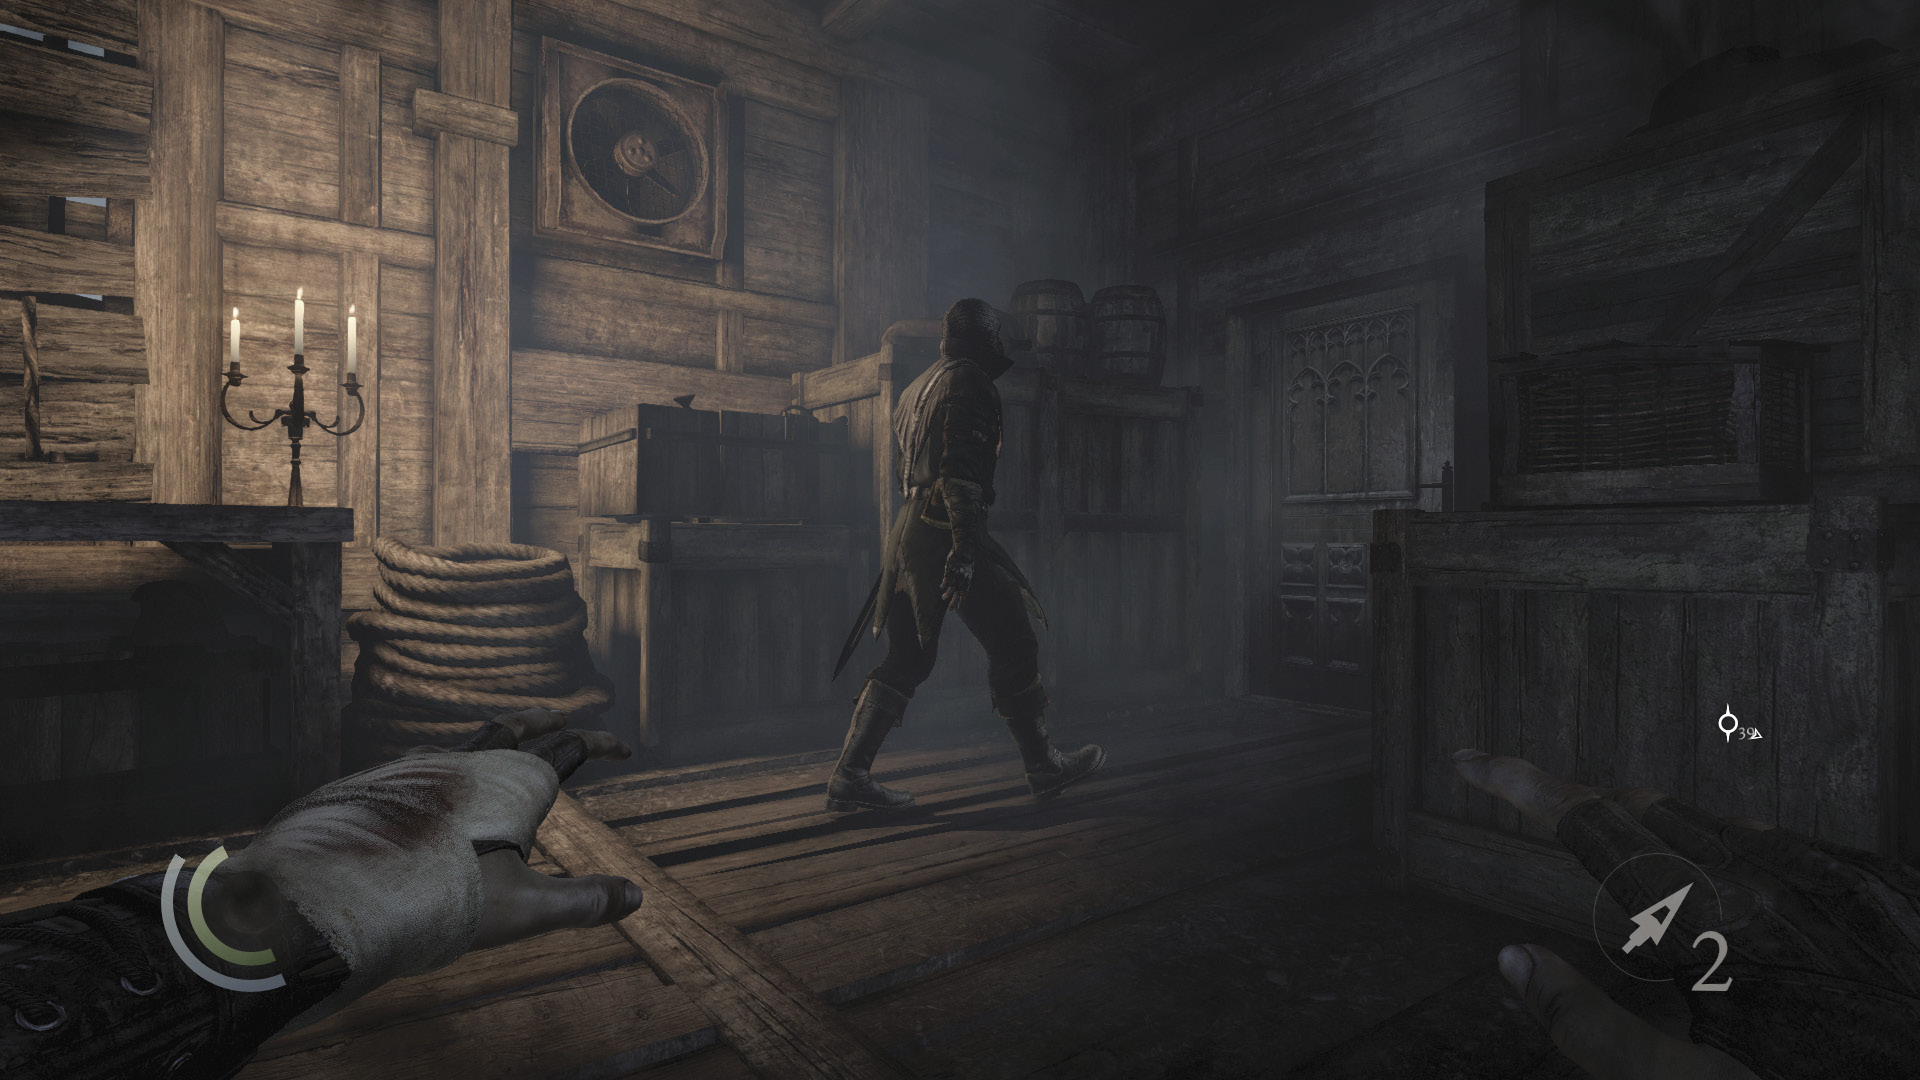
Knock out the Graven from behind, then snuff out the room’s candles and collect the teacup and teapot on the table. Be careful not to let the crossbow Graven outside the room spot you through the windows.
 Thieving Challenge: “Lift all loot items” (38/52)
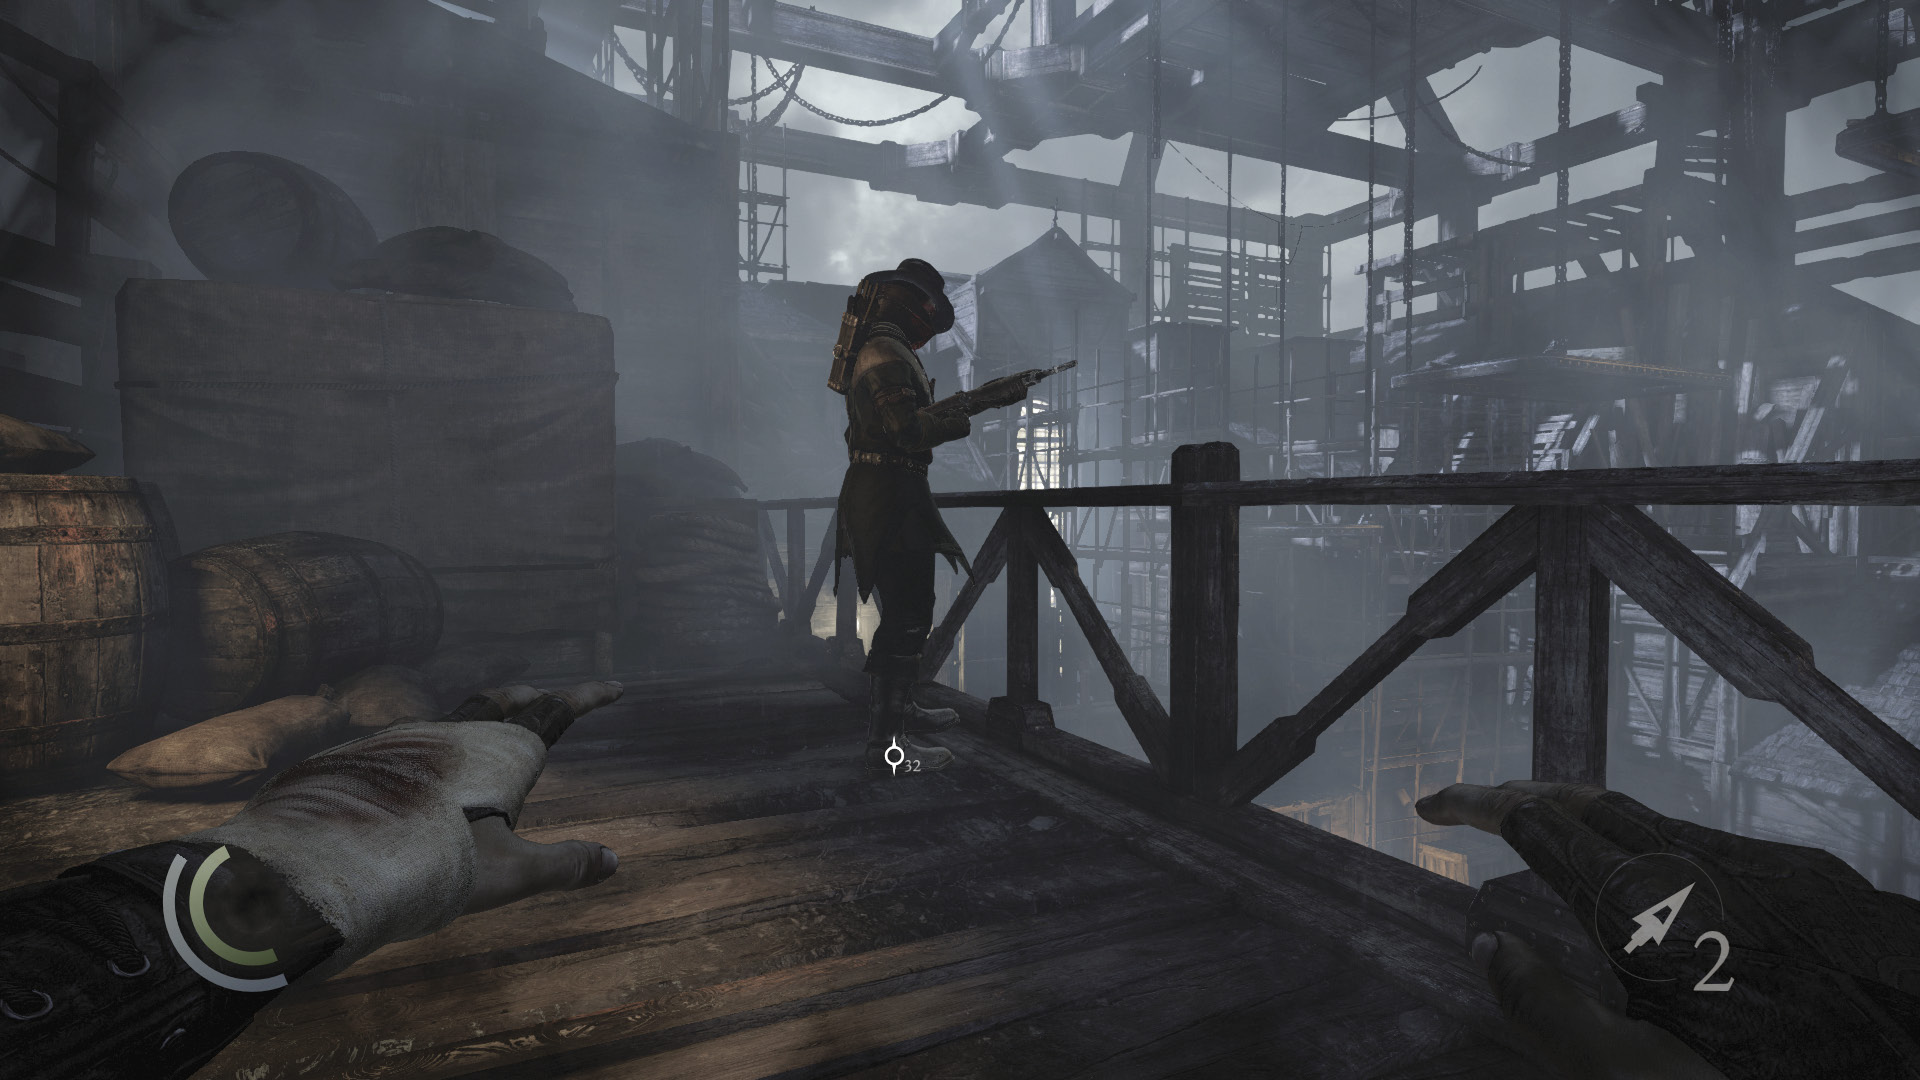
Open the south door when the outdoor crossbow Graven isn’t looking, then peek around the door frame. Sneak out and neutralize the Graven when a chance permits—no one will see you up here. Grab the nearby surgical scissors after the deed is done.
 Thieving Challenge: “Lift all loot items” (39/52)
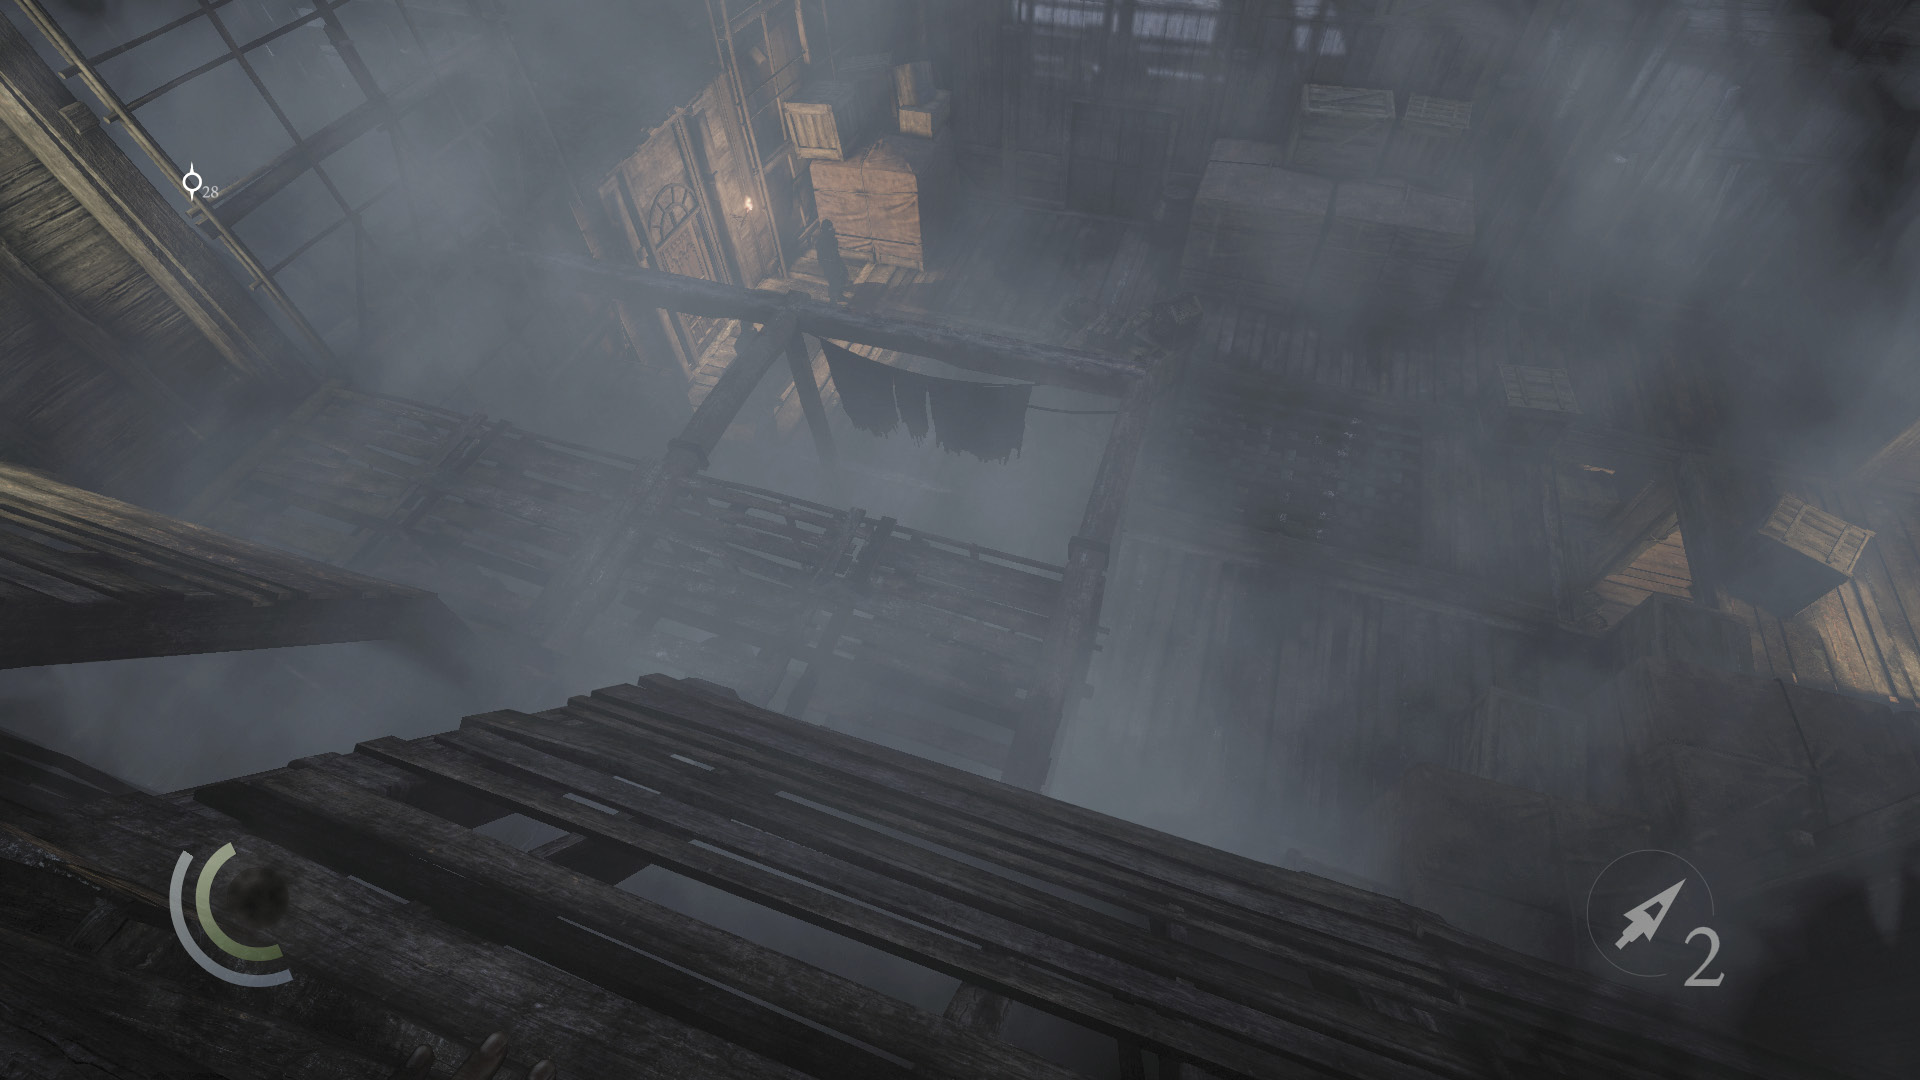
If you move to the balcony’s south end, you can hop the railing and slide down a roof to reach some wooden beams. This places you in position to perform aerial takedowns on two of the three guards below, but knocking any of them out in this fashion will result in the remaining guards attacking you. Resist the urge unless you’re feeling especially violent, and backtrack to the cargo lift instead.
West Room and Balcony
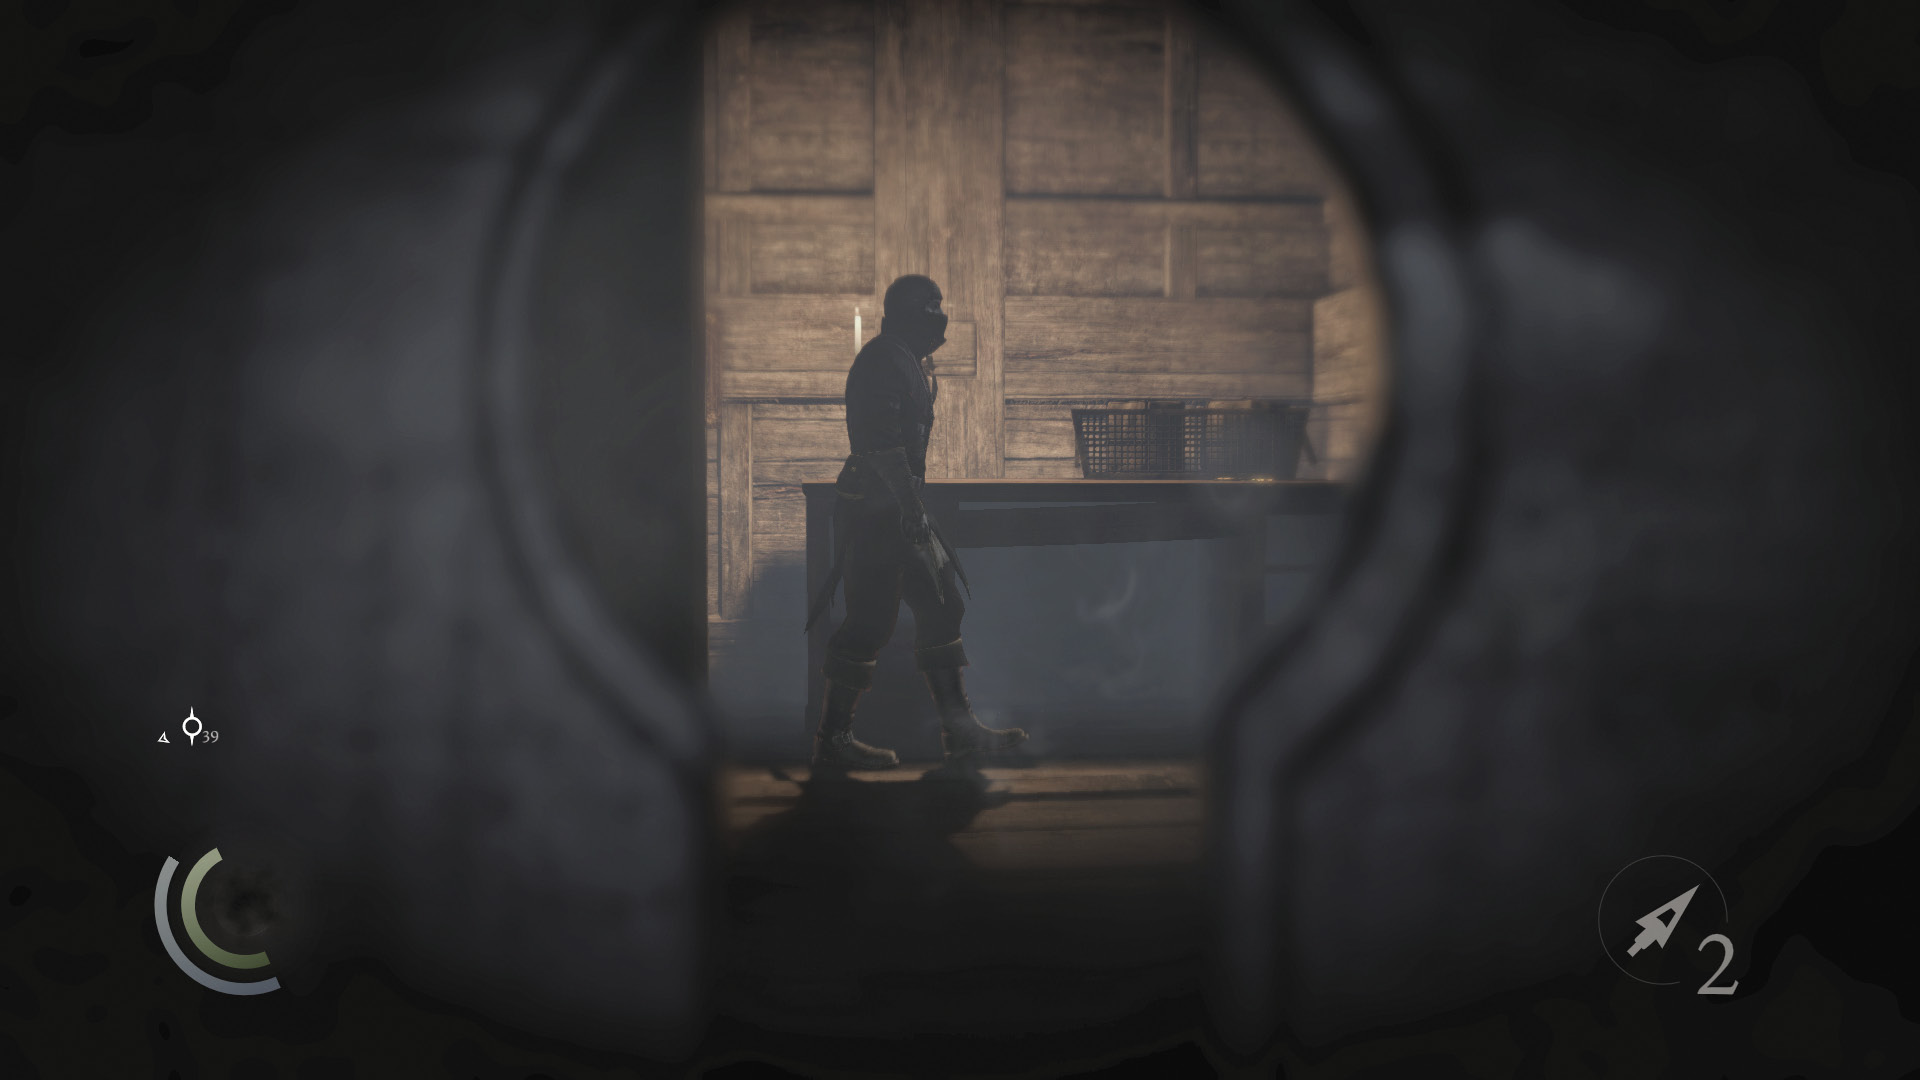
Go west from the cargo lift to reach another room that’s patrolled by a Graven. Peek through the keyhole and study the Graven’s patrol route.
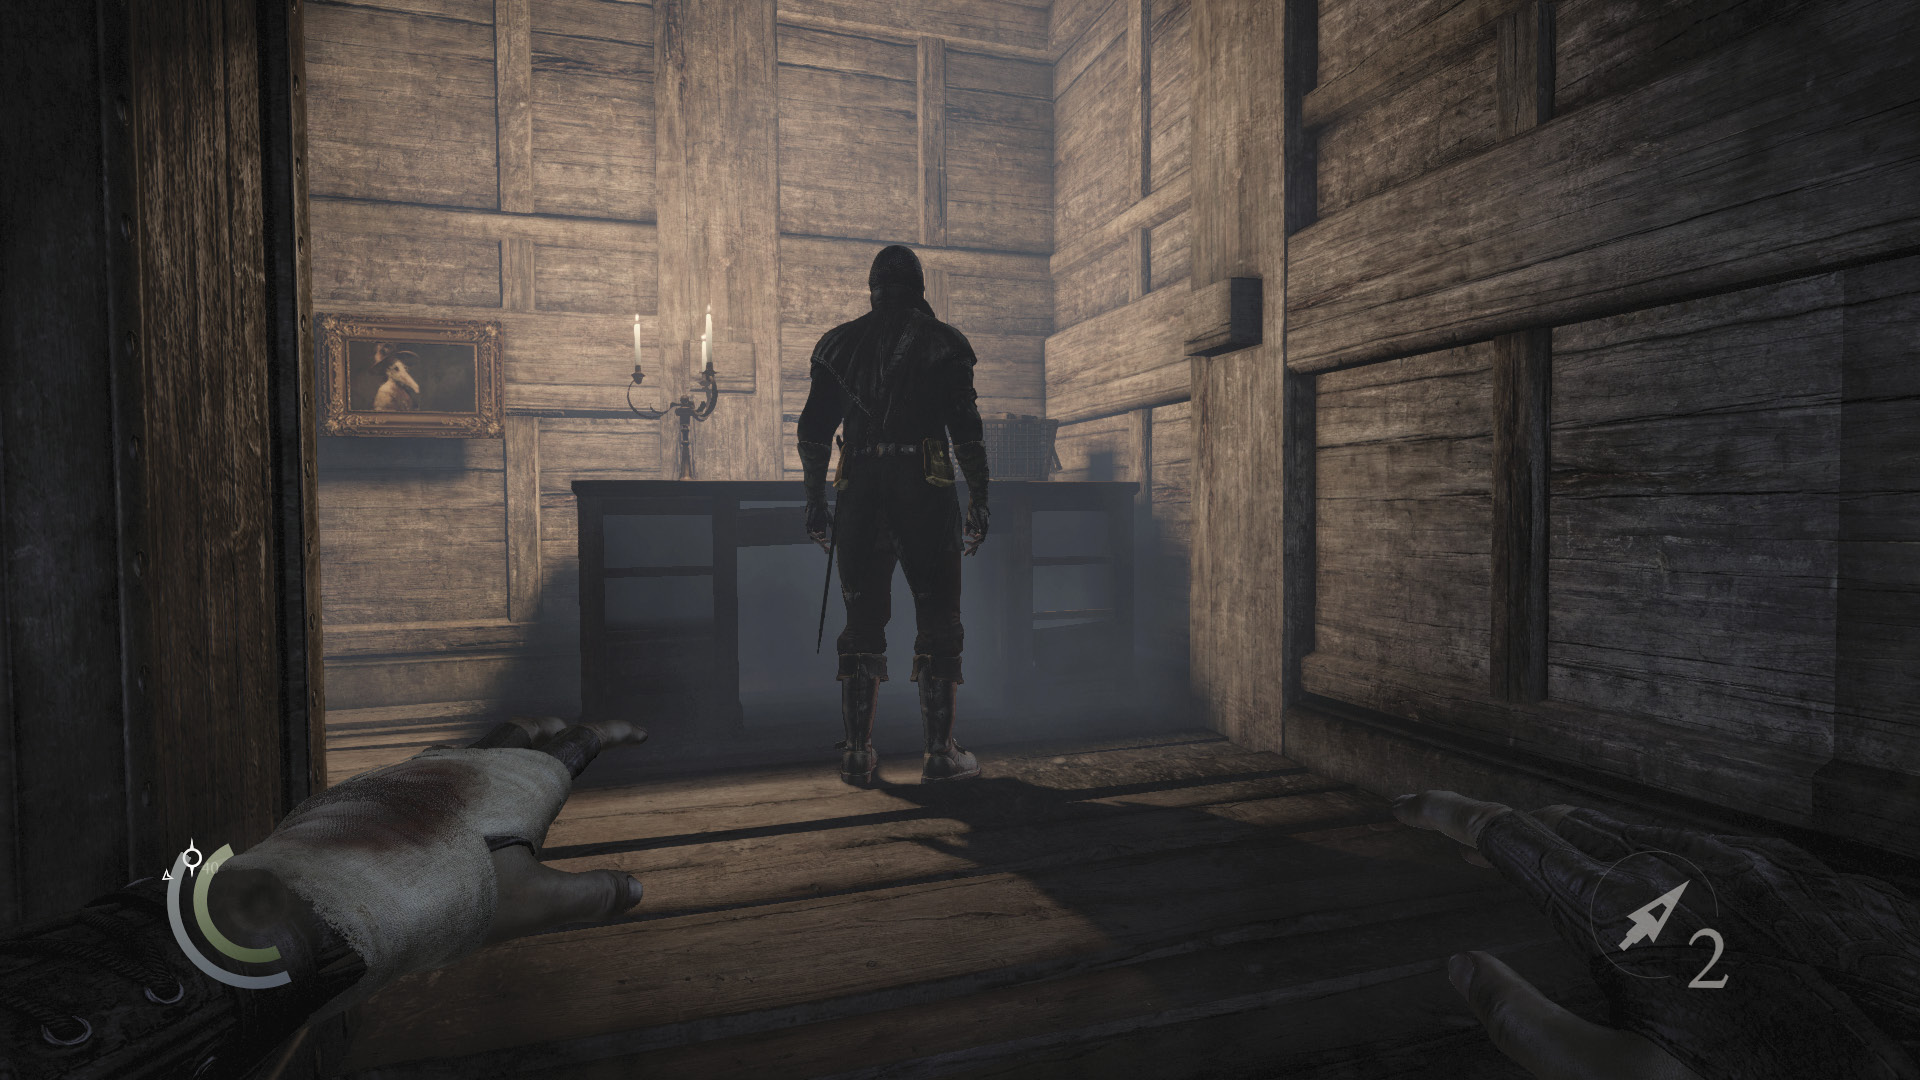
Enter the room when the Graven walks to the left (south). Don’t pursue him right away, but keep to the shadows in the room’s southeast corner. Sneak up on the Graven when he moves to the candlelit desk. Steal both of his coin purses, knock him out, and then loot the room to find a syringe and magnifying glass.
 Thieving Challenge: “Lift all loot items” (41/52)
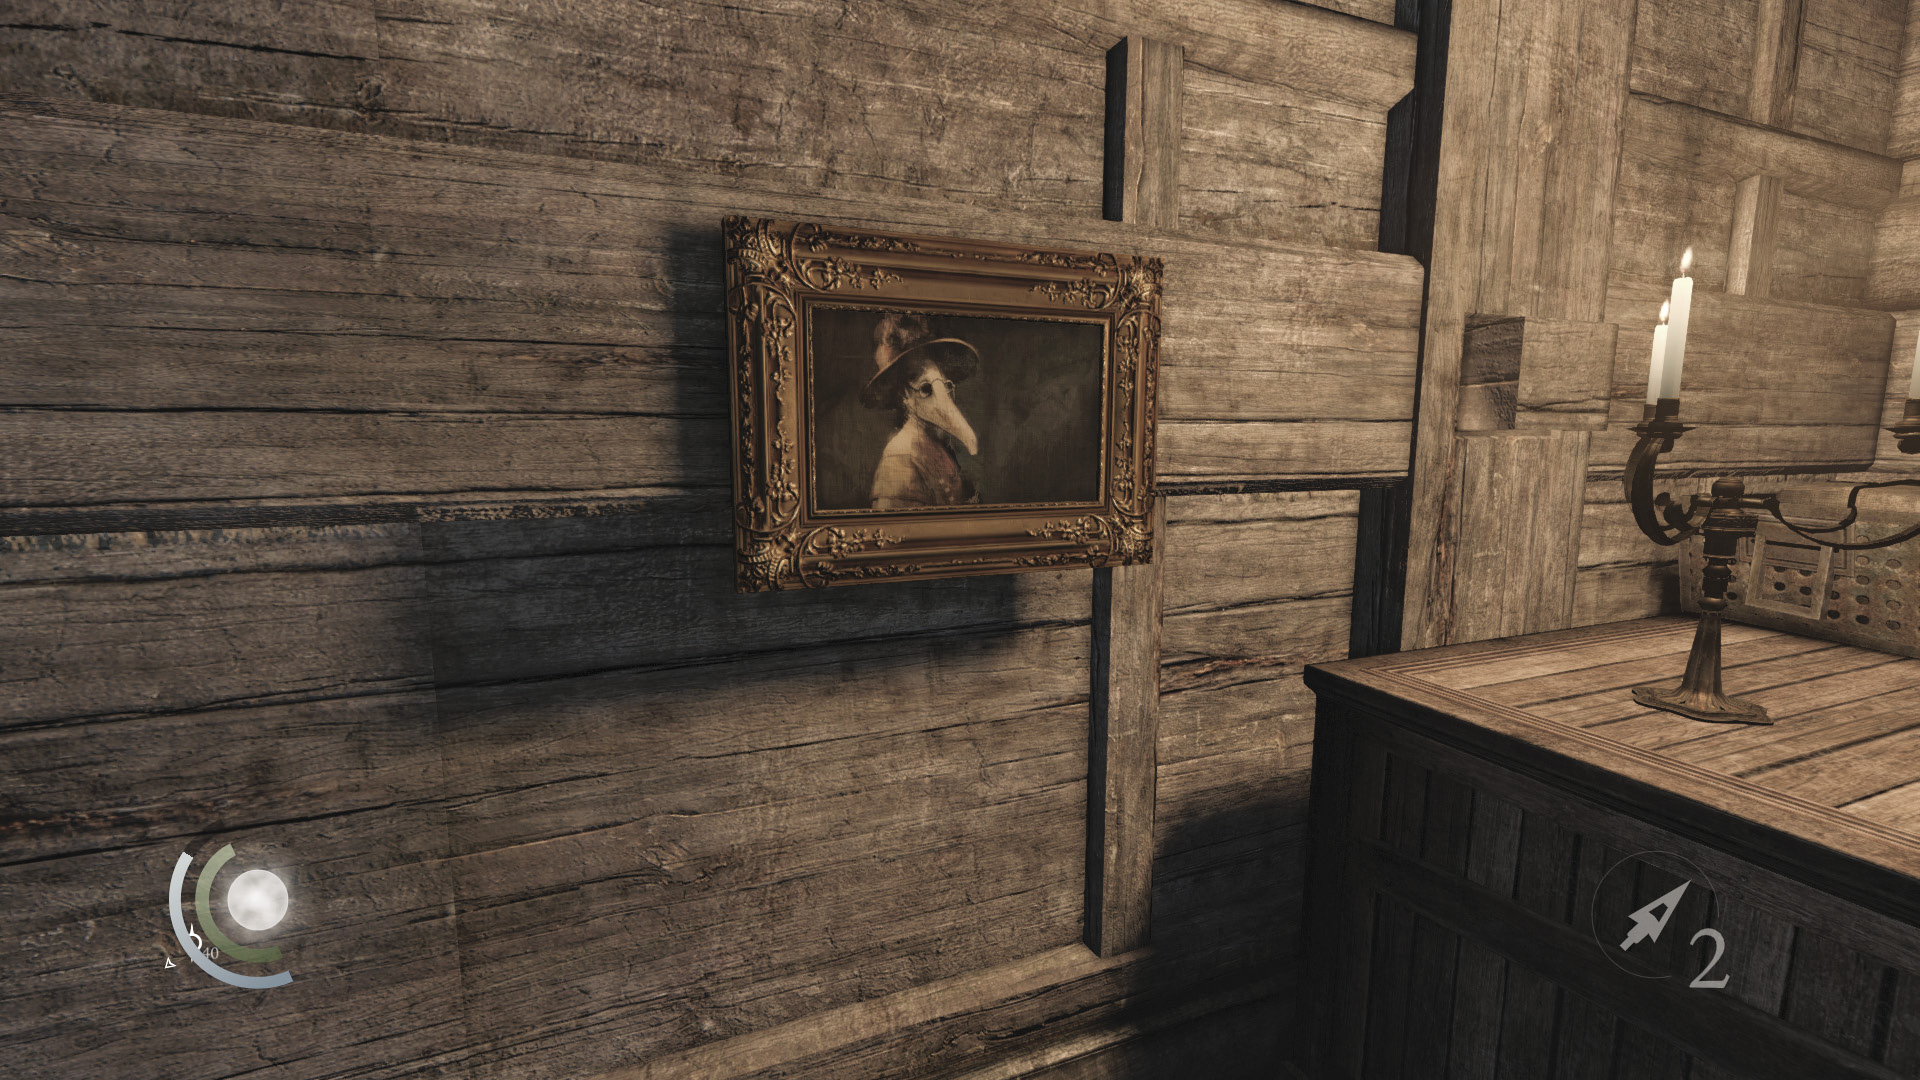
Use the razor tool to slice out the painting that hangs on the room’s wall and obtain this chapter’s final collectible.
GOODIE BOXCollectible Loot #82 The Court of Montonessi (12/12) “Compassion, Foul” |
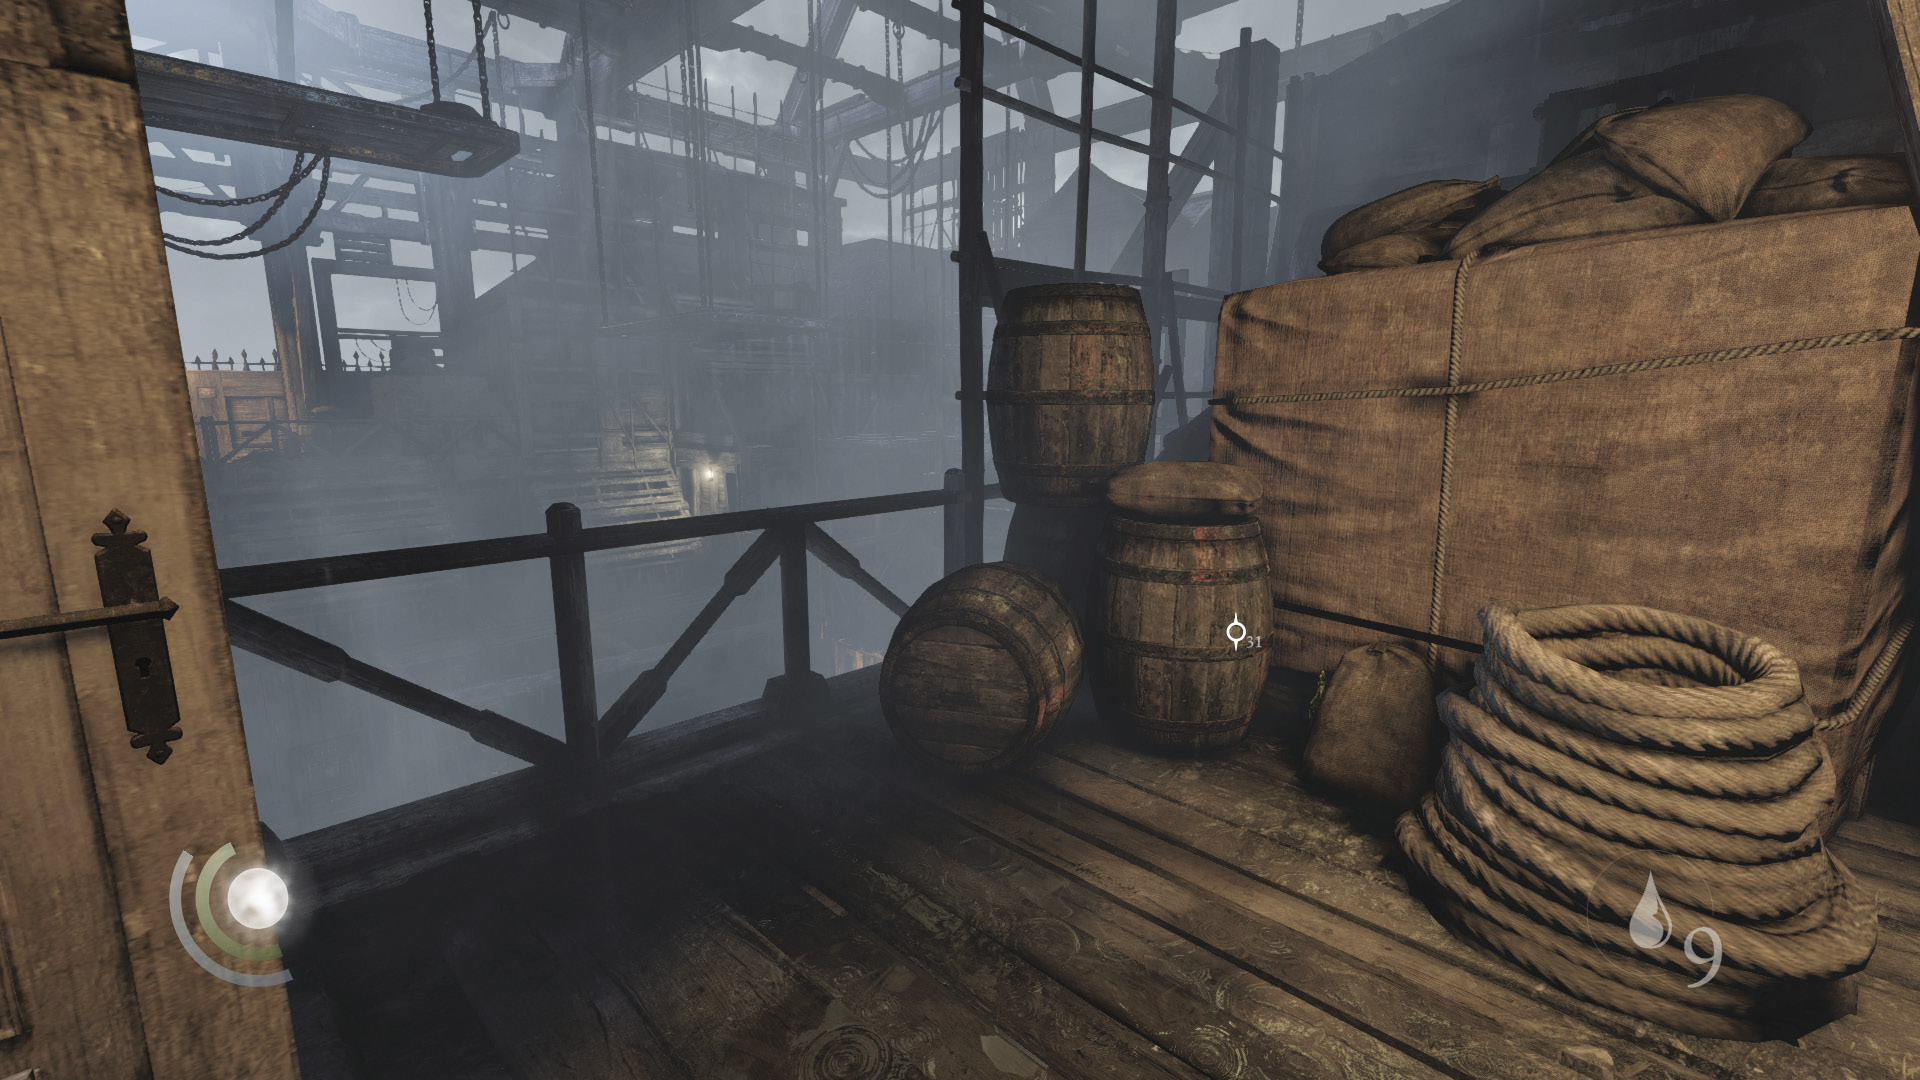
Pick the locked south door and step out onto the balcony. Collect the gilded bottle that sits among the clutter out here.
 Thieving Challenge: “Lift all loot items” (42/52)
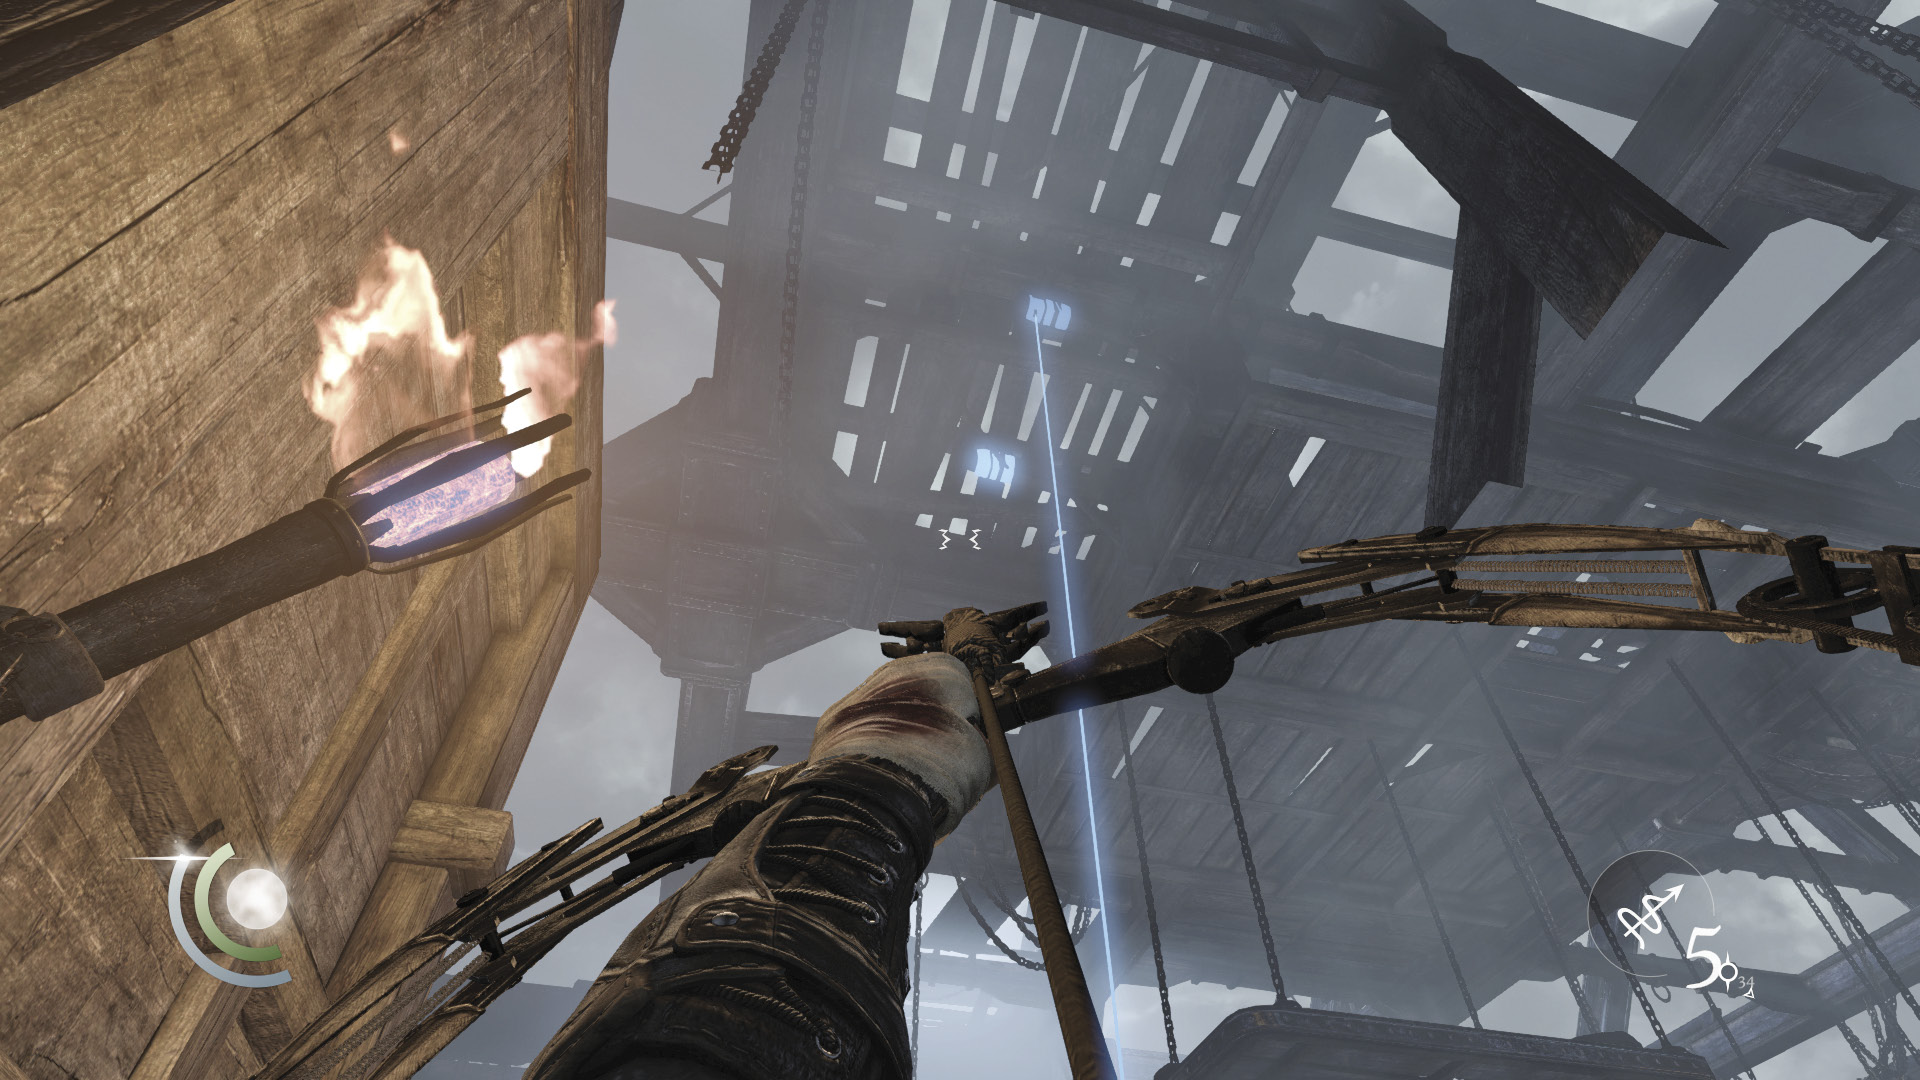
Return to the room and pick the locked east door. Step out onto the balcony and spy a rope hanging within your grasp. If you have a rope arrow, you can use it to drop another rope down from the neighboring anchor beam above. This lets you reach the hanging platforms and take a shortcut to the ship’s south side, where the door to the next area is located.
Lower Decks
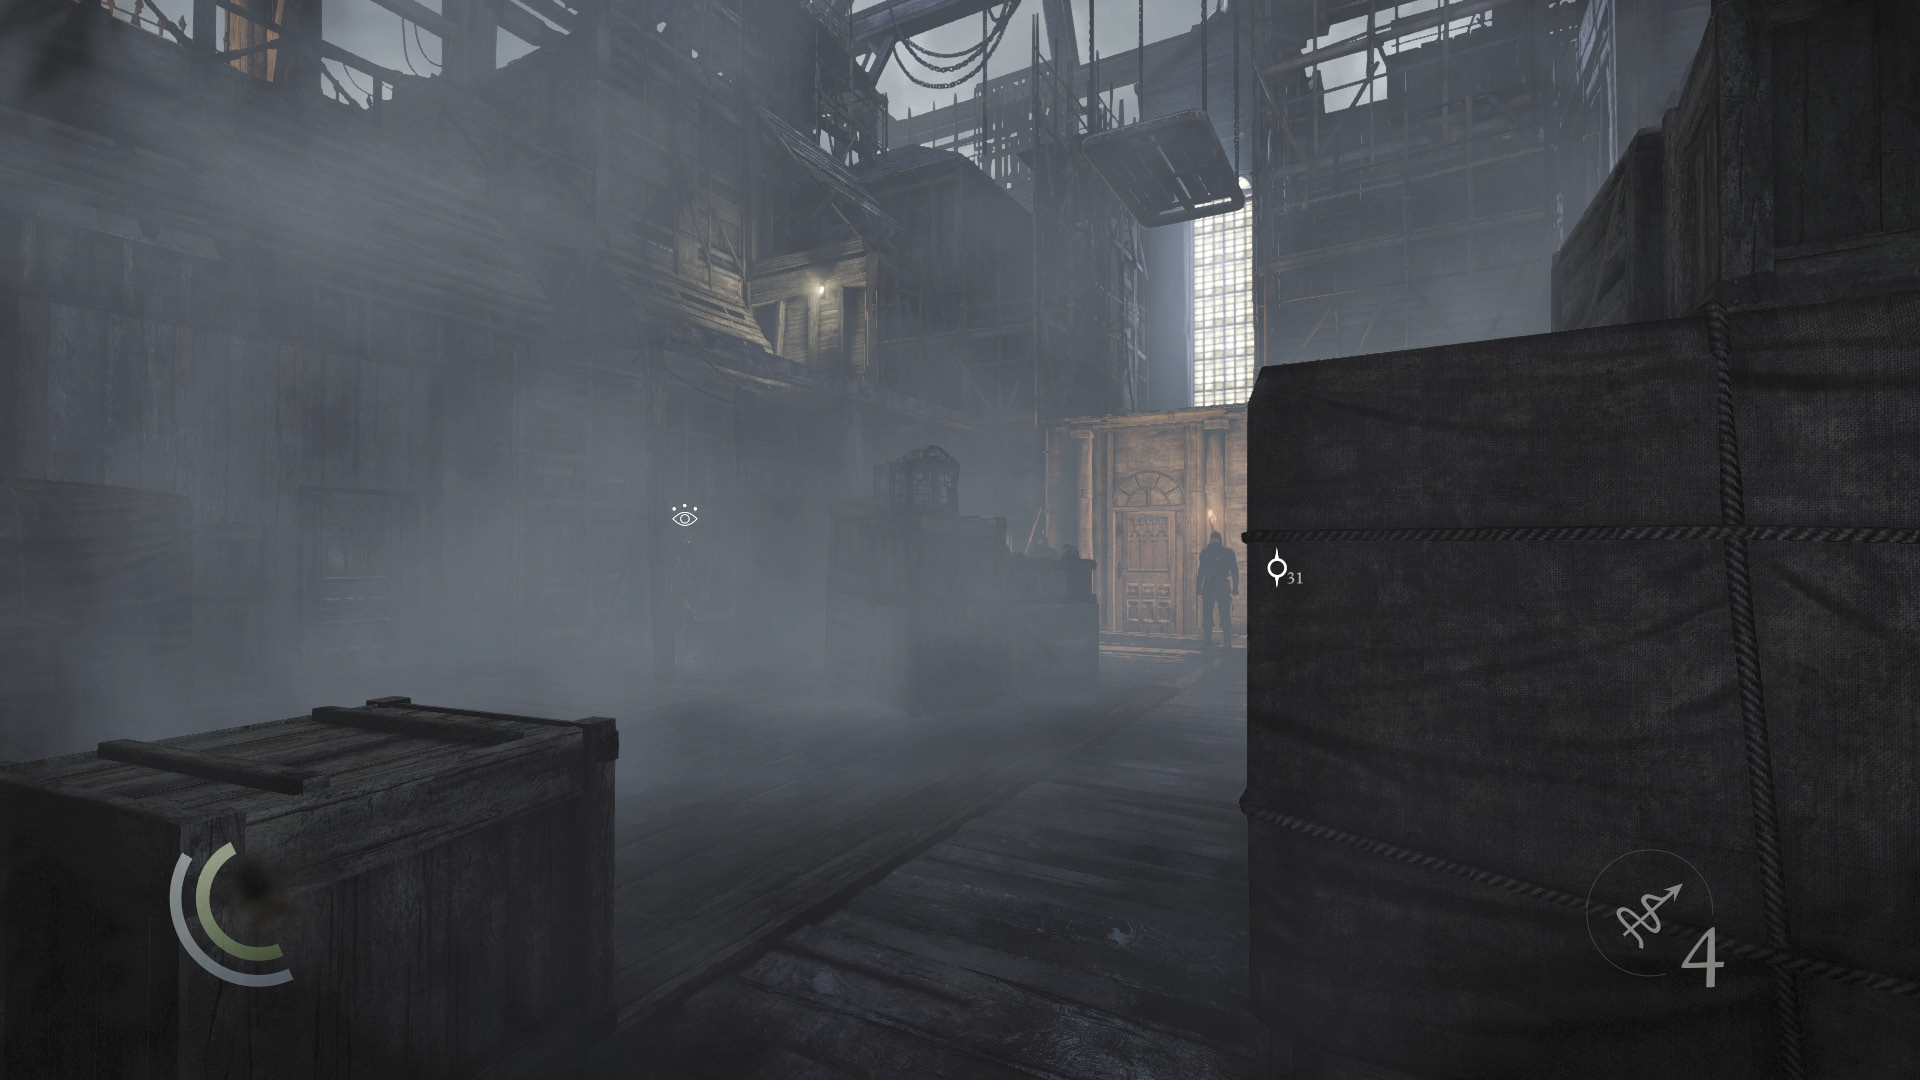
Even if you don’t have a rope arrow, leap to the hanging rope and climb down. Drop from the end of the rope to reach the deck below.
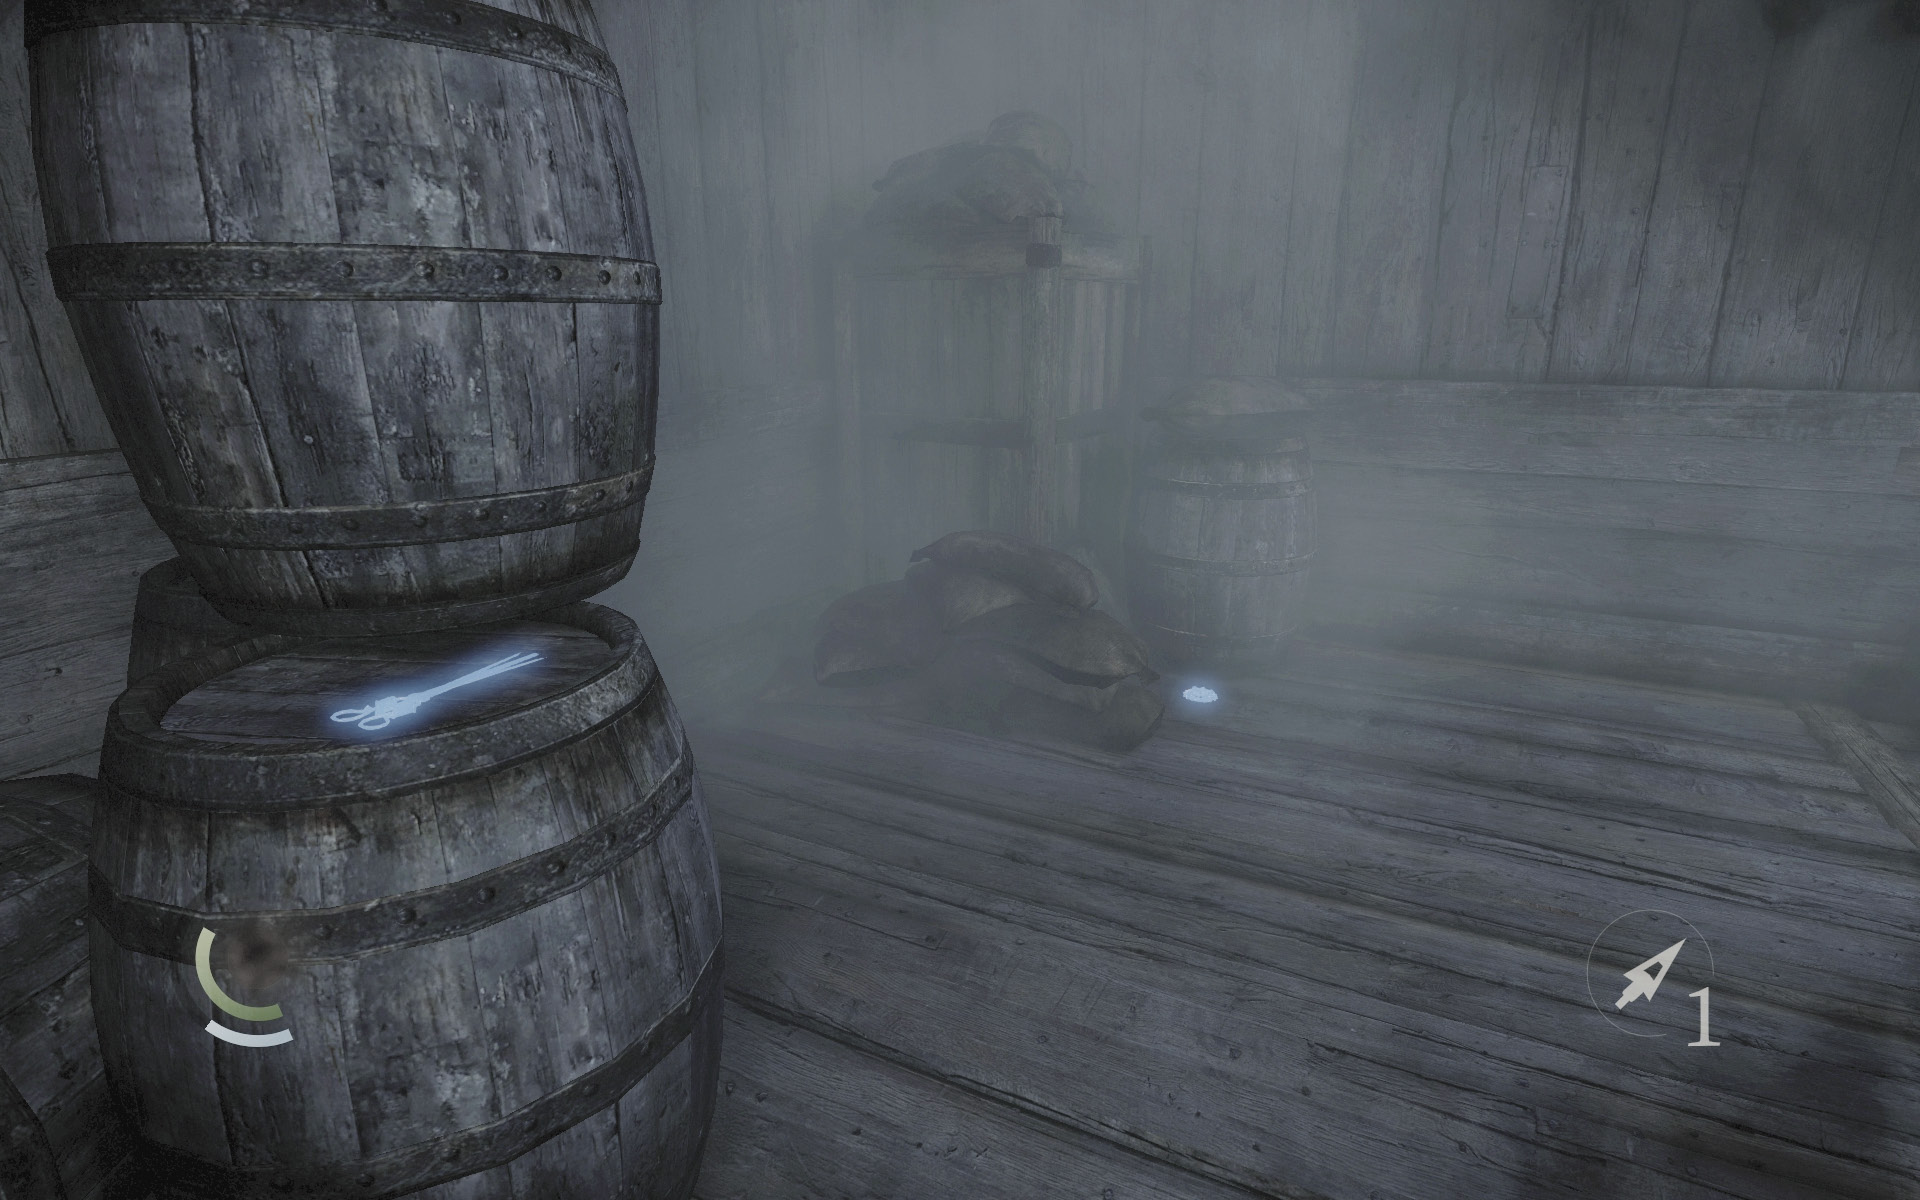
Open the locked east door to visit a small room that contains an urn, some surgical scissors, and a gear. Grab all of these and then sneak back outside.
 Thieving Challenge: “Lift all loot items” (45/52)
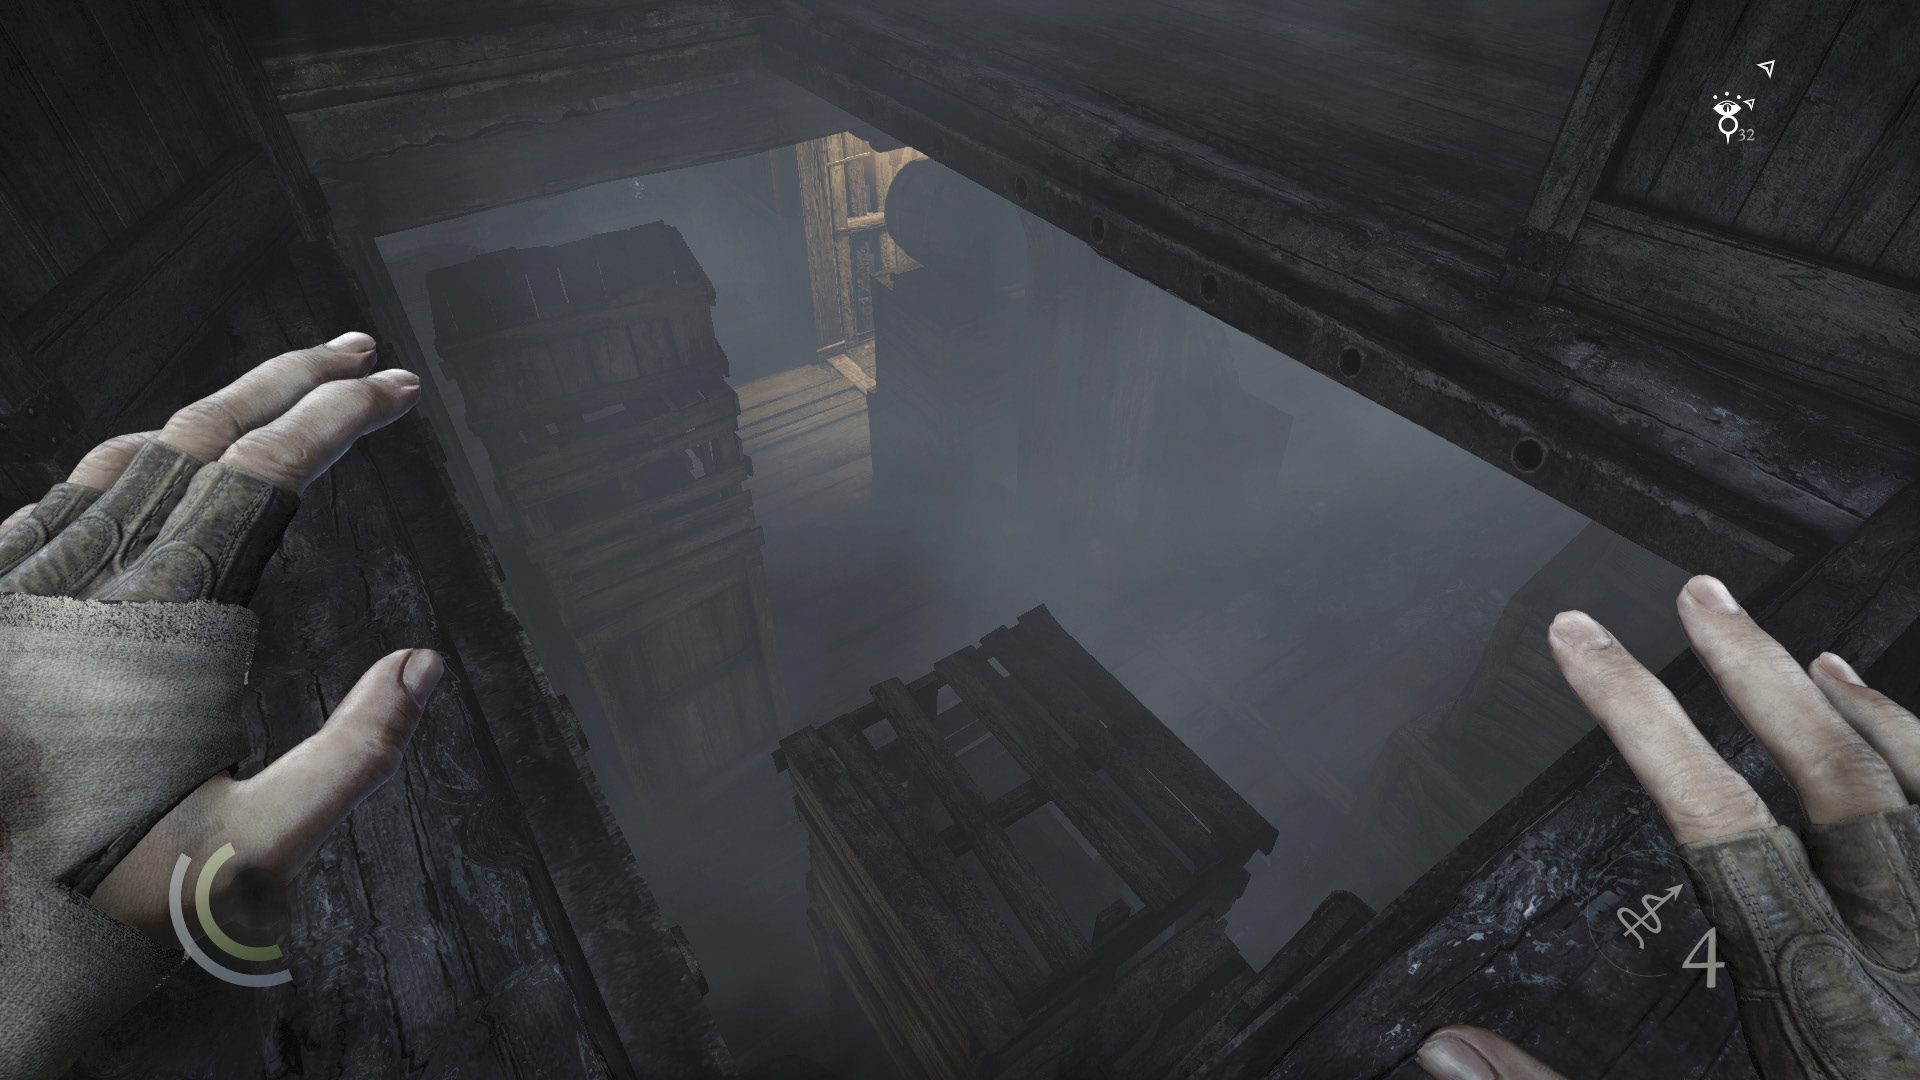
Ignore the three Graven to the south and keep to the lower deck’s north end. Peer down through the large hole in the floor and wait for another Graven to walk past. When the chance permits, neutralize him with an aerial takedown. Or drop down and work at picking his pockets before putting him on ice.
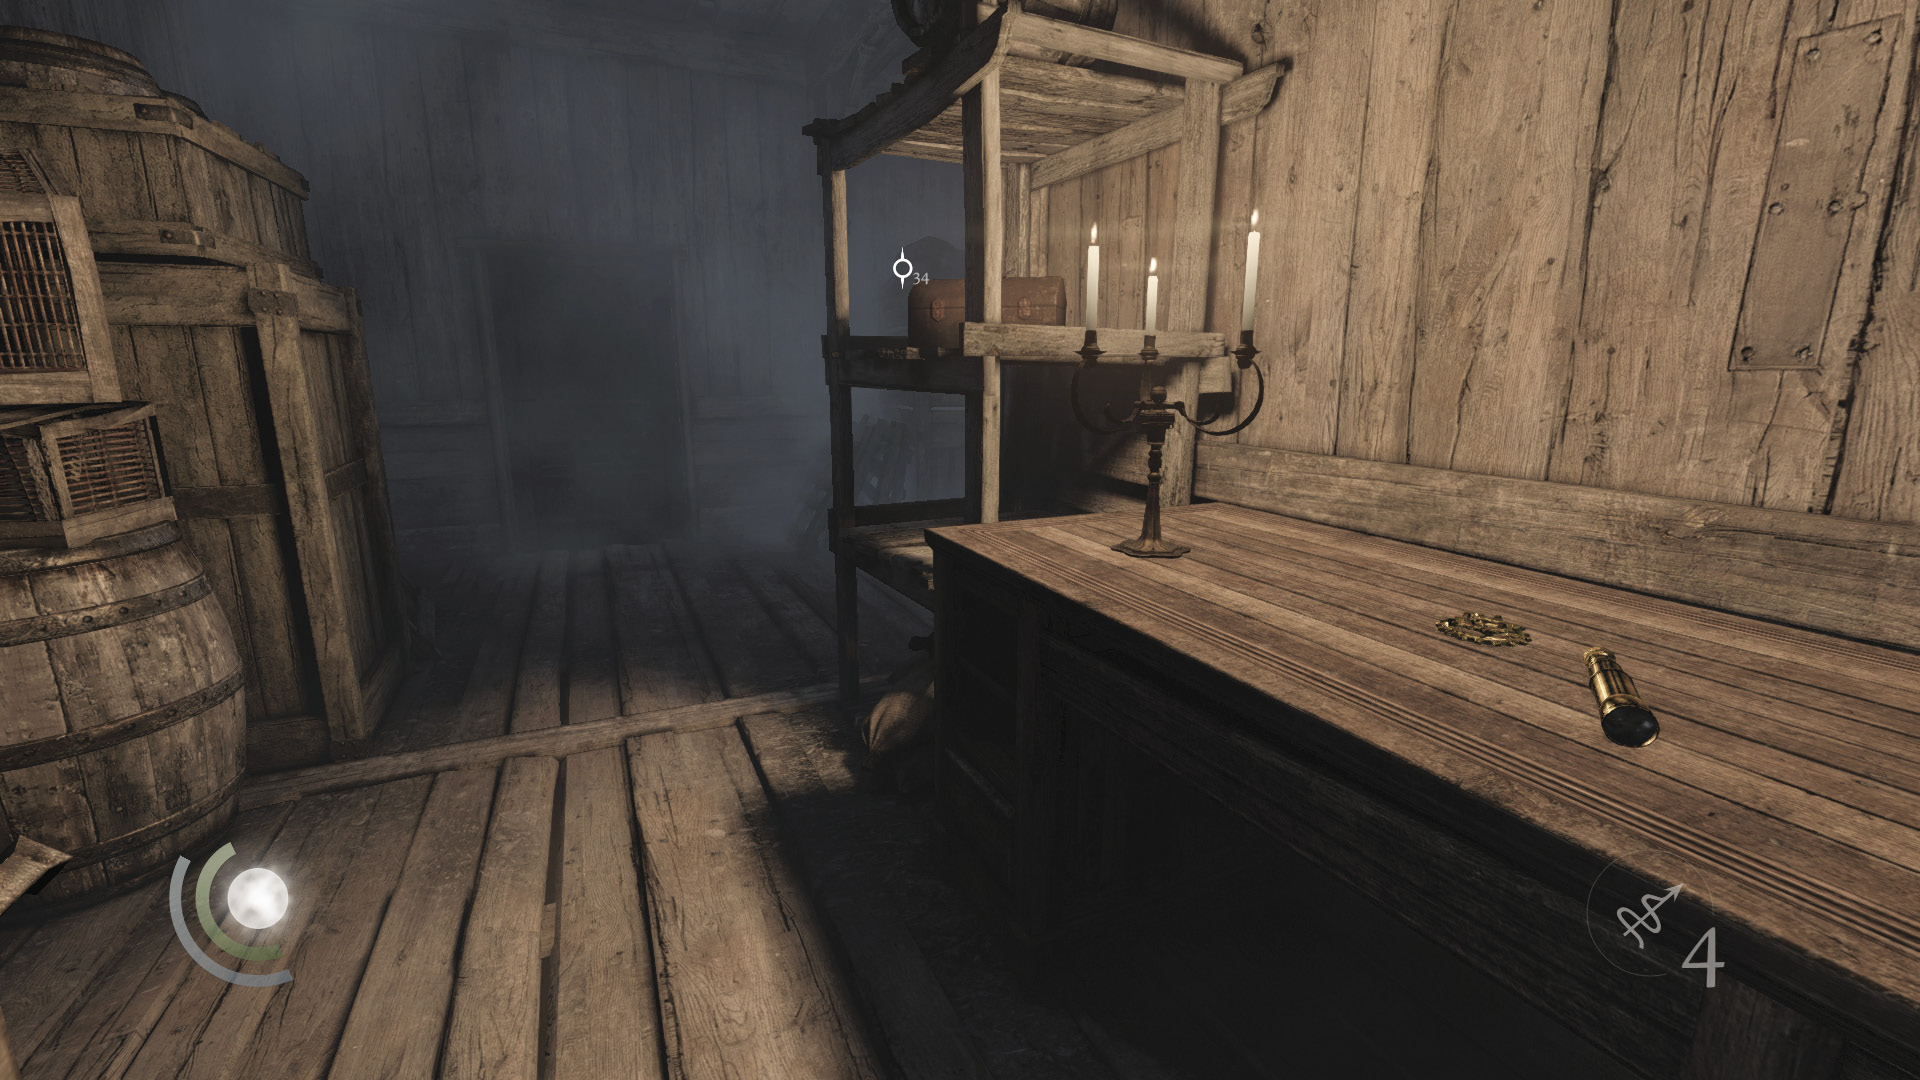
You’re now exploring the ship’s cargo hold. There are no more Graven to worry about down here, so take your time looting the place. Grab the gilded bottle behind the north crate, then find a magnifying glass on the northwest table and some surgical scissors on the nearby crate. Go east from there to discover an urn on a shelf. Enter the east side room to find a syringe, telescope, and gear.
 Thieving Challenge: “Lift all loot items” (52/52)
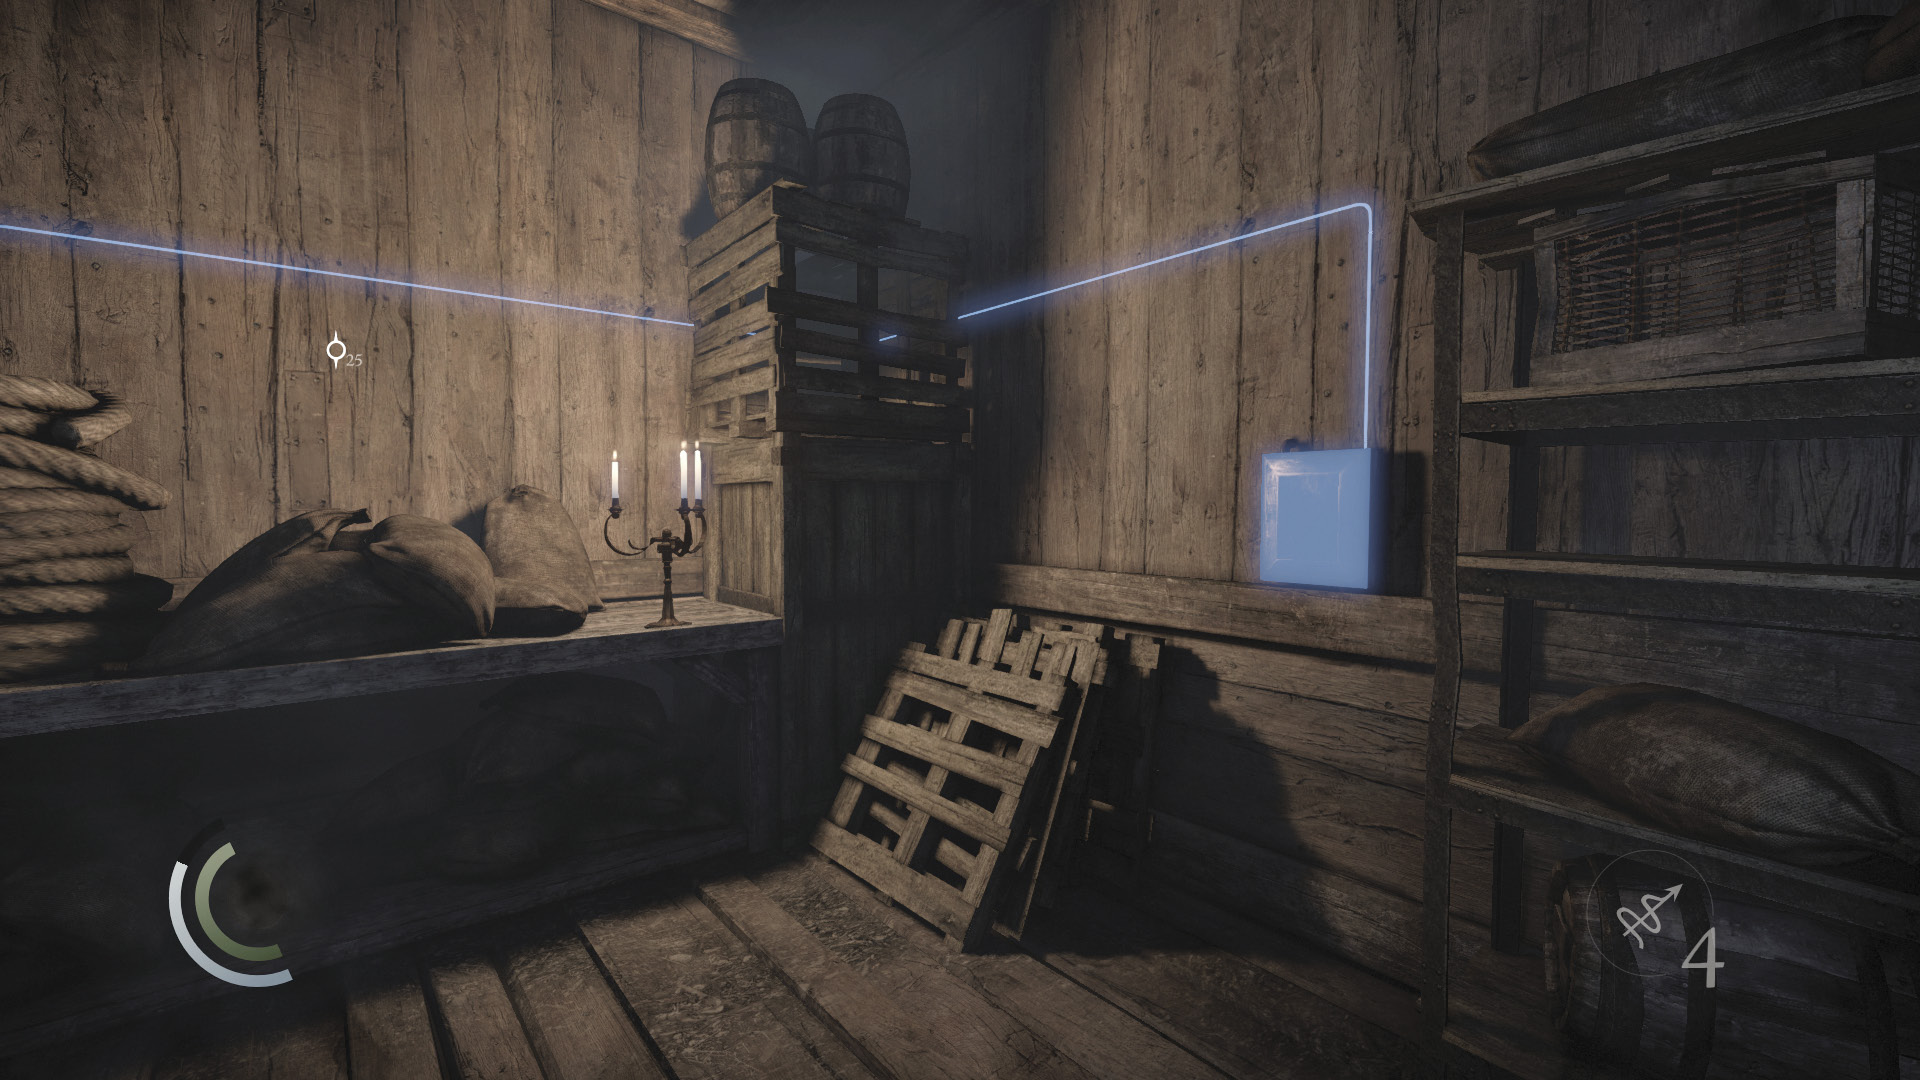
Exit the room and hack the control box on the southwest wall near the candlelit desk. This unbar’s the southwest door. Open the door to reach a staircase that leads back up to the main deck.
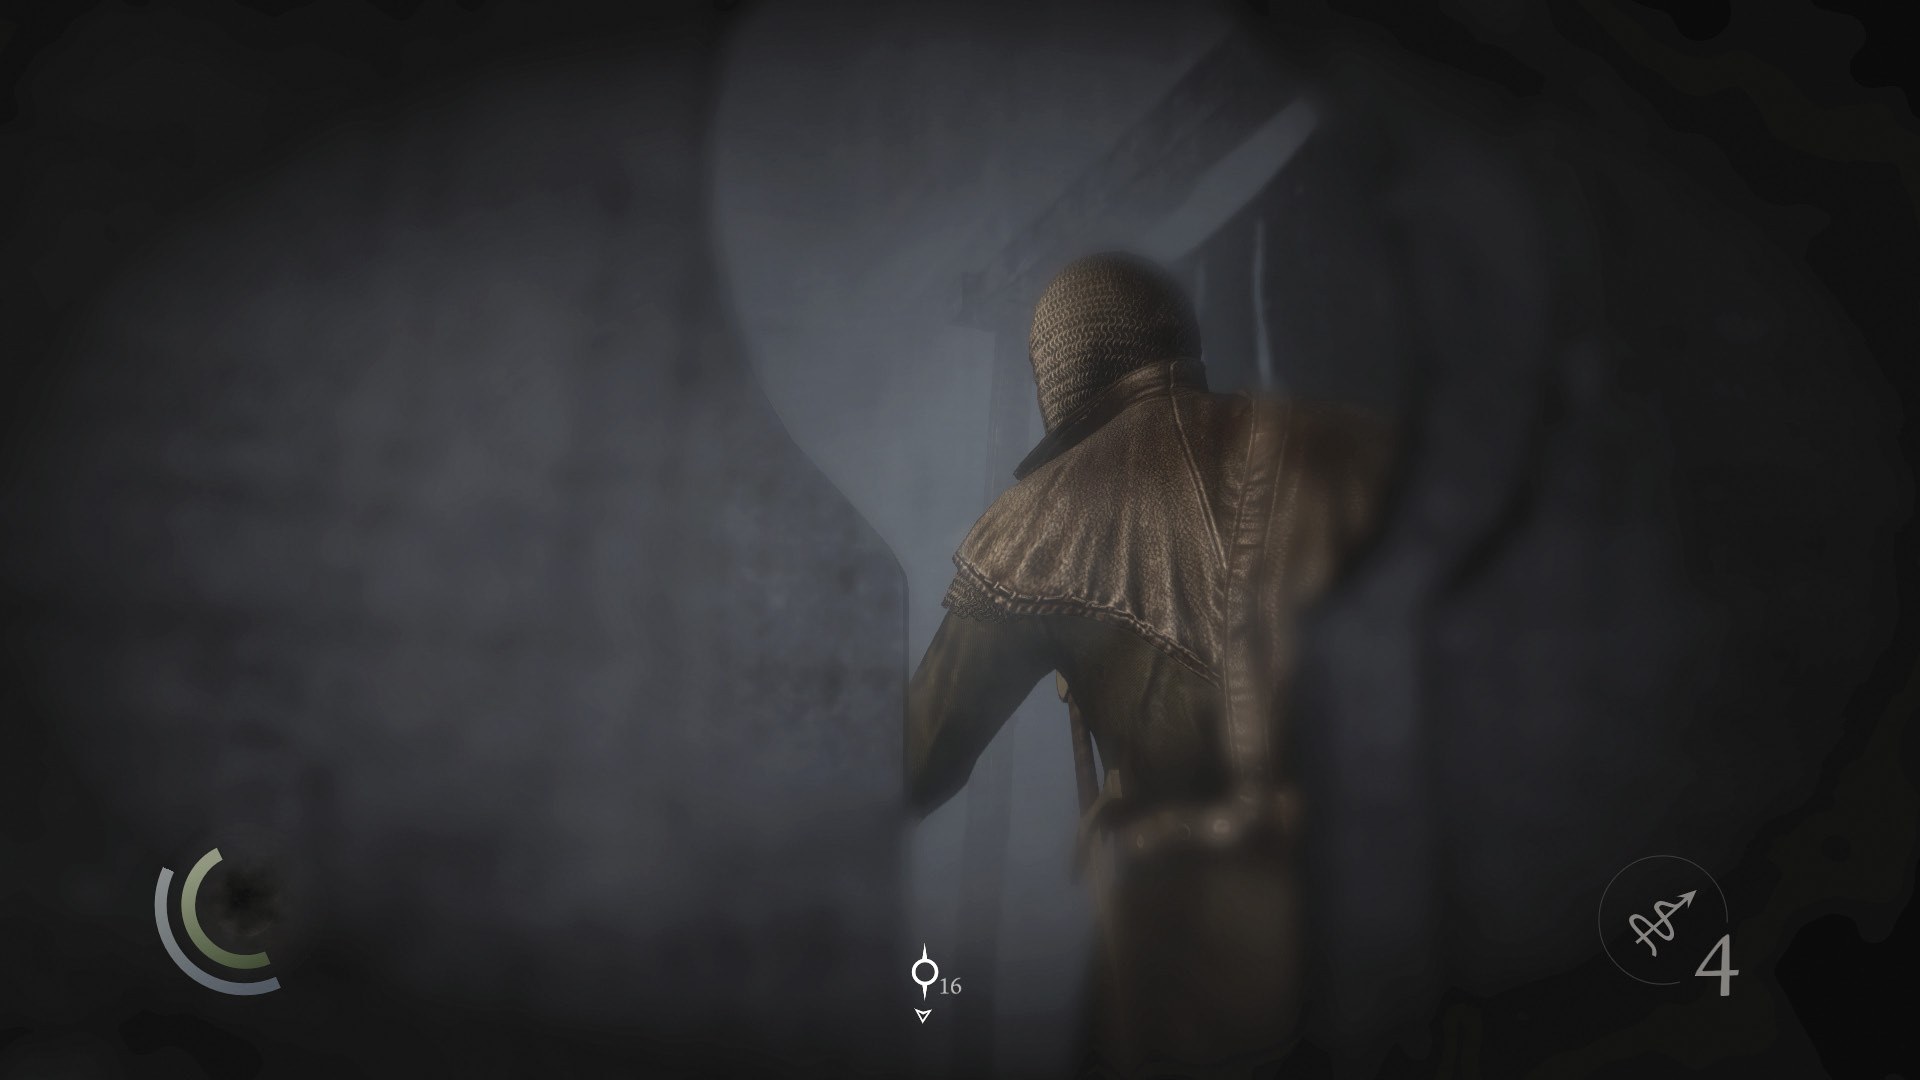
After climbing the stairs, you can take the south door to reach the next area. The north door is locked, and the remaining Graven are standing on the other side. If you feel like starting some trouble, pick the door’s lock to get the drop on them. Just don’t make any mistakes or they’ll hear you.
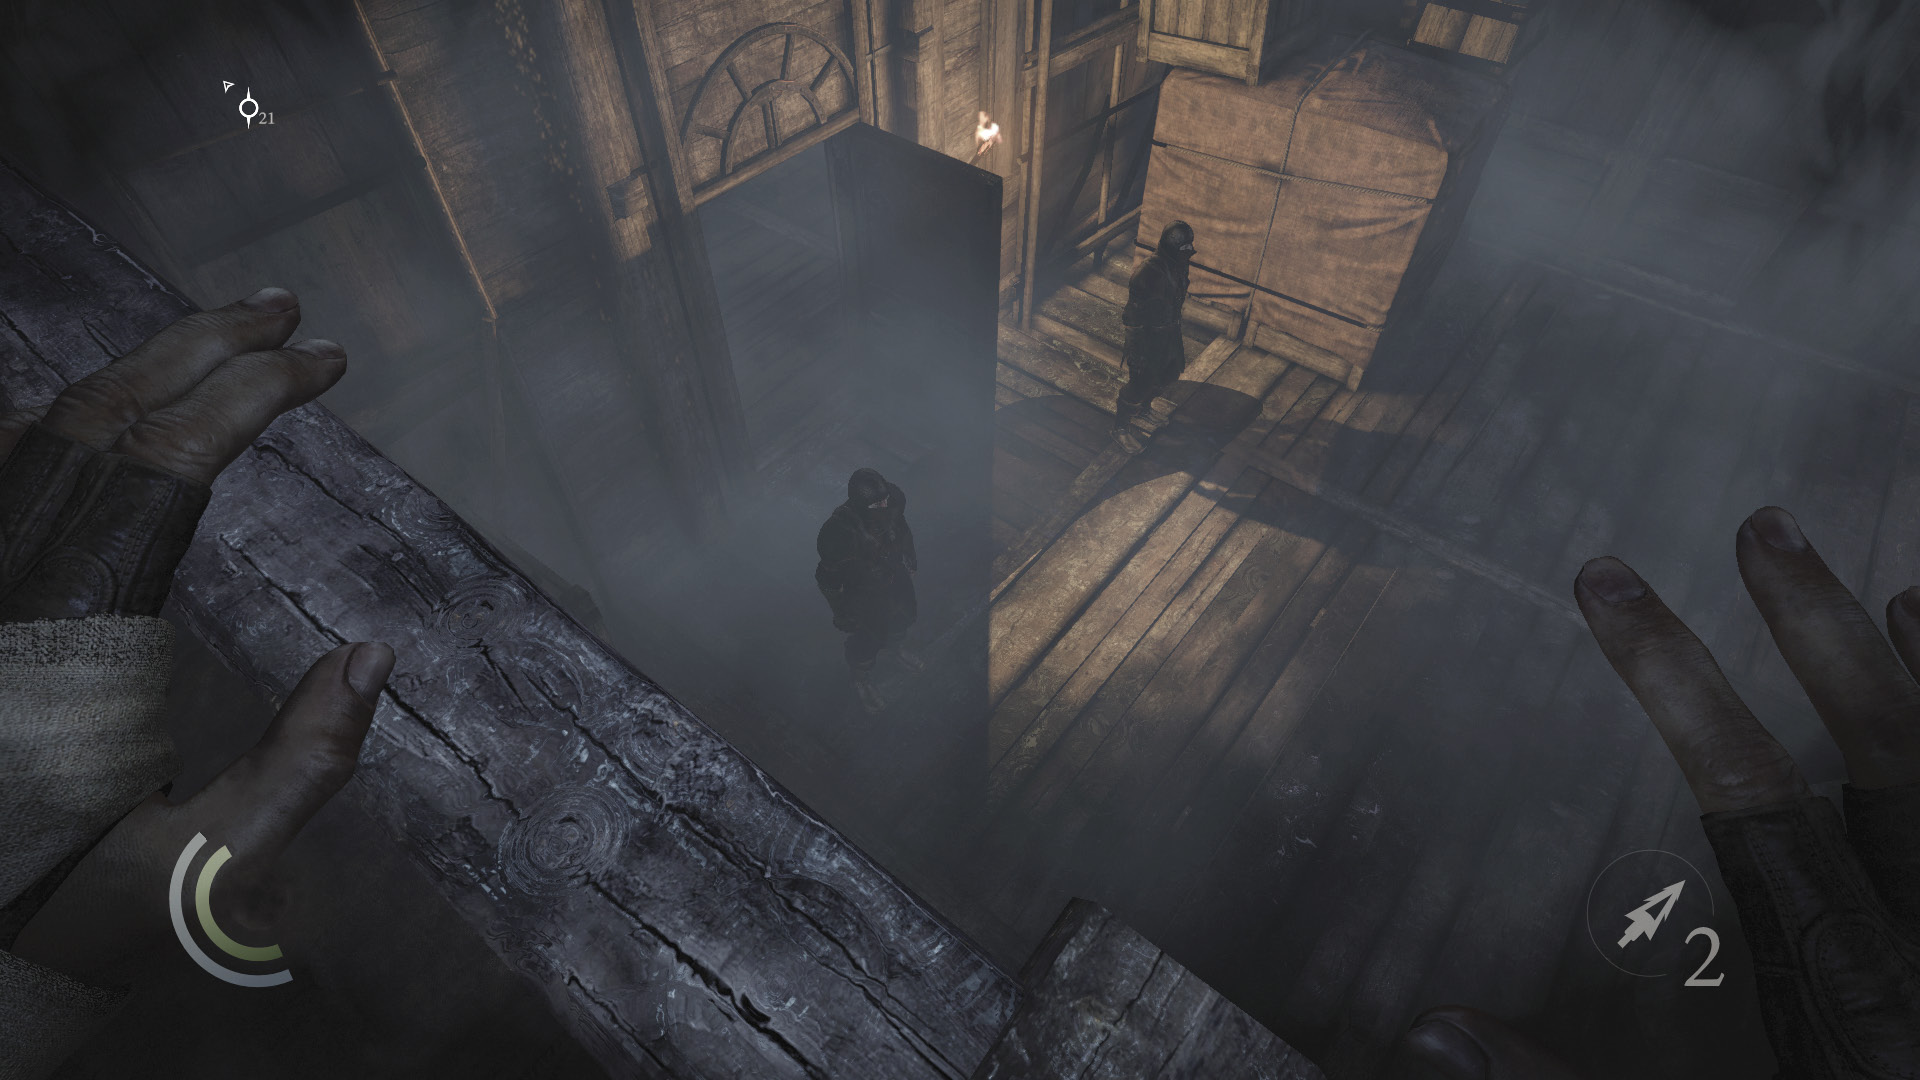
Once you’re outside, you can sneak very slowly and climb the crates to the right without being detected. From there, you can climb up to the aforementioned wooden beams and set up headshots and aerial takedowns. However, it’s really not worth the risk, for these Graven carry no valuables. Proceed through the south door to visit the next area.
Objective 4: Follow Erin’s Trail
Area 6: Chapel
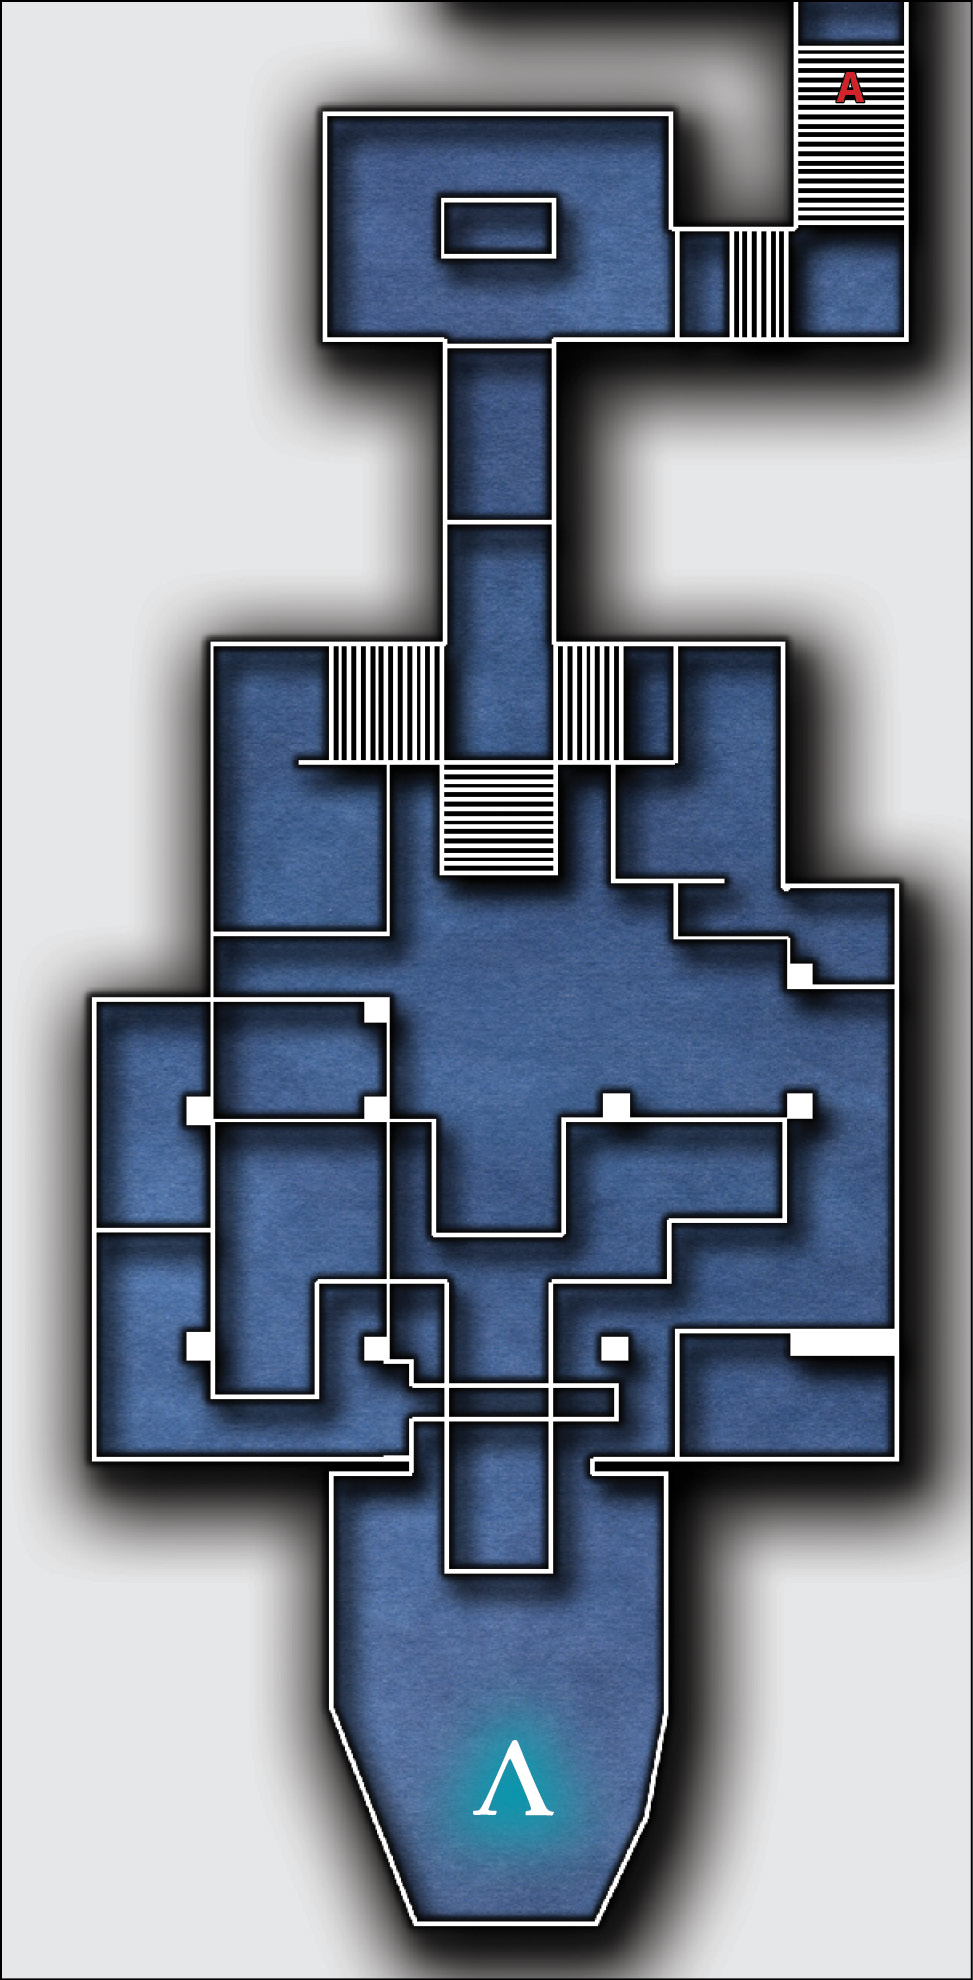
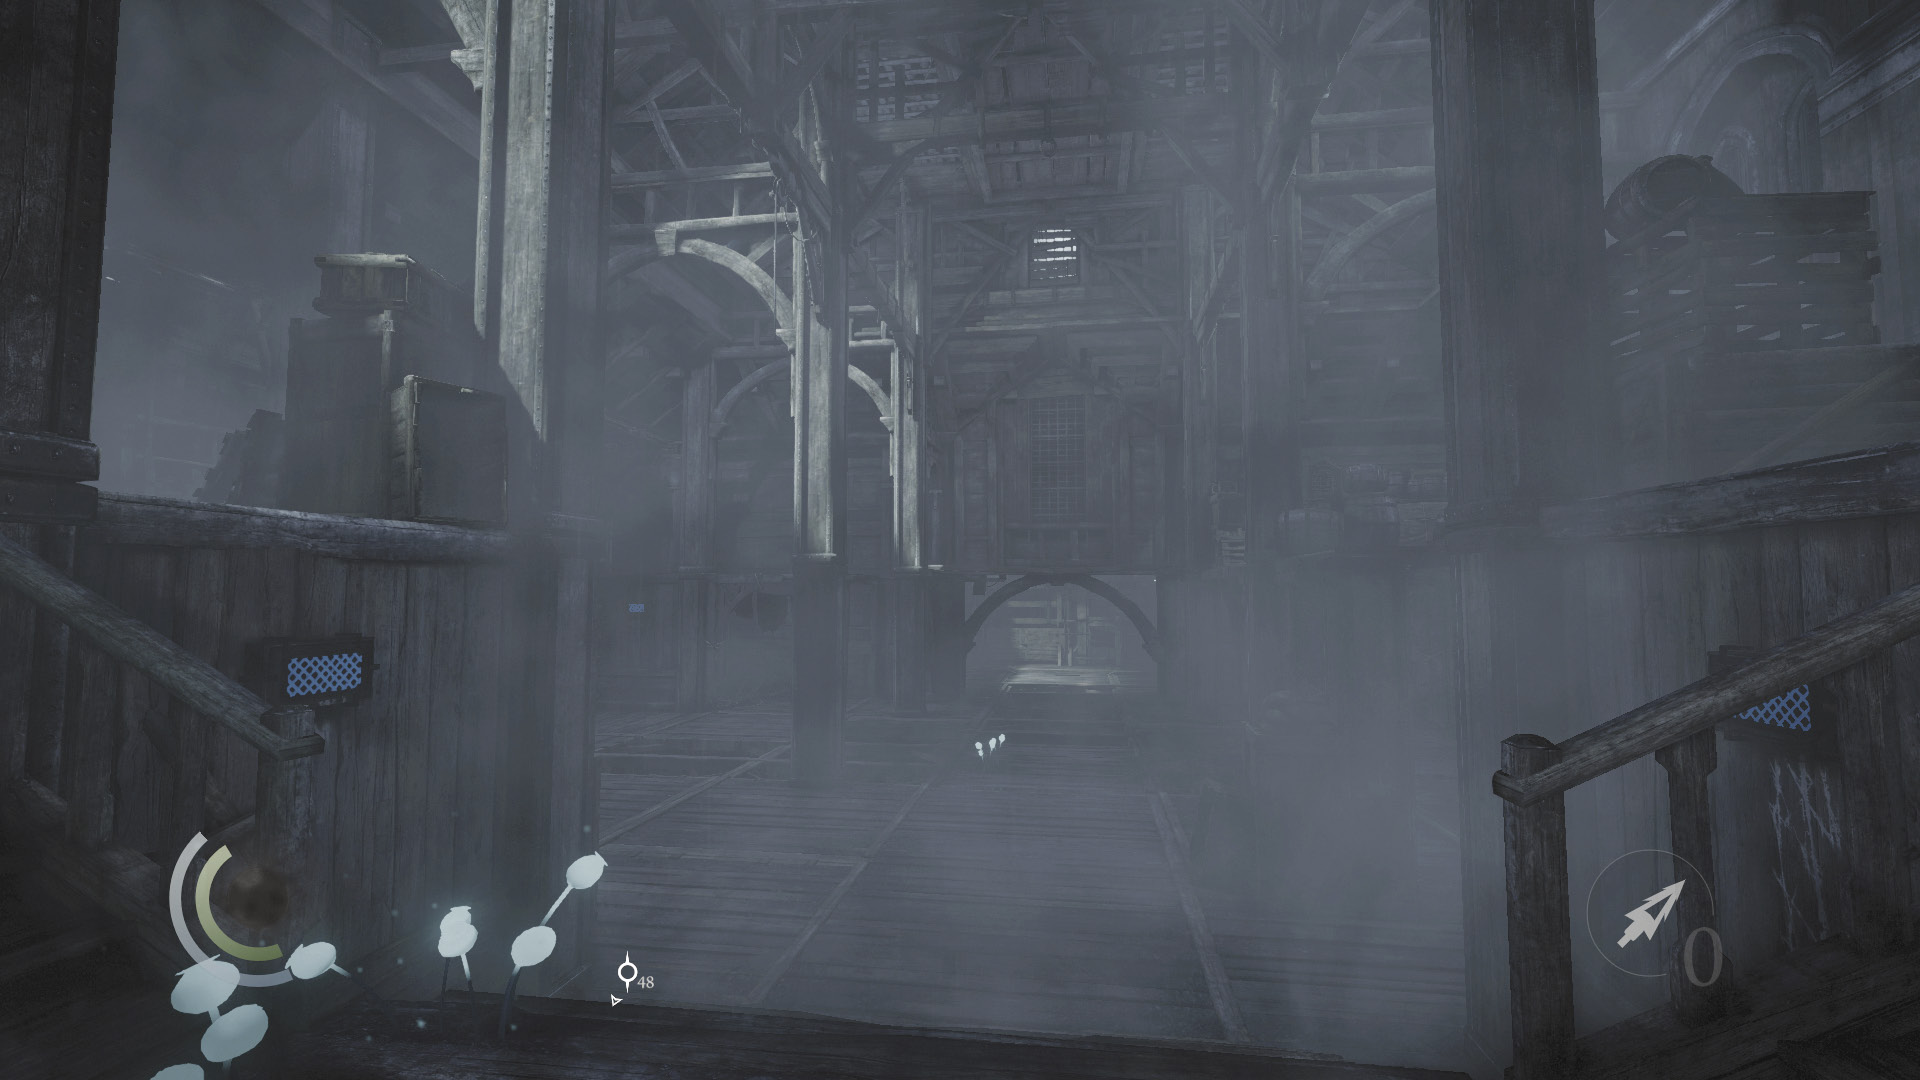
Upon reaching the chapel, Garrett witnesses Orion’s tragic end. There’s nothing to discover around the chapel, so proceed north to return to the stowage deck in pursuit of Erin.
Area 5: Stowage Deck (After Erin’s Wrath)
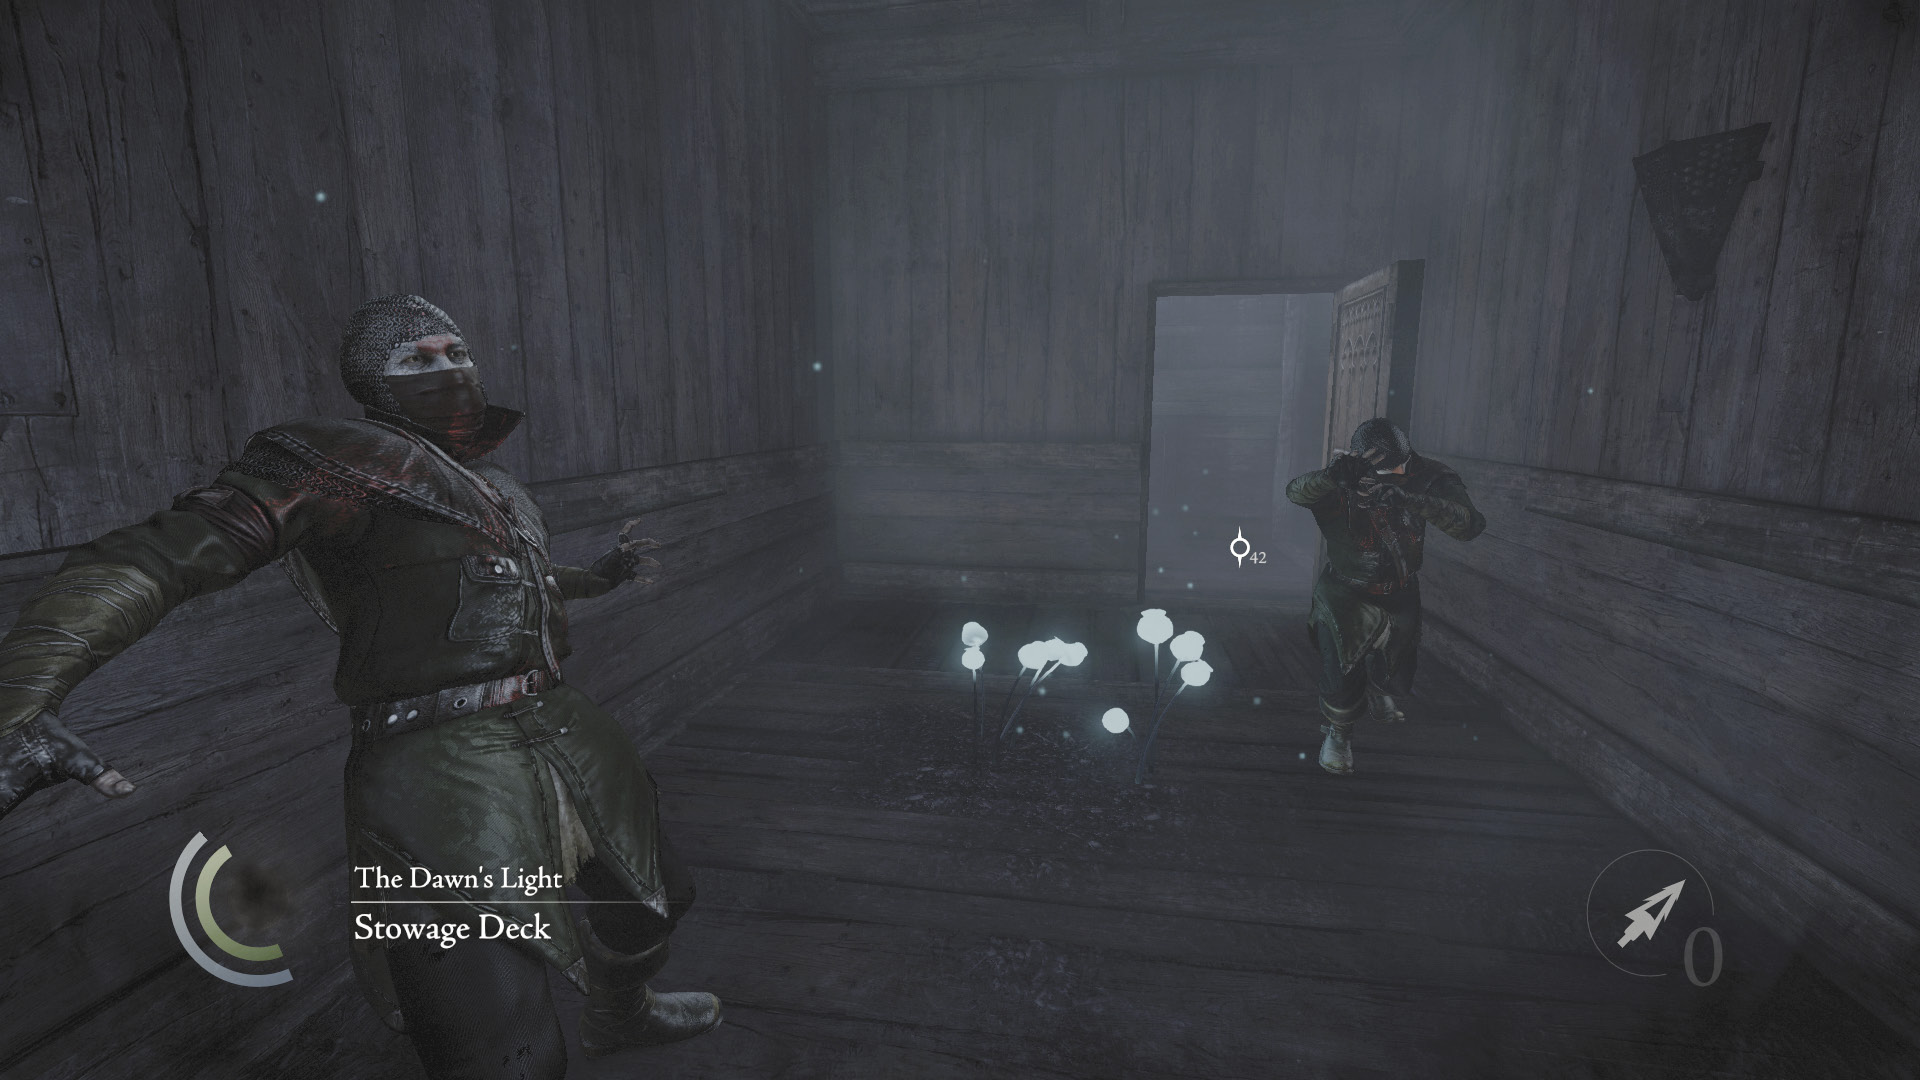
The stowage deck is filled with Graven who appear to be frozen in time. There’s nothing of interest here, so simply sprint past them, heading downstairs and north.
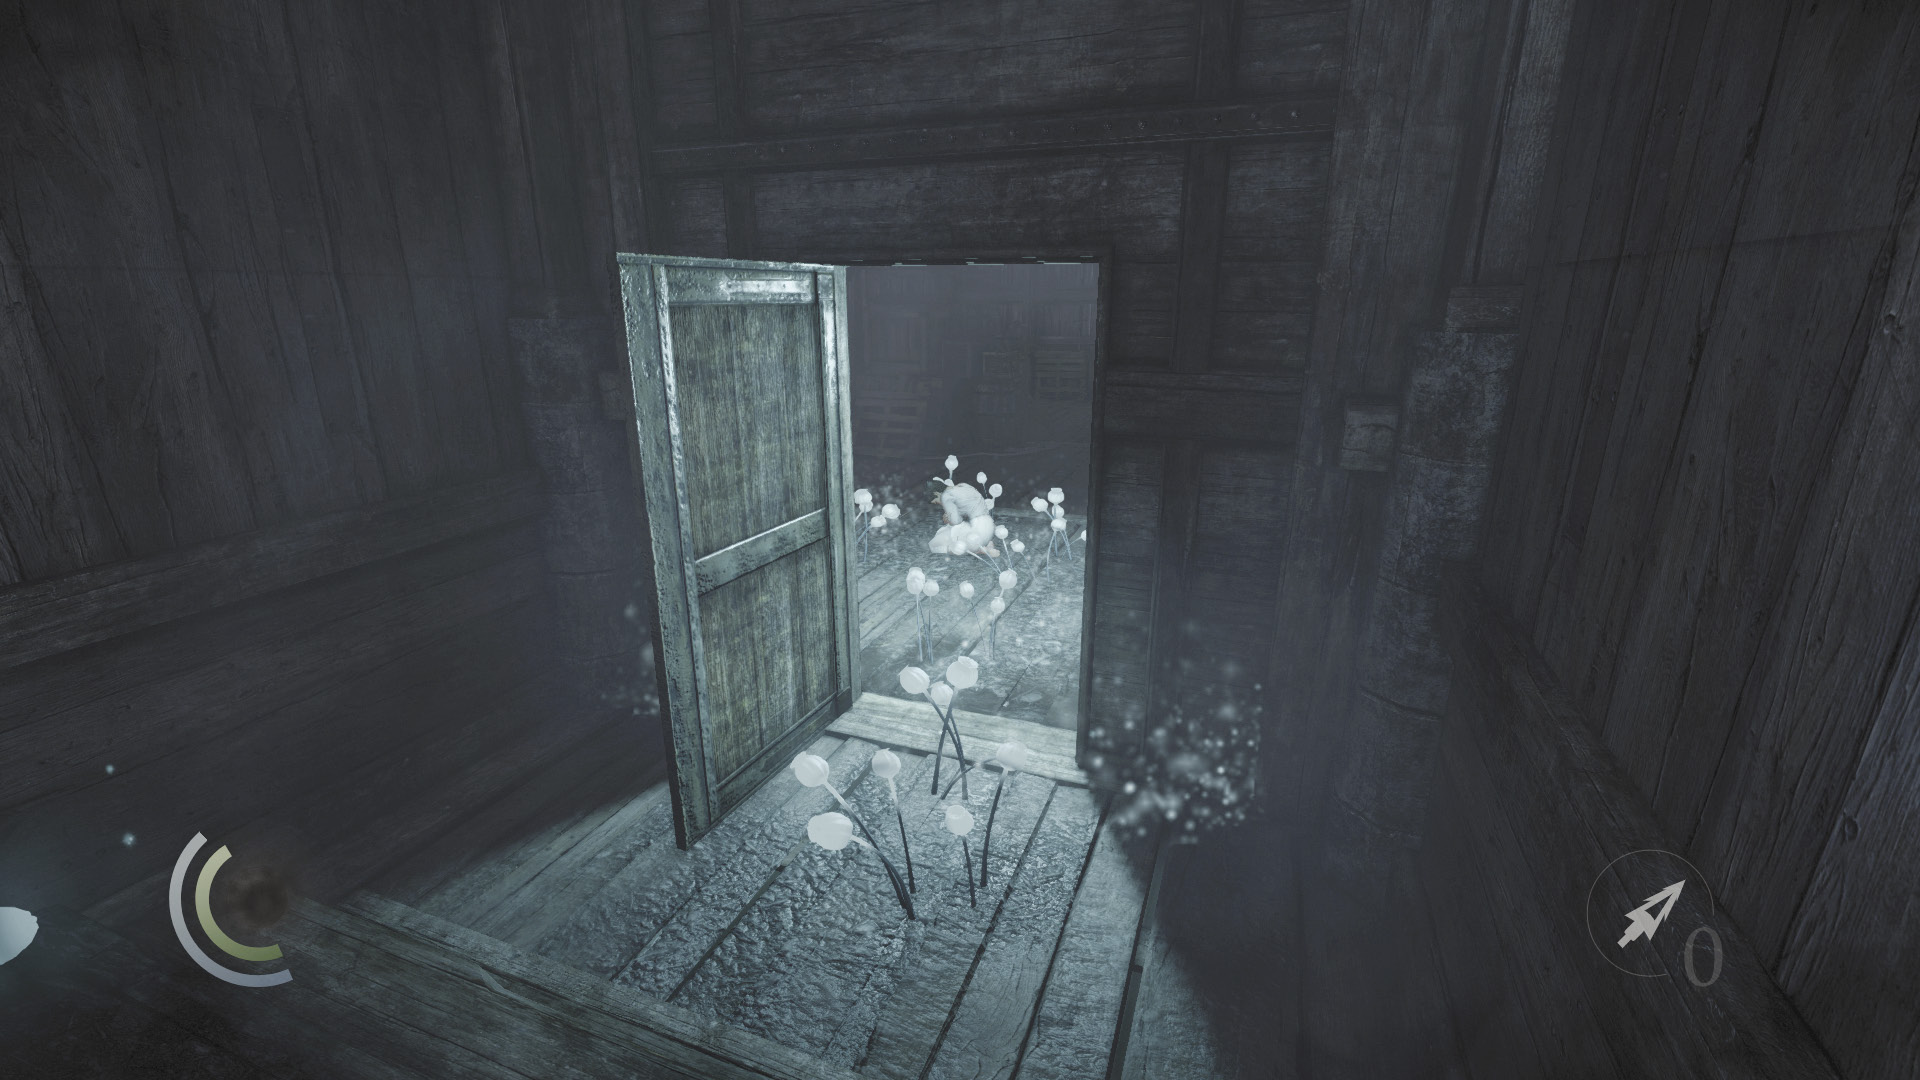
Up north, a door is open that wasn’t before. The door is easy to spot, for luminescent flowers have sprouted all around. Go through to reach a new section of the stowage deck.
Objective 5: Get Close to Erin
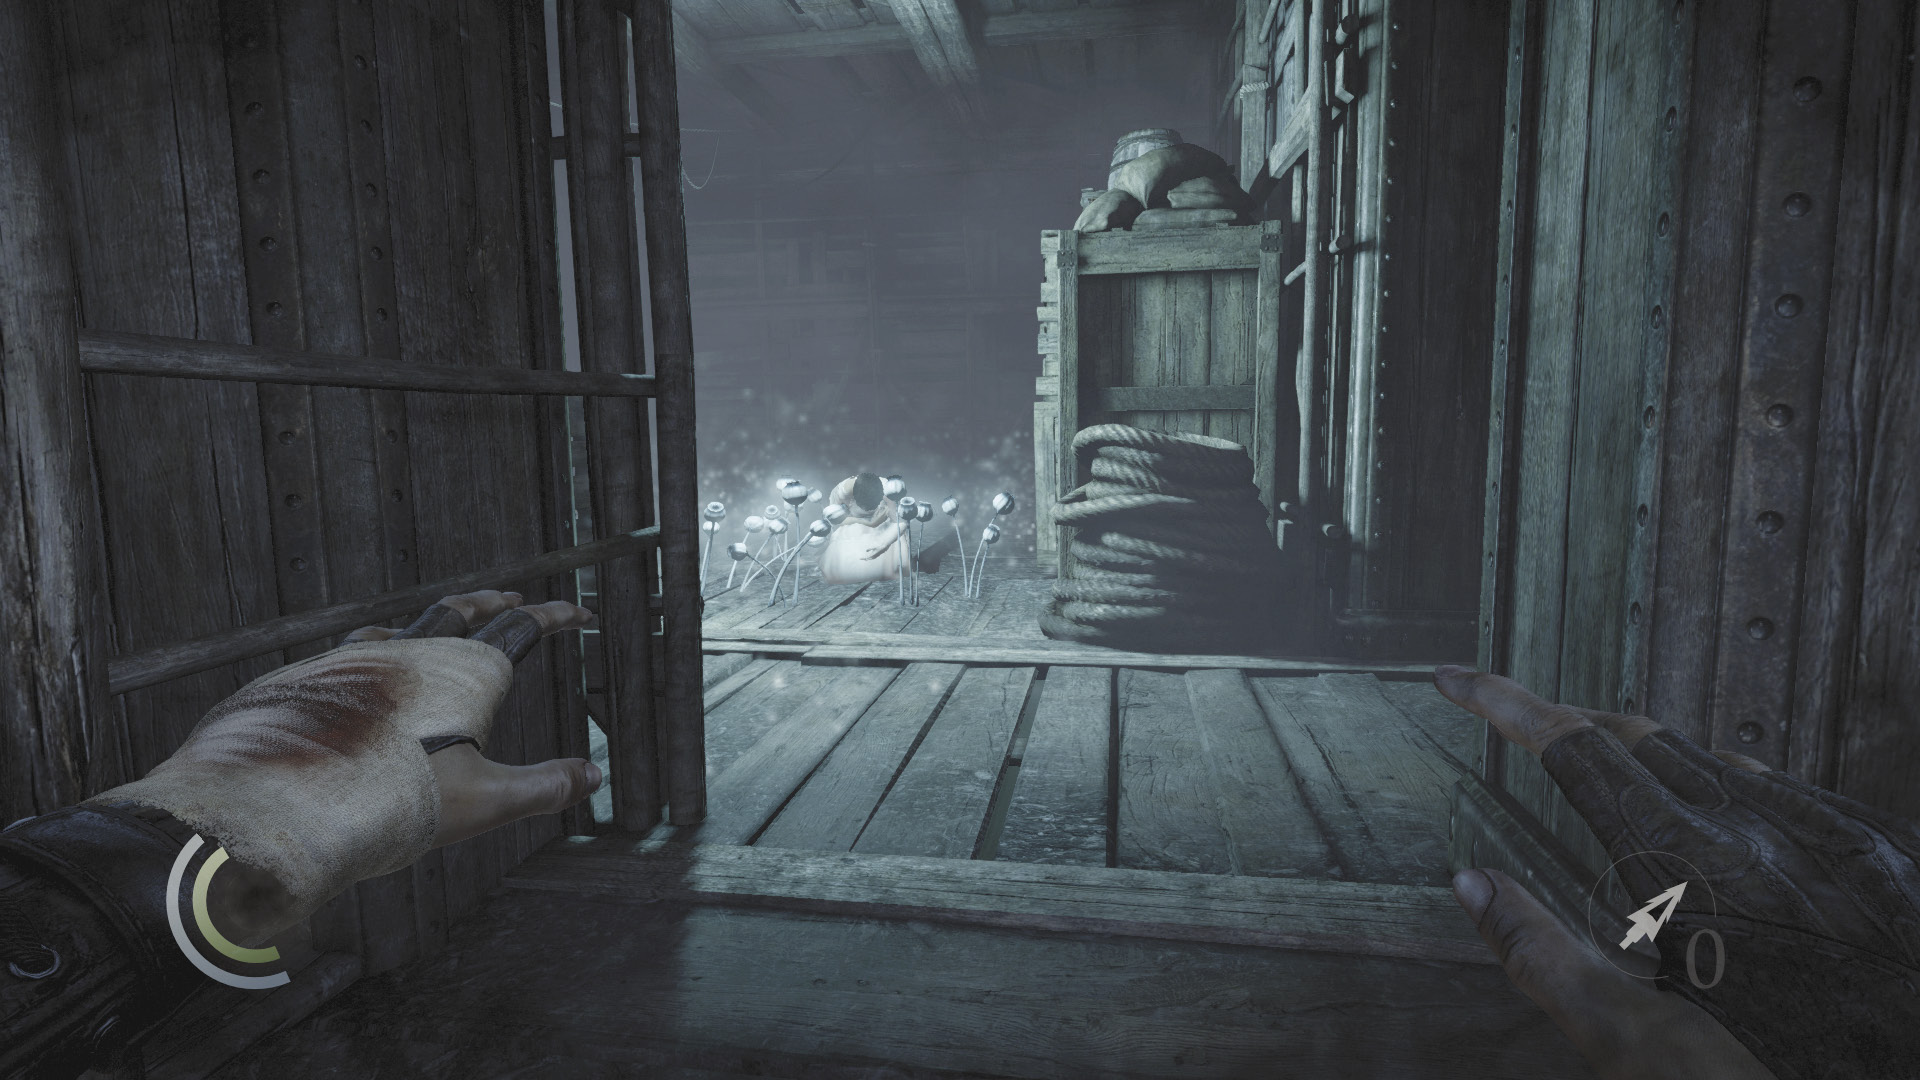
You catch up with Erin in the stowage deck, but she quickly vanishes. You must sneak up on her without letting her see you.
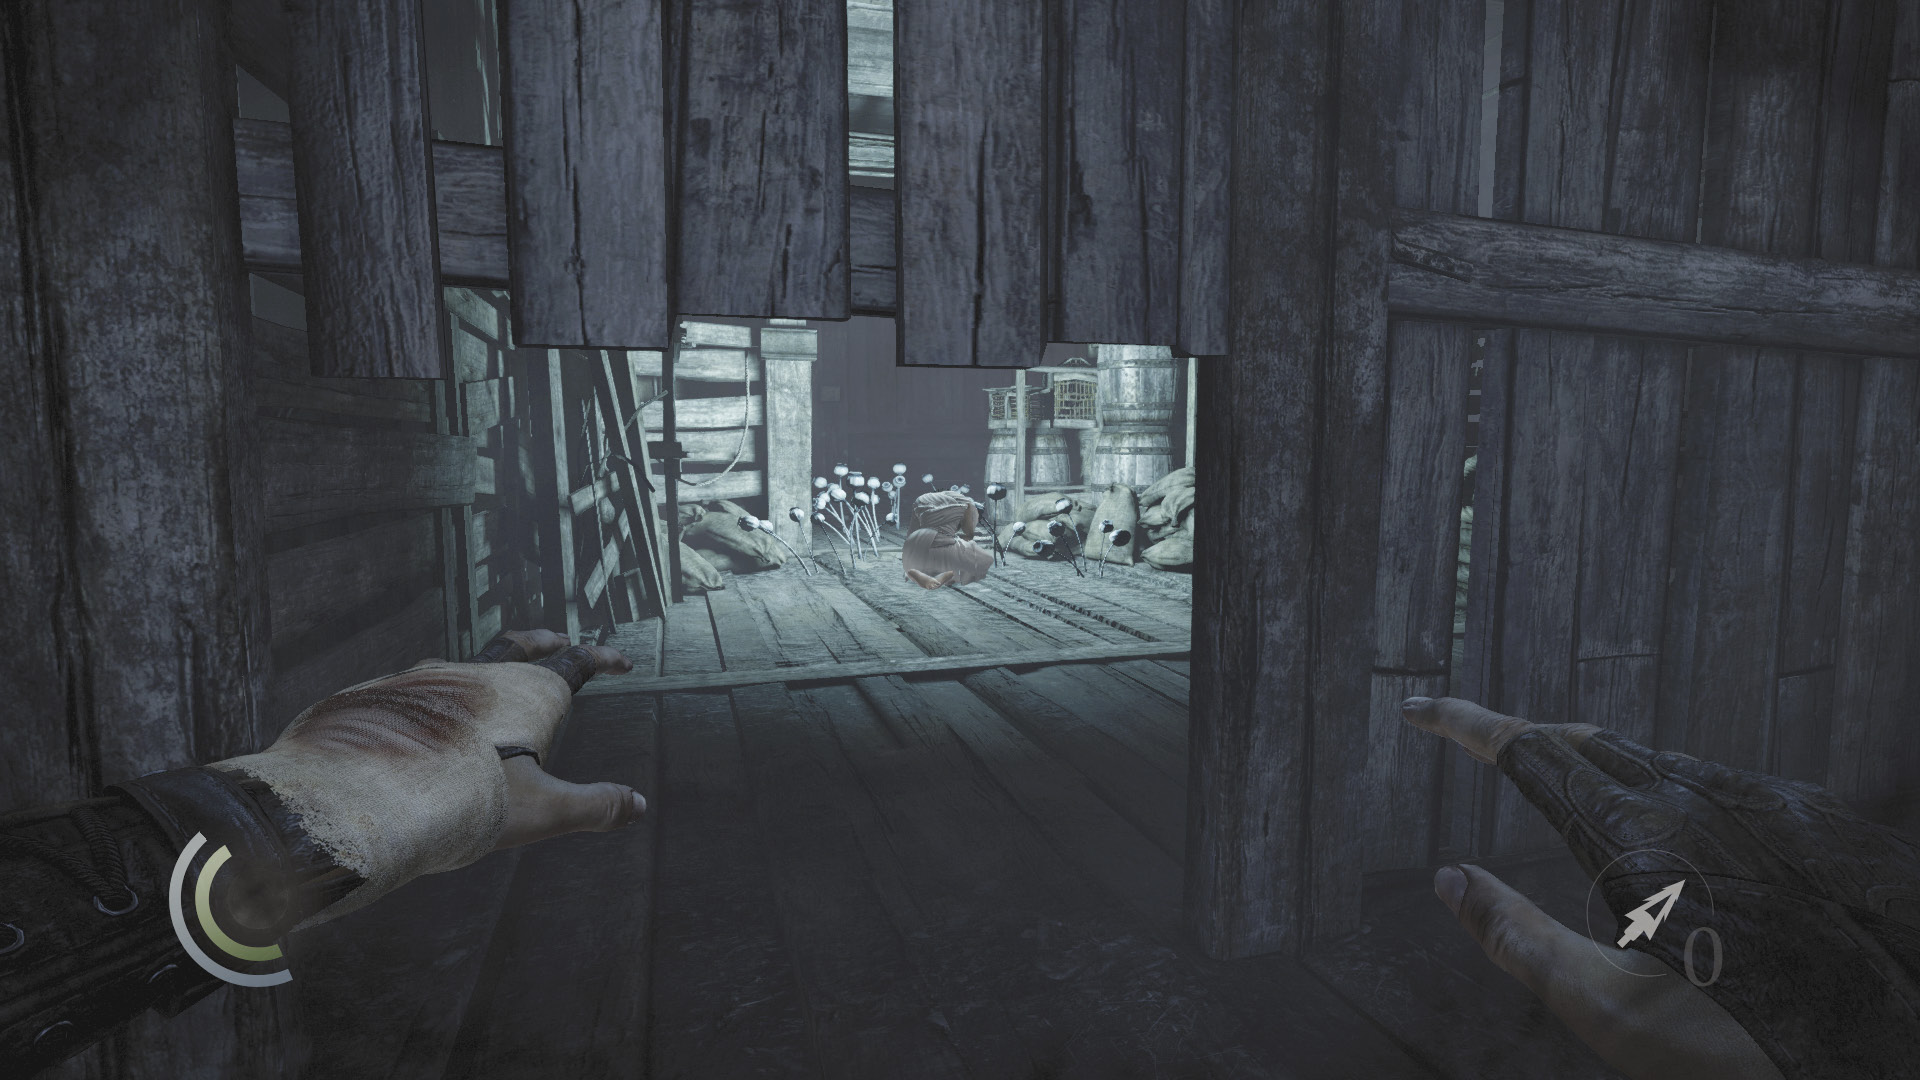
Sneaking up on Erin isn’t difficult, for there are many routes to take through this new section of the stowage deck. She has moved off to the west, and the luminescent flowers that grow all around her make it easy for you to see her. Sneak up behind Erin and touch her shoulder to advance the plot.
Objective 6: Follow Erin’s Trail
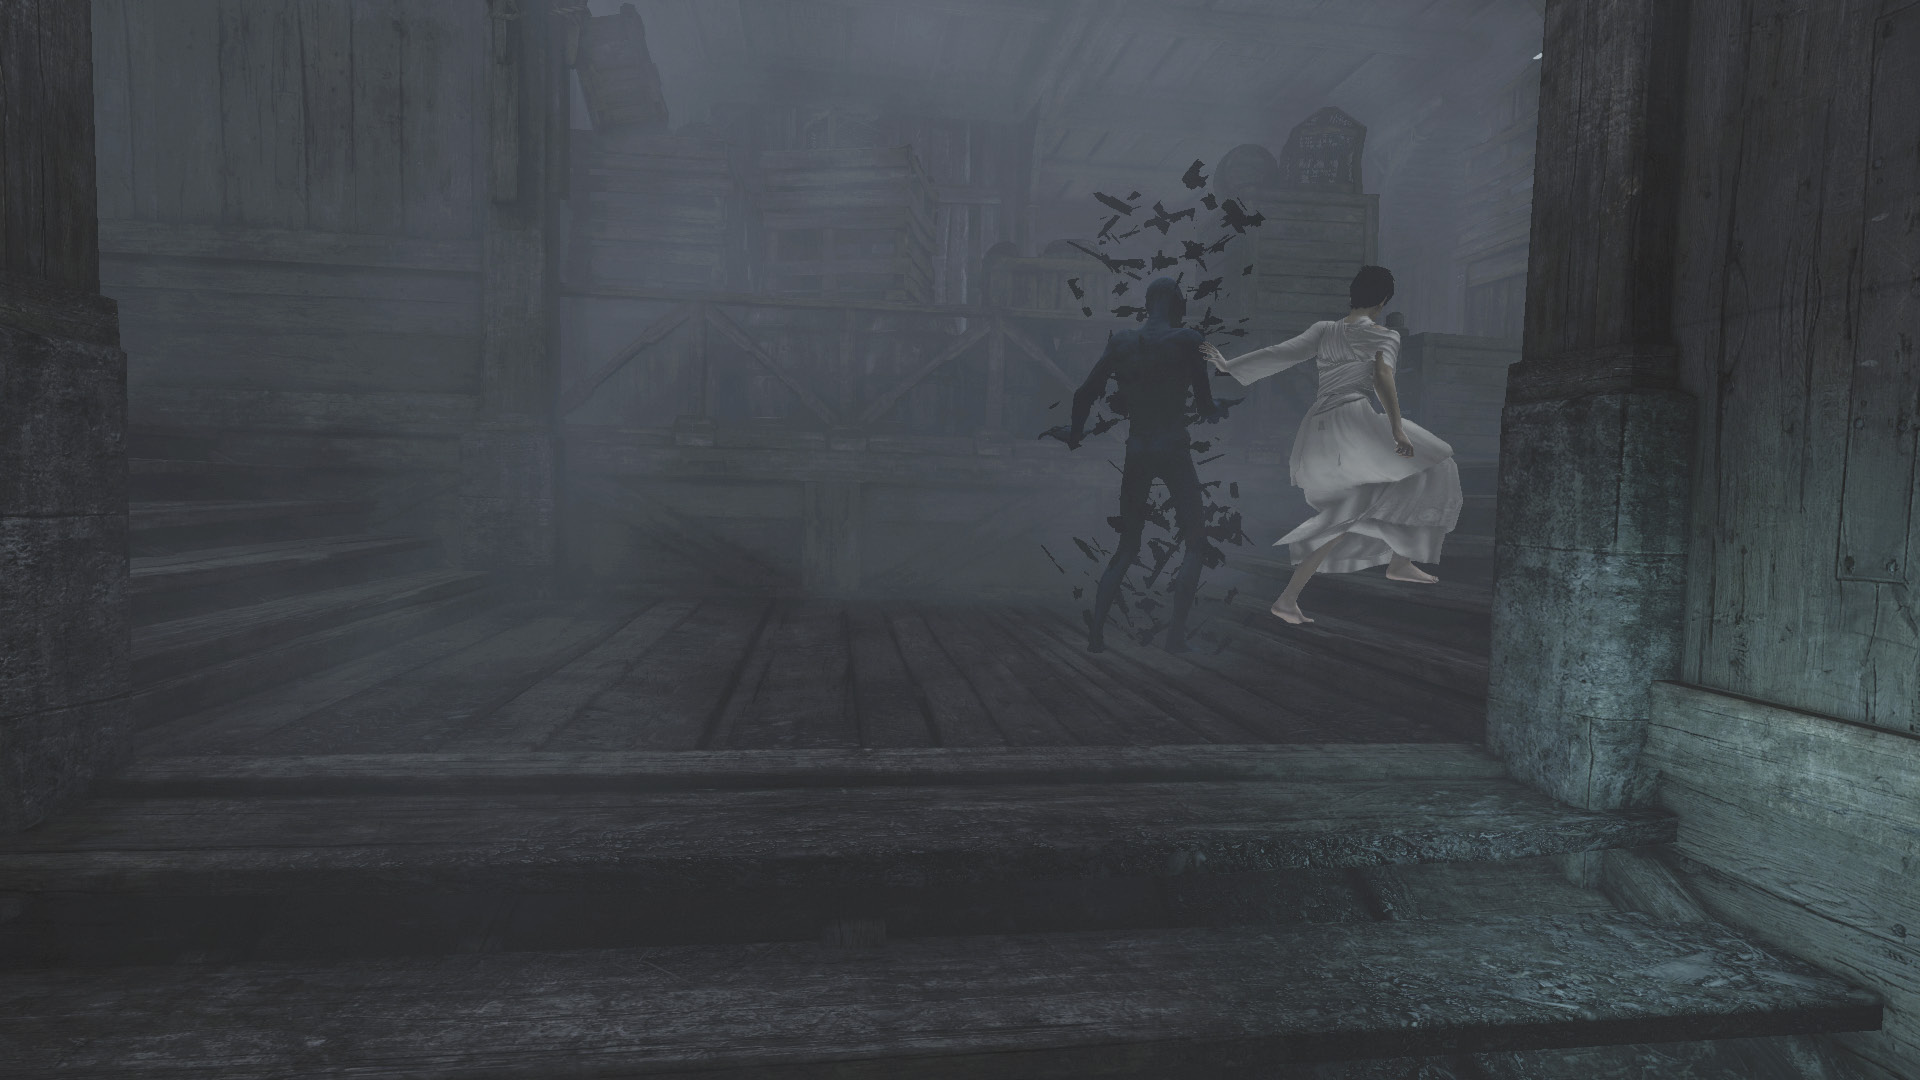
Erin vanishes after you touch her, fleeing back to the chapel. Just for fun, she’s turned all of those frozen Graven you passed into vicious Freaks. Backtrack toward the chapel, being careful to avoid the Freaks as you go. Cutting through the east side room is a sound plan.
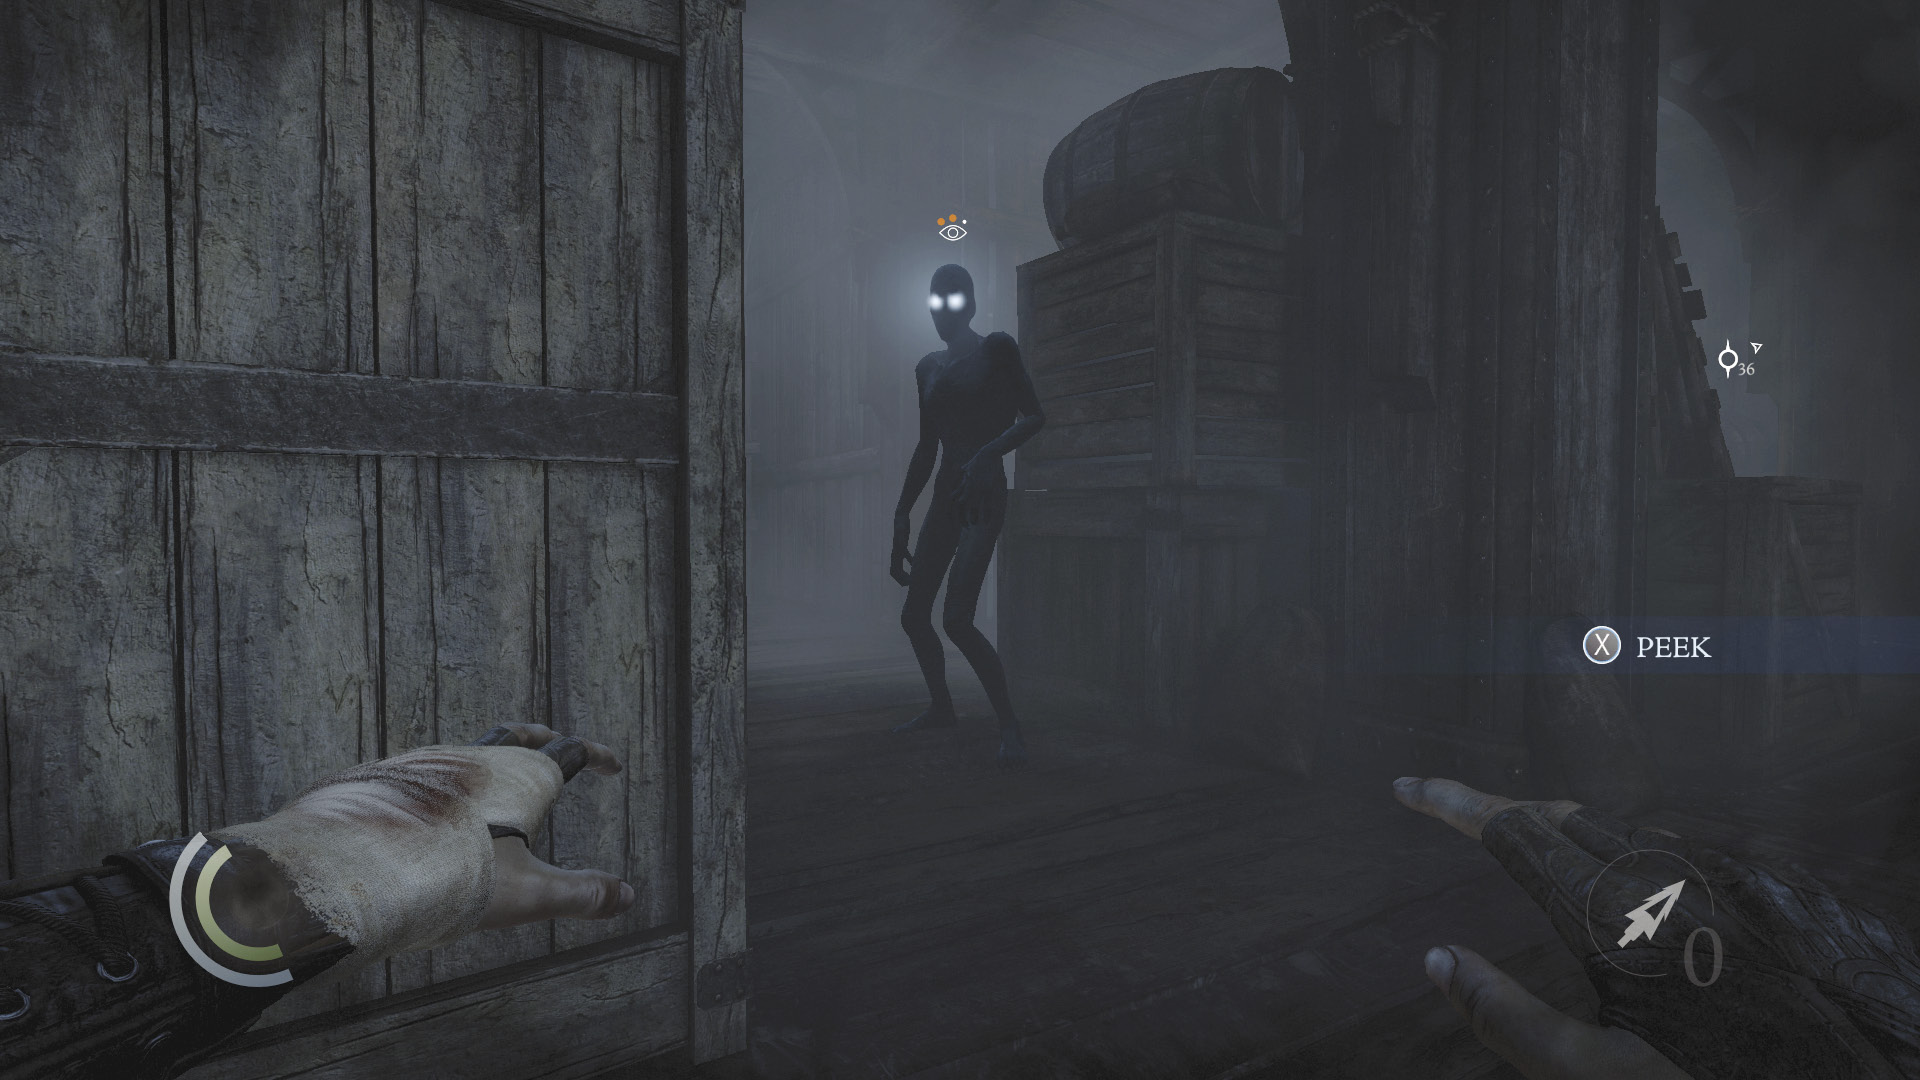
One Freak stands right near the door to the stairs that lead out of the stowage deck. You must sneak as slowly as possible in order to slip past this monster. If it ever begins to suspect you, freeze in your tracks and wait for its suspicions to fade. Or use a blast arrow or fire arrows to obliterate it (there’s no need to conserve ammo at this point).
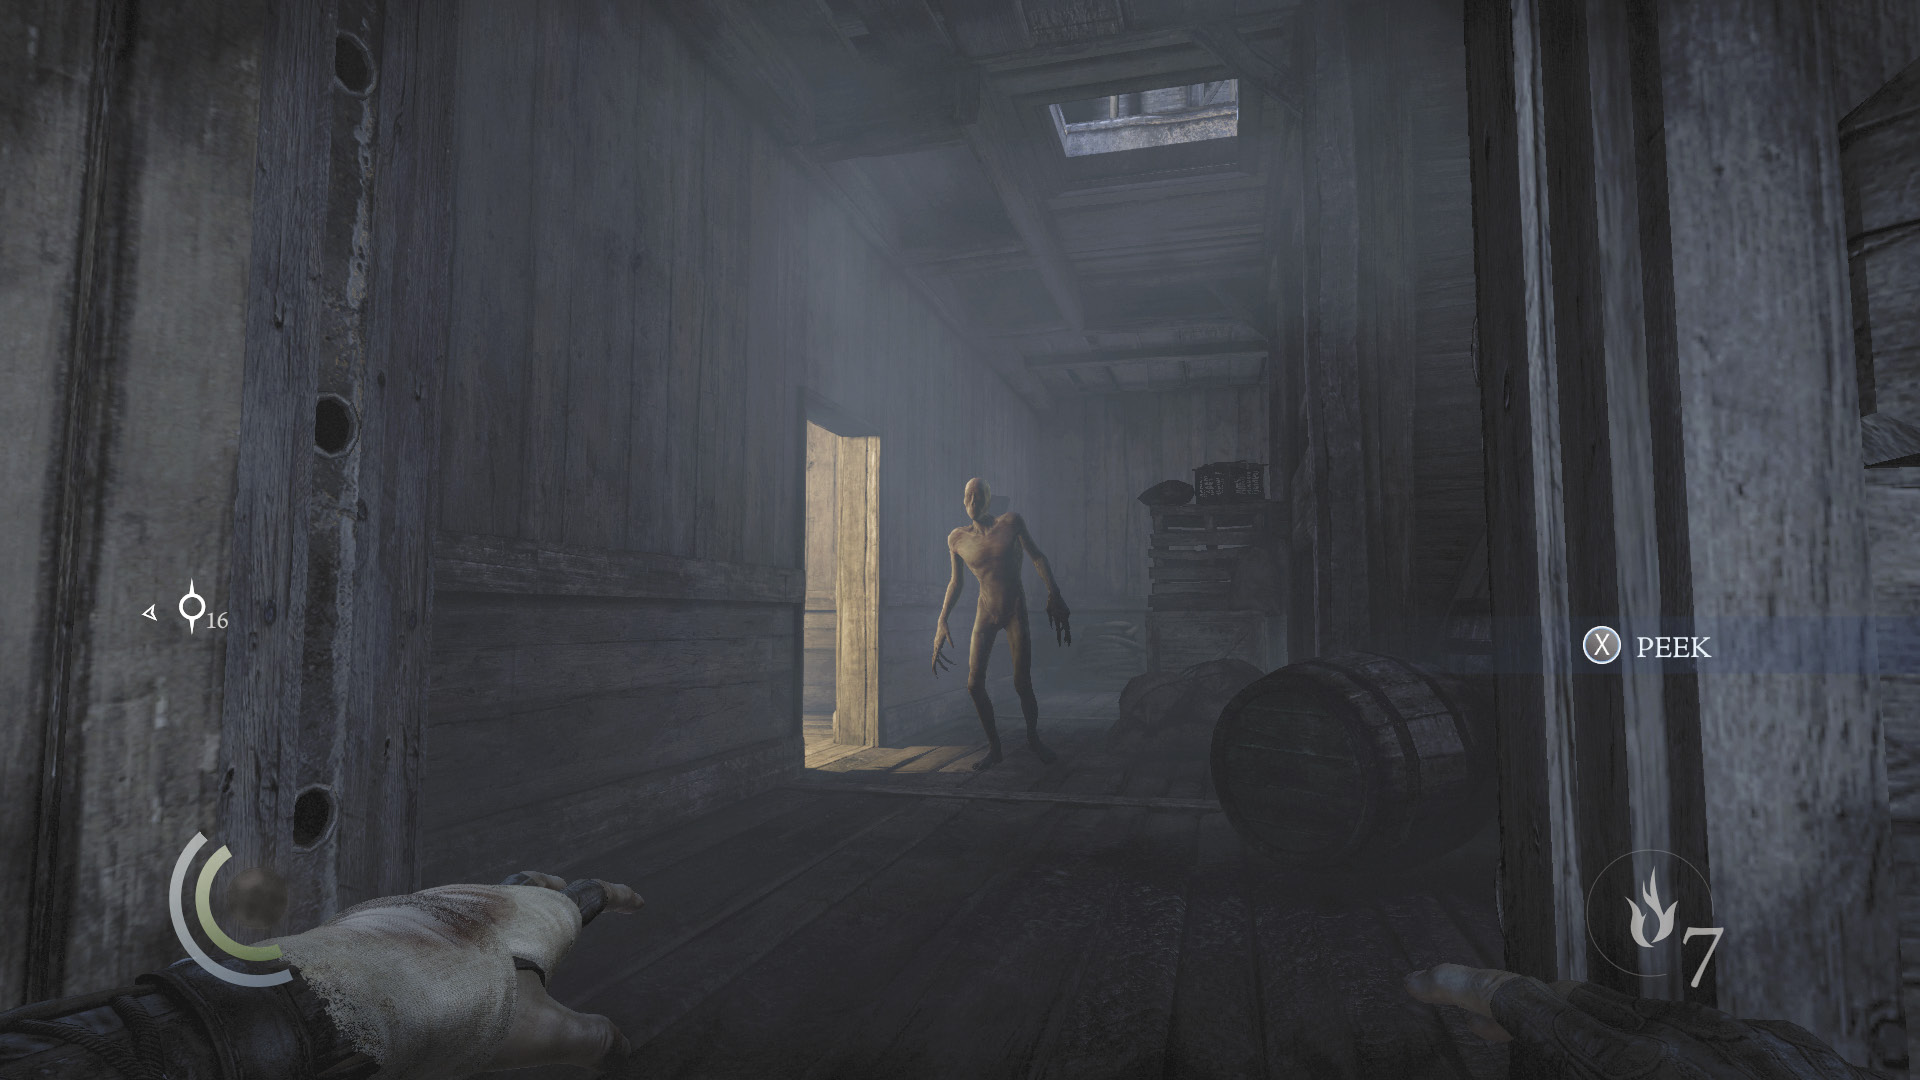
Another Freak lurks in the room just above the stairs. Wait for it to move away from the south door, then sneak past and reenter the chapel.
Objective 7: Steal the Primal Energy from Erin
Area 6: Chapel (Revisited)
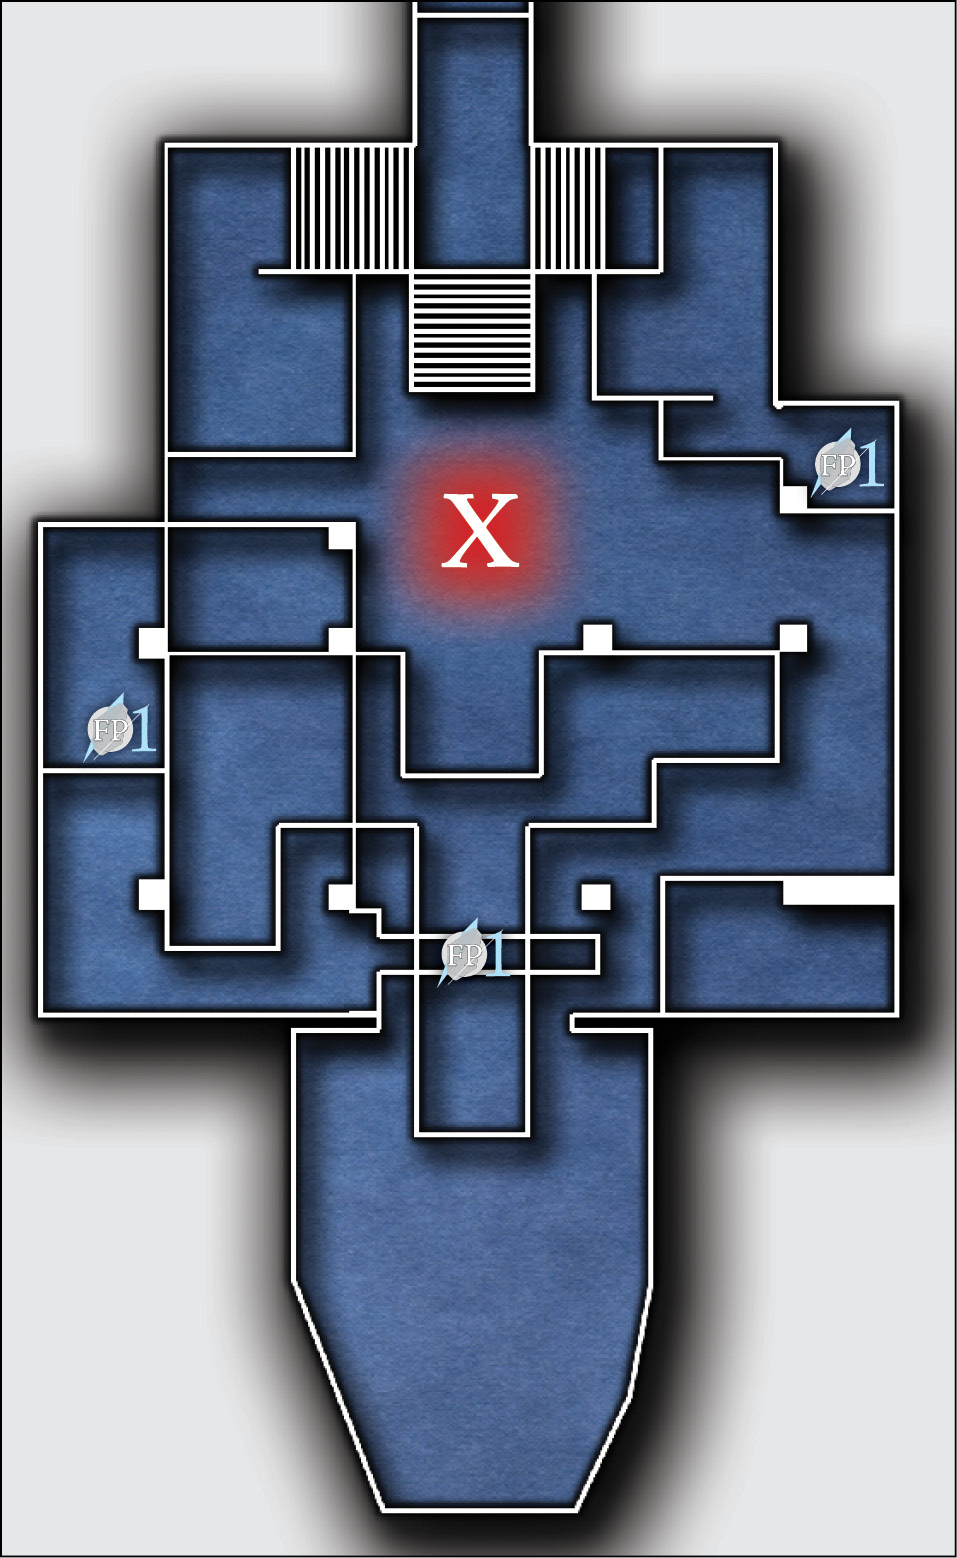
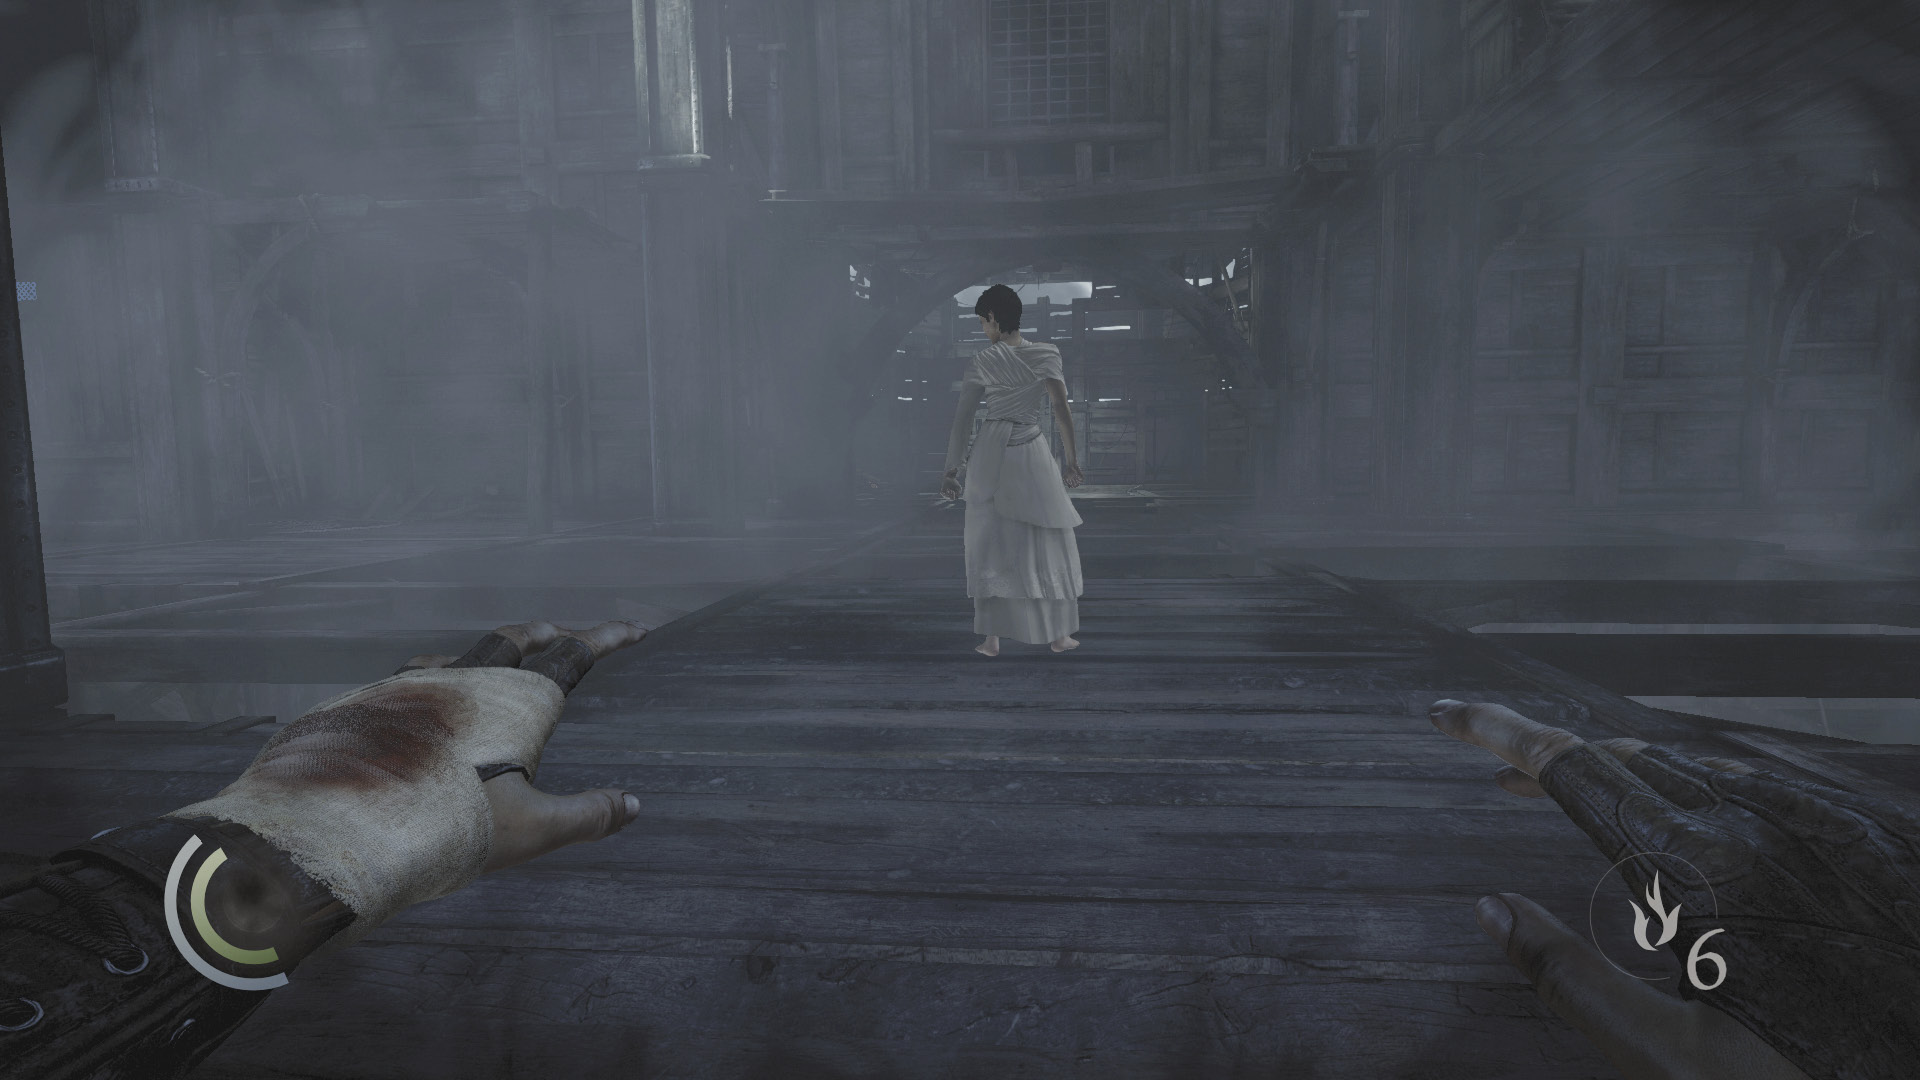
Erin stands in the center of the chapel, her back turned to you. Sneak up behind her in an effort to steal the Primal Energy away.
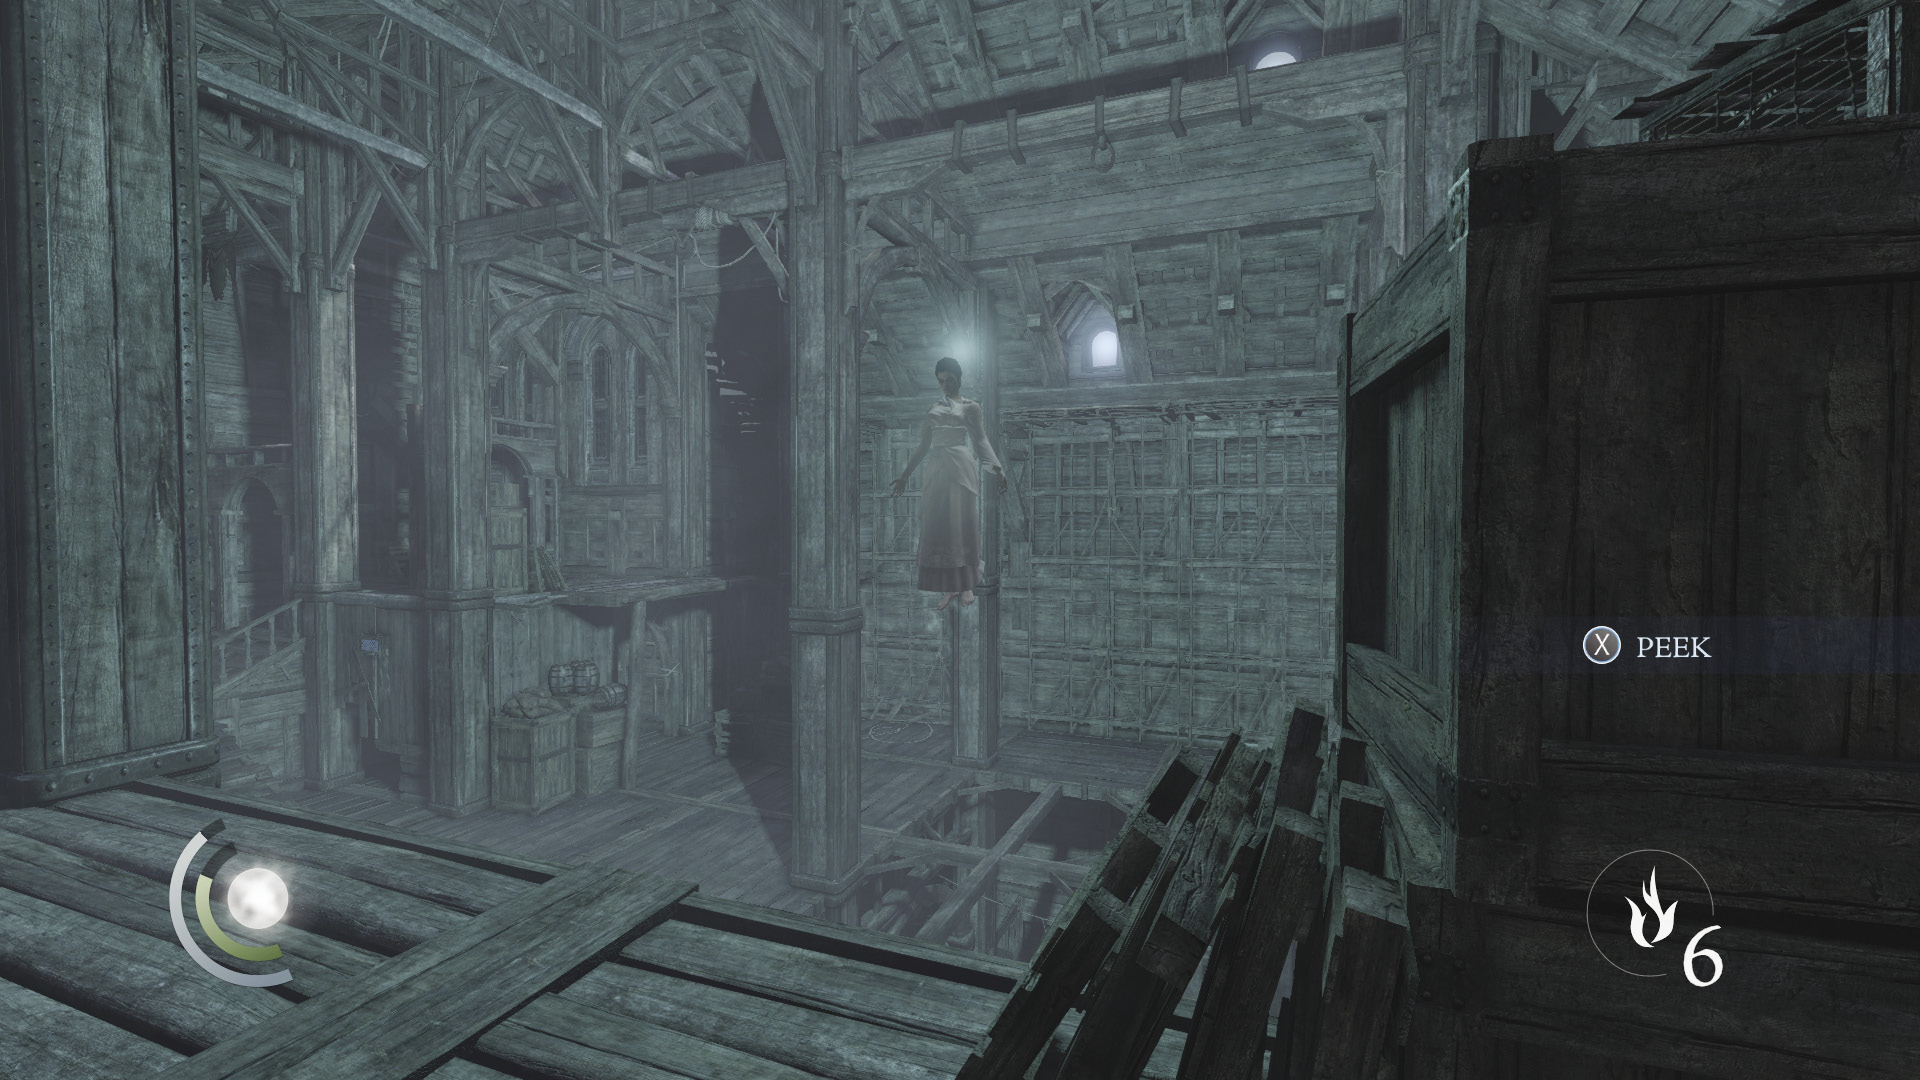
Things don’t quite go as planned. Erin releases a blast of energy, and the Primal Stone shatters into three fragments. You’ll have to collect them all in order to remake the Primal Stone.
Final Boss: Primal Erin
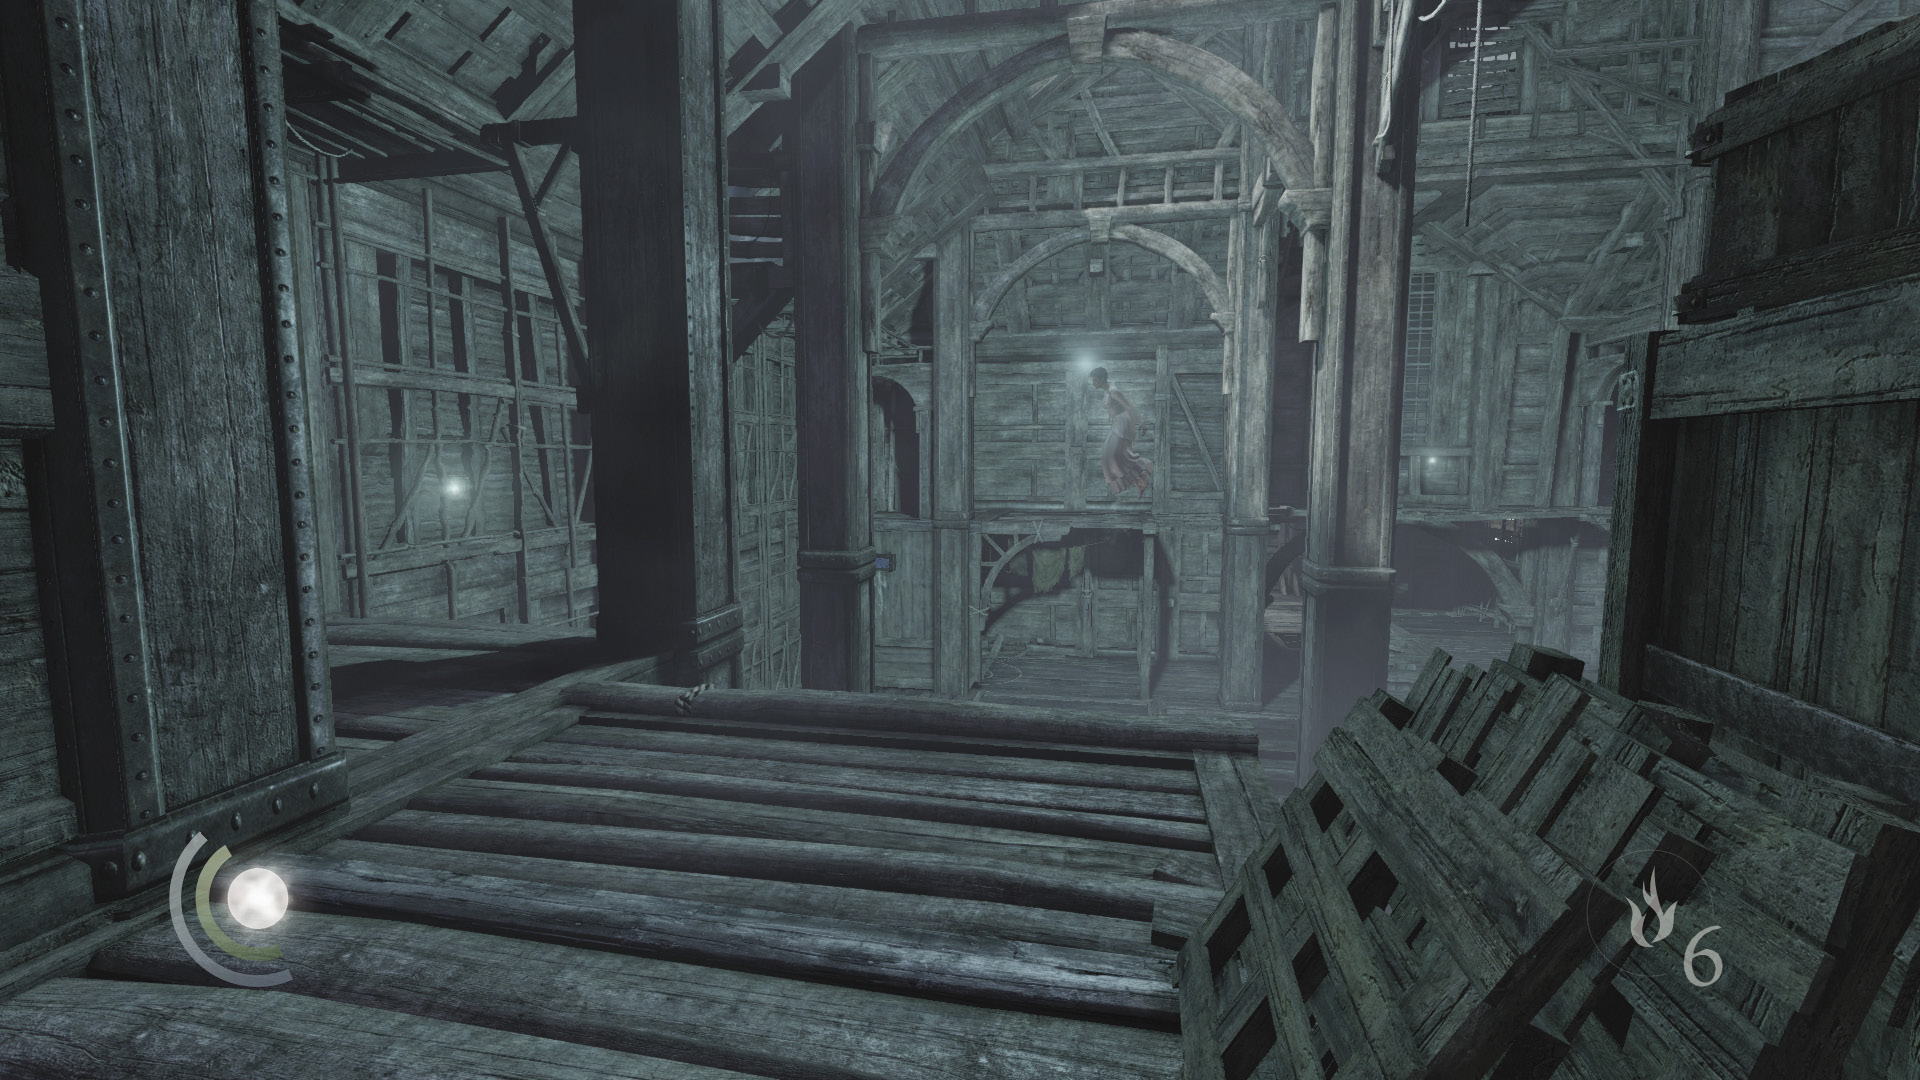
One Primal Stone fragment is just a short jaunt to your left, in the chapel’s northeast corner. Another fragment is all the way to the south, and the third is down low, near the broken floor to the west. You can collect the fragments in any order, but we recommend going after them in the aforementioned order.
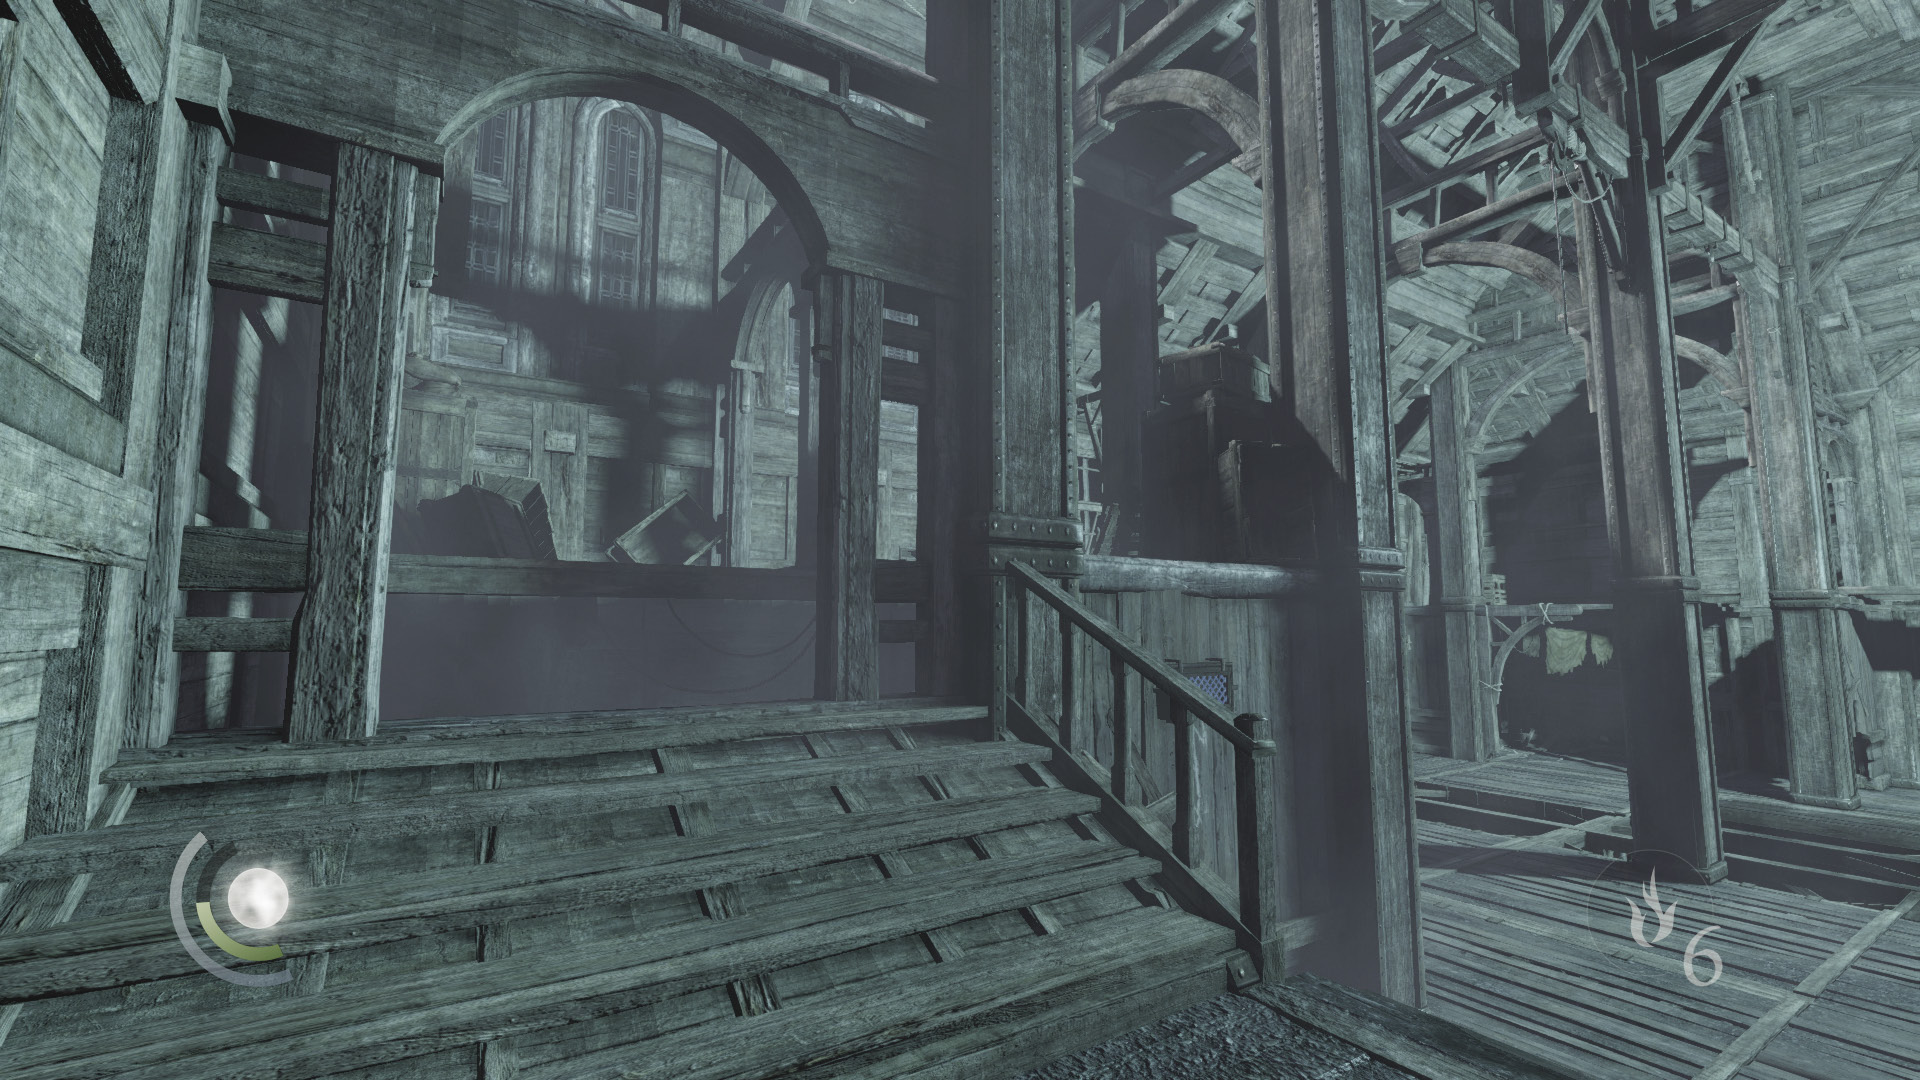
The moment you gain control, sprint to your left, jump a gap in the walkway, and take cover behind some crates. You have just enough time to get there before Erin unleashes a pulse of Primal energy. Erin regularly unleashes these blasts, and you’ll suffer greatly if they catch you. Erin’s blasts can harm you from clear across the chapel, but as long as you remain behind cover, you’ll take no damage.
The Northeast Fragment
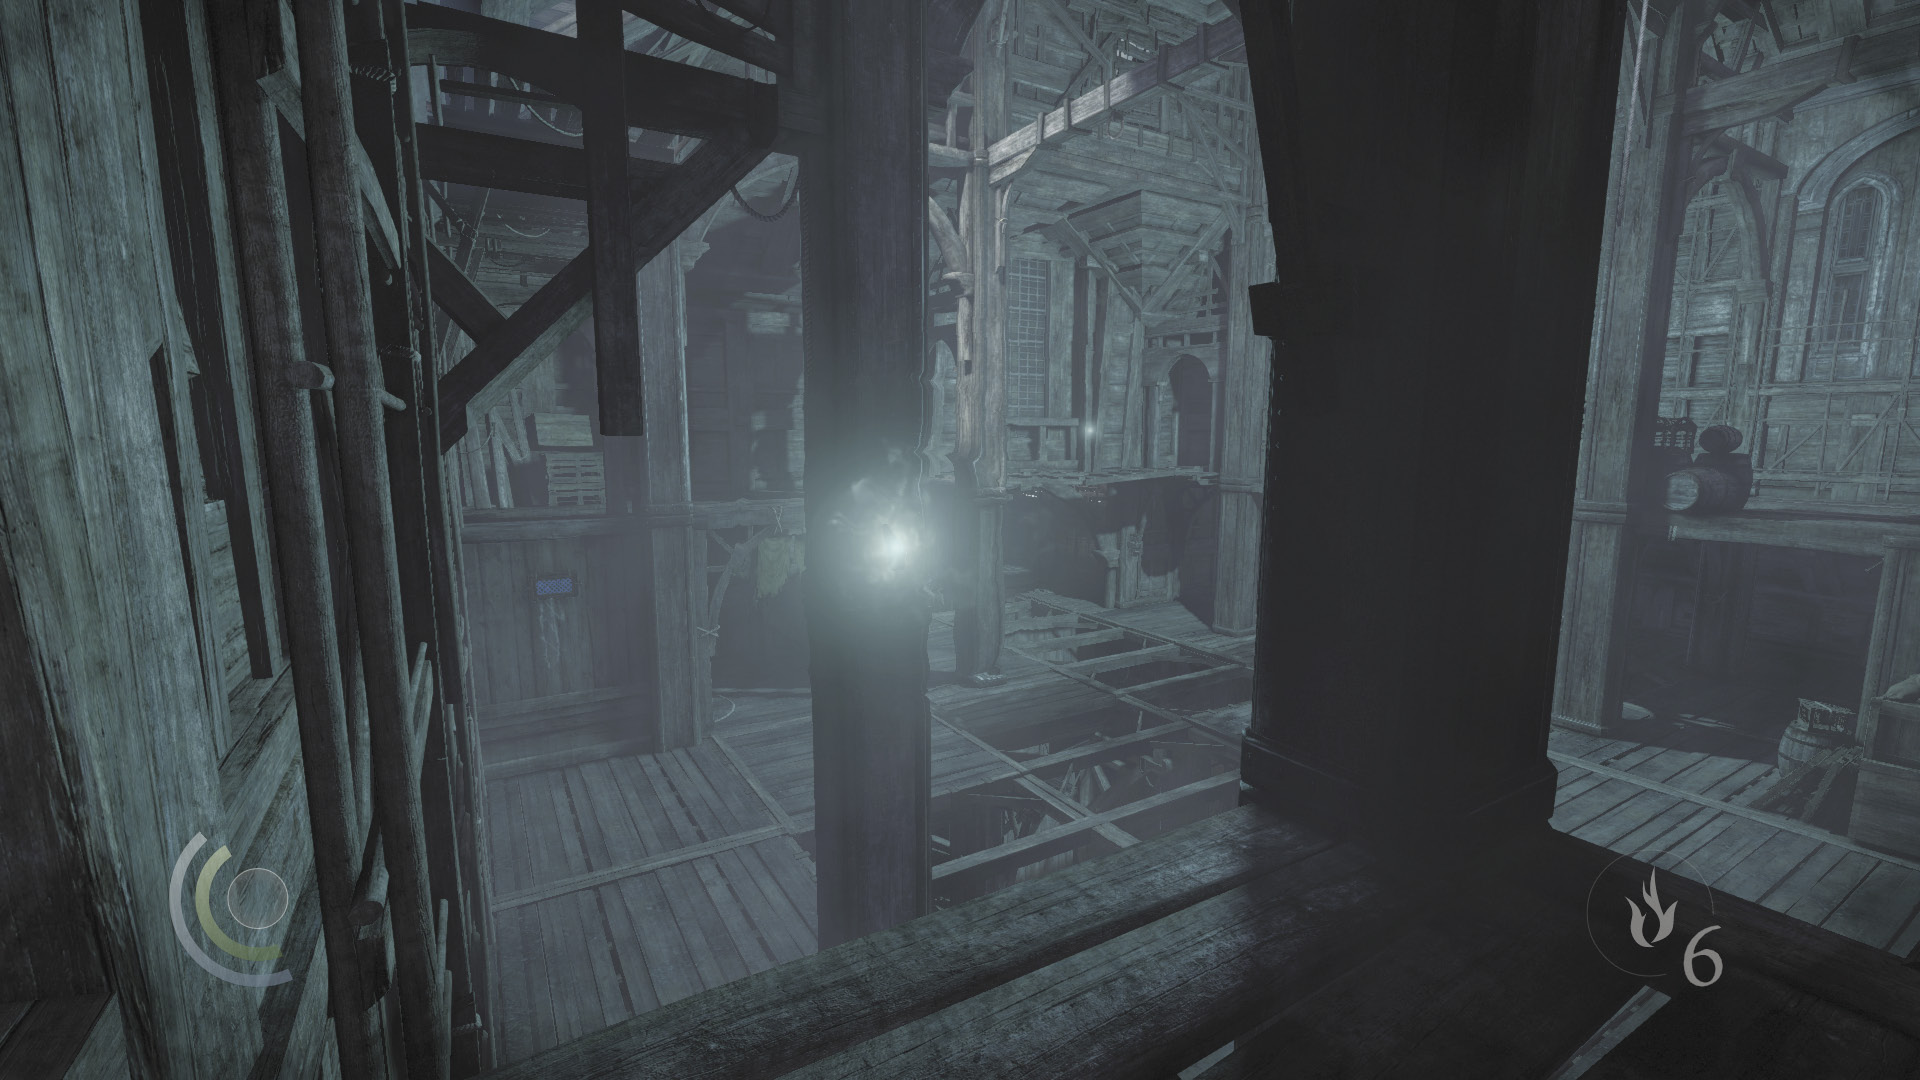
The northeast fragment is closest to your starting position, so go after that one first. As previously noted, you must race to the northeast crates, or else Erin’s opening Primal blast will wound you. Move to collect the northeast fragment between breaks in Erin’s rhythmic attacks, pressing the Interact button to grab it.
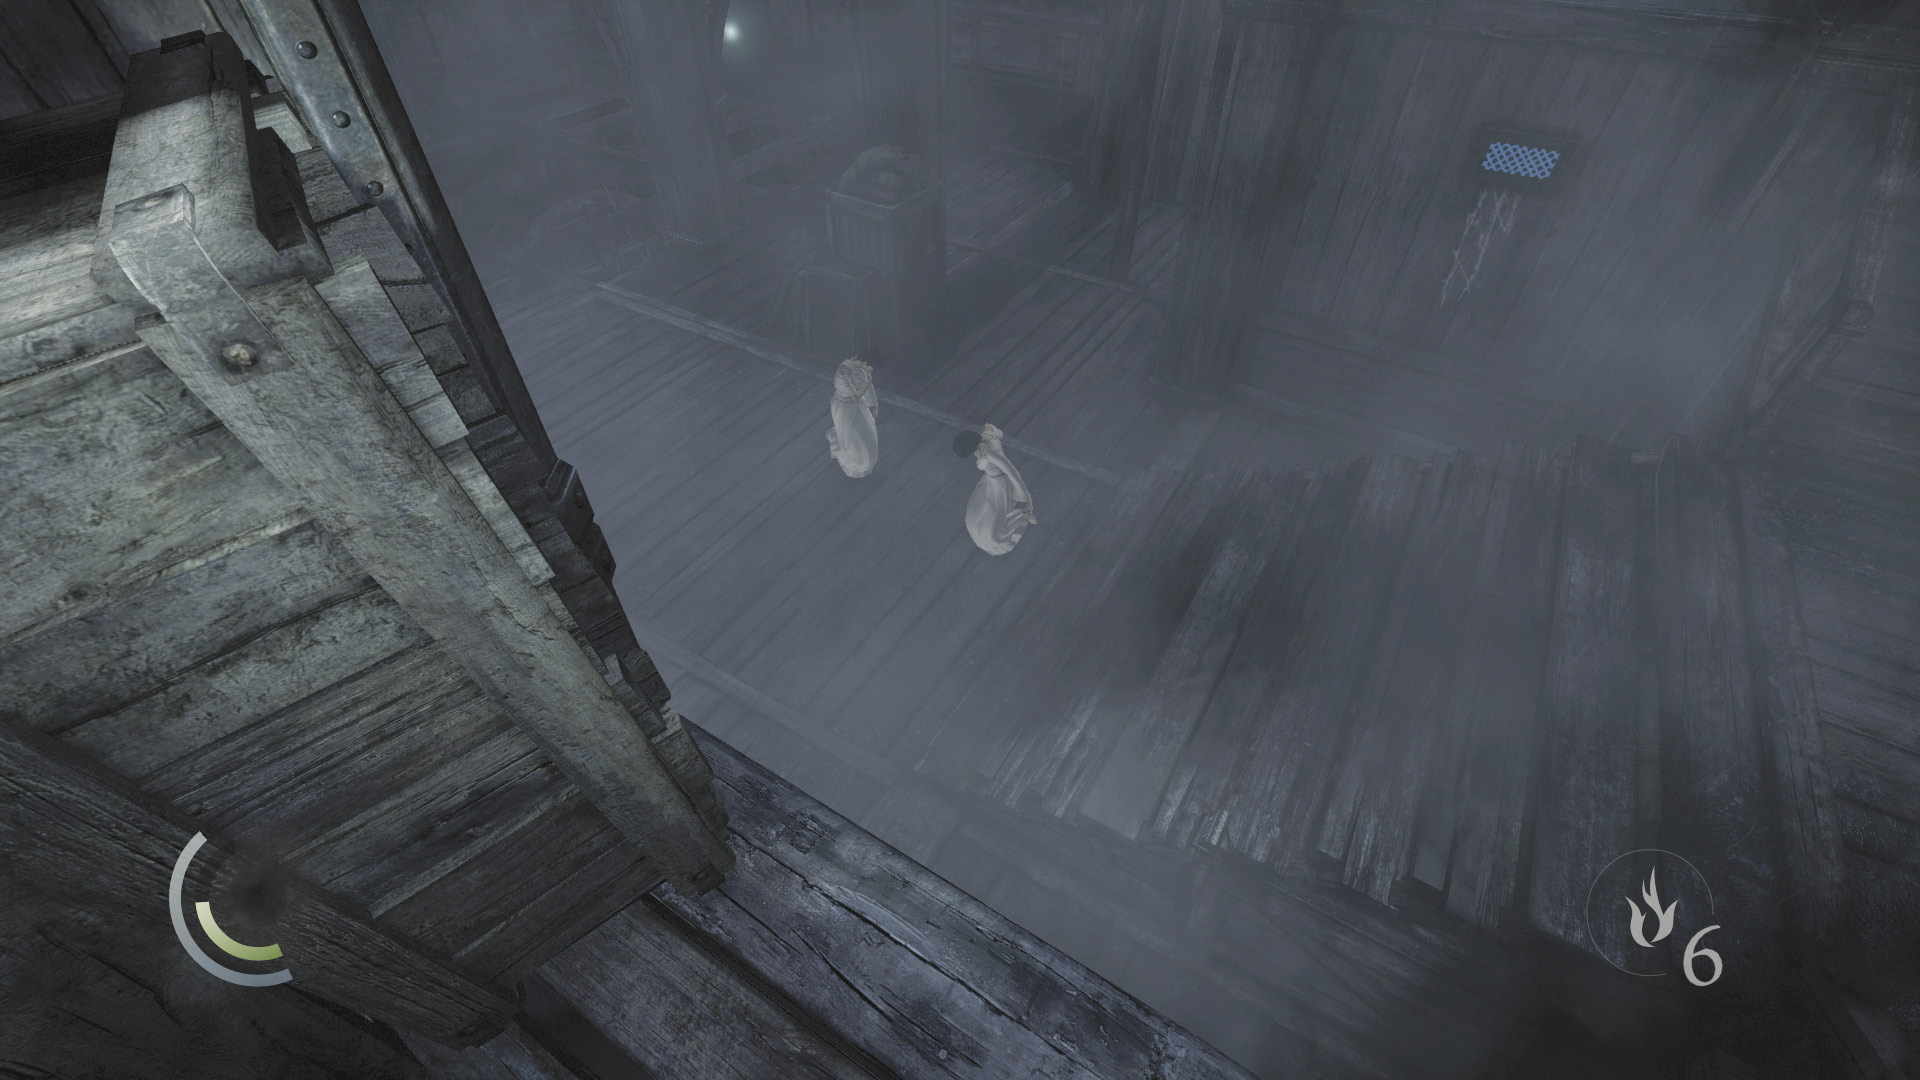
Erin appears in front of you after you collect the northeast fragment. Move to your right a bit and take shelter behind the nearby support column, for Erin soon unleashes a massive blast. This one’s fatal if it catches you, so get behind that column, pronto. Move to your left and use the same column to avoid her next regular attack.
After you collect the first fragment, Erin spawns a host of ghostly clones. These specters won’t unleash big blasts like the real Erin, but they can block your path and damage you with the smaller bursts they unleash when they vanish. Still, it’s fairly easy to avoid damage as long as you sprint from cover to cover and anticipate Erin’s steady blasts. Ignore the specters and focus on avoiding the real threat.
The South Fragment
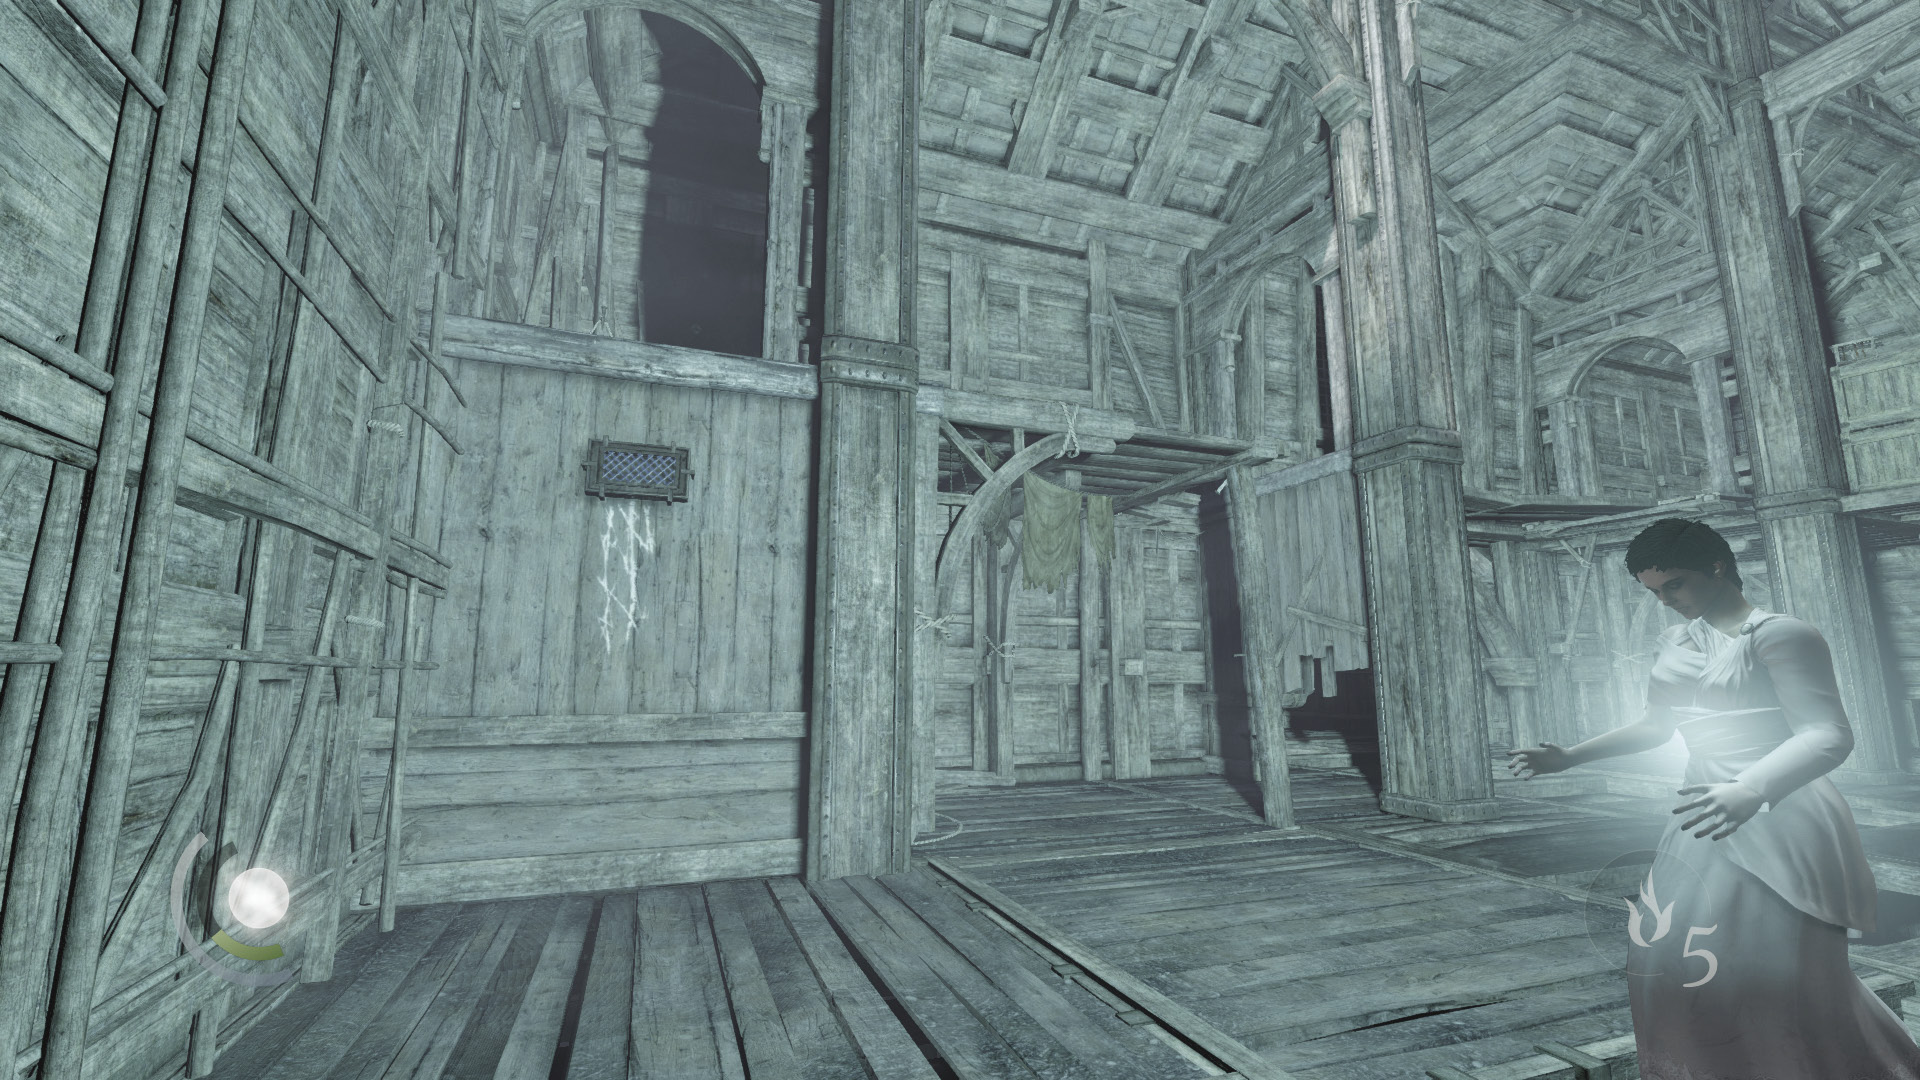
After Erin’s massive blast is over, drop from the ledge and sprint south, aiming to scale the south wall. If Erin appears before you get there, use the east support column as cover.
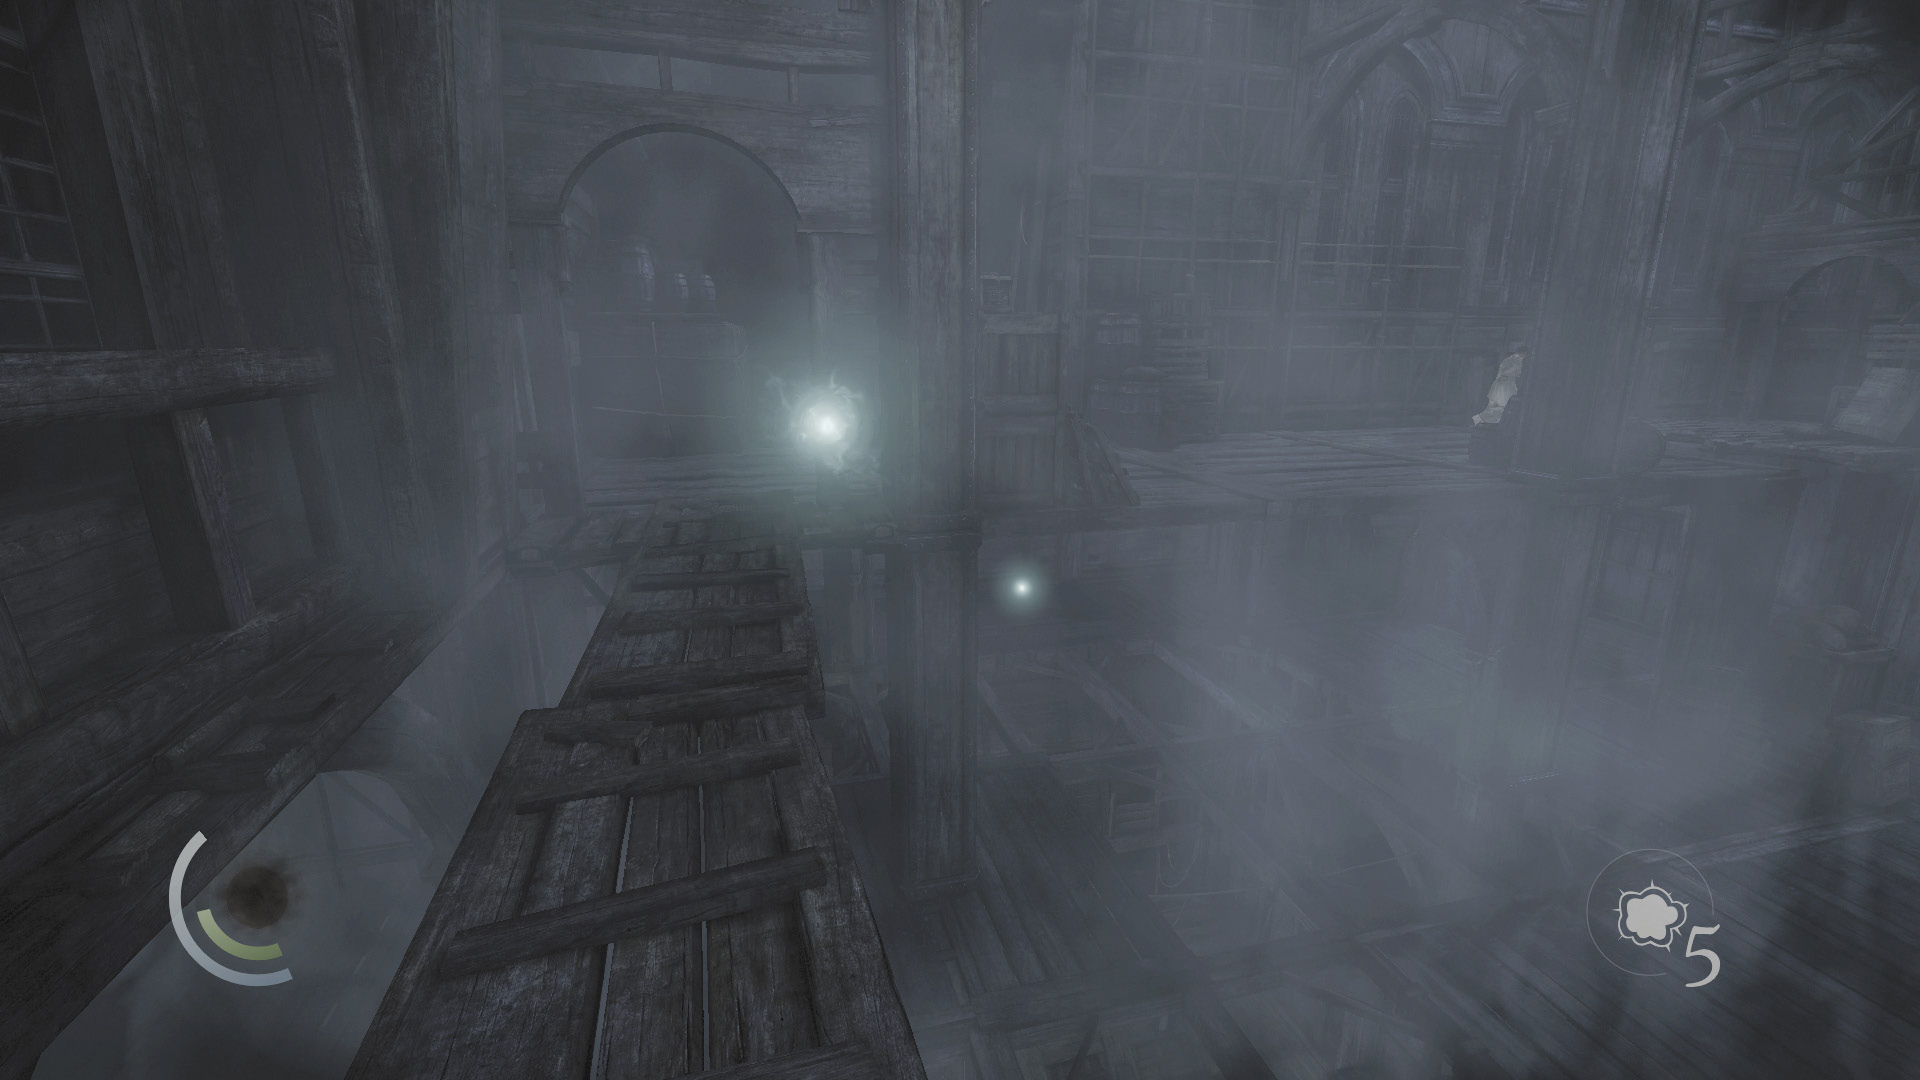
Take cover behind the nearby column after climbing the wall, then sprint west across the chapel’s south walkway. Quickly collect the south fragment from the walkway as you go, then keep dashing west.
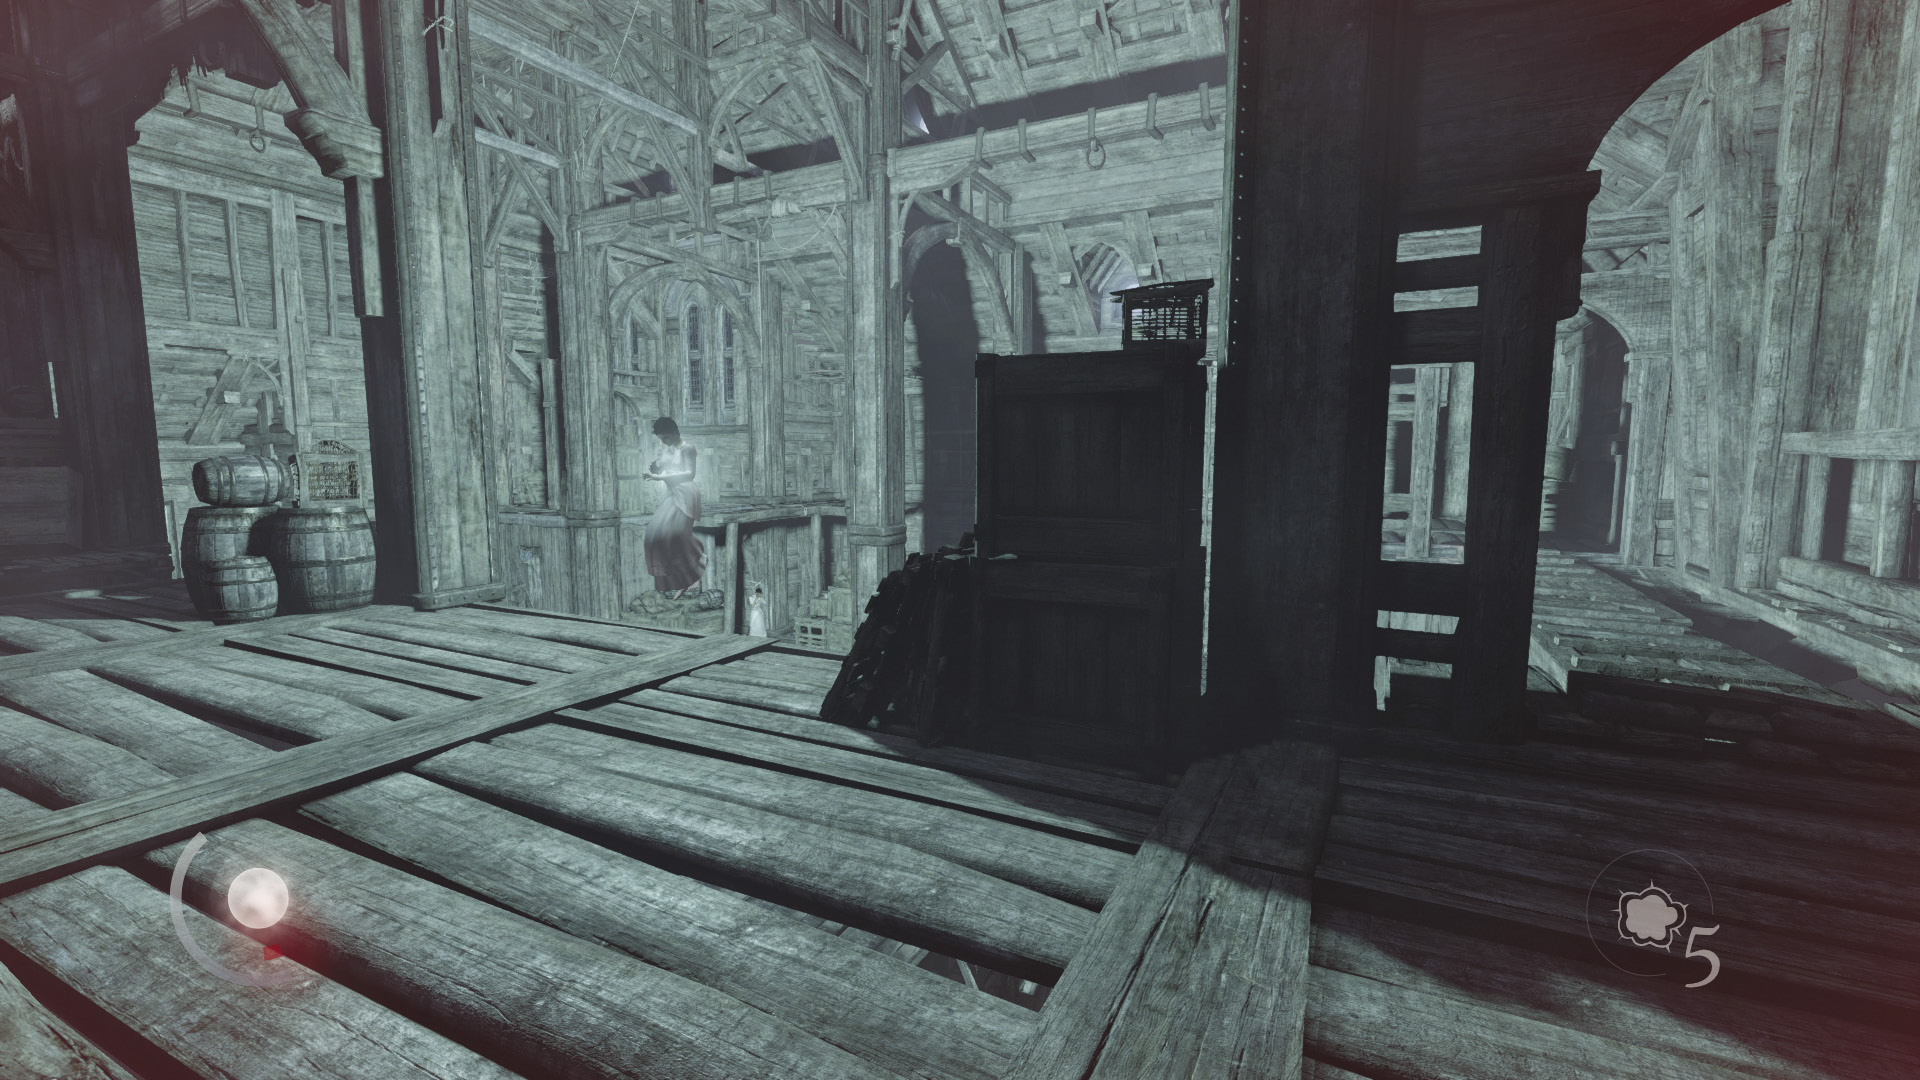
After collecting the south fragment, take cover behind the southwest crates and support post. Erin soon unleashes another massive blast as payback for your grabbing the second fragment.
The Southwest Fragment
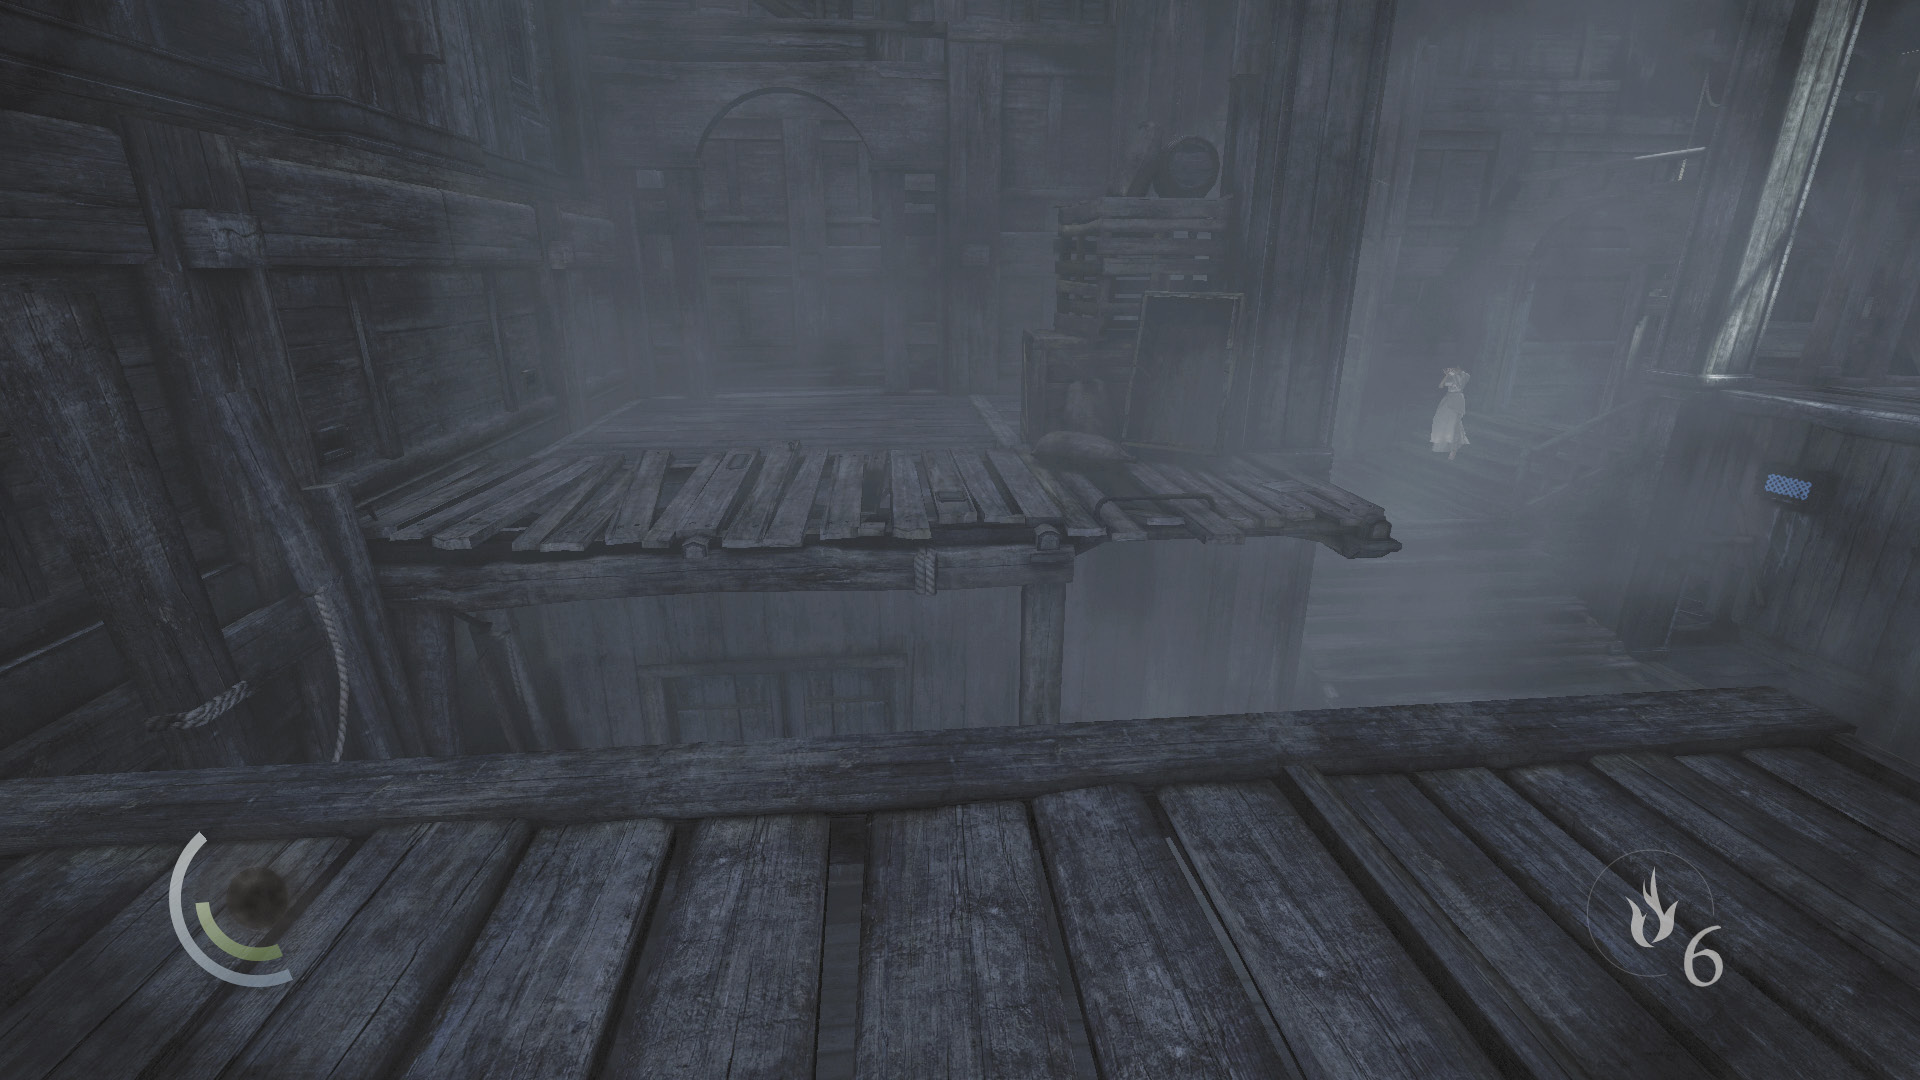
The final fragment is just below you, but reaching it is tricky due to the broken floor below. Avoid Erin’s next attack, then sprint north, slowing as you near the gap in the walkway and pressing the Cancel button to drop to the lower floor.
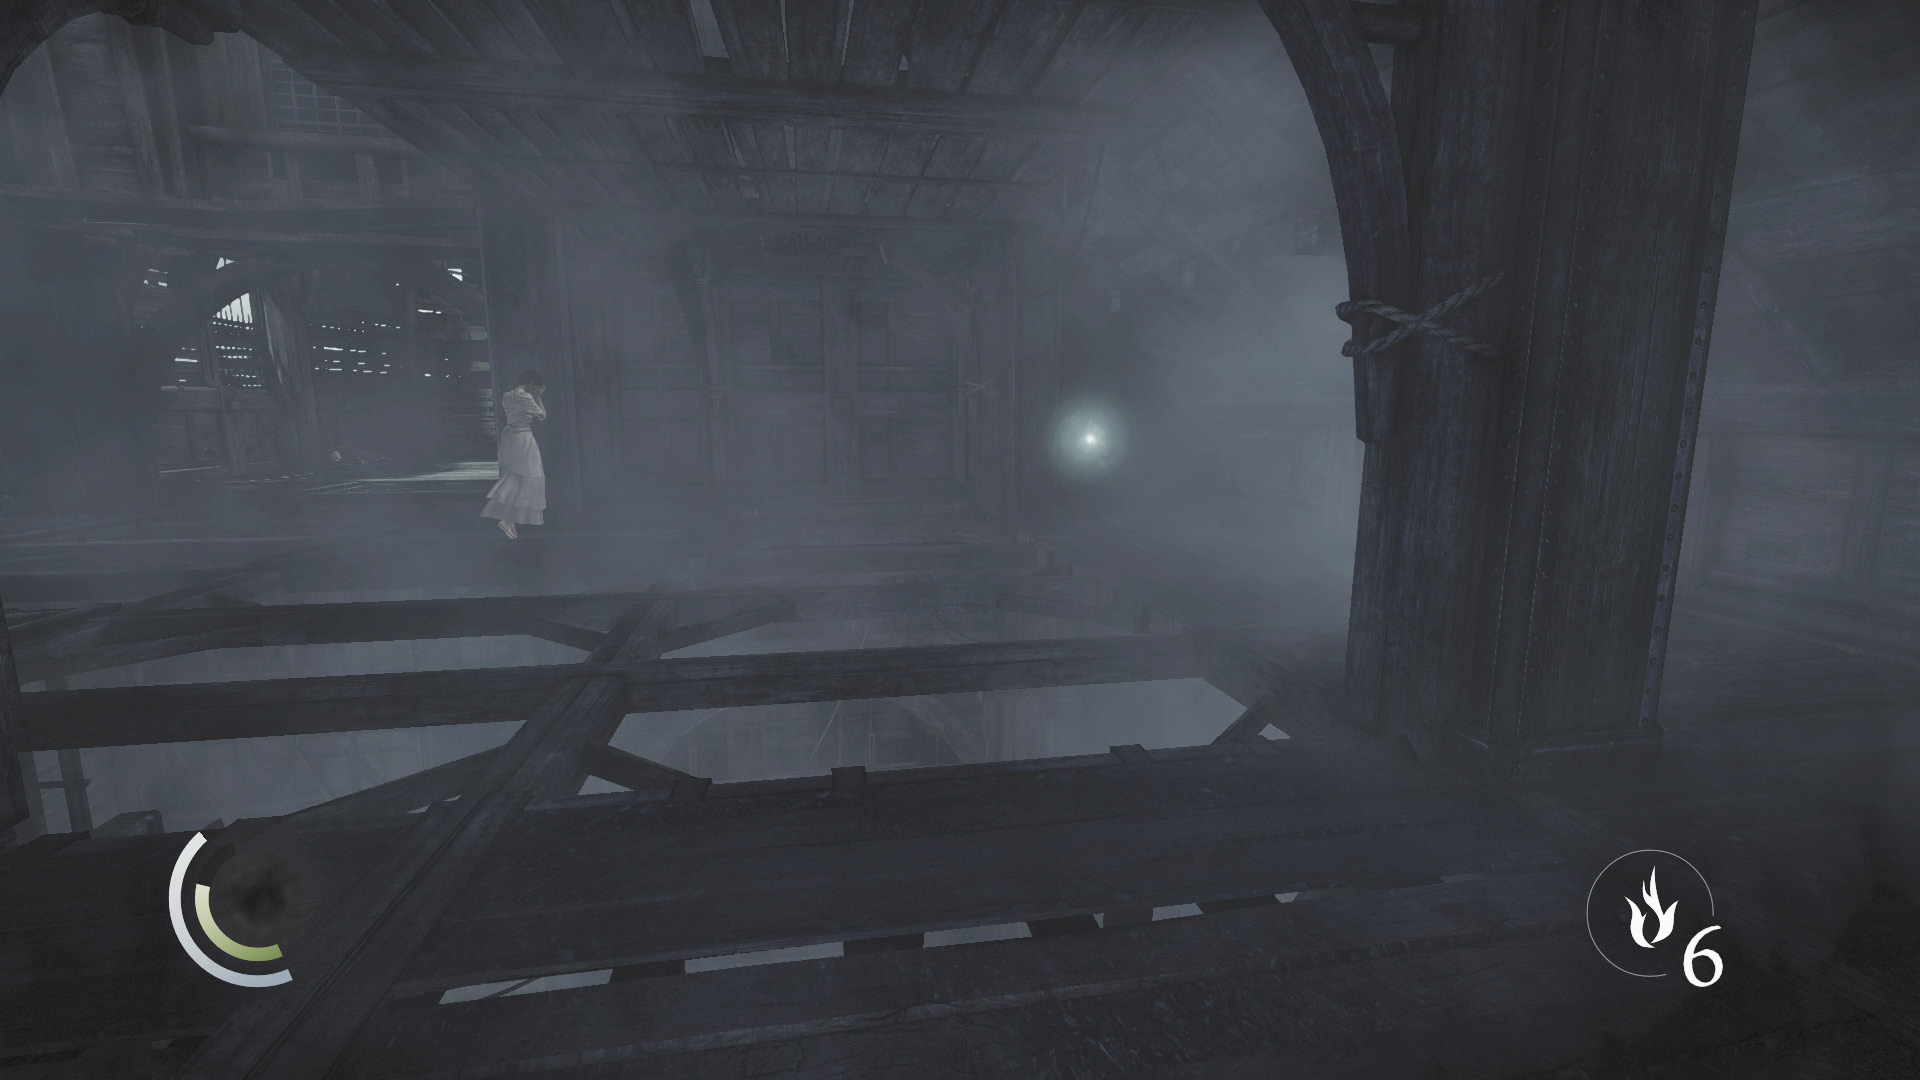
Take cover from Erin’s next blast when you reach the lower floor. Sprint south after the blast, hugging the west wall as you make for the final fragment. Slow down as you approach the fragment to ensure you don’t accidently leap to your death.
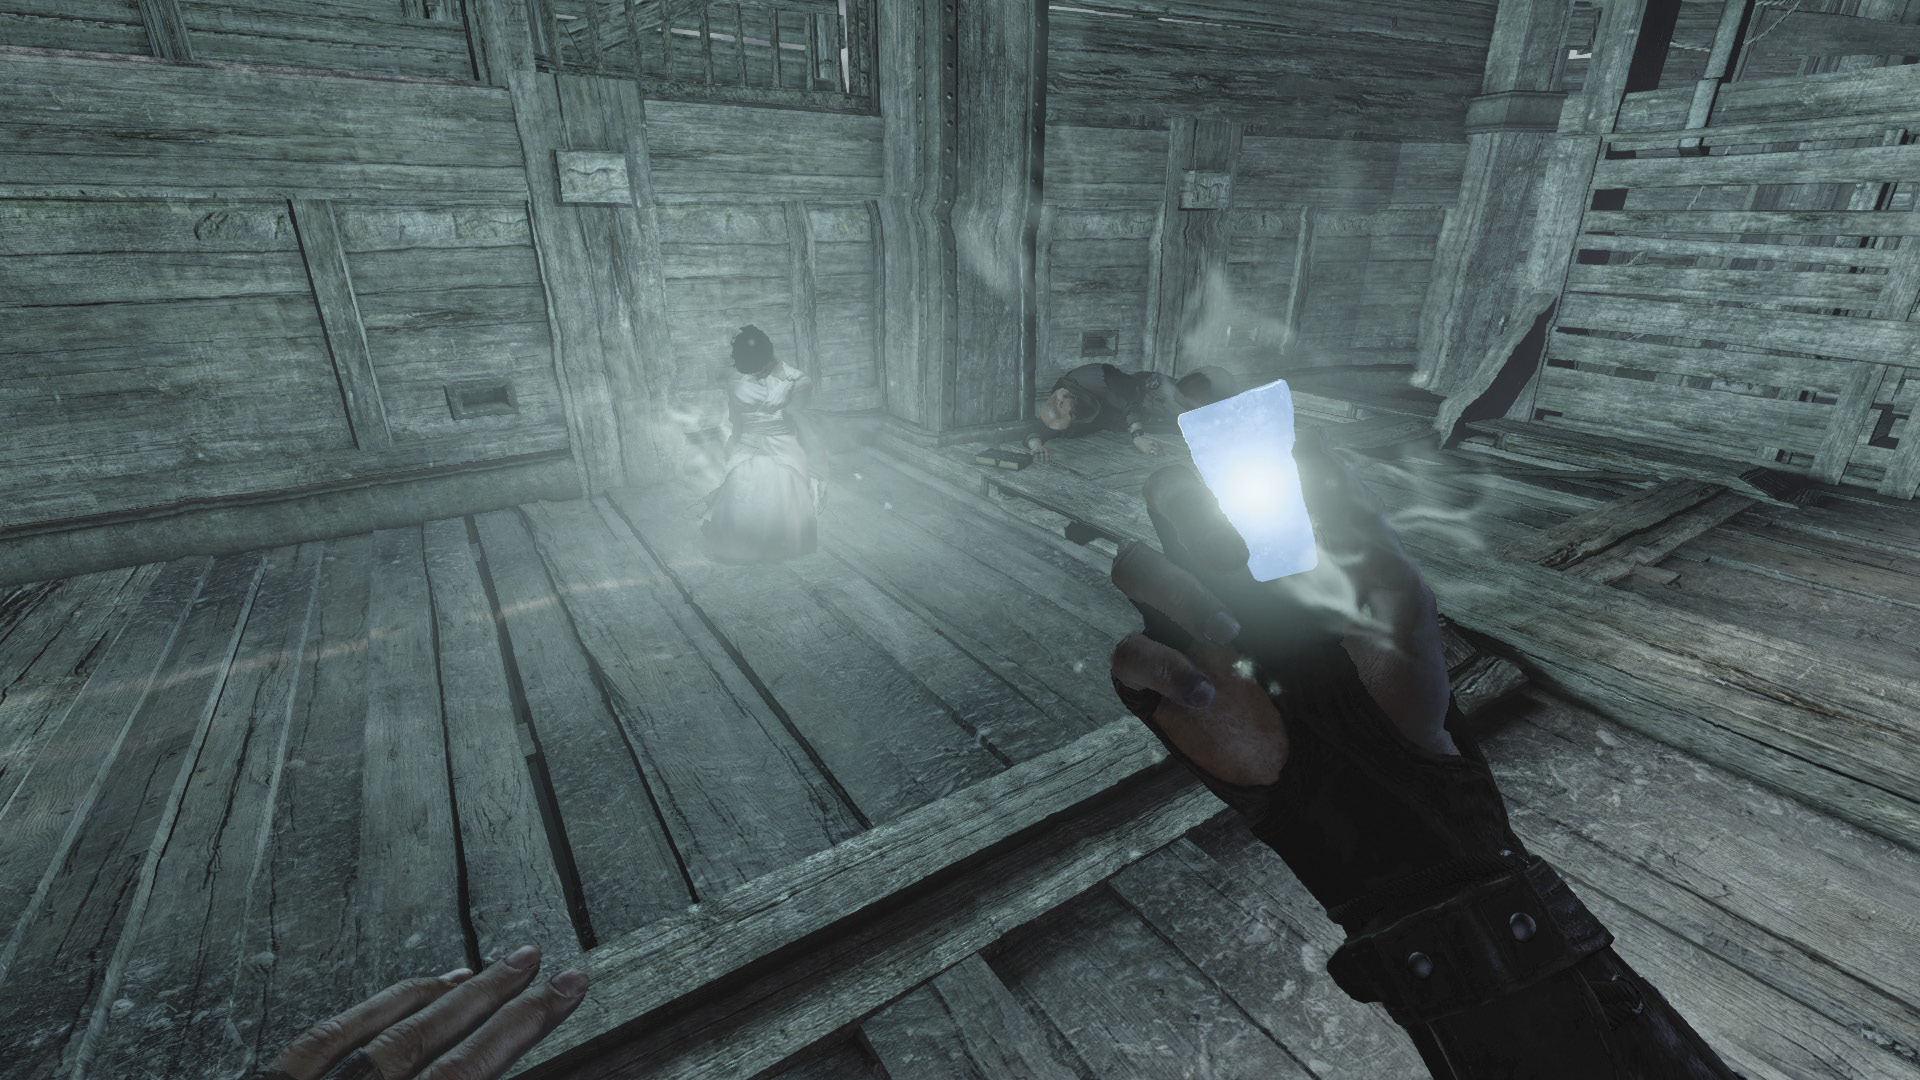
Erin all but gives up after you re-form the Primal Stone. She collapses in a heap, exhausted with the game. Though she isn’t hard to find, the Primal Stone acts like a tracking device, helping you locate her. Approach Erin to steal away the Primal energy and bring the battle to an end.
GOODIE BOXDocument #185 Chapter Recaps (8/8) “Chapter 8” |