
Client Job 2: Happy Medium
Vittori is looking for his amazing oracle from the future, the incredible Talking Skull. No doubt someone will be trying to sell an item like that on the black market somewhere.
Client Job StatsCollectible Loot Items: 3 Common Loot Items: 20 Pockets to Pick: None Locks to Pick: 2 Threats (Eelbiters): 5 |
Thieving Challenges
| Challenge | Value | |
|---|---|---|
 |
Remain undetected | 200 G |
 |
Take no damage | 90 G |
 |
2 combat takedowns | 25 G |
 |
Lift all loot items | 175 G |
Objective 1: Find a Clue to the Skull’s Whereabouts
Area 1: Black Market
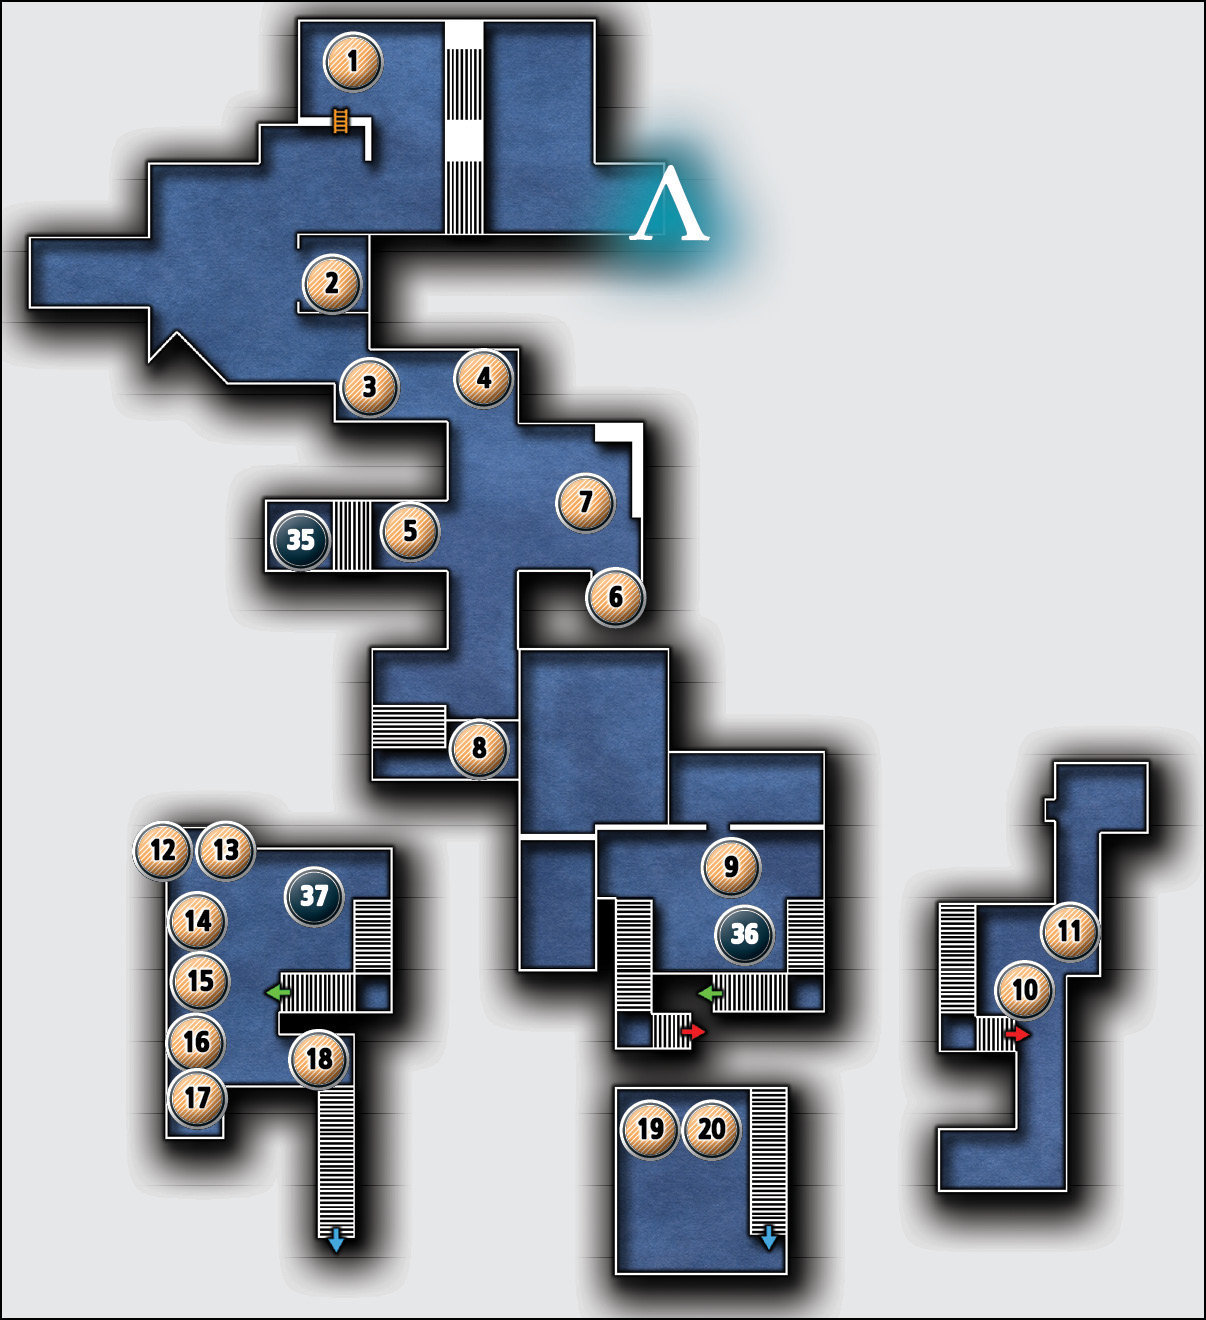
Common Loot
| Map Icon | Item(s) |
|---|---|
| Black Market | |
 |
Brooch |
| Piss Alley | |
 |
Perfume bottle |
 |
Vase |
 |
Brooch |
 |
Bracelet |
 |
Perfume bottle |
 |
Urn |
 |
Ring |
| Eelbiters Warehouse | |
 |
Necklace |
 |
Brooch |
 |
Necklace |
 |
Telescope |
 |
Coin purse |
 |
Ring |
 |
Picture frame |
 |
Brooch |
 |
Coin purse |
 |
Vase |
 |
Coin purse |
 |
Bracelet |
Collectible Loot
| Map Icon | Item(s) |
|---|---|
| Piss Alley | |
 |
South Quarter Sluices |
| Eelbiters Warehouse | |
 |
The Constant Lady |
 |
The Talking Skull |
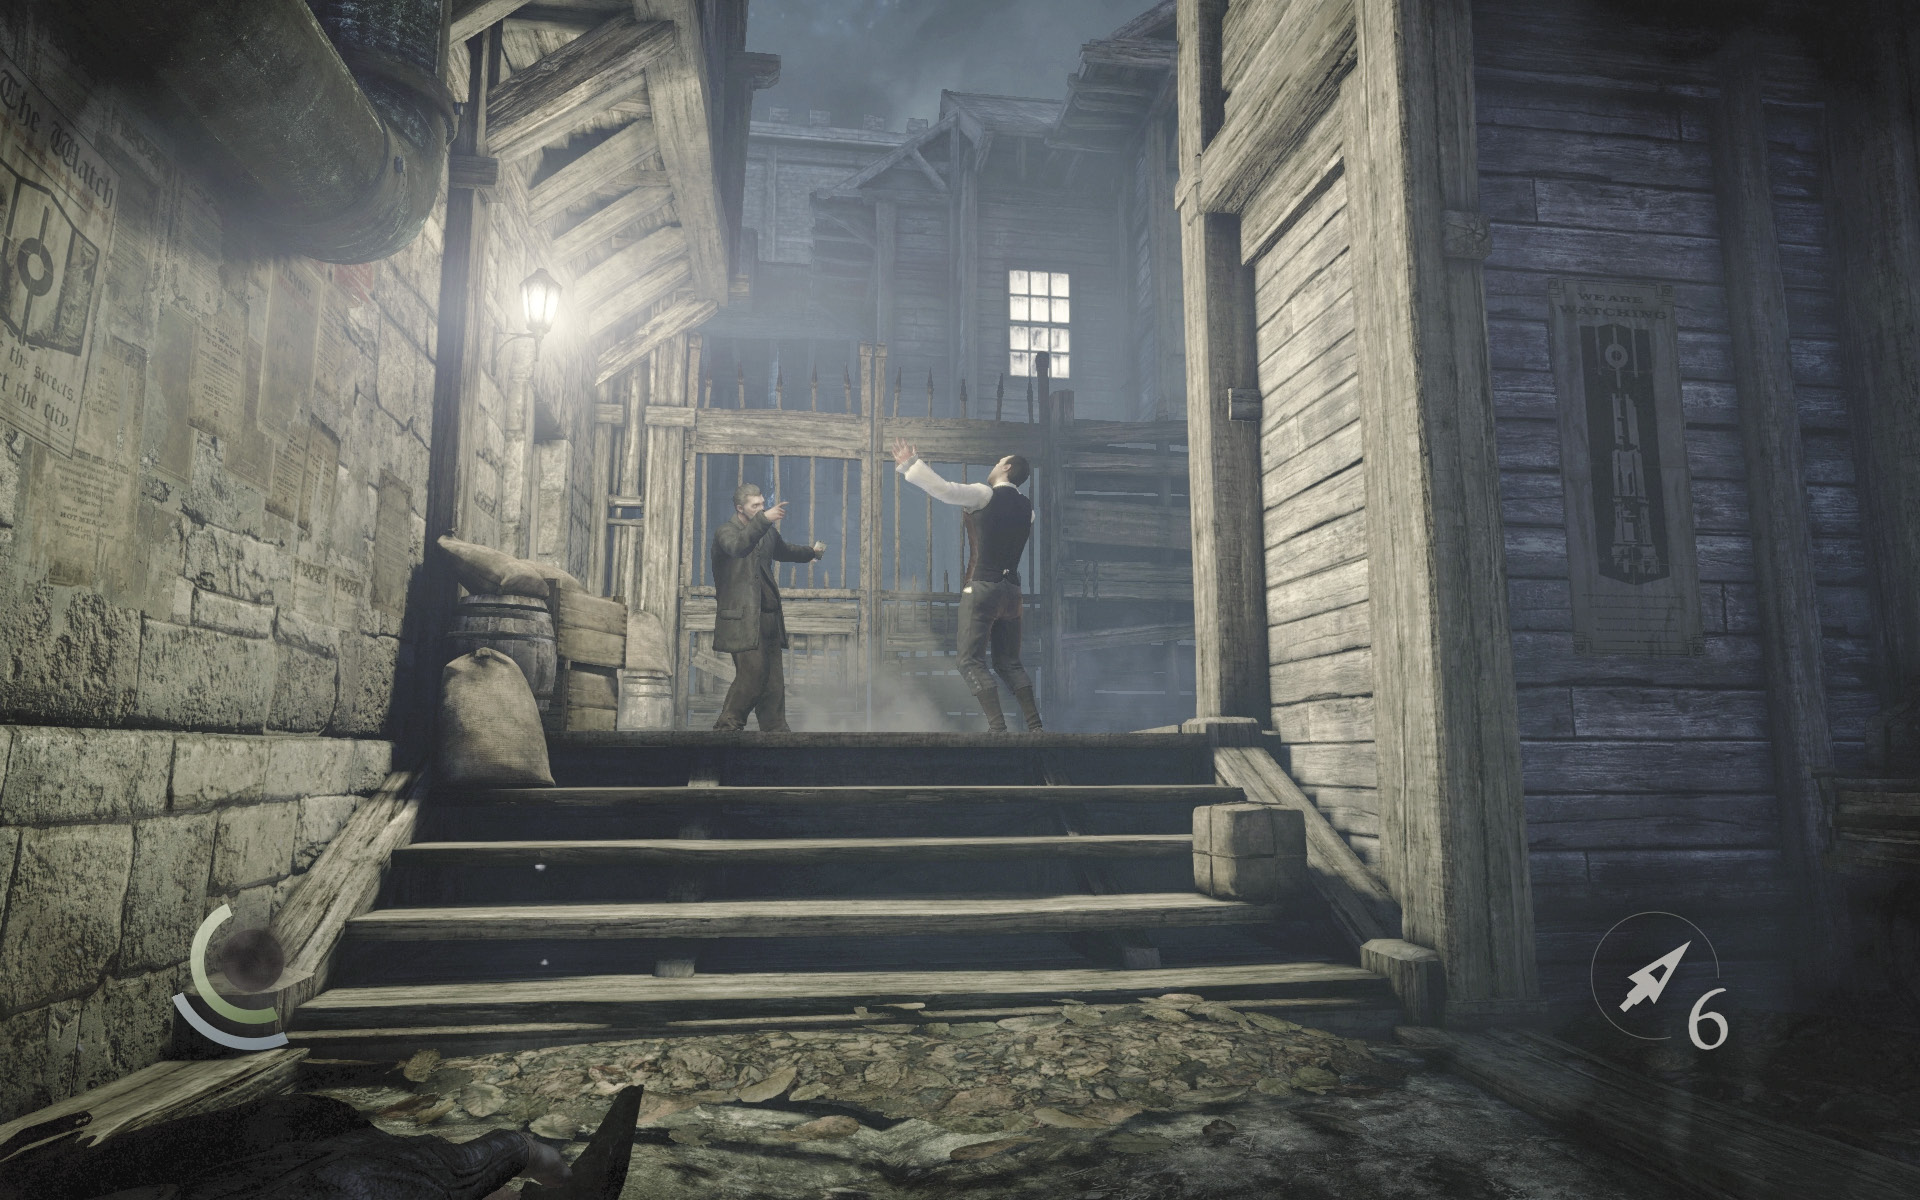
As you enter the Black Market, you overhear a drunk named Lenny talking about the skull you seek. Remain in the alley until the conversation ends and the other man walks away.
Objective 2: Open the Gate for Lenny the Drunk
Area 2: Piss Alley
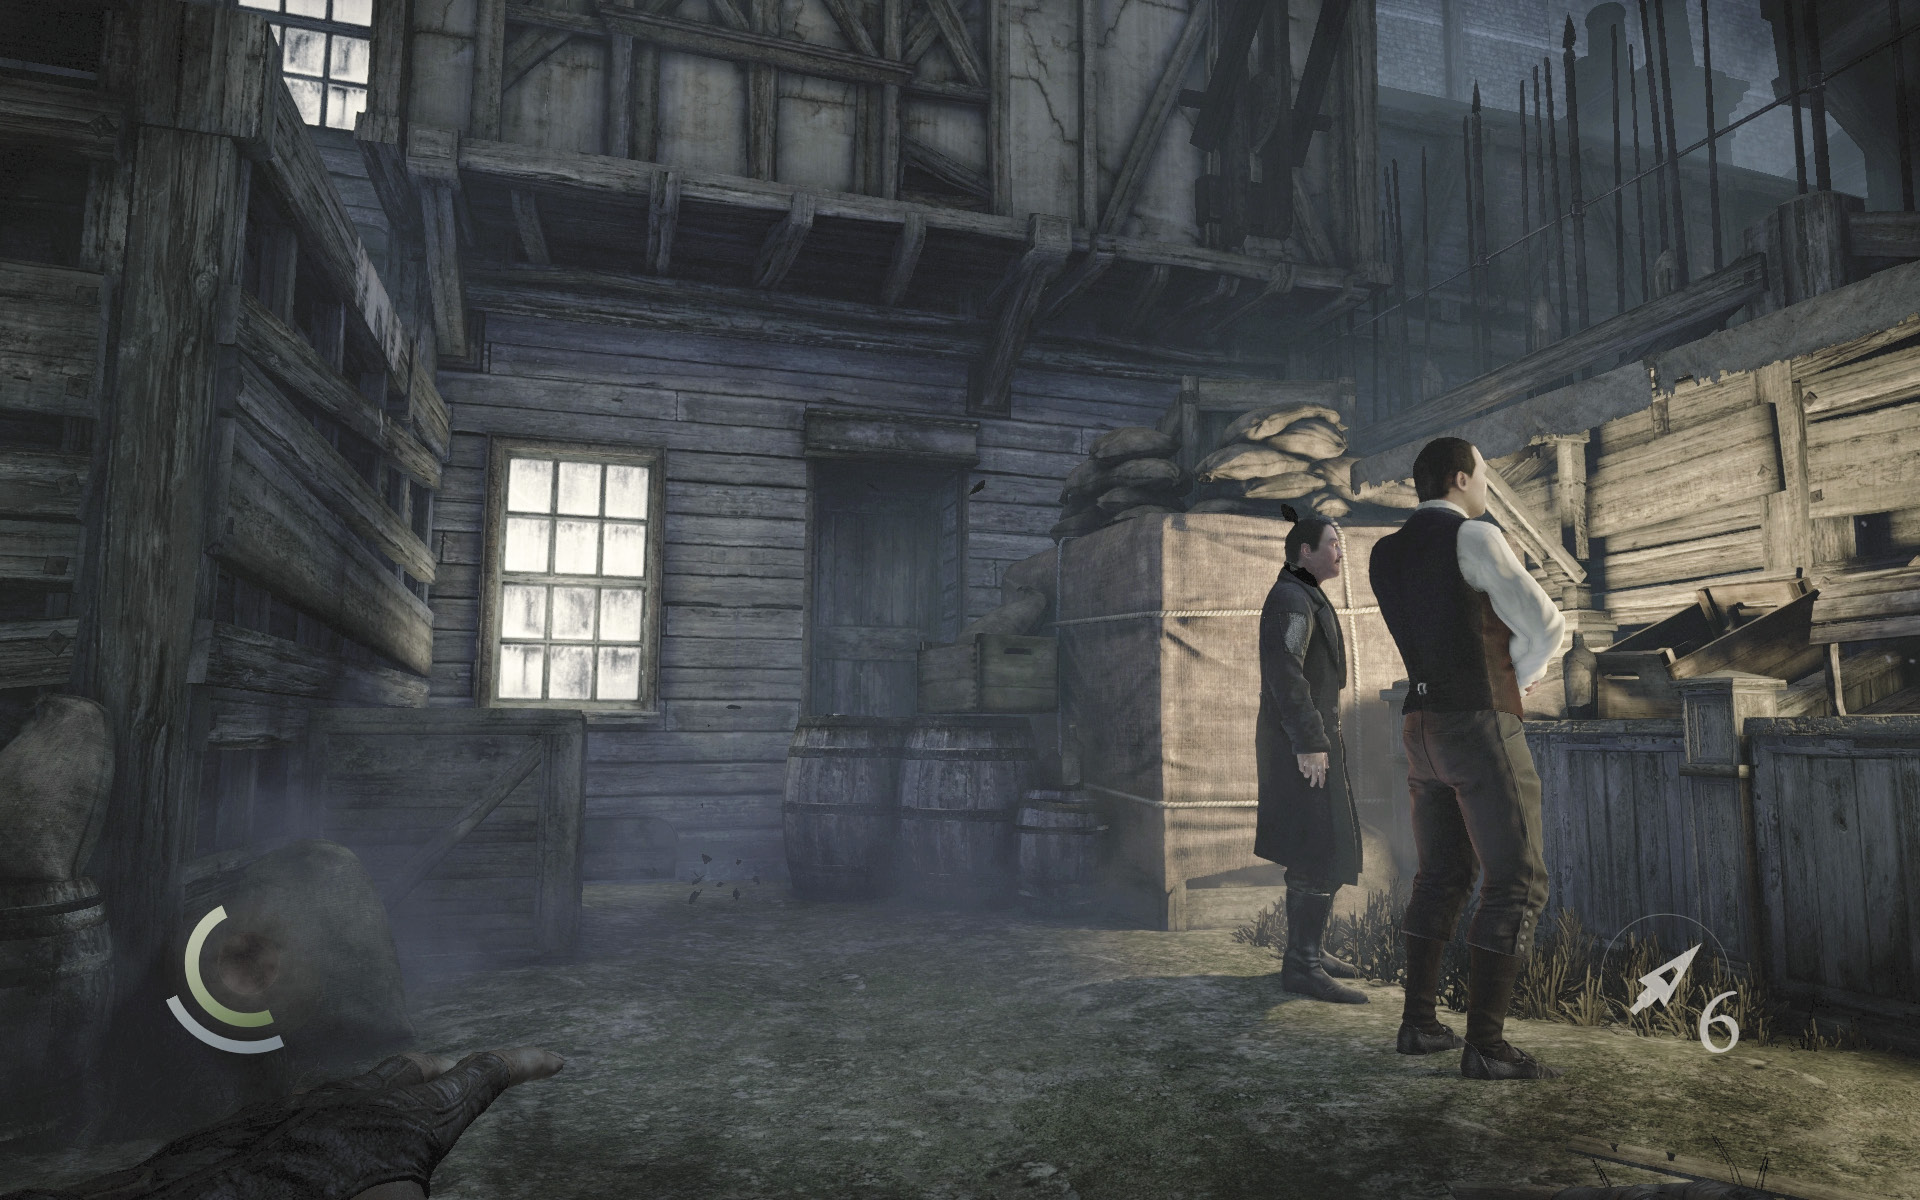
Leave Lenny be and sneak through the shadows, approaching the other men in the alley. Sneak straight past them and swipe the brooch on the nearby barrel.
 Thieving Challenge: “Lift all loot items” (1/20)
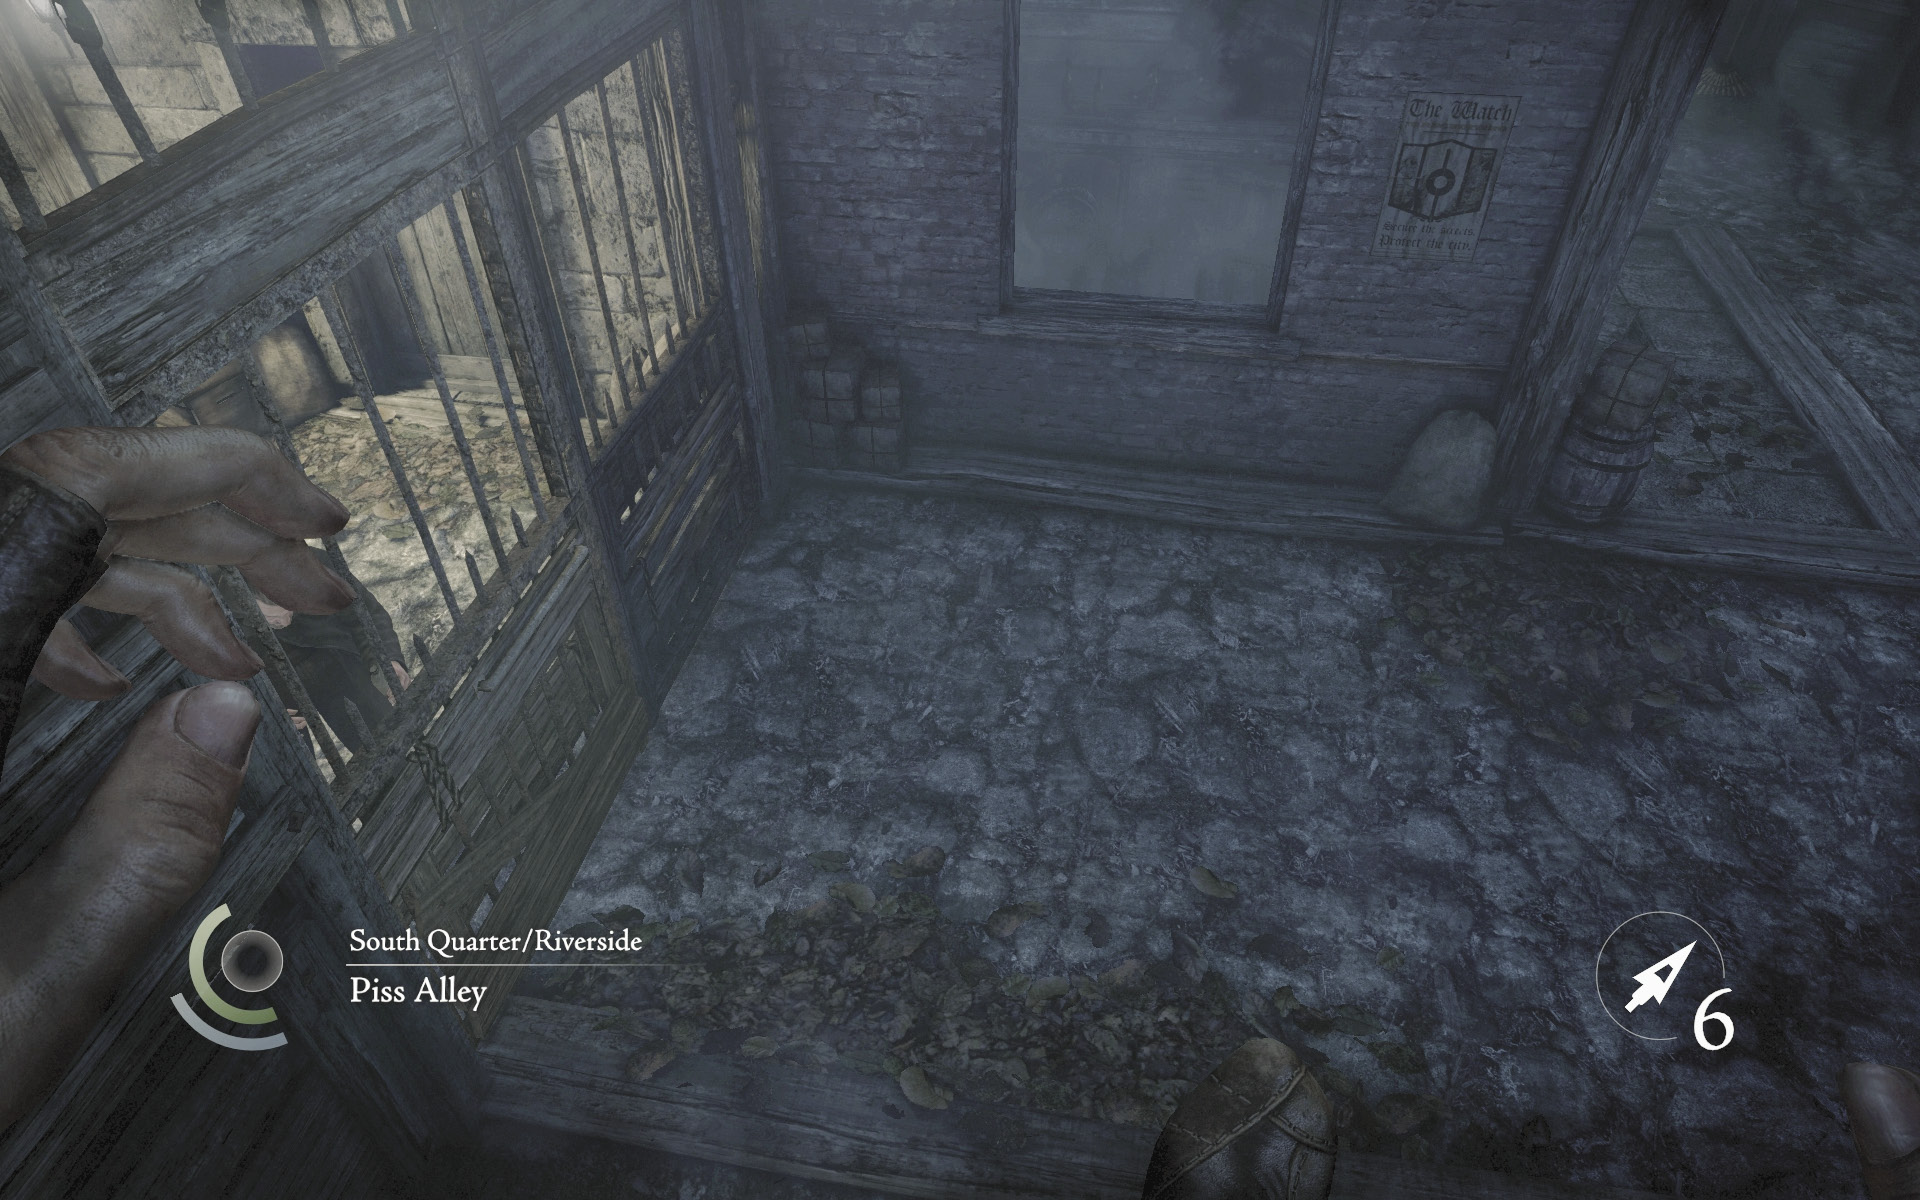
Climb the nearby crate and vault the wall to circumvent the gate that Lenny is drunkenly attempting to open. You’ll end up in the charmingly named Piss Alley.
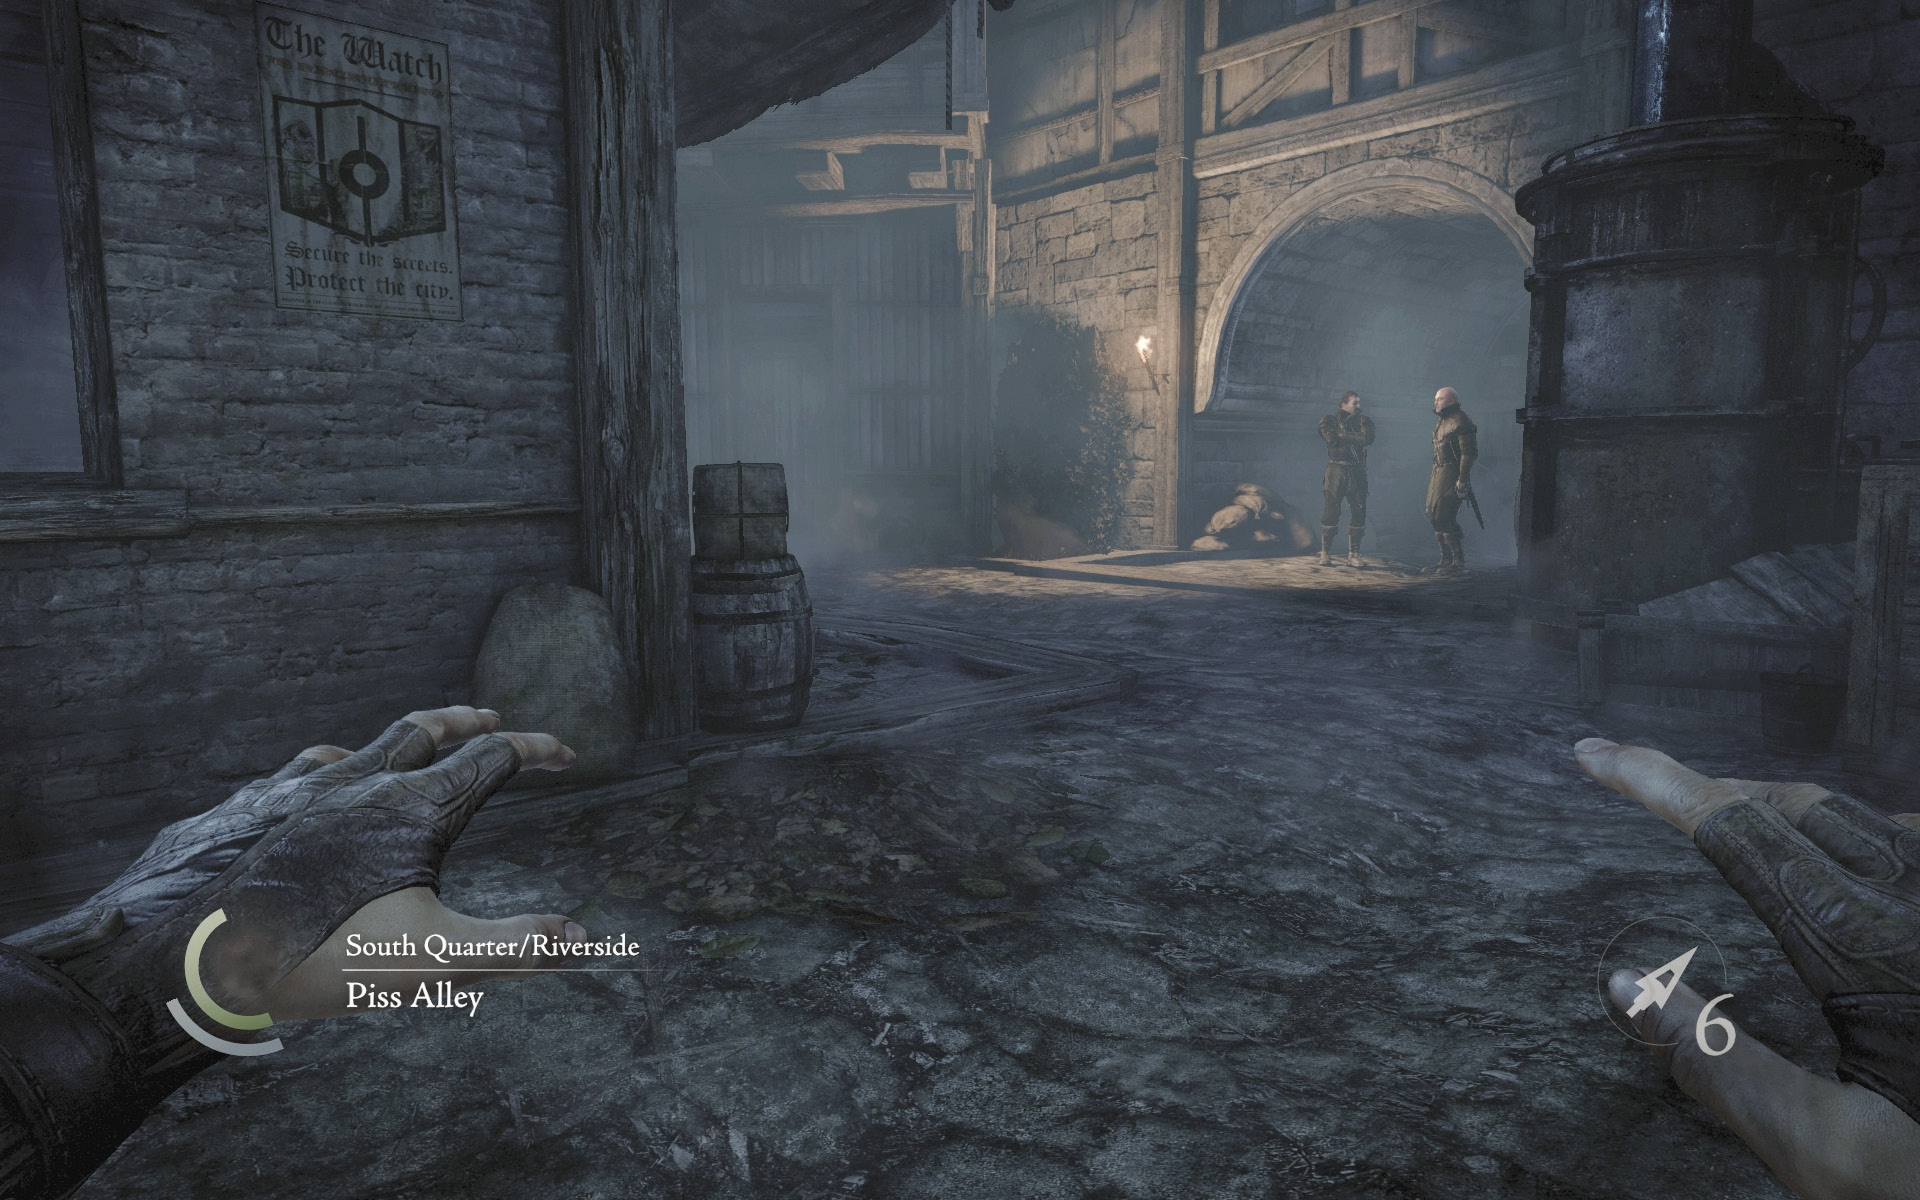
Careful: There are two guards just ahead. You fail this mission if you’re detected, so don’t let them spot you.
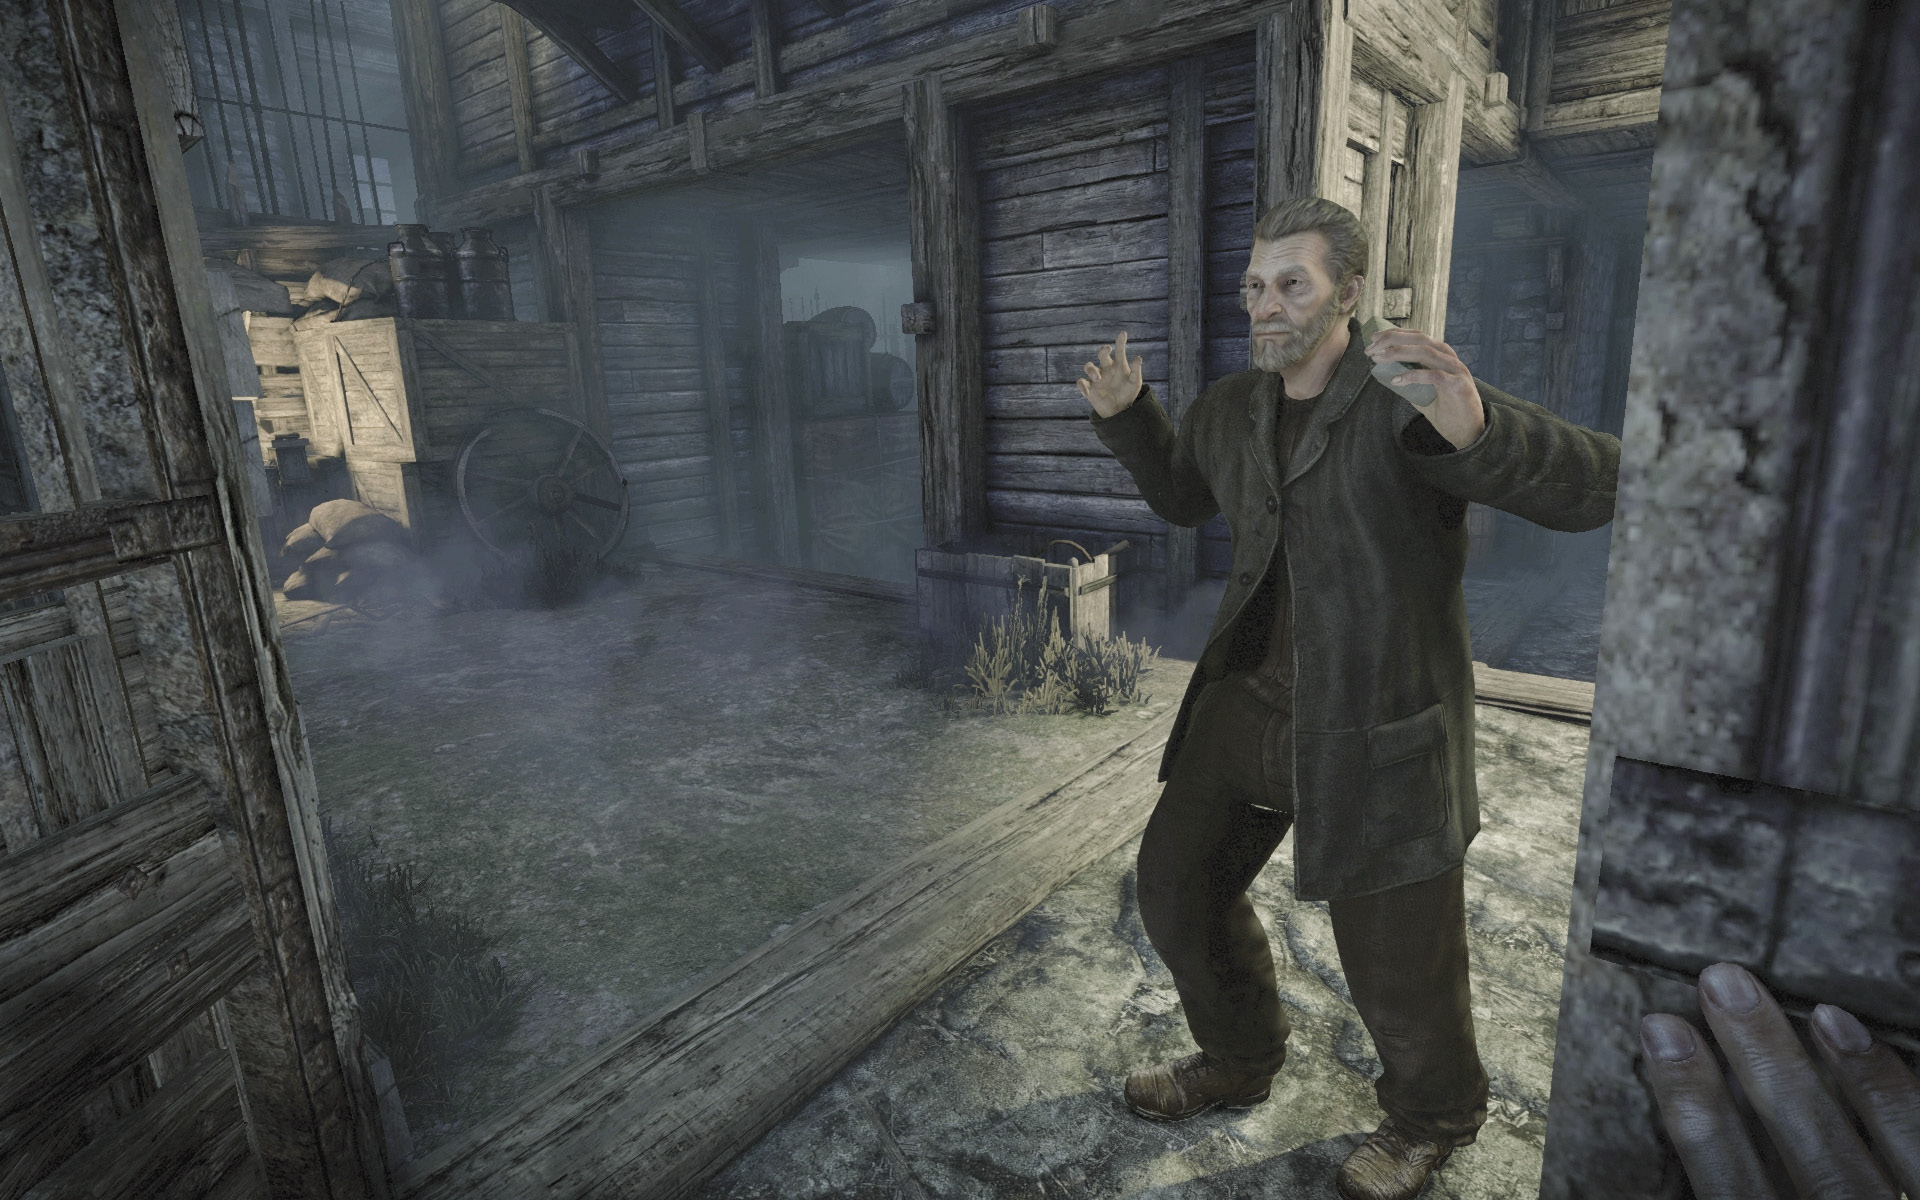
In order to retrieve the skull you seek, you’ll need to let Lenny guide you there. Open the gate to allow Lenny through.
Objective 3: Keep Lenny Moving to Reach His Hideout
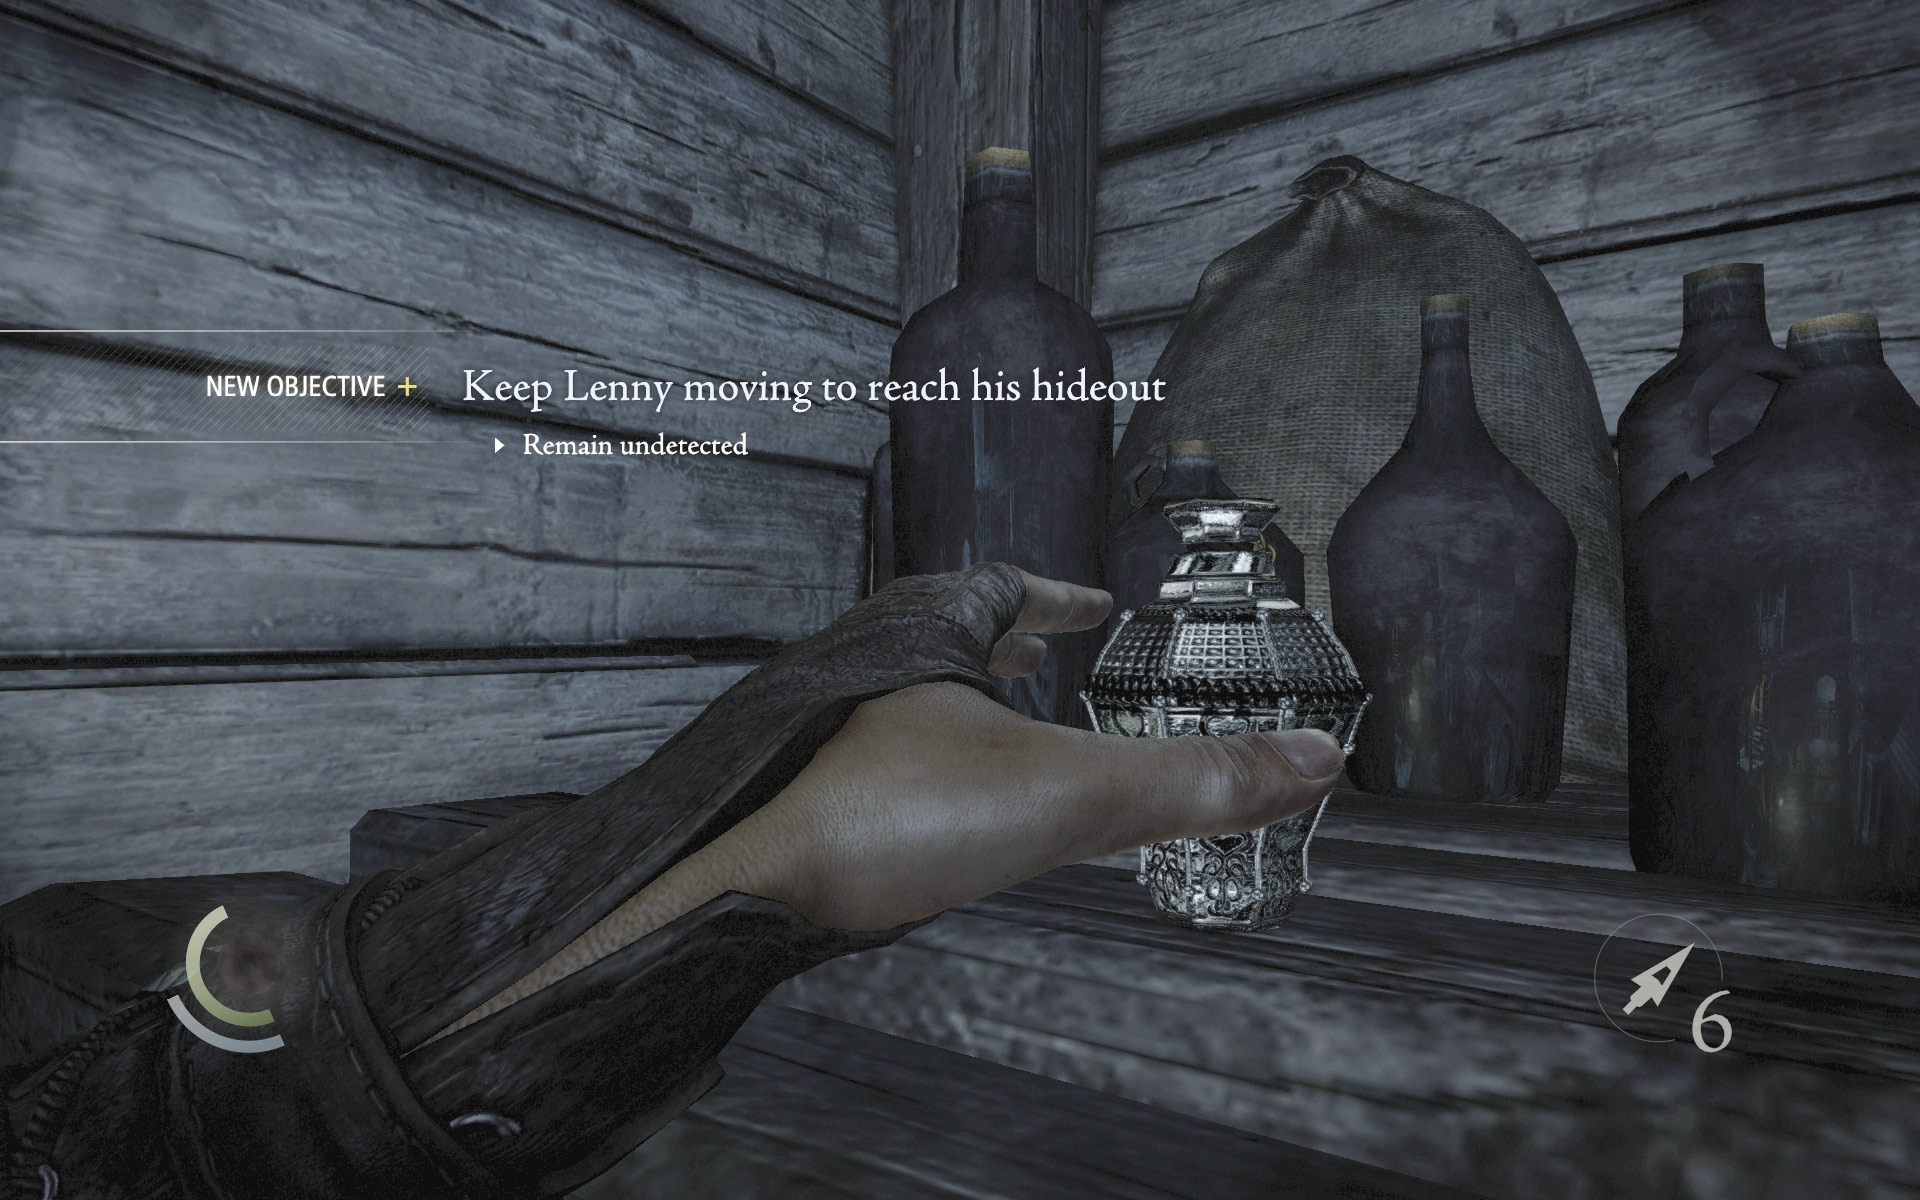
After opening the gate for Lenny, climb through the nearby shed’s window and collect a perfume bottle and throwable.
 Thieving Challenge: “Lift all loot items” (2/20)
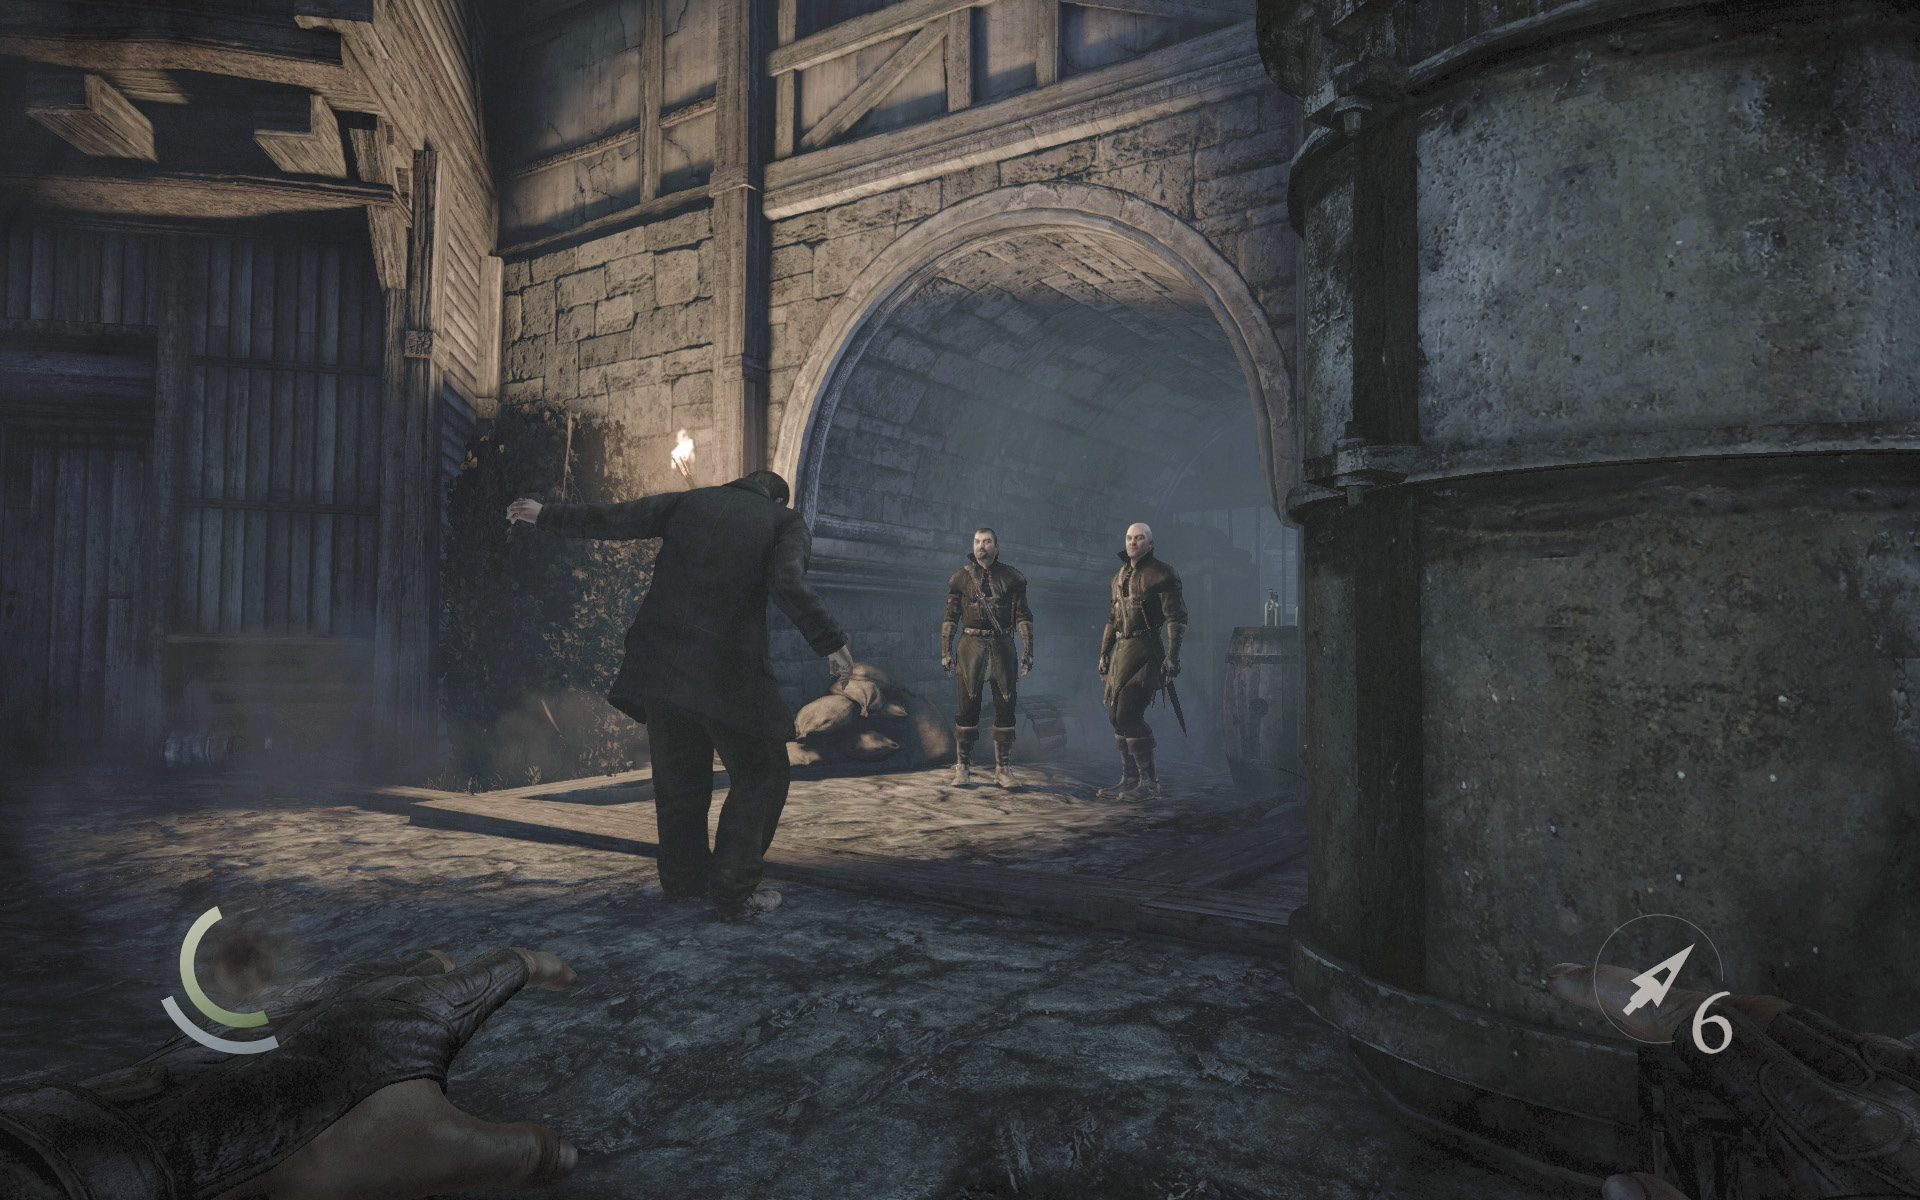
Lenny drunkenly stumbles toward the nearby guards. The men seem to know him, and after a bit of conversation, one of the guards asks for a light for his pipe.
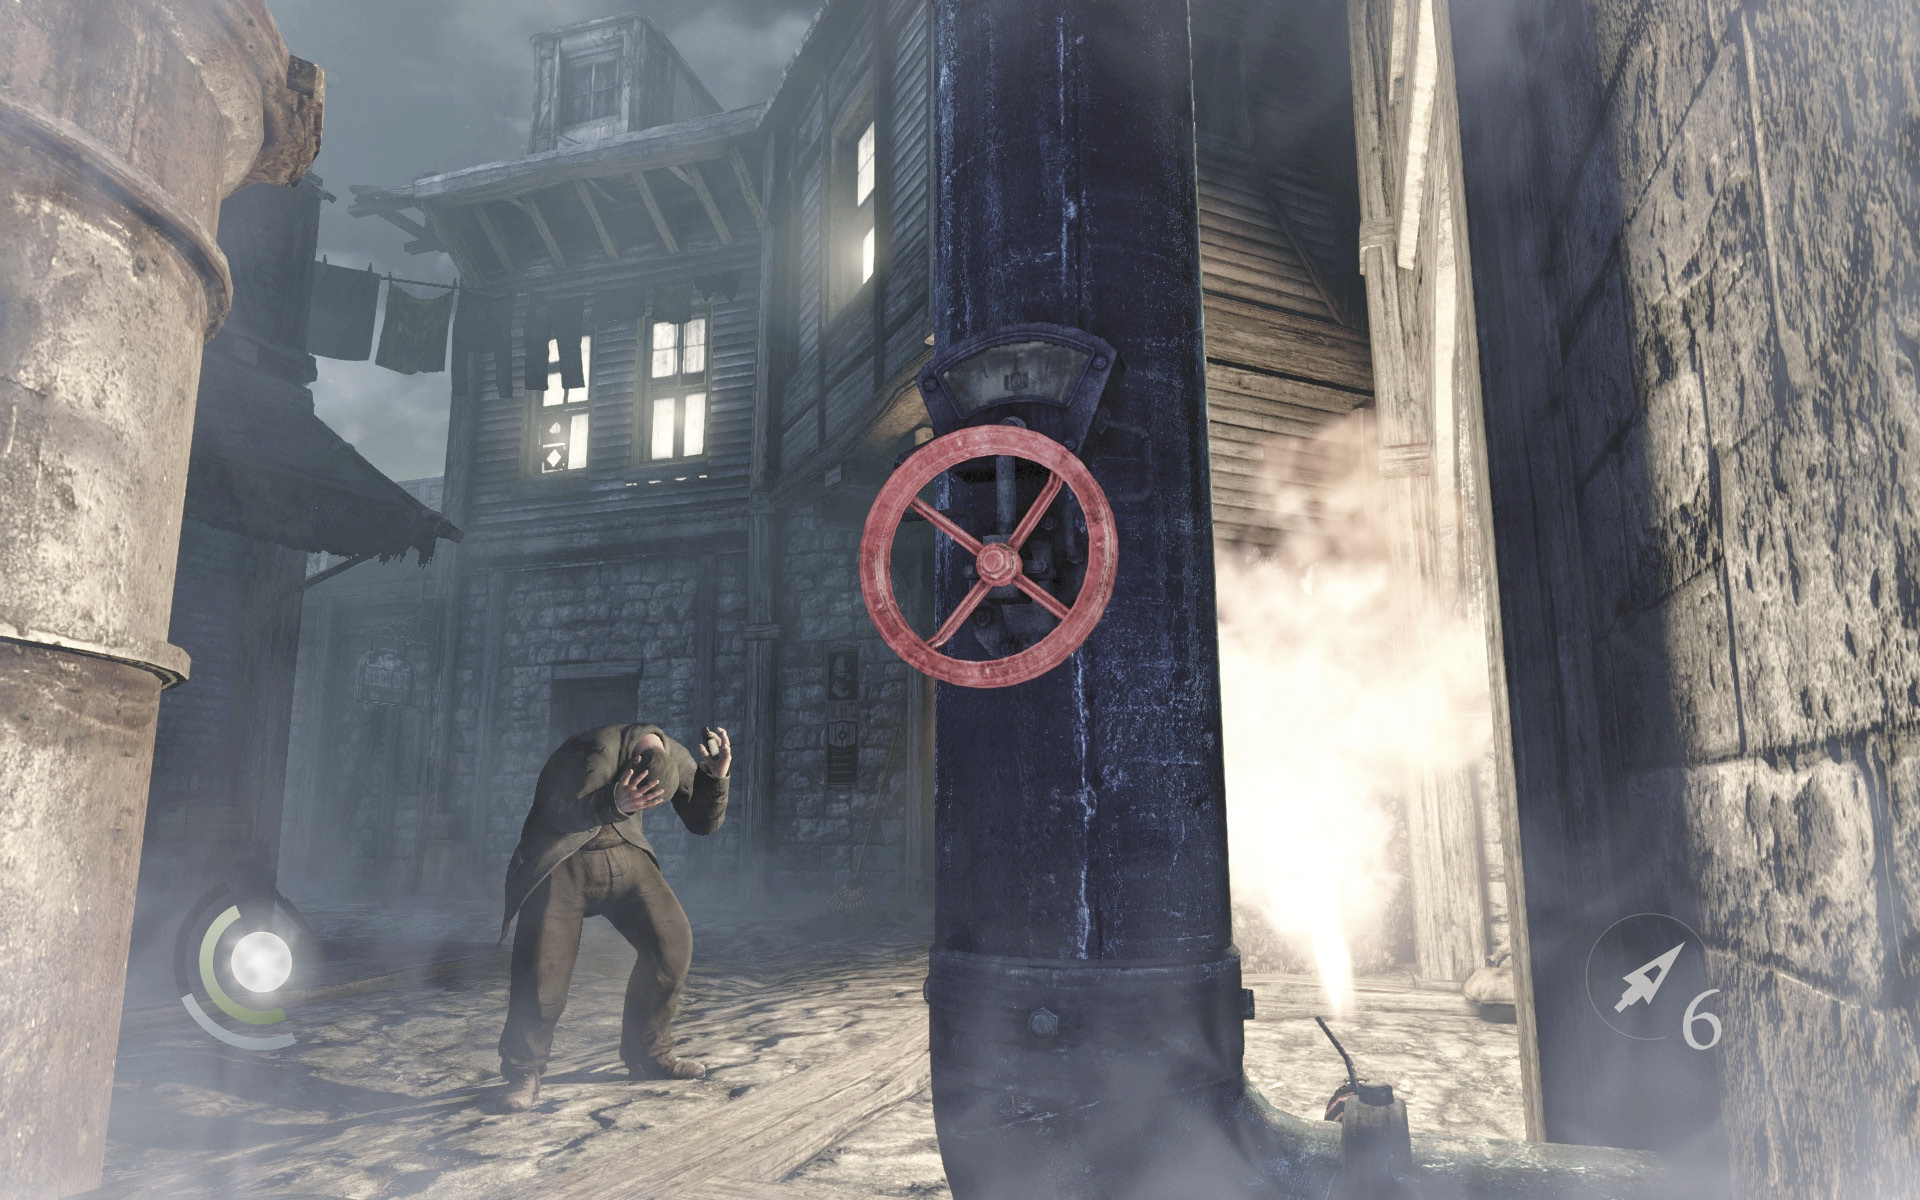
Oblige the guard by sneaking over to the nearby machinery. Turn the valve wheel to cause fire to spurt out from the nearby pipe. The roaring flame won’t harm Lenny or the guards, but will be enough to convince the drunk to stumble onward.
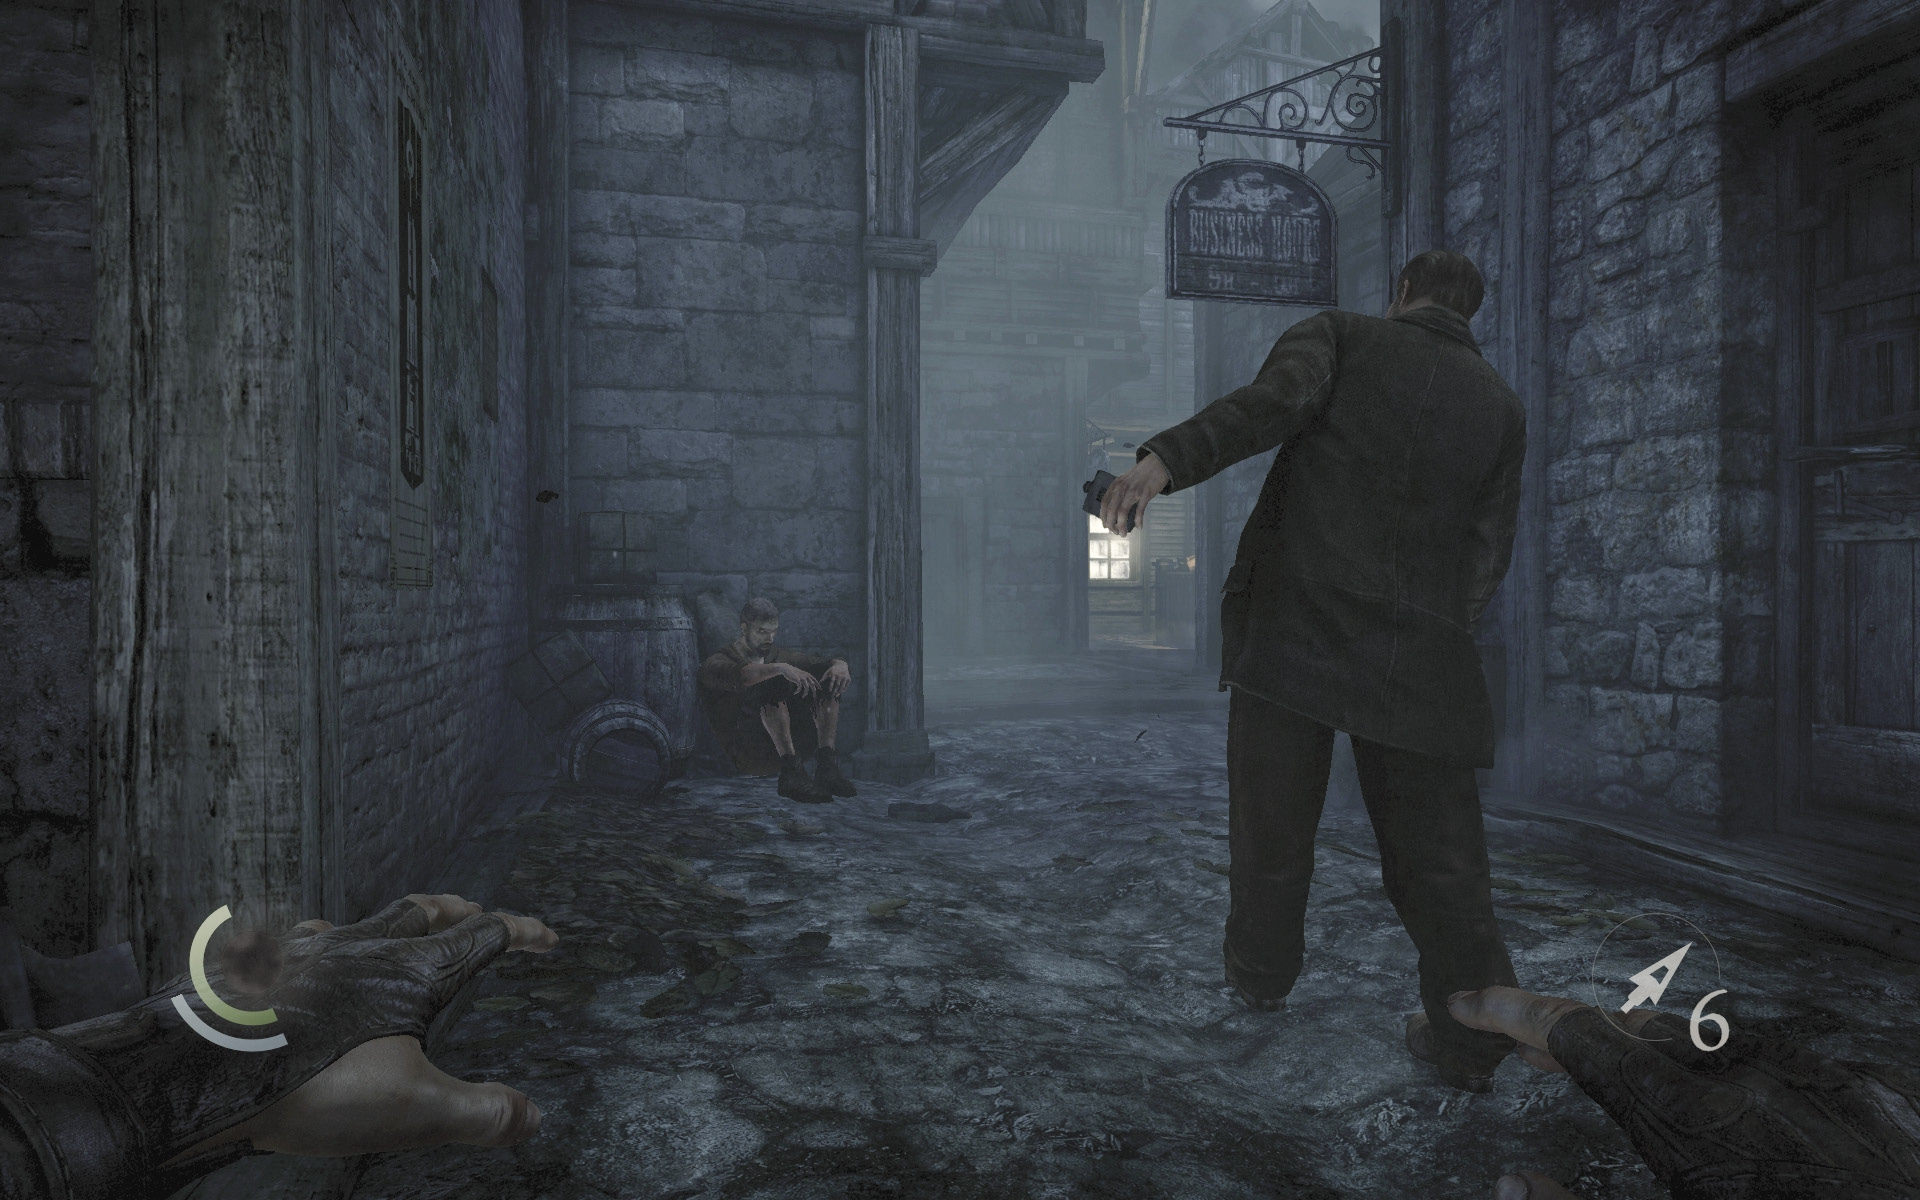
Sneak south with Lenny. Collect a vase on a crate and another brooch on a barrel. Don’t worry about being spotted by Lenny or the alley’s beggar; they won’t blow your cover.
 Thieving Challenge: “Lift all loot items” (4/20)
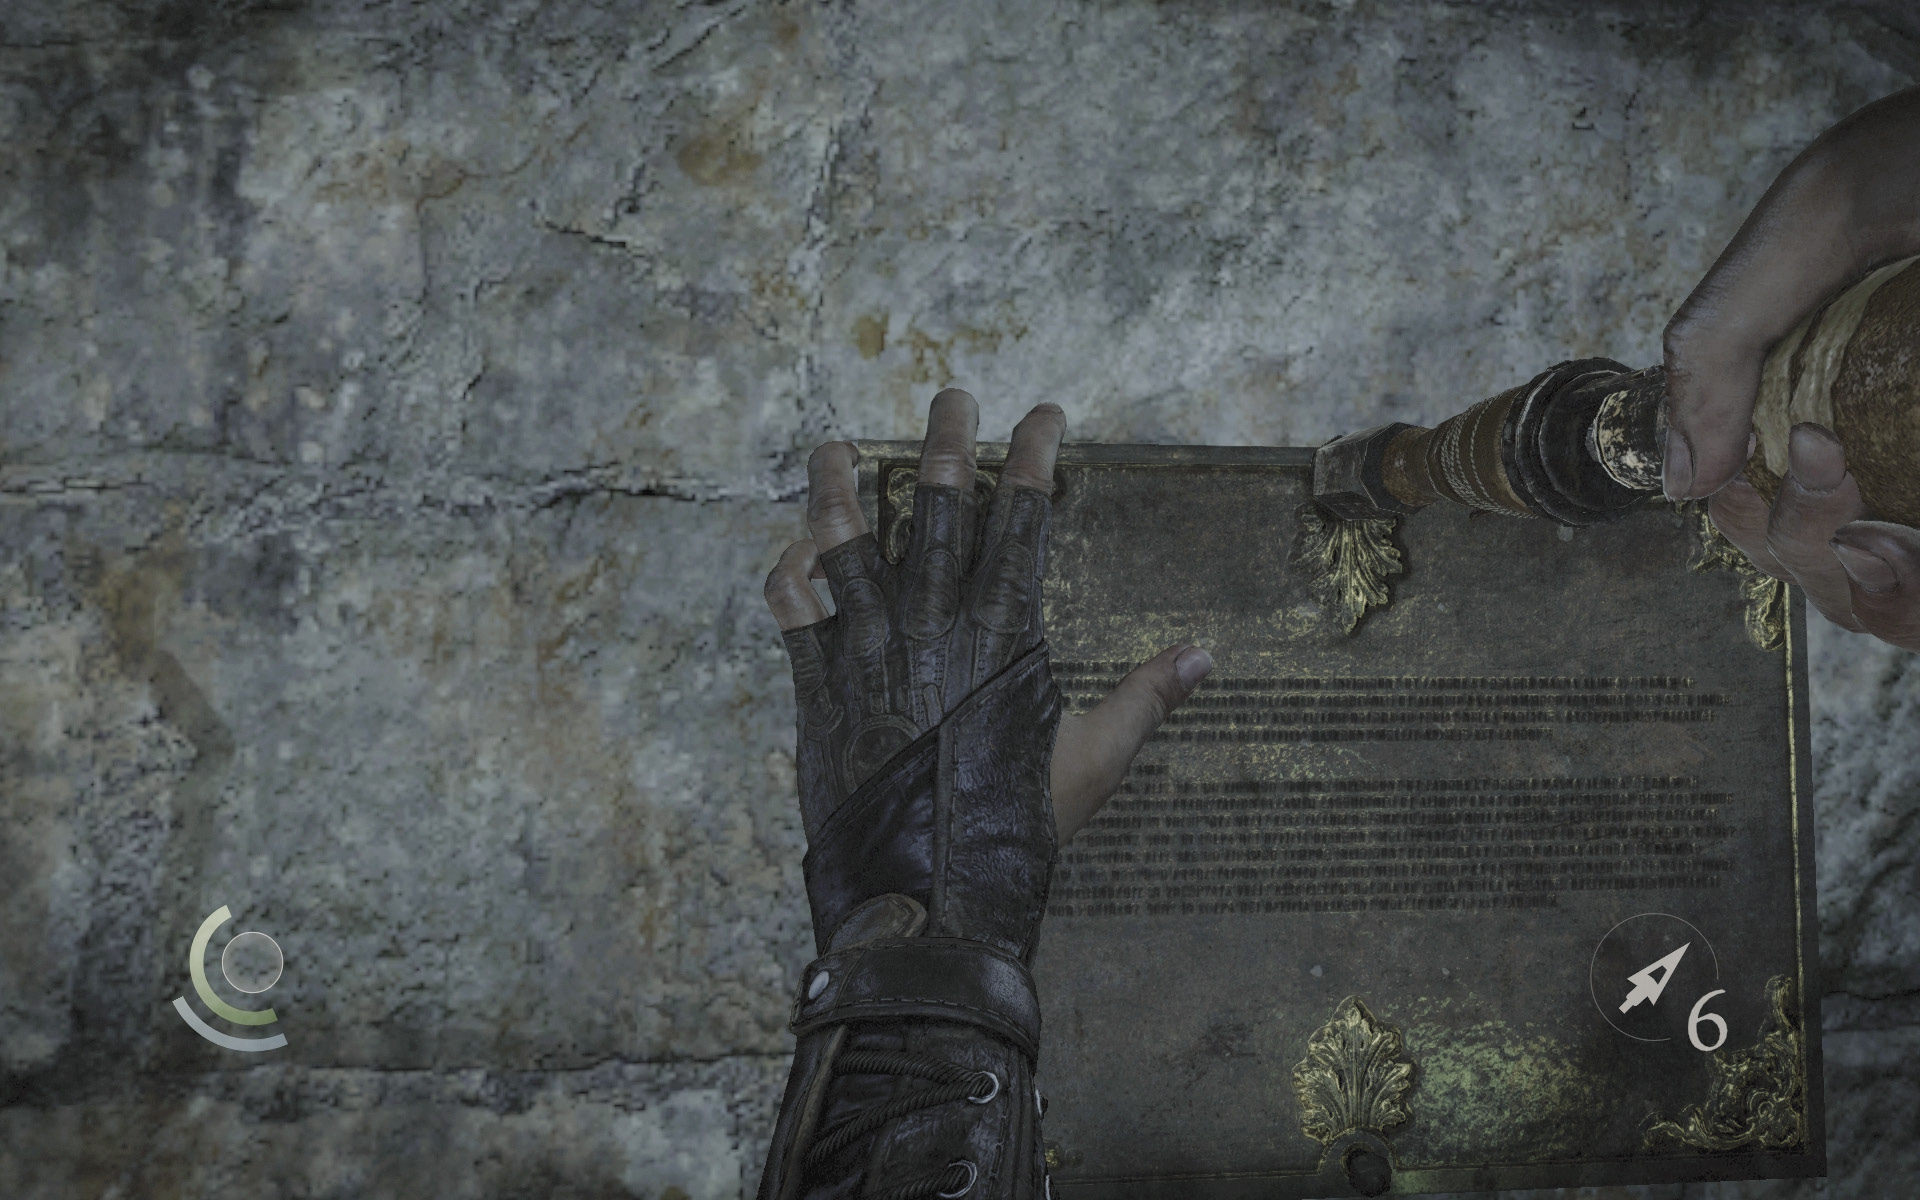
Continue sneaking south, being careful to not let the civilians see you as you follow Lenny. When the bumbling drunk begins to flirt with a woman, sneak west and swipe a bracelet off a barrel. Use the wrench tool afterward to steal the collectible plaque off the nearby wall.
GOODIE BOXCollectible Loot #35 City Heritage Plaques (11/16 ) “South Quarter Sluices” |
 Thieving Challenge: “Lift all loot items” (5/20)
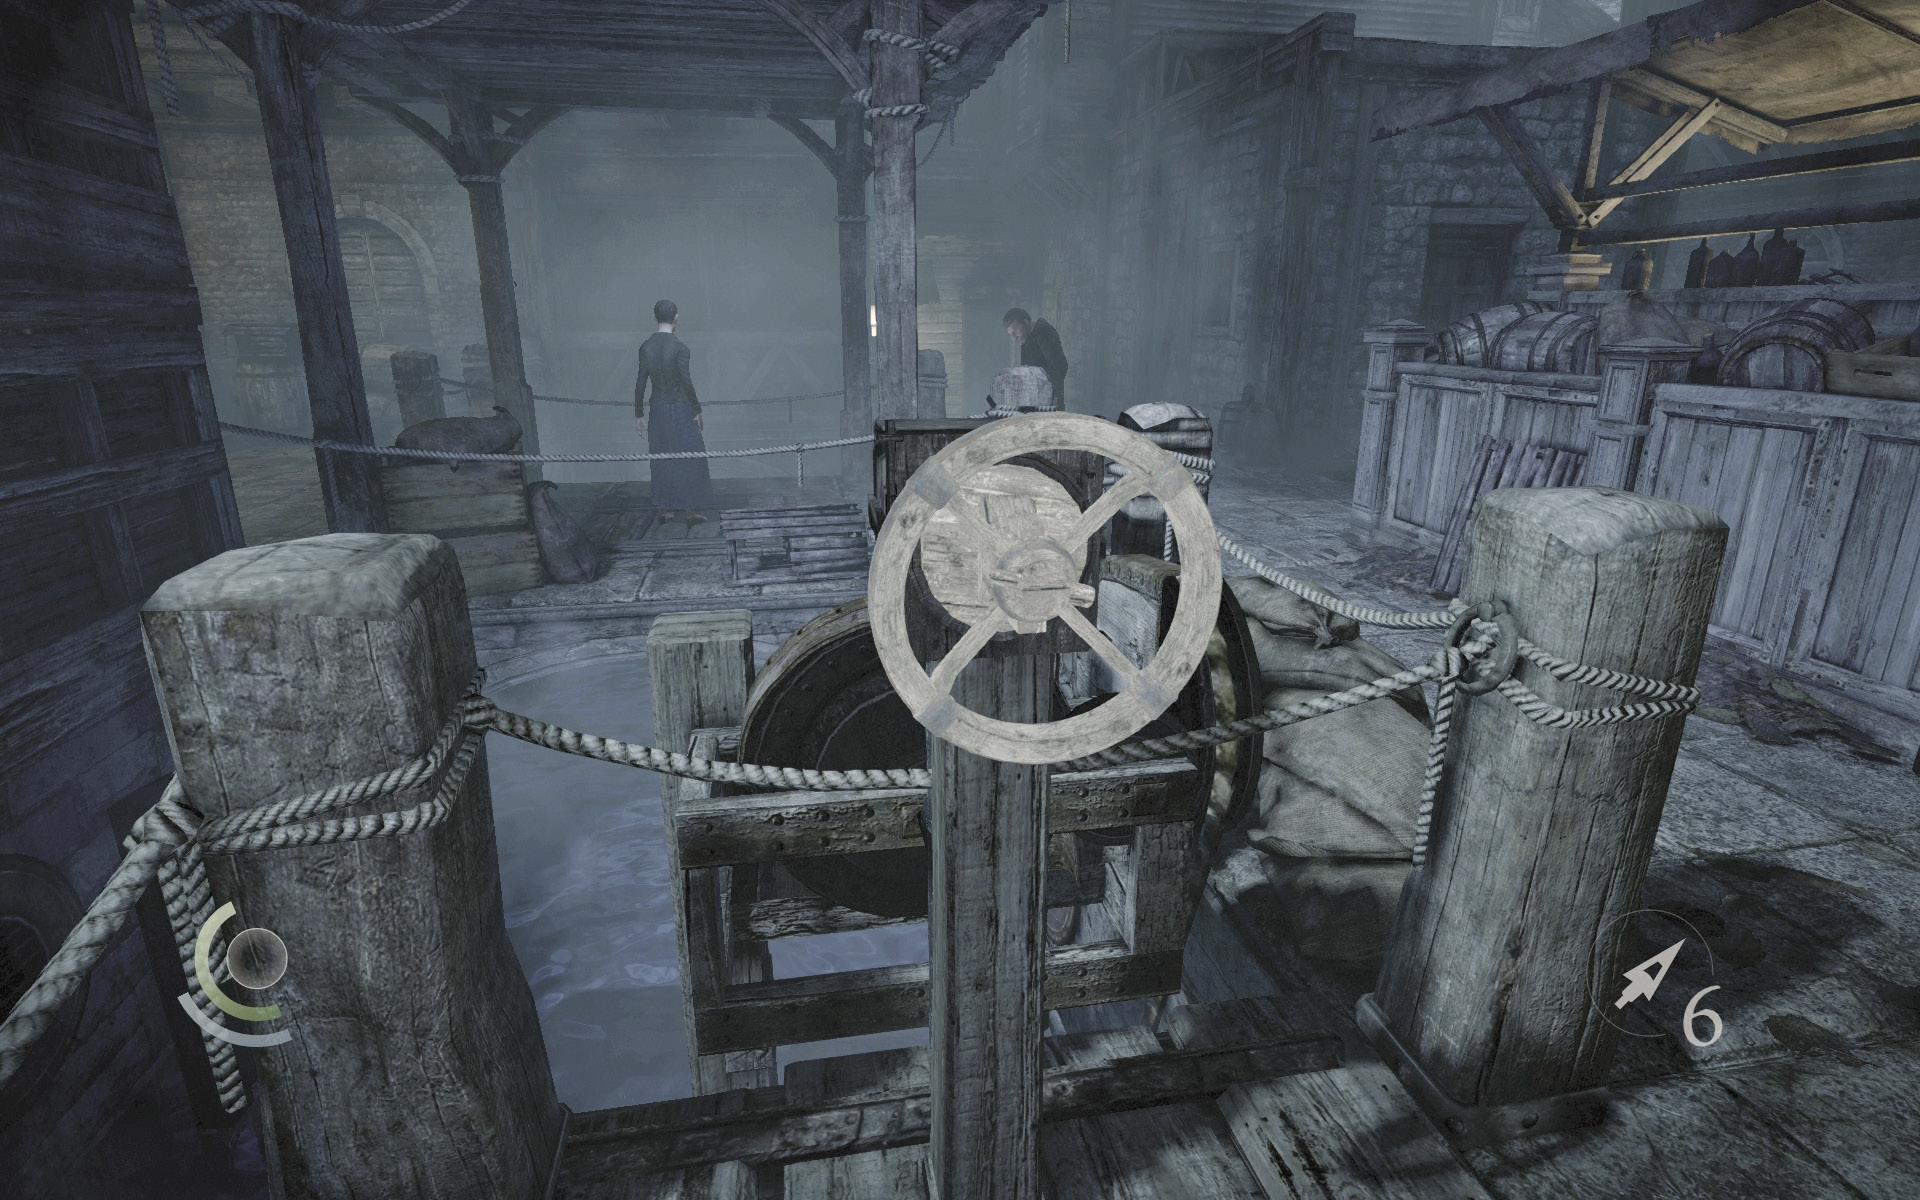
Now go east, sneaking behind Lenny on your way to the east wall. Swipe a perfume bottle and urn from the east barrels, then turn the valve wheel.
 Thieving Challenge: “Lift all loot items” (7/20)
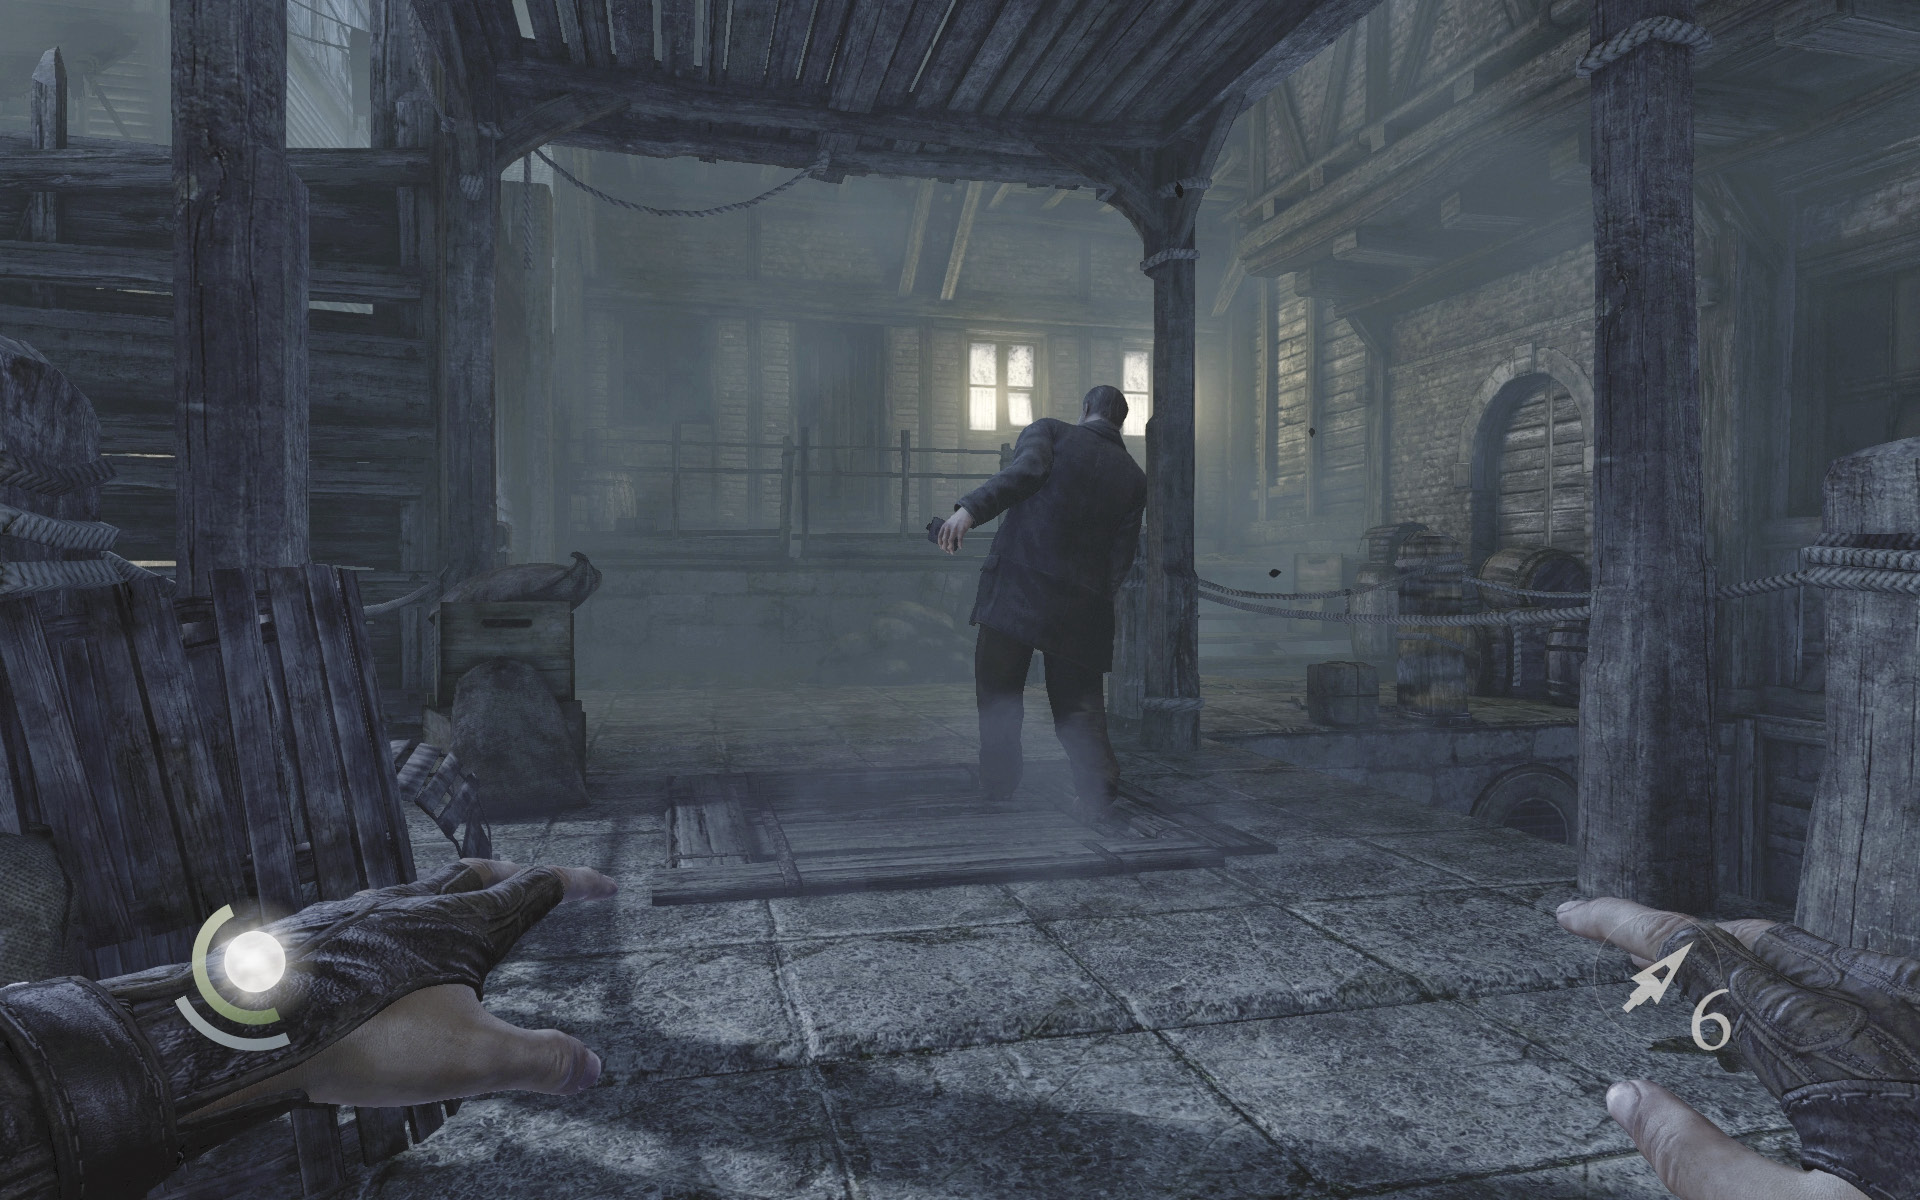
Spinning the valve wheel opens a hatch beneath the woman, sending her plunging into the river. Lenny takes little notice of the woman’s disappearance and stumbles onward.
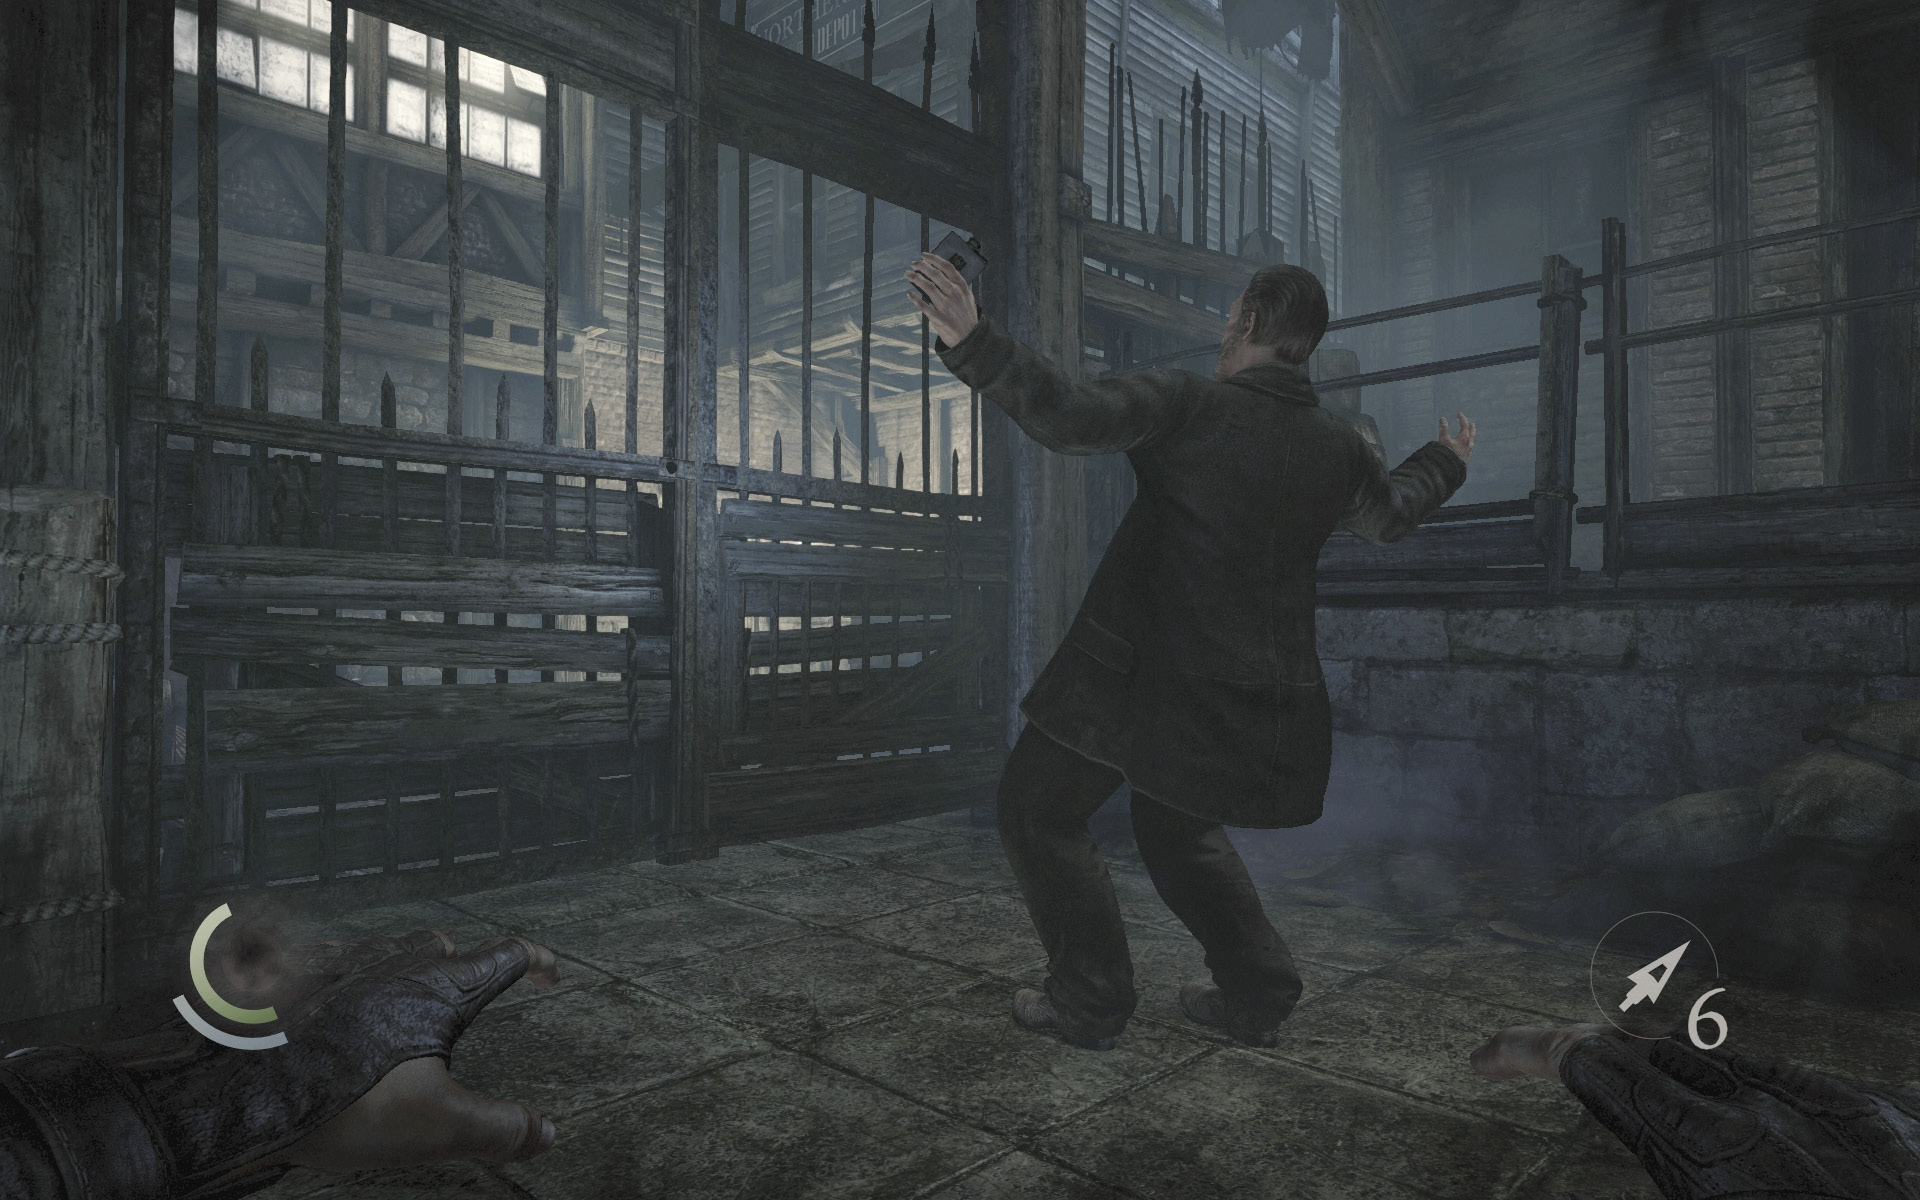
It’s not long before a locked gate presents another obstacle for poor Lenny. Swipe the ring off the barrel on the porch before picking the gate’s lock to allow the drunkard passage.
 Thieving Challenge: “Lift all loot items” (8/20)
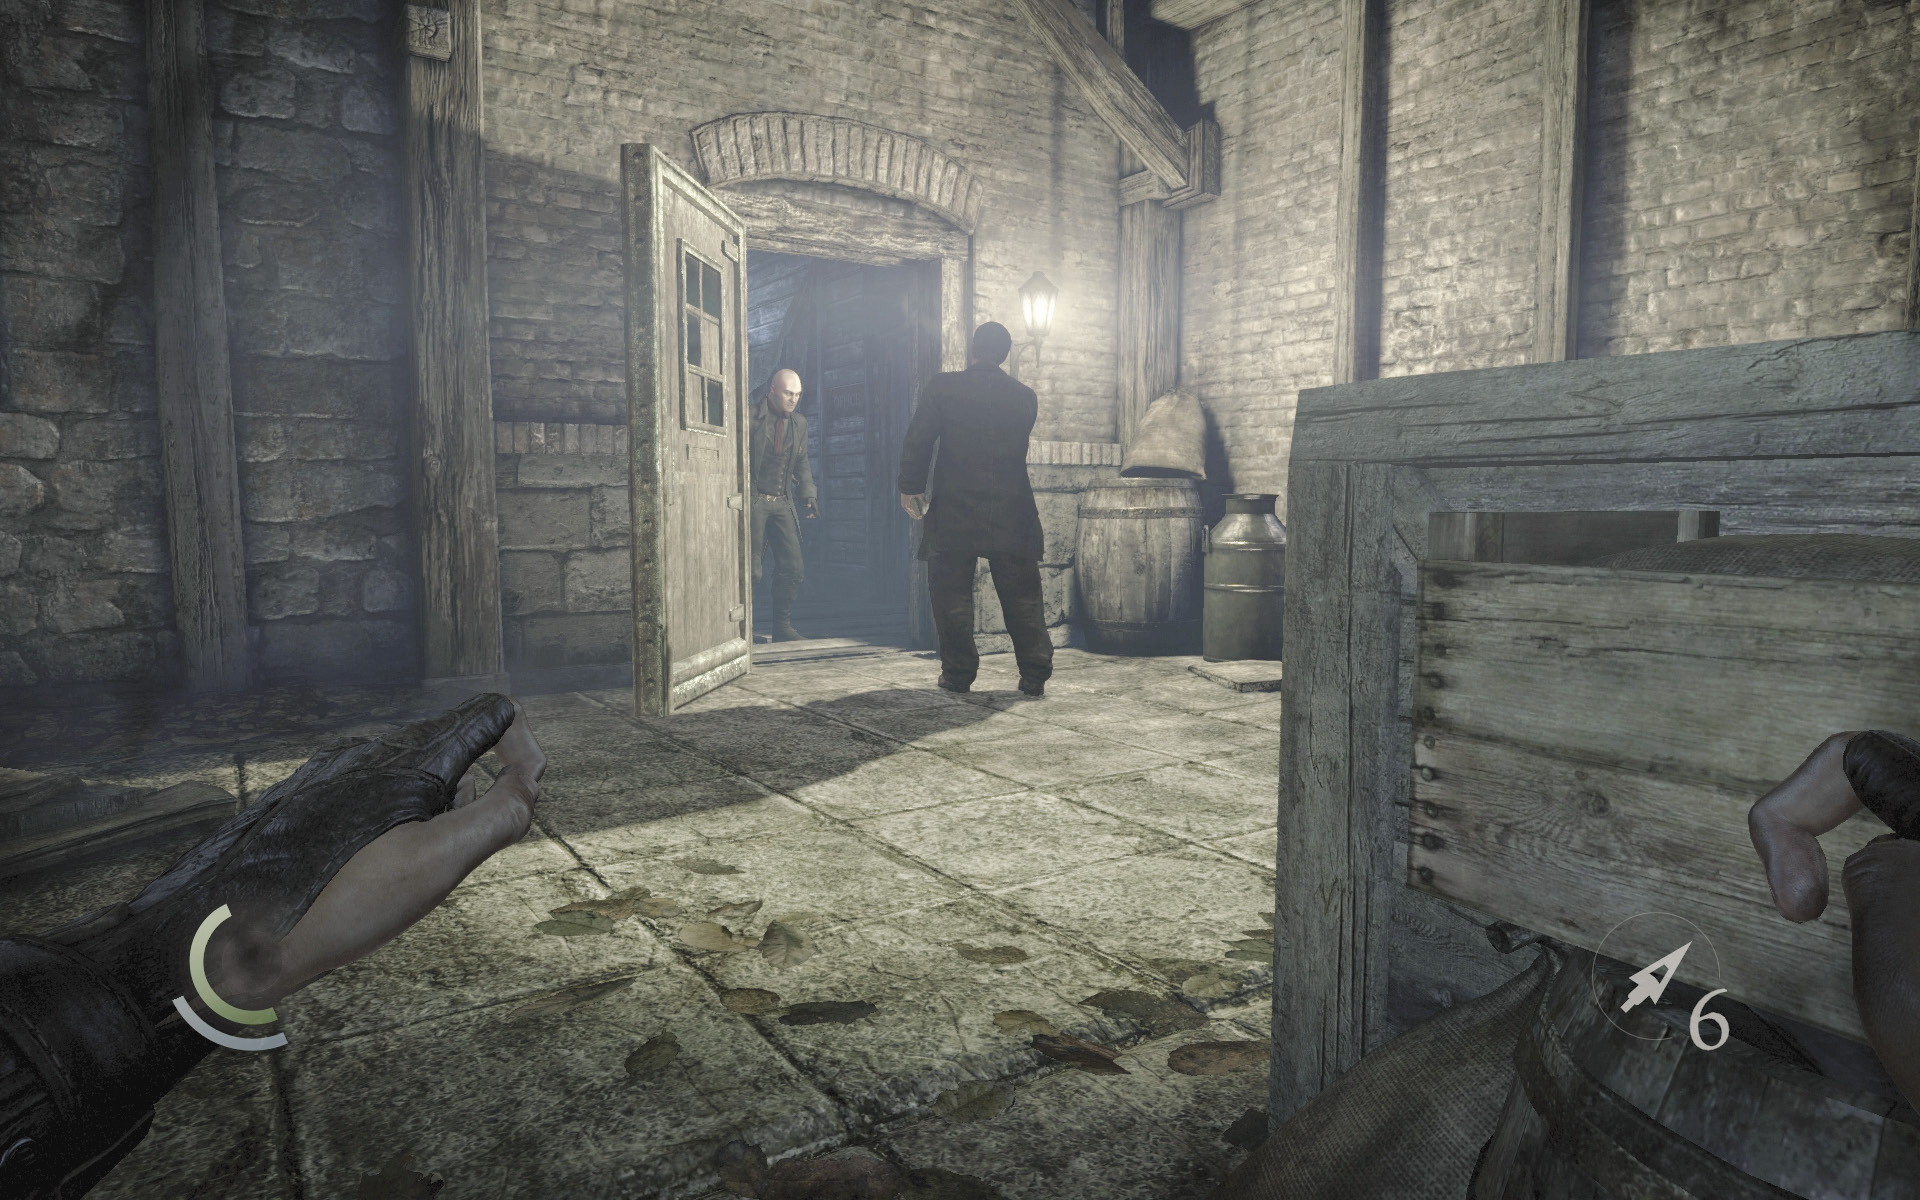
Beyond the gate, Lenny calls out to his fellow gang members. One of them opens the door to the nearby building, allowing Lenny to stumble inside. There’s no other point of entry, so follow Lenny into the building.
Objective 4: Steal the Skull
Area 3: Eelbiters Warehouse
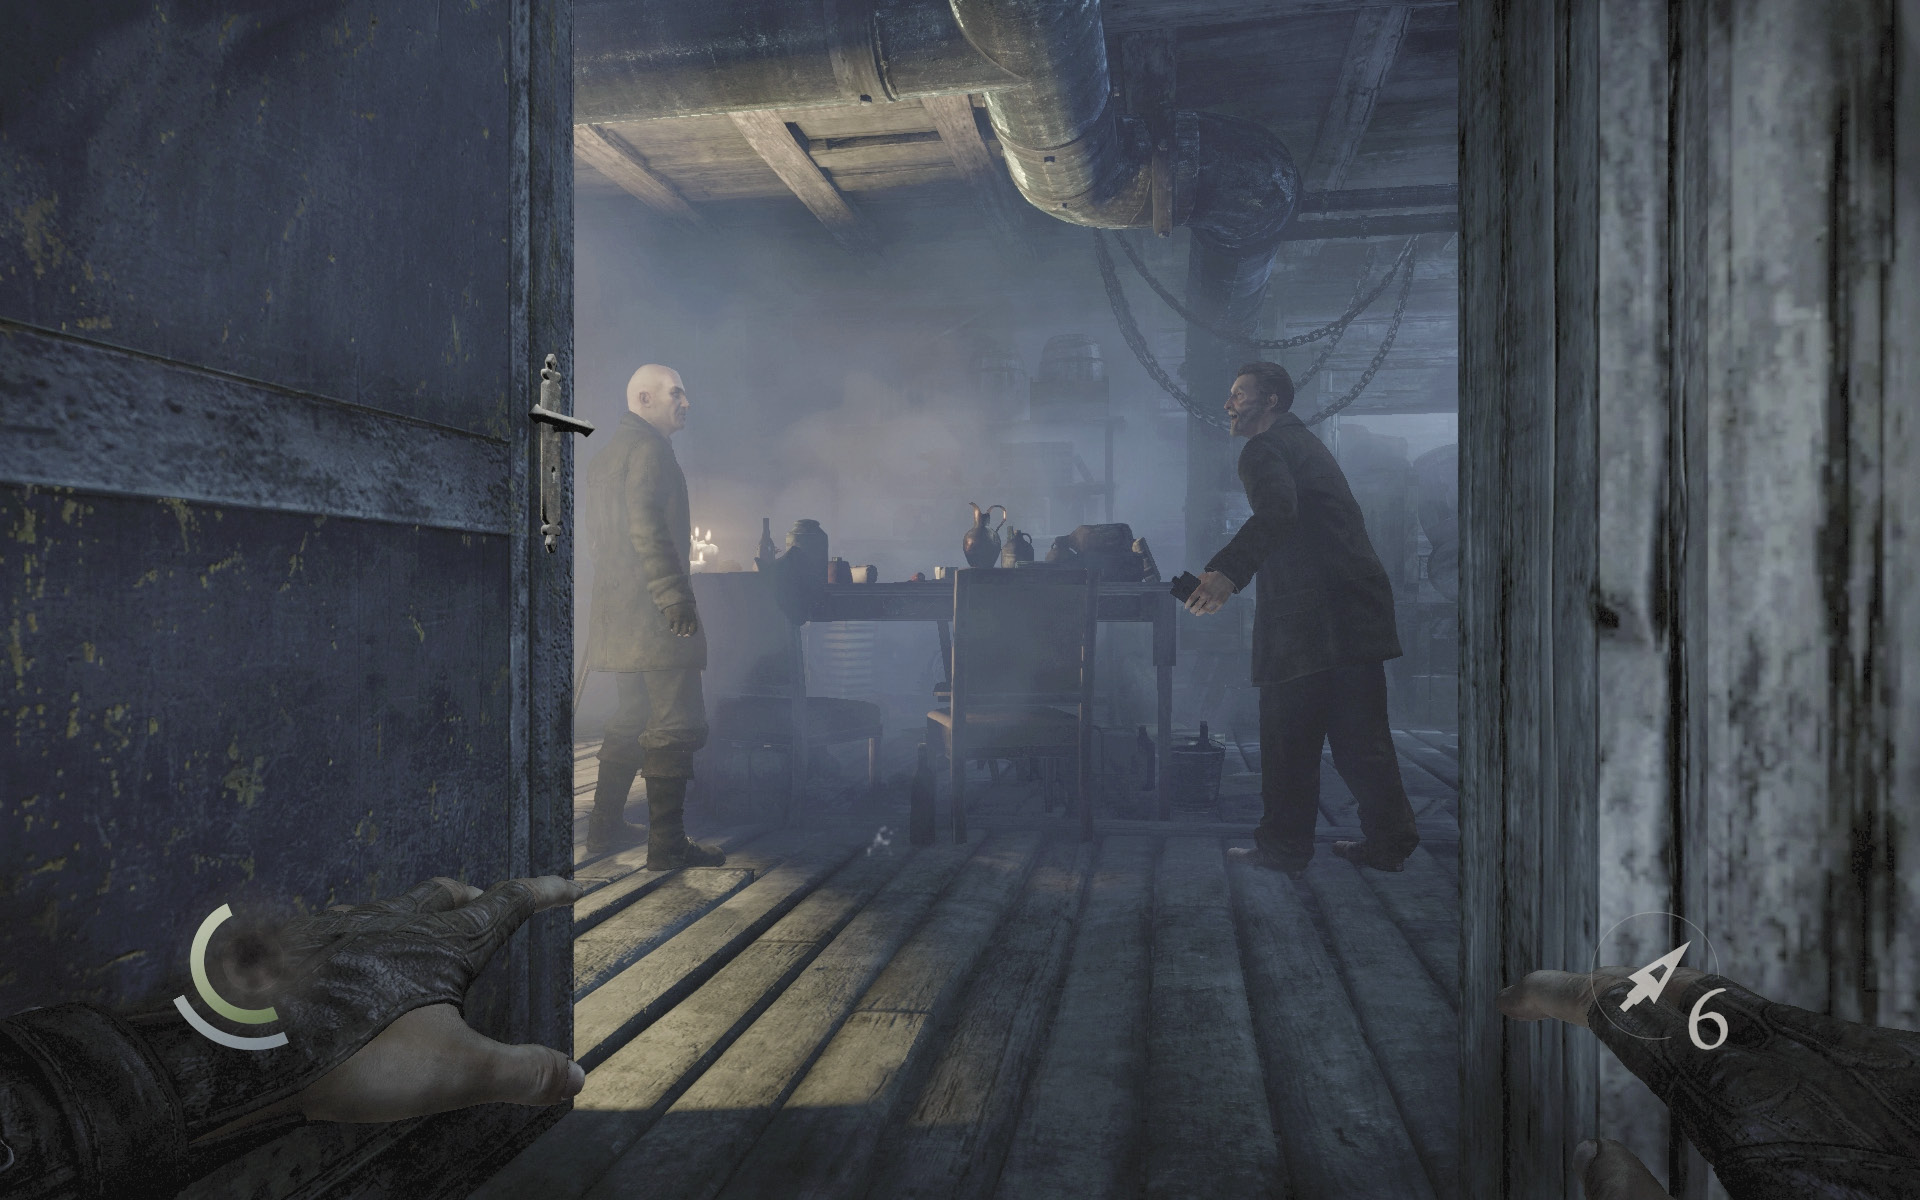
Lenny is drawn into conversation with one of his fellow Eels in the next room. After the long dialogue ends, Lenny moves to a corner to finish his drink. Sneak up behind the Eel and knock him out, then snuff out the surrounding candles.
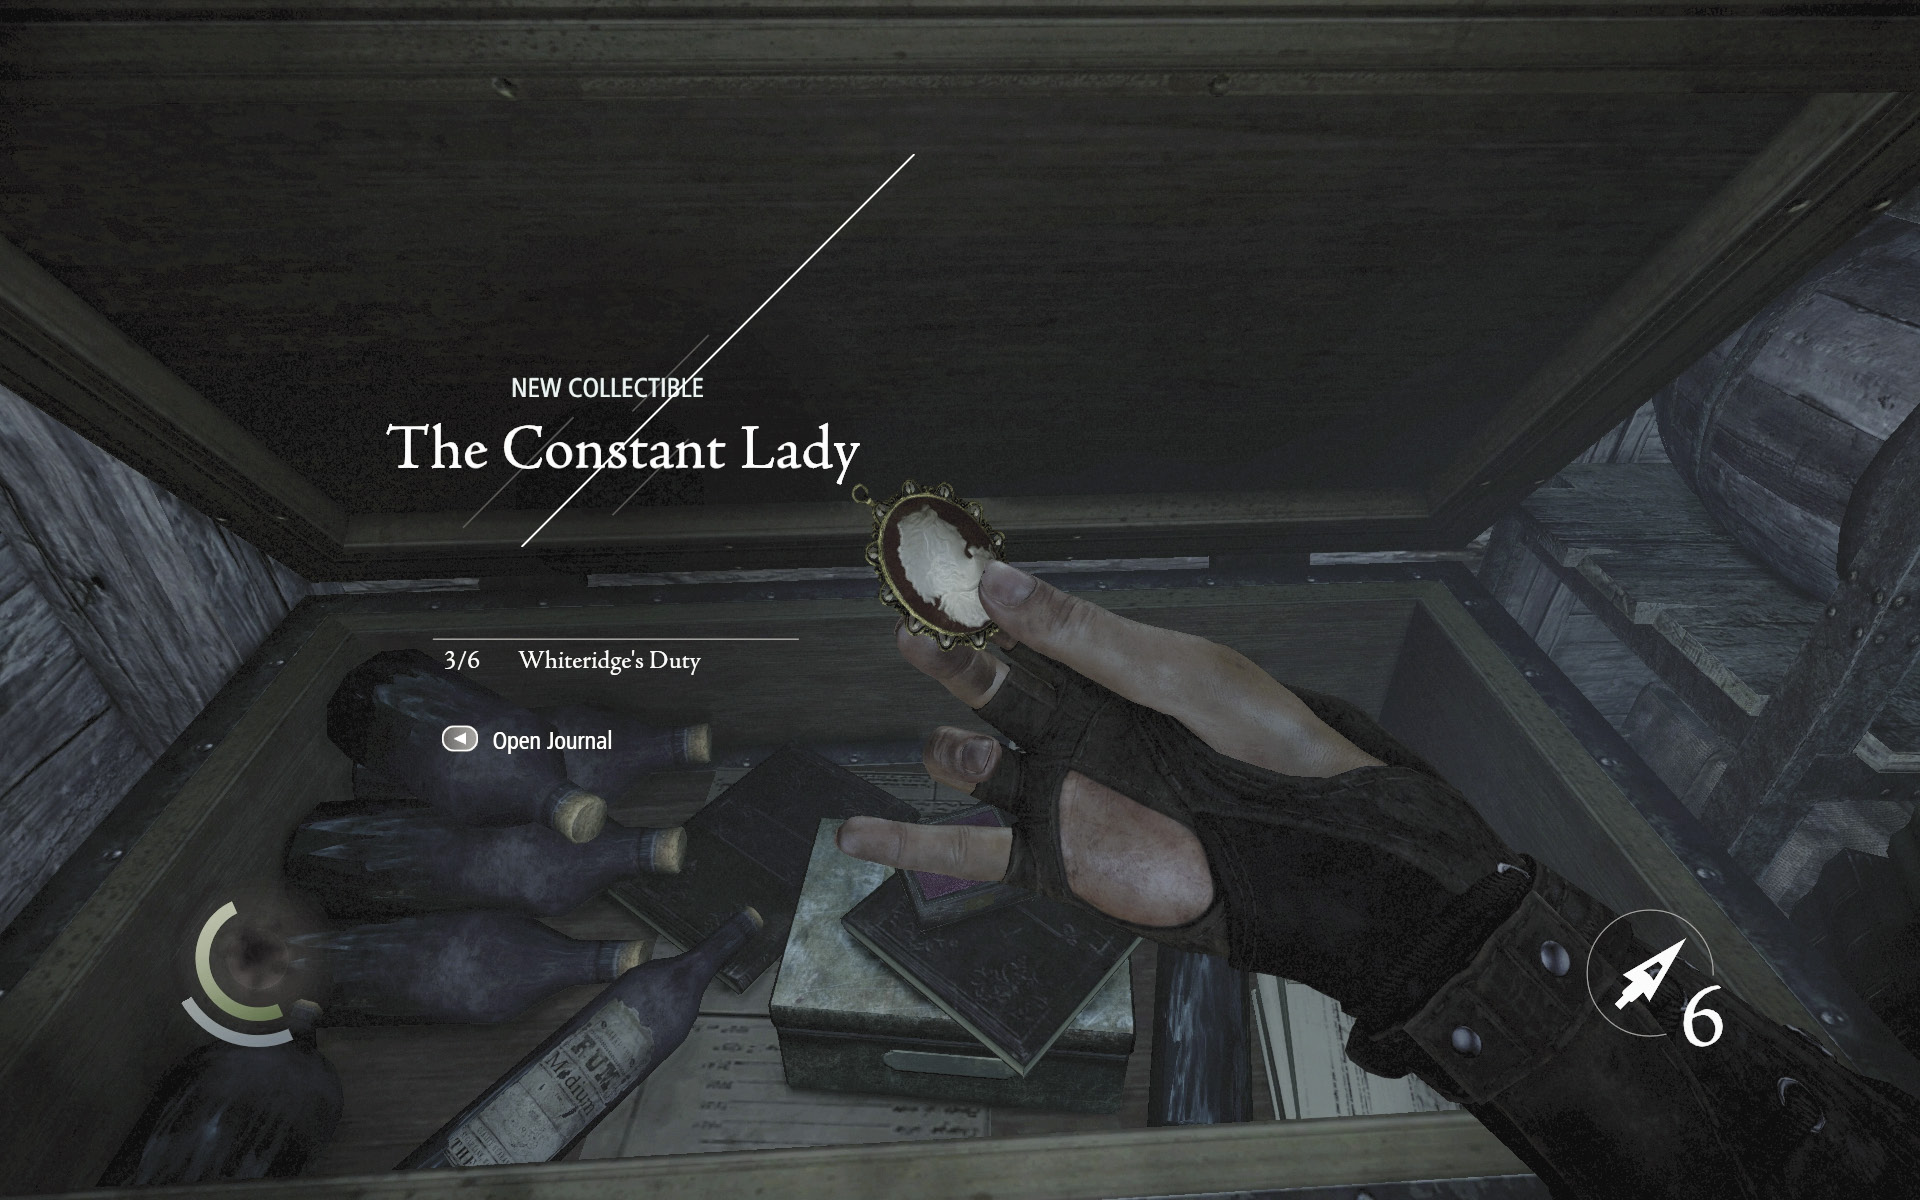
Search the room after neutralizing the Eel to find a necklace in a drawer and a collectible in the nearby chest. If you like, knock out Lenny now as well.
GOODIE BOXCollectible Loot #36 Whiteridge’s Duty (2/6) “The Constant Lady” |
 Thieving Challenge: “Lift all loot items” (9/20)
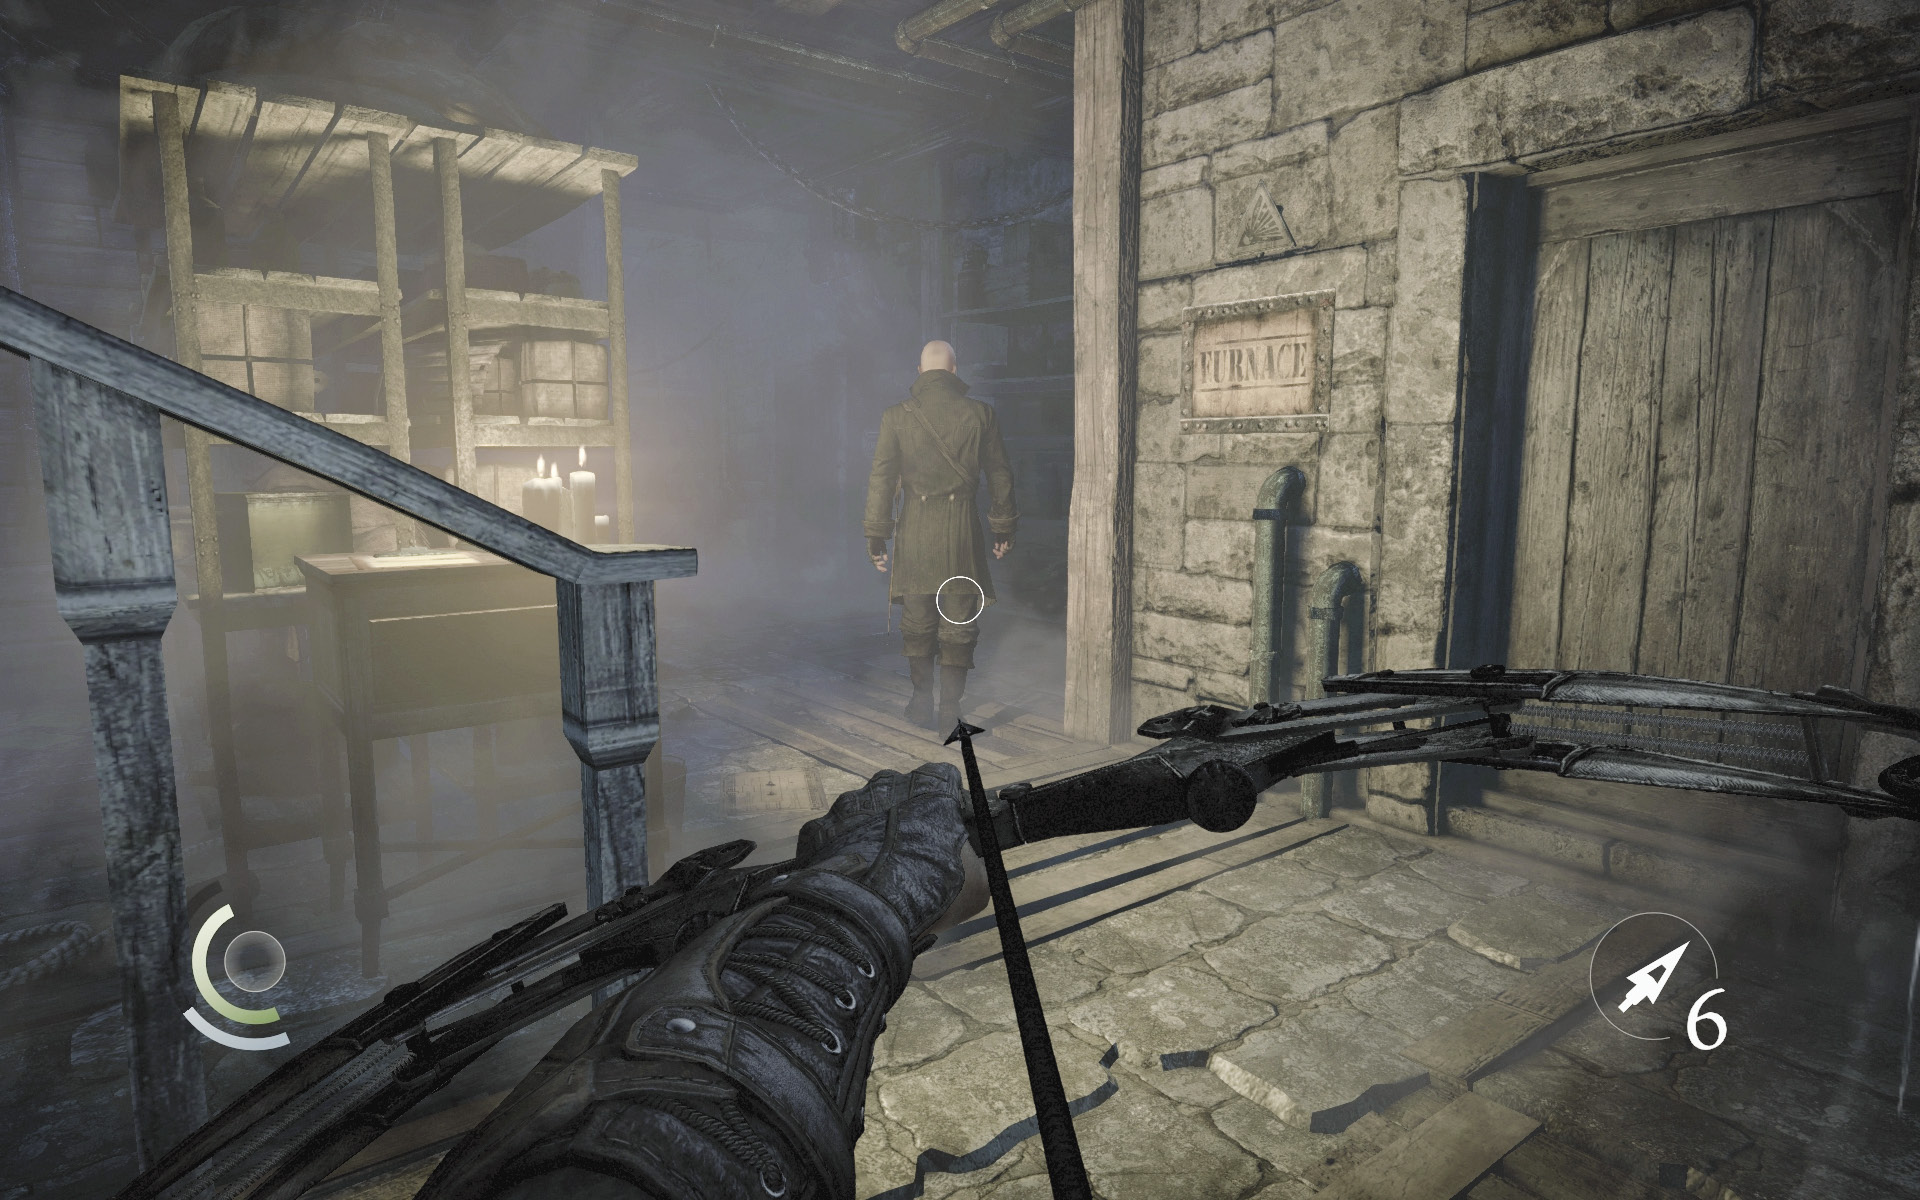
Sneak downstairs next and wound the lone patrolling Eel with a broadhead arrow to the leg or torso. Approach the wounded thug and hold the Melee Attack/Takedown button to perform a combat takedown. By wounding the Eel with an arrow first, you won’t be detected when you perform the combat takedown.
 Thieving Challenge: “2 combat takedowns” (1/2)
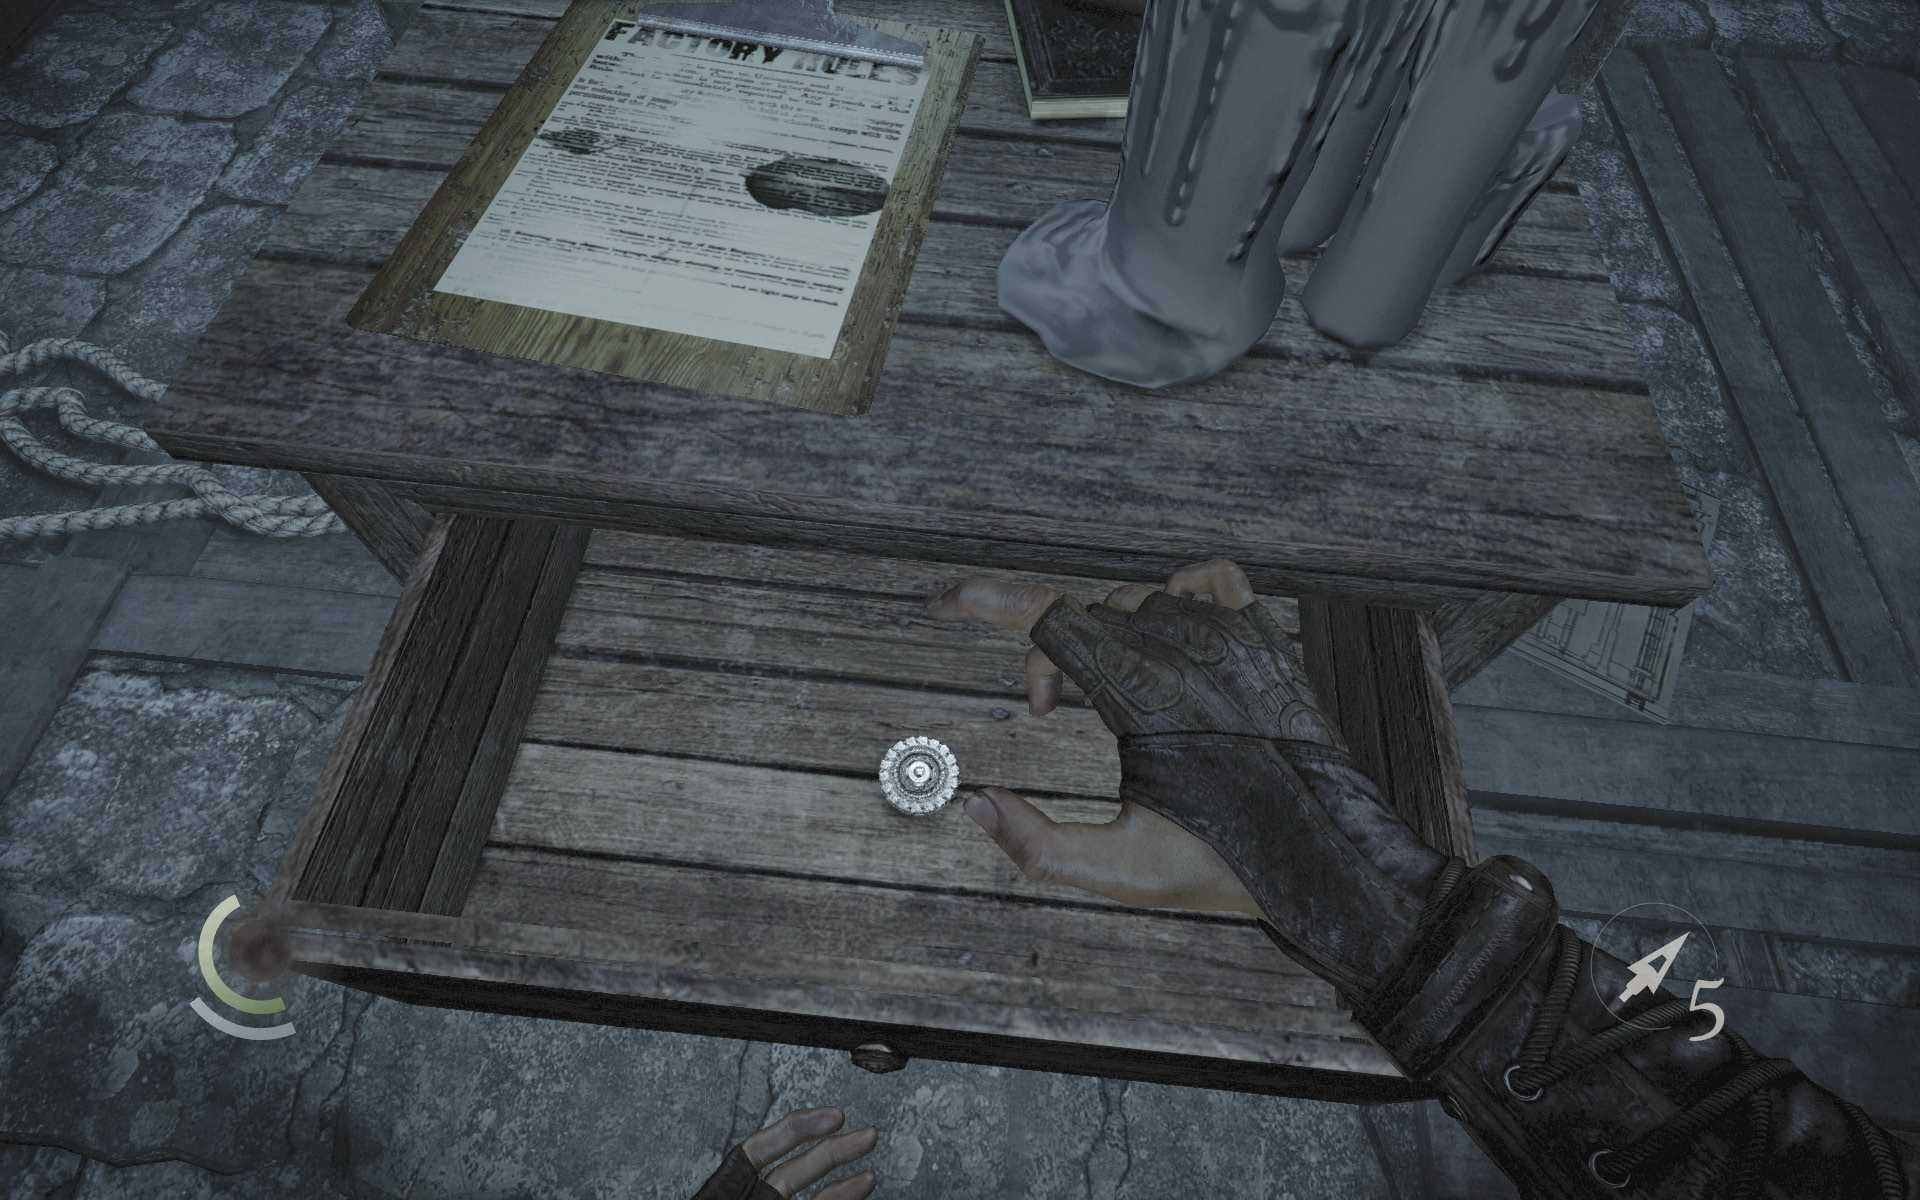
With the basement secure, set about looting the place. Claim the brooch in the drawer of the small candlelit table and swipe the necklace off the east shelf.
 Thieving Challenge: “Lift all loot items” (11/20)
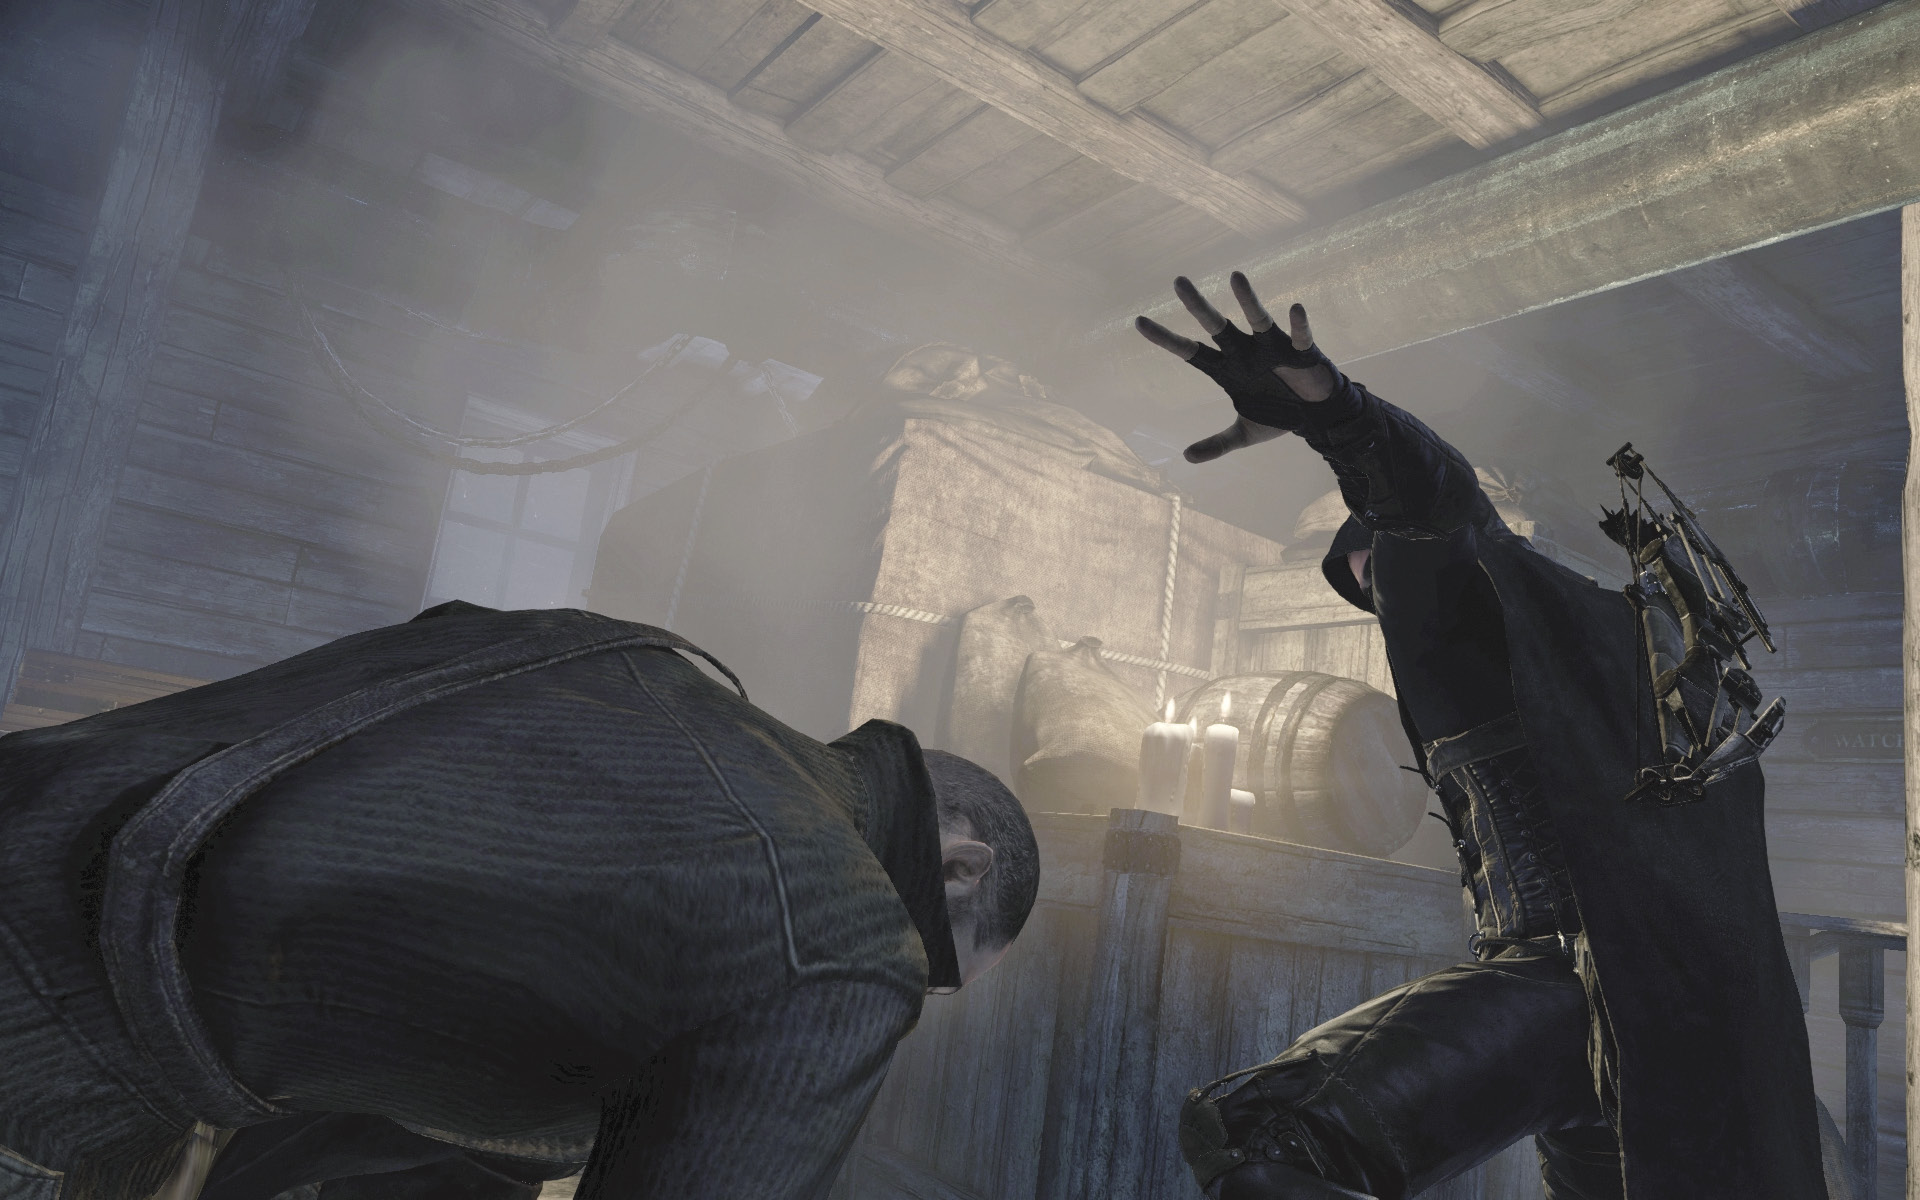
Now backtrack upstairs and go to the second floor. Cripple another Eel with an arrow here to set up another combat takedown, then search the room’s chests, shelves, and drawers for a number of valuables, including the skull you seek.
 Thieving Challenge: “2 combat takedowns” (2/2)
 Thieving Challenge: “Lift all loot items” (17/20)
Objective 5: Return to the City
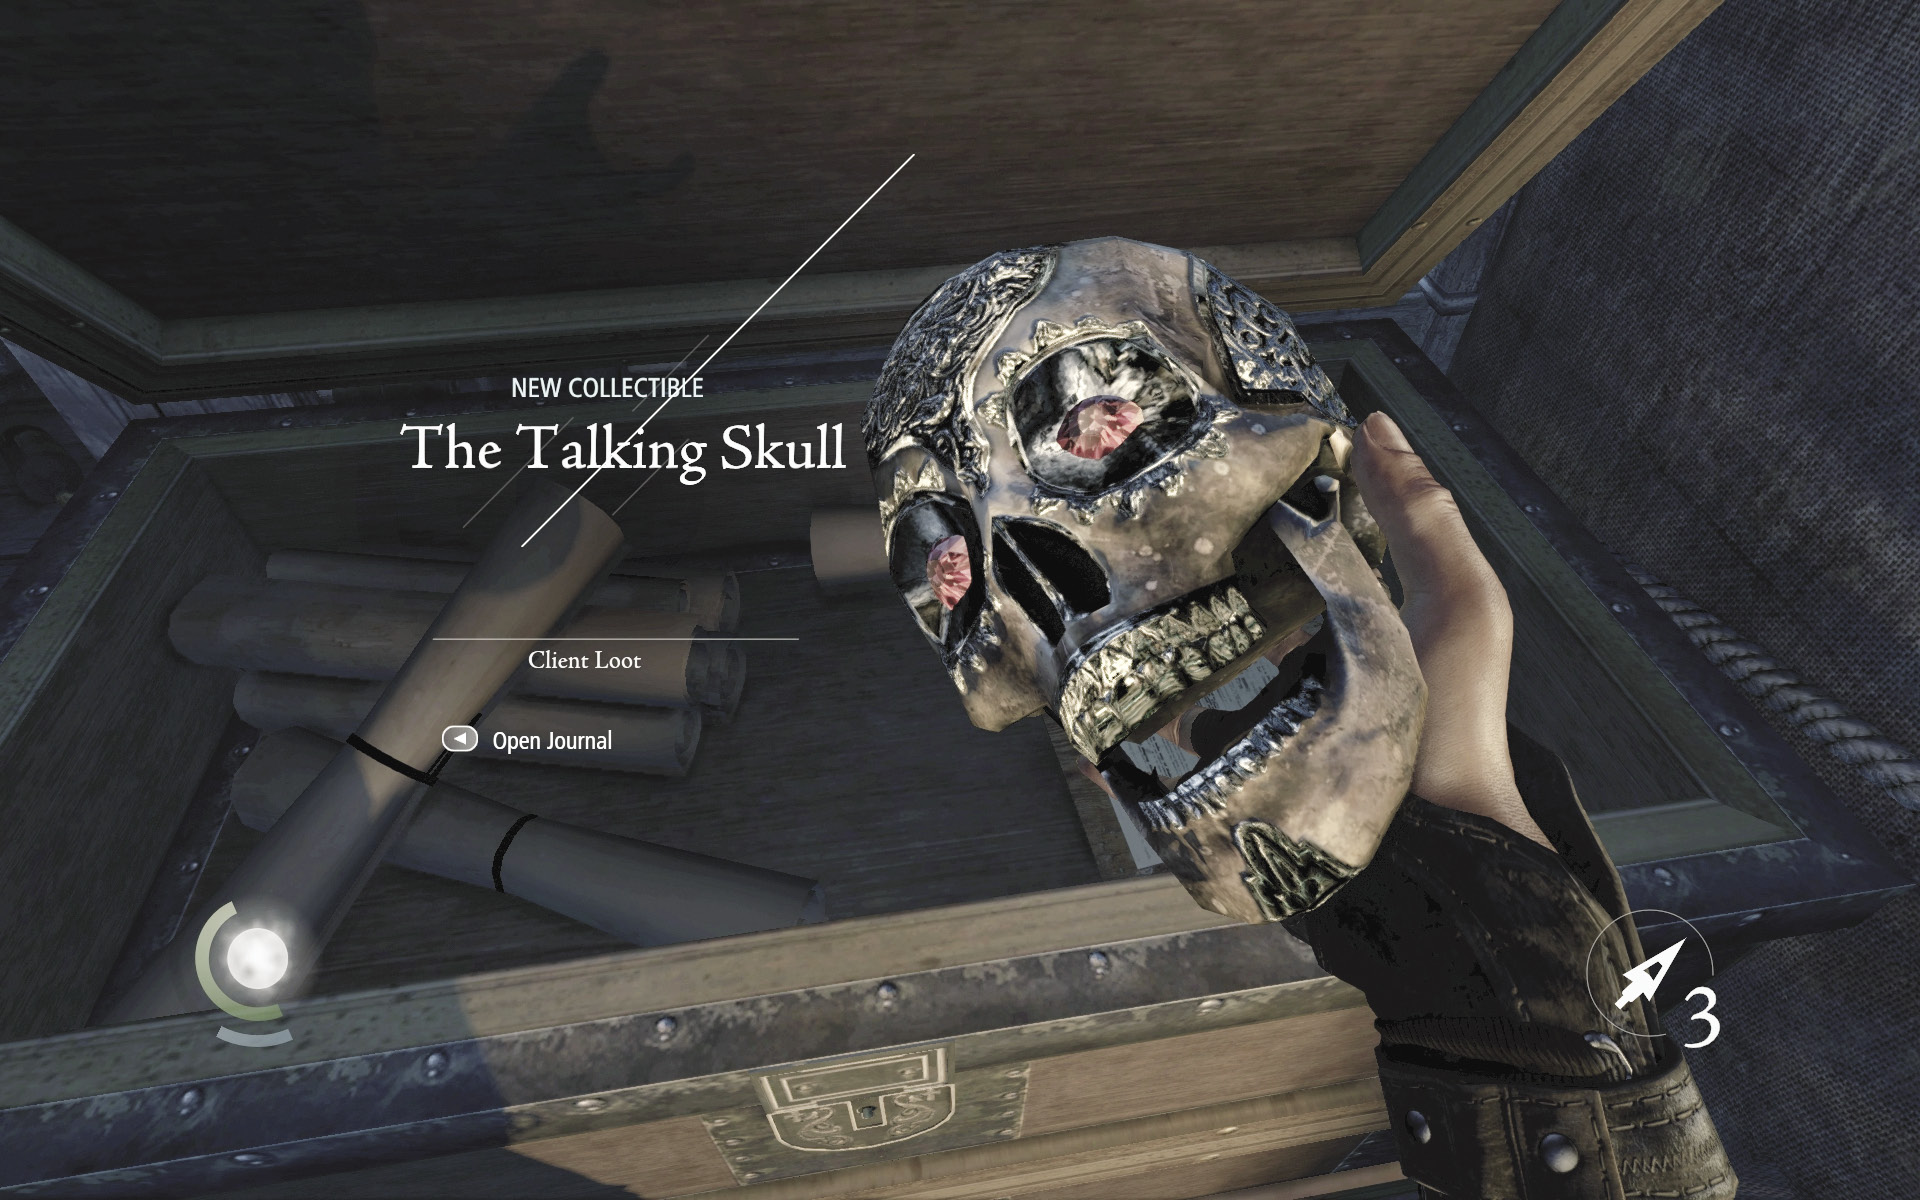
You’ve found the skull, but there’s a bit more loot to be found in the warehouse. Snatch the vase on the shelf near the south stairs, then descend the stairs to discover a chest that contains a bracelet and coin purse—the two final pieces of loot in this mission.
 Thieving Challenge: “Lift all loot items” (20/20)
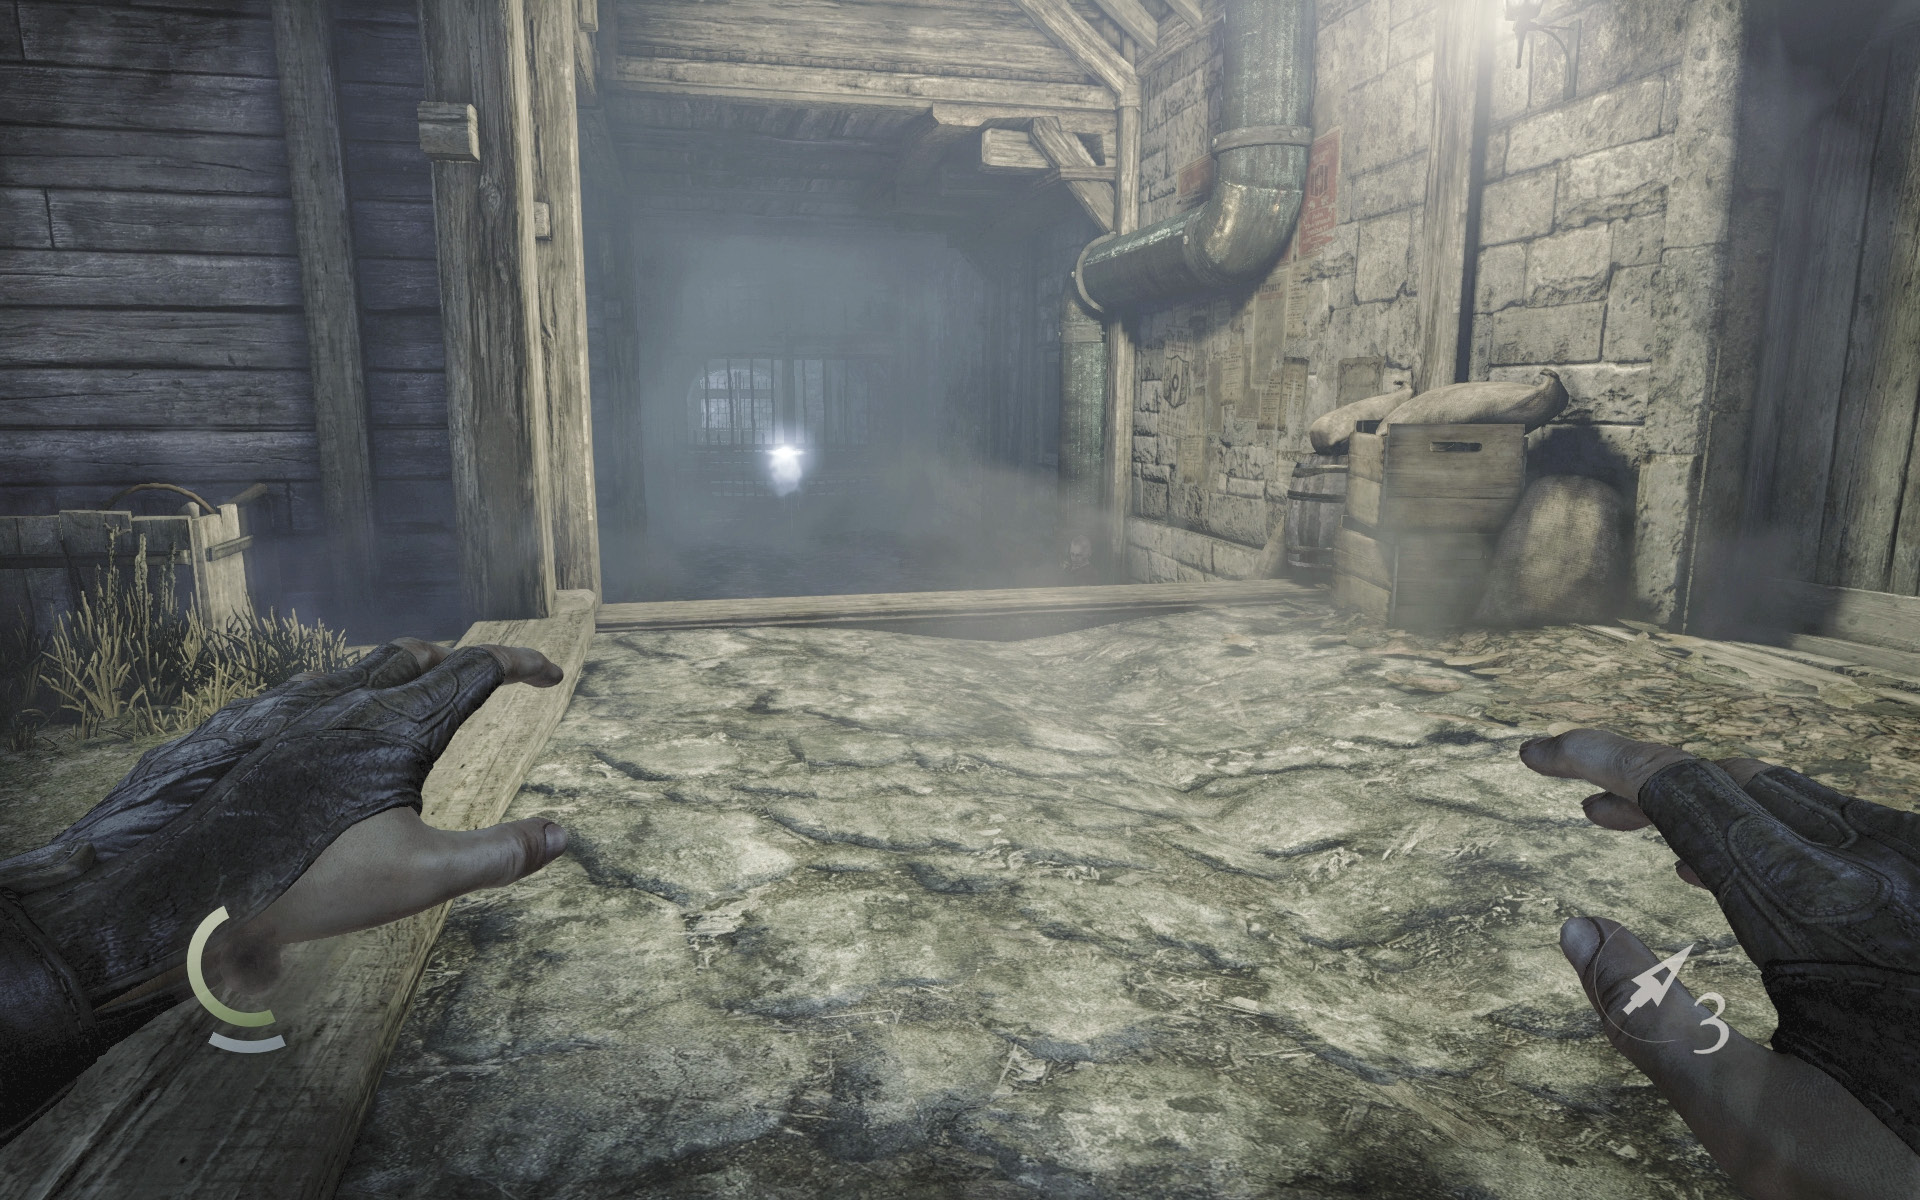
You’ve got what you came for; now it’s time to escape. Backtrack down to the first floor and climb through the west window. Scale the tall crates outside the warehouse, then simply backtrack through Piss Alley, heading back to the mission’s starting point. Ensure that no one sees you during your escape.