
The Legend of Zelda: The Wind Waker Guide Walkthrough The Sword Shines Again! The Wind Temple
The Wind Temple (D1)
Before you enter the Wind Temple, the King of Red Lions tells Link that he believes Makar will assist him as Medli did in the Earth Temple. He believes that Link and Makar together can handle any obstacle that the Wind Temple puts in their path.
Red has always had faith in Link’s ability. Where does that come from? In any case, we’ve got work to do, so don’t dawdle; the Master Sword must shine again if we have any hope of defeating Ganondorf the next time we meet him.
First Floor
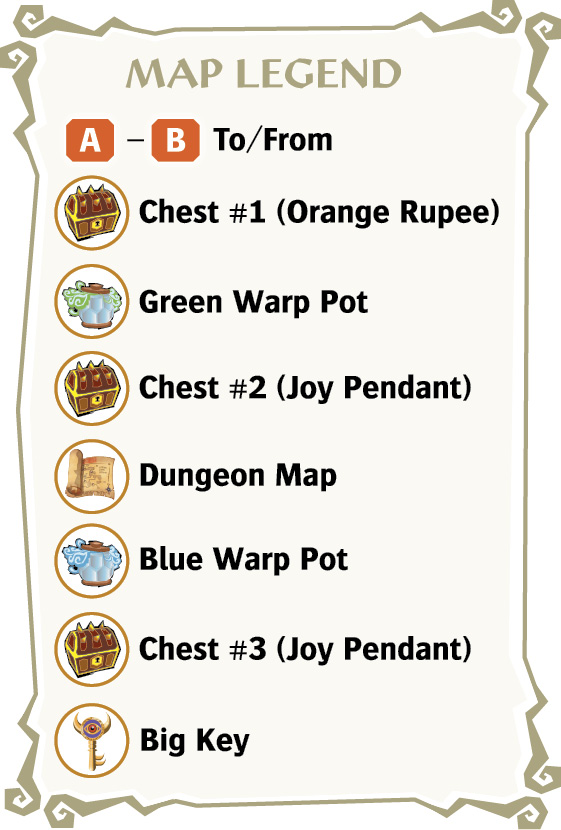
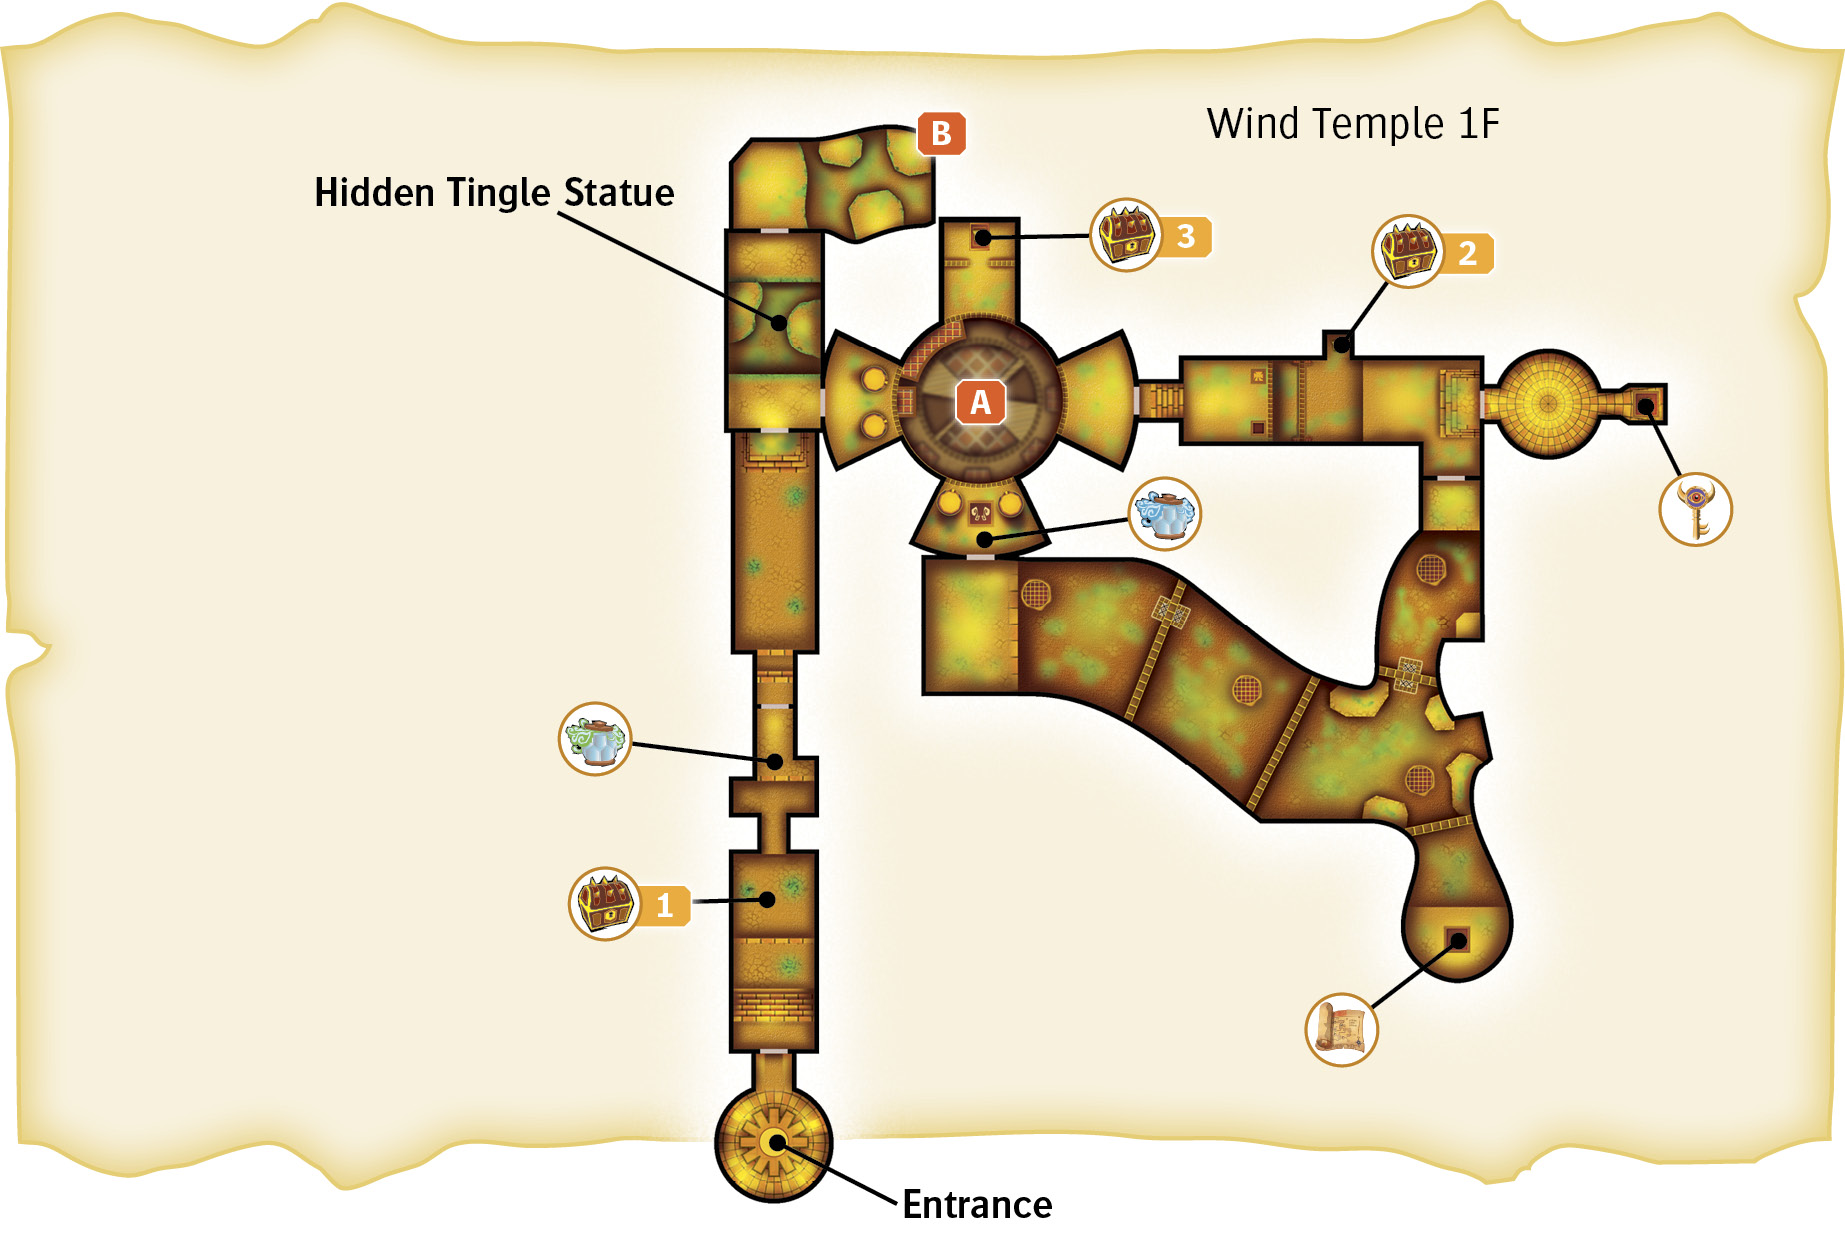
1. The Wonder of Springboards
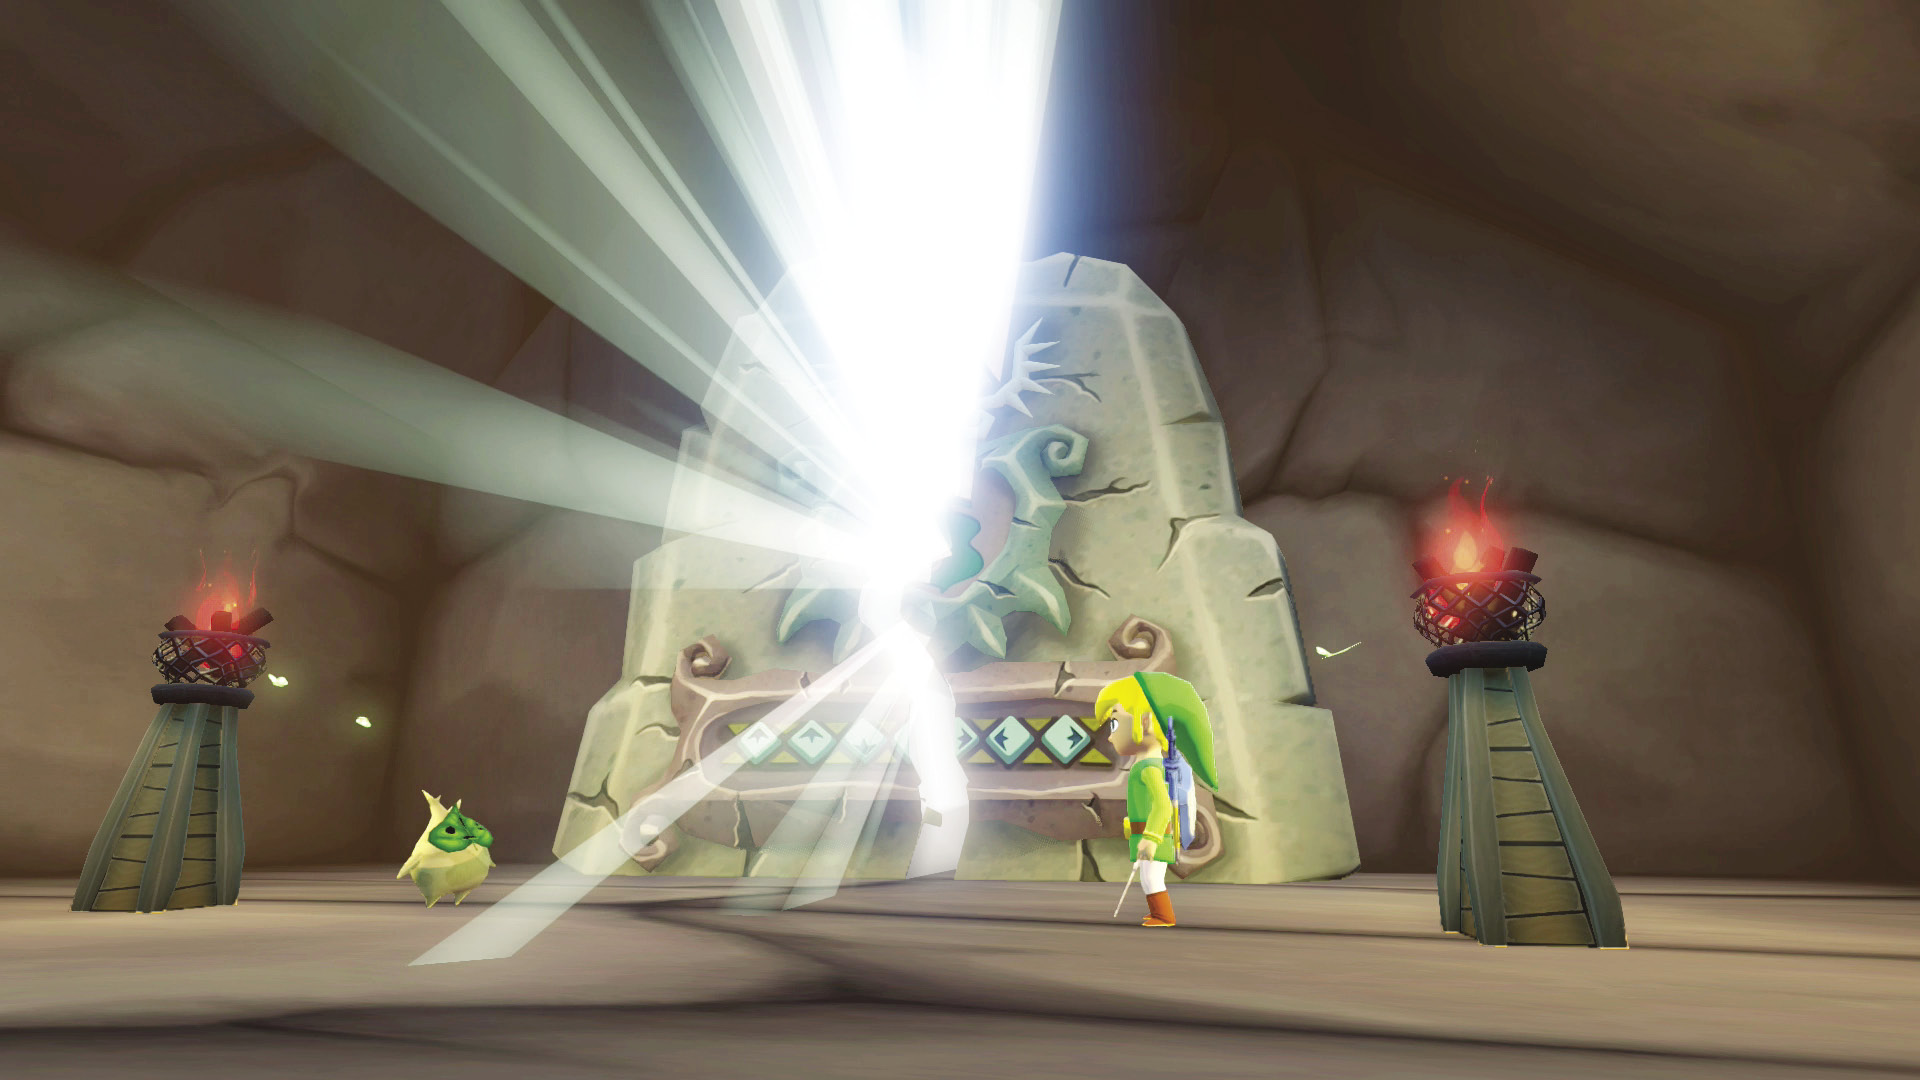
With Makar in tow, head toward the stone monument blocking the entrance of the Wind Temple and conduct the “Wind God’s Aria” to destroy it. Enter the hole that was hidden underneath it.
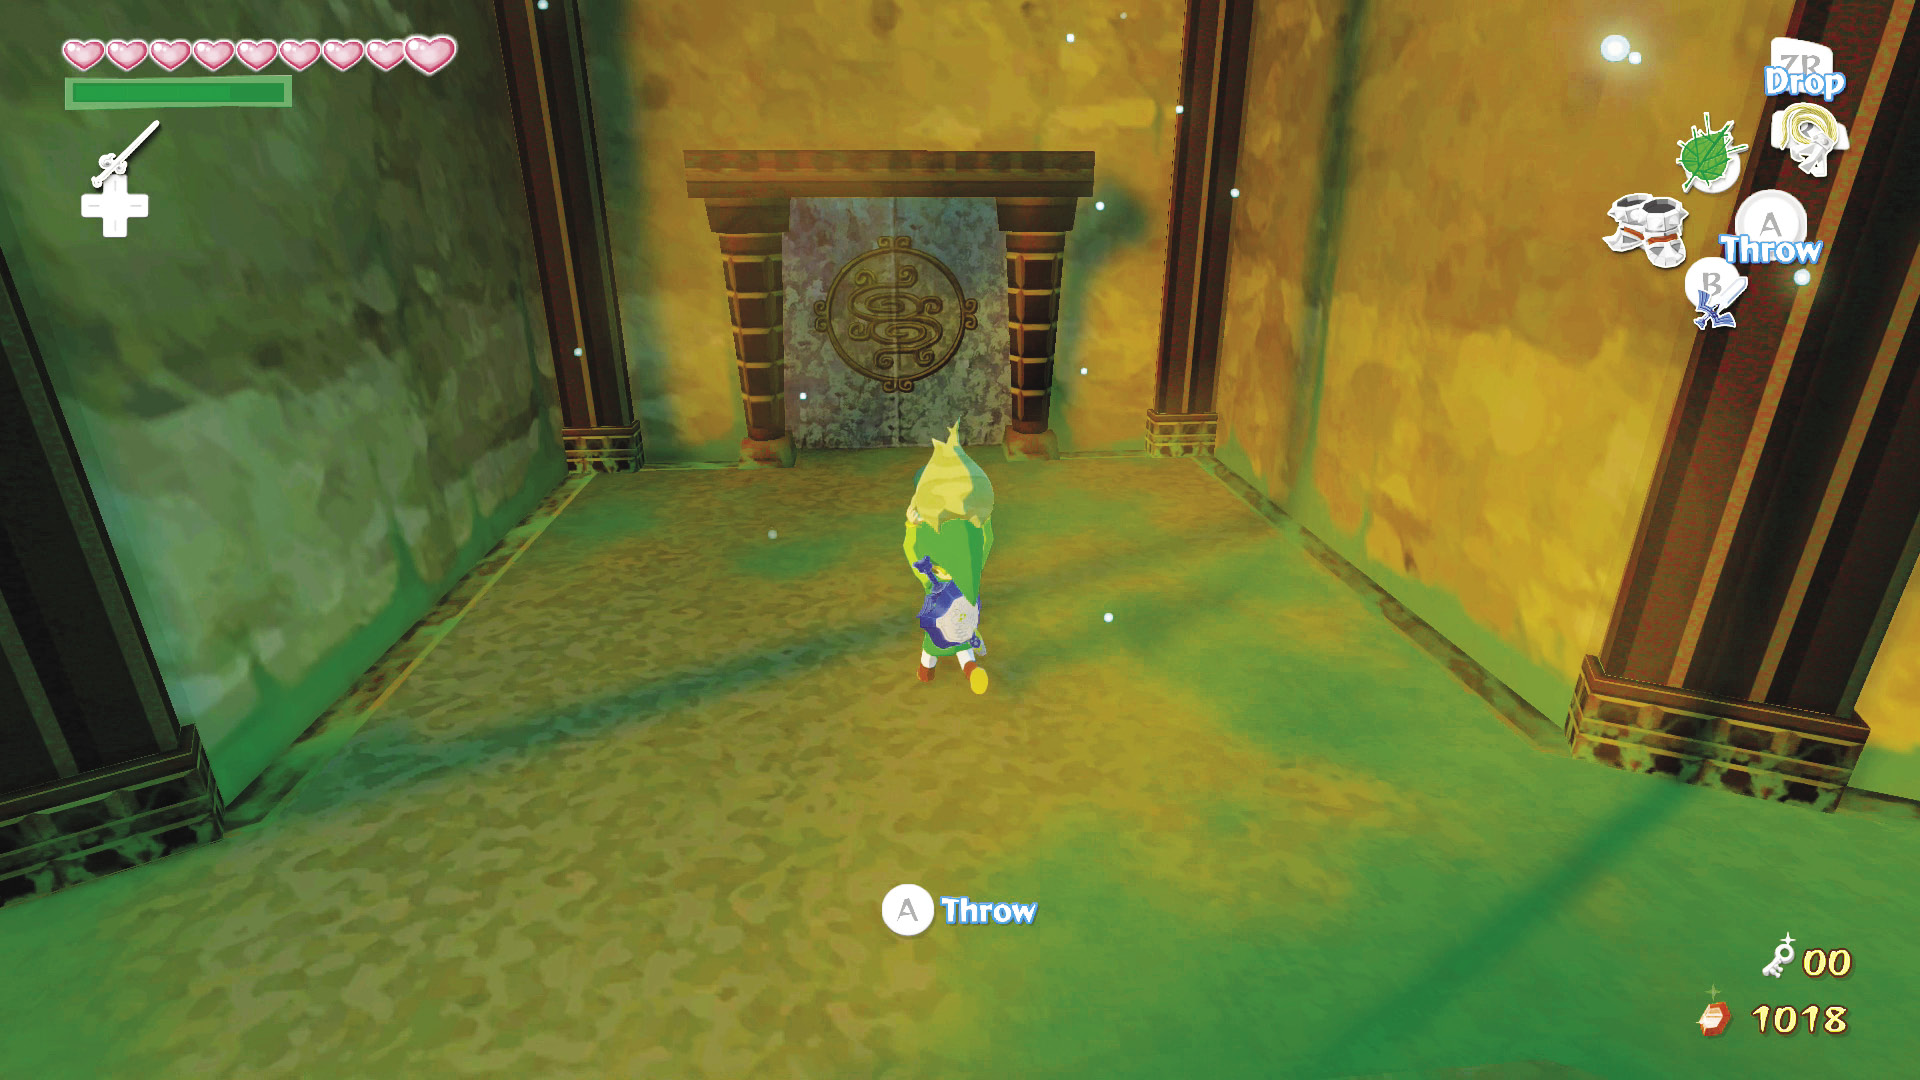
There is nothing in this room besides the door and the warp leading back out of the temple, so head through the door ahead—remember to bring Makar with you.
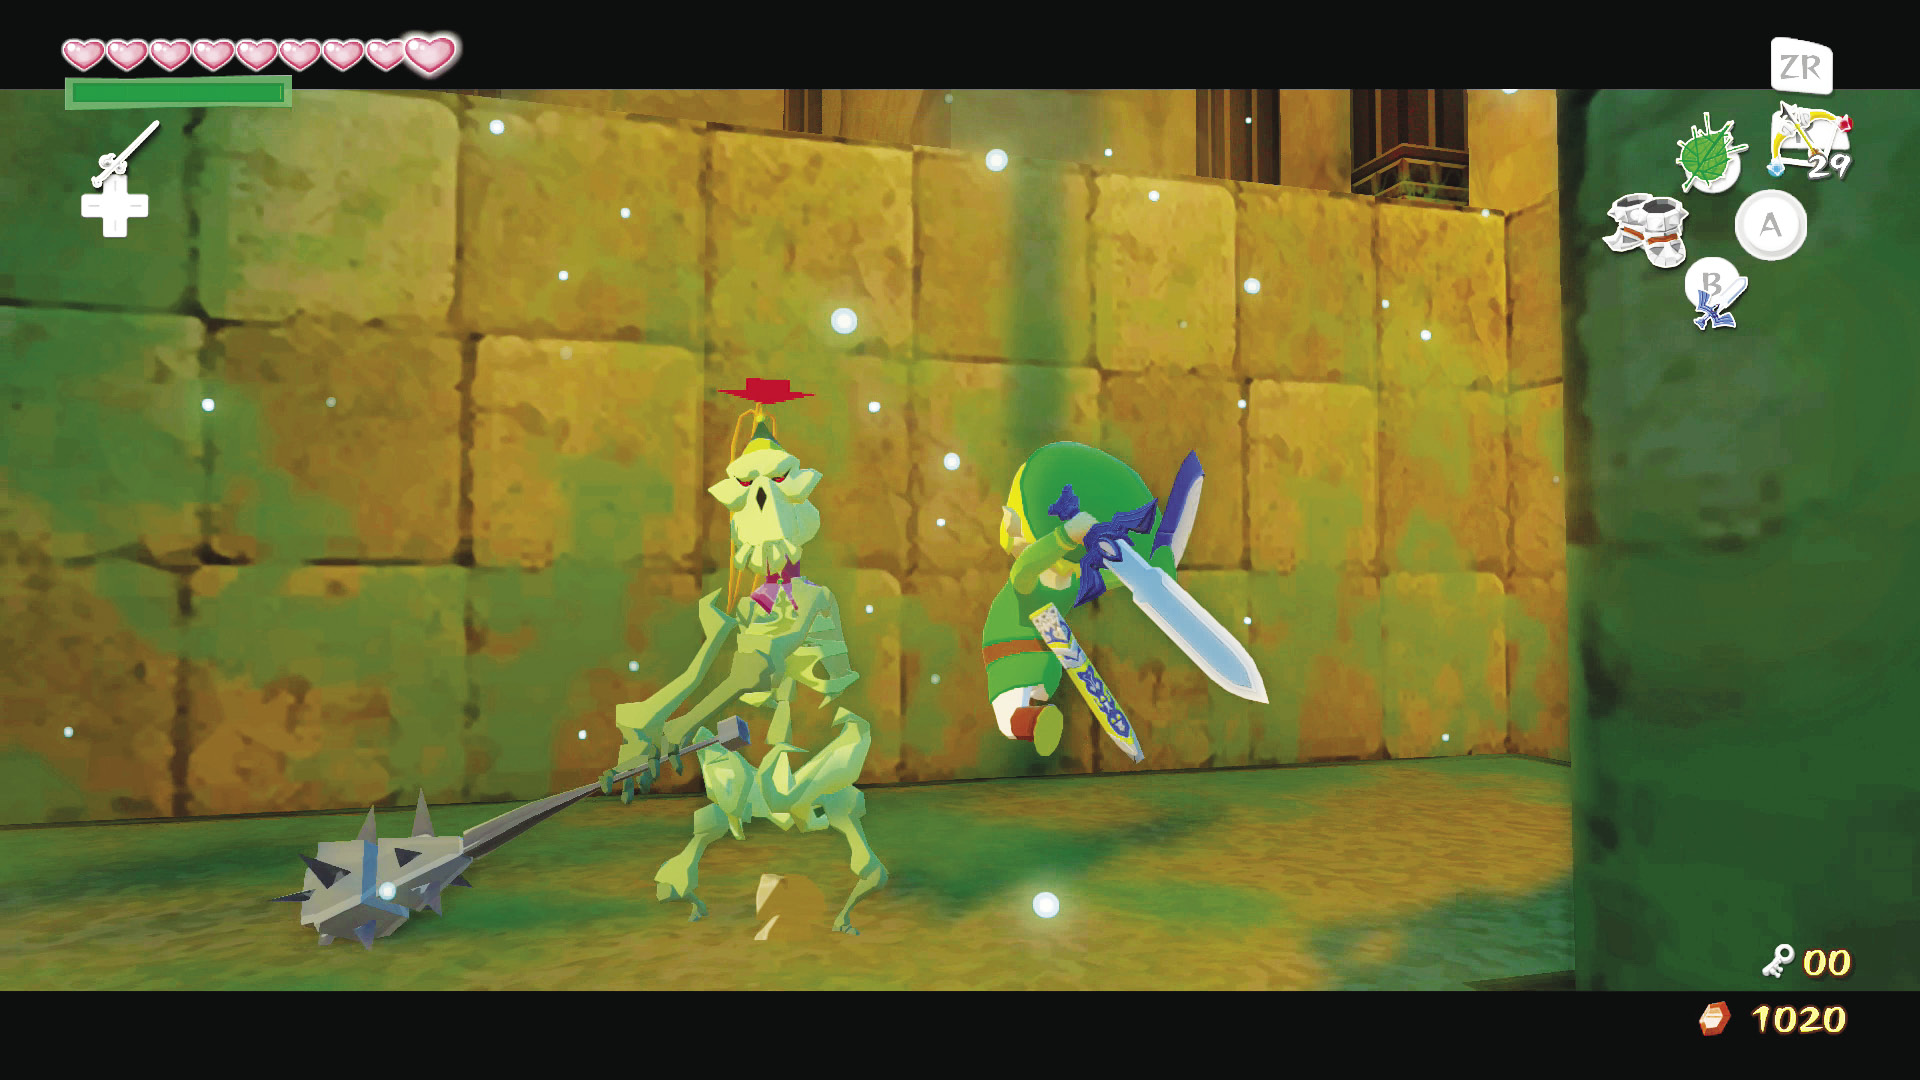
Jump off the edge of the level you are standing on and immediately start to search for a lone Blue Wizzrobe. Defeat the Blue Wizzrobe, then head to the north side of the level and you’ll find a Stalfos. Take it out with your sword or bombs, then break the lid of the Green Warp Pot on the room’s northwest side.
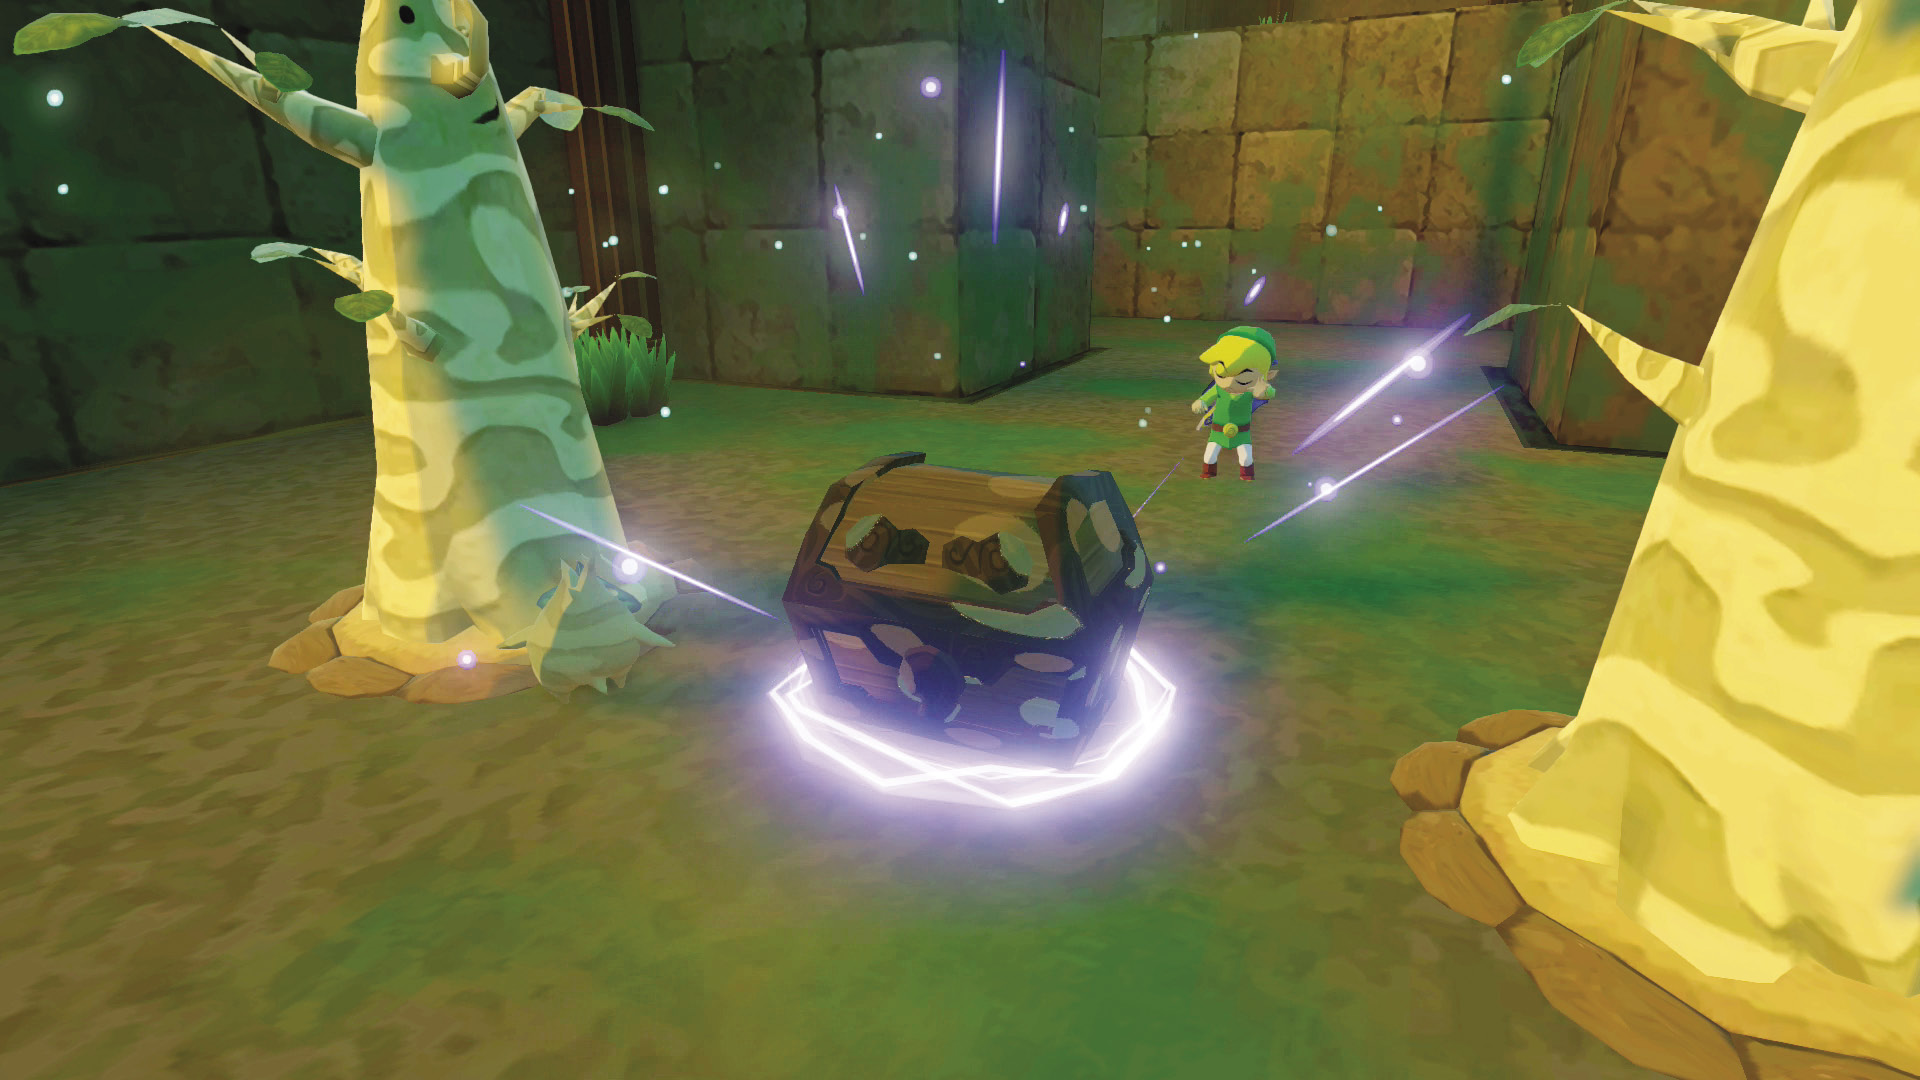
Head back to the level’s south side and use the “Command Melody” to take control of Makar. Fly Makar down to the yellow dirt mounds on the lower level. After planting a seed in both, small trees sprout from the dirt mounds and a treasure chest containing an Orange Rupee appears.
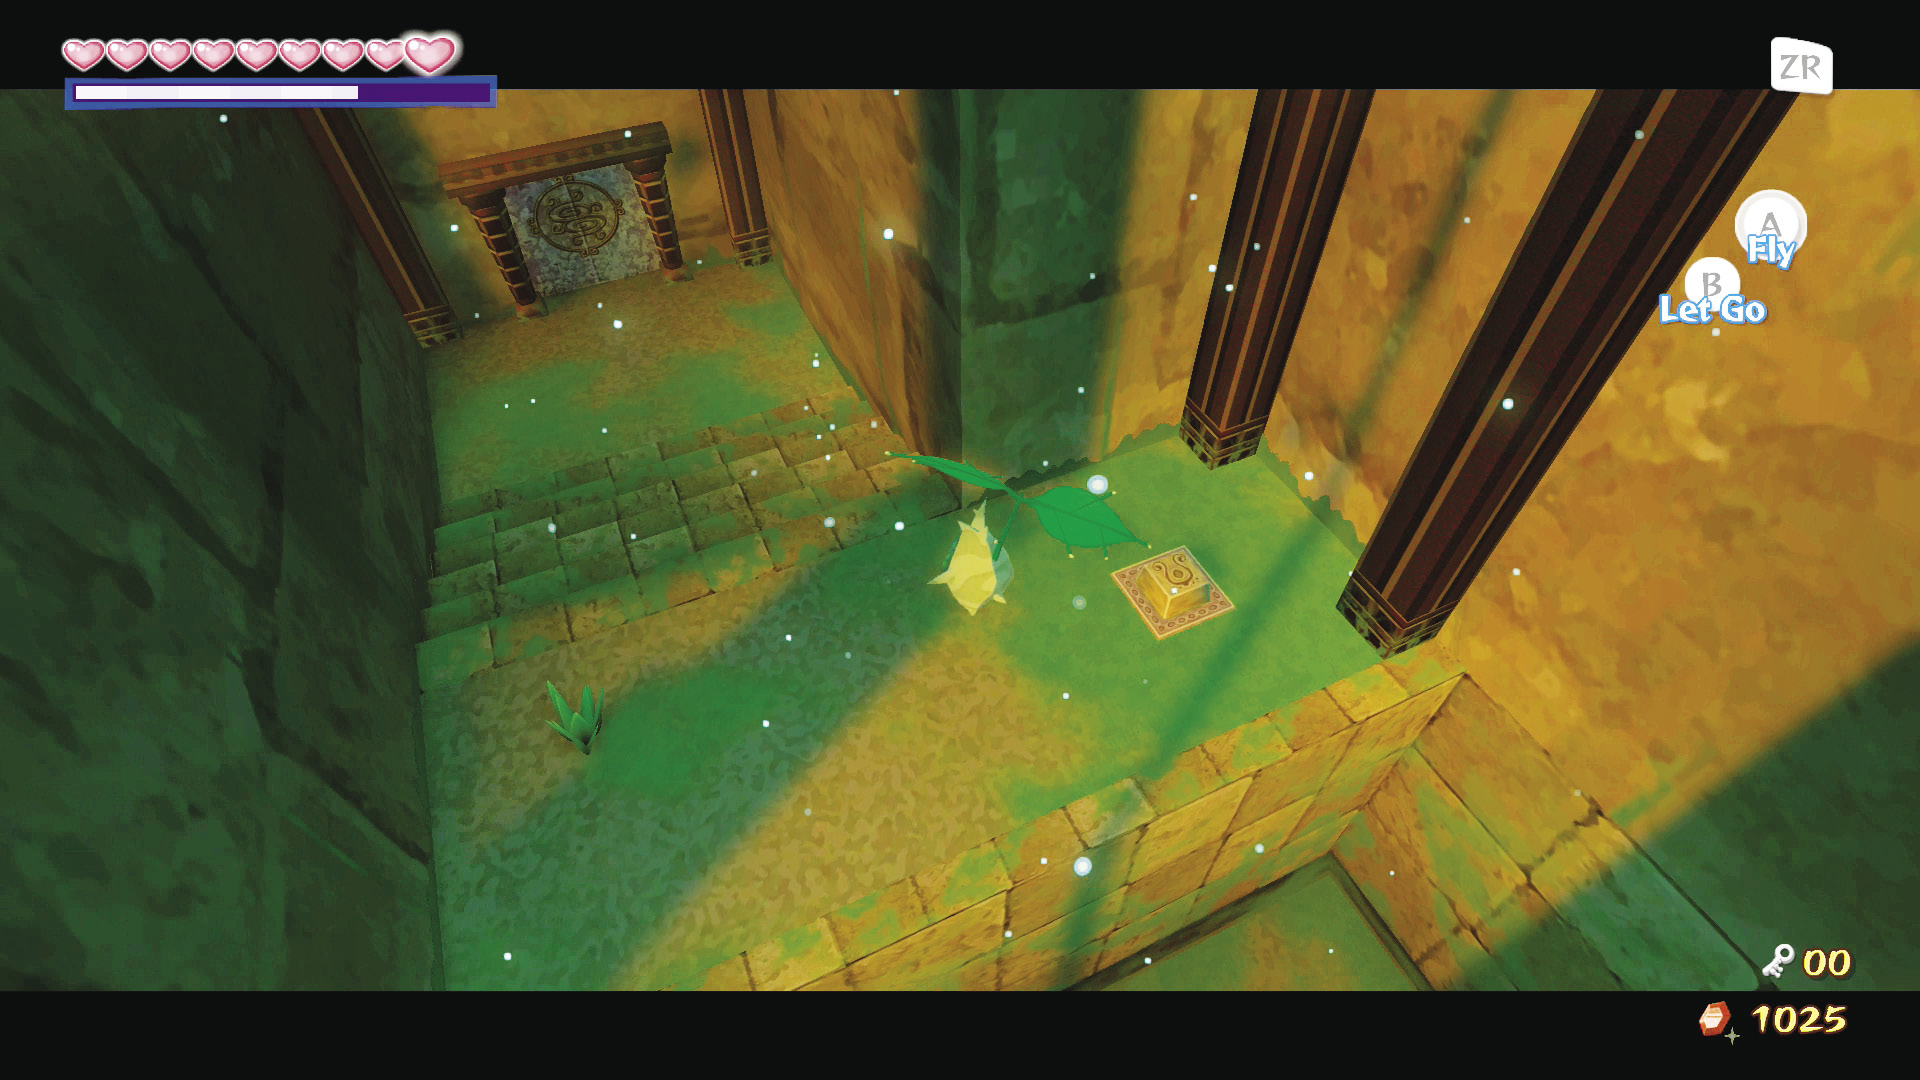
Before releasing control of Makar, fly him to the upper level of the room’s north side and have him hit the switch in the northeast corner to deactivate the fans blowing the wind vortices from the ceiling.
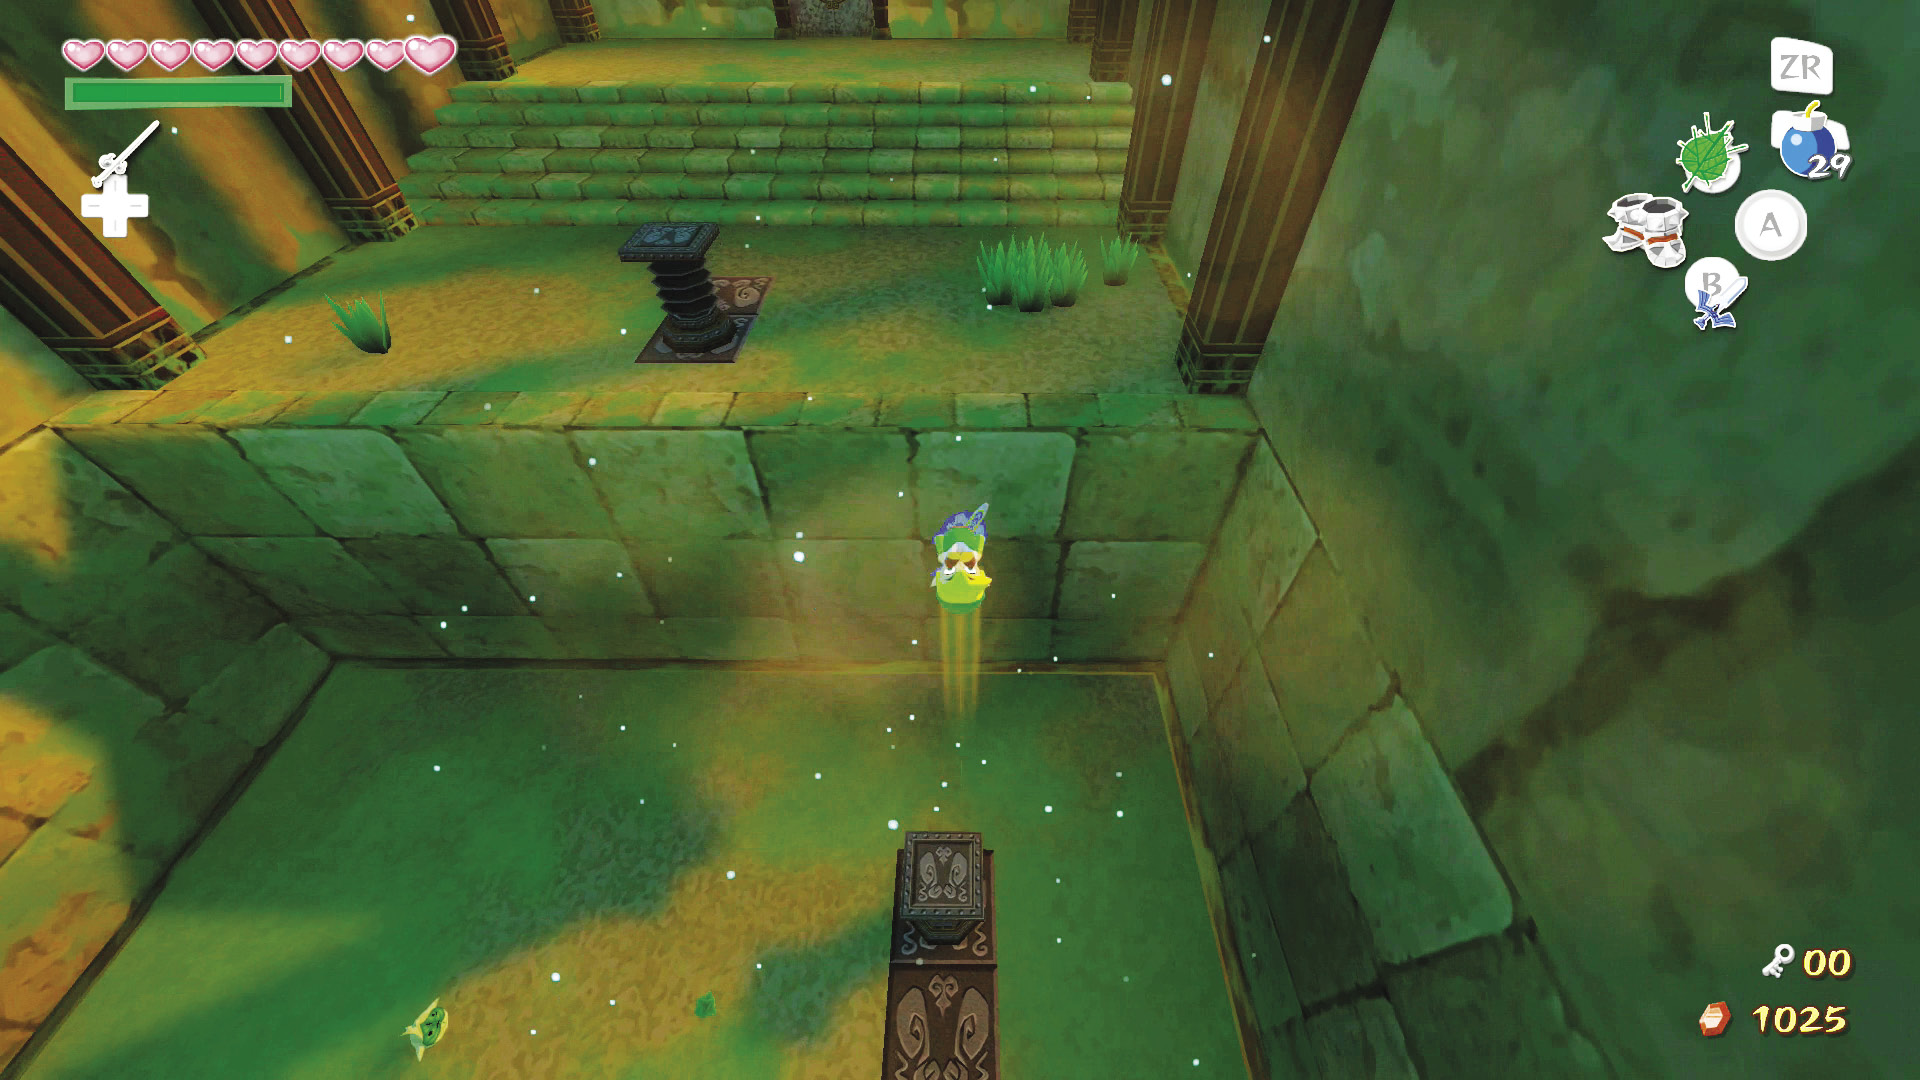
Release control of Makar and hop onto the gray springboard in the southwest corner. The spring won’t budge as is, but luckily the Iron Boots are good for more than just withstanding Gale Island’s signature winds and walking along slippery ice. Equip the Iron Boots to push the springboard to the ground, then unequip them to be launched into the air and land on the upper level of the room’s south side.
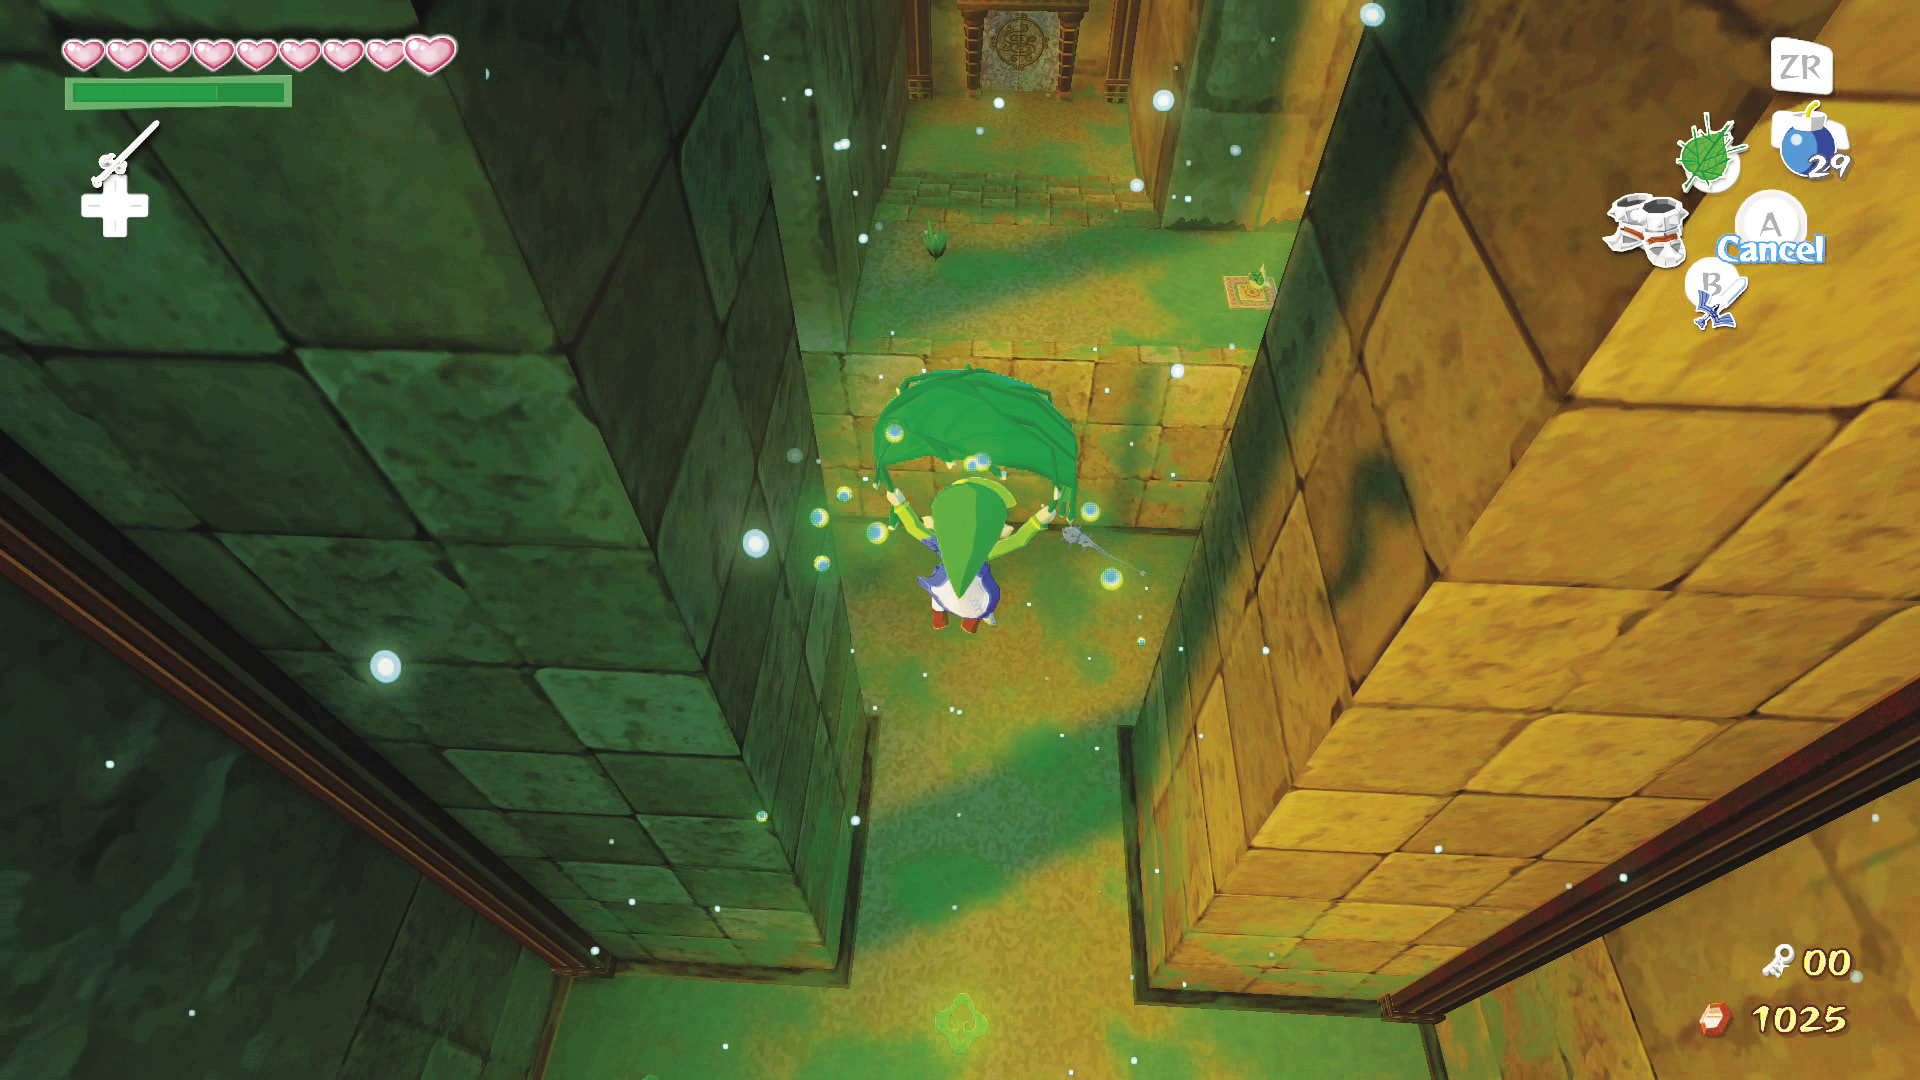
Equip your Deku Leaf, then hop onto the springboard on this level while facing north. Push it down with the Iron Boots and launch into the air. At the top of your jump, use your Deku Leaf to glide to the room’s north side. Pick up Makar and head through the door.
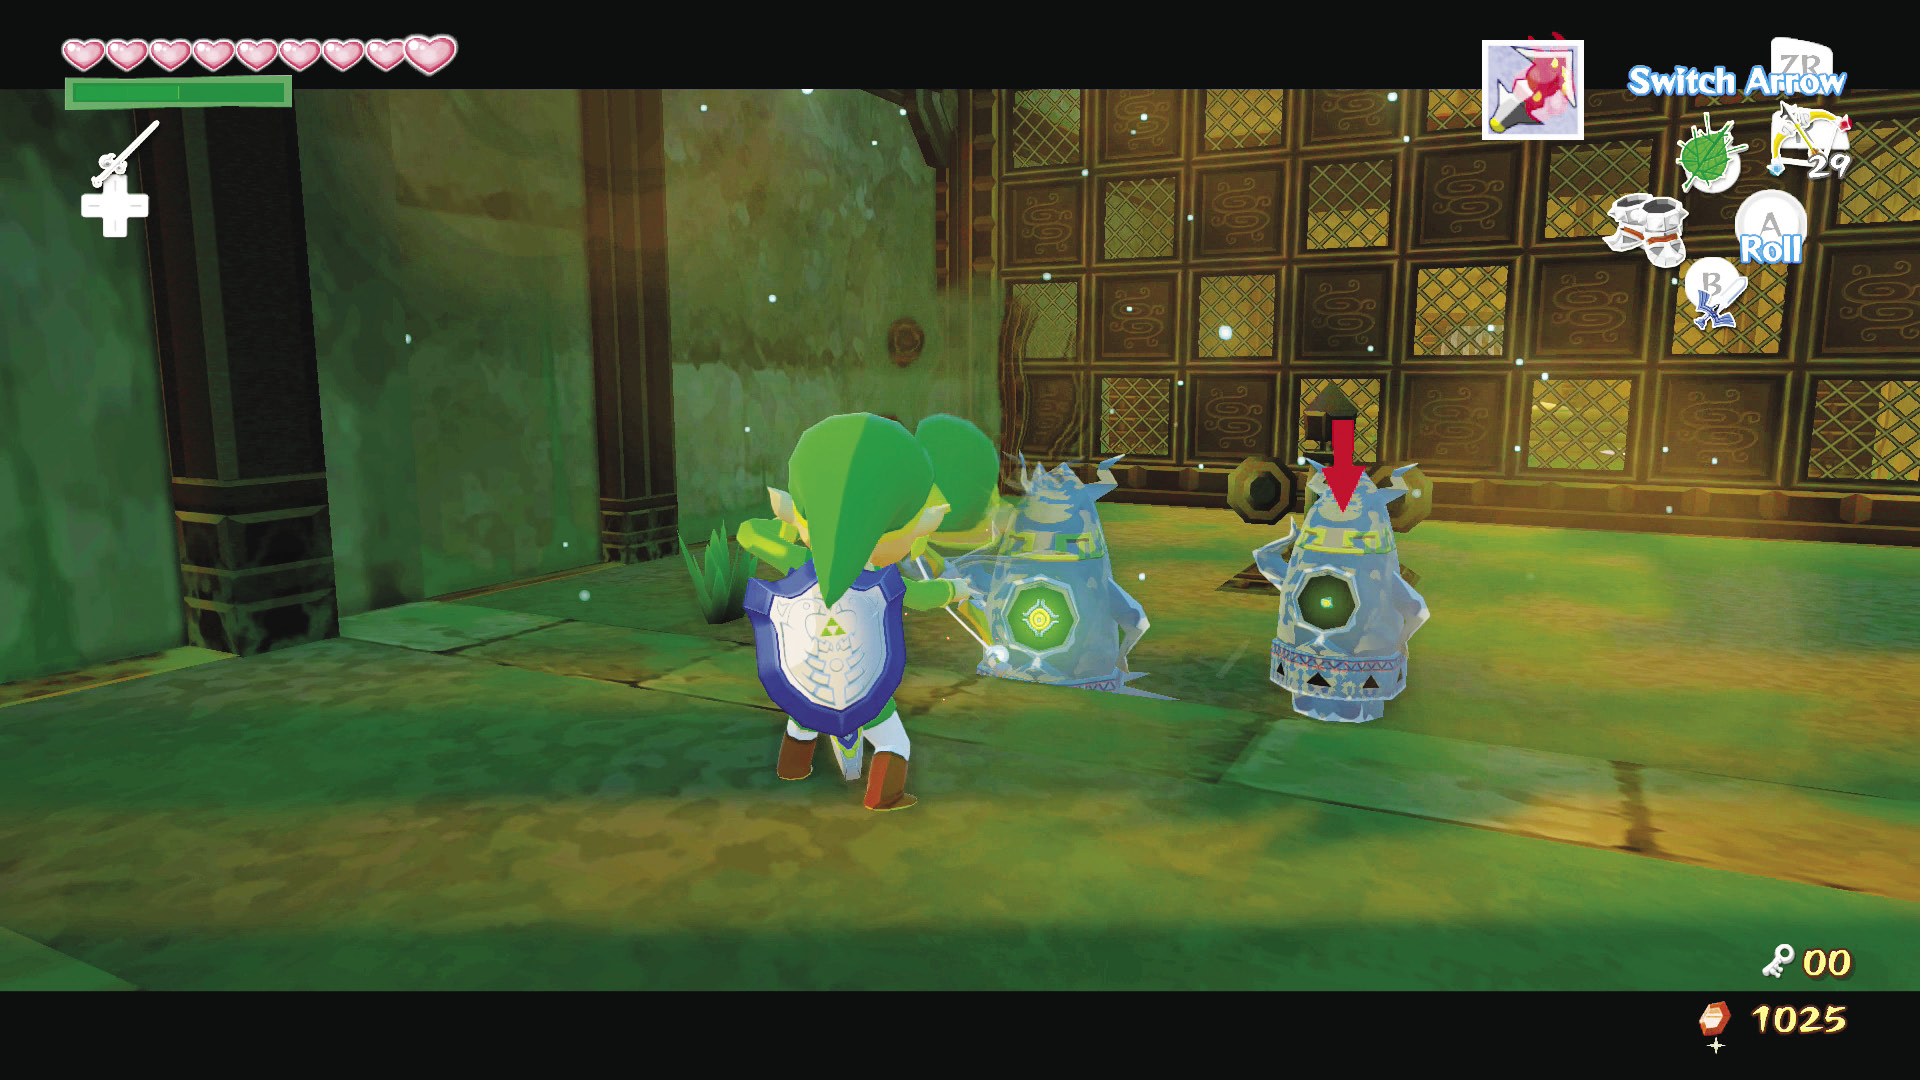
Set Makar down and move toward the Armos in the center of the room. Defeat them, then blow a gust of wind at the pinwheel to get the northern fence to flip upward, giving you access to the rest of the room.
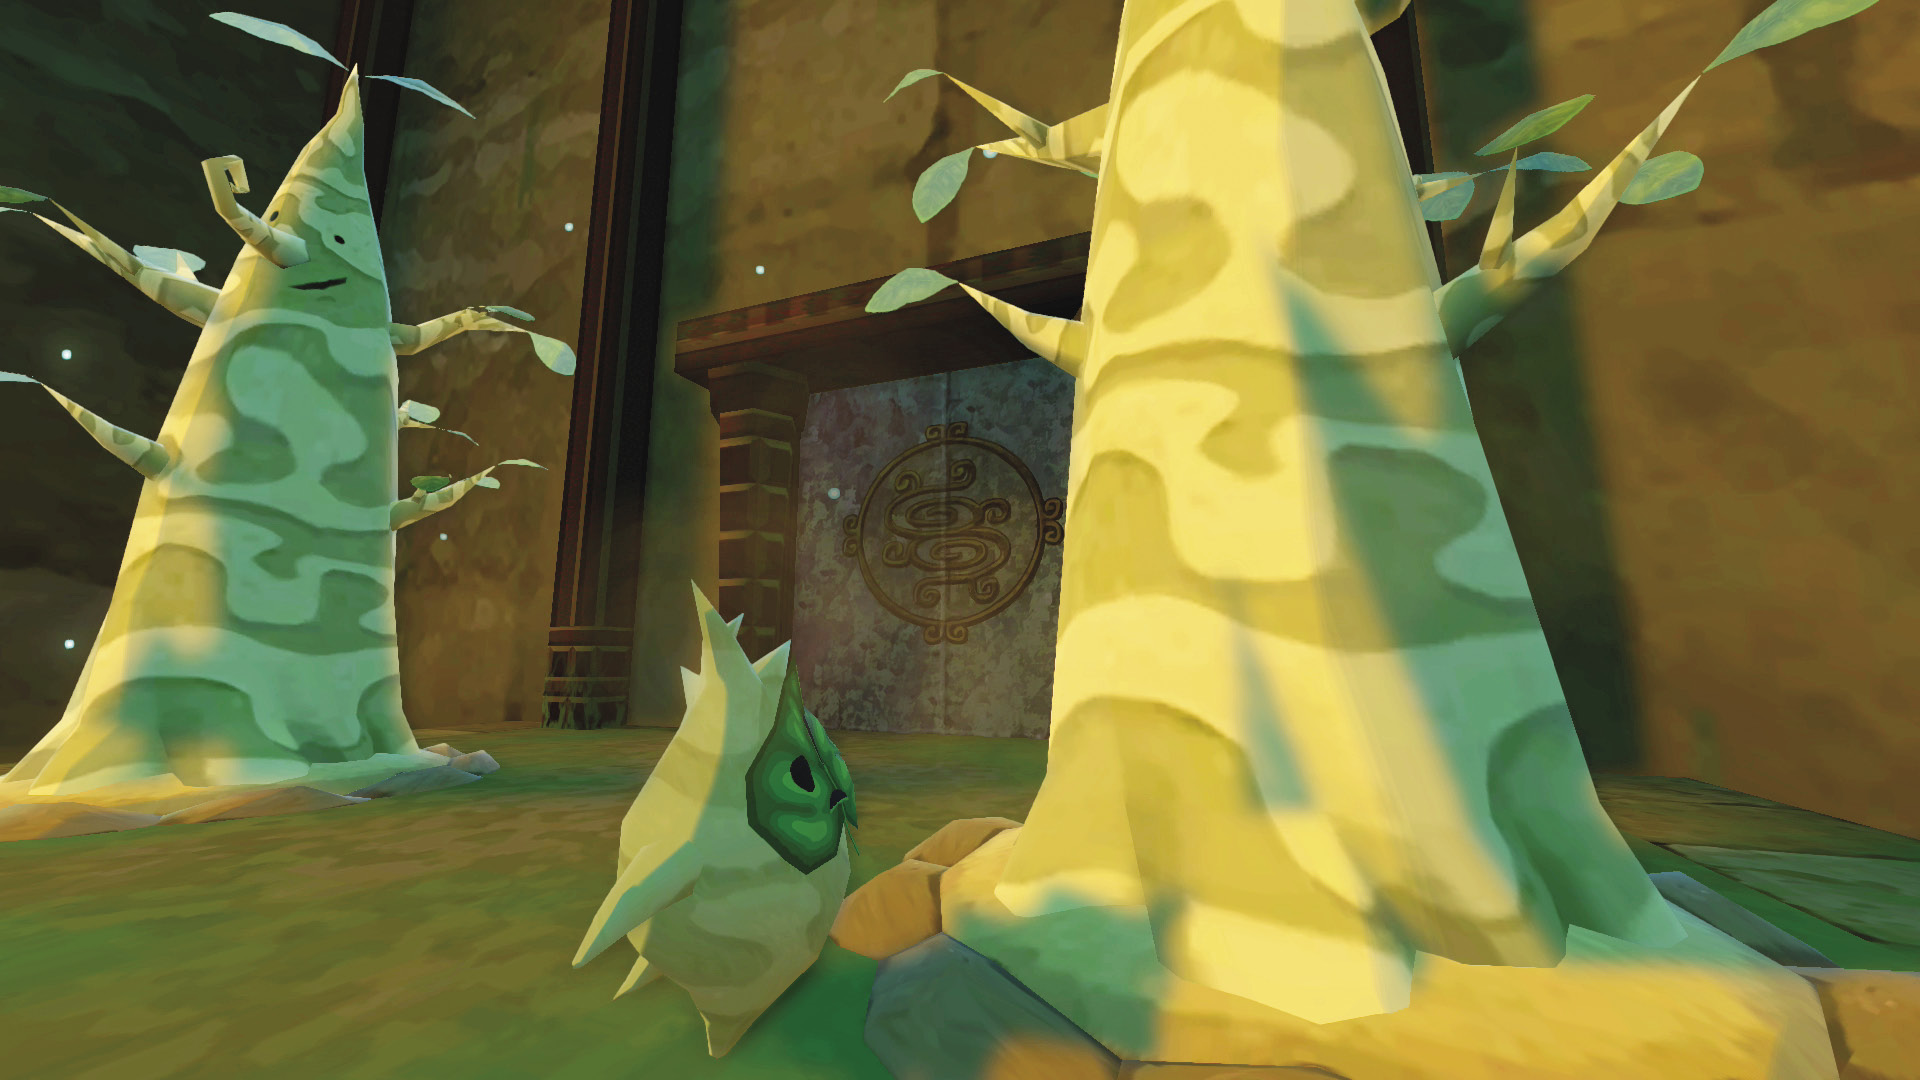
Grab Makar and take him to the room’s north side; then take control of him and plant a seed in the two dirt mounds in front of the door to unlock it. Pick up Makar and head through the door.
2. Makar Captured!
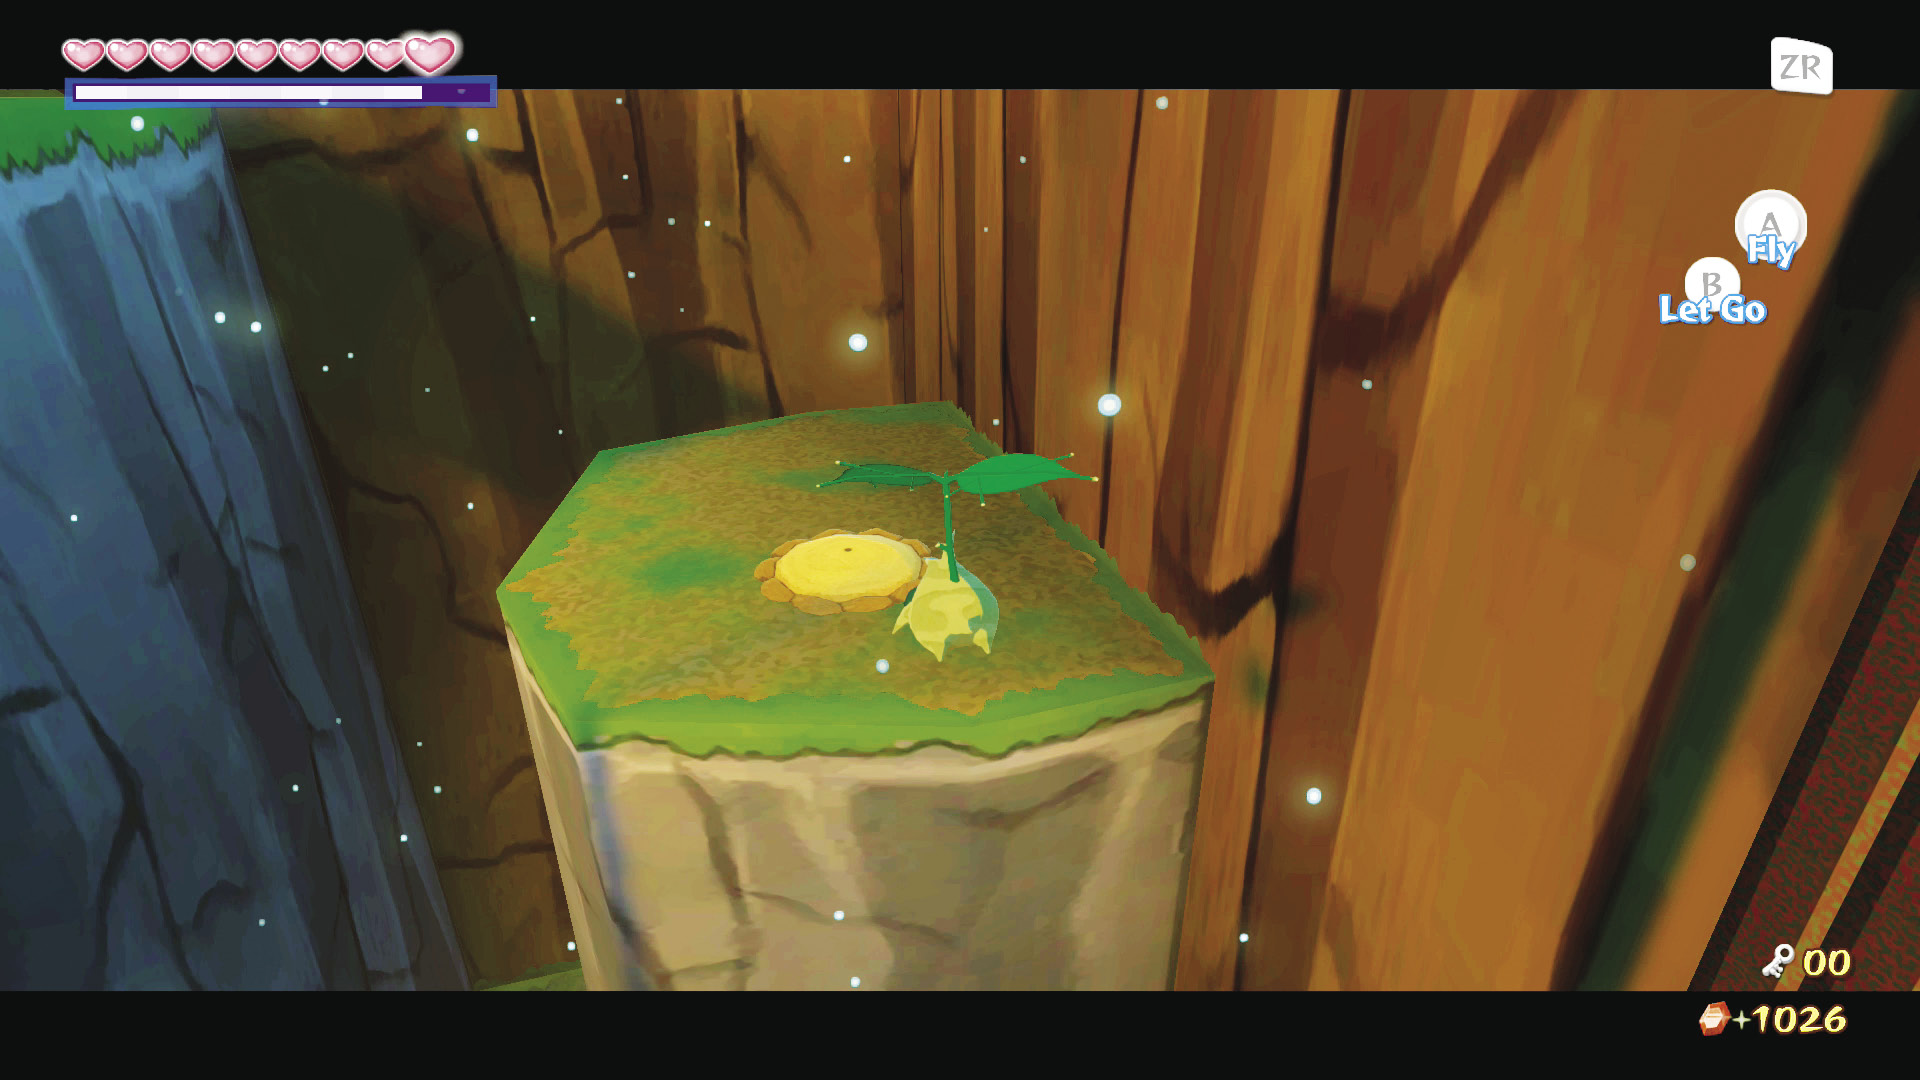
This room has several plateauing cliffs, each one with a dirt mound on it. Put Makar down and use the “Command Melody.” Fly Makar to each of the cliffs and have him plant a seed. Each seed makes a tree sprout out of it.
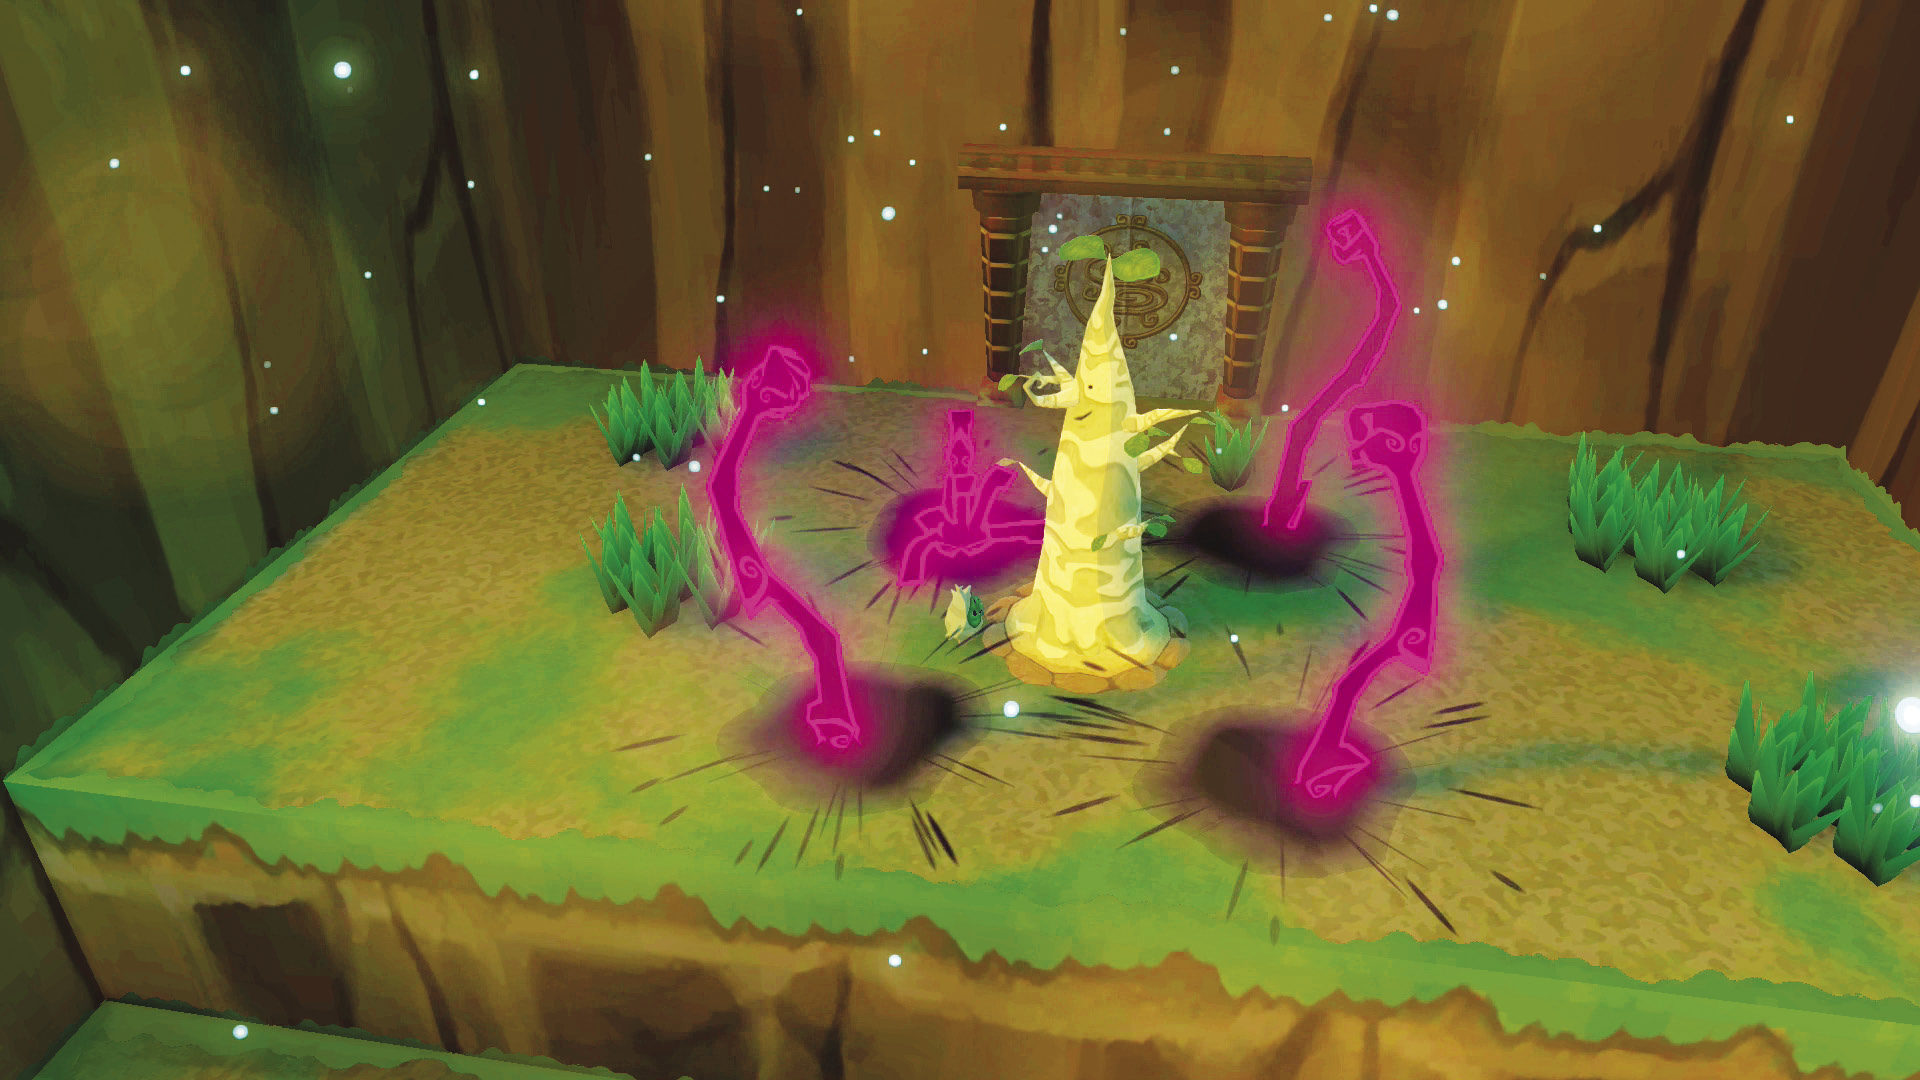
After Makar plants the third and final seed, several Floor Masters pop out of the ground and drag Makar off to the dungeon’s prison. Don’t worry, there was nothing you could have done to prevent it. Just head through the door on your platform’s right side; we promise we’ll find Makar again.
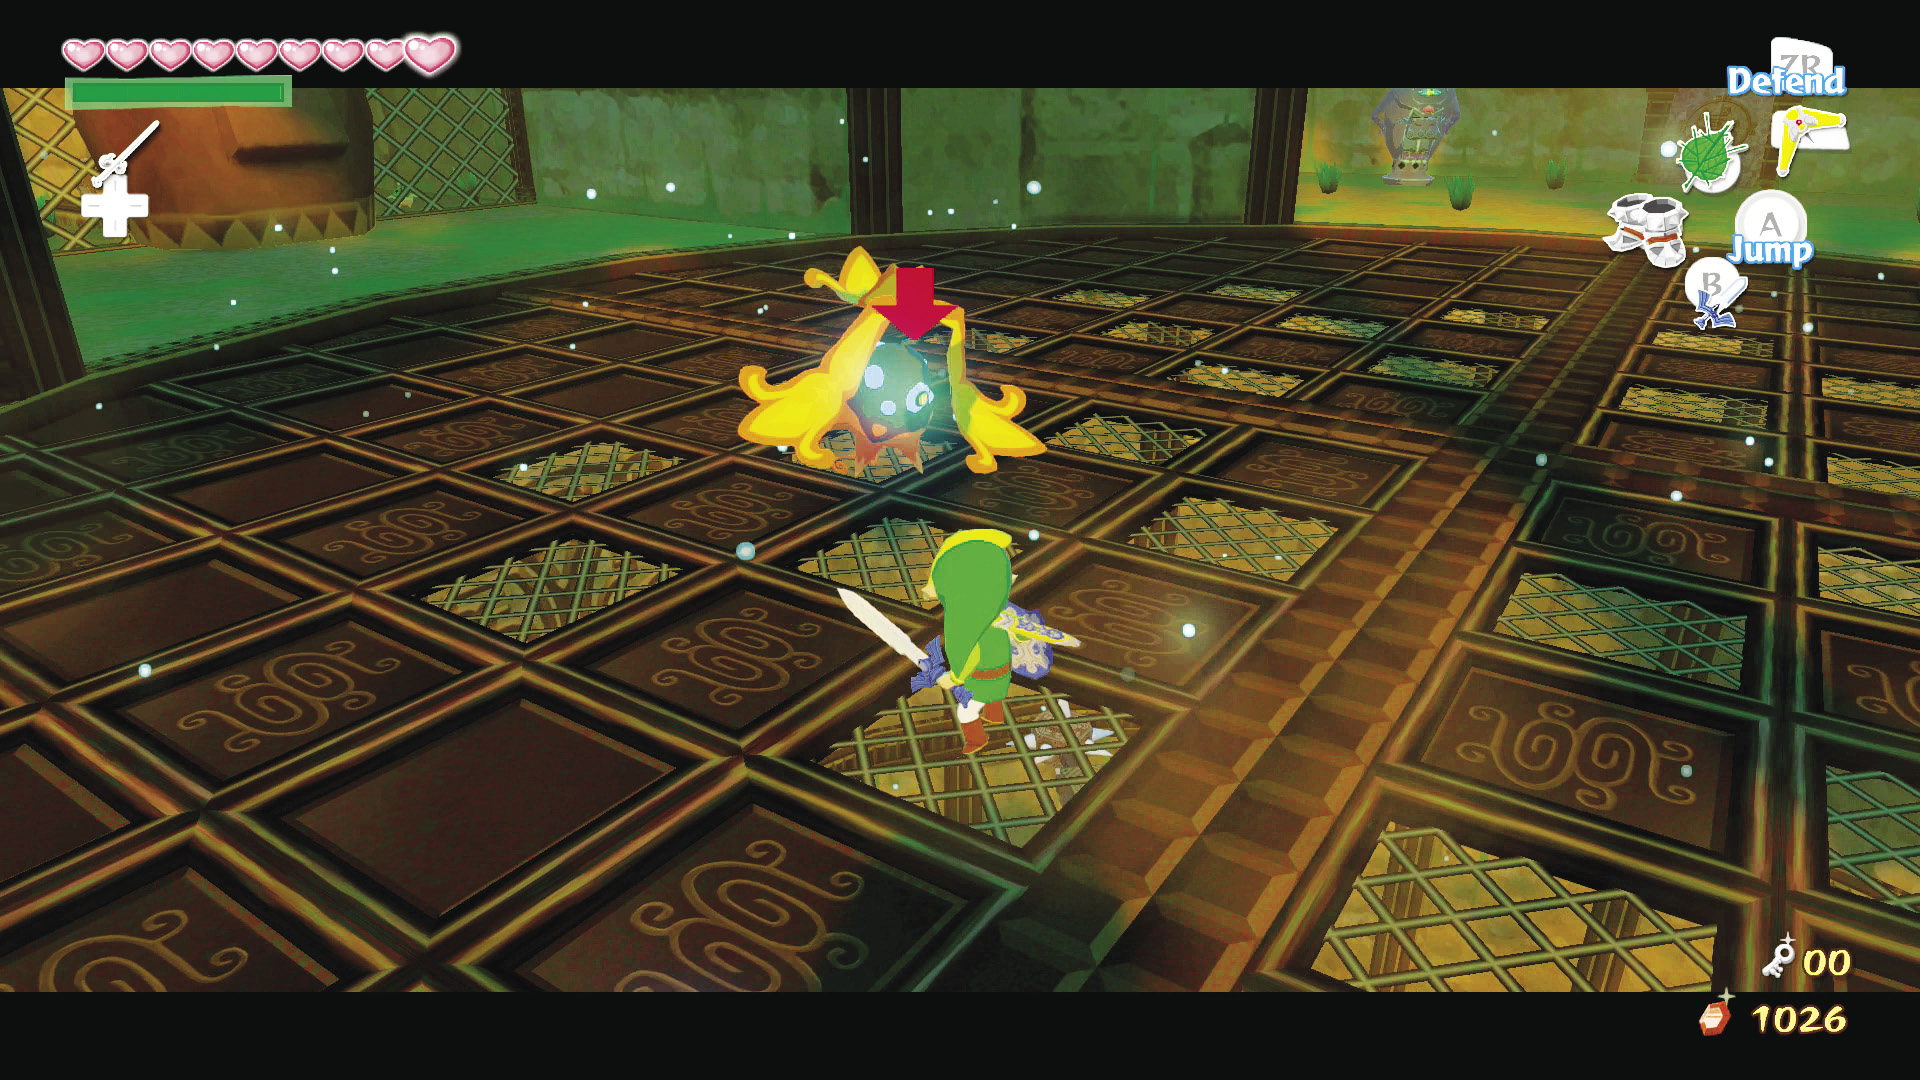
Makar is trapped in a cage on the room’s north side. Defeat the Peahats that are floating in center of the room, then go over to Makar. There isn’t much you can do for him at the moment, so head to the room’s east side, defeat or ignore the Armos Knights standing near the door, and enter it.
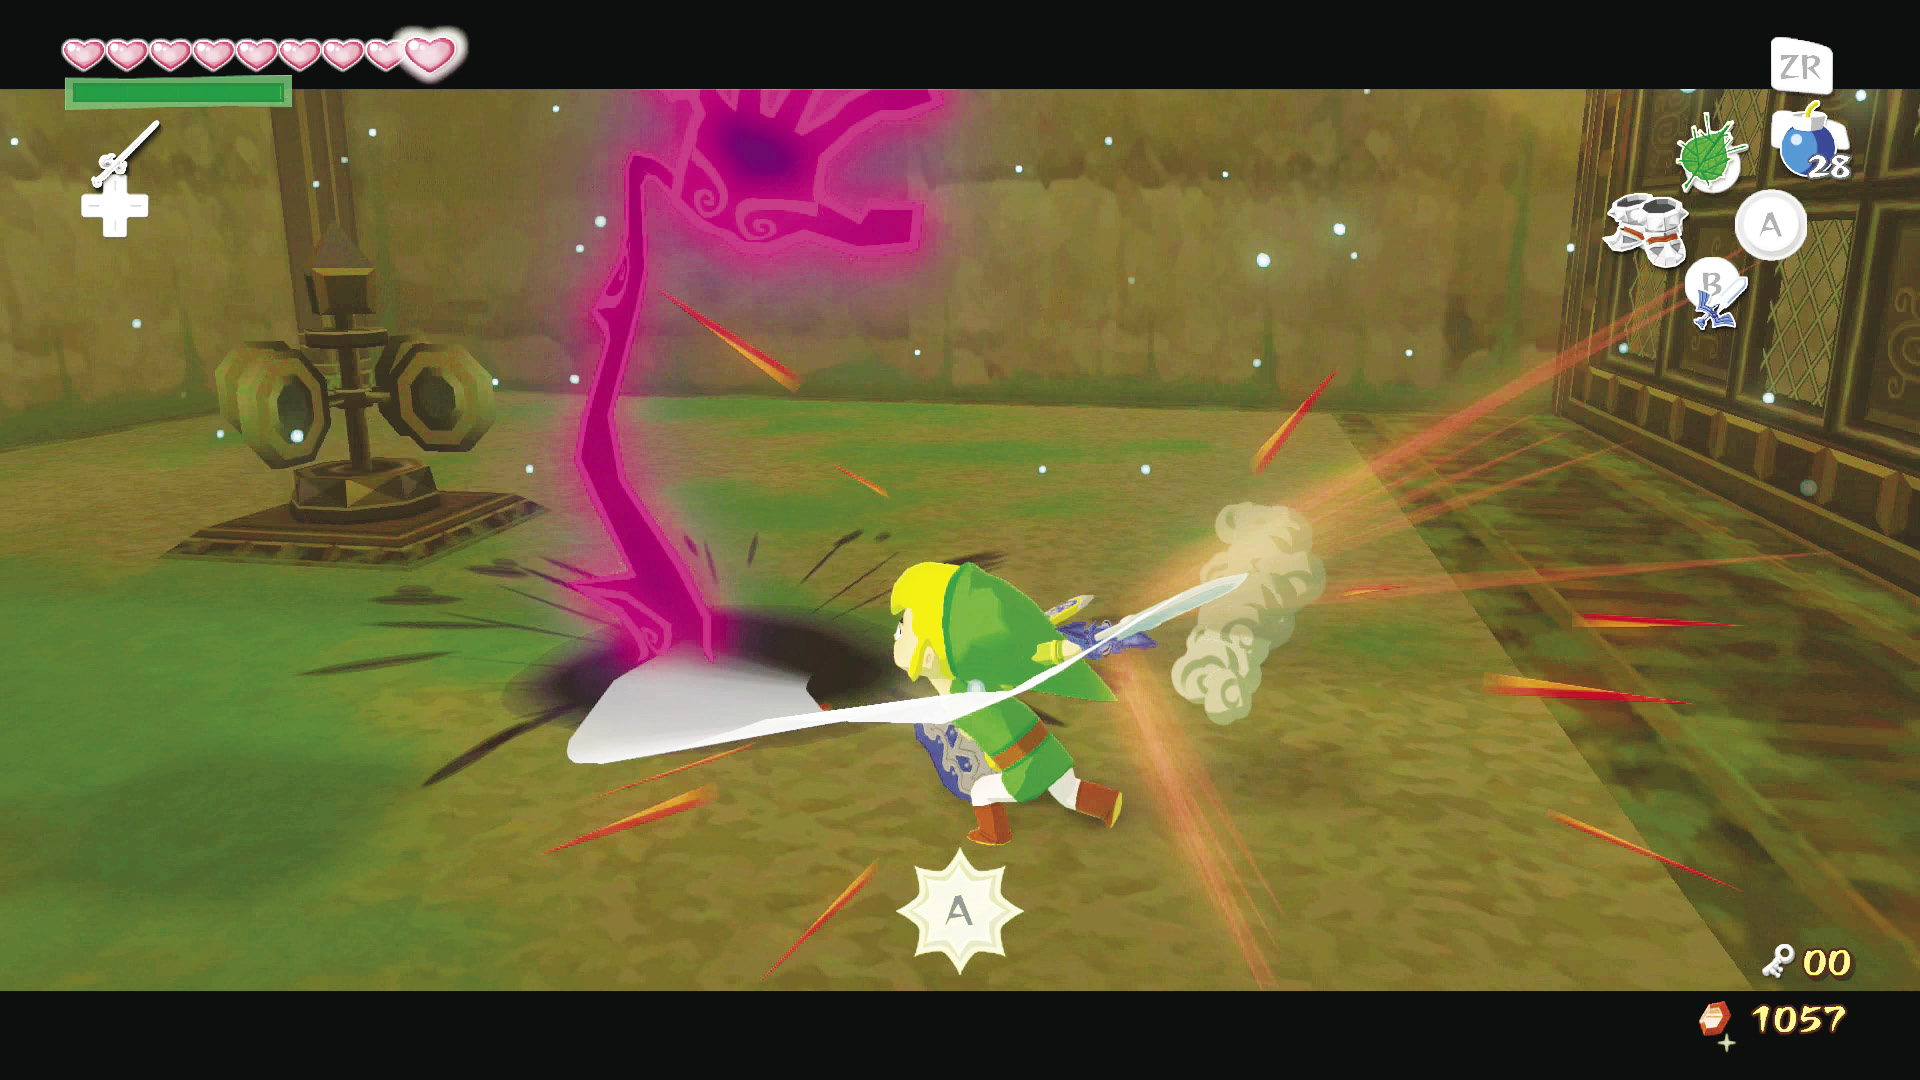
Defeat the Peahats, then jump down to the lower level by heading toward the fence. Defeat the Floor Master that is patrolling the area, and lift the fence by blowing a gust of wind at the pinwheel.
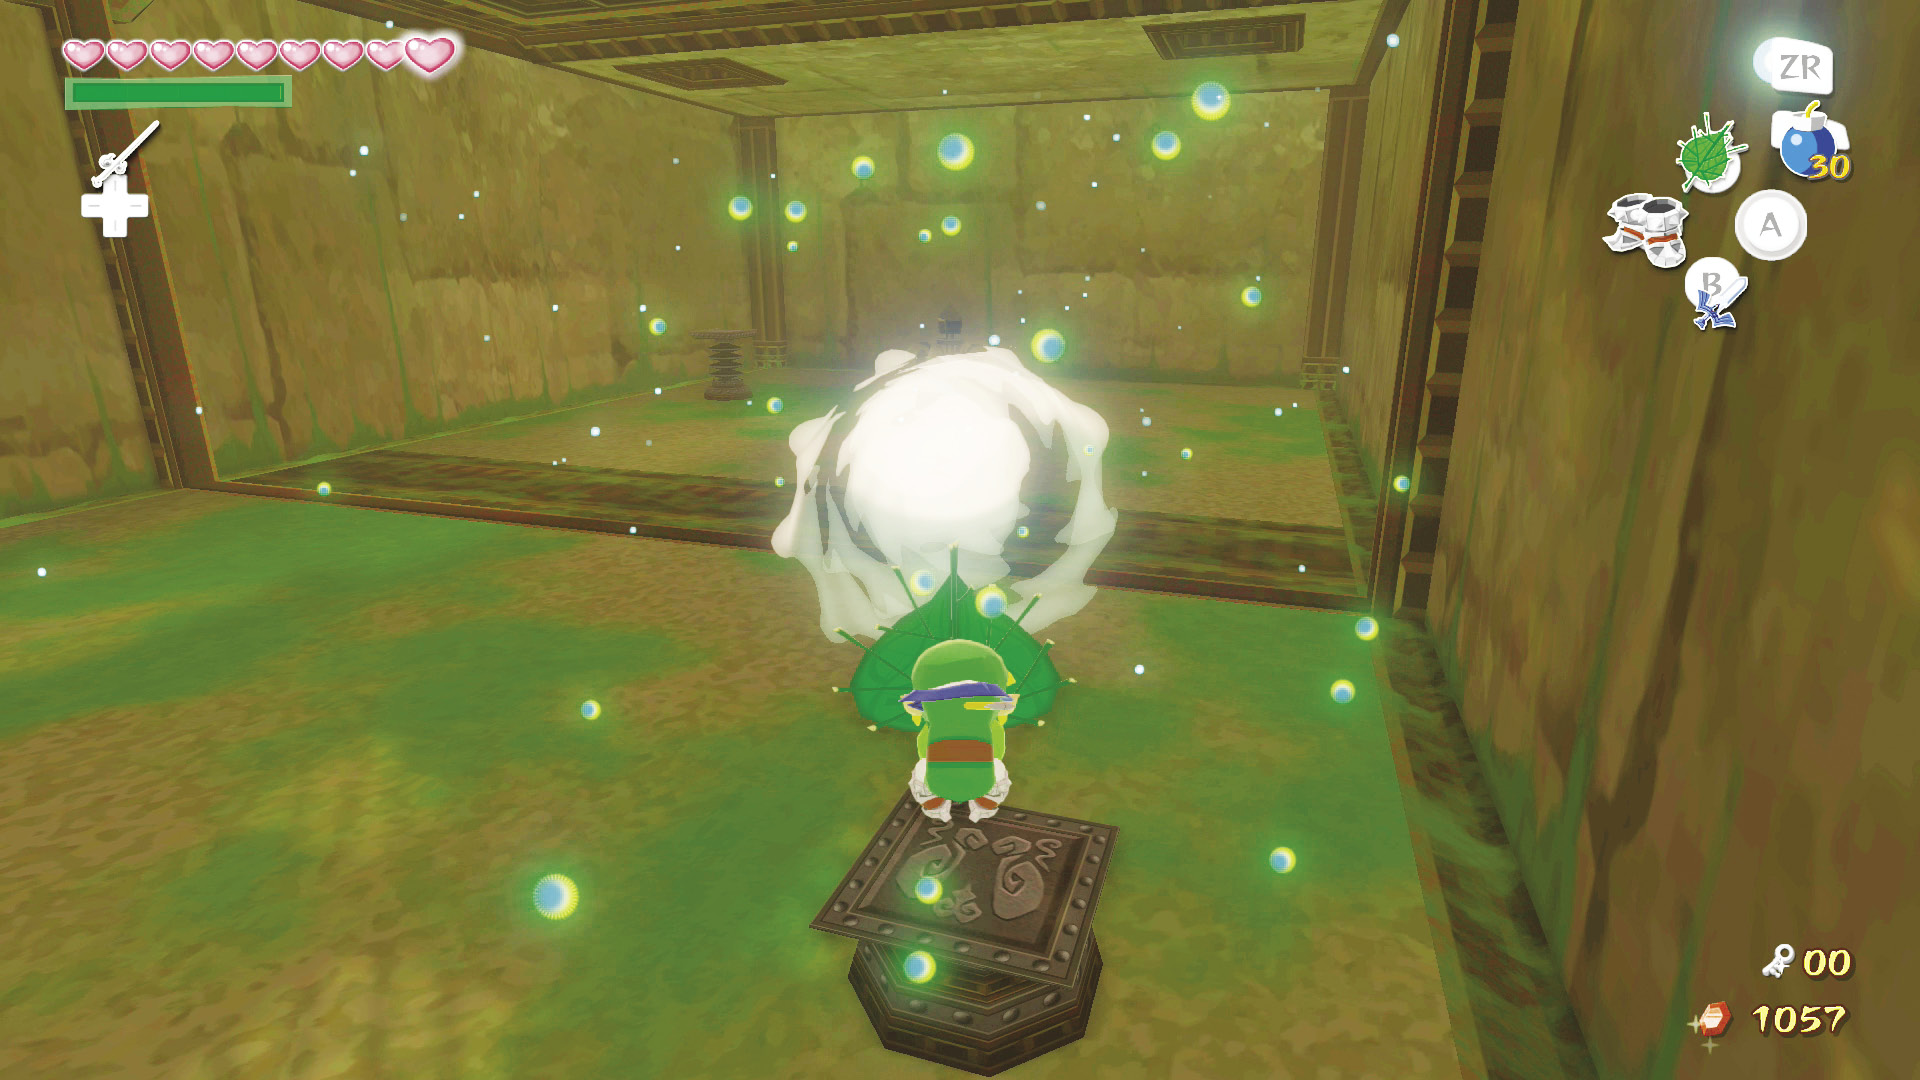
Head to the level’s west side, blow another gust at the fence to have it lower again, then hop onto the springboard near the pinwheel and spring back to the upper level.
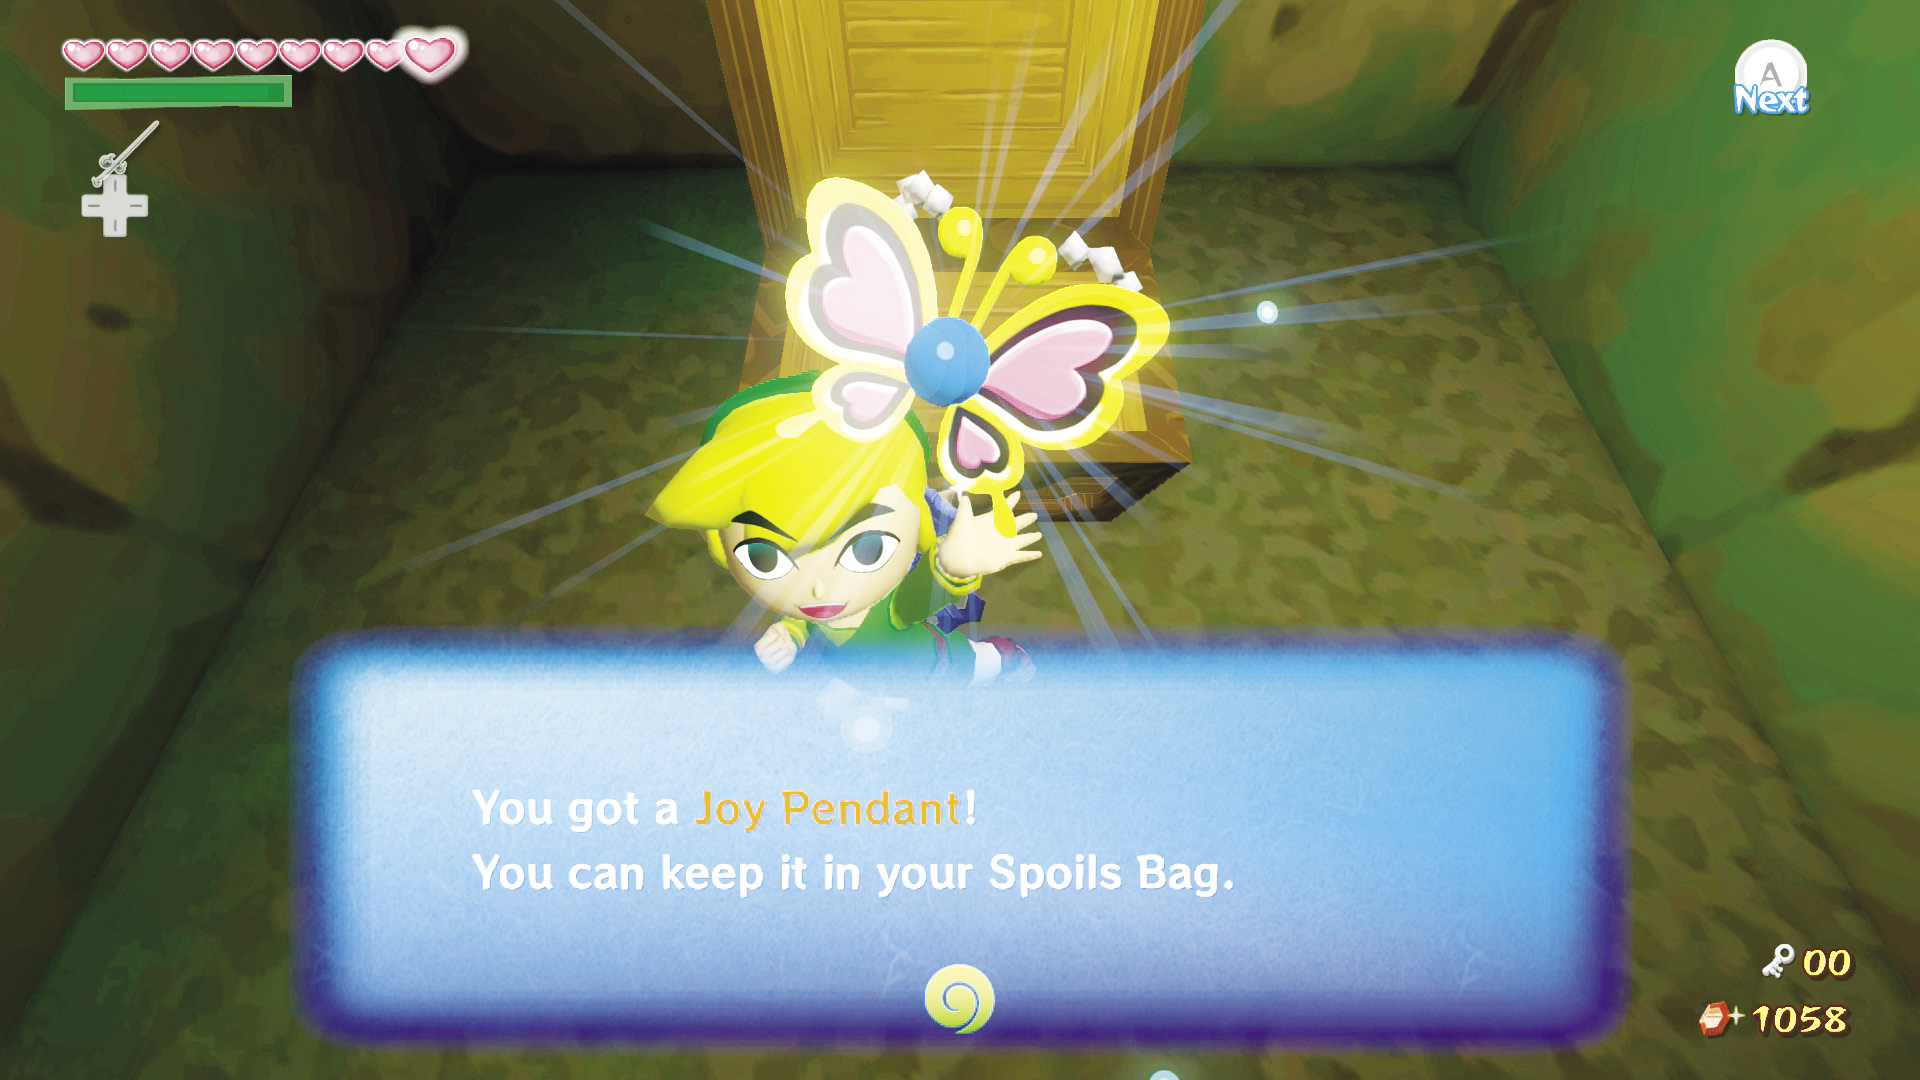
Activate the pinwheel on the upper level’s east side to flip the fence horizontally. You can walk to the north side of the room’s center to find a treasure chest containing a Joy Pendant.
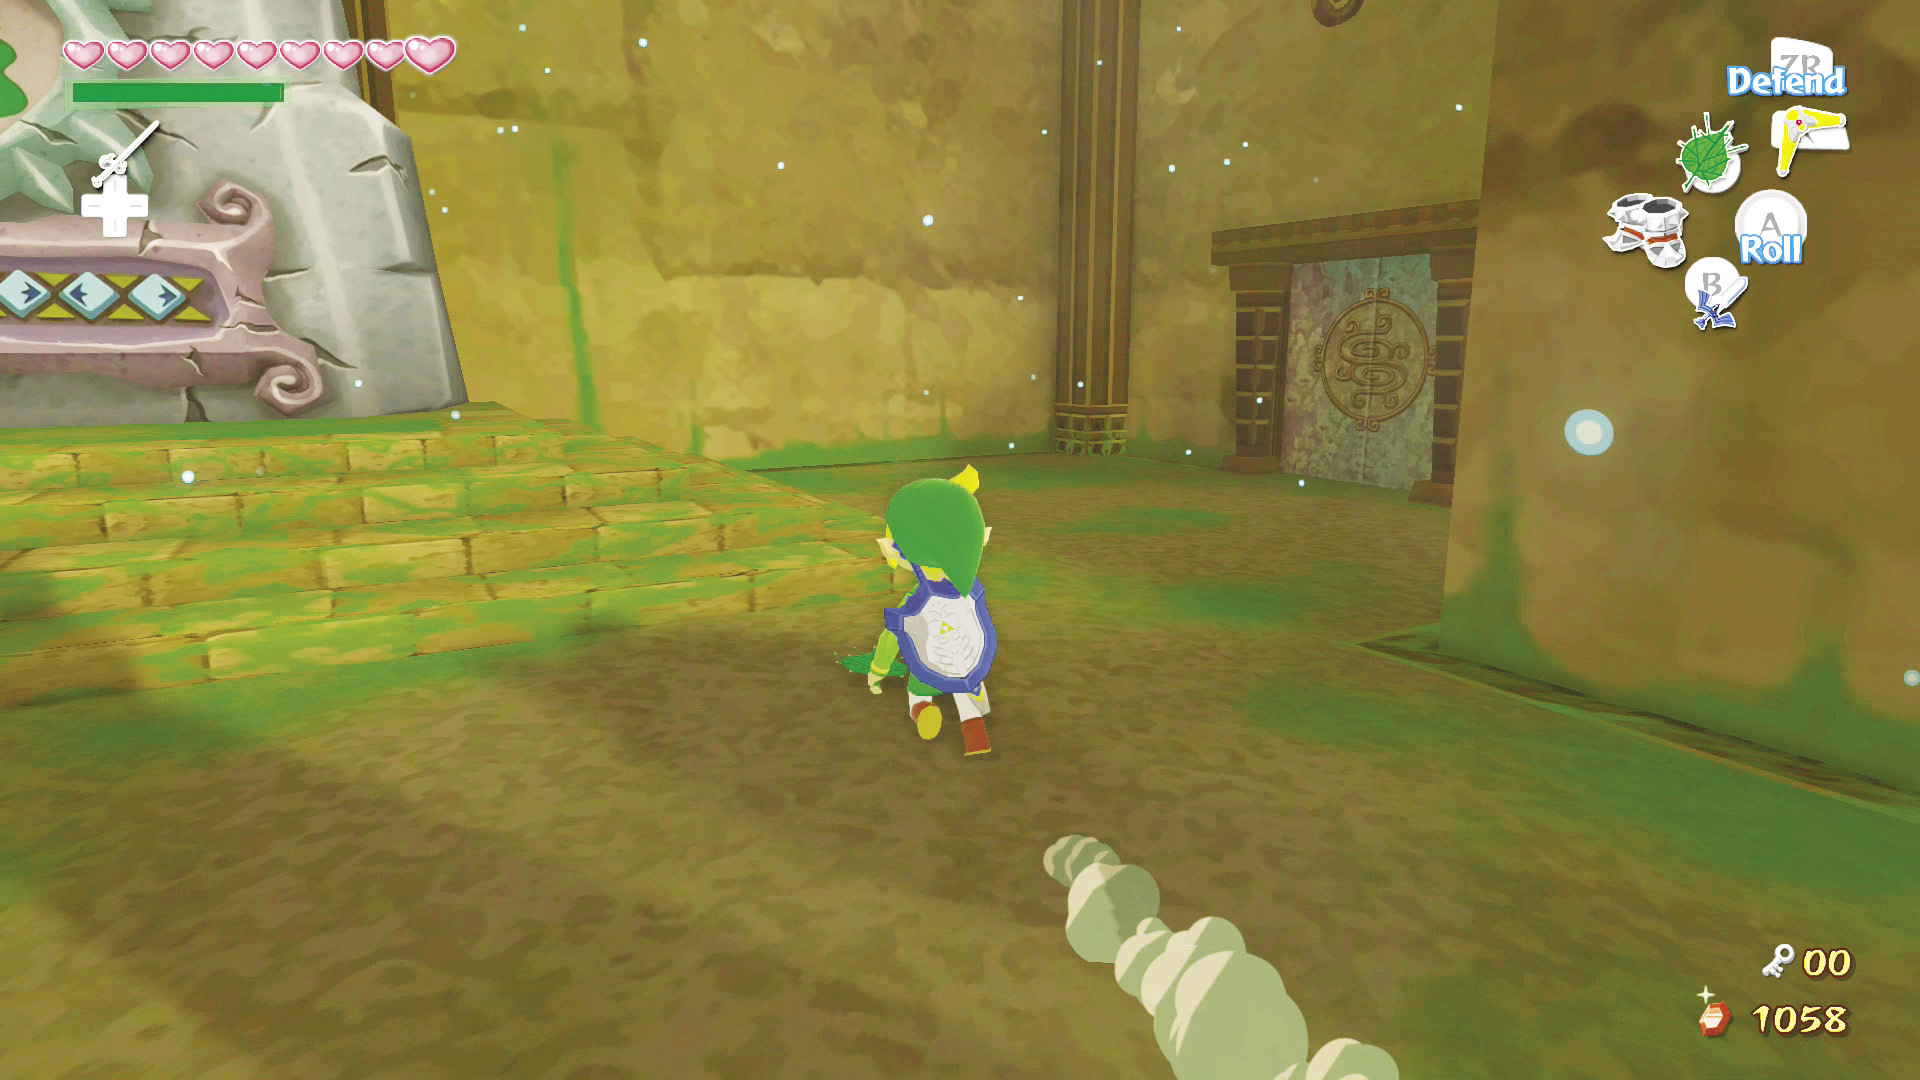
You’ll find another stone monument on the room’s east side, but without Makar we have no way of removing it. So for now, go through the door in the room’s southeast corner.
3. The Deku Gliding Challenge
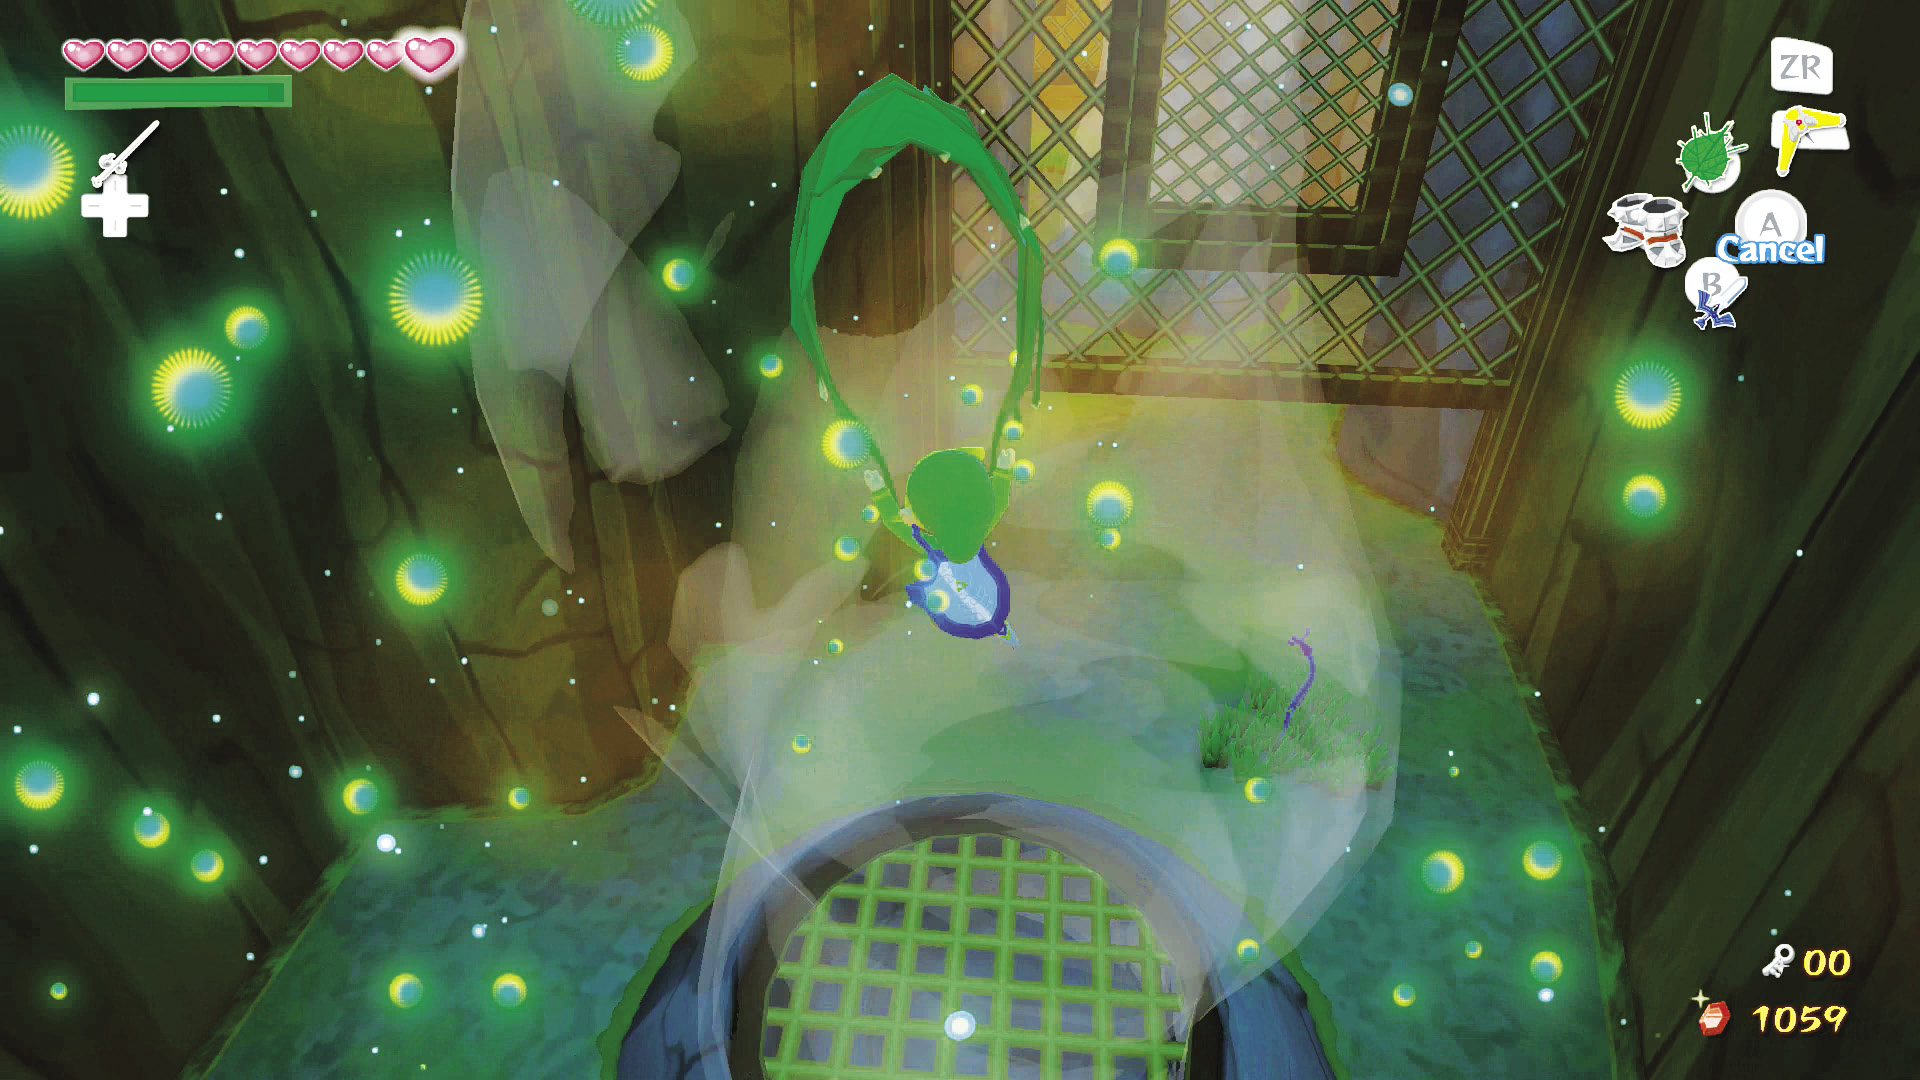
This room will push your Deku Leaf gliding abilities to their limits. Follow our directions to avoid falling to the lower levels of the room. Start by gliding into the wind vortex to the south. Let it lift you as high as you can go, then glide to the switch to the left of the fence.
Activate the switch and a portion of the fence will flip down horizontally, creating a platform to land on. Jump onto that platform and head to the other side of the fence. As soon as you cross the fence, a Blue Wizzrobe appears. Defeat it before moving on to save yourself a huge headache—there’s nothing worse than getting shot out of the air by a fire-throwing bird-man.
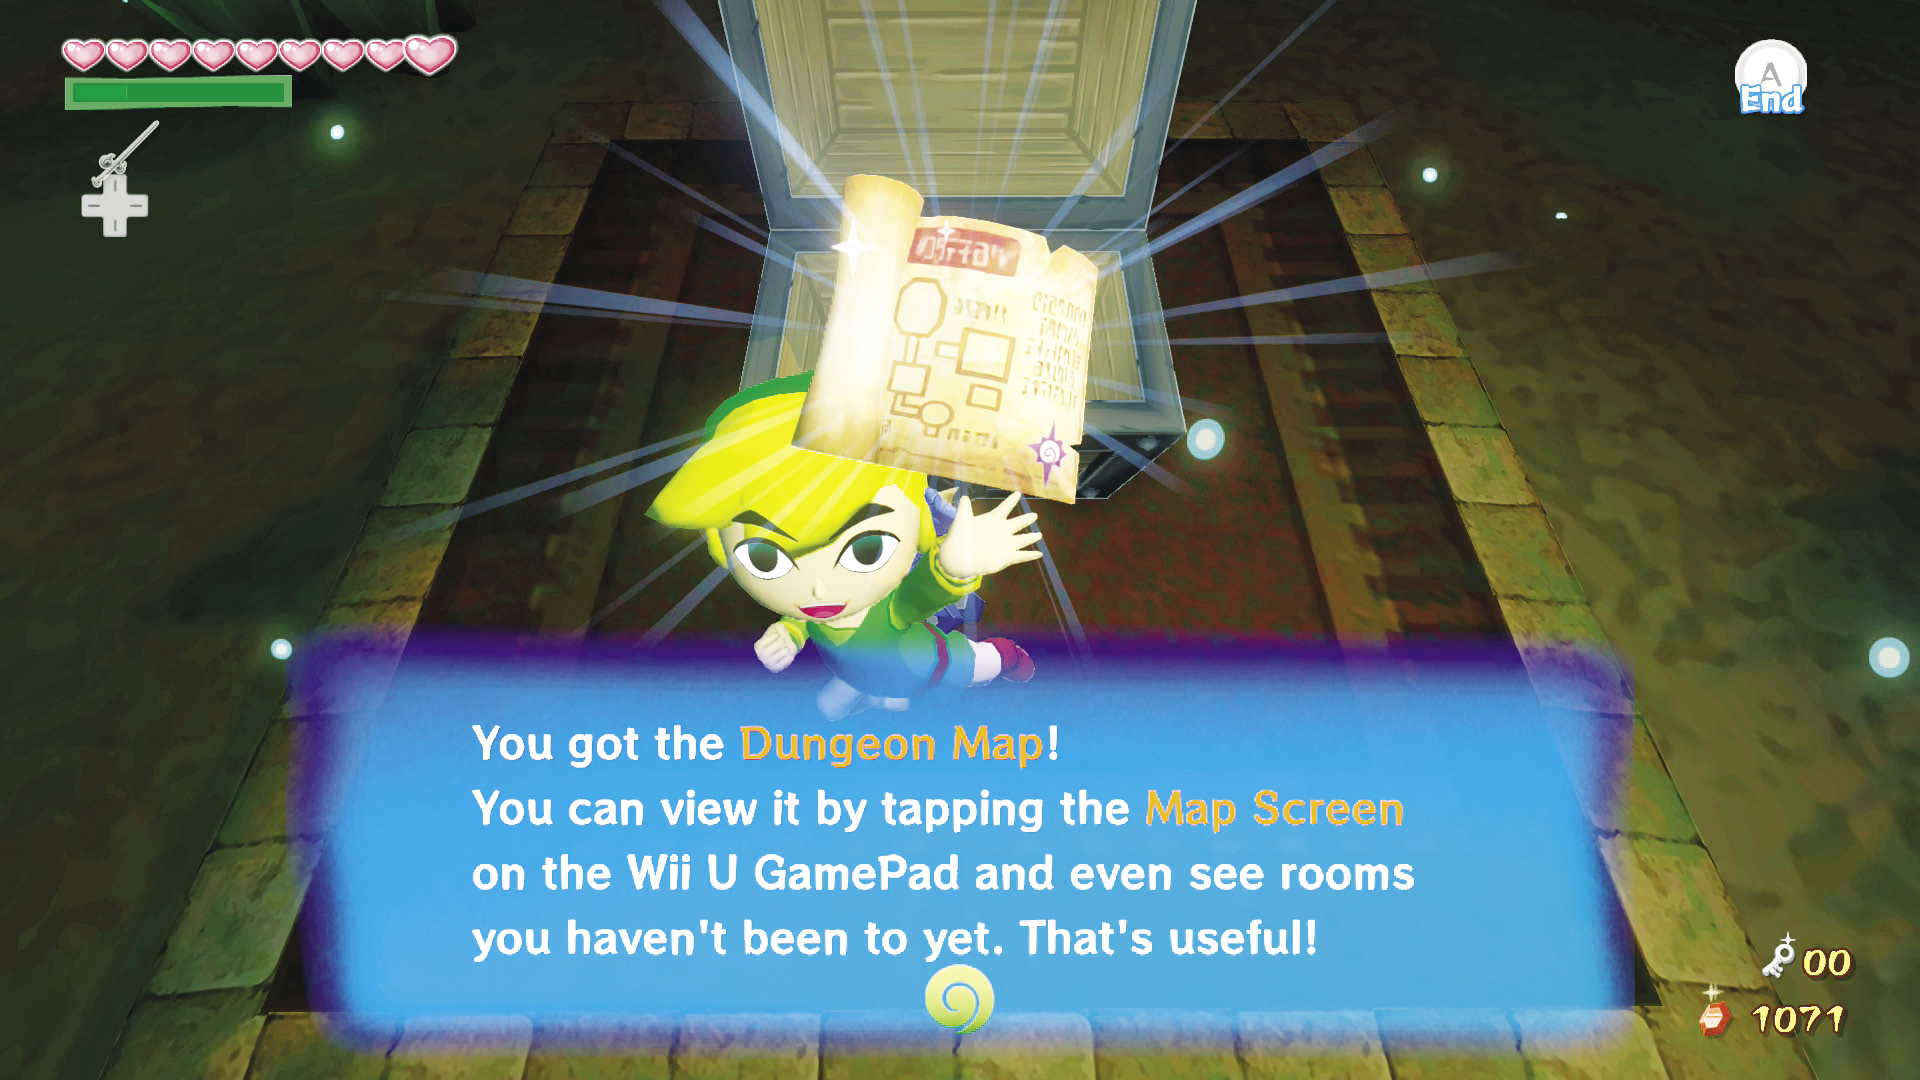
Jump onto the platform to the left of the fence, then jump and glide to the platform next to it. Jump and glide through the hole in the fence on the room’s south side to reach a treasure chest containing the Wind Temple Dungeon Map.
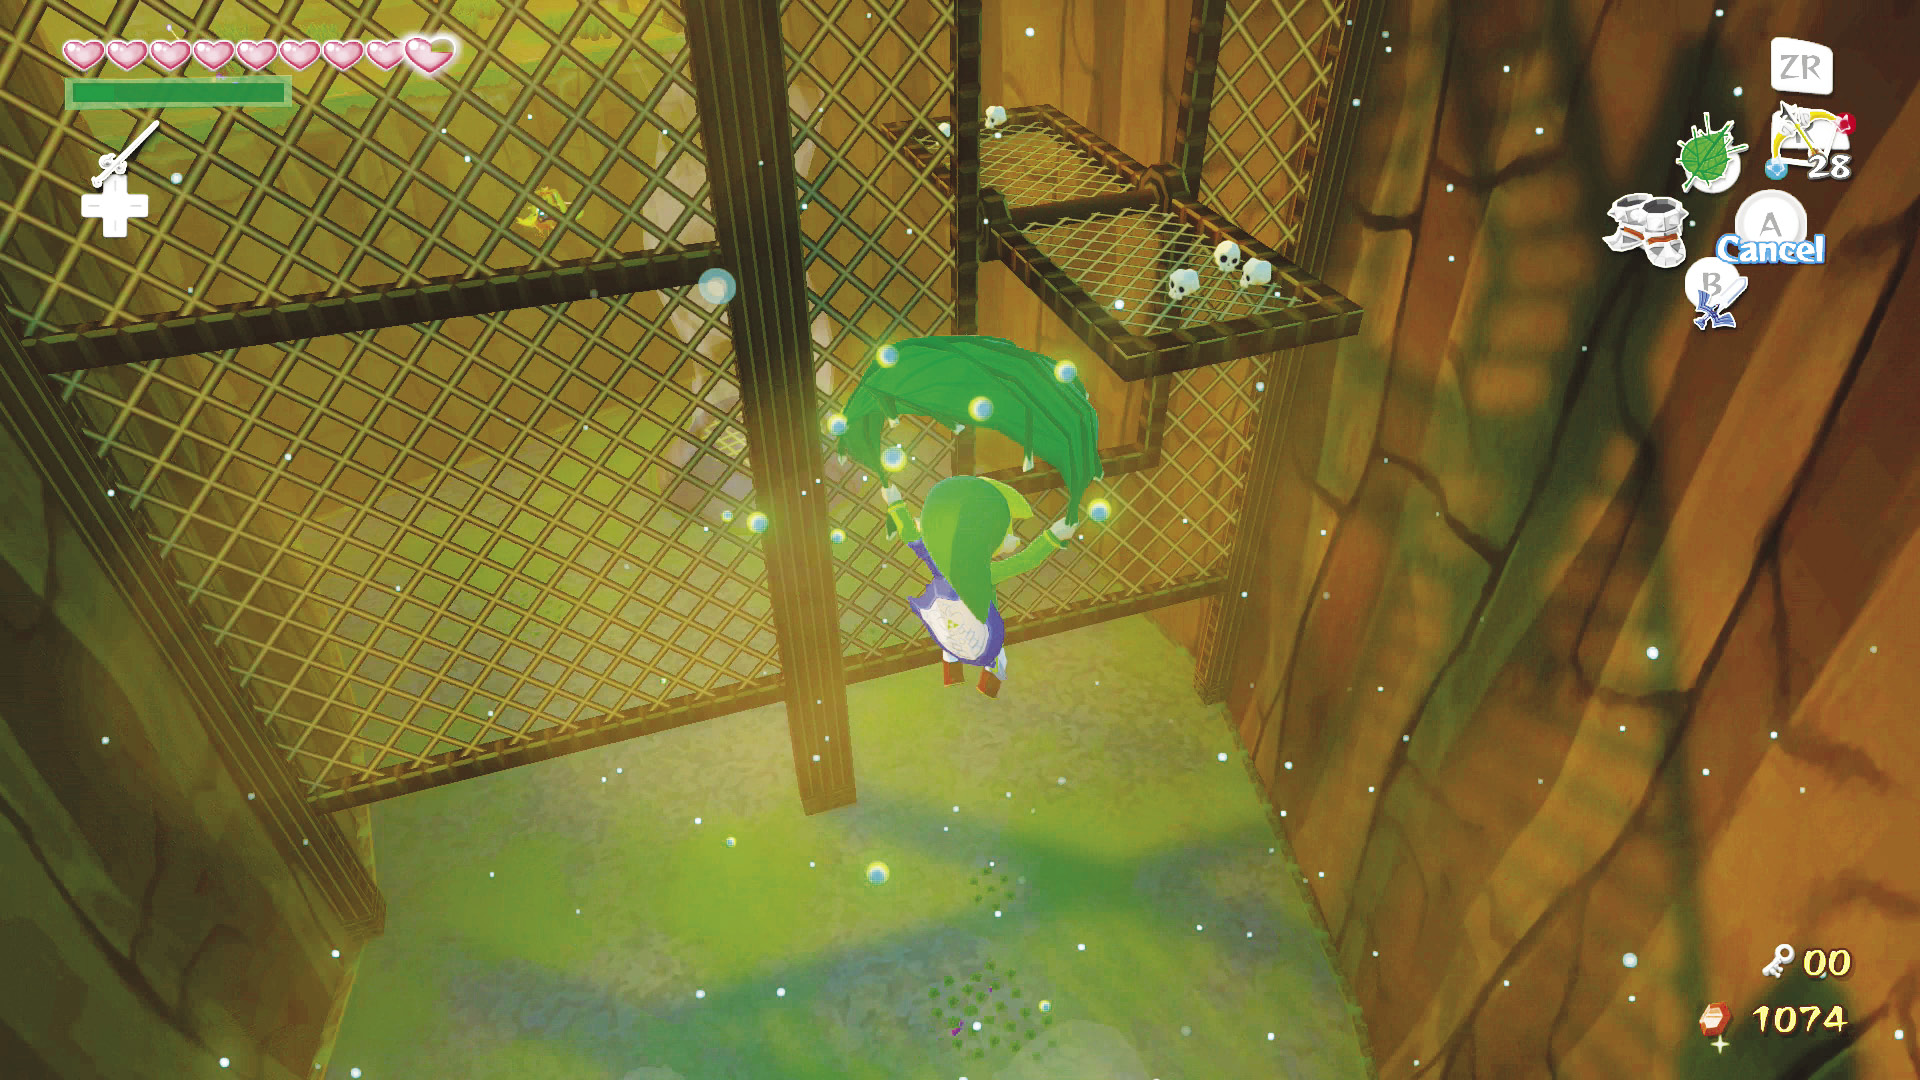
Face north and jump off the ledge, gliding back through the hole in the fence. Glide into the wind vortex ahead, turn back south, and land on the platform to the right of the fence. Cut the grass to refill your Magic Bar. You’ll need it—this next part is a doozy.
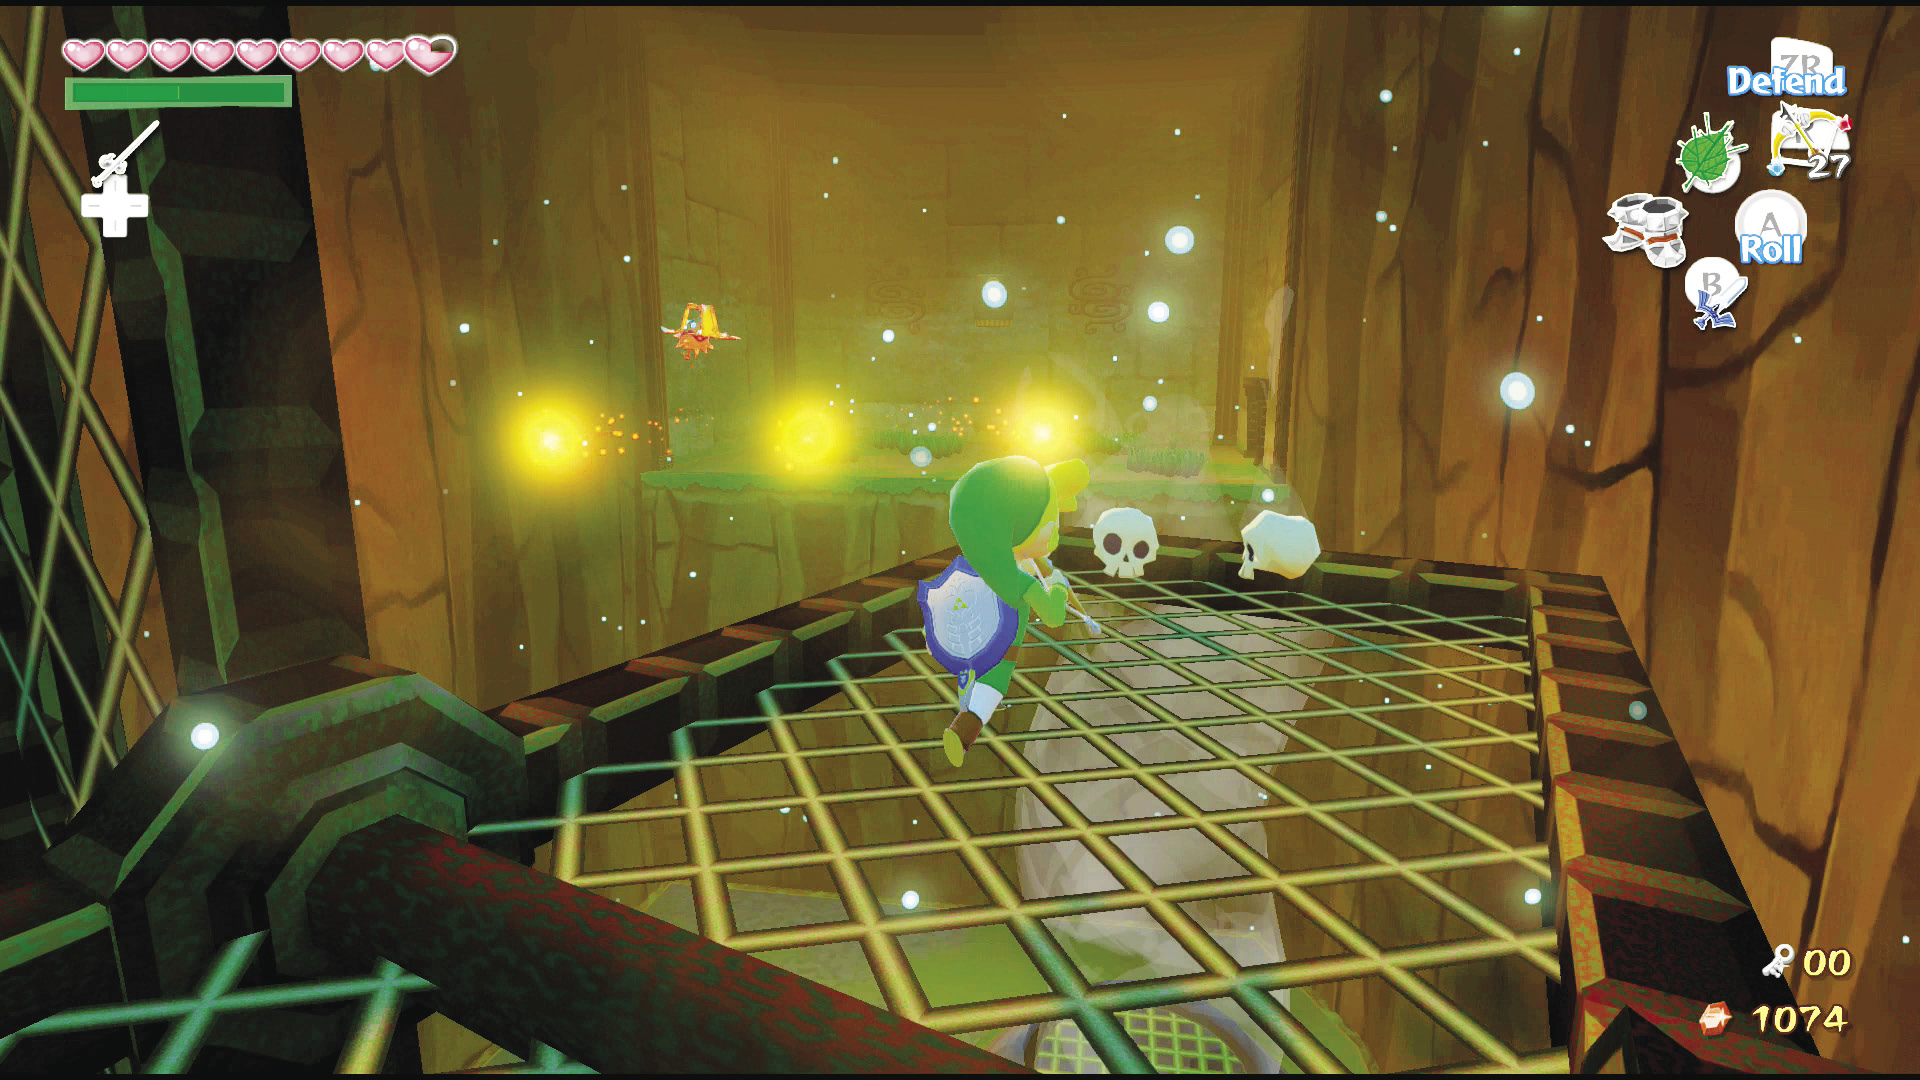
Jump off your platform and glide west through the opening on the left side of the fence. Steer into the wind vortex to the right and head toward the platform on the right side of the fence ahead. Break the skulls on the platform to refill your magic, then pull out your Hero’s Bow and defeat the Peahats and the Blue Wizzrobe around the area. Glide to the room’s west side and head through the door.
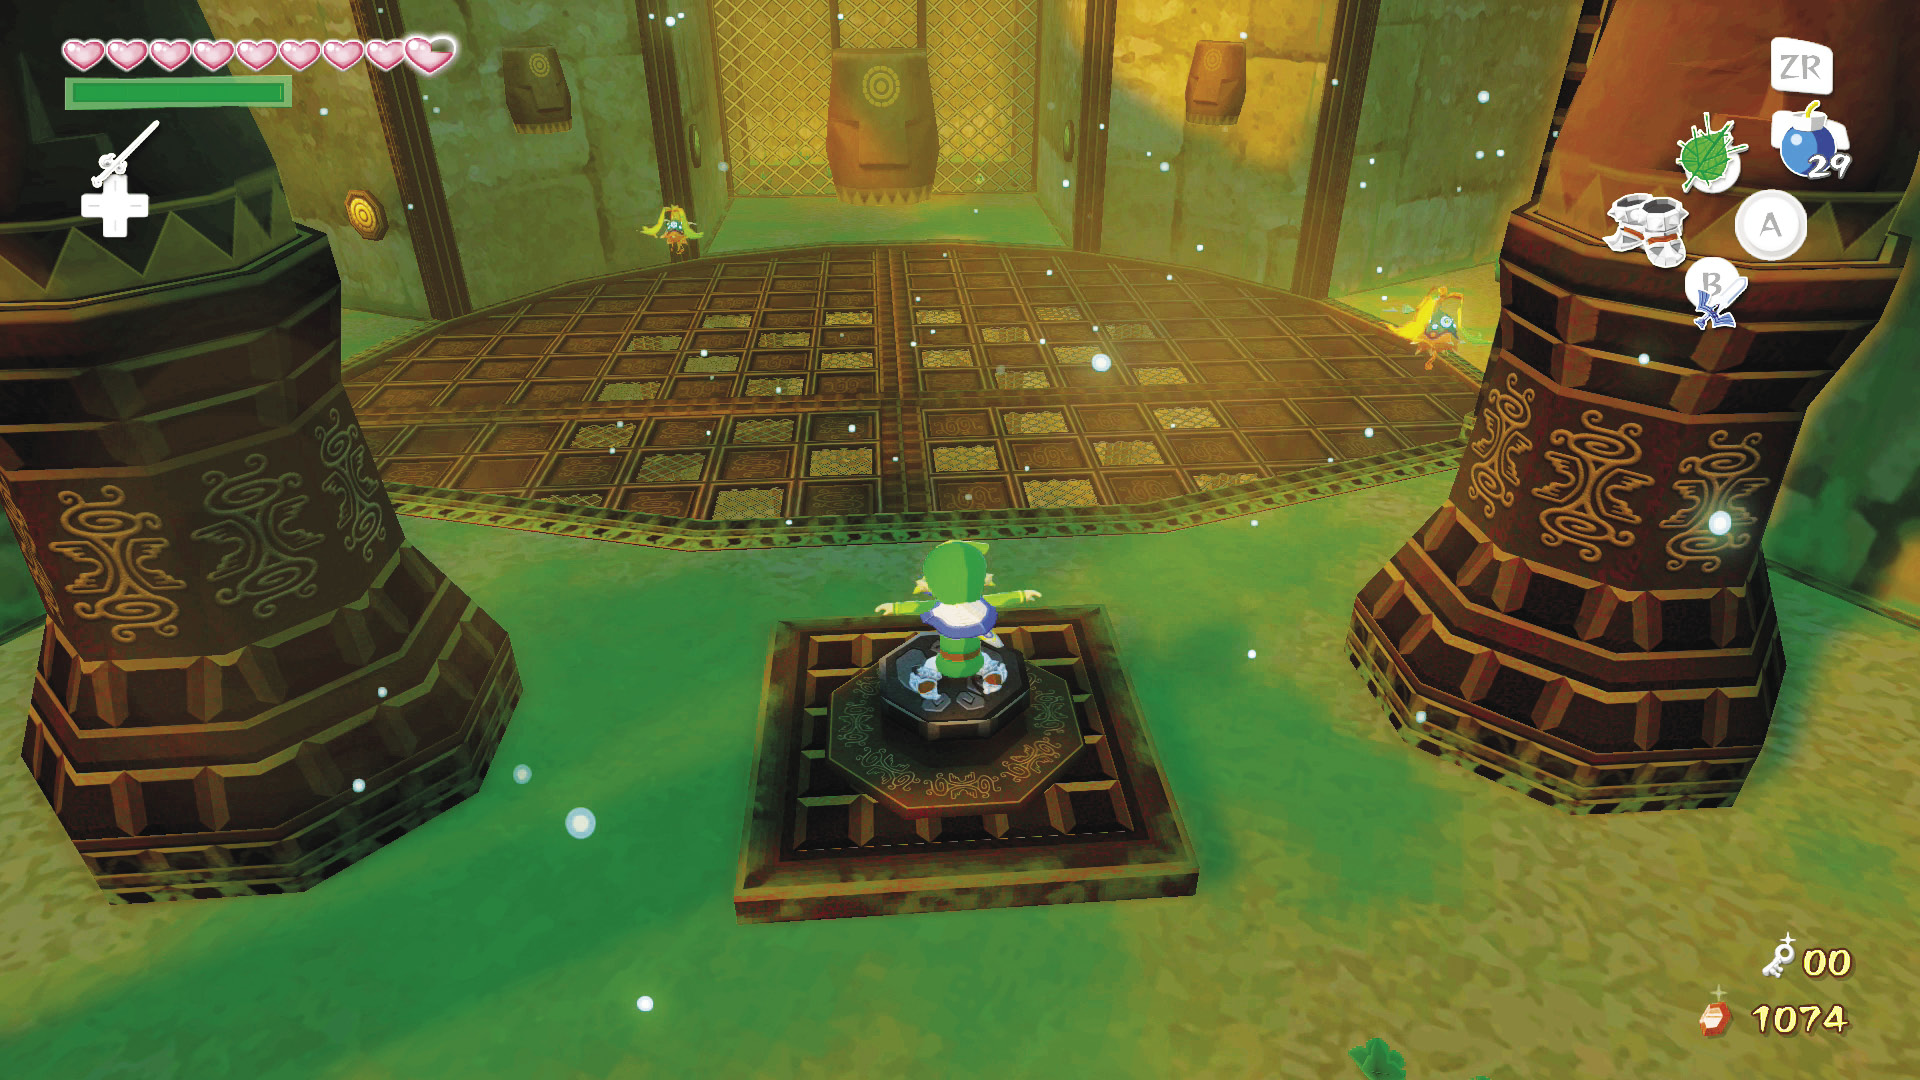
This is the same room where Makar is being held. To your immediate right is the Blue Warp Pot (which you need to uncover before you can use it), and in front of you is a heavy pressure switch. Activate it and the floor in the center of the room will open, exposing the dungeon’s basement far below.
4. A Long Way Down
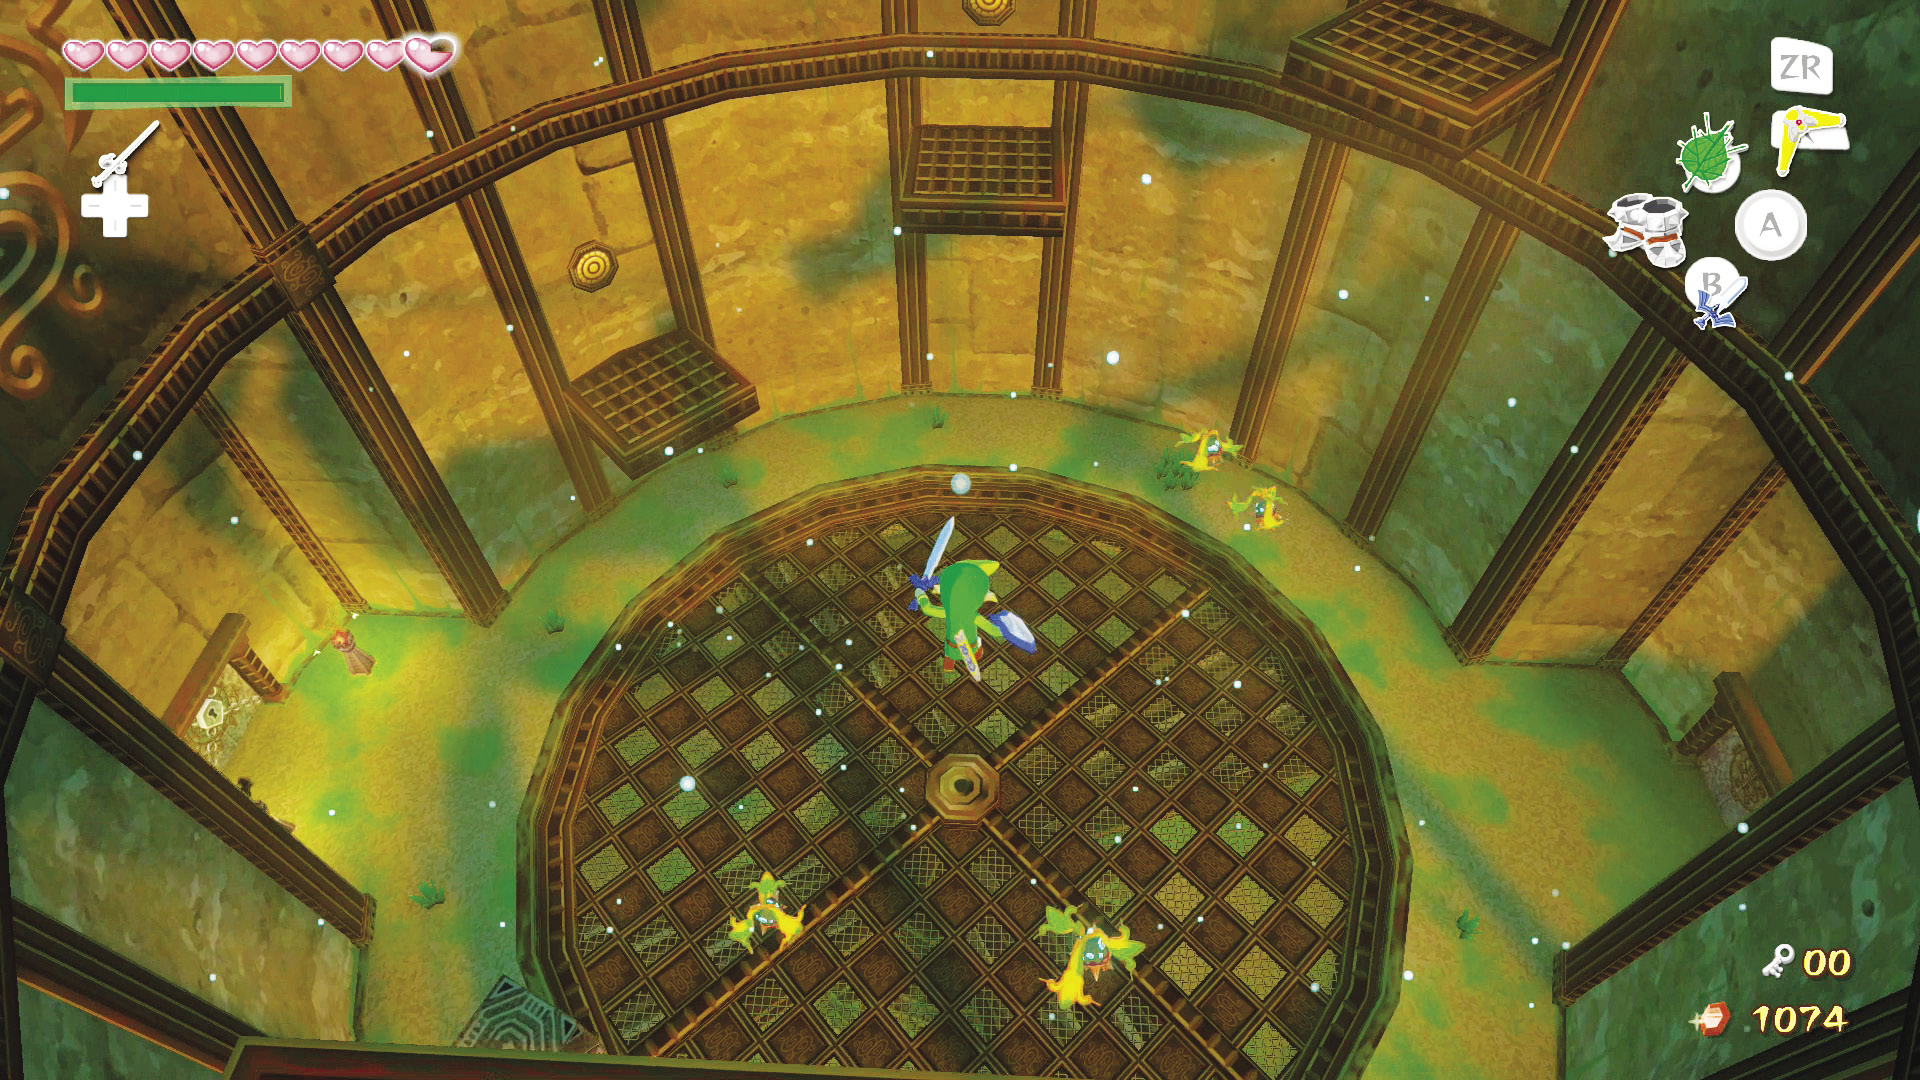
Jump down through the newly created opening to the basement floor. Pull out your Deku Leaf just before you hit the ground to prevent yourself from taking damage.
Once your feet touch solid ground again, enter the south door.
Basement Floor
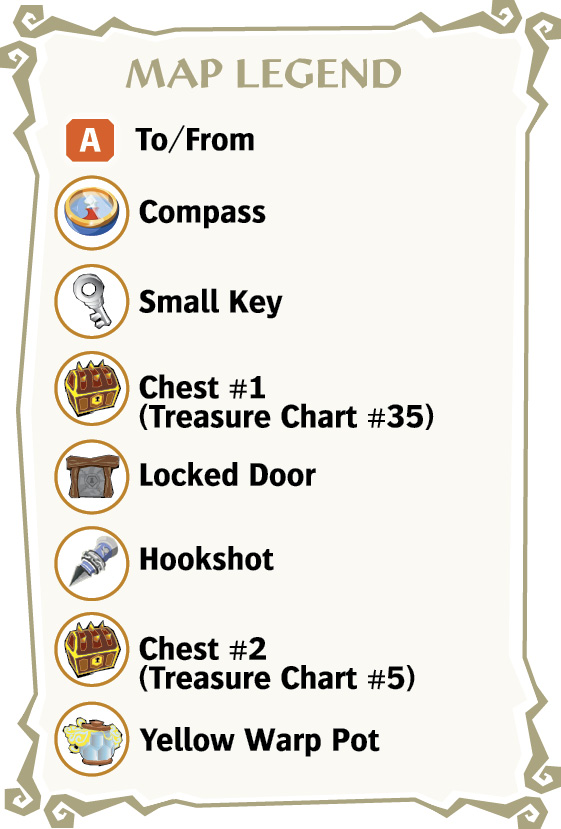
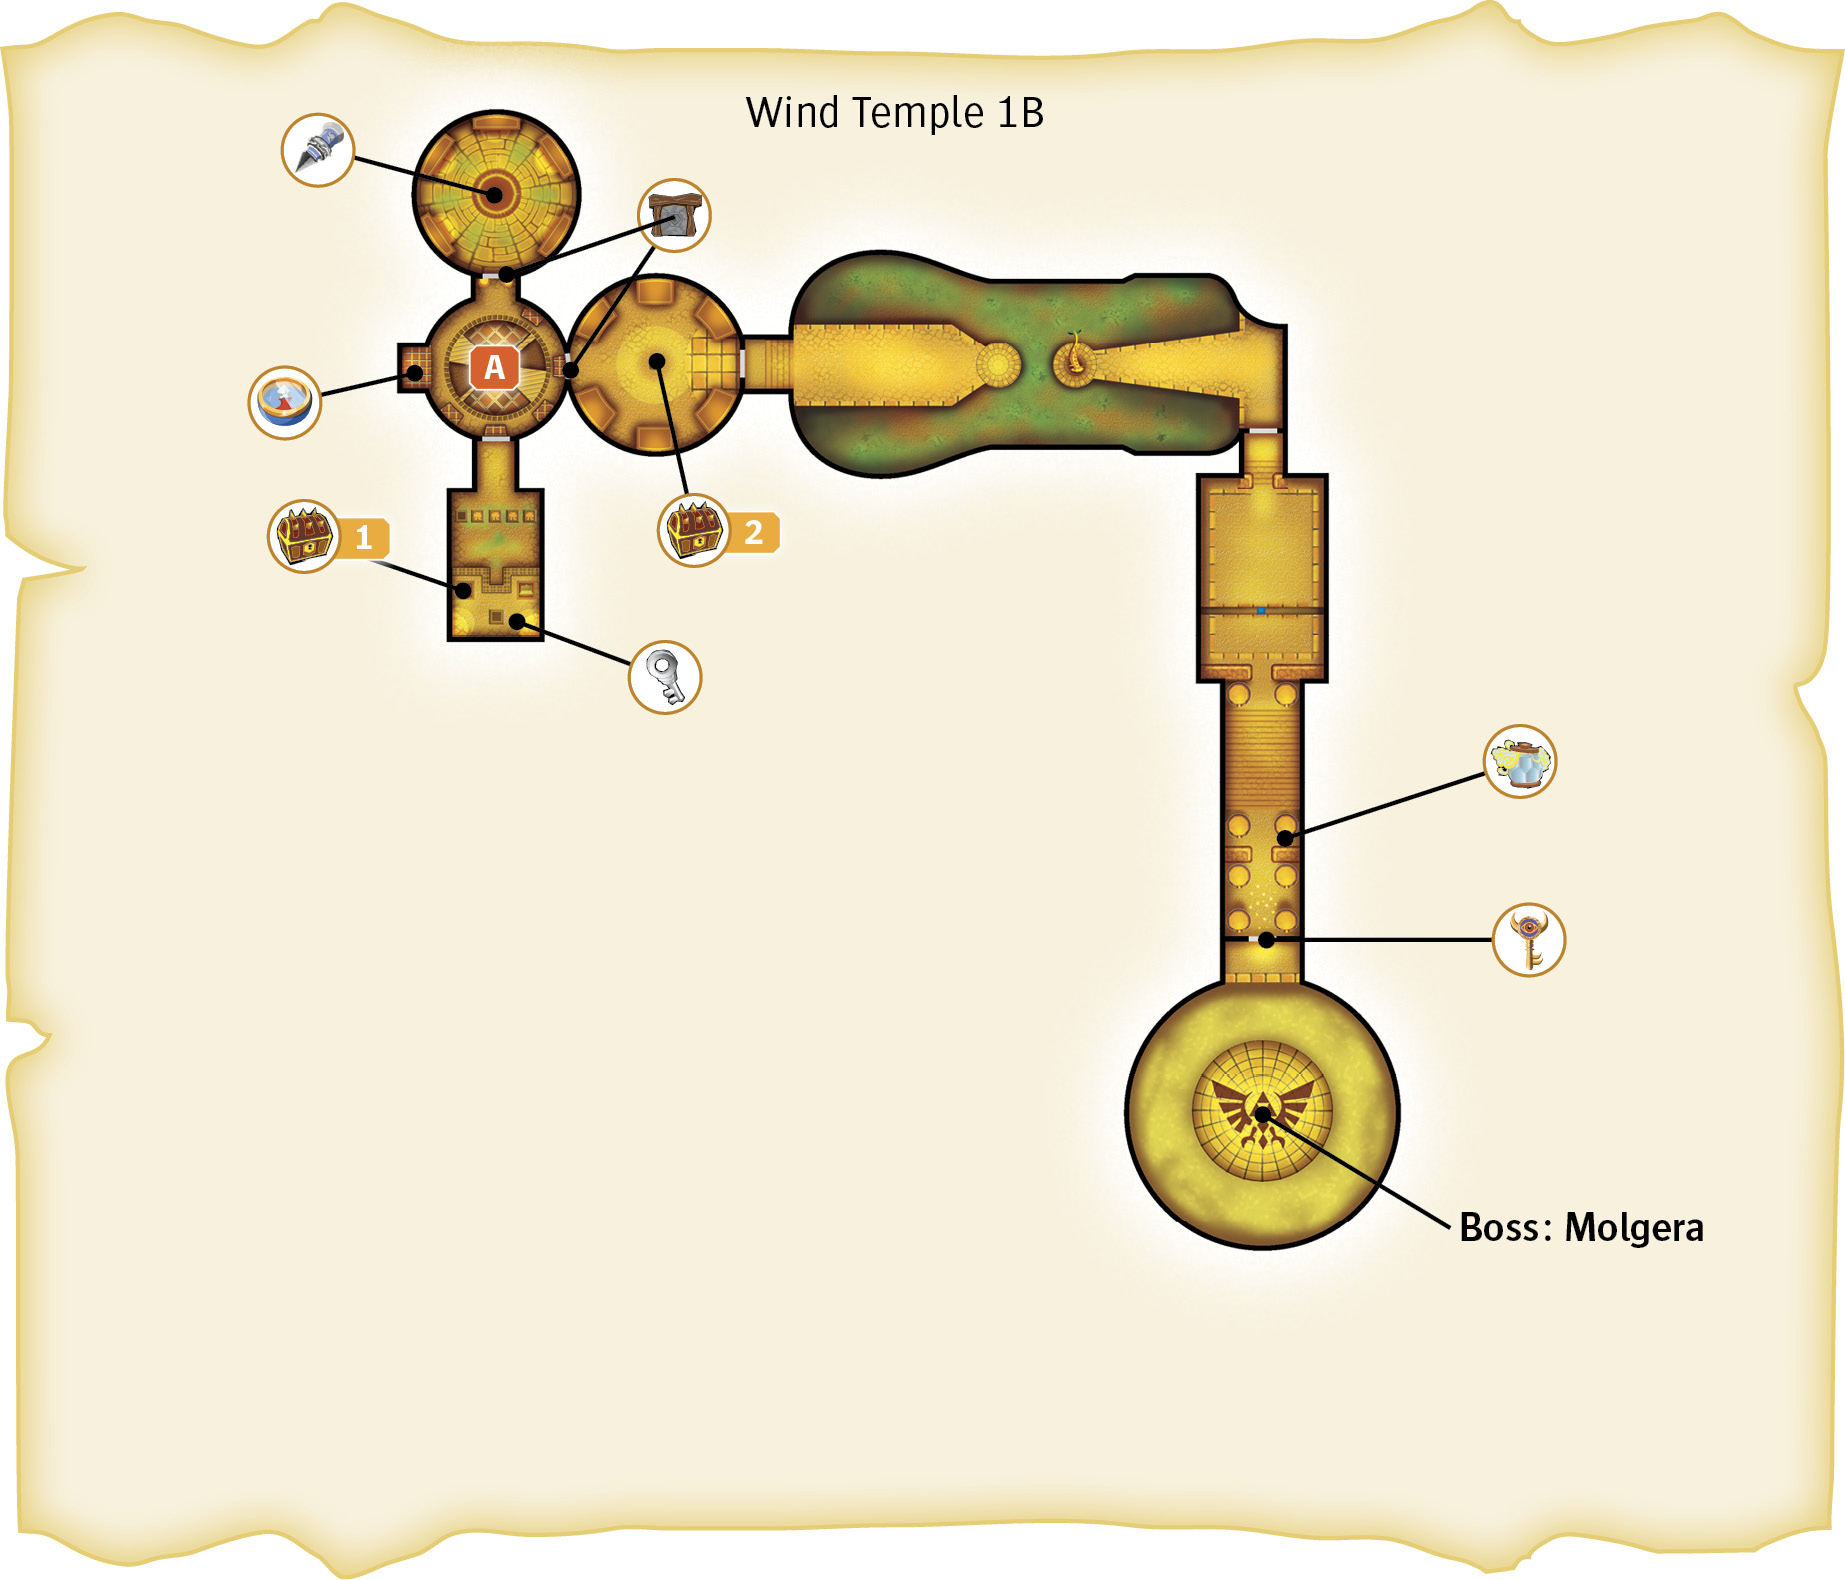
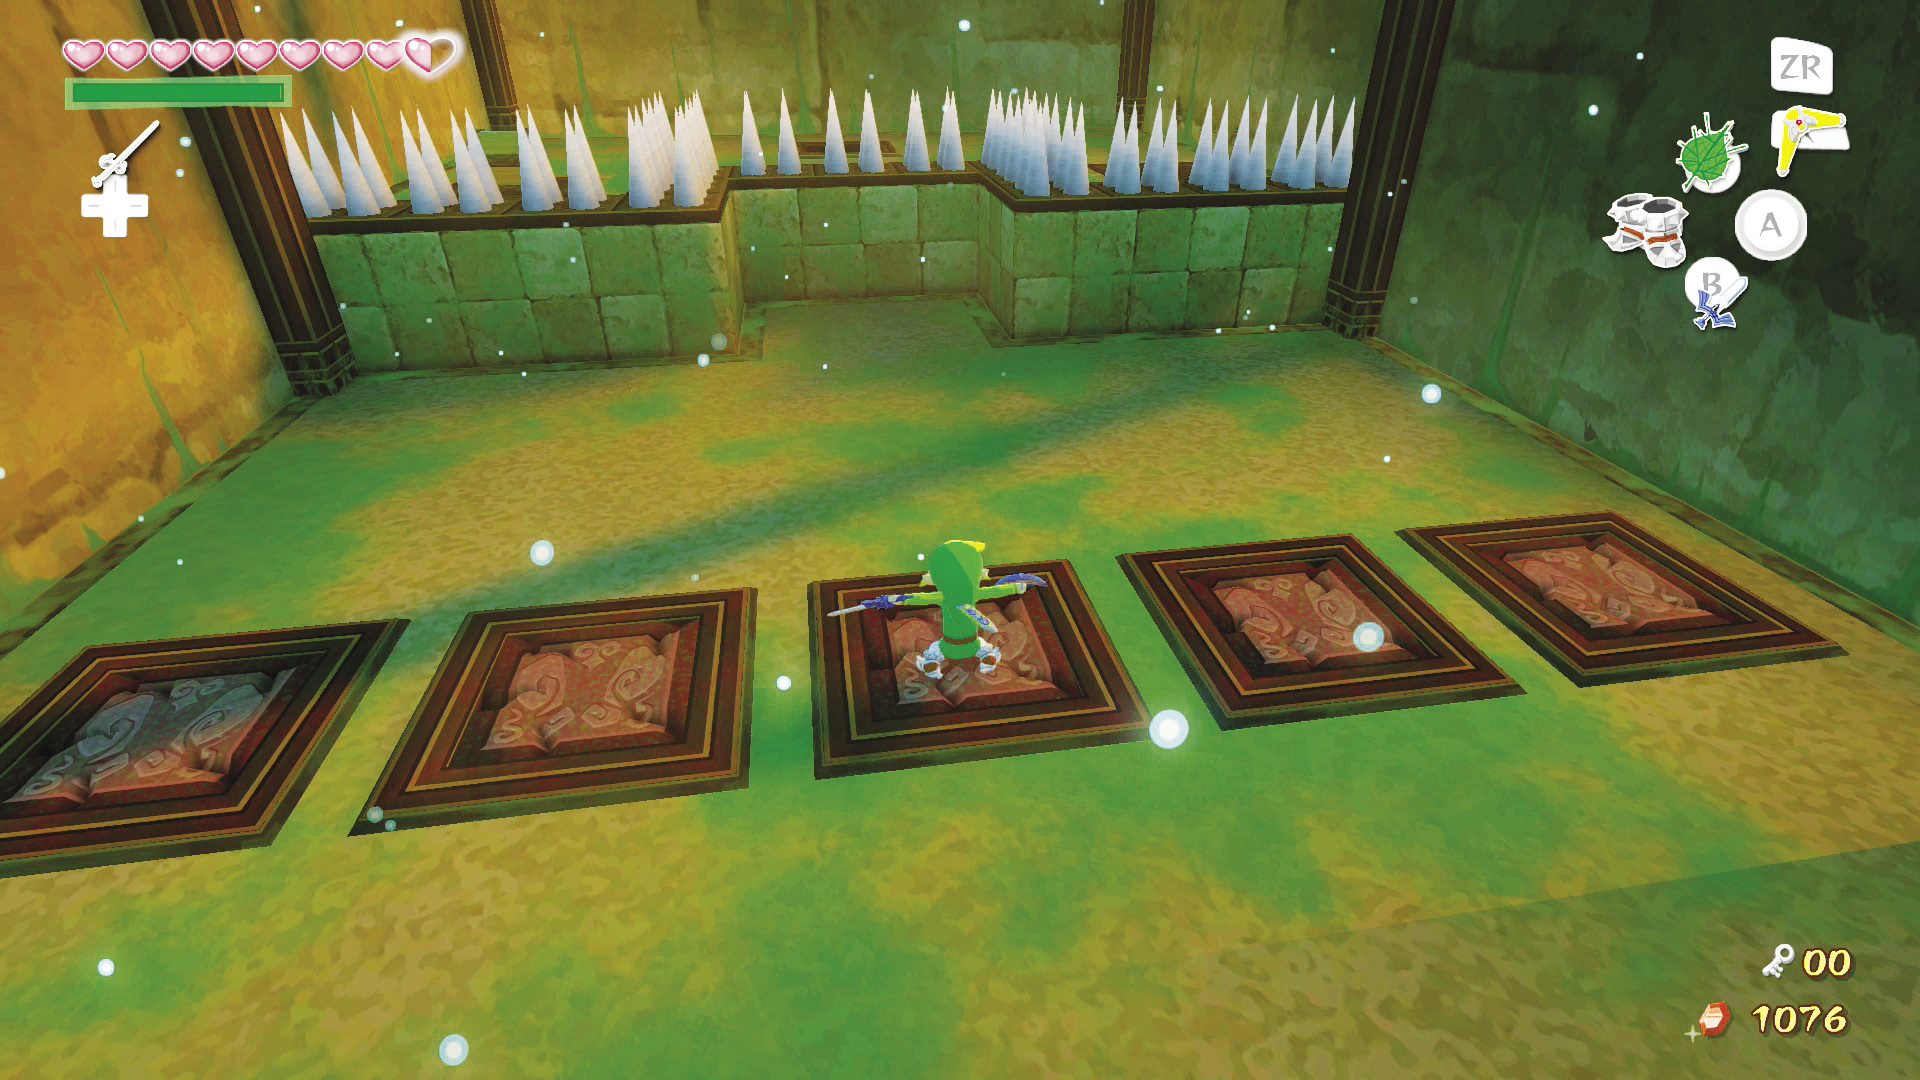
This room has five stone panels sitting neatly in a row. Stand on one of them, equip the Iron Boots, and you’ll break right through it. Be careful, though: each panel will spawn different monsters to attack you. There is only one safe panel—the second panel from the left.
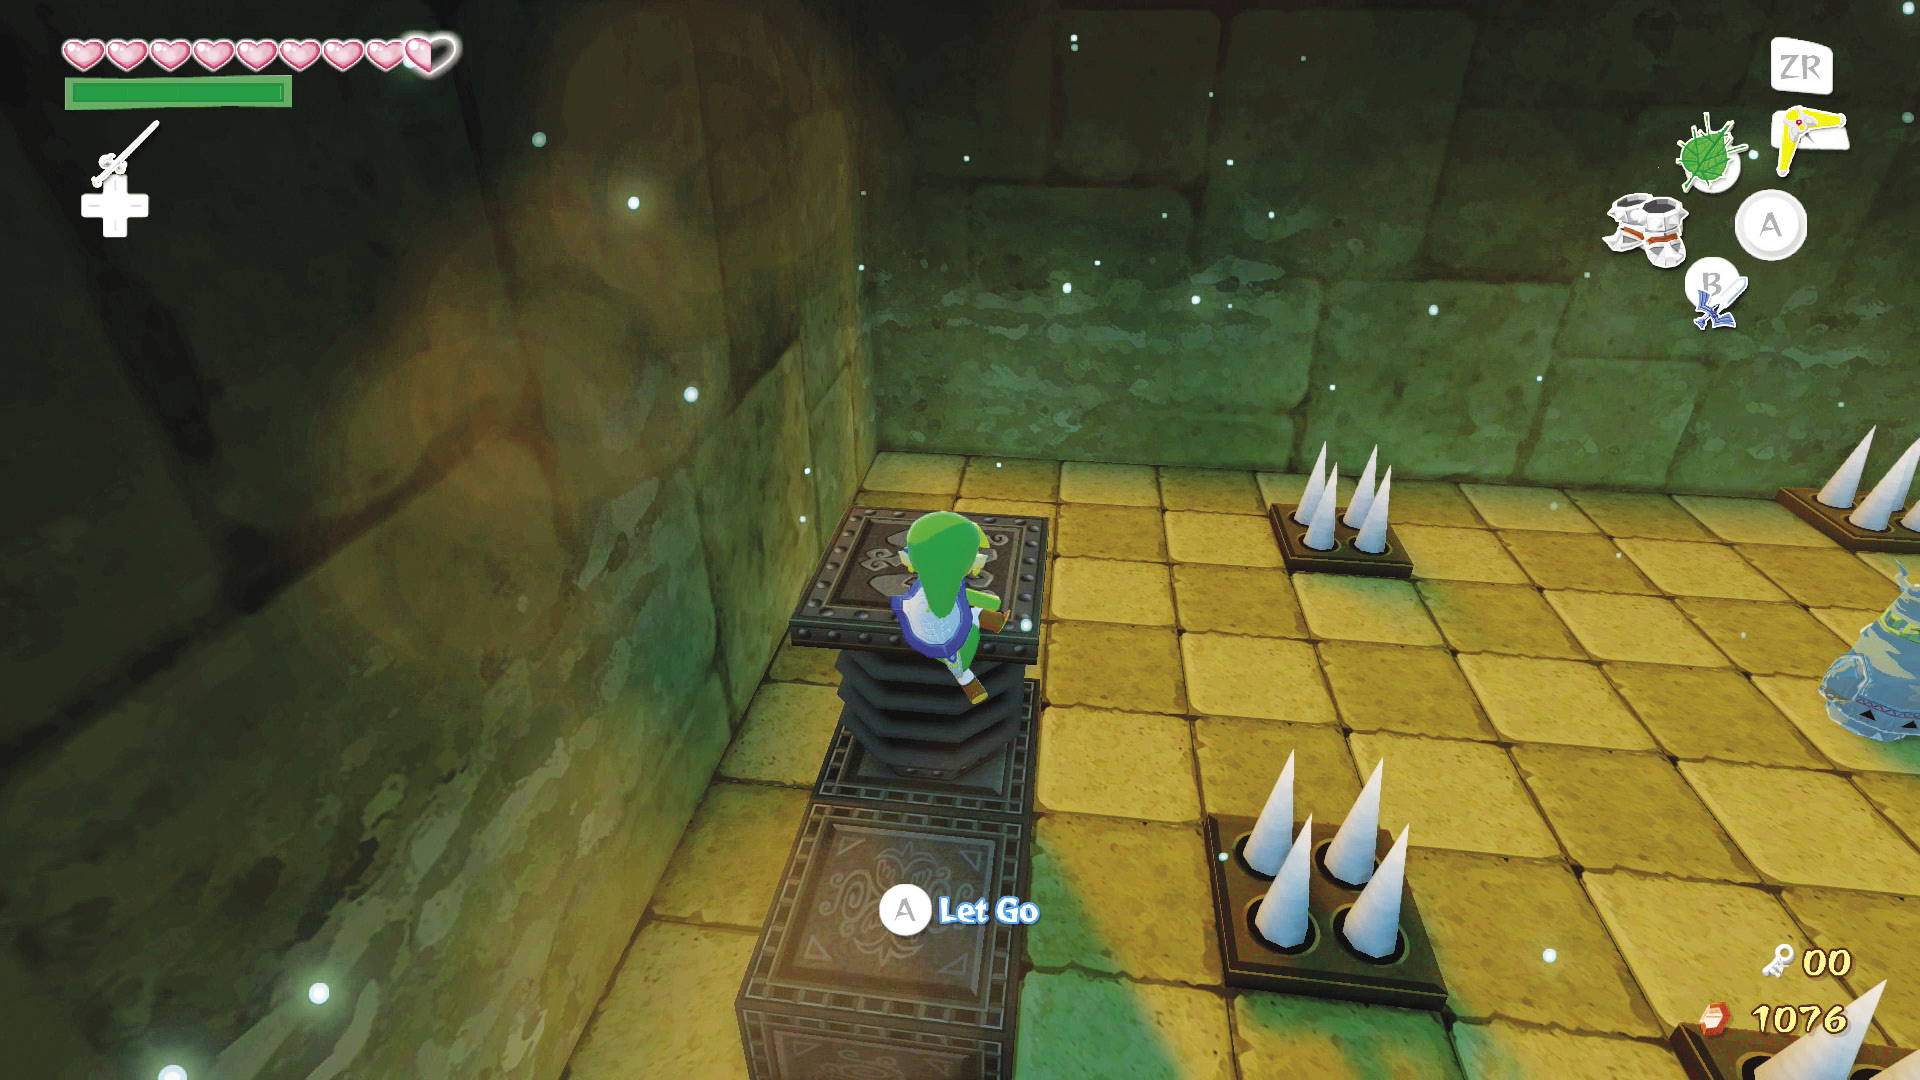
Once you fall through the floor, push the block with the springboard to the etched tile on the room’s south side. Then push the other block right up against it. Climb the normal block, then climb onto the block with the springboard. Equip your Iron Boots to spring up through the hole in the ceiling and you’ll land on the upper level’s south side.
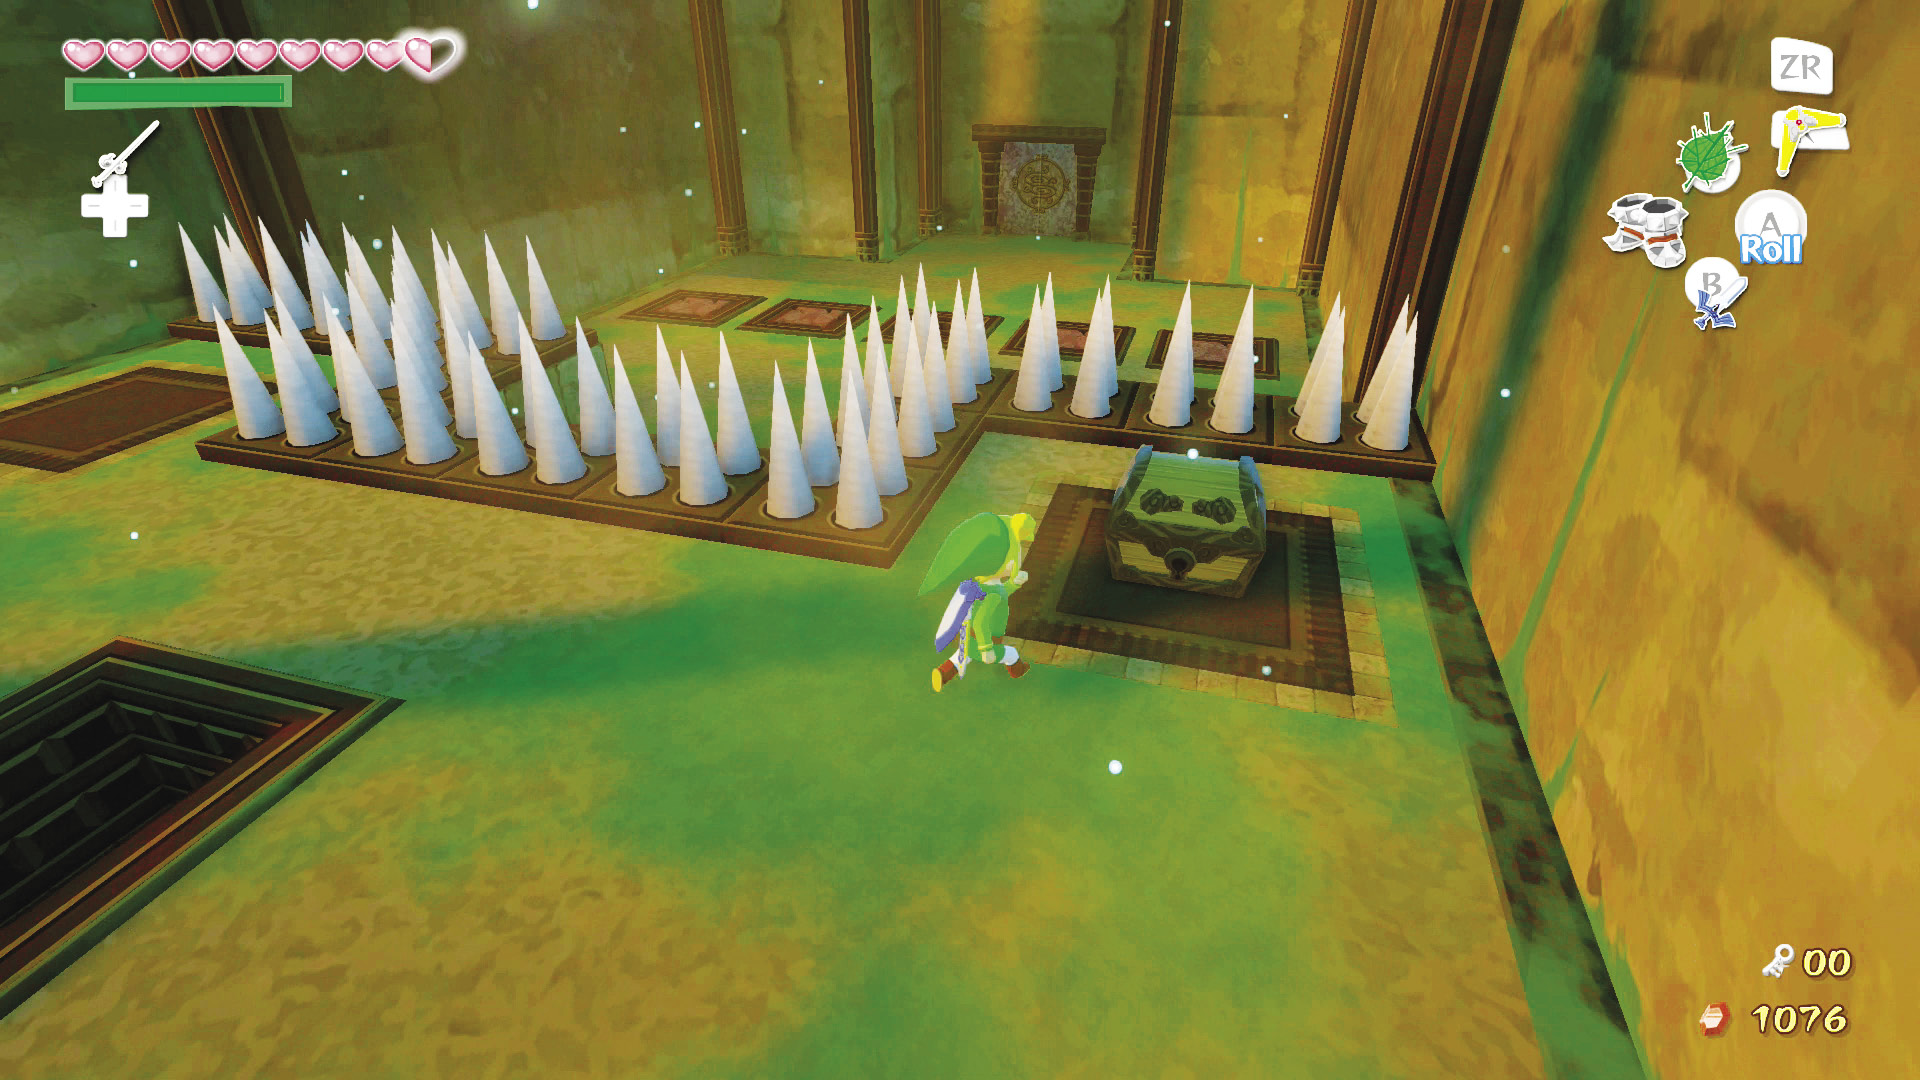
Open the treasure chest on the platform’s right side to obtain a Small Key. The spikes in the floor will retract, giving you a clear path to the northern door. Head through it back to the main room of the basement floor.
|
|
120 |
Treasure Chart #35 |
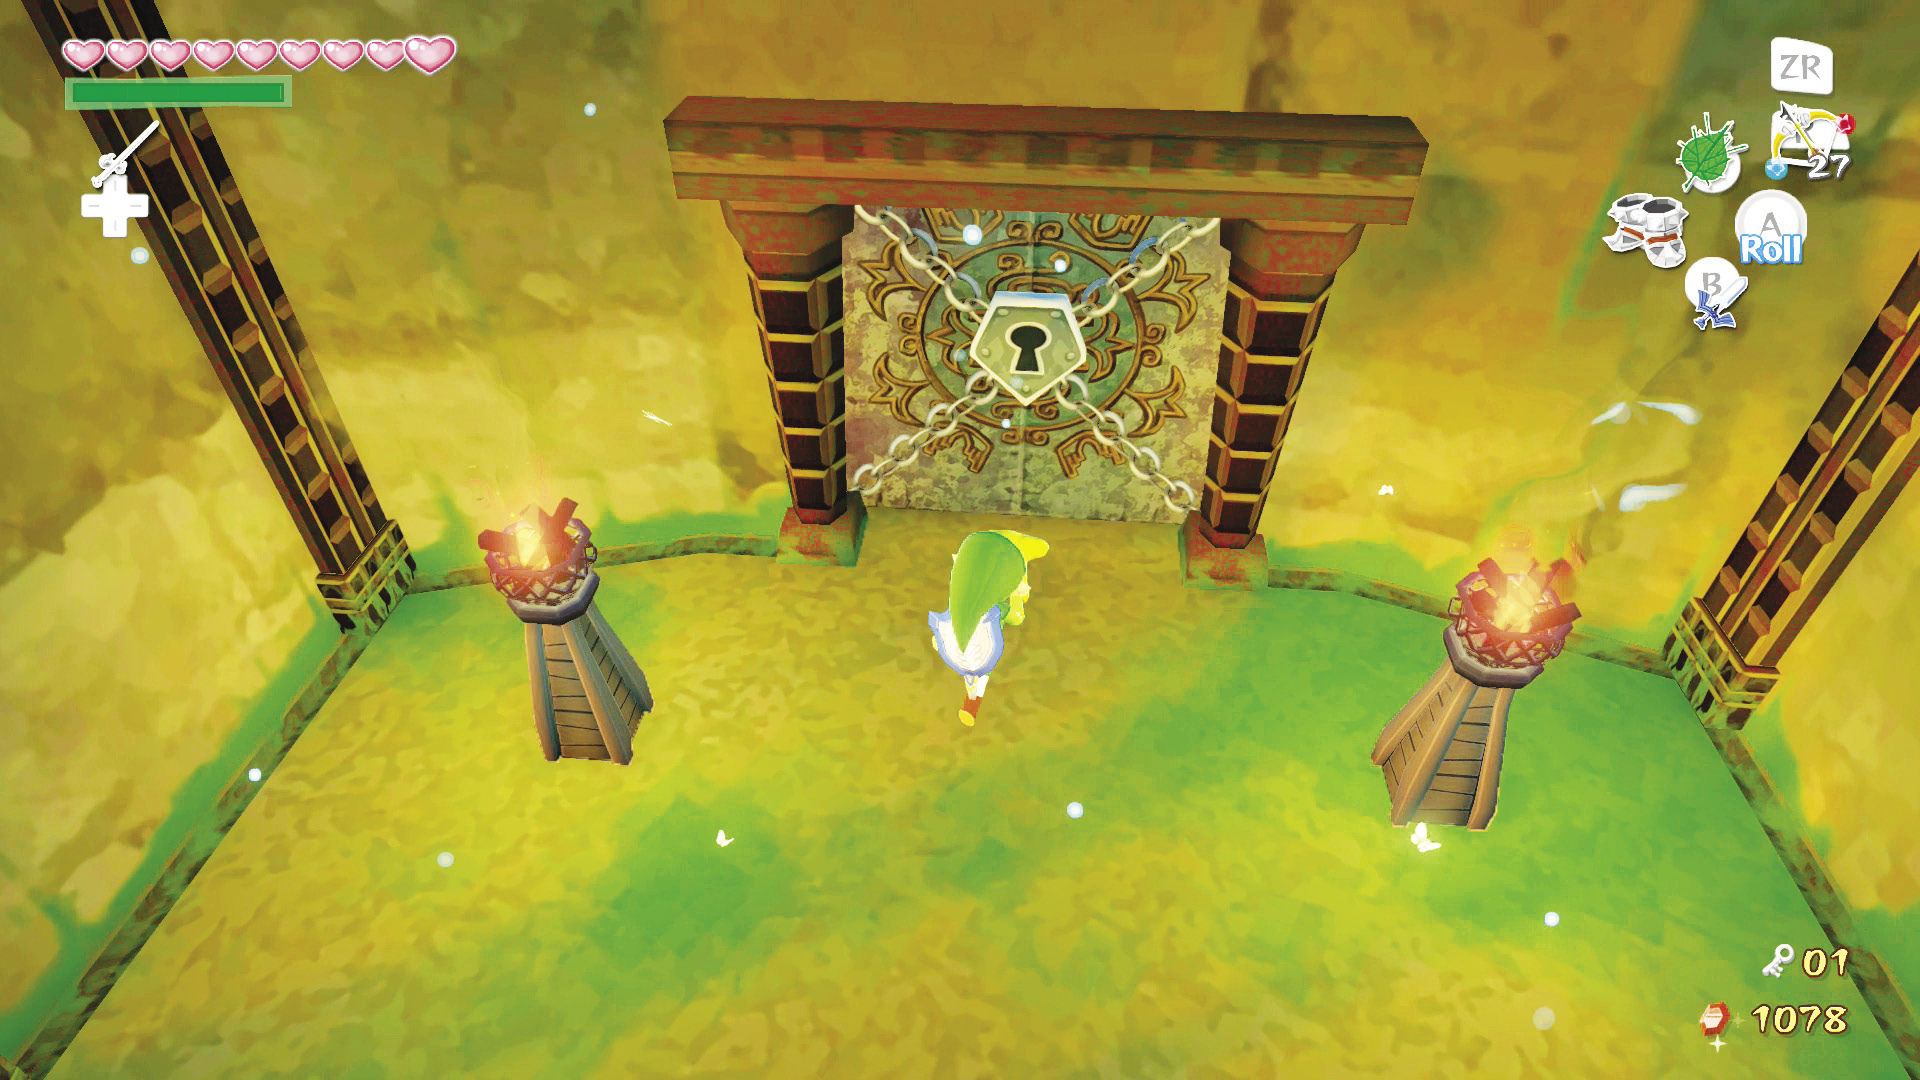
With a Small Key in your possession, you’ll now be able to head through the door on the room’s north side.
5. You’re Hooked!
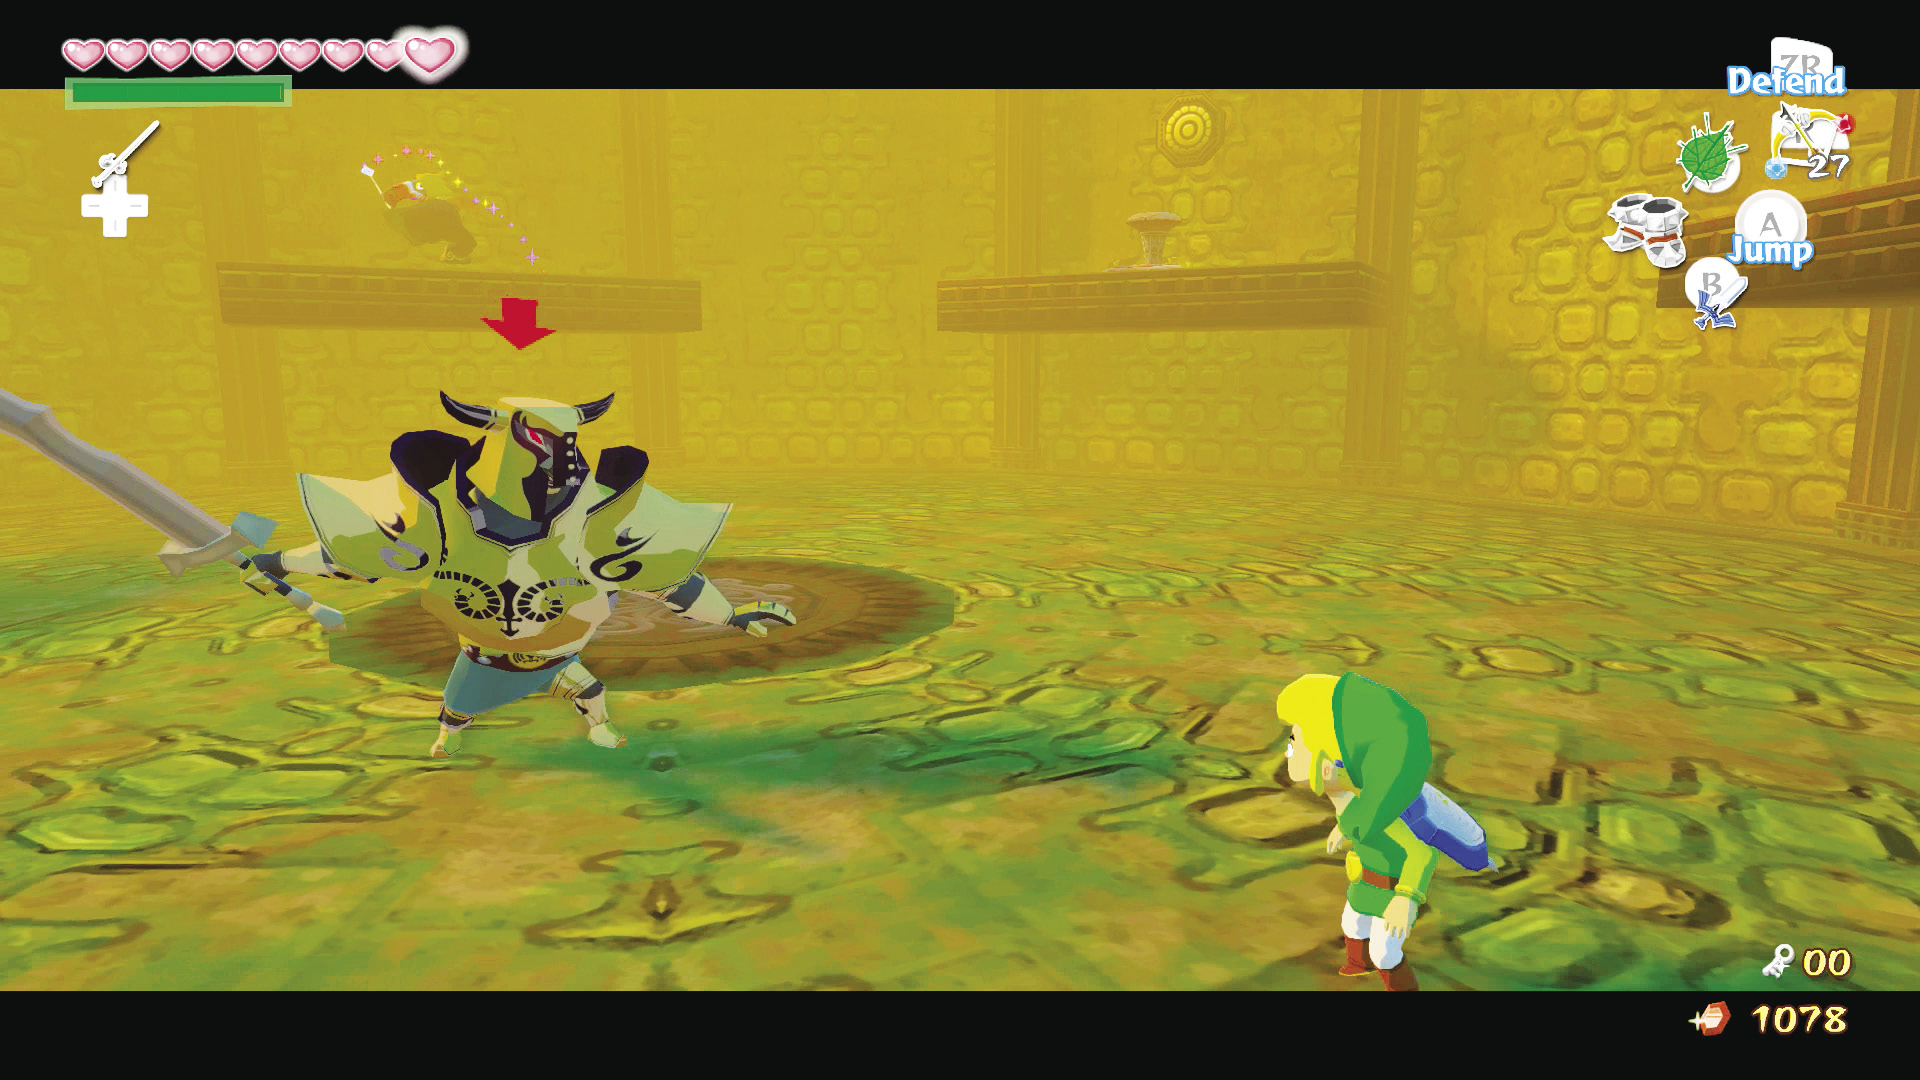
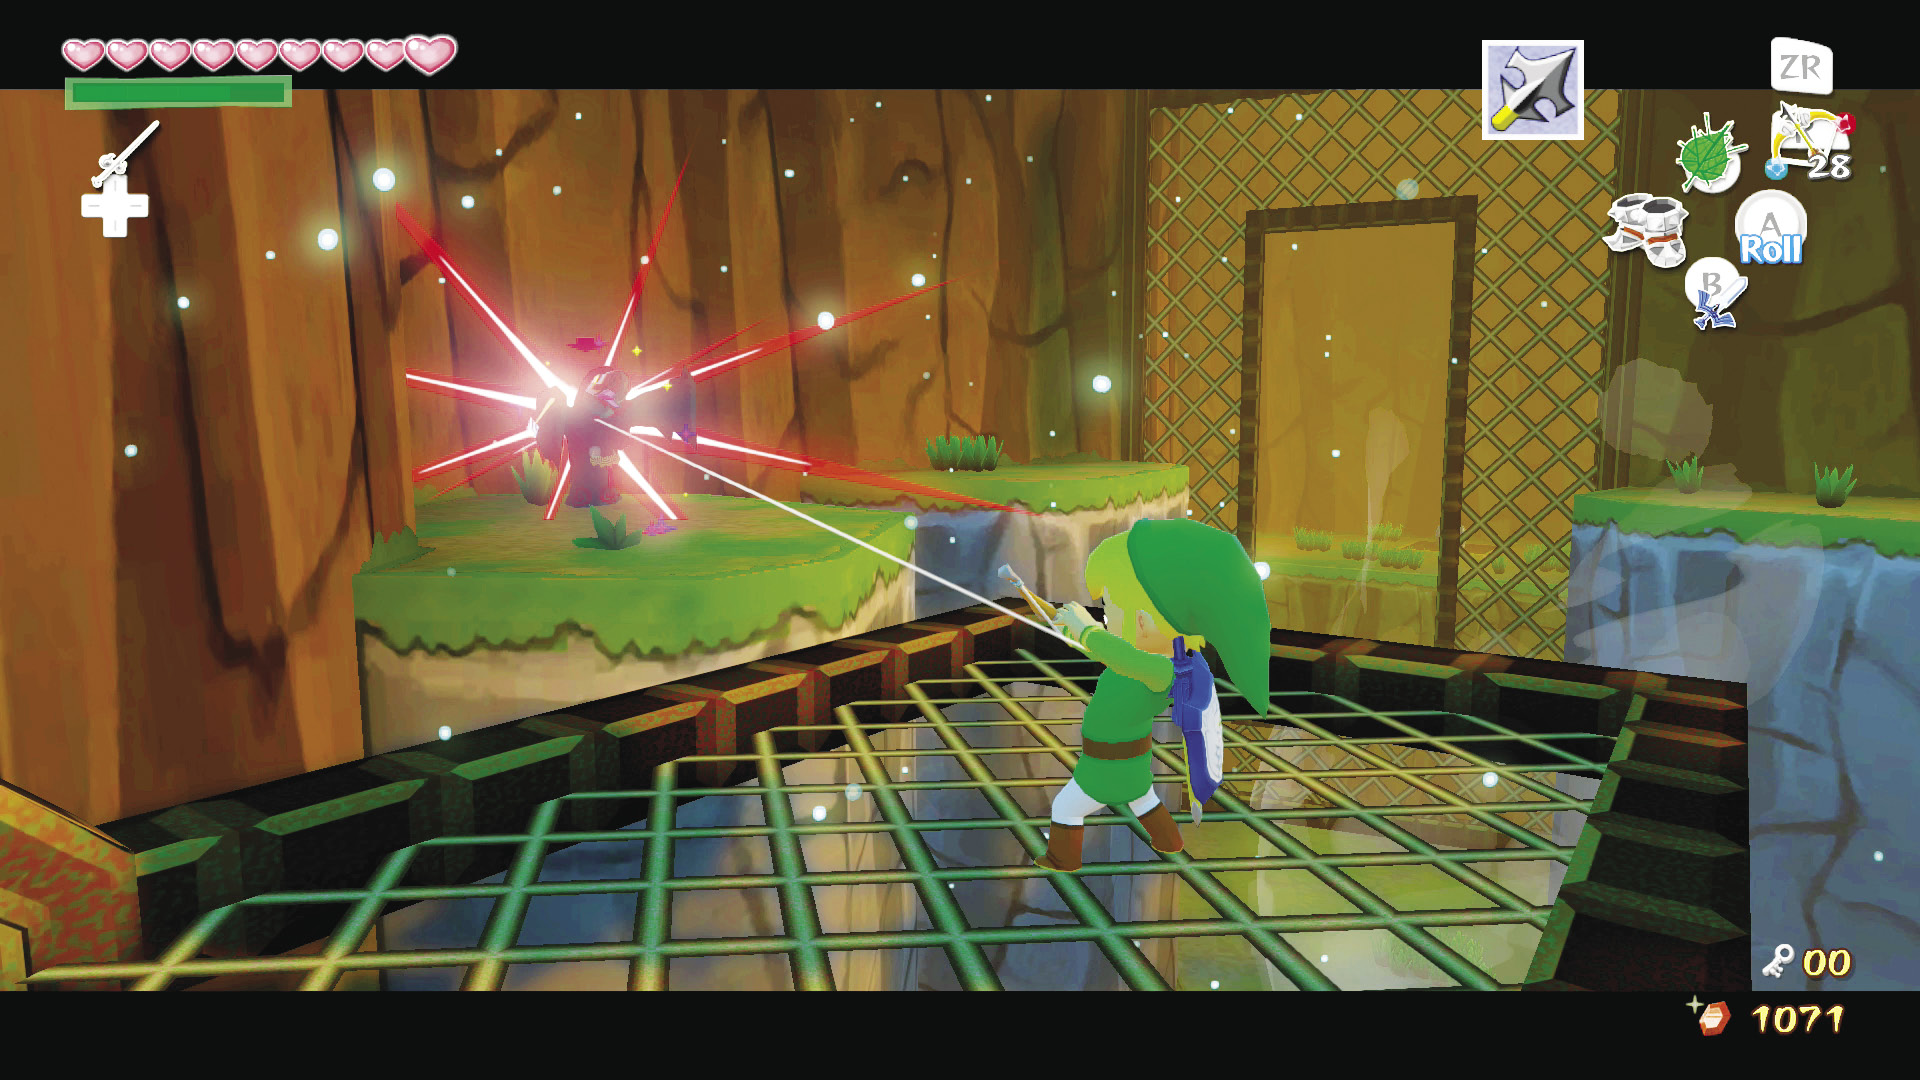
This room holds one of the most deadly foes in the game: a red Summoning Wizzrobe. This Wizzrobe is capable of summoning the lesser Blue Wizzrobes and can also summon Moblins and Darknuts.
Nintendo Gallery Notice_opt.jpeg) Get out your Deluxe Picto Box—this is your one and only chance to grab a pictograph of this most unique Wizzrobe! Be sure to take the Summoning Wizzrobe’s pictograph before this miniboss battle is over. |
Enemy: Summoning Wizzrobe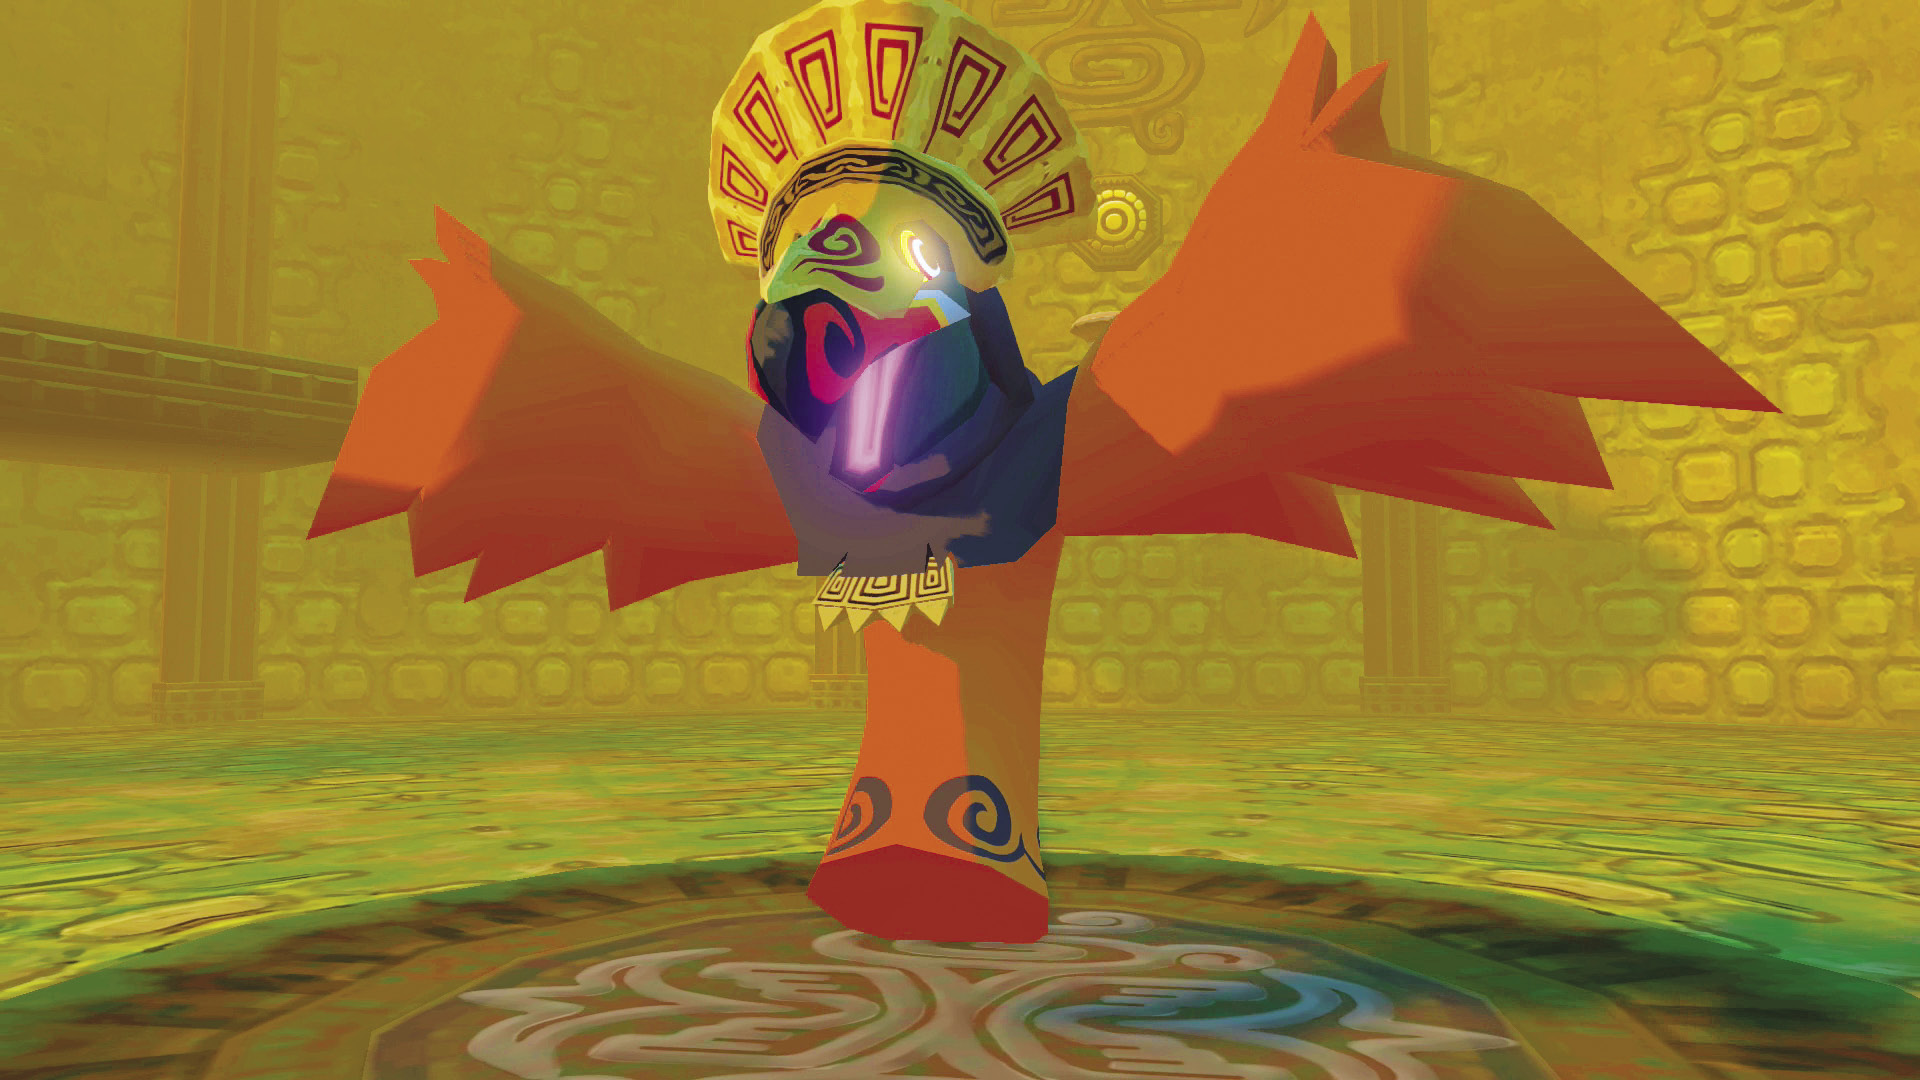 Summoning Blue Wizzrobes will teleport and shoot fire like your garden-variety Wizzrobes, but this bird-wizard is more dangerous because they can also summon enemies. Each Summoning Wizzrobe will call in different monsters periodically to support it in battle. Outside of the red-cloaked Summoning Wizzrobe you face in the Wind Temple, other Summoning Wizzrobes wear yellow cloaks but have the same abilities. You defeat Summoning Wizzrobes in the same way as any normal Blue Wizzrobe, but these enemies have twice the amount of health that the regular Blue Wizzrobes do. |
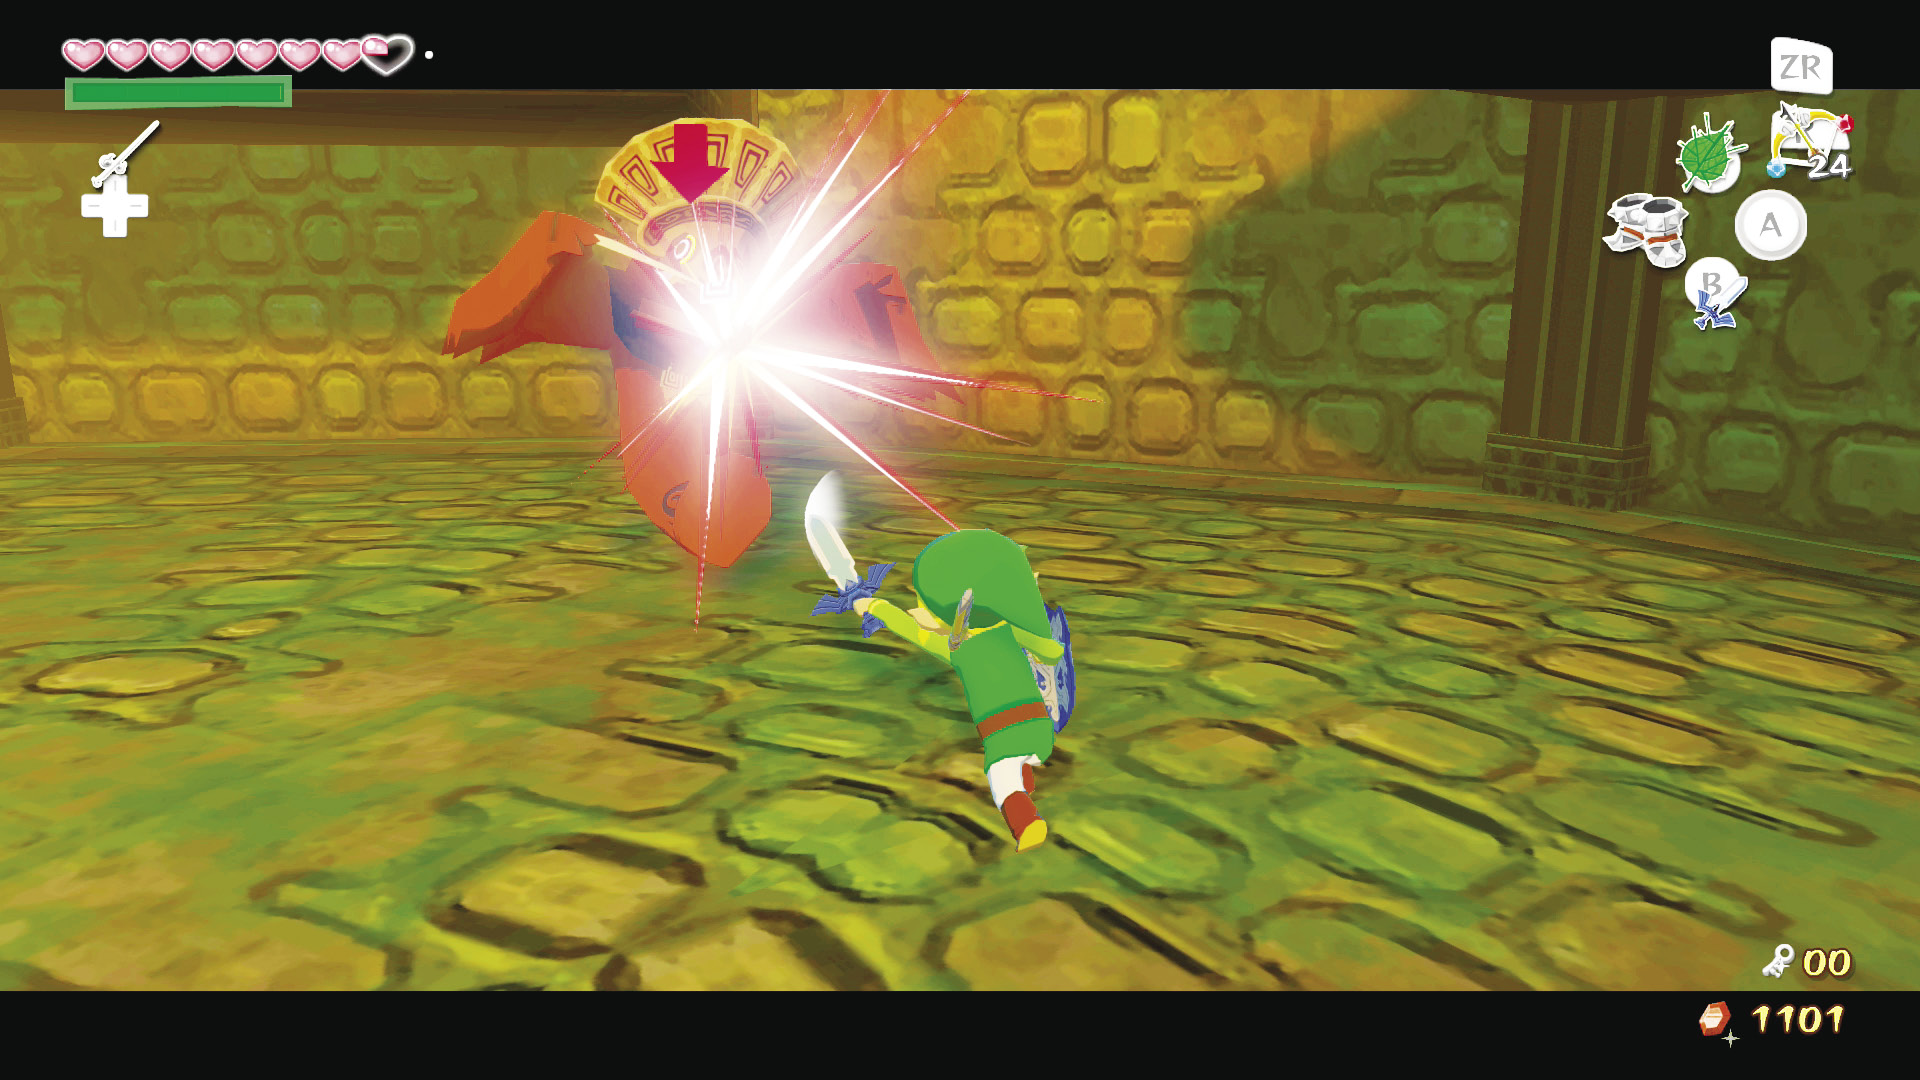
There isn’t much strategy here beyond focusing on the red Summoning Wizzrobe as much as possible. Your first priority should be taking it out to prevent it from summoning more monsters. If the red Summoning Wizzrobe summons Blue Wizzrobes, they’ll be your next priority. Just avoid the enemies that the Summoning Wizzrobe summons until the Blue Wizzrobes are out of commission.
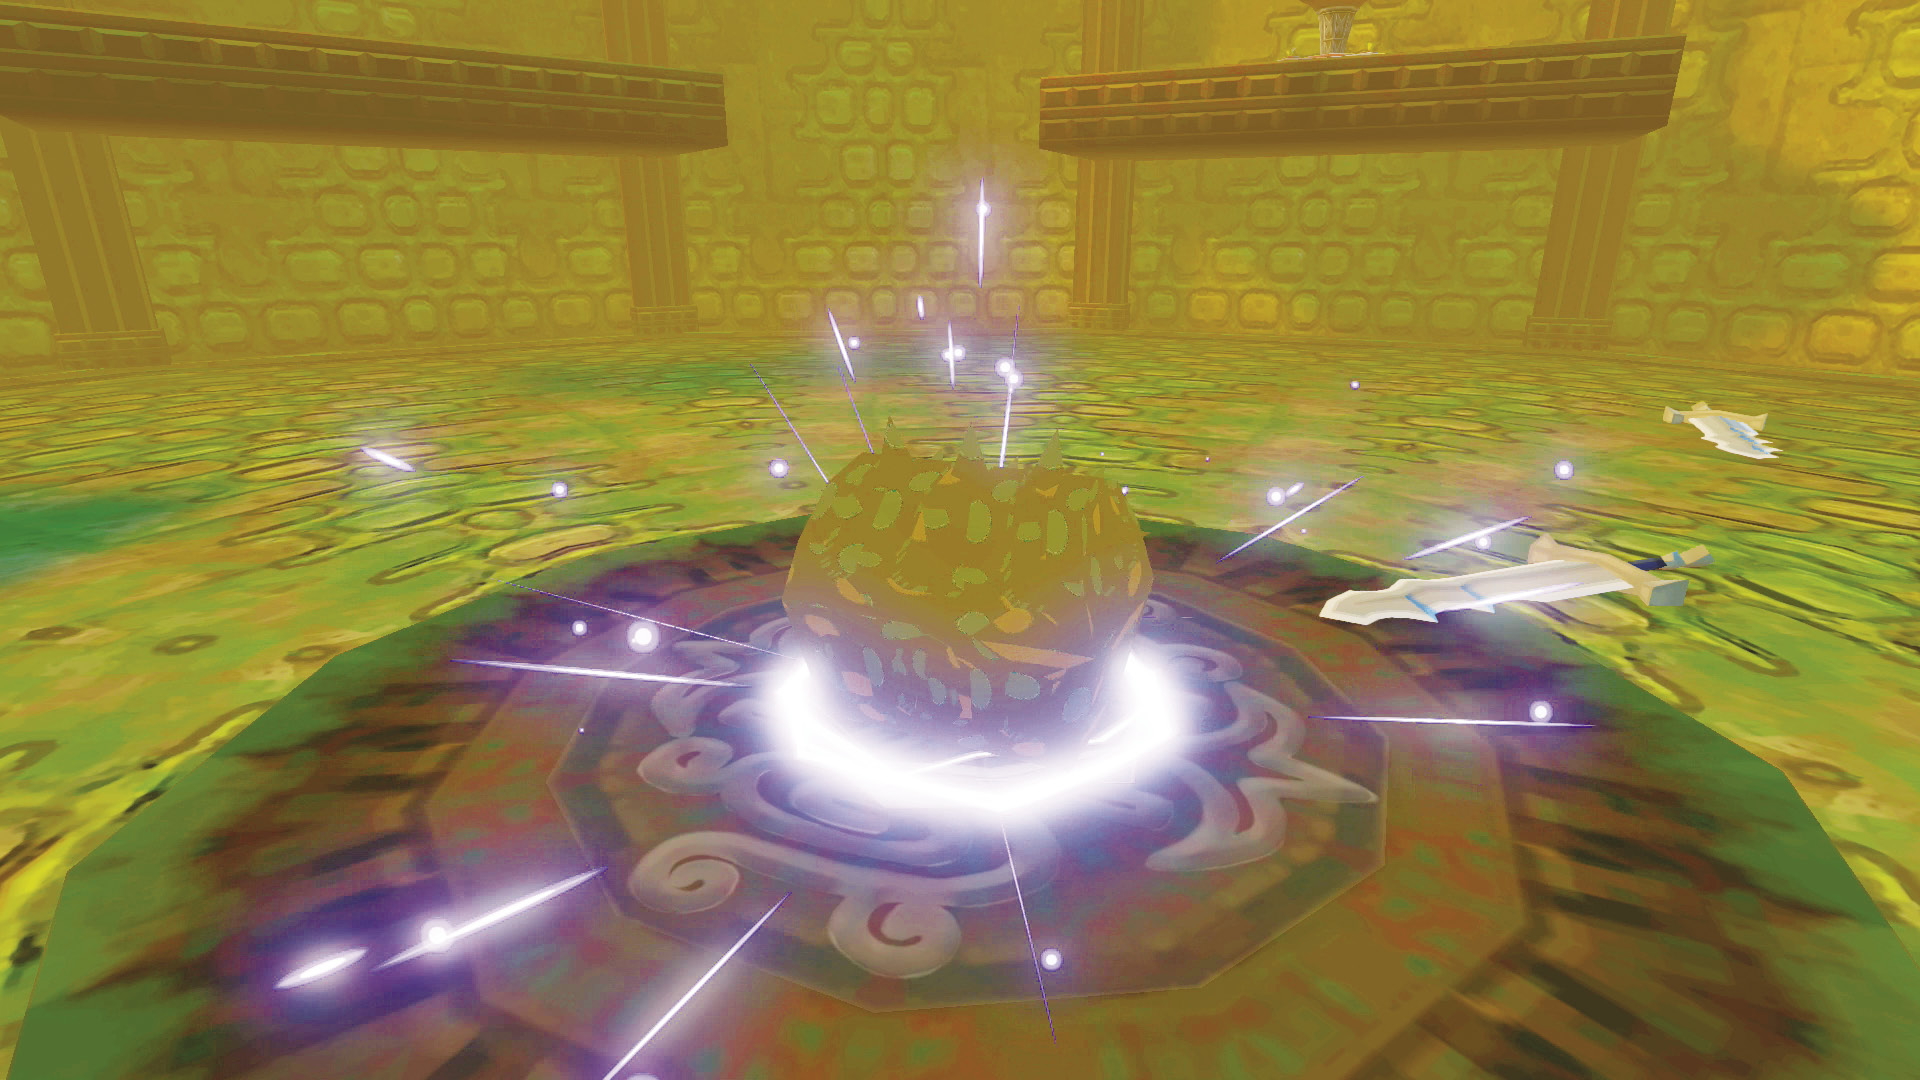
After clearing the room of enemies, a treasure chest will appear in the center of the room. Open it to receive the Hookshot!
|
|
121 |
Hookshot |

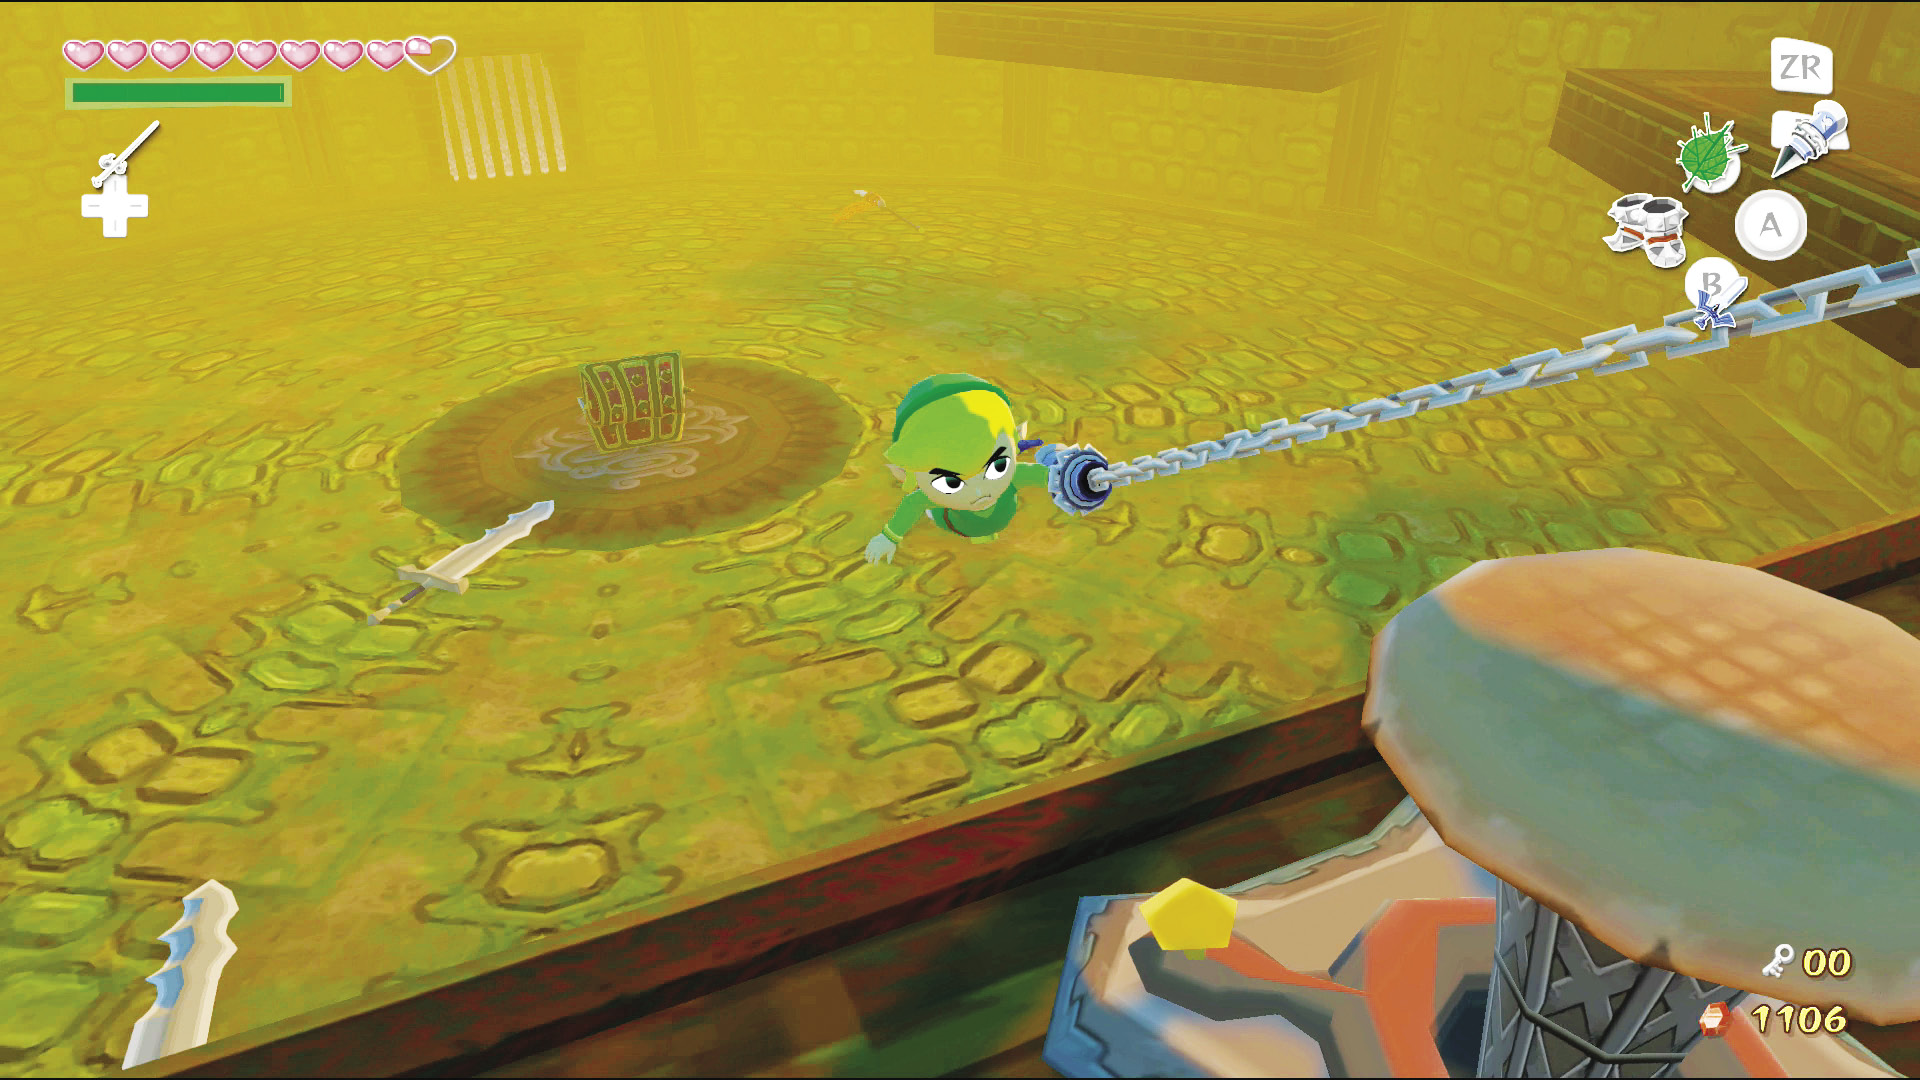
To exit the room, use your Hookshot on the target panel above the platform on the room’s north side. Pull out your Skull Hammer and flatten the peg on the platform to unlock the door, then head on through it.
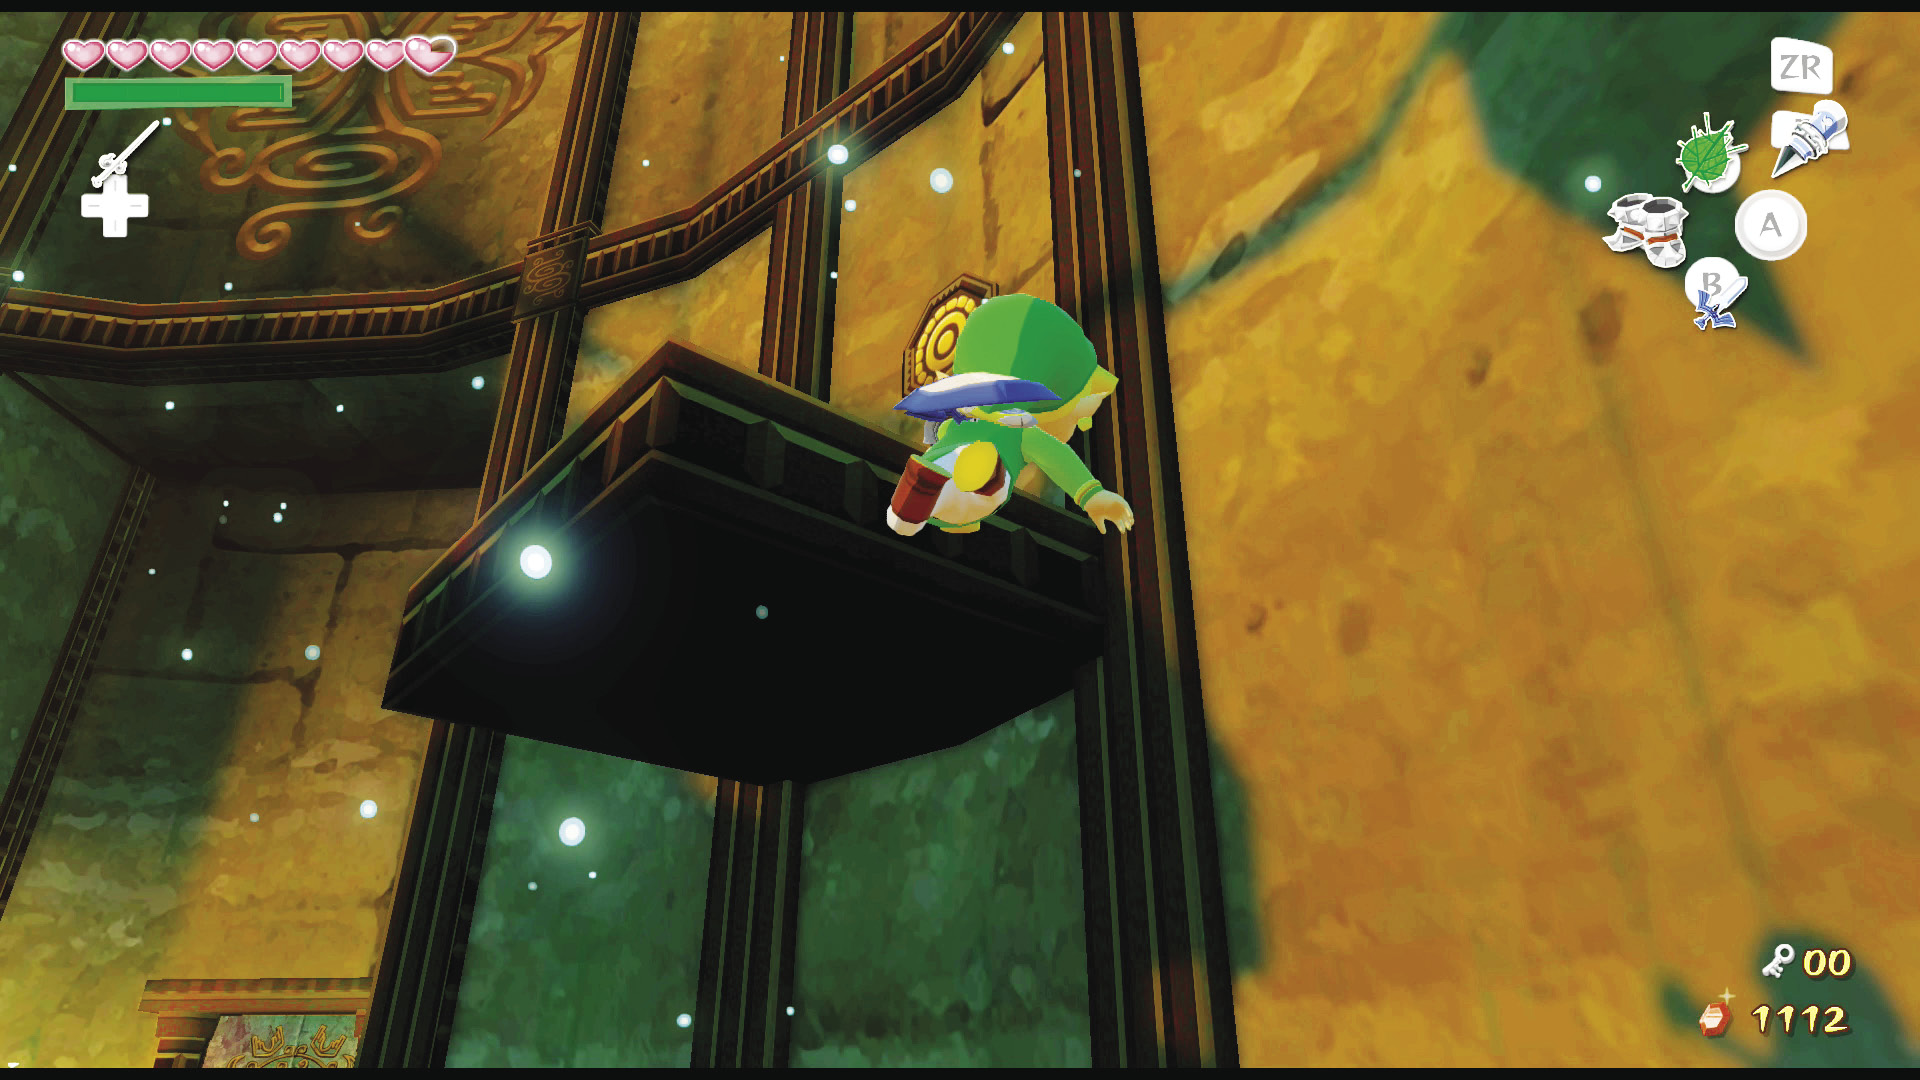
We now have a way to free Makar, which means we must get back to the first floor. But how are we going to do that from here? Since we’ve got the Hookshot, it looks like the only way up is to hook onto the target panels around the platforms lining the room’s walls.
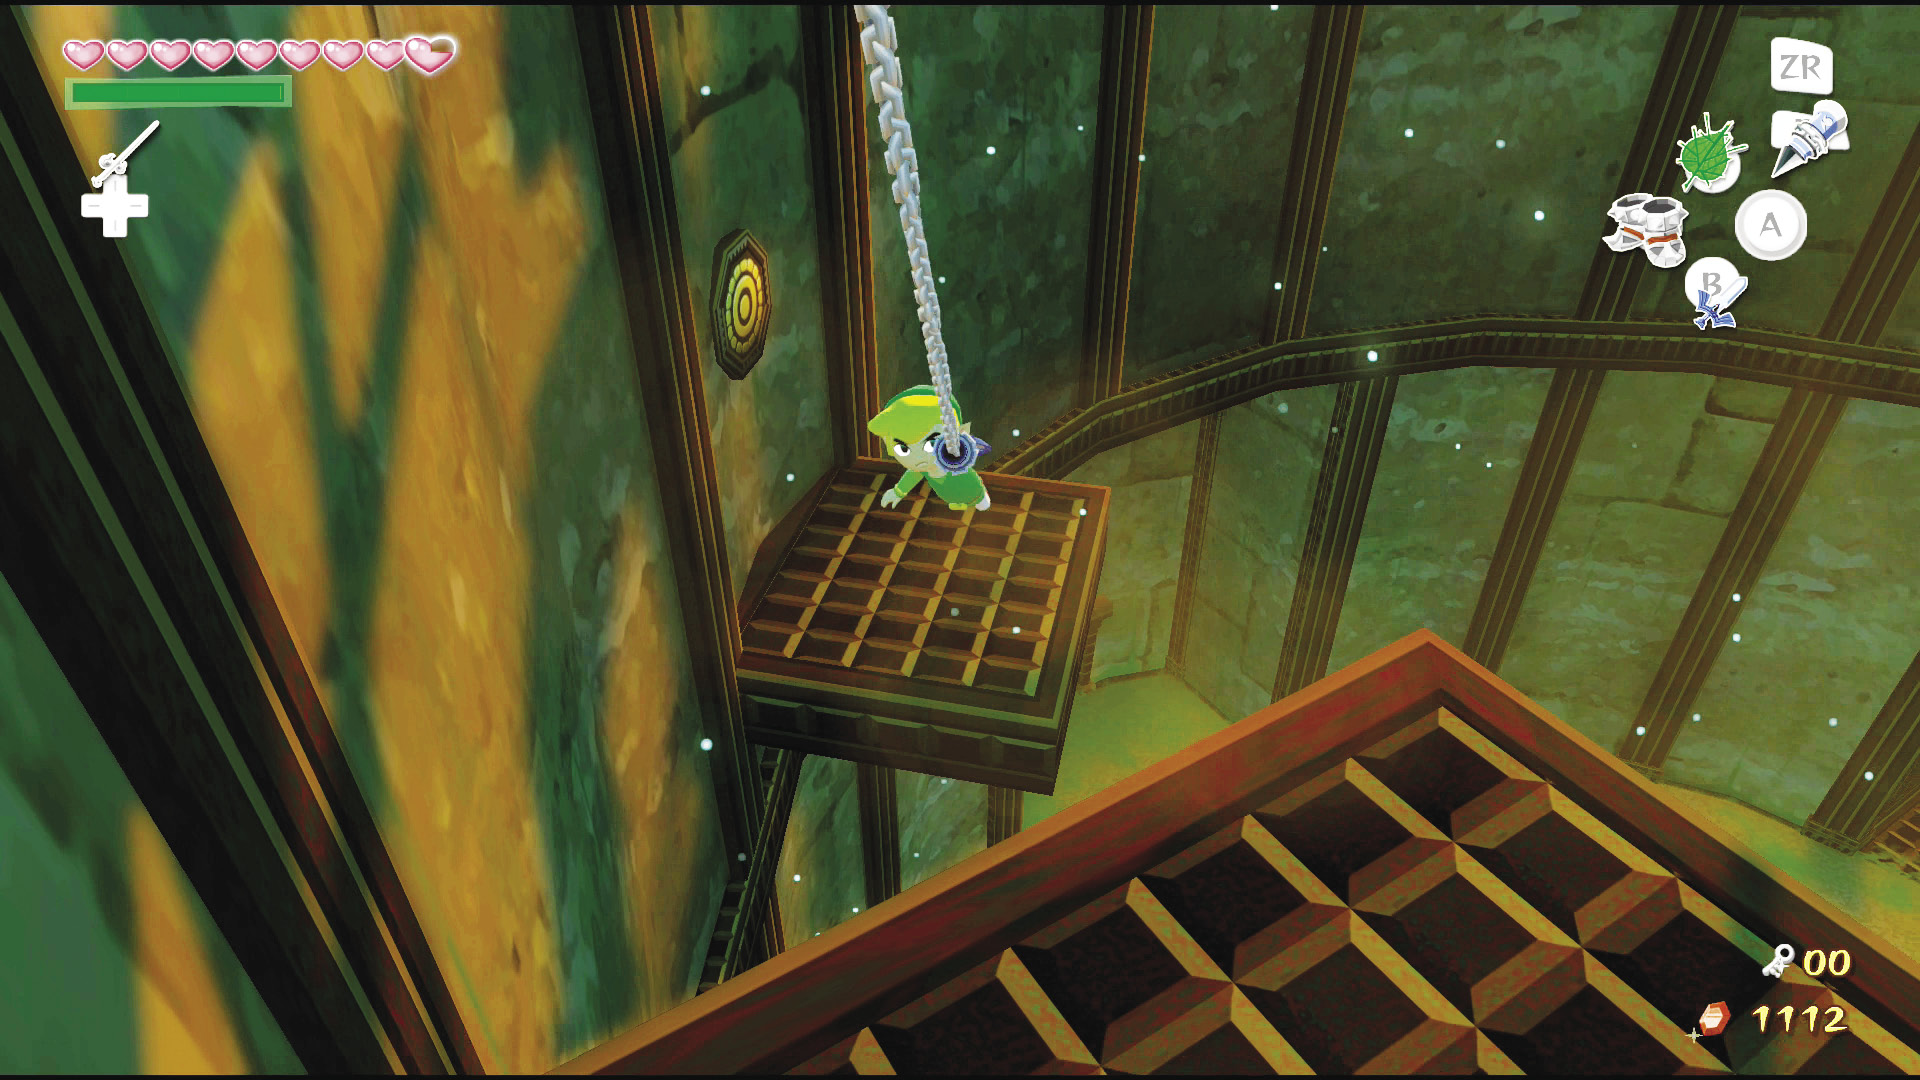
Start from the target panel above the platform on the room’s northeast side. Turn right and hook onto the target panel above the platform ahead of you. Hook onto the target panel to the right of the platform you are on, then hook onto the target panel above the platform to your left.
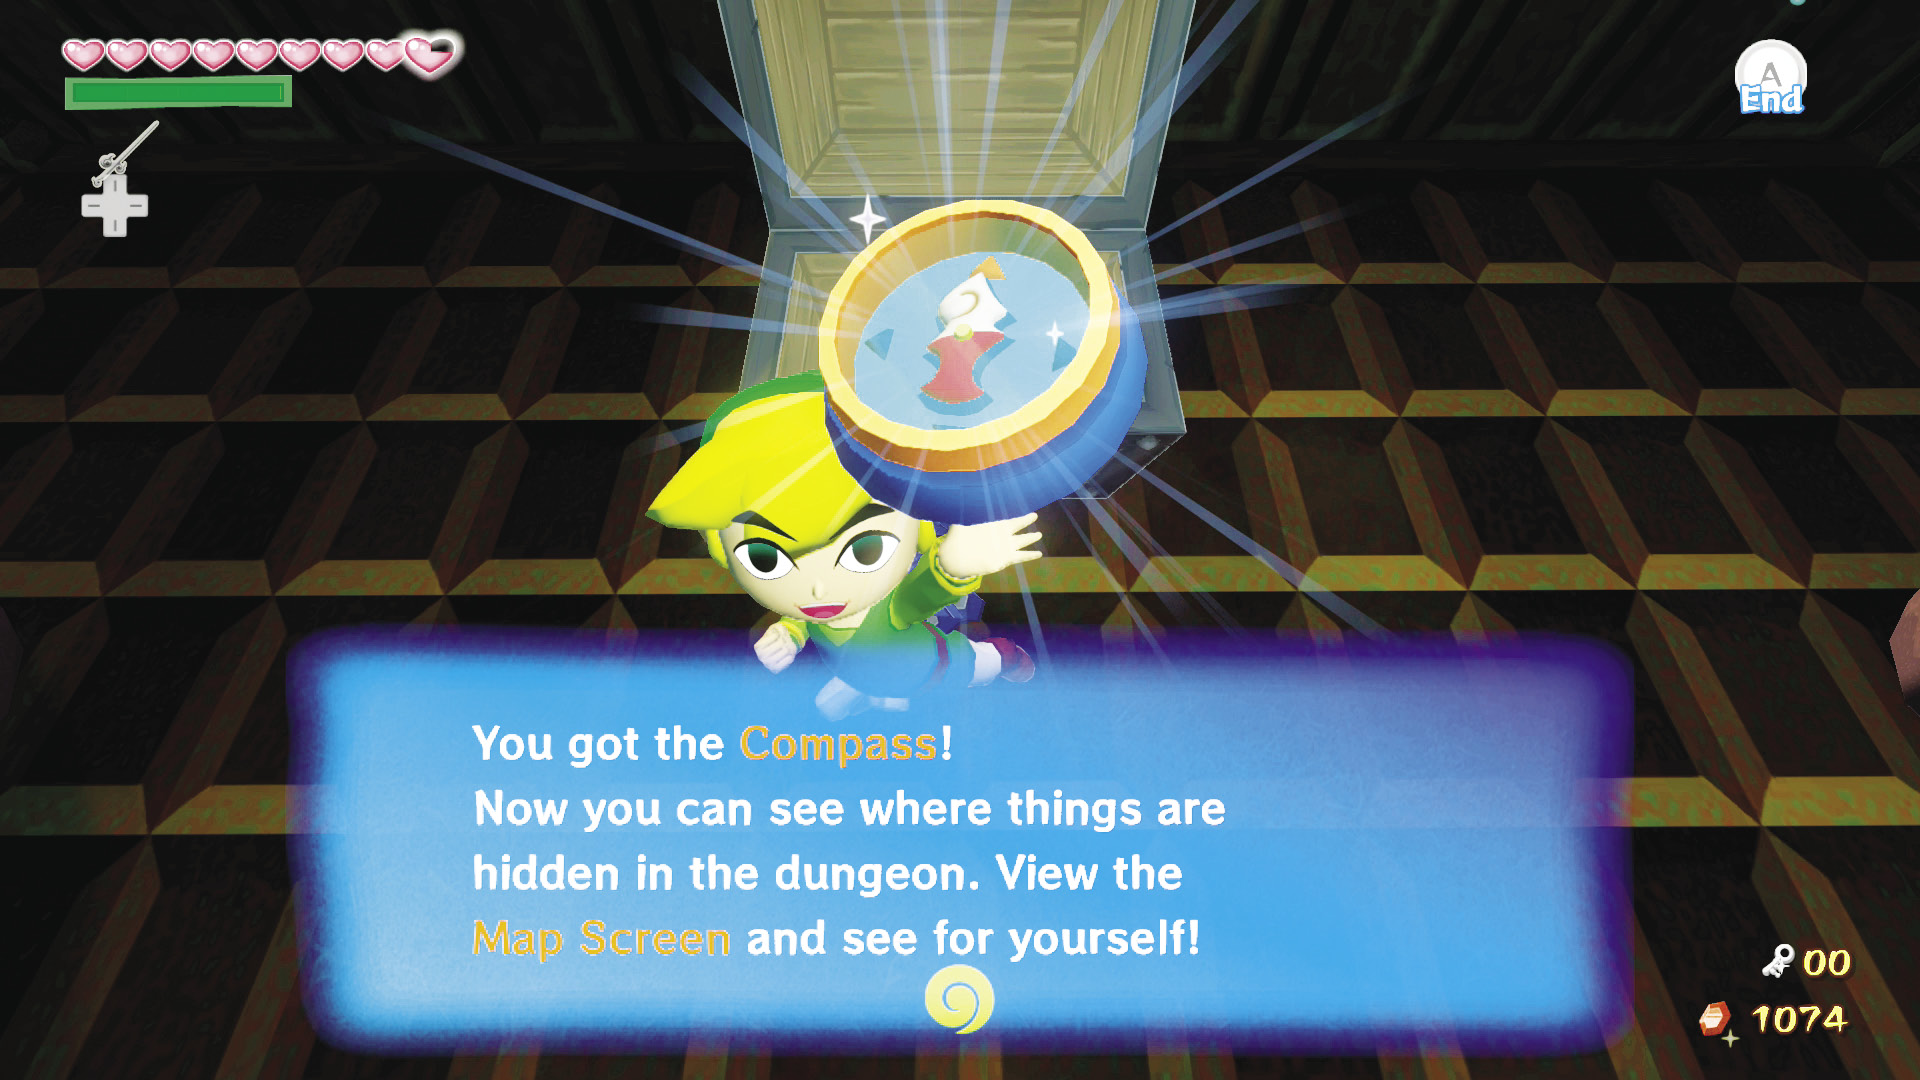
Face west and glide to the alcove ahead. Open the treasure chest to get the Wind Temple’s Compass. Now face east and hop onto the springboard on your right. Spring up to the platform to the alcove’s right, then hook onto the target panel above the platform ahead.
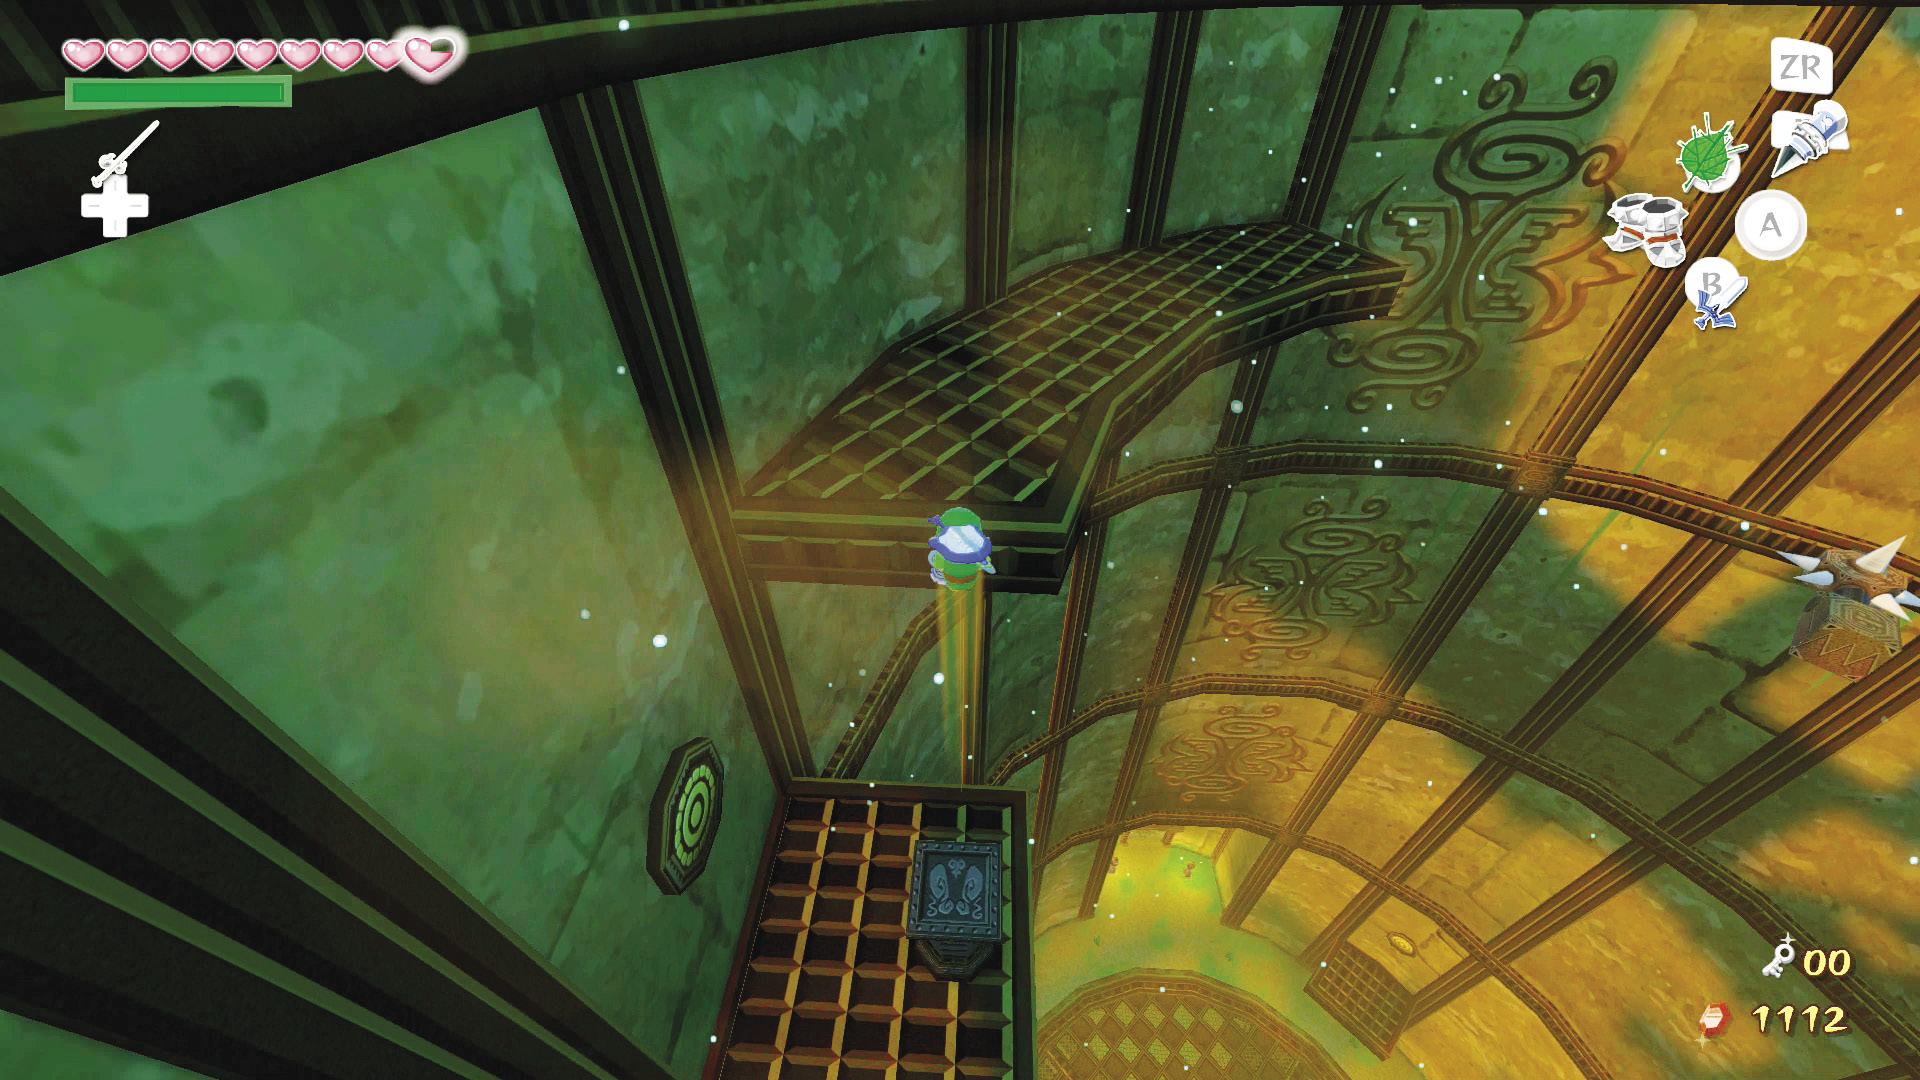
Hook onto the panel above the platform to the right of your platform. Continue up the platforms until you reach the one with the springboard on it. Launch from the springboard onto the platform ahead, then hook onto the target panel on either side of the wall on the room’s north side.
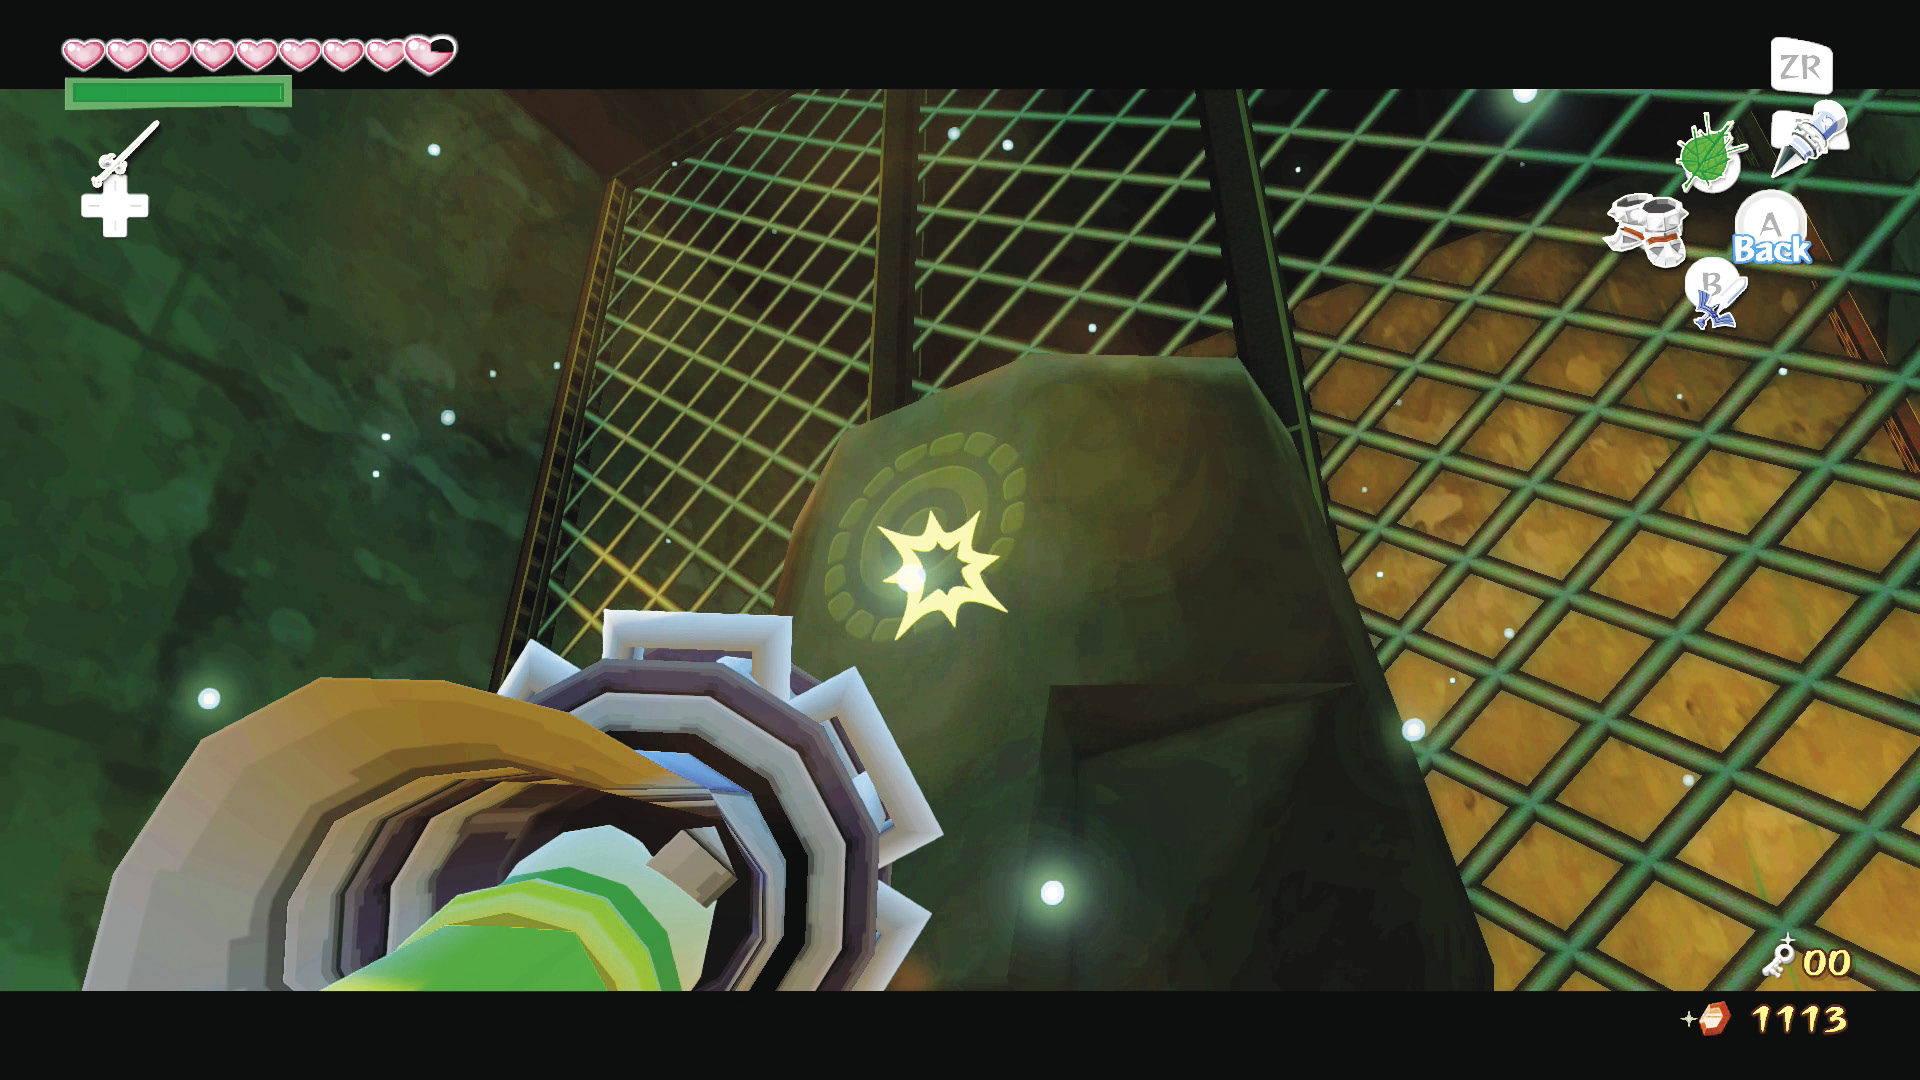
You are now in front of Makar’s cage. Stand a good deal to the left or right of the giant stone face, equip your Iron Boots, and hook the target on the center of the stone face’s forehead to pull it down. Makar is now free! To reward yourself for a job well done, open the treasure chest to obtain another Joy Pendant. What a joyous occasion!
6. Link, Friend of Nature
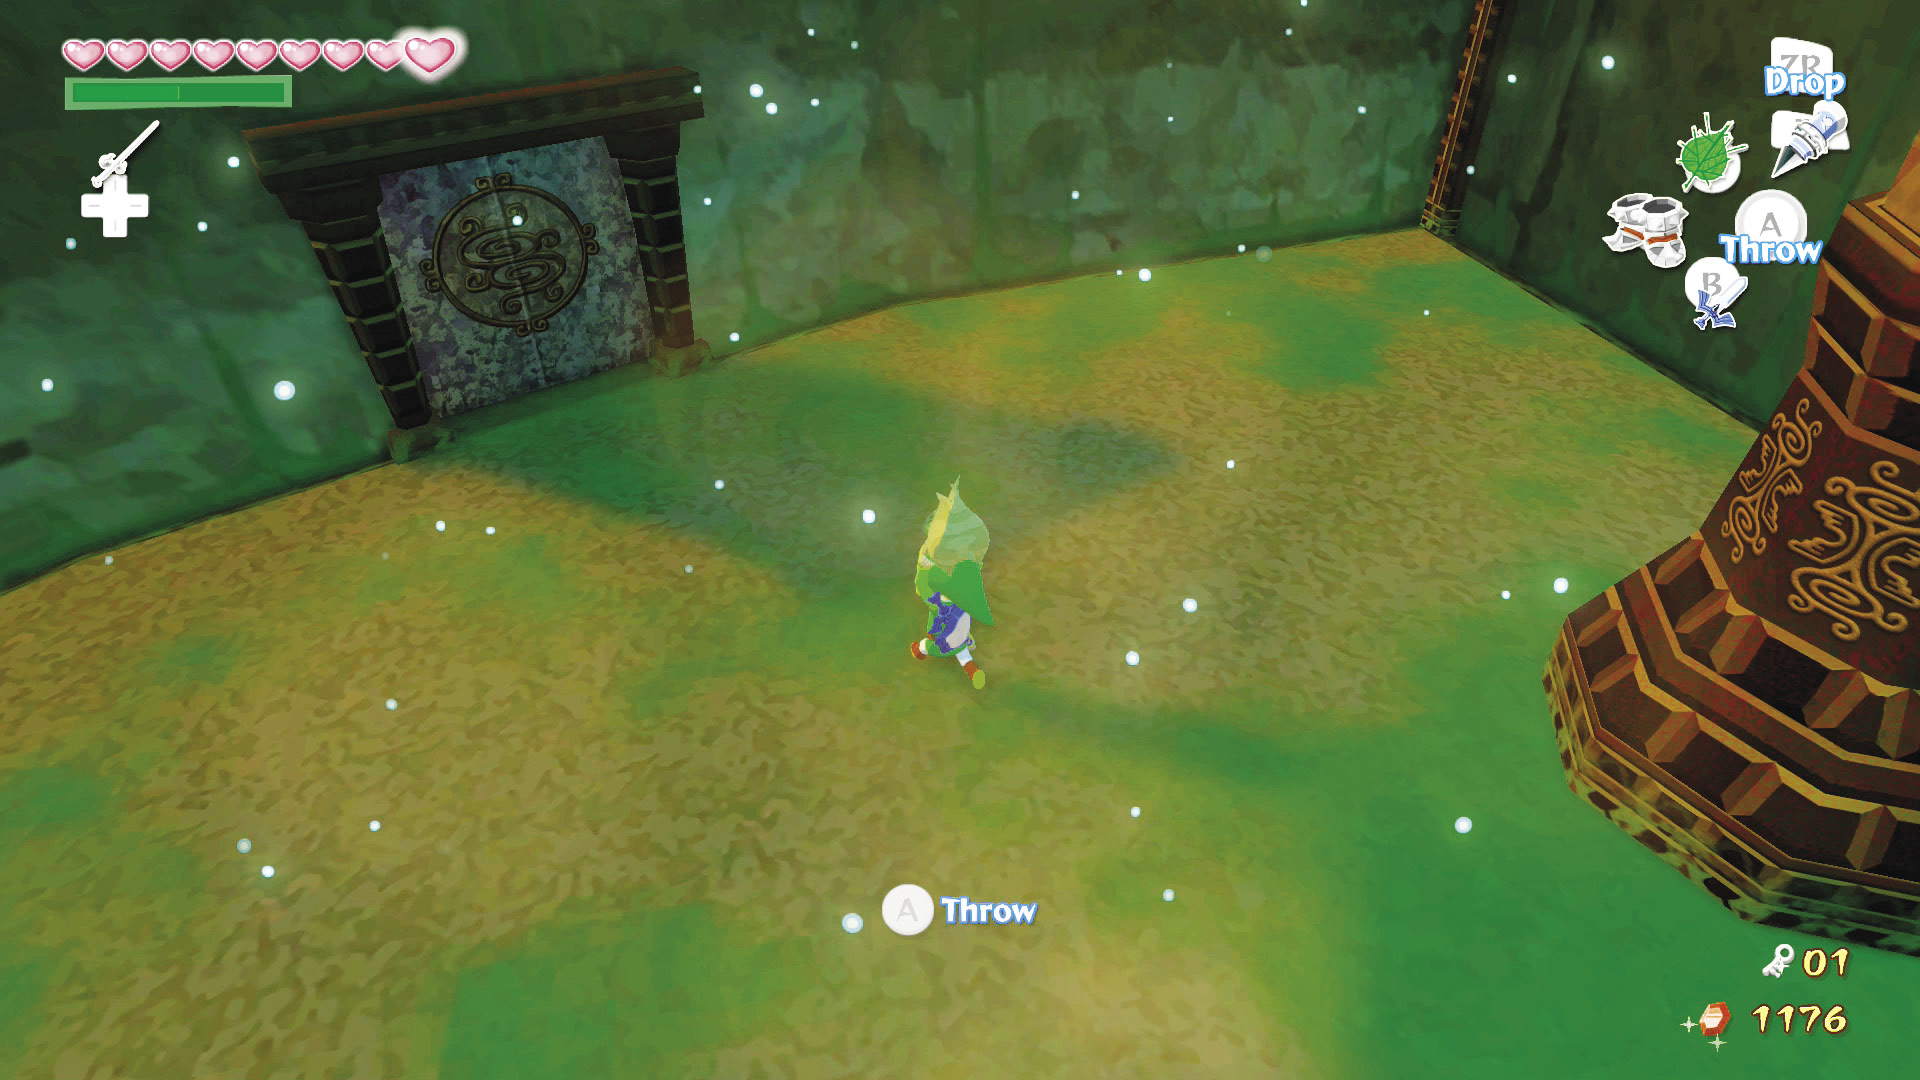
Pick up Makar and drop back onto the long platform just below the level you are standing on. Walk to its western end, put Makar down, and hook onto one of the target panels on either side of the west alcove’s walls. Play the “Command Melody” and guide Makar to you, then release control, pick him up, and carry him through the door.
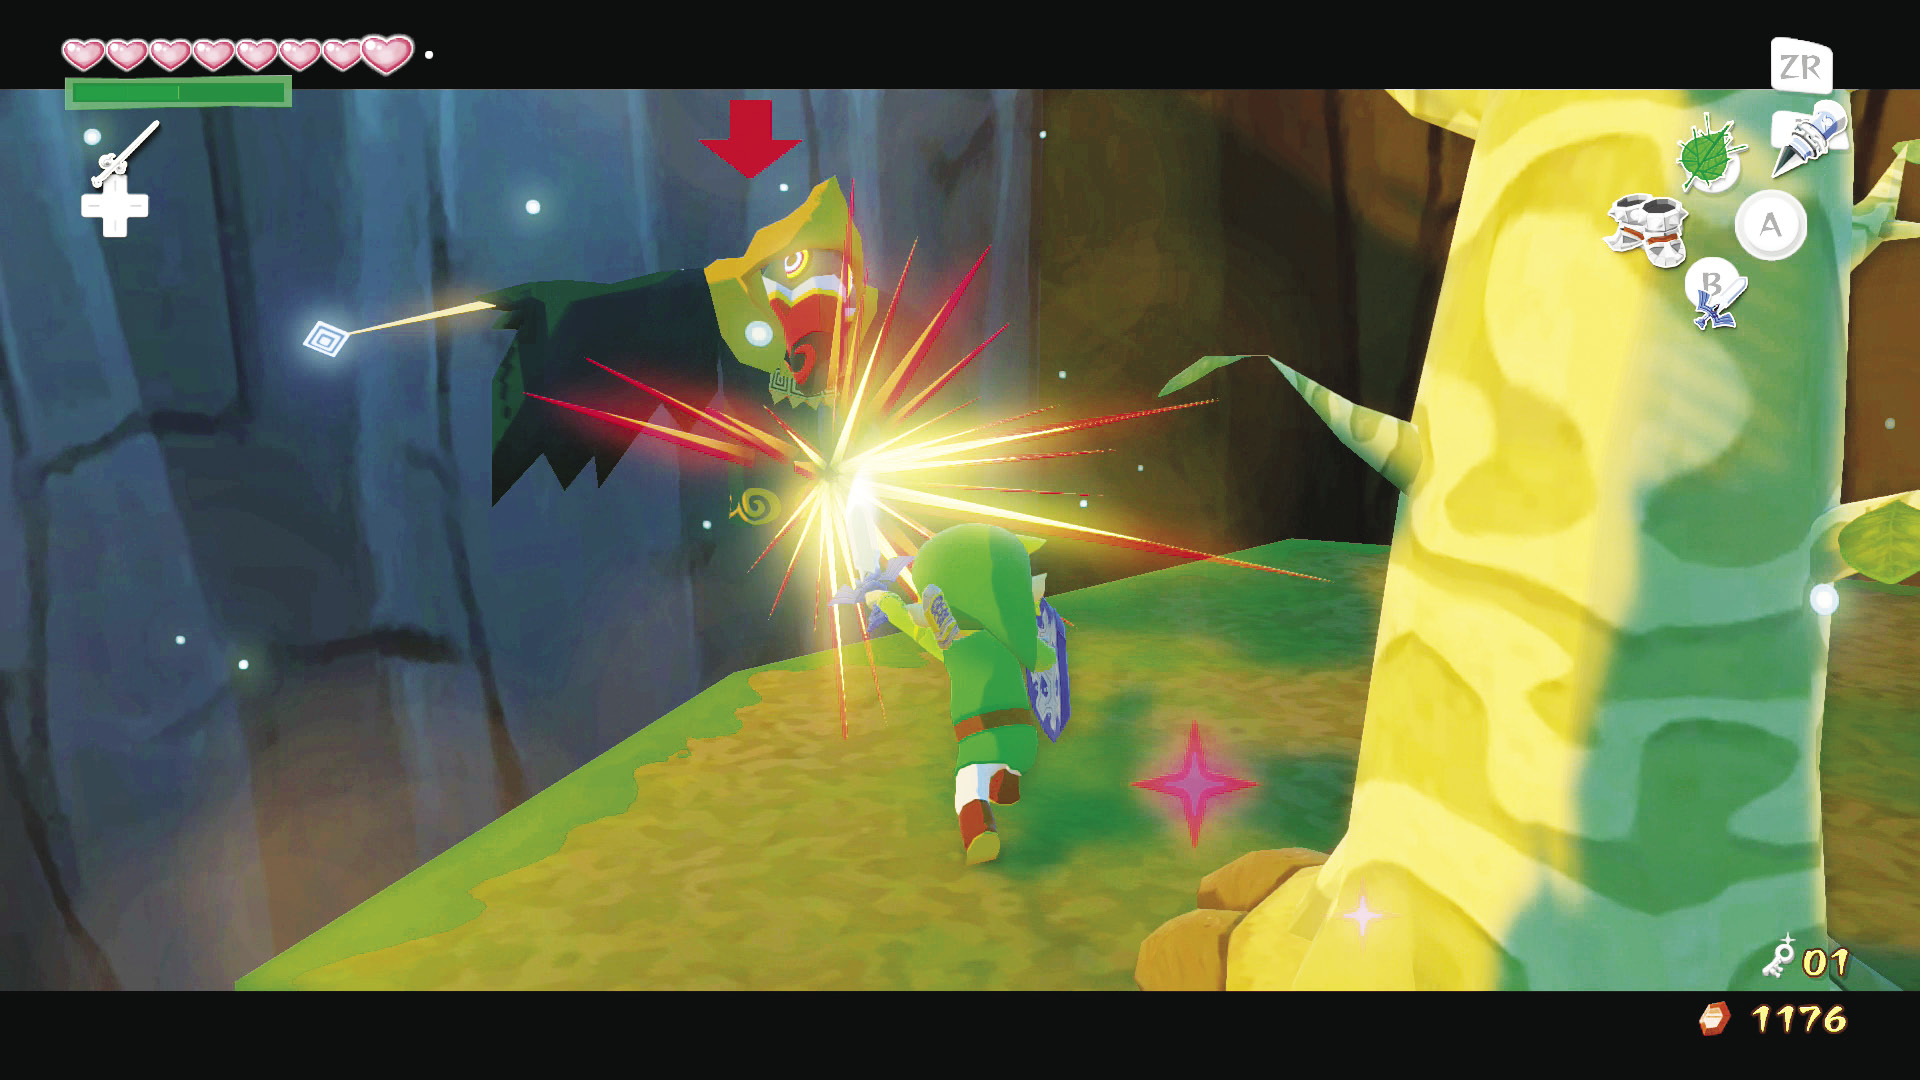
You are now back in the room where Makar was captured by Floor Masters. There is now a Summoning Wizzrobe roaming around the room, so be quick about dispatching it if you don’t want to deal with the monsters it summons.
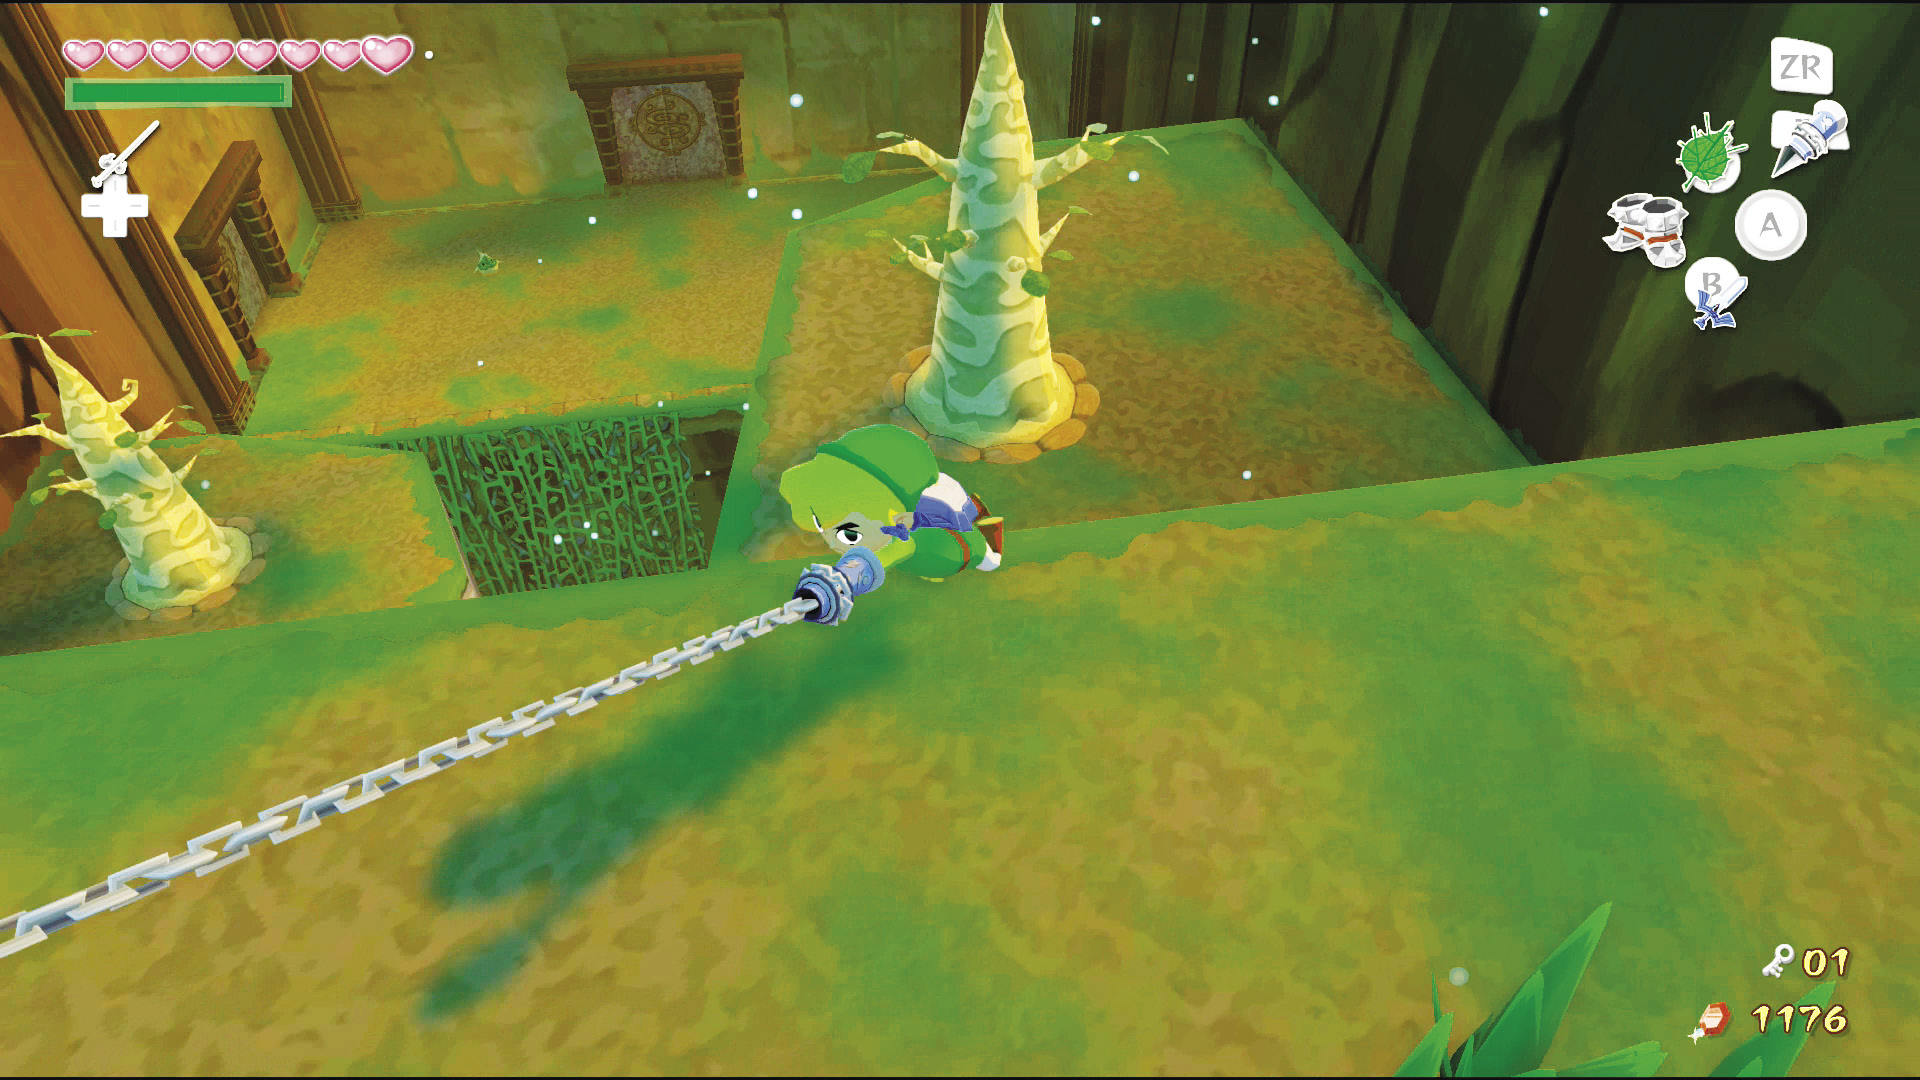
Once you’ve cleared the area of enemies, hook onto each of the trees that Makar planted to reach the room’s upper level. When you reach the top, play the “Command Melody” and guide Makar up to you. It’s a pretty good idea to have Makar land on each of the tree-bearing landings to avoid having him run out of stamina and falling to the lower levels of the room.
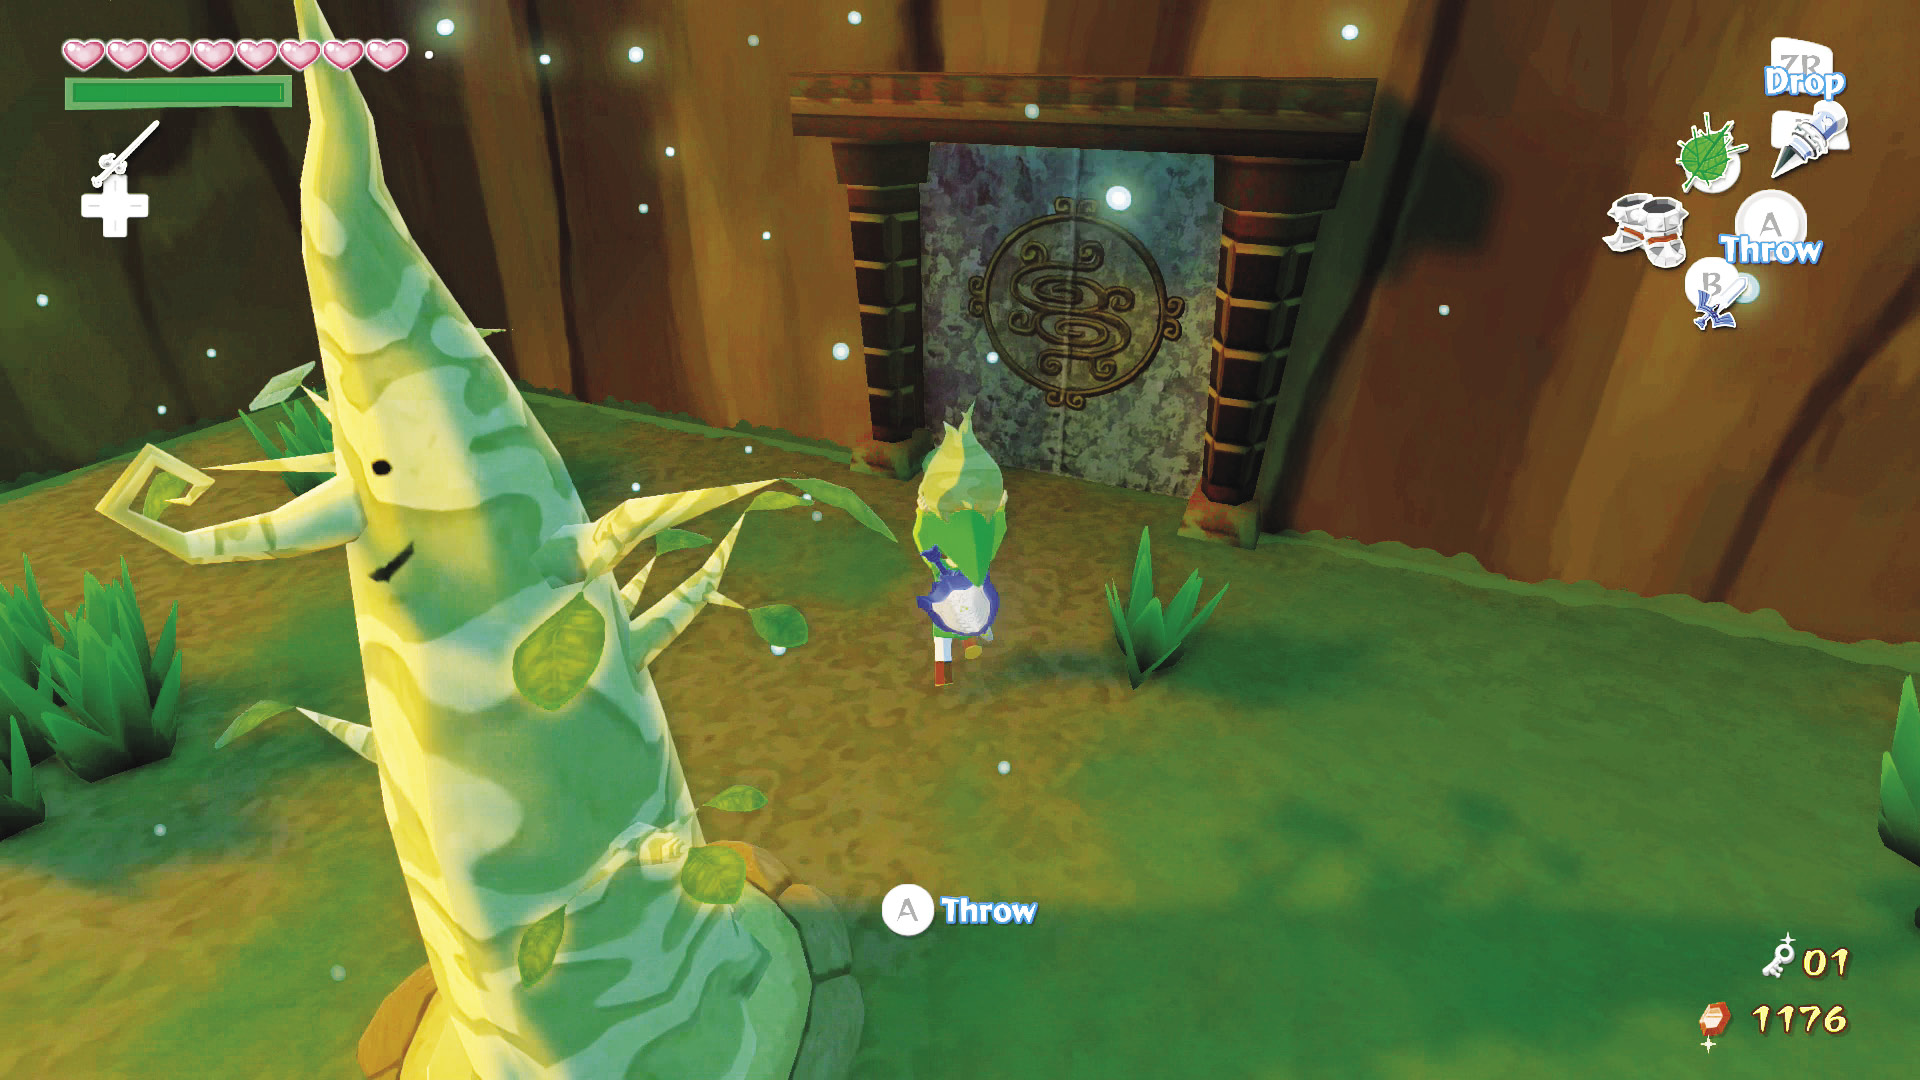
Once Makar has joined Link, pick him up and head through the door.
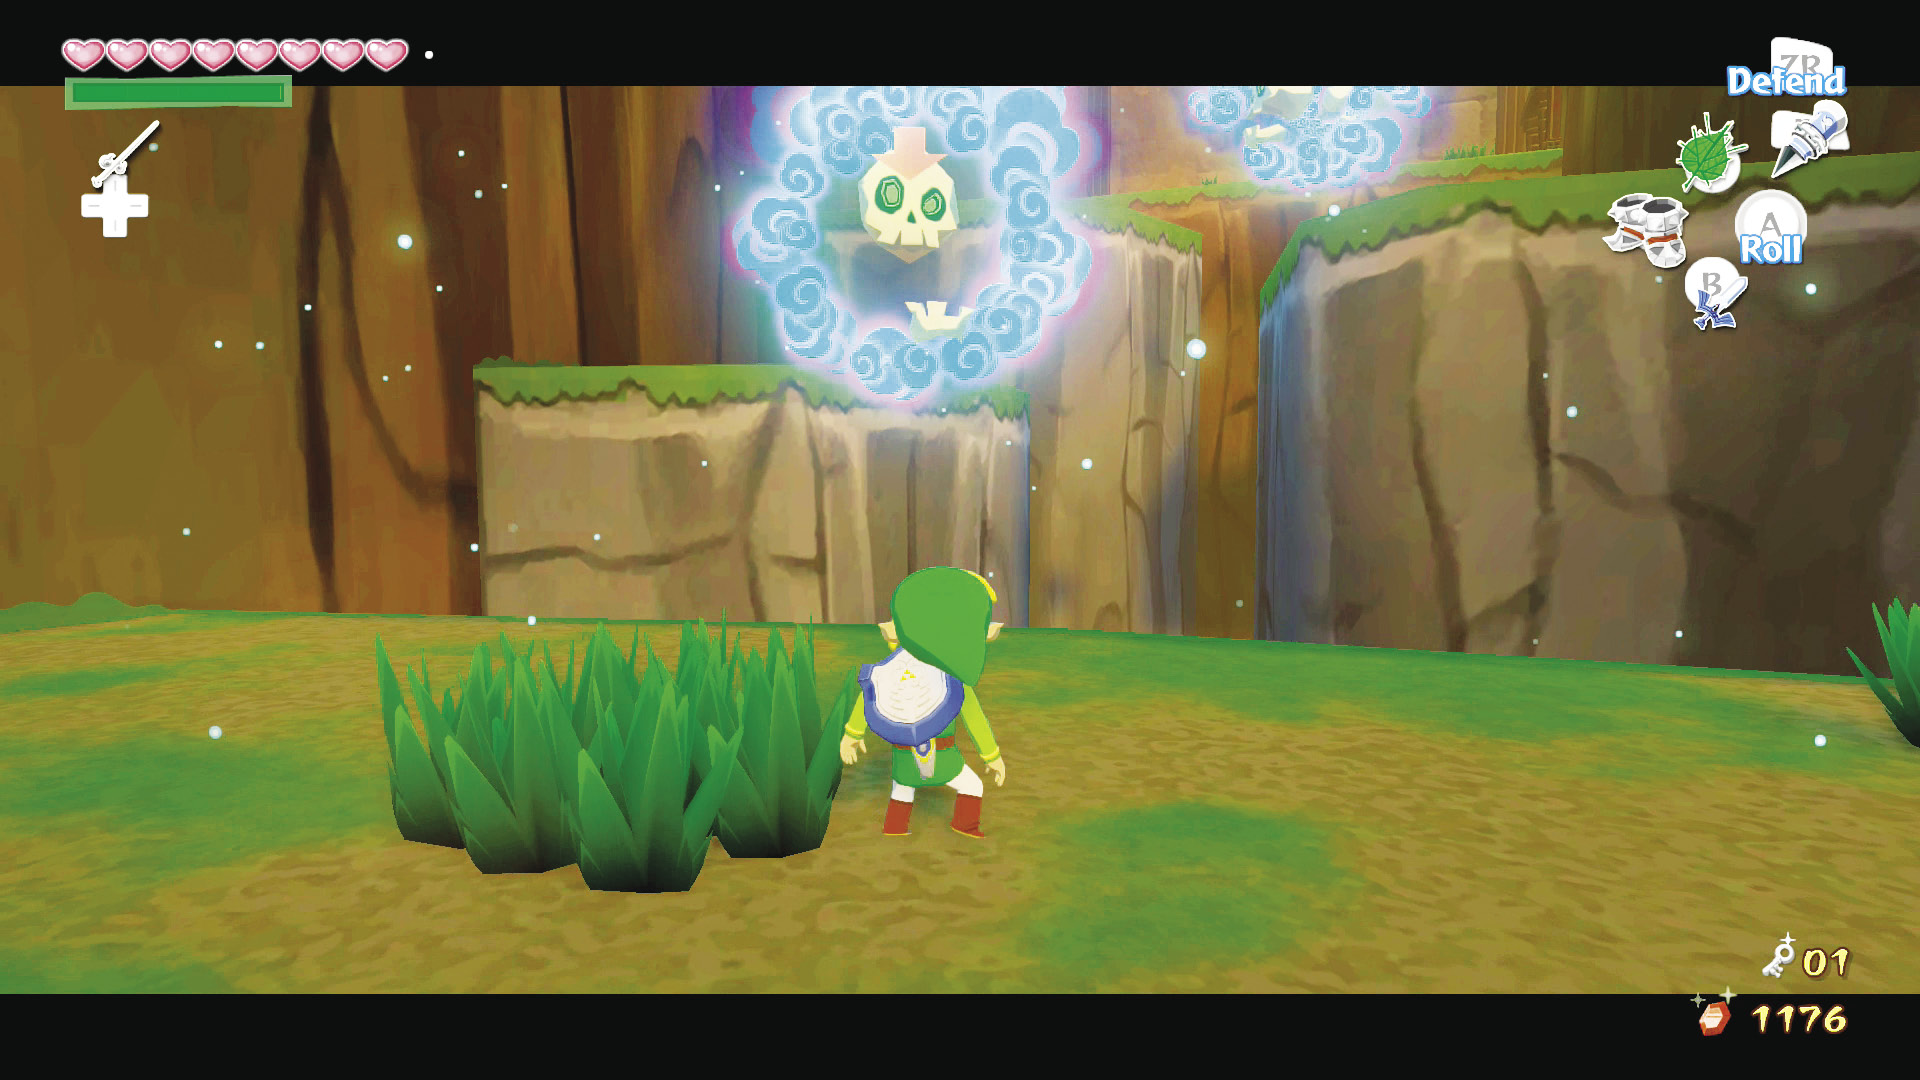
This room is nearly identical to the previous one, except there are Blue Bubbles floating about. We both know exactly how irritating those blasted blue skulls can be, but luckily you won’t have too much trouble dealing with them now that you have the Hookshot. Just  -Target and use your Hookshot to draw each Blue Bubble toward you. This will remove their paralyzing blue fog and make them little more than simple skulls.
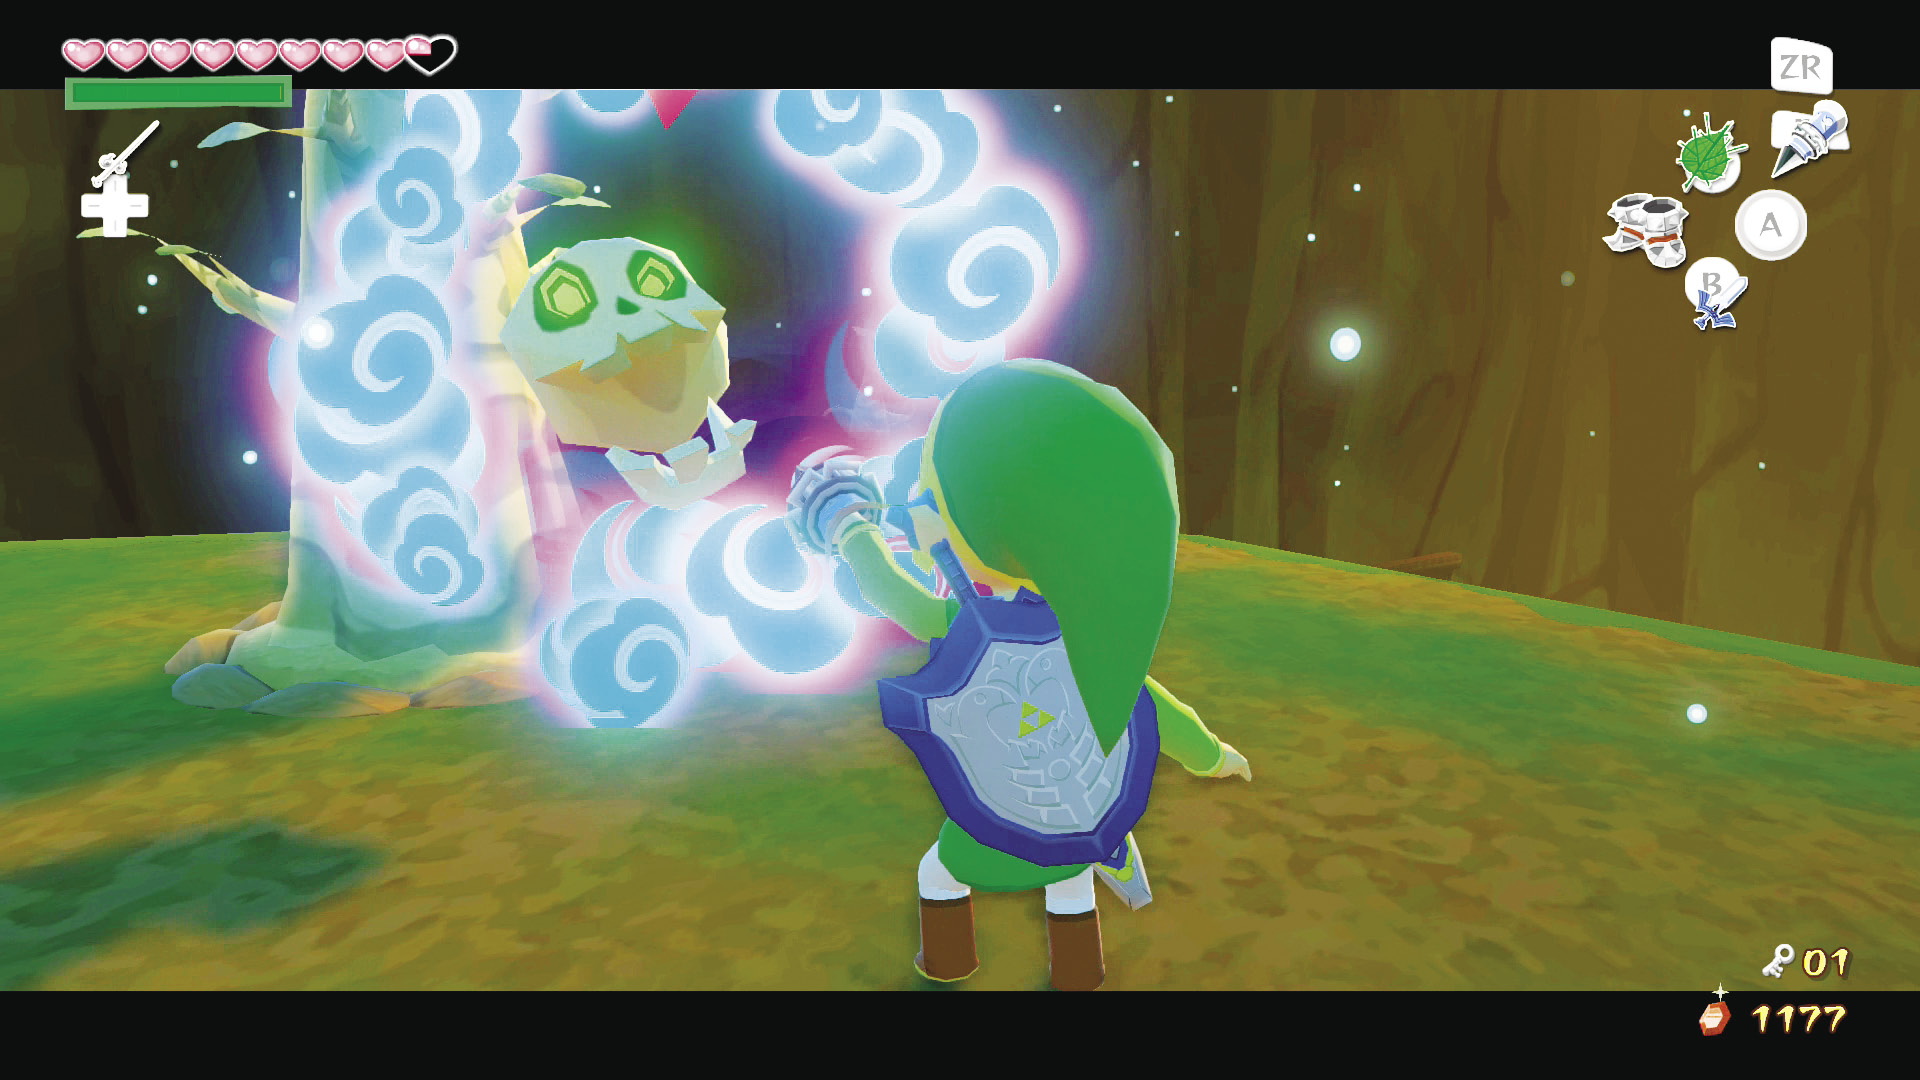
You’ll need to plant seeds and create trees in order to get Link to the upper levels of the room’s east side. This will be a bit trickier due to the Blue Bubbles. The easiest way to tackle the room is to leap-frog up the platforms with Makar. Have Makar carefully fly up to the first plateau and plant a seed in the dirt mound to sprout a tree. Now have Link Hookshot the tree, then defeat the nearby Blue Bubble. Repeat this process until you are on the plateau just before the top of the room’s east side.
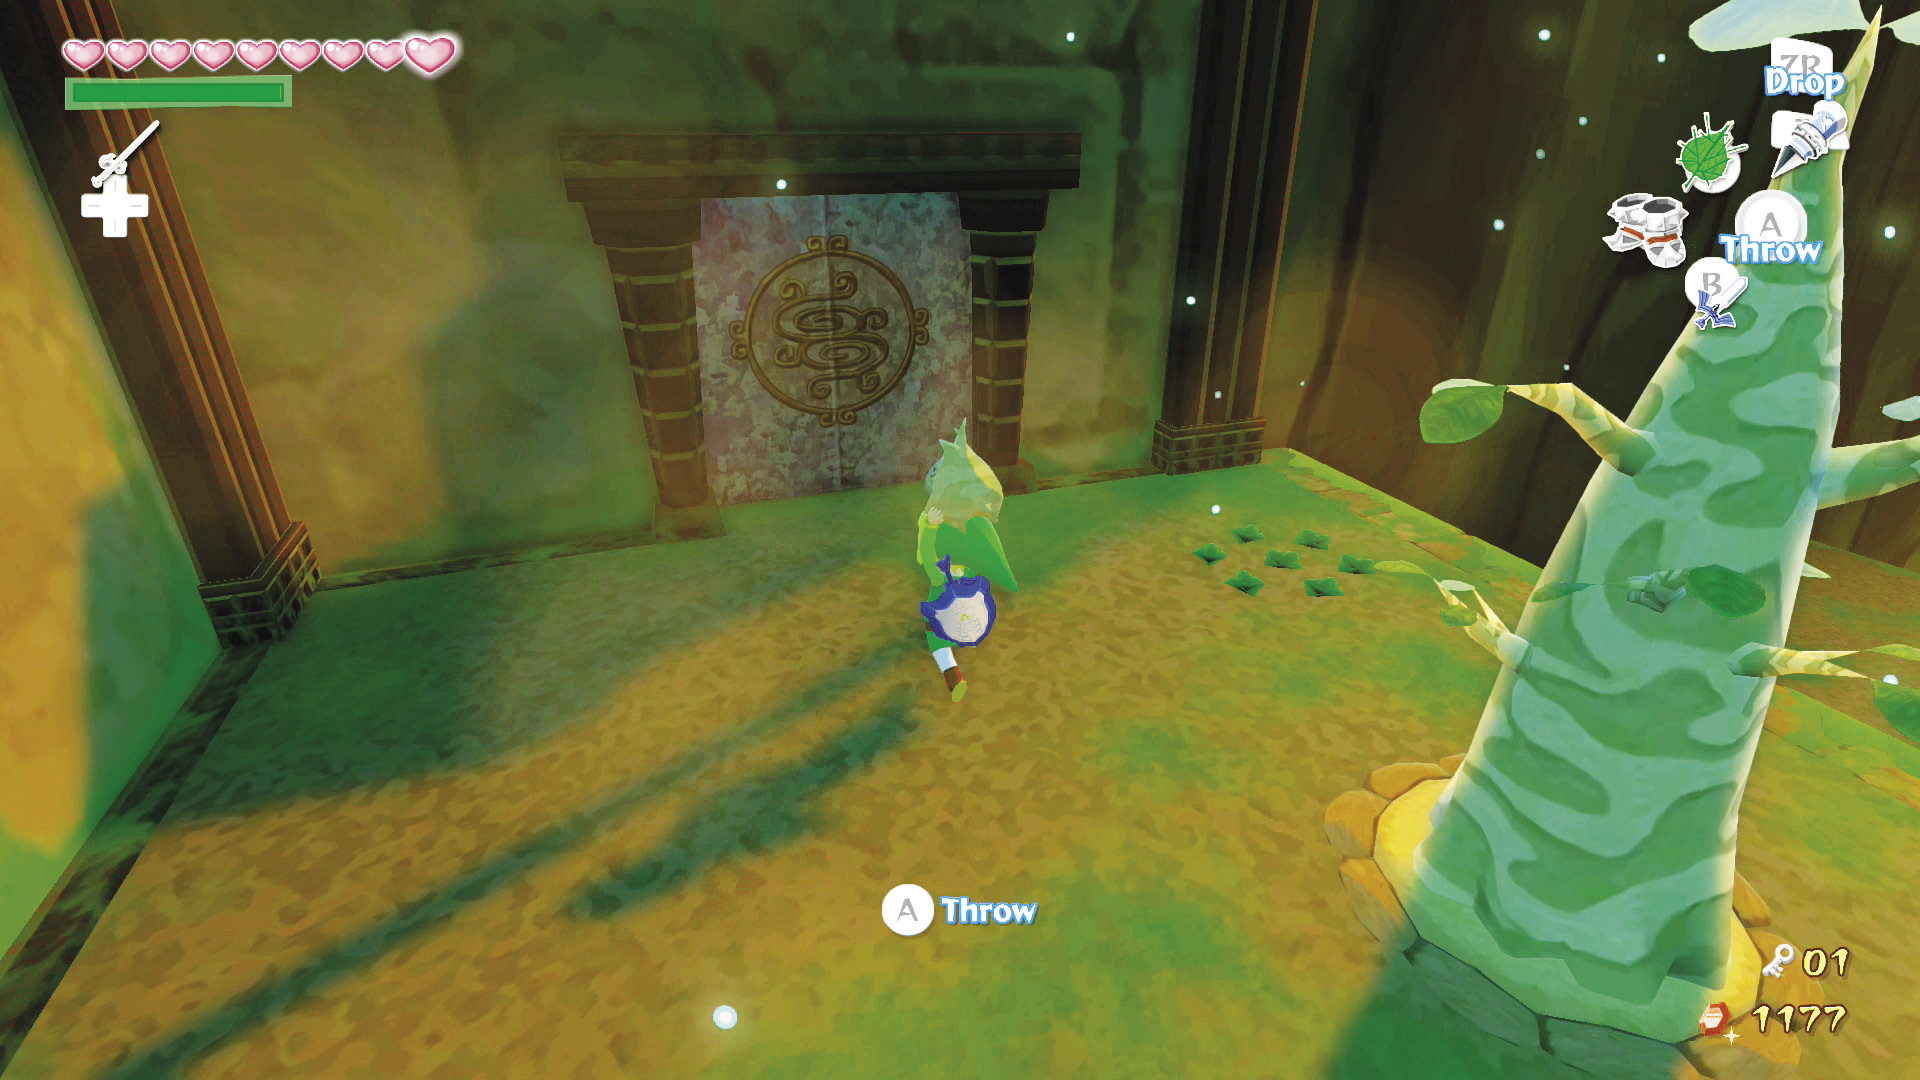
Very carefully fly Makar up to the dirt mound at the top of the room’s east side, then move him to the southeast corner, near the door, to avoid getting nabbed by the Floor Master on the platform’s northeast corner. As Link, Hookshot the newly planted tree, defeat or ignore the Floor Master, pick up Makar, and head through the door.
Second Floor
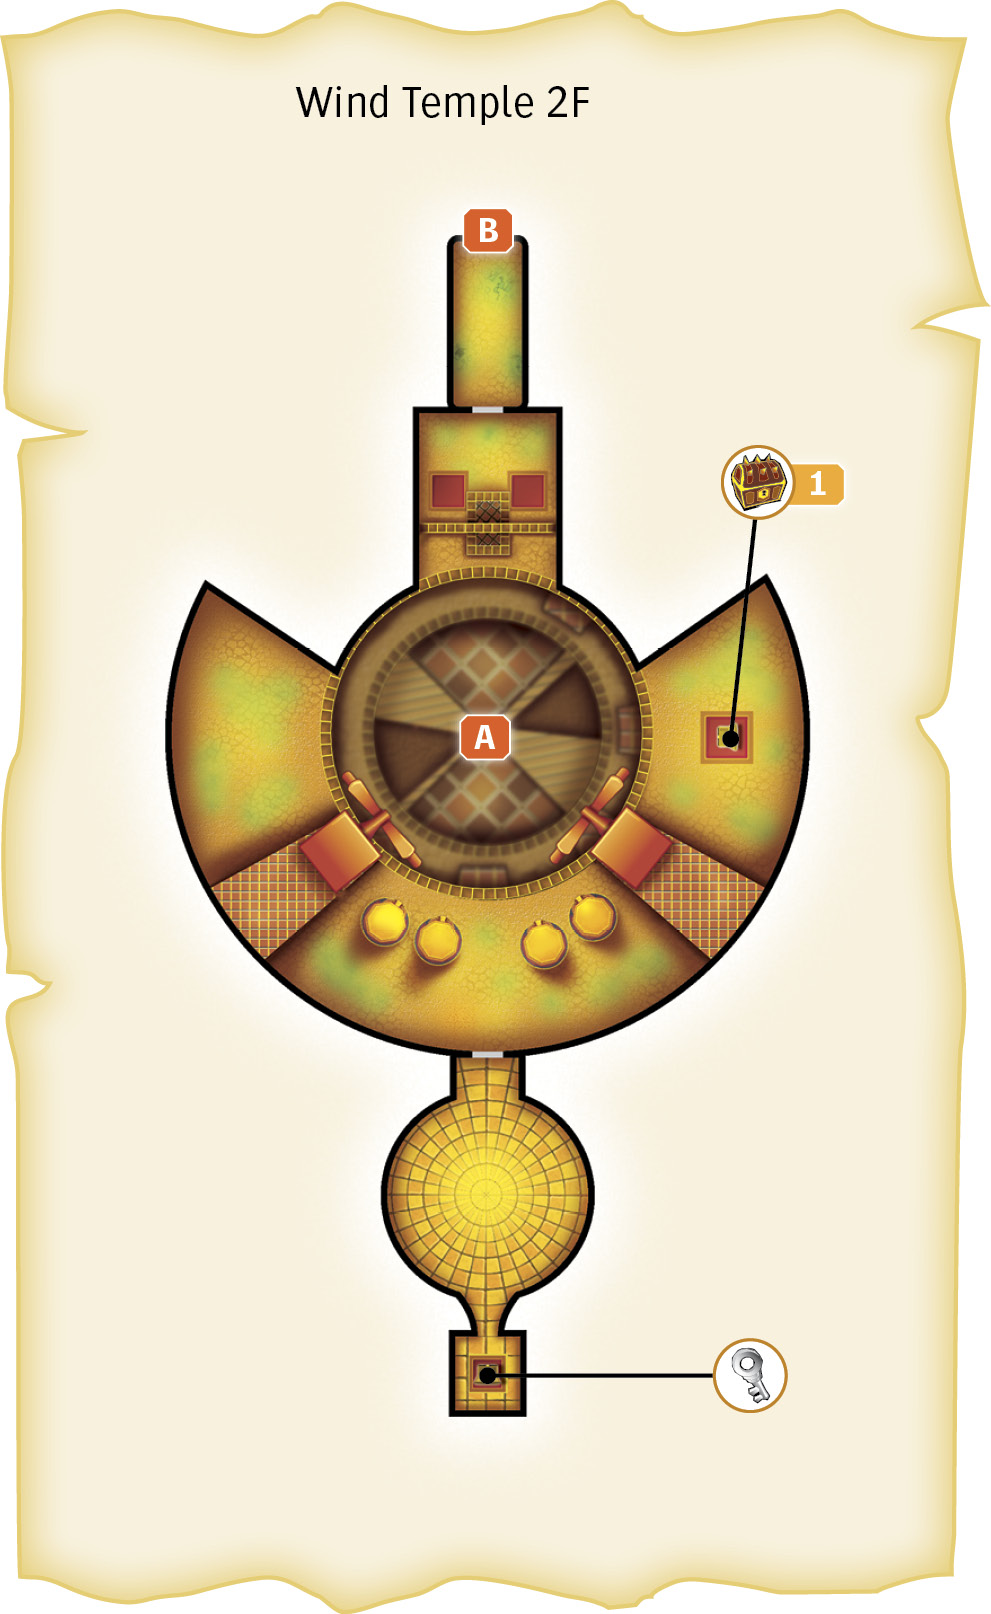
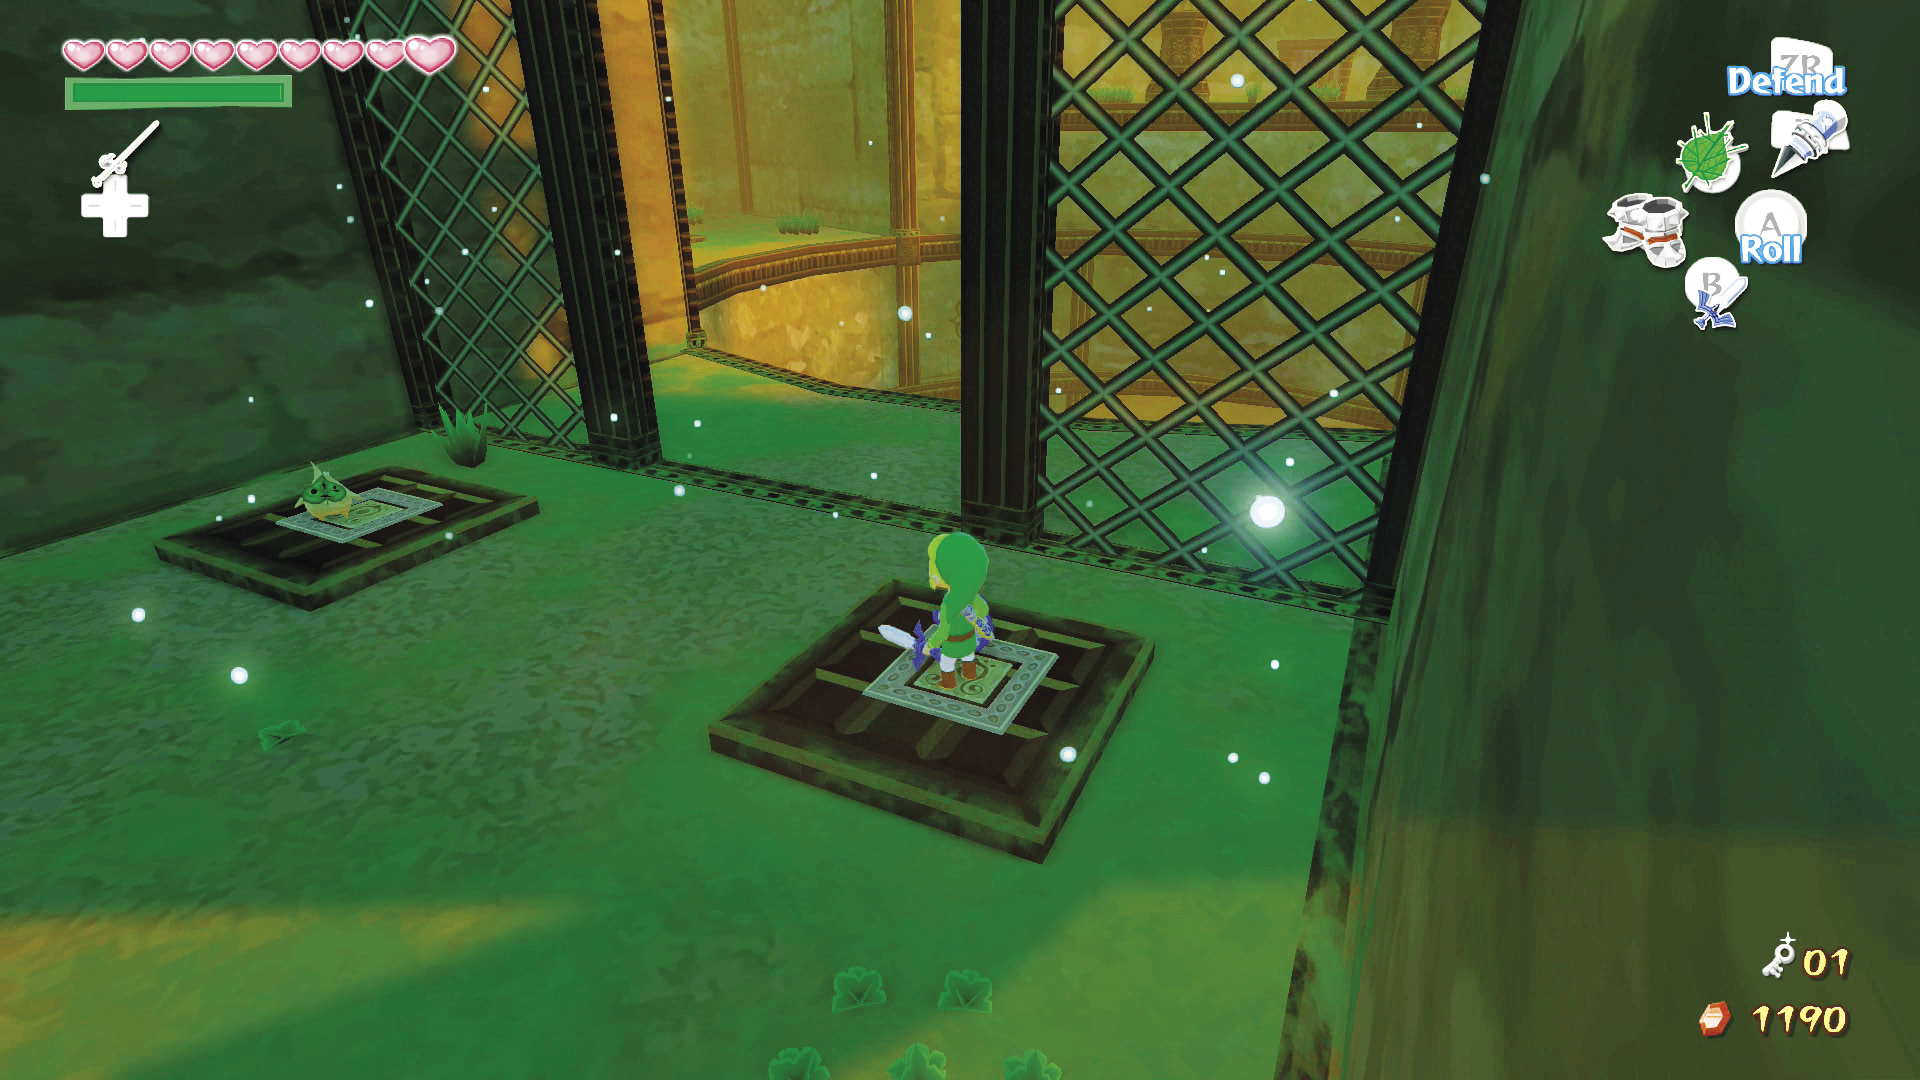
Place Makar on one of the constant pressure switches and then stand on the other one to open the grate covering a giant fan in the dungeon’s basement floor.
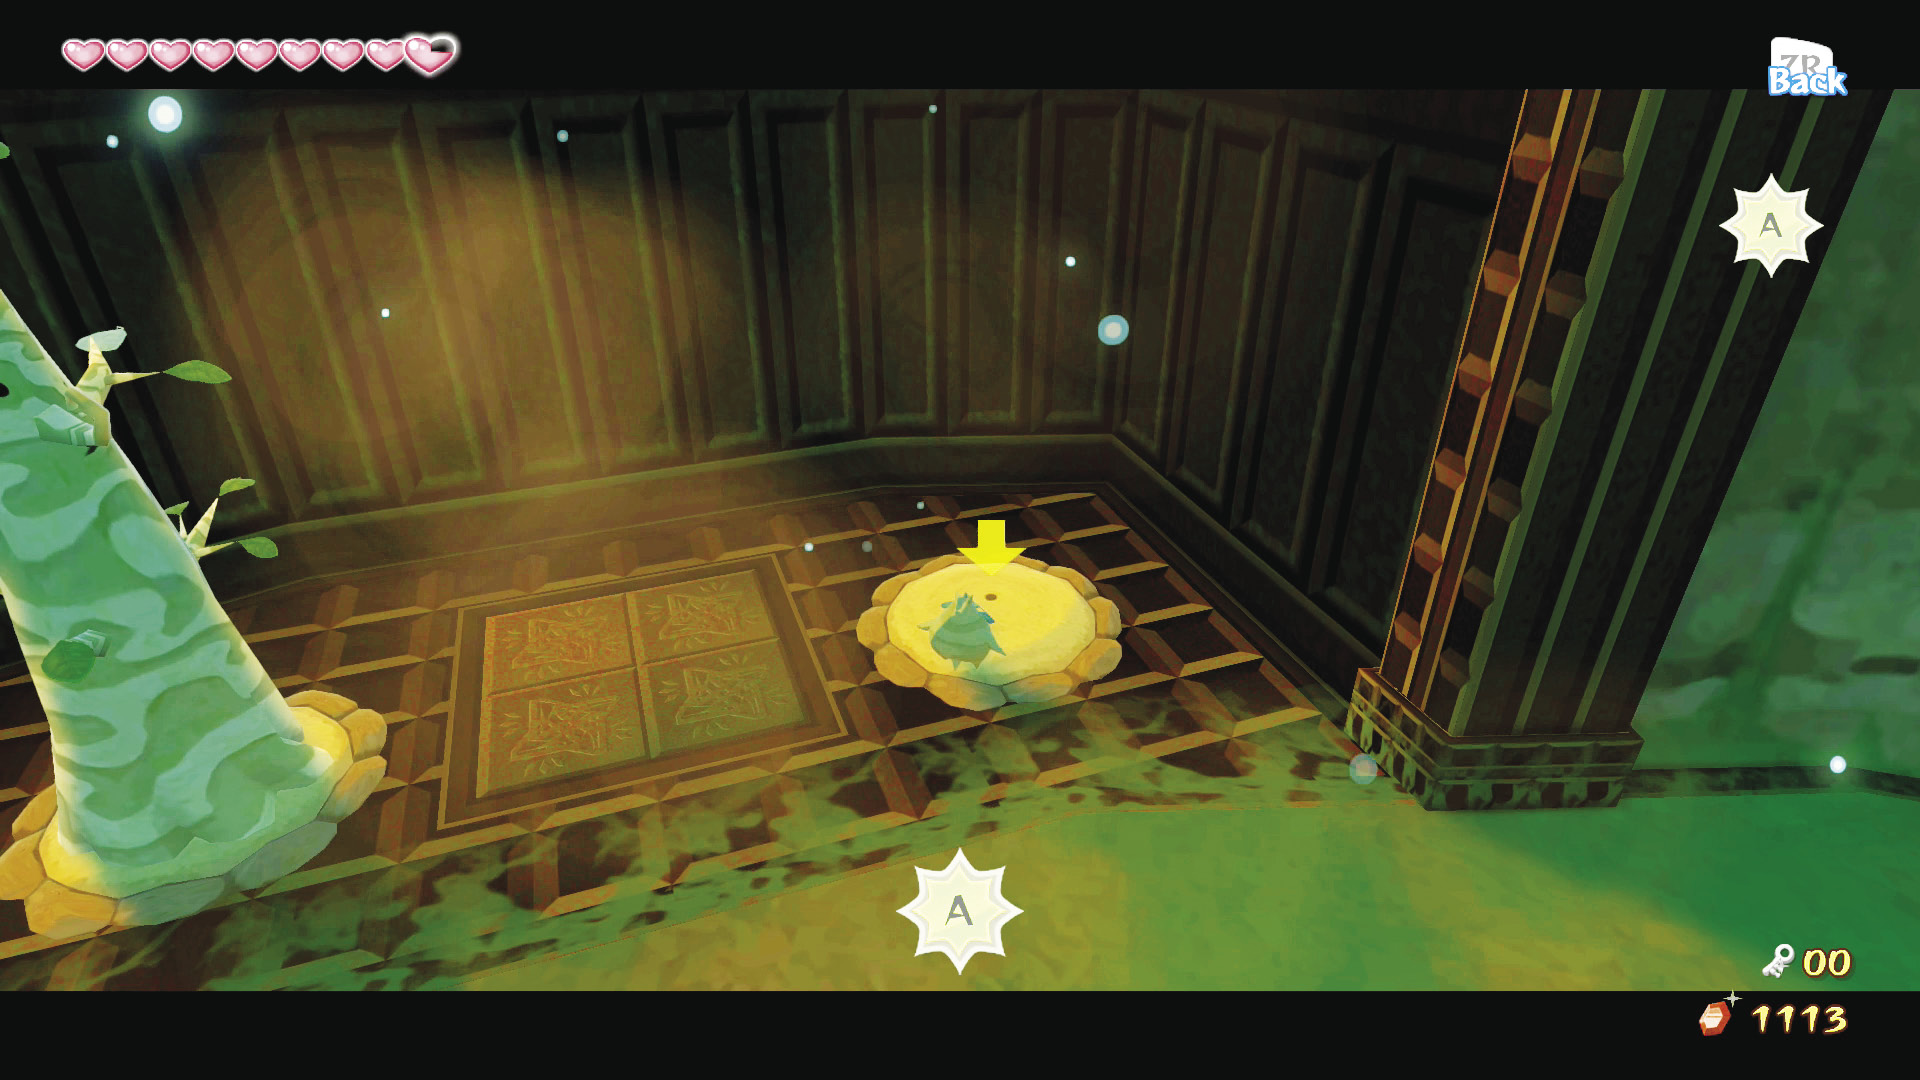
Take control of Makar and head down to the dungeon’s basement floor. Plant seeds in the two dirt mounds in the western alcove to active the gigantic fan in the center of the room. Fly Makar into the fan’s wind vortex and set him down on the east side of the second floor.
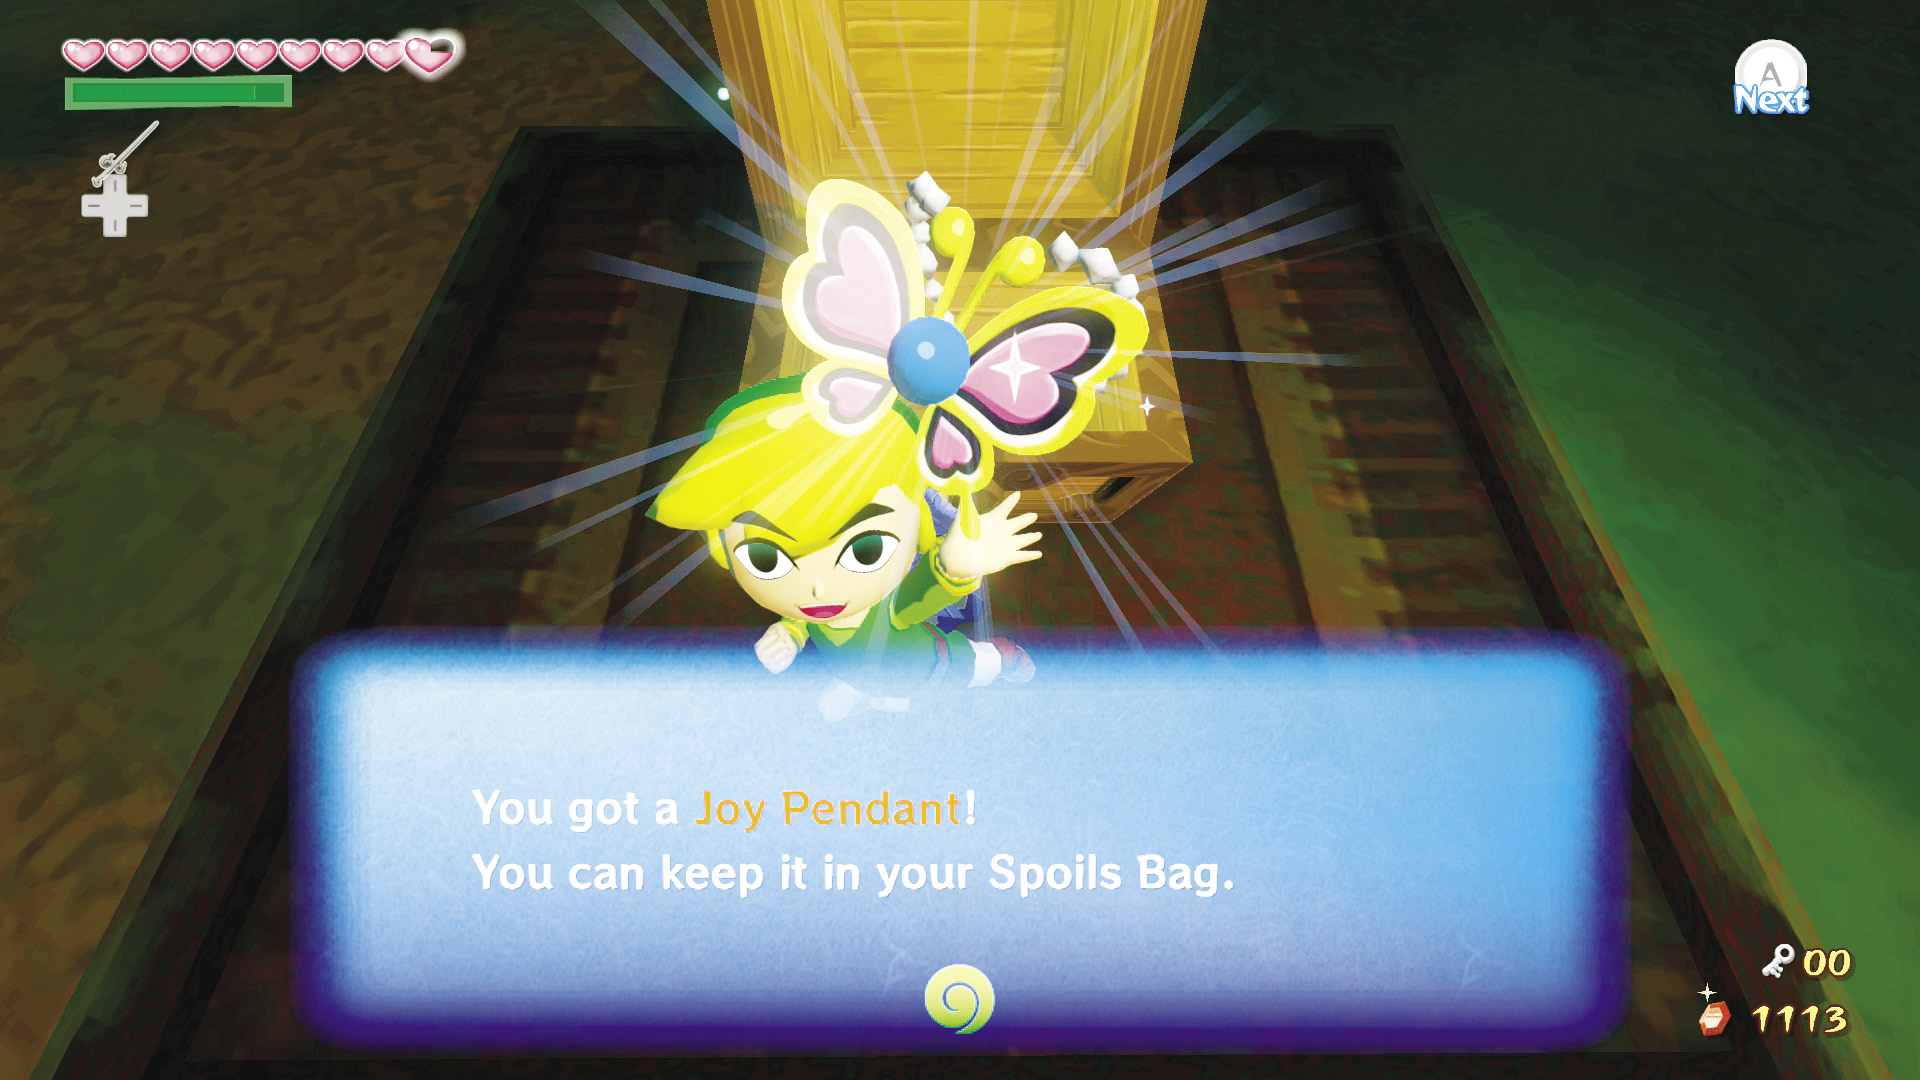
Release control of Makar, then glide Link over to the east side where Makar is currently stationed. Open the treasure chest to get a Joy Pendant.
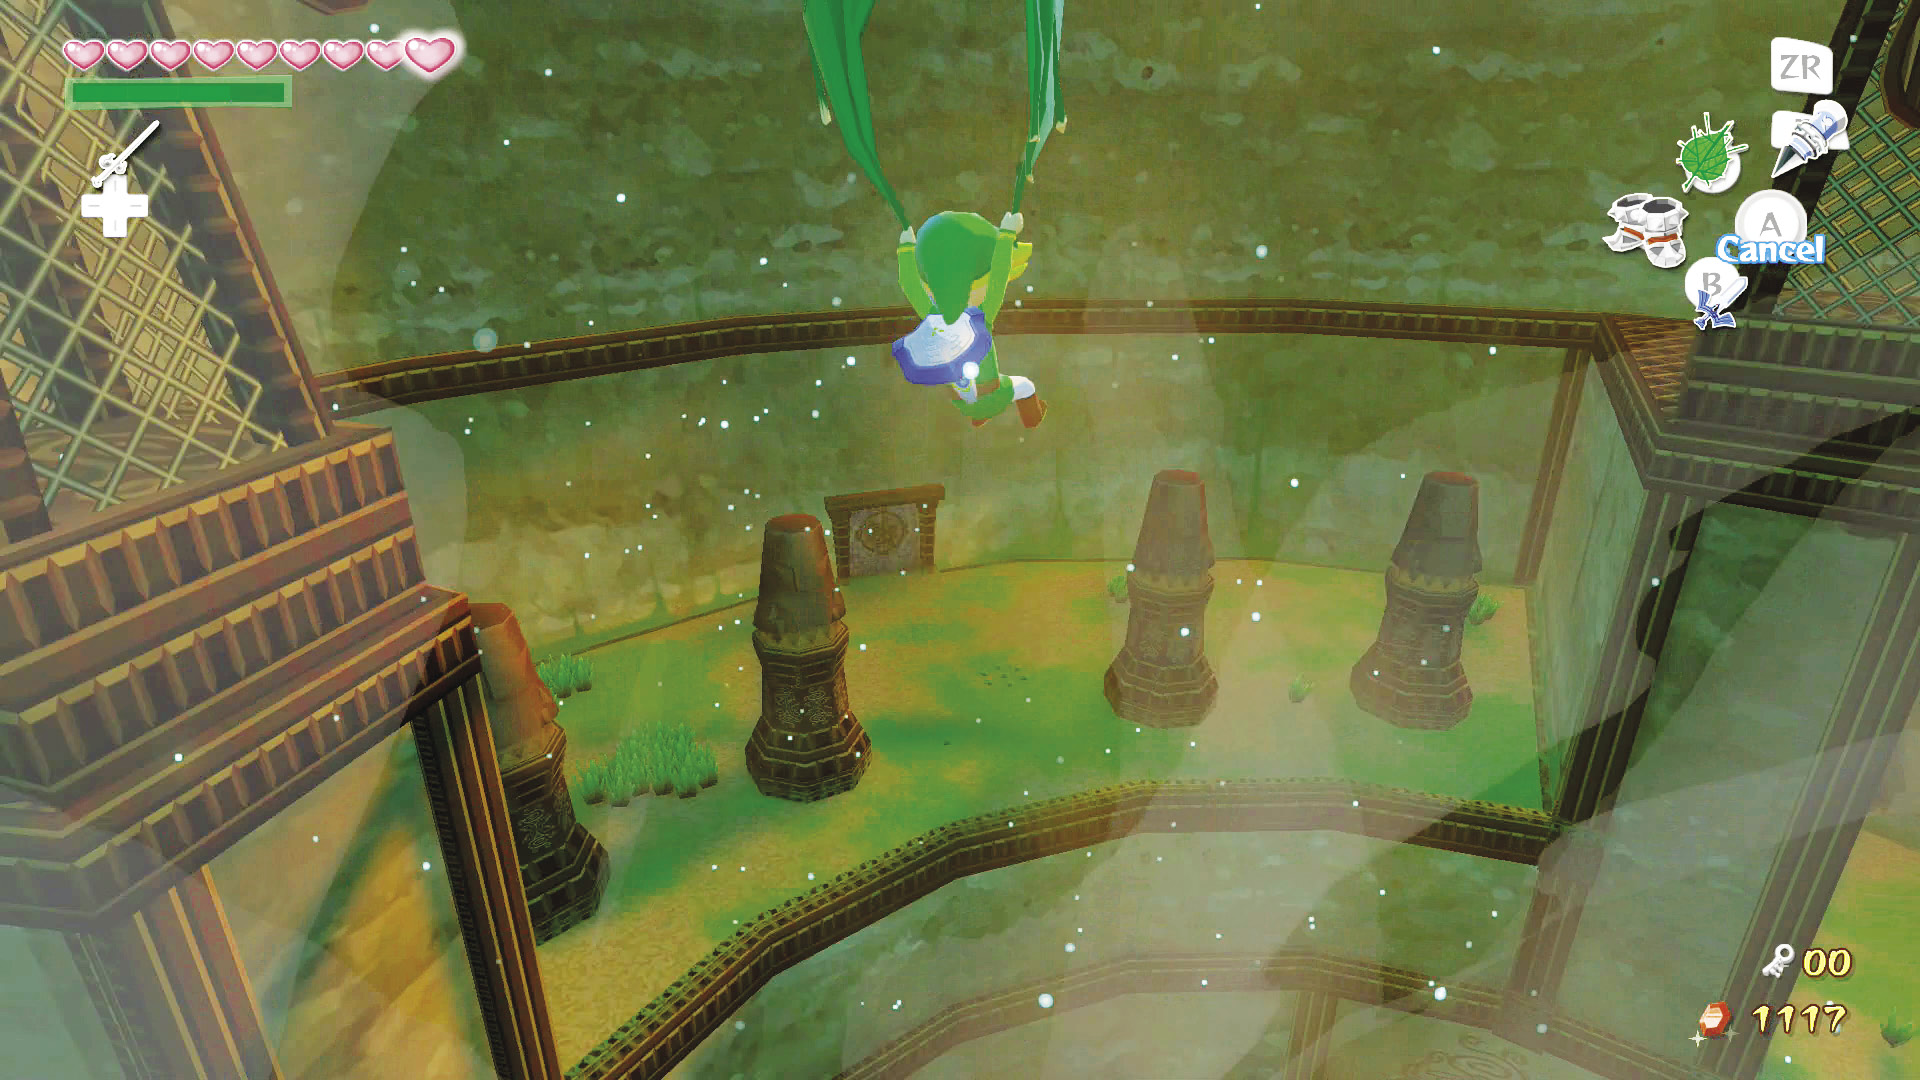
Leave Makar, then use the wind vortex to glide to the south side of the second floor and head through the door.
7. A Whole Lot of Armos
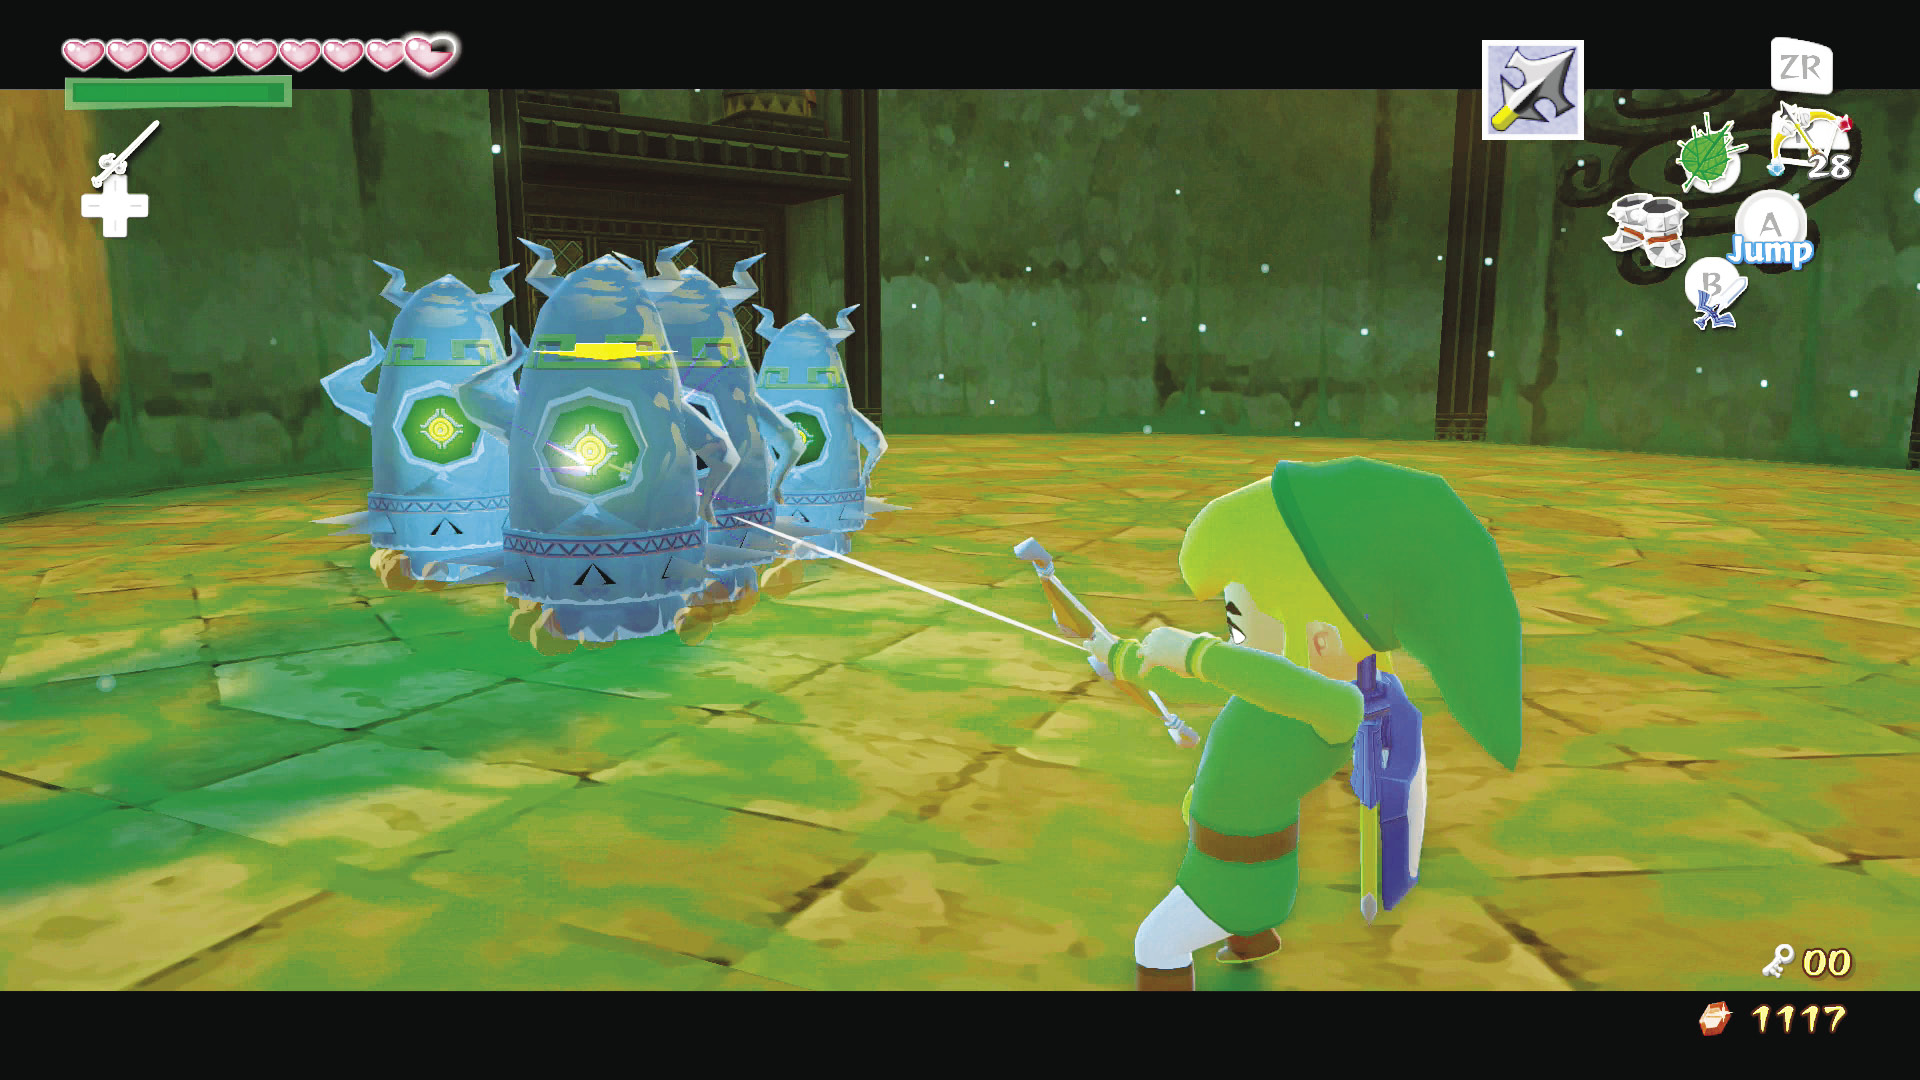
This room requires a good bit of quick thinking. There are seven Armos in the center of the room, four of which will activate the second after you enter. Try and circle the room to activate the other Armos and have them group together. A single arrow from your Hero’s Bow can hit several Armos at once, so with the Armos all bunched together, you should have little issue shutting a good deal of them down with a well-placed arrow.
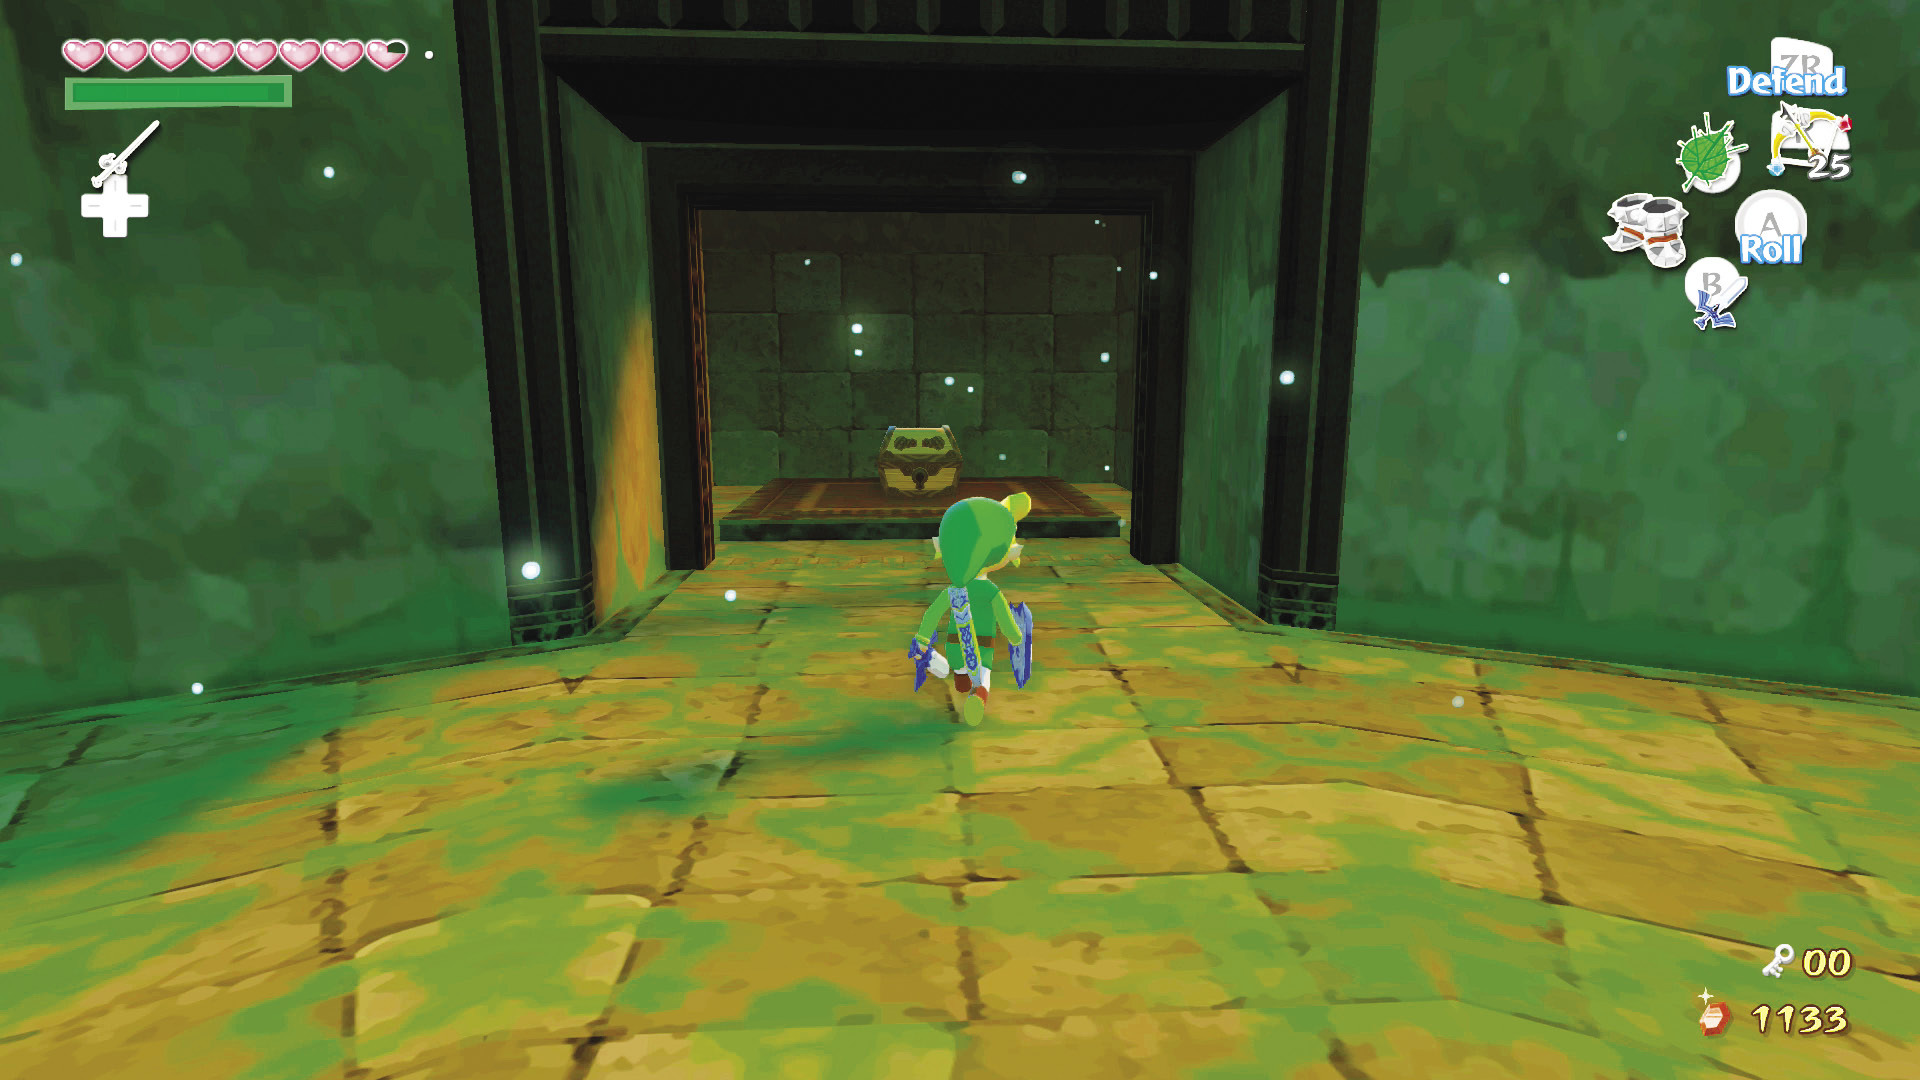
Destroy their red core gems, then get your distance so you don’t get caught in the onslaught of their chaotic spinning. After defeating all of the Armos, the gate on the room’s south side will lift, giving you access to the treasure chest behind it. Open the chest to obtain a Small Key, then head out of the room.
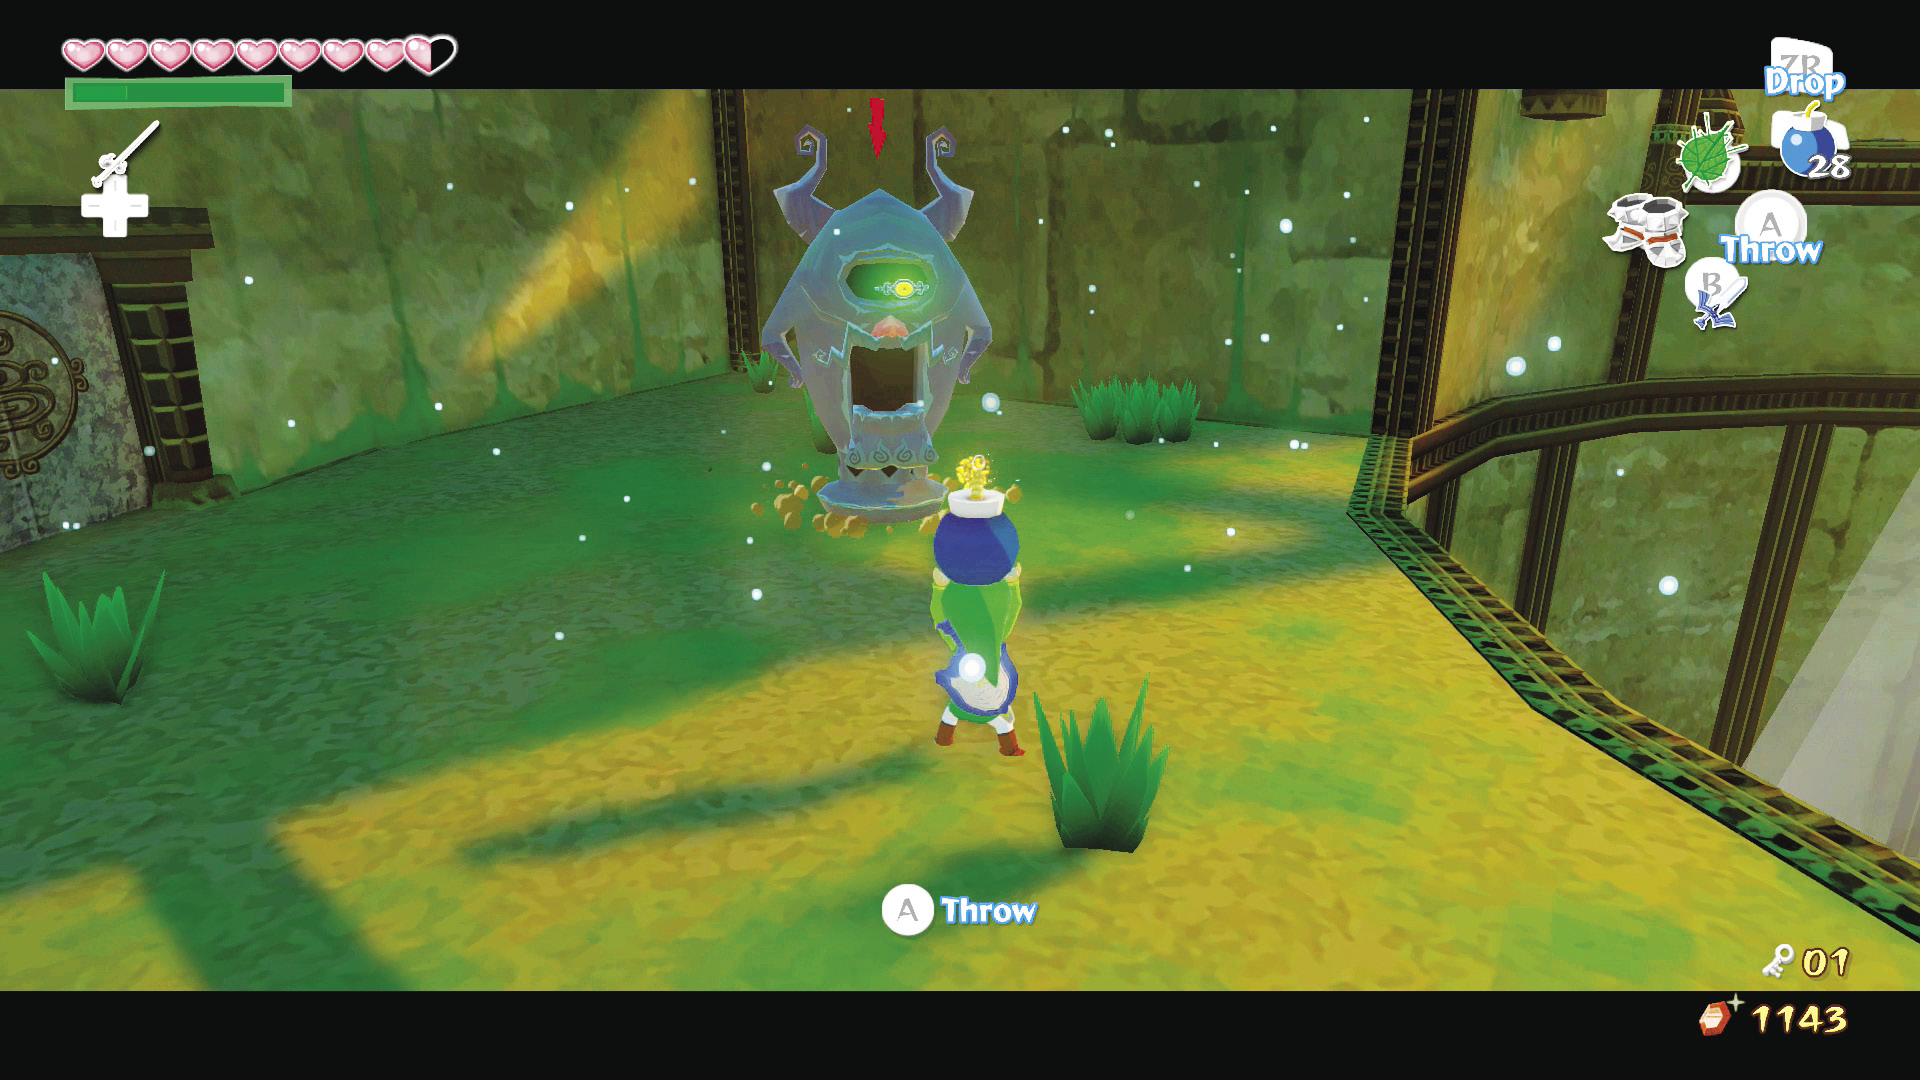
Glide Link to the east side of the first floor, and take out the Armos Knights that are stationed to the left and right side of the door. Fly Makar down next, pick him up, and head through the door.
First Floor
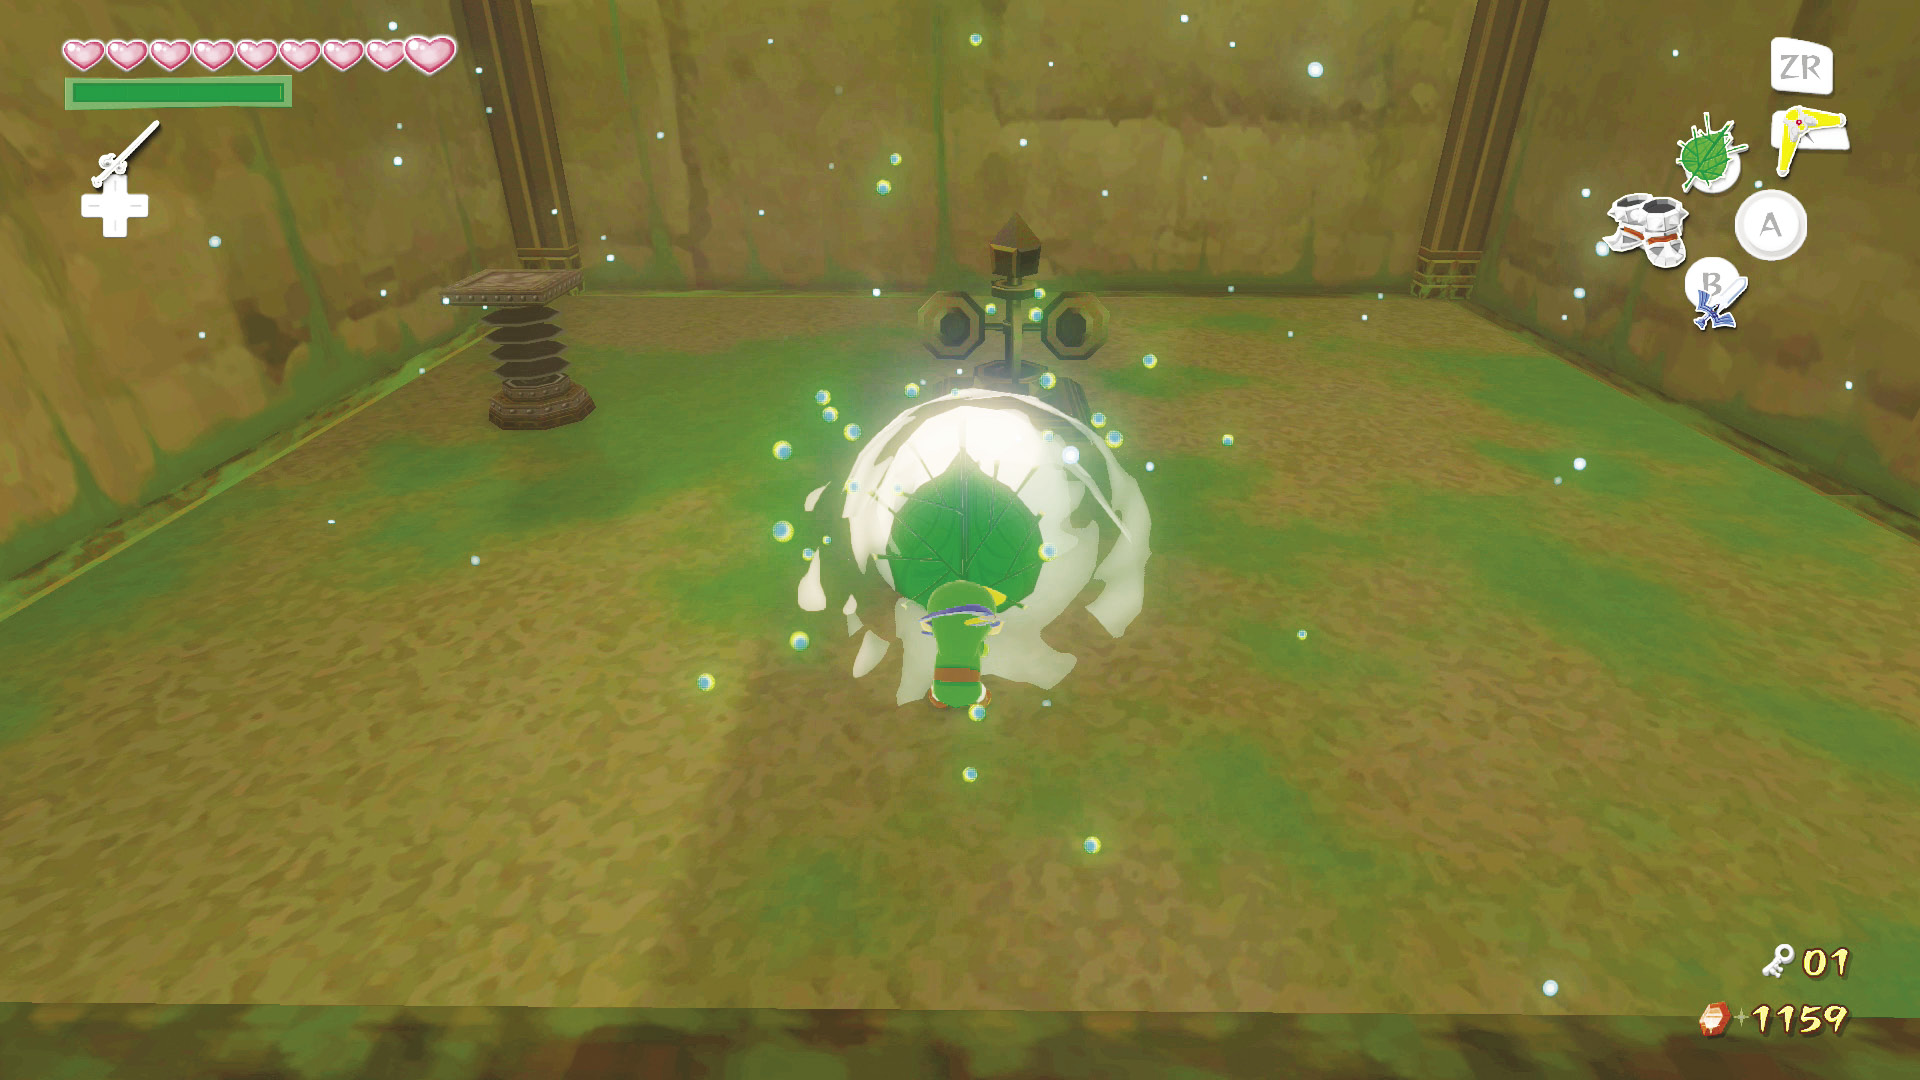
Clear the room like you did before by dropping to the lower level and blowing a gust of wind at the pinwheel. This will lift the fence blocking you from the other half of the room. Pass to the room’s east side.
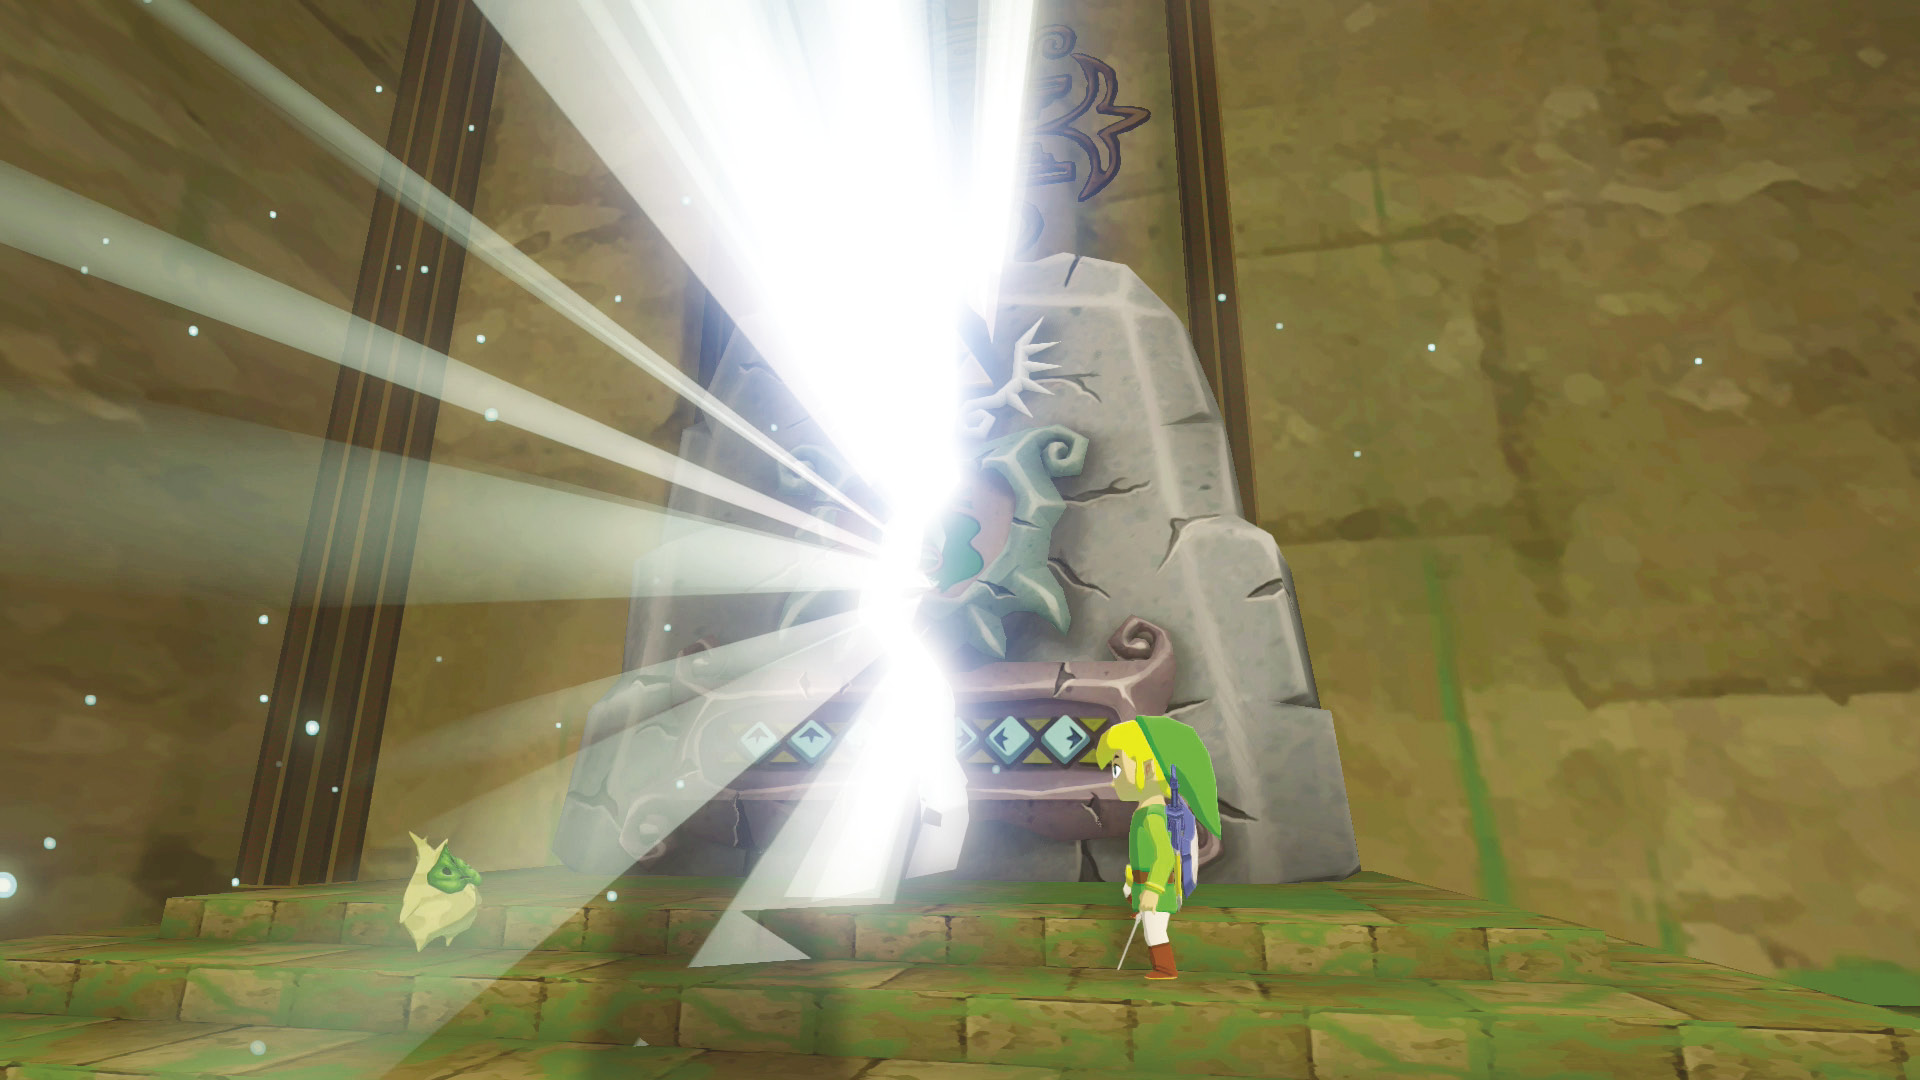
Head back to the room’s upper levels and grab Makar. Take Makar to the room’s east end and conduct the “Wind God’s Aria” in front of the stone monument to destroy it. Leave Makar and head through the door that was previously covered by the stone monument.
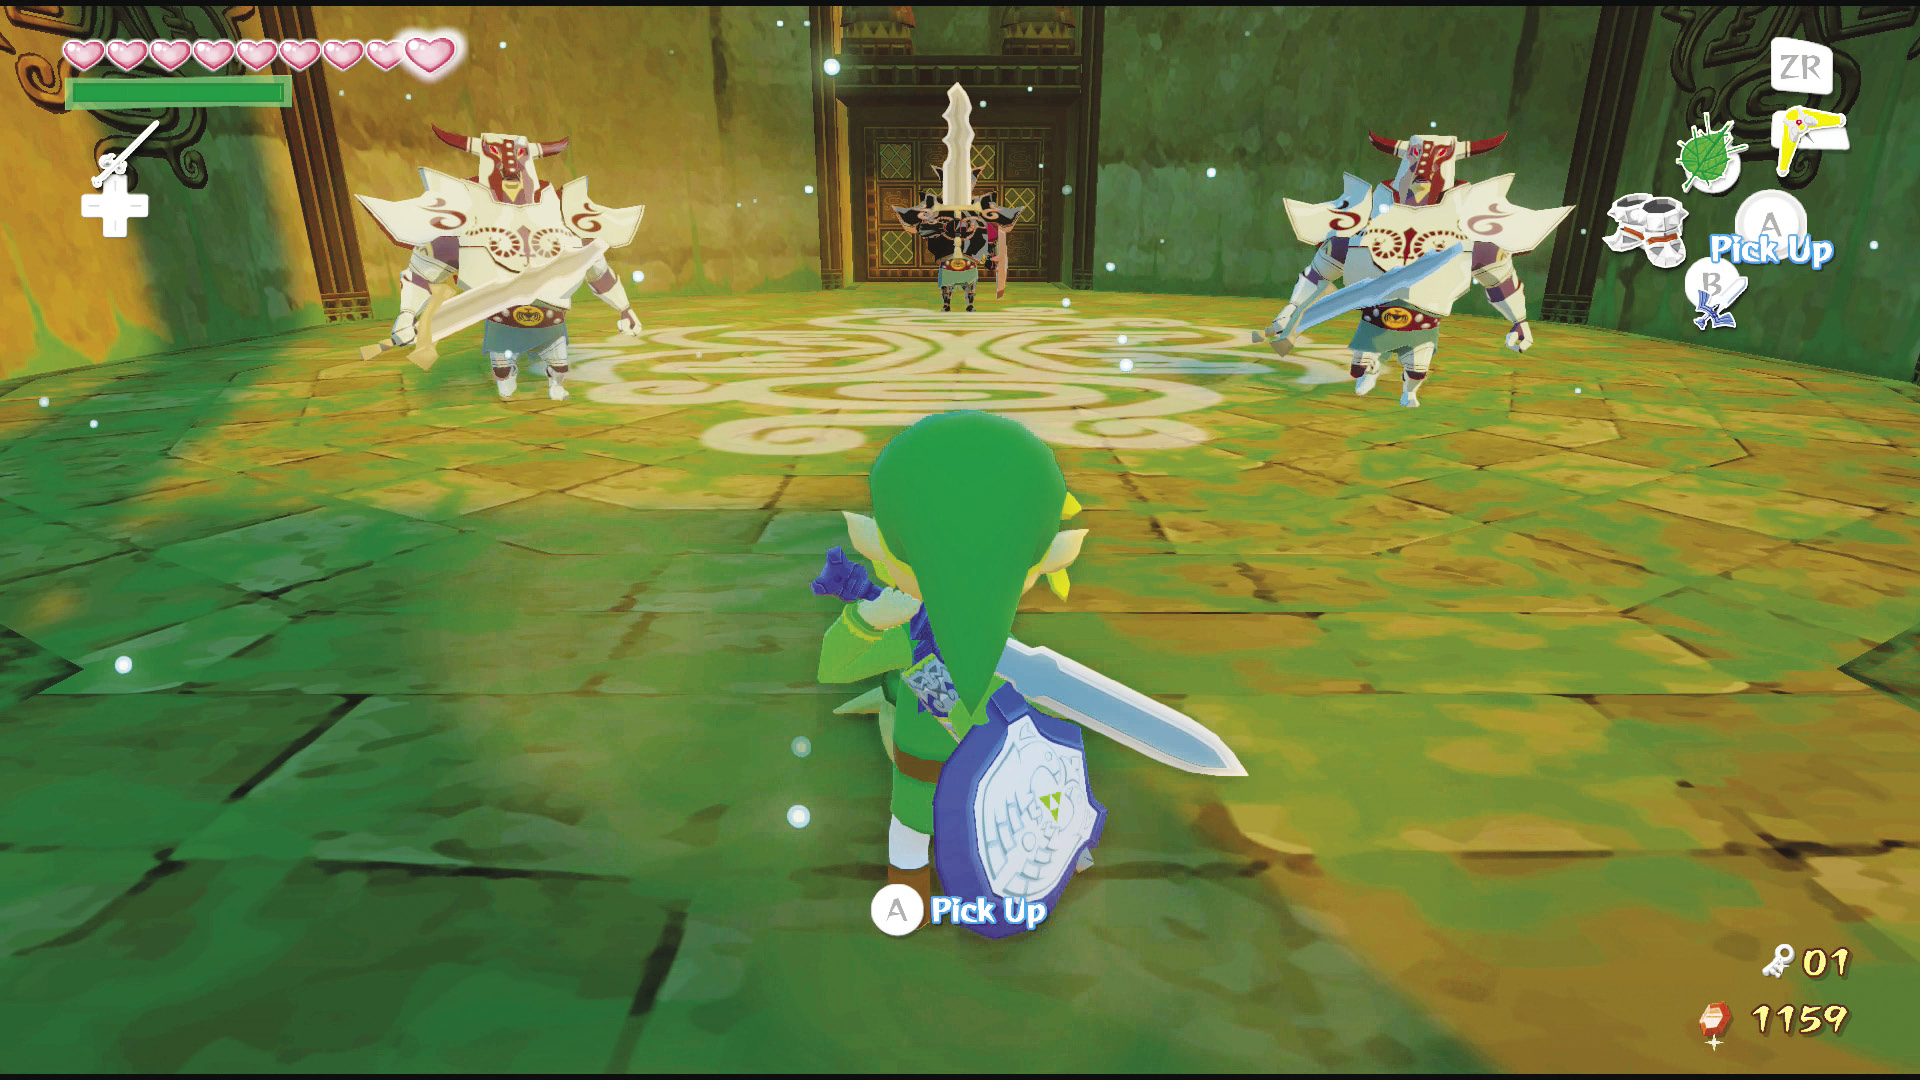
This room is housing three Darknuts that are ready and willing to do Link harm. This is a tough fight, but if you stick to your parry attacks and always  -Target the Darknut closest to you, you’ll be able to handle this fight. Just do yourself a favor and stay on the defensive; don’t go in swinging.
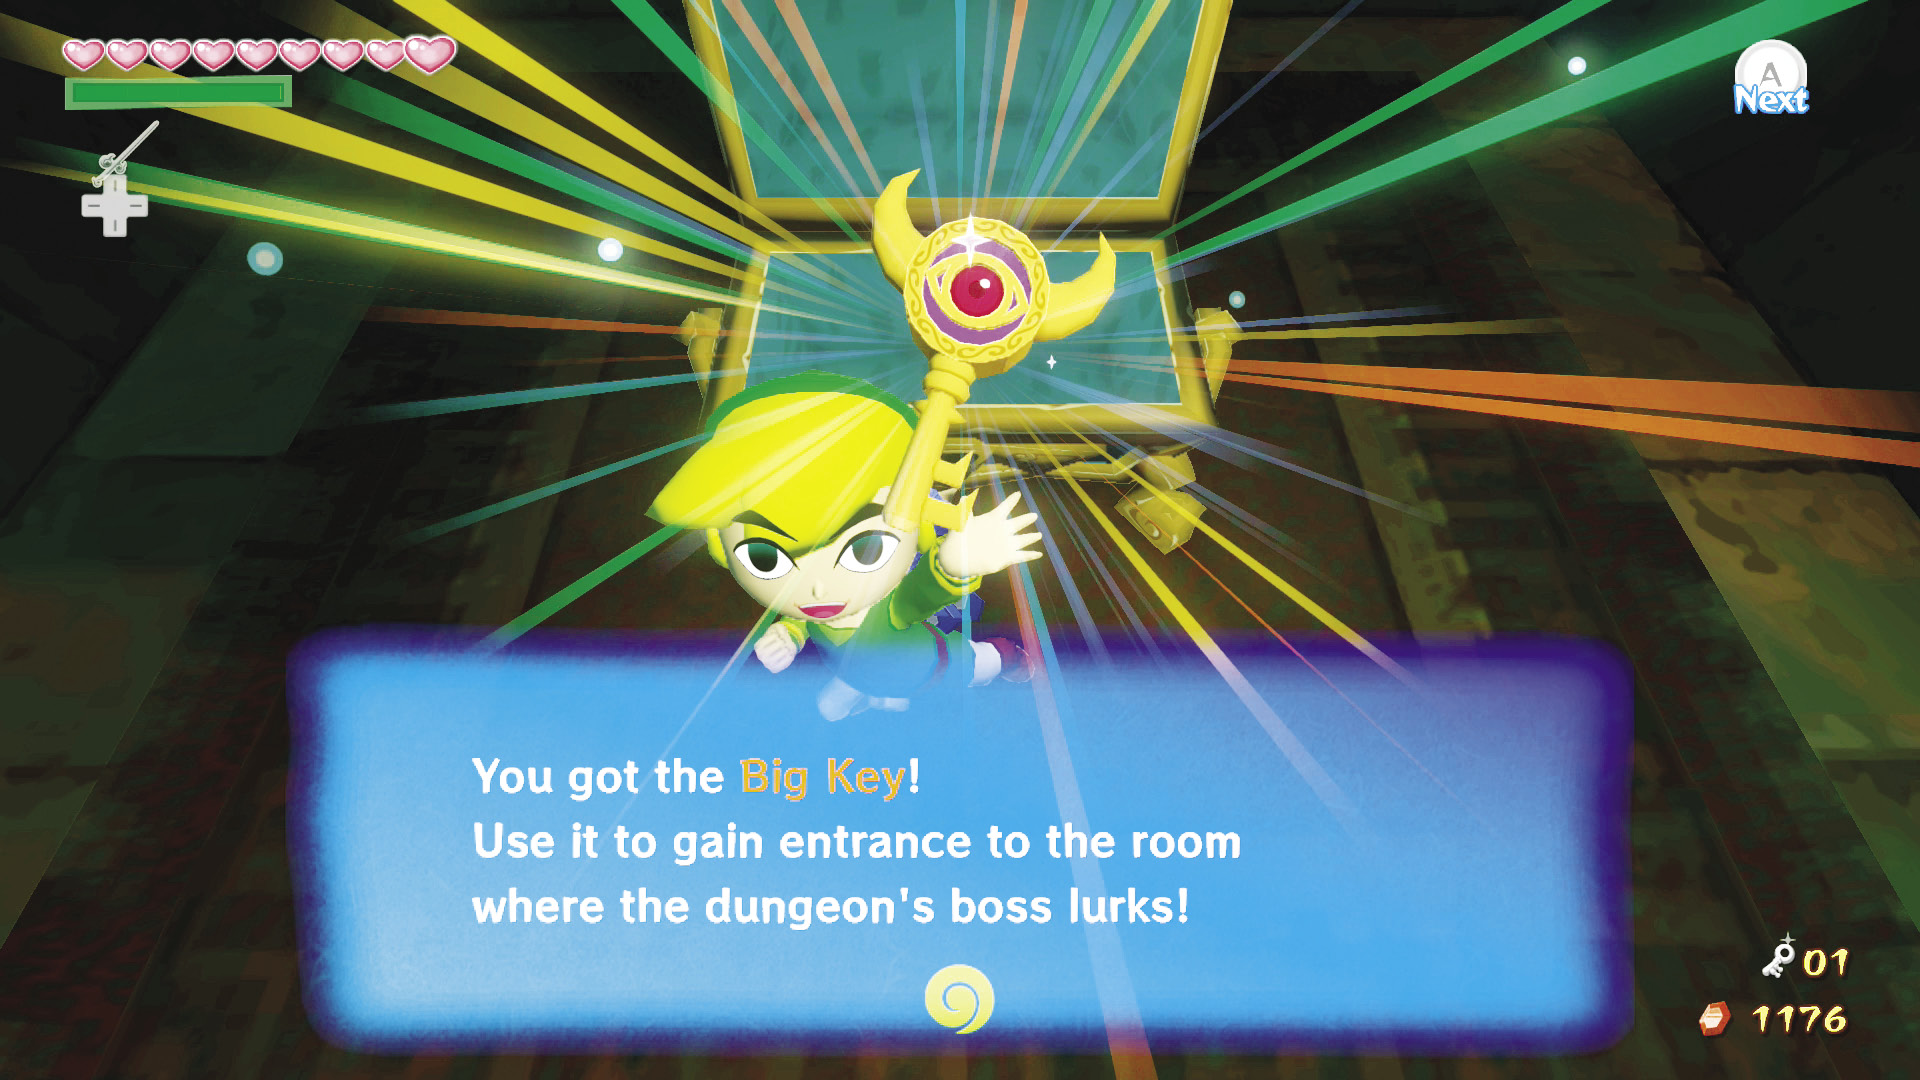
After you defeat all three Darknuts, the east alcove will open up, giving you access to the treasure chest inside of it. Open the chest to obtain the Wind Temple’s Big Key, then exit the room.
Basement Floor
8. Vexatious Vortices
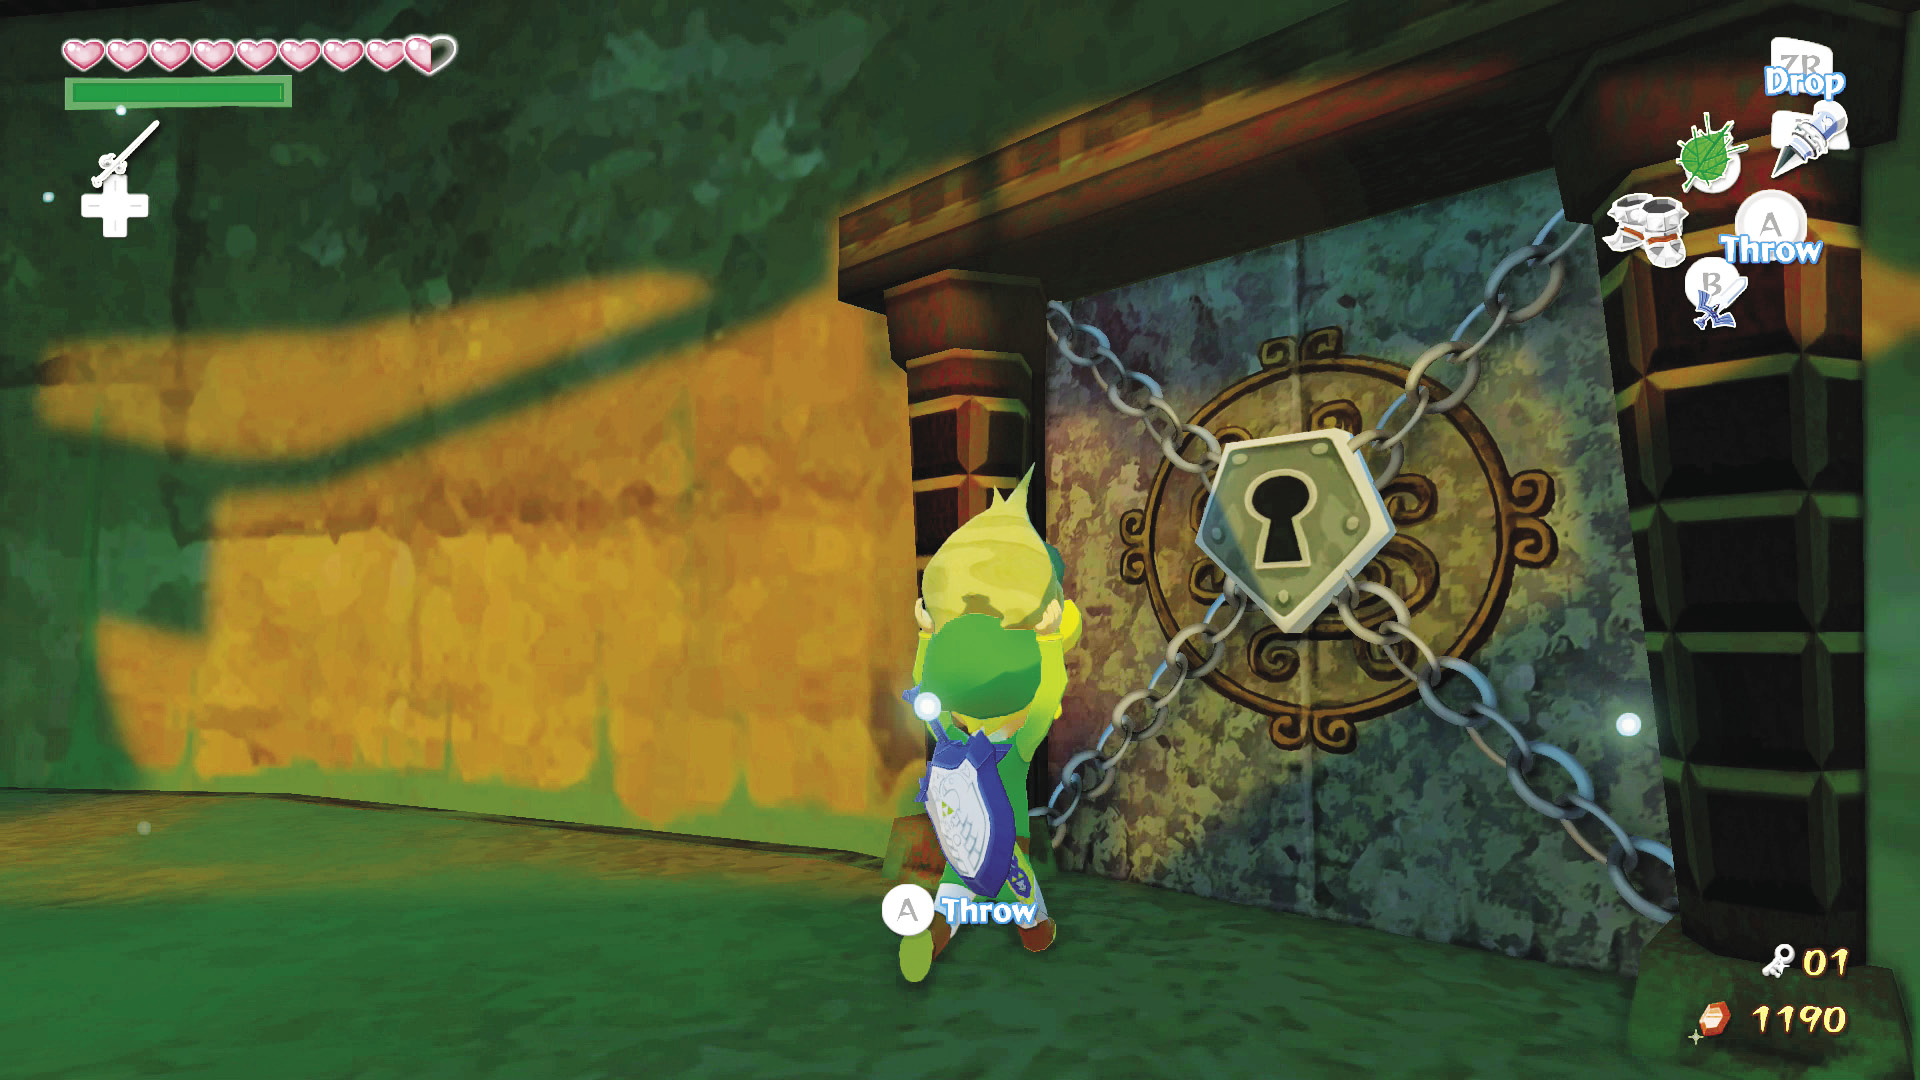
Wait for the wind vortex to stop blowing, jump down to the basement floor, and repeat the process while controlling Makar to get him down to the basement as well. Grab Makar and wait for the fan to stop spinning again, then hop into the level below the fan. With Makar still in your hands, head through the locked door on the room’s east side.
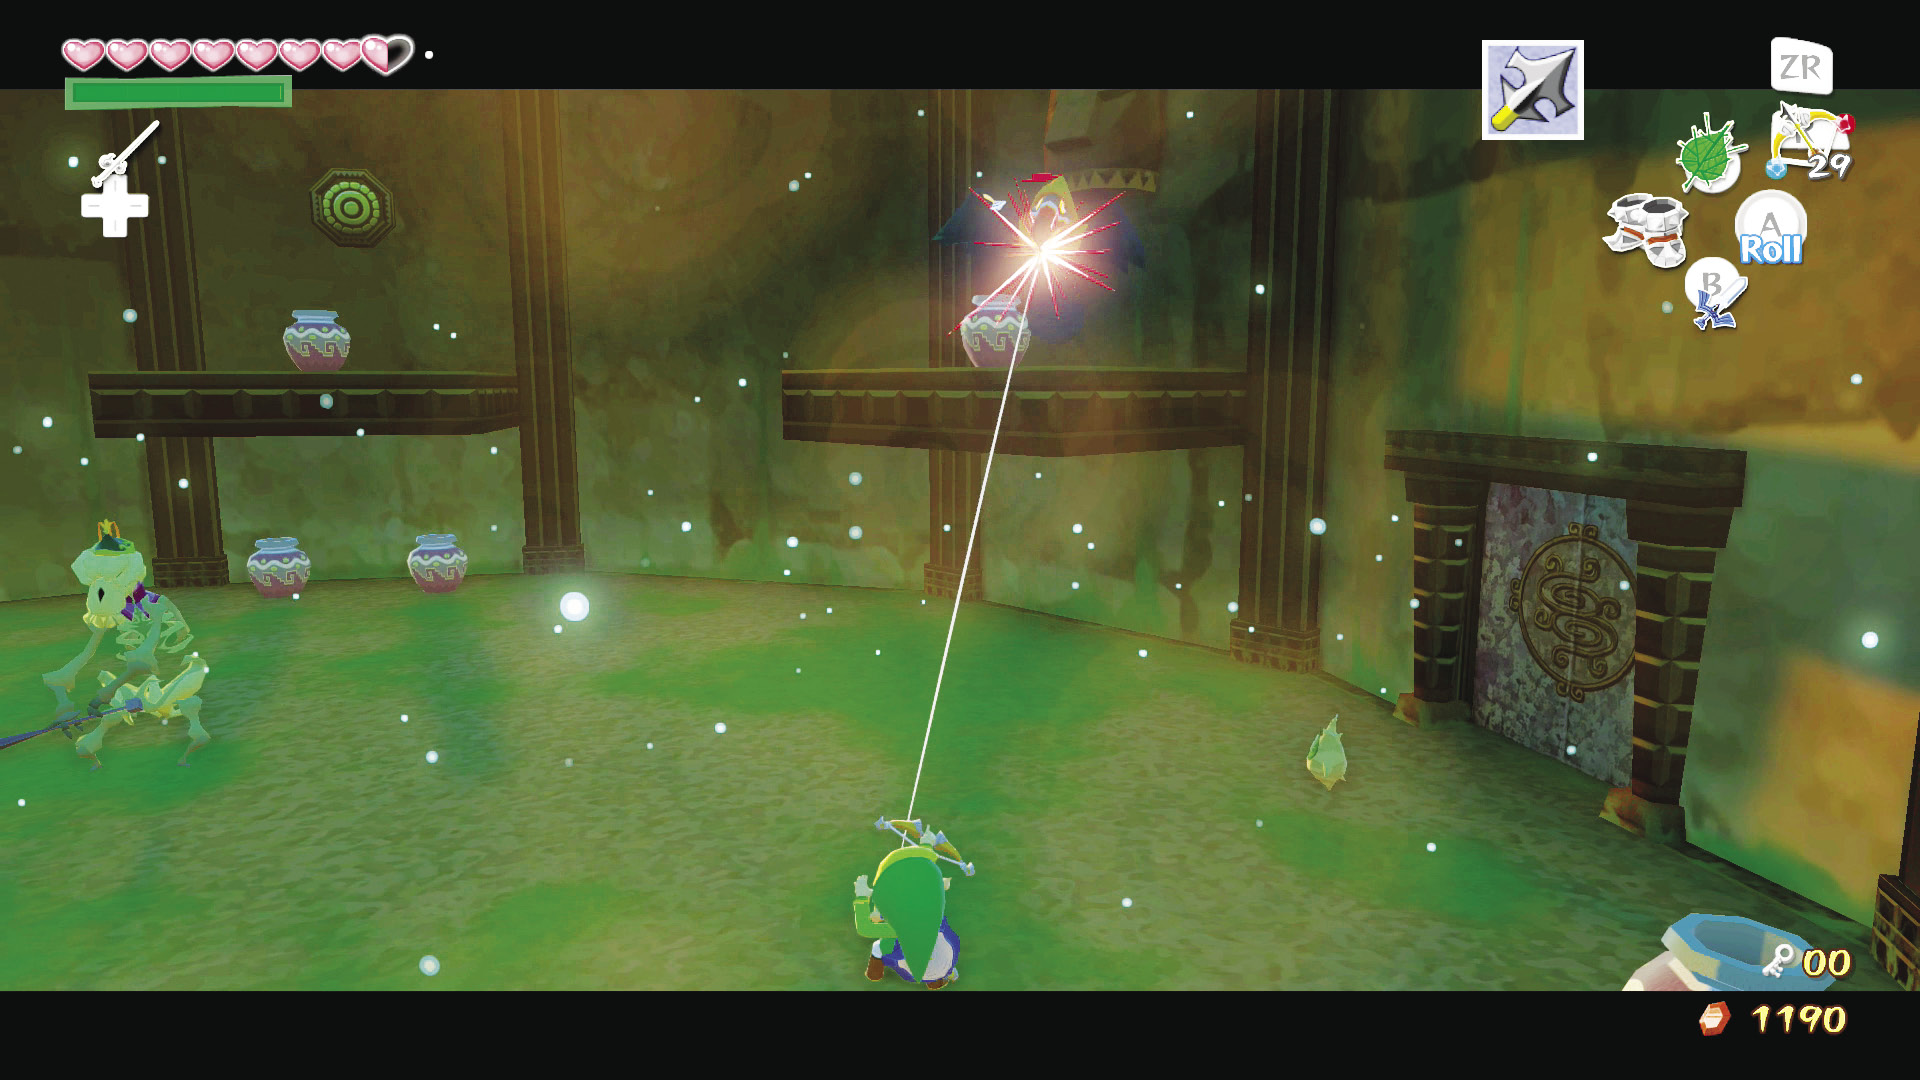
Defeat the two Stalfos and the Blue Wizzrobe in this room. Focus on defeating the Blue Wizzrobe first while avoiding the slow, clumsy Stalfos. After defeating the room’s enemies, use the Hookshot to reach the highest platform on the room’s northwest side.
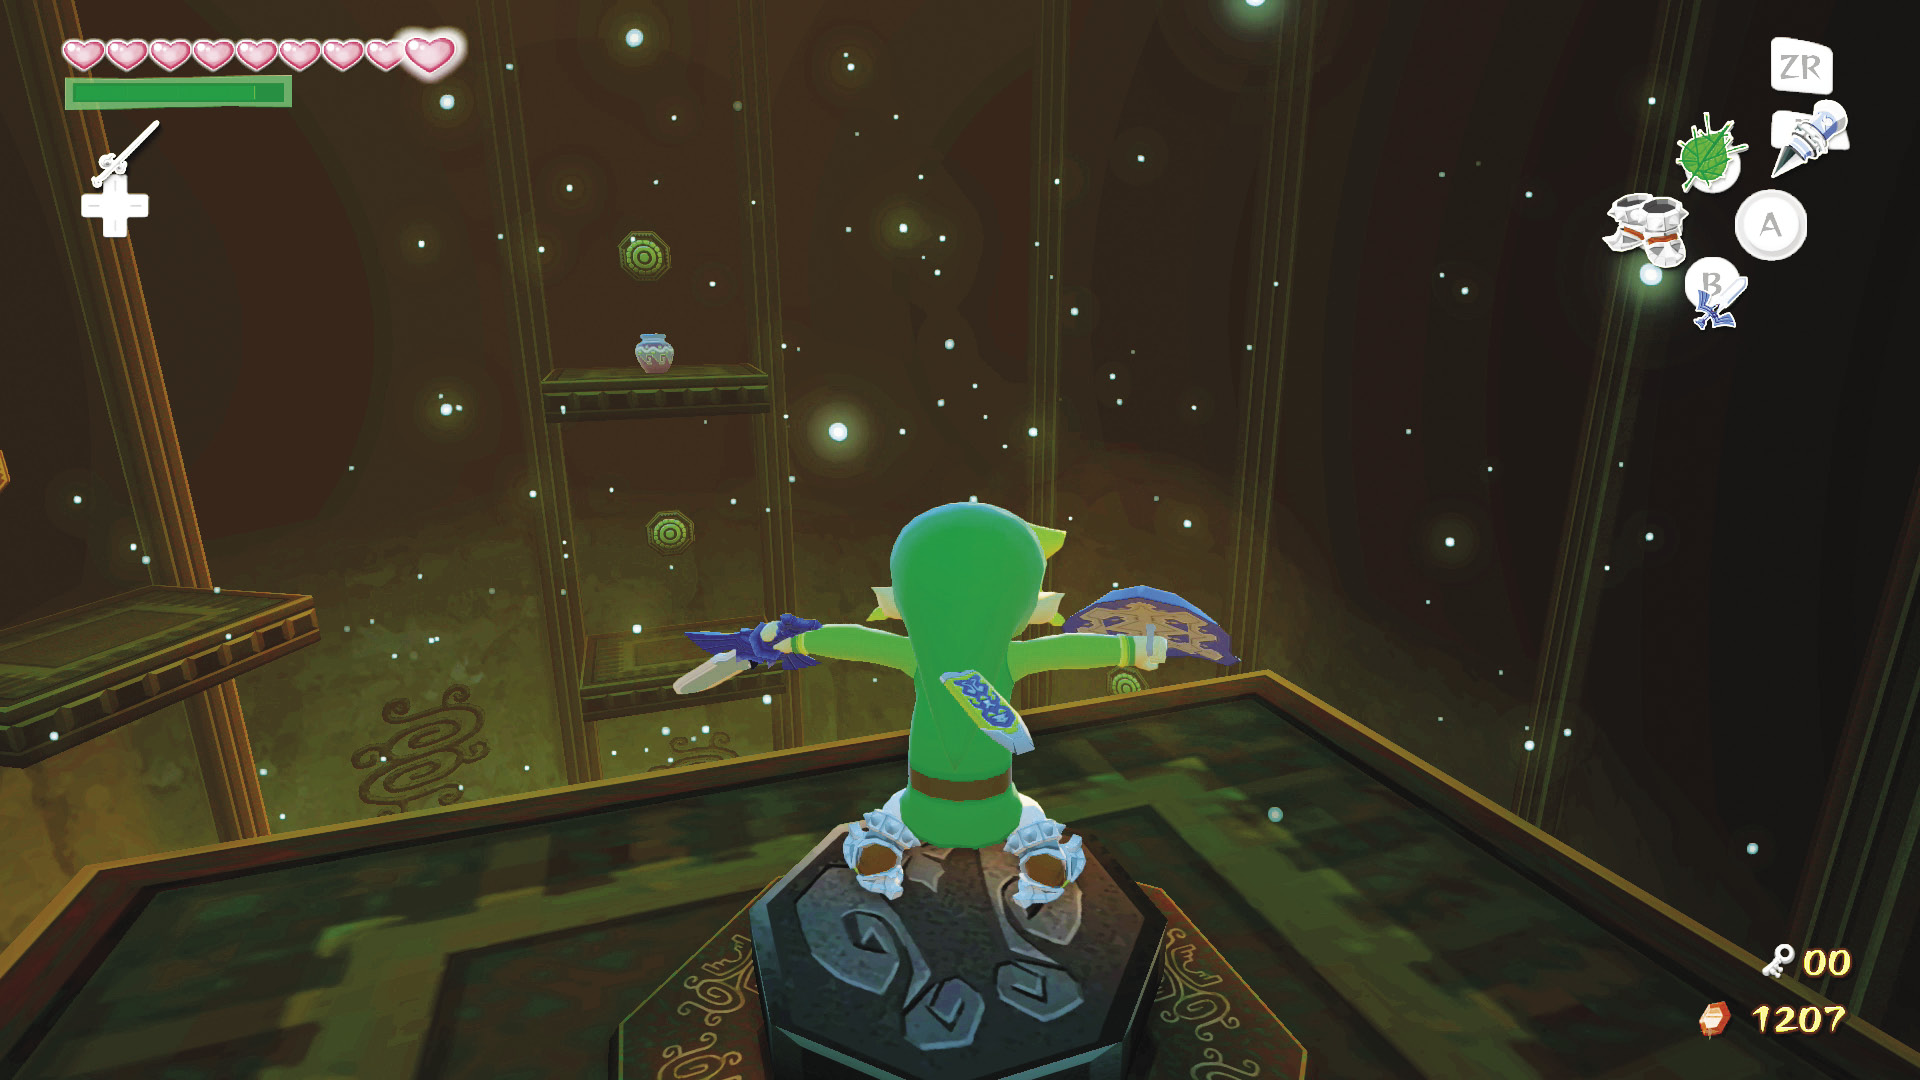
On the platform is a heavy pressure switch that opens the room’s east door. Press the switch down using your Iron Boots, grab Makar, and enter the door.
|
|
122 |
Treasure Chart #5 |
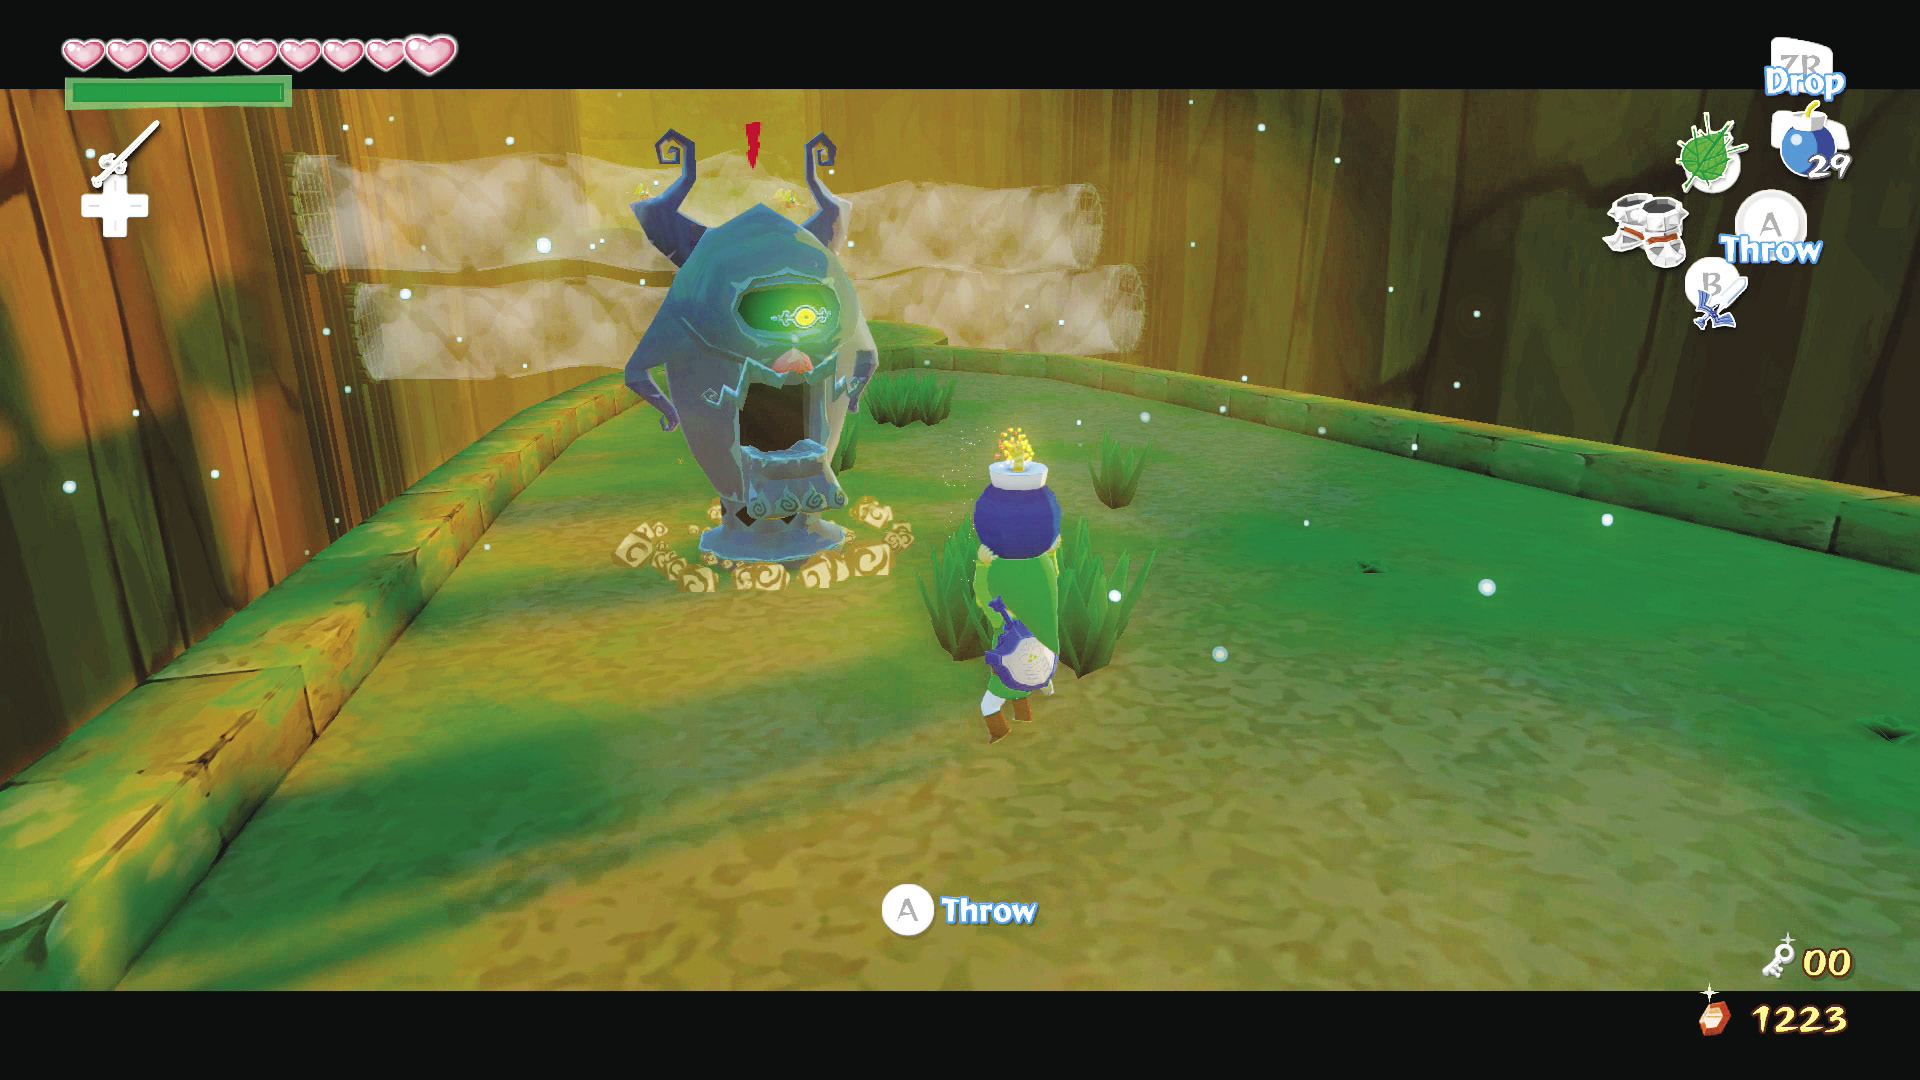
Leave Makar at the door and defeat the Shield Bokoblins and the two Armos Knights ahead. After clearing out the enemies on the room’s west side, go back and grab Makar, then bring him to the east end of your platform.
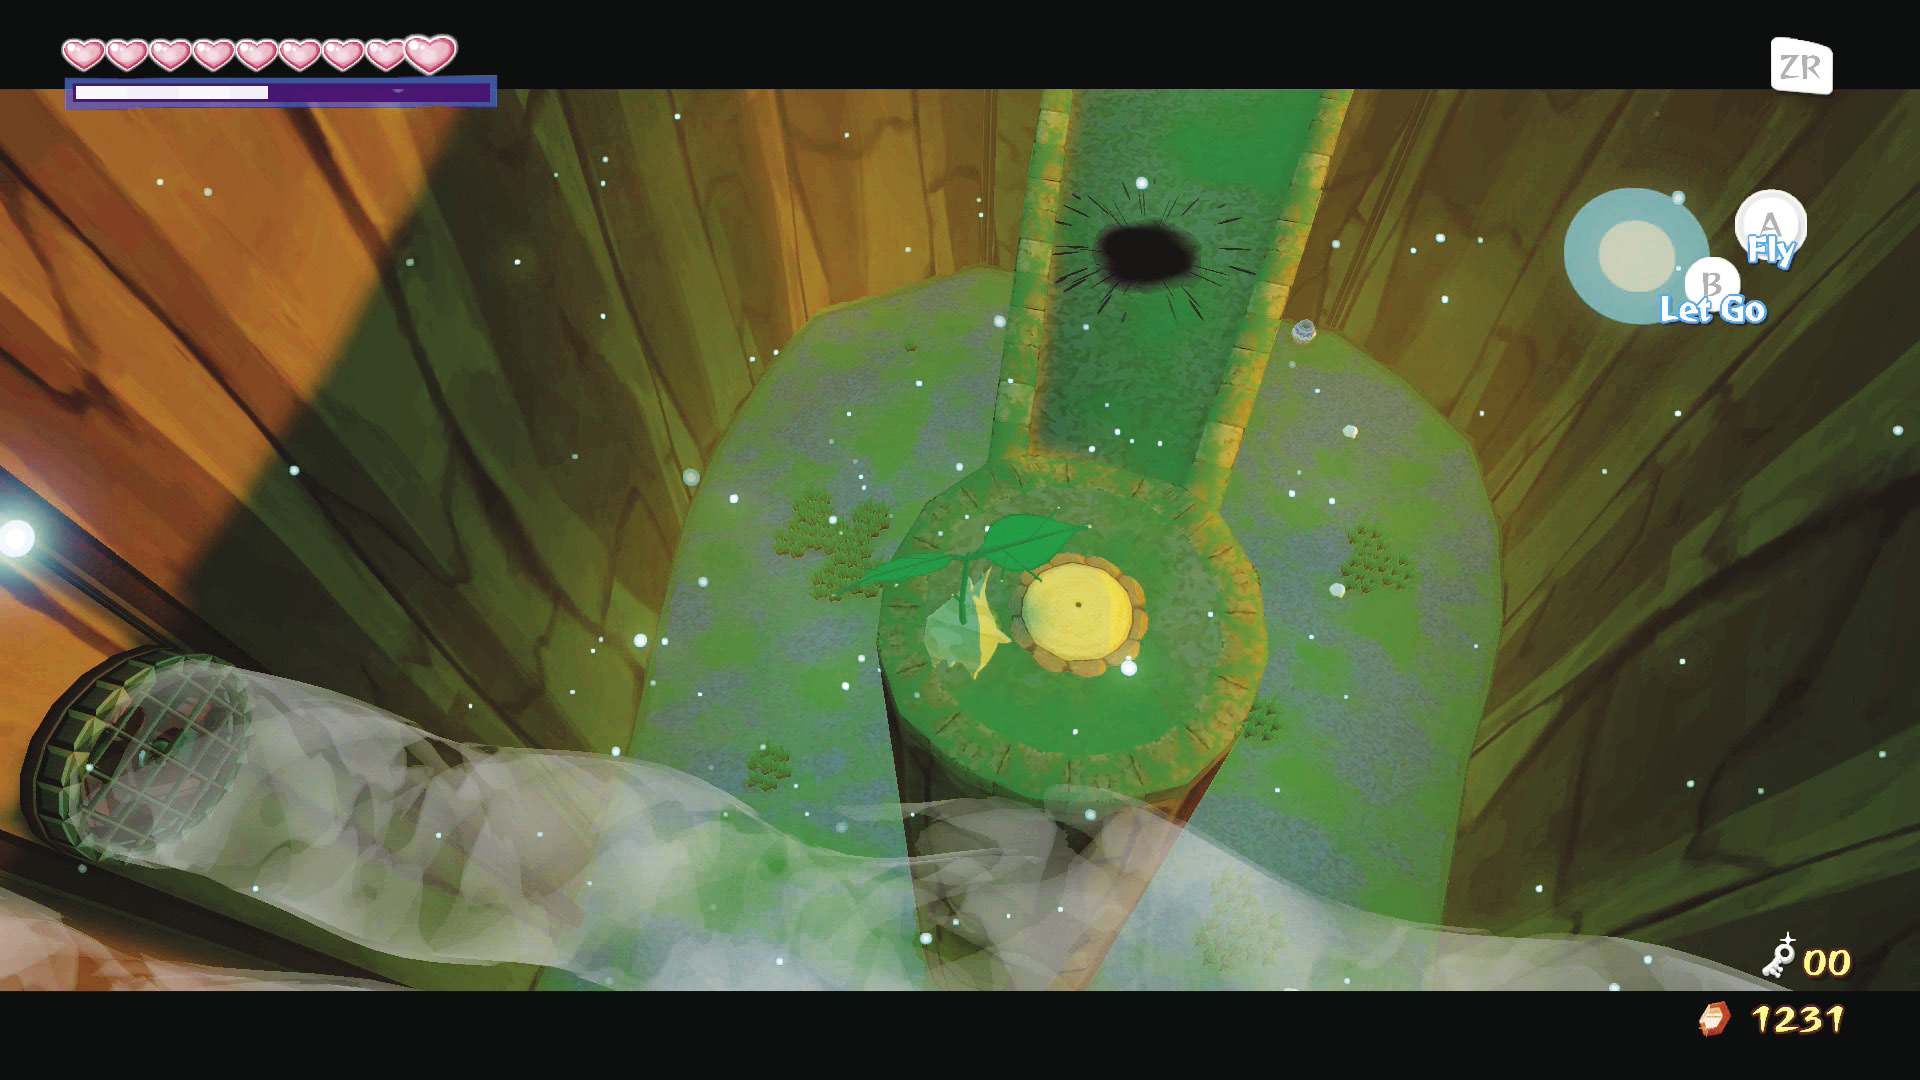
Take control of Makar, fly to the east platform, and land near the dirt mound on the platform’s end. However, do so very carefully in order to avoid getting caught by the Floor Master. Plant a seed in the dirt to switch off the fans that are blowing the wind vortices in between the room’s east and west platforms.
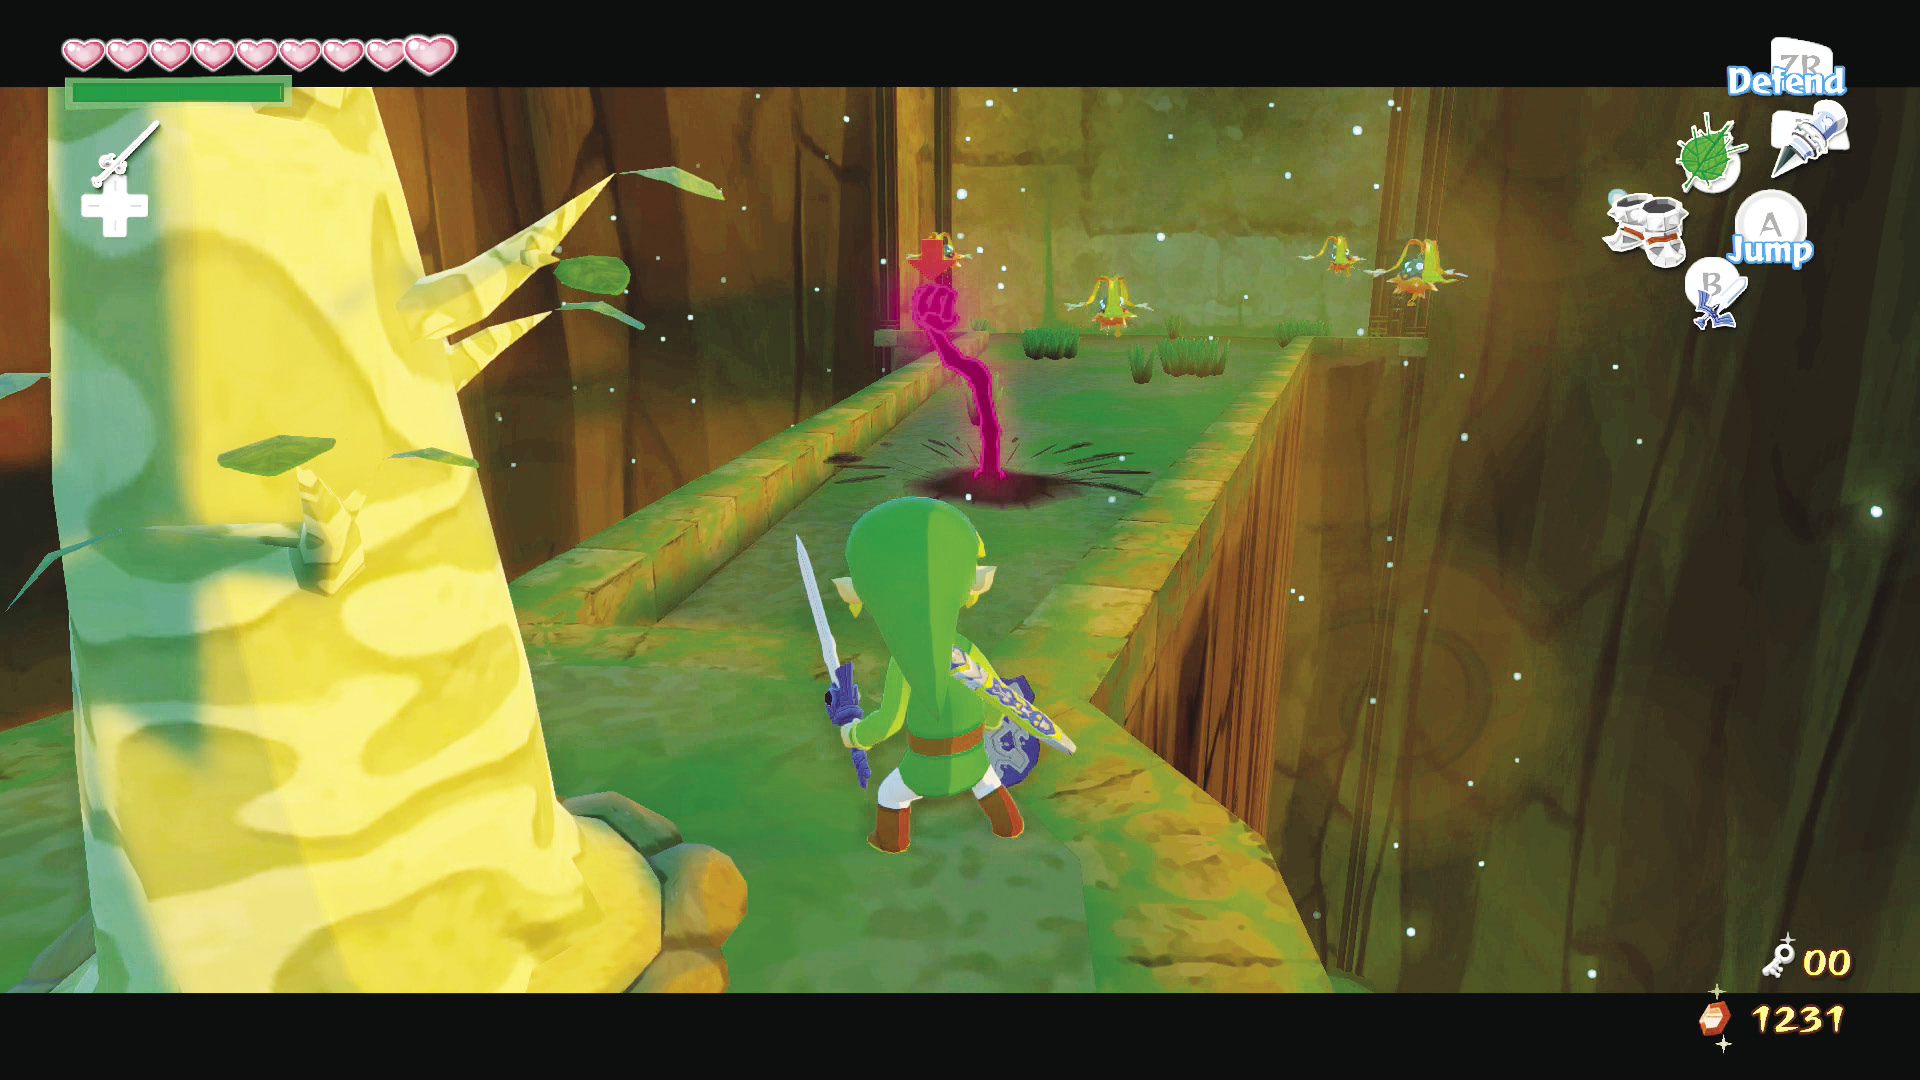
Use the Hookshot to hook onto the tree Makar just grew, then take out the Floor Master and Peahats on the room’s east side. Go back and grab Makar, then head through the door on the room’s east side.
9. The Final Approach
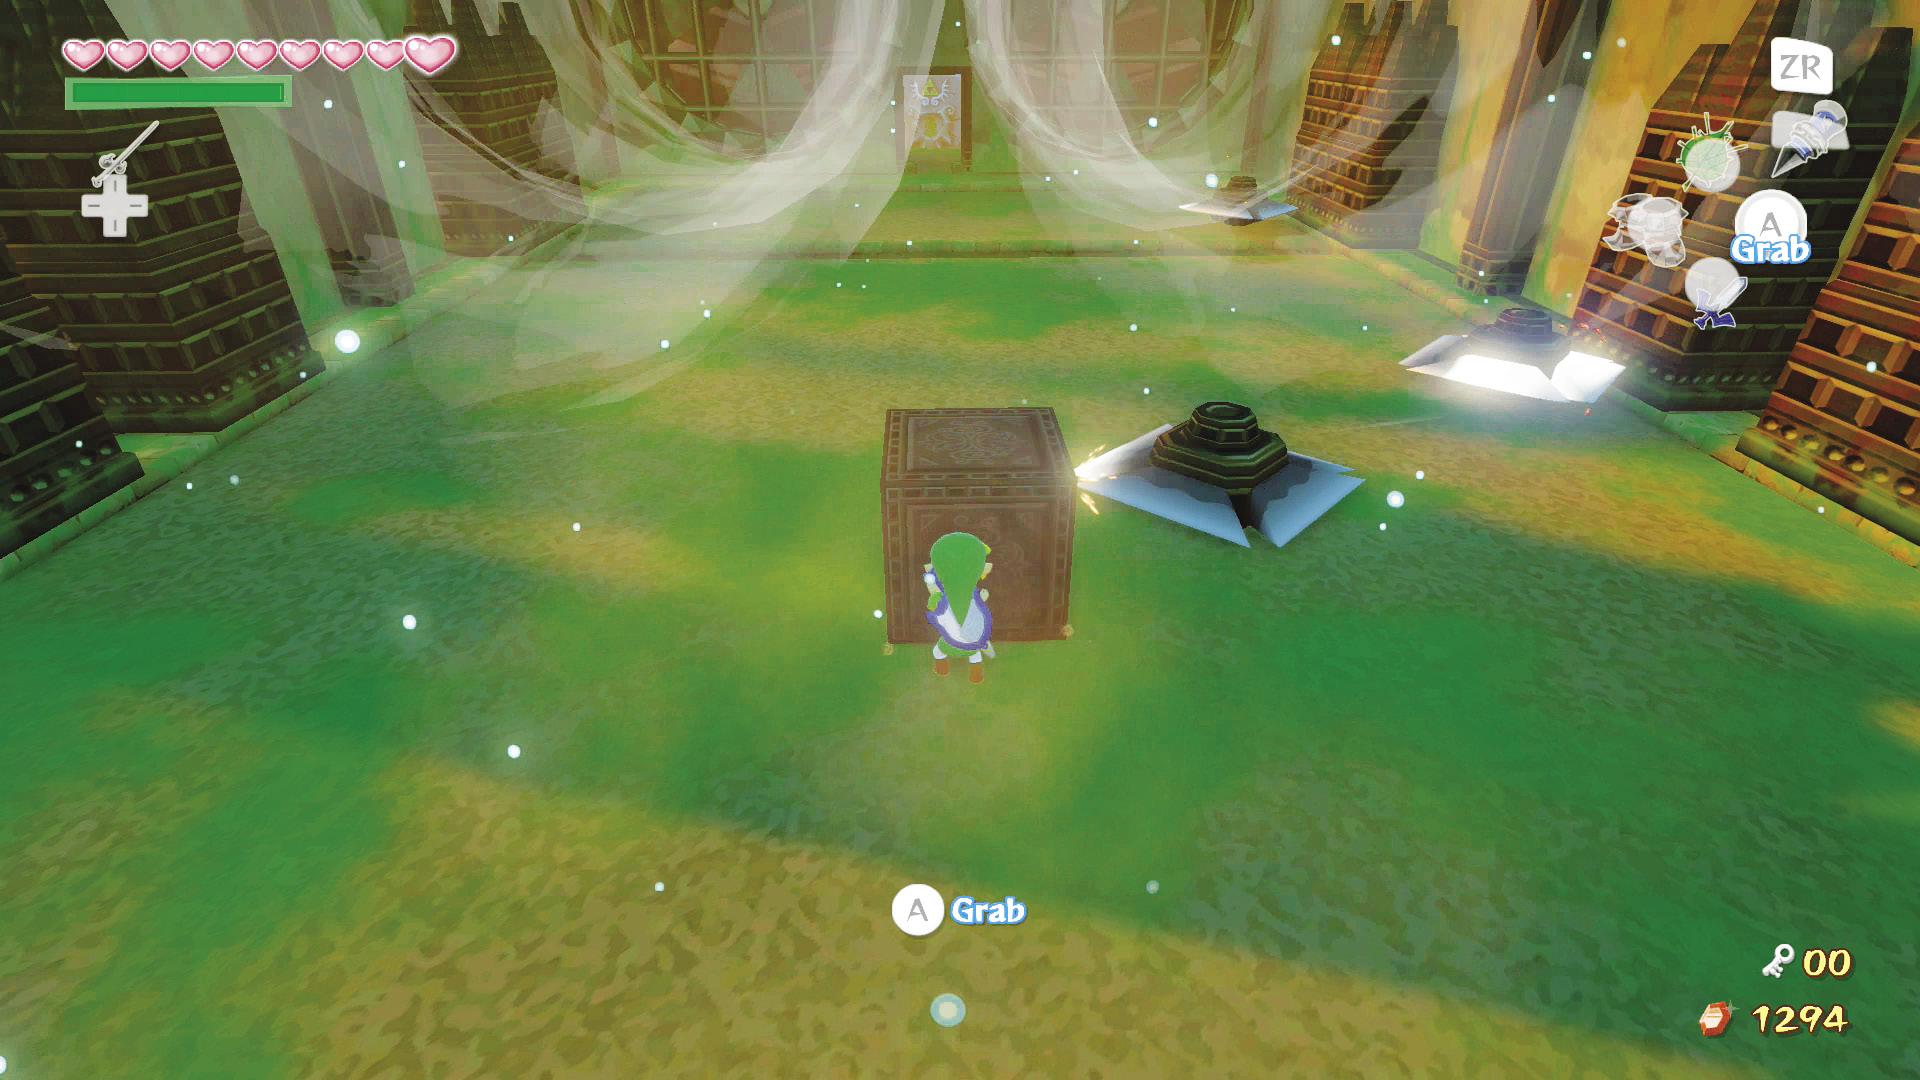
Put Makar down and grab hold of the first block ahead of you. Push the block forward until the first blade trap begins bouncing off of it. Go to the block’s other side and begin pushing it straight toward the blade trap until the trap is pinned against the wall.
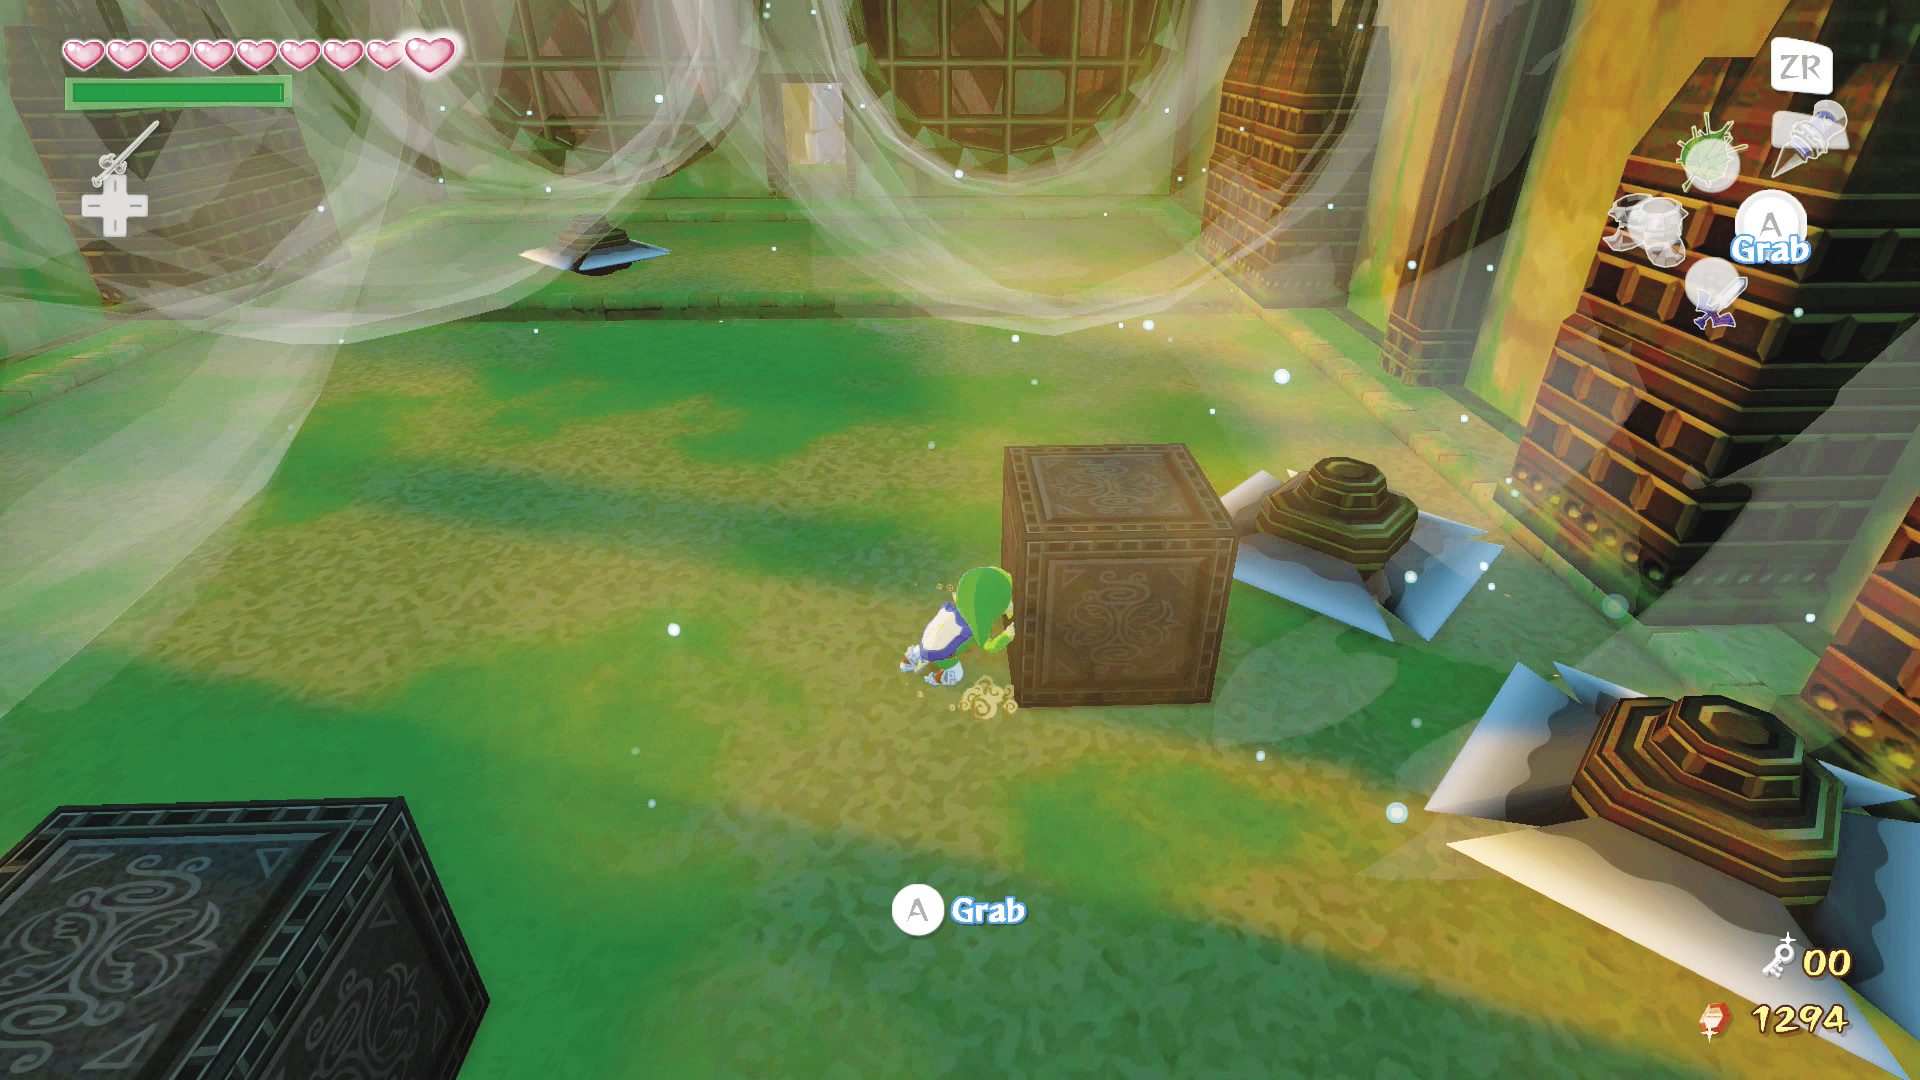
Head back to the room’s north side and grab another block. You’ll need to equip the Iron Boots as you get near the wind vortices to keep yourself from getting pushed back to the room’s entrance. Pin the next blade trap to the wall in the same manner as the last one, then head for the third block on the room’s north side. Push the third block into the narrow ravine on the room’s south side.
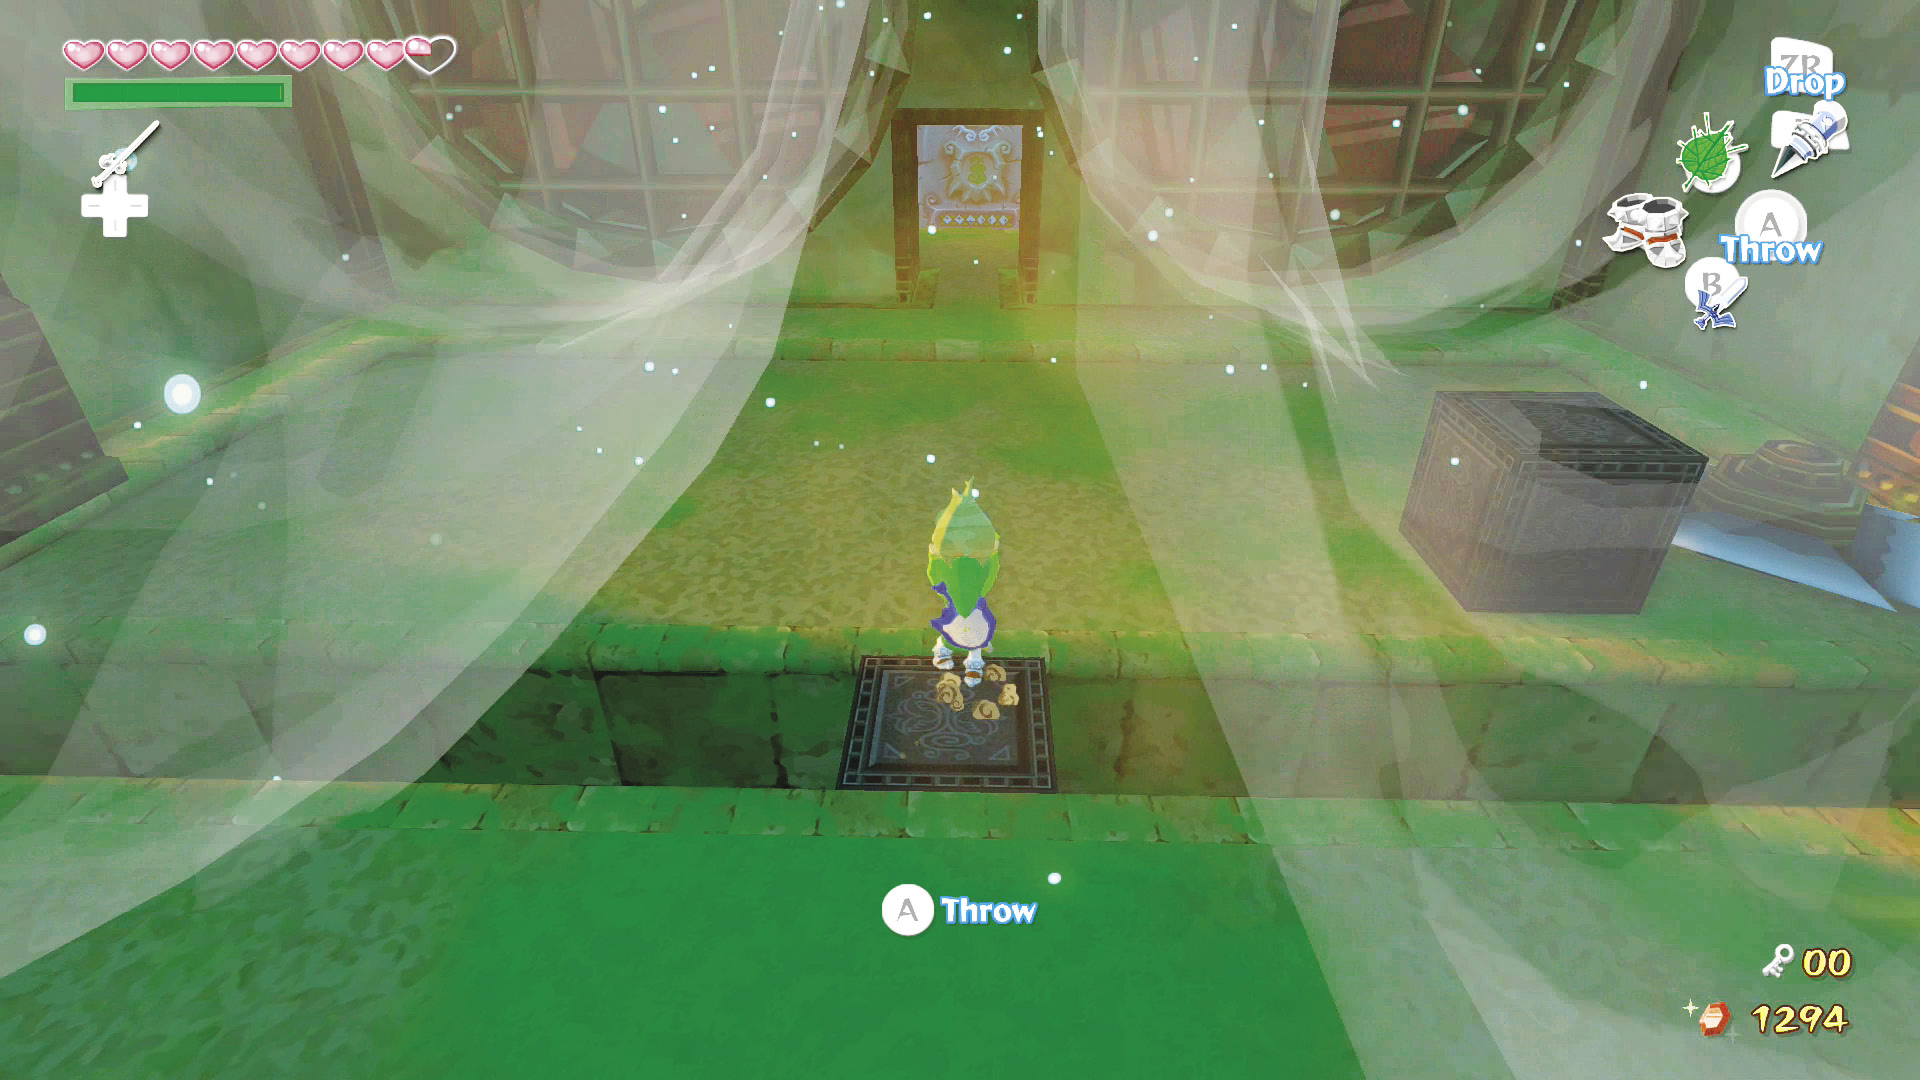
Now go back to the northernmost block and pull it away from the blade trap. Take the block and push it over the block that is sitting in the narrow ravine on the room’s south side. Push the blade trap on the other side of the ravine against the wall with the block, then head back to the room’s north side and grab Makar. Avoid the first blade trap, equip your Iron Boots, cross the block in the ravine, and head into the passage.
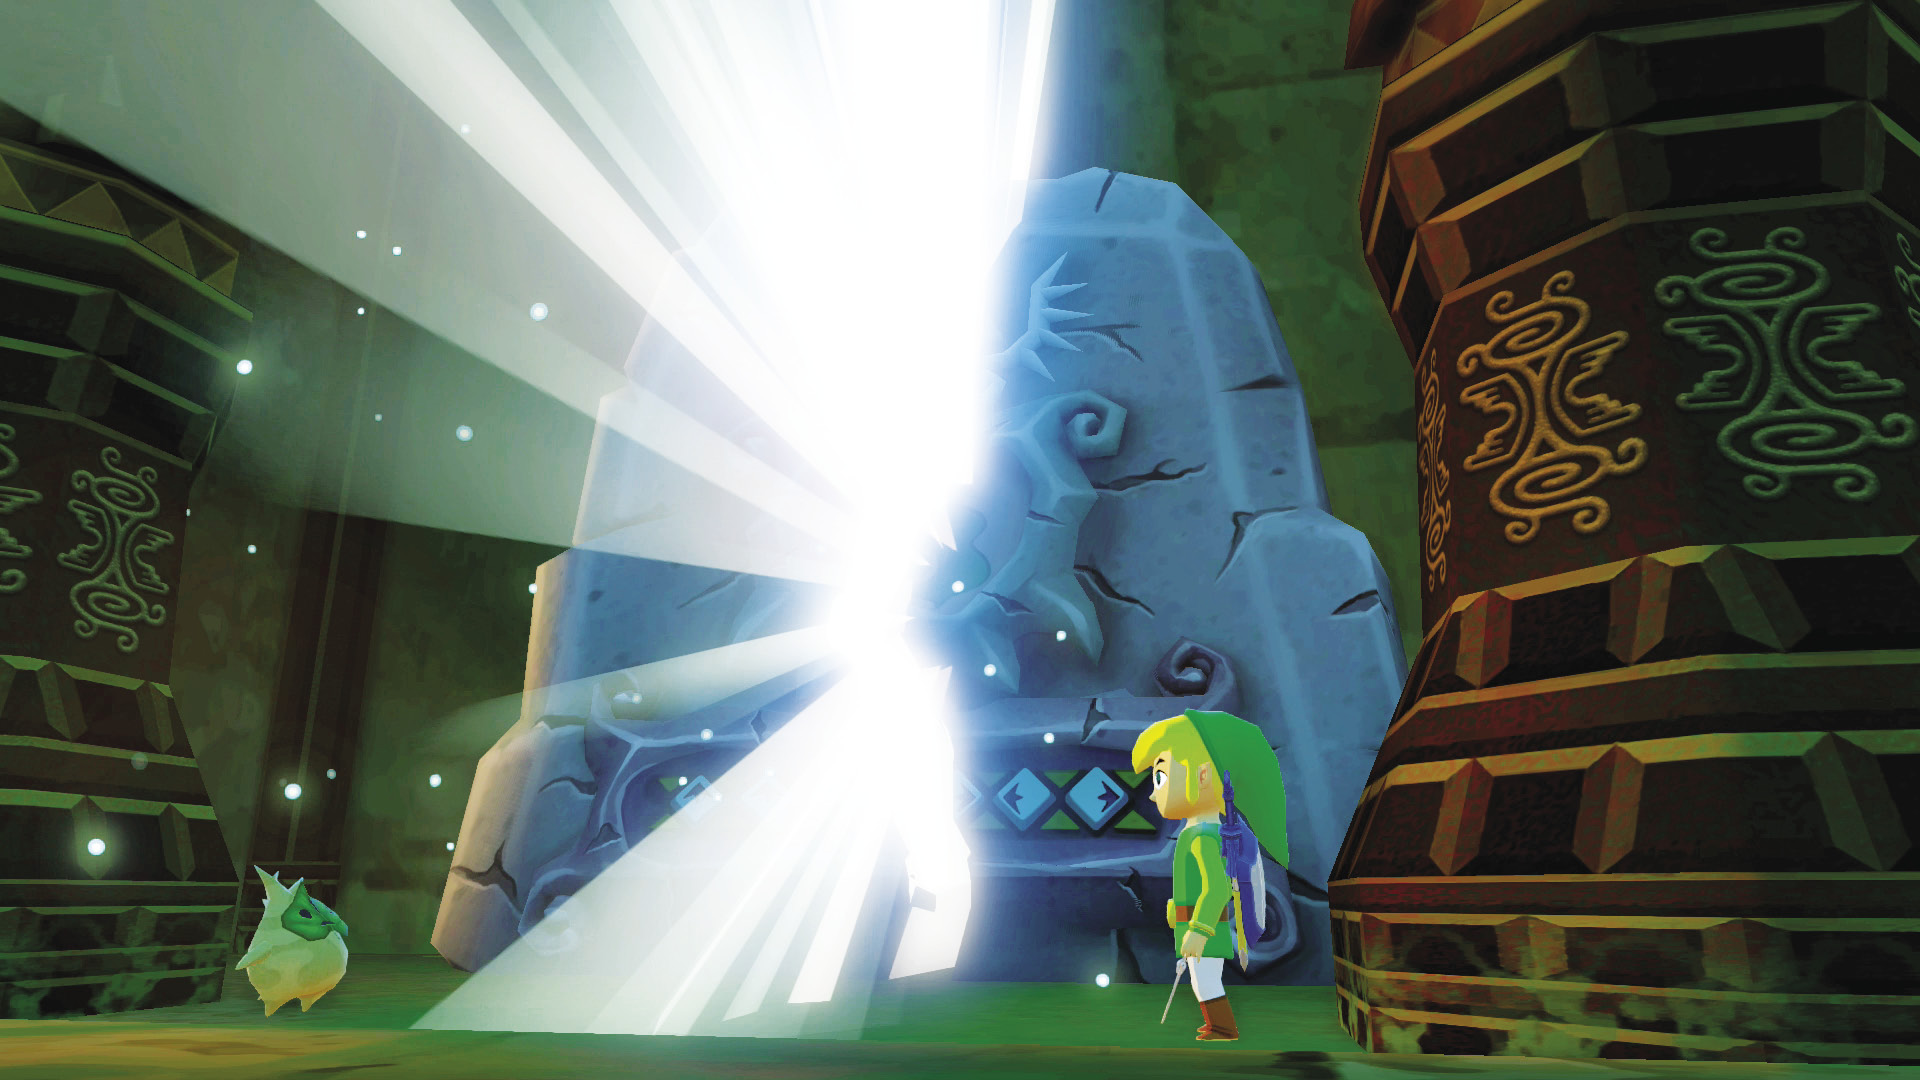
Take Makar to the stone monument on the room’s south end and conduct the “Wind God’s Aria” to reach the dungeon boss’s door. Break the pots in the area to refill your health, magic, and items, then save the game.
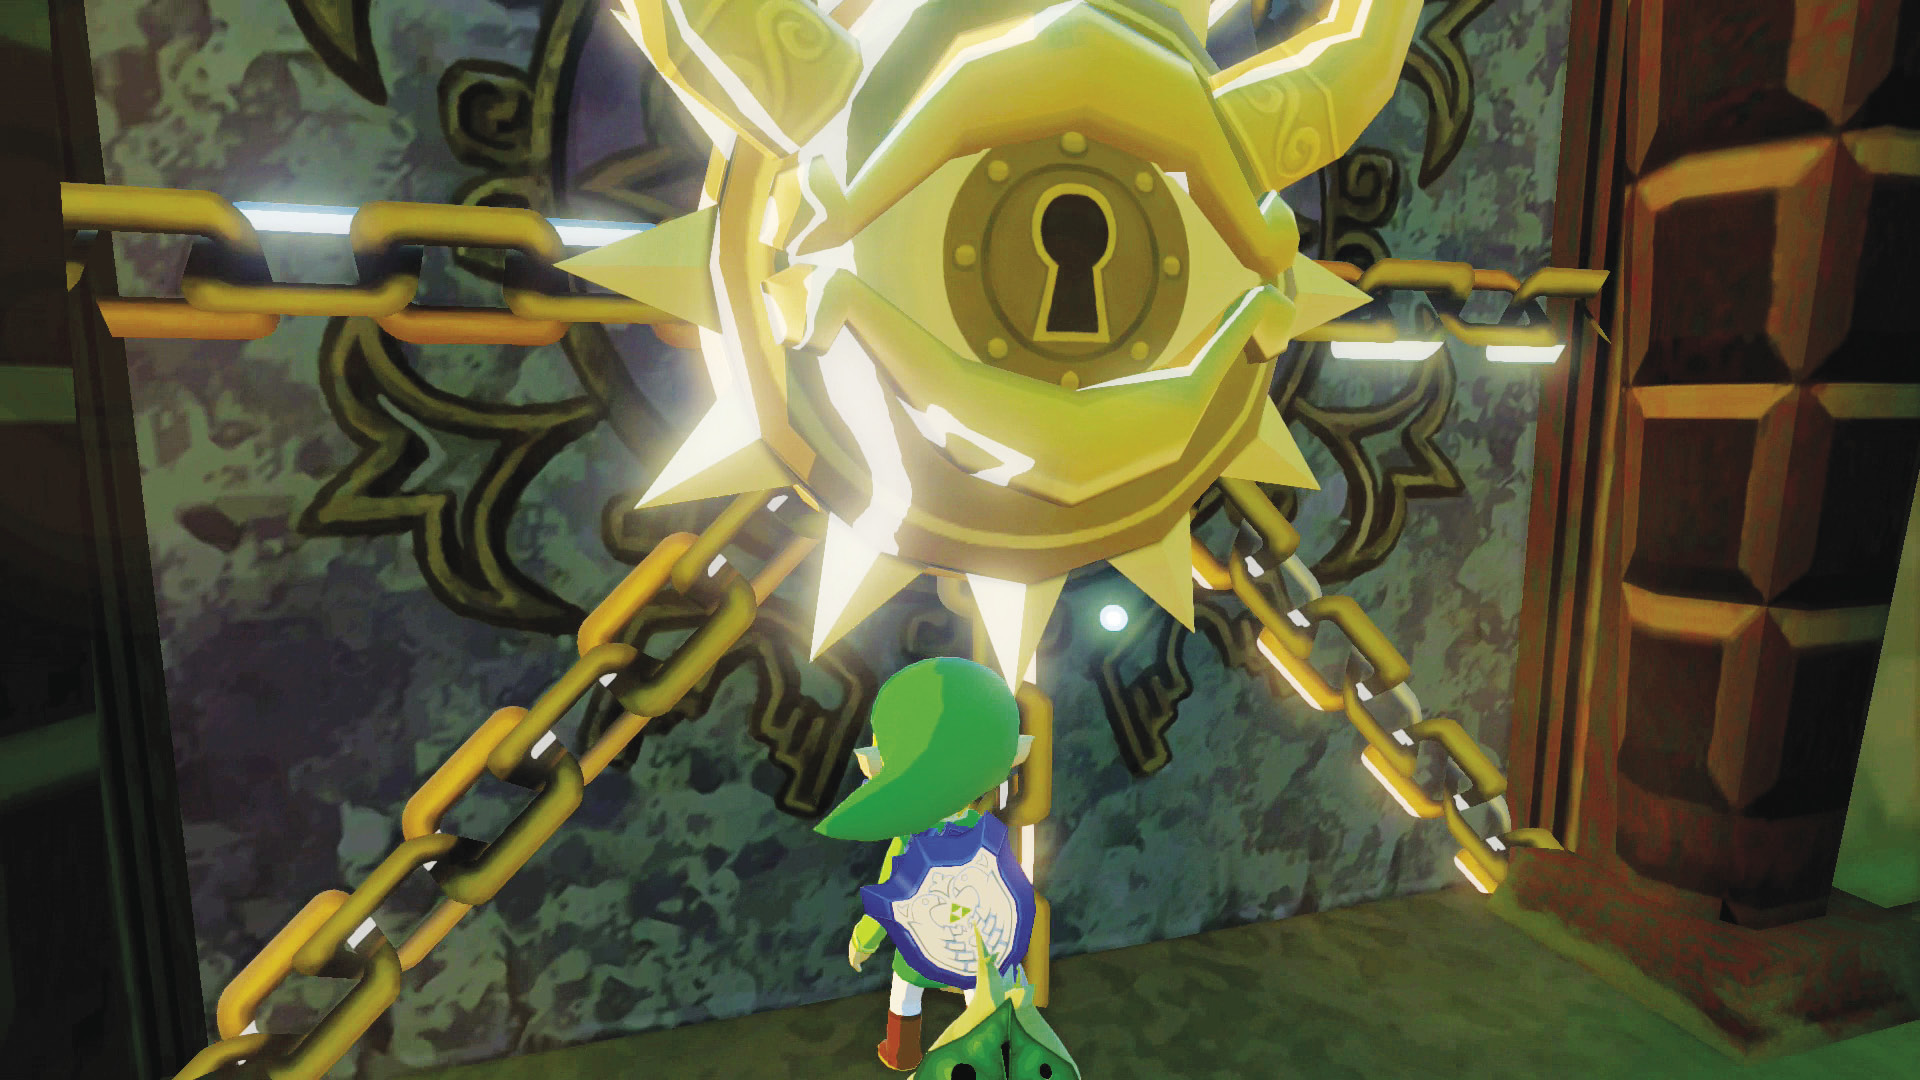
Head through the boss’s door whenever you’re ready.
Boss: Molgera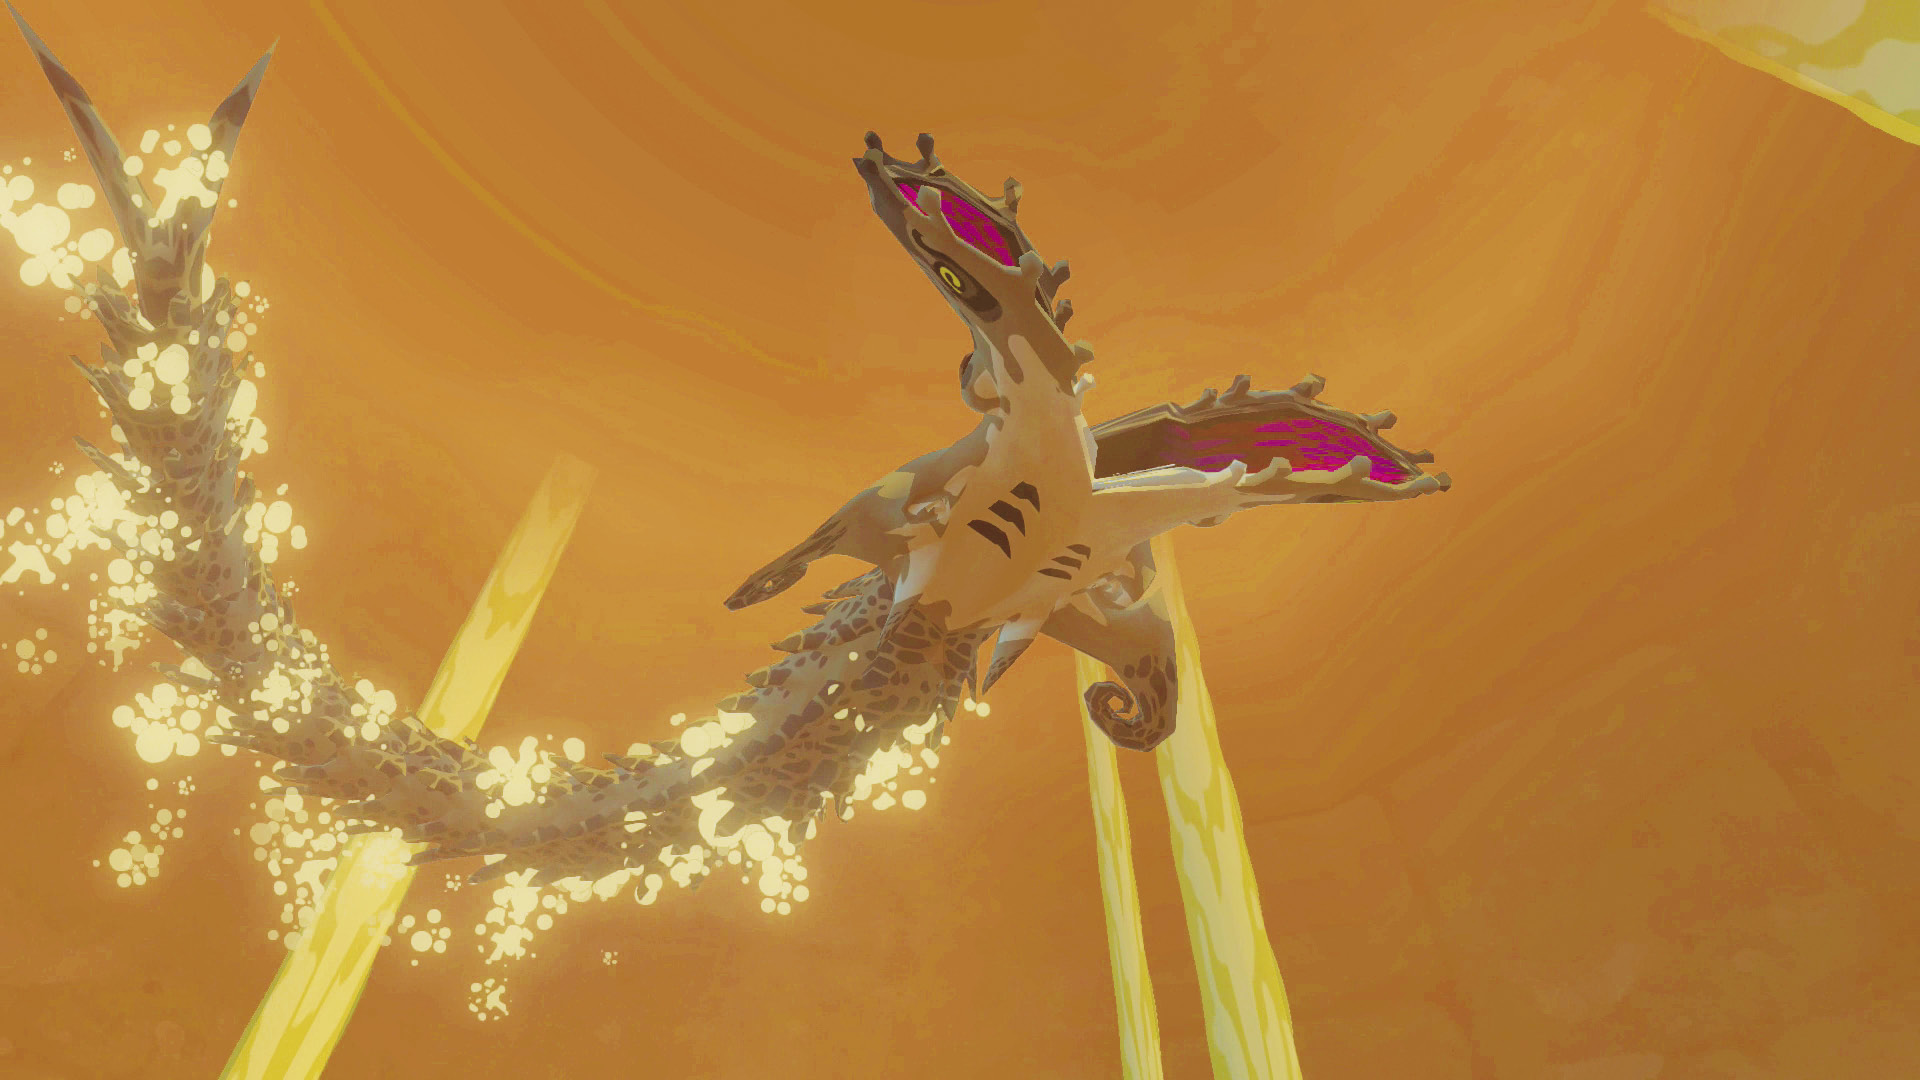 Run to the center of the room and Molgera the giant sand worm will pop out of the ground. Molgera only attacks by eating you if you get too close to his mouth. Most of his defense comes from the larvae he spawns regularly. 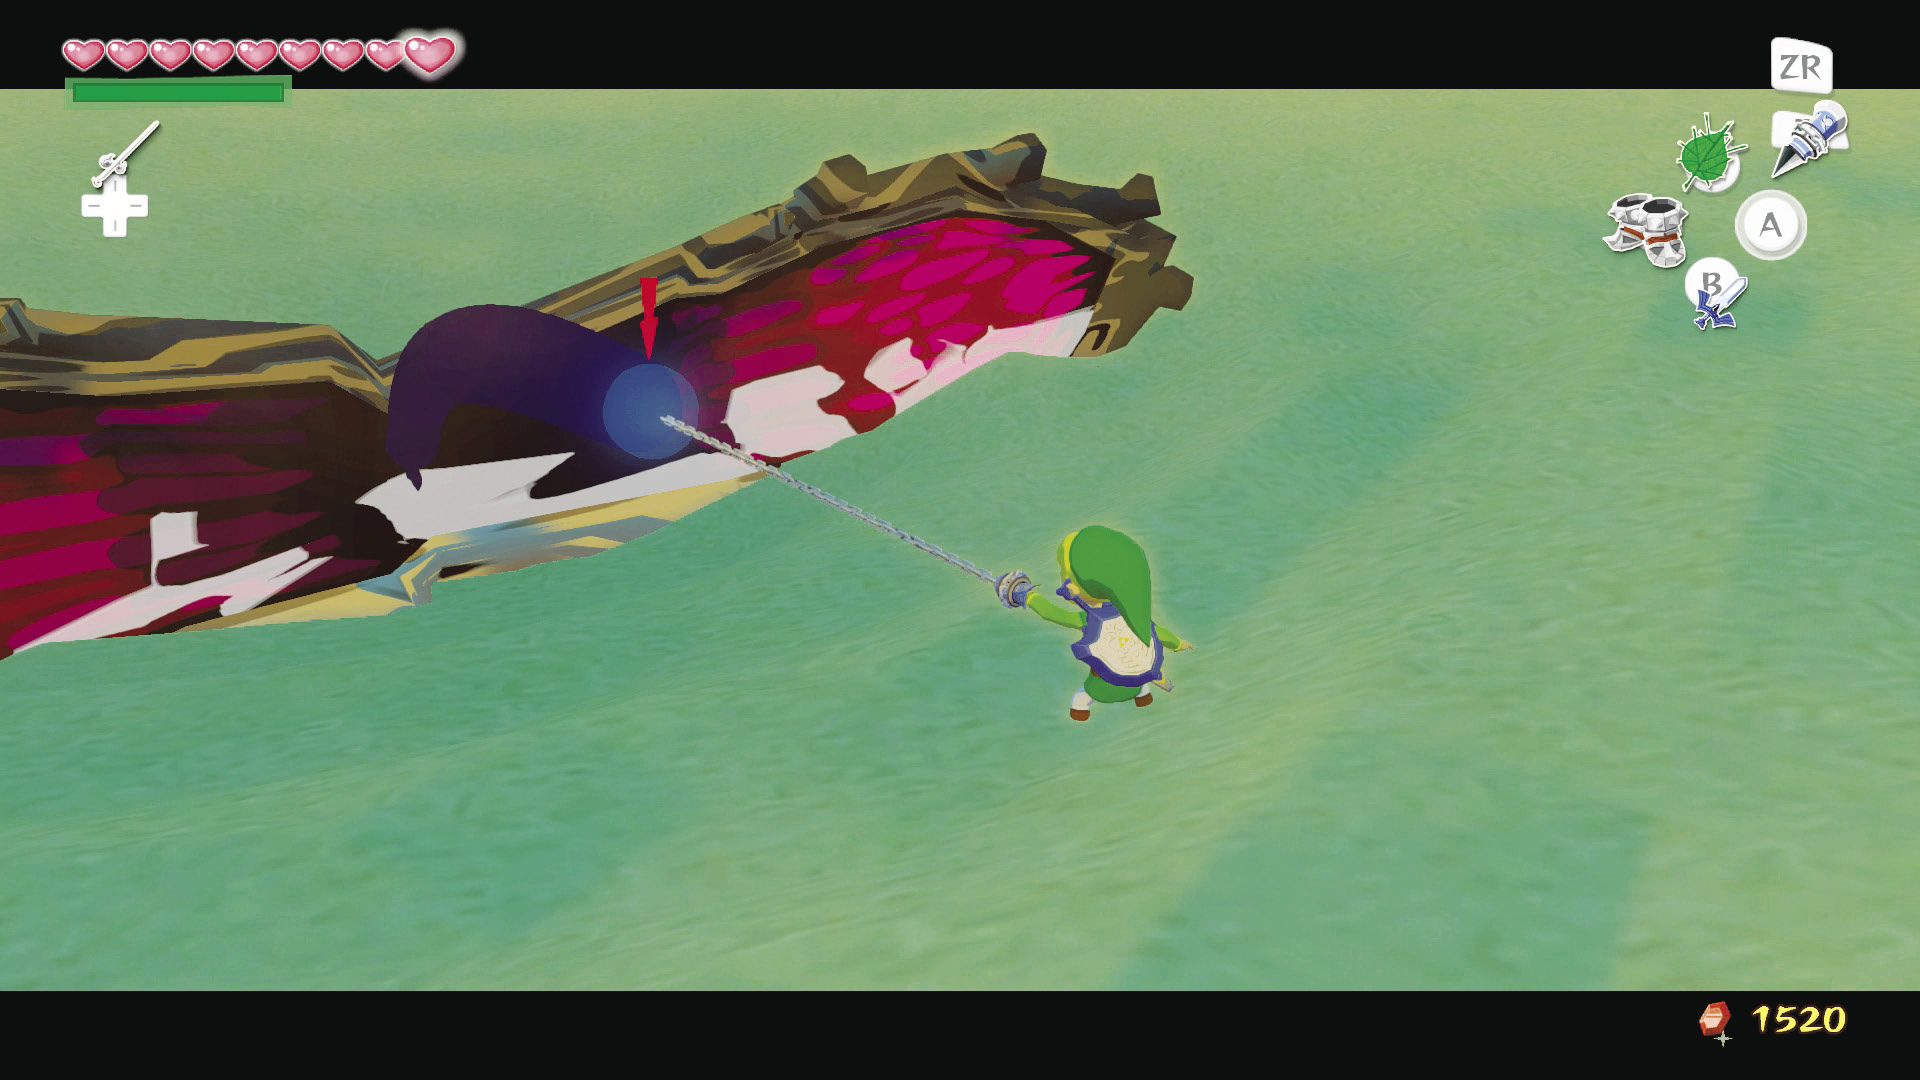 The way to defeat Molgera is by 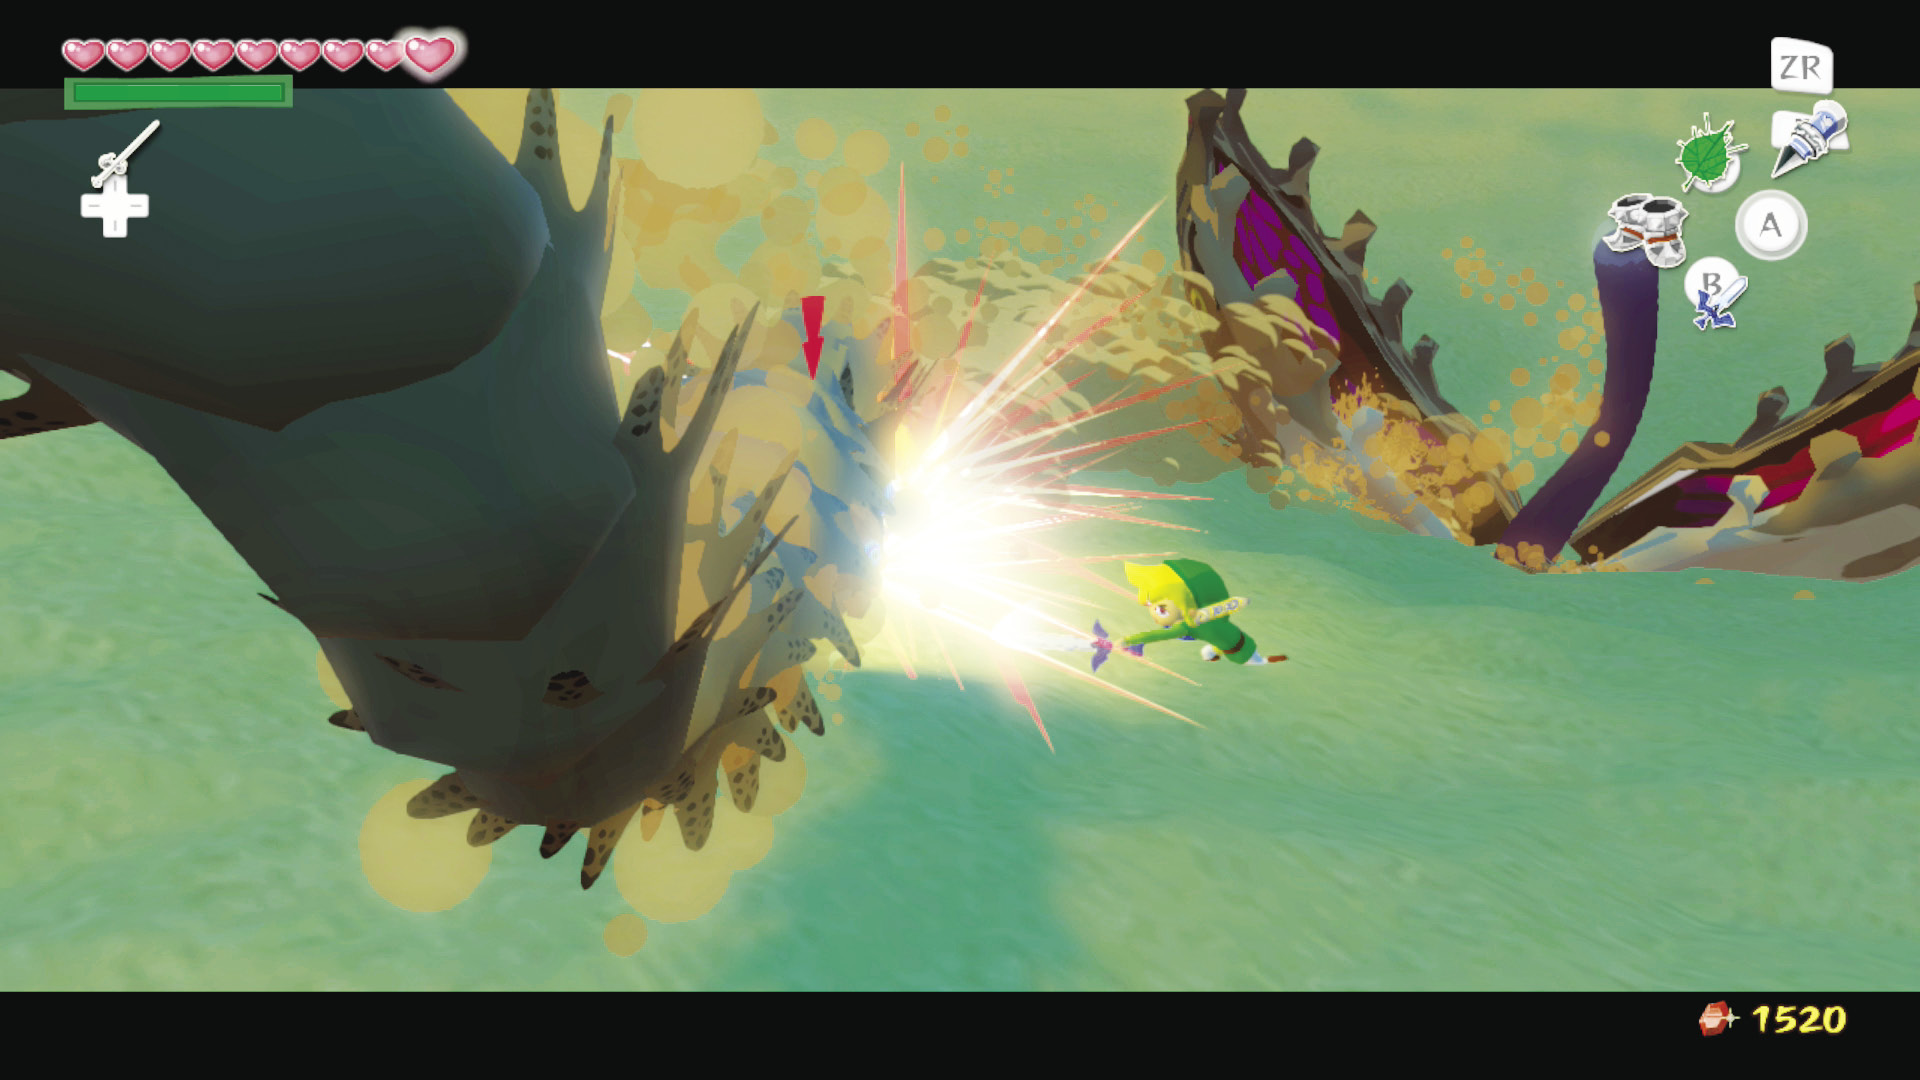 Molgera will pop back up from the sand shortly after, giving you the chance to Hookshot his tongue again. The problem is, the larvae will constantly attack you or intercept your 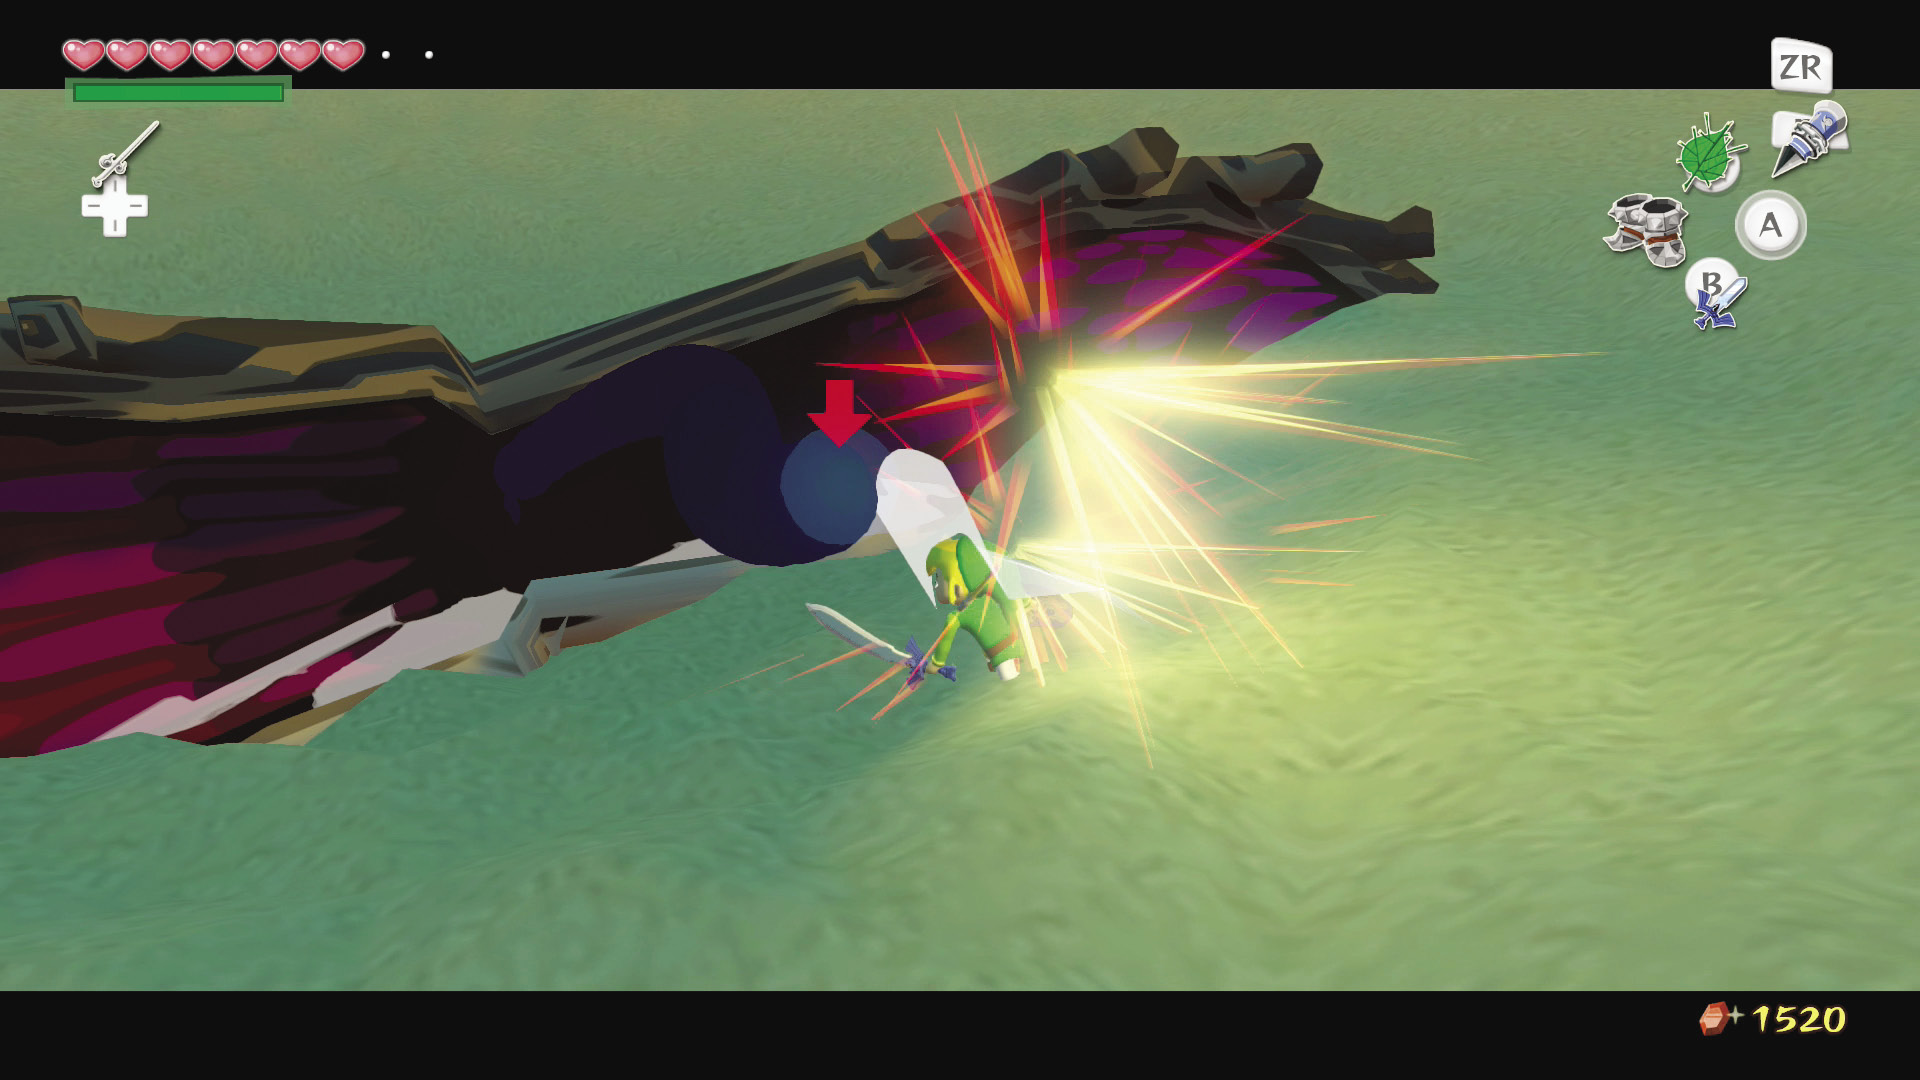 Once you clear out the larvae, go back to targeting Molgera’s tongue. After hitting it three to four times, Molgera will begin to fly around the room. Try and defeat the next wave of larvae he leaves behind, while keeping an eye on the woeful worm; if you’re not careful, Molgera will come down on top of you while you’re distracted by his larvae. Repeat this process two more times and you’ll squash this bug once and for all. |
 -Targeting his blue tongue, then using the Hookshot to draw him toward you. Slash his tongue three to four times and Molgera will withdraw into the sand, leaving his larvae behind to keep you busy.
 -Targeting focus. To defeat them and get back to fighting Molgera,
  -Target each larvae and Hookshot it to pull it out of the ground. Hit each one a handful of times to defeat it. Once defeated, these lurid larvae will often leave behind Hearts for you.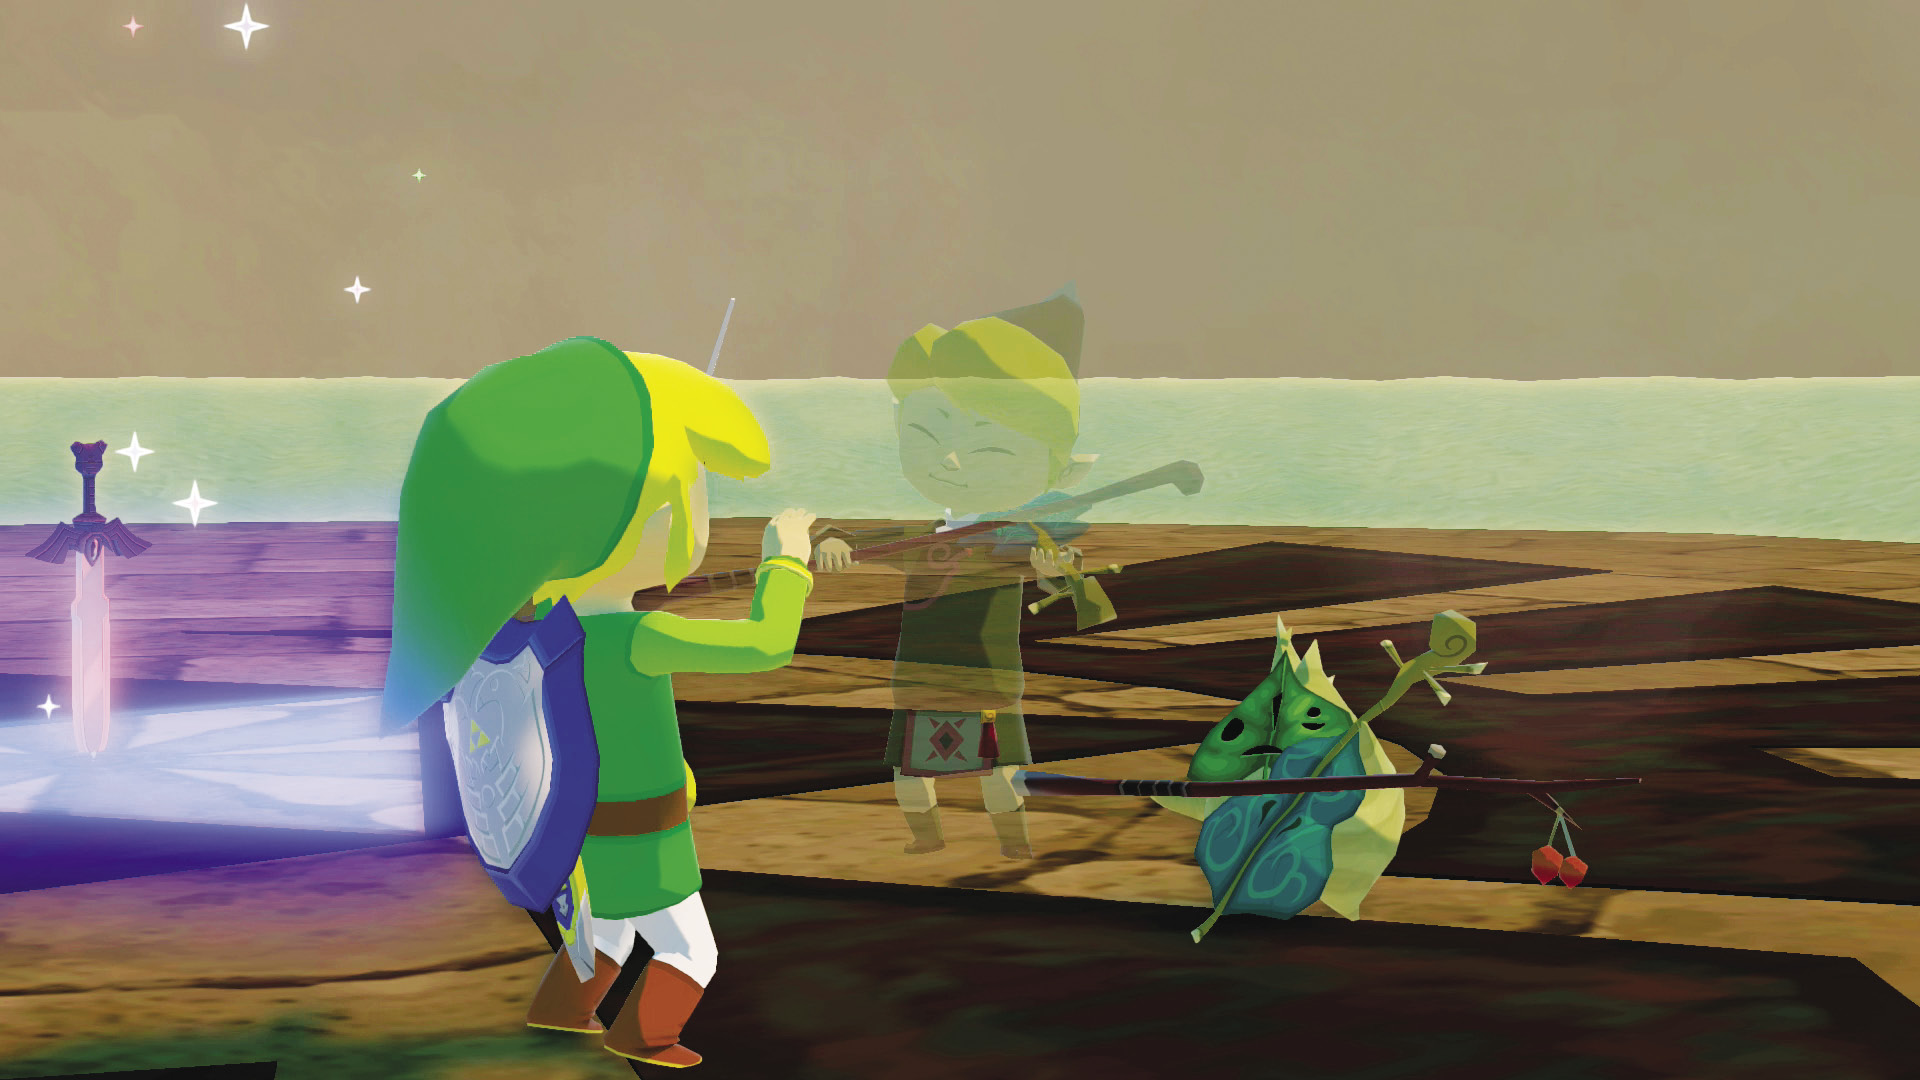
Collect the Heart Container, then step into the glowing triangle at the center of the triangle crest on the ground. Link places the Master Sword into the center of the crest just in time for Makar to enter the room. Link conducts Makar while he plays the “Wind God’s Aria.”
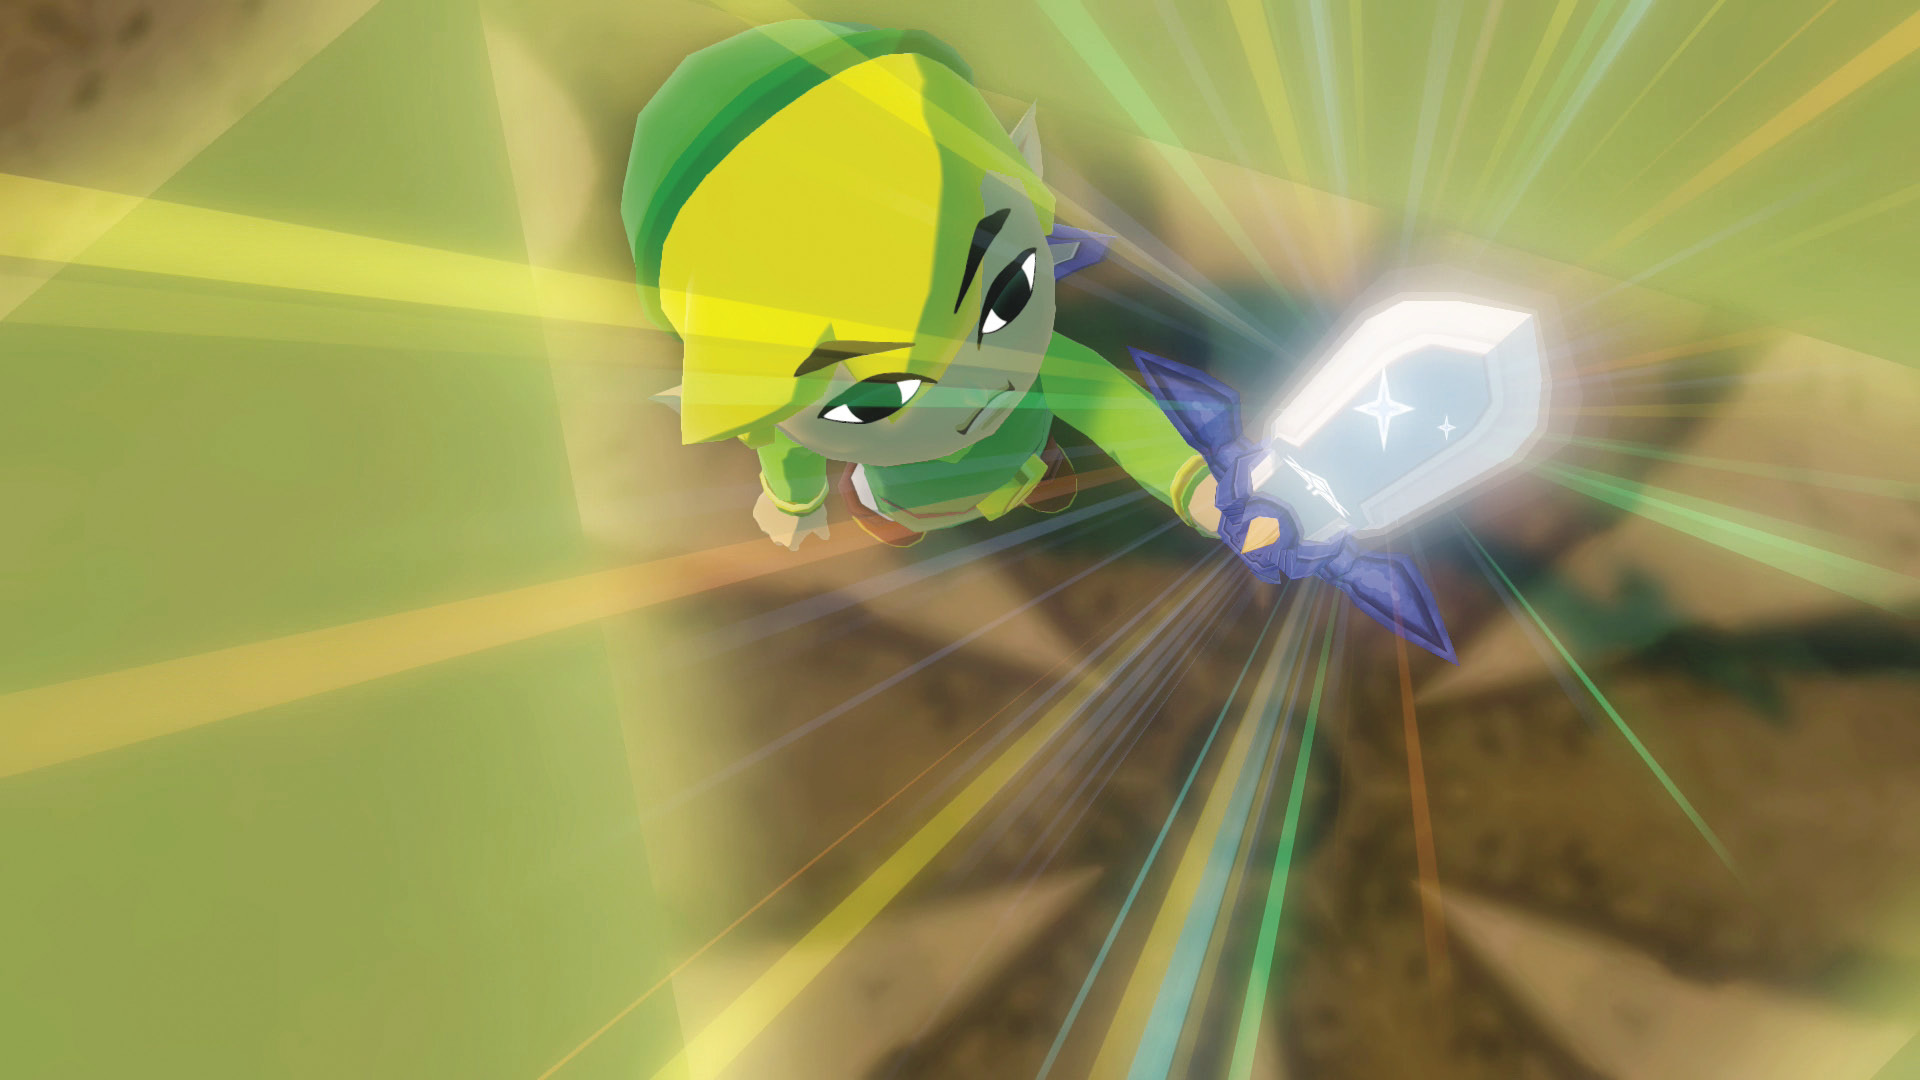
Once the song is complete, the Master Sword begins to shimmer again! Link is teleported back to the shores of Gale Isle to meet with Red.
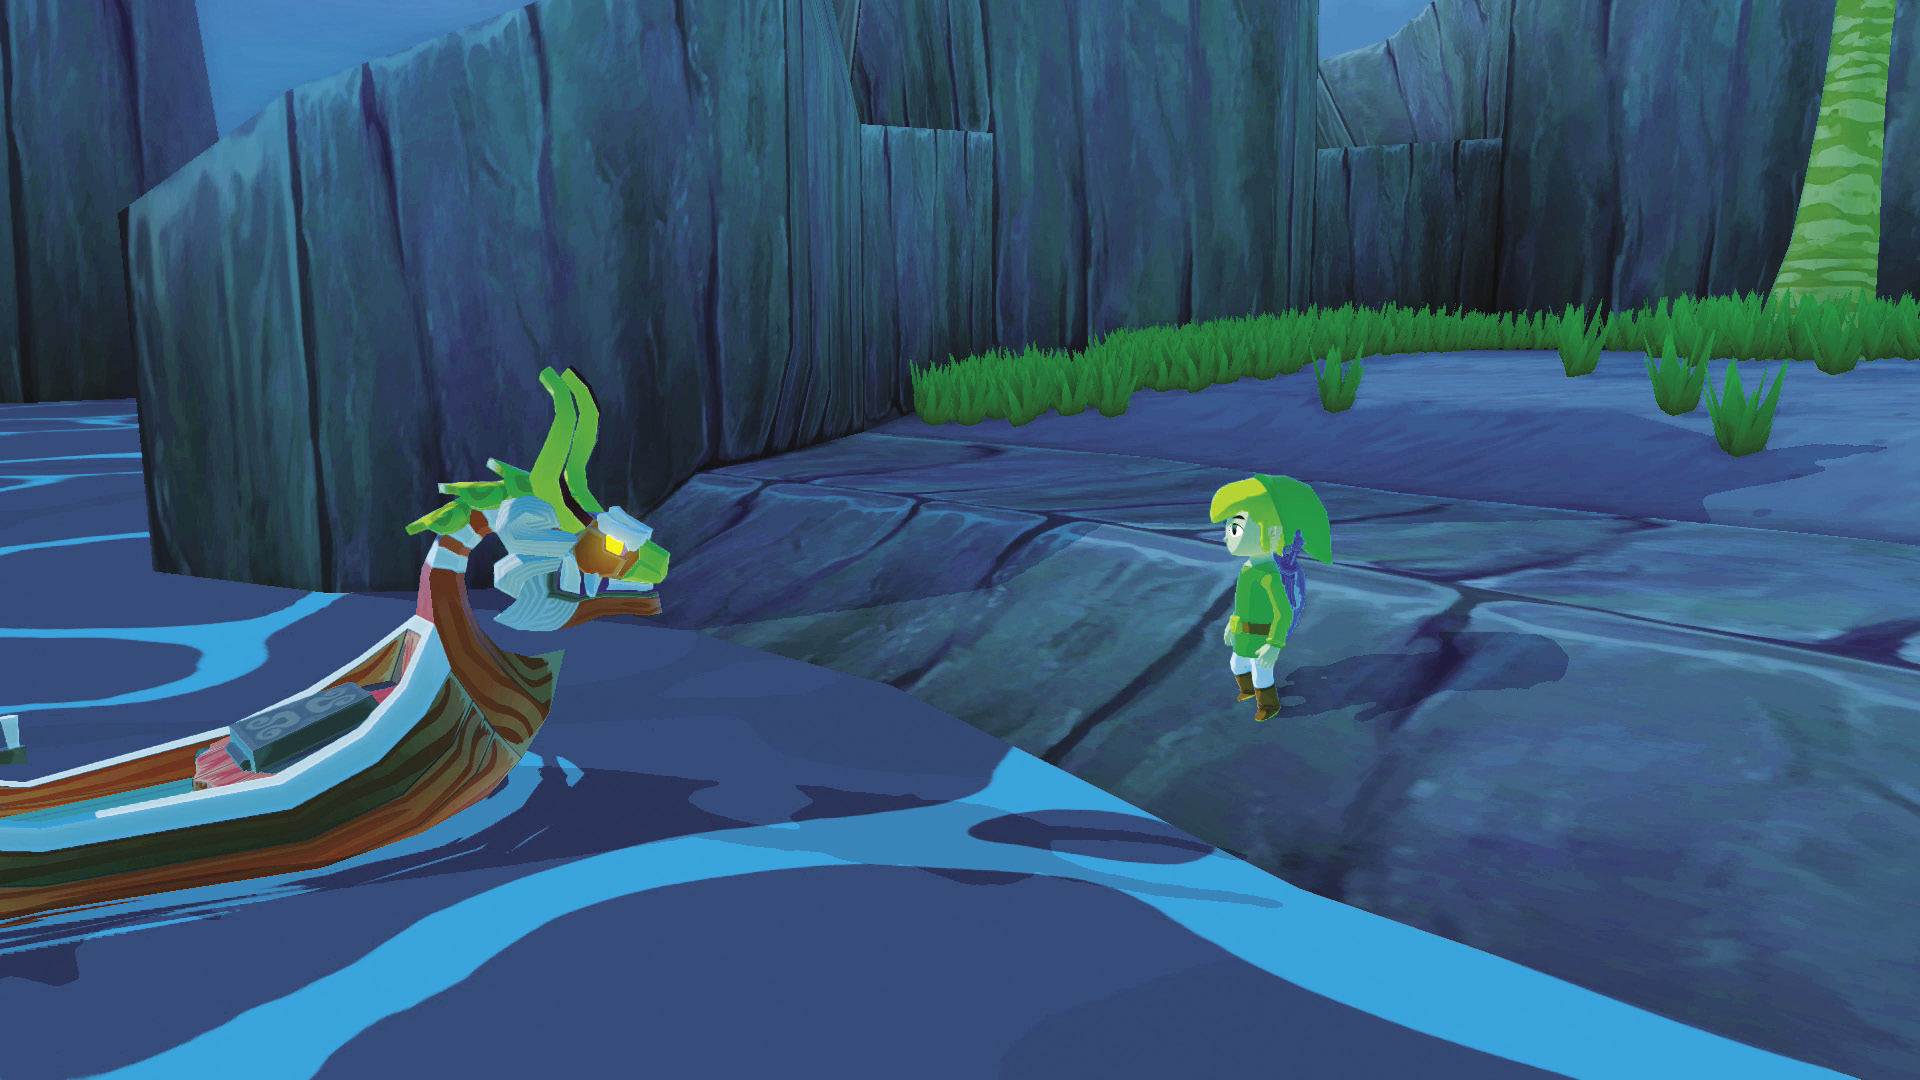
Red has a bad feeling about Zelda’s safety and suggests going after the Triforce Shards. Looks like we have work to do.