Prima Games eGuides
primagames.com Browse Redeem a code Help
The Legend of Zelda: The Wind Waker eGuide
Sign in My Guides

Sign in or create an account

We'll email you a link. No password needed, and if you don't have an account yet, the link makes one.

By creating an account or signing in, you agree to our Terms of Service and Privacy Policy.

Have a password?

Had an account on the old eGuides site, or a code from a printed guide? Help and troubleshooting

Sign in with a password

By signing in, you agree to our Terms of Service and Privacy Policy.

Check your email

A sign-in link is on its way. It works once and expires in 15 minutes. Open it and you're in, with an account if you didn't already have one.

Contents

  • Walkthrough
    • Prologue
    • Humble Beginnings
      • Outset Island (B7)
      • Forest of Fairies
    • The Hunt for Aryll
      • Pirate Ship
      • Forsaken Fortress (A1)
    • The Waker of Winds
      • Windfall Island (D2)
      • Dragon Roost Island (F2)
      • Rito Aerie
    • Dins Pearl and the Spirit of the Skies
      • Dragon Roost Cavern (F2)
    • Somethings Amiss in the Forest Haven
      • Introduction
      • Forest Haven (F6) - A
      • Forbidden Woods (F6)
      • Forest Haven (F6) - B
    • The Spirit of Water and the Third Pearl
      • Introduction
      • Greatfish Isle (B4)
      • Windfall Island (D2)
      • Outset Island (B7)
      • Northern Triangle Island (D3)
      • Southern Triangle Island (D5)
      • Eastern Triangle Island (F4)
    • The Heros Test and the Forgotten Realm
      • Introduction
      • Tower of the Gods (E5)
      • The Castle Frozen in Time
    • Return to the Forsaken Fortress: The Hunt for Aryll Continues
      • Introduction
      • Northern Triangle Island
      • Forsaken Fortress (A1)
    • Restoring Evils Bane: The Earth Temple
      • Introduction
      • Headstone Island (C7)-A
      • Dragon Roost Island (F2)
      • Headstone Island (C7)-B
      • Earth Temple (C7)
    • The Sword Shines Again! The Wind Temple
      • Introduction
      • Ice Ring Isle (E6)
      • Gale Isle(D1)
      • Forest Haven (F6)
      • The Wind Temple (D1)
    • Rebuilding the Triforce of Courage
      • A Brief Explanation
      • Triforce Chart #1: Islet of Steel (B5)
      • Triforce Chart #2: Birds Peak Rock (G5)
      • Triforce Chart #3: Needle Rock Island (A5)
      • Translating the Charts
      • Triforce Shard #1
      • Private Oasis (E5)
      • Triforce Shard #2: Outset Island (B7)
      • Triforce Shard #3: Diamond Steppe Island (A6)
      • Triforce Shards #4 and #5: Stone Watcher Island (C5)
      • Triforce Shard #6: Overlook Island (G1)
      • Triforce Shard #7: Greatfish Isle (B4)
      • Triforce Shard #8: Cliff Plateau Isles (G6)
      • The Triforce of Courage
      • Tower of the Gods (E5)
    • Ganons Tower: The Final Showdown
      • Introduction
      • Ganons Tower
  • Equipment and Items
    • Common Items
    • Dungeon Items
    • Quest Items
    • Special Items
  • Characters and Enemies
    • Introduction
    • Characters
    • Enemies
  • Legendary Checklist
    • Quest Items
    • Songs
    • Pieces of Heart
    • Treasure Charts
    • Special Charts
    • Triforce Charts and Shards
    • Great Fairies
    • Big Octos
    • Submarines
    • Sea Platforms
    • Secret Caves
    • Rings of Light
    • Blue ChuChus
    • Withered Deku Trees
    • Beedles Shop Ship
    • Shops and Vendors
    • Minigames
    • Nintendo Gallery
  • Islands of the Great Sea
    • Islands of the Great Sea
    • Forsaken Fortress (A1)
    • Four-Eye Reef (A2)
    • Western Fairy Island (A3)
    • Three-Eye Reef (A4)
    • Needle Rock Isle (A5)
    • Diamond Steppe Island (A6)
    • Horseshoe Island (A7)
    • Star Island (B1)
    • Mother & Child Isles (B2)
    • Rock Spire Isle (B3)
    • Greatfish Isle (B4)
    • Islet of Steel (B5)
    • Five-Eye Reef (B6)
    • Outset Island (B7)
    • Northern Fairy Island (C1)
    • Spectacle Island (C2)
    • Tingle Island (C3)
    • Cyclops Reef (C4)
    • Stone Watcher Island (C5)
    • Shark Island (C6)
    • Headstone Island (C7)
    • Gale Isle (D1)
    • Windfall Island (D2)
    • Northern Triangle Island (D3)
    • Six-Eye Reef (D4)
    • Southern Triangle Island (D5)
    • Southern Fairy Island (D6)
    • Two-Eye Reef (D7)
    • Crescent Moon Island (E1)
    • Pawprint Isle (E2)
    • Eastern Fairy Island (E3)
    • Tower of the Gods (E4)
    • Private Oasis (E5)
    • Ice Ring Isle (E6)
    • Angular Isles (E7)
    • Seven-Star Isles (F1)
    • Dragon Roost Island (F2)
    • Fire Mountain (F3)
    • Eastern Triangle Island (F4)
    • Bomb Island (F5)
    • Forest Haven (F6)
    • Boating Course (F7)
    • Overlook Island (G1)
    • Flight Control Platform (G2)
    • Star Belt Archipelago (G3)
    • Thorned Fairy Island (G4)
    • Birds Peak Rock (G5)
    • Cliff Plateau Isles (G6)
    • Five-Star Isles (G7)
  • How to Play
    • Game File Management
    • Game Screens
    • Controlling Link
    • Environmental Objects

The Legend of Zelda: The Wind Waker Guide › Walkthrough › The Hunt for Aryll

Pirate Ship

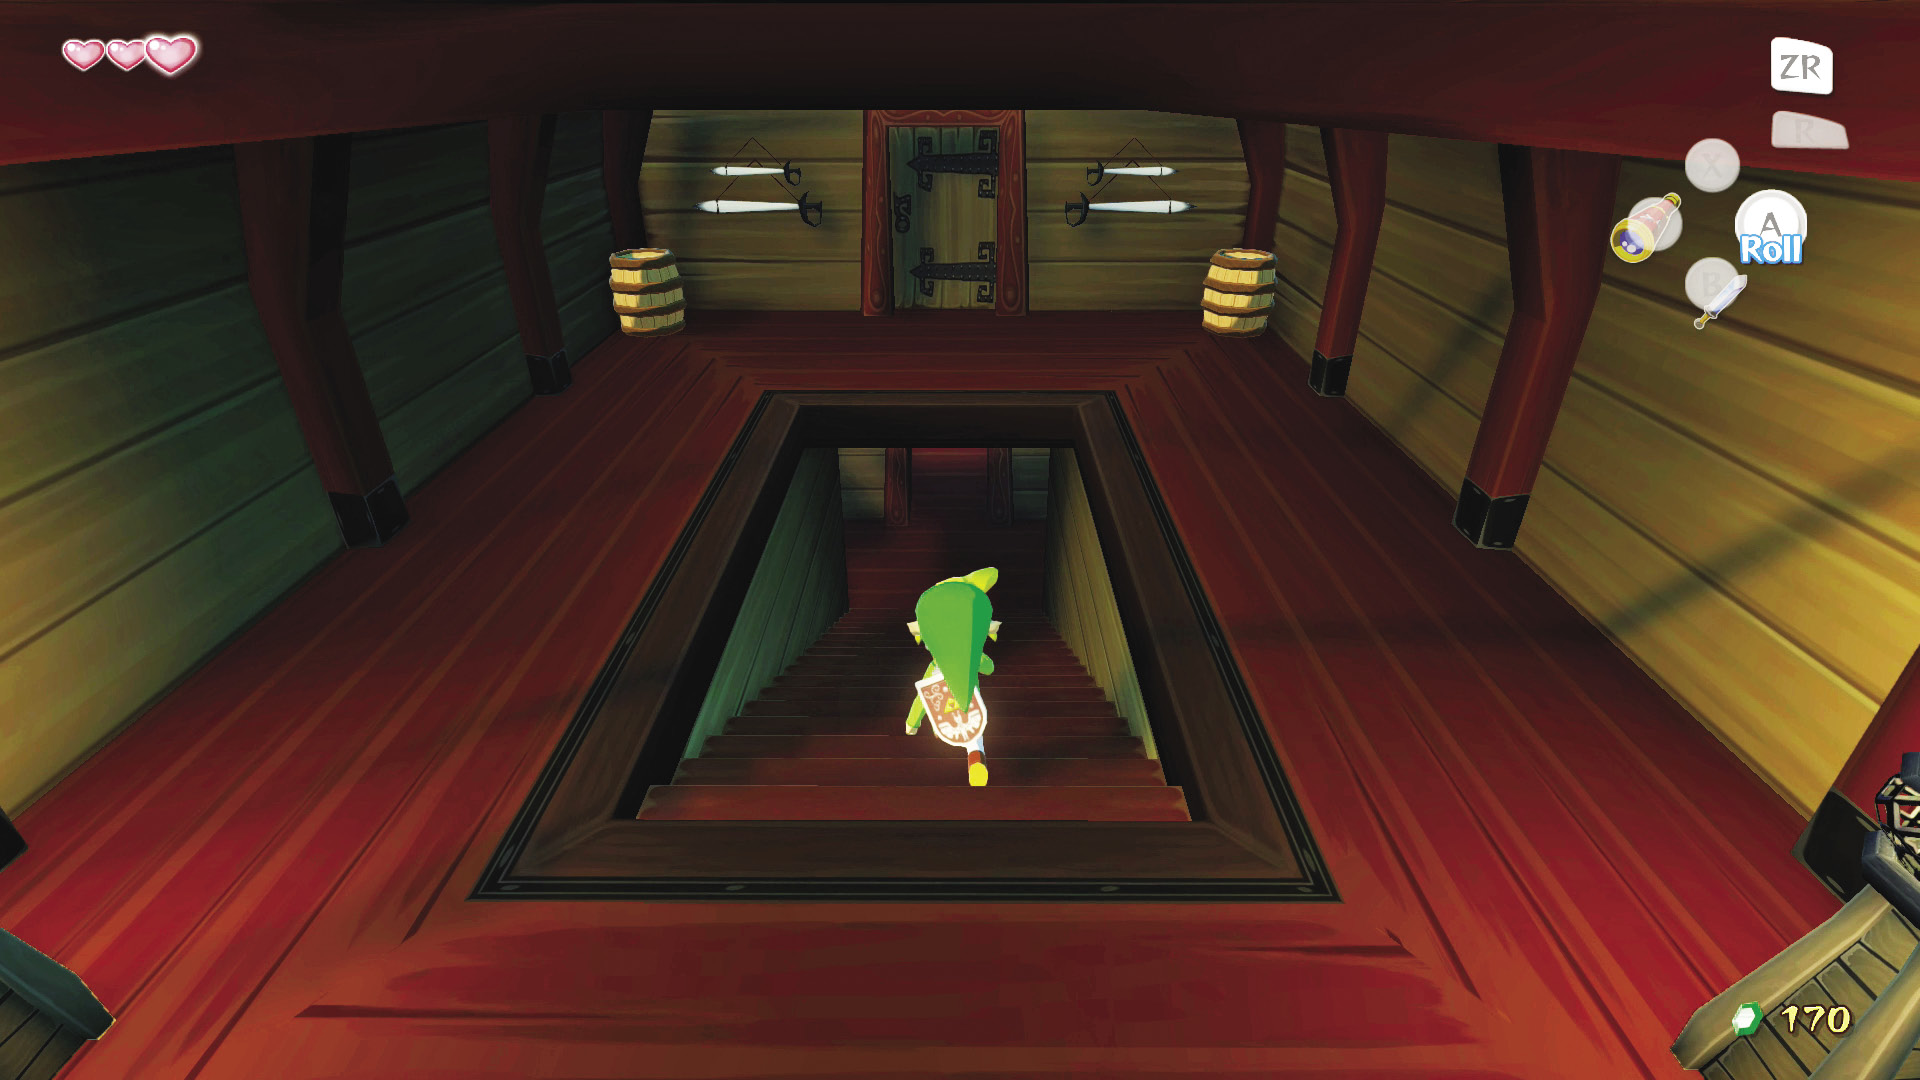
There isn’t a lot to do on the pirates’ ship, and Tetra isn’t very pleased having Link aboard. To cool the hotheads, head down to the door just past the mast (the pole with the sail on it) and go through it. Take the stairs directly ahead of you to meet Niko, the pirate who you replaced as the bottom of the food chain on this ship.
The (Wo)Man in Charge

If you try entering the room at the top of the stairs that lead down to Niko, you’ll be stopped by Nudge, a monumental pirate who is as loyal as he is big. He will tell you that no one enters Tetra’s room, not even “real pirates.” It would seem that Tetra is more than just another pirate; she is actually the pirate leader.

Link: The Potslayer

At the bottom of the steps is a door leading into an open area. Before you cross its threshold, look at the walls to the left and right; there are two sets of pots on shelves mounted on the walls on either side. Roll into either of these walls by holding W and pressing #; the pots will fall and you’ll gain a few extra Rupees. Remember this technique whenever you see pots on the wall to get Rupees and Hearts.

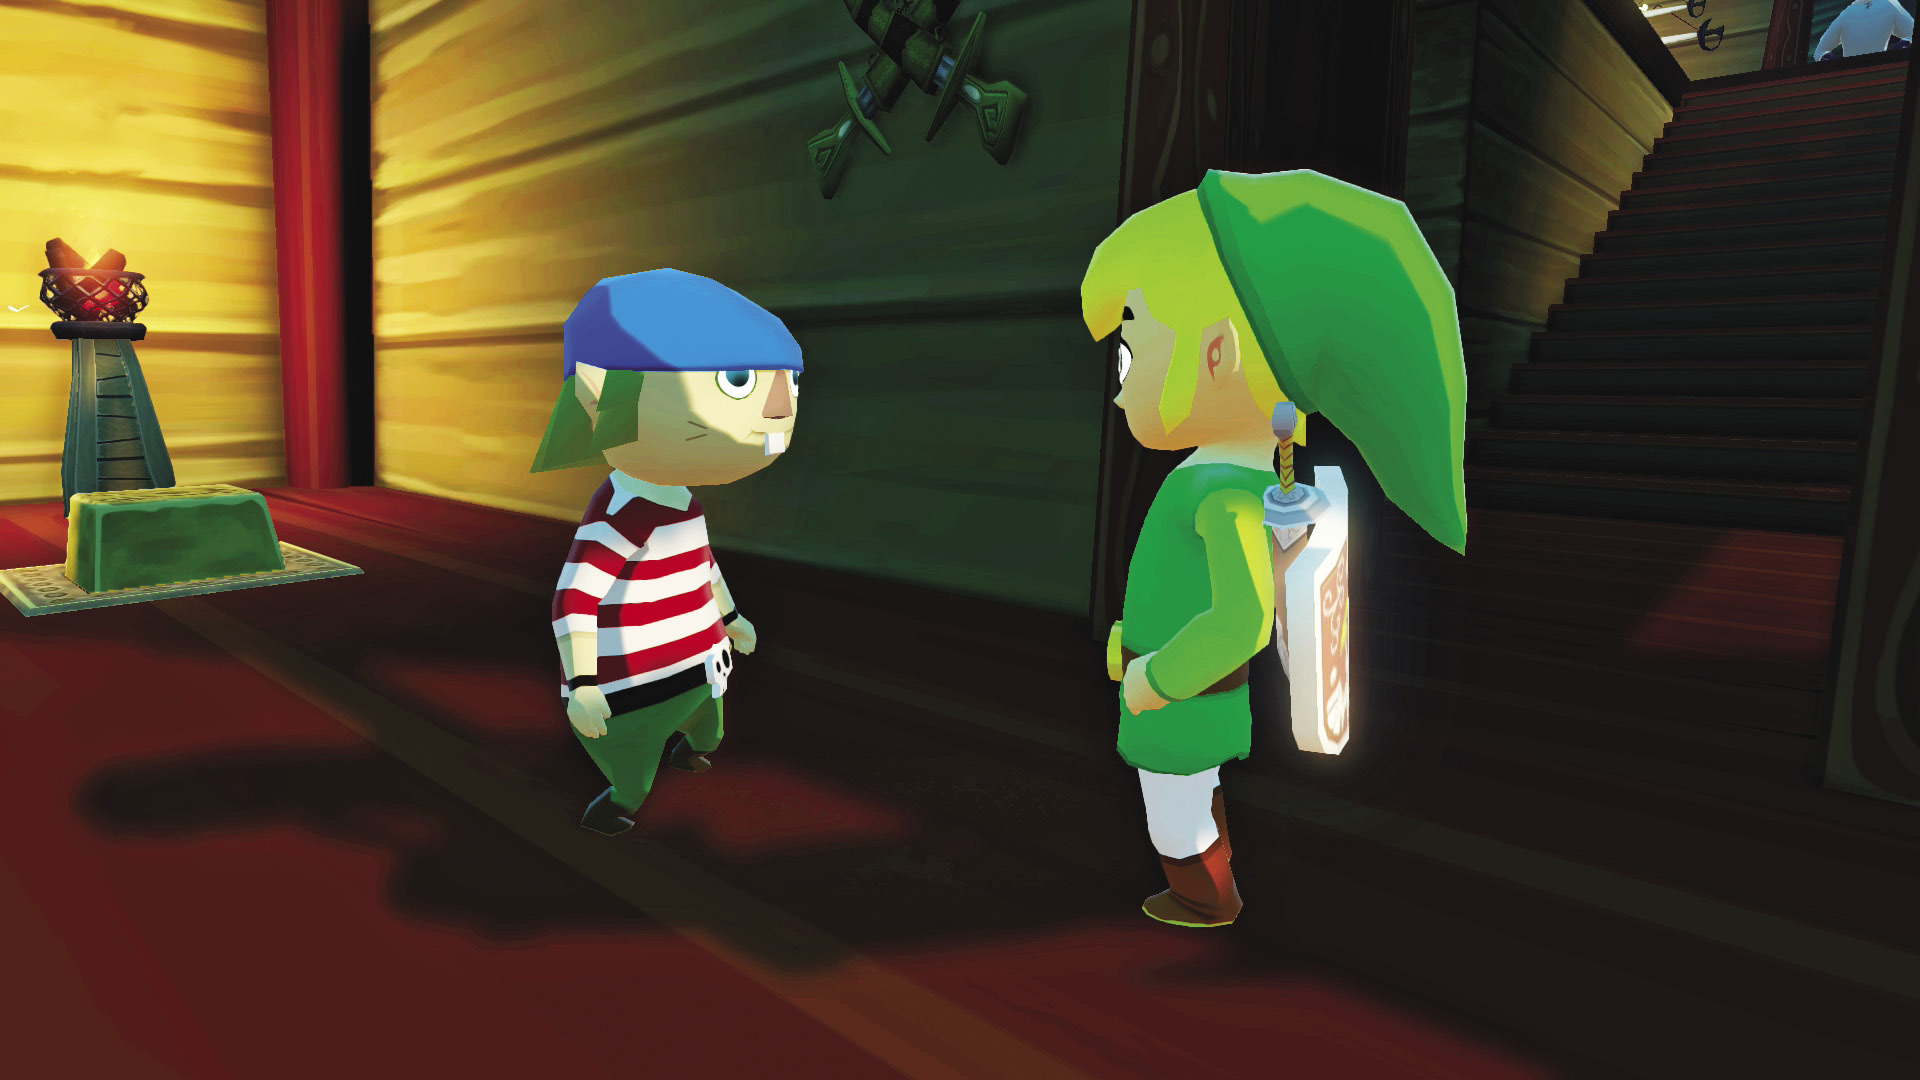
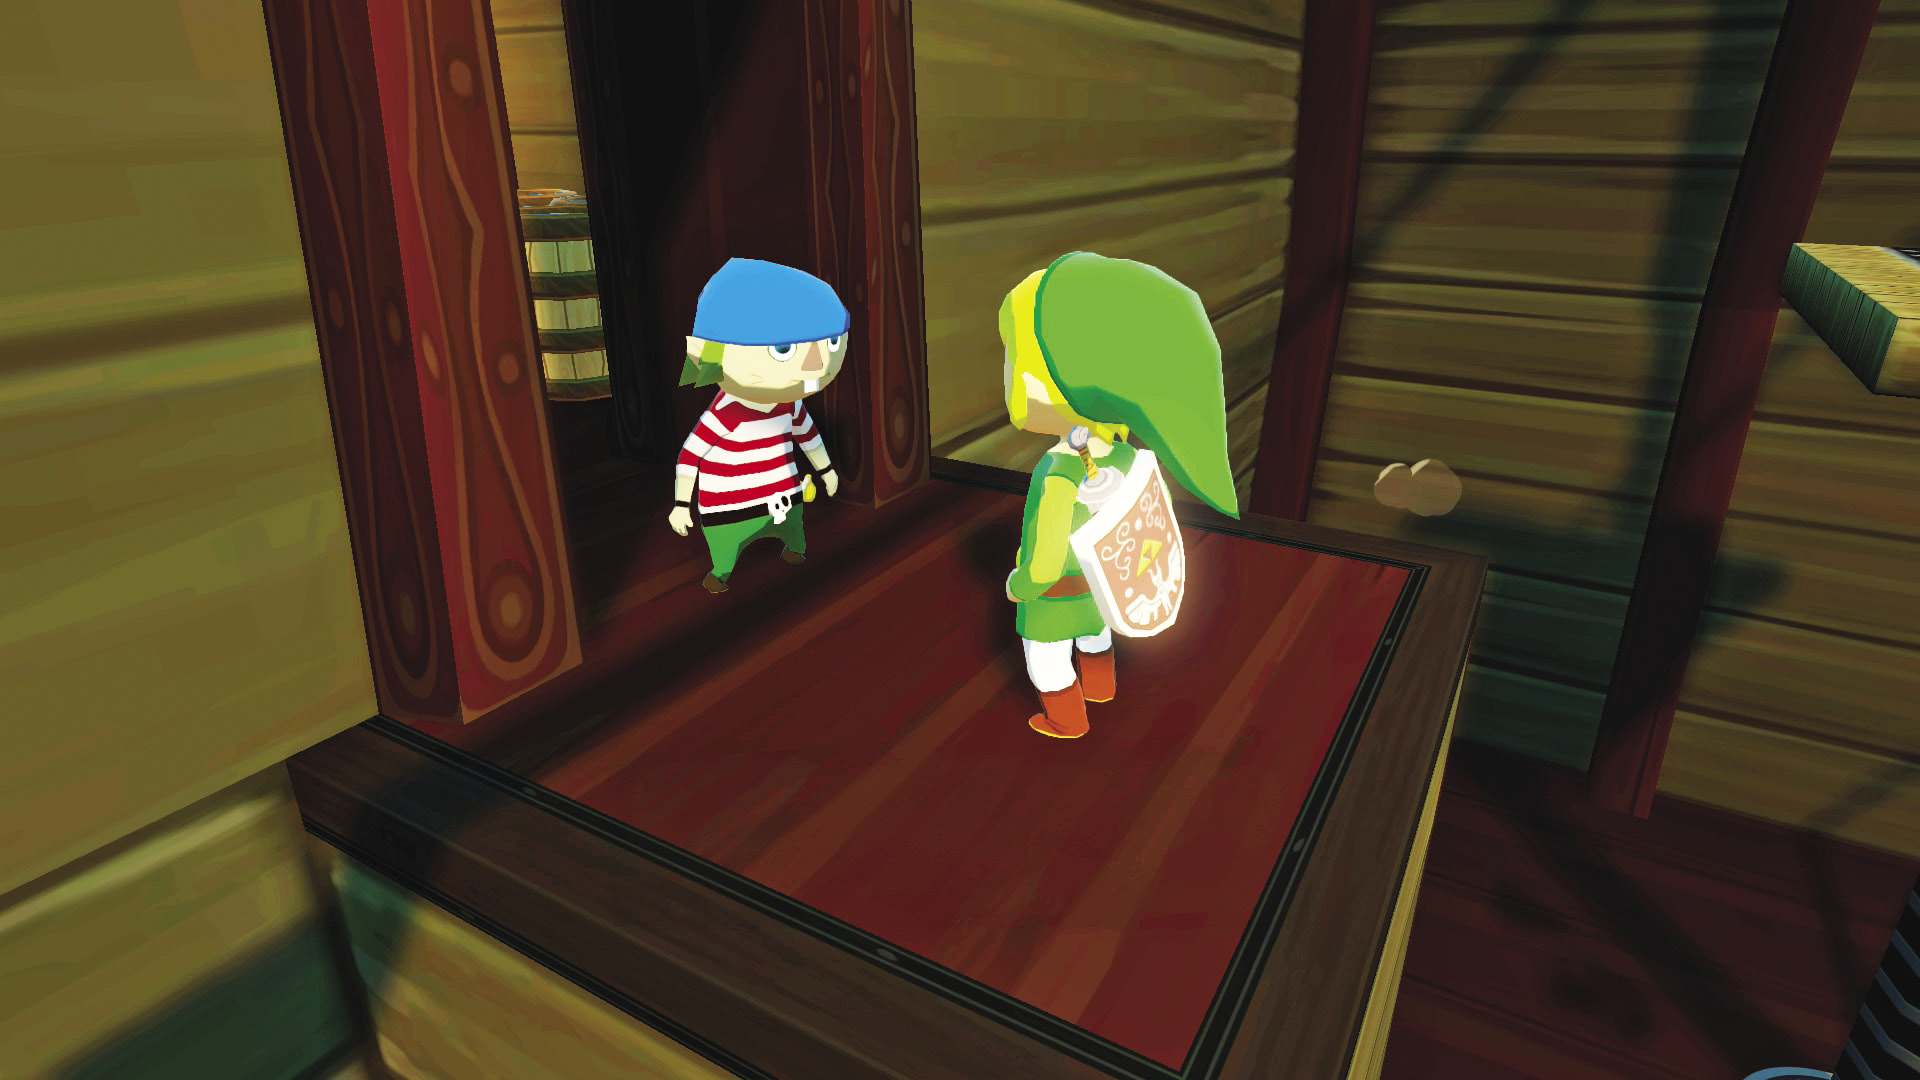
Head through the doorway at the bottom of the stairs and you will be greeted by Niko, the second-lowest pirate on the ship’s totem pole. Reveling in his new placement, he informs Link that he must complete the test all pirates have to take in order to earn their place on the ship. He warns Link that the test will be painful, full of bumps and bruises, and that it should take at least a year to finish it. Let’s prove him wrong, shall we?

Swinging Shenanigans
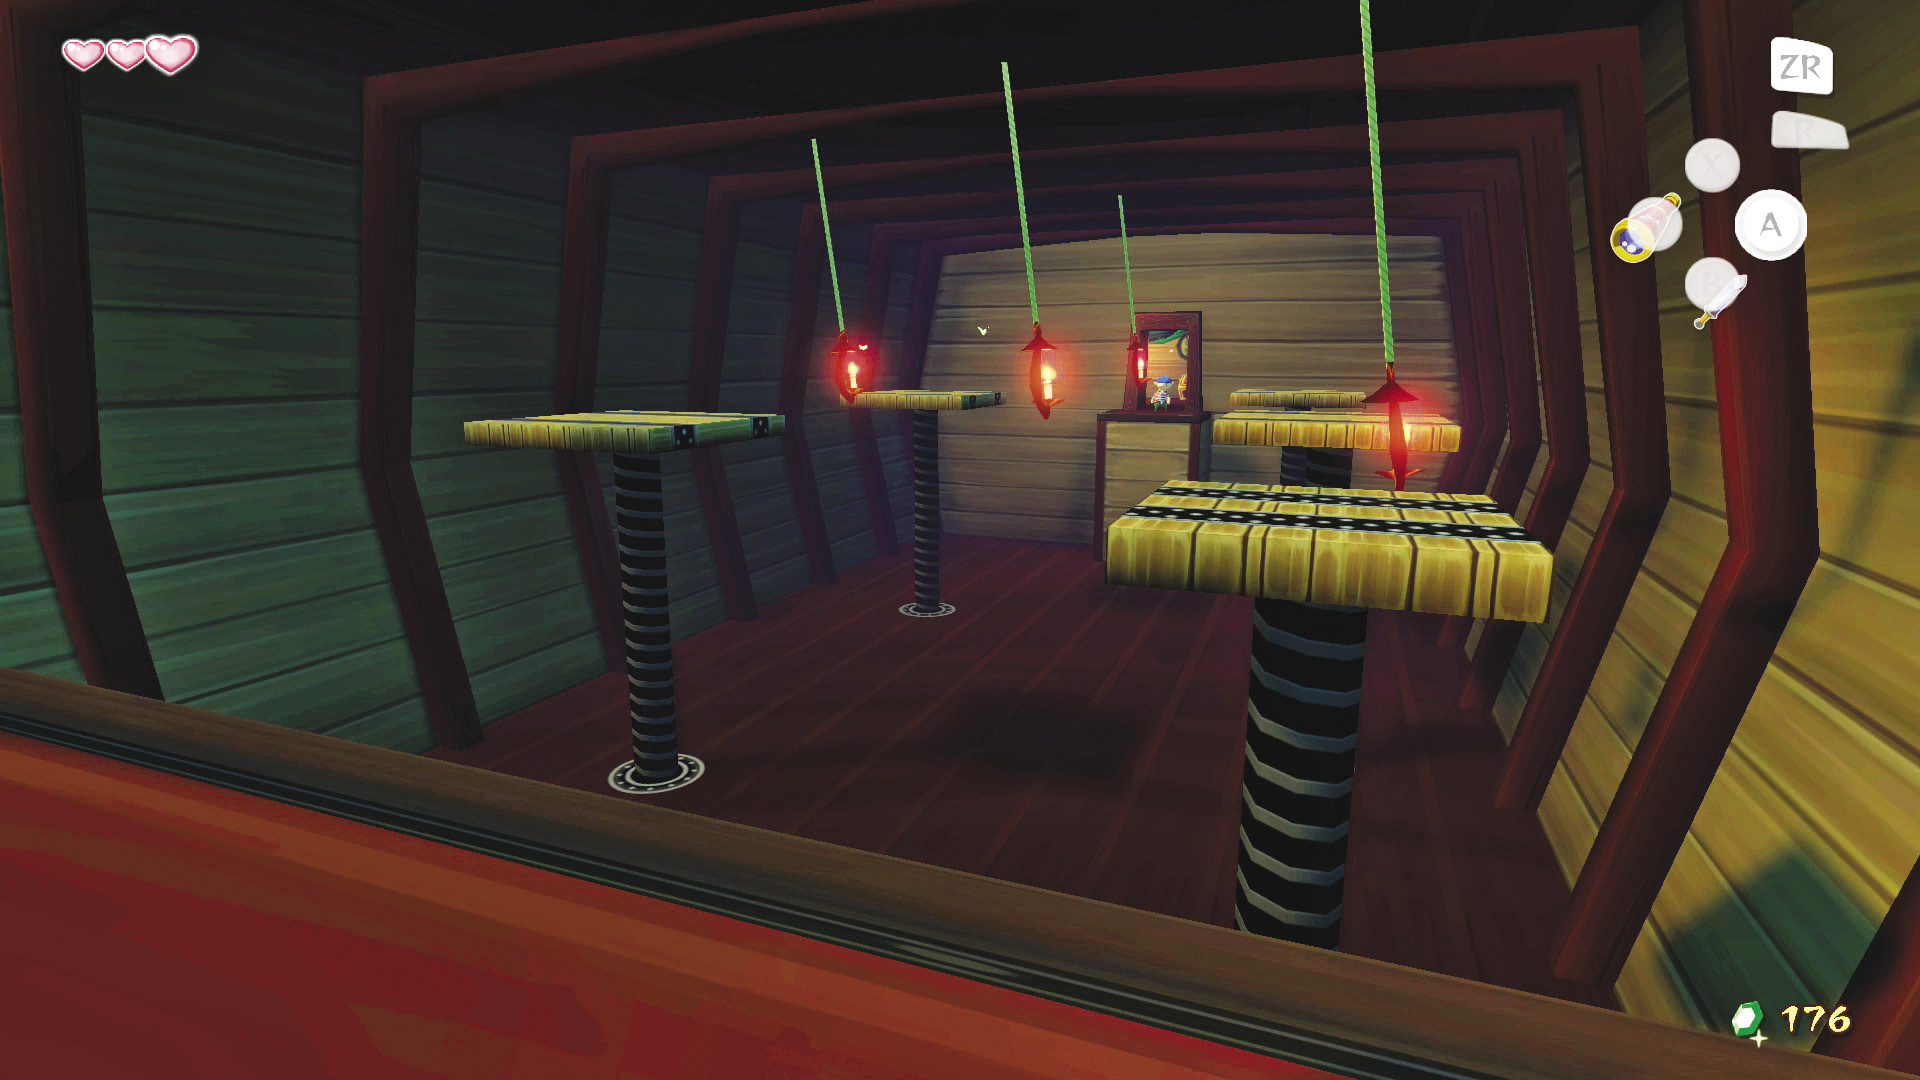
Niko’s test involves platforms that rise from the ground and lamps hanging from the ceiling. Your goal is to reach the room’s other side by jumping and swinging from platform to platform. The catch—and there is always a catch—is that you have only 60 seconds to make it across before the platforms lower back to the ground and you have to start all over.
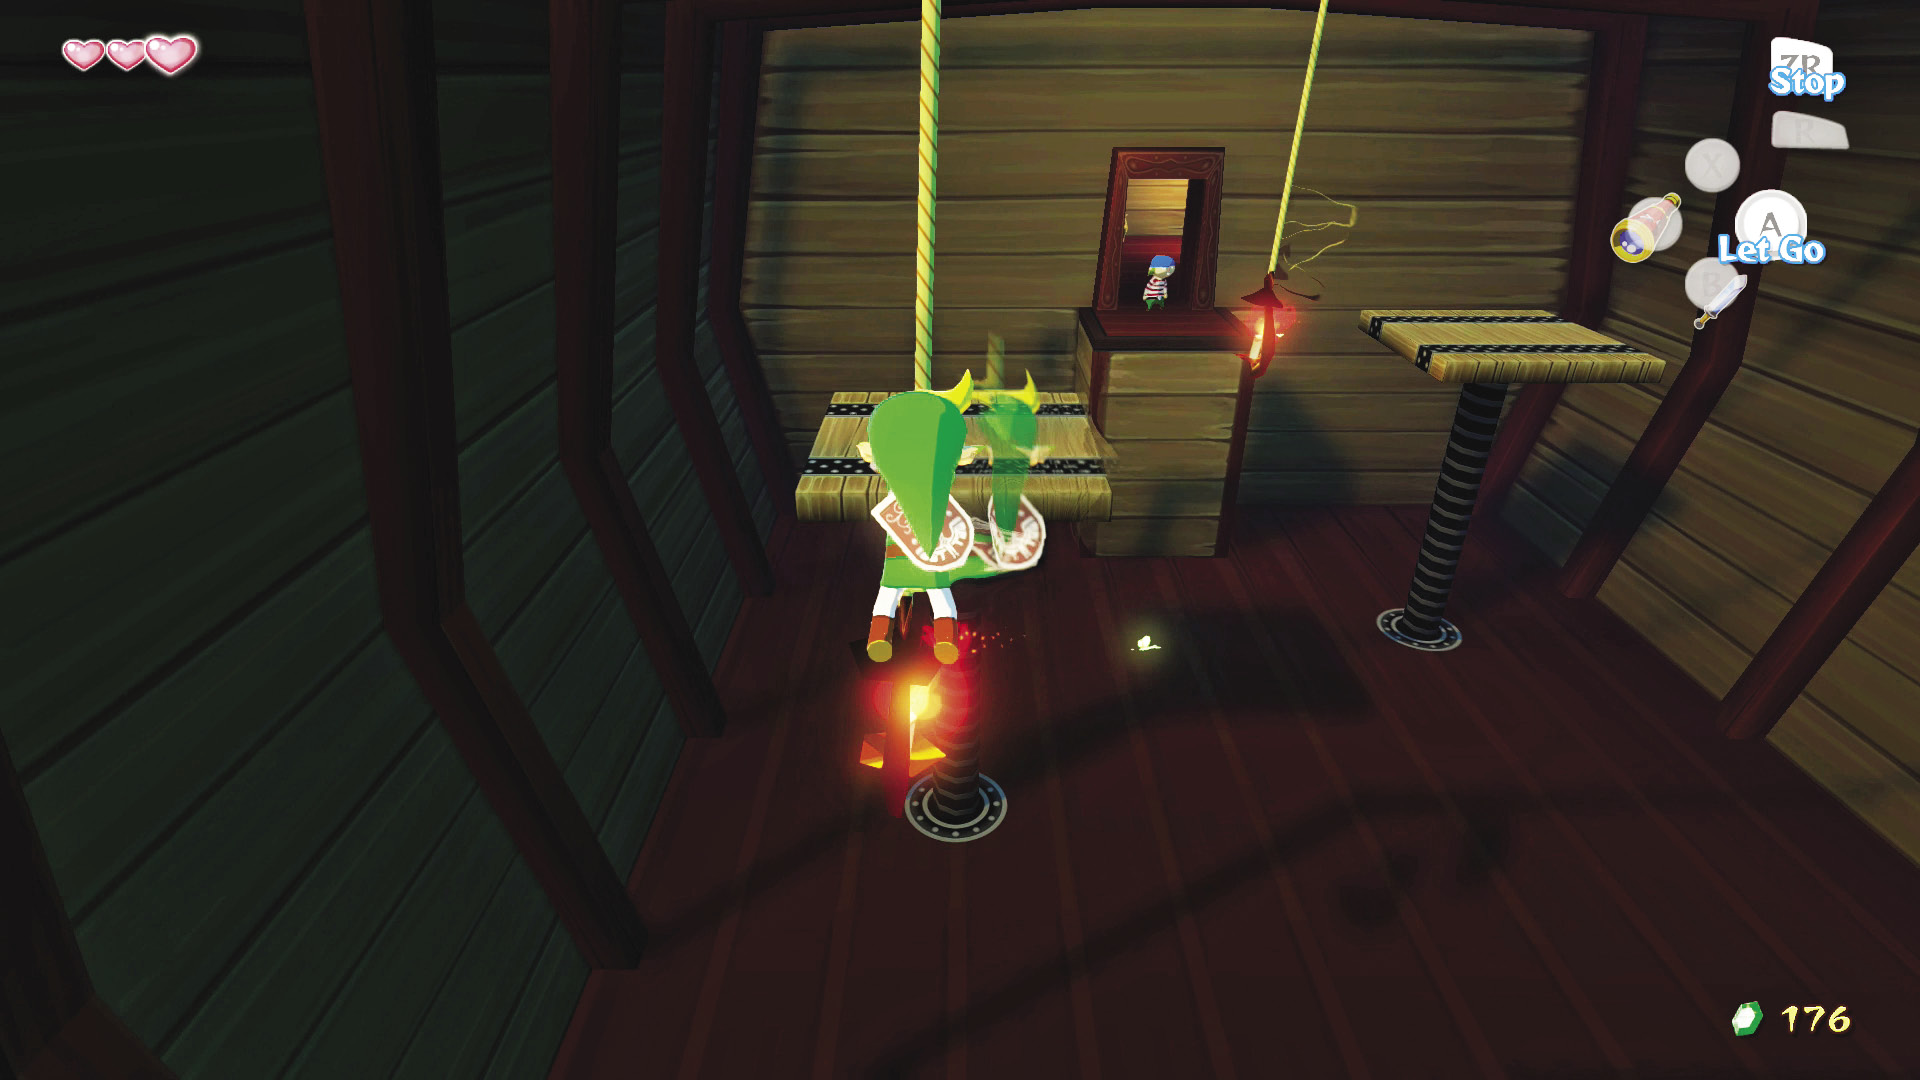
This can be a real challenge if you’re the rushy type. The important thing here is patience and moderation. Every time you jump onto a platform, line your camera up with the lantern before trying to make the next jump. Watch the lanterns and jump when they begin to swing back toward the middle of their arc, instead of at the far left or right of it. When on a rope, don’t jump off of it when you are at the height of your swing (you will likely overshoot your jump and land smack-dab on the floor); instead, jump just before the top. If you jump onto the lantern higher than you wanted, you can hold the 0 Button to stop your swing and use the Left Stick to climb up and down the rope. You can also turn while swinging by holding the Left Stick left or right.
The path to the room’s other side is pretty straightforward; if you can reach a lantern from a platform, you know it’s the one you need to be jumping onto. If you fall, just climb back up the ladder attached to the starting platform with the switches on it and try again. When you fall, activate the switch to lower the platforms right in front of the ladder to give yourself the maximum amount of time.
Time Management

When you first start the minigame, head to the platform’s left side and activate the switch to lower it; then head right and hit the switch to raise them again. This will reset the timer, ensuring you get the most time possible to take on this challenge.

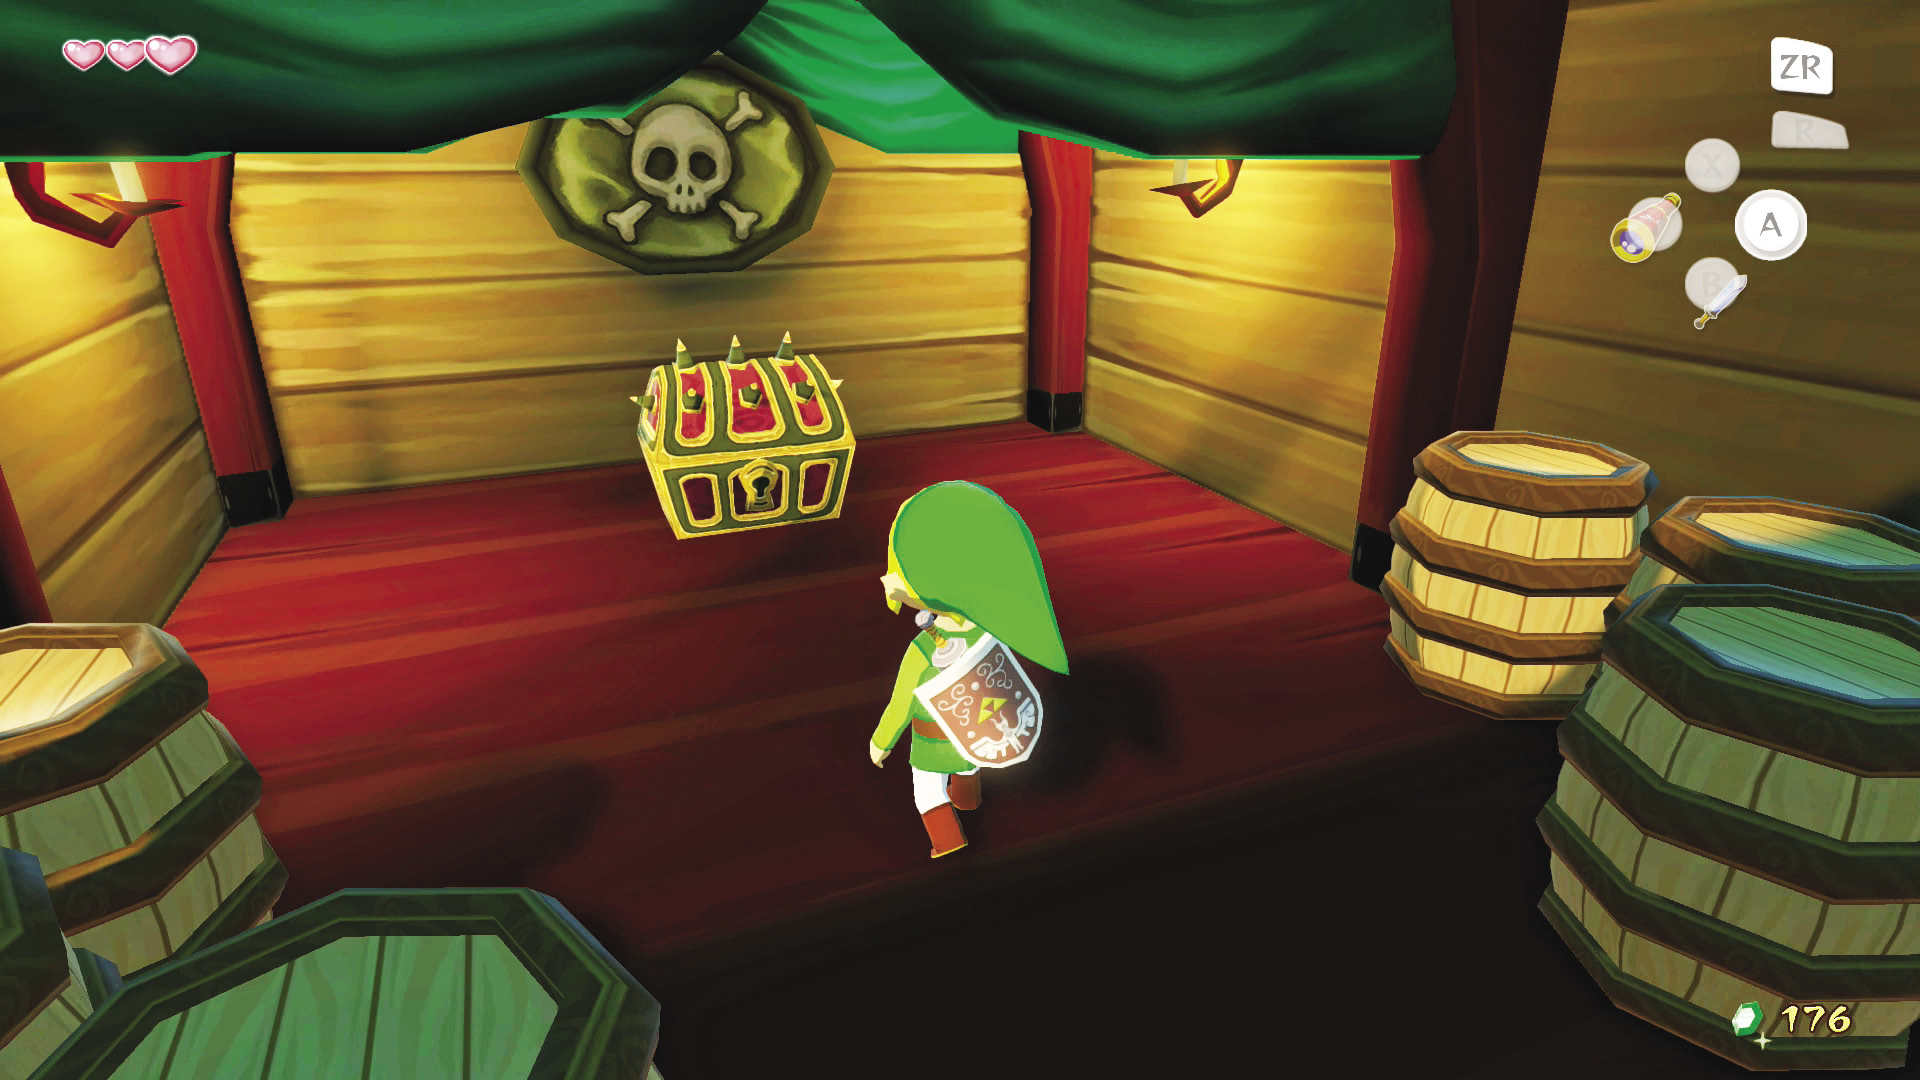
Once you’ve completed Niko’s challenge (and utterly stunned him with your speed in the process), you will be awarded with the Spoils Bag, which will hold various items dropped by enemies. After you grab the Spoils Bag, Tetra will call for Link, telling him that they arrived at the Forsaken Fortress. Best not to keep the hotheaded pirate leader waiting. Jump down from the Spoils Bag treasure room, climb up the ladder at the room’s entrance, and head to the deck.

5

Spoils Bag

Loose Change

Much in the same way you threw the piglets during the minigame on Outset Island, you can also throw and break objects, such as pots and barrels, like the ones located in the room where Niko is stashing the Spoils Bag. Pick these up with # and press # again to throw them; they’ll break into little bits and drop items. This is an invaluable skill that will help you get Rupees, Hearts, and other items along your journey and works wonders in areas you can’t draw your sword. Use it whenever you get the chance. After all, everyone has a little vandal in them.

PreviousForest of Fairies NextForsaken Fortress (A1)