The Legend of Zelda: The Wind Waker Guide Walkthrough Rebuilding the Triforce of Courage
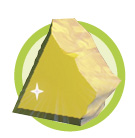
Triforce Shard #2: Outset Island (B7)
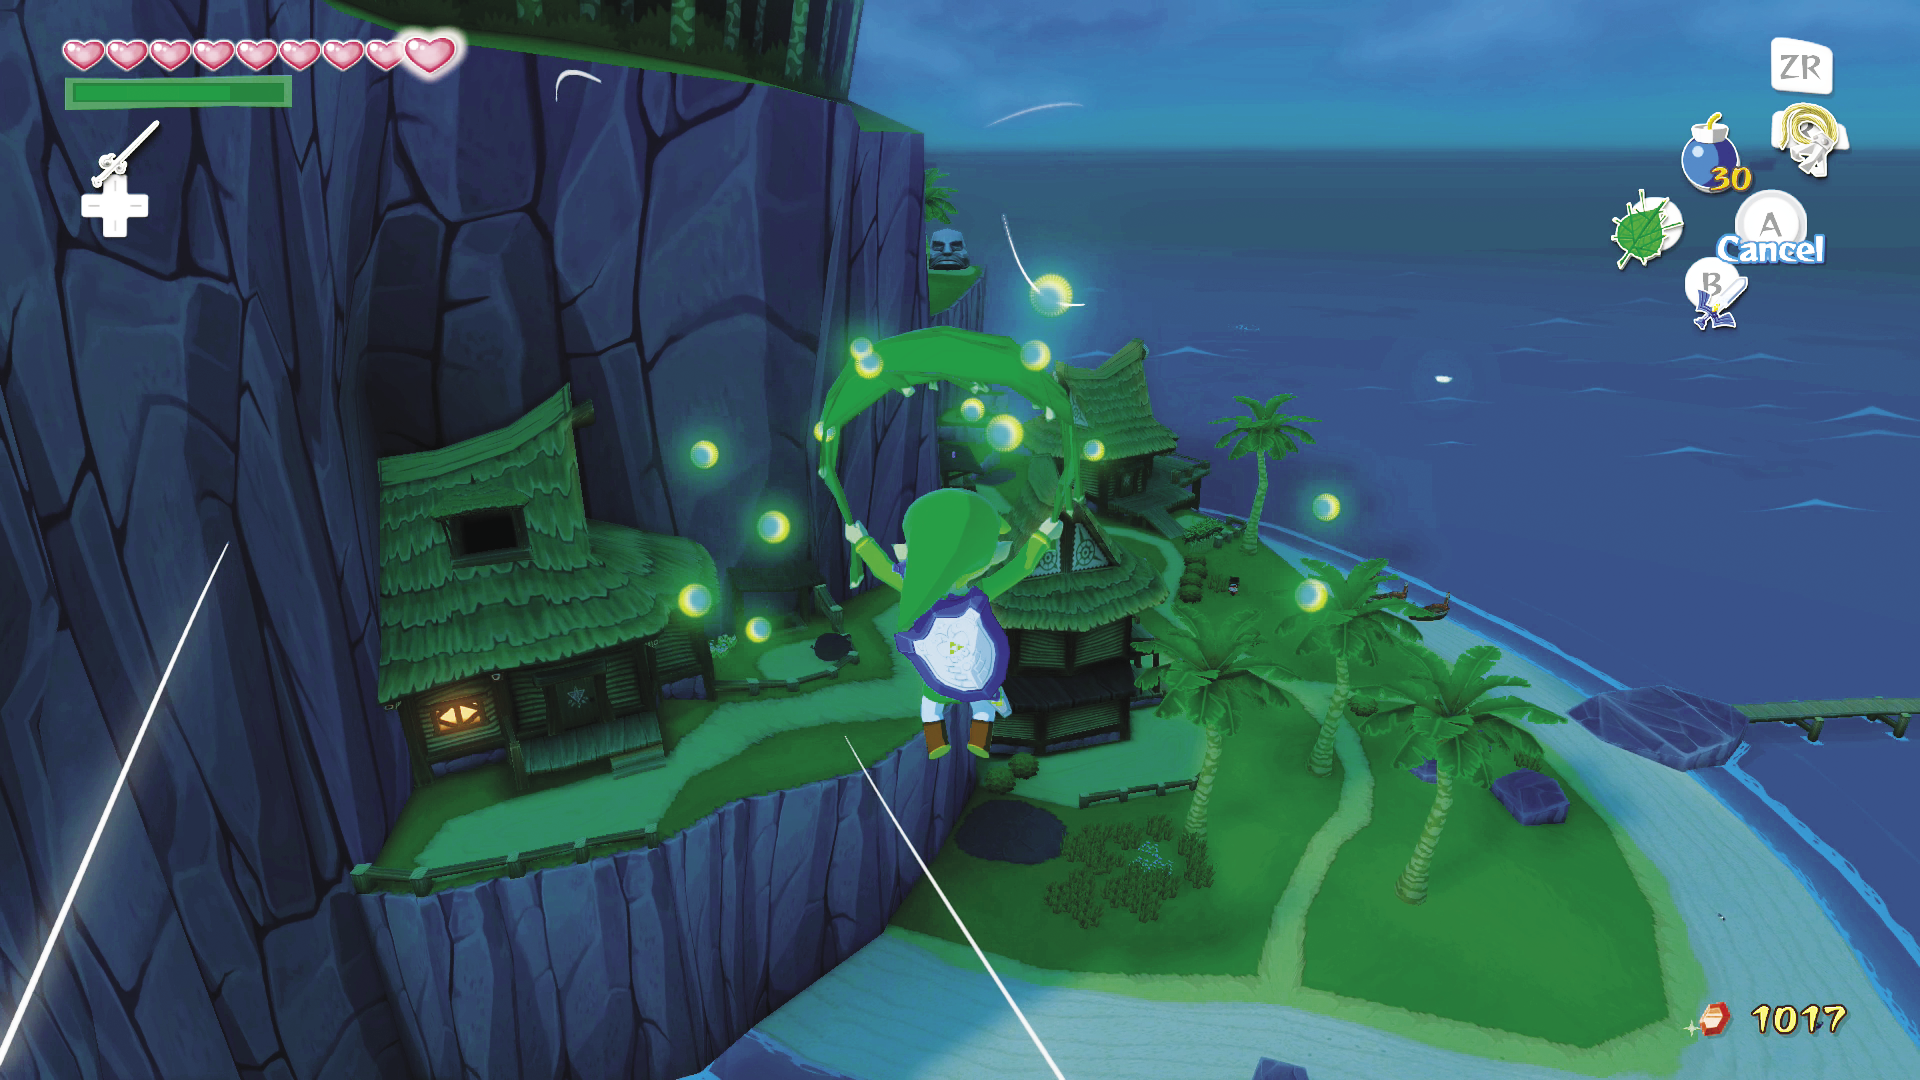
Head to Outset Island and go to the bridge that used to lead to the Forest of Fairies. Stand next to Old Man Ho Ho and set the wind blowing west. Use your Deku Leaf to reach the east tip of the island where the giant stone head is positioned. Lift the head to reveal a Secret Cave leading into the Savage Labyrinth.
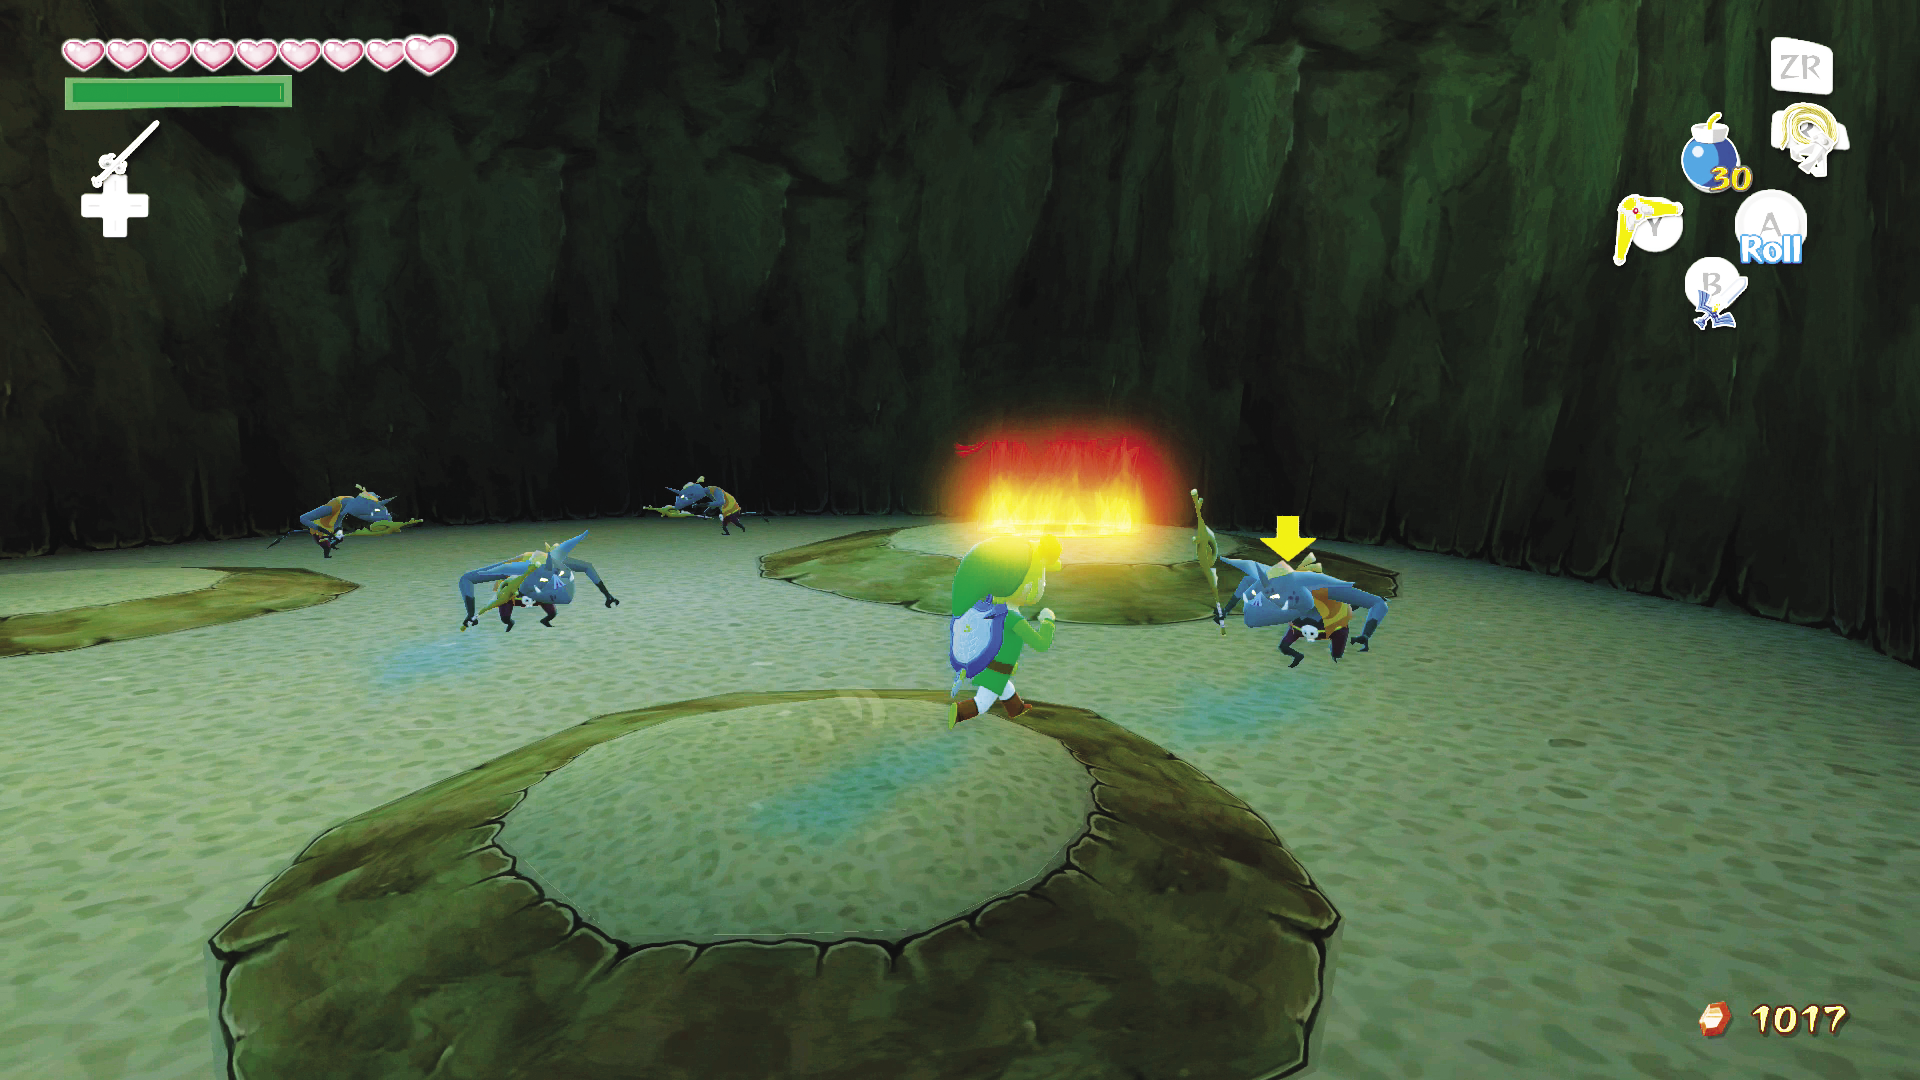
The Savage Labyrinth is 50 floors of arena-style fights against all of the enemies you’ve met up to this point (except the bosses and the yellow Summoning Wizzrobe from the Wind Temple). If you can defeat 30 floors of the Labyrinth, you’ll be rewarded with Triforce Shard #2.
The enemies in the Savage Labyrinth drop no items, so make sure to bring Fairies, potions, and grandma’s Elixir Soup to successfully handle this challenge. Note that on the 10th, 20th, and 30th floors are pots containing Rupees, Hearts, and Magic Jars to get you back in fighting shape, so try to hang in there if you’re low on health but getting close to one of those floors. The enemy list for the first 30 floors is as follows:
1. Keese
2. Miniblins
3. Bokoblins
4. Red ChuChus
5. Magtails
6. Keese and Miniblins
7. Fire Keese and Magtails
8. Bokoblins and Fire Keese
9. Moblins
10. Pots with Hearts, Green Rupees, and other items and a warp leading back to the surface
11. Peahats
12. Green ChuChus
13. Boko Babas
14. Shield Bokoblins
15. Wingless Mothulas
16. Boko Babas and Peahats
17. Green ChuChus and Bokoblins in pots
18. Shield Bokoblins and Wingless Mothulas
19. Winged Mothulas
20. Pots with Hearts, Green Rupees, and other items and a warp leading back to the surface
21.Blue Wizzrobes
22. Armos
23. Armos Knights
24. Yellow ChuChus in pots
25. Red Bubbles
26. Shield Bokoblins and a Darknut
27. Armos and a Blue Wizzrobe
28. Red Bubbles and Armos Knights
29. Darknuts
30. Pots with Hearts, Green Rupees, and other items, the Wind Crest, and a warp leading back to the surface
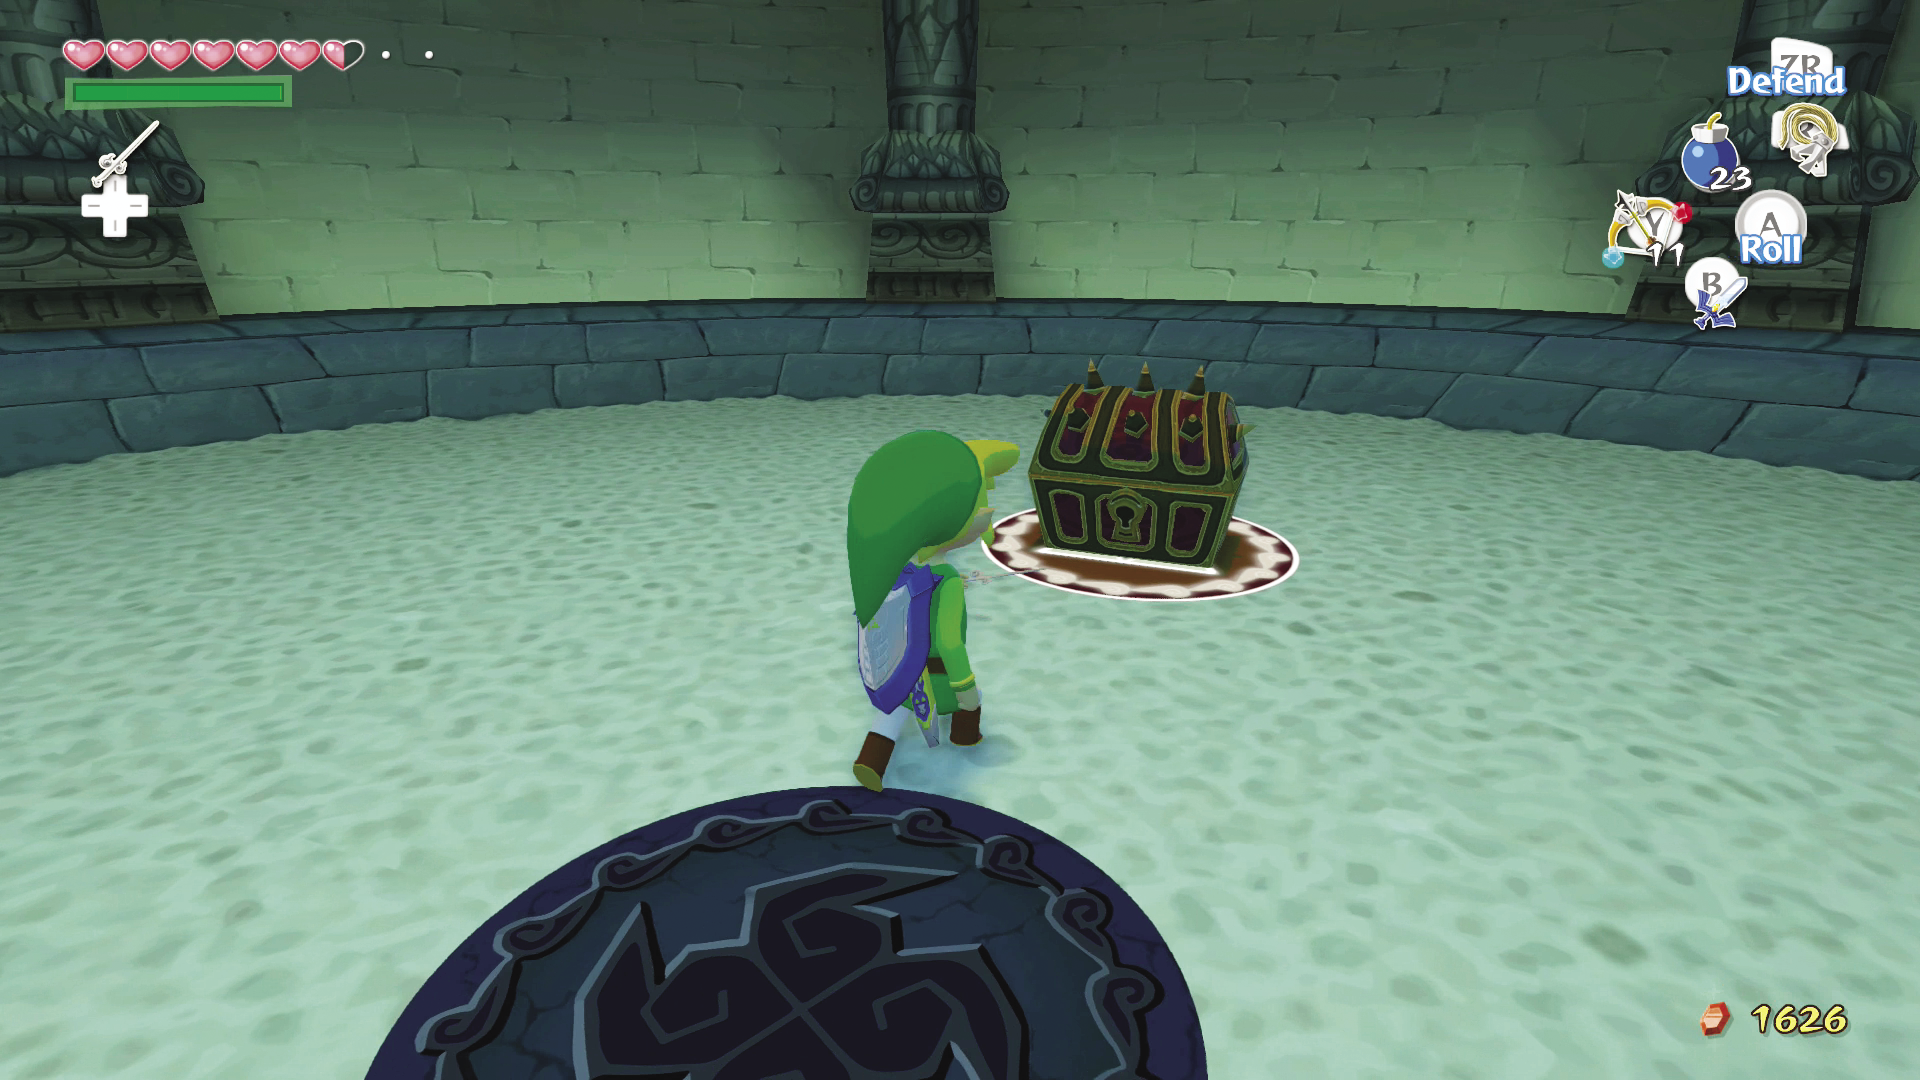
On the 30th floor, stand on the Wind Crest and play the “Wind’s Requiem” to reveal the chest containing Triforce Shard #2. After you get the Shard, you can either head through the warp and return to the surface, or move on to the 31st floor and attempt to earn the Hero’s Charm.
|
|
128 |
Triforce Shard #2 |
|
|
129 |
Hero’s Charm |