
The Legend of Zelda: The Wind Waker Guide Legendary Checklist
Secret Caves
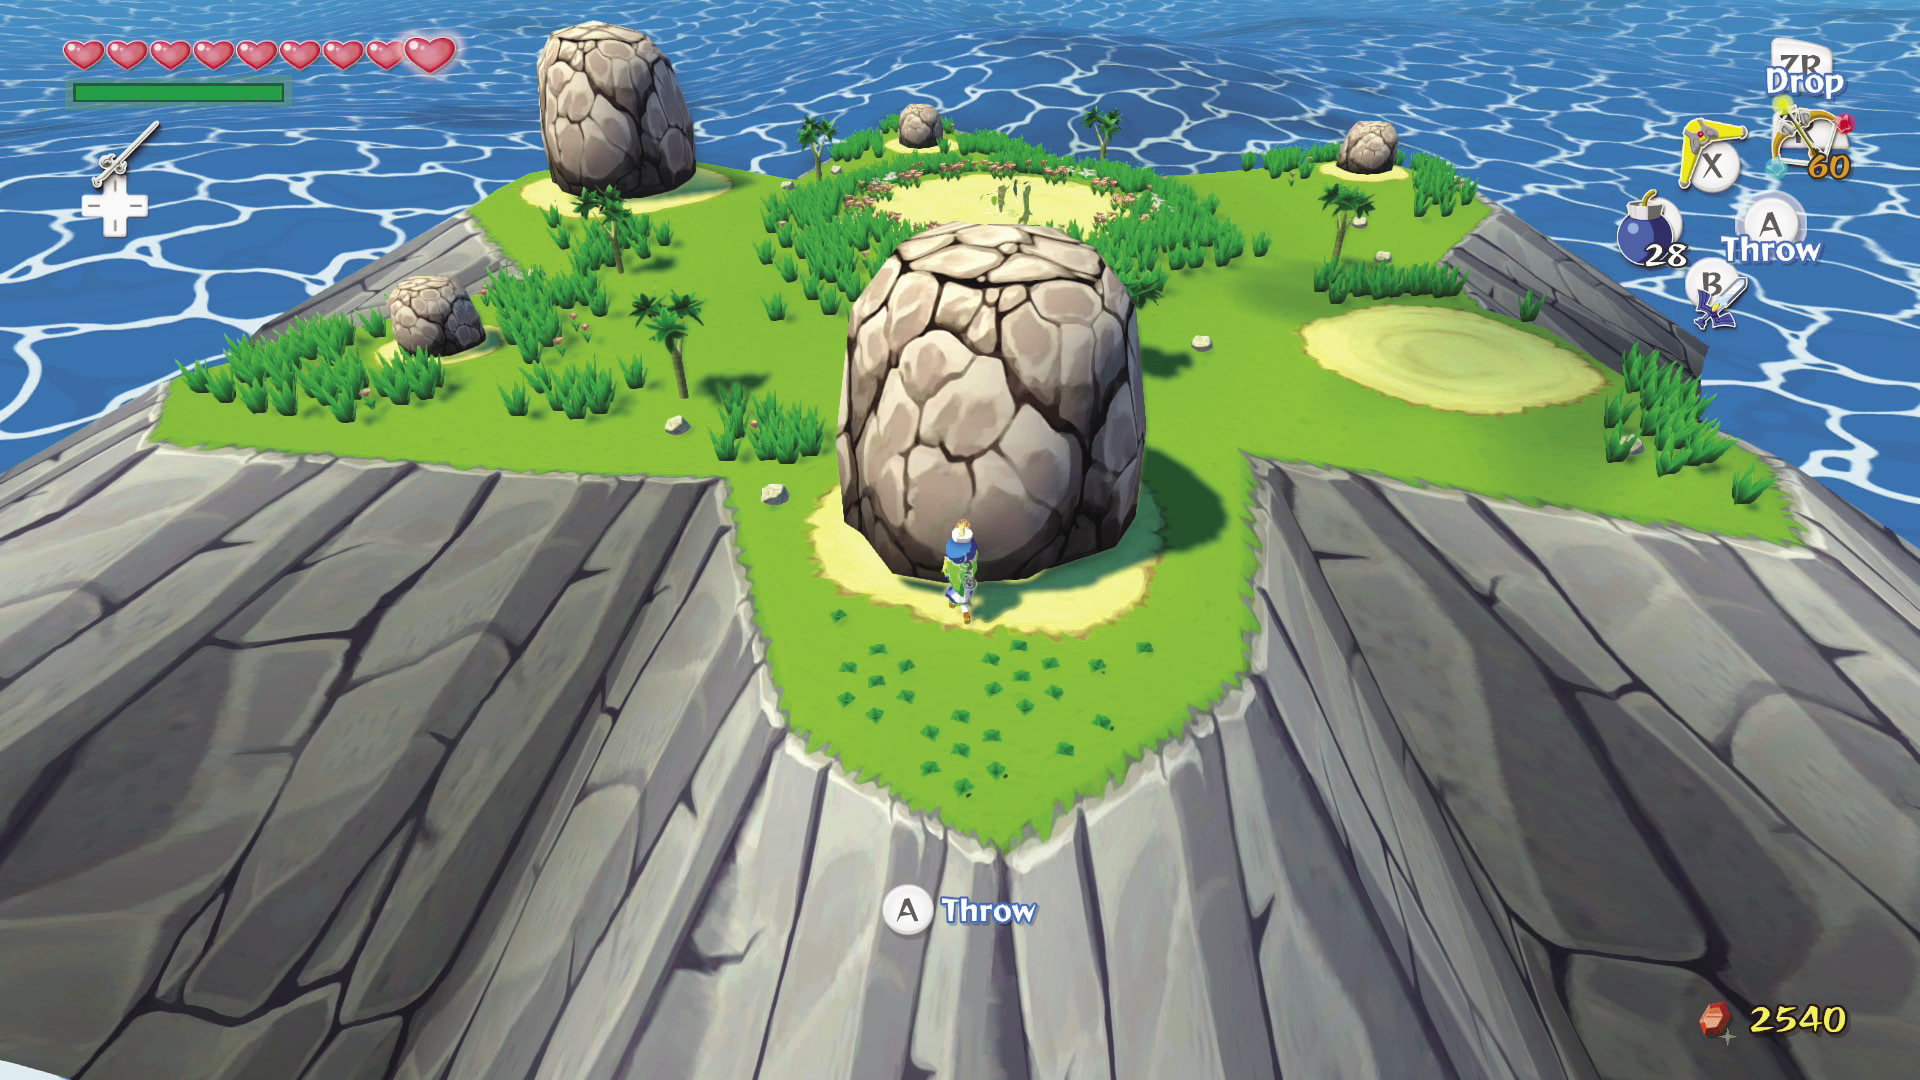
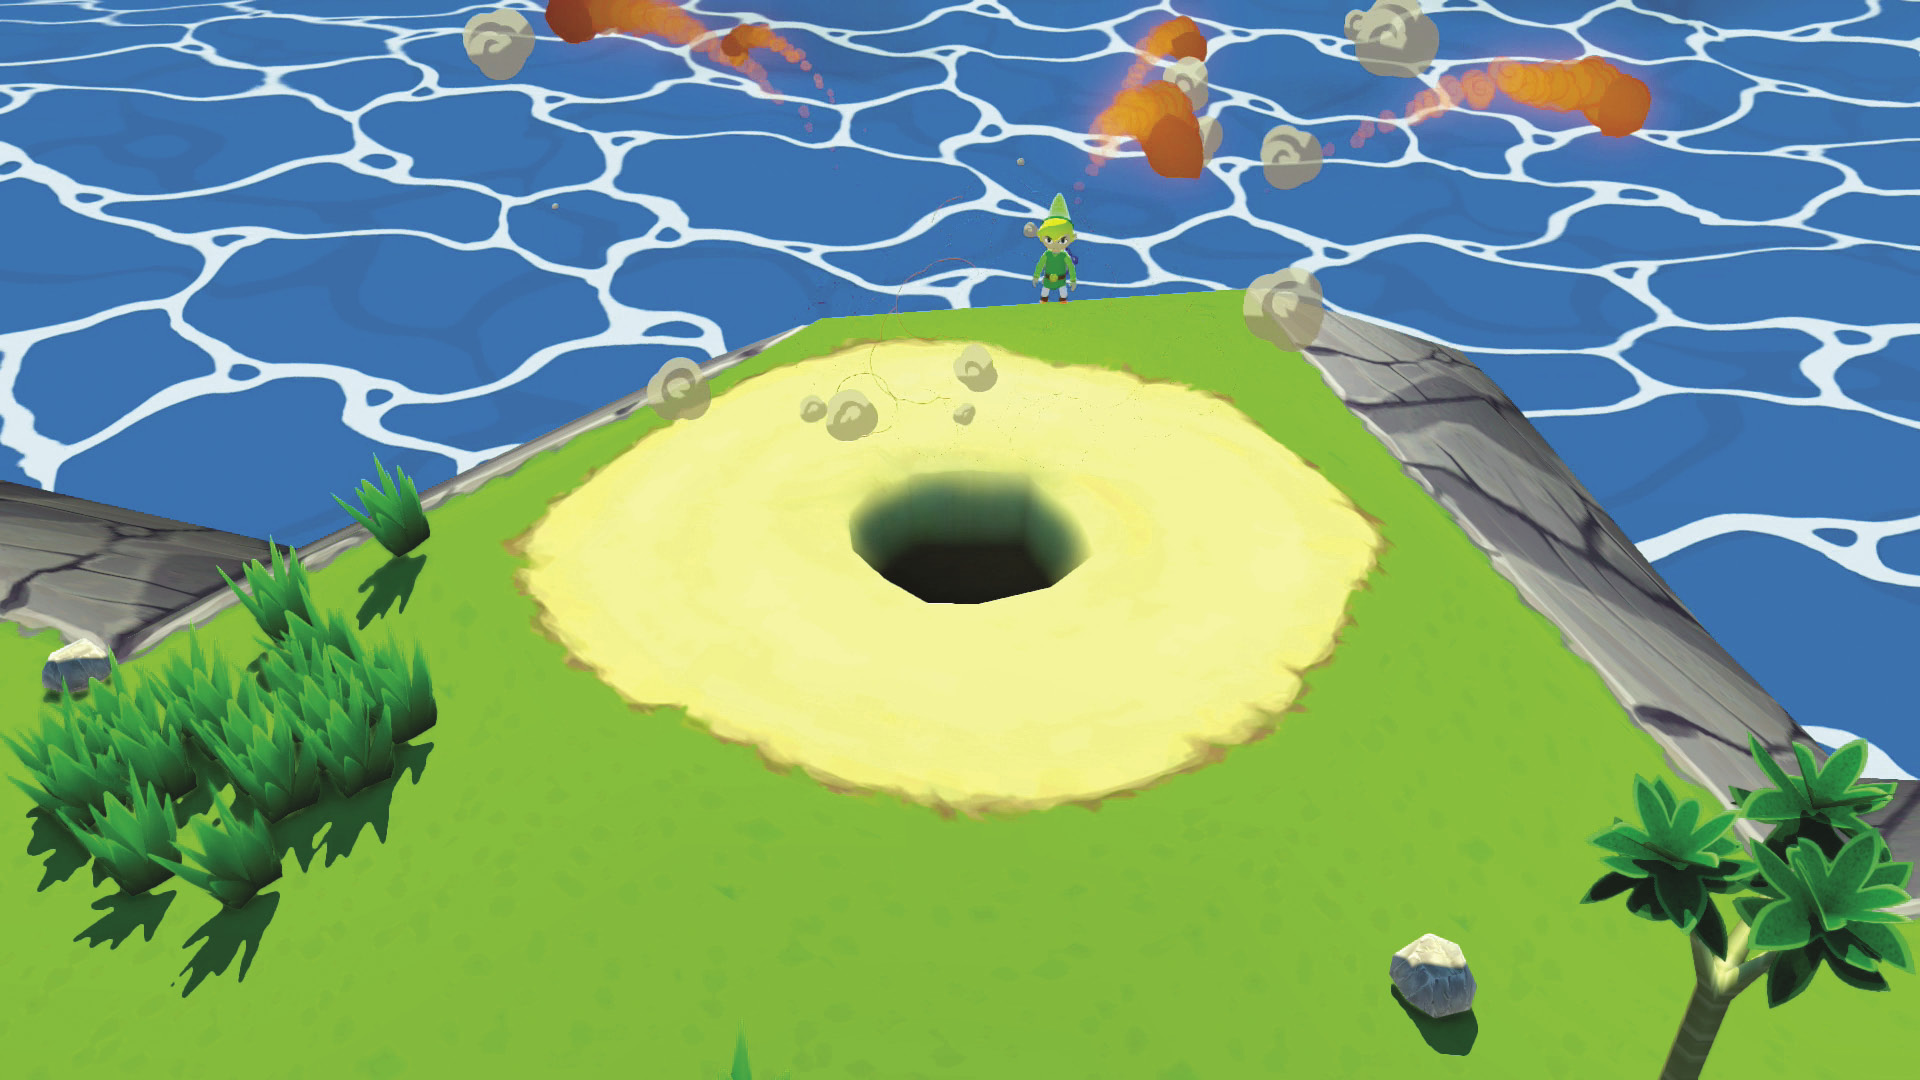
Secret Caves are found on many of the Great Sea’s islands. Drop into small, dark holes to enter them, then search for valuable treasure inside. Often you need a certain item to enter a Secret Cave. For example, you may need to set a bomb and blast away a large boulder to reveal the hole that leads to a Secret Cave.
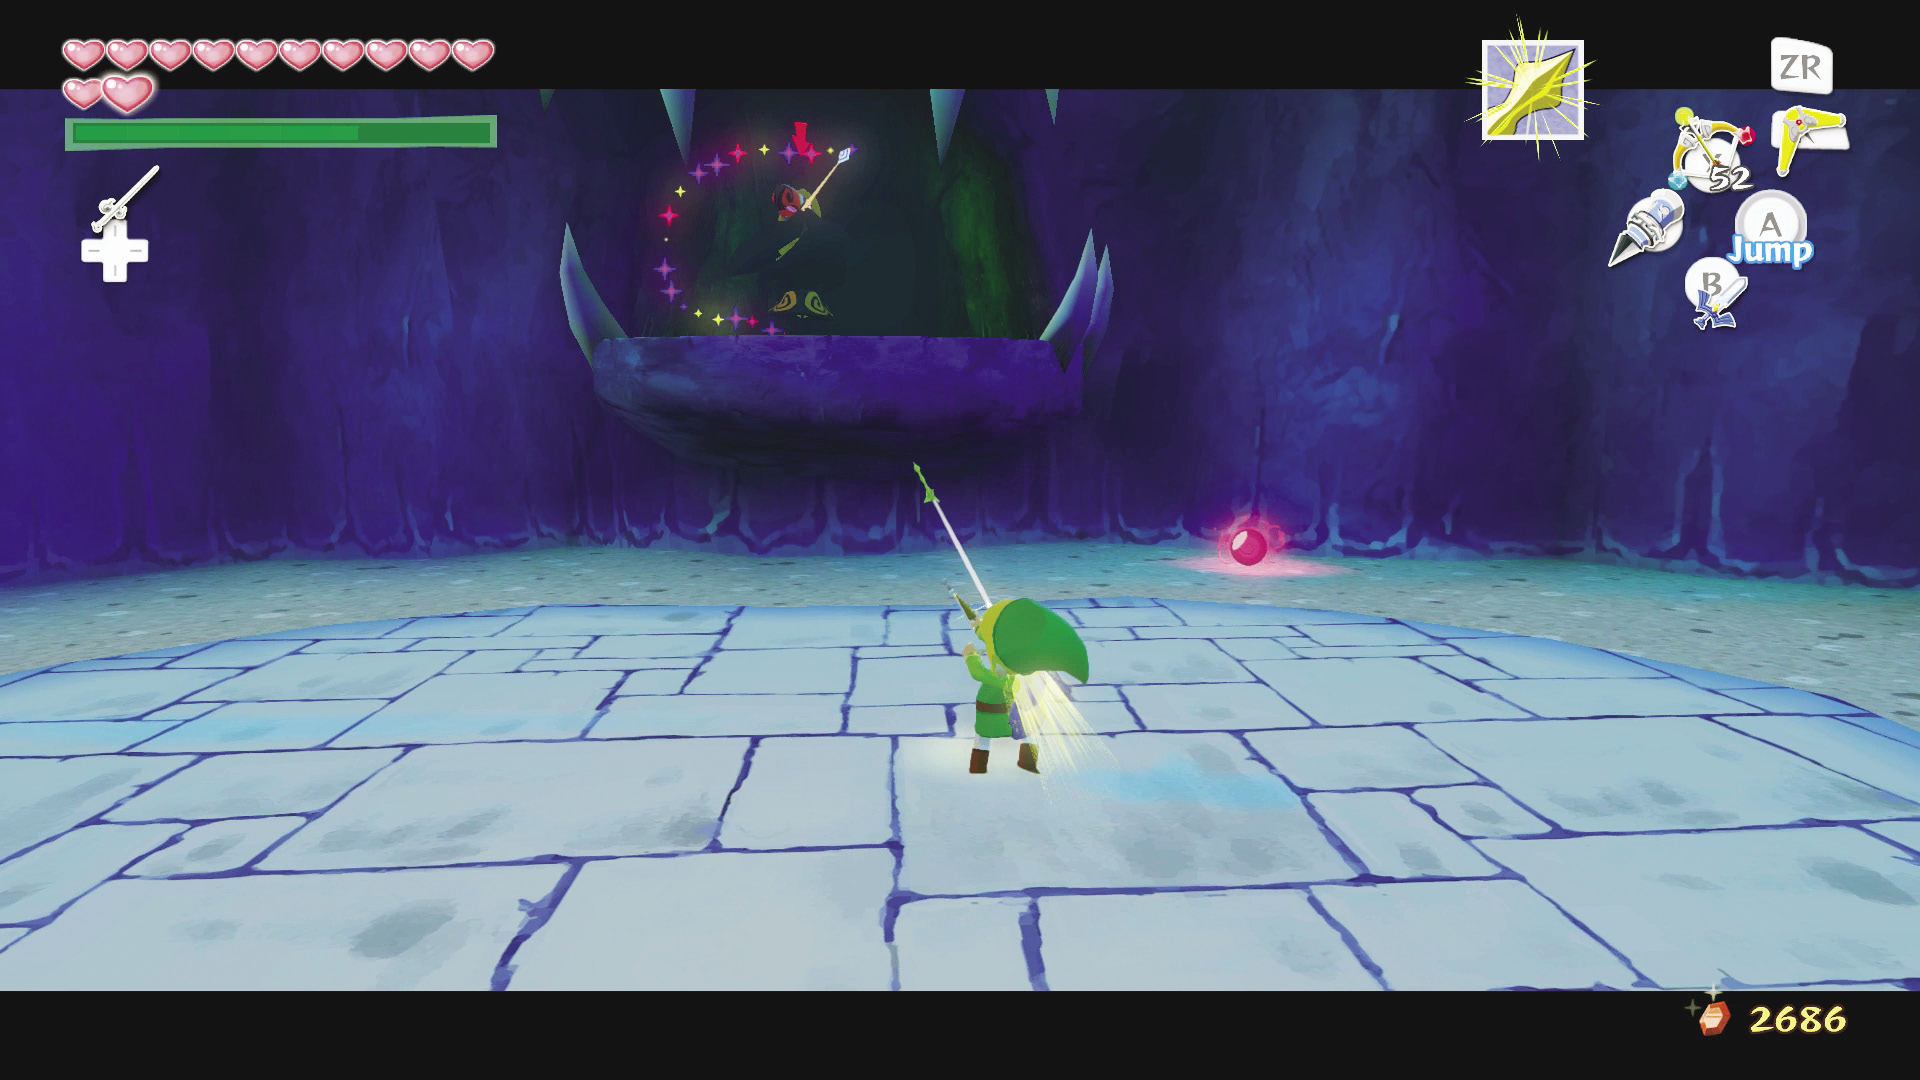
Be ready for anything when you enter a Secret Cave. Some of the most trying battles are fought inside these forgotten places. Defeat all enemies to reveal the Secret Cave’s hidden chest.
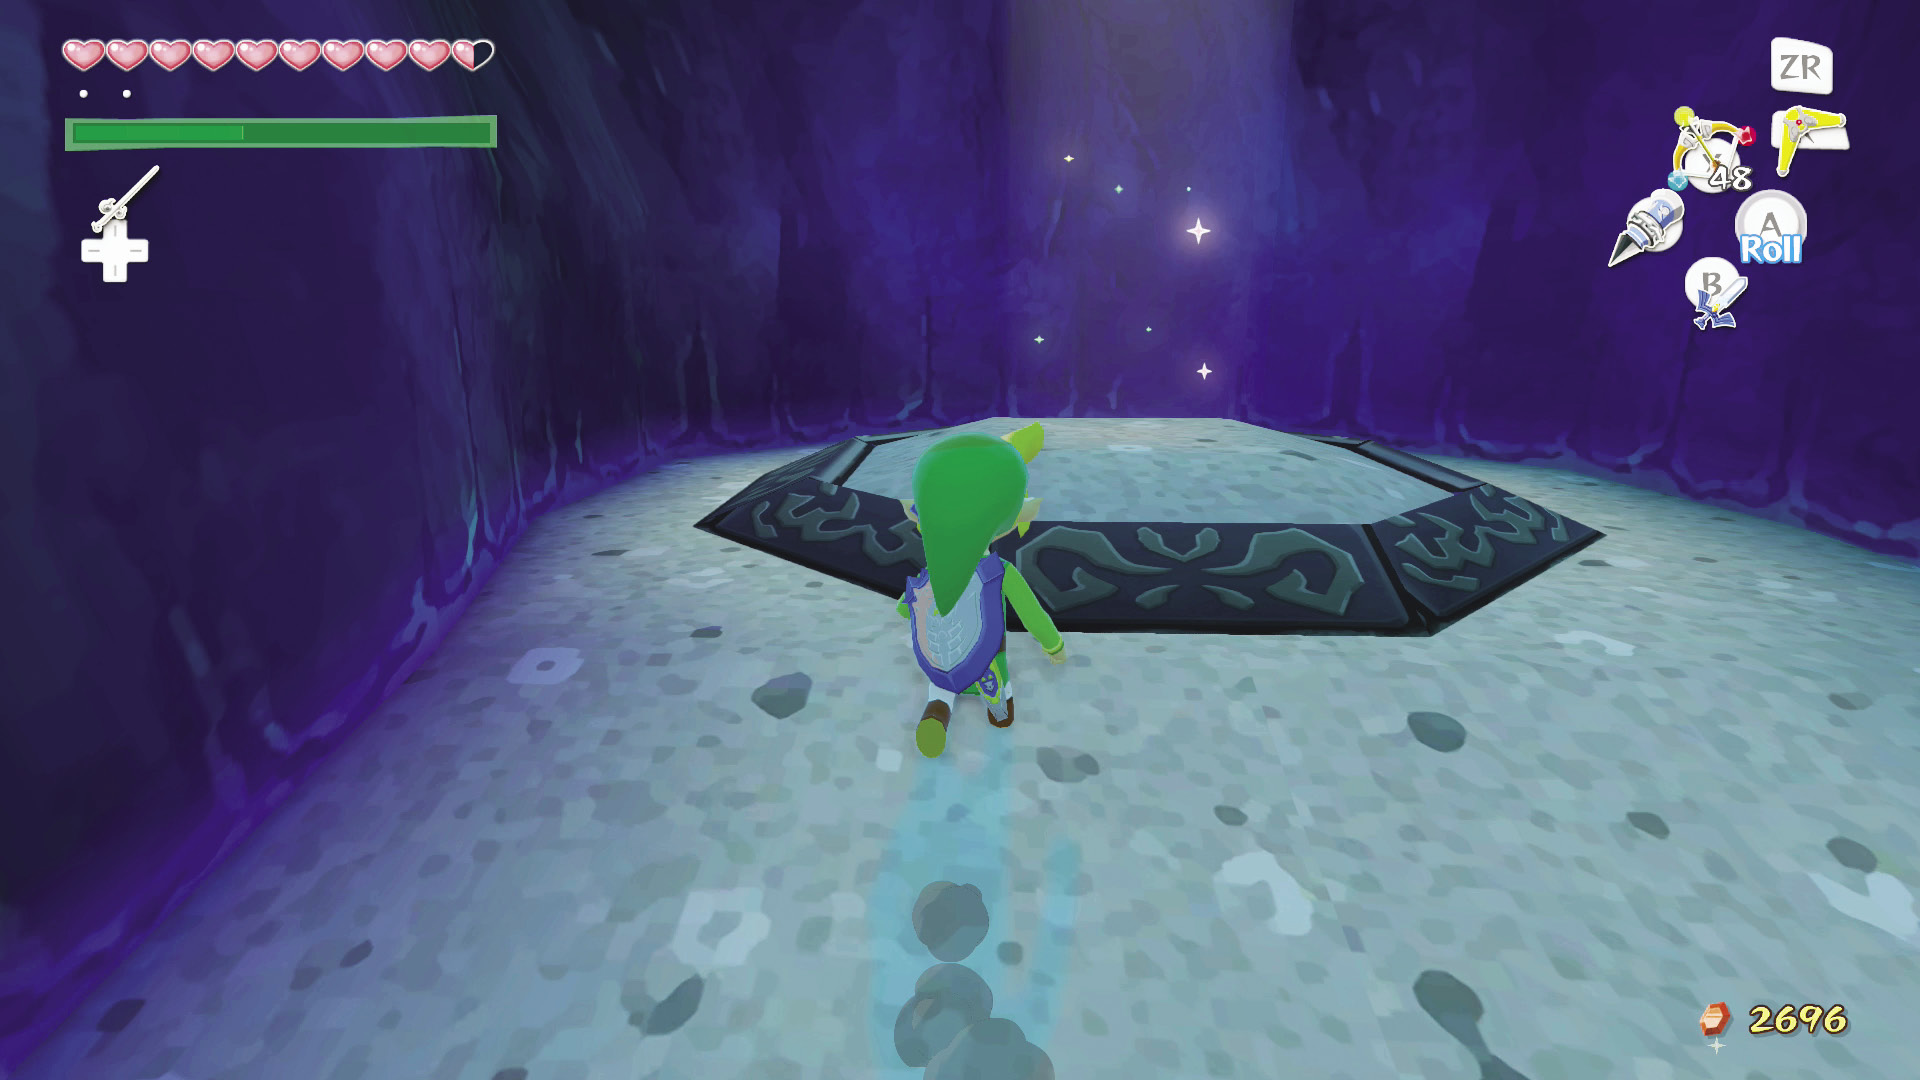
To exit a Secret Cave, return to the spot where you dropped in, and step into the magical shaft of light that transports you back outside. If you’ve fallen into a situation for which you’re not prepared, there’s no shame in beating a retreat. Use the following table to keep track of the Secret Caves you’ve cleared.
Secret Caves
| Location | Entry Requirements | Objective | Reward |
|---|---|---|---|
|
Bomb the western boulder. |
Defeat enemies. |
Piece of Heart #27 |
|
|
Hookshot up the palm trees. |
Defeat enemies. |
Triforce Shard #6 |
|
|
Crawl into the large dome. |
Proceed through the short cavern and bomb the two boulders inside. |
Piece of Heart #4, Joy Pendant, purple Rupee |
|
|
Hookshot up to the wooden statue on the island’s “middle toe”. |
Defeat enemies. |
Treasure Chart #46 |
|
|
Bomb the boulder near the Wind Shrine. |
Defeat enemies. |
Purple Rupee |
|
|
Bomb the higher boulders. |
Light the torches and defeat the Keeses. |
Treasure Chart #37 |
|
|
Shoot the fire column with an Ice Arrow and climb to the top. |
Open chest. |
Power Bracelets |
|
|
Melt the ice block with a Fire Arrow. |
Light the six torches with Fire Arrows. |
Orange Rupee |
|
|
Lift the large stone face (Power Bracelets required). |
Clear each room of enemies, play the “Wind’s Requiem” at the Wind Crest. |
Triforce Shard #5 |
|
|
Use the Grappling Hook on the pole inside the cabana to enter the fireplace. |
Proceed through the short cavern. |
||
|
Bomb the boulder on top of the island. |
Proceed through the two rooms. |
Piece of Heart #24 |
|
|
Bird’s Peak Rock (G5) |
Activate each switch on the peaks with a seagull. |
Play the “Wind’s Requiem” at the Wind Crest. |
Triforce Chart #2 |
|
Hookshot up the palm trees. |
Proceed through the short Warp Jar maze. |
Joy Pendant, Ghost Ship Chart |
|
|
Activate all four switches (Skull Hammer and Iron Boots required). |
Defeat enemies. |
Silver Rupee |
|
|
Shoot the large stone dragon’s mouth with a Fire Arrow and enter the dragon’s mouth. |
Proceed through the short cavern. |
Iron Boots |
|
|
After you get the Iron Boots from the first Secret Cave, equip them and walk into the wind and drop down the hole. |
Melt and defeat the enemies inside this “secret Secret Cave” |
Orange Rupee |
|
|
Proceed across the smaller isles and drop down the hole at the last one. |
Navigate through the short cavern, use the exit on the other side (Deku Leaf and Fire Arrows required). |
Joy Pendant (Treasure Chart #25 on larger isle, use the Secret Cave’s other exit to reach it) |
|
|
Use the Deku Leaf to push the Deku Nuts into the holes. |
Defeat enemies. |
Treasure Chart #8 |
|
|
Use the Deku Leaf to reach the Forest of Fairies and bomb the boulder inside the forest. |
Talk to Great Fairy. |
Rupee Purse upgrade |
|
|
Use the Deku Leaf to reach the large stone face and lift it (Power Bracelets required). |
Clear every floor of enemies. Use the Mirror Shield on the large statue found on the 30th floor to go down to the 50th floor. |
Triforce Shard #2, Piece of Heart #44 |
|
|
Use the Deku Leaf (or Hookshot) from the larger isle to reach the smaller isle. |
Solve the block puzzle and use the Mirror Shield from the top of the block stack to reveal the translucent chest. |
Silver Rupee |
|
|
Use the Deku Leaf to glide from the main isle to the smaller northern isle. |
Use the Boomerang to activate the three switches. |
Submarine Chart |