
The Legend of Zelda: The Wind Waker Guide Walkthrough The Heros Test and the Forgotten Realm
Tower of the Gods (E5)
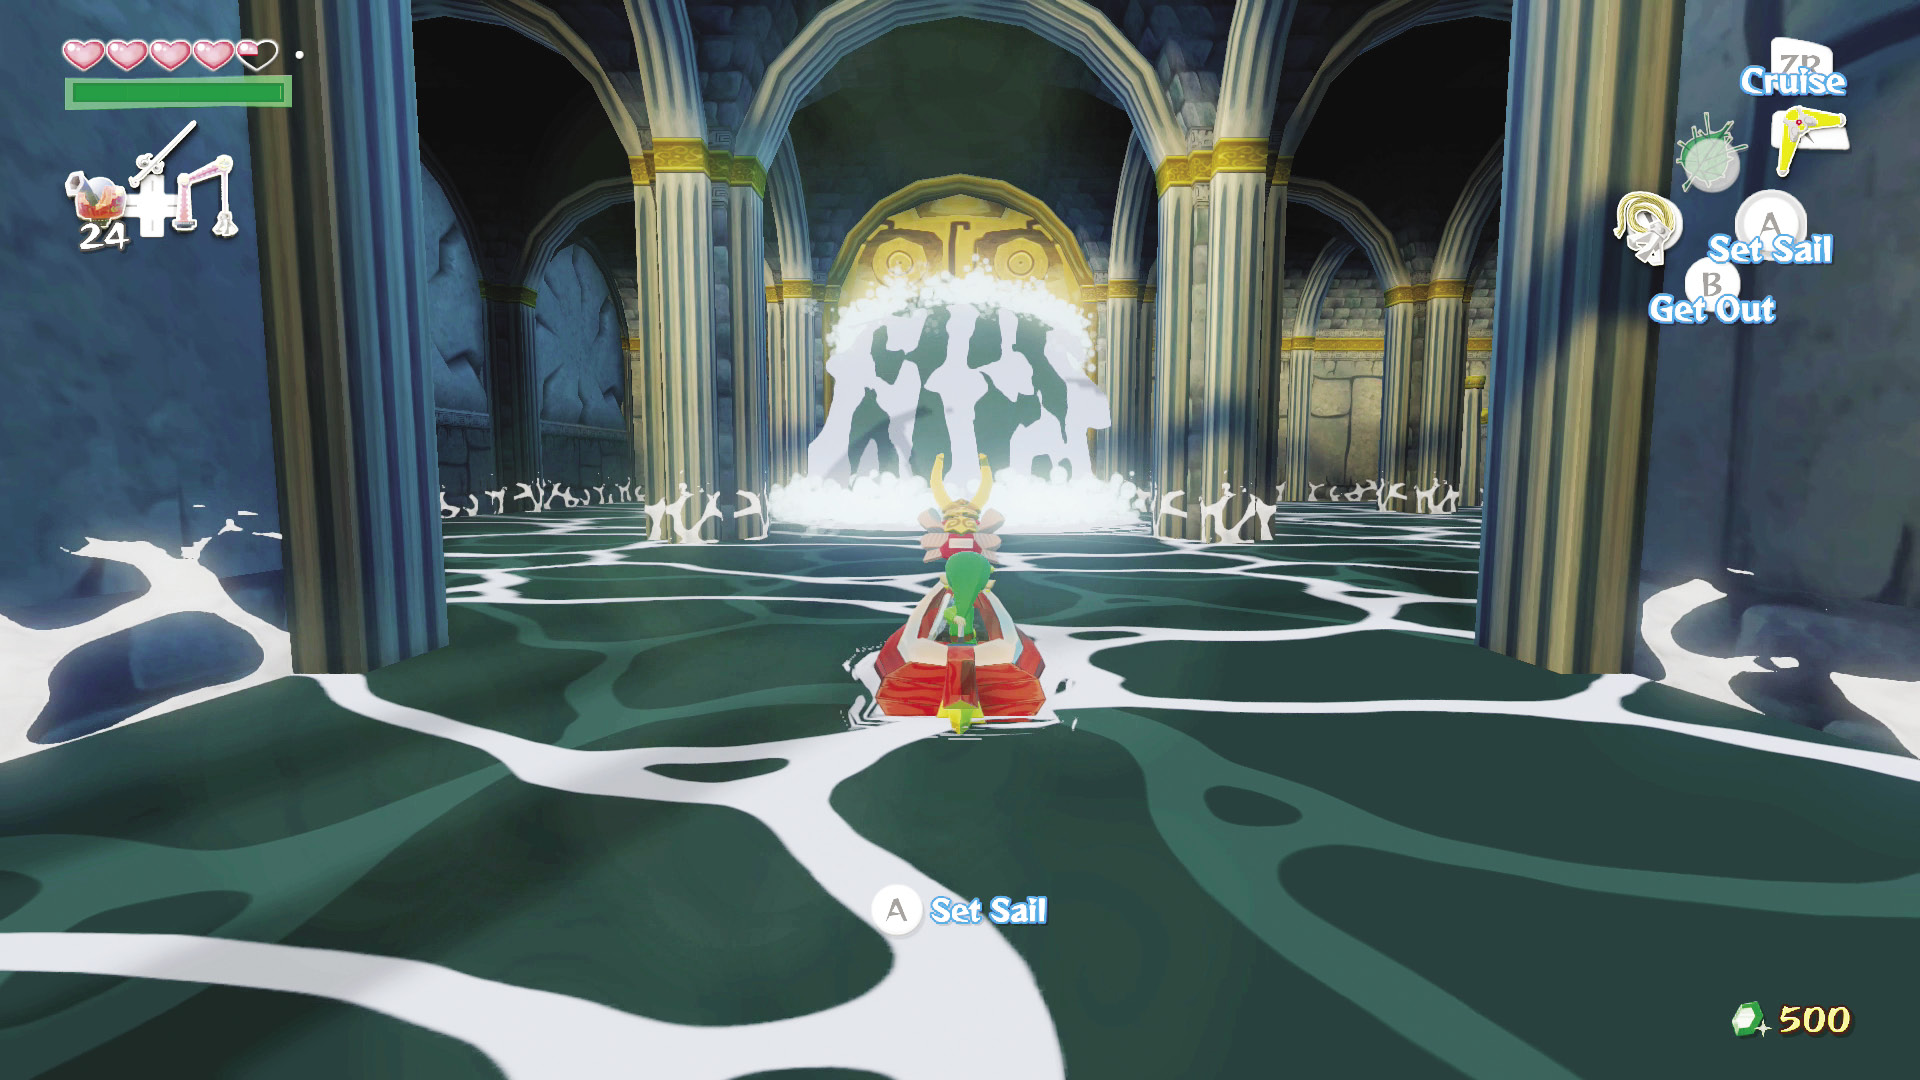
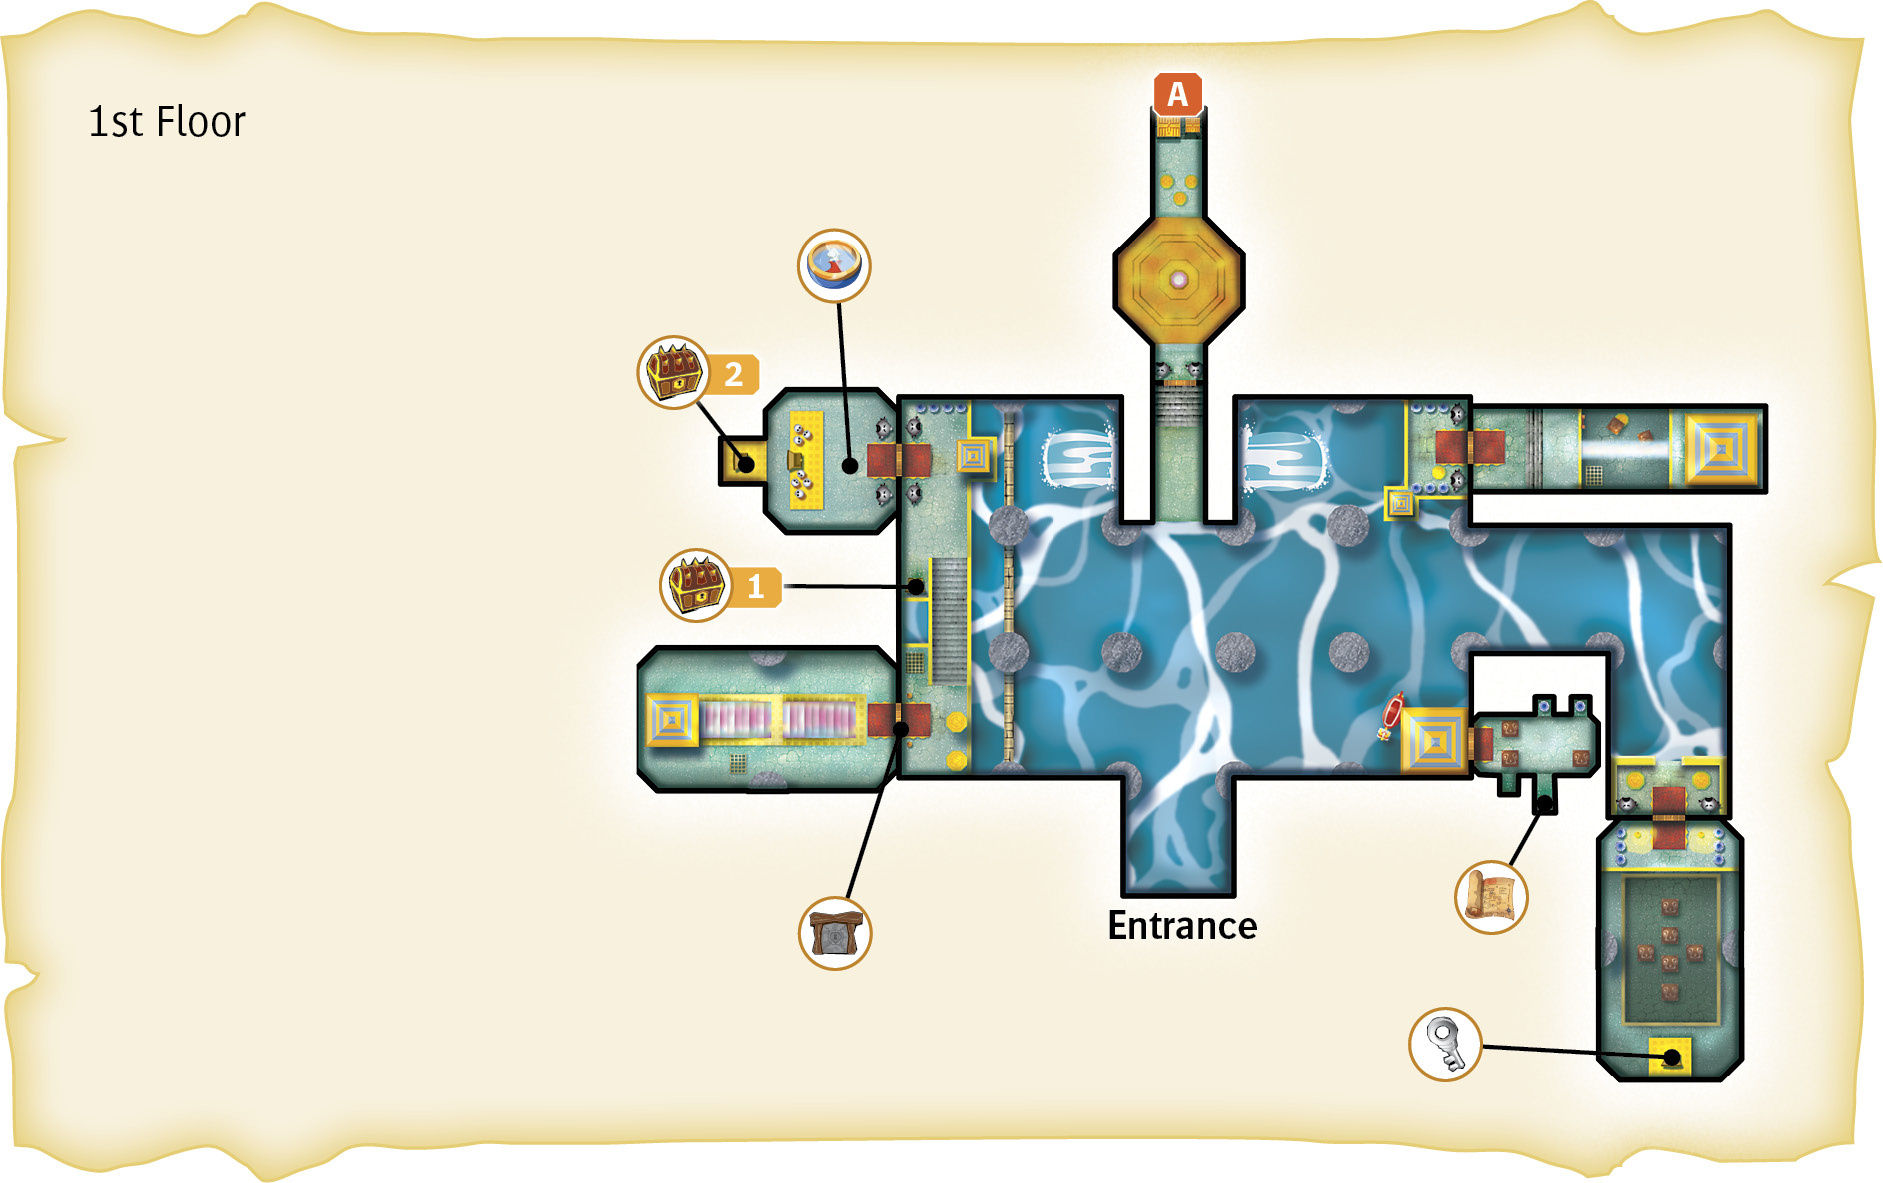
The first floor of the Tower of the Gods is a bit trickier than other dungeons you’ve explored thus far. You’ll be able to ride on Red while on the first floor, and the tides come in and go out, raising and lowering the water levels. This makes traversing this first floor a bit tougher, but don’t worry, we’ll get through this.
First Floor
1. Ride the Tides
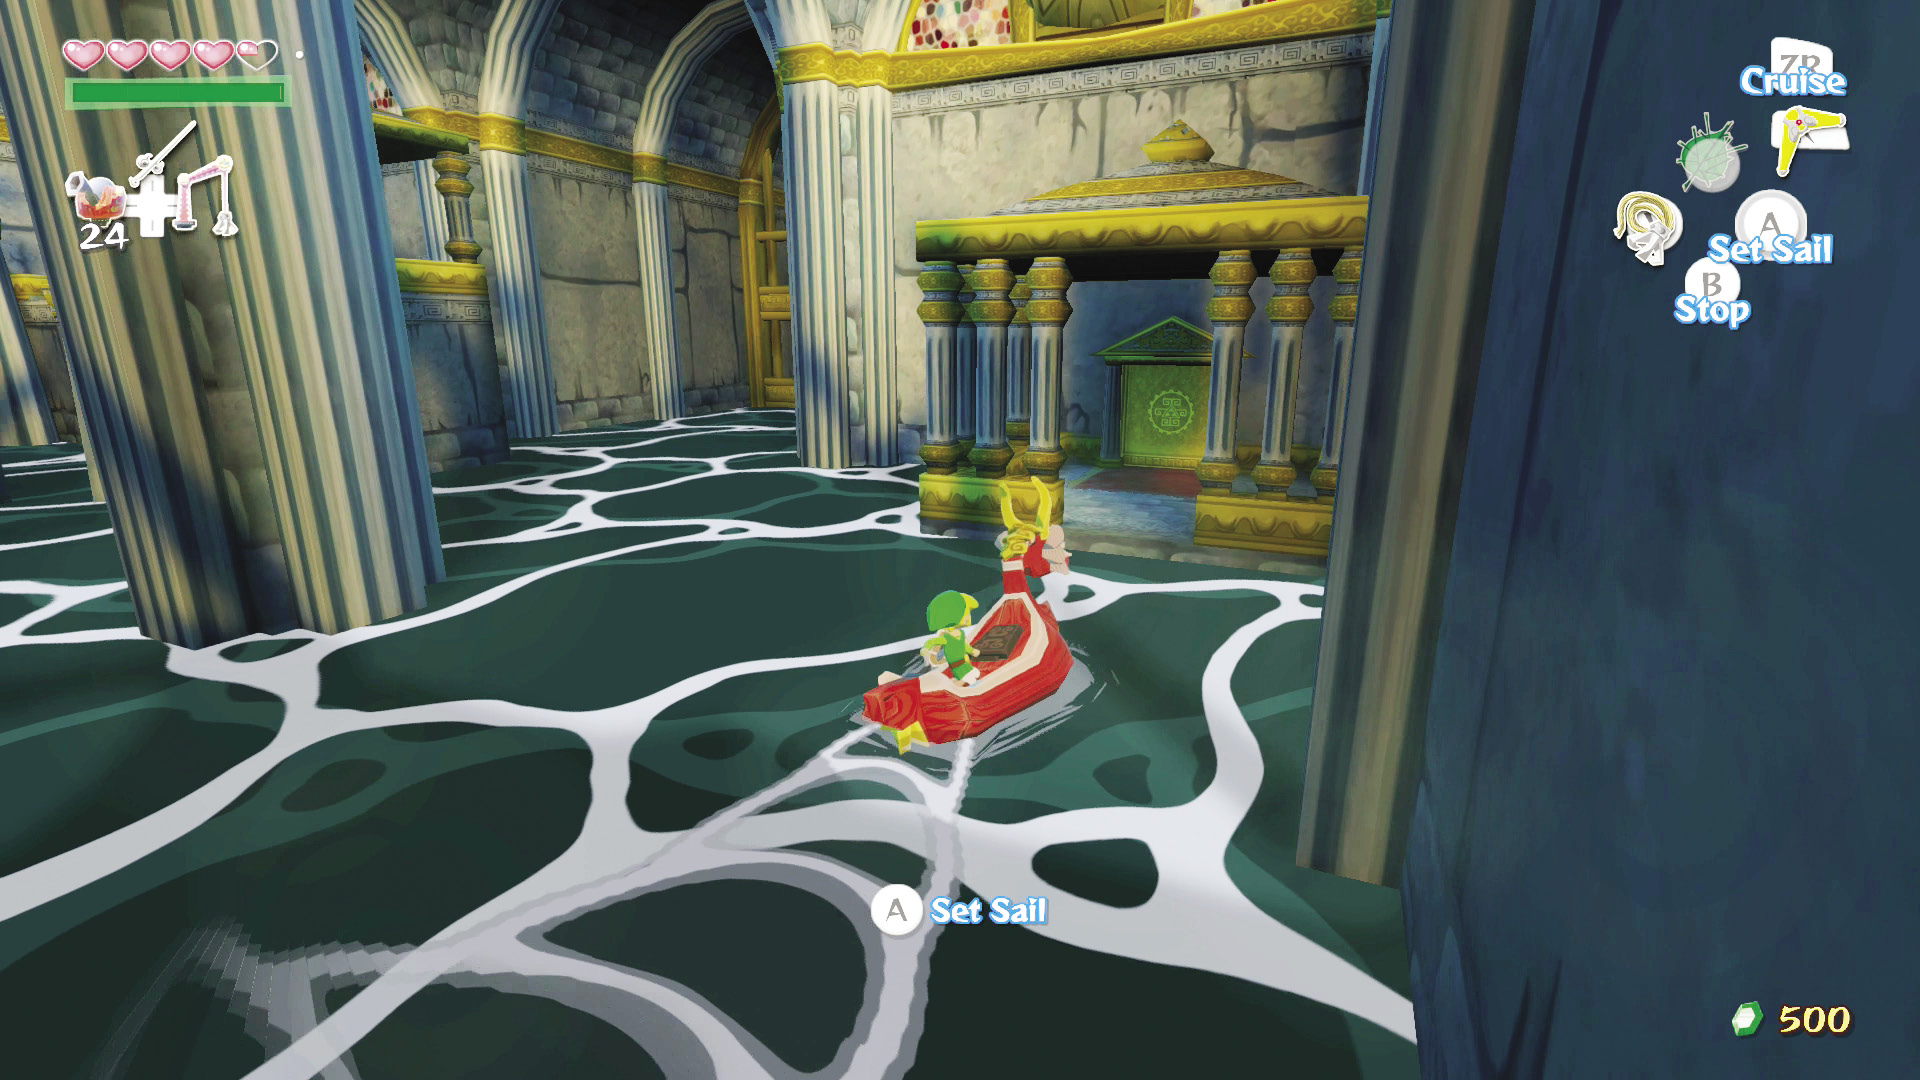
Immediately after entering the Tower of the Gods, head to the room to your right. You’ll need to wait until low tide to get through the door, so just stay put on Red until then.
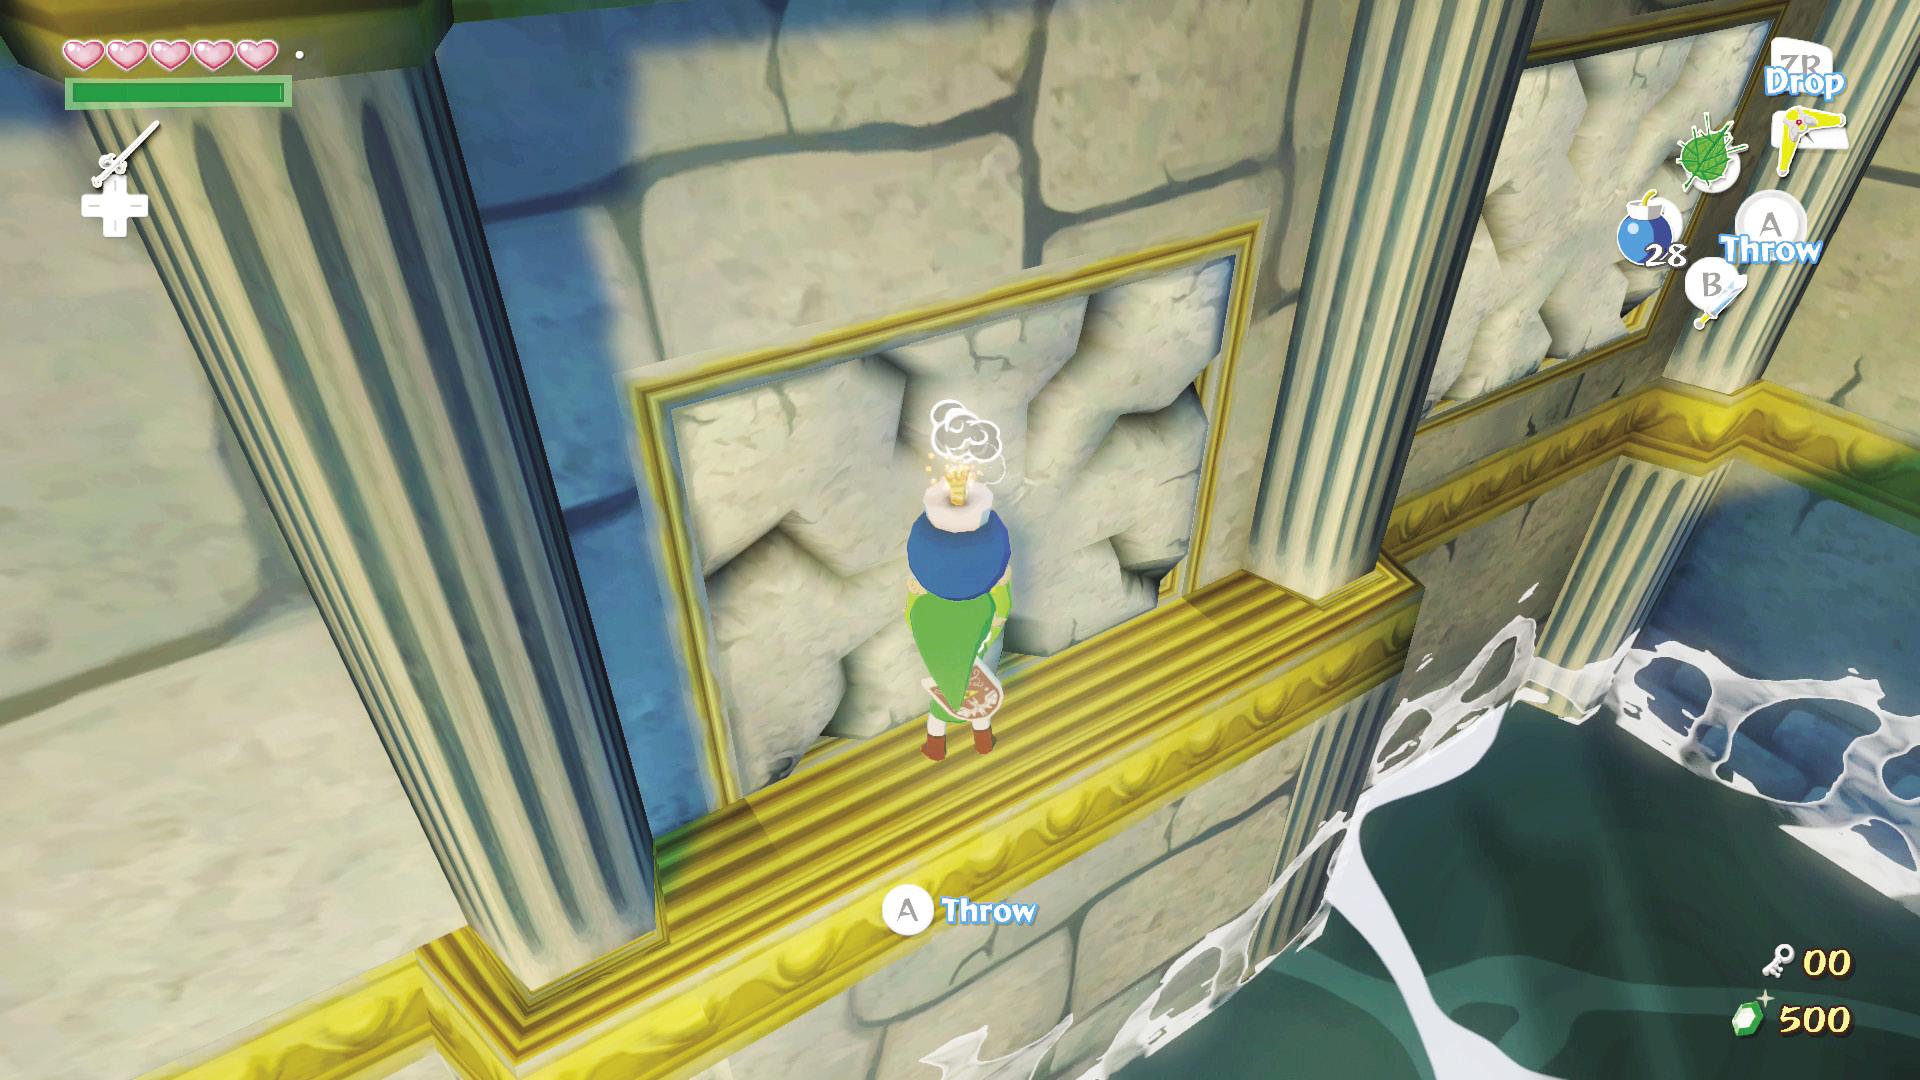
This room has three boxes that rise with the tides. Defeat the Yellow ChuChu before attempting to do anything around this area to avoid being electrocuted while you work. Afterward, move the box that is on farthest side of the room into the northeast corner, then hop on it. When the tide rises, the boxes go up with it, allowing you to ride up to a cracked wall in the northeast corner. Pull out a bomb, plant it on the box, and jump into the water to avoid the explosion. This should bust the wall wide open and give you access to a Joy Pendant. Just watch out for the second Yellow ChuChu that’s hiding in that alcove.
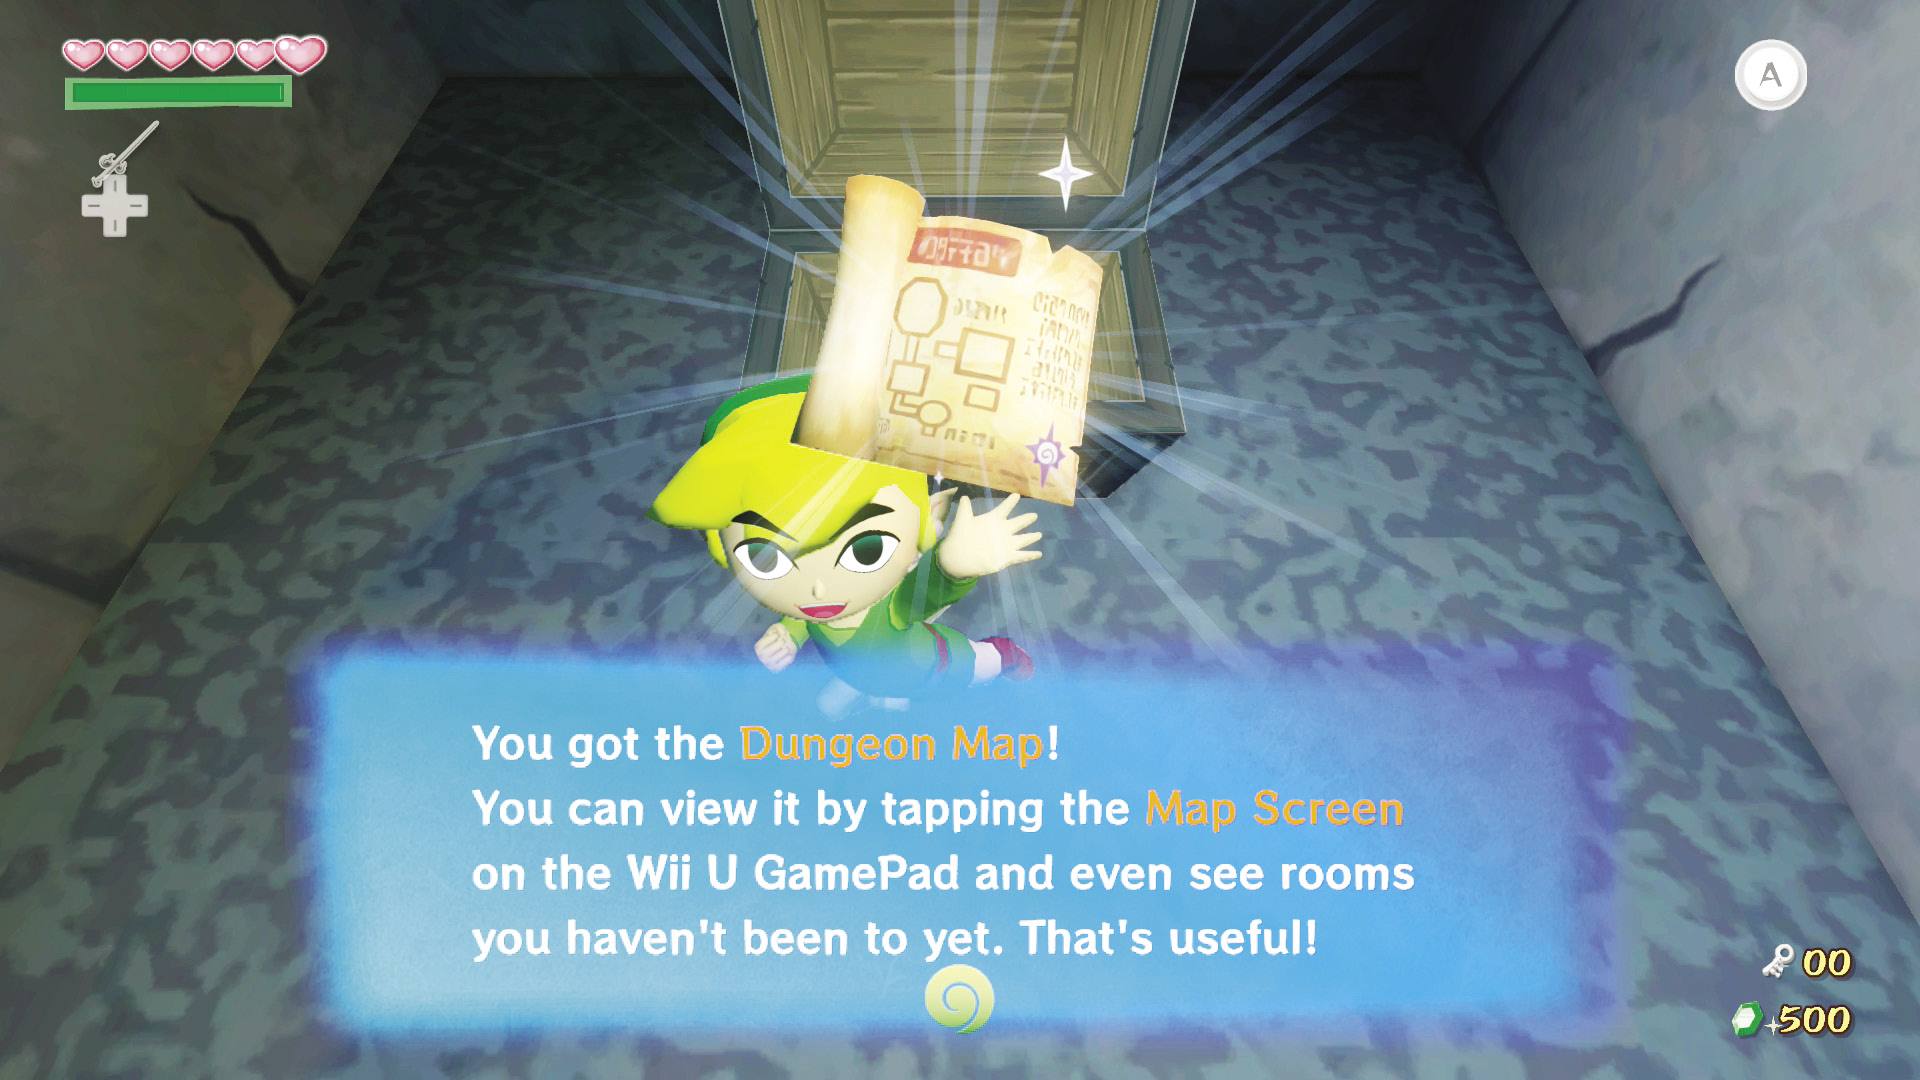
The cracked walls on the north and south side of the room’s middle don’t require a box, as they both have ledges that you can climb on and plant bombs on. The south cracked wall conceals a treasure chest containing the Dungeon Map for the Tower of the Gods, while the north wall simply hides pots.
After you grab the Dungeon Map, four Yellow ChuChus appear in front of the door leading out of the room. Dispatch them or avoid them, the choice is yours.
Enemy: Yellow ChuChu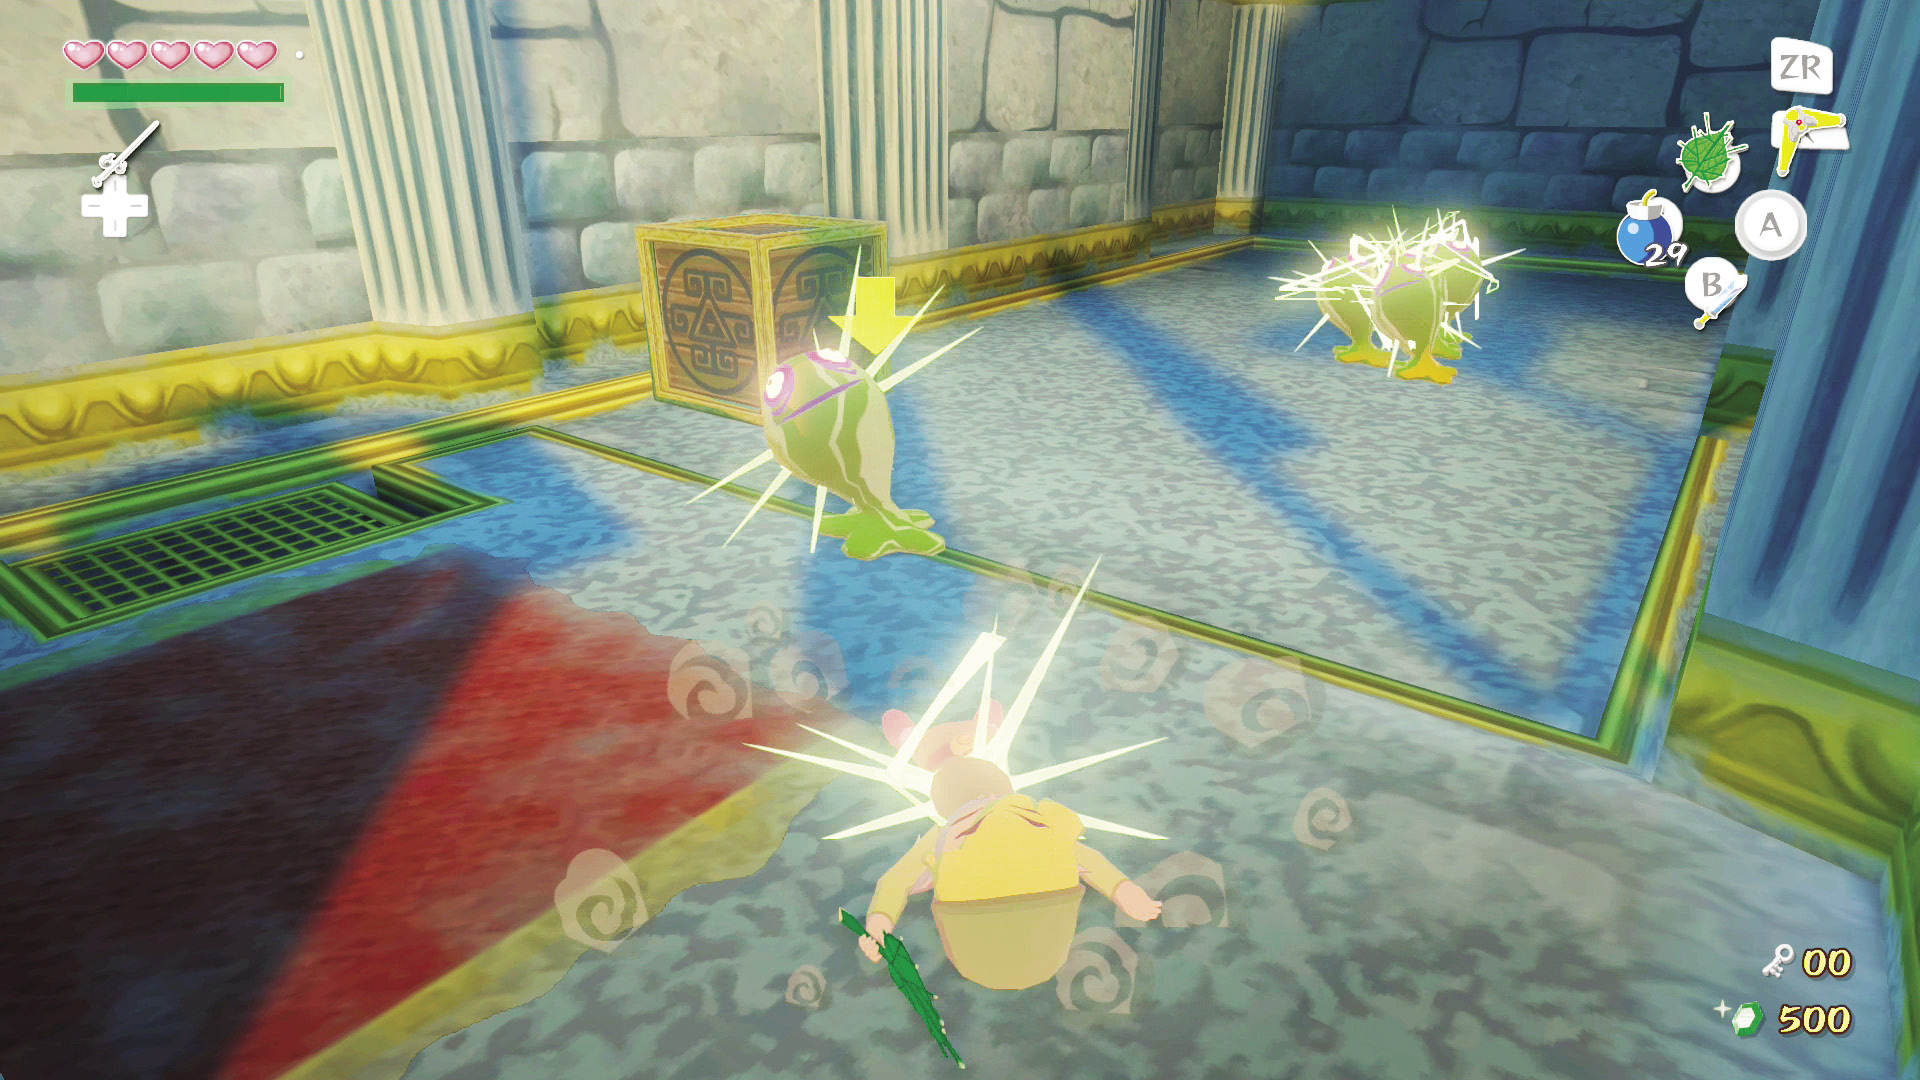 Like Blue ChuChus, Yellow ChuChus are covered in electricity and require a hit from the Boomerang or Deku Leaf before you can tackle them. When defeated, instead of dropping their own type of Chu Jelly, they drop either Red or Green Chu Jelly at random. |
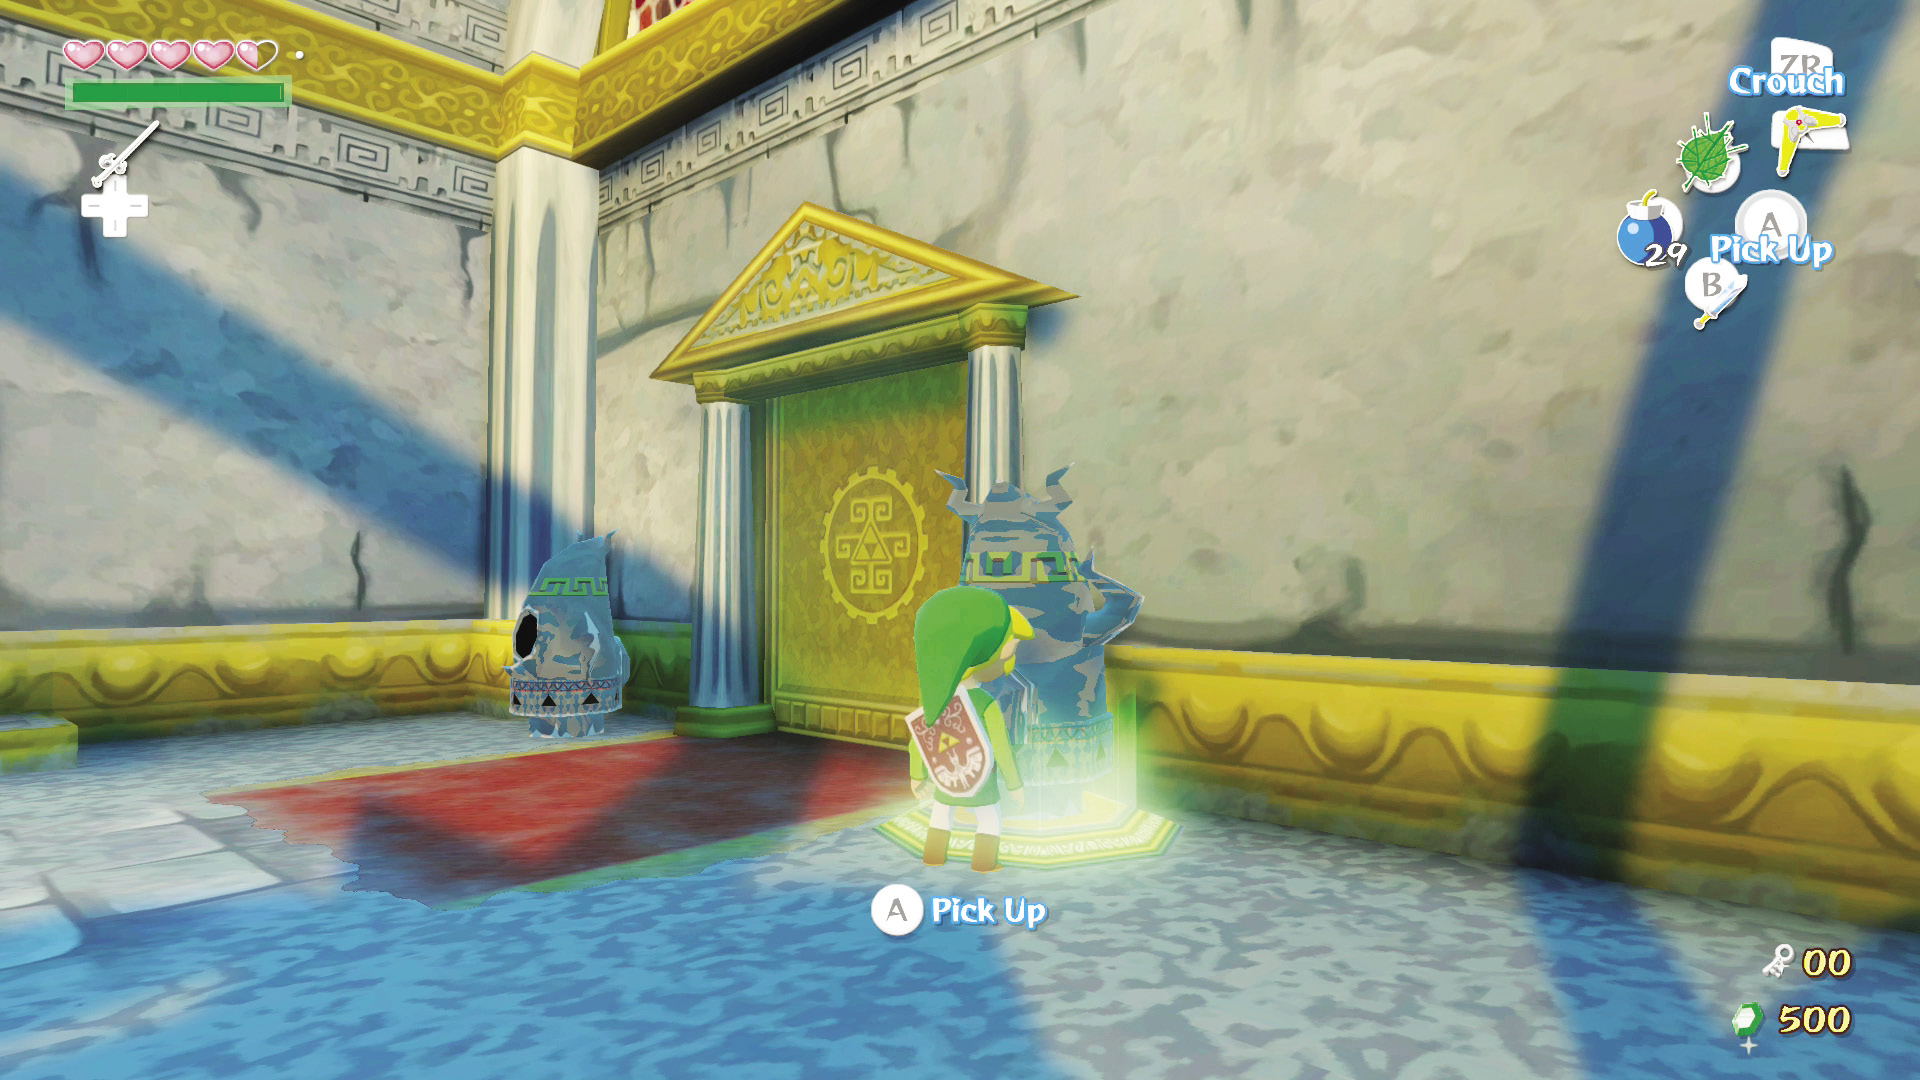
Hop back onto Red and head to the door in the room’s northeast corner. You’ll need to wait for high tide to access it, though. Once the tide has risen, climb onto the platform and pick up one of the Armos statues to the left and right of the door. Put the Armos statue down on the constant pressure switch to the right of the door and then head through.
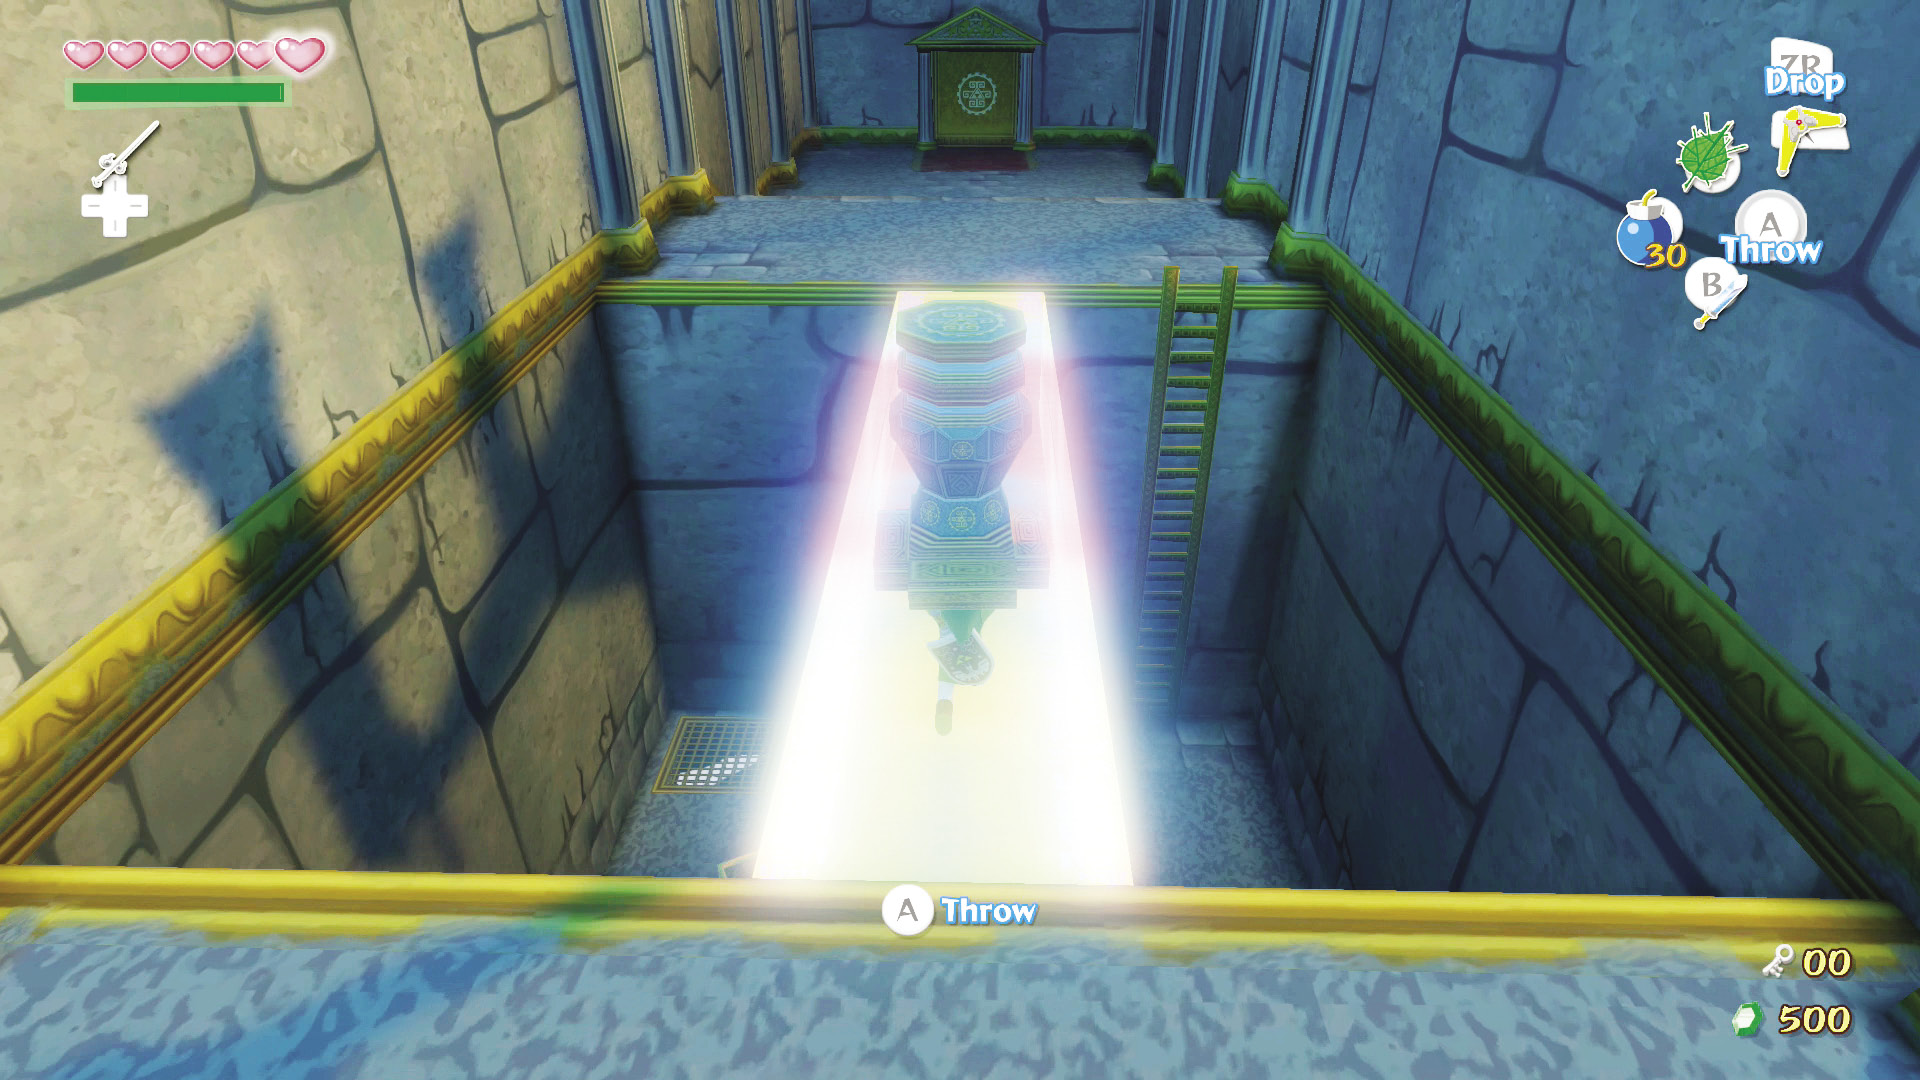
Directly ahead is a large gap. Hop into it during low tide and pick up one of the small boxes. Place it on the constant pressure switch, and a light bridge will appear above you. Climb the ladder on the gap’s west side and head to the room’s east side. Pick up the chess piece–like statue underneath the awning and the sigil on the door lights up. This indicates that you can carry the statue through the door, but wait for the tide to cycle before attempting to cross the light bridge again.
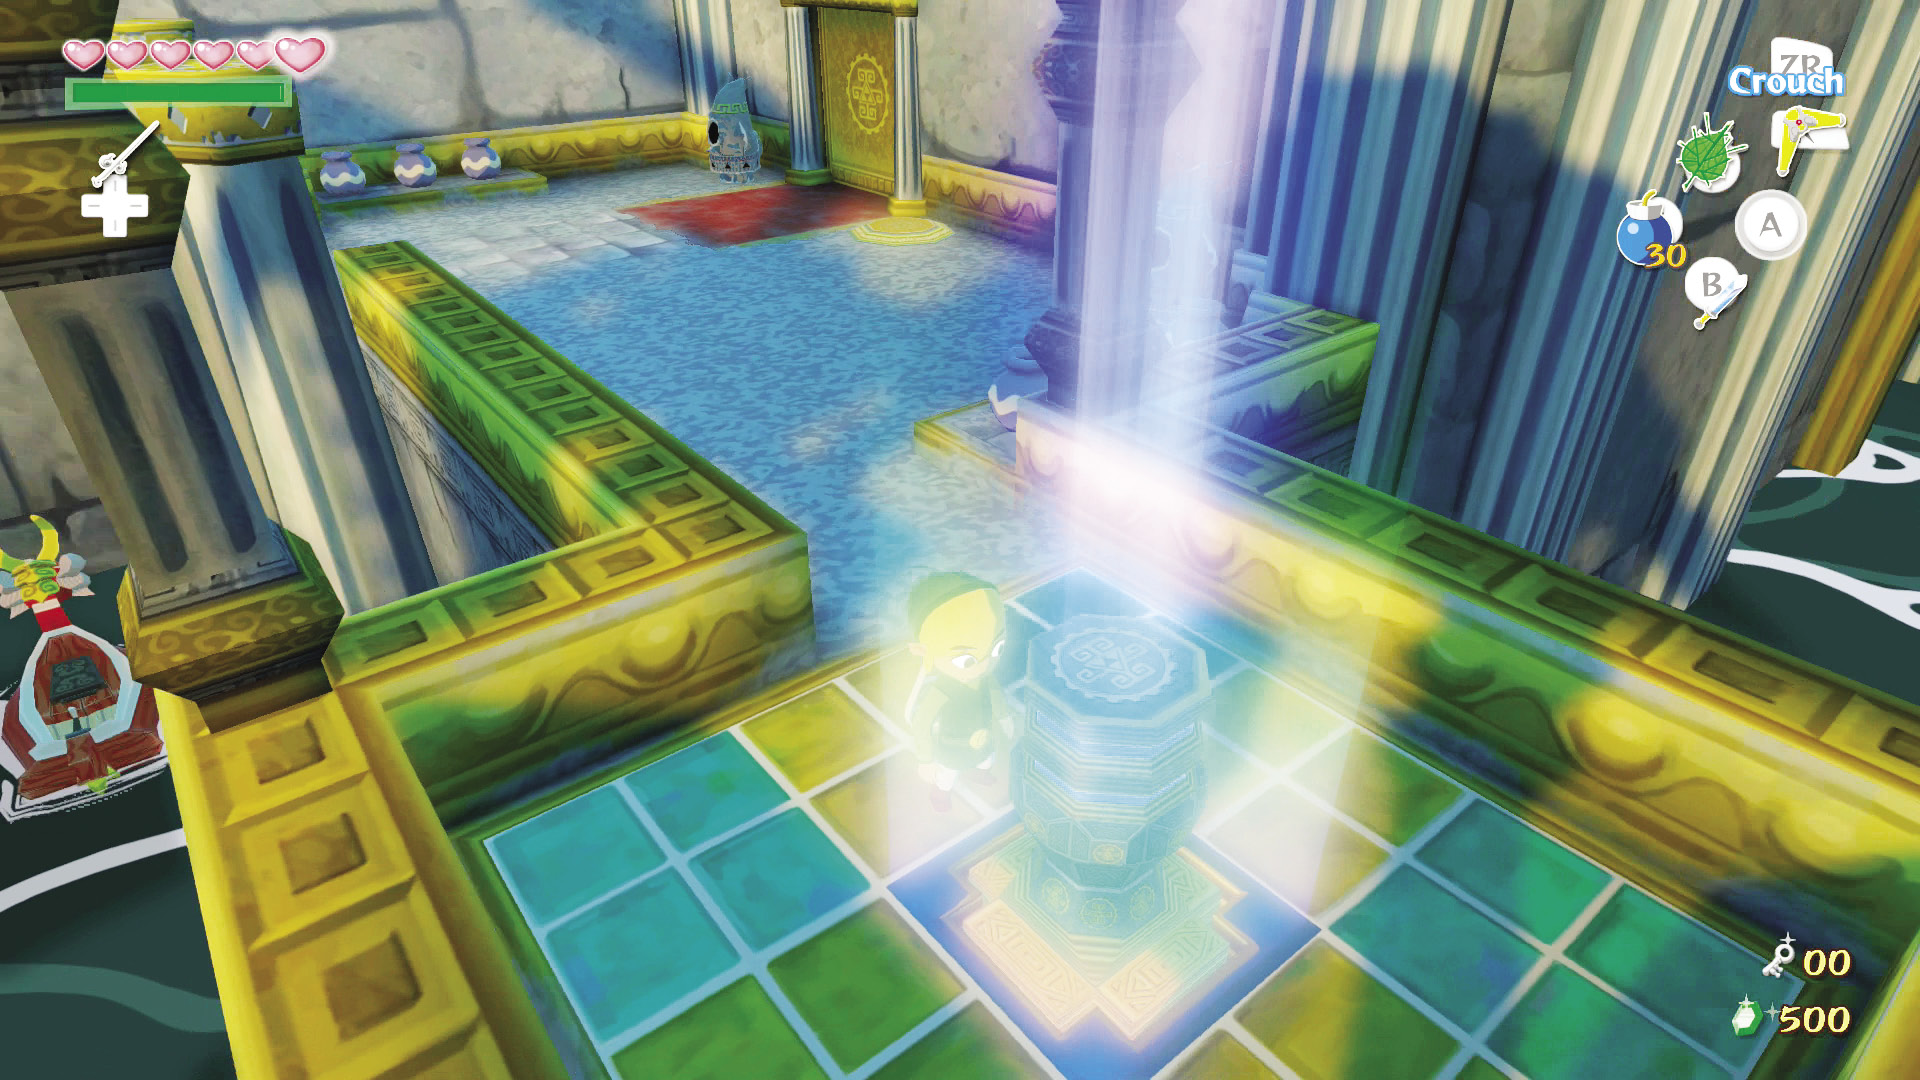
Back in the main room of the Tower of the Gods’ first floor, take a left and place the statue in the center of the floor under the awning. This will open the gate to the east, allowing you access to the room in the area’s southeast corner. You’ll need to wait for high tide to get onto the platform leading into the southeast room, and you’ll need to place the two Armos statues on the constant pressure switches to unlock the door.
2. No Bridge? Build One!
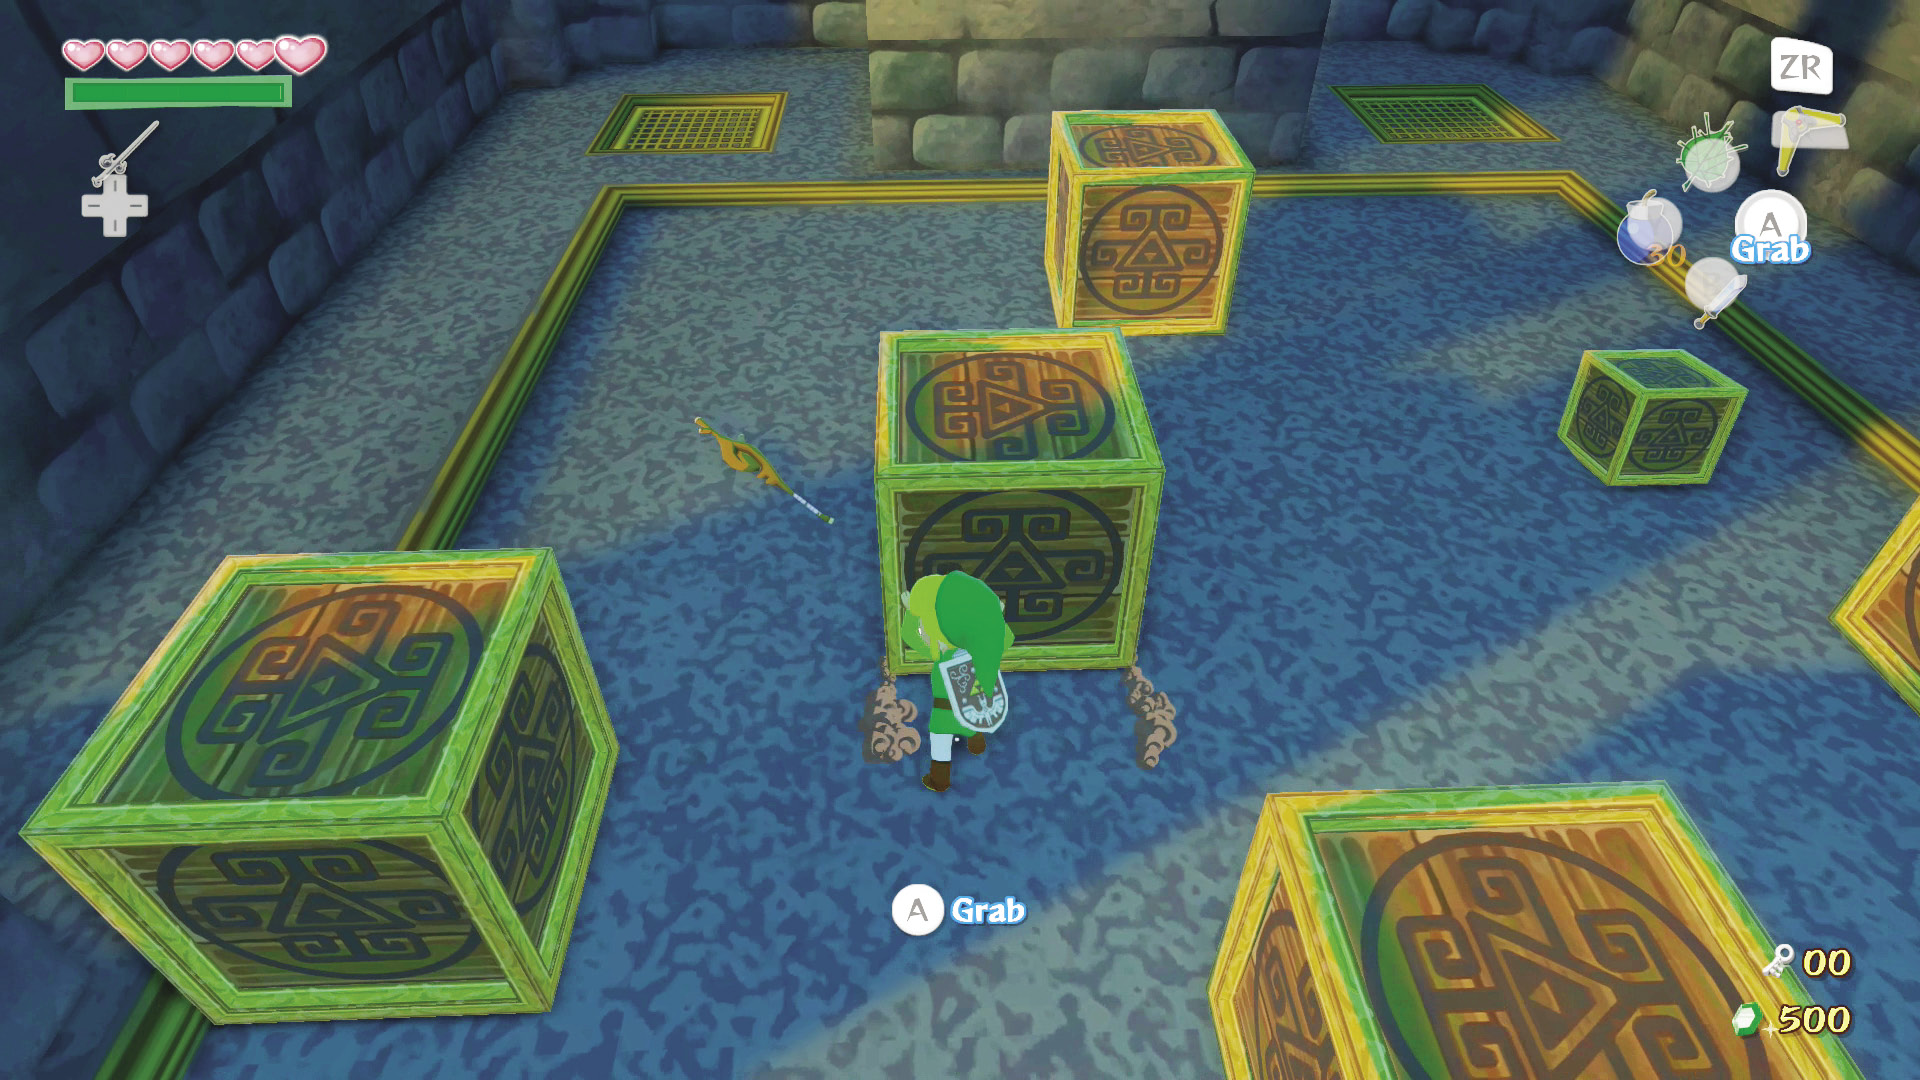
In this next room, you must build a bridge to the room’s south side using nothing but the boxes in the gap. The easiest way to do this is to find the box that is almost touching the midmost box and then push it south two spaces, then west two spaces. This should line your boxes up perfectly, making a bridge for you to cross without ever touching the water.
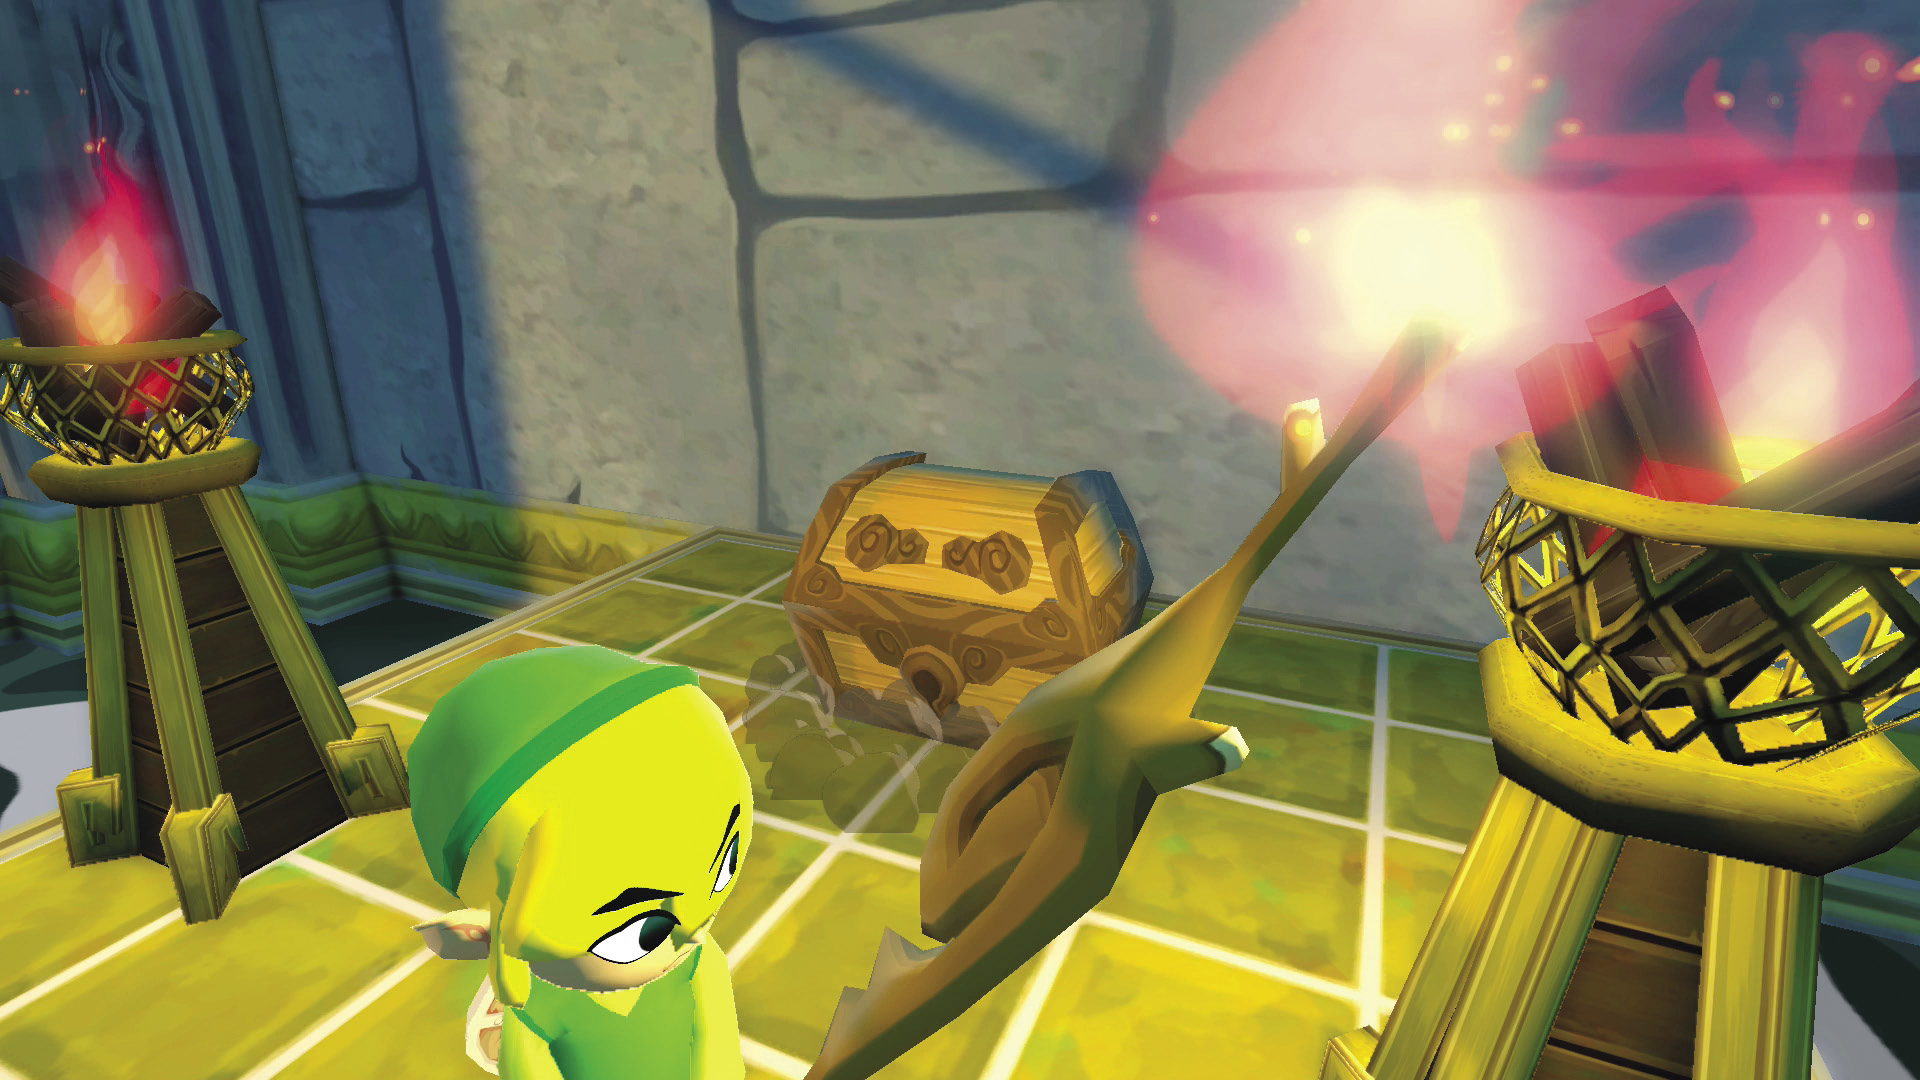
Grab a Deku Stick from one of the pots on the room’s north side, light it with one of the torches, and then cross your new makeshift bridge to the room’s south side. Light both torches on the room’s south side and a treasure chest containing a Small Key will appear. Claim the key as your own, avoid or defeat the four Yellow ChuChus that fall from the ceiling, and then exit the room.
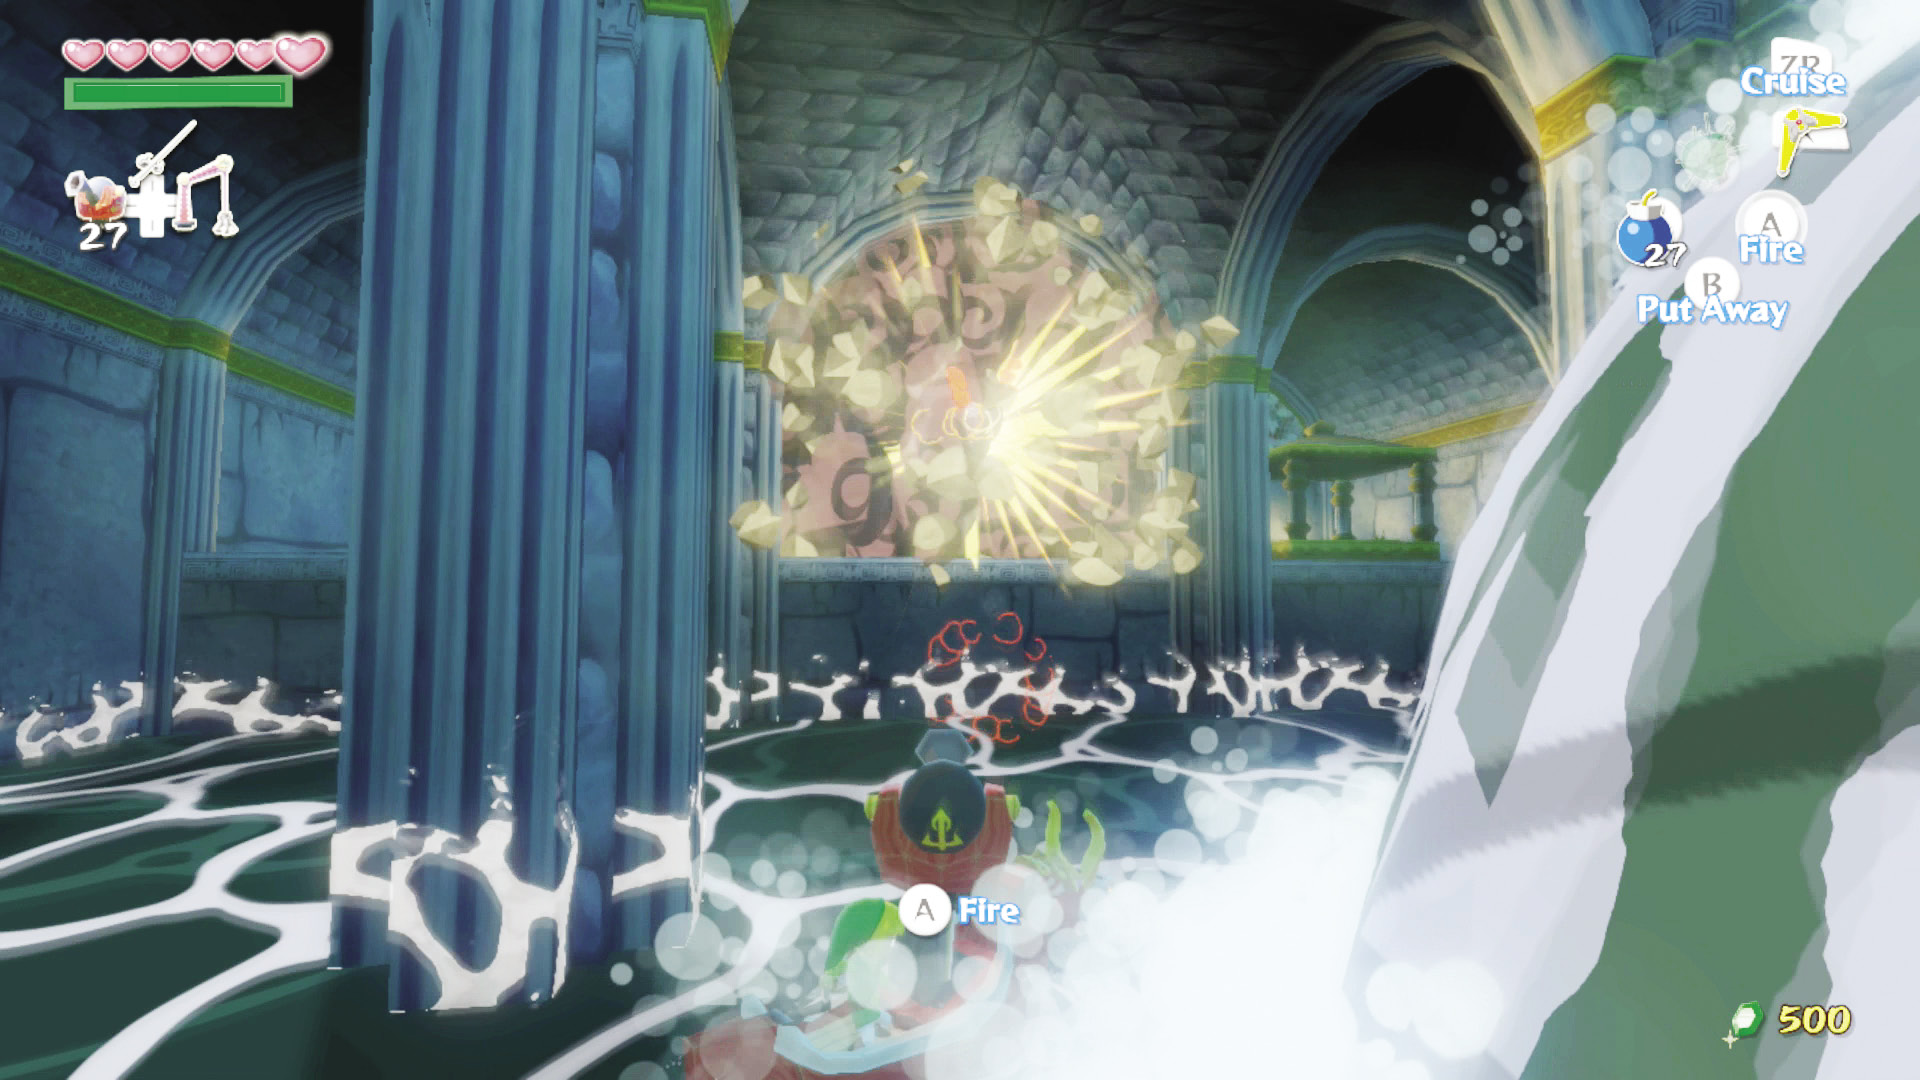
Hop back onto Red and travel to the room’s west side. You may notice that the room ends prematurely. You may also notice that the wall blocking you from continuing west is cracked. Pull out your Cannon and shoot the cracked walls. Wait for high tide, then jump off Red and climb into the room’s west side. Head to the northwest corner and head through the door.
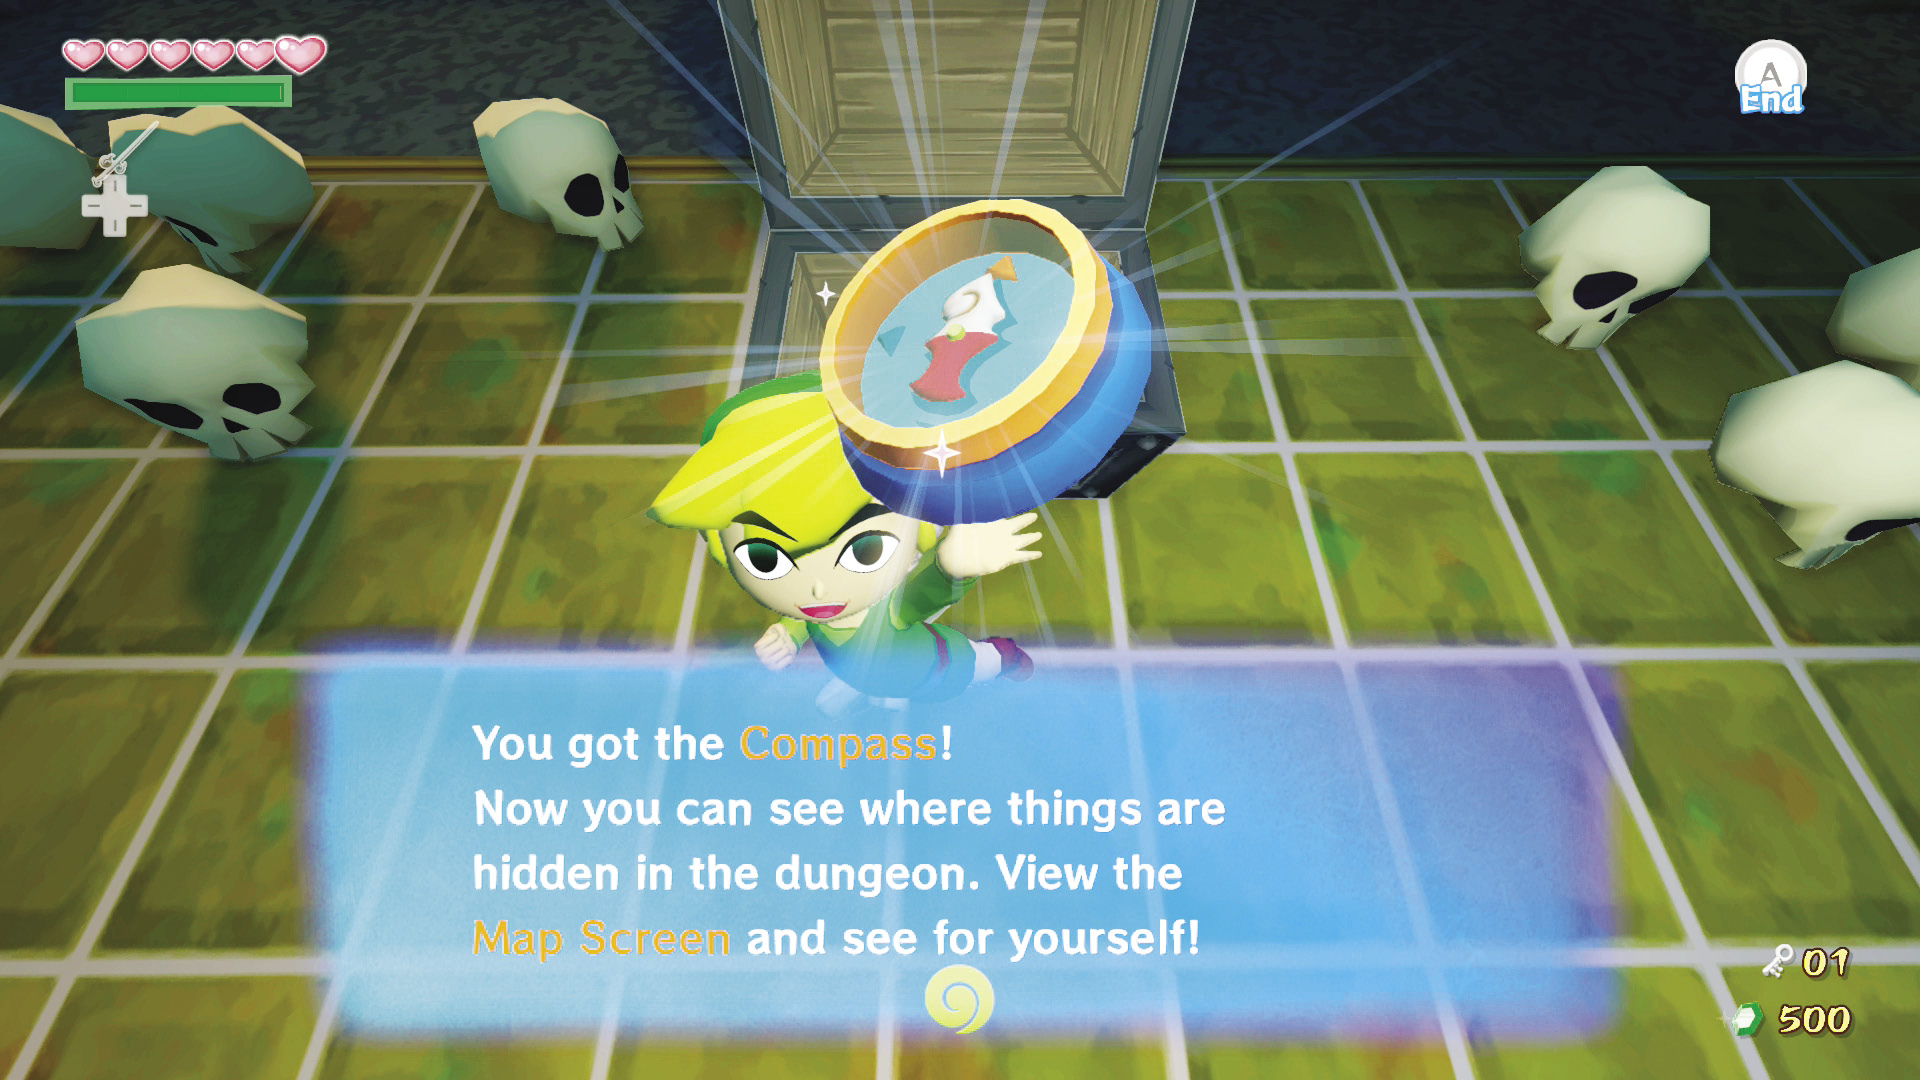
The northwest room is small. Inside is a single treasure chest and a flaming Red Bubble. Defeat the Red Bubble and open the treasure chest to get the dungeon’s Compass. Head back to the main room of the first floor.
Enemy: Red Bubble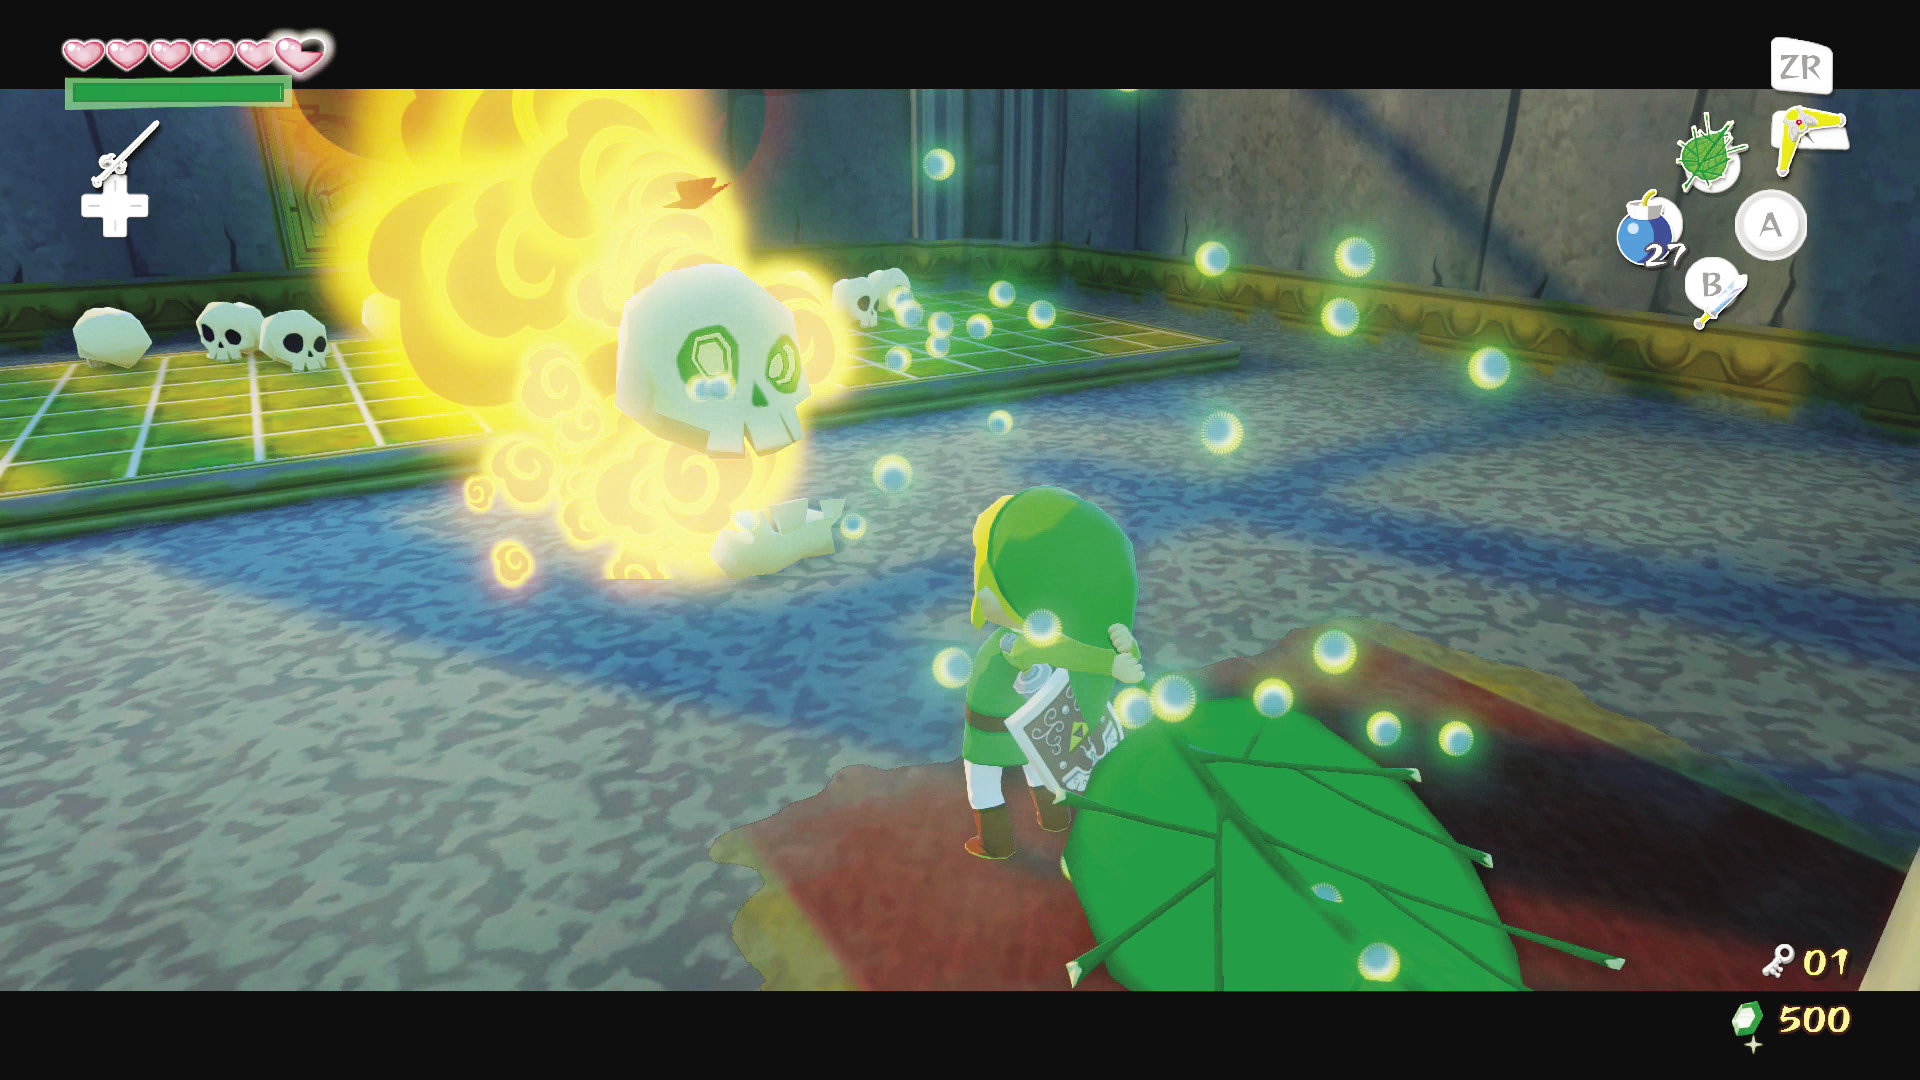 Red Bubbles are flaming skulls that fly around and harass anyone bold, or foolish, enough to get near them. If they touch Link, they’ll light him on fire, dealing a bit of damage. A couple sword slashes will defeat the cackling bag of bones, but using the Deku Leaf on it beforehand will put out its fire, leaving it completely vulnerable to your attacks while keeping you safe from a counterattack. |
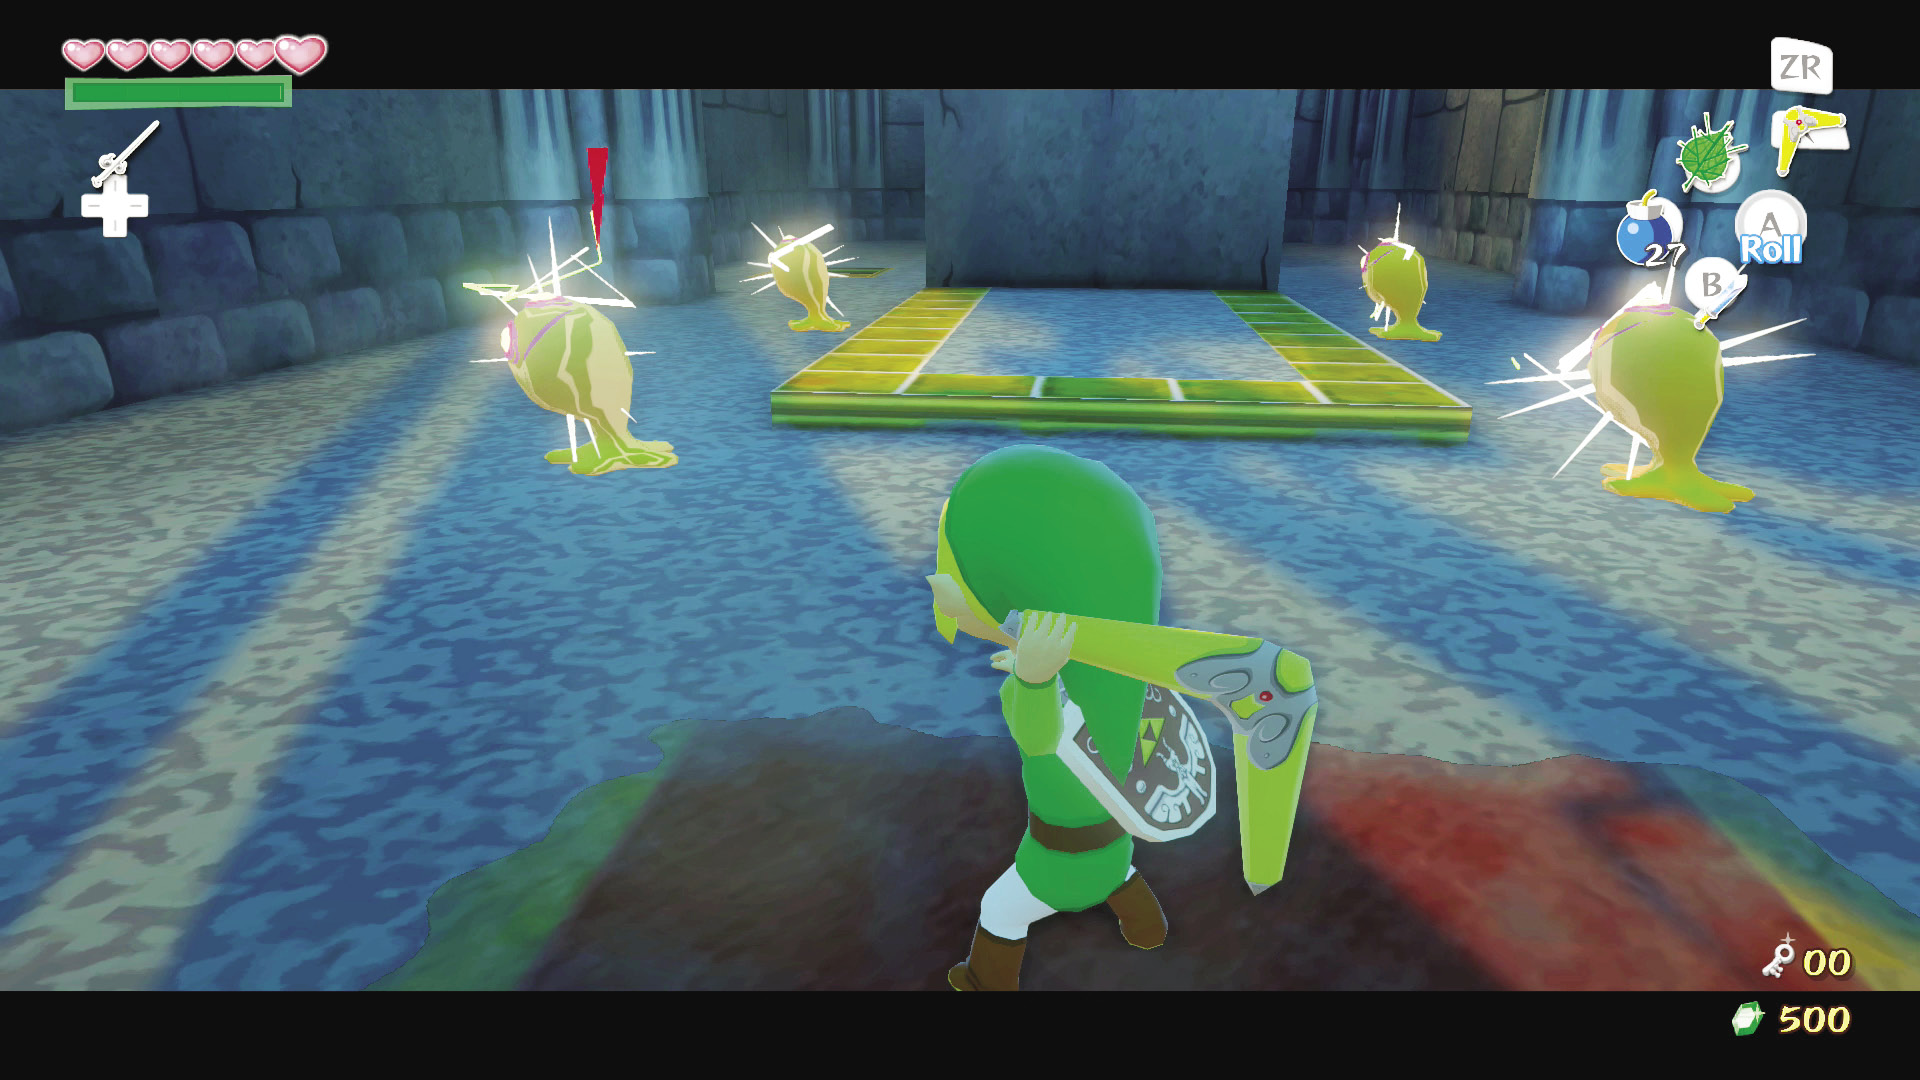
Head down the stairs during low tide and open the door in the southwest corner of the area. Once inside, defeat the four Yellow ChuChus that are roaming the area. The tide is still active in this room, so act quickly to avoid leaving yourself vulnerable to attack while the tide rises. After you defeat all the Yellow ChuChus, a light staircase will appear. Climb the staircase to the top and you’ll find another chess-piece statue. Grab it, wait for low tide, and race out of the room.
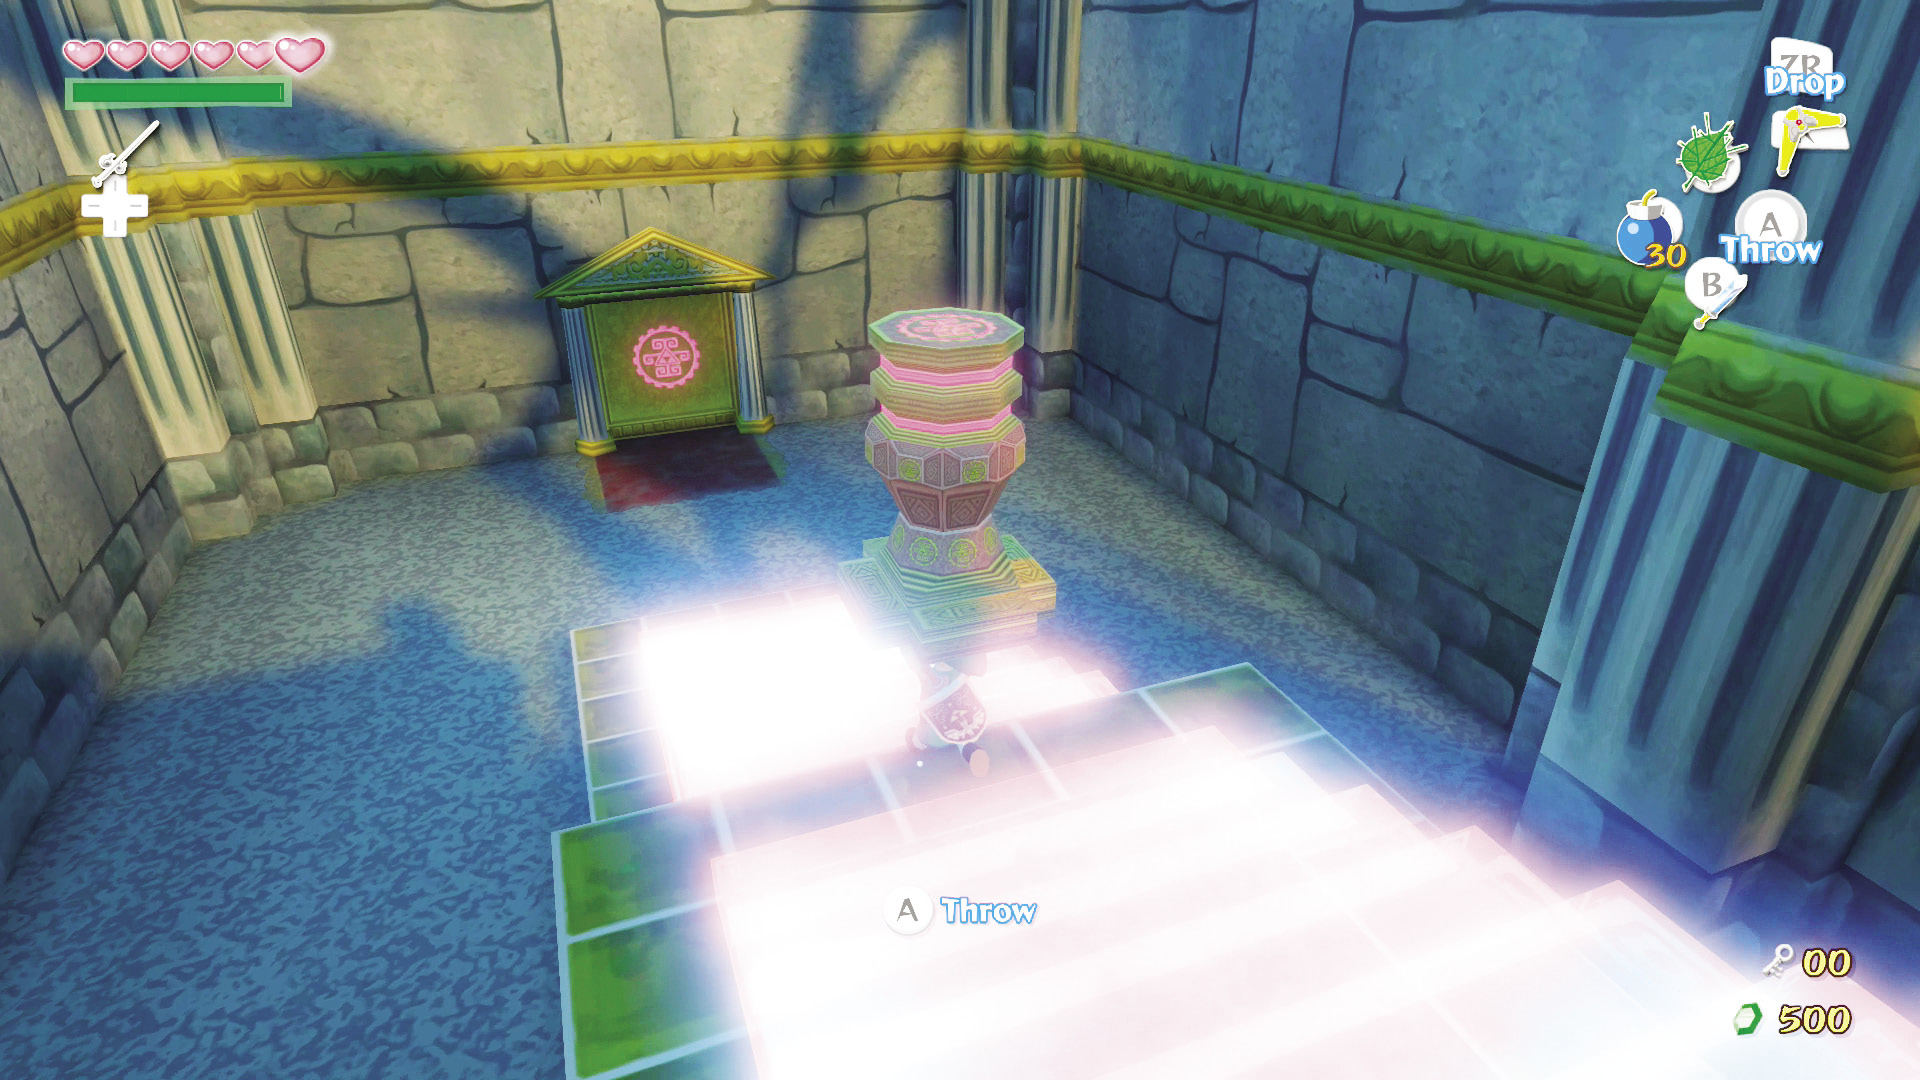
Return to the northwest corner of the main room and place the statue into the hole underneath the awning. This will shut off one of the three waterfalls in the middle of the room, which was concealing a hallway behind it. Wait for high tide, then cross back to the room’s center. Swim or use Red to reach the newly opened passage in the room’s north side and wait for high tide.
3. Moving on Up
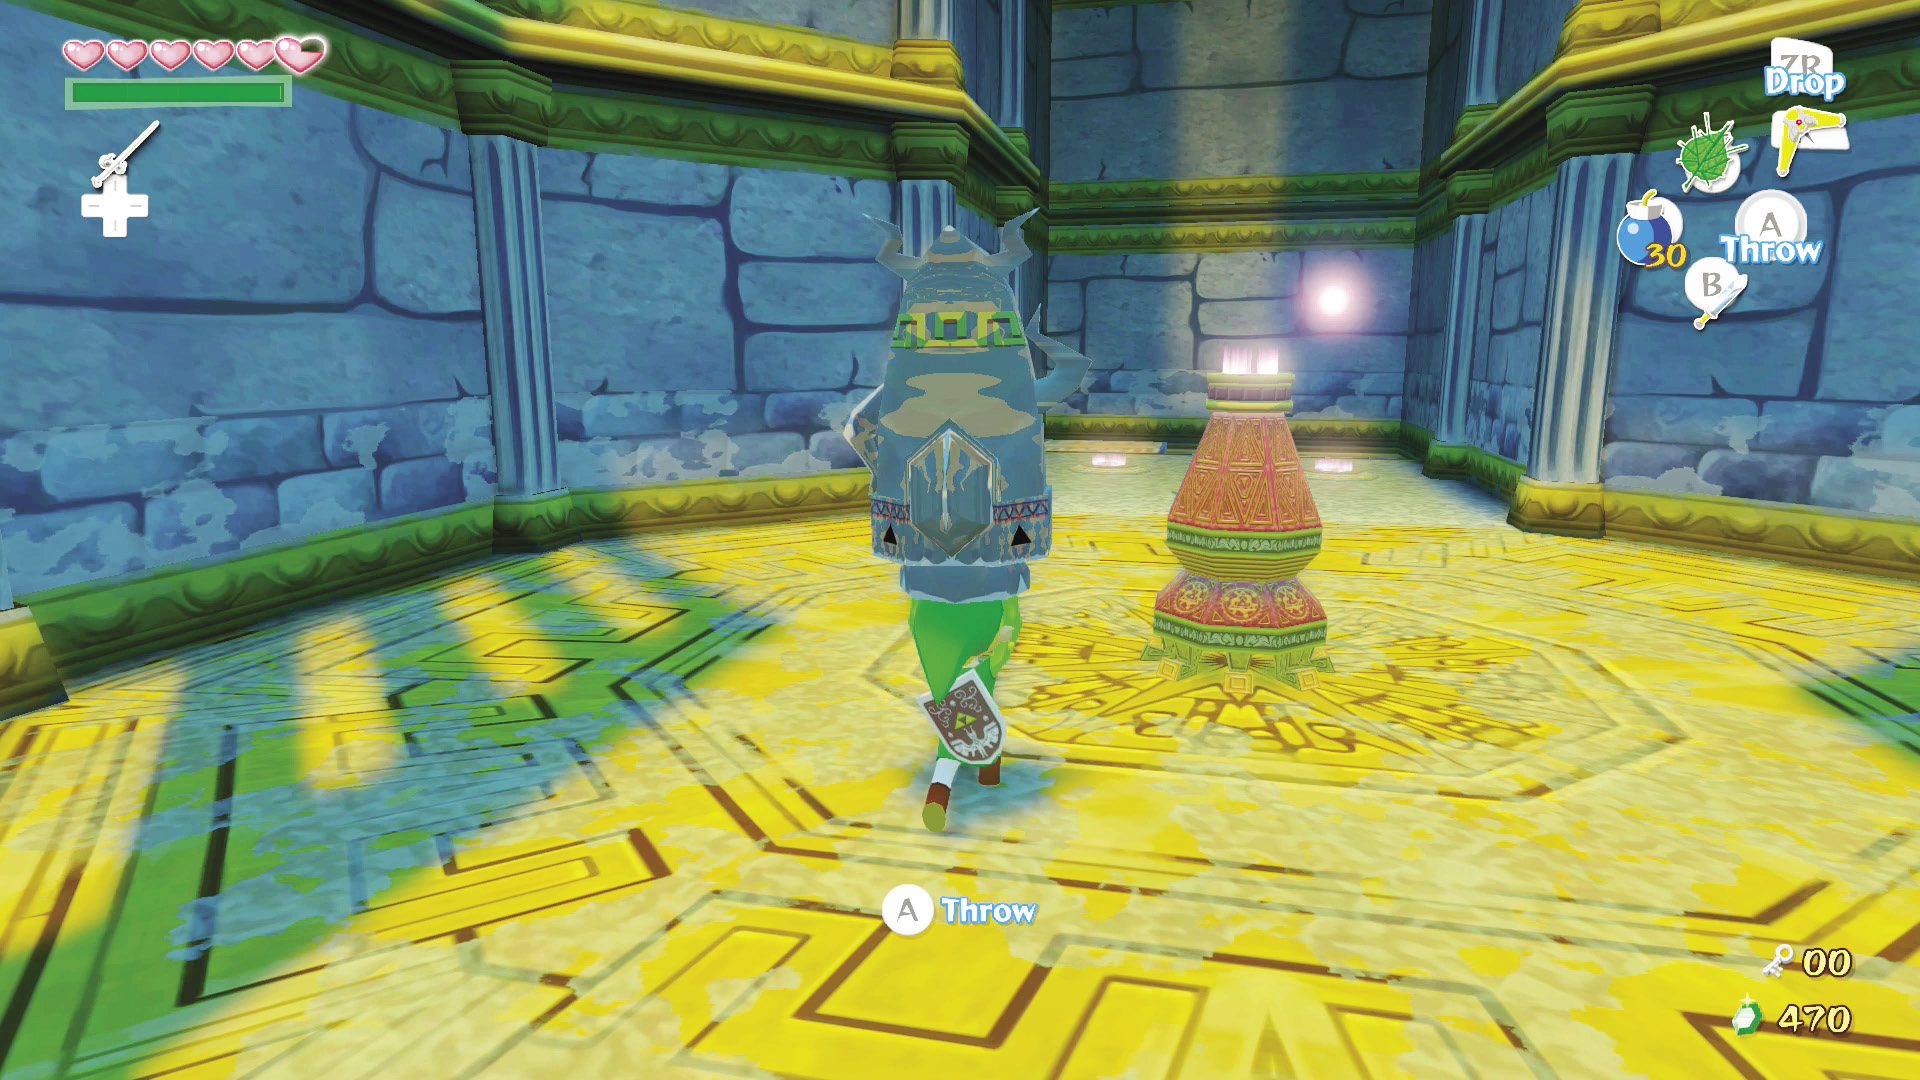
Climb into the hallway and head through the door at the hallway’s end. To the left and right of the door you just walked through are two Armos statues. Pick one of them up and head to the room’s north side. Keep to the room’s left side to avoid the Beamos’ attacks. Place the Armos statue on one of the constant pressure switches, then head back to the room’s south side to grab another statue.
Enemy: Beamos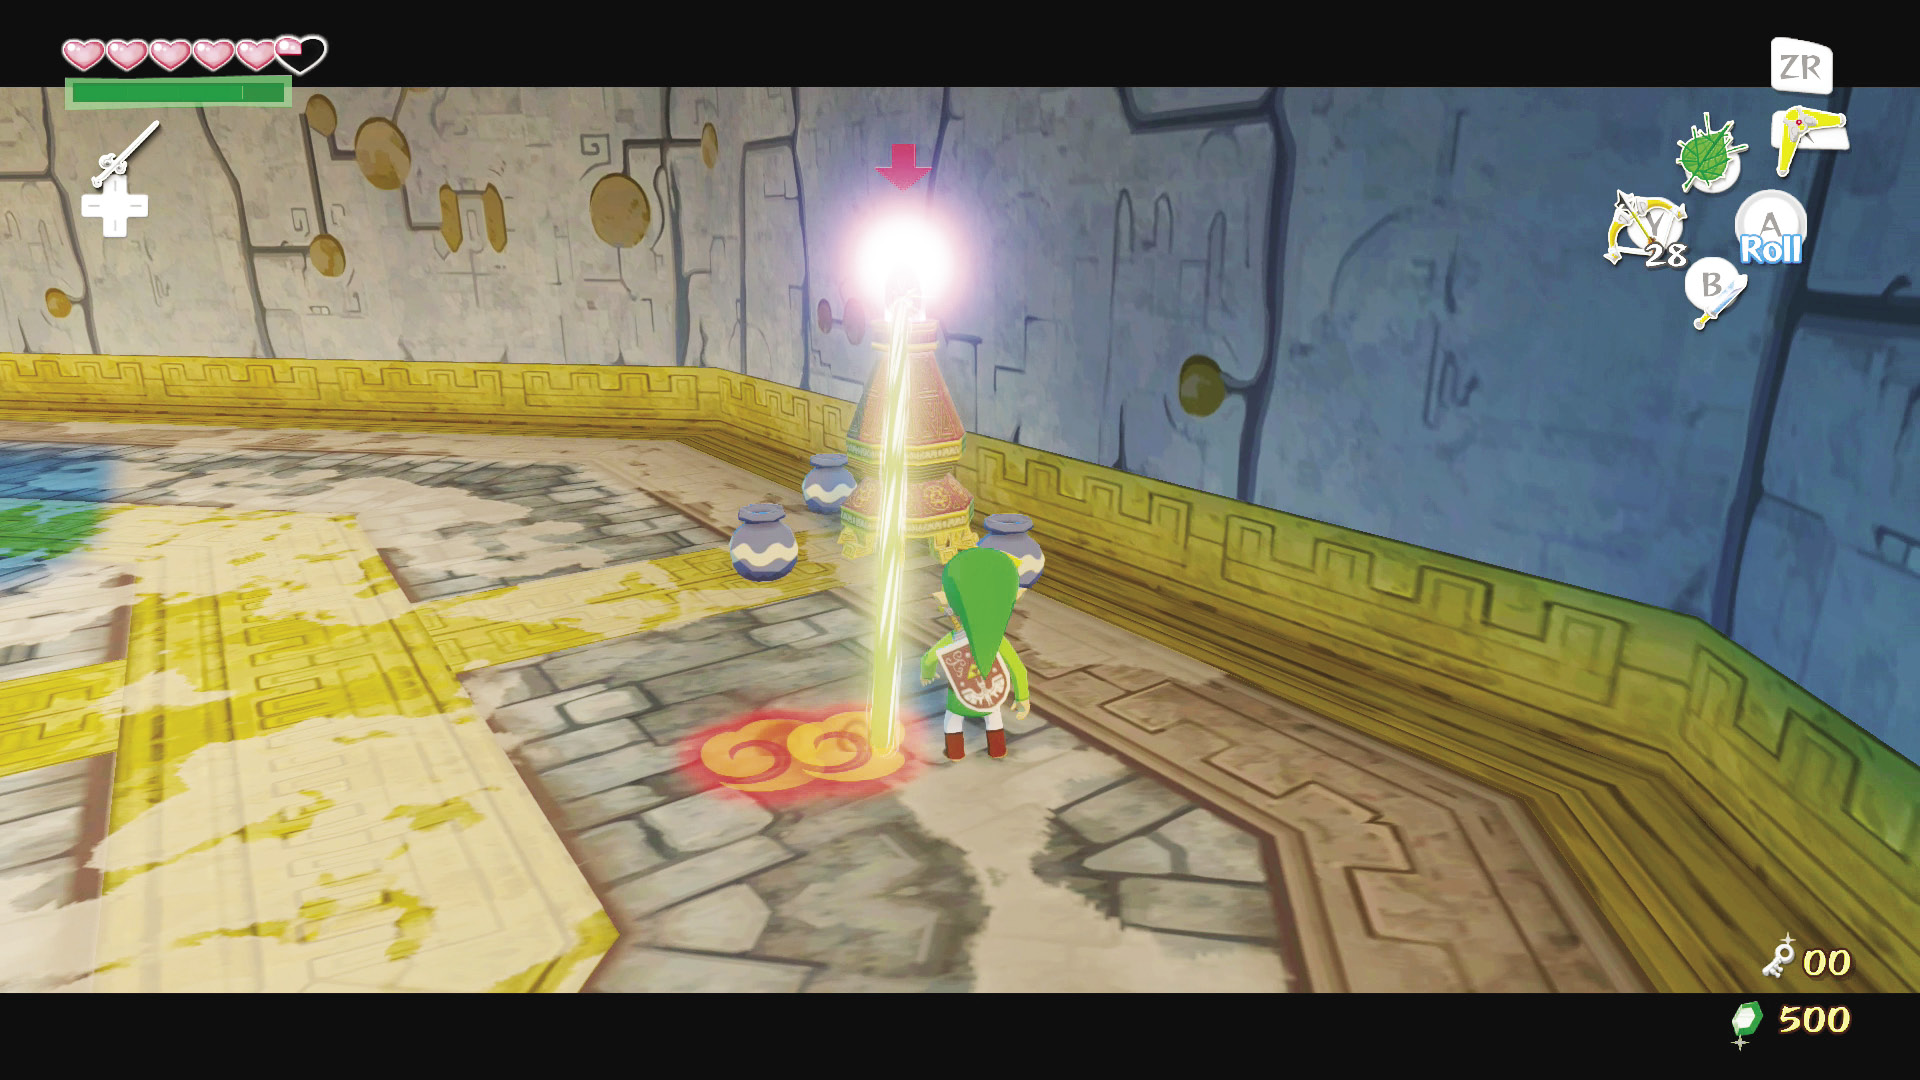 Beamos are stationary statues with red orbs circling above them. Whenever Link is in front of the red orb, it enlarges and begins firing a laser in his direction. If Link is hit, he’ll fly backward. Avoid these staggering statues by rolling away from them. They can be destroyed, but currently your only means of self-defense is a bomb, which requires some pretty precise timing, as it must blow up right next to the red orb on top of the Beamos. |
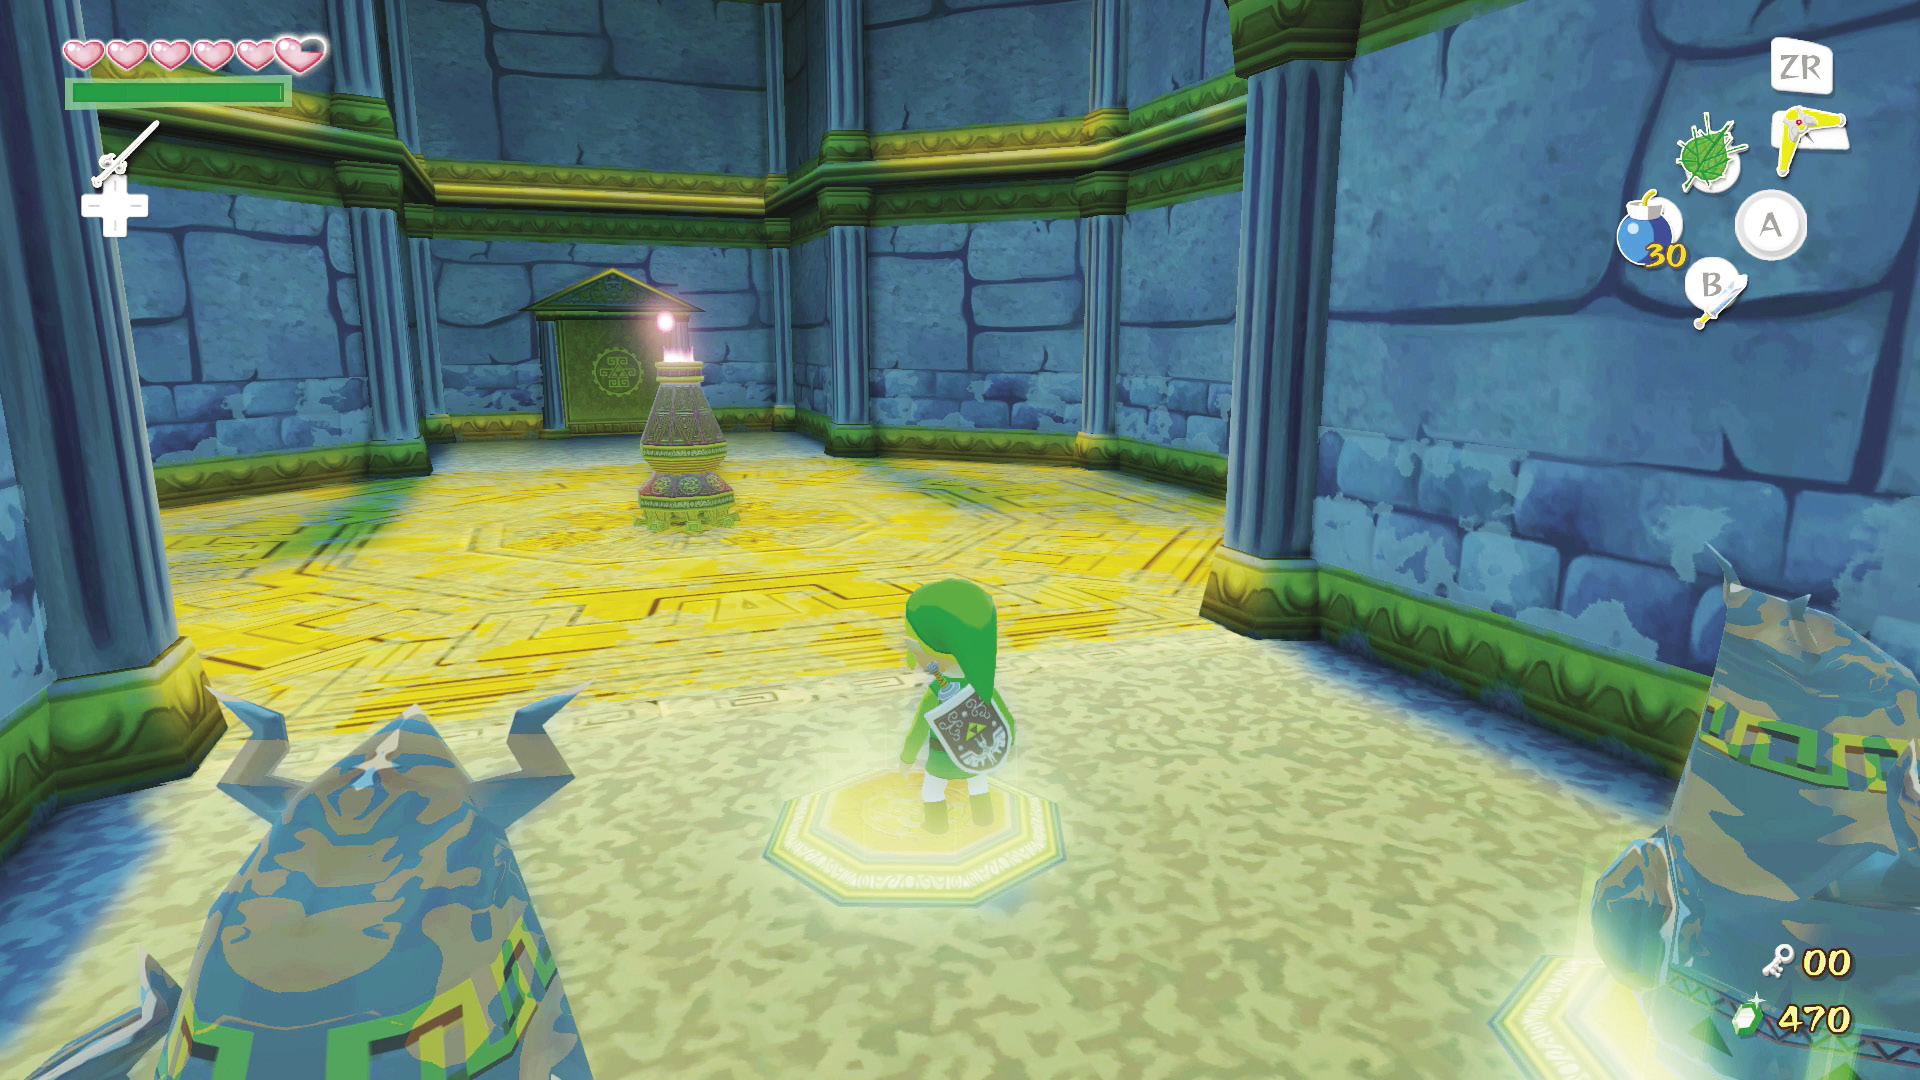
Take the second statue north and place it on another switch, then stand on the remaining switch to activate platforms ahead. Jump from platform to platform until you reach the second floor of the Tower of the Gods.
Second Floor
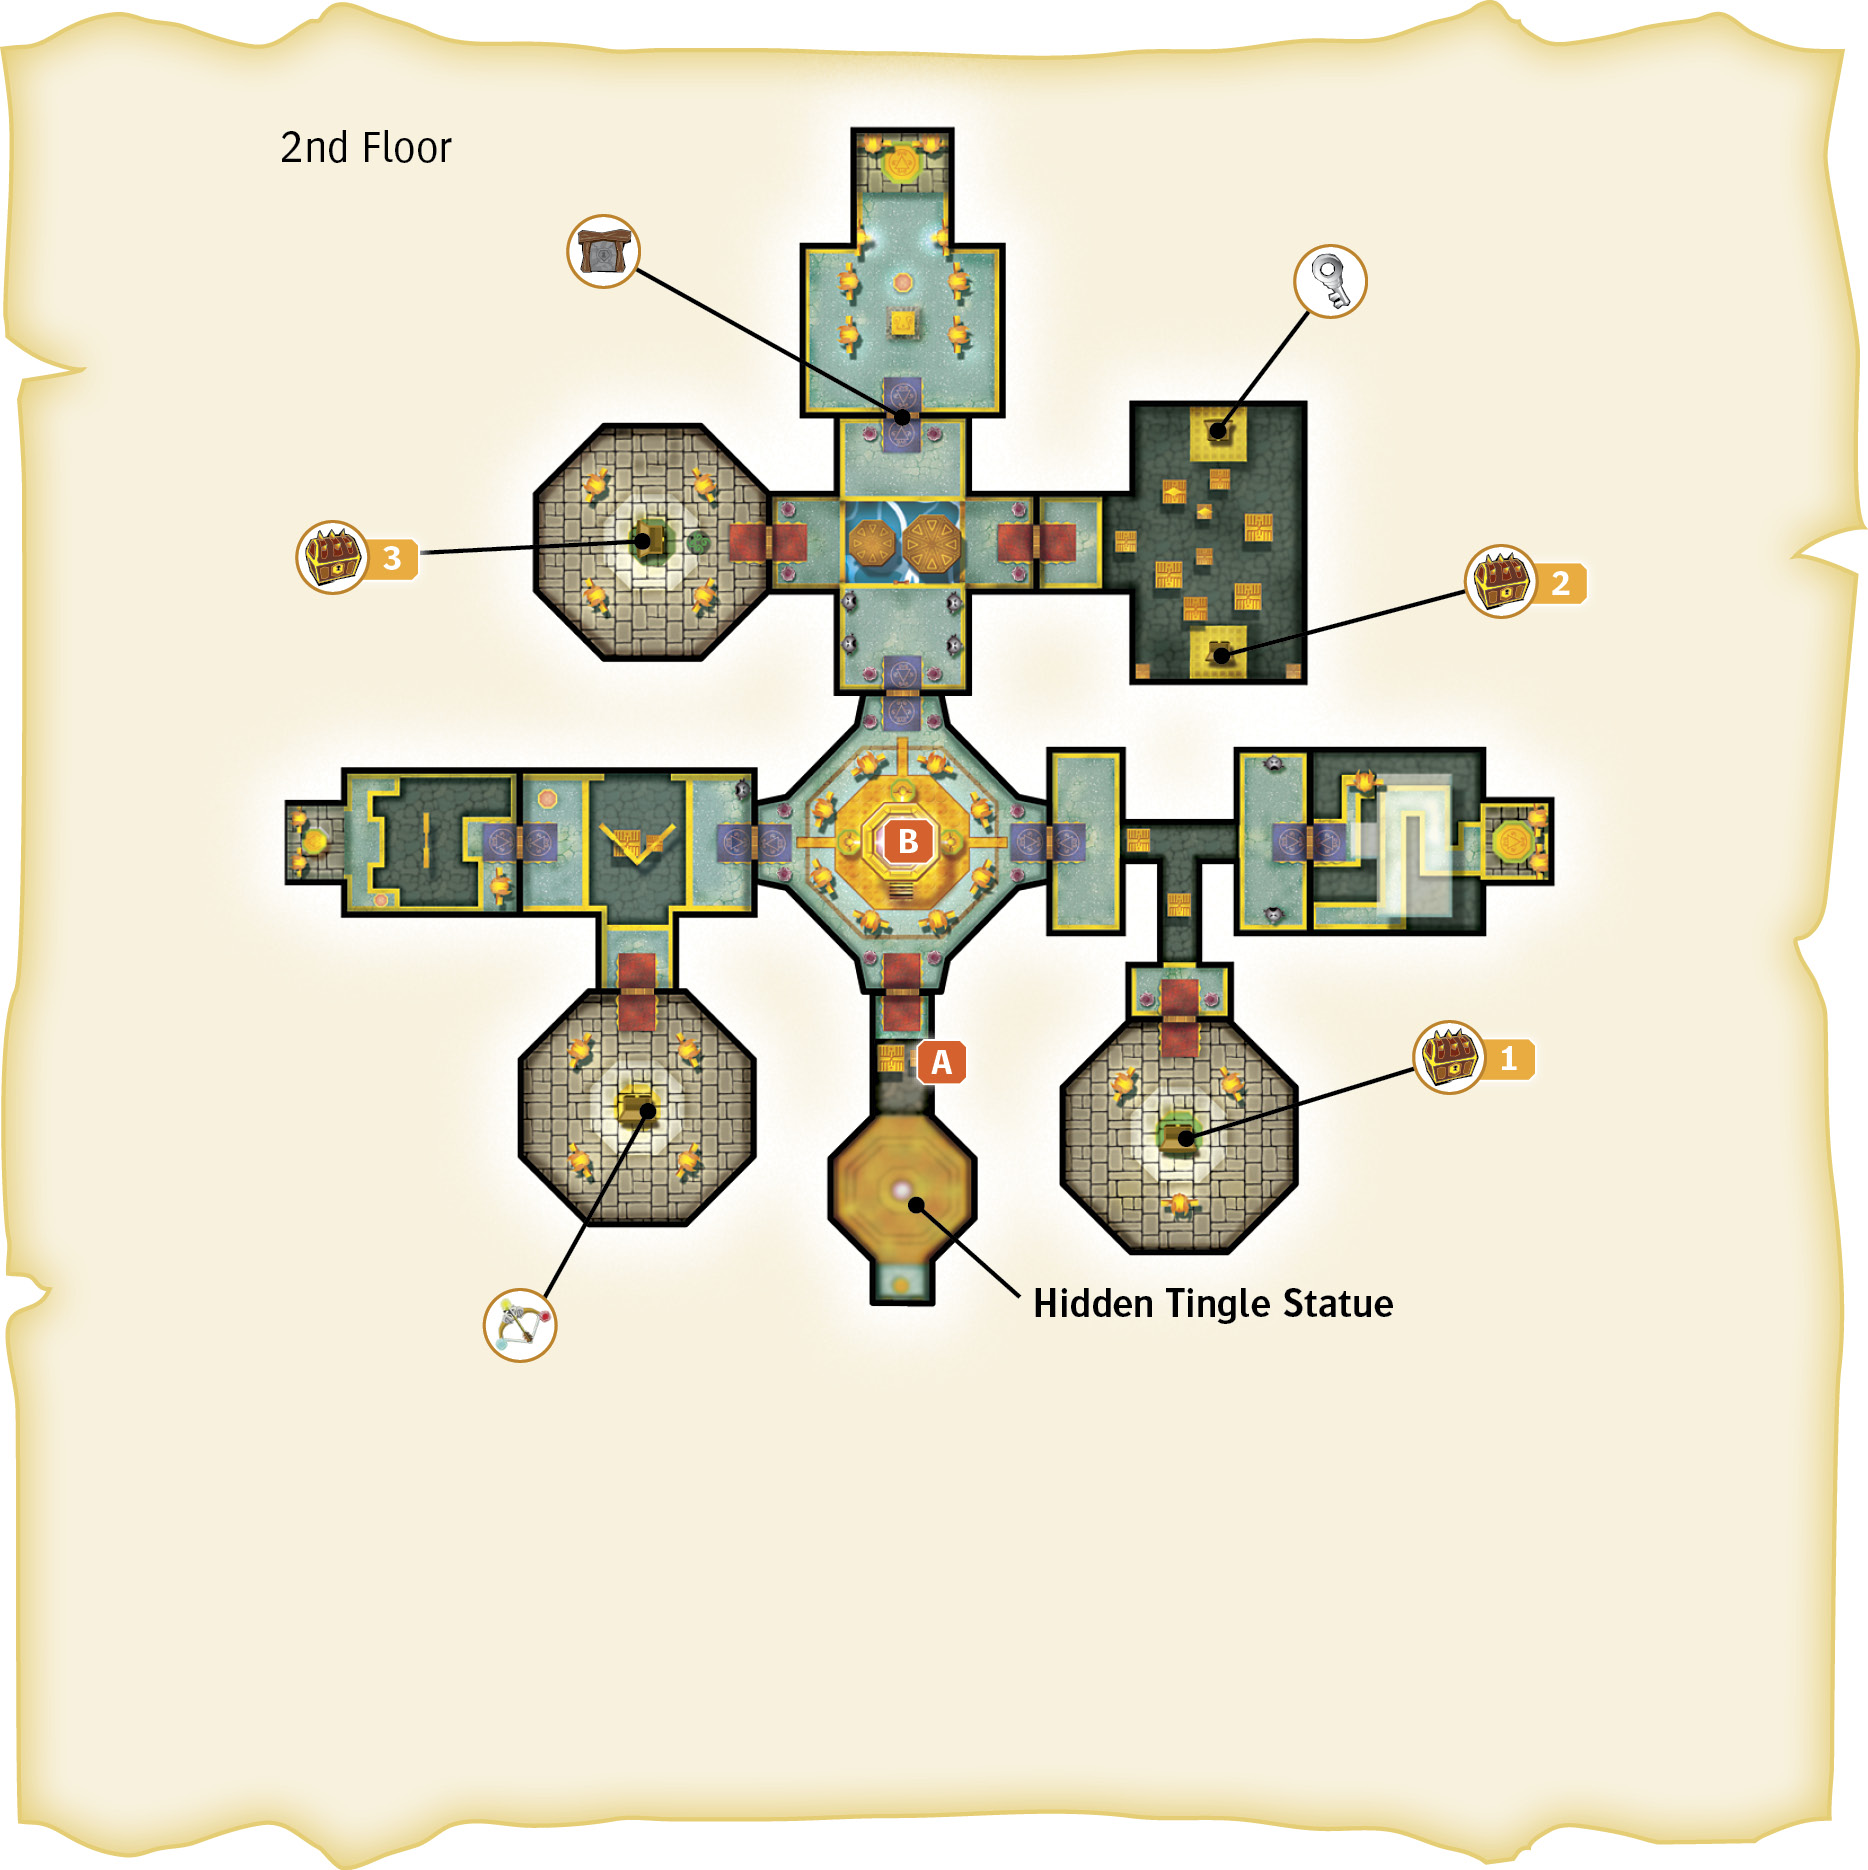
4. Making Friends
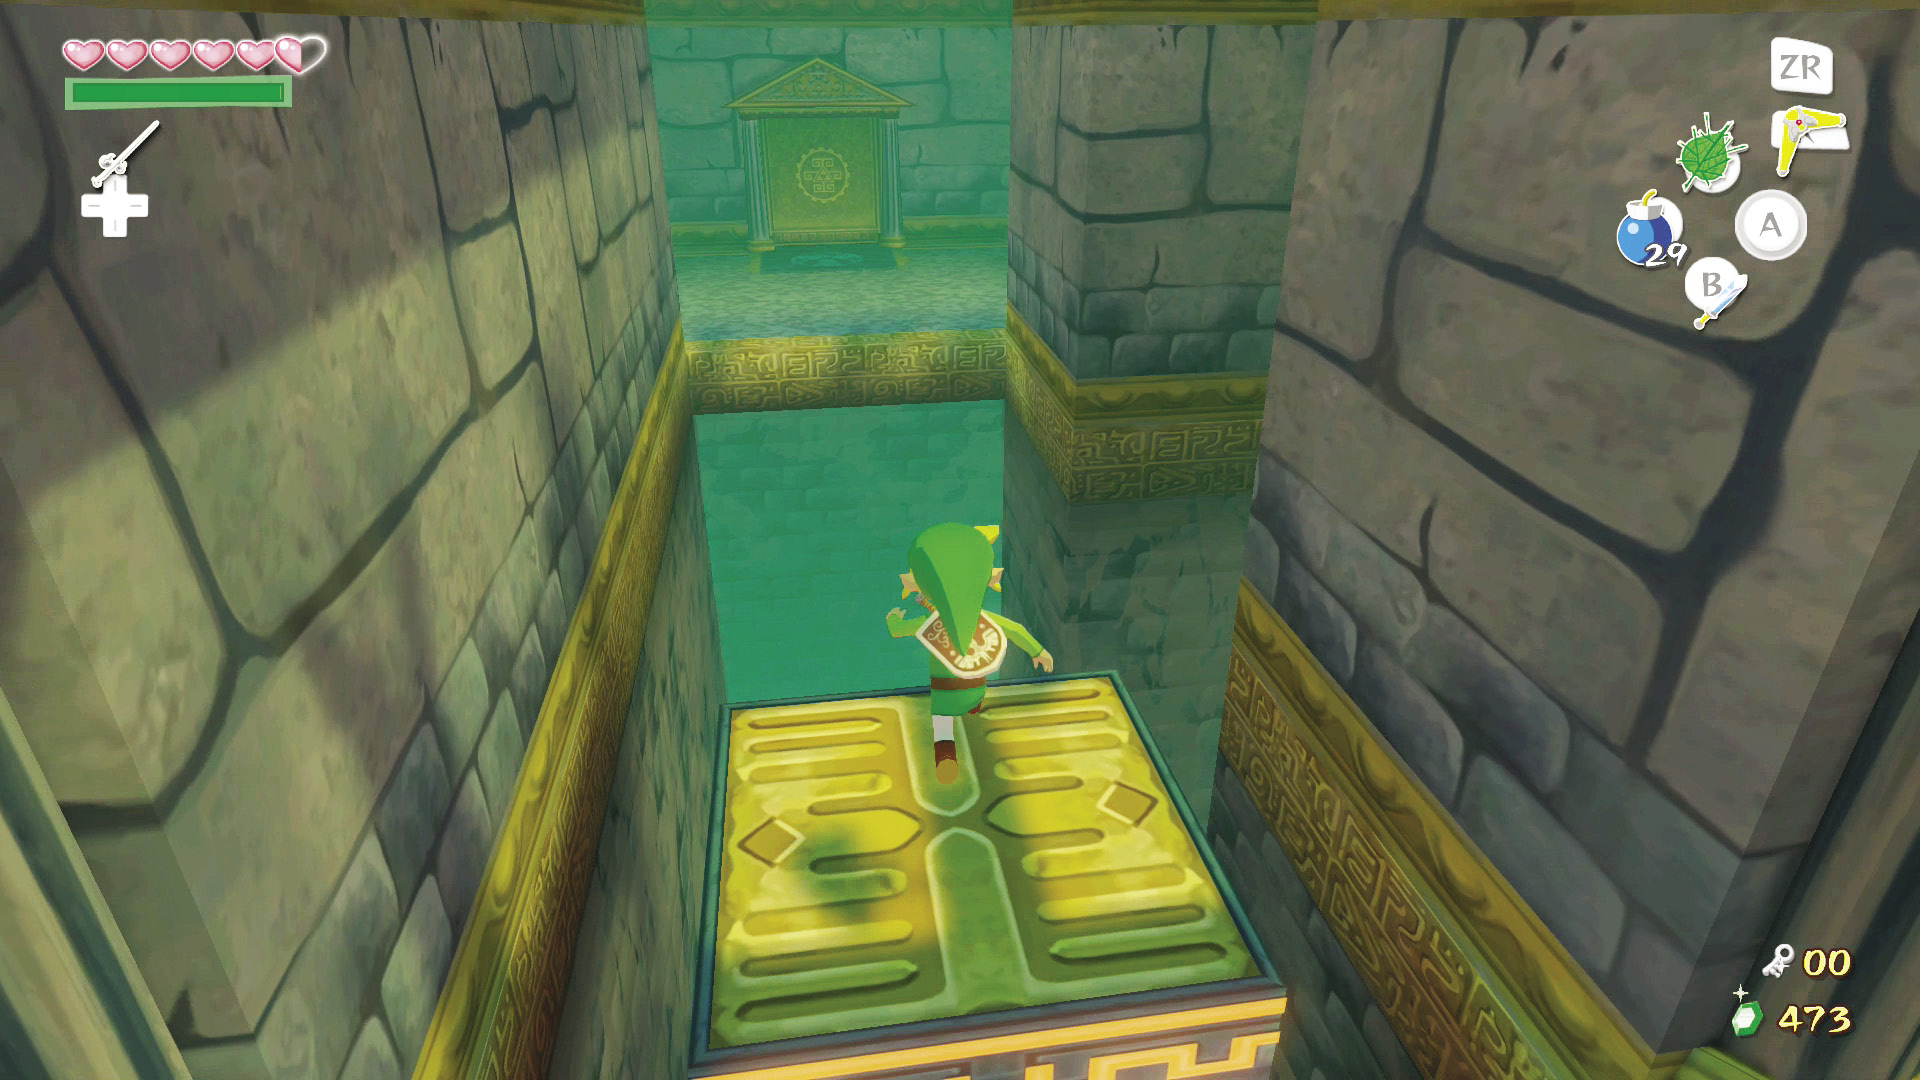
In the center of this room is a moving platform that travels between the east and west sides of an endless-looking gap. Defeat the Yellow ChuChu ahead of you, then jump onto the platform and travel to the room’s east side. There is another door in the room’s south side, but you can’t access that just yet—don’t worry, we’ll let you know when you can.
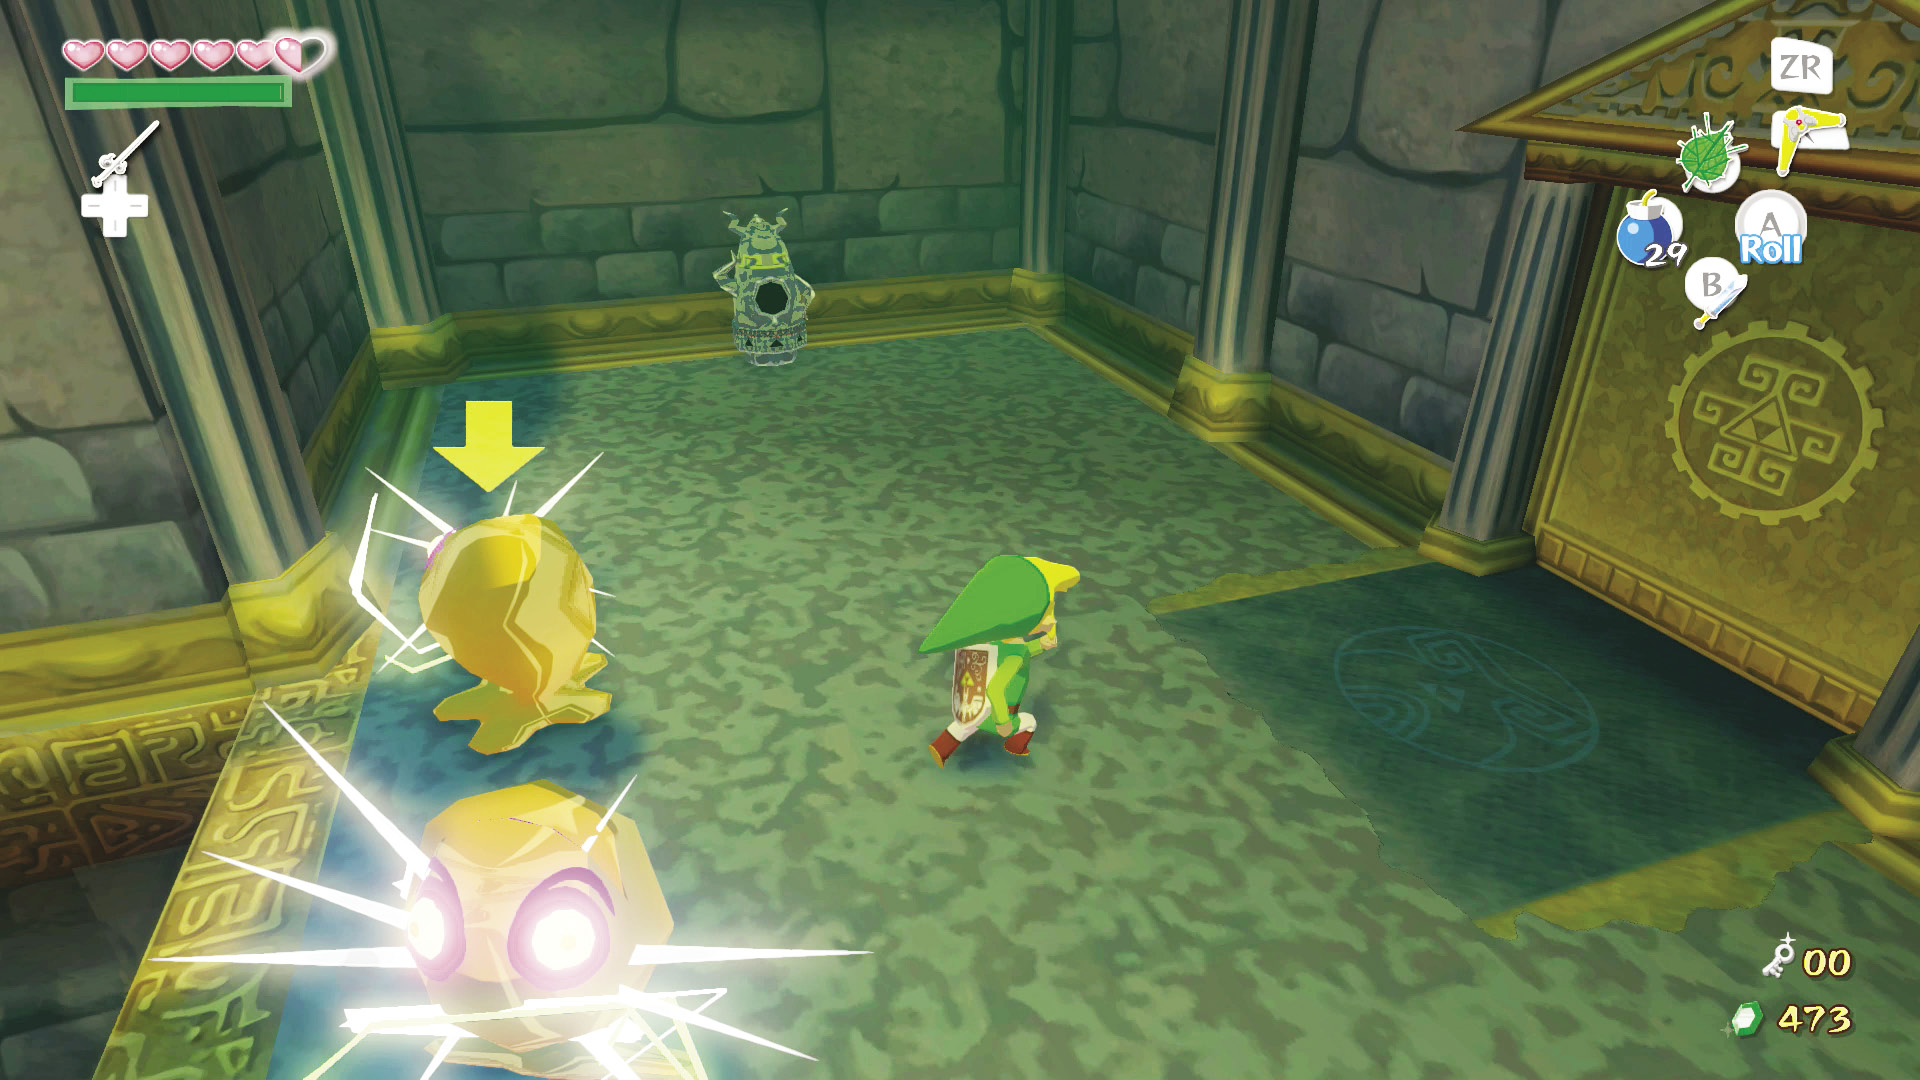
Defeat the Yellow ChuChus on the room’s east side, then head through the door.
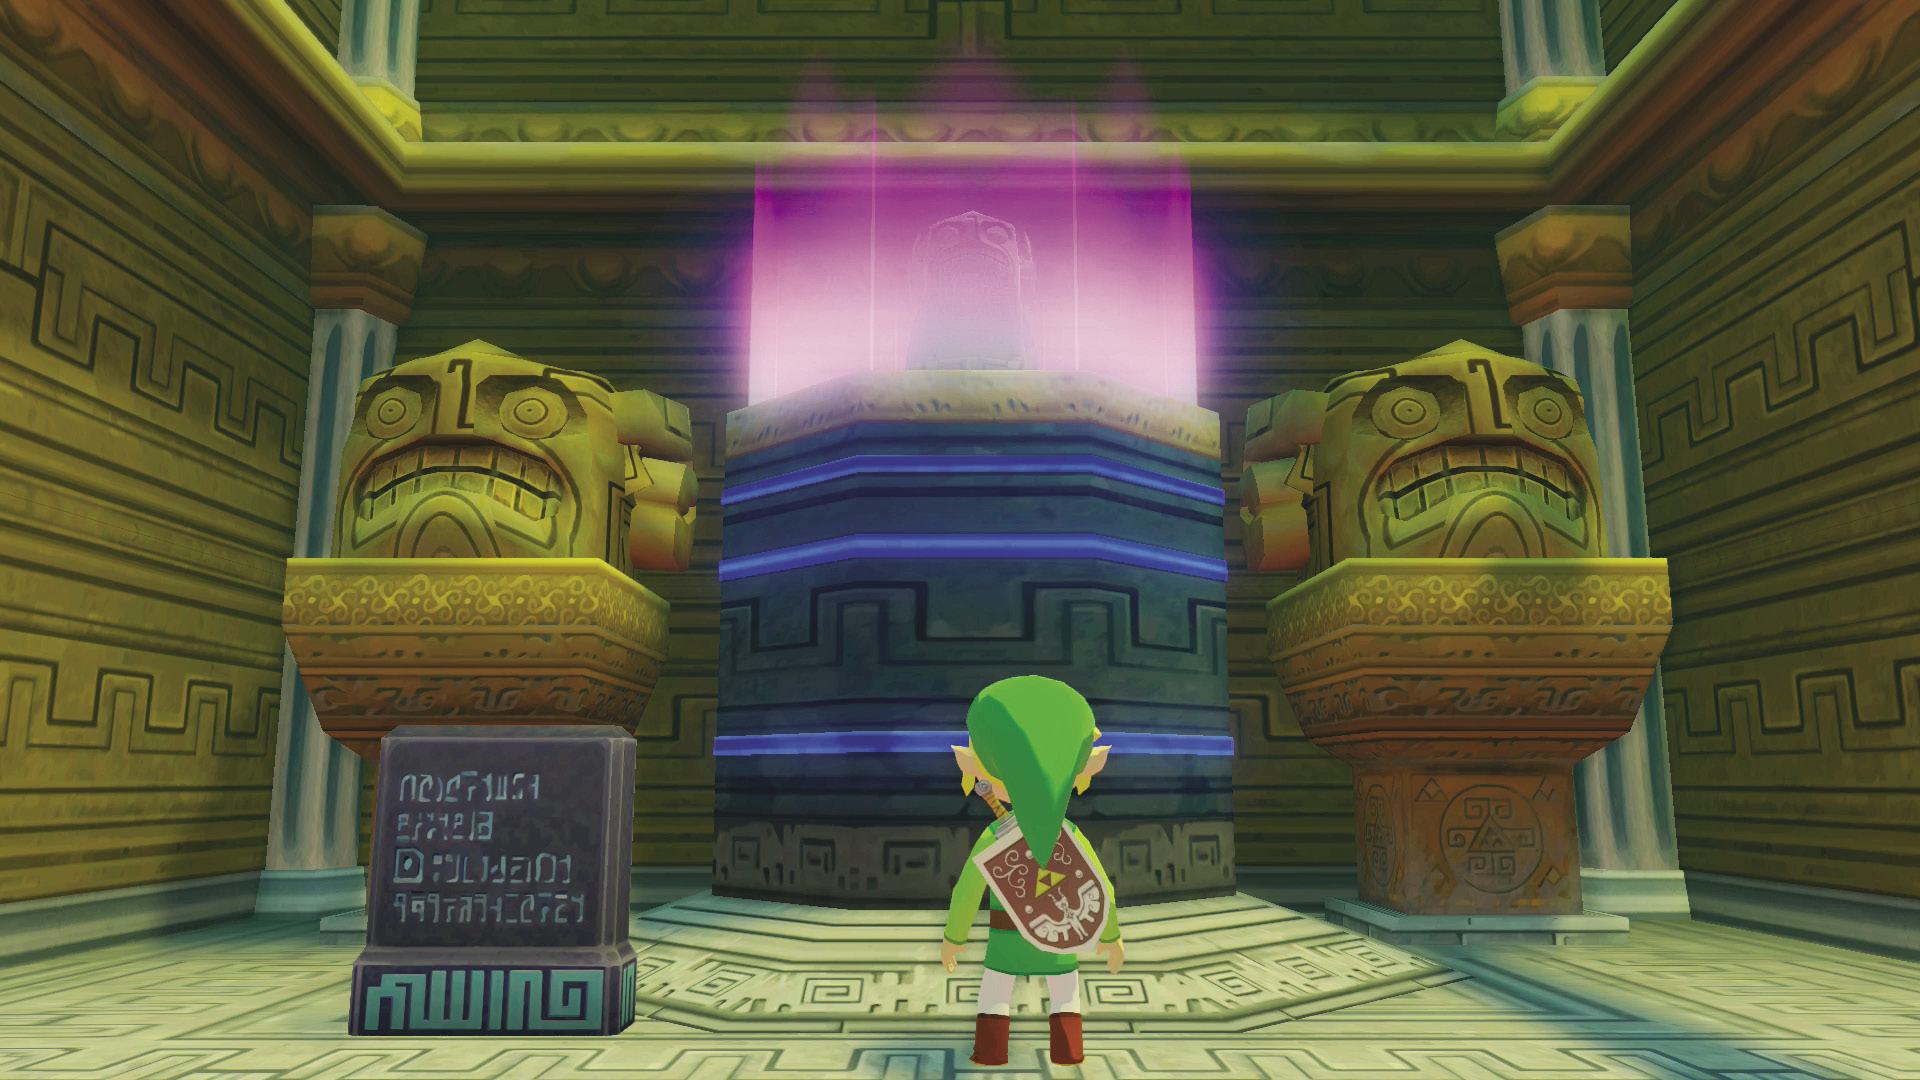
Ahead of you is a giant light platform. Run across it to the room’s east side and hit 0 to call the statue off the pedestal. The statue will follow you wherever you go in this room, which is good, because the light platform makes carrying the statue impossible.
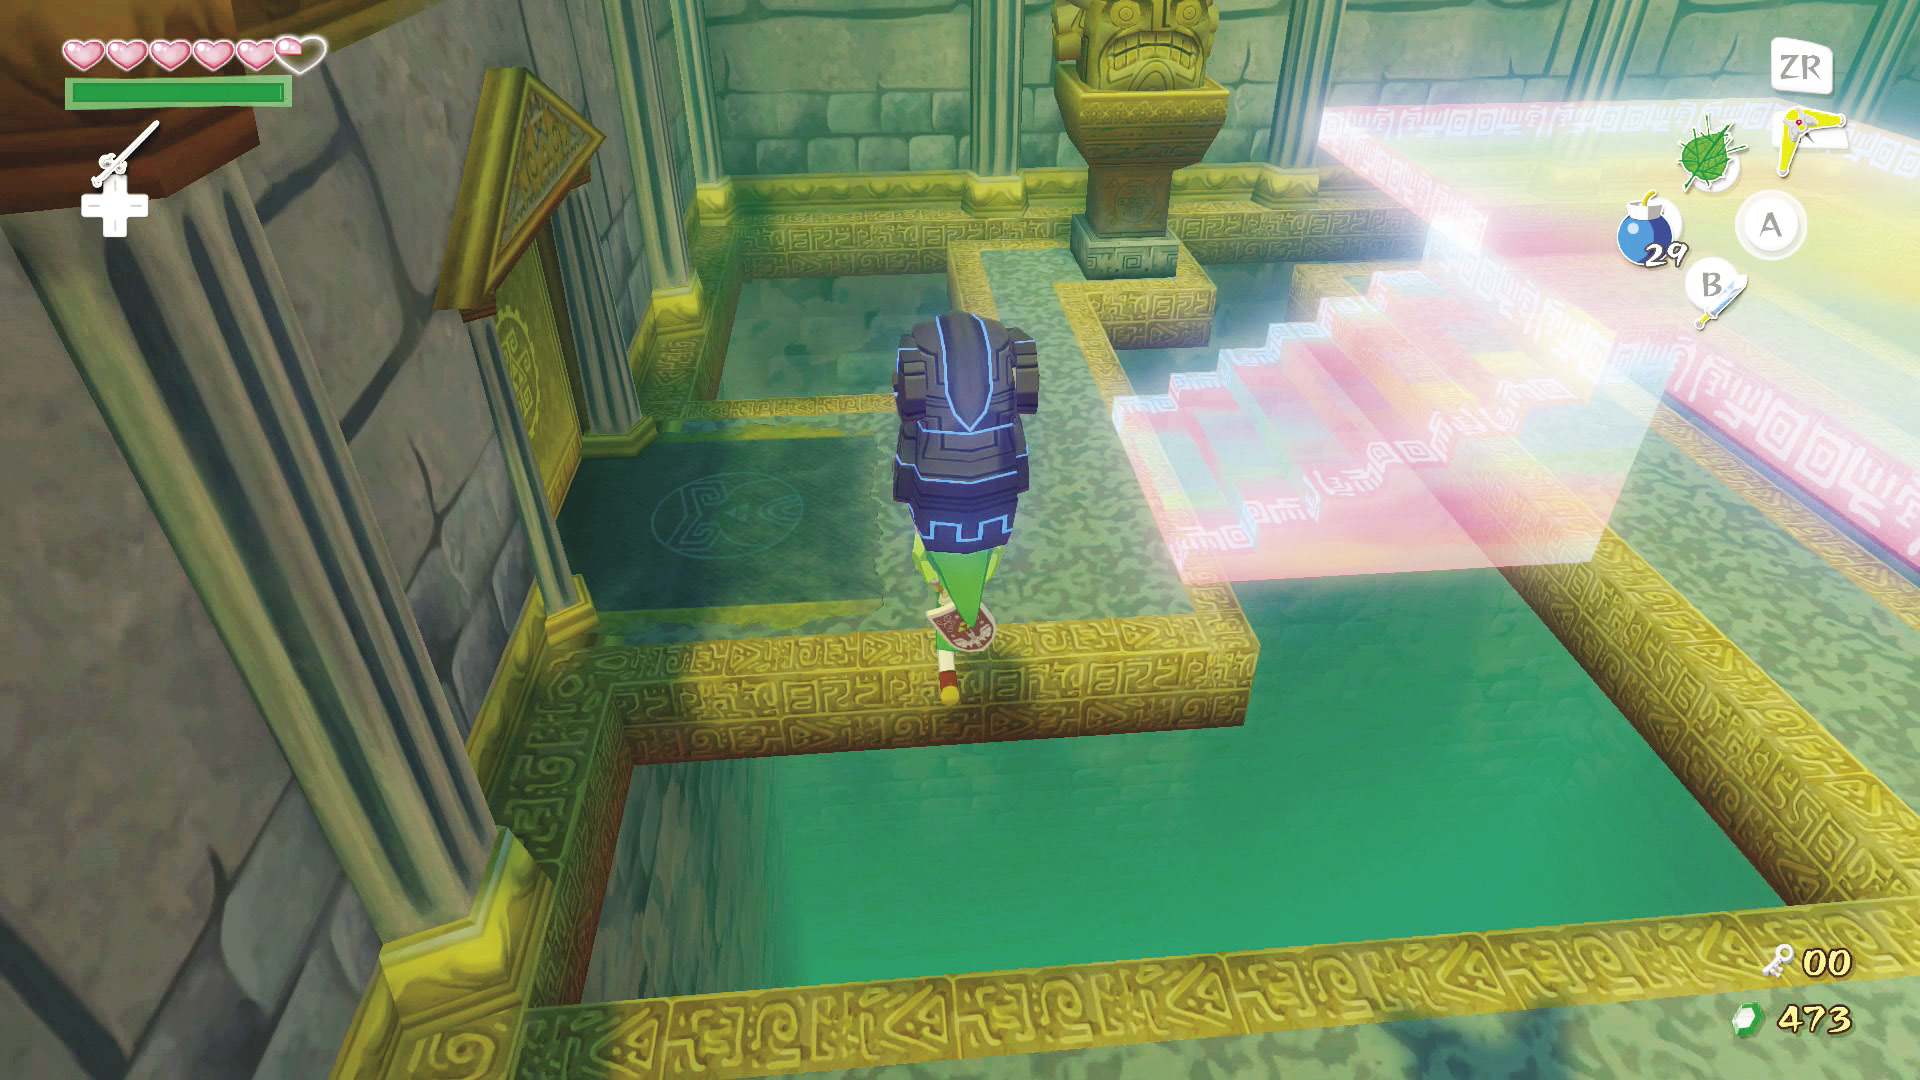
Guide the statue to the other side of the room by following the narrow path underneath the light platform (the statue won’t fall off the edge). When you reach the room’s southwest corner, pick up the statue and jump the gap. Head through the door with the statue in arm.
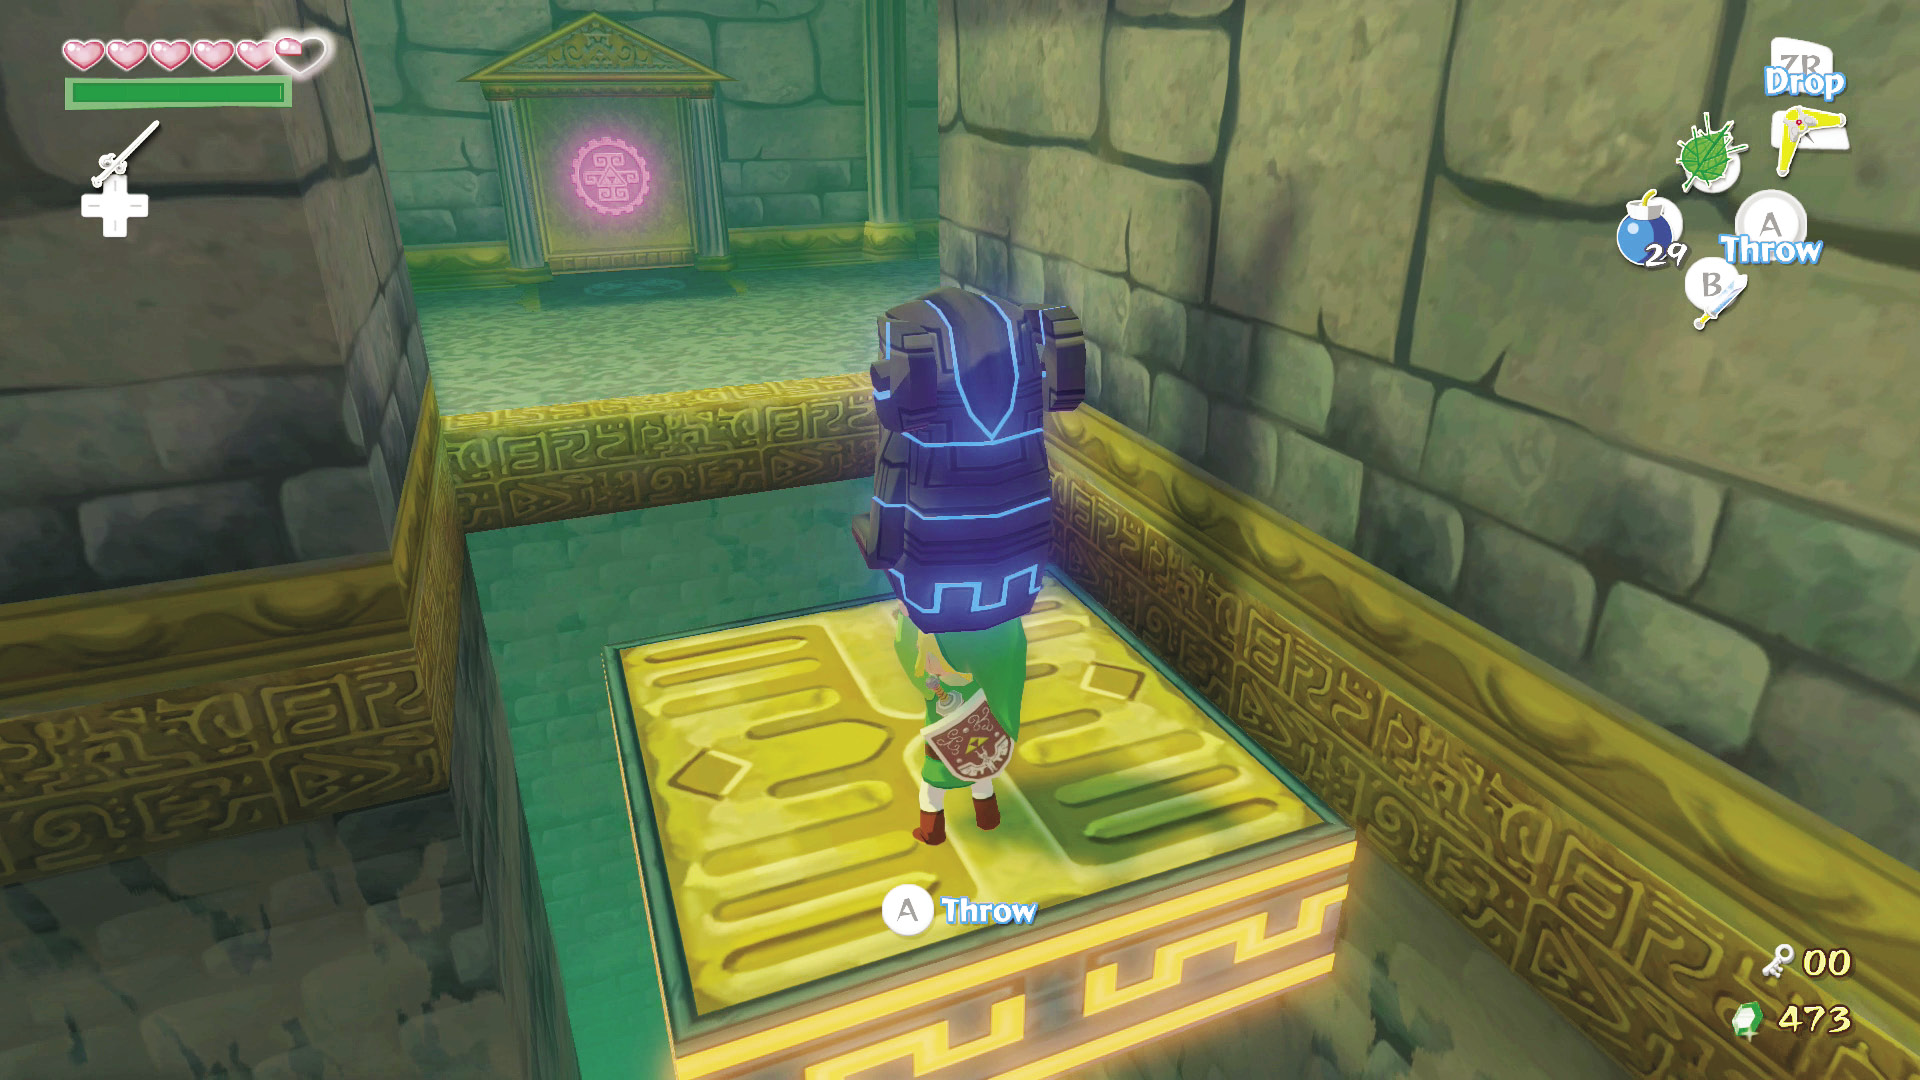
Back in the room with the moving platform, the two Yellow ChuChus have appeared. Put the statue down with 0 and defeat the ChuChus, then pick the statue back up and hop onto the platform when it makes it back to your location. Ride to the room’s west side, avoid the Yellow ChuChu, and head through the door.
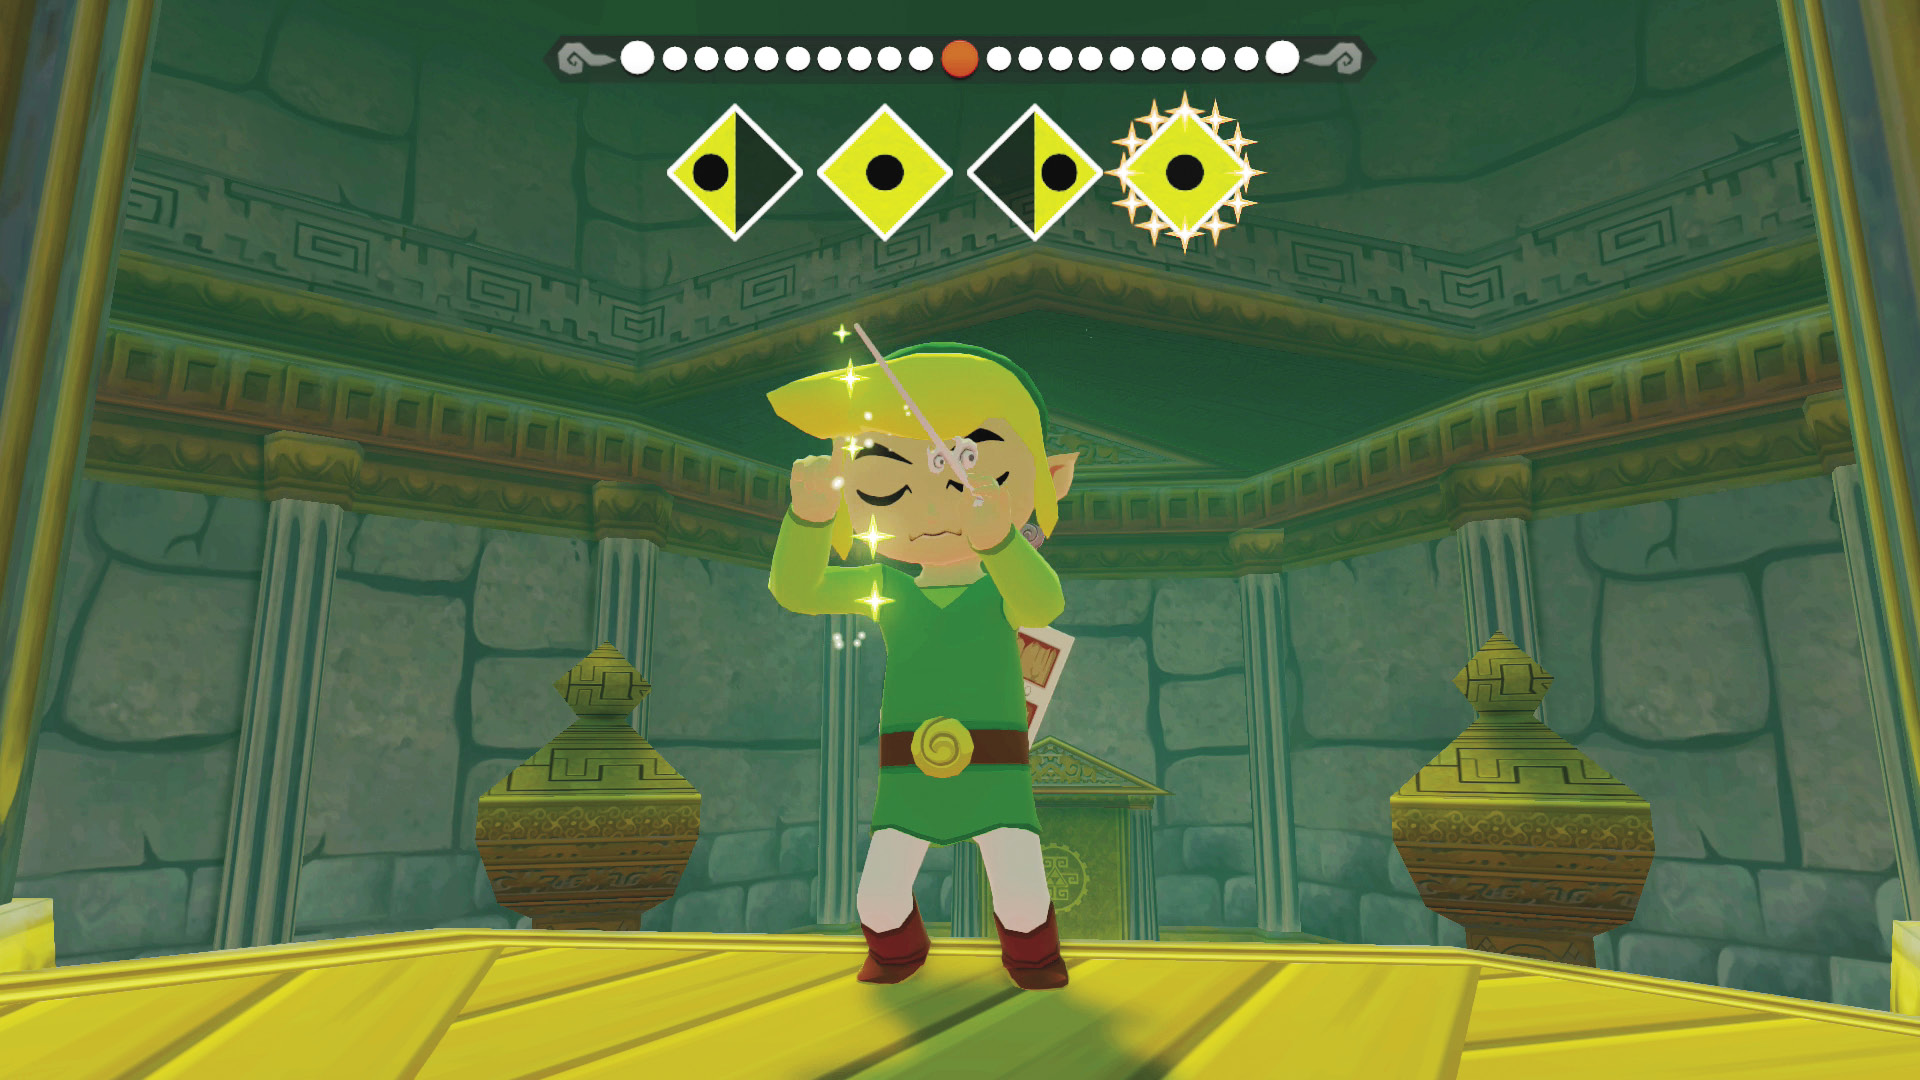
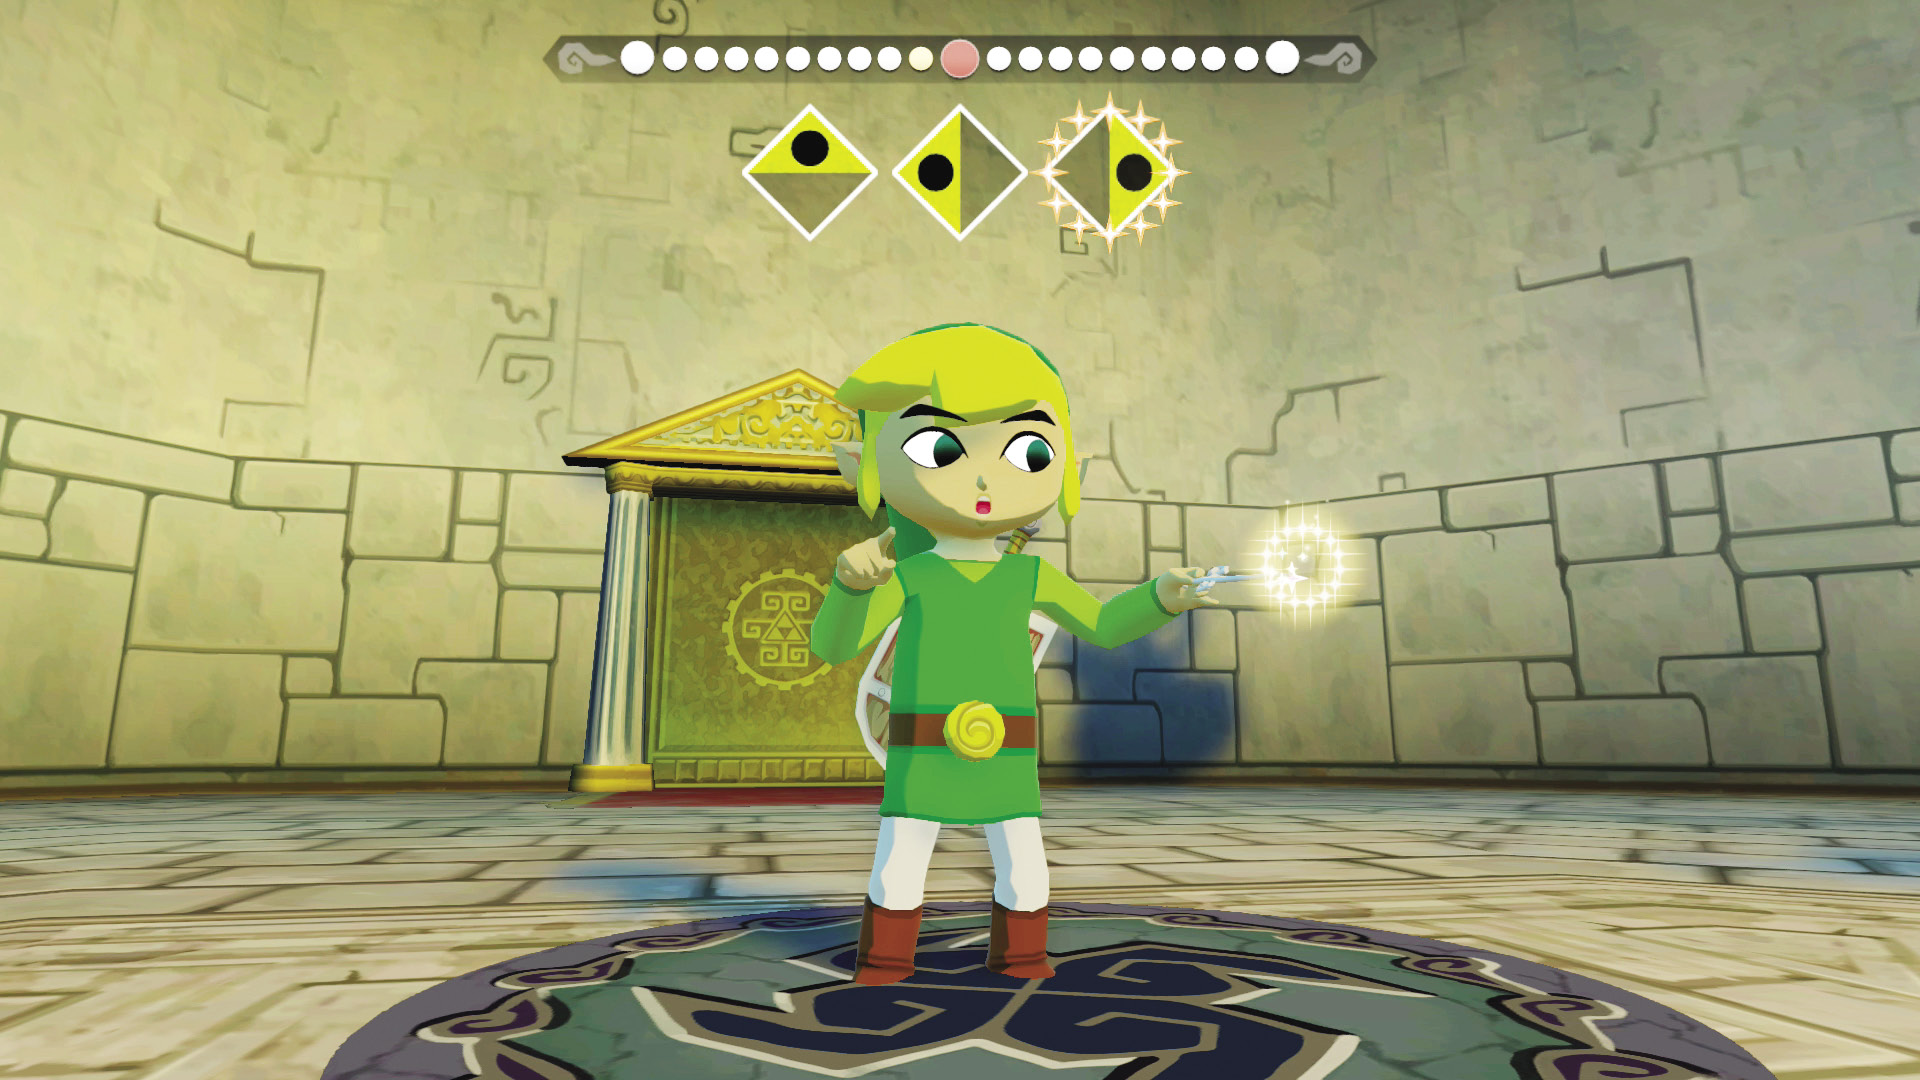
The statue will jump on its own and head to a pedestal ahead. The pedestal will rise and a monument will appear on the platform in the center of the room. Head up the stairs to the room’s center and pull out your Wind Waker to learn the “Command Melody” (G, H, J, H), a song that will allow you to control certain creatures and objects from anywhere in the room.
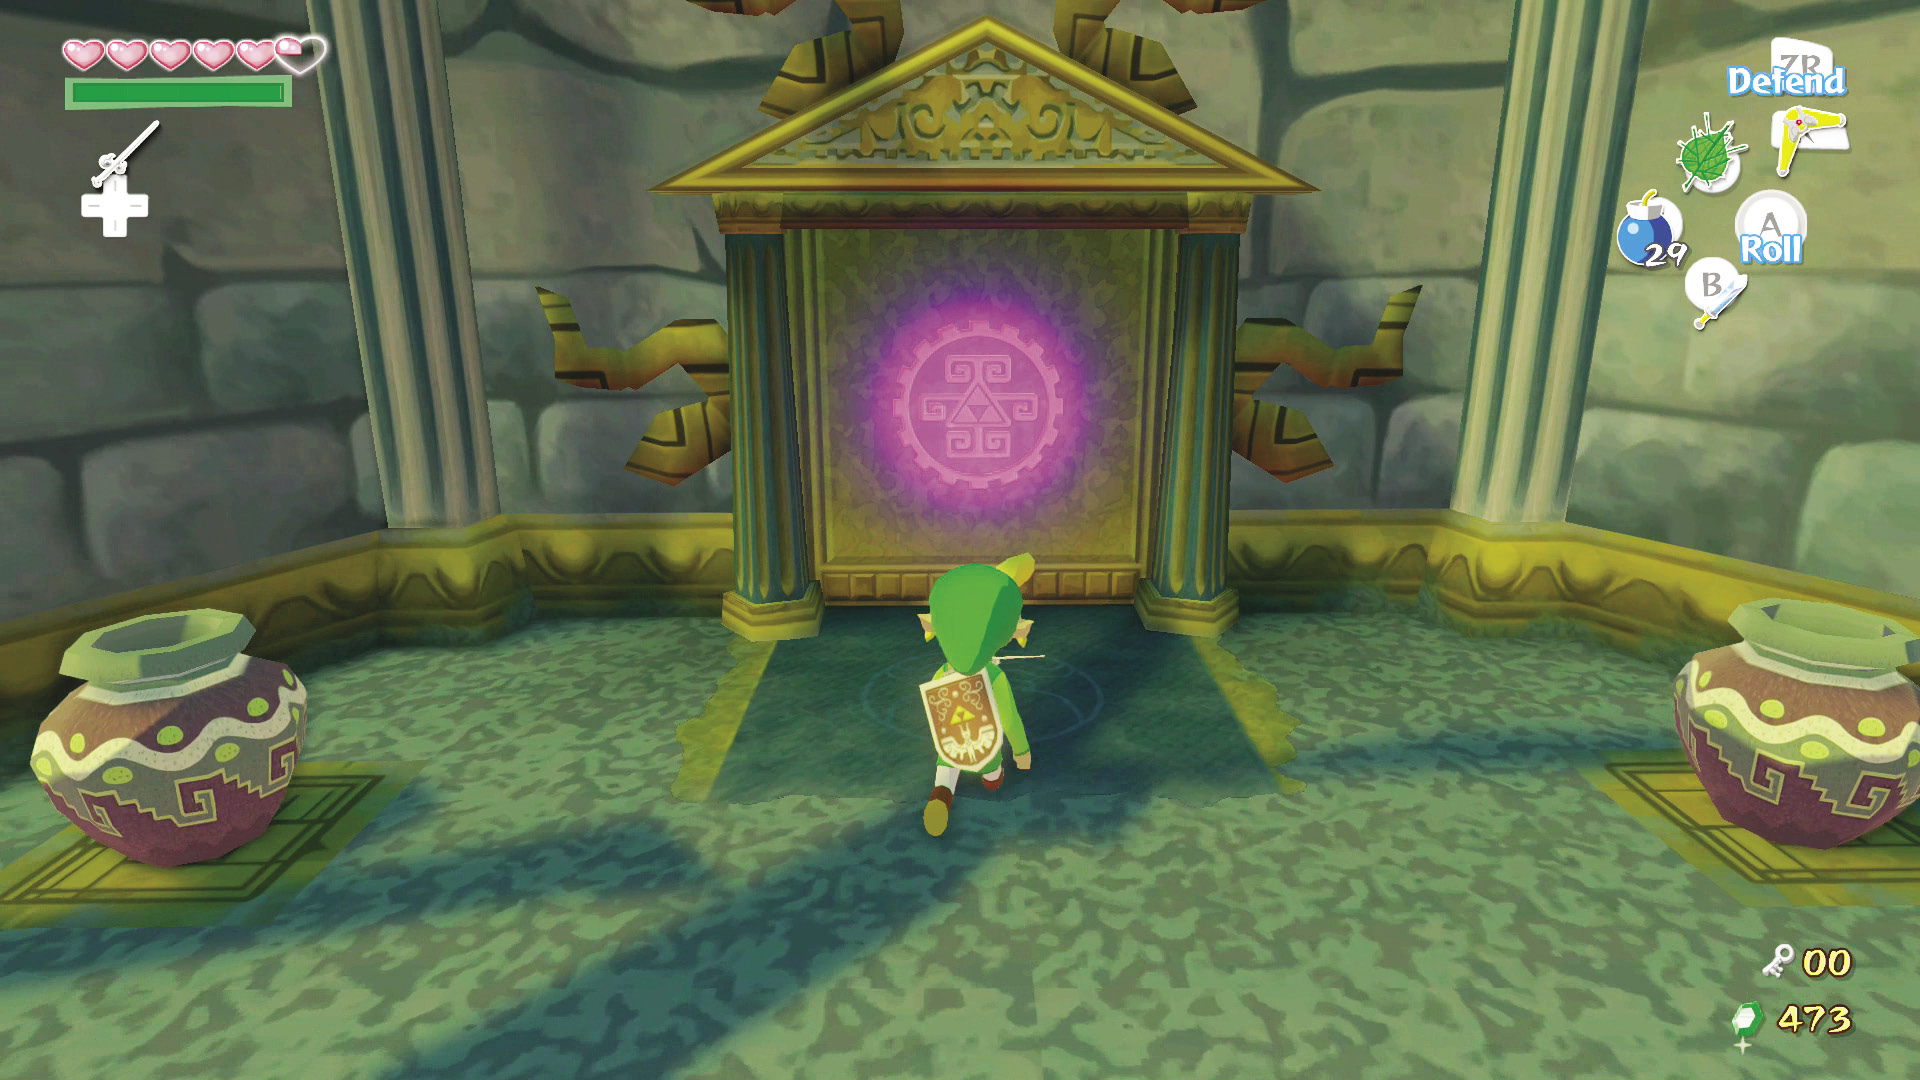
After learning the “Command Melody,” the stone monument will disappear and the door on the room’s west side will unlock. Head through the western door whenever you’re ready.
5. I Command Thee!
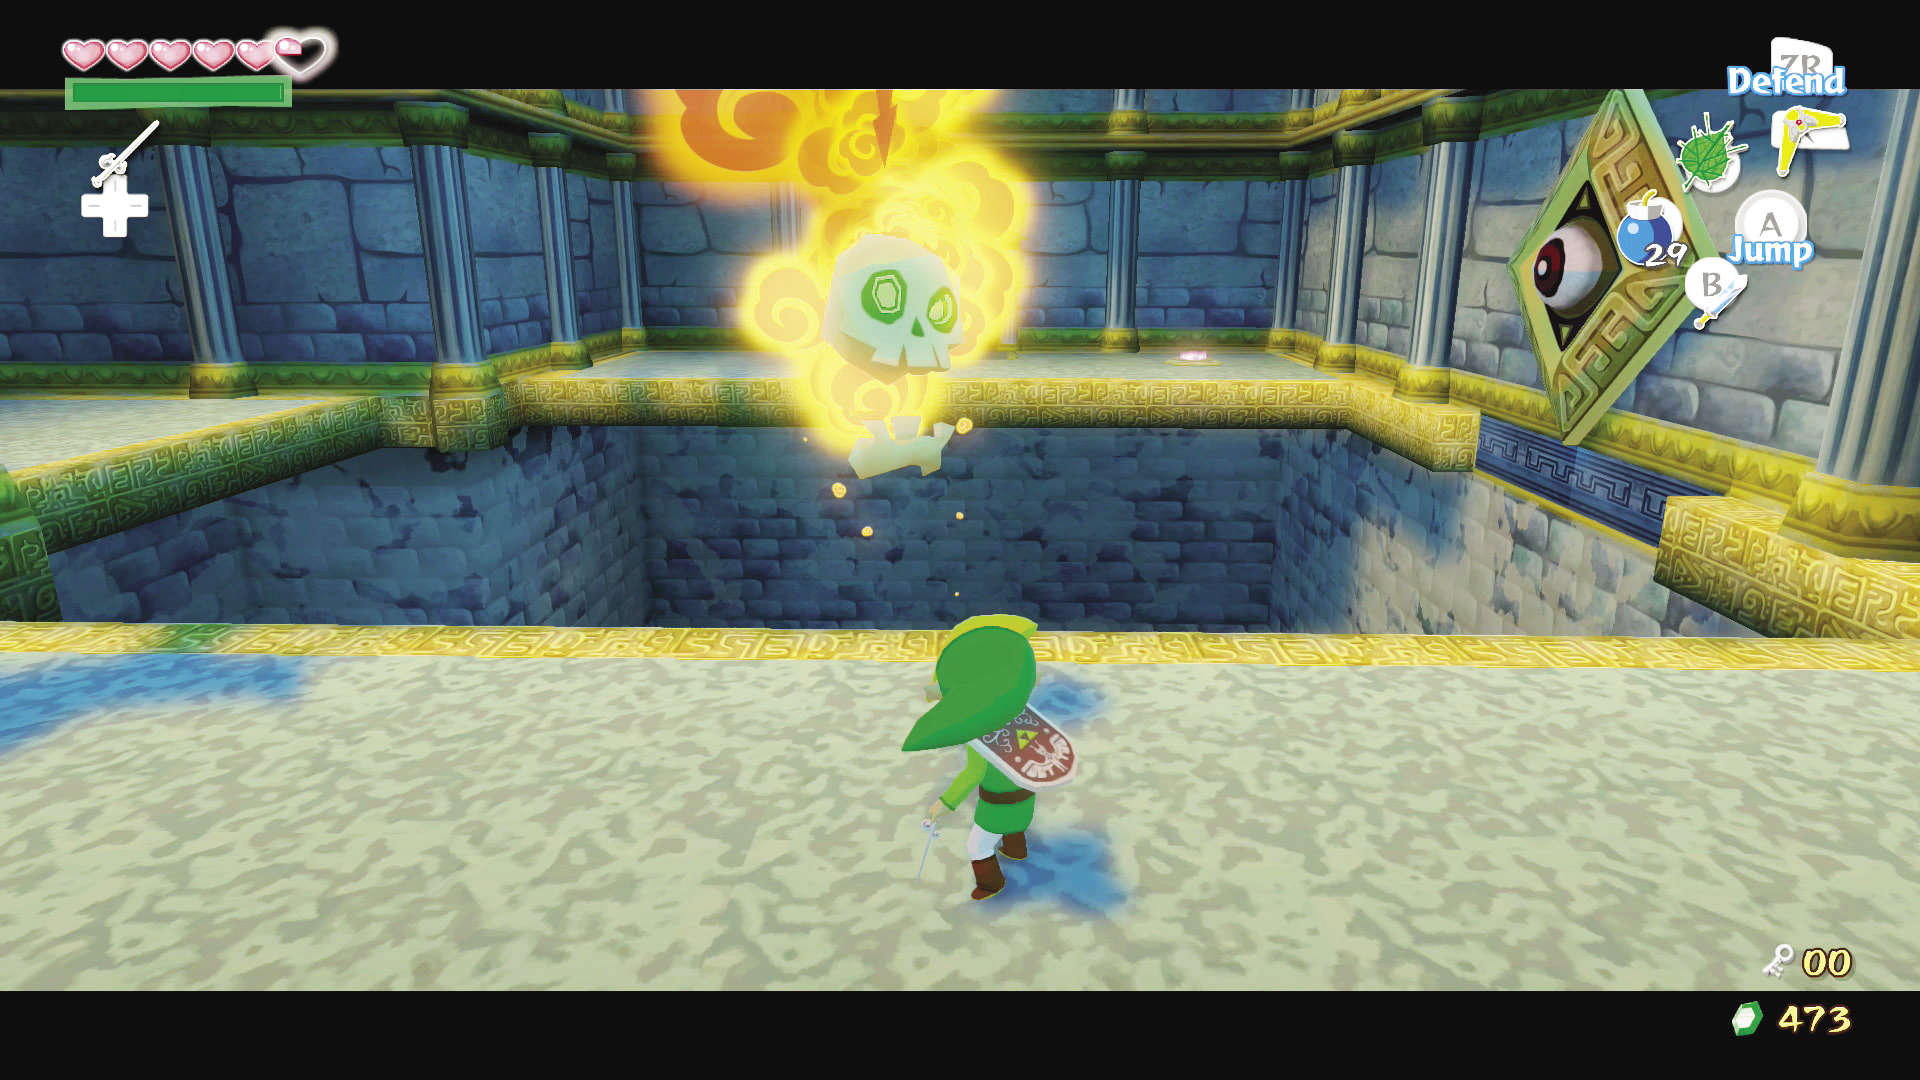
In this room is a very large gap with two Red Bubbles floating about. If you walk to the edge of your platform, the Red Bubble closest to you will eventually spot you and attack. Take it out with your sword to make traversing this room a good bit easier.
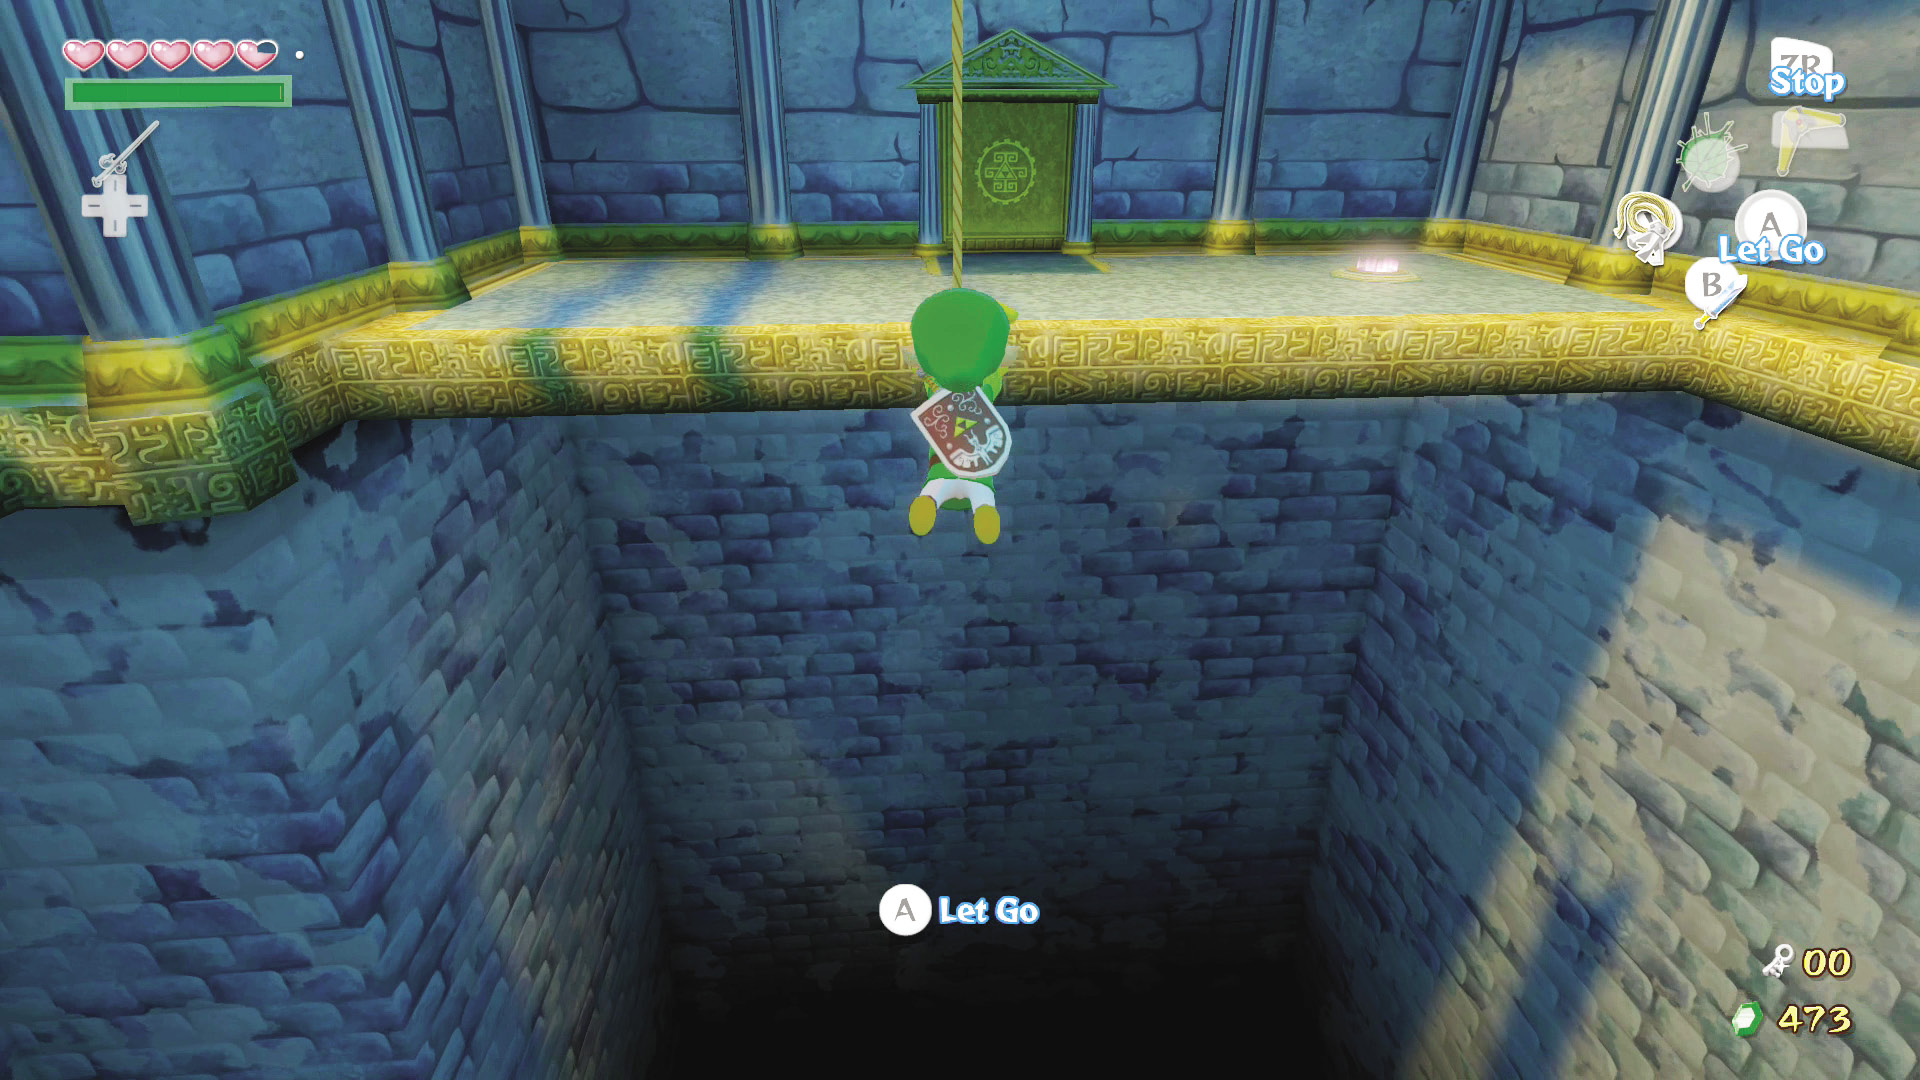
Look up to see a couple of posts that are perfect for your Grappling Hook. Grapple the one closest to you and swing to the room’s west side. You may need to adjust your position on the rope in order to successfully land on the western platform. Once on the other side of the room, head through the door.
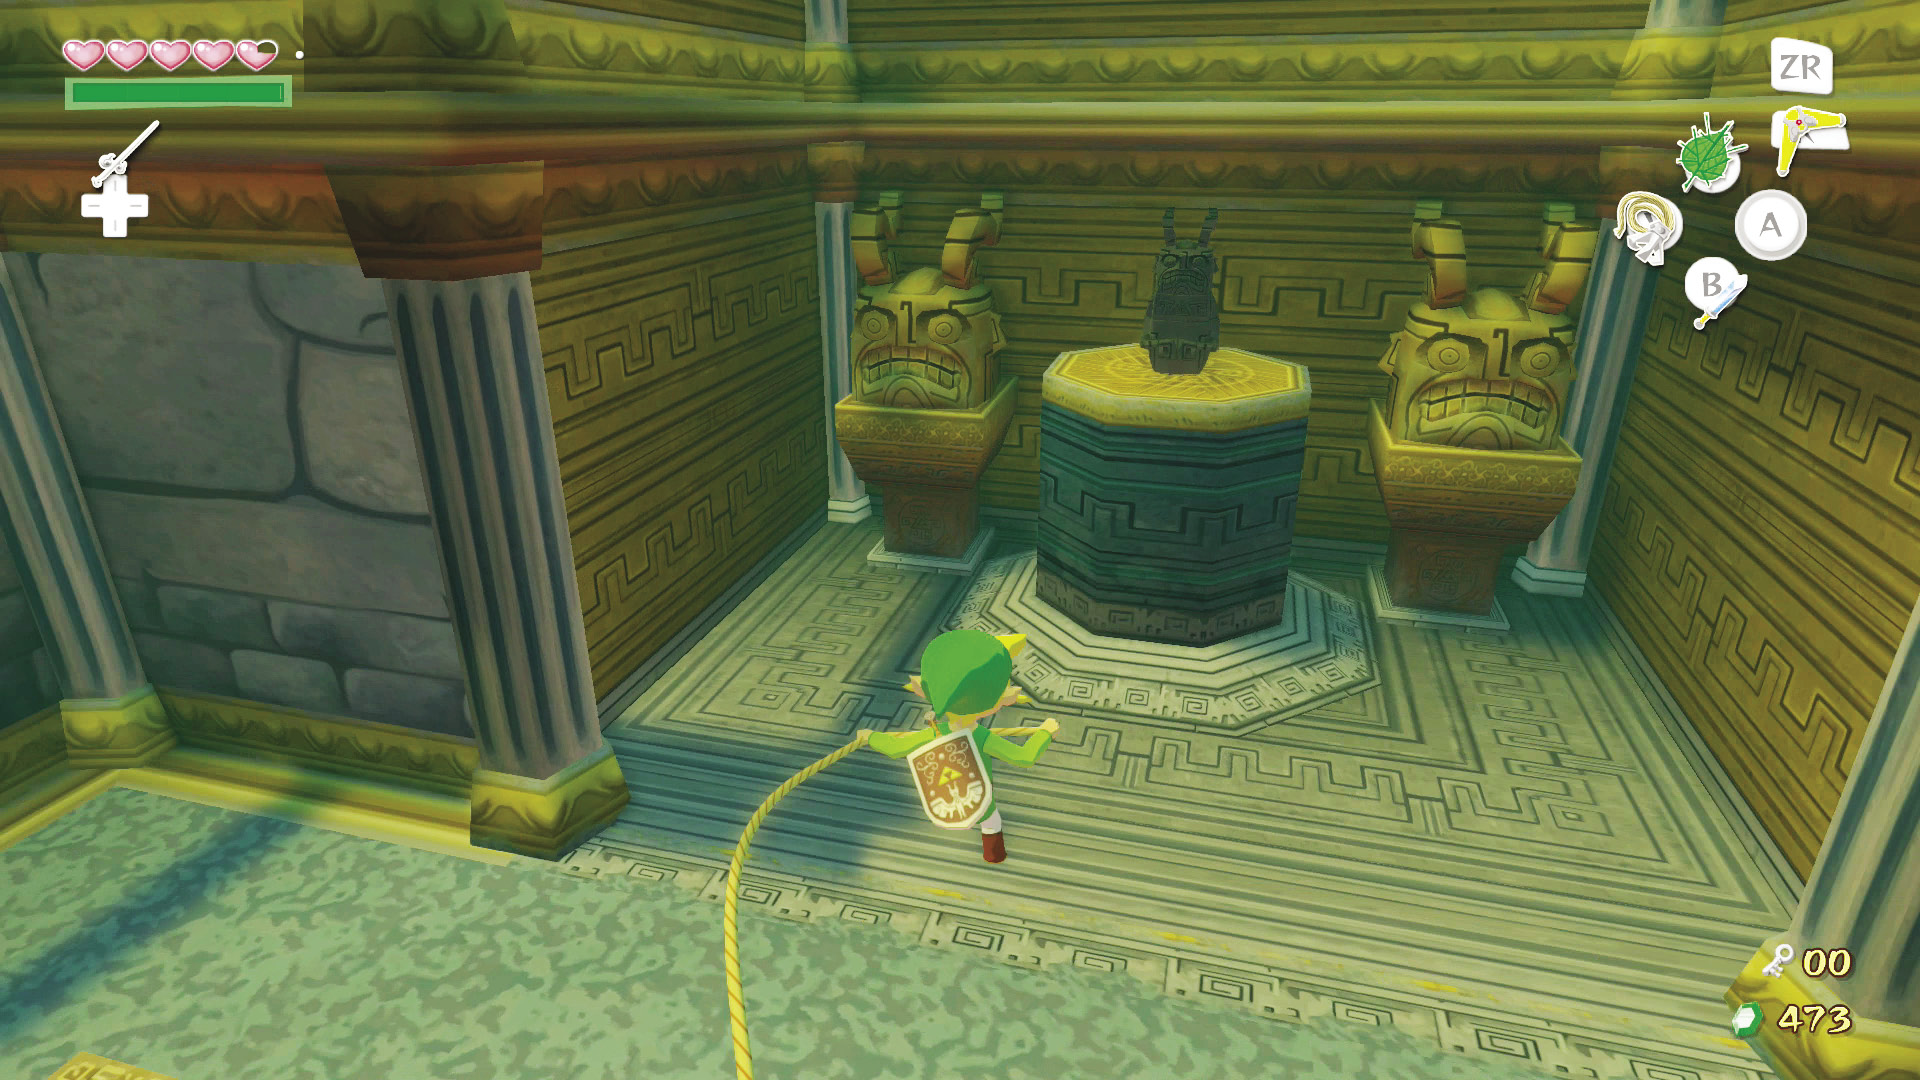
Another gap is ahead of you and another post is above the gap. Grapple onto the post and swing to the other side. A statue sits on the pedestal. Call with 0, then head to the constant pressure switch in the room’s southwest corner. Stand on it to create a light bridge that spans the gap.
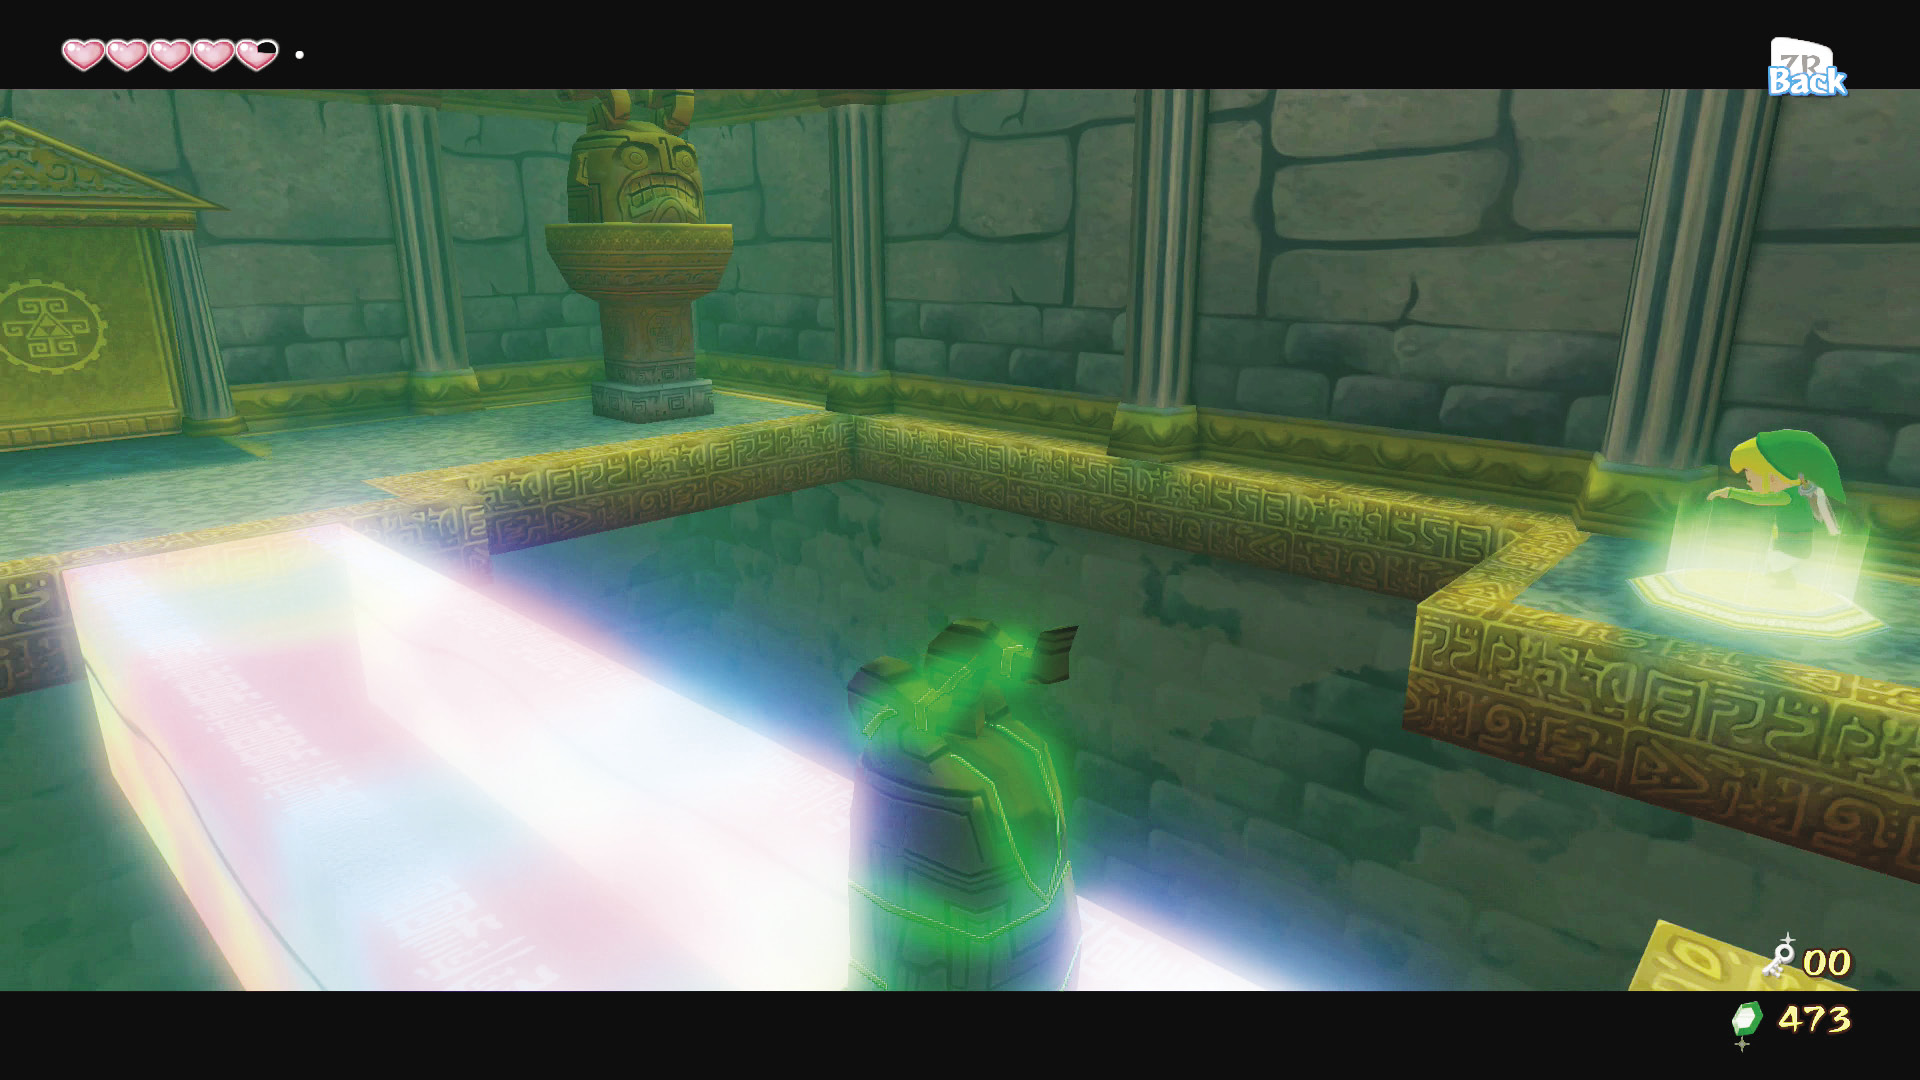
While still standing on the switch, pull out your Wind Waker and play the “Command Melody” (G, H, J, H) to take control of the statue. Guide the statue to the room’s east side by crossing the light bridge. Once the statue is on the eastern platform, hit 0 to release control of it and then swing back to the other side by using your Grappling Hook. Pick up the statue and head through the door.
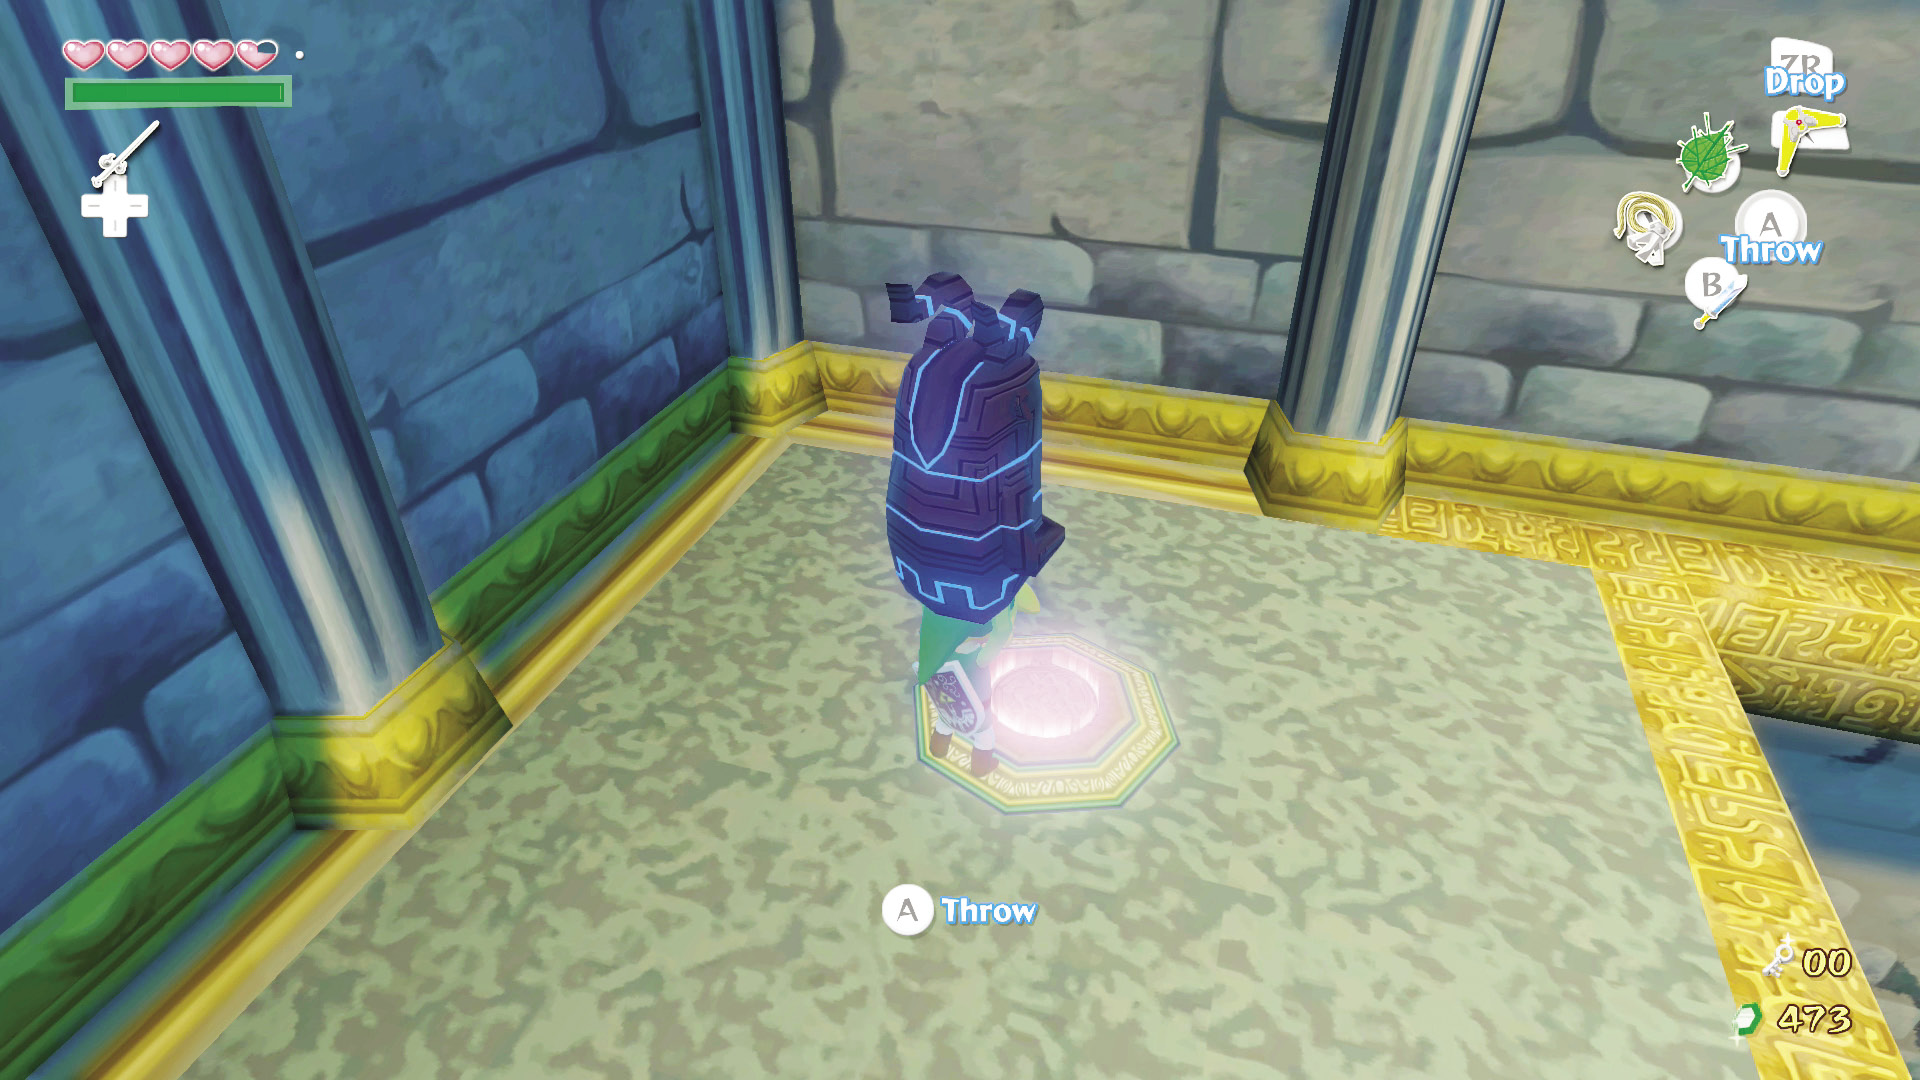
After returning to the room with the Red Bubbles, take an immediate left until you find another constant pressure switch. Place the statue on the switch and the door to the south will unlock. Take out the Red Bubble after baiting it into flying your way; then use your Grappling Hook to swing to the room’s south side and head through the door.
6. Archery 101
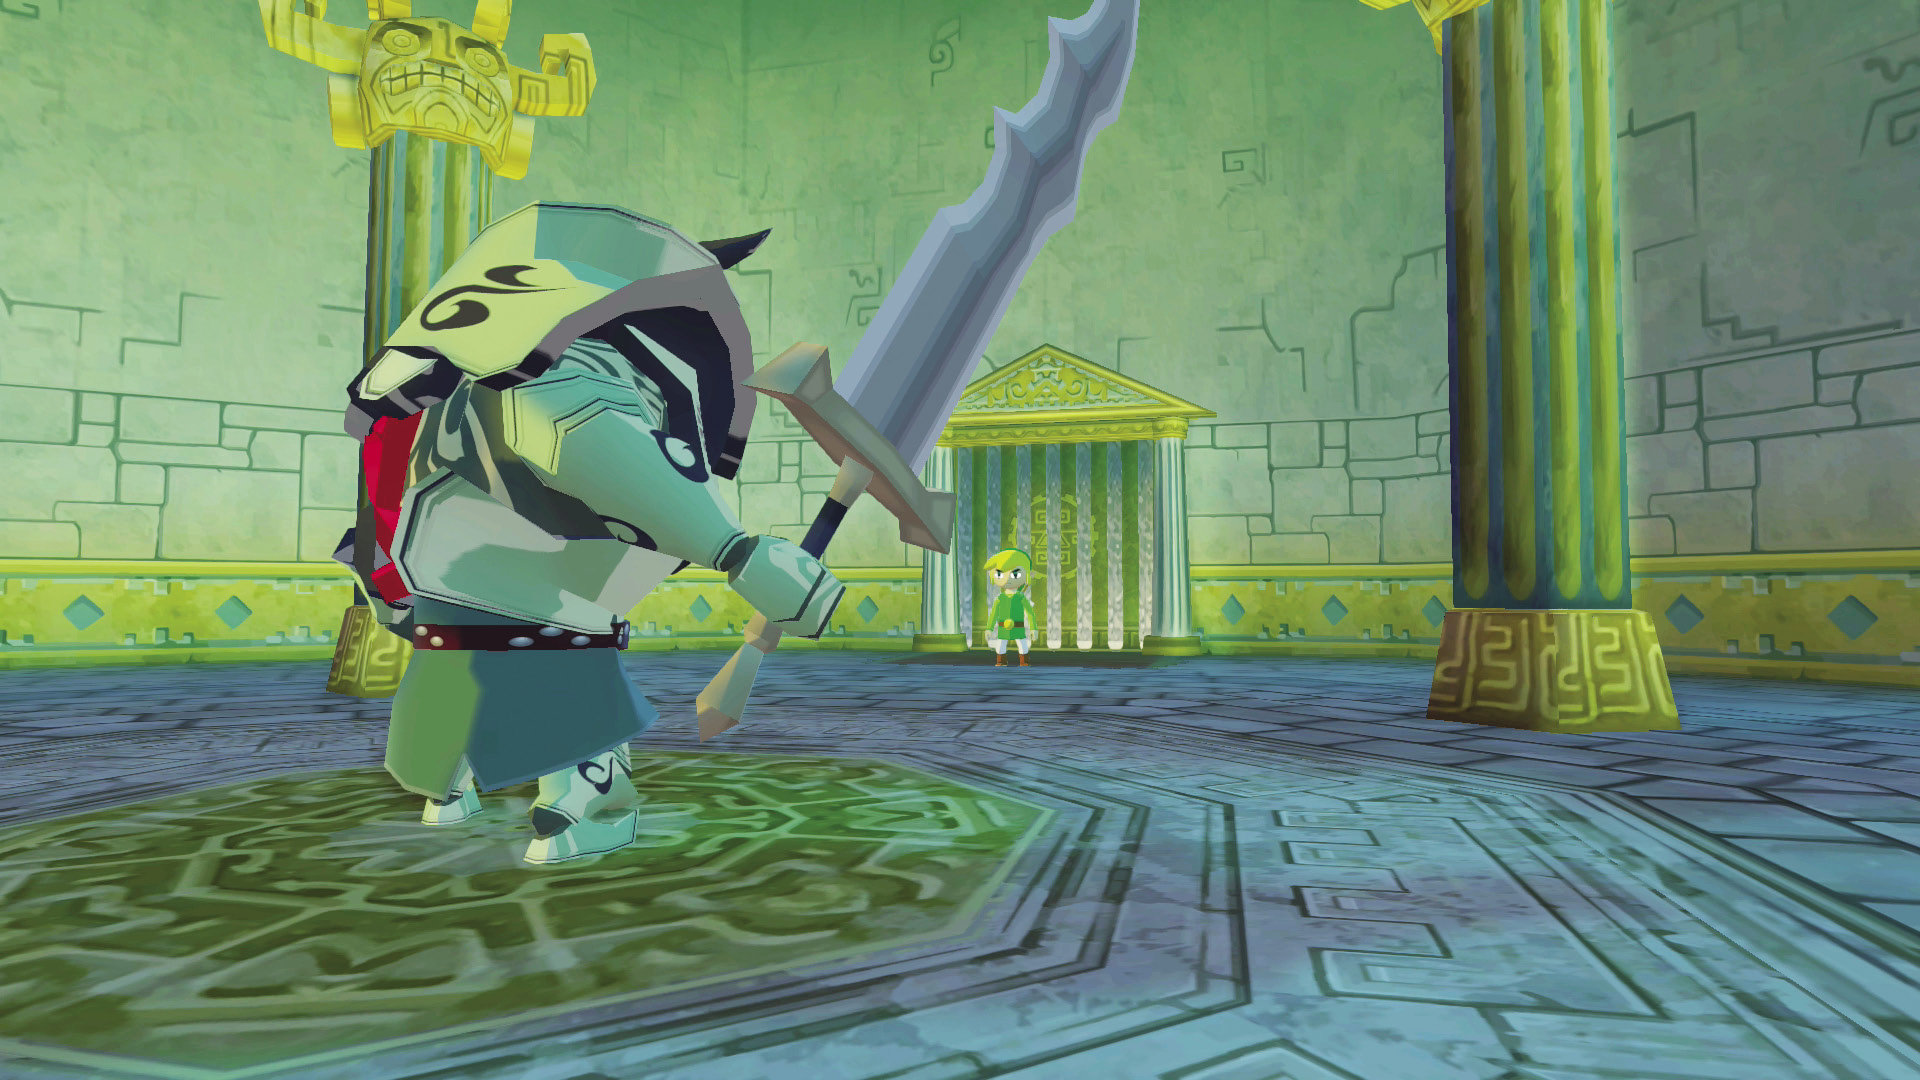
Unfortunately, after entering this room, you’ll have to engage the most difficult common enemy in The Wind Waker: the Darknut. Defeat it and a treasure chest will appear in the center of the room. Open the chest to receive the Hero’s Bow. Grab it and leave the room.
|
|
74 |
Hero’s Bow |
Enemy: Darknut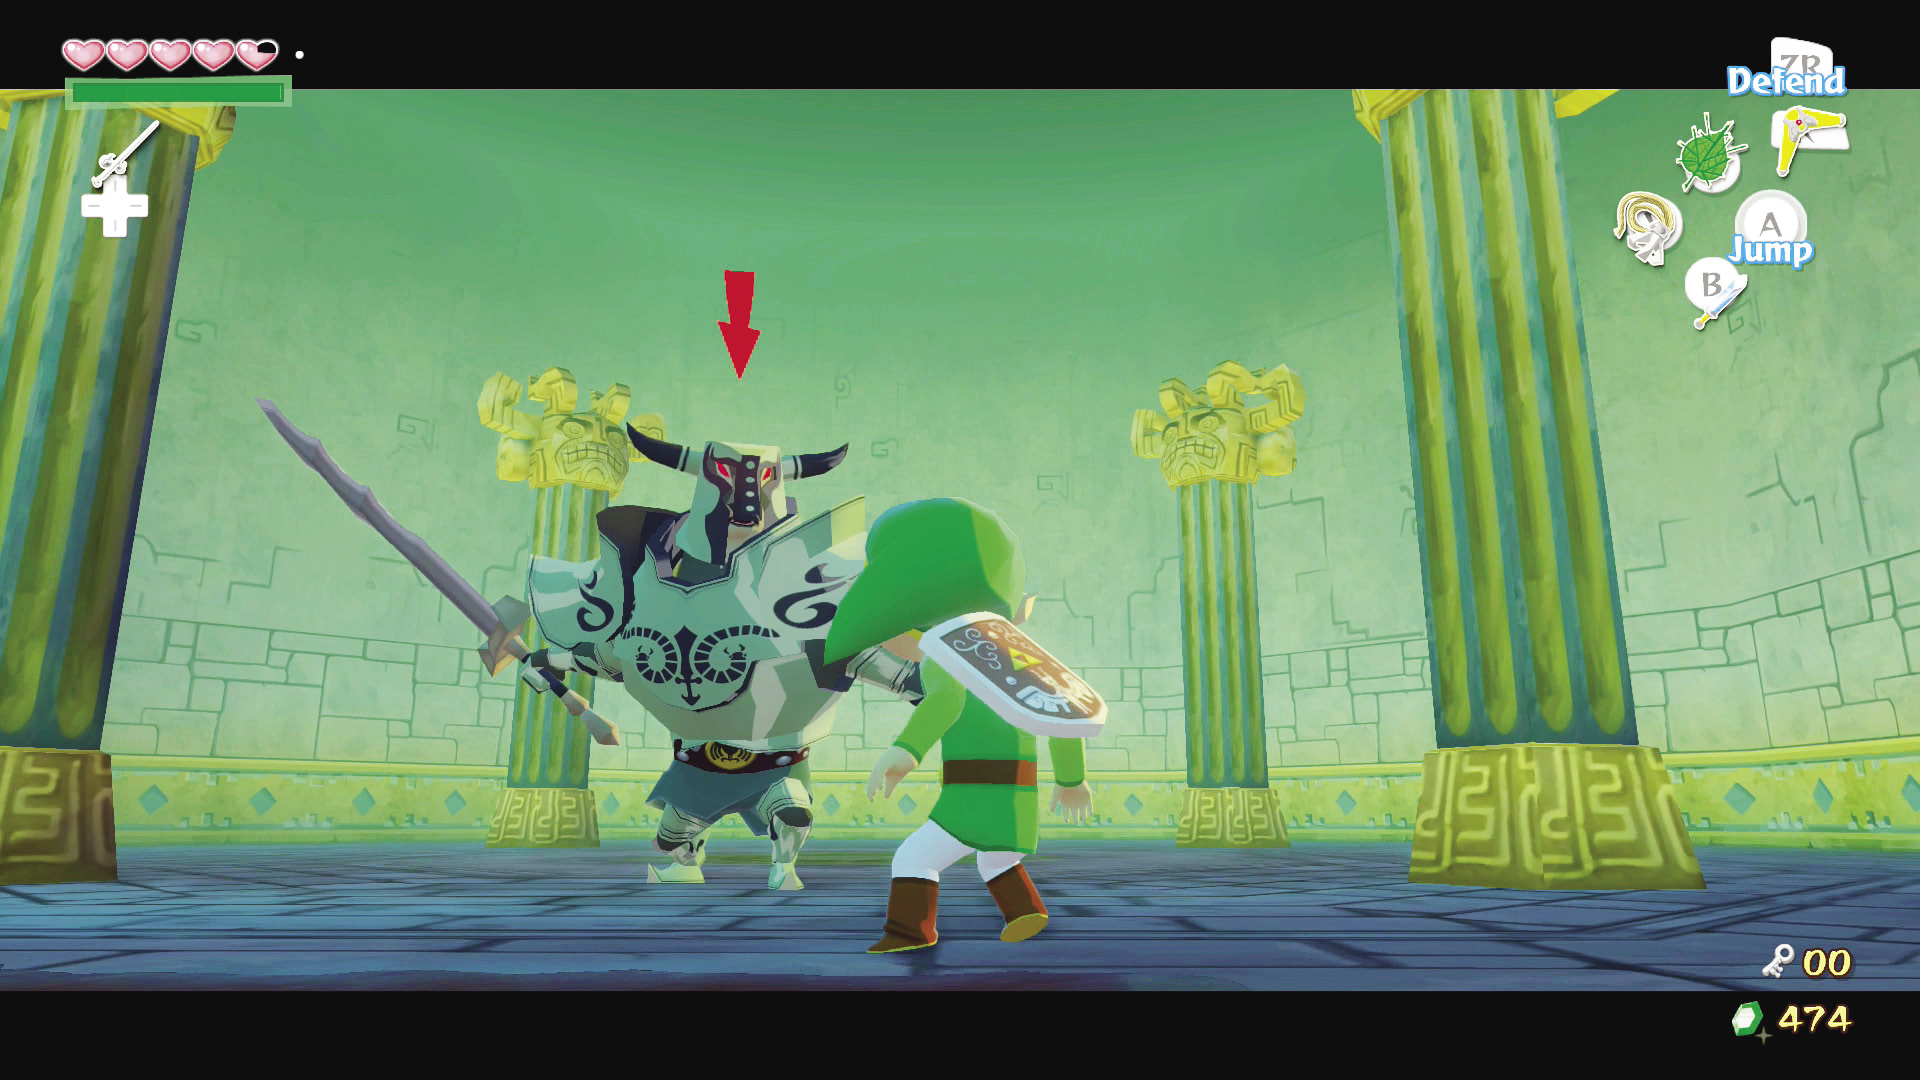 These fully armored dog-creatures are nothing to take lightly. They carry massive swords and will strike without hesitation. The best way to handle these maligned mutts is to remove their armor by using parry attacks whenever they try to strike. If you knock a Darknut’s helmet off with a parry attack, it will pause for a minute, trying to figure out why its head suddenly became cold. This is your opportunity to slash at its back and potentially remove its chest piece as well. If you miss the chest piece, just try again with another parry attack. If you hit its back a few times after removing its chest piece, you will knock the Darknut into the air, making it drop its massive sword in the process. Pick up its sword to remove its primary source of offense; use it against the Darknut to defeat it in a couple of hits. |
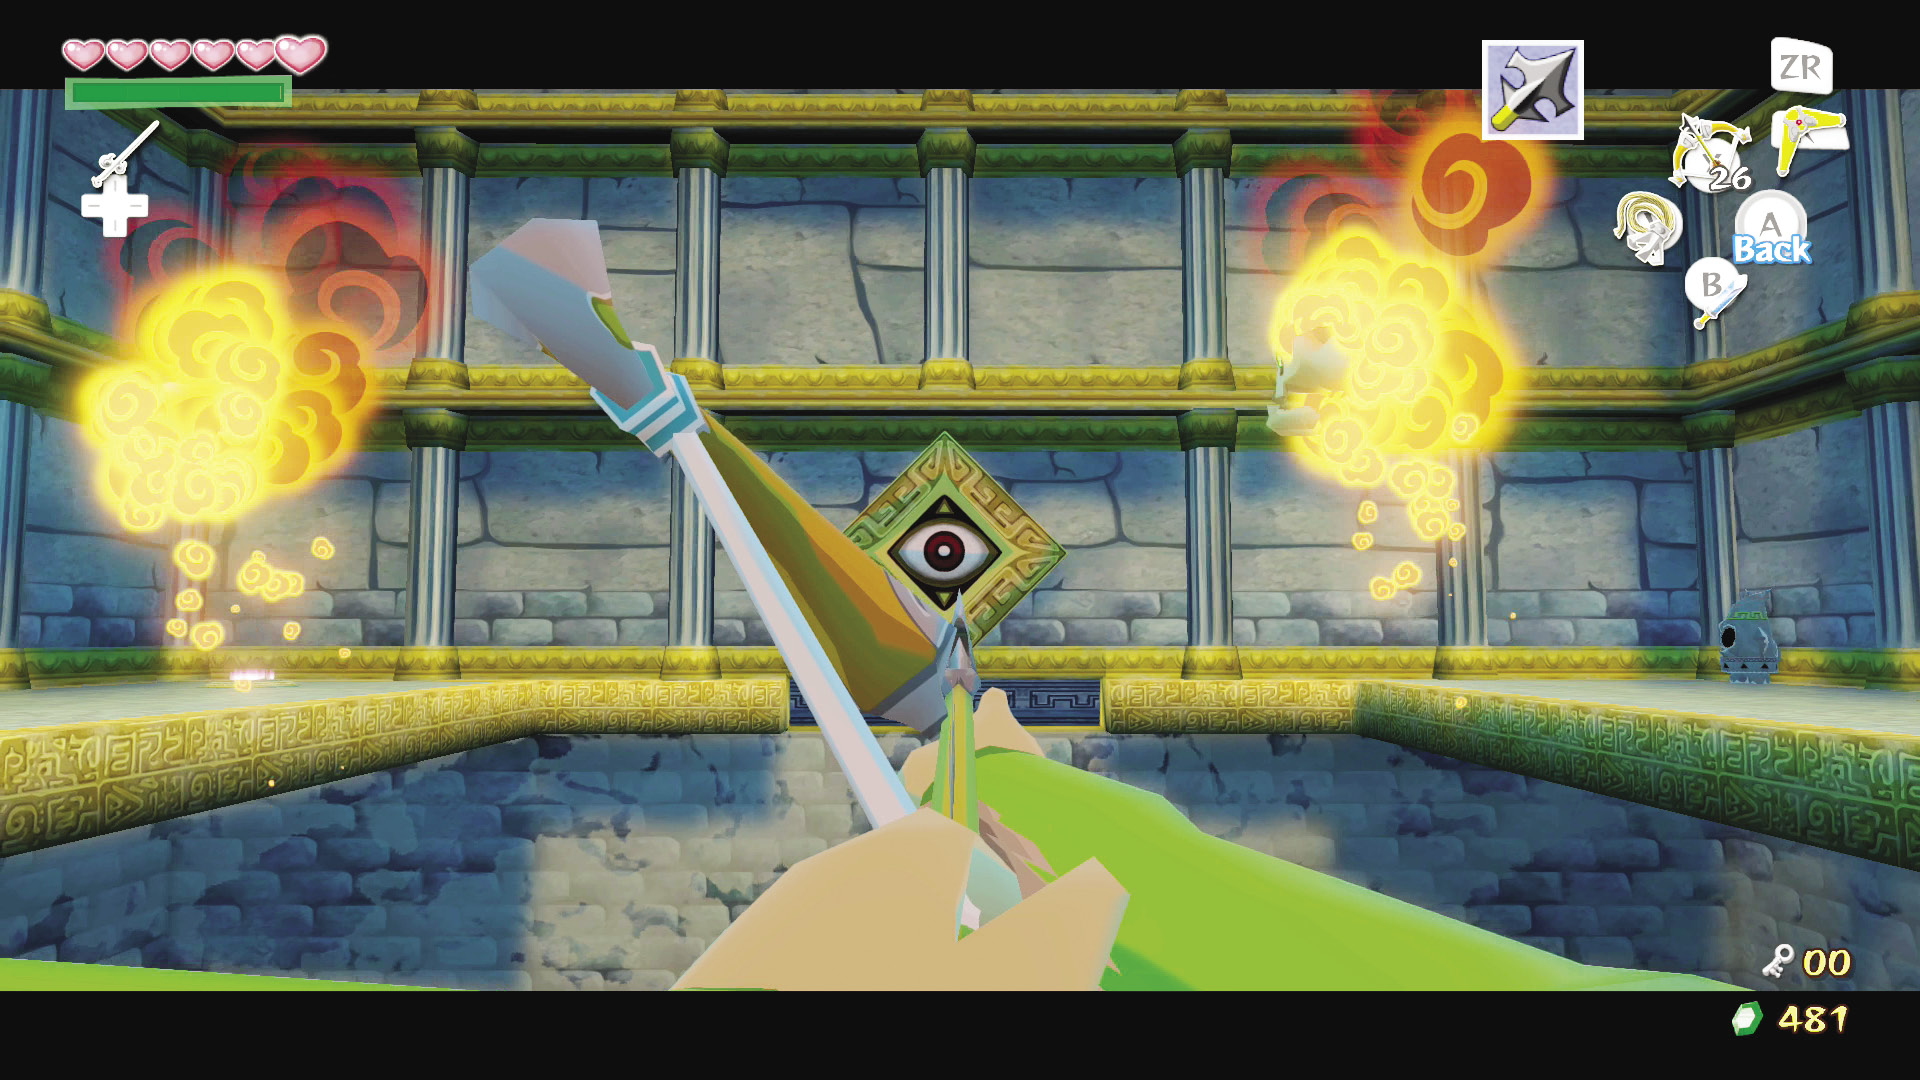
Use your Hero’s Bow to defeat the Red Bubbles flying around the room. Once you clear them out, use the Bow to shoot the eye plaque on the north wall. Two moving platforms slide out from underneath the plaque.
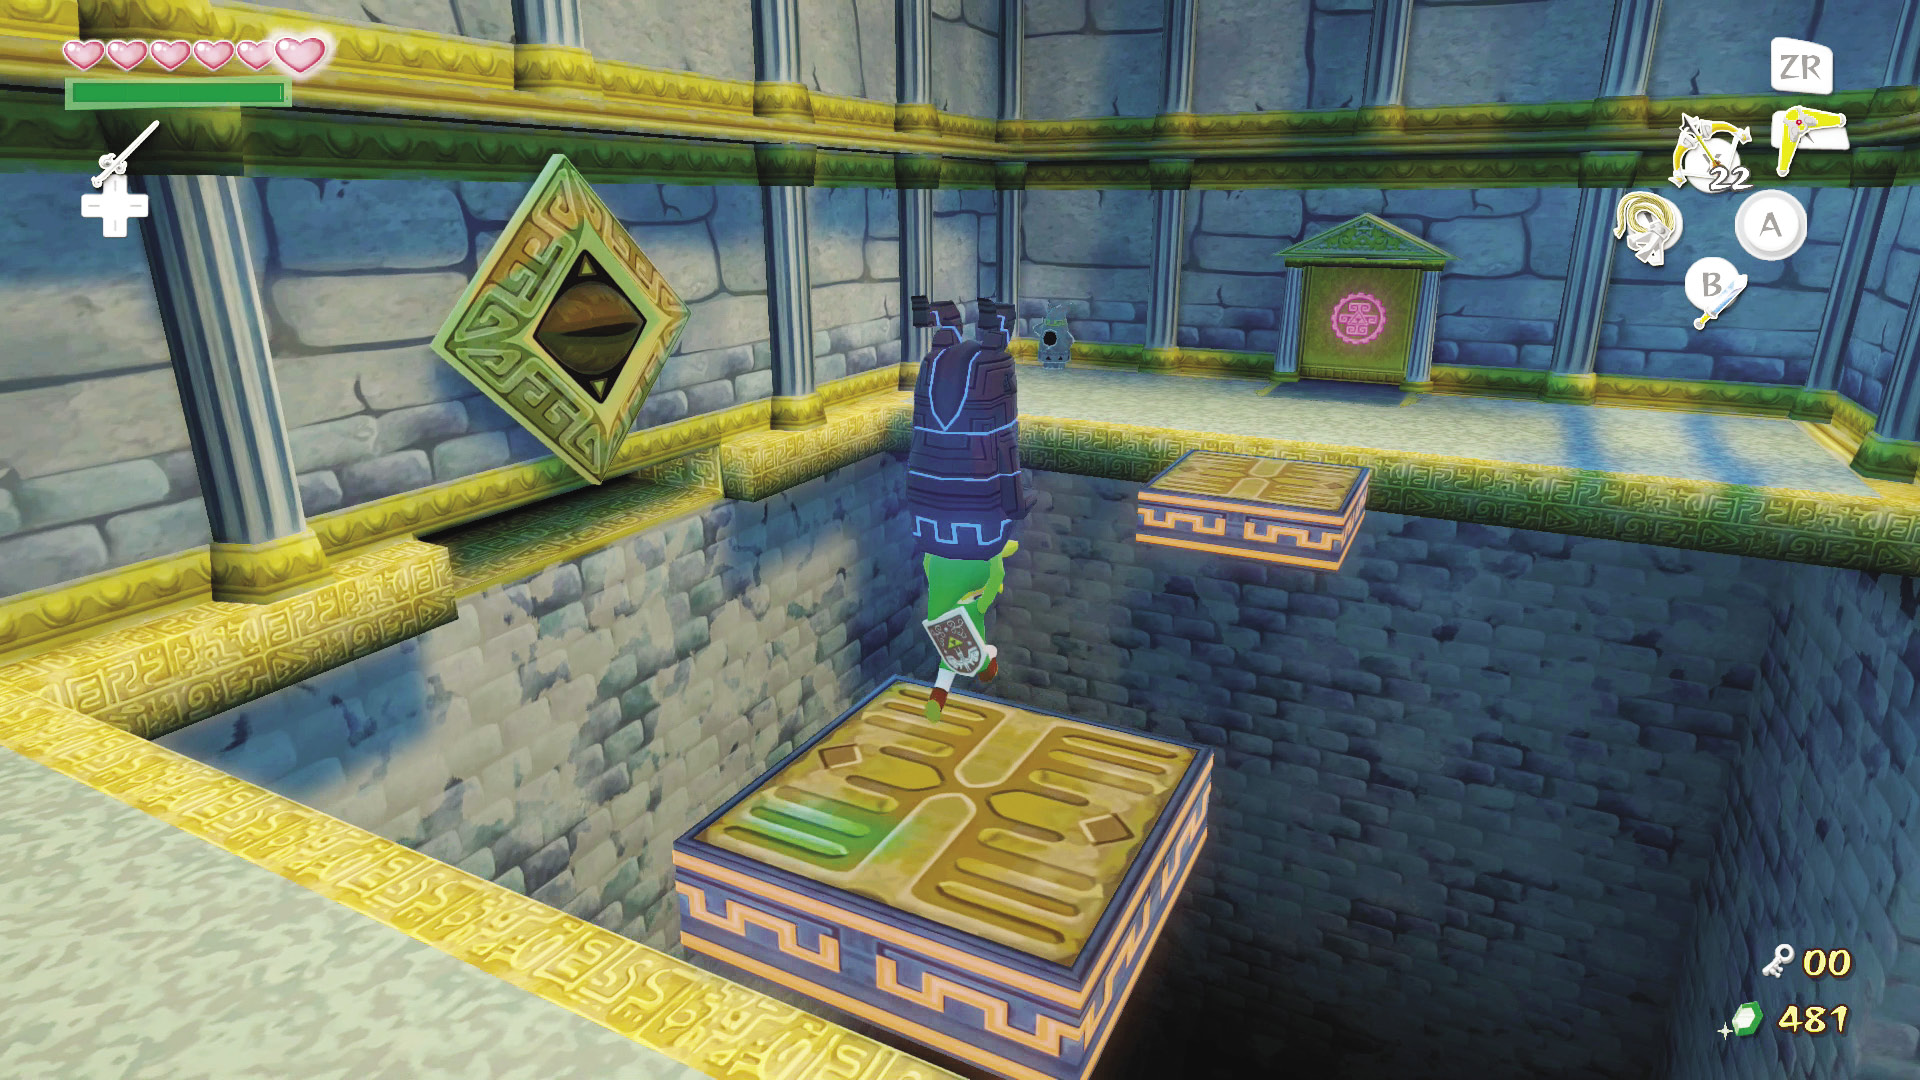
Use your Grappling Hook to swing back to the west platform where your statue friend patiently awaits your company. Pick him up and cross to the room’s east side by jumping across the moving platforms.
When you reach the room’s east side, put the statue down and defeat the now-animated Armos with your Hero’s Bow. Pick the statue back up and head through the door.
Enemy: Armos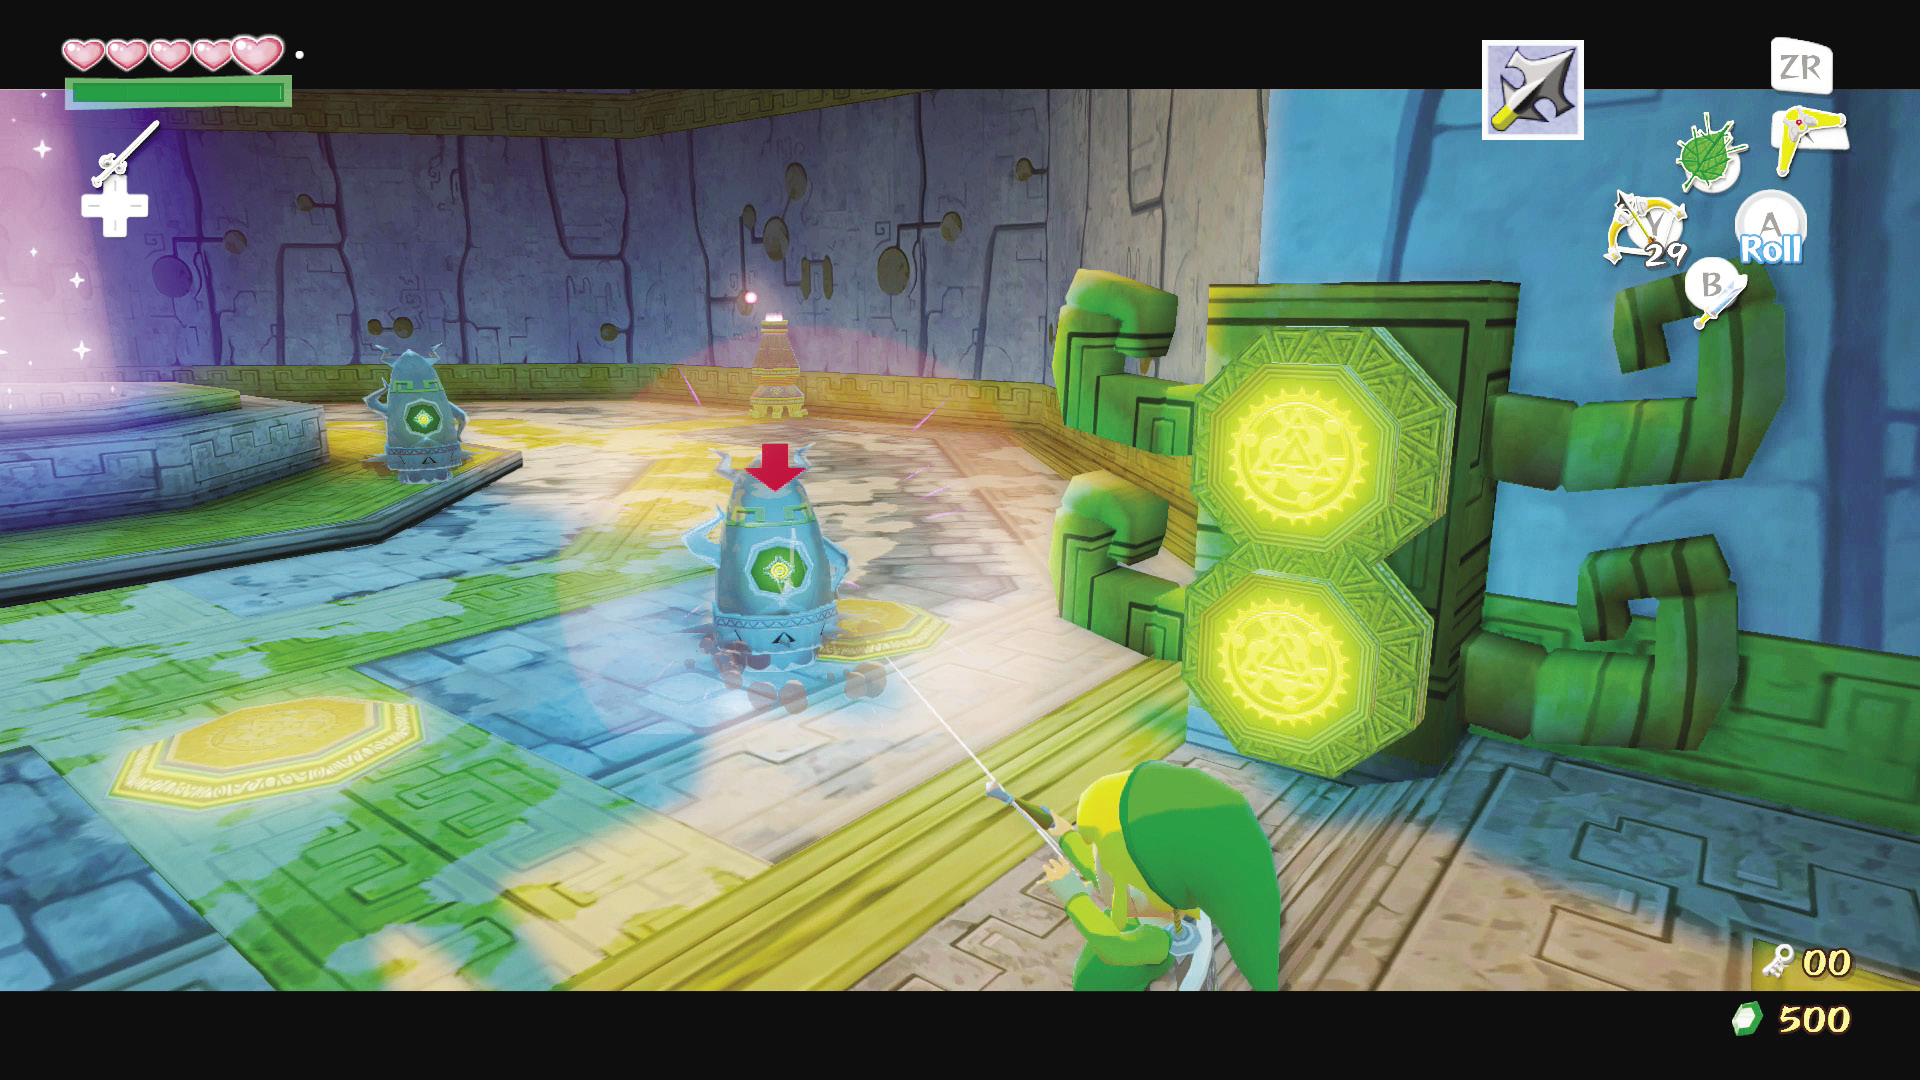 Armos are the animated versions of the Armos statues you’ve been using around the Tower of the Gods. To defeat them, pull out your Hero’s Bow, 9-Target them, and fire an arrow into the green core in their center. This will stop an Armos in its tracks, leaving the pink orb on its back exposed. A couple hits from your sword will destroy the orb, forcing the Armos to start spinning in your direction and then explode. |
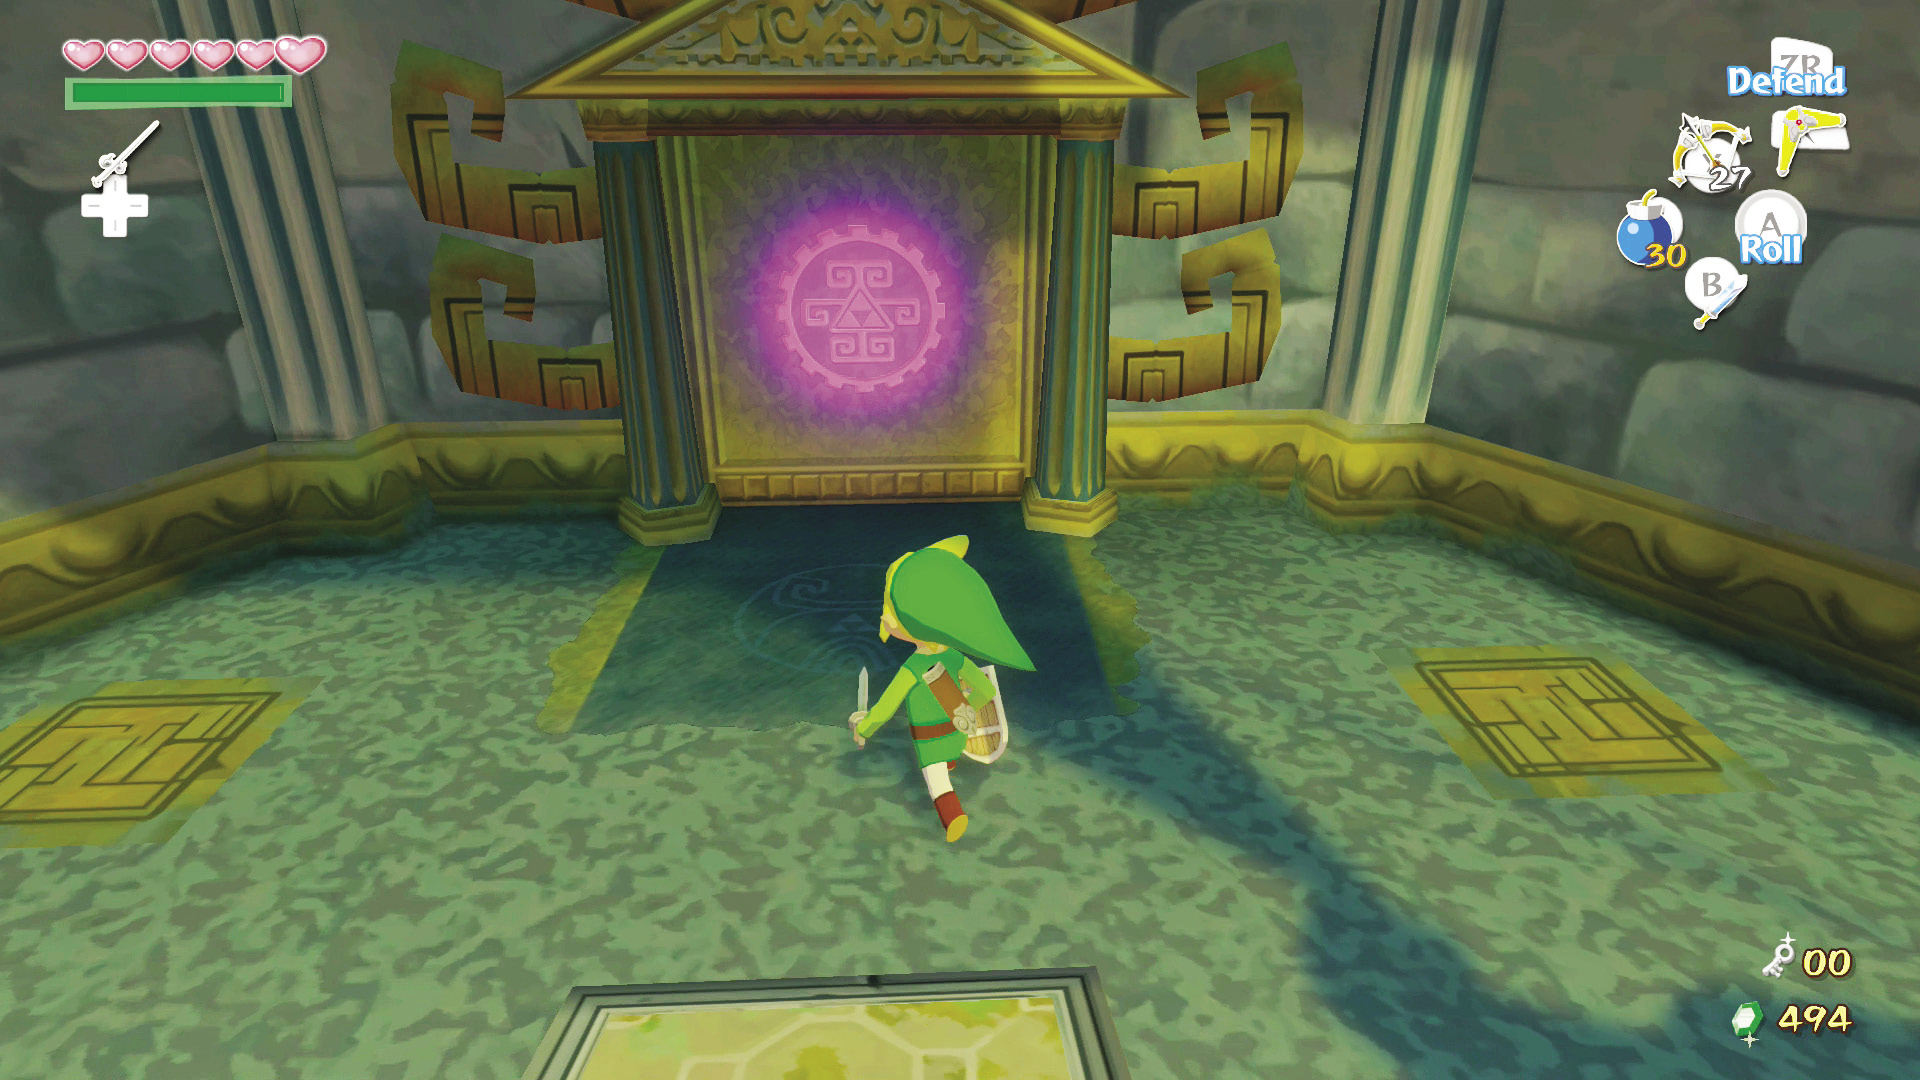
After you enter the room, the statue will jump onto a pedestal, unlocking the door on the room’s north side. Head through the north door whenever you’re ready.
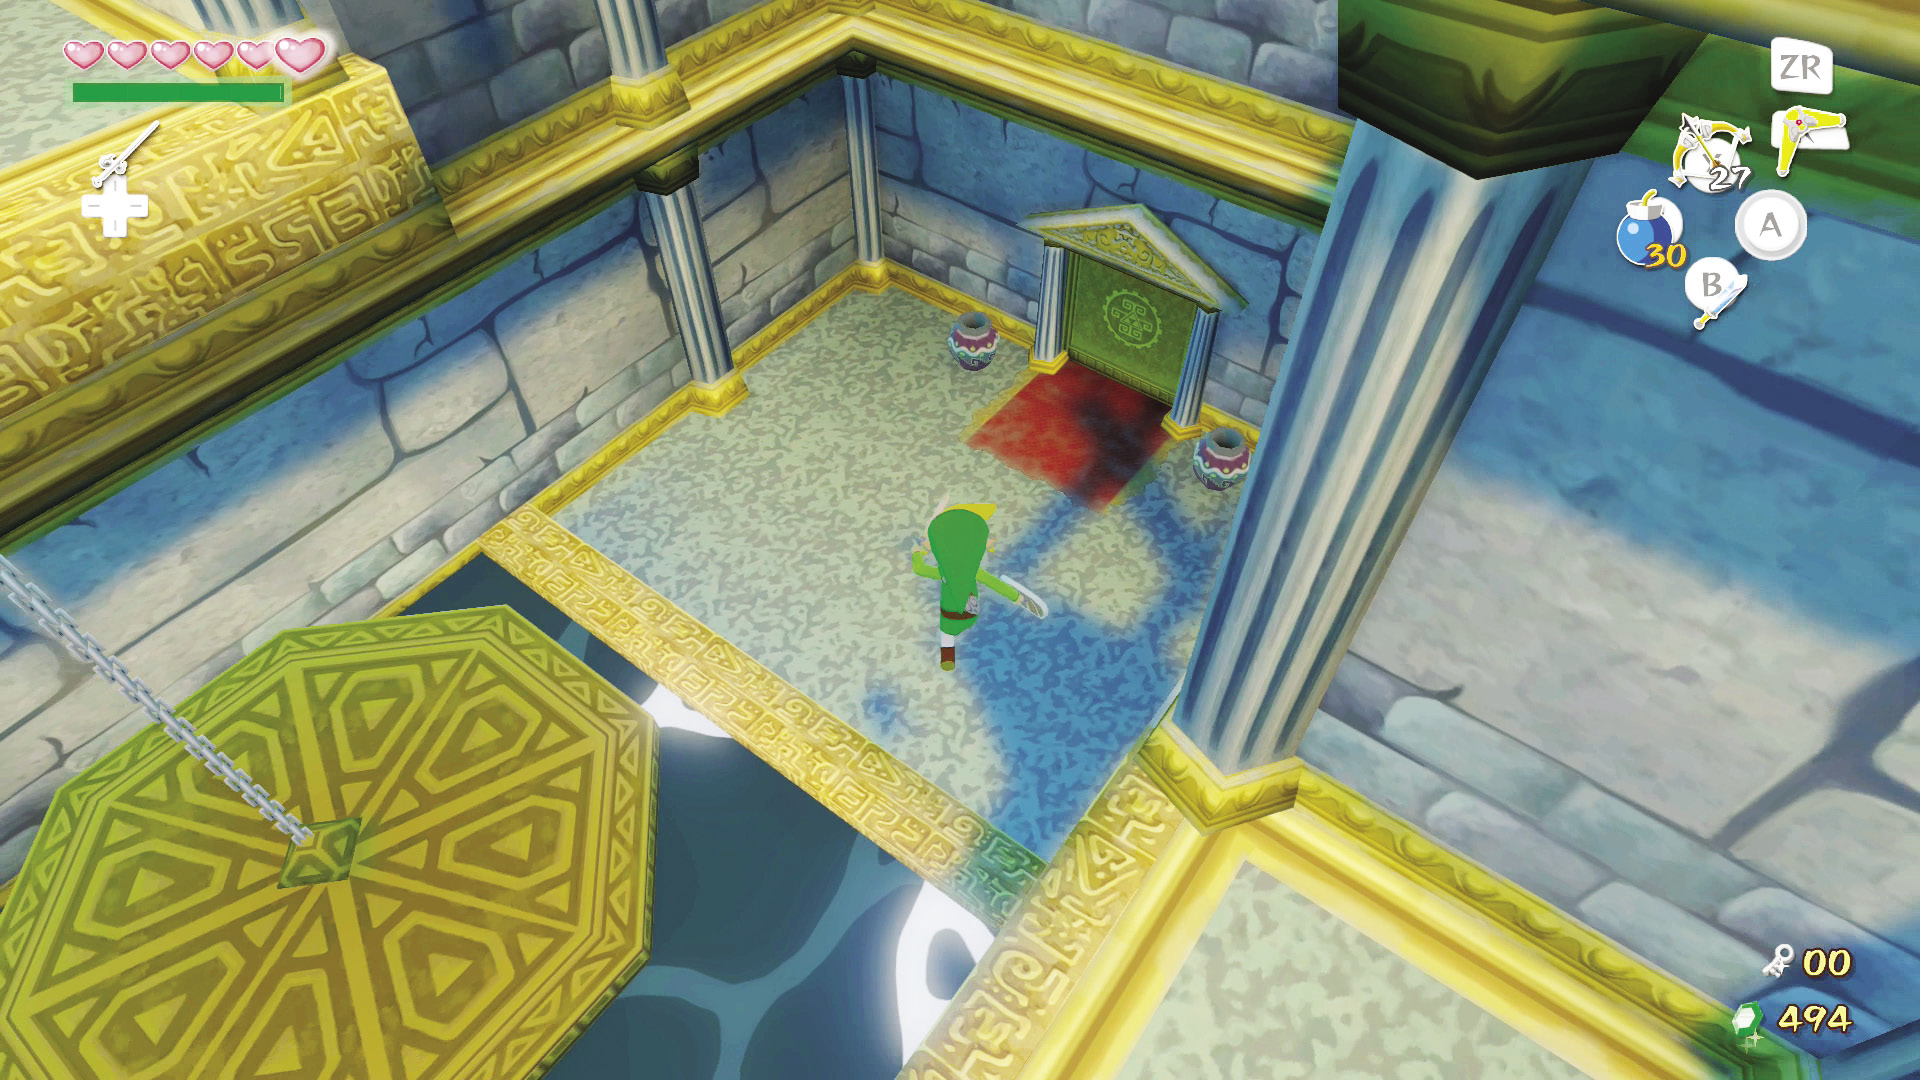
In this room are two scale-like platforms seated in the middle of a gap, while doors sit on every side of the room. Ignore the scales and enter the door on the room’s east side.
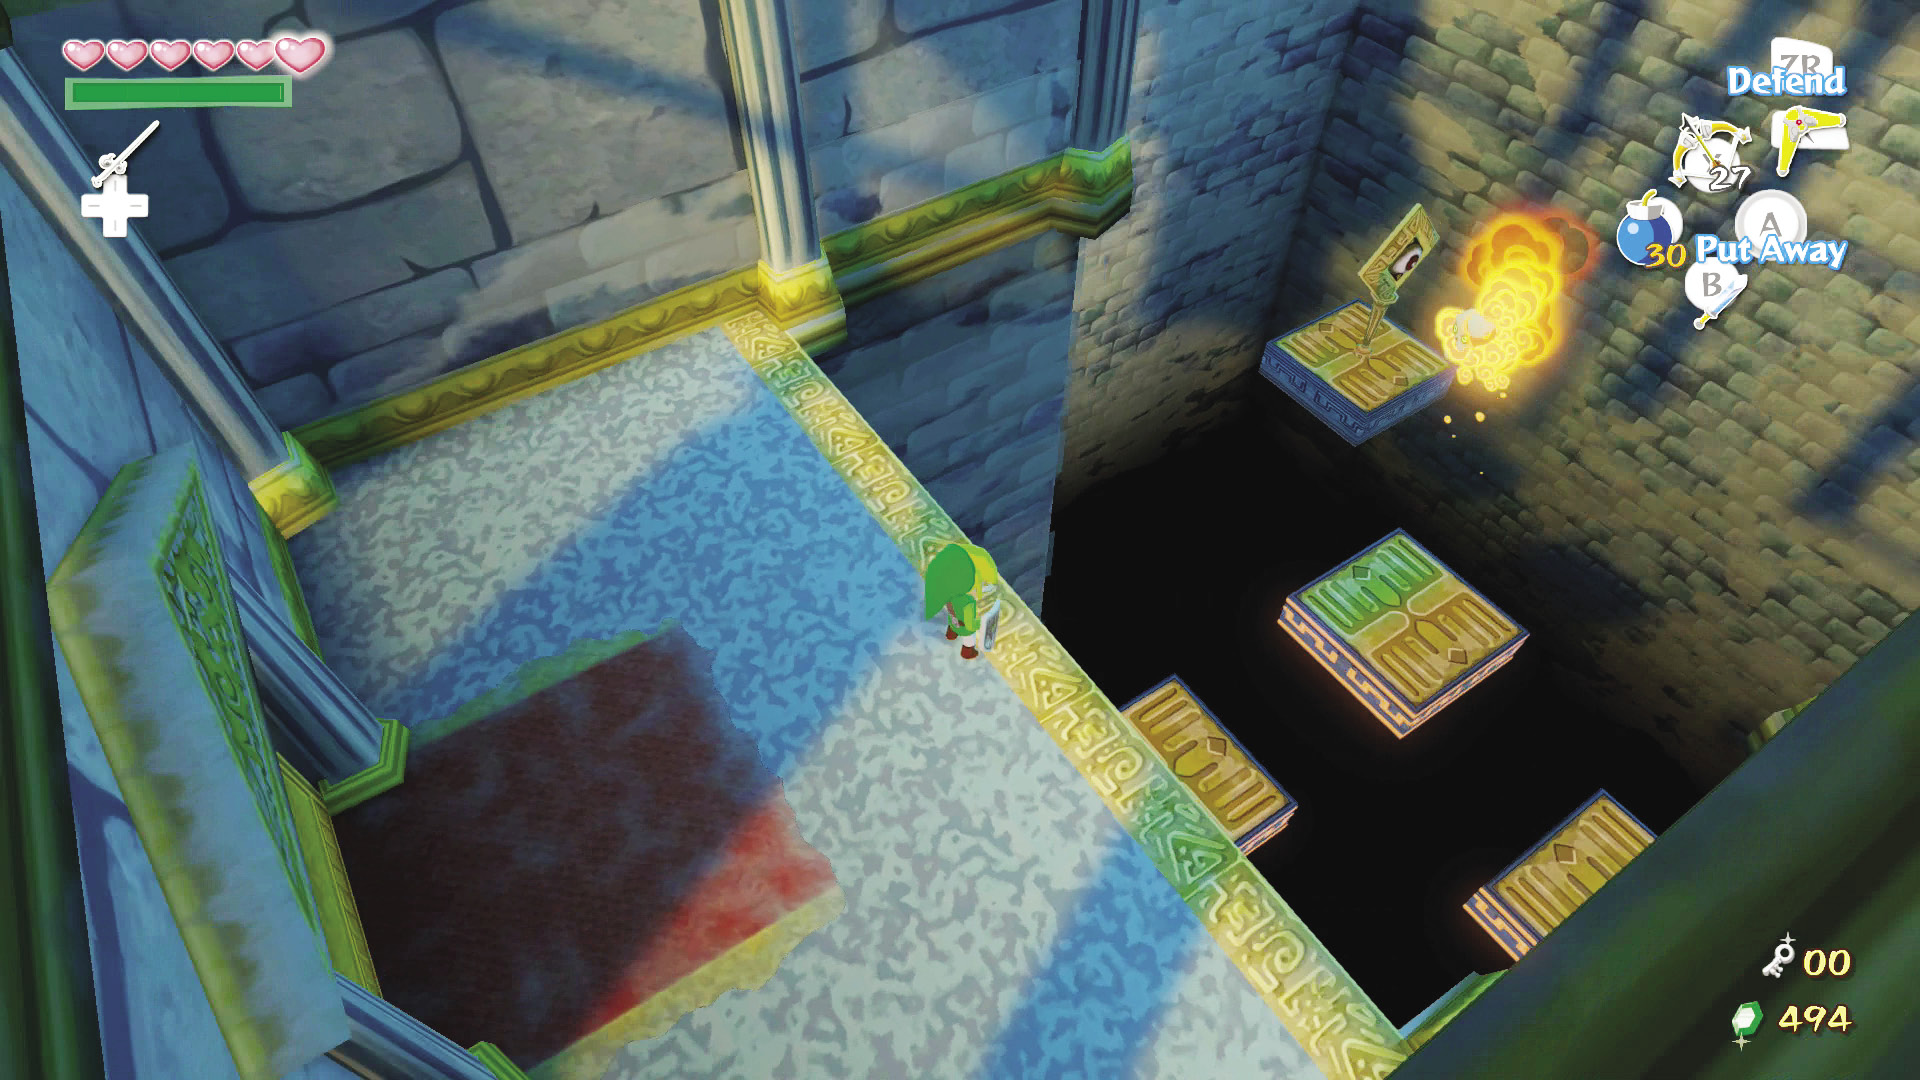
Before you do anything, head close to the edge of your platform and use your Hero’s Bow to defeat the Red Bubbles floating around the room; it’ll make your time here a whole lot easier. Now, jump onto the moving platform below you and ride it to the bottom of its path. From there, jump onto the platform straight ahead, then face north and shoot an arrow into the eye plaque attached to the platform in front of you.
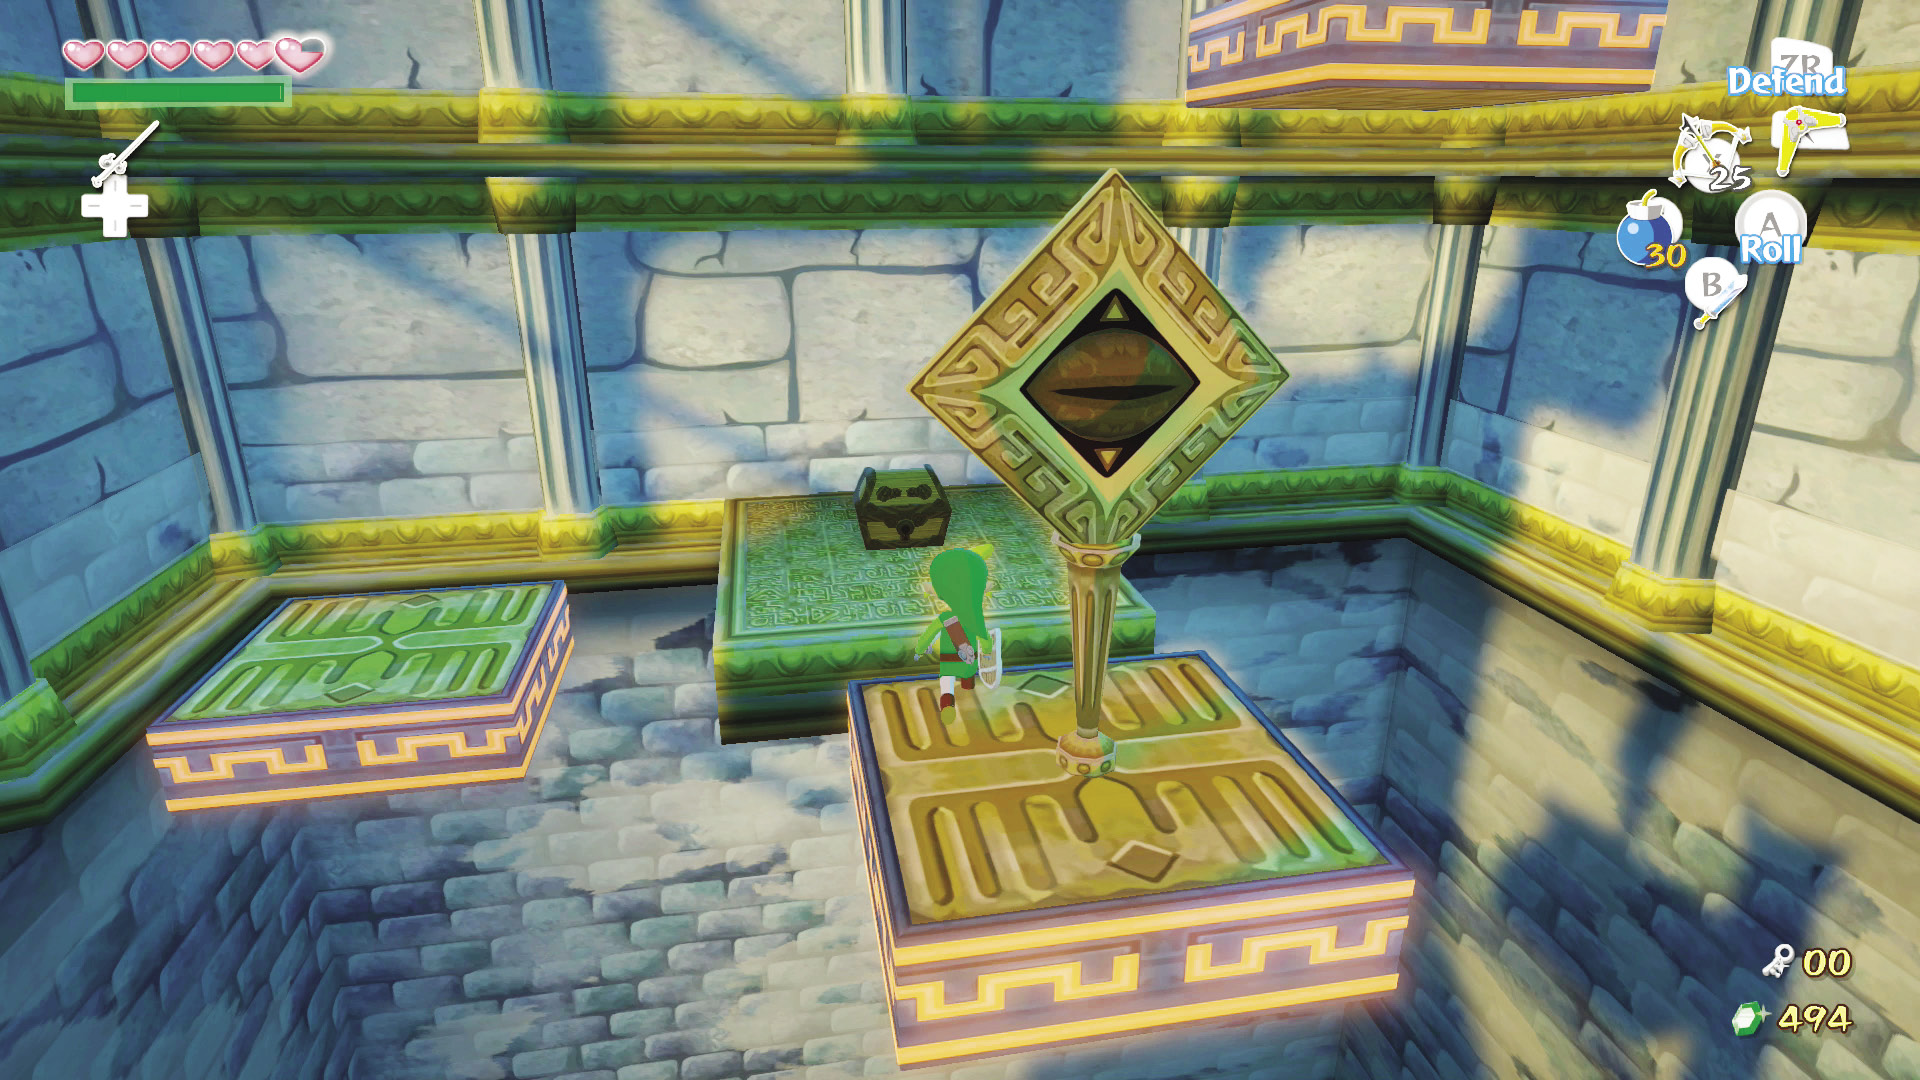
The platform with the eye plaque will begin moving; jump onto it and ride it to the top of its path. You’ll find a stationary platform with a treasure chest on it. Jump onto that platform and open the chest to receive a Small Key. Pull out your Deku Leaf and glide back to the room’s entrance.
Link’s Platforming Adventure
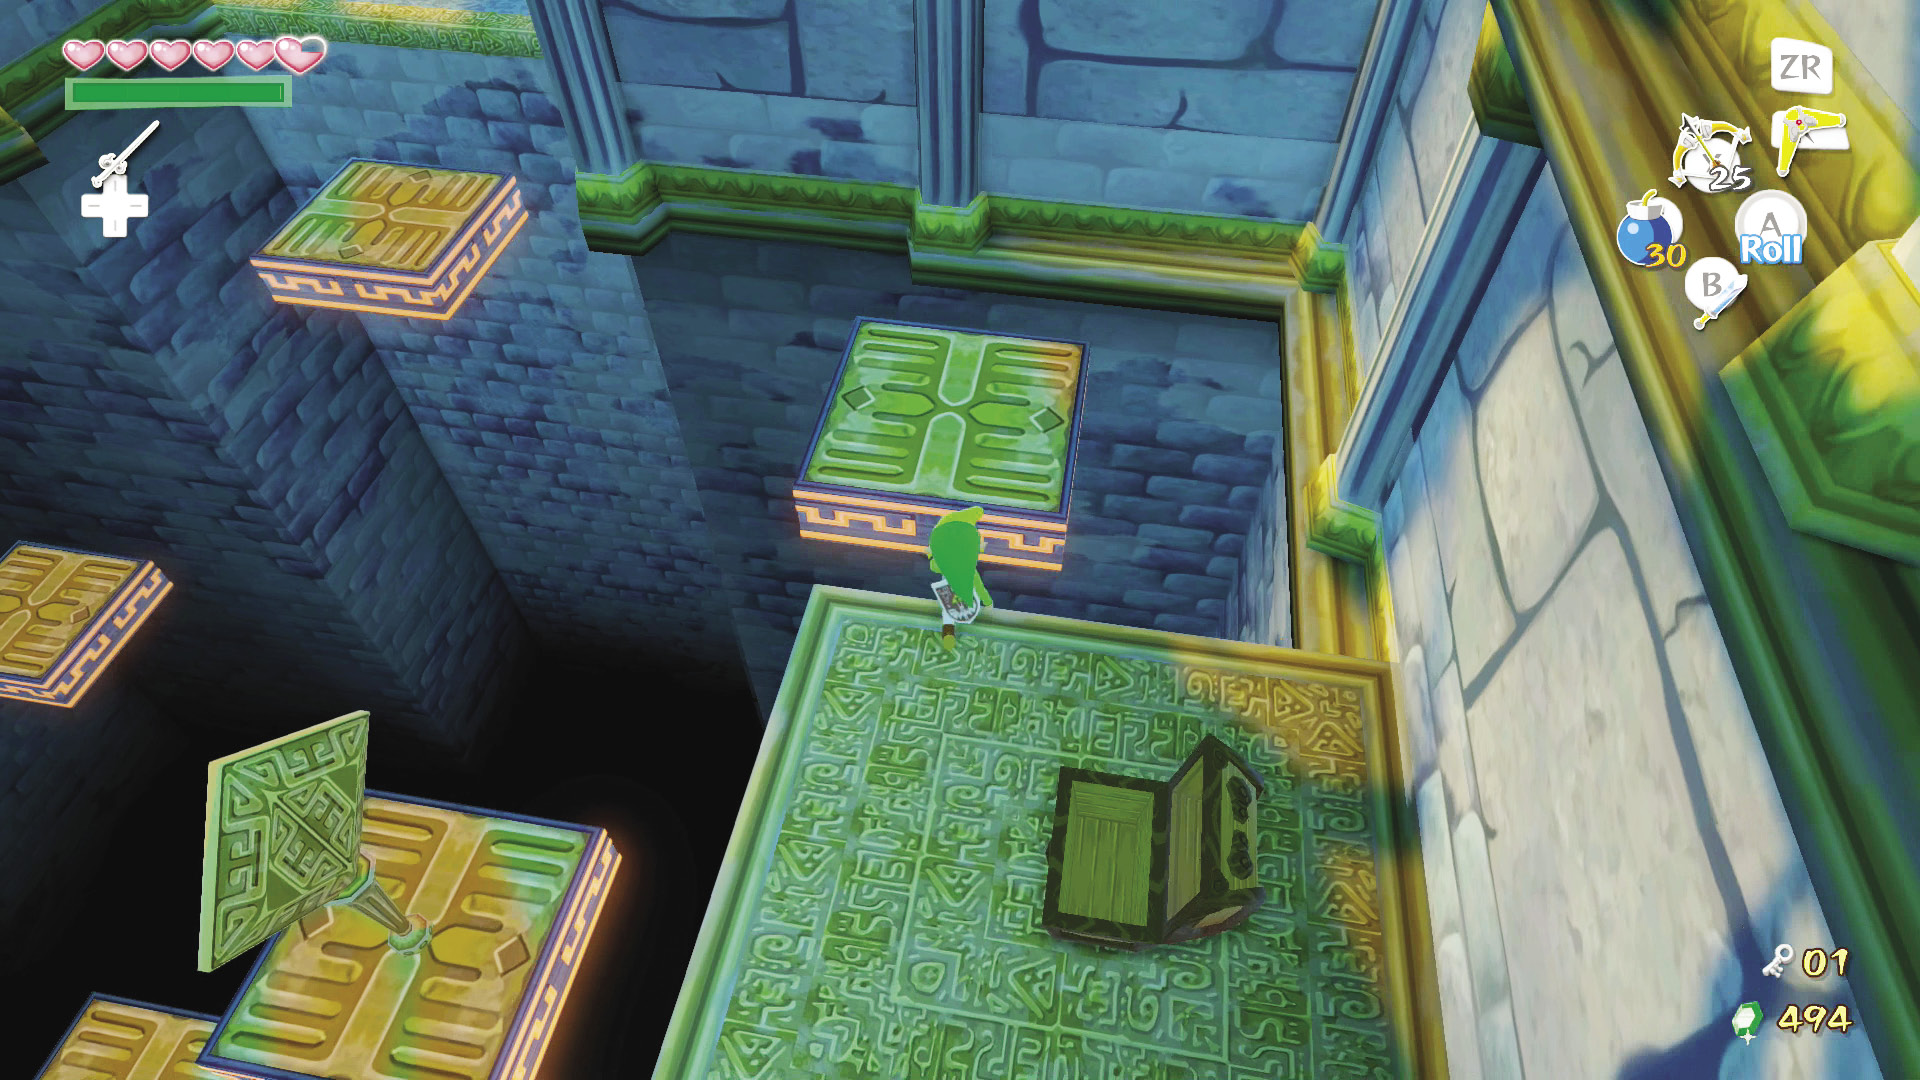
If you want a Joy Pendant, read on. Before you leave the room, hop onto the moving platform to the left of the treasure chest. Ride it to the top of its path, turn around and face east, then jump to the platform ahead.
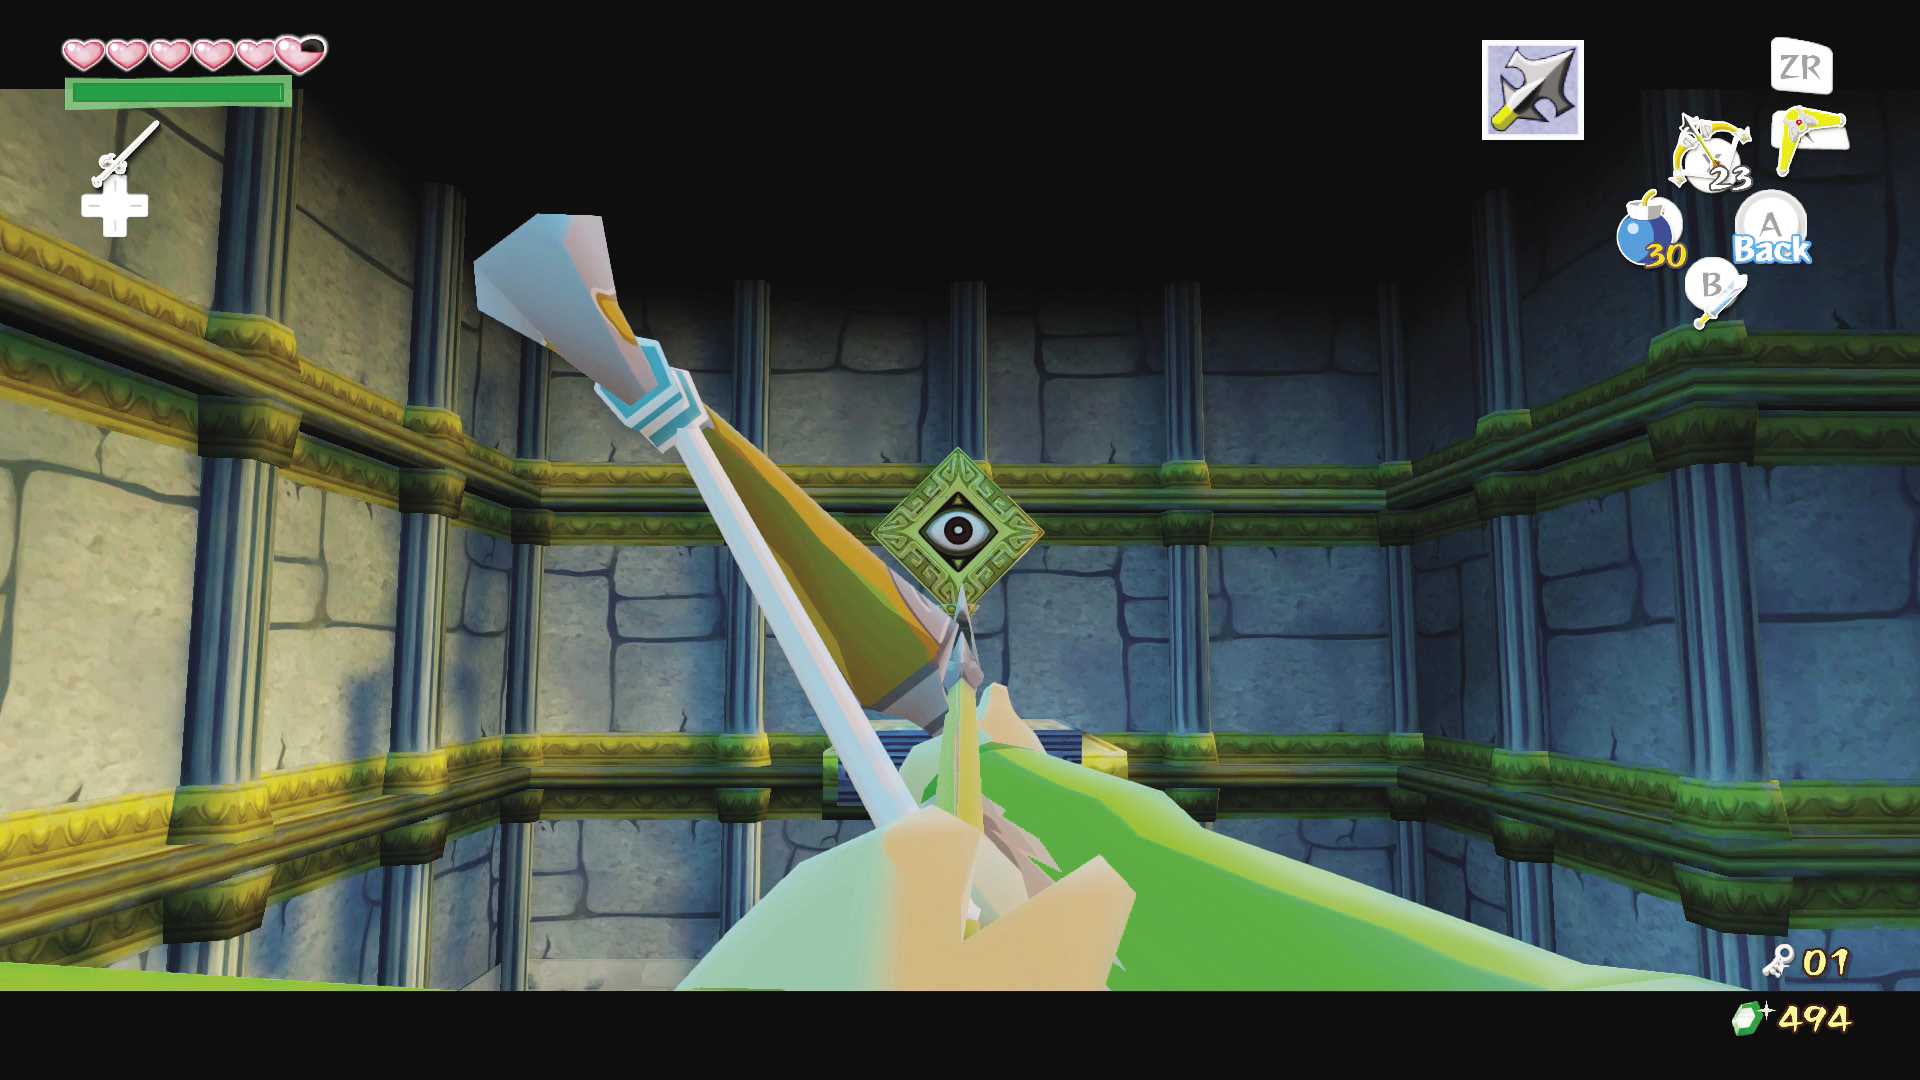
Look south and shoot an arrow at the eye plaque on the platform across the room. It will begin moving in your direction.
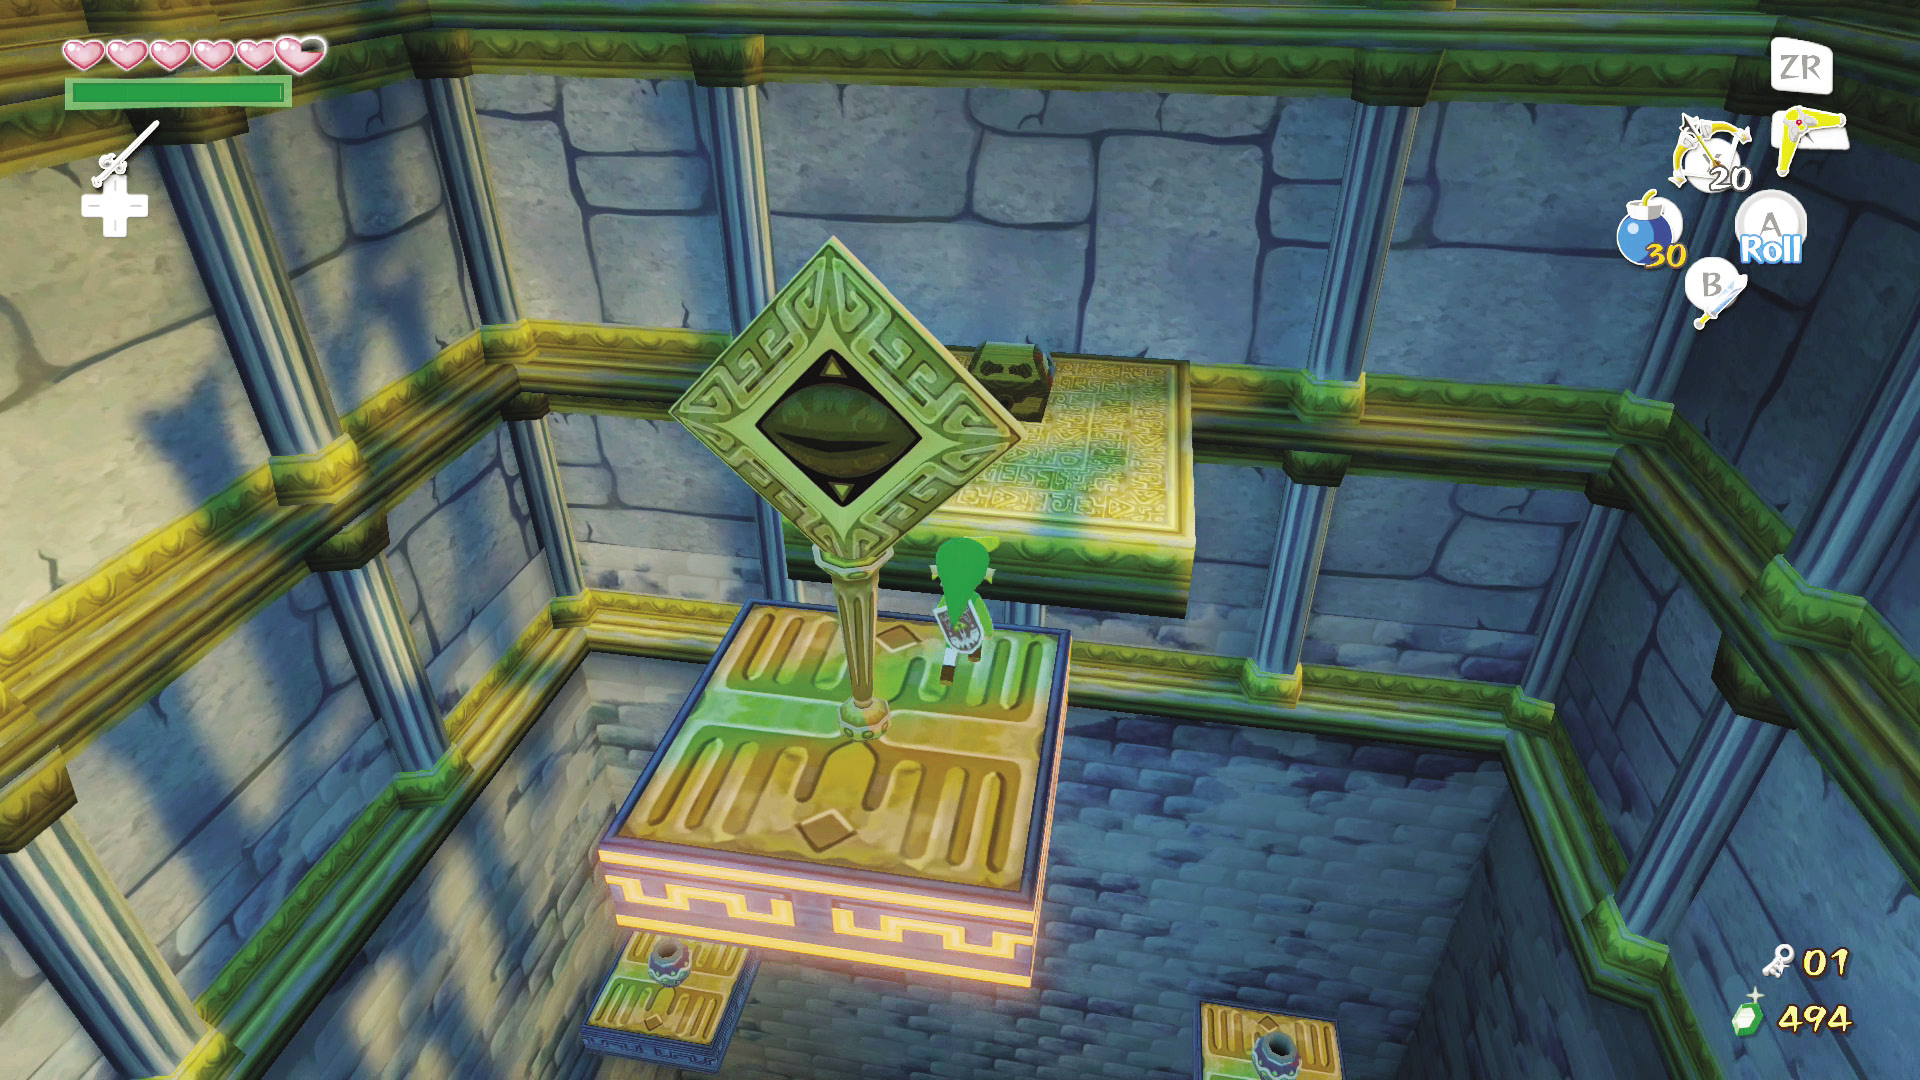
When the eye-plaque platform arrives, hop onto it and face west. Another eye plaque is stationed near the door leading out of the room. Shoot it with an arrow and a treasure chest containing a Joy Pendant will appear on the room’s south side. Ride the platform to the room’s south side and claim the Joy Pendant.
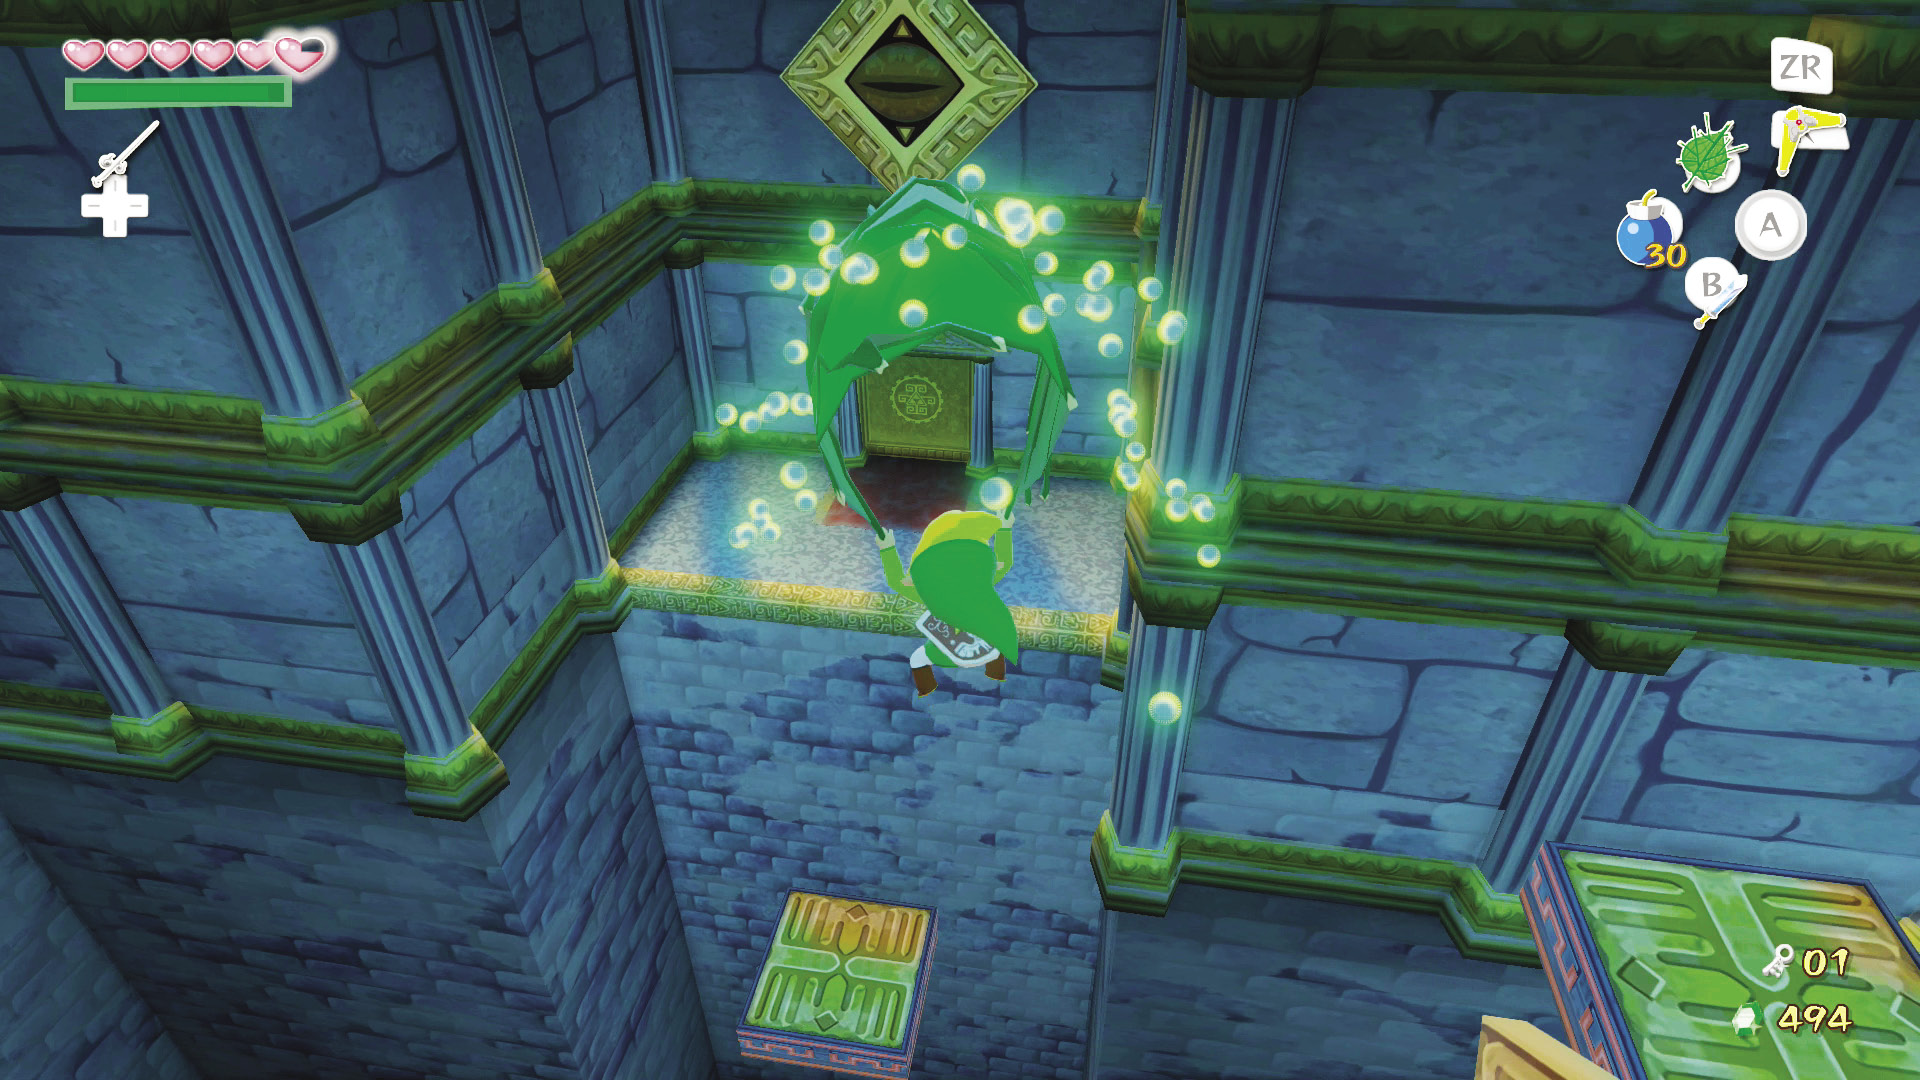
To leave the room, simply pull out the Deku Leaf and glide down to the door on the room’s west side.
7. Weighing Your Options
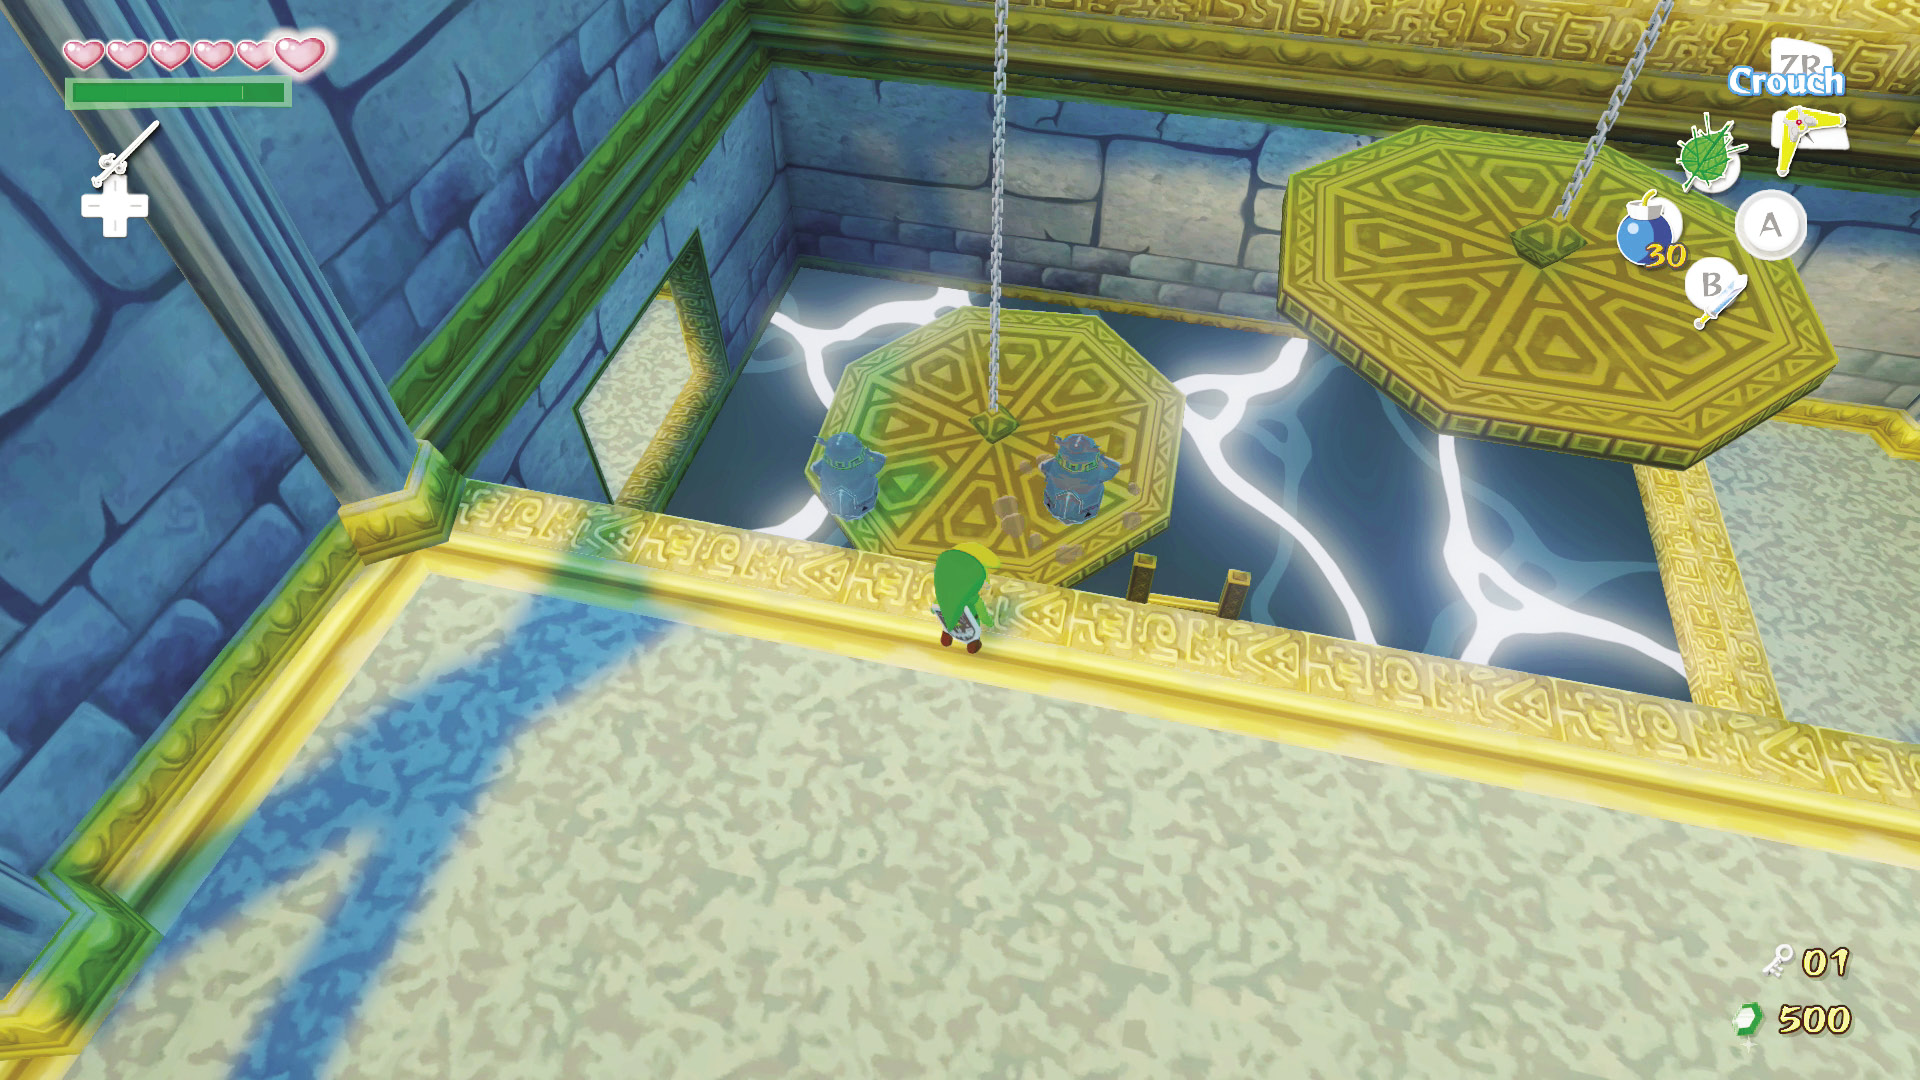
Climb back up to the room’s south side and grab the Armos statues placed along the walls. Throw them onto the left scale. This will raise the scale on the right high enough for you to jump to the room’s north side. Now head through the door.
The Guardians of the Chart
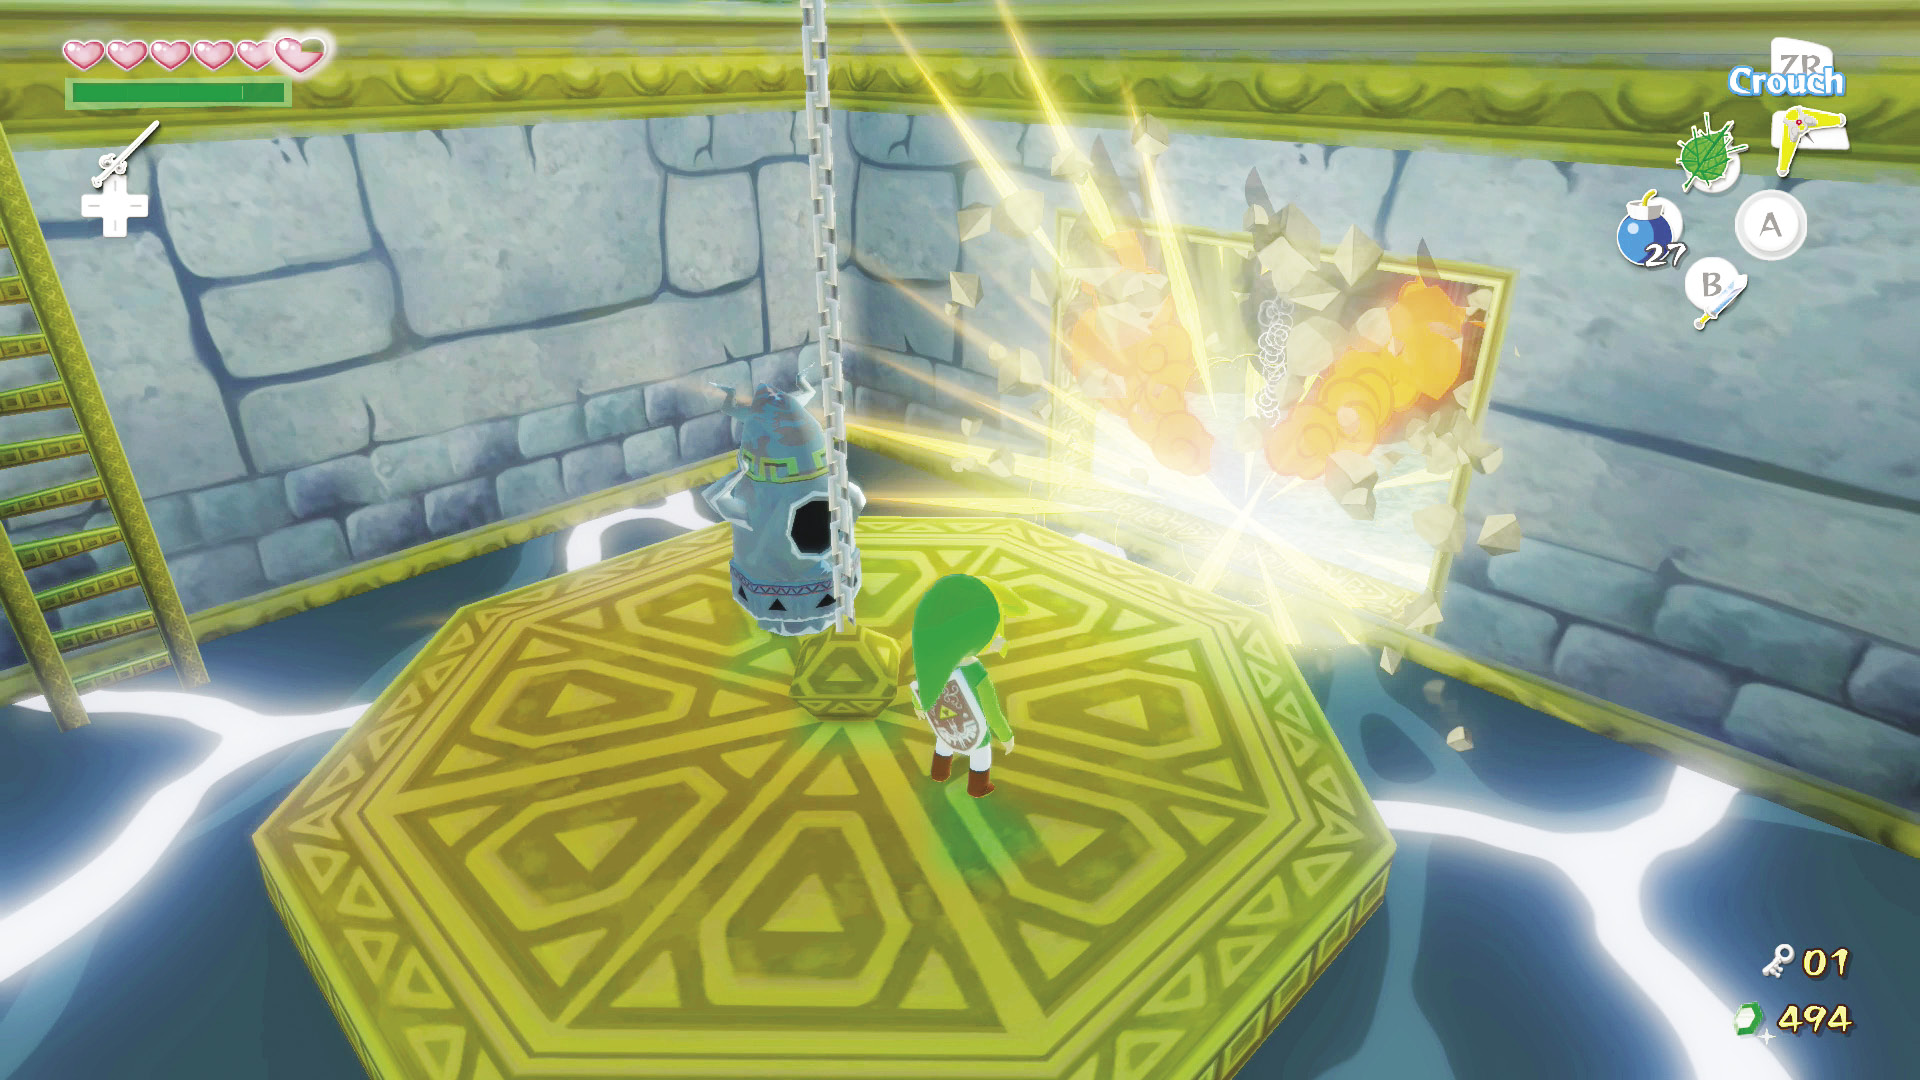
Before heading through the room’s northern door, you can hop onto the lowered scale to find a door behind the cracked wall on the room’s west side. Pull out a bomb; when it starts flashing rapidly, throw it at the cracked wall. The goal here is to have the bomb blow up right in front of the cracked wall instead of falling in the water.
Go through the door to find a Wind Crest on the ground in front of the golden triangle crest in the center of the room. Stand on it and play the Wind’s Requiem. A treasure chest will appear and the two Armos Knights on either side of the room will come to life. Defeat them and open the treasure chest to obtain Treasure Chart #30.
|
|
75 |
Treasure Chart #30 |
Enemy: Armos Knights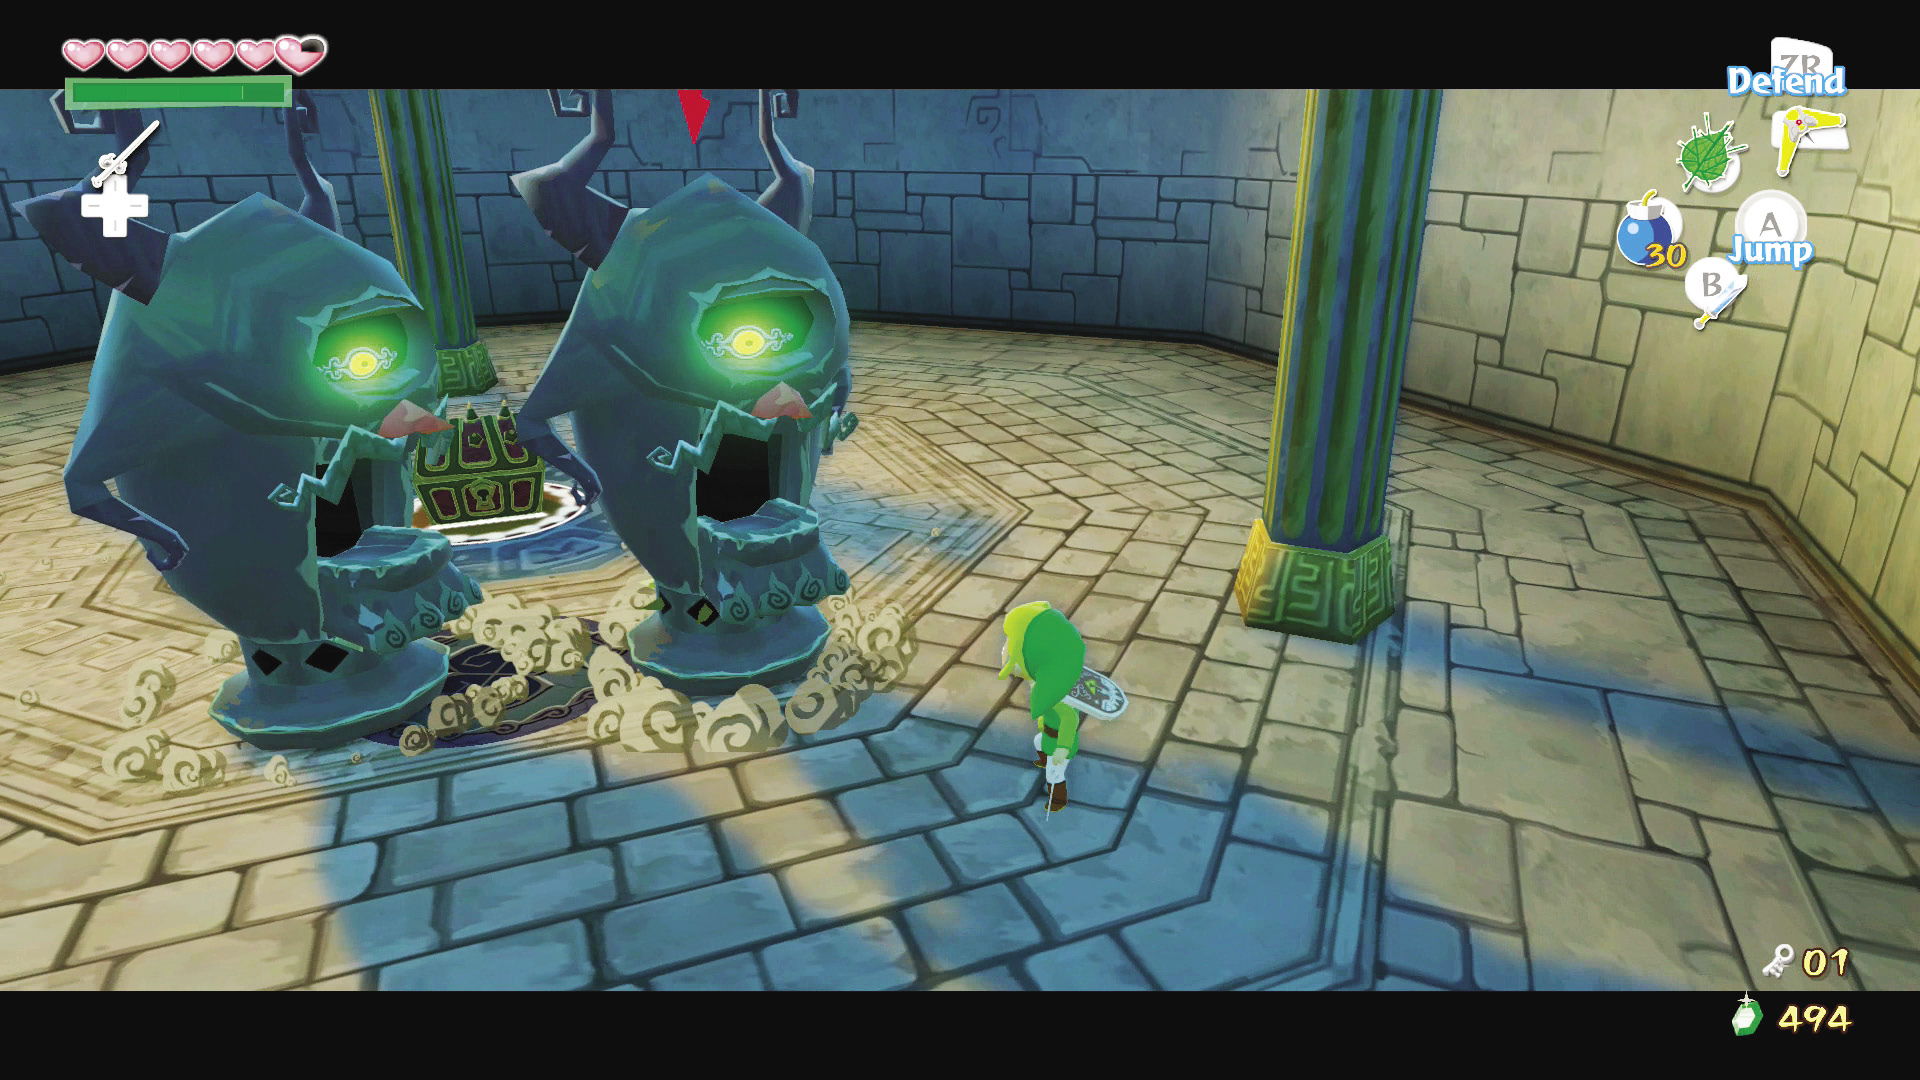 Armos Knights are giant versions of the smaller Armos you’ve already encountered around the Tower of the Gods. Like Armos, the Armos Knights hop slowly toward you in an attempt to jab you with the spikes lining their base. Unlike Armos, the Armos Knights can’t be defeated with the Hero’s Bow and they don’t have a red orb on their backs. Instead, wait for an Armos Knight to hop toward you three times and it will open its mouth. This is the perfect opportunity to throw a bomb into its mouth, which will destroy it. Just make sure to get some distance between you and the Knight after putting the bomb in its mouth; before it blows up, it will begin to spin violently toward you.tv |
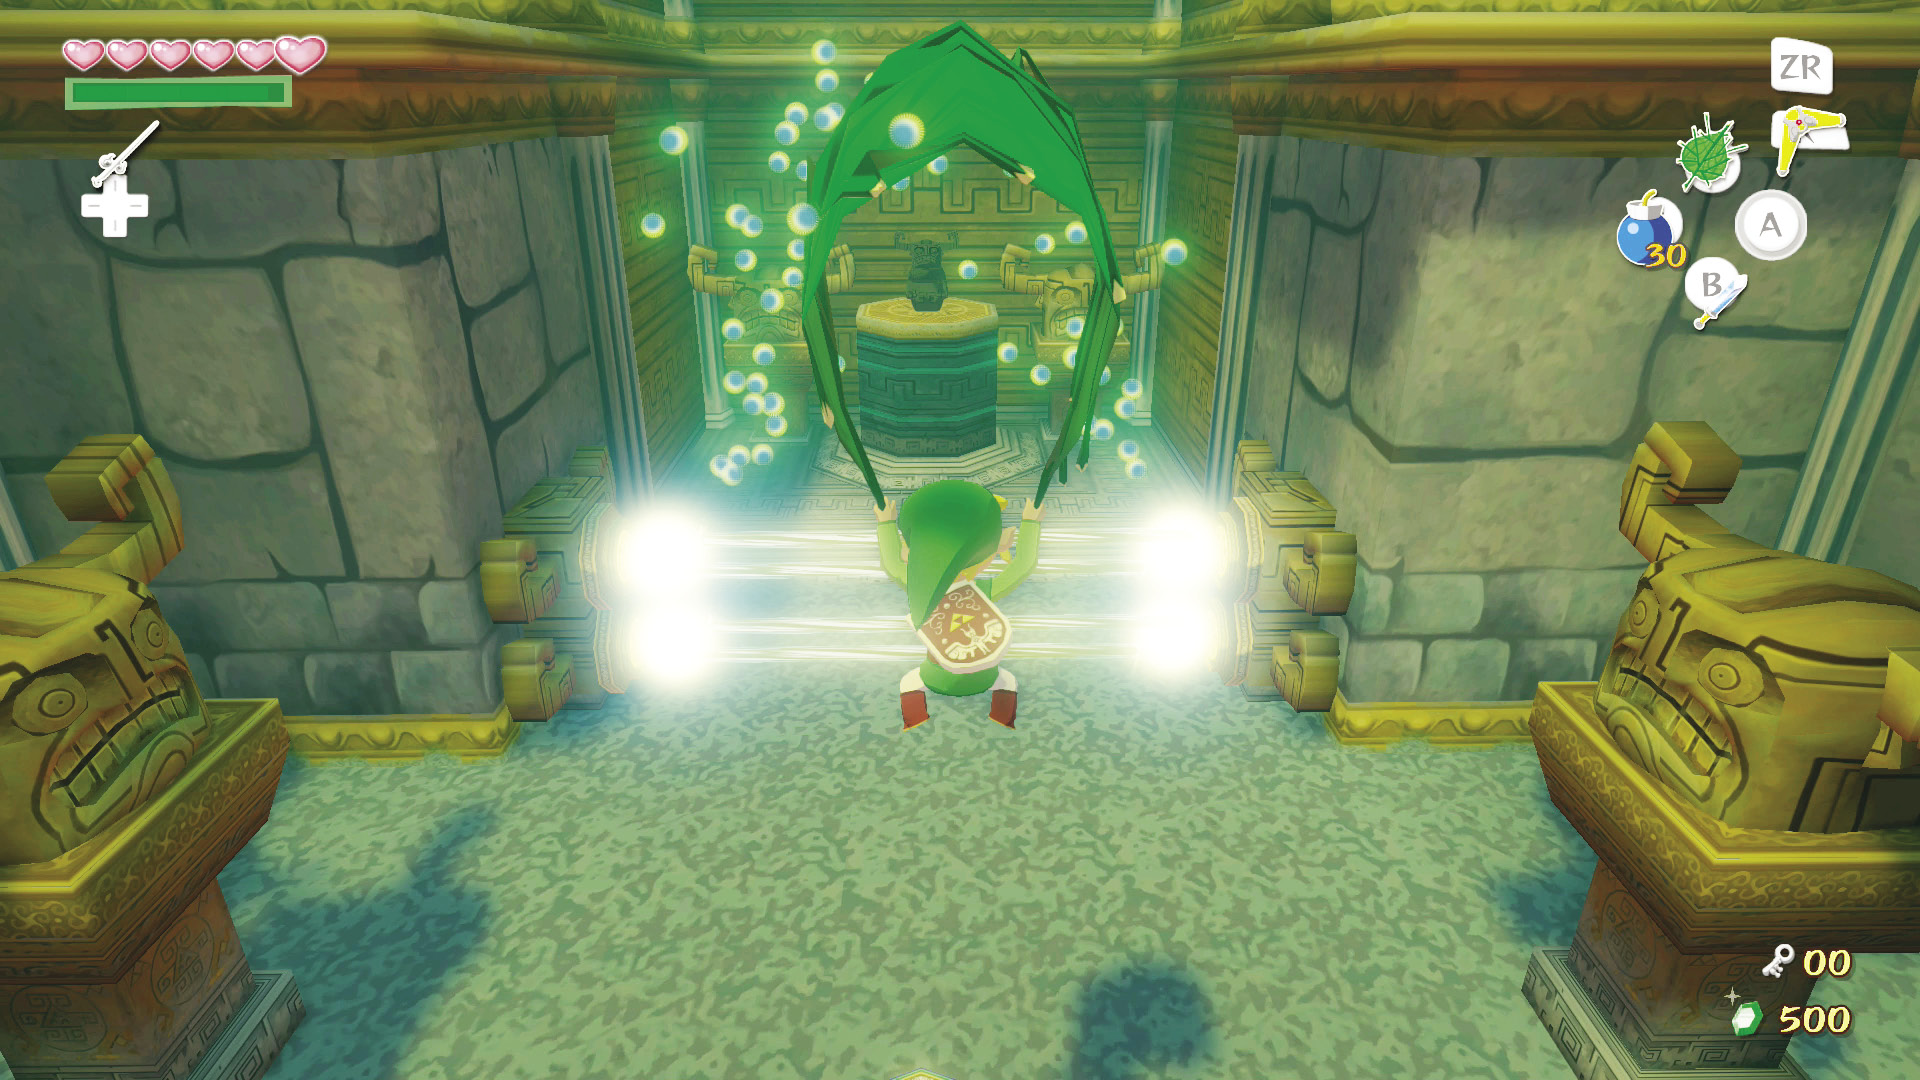
At the end of this room is the third and final statue. Unfortunately, the statue is blocked off by an electric barrier. To reach the statue, climb the cube monument in the center of the room, then jump and glide with your Deku Leaf over the electric barrier. Push 0 to call the statue down and then play the “Command Melody” (A, S, D, S) to take control of it.
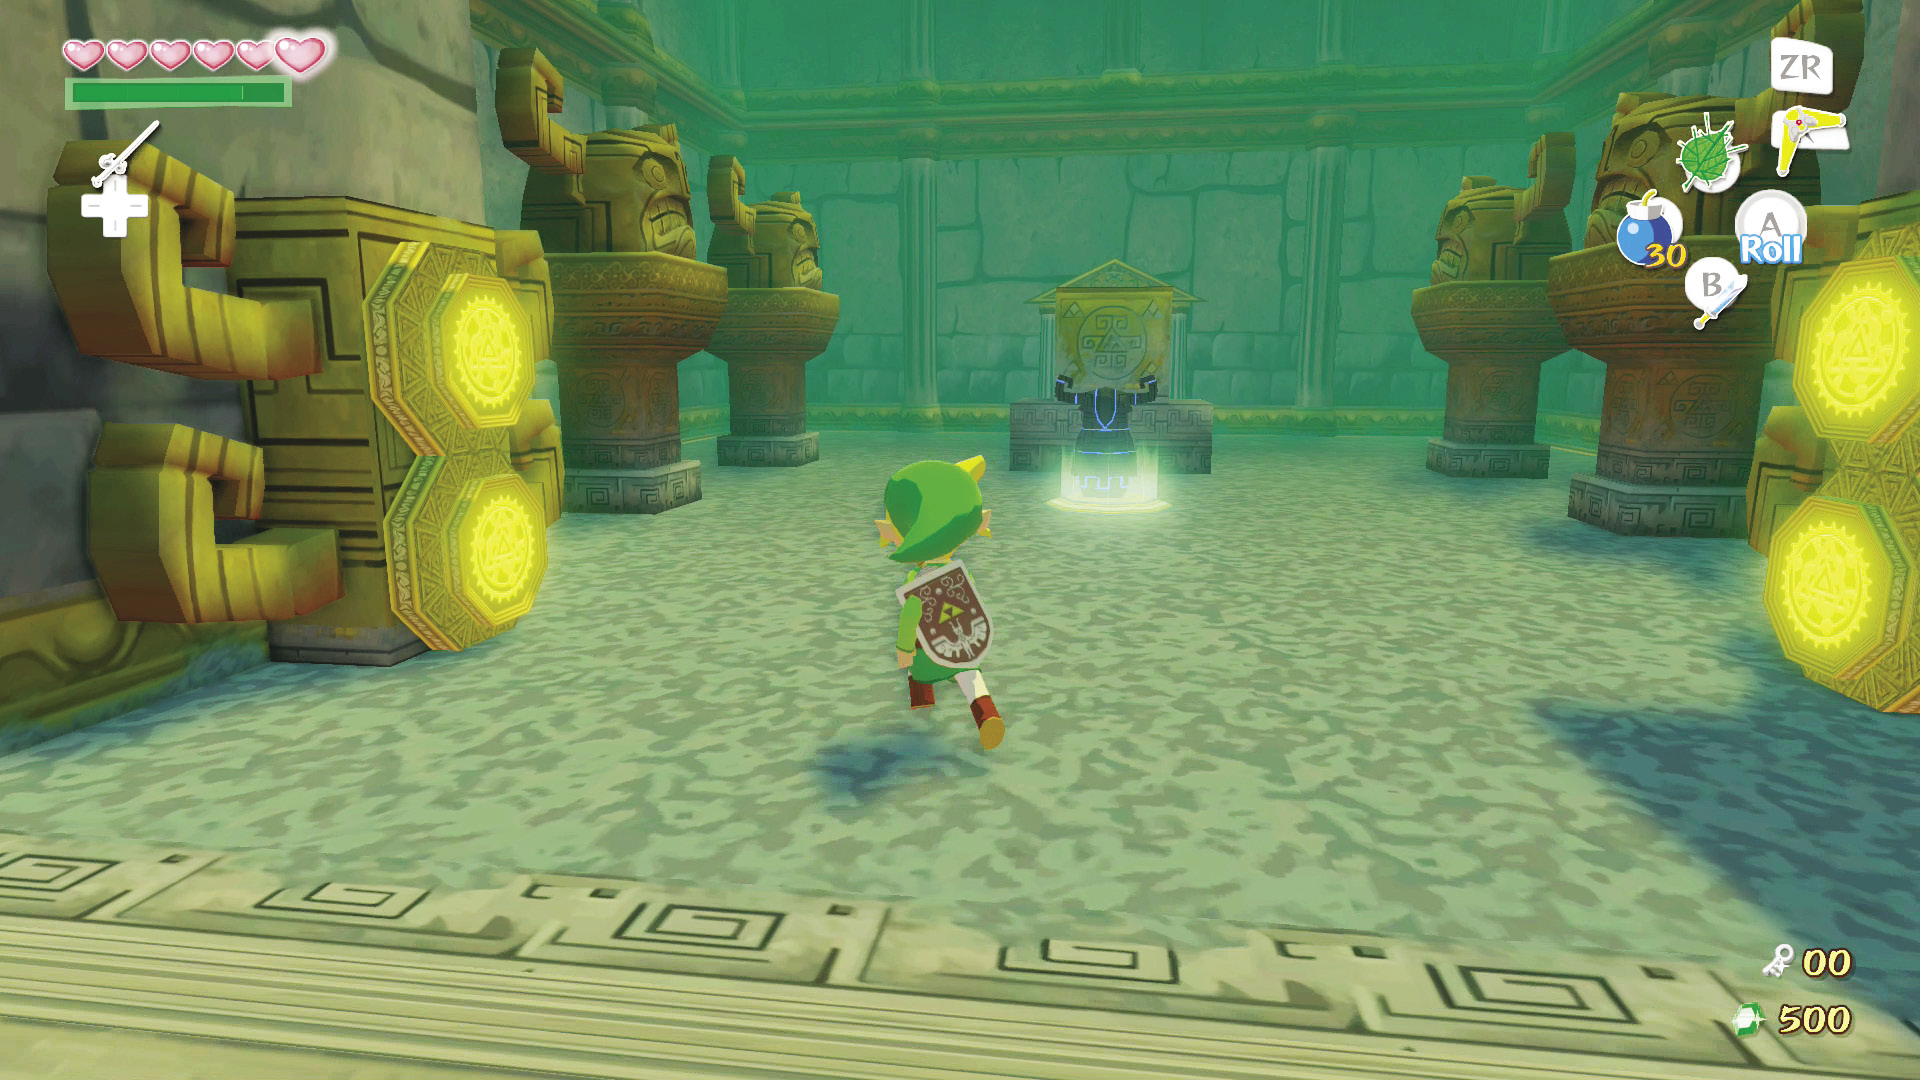
Steer the statue through the electric barrier and onto the constant pressure switch in front of the stone monument. This will disable the electric barrier, allowing Link to pass through it without getting a nasty shock. Release control of the statue, pick it up, and carry it through the door back into the scale room.
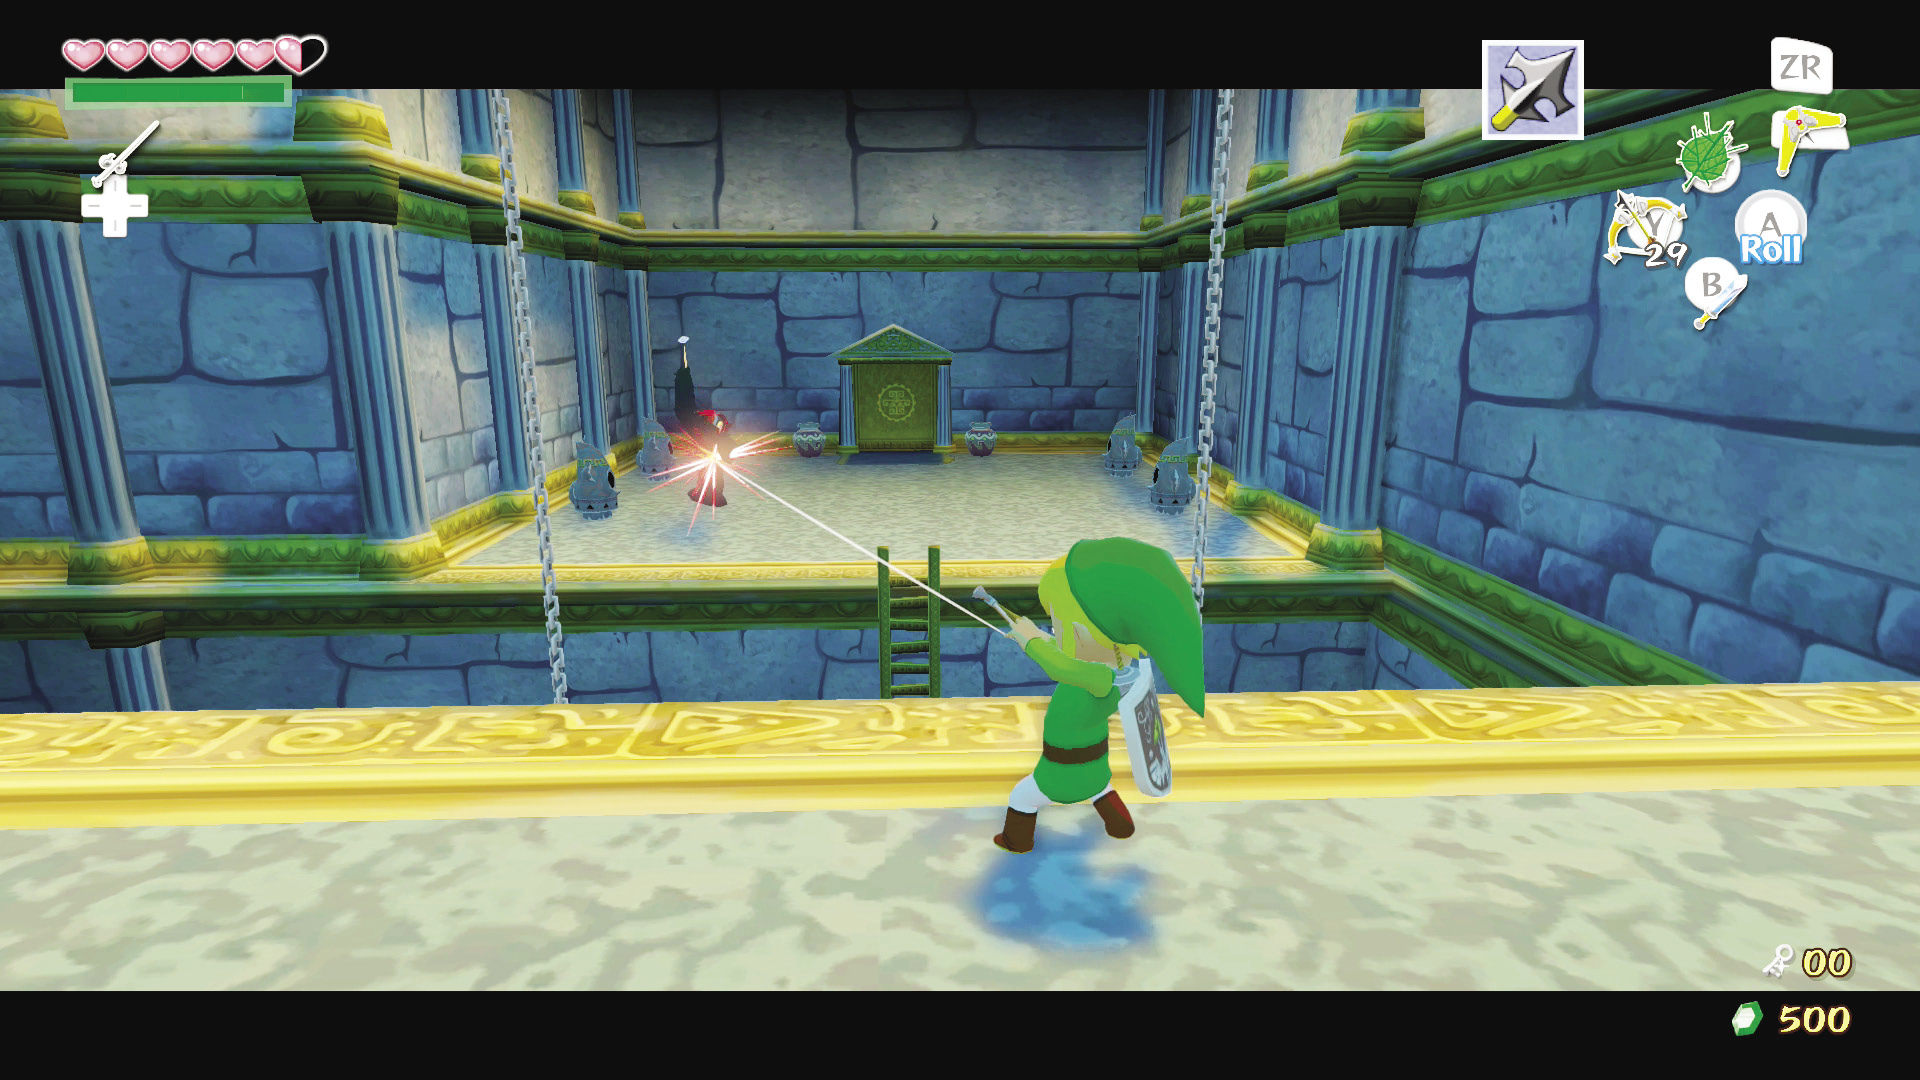
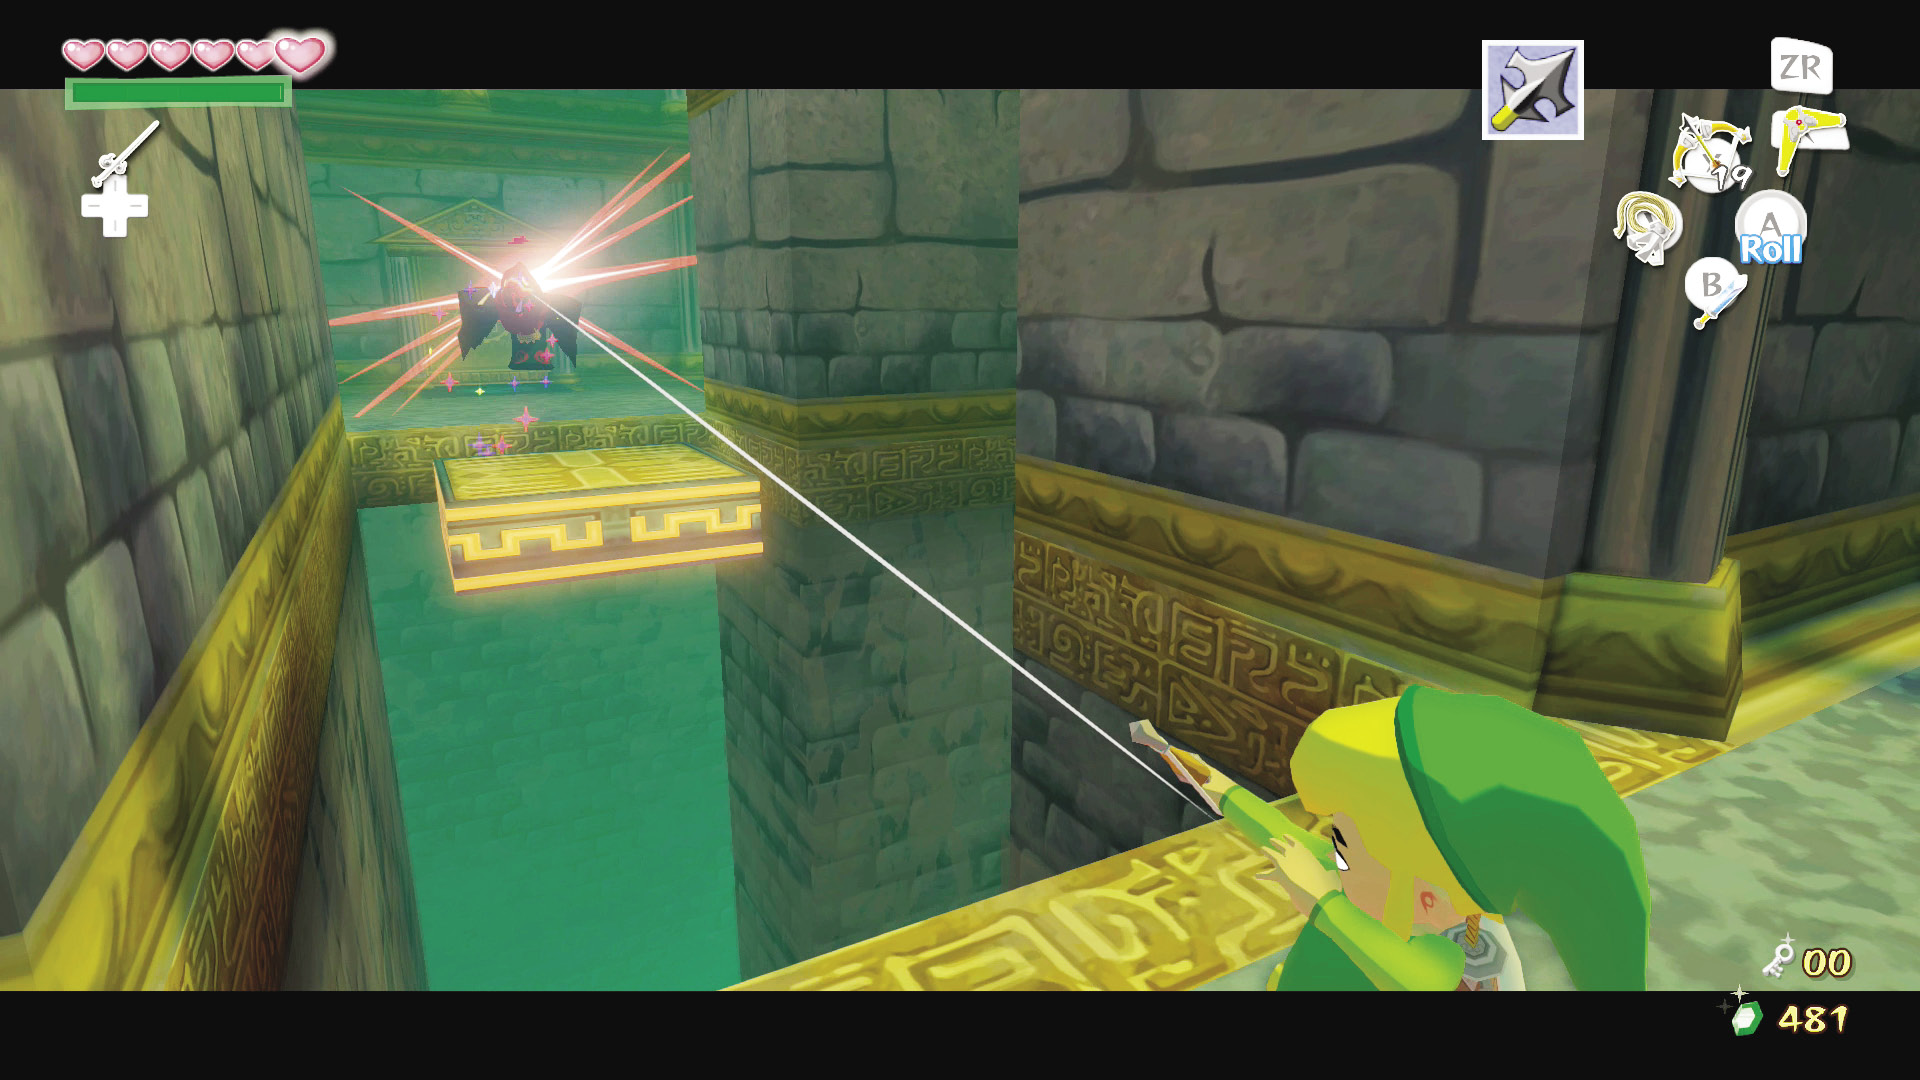
Immediately put the statue down and pull out your Hero’s Bow. On the room’s south side is a Blue Wizzrobe, who you can take out quickly with a couple well-placed arrows.
Enemy: Blue Wizzrobe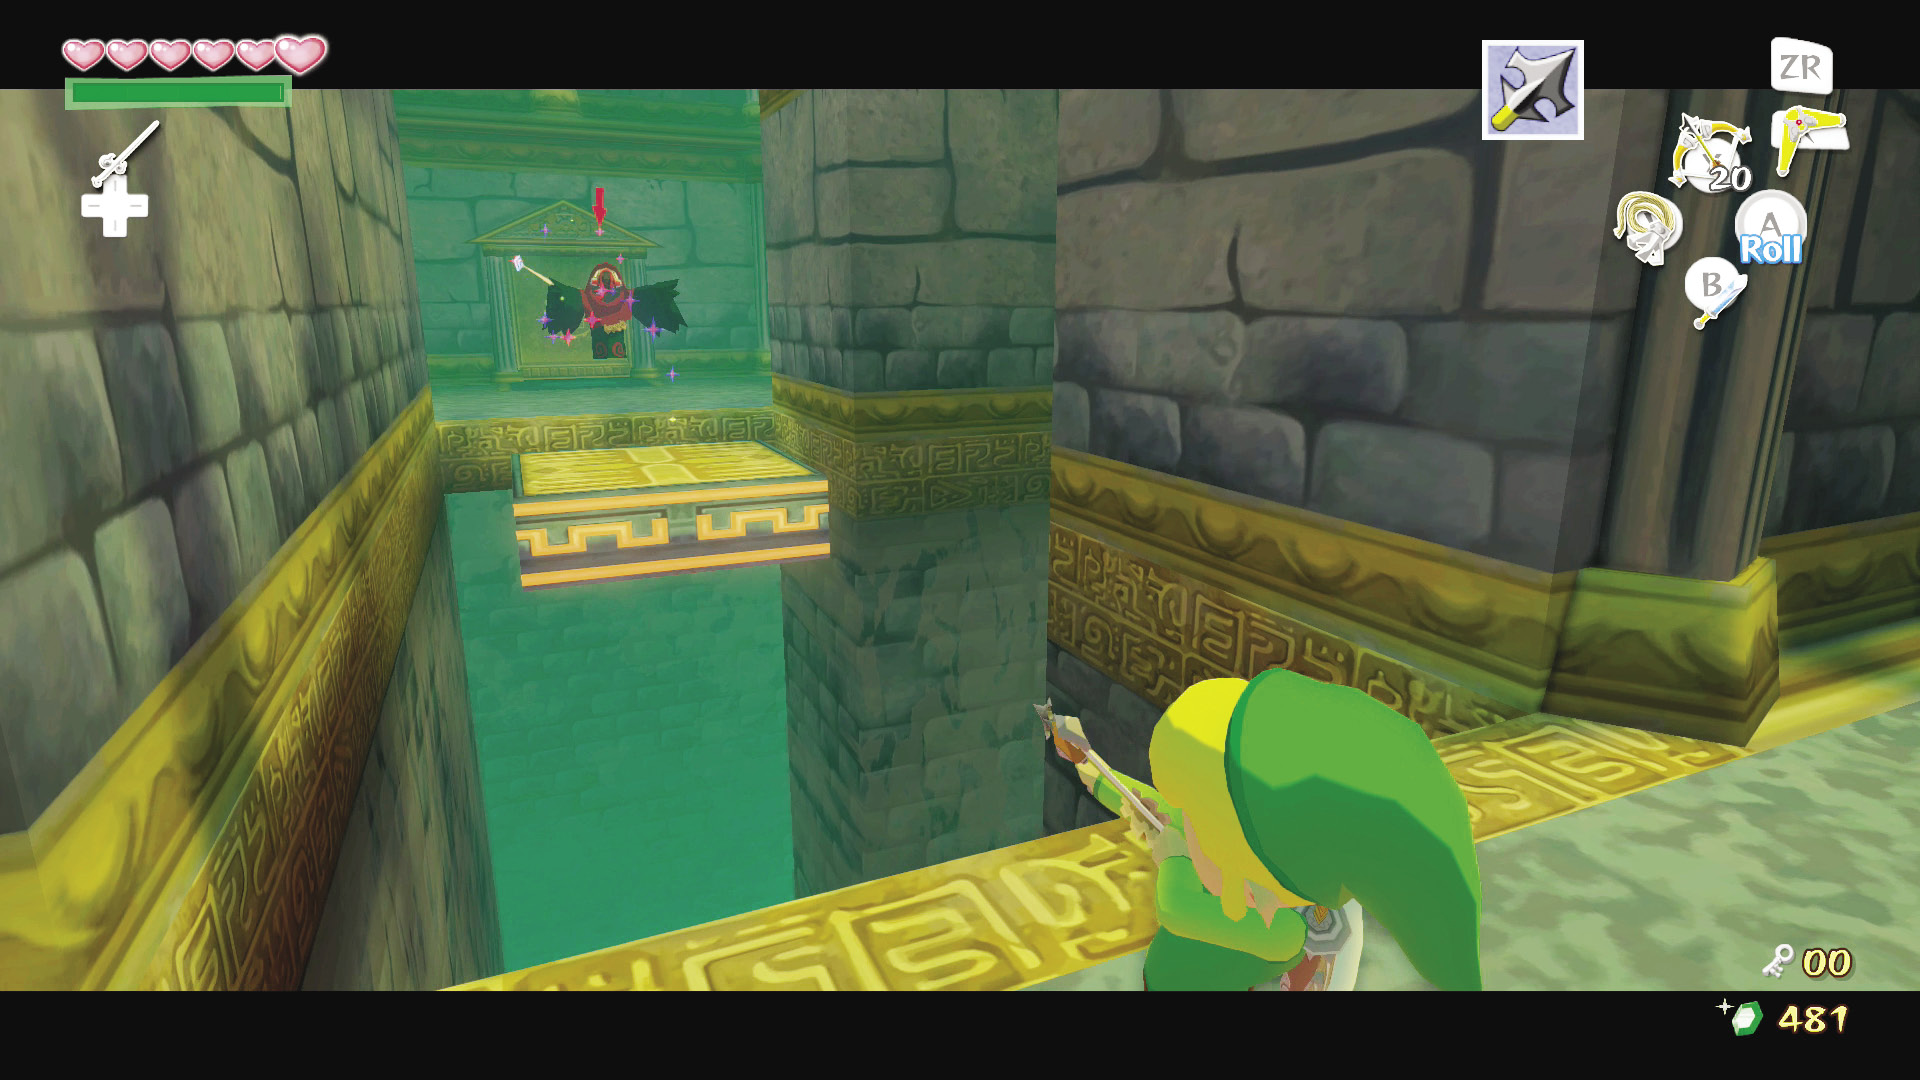 Blue Wizzrobes are hooded bird-faced wizards that teleport around the room and shoot fireballs at Link. The easiest way to deal with a Blue Wizzrobe is to locate it as soon as you hear it teleport and fire an arrow at it. This will prevent the Blue Wizzrobe from shooting fireballs and will force it to teleport again. If it does throw fireballs at you, either move in between them, since they move at such a slow rate, or destroy them with a Spin Attack (hold $ for a second or two and then release).VVV |
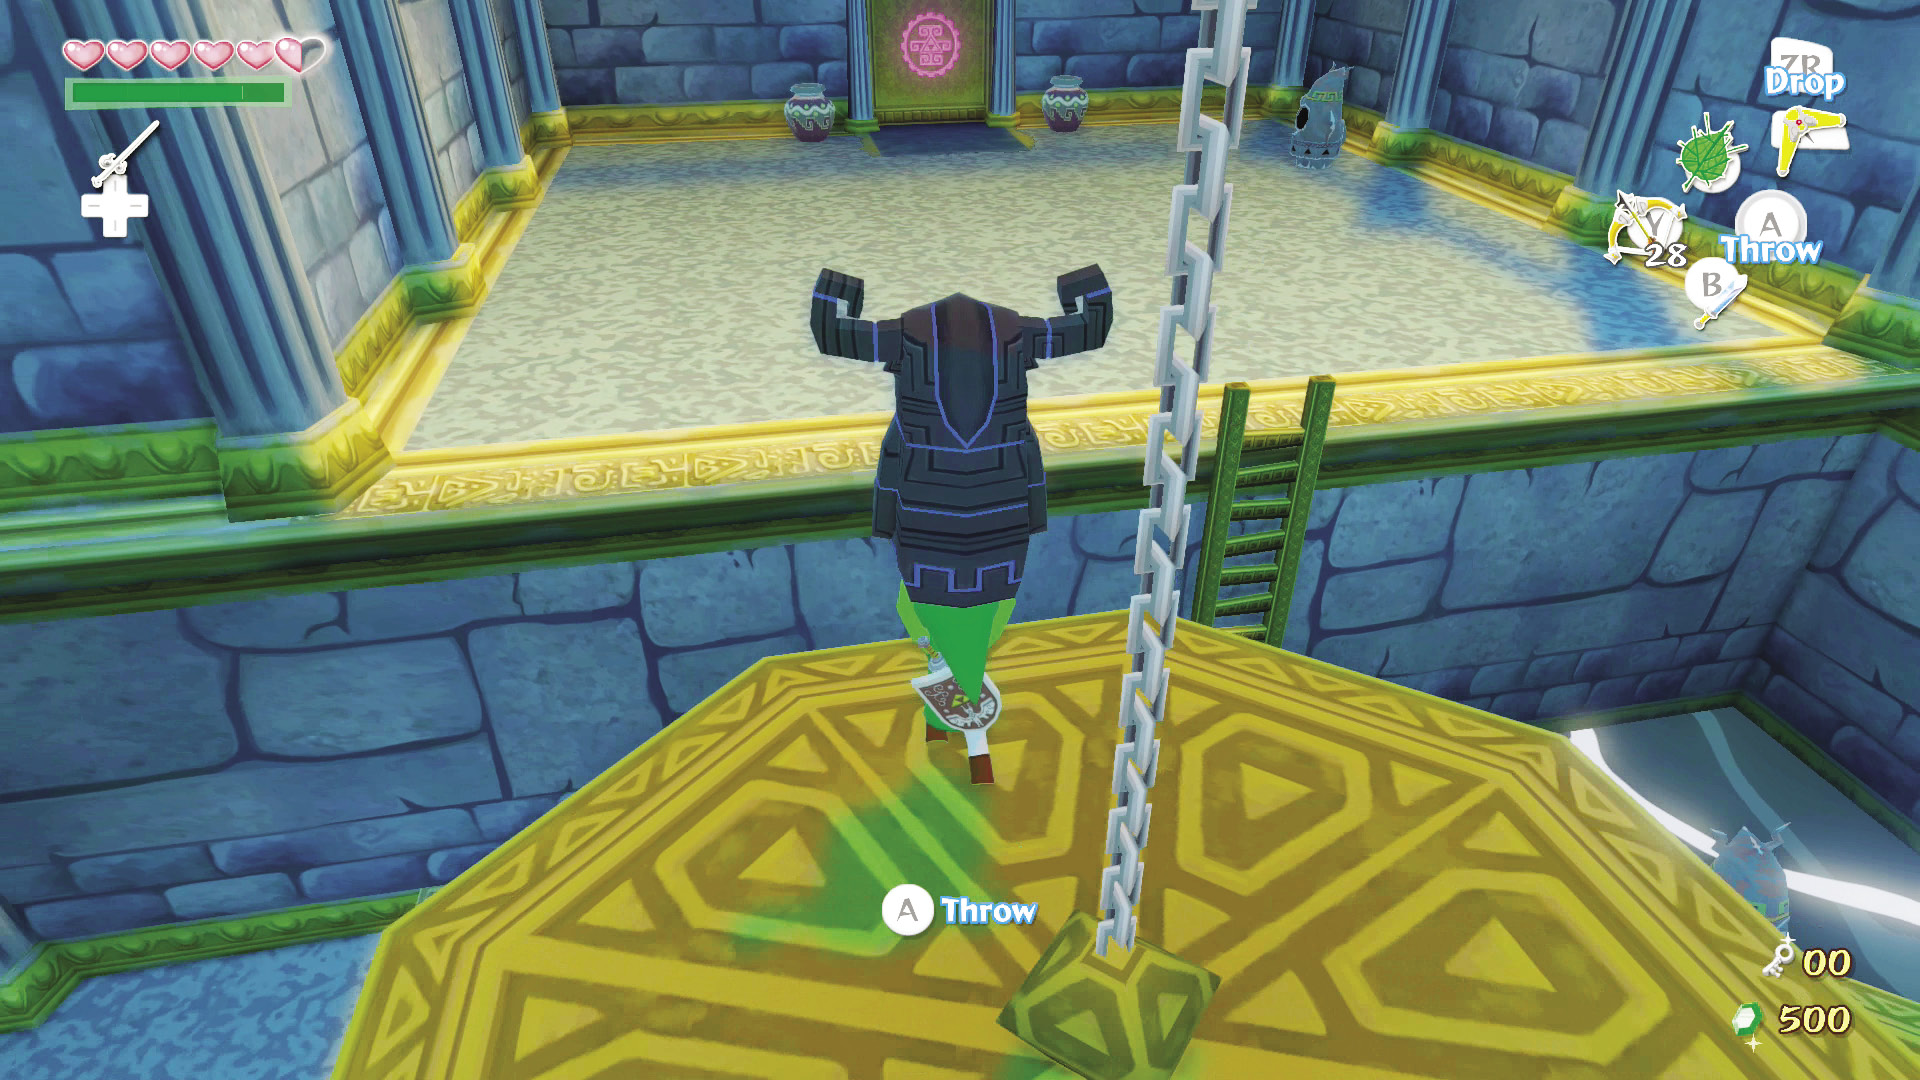
Pick up the statue and throw it on one of the scales, then cross to the room’s south side. Each statue weighs about the same as Link, including the one you just brought from the north room. You needed two Armos statues to keep one of the scales raised so you could get to the north room, but now that you have that statue with you, you’ll need to place three Armos statues to cross to the room’s south side with your new statue friend. Place three Armos statues on the scale opposite the one on which you placed the statue from the north room. Grab the north room statue and carry it through the south door.
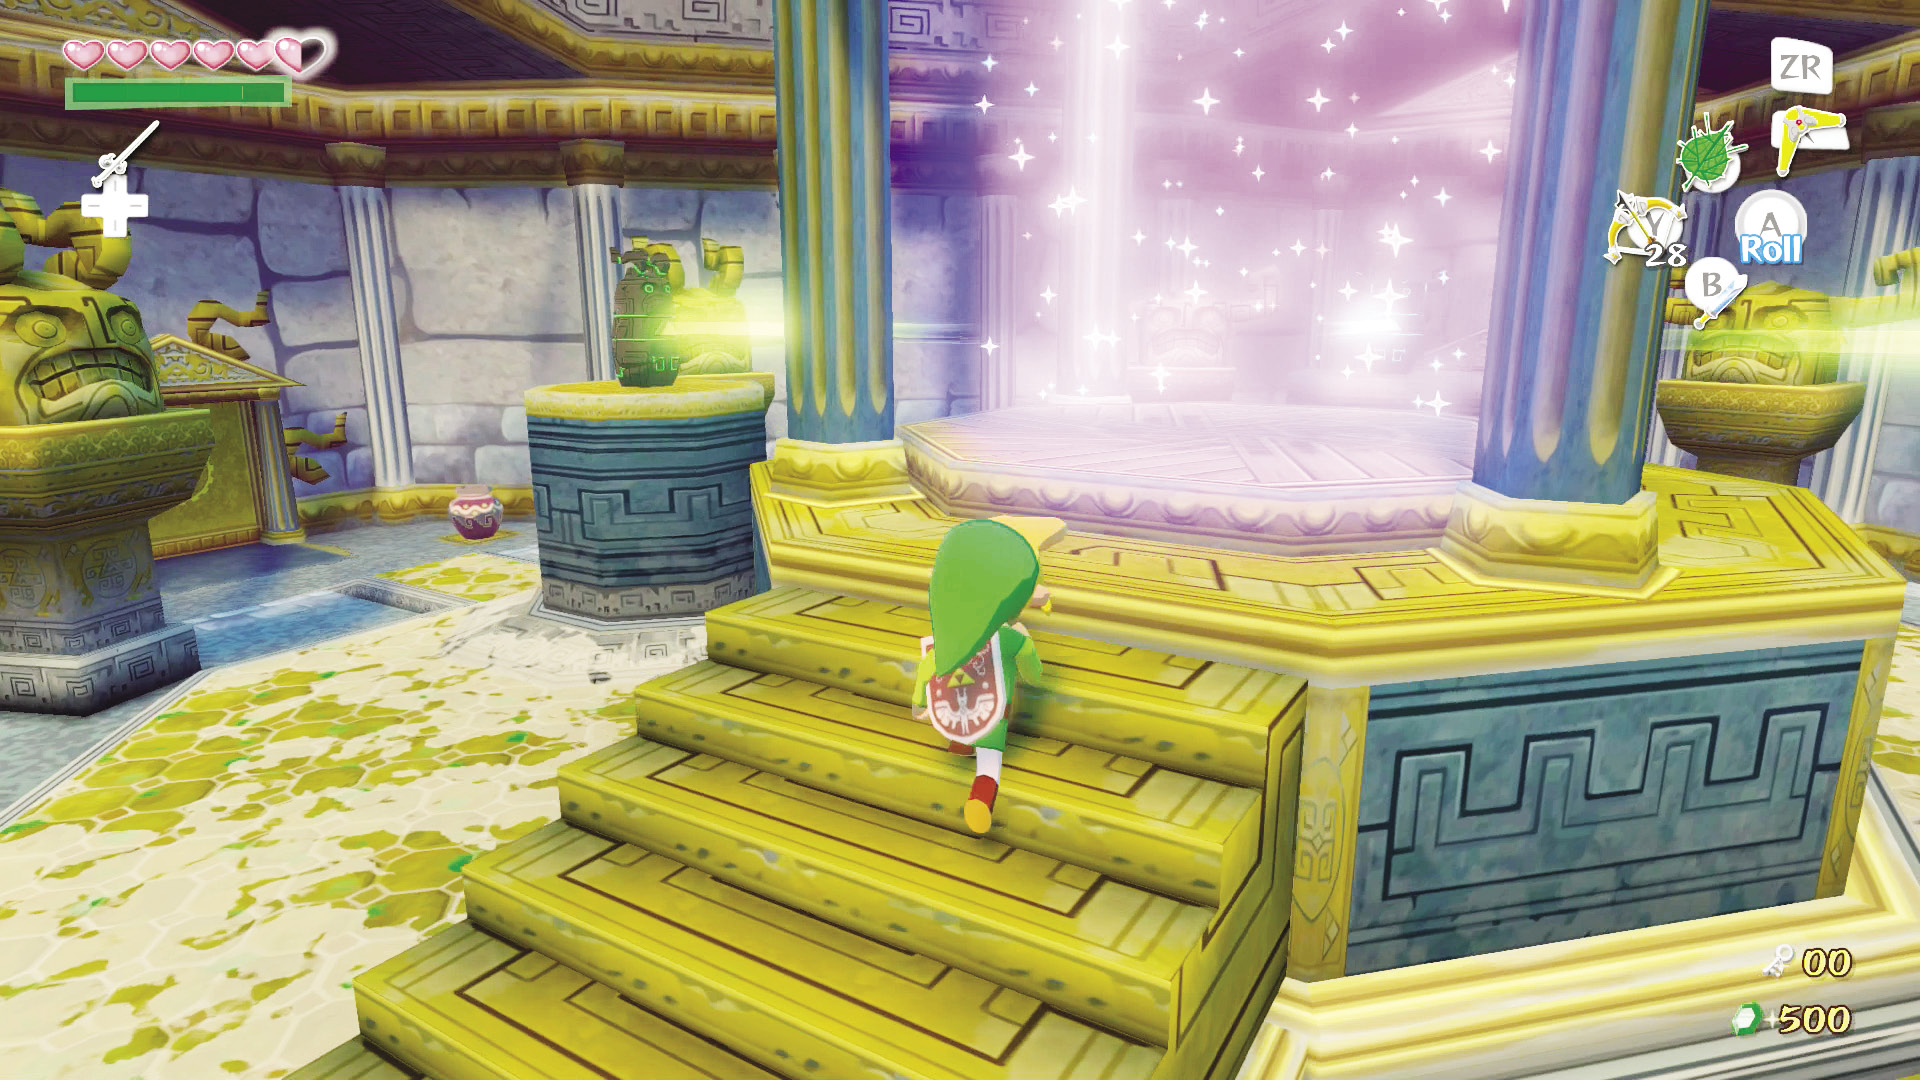
The statue will leap onto its pedestal, which causes all three statues to shoot a beam of energy into the center of the room. This creates a portal that leads up to the third floor of the Tower of the Gods. Head into the portal whenever you’re ready.
Now That You’ve Got the Bow...
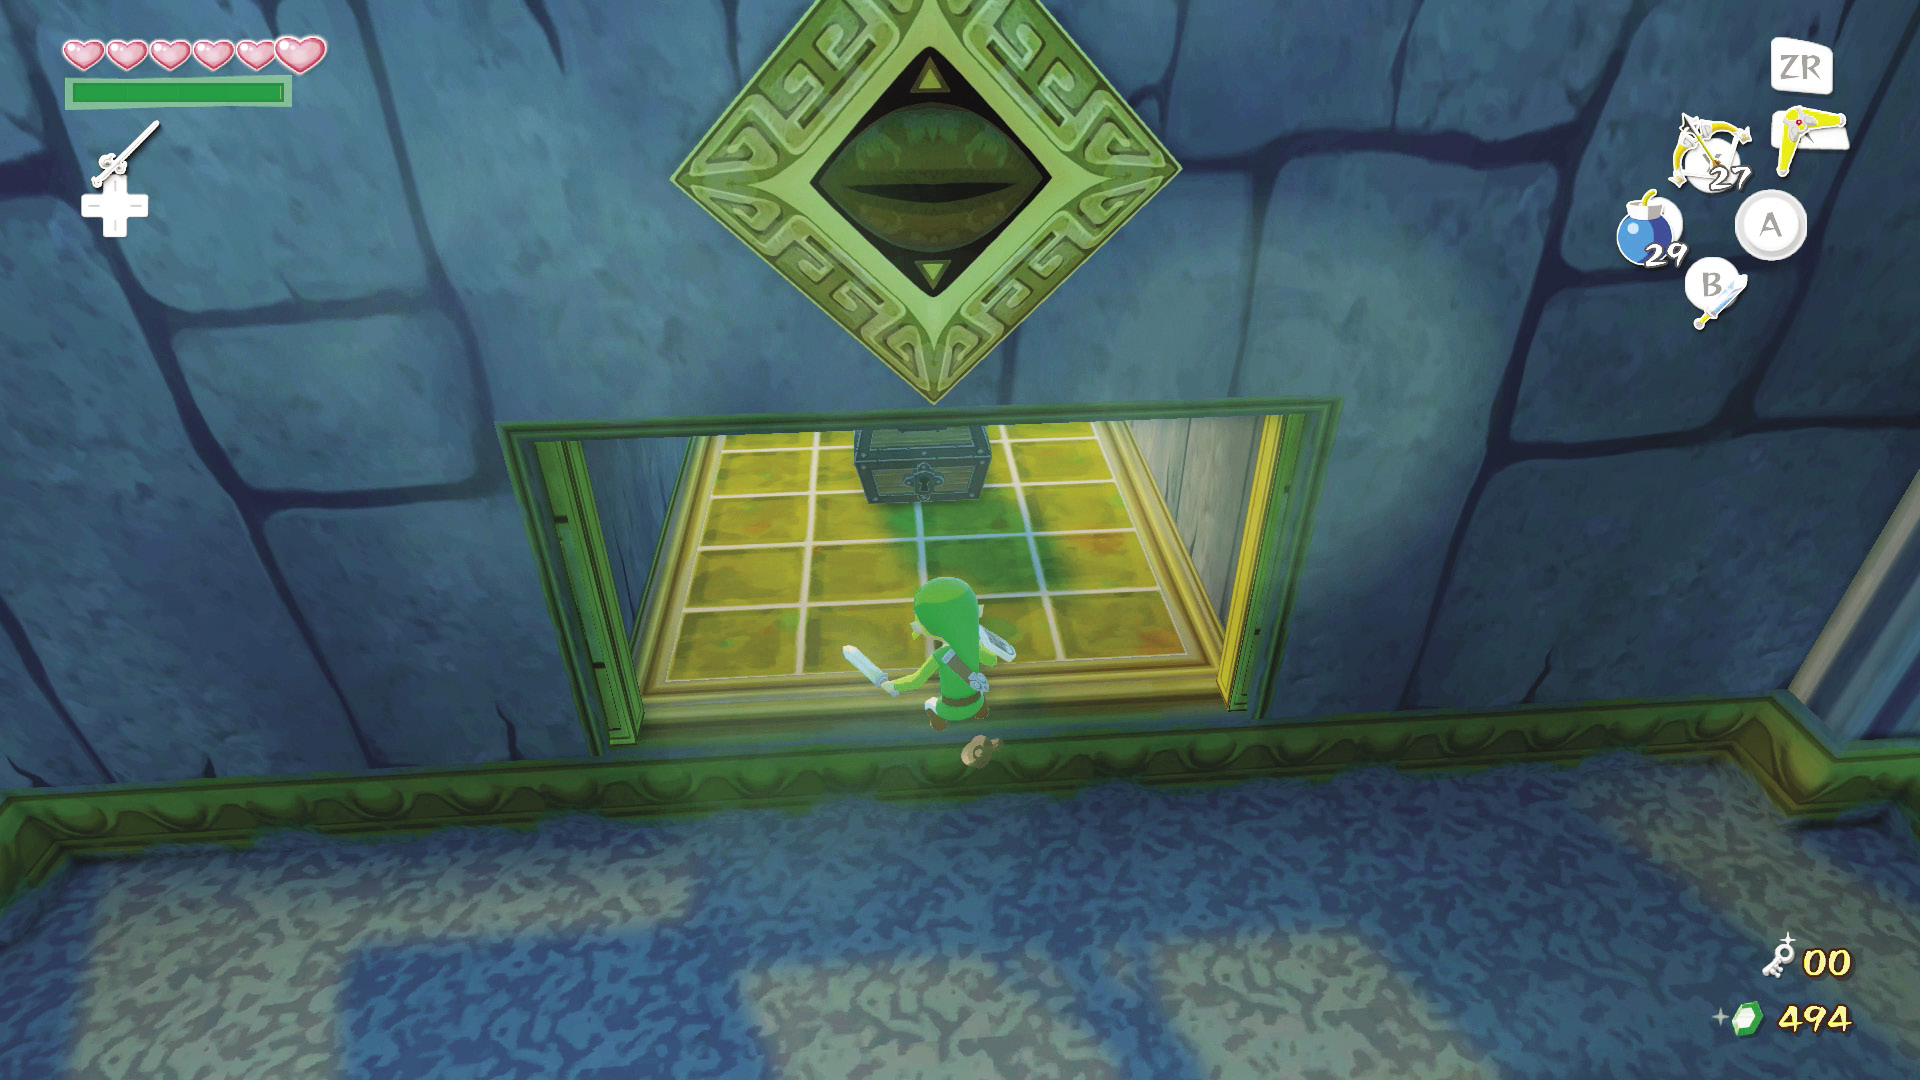
Head back down to the northwest room of the first floor—it’s the room where you got the Compass and fought your first Red Bubble. Defeat the Red Bubble with your Hero’s Bow, then shoot an arrow at the eye plaque on the wall. This will make the wall below it disappear, revealing a chest containing Treasure Chart #6. After you open the chest, a few Armos appear in the room. Defeat or ignore them, then head back to the second floor.
|
|
76 |
Treasure Chart #6 |
One More for the Road
If you’re itching for another Joy Pendant, head through the east door of the second floor’s main room (where all the statues you grabbed now sit on their pedestals). Defeat the Yellow ChuChu and the Blue Wizzrobe.
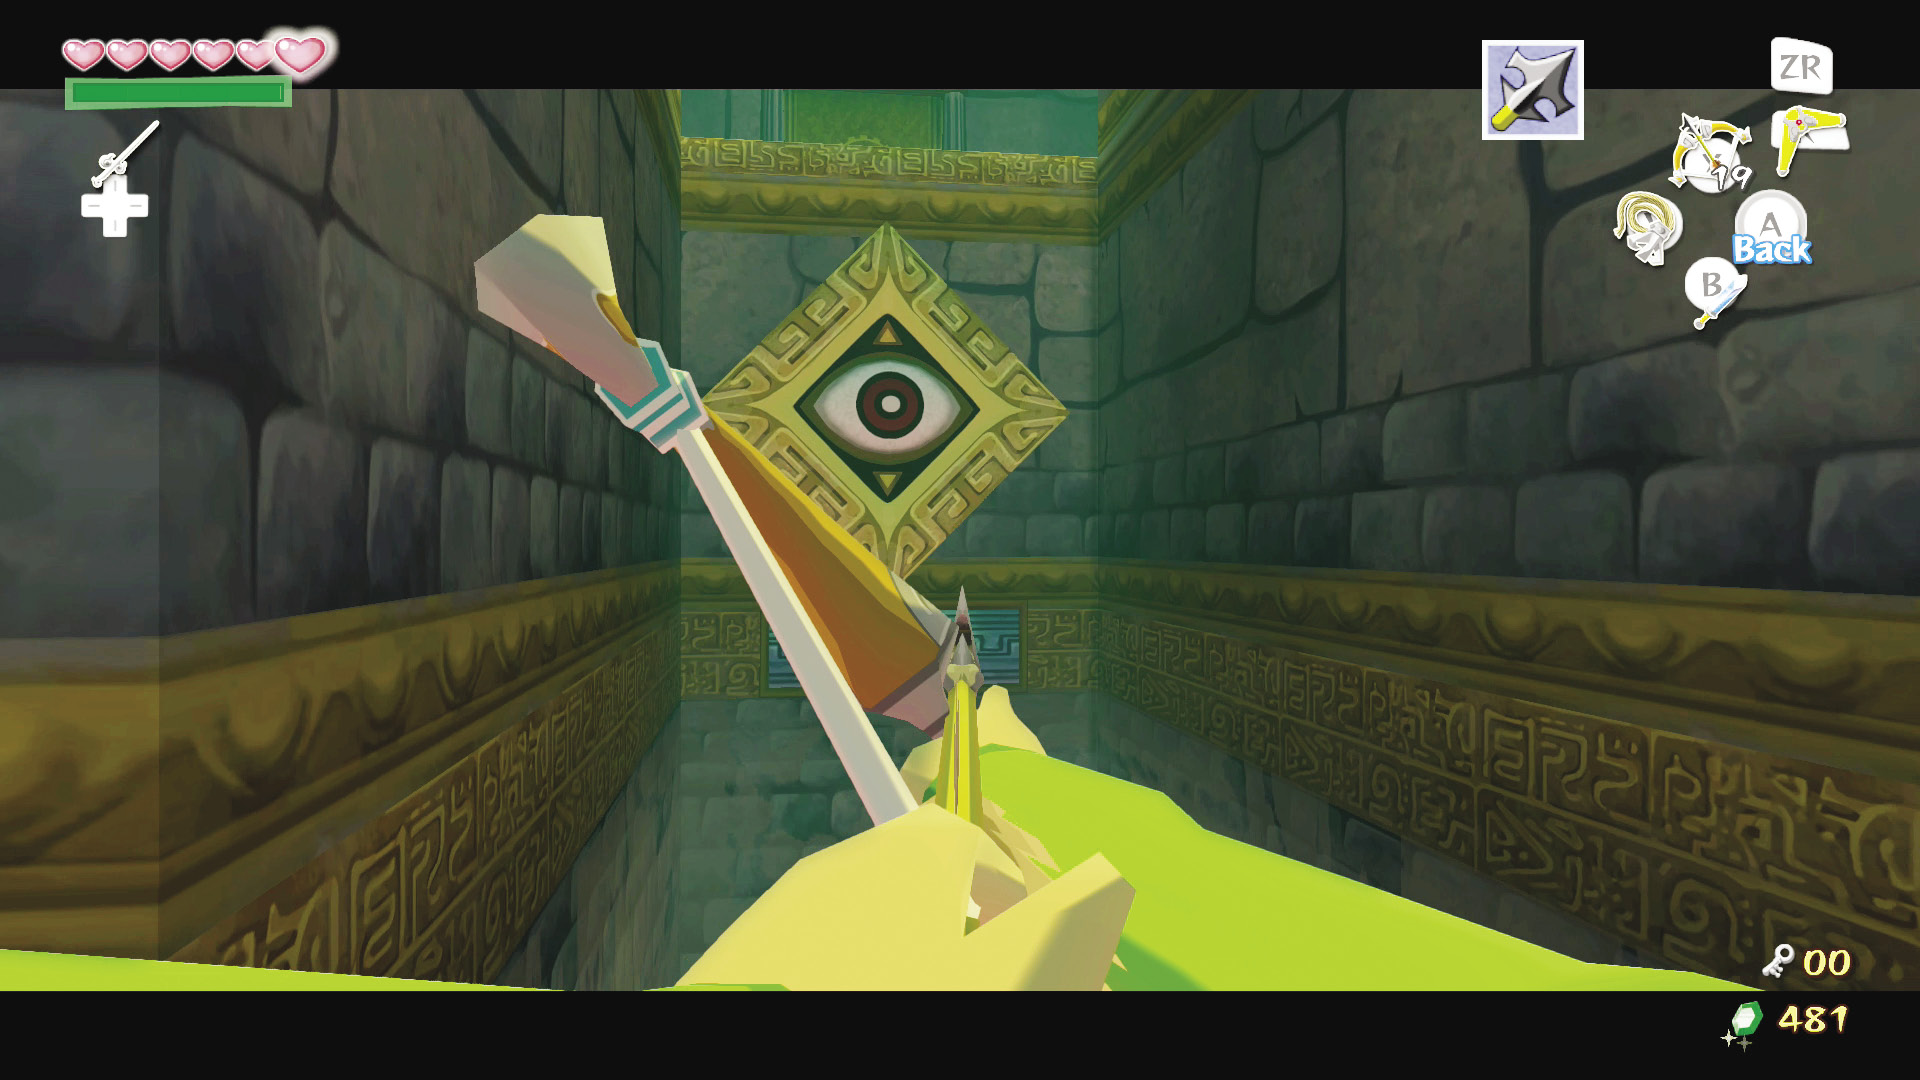
Jump onto the platform that moves between the east and west sides of the room. Face south and shoot the eye plaque ahead to active another platform.
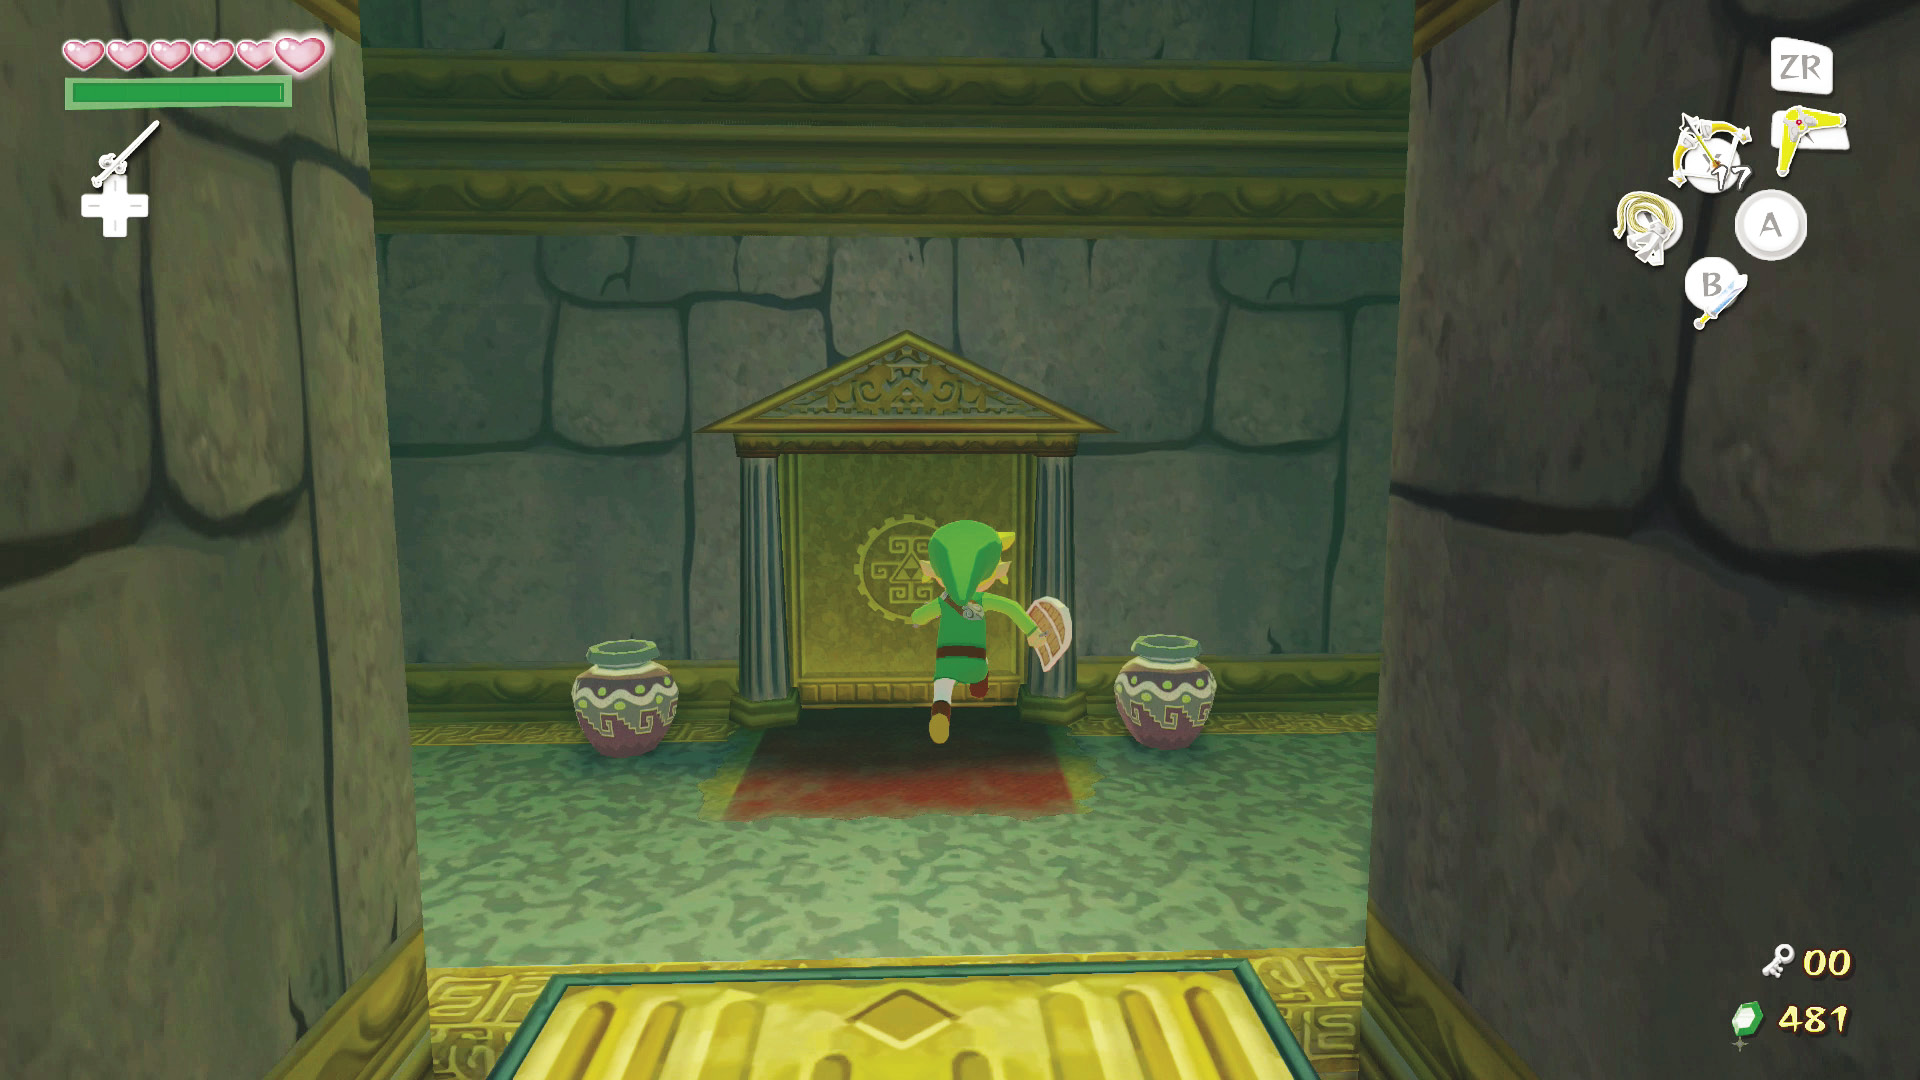
Jump onto the south platform and ride it up to the door, then head on through.
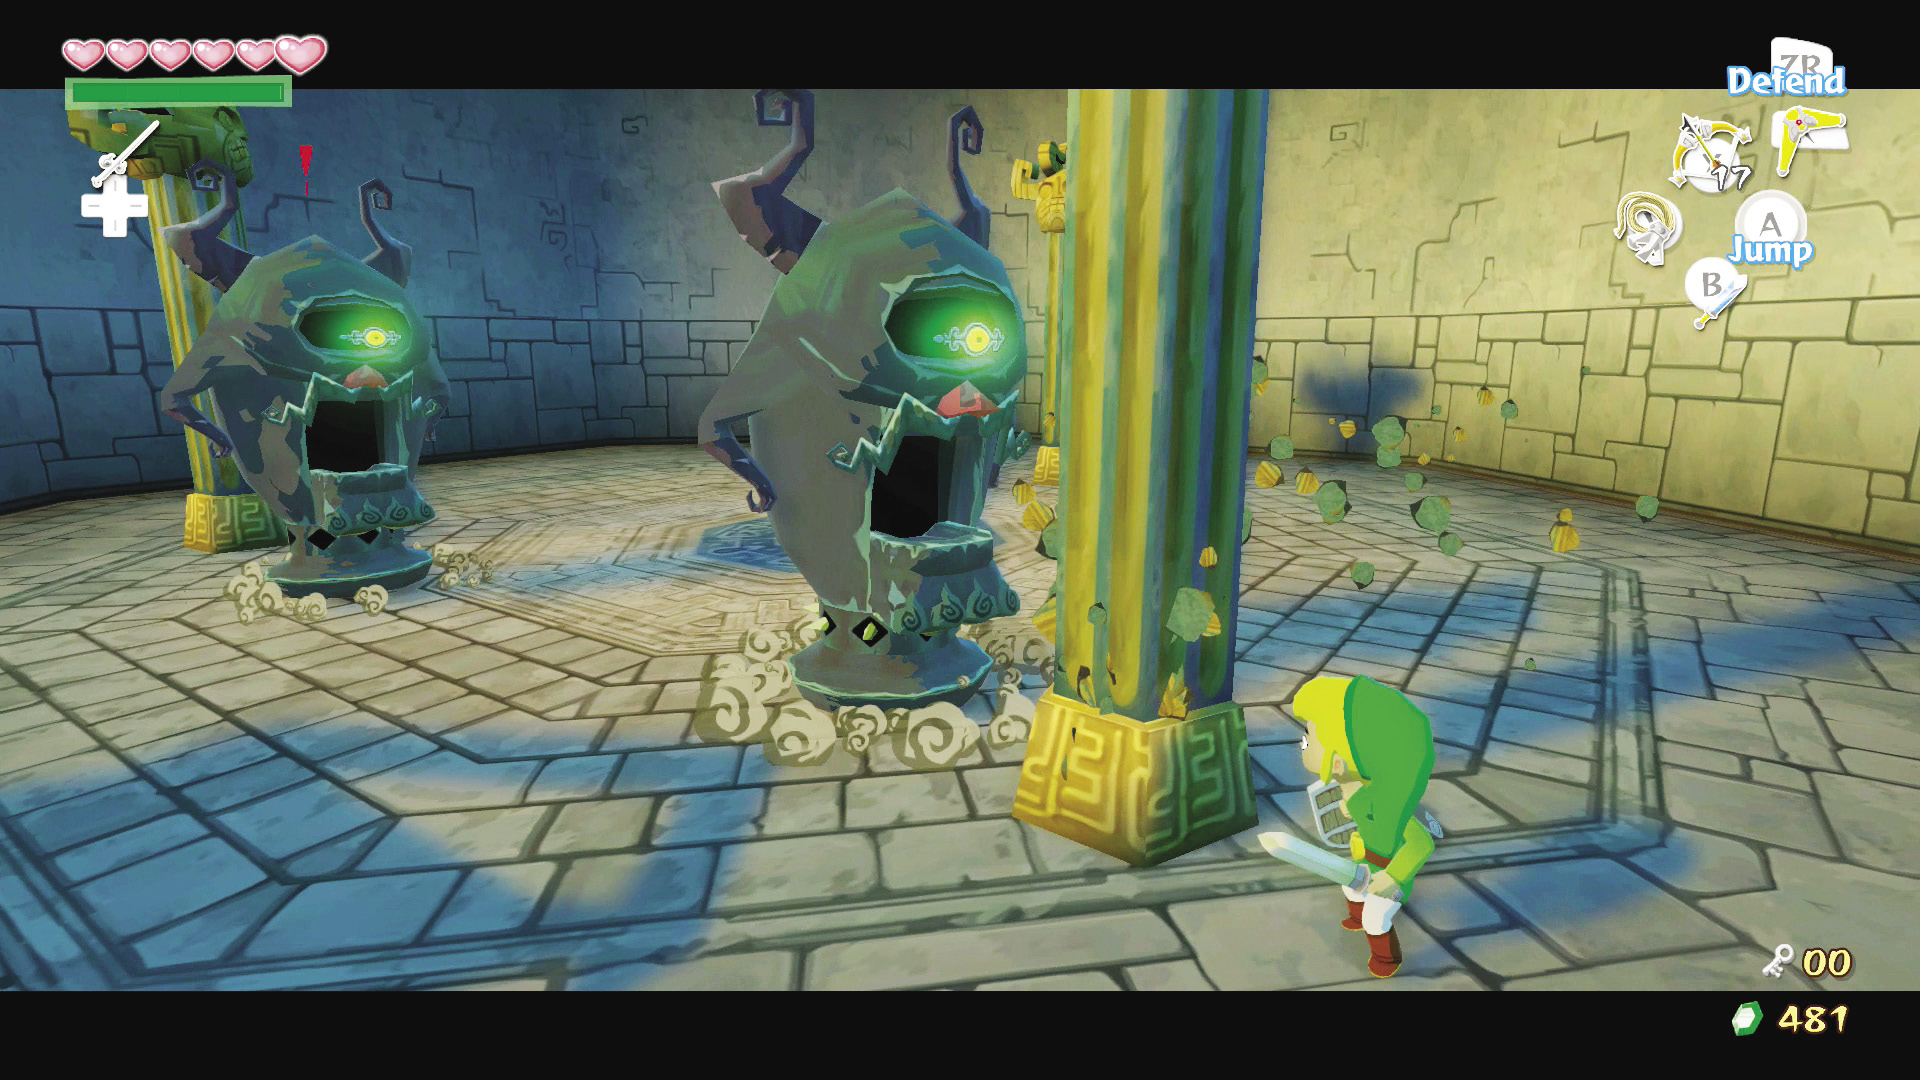
Defeat the Armos Knights that guard the Joy Pendant, then open the chest to claim the pendant as your own. Head back out of the room and use the Deku Leaf to glide back to the western door.
Third and Fourth Floors
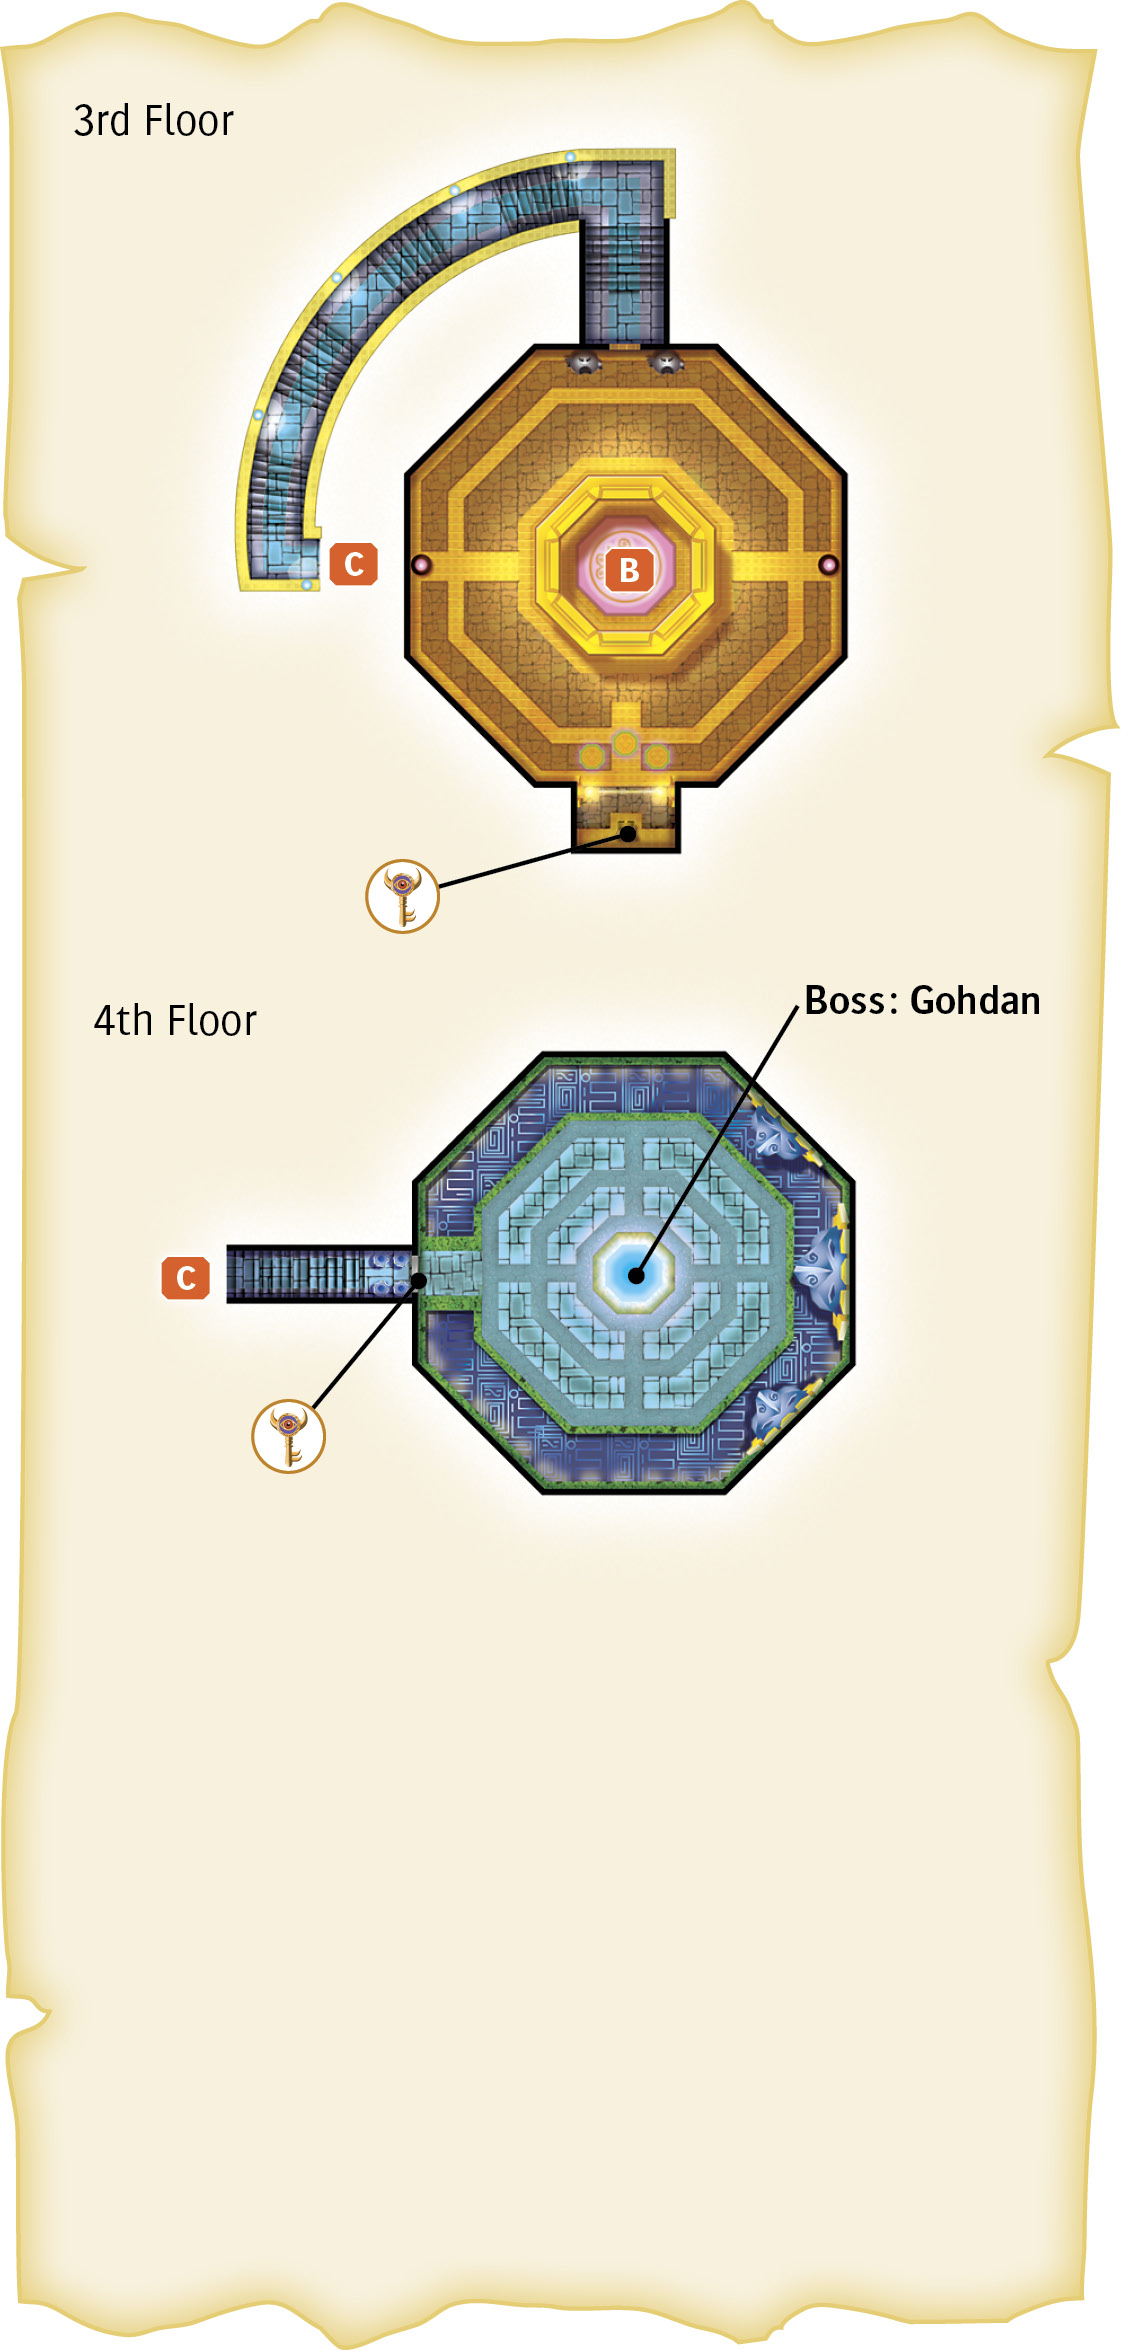
8. The Final Approach
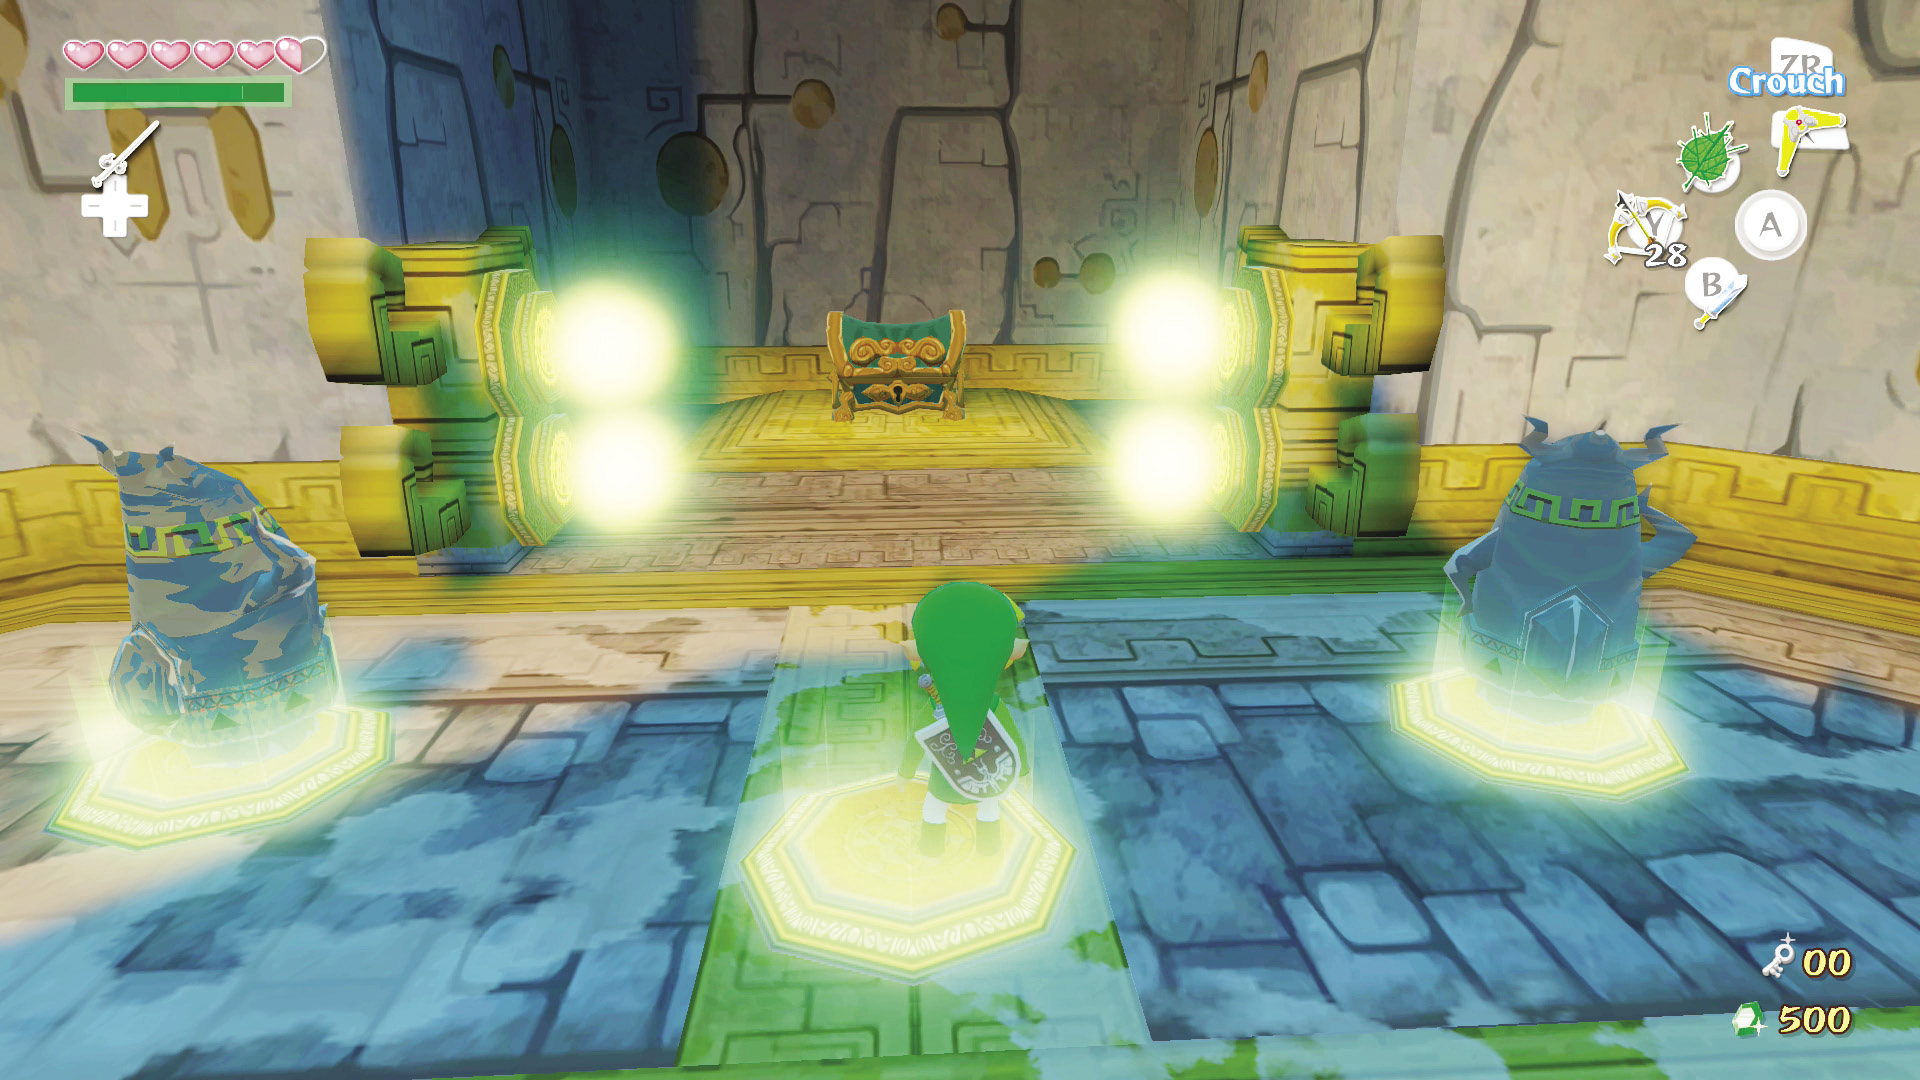
On the room’s north side are two Armos statues to either side of the barred door. Take them to the room’s south side and place them on the constant pressure switches. Stand on the remaining switch to remove the electric barrier blocking the chest.
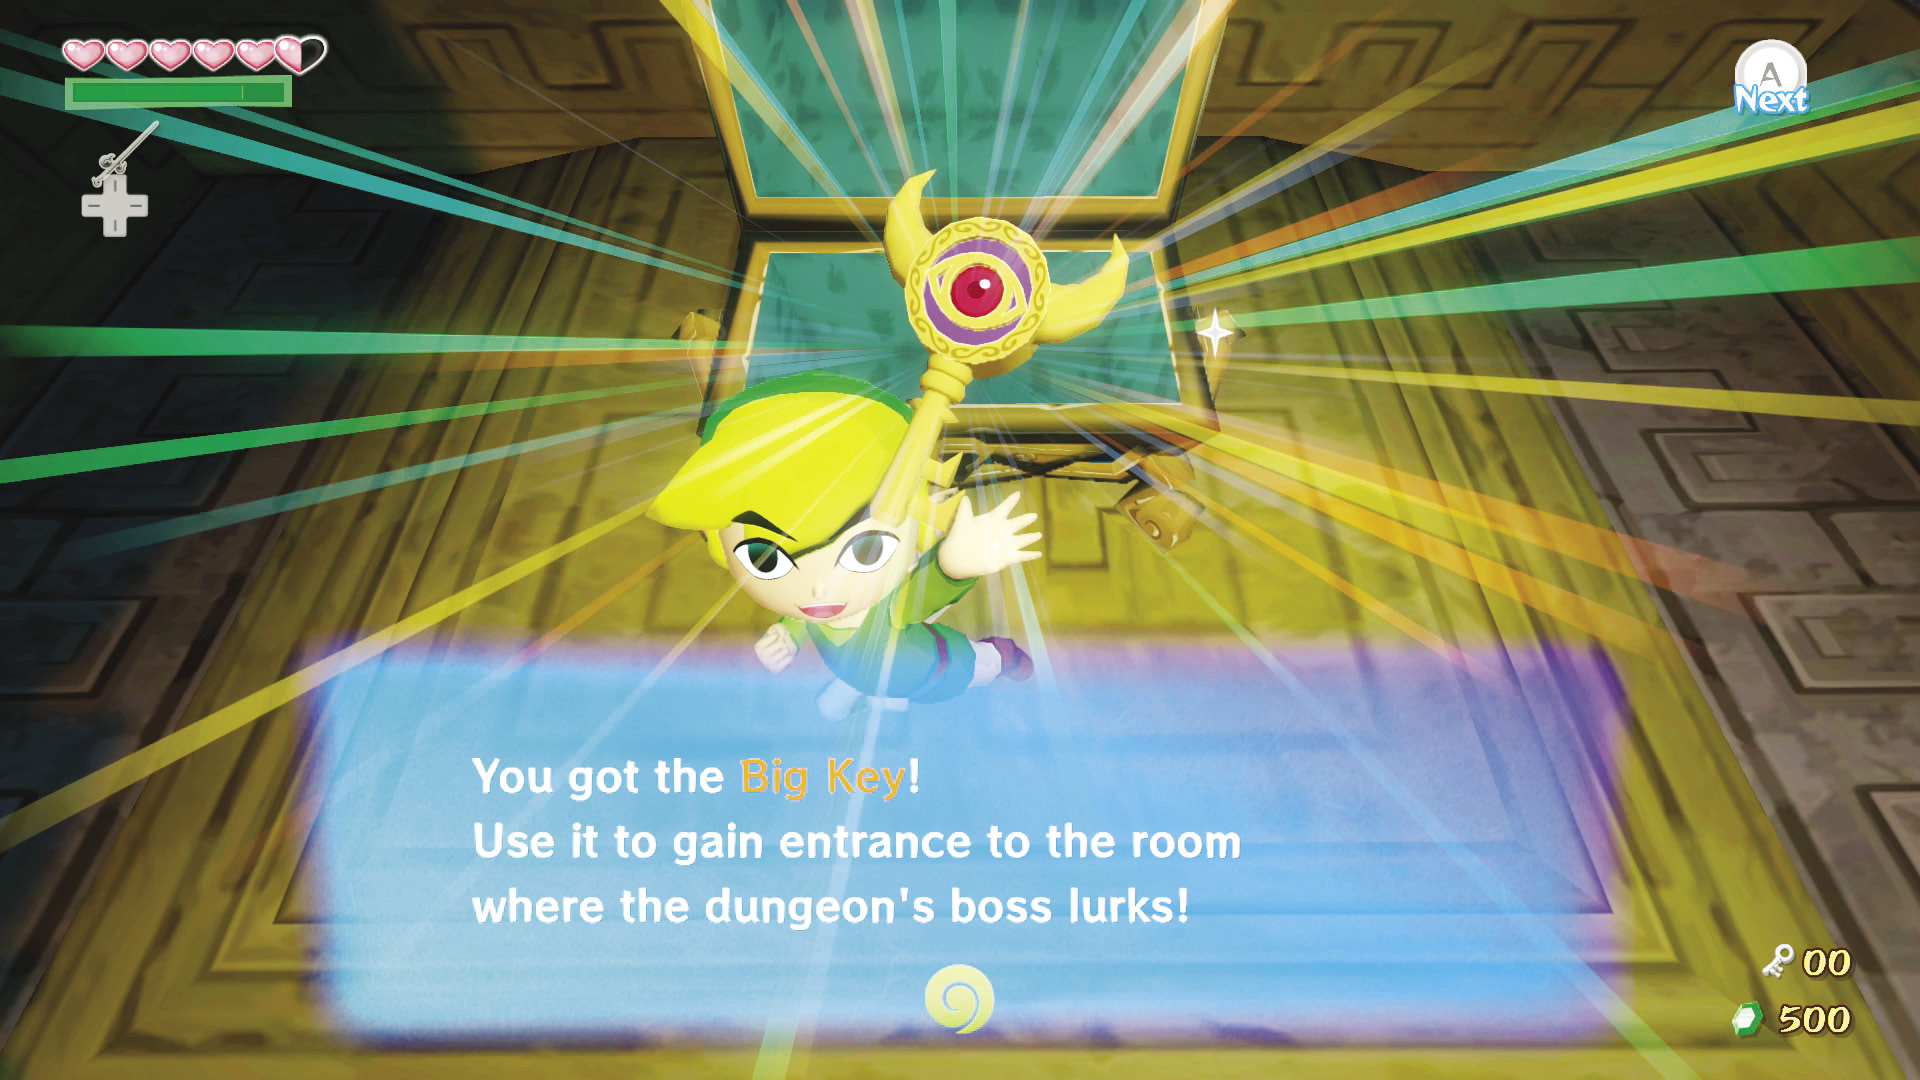
Open the chest to receive the dungeon’s Big Key. Be on alert: The Armos statues you just placed will come to life immediately after you open the chest. Defeat them and the northern door will open, allowing you to continue on.
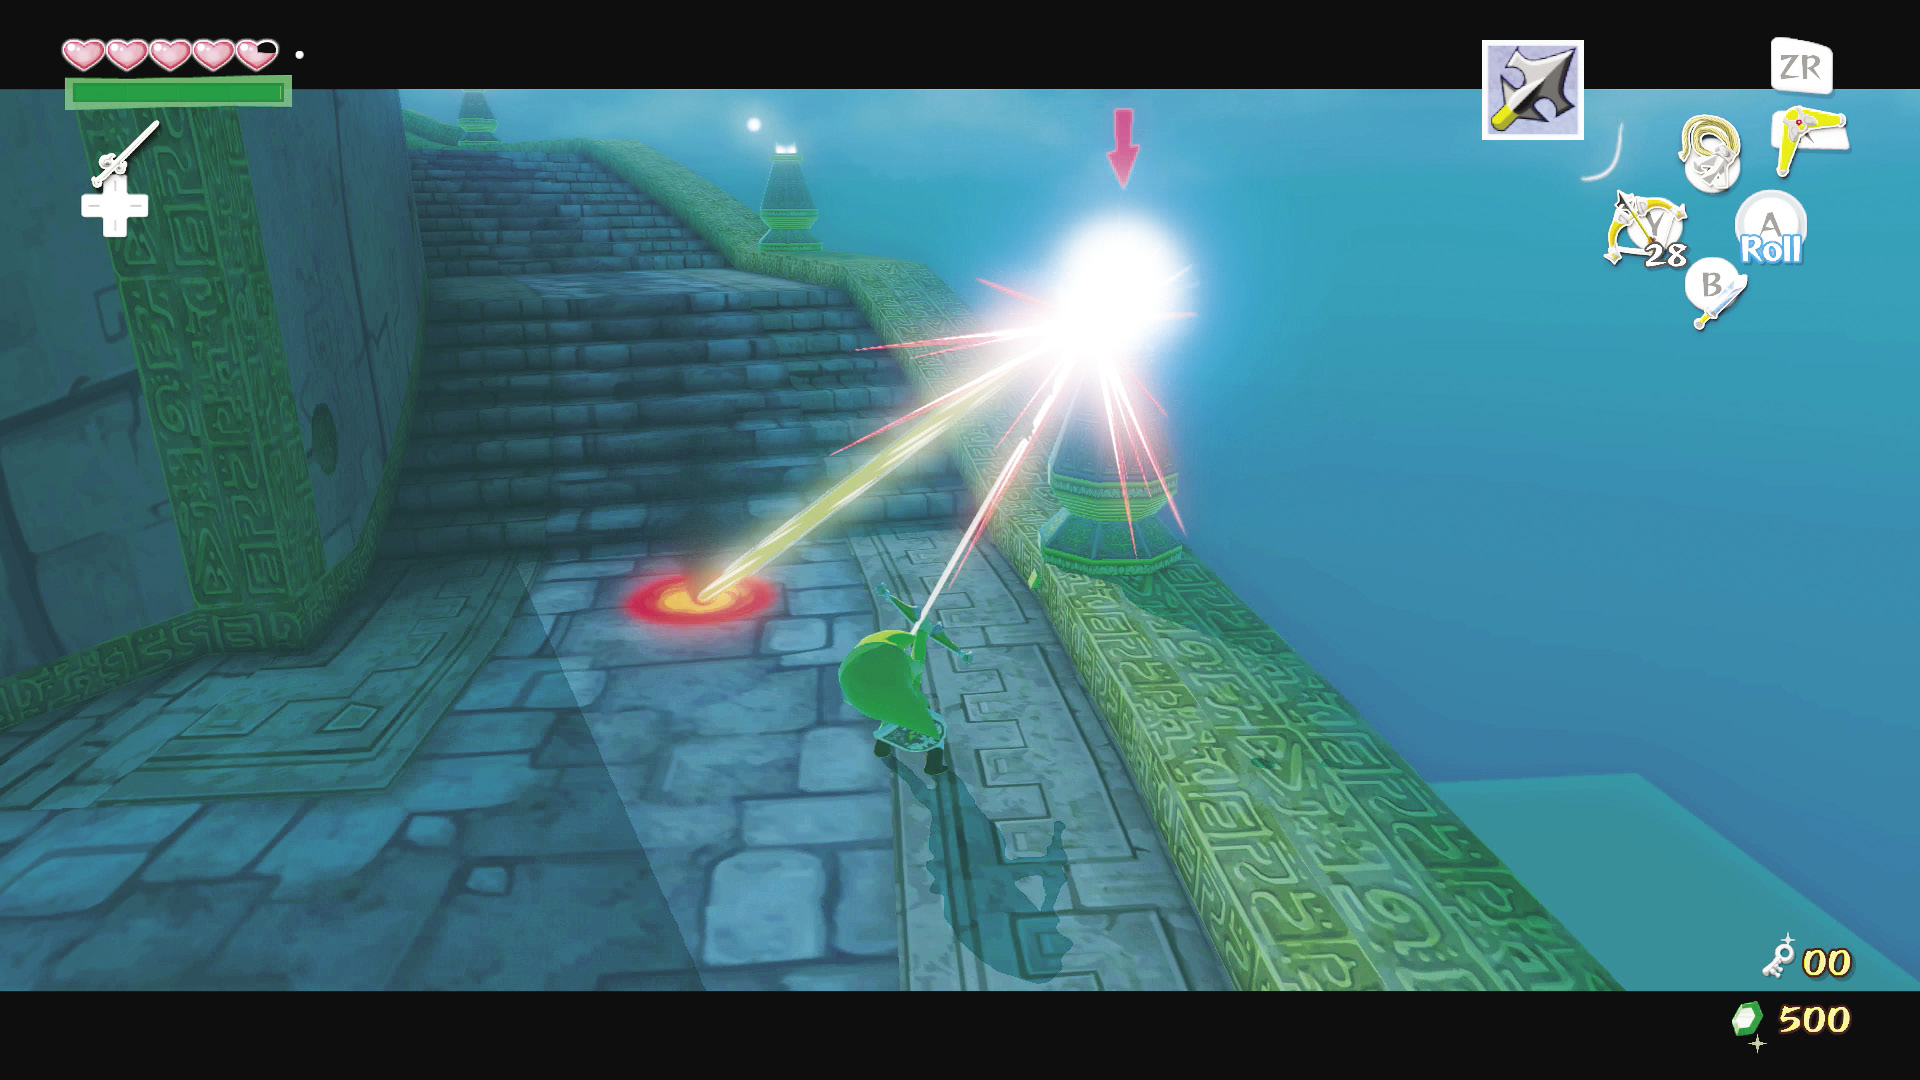
This walkway leads directly to the dungeon boss’s door. Along the staircase ahead are several Beamos that would be more than happy to impede your progress. The blue Beamos fire on only one spot on the stairs. This works out well for you, because you can destroy a Beamos with your Hero’s Bow if you hit it with an arrow when its orb is firing a laser. Pull out your Bow and destroy the blue Beamos, but avoid the red ones the same as you have in past encounters—you can dispatch them in the same manner as the blue Beamos orbs, but because red Beamoses fire at Link directly, defeating them requires some careful and quick Bow-work.
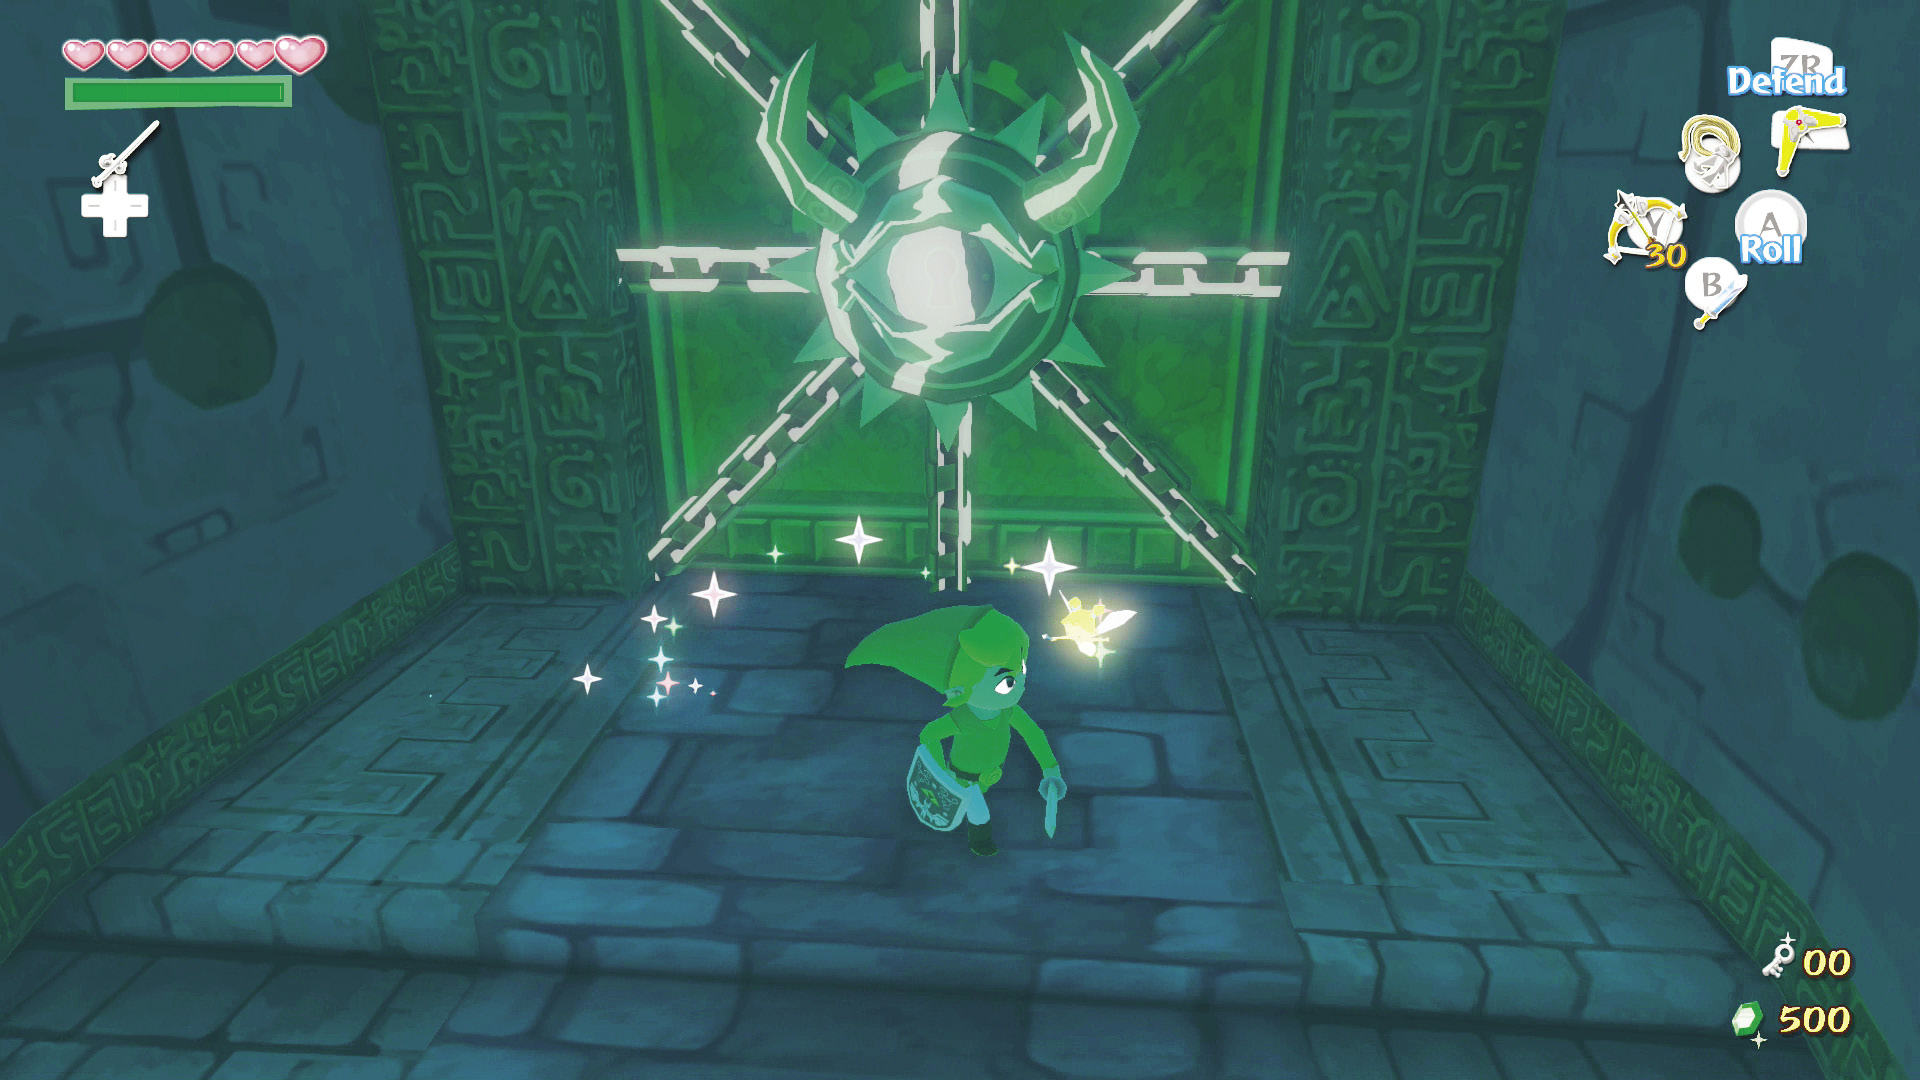
Head to the top of the stairs to find the dungeon boss’s door. The pots lining the wall leading up to the door contain items that you can use to replenish your health, magic, and items, but the first pot on the left is most notable for containing a Fairy. When you feel adequately prepared, save your game and head through the door.
Boss: Gohdan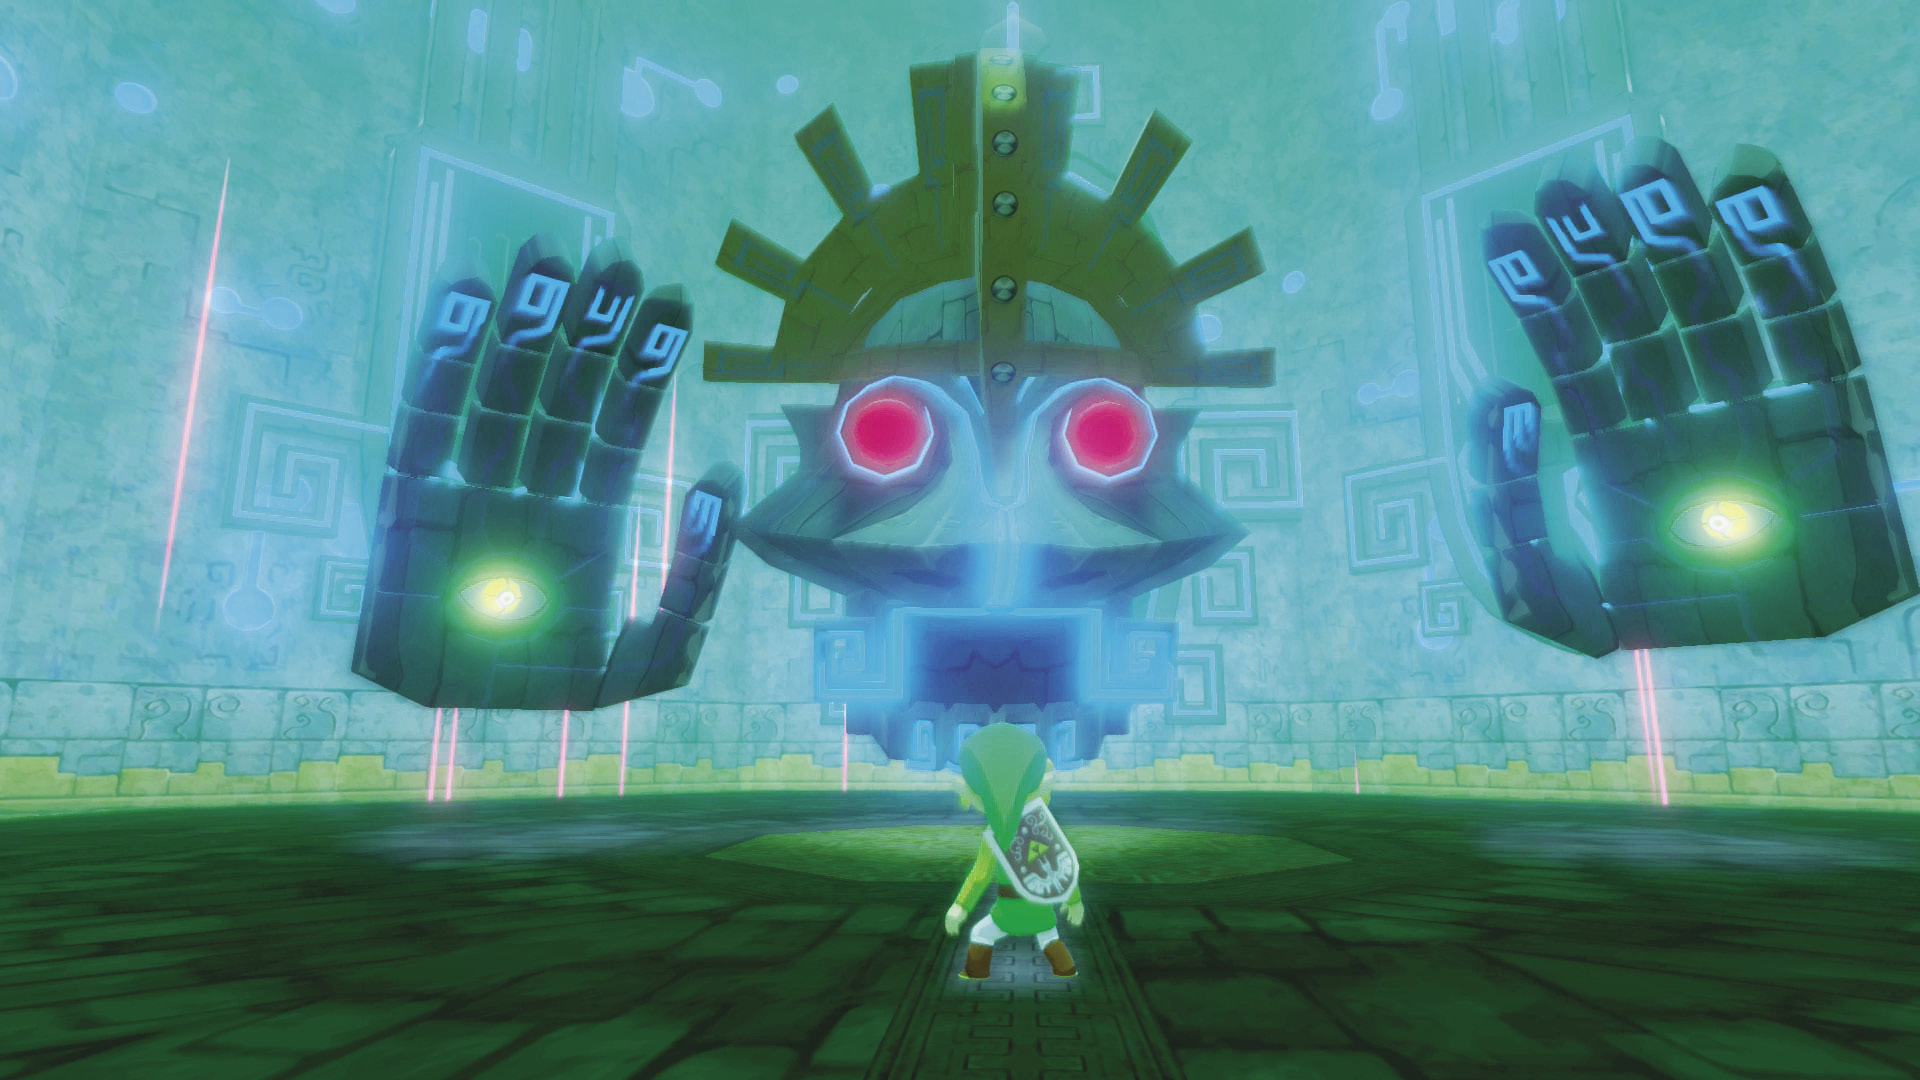 Gohdan is the guardian of the Tower of the Gods and the facilitator of the tower’s final test. Defeat Gohdan and Link’s potential as a hero will be realized. 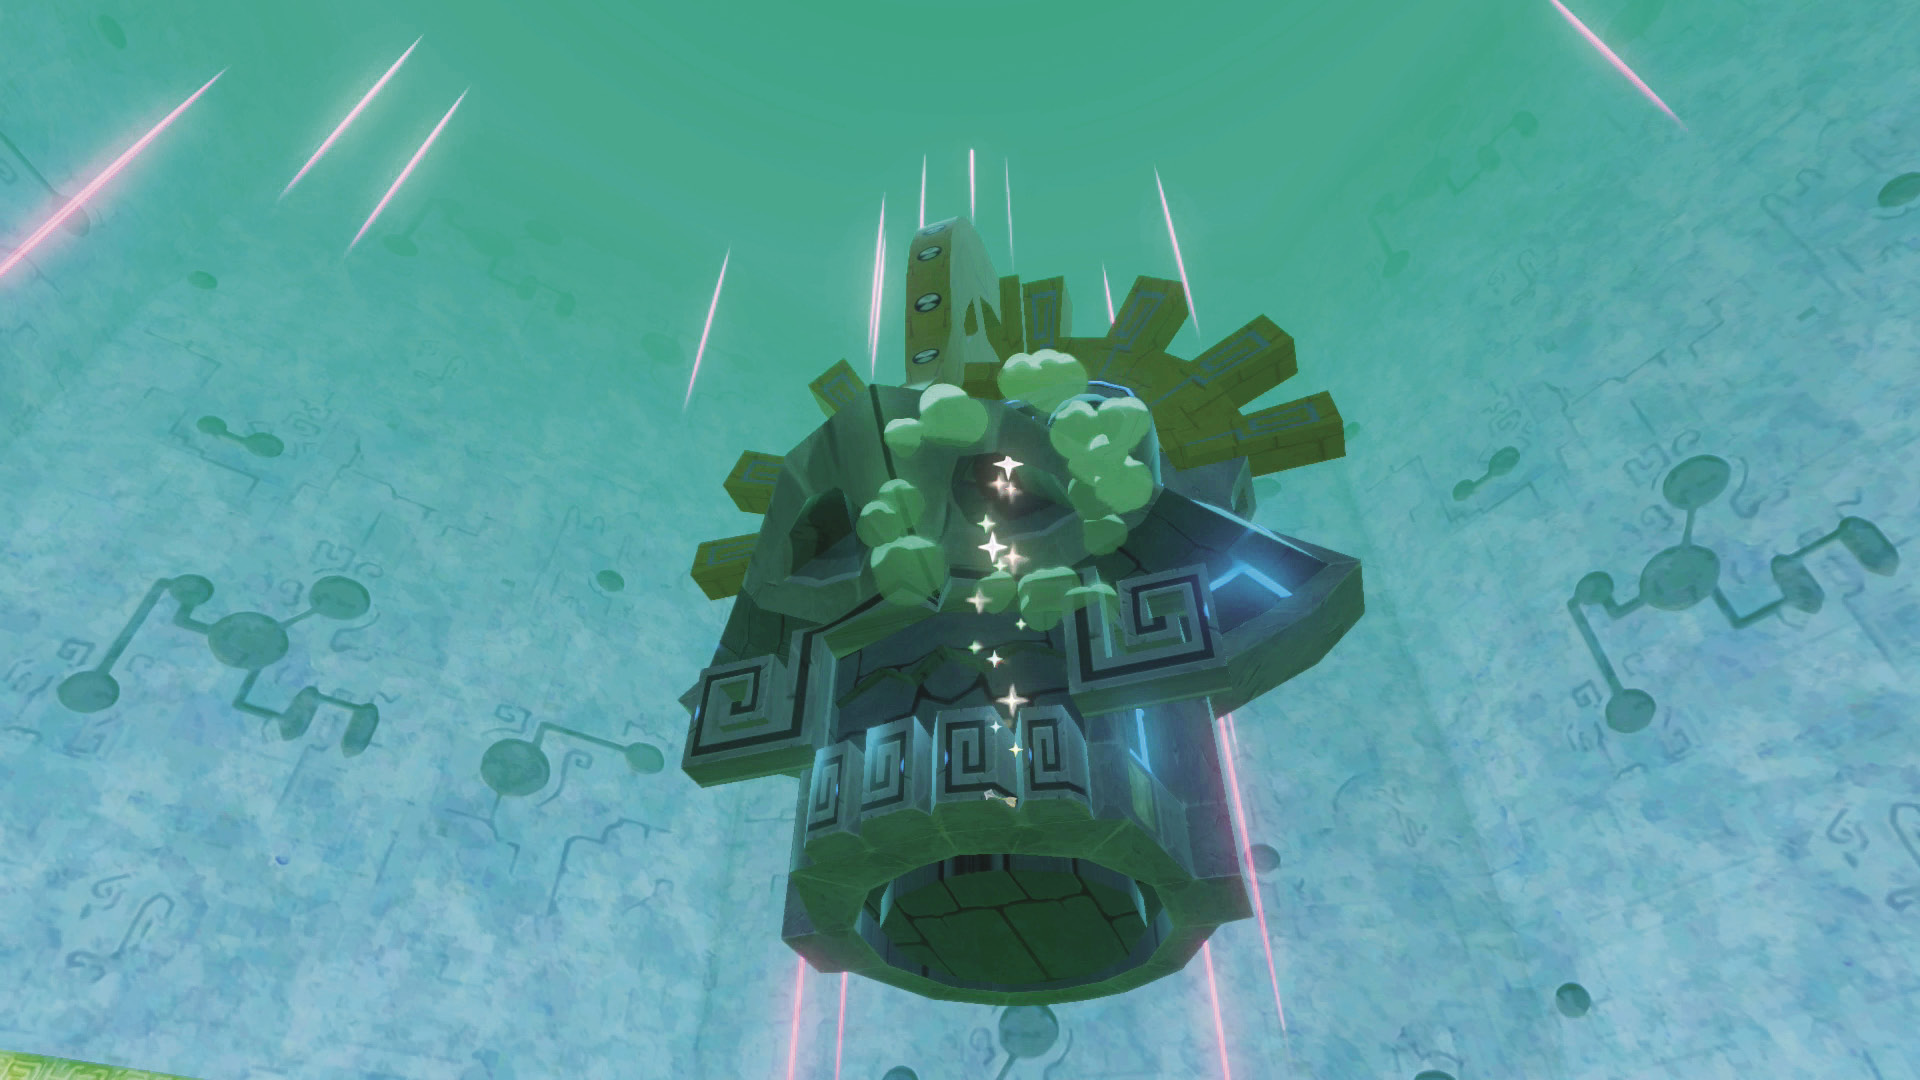 Out of all the dungeon bosses you’ll face, Gohdan is likely the most sporting. This fight requires lots of arrows and a good deal of bombs, both of which Gohdan will gladly refill should you ever run out. 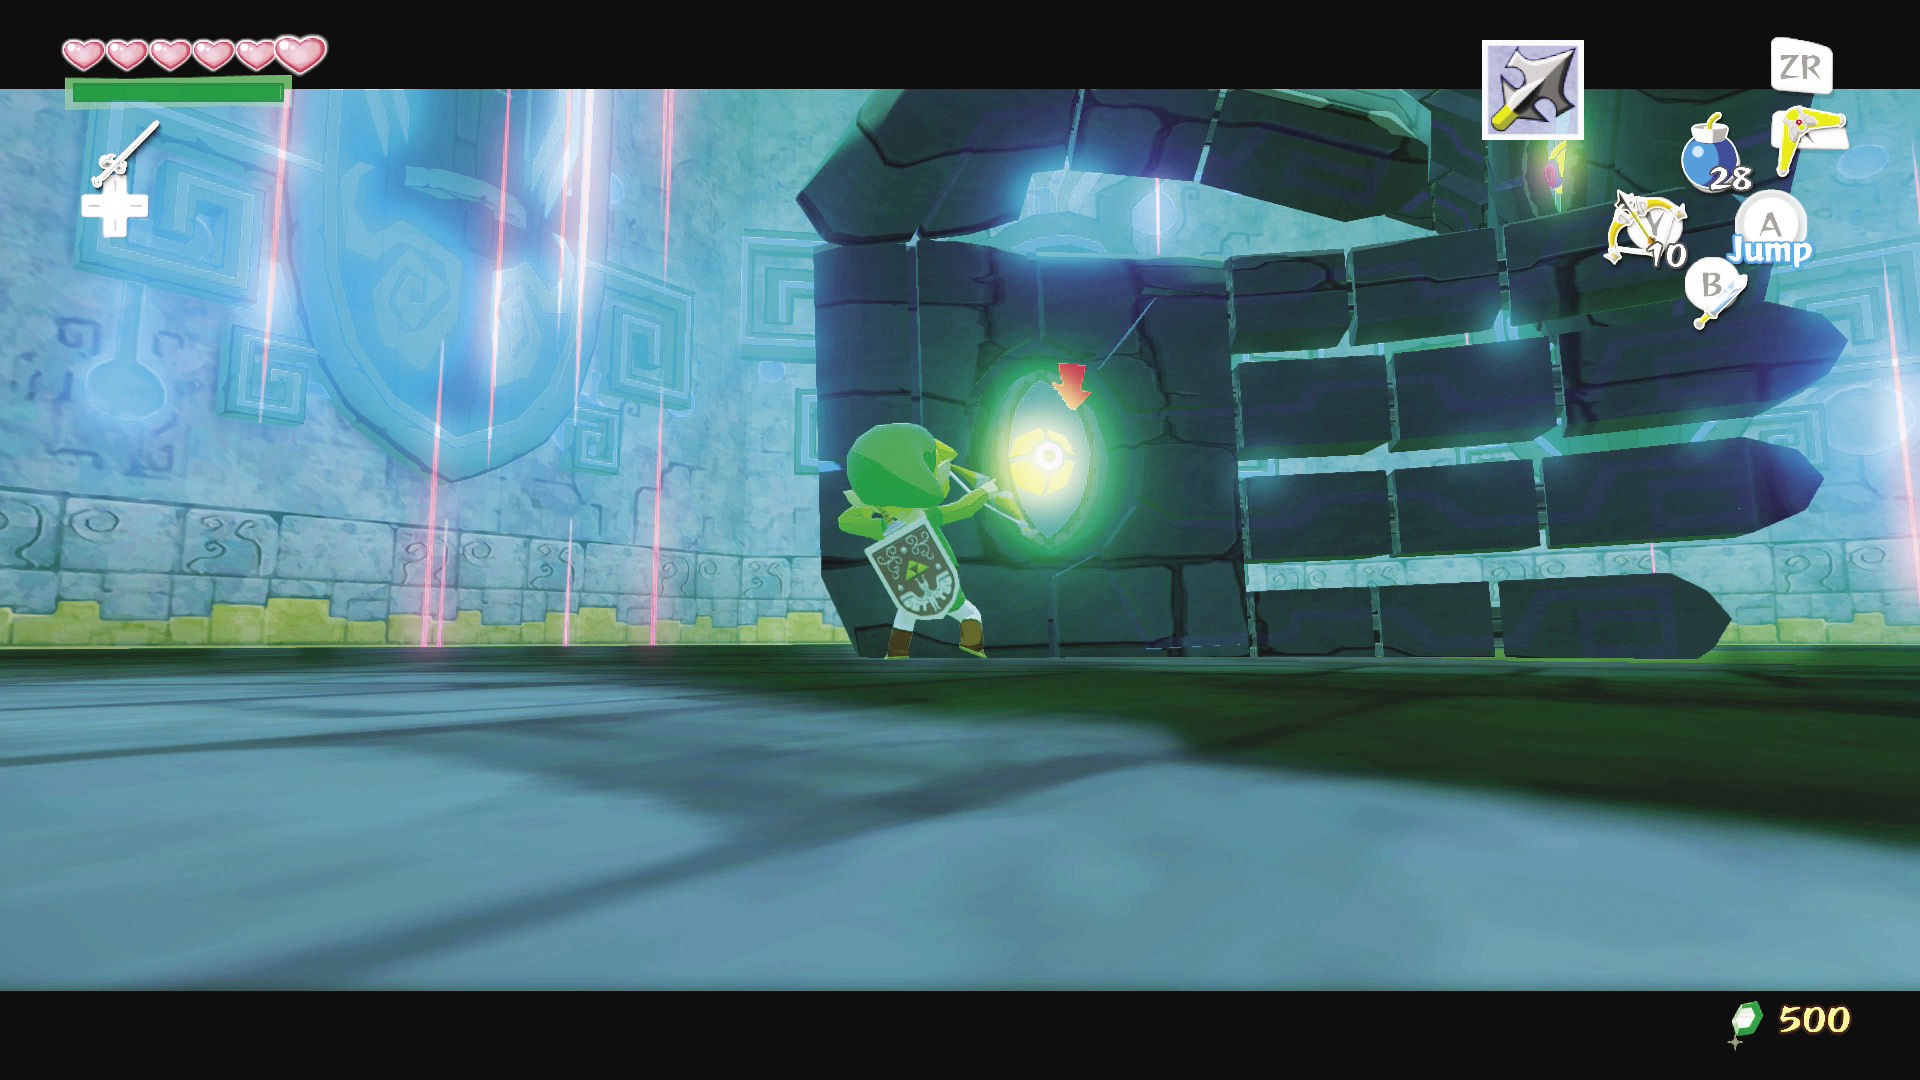 This boss has a pretty decent array of attacks that will keep you on your toes. He’ll often put his hands down on either side of the arena and then smash them together in an attempt to flatten Link. This is probably Gohdan’s toughest attack to dodge. When you see Gohdan’s hands hit the arena with his palms toward you, roll until you are no longer between them. 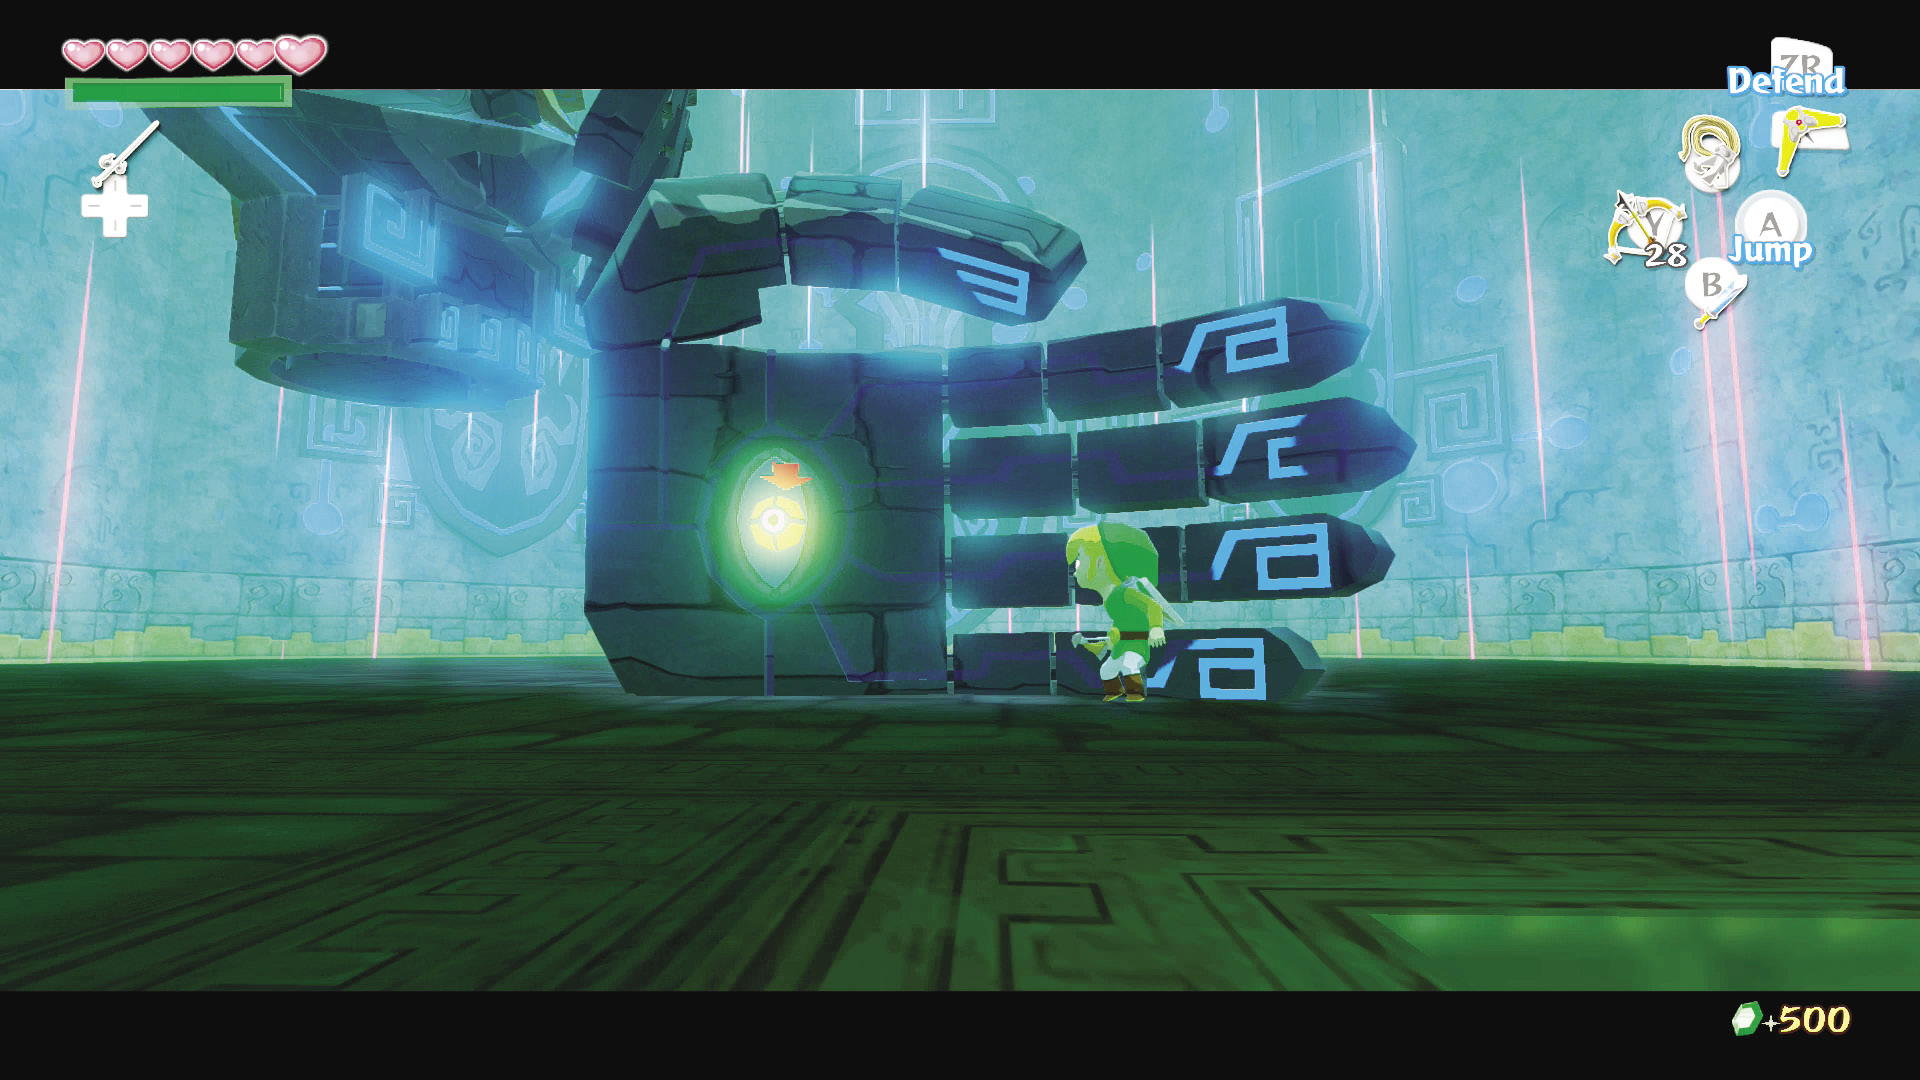 Occasionally, one of Gohdan’s hands will attempt to sweep you off the arena into the electrified border below. If you see a single hand hit the arena, roll until you are no longer directly in front of his palm. 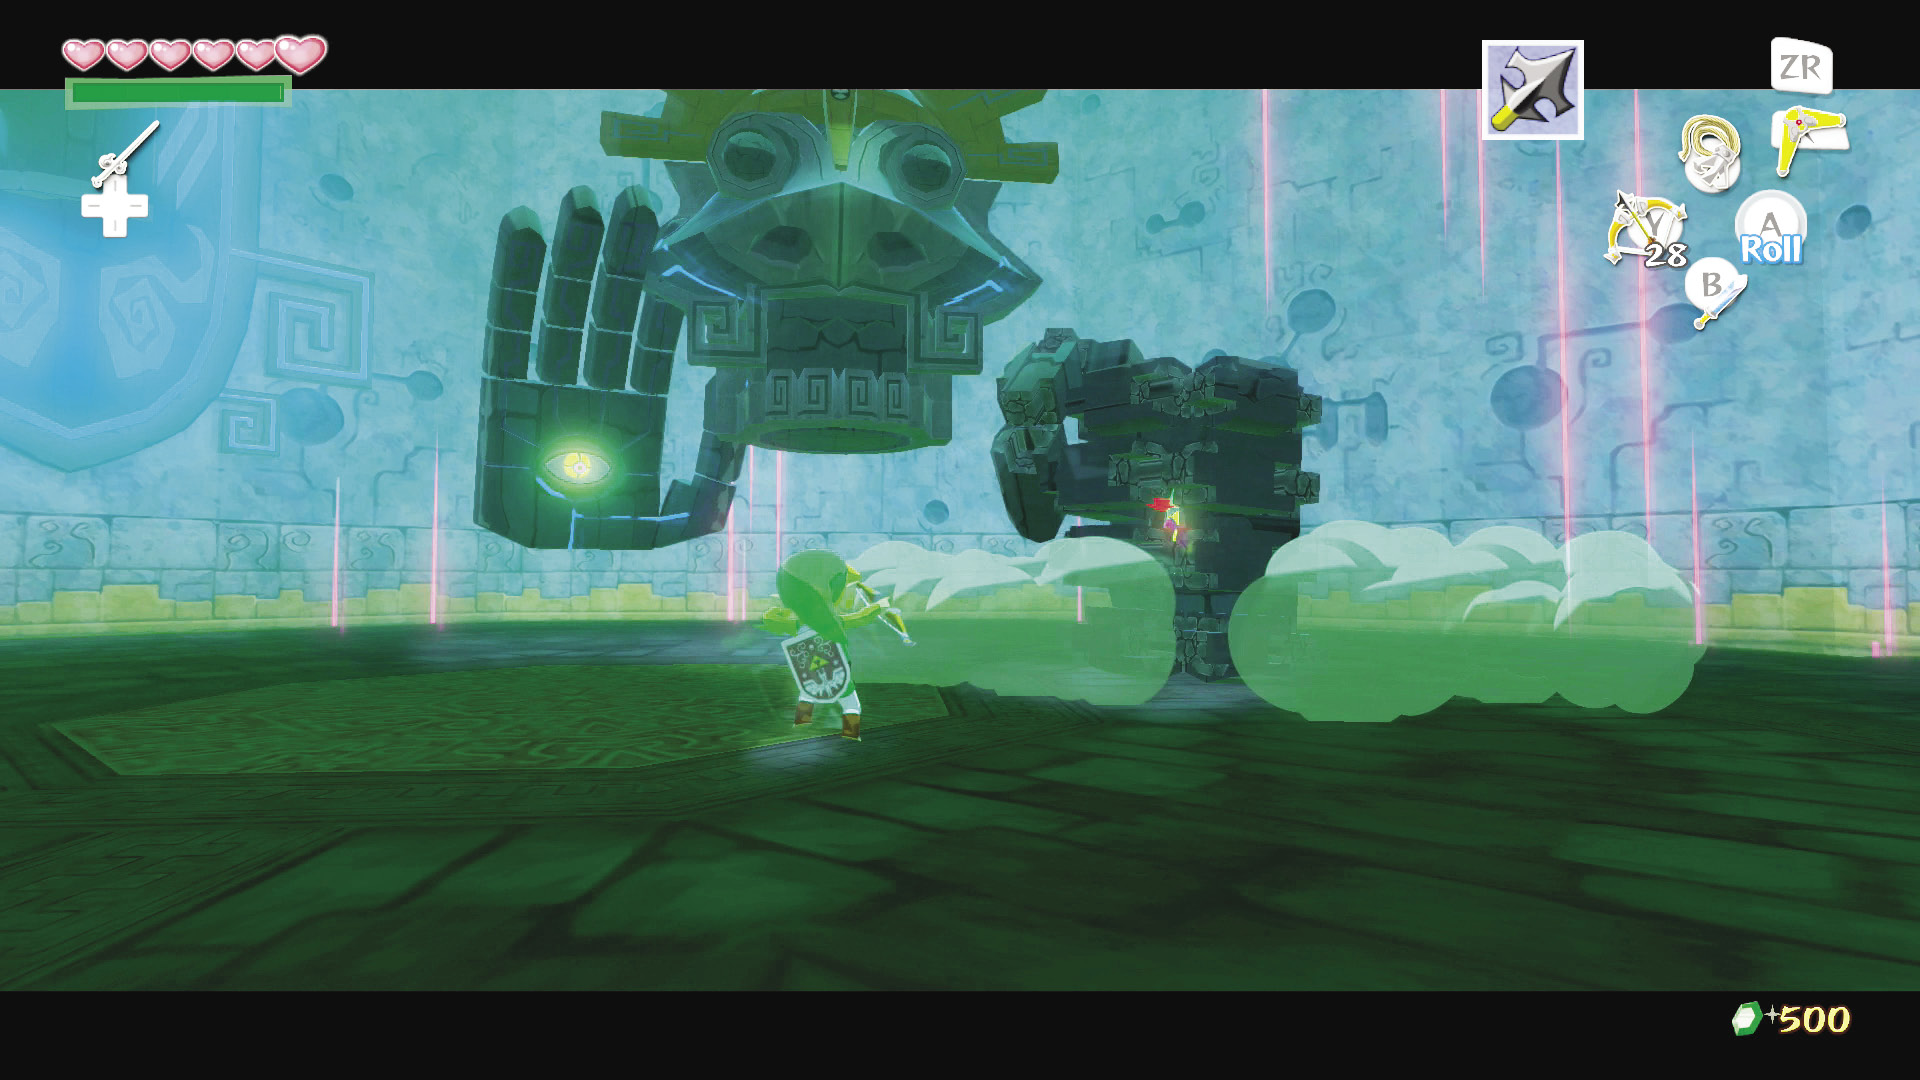 Another attack involves both of Gohdan’s hands coming together in a double fist and slamming straight down on top of you. This move hits quickly, so roll out of the way as soon as you see a hand or two above you. It should be noted that Gohdan will also occasionally smash down on Link with just one fist. 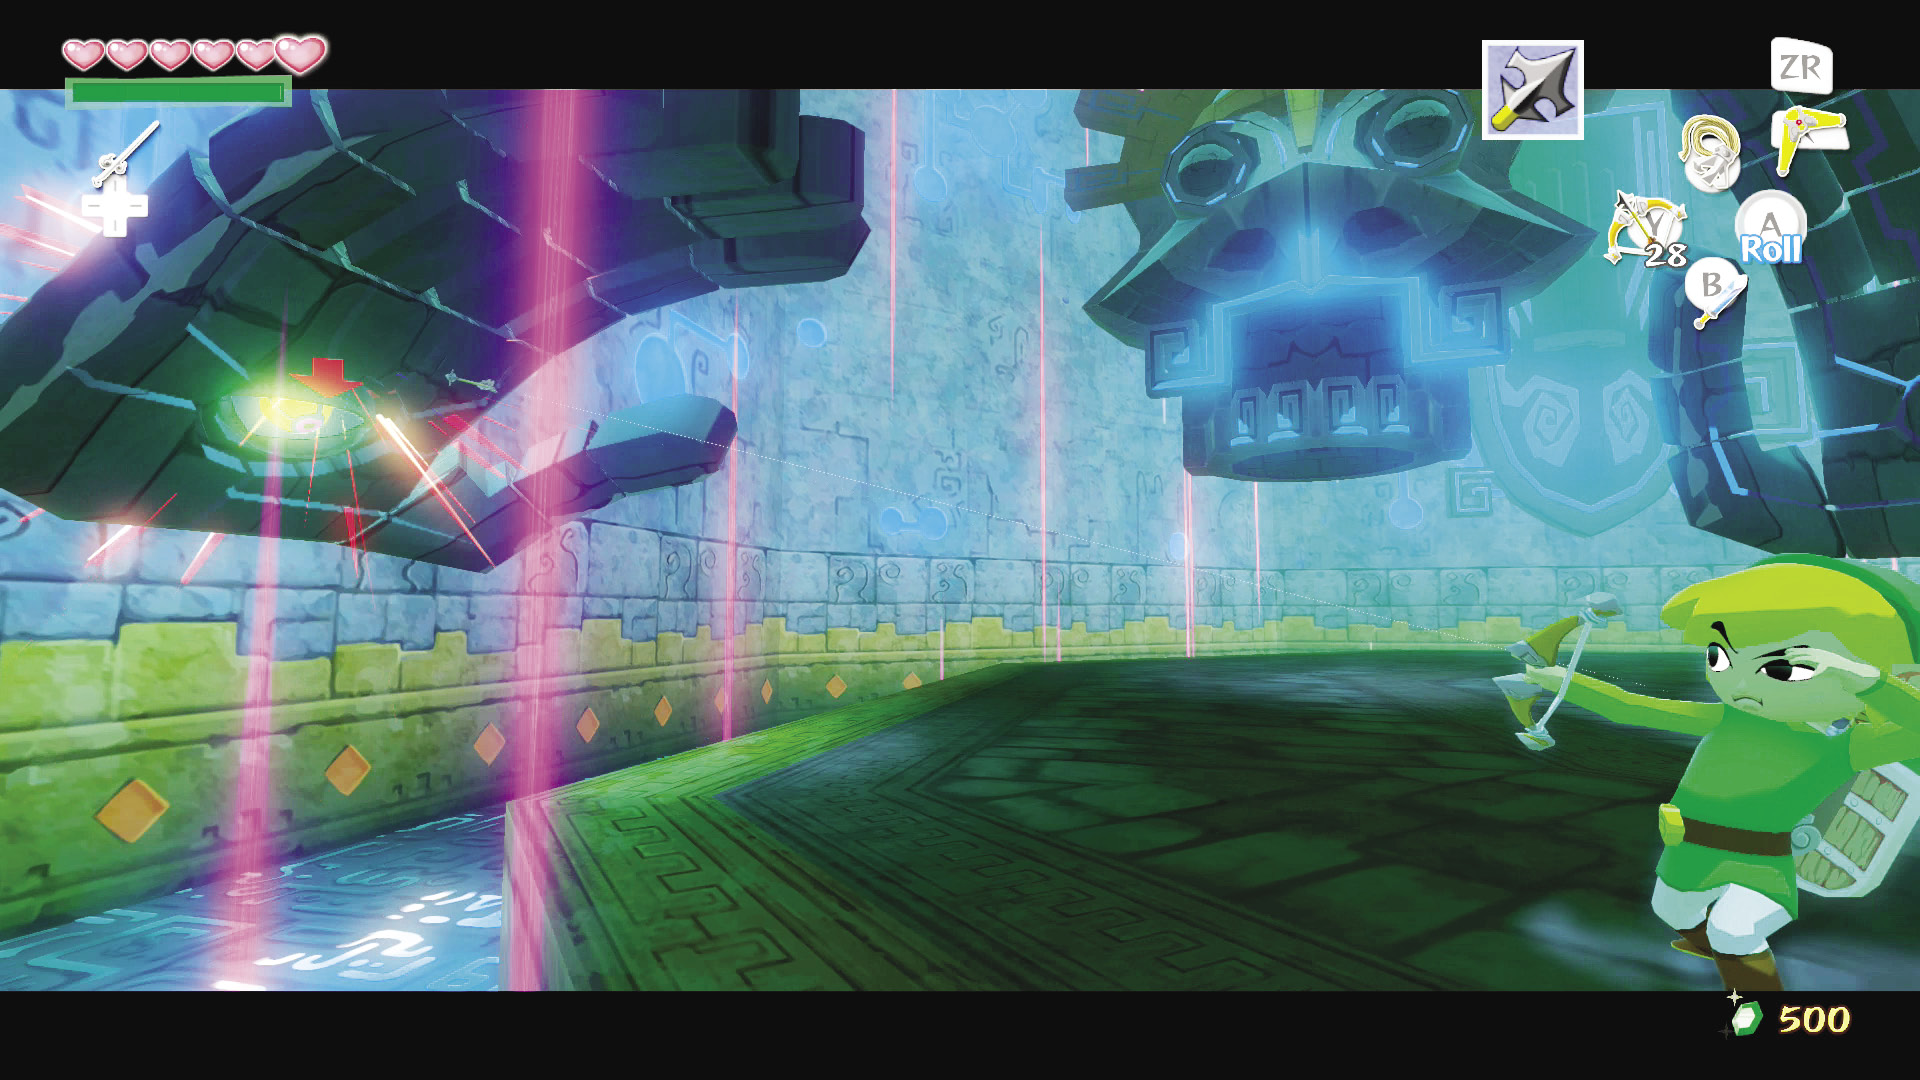 The way to defeat Gohdan is to 9-Target the eyeball in either of his hands and then shoot it with your Hero’s Bow. After two shots, the hand will be out of commission. Change over to the second hand and repeat until it, too, is broken. 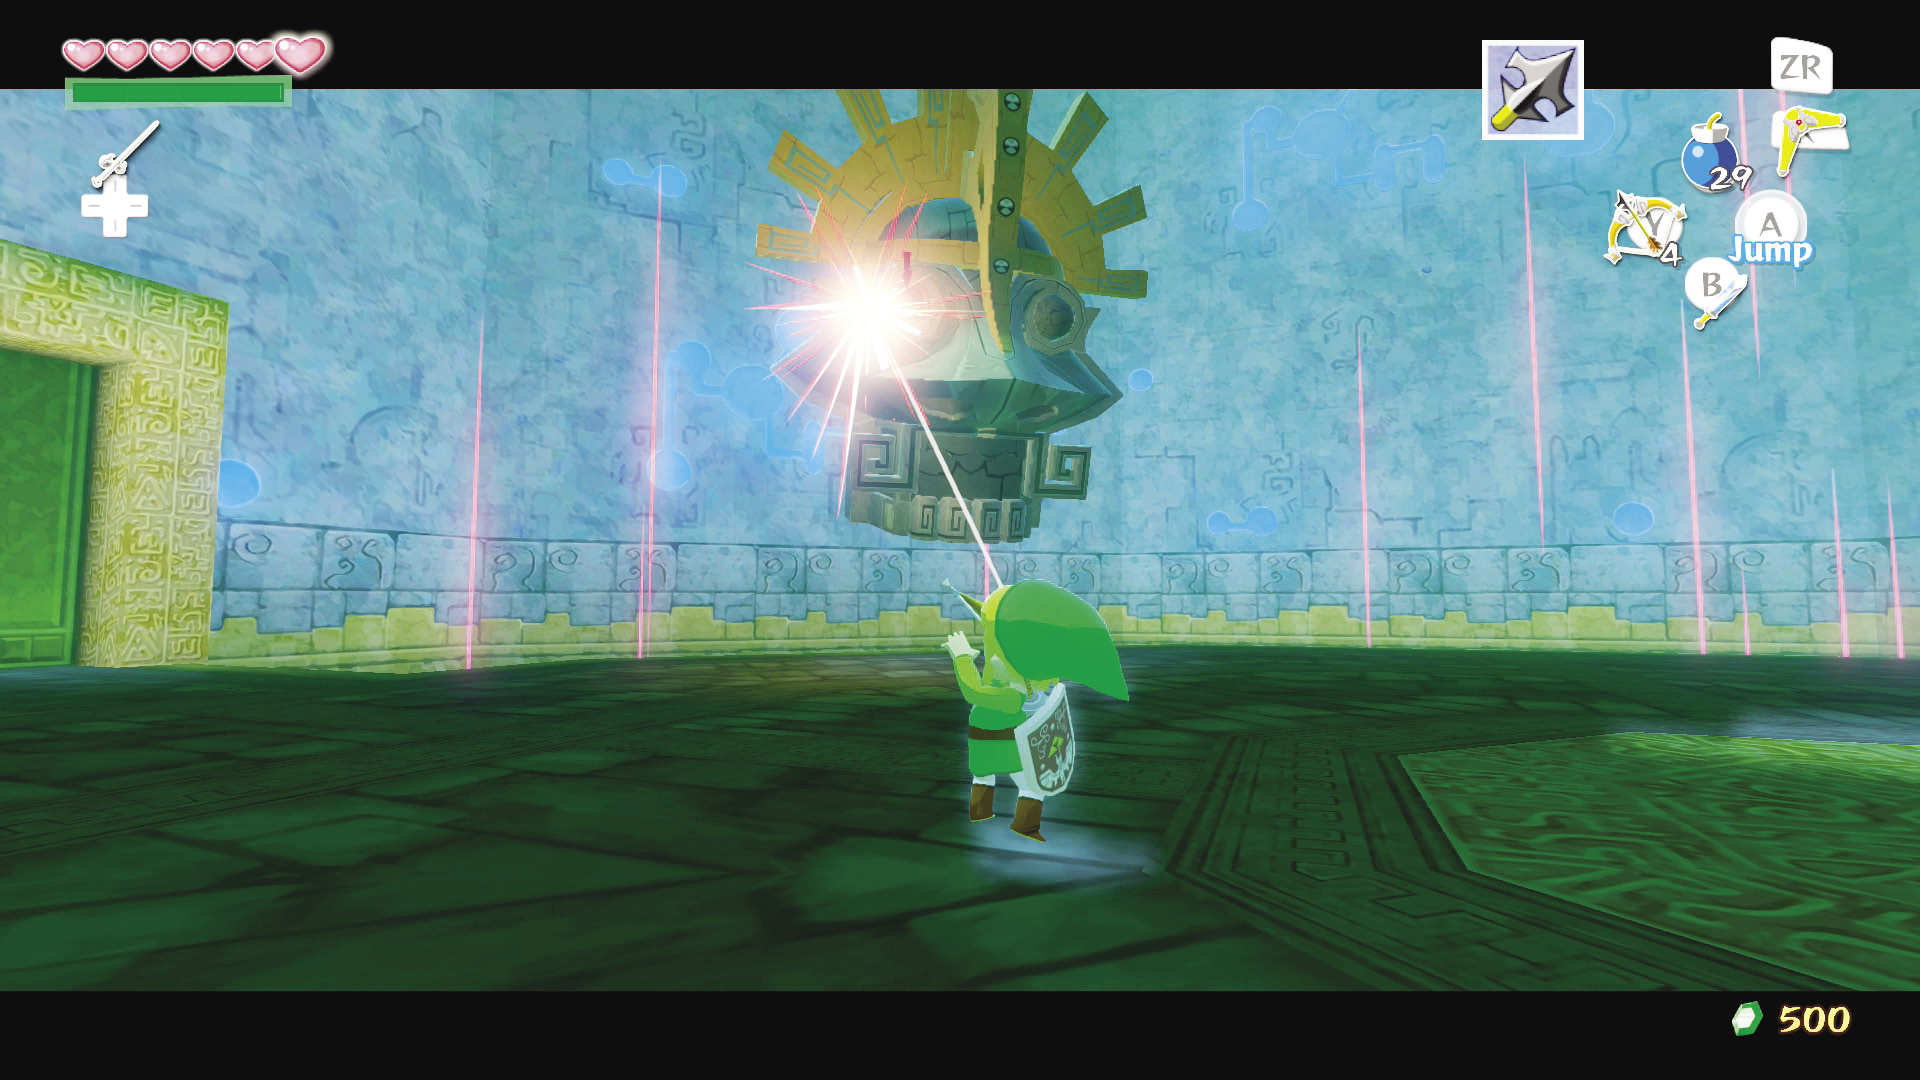 Once both hands are out of play, the eyes in Godhan’s head will open. His head only has one attack: He opens his mouth, faces toward the arena, and begins breathing fire. You want to 9-Target his eyes and hit them two times each. Gohdan’s head will drop onto the arena and his mouth will open wide. Throw a bomb into his mouth to damage him. 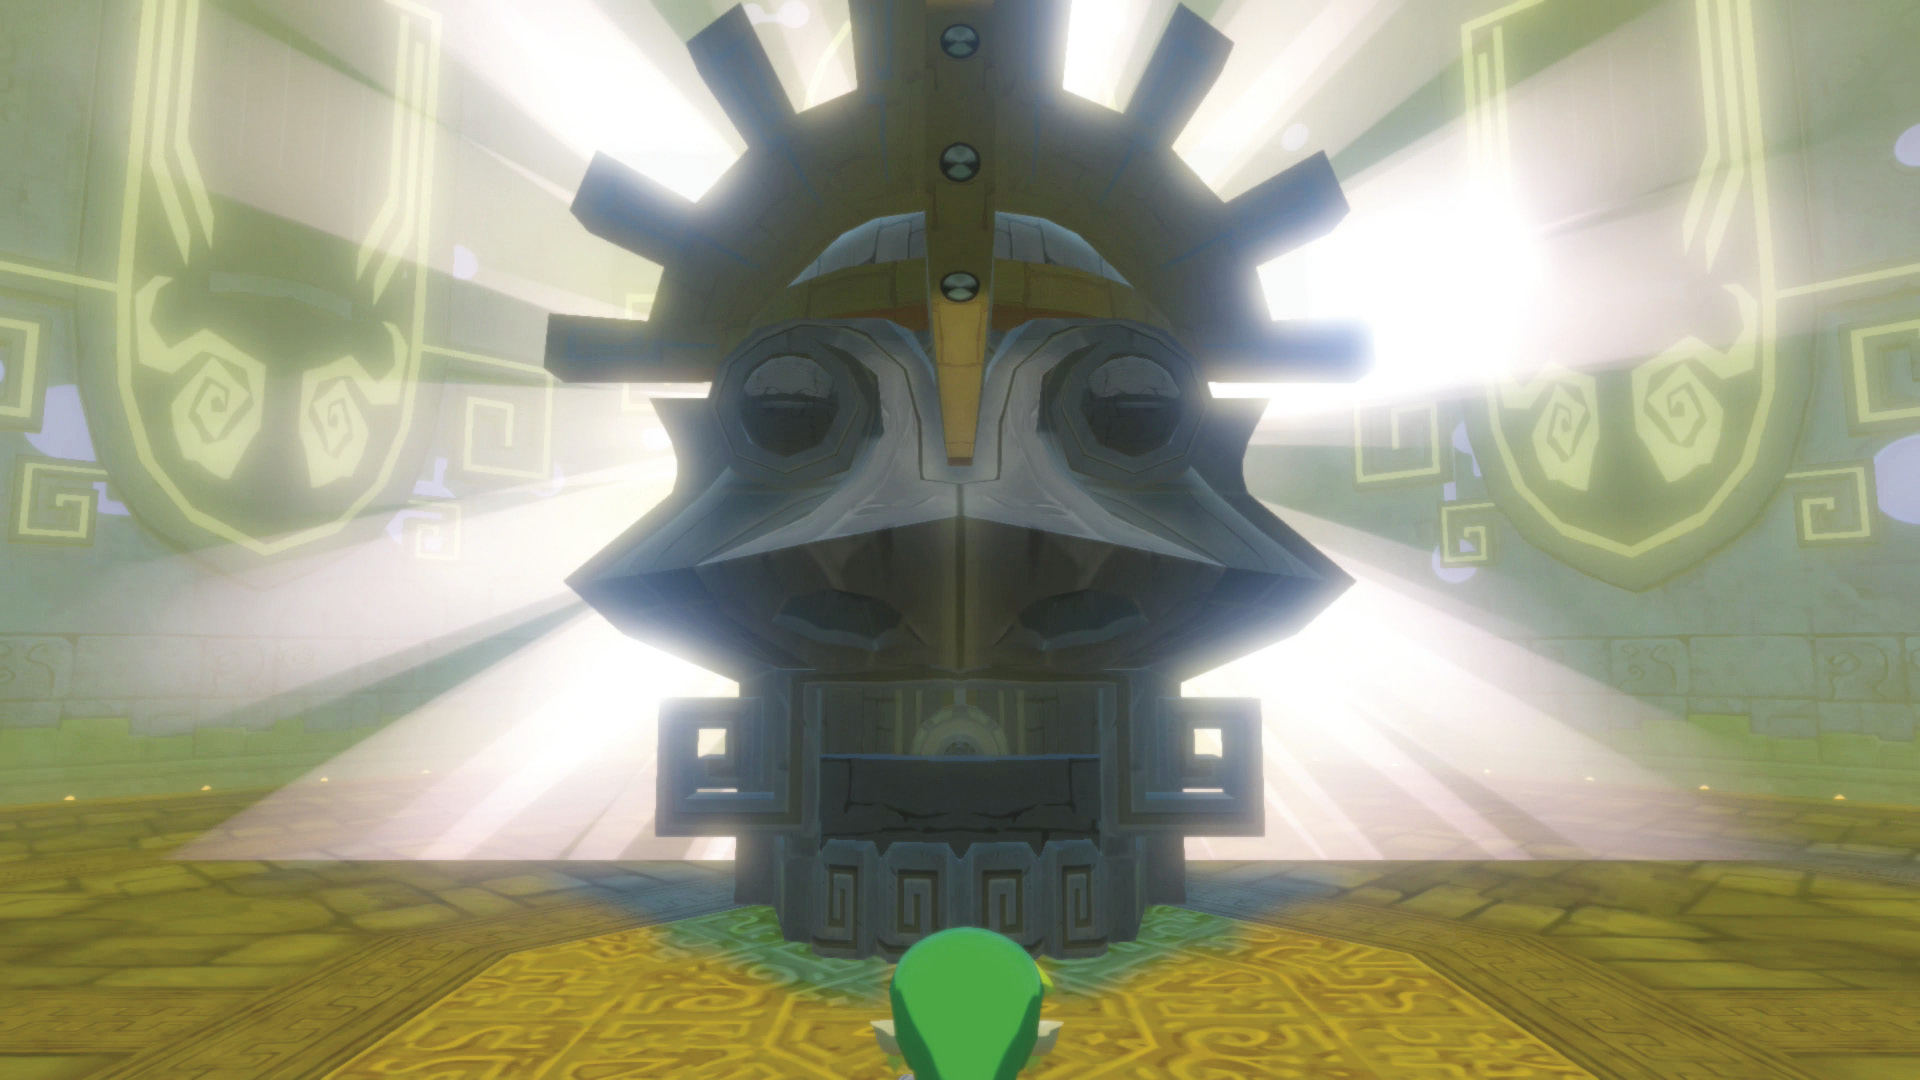 Repeat this process two more times and you will have bested the guardian of the Tower of the Gods, proving that Link is a true hero. |
Nintendo Gallery Notice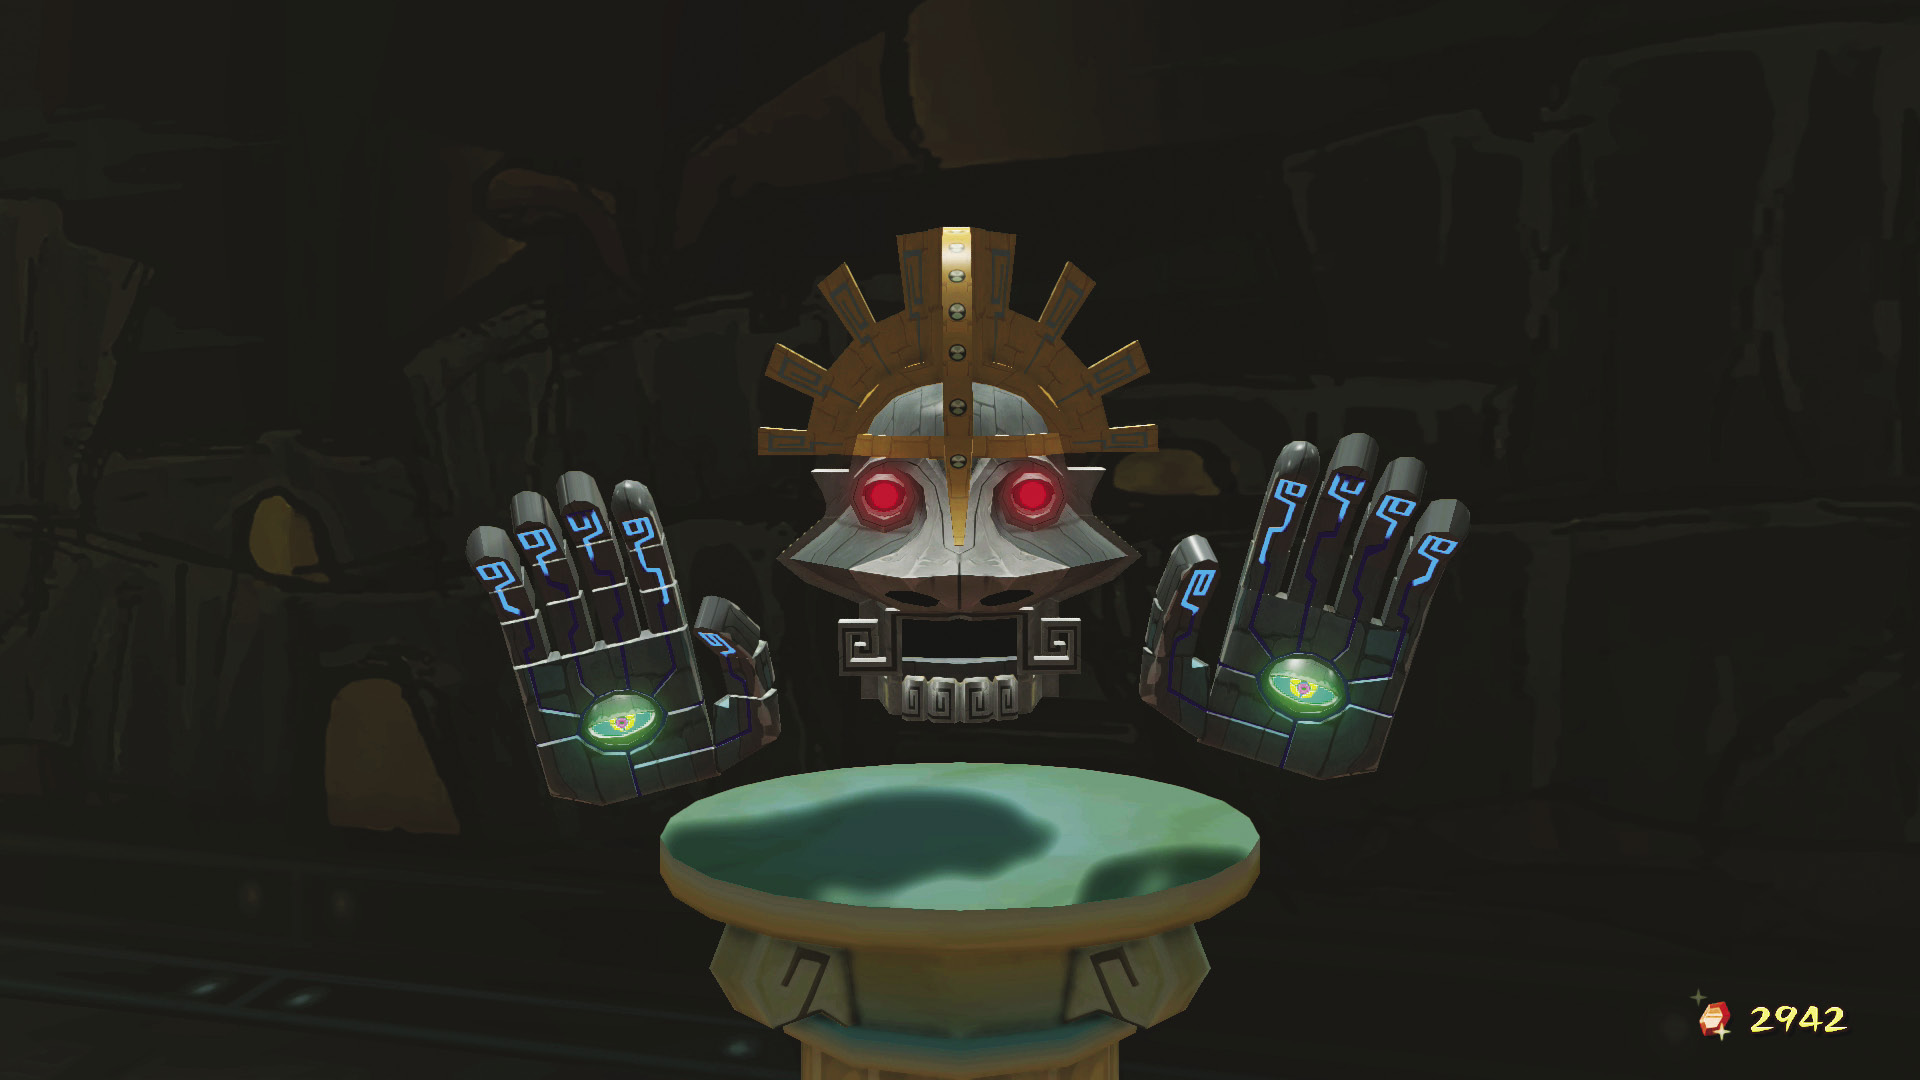 Don’t leave the Tower of the Gods without taking a pictograph of Gohdan! This is a perfect chance to grab this pictograph—right after you’ve beaten the boss but before you’ve left the Tower of the Gods. Take a picture of Gohdan in its resting place high on the wall before you head out. If you forget to take Gohdan’s pictograph after the battle, return to the Tower of the God’s boss chamber and take it. |
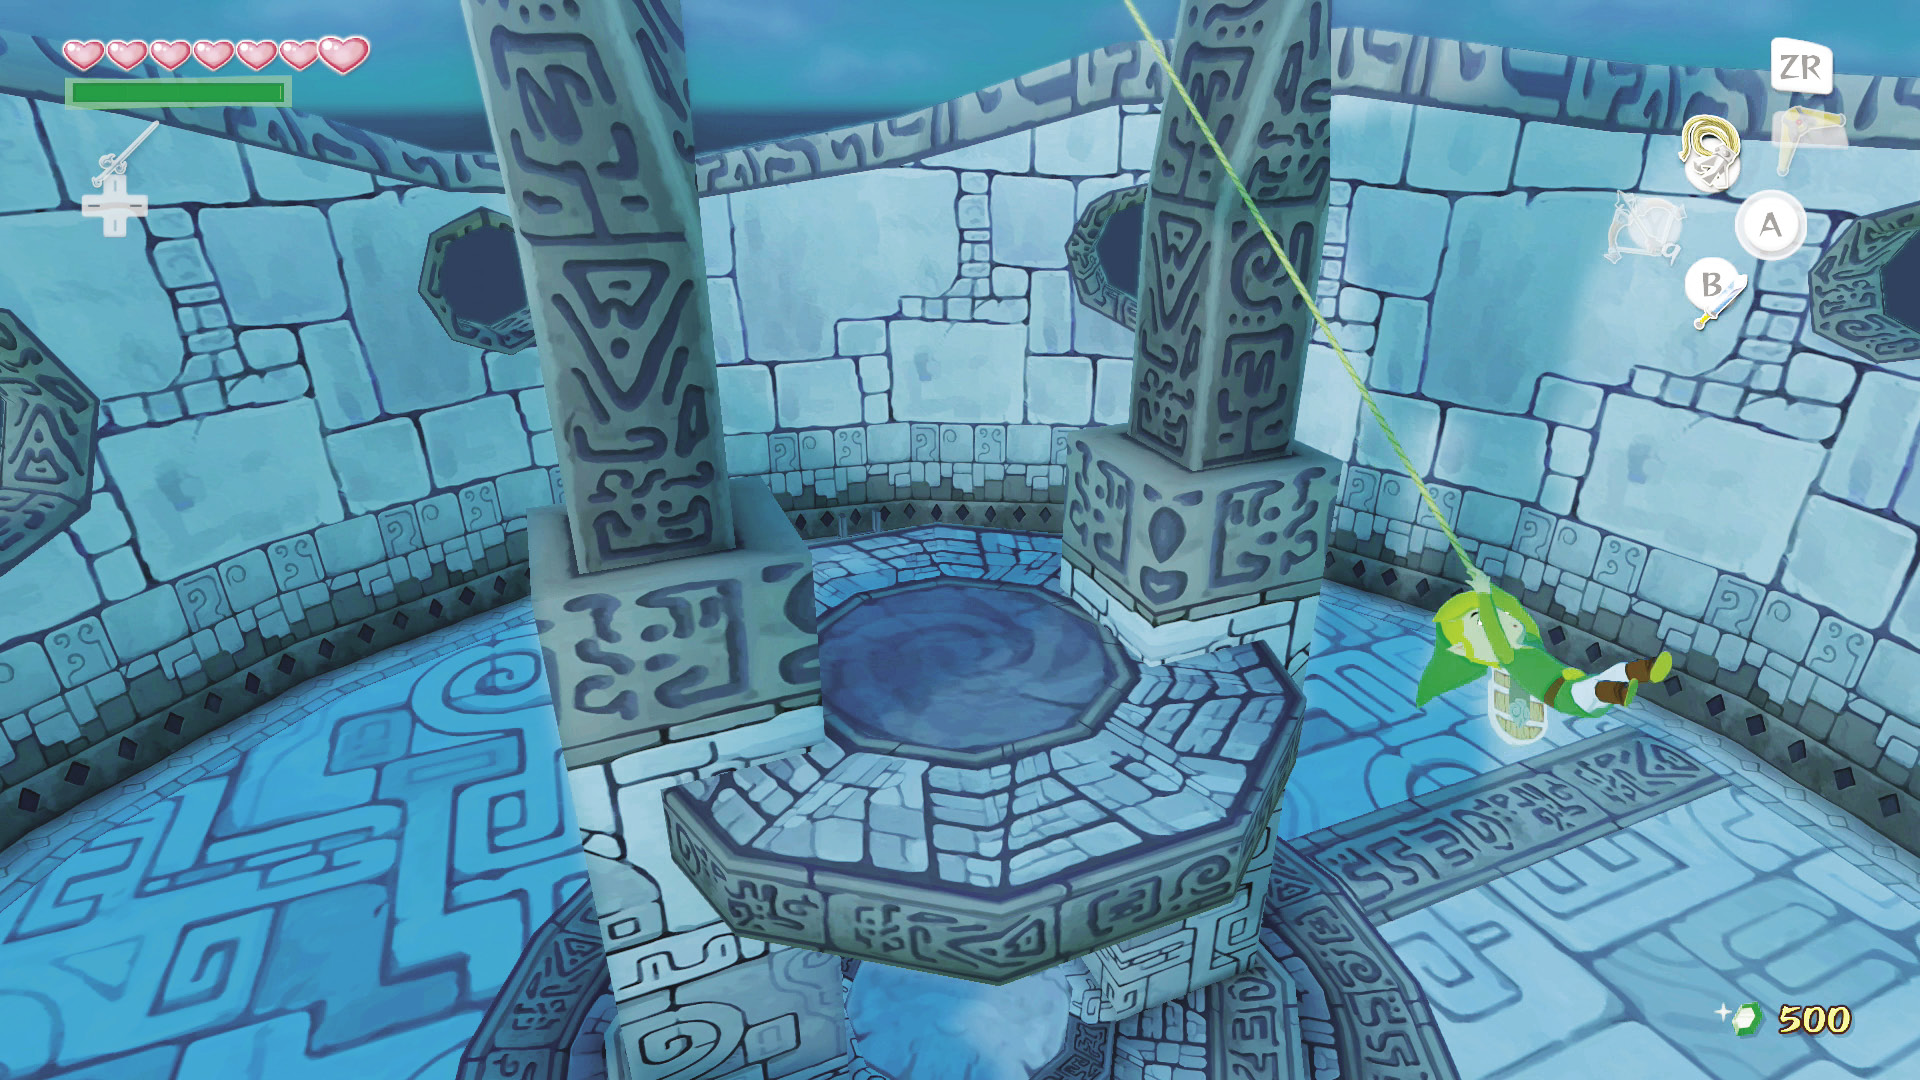
Grab the Heart Container that Gohdan left behind, and head through the portal in the center of the room. This will transport you to the top of the Tower of the Gods. Climb the ladder ahead of you and use your Grappling Hook on the post connected to the bell to ring it.
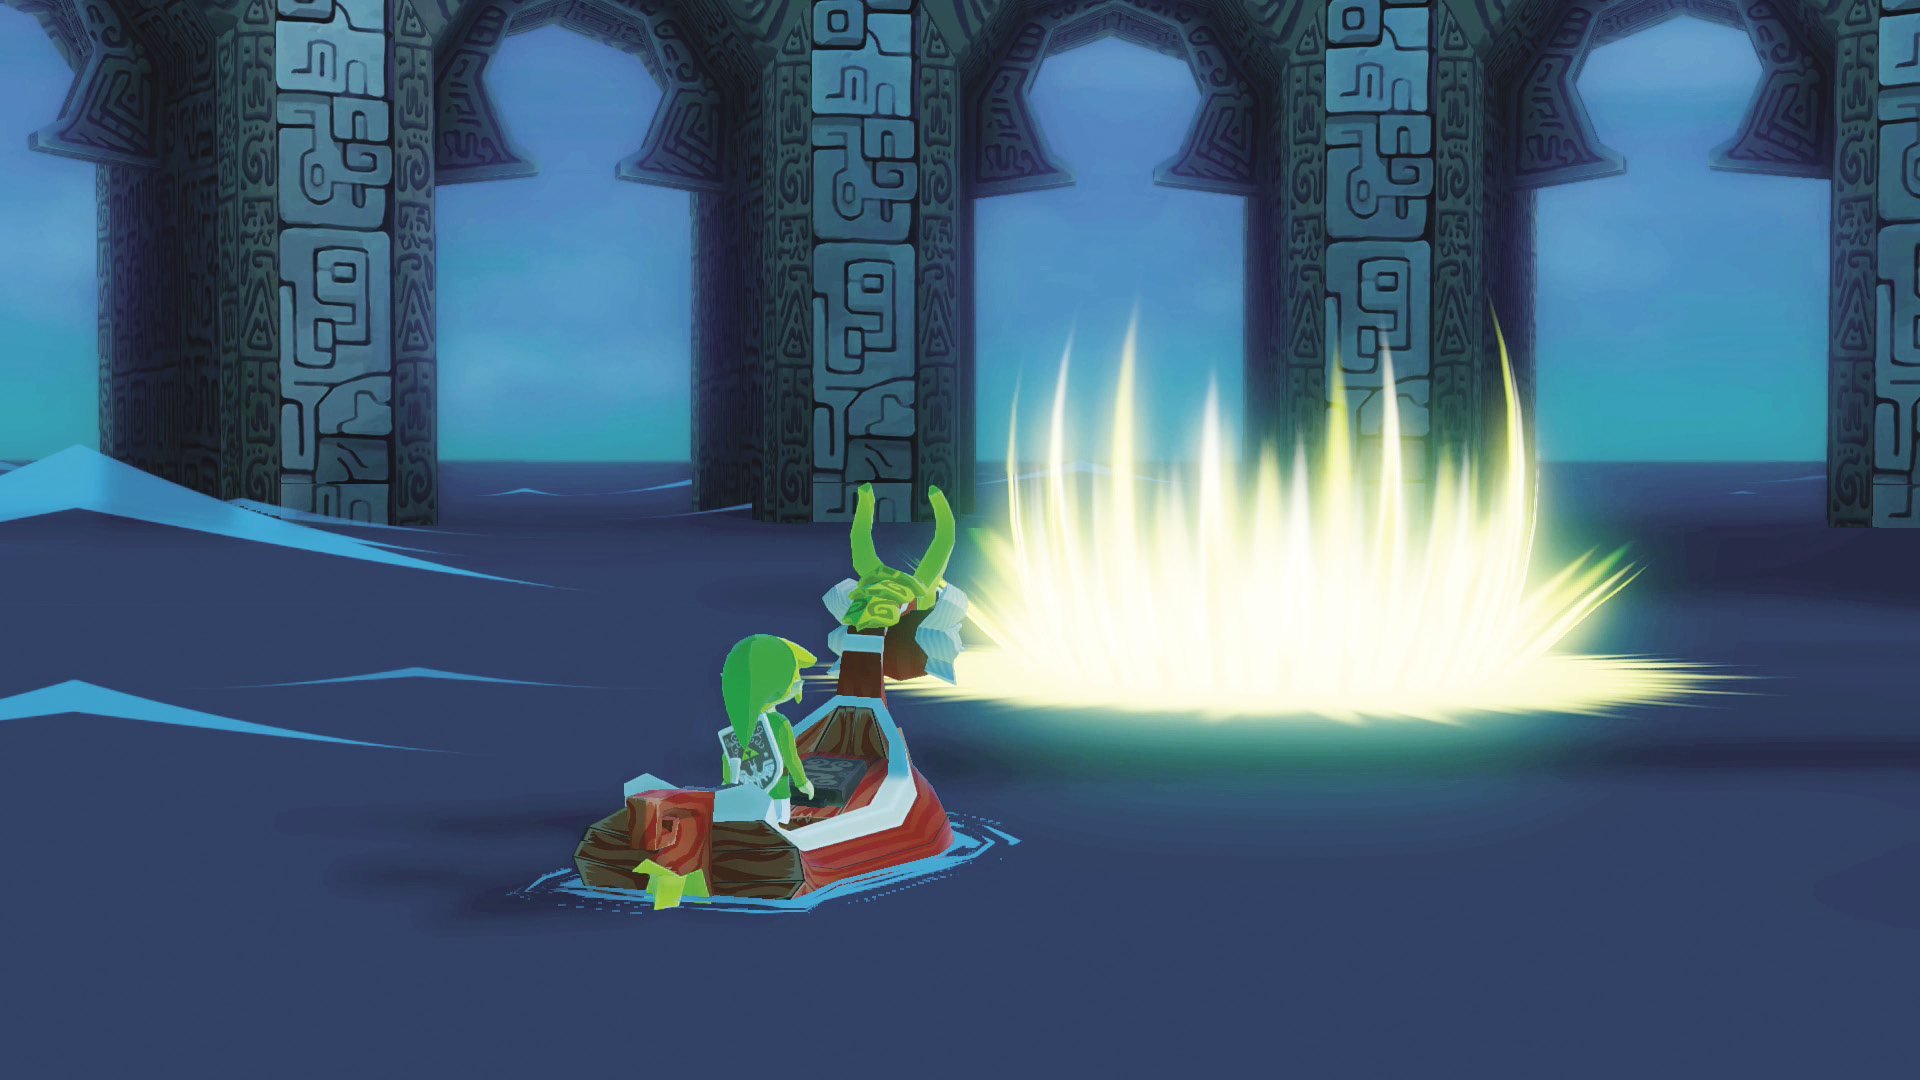
After ringing the bell, a portal in front of the Tower of the Gods appears. Red seems to have some idea as to what’s inside that portal, telling Link that his true test lies on the other side of it. Regardless of any misgivings you may have about taking on this challenge, Red will pilot you into the portal.