
The Legend of Zelda: The Wind Waker Guide Walkthrough The Spirit of Water and the Third Pearl
Introduction
According to Red, the third and final pearl is on an island in sector B4. With our luck, Ganon may already be on his way. We’re so close to having all three pearls! Let’s not delay lest we let Ganon’s nefarious schemes carry on any further. Set the wind to the northwest and get going!
Conquering the Great Sea
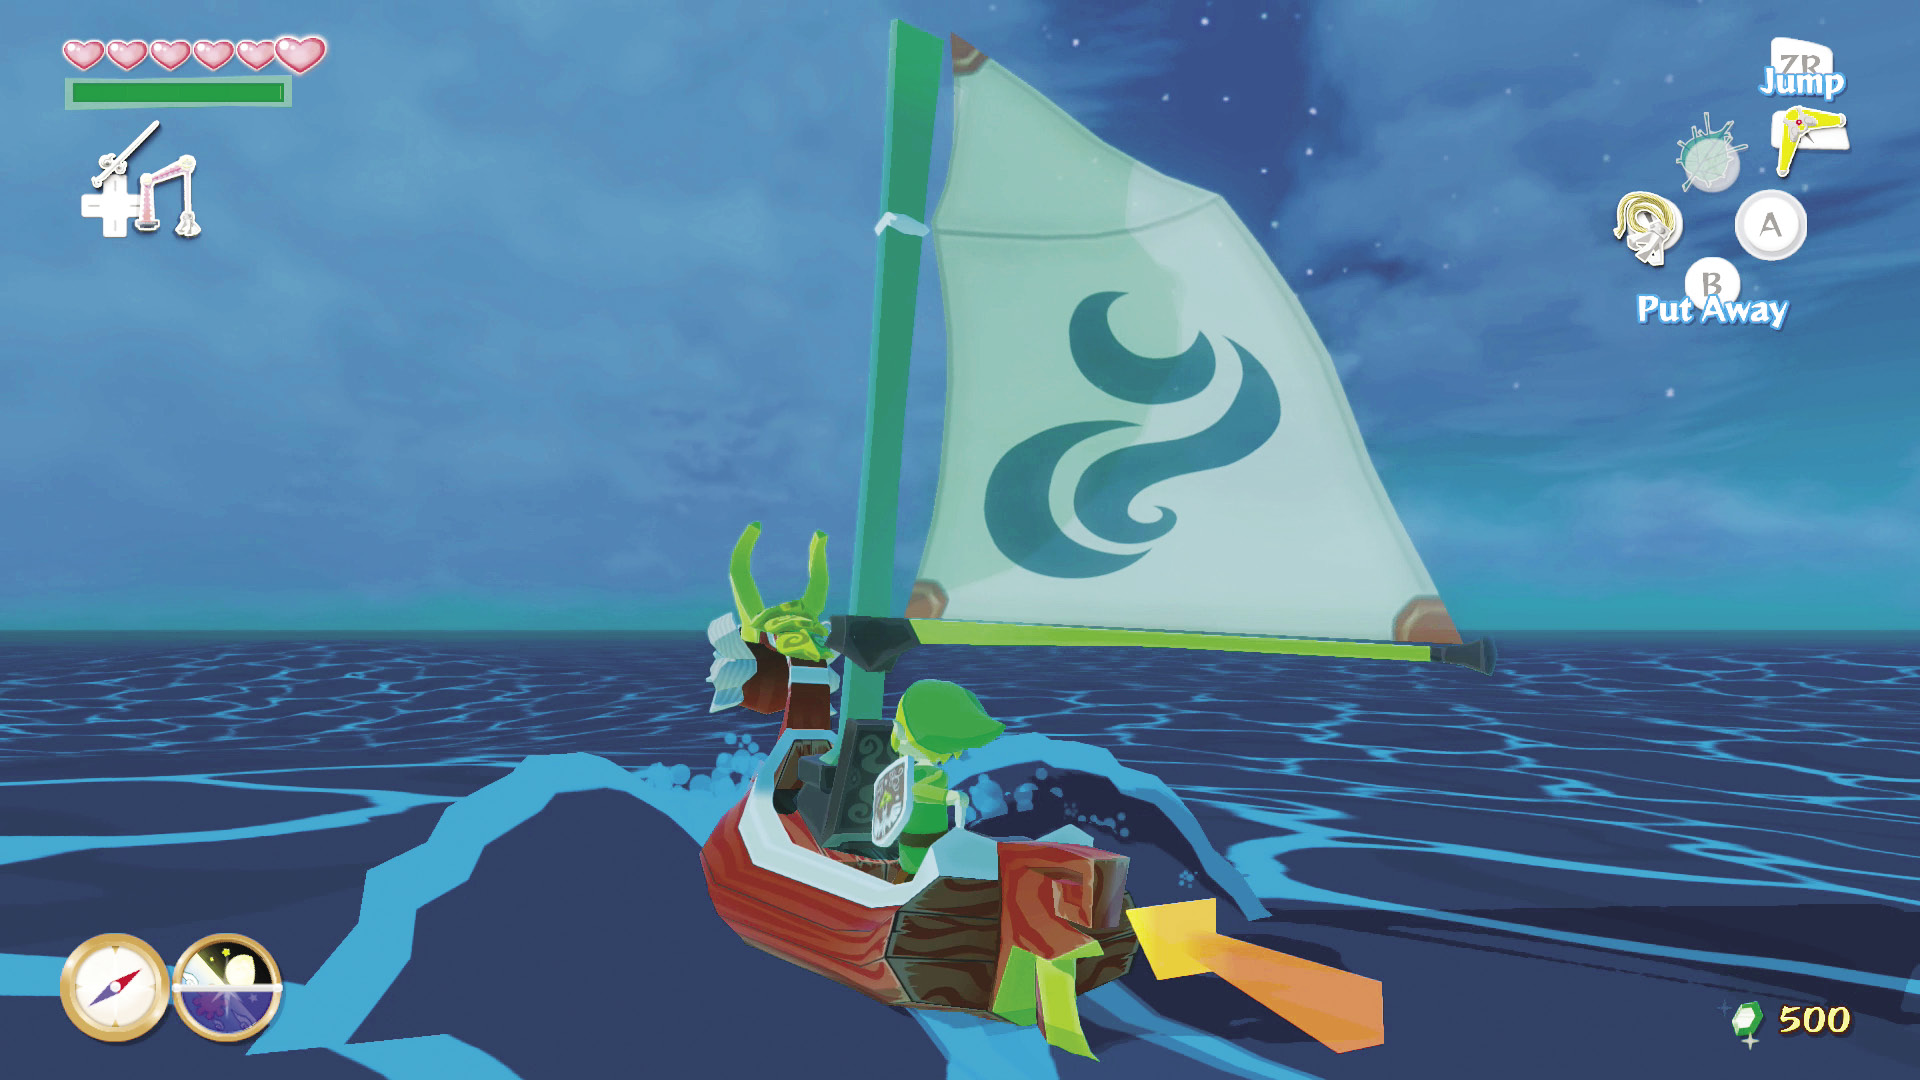
At this point in the game, the world has opened up significantly. You now have access to a flurry of side quests for Treasure Charts, Pieces of Heart, and Rupees, but these side quests will take you a good deal out of the way of the main adventure. From this point on, whenever you see the “Conquering the Great Sea” sections, know they are not part of the main story line; you can skip these if you’d prefer to continue along with the story. However, if you want to see it all, then read on!
Boating Course (F7)
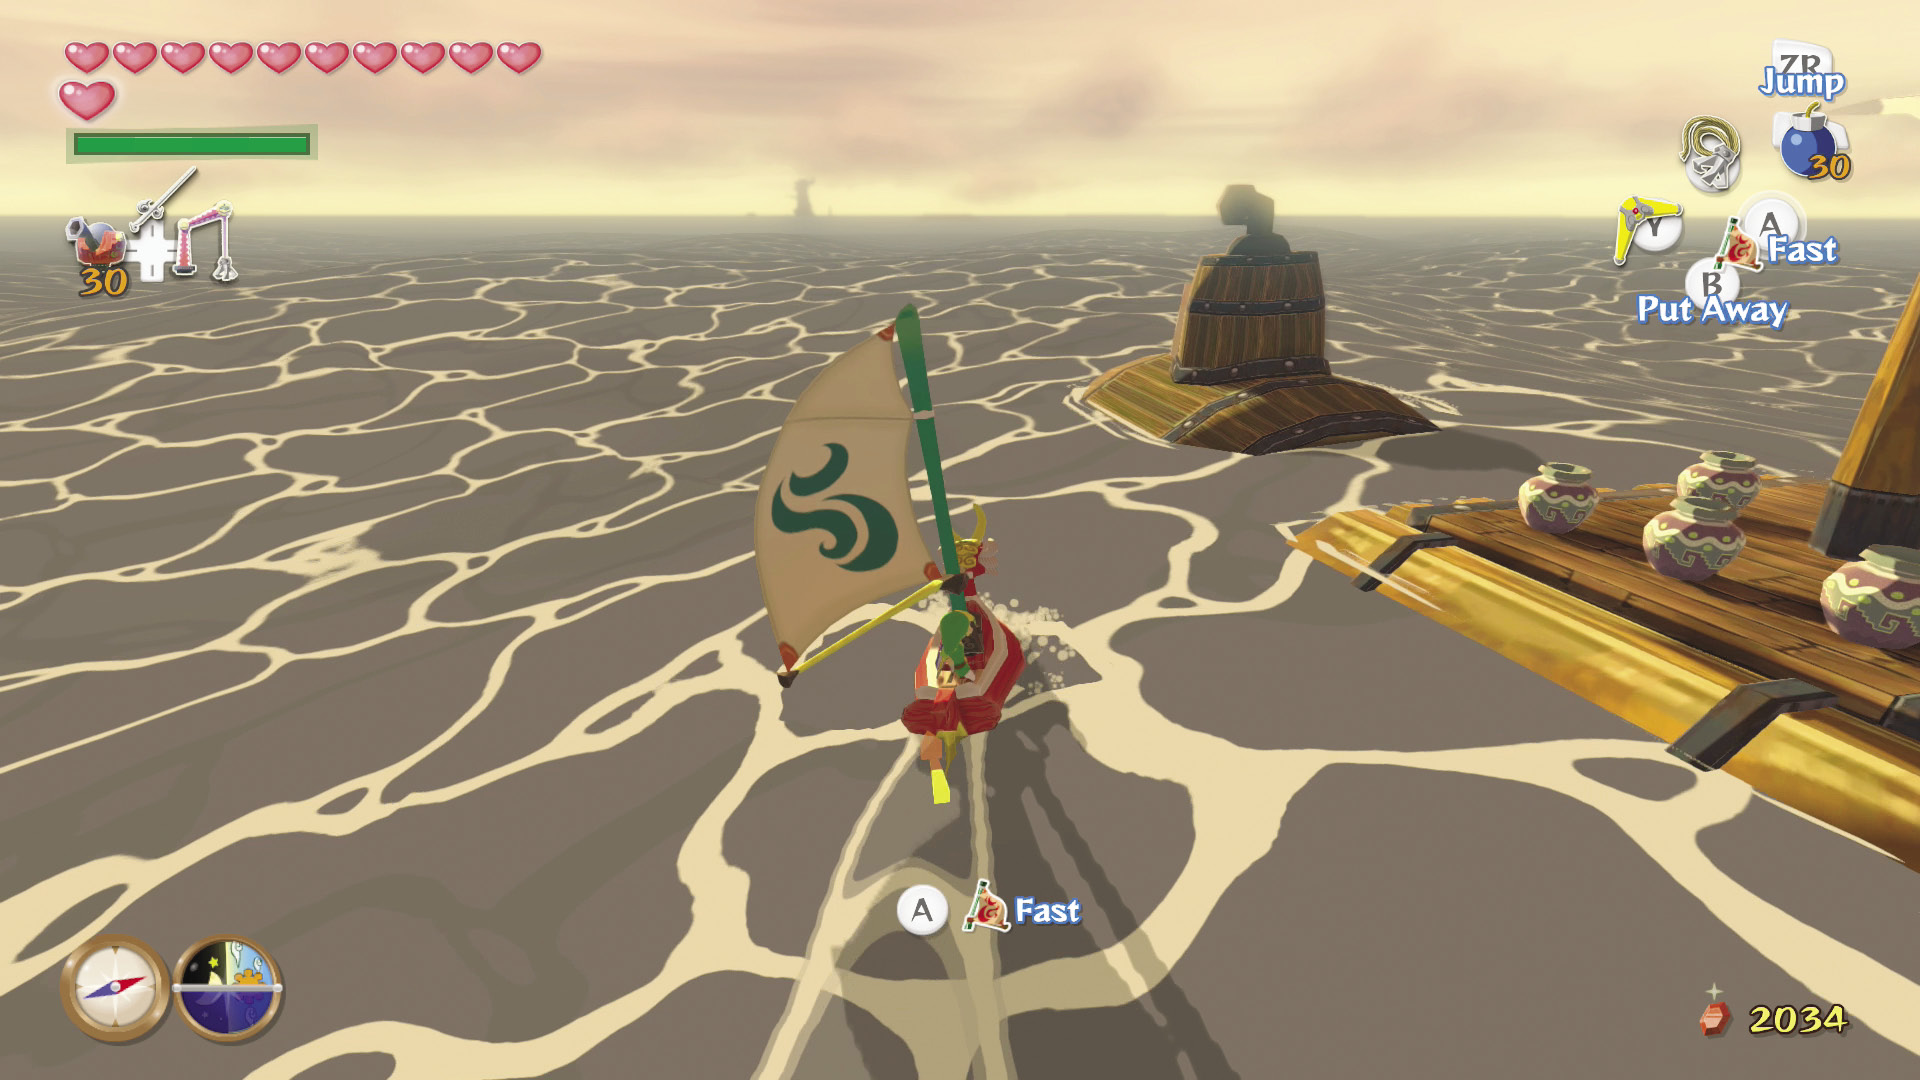
Urgency is definitely not something to be taken lightly with Ganon roaming around the Great Sea, but what good will it do you to race to your next destination unprepared? If you agree with that idea, head south to sector F7 to reach the Boating Course.
A Boating Course Is a Course, of Course
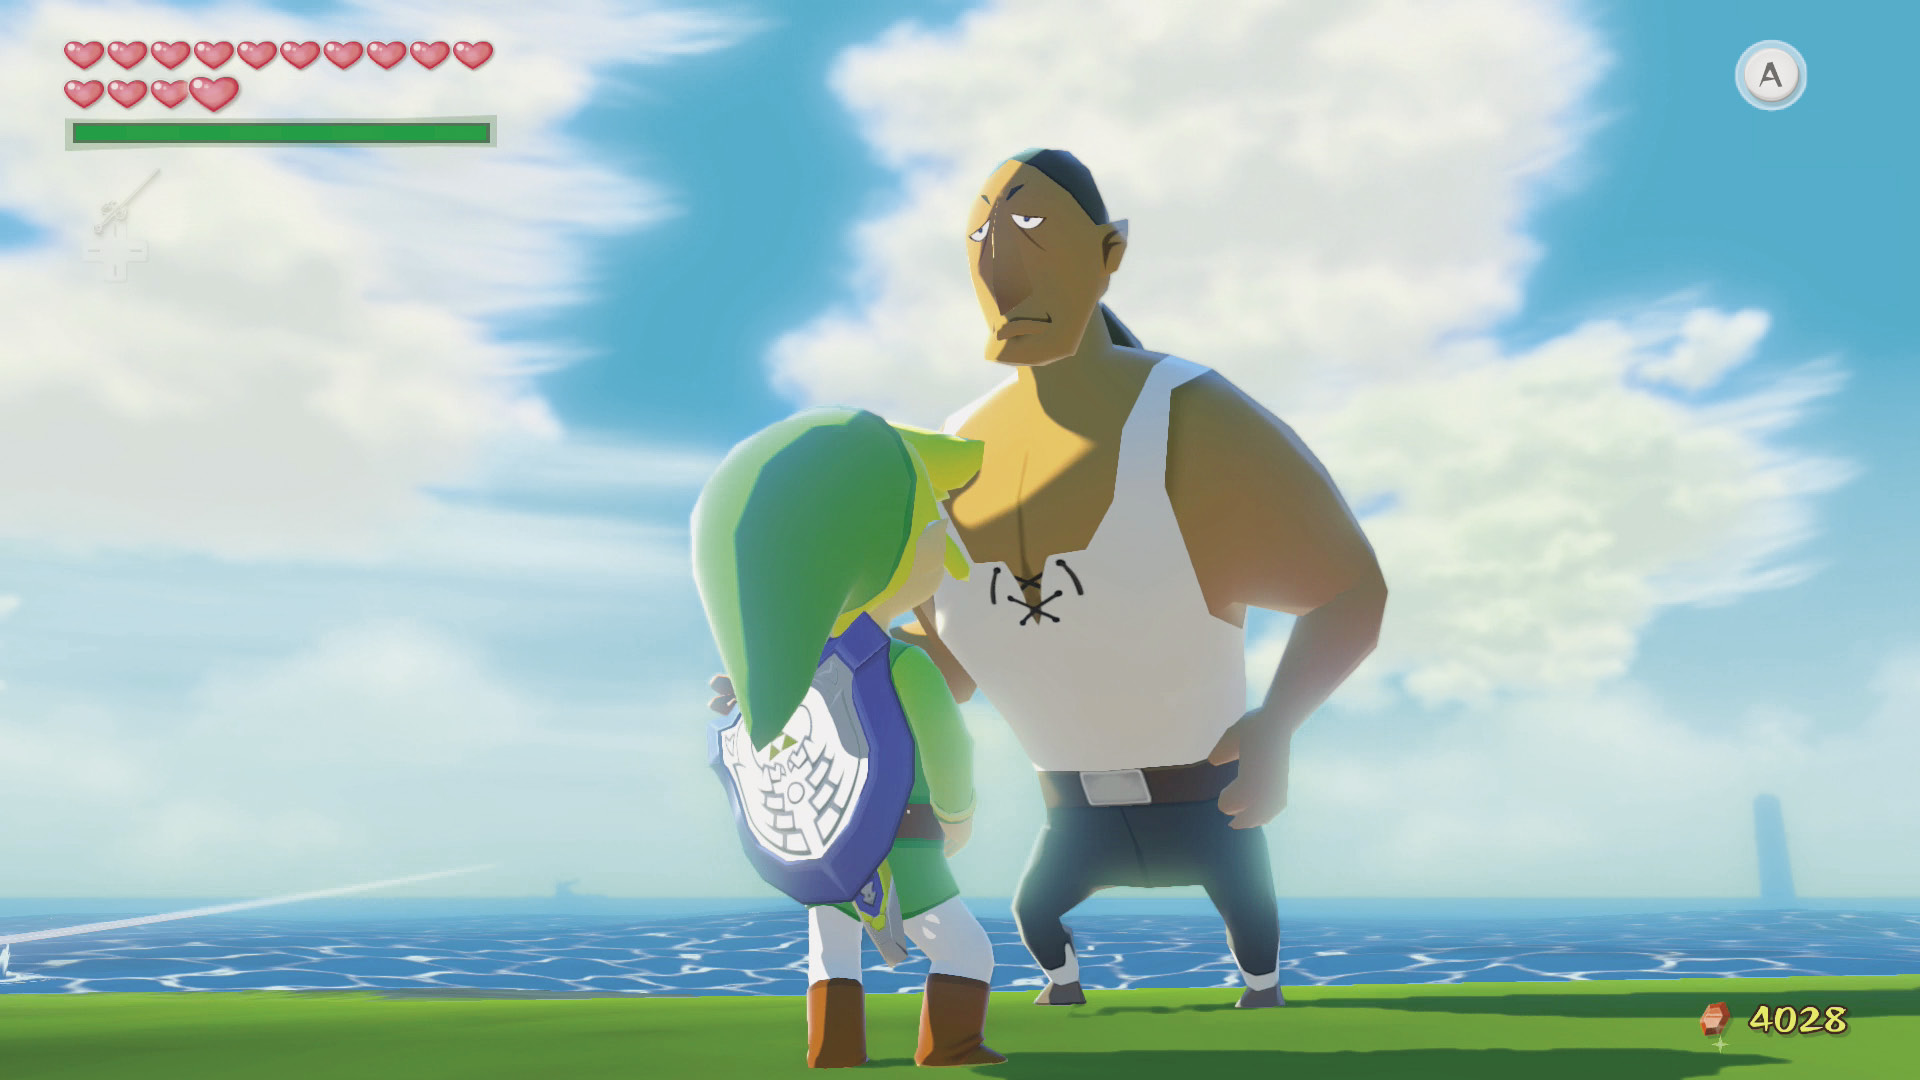
The Boating Course is a minigame that can net you a good deal of Rupees. The goal is to sail your boat along the course while picking the Rupees off of the barrels scattered from the course’s start to its end. There are a total of 150 Rupees and you get to keep every one you collect. You start with four minutes on the clock to collect all 150 Rupees, so take your time, but if you fail to cross the finish line before time runs out, you can’t keep any of the Rupees.
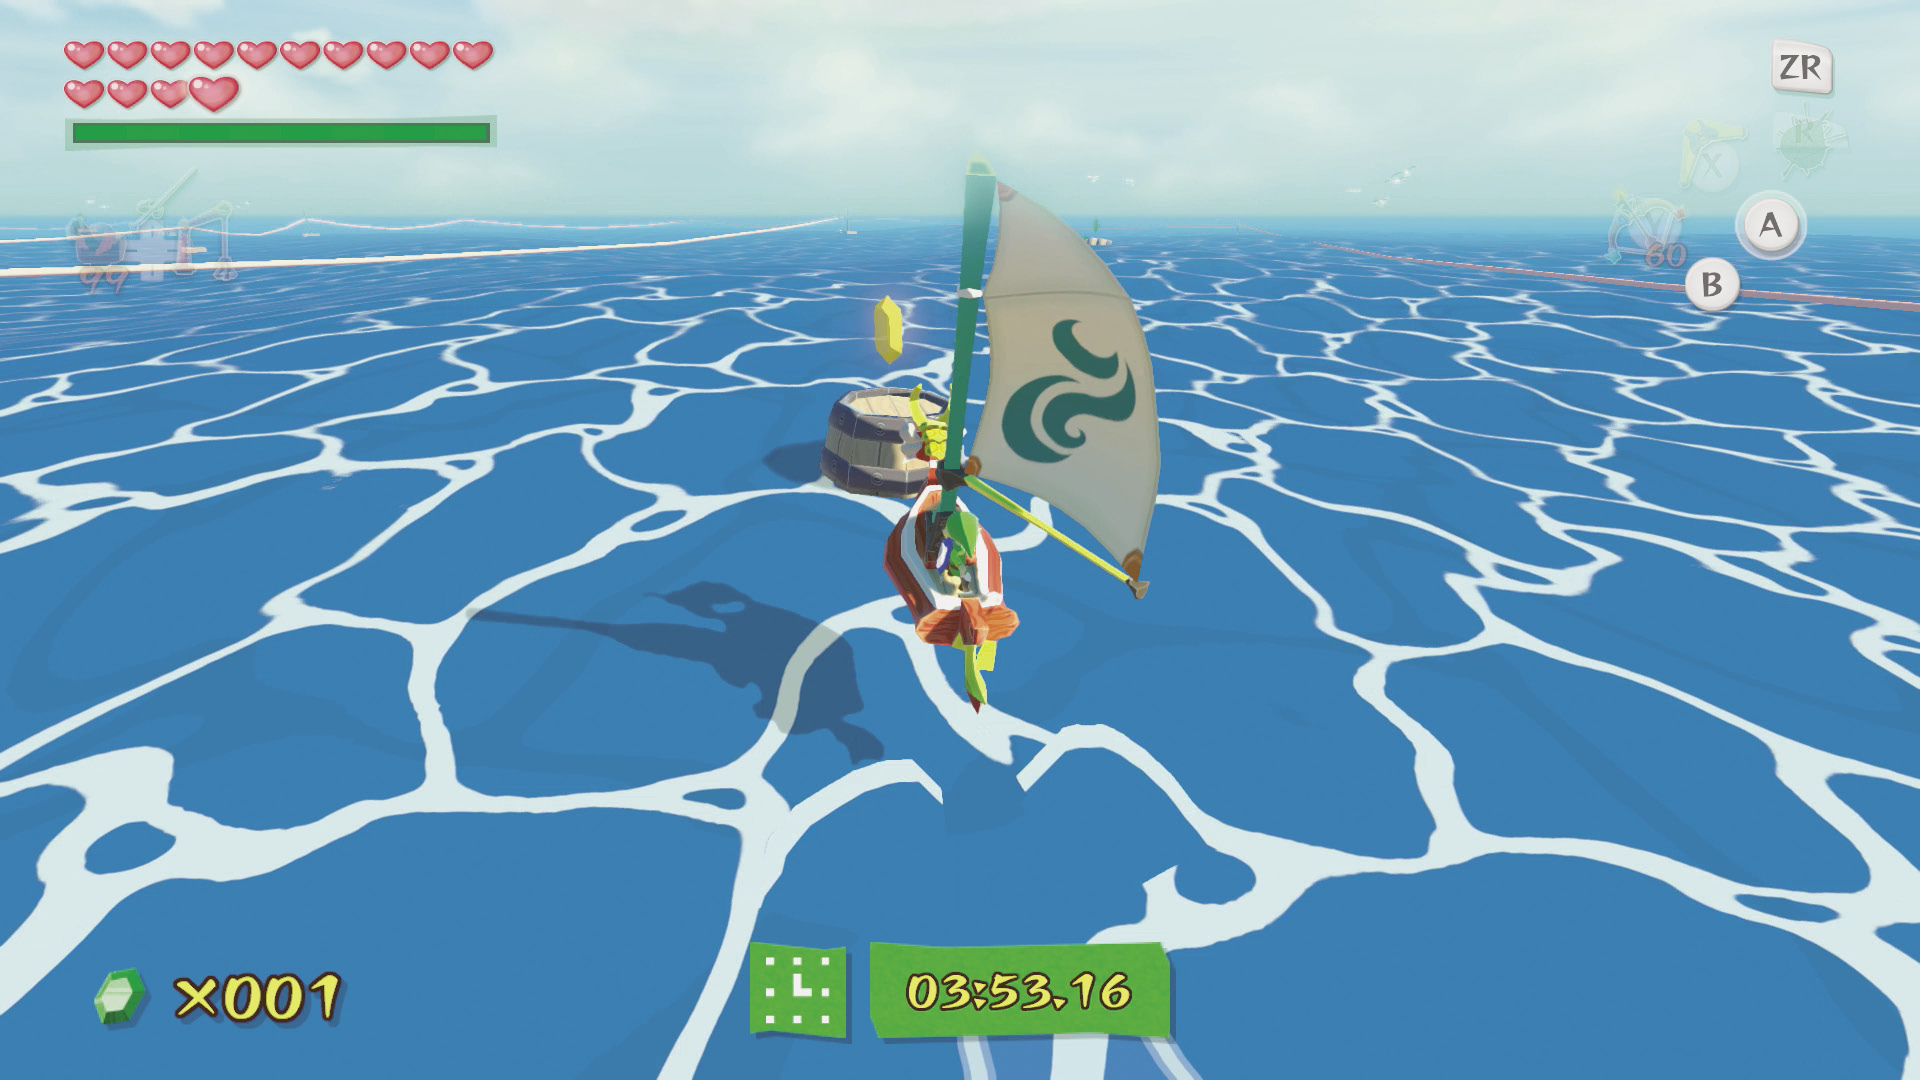
After completing the Boating Course minigame for the first time, the time you have to complete it will decrease by 10 seconds.
The Blue ChuChu and the Sub Chart
You can glide to the other side of the Boating Course’s starting line to find a Blue ChuChu and the Submarine Chart, which shows you the sectors that each submarine is stationed in.
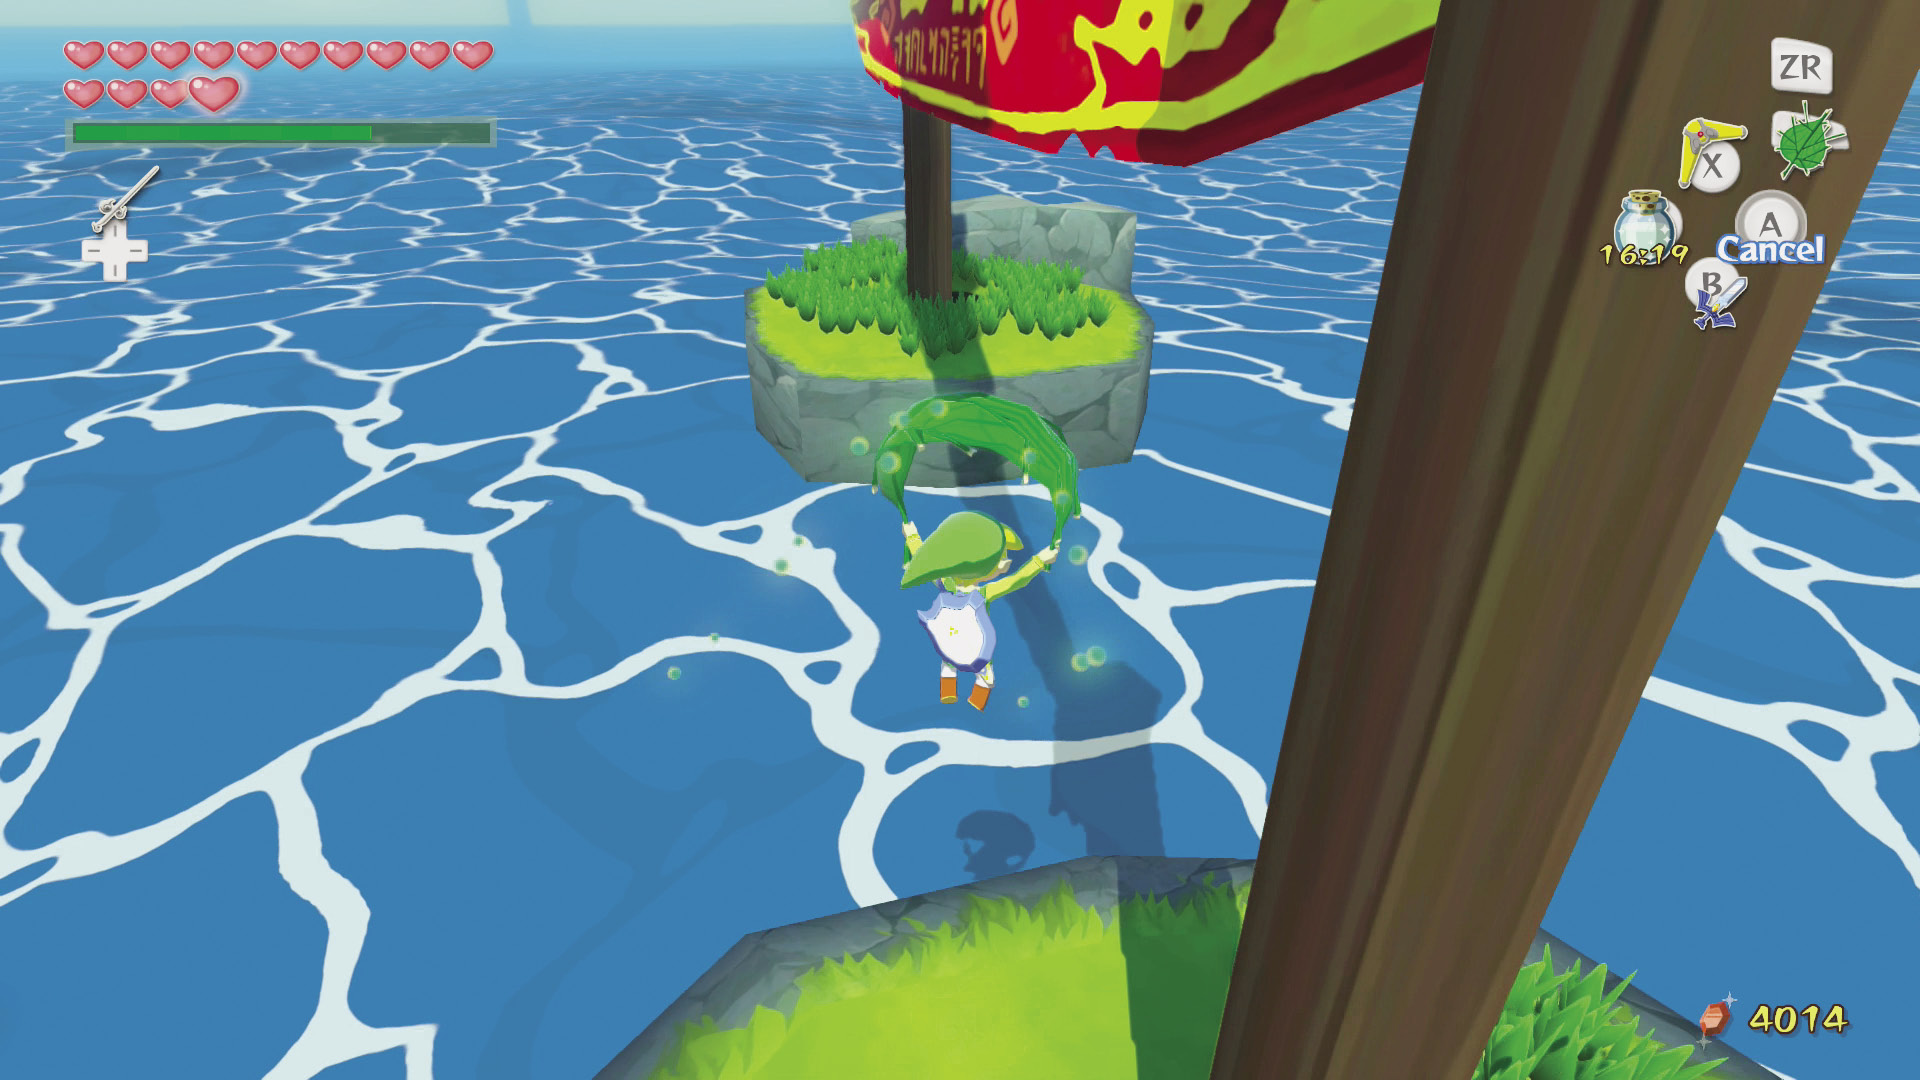
Hop onto the rock by the palm tree, on the same side of the starting line as Loot, the Boating Course’s manager. Face the small island on the other side of the starting line, set the wind north, jump off the rock, and glide to the island using the Deku Leaf.
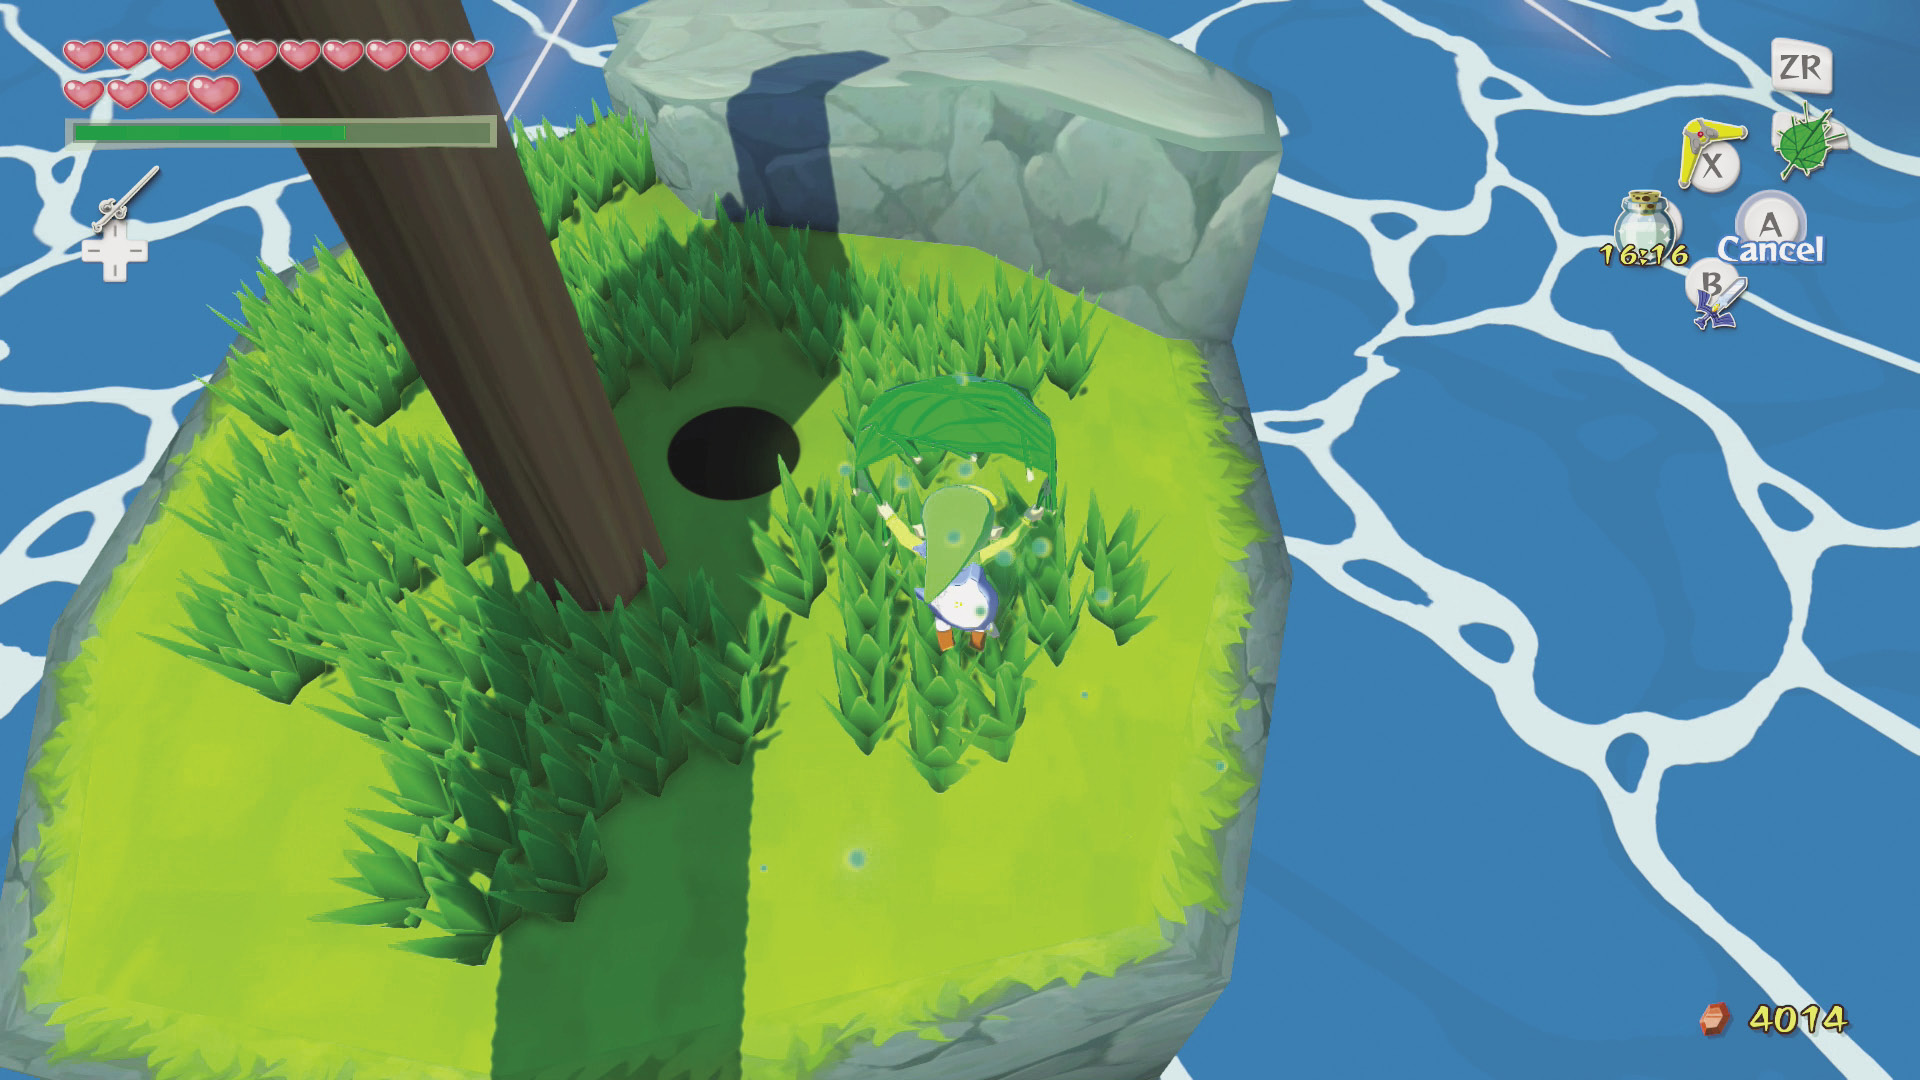
You’ll find a hole in the ground, which is the entrance to a secret cave containing the Submarine Chart. Just behind that is a Blue ChuChu. Use your Boomerang to stun and defeat the Blue ChuChu and pick up the Blue Chu Jelly it leaves behind.
Enemy: Blue ChuChu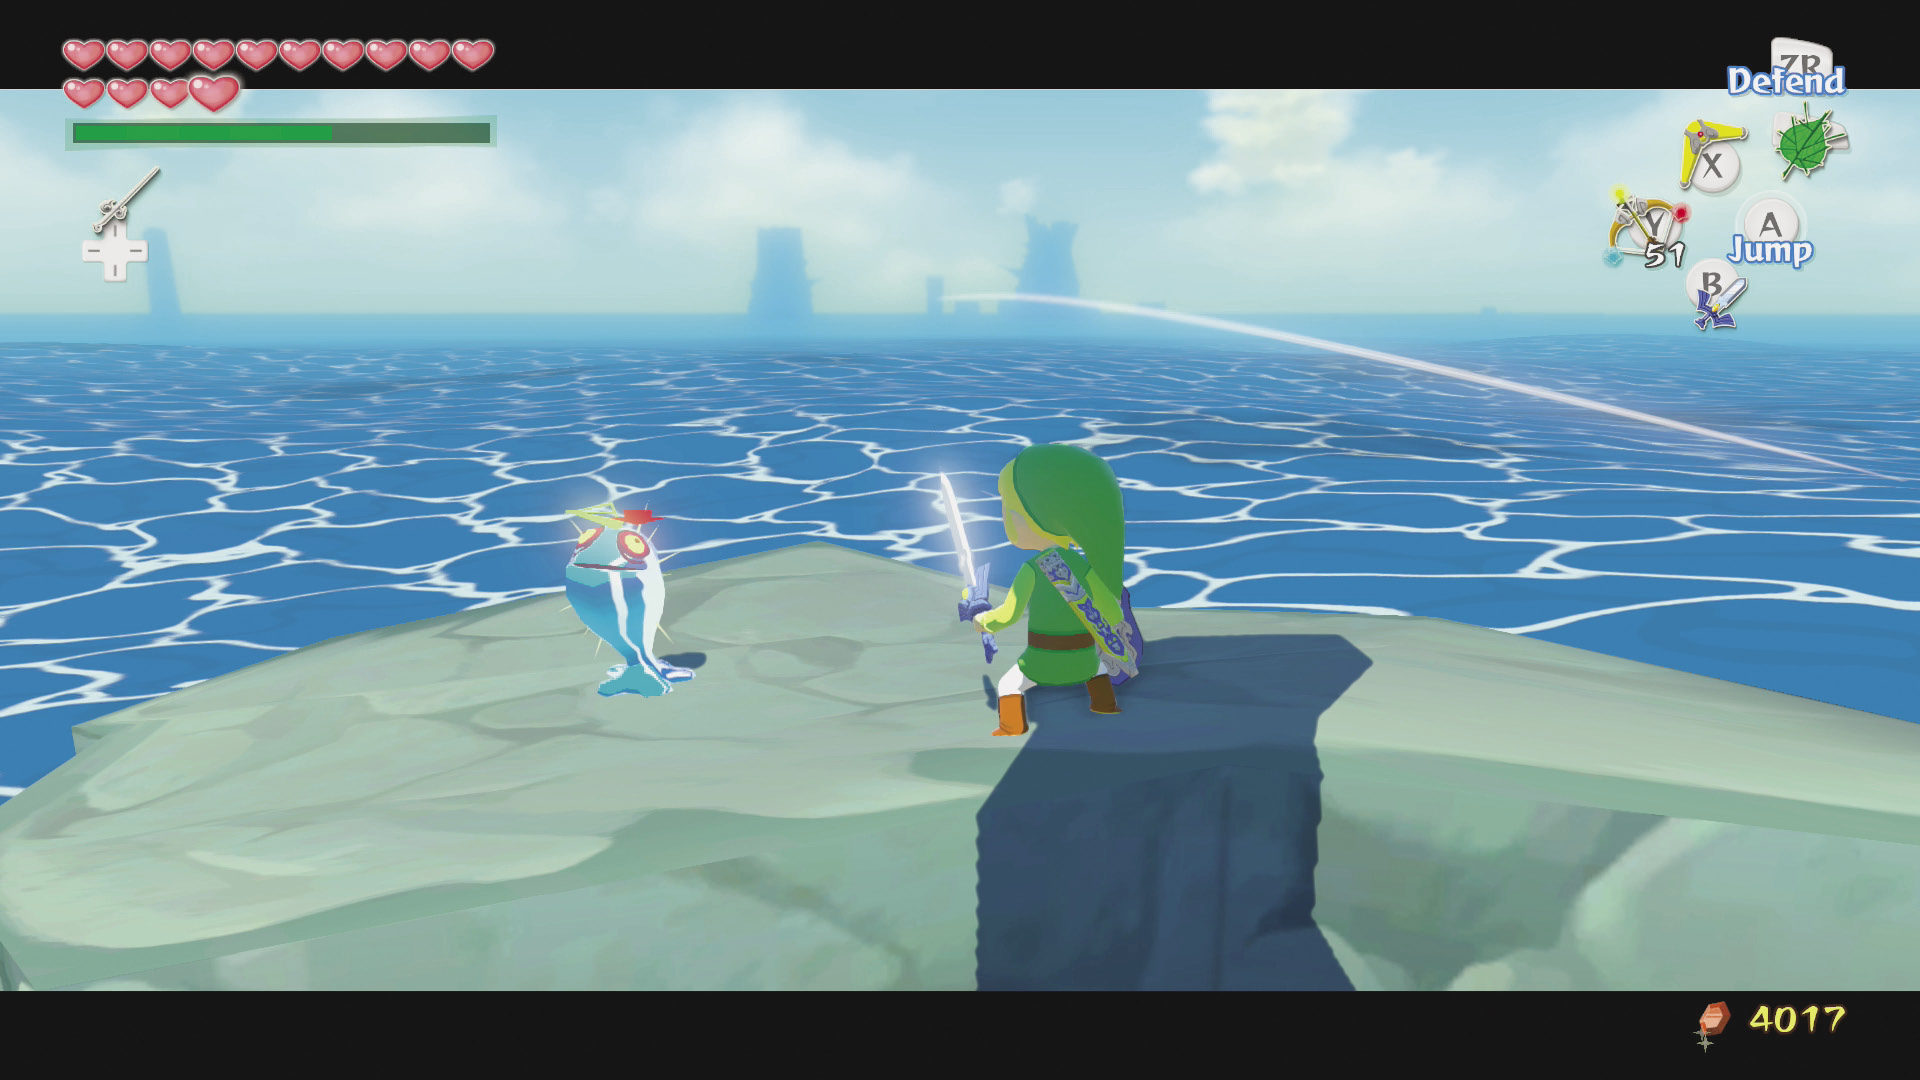 Blue ChuChus are almost identical to Red and Green ChuChus, but they are covered in electricity and they are very rare. There is only a finite number of Blue ChuChus living around the Great Sea, so defeat them when you see them so you can take their precious Blue Chu Jelly. To defeat them, hit them with your Boomerang and they’ll lose their electrifying defense for a moment. From there, just give them a slash or two with your sword and your job is complete. |
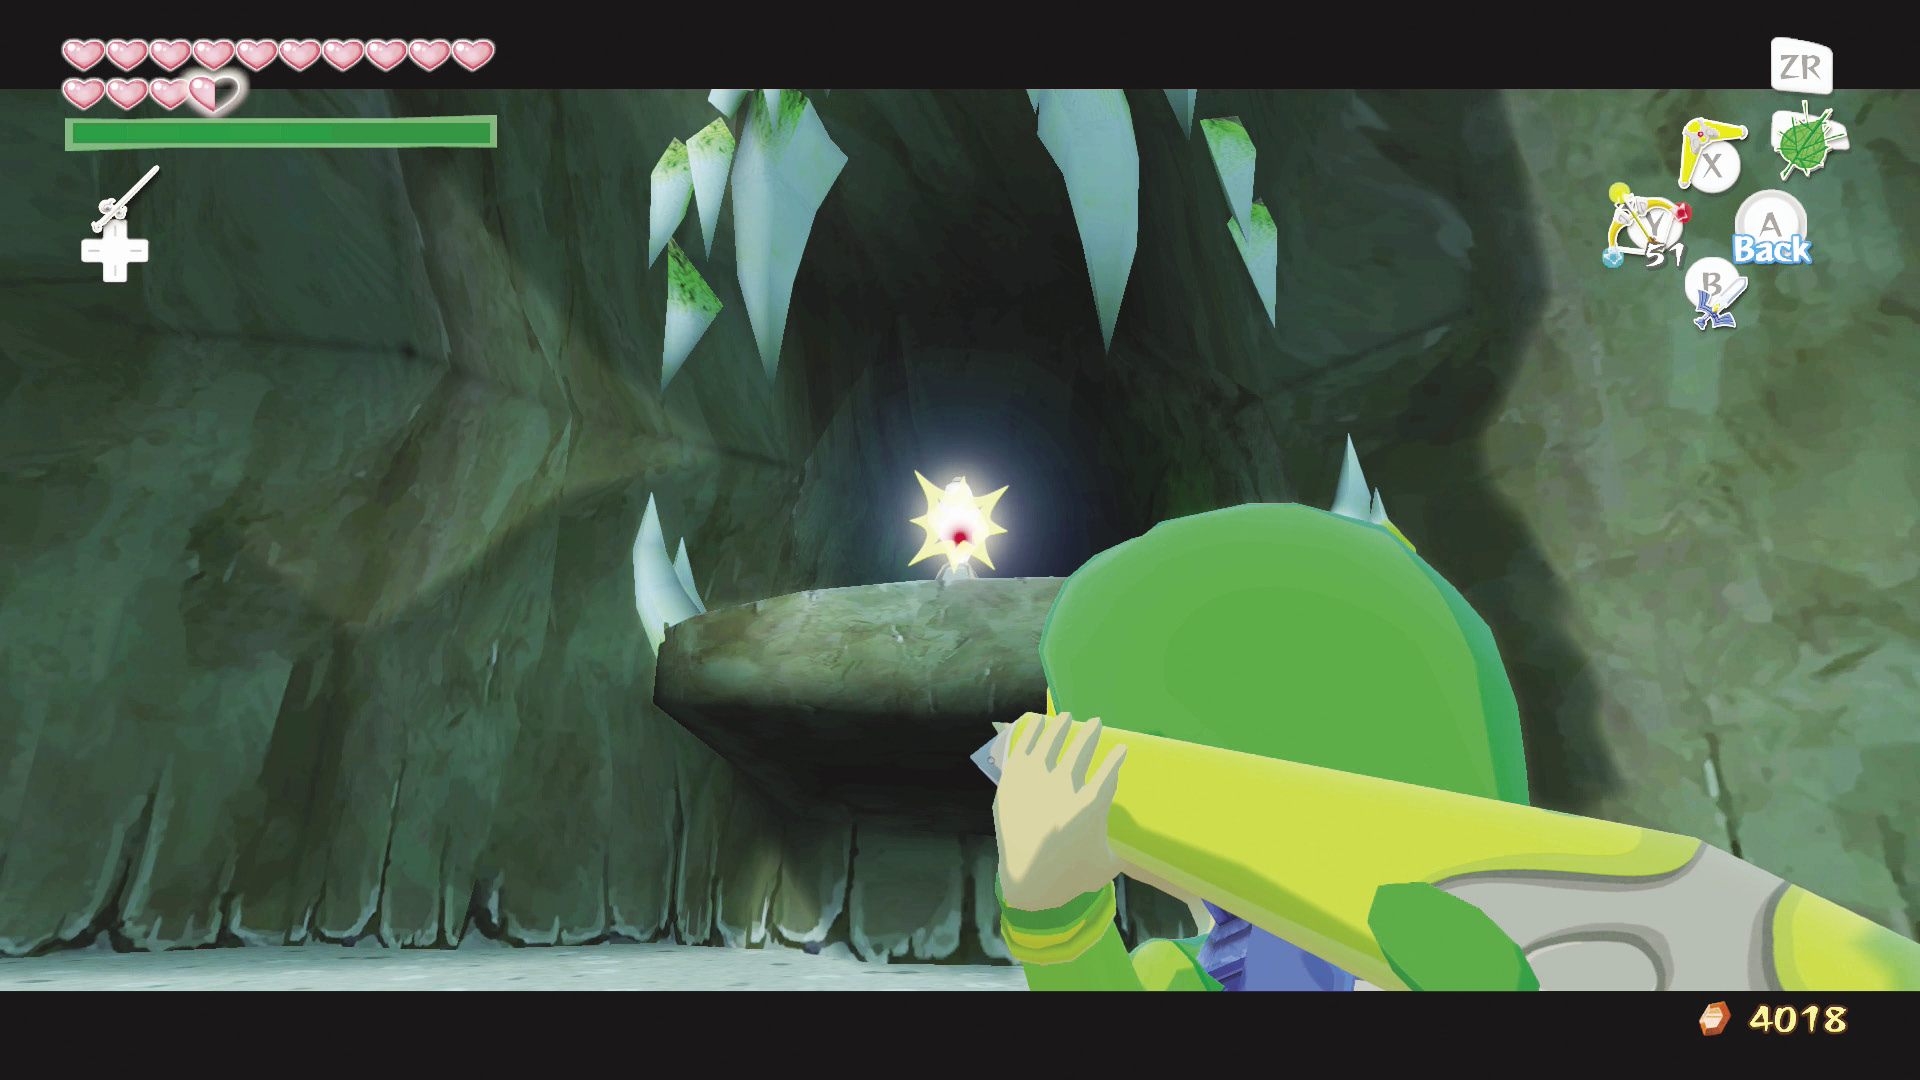
Hop into the hole in the ground to enter the Secret Cave. Lining each side of the wall is a small room containing three large, gargoyle-like structures with crystals in their mouths, and there is an endless supply of Miniblins. To get access to the treasure chest containing the Submarine Chart, you need to use your Boomerang to hit the three crystals in the gargoyles’ mouths while avoiding the Miniblins.
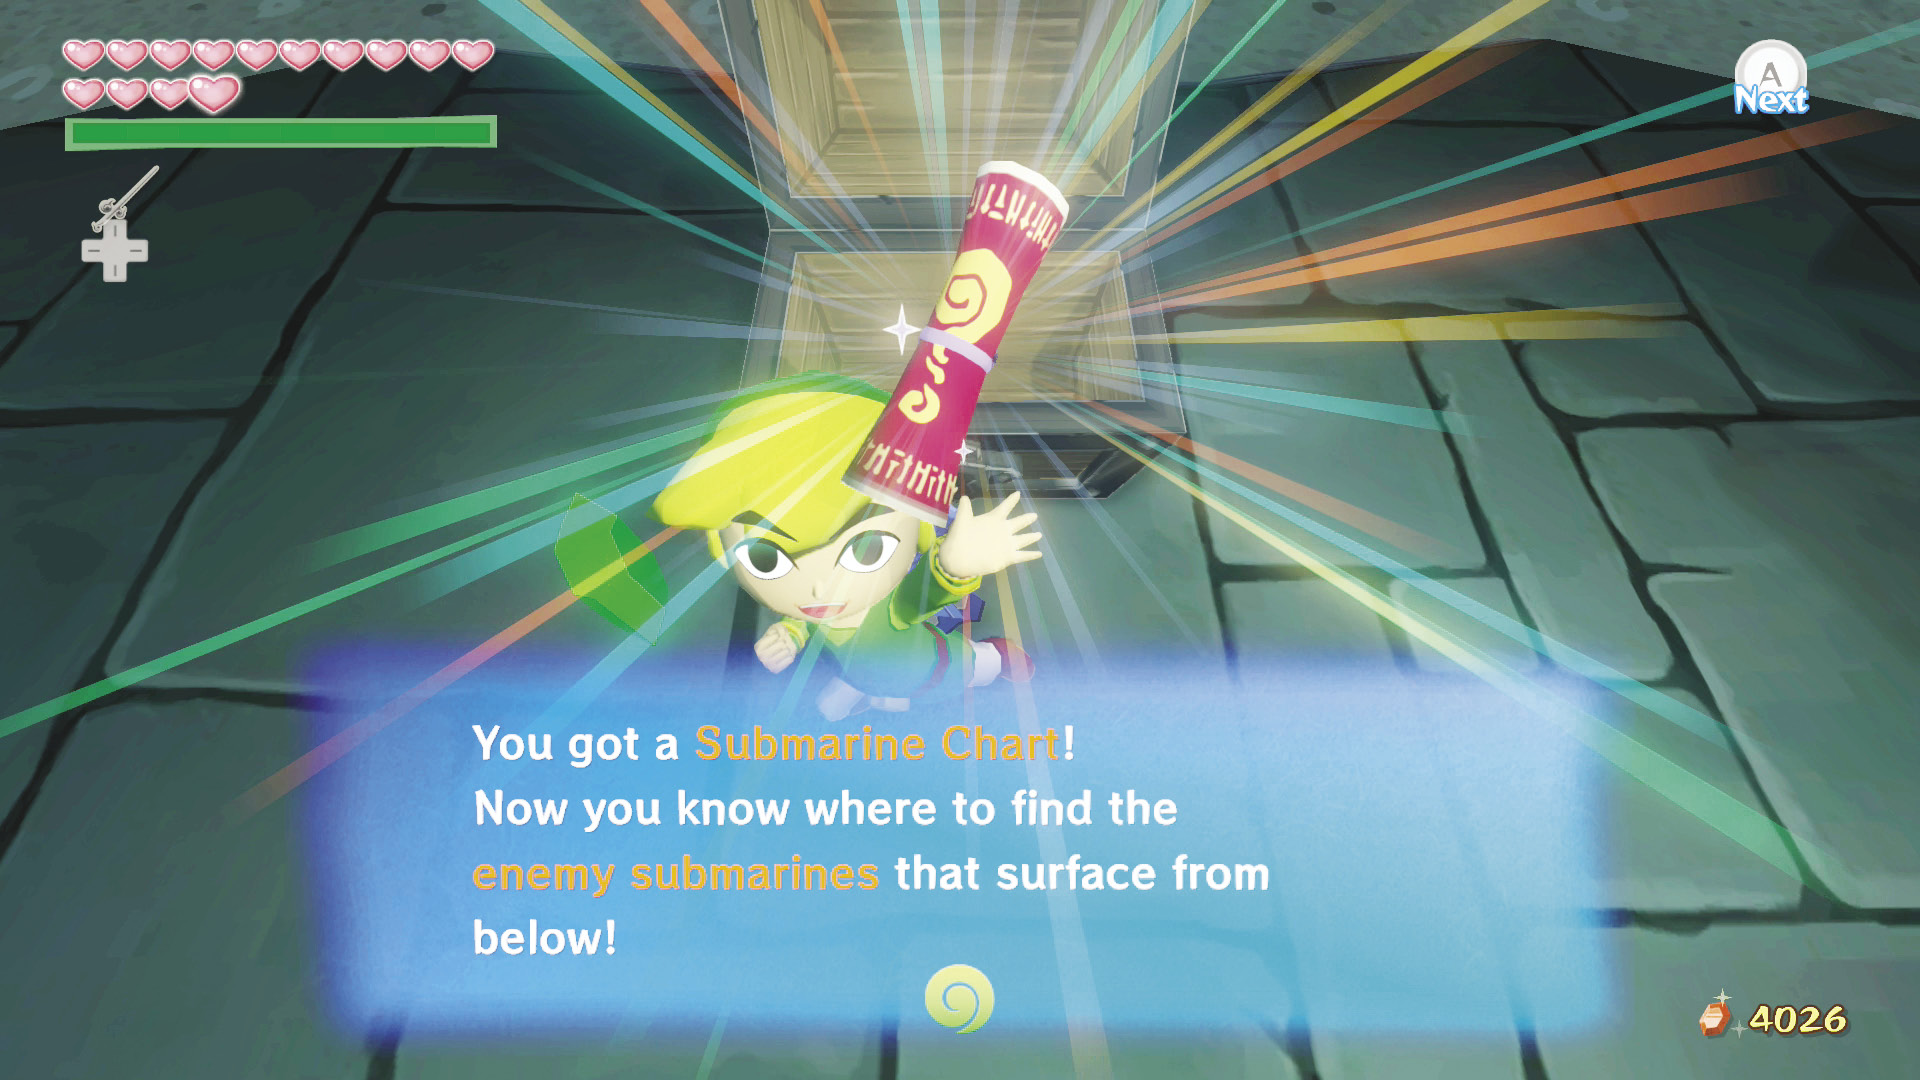
Don’t bother fighting the Miniblins; a replacement will enter the room for every Miniblin you defeat. Focus on the crystals and the Submarine Chart will be yours to control. Note: You don’t need to hit all three crystals at the same time in order to get the treasure chest.
|
|
34 |
submarine Chart |

Five-Star Isles (G7)
Me Heart Belongs to the Sea
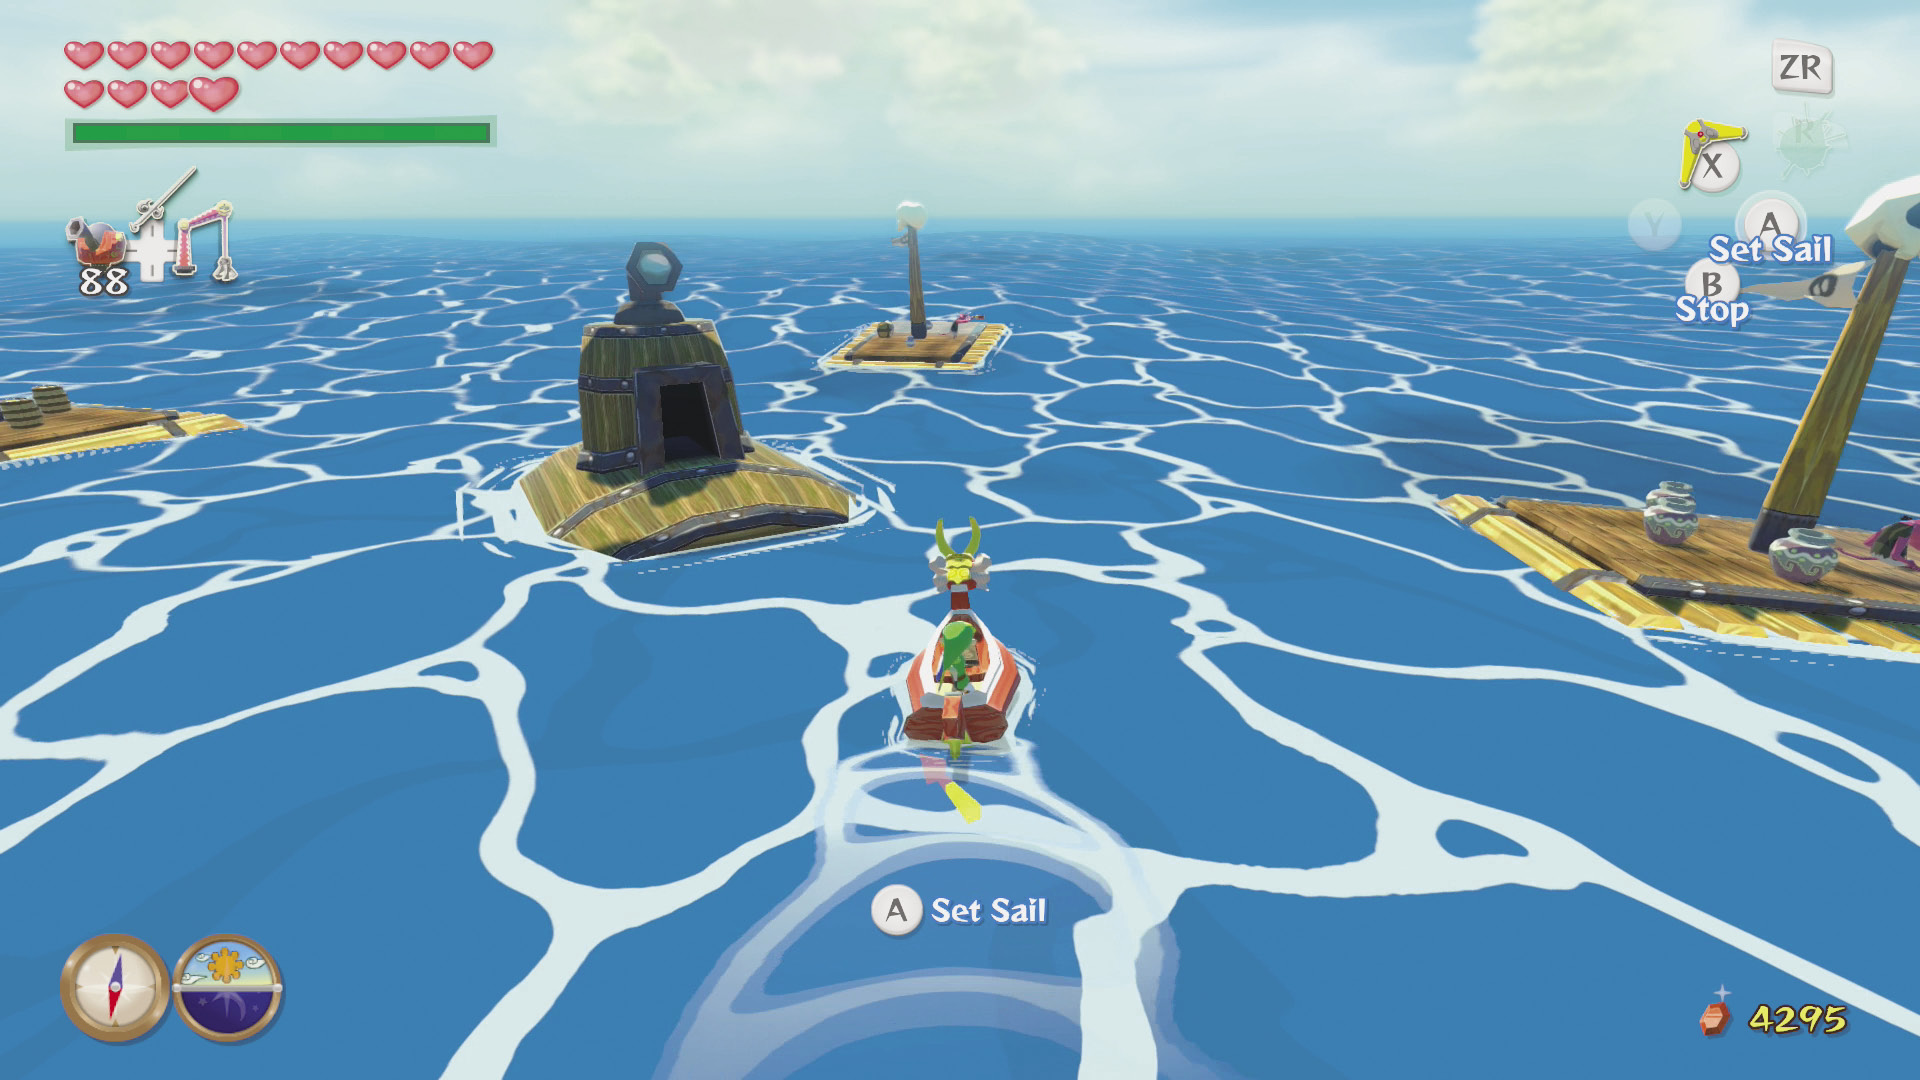
In the southeast area of the sector is a submarine containing Piece of Heart #6. Defeat the Bokoblins and Keese guarding the submarine’s interior and a ladder will drop down on the room’s far side. Climb the ladder to reach the room where Piece of Heart #6 is located.
|
|
35 |
Piece of Heart #6 |

|
|
36 |
Piece of Heart #7 |

Angular Isles (E7)
What’s Your Angle?
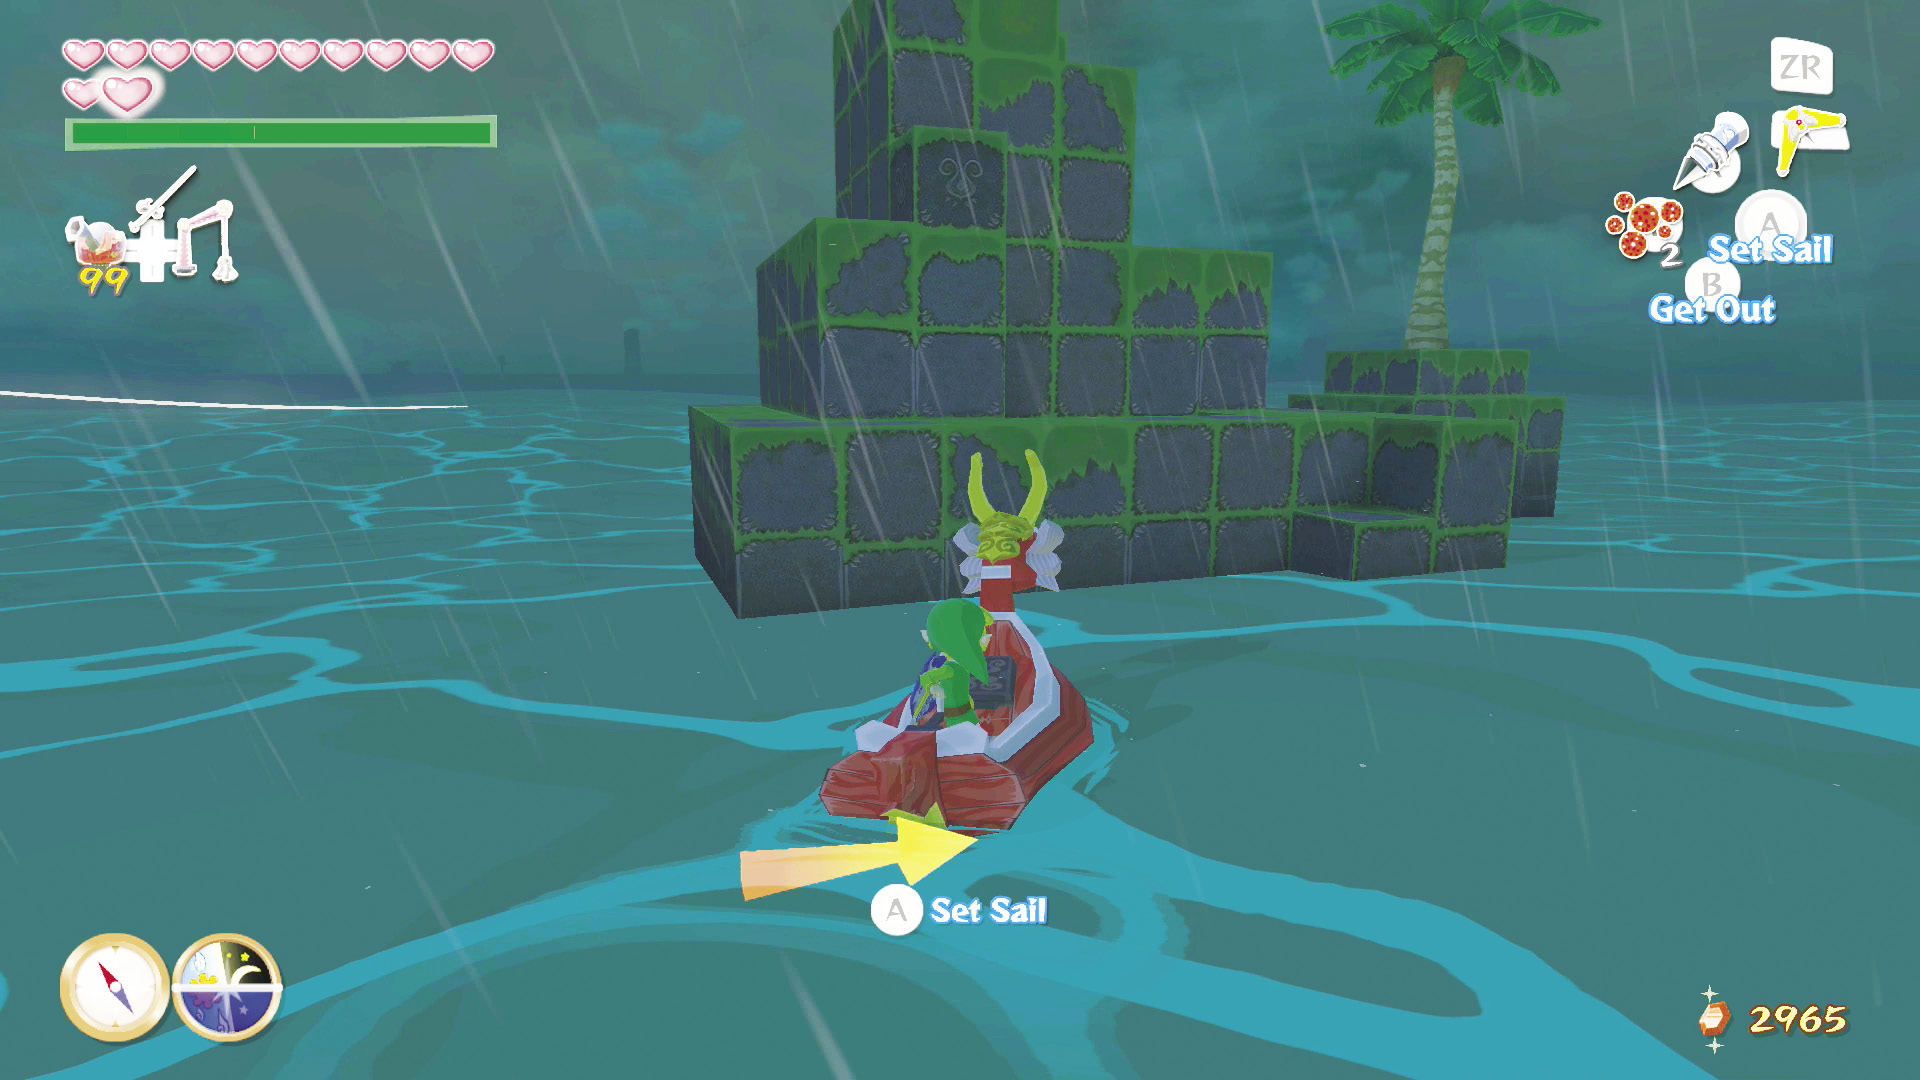
The larger of the two Angular Isles consists entirely of cubes. If you can reach the top, you can land yourself Piece of Heart #8 and also find another Blue ChuChu.
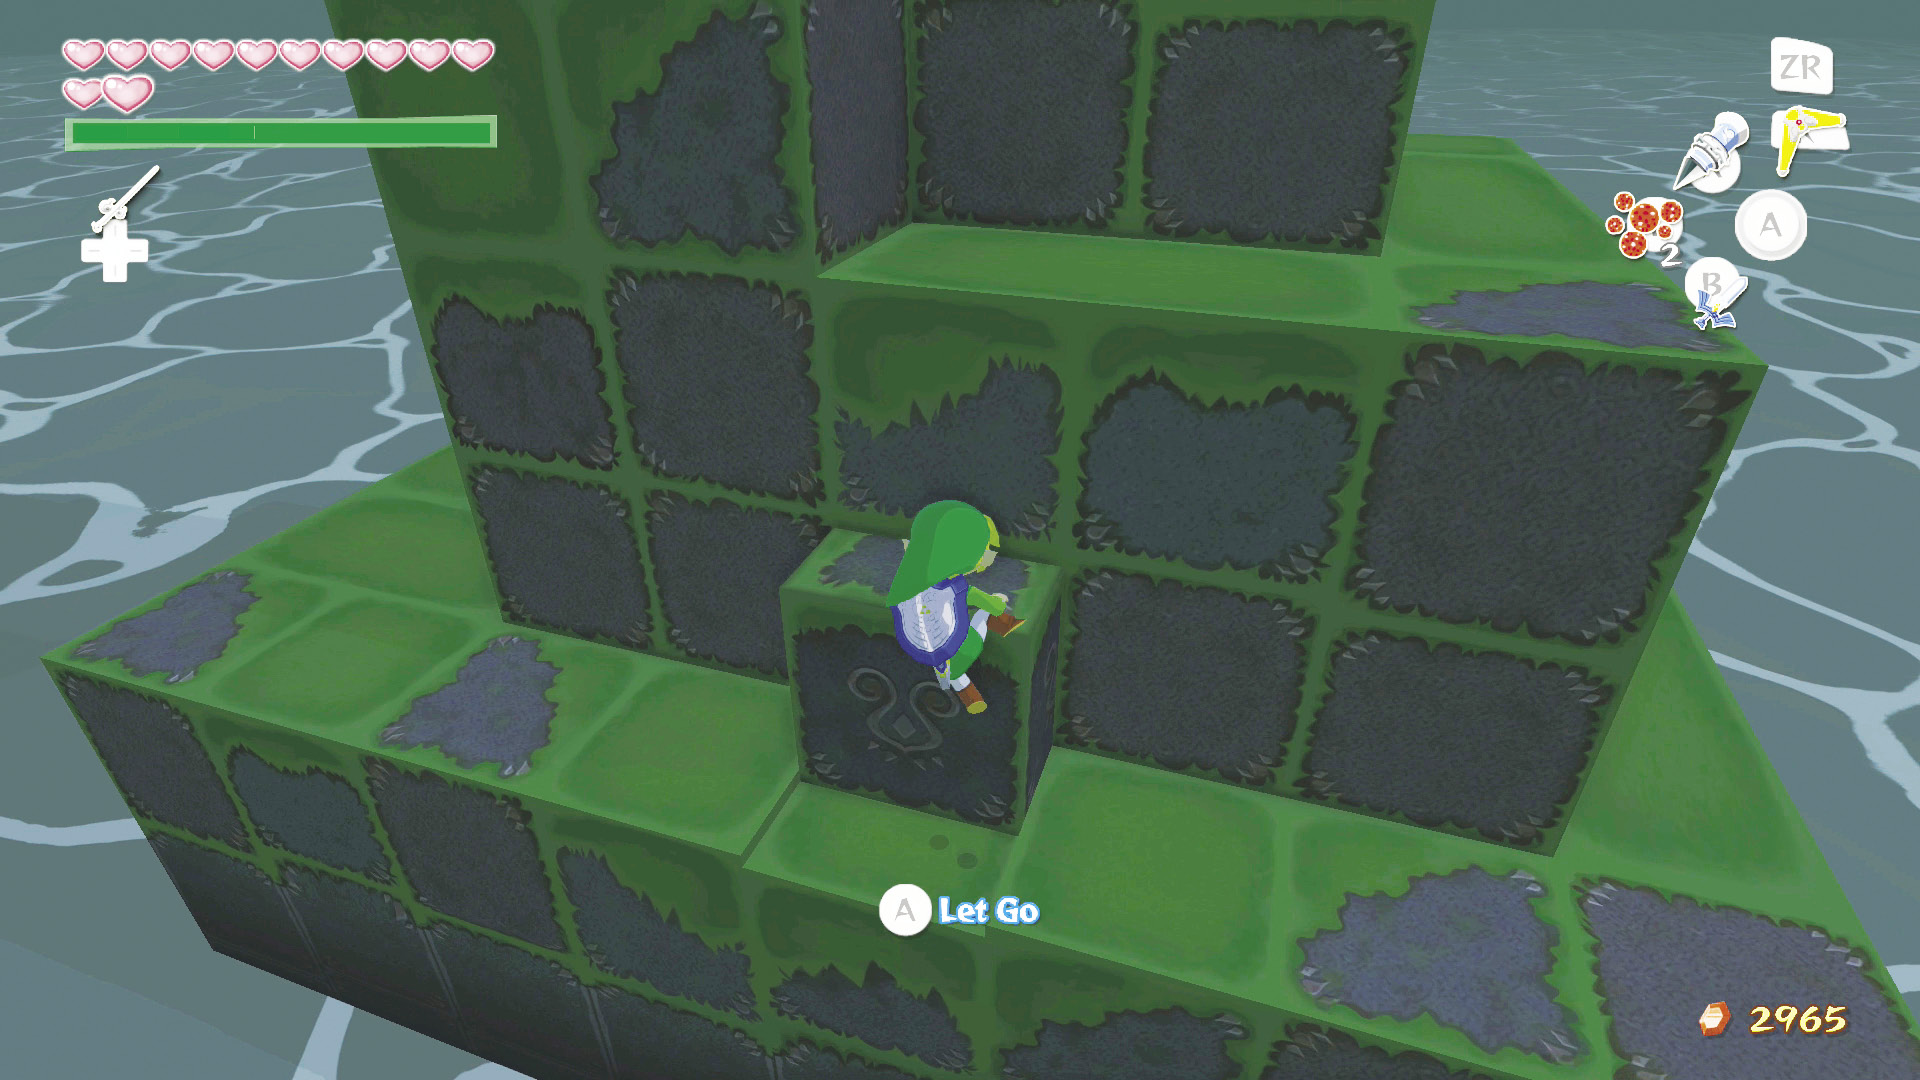
To reach the top, first climb onto the isle, then head to the side opposite of where you climbed up—there is only one way to climb up, so don’t worry about going to the wrong side. Here you’ll find a cube with a sigil on it. Pull that cube out as far as you can and then climb it.
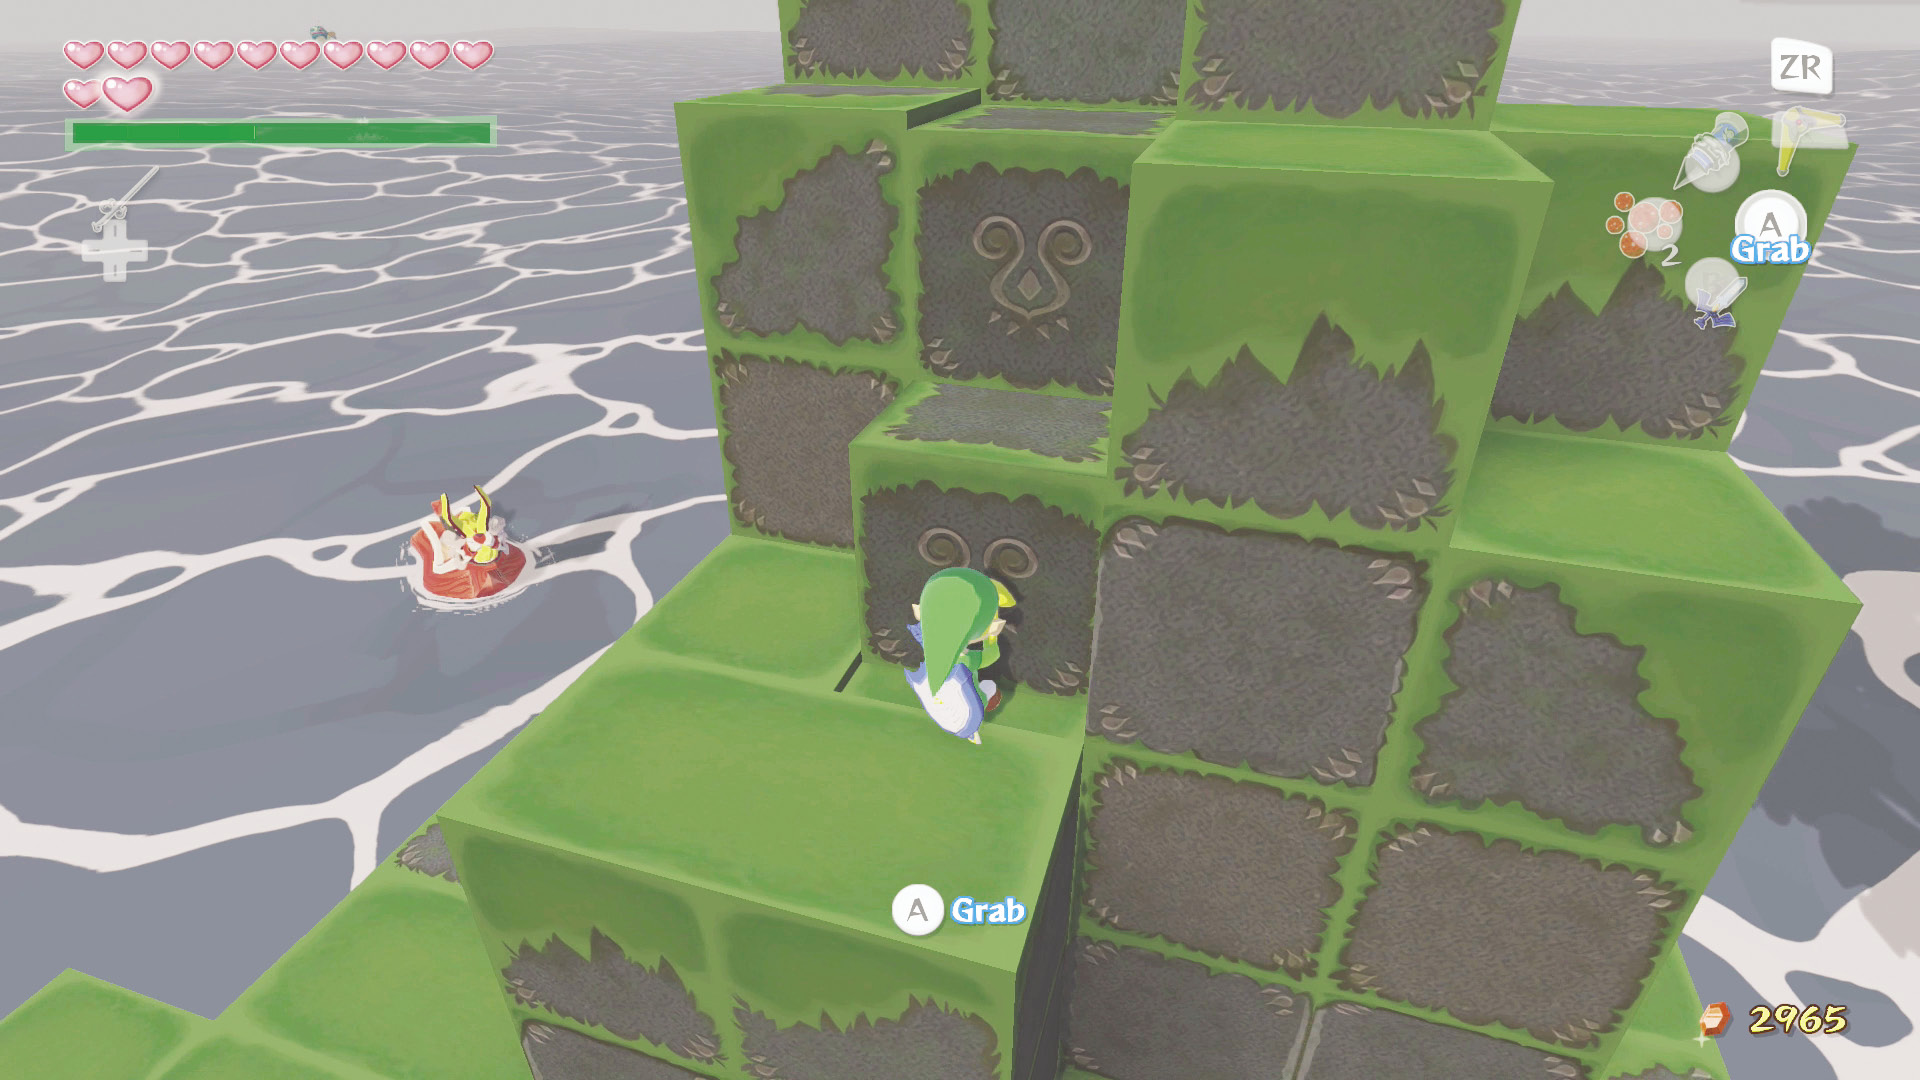
Follow the path that you just climbed onto until you reach a cube with another sigil on it. Push the cube down, jump down, and pull it along the indented path it is sitting in. Climb it and you’ll reach a ledge with two stacked sigil cubes. Pull out the bottom cube, climb it, and immediately climb the cube to your right.
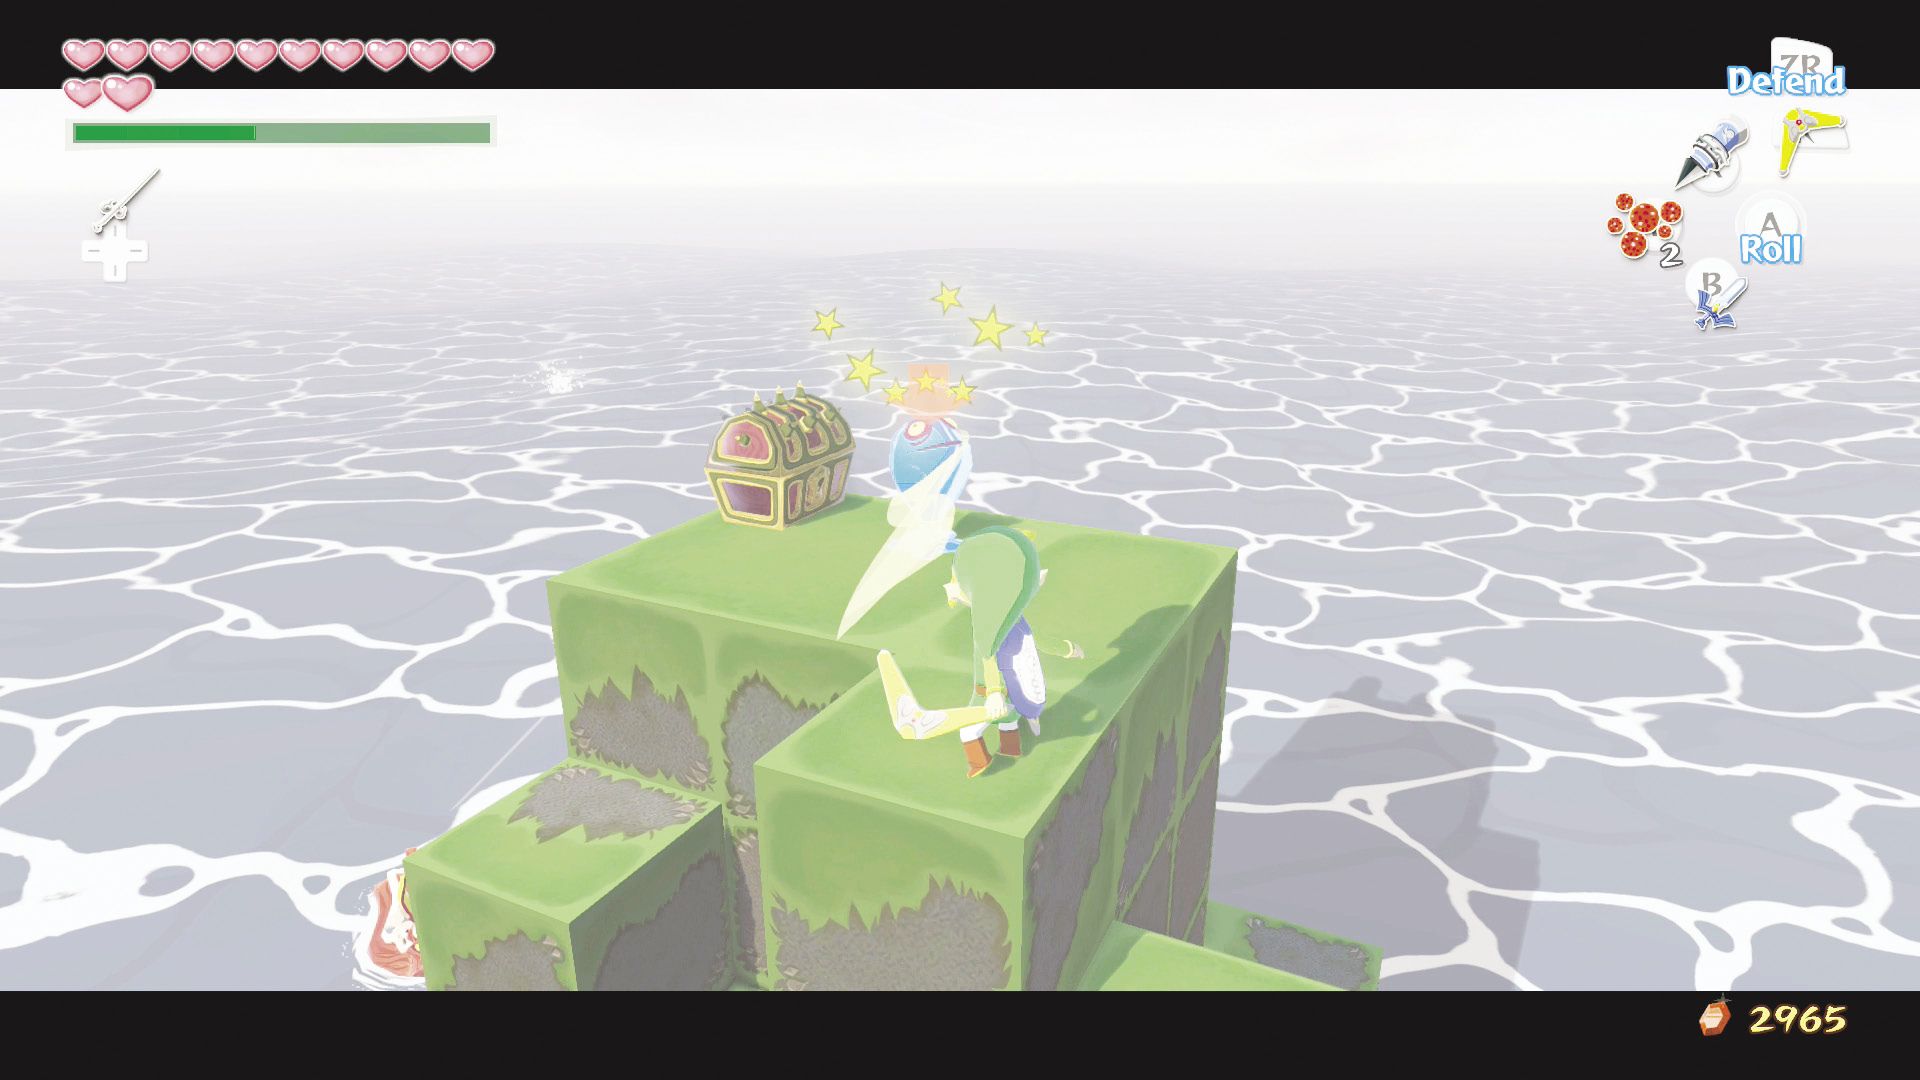
To access the treasure chest containing Piece of Heart #8 (Which will complete another Heart Container for you), just defeat the Blue ChuChu that is hiding in front of it, take the Blue Chu Jelly it leaves behind, and claim the chest.
|
|
37 |
Piece of Heart #8 |

Sunken Treasure #15
If you grabbed Treasure Chart #15 while in the Forbidden Woods, you can open it to reveal the location of Piece of Heart #9. Just hit while in your boat to use the Grappling Hook to pull it up from the bottom of the sea.
|
|
38 |
Piece of Heart #9 |

Two-Eye Reef (D7)
Cash Grab
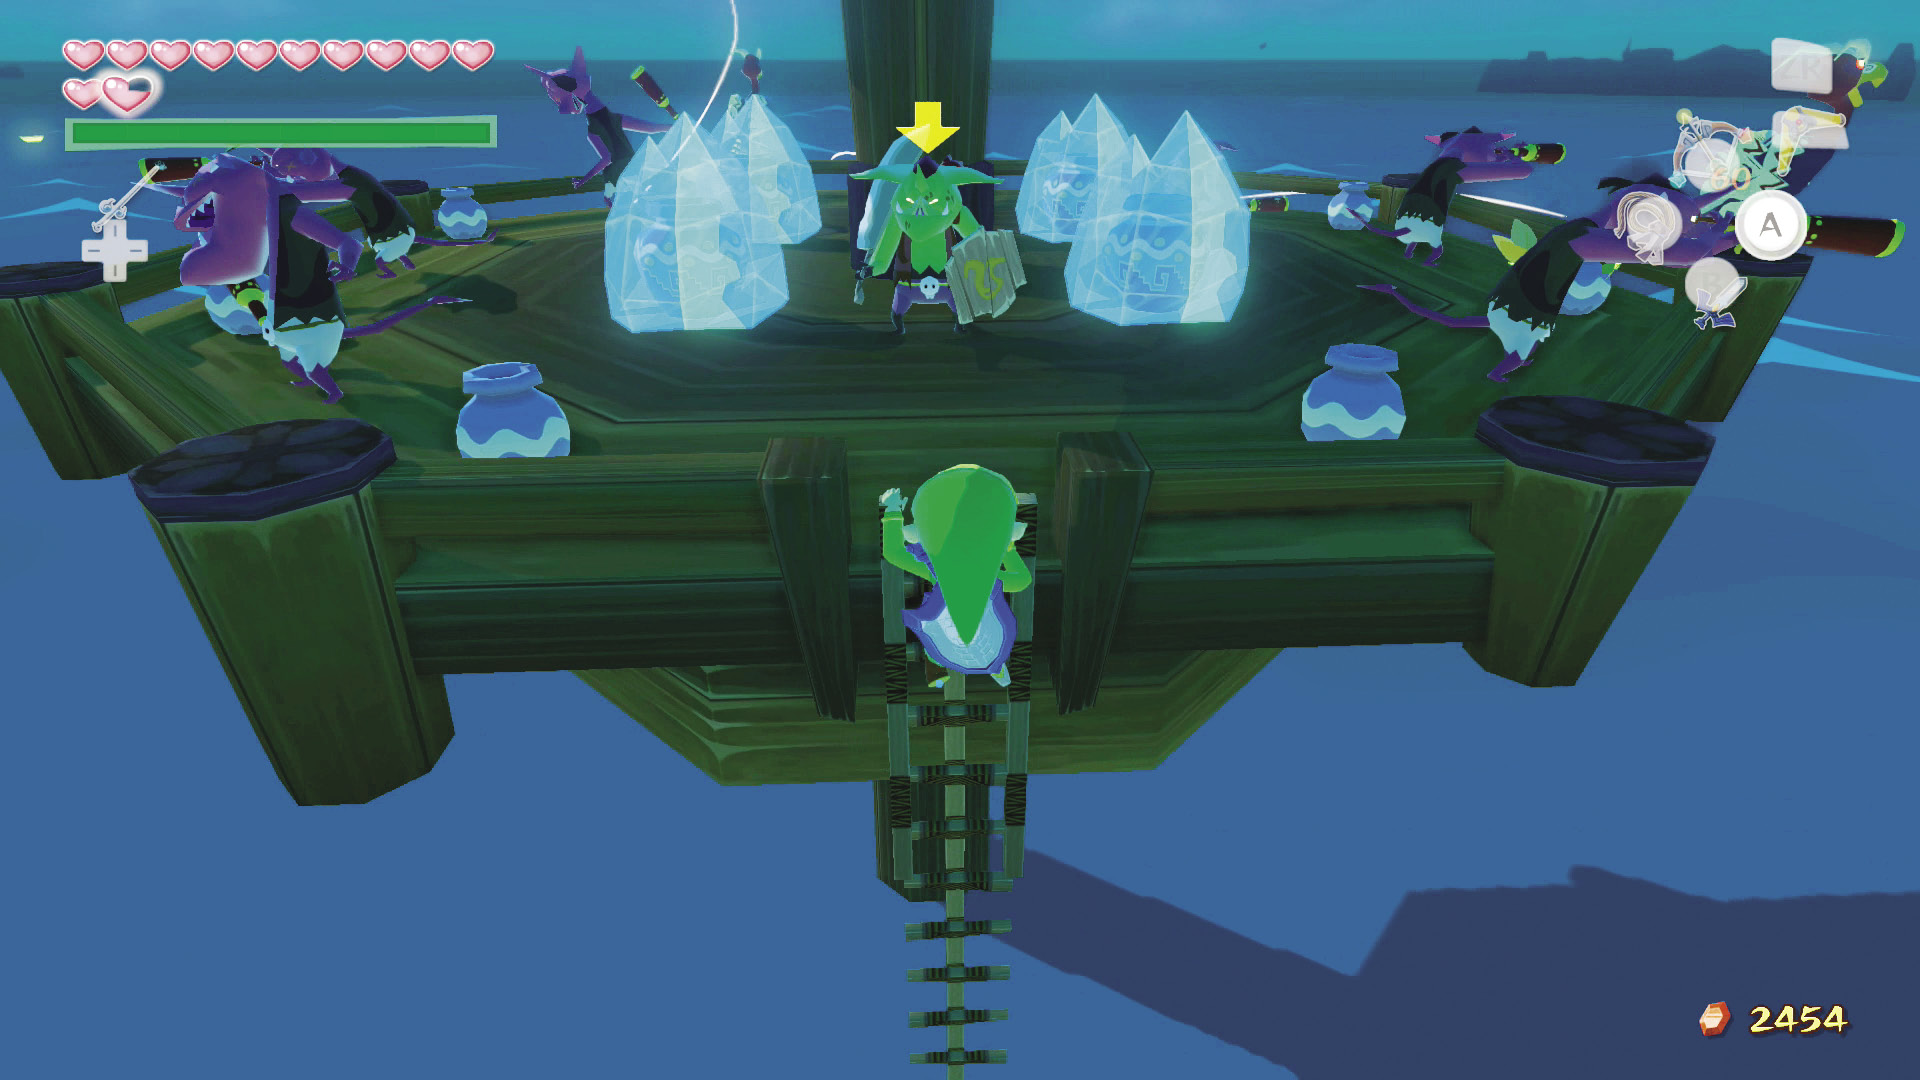
The Sea Platform in the south section of this sector has a chest containing a Purple Rupee that would be splendid in your wallet—much more so than those despicable Bokoblins in any case.
Big Octos, Little Trouble
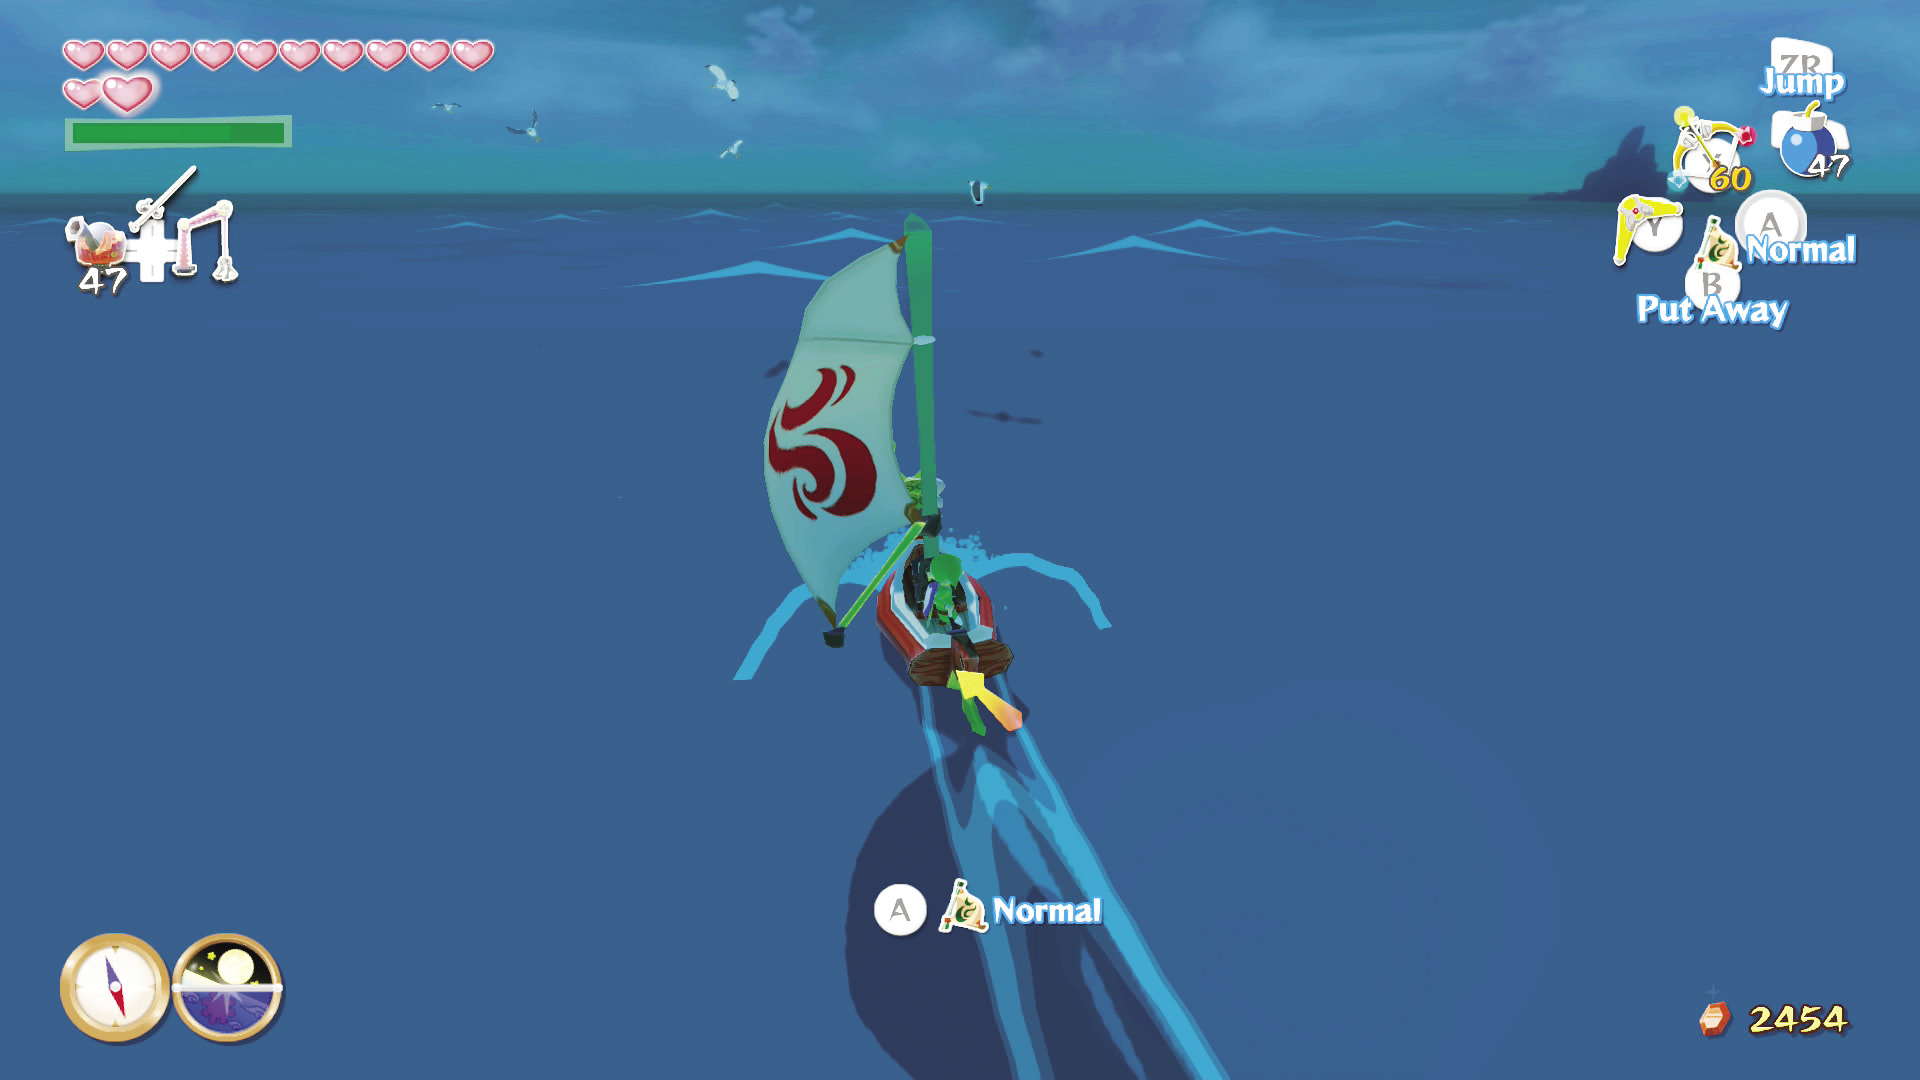
Scattered along the Great Sea are six gigantic octopods called Big Octos. You can find one of these savage cephalopods on the western side of the sector. The telltale sign that a Big Octo is around is when you see a collection of seagulls flying in a circle over a specific spot—this marks the location of a Big Octo.
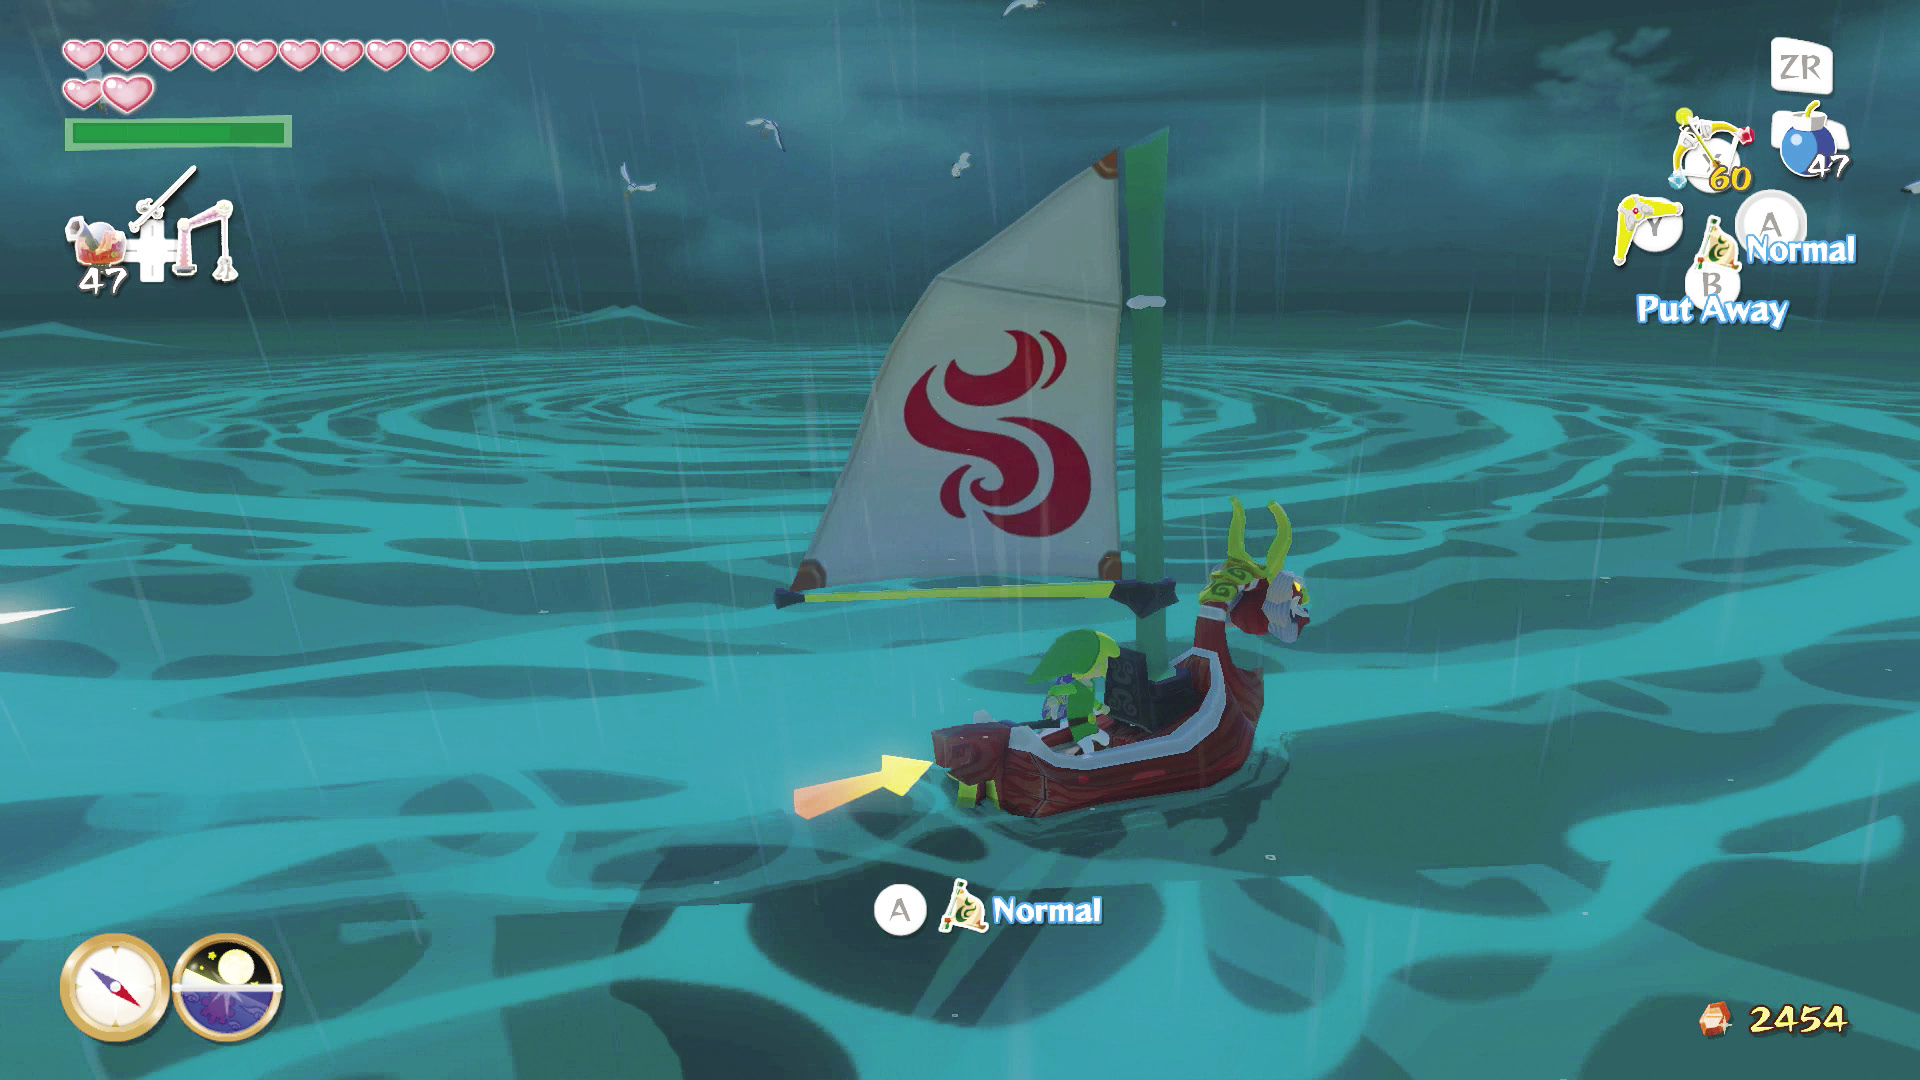
Once you’ve entered the Big Octo’s territory, it’ll begin to suck you into a whirlpool of its creation. You’ll inch closer and closer to the monstrous cephalopod, eventually drawing Link into its mouth and spitting him onto the edge of the sector.
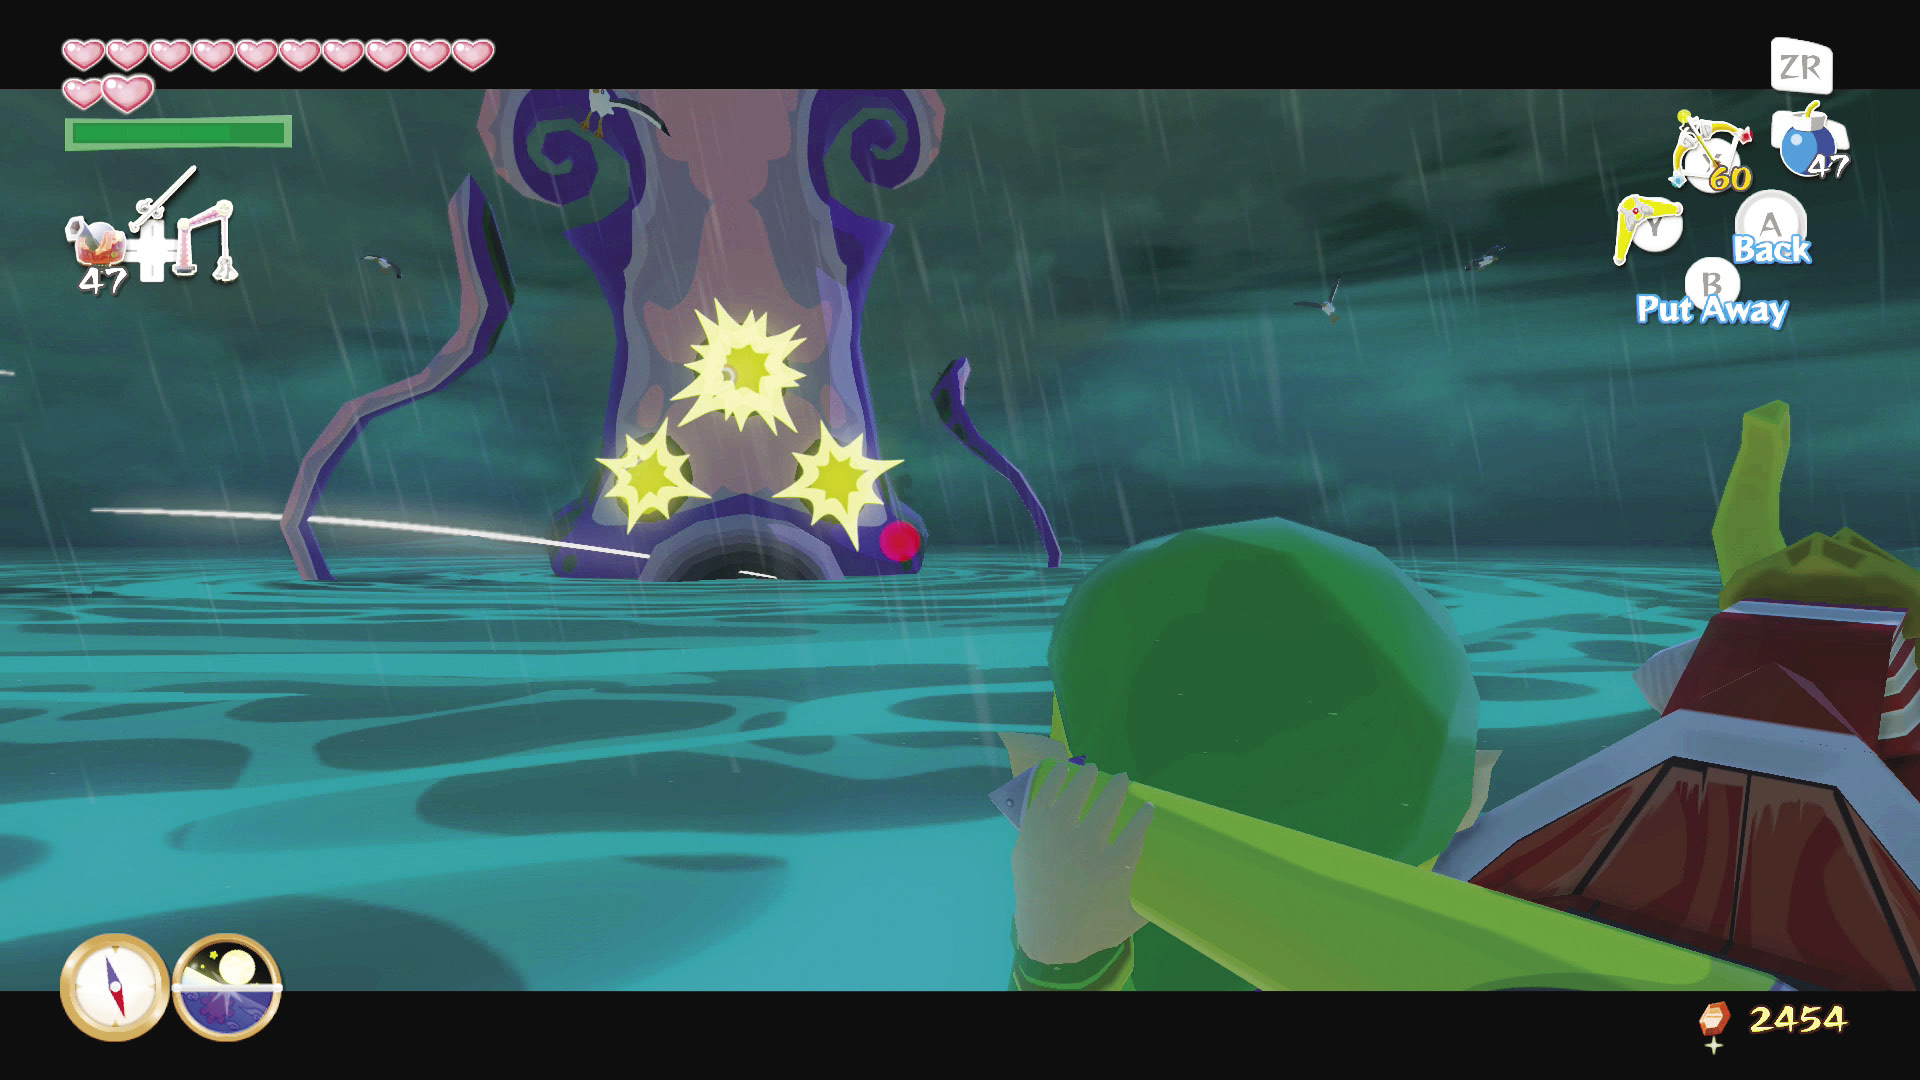
Despite how large and frightening a Big Octo may look, it has a fatal weakness that can be easily exploited with the right tools: its eyes. Use any projectile to take out each of the Big Octo’s eyes, but the Boomerang works best. Target as many eyes as you can with every throw and take out every eye to defeat the Big Octo.
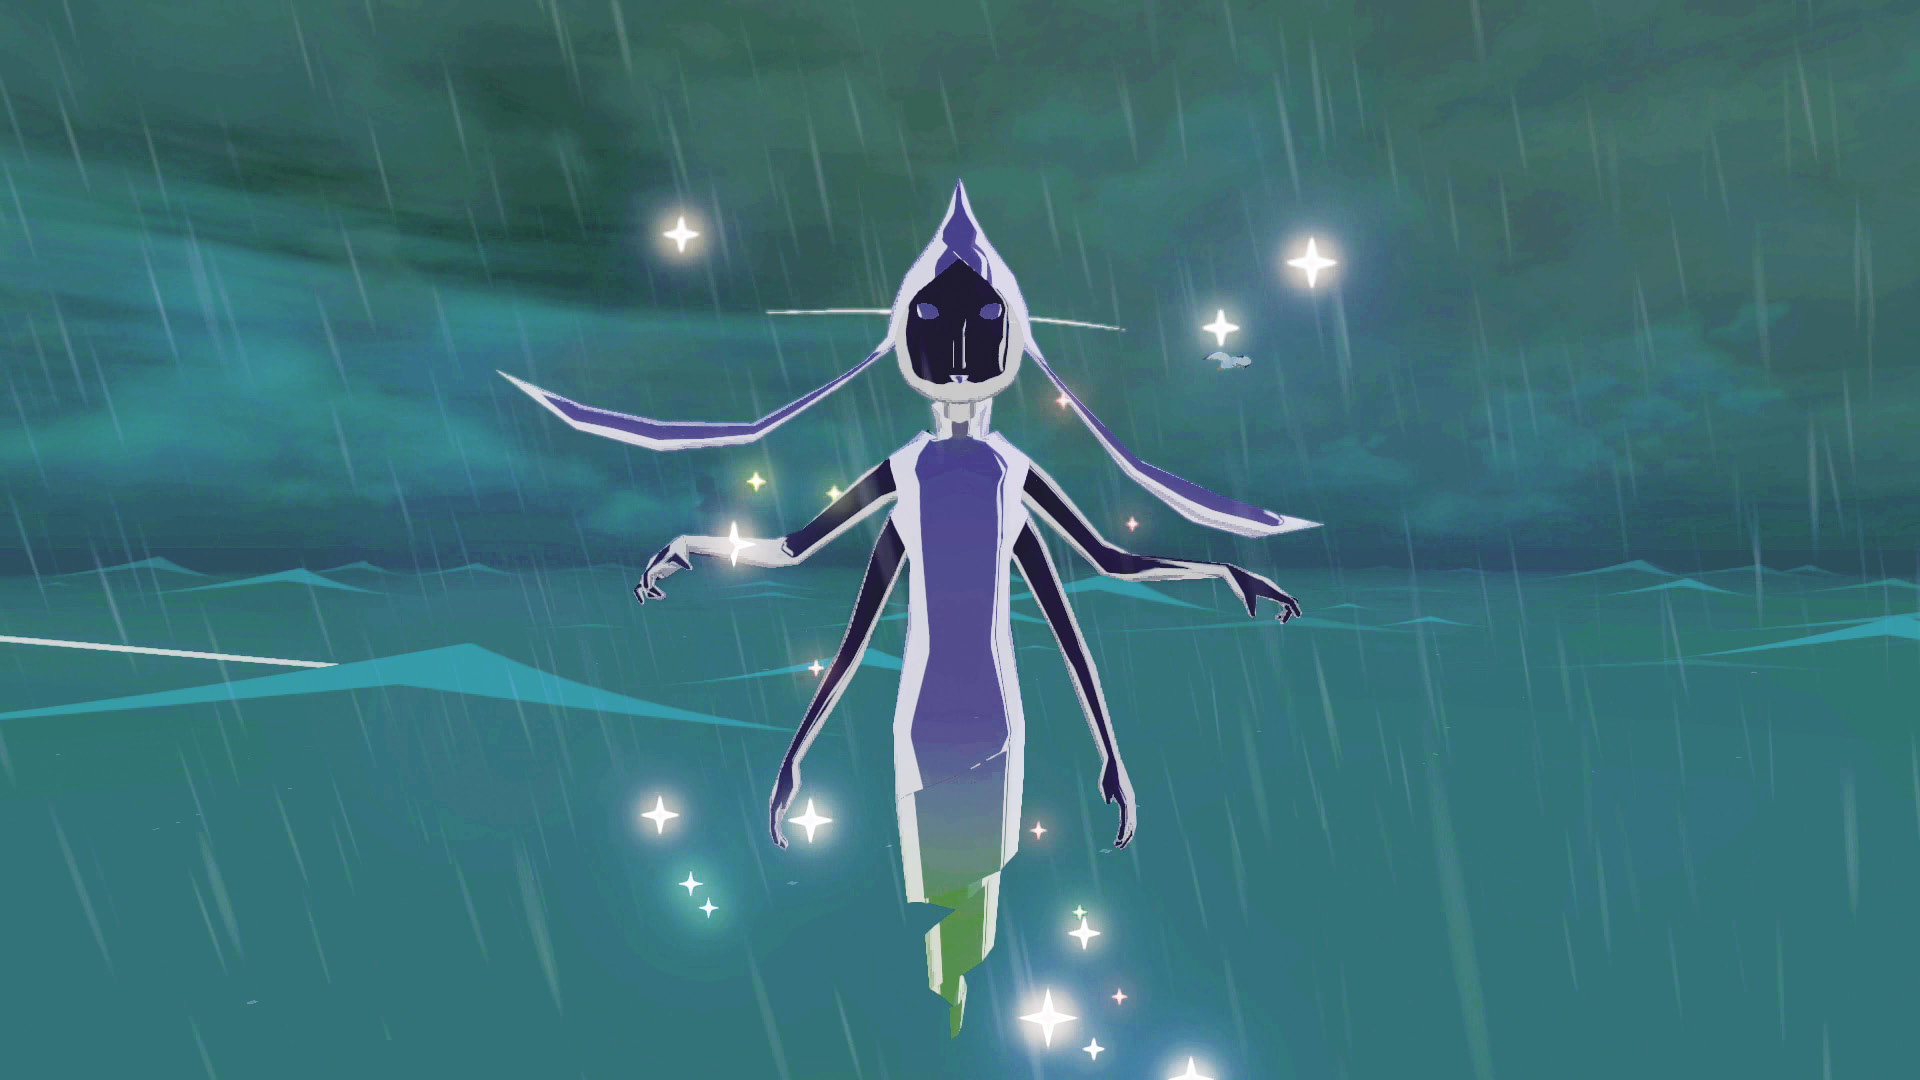
Inside this Big Octo is a Great Fairy who, being incredibly grateful for being freed from the Big Octo’s gooey innards, grants Link an upgrade to his Magic Bar. You now have twice the amount of magic at your disposal.
Nintendo Gallery Notice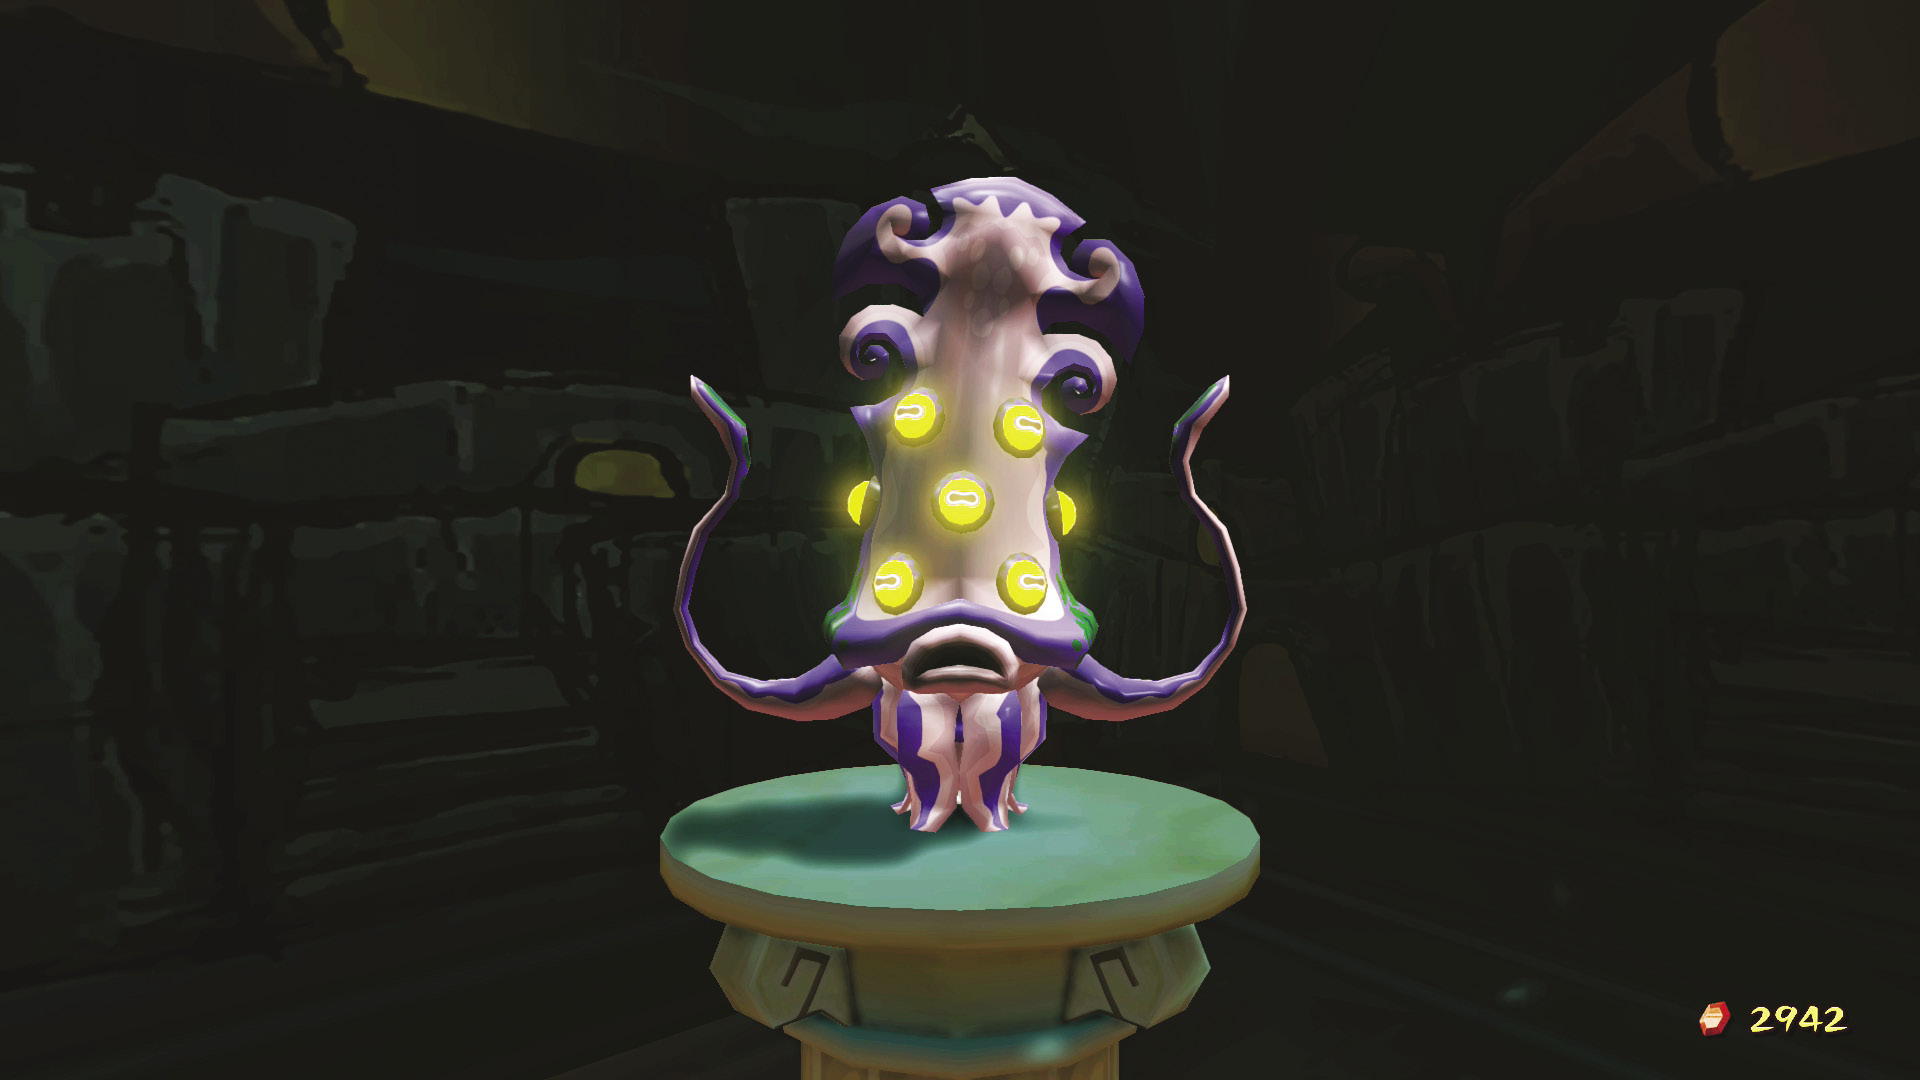 Big Octos never return after they’re defeated, so make sure to take a pictograph of one before you sink them all. It’s the only way to unlock the Big Octo figurine! |
Flight Control Platform (G2)
Link’s Flugtag Fever
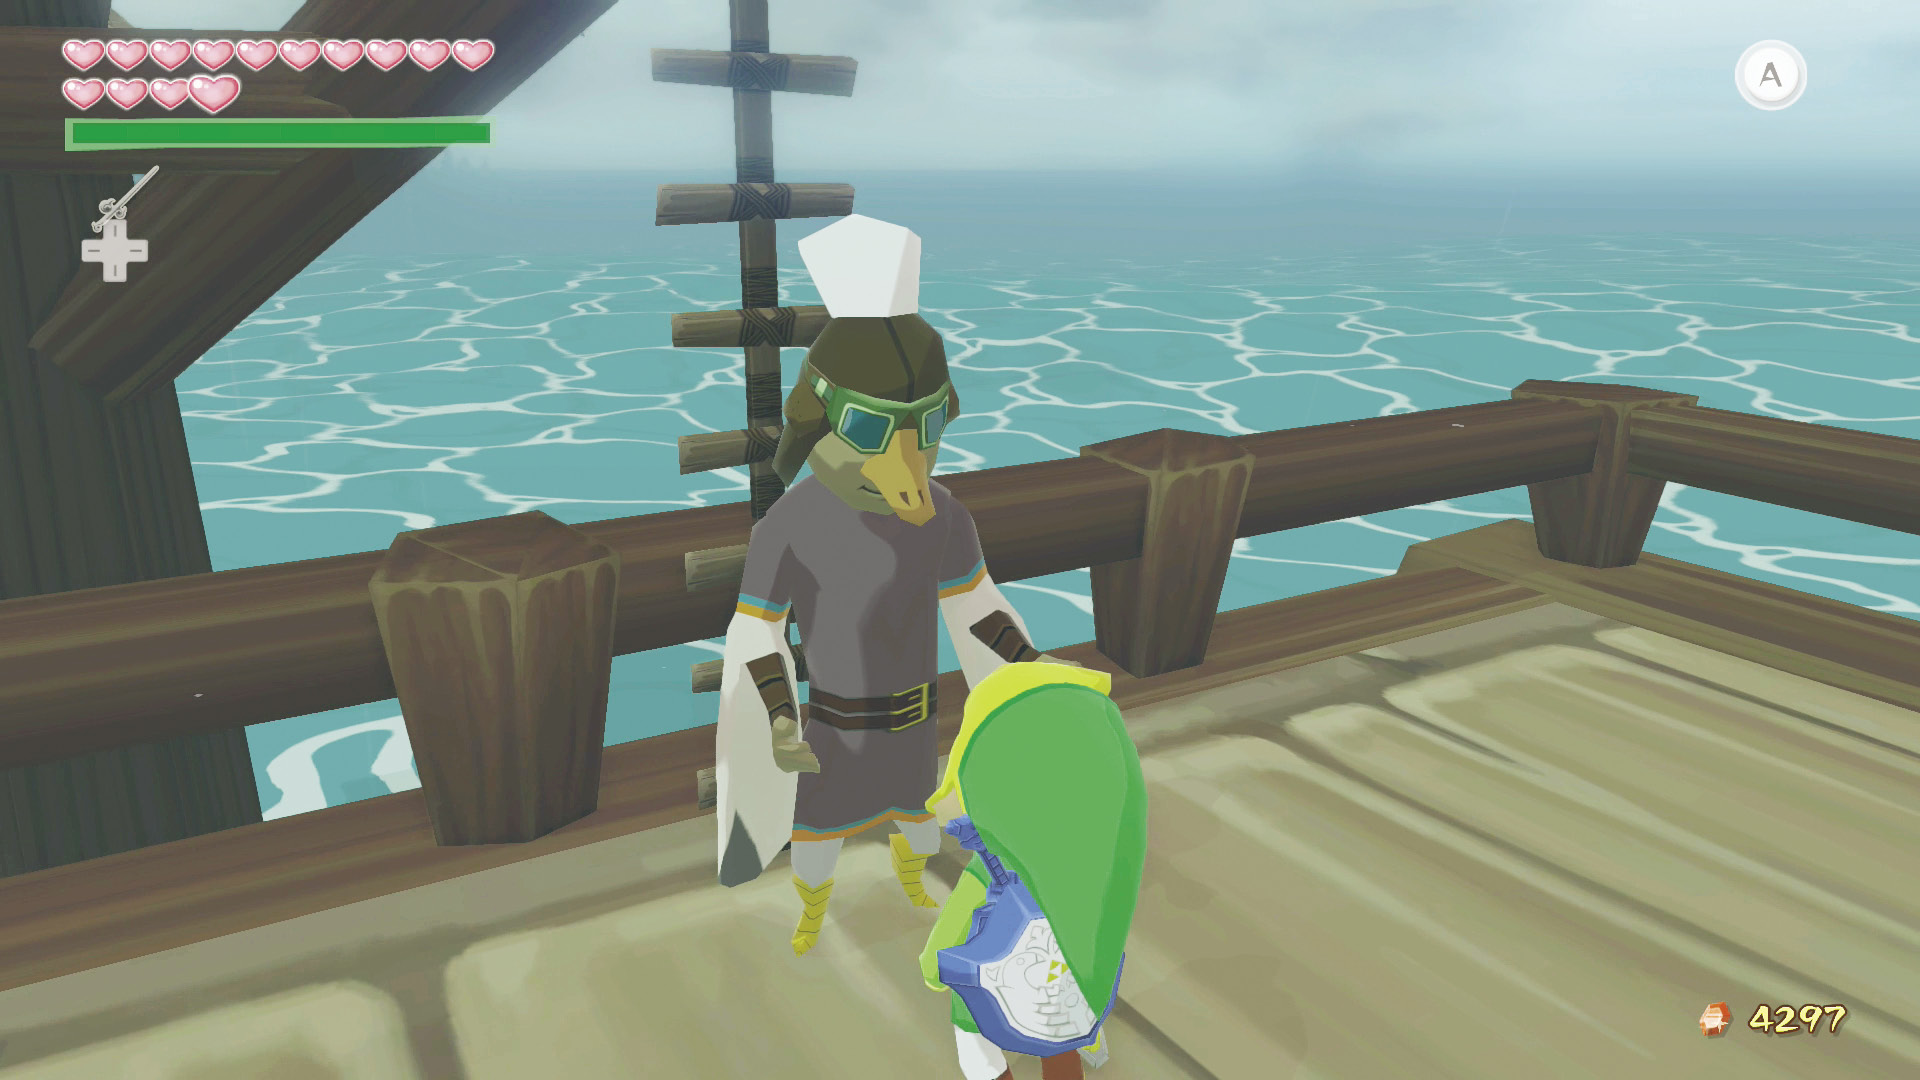
Another minigame you’ll find while traversing the Great Sea is called the “Bird-Man Contest.” It’s a challenge for anyone with flight capabilities to see just how far they can soar before dropping into the drink. The contest costs 10 Rupees and, if you’re up to the challenge, you can land yourself Piece of Heart #10 for beating the current flight record.
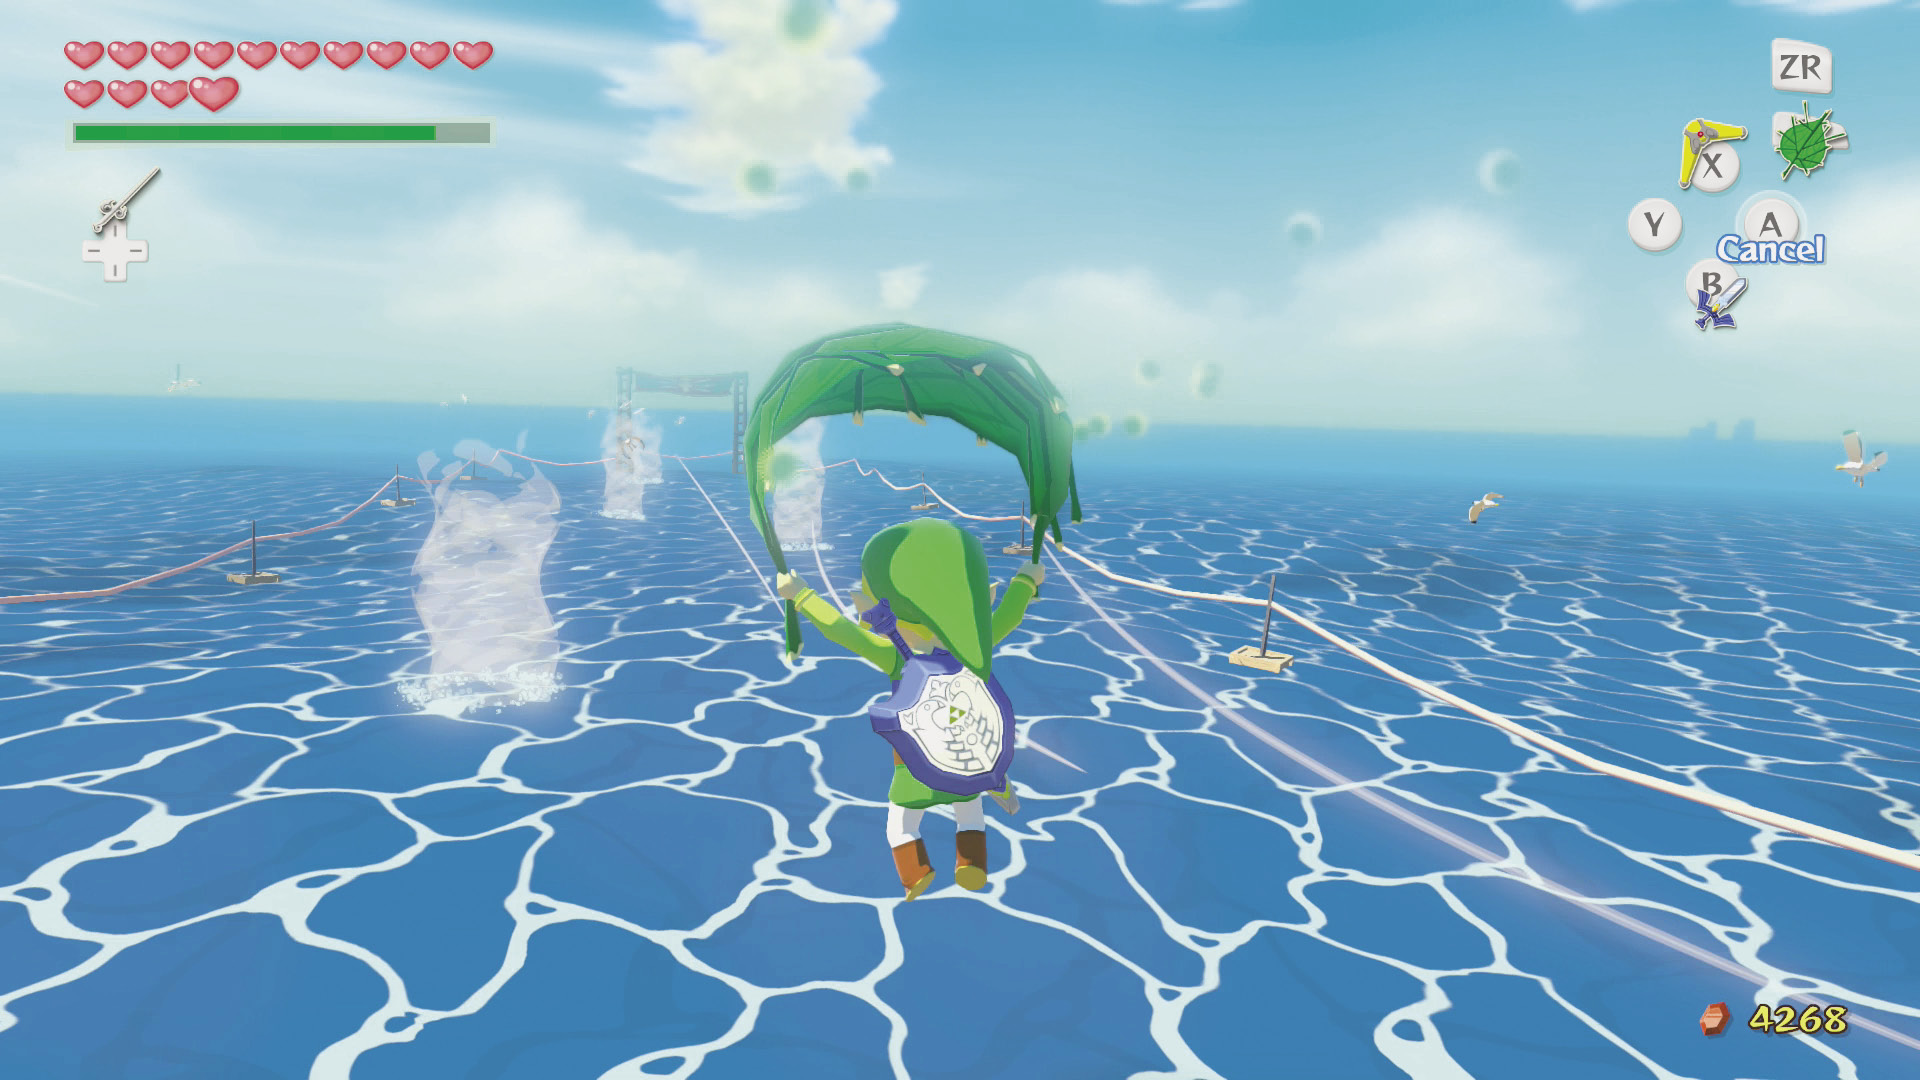
In order to win, you’ll need to hit at least two of the vortices that cycle around the flight path. The catch is that you can’t linger by turning into the vortices if they’re not already in your path. You need to hit a vortex and continue on as straight as you can and attempt to hit another vortex or two while trying to keep as straight toward the finish line as possible.
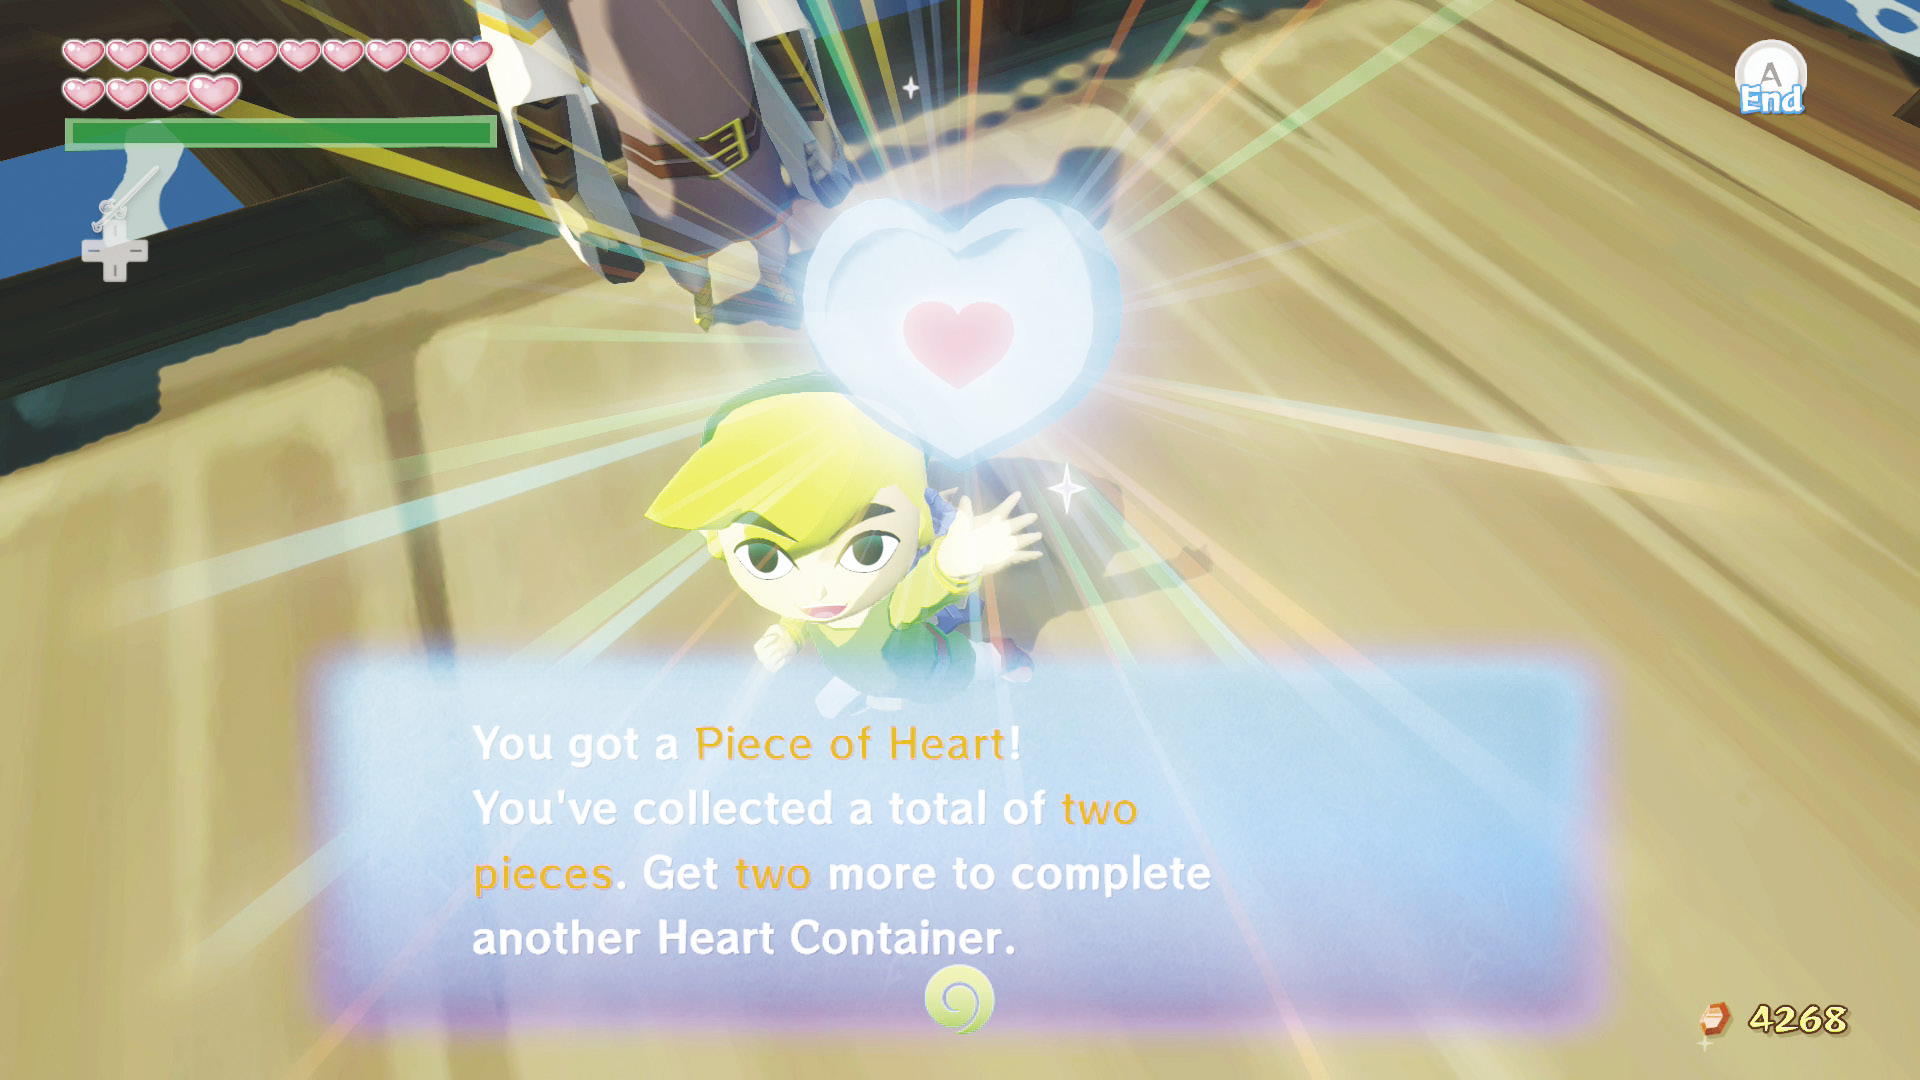
It will take a few tries, but eventually you’ll get it and Piece of Heart #10.
|
|
39 |
Piece of Heart #10 |

Seven-Star Isle (F1)
Not Big Enough
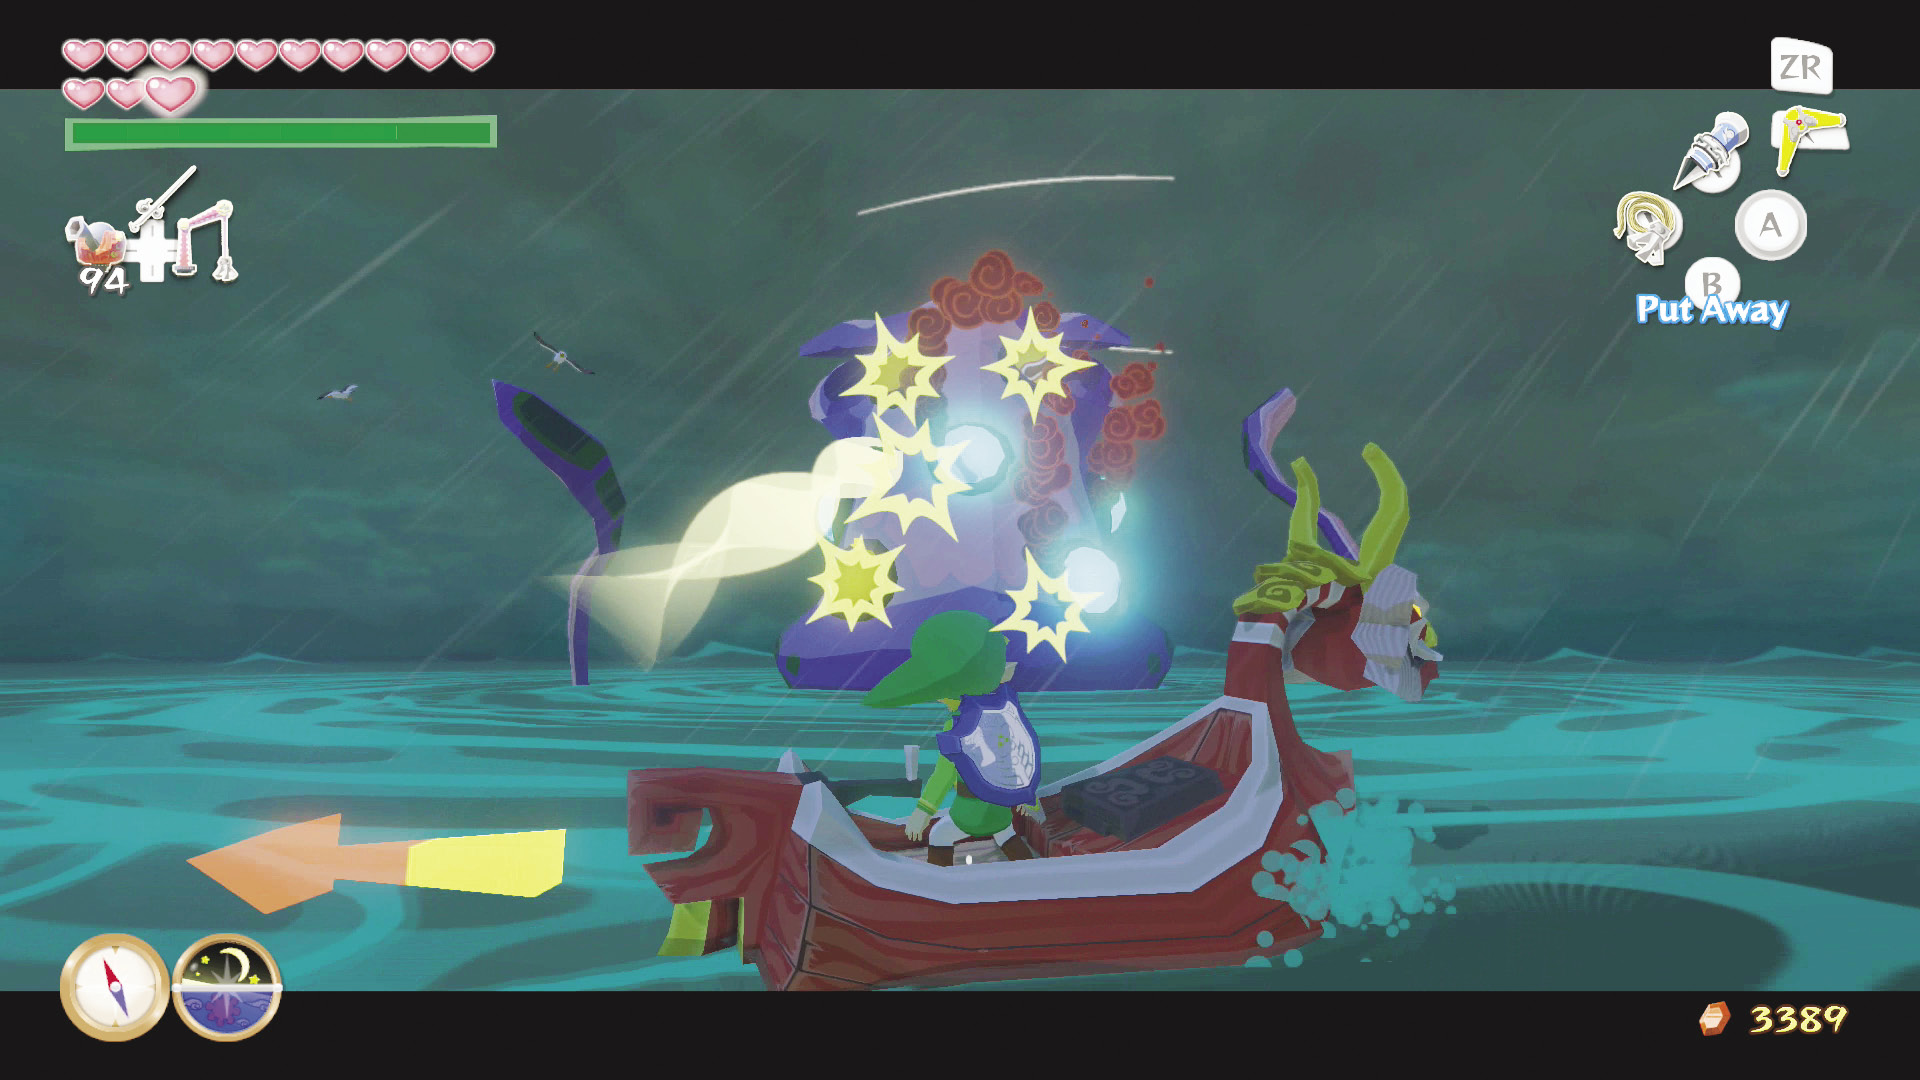
Near the southeast corner of the sector is another Big Octo. You know what to do this time, so take him out and earn yourself Piece of Heart #11. (Salvage it from the ring of light that the Big Octo leaves behind.)
|
|
40 |
Piece of Heart #11 |

Crescent Moon Island (E1)
Sunken Treasure #11
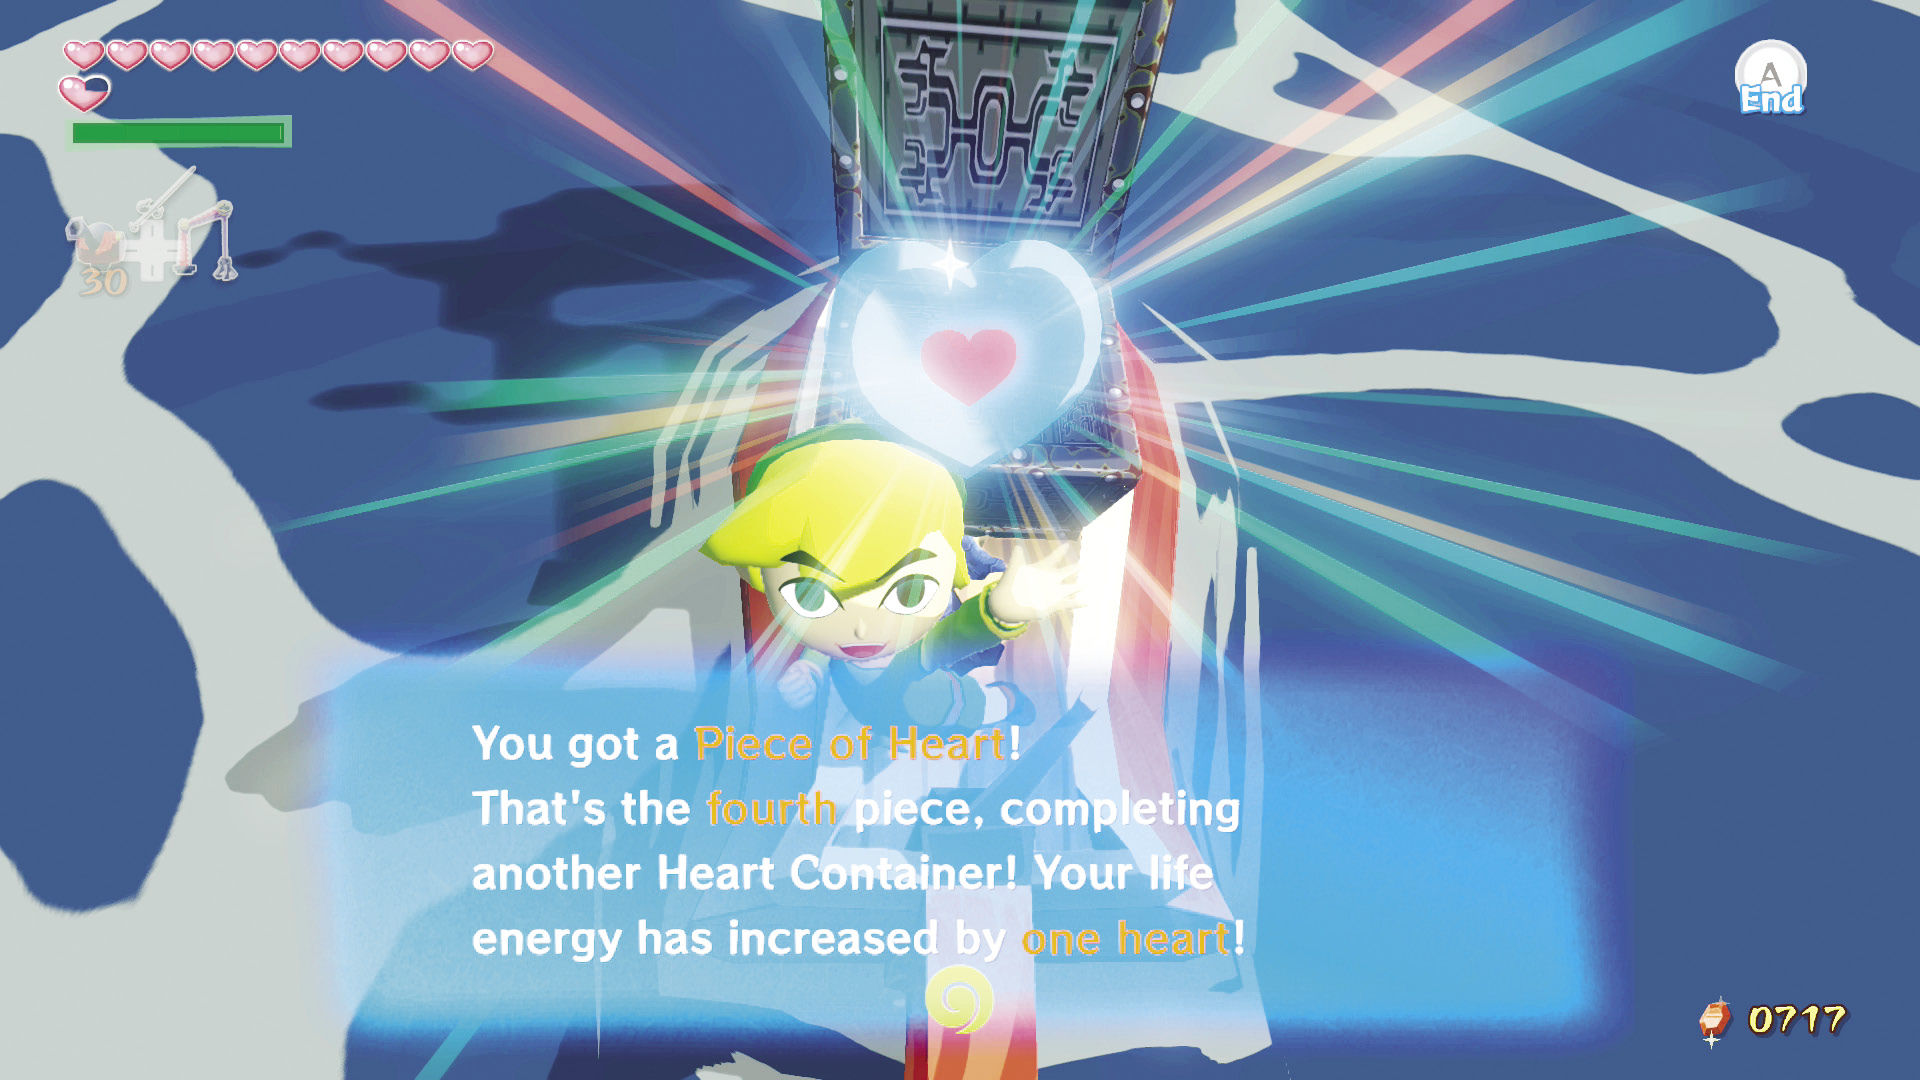
If you grabbed Treasure Chart #11 in Dragon Roost Cavern, you can open it to reveal the location of Piece of Heart #12.
|
|
41 |
Piece of Heart #12 |

The Great Blue ChuChu Adventure
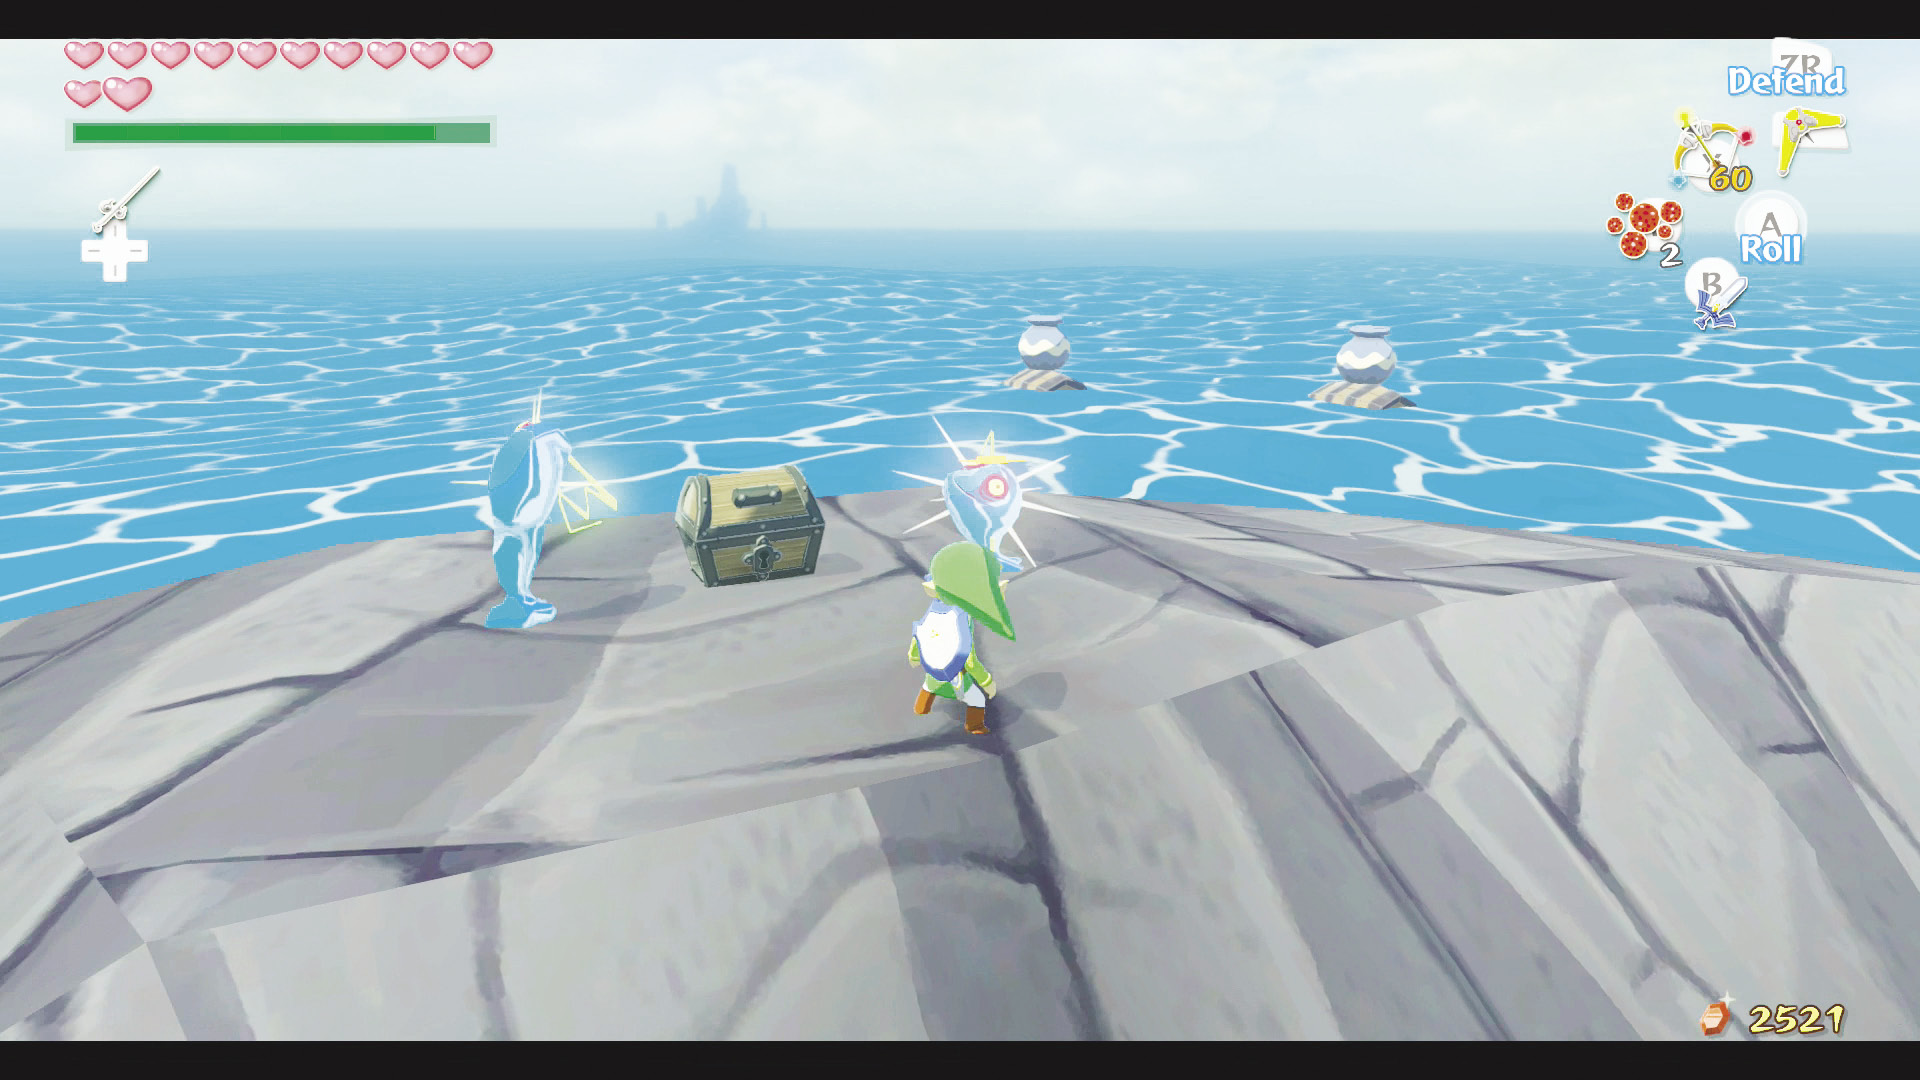
At the center of the island on its highest point is a treasure chest containing Treasure Chart #10. As a bonus, guarding the treasure chest are two Blue ChuChus that are just waiting for a good ol’-fashioned Boomeranging. Defeat them both, take the Blue Chu Jelly they leave behind, open the chest, and reap the benefits of your expedition.
|
|
42 |
Treasure Chart #10 |

No Such Thing as too Many Charts
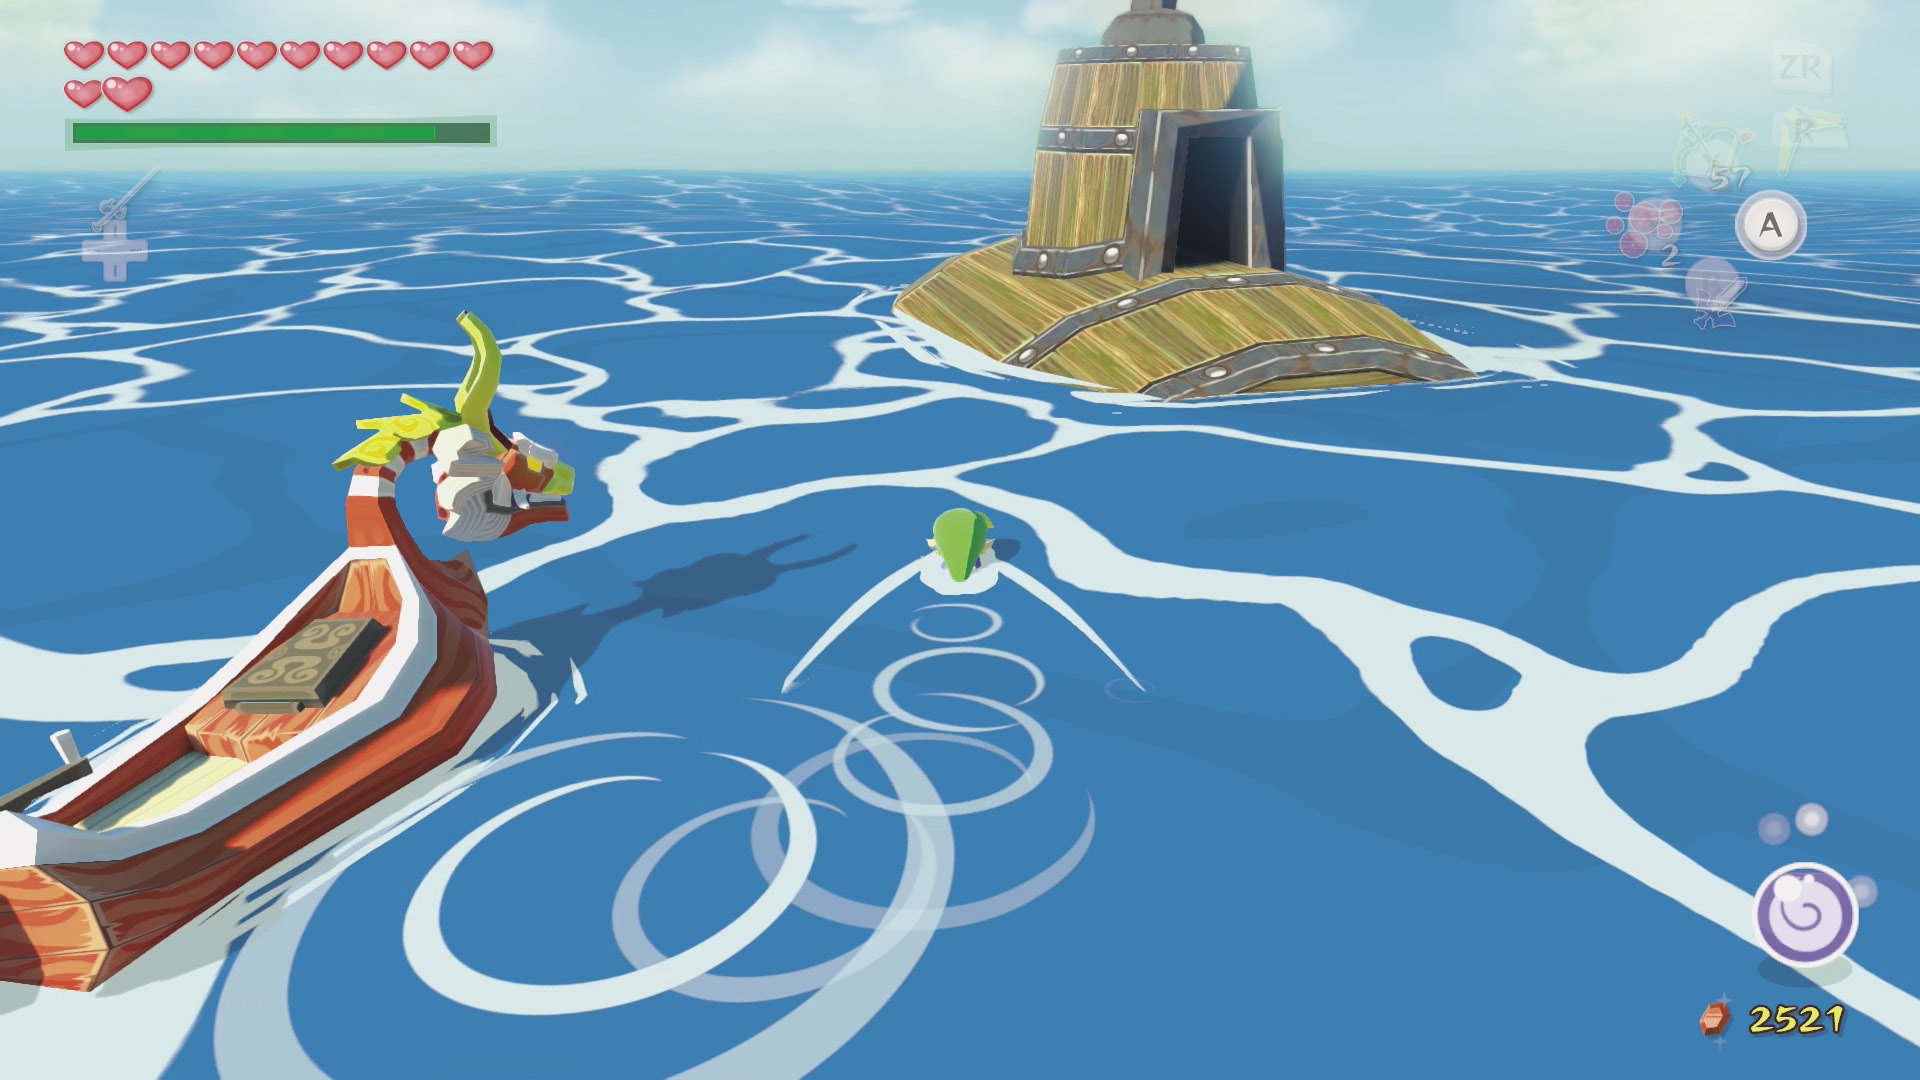
North of the island is a submarine carrying Treasure Chart #9. Old Man Ho Ho on the northern tip of the island points the way with his telescope. After you enter the submarine, you see a lone Miniblin roaming around the sub floor. Defeat it and one of four skull torches will light. A large wave of Miniblins will storm in and attack. Fight them off and the second torch will light. This process continues until all four torches are lit, at which point a ladder leading up to the treasure chest containing Treasure Chart #9 will fall down on the room’s far side.
|
|
43 |
Treasure Chart #9 |

Windfall Island (D2)
Your second trip to Windfall Island is just as loaded with things to do as your first visit. Follow the instruction below to barrel through them efficiently; those prizes aren’t going to collect themselves, you know.
Tott and the Magic Dance
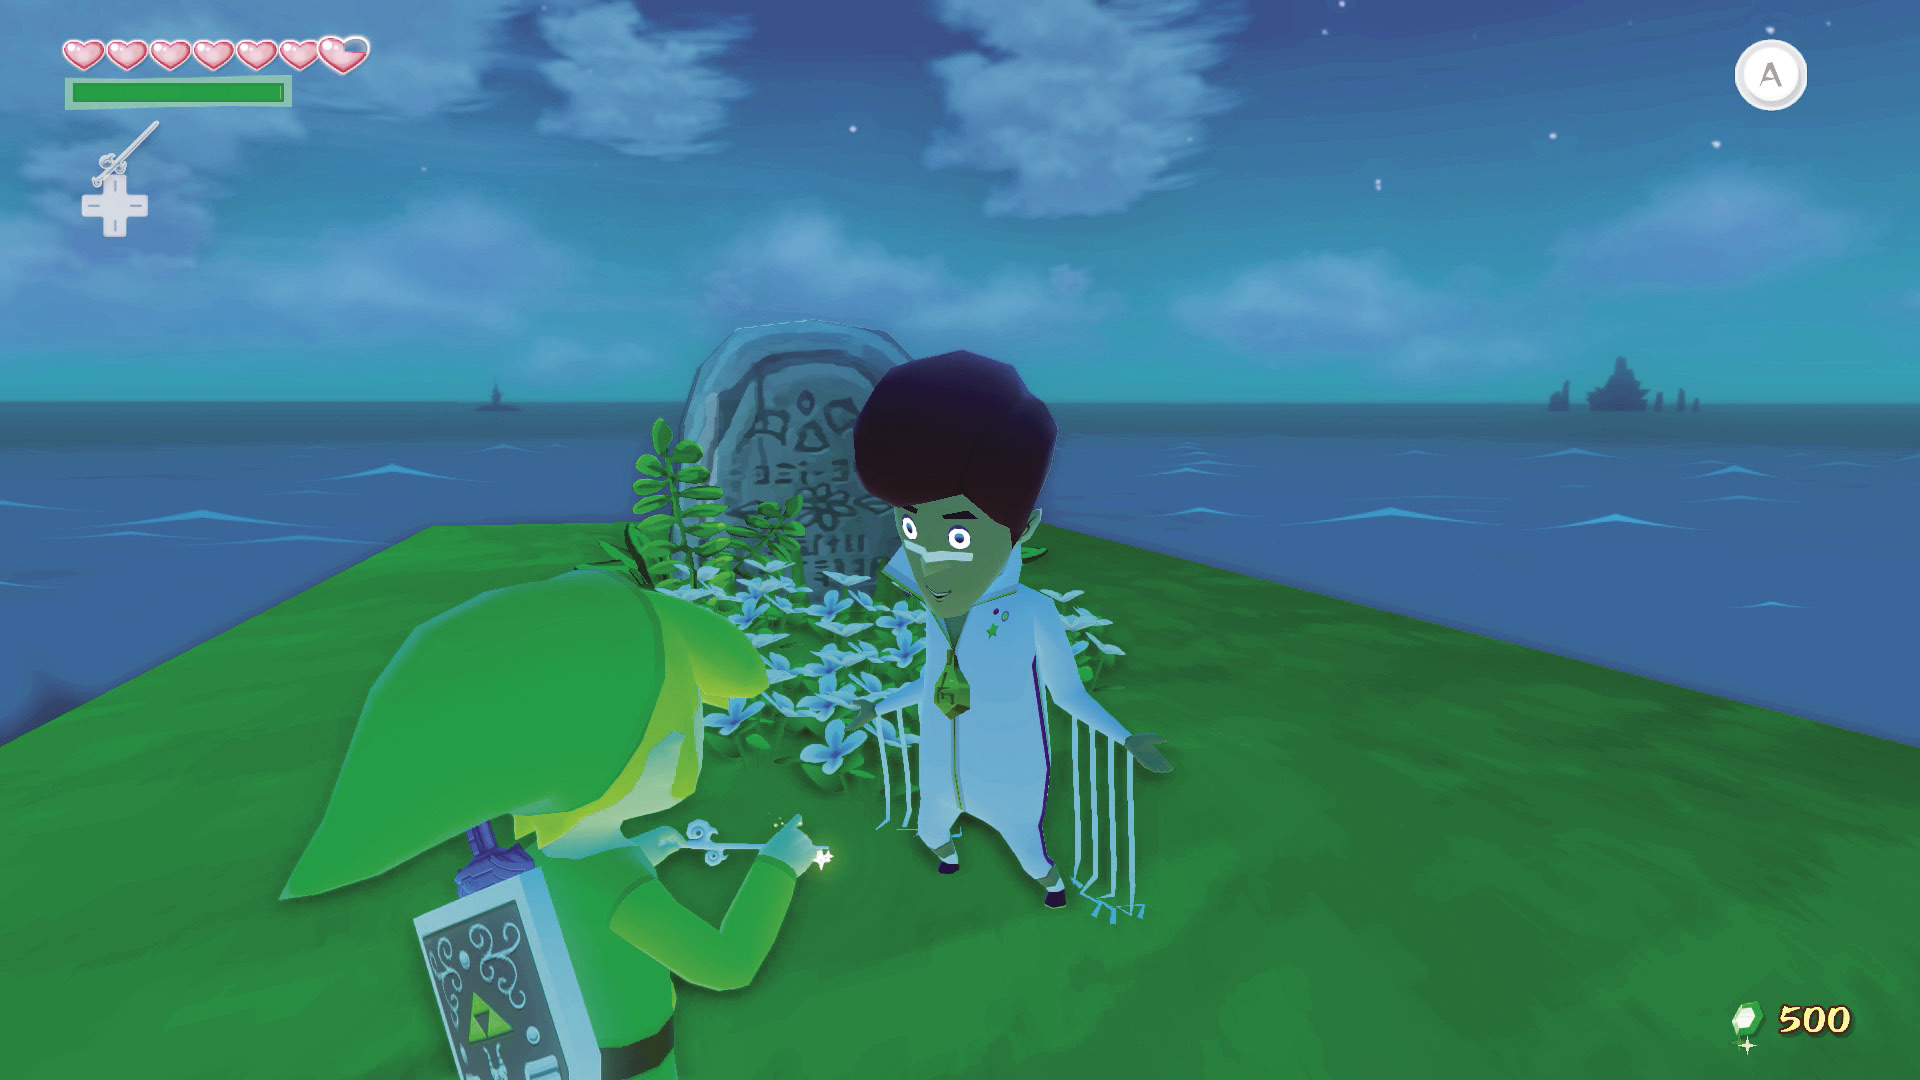
Up on Windfall Island’s highest natural point is a man imbued with the spirit of dancing. Speak to him and learn that he dances all day and in front of the tombstone-shaped monument on top of the point, trying desperately to learn the secret behind a magic dance he once saw performed that changed day to night.
Pull out your Wind Waker and wait for a moment. Tott will recognize the conductor’s baton and ask Link to lead him in the dance, instructing him on how to perform it.
What Tott is teaching you is the “Song of Passing,” a magical melody that passes time from night to day and from day to night whenever played. The song is played at 3/4 time and the notes are  ,
,  ,
,  .
.
Doc Bandham’s Discount Potions
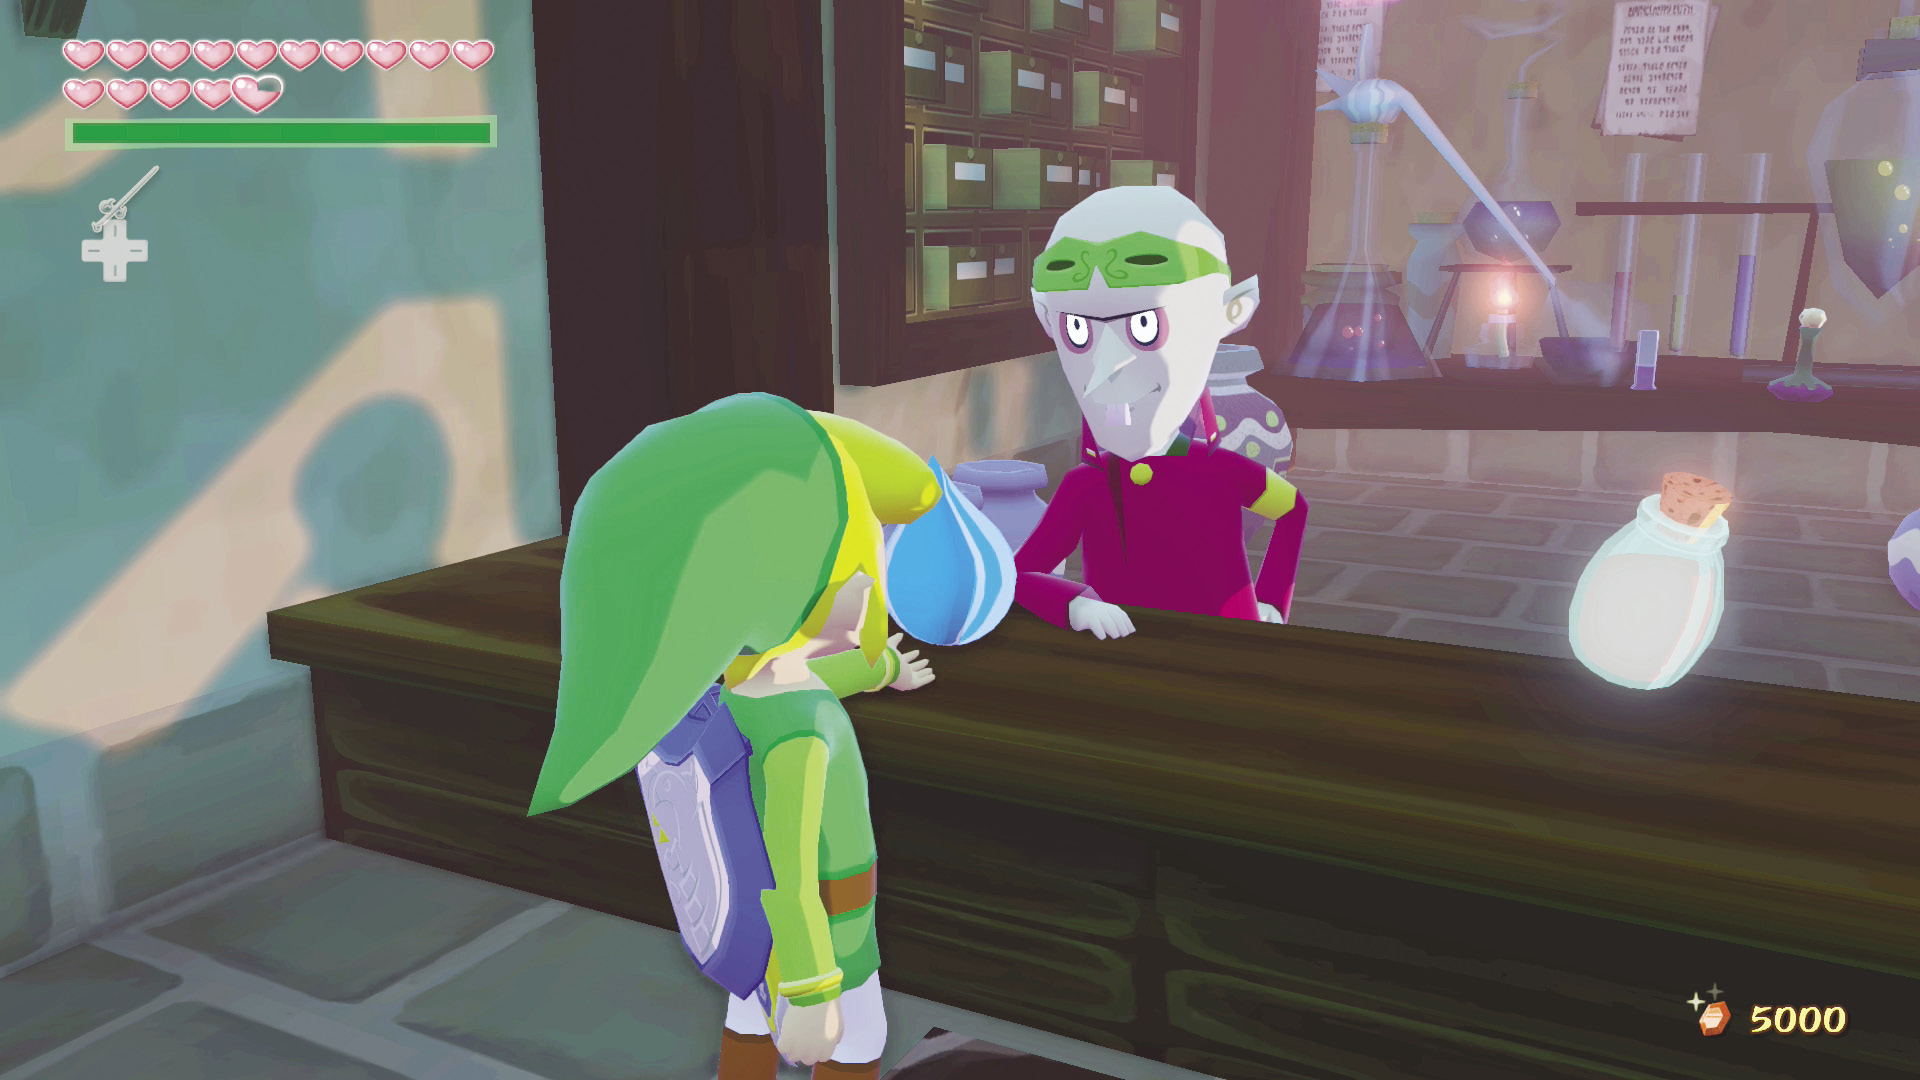
By this time you’ve probably accrued a pretty decent Chu Jelly collection. If you take some of the hard-earned jelly to Doc Bandham’s potion shop, which is the first building on the right after running under Windfall Island’s large archway, you can trade 15 of either Green or Blue Chu Jelly to have Doc Bandham make you a new potion. Or you can trade 5 Chu Jelly to get a potion that Doc Bandham has already created (Green Chu Jelly for a Green Potion, Red Chu Jelly for a Red Potion, etc.). Keep in mind that each potion you get from Doc Bandham requires an Empty Bottle.
The Auction House
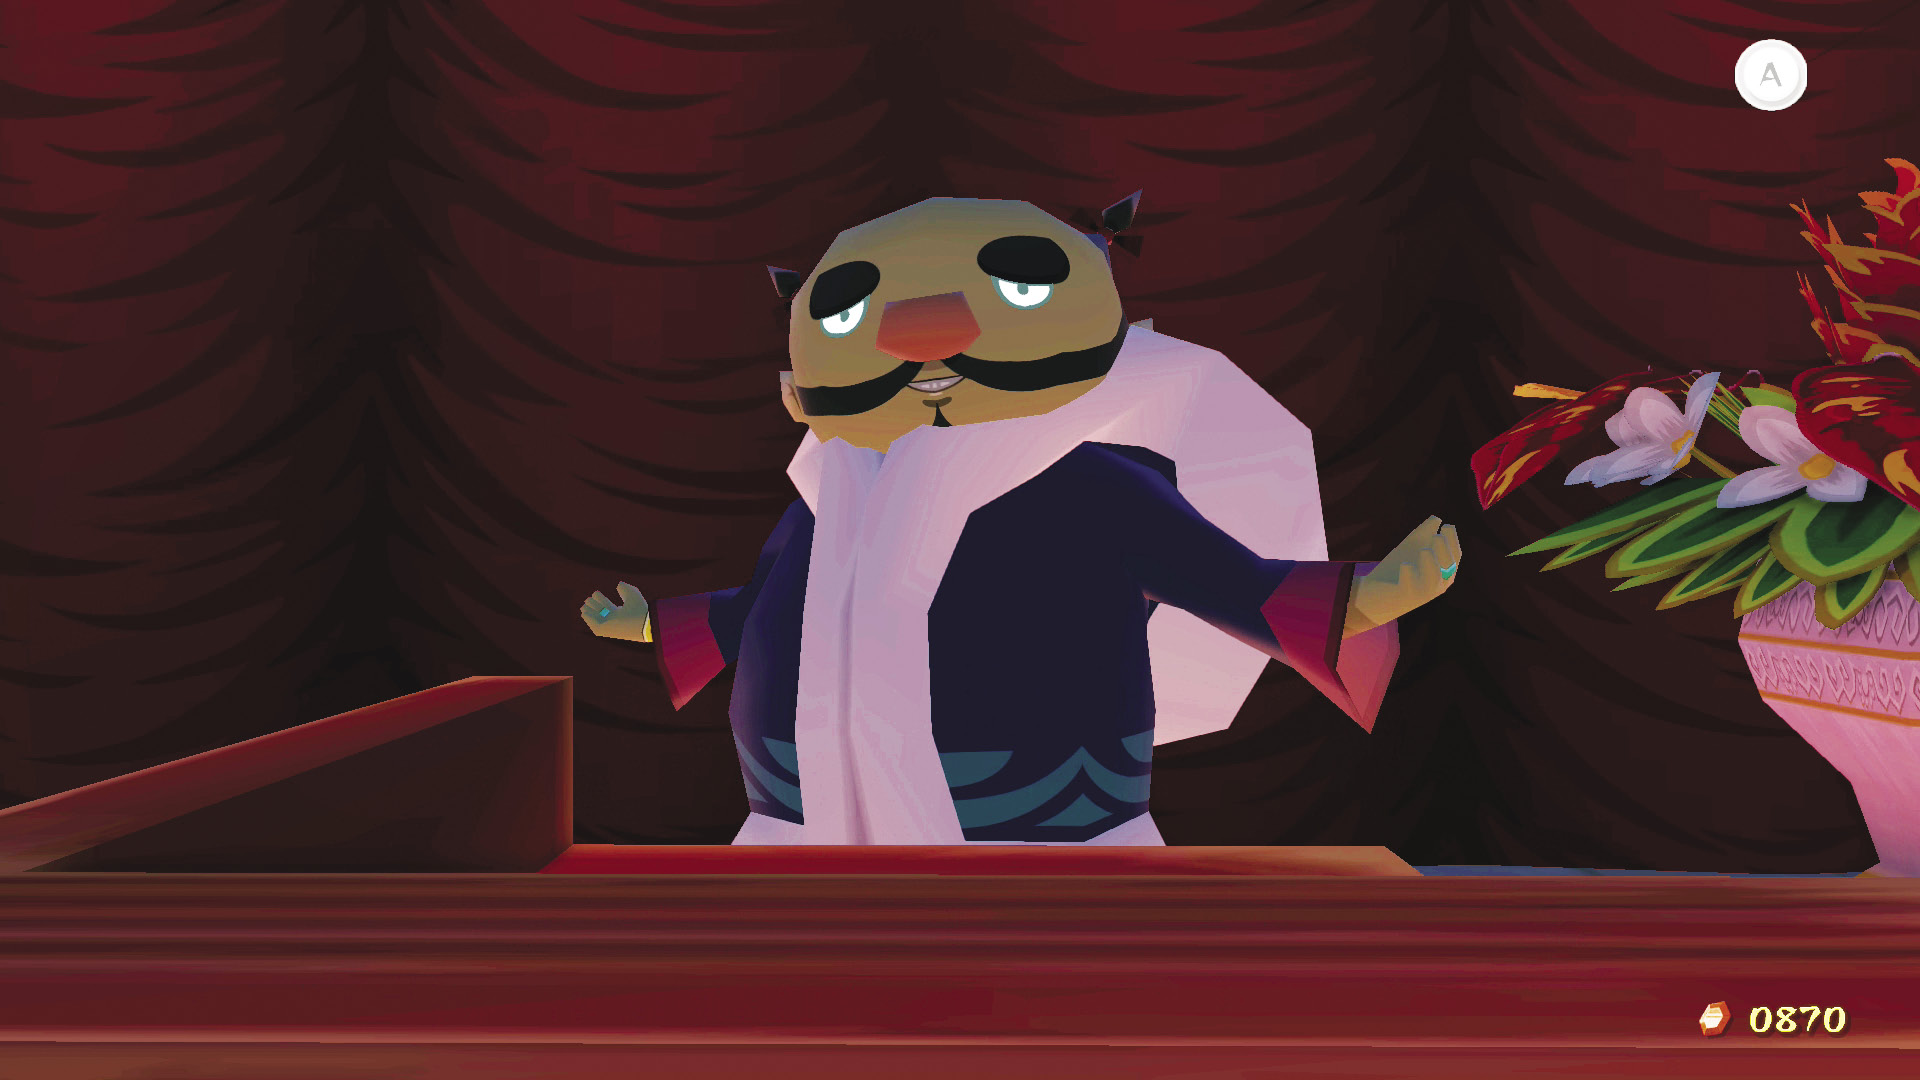
Zunari’s fortunes have really turned around since the last time you were here. While his stall is lacking in items for purchase, he is currently the head auctioneer at Windfall Island’s Auction House. If you’ve got a decent pile of Rupees, you can check out what he’s auctioning off every night and perhaps pick a few prizes, specifically the incredible Swift Sail.
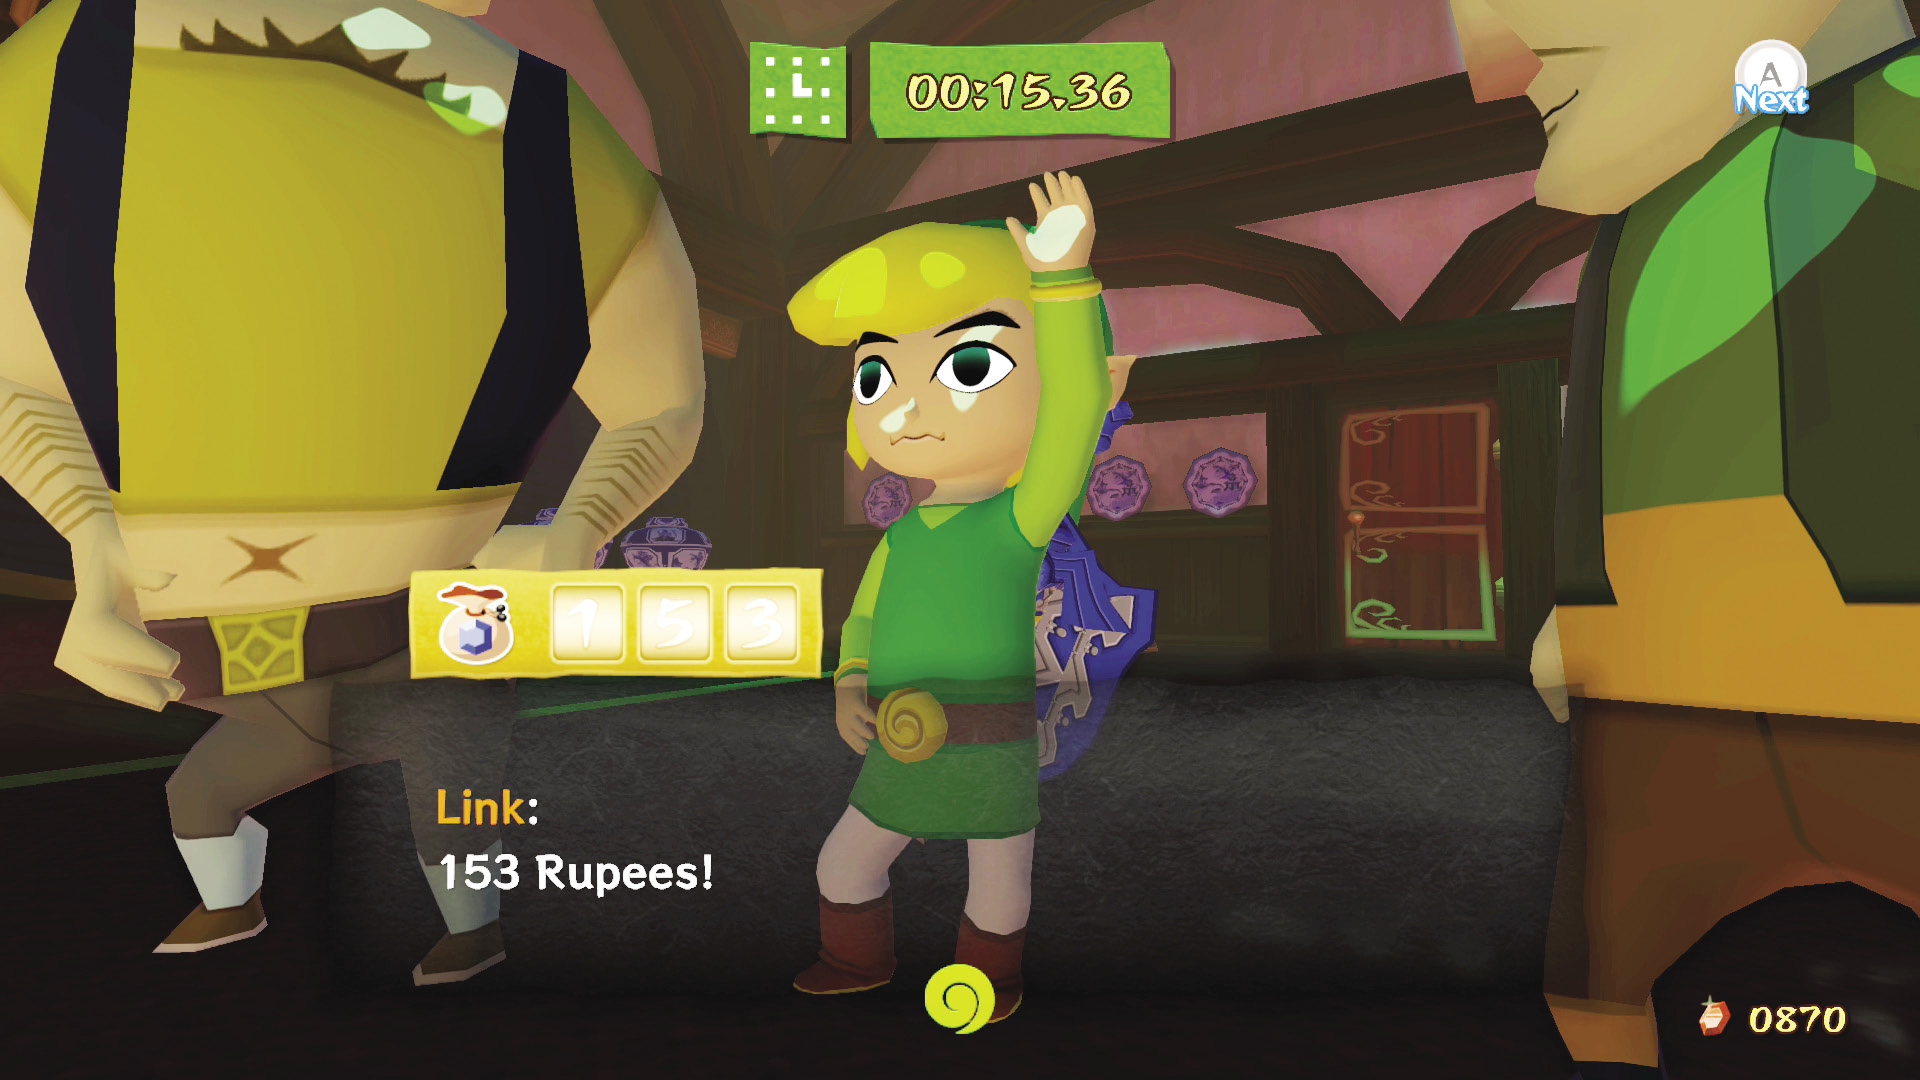
To bid during an auction, hit until the meter on the bottom of the screen fills up. When that happens, you can see how much time is remaining and make your bid accordingly. To win any item, you just need to be the highest bidder when time runs out, so you can wait until the last second and place your bid to win, but we don’t recommend that.
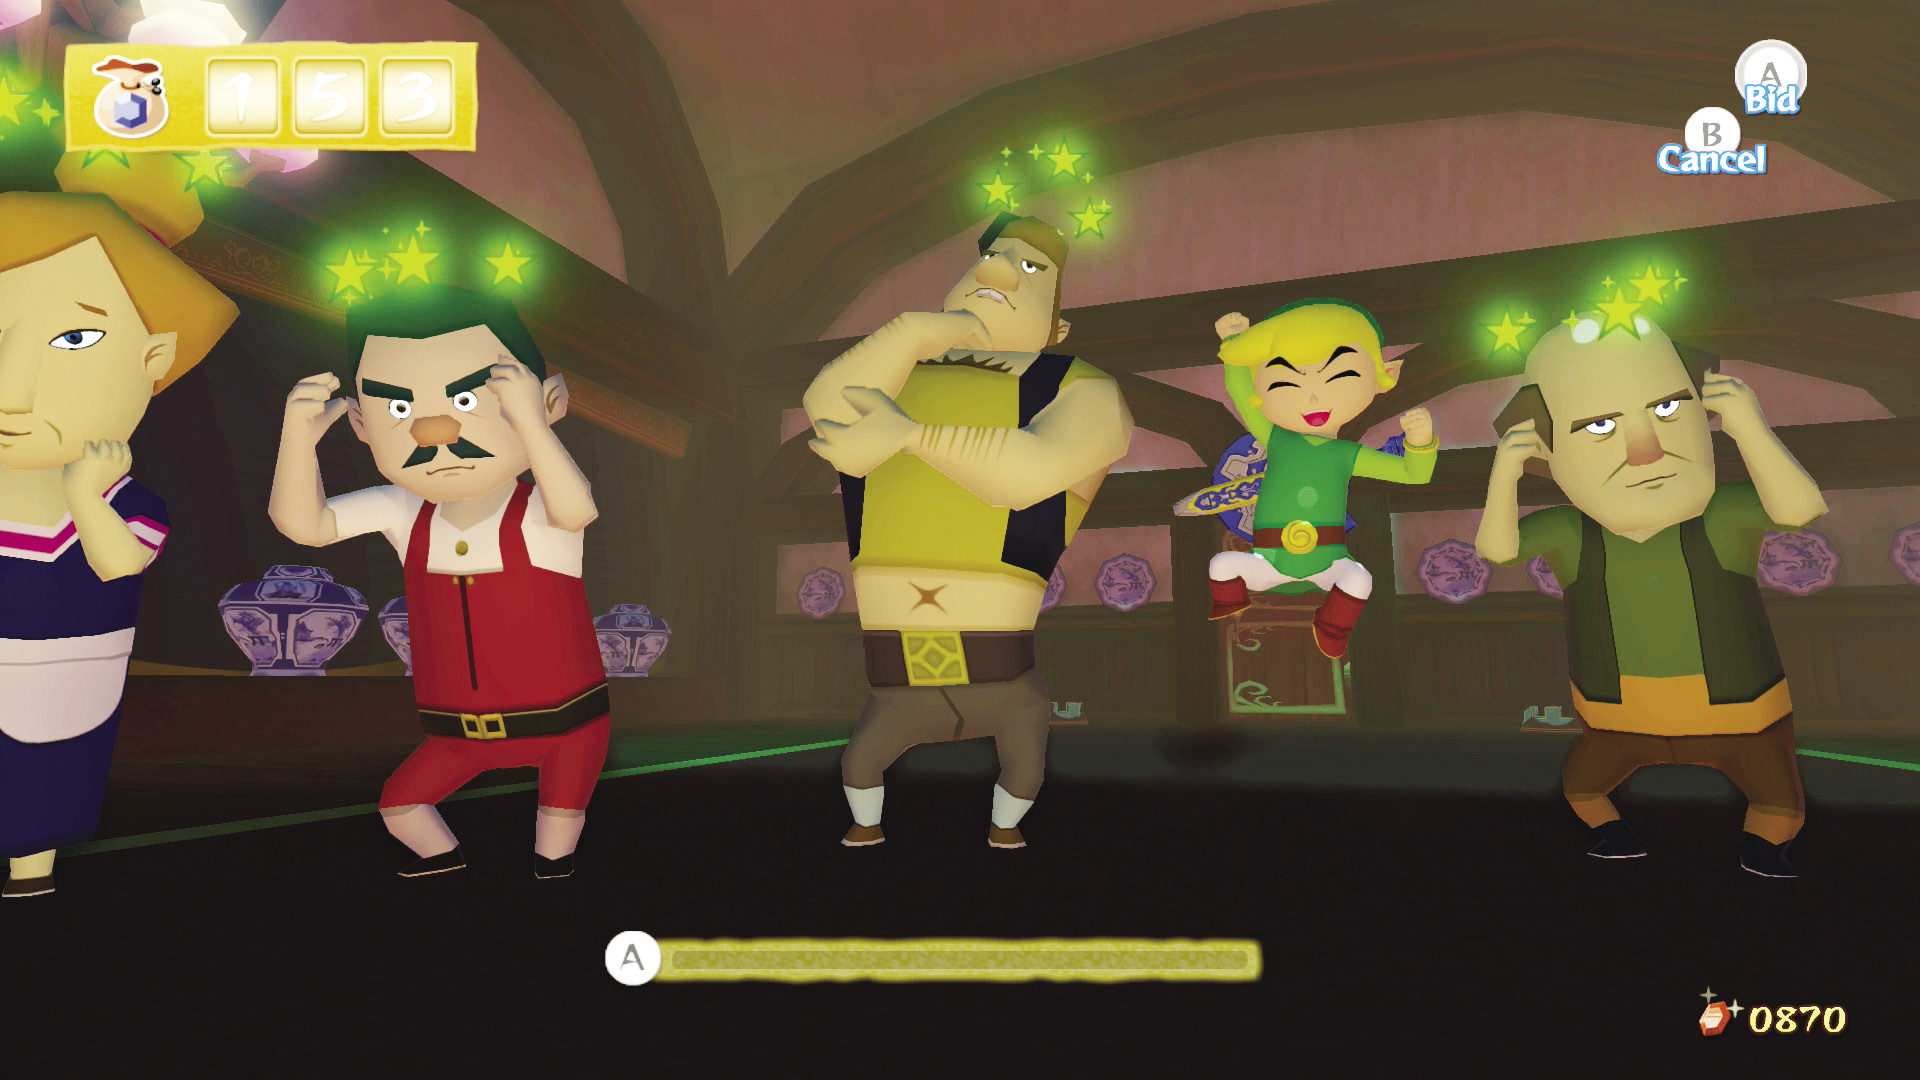
Instead, bid often but try and bet about 20 percent of the current bid and you’ll stun all of your opponents for 10 seconds, which will stop them from bidding until the 10 seconds is up. This is an effective method for preventing the rest of the patrons from continuing to raise the total bid; use this method to get items at a lower price.
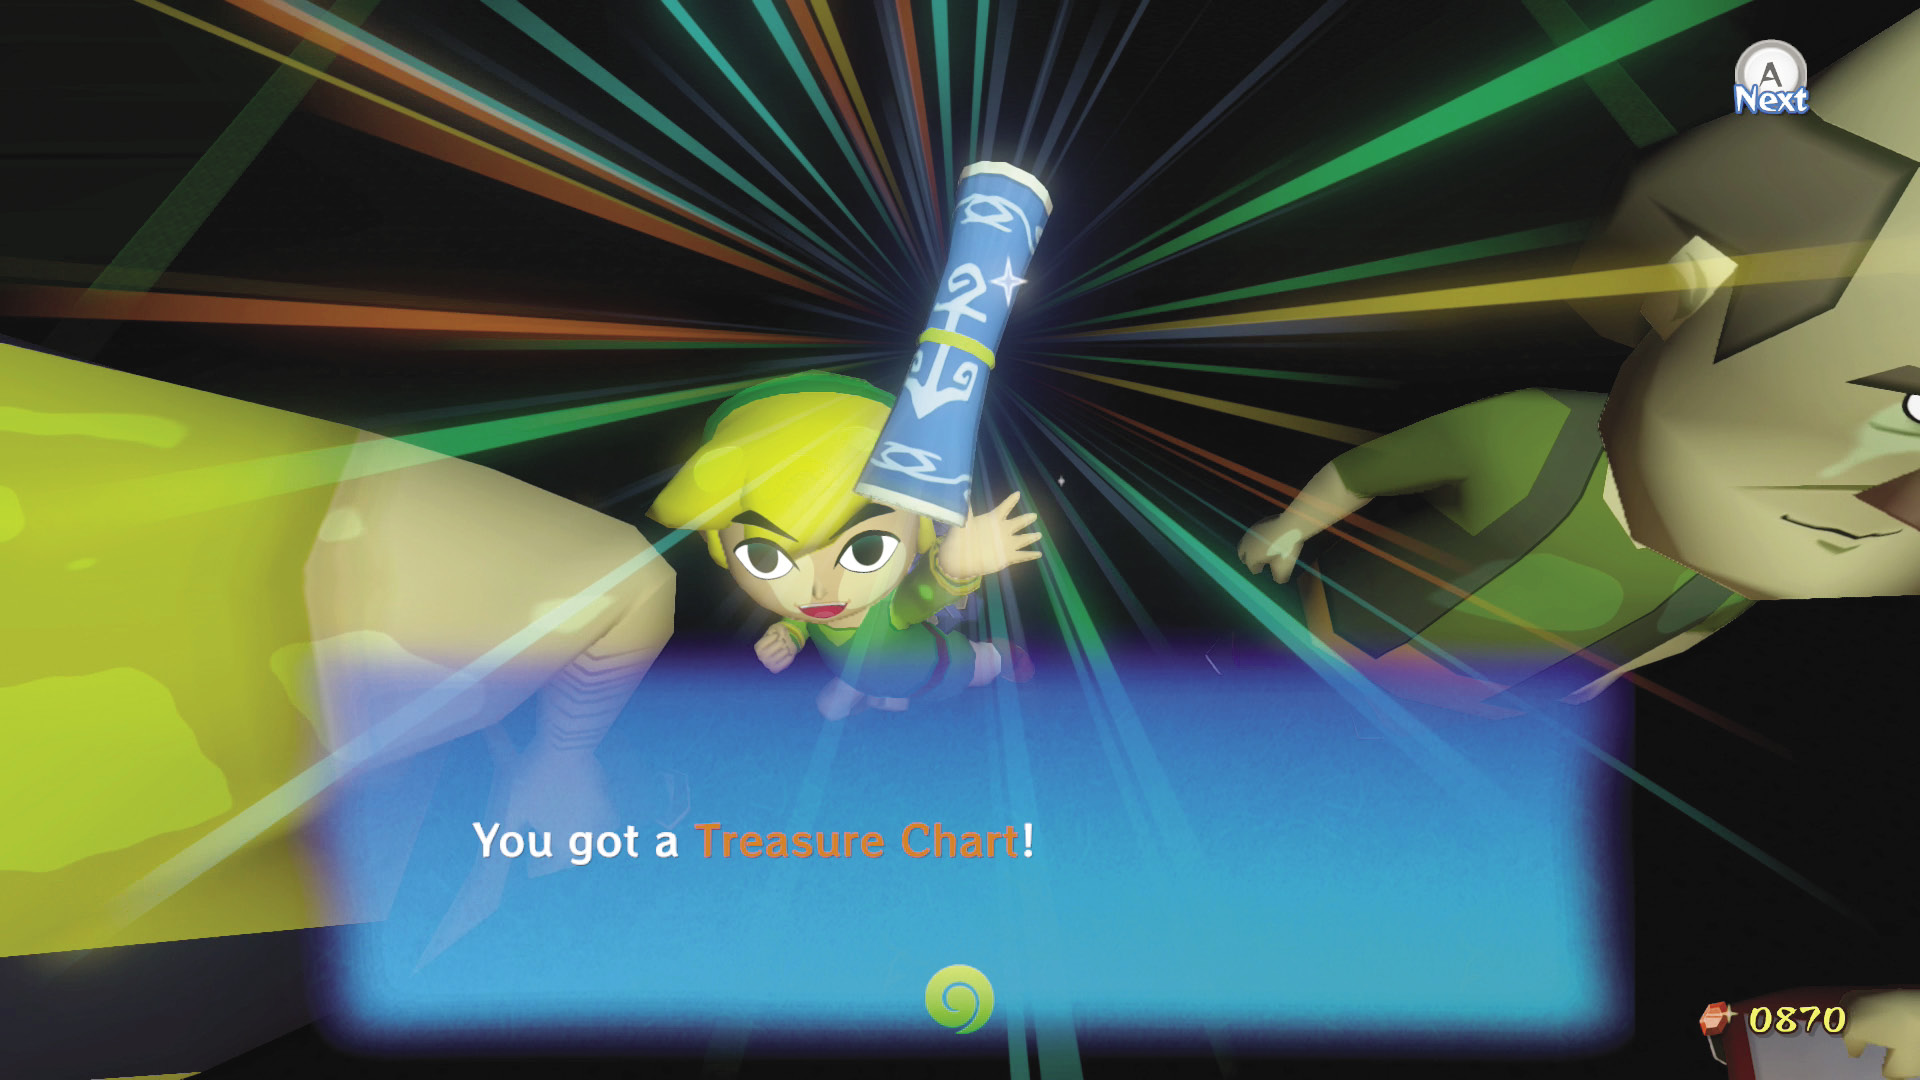
The Auction House offers Piece of Heart #13, the Swift Sail, Treasure Chart #18, Treasure Chart #38, And a Joy Pendant. If the Auction House doesn’t offer what you’re looking for, press to back out of the auction and then exit the Auction House before reentering in order for a new item to be put up.
|
|
44 |
Swift Sail |

|
|
45 |
Piece of Heart #13 |

|
|
46 |
Treasure Chart #18 |

|
|
47 |
Treasure Chart #38 |

I Wish I Was the Moon
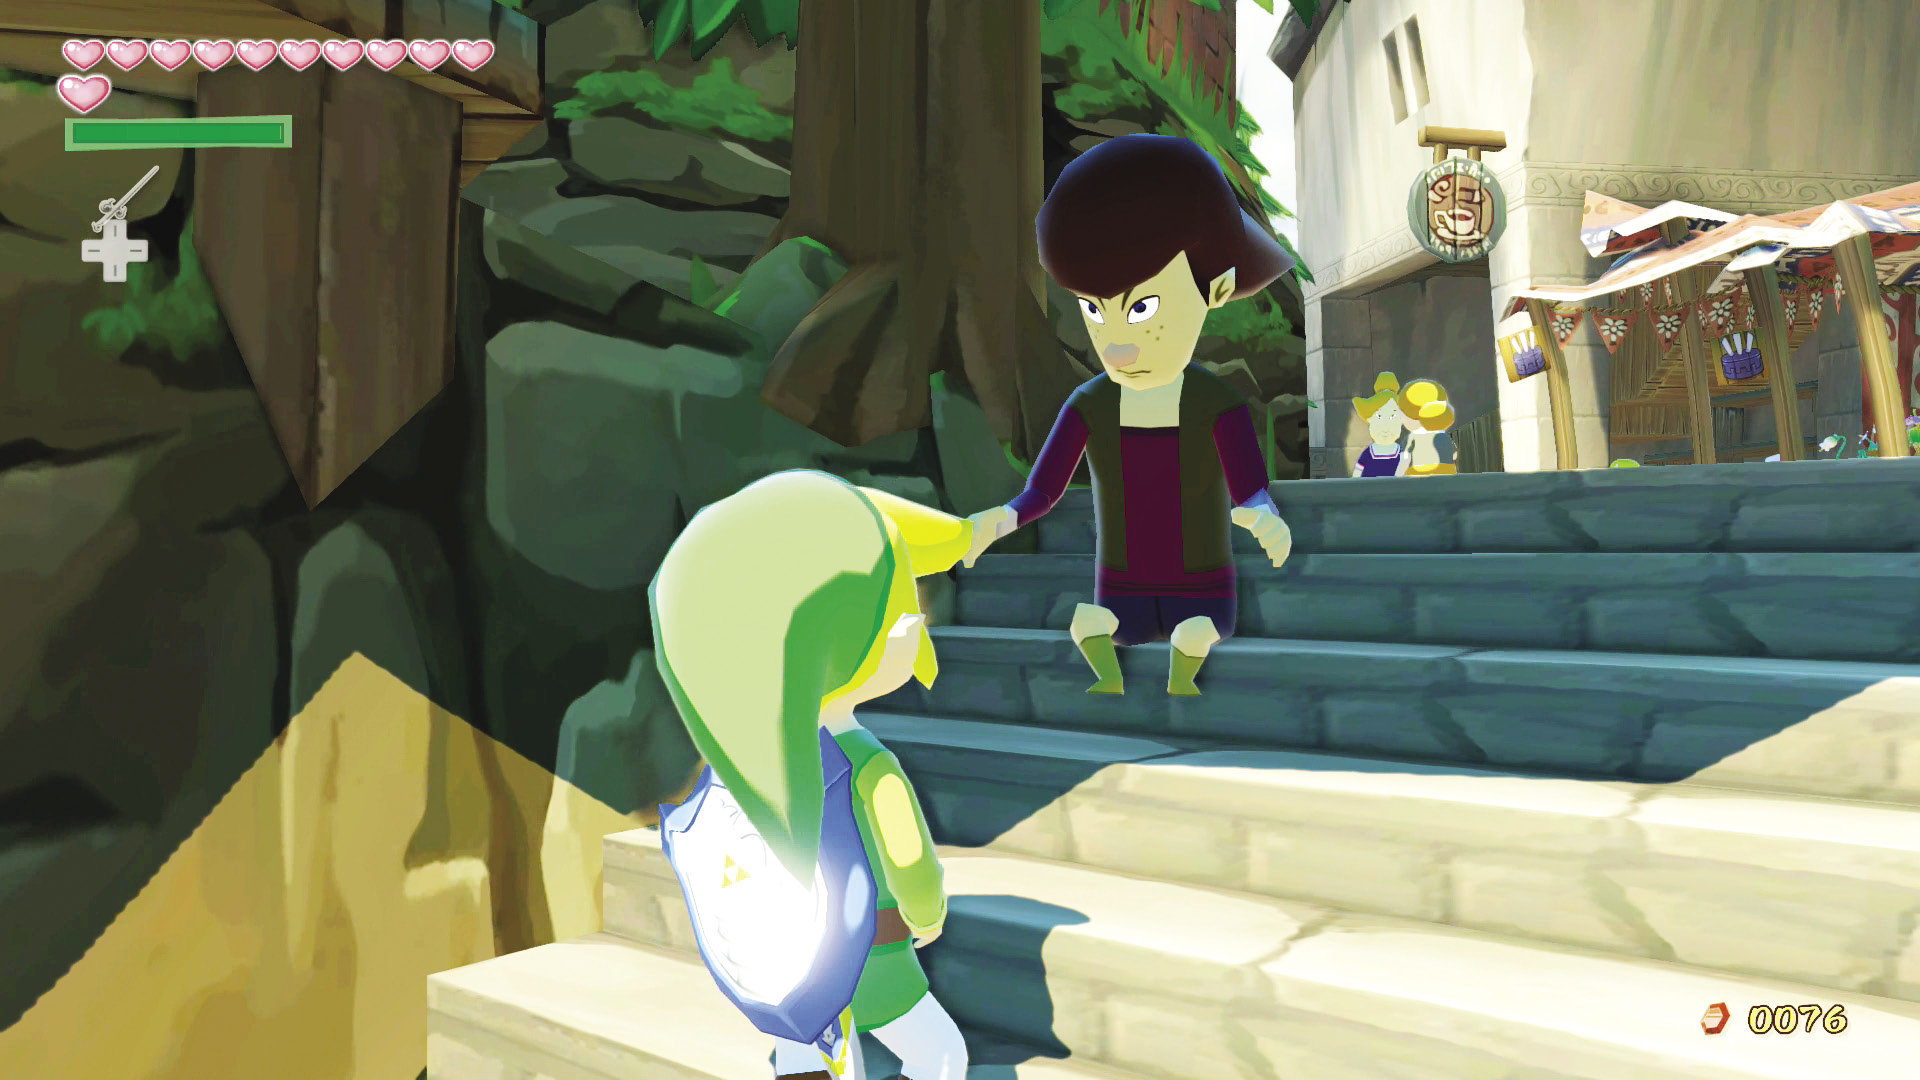
A young man by the name of Kamo sits on the stairs leading up to Zunari’s shop stall, plagued with the desire to see an object perfectly round and pale. His impulsive desire to see this unidentified object consumes him with such intensity that it denies him the ability to sleep.
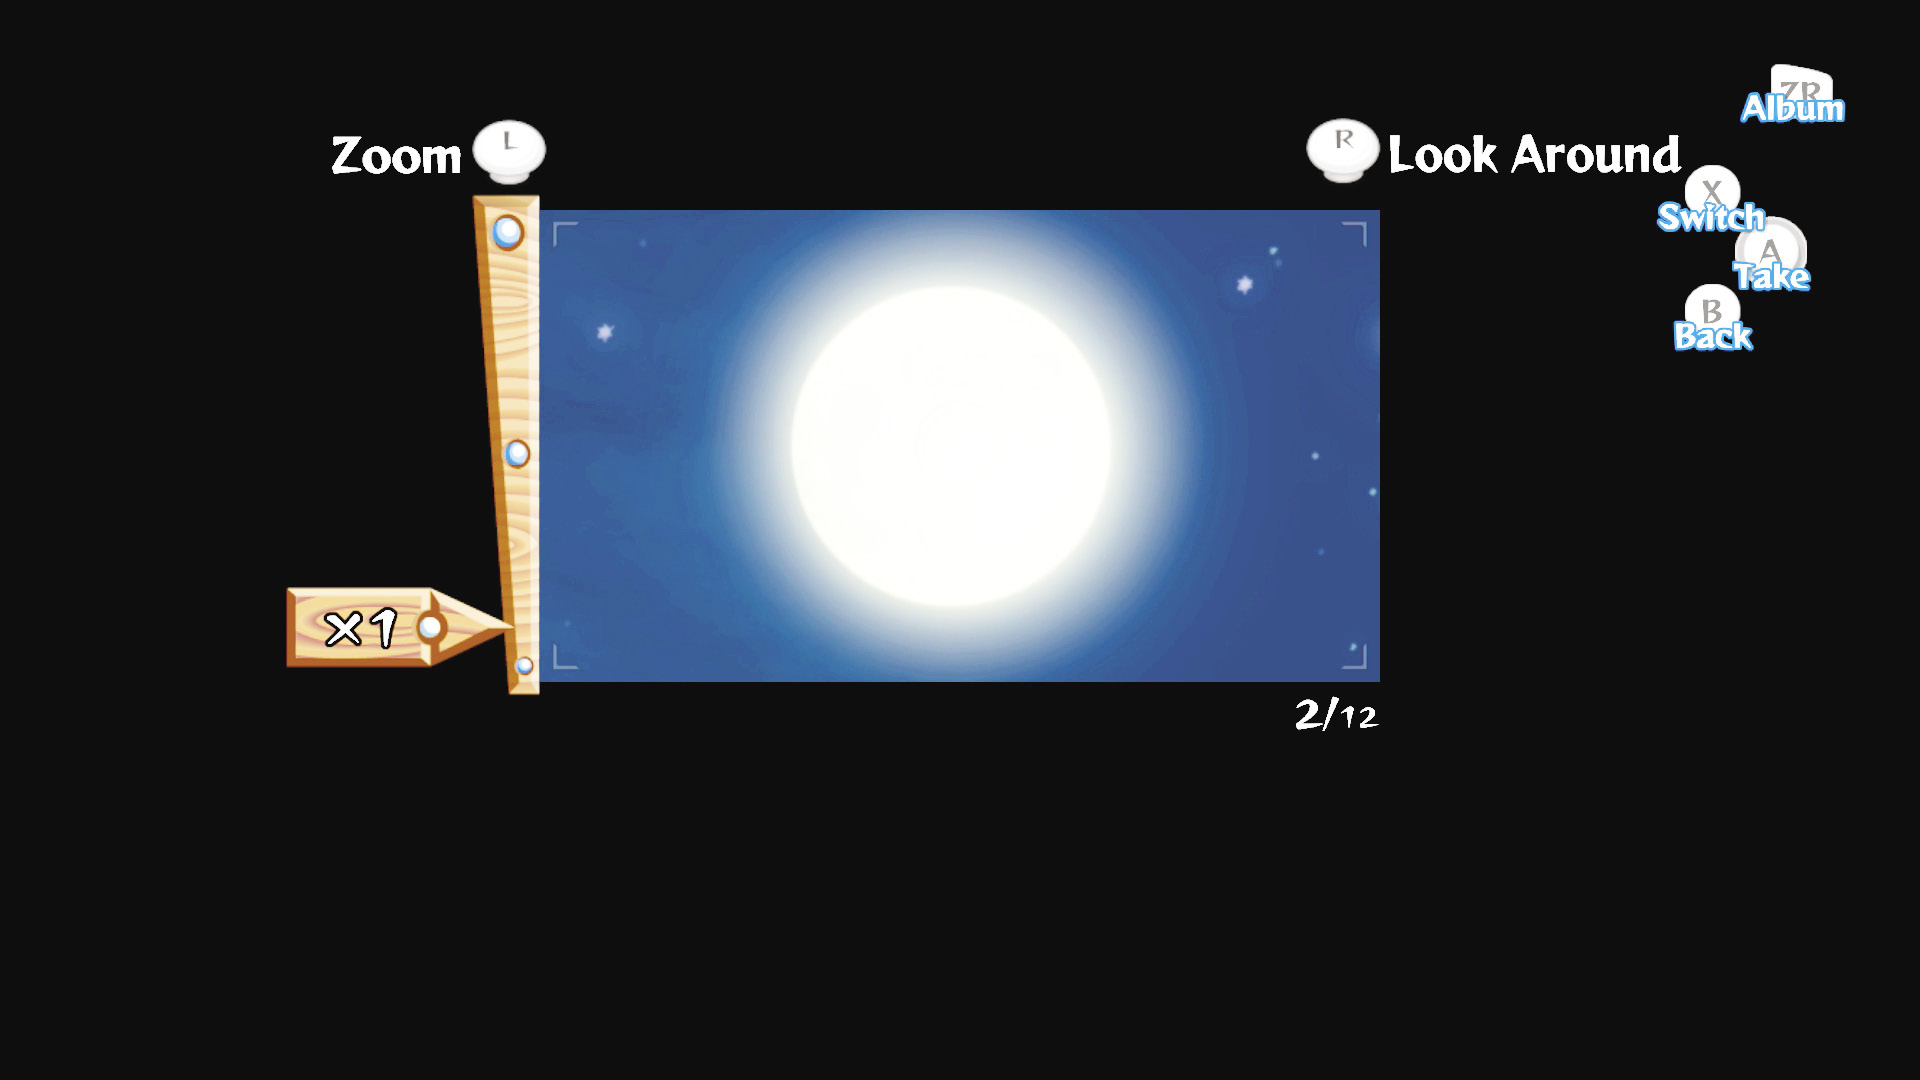
The object of his indirect affection is actually a full moon. In order to quell Kamo’s endless pursuit of that great circular, pale object, you need to snap a picto of the full moon with your Deluxe Picto Box and show it to him. Use the “Song of Passing” to change the day to night and look to see what phase the moon is in. If it’s not full, use the “Song of Passing” until it is night again and check the moon.
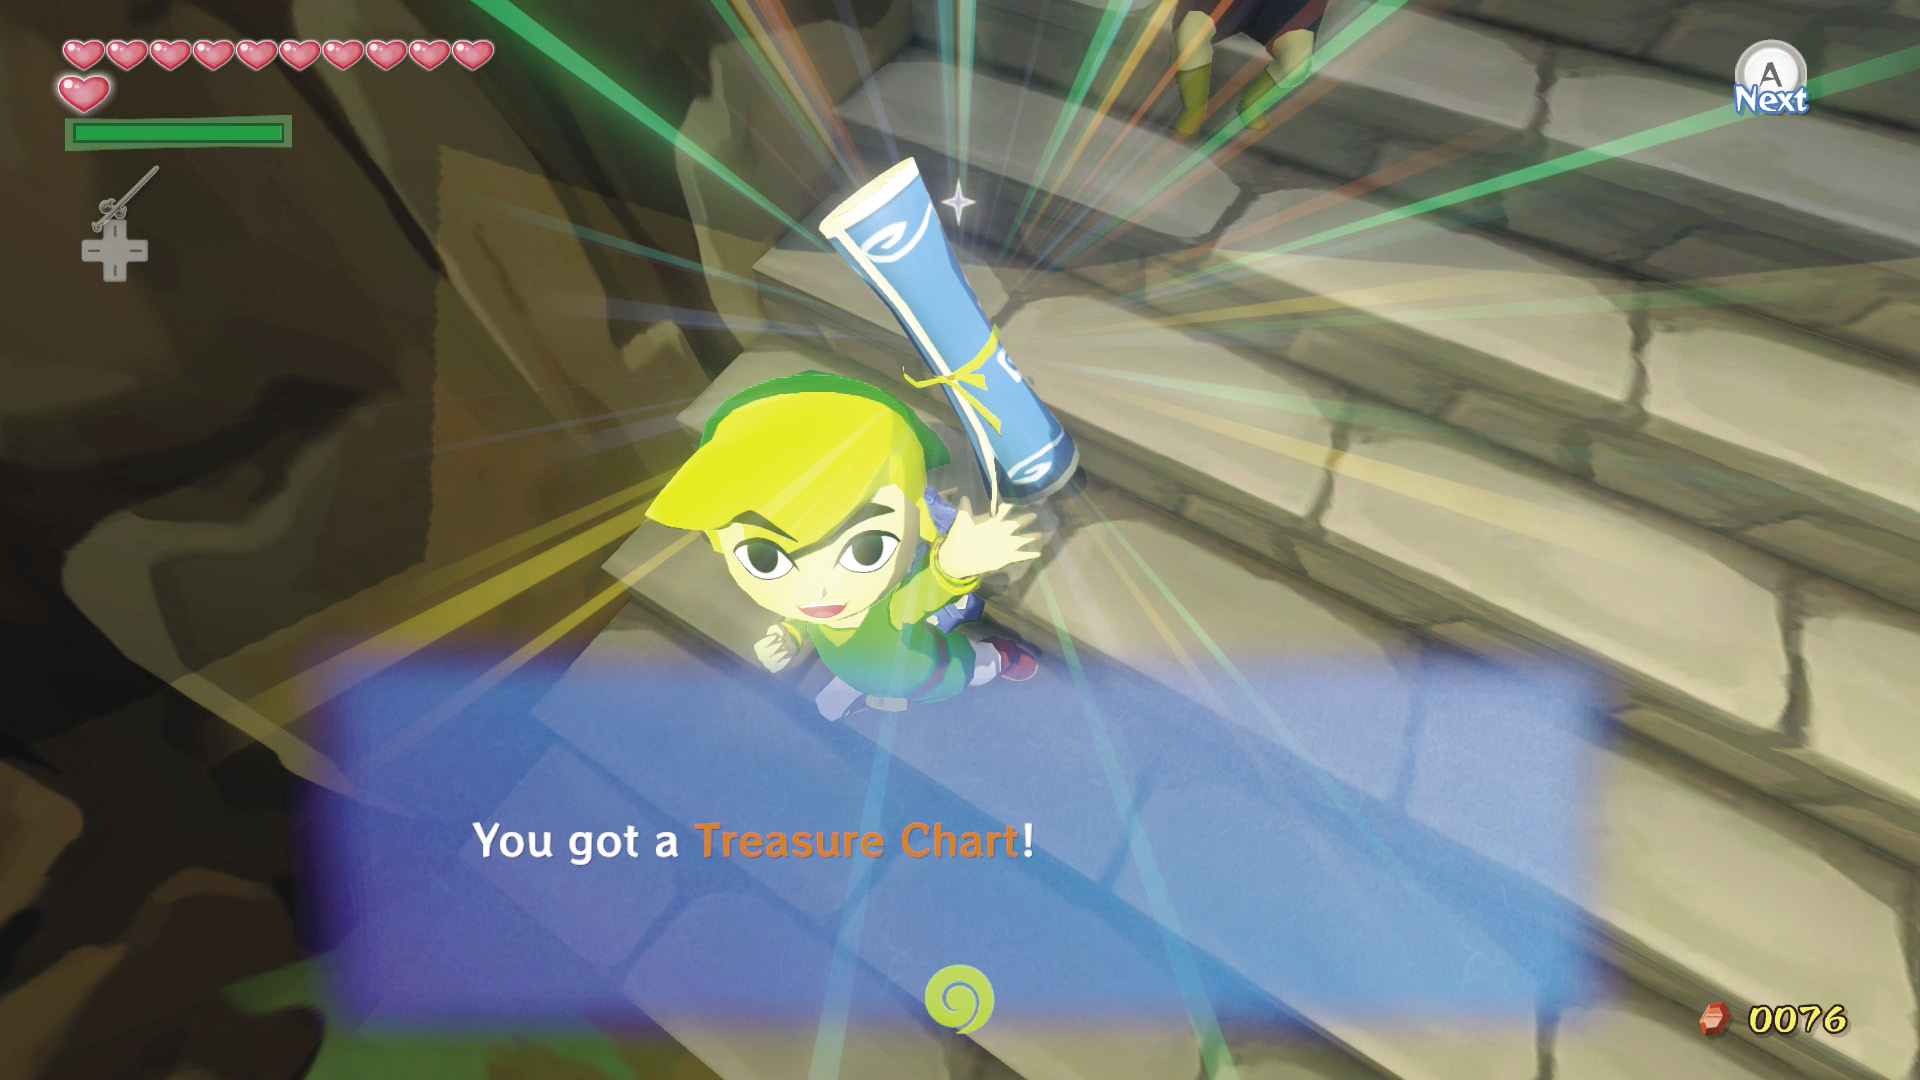
After taking the picto, show it to Kamo. He will give you Treasure Chart #31.
|
|
48 |
Treasure Chart #31 |

Vanity’s Rewards
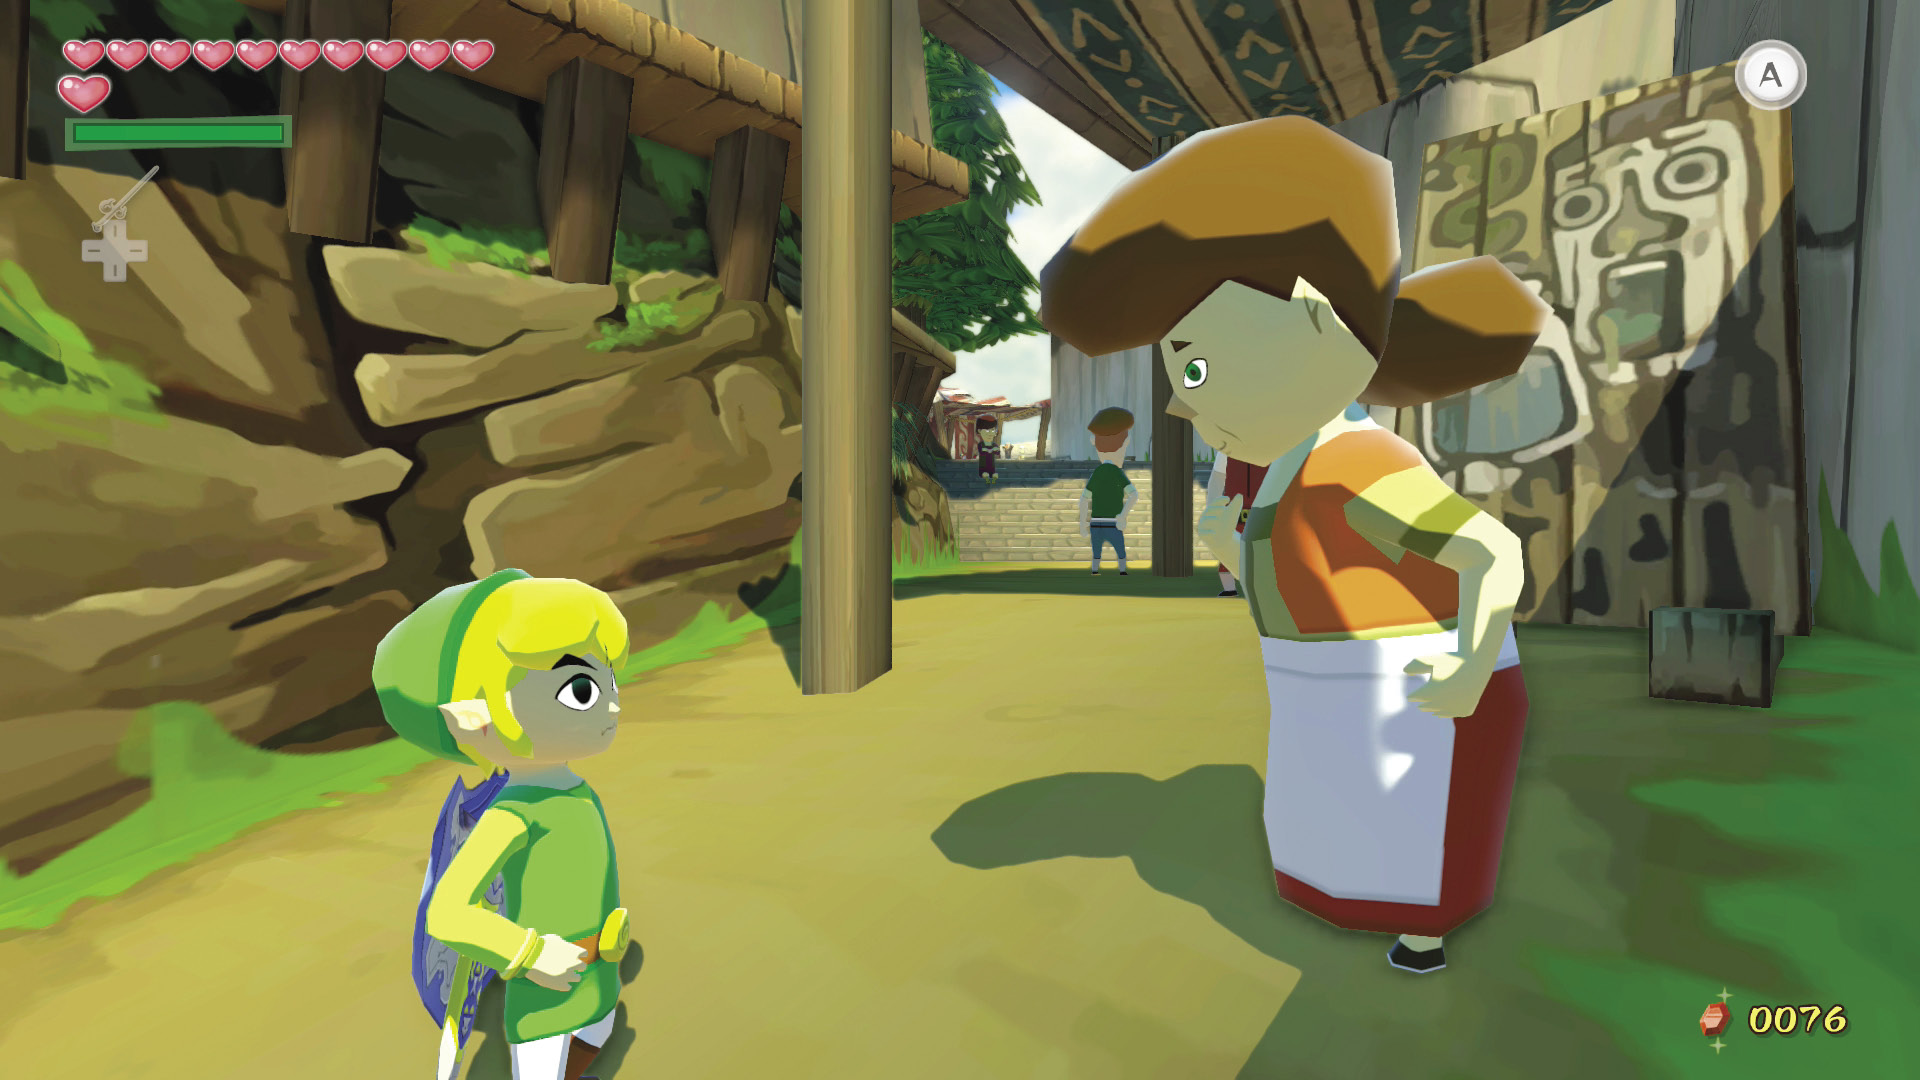
A woman renowned for her beauty stands in front of Doc Bandham’s potion shop. The woman, Minenco, has no shame in admitting that she is the most beautiful woman on the island and loves hearing the others say the same of her. If you take a picto of her with your Deluxe Picto Box and show it to her, she’ll be so pleased with unfading beauty that she’ll give you Treasure Chart #33 in a fit of joy.
|
|
49 |
Treasure Chart #33 |

Lenzo’s Secret
Lenzo’s Attic is holding more than skeletons. In fact, you can get a Purple Rupee and Treasure Chart #29, but getting there is tricky.
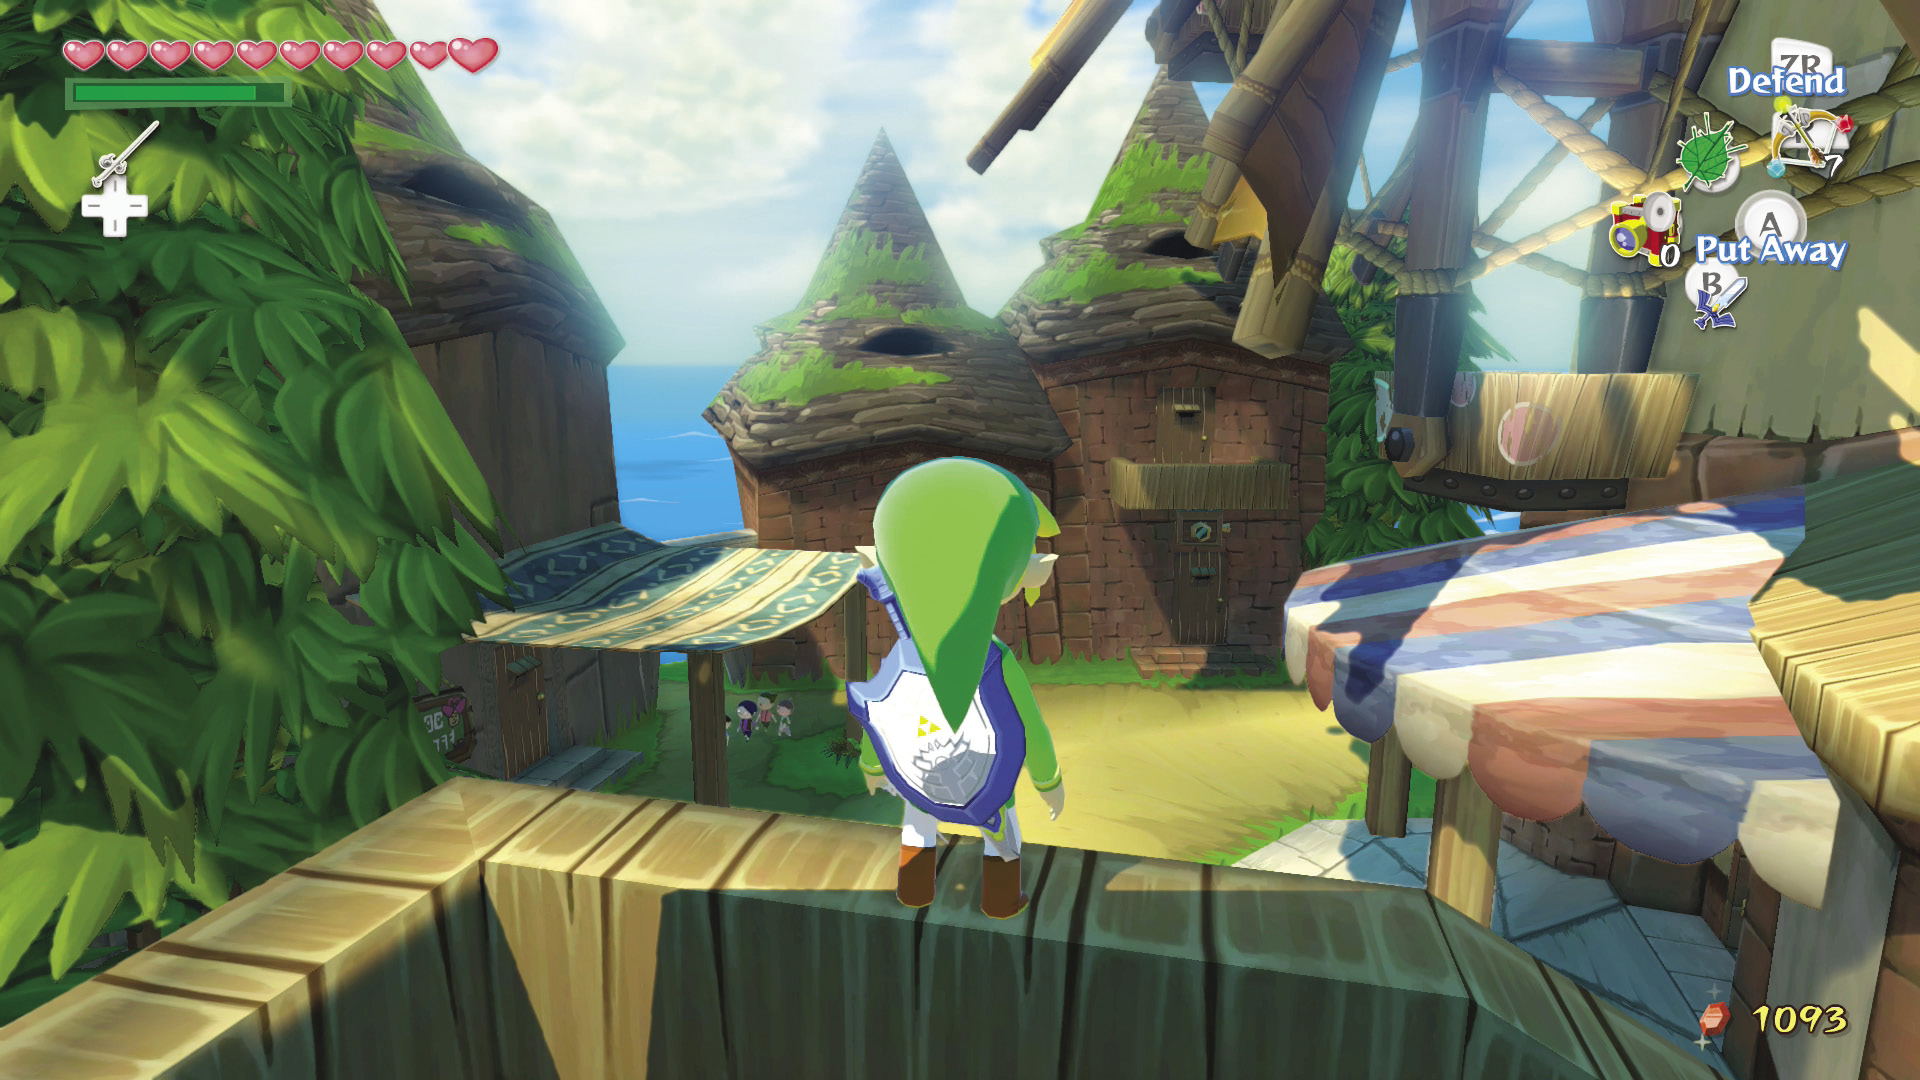
Climb up the wooden stairs that Linda is standing by (the stairs to the left of the Squid-Hunt minigame shop) and then jump on the railing facing Lenzo’s shop. You can see the door to the second floor of his shop from this vantage point. Set the wind blowing toward his shop, then jump and glide using the Deku Leaf.
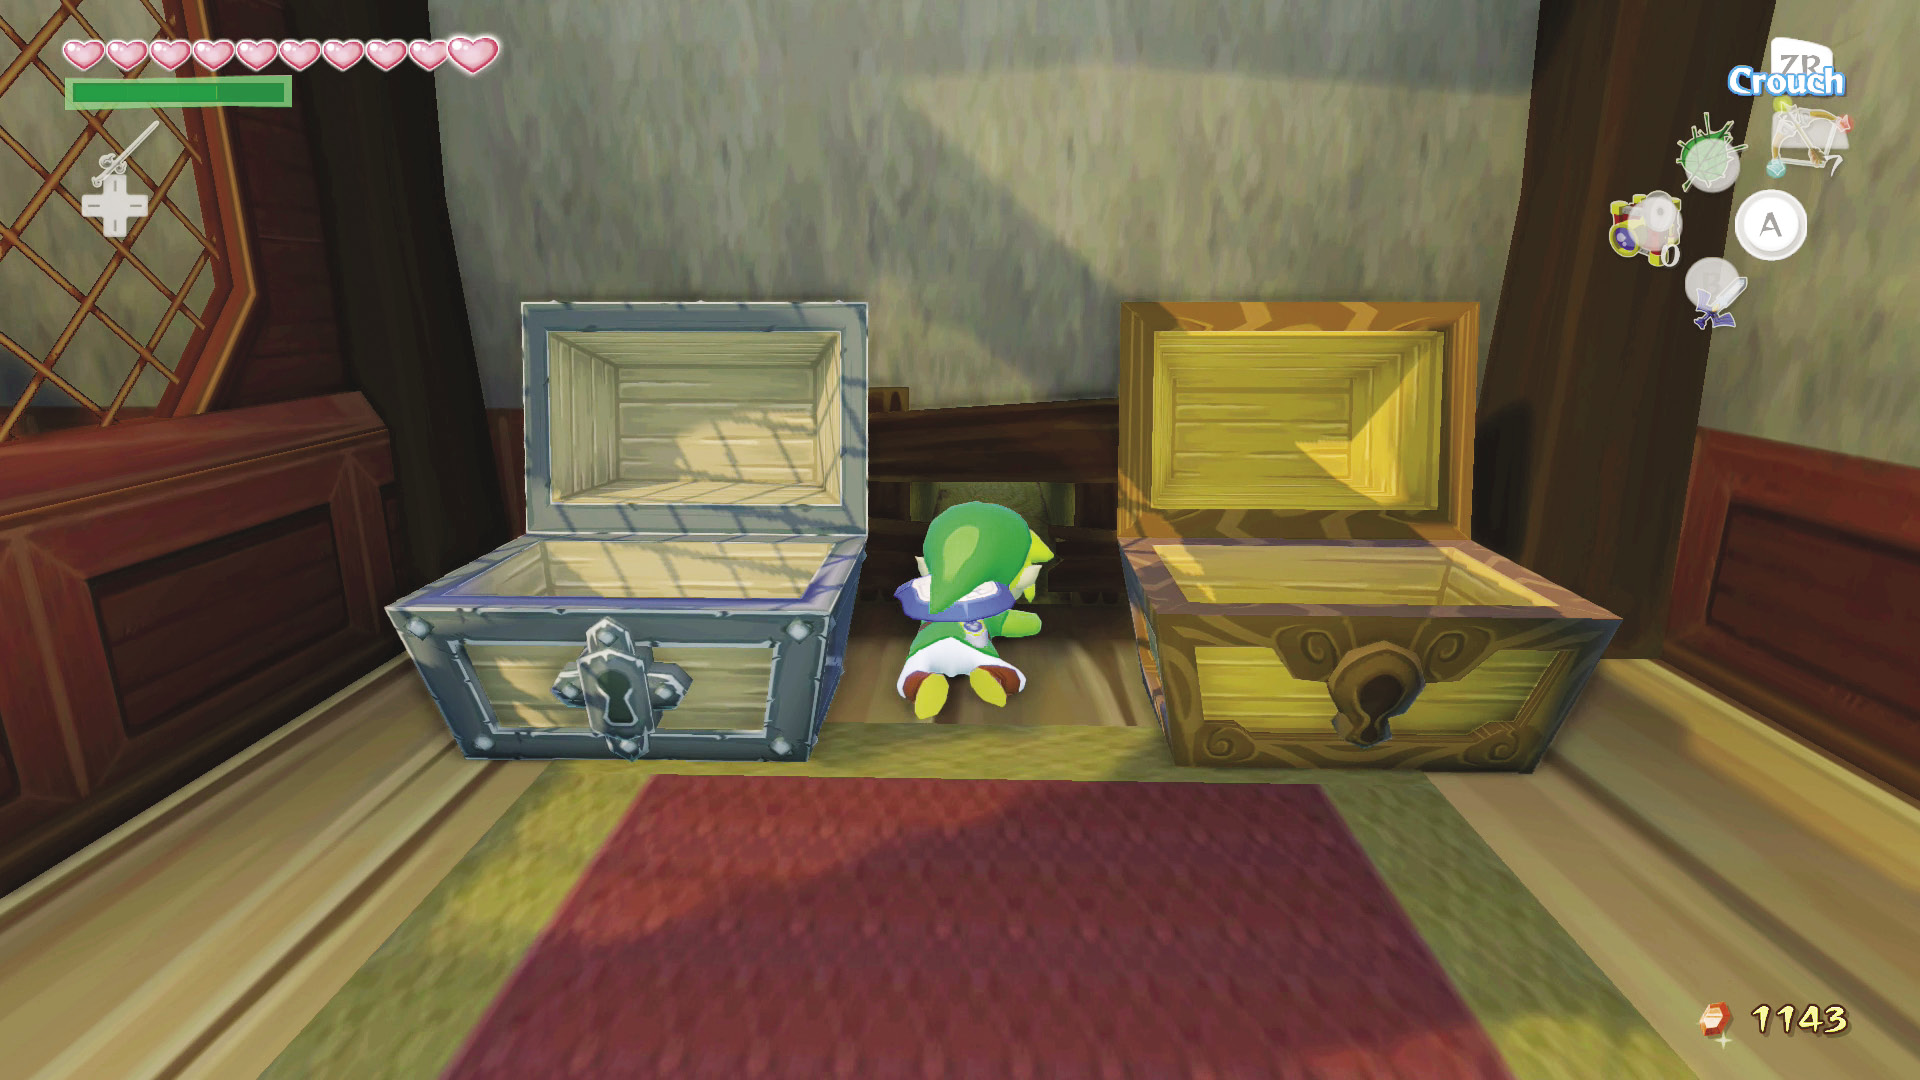
Once inside, you’ll find two treasure chests, one containing the Purple Rupee and the other containing Treasure Chart #29. In between the two chests is a small hole that you can crawl through to drop back to the shop’s first floor.
|
|
50 |
Treasure Chart #29 |

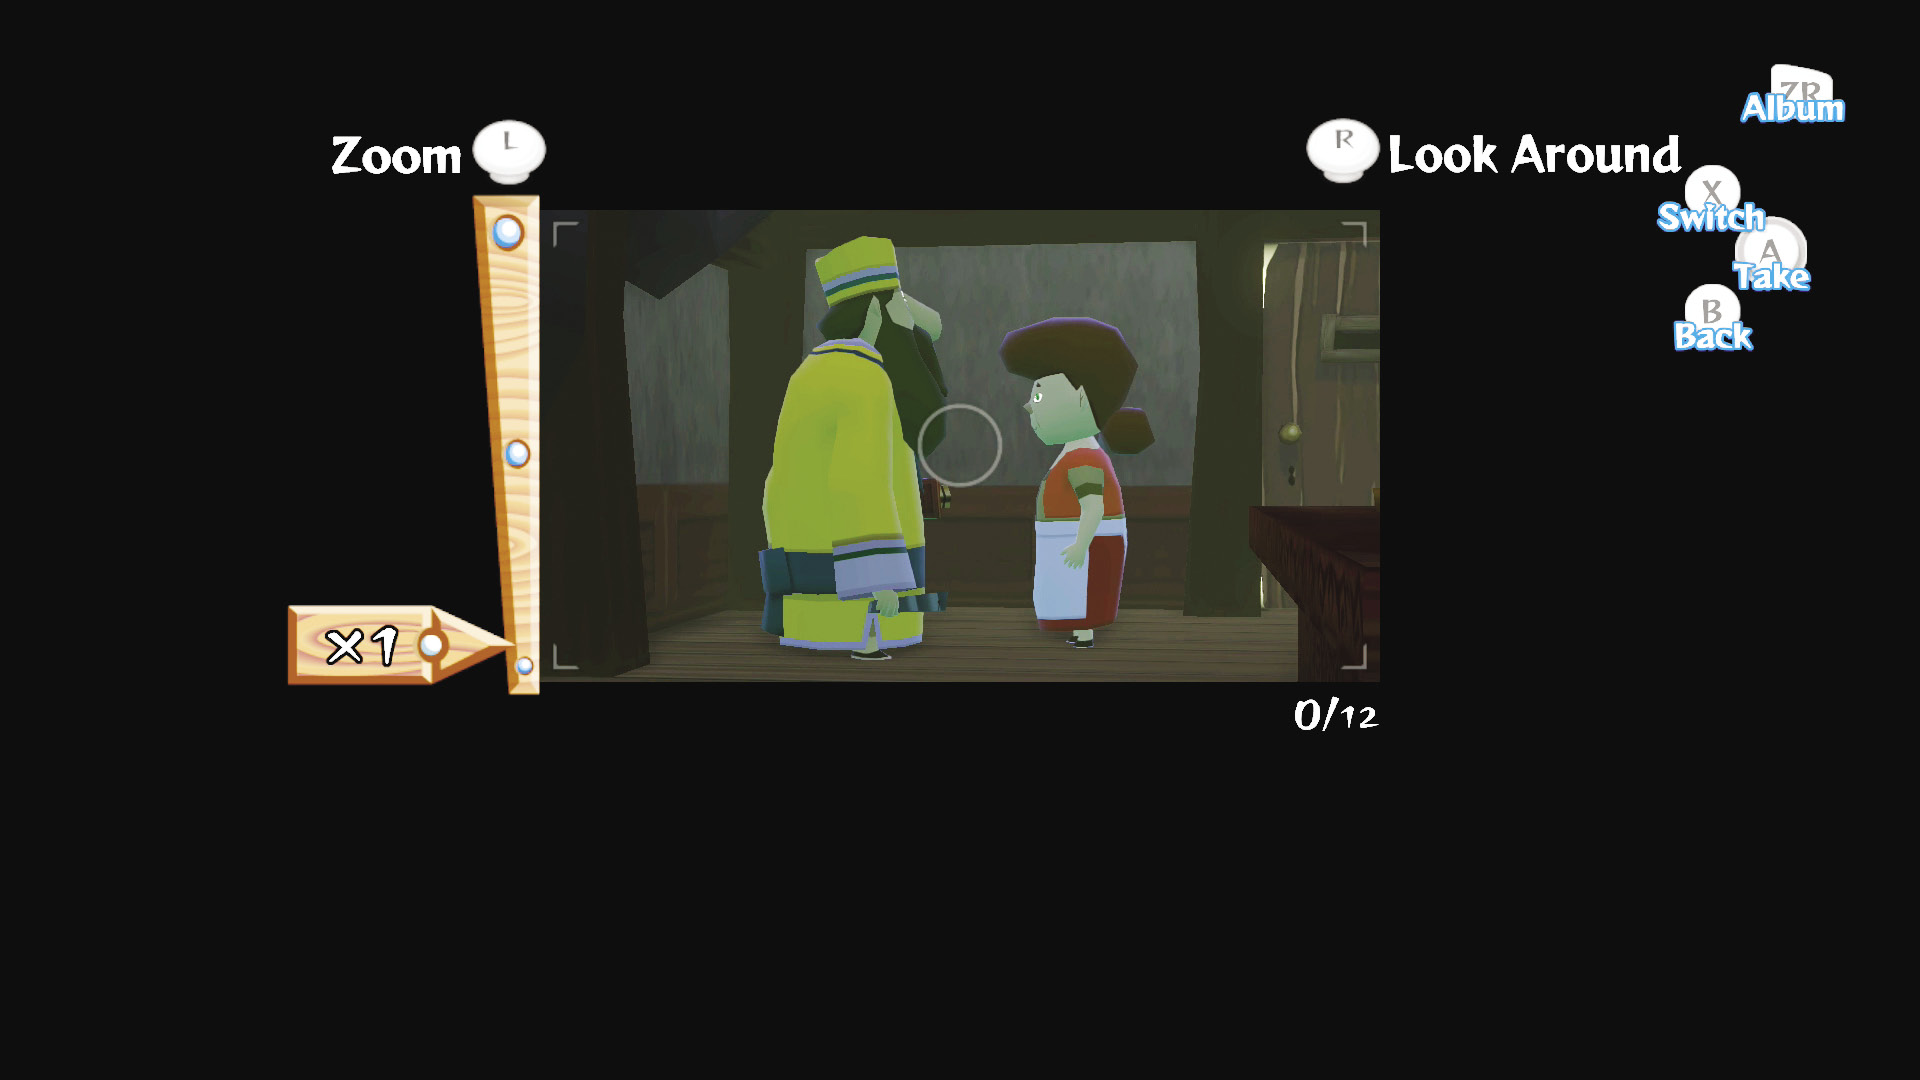
Before you race out of the building, slowly walk into the main room of the first floor and get your Deluxe Picto Box out. Lenzo will be talking with Minenco, the island’s most beautiful woman. If you take a picto of them talking, you can show it to the town gossips, Pompie and Vera, who are down by the stairs leading up to Zunari’s stall.
Putting the Rumors to Rest
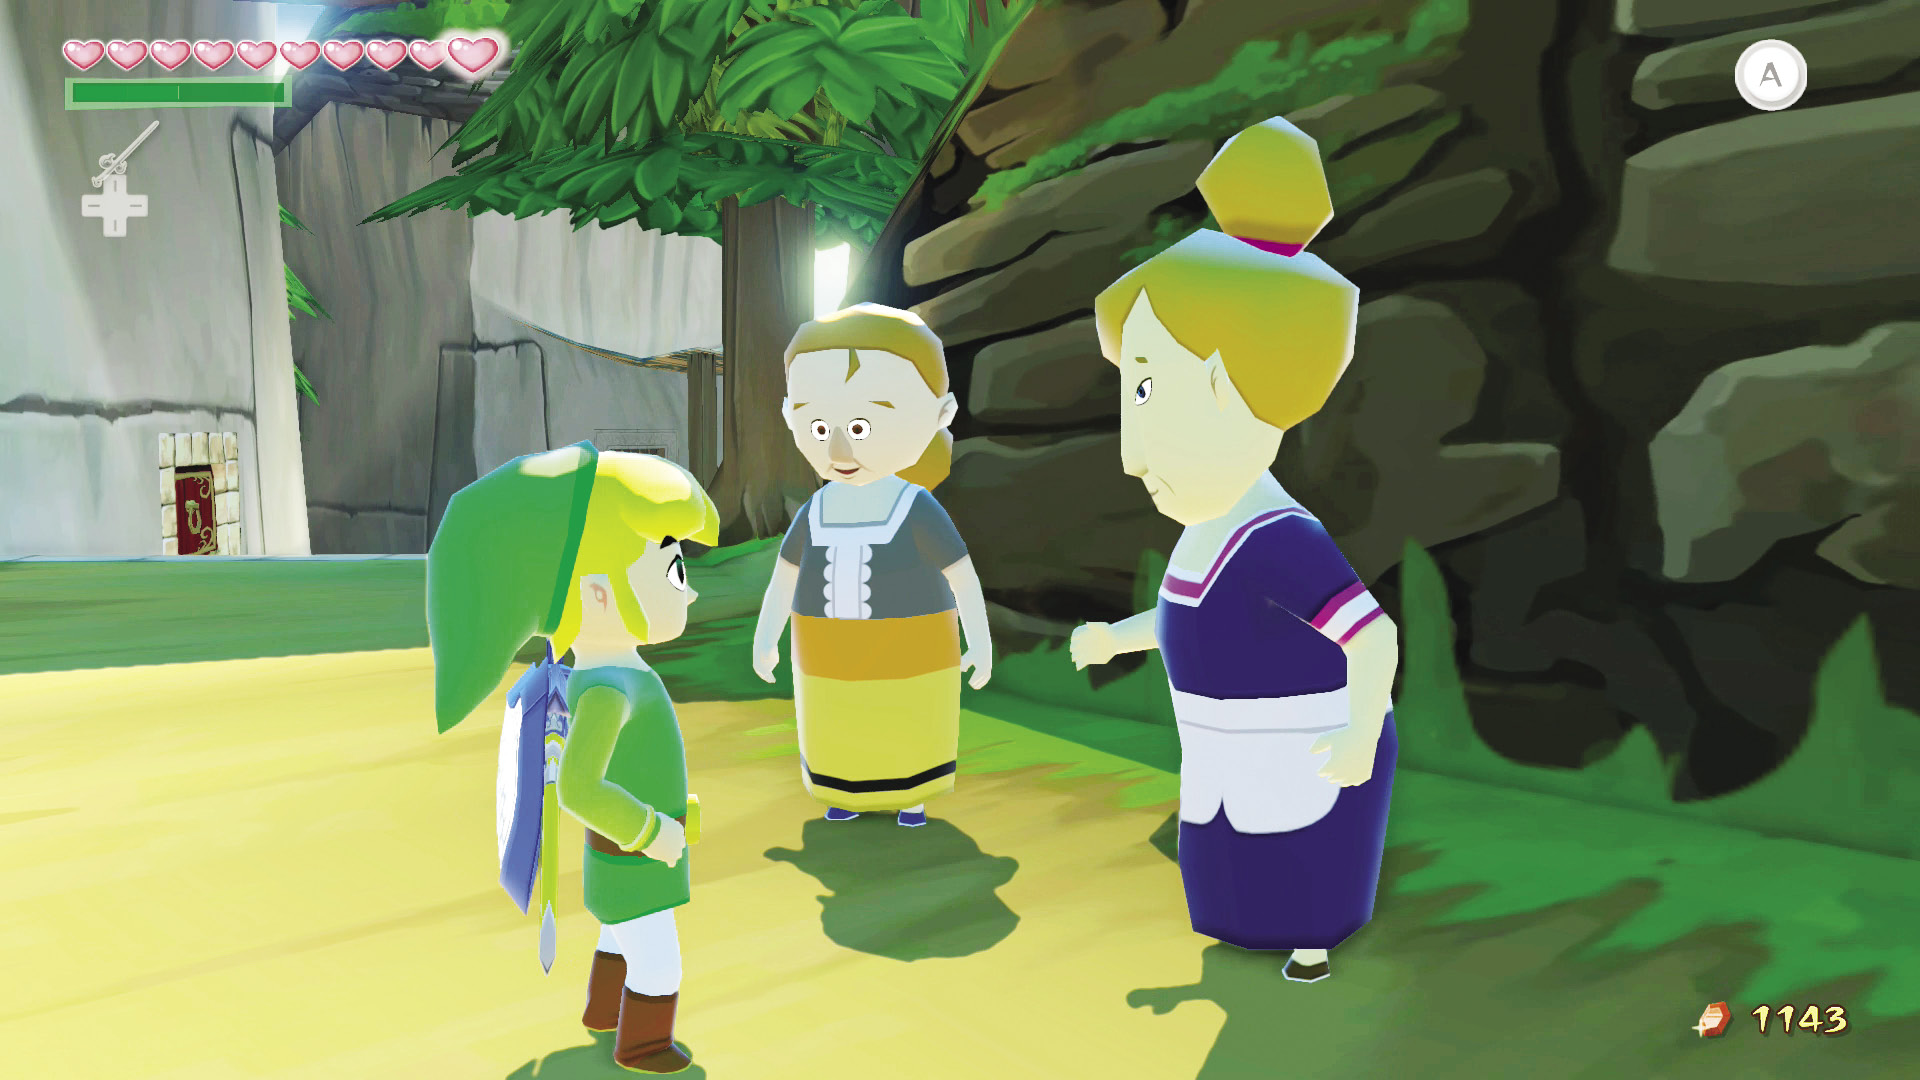
Near the stairs leading up to Zunari’s stall are the island gossips: Pompie and Vera. They talk about anything that seems even slightly scandalous, but their current rumor of choice is about Lenzo and his secret lover. According to the gossips, a mysterious woman has been meeting up with Lenzo in a rather conspicuous manner.
Since we know exactly what’s going on here and have proof of it, you can show the gossips the picto of Lenzo and Minenco together to put their rumormongering to bed once and for all. To thank you for clearing up the rumor and putting an end to their gossipy ways, Pompie and Vera will give you Treasure Chart #24.
|
|
51 |
Treasure Chart #24 |

Zunari’s Business Boom
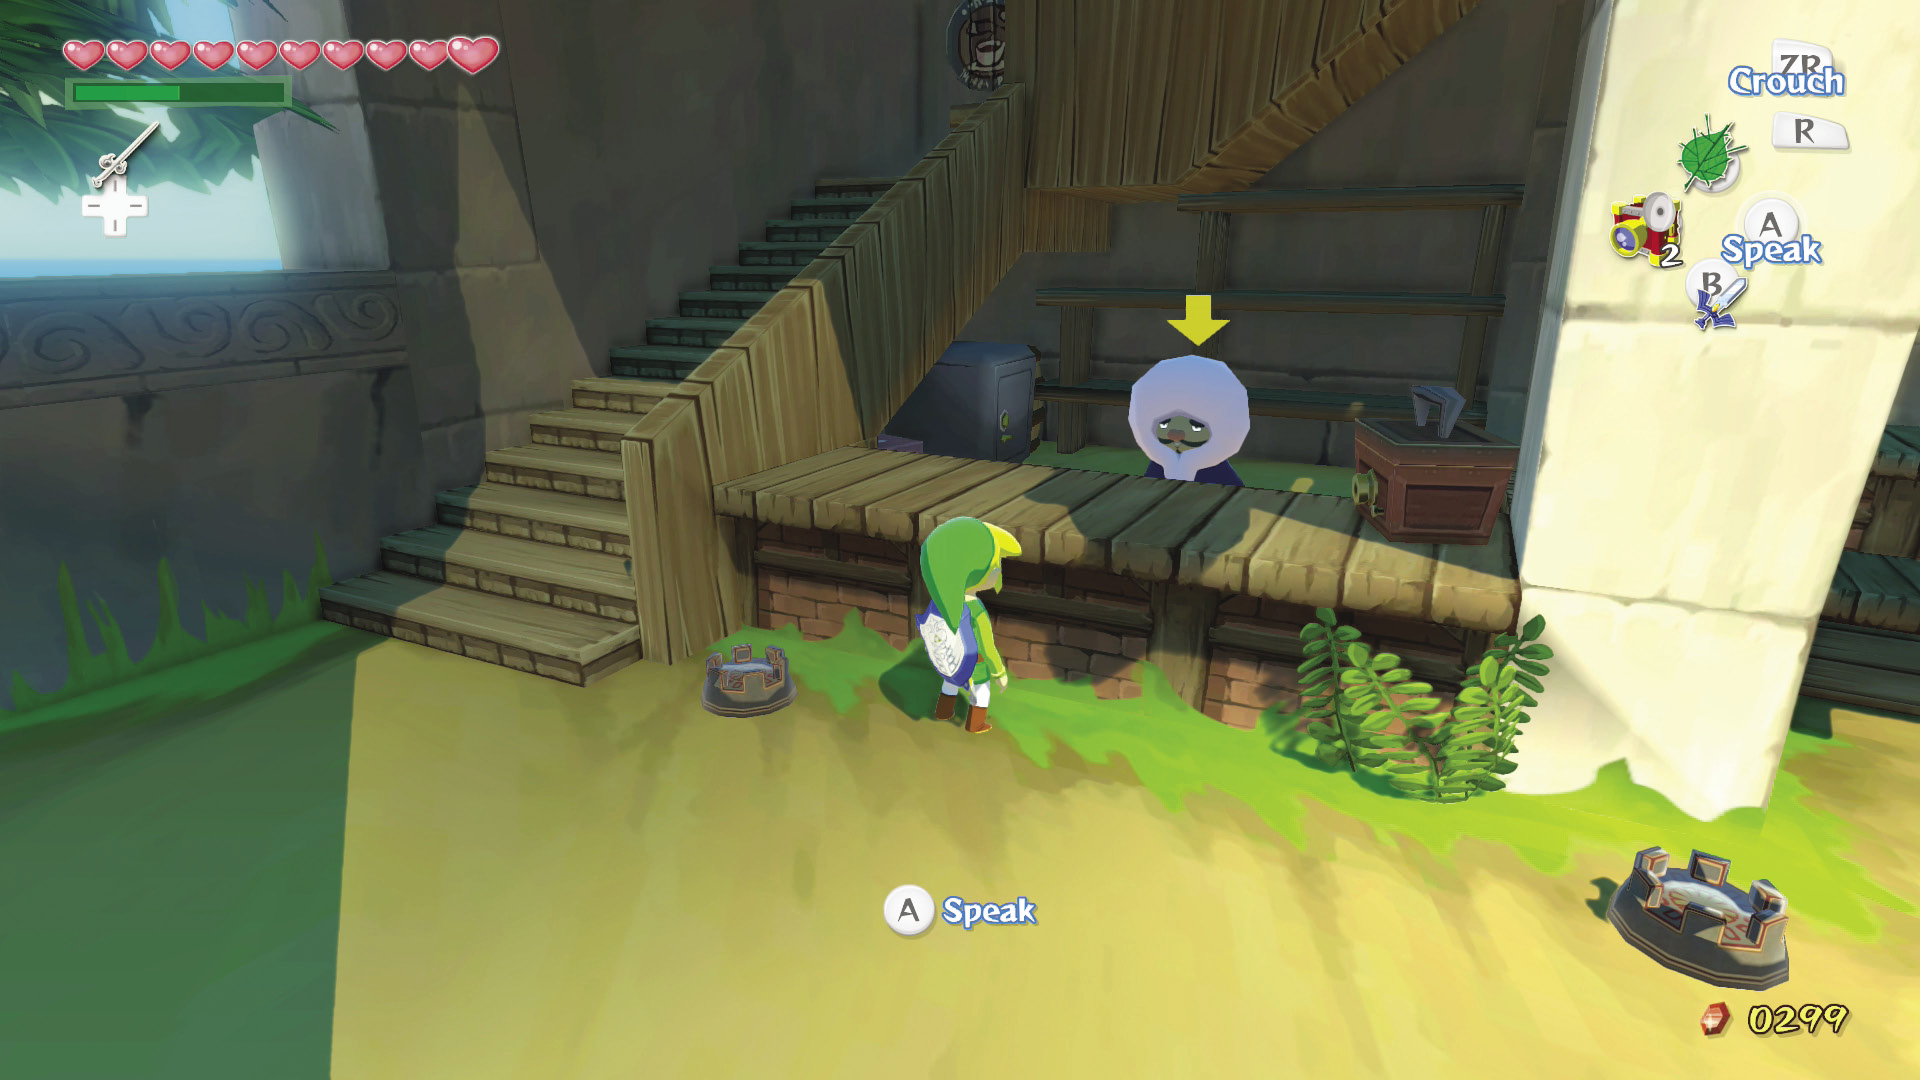
Buying Zunari’s one and only Ship Sail certainly seemed to help him out, but it looks like he could use our help one more time. Since Zunari has been busy tending his stall and running the auction, he hasn’t had time to build up the number of items he has for trade. That’s where you come in. Talk to Zunari on the left side of his stall (not the smaller counter on the right, because that’s where he sells merchandise), and he will tell you about the merchant’s oath, the promise between all merchants to share their wares after a single trade has been performed with another merchant. In other words, if you take an item of Zunari’s and trade it with a Traveling Merchant out in the Great Sea, Zunari’s shop will receive any items that the merchant trades to you.
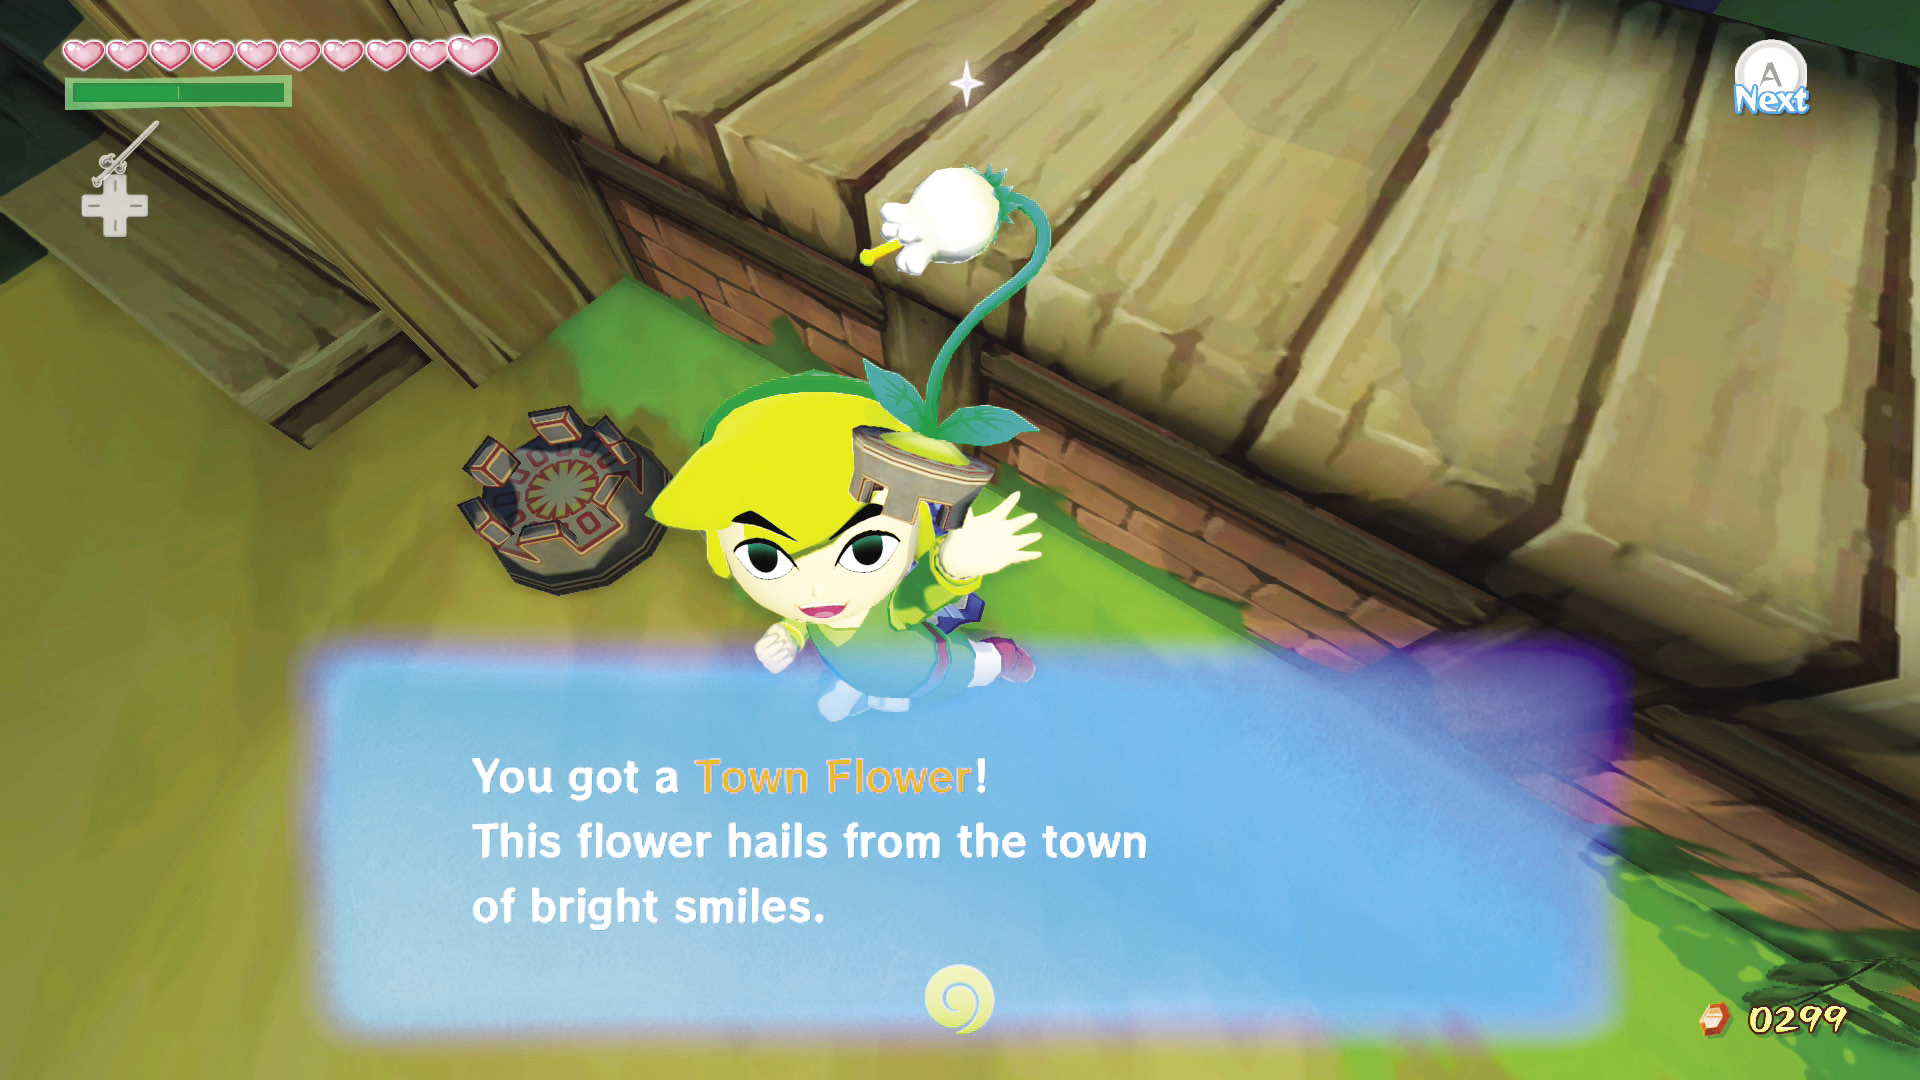
Zunari will start by giving you a Town Flower. You can take this item to Mother & Child Isles (B2) now, or you can wait; we’ll be stopping by there soon enough. Whatever you choose, make sure to come back to Zunari and speak with him afterward. There are a total of three Traveling Merchants in the Great Sea, and only the one on any of them will trade with you for your first time.
Joy in Abundance
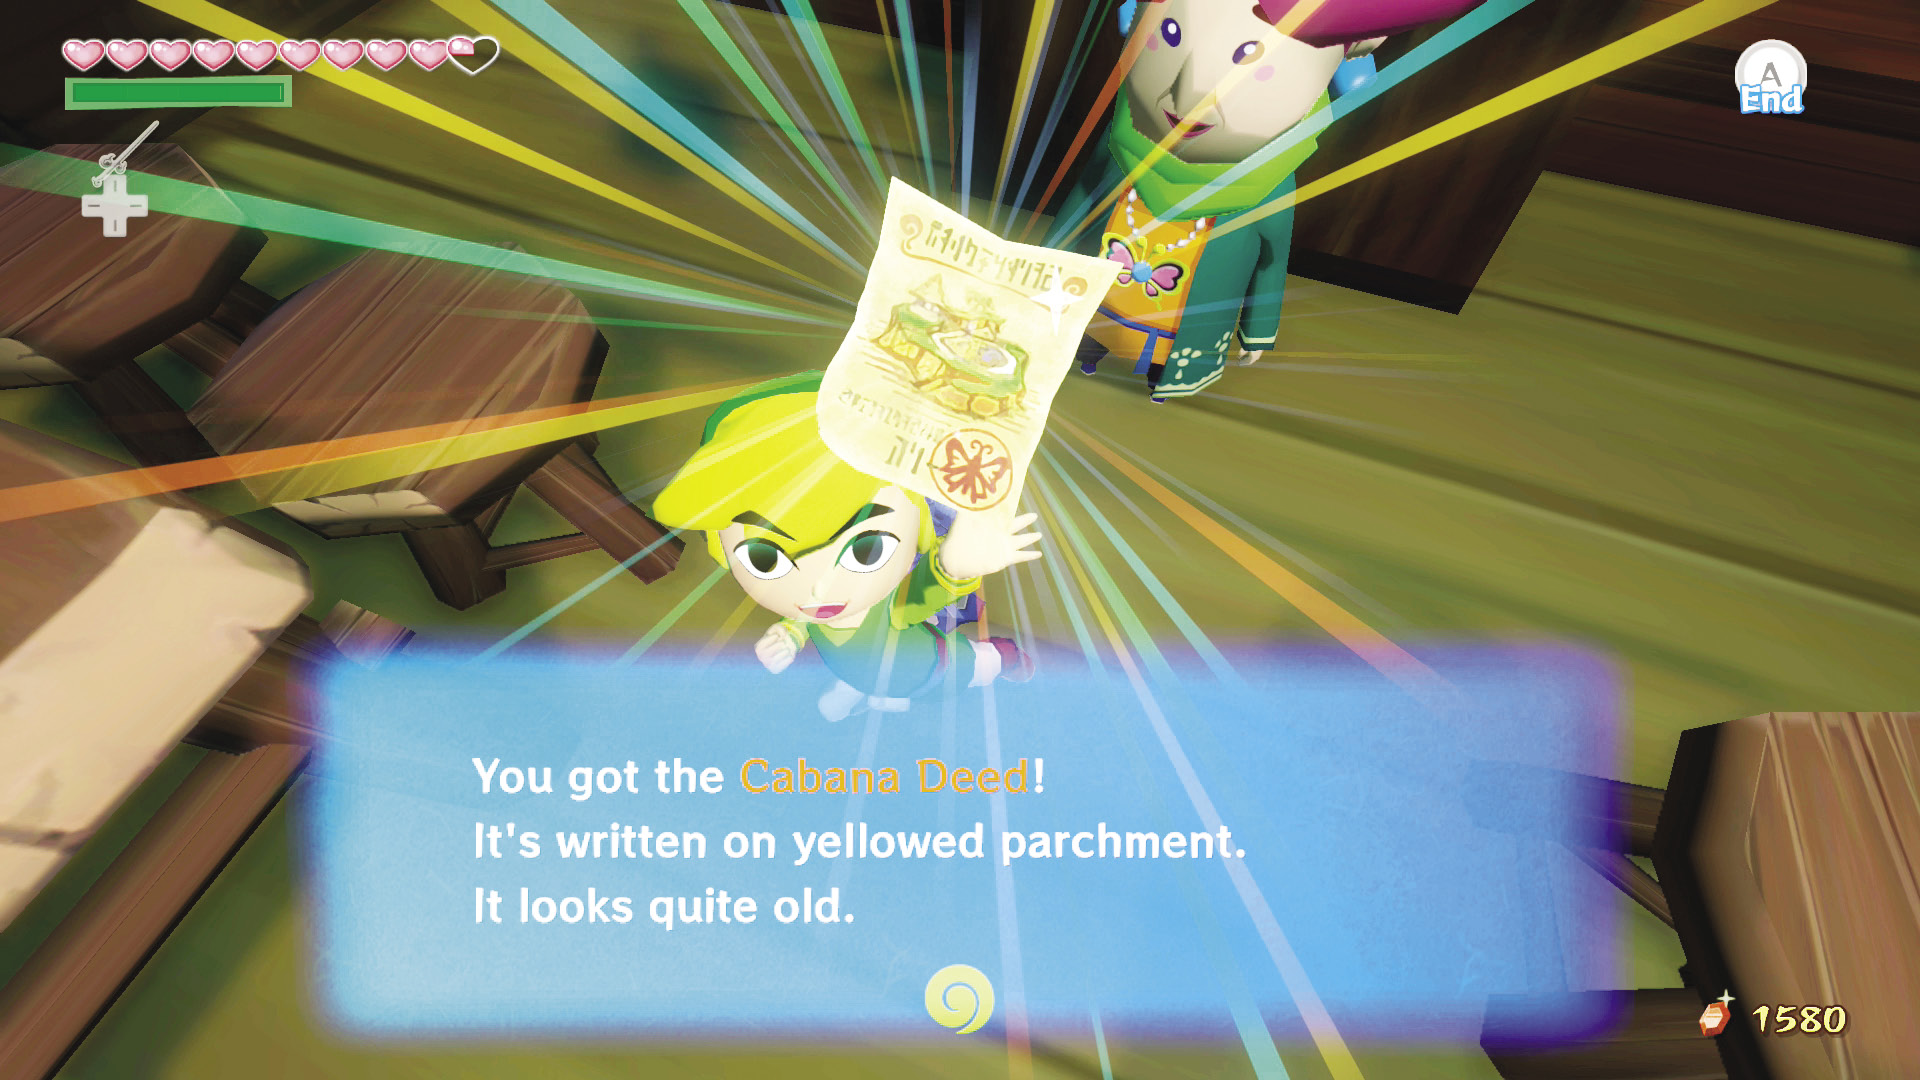
Remember the last time we saw Mrs. Marie? We gave her a Joy Pendant at the request of the Killer Bees, and she loved it so much, she asked for 20 more. Well, if you’ve been yanking Joy Pendants off of Bokoblins this whole time, it’s likely that you have 20 or more of them in your Spoils Bag. If that’s the case, hand them over to Mrs. Marie and she’ll be so joyous that she will offer you the deed to her private cabana in E5. Now, that’s a prize!
|
|
52 |
Cabana Deed |
If you bring Mrs. Marie 20 more Joy Pendants for a total of 41, she’ll offer you one more prize, so don’t stop collecting those pendants just yet!
Playing Cupid
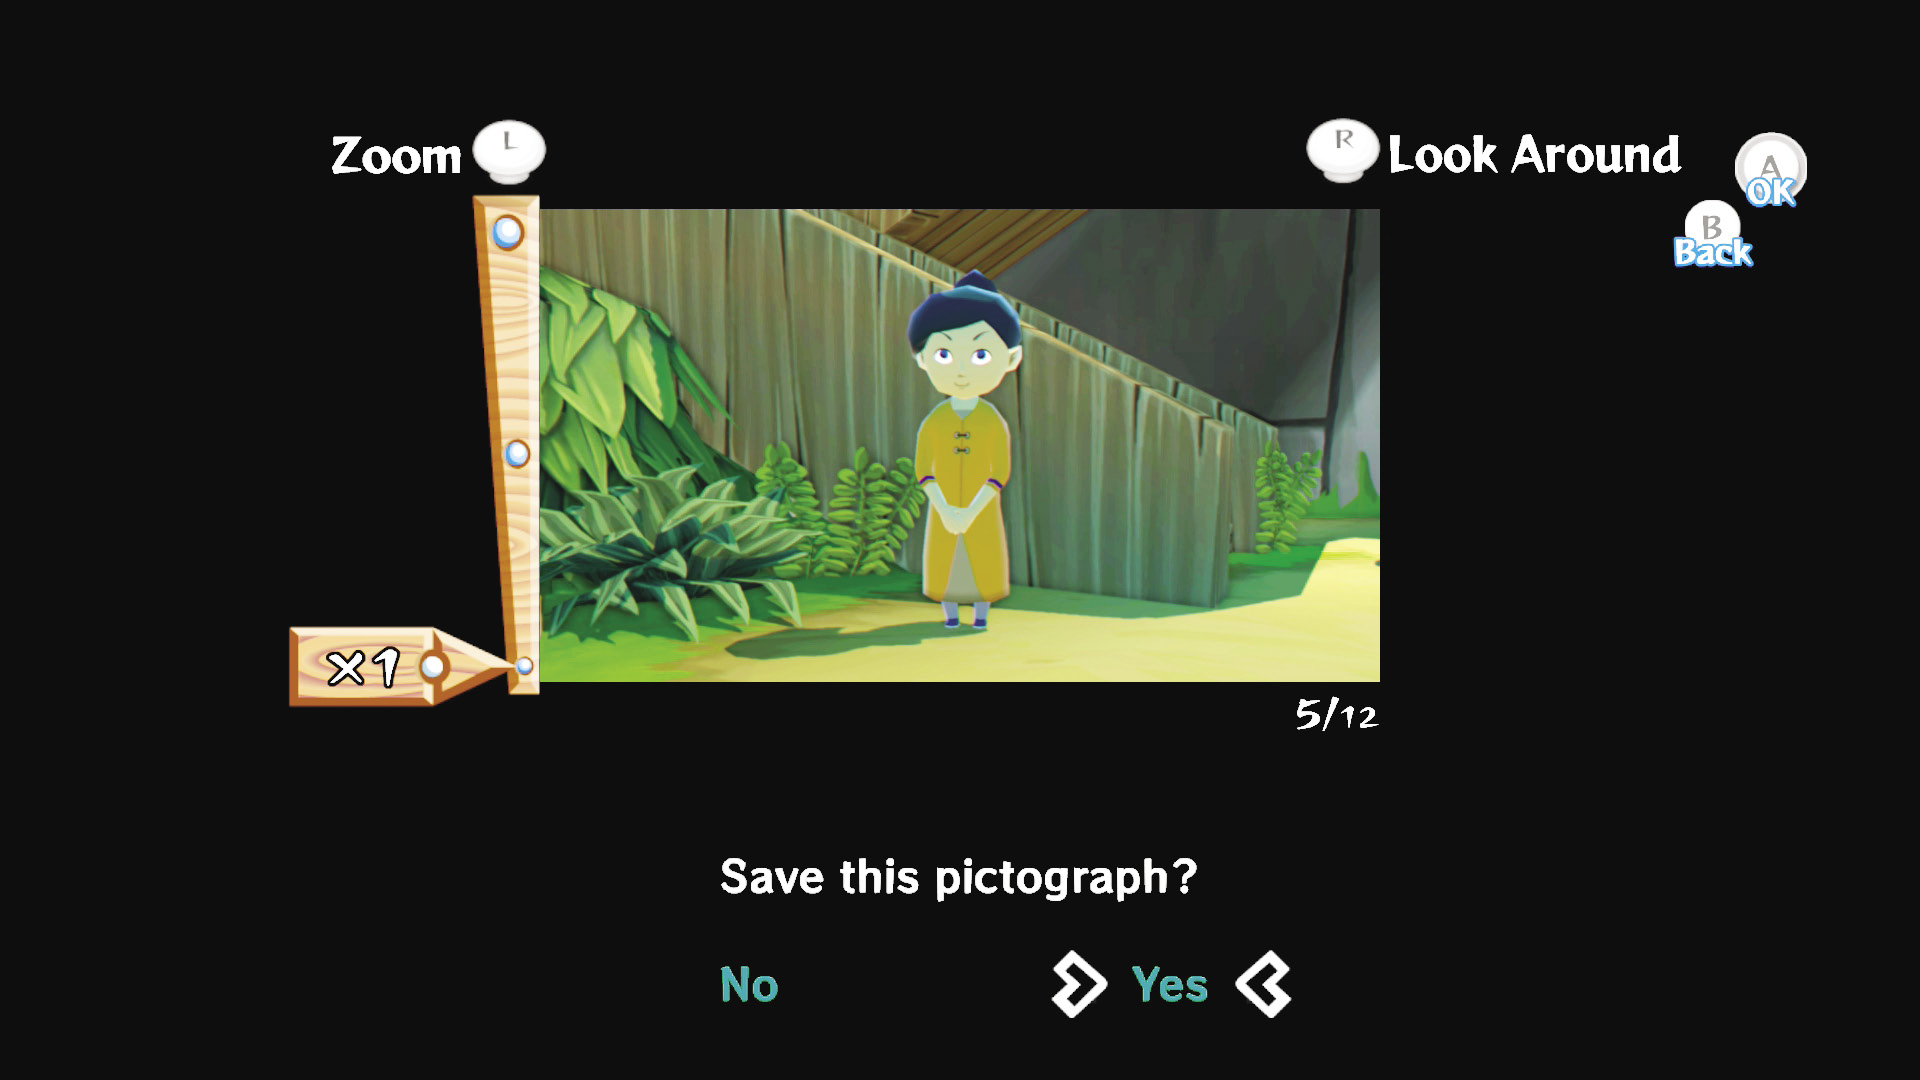
The couple you took a picto of for Lenzo the last time you were on the island needs your help. It seems that enough is enough, at least for Linda. If you talk to her up by the Squid-Hunt minigame shop, she’ll request that you take a picto of her and show it to Anton, the object of her affection.
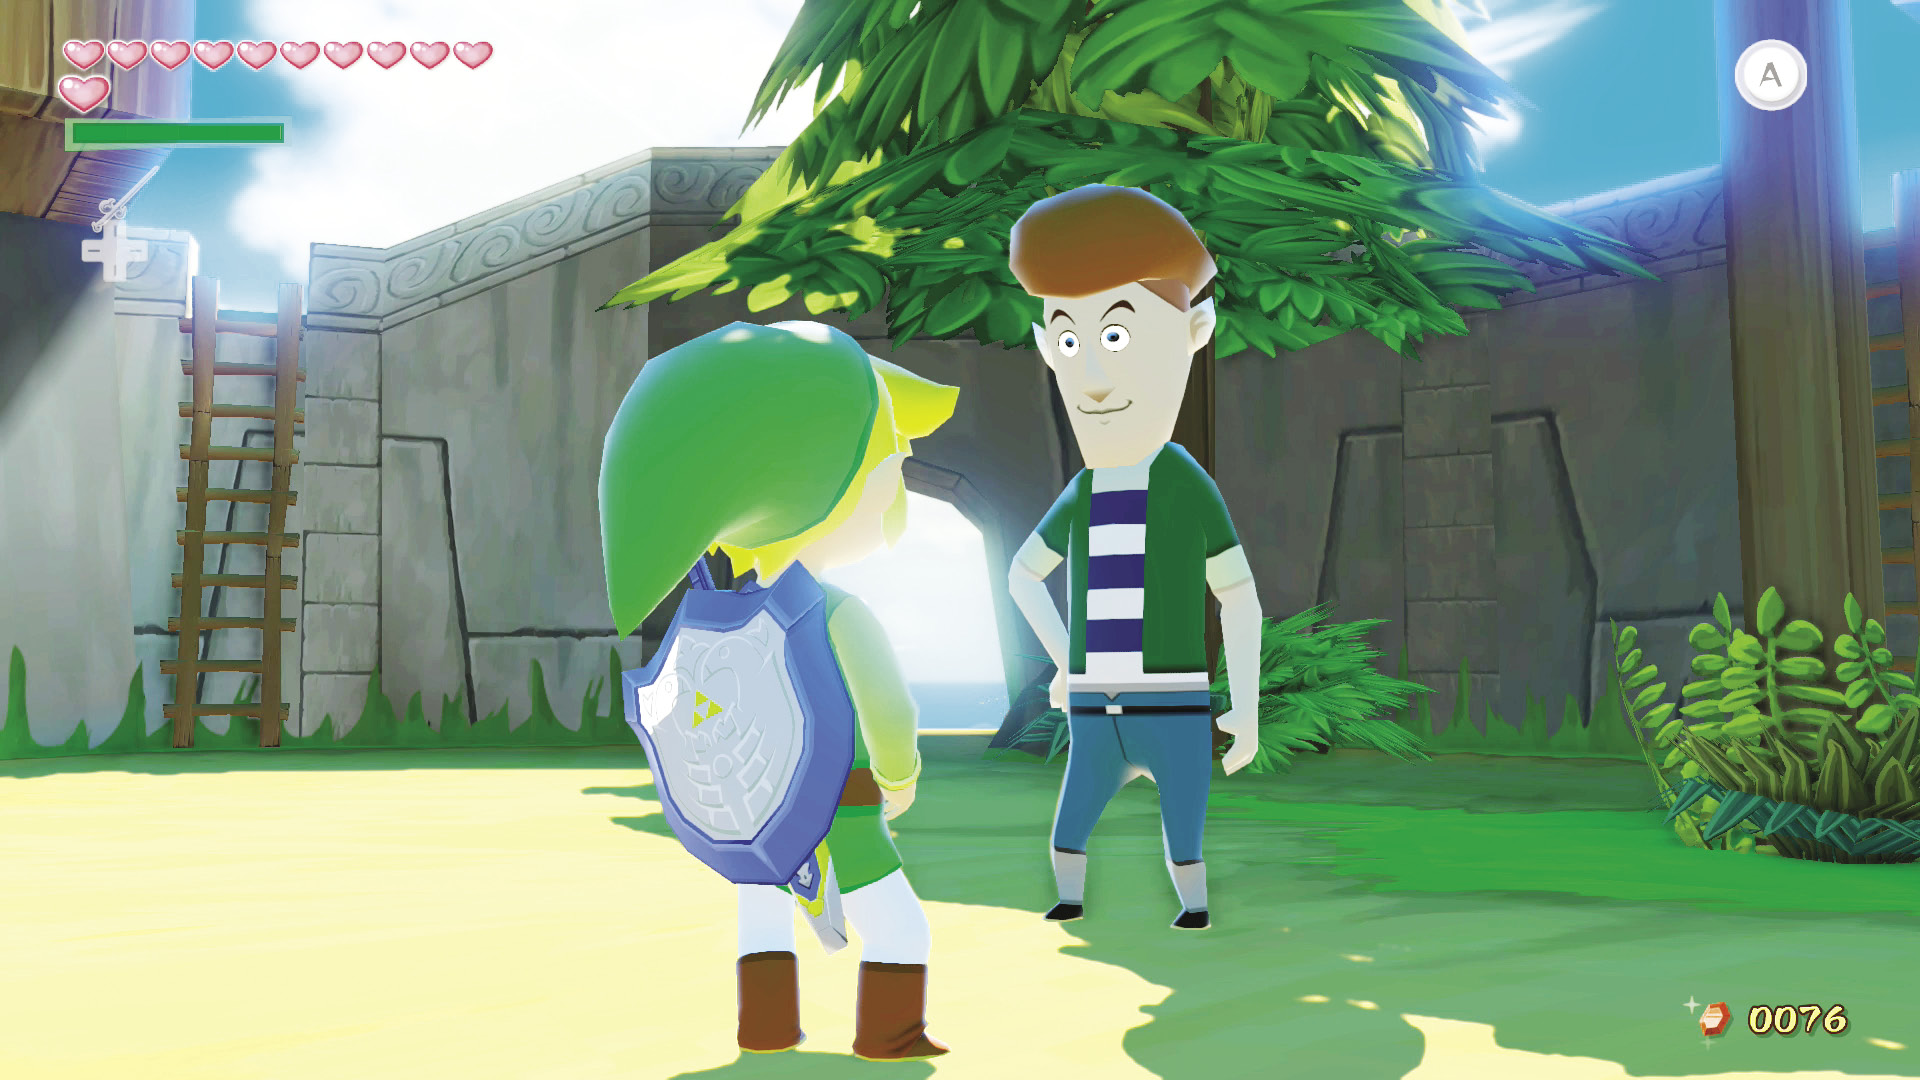
Do just that and Anton will realize that he’s not willing to let another day go by without asking Linda out on a date. Talk to Linda again and she’ll tell you that Anton did indeed ask her on a date.
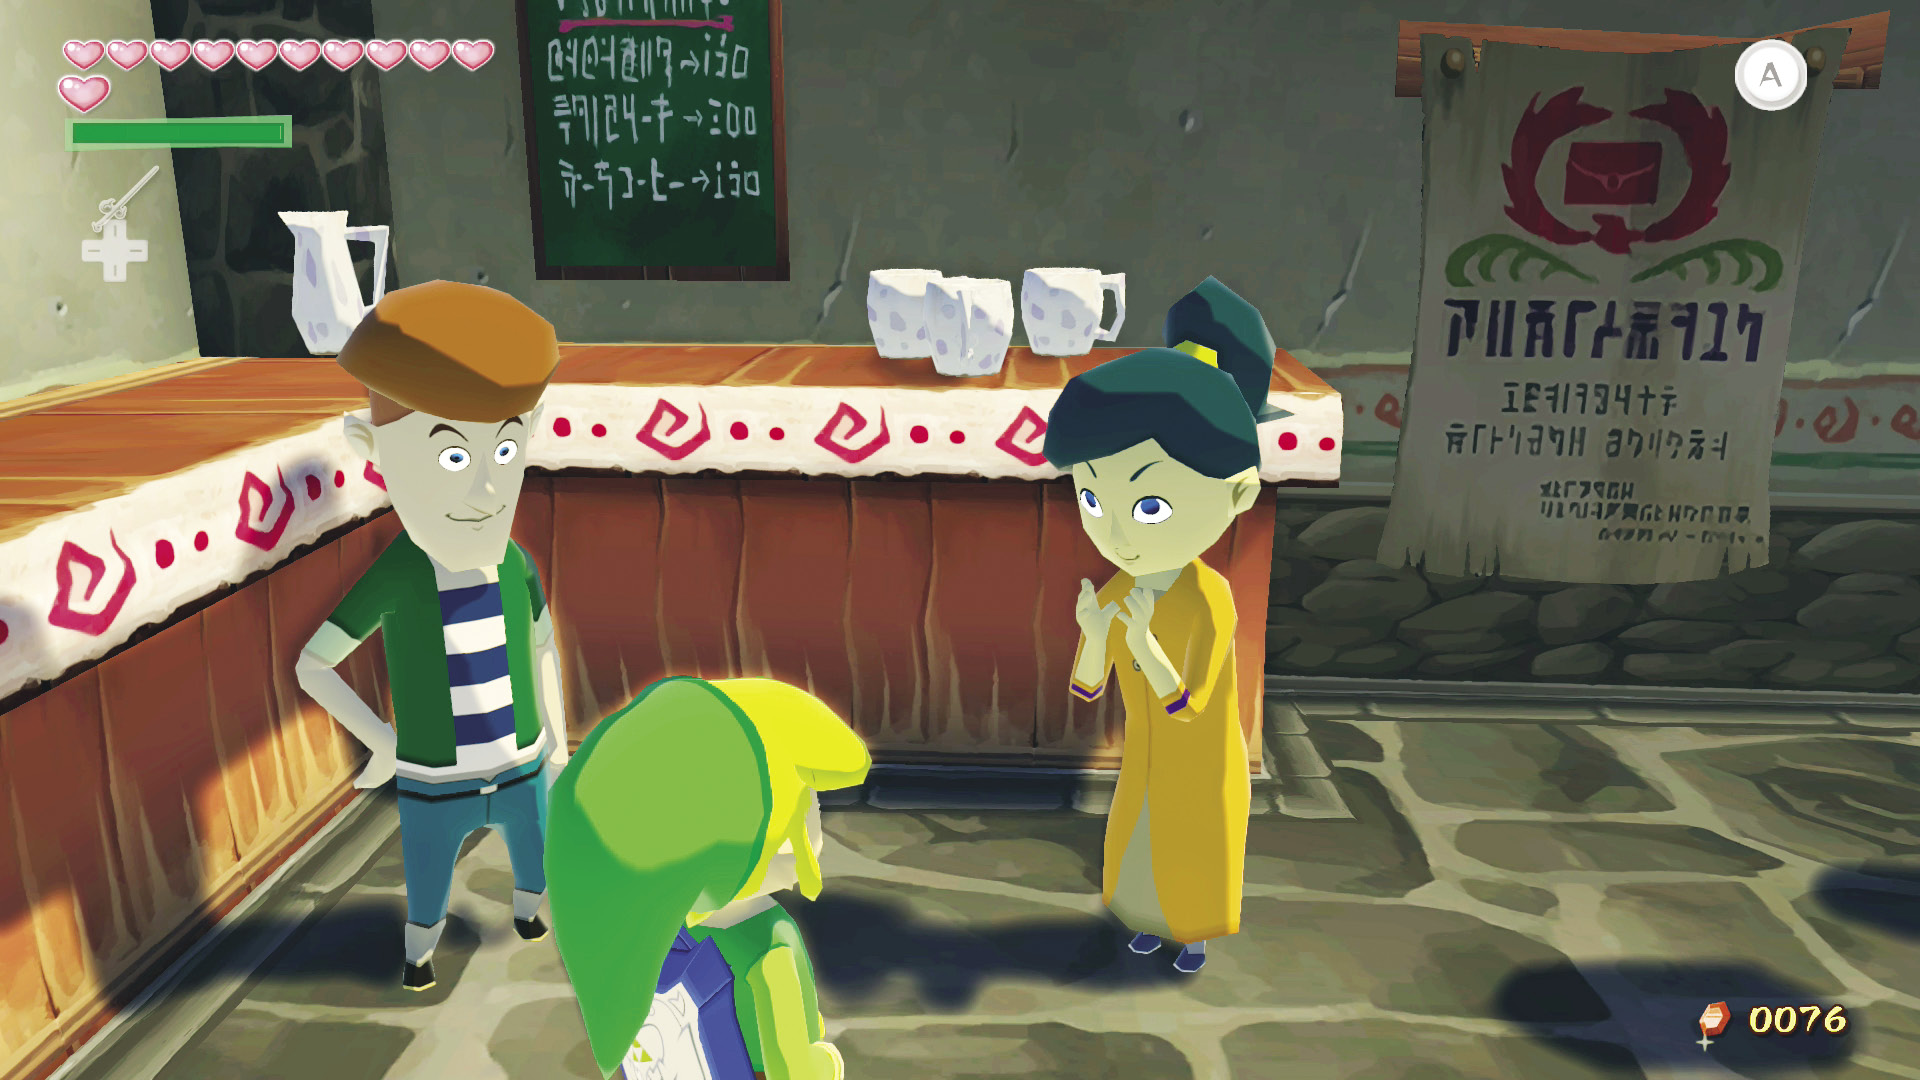
Use the “Song of Passing” twice to move on to the next day, then head to the cafe, which is up the stairs attached to Zunari’s stall. The couple will be so pleased with how the date is going that they’ll thank Link by giving him Piece of Heart #14.
|
|
53 |
Piece of Heart #14 |

Piggy-Sitting
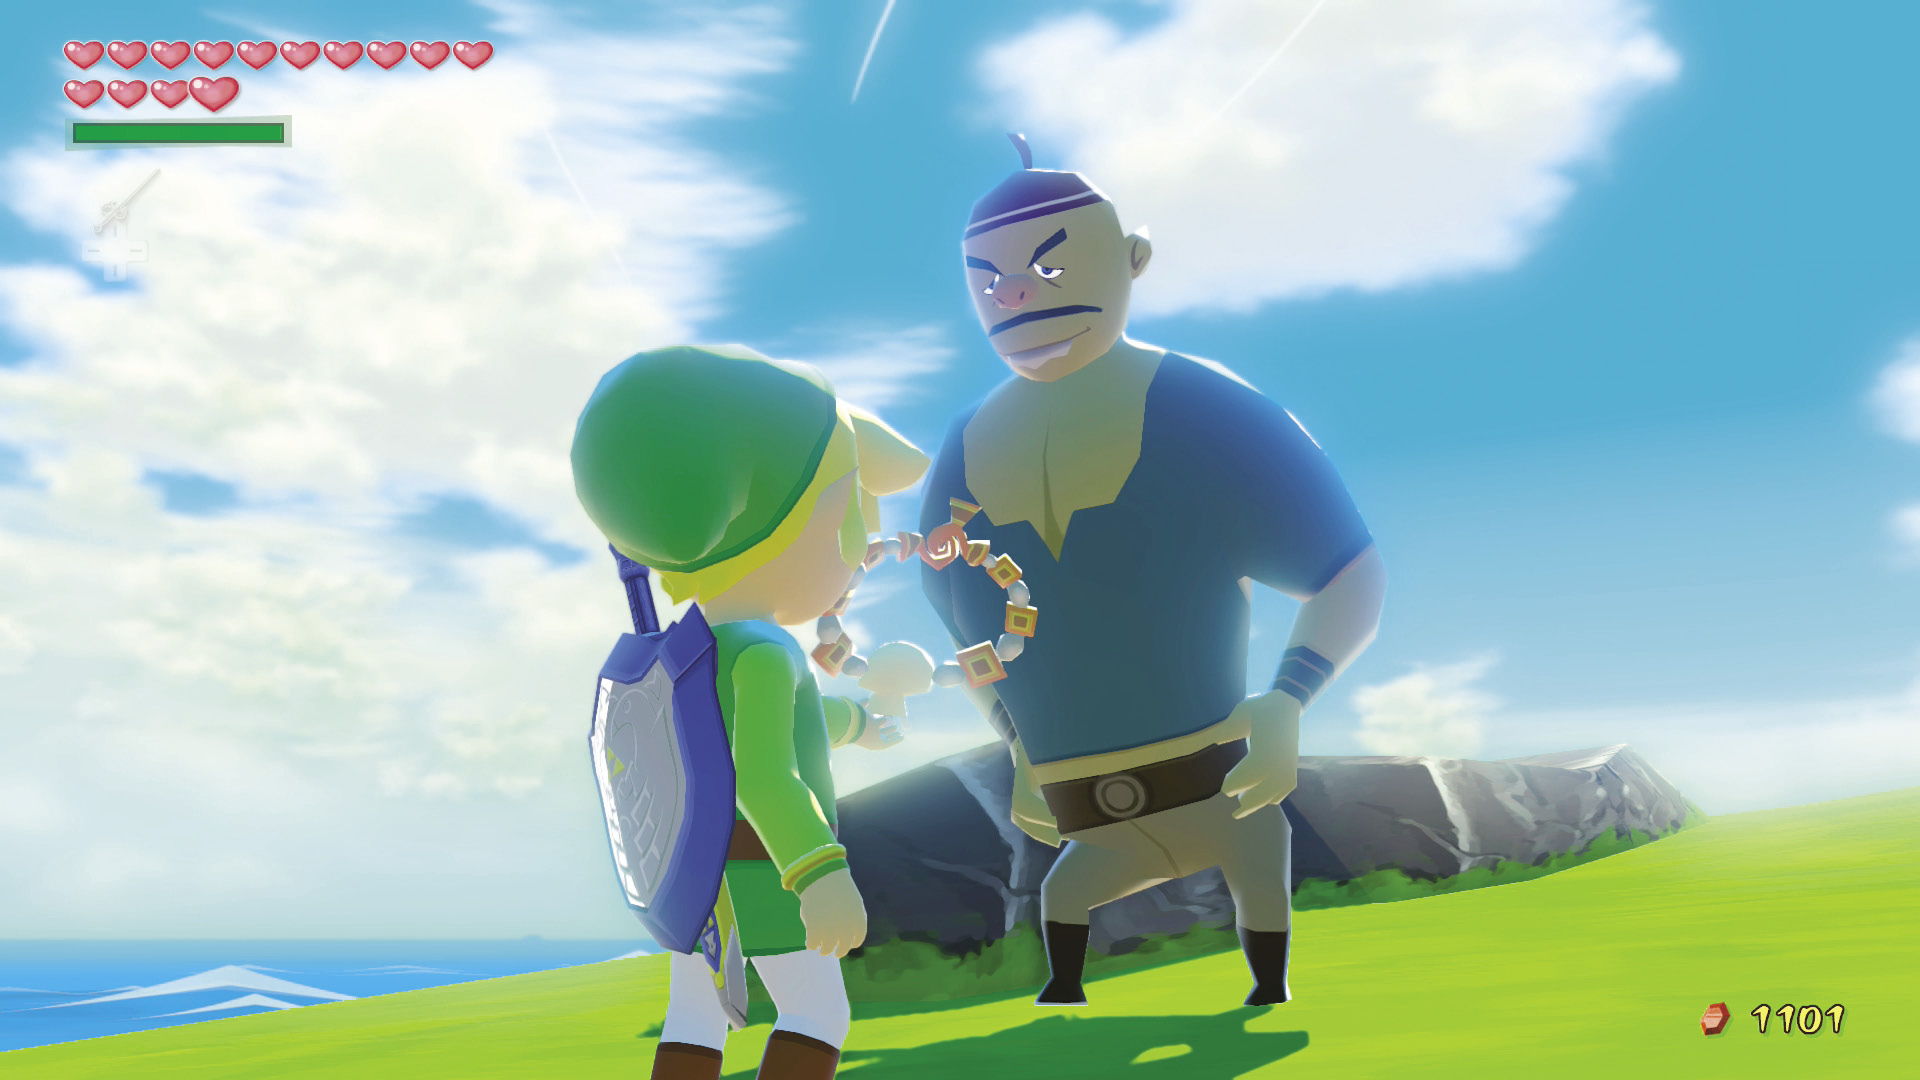
In front of the bomb shop is a rather large sailor named Dampa. If you give Dampa three Skull Necklaces, he’ll offer to let you play the “Piggy-Sitting” minigame. He’ll ask you to locate a specific pig for him within two minutes and two tries. The piggies’ locations are:
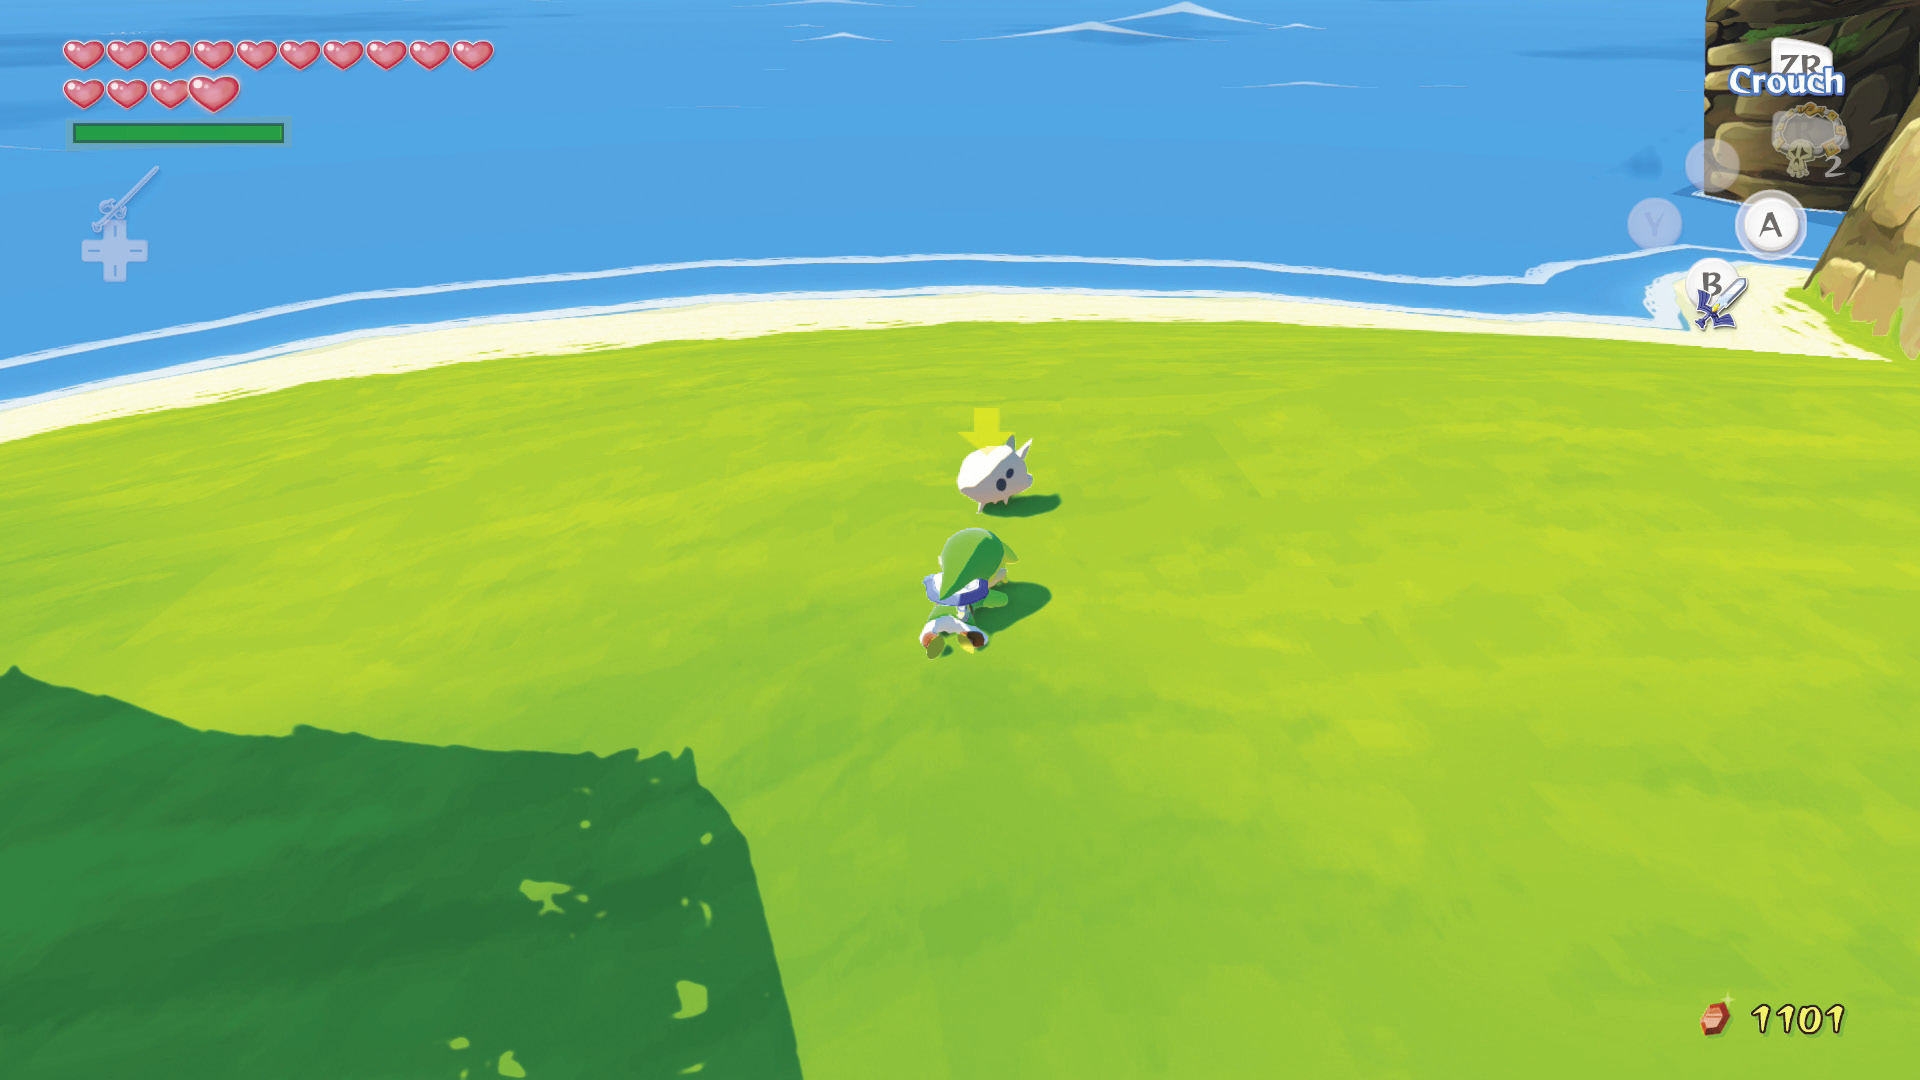
Near Potova and Joanna by the wall behind you.
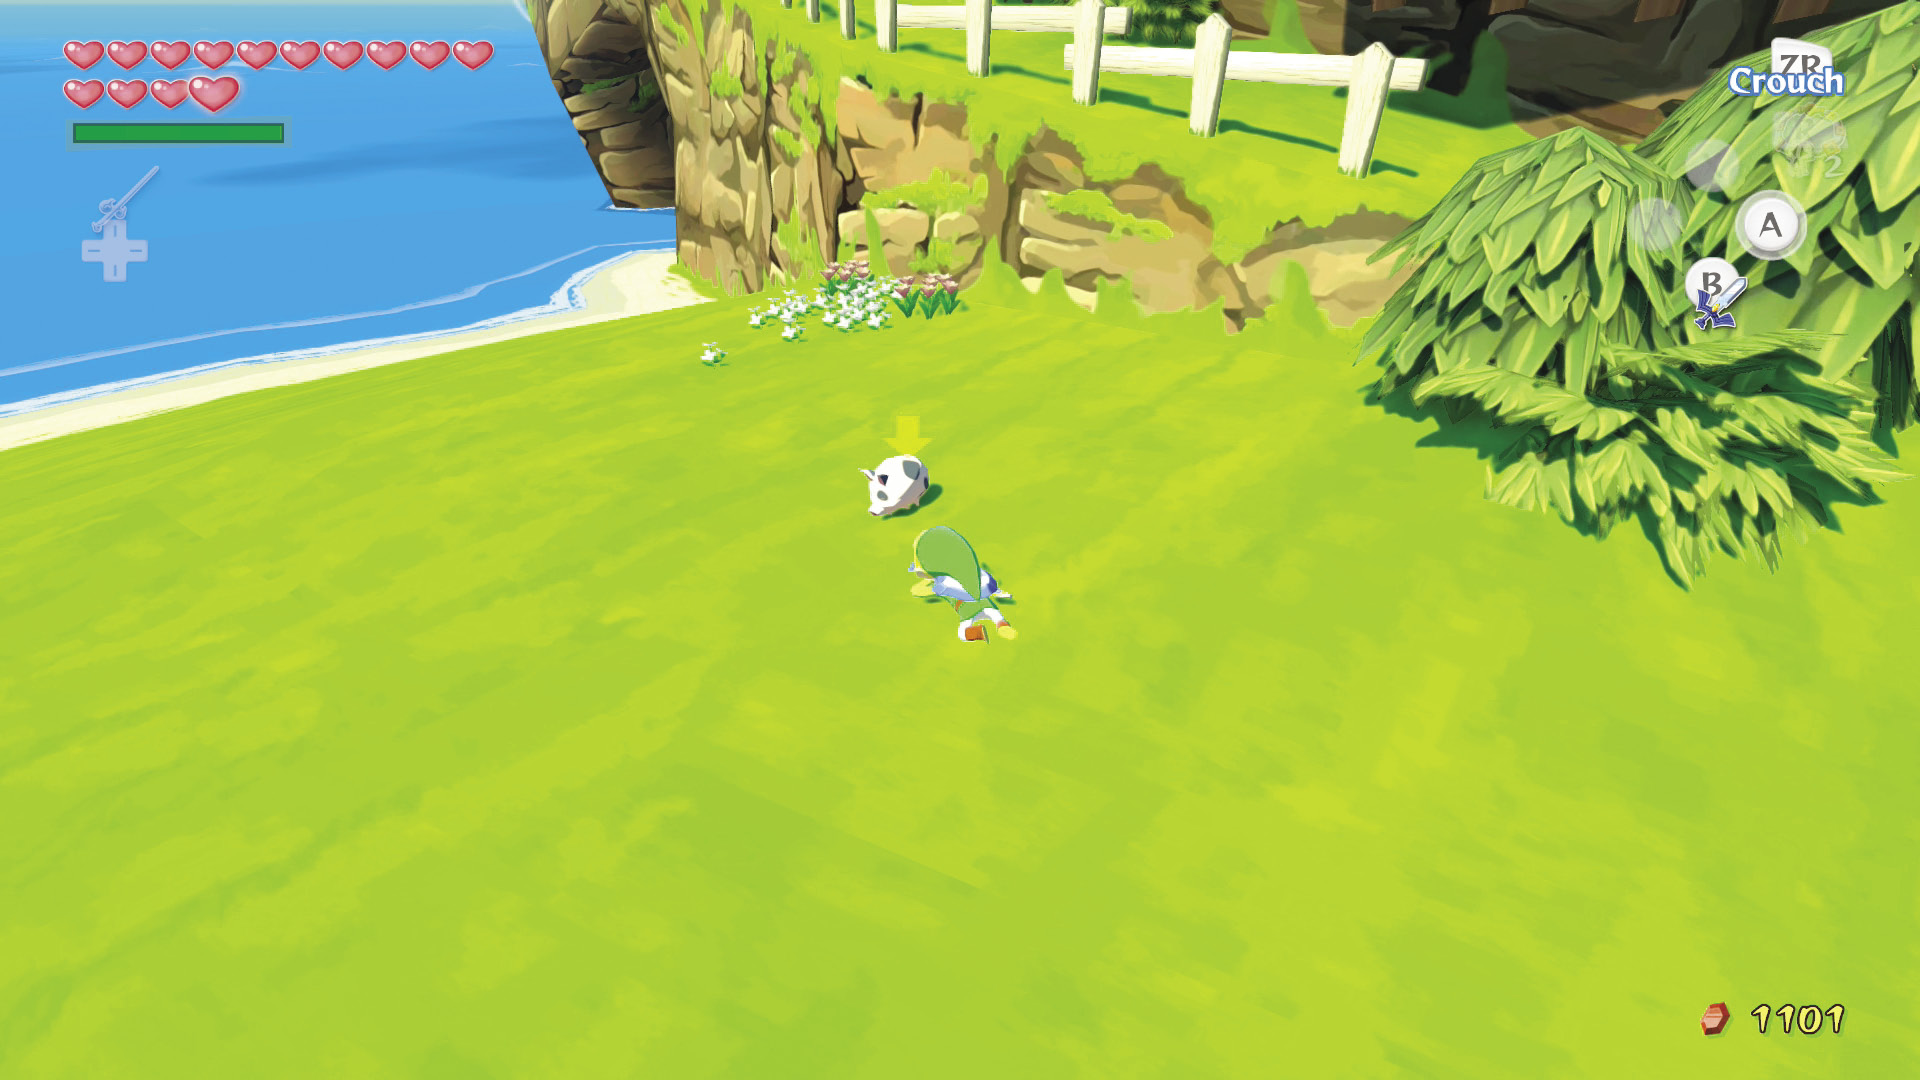
Further down the beach on your left (Near the alcove where you first met the King of Red Lions).
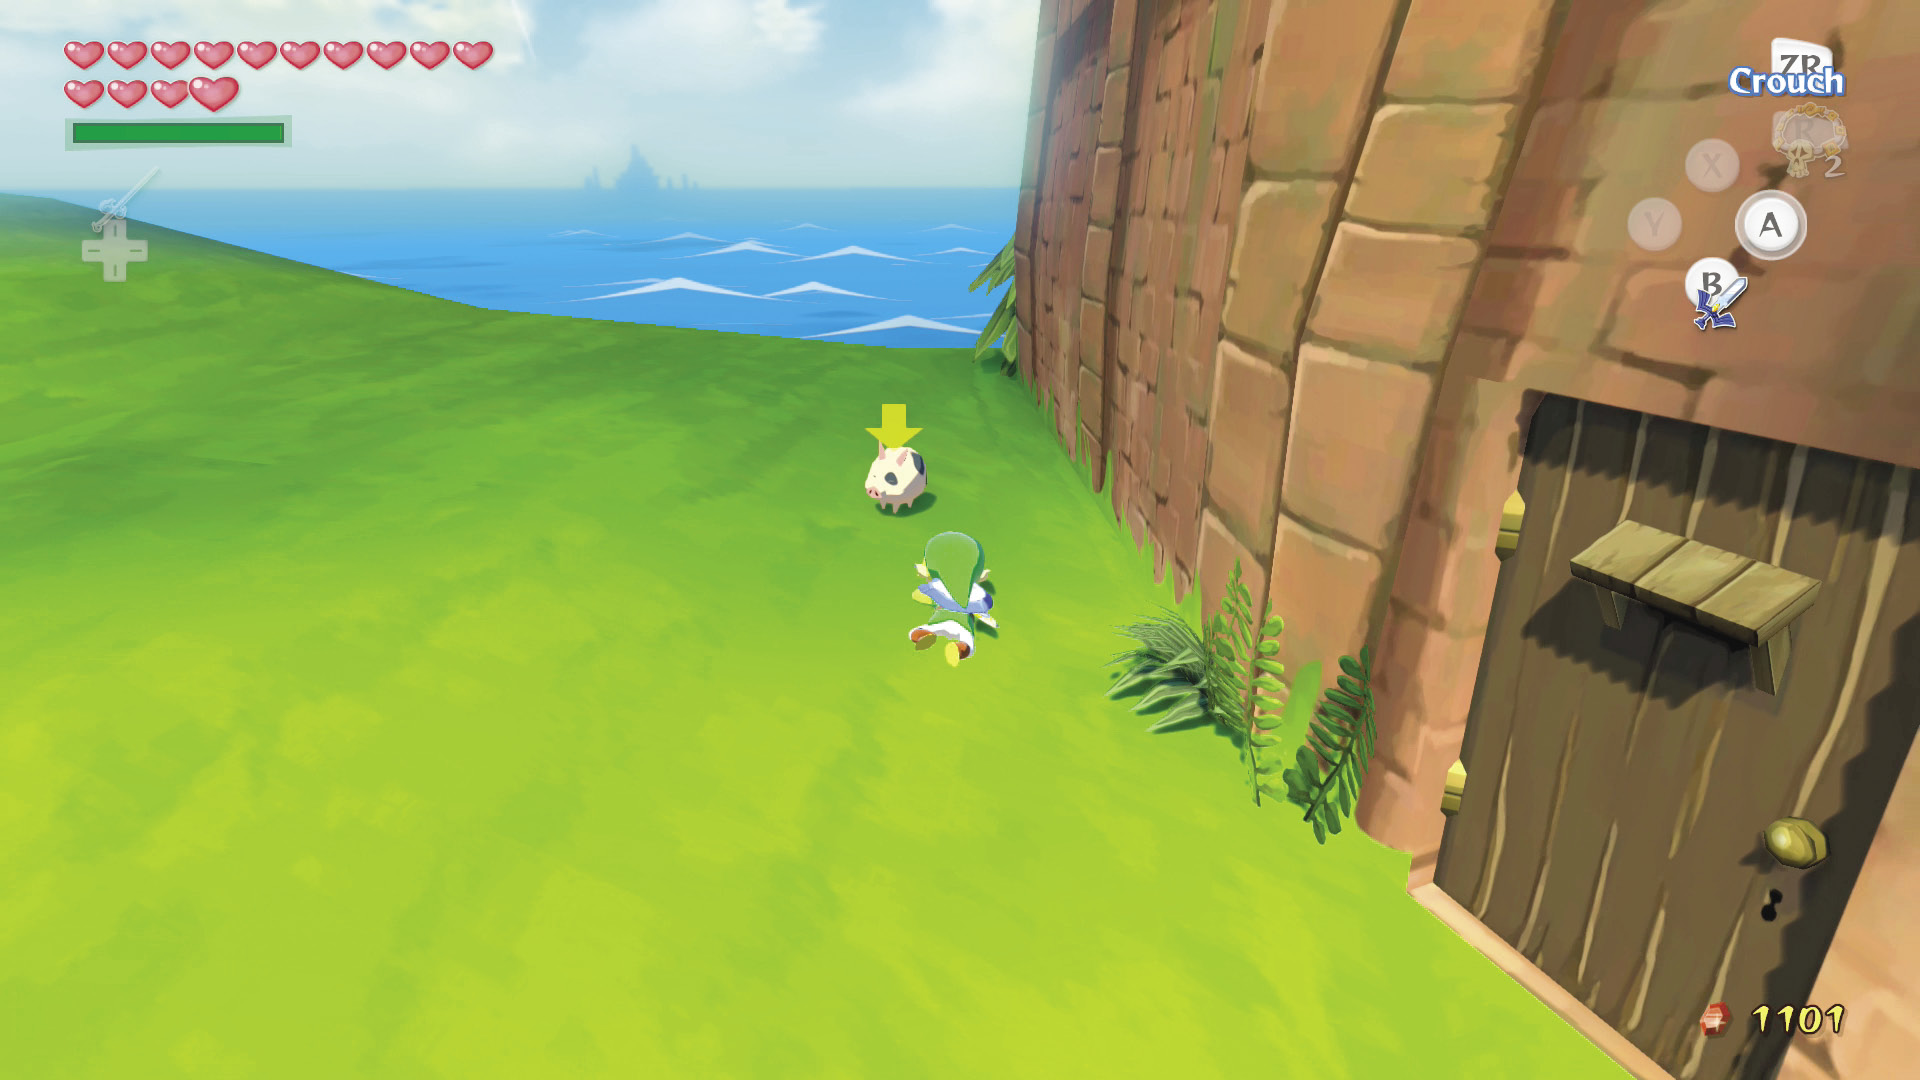
Up in front of the jail door.
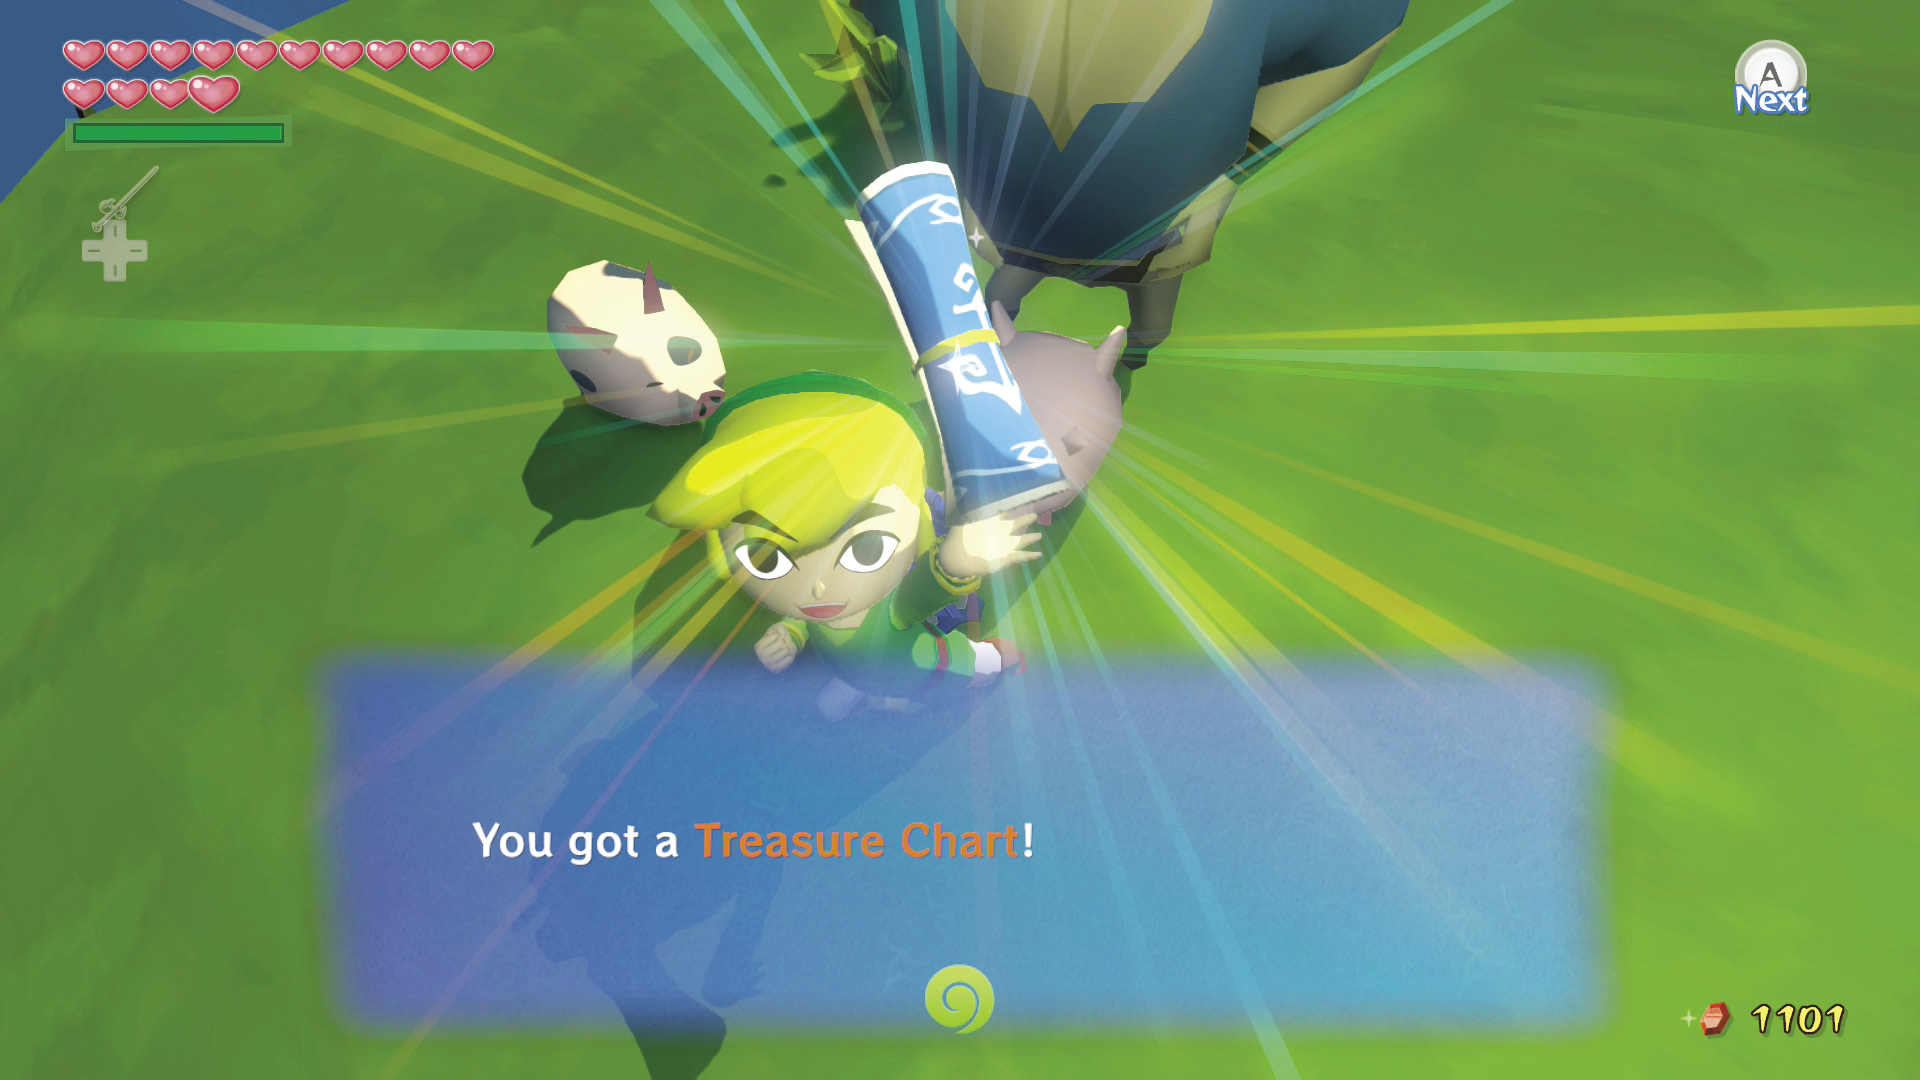
Pick up the specific pig that Dampa is looking for, bring it back to him, and press to put it down. If you can find the right pig within two minutes and two guesses, he’ll reward you with Treasure Chart #42. What a guy!
|
|
54 |
Treasure Chart #42 |

Northern Fairy Island (C1)
The Rupee Fairy
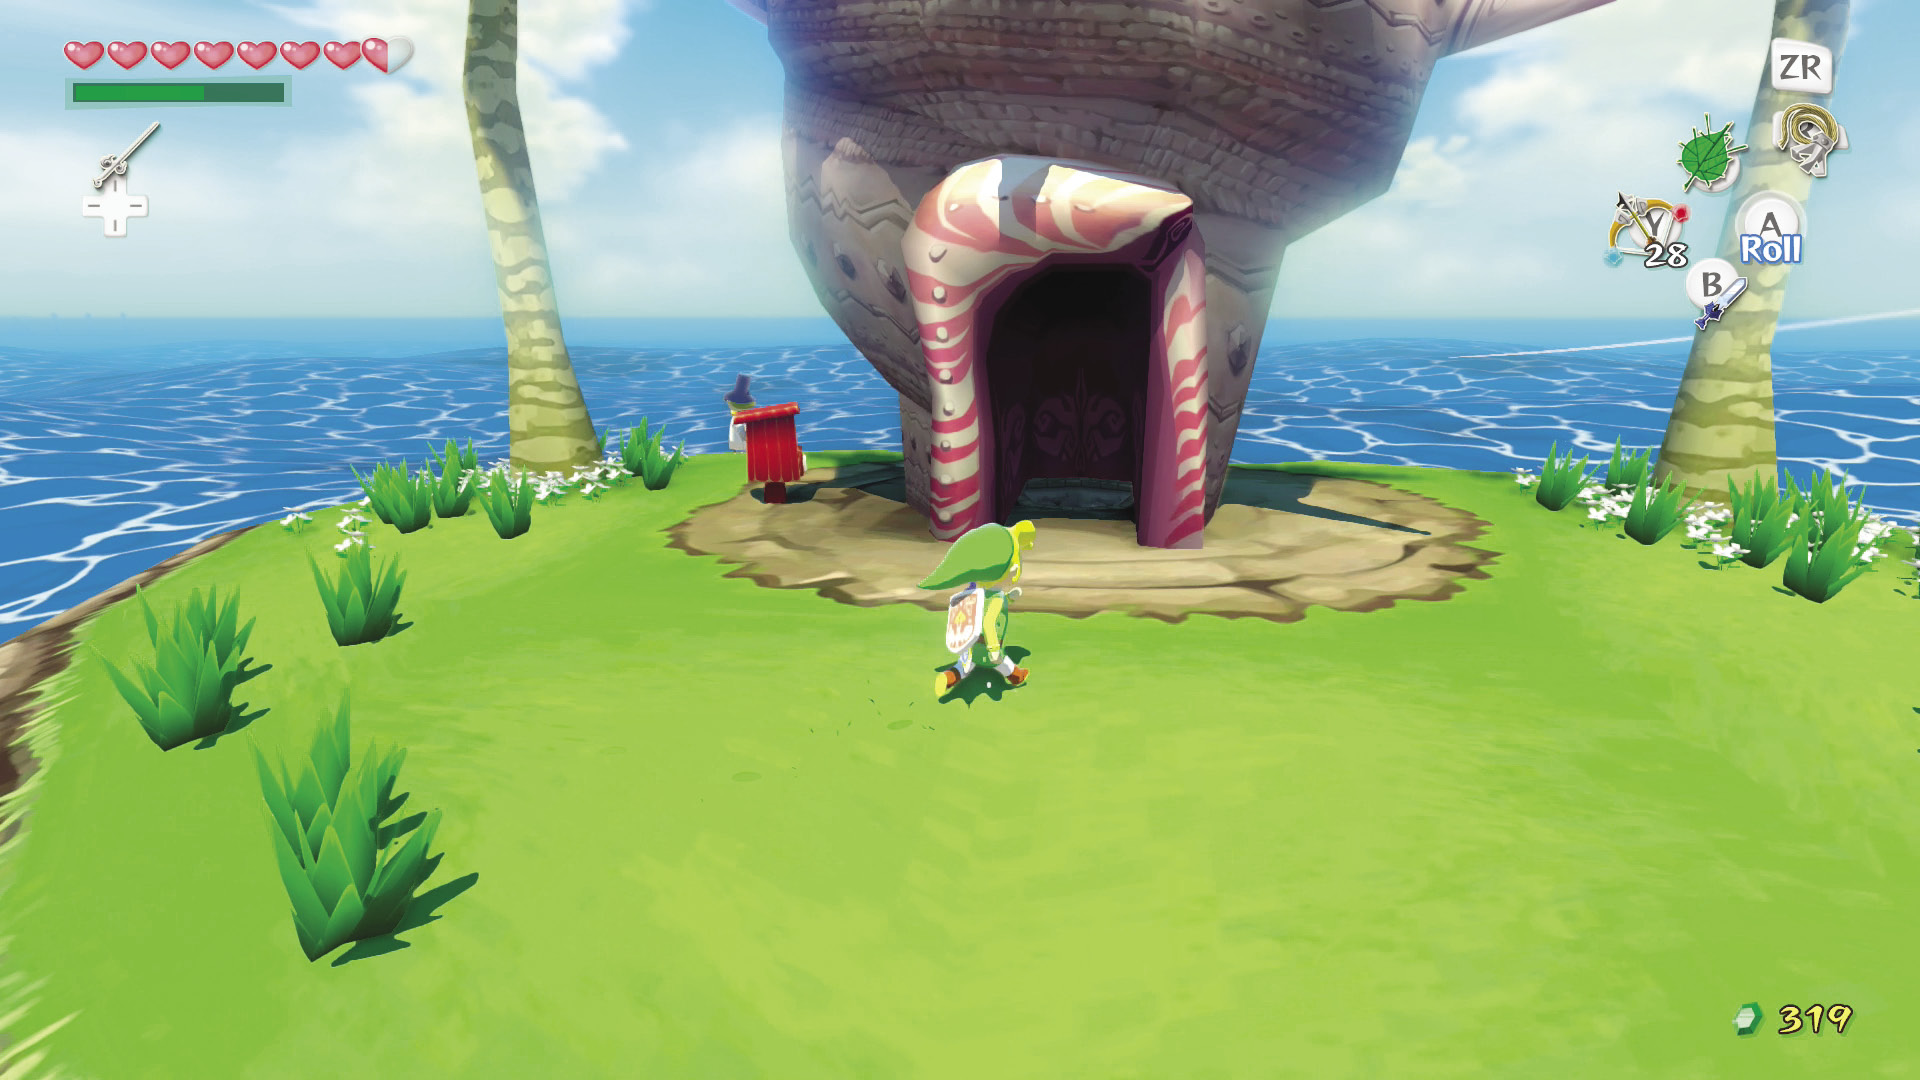
On the island are conch-shaped buildings. These are home to Great Fairies that will assist Link by giving him the ability to hold more Rupees or items (similar to the Great Fairy you rescued from the Big Octo).
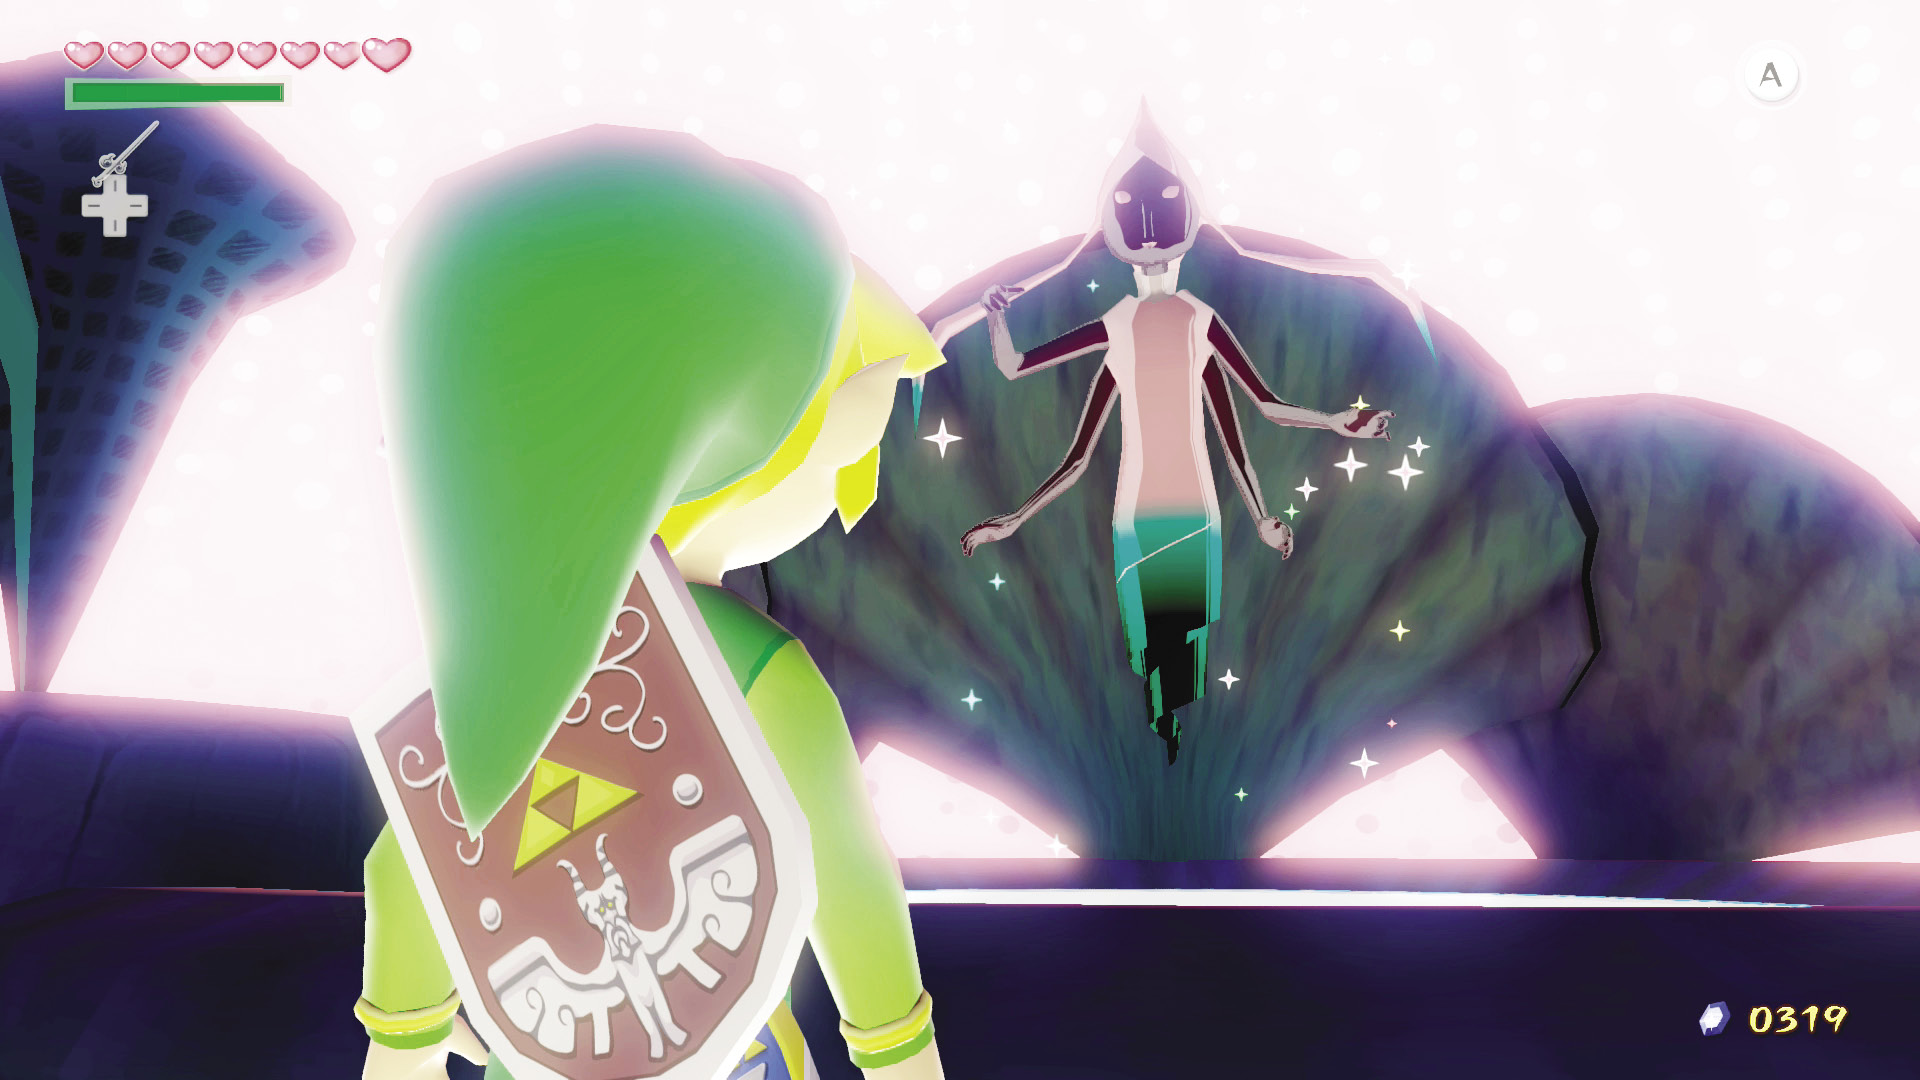
The Great Fairy inside this conch will grant you a larger Rupee Wallet, which now holds 1,000 Rupees, instead of the default 500. Not a bad deal!
Here’s Looking at Chu, Kid
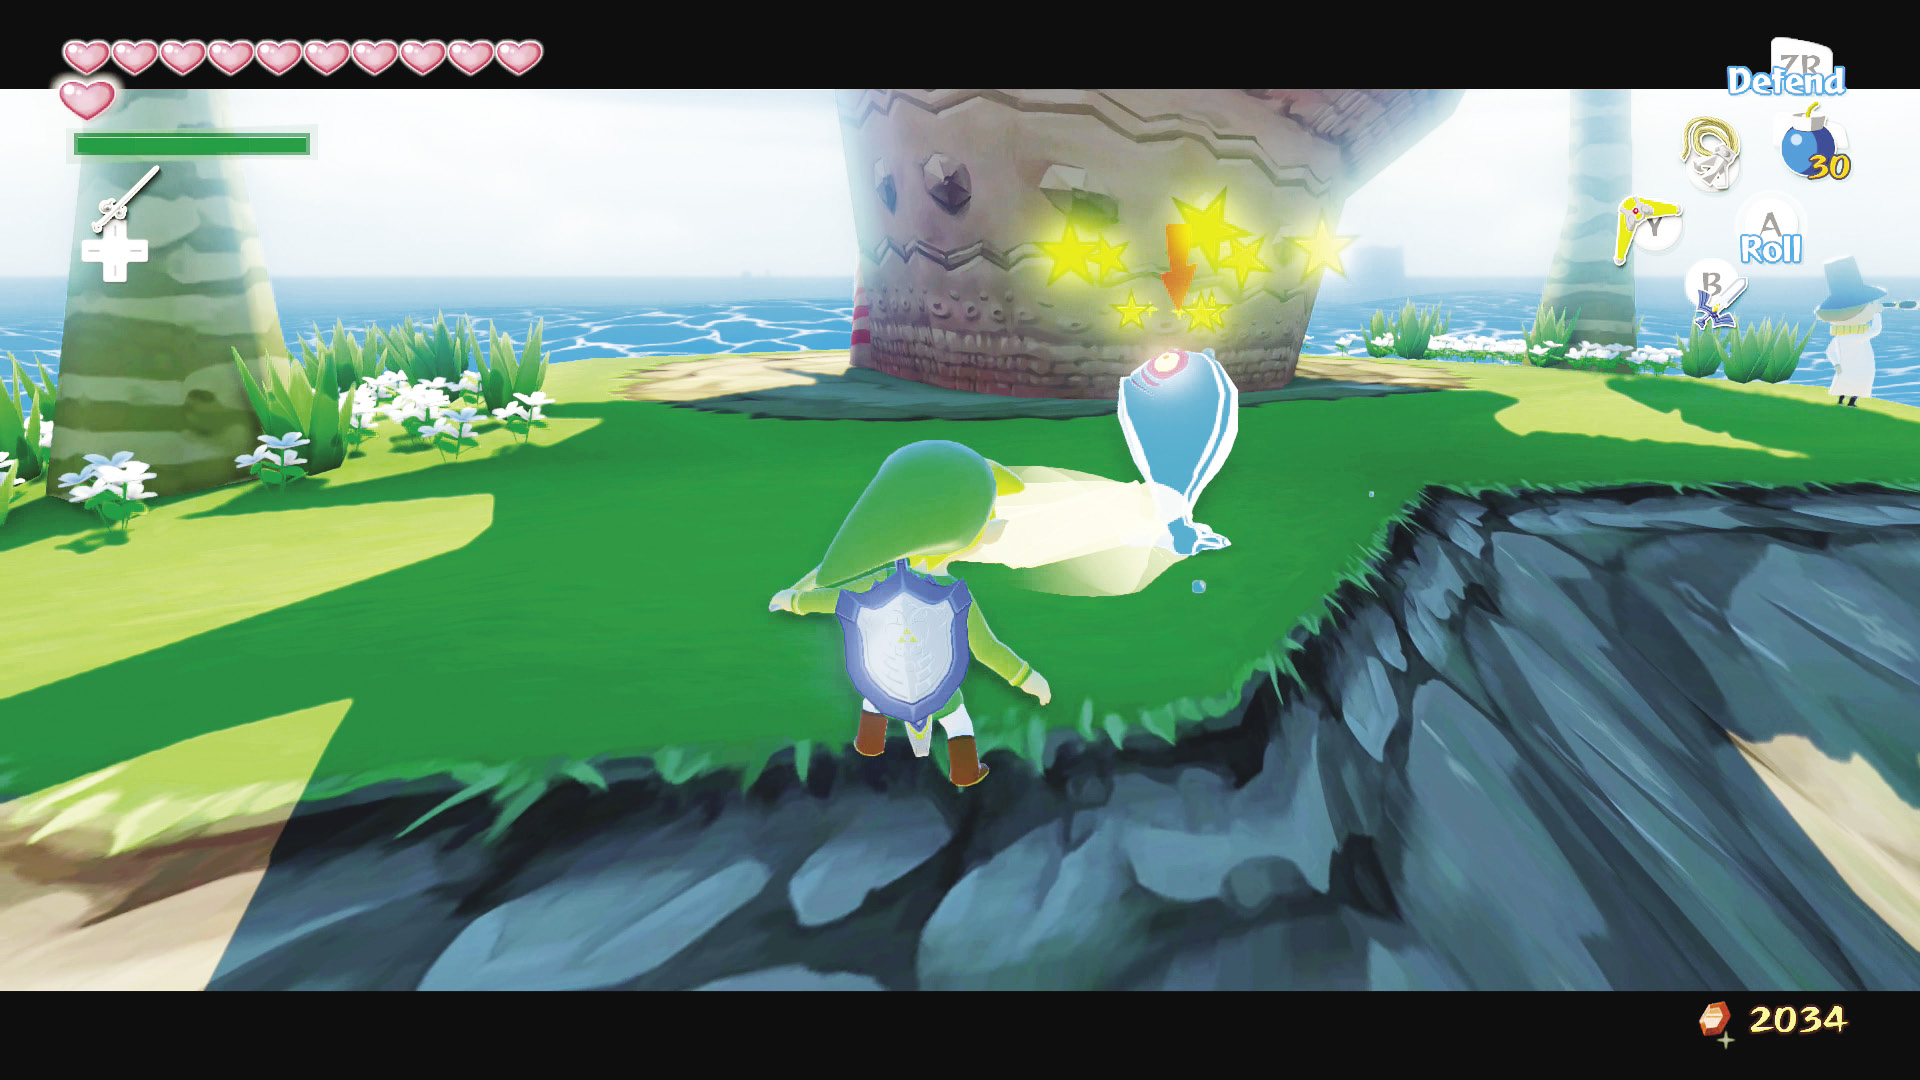
To the right of the Great Fairy’s door is another Blue ChuChu. Hit it with your Boomerang and nab that jelly!
Sunken Treasure #24
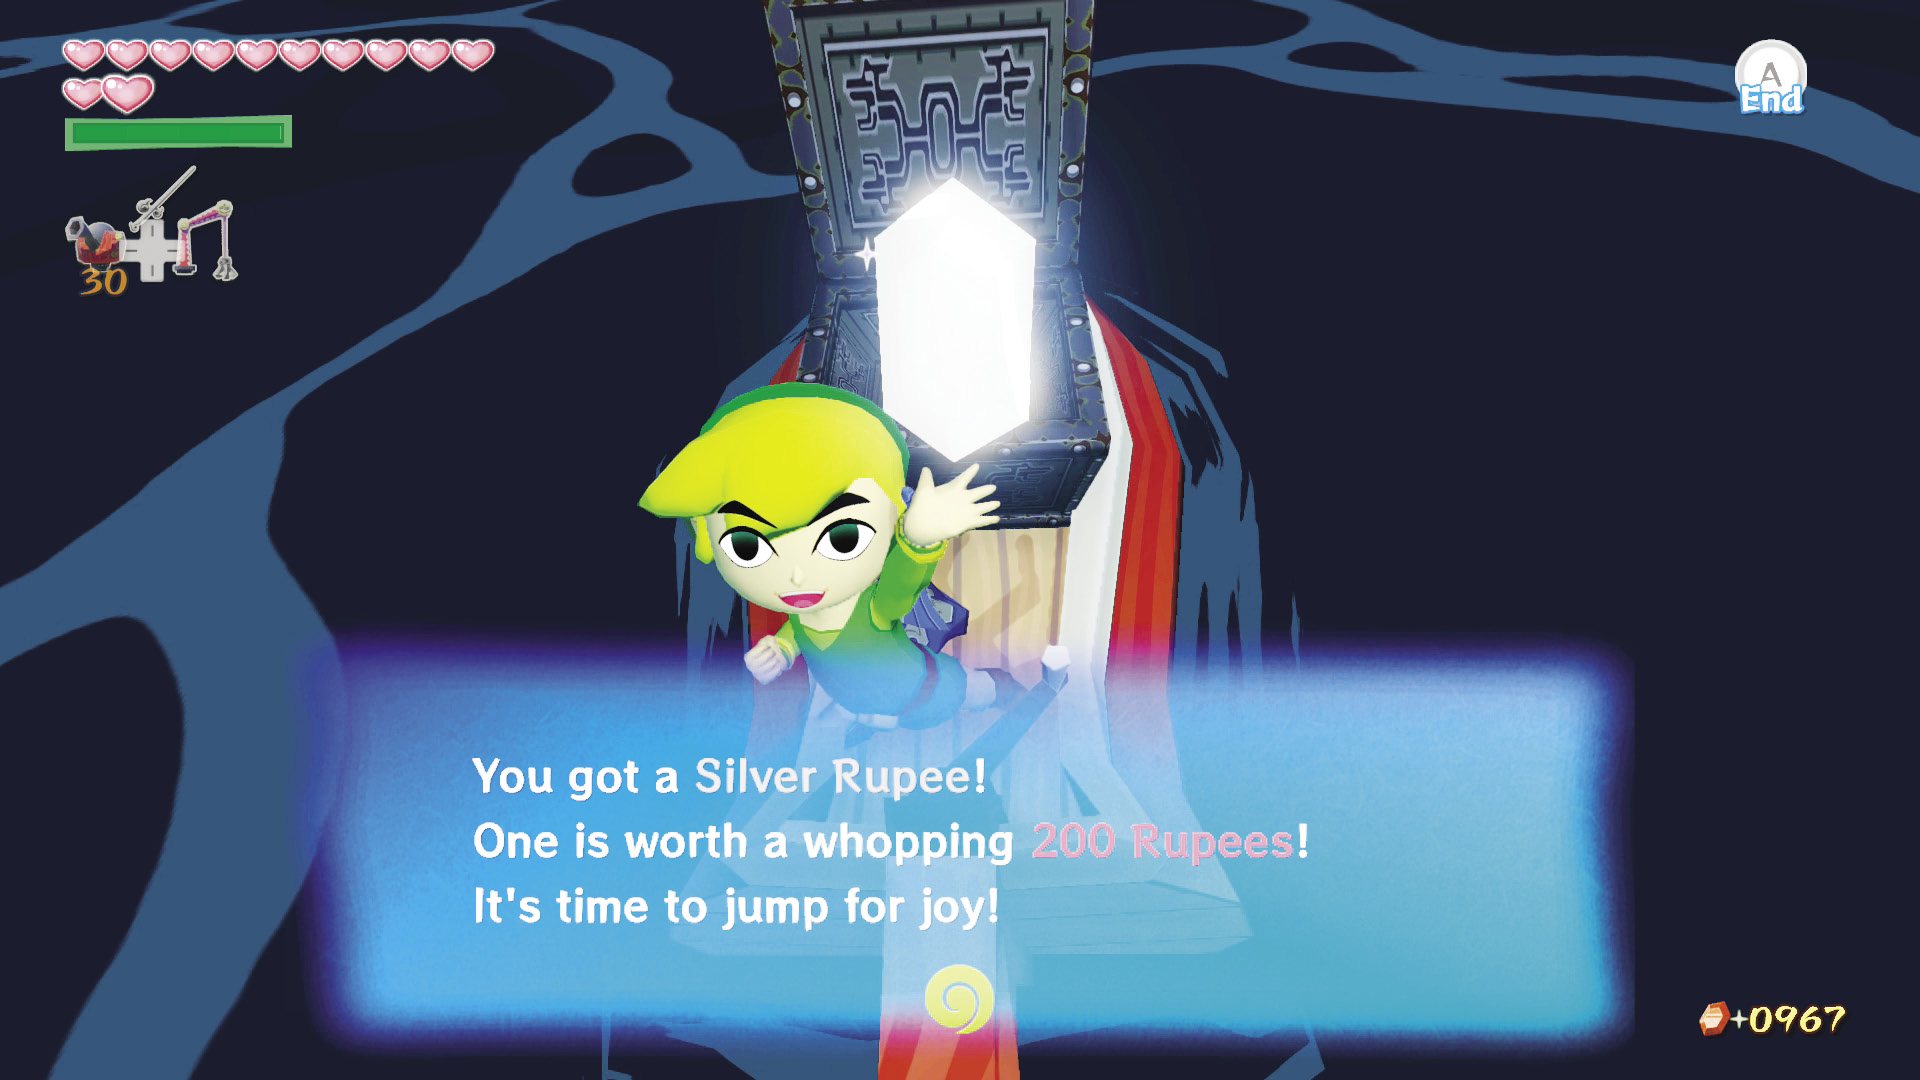
If you picked up Treasure Chart #24 from Pompie and Vera on Windfall Island, you can open it to reveal the location of a Silver Rupee.
Down Periscope
To the west of Northern Fairy Island is a submarine containing Treasure Chart #22 (Old Man Ho Ho on the island will point the way).
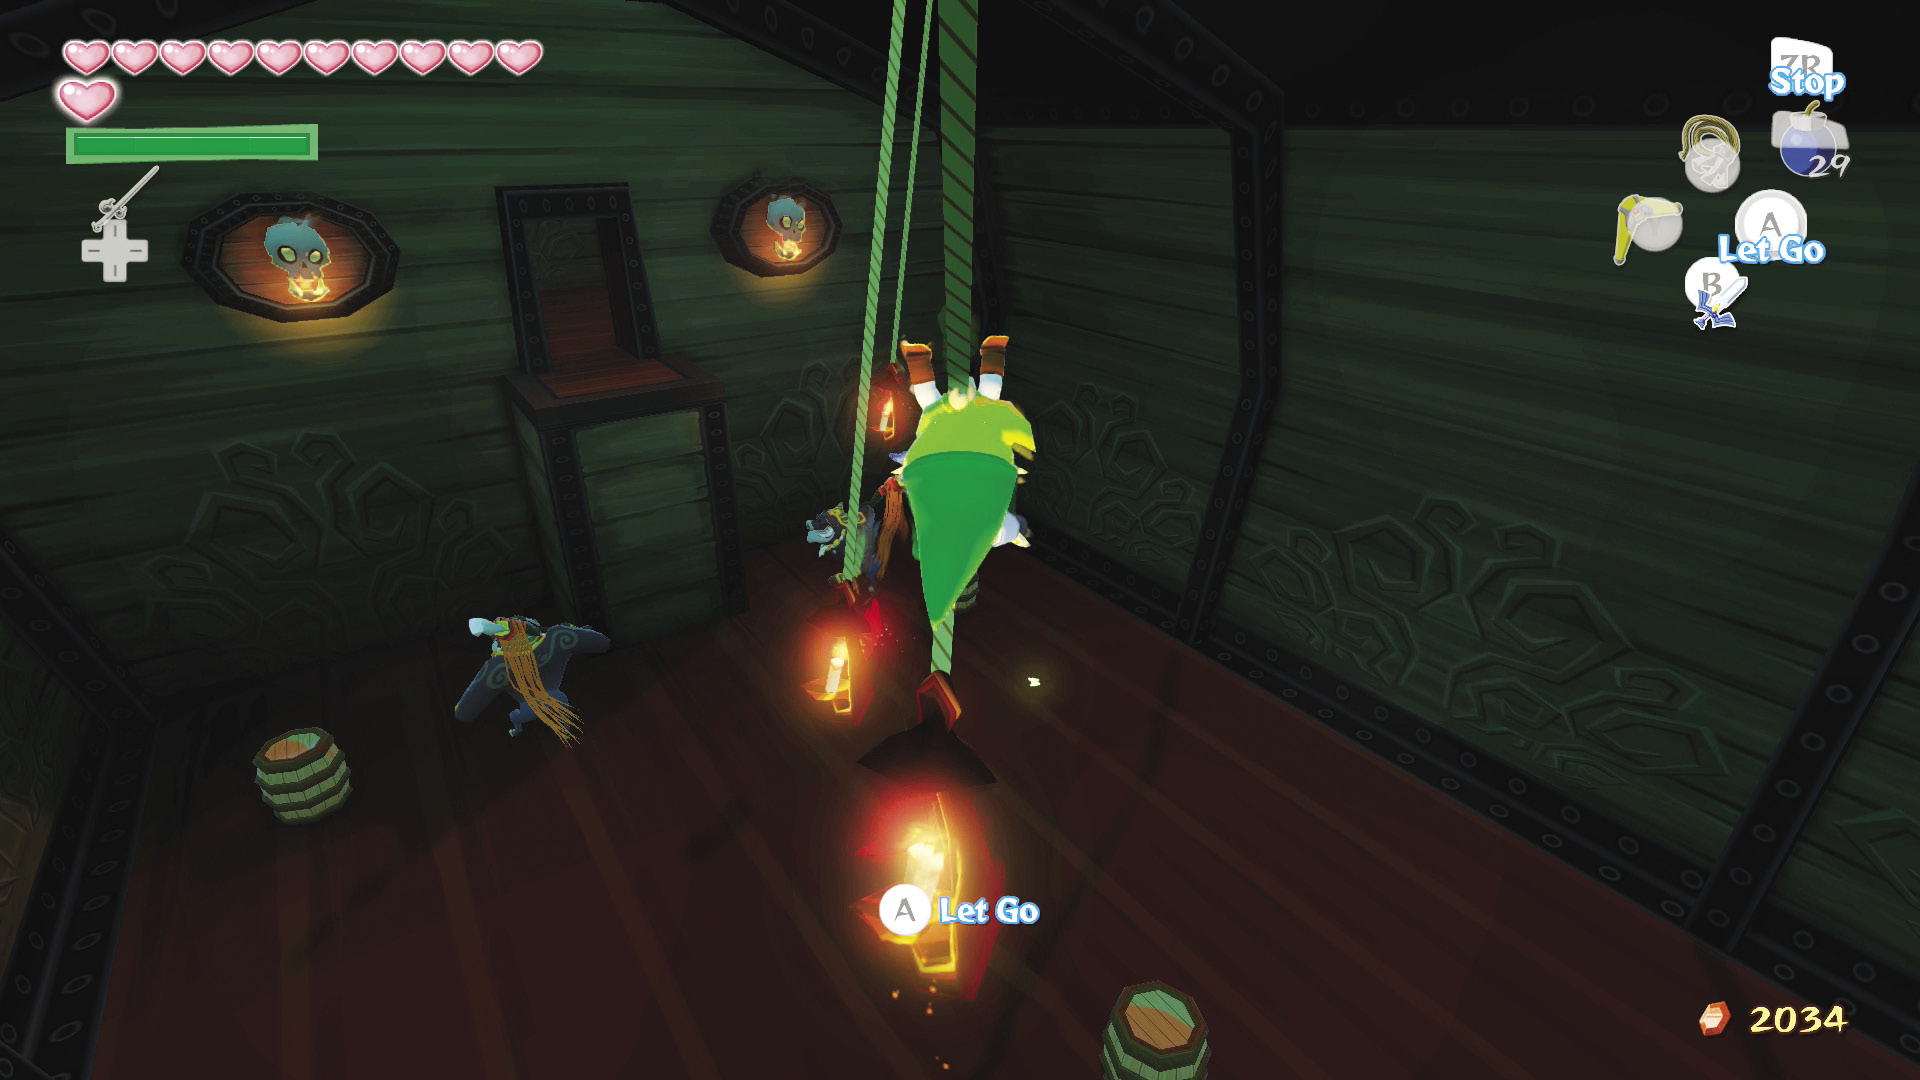
Inside the submarine are five Moblins patrolling the area and several torches hanging from the ceiling. You can avoid the Moblins entirely and use the torches to swing to the submarine’s other side to reach the room with Treasure Chart #22. After grabbing the Chart, you can use the torches to swing back.
|
|
55 |
Treasure Chart #22 |

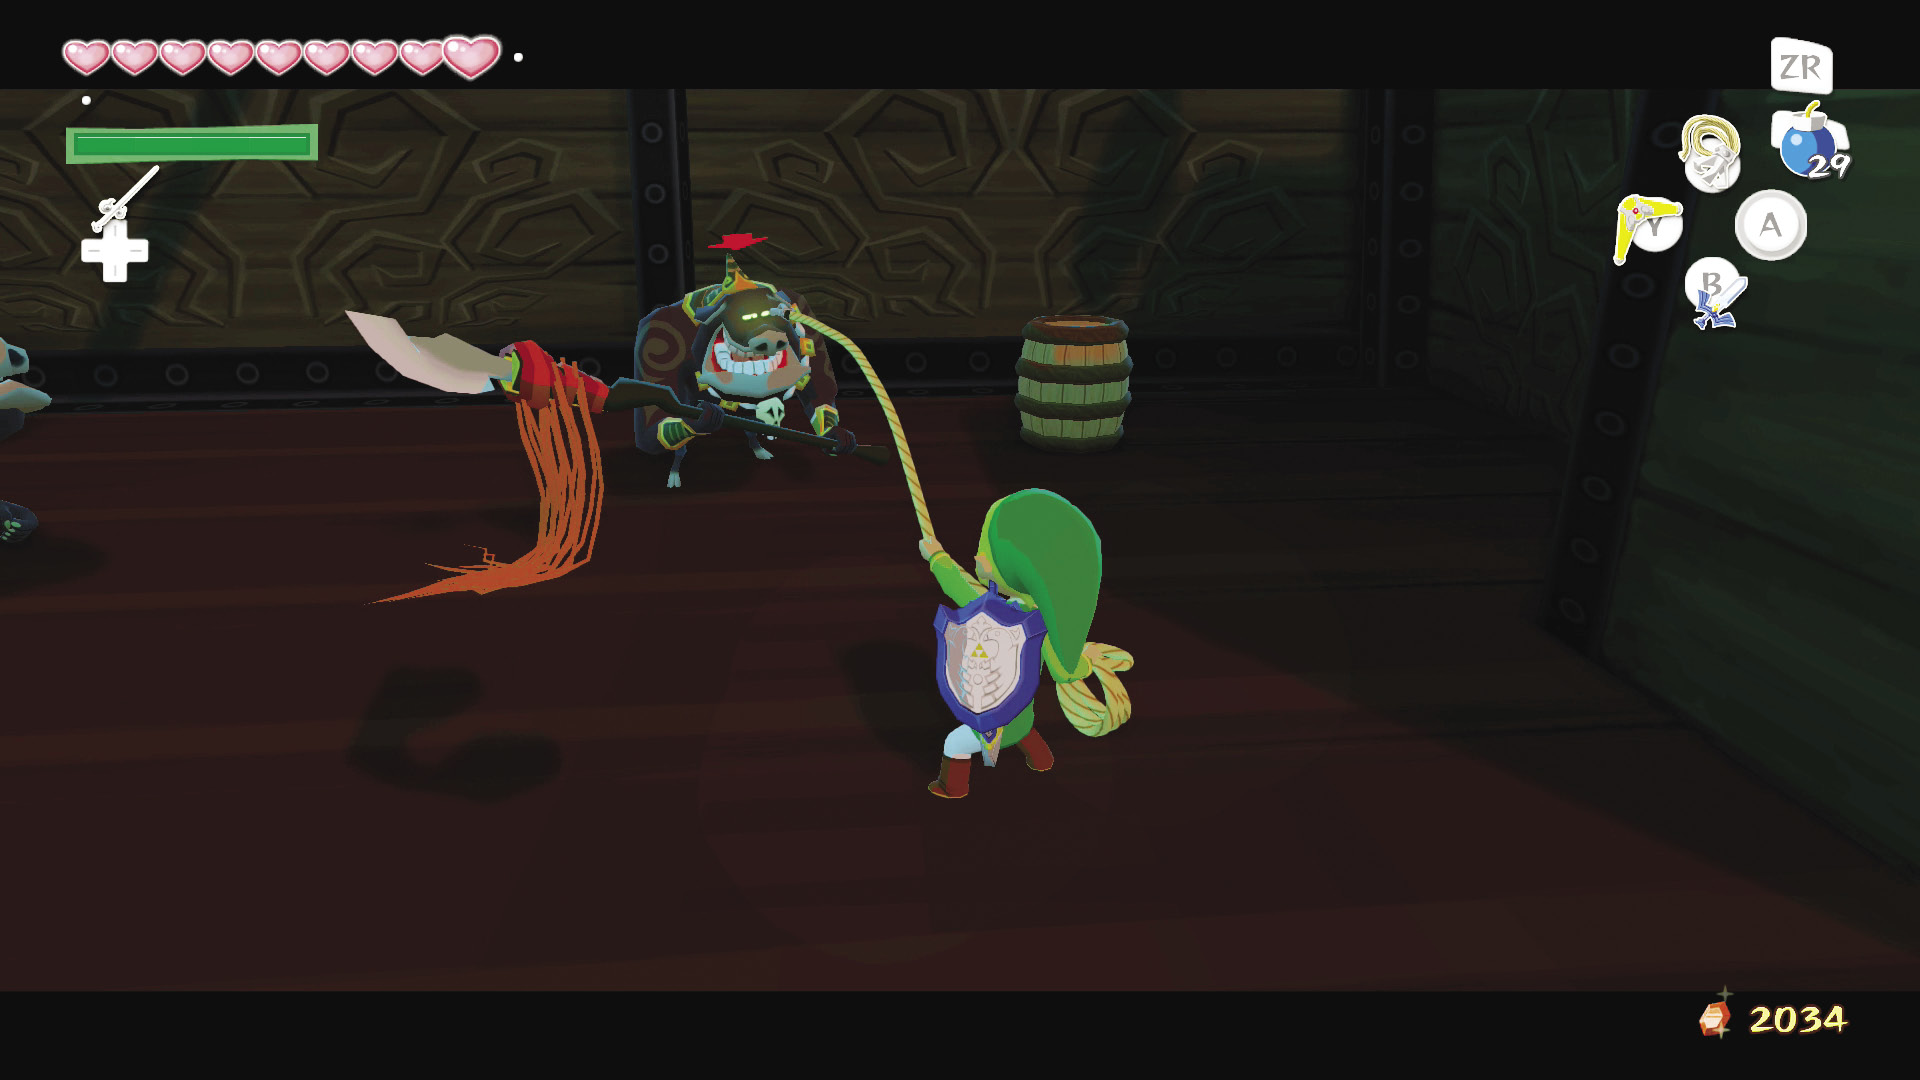
We suggest you try to at least steal each Moblin’s Skull Necklace to add to your Spoils Bag; having a nice collection of these is good if you’re feeling ready to challenge the Moblins.
Spectacle Isle (C2)
I See Chu
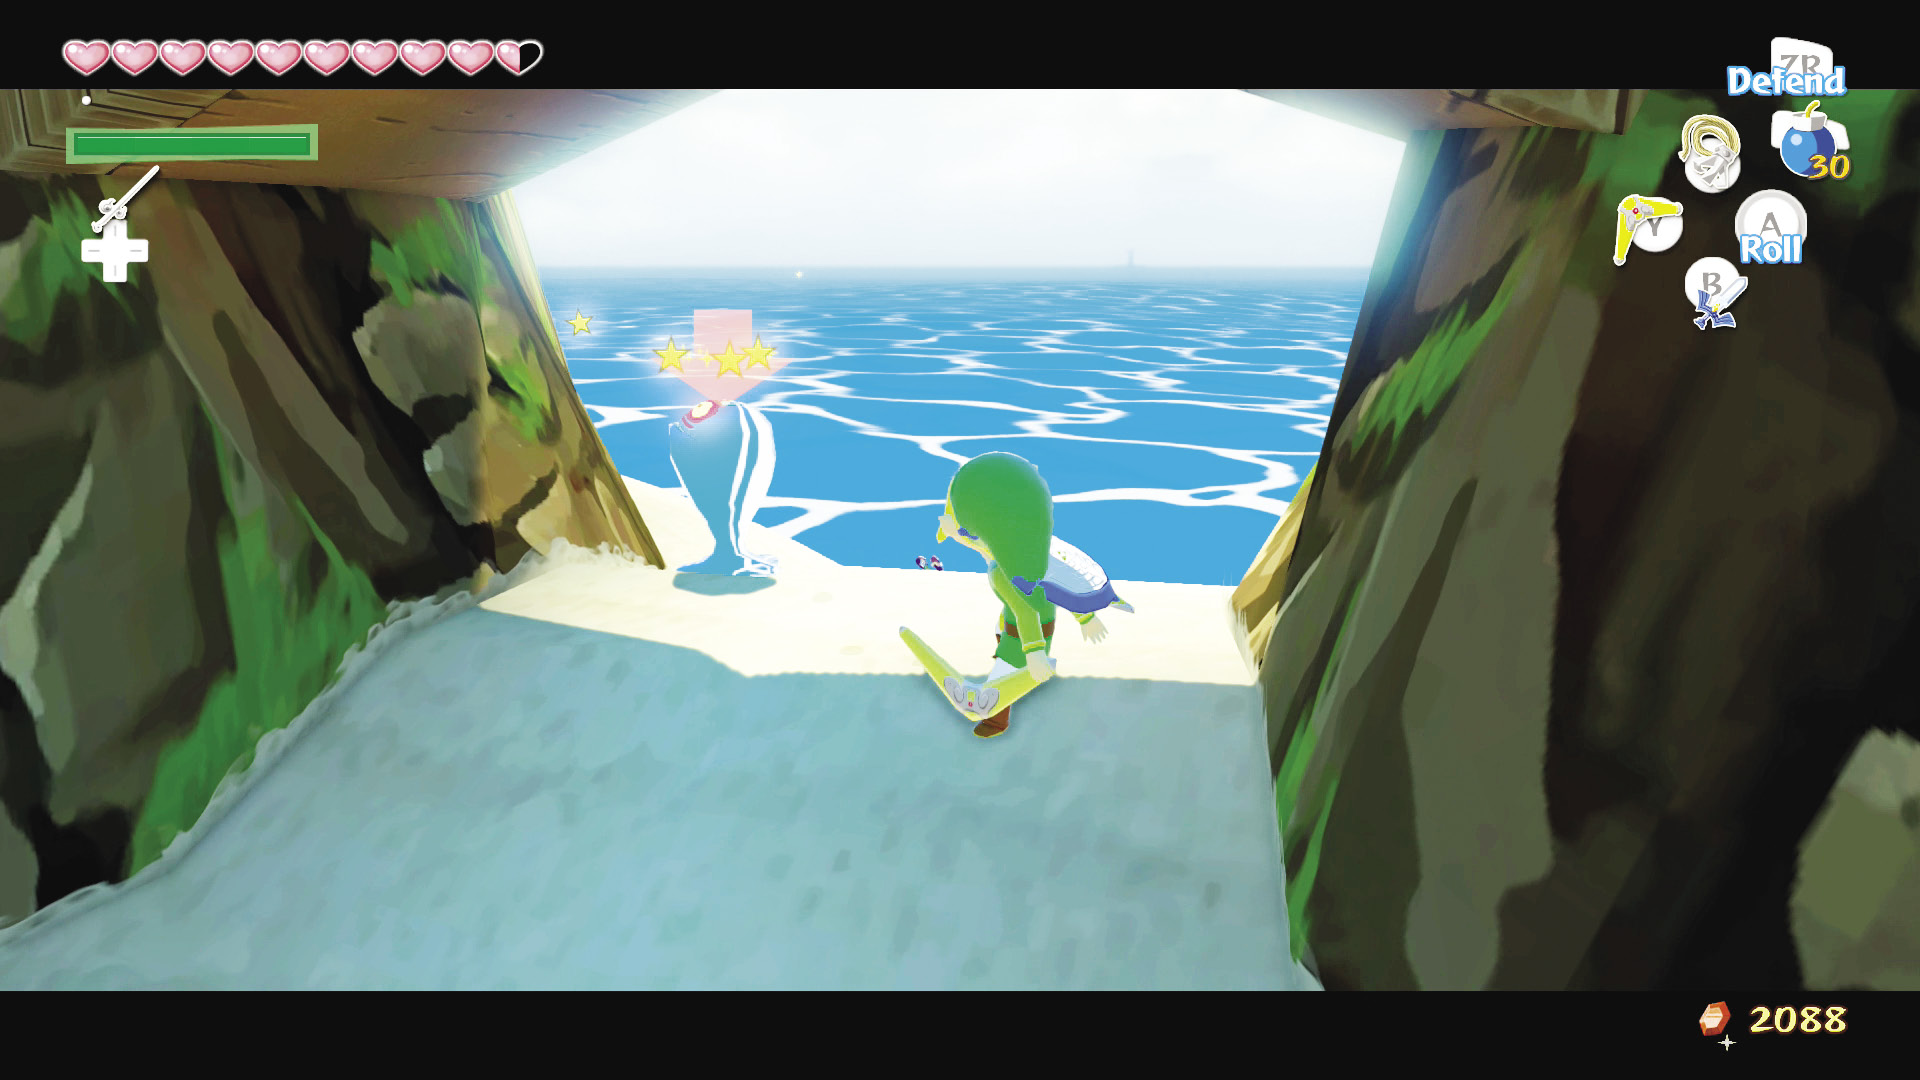
On Spectacle Isle, underneath the bridge leading up to the “Cannon” minigame, is a Blue ChuChu. Go get it!
Like Shooting Barrels in a...Wait...
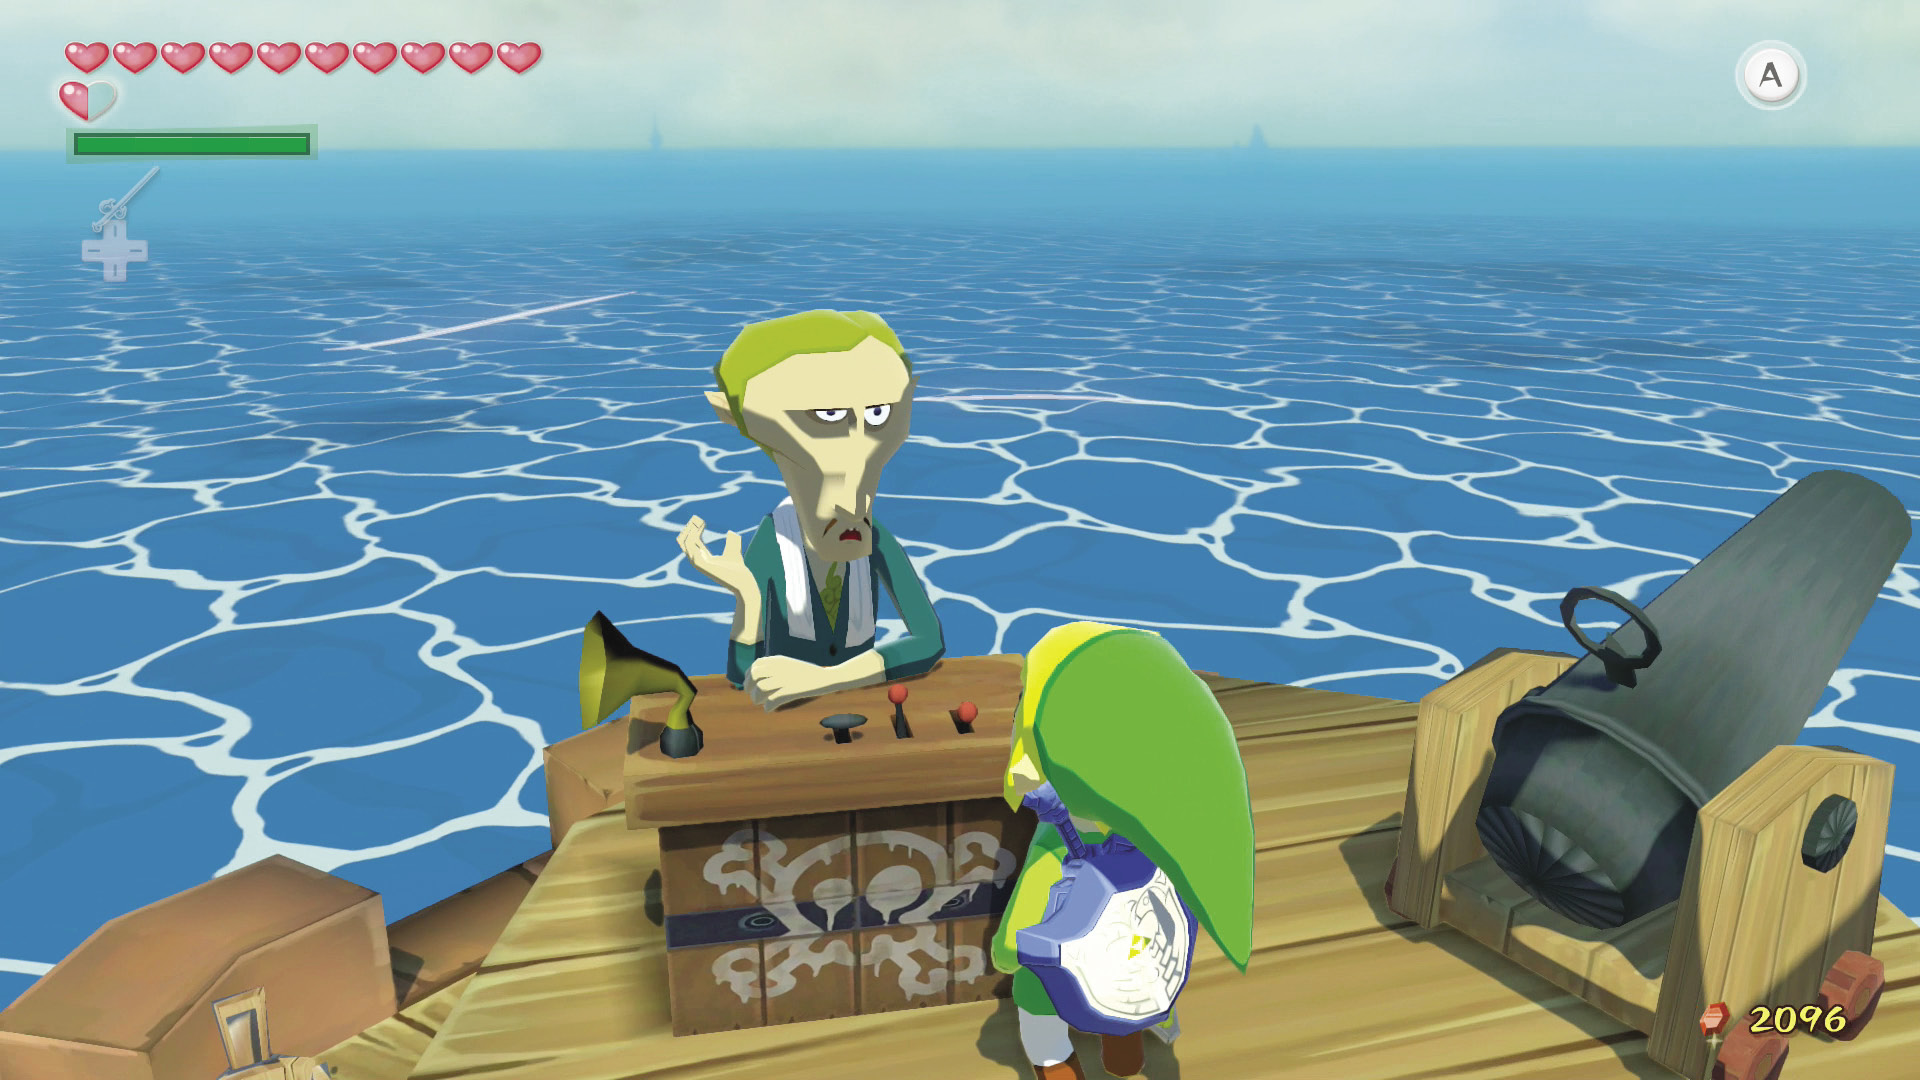
Spectacle Isle is home to the “Cannon” minigame—a test of accuracy and guts. The minigame costs 50 Rupees and has you trying to shoot five barrels with 10 cannonballs. Use the gauge in the screen’s bottom-right corner to get a feel for how far your shot is going to fly. Higher numbers mean higher shots and lower numbers mean lower shots.
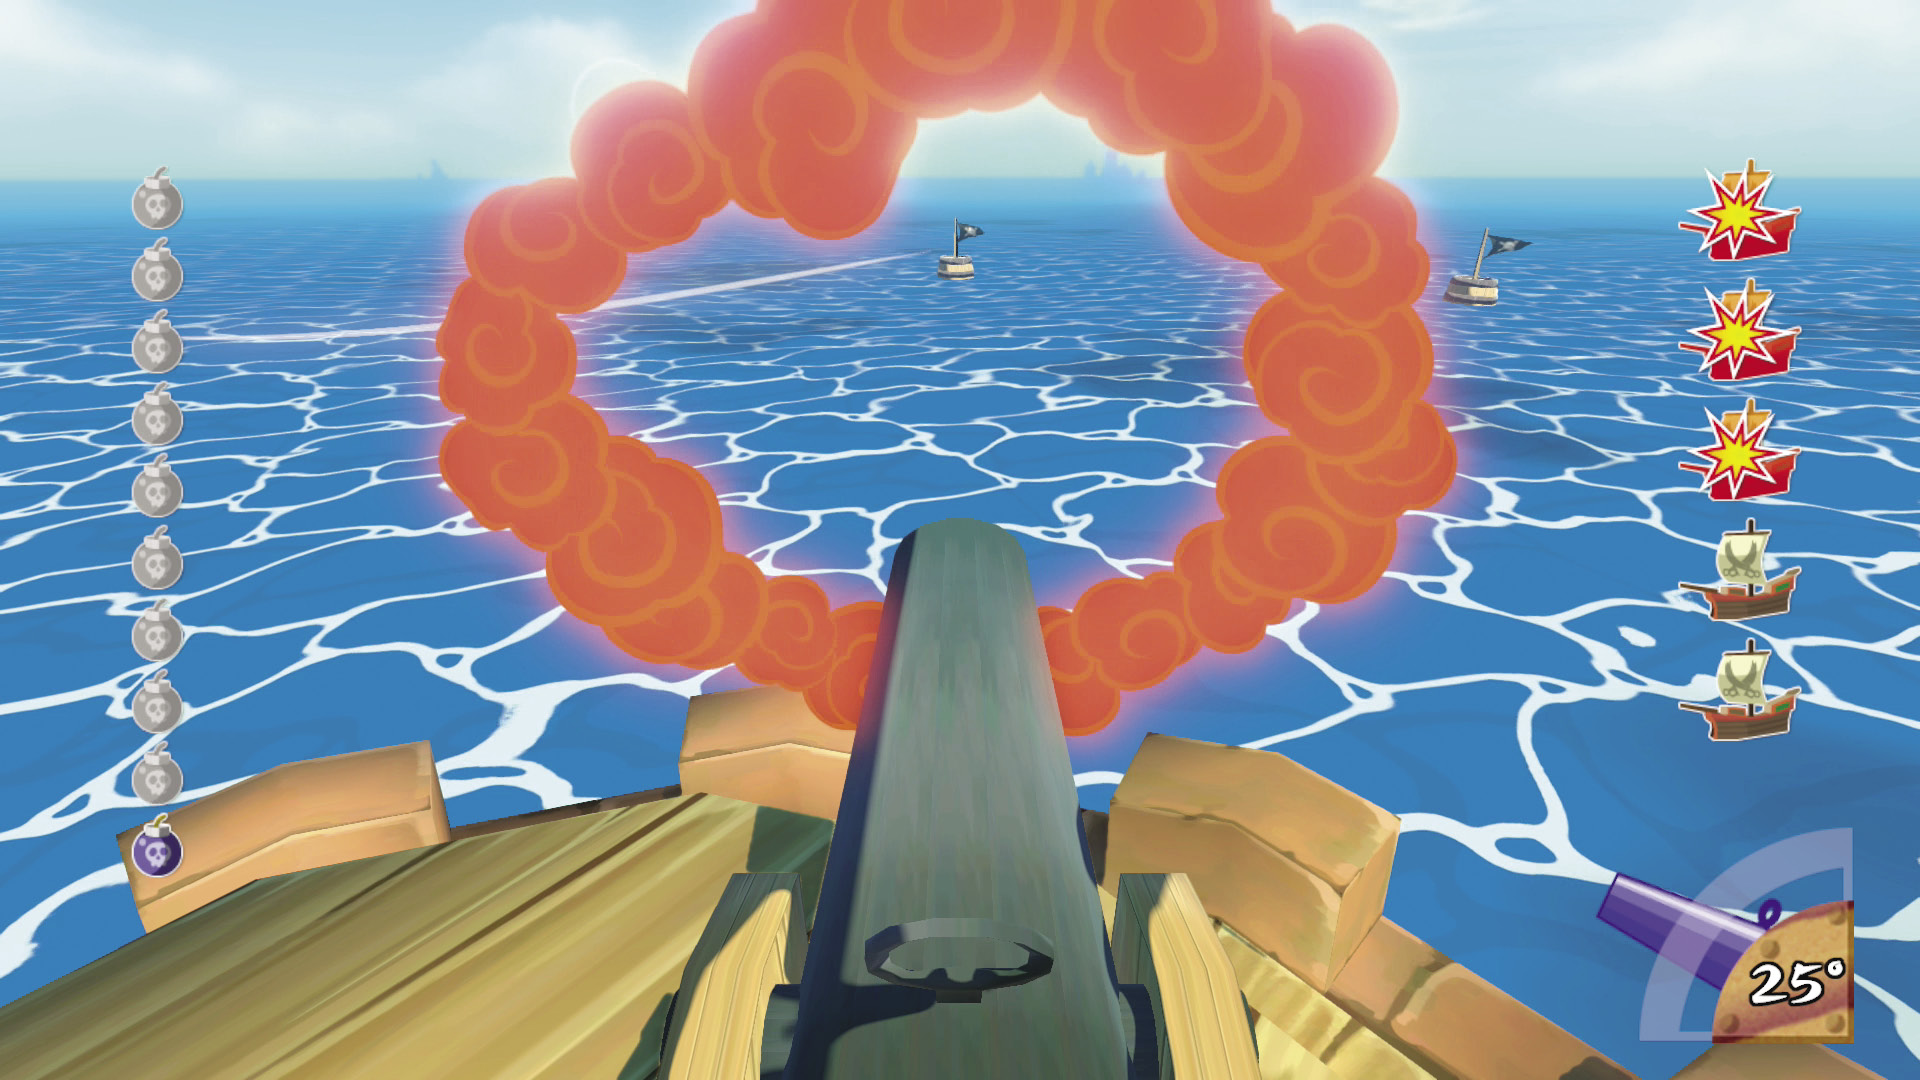
Start with the farthest barrel and work your way to the closer ones. This will keep you from having to adjust your aim up and down in an attempt to alternate between closer and farther barrels. You will have to practice. As you play, you’ll learn to accurately gauge your shots, so don’t lose hope if you don’t win on your first try.
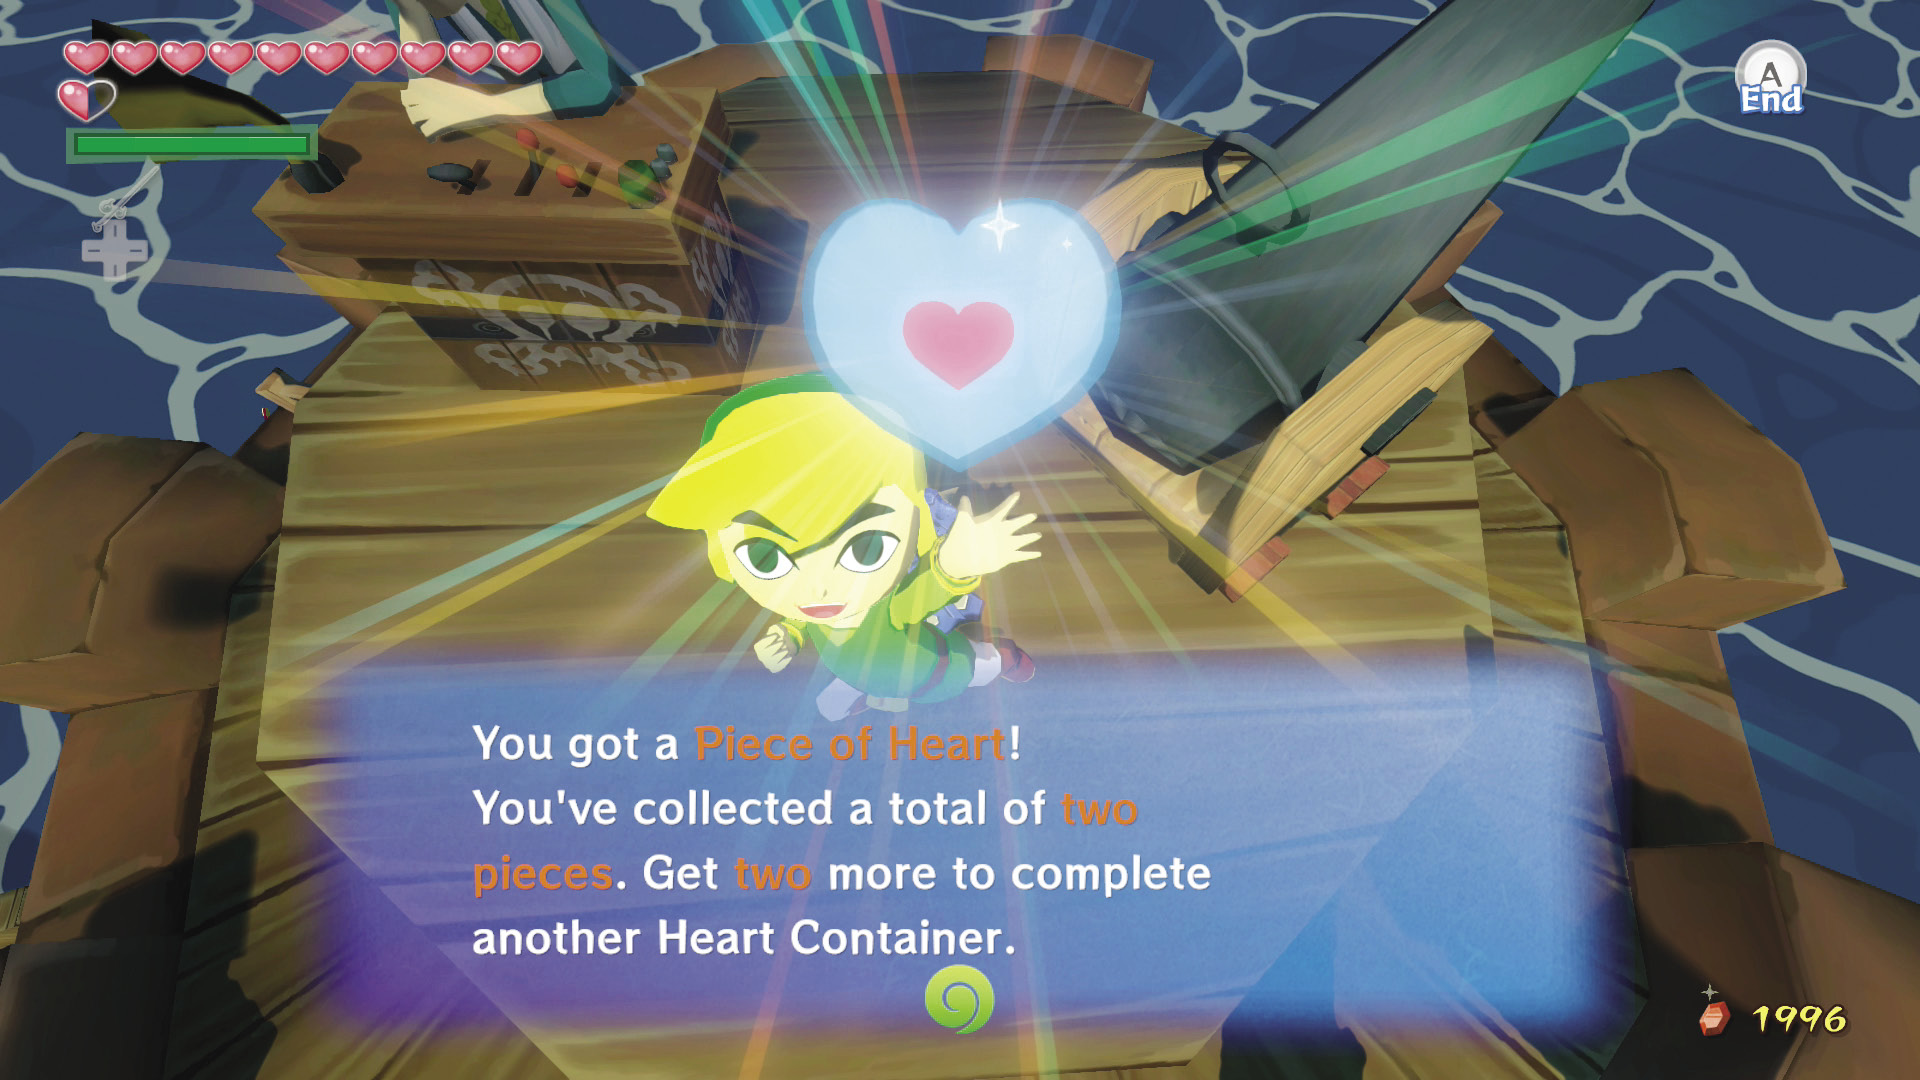
Your first win will land you Piece of Heart #15. Your second win will net you Treasure Chart #17. Subsequent wins will get you an Orange Rupee.
|
|
56 |
Piece of Heart #15 |

|
|
57 |
Treasure Chart #17 |

Sunken Treasure #22
If you grabbed Treasure Chart #22 from the submarine in C1, open it to reveal the location of a Silver Rupee in this sector.
Tingle Island (C3)
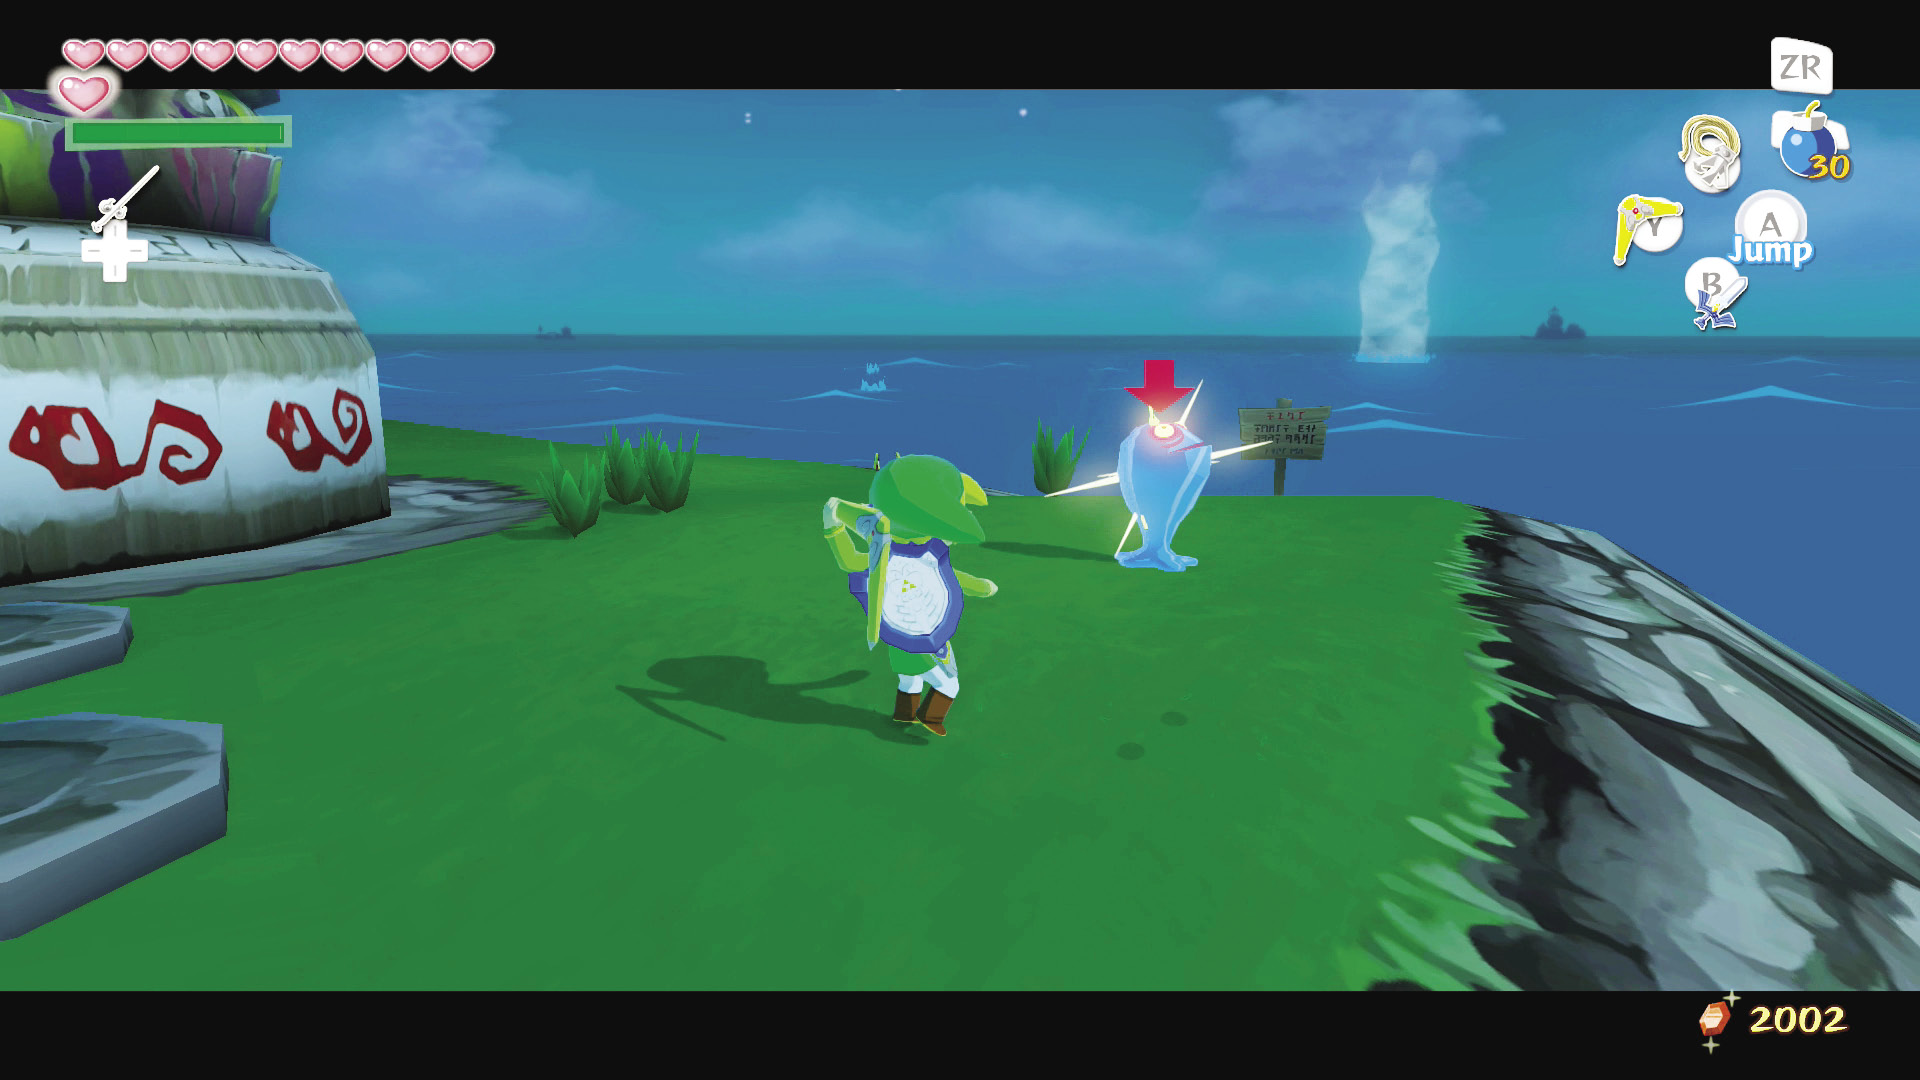
The Bigger They Are
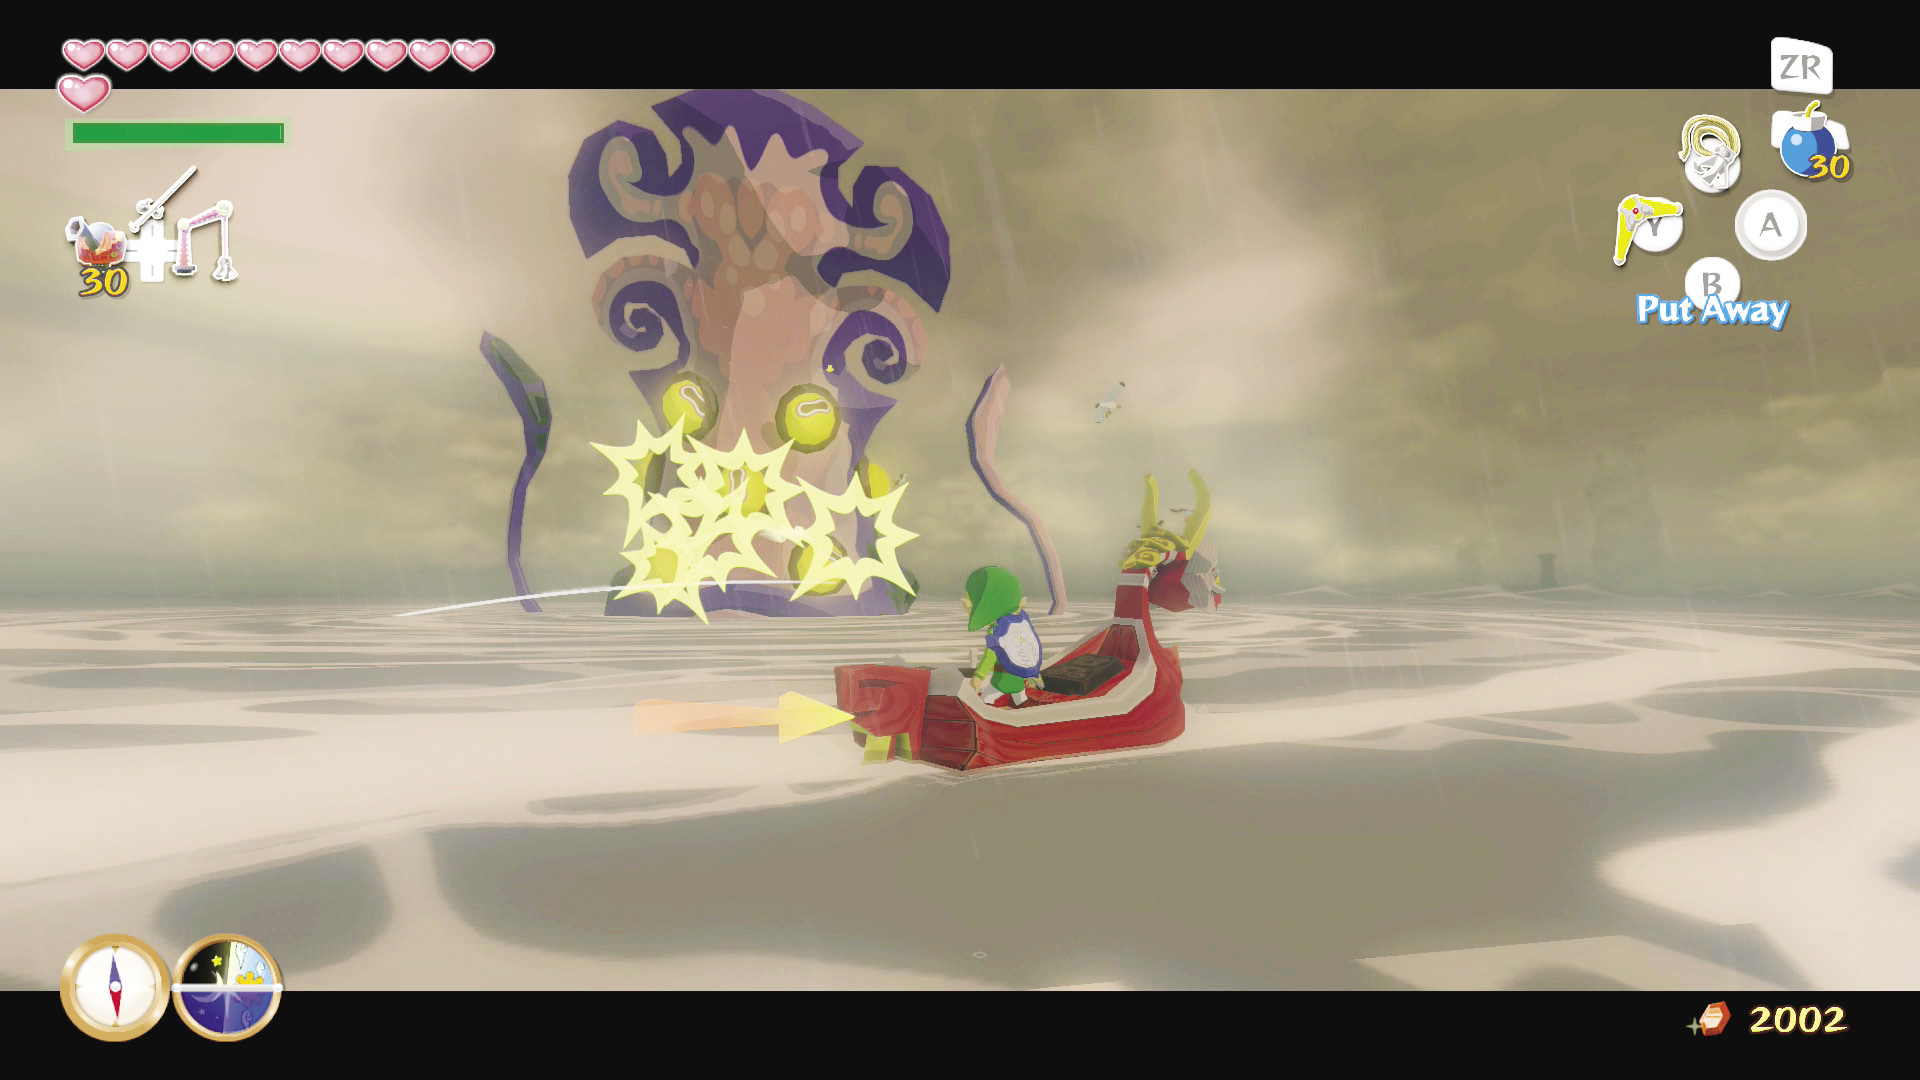
Just north of Tingle Island is another Big Octo. You can use Old Man Ho Ho on Tingle Island to help point you in the proper direction. Keep an eye out (pun intended) for the gathering of seagulls that mark the Big Octo’s location.
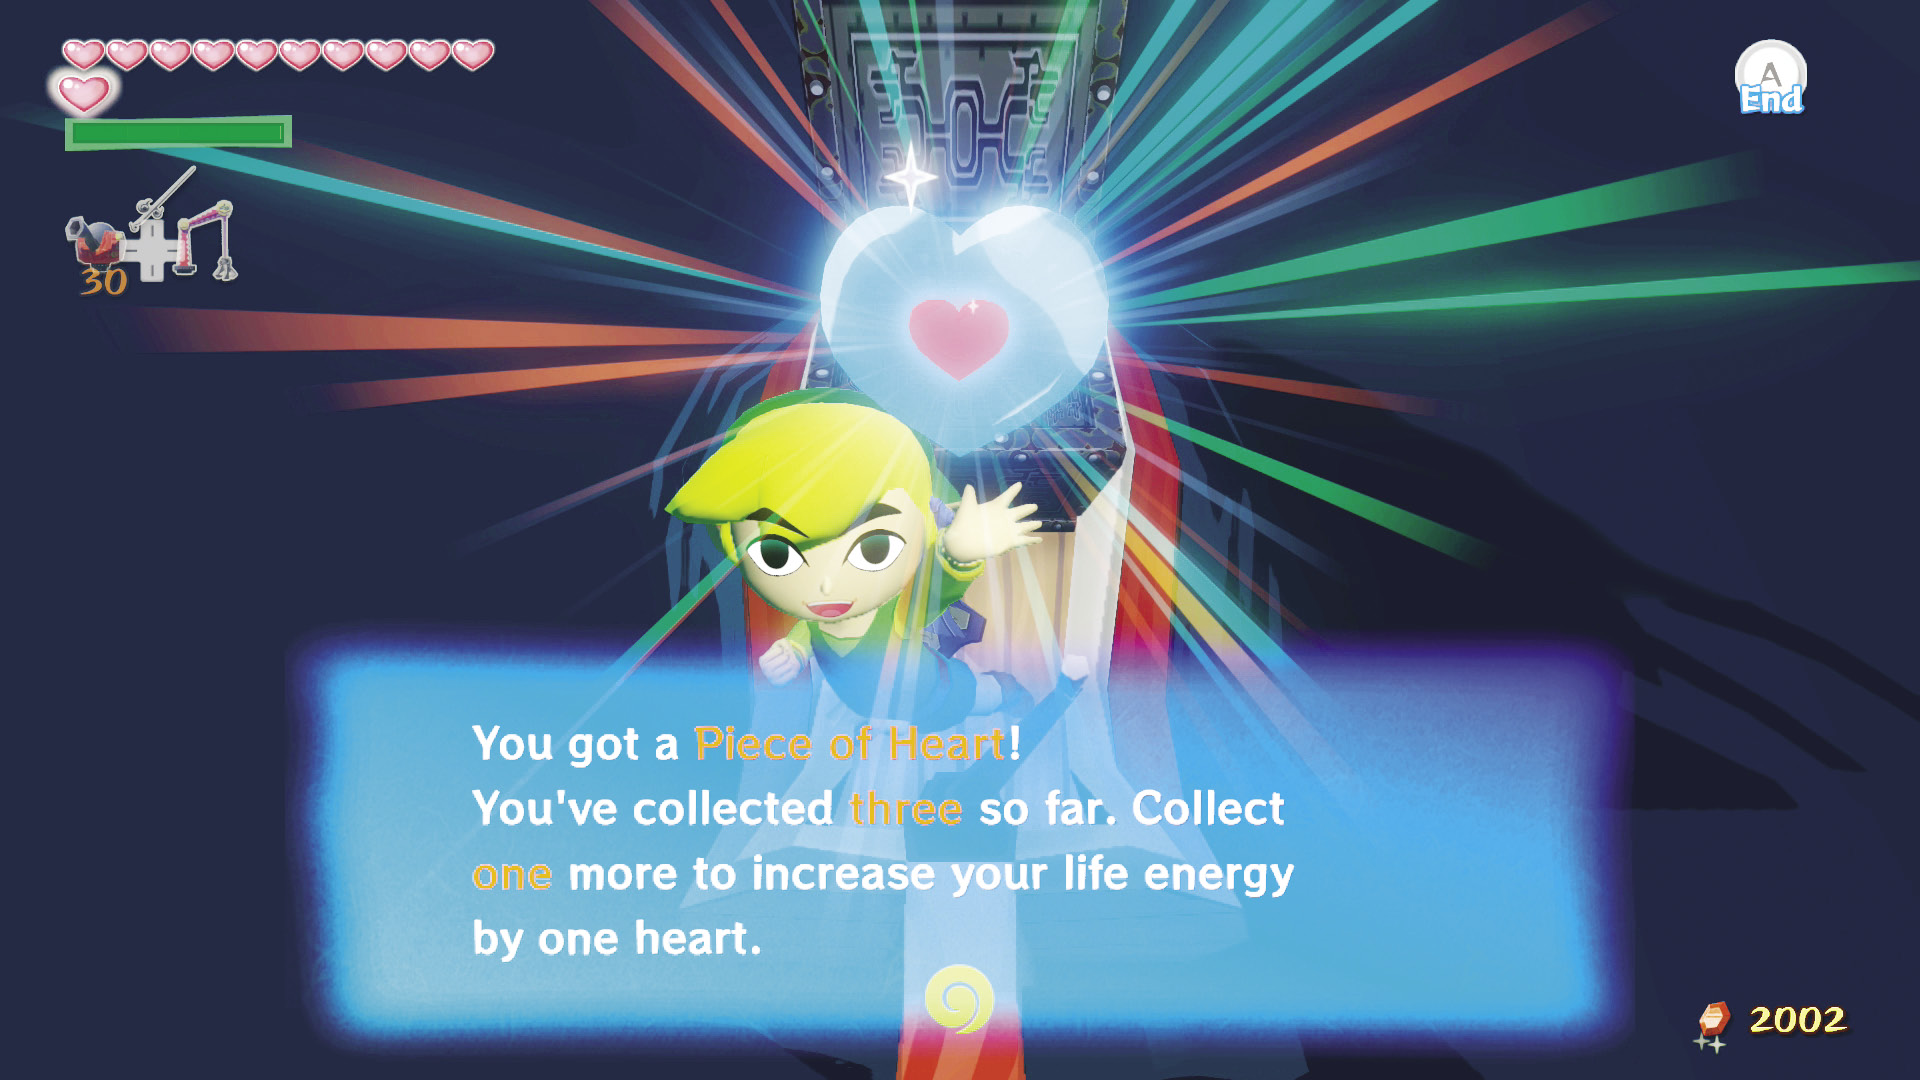
Defeating this Big Octo will land you Piece of Heart #16. Salvage it from the ring of light the Big Octo leaves behind.
|
|
58 |
Piece of Heart #16 |

Sunken Treasure #10
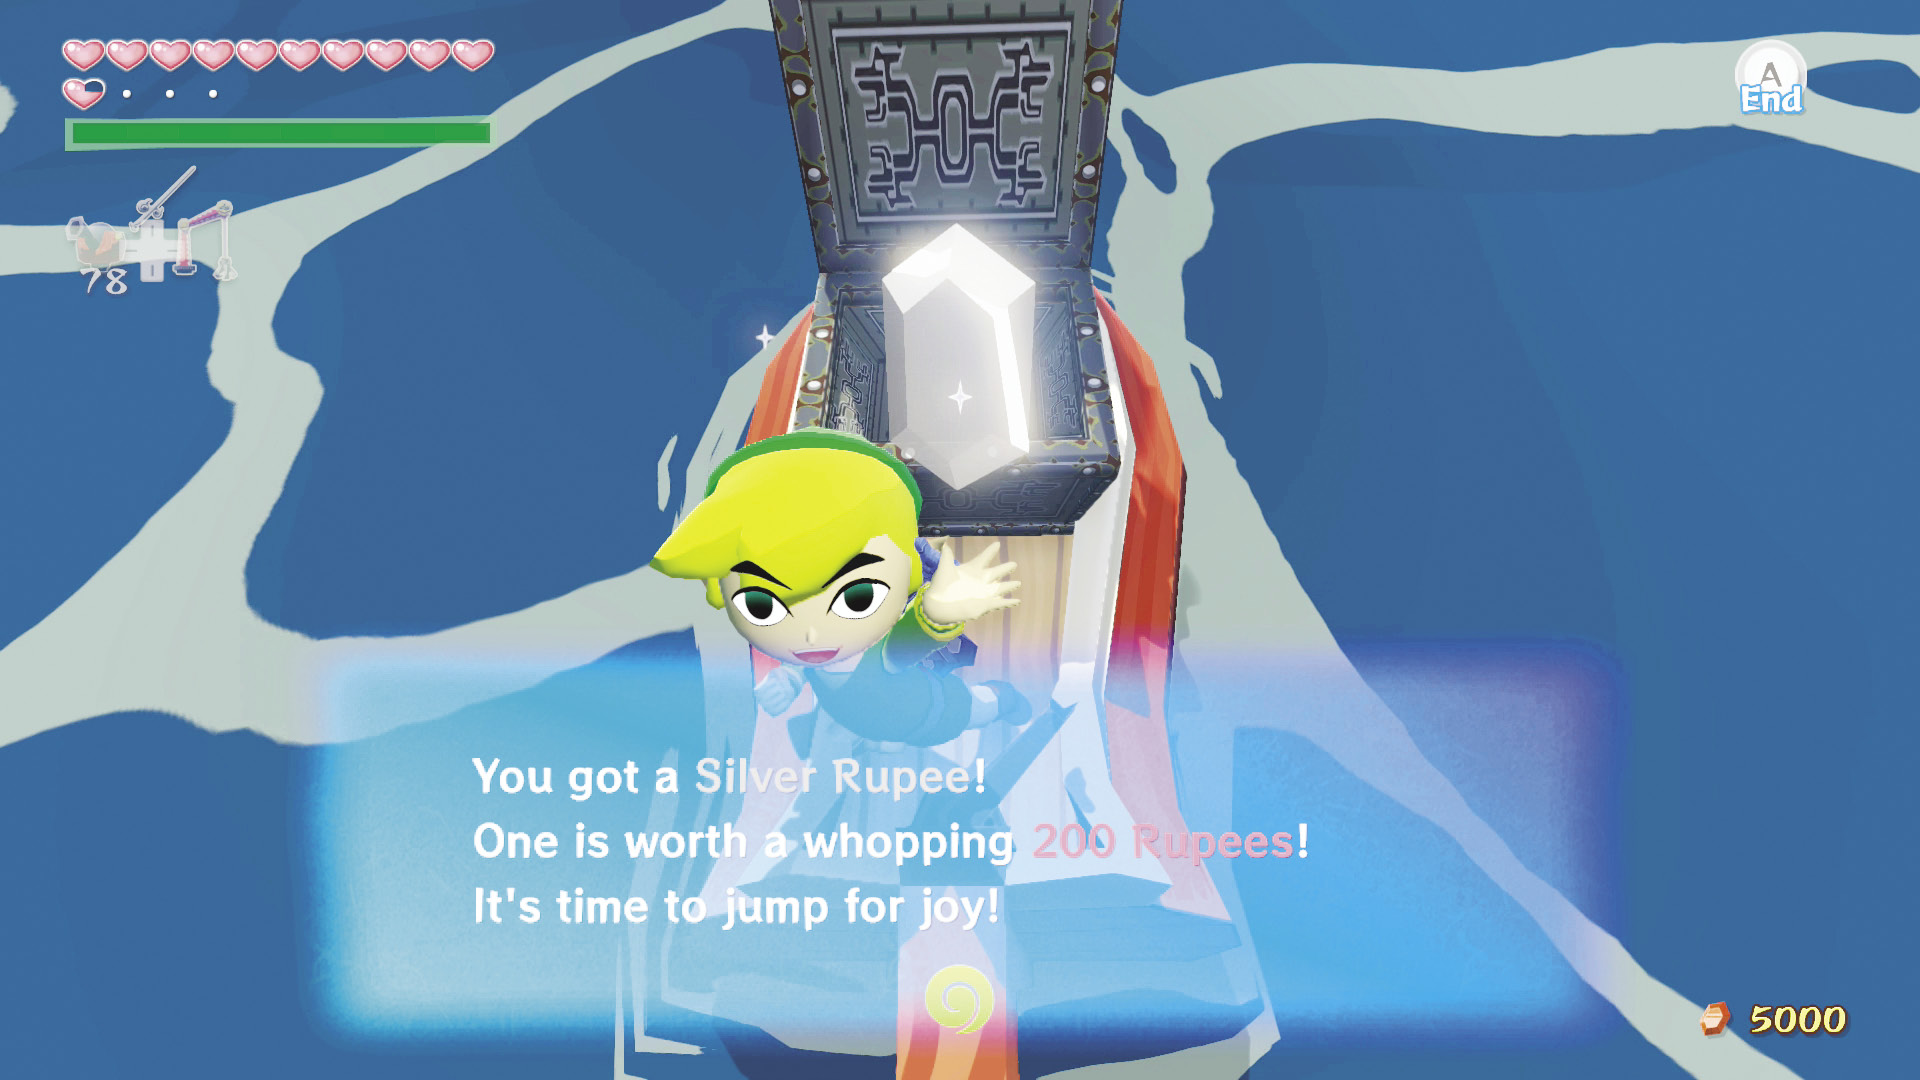
If you grabbed Treasure Chart #10 from Crescent Moon Island (E1), open it to reveal the location of a Silver Rupee.
A Brief Pause
If you’ve been following all of the side quests up to this point, you’ll find yourself right next to the destination Red marked on the map. We’ve prepared enough for the time being, so let’s go see if we can get that third pearl.