
The Legend of Zelda: The Wind Waker Guide Walkthrough The Hunt for Aryll
Forsaken Fortress (A1)
For the Sake of the Forsaken Fortress
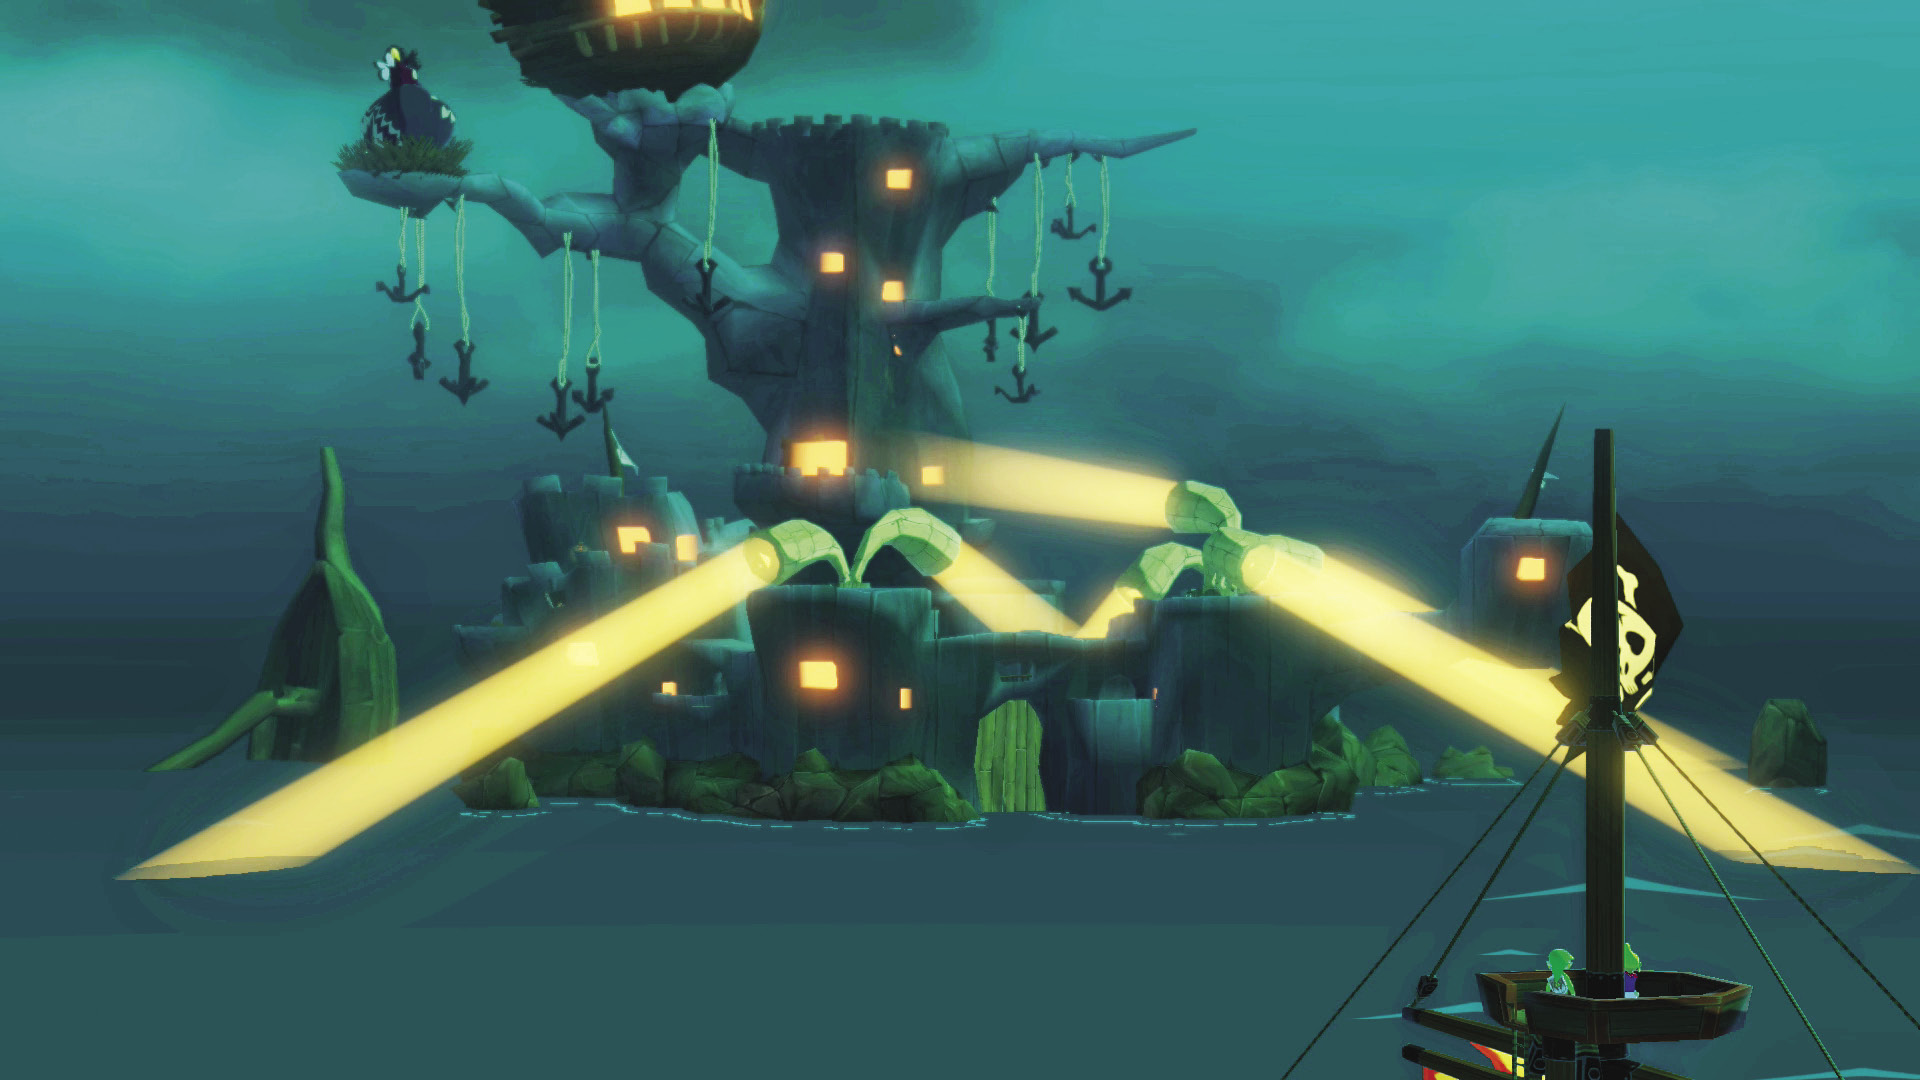
When you’re on the ship’s deck, Tetra will call you from atop the mast. Walk around to its other side and climb the ladder. At the top of the mast, Tetra points out to Link the Forsaken Fortress in all its foreboding glory. As it turns out, she has history with the fortress’s previous owners, but the place has changed ownership recently, and nothing but terrible rumors have been heard about the place since. And to confirm those rumors, the ruinous raptor that kidnapped Link’s beloved little sister is perched in his nest inside the fortress, just as Quill said. This place has “bad news” written all over it.
To make matters worse, security is unnervingly tight around the structure, making a direct approach impossible. How will Link be able to enter? Think...think...think...
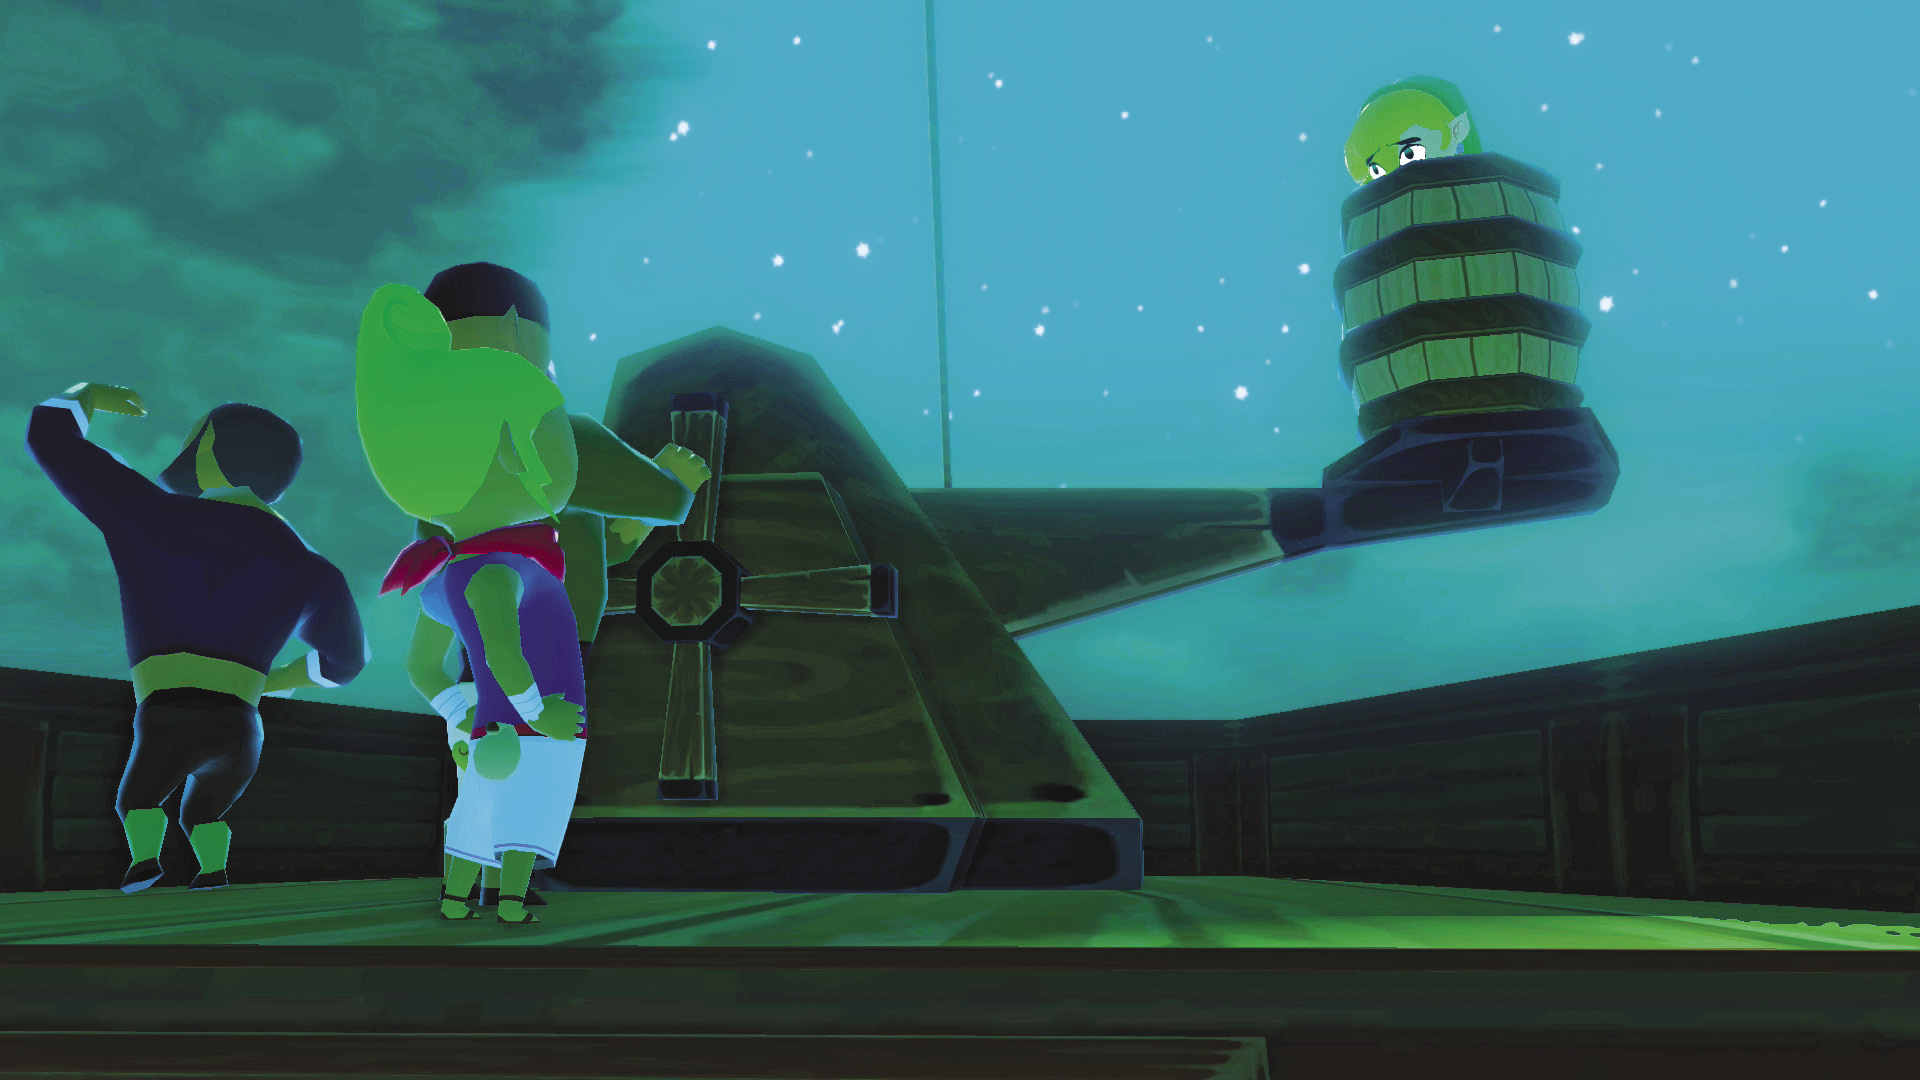
Before Link can come up with a practical plan, Tetra decides to take a more...excessive approach and loads Link onto the ship’s catapult. Before our silent friend can muster up a protest, Tetra has Gonzo pull the lever, sending Link via airmail into the unfriendly fortress.
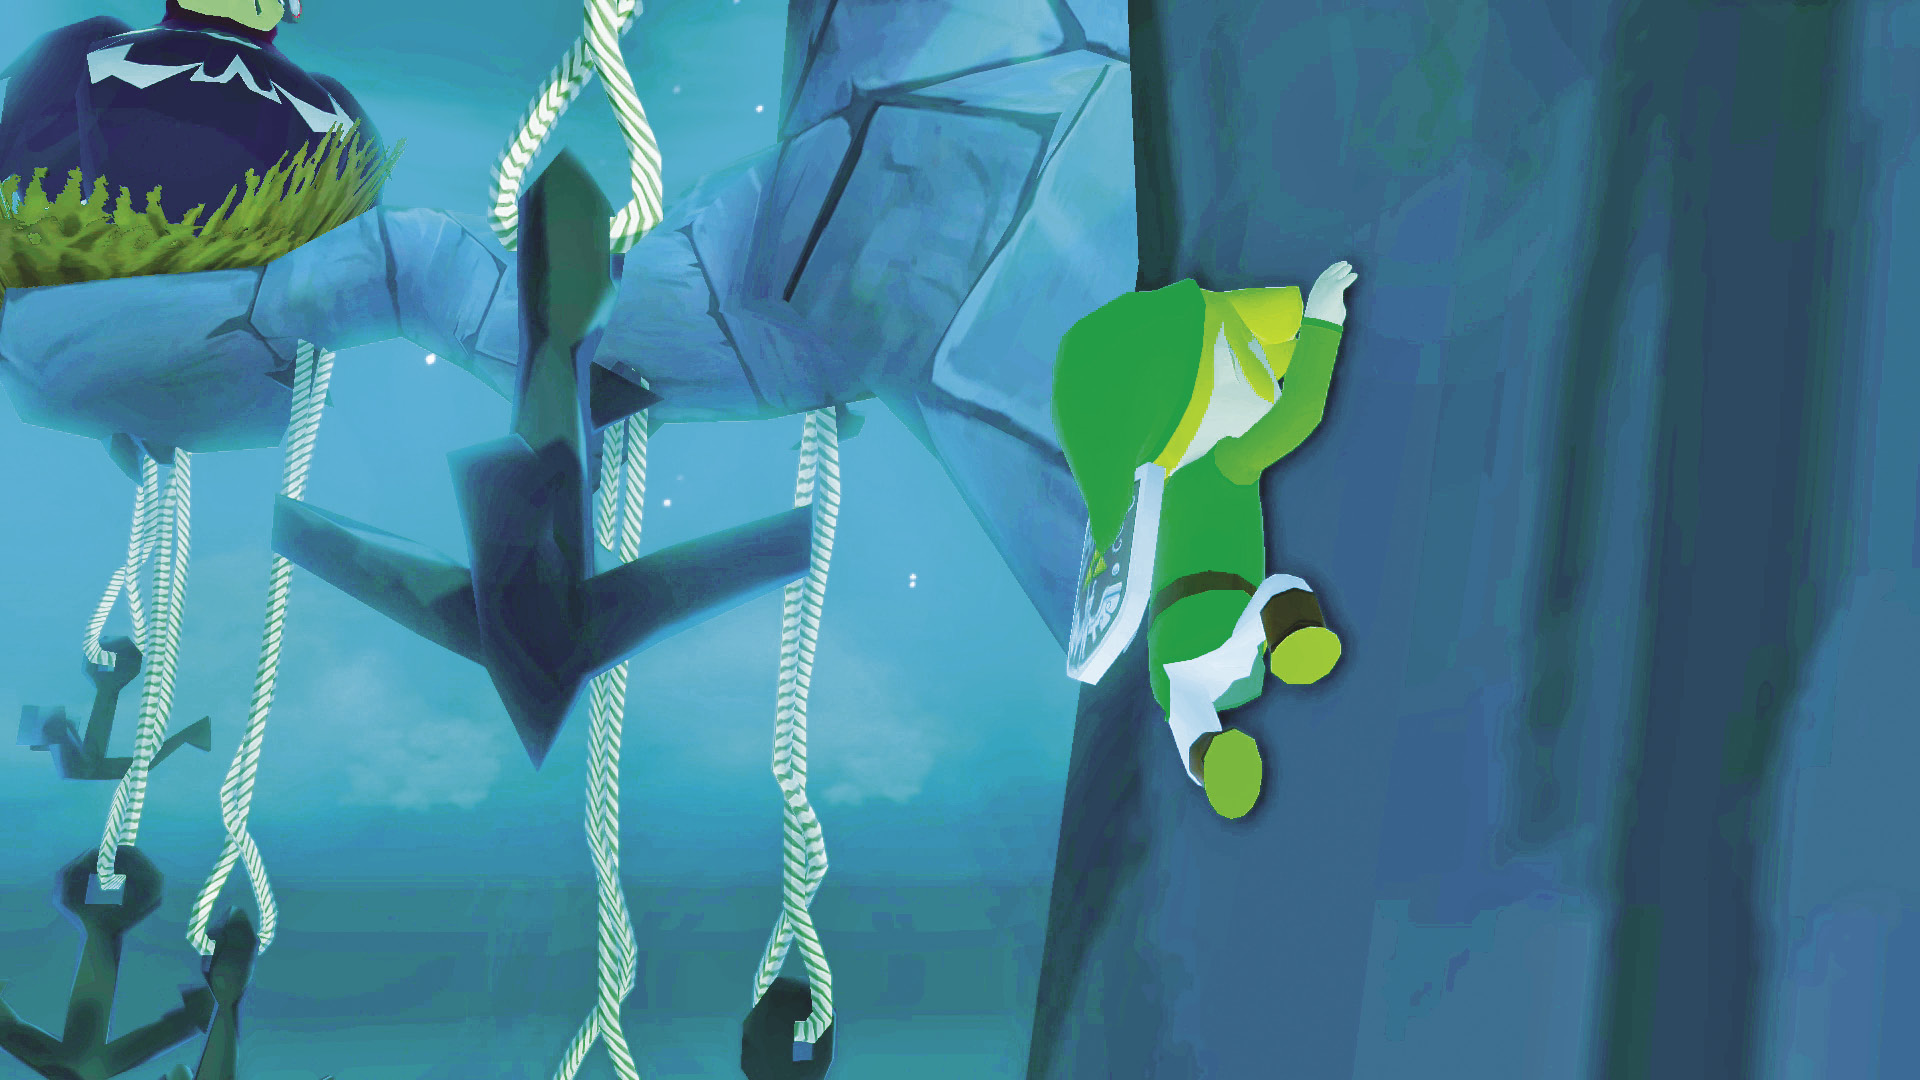
Unfortunately, Tetra’s aim isn’t great, which becomes apparent when Link smashes against one of the fortress towers, losing his Hero’s Sword in the process. When Link comes to, he is drenched and defenseless, but he’s in one piece.
Out of nowhere, he hears Tetra’s voice as though she was nearby, but how can that be if she’s still on the boat? It turns out that she snuck the Pirate’s Charm into Link’s pocket before her attempt to catapult him into oblivion. The Pirate’s Charm allows Tetra and others to see what Link is doing and communicate with him directly.
|
|
6 |
Pirate’s Charm |

This Is a Sneaking Mission
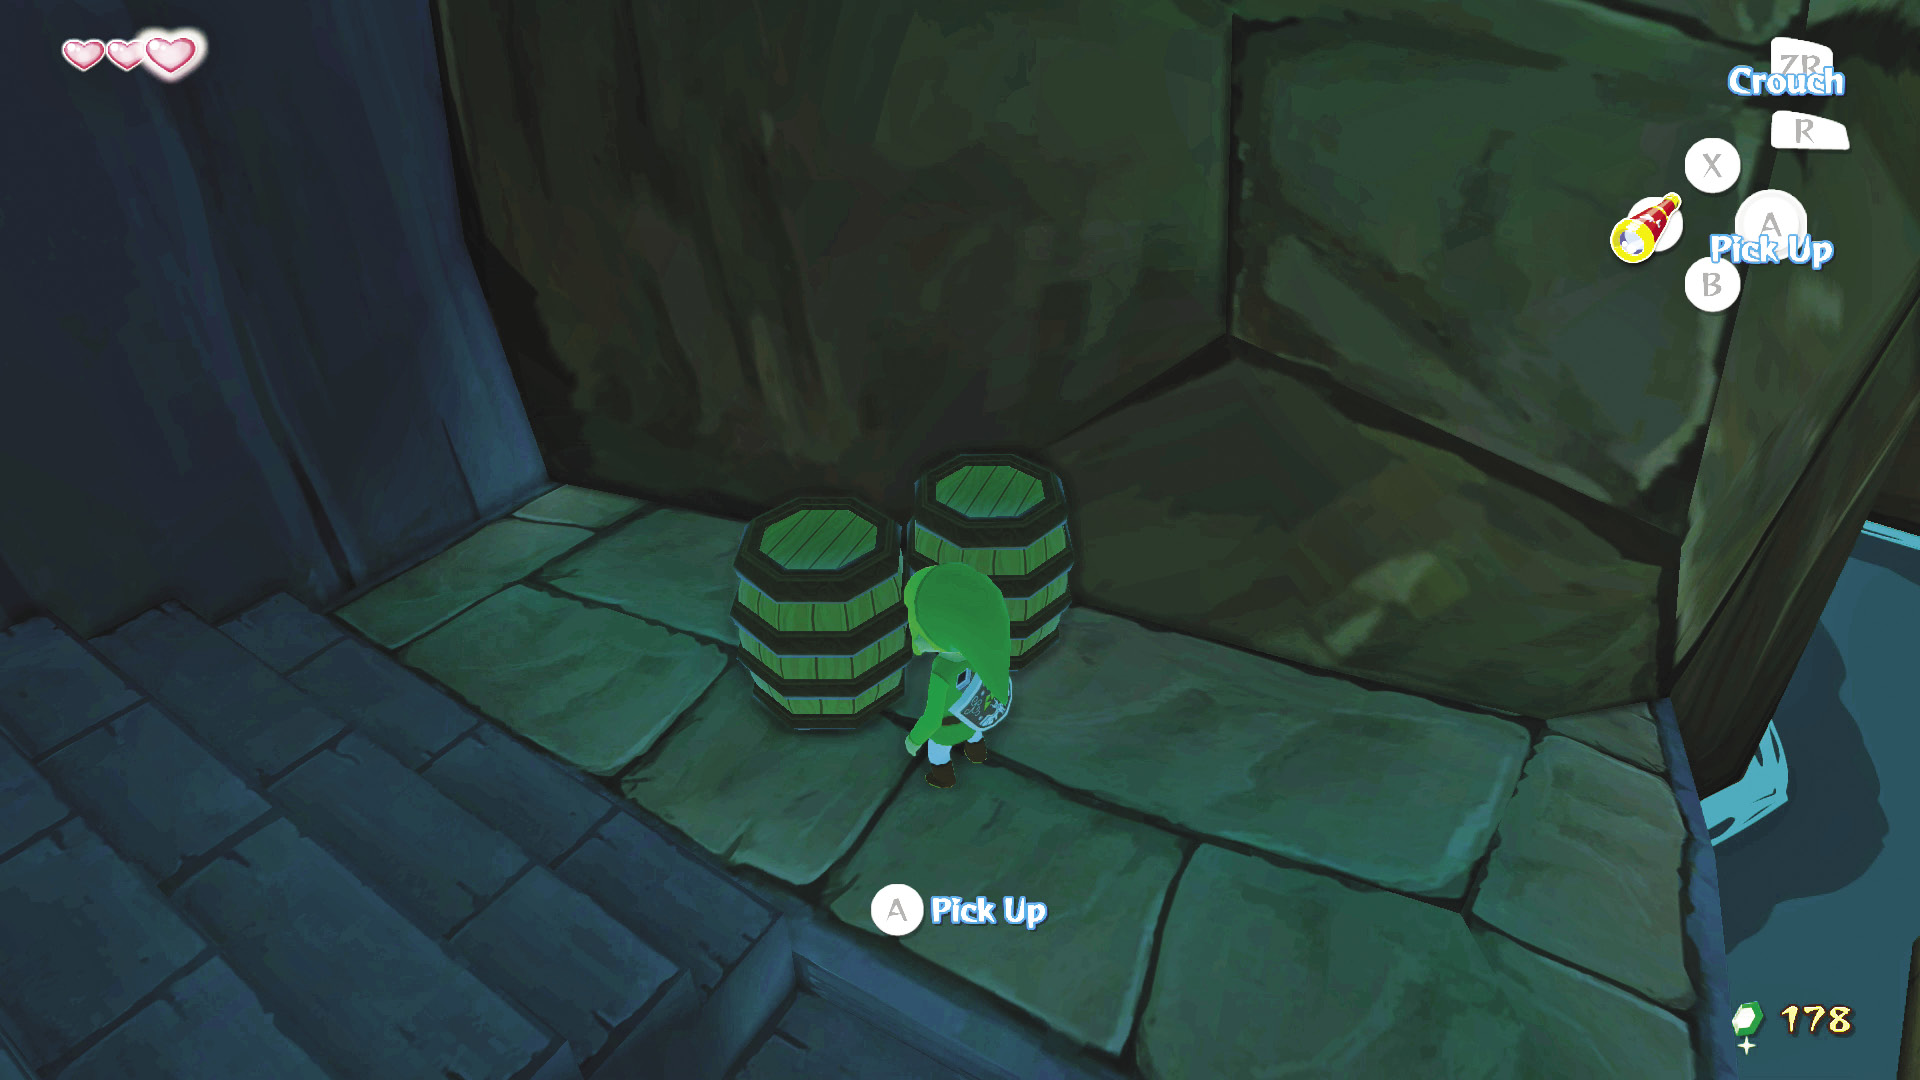
Without a weapon, Link is at a distinct disadvantage against whatever adversaries he may face while in the Forsaken Fortress, so stealth is going to be your greatest ally. While in the Forsaken Fortress, you will find barrels. Rather than breaking them, pushing # on a barrel will result in Link lifting it over his head and hiding in it. To take the barrel off, just push # again or push ). Holding still while under the barrel—or rather, not moving S—will result in Link lowering the barrel to the ground, making him invisible to any patrols in the area. Staying out of the searchlights and the gaze of patrolling enemies is the key to making it through the fortress unscathed.
1. Who Put Out the Lights?
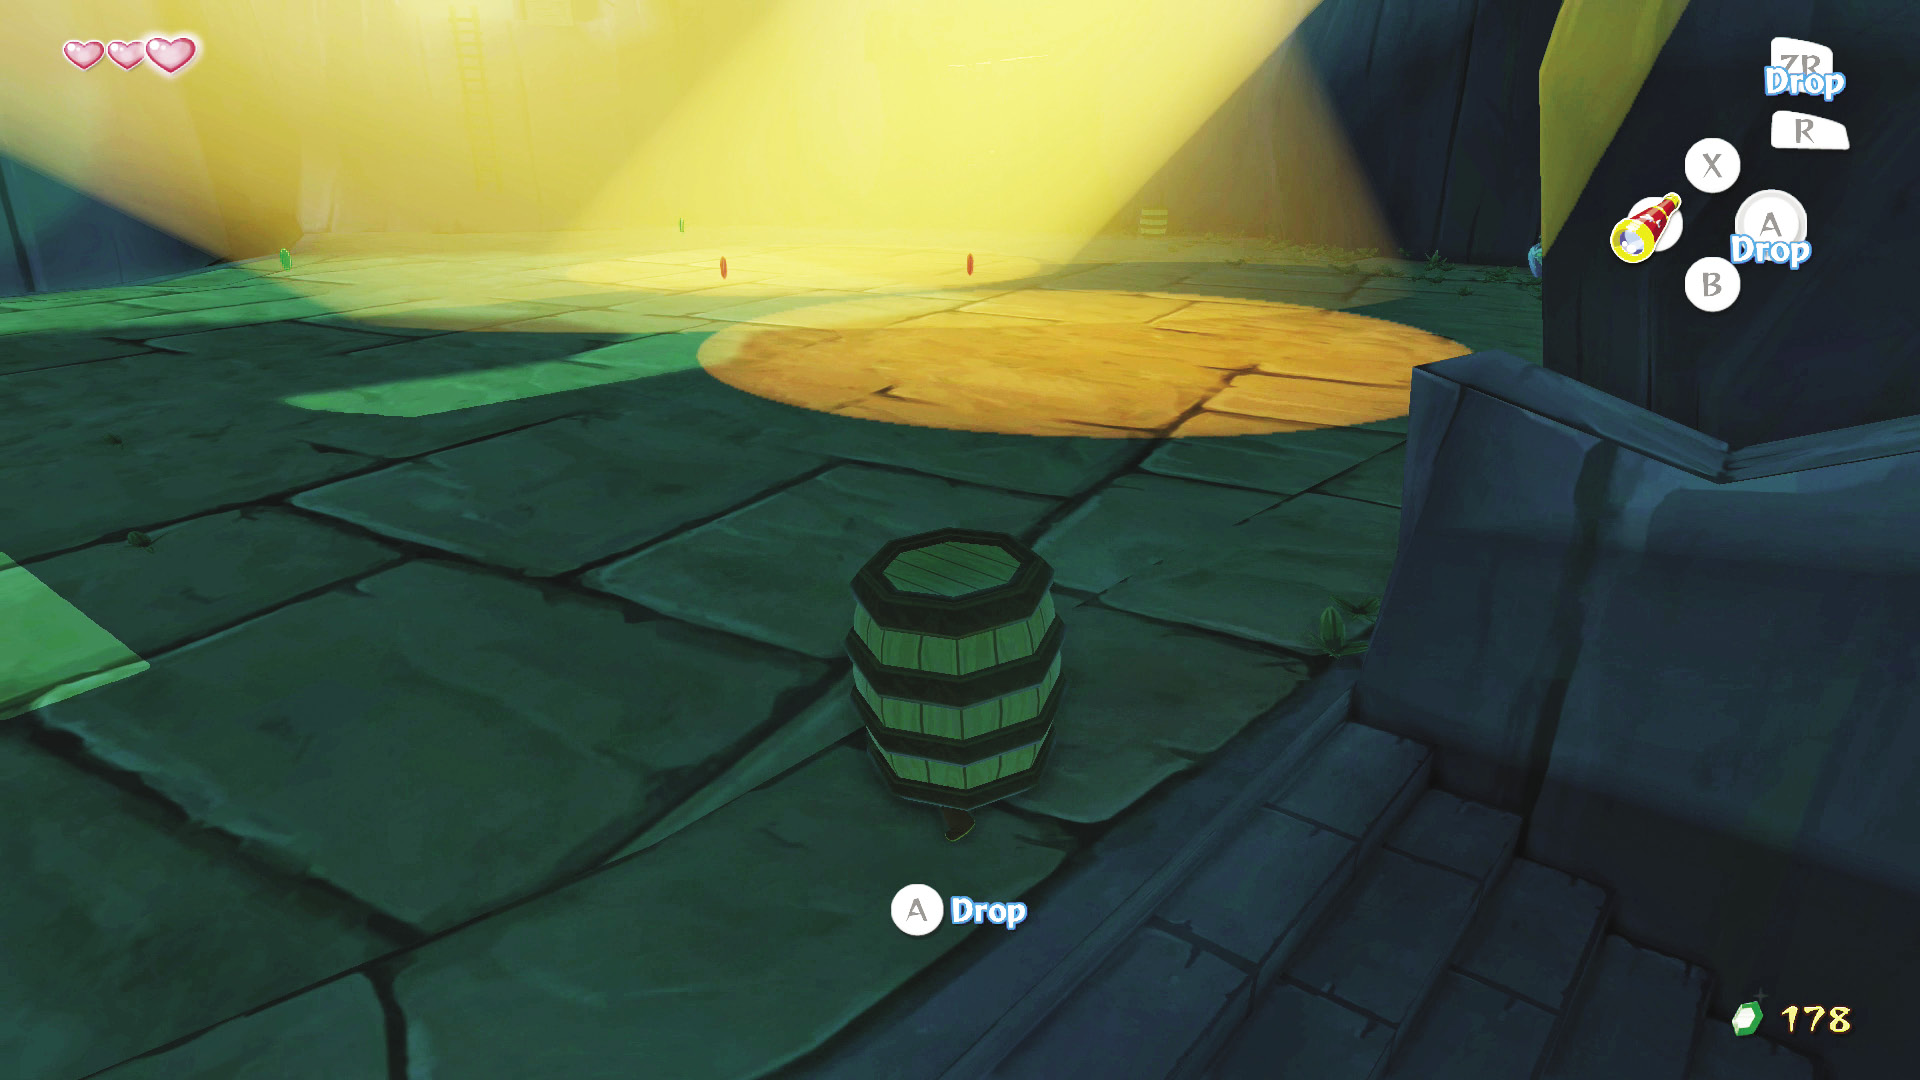
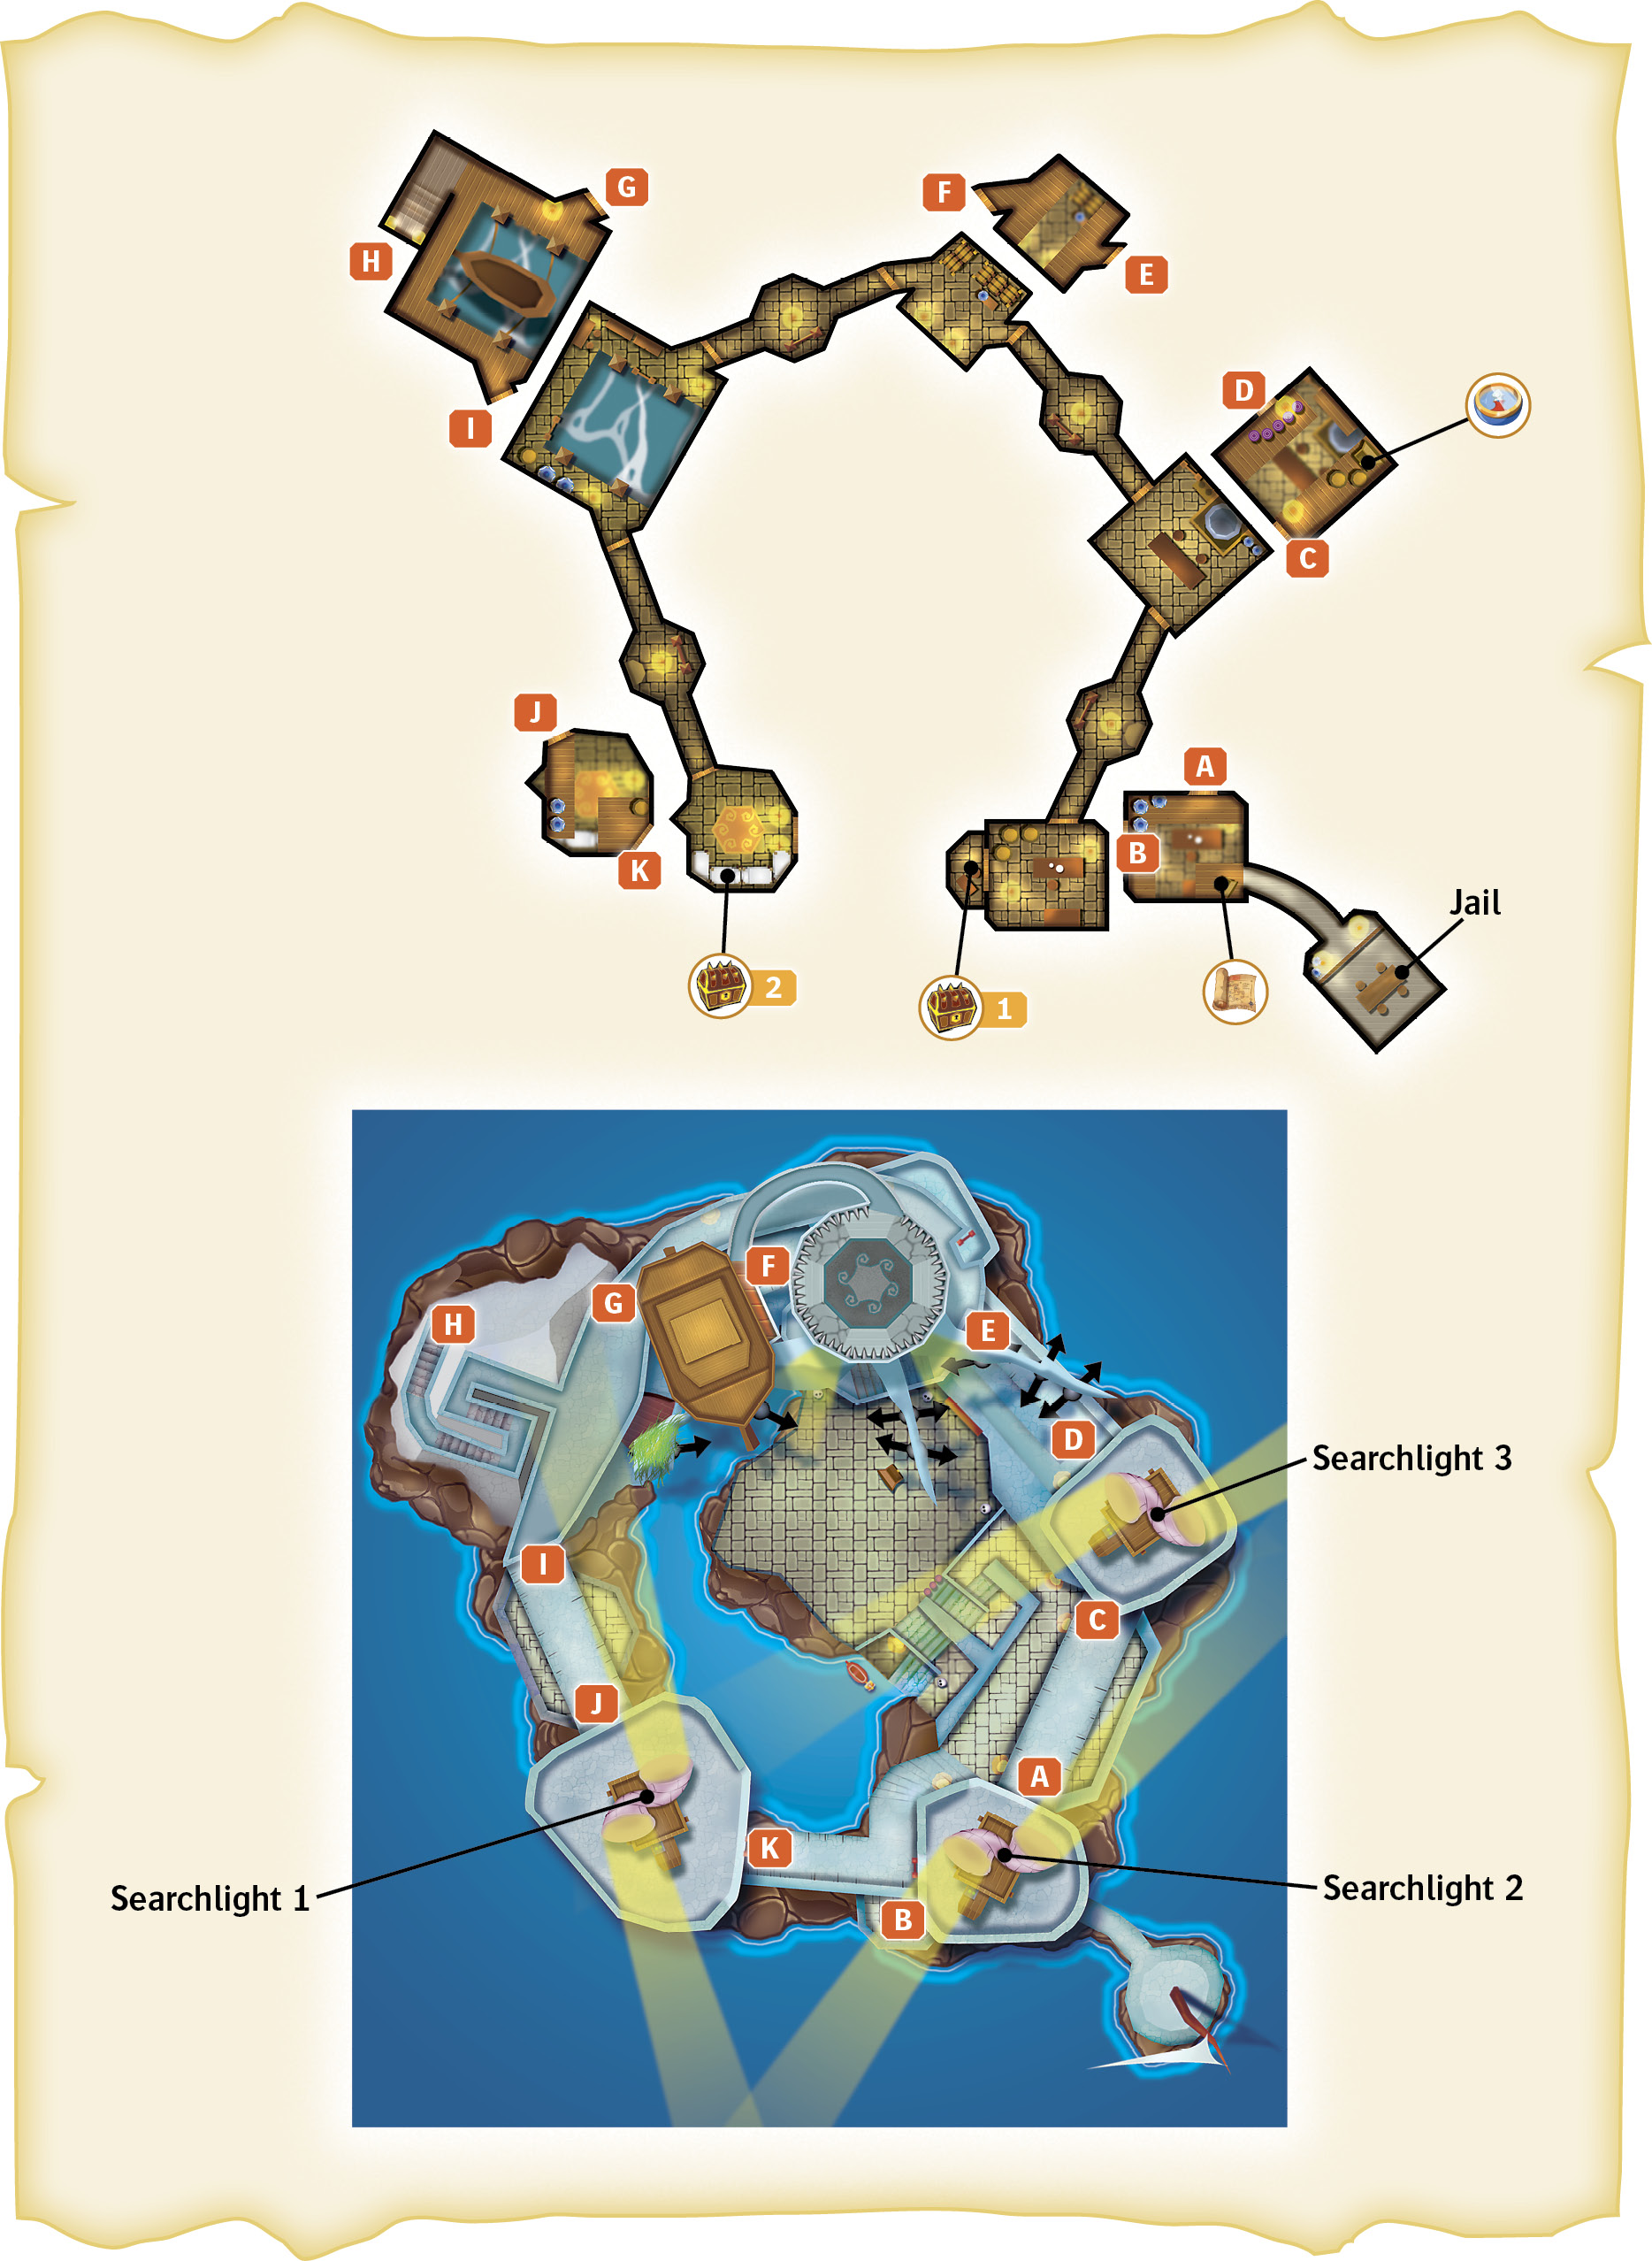
Your first order of business is to head up the stairs to the right of the landing you start on. Your goal is to turn off all three sets of searchlights in order to venture through the fortress freely. Well, sort of freely; there will still be plenty of guards patrolling the area, so don’t get too comfortable.
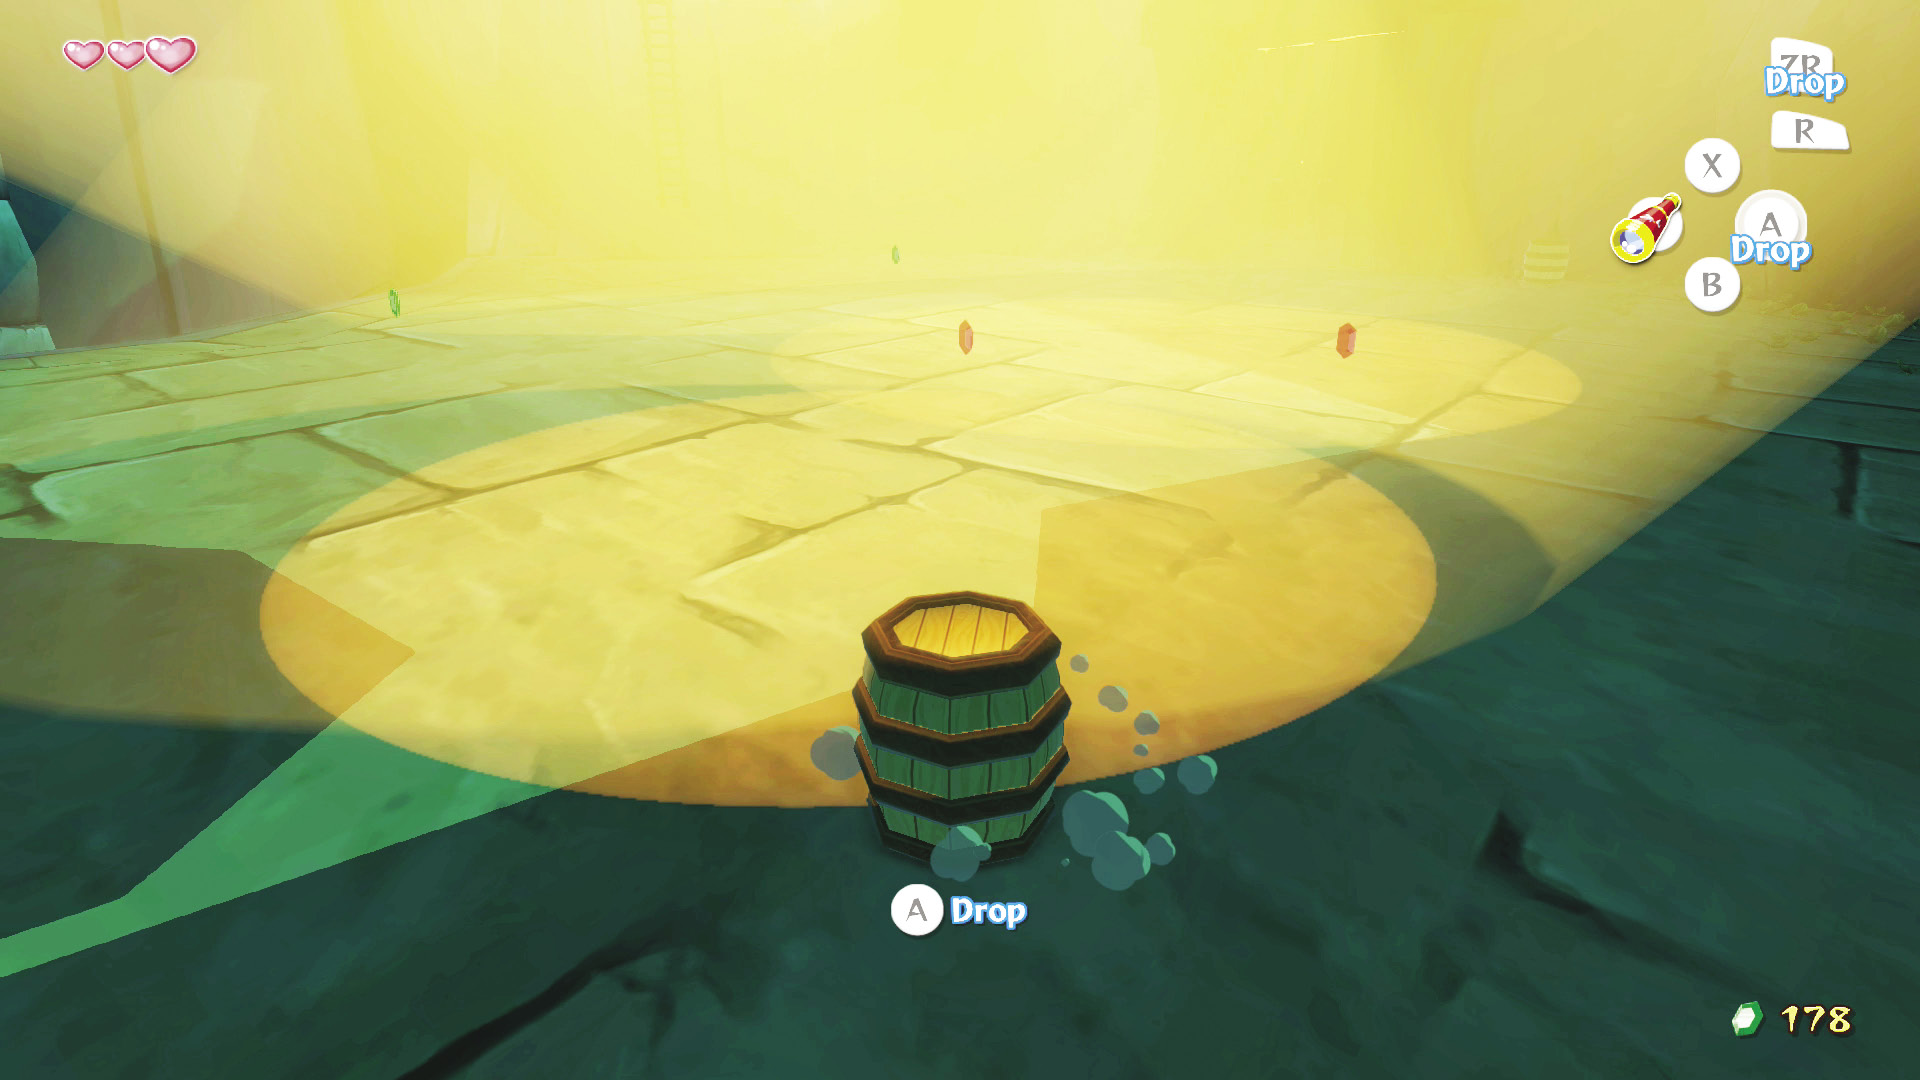
In the middle section of the two sets of stairs are a couple of barrels. Grab one with 3. Head up the second set of stairs and you’ll reach a courtyard with two roving spotlights. If either of these searchlights catches you without a barrel or while walking with your barrel on, you’ll be thrown in a holding cell and will have to find a way to escape (or read the “Jail Break” note below), so do your best not to get caught. If one passes over you, hold completely still by letting go of S to avoid detection. In the center of the courtyard are two Red Rupees. If you’re feeling gutsy enough, go and grab them to net yourself 40 more Rupees.
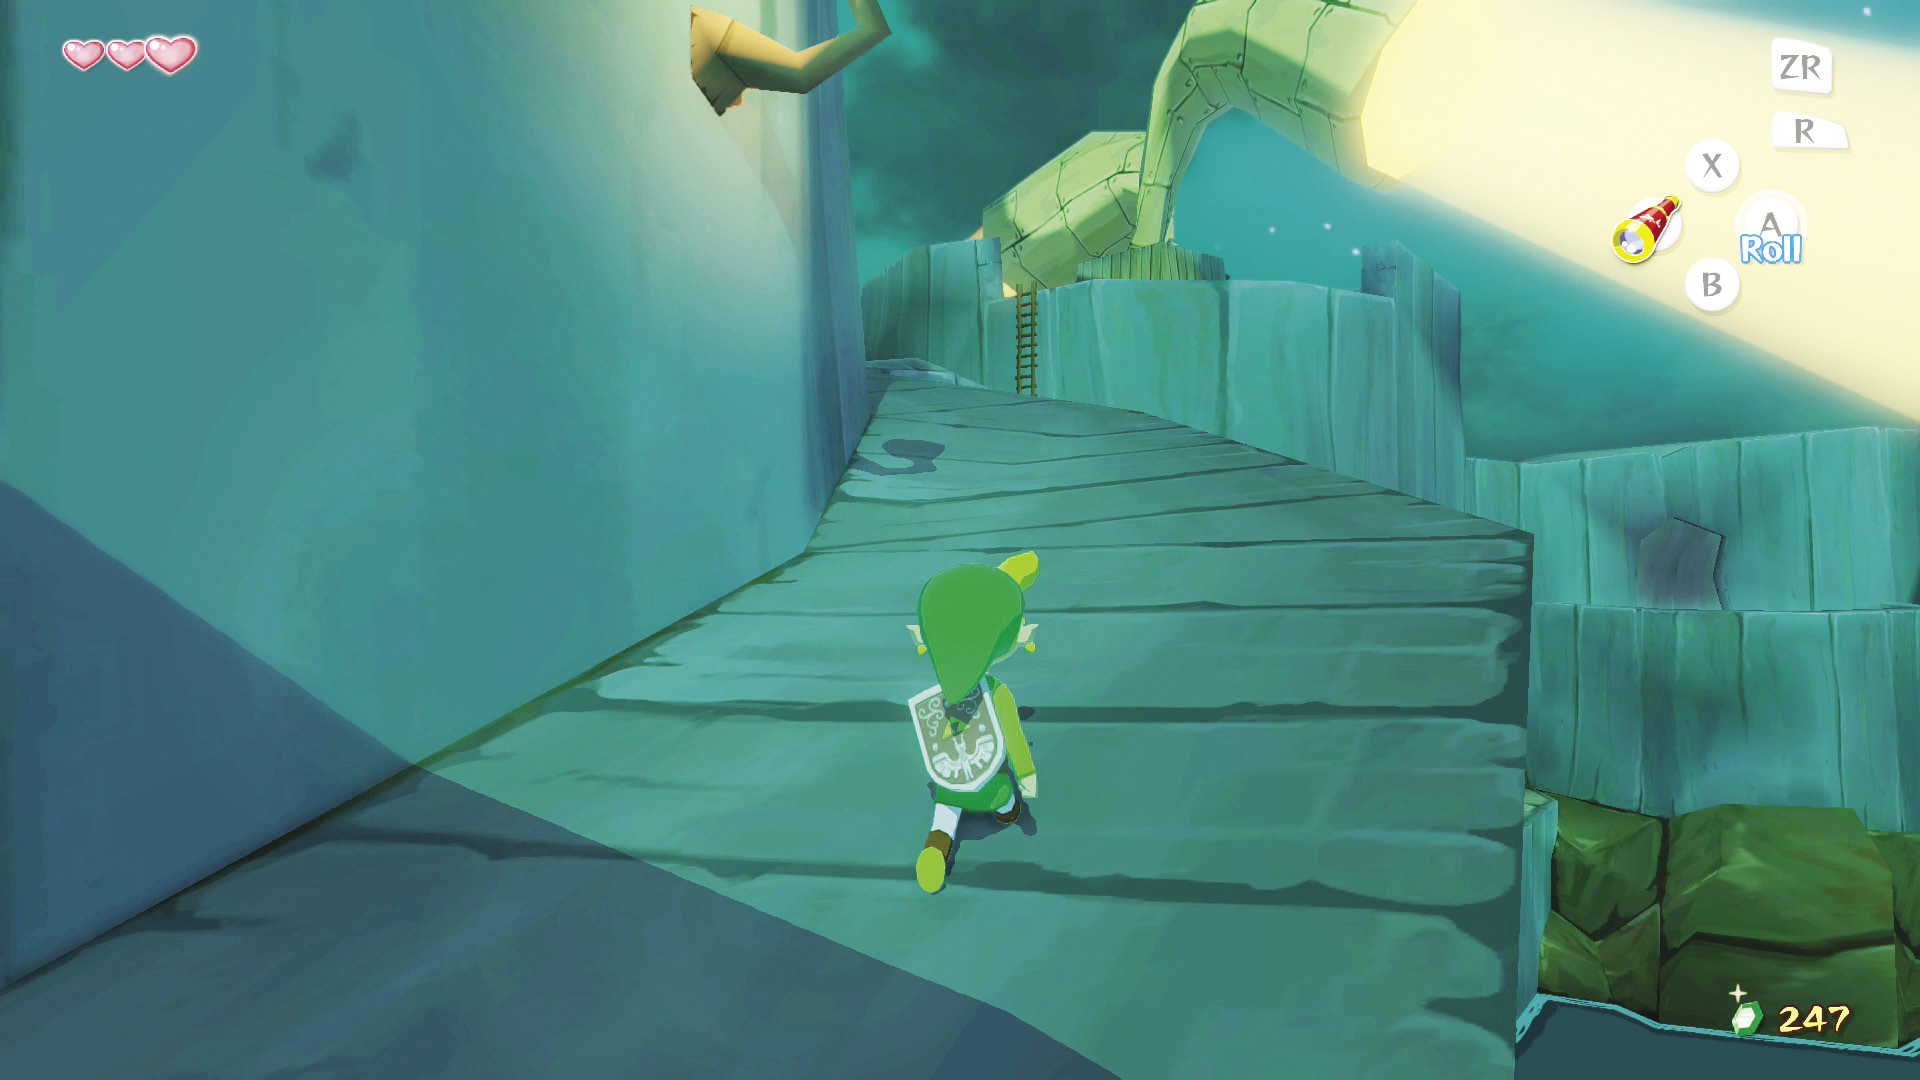
Afterward, climb the set of stairs to the right side of the steps leading up from your starting point. Take all three sets of stairs and walk up the slope just past the archway. Remove the barrel for the time being. Follow the sloped path until you reach a ladder at the path’s end. Climb it and you’ll be at the first of the three sets of searchlights. All you need to do now is defeat the Blue Bokoblin operating the searchlights. Easy enough, right? Well, maybe with the Hero’s Sword, but since you are weaponless, you’ll have to be a bit more creative.
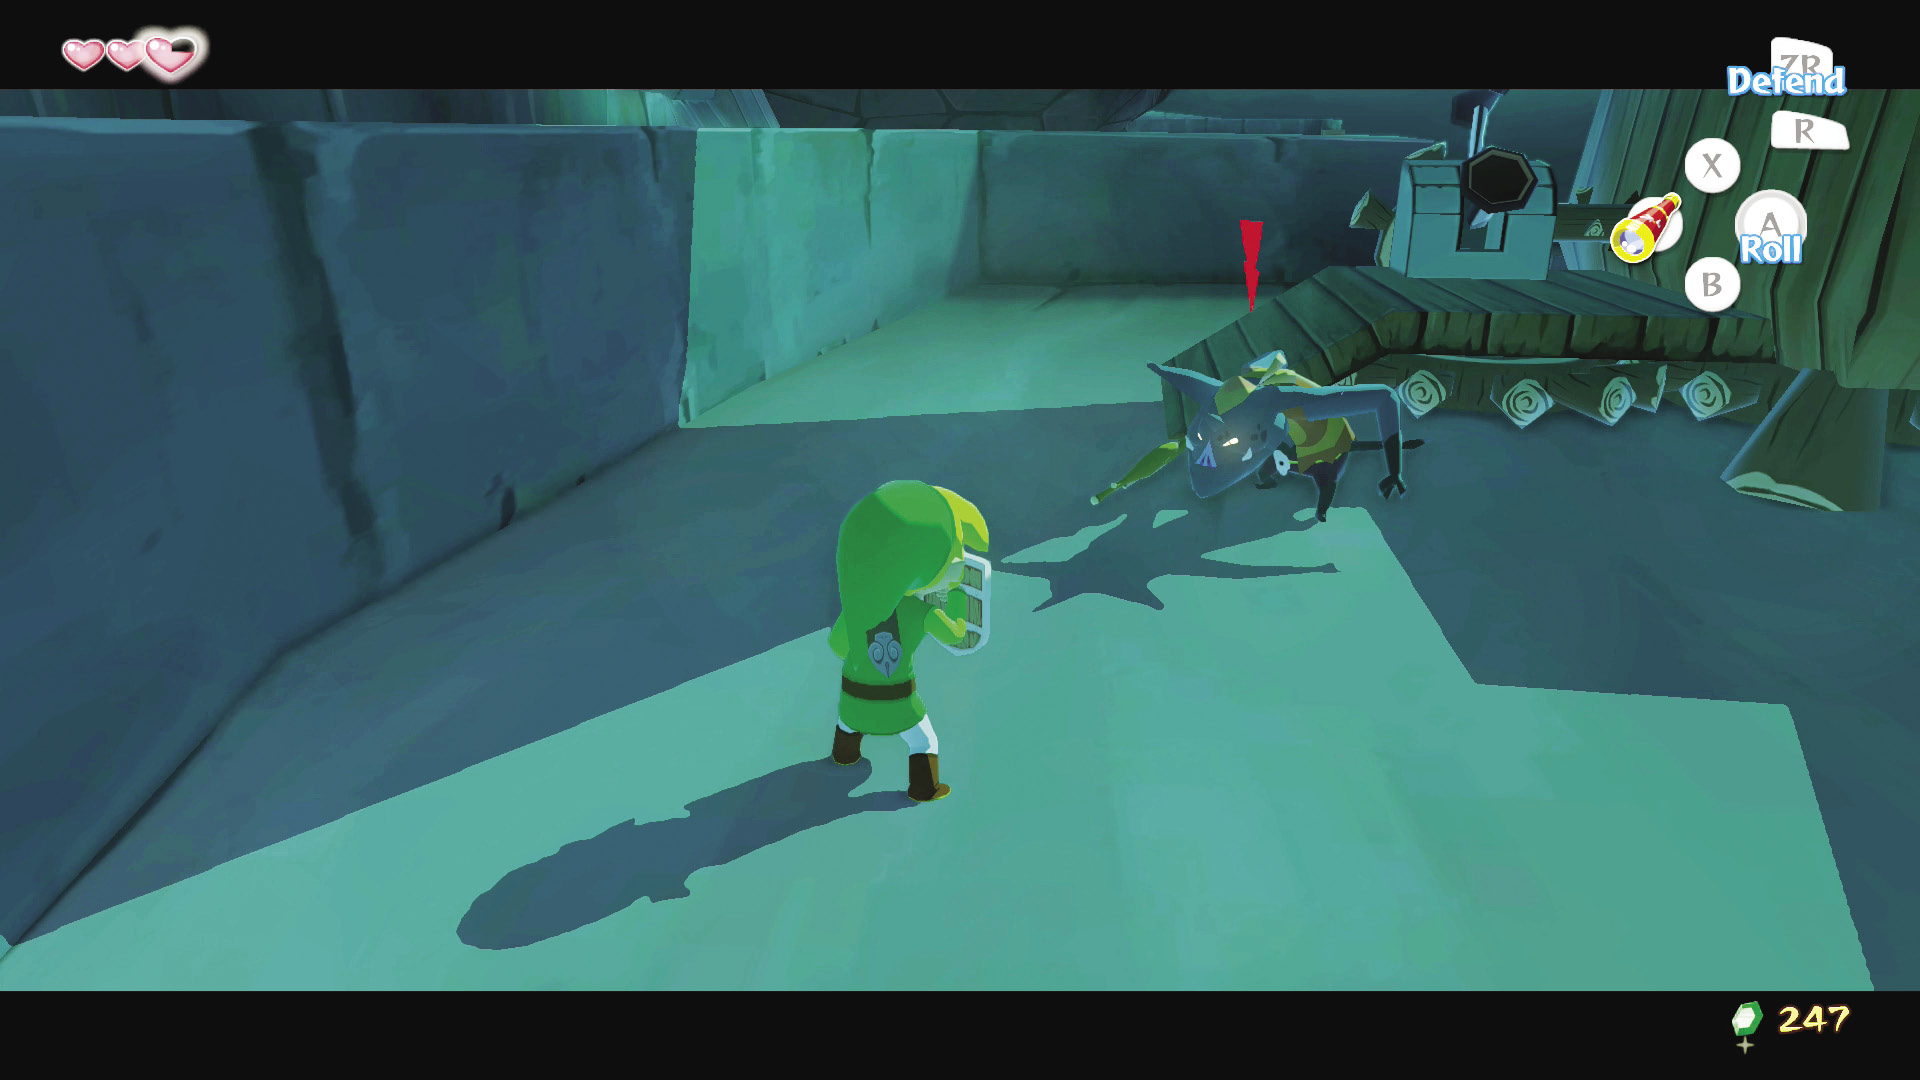
To defeat the Blue Bokoblin, you must grab a Deku Stick. There are two ways to get this. The first is to retrieve it from a pot in the tower’s far left corner—you can spot it right when you reach the top of the ladder. Pick up the pot and throw it to get access to the Deku Sticks inside it. Grab one of the sticks with # and you’ll be ready to handle the Bokoblin. The other method, which will also work if you lose your Deku Stick, is to deflect the Blue Bokoblin’s attack with your shield by holding 0 to block. After a hit or two, the Bokoblin will lose its Deku Stick, panic, and then race to it or another stick lying on the floor. This is your chance to get its stick, or another stick, and then swing away. The Bokoblin should go down after three or four hits, leaving the searchlight unmanned and shut down for good.
2. Who’s Afraid of the Dark?
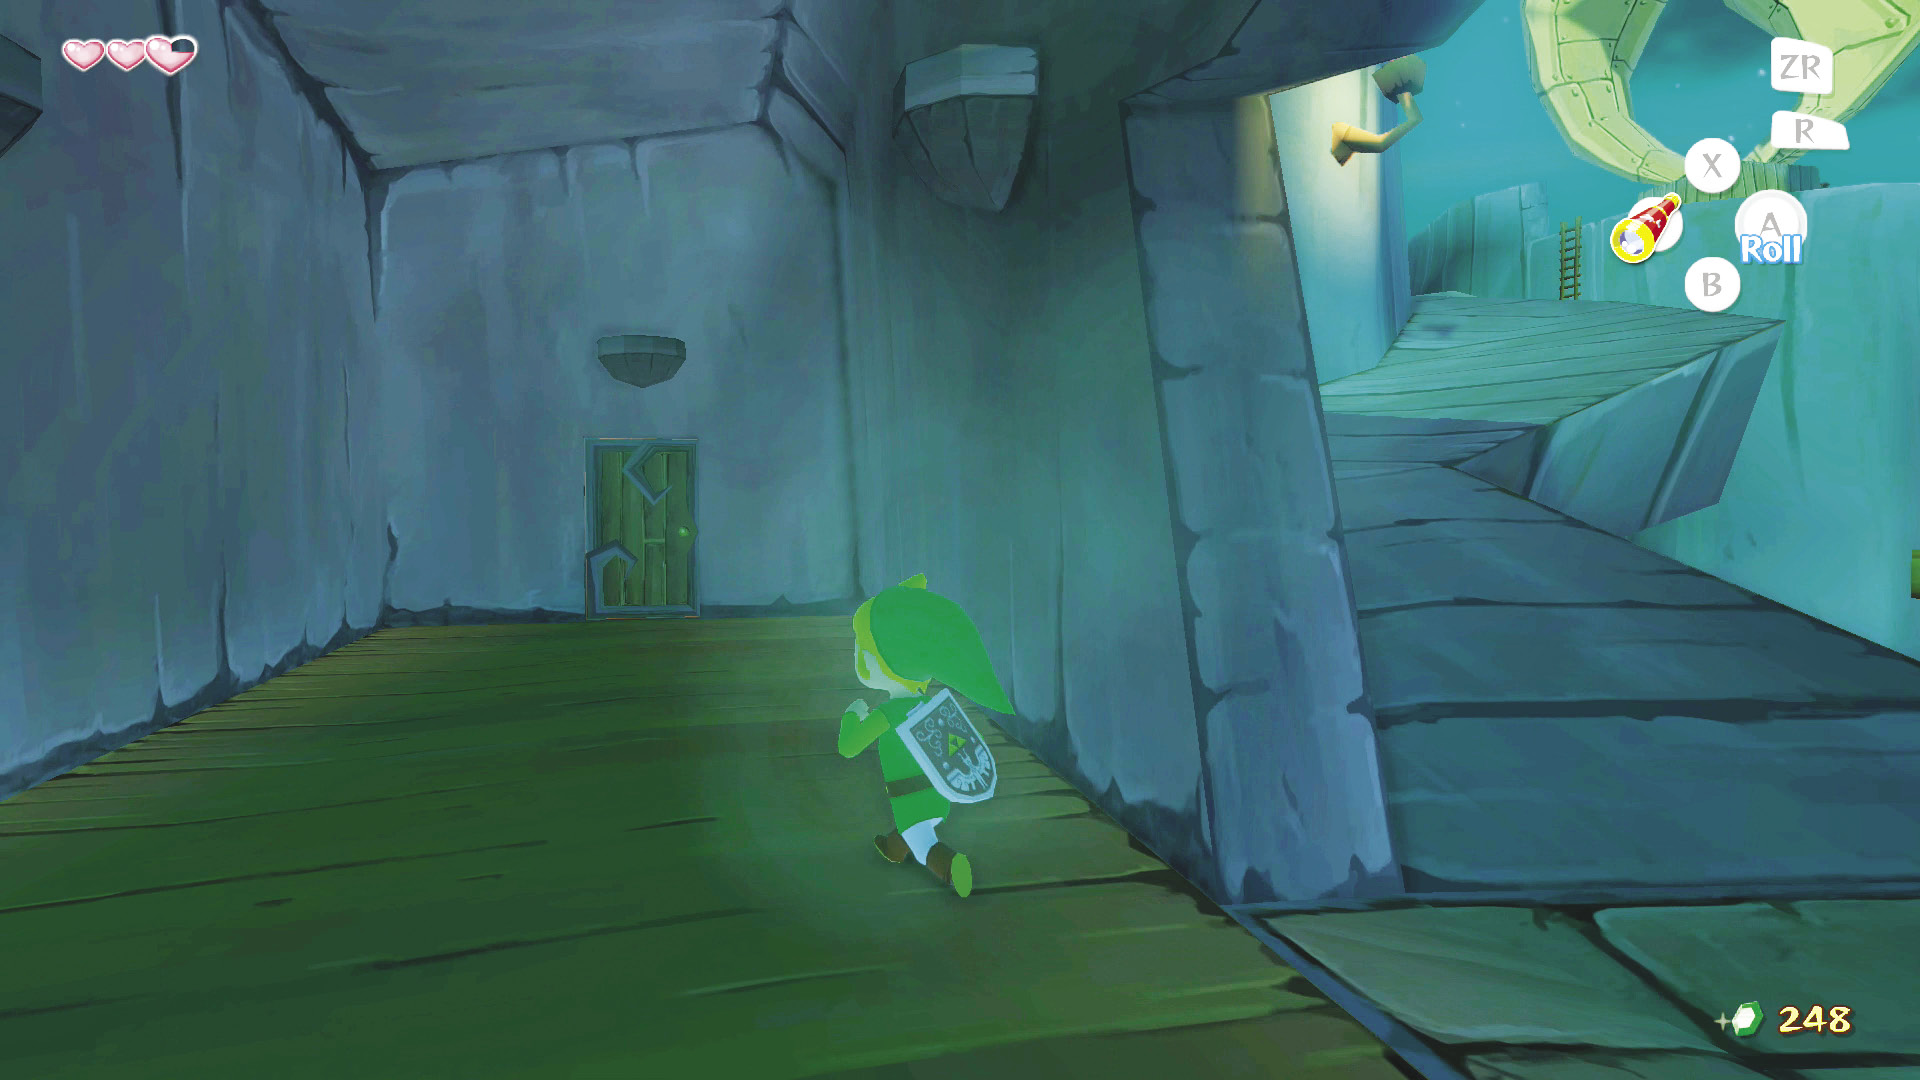
Hop off the tower the way you came up and follow the sloped path until you reach the archway, which should now be on your right at the bottom of the slope. Head through the archway and take a right, heading through the door at the end of the hall.
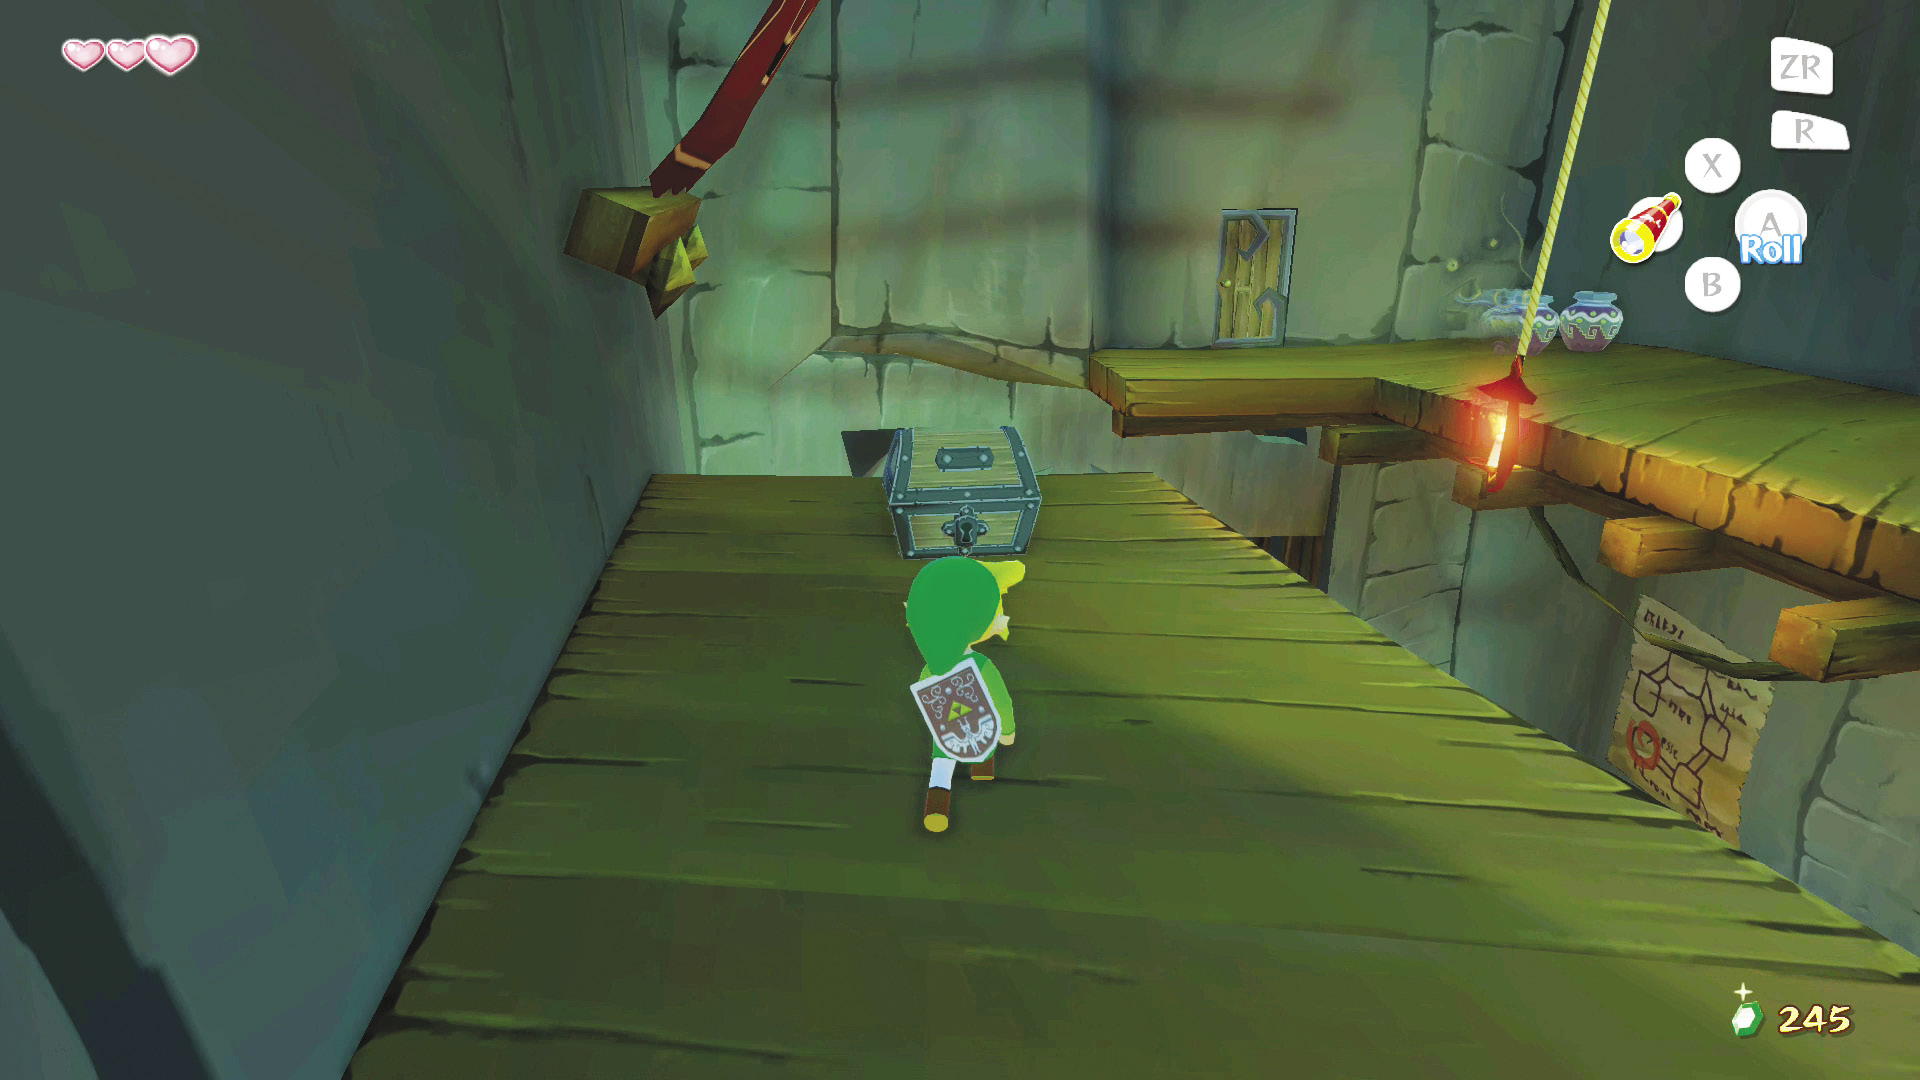
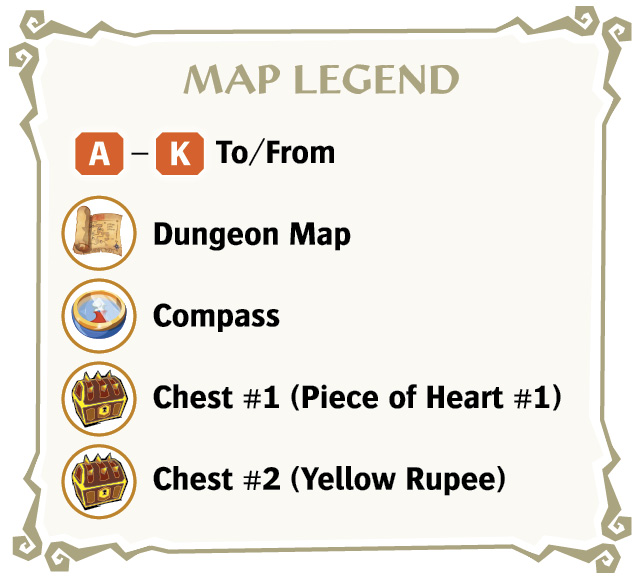
Your next destination is the door at the end of this room, but before you go, look left to find a treasure chest on the gap’s other side—if you haven’t been spotted by a searchlight or patrol by this point, as this is the room you were taken to after being spotted. Jump onto the lantern hanging from the ceiling and swing across to the other side, just like you did during Niko’s test. Do your best not to fall here; the first floor of the Forsaken Fortress offers only enemies and a quick passage to a holding cell. Open the treasure chest to find the Dungeon Map for the Forsaken Fortress. Now, swing back to the other side and head through the door on your left, just past the pots.
|
|
7 |
Piece of Heart #1 |

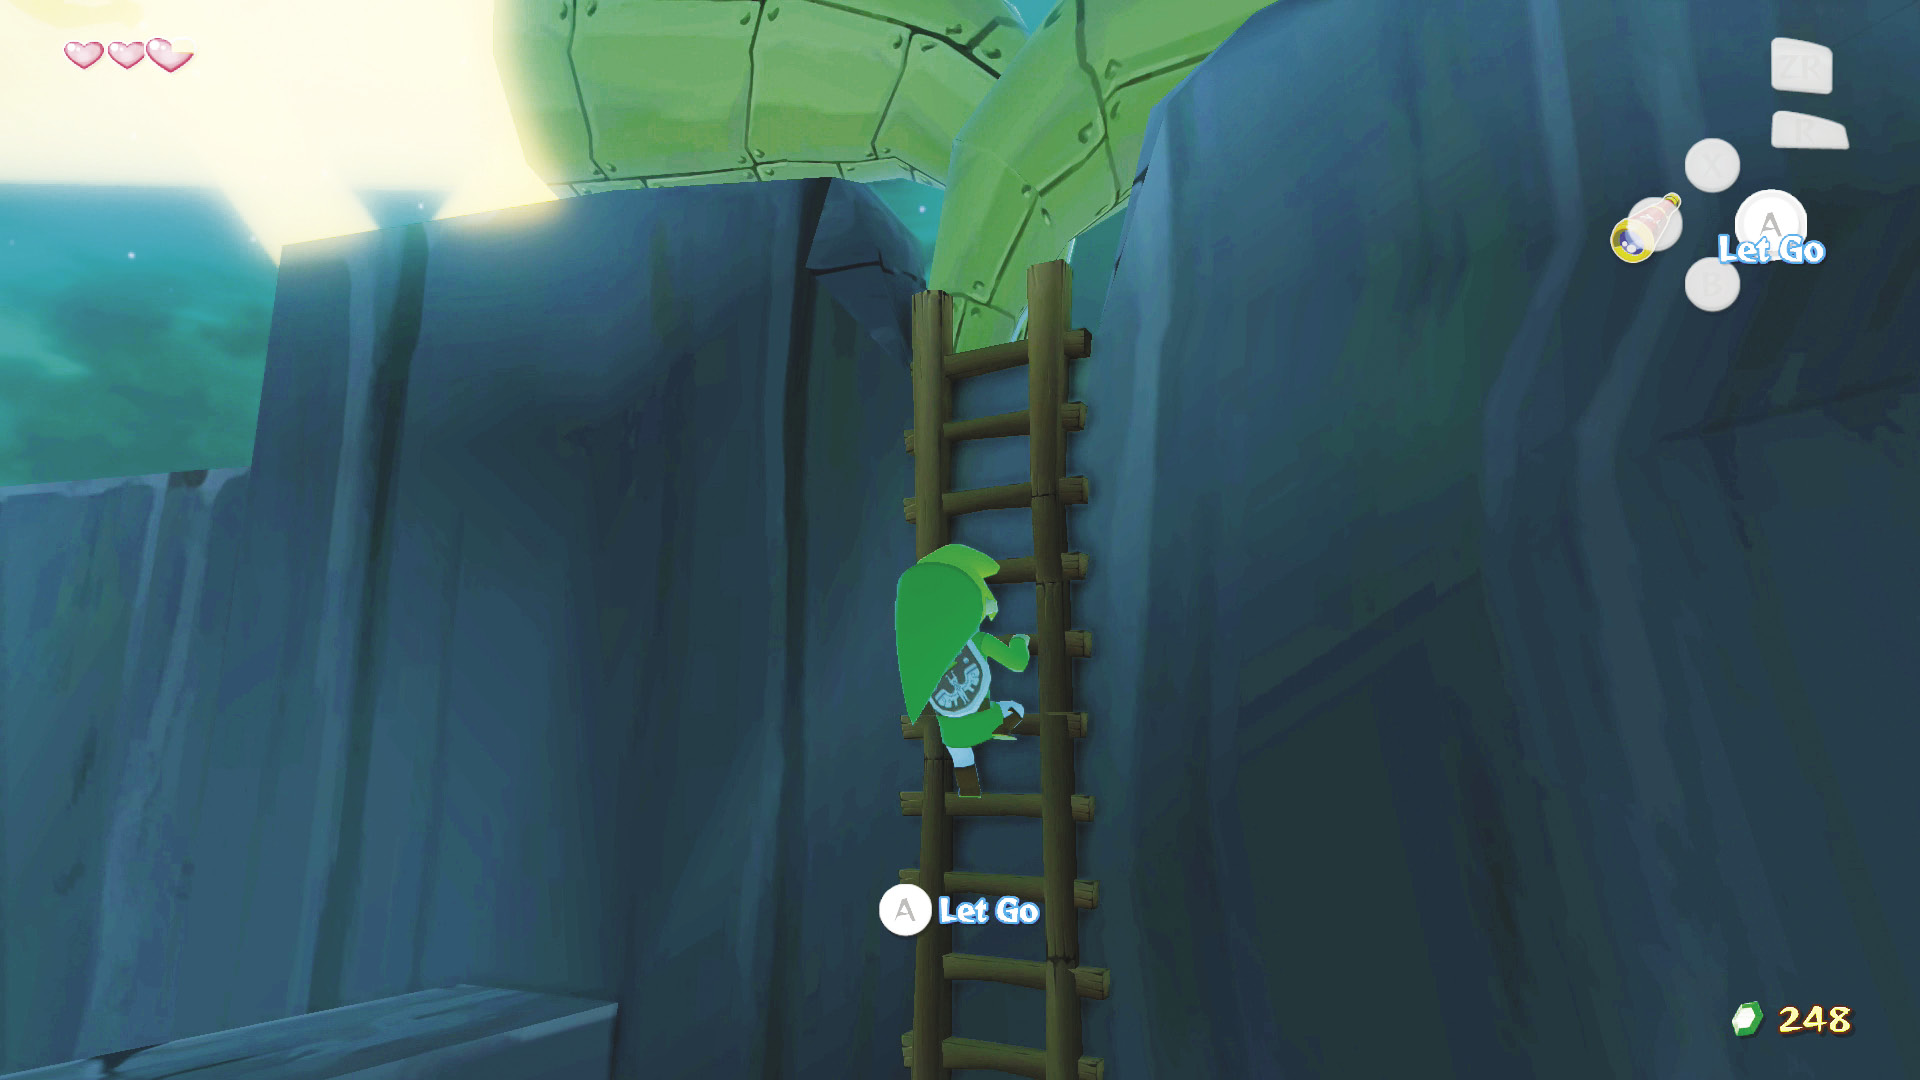
After heading through the door, take a left through the archway and then another left to reach a ladder. Climb it to find the second set of searchlights. Dispatch the Bokoblin the same way you did with the other one to shut down these searchlights too. You’ll find the pot of Deku Sticks to the left after you climb the ladder.
3. Lights Out
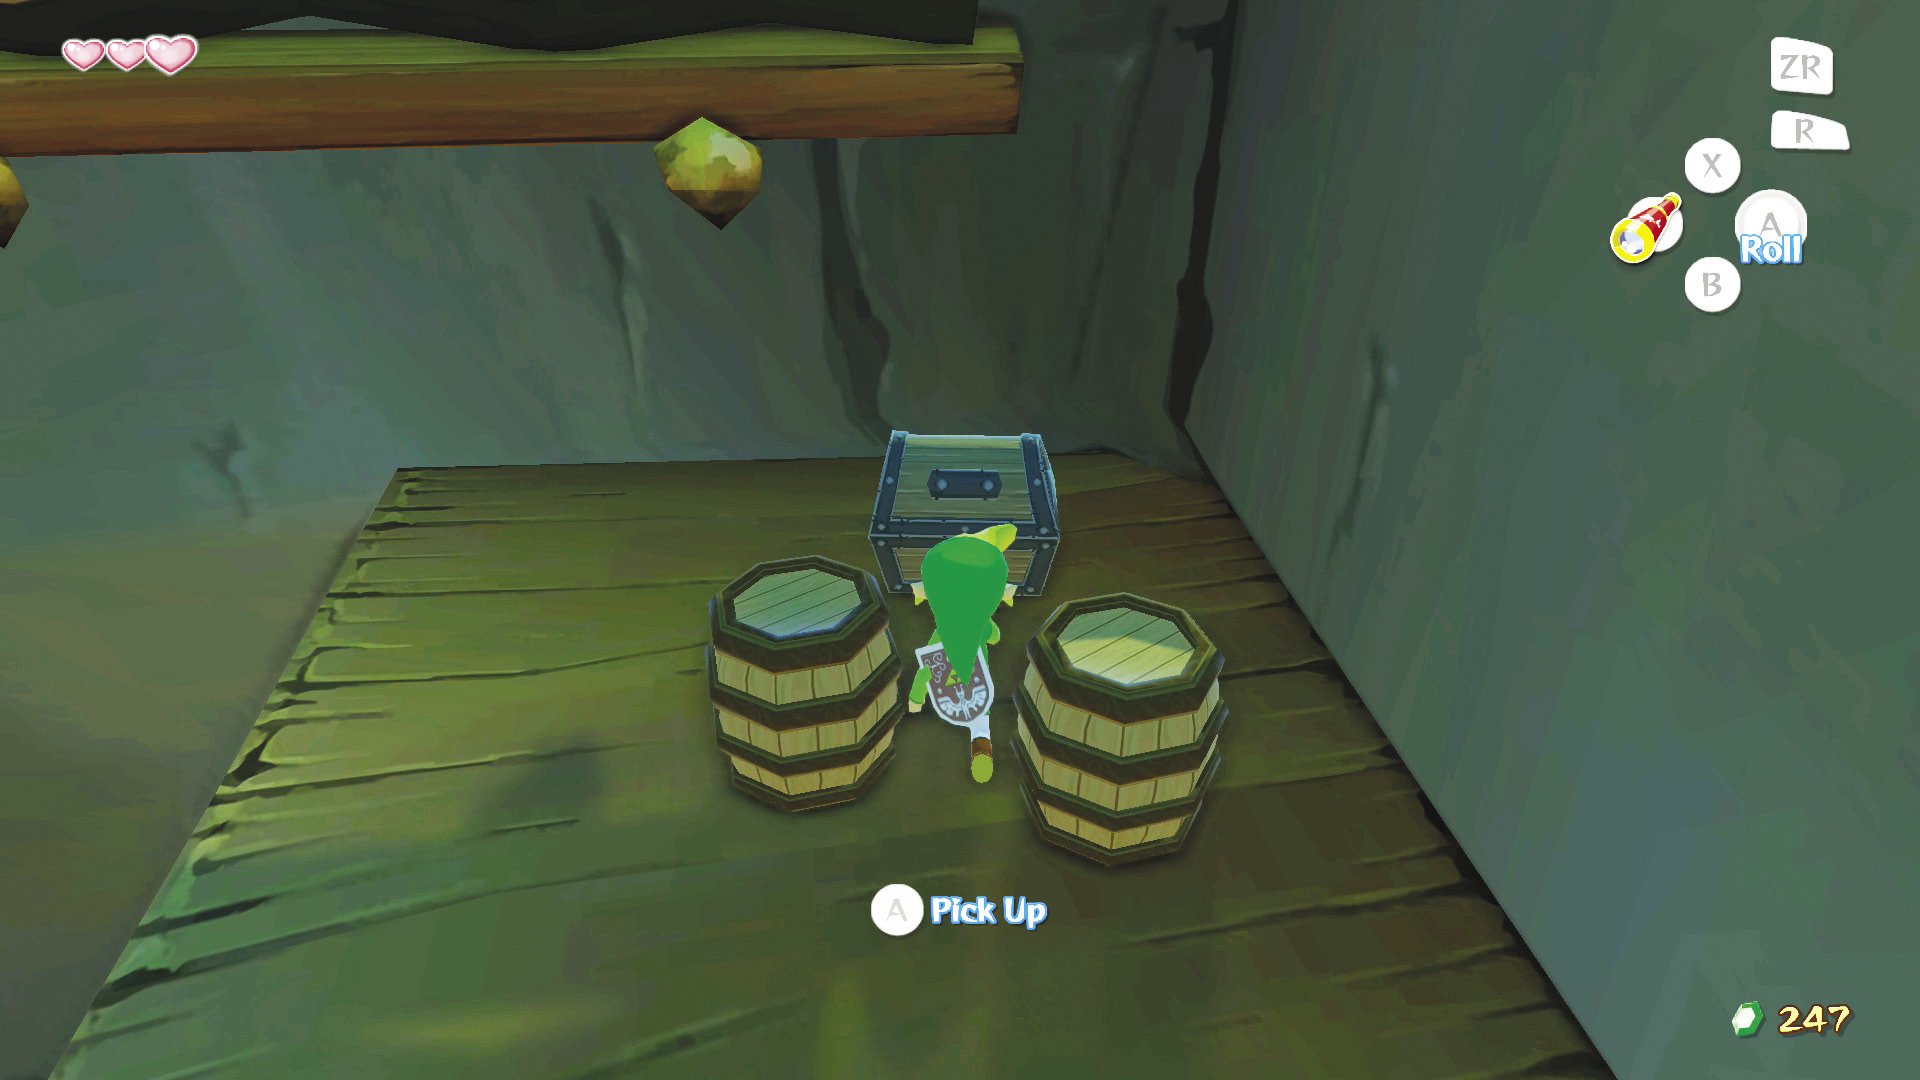
Climb down the ladder, go through the archway, and take a right, heading back through the door you first entered. You are now in the hall just above the courtyard entrance. Enter the door at the end of the hall. Almost directly ahead are some barrels, and behind those barrels is a treasure chest containing the Compass.
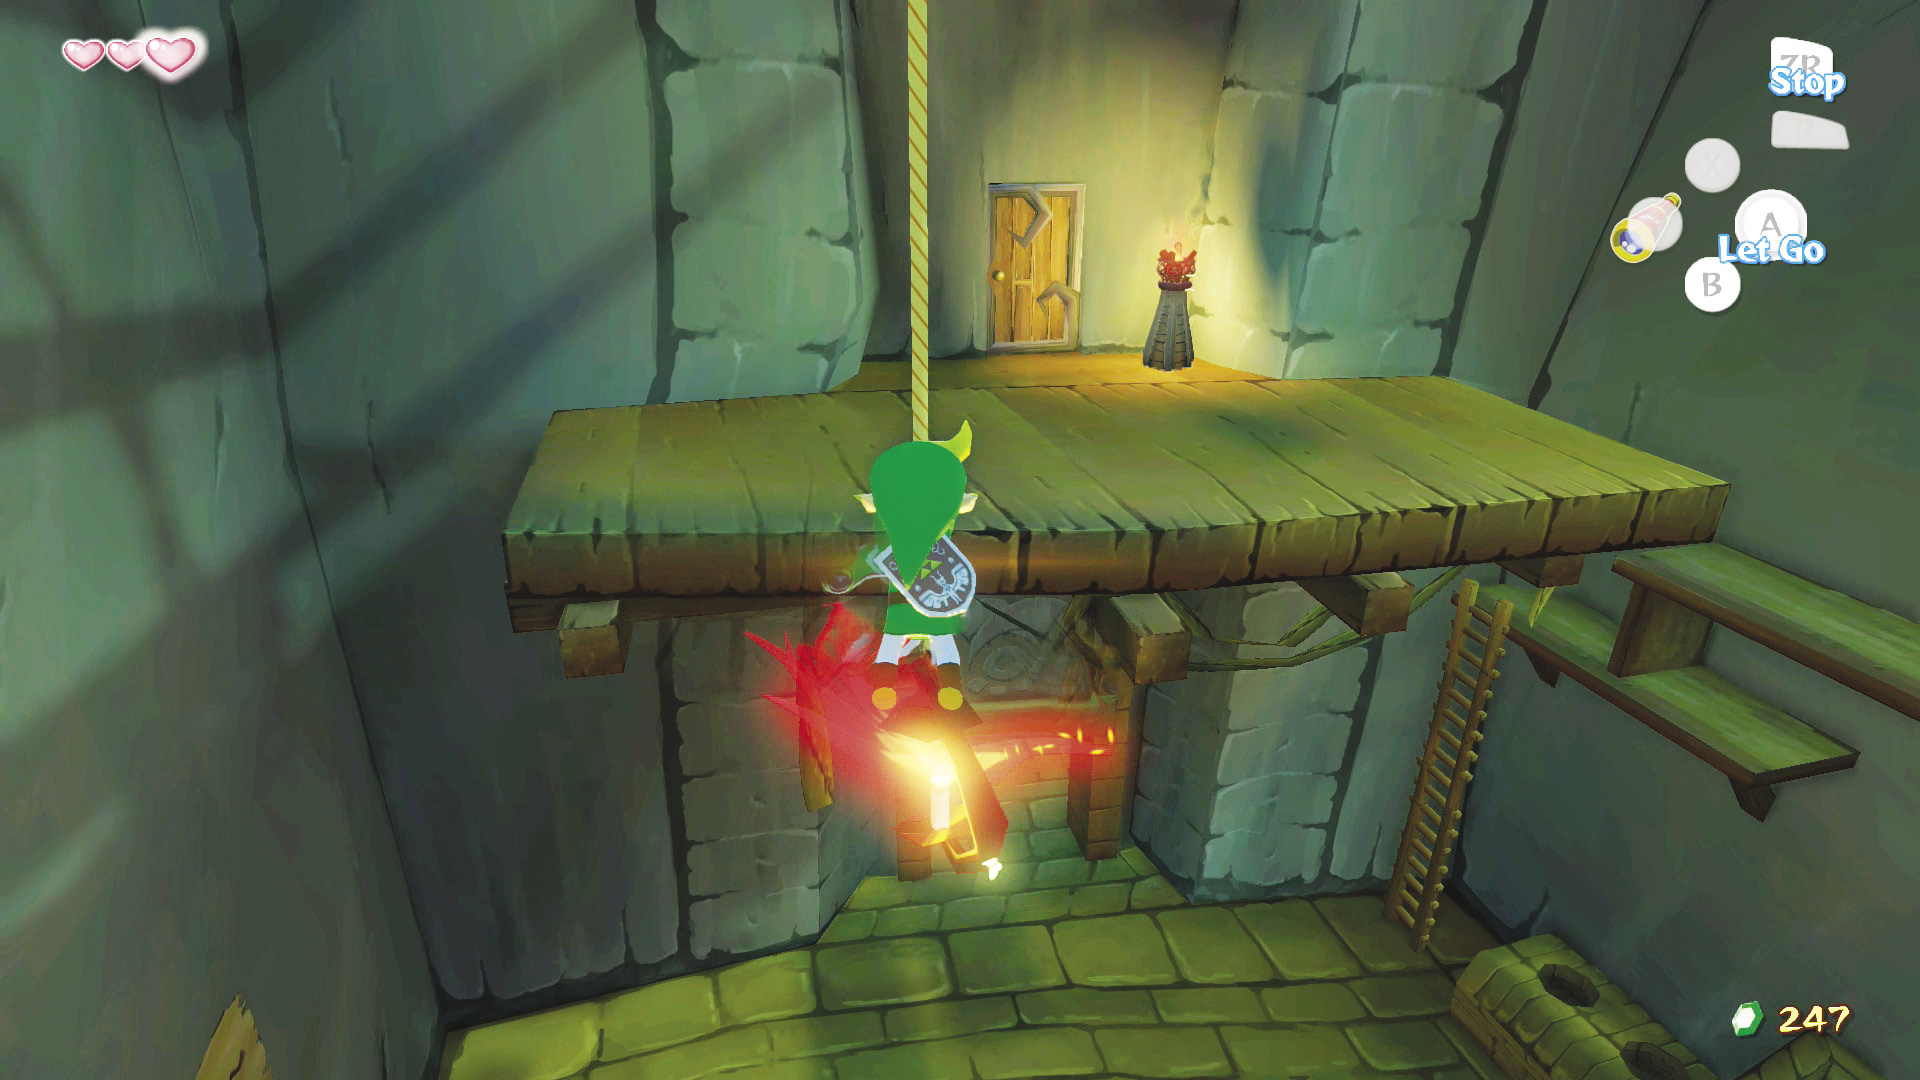
Use the lantern hanging from the ceiling to swing across the gap to the door on the other side and head through it. Be careful not to fall into the gap or you’ll face a horde of Miniblins.
Enemy: Miniblin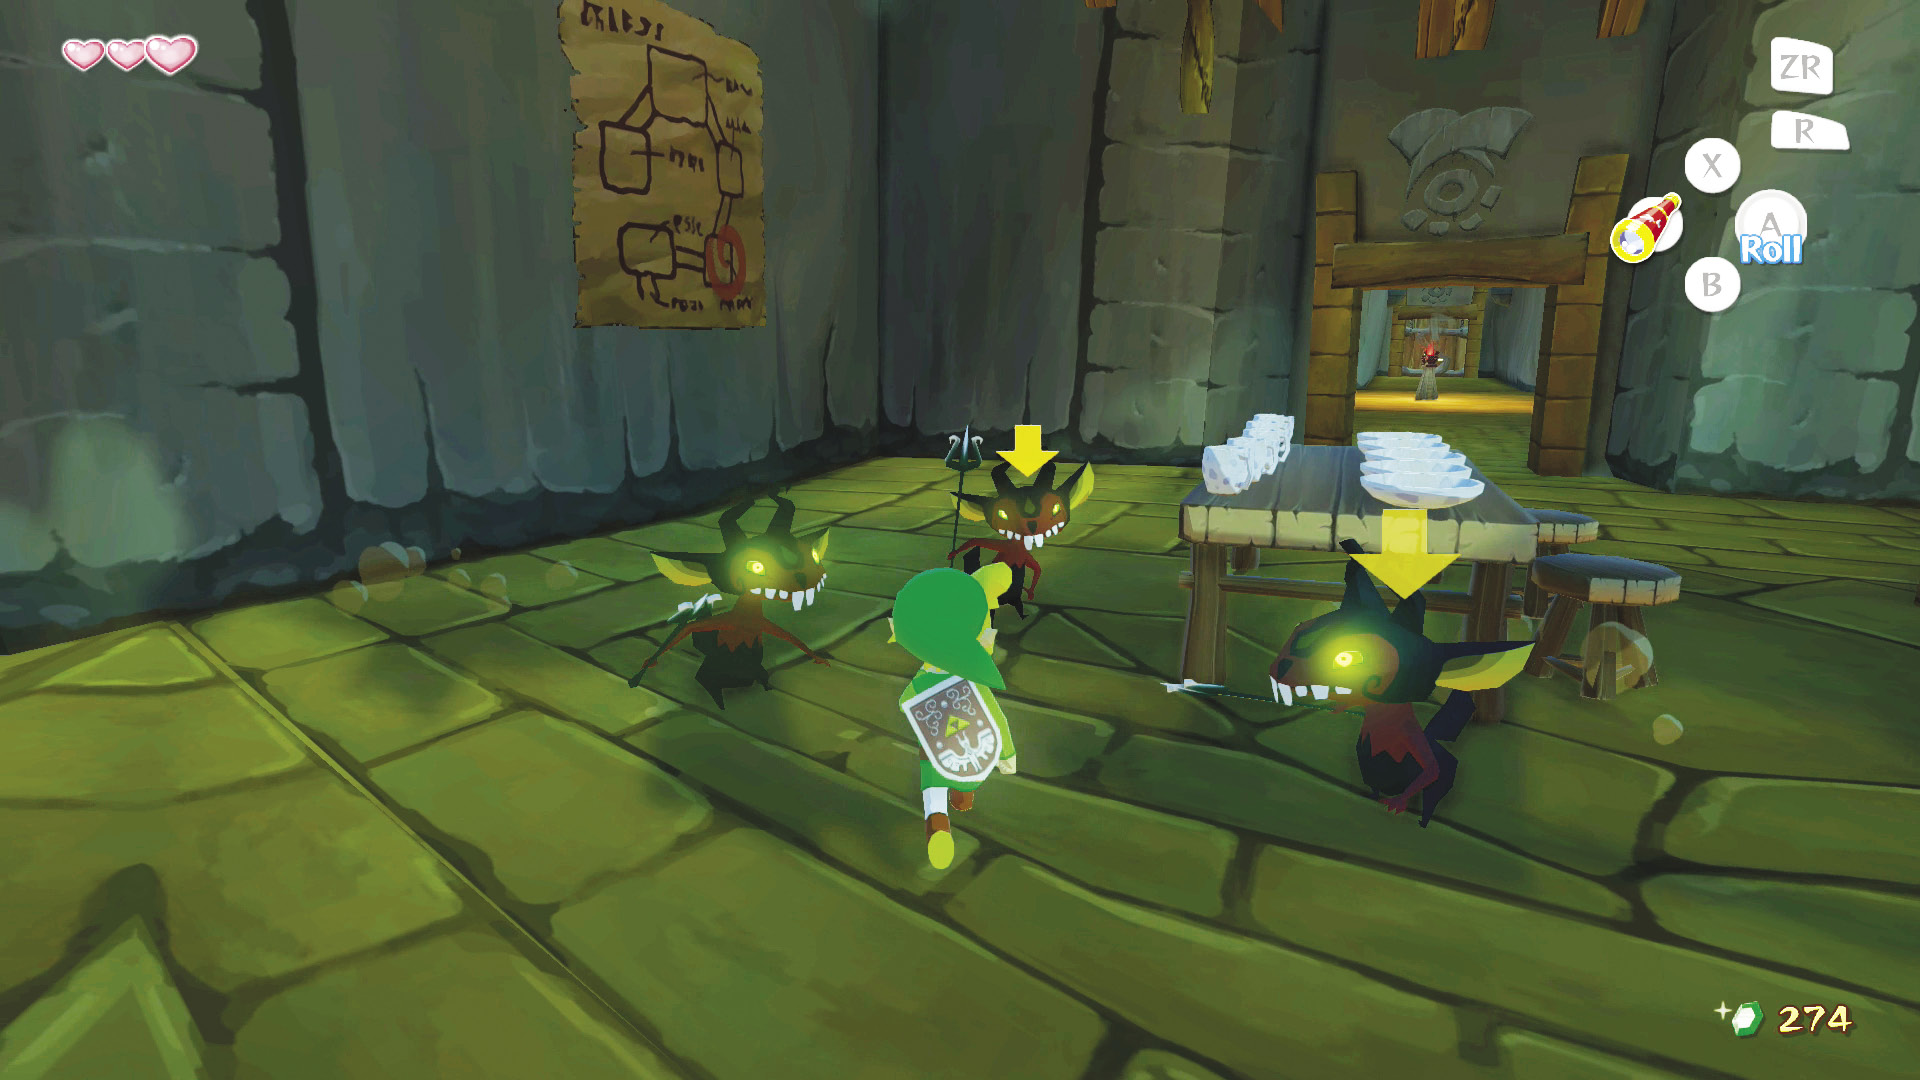 Miniblins are like a combination of Blue Bokoblins and Rats. They go down easily, attack in packs, can climb walls, and are pretty speedy little monsters. However, they are relentless in their wave-after-wave attack habits. You can take them out with one hit by just about anything, but they usually replace their fallen with backup, so you’ll have to fight several of them to stop the attack. Even with the Hero’s Sword, these guys are not to be trifled with. Without the Hero’s Sword, you should run, and run fast. |
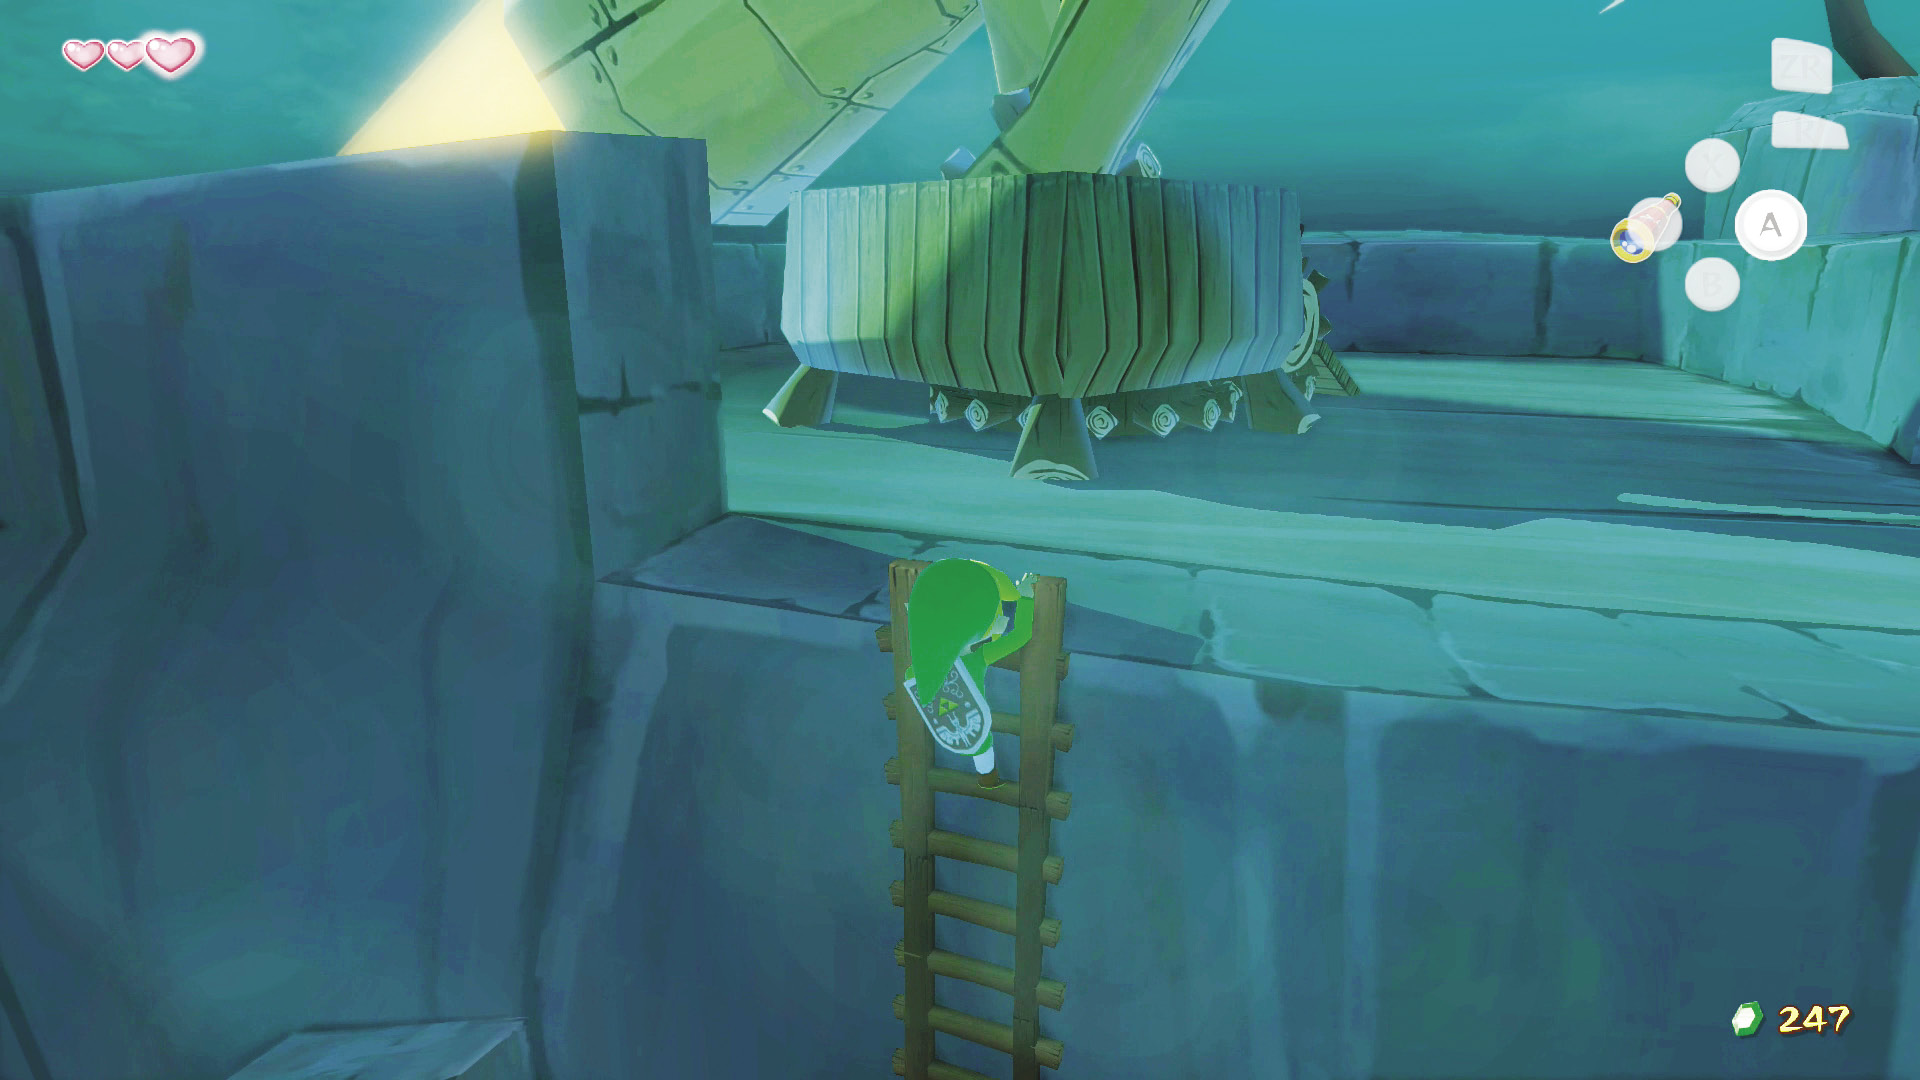
On the door’s other side, head down the hall and turn left at the second opening, then an immediate left up the slope. Follow the path to a ladder, on your right. There are two ladders on this platform, but you can’t climb the second one yet, so ignore it for the time being. Instead, climb the ladder on the right and you’ll be at the third and final set of searchlights. Again, the pot of Deku Sticks is on your left at the top of the ladder. Break it and do what you do best: thump the Bokoblin operating the searchlight.
4. Moblin Mania
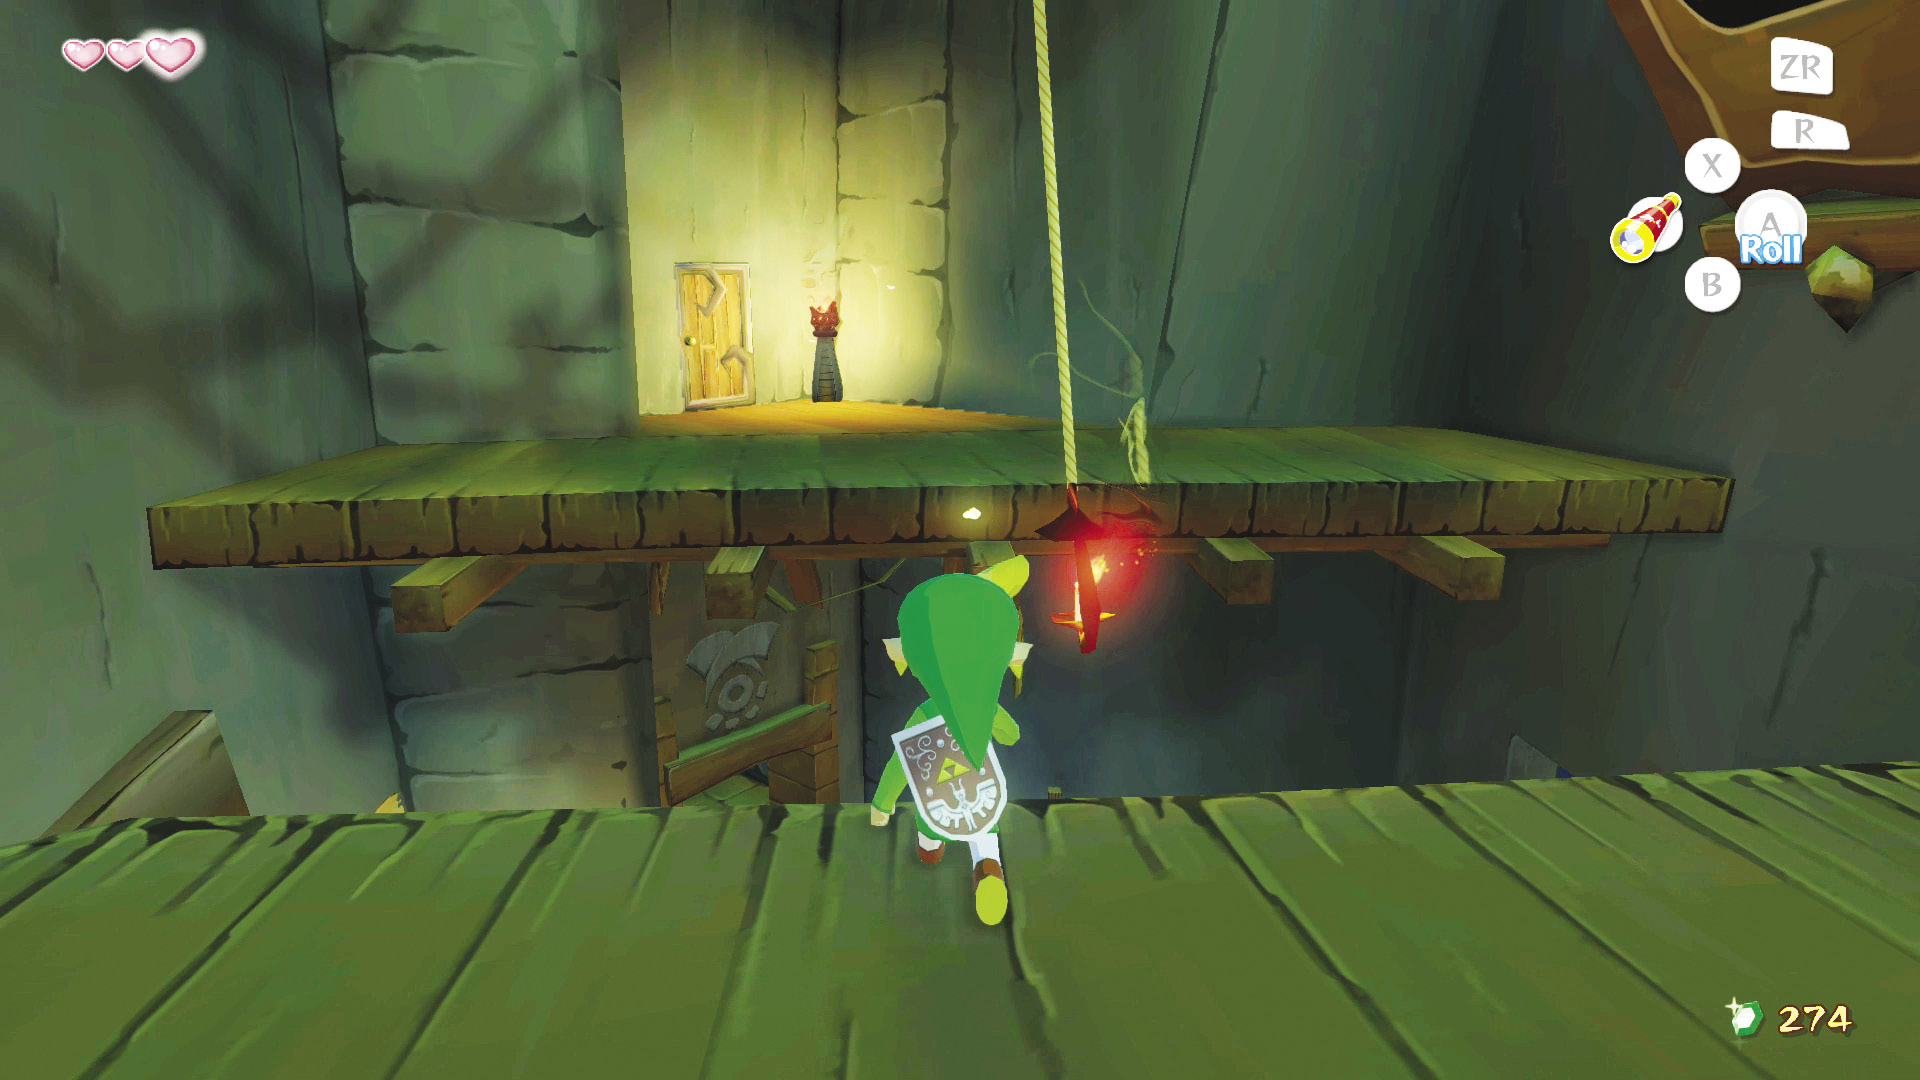
Once finished with the Bokoblin, climb down the ladder, head down the slope, go back through the opening, and take a left in the hall. Go through the door at the end of the hall. Jump onto the lantern hanging from the ceiling and swing to the other side. Head through the door to the next room.
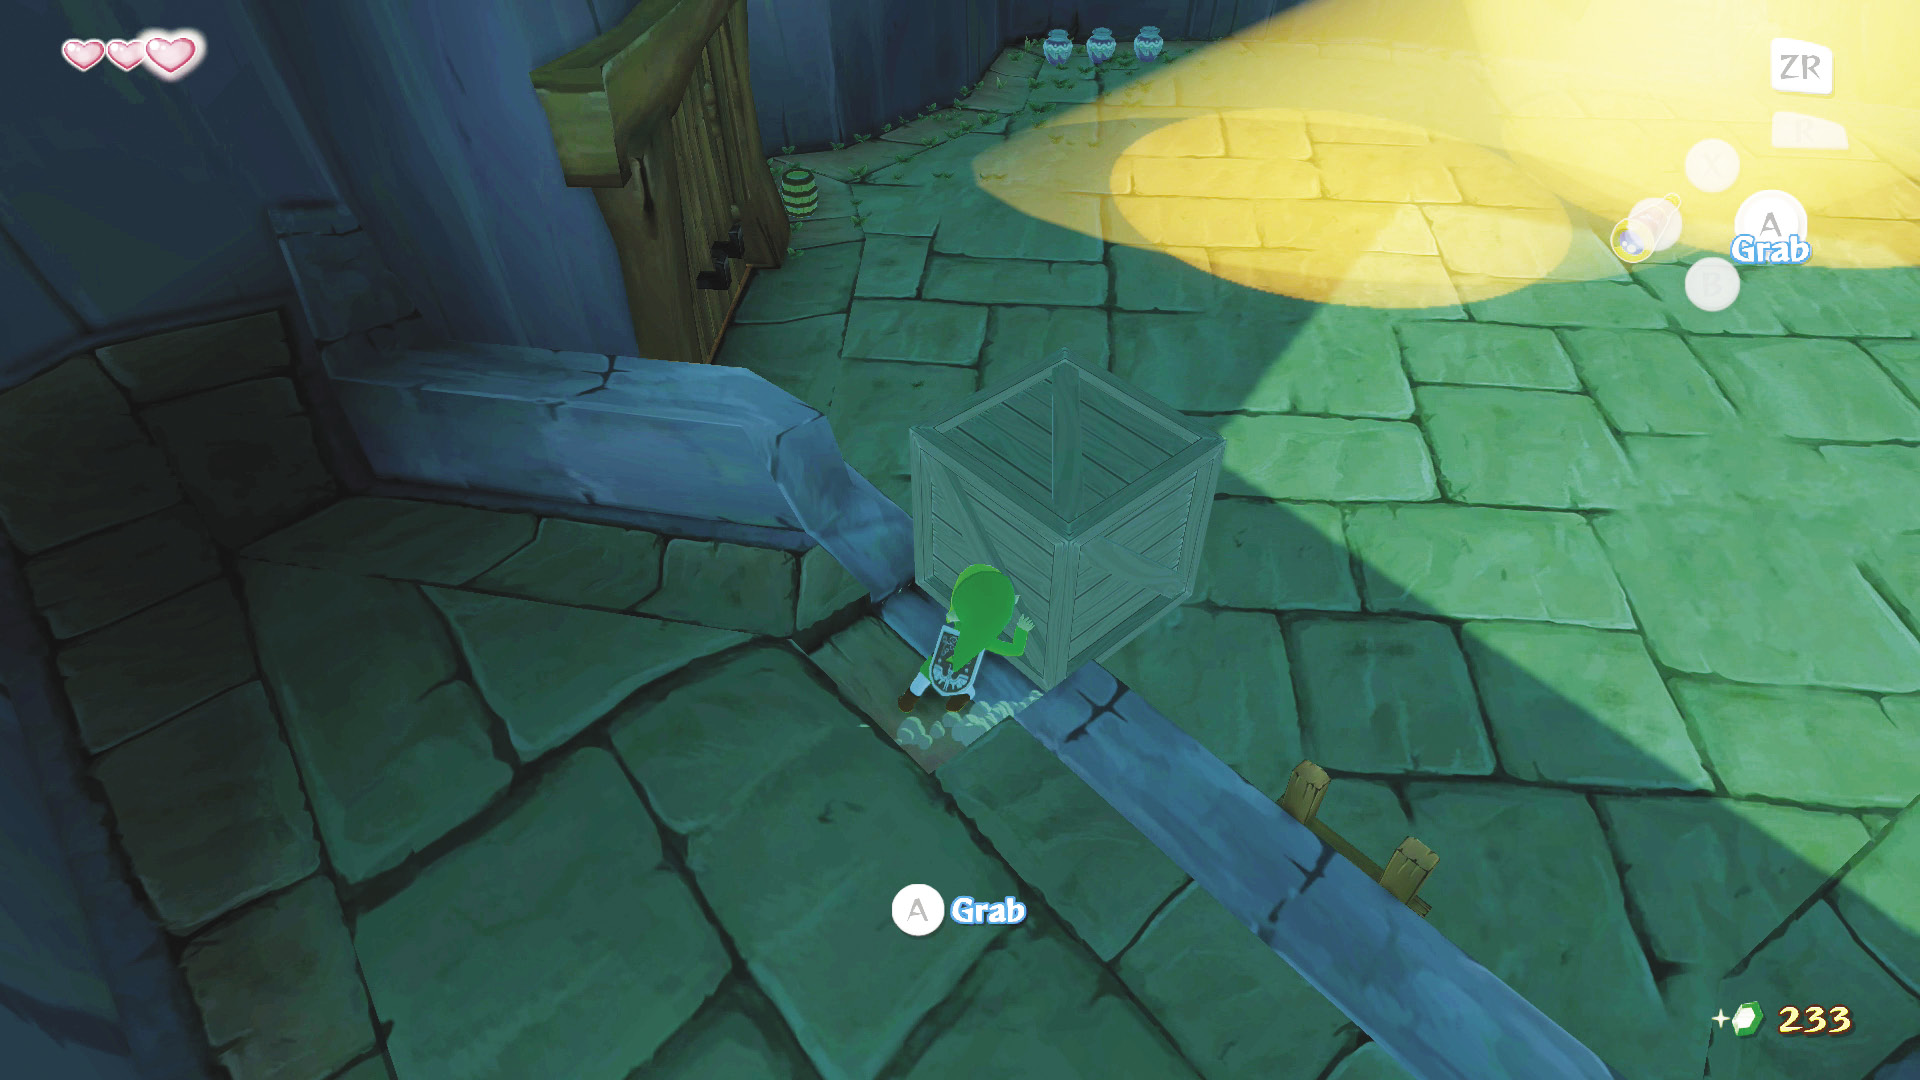
You’re now back outside. Nothing like some good ol’-fashioned fresh air to lift your spirits in this dreary place. Head down the passage and turn left to find a box sitting on a ledge. Push the box over the ledge by holding 3; this will create a quick way to get back to this location if you fall off a ledge at any point while in the outside areas of the Forsaken Fortress. Afterward, turn around and head through the door on your left.
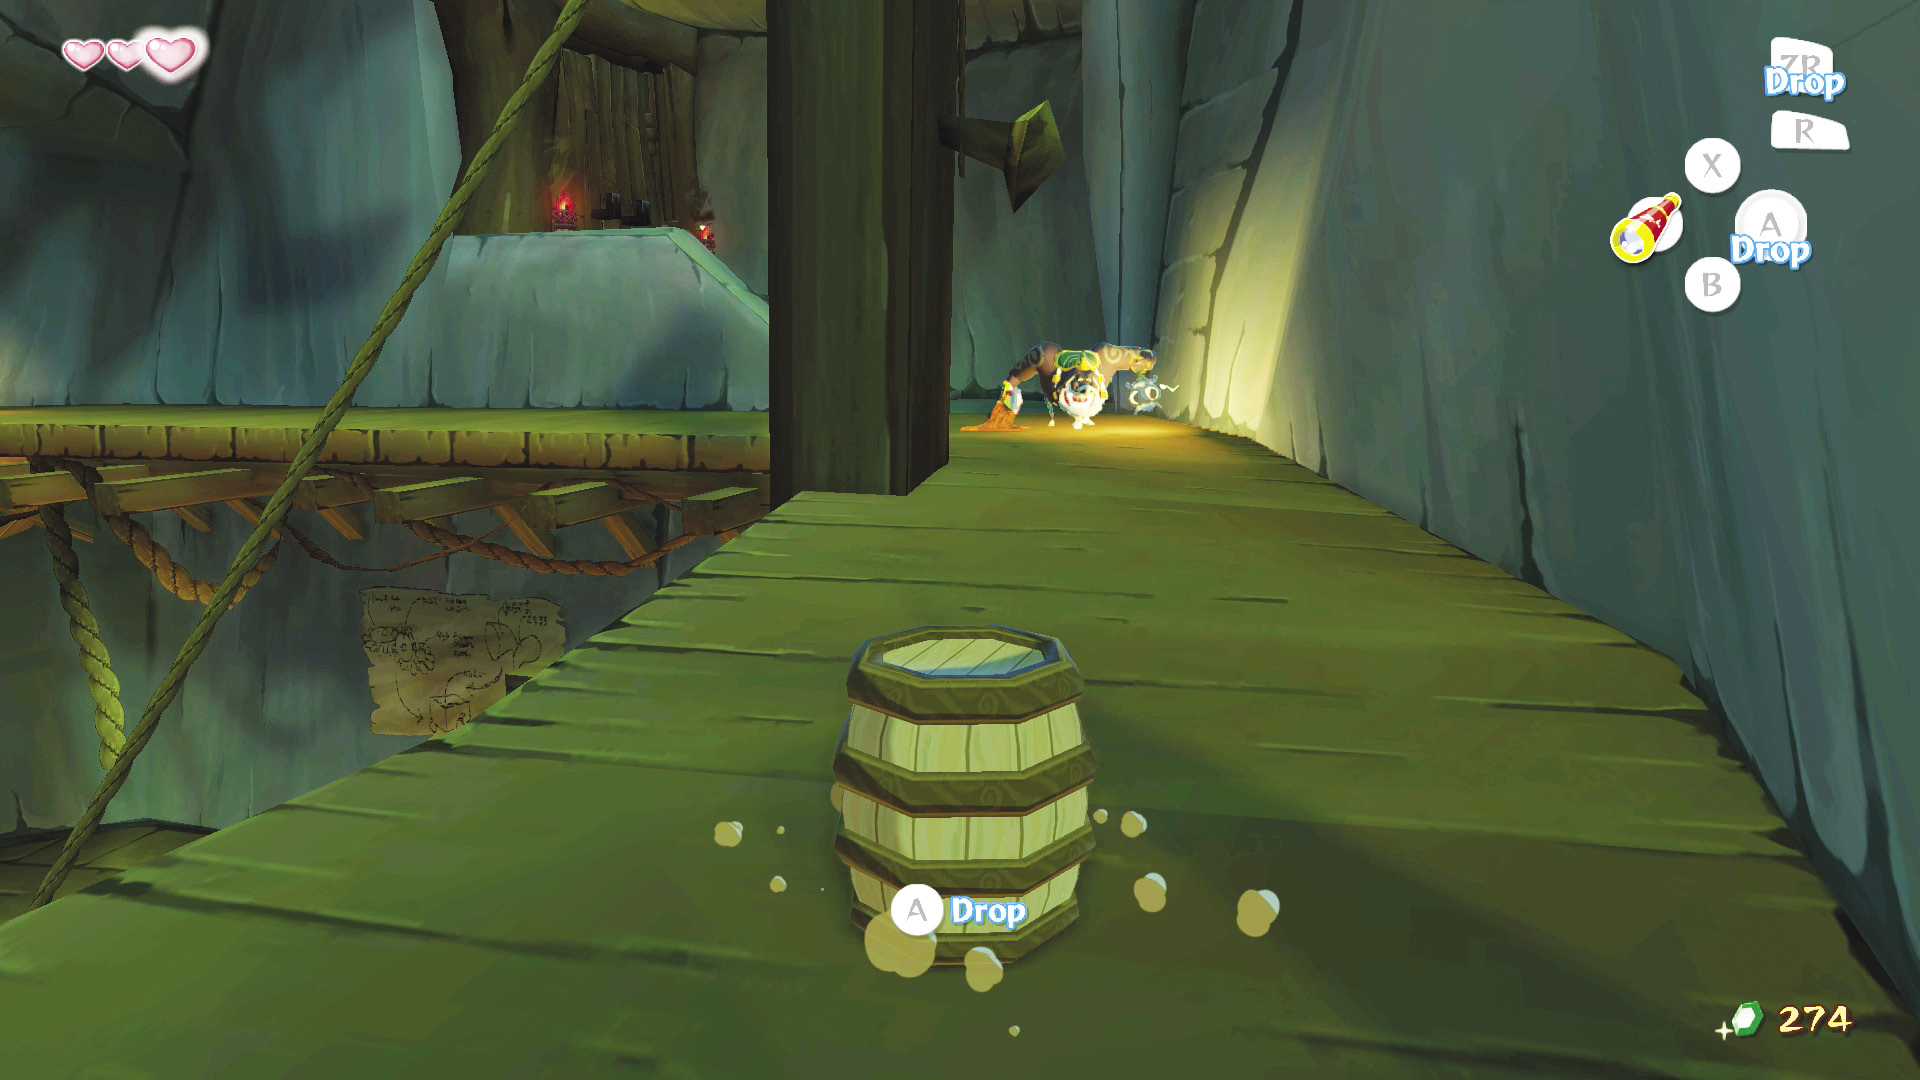
You’ll find two patrolling Moblins in this room. You have no way of defeating them without your Hero’s Sword, so stay hidden; if they spot you, they’ll escort you to your very own deluxe holding cell, setting you back to the Treasure Map room. After entering the room, look left to find a barrel: grab it to stay hidden from the Moblins. With your barrel, head down the passage, avoiding detection. Your destination is the door just up the small flight of stairs at the room’s north end.
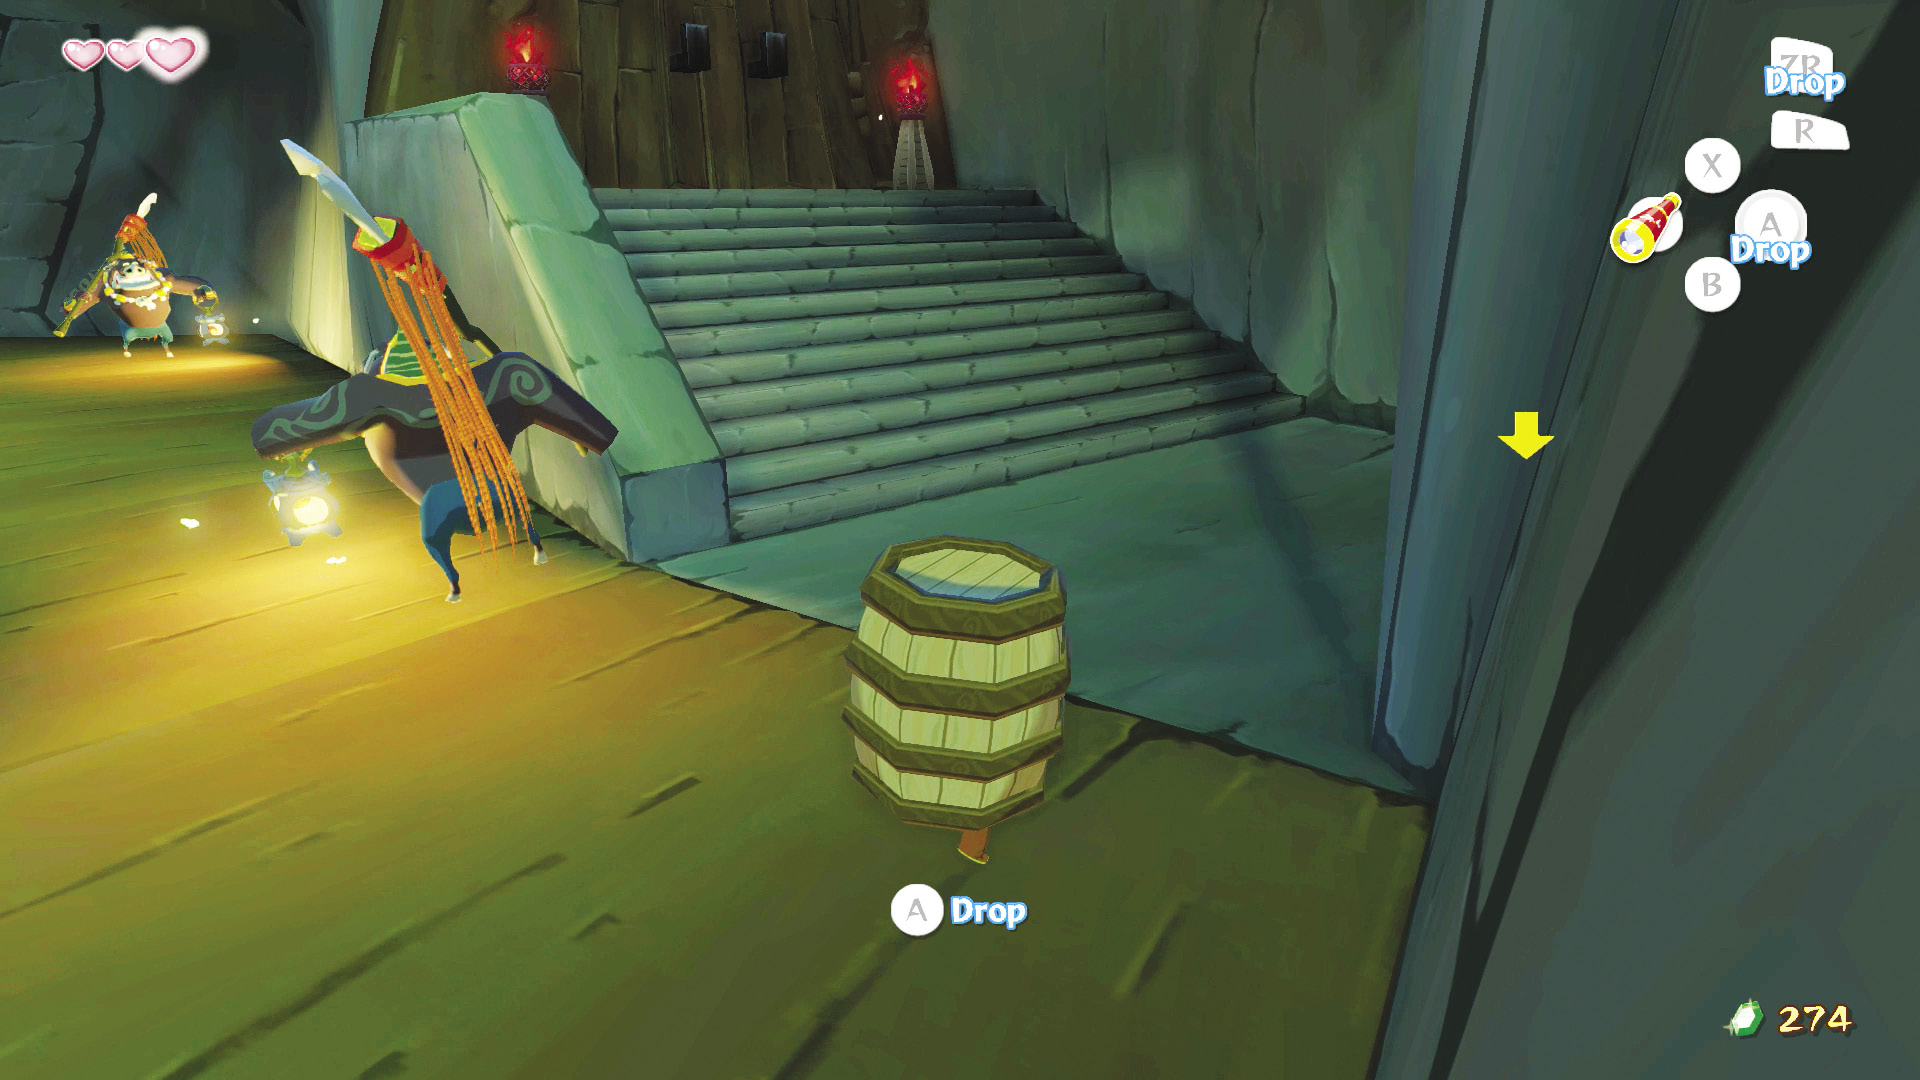
The best way to avoid Moblins is to tilt W slightly to walk slowly when near one. When near a Moblin, stay still and wait for it to pass before moving again. If a Moblin detects you and you were moving slowly, it will recoil; this is your cue to stop moving. If you are fast enough, the Moblin will ignore you and go back to its patrol.
Enemy: Moblin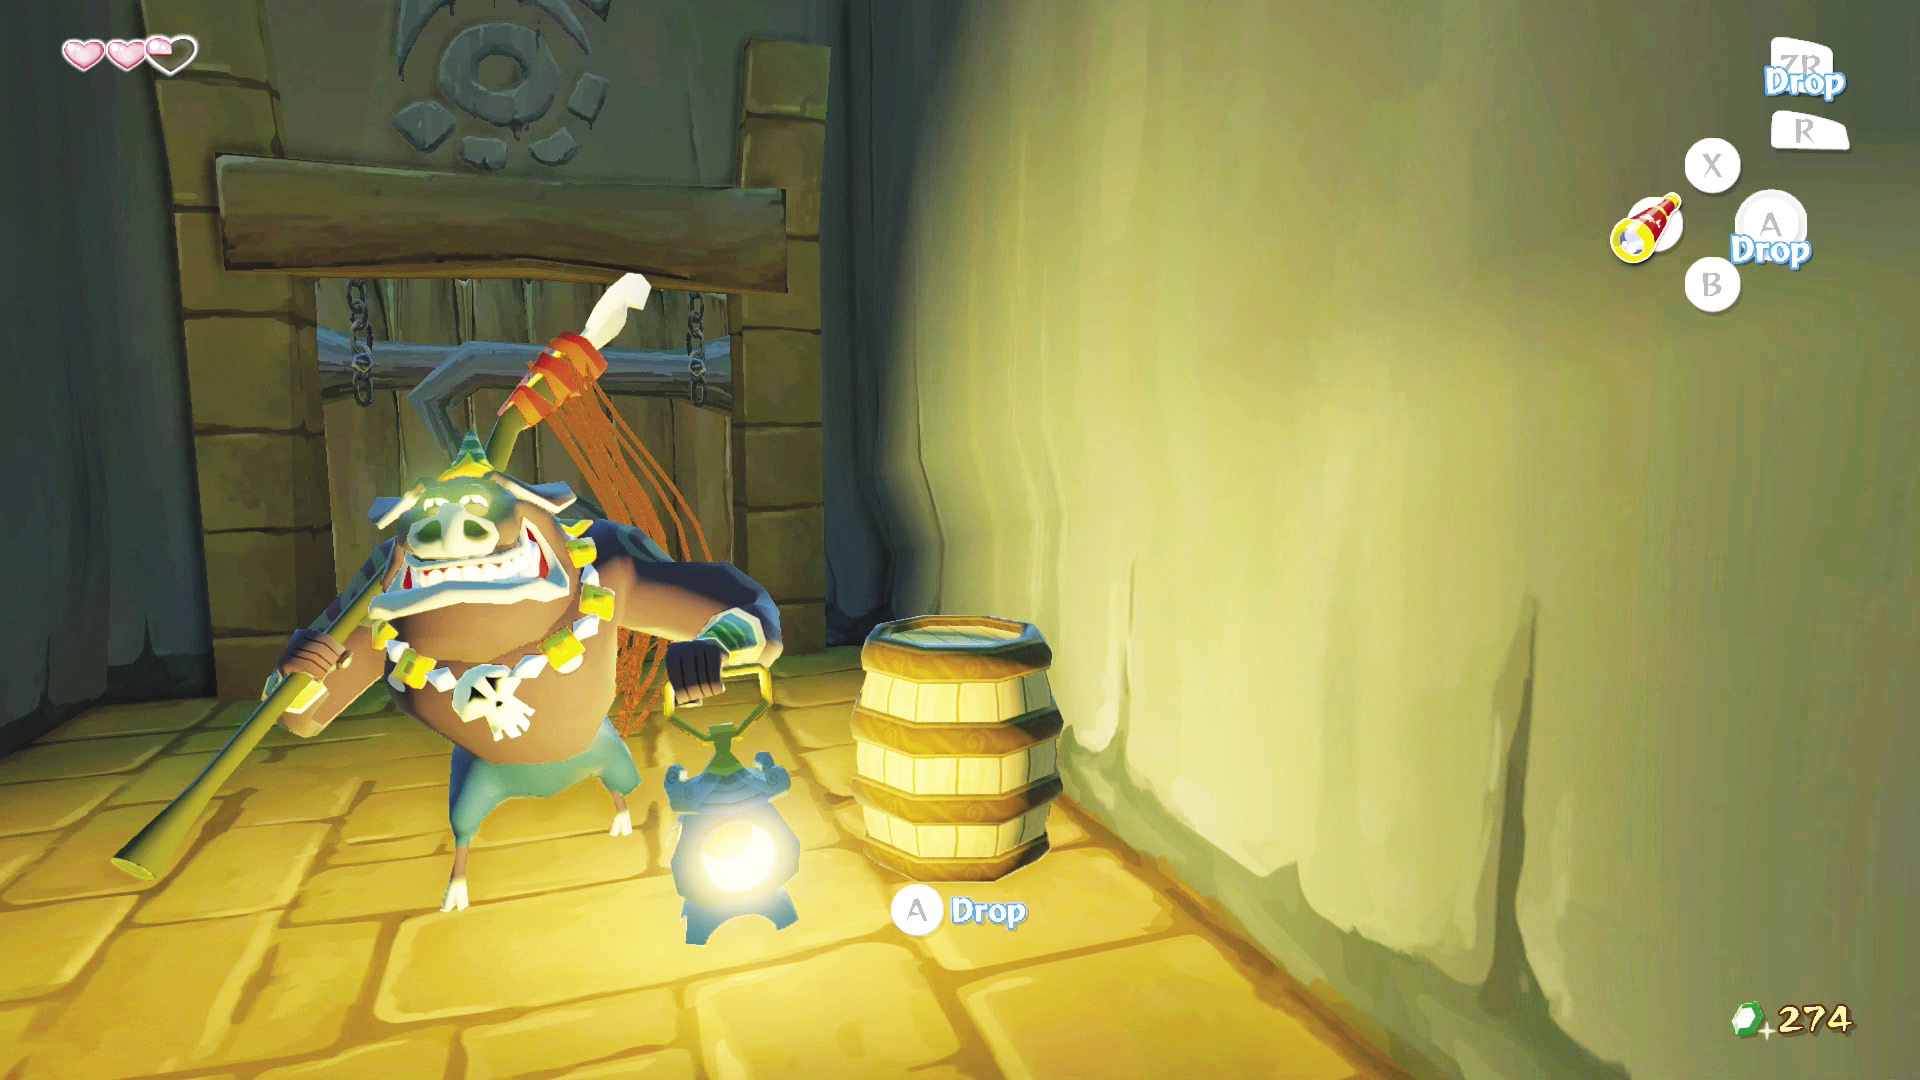 Moblins are giant pig beasts that are vicious warriors when faced in armed combat. Luckily, your first meeting with the Moblins won’t result in combat, but you will have to battle their keen sense of smell and unceasing patrol of the Forsaken Fortress. Stay hidden, be patient, and move slowly to avoid detection by these monsters. If they do spot you, it’ll be straight to a holding cell! |
5. Onward and Upward
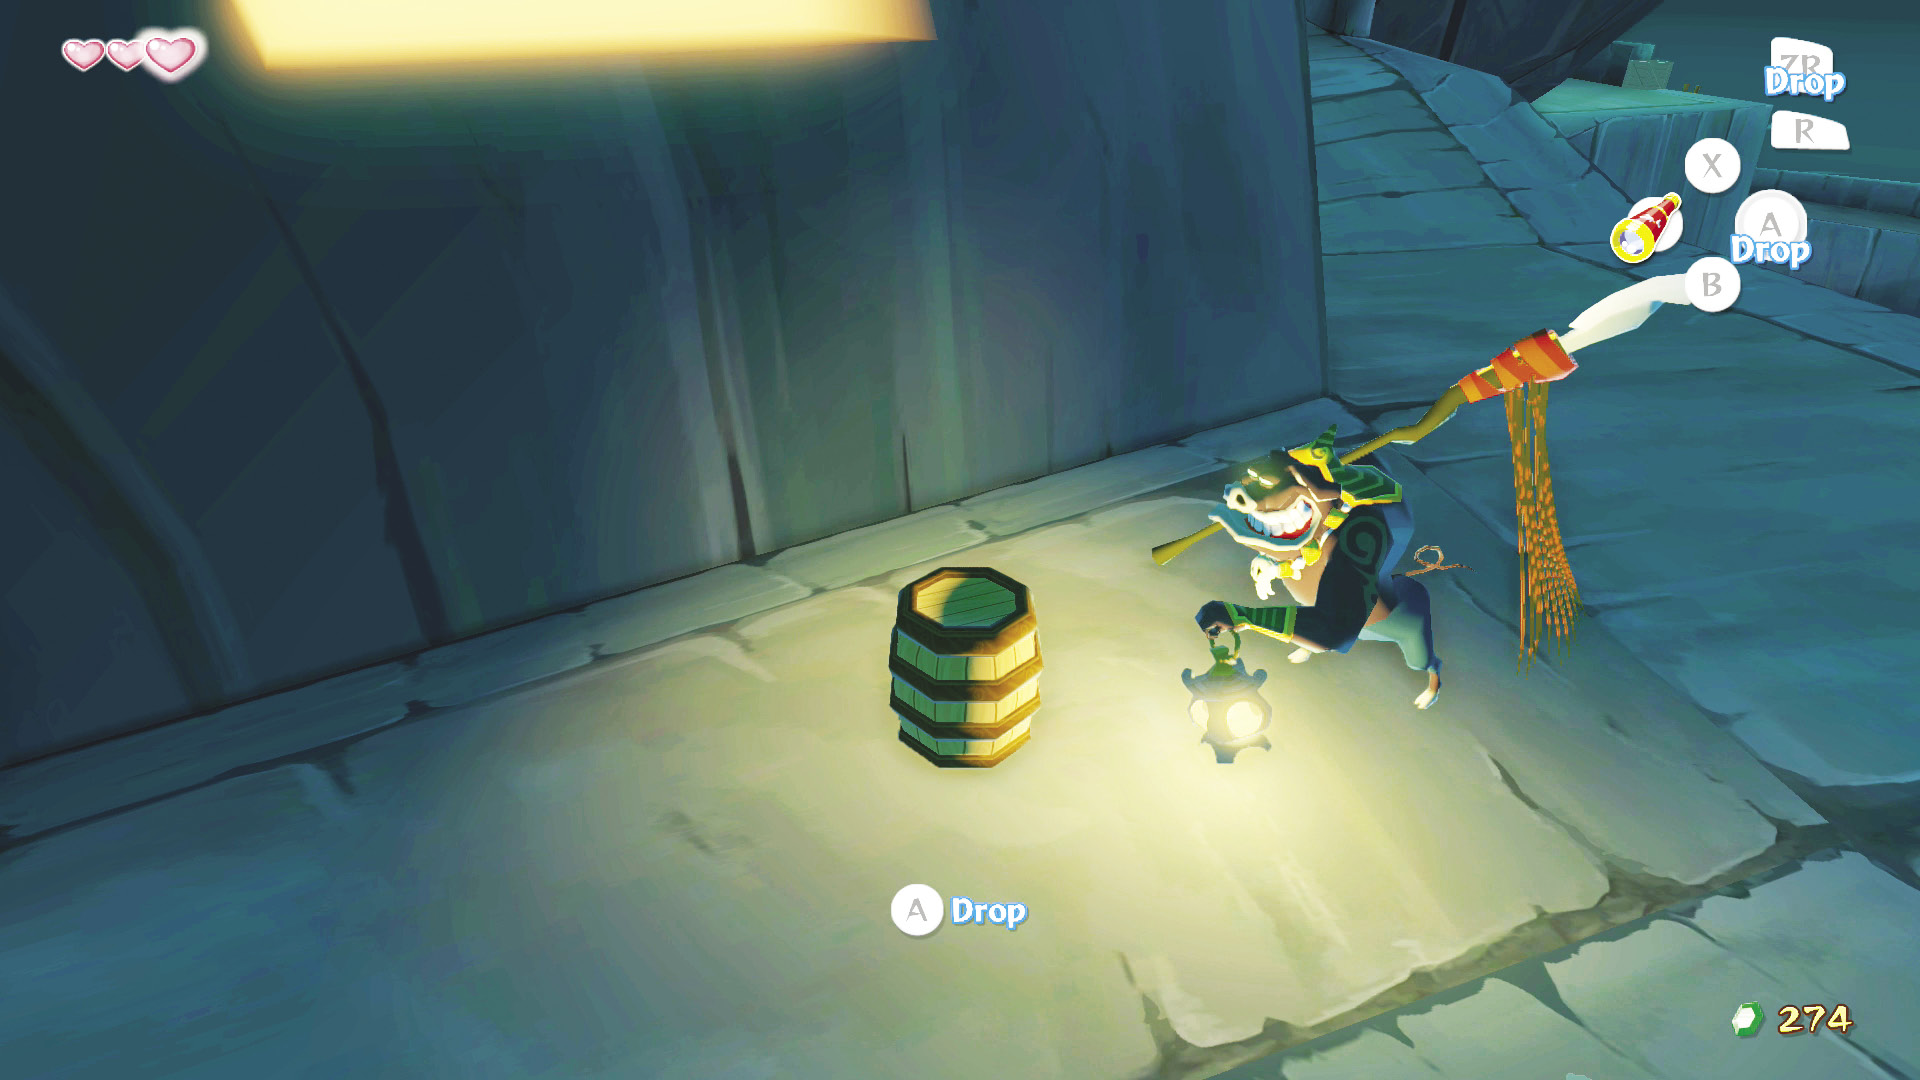
Outside again, climb the three large flights of stairs and grab the barrel at the top. Head down the path to the left of the stairs. A Moblin patrols in the distance; just sneak past it the same way you did in the room before and turn left around the corner. Head past the yellow lit window on your left and then remove the barrel—you are safe here.
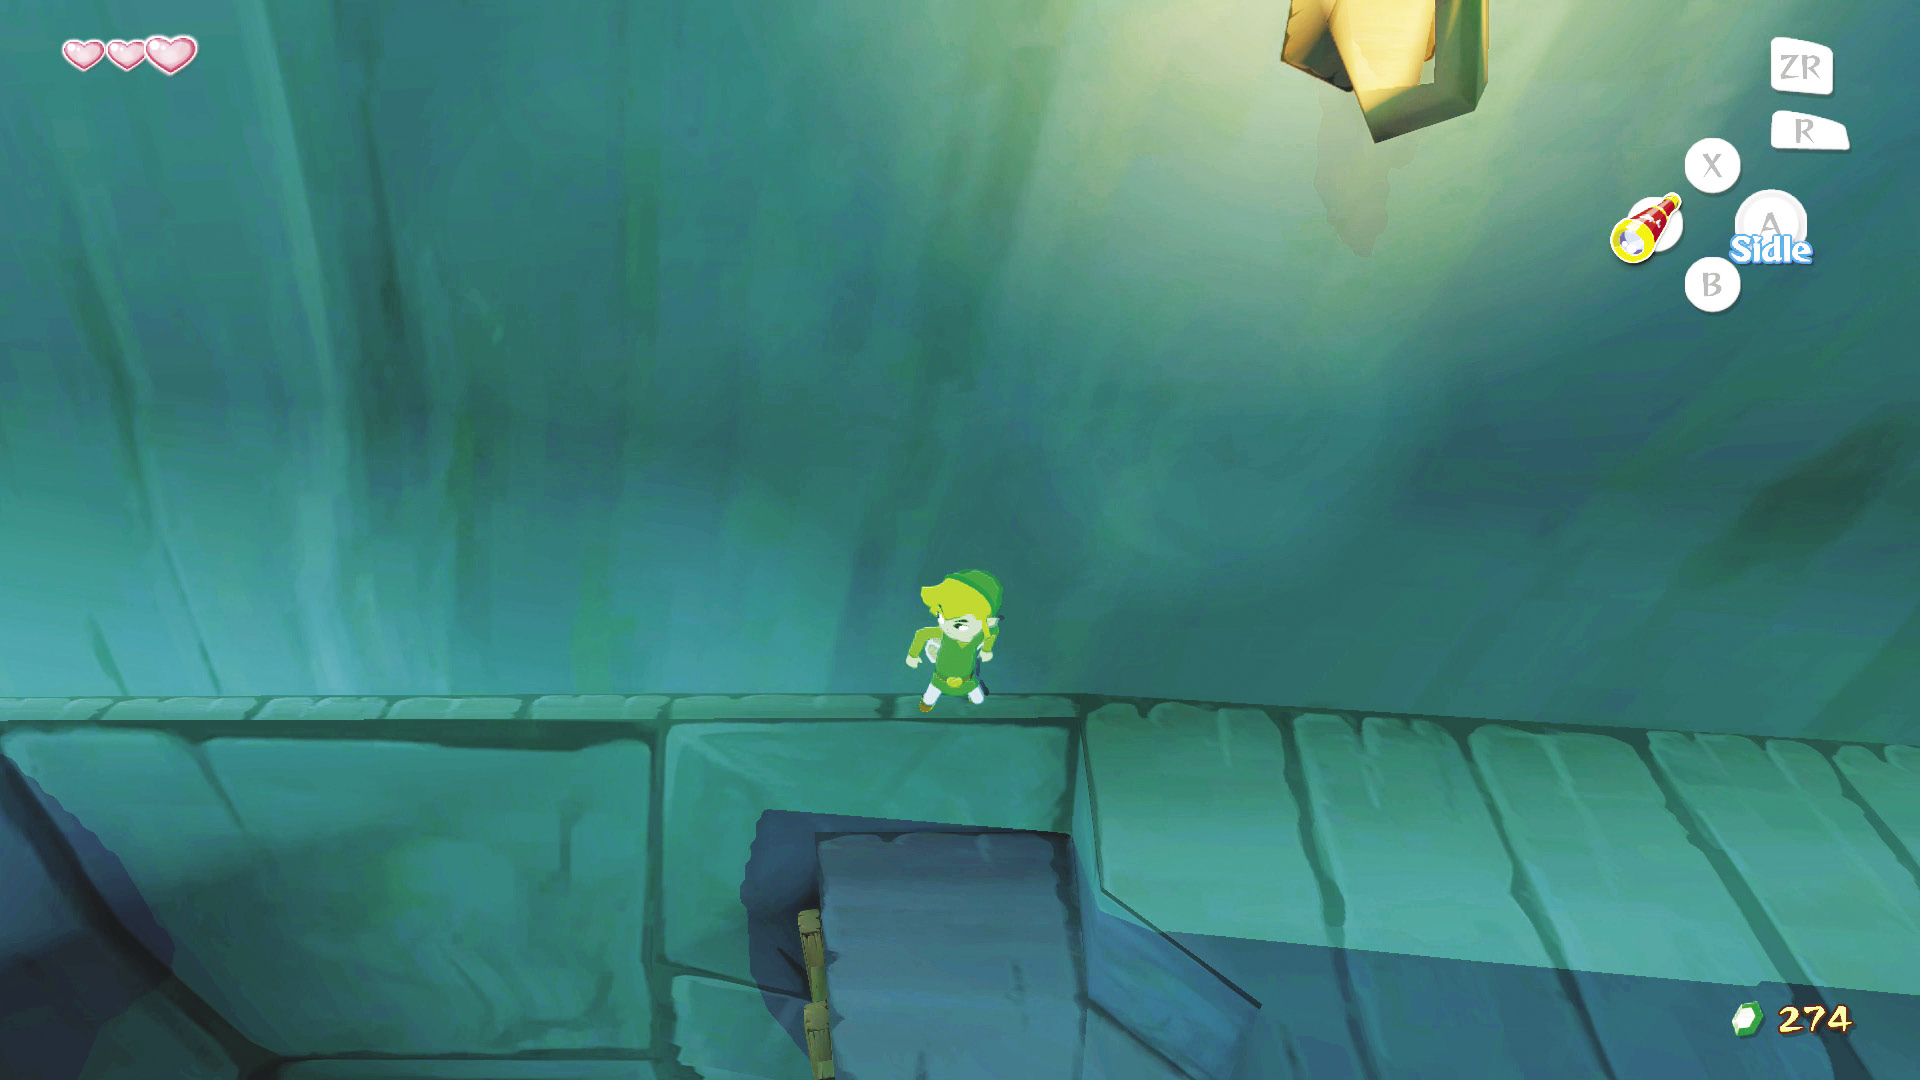
Continue up the slope to a gap. Jump into this gap and head left, and you’ll find another box sitting on a ledge. Push it over the ledge to create another quick route back to this location in case you fall, then turn around and climb the ladder back up to your previous location. Now you’re back at the gap and probably wondering how to deal with such a seemingly impassible obstacle. Well Link, the clever devil, is nothing if not resourceful. Simply walk toward the wall and press and hold # when the # icon in the screen’s top-right corner says “Sidle.” This will flatten Link against the wall, allowing him to walk across the tiny ledge.
On the other side of the gap, you’ll be faced with a second gap. Do not fall into this gap;otherwise you could end up in the lower levels of the Forsaken Fortress, losing a ton of progress. Cross the gap just like you did the last time and head up the stairs.
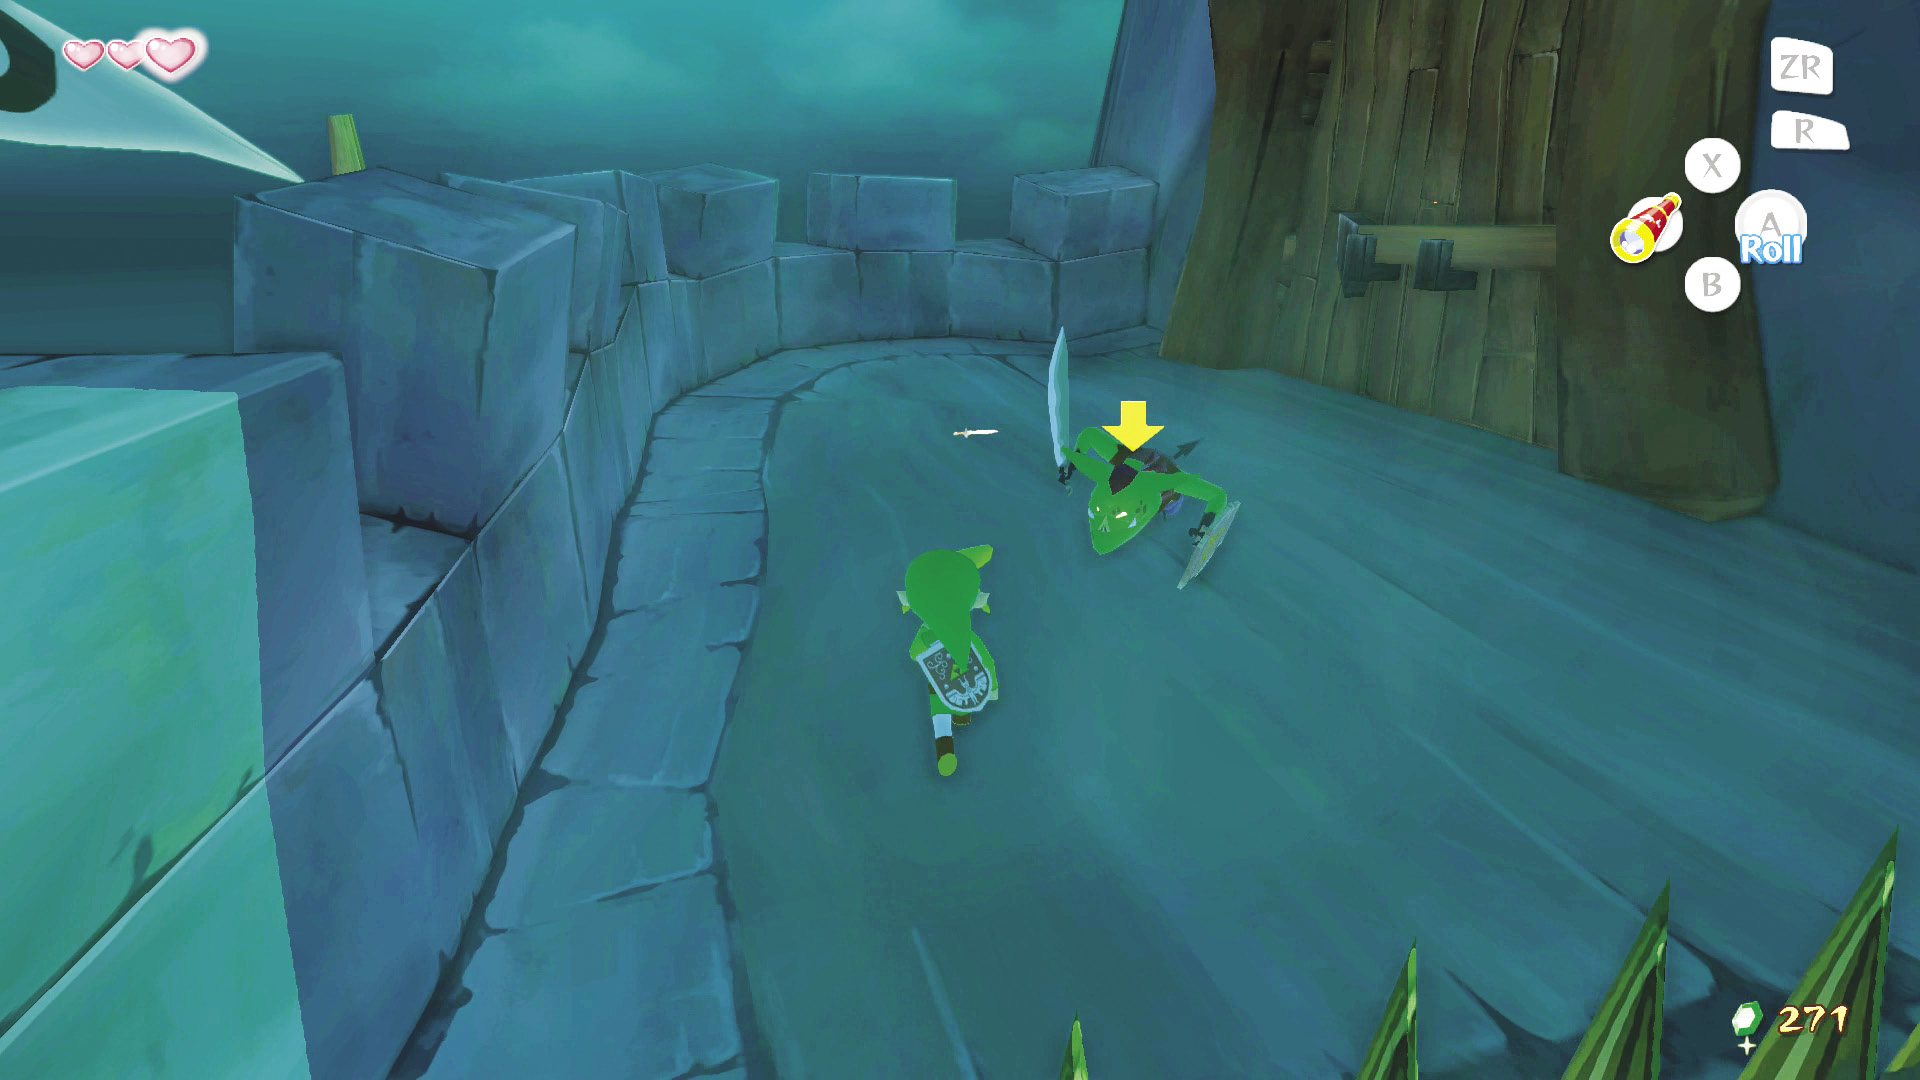
At the top of the stairs and just past the metal grate, Link will notice his sword laying on the ground. Ecstatic, Link jumps for joy, failing to realize that a Shield Bokoblin is standing nearby, watching his celebratory dance. Link quickly realizes his folly and gets his head in the game to challenge this new foe.
Enemy: Shield Bokoblin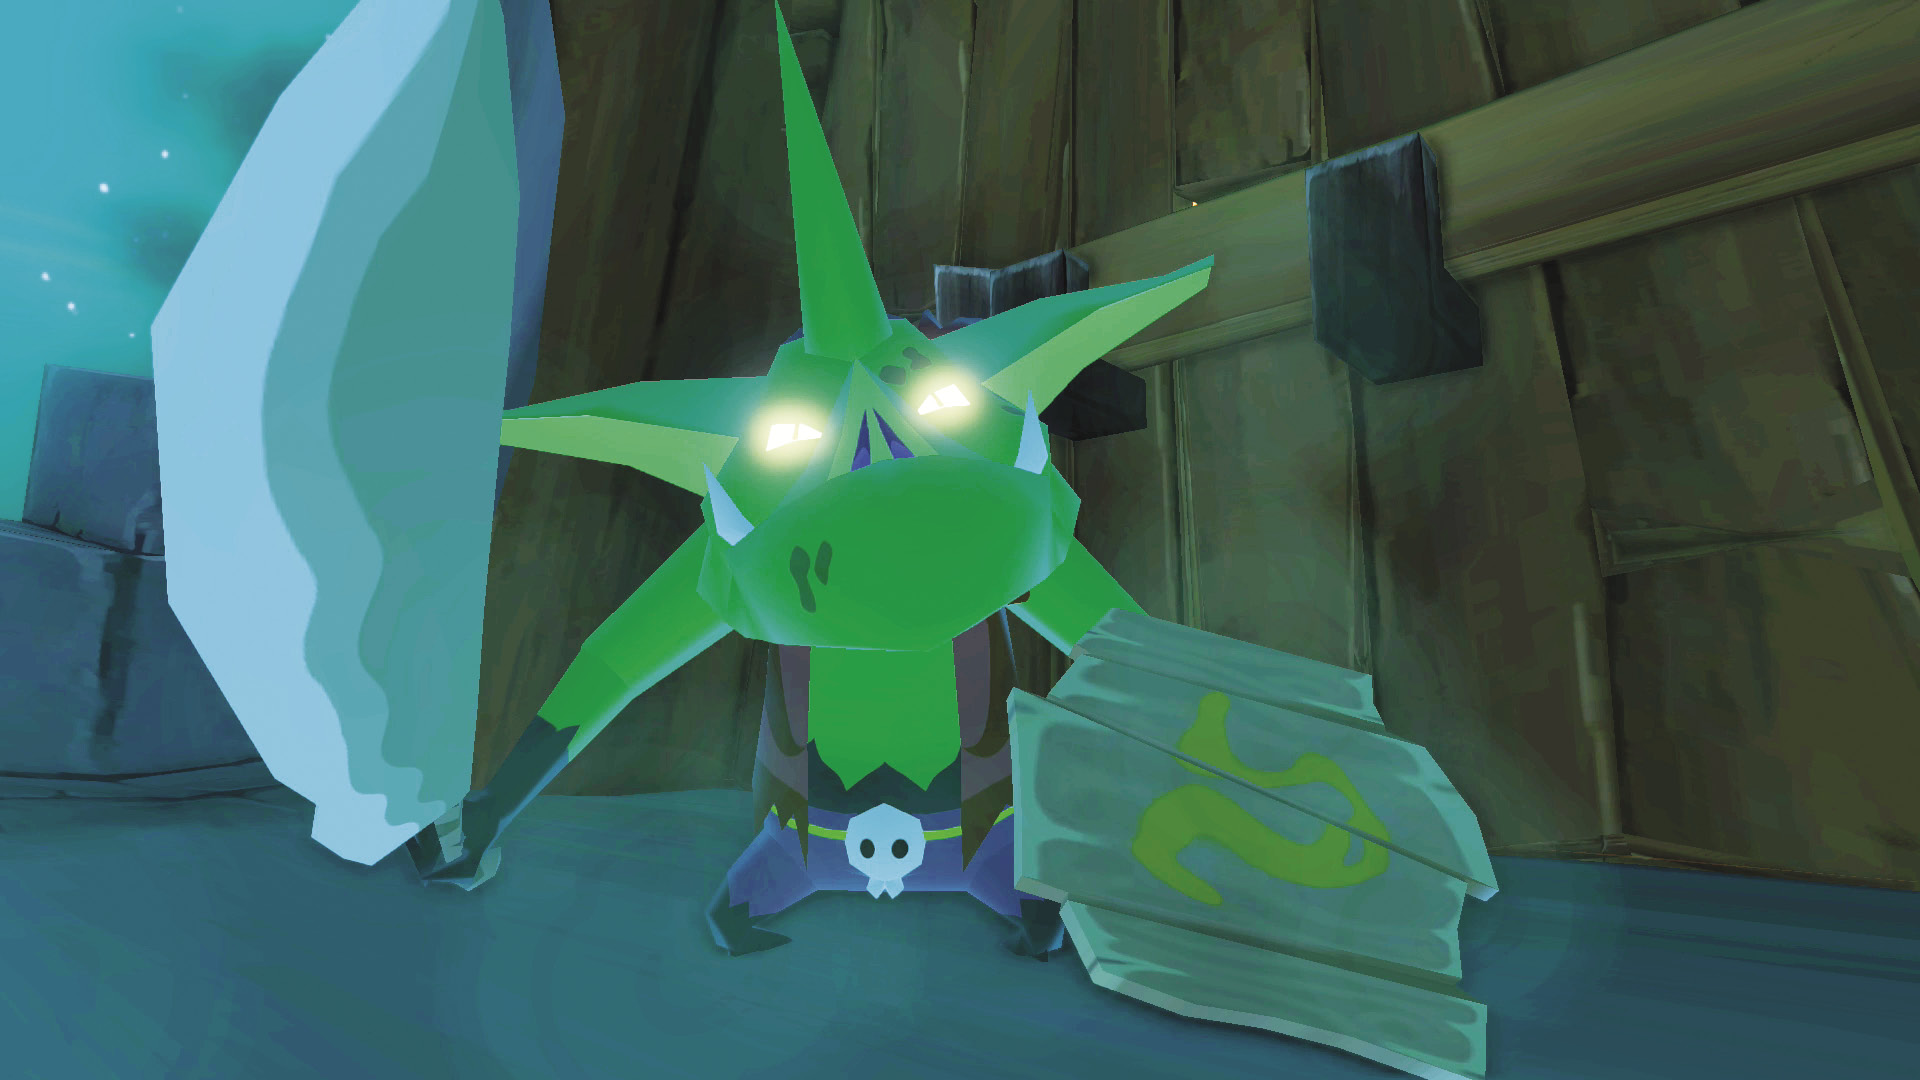 These guys are the real deal when it comes to seeing what Bokoblins can really do. Their shields can deflect your attacks, and they can take more damage than Blue Bokoblins before being defeated. However, they are still Bokoblins and you can defeat them easily by getting behind them and hitting them with your Hero’s Sword. Hitting them in the back will often knock them over and even disarm them, so make that your focal point whenever challenging a Shield Bokoblin. |
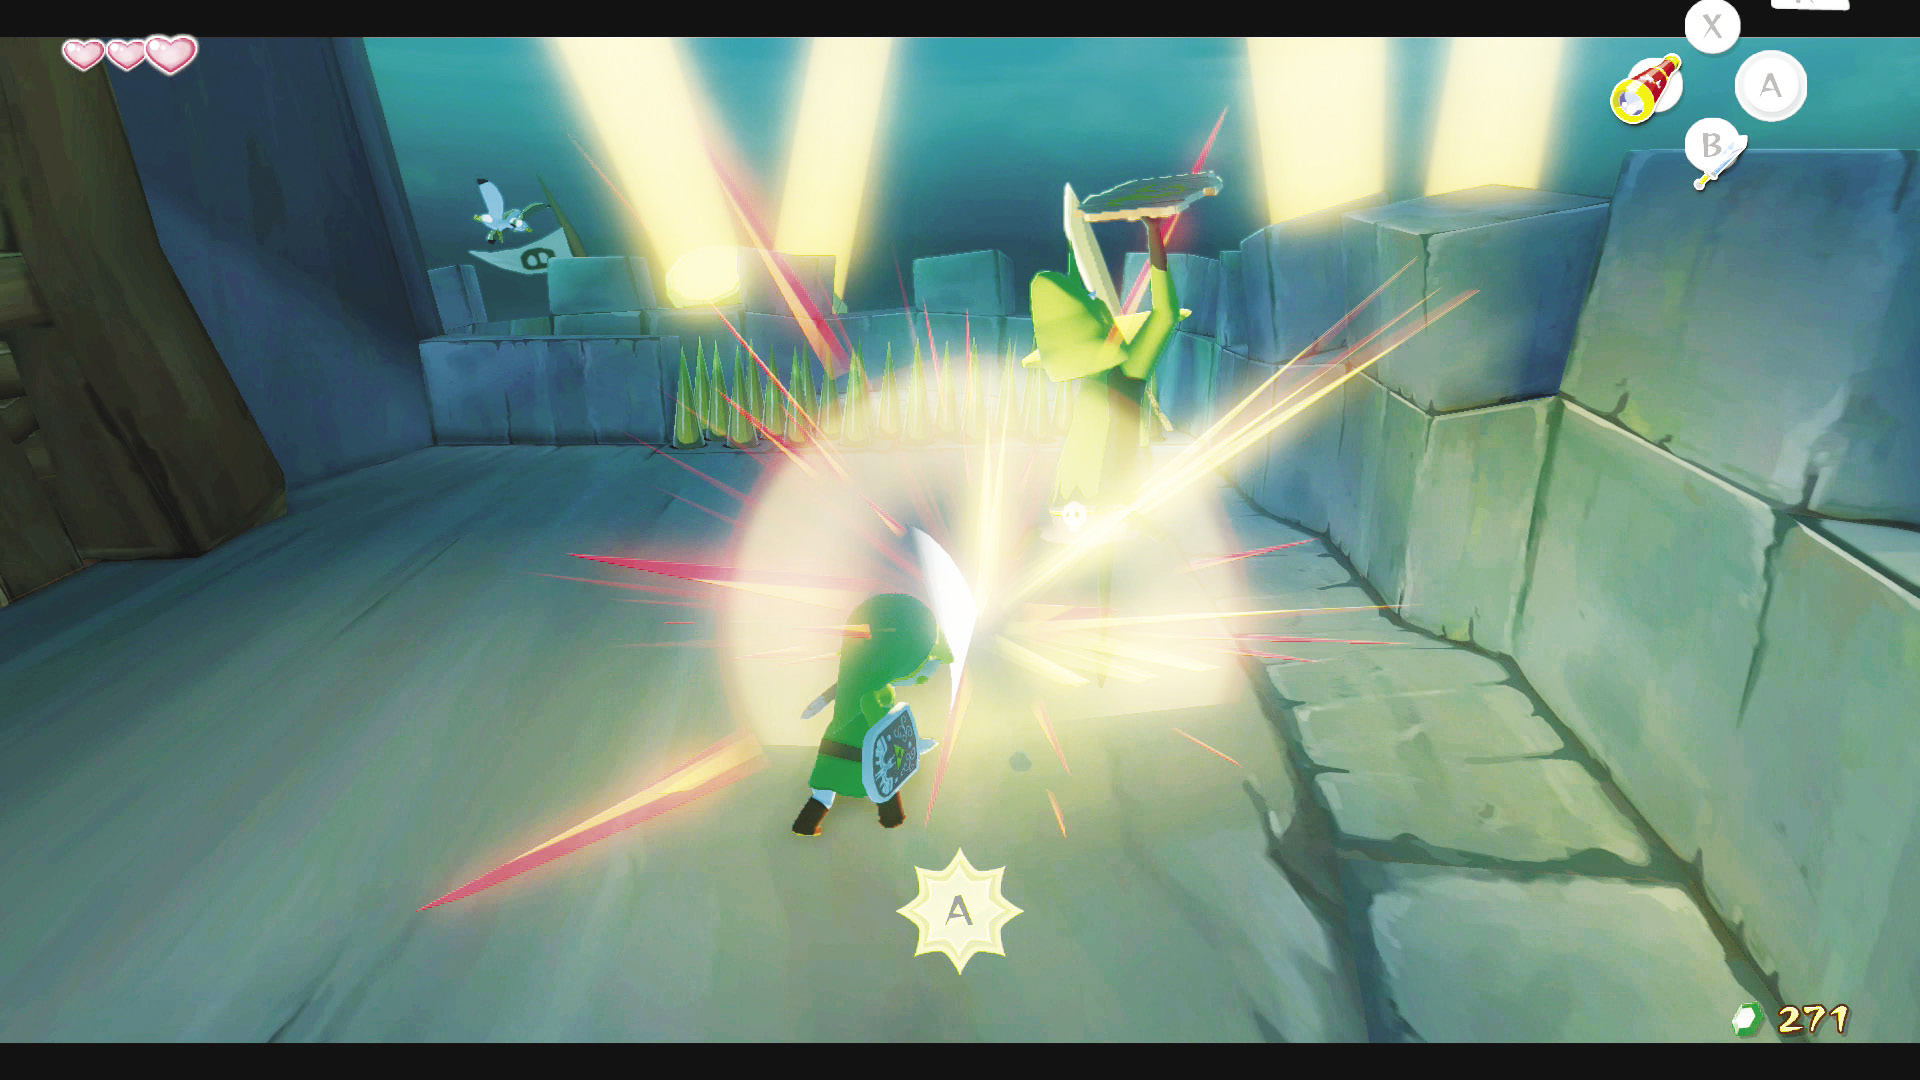
Grab your sword and get behind the Shield Bokoblin. Hit it in the back to make short work of it. Pay attention to when it’s about to strike and either attempt to dodge or deflect the attack with your shield by pushing 0. After defeating the Shield Bokoblin, head through the large set of wooden doors.
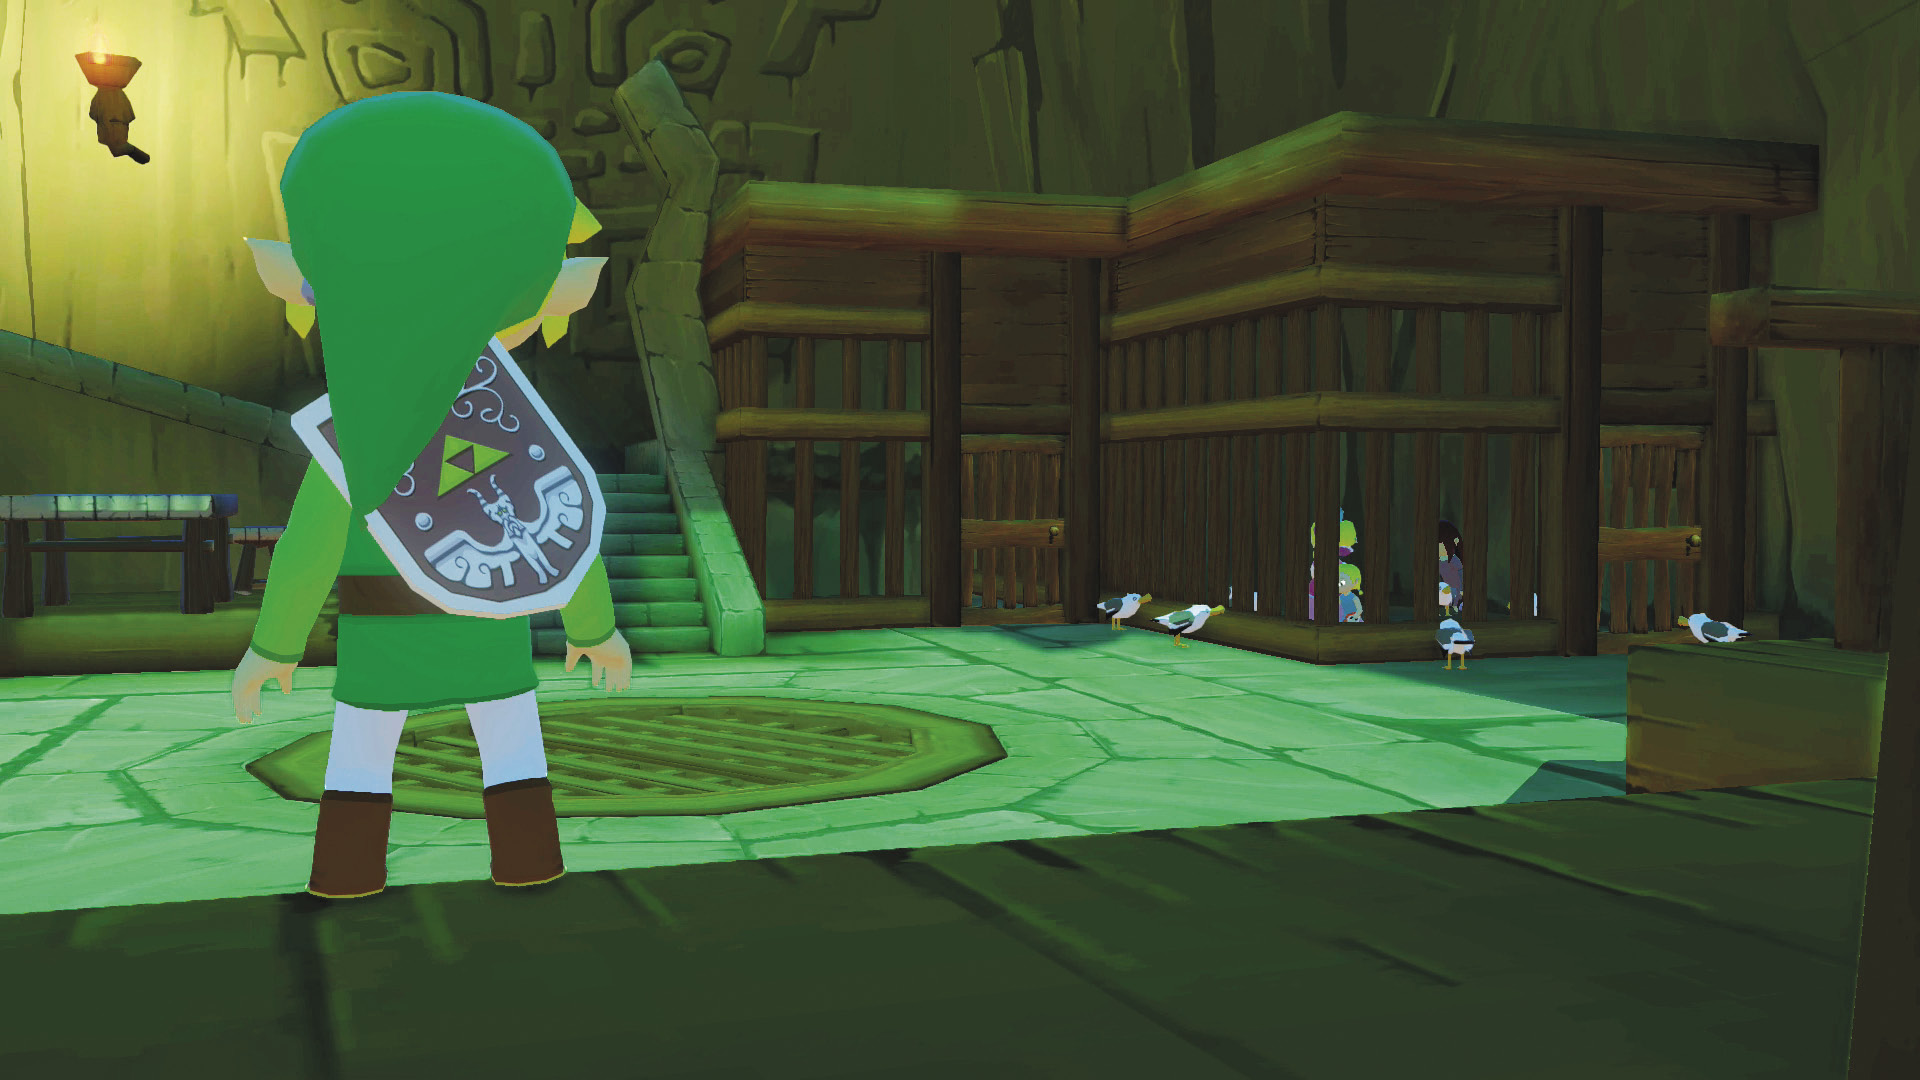
On the other side of the doors, Link notices a couple cages on the room’s right side, one of which has occupants. Upon further investigation, Link spots a familiar face. It’s Aryll! He races to set his little sister free, but before he makes it very far, that badgering bird swoops in and intercepts Link, flying out of the tower with him in his beak.
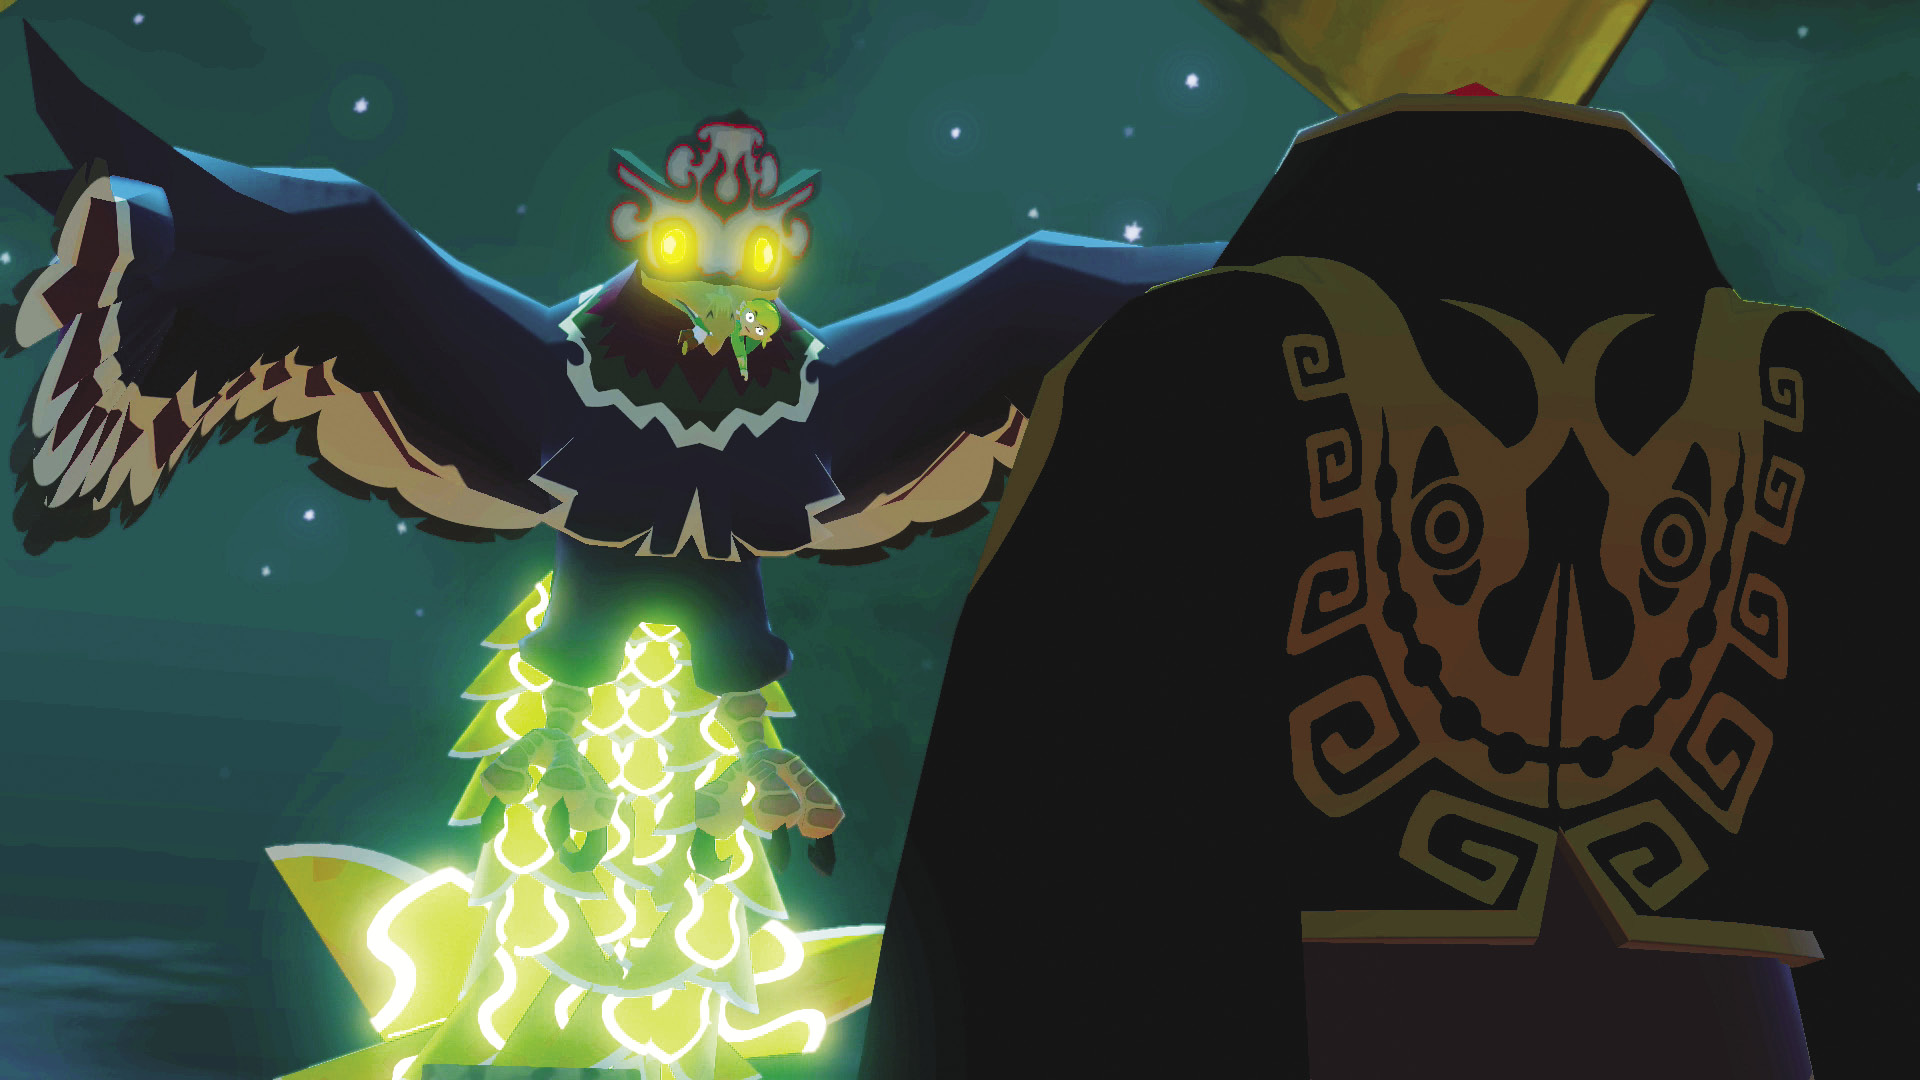
Link is presented to a malevolent-looking character who urges the bird to dispose of the newbie pirate. The bird, complying with the shadowy man’s wishes, tosses Link into the distance.