
The Legend of Zelda: The Wind Waker Guide Walkthrough Restoring Evils Bane: The Earth Temple
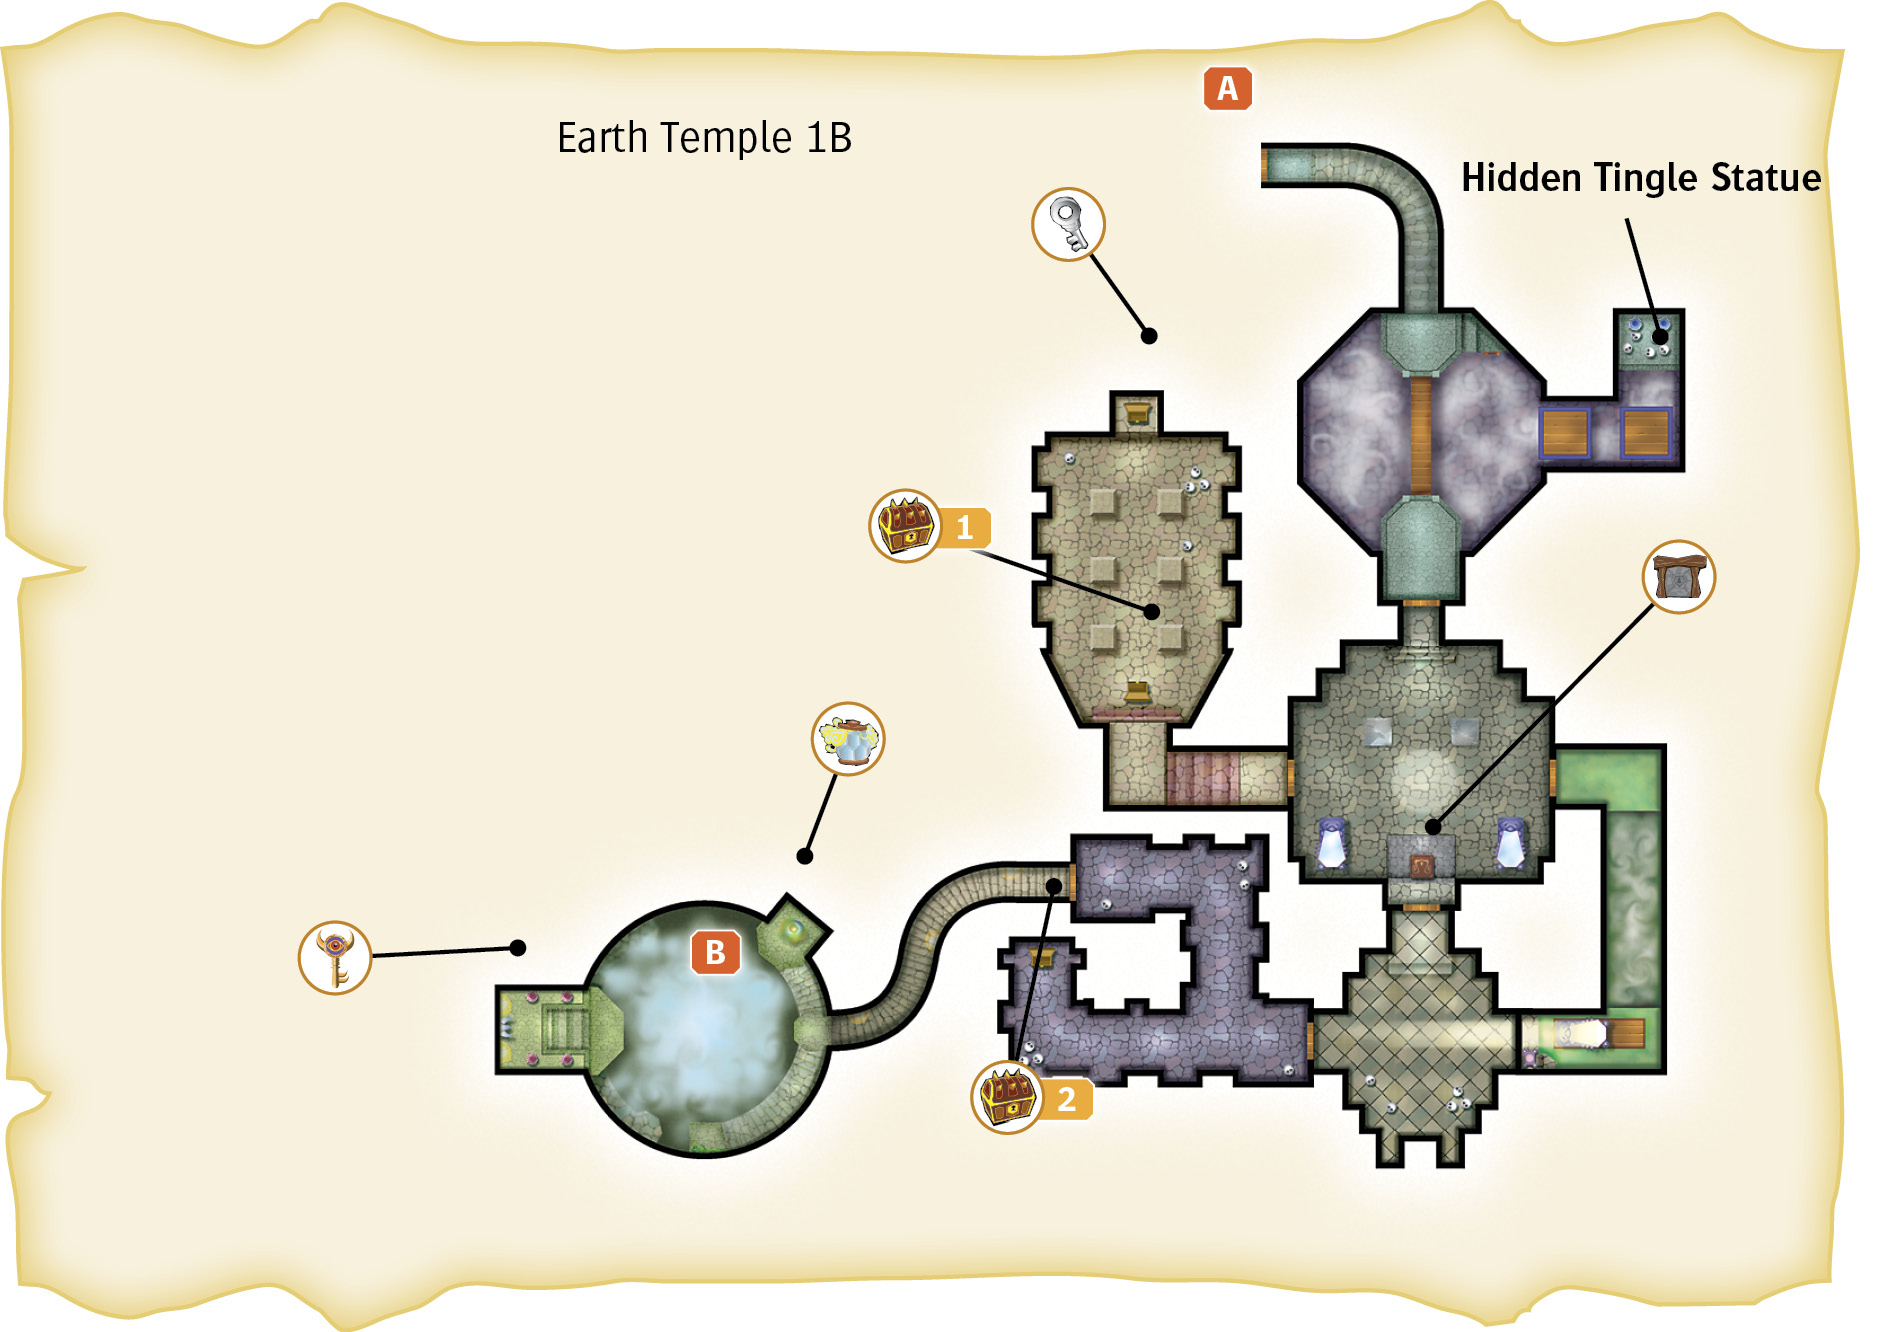
Earth Temple (C7)
First Floor
1. Light the Way!
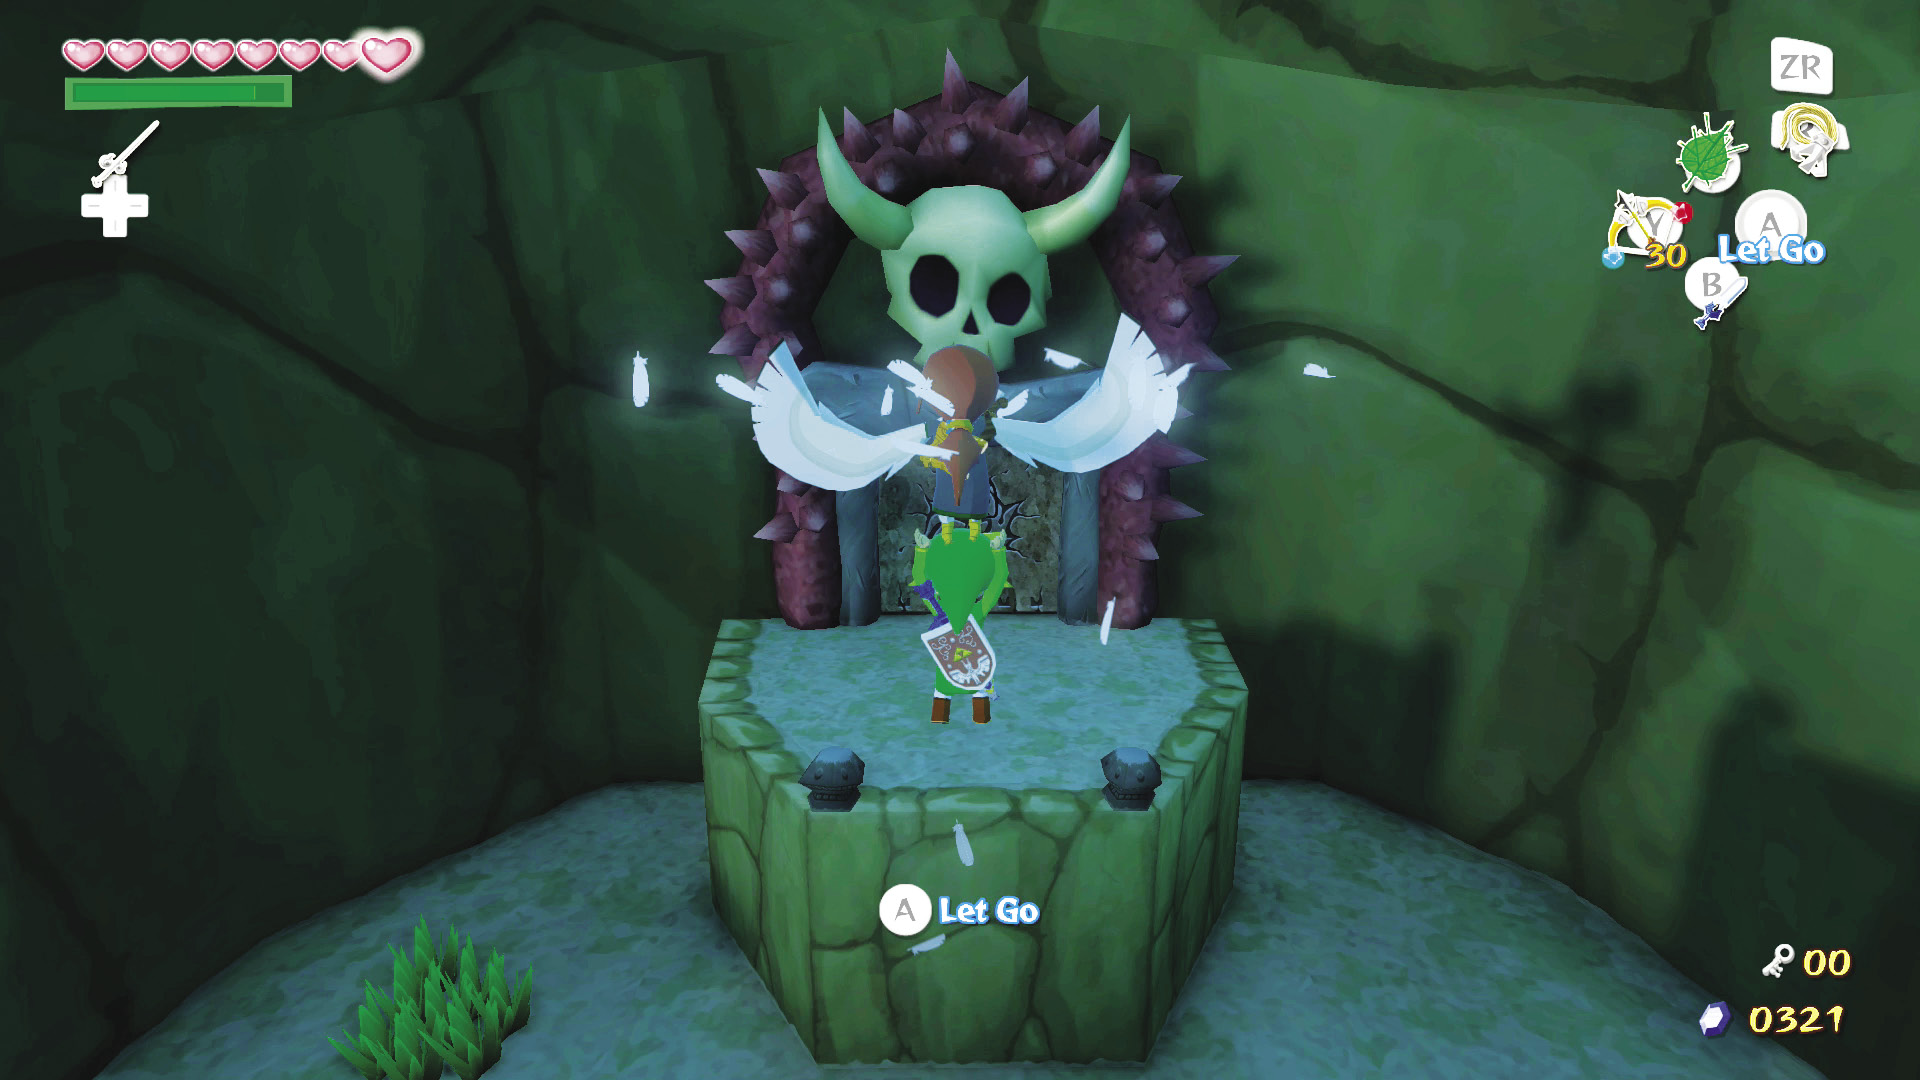
The beam of light in the center of the room is a warp that takes you back to the Earth Temple’s entrance. Carry Medli off the north edge of the platform you start on. She’ll fly both of you to the ledge in front of the door to the north. Head through the door.
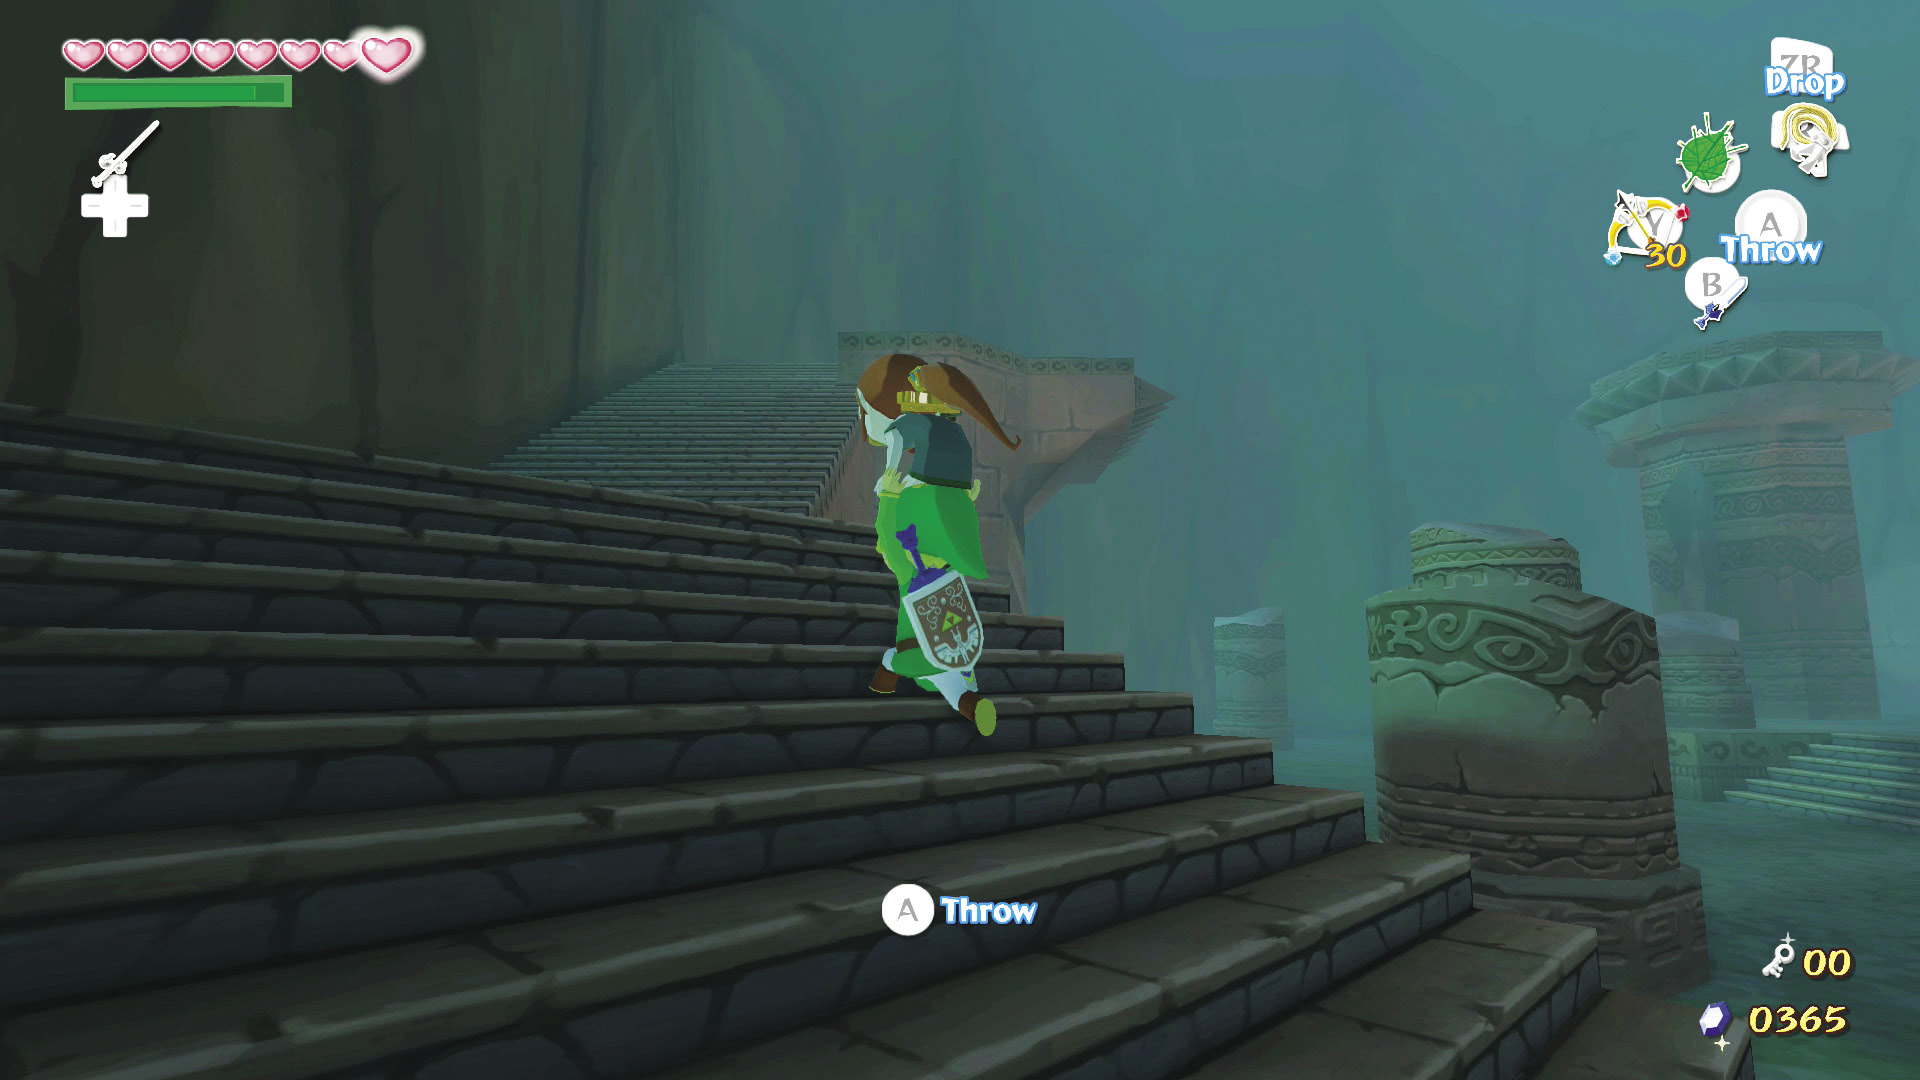
Put Medli down near the entrance and defeat the three Moblins inside (grab the Skull Necklaces they leave behind). Pick up Medli and carry her up the southwest stairs until you are standing at the top of the room’s northwest corner.
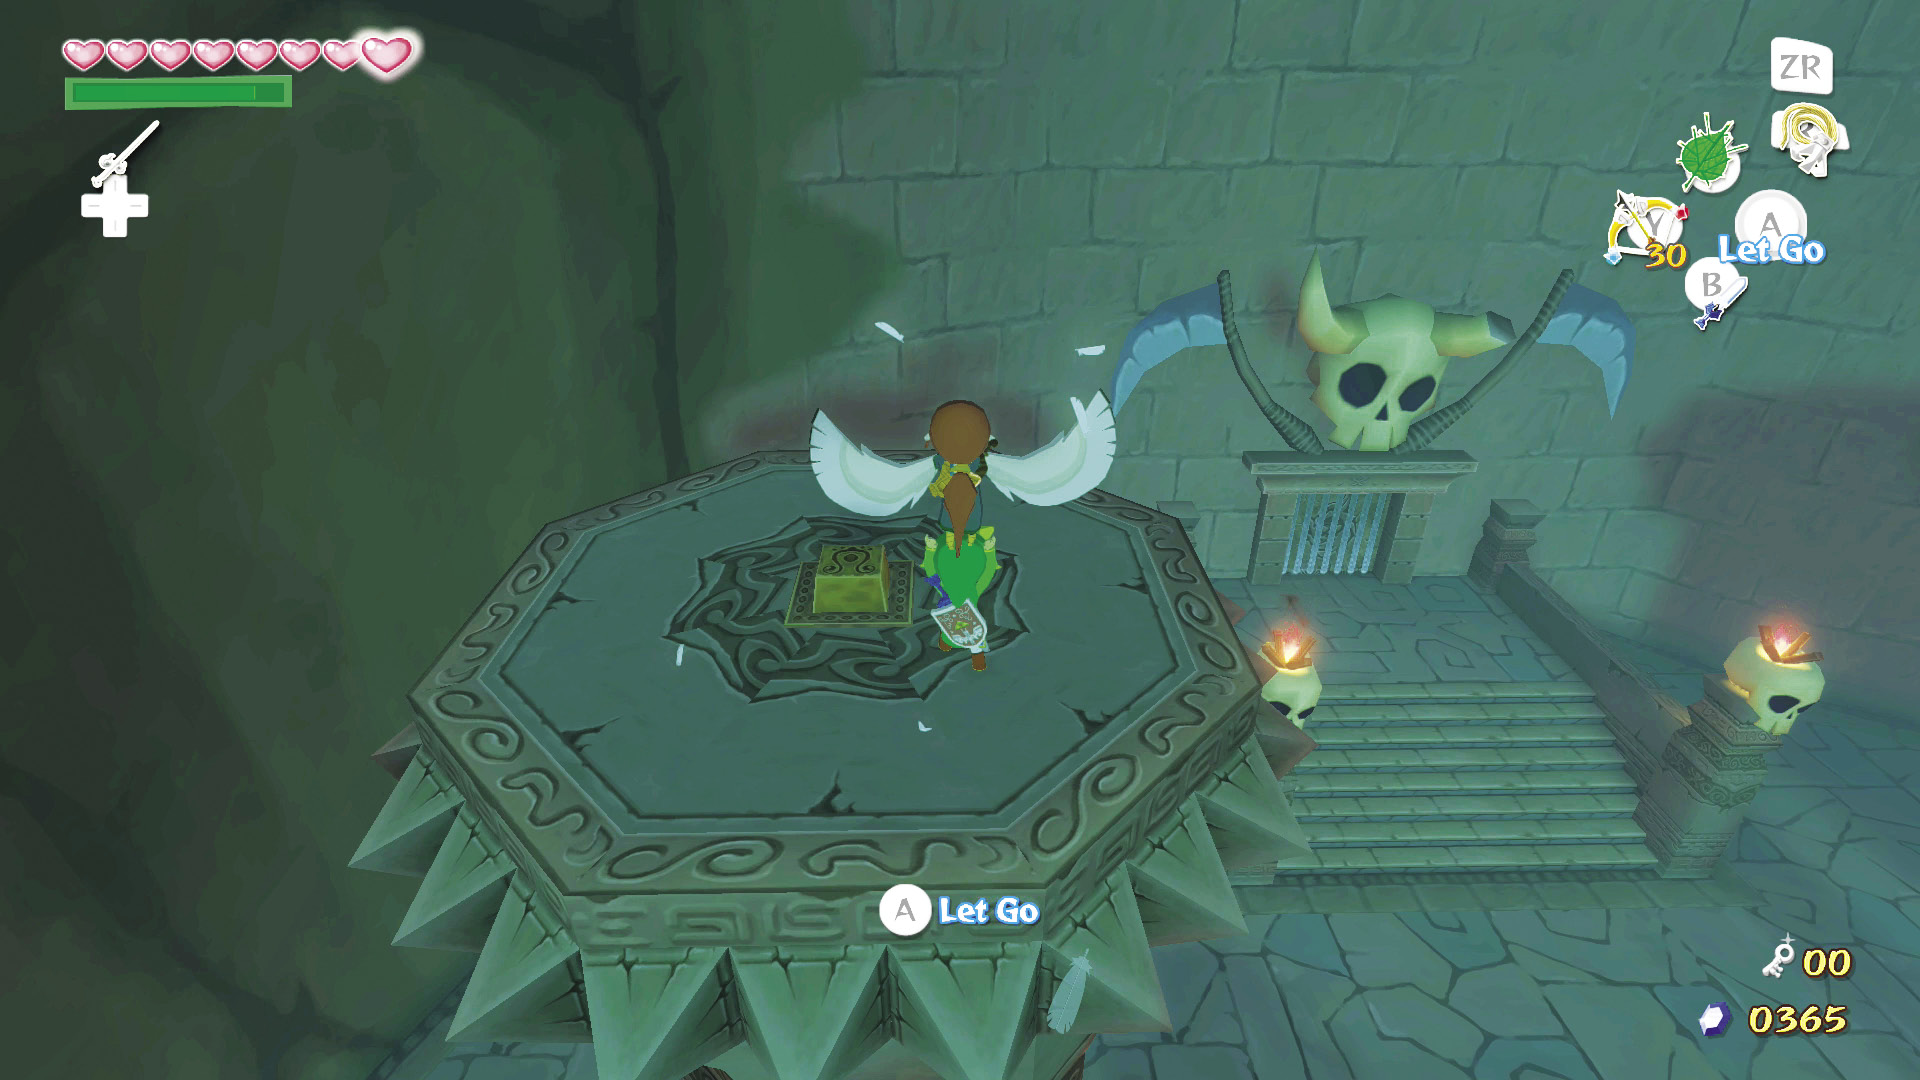
While carrying Medli, run east off the ledge to fly to the top of a pillar in the northeast corner. There is a pressure switch here that you must simultaneously activate with another switch in the room. Put Medli down, stand on the switch, and conduct the “Command Melody” to take control of Medli.
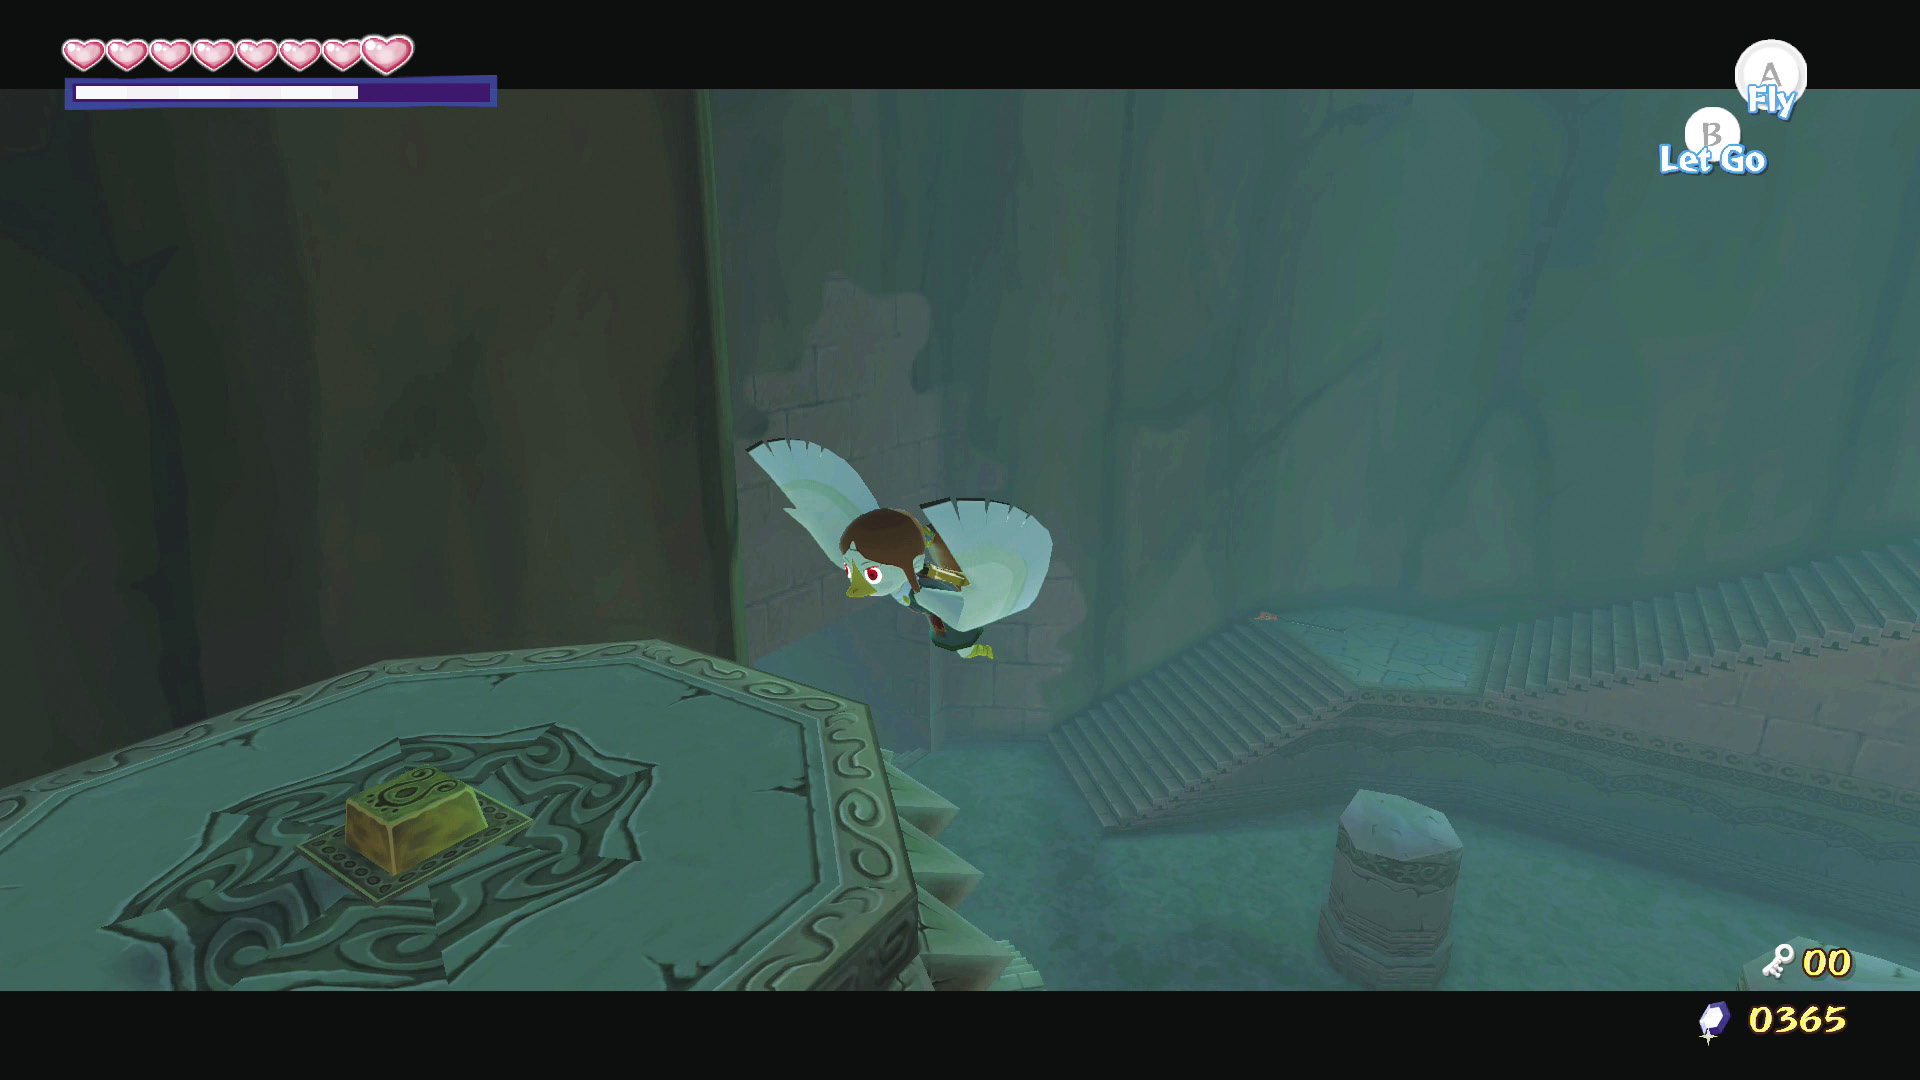
With Link standing on the northeast pillar’s pressure switch, fly Medli to the top of the southeast pillar by repeatedly pressing  . The second switch is on top of this tower. Place Medli on it to open the room’s east door. Then walk her off the tower’s edge so she lands on the ground below.
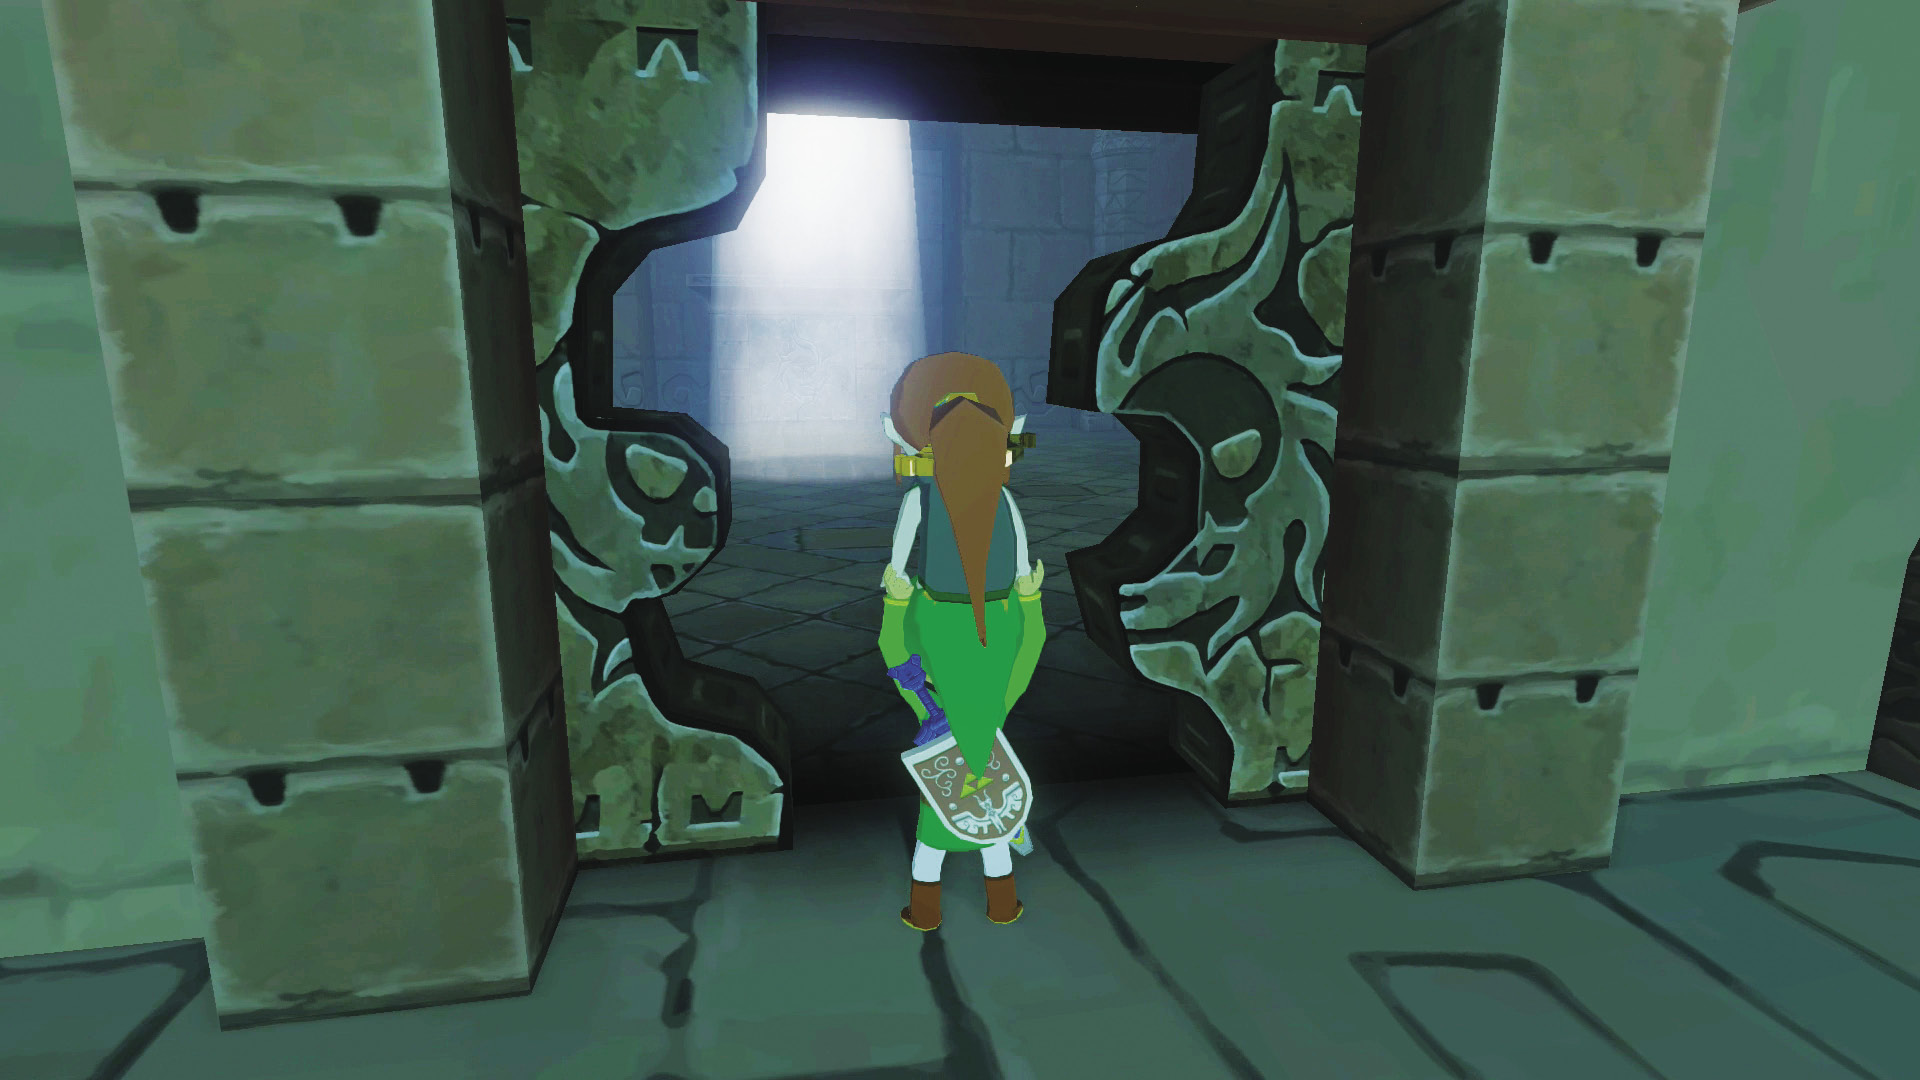
Release control of Medli, drop to the floor, pick her up, and carry her through the east door and into the next room.
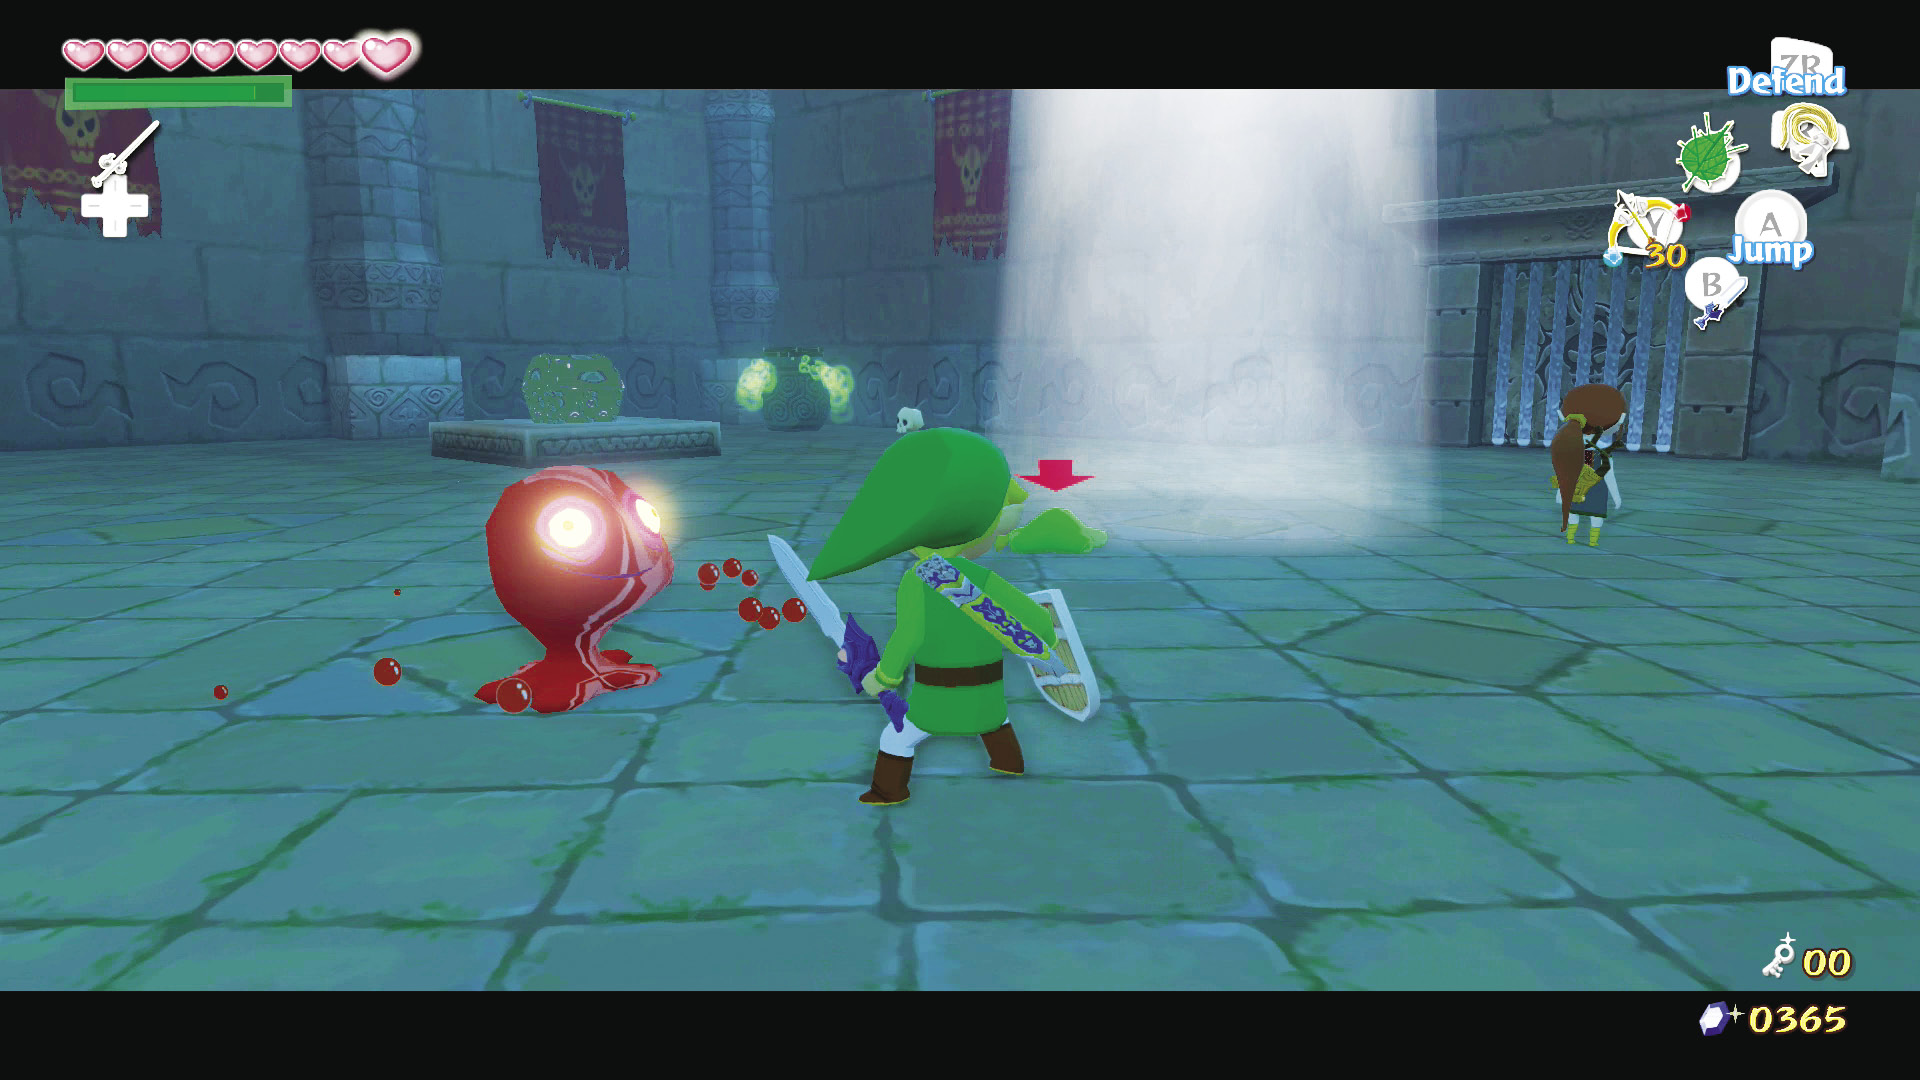
The door seals shut behind you, and several Green, Red and Dark ChuChus pop up. Put Medli down in the beam of light in the middle of the room. The harp she carries reflects the light.
Enemy: Dark ChuChu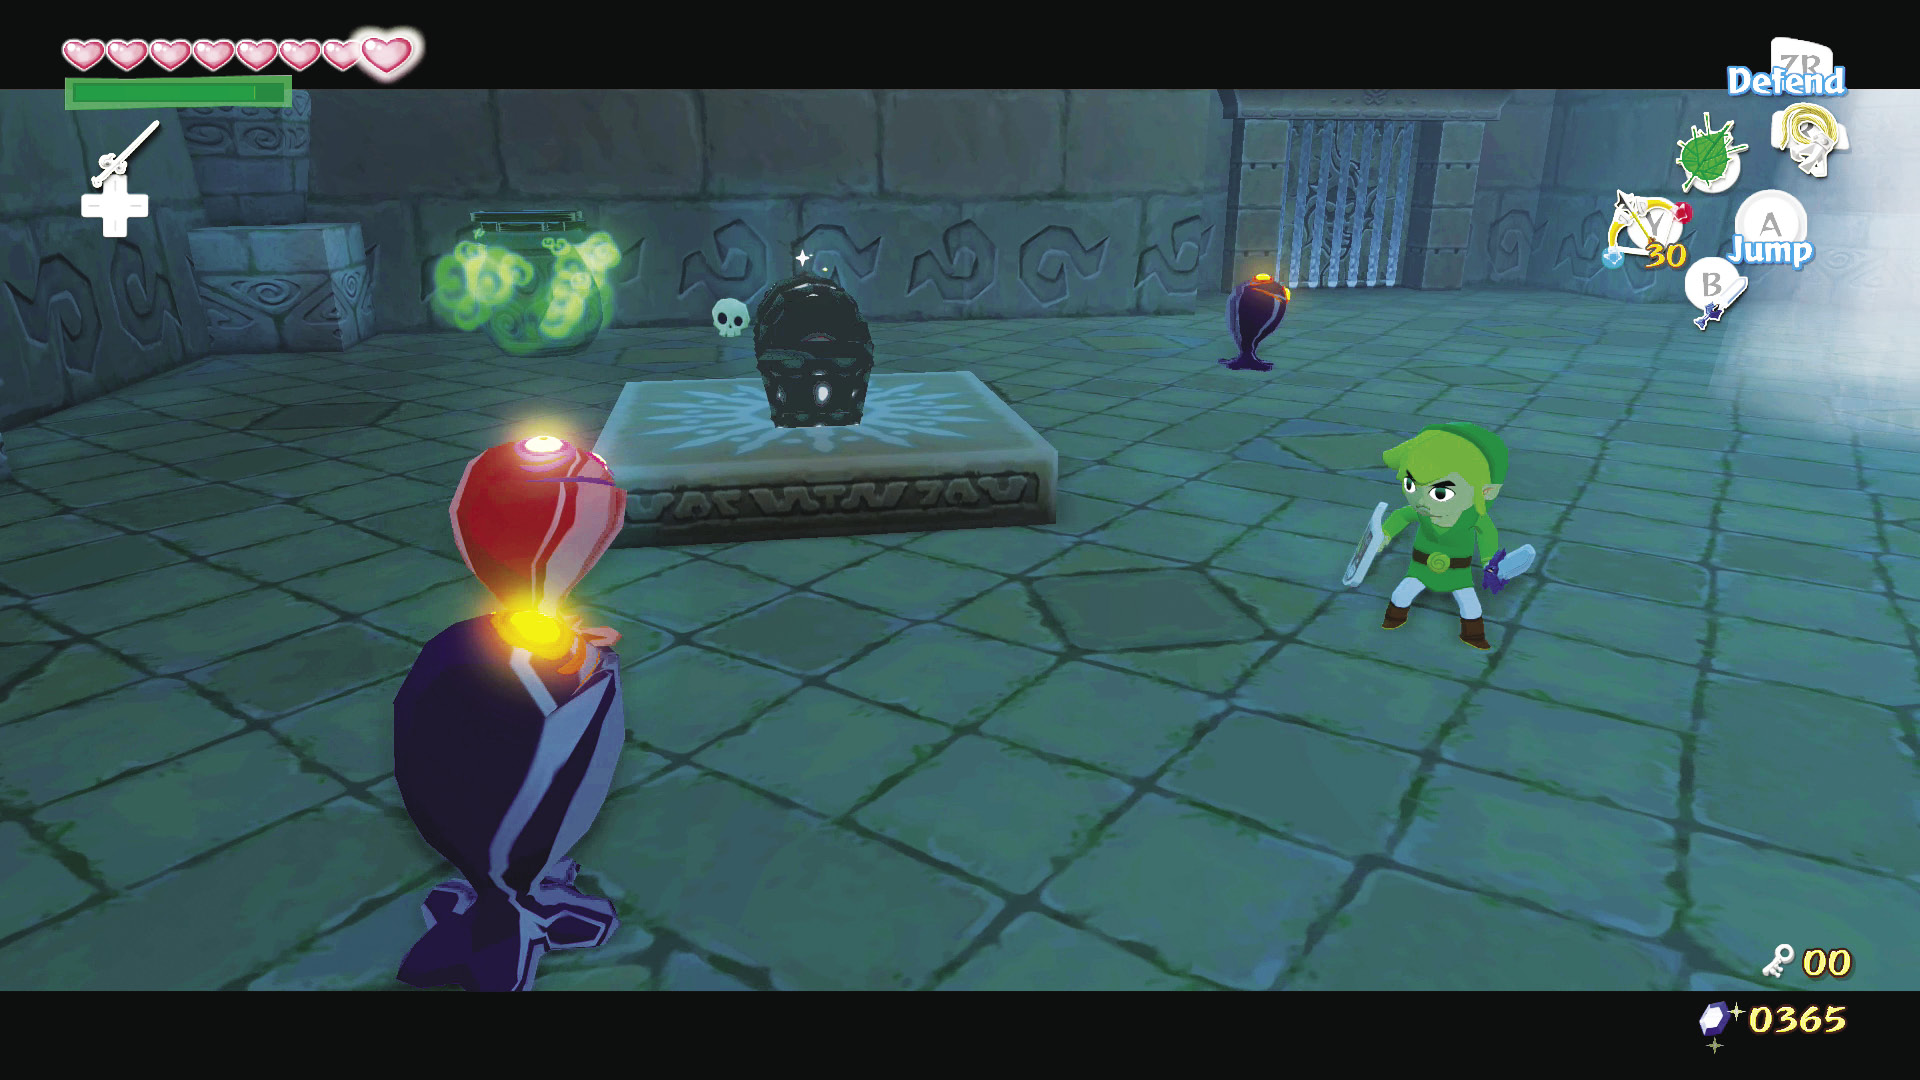 Dark ChuChus are invincible until sunlight hits them, at which point they turn to stone. You can pick them up and throw them, or hit them with the Skull Hammer to shatter them. Unfortunately, ChuChus offer no Chu Jelly upon being defeated (we can only dream of what Doc Bandham could do with jelly from an invincible ChuChu). |
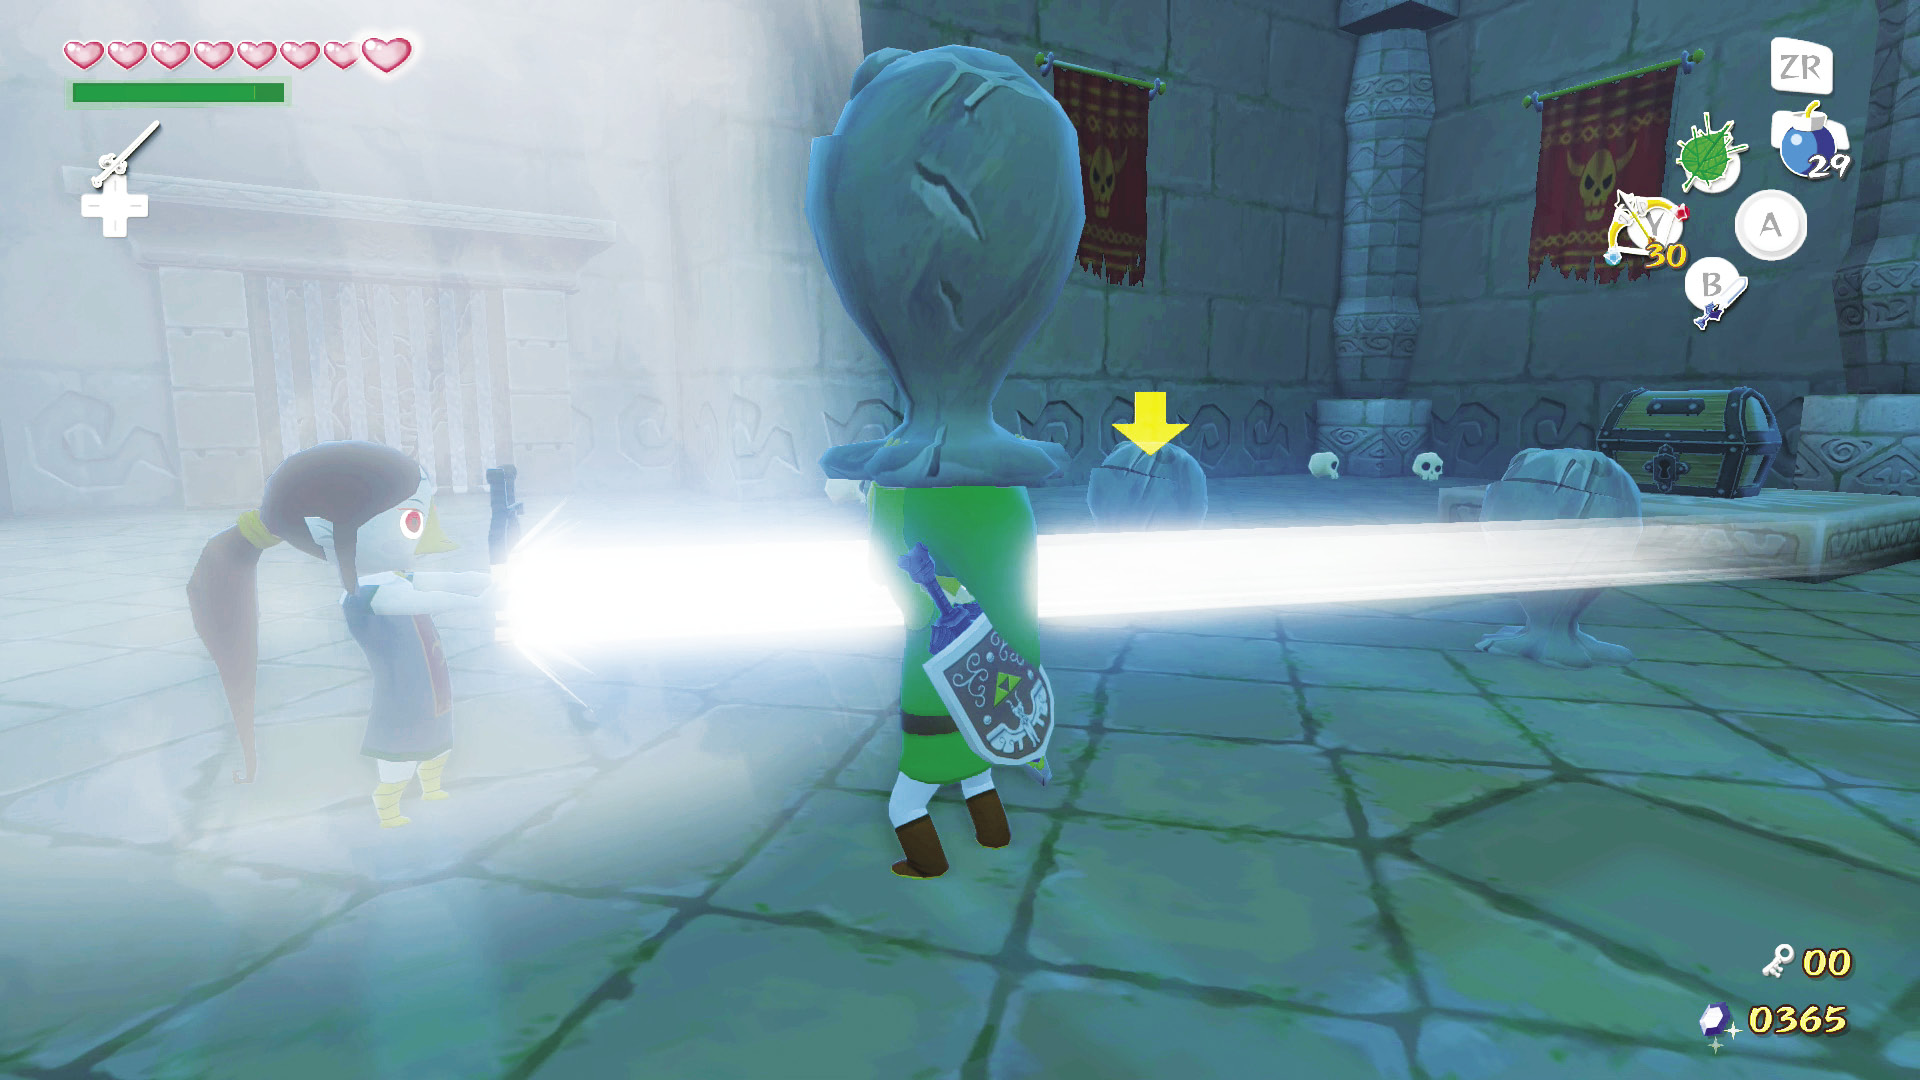
You can either lure the Dark ChuChus into the beam of light or take control of Medli and reflect the light at them by pressing  and using
  to aim her harp.
Defeat the nine ChuChus in the room (three Green, three Red, and three Dark) to open both the west door and the east door to the next room.
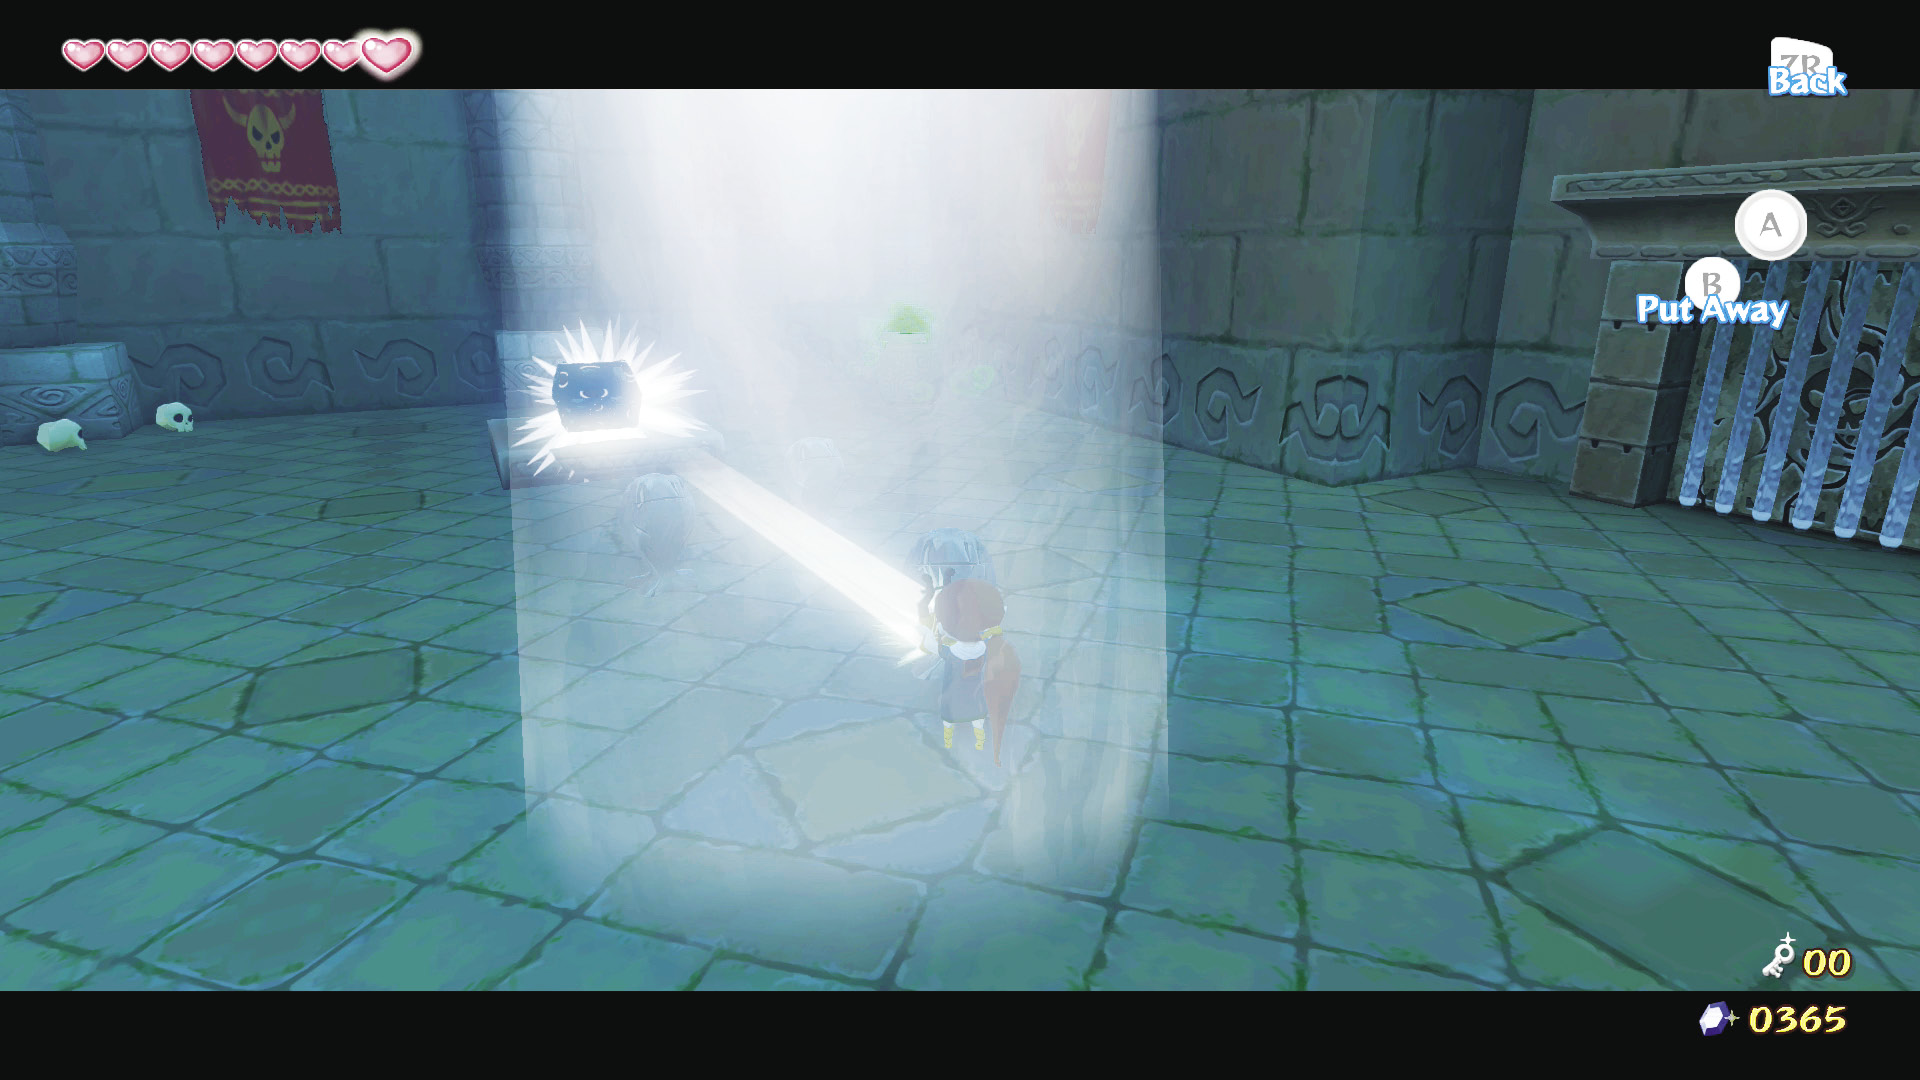
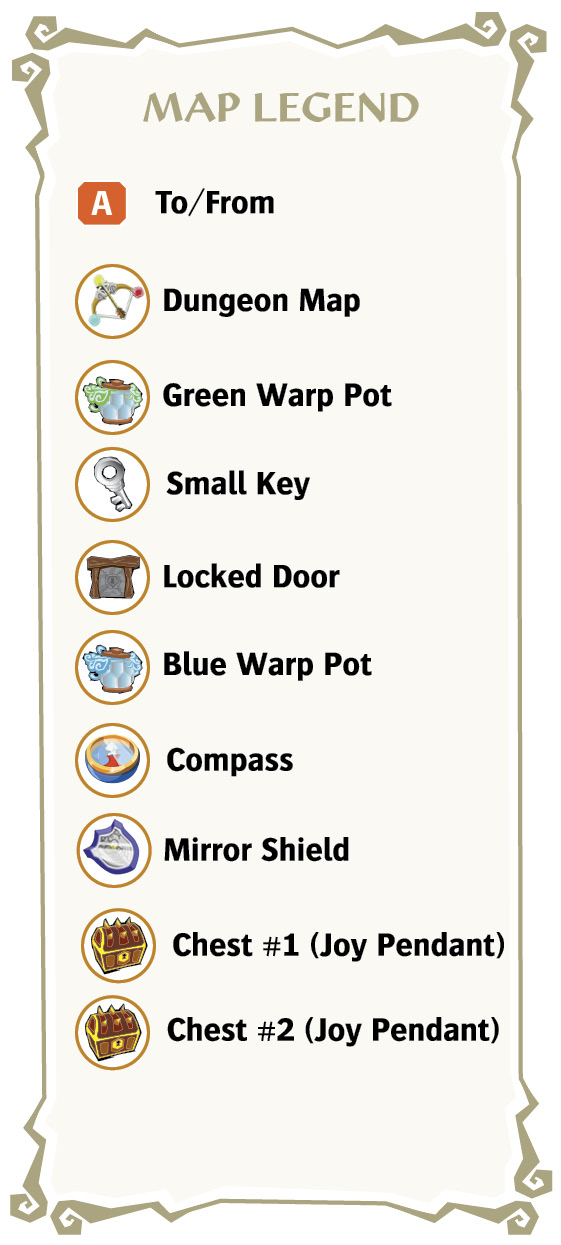
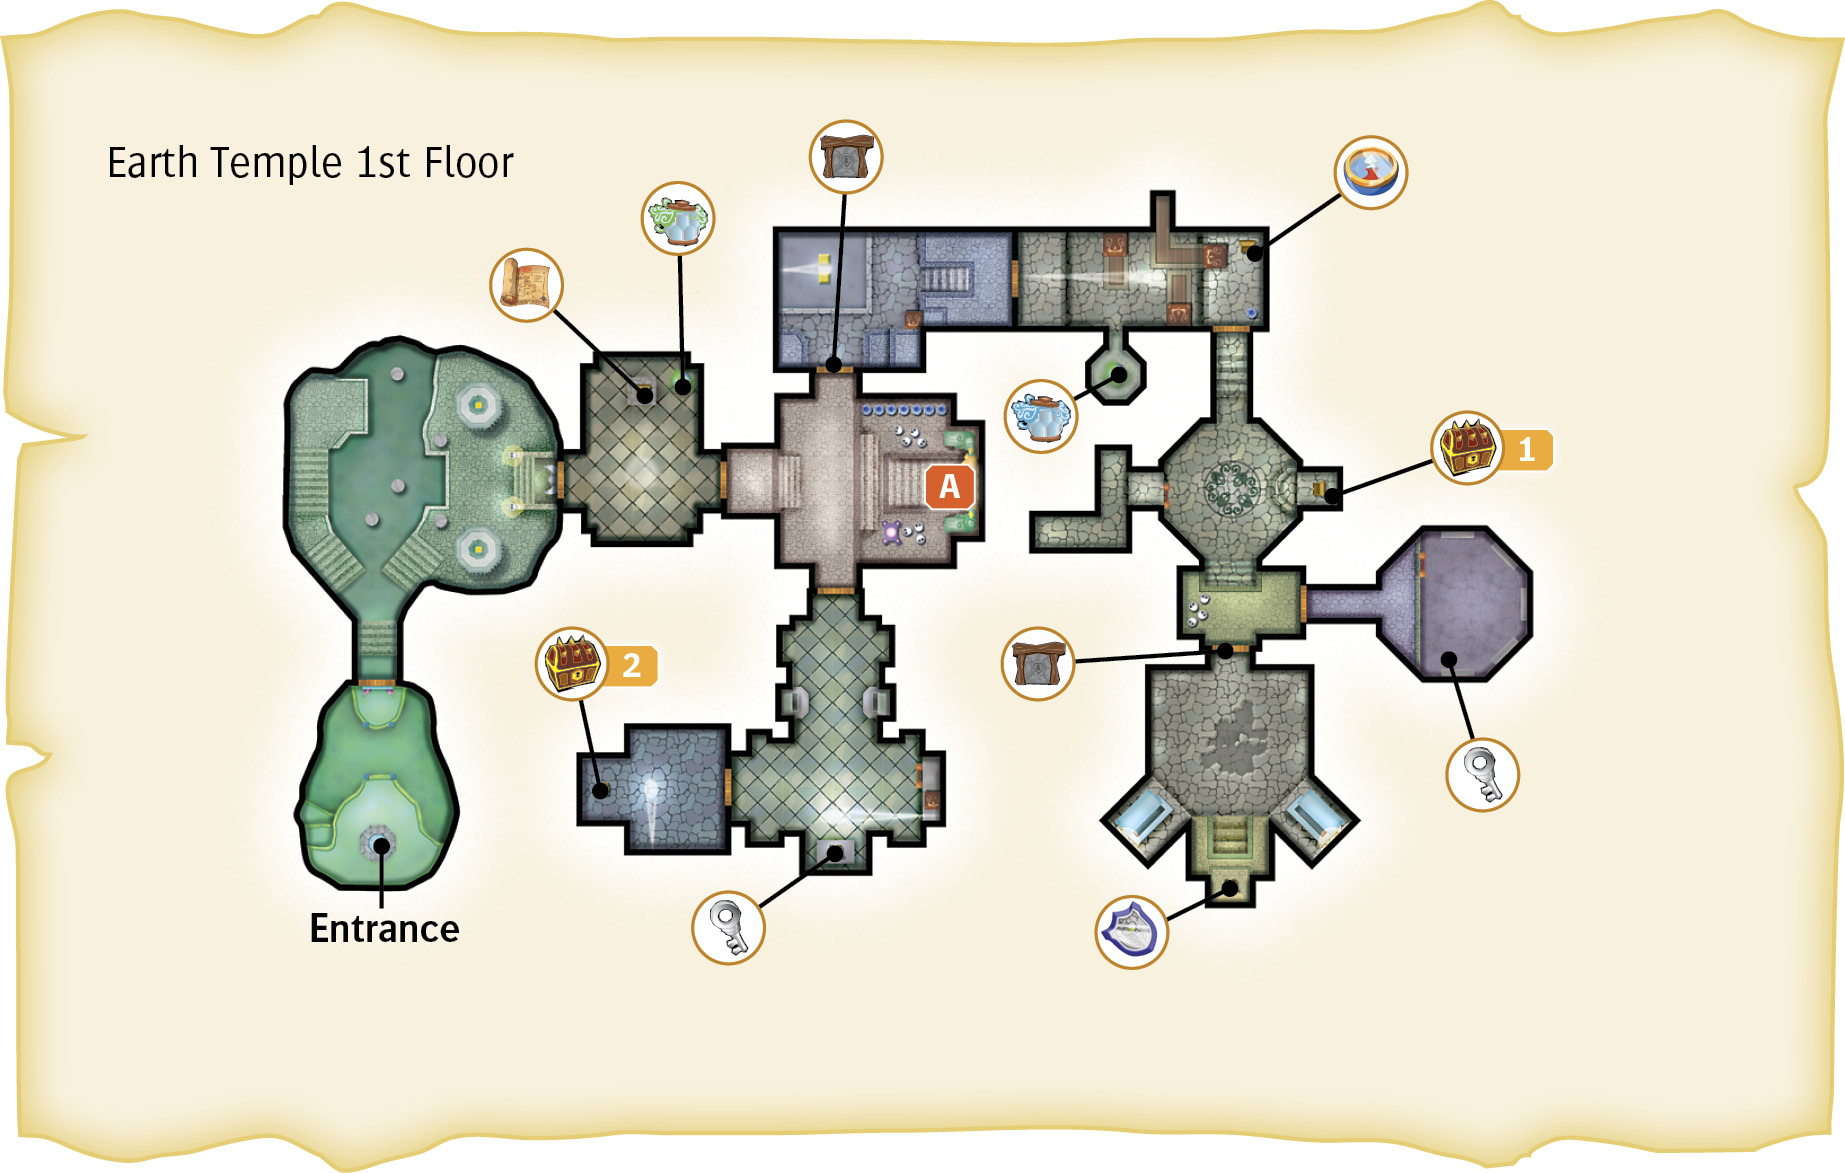
Before you go, take control of Medli and reflect sunlight onto the almost invisible chest in the room’s north side. After you shine light on it for two or three seconds, the chest becomes visible and you can open it. Inside is the Dungeon Map for the Earth Temple. Remember to open the green Warp Pot in the northeast corner by breaking the lid with your Master Sword.
2. Shadow Hands
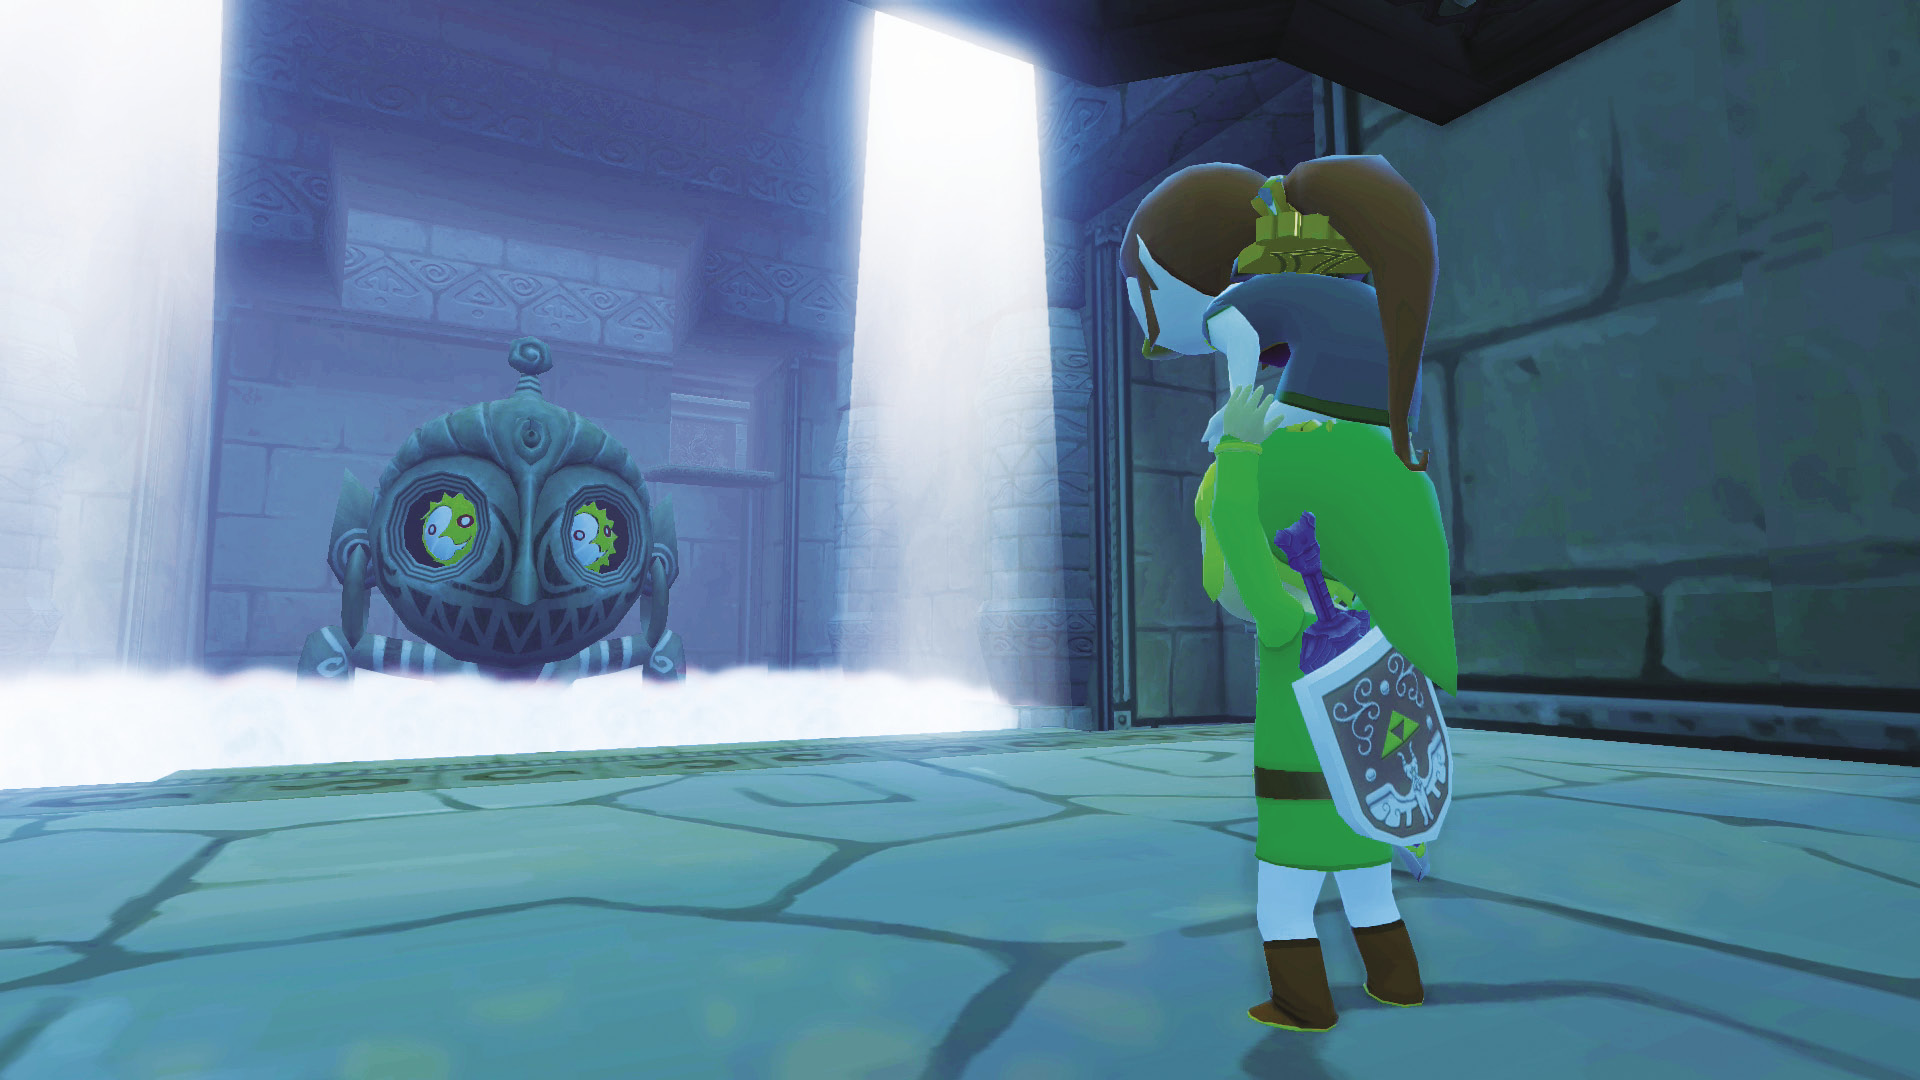
Directly in front of you is a giant statue of a face with two enormous eyeholes. Surrounding the statue is a blue fog that will paralyze Link, temporarily disabling his ability to use his weapons or items.
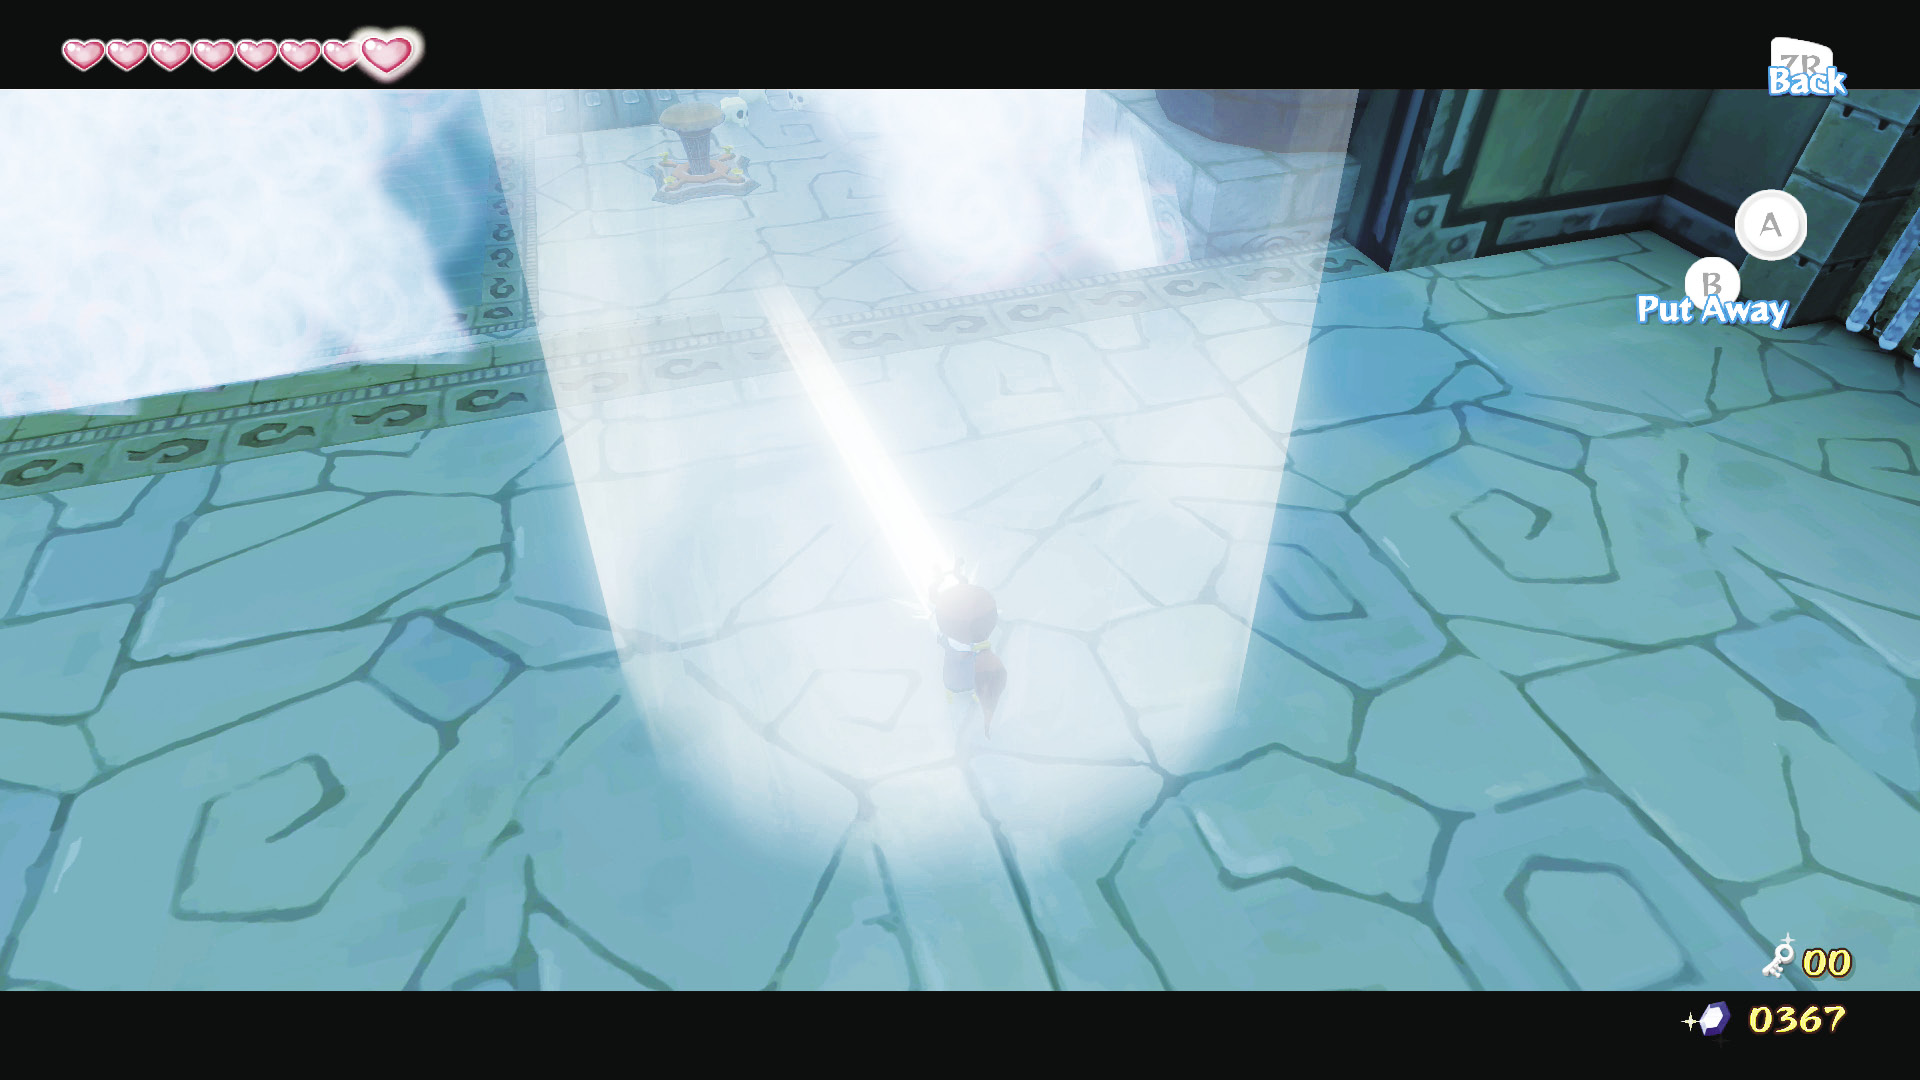
The fog, like the Dark ChuChus in the room before, is extremely susceptible to light. Take control of Medli and stand under the south beam of light that shines down from the ceiling. Reflect the light into the southeast patch of fog so that it shines on a wooden peg and clears away a patch of fog.
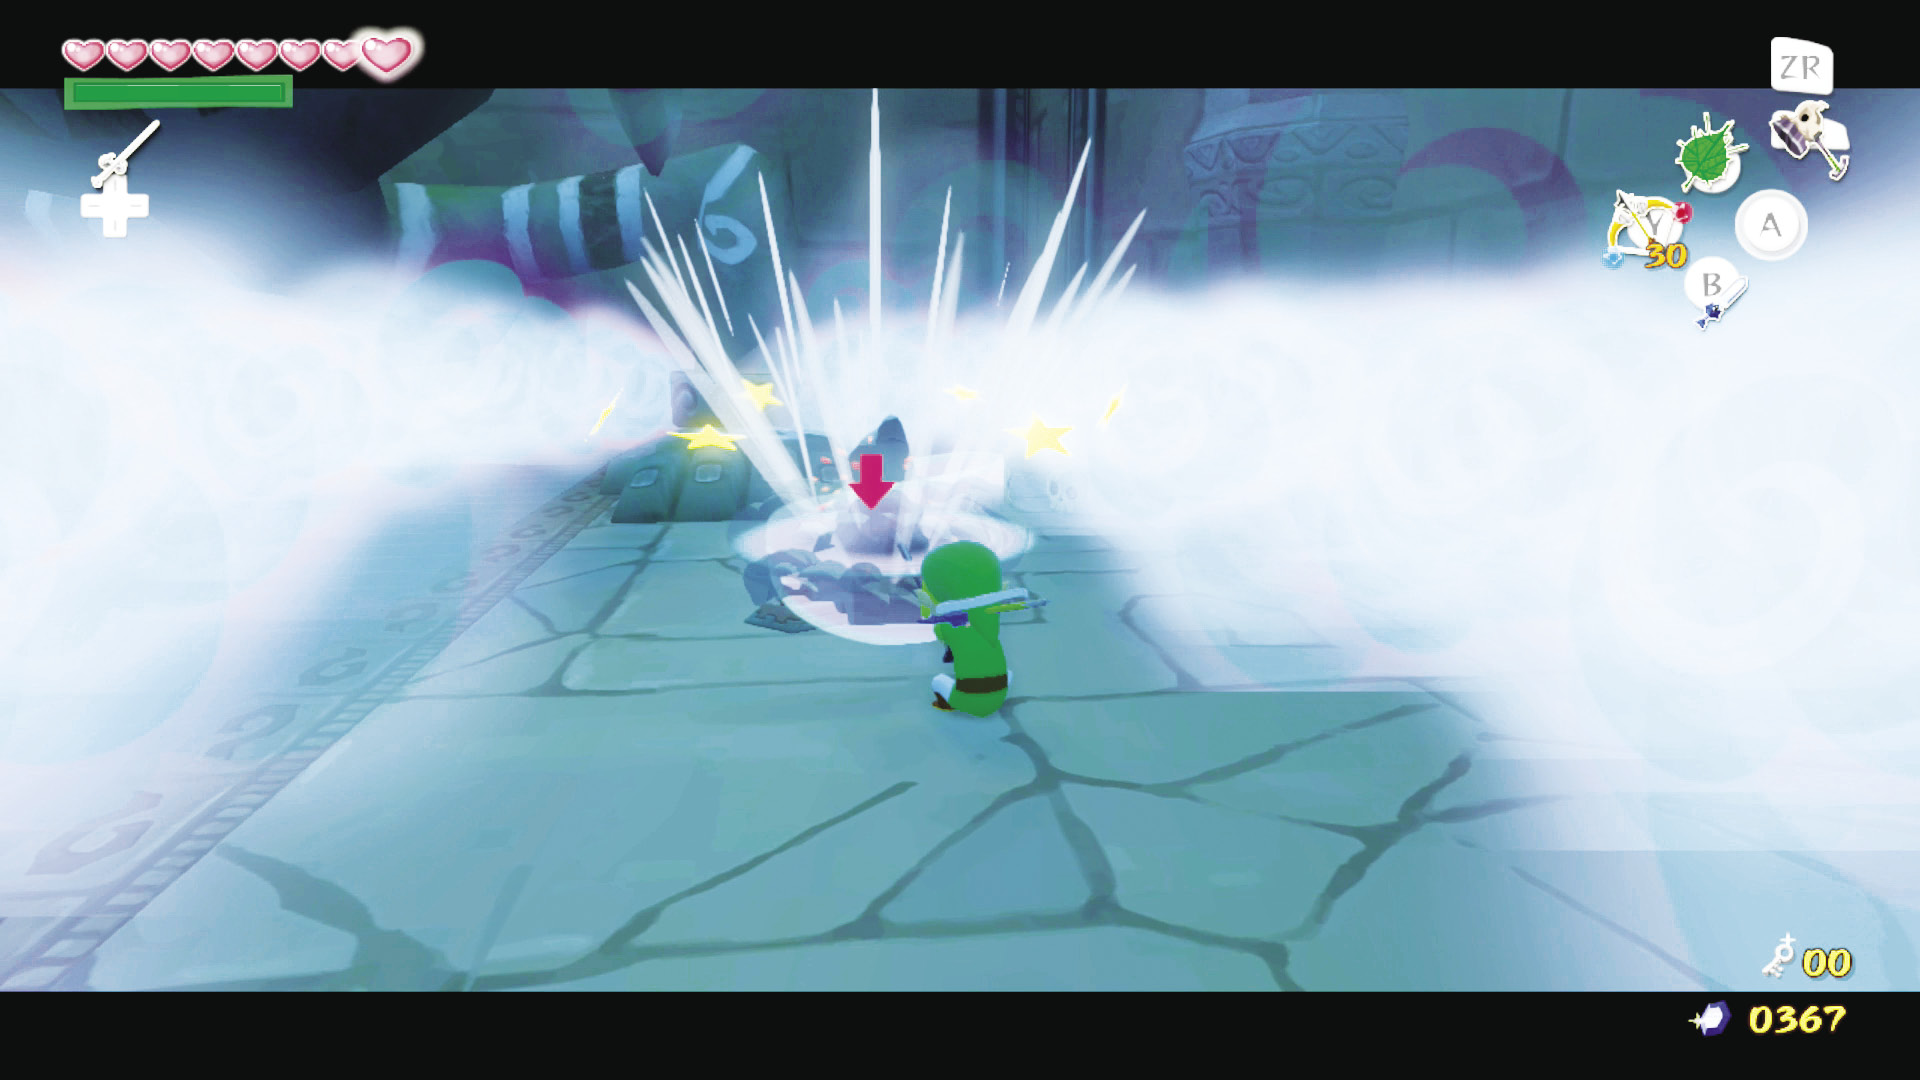
Release control of Medli and hammer down the peg to open the south door. Carry her through that door into the next room.
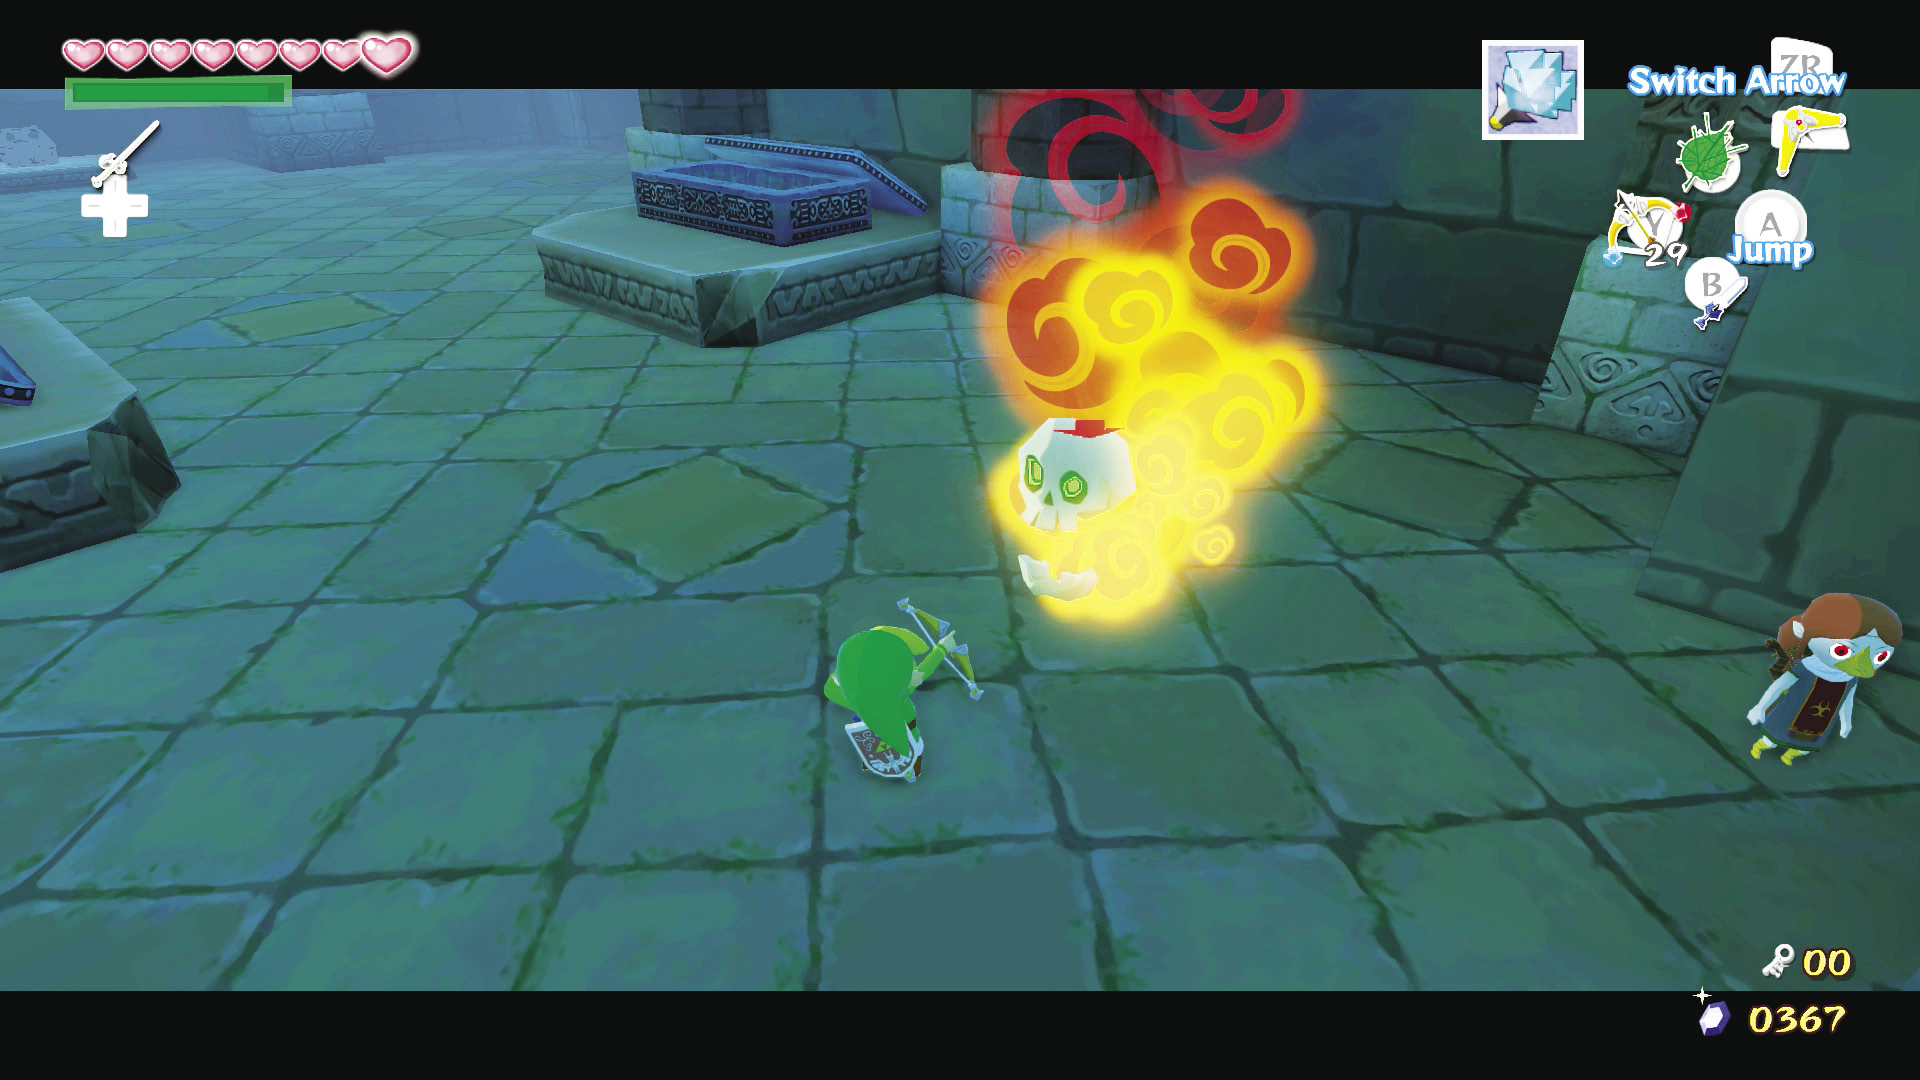
Put Medli down near the entrance and run south through the room to lure the two Red Bubbles out of the coffins to your left and right. Defeat them, then head to the ladder in the southeast corner.
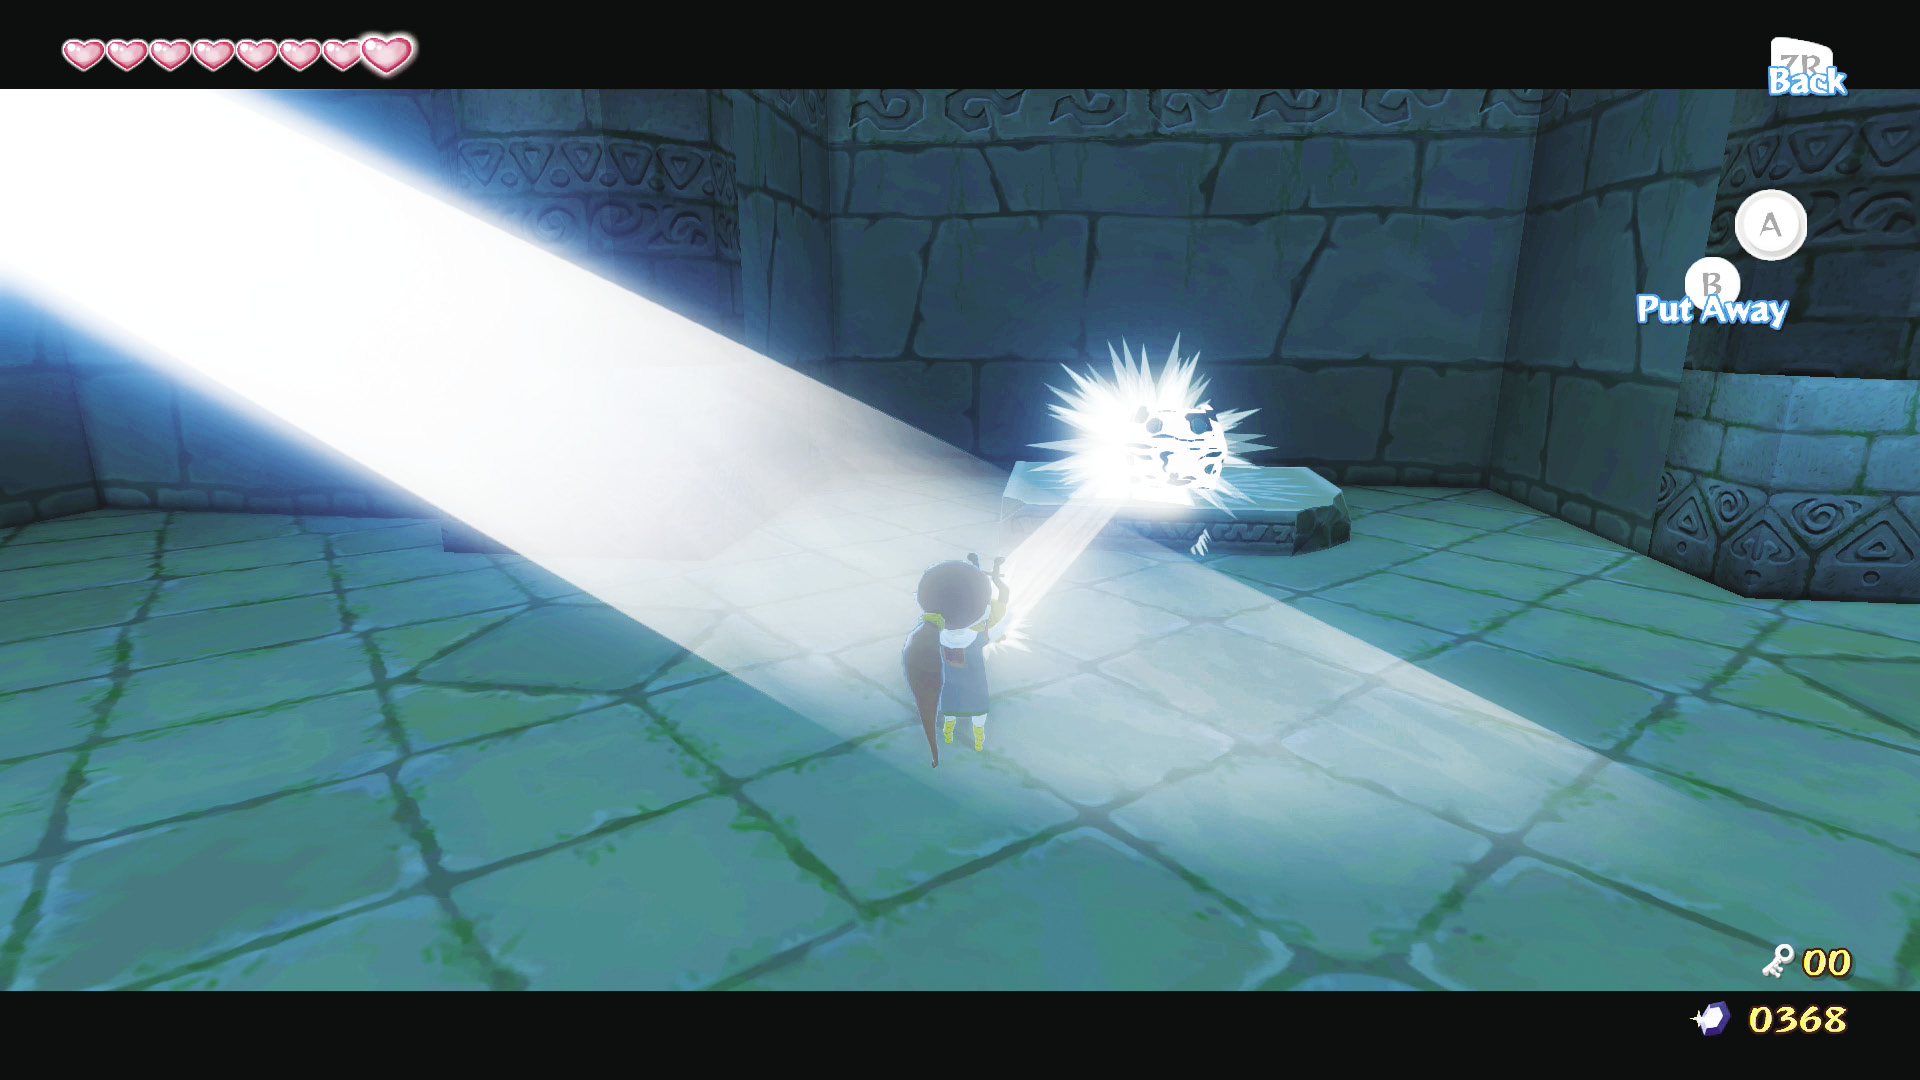
Pull the block at the top of the ladder to reveal a beam of light that shines into the south part of the room. Take control of Medli and reflect the light onto the translucent chest in the room’s south section. Inside that chest is a Small Key.
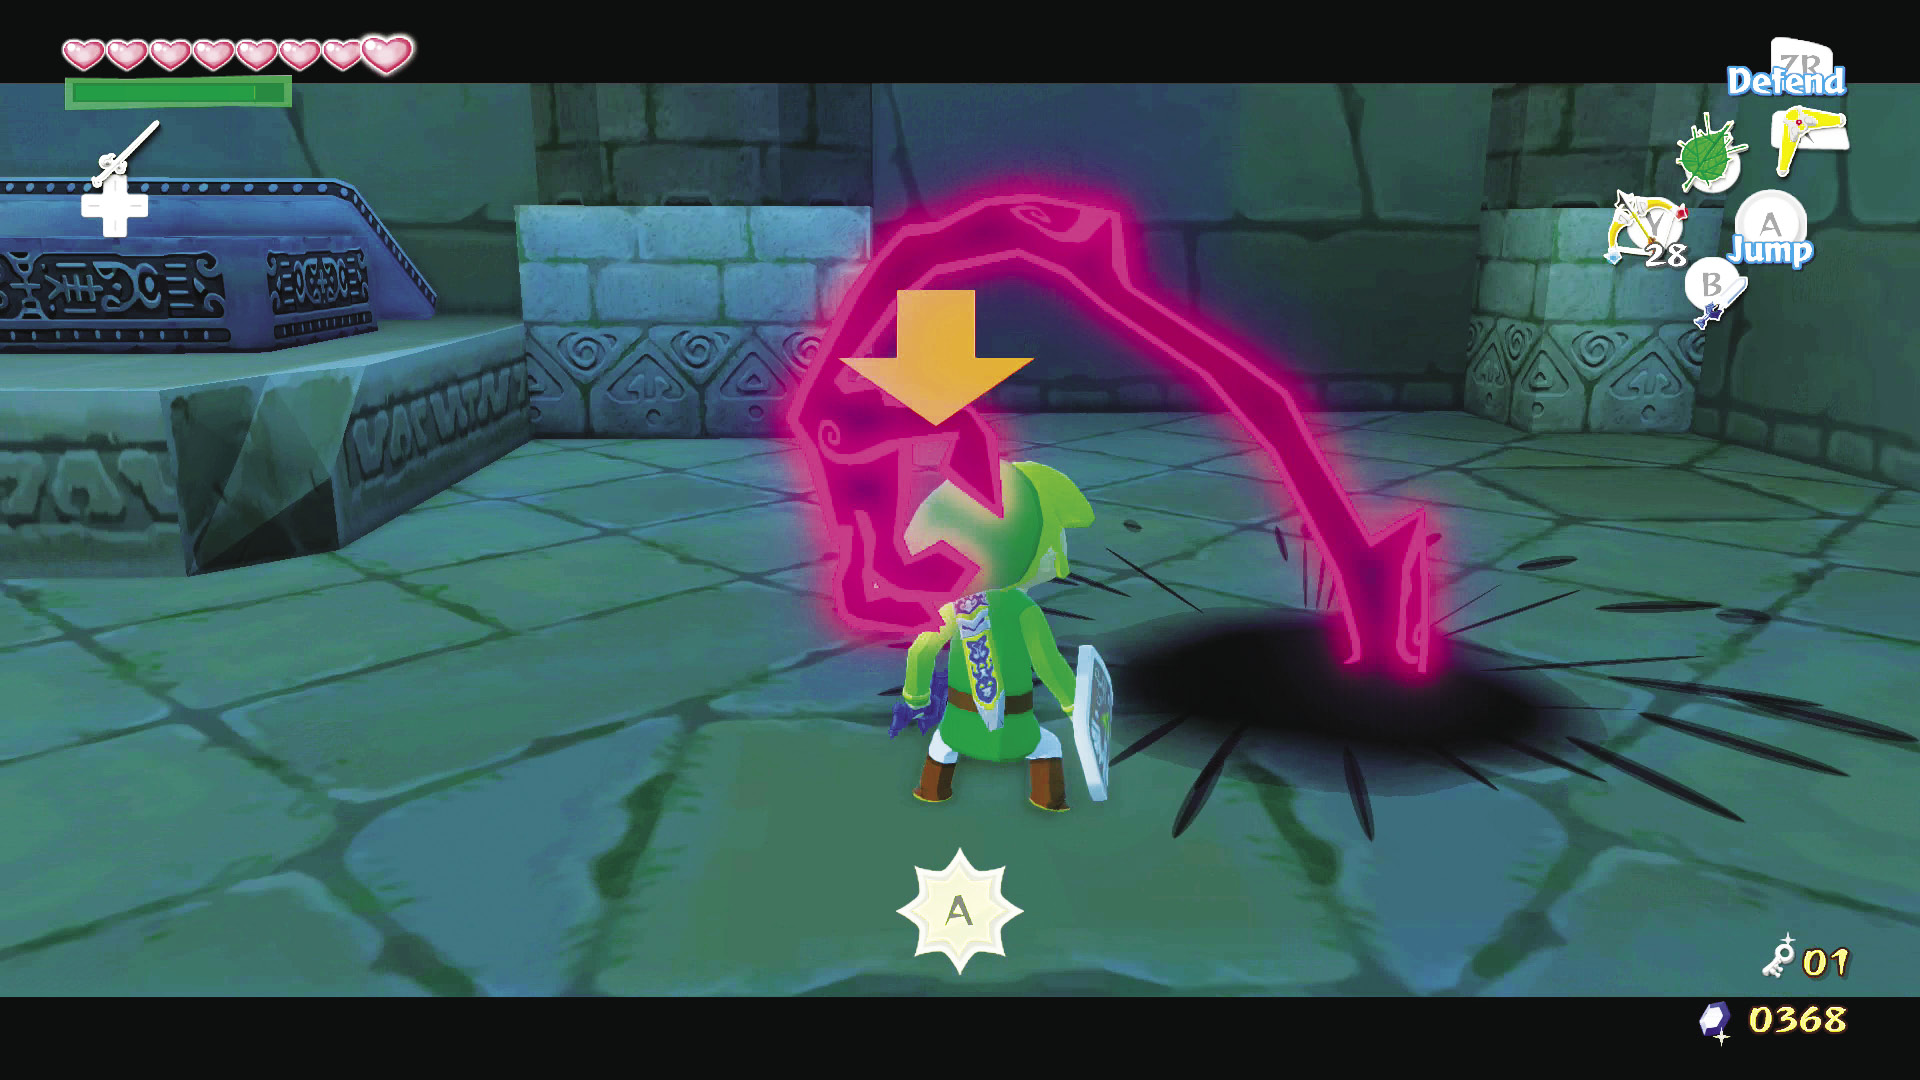
Once you get the Small Key, two Floor Masters appear in the room. Leave Medli in the ray of light—the Floor Masters can’t grab her while she’s in it. Carefully defeat both Floor Masters, then head back through the north door.
Enemy: Floor Master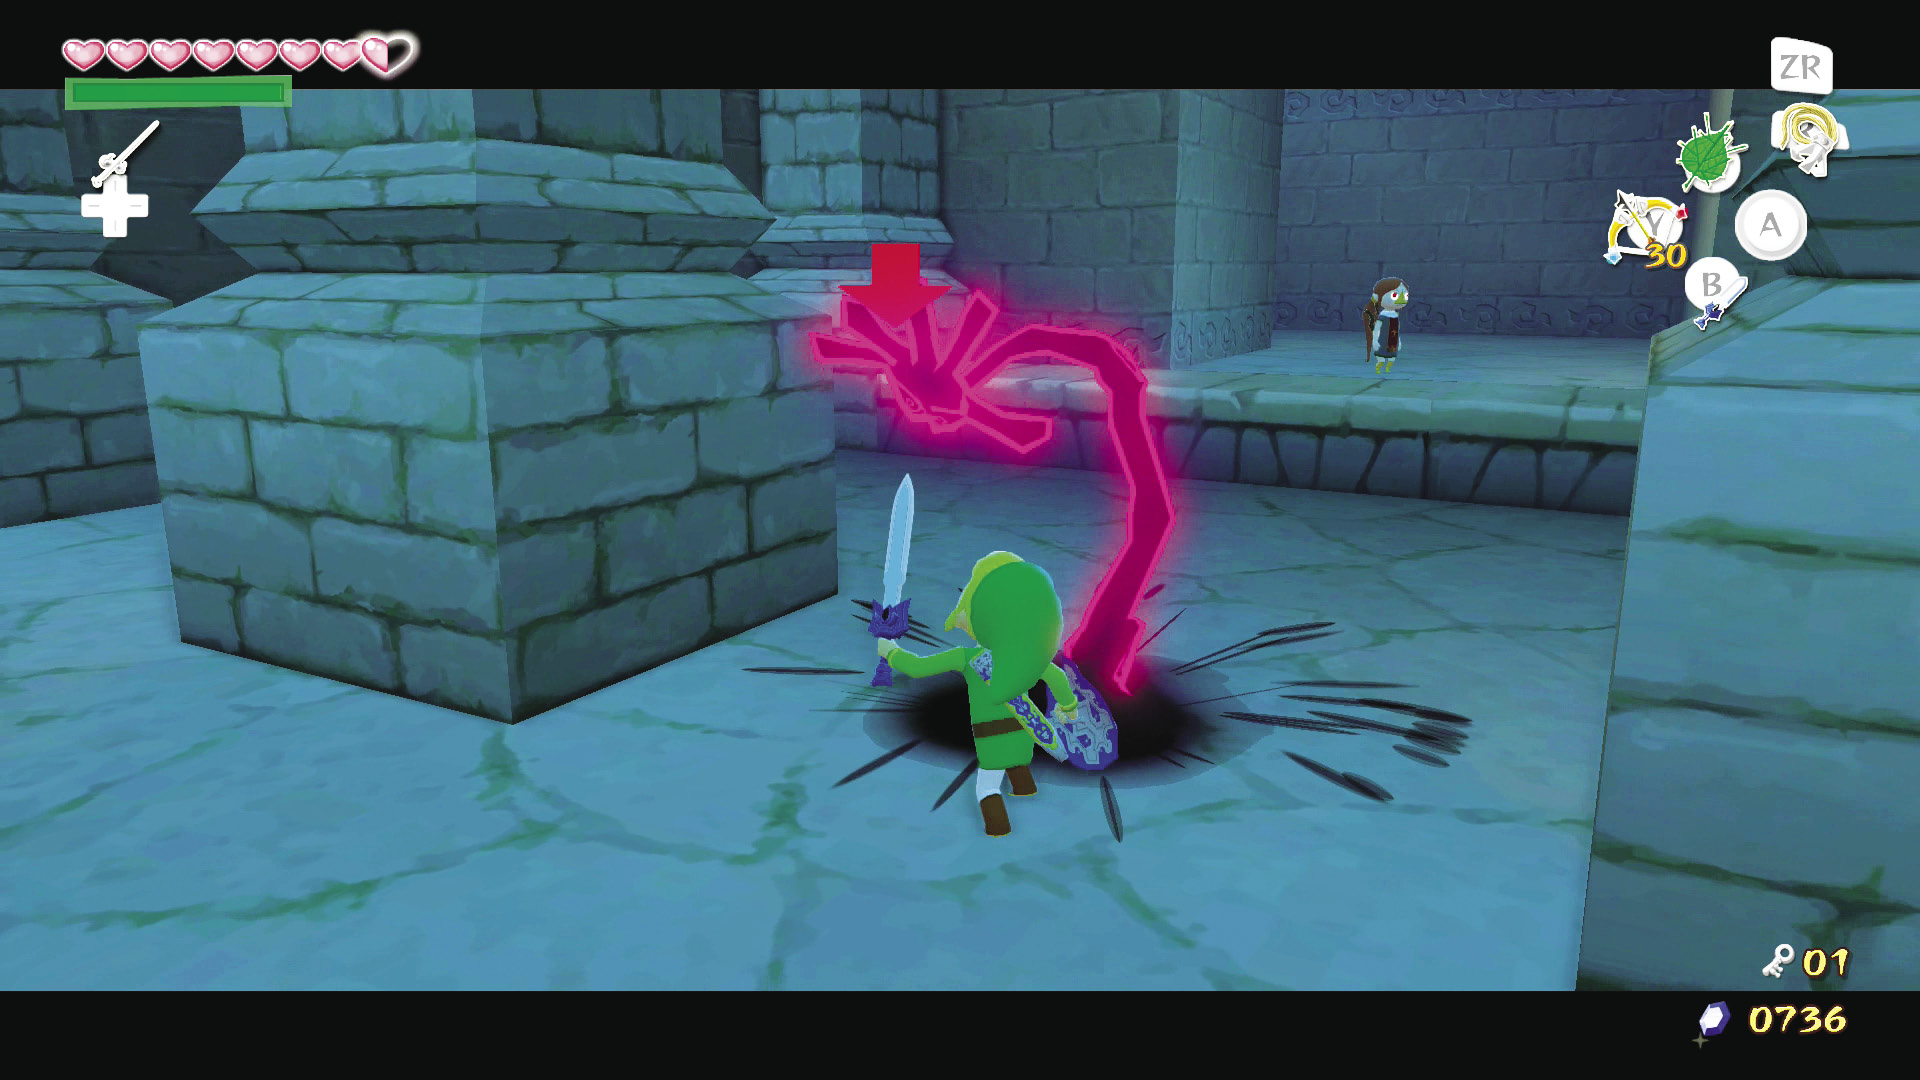 Floor Masters look like black puddles, but when either Link or Medli gets too close, a black hand shoots up from the puddle and tries to grab them. They’ll often grab items like pots and skulls and throw them at Link. Other than that, the only thing you have to worry about is being grabbed. If a Floor Master grabs you or Medli and hangs on for five to ten seconds, it’ll pull them to different locations in the dungeon; Link will be taken to the last room he was in, but Medli will always be taken to a cage in the last room you were in—the one with the giant face on the wall. To take them out, |
 -Target them and continuously jump attack to make short work of them.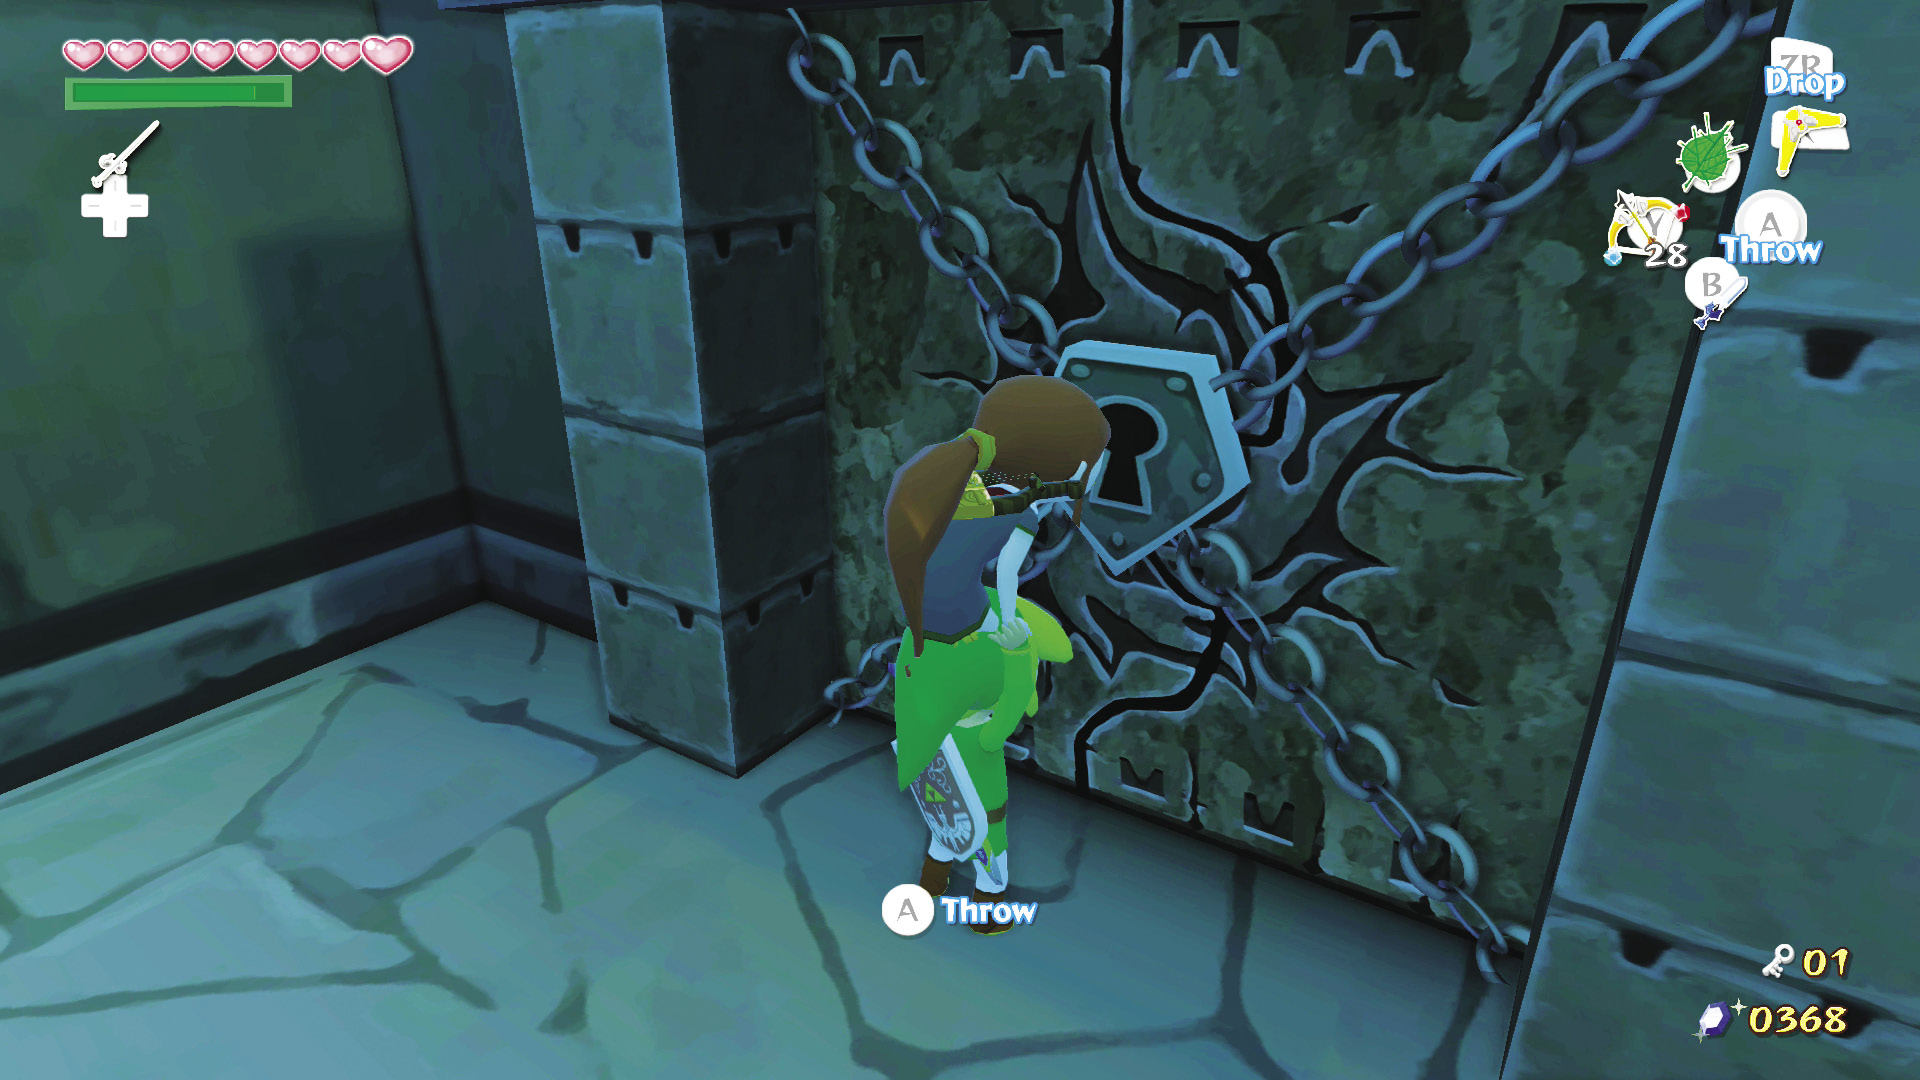
Back in the room with the giant face statue, unlock the north door with your Small Key and enter the next room.
3. Tricky ChuChus and Secret Sigils
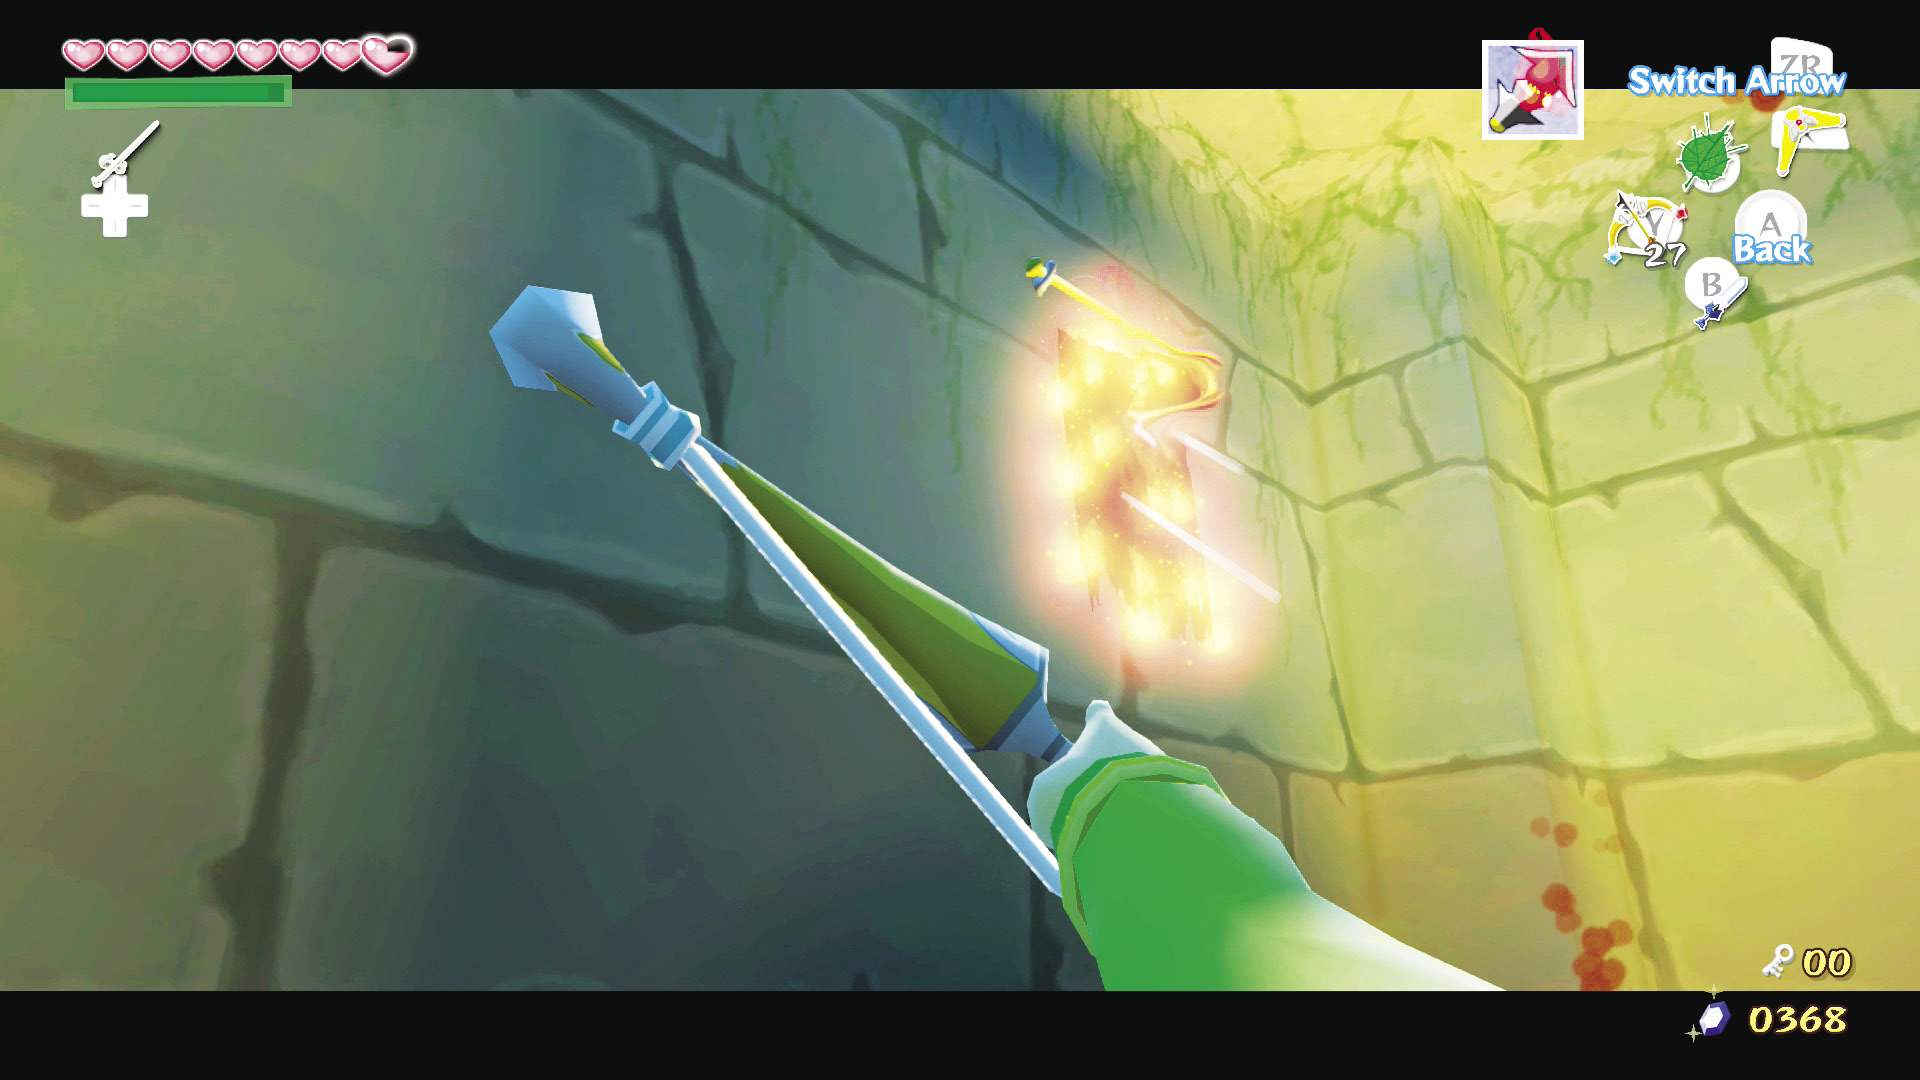
Defeat any Red or Green ChuChus near the entrance, then shoot a Fire Arrow at the red tapestry on the south wall. Burning the tapestry away sends a beam of light shining into the center of the room ahead of you.
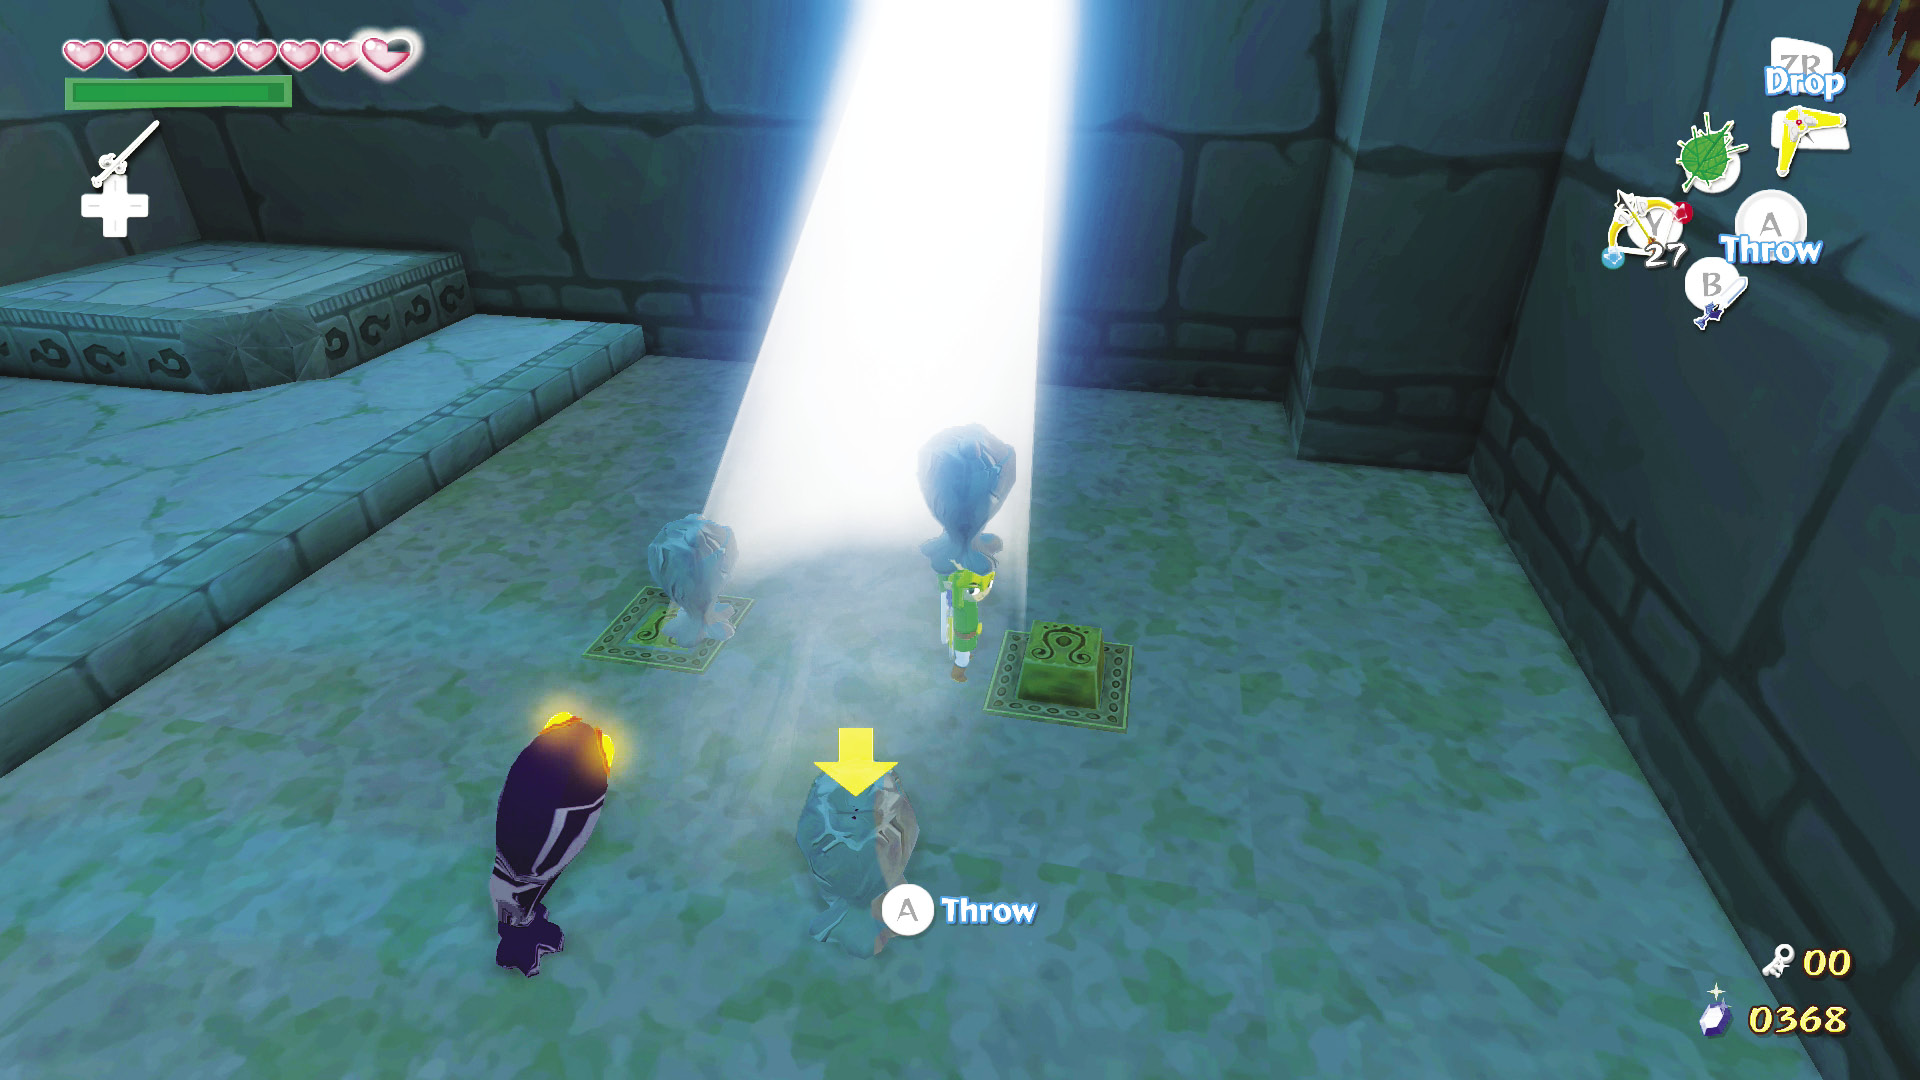
Carry Medli into the beam of light and defeat any remaining Red or Green ChuChus. Wait for the Dark ChuChus to hop into the light and turn to stone (or control Medli and have her reflect a beam of light at them). Lift and place two stone ChuChus onto the constant pressure switches on either side of the light beam to create a set of stairs in the east part of the room. Leave Medli in the light to protect her against the never-ending waves of Dark ChuChus and climb the stairs.
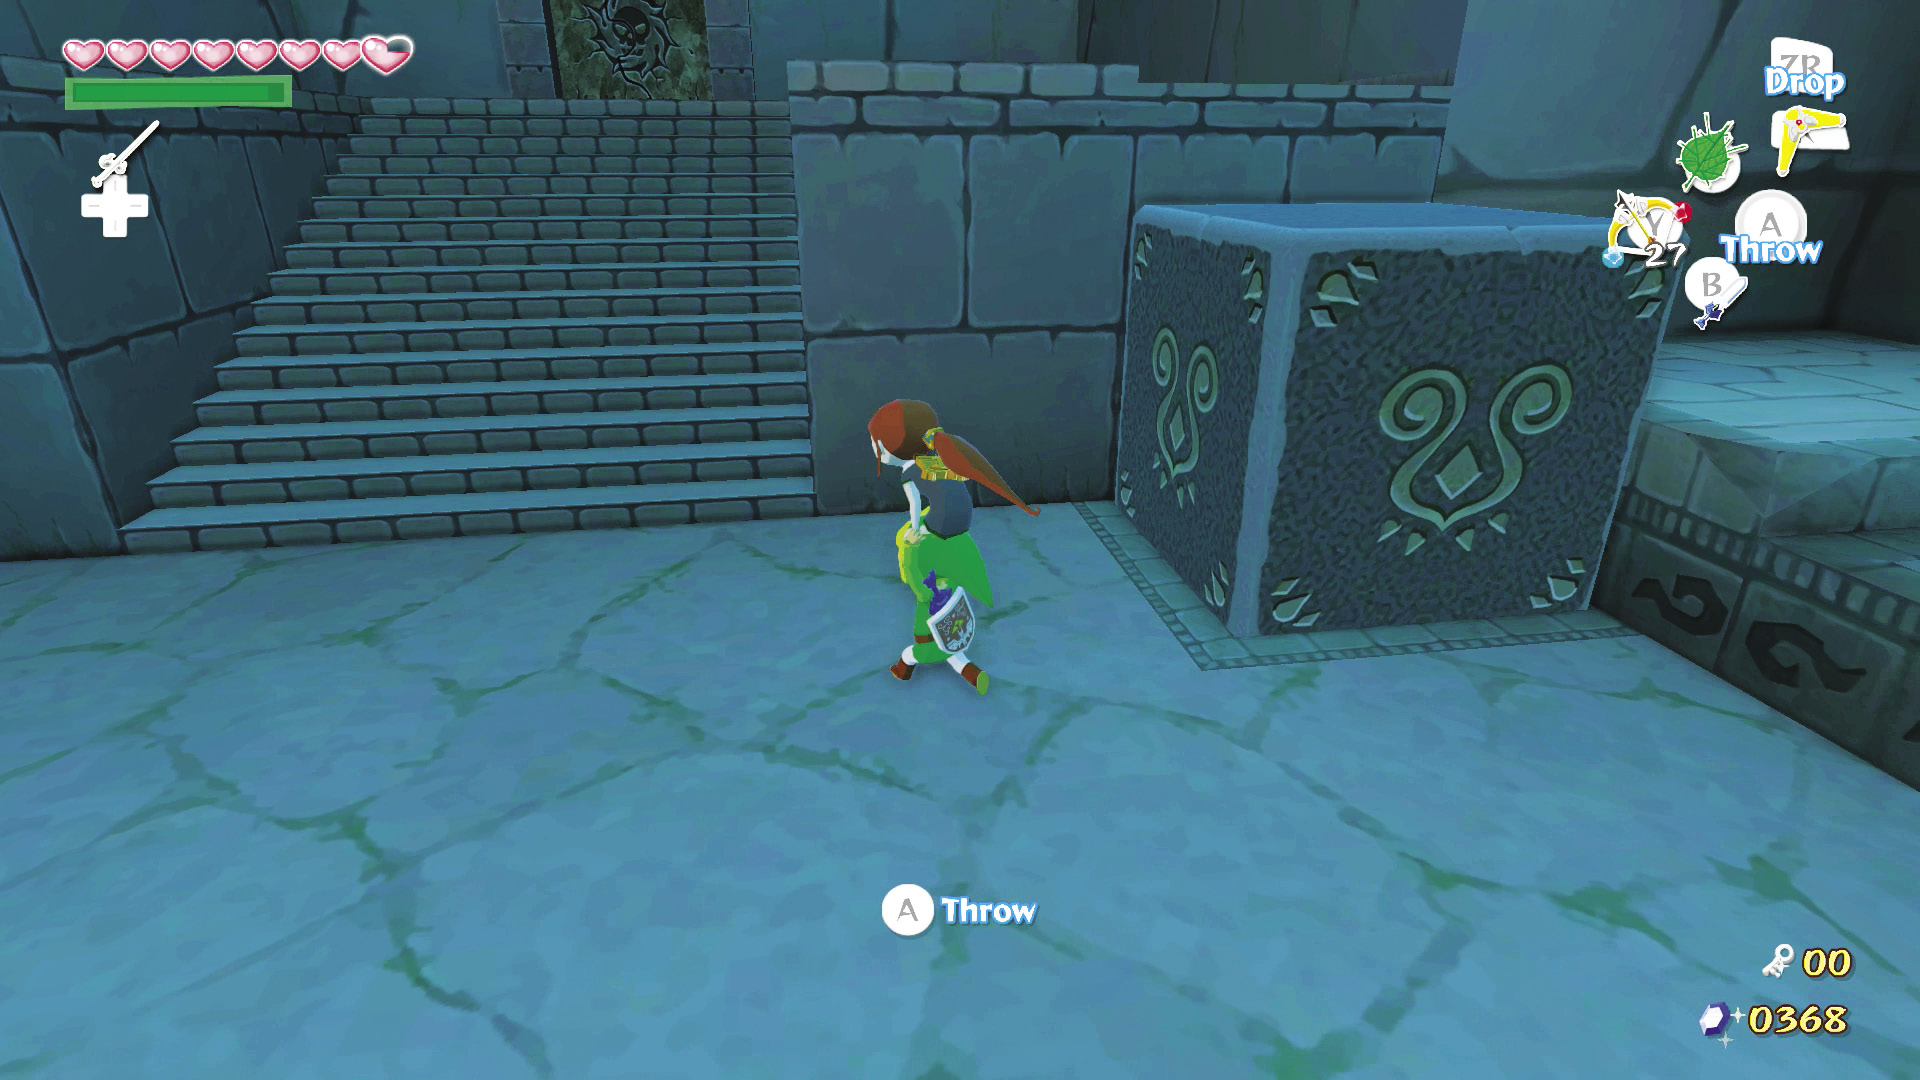
Push the large block off the upper part of the room’s east side. This opens the east door and gives you a way to get up to it other than the stairs. Pick up Medli and carry her through the east door.
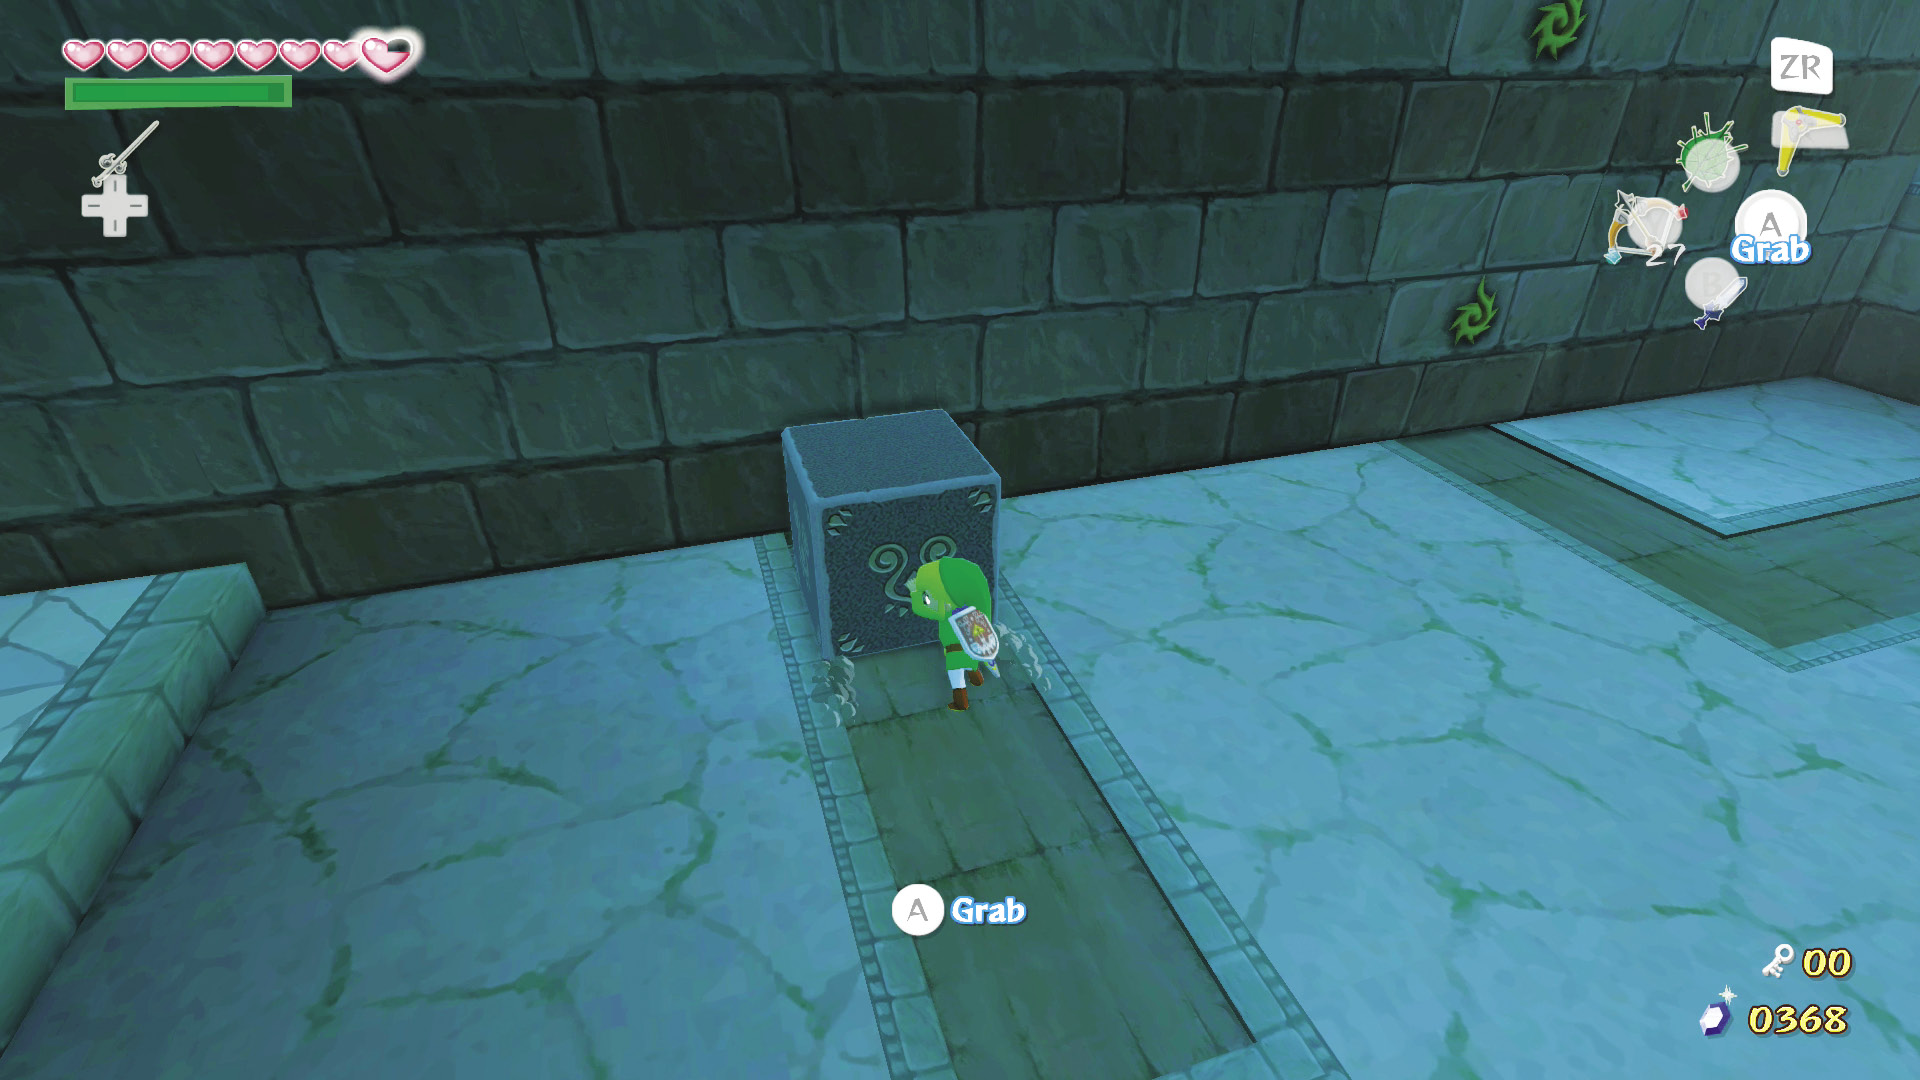
Put Medli down near the entrance and defeat the Floor Master. Push the block in front of you along its track to the north wall. This opens a skylight that shines a light beam into the center of the room. Pick Medli up and carry her into the light.
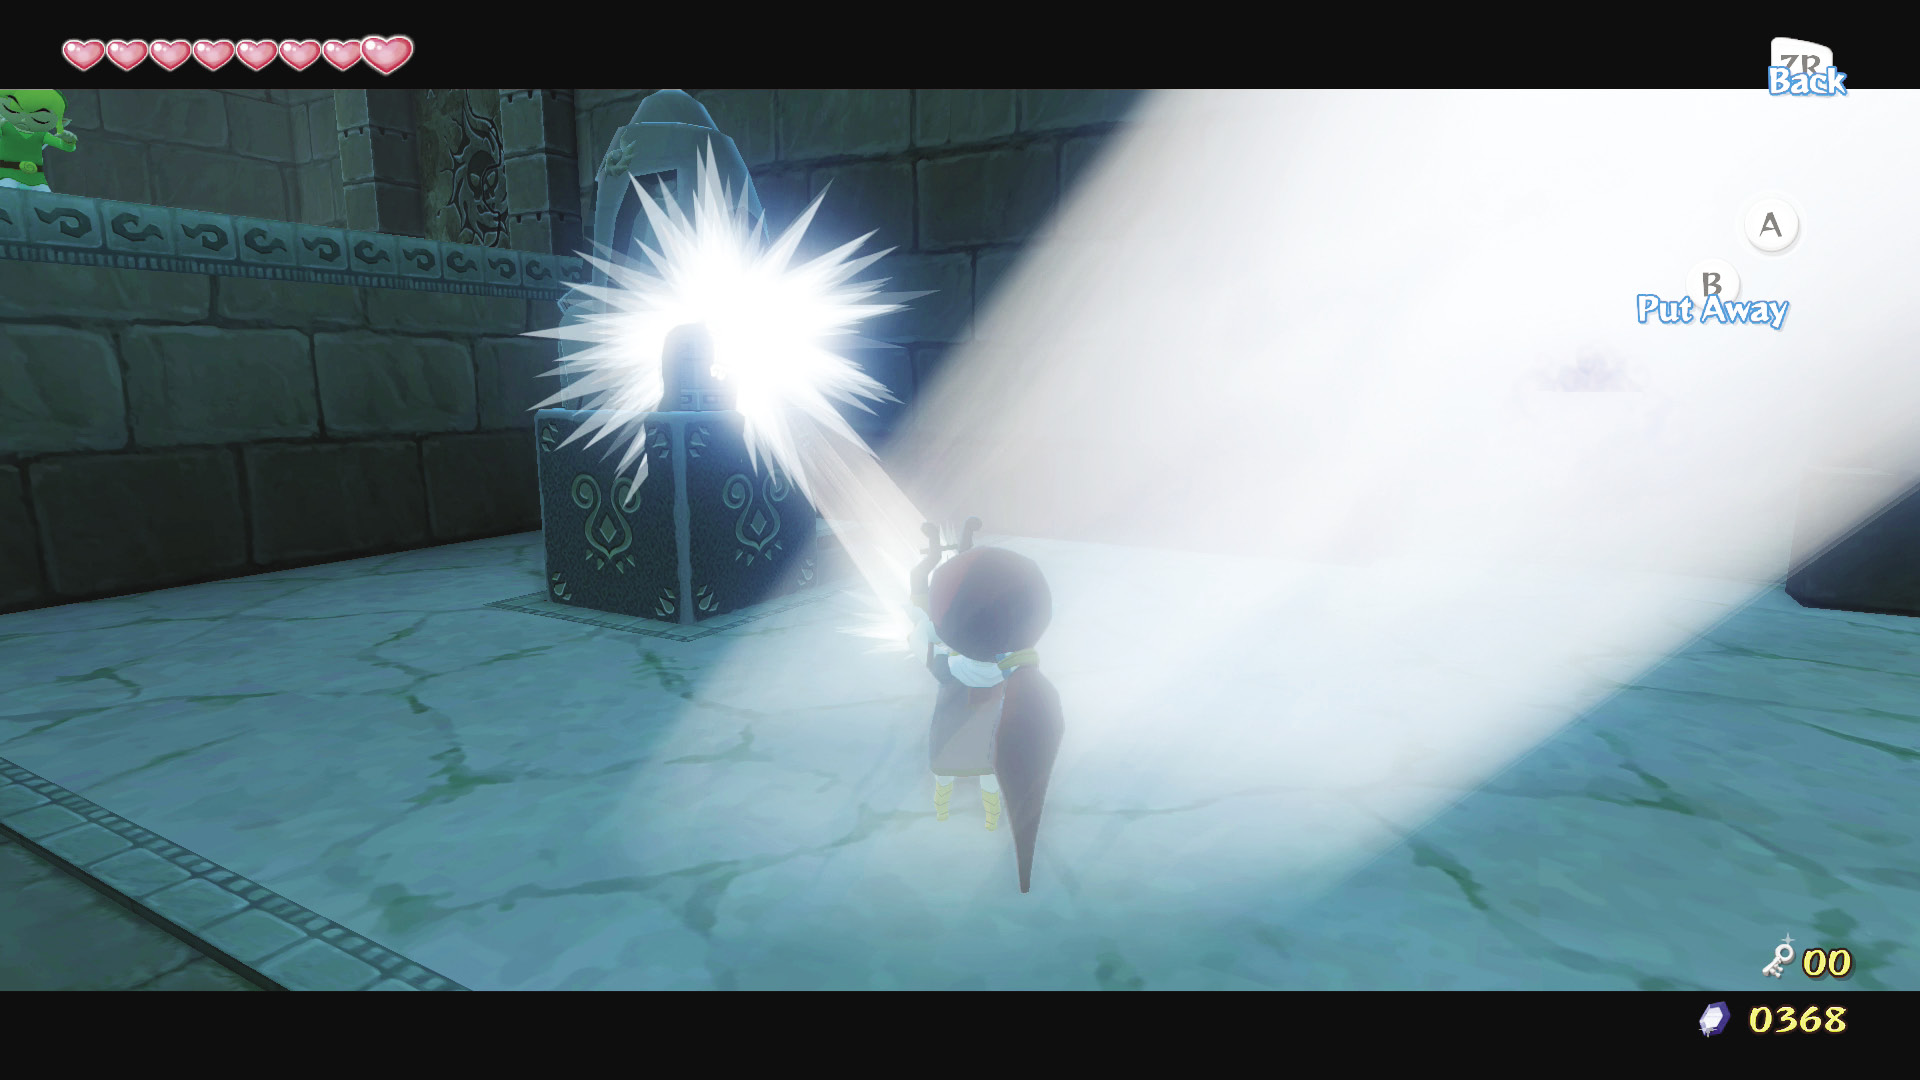
Take control of Medli and reflect the light beam onto the statue atop the east block. The light causes the statue to disintegrate.
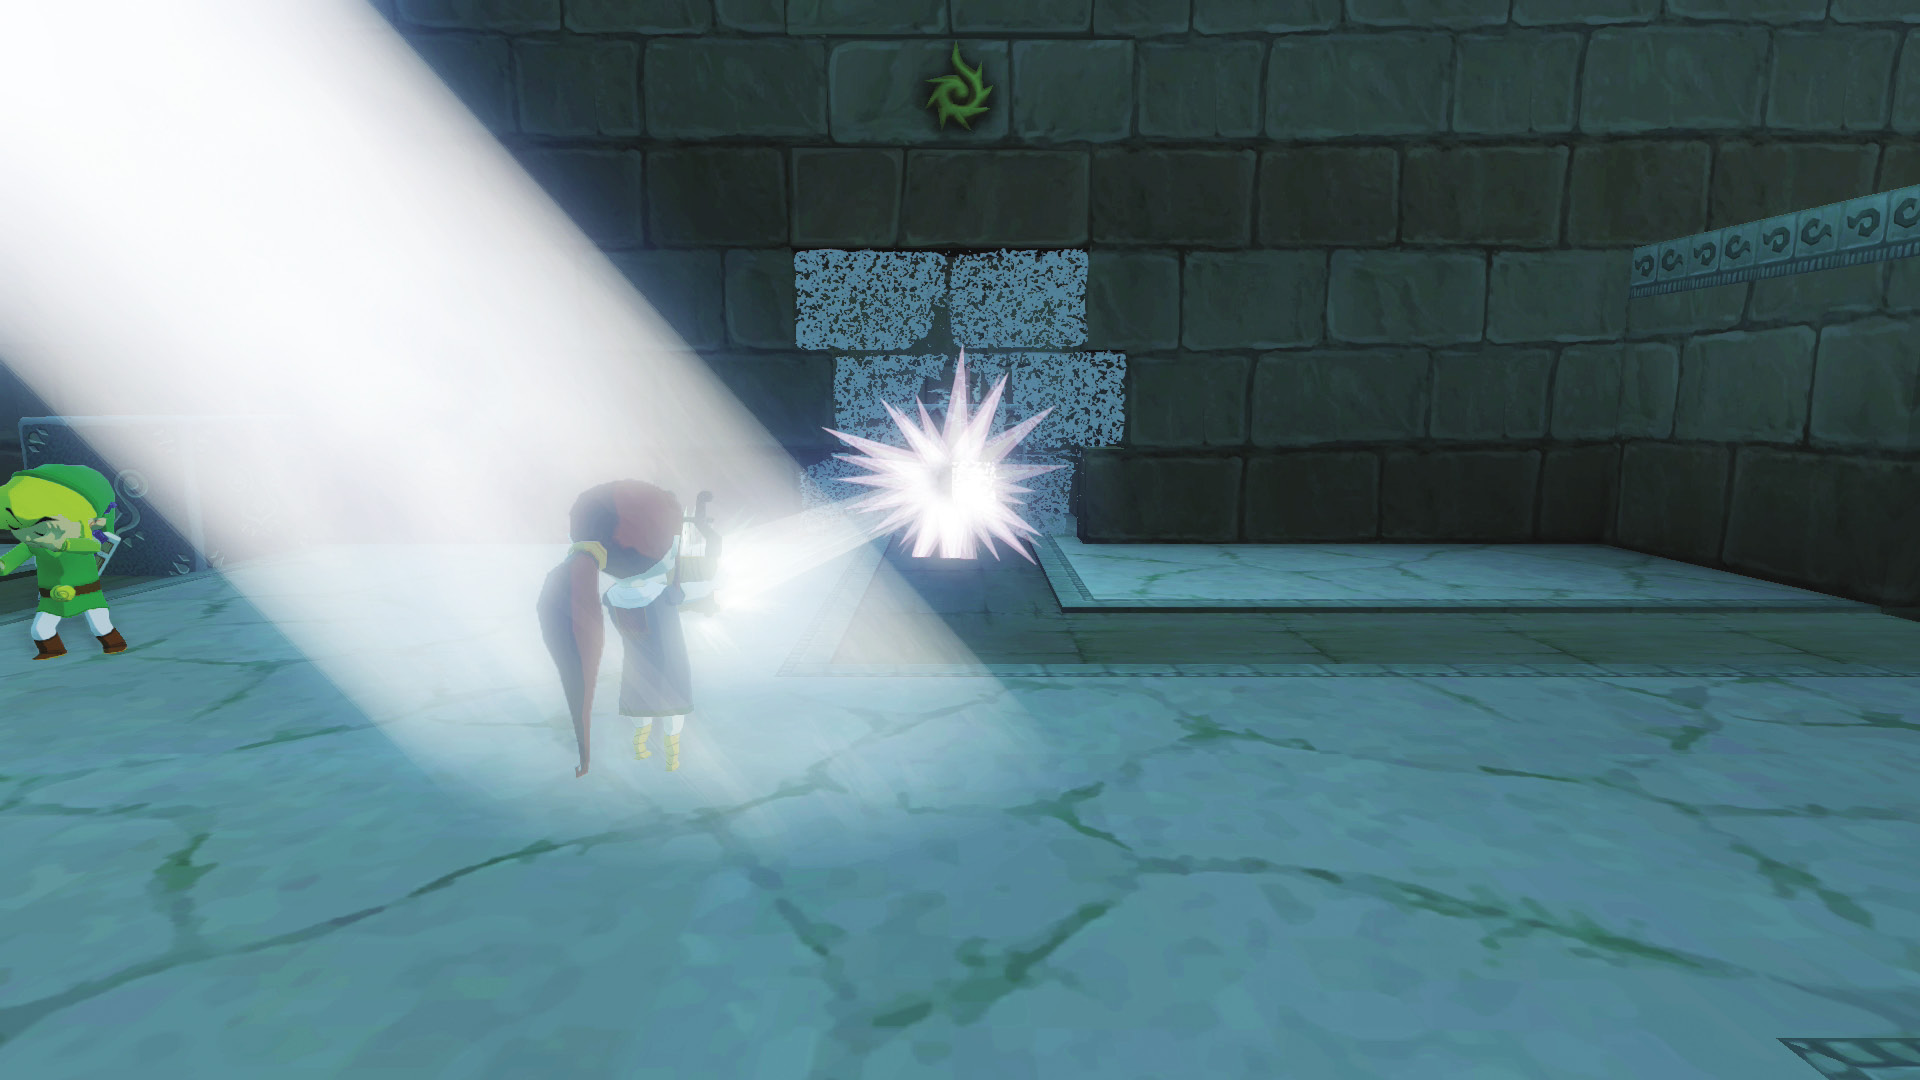
Reflect the light onto the yellow sigils on the north and south walls (there are two on each wall). This disintegrates those sections of the wall. Now release control of Medli.
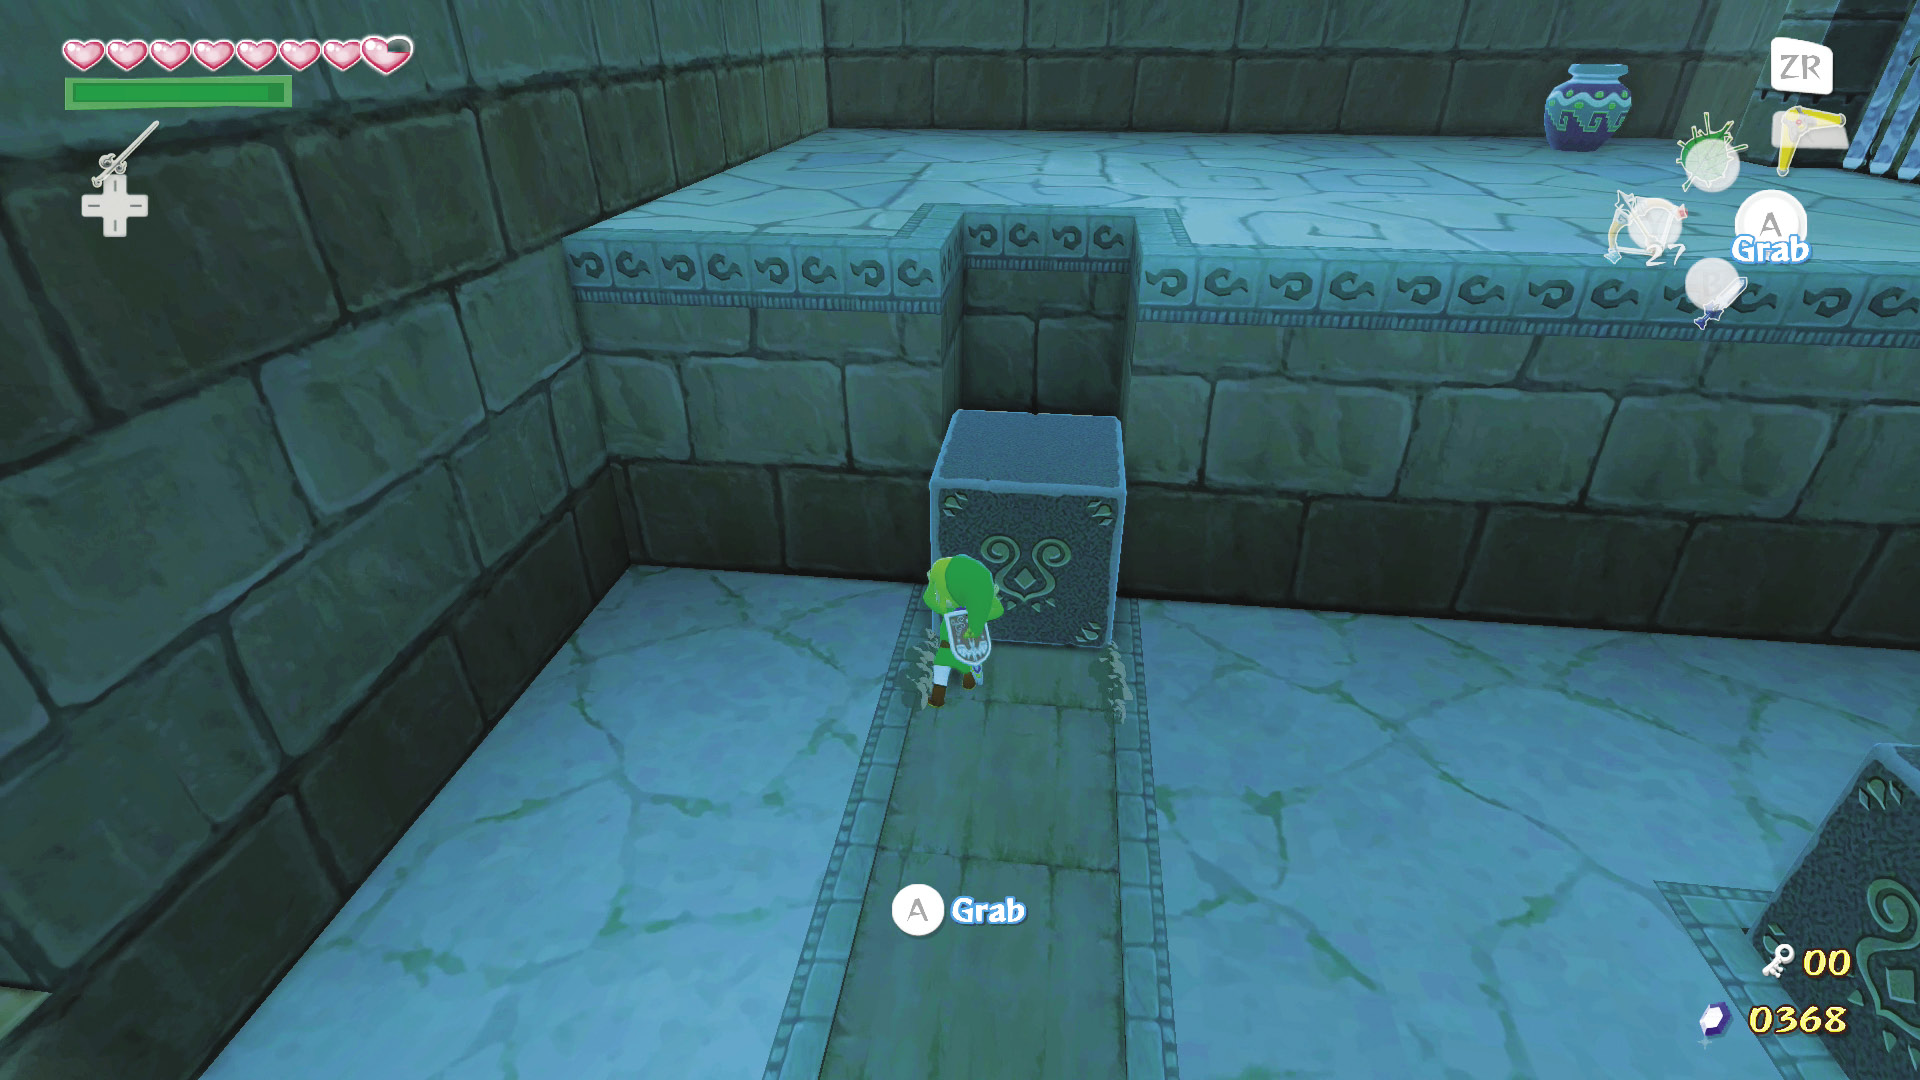
Beyond the disintegrated sections of south wall is the blue Warp Pot. Behind the disintegrated section of the north wall is a block. Pull it south, then push it east along its track. Climb the block to reach the room’s upper east section. This also opens the southeast door.
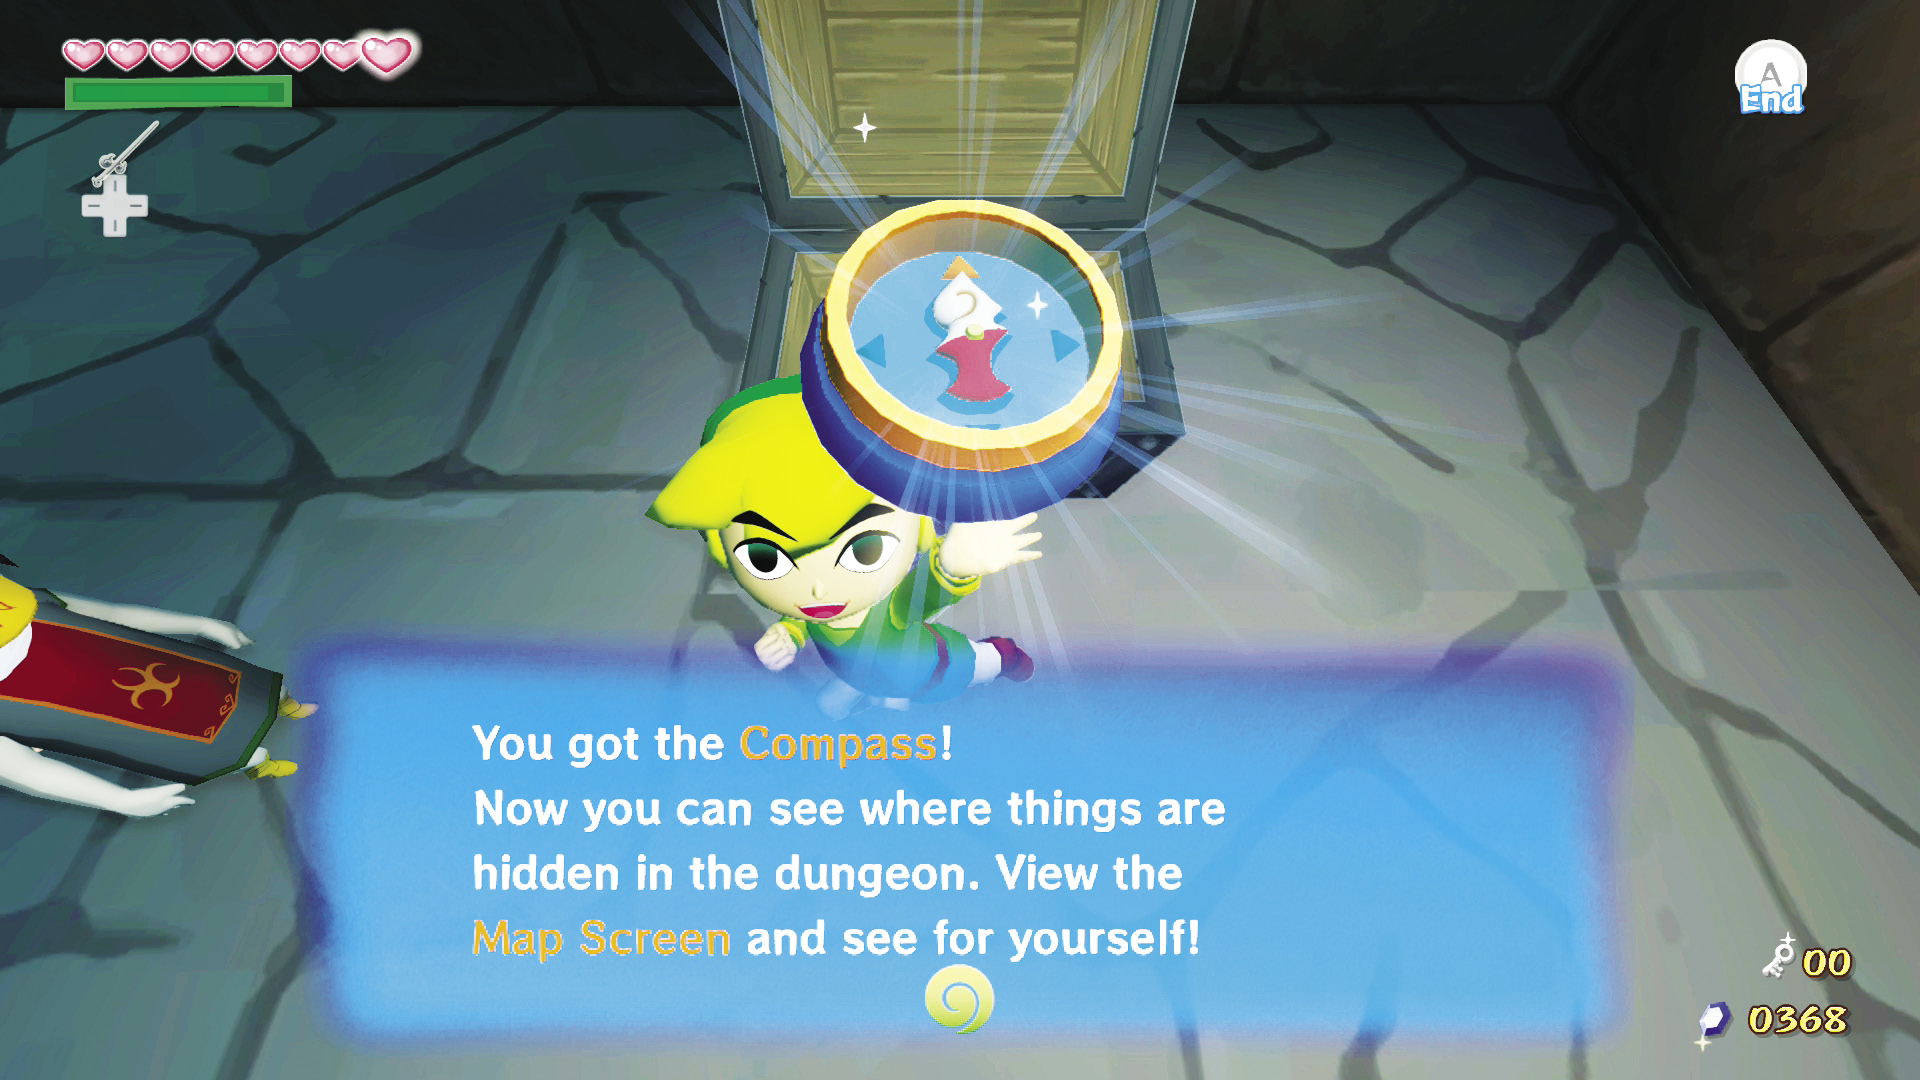
Push the east block to the south wall to cause a chest to appear in the room’s elevated east end. Throw Medli up to the room’s east end, open the chest to get the Compass for the Earth Temple, and carry Medli through the east door.
4. Ghosts, Zombies, and Skeletons, Oh My!
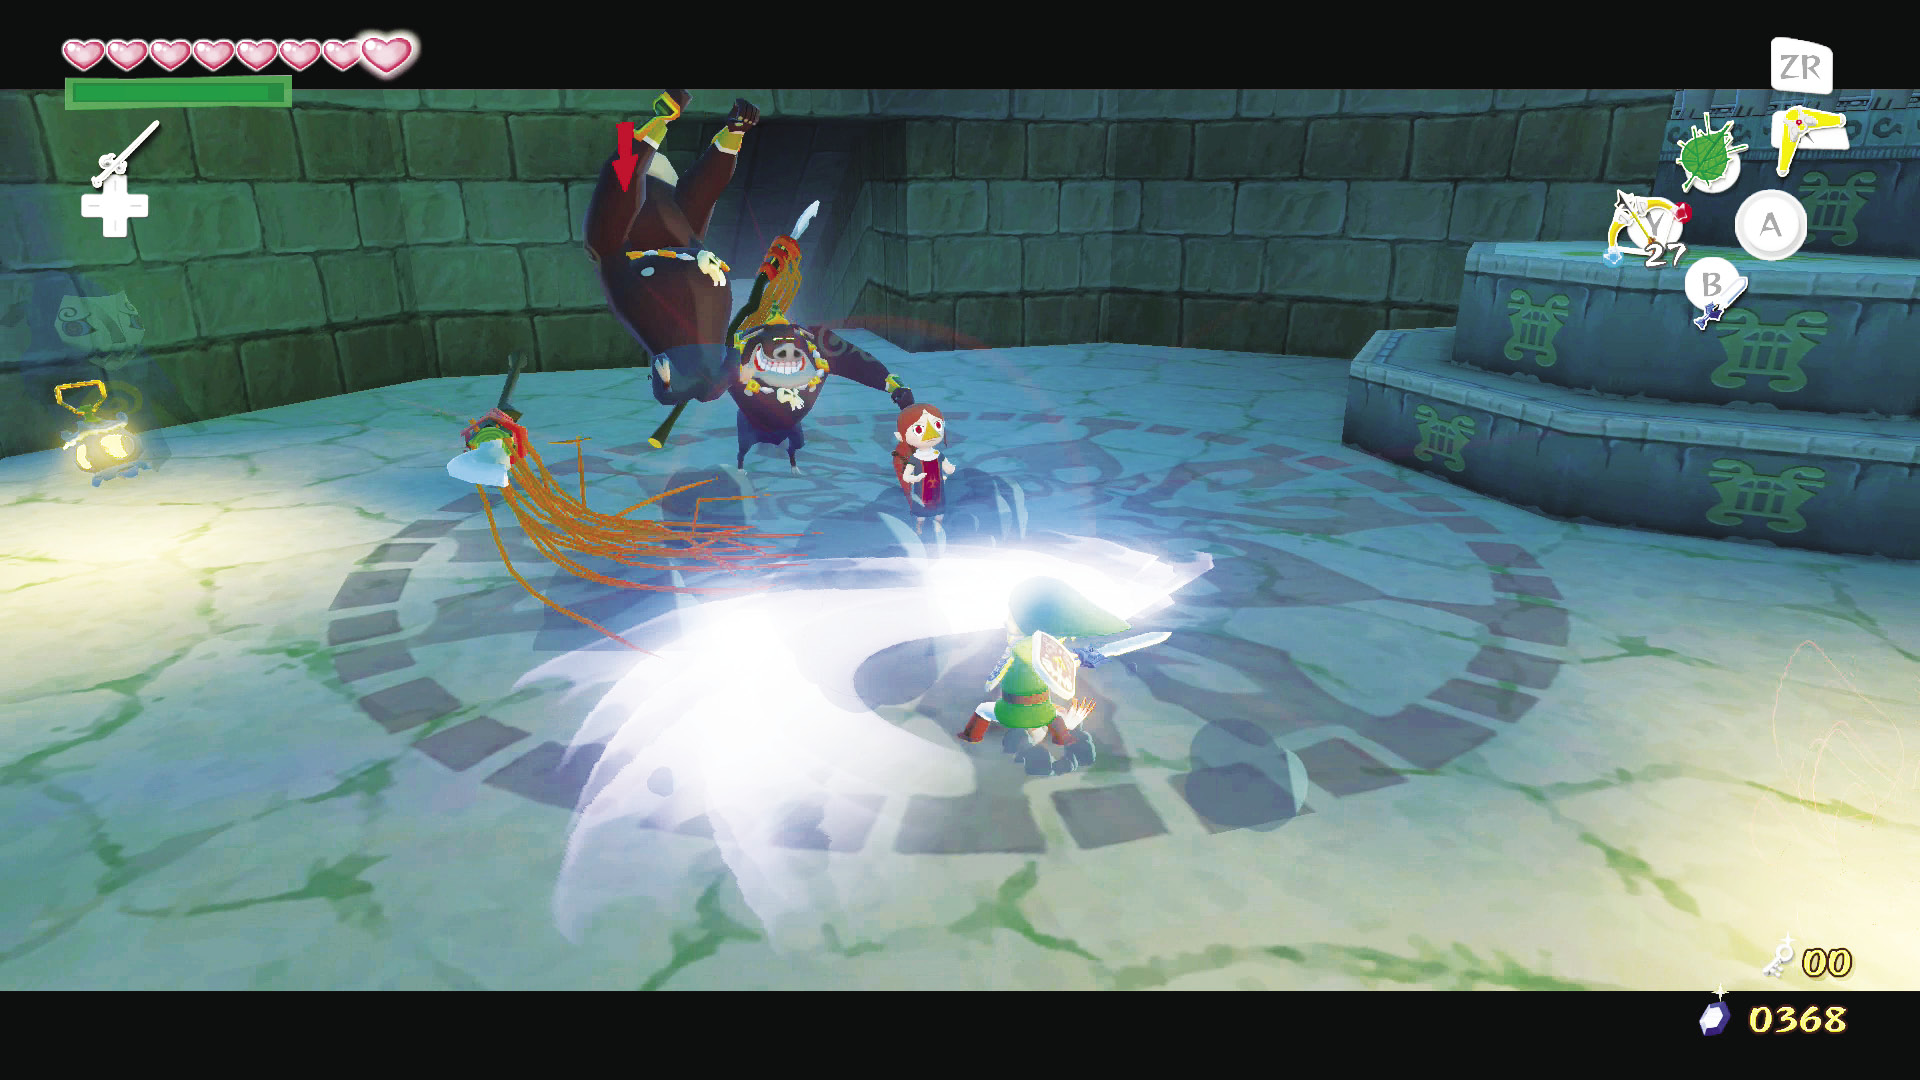
Place Medli near the entrance and run into the middle of the room. In it are two Poes and two Moblins. Avoid the Poes for now and focus on defeating the Moblins.
Enemy: Poe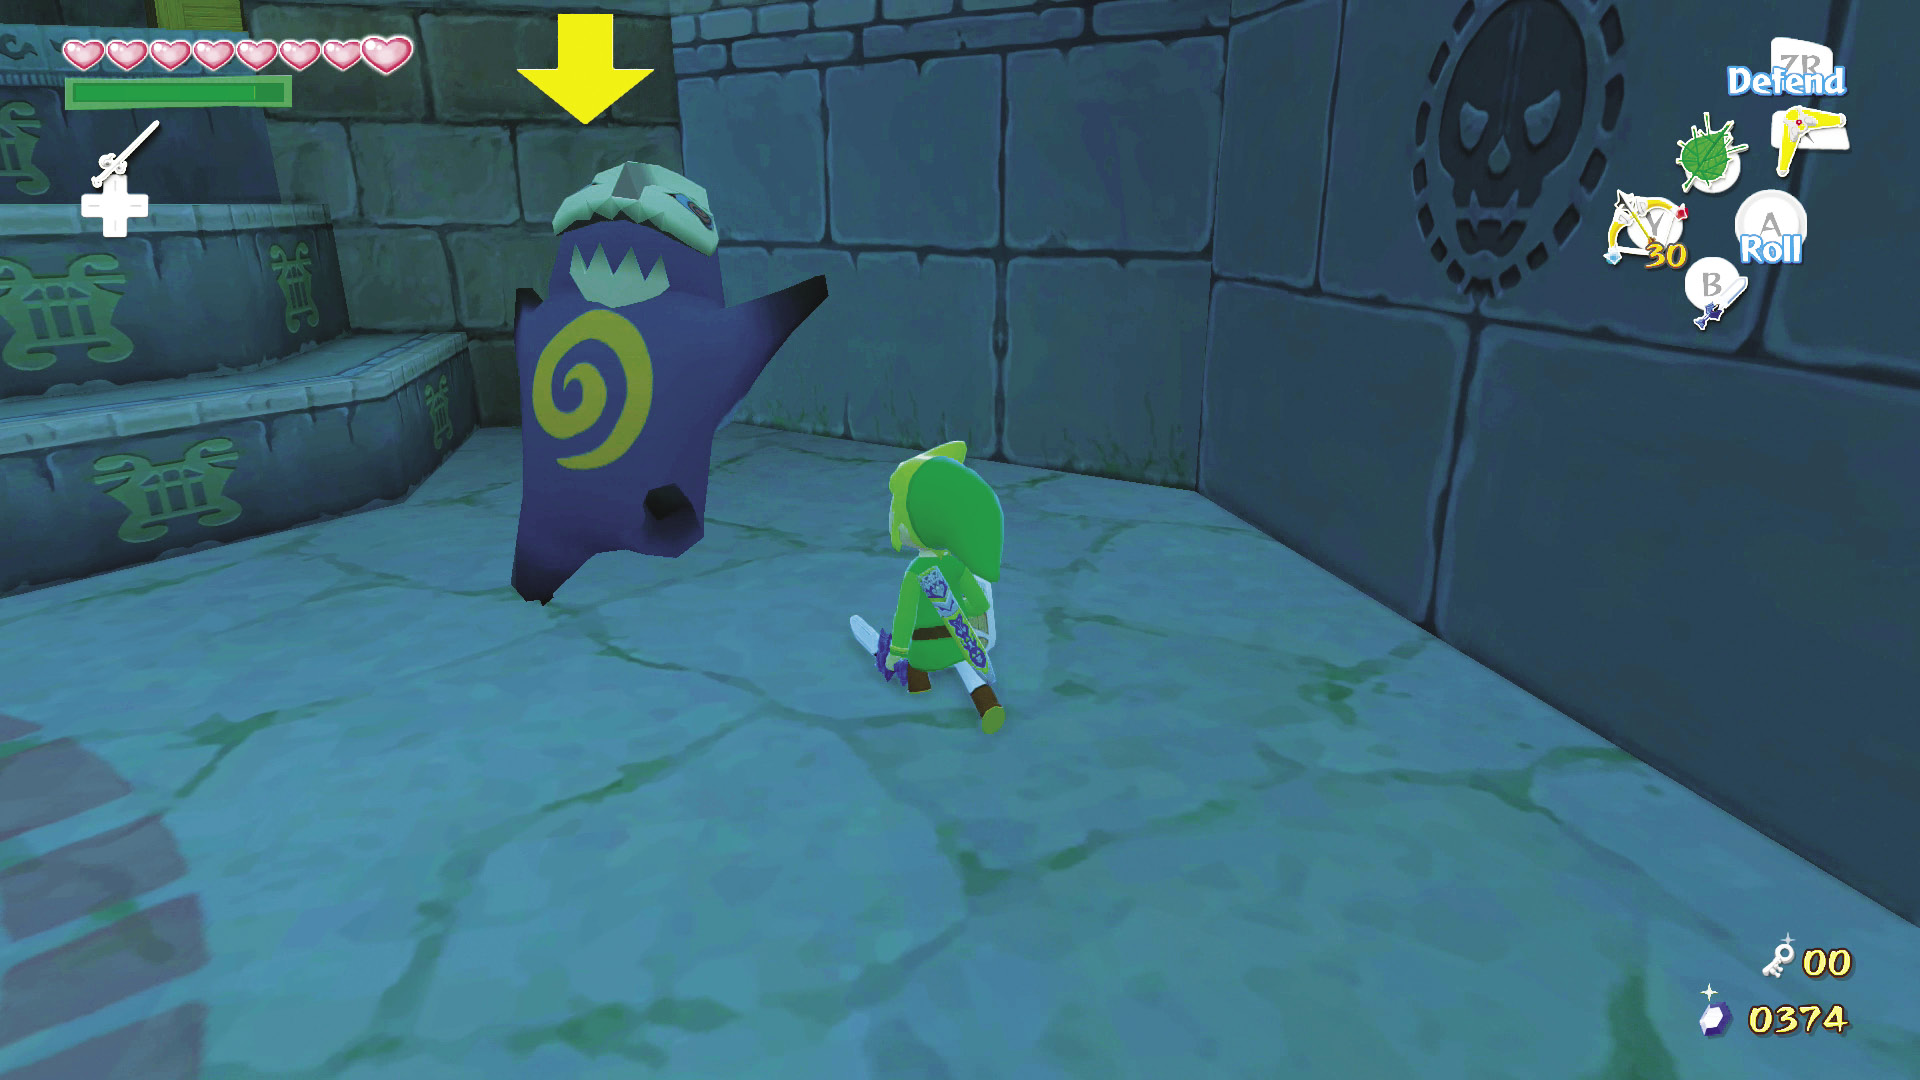 Poes are lantern-wielding apparitions who love to confuse and frighten their enemies. They have two methods of attack: by throwing their lanterns to set Link aflame and by confusing you when they hit you, reversing your controller’s directions (e.g., pressing There isn’t much you can do to them until you concentrate a light beam directly onto them for about five seconds. After that, the goofy ghosts will drop their lanterns and go into a full-blown panic. All you need to do at this point is slash them a few times with your sword and they’ll head on to the “other side.” |
 would move you to the right). Poes are also ephemeral—and invincible until stunned with light.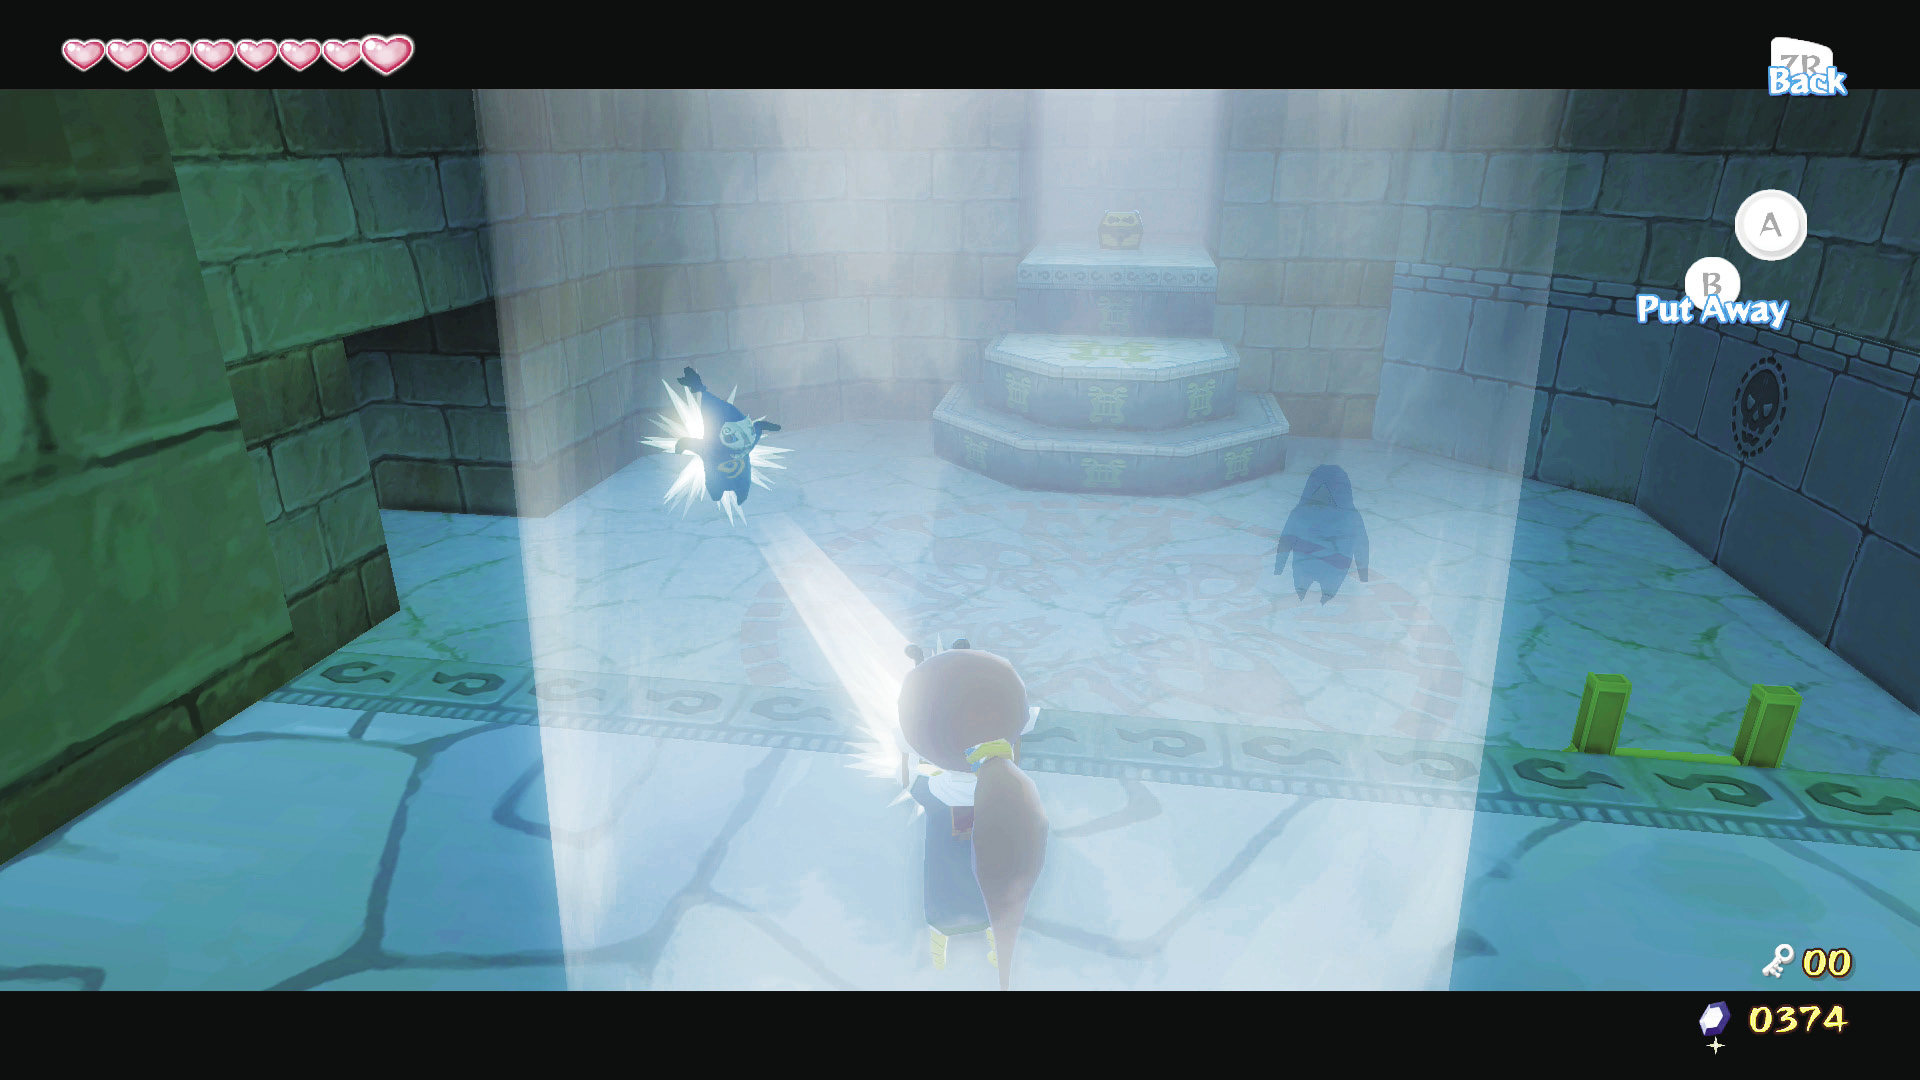
Climb the west ladder to reach an elevated ledge with a light beam shining down on it. Take control of Medli and fly her to the light to take out the Poes. After you defeat the enemies, a staircase appears in the room’s south part.
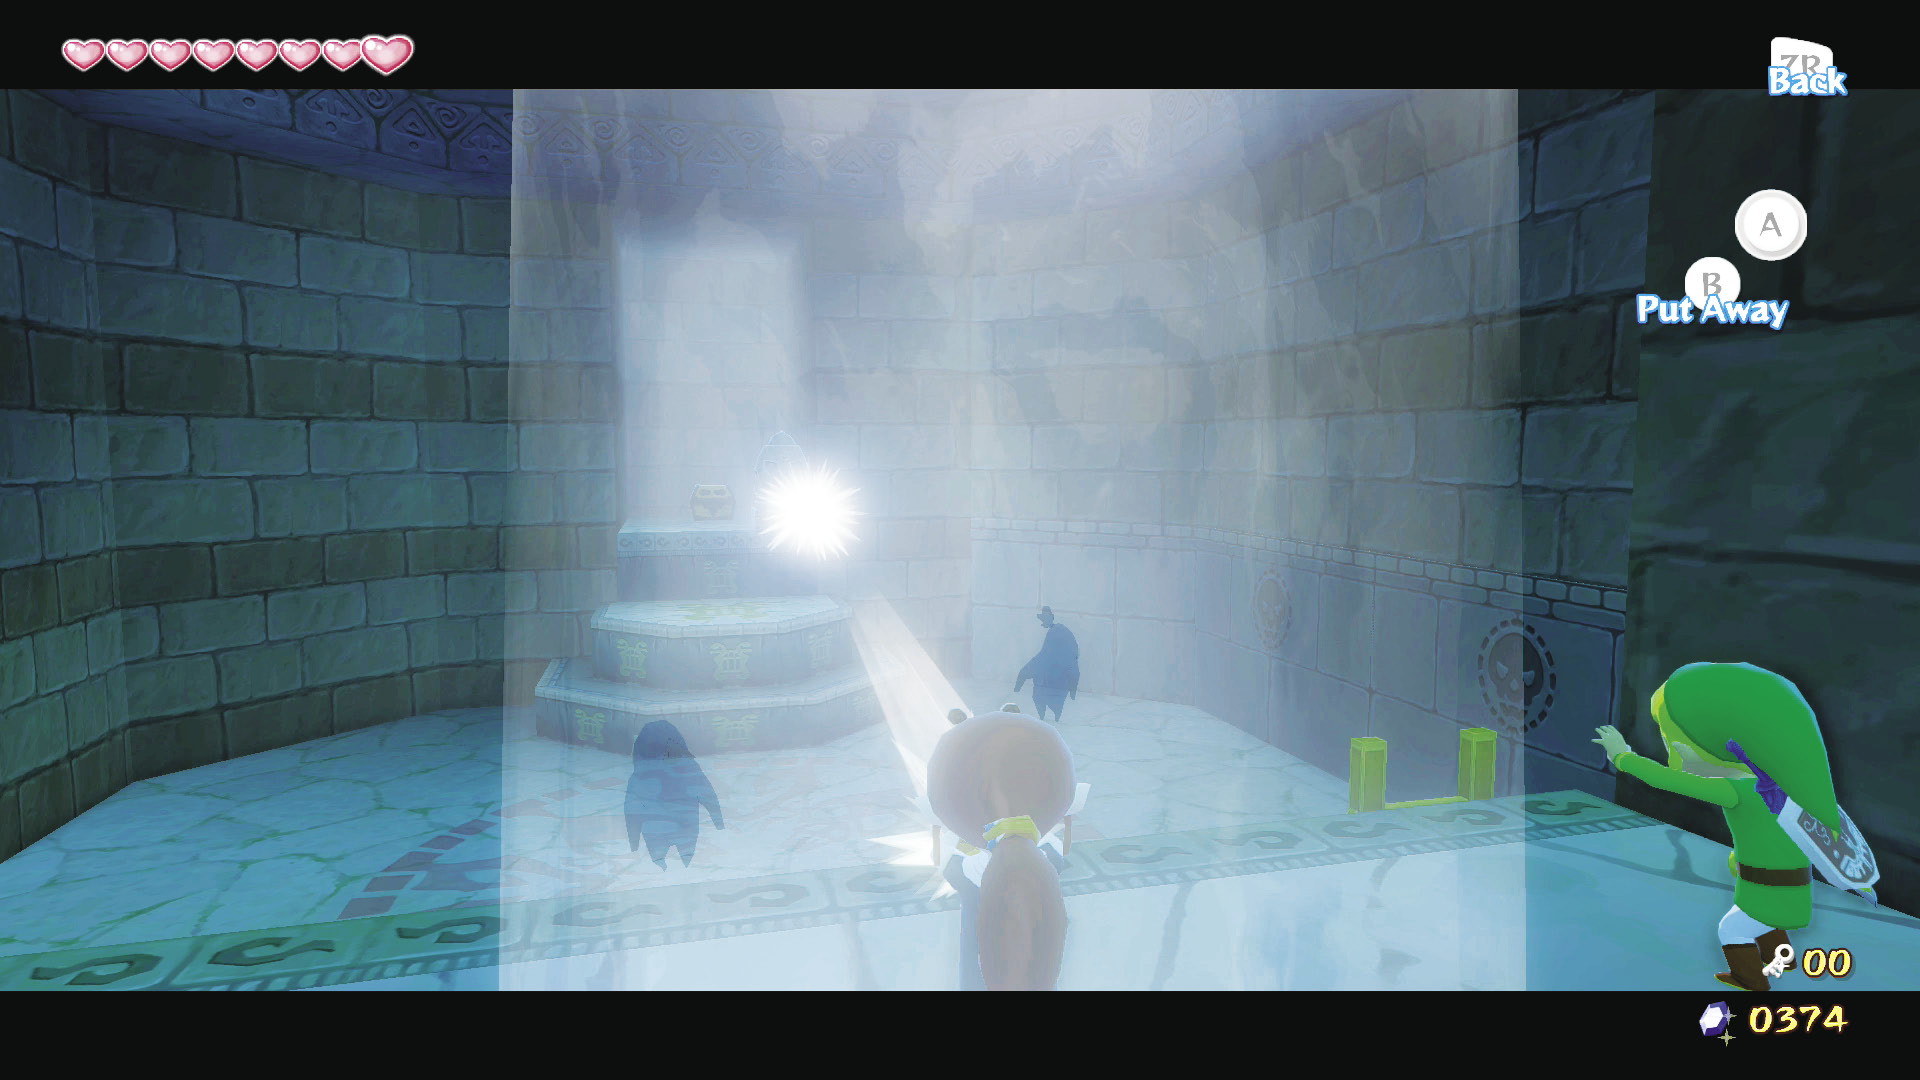
As Medli, reflect the light onto the statues at the room’s east end to disintegrate them and expose a chest containing a Joy Pendant. After you have it, carry Medli to the south part of the room and go through the east door.
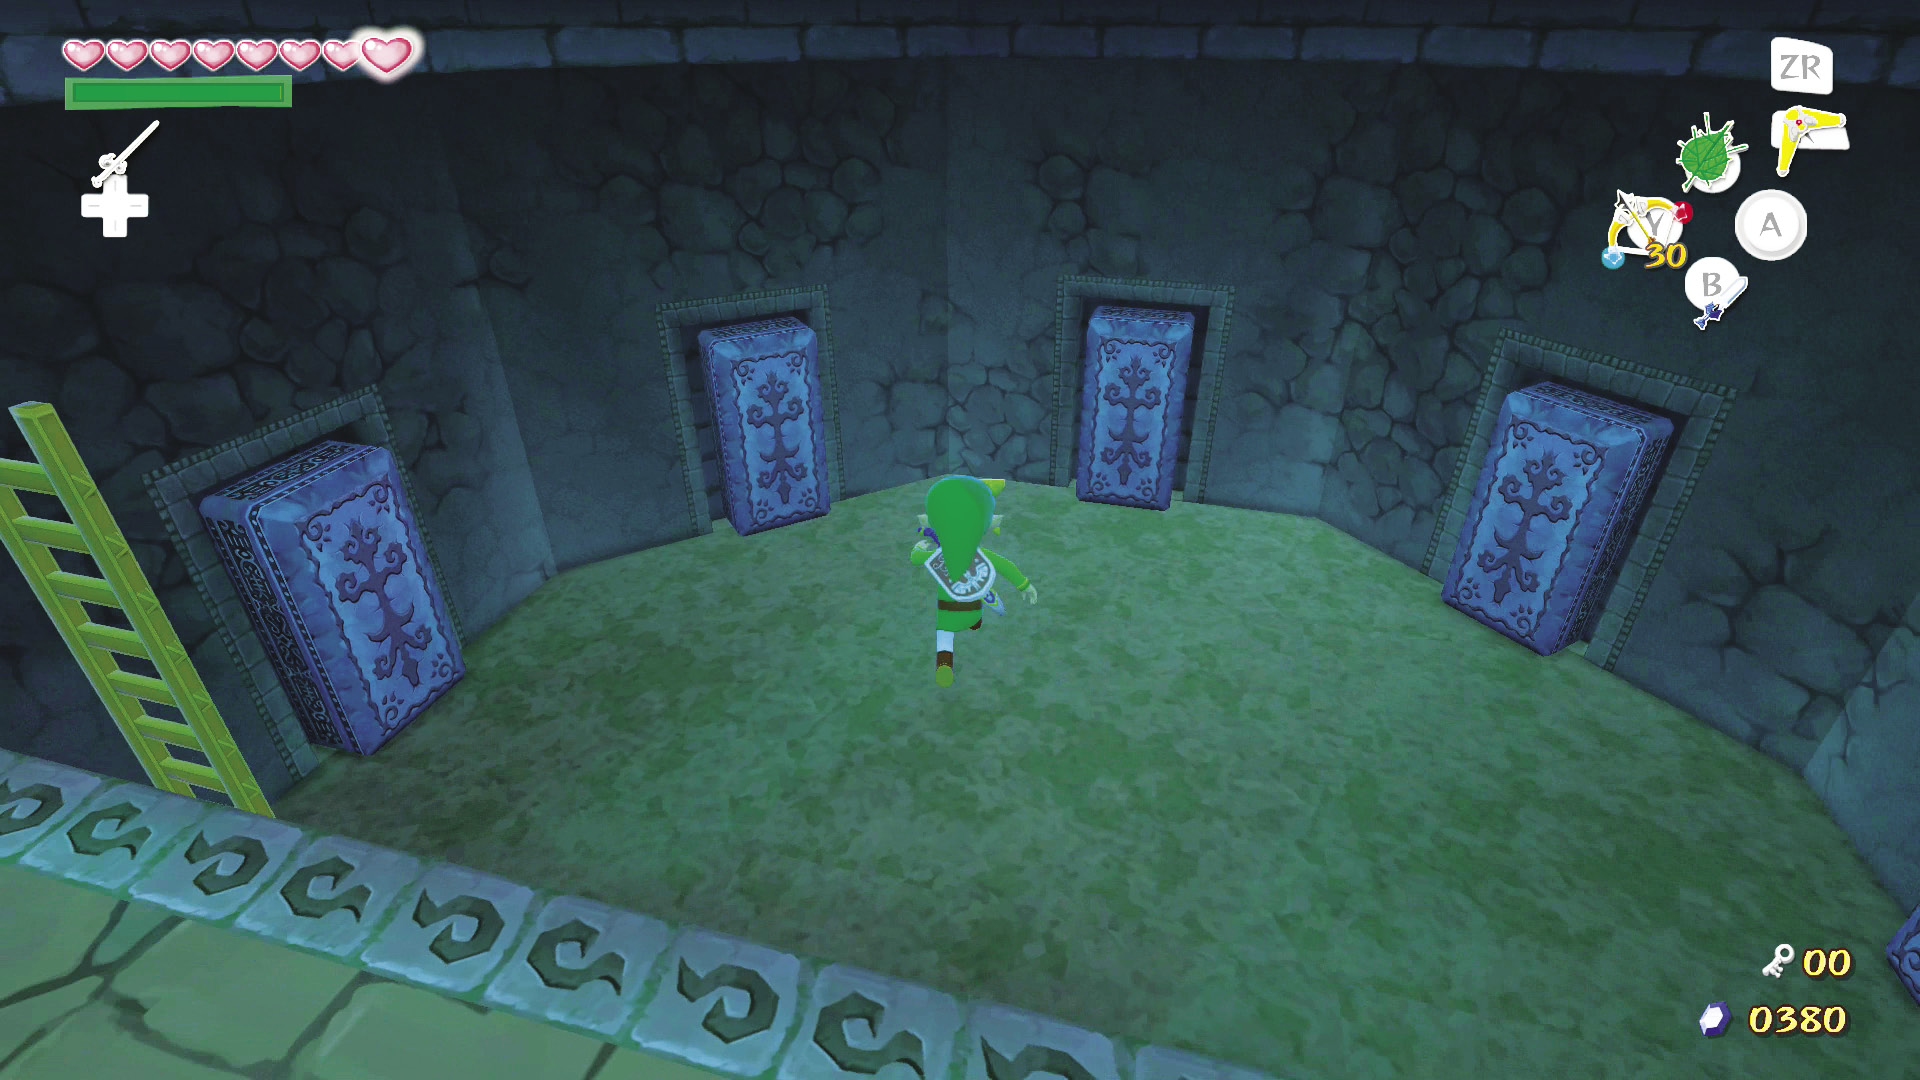
Leave Medli on the room’s elevated west side and drop into the center. Approach one of the five coffins along the room’s east half, causing it to fall open. Starting at the northernmost coffin and moving clockwise, the coffins contain a ReDead, a Yellow Rupee, a ReDead, a ReDead, and a Small Key.
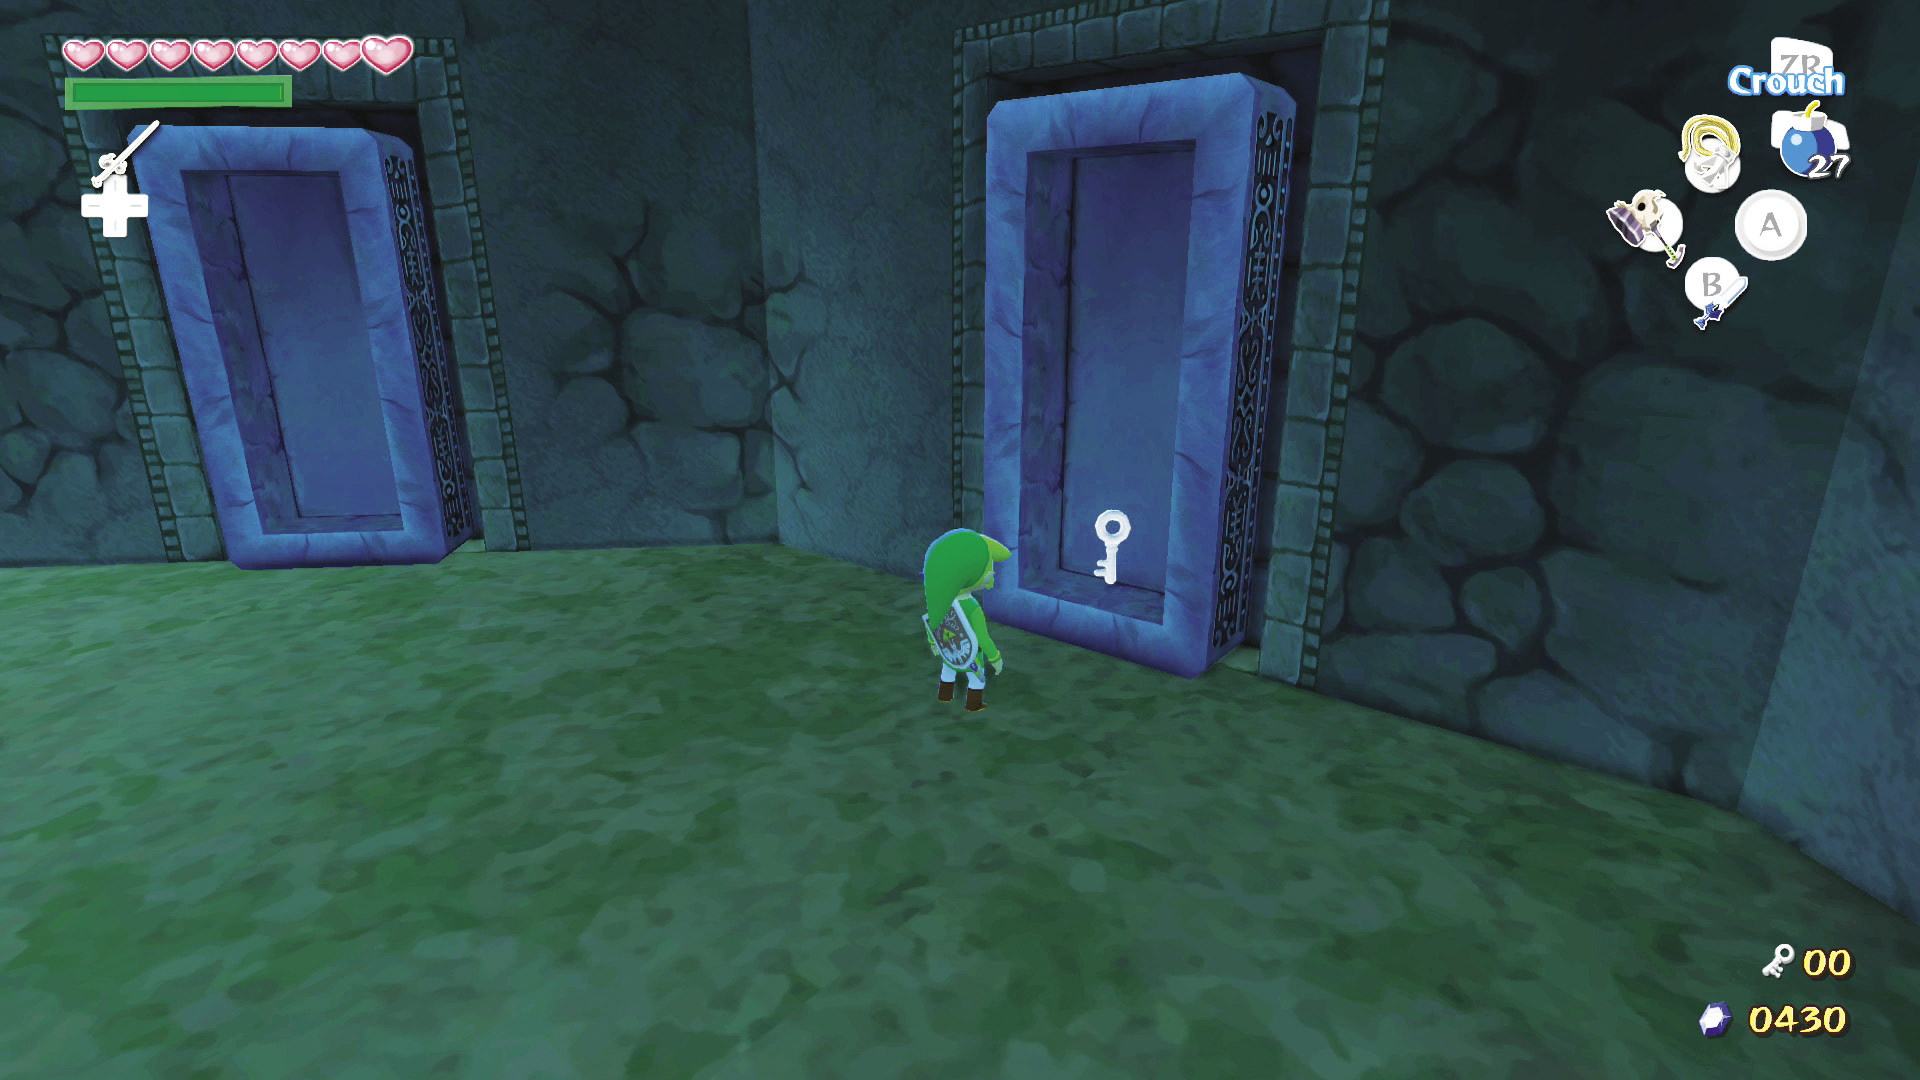
After you defeat all three ReDeads, the ladder leading out of the room’s east part drops, and you can climb up to the room’s west side. Carry Medli through the south door.
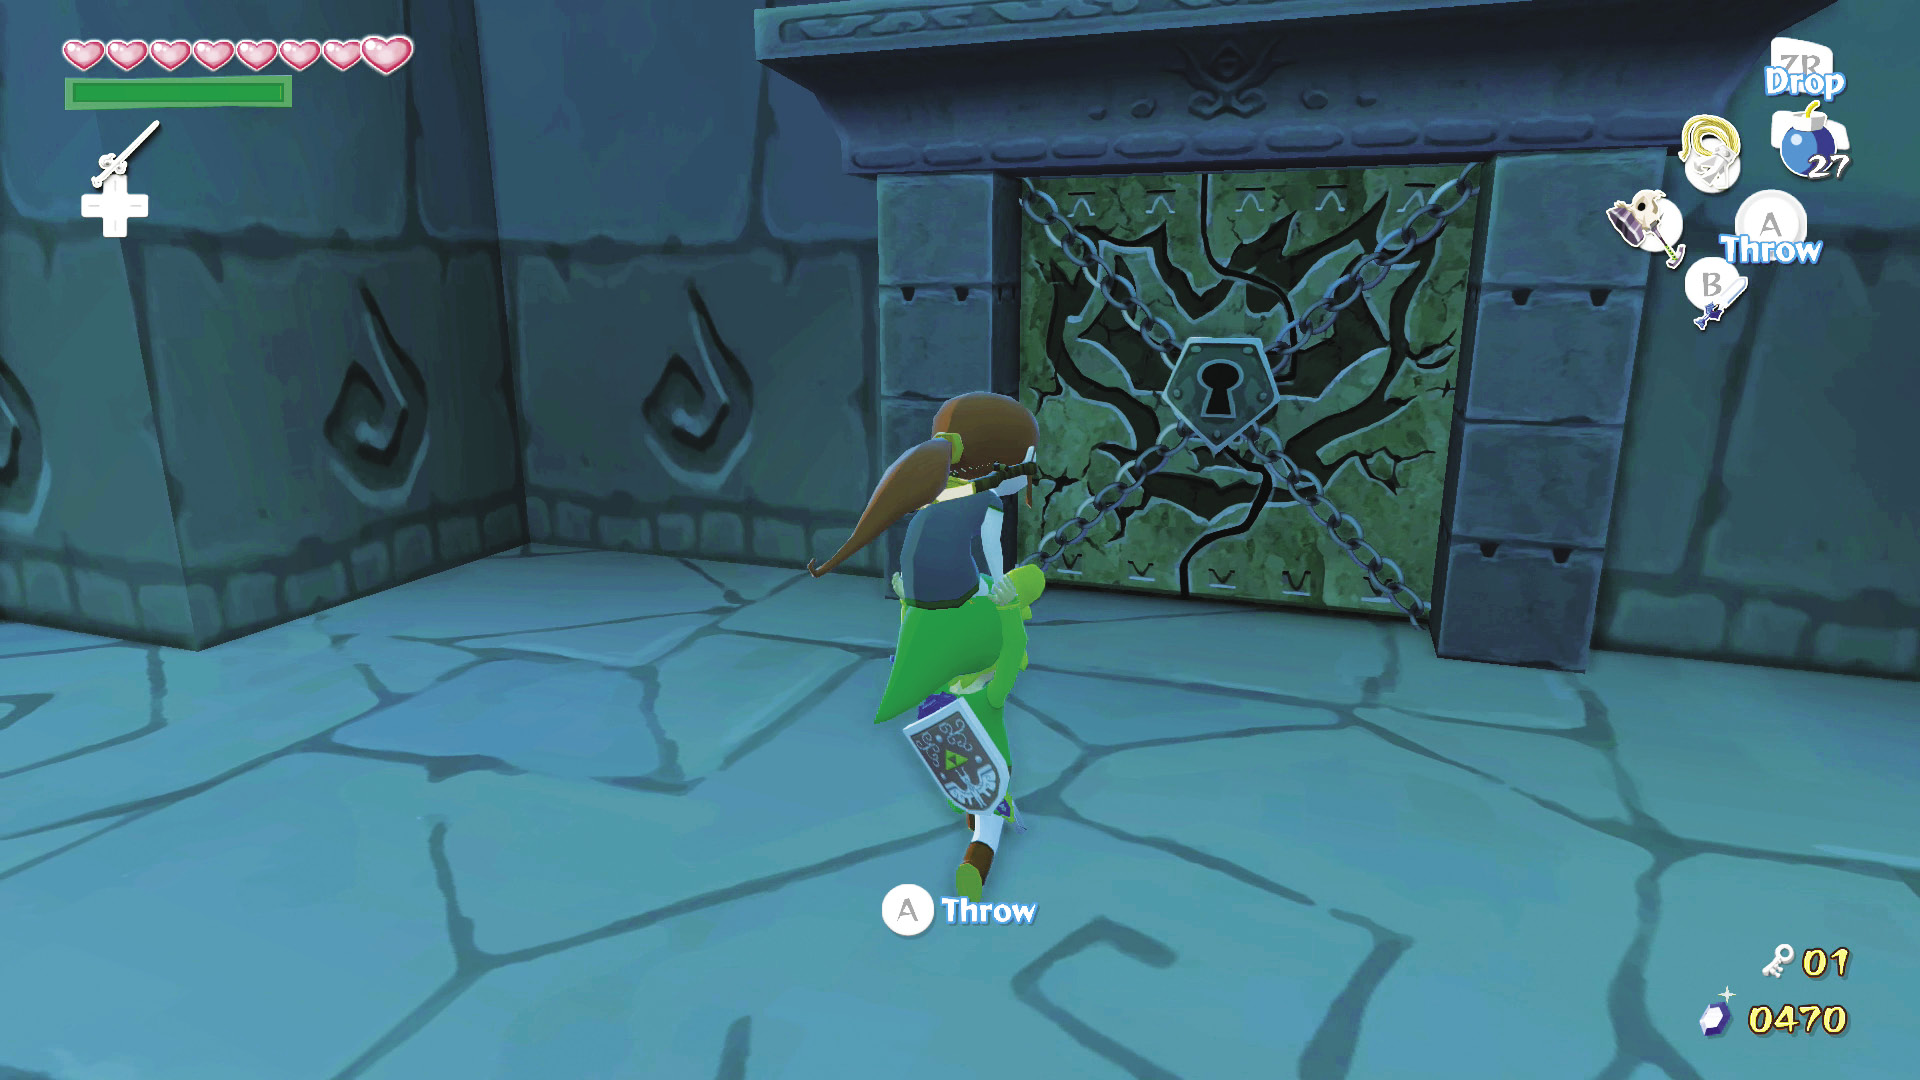
From the room’s south section, use the Small Key you just picked up to unlock the south door. If you are low on bombs, smash the skulls in the southwest corner; you’re going to need ’em.
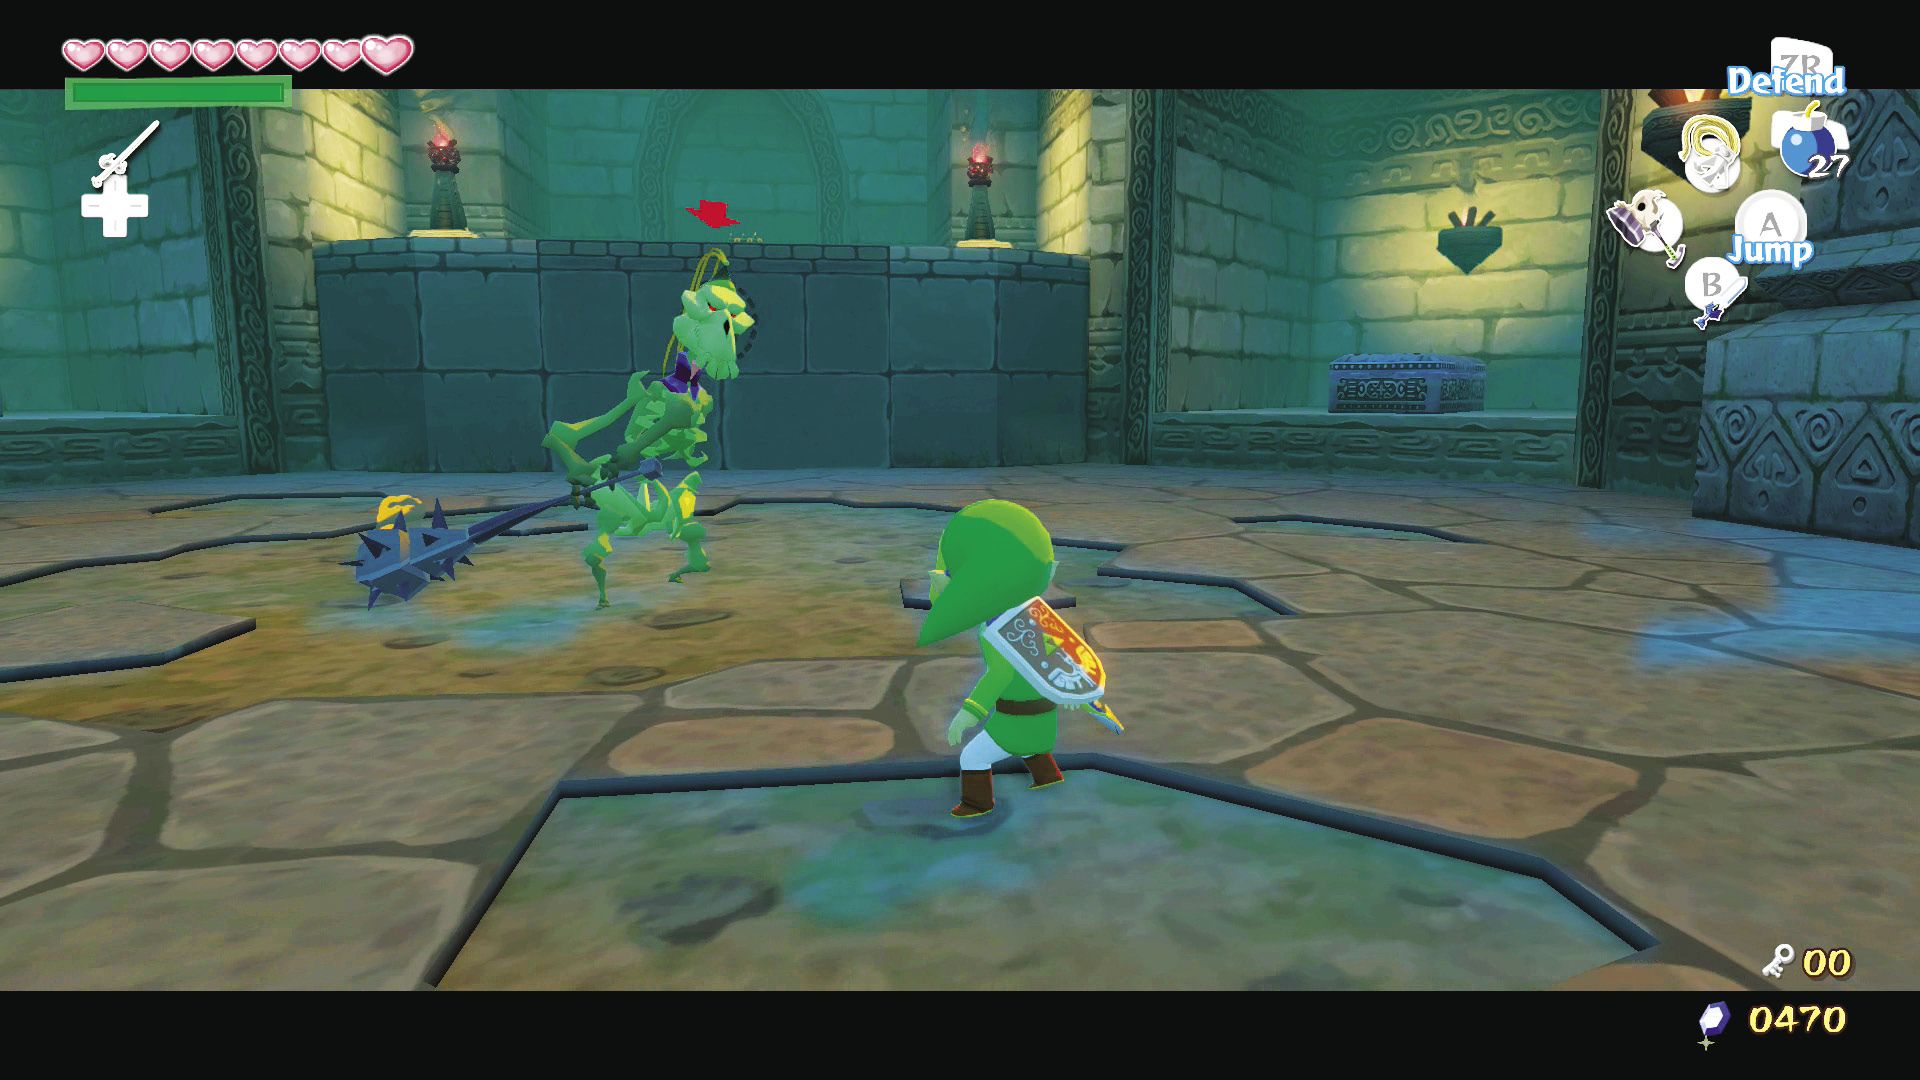
Medli does not accompany Link into this room. The door seals behind you when you enter. Walk south until a Stalfos pops out of the ground in the center.
Enemy: Stalfos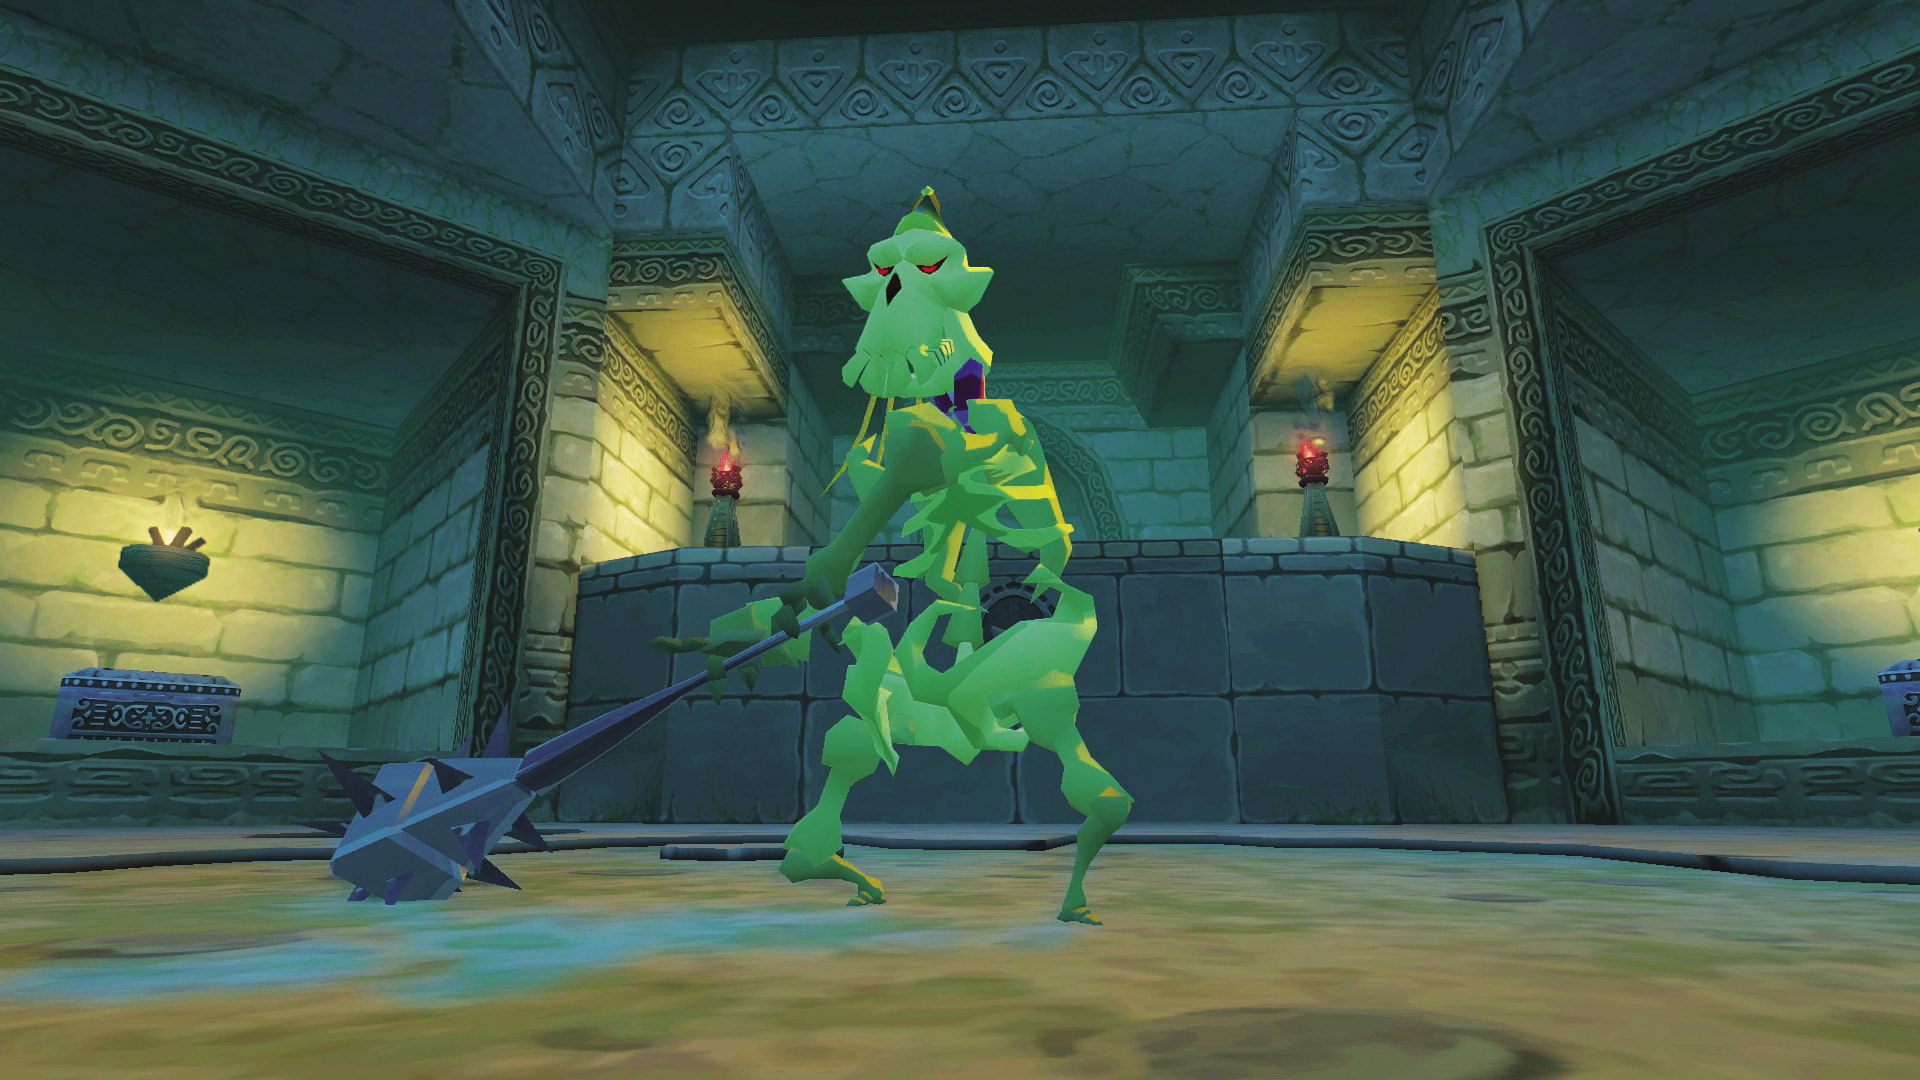 Stalfos move slowly, but they have a long attack range and cause a lot of damage if they hit you. To make matters worse, they are immortal when they are intact. To defeat them, either plant a bomb next to them or hit them with your sword until they break apart. When this happens, immediately |
 -Target its head and attack it relentlessly. If you’re not fast enough, the Stalfos will re-form and you’ll have to break them down with another bomb or several more sword slashes. After six to ten hits, the Stalfos will be sent back to the grave.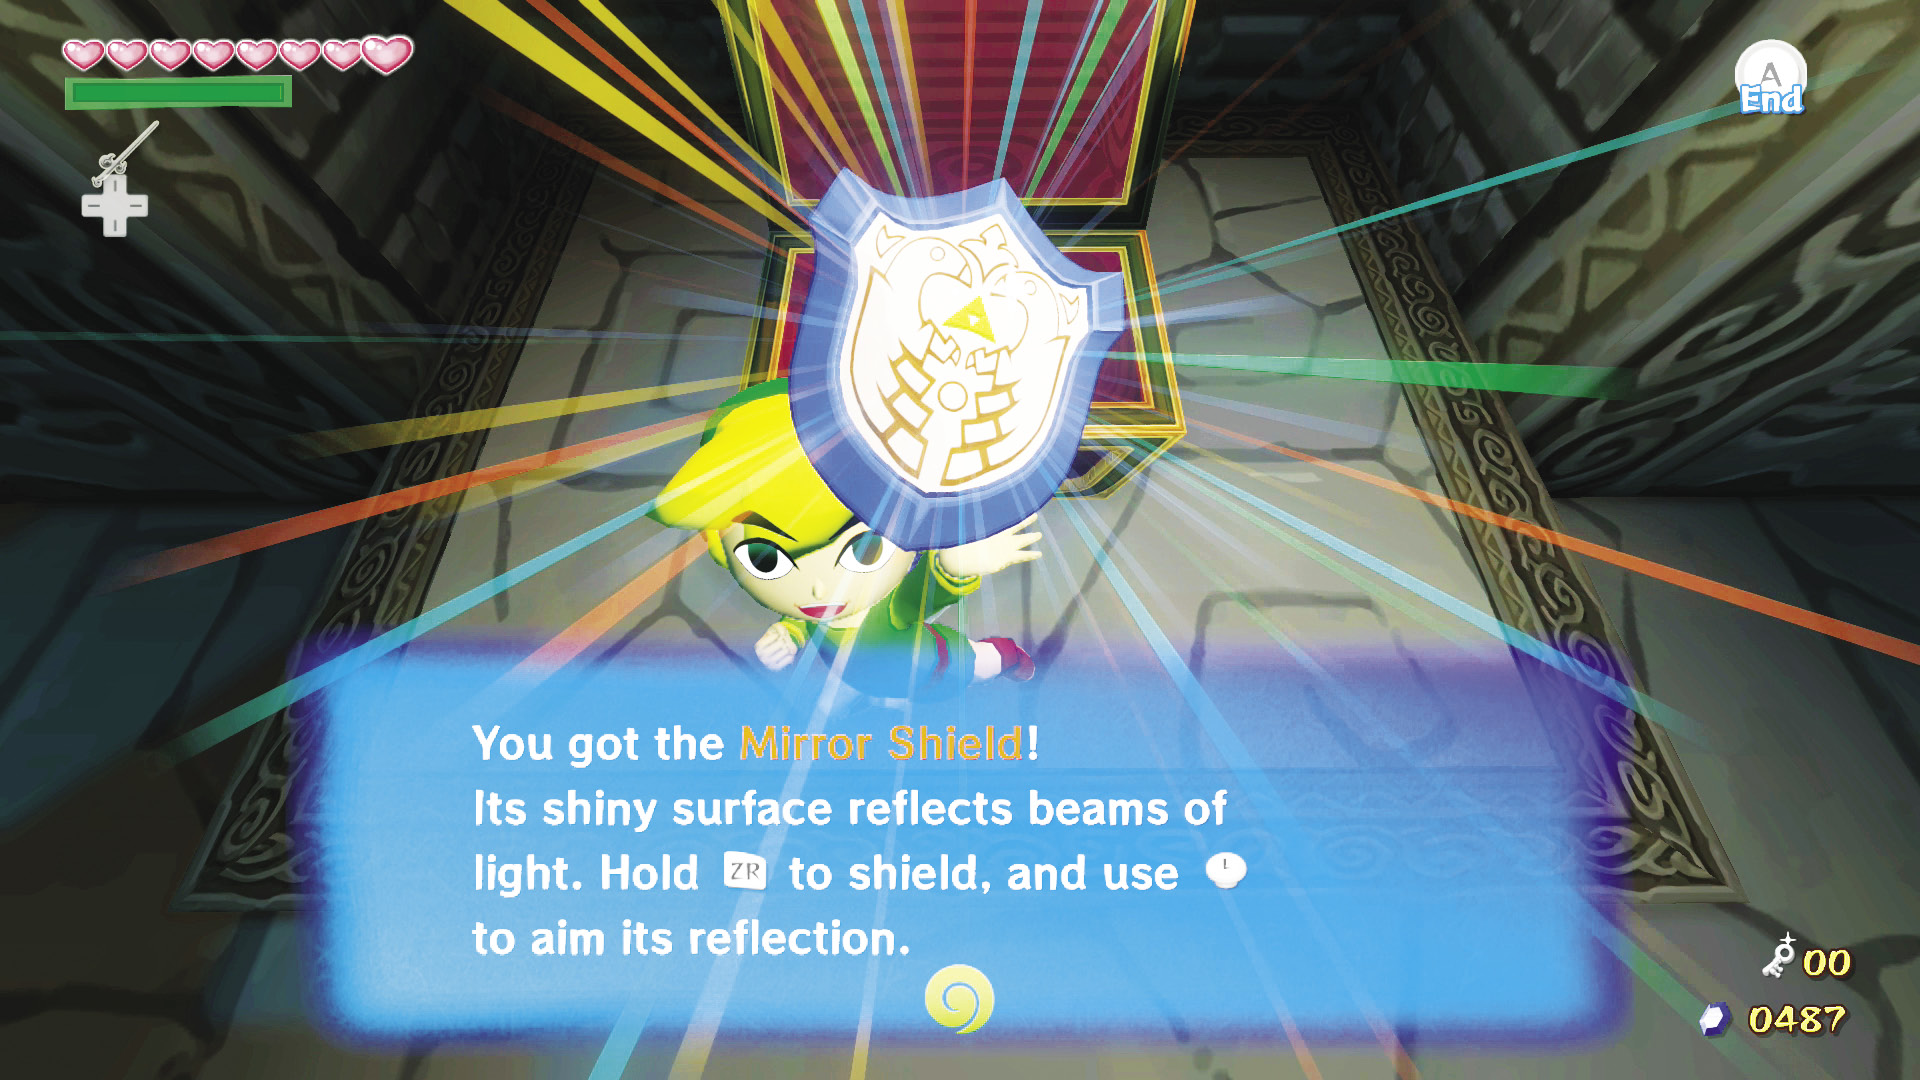
When you defeat the first Stalfos, two more pop out of the coffins at the room’s southwest and southeast ends. Defeat them in the same manner, and a row of stairs appears in the room’s south part. At the top of the staircase is a chest. Open the chest to get the Mirror Shield, which reflects beams of light just like Medli’s harp. To use it, draw your sword with  and hold
  to raise it. Use
  to angle the shield and aim the beam of light.
|
|
114 |
Mirror Shield |

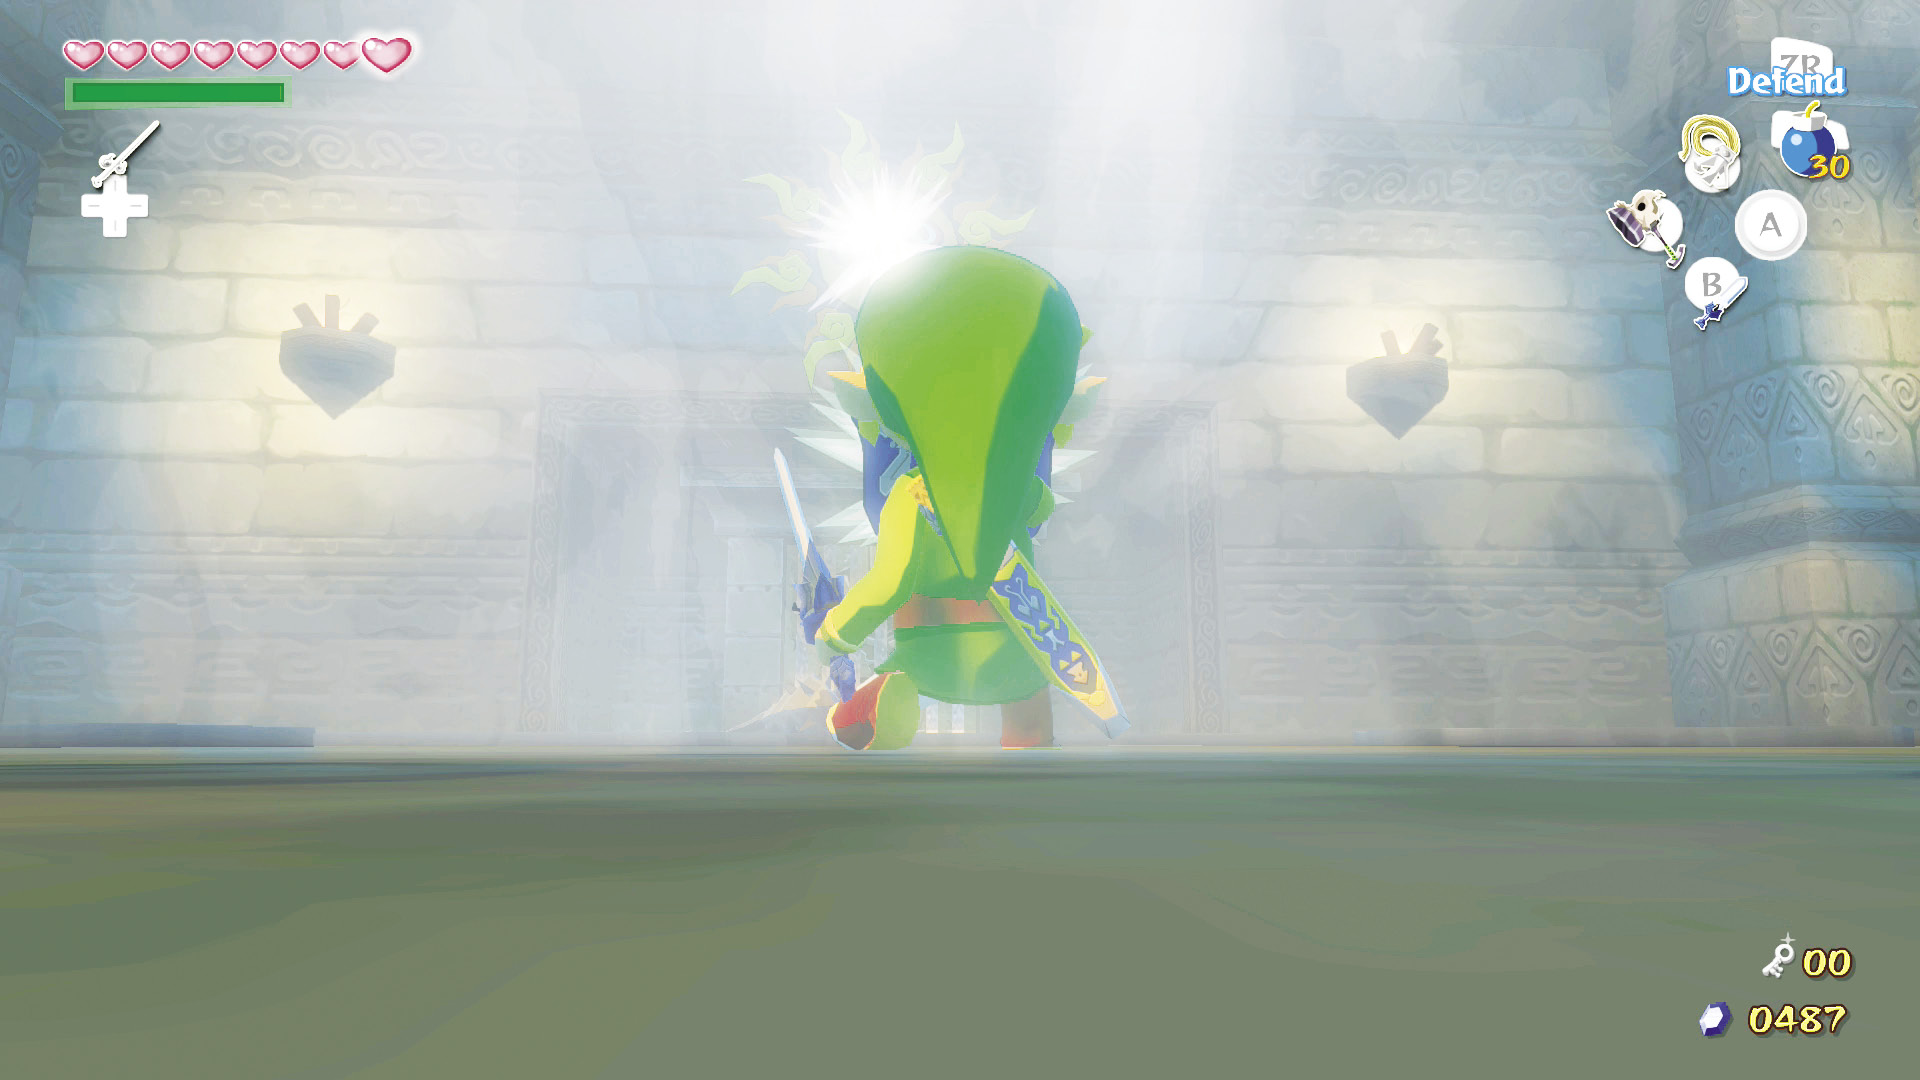
When you possess the Mirror Shield, a skylight opens, shining a light beam into the middle of the room. Stand in the light and reflect it onto the crescent moon plaque above the west door to change the moon into a sun and unseal the door. Now head through the door.
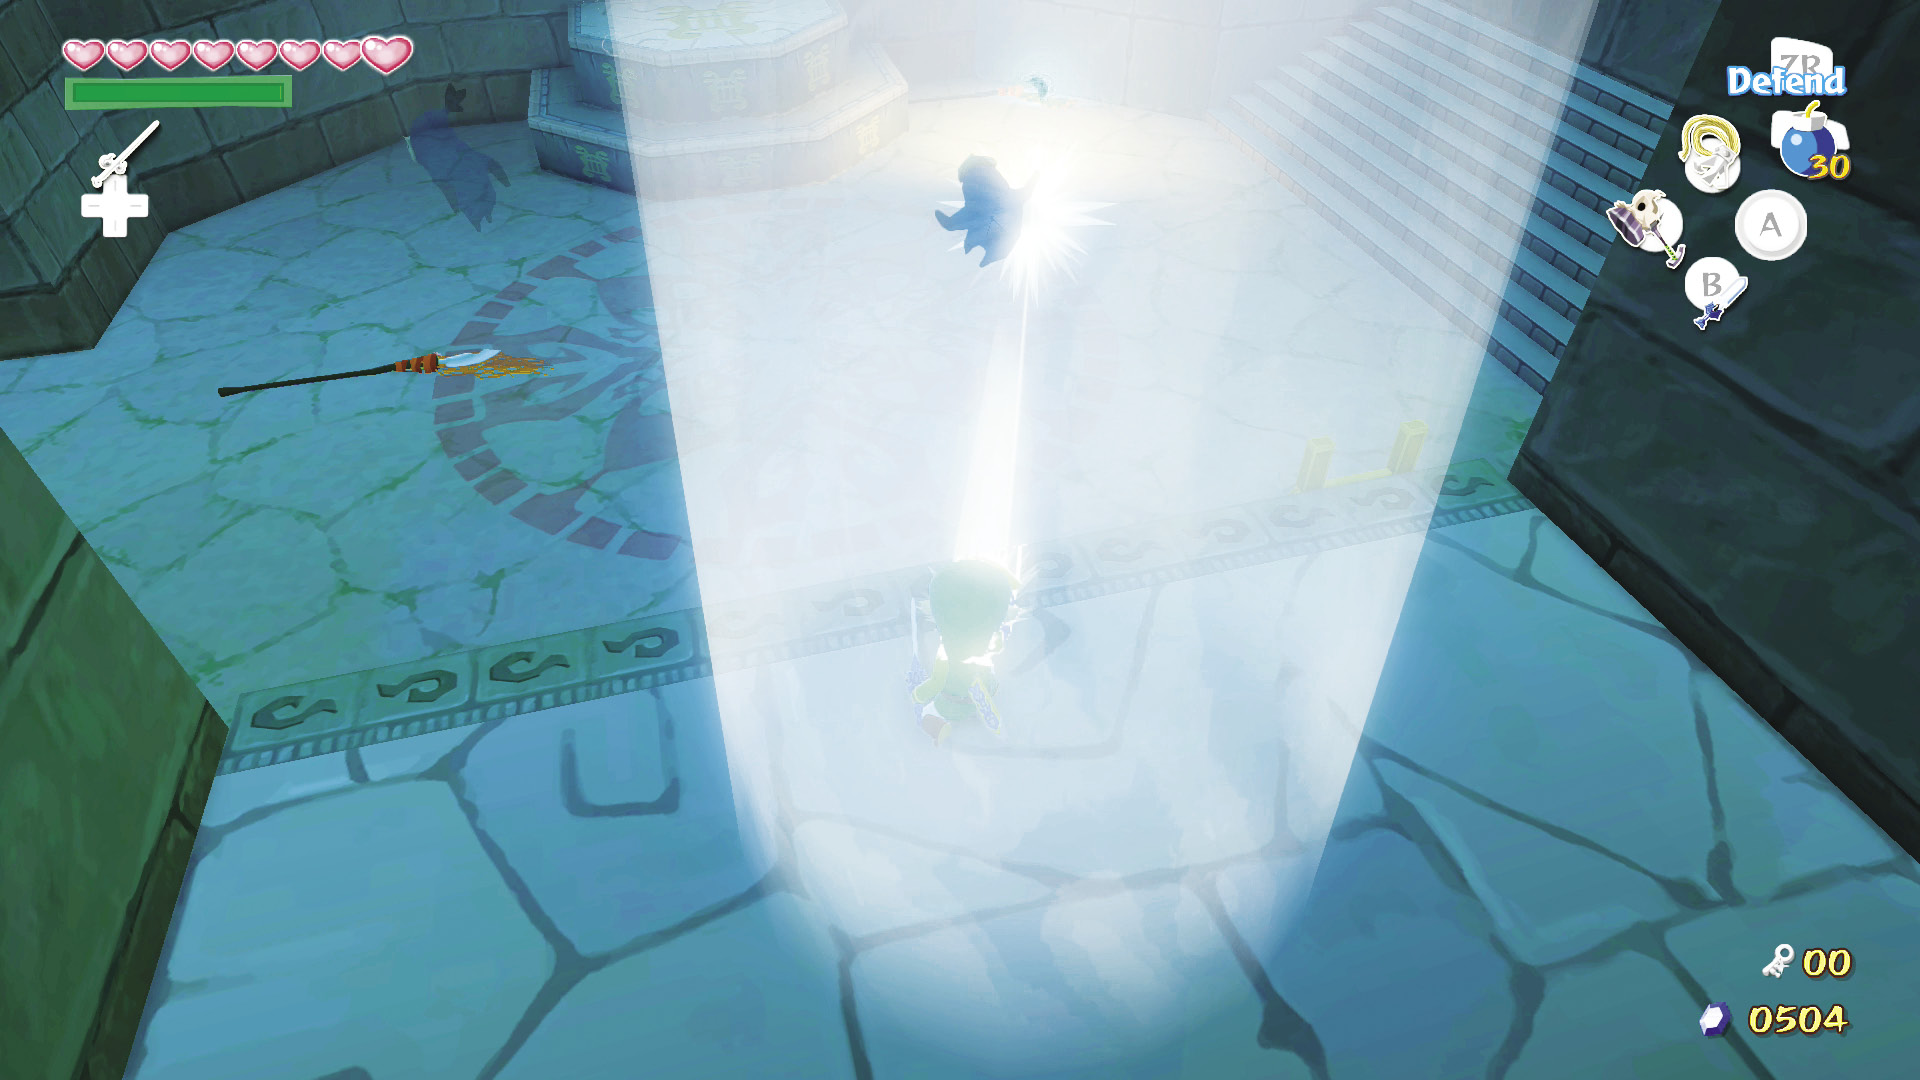
Immediately clear out the enemies from this room. Now that Link has the Mirror Shield, you don’t need to use Medli to defeat the Poes. When the room is clear, take control of Medli and fly her up to the light beam on the room’s west side. Reflect the light onto the middle of the east platform’s first step, and release control of her without changing the position of the reflected beam.
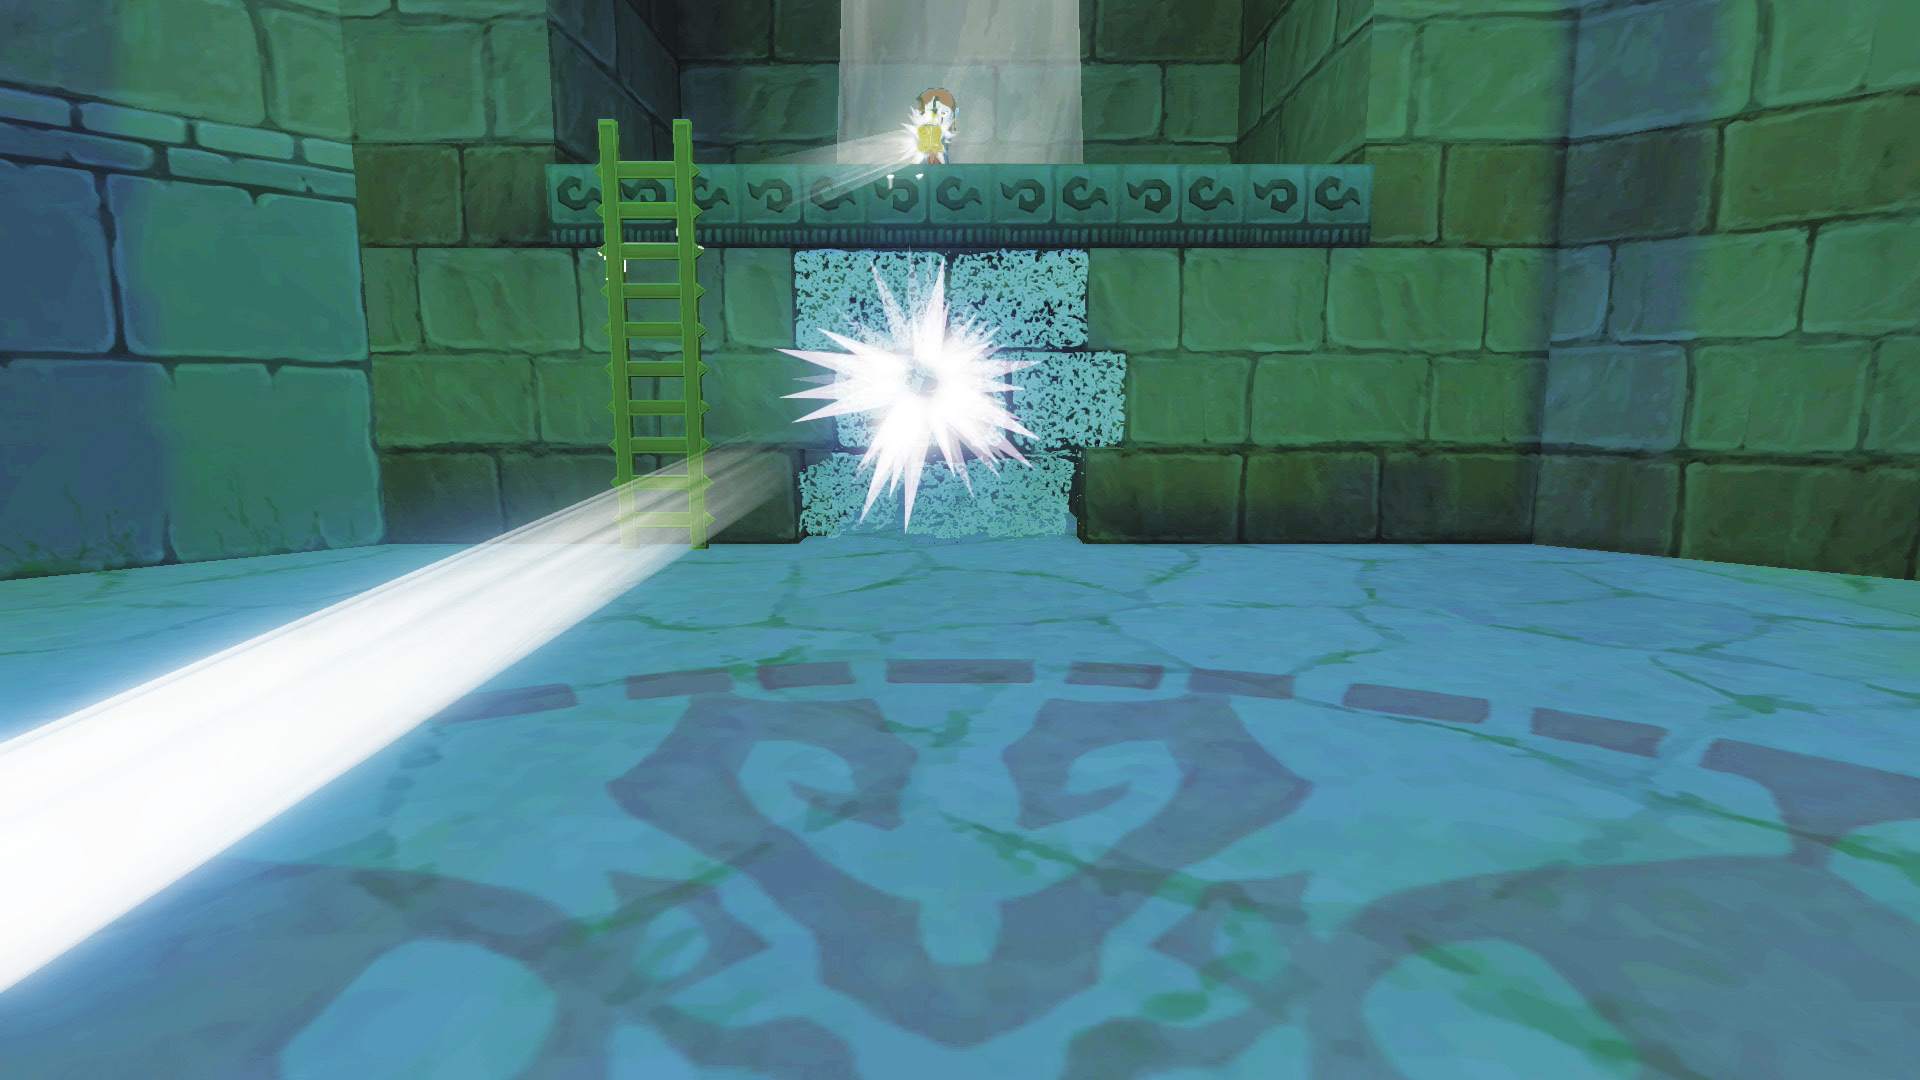
Position Link in the reflected beam and use the Mirror Shield to reflect the light onto the sigil below Medli on the west wall. The wall disintegrates, revealing a secret passage back to the room with the giant face statue. Bring Medli with you into the secret passage and through the west door at the passage’s end.
5. Like Day and Night
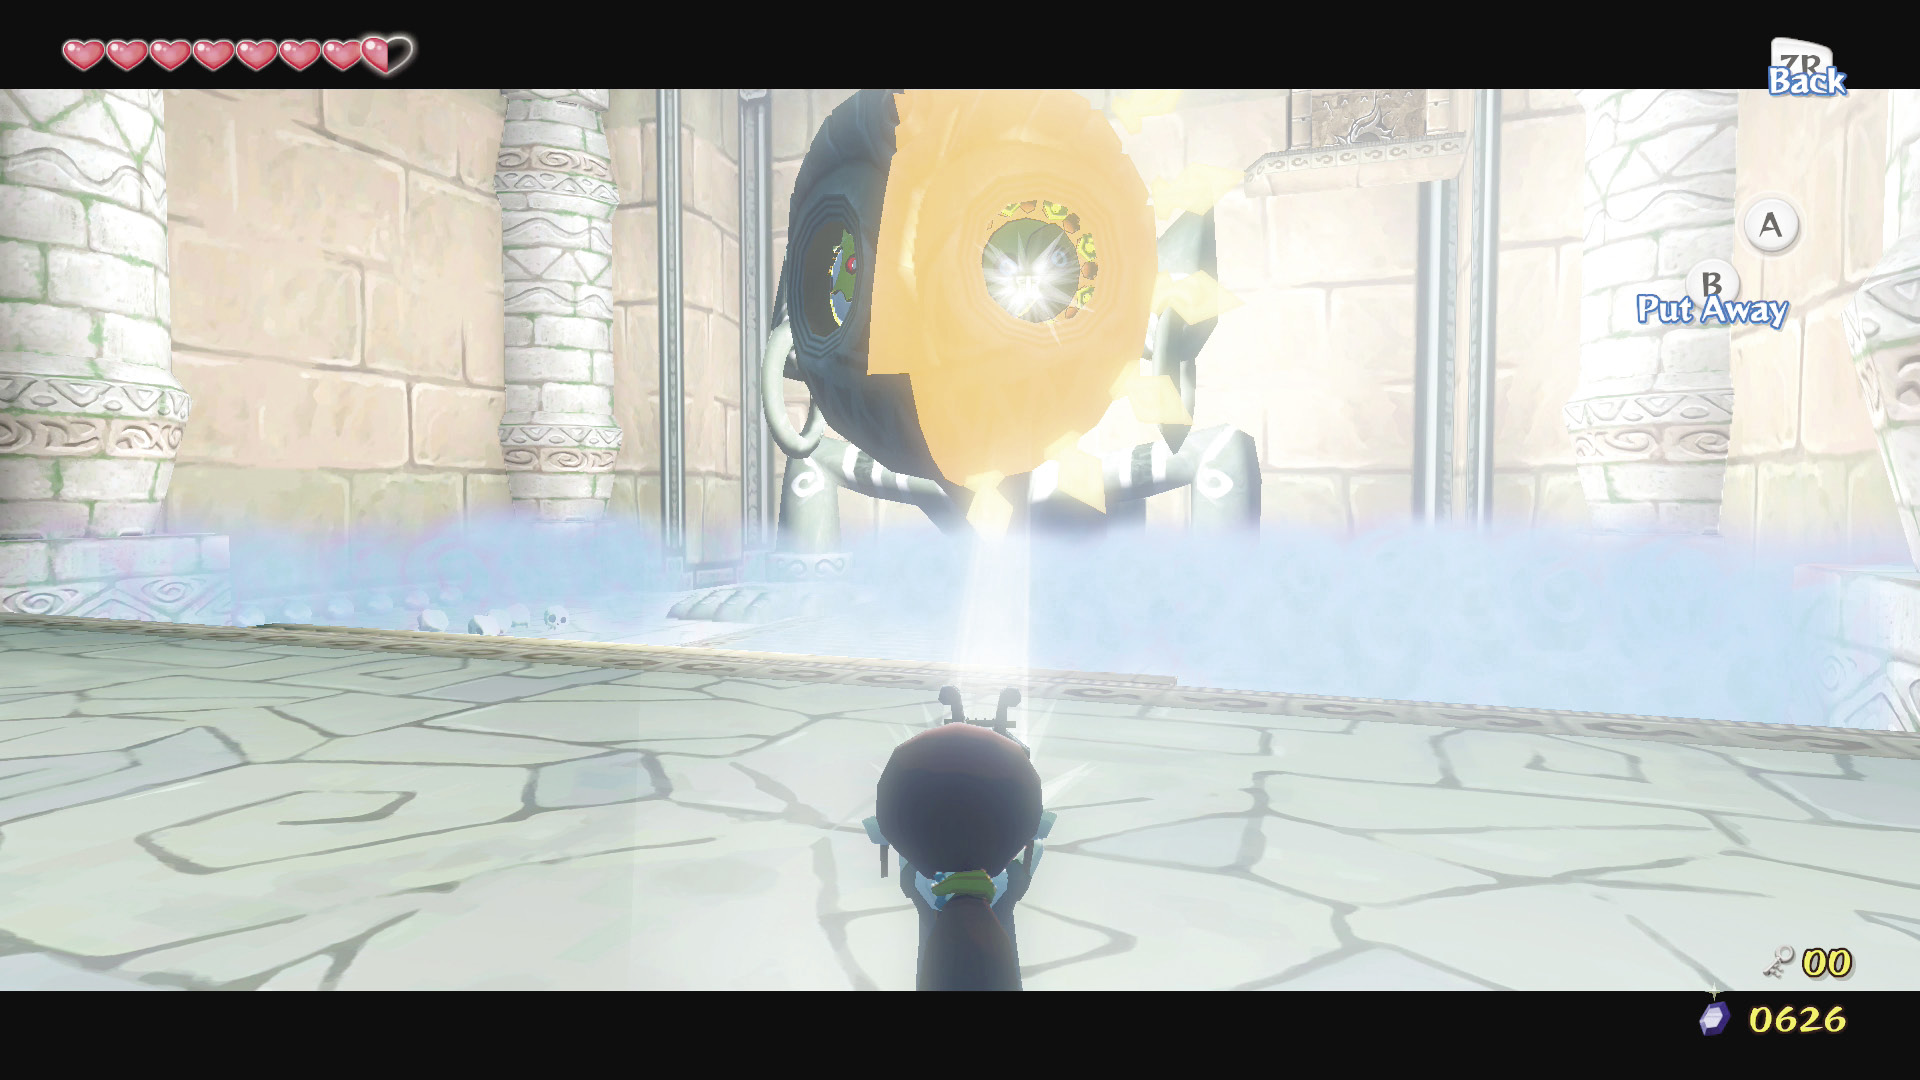
Take a good look at the eyes in the giant statue on the east wall—they look like the crescent moon plaque that you shined light into after getting the Mirror Shield. Control Medli, walk her to either beam of light, and reflect it into one of the statue’s eyes.
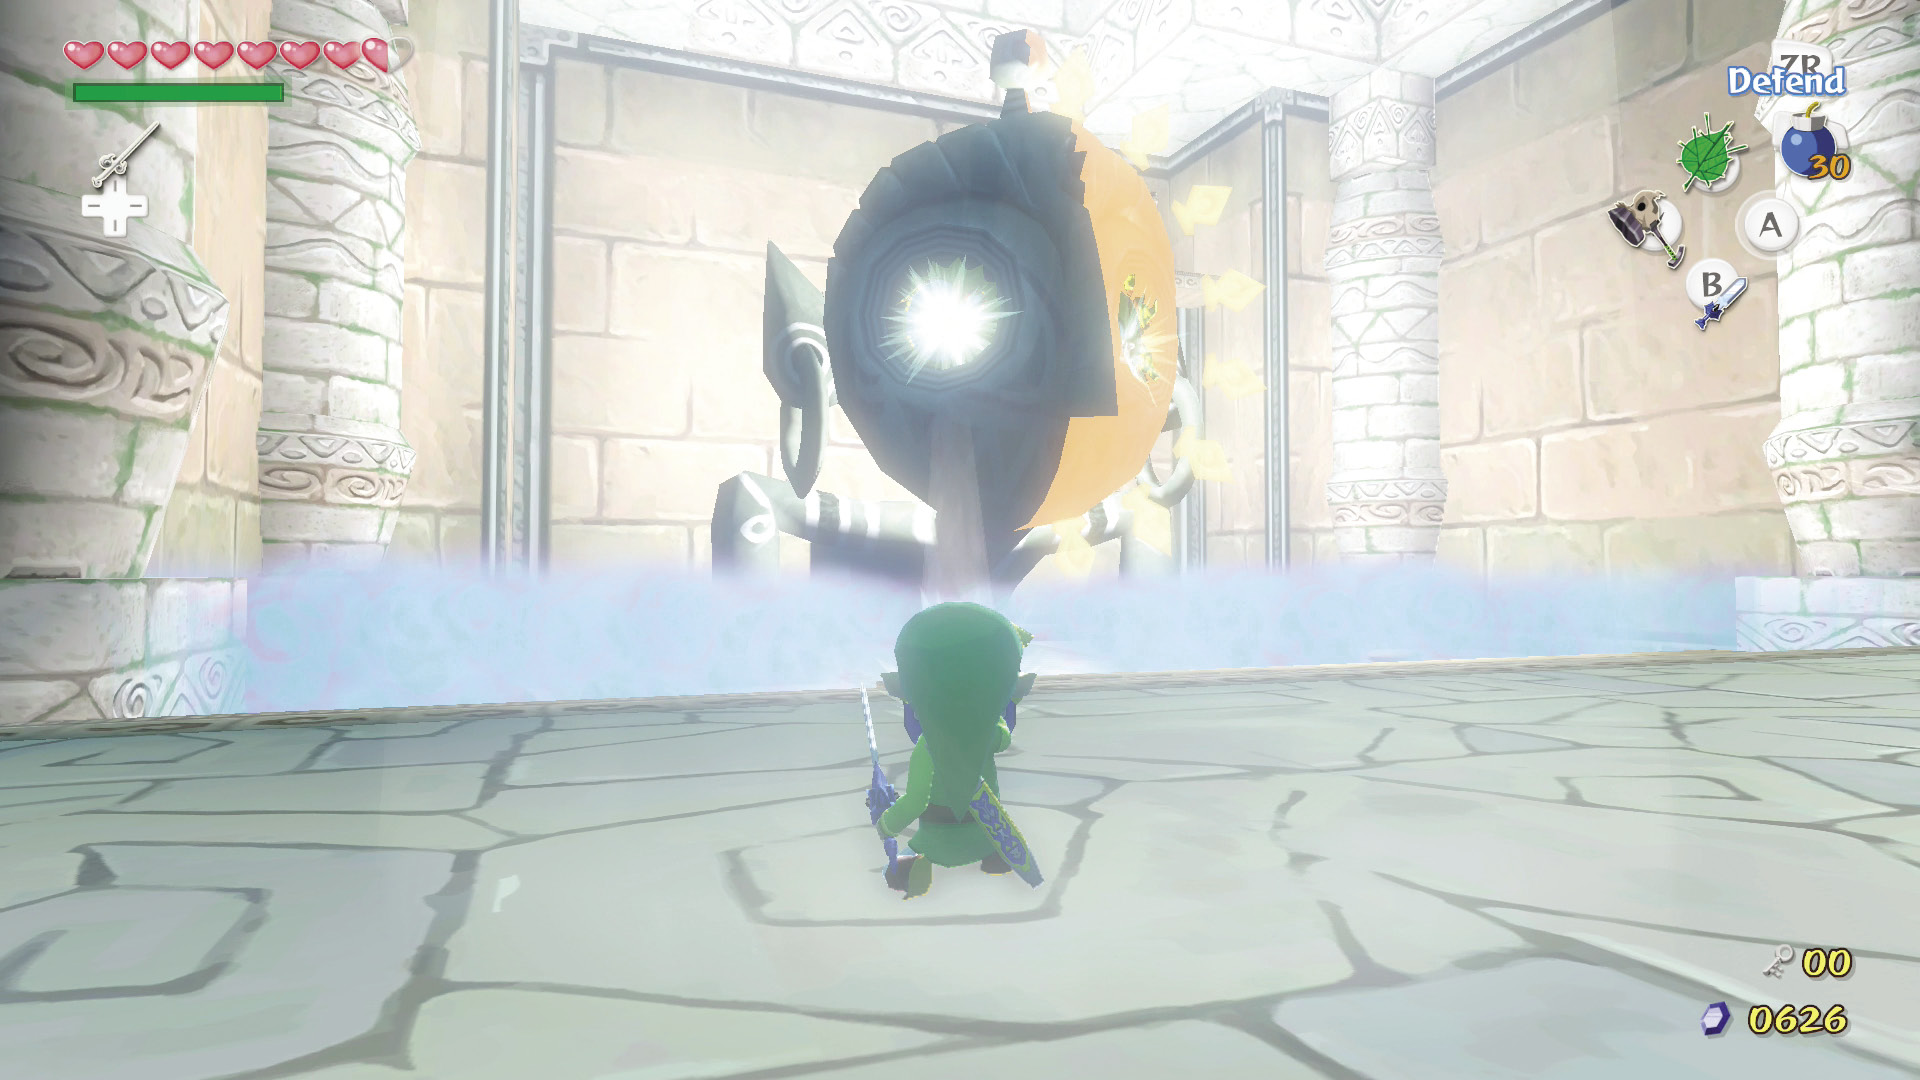
Release control of Medli so that she is still reflecting the light into the statue’s eye; then have Link stand in the other beam of light and reflect the light into the statue’s other eye.
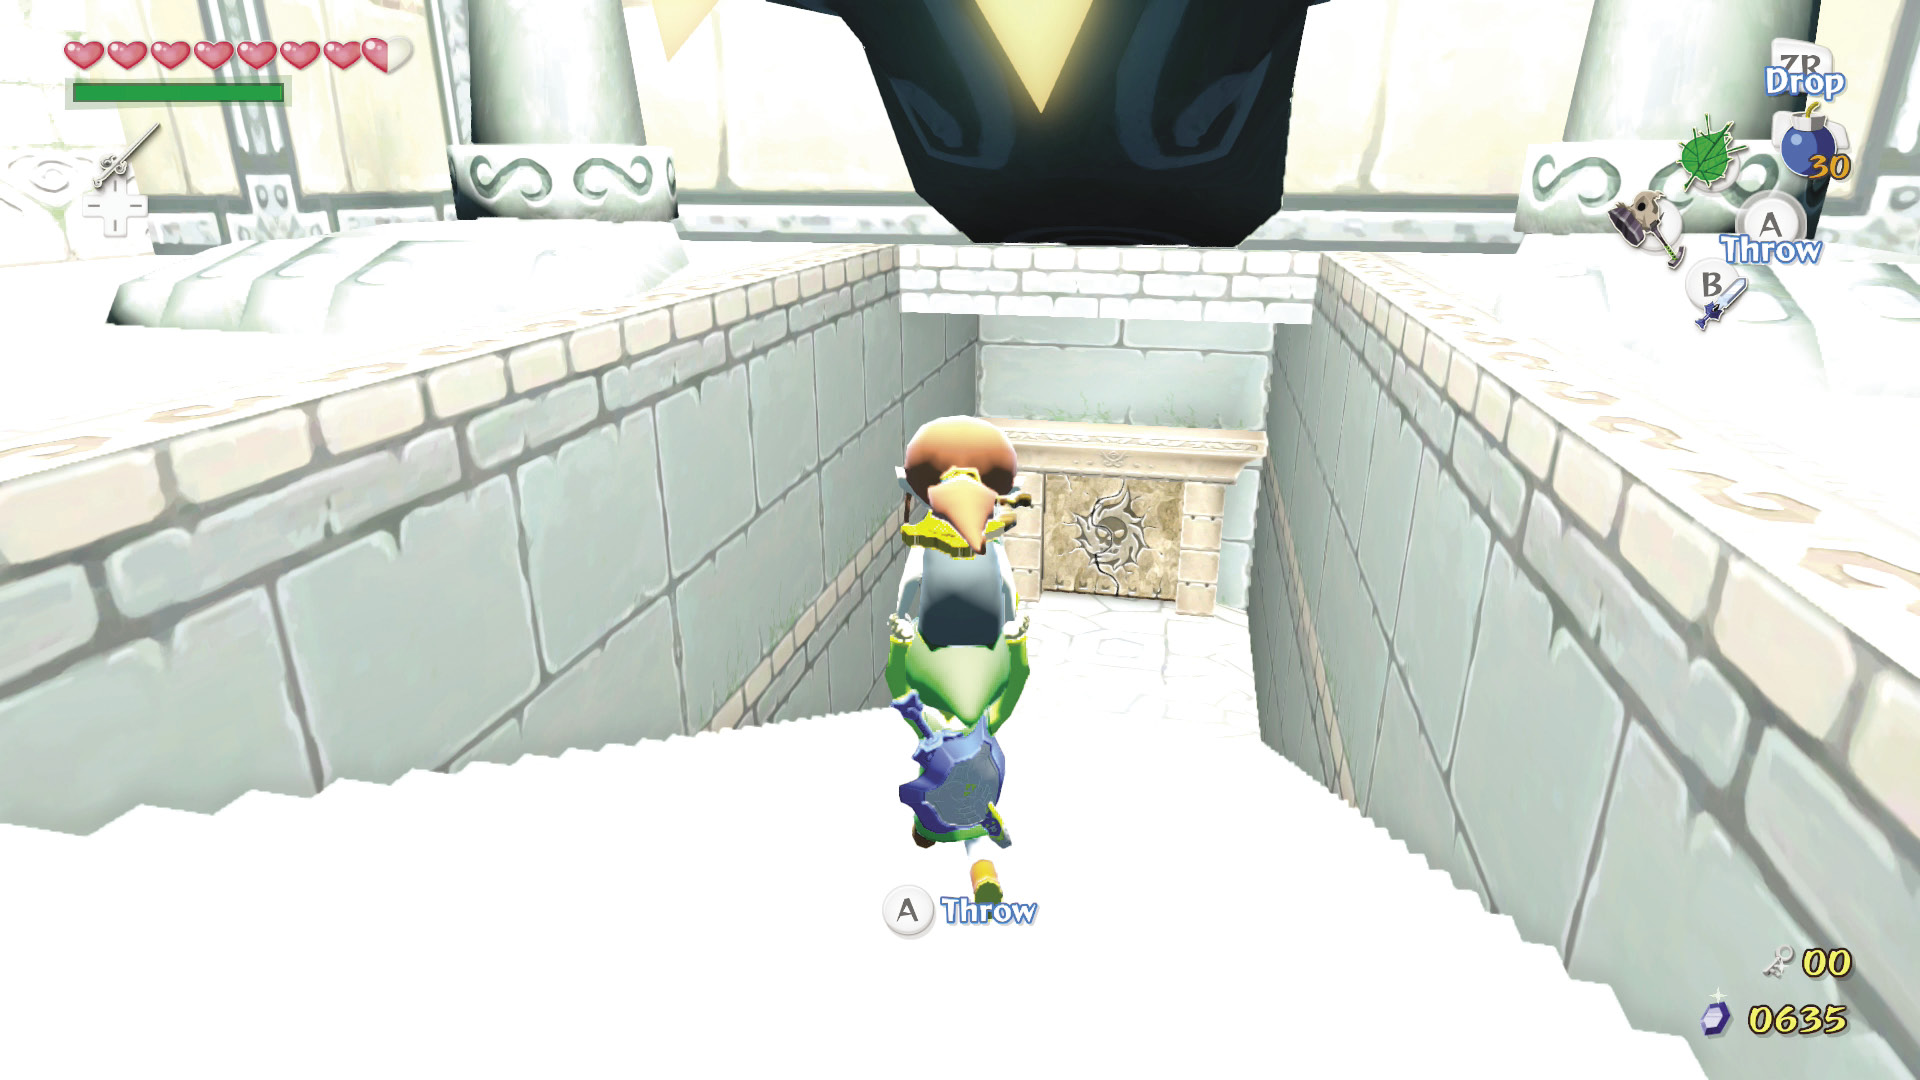
When both eyes are illuminated, the fog dissipates, the room lights, and a set of stairs leading down to the first floor of the basement appears. Either head down the stairs into the basement or head through the door to the right of the giant statue to pick up an optional treasure (see “The Virtuous Adventurer”).
Basement Floor 1
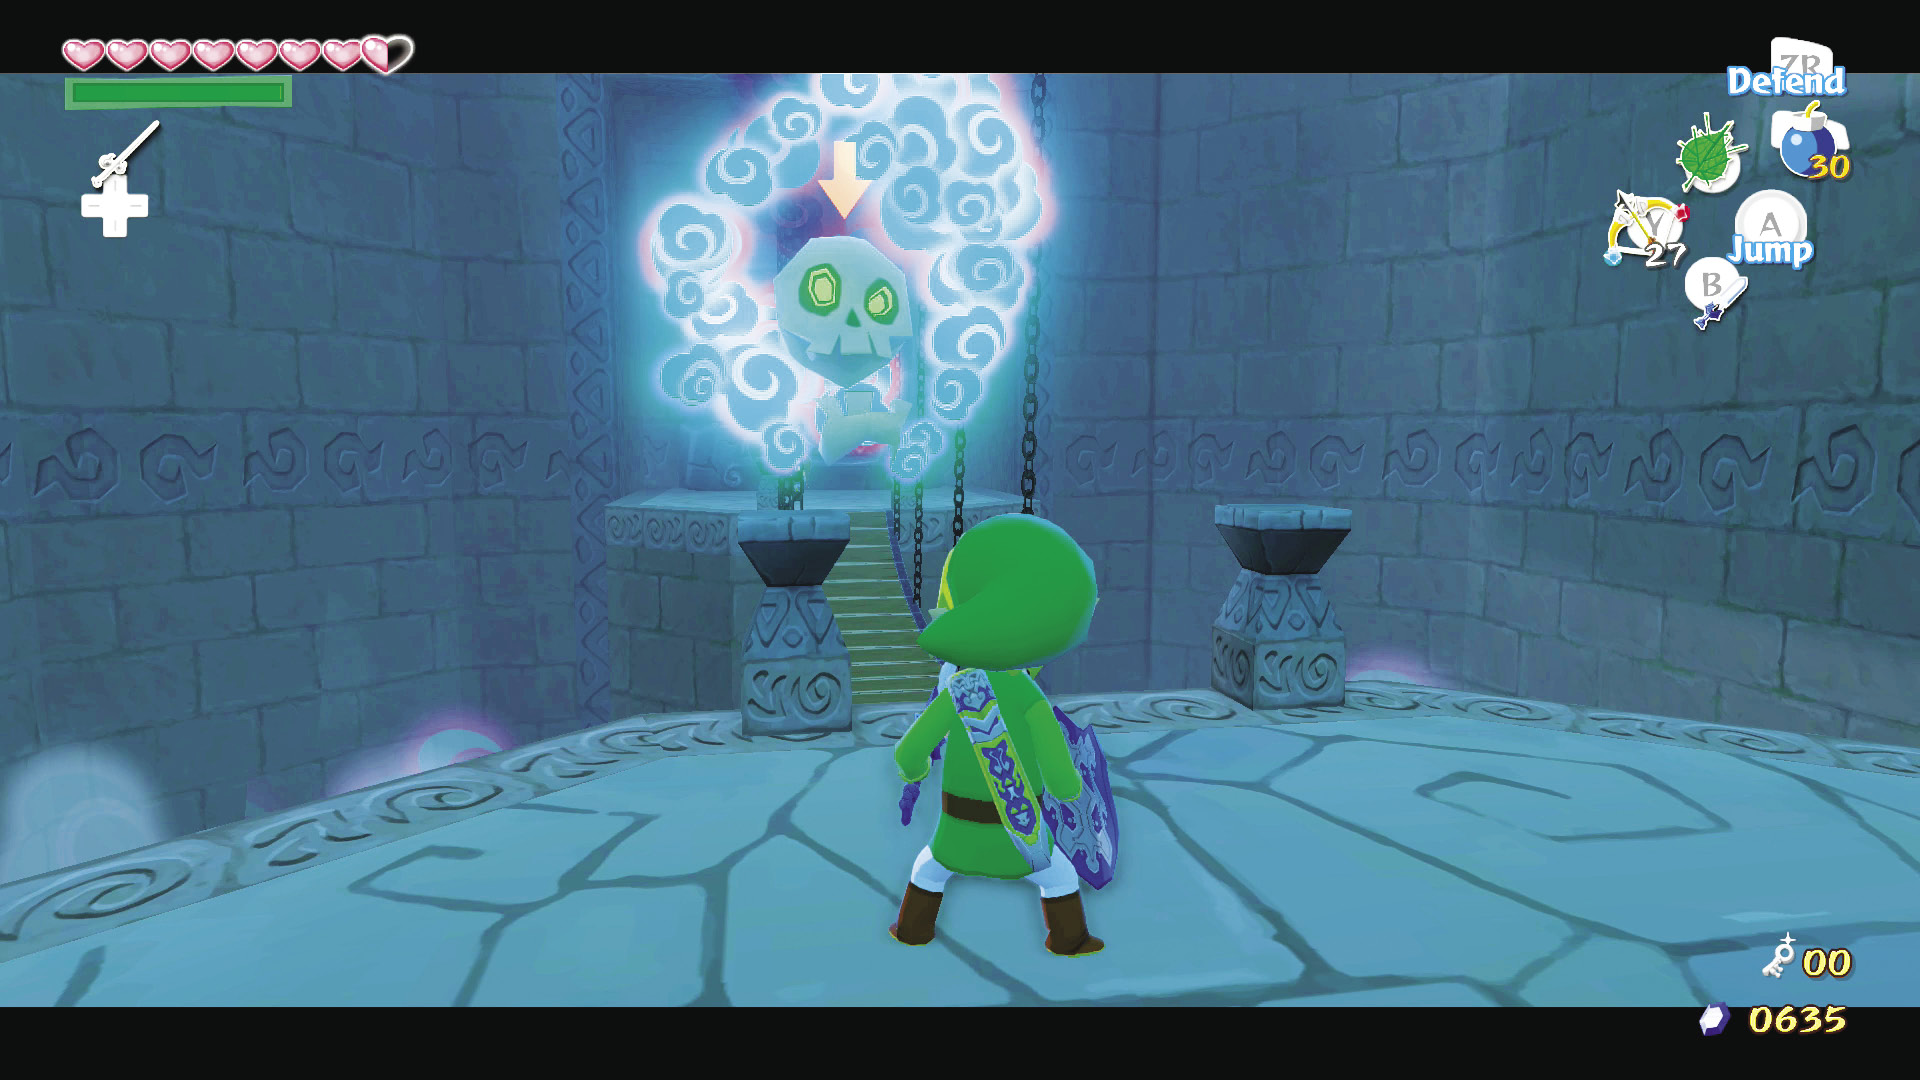
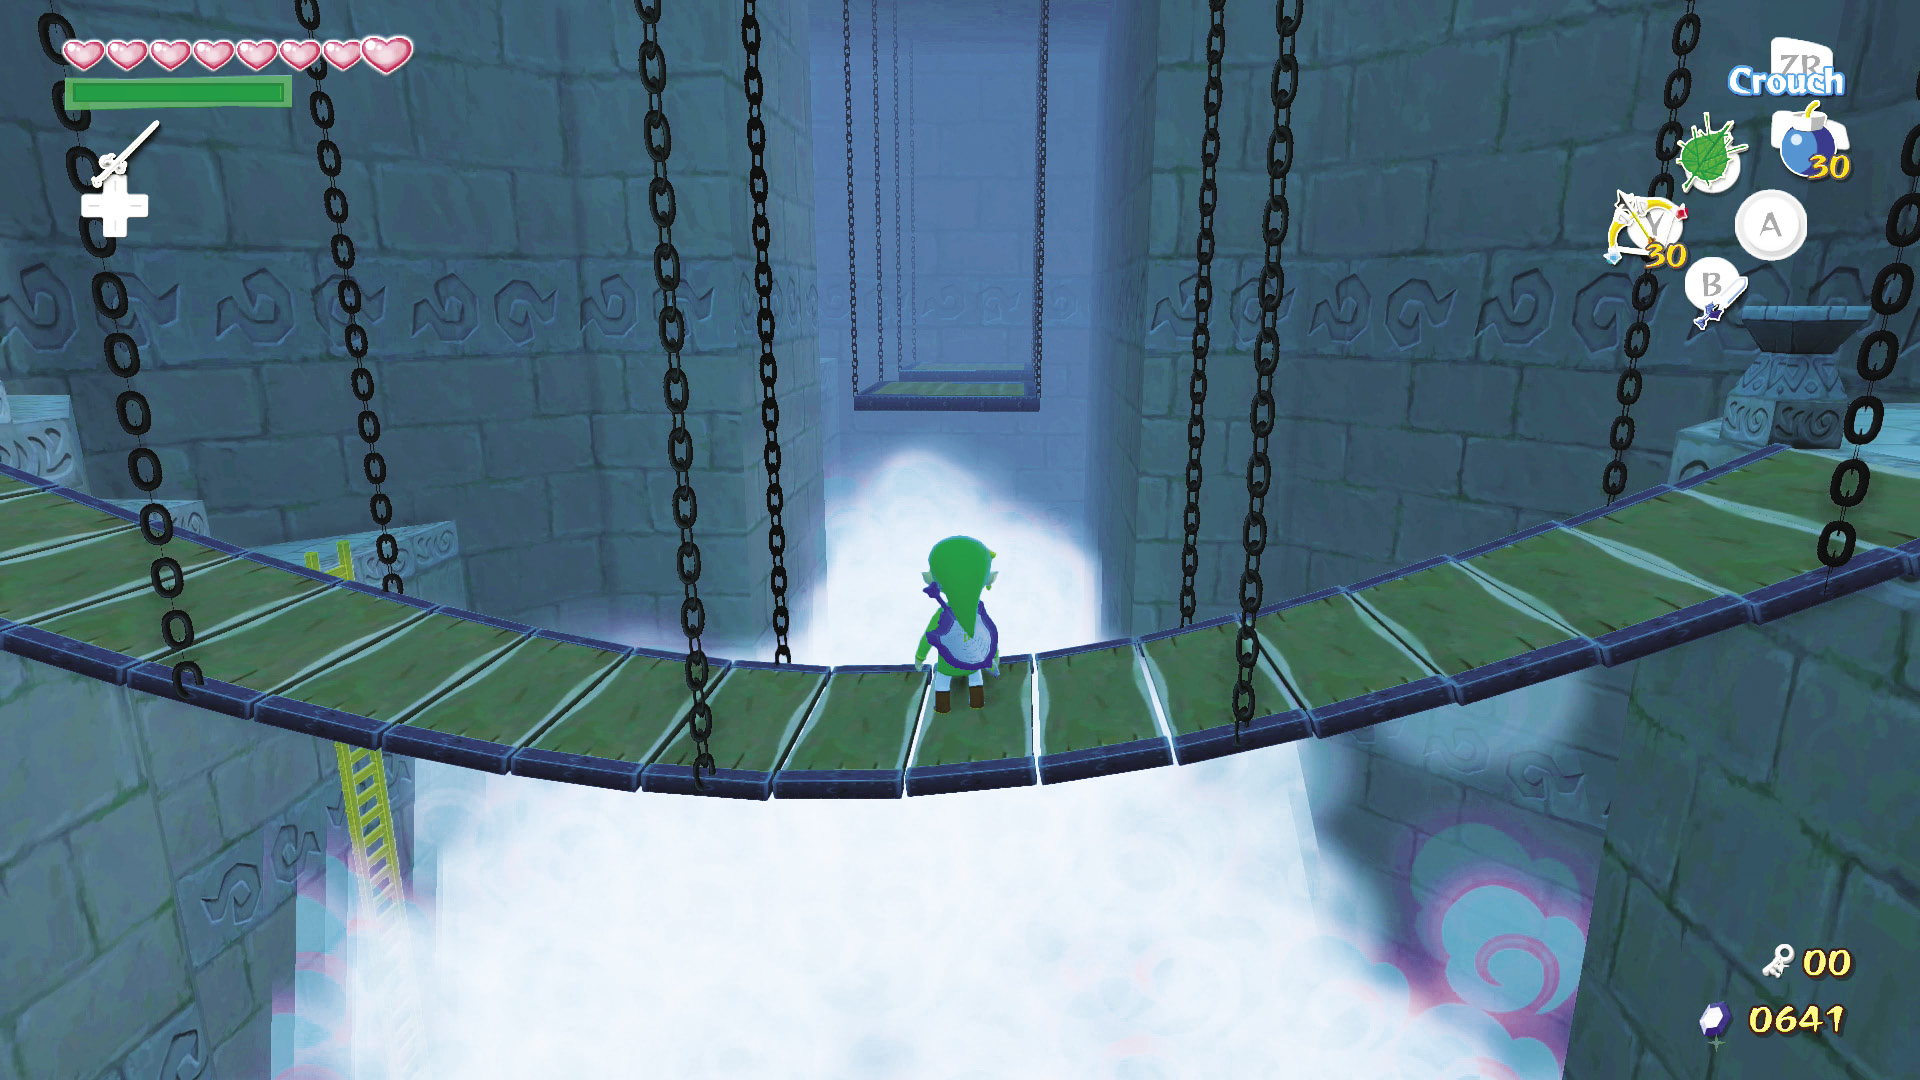
Leave Medli near the entrance and head down the stairs until you reach the suspension bridge with the two Blue Bubbles overhead.
Enemy: Blue Bubbles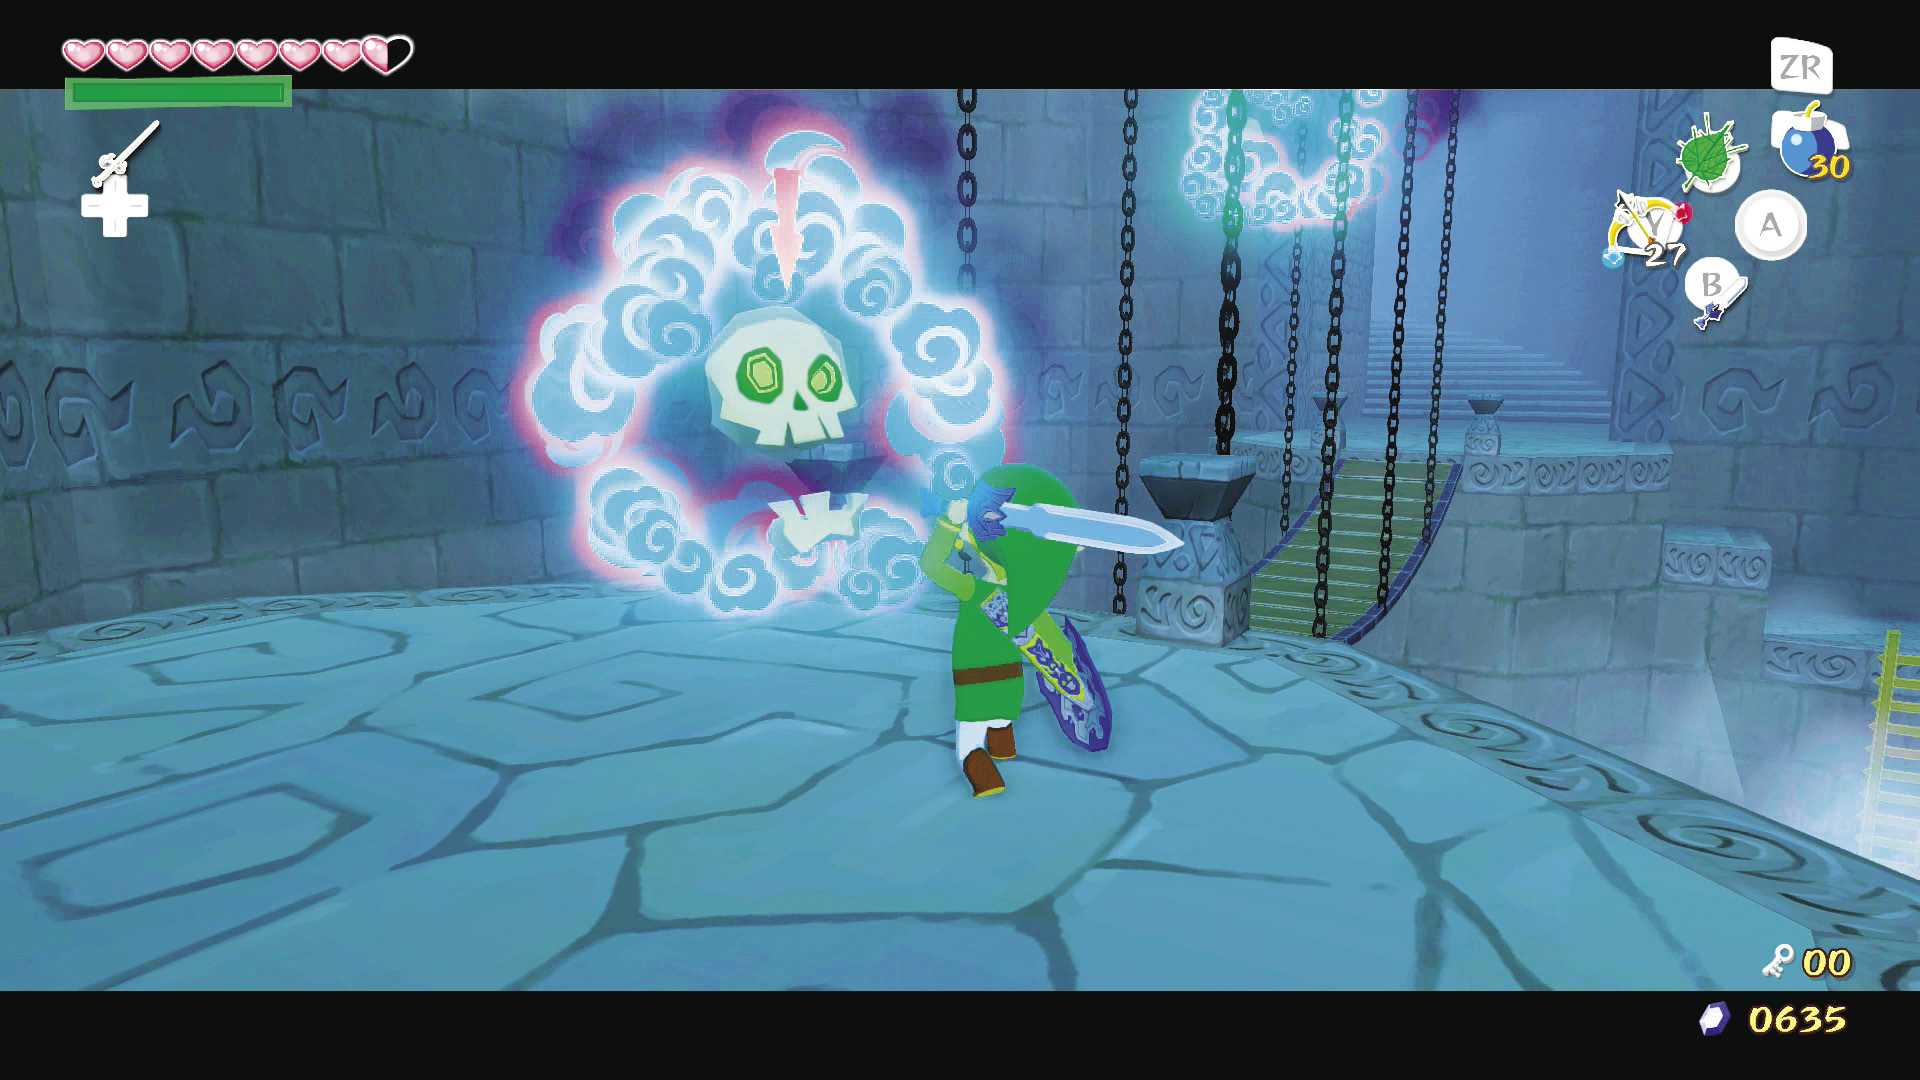 Unlike Red Bubbles, Blue Bubbles are immune to Arrows (aside from Ice Arrows) and if a Blue Bubble hits you, it has the same effect as the paralyzing fog—in other words, you can’t use any weapons or items until the effect passes. To defeat Blue Bubbles, |
 -target them and blow wind gusts from the Deku Leaf at them to get rid of their blue aura, then hit them with your sword; otherwise they rise again, good as new.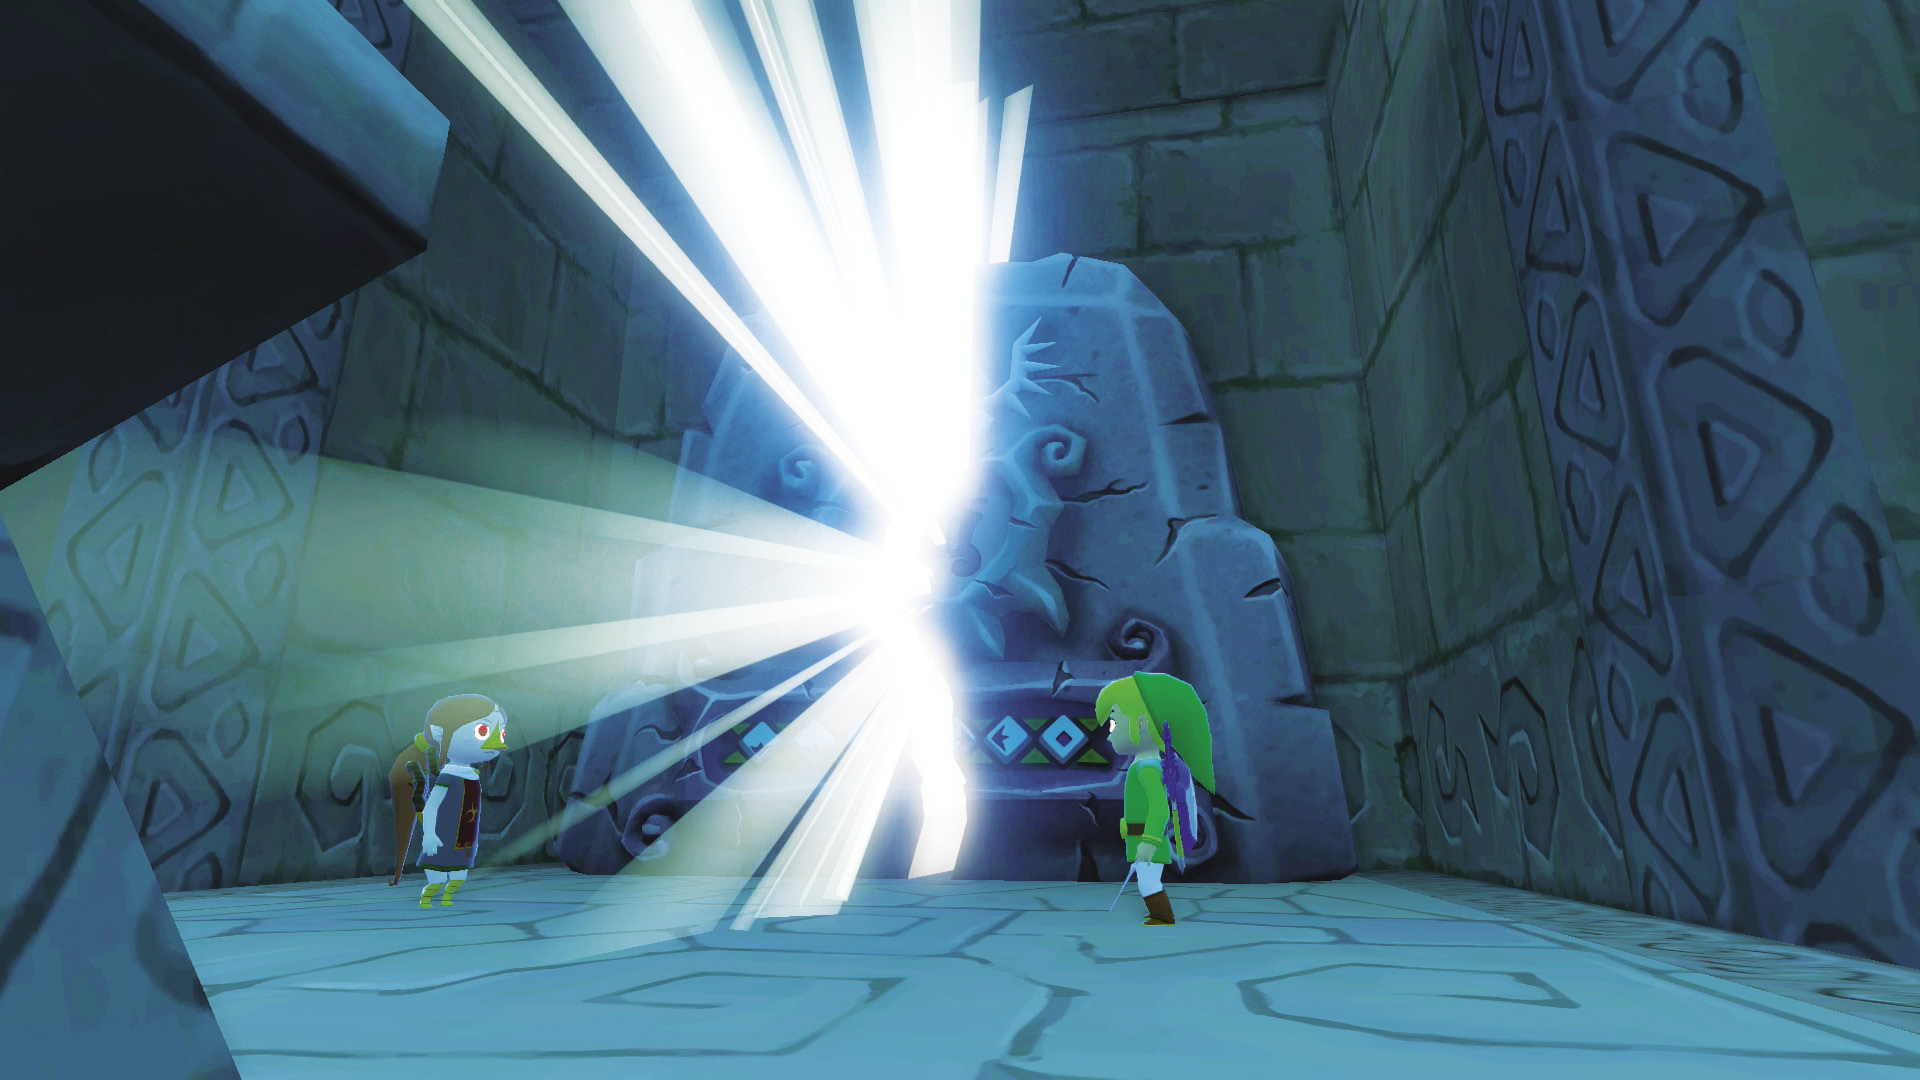
Once you defeat both Blue Bubbles, carry Medli across the bridge to the south door, which is blocked by a giant stone tablet inscribed with the notes for the “Earth God’s Lyric.” Conduct the song near Medli, who plays it and shatters the stone tablet, revealing the door to the next room. If you want to take an optional detour and pick up treasure, see “A Valuable Detour.” Otherwise, carry Medli on through to the next room.
6. A Time to Reflect
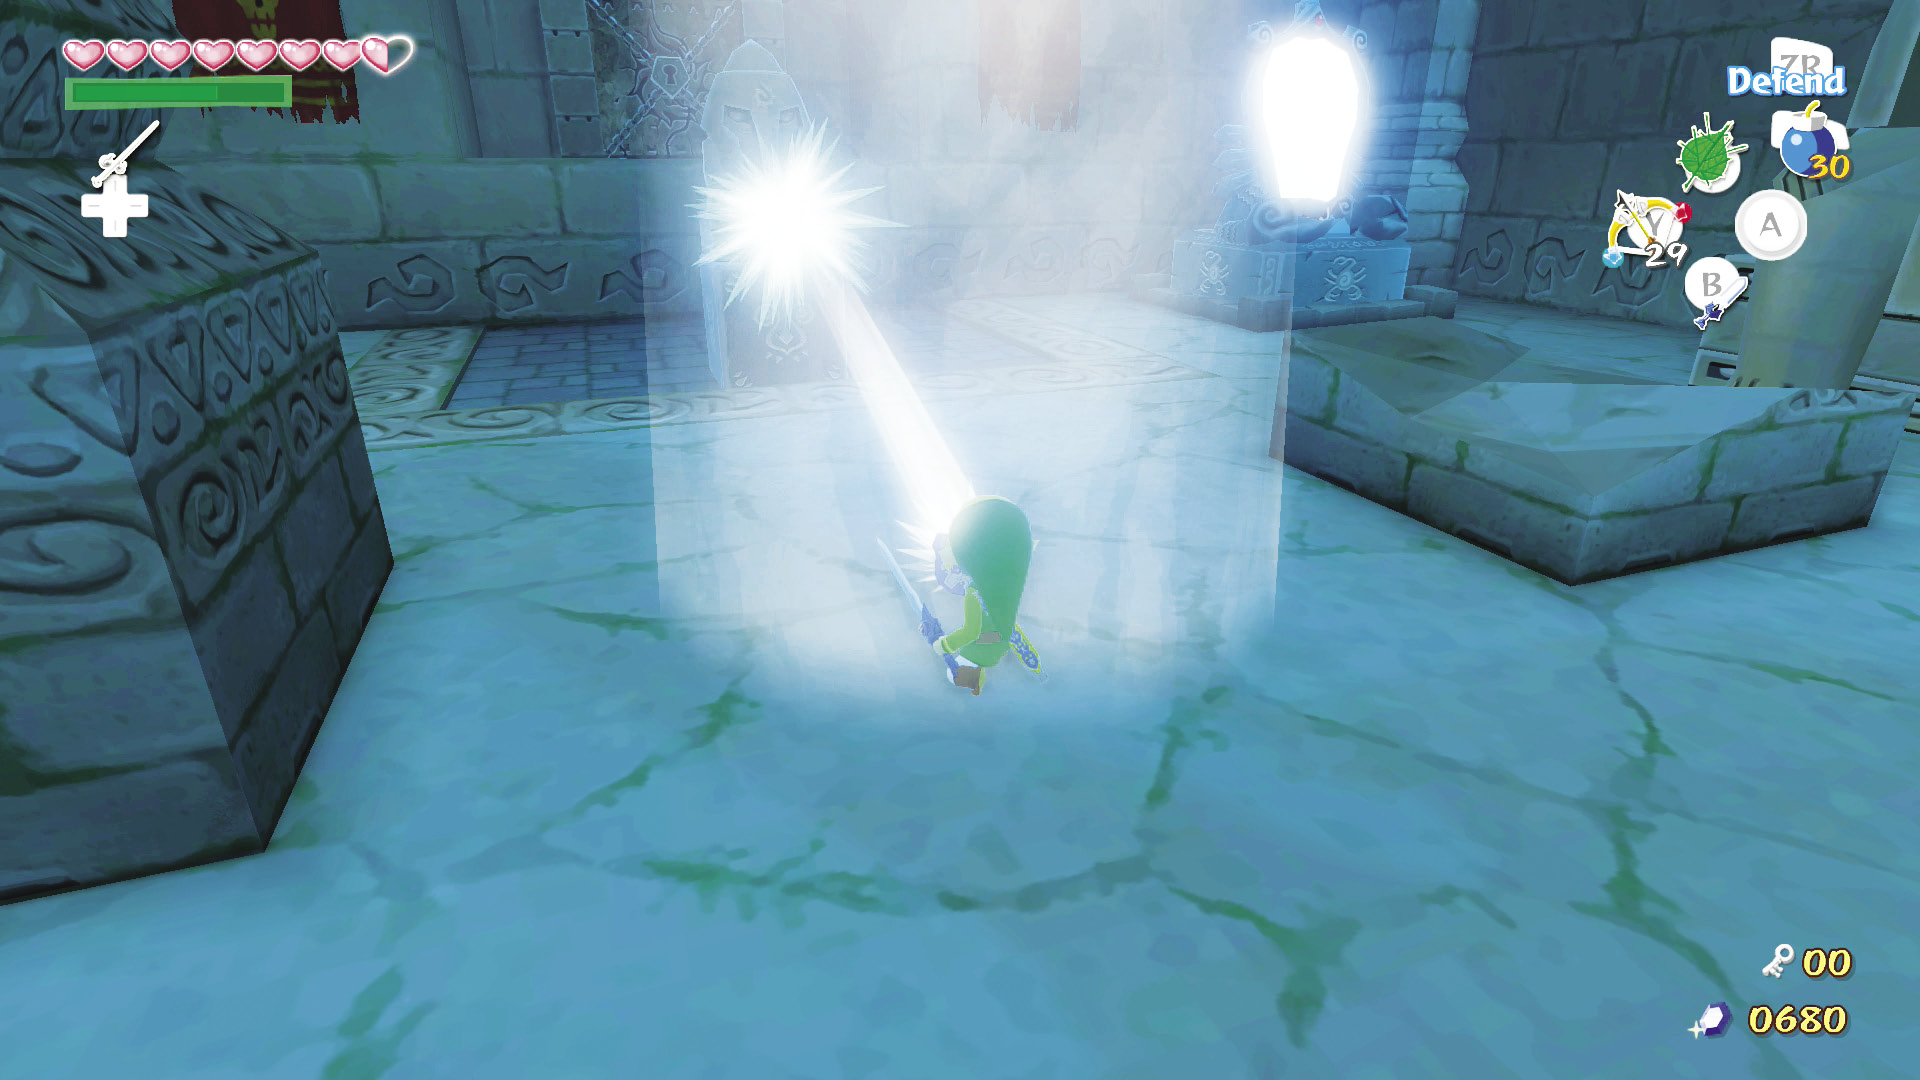
Leave Medli at the entrance and defeat the two ReDeads in the room. Stand in the ray of light in the room’s center and reflect it onto the statue sitting on the block to the south to disintegrate it.
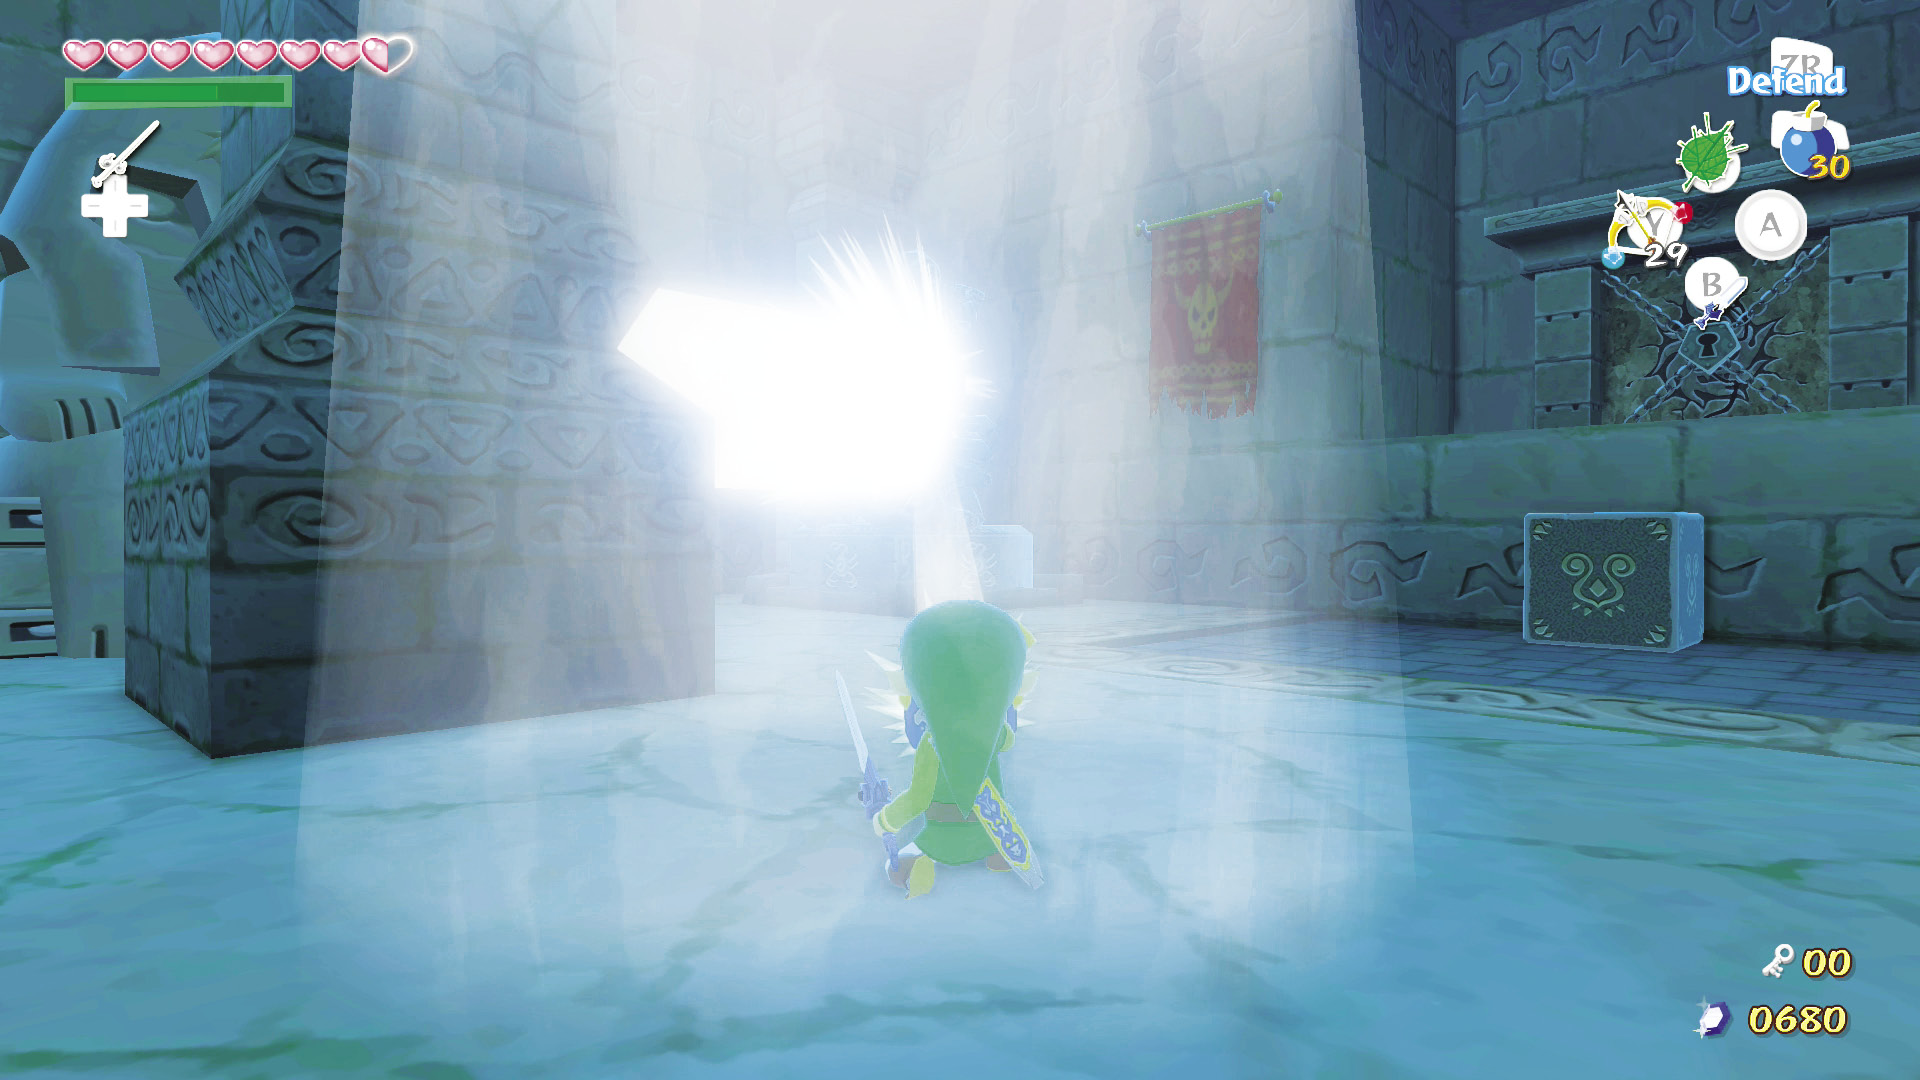
Reflect the beam onto the large mirror in the room’s southwest corner. The mirror reflects the beam onto another statue on the room’s west side and disintegrates it, revealing the door to the west. Reflect the beam onto the large mirror on the room’s southeast side to disintegrate a statue on the room’s east side and reveal the door to the east.
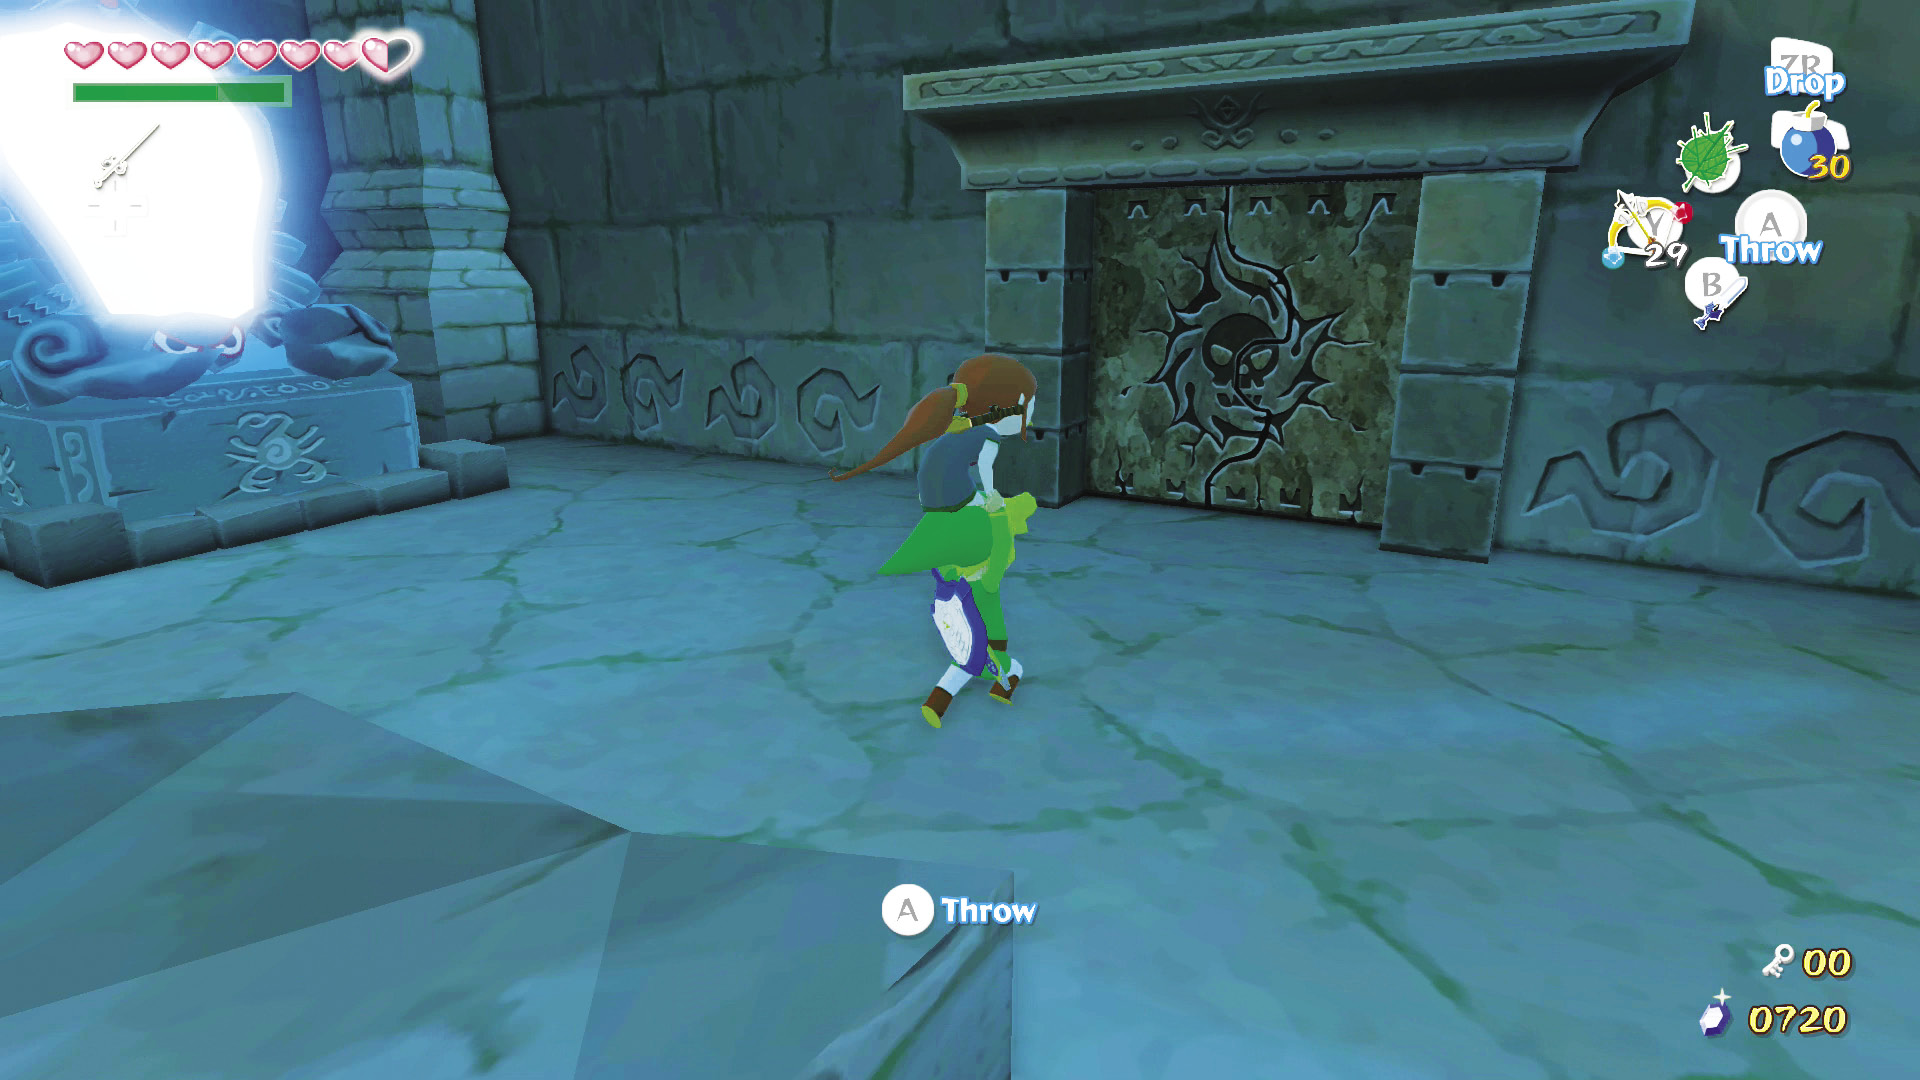
Even though you disintegrated the statue on top of it, don’t worry about moving the block in the middle of the room yet. You use it to reach the locked door in the south wall after you find a Small Key. Instead, carry Medli through the west door.
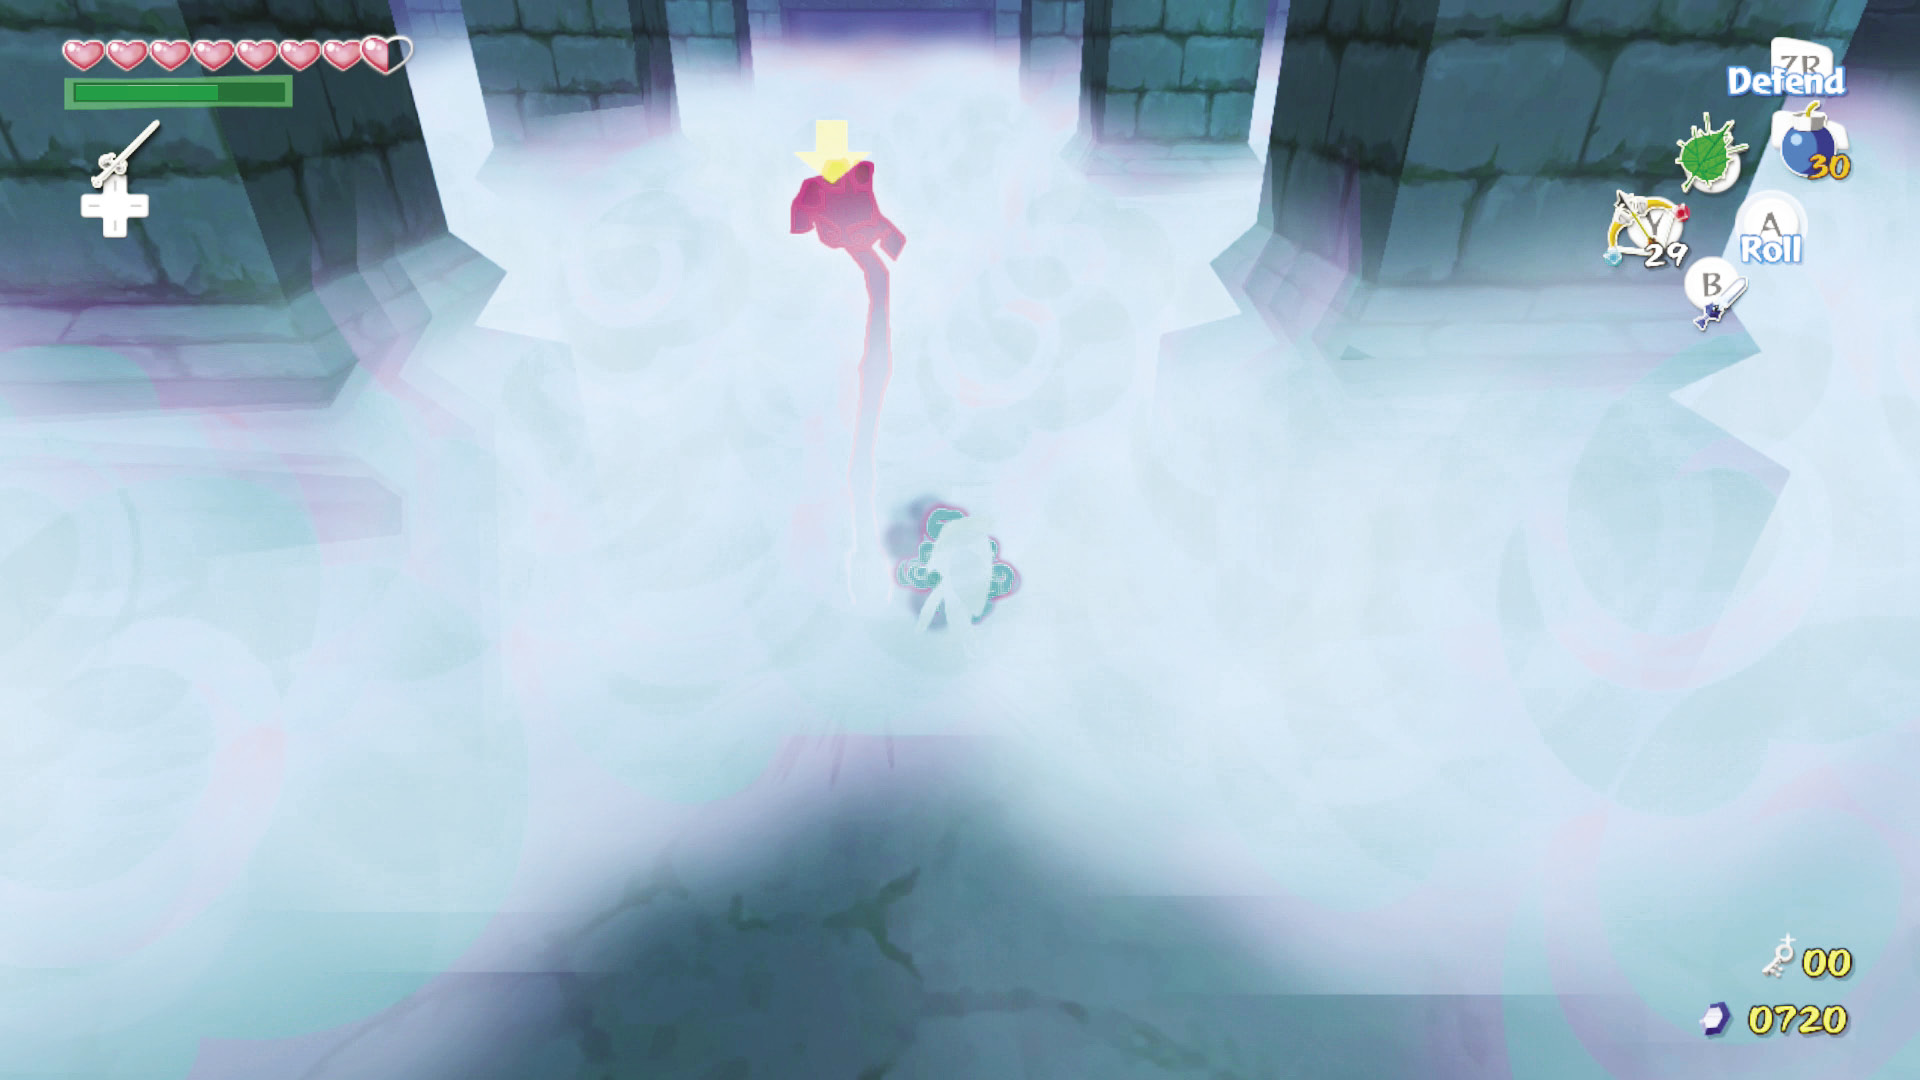
Leave Medli at the entrance and run down the corridor that leads to the room’s north part. Paralyzing fog covers the room’s north side. To make matters worse, six Floor Masters hide in the fog. To get past them, roll as quickly as possible to the alcove on the room’s north side.
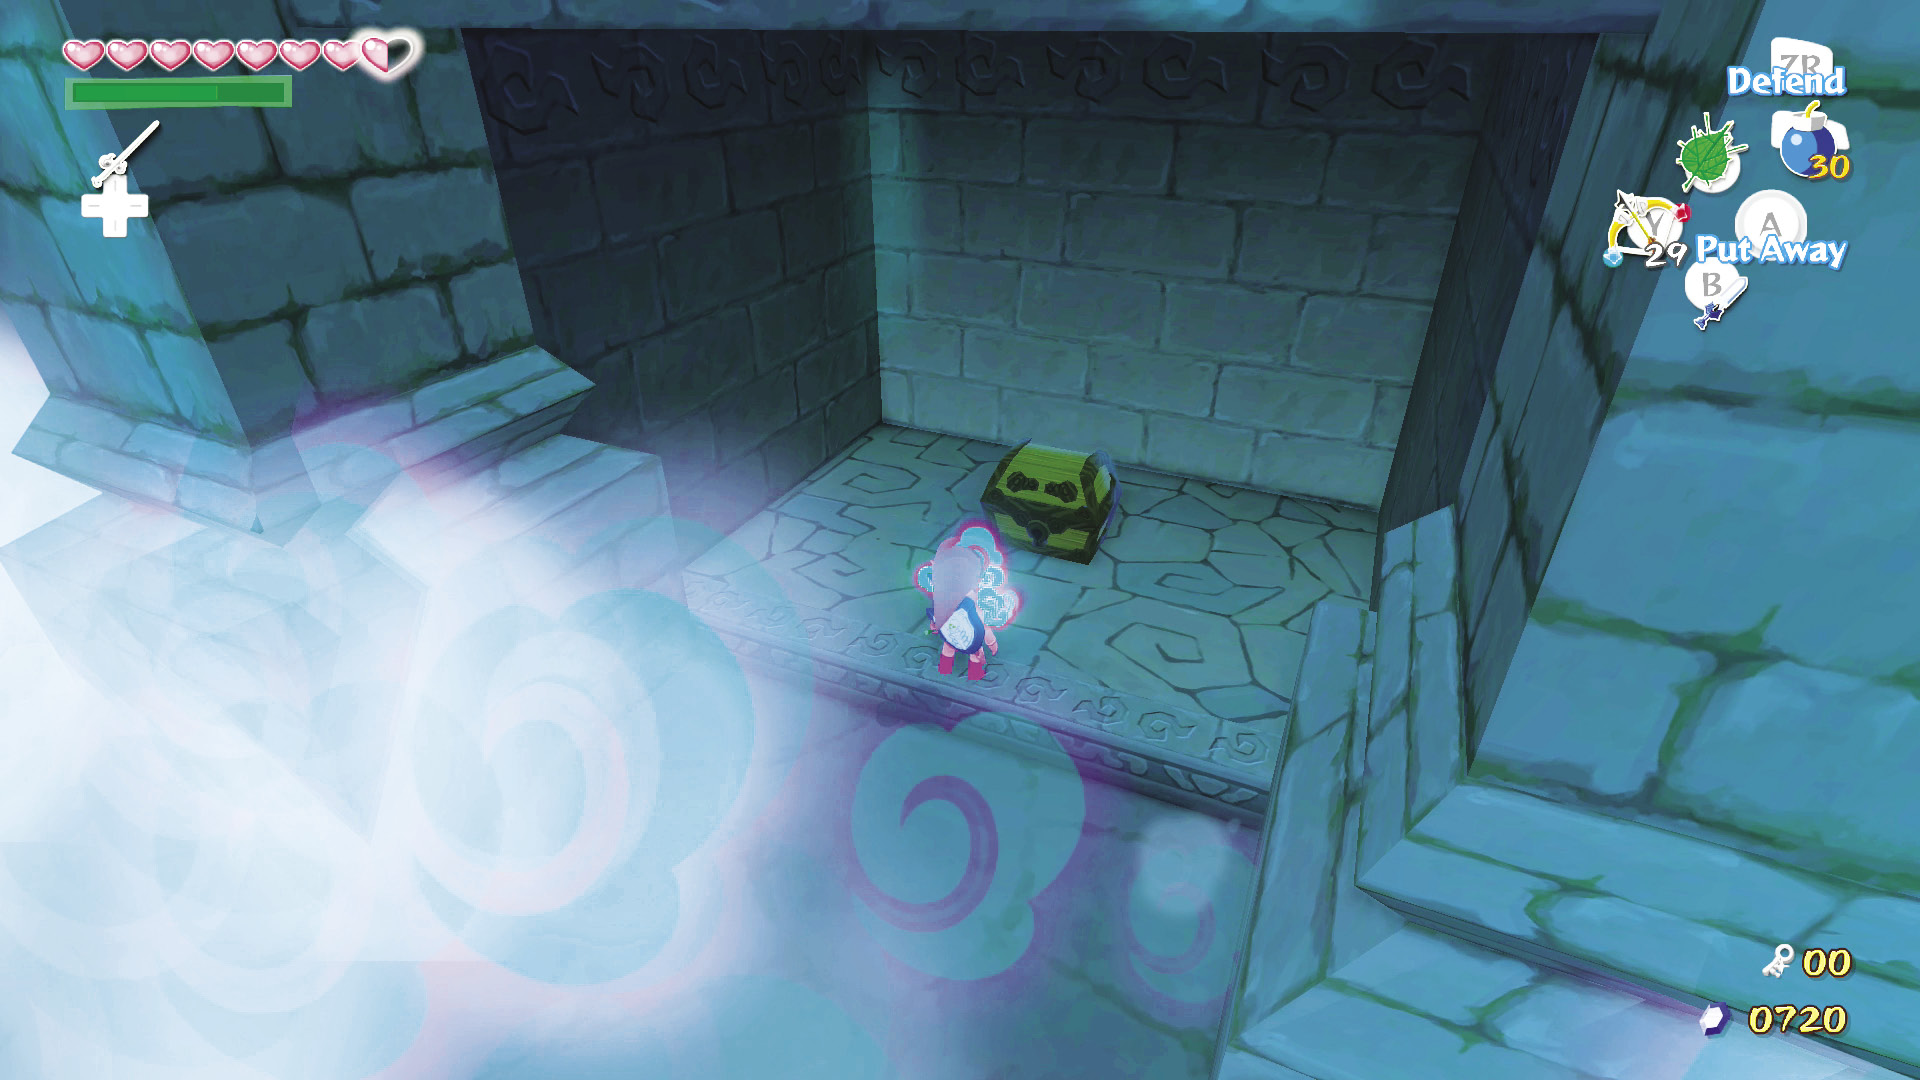
The northern end of the room has a chest containing a Small Key. When you have the key, the fog dissipates. Now you can take out the Floor Masters, which you should definitely do if you want Treasure Chart #12.
|
|
115 |
Treasure Chart #12 |

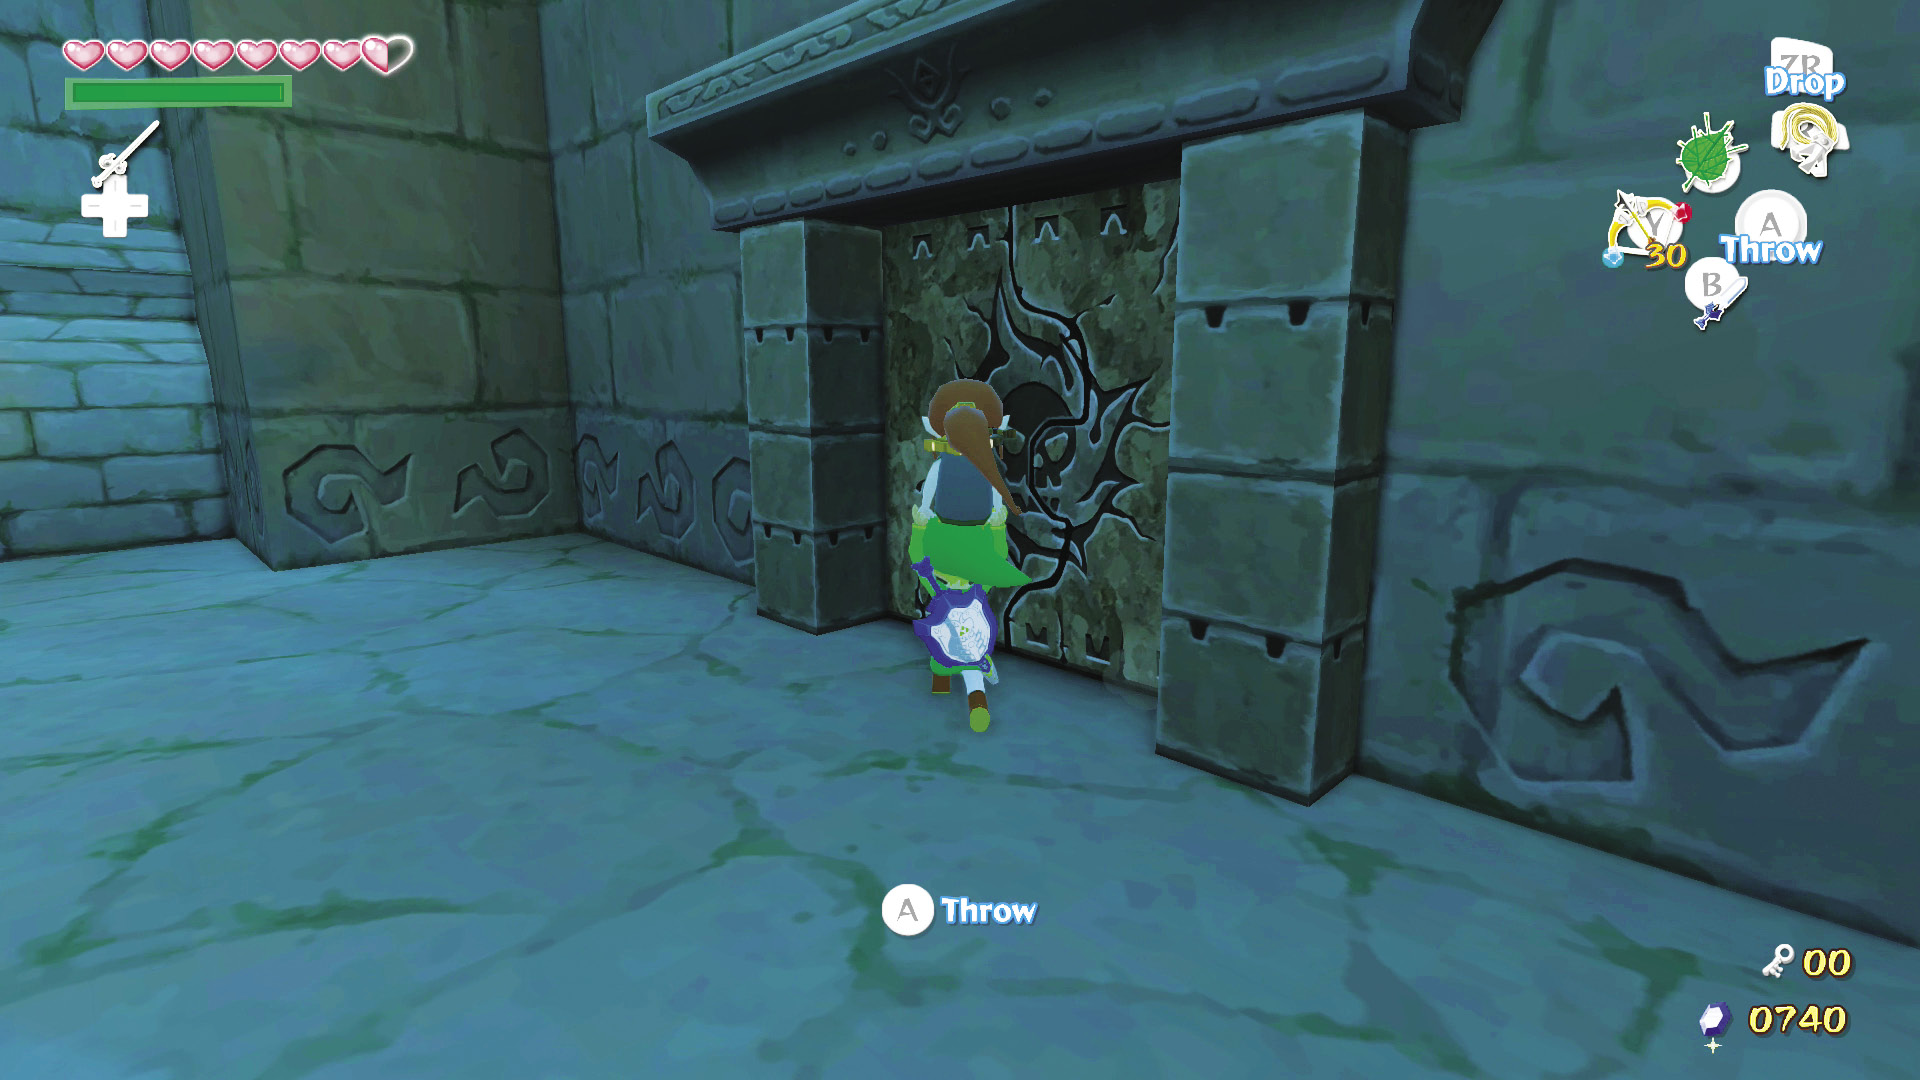
Once you’re finished, carry Medli out through the room’s east door, with the mirrors on the southeast and southwest corners of the room.
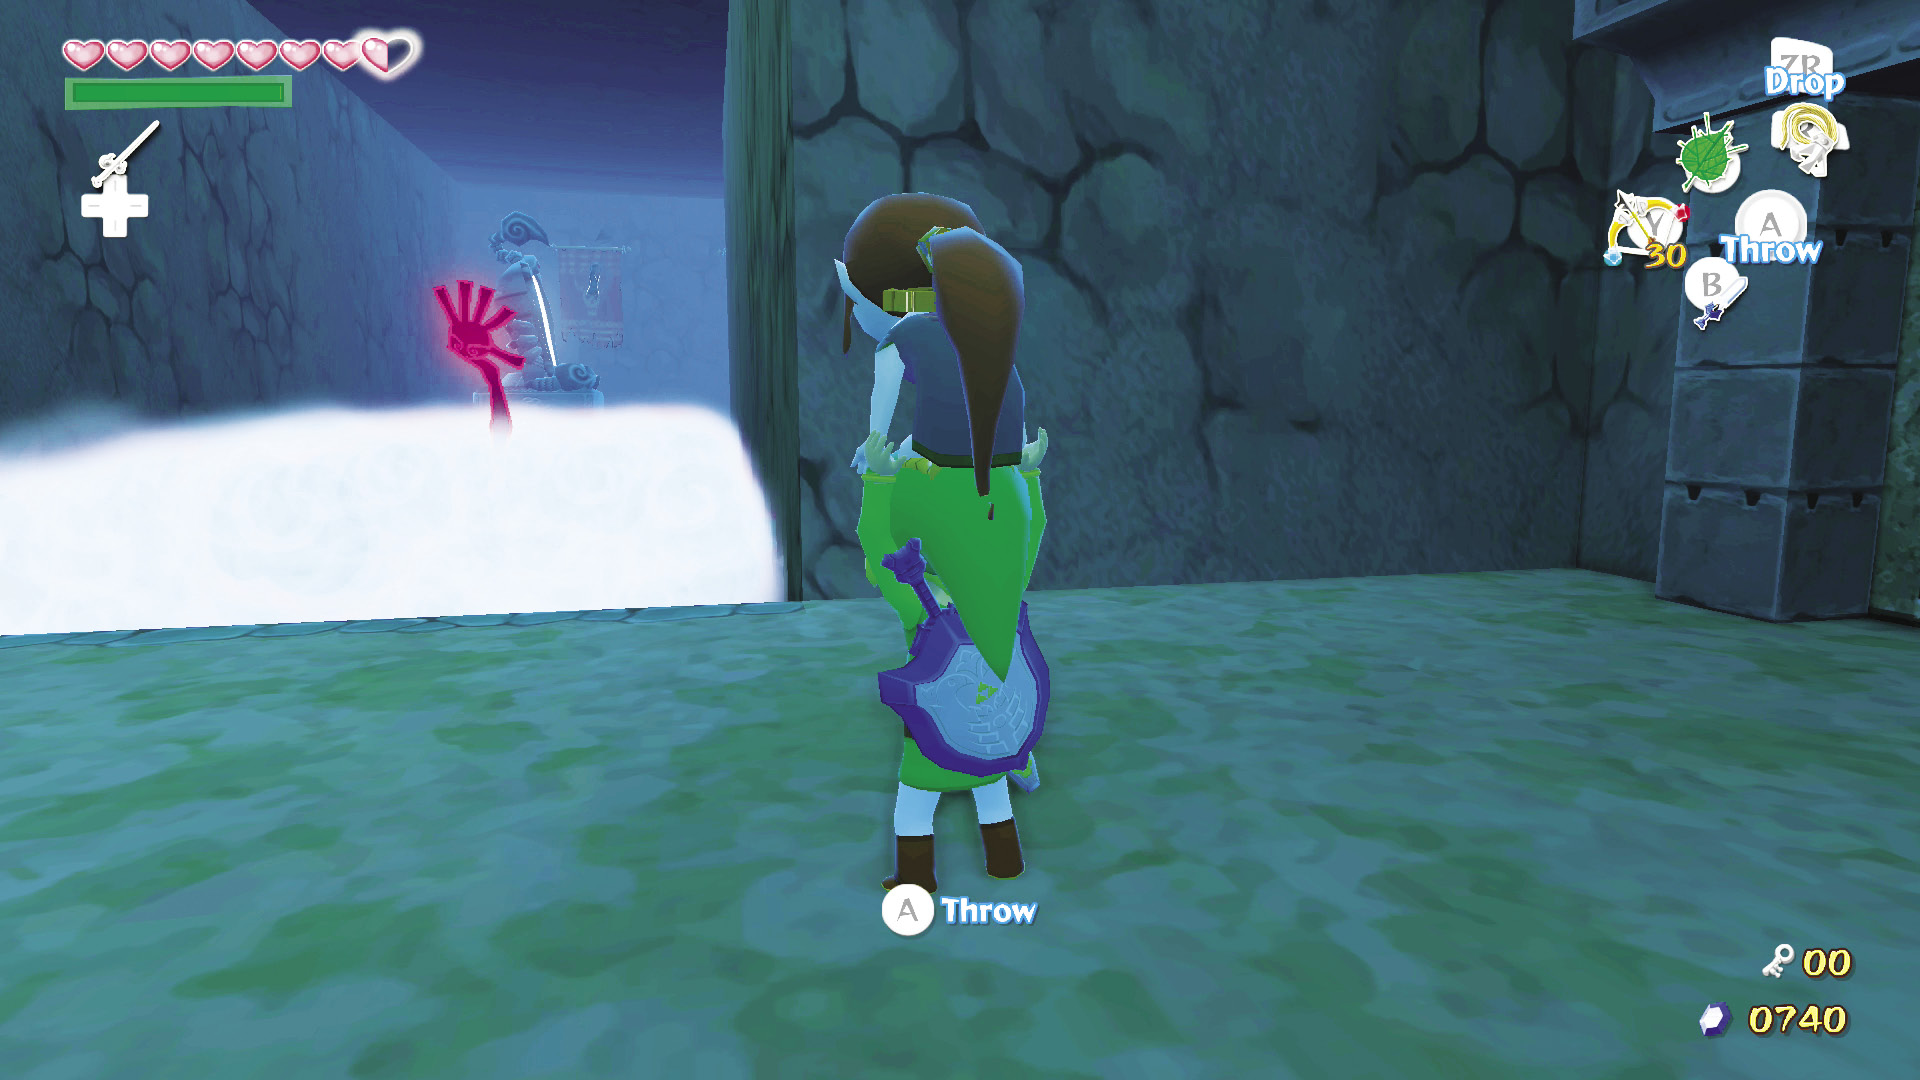
Walk down the east hall until you reach an area that is covered in paralyzing fog. Two Floor Masters are tucked away in the fog. To defeat them, stand at the fog’s north end and defeat the first Floor Master with arrows.
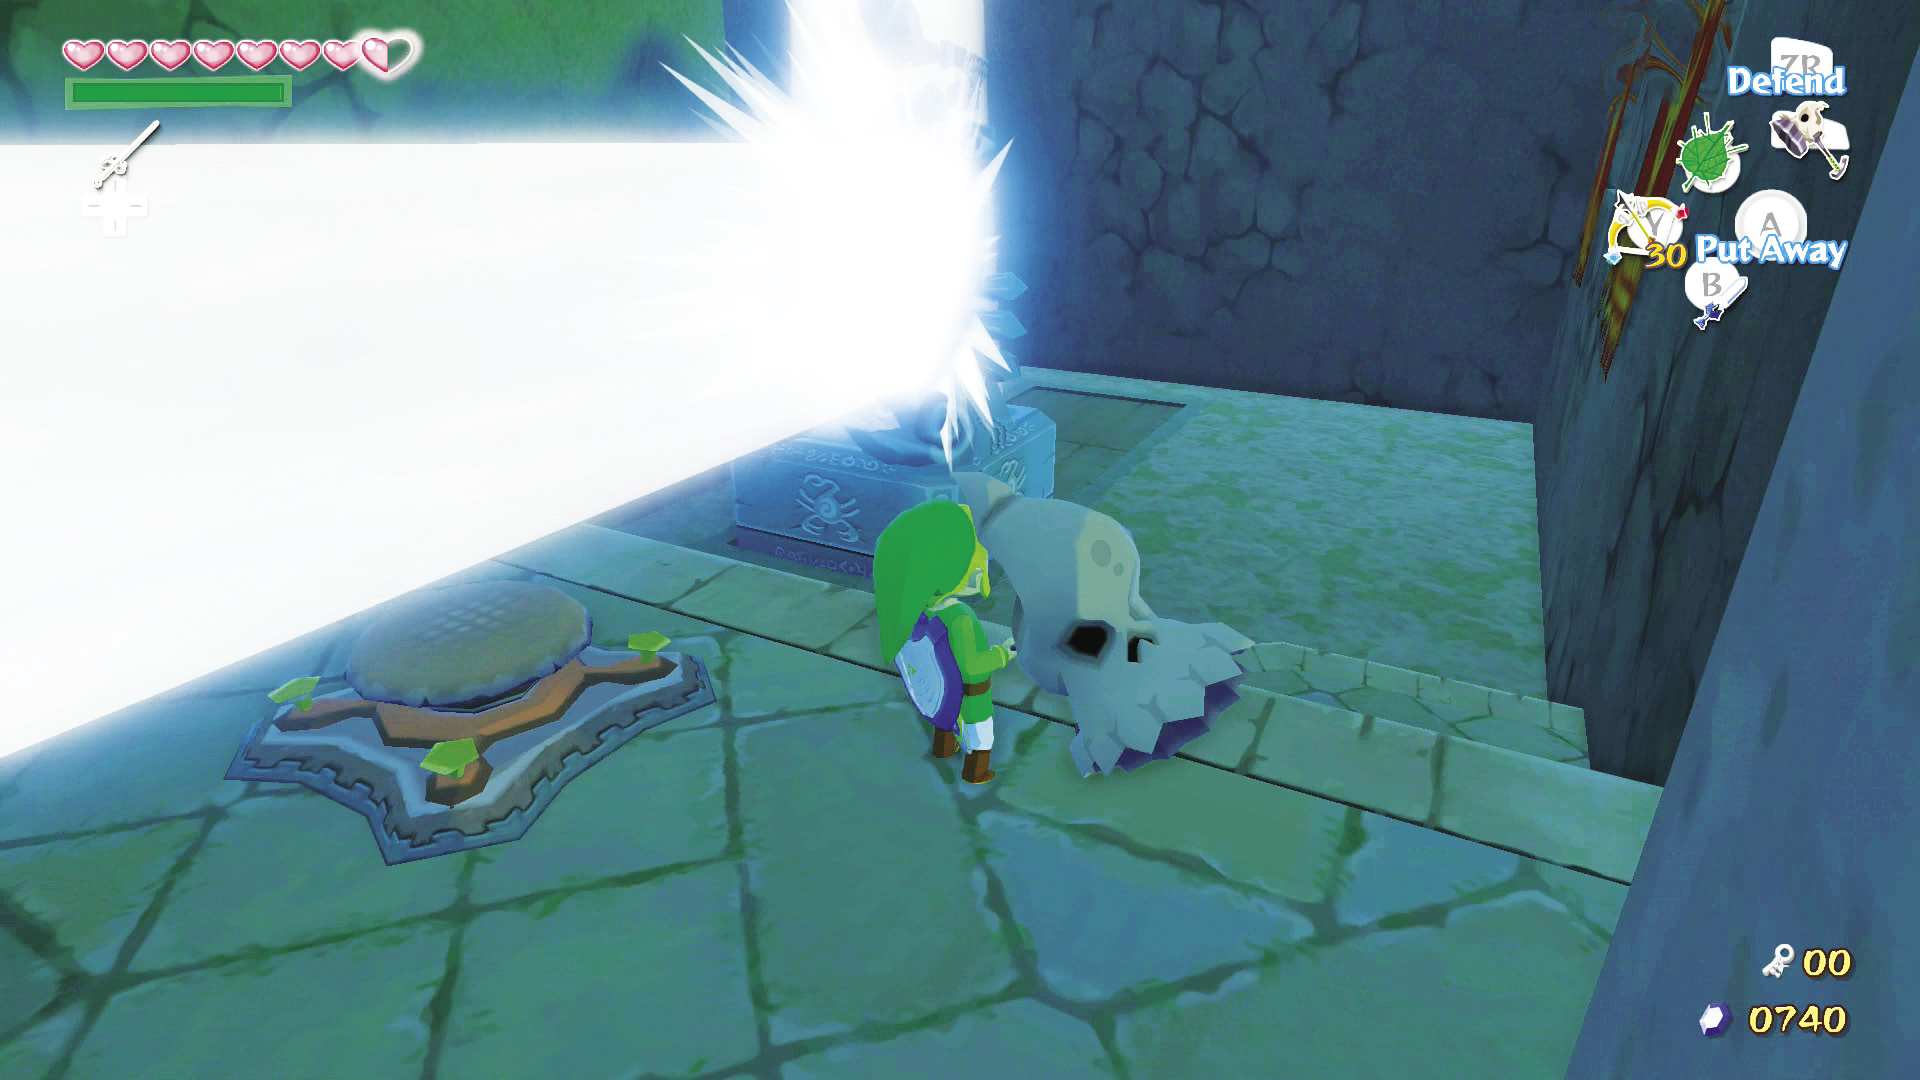
Leaving Medli on the fog’s north side, move to the fog’s south side and take out the second Floor Master with arrows. Climb up to the hall’s west end and hammer the peg to open a skylight, then push the giant mirror as far west as you can, so that it reflects the light beam through the fence into the room’s western side.
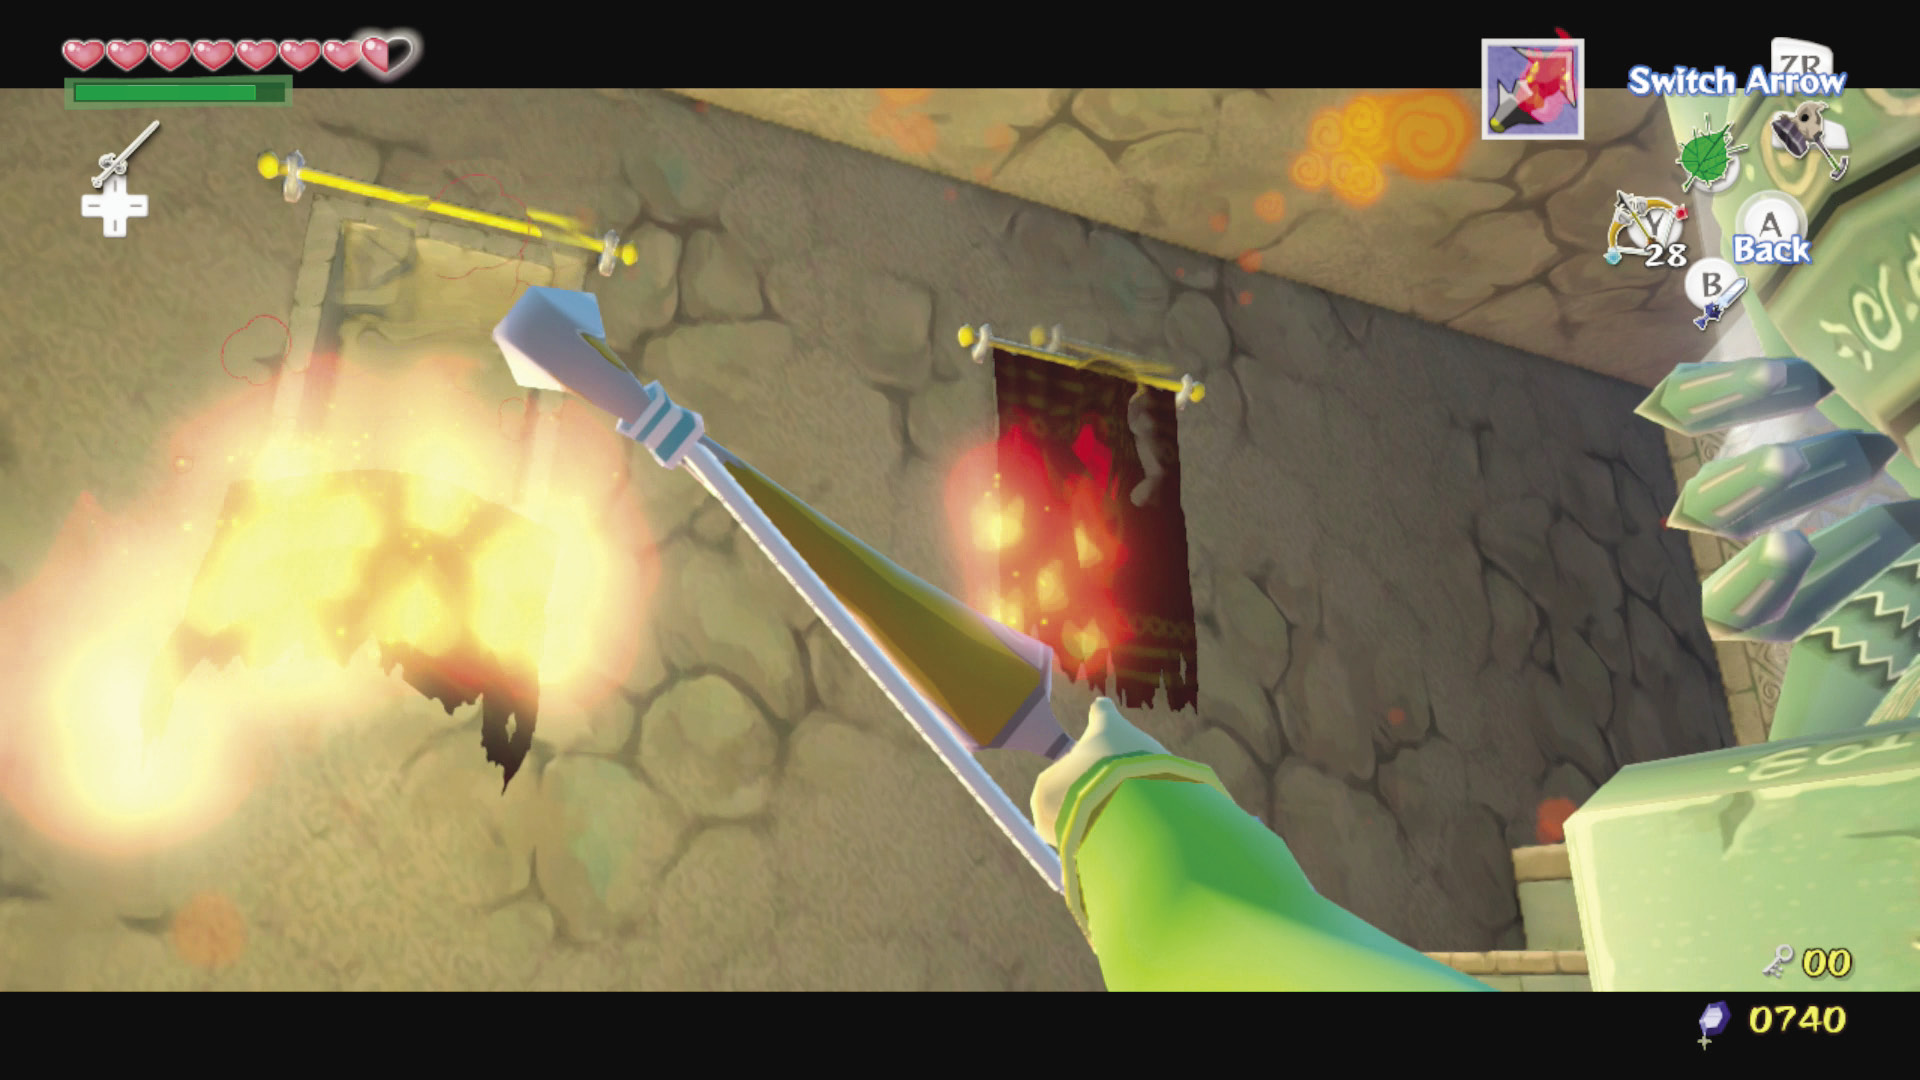
You can also shoot the southwest red tapestry with a Fire Arrow to reveal a Joy Pendant. When you’ve done all you can here, exit the room.
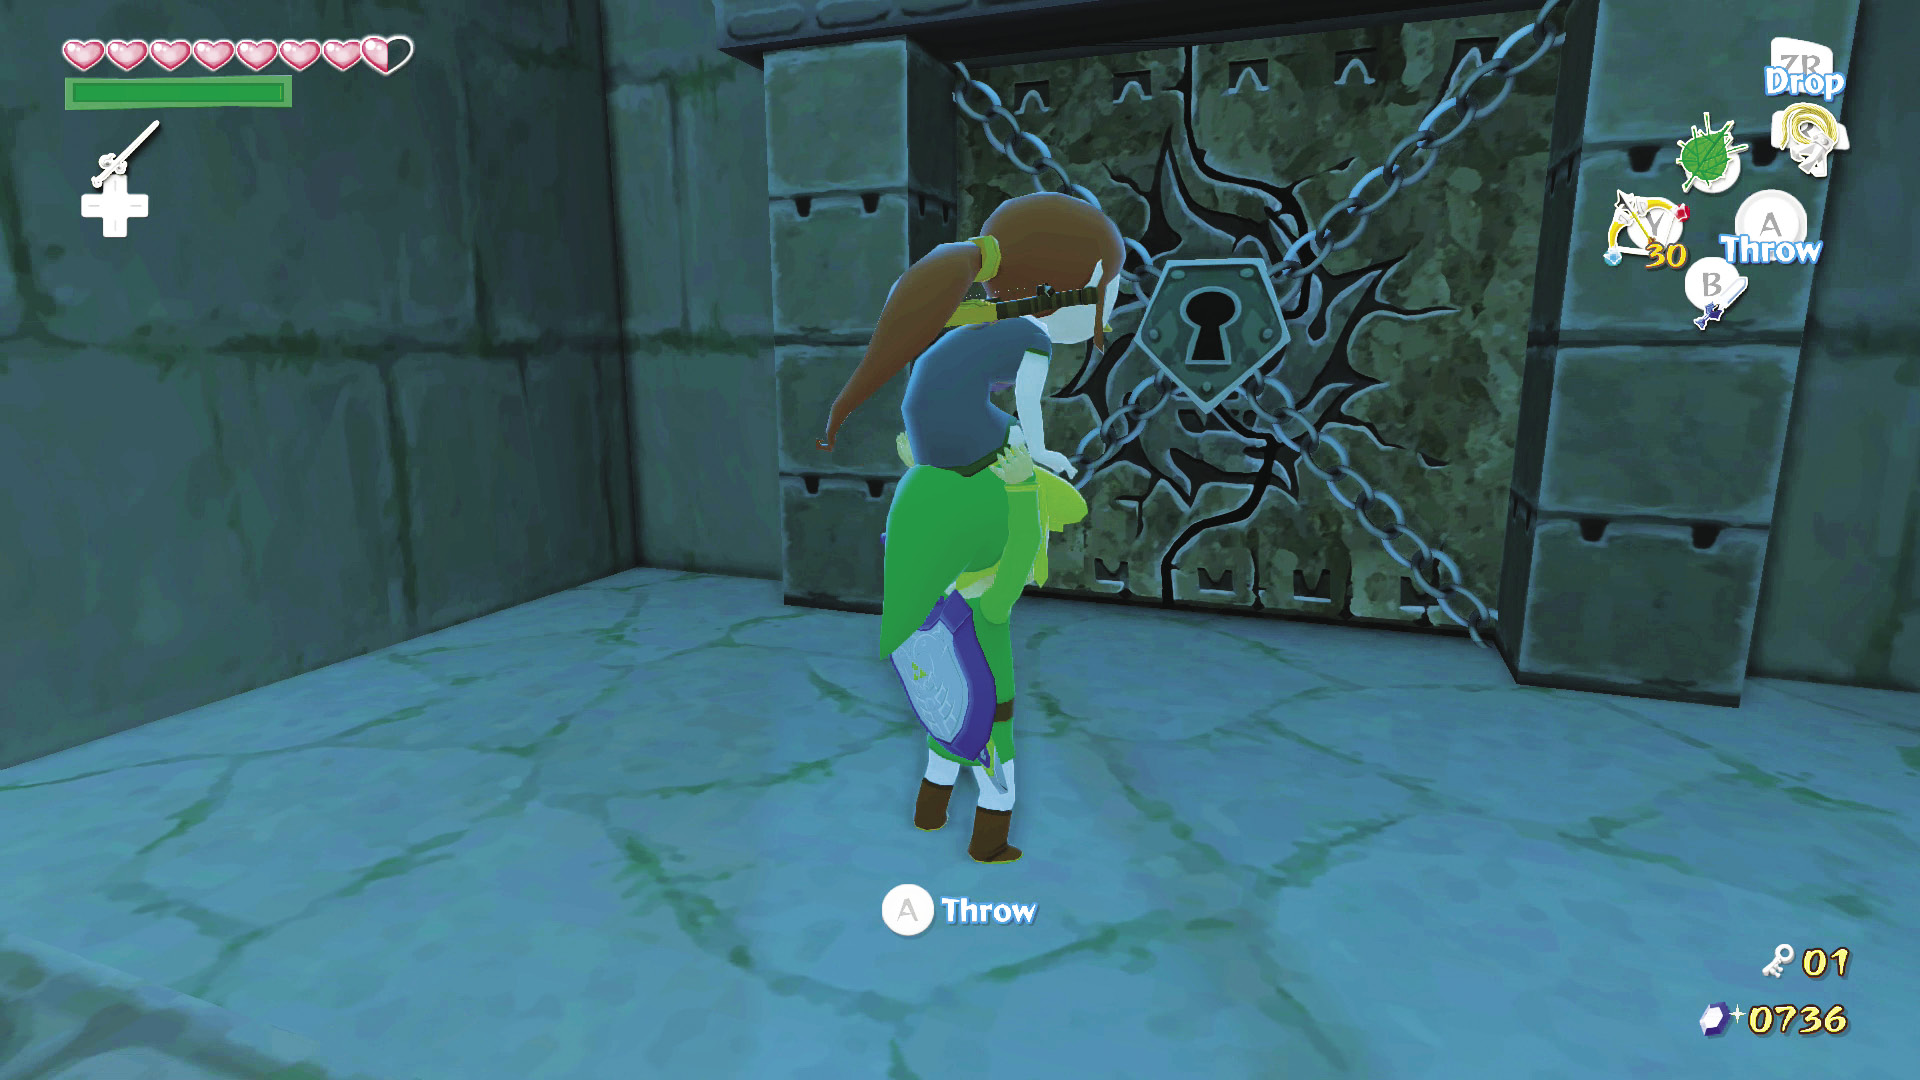
Throw Medli onto the room’s south ledge, then push the block in the middle of the room to the south. Climb it to reach the locked door. Unlock it with your Small Key and carry Medli on through.
7. Step up Your Reflection Game
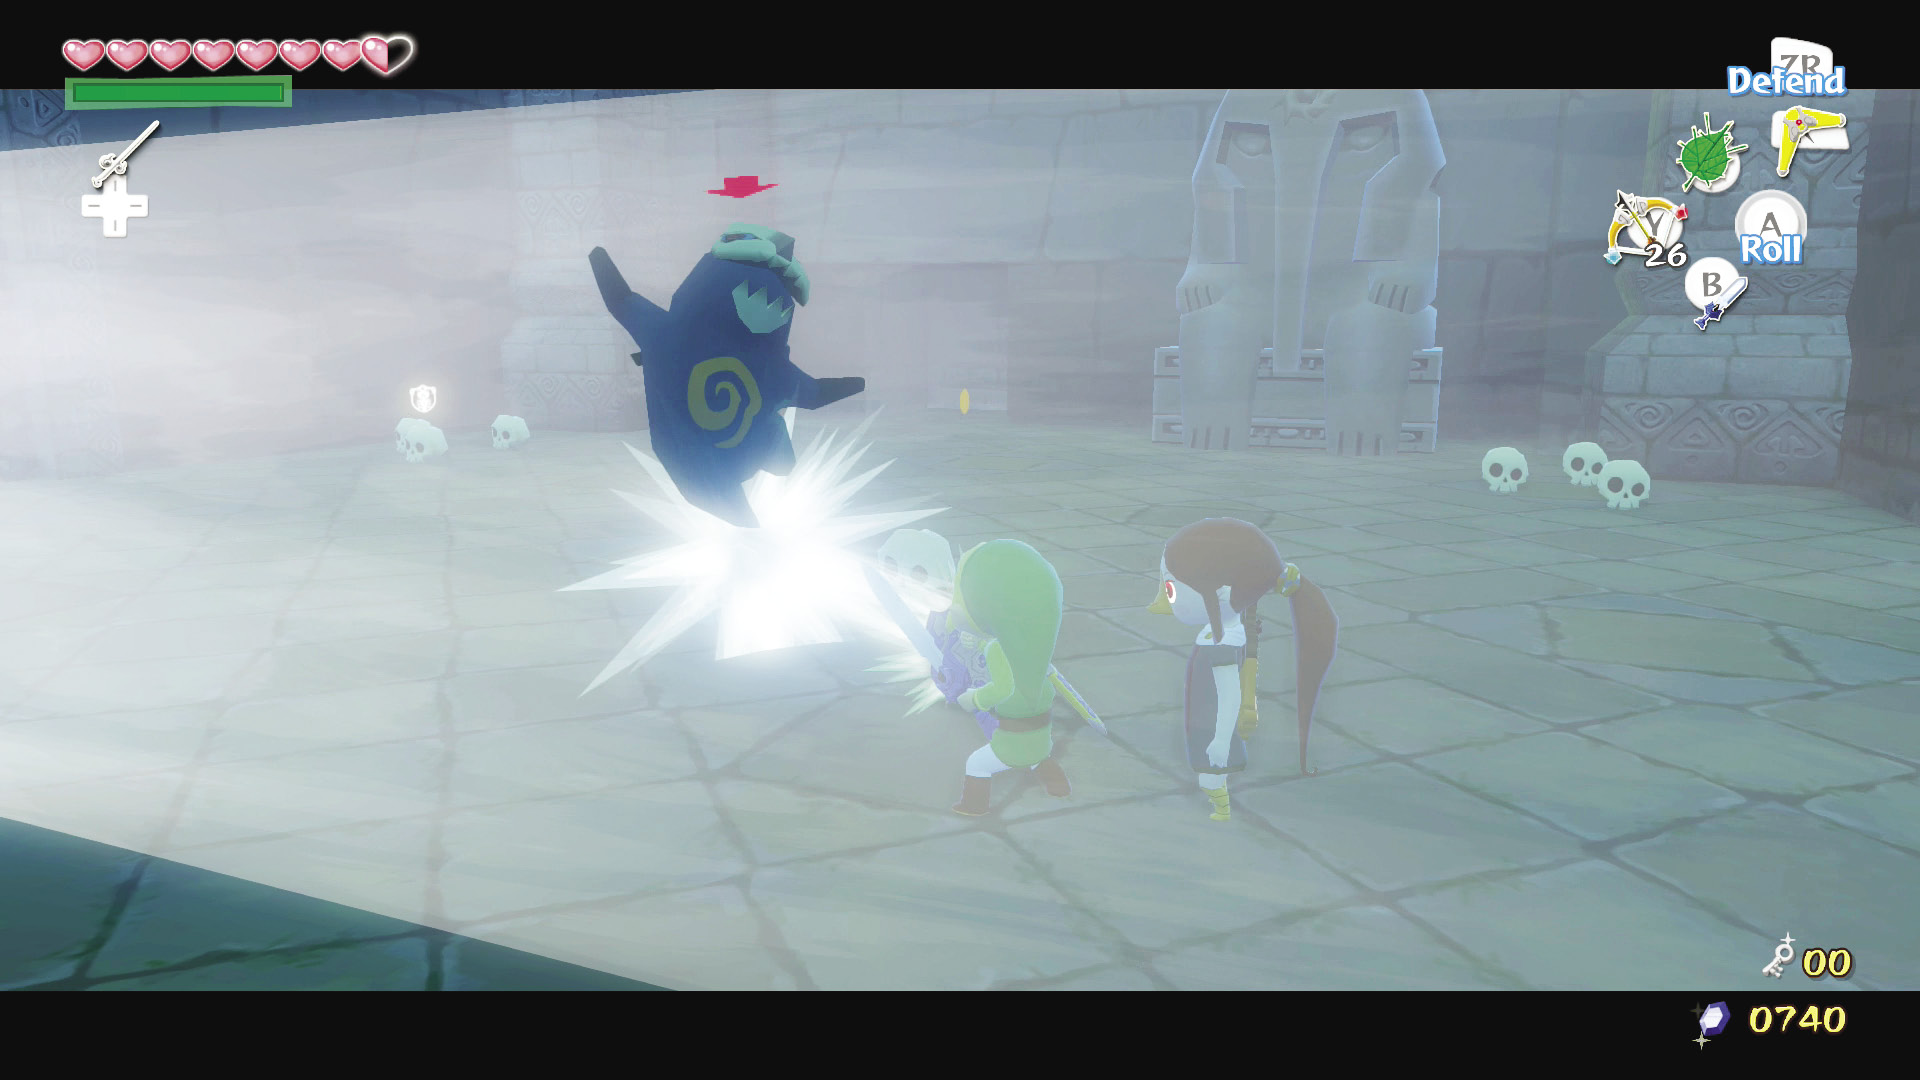
Put Medli down near the entrance and step into the light beam that is being reflected from the other side of the fence. Defeat the three Red Bubbles with arrows, and reflect the beam at the three Poes to make them vulnerable to your sword.
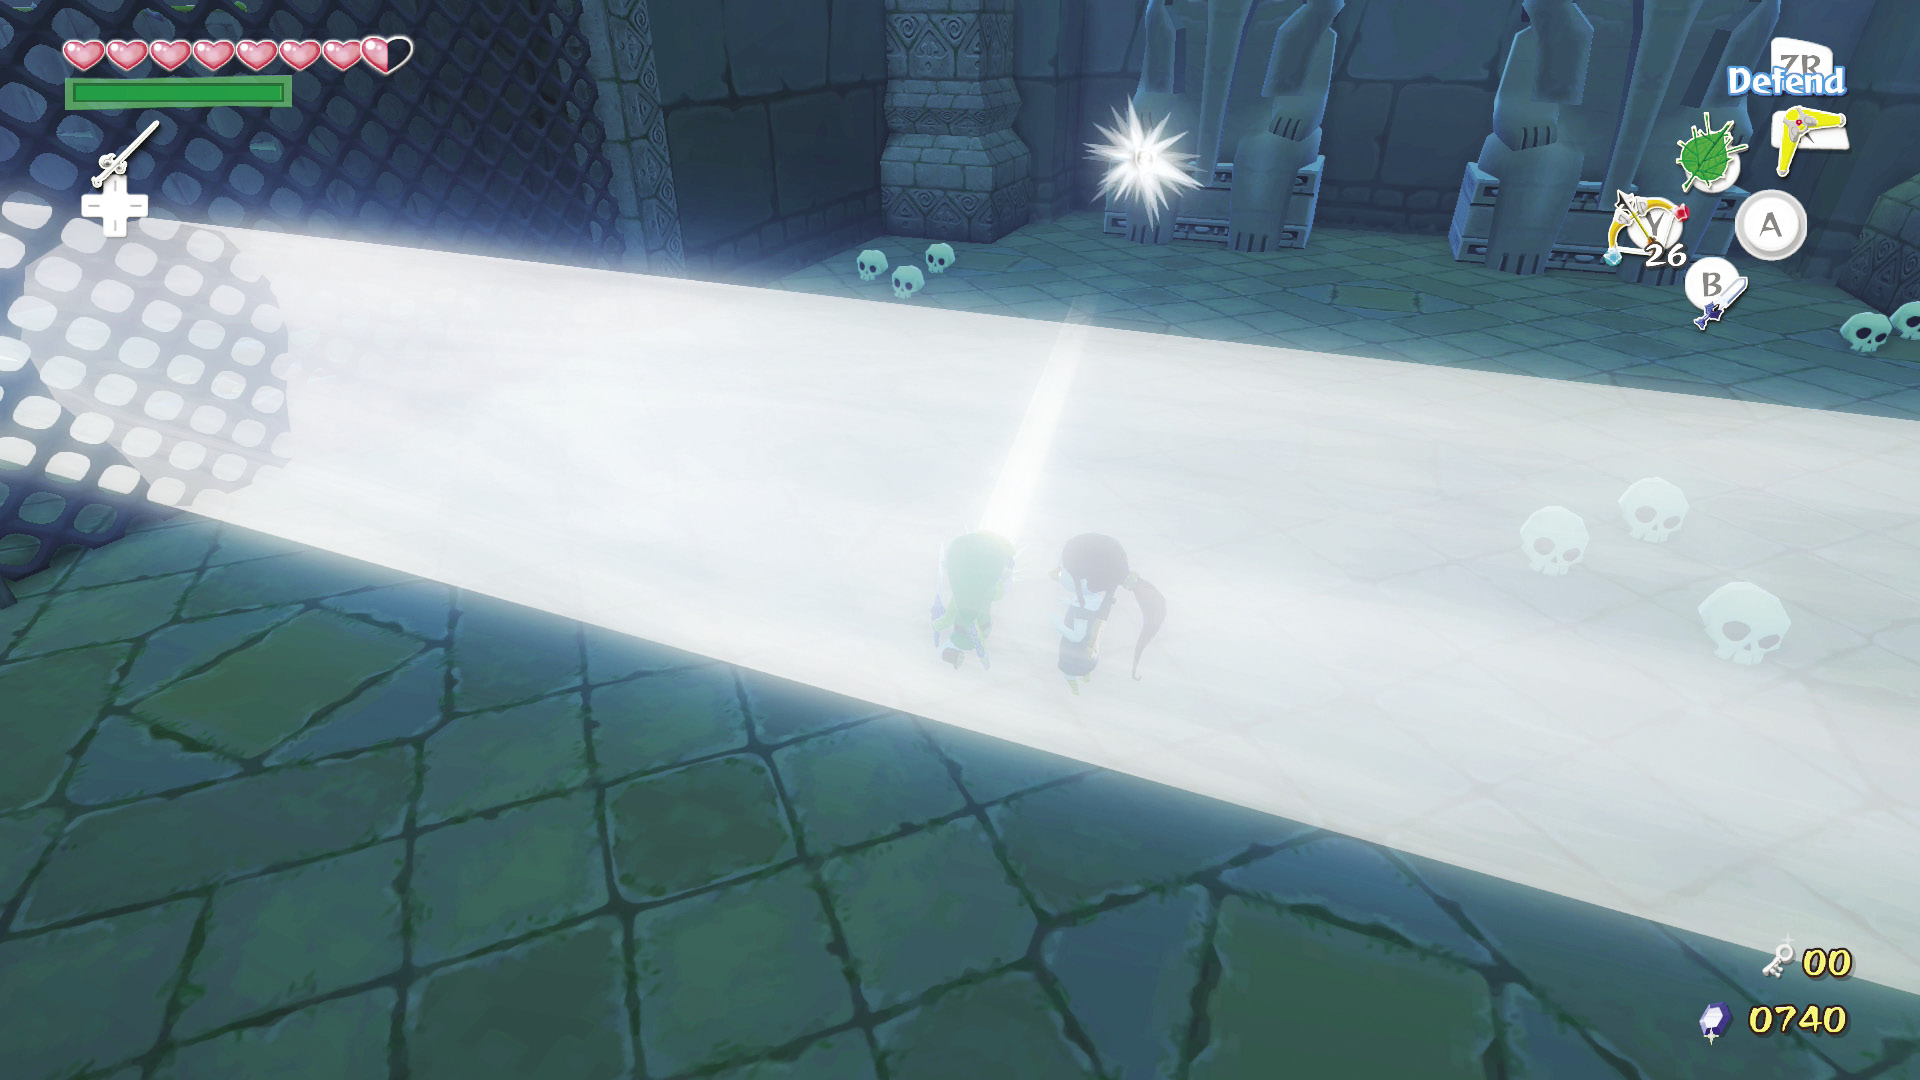
Reflect the light at the two large statues along the south wall to open two small hidden alcoves. One contains a Yellow Rupee, and the other a large Magic Jar.
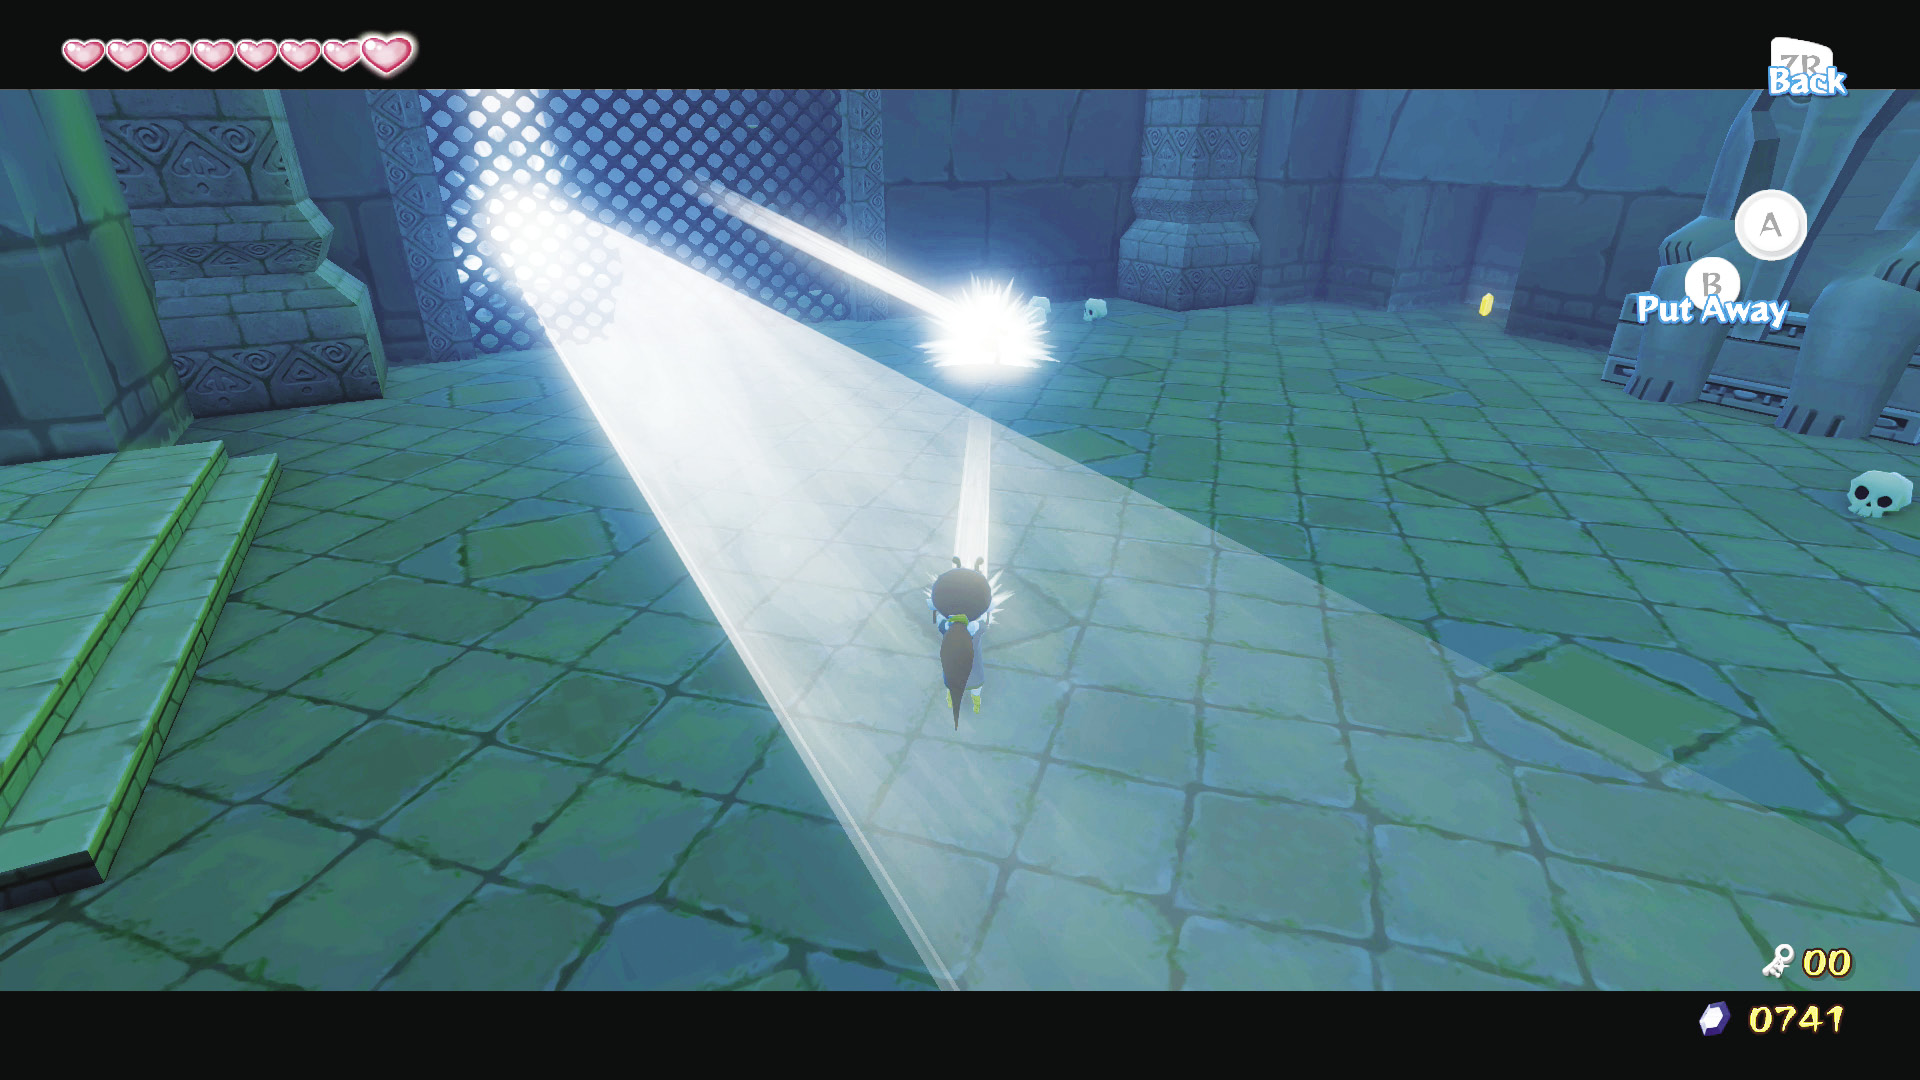
When you defeat the enemies, position Link so that he faces the large statue to the west and stands near the east wall. Take control of Medli and have her reflect the beam at Link.
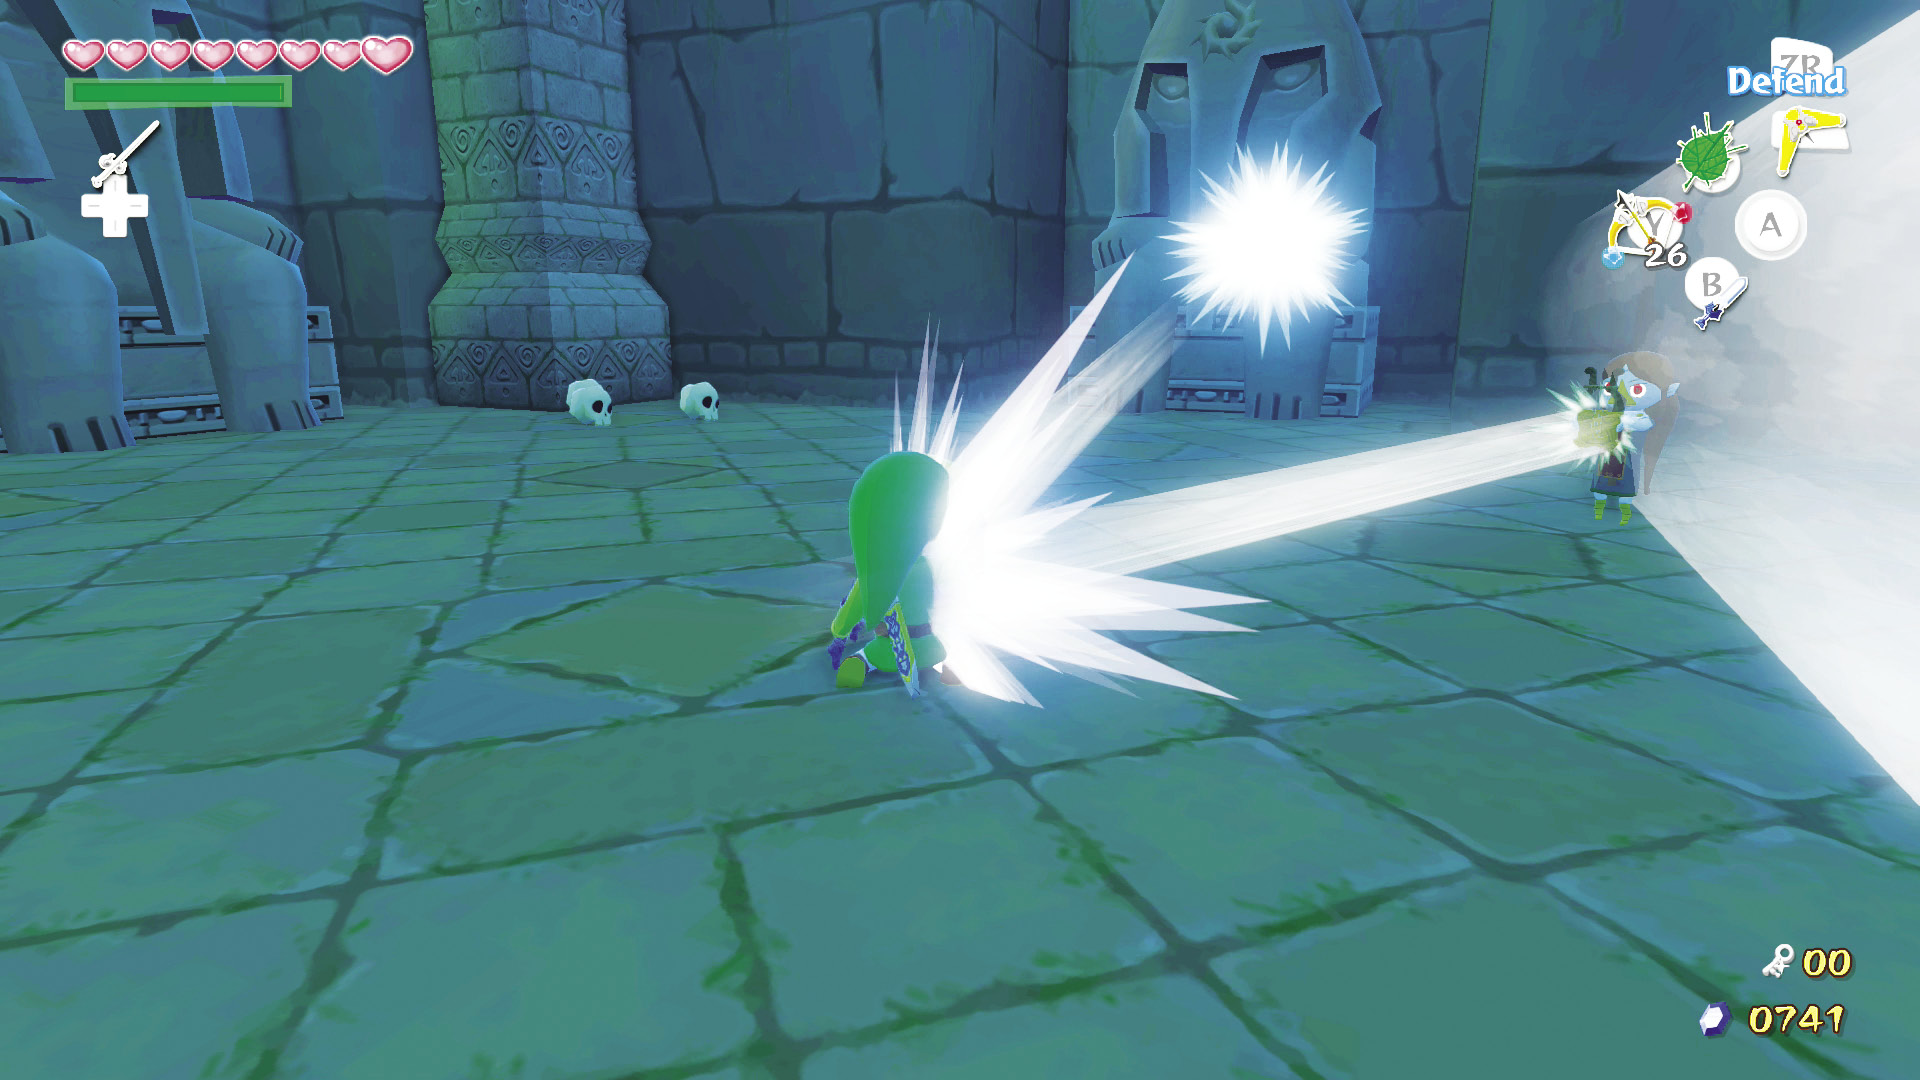
Release control of Medli and reflect her beam at the large statue to the west to disintegrate it, revealing the door to the next room. Carry Medli into the next room.
8. To the Tower!
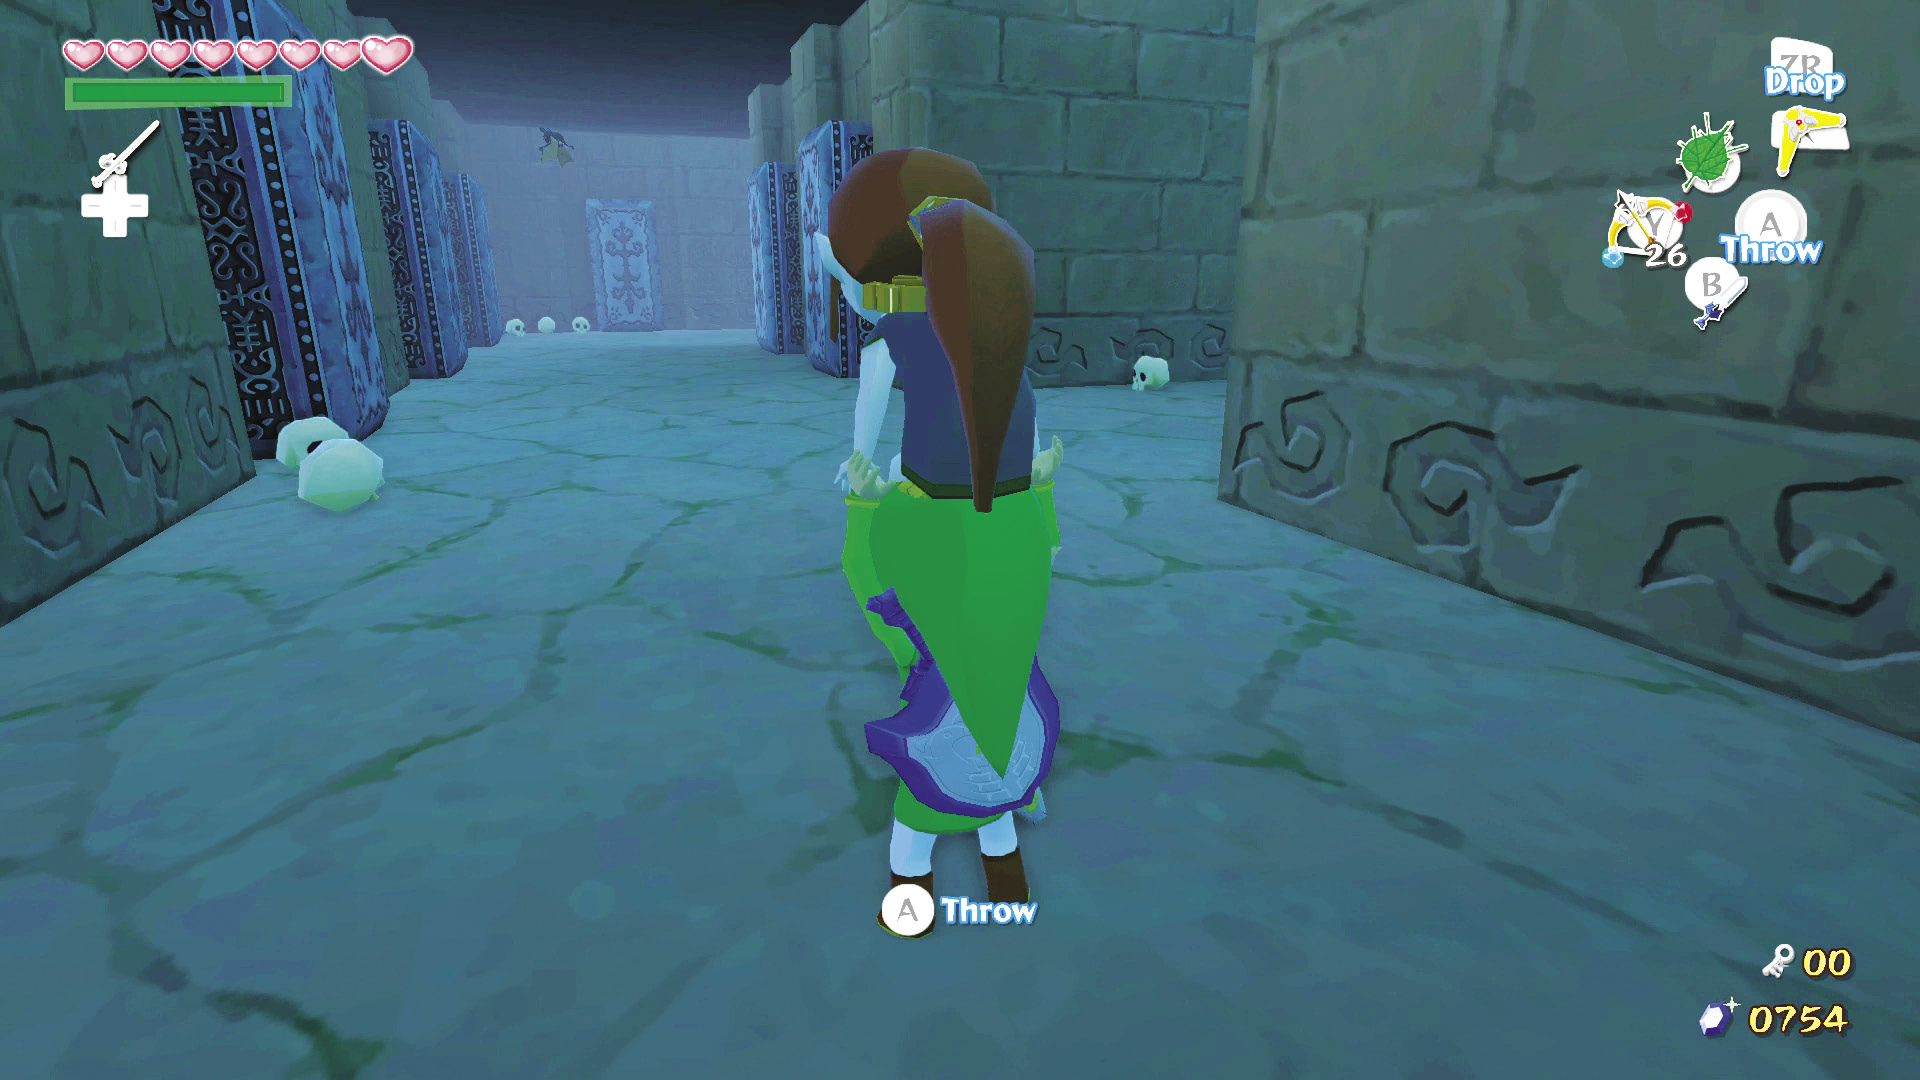
This is a pair of coffin-lined halls that stretch north and west. Leave Medli near the entrance and use your Boomerang to defeat any Keeses.
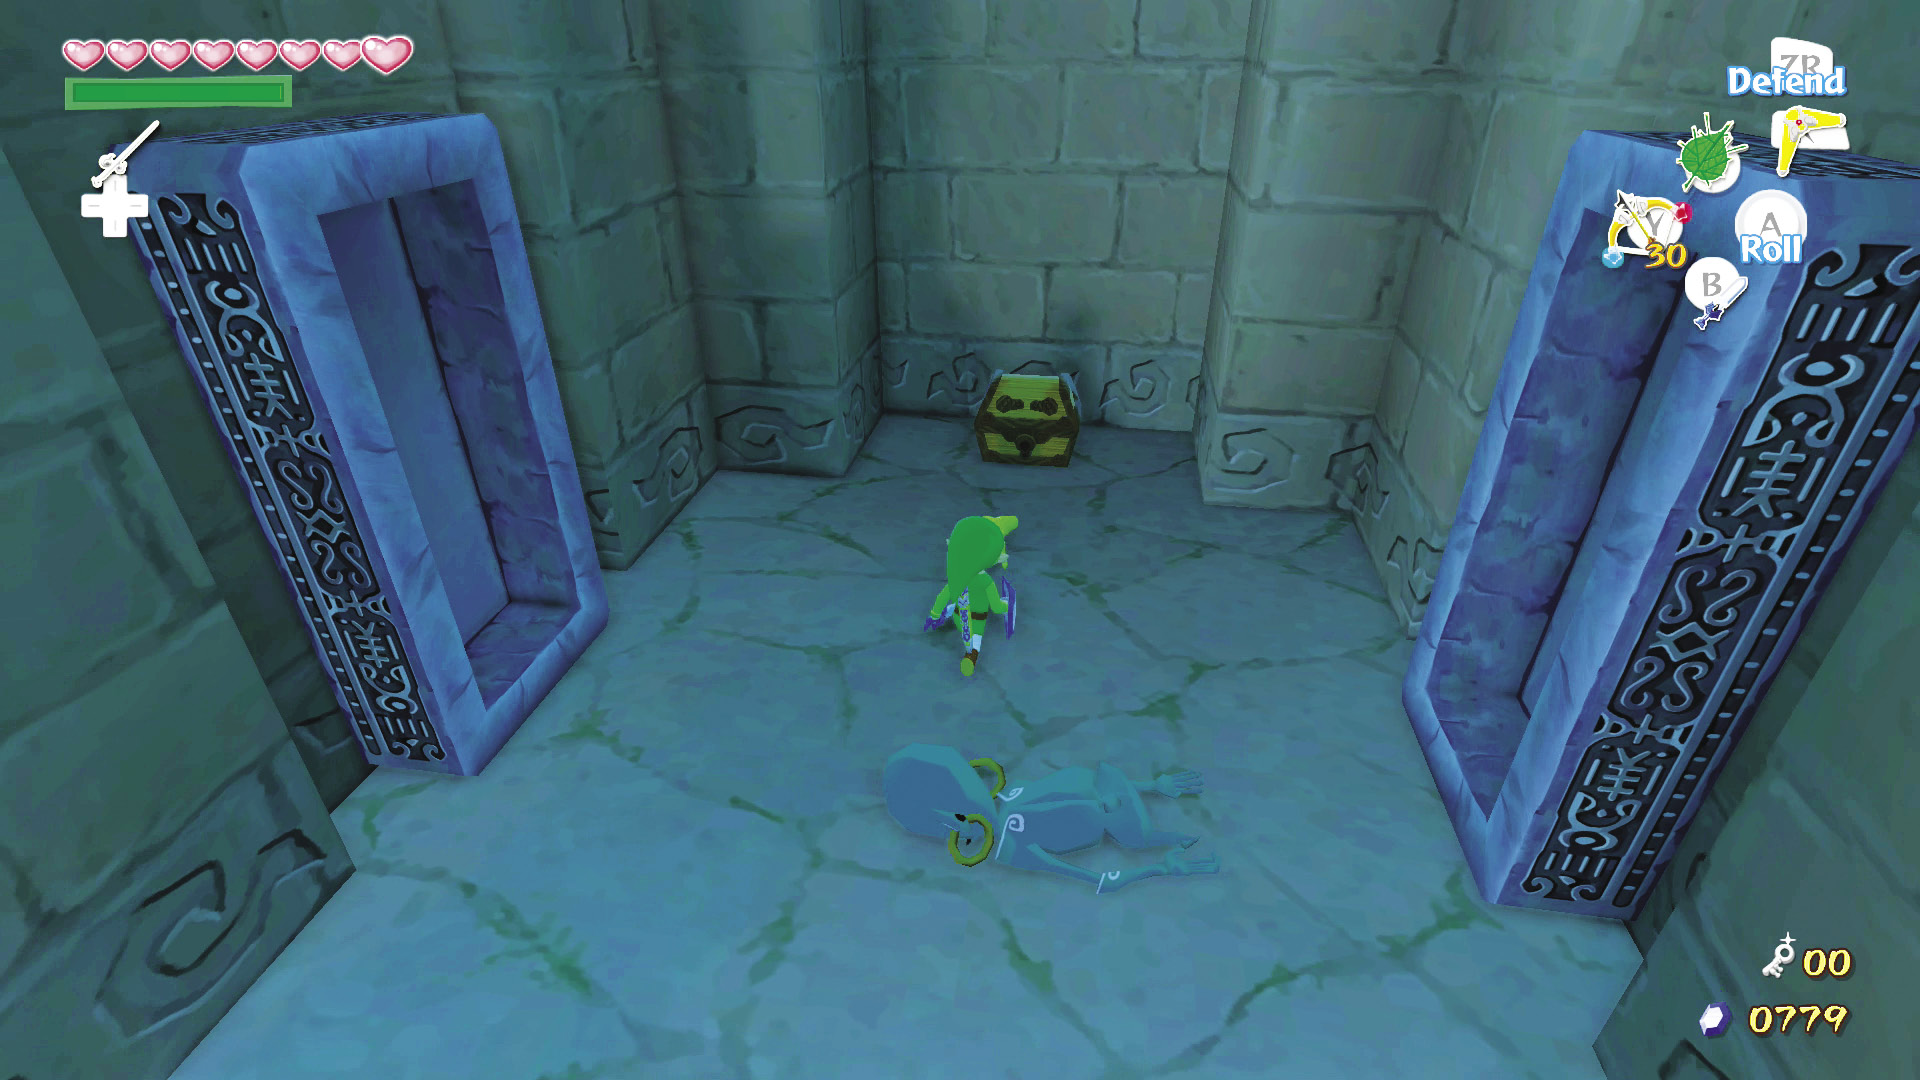
The west hall is an optional detour. Starting from the west hall’s east end, the coffins contain nothing, a large Magic Jar, a ReDead, nothing, nothing, a Yellow Rupee, a ReDead, and nothing. A chest at the end of the west hall contains a Red Rupee.
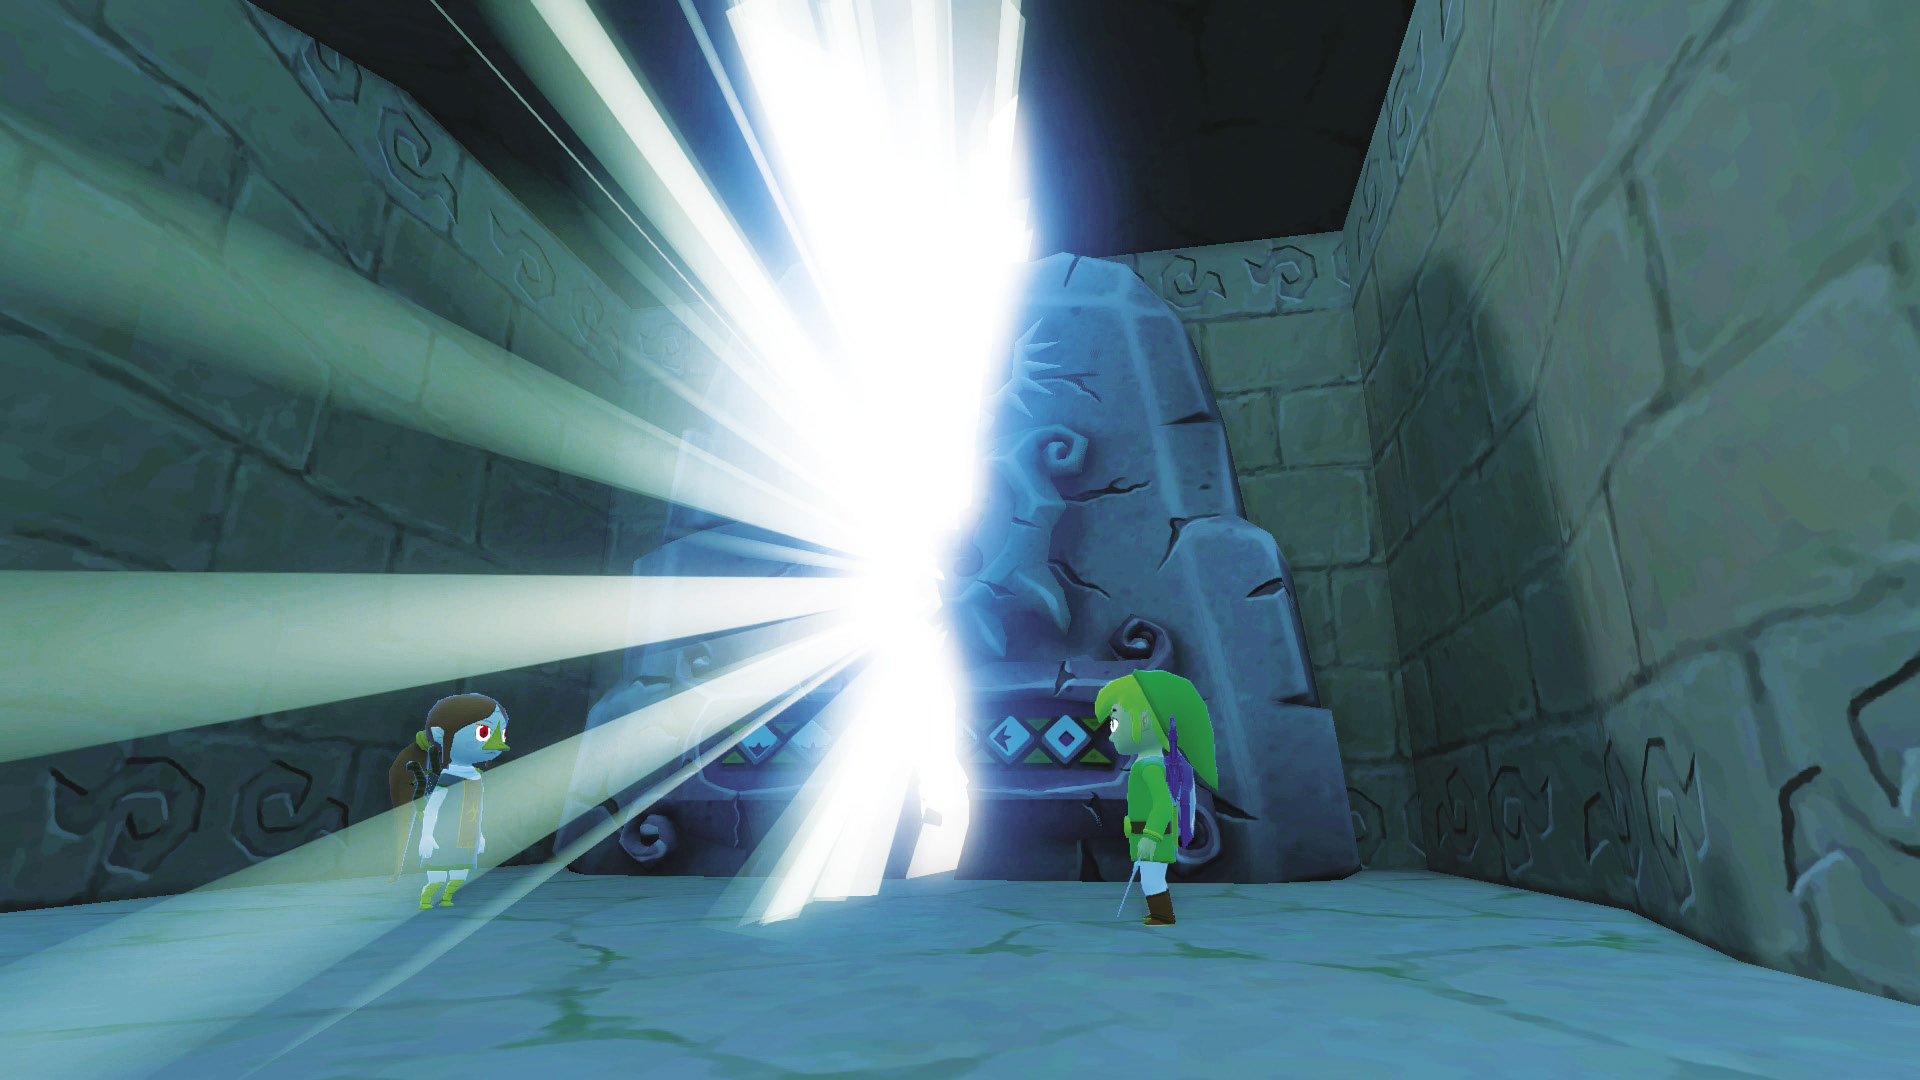
From the north hall’s south end, the coffins contain a Blue Rupee, nothing, nothing, a Stalfos, a Heart, and nothing. At the end of the hall is a stone slab bearing the notes of the “Earth God’s Lyric.” Bring Medli here and conduct the song near her to shatter the stone and reveal the entrance to the next room.
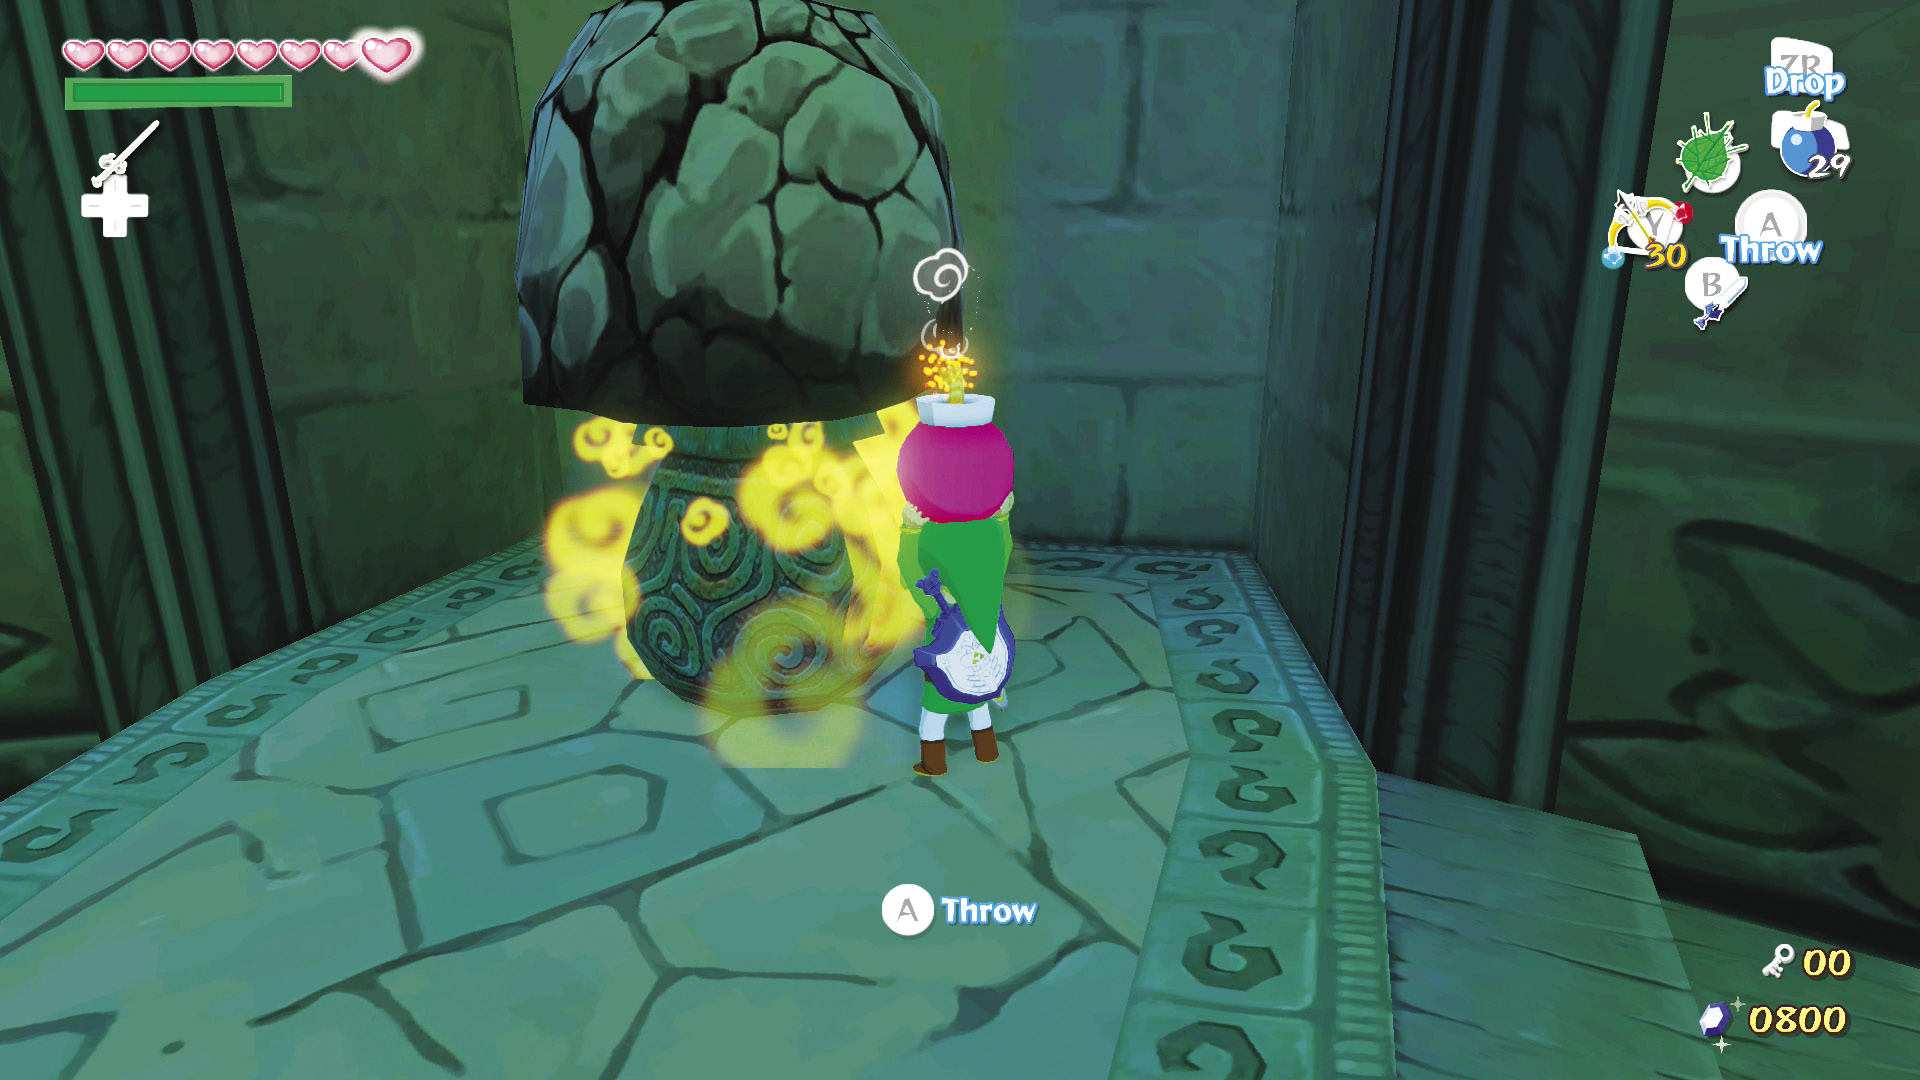
Run down the hall at the entrance to reach the round room that makes up the majority of B1 Room 6. Exit the tunnel with a bomb to remove the boulder on top of it, then open the yellow Warp Pot to the right.
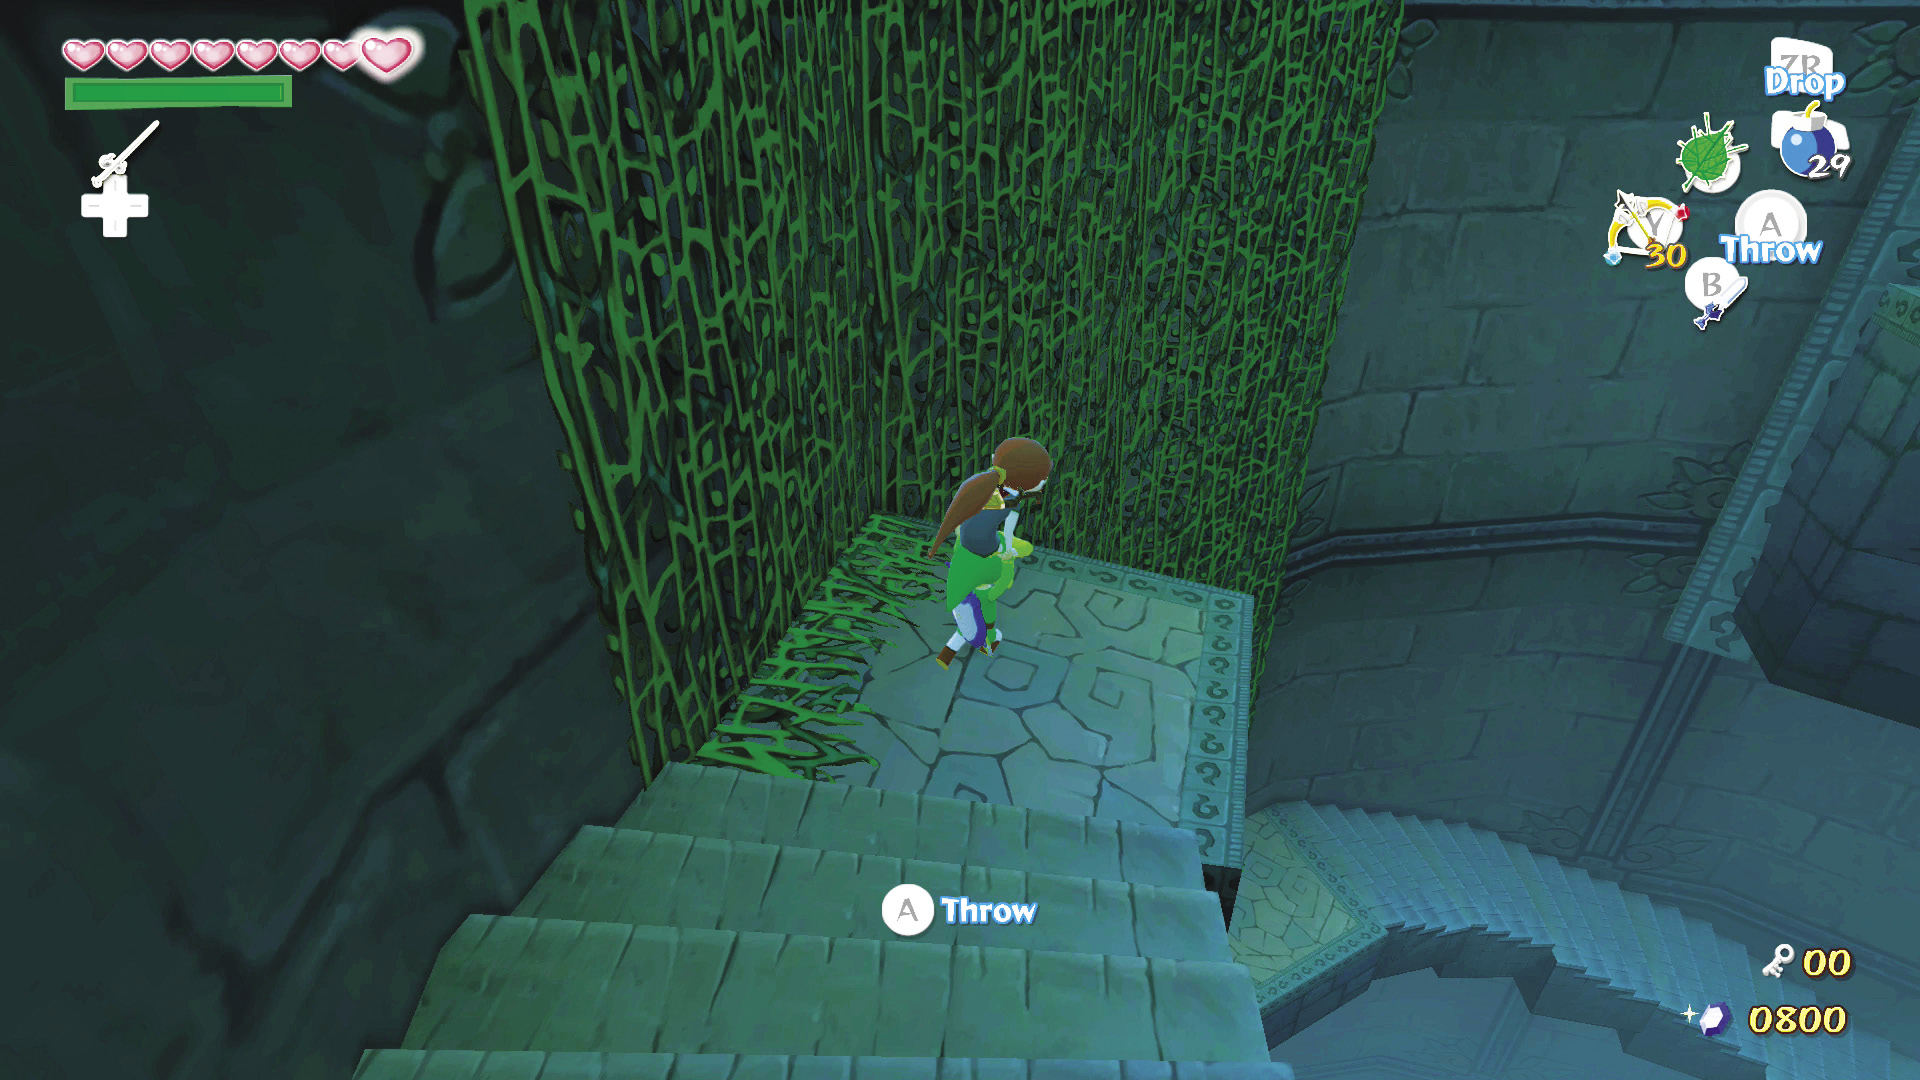
The door to the boss’s lair is to the west, but you can’t go there because you don’t have the Big Key to open it just yet. Instead, pick up Medli and run down the spiraling stairs to the south. Drop off the ledge to the west and glide to the platform ahead, then go through the door.
Basement Floor 2
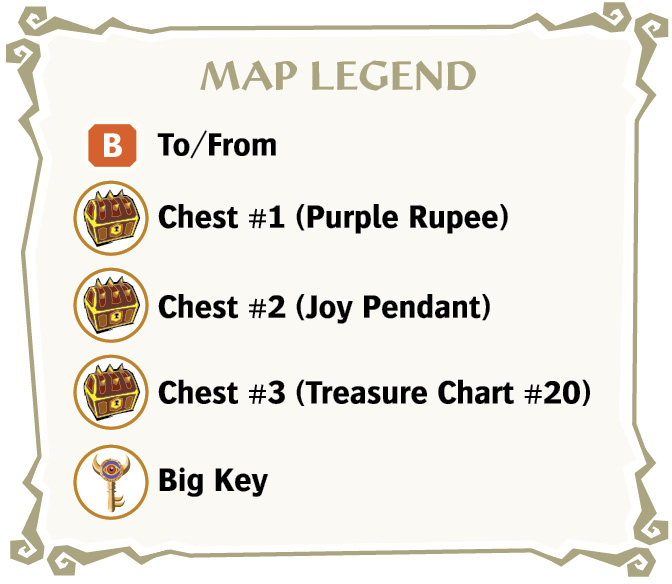
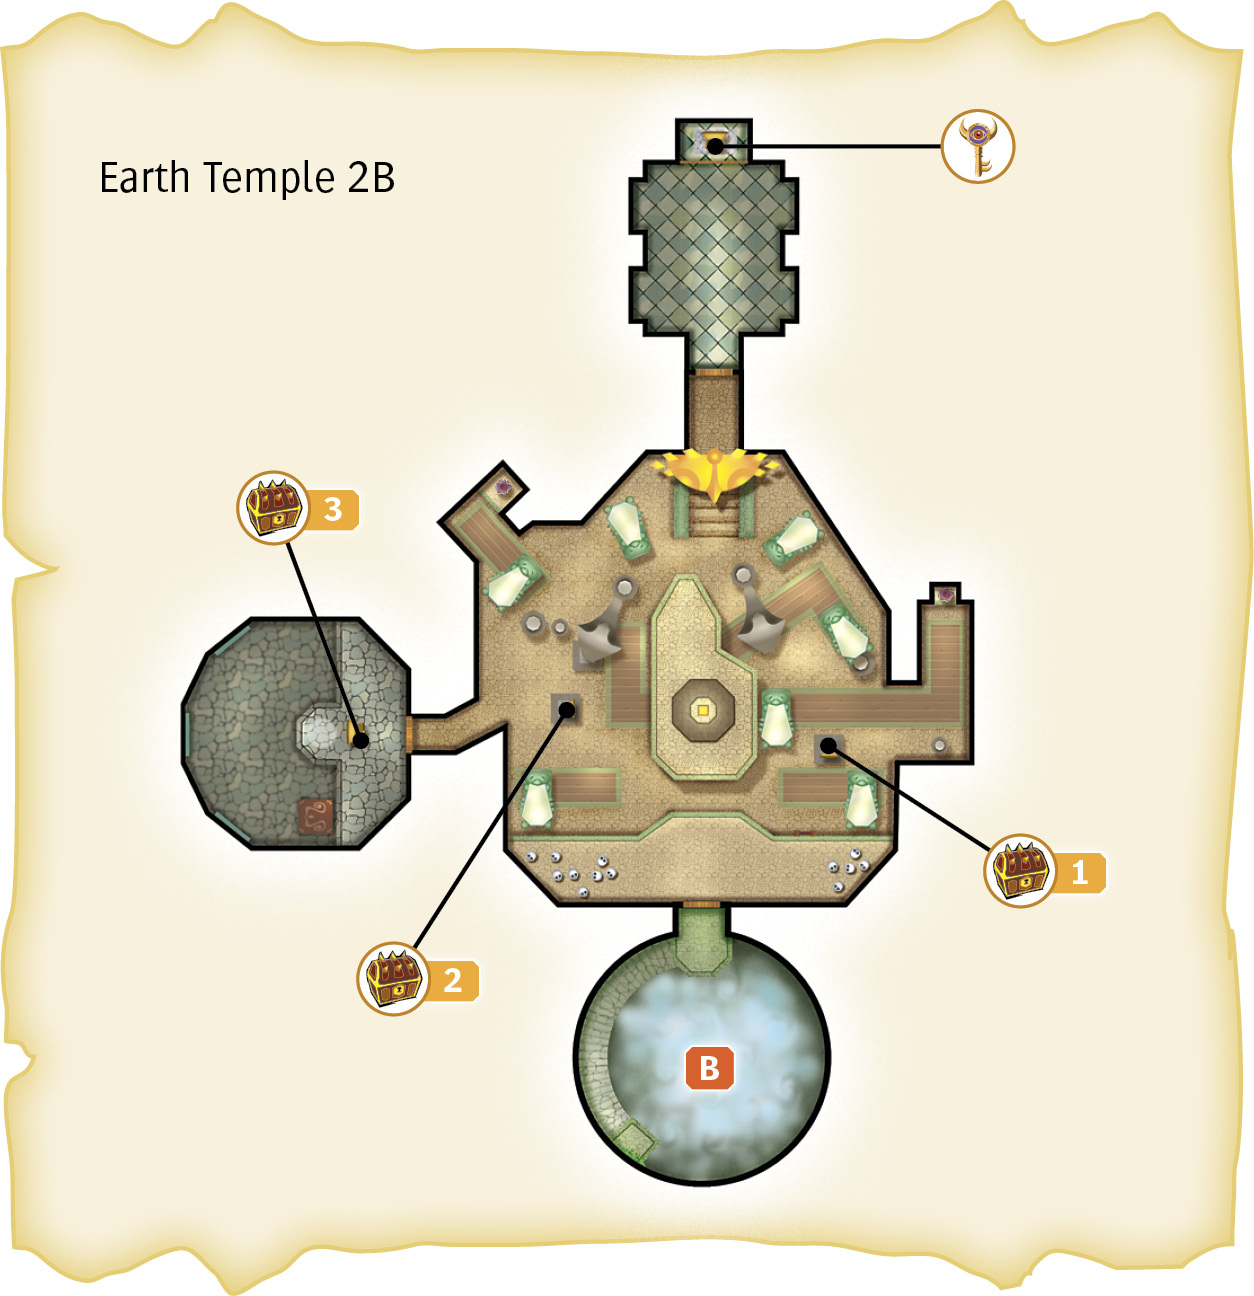
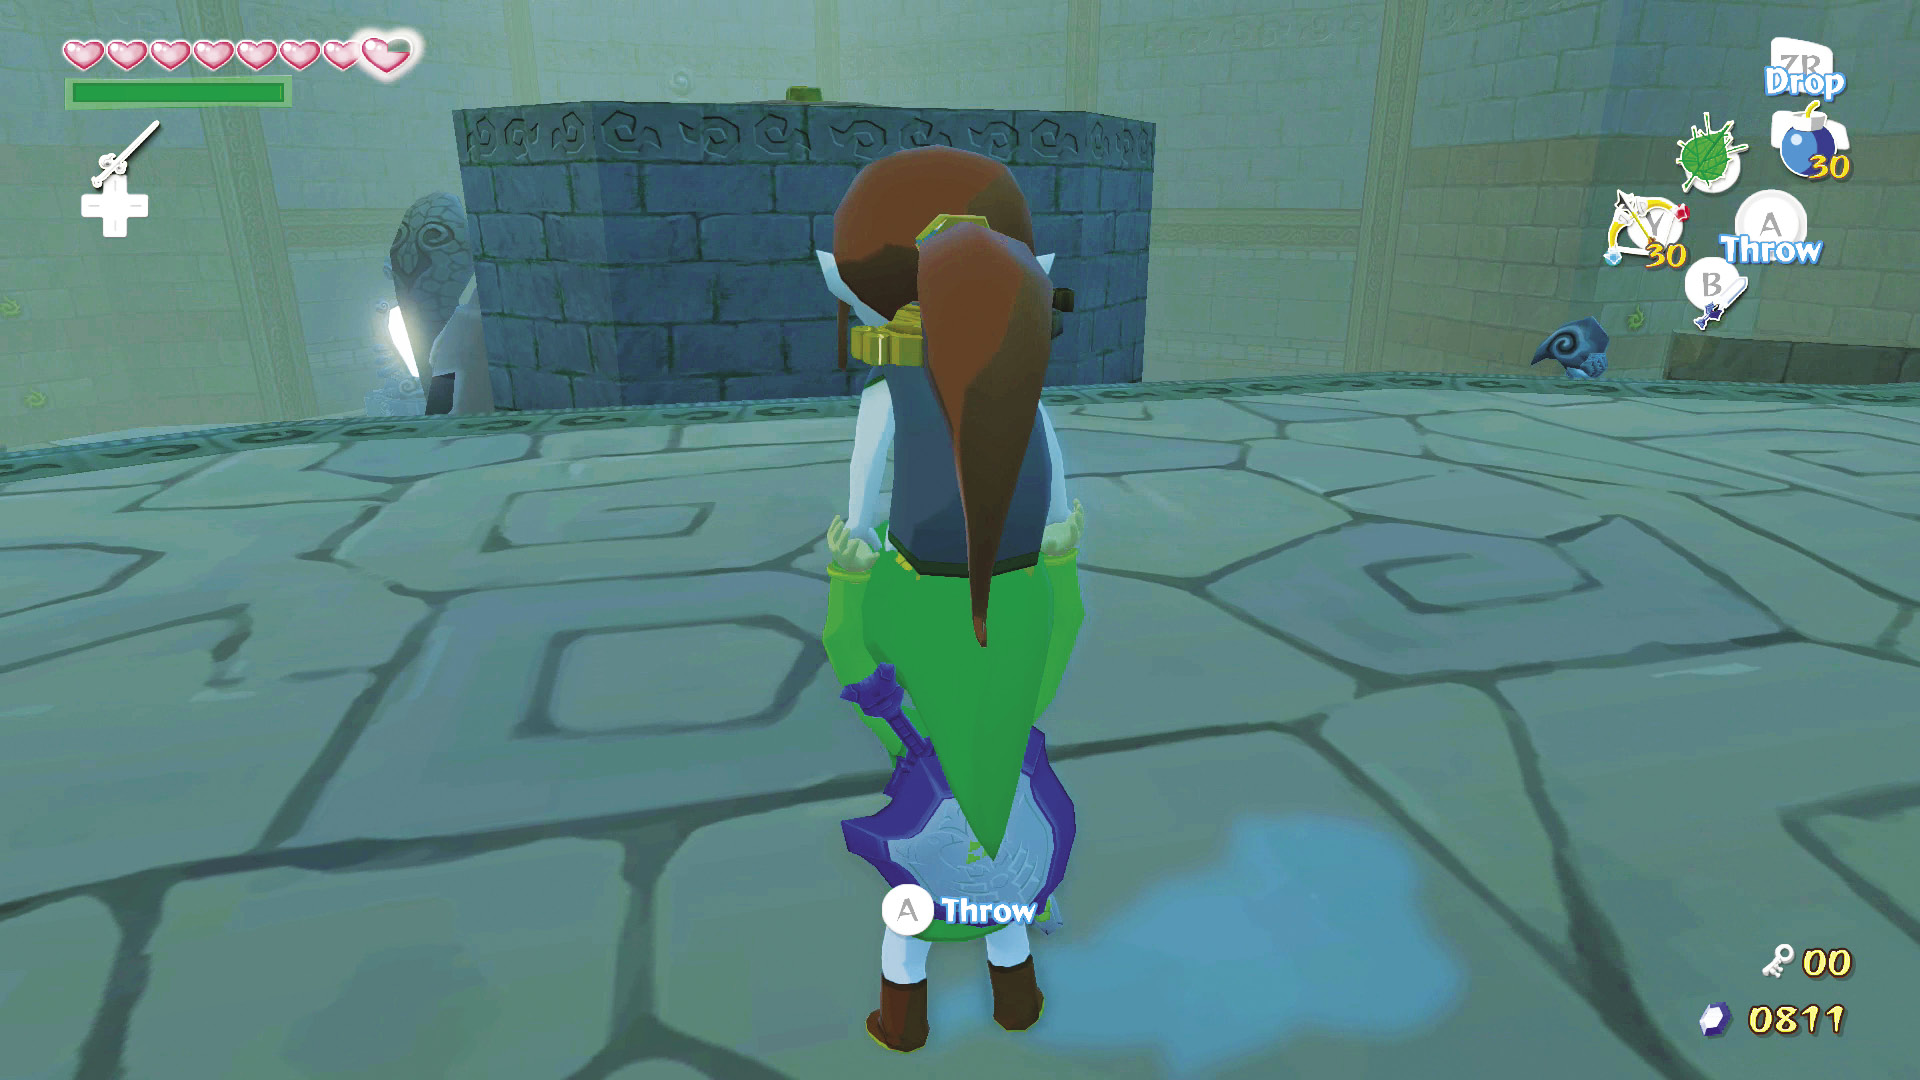
This room is likely the most brain-teasing in the entire game. Several mirrors are scattered throughout the room, and many more are hidden in secret alcoves. The goal here is to shine light into both eyes of the face statue on the room’s north side. Follow the steps here carefully to accomplish your goal.
- Push or pull every mirror statue until it sits on top of a floor tile with a scorpion on it.
- Beam reflected light at all yellow sigils on the walls.
- Beam reflected light on any statue that can be disintegrated.
- Beam reflected light on any translucent chest.
9. Link, Hero of Light
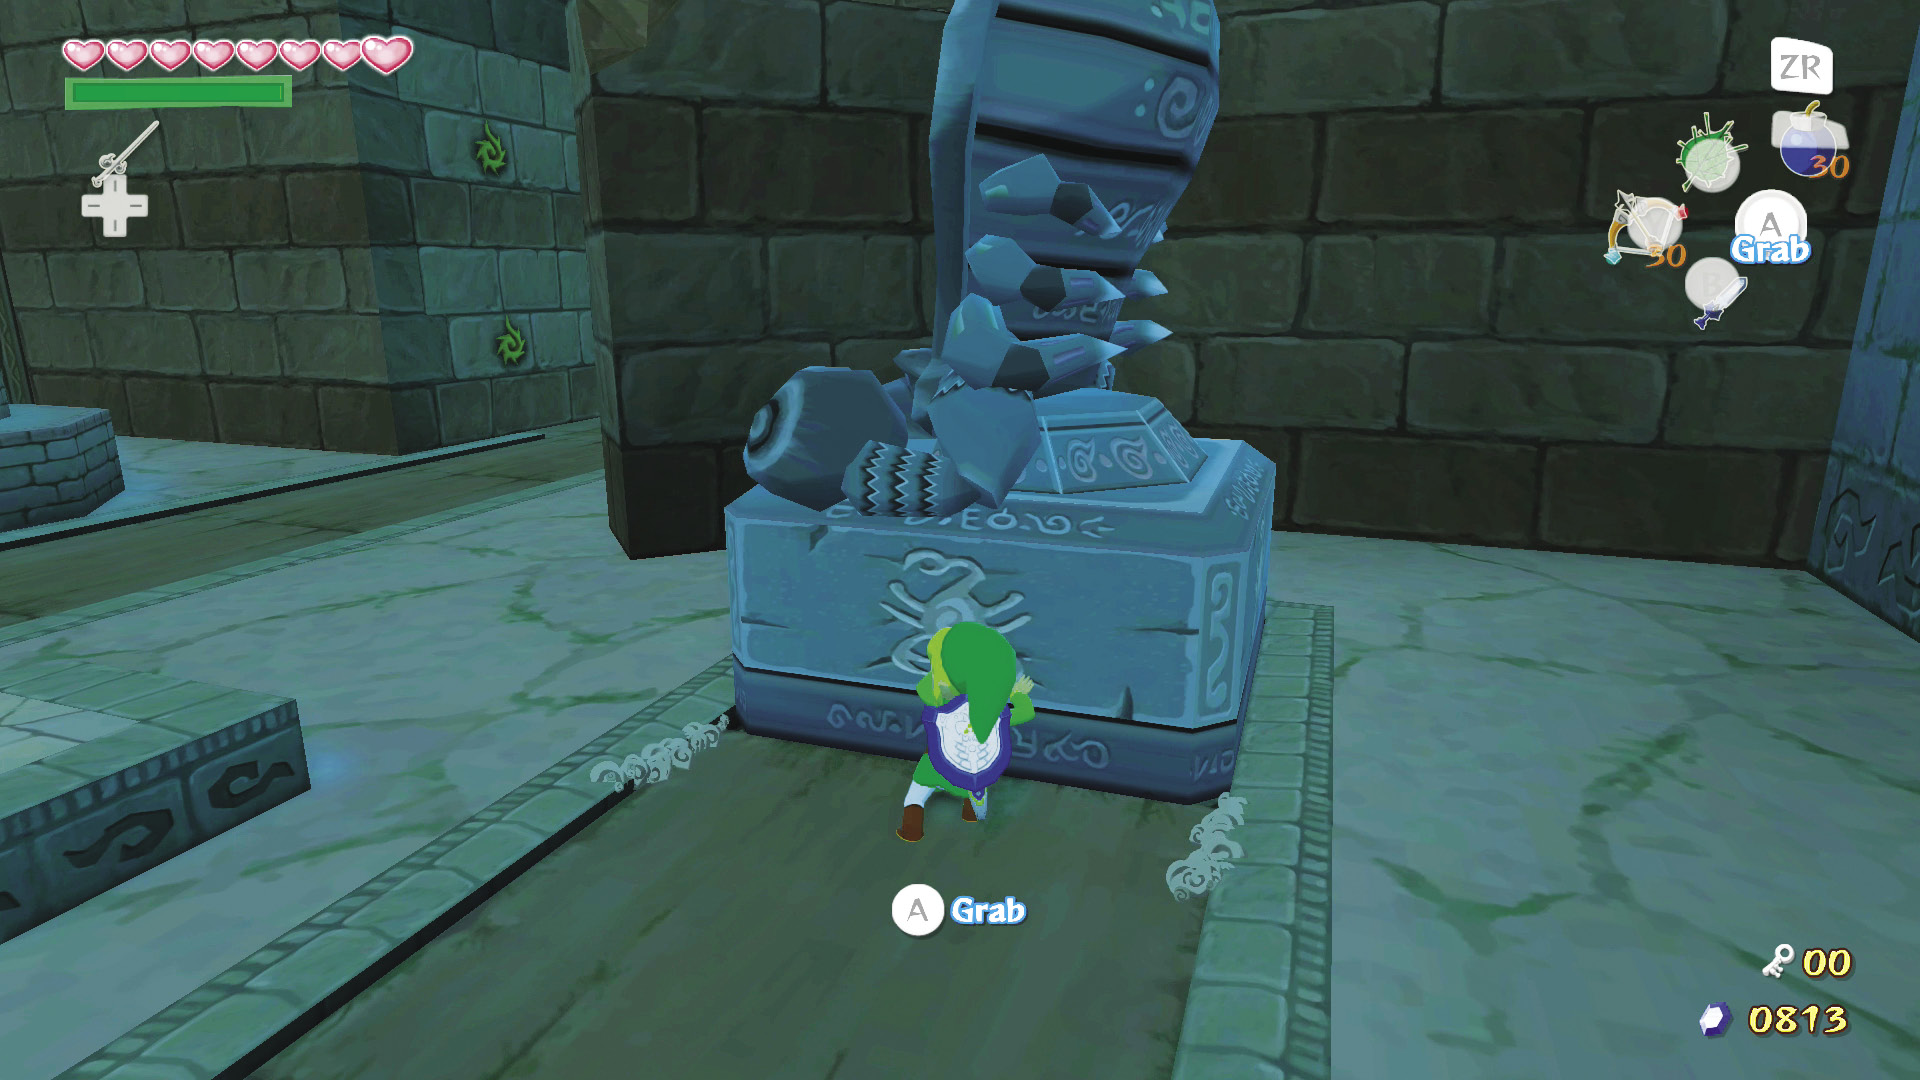
At the room’s southwest and southeast corners, have Link push the large mirror statues along their tracks until both mirrors rest on floor tiles etched with scorpion patterns (the same pattern appears on the side of the mirror’s bases).
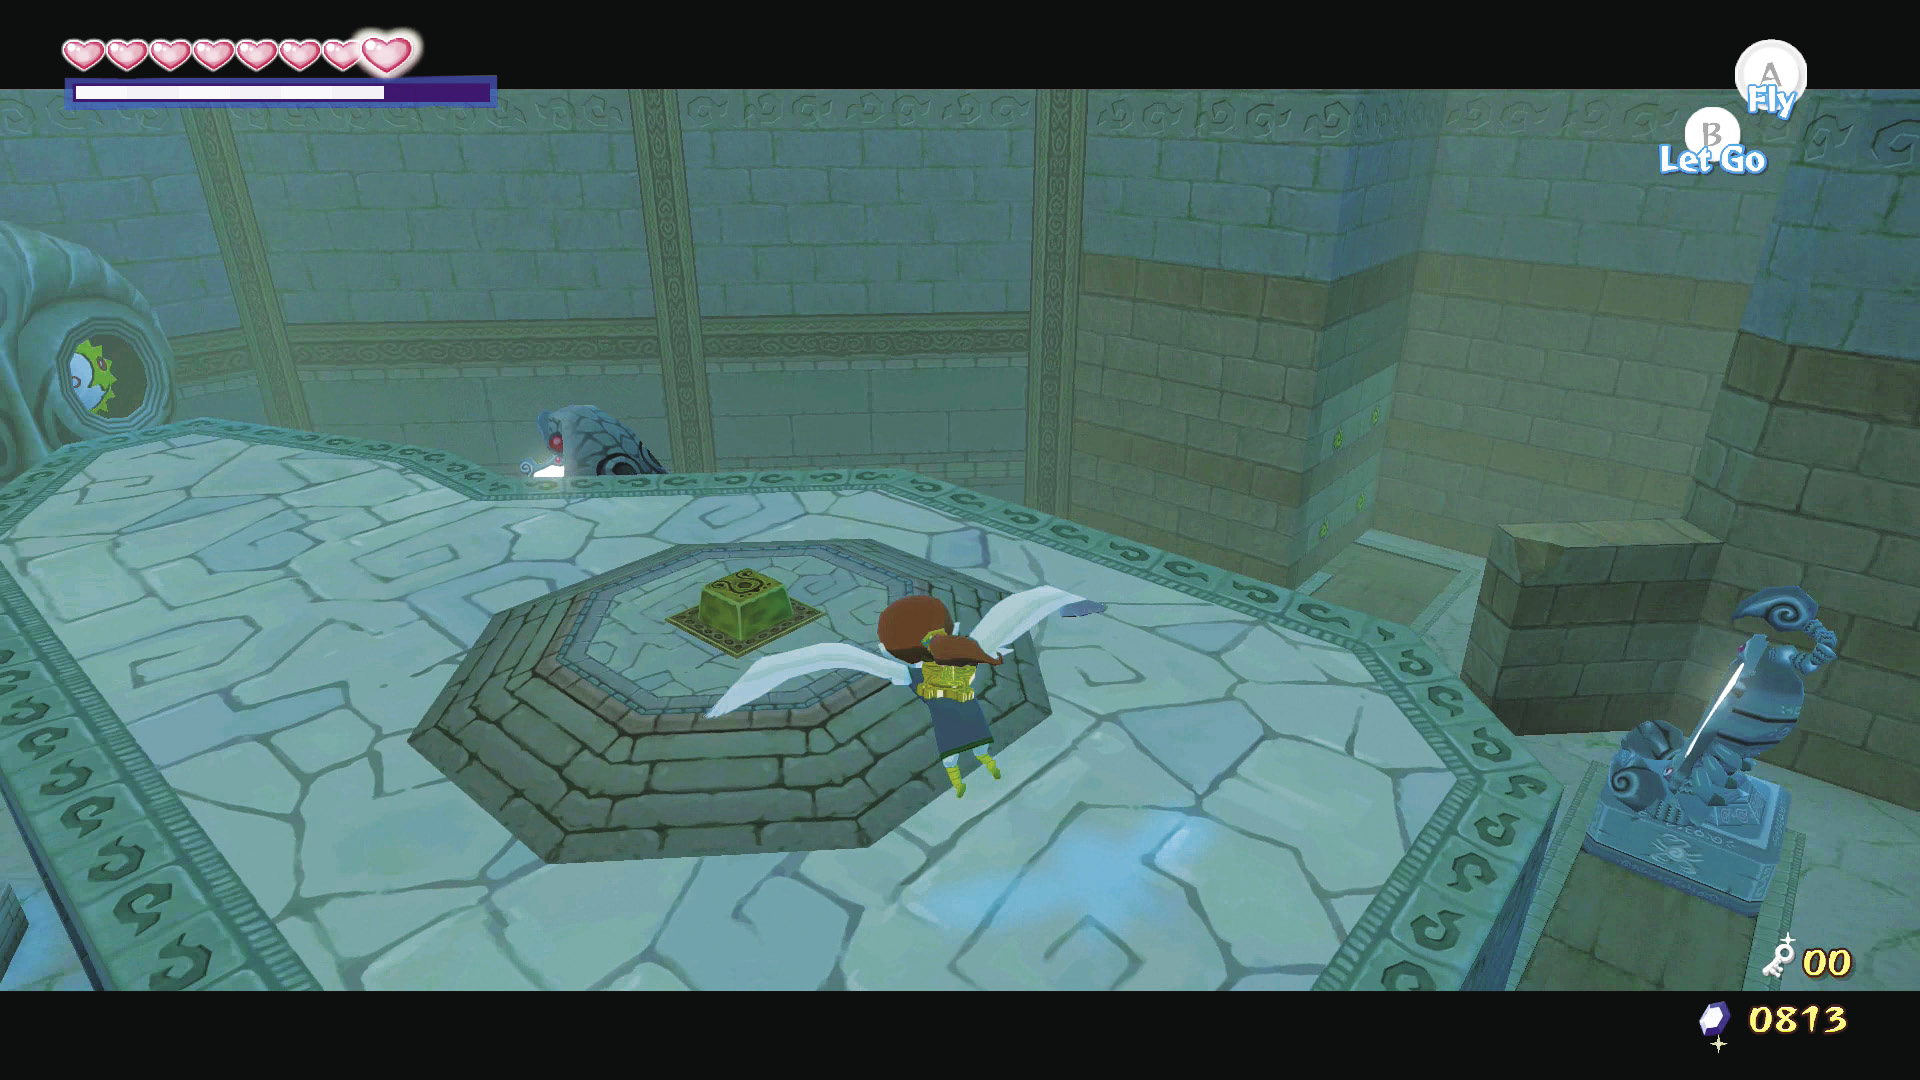
As Medli, fly to the elevated platform in the center of the room and hit the pressure switch to open a skylight. Jump off the elevated platform to the room’s east side, then release control of Medli.
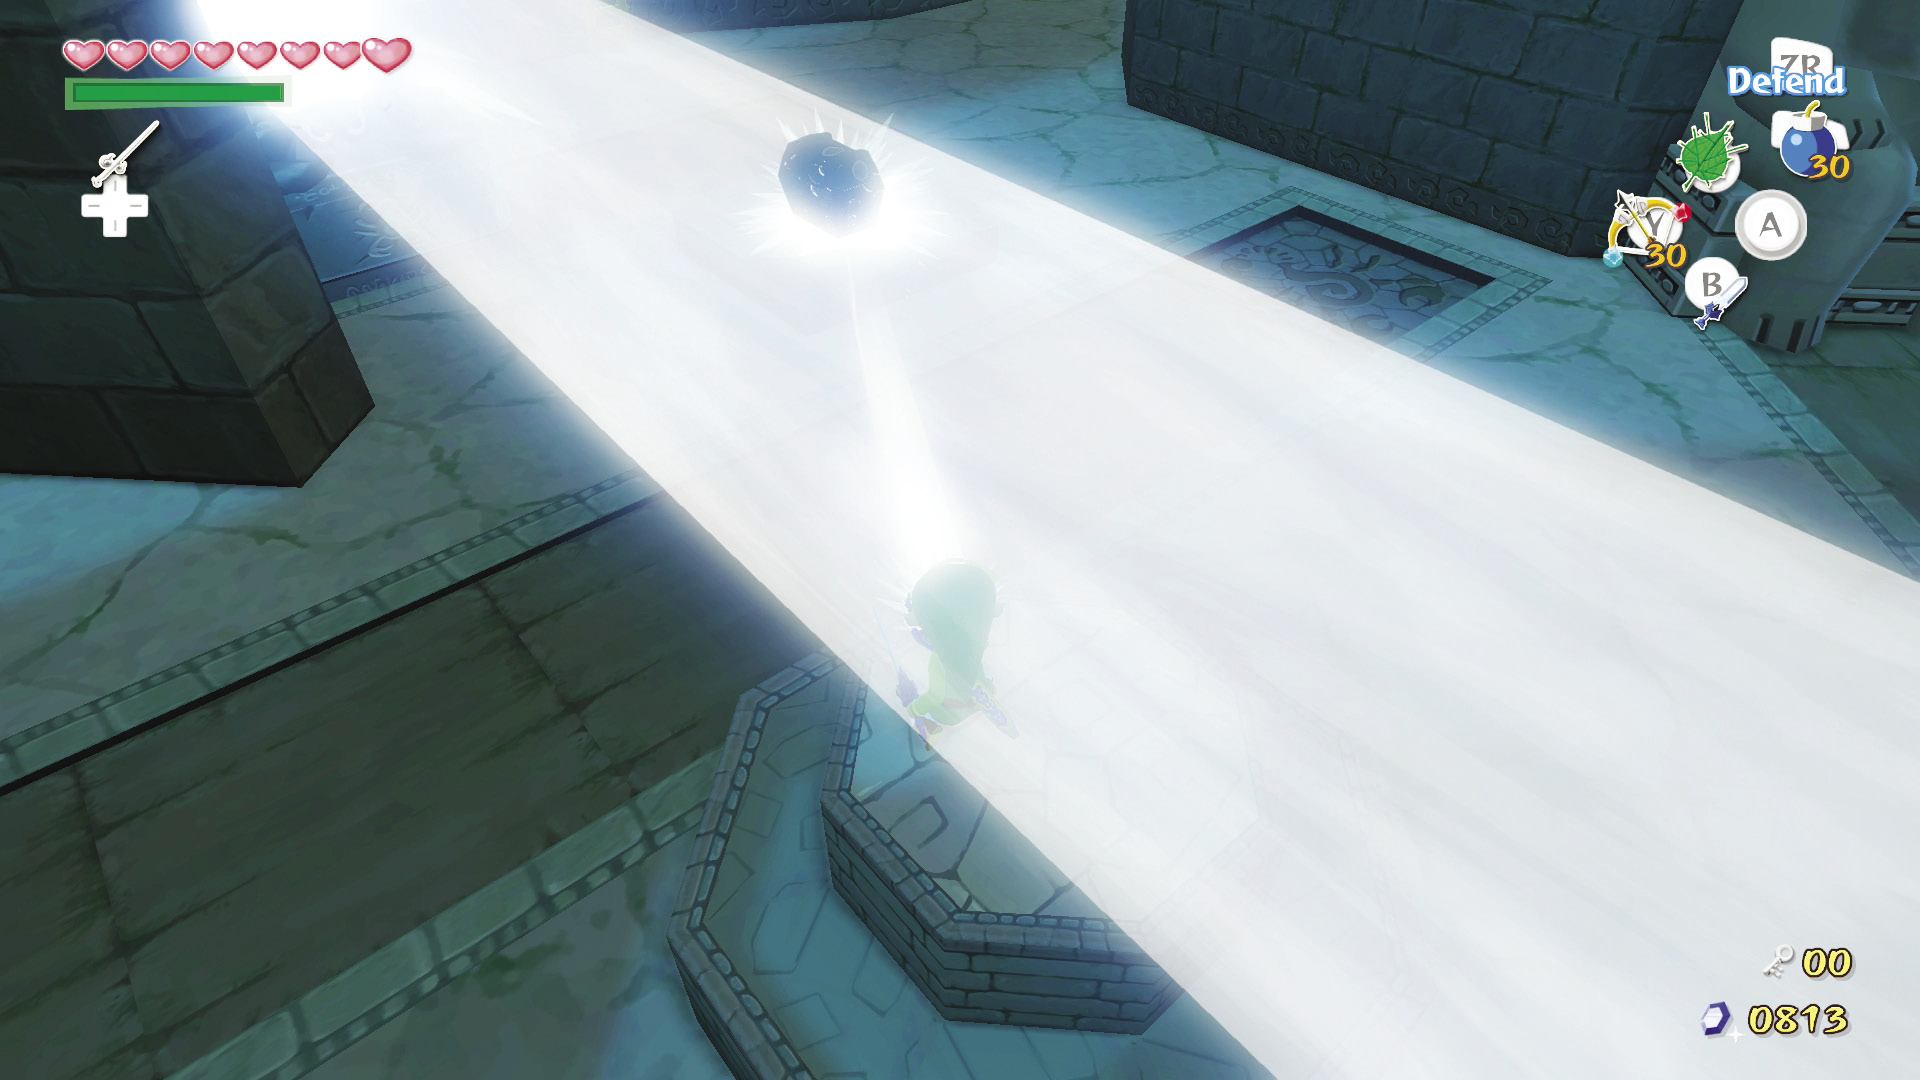
As Link, stand on the two-stepped platform, face south, and reflect light at the translucent treasure chest on the platform below.
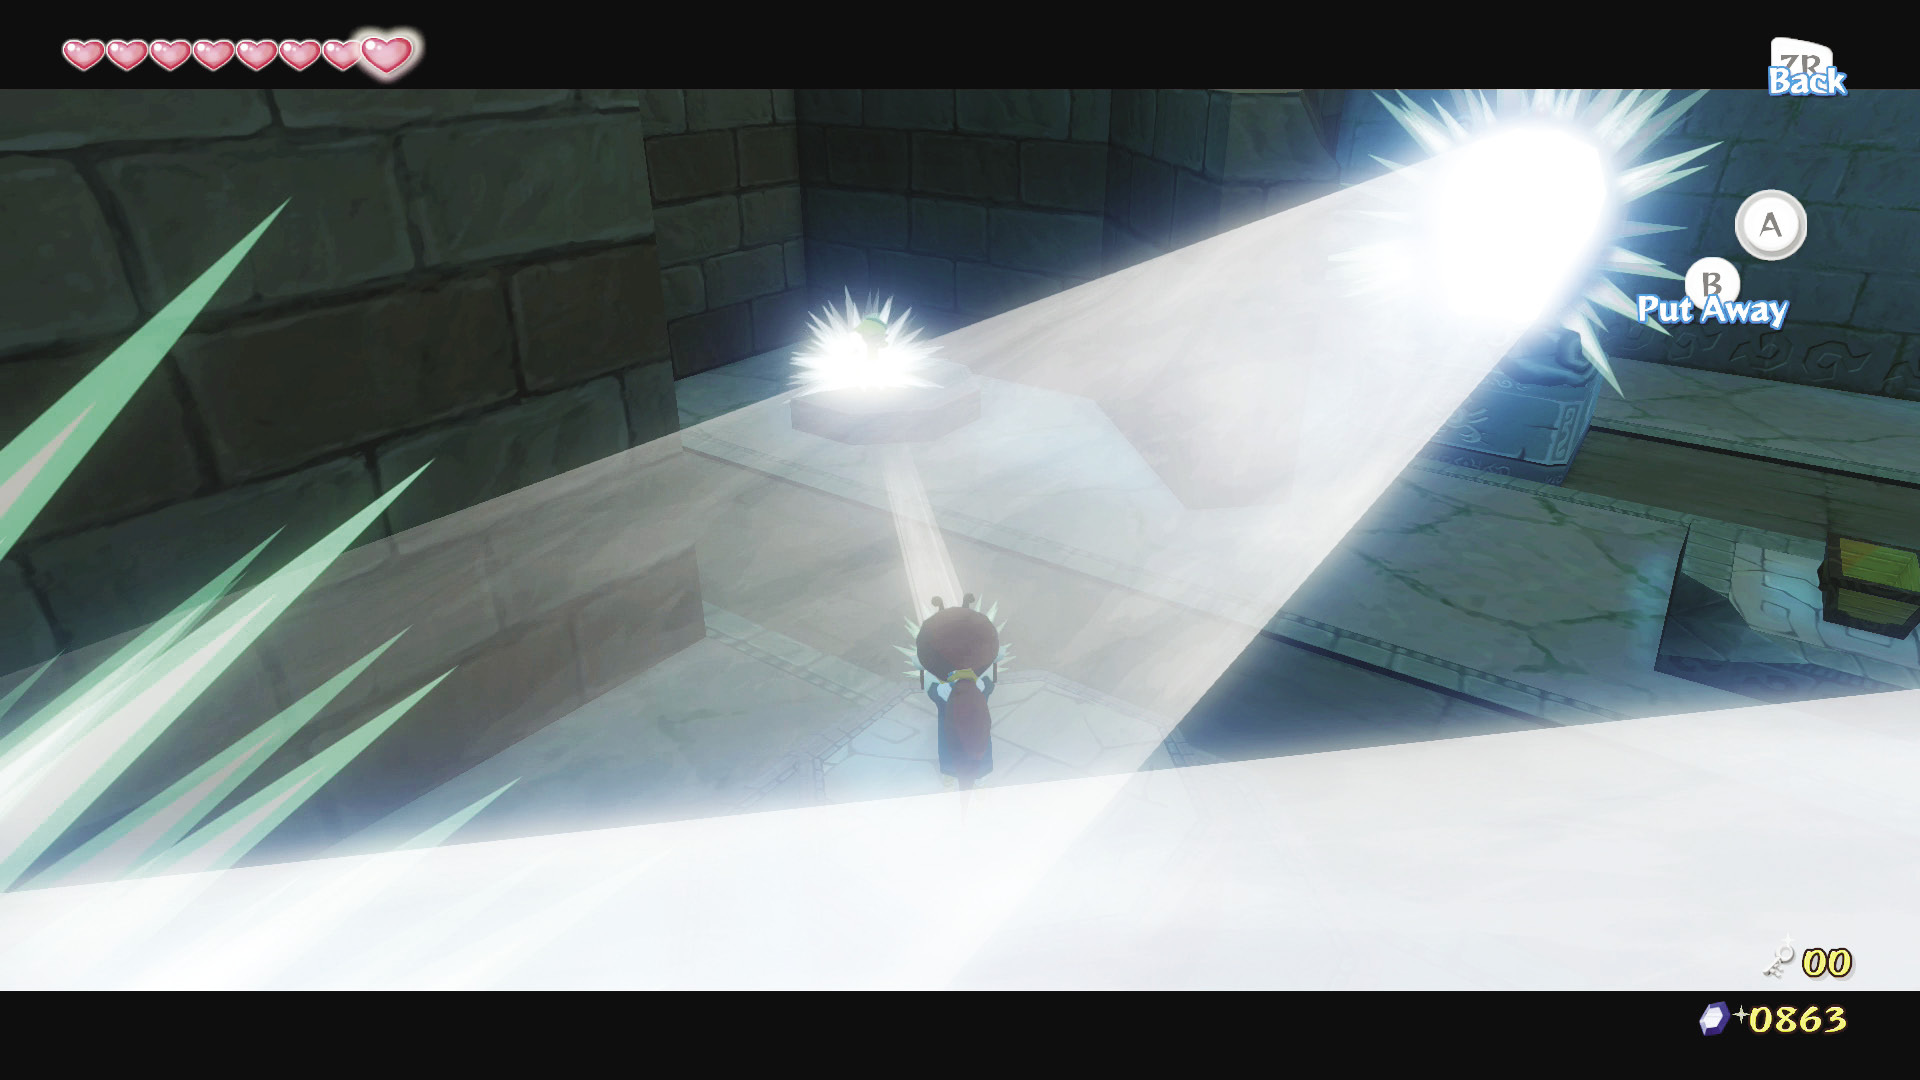
Jump off the two-stepped platform and stand on the smaller platform inside the east alcove.
As Medli, fly onto the two-stepped platform Link was just on, reflect light to Link in the east alcove, then release control.
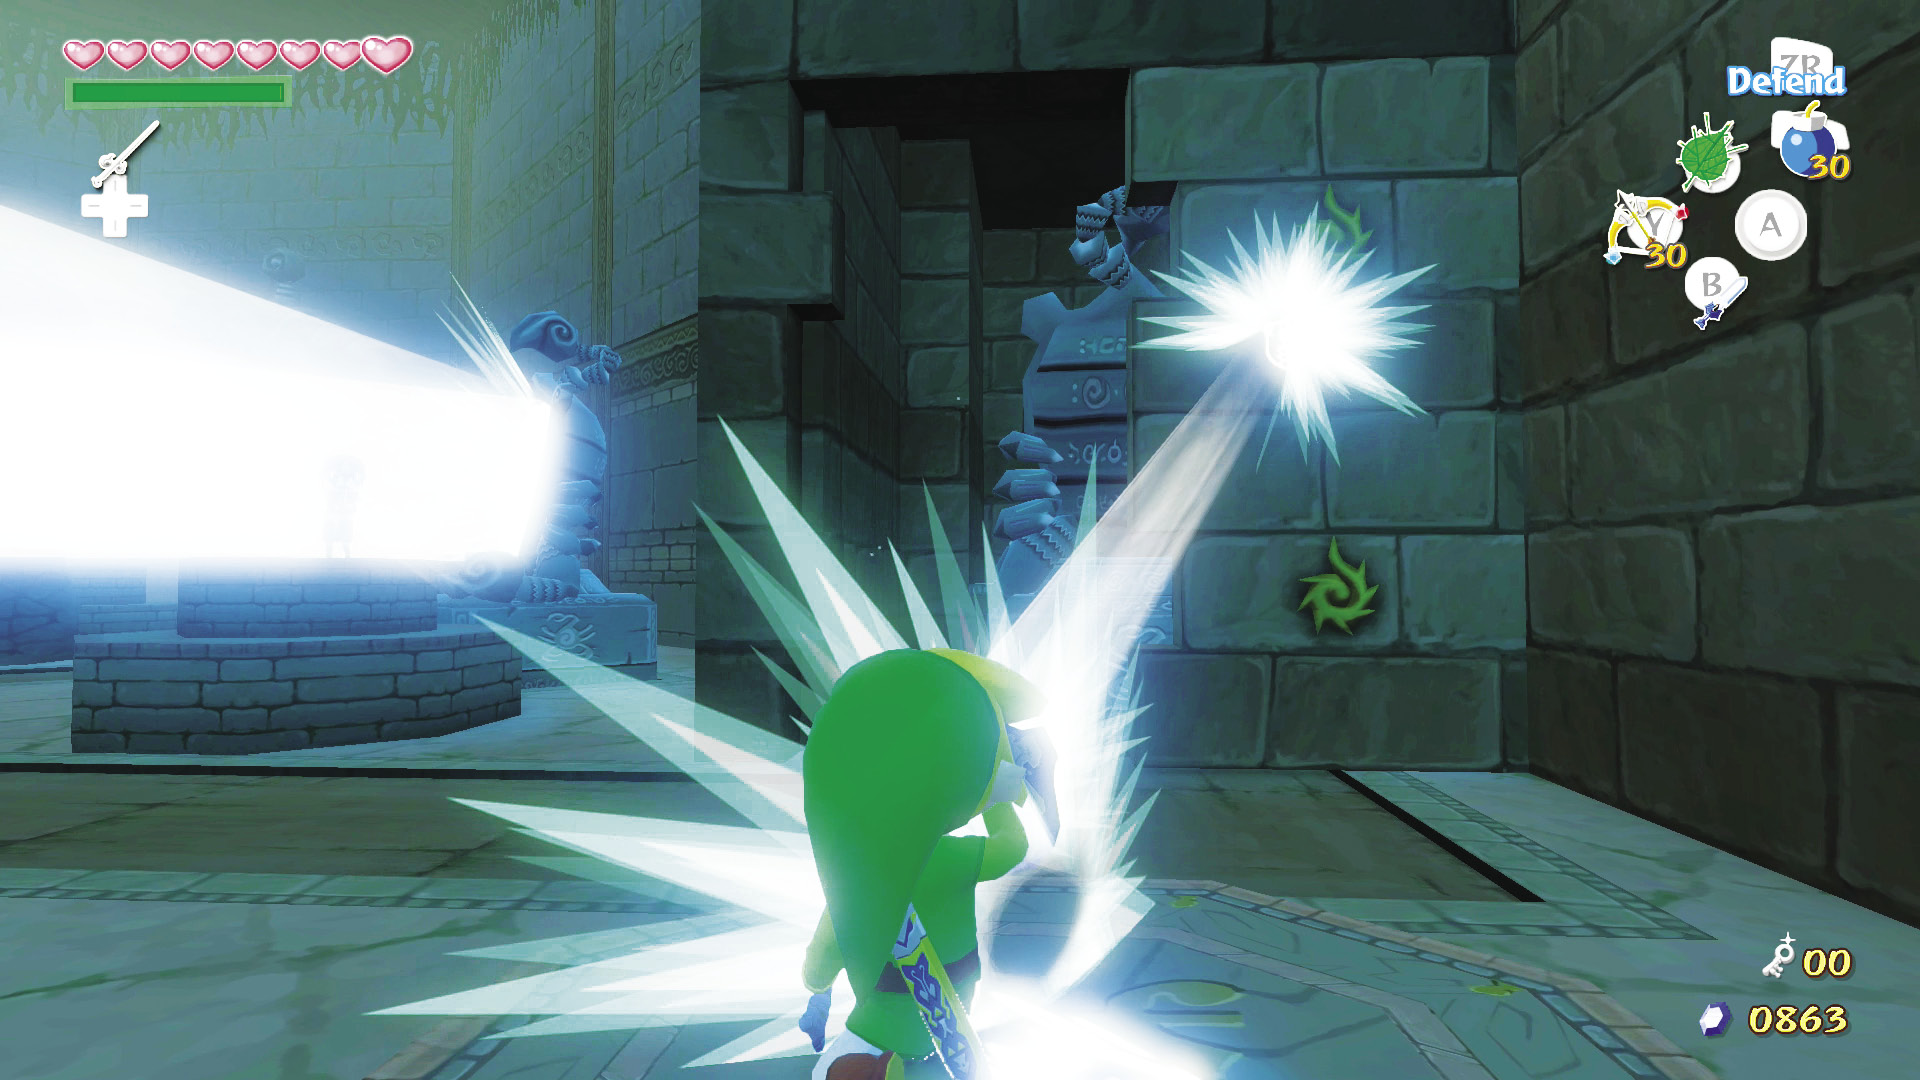
As Link, face the north wall of the alcove while still standing on the small platform. Hold out your Mirror Shield and reflect the light from Medli onto the yellow sigils on the wall. Shine light on all four sigils until they disappear to reveal another mirror statue.
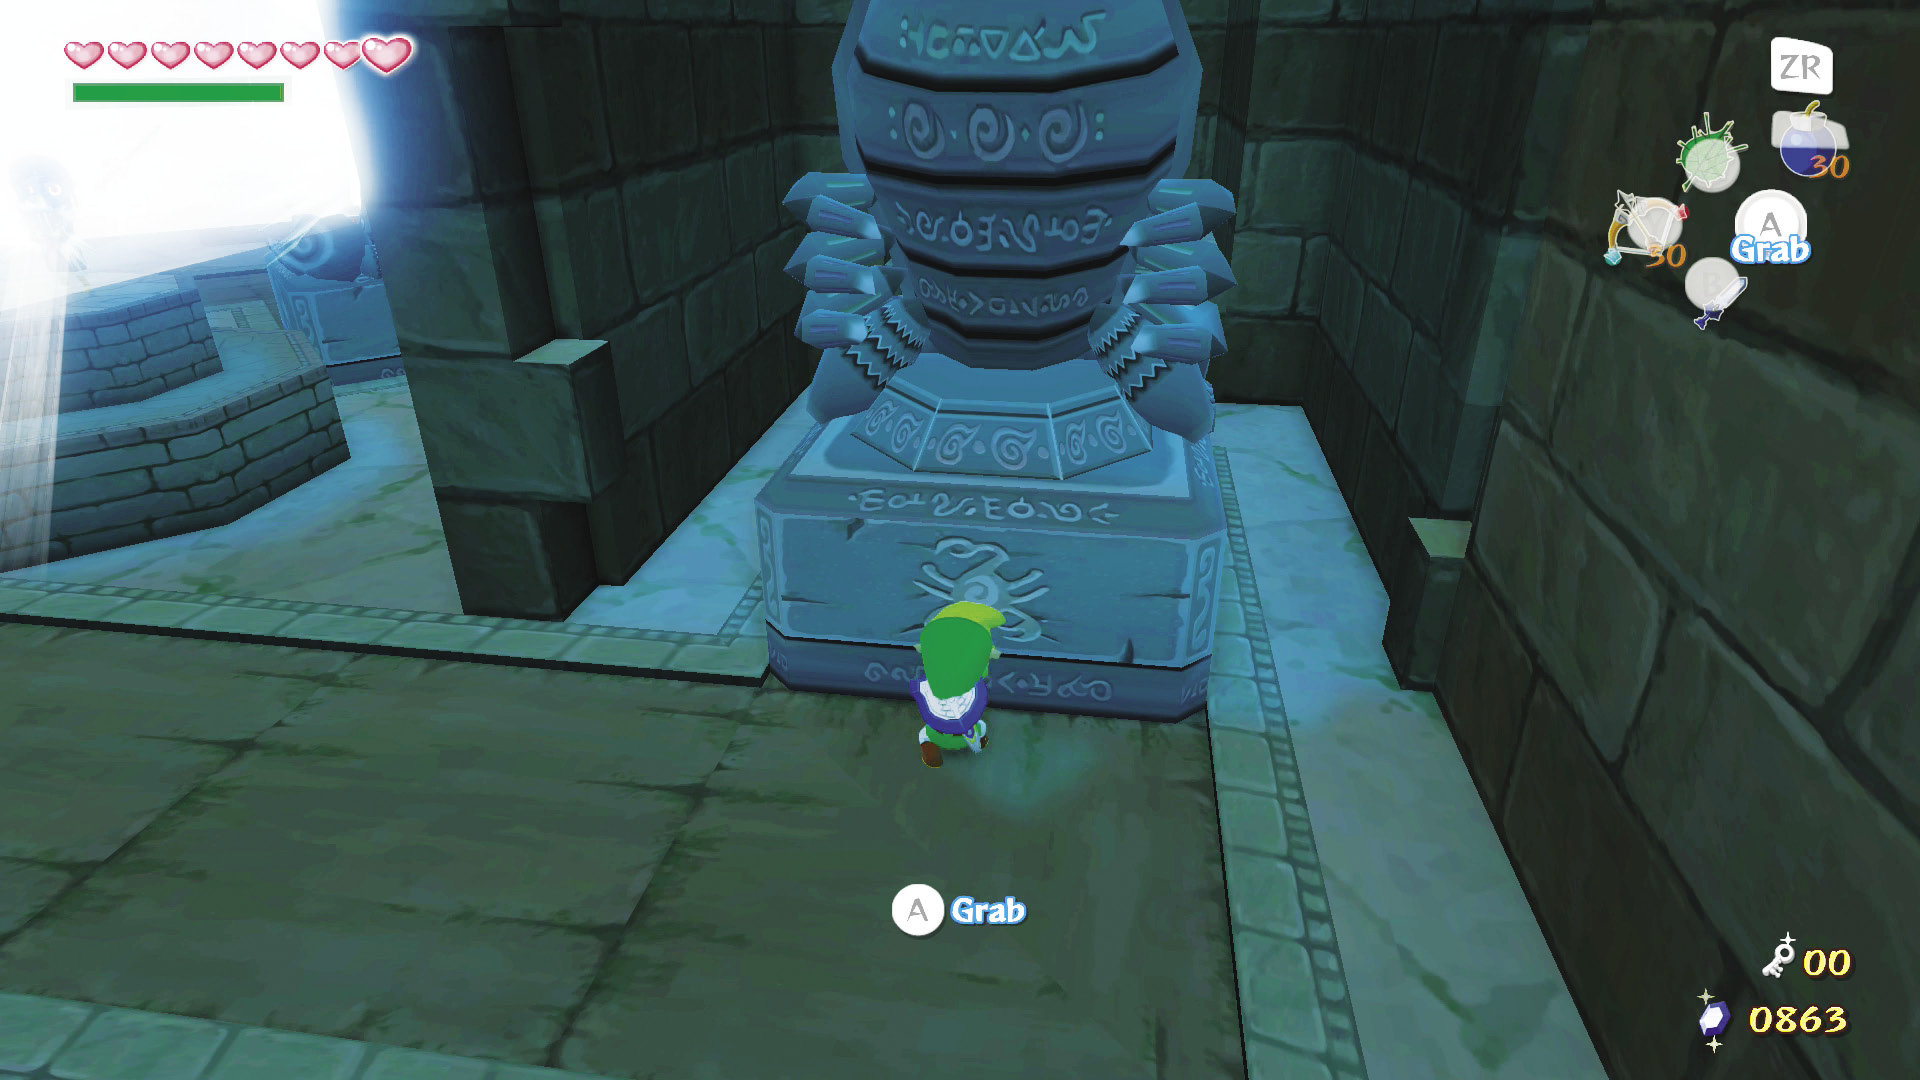
Pull the statue out to the end of its path near the center of the room. Behind where the statue was originally stationed, inside the east alcove, are pots containing a fair amount of Rupees. Break them to claim this bounty. Open the treasure chest to get a Purple Rupee.
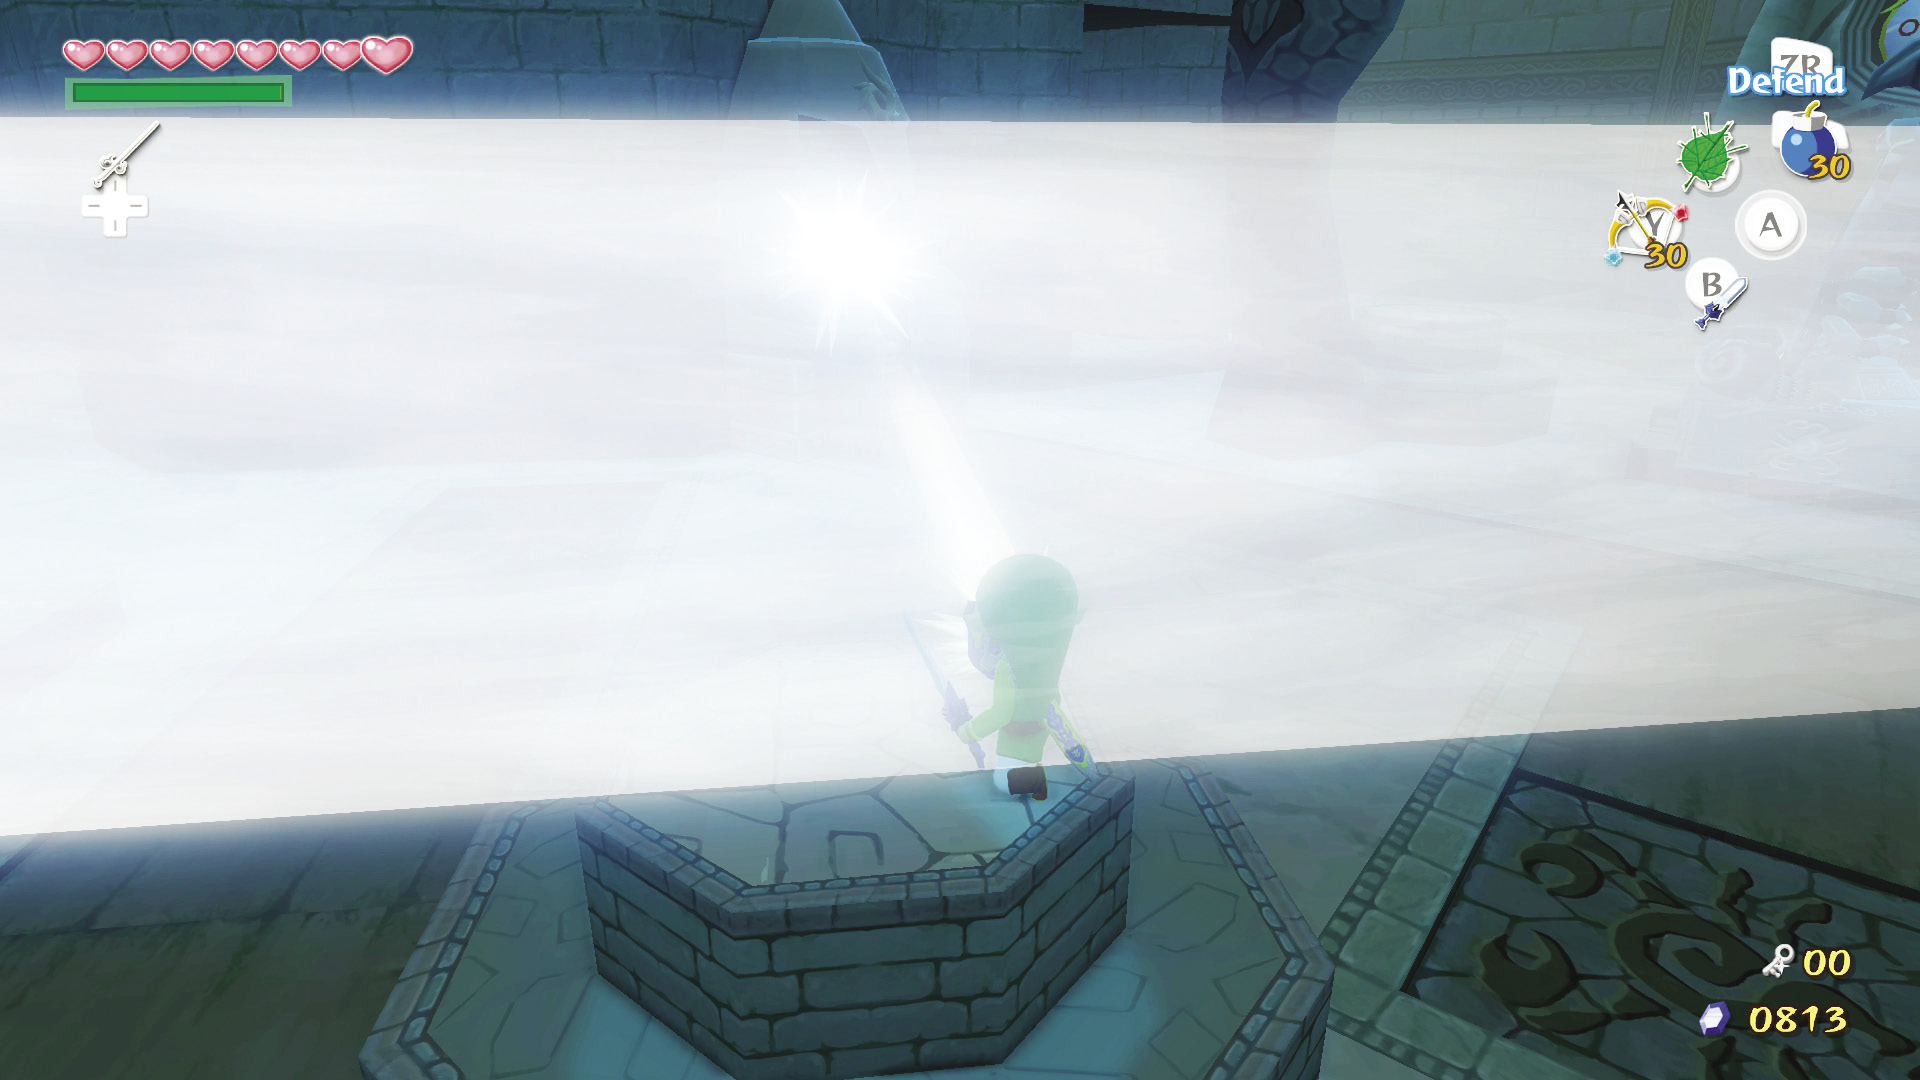
Climb back onto the two-stepped platform and shine some light onto the elephant statue next to the mirror statue you just pulled to the room.
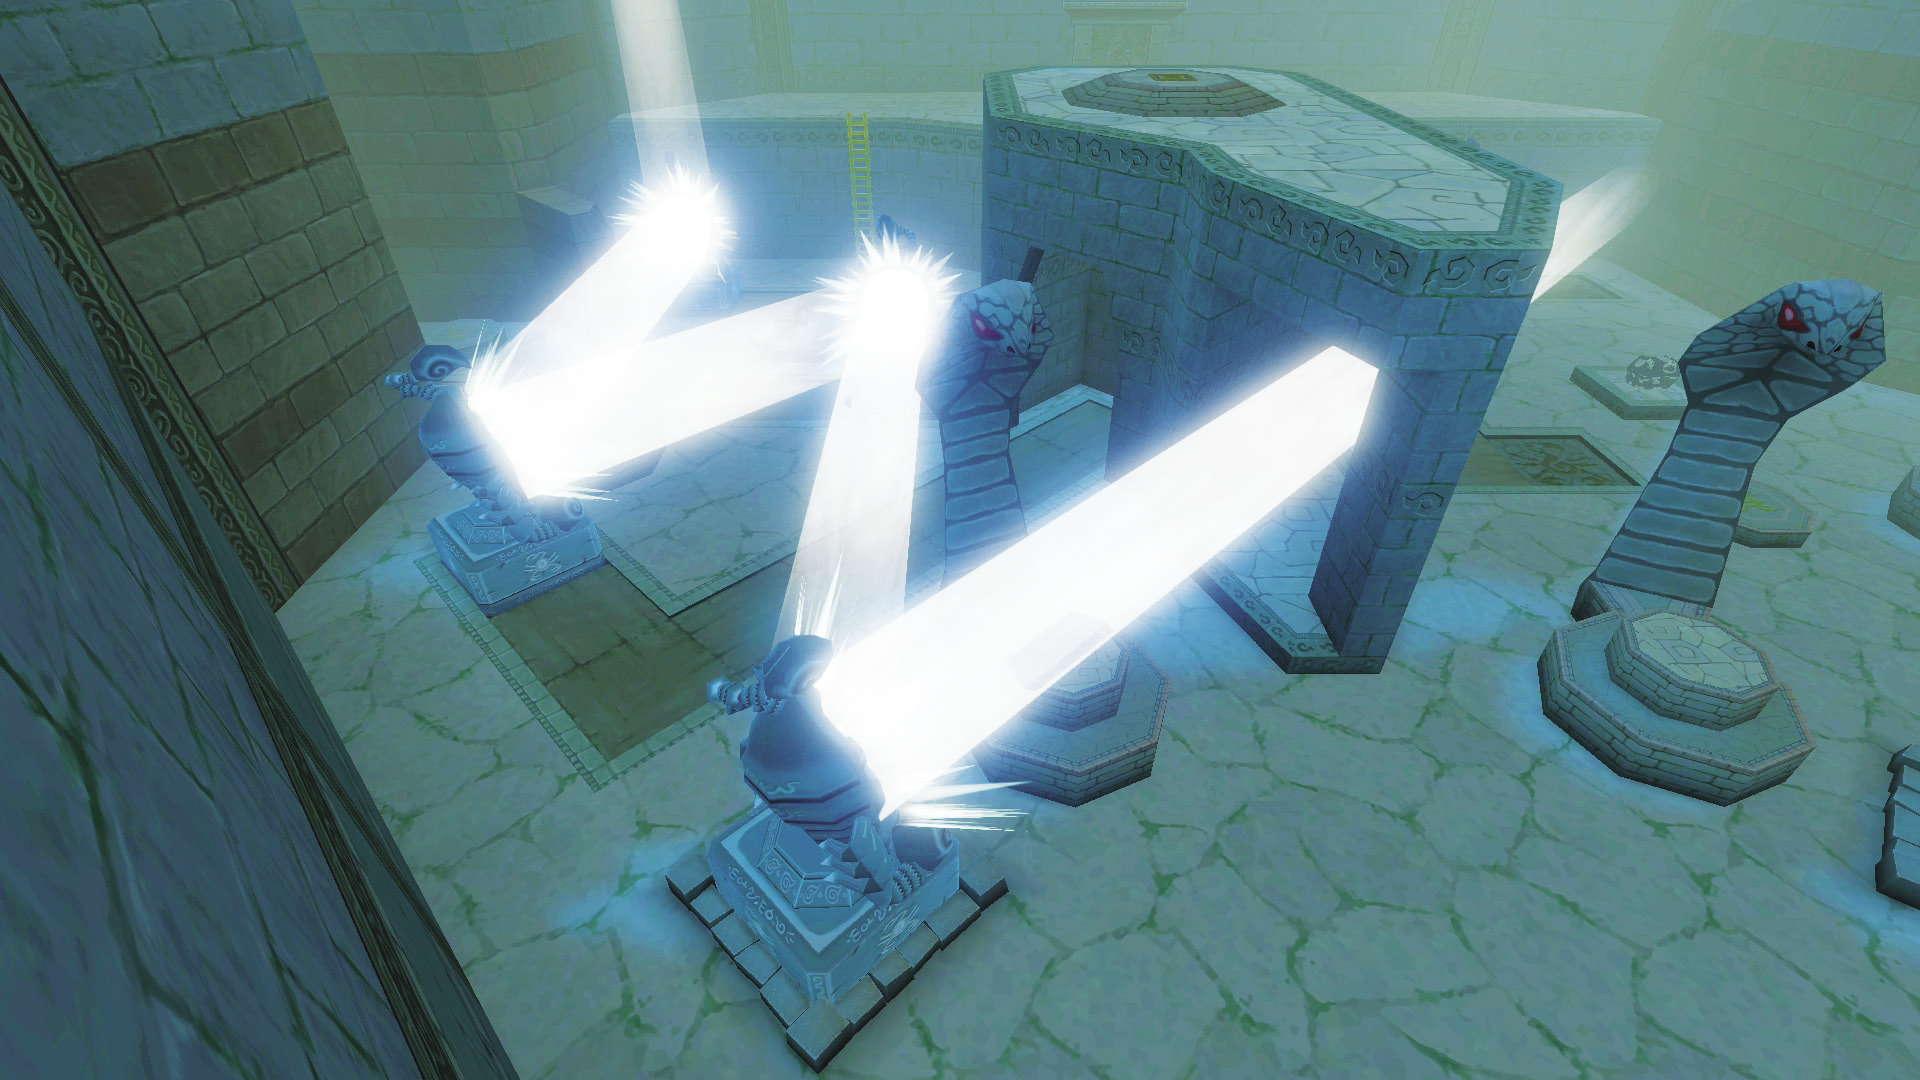
Behind the elephant statue is another mirror statue. Pull it along its track to the room’s east side. This third mirror statue will establish a chain that the light can bounce off of into the west side of the room.
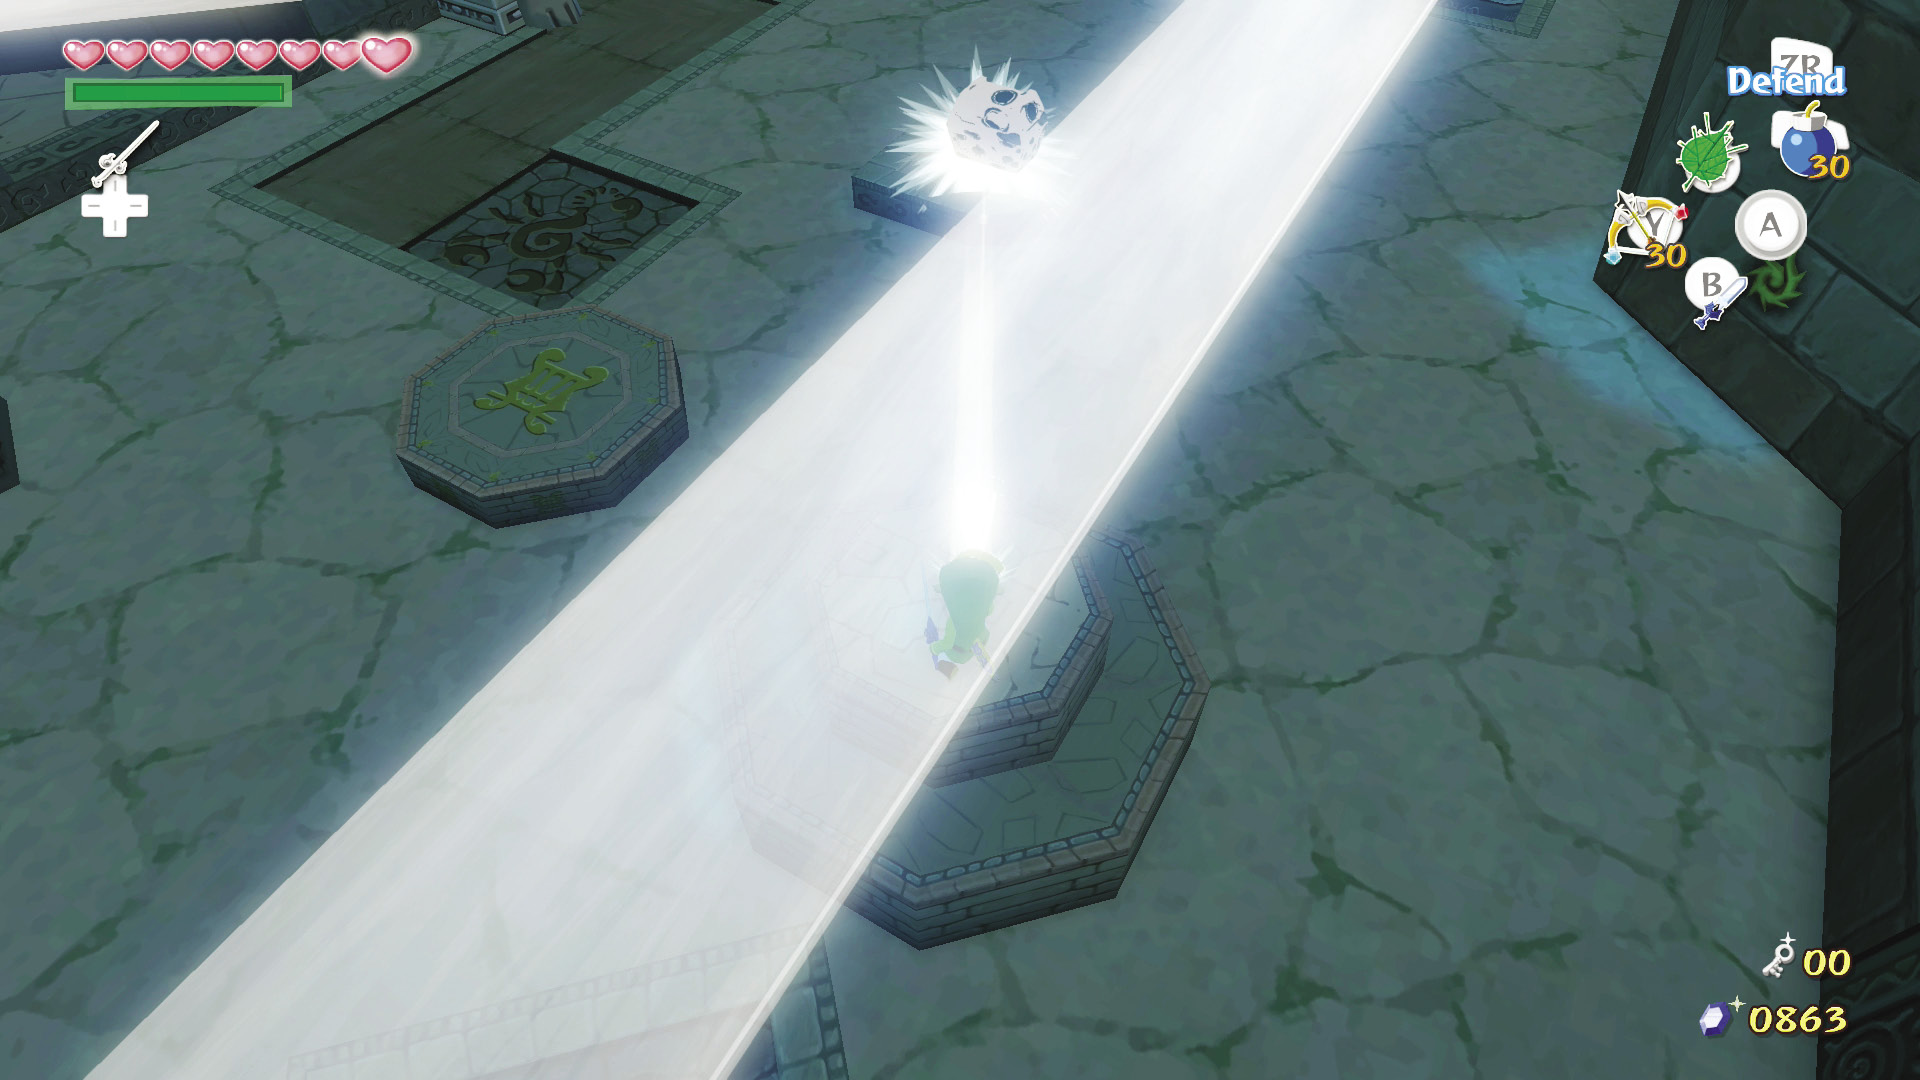
Head to the room’s west side, climb onto the two-stepped platform, and face south. Reflect light onto the translucent treasure chest on the smaller, lower platform slightly to your left, then reflect light at the sigils on the west wall slightly to your right.
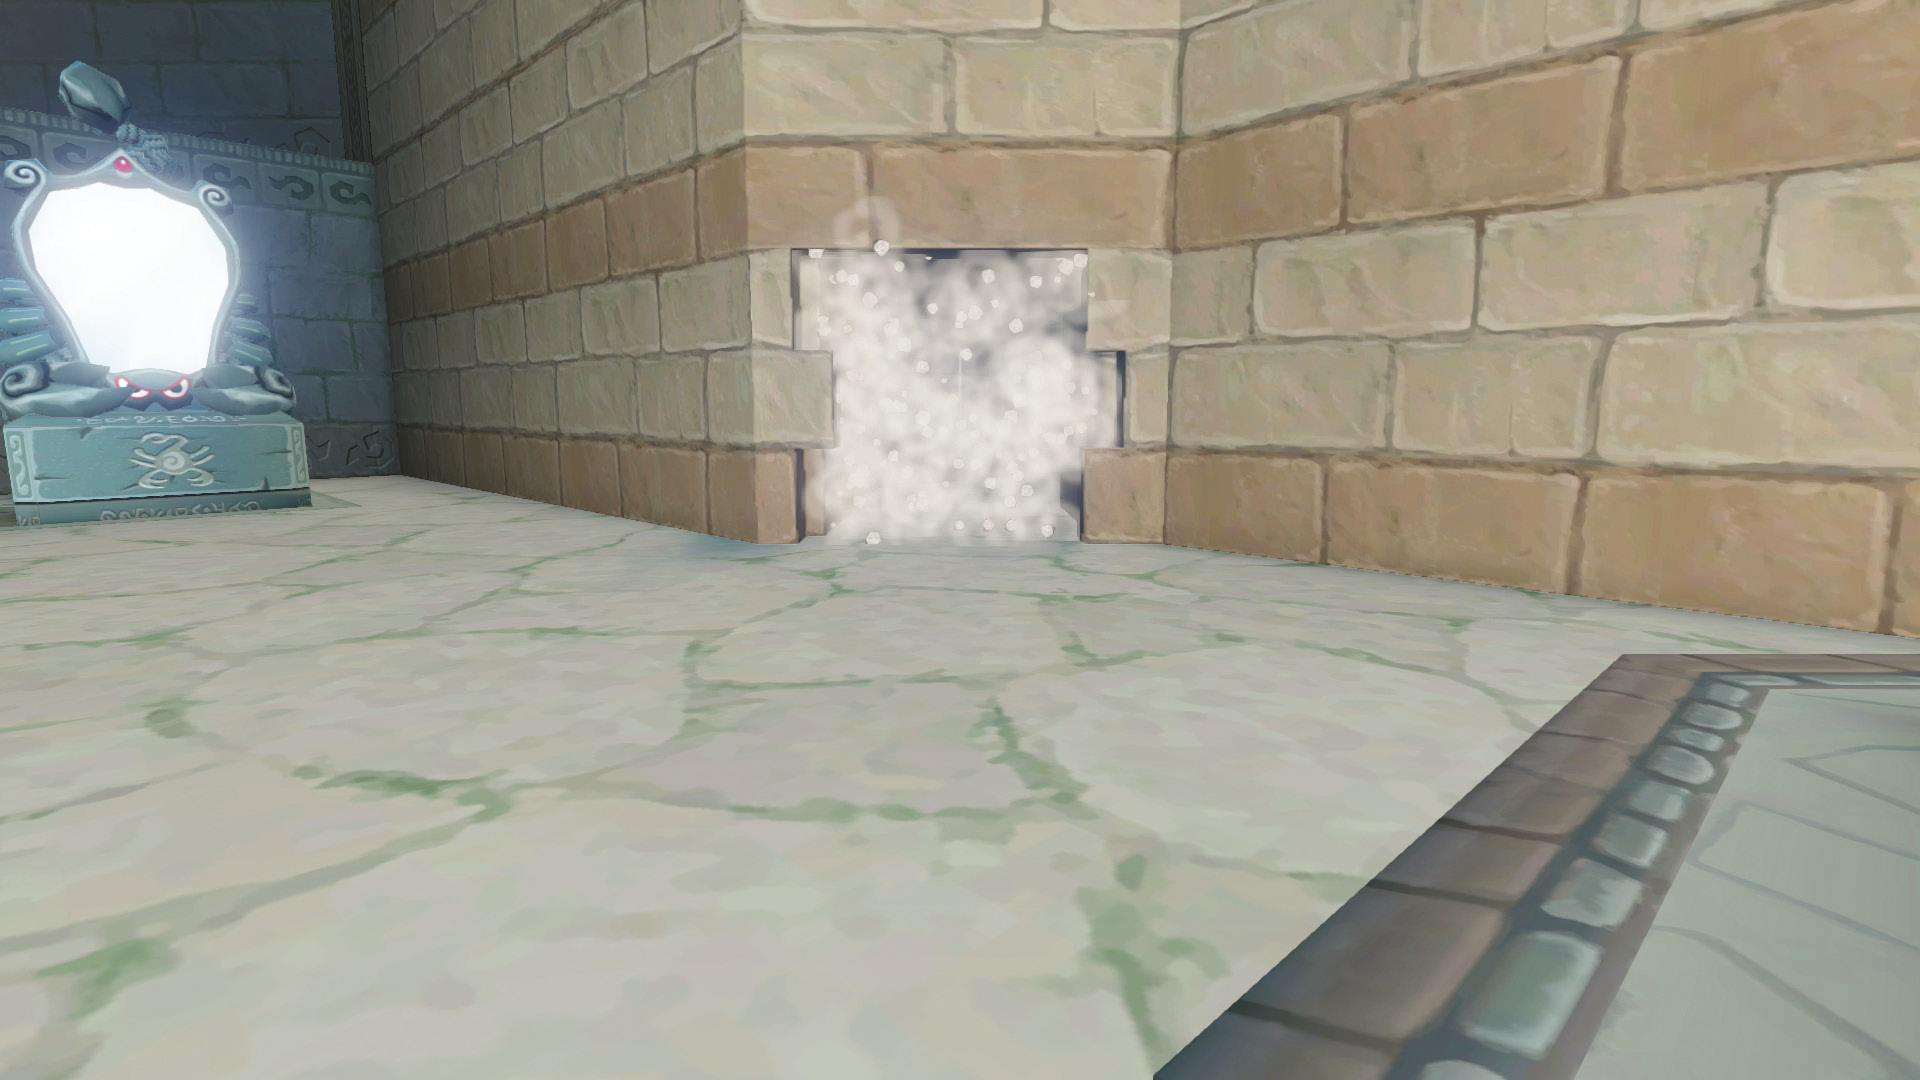
The sigils you just removed reveal an entrance to a room containing Treasure Chart #20. Ignore it for now—you have enough to focus on for the moment. Don’t worry, we’ll head there eventually.
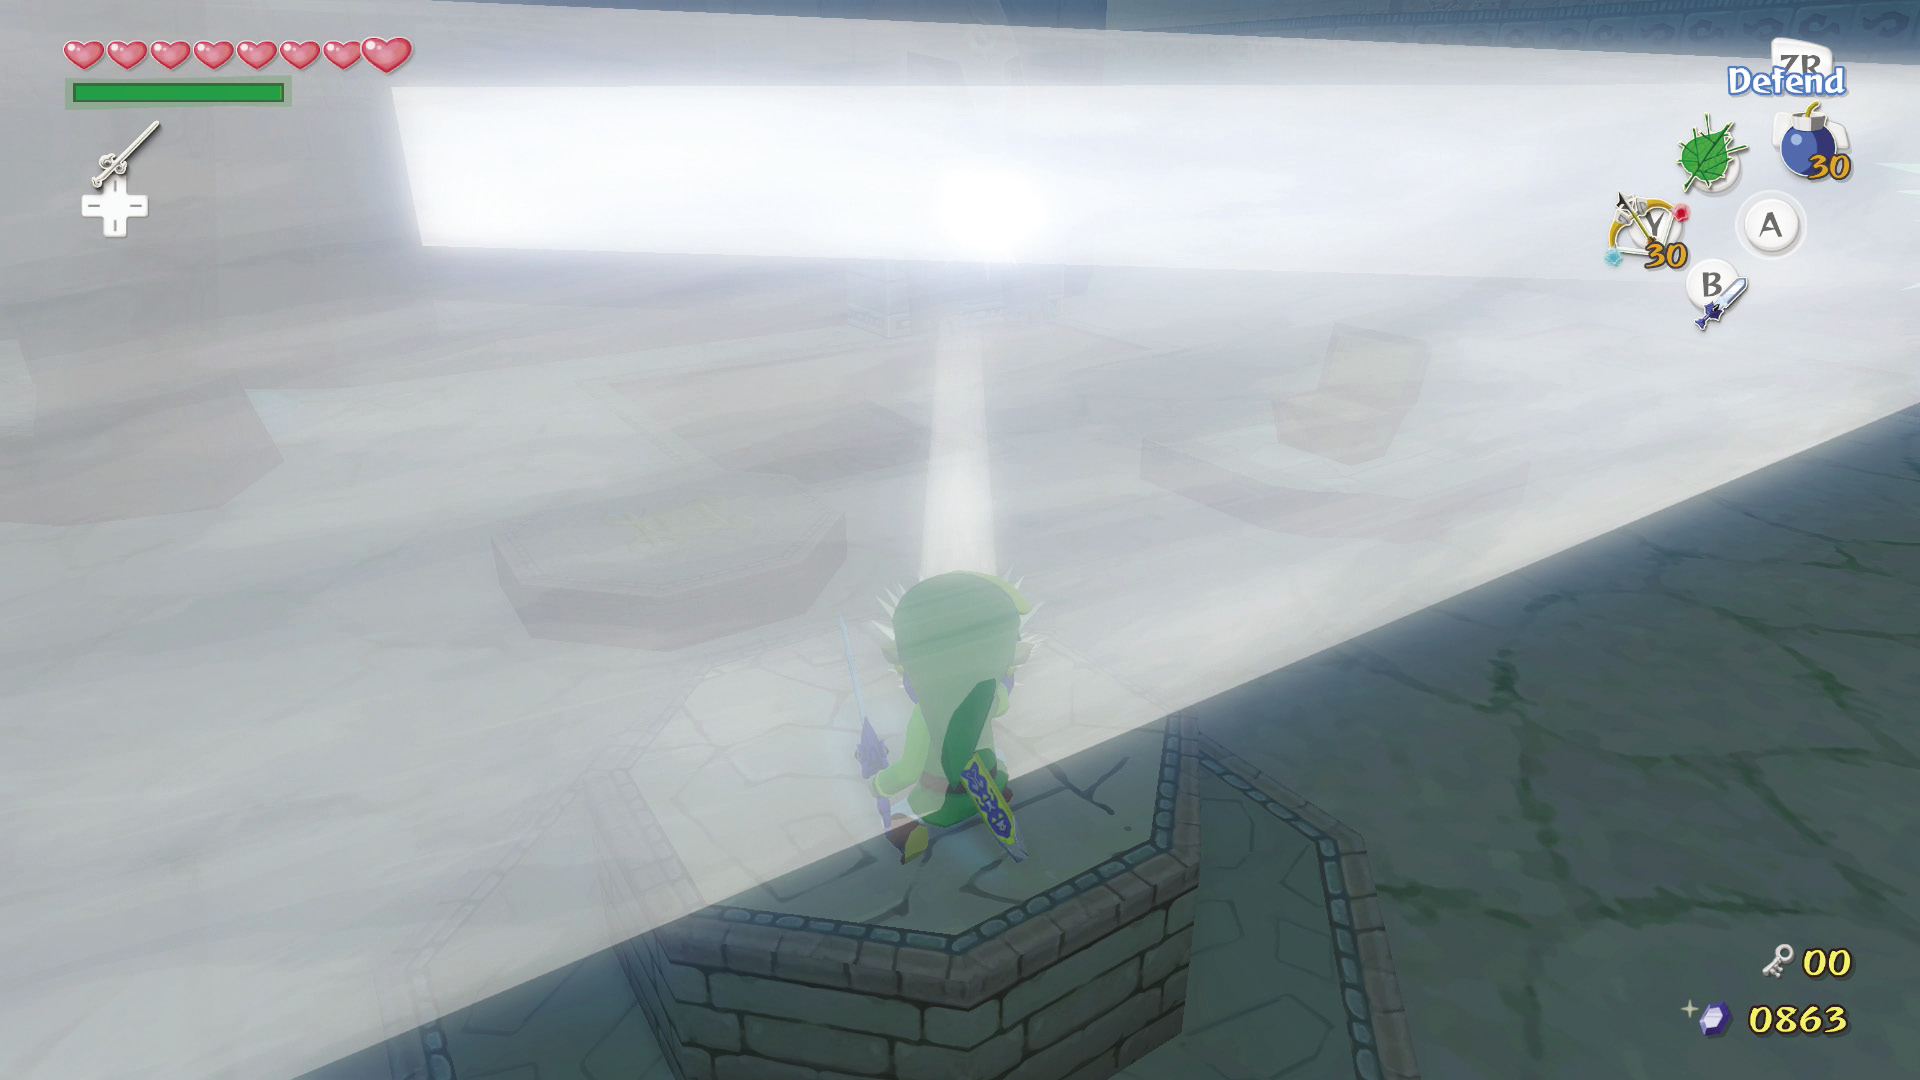
While still on the two-stepped platform, reflect light at the elephant statue to your left to reveal another mirror statue.
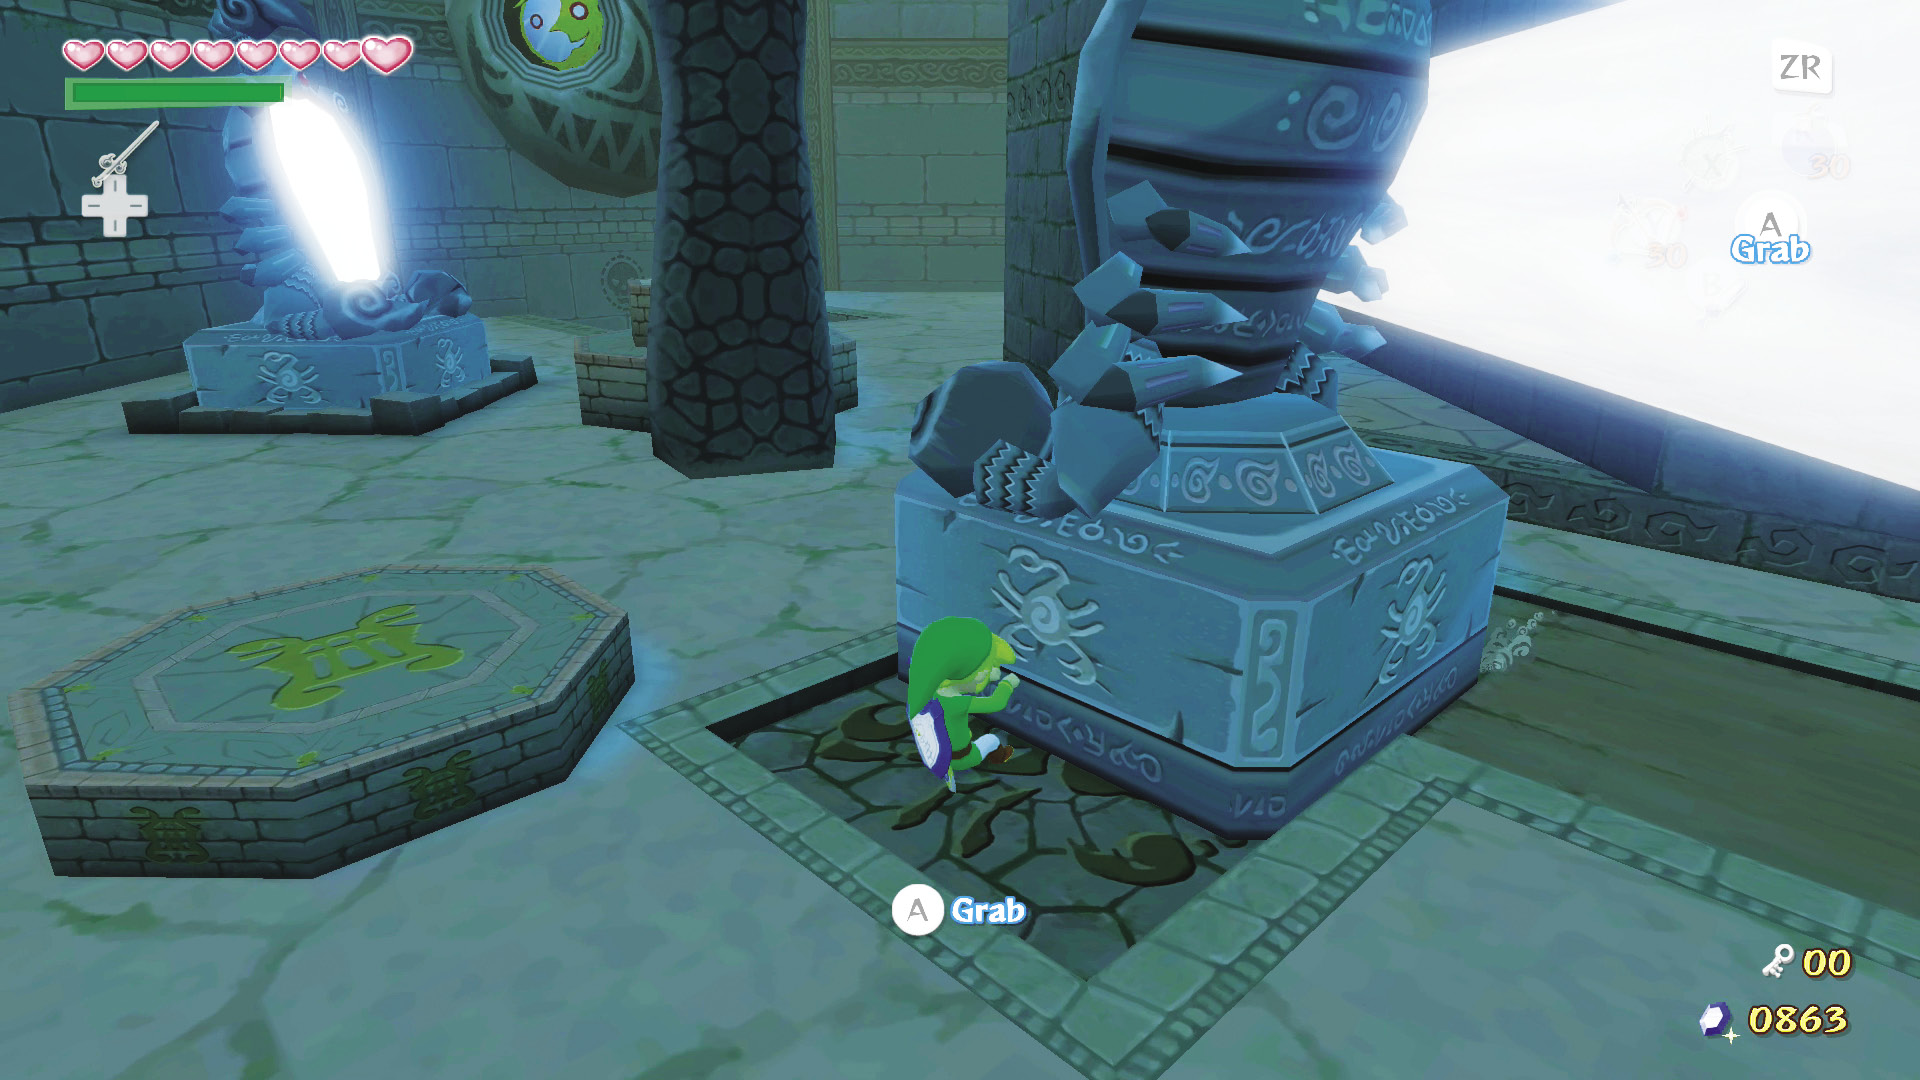
Hop off the two-stepped platform, open the treasure chest to receive a Joy Pendant, then pull the mirror statue out of the alcove in the center of the room. Take it west by following its path to its end.
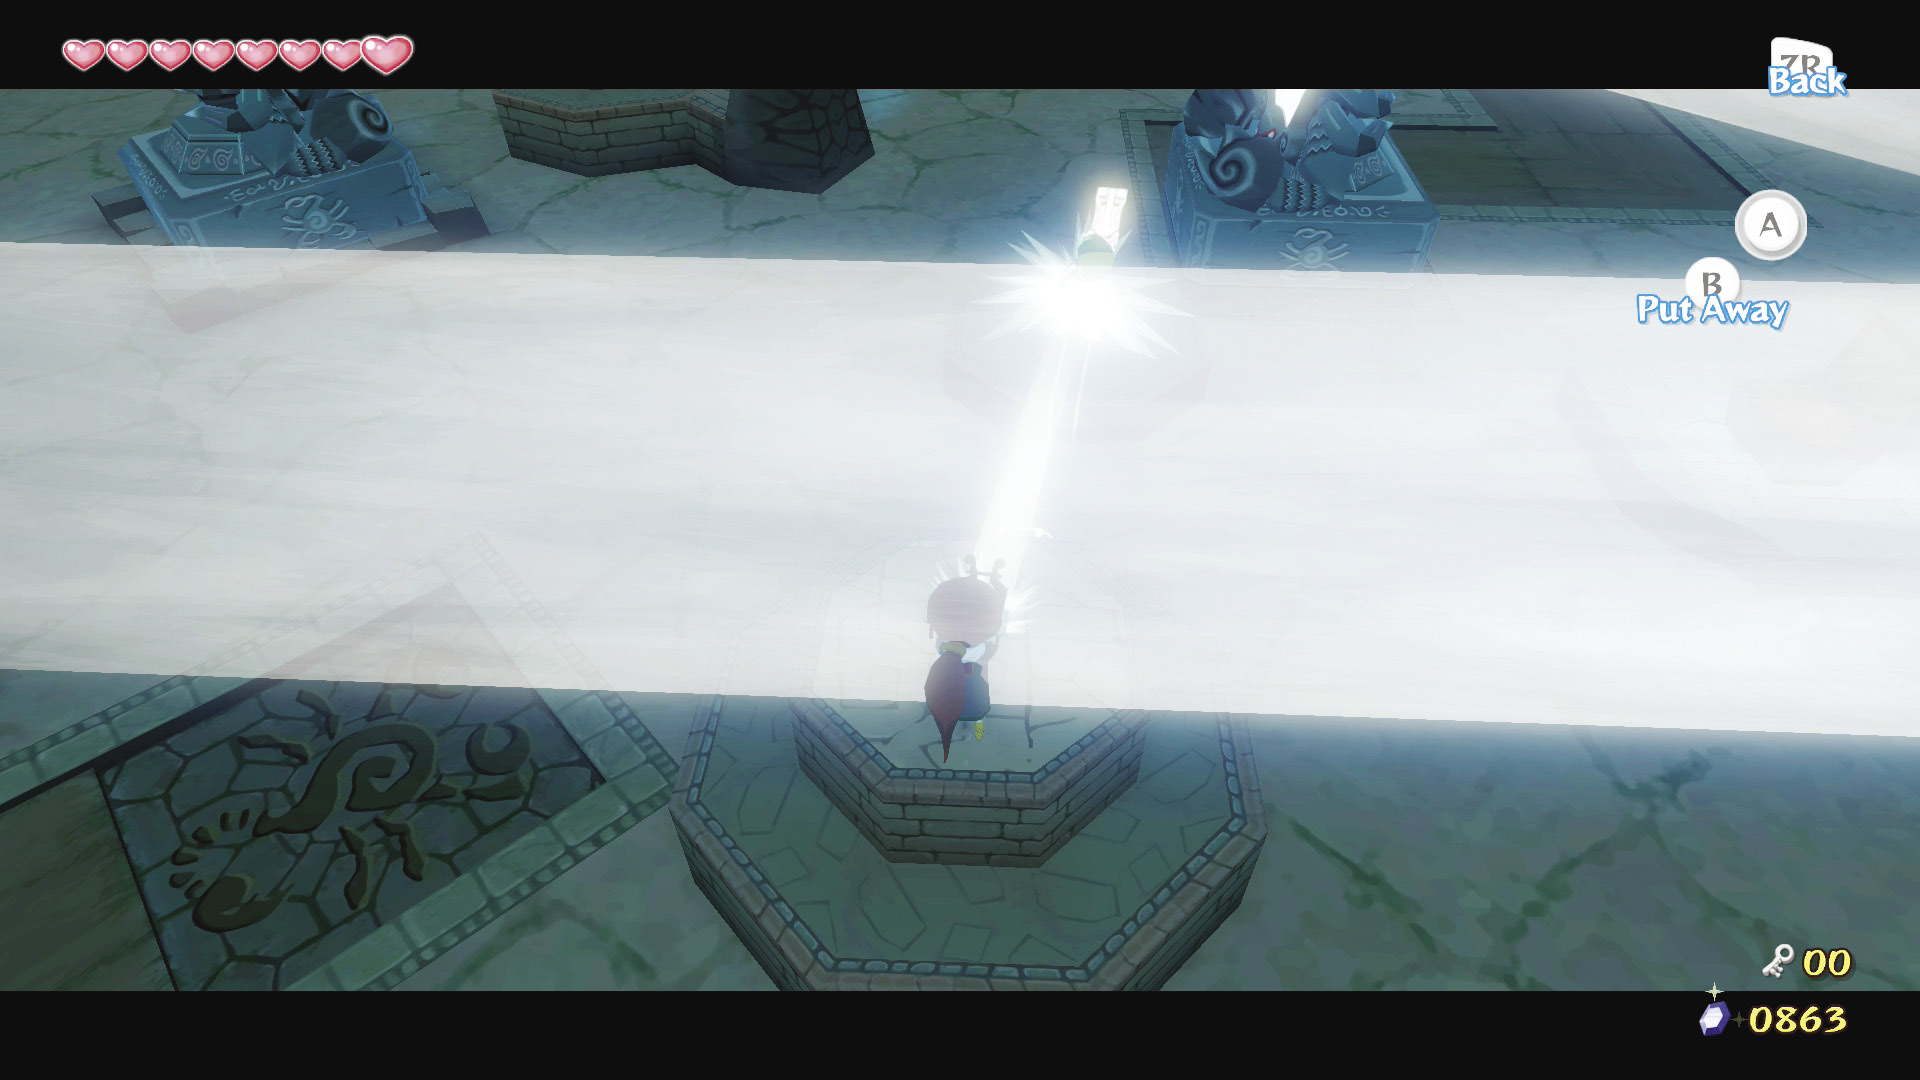
Stand on the smaller platform right next to the two-stepped platform you were on just a moment ago. As Medli, fly onto the two-stepped platform next to Link, then reflect light down at him.
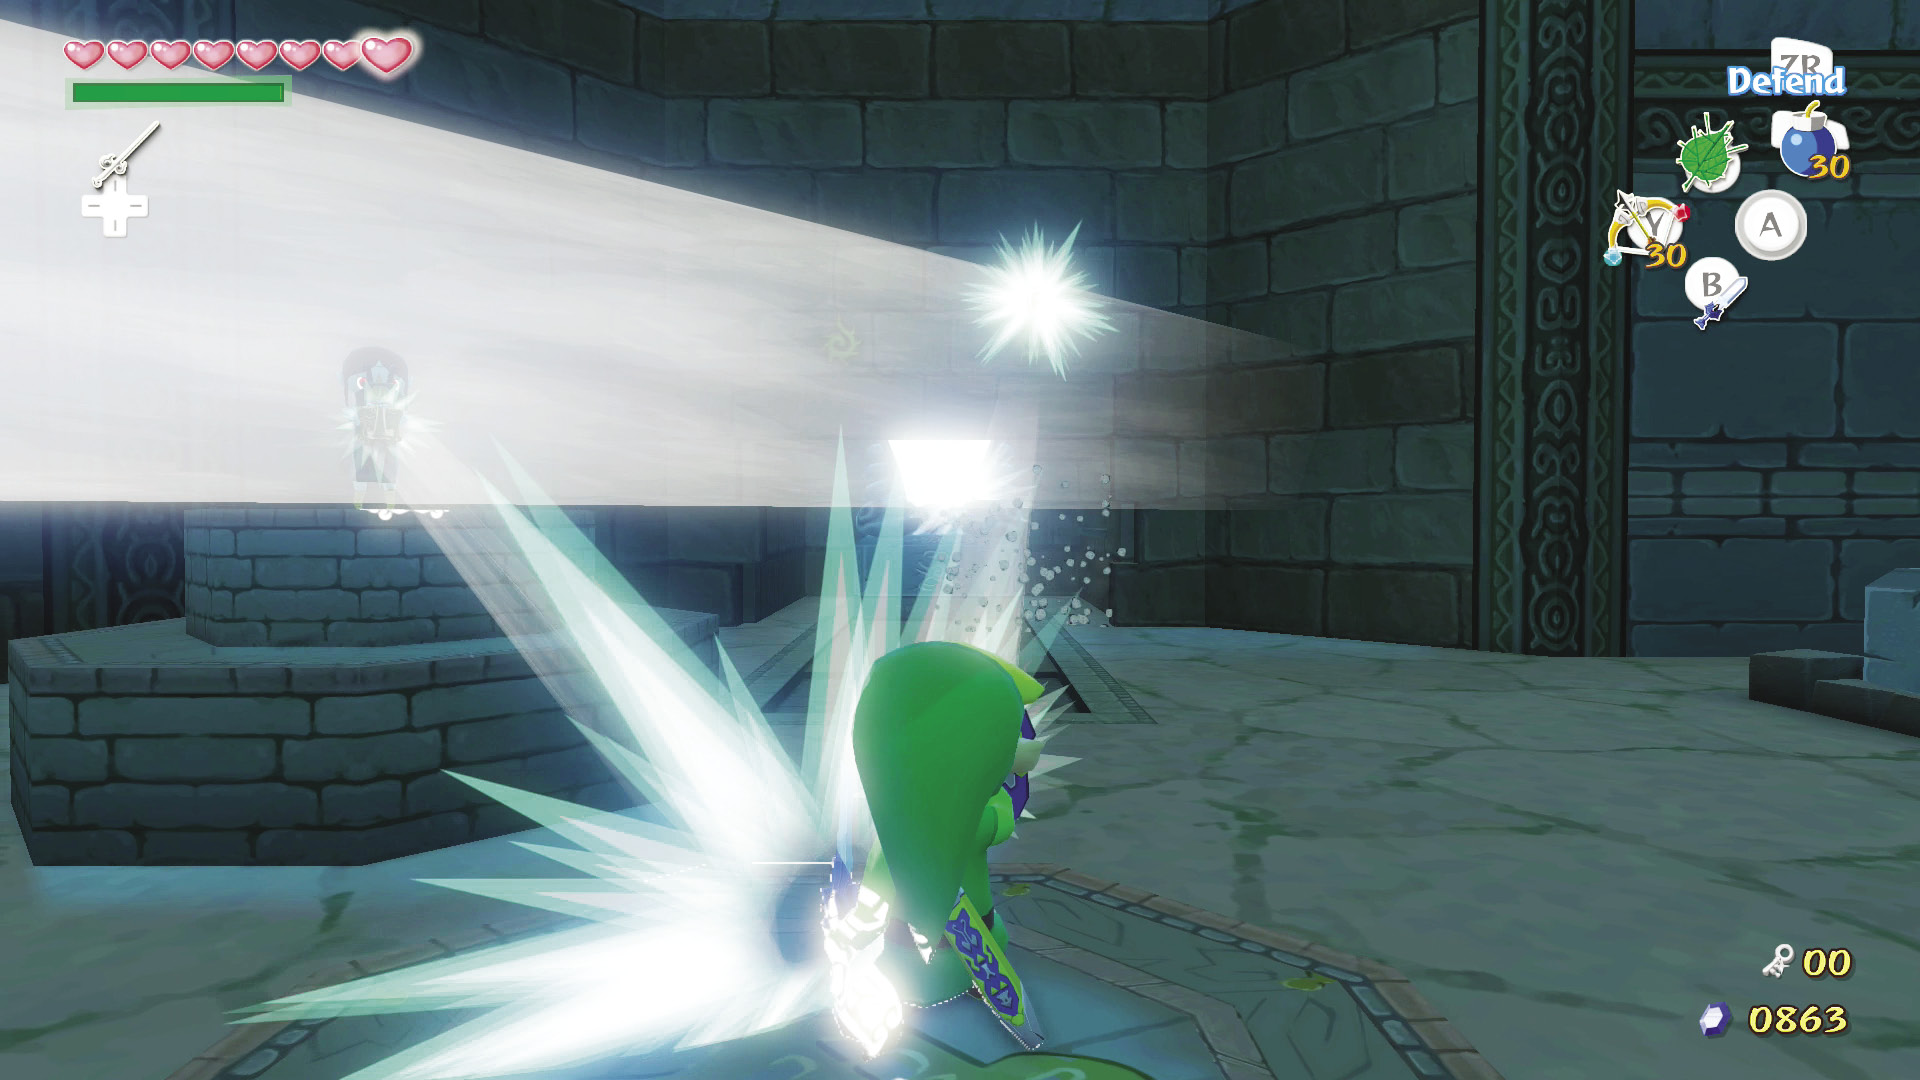
As Link, reflect Medli’s light onto the yellow sigils on the wall’s northwest side to reveal the final mirror statue.
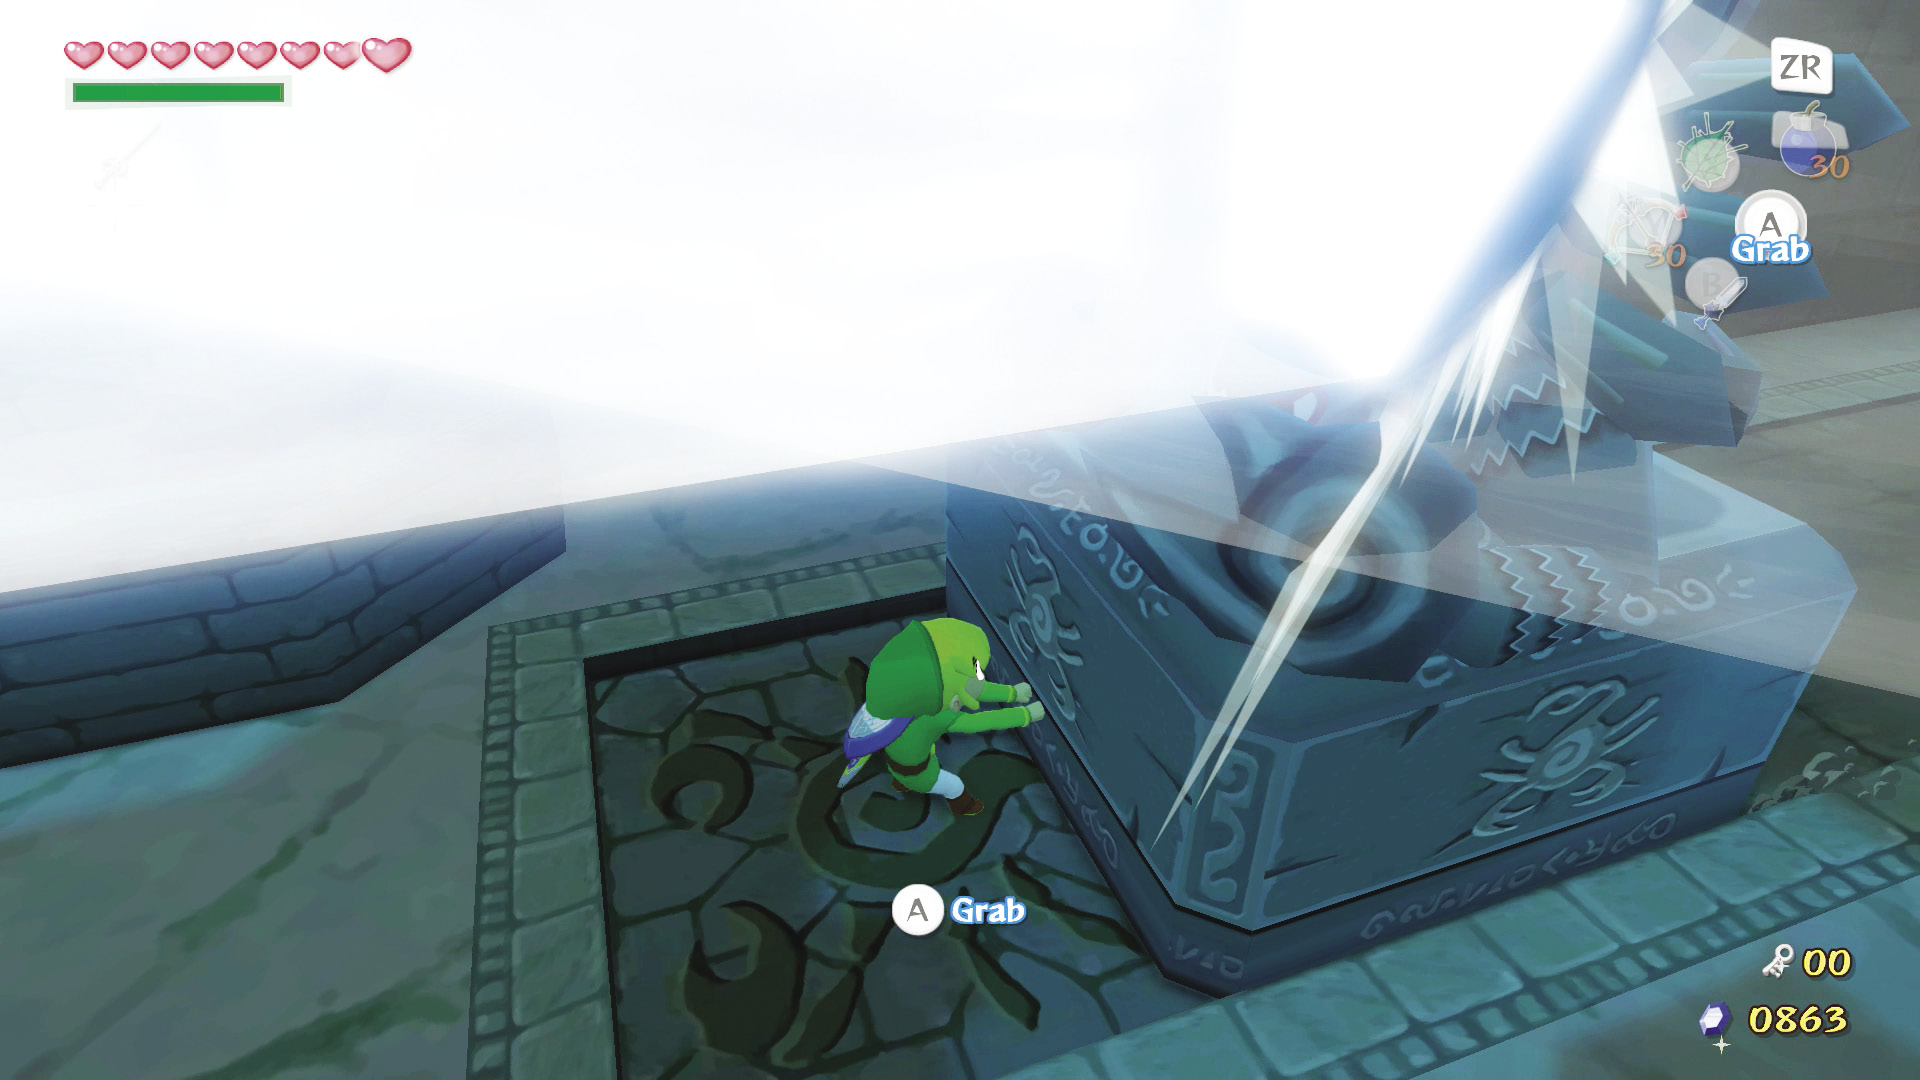
Break the pots behind the mirror statue to collect another large pile of Rupees, then pull the mirror statue west along its path. This will reflect light to the two two-stepped platforms that are in front of the giant face statue on the north wall.
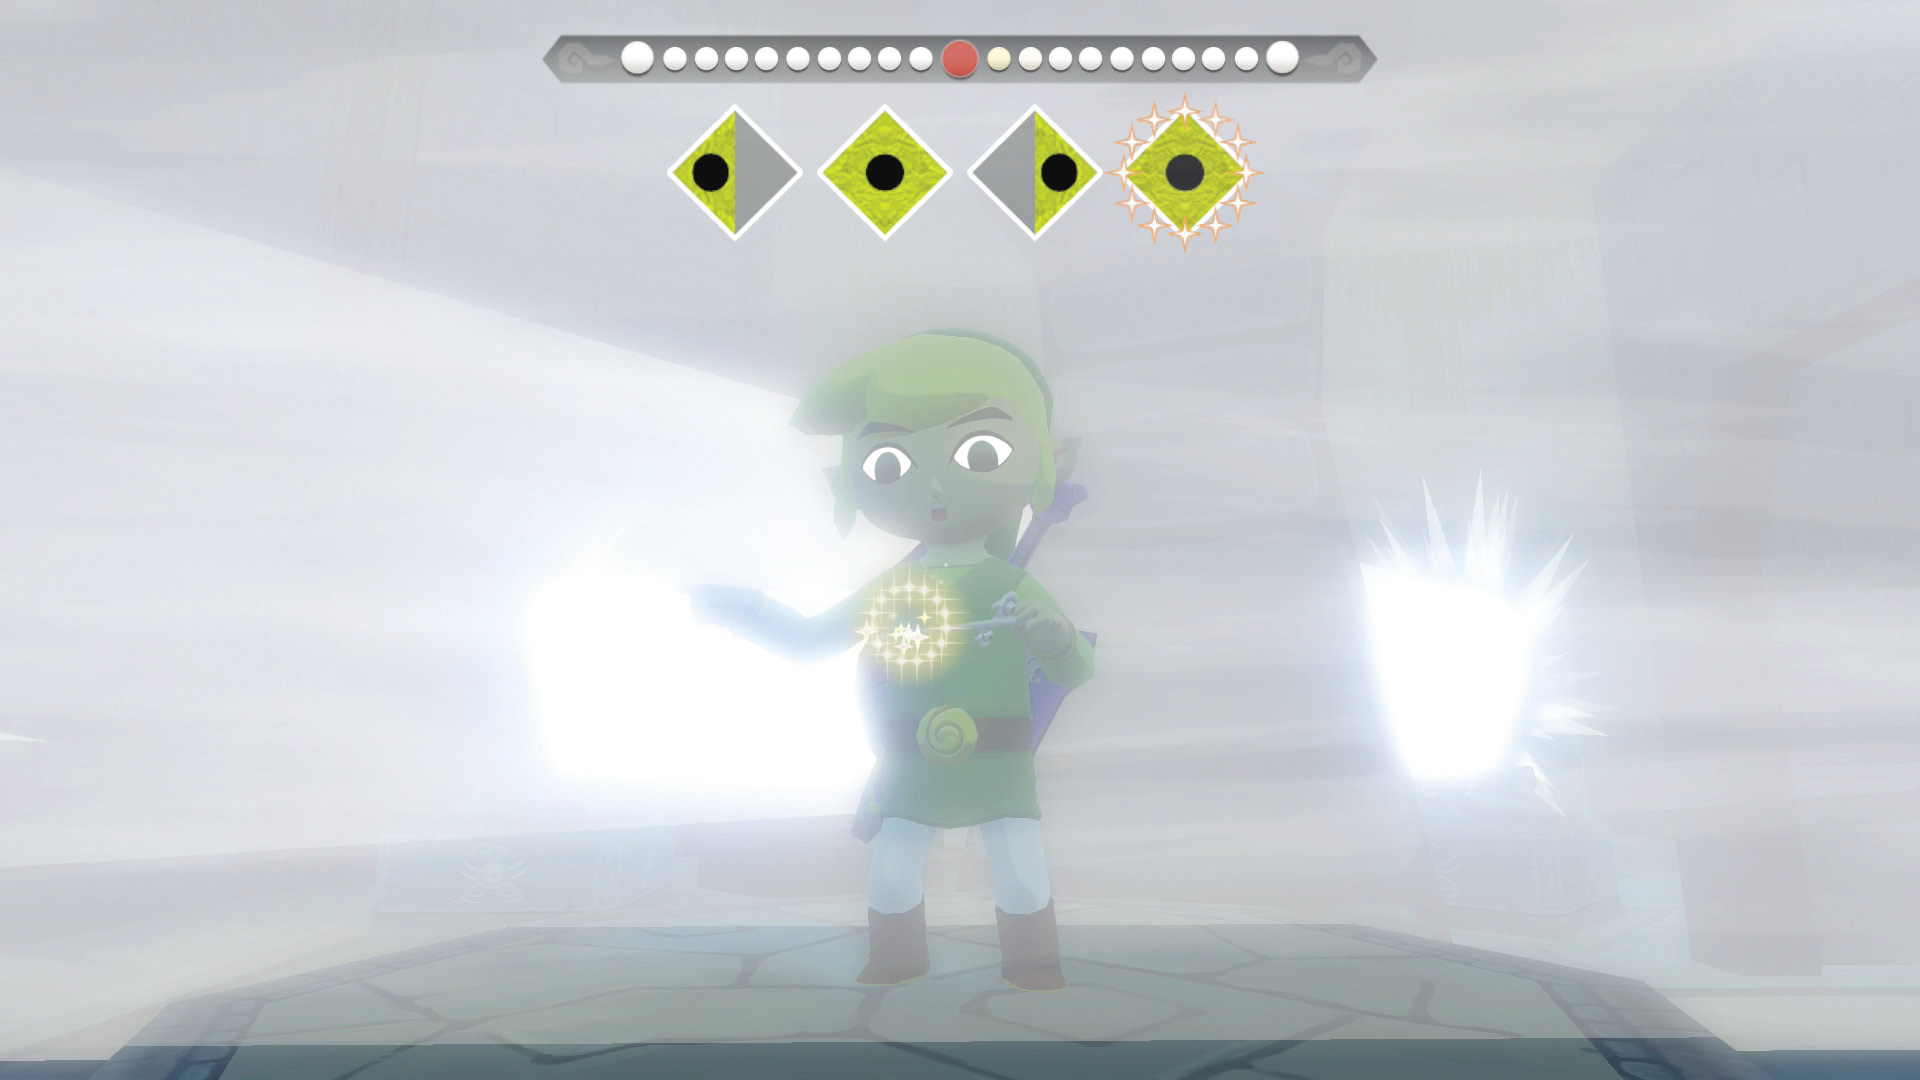
Climb one of the two-stepped platforms in front of the face statue, then play the “Command Melody” and take control of Medli.
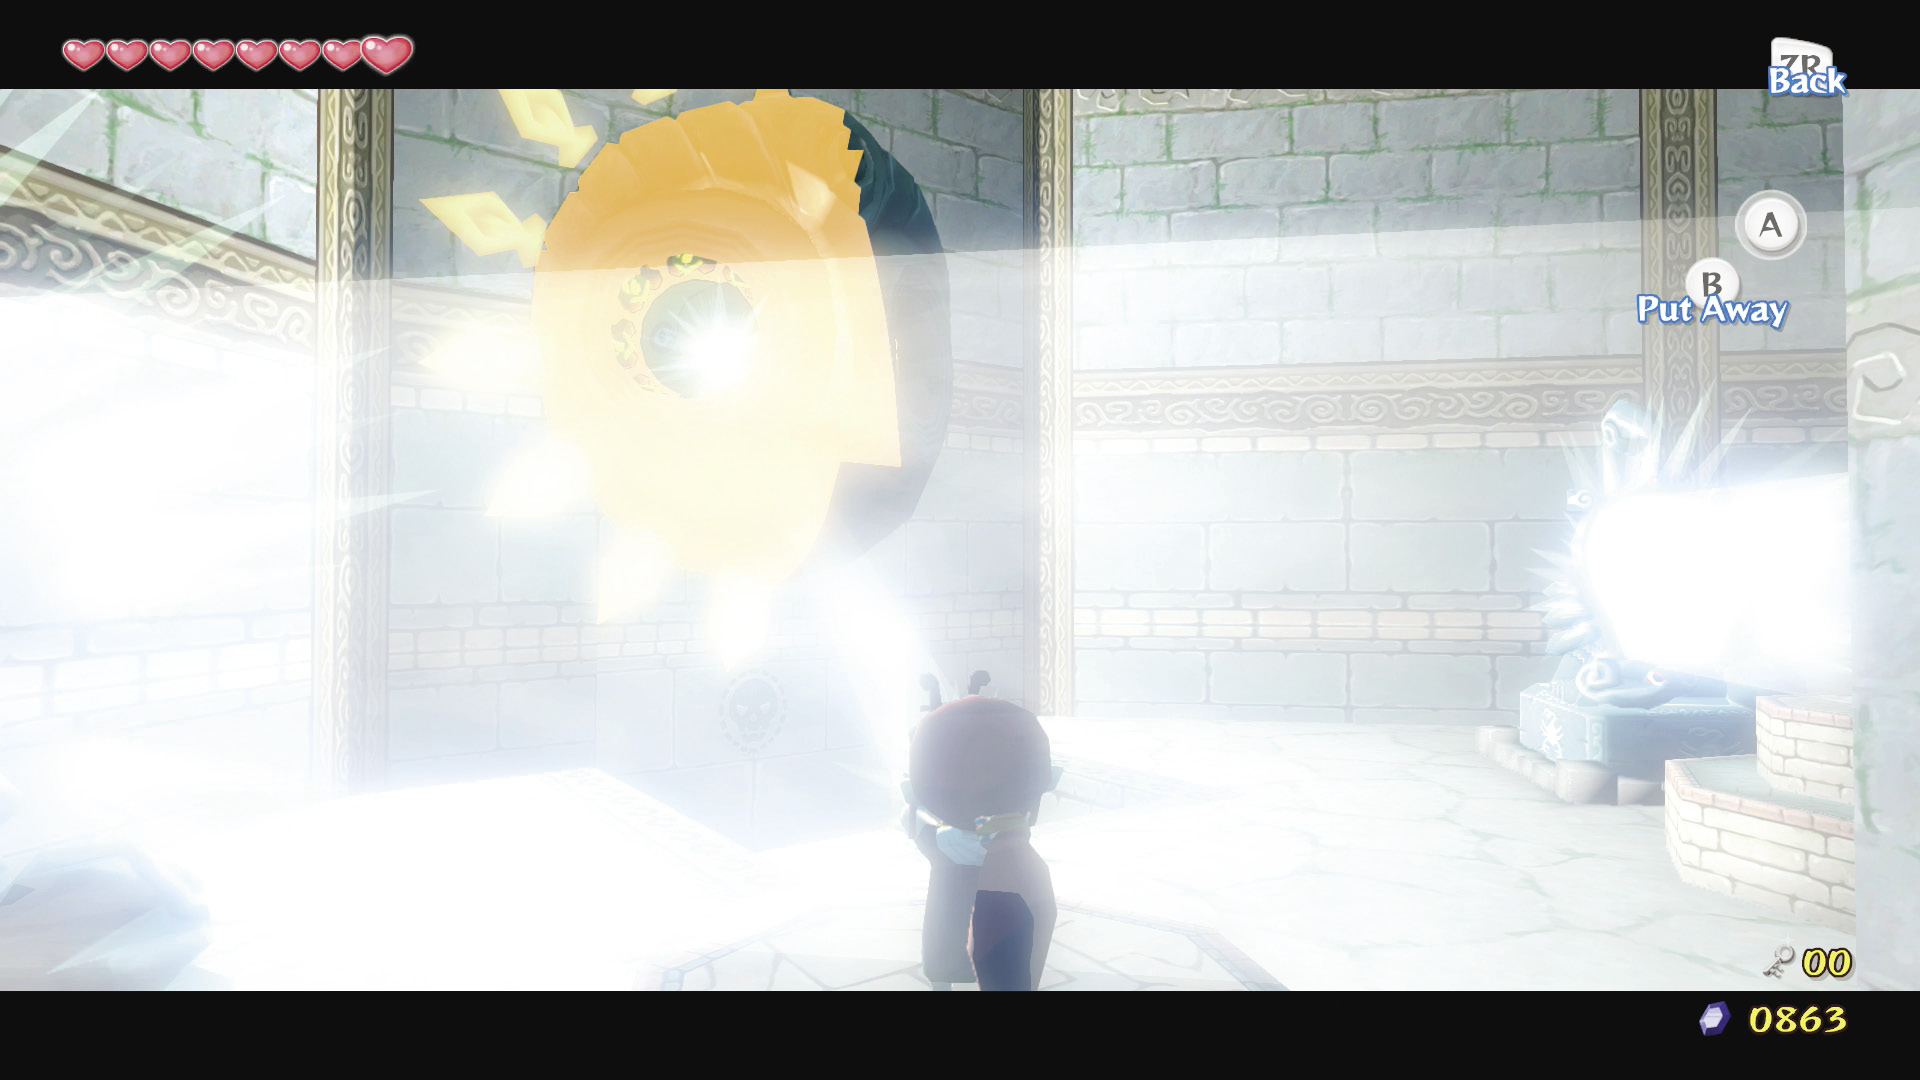
As Medli, fly onto the other two-stepped platform in front of the giant face statue, reflect light into its eye, then release control of Medli.
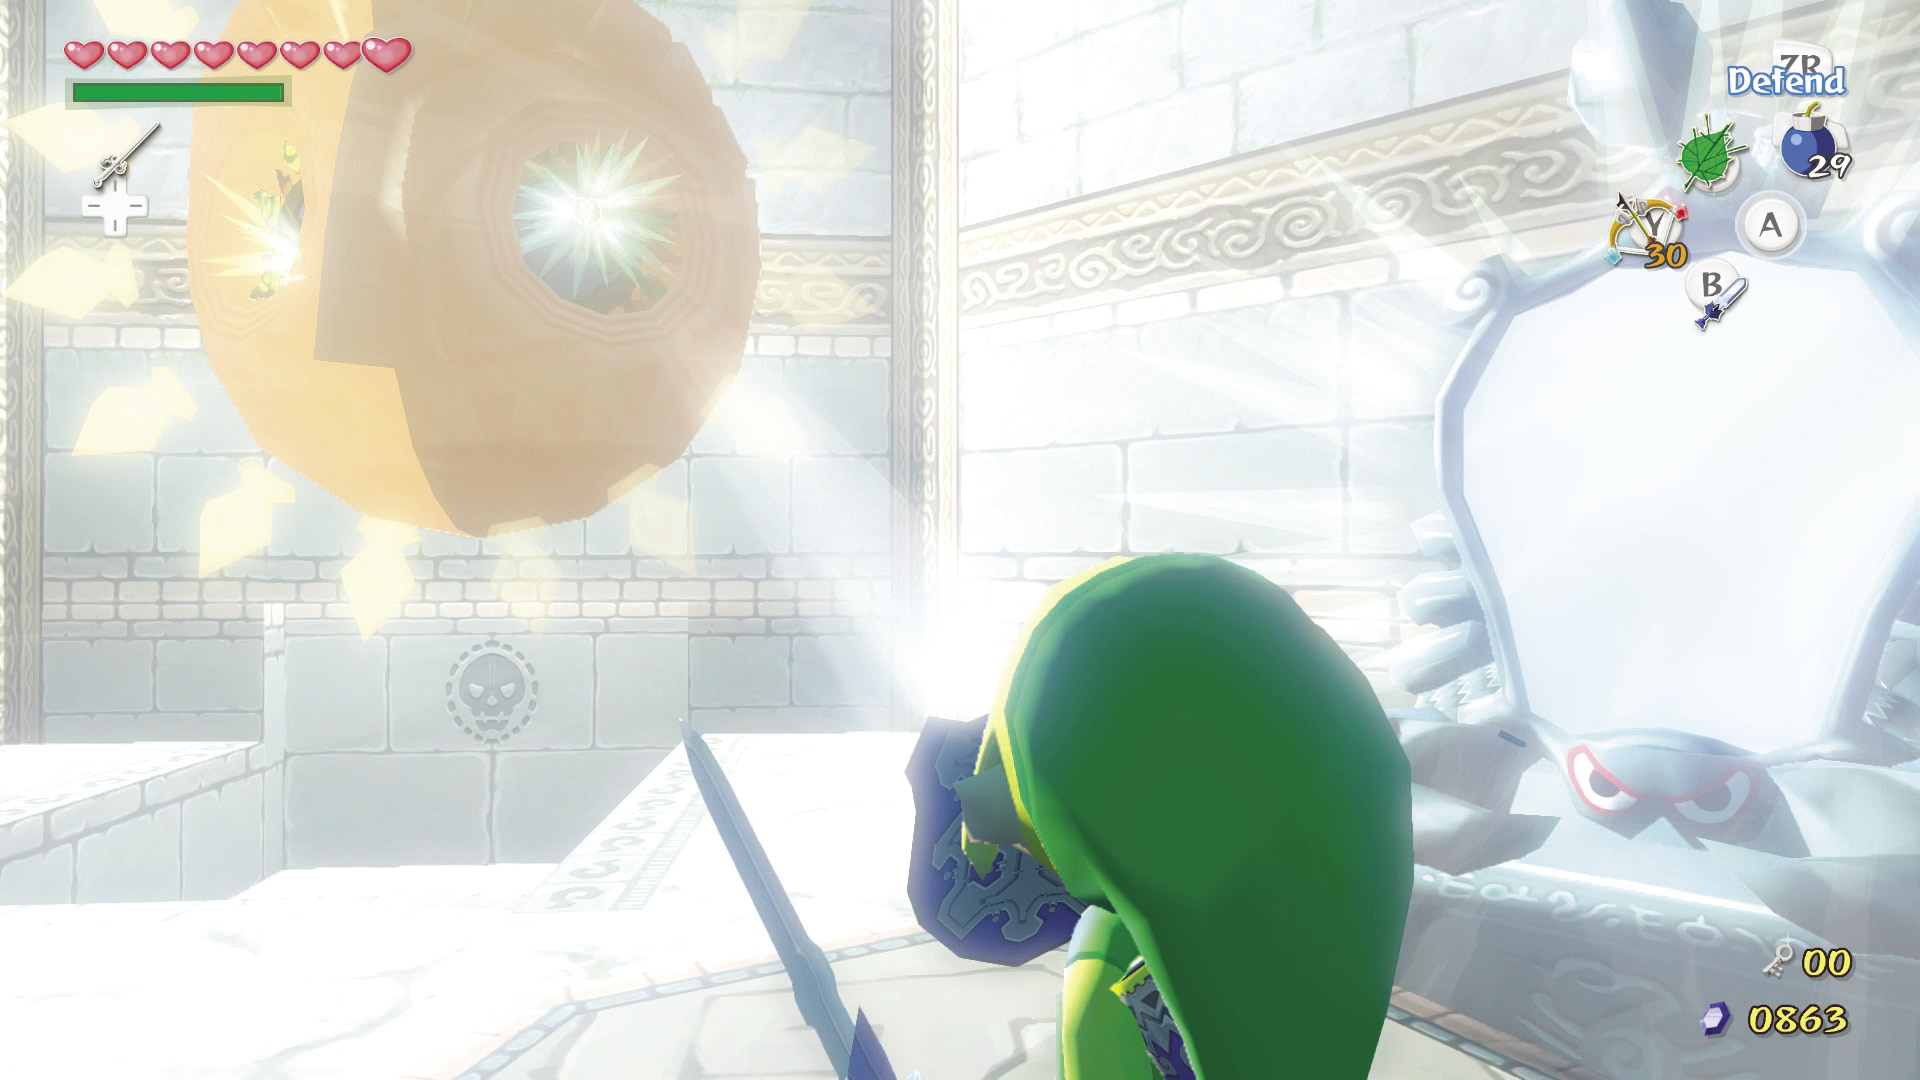
As Link, reflect light into the face statue’s other eye, and the face will become a sun, revealing a door below it.
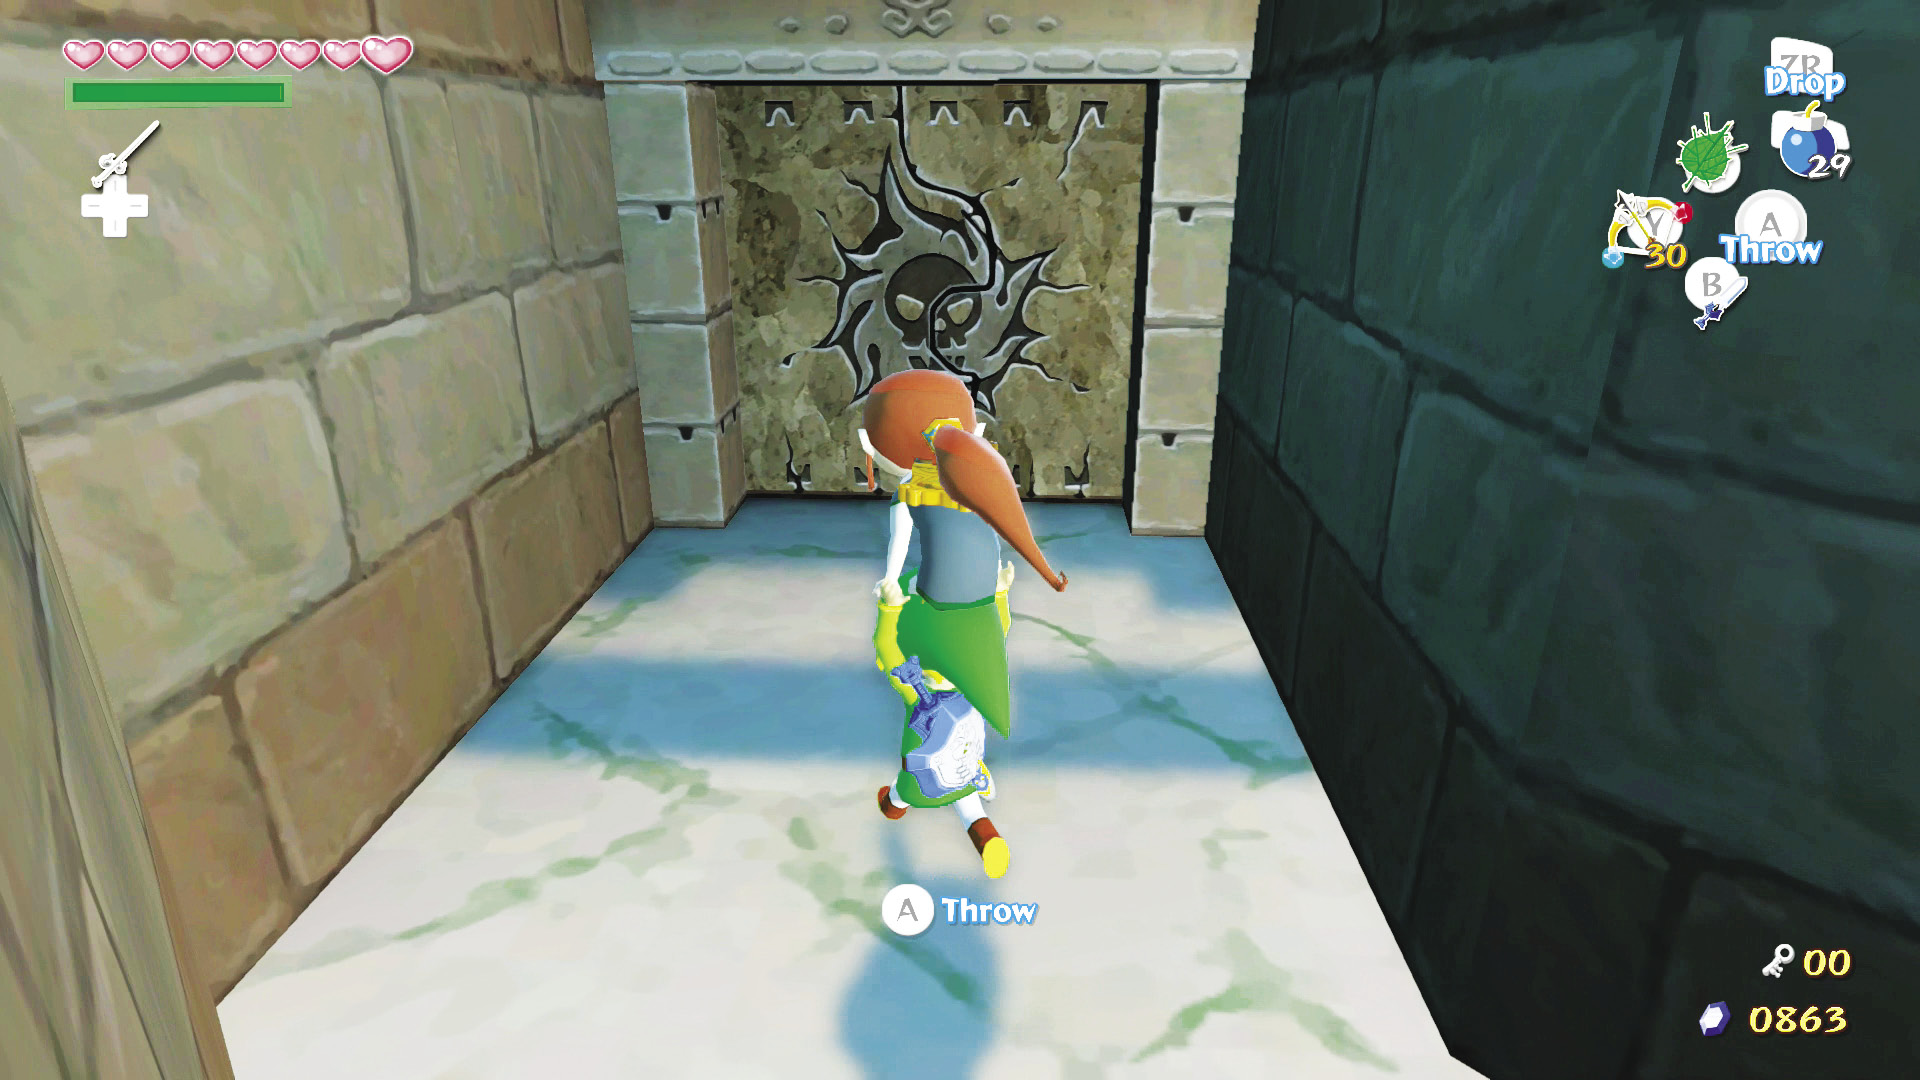
At this point, you can either head through the north door, or you can head through the western door to grab Treasure Chart #20 (see the “A Reward for a Hard-Working Hero” section for details).
10. Restoring the Earth Temple
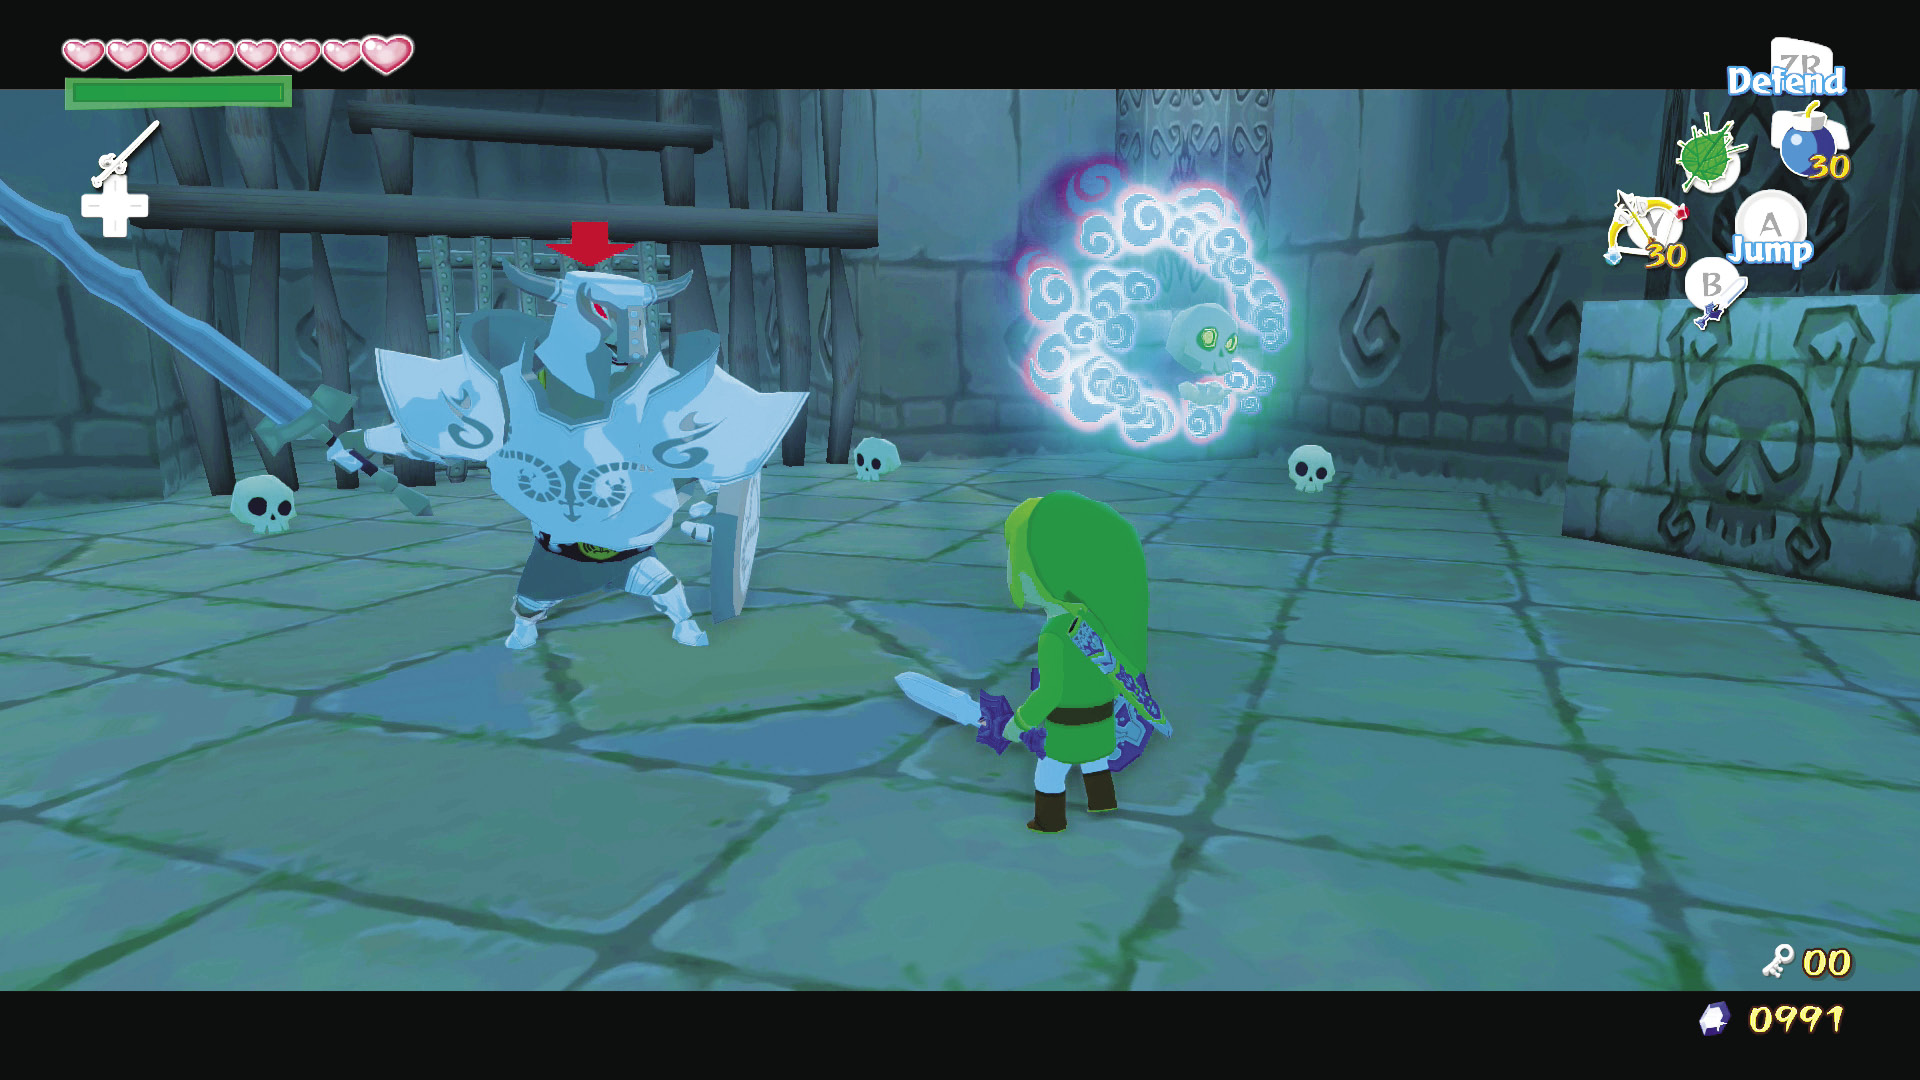
You must fight a Darknut and two Blue Bubbles. Take out the Blue Bubbles with your Deku Leaf and sword first so you can focus on the slow-moving Darknut.
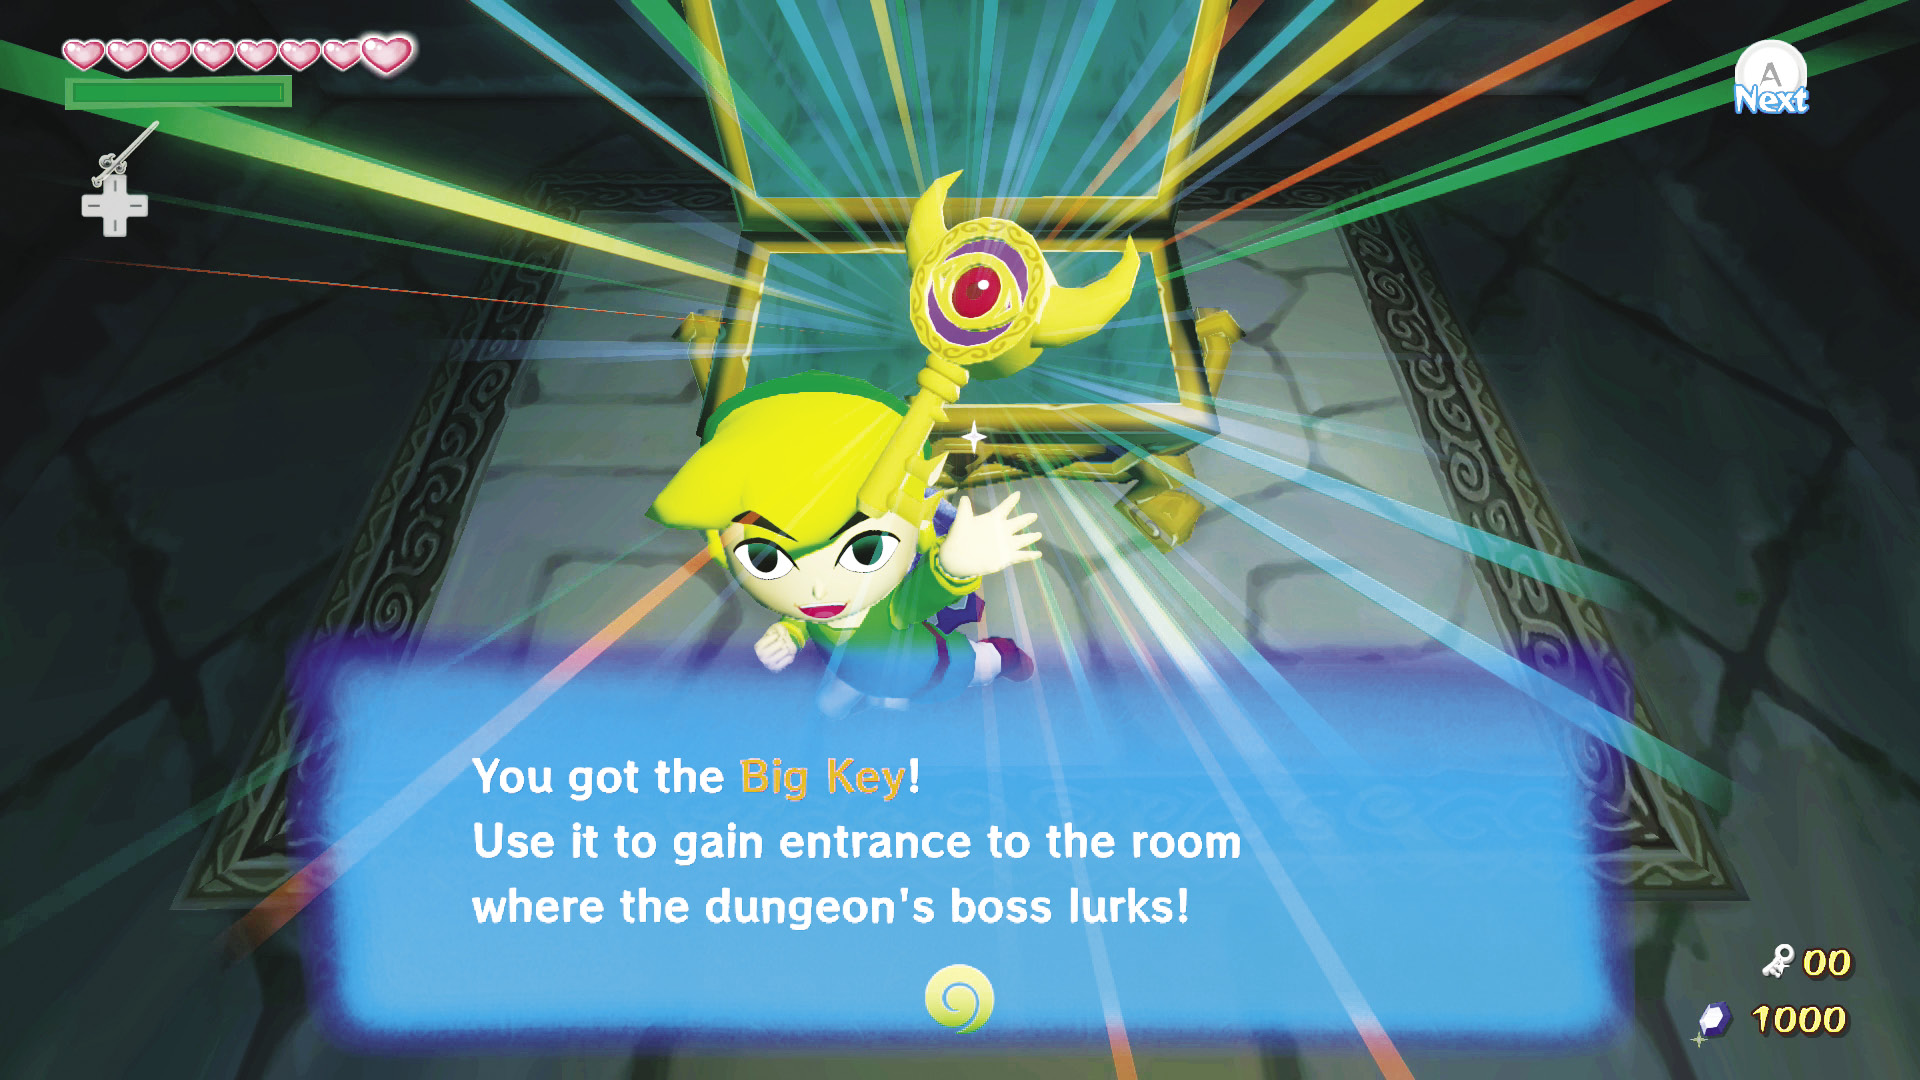
After you defeat all three enemies, a gate opens in the room’s north wall. On the gate’s other side is a chest containing the Big Key of the Earth Temple. When you have it, exit the room and head through the sun statue room’s south door.
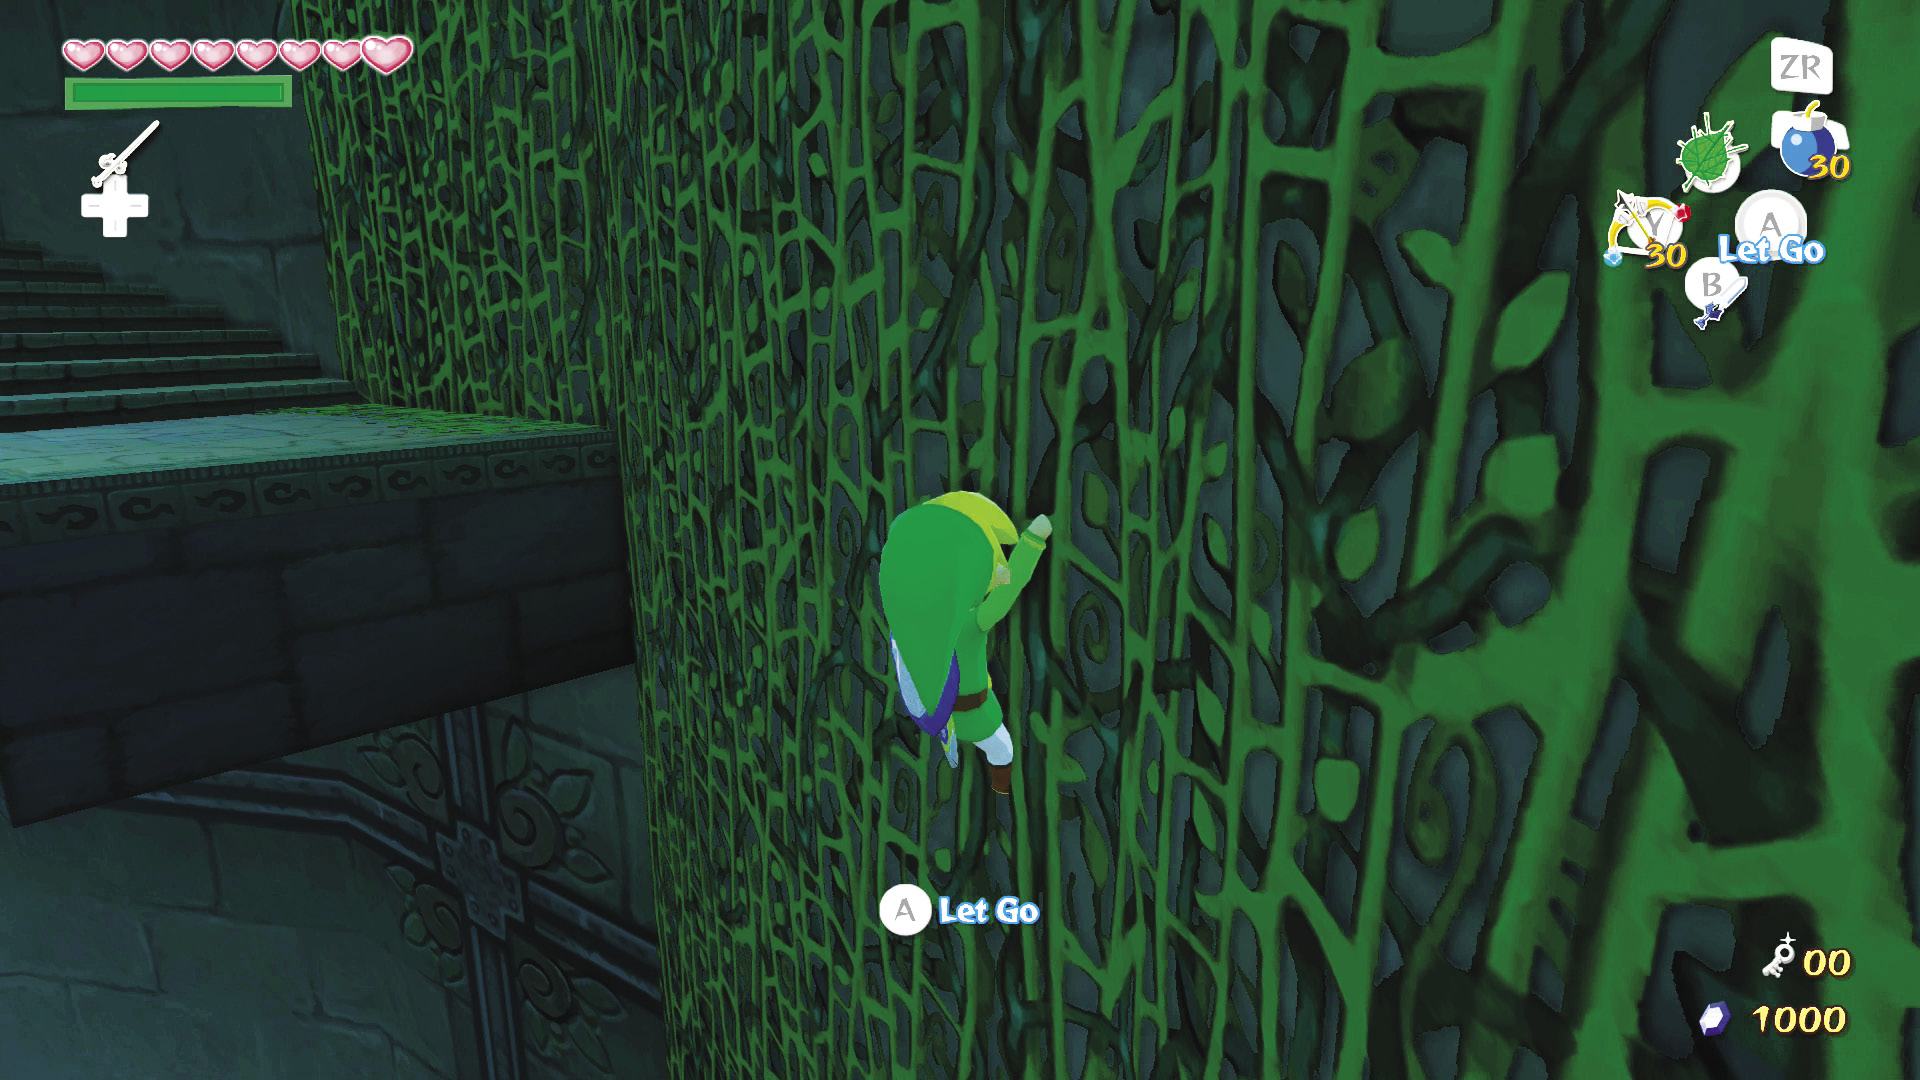
You’ll be back in the tall room with the spiraling staircase. Head up the stairs until you reach a gap, then climb the vines on the wall to the staircase above. Head to the top of the stairs on the room’s east side, then turn and face the dungeon boss’s door across the gap to the west.
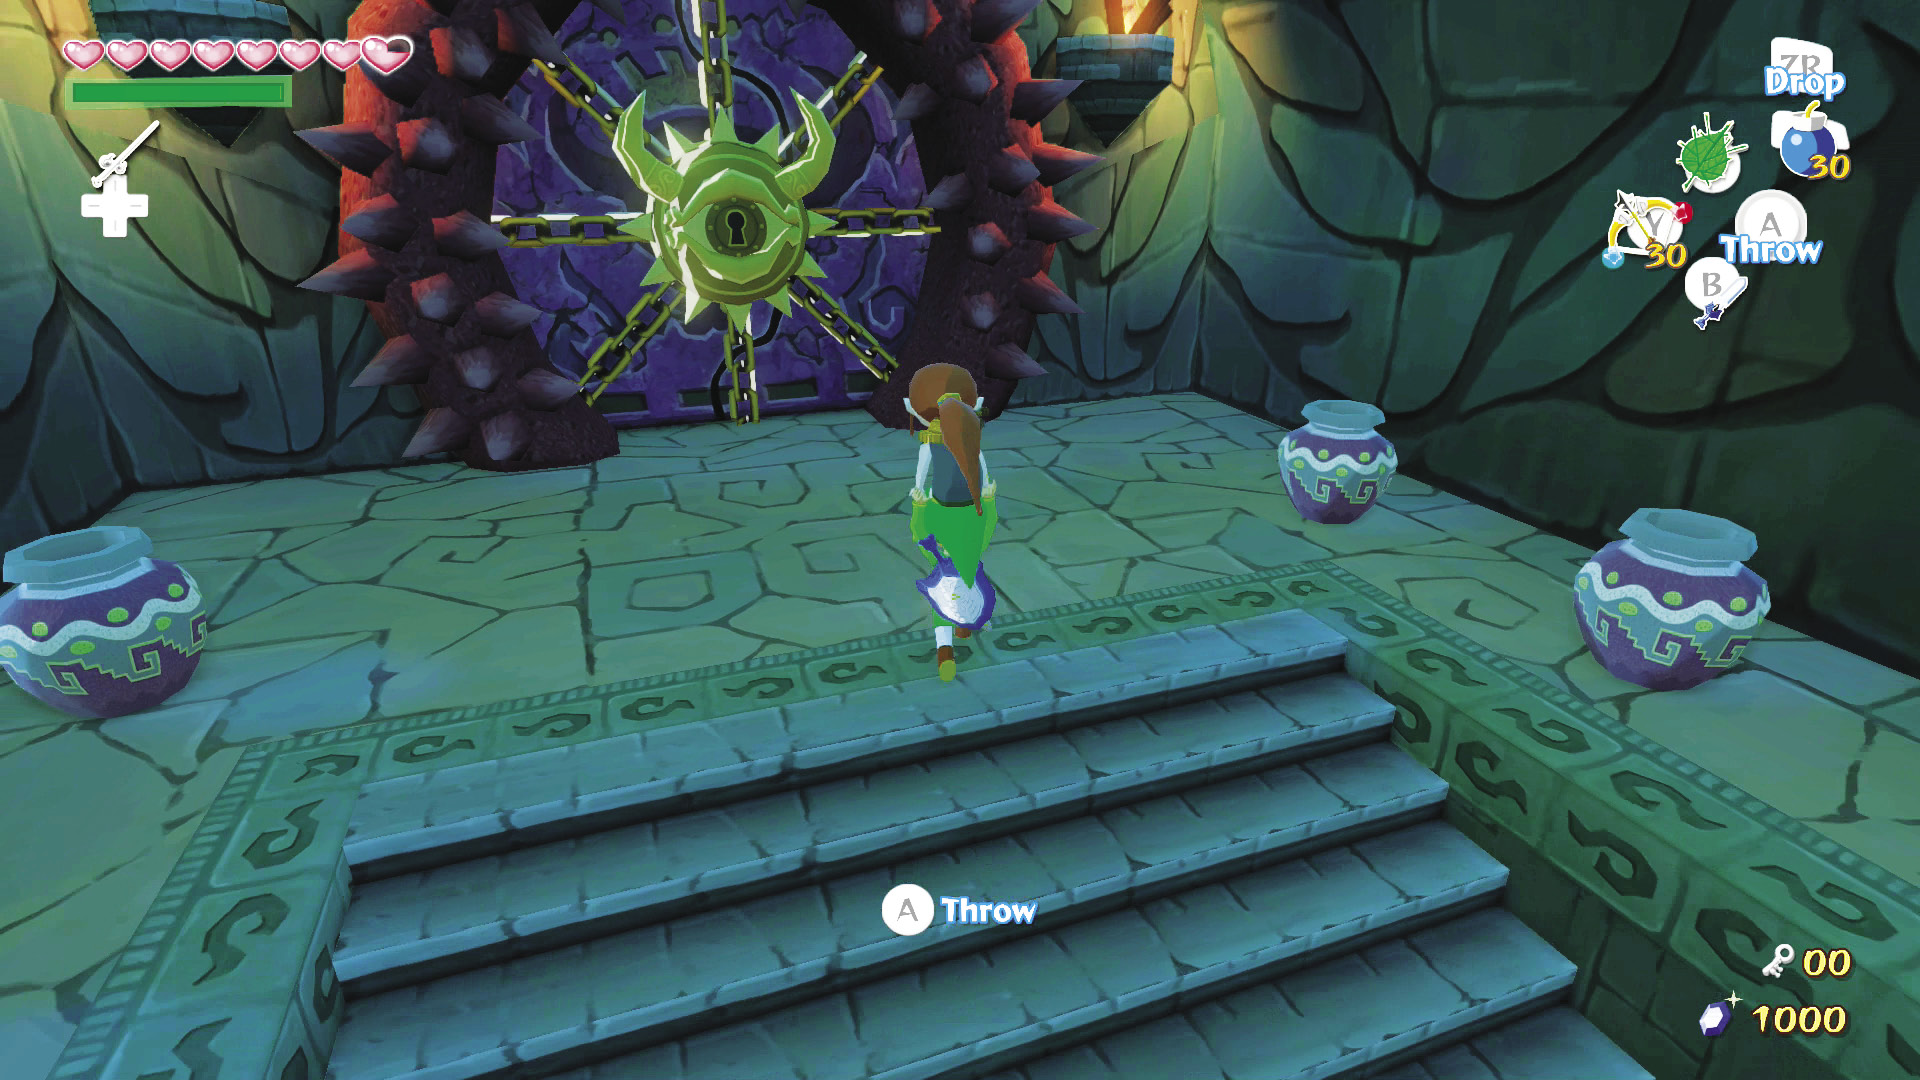
Play the “Command Melody” and bring Medli to Link. As Link, pick Medli up and jump off the ledge toward the boss’s door. Medli will have just enough strength to make it to the west ledge. Smash the pots for Rupees, Hearts, and small Magic Jars, then save your game and open the door to begin the boss fight.
Boss: Jalhalla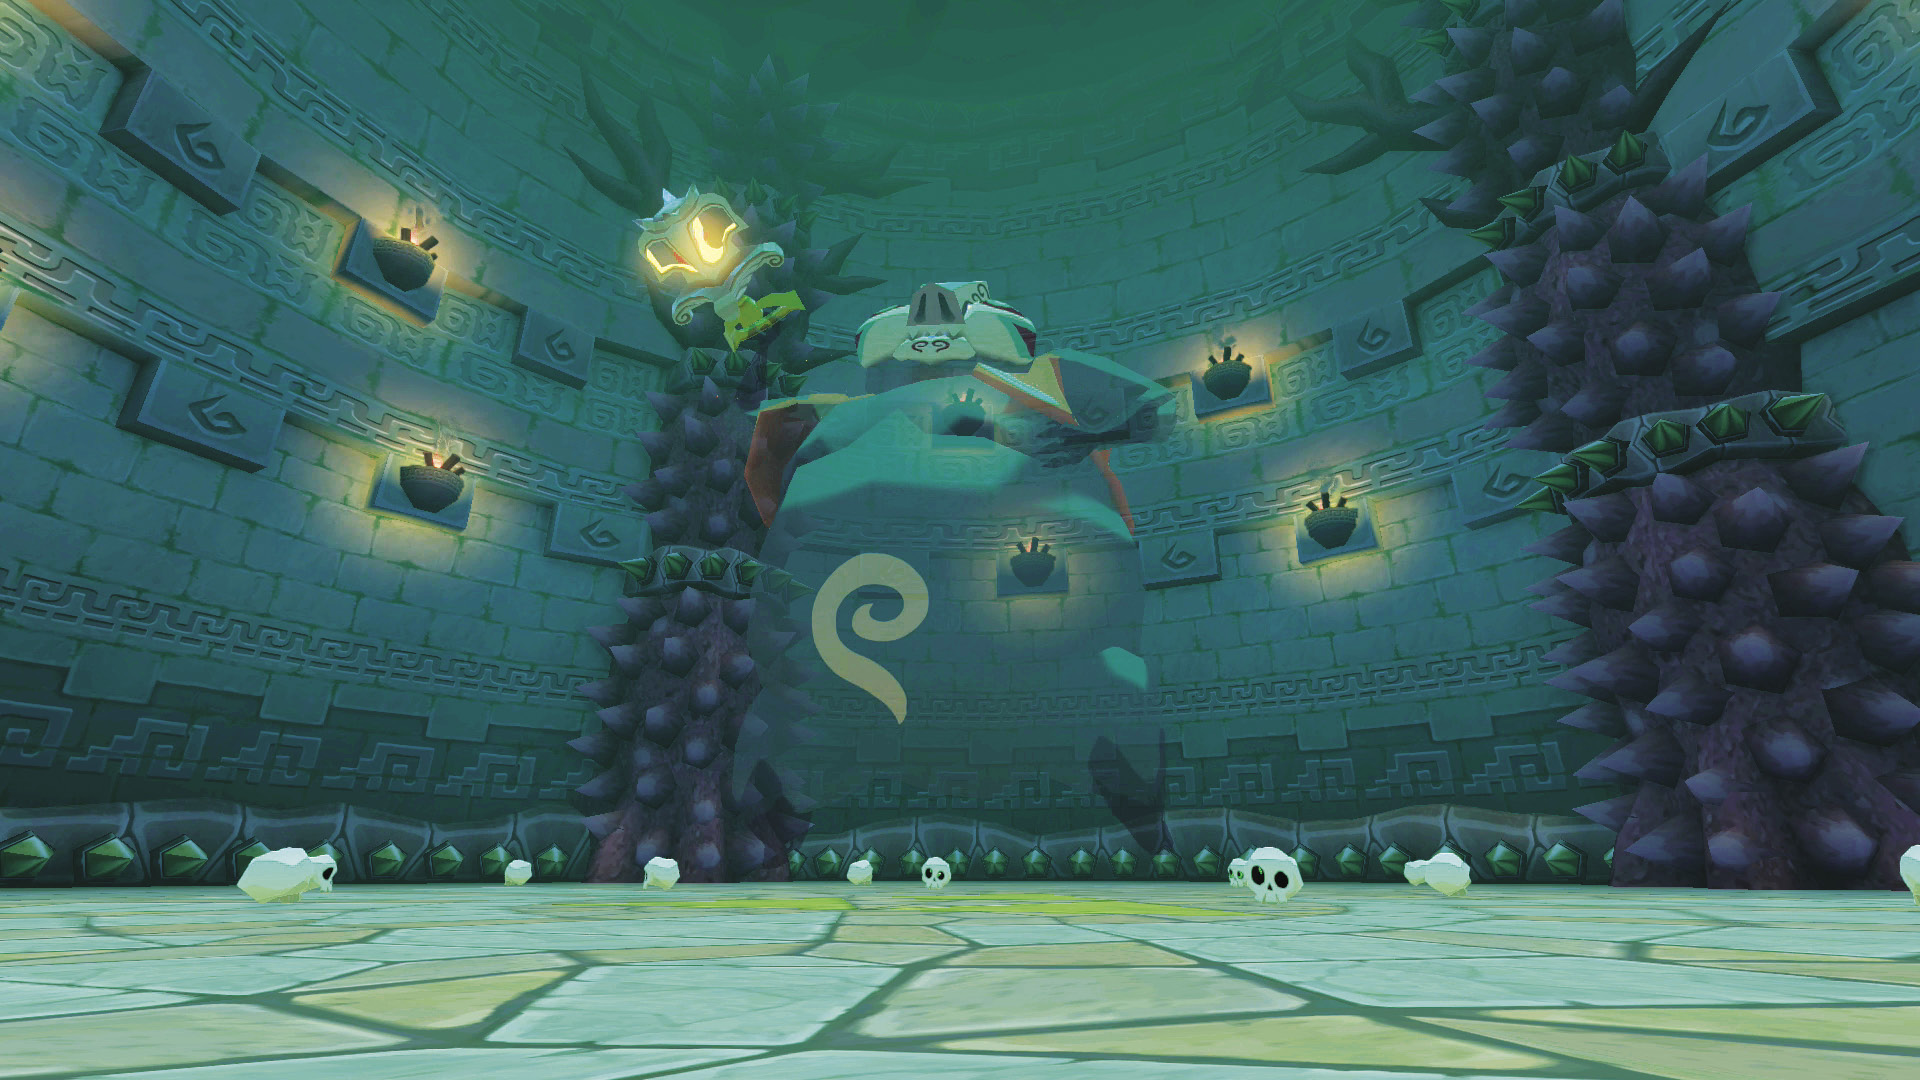 Jalhalla is an enormous Poe composed of 15 normal Poes. Its attacks include a jet of fire from its lantern, a blast of wind that can send you into the spikes that line the room’s walls, and the ability to temporarily reverse your controller’s 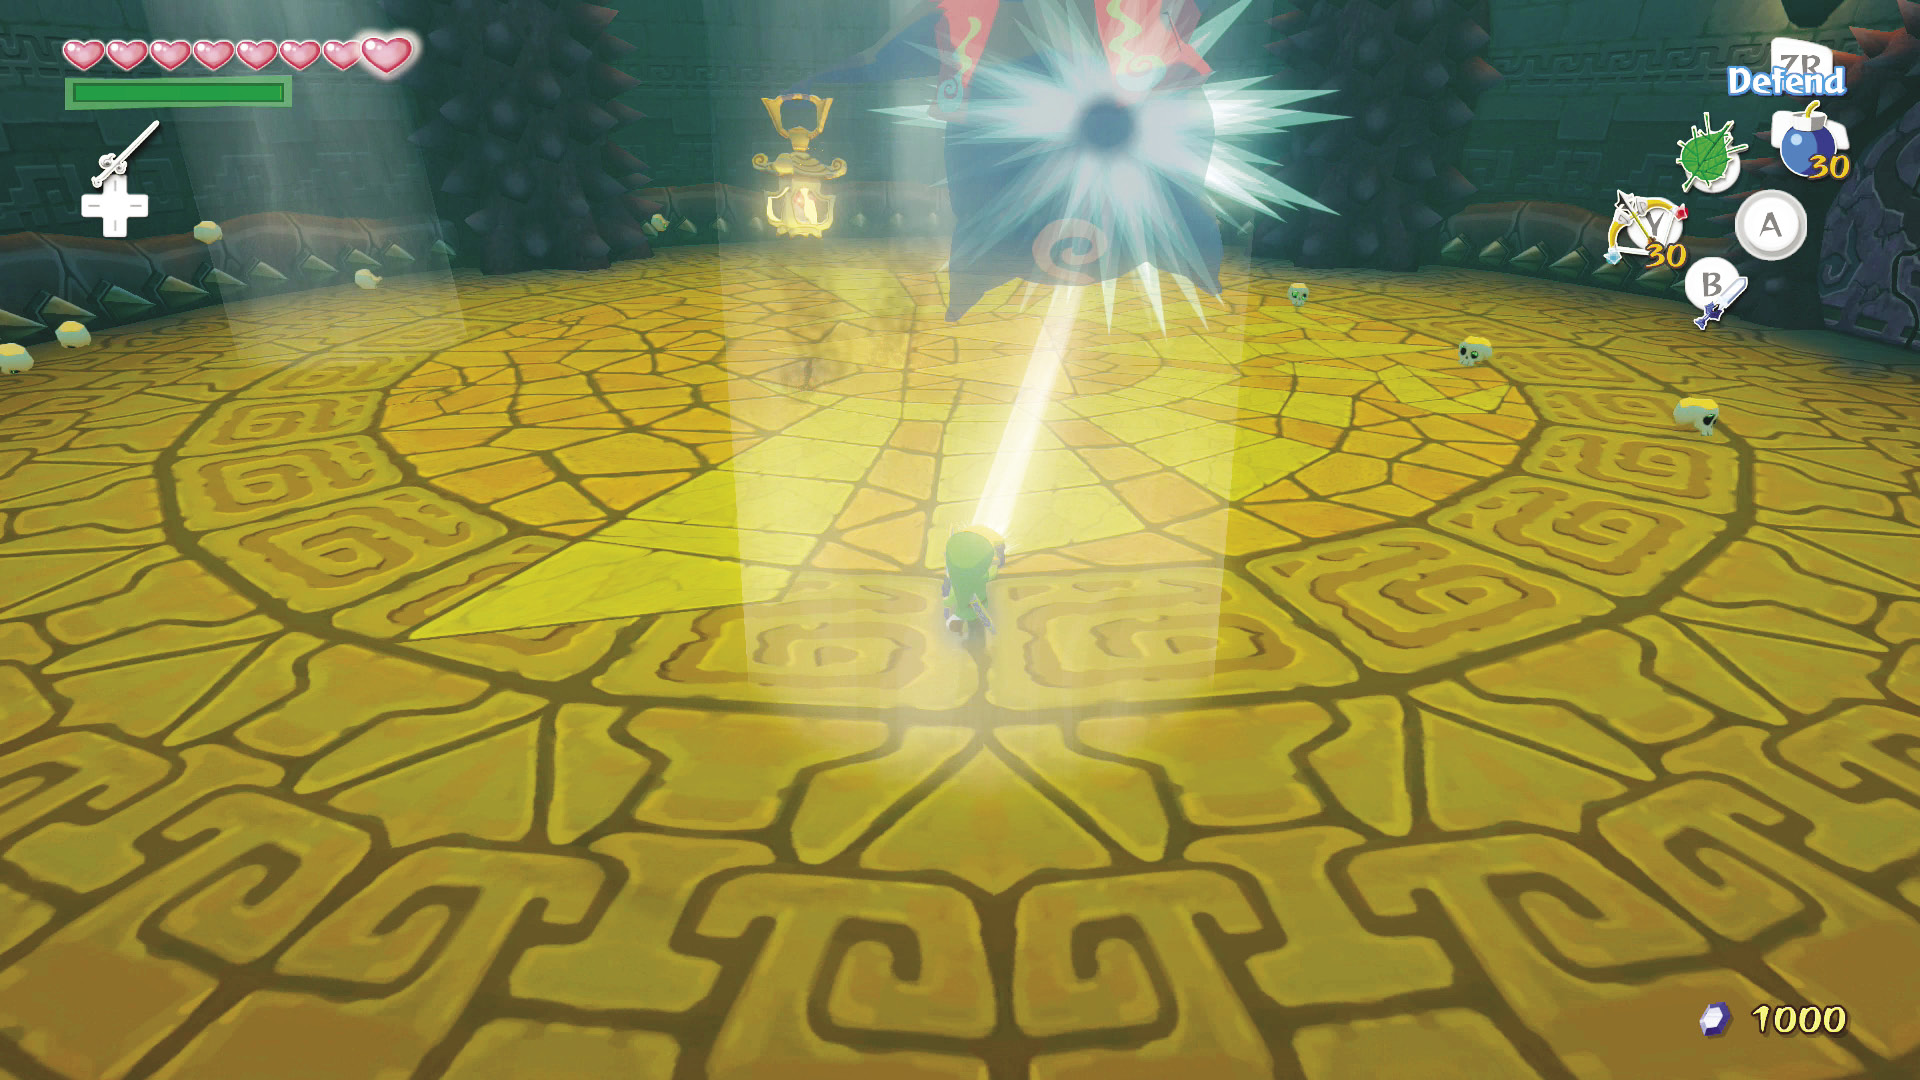 Defeating Jalhalla is straightforward: Three shafts of light shine down from the ceiling. During the fight, they’ll disappear and reappear, but always in the same places. Reflect their light at Jalhalla with your Mirror Shield, just as you would with any other Poe. 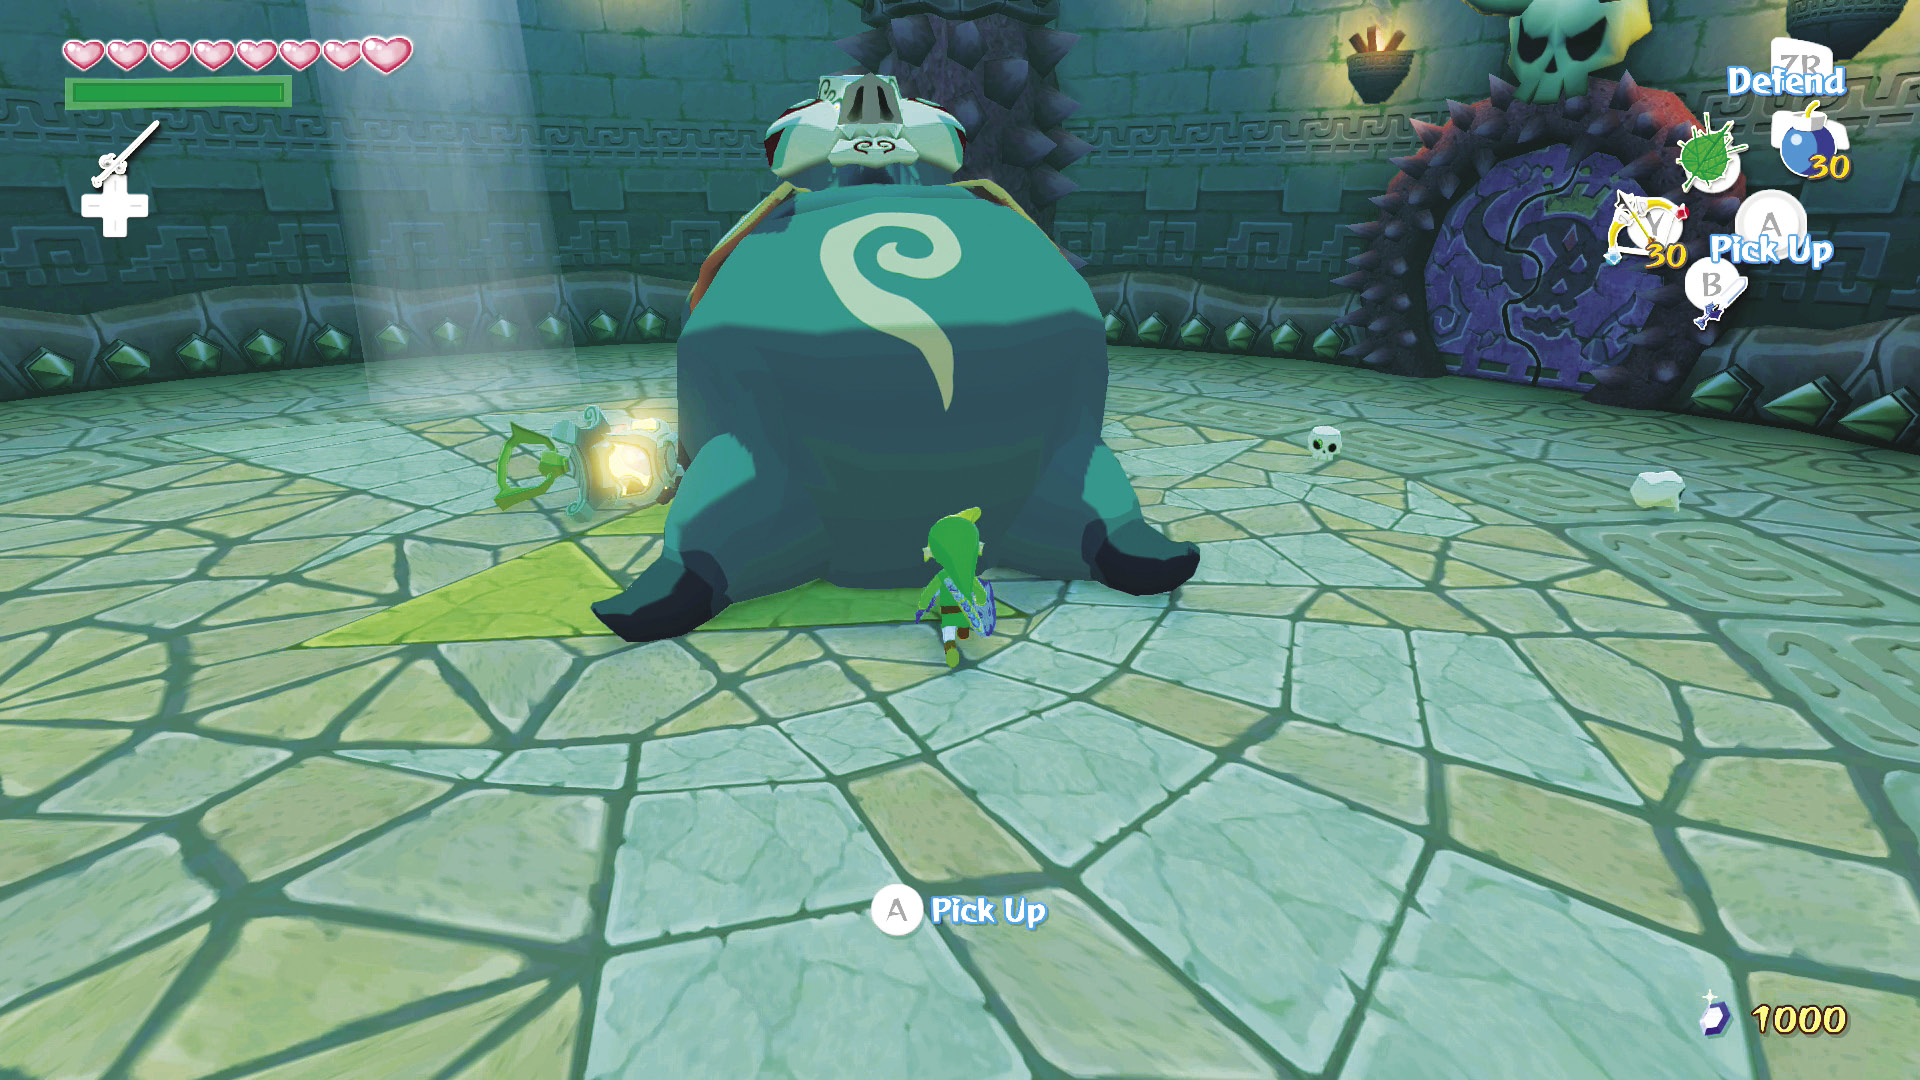 After a few seconds of constant exposure to the reflected light, Jalhalla becomes solid and lies faceup on the ground. Lift Jalhalla and throw it into one of the walls’ four pillars of spikes. 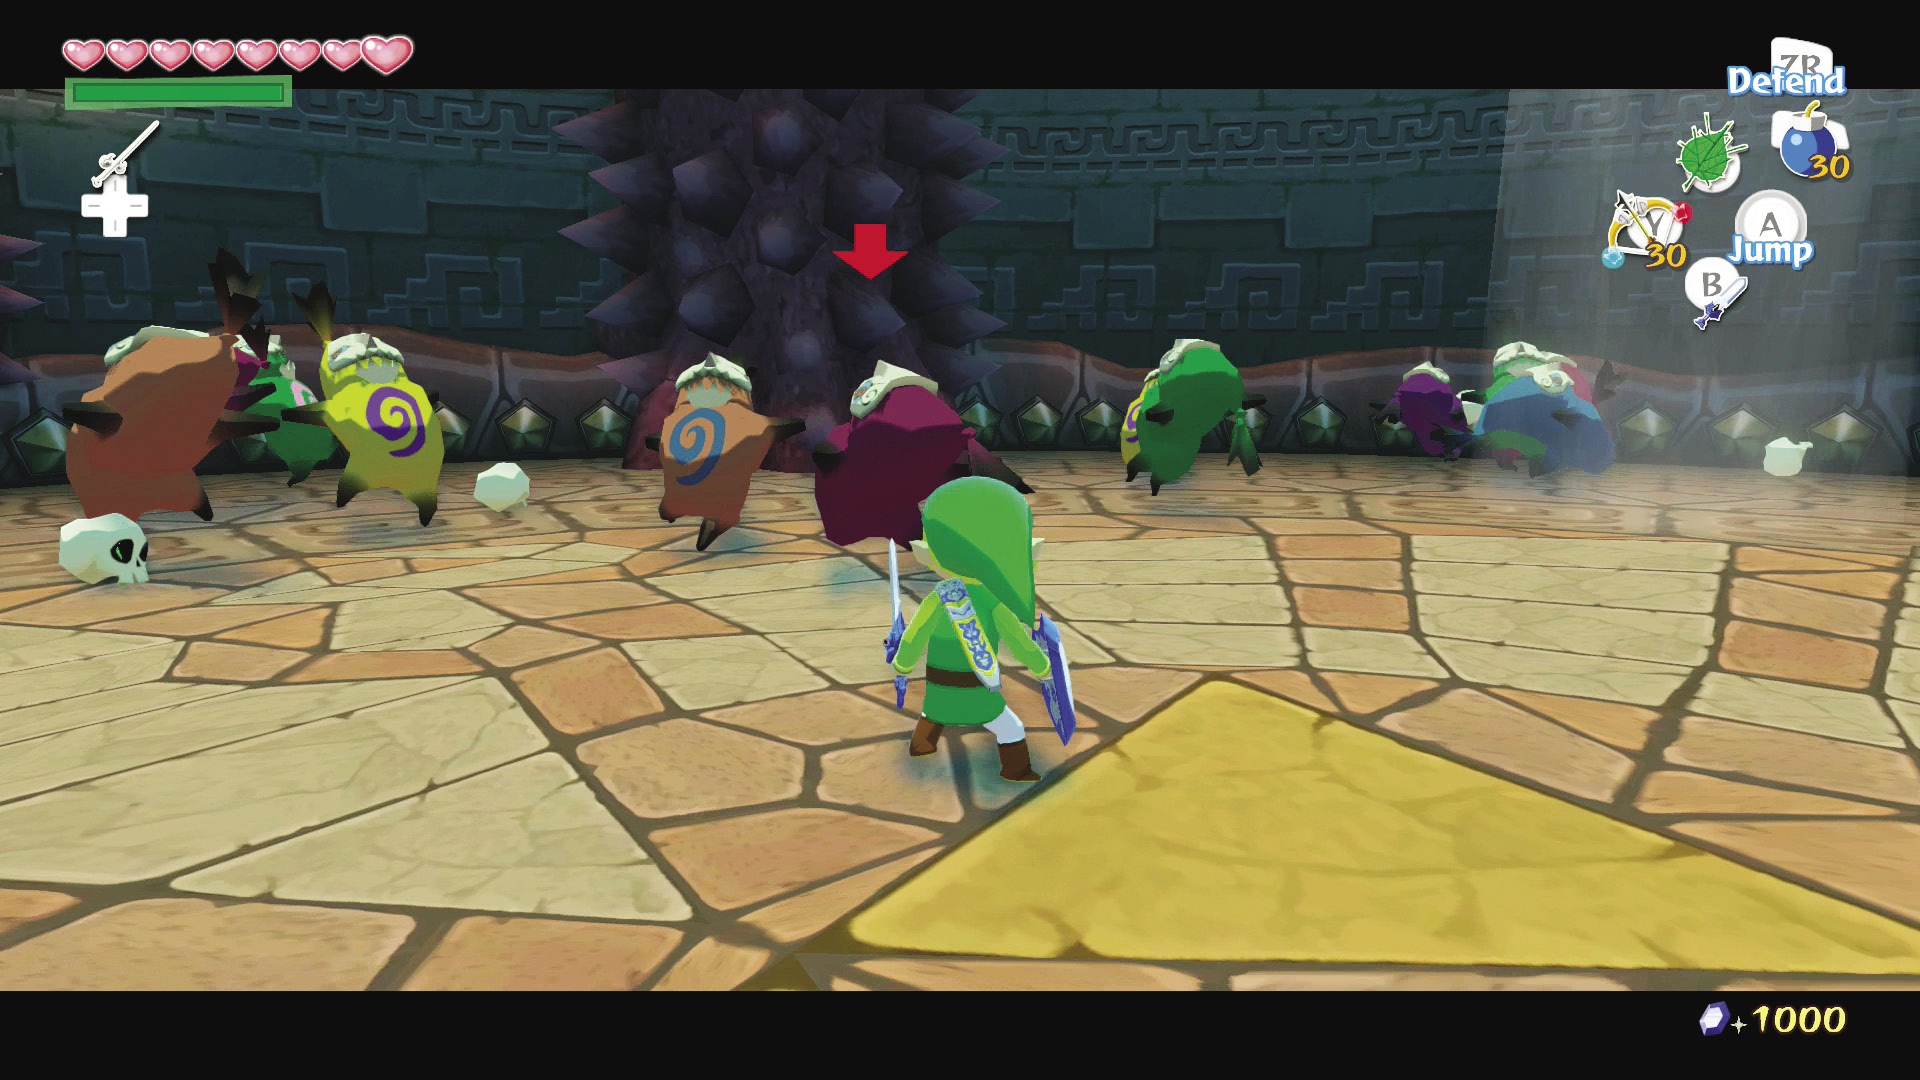 This causes Jalhalla to temporarily split into its tiny, more vulnerable Poes, all of them solid and ready to meet your sword. Defeat as many as you can before the remaining Poes reunite into Jalhalla and attack again. For every fifth normal Poe you defeat, or after an unspecified amount of time, will instantly reassemble itself. Repeat this pattern and Jalhalla will be on the fast track back to the afterlife. |
 directions if it touches you.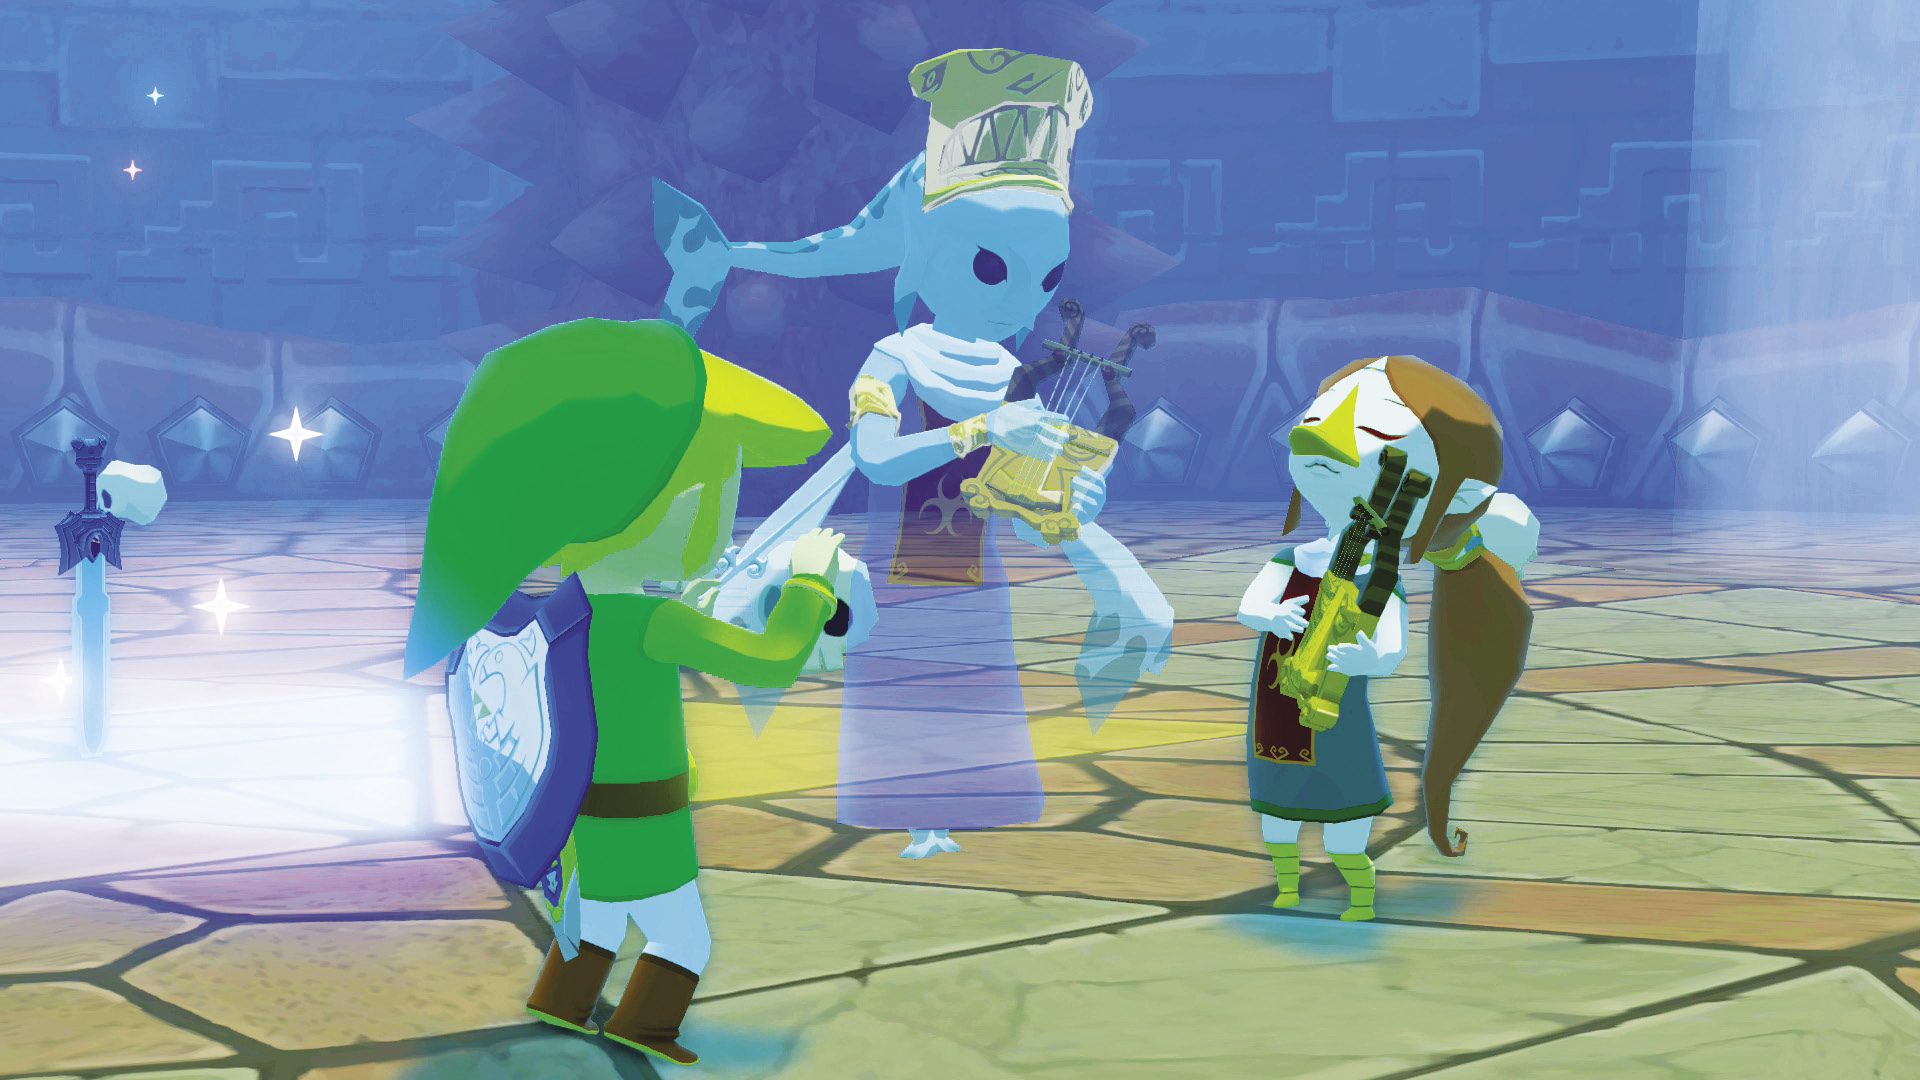
When you defeat Jalhalla, it leaves behind a Heart Container and a blue triangle begins shining in the triangle pattern on the floor. Grab the Heart Container and step into the blue triangle, and Medli will enter the room. Link places the Master Sword in the center of the triangle and begins to conduct the “Earth God’s Lyric.” Medli and the spirit of Laruto will join in.
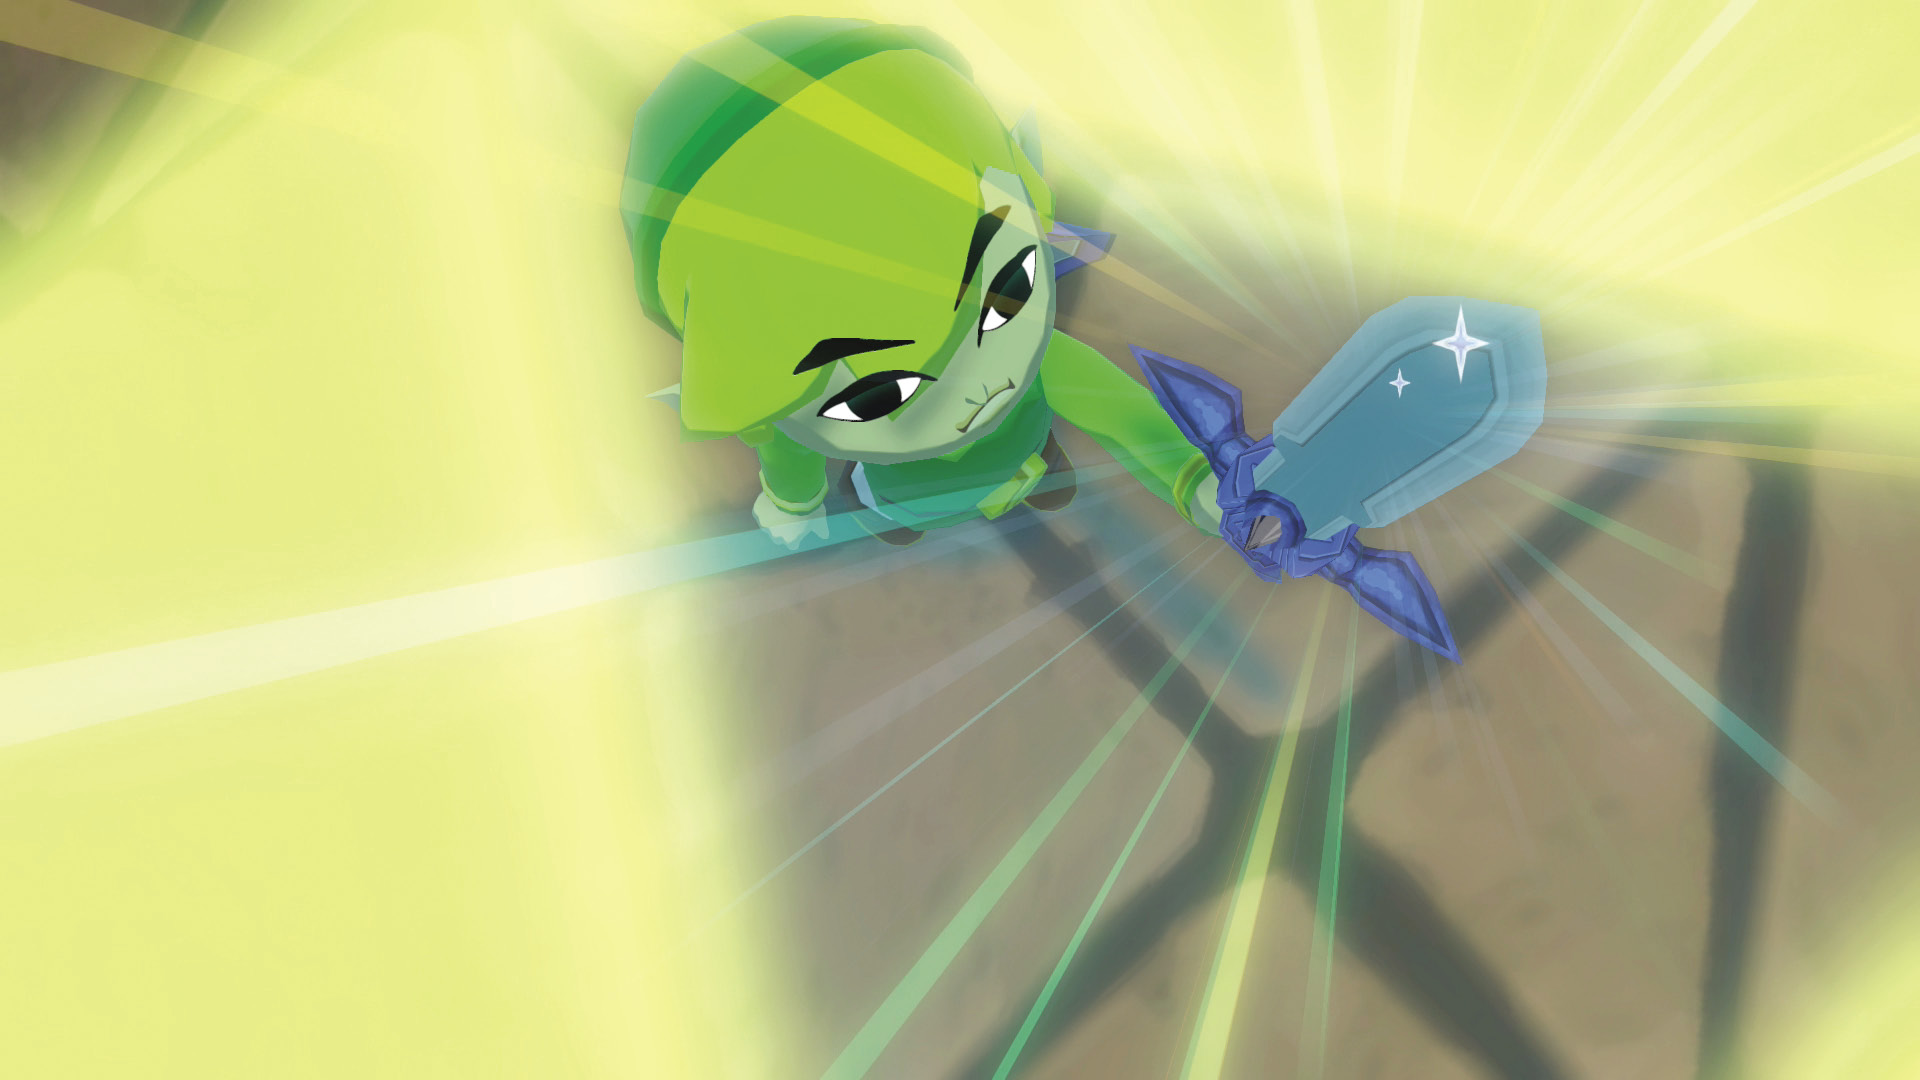
The hilt of the Master Sword transforms as Medli’s devotion restores part of its former power. Medli tells Link that he must restore the Wind Temple before the Master Sword regains its ability to repel evil. She asks him to watch over Prince Komali, then bids him good-bye. Link steps into the light of the triangle sigil and rises from the Earth Temple, reappearing on Headstone Island’s shores.