Prima Games eGuides
primagames.com Browse Redeem a code Help
The Legend of Zelda: The Wind Waker eGuide
Sign in My Guides

Sign in or create an account

We'll email you a link. No password needed, and if you don't have an account yet, the link makes one.

By creating an account or signing in, you agree to our Terms of Service and Privacy Policy.

Have a password?

Had an account on the old eGuides site, or a code from a printed guide? Help and troubleshooting

Sign in with a password

By signing in, you agree to our Terms of Service and Privacy Policy.

Check your email

A sign-in link is on its way. It works once and expires in 15 minutes. Open it and you're in, with an account if you didn't already have one.

Contents

  • Walkthrough
    • Prologue
    • Humble Beginnings
      • Outset Island (B7)
      • Forest of Fairies
    • The Hunt for Aryll
      • Pirate Ship
      • Forsaken Fortress (A1)
    • The Waker of Winds
      • Windfall Island (D2)
      • Dragon Roost Island (F2)
      • Rito Aerie
    • Dins Pearl and the Spirit of the Skies
      • Dragon Roost Cavern (F2)
    • Somethings Amiss in the Forest Haven
      • Introduction
      • Forest Haven (F6) - A
      • Forbidden Woods (F6)
      • Forest Haven (F6) - B
    • The Spirit of Water and the Third Pearl
      • Introduction
      • Greatfish Isle (B4)
      • Windfall Island (D2)
      • Outset Island (B7)
      • Northern Triangle Island (D3)
      • Southern Triangle Island (D5)
      • Eastern Triangle Island (F4)
    • The Heros Test and the Forgotten Realm
      • Introduction
      • Tower of the Gods (E5)
      • The Castle Frozen in Time
    • Return to the Forsaken Fortress: The Hunt for Aryll Continues
      • Introduction
      • Northern Triangle Island
      • Forsaken Fortress (A1)
    • Restoring Evils Bane: The Earth Temple
      • Introduction
      • Headstone Island (C7)-A
      • Dragon Roost Island (F2)
      • Headstone Island (C7)-B
      • Earth Temple (C7)
    • The Sword Shines Again! The Wind Temple
      • Introduction
      • Ice Ring Isle (E6)
      • Gale Isle(D1)
      • Forest Haven (F6)
      • The Wind Temple (D1)
    • Rebuilding the Triforce of Courage
      • A Brief Explanation
      • Triforce Chart #1: Islet of Steel (B5)
      • Triforce Chart #2: Birds Peak Rock (G5)
      • Triforce Chart #3: Needle Rock Island (A5)
      • Translating the Charts
      • Triforce Shard #1
      • Private Oasis (E5)
      • Triforce Shard #2: Outset Island (B7)
      • Triforce Shard #3: Diamond Steppe Island (A6)
      • Triforce Shards #4 and #5: Stone Watcher Island (C5)
      • Triforce Shard #6: Overlook Island (G1)
      • Triforce Shard #7: Greatfish Isle (B4)
      • Triforce Shard #8: Cliff Plateau Isles (G6)
      • The Triforce of Courage
      • Tower of the Gods (E5)
    • Ganons Tower: The Final Showdown
      • Introduction
      • Ganons Tower
  • Equipment and Items
    • Common Items
    • Dungeon Items
    • Quest Items
    • Special Items
  • Characters and Enemies
    • Introduction
    • Characters
    • Enemies
  • Legendary Checklist
    • Quest Items
    • Songs
    • Pieces of Heart
    • Treasure Charts
    • Special Charts
    • Triforce Charts and Shards
    • Great Fairies
    • Big Octos
    • Submarines
    • Sea Platforms
    • Secret Caves
    • Rings of Light
    • Blue ChuChus
    • Withered Deku Trees
    • Beedles Shop Ship
    • Shops and Vendors
    • Minigames
    • Nintendo Gallery
  • Islands of the Great Sea
    • Islands of the Great Sea
    • Forsaken Fortress (A1)
    • Four-Eye Reef (A2)
    • Western Fairy Island (A3)
    • Three-Eye Reef (A4)
    • Needle Rock Isle (A5)
    • Diamond Steppe Island (A6)
    • Horseshoe Island (A7)
    • Star Island (B1)
    • Mother & Child Isles (B2)
    • Rock Spire Isle (B3)
    • Greatfish Isle (B4)
    • Islet of Steel (B5)
    • Five-Eye Reef (B6)
    • Outset Island (B7)
    • Northern Fairy Island (C1)
    • Spectacle Island (C2)
    • Tingle Island (C3)
    • Cyclops Reef (C4)
    • Stone Watcher Island (C5)
    • Shark Island (C6)
    • Headstone Island (C7)
    • Gale Isle (D1)
    • Windfall Island (D2)
    • Northern Triangle Island (D3)
    • Six-Eye Reef (D4)
    • Southern Triangle Island (D5)
    • Southern Fairy Island (D6)
    • Two-Eye Reef (D7)
    • Crescent Moon Island (E1)
    • Pawprint Isle (E2)
    • Eastern Fairy Island (E3)
    • Tower of the Gods (E4)
    • Private Oasis (E5)
    • Ice Ring Isle (E6)
    • Angular Isles (E7)
    • Seven-Star Isles (F1)
    • Dragon Roost Island (F2)
    • Fire Mountain (F3)
    • Eastern Triangle Island (F4)
    • Bomb Island (F5)
    • Forest Haven (F6)
    • Boating Course (F7)
    • Overlook Island (G1)
    • Flight Control Platform (G2)
    • Star Belt Archipelago (G3)
    • Thorned Fairy Island (G4)
    • Birds Peak Rock (G5)
    • Cliff Plateau Isles (G6)
    • Five-Star Isles (G7)
  • How to Play
    • Game File Management
    • Game Screens
    • Controlling Link
    • Environmental Objects

The Legend of Zelda: The Wind Waker Guide › Islands of the Great Sea

Five-Star Isles (G7)
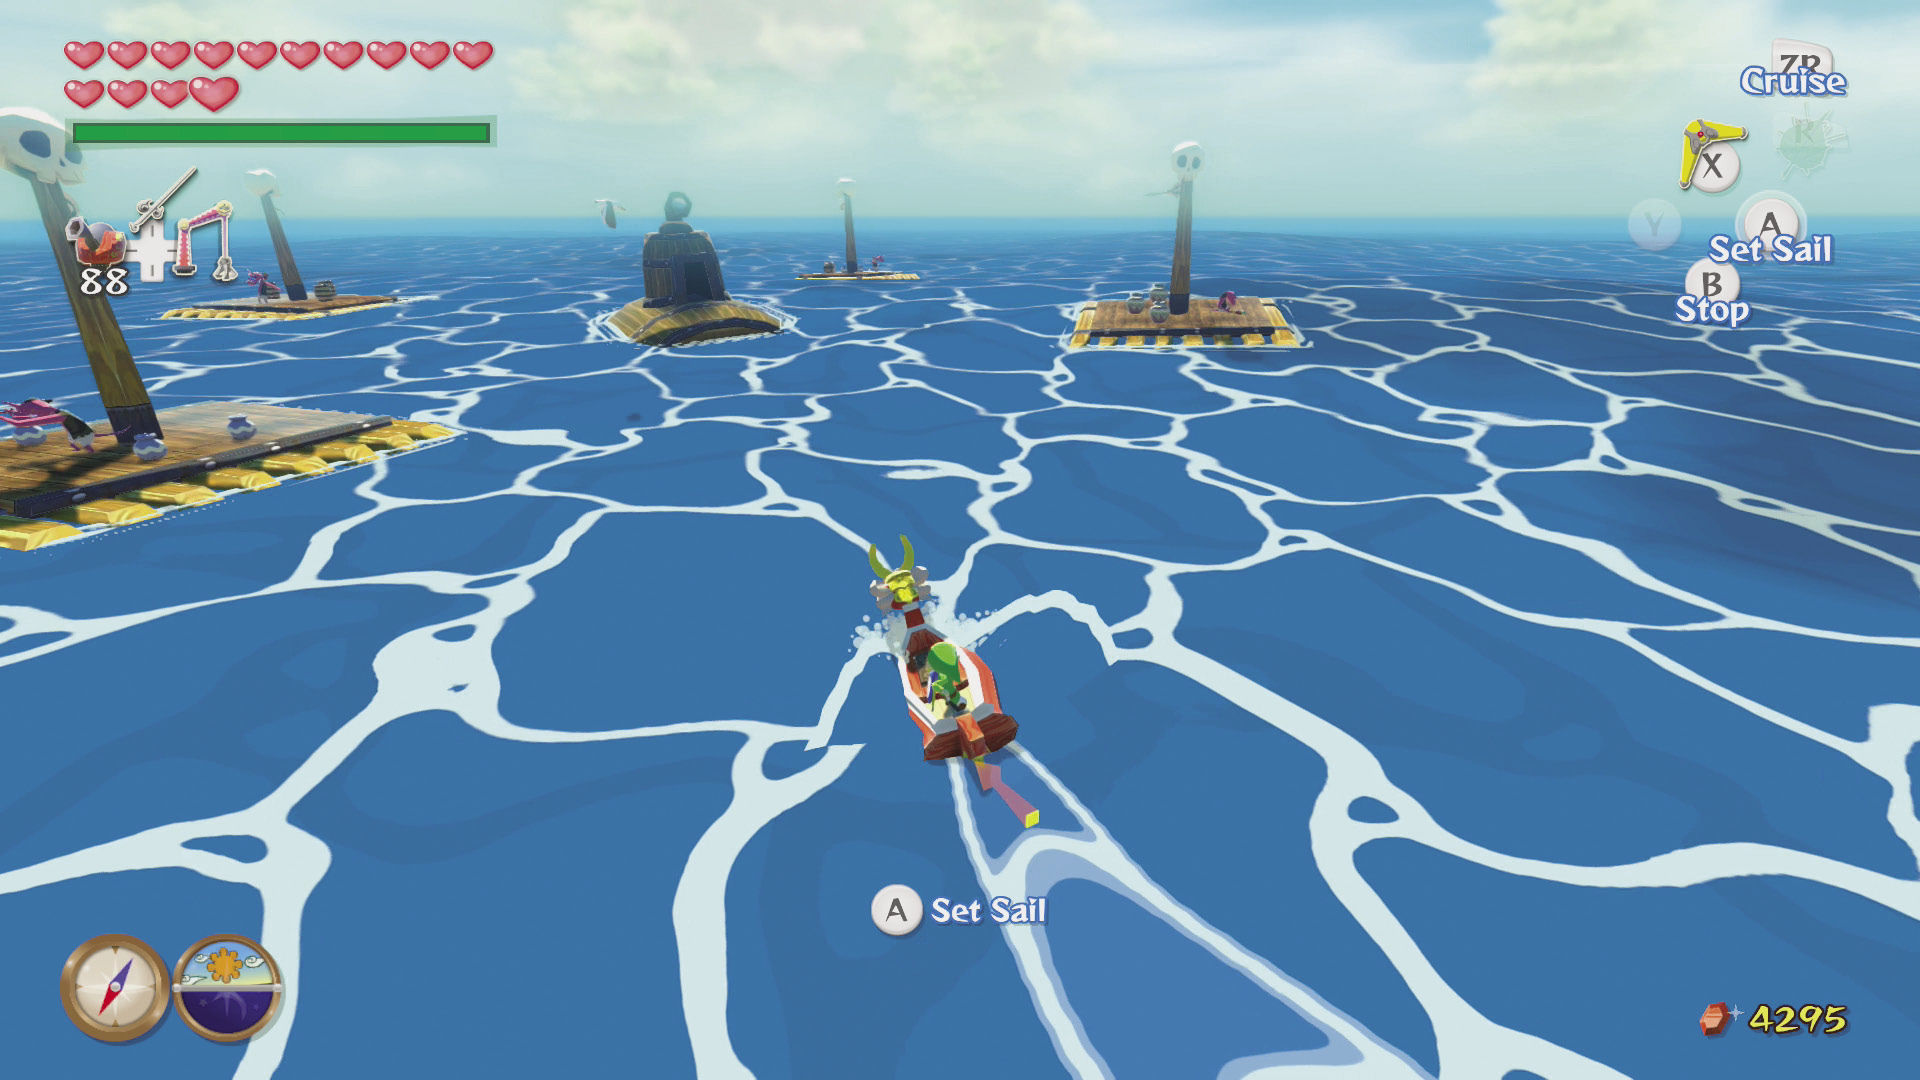
The Five-Star Isles are little more than a collection of rock spires poking through the surface of the Great Sea. Several Kargorocs closely guard the spires, waiting to swoop down and attack unwary passersby.

Ghost Ship Notice

The Ghost Ship appears near this island on nights when the crescent moon faces down (right crescent).

Piece of Heart #6 (via Submarine)

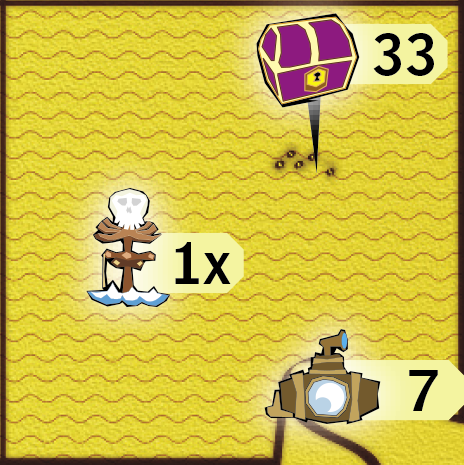
Piece of Heart #6 is inside a submarine in this sector. Sail to the submarine, and notice a chest on a raft next to it. Open the chest for a Red Rupee, then swim onto the submarine and enter the doorway leading inside.
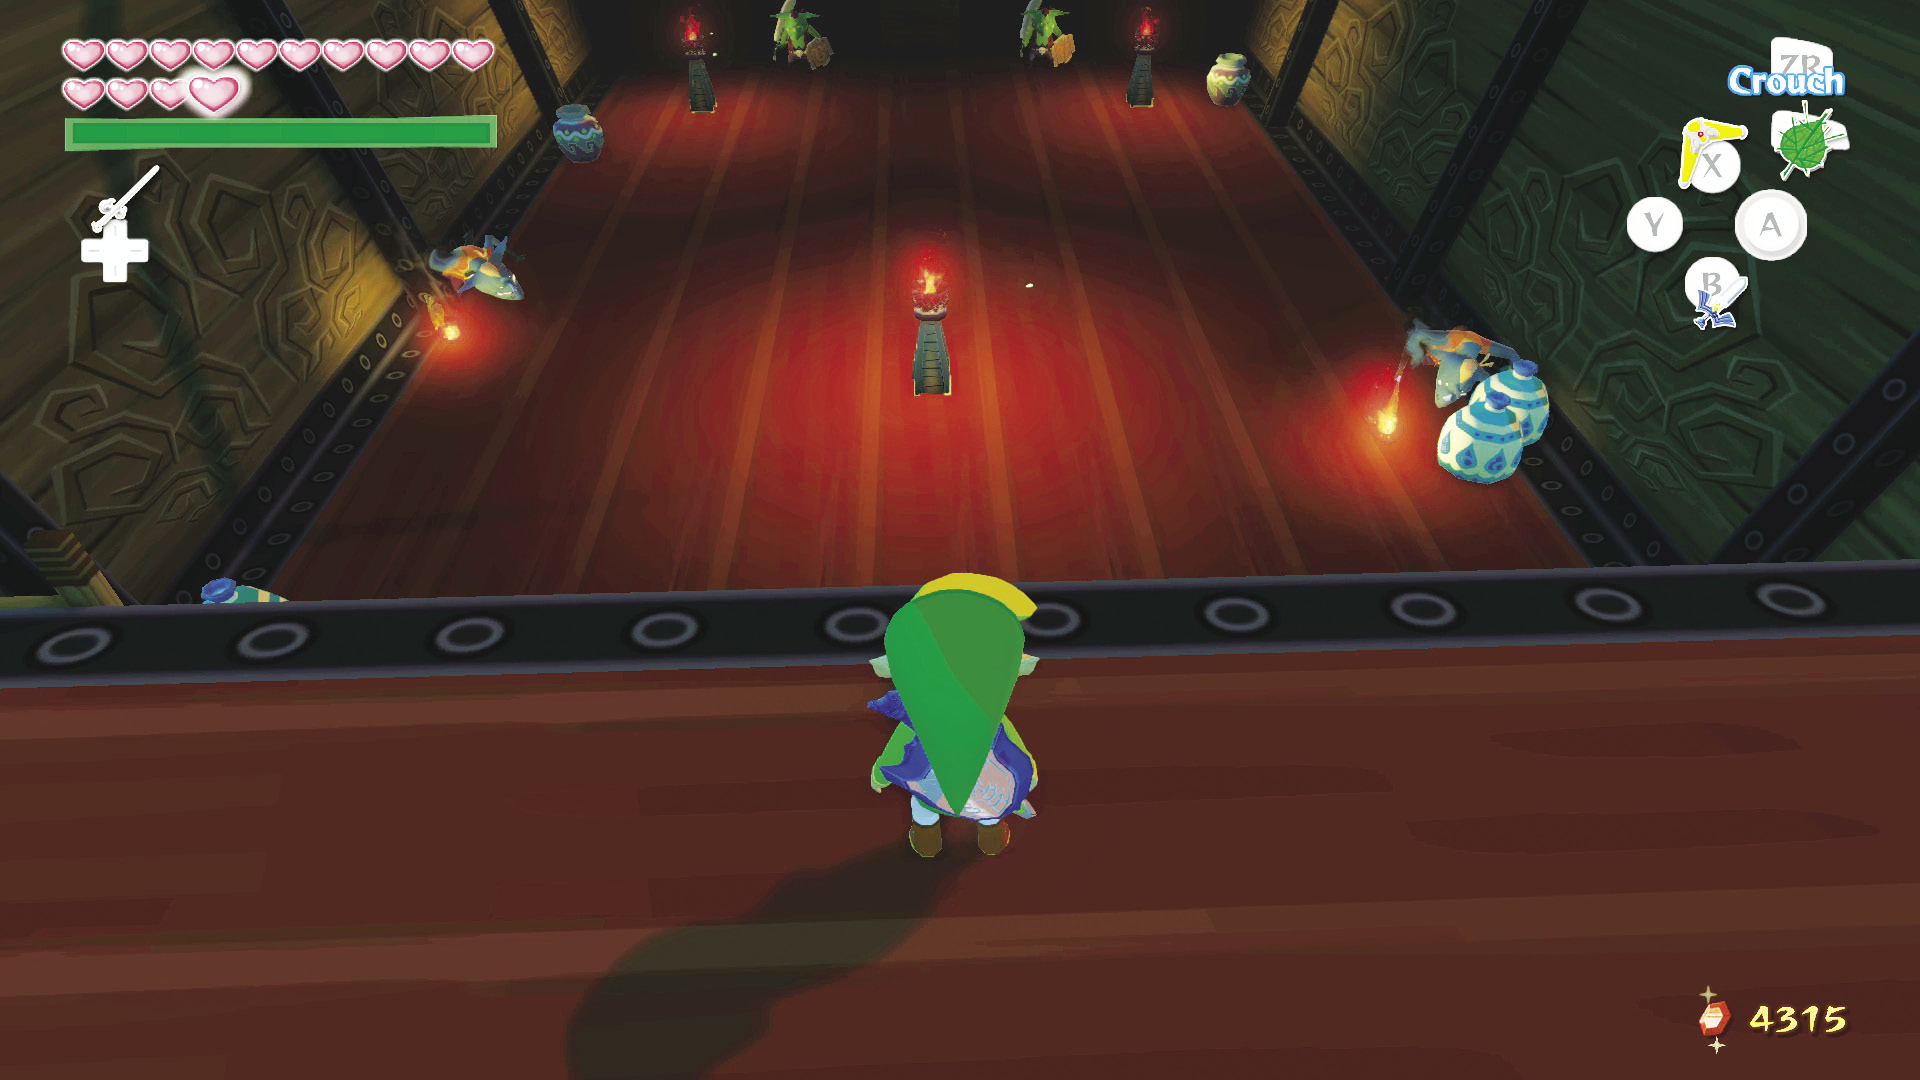
You face a few Bokoblins and Keese. Defeat the enemies, and a ladder drops from the ceiling of the submarine. Climb the ladder and open the chest above to claim Piece of Heart #6.

Sea Platform
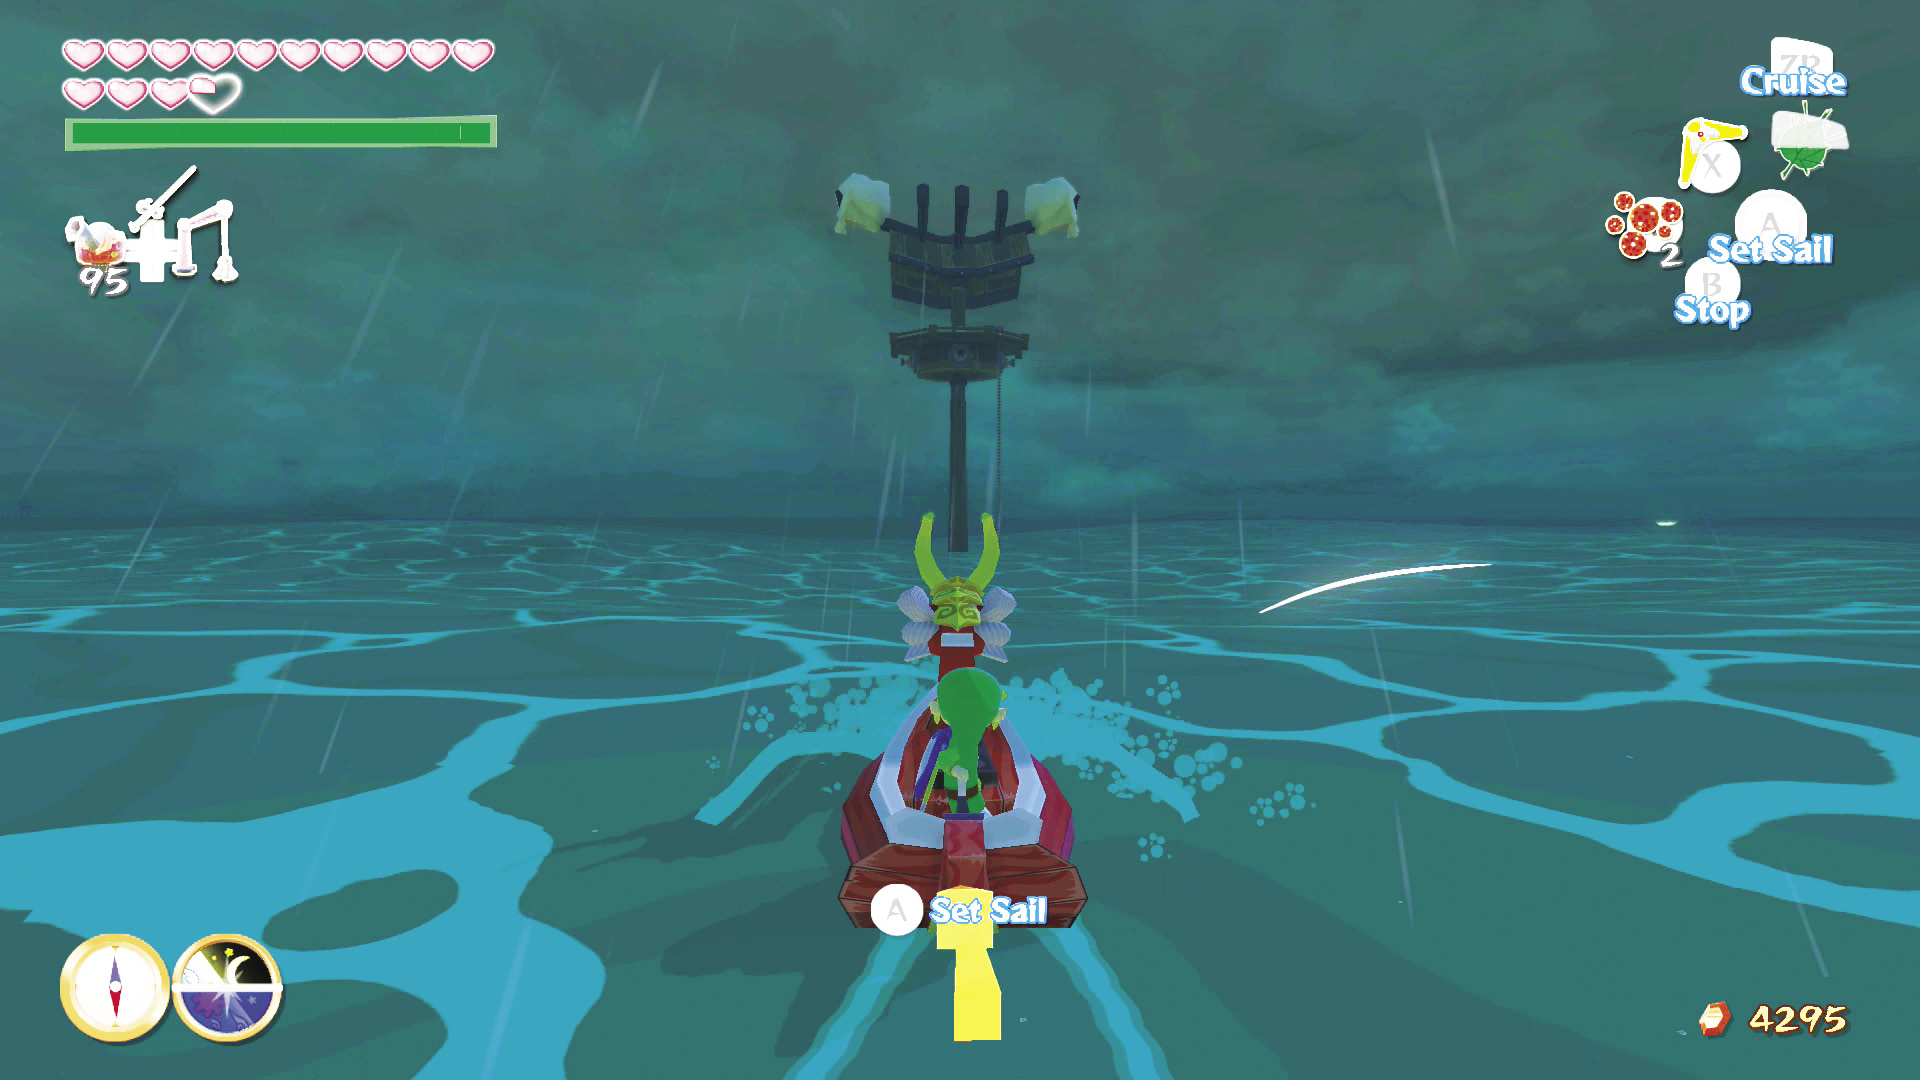
Sail to the single Sea Platform and destroy all its cannons to reveal a chest on top of the platform. Climb the Sea Platform’s ladder and open the chest, which contains a minor reward.

Rings of Light
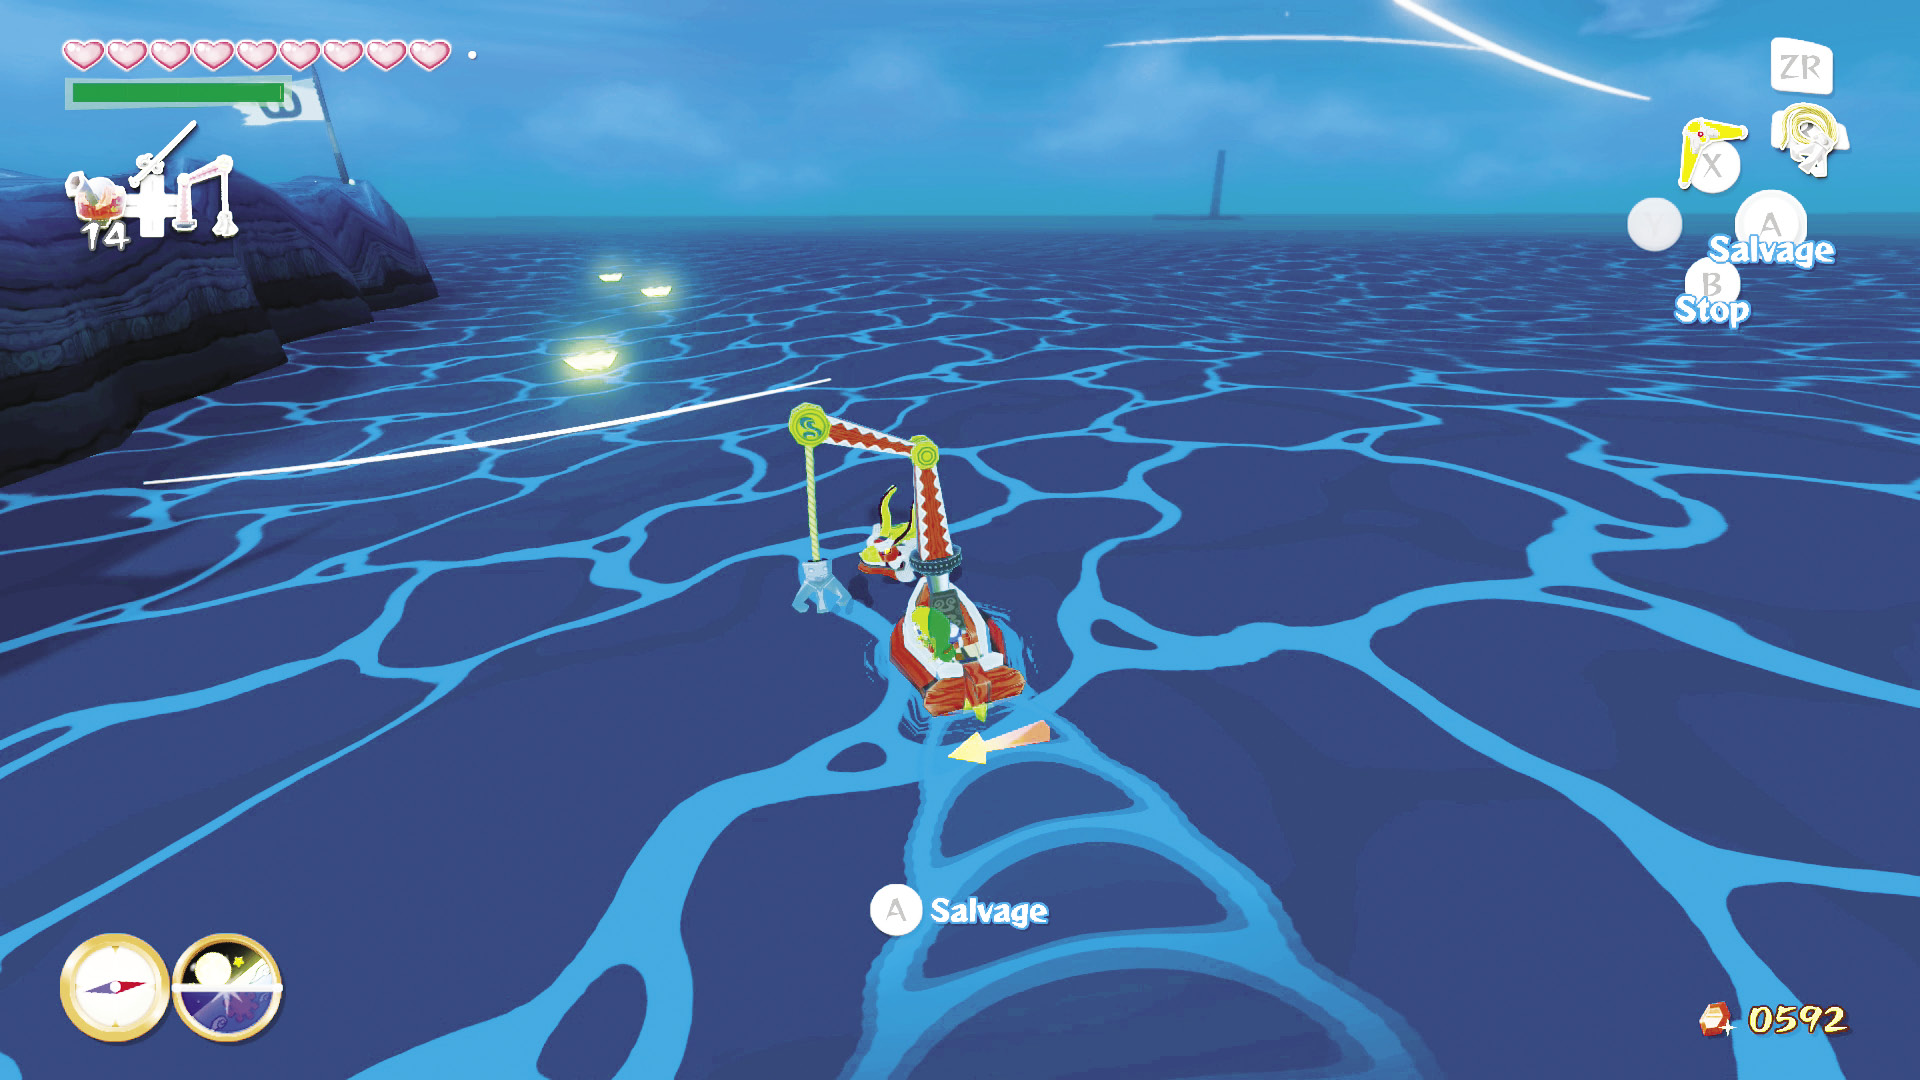
Three rings of light around this island appear only under the light of a full moon. Each contains a chest with a Red Rupee. When you see the rings of light, use the Grappling Hook to pull up the chests.

Piece of Heart #35 (via Treasure Chart #33)
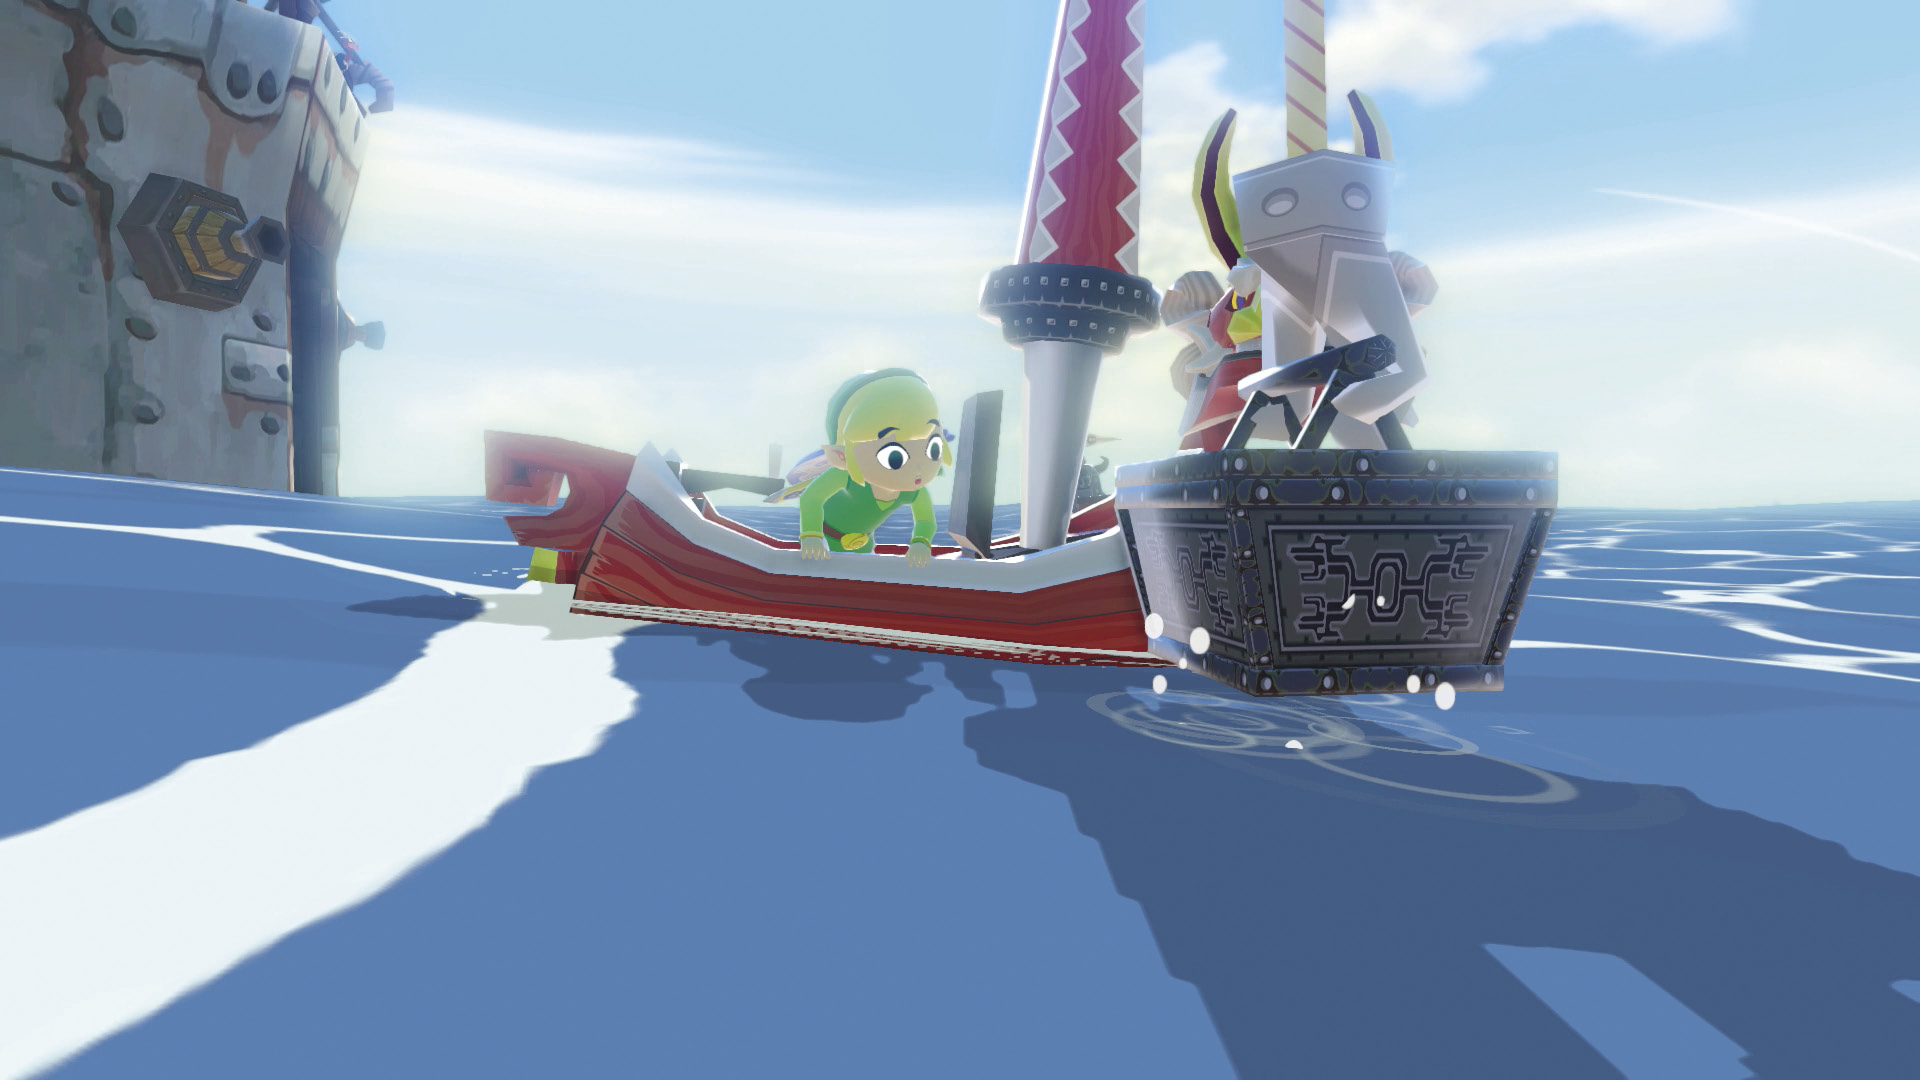
Find and open Treasure Chart #33 (found at Windfall Island [D2]) to pull a chest from the Great Sea near the Five-Star Isles. The chest contains Piece of Heart #35.

PreviousCliff Plateau Isles (G6) NextGame File Management