The Legend of Zelda: The Wind Waker Guide Walkthrough The Spirit of Water and the Third Pearl
Southern Triangle Island (D5)
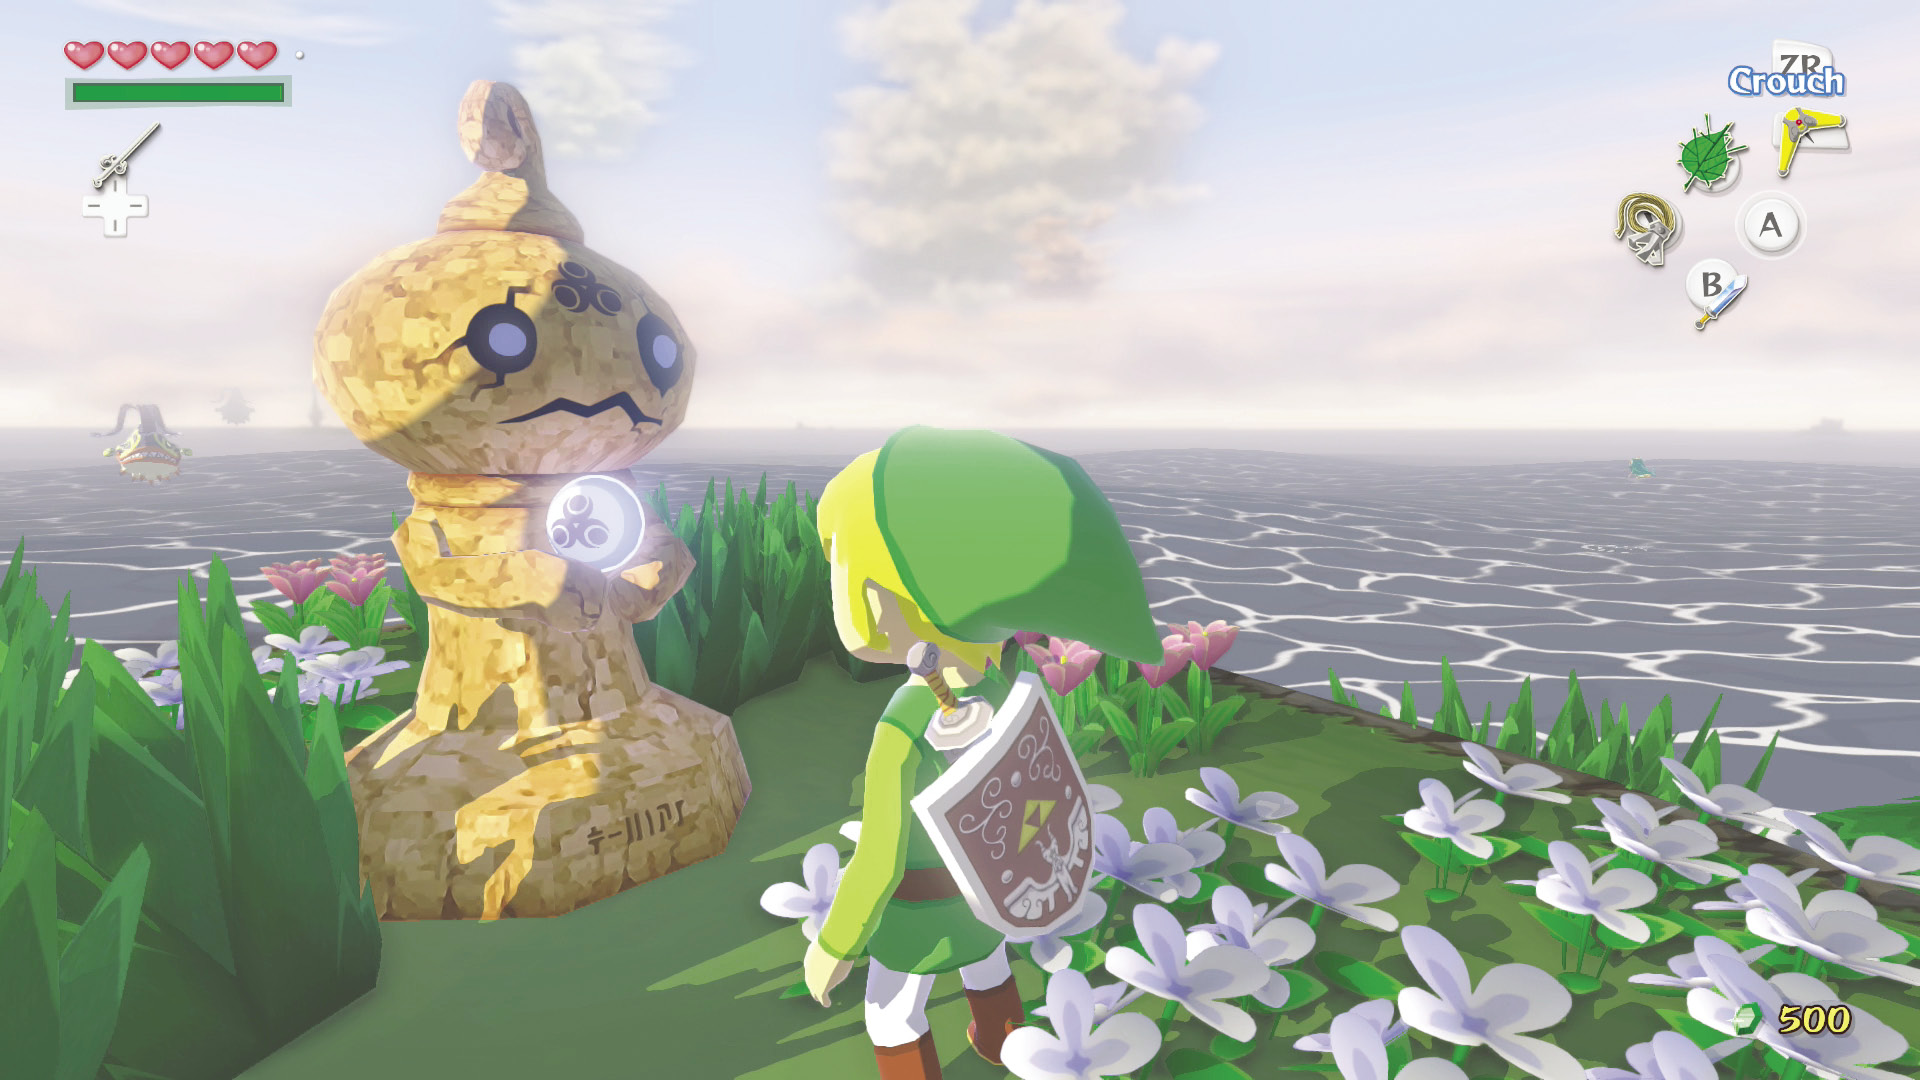
Southern Triangle Island (D5) is identical to Northern Triangle Island, right down to the statue holding out its hands. Beware the surrounding Seahats while making your approach. This statue is looking for Nayru’s Pearl, and we don’t see a reason why we shouldn’t hand it over. Now, then, let’s head to the final sector marked on the map.
Enemy: Seahat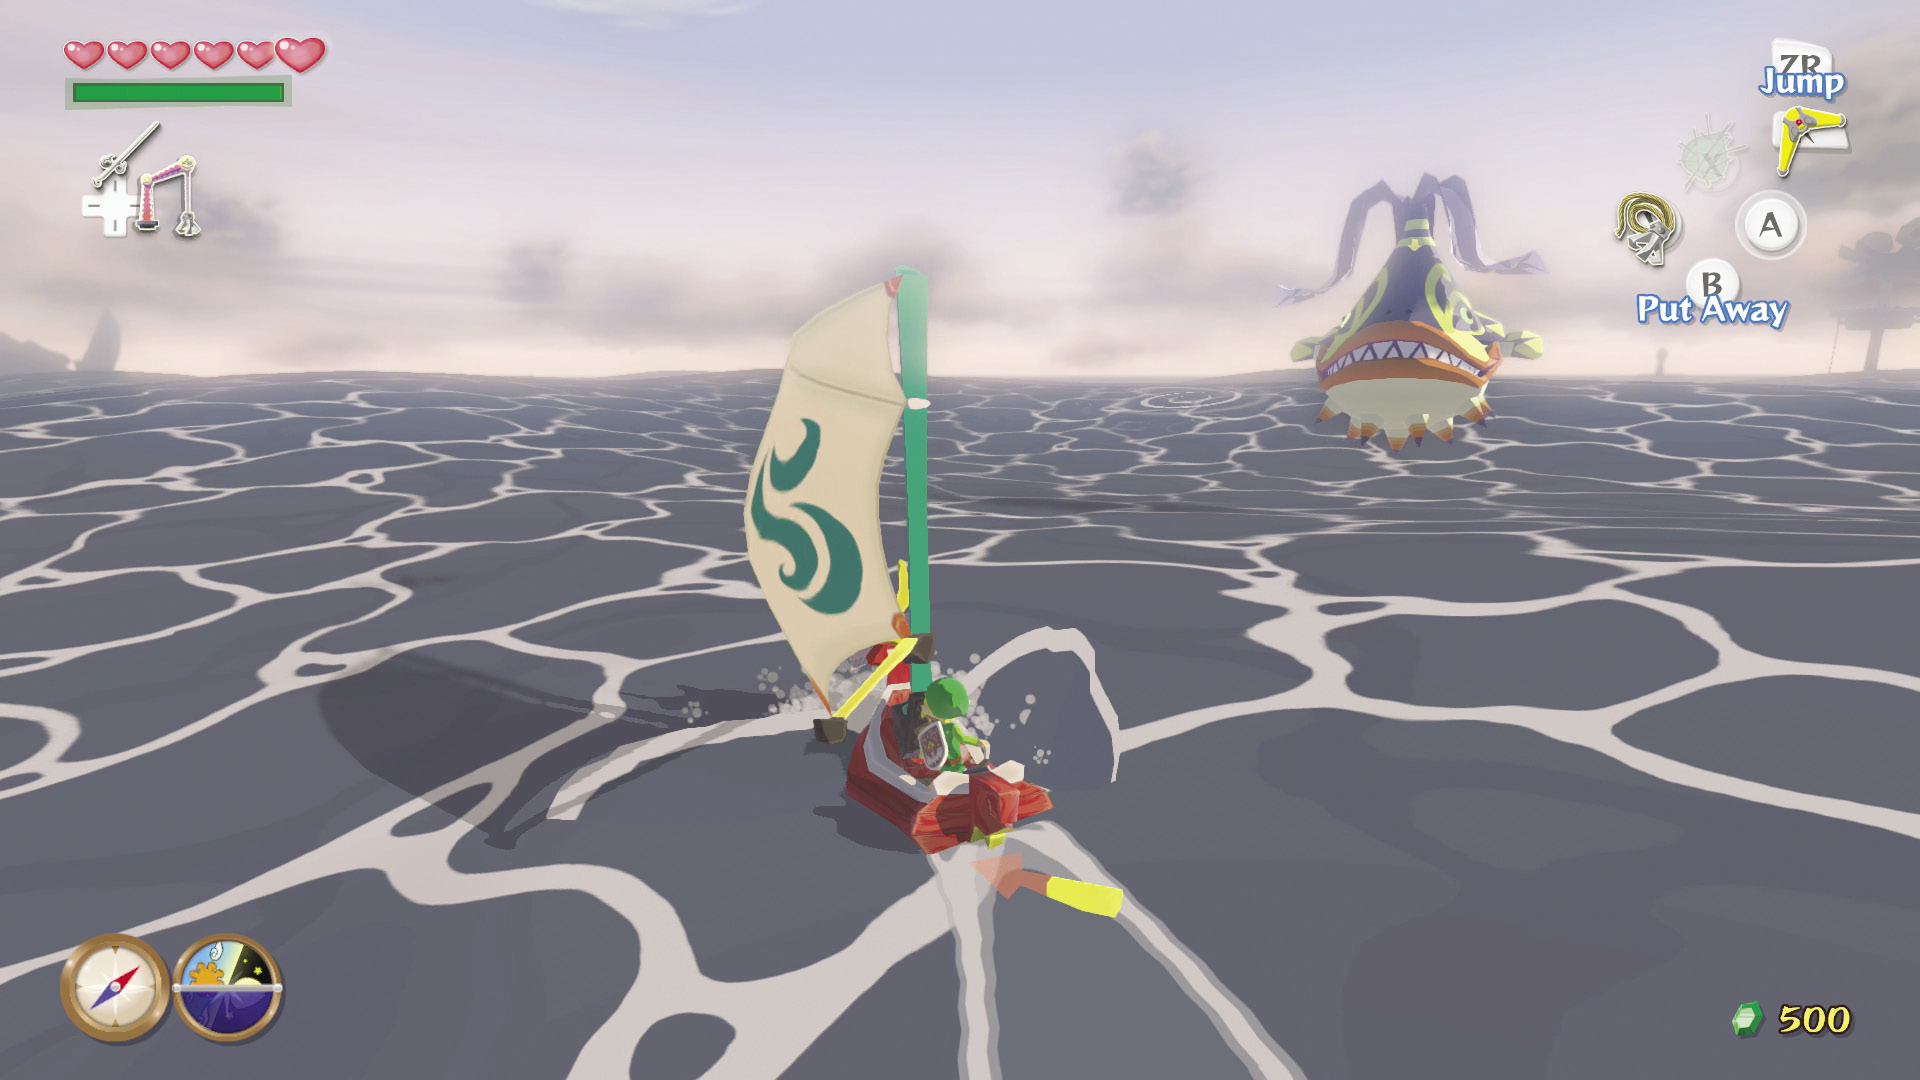 Seahats are like the larger, angrier, seafaring brothers of the tiny Peahats. They usually group in clusters and will relentlessly attempt to ram your boat if you get close enough to them. They are also known to be terrified of birds and will run away if you fly a seagull near them. Your Cannon or Boomerang will take care of them pretty swiftly, but you still need to watch out, because they won’t just sit there while you launch a projectile at them. If they ram your boat at least once, you can bet that they’ll do it again, so defeat them as quickly as possible to avoid further damage. Otherwise, just try and sail past them. |
Conquering the Great Sea
Private Oasis (E5)
Professional Octo Hunter
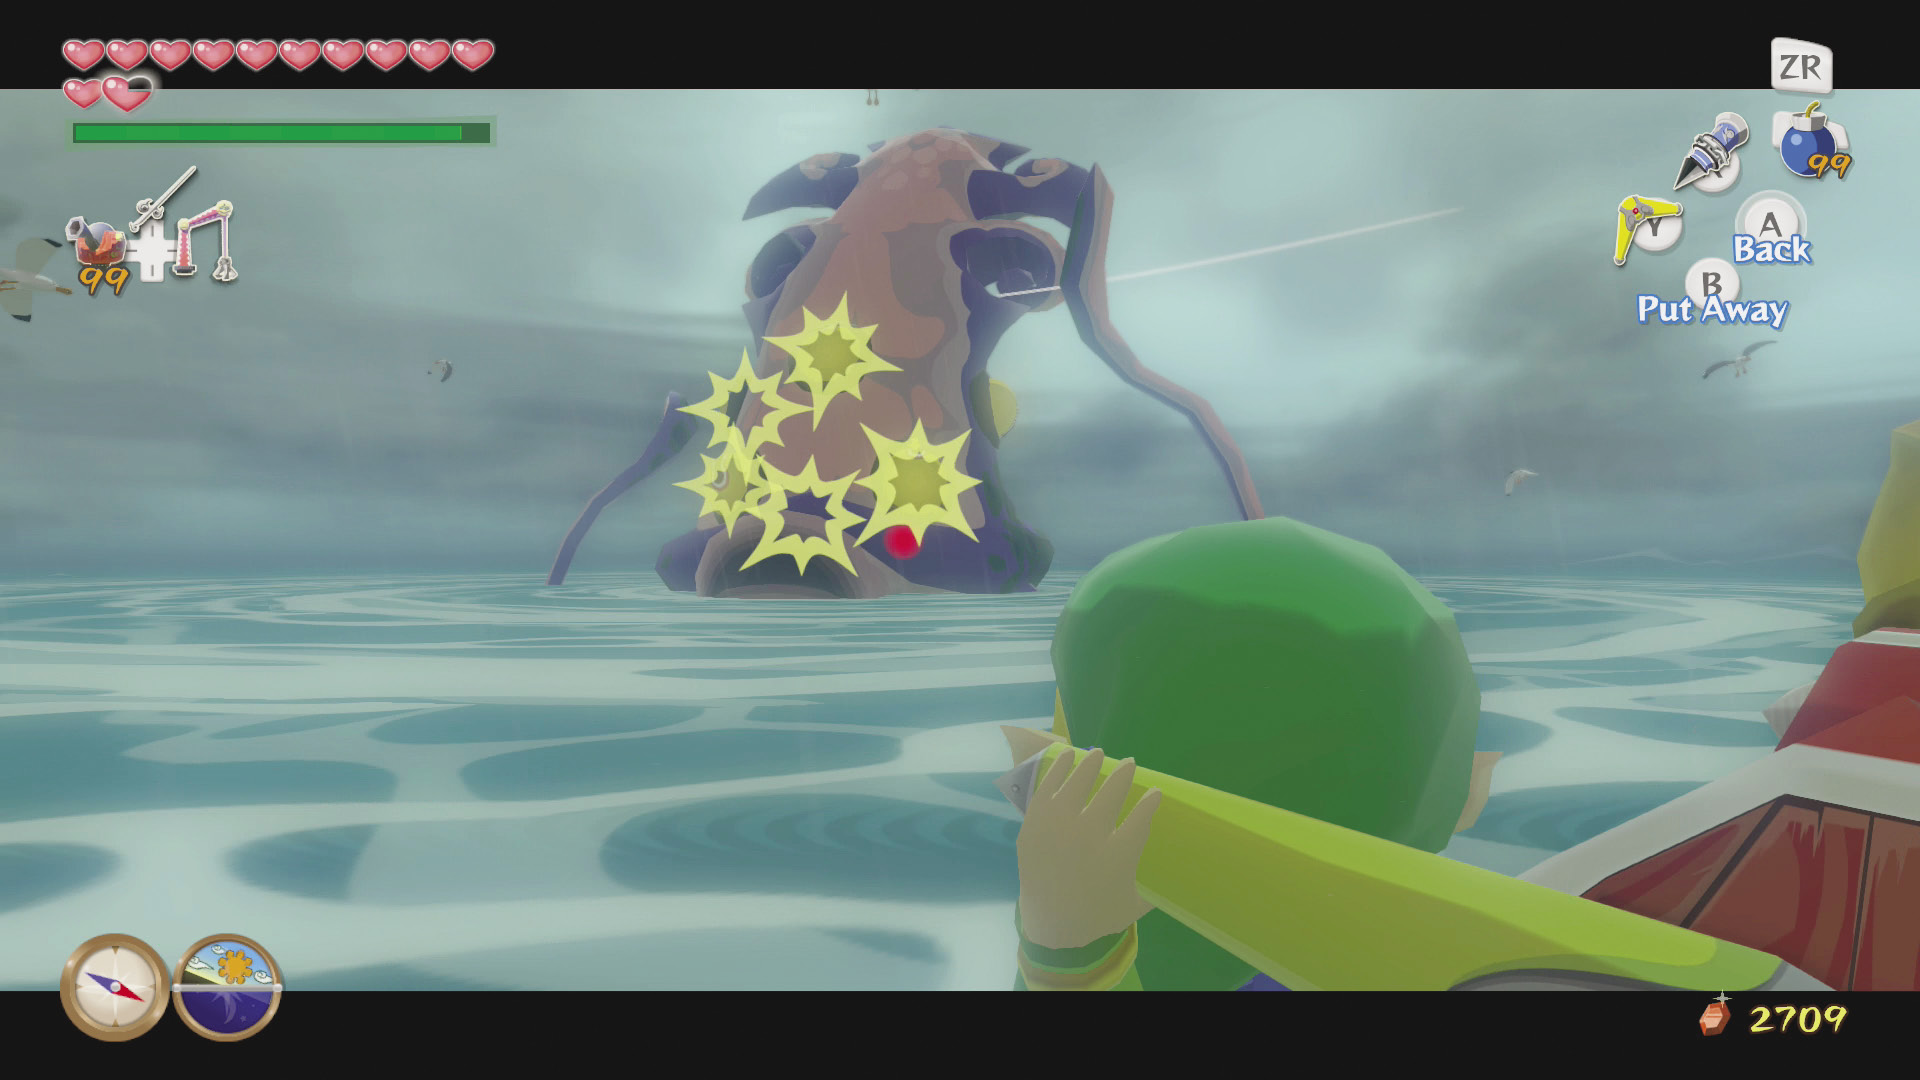
Another Big Octo is located west of the Private Oasis. Defeating it will add an Orange Rupee to your Wallet. Are Big Octos even a challenge to an accomplished Octo hunter like yourself anymore?
Sunken Treasure #1
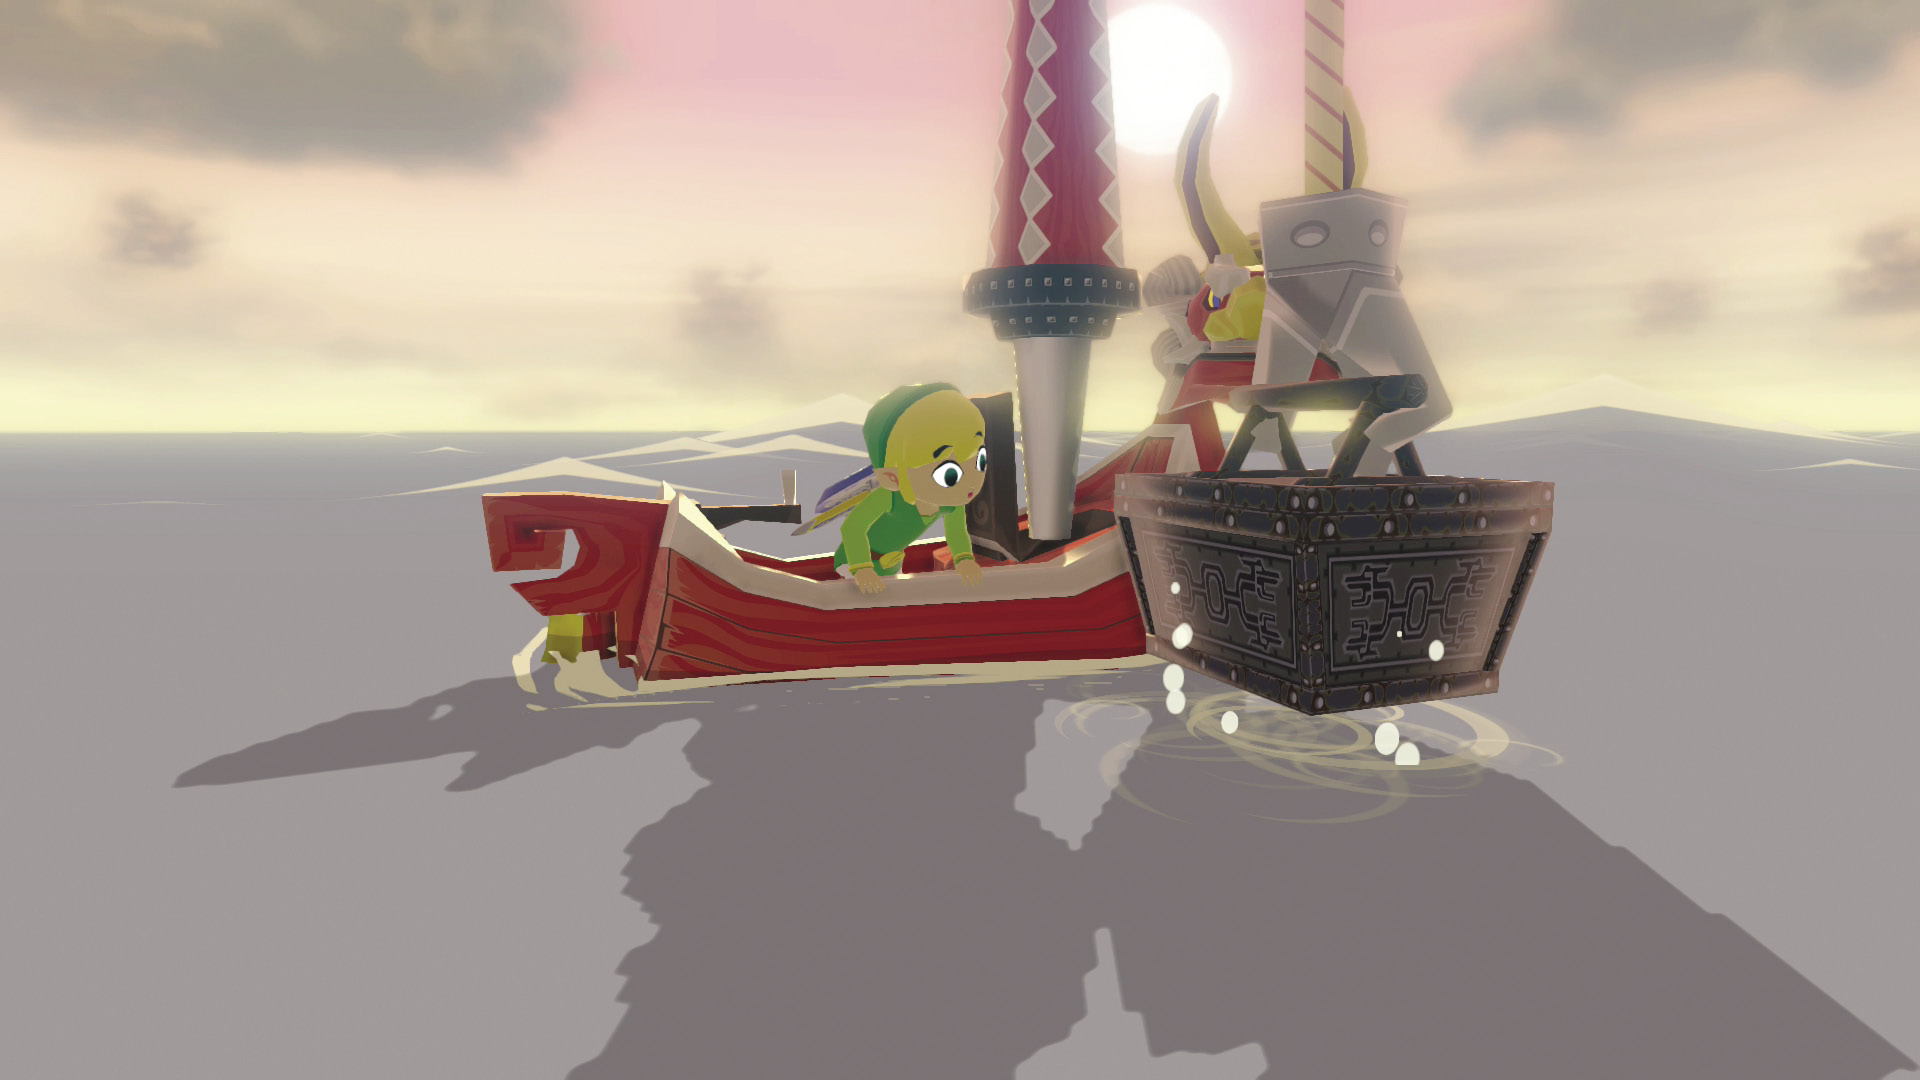
A Silver Rupee is yours for the taking if you nabbed Treasure Chart #1 while in the Forbidden Woods. Track it down and pull it up to get a little bit richer.
Bomb Island (F5)
Hey, Everybody, It’s Tuesday!
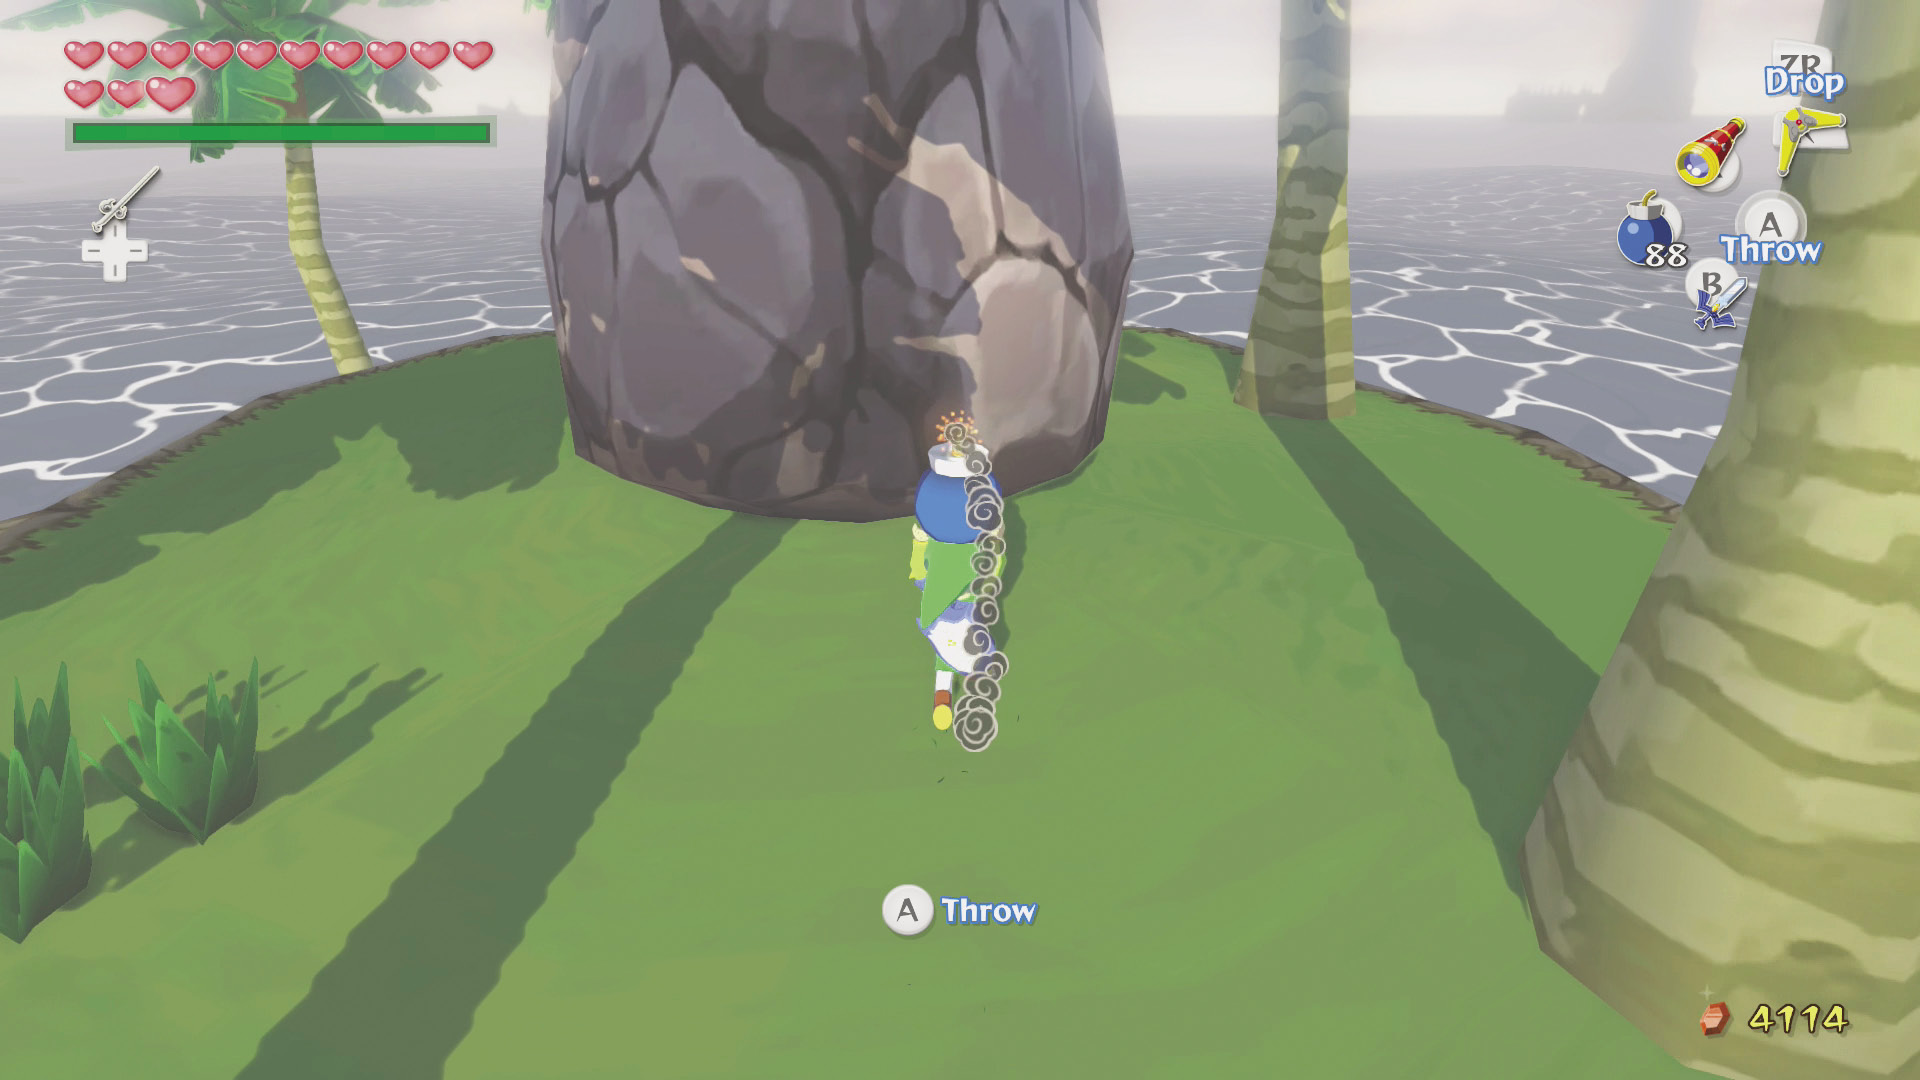
At the top of Bomb Island is a large boulder that looks perfect for bombing. Blow the boulder up to reveal a secret cave. Jump into its entrance.
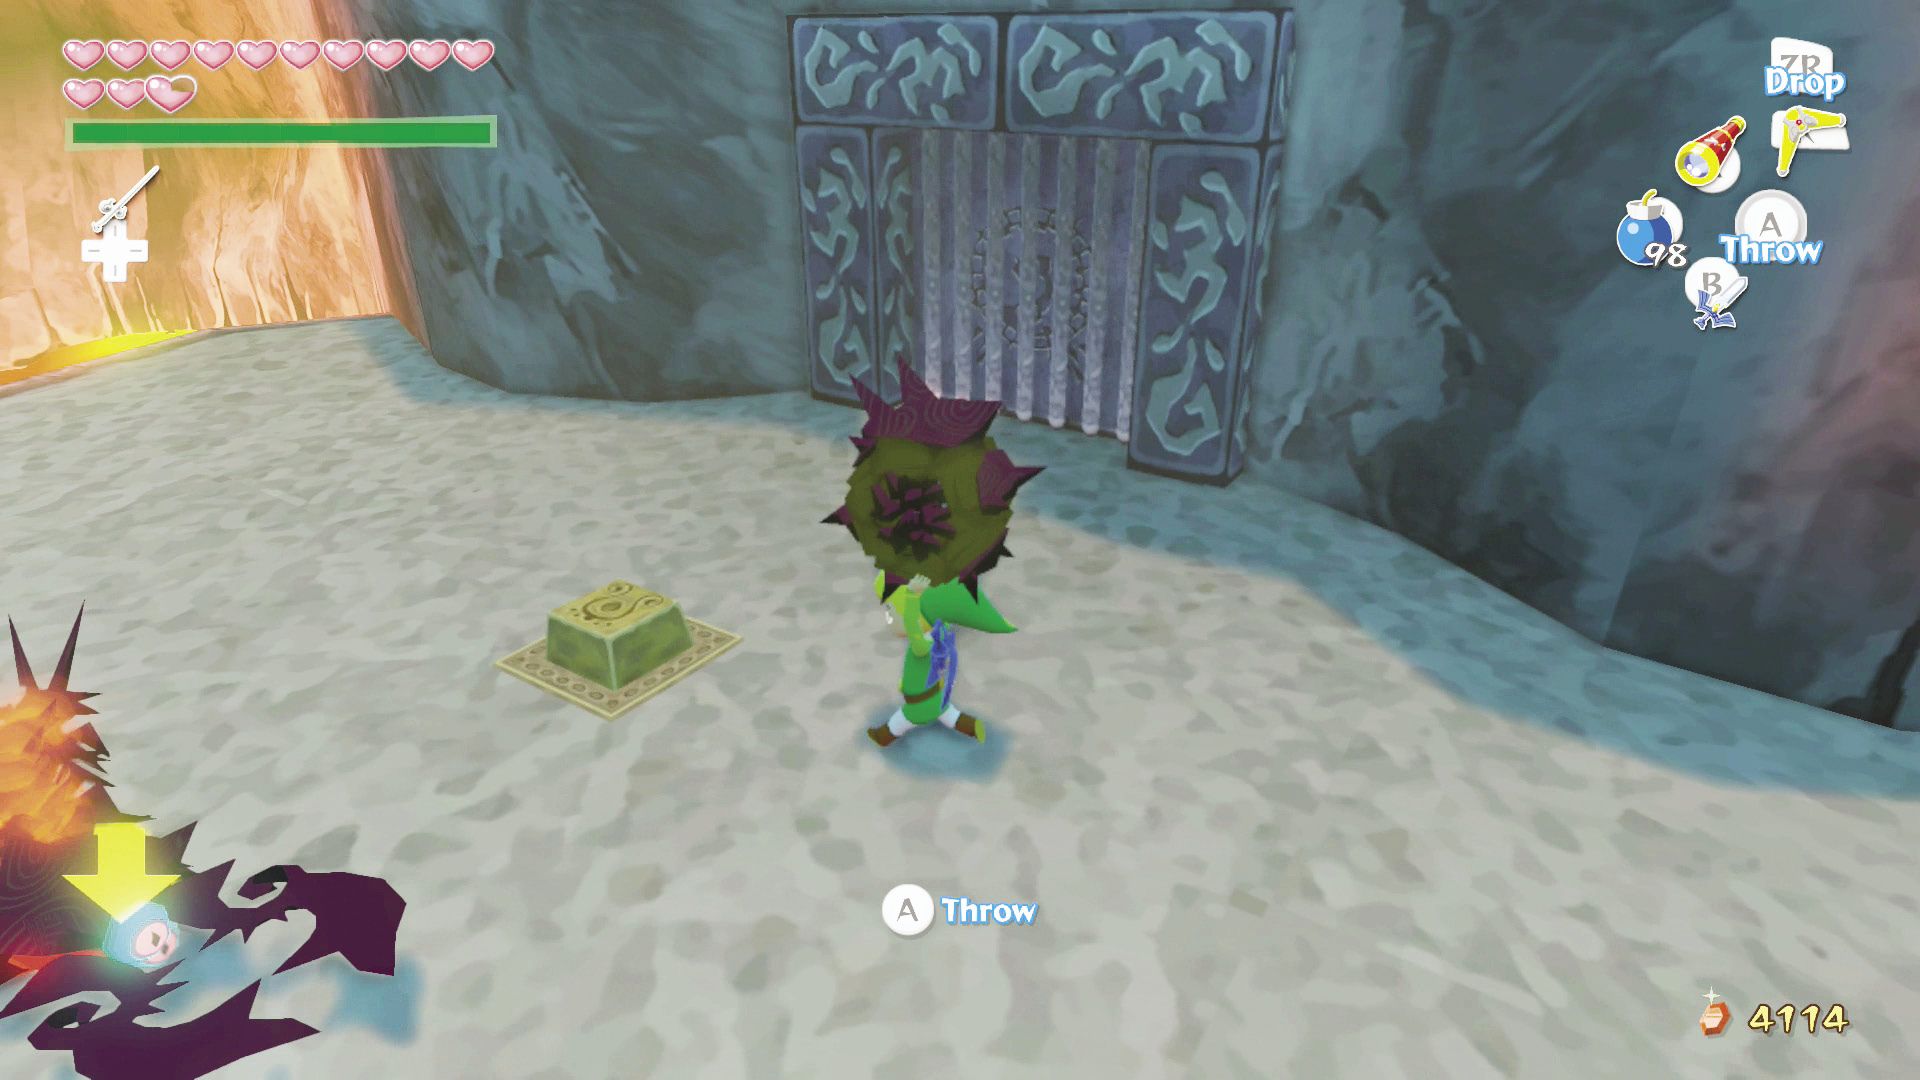
The door in front of you is barred off, and the switch in front of the door is a constant pressure switch. What to do, what to do? If you ponder long enough, a couple of Magtails will pop up from the lava pools on the left and right sides of the door. Wait for one of them to open their claws and then hit it in the eye with . Pick it up while it’s curled into a ball, place it on the constant pressure switch, and presto! The door’s open! Head on through.
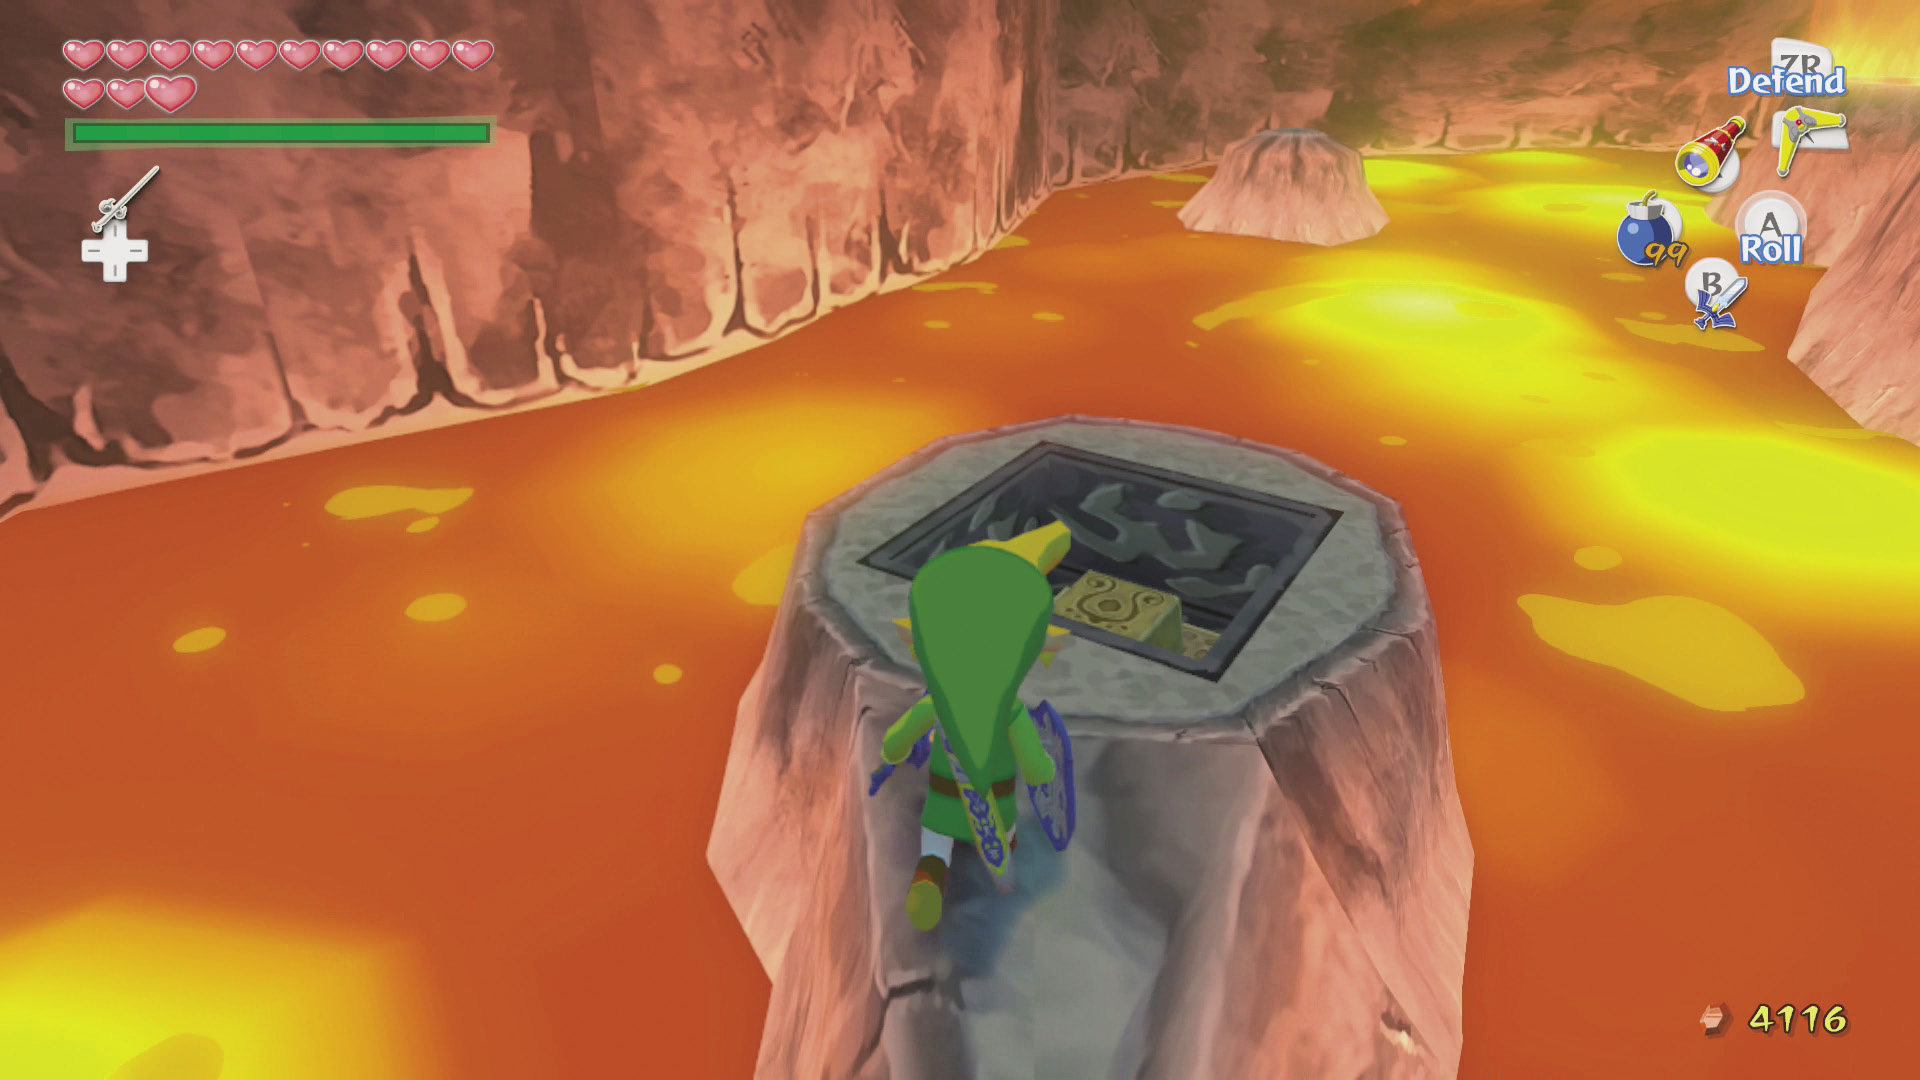
In front of you are two paths. One leads to the higher level of the room, but this is blocked by rings of fire, so let’s head to the narrow path on the left. Walk slowly and jump onto the switch inside the hole. This will remove the fire that’s blocking the path on the room’s right side. Traverse the narrow path and head to the upper areas of the room.
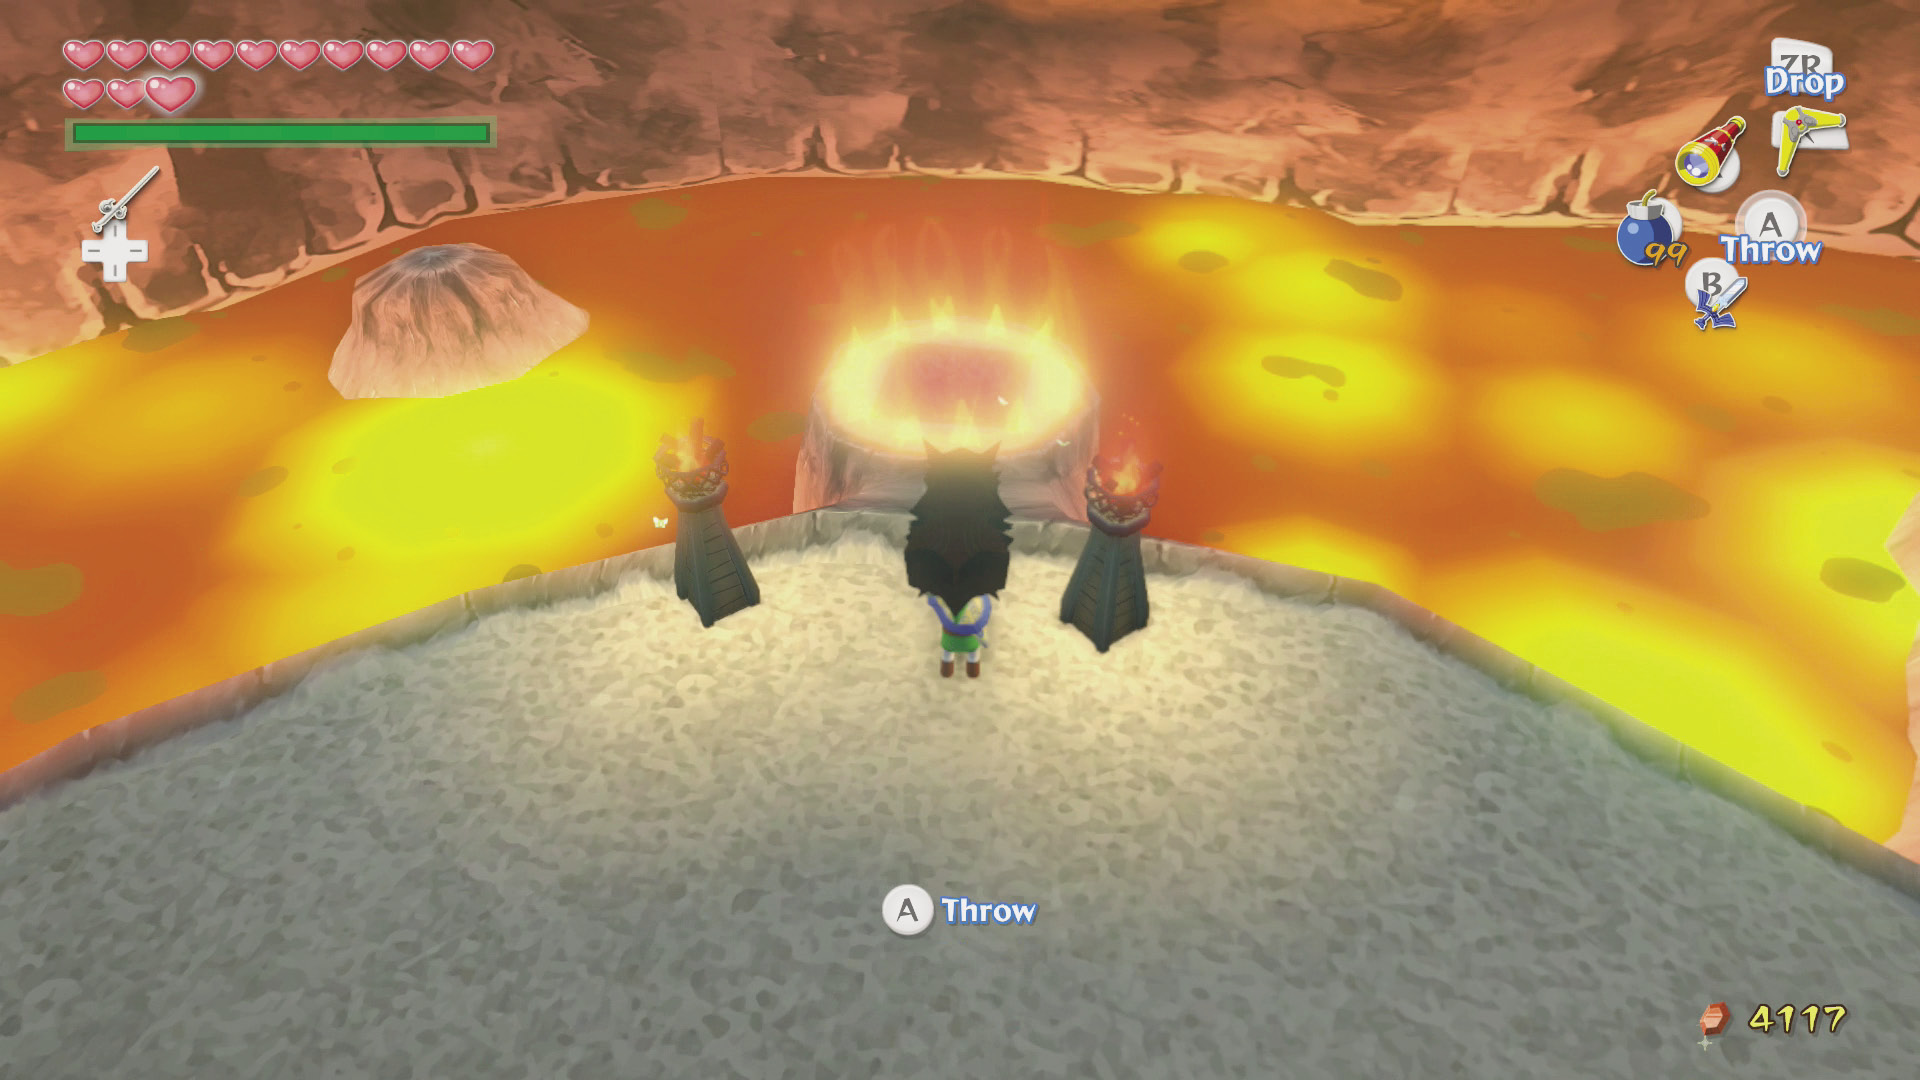
There are two sets of torches on the platform’s left and right sides. Behind each set of torches is a pressure switch engulfed in a ring of fire. You need to take the Magtails that are patrolling the area and throw them onto the switches in the rings of fire. Once you’ve pressed a switch with a Magtail, it’ll stay pressed, so don’t worry about the Magtails climbing off of a pressed switch.
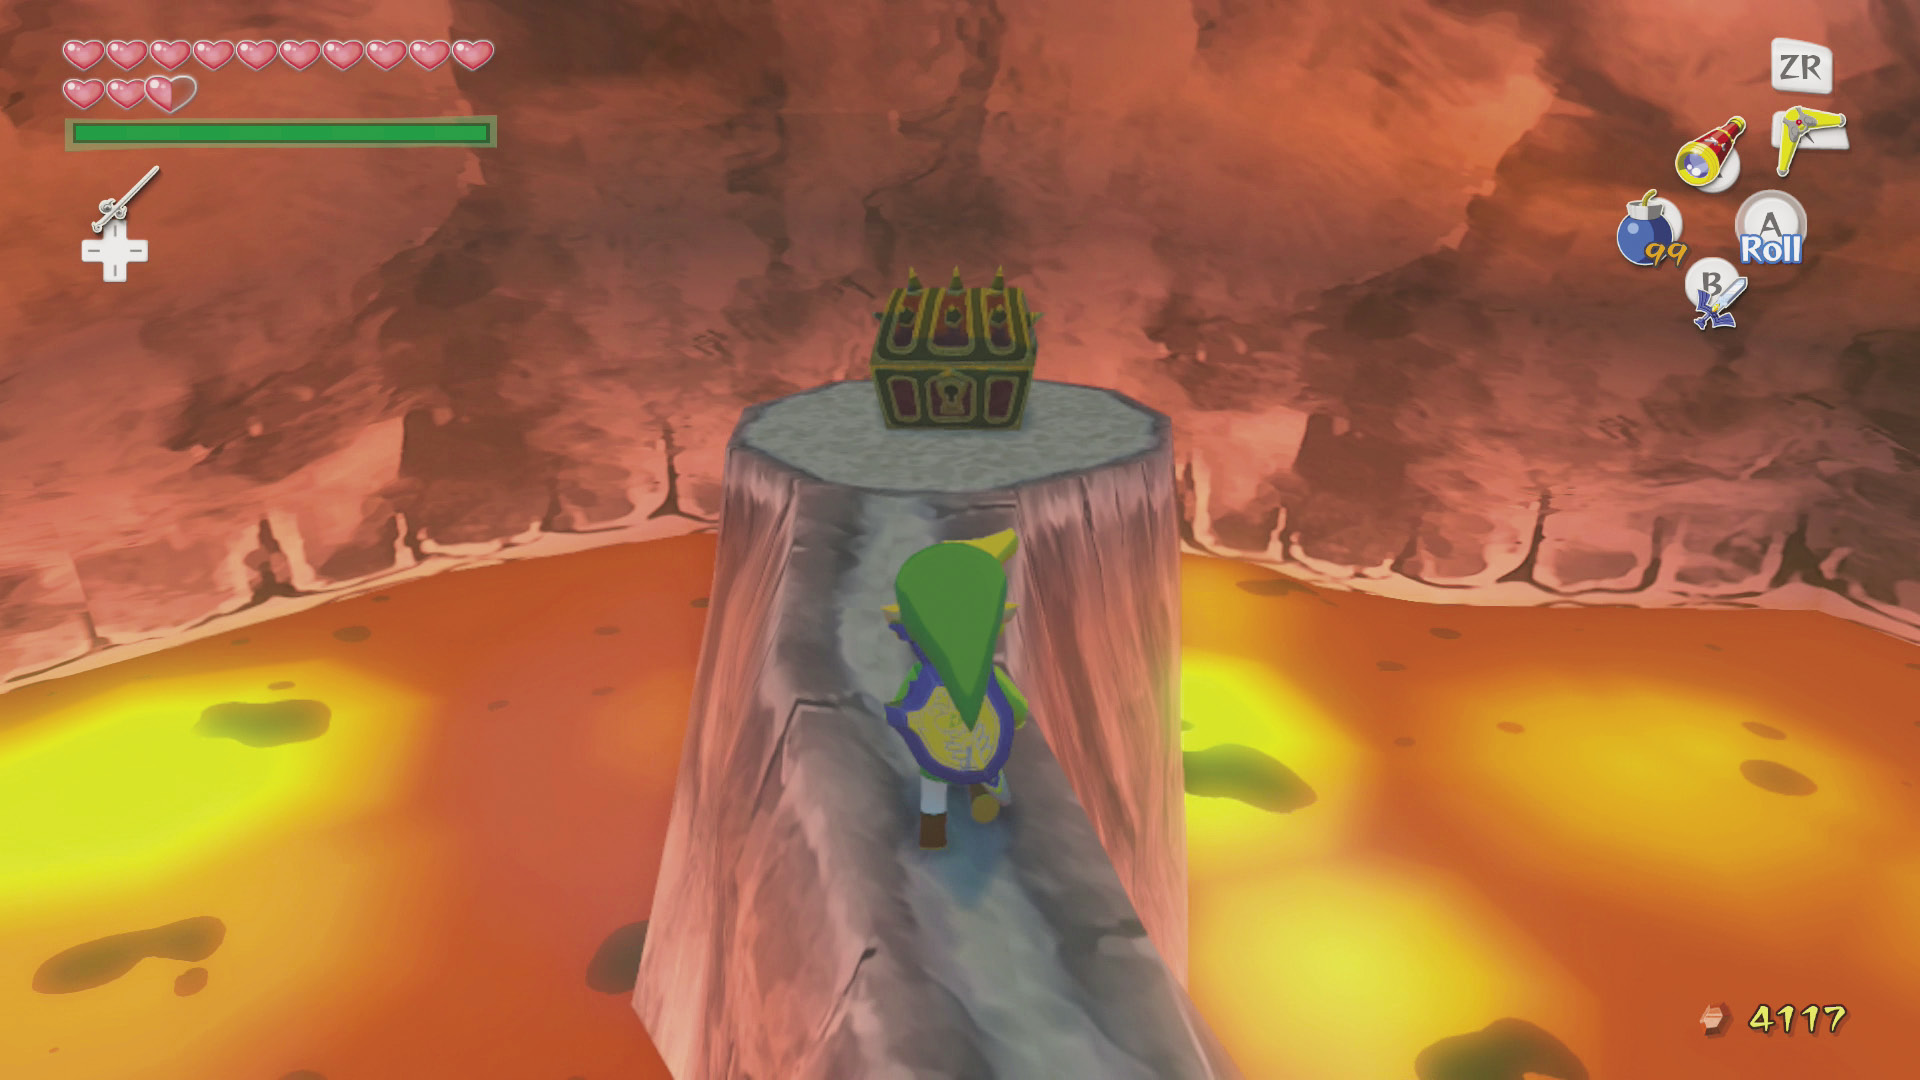
After pressing both switches, the fire that’s surrounding the treasure chest at the highest point of the cave will disappear, allowing you to claim your prize: Piece of Heart #24—that makes another full Heart Container! Feel free to leave whenever you like; your business is done here.
|
|
73 |
Piece of Heart #24 |