
The Legend of Zelda: The Wind Waker Guide Walkthrough Ganons Tower: The Final Showdown
Ganons Tower
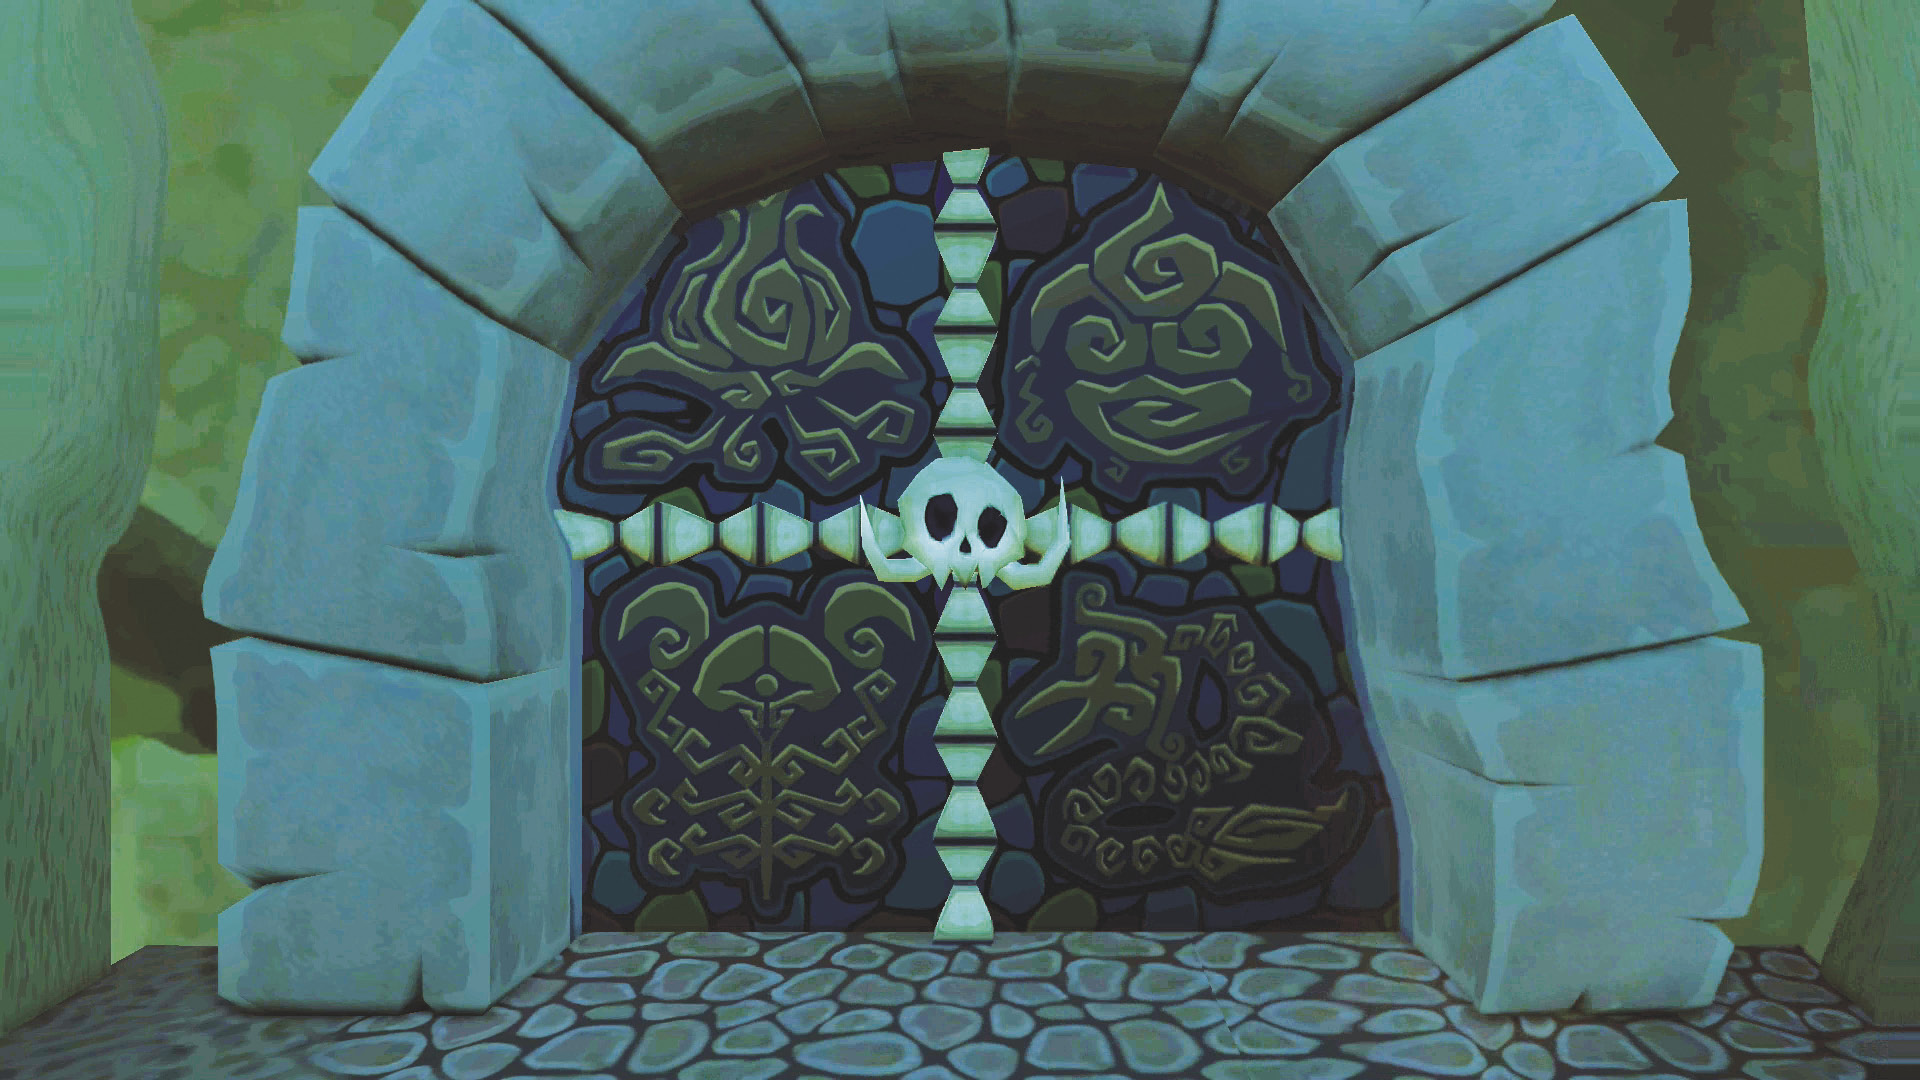
The entrance of Ganon’s Tower is divided into six doors, four of which are for each place that Ganondorf attempted to control. The door straight ahead of you has four symbols on it, each reflecting a dungeon boss you’ve had to face during your adventure. In order to continue deeper into the tower, you must enter each door and defeat the dungeon bosses within.
From left to right, the doors reflect bits of Dragon Roost Cavern, the Forbidden Woods, the Earth Temple, and the Wind Temple. We will list each door starting with Dragon Roost Cavern, so follow along if you want to reach Ganondorf and put an end to his madness quicker.
Nintendo Gallery Notice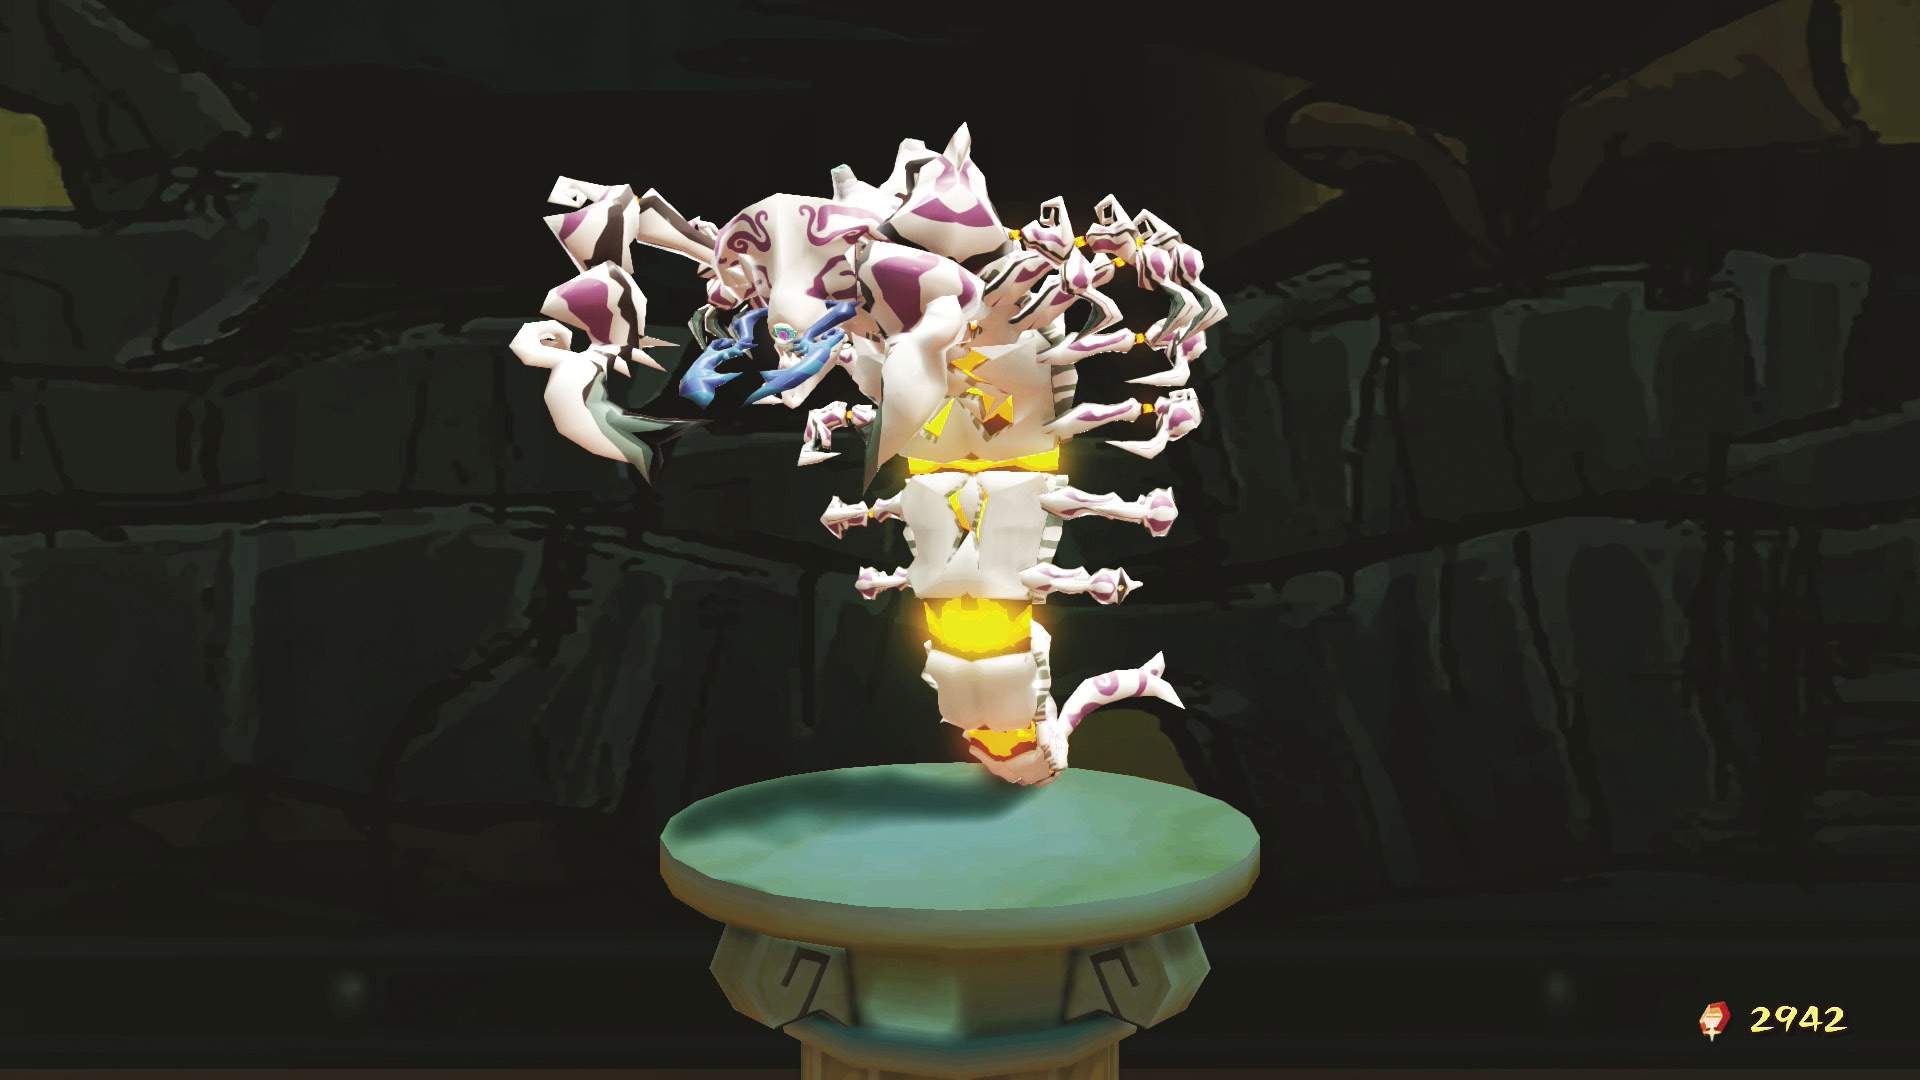 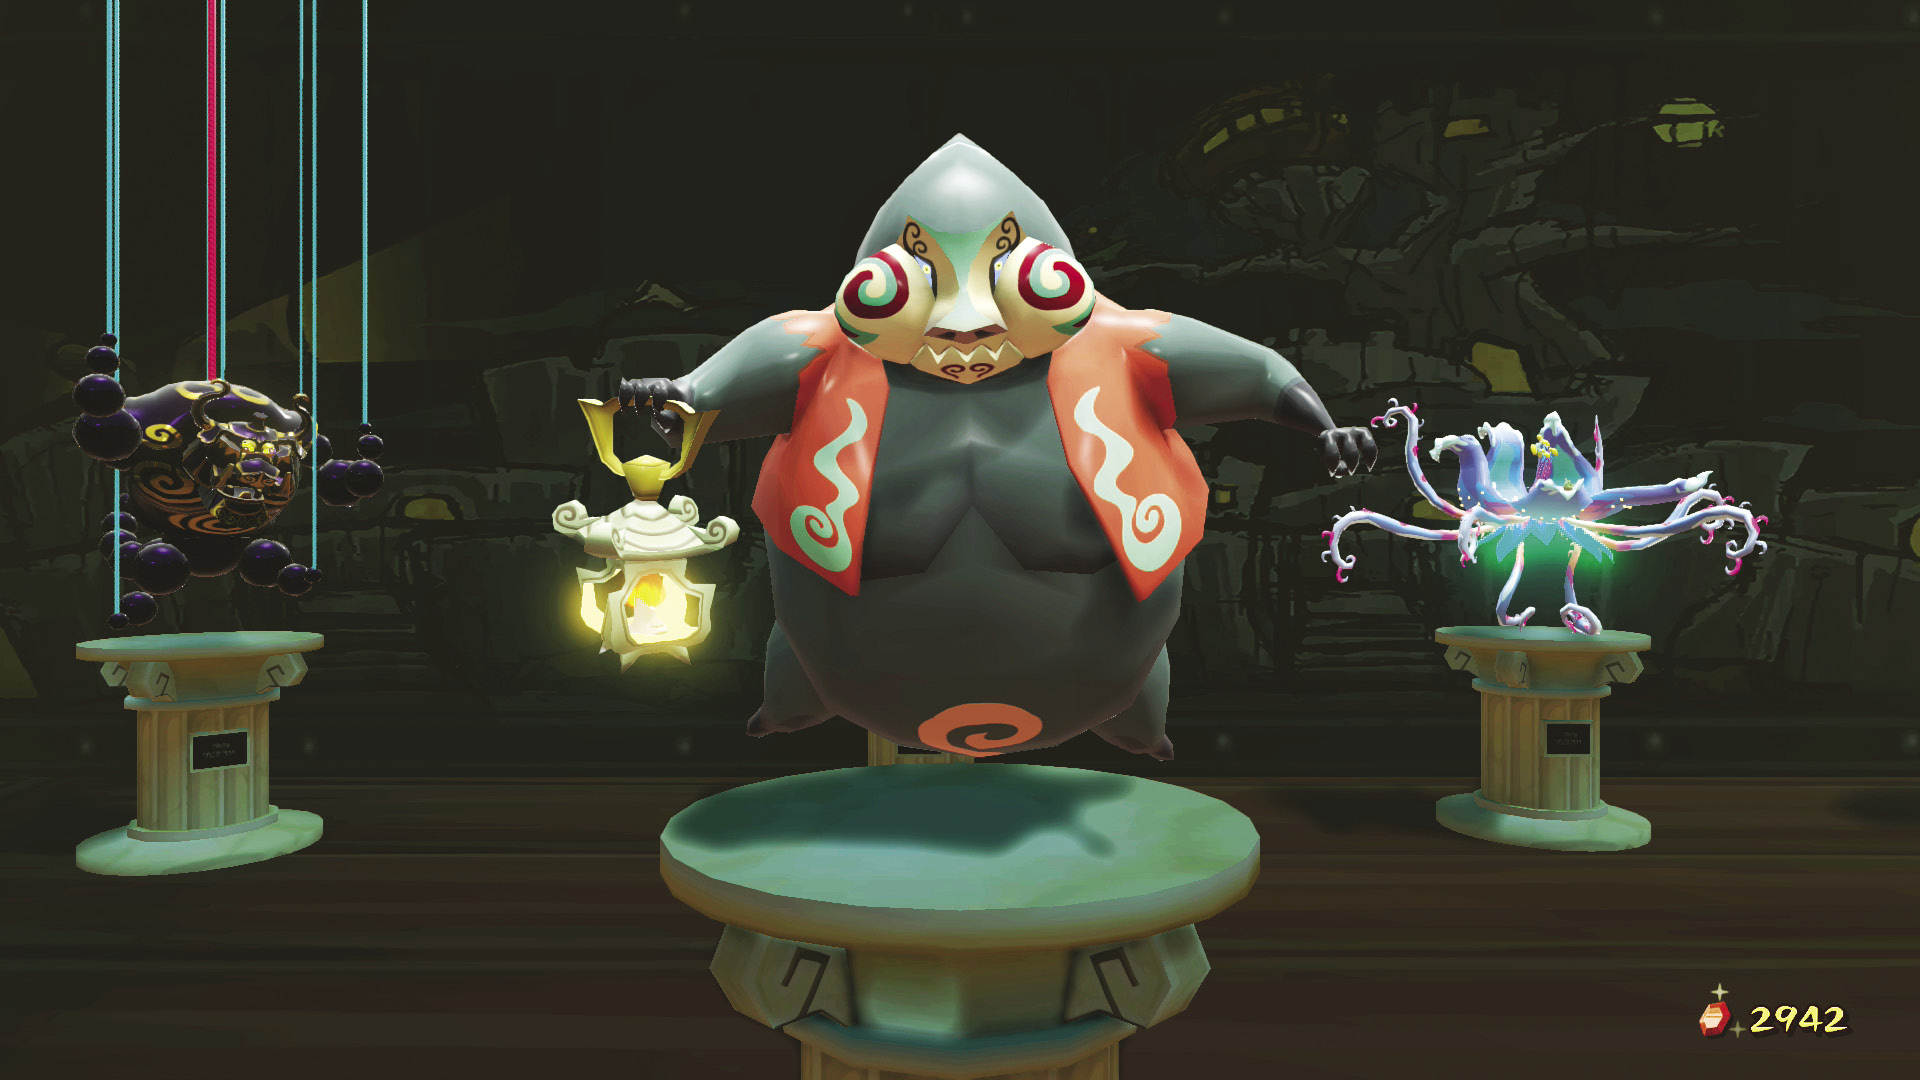 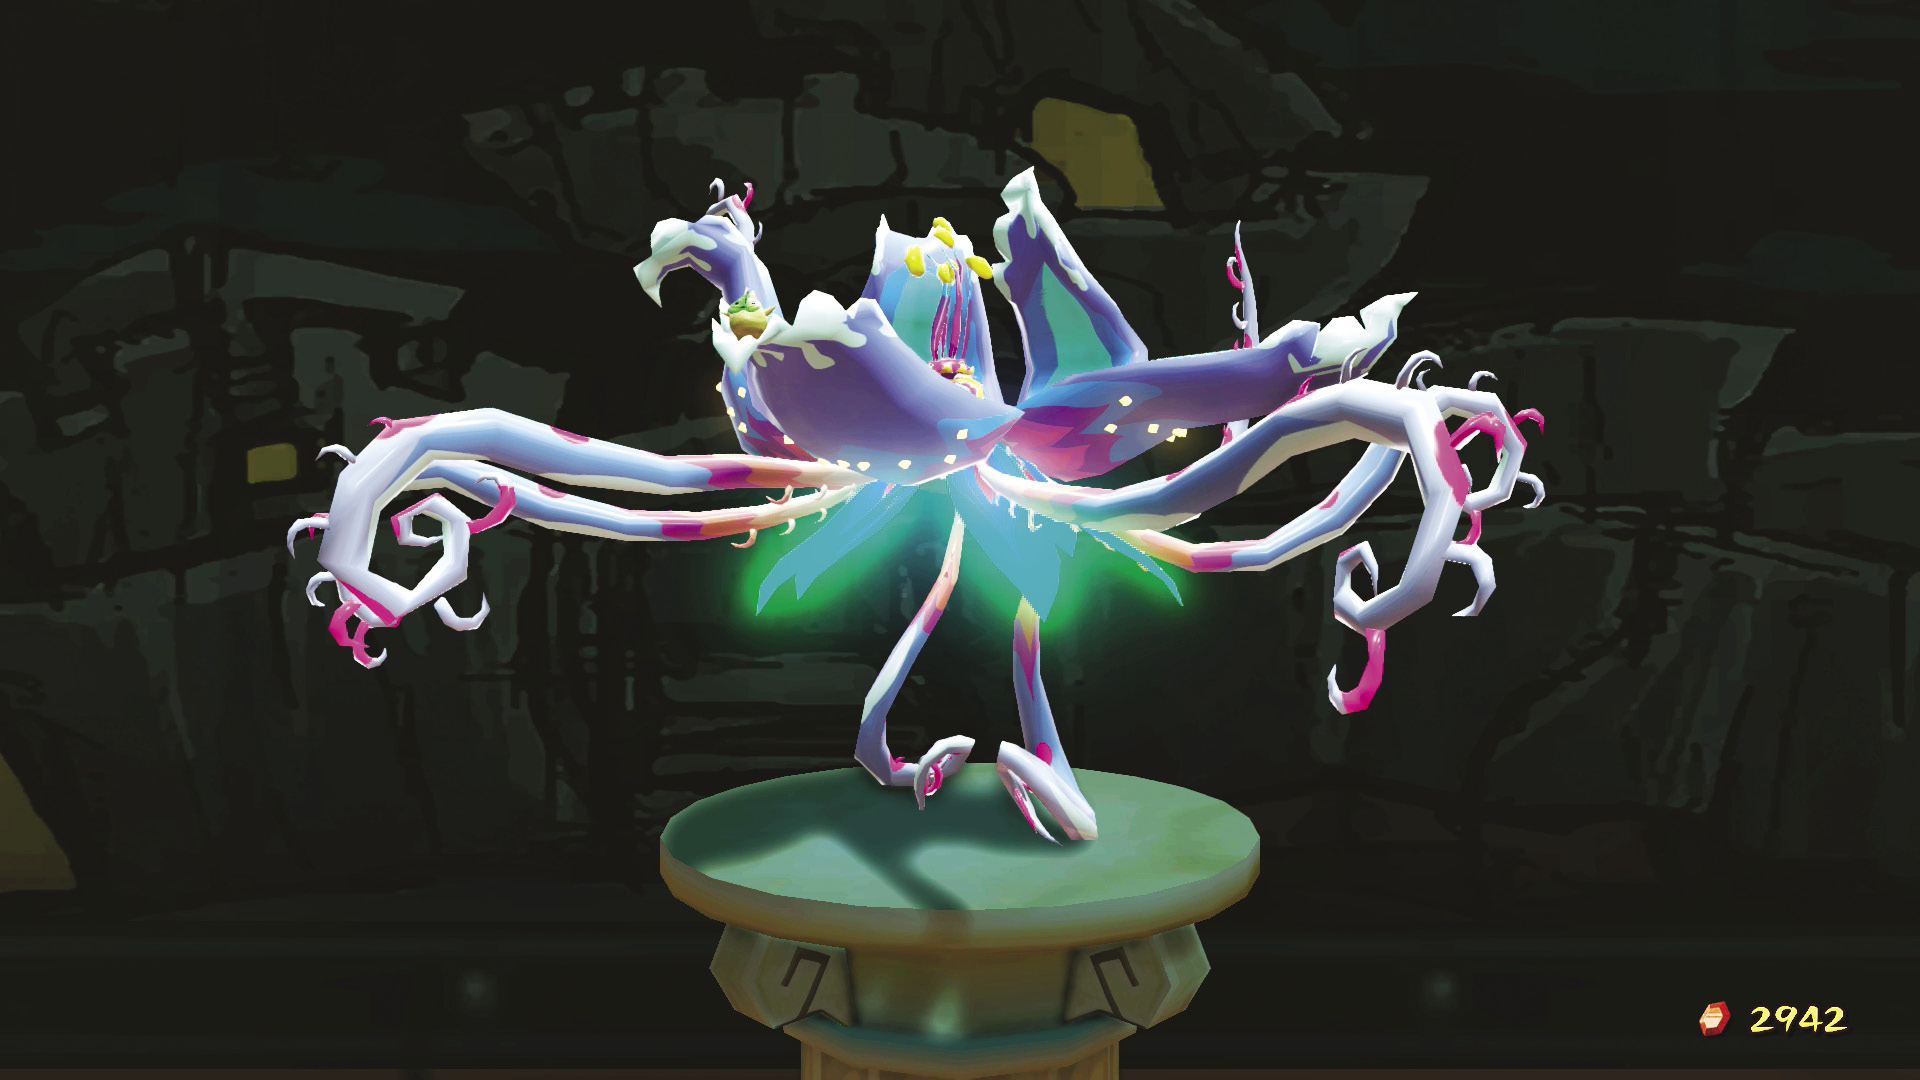 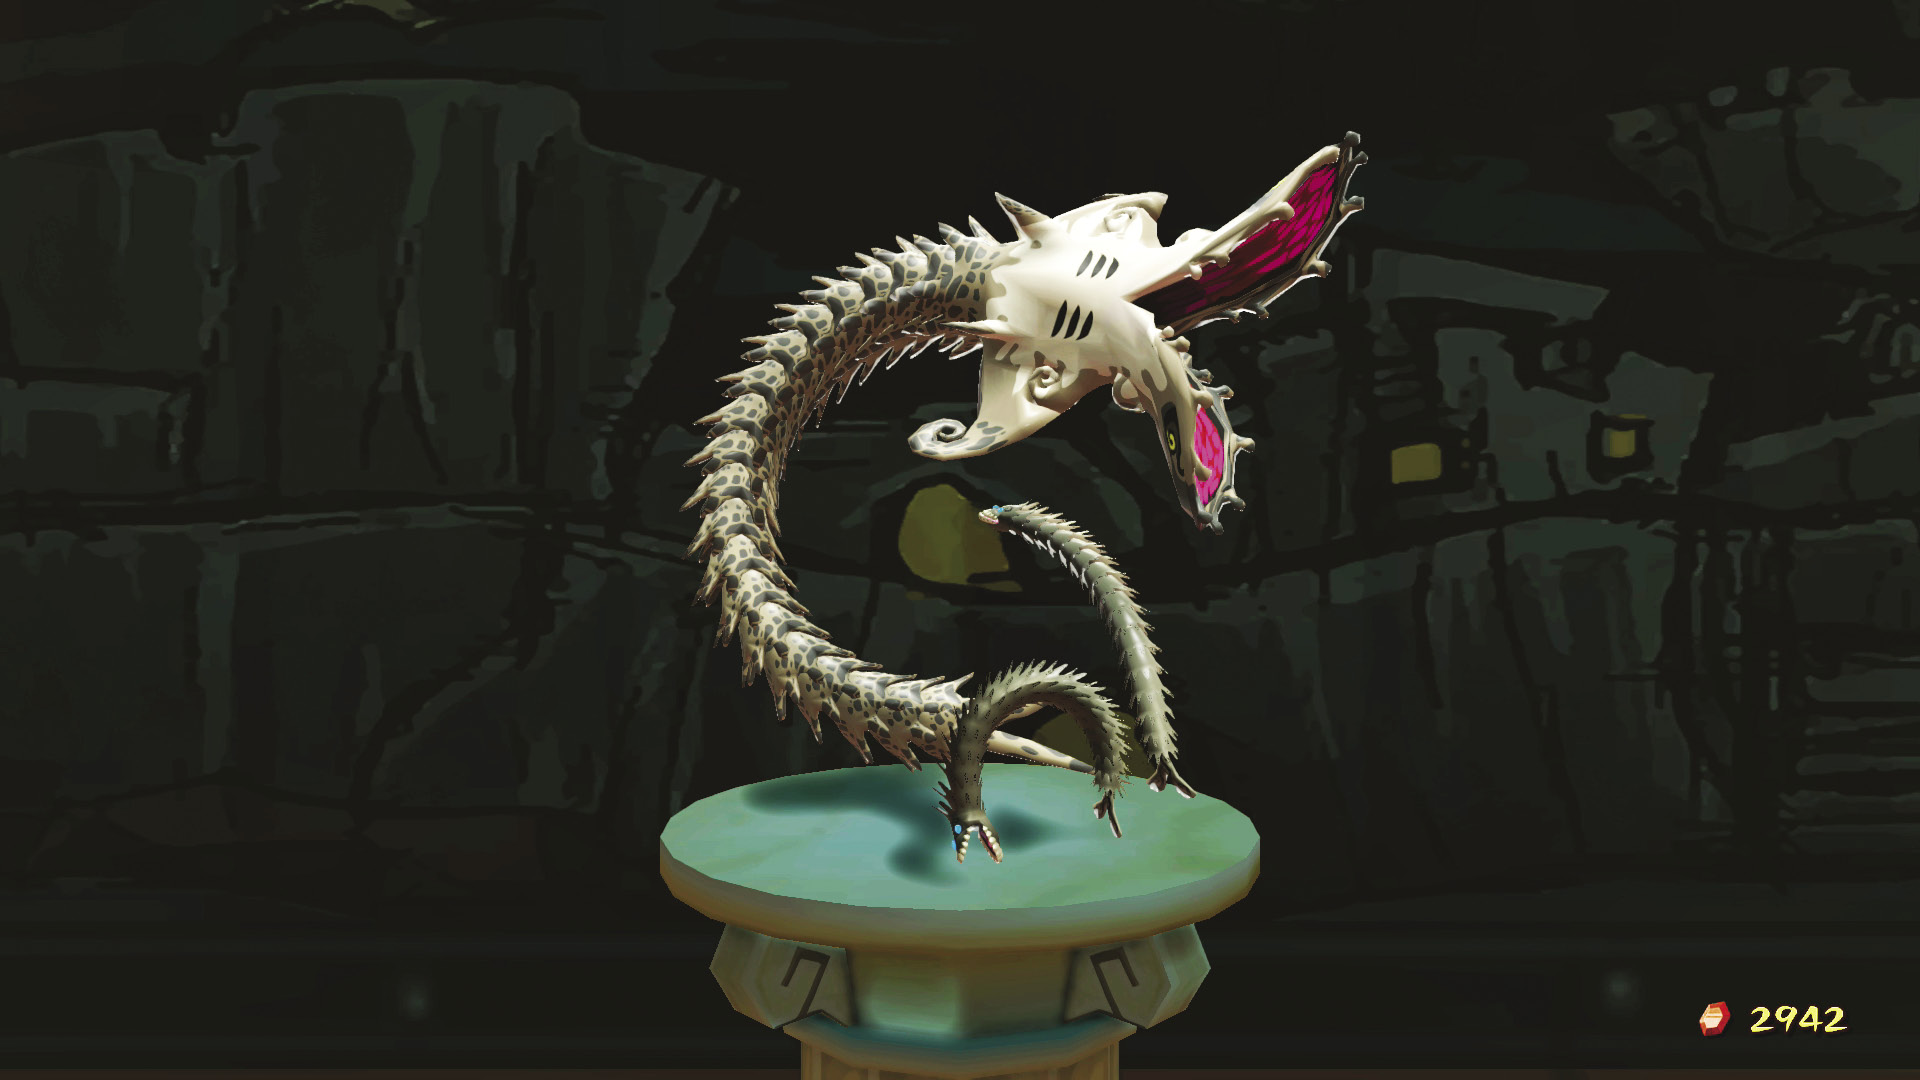 If previous Pictographs didn’t pass muster, though these bosses look black and white during these battles; you can use Pictographs of them in the Nintendo Gallery if you missed them the first time around. Or even a second time! You can come back to fight these baddies again and again if you feel up for a challenge. |
Dragon Roost Cavern Room
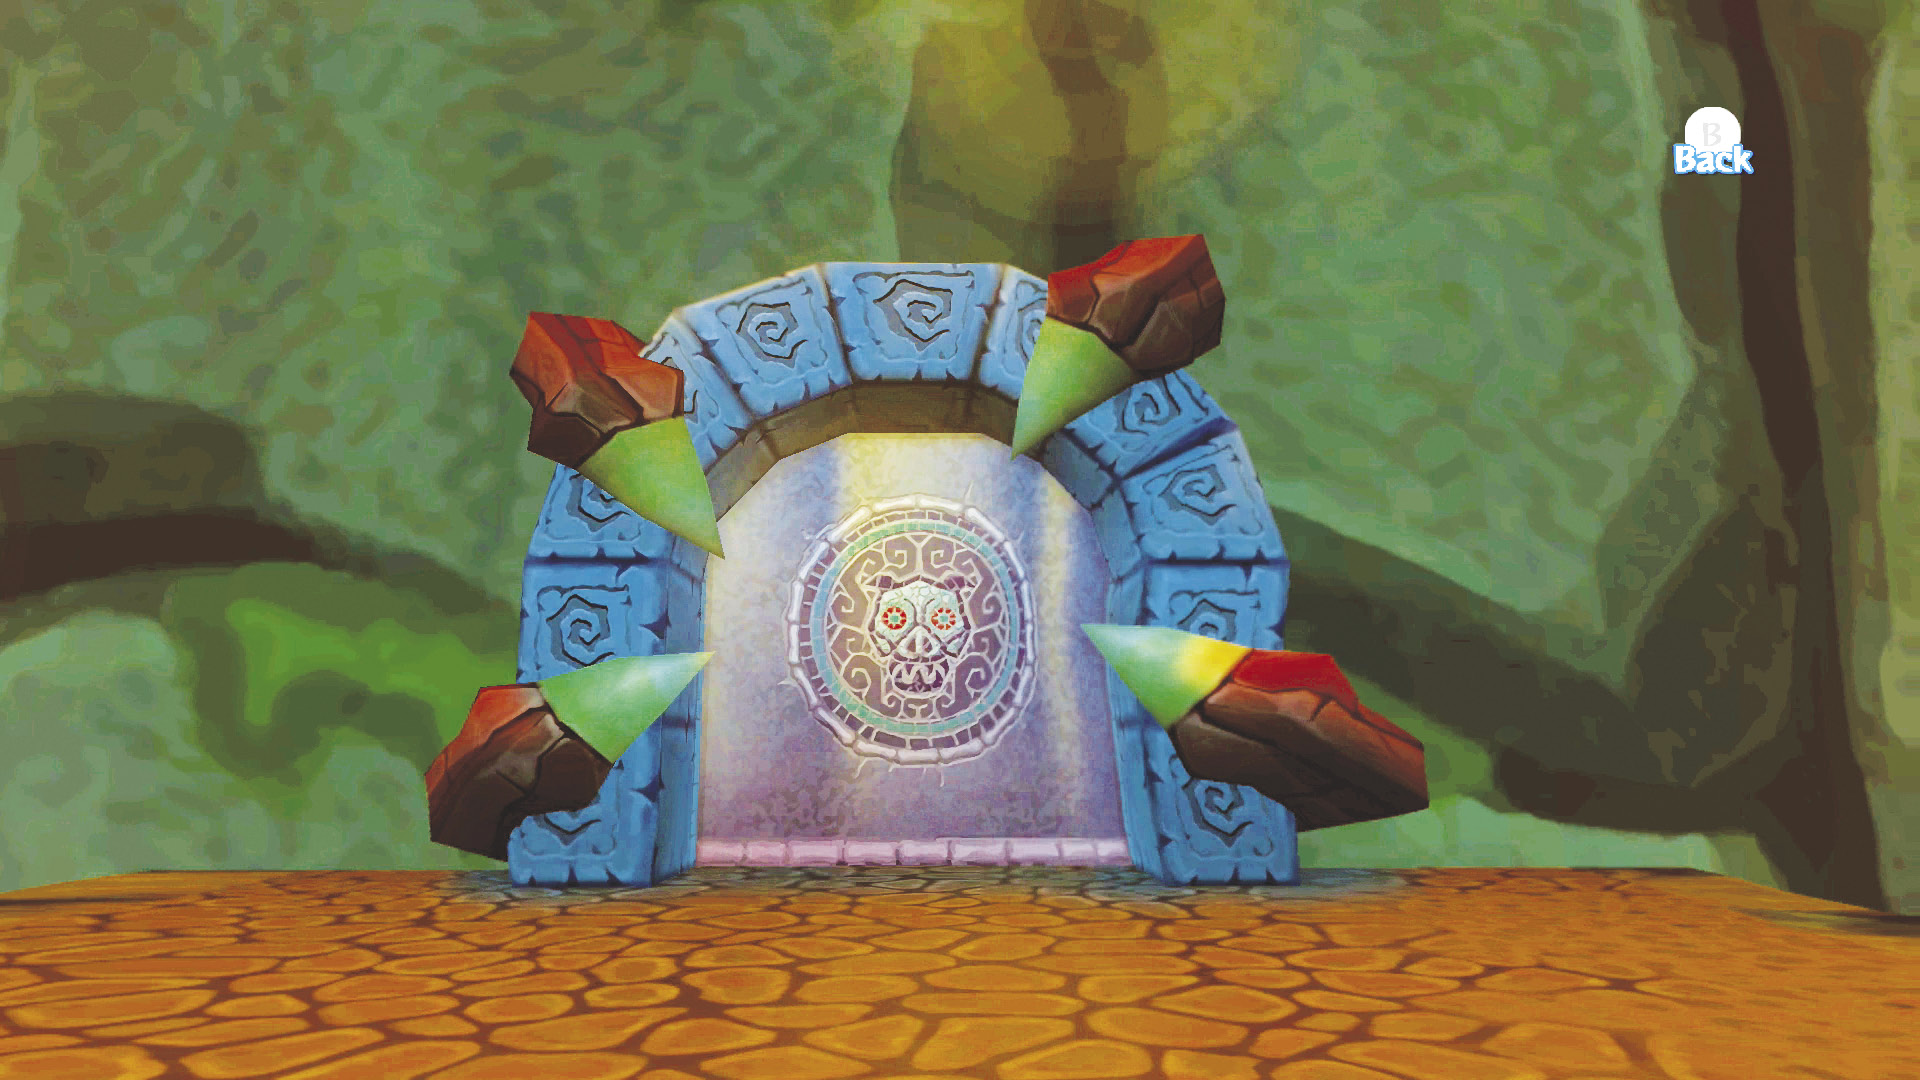
You can reach this area from the door on the left side of the entrance of Ganon’s Tower.
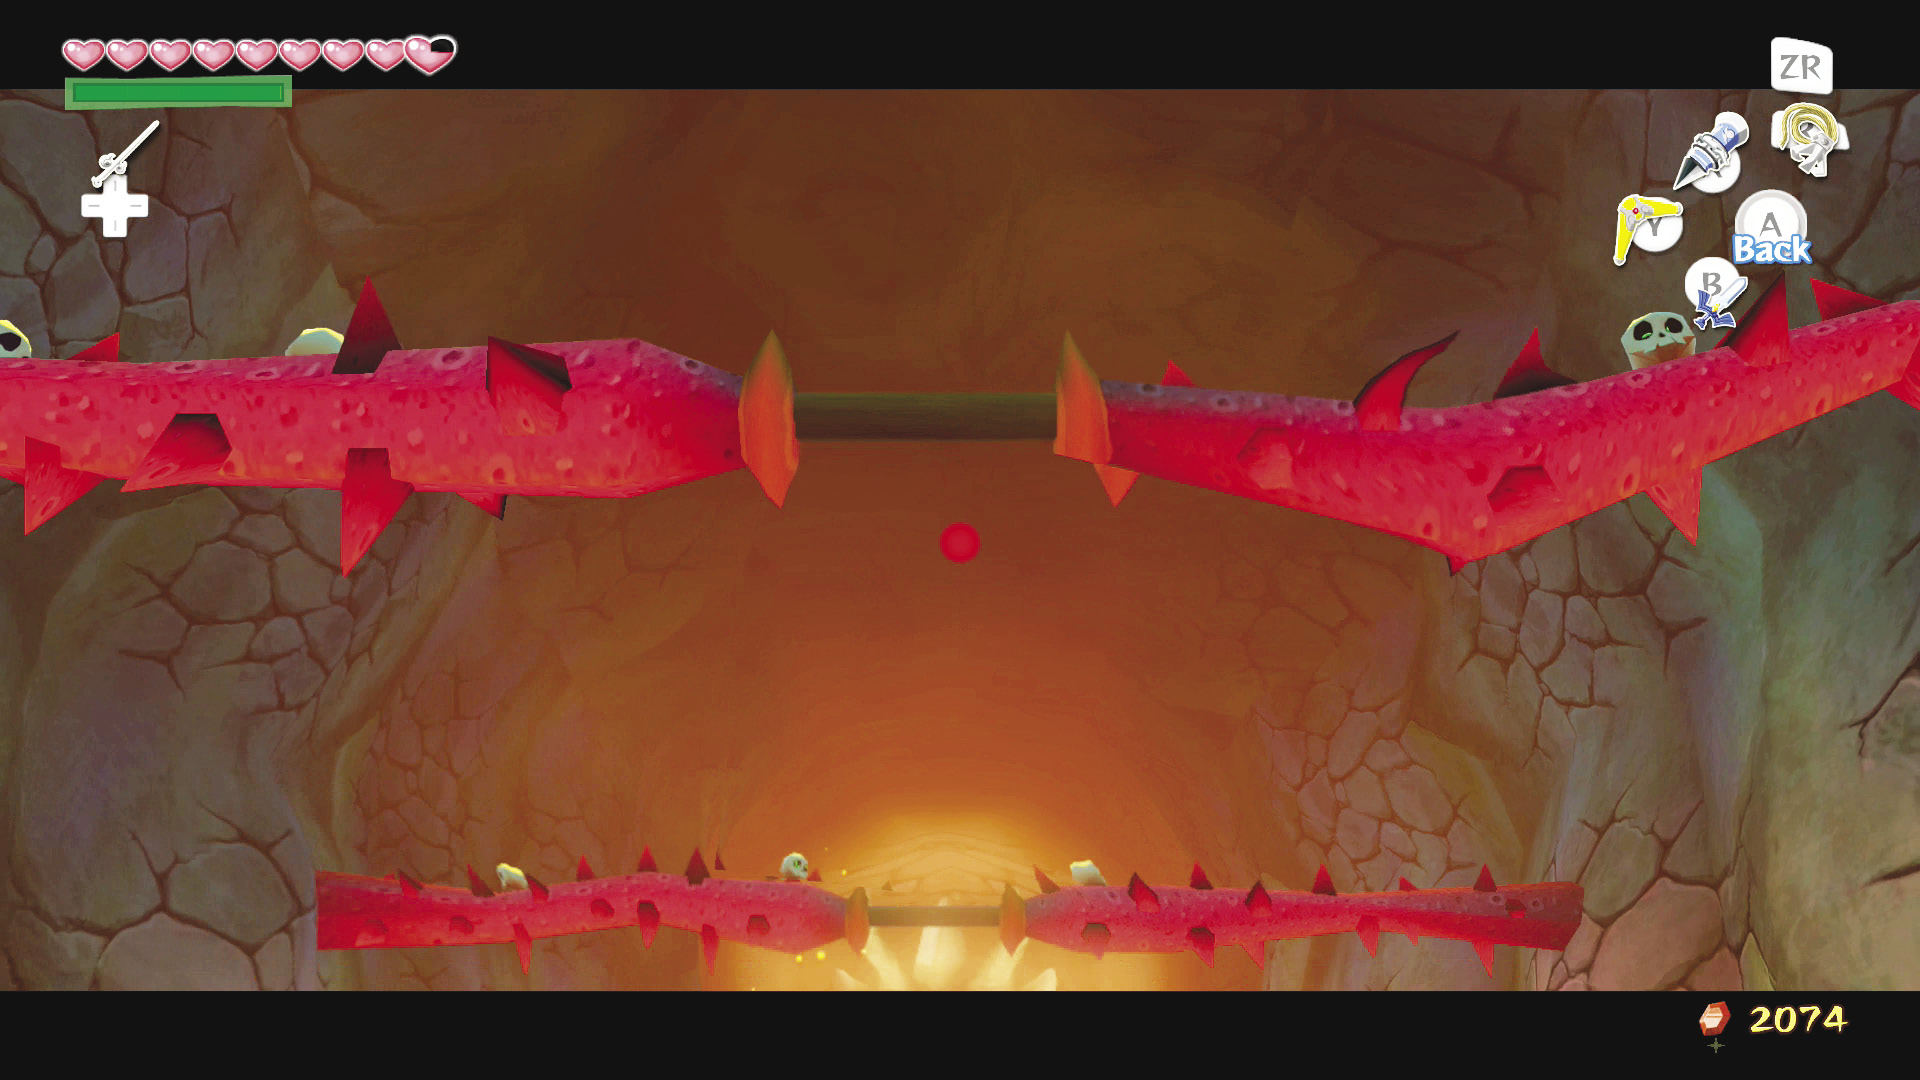
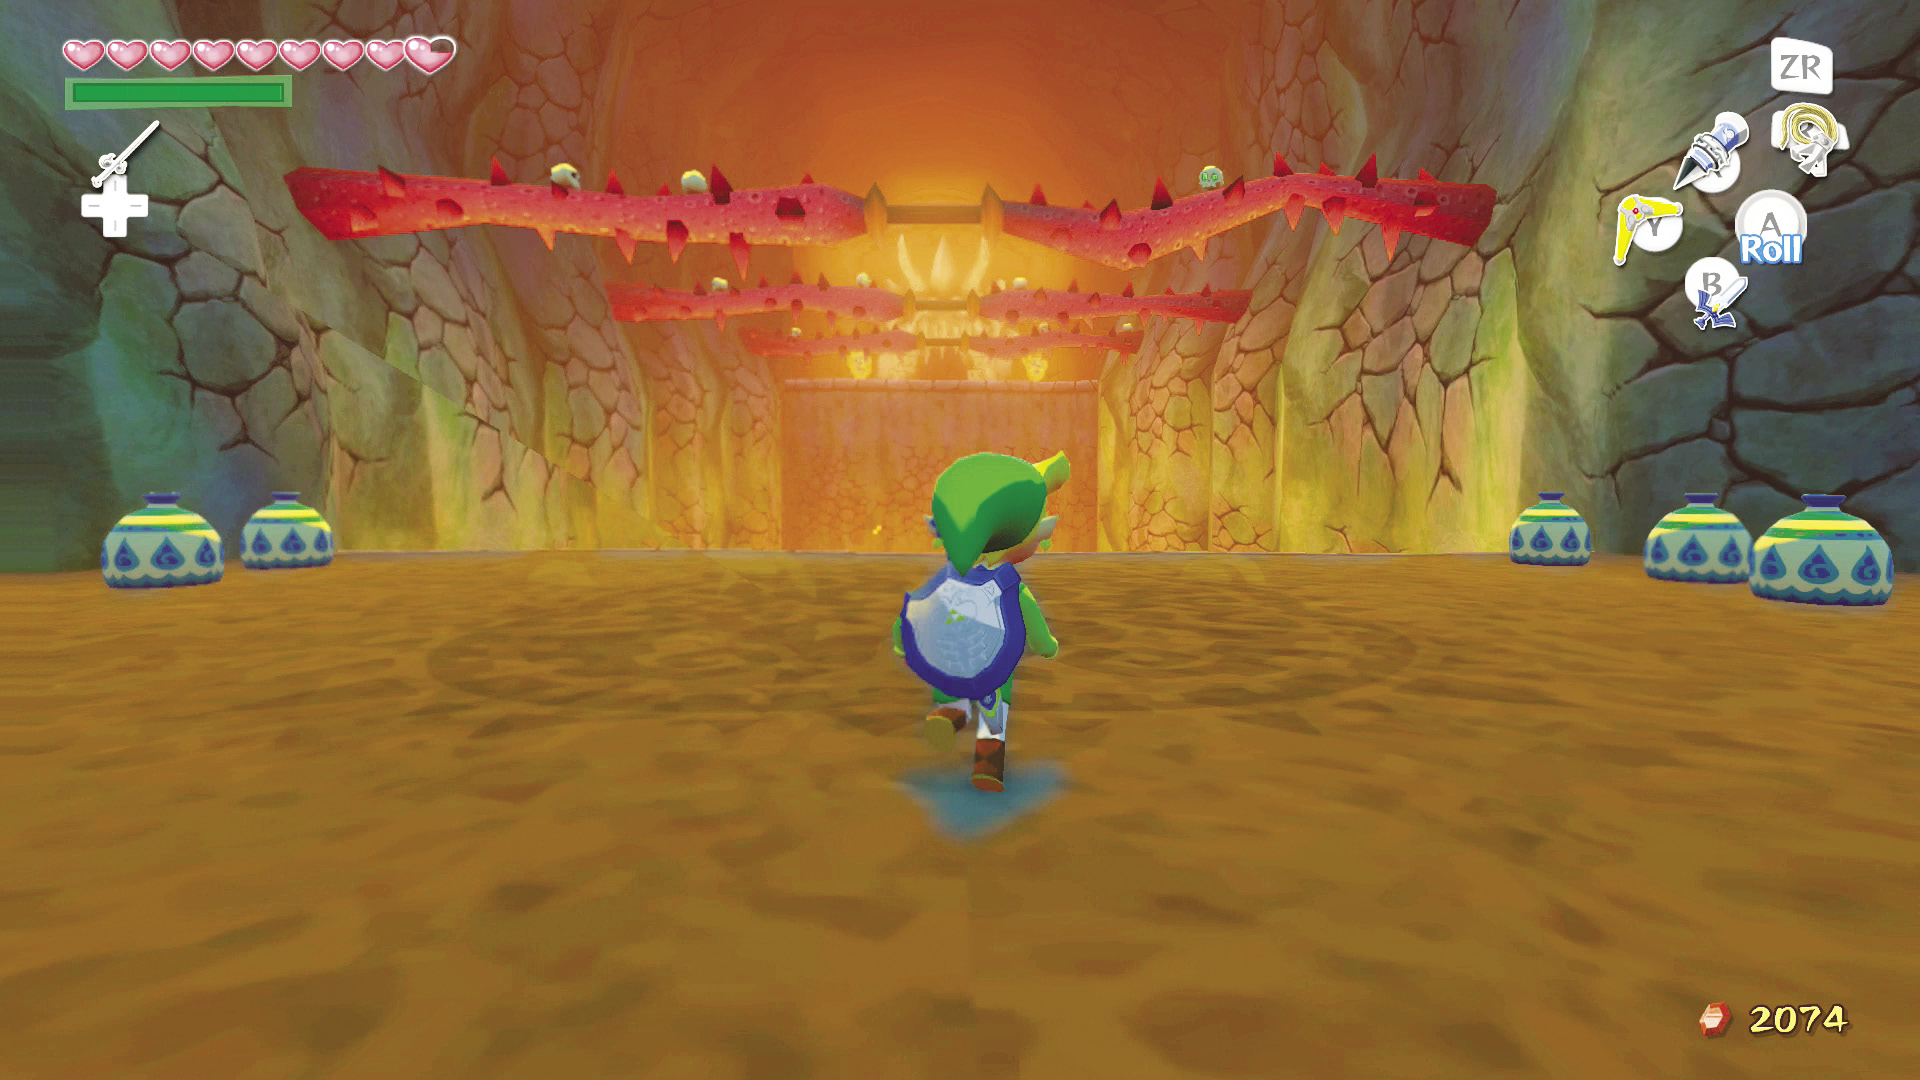
A large pool of lava separates you from your destination on the room’s other side. There are two ways to go about crossing the lava pool. The first is to use your Grappling Hook on the posts above the pool. Grapple onto a post and pull yourself to the top, then grapple onto the next post and repeat. Use your Hero’s Bow to shoot arrows at the skulls lining the sides of the posts; some of them are actually stationary Red Bubbles that will gladly knock you into the lava below if you give them the chance.
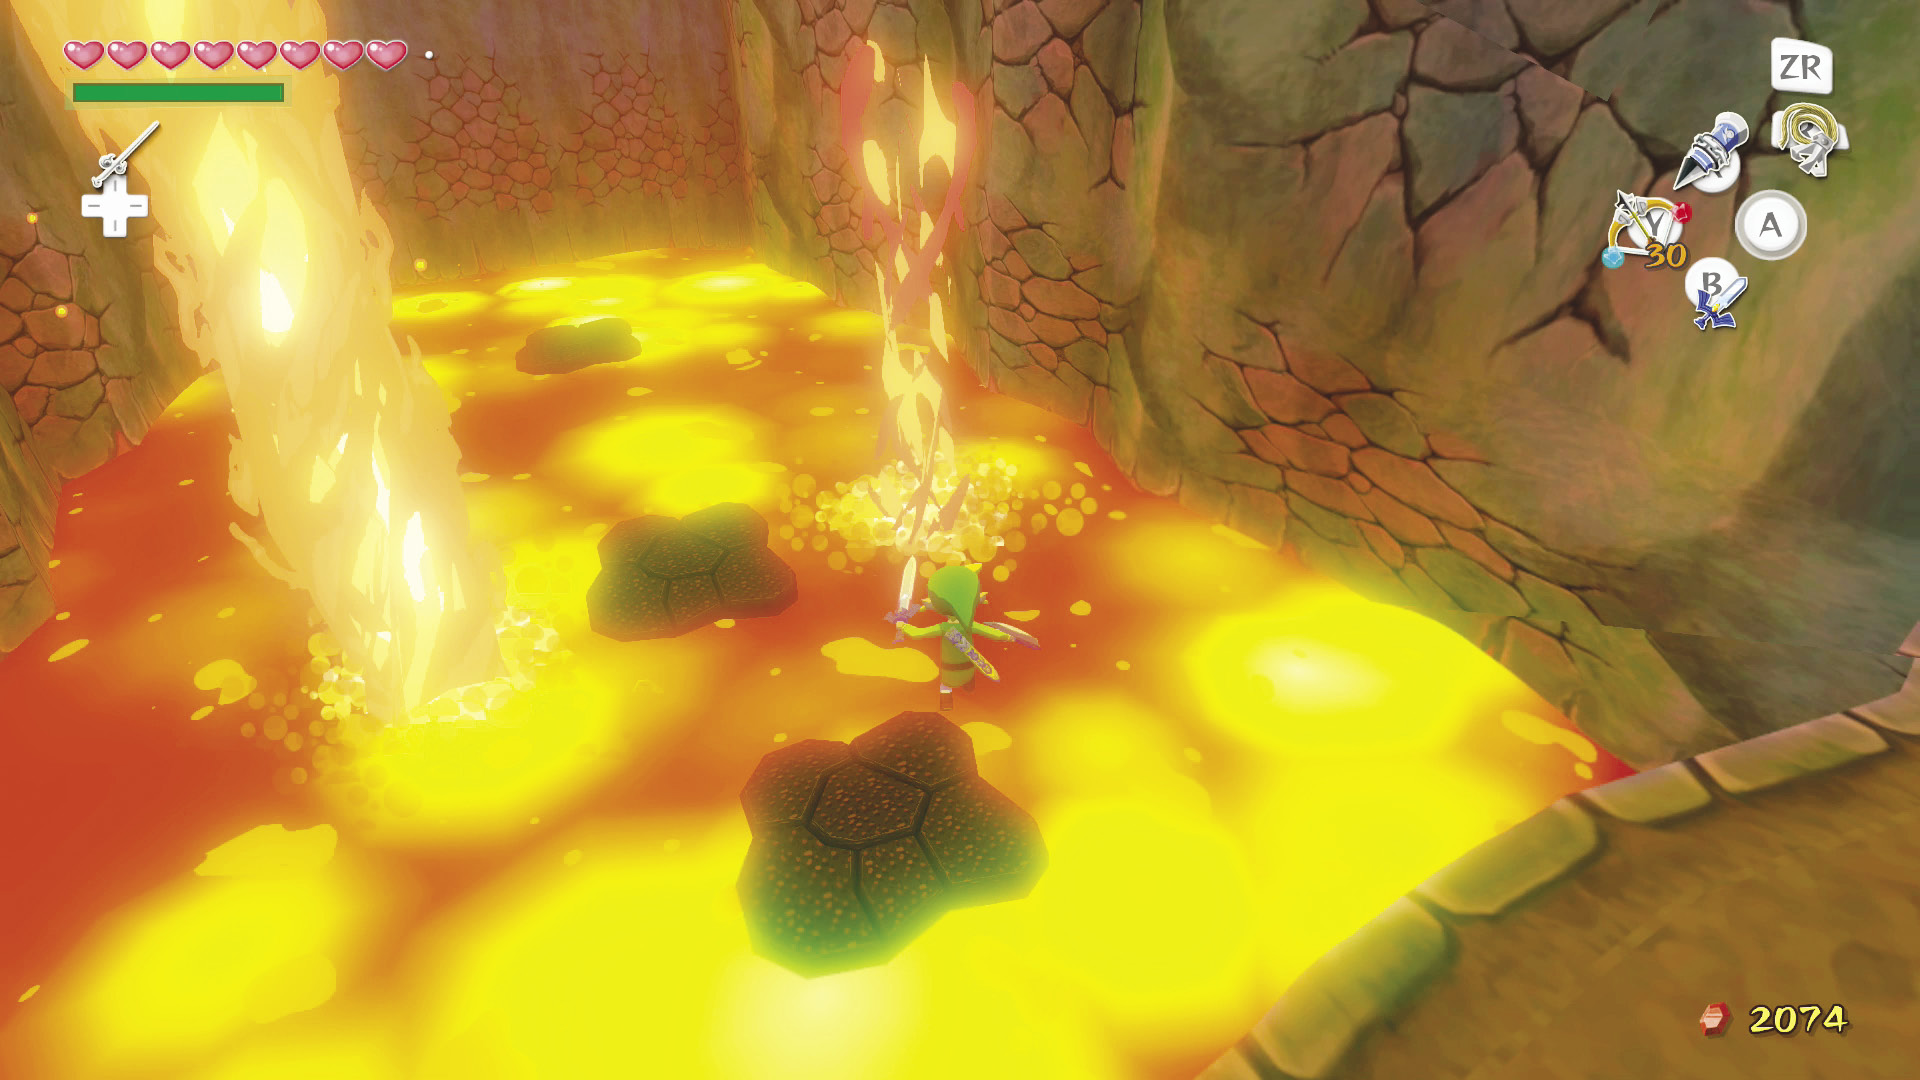
The second method is to take one of the water pots lining the walls near the room’s entrance and throw it into the lava below.
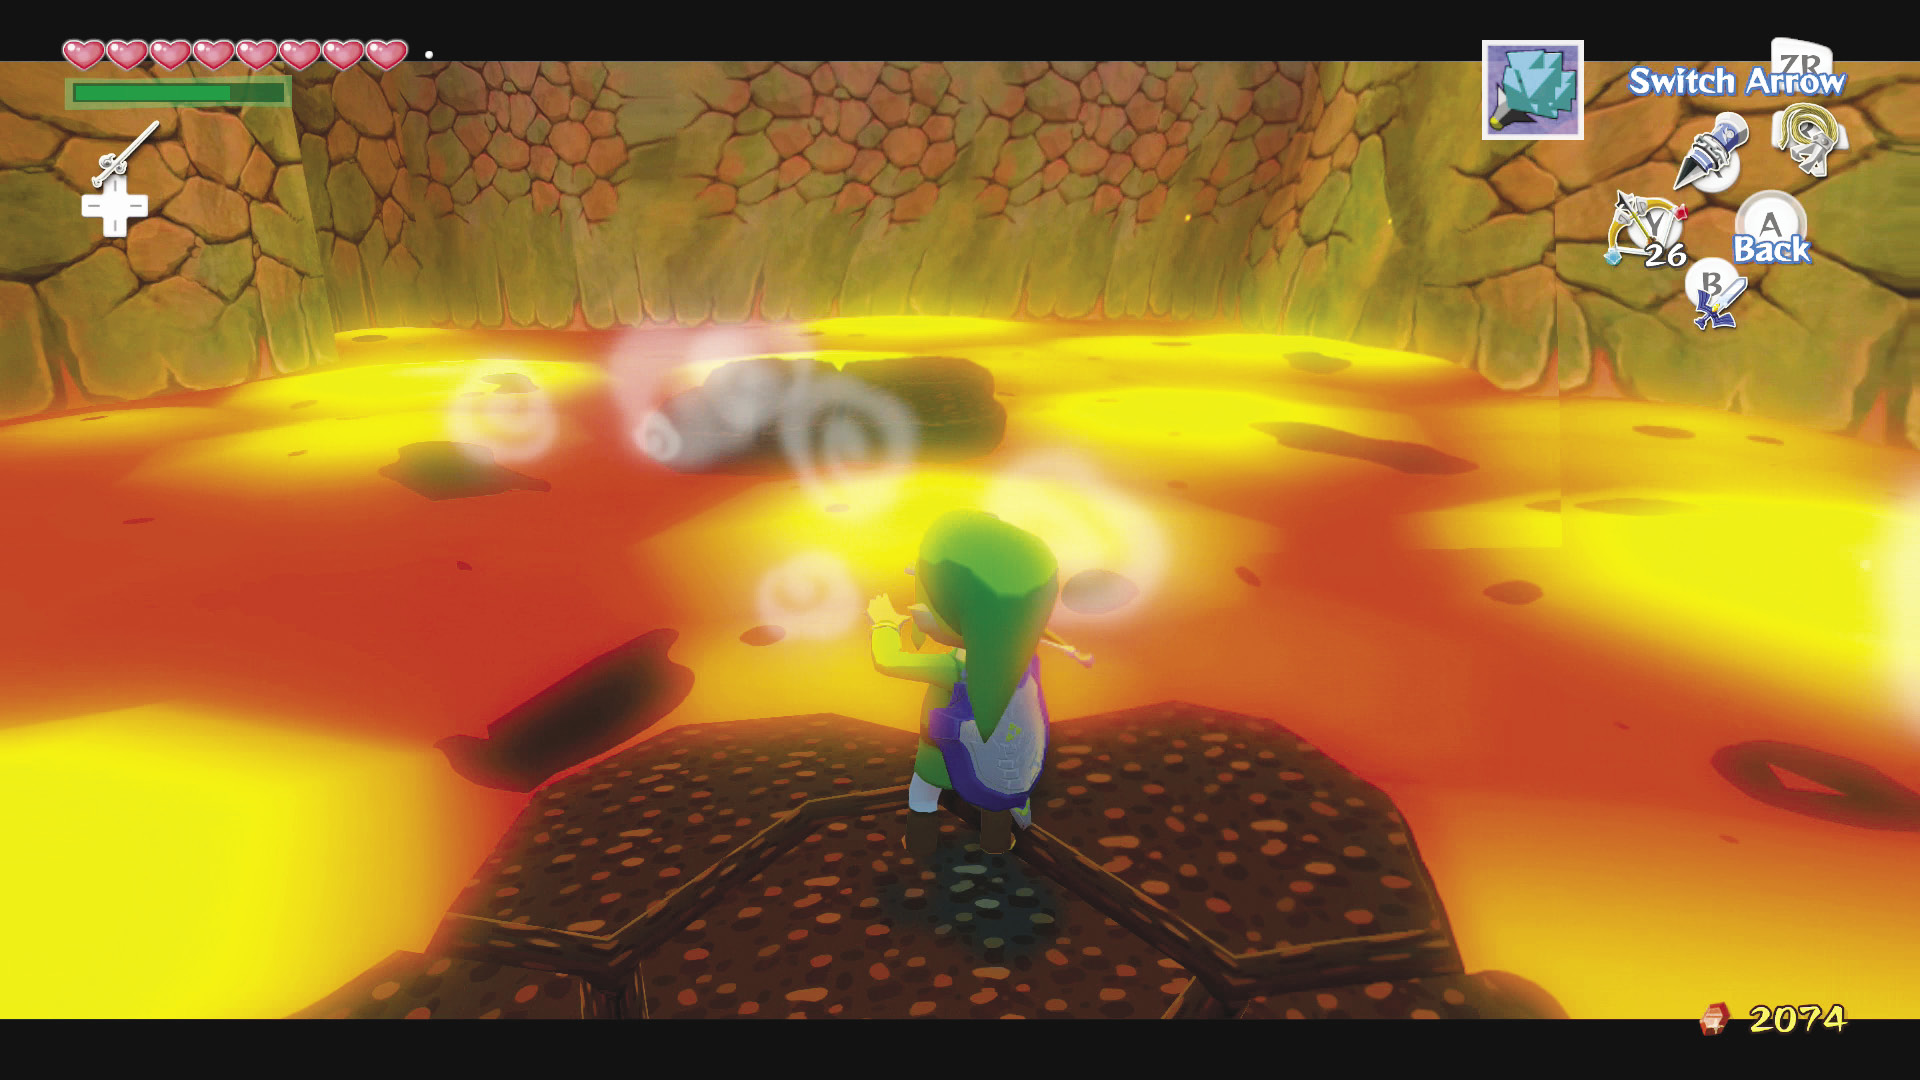
Jump onto the platform it creates and use Ice Arrows to build more platforms to cross.
When you reach the last preexisting platform, shoot an Ice Arrow onto the lava plume to your right, ride it up, jump off, and glide to the platform ahead.
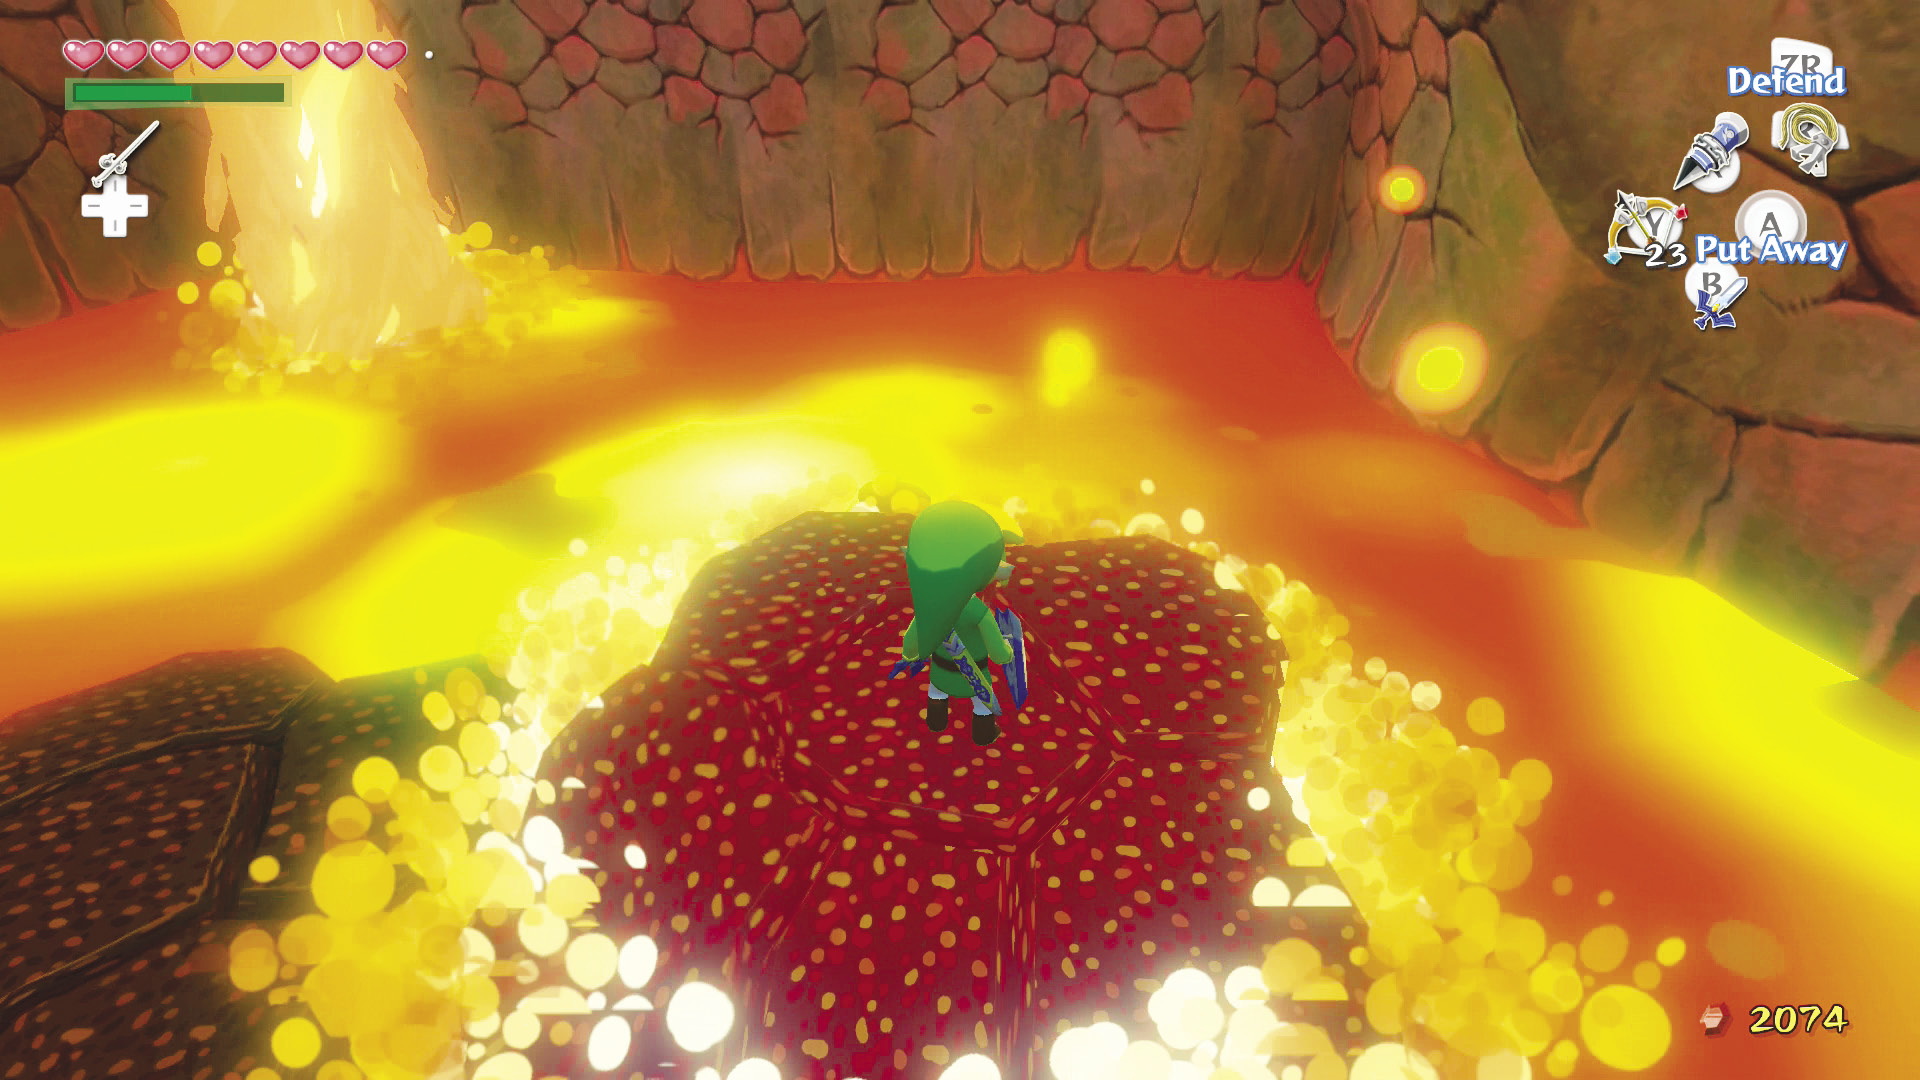
Defeat or ignore the Red Bubbles roaming around the platform, then head through the door to face Gohma for a second time.
Boss: Gohma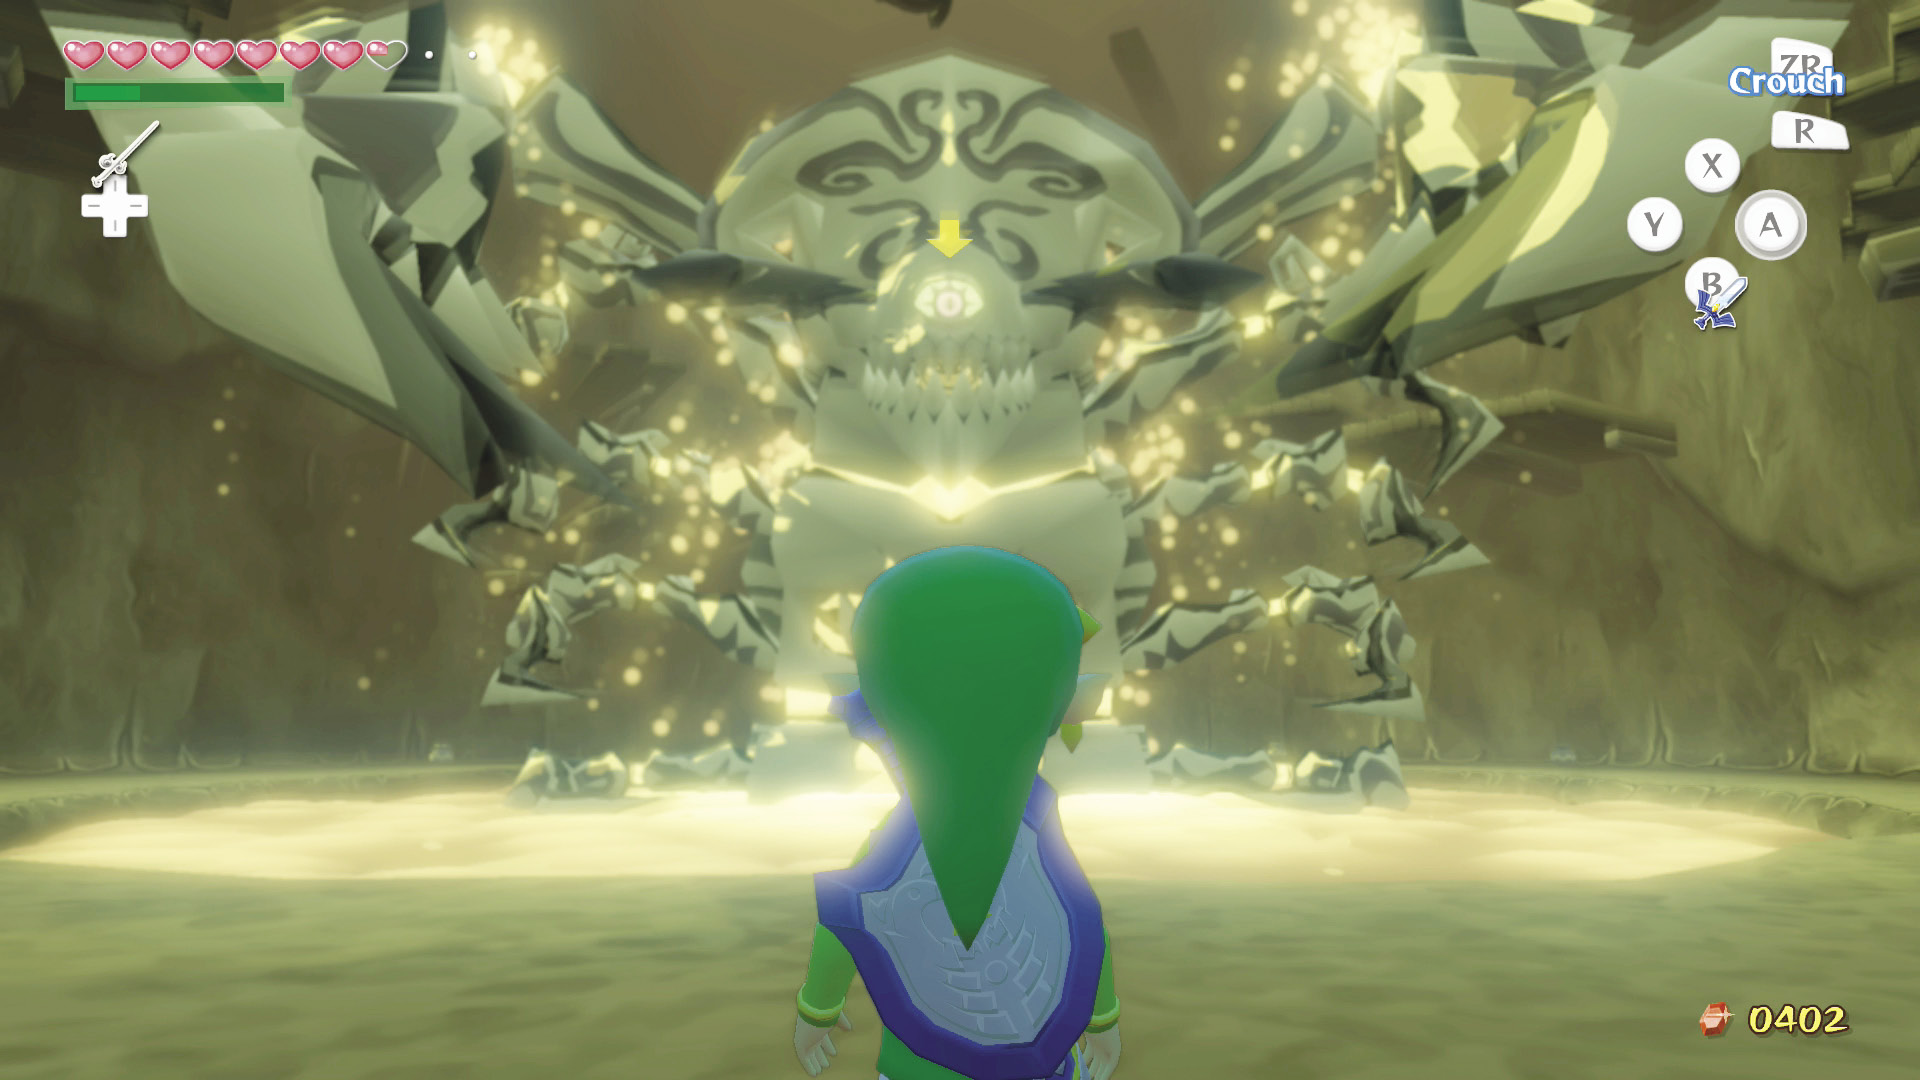 You probably remember this first boss well enough to handle yourself from here, but here’s a quick reminder on how to defeat Gohma. 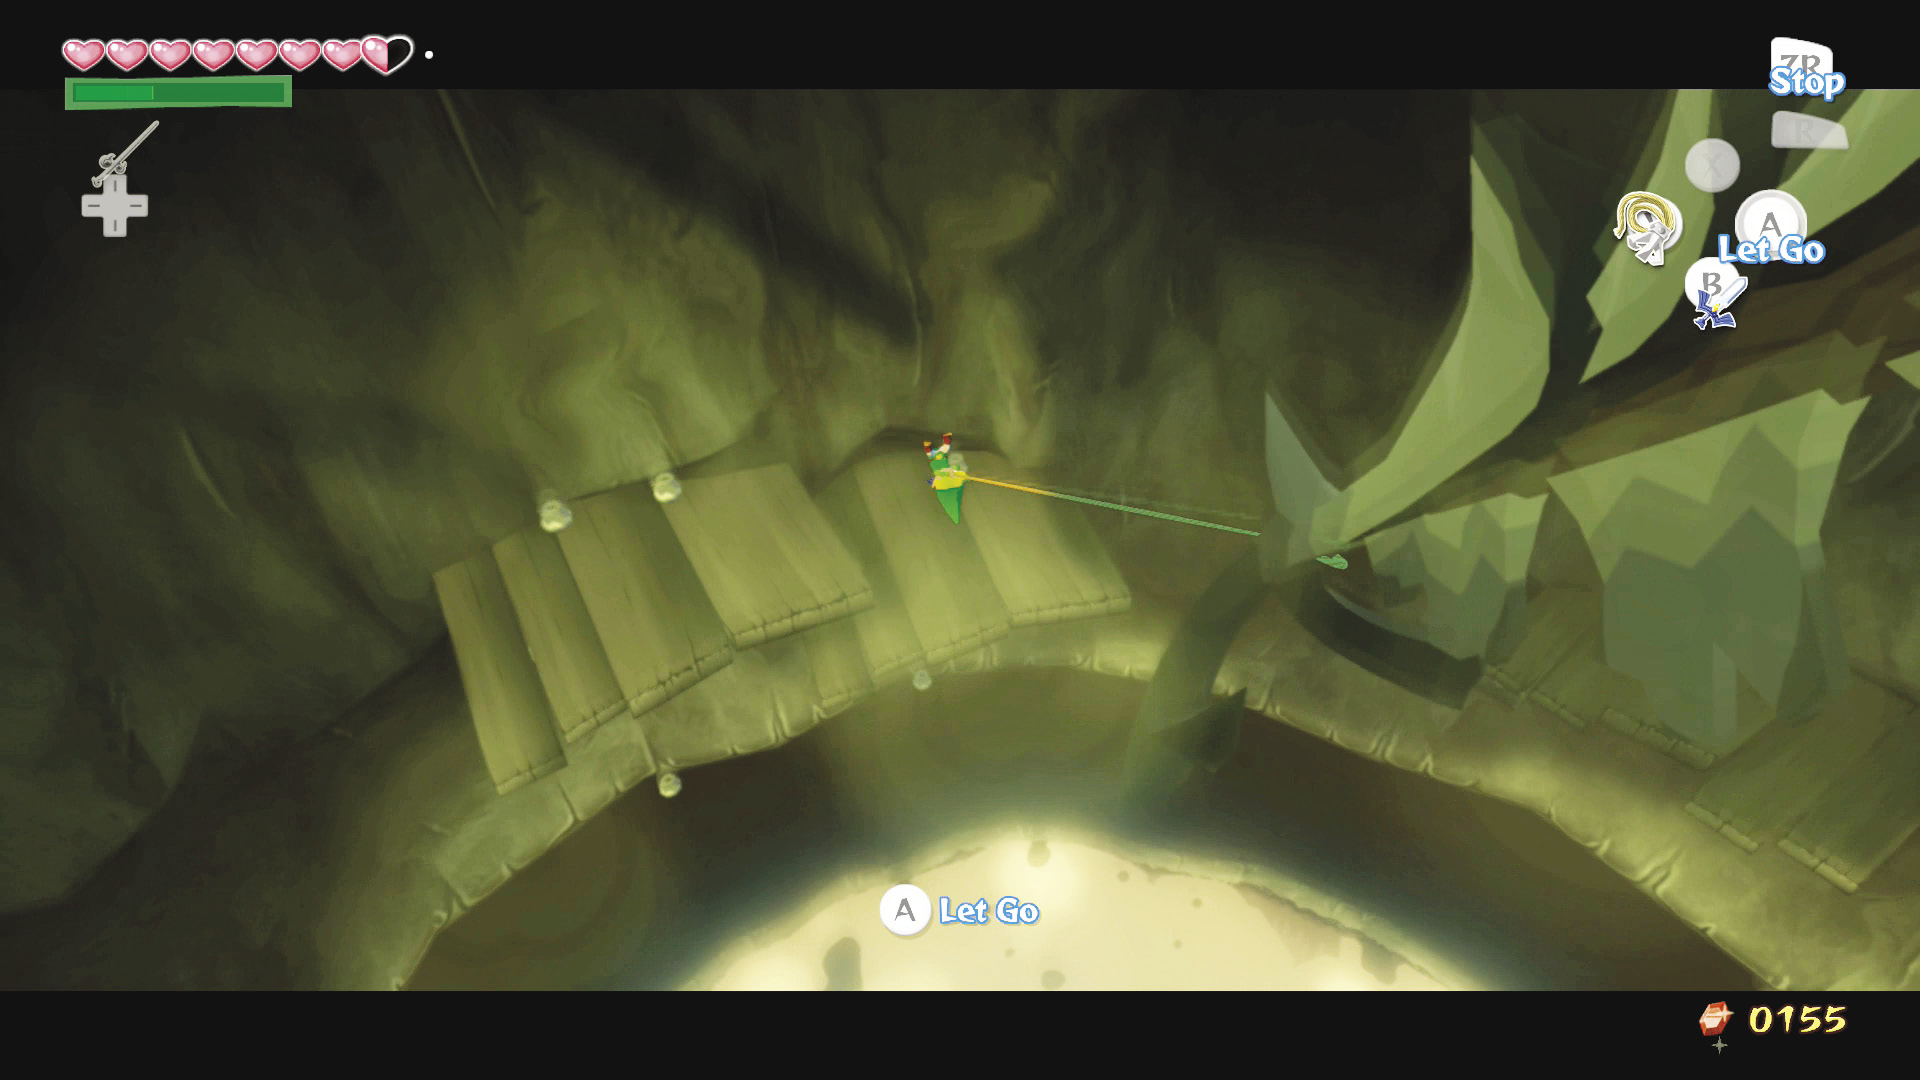 Use the Grappling Hook to grapple onto Valoo’s tail at the center of the room’s ceiling. After swinging on the spirit of the sky’s tail, the hardened lava surrounding it will fall down on Gohma’s head.  There are a few changes to this fight, the most noticeable being that everything is black and white. The only other change is that your equipment has been reduced to the items you had when you first fought Gohma. The only item you need to defeat the monstrous Magtail is the Grappling Hook, so make sure to equip it immediately. 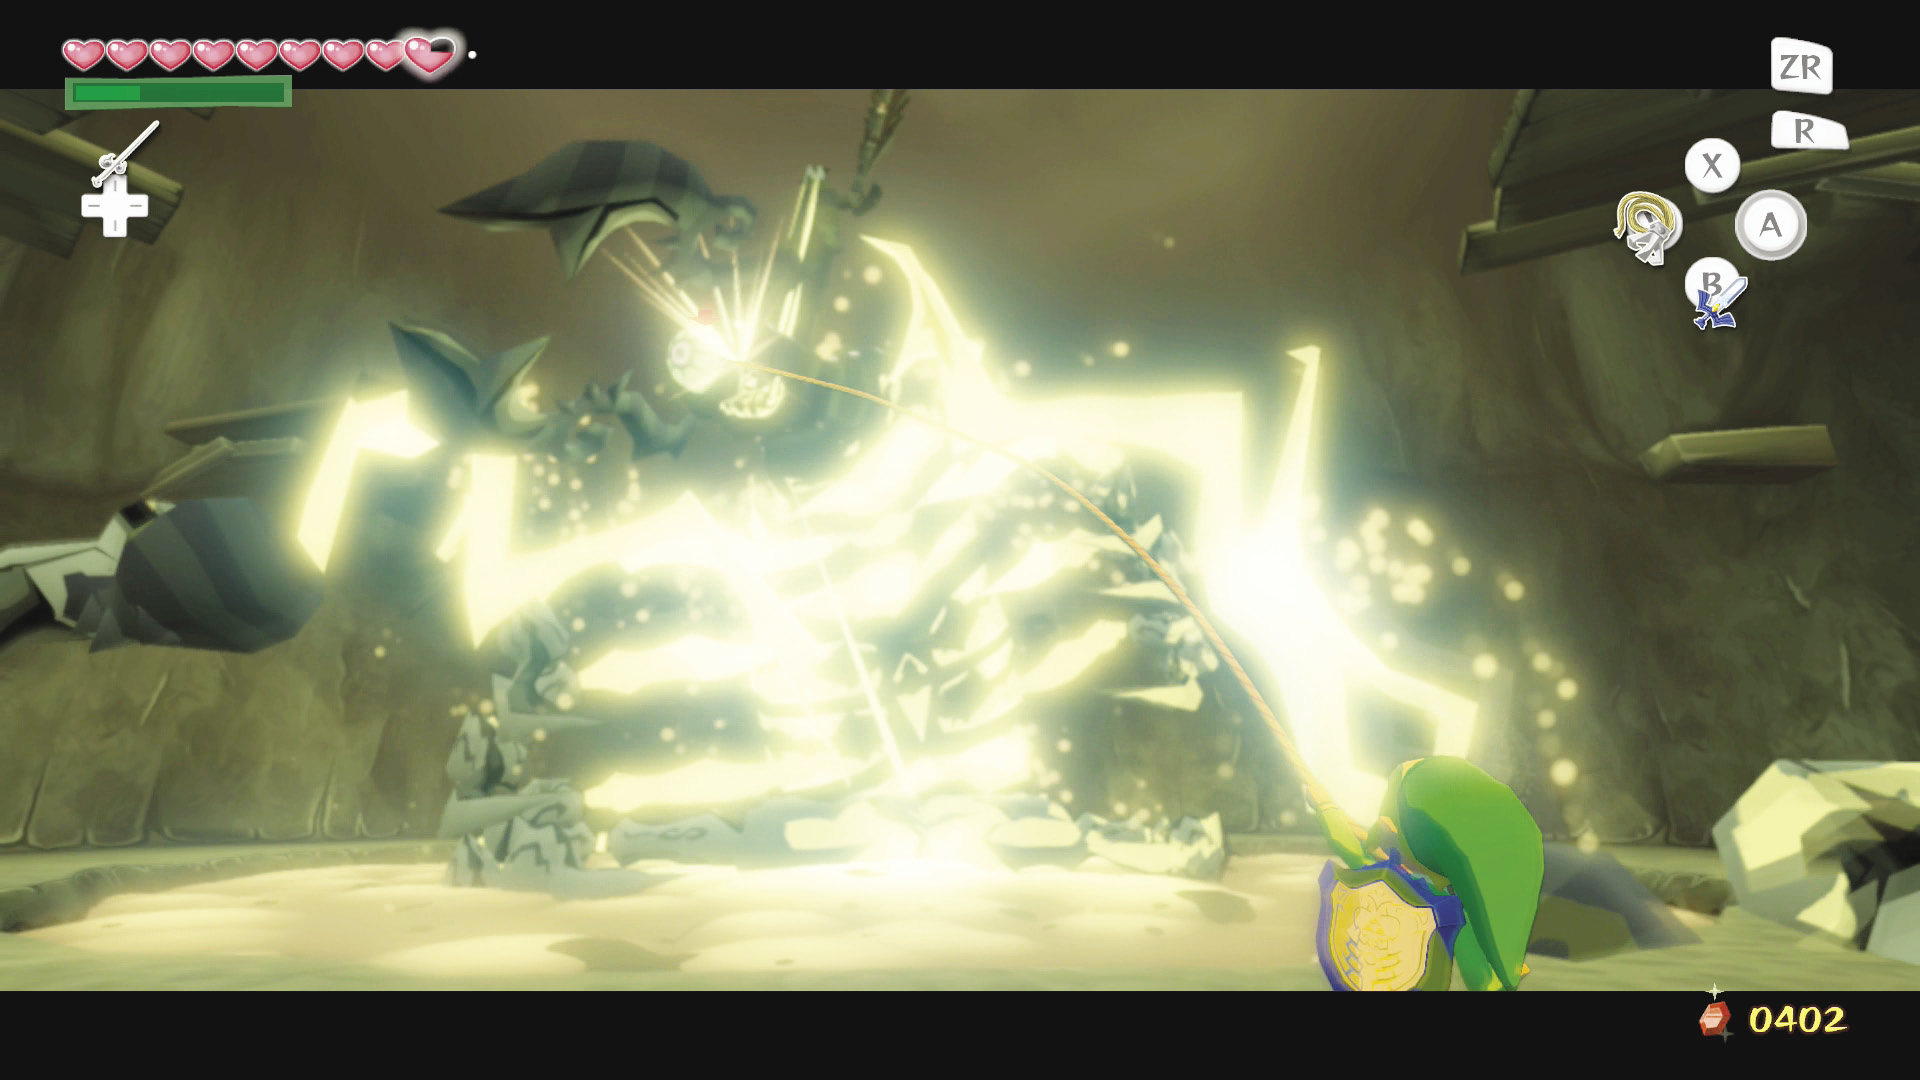 Repeat this process two more times to break Gohma’s thick outer shell. From here, 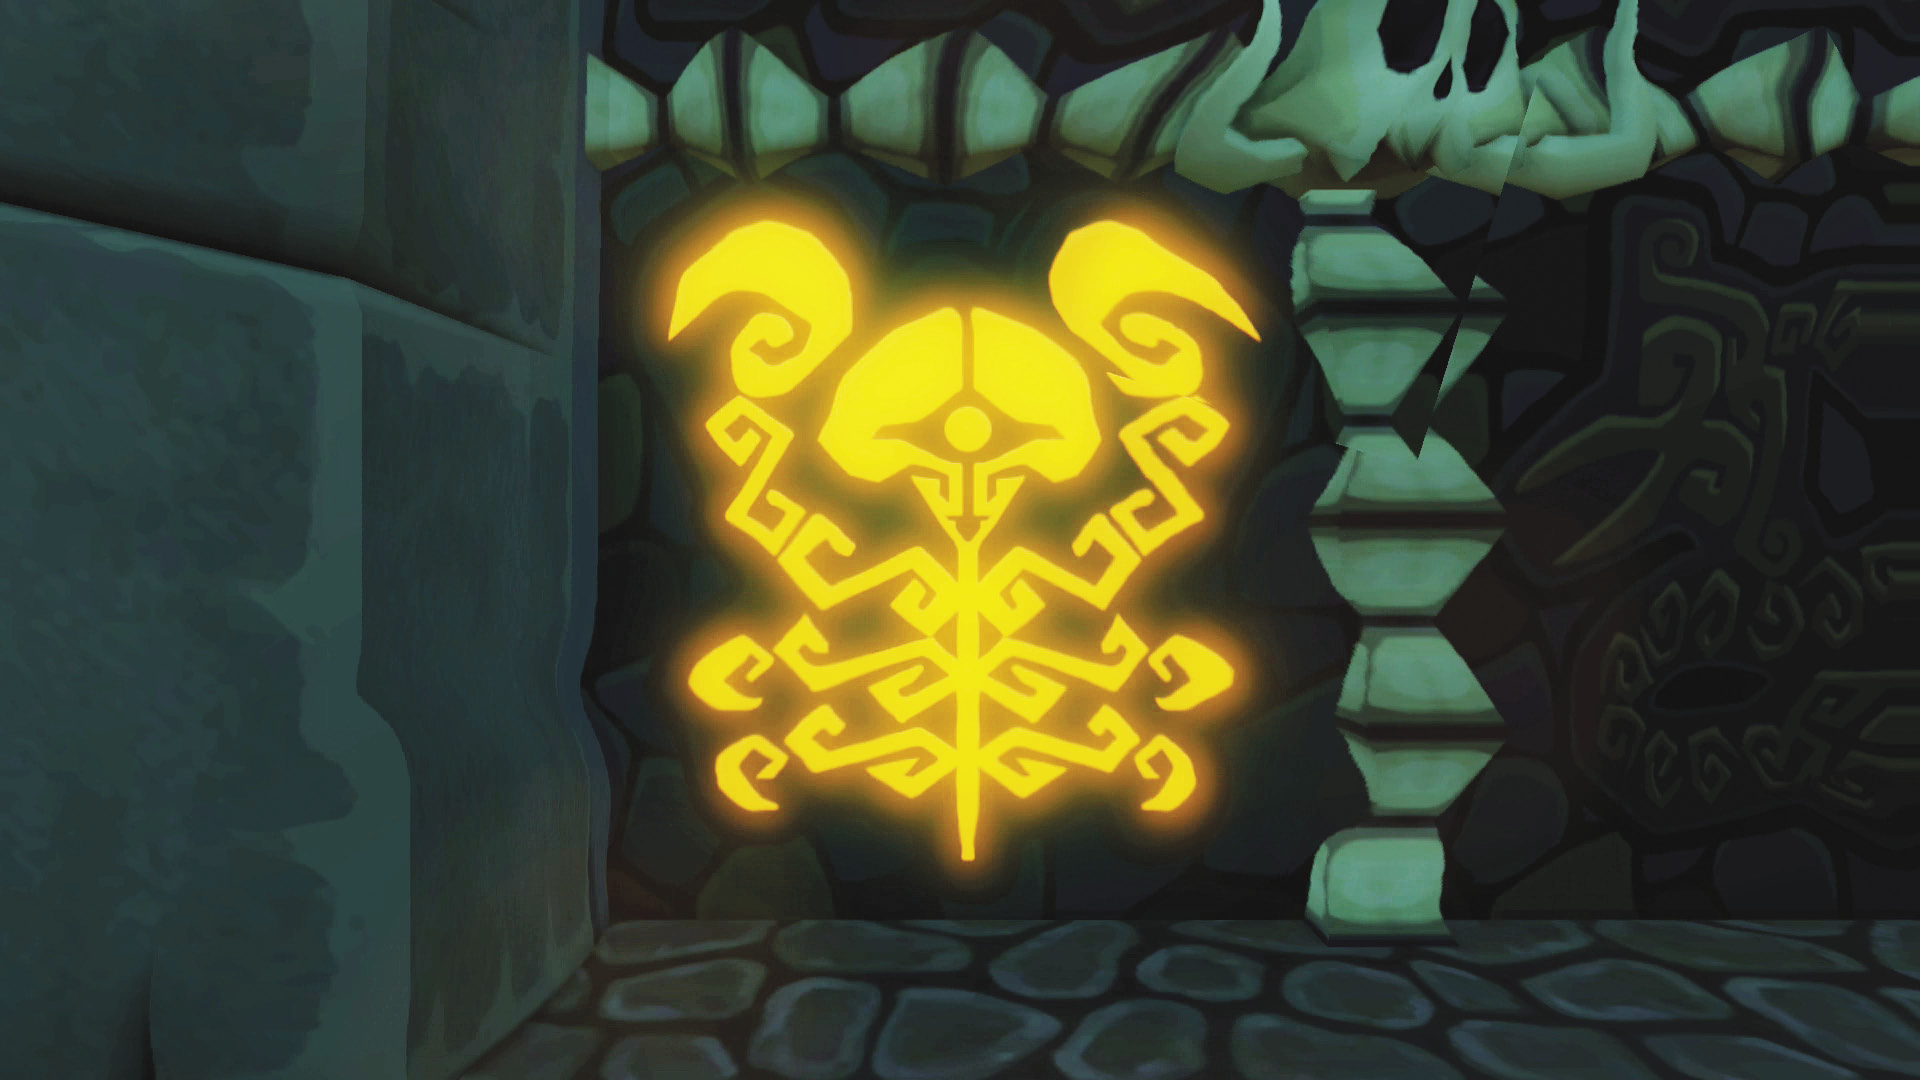 Immediately after defeating Gohma, you’ll be teleported to the center of the entrance of Ganon’s Tower. One of the four symbols on the large door at the hall’s end will light up. Three to go! |
 -Target Gohma and use your Grappling Hook to drag it down to your level. Slash the beast’s giant eye three to four times and you’ll send Gohma back to where it belongs: in your memories.
Forbidden Woods Room
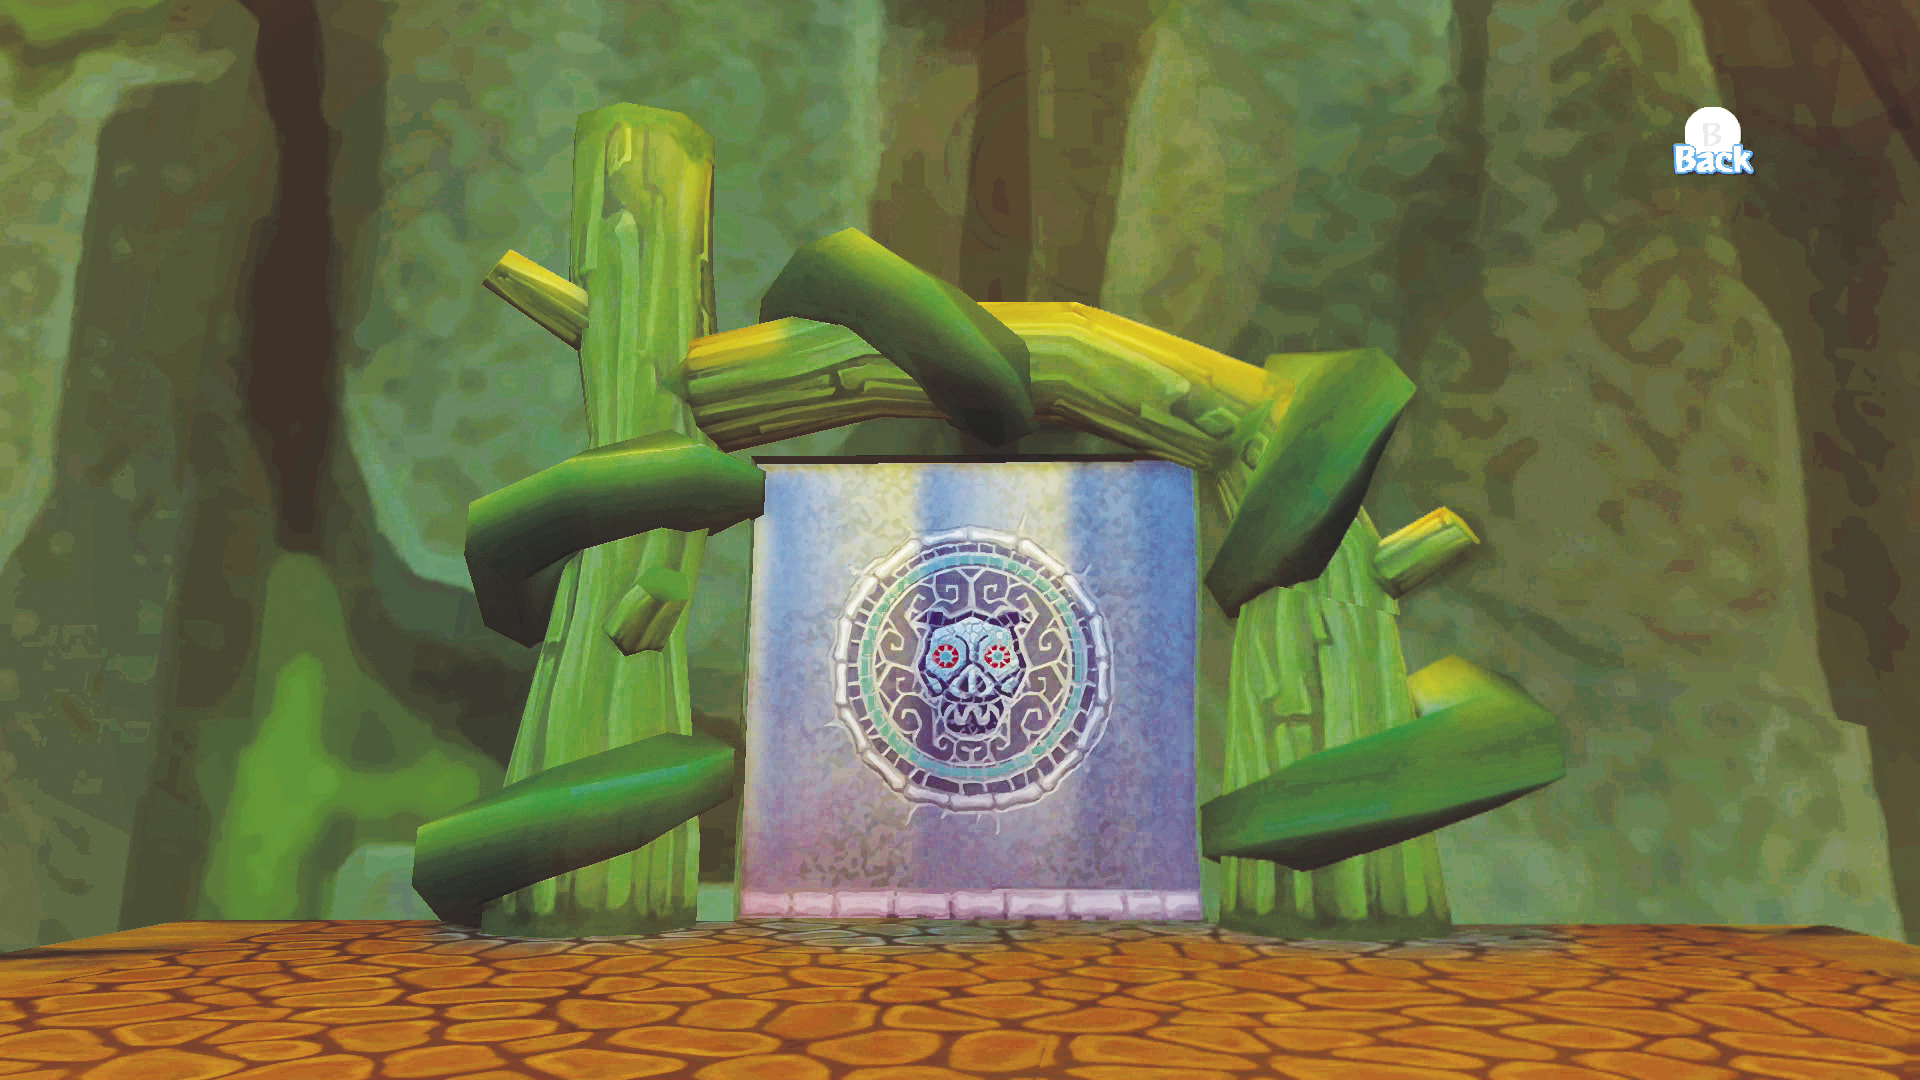
The second door on the left leads to the Forbidden Woods Room. This room is unlikely to give you as much trouble as the Dragon Roost Cavern room, but it can still get a bit tricky if your timing is off.
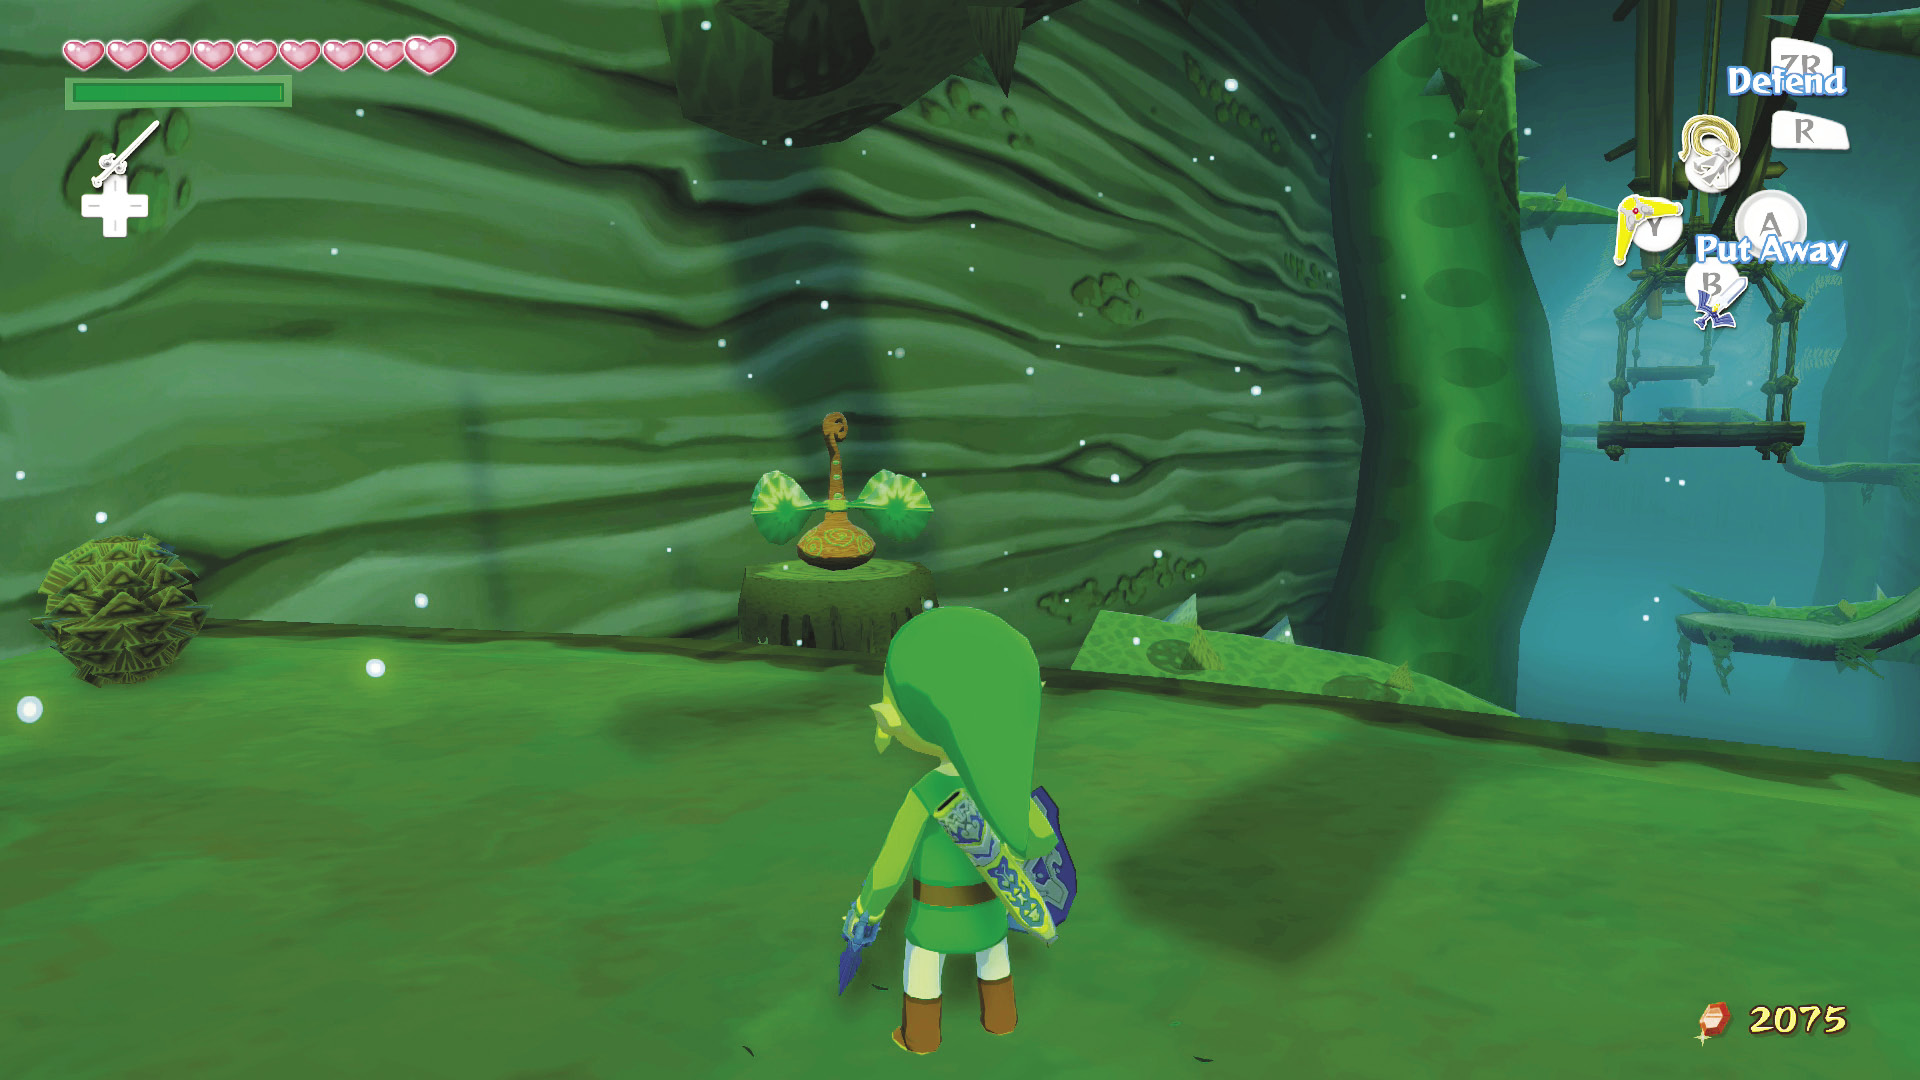
Use your Deku Leaf to blow a gust of wind at the pinwheel on your left. This will call the hanging platform ahead to your location. Hop onto the hanging platform and use the Deku Leaf to propel yourself along the platform’s rope.
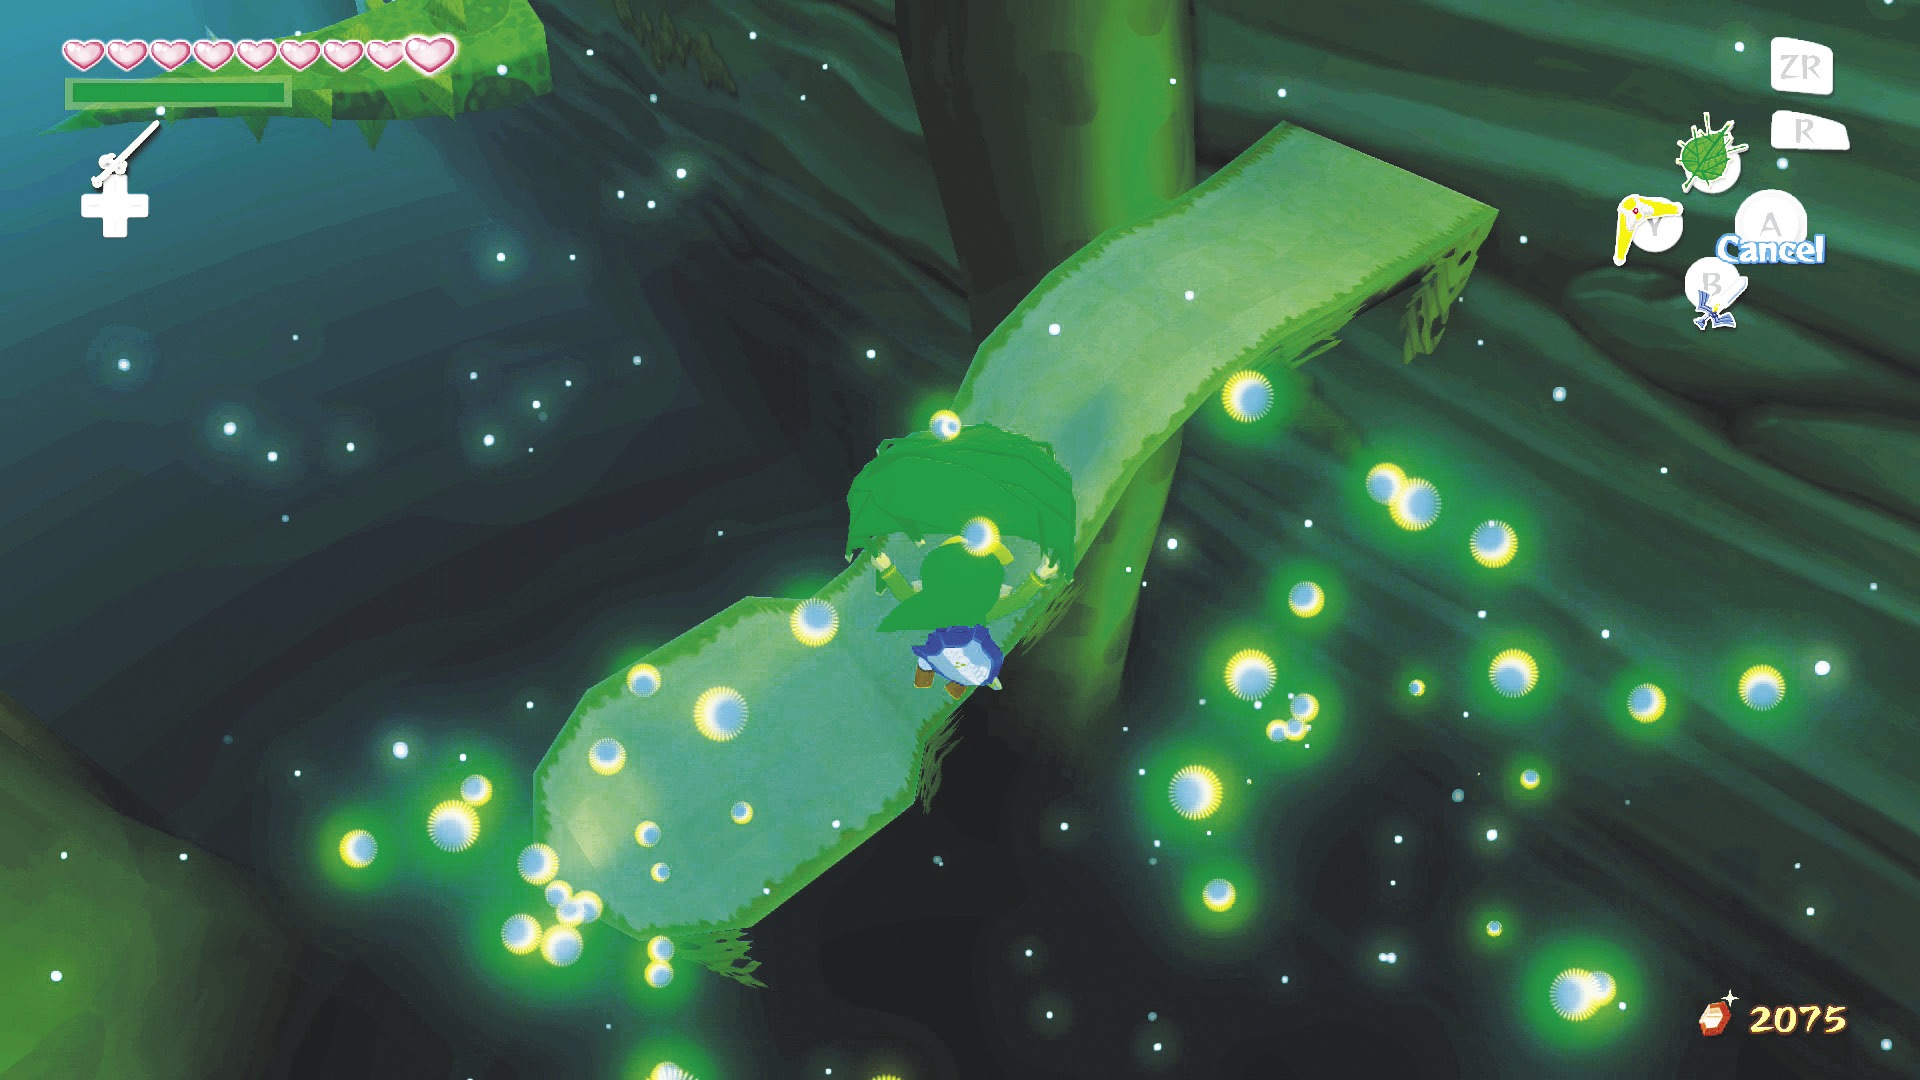
Jump and glide onto the base of the snaking platform on the wall’s right side, then walk to its other end while it is lowered and use the Deku Leaf on the pinwheel ahead to call another hanging platform to your location.
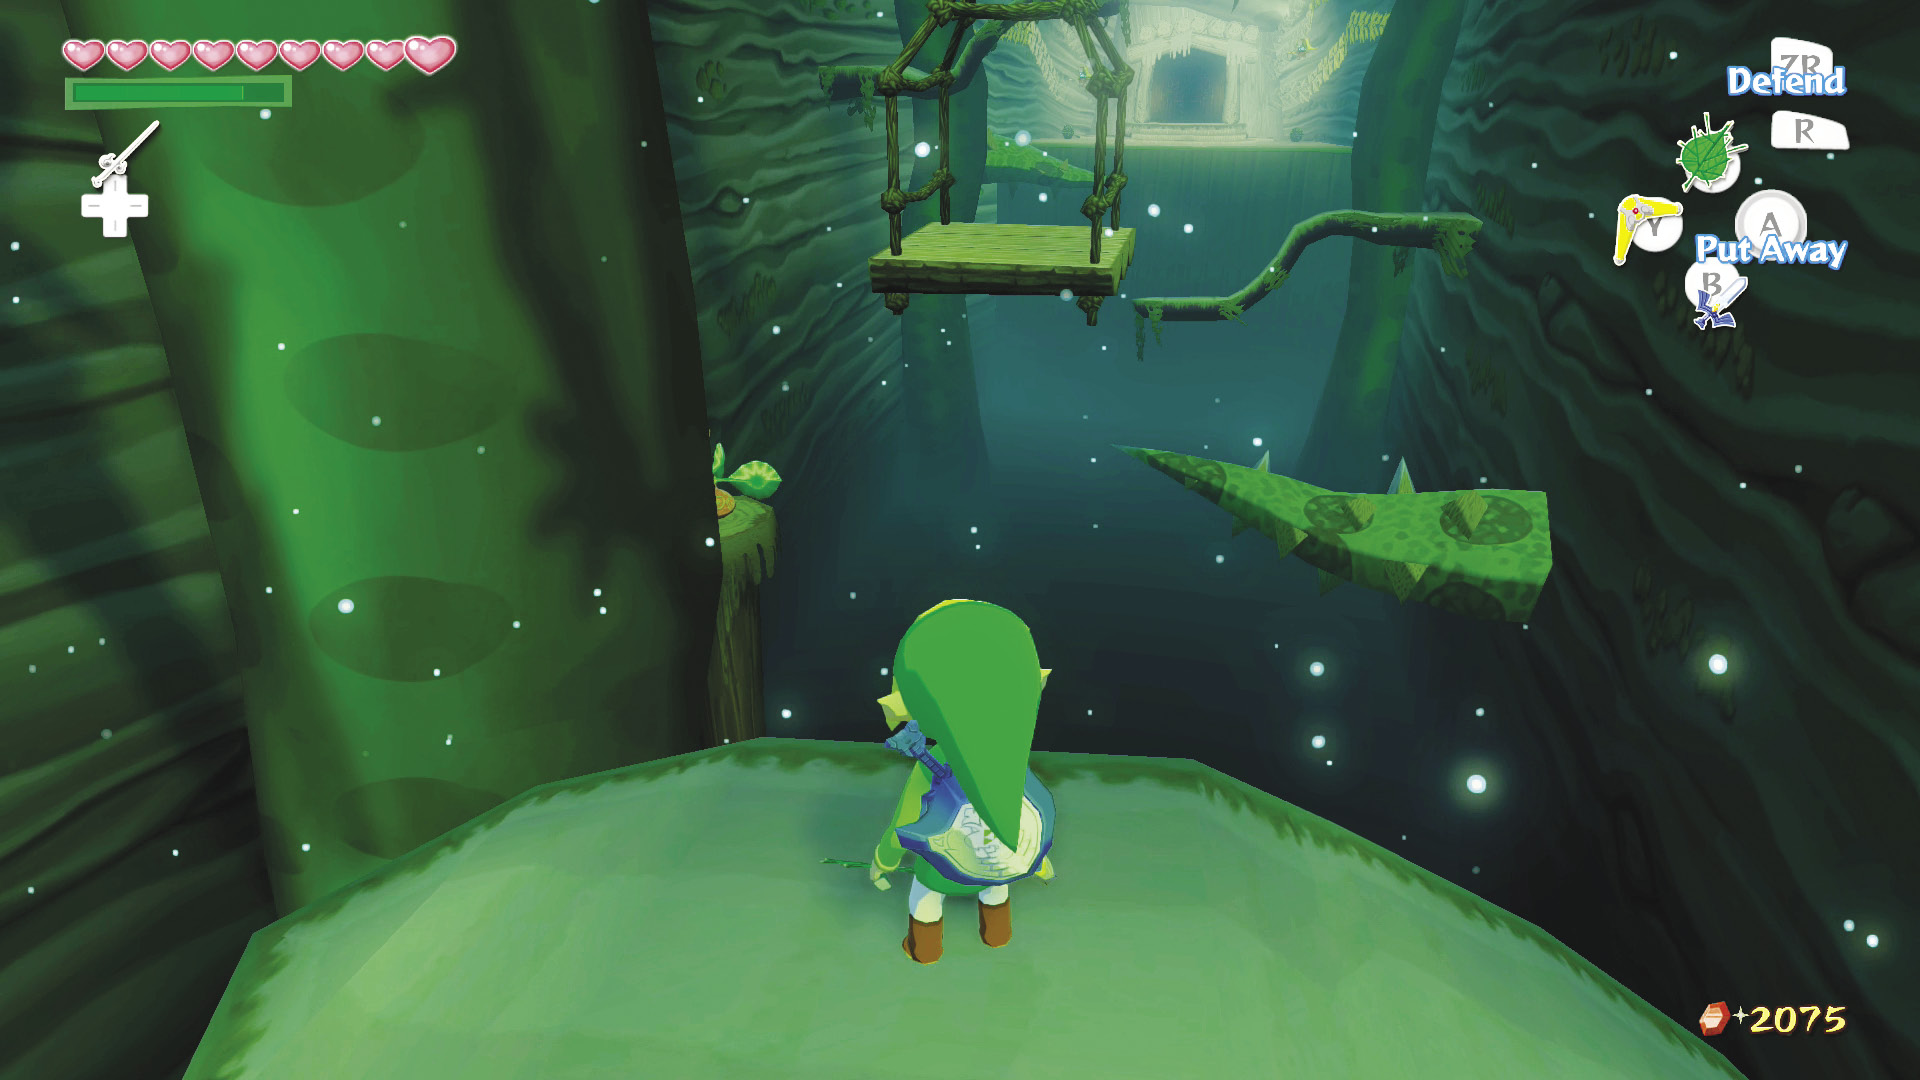
Wait for the snaking platform to rise, then jump onto the hanging platform. Propel yourself to the end of the platform’s rope, then jump and glide onto the base of the snaking platform on your right.
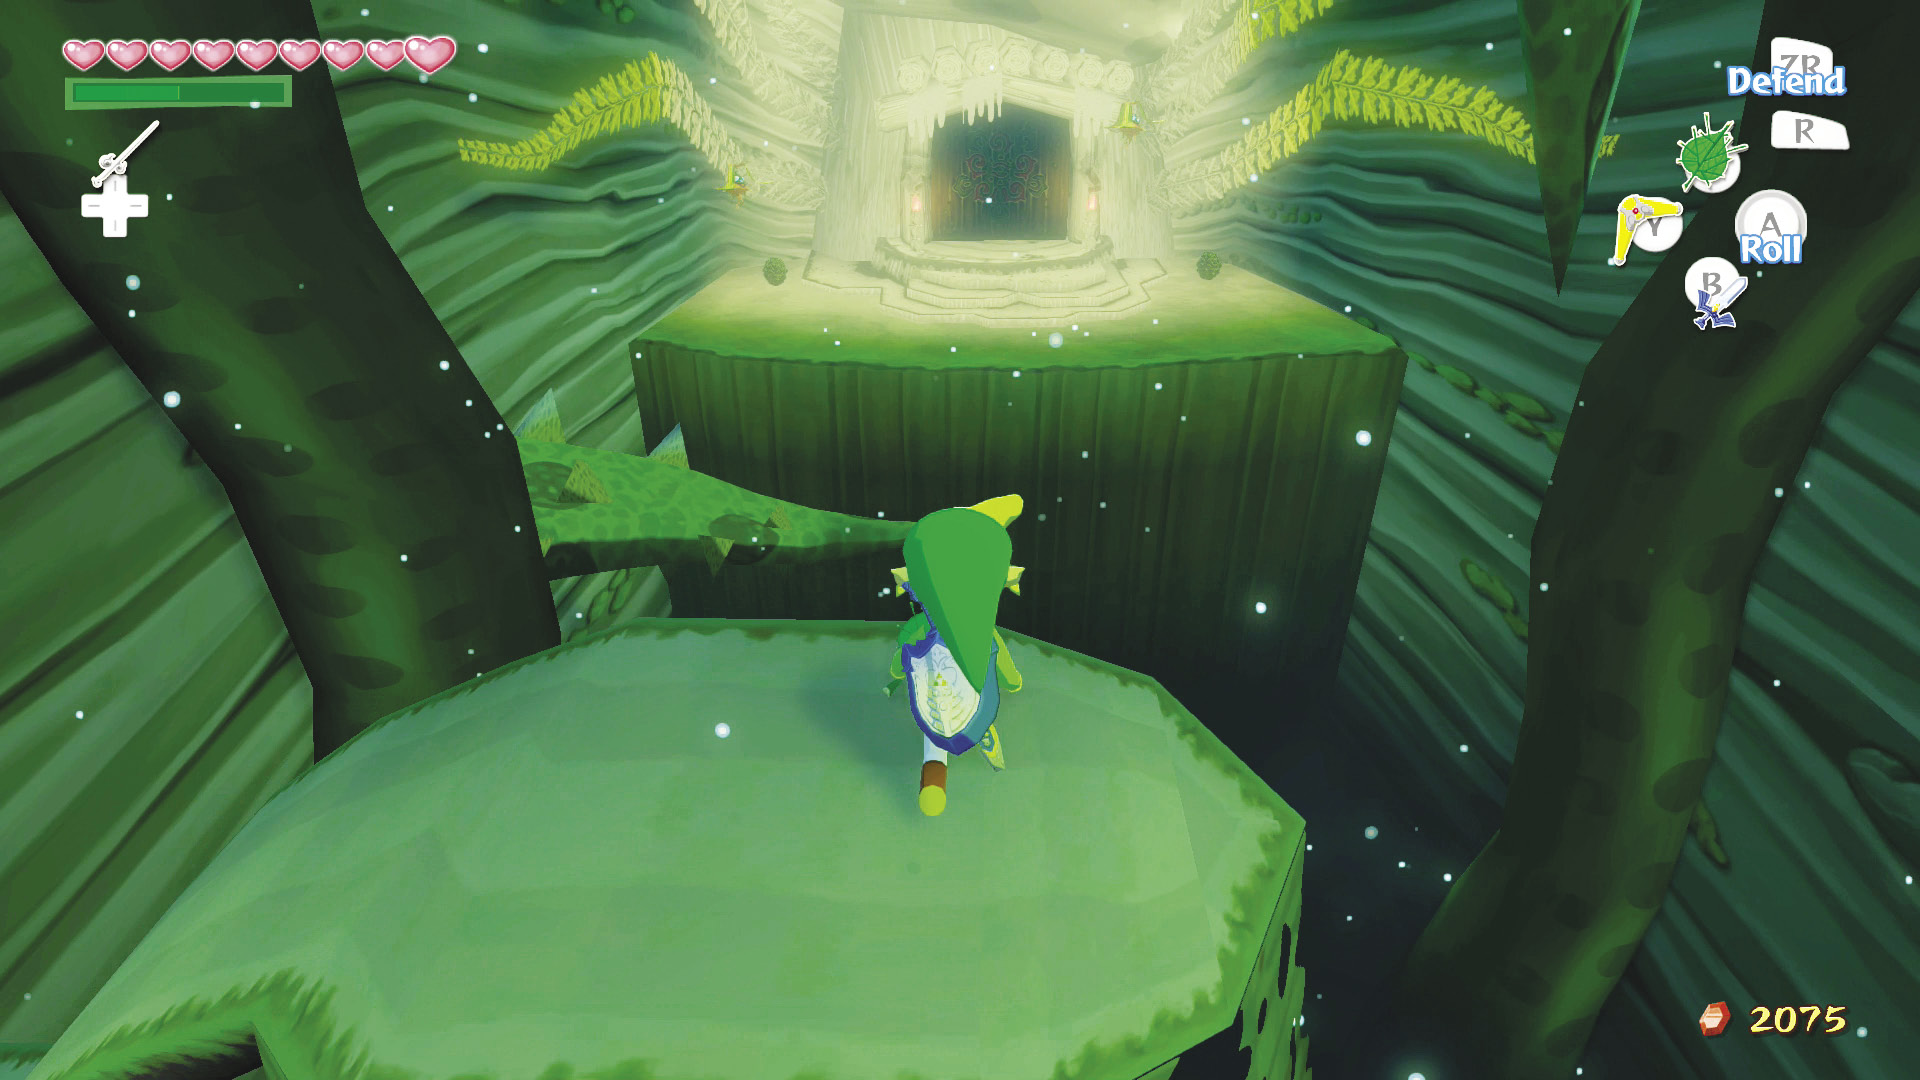
Walk to the other end of the platform and wait for it to rise. When the platform is level with another snaking platform on the room’s left side, walk onto it and wait for it to rise. Next, jump and glide with the Deku Leaf to the other side of the room; just be careful about those pesky Peahats hovering around the door.
Head through the door to have your second battle with the beautiful but deadly Kalle Demos.
Boss: Kalle Demos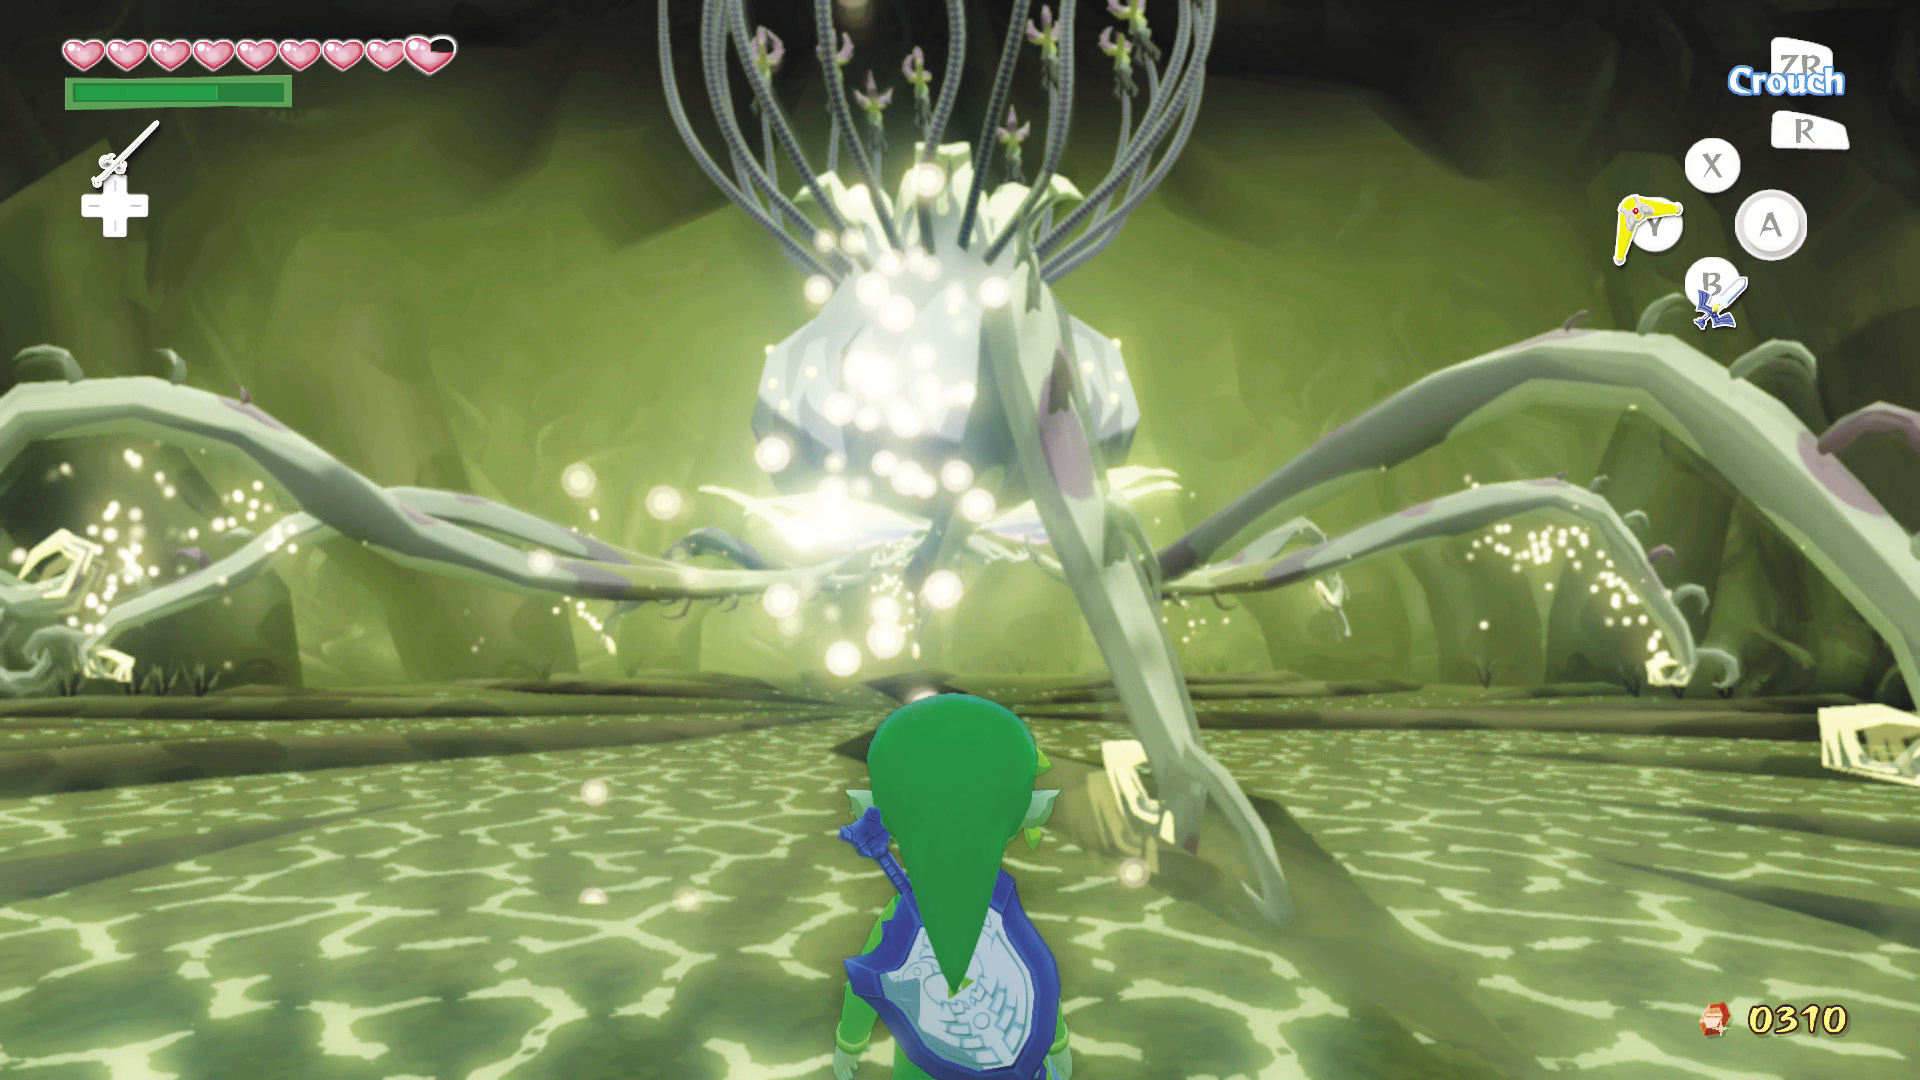 Your inventory has changed again to reflect your visit to the Forbidden Woods. That’s okay, because all we need is the Boomerang to handle the burdensome bud. 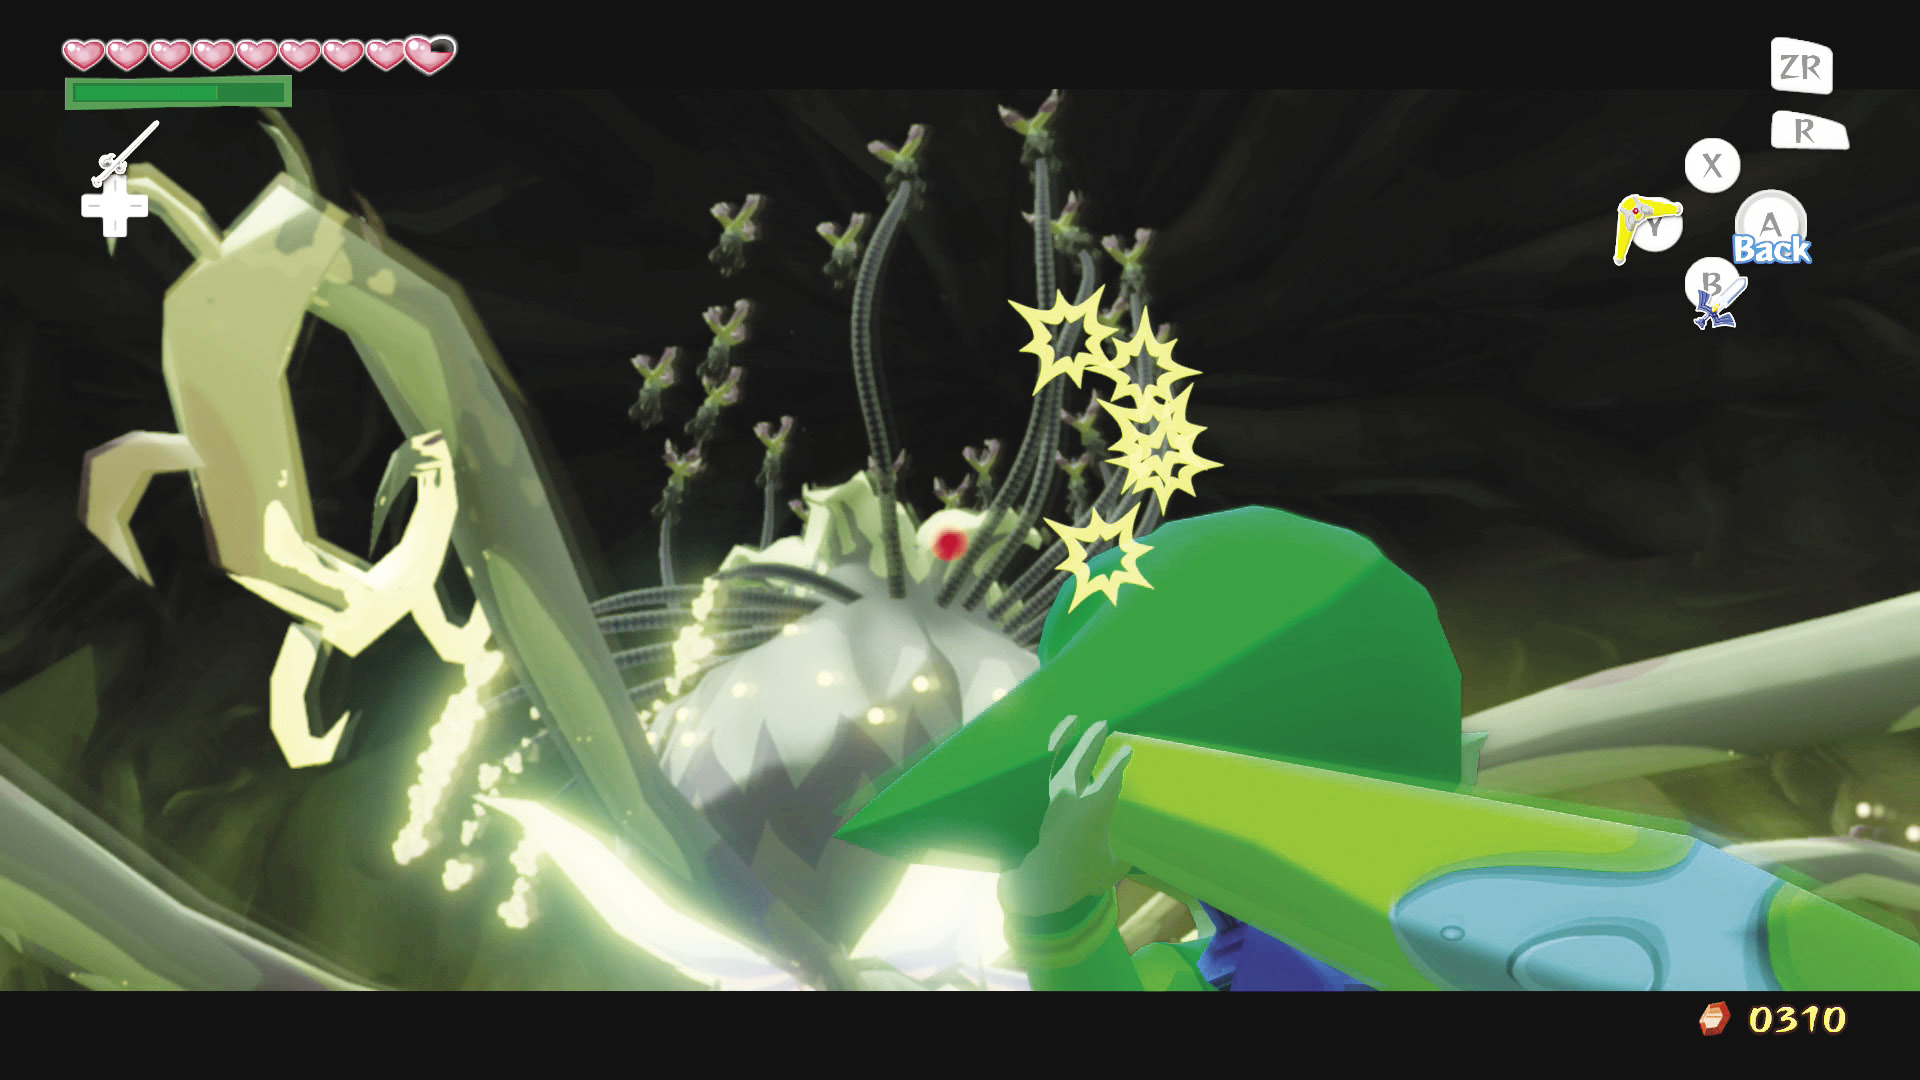 Use the Boomerang to target the Dexivines that adhere Kalle Demos to the ceiling, all the while avoiding the funky flower’s underground root attacks. 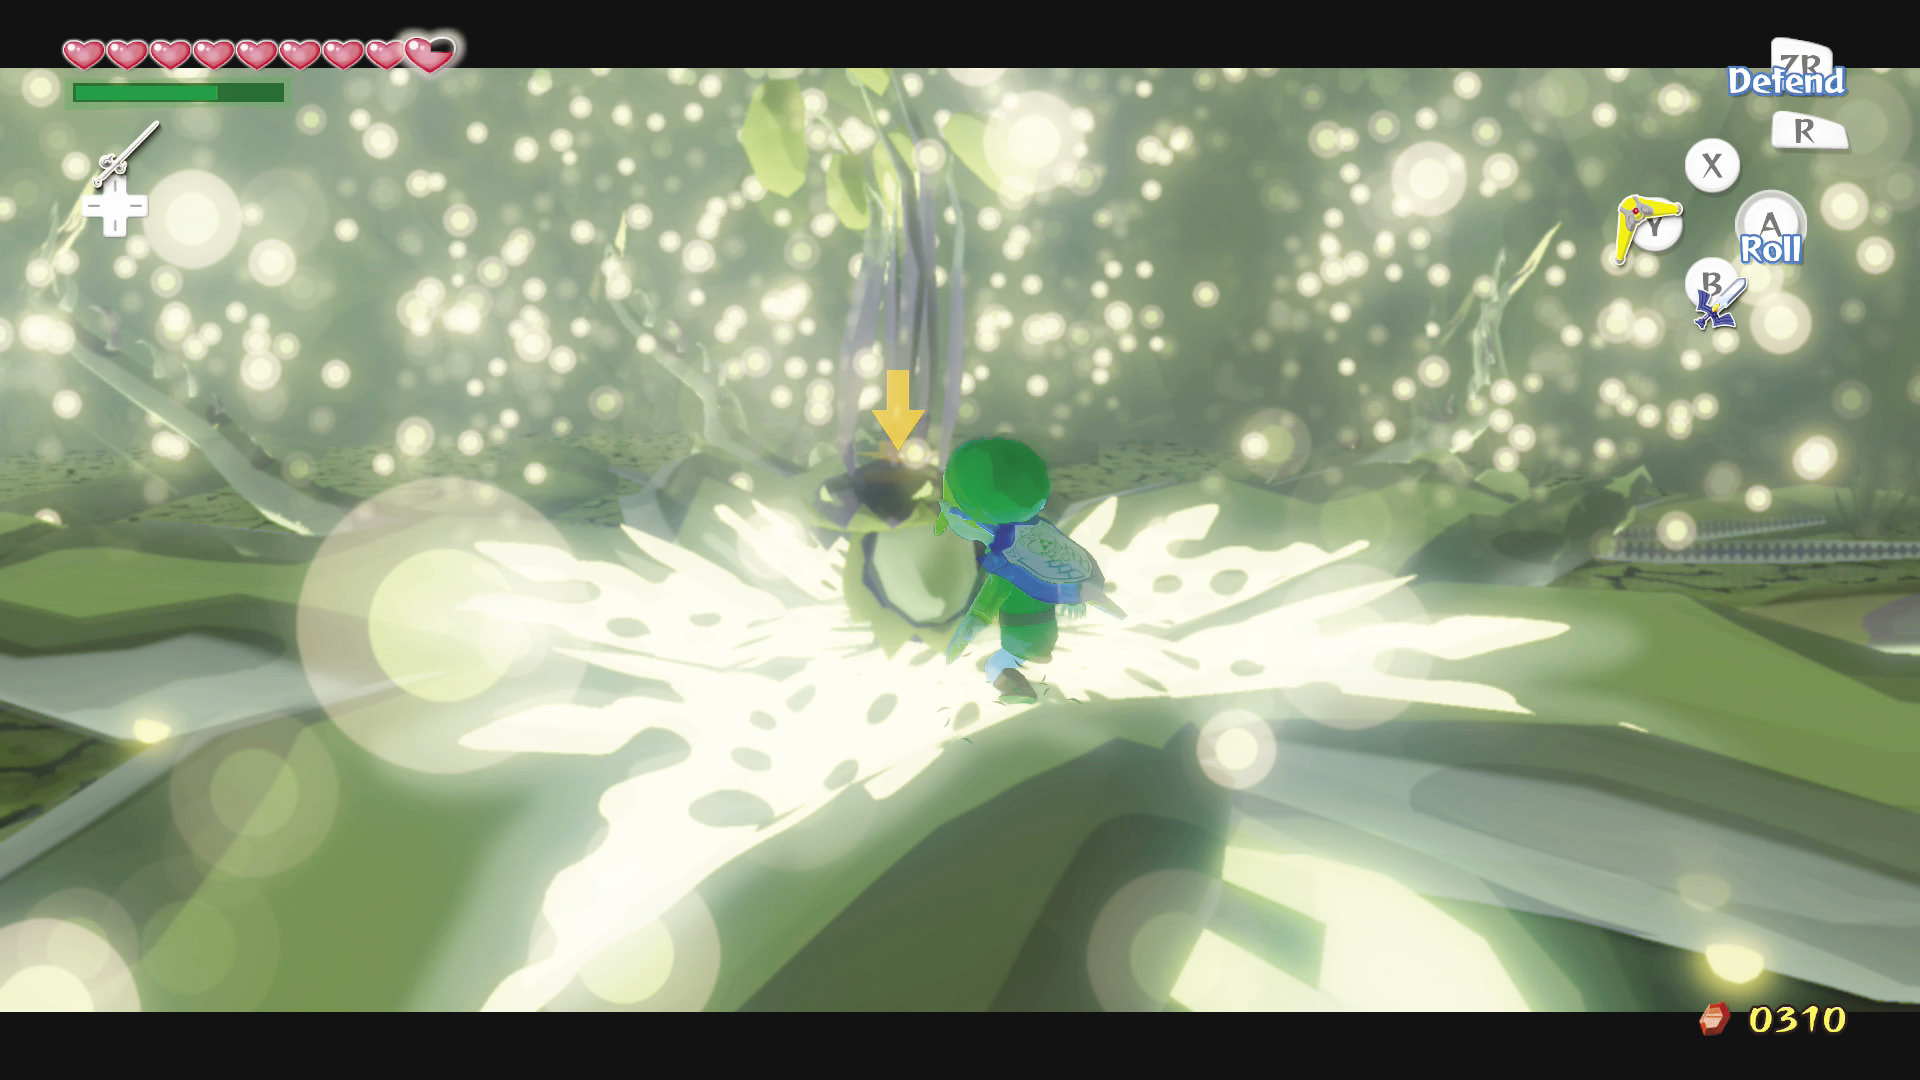 After you cut all of the Dexivines, Kalle Demos will fall to the ground and its flower will fan out, revealing the tiny Boko Baba inside of it. Slash the Boko Baba six to eight times with the Master Sword to end this fight. Just be sure to roll out of Kalle Demos’s flower when it starts to shake or else it’ll close with Link in it, dealing damage in the process. |
Earth Temple Room
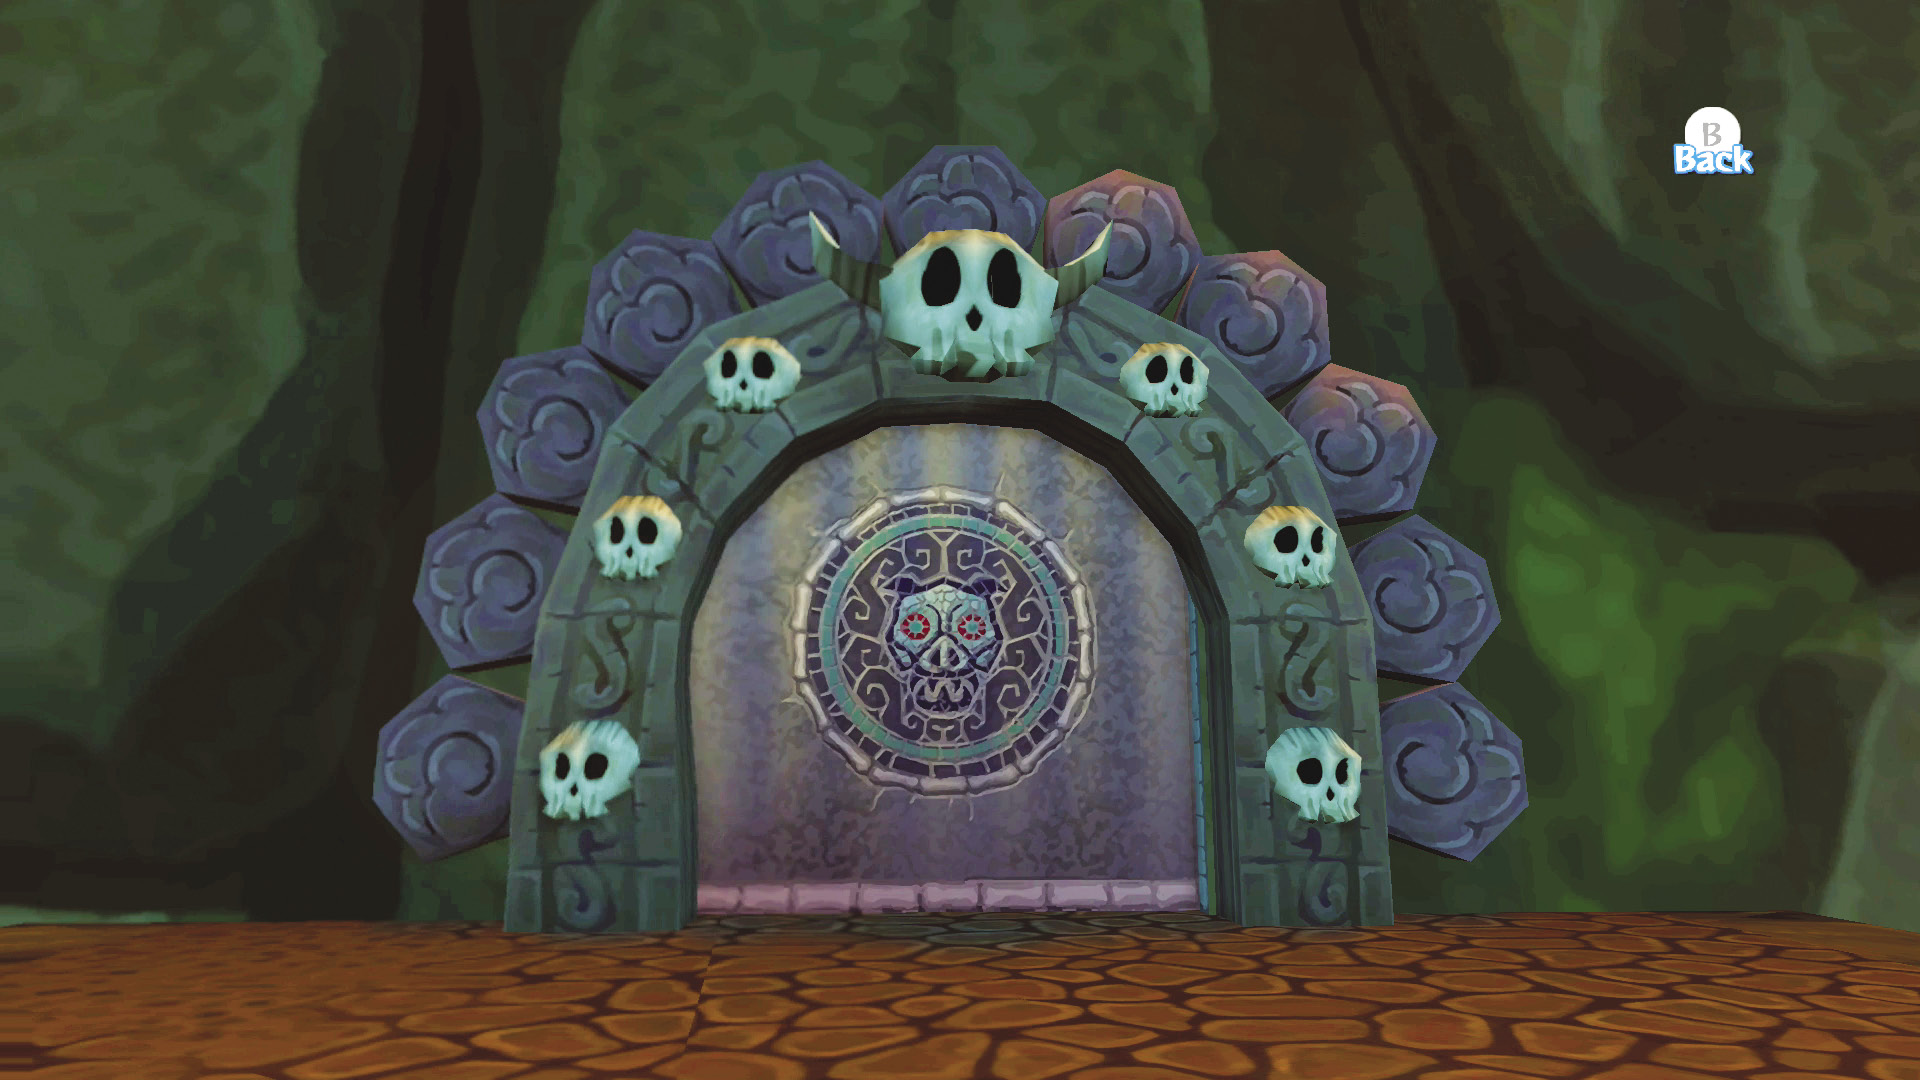
Directly to the right of the large door with the four symbols on it is the door leading to the Earth Temple room.
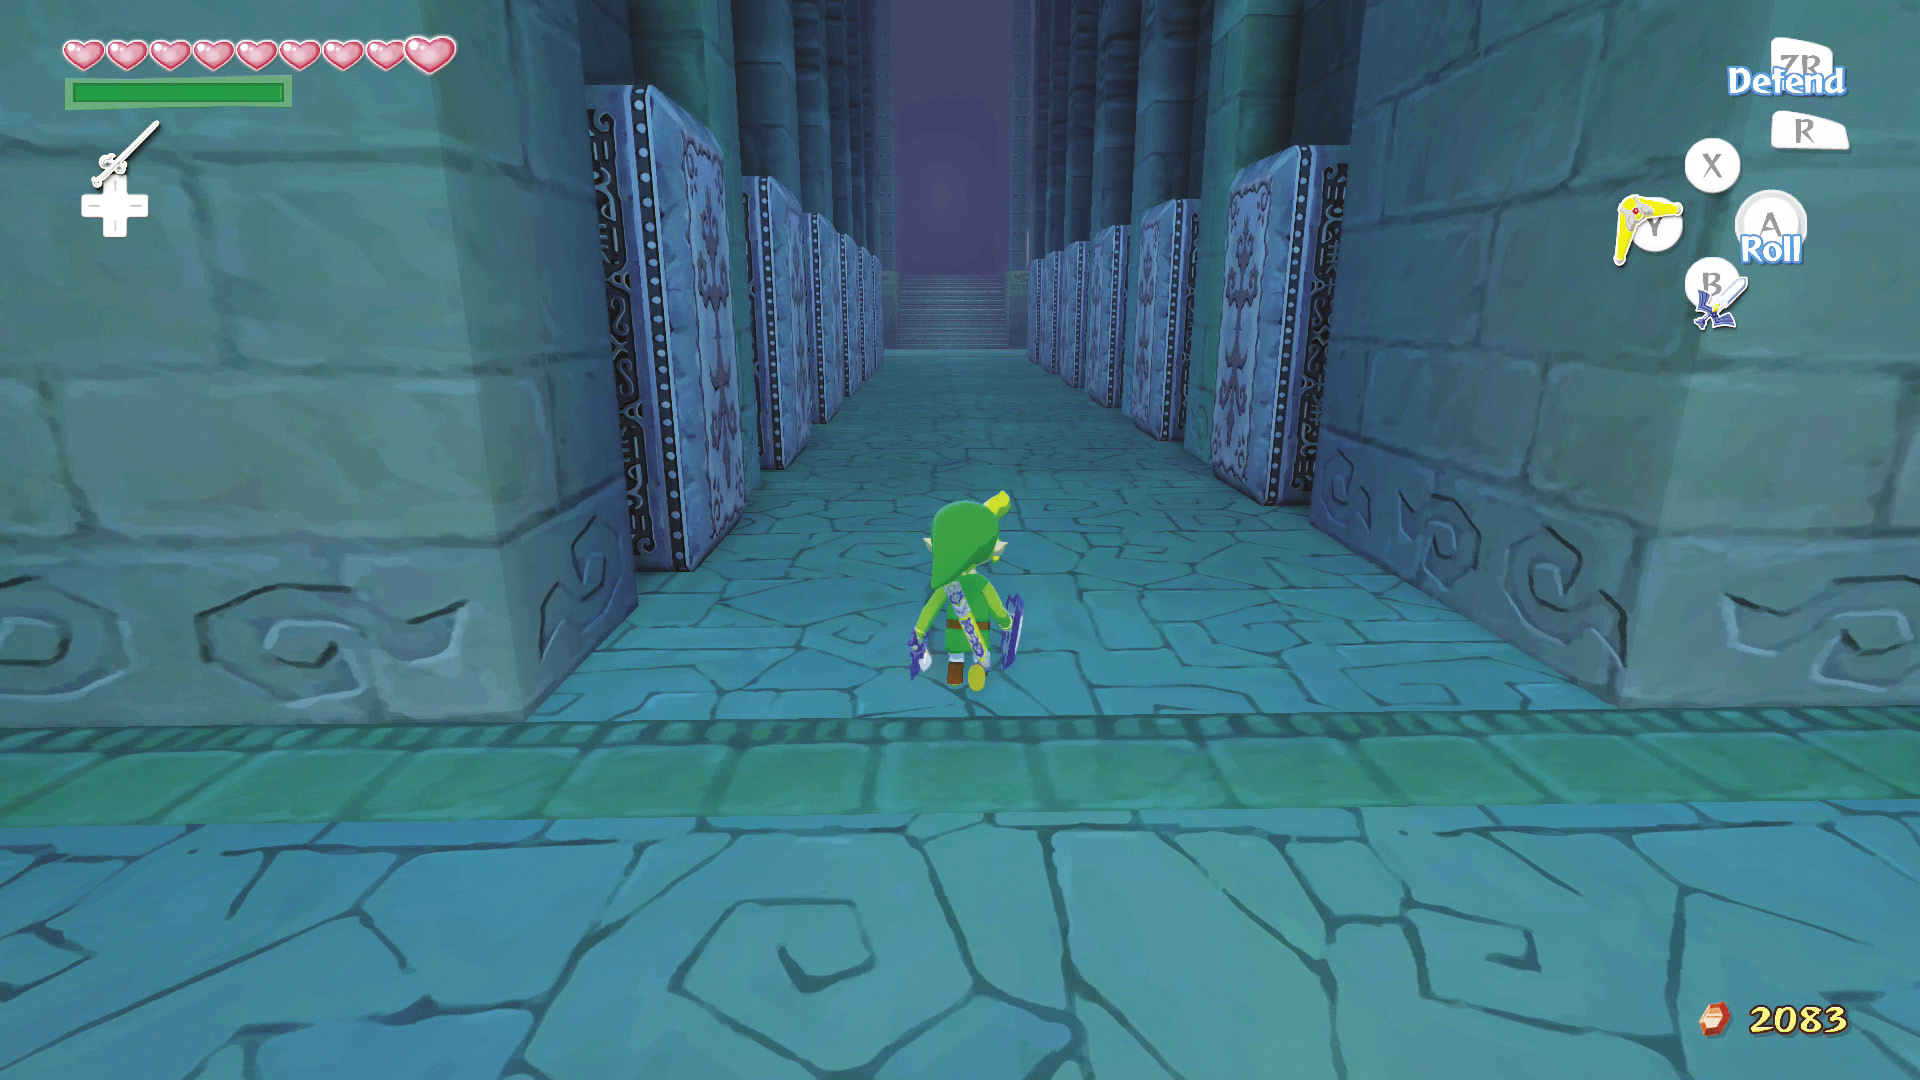
This is, without a doubt, the toughest of the four rooms. The first section of the room is lined with coffins that open as soon as you approach them. The coffin lids will damage you if you stand underneath them, so roll past them as swiftly as you can and ignore all the monsters within them.
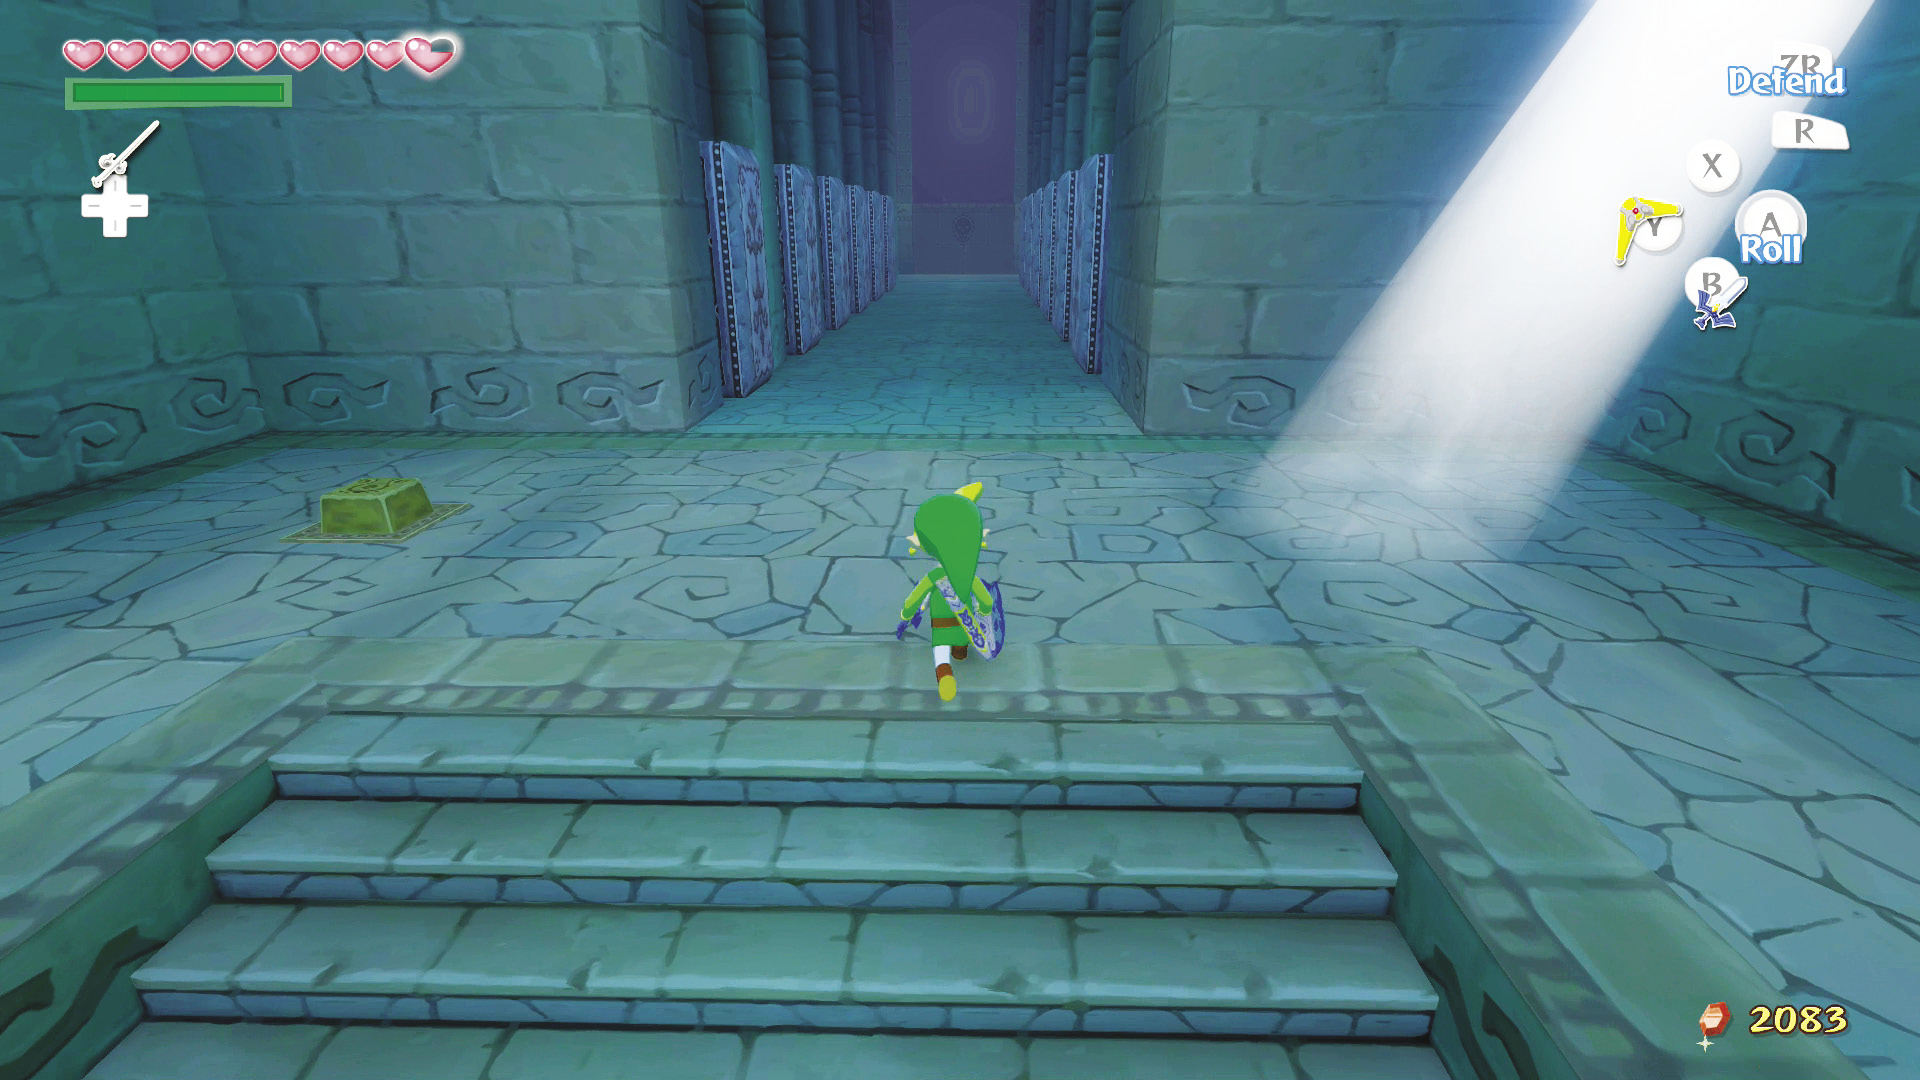
After clearing the first row of coffins, you’ll come to a constant pressure switch, a single beam of light, and another row of coffins. Start by rolling down the hall to open all the coffins, then head back to the other side of the hall where the beam of light and constant pressure switch are.
Stand in the beam and use your Mirror Shield to make the Poes in the middle of the hall solid, then defeat them. This will make your next step much easier.
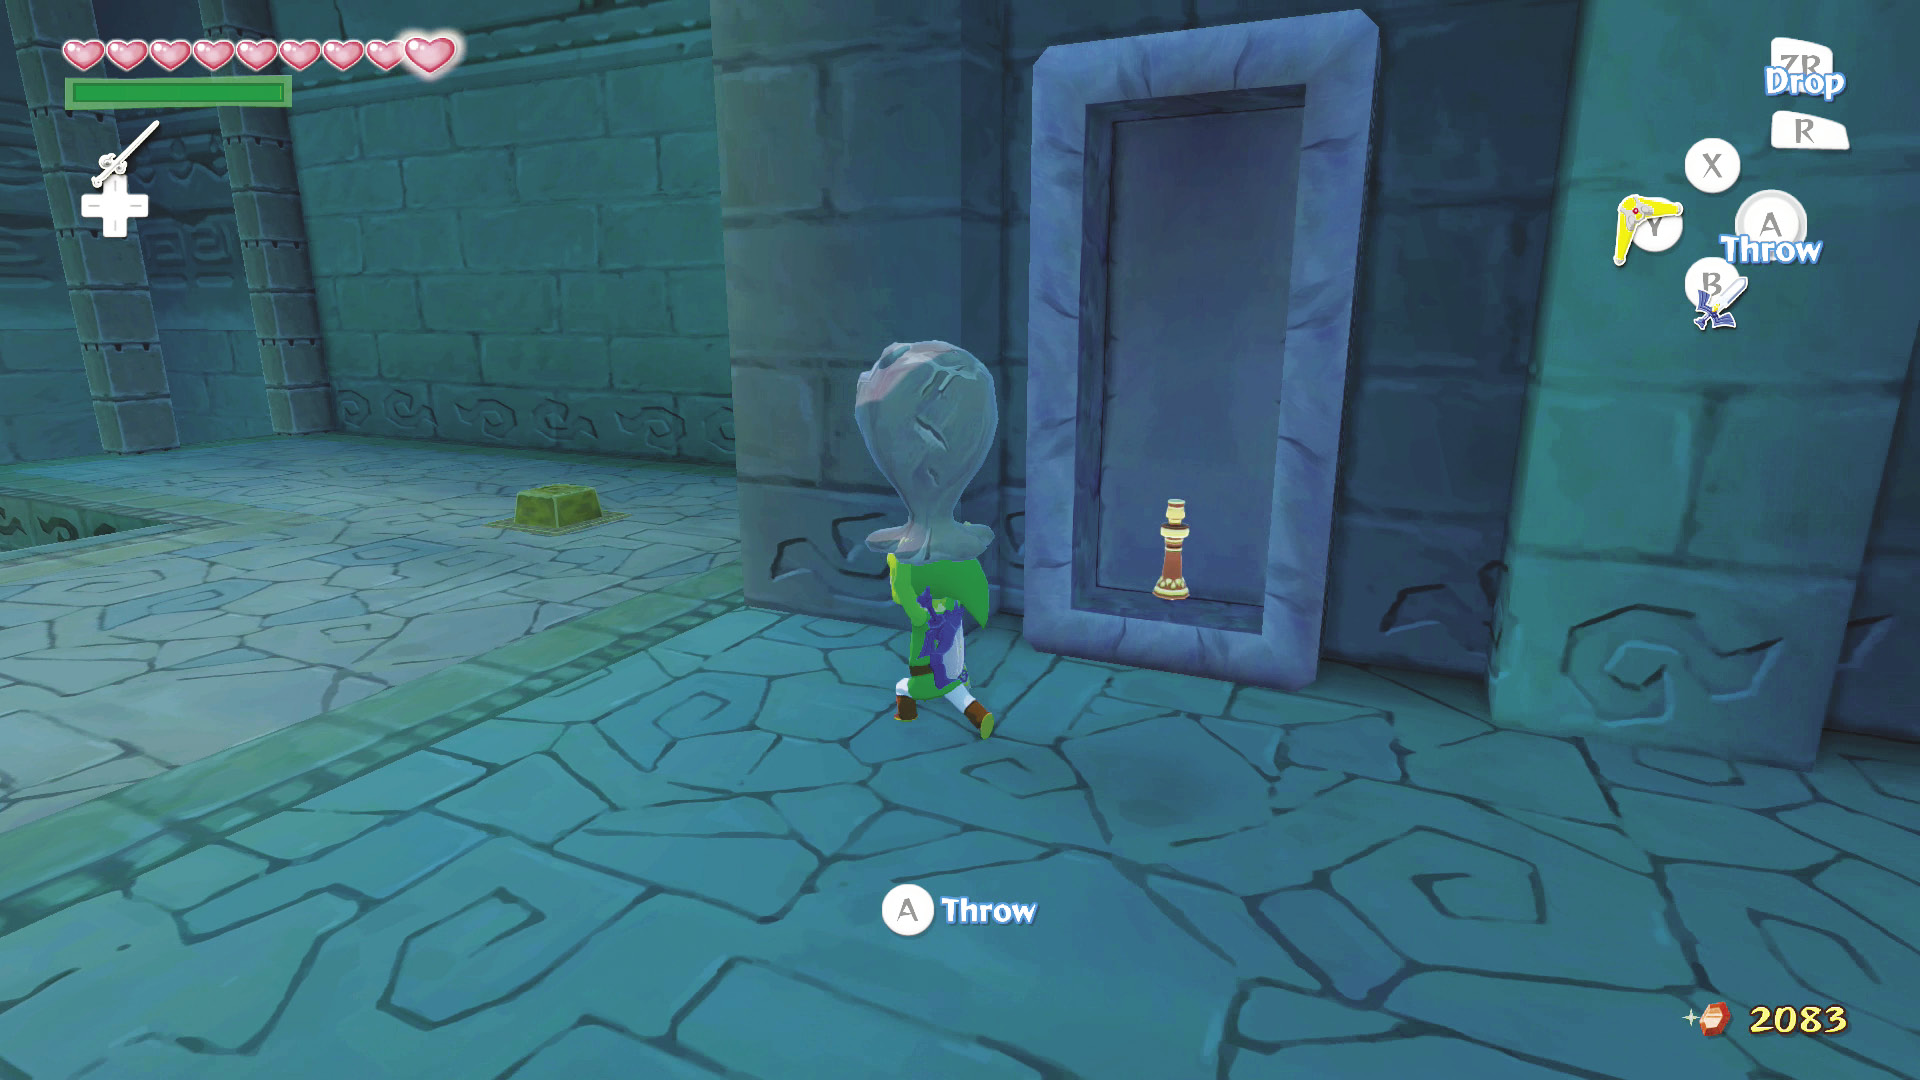
Lure a Dark ChuChu back toward the constant pressure switch. Hit it with a light beam to turn it to stone. Pick up the Dark ChuChu and place it on the constant pressure switch, then quickly roll up the stairs at the hall’s other end.
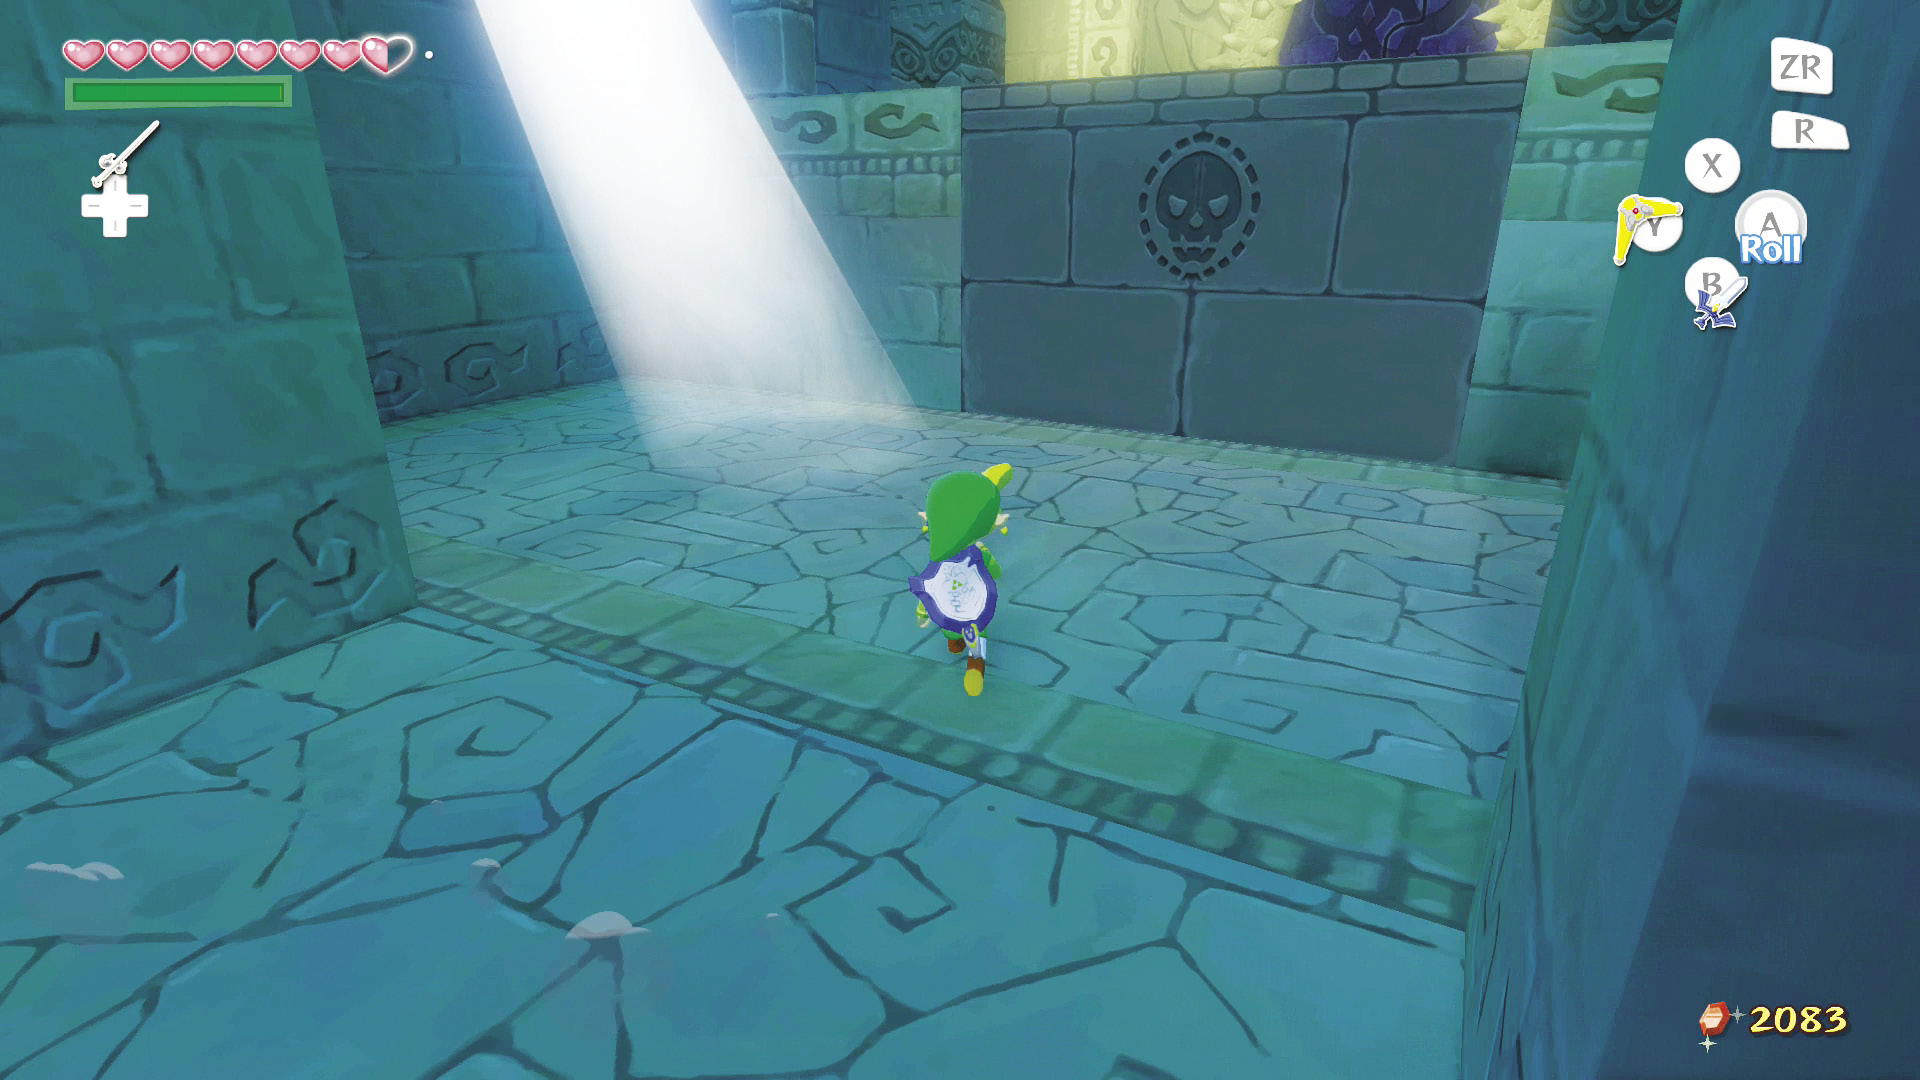
In this final section of the Earth Temple room, you’ll find a constant pressure switch just before the third row of coffins. Roll to the hall’s other side to open all the coffins. Another light beam is on this side of the room.
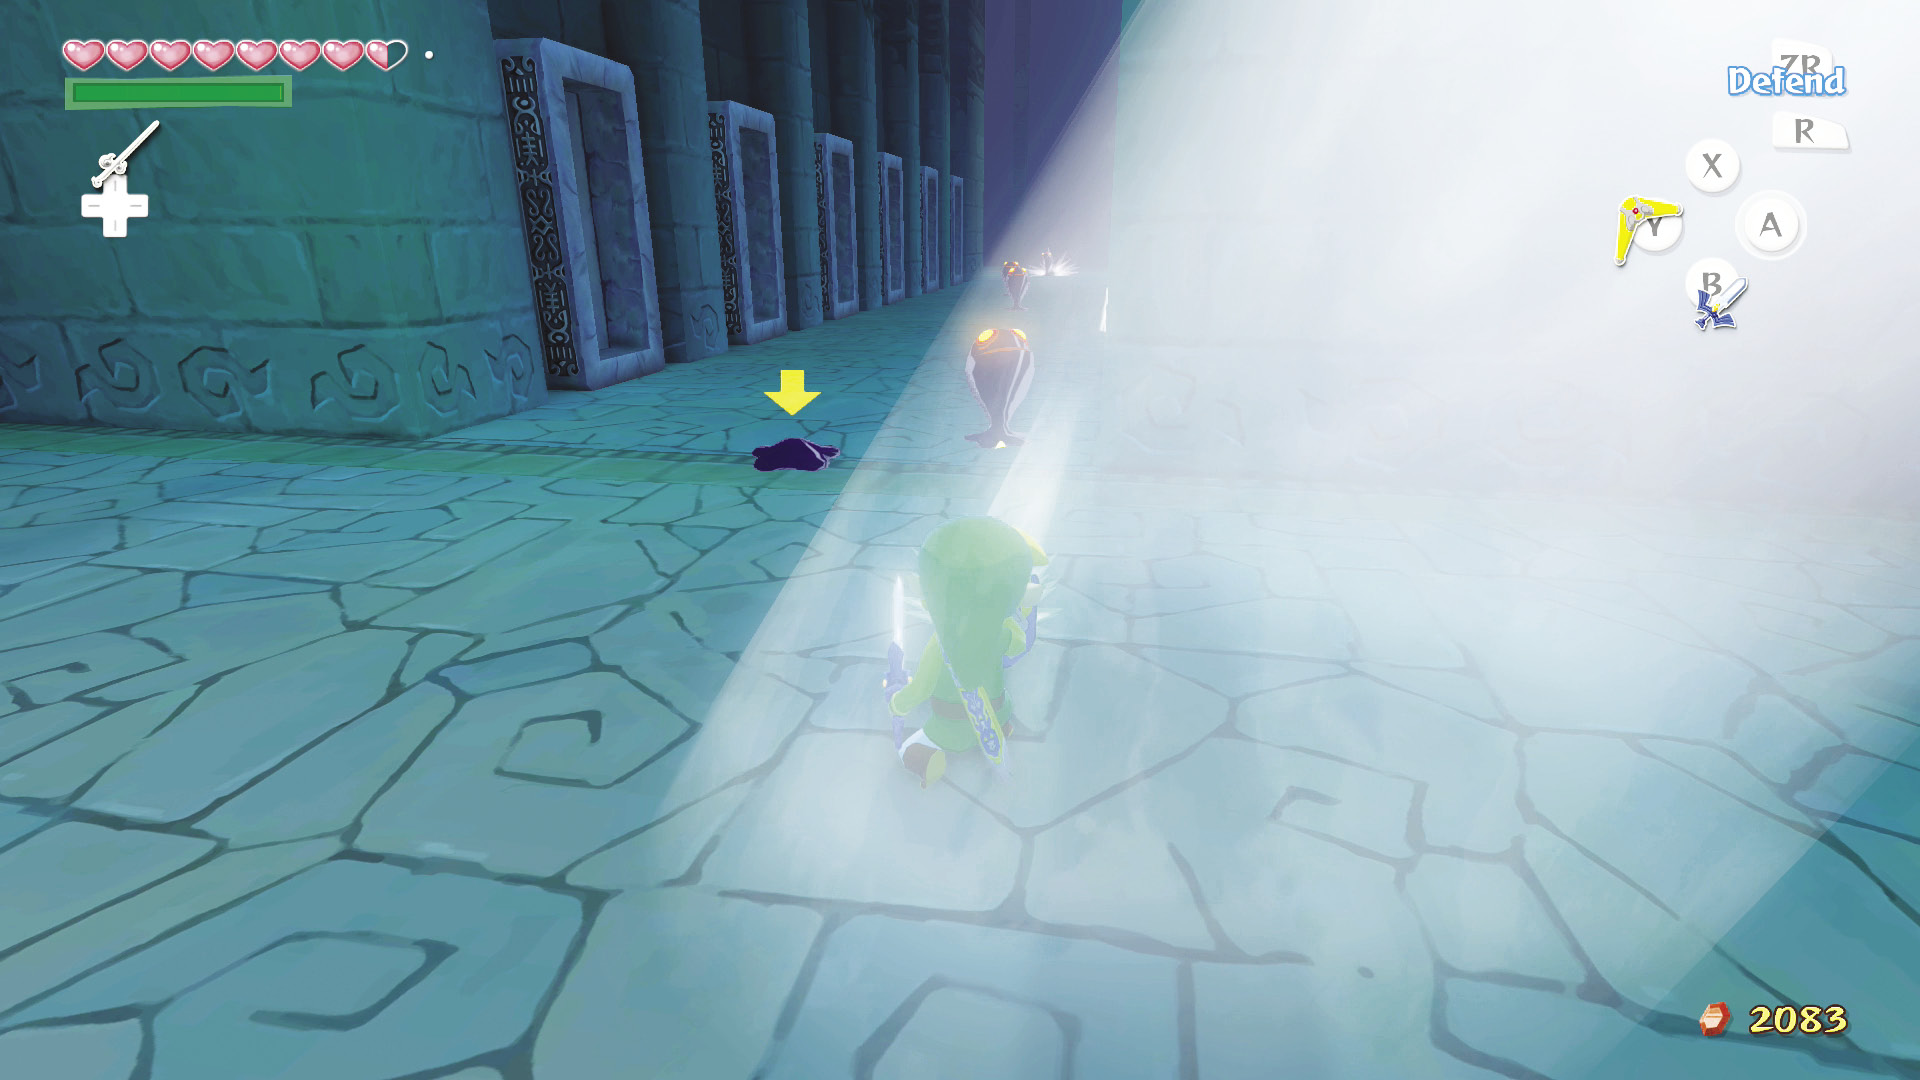
Now things get a bit tricky. Head back to the constant pressure switch and lure a Dark ChuChu near it. Roll as quickly as you can back to the light beam. Use the light to turn the Dark ChuChu into stone, then race back to the constant pressure switch and place the Dark ChuChu on it.
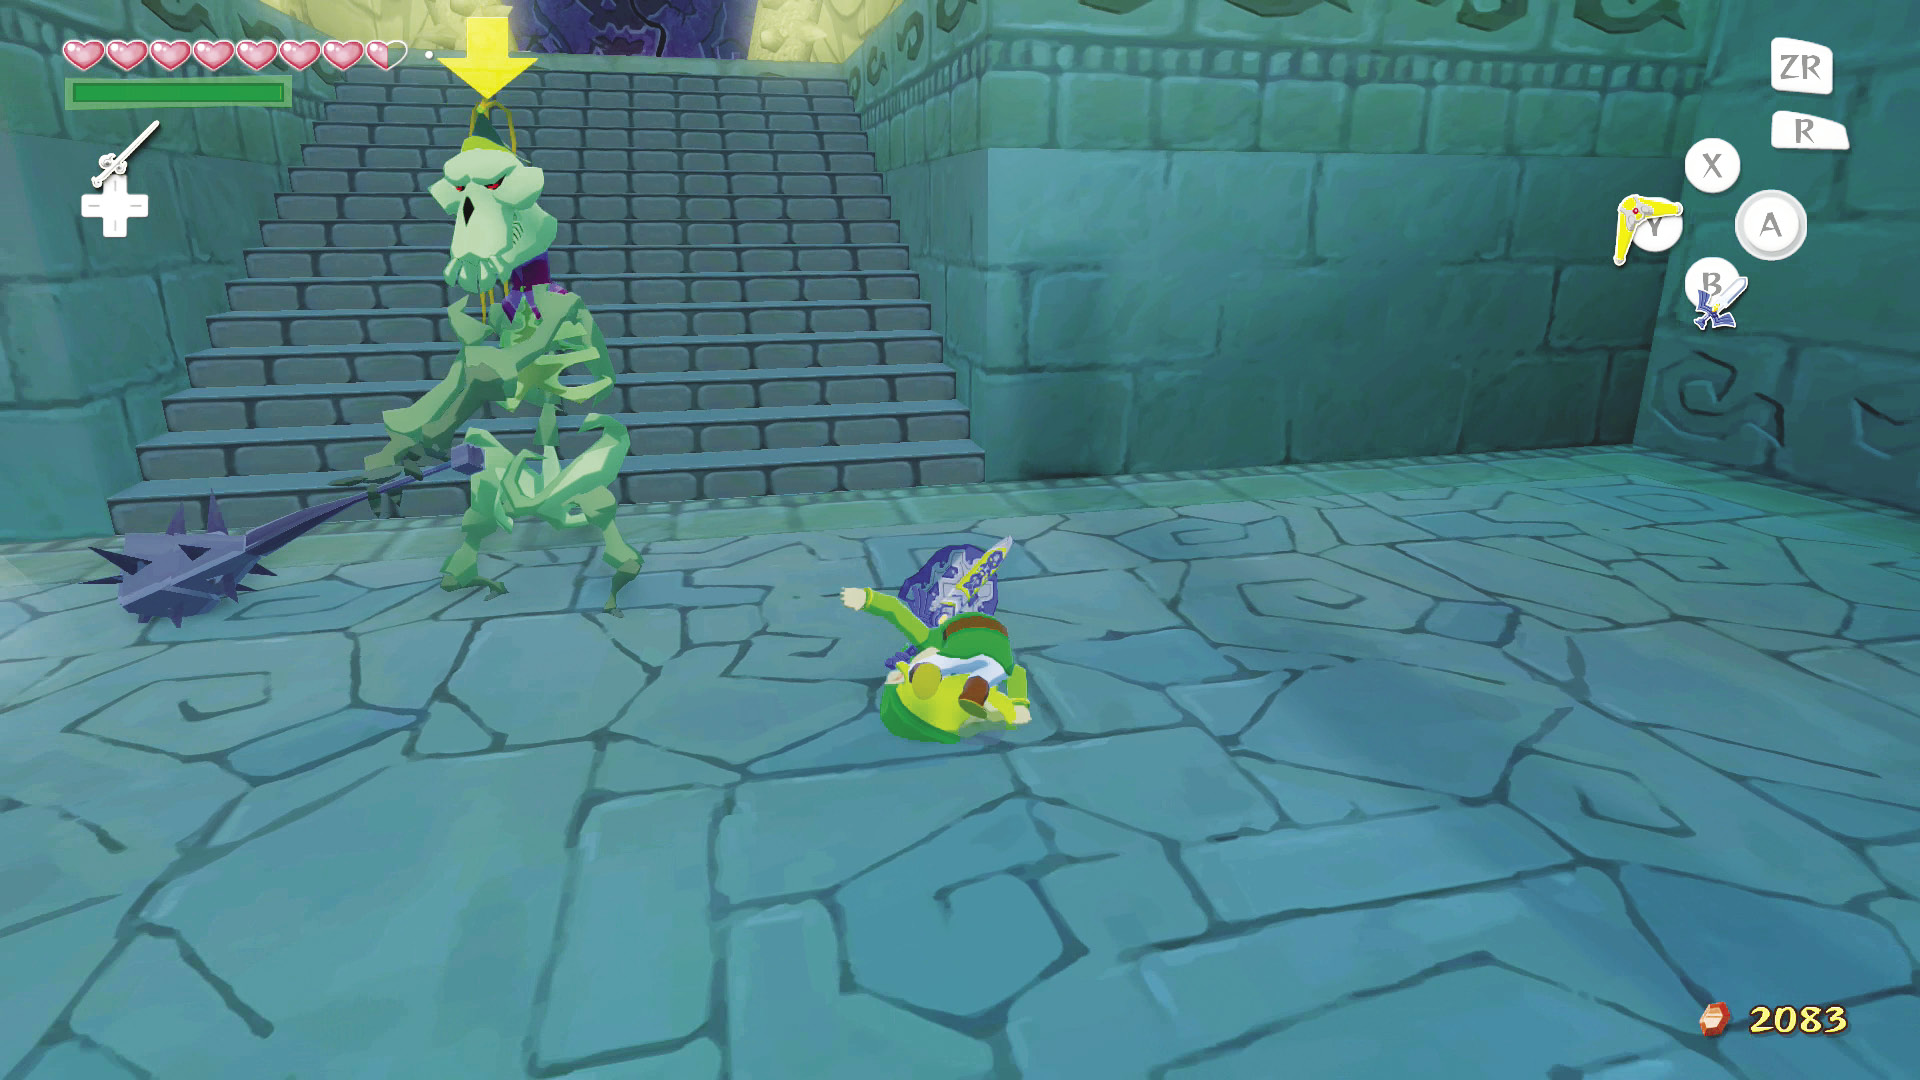
Quickly roll to the stairs, but be ready because a Stalfos unearths itself right in front of the stairs, keeping you from moving until he has finally risen from the grave. If you were fast enough, you’ll have just enough time to roll onto the stairs as they are rising back to their initial position. If you can just get your feet on a single step while the stairs are rising, you’ll rise with them. At the top of the stairs is the door leading to Jalhalla.
Boss: Jalhalla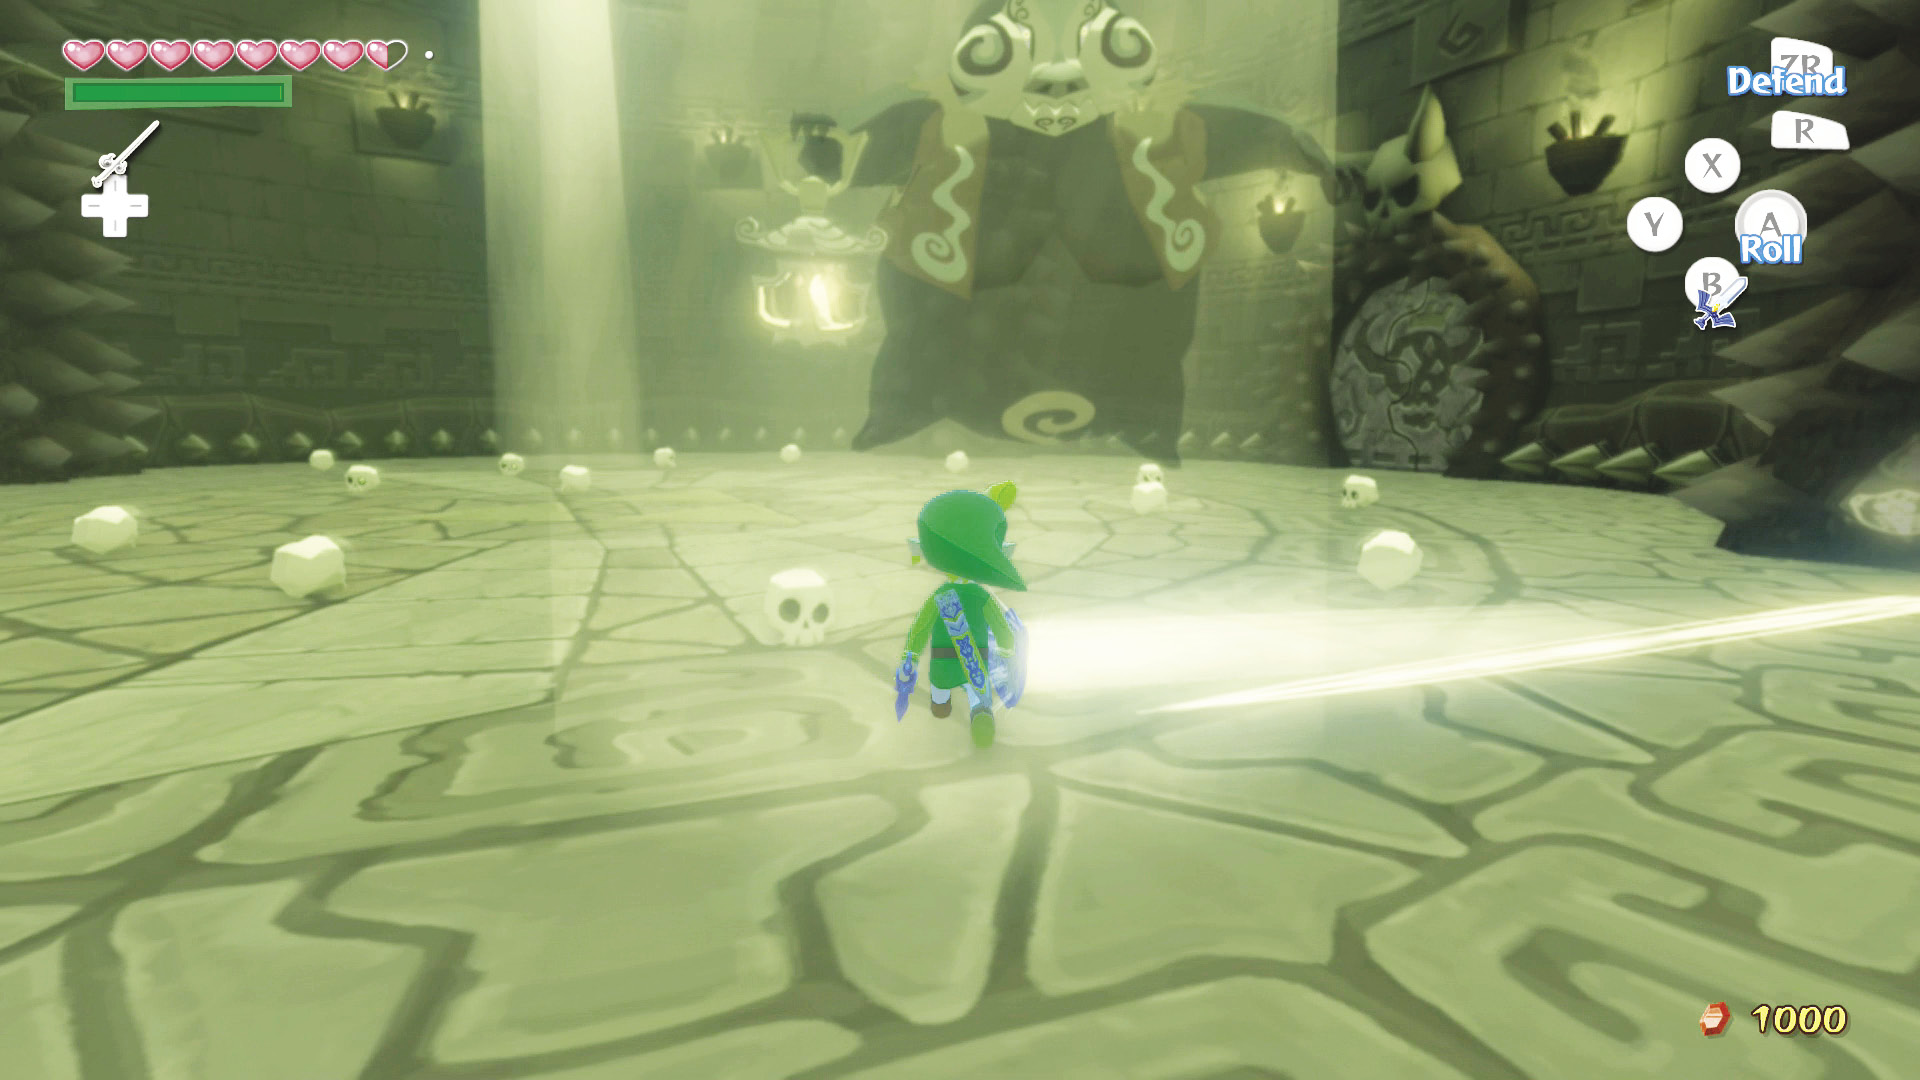 This fight requires nothing more than your Mirror Shield, sword, and some quick slashing skills, so don’t worry about swapping your equipment. Here’s a brief recap on how to handle the gigantic Poe, Jalhalla. 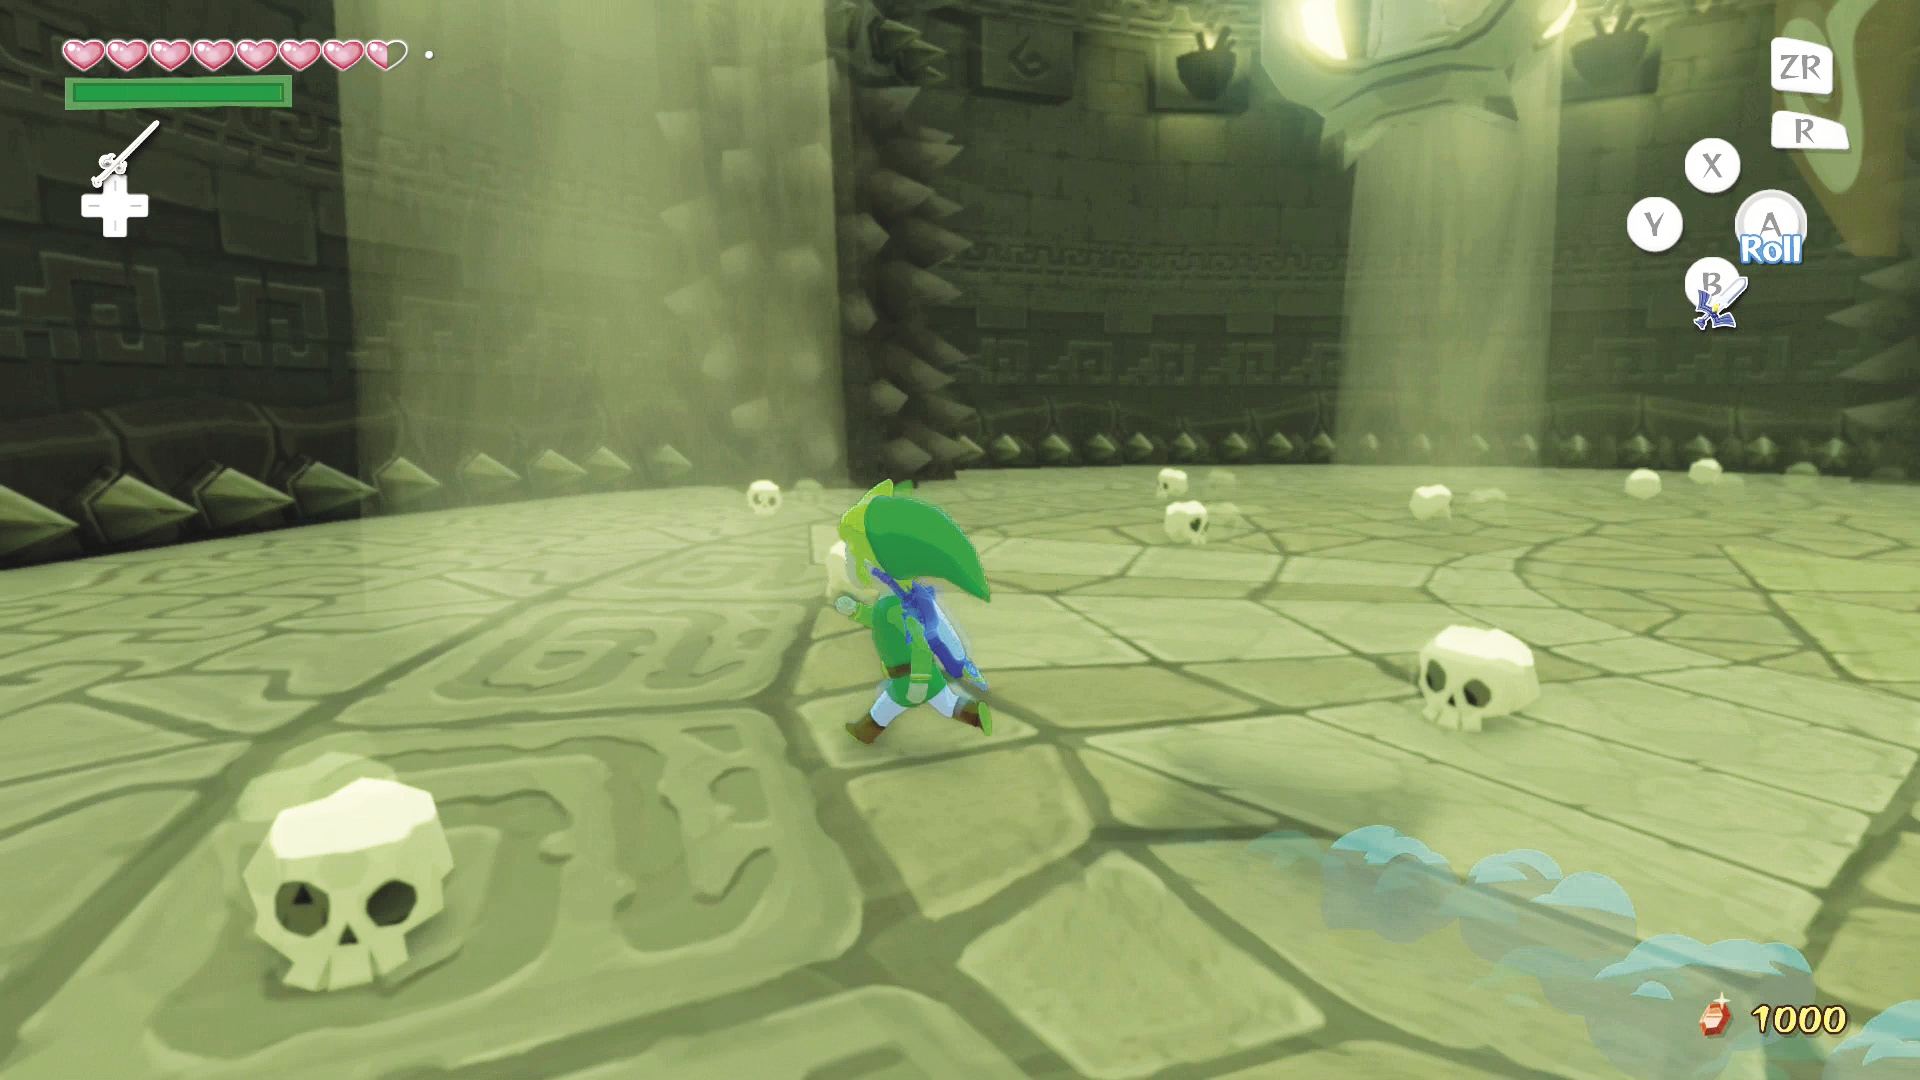 Beams of light appear on the north, west, and east sides of the room. Stand in any one of them and use your Mirror Shield to reflect light at the gigantic ghost. Do this long enough, and Jalhalla will fall into a daze, giving you the perfect opportunity to mount your offensive. 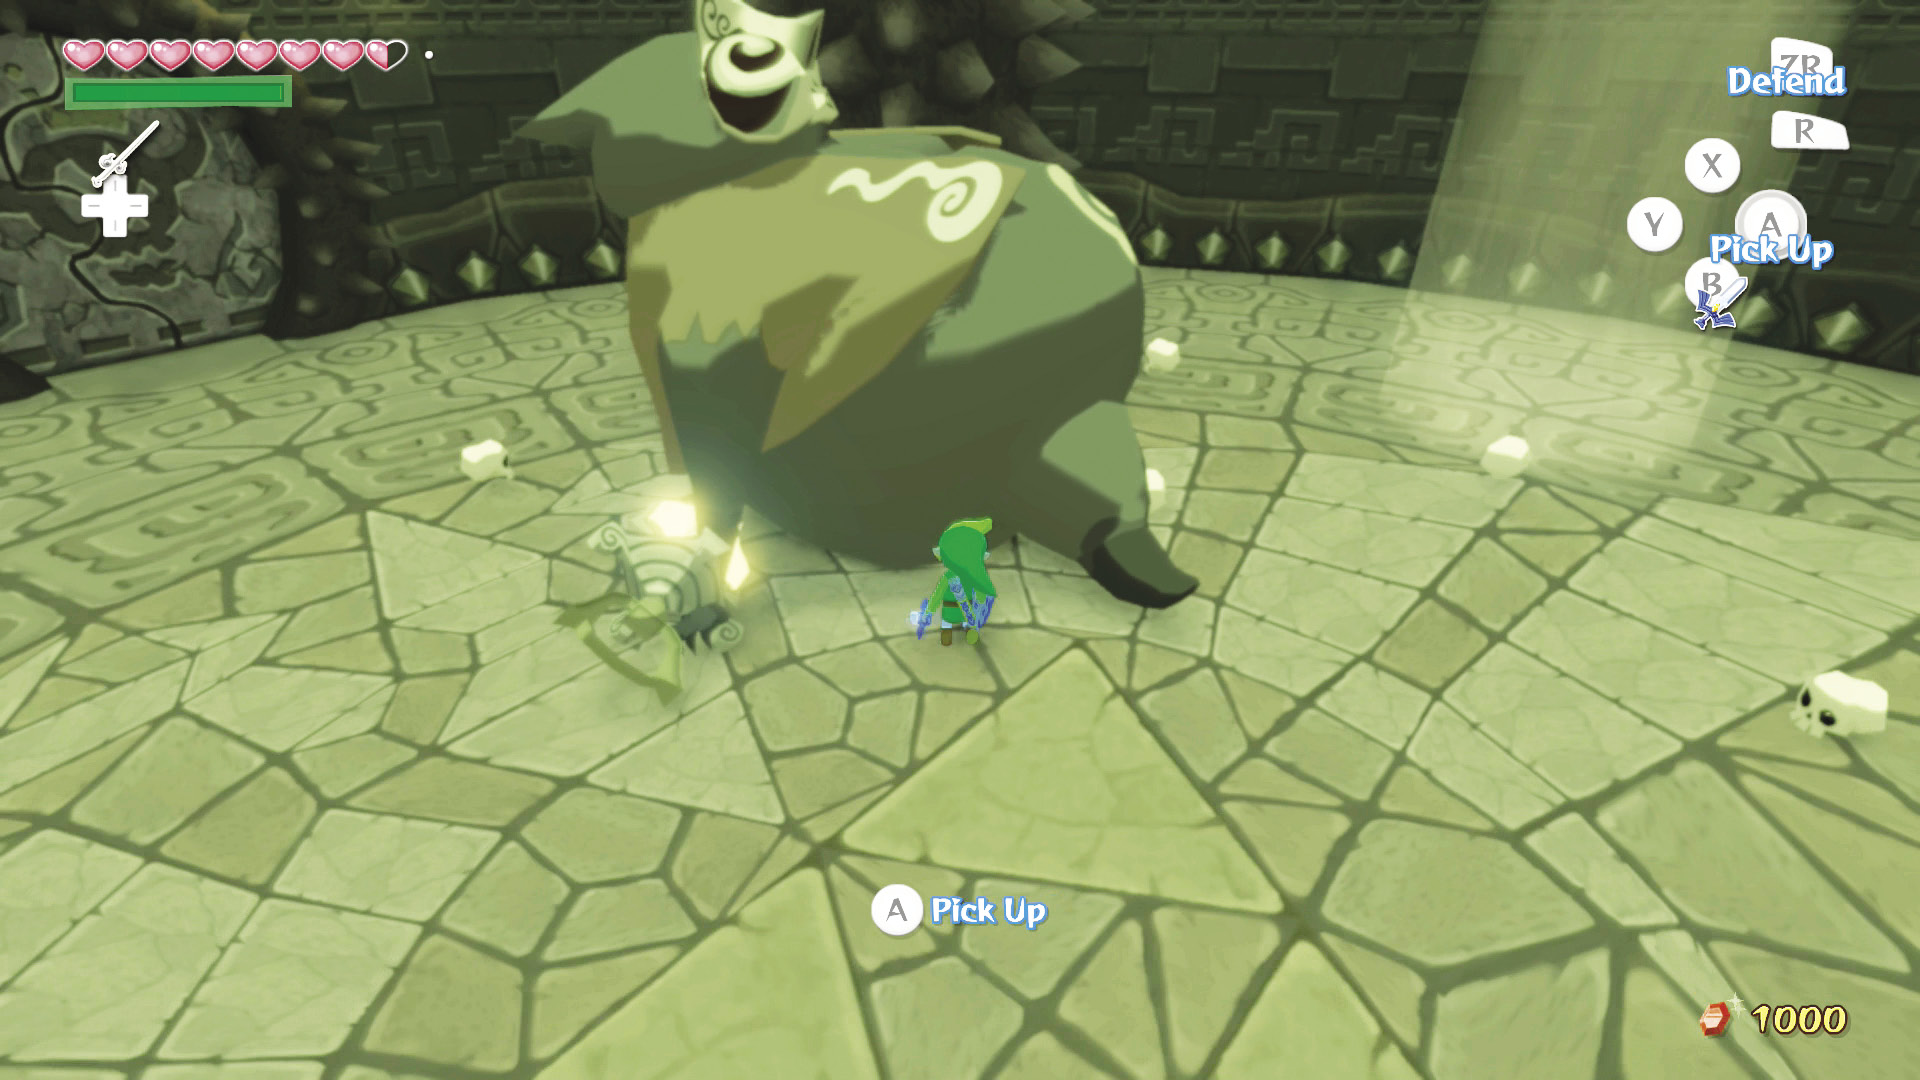 Pick Jalhalla up and throw him into one of the large, spiked columns on the room’s wall. Jalhalla will split into 15 normal Poes. 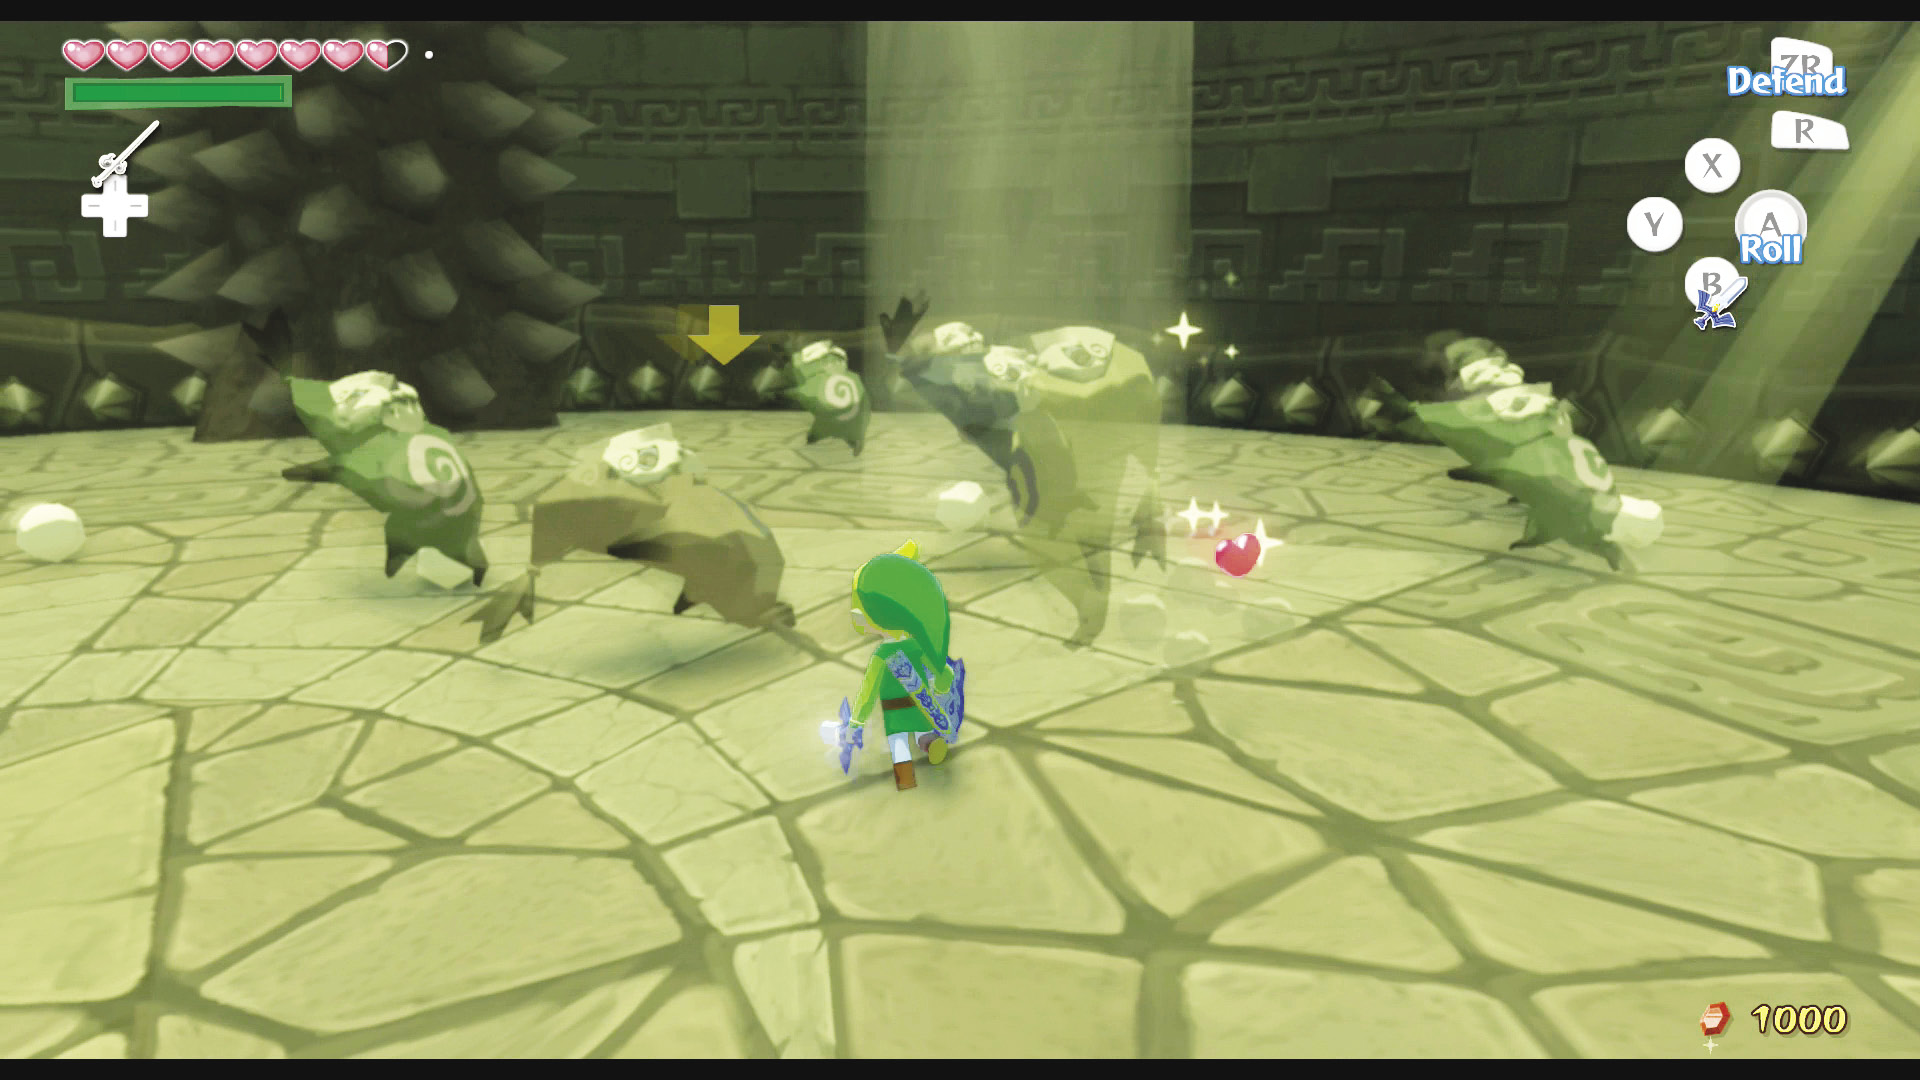 Defeat as many of the Poes as you can before Jalhalla recombines (note: every five Poes you defeat will cause Jalhalla to immediately recombine). After defeating your tenth Poe, the light beams in the room will begin to cycle on and off, meaning you’ll have to be quick about getting into them and reflecting light at Jalhalla.  Defeat all 15 of his Poes and Jalhalla will be busted, which will result in you being teleported back to the entrance for a third time. A third symbol on the large door will light up. One more to go! |
Wind Temple Room
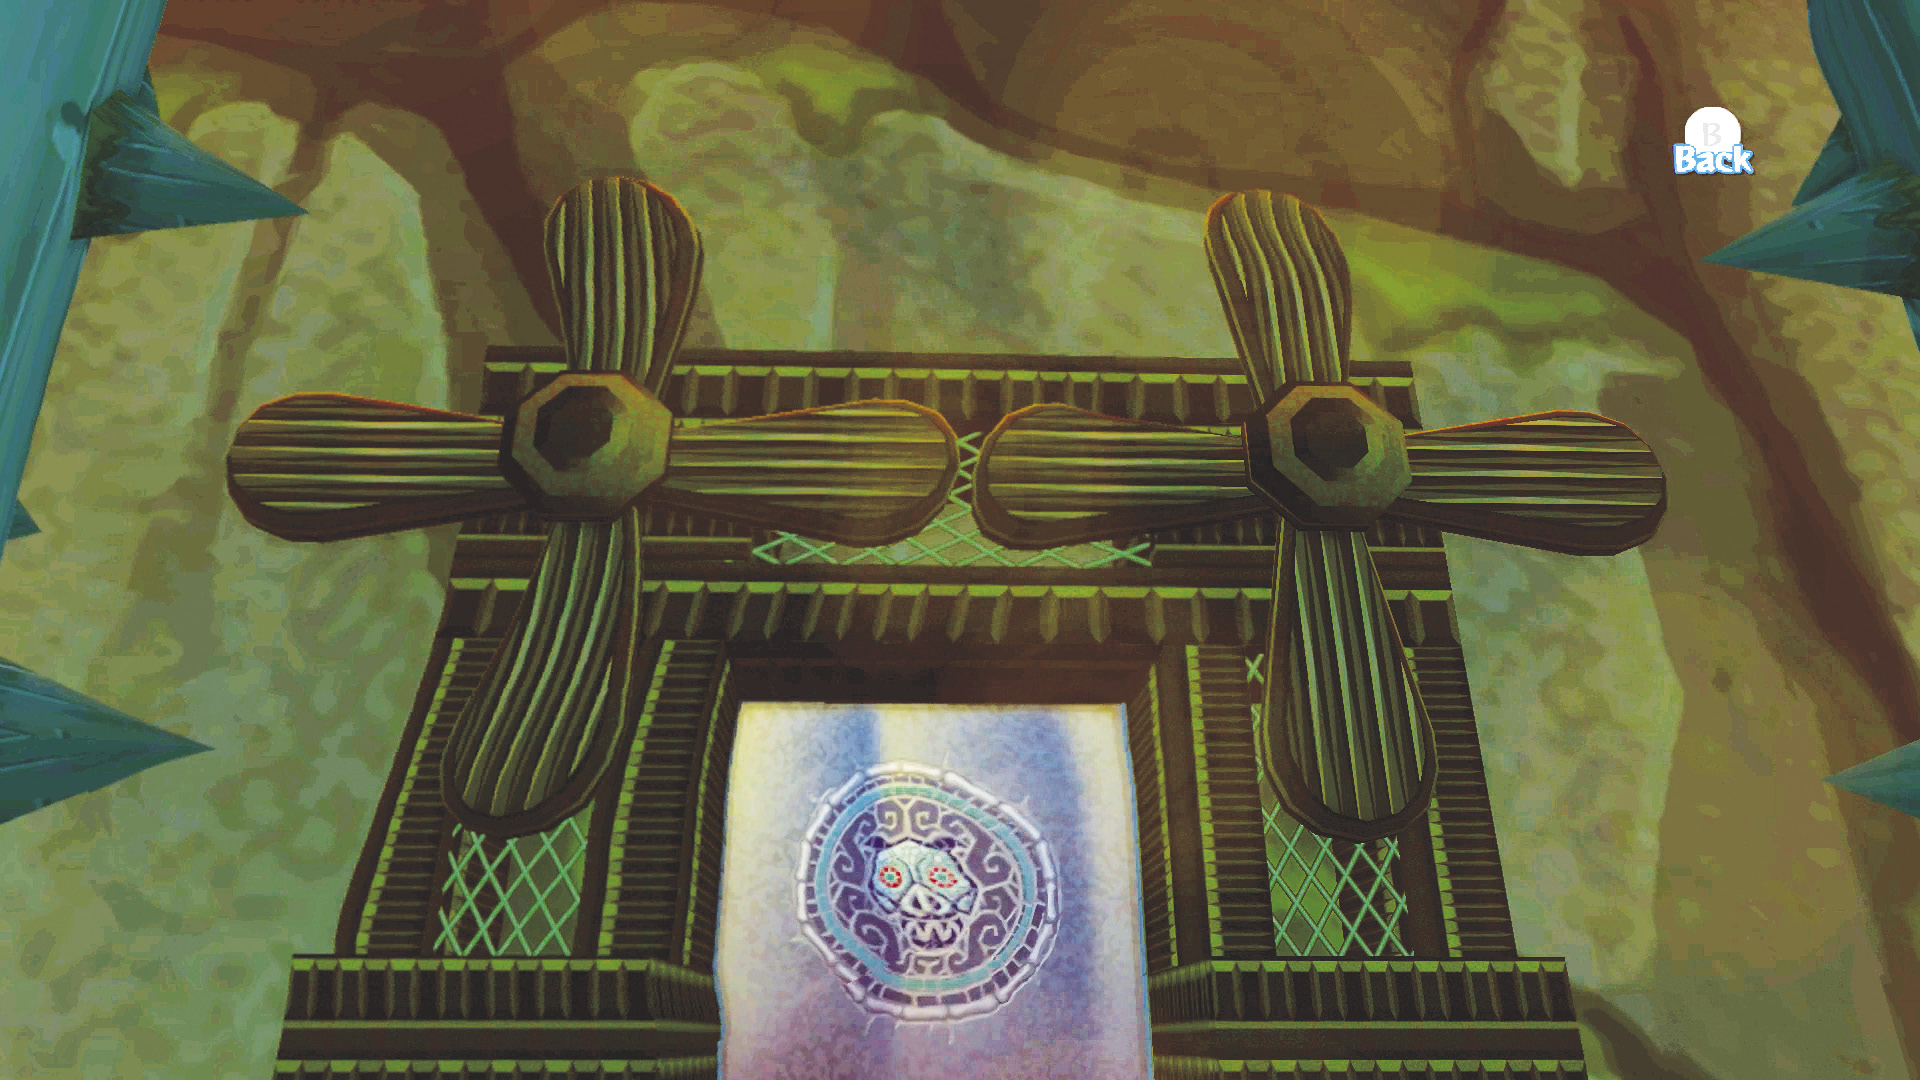
Your fourth and final door is to the right of the Earth Temple room. This is the Wind Temple room, a narrow hallway leading to Molgera, the Wind Temple’s boss. Defeat him and the large door blocking your path to Ganondorf will open.
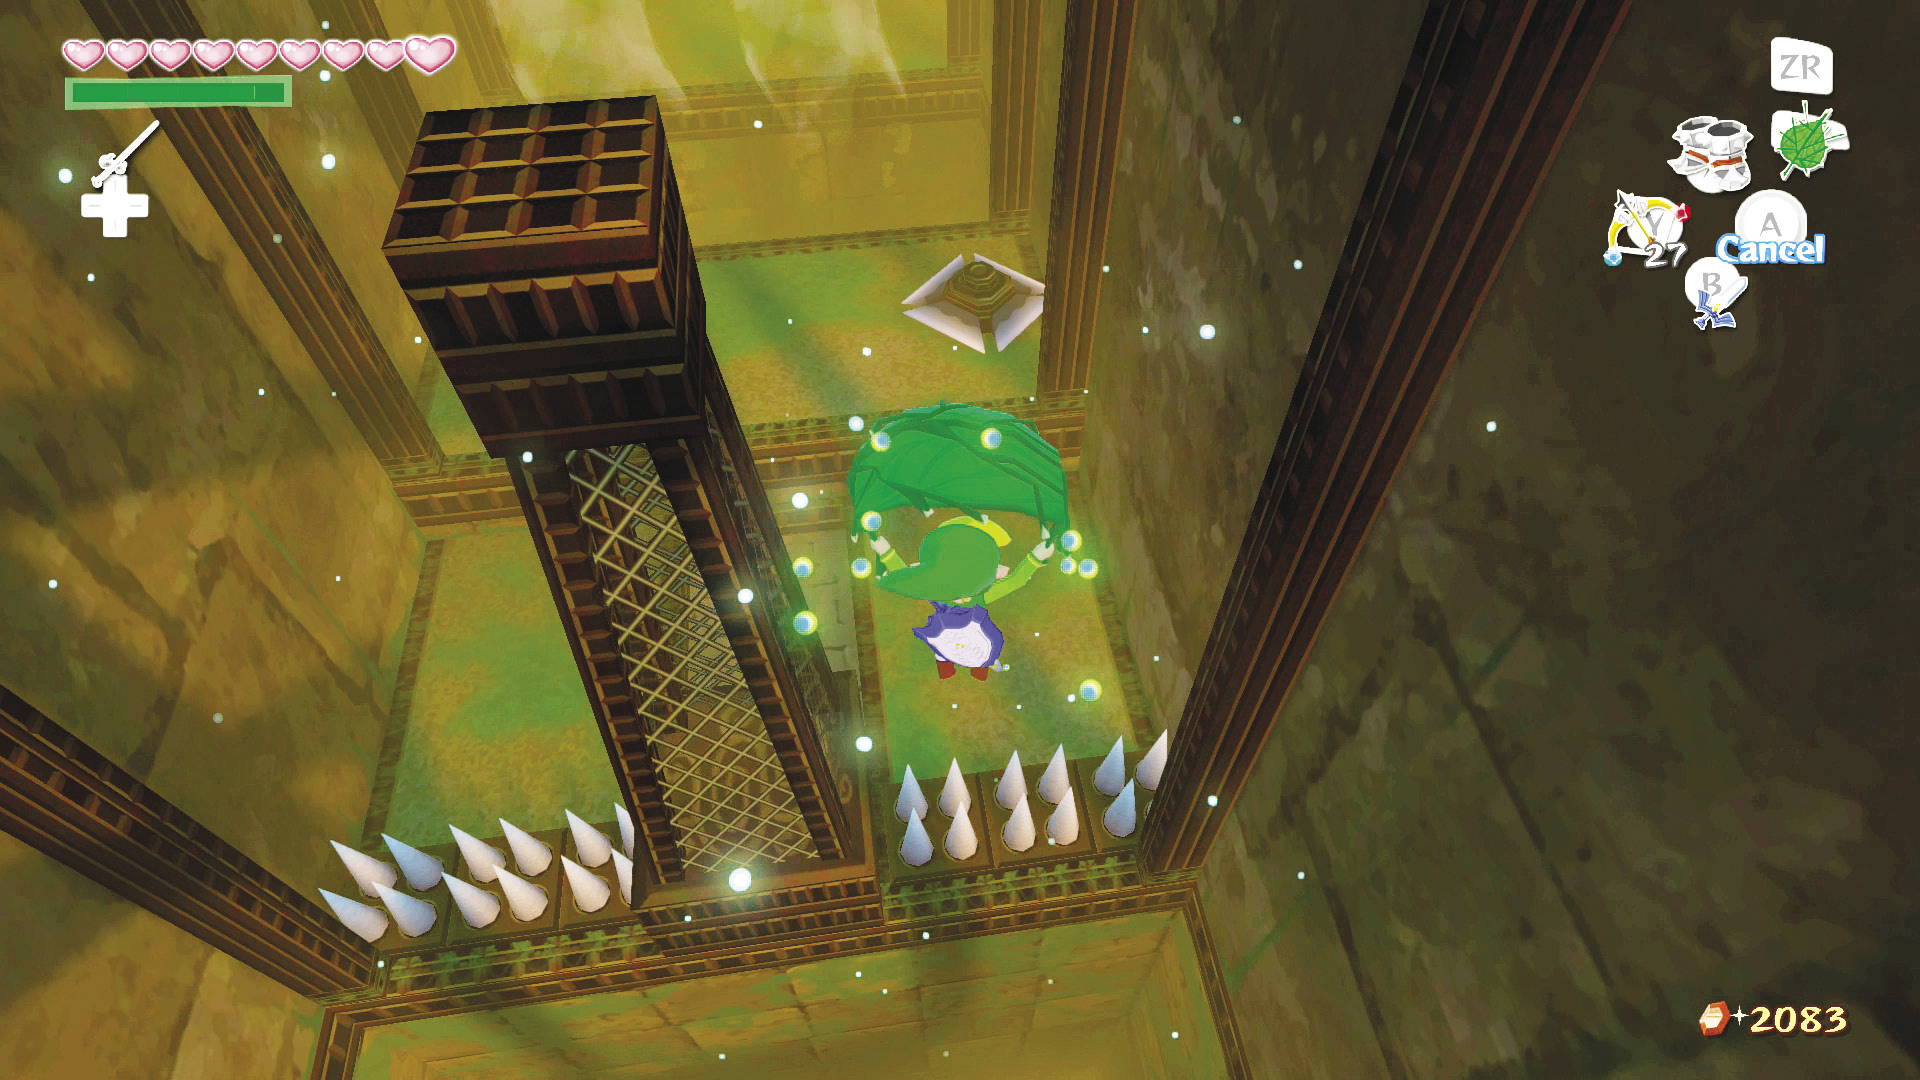
First things first, a Blue Wizzrobe will appear near the tower ahead. Defeat it before moving on to save yourself a headache. After taking care of the teleporting wizard, hop onto the spring platform and equip your Iron Boots to push the spring down. Unequip the boots to be launched into the air, then pull out your Deku Leaf and glide around the tower.
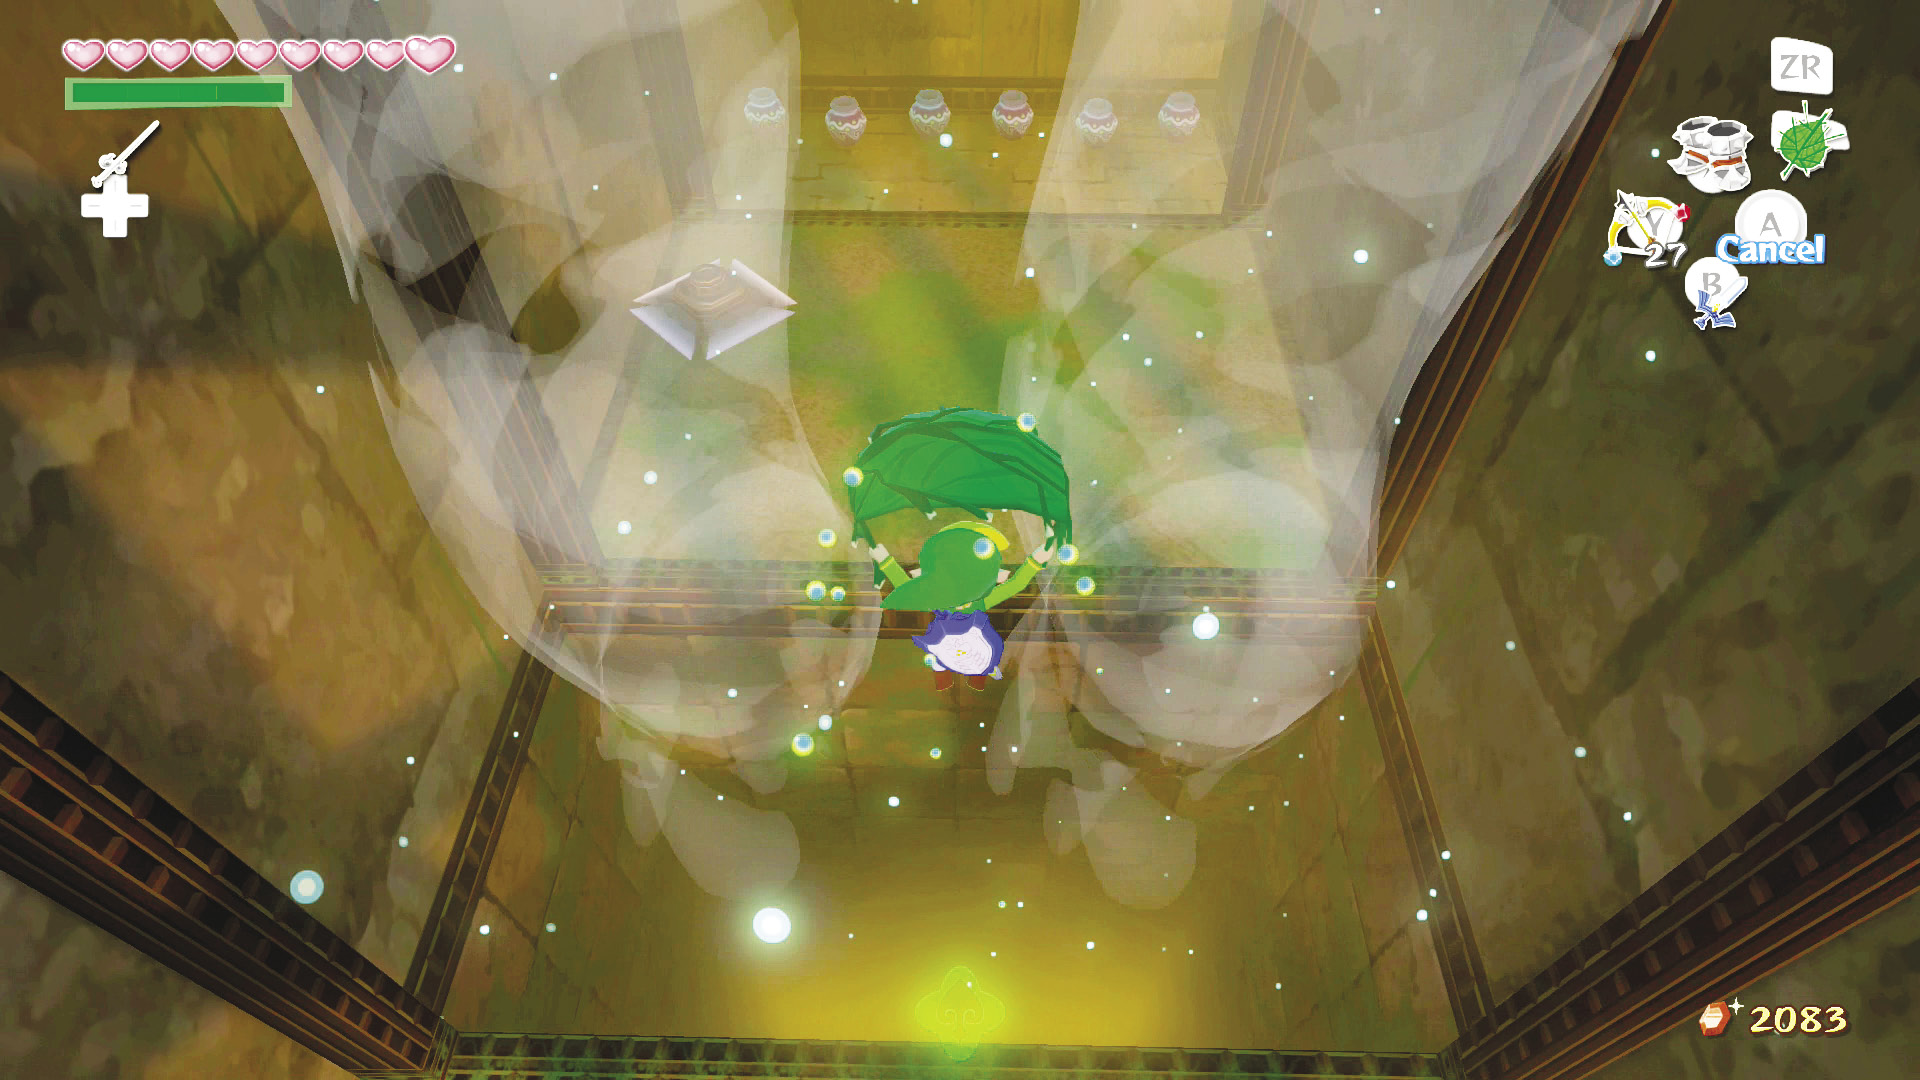
Land just past the spikes and hop onto the spring platform. Push it down with your Iron Boots, then launch into the air and glide in between the two air jets blasting from the ceiling.
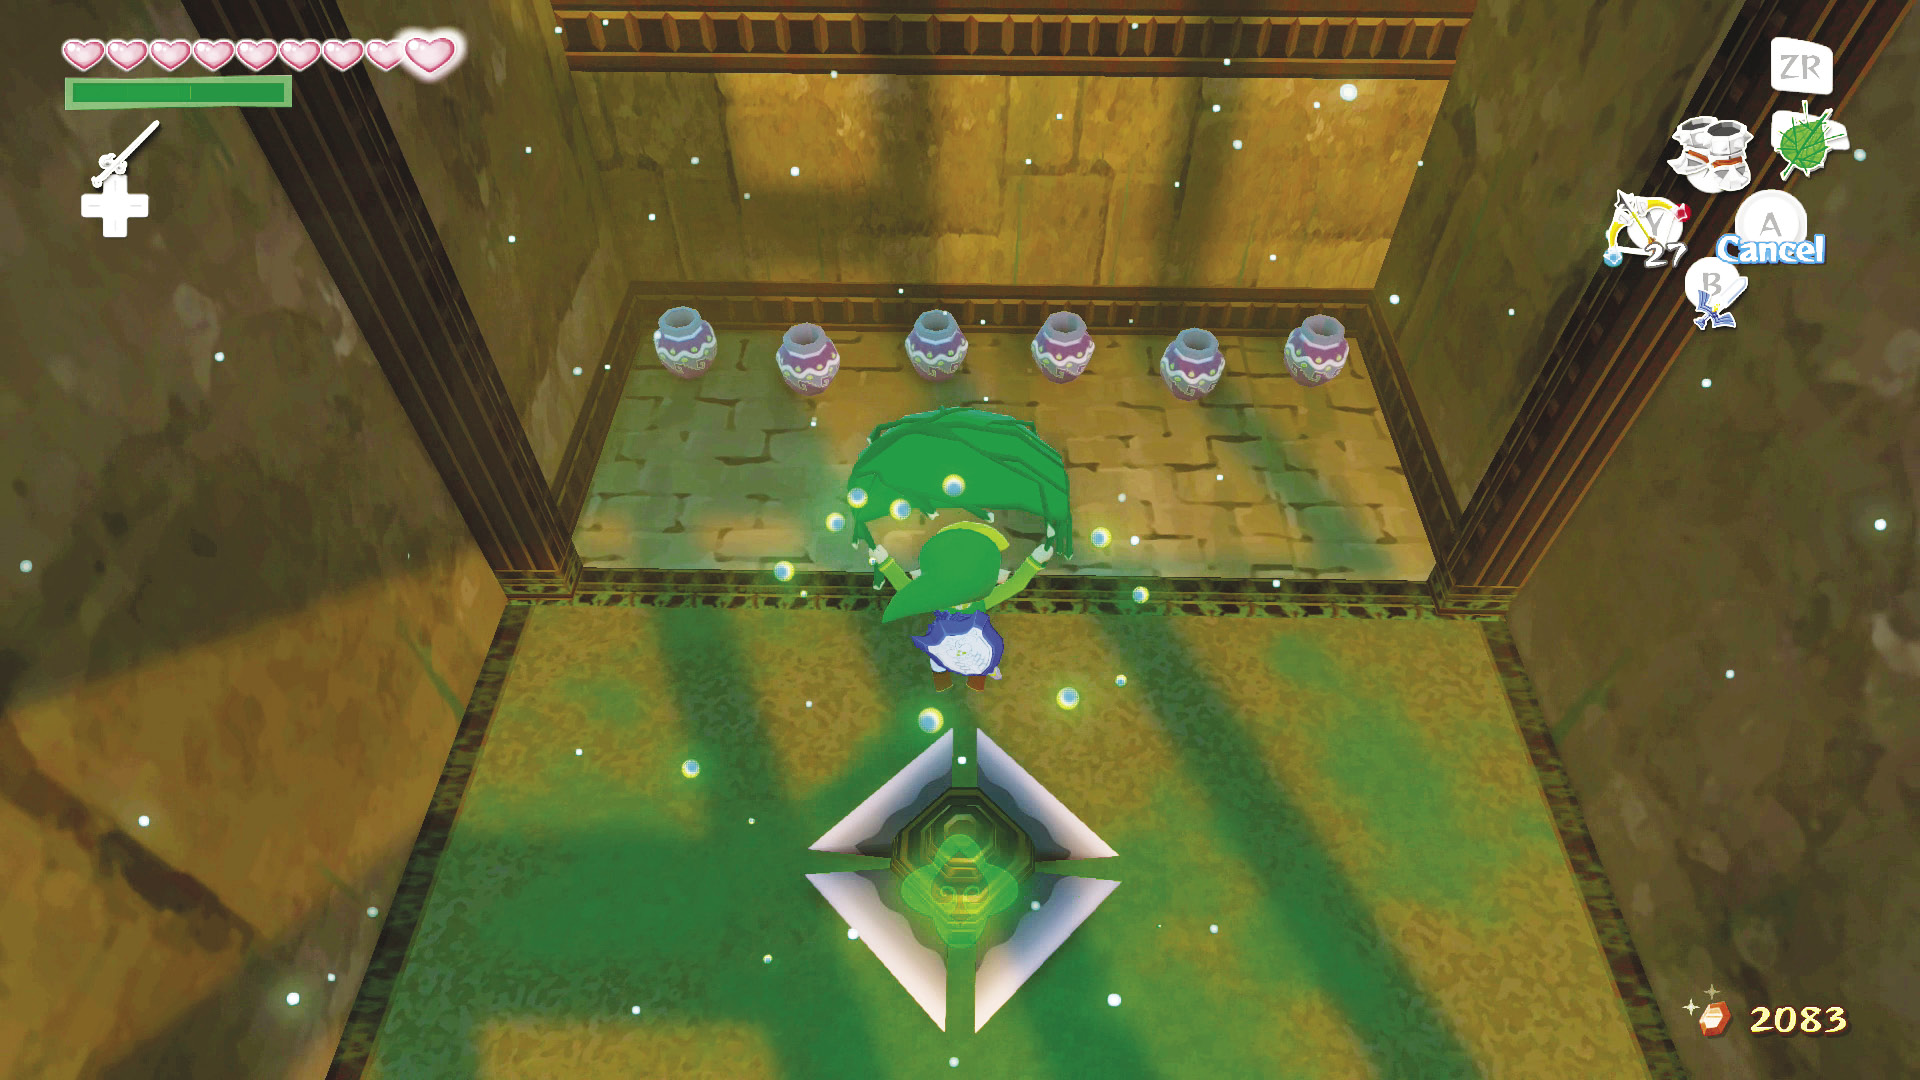
Glide past the blade trap on the ground and land in the area just below the platform leading out of the room. Sort out the two Shield Bokoblins that jump out of the pots, then pull out your Hookshot and hook onto the target panel on the west wall just above the platform with the boss’s door. Head through the door to challenge Molgera one last time.
Boss: Molgera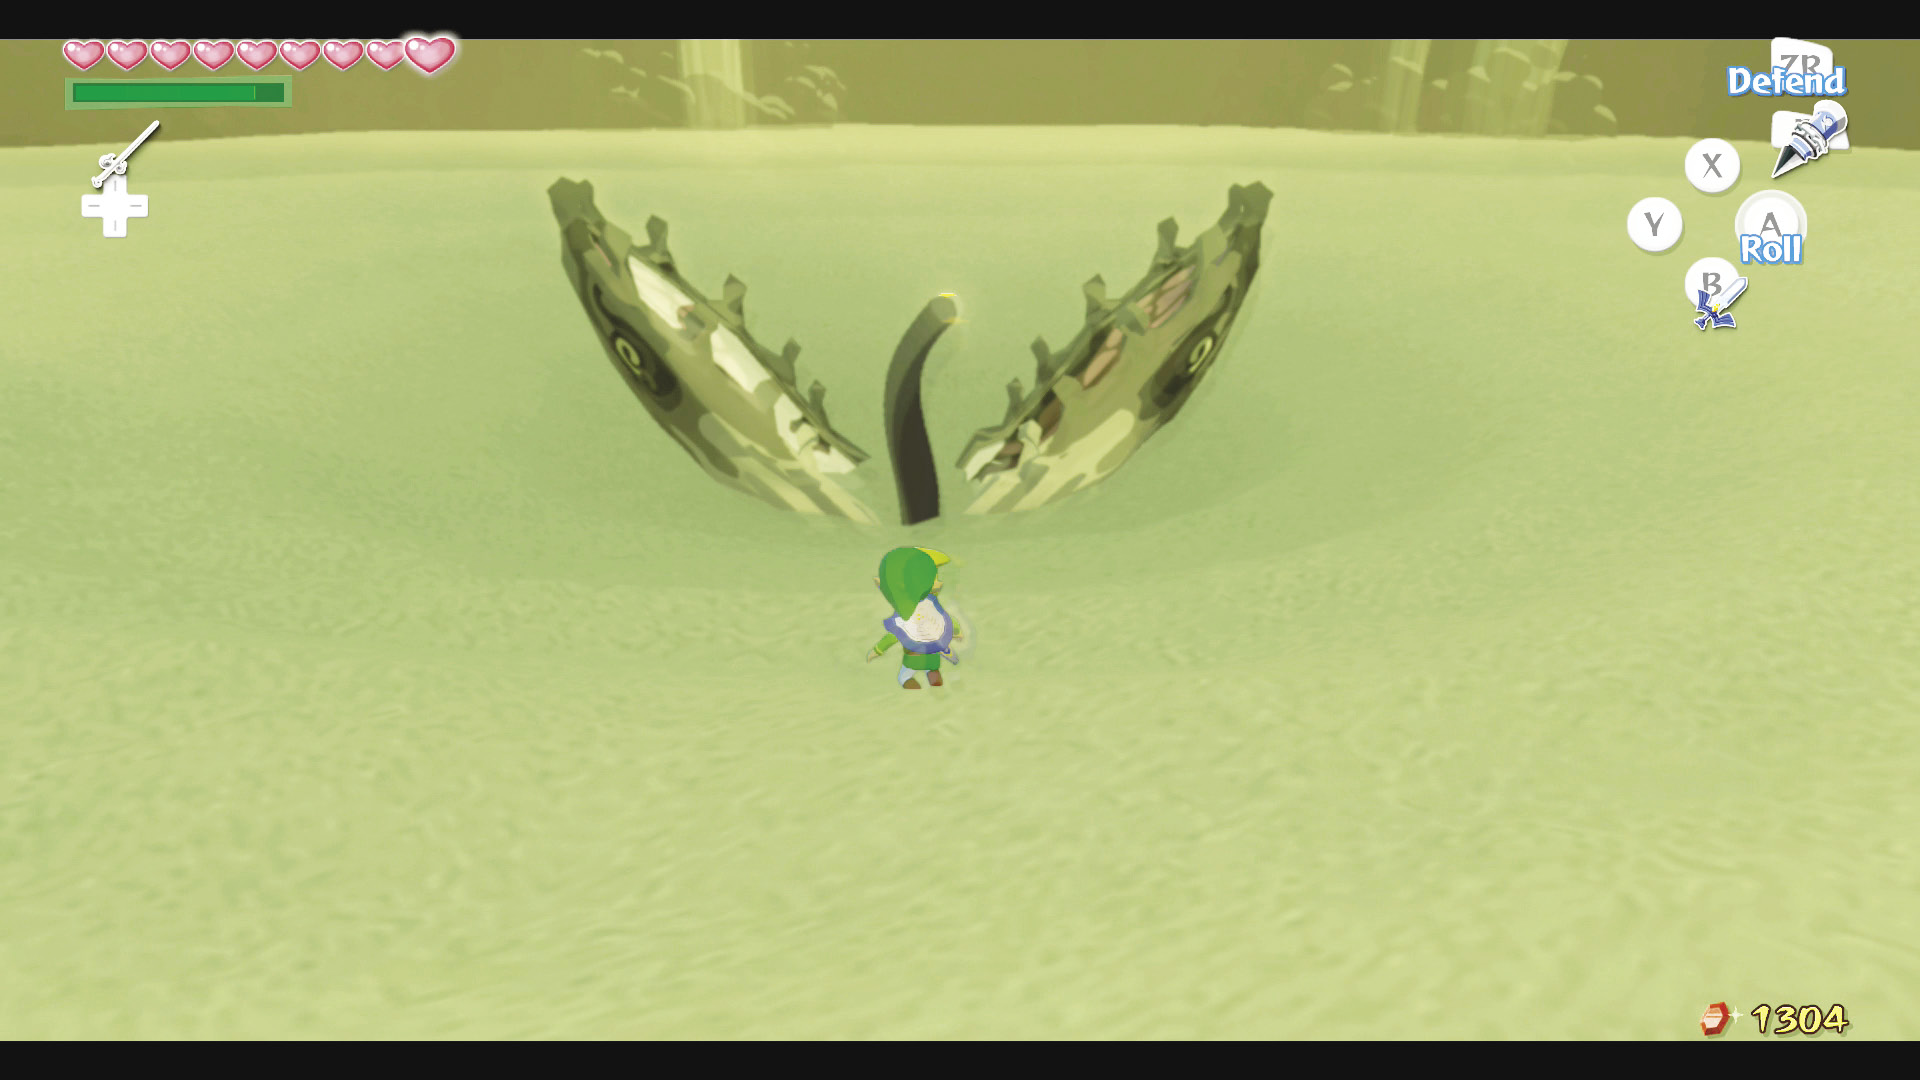 The second round against Molgera is the same as the first, even down to the number of hits it takes to defeat the relentless sand worm. 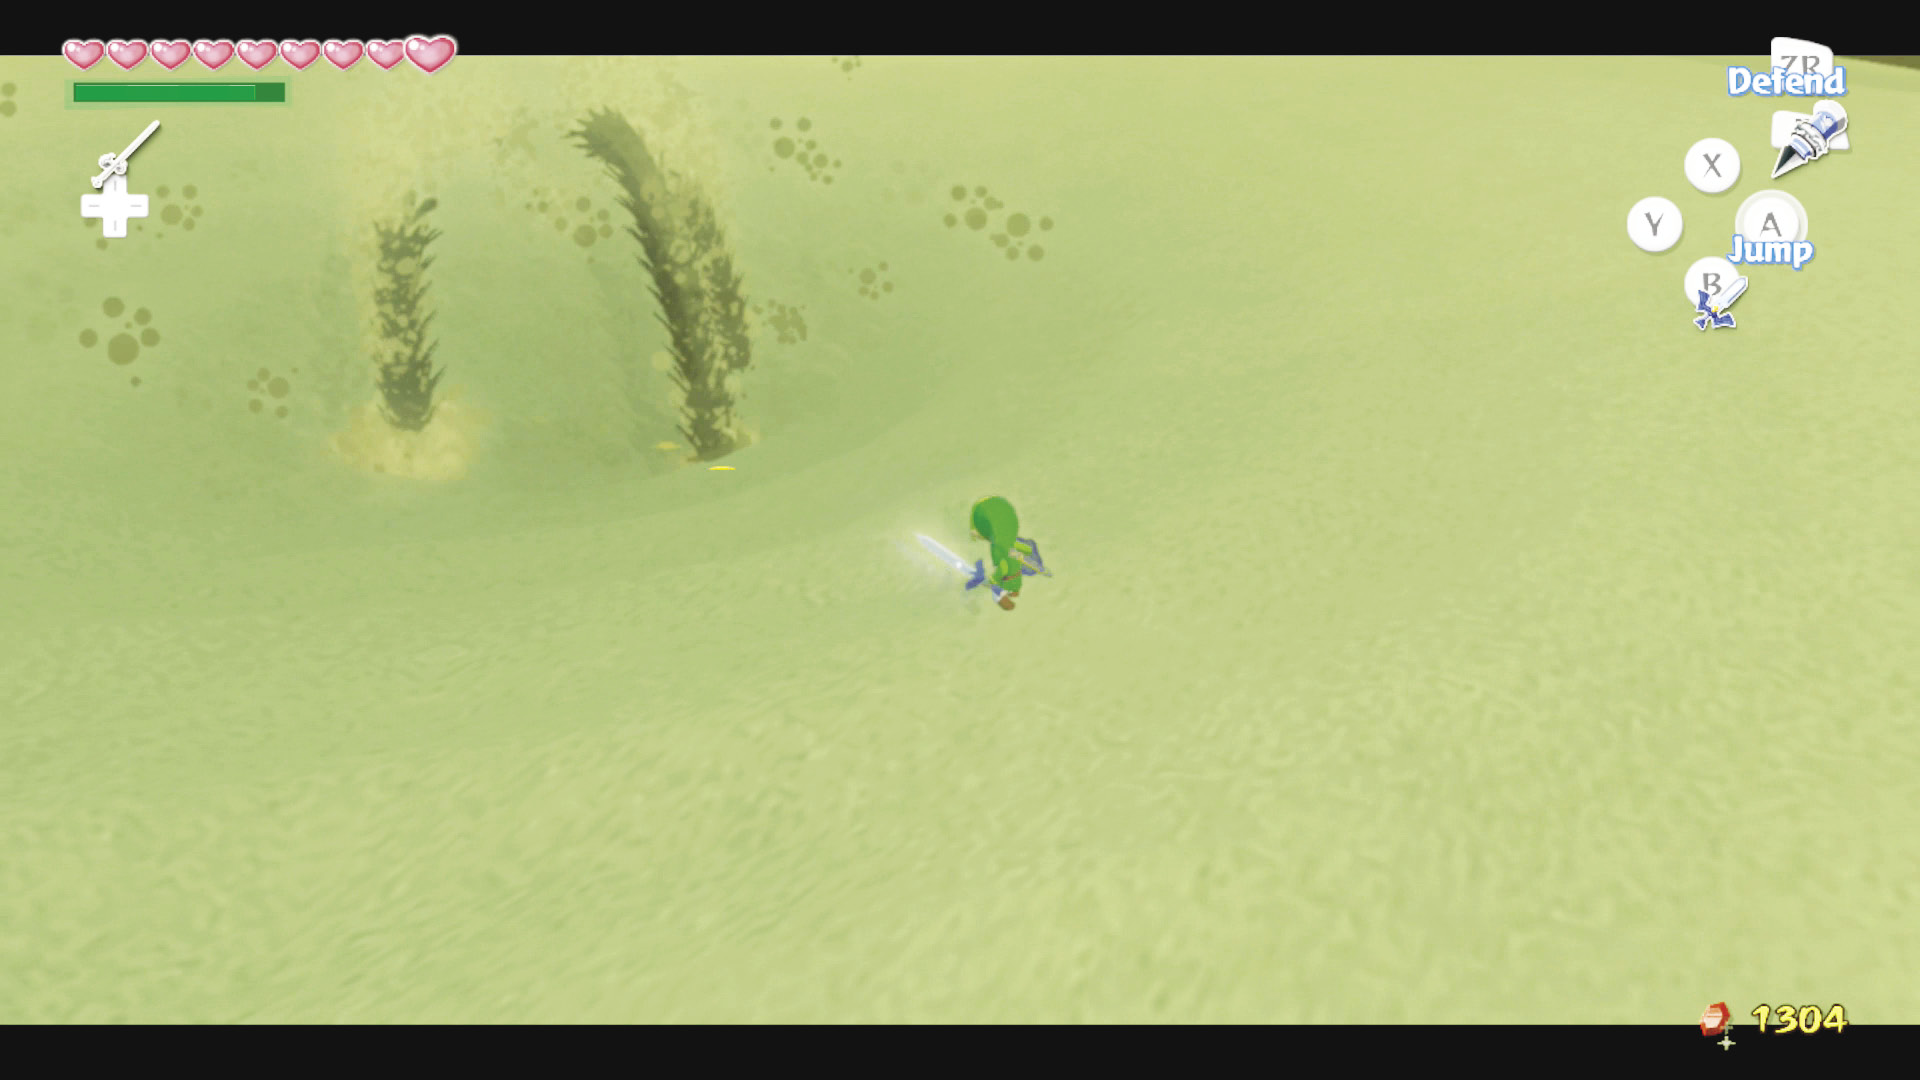 When Molgera pops back out of the sand, he will spawn three larvae. Dispatch them by pulling them out of the sand with your Hookshot, then go after Molgera’s tongue again. 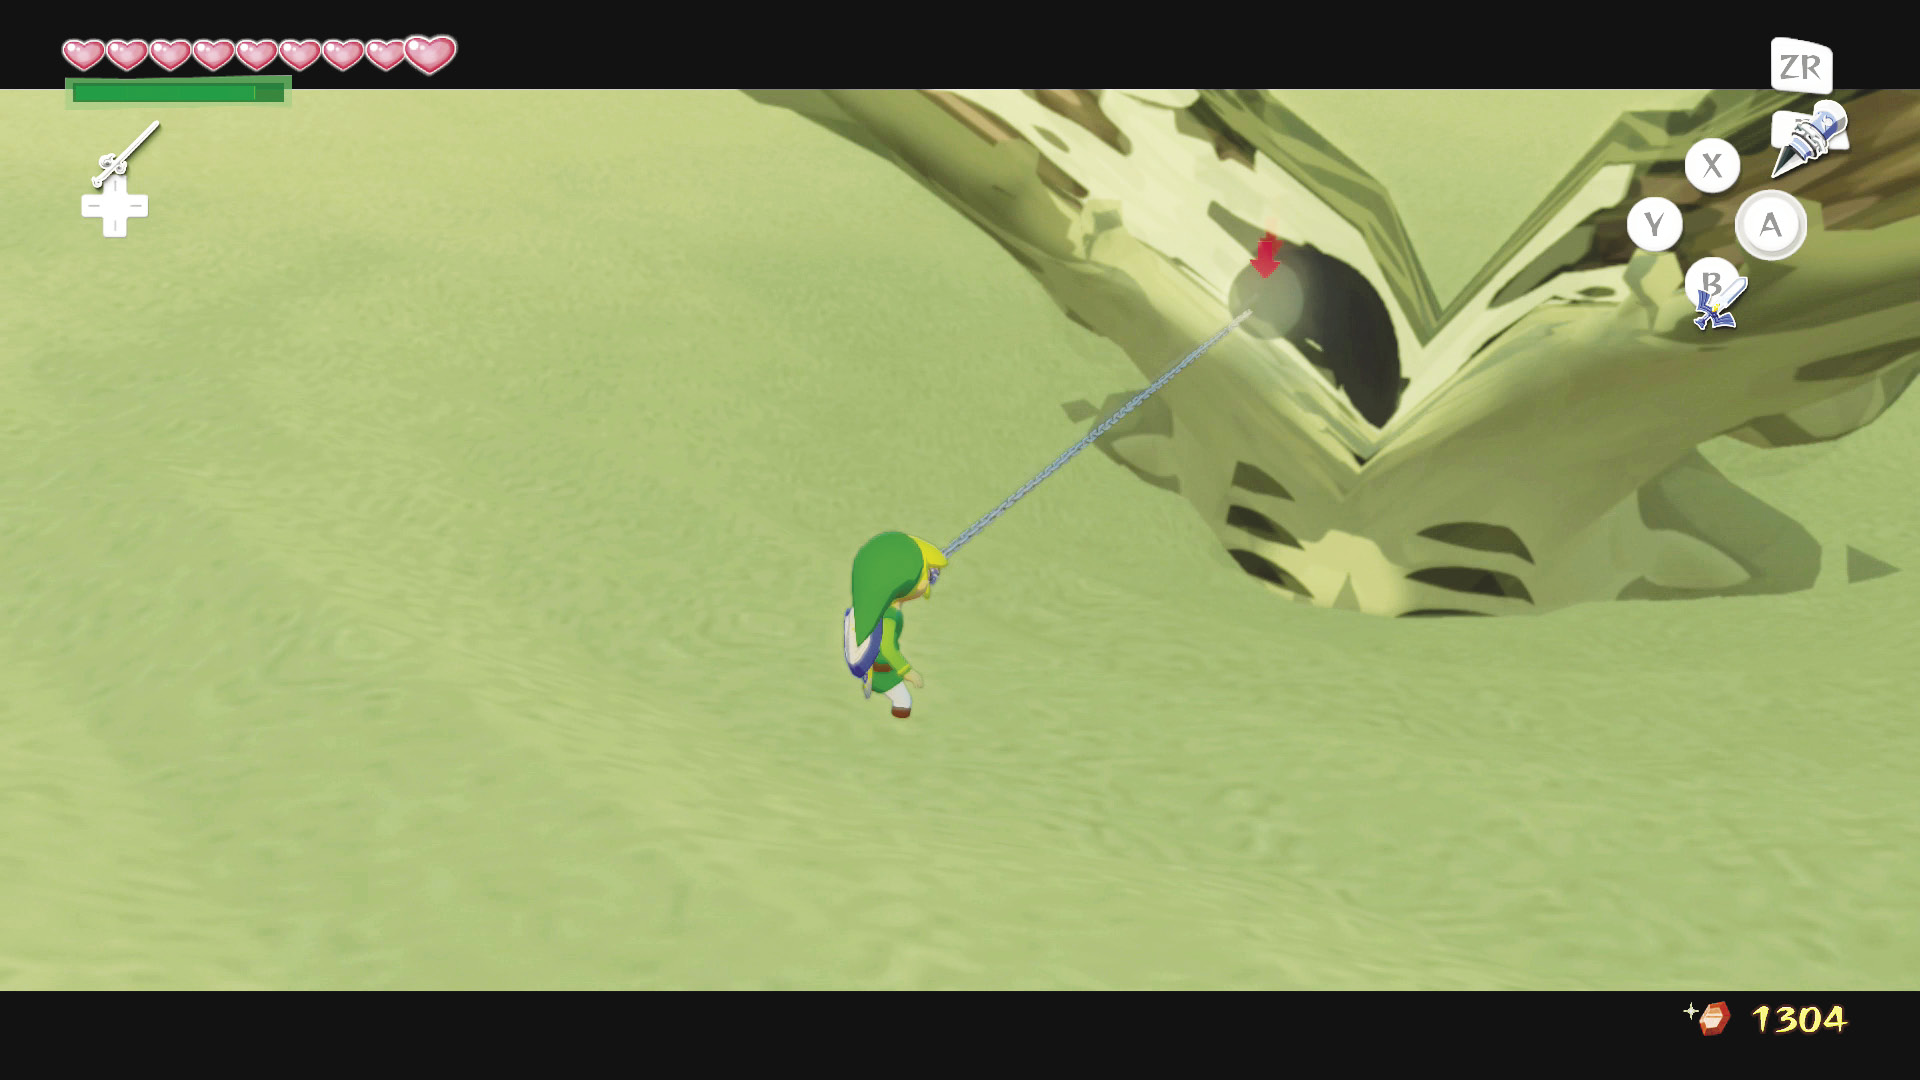 To defeat Molgera, wait until he pops his mouth out of the sand, then use your Hookshot on his tongue to draw him toward you. Slash him as many times as possible before he withdraws back into the sand. 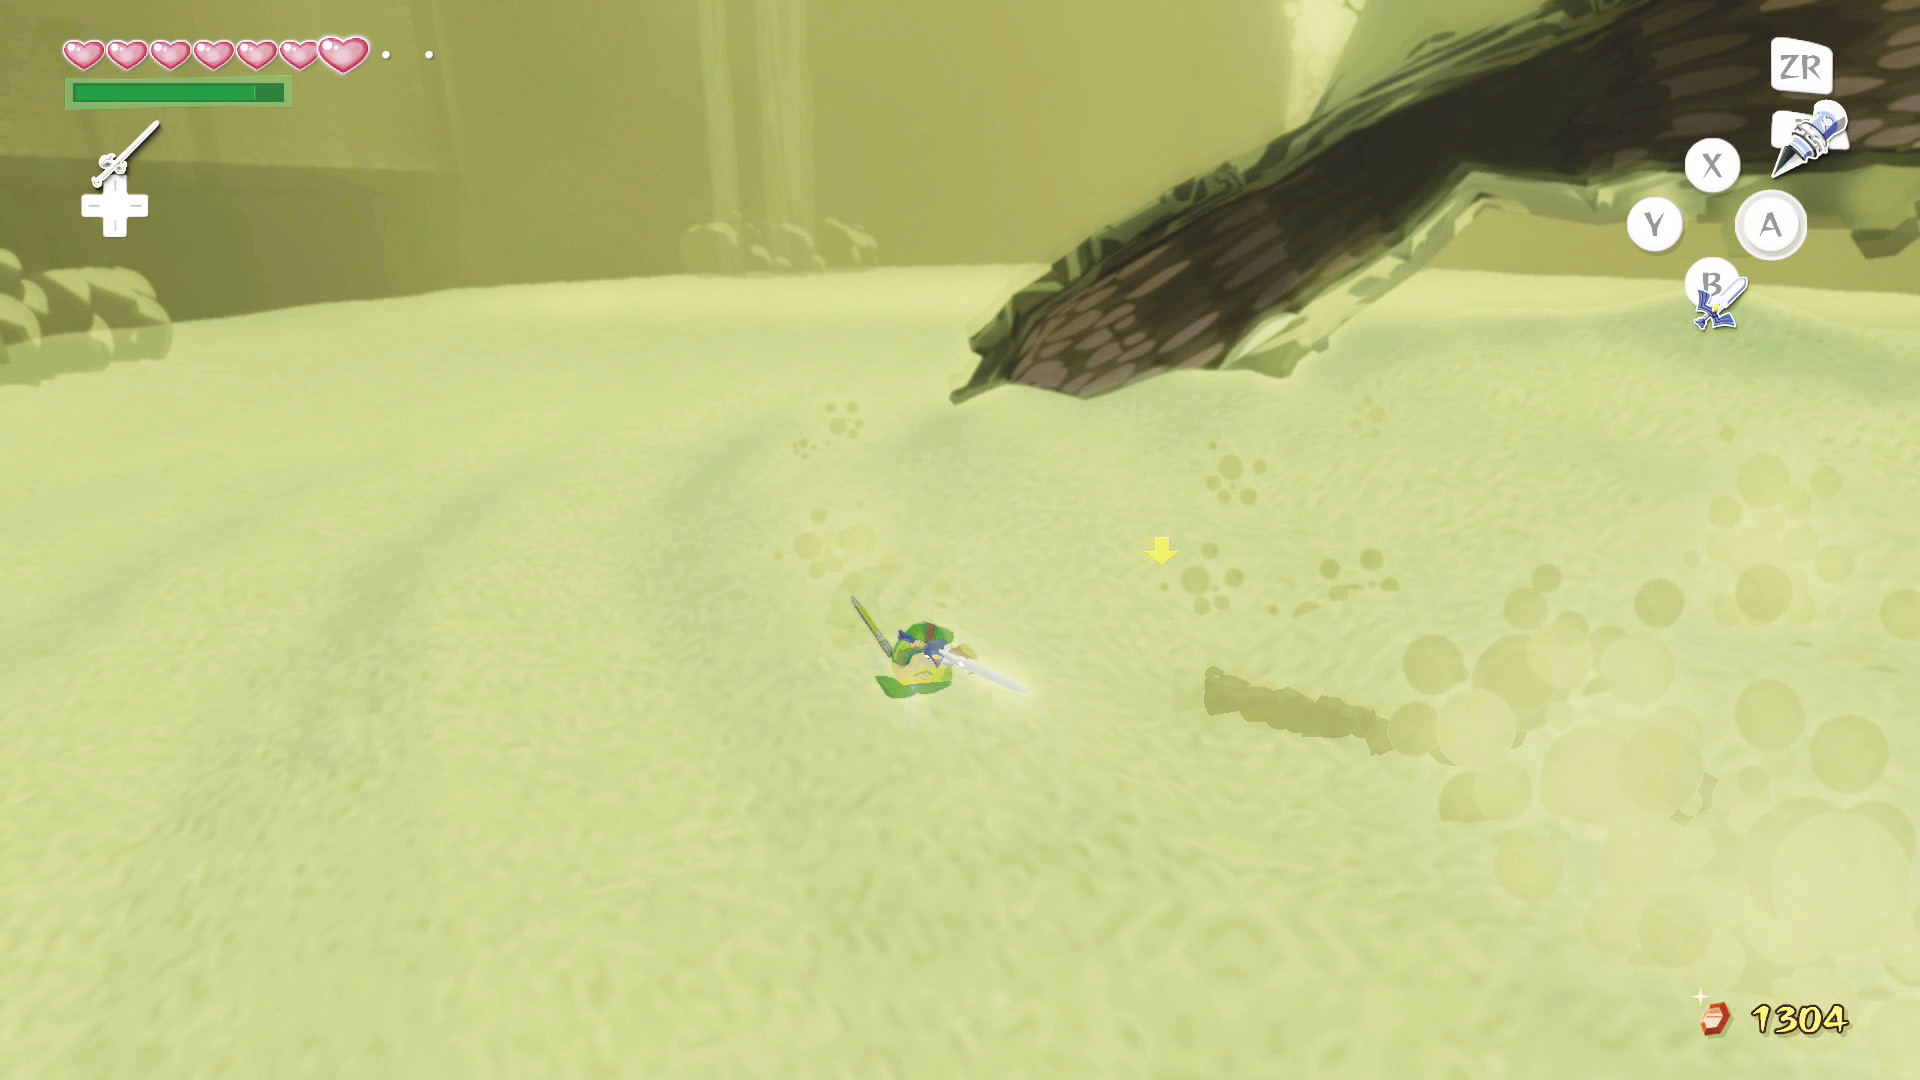 Three more larvae will pop out of the ground, and Molgera will begin flying around the room. Defeat the larvae while watching out for Molgera to make sure he doesn’t land on you. Molgera will eventually dive back into the sand, then pop his face back out, giving you the chance to Hookshot his tongue again. Repeat these steps one or two more times and Molgera will be done for. |
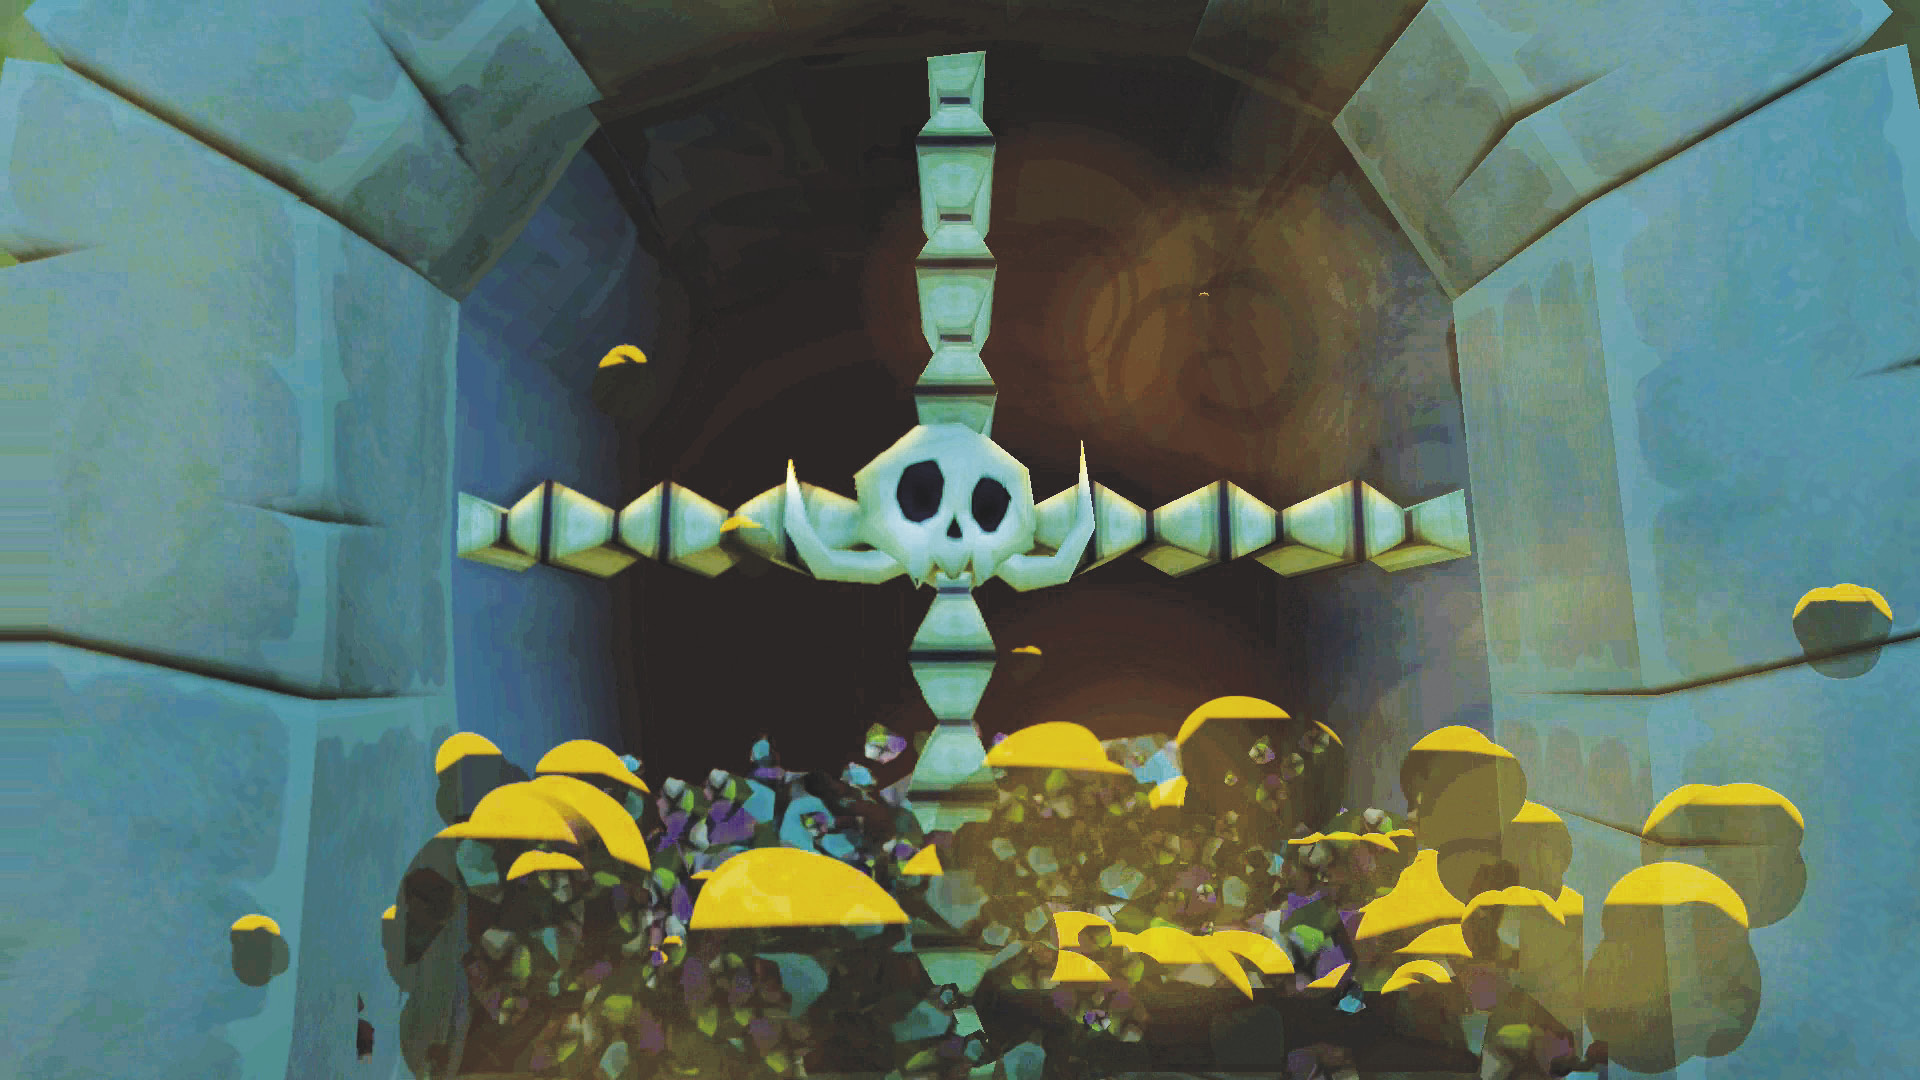
Afterward, you will be teleported back to the entrance of Ganon’s Tower where the four-symbol door will disintegrate, allowing you to enter the tower’s main hall.
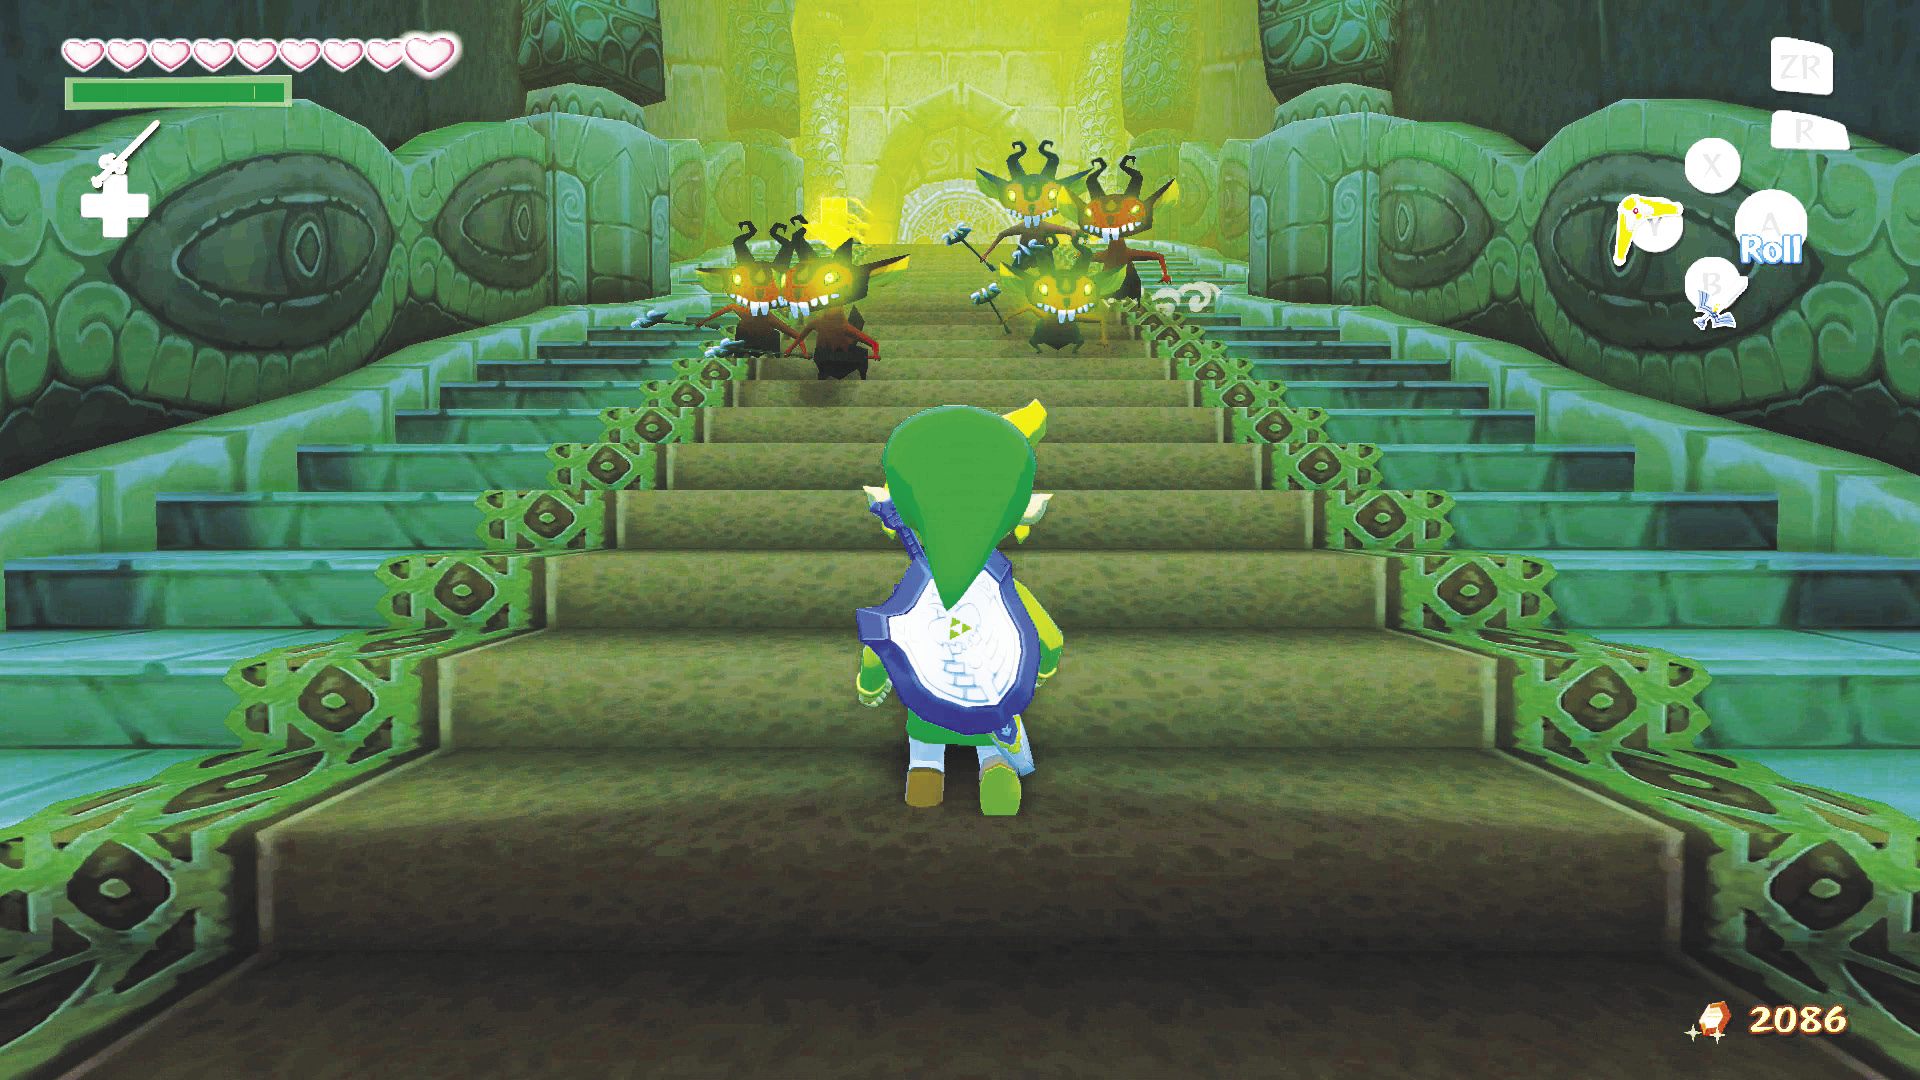
Through the door is a staircase leading to the tower’s main hall. Miniblins roam this area, so don’t linger!
The Main Hall
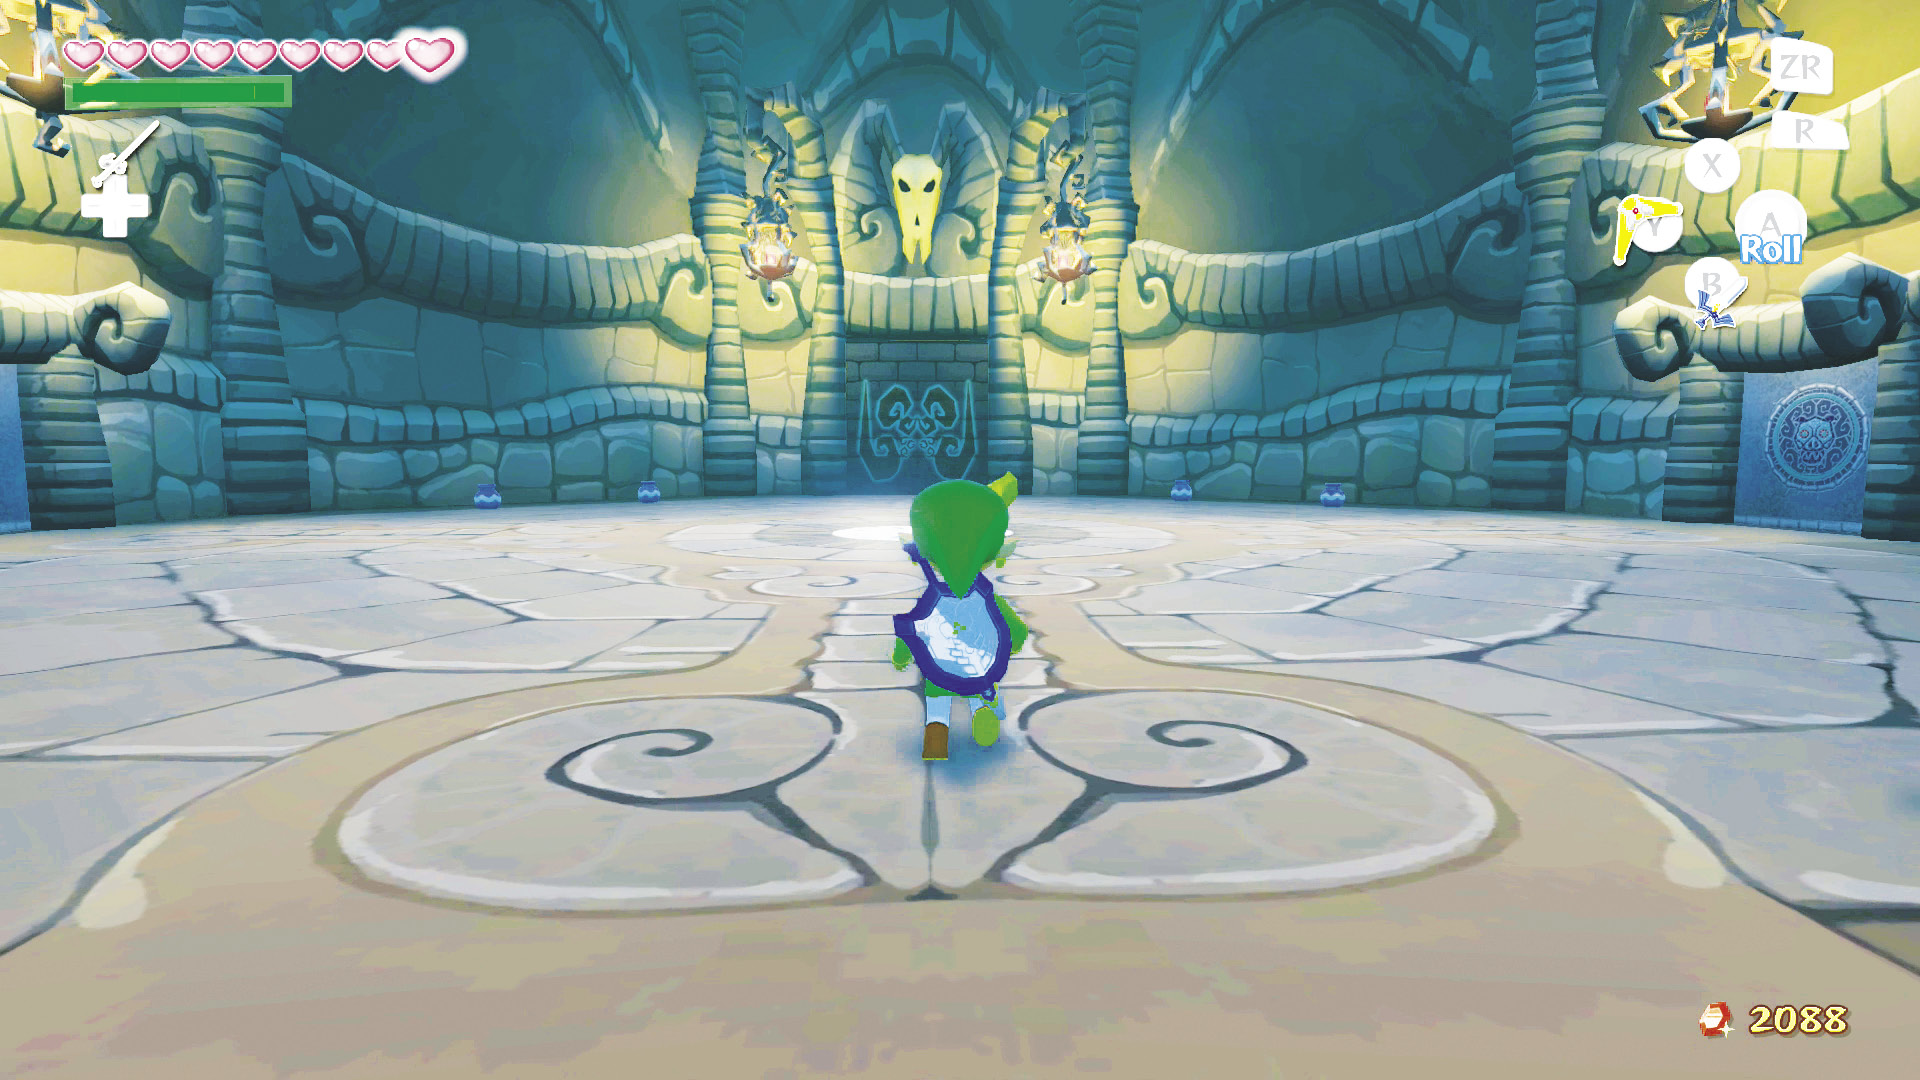
The main hall is a rounded room with a door on all sides of it. Take note of the door directly ahead of you. It is blocked off and currently inaccessible. Our gut tells us this must be the way to Ganondorf and Tetra...er, Zelda (it’s going to be hard referring to her by that name after knowing her as Tetra for so long).
Since the door straight ahead is off-limits, let’s head to the door on the room’s right side.
Letting Red In
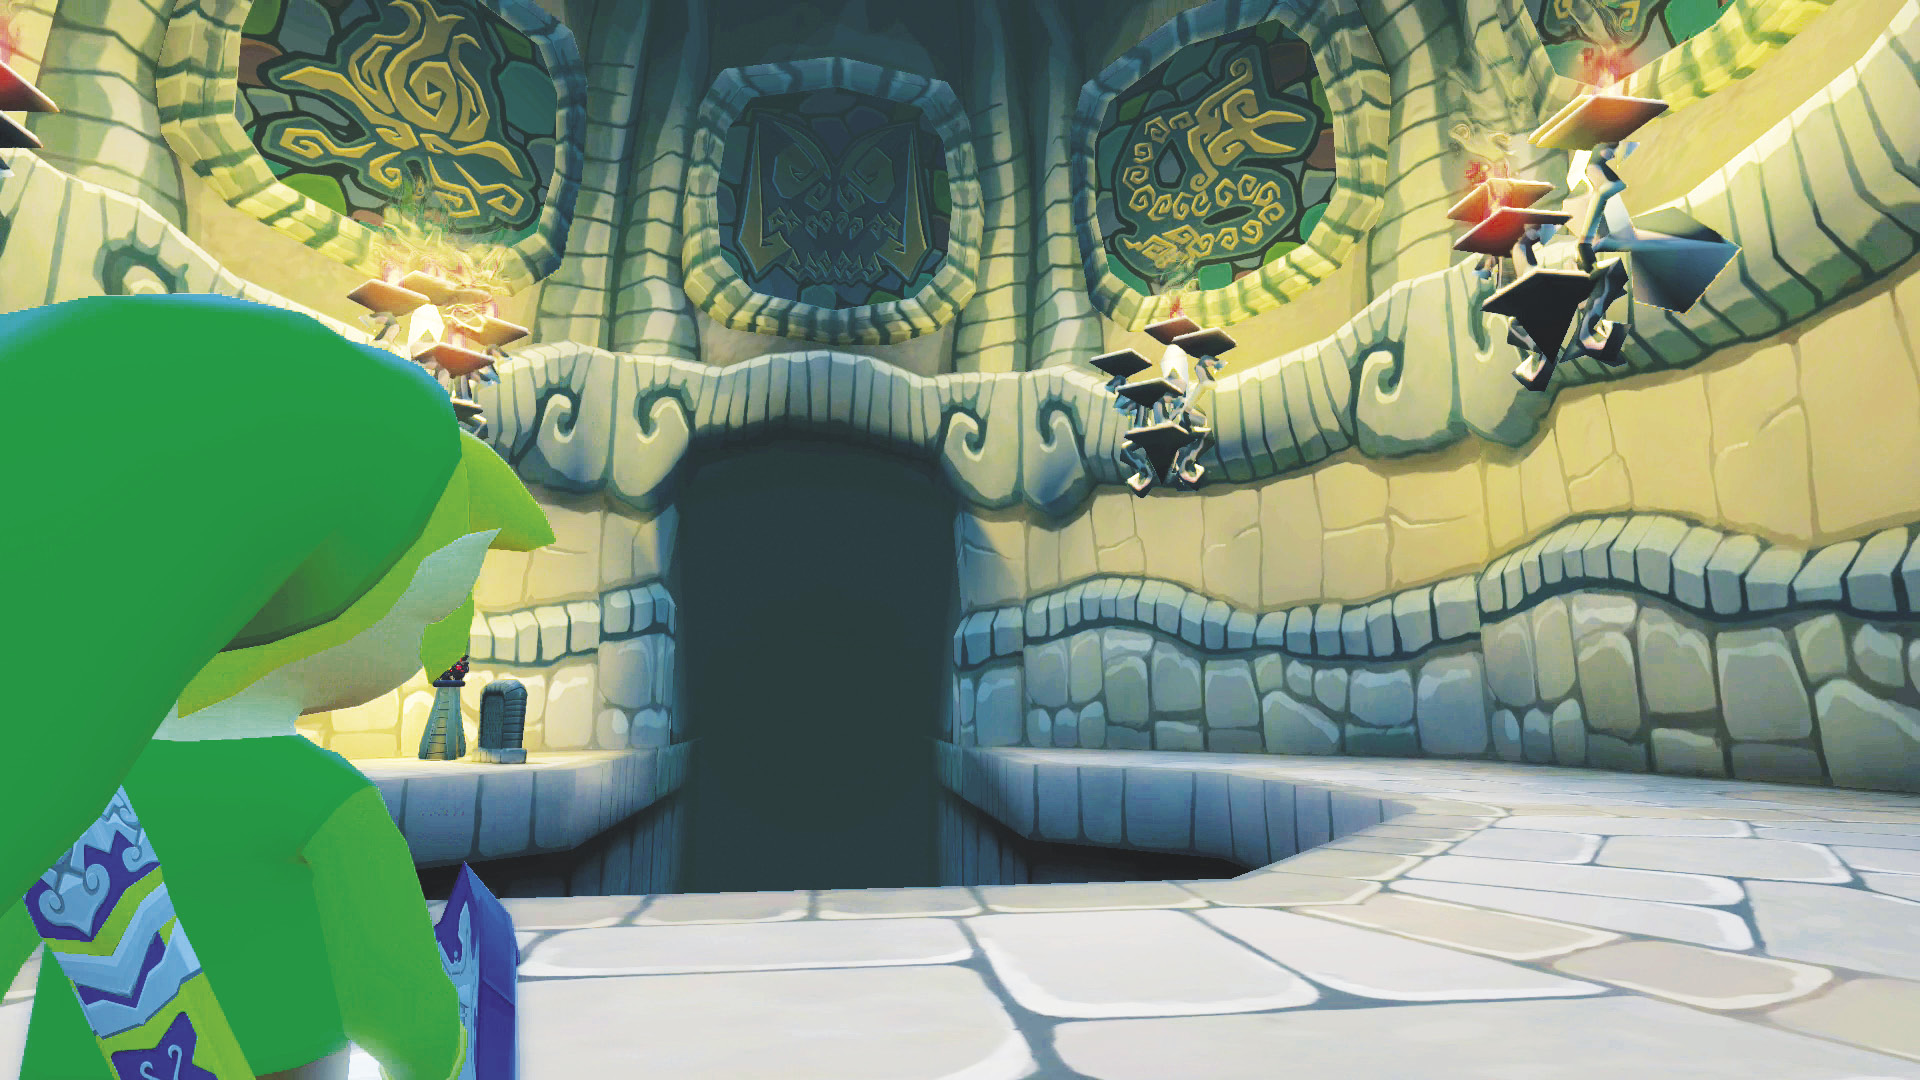
After entering this room, the camera begins to focus on the torches here, pointing out the right, far left, far right, then left torches. Red calls in from the Pirate’s Charm and cautions Link to pay close attention while investigating the rooms surrounding the main hall; everything is a potential clue for solving the riddle that is that blocked door. Leave the room and head to the door directly ahead of you (the one to the left of the blocked door).
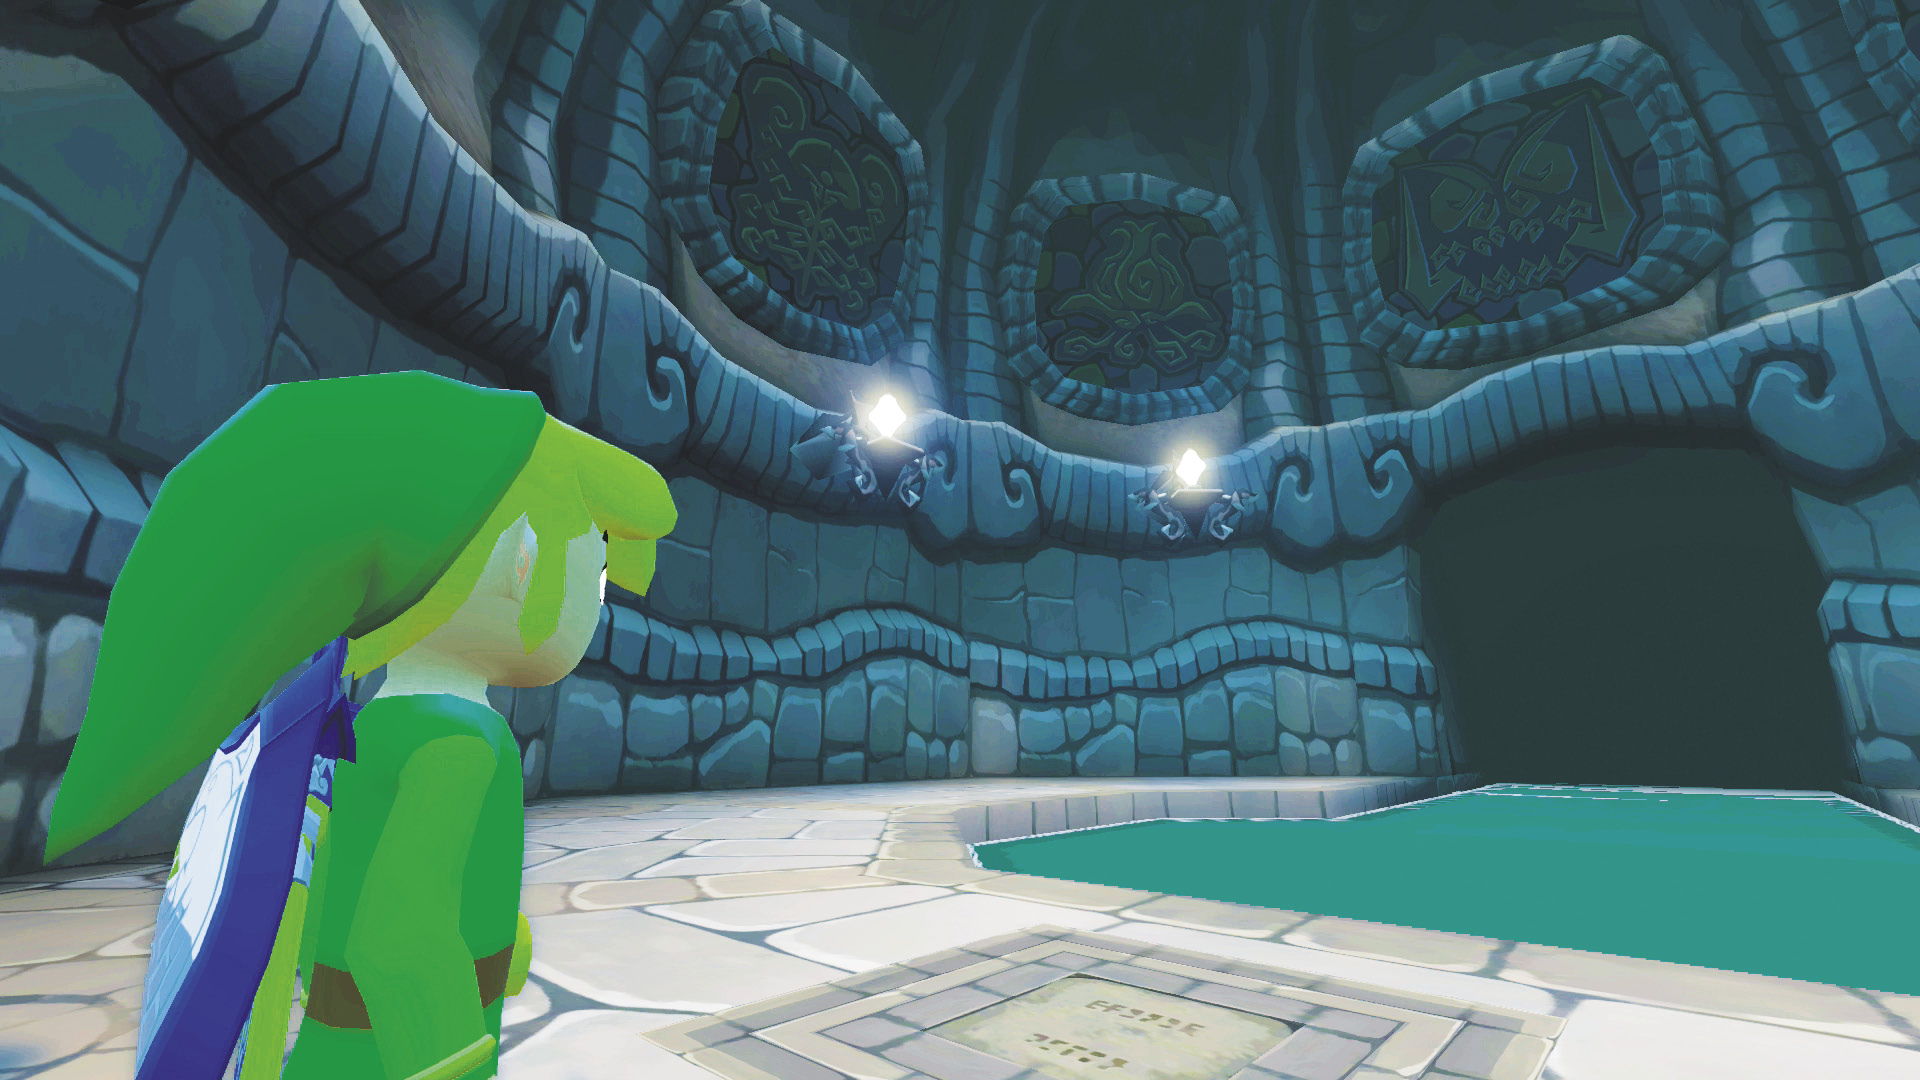
In this room are four crystals in the same positions as the torches in the other room. Since the camera showed us the torches in a specific order, use your Boomerang to hit the crystals in the same order: right, far left, far right, then left.
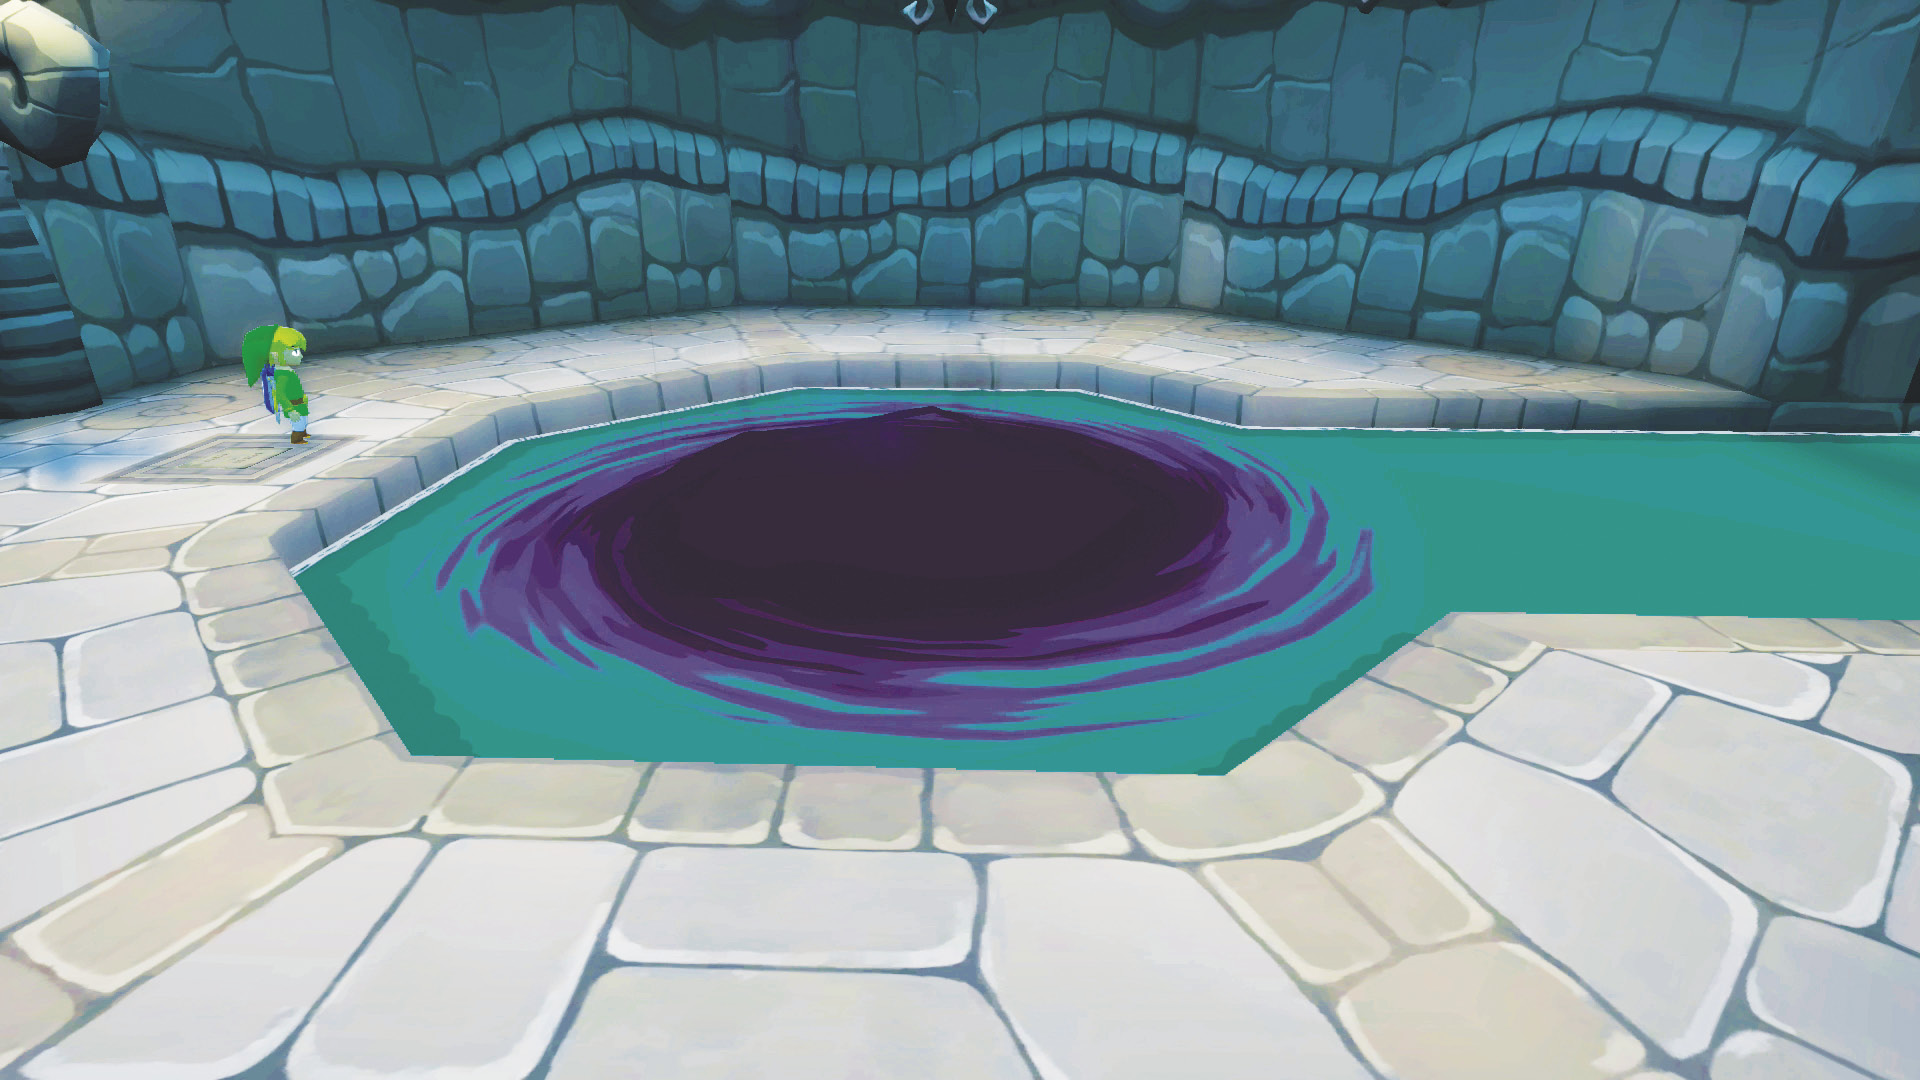
If you hit the crystals in the appropriate order, a black portal opens up in the pool ahead of you and Red drifts in from the dark passage behind the portal. He concludes that the black portal is how Ganondorf reached the surface of the Great Sea. He is quick to suggest we use it should we have any reason to head back topside.
It’s great that we’ve got Red in the tower, but where do we go now? There were only two rooms that we had access to, and the entrance to the main hall has been thoroughly investigated. What was it that Red said? The shape of the floor? Wait...that’s it! This room has a pool of water, but the other room doesn’t! Let’s head to the room across from this one and look at the floor.
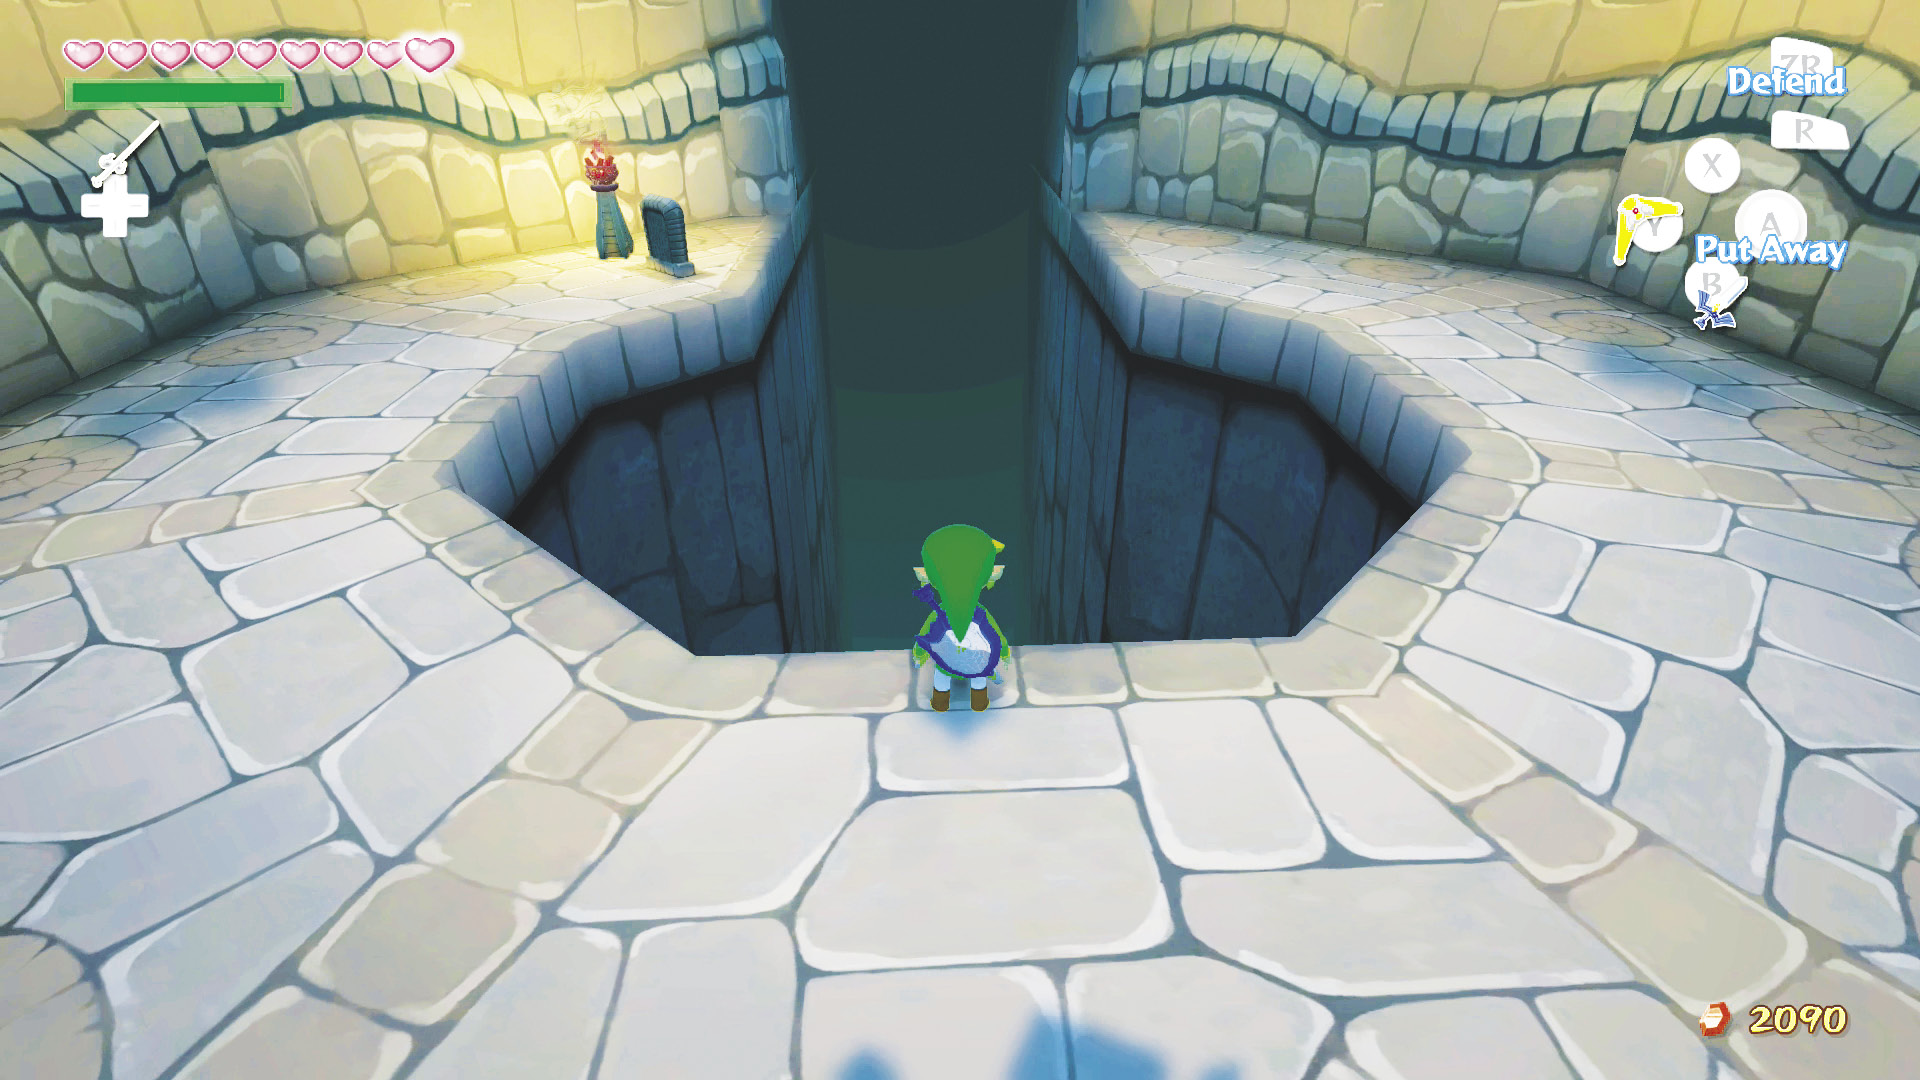
Wow...that sure is a deep pit...Well, I guess we don’t have a choice, do we? Care to take a leap of faith with us? All right, then, whenever you’re ready, hop into the pit!
Nintendo Gallery Notice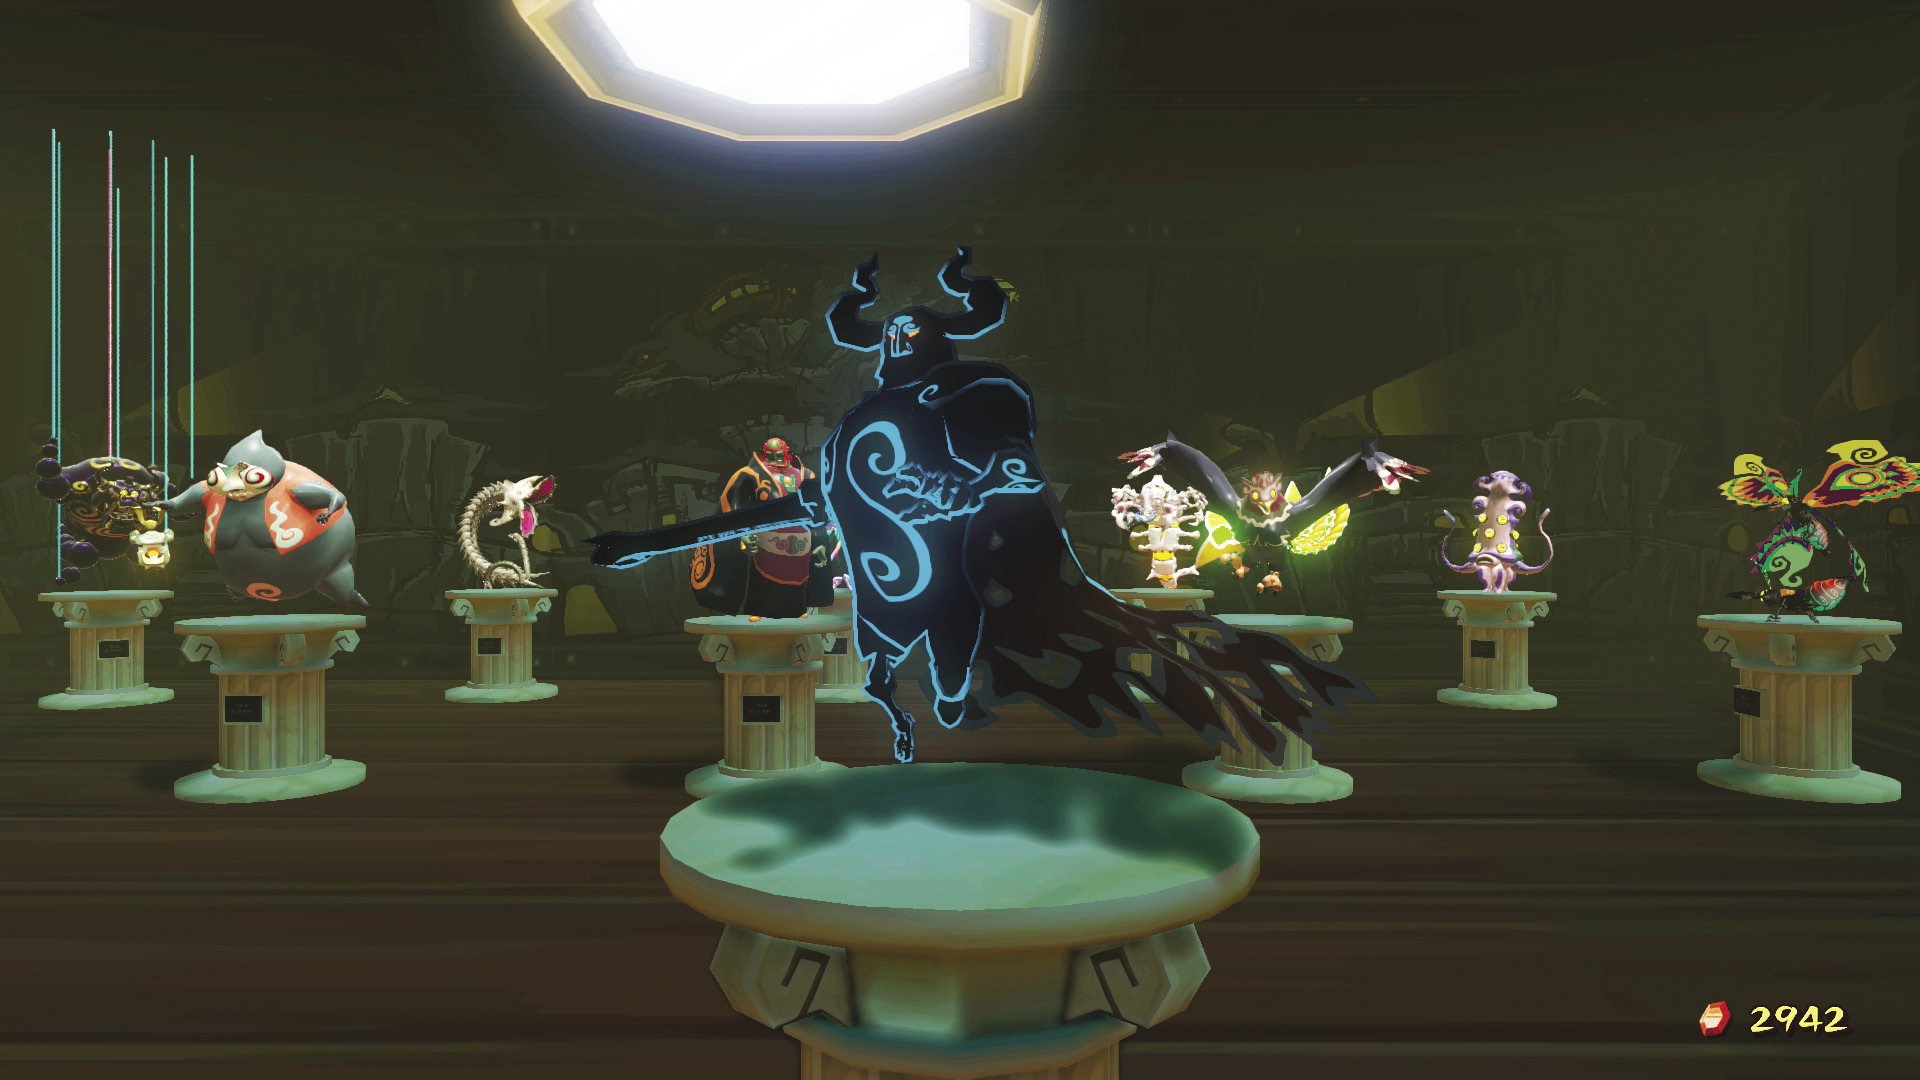 If you’re hoping to complete the Nintendo Gallery, take a picture of Phantom Ganon before you defeat him for the final time. This is your last chance to photograph this freaky boss! |
Boss: Phantom Ganon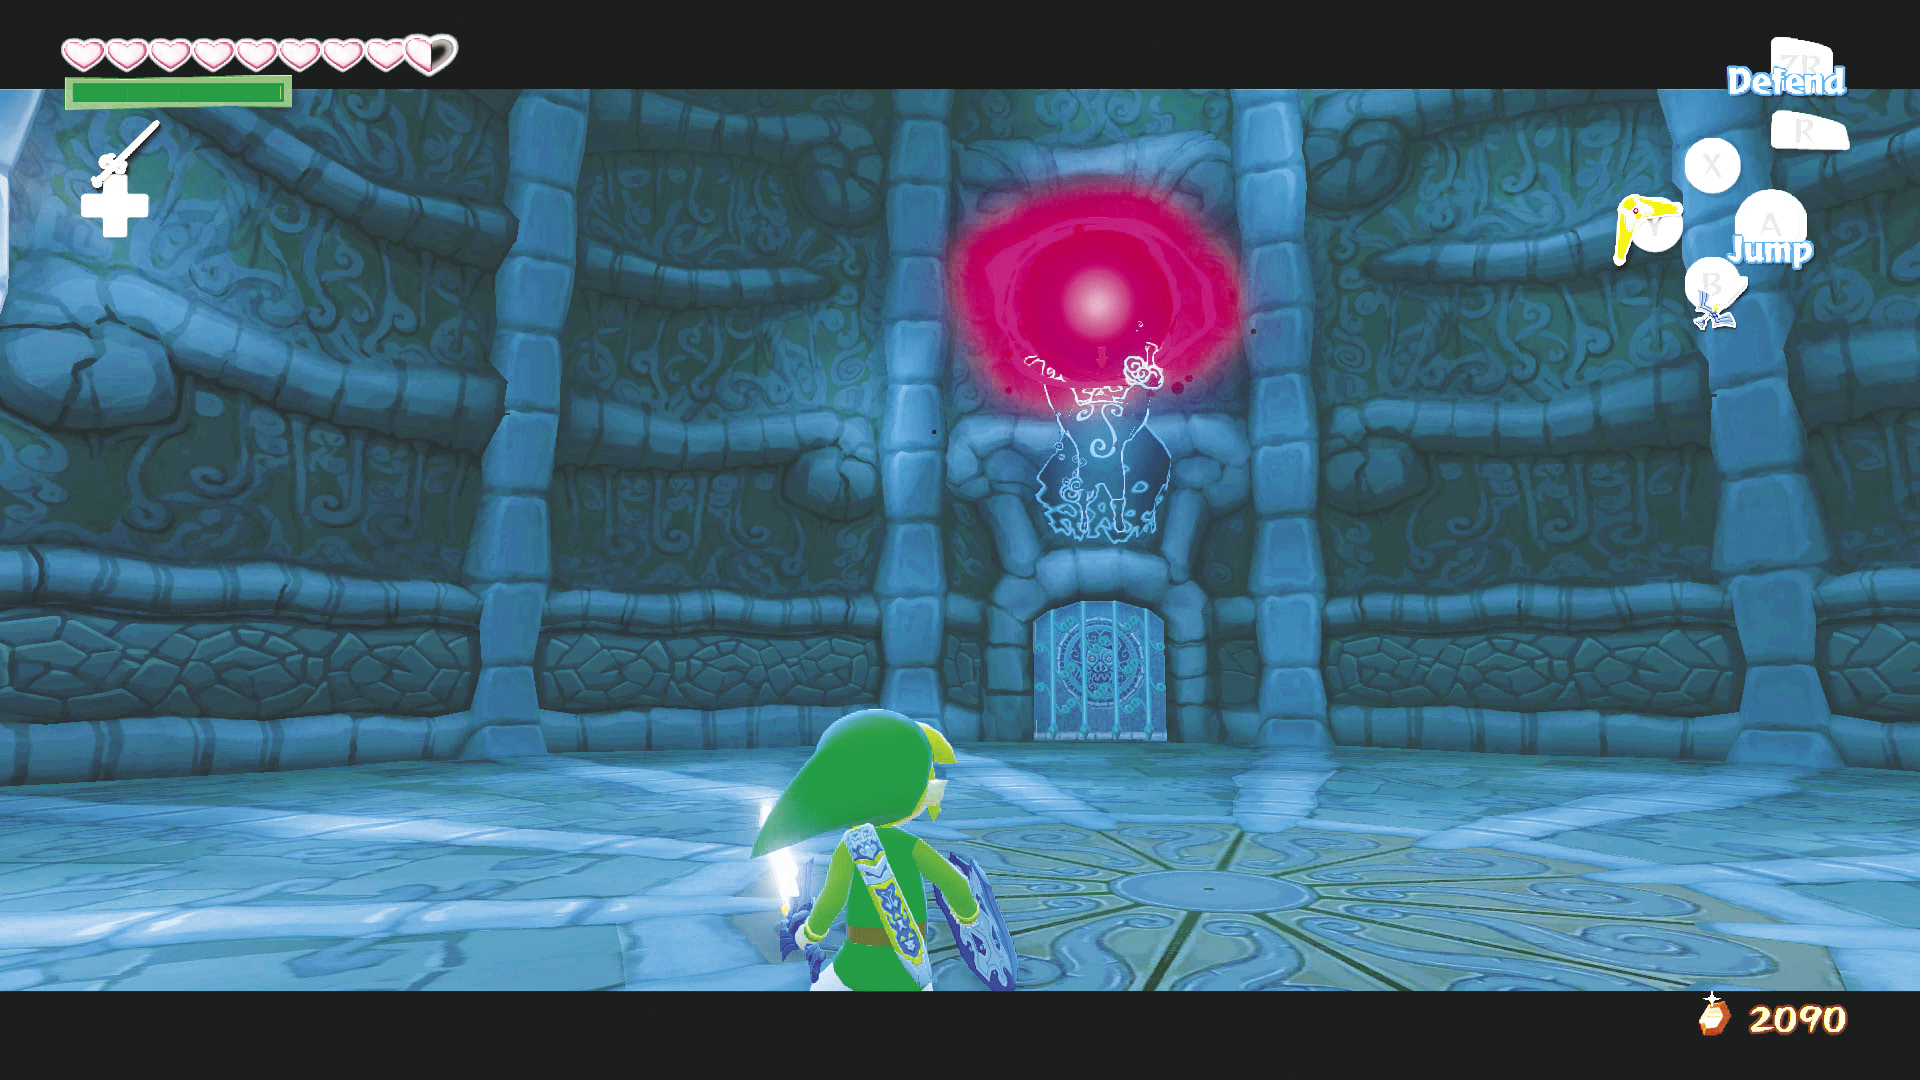 Phantom Ganon has a few new tricks that give Link a run for his money. Instead of just firing a blue orb, the ghostly Ganon will also throw a flurry of red magic bolts that are difficult to reflect back at the phantom with a basic sword attack. Instead you’ll need to unleash a Spin Attack if you see Phantom Ganon begin to charge a red orb in its hands. Be careful not to charge the Hurricane Spin or you’ll be left open for an attack when Link is done spinning. 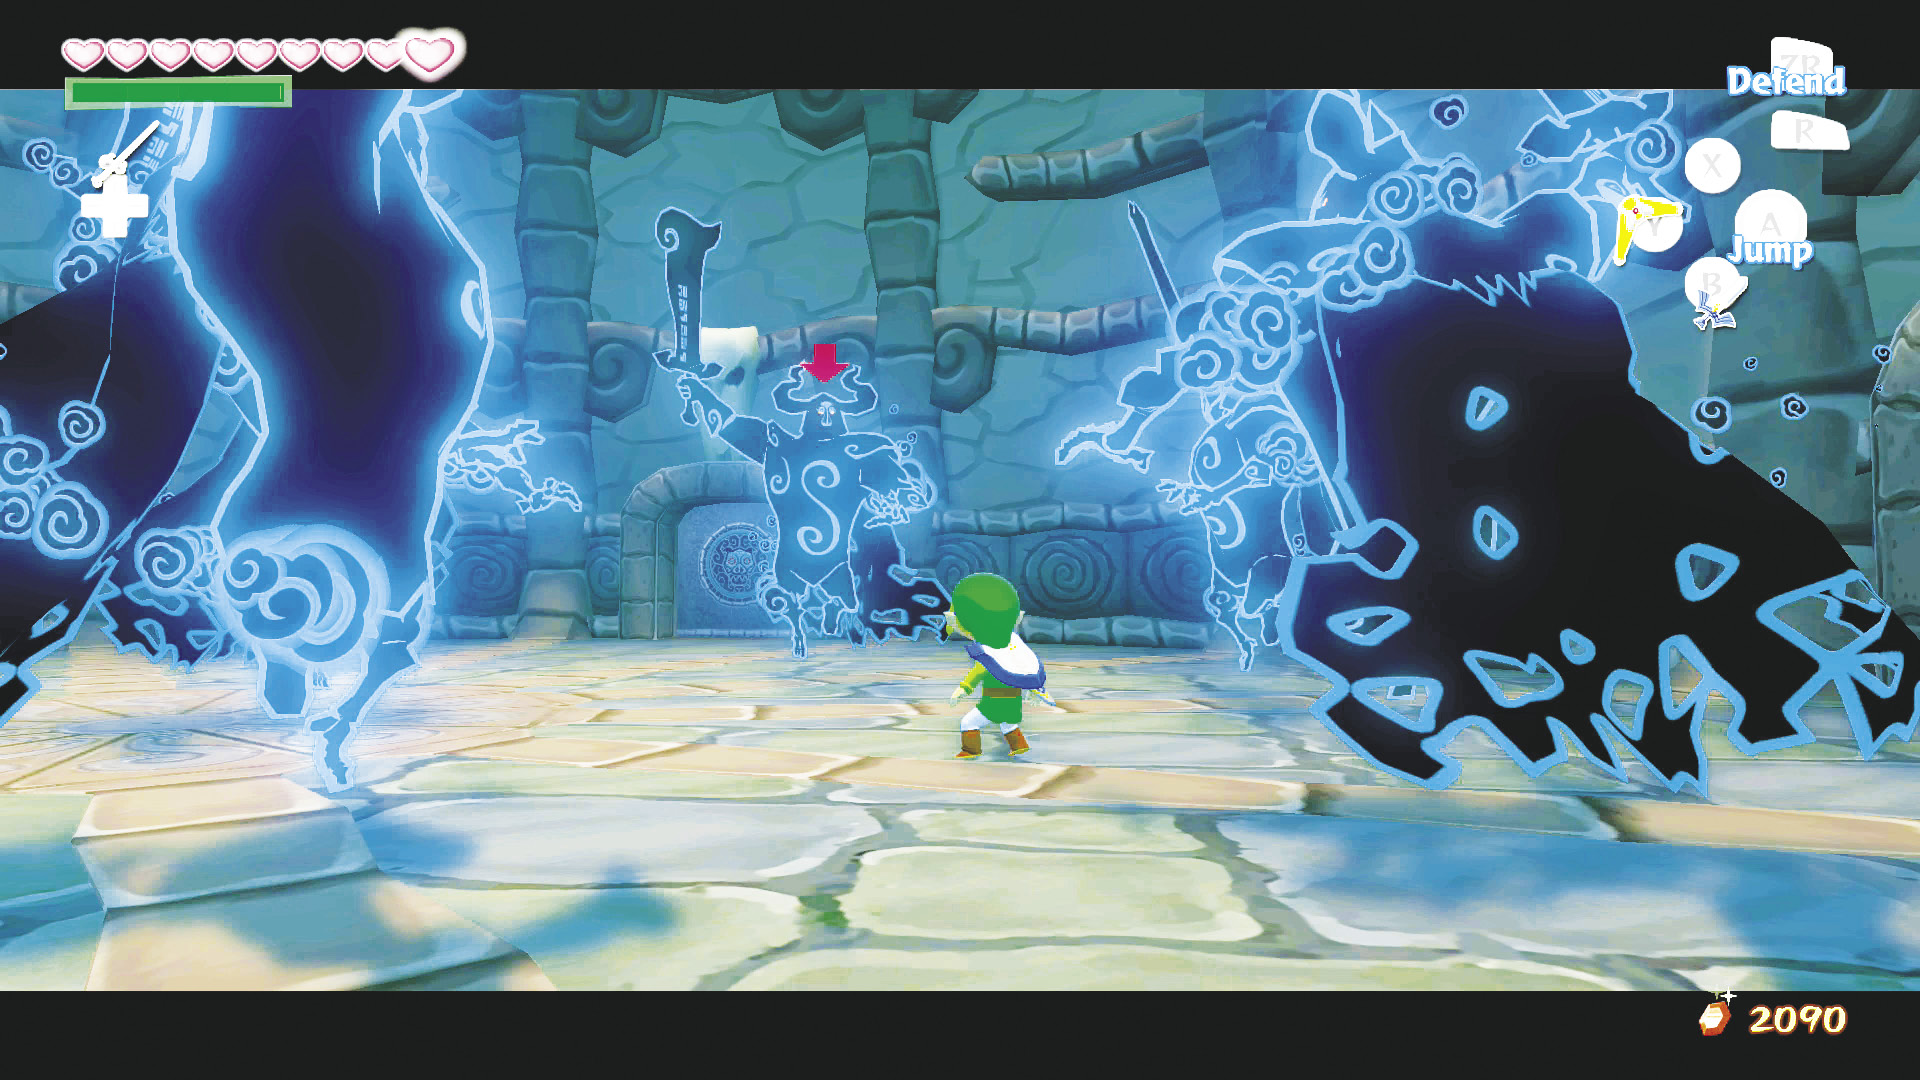 He also changes up his teleport attack. Instead of just appearing near Link and then swinging at him with his sword, Phantom Ganon will create several clones of himself and begin to slowly surround Link. You can roll away, but if you begin slashing at all the phantoms, you’ll eventually strike the true Phantom Ganon, forcing all the clones to disappear and leaving the true phantom open to attack. Phantom Ganon doesn’t have much endurance in this fight and will disappear after a handful of hits, leaving behind his sword. Unfortunately, when you’re inside Ganon’s Tower, anything that seems too good to be true probably is. The room you’re in has four doors, but only one of them is the true exit. If you pick the wrong door, you’ll never escape this area and Zelda will be left to Ganondorf’s evil intentions. 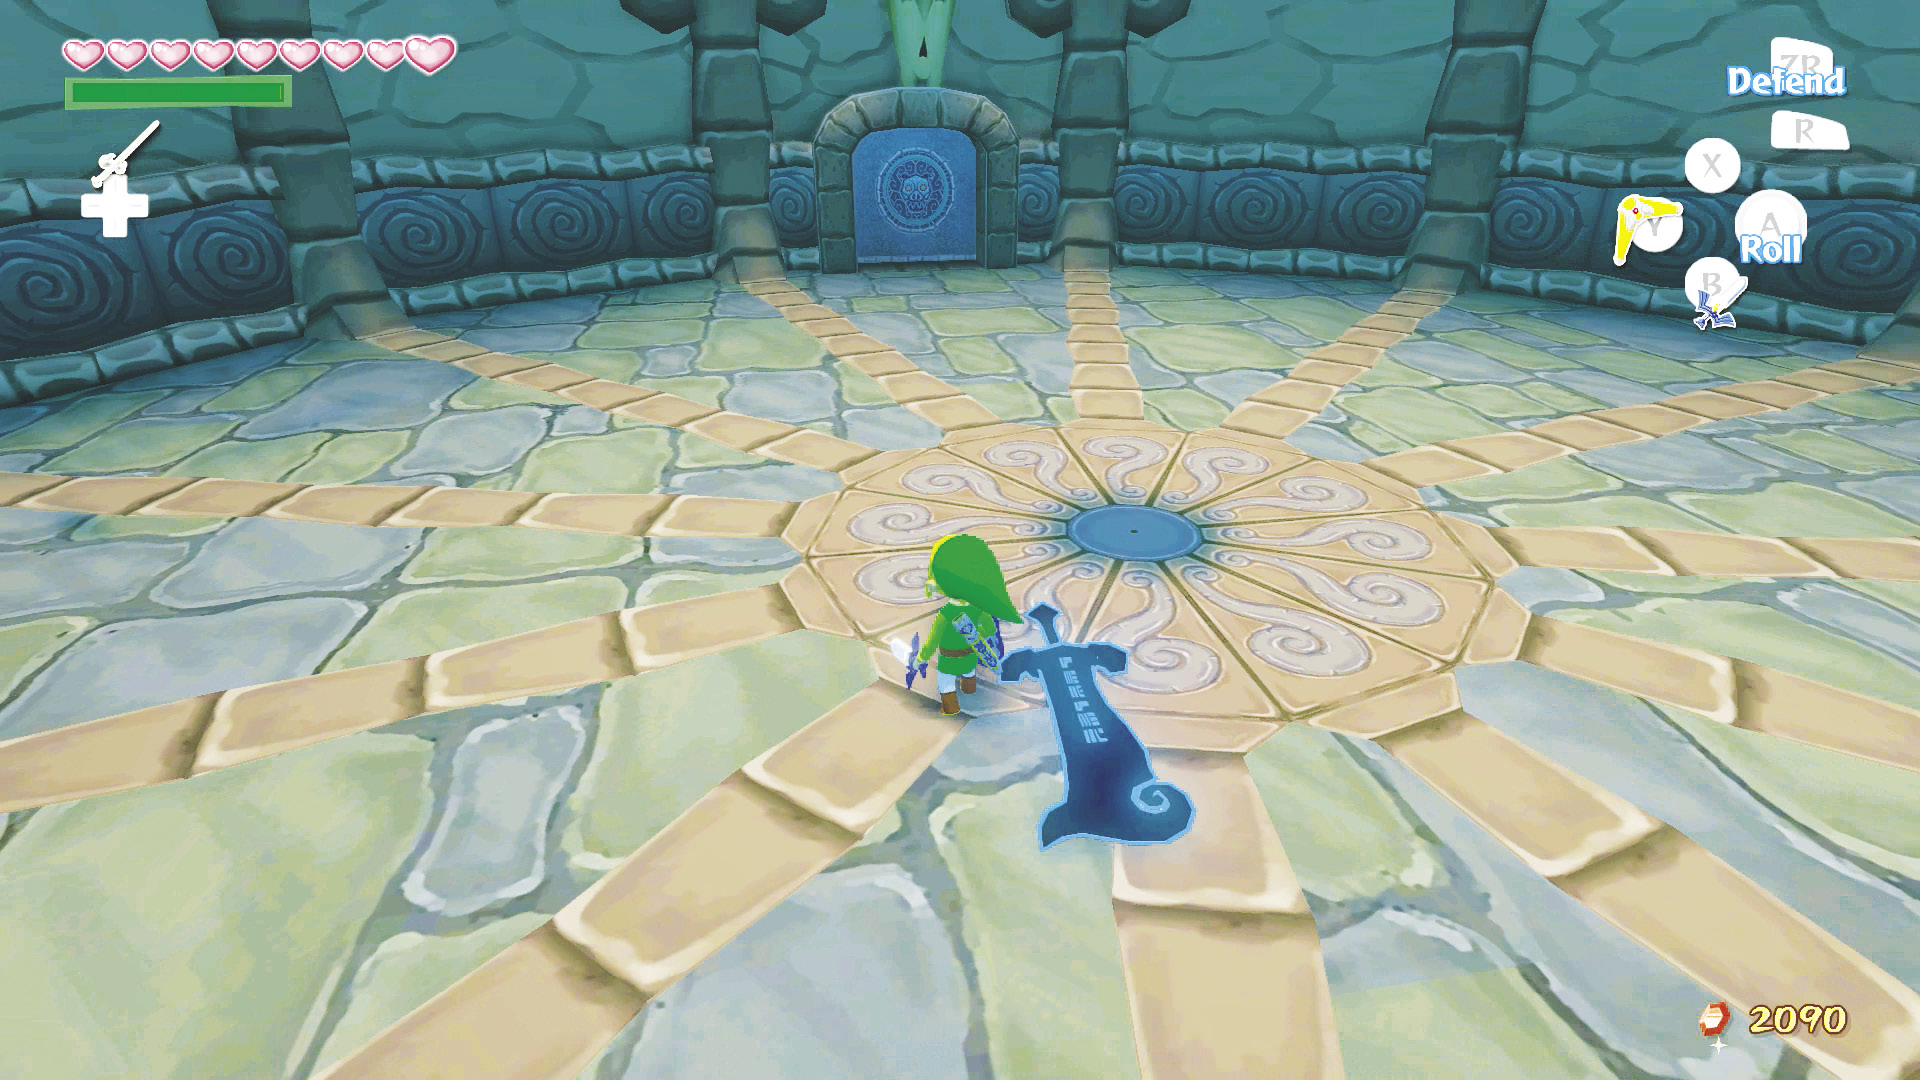 The secret to finding the room’s true exit is by going through the door that Phantom Ganon’s sword hilt points to when he flees. 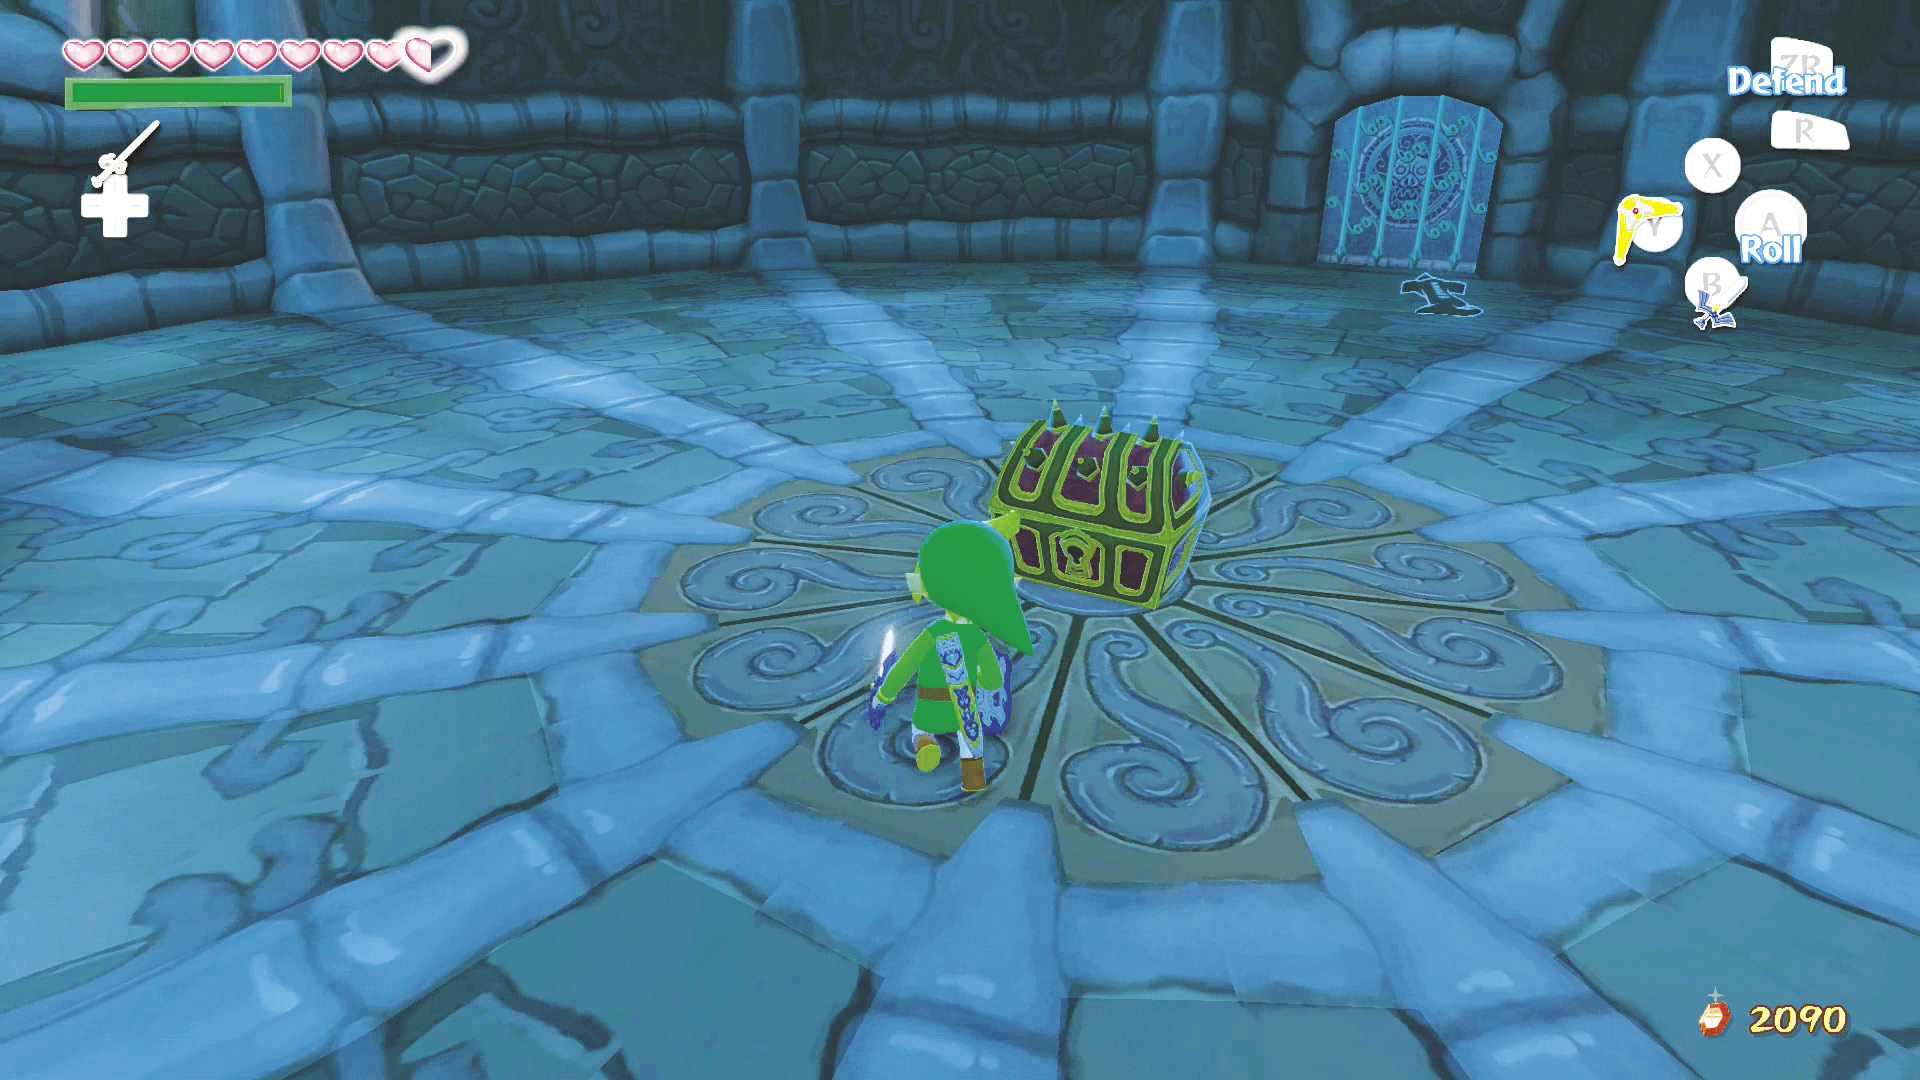 You’ll have to fight Phantom Ganon seven times before you can escape this labyrinth. After defeating the seventh Phantom Ganon, a treasure chest will appear in the room. Open it to obtain the Light Arrows, arrows with the power to banish evil! Follow Phantom Ganon’s sword hilt one last time and you’ll be out of this nightmarish labyrinth. 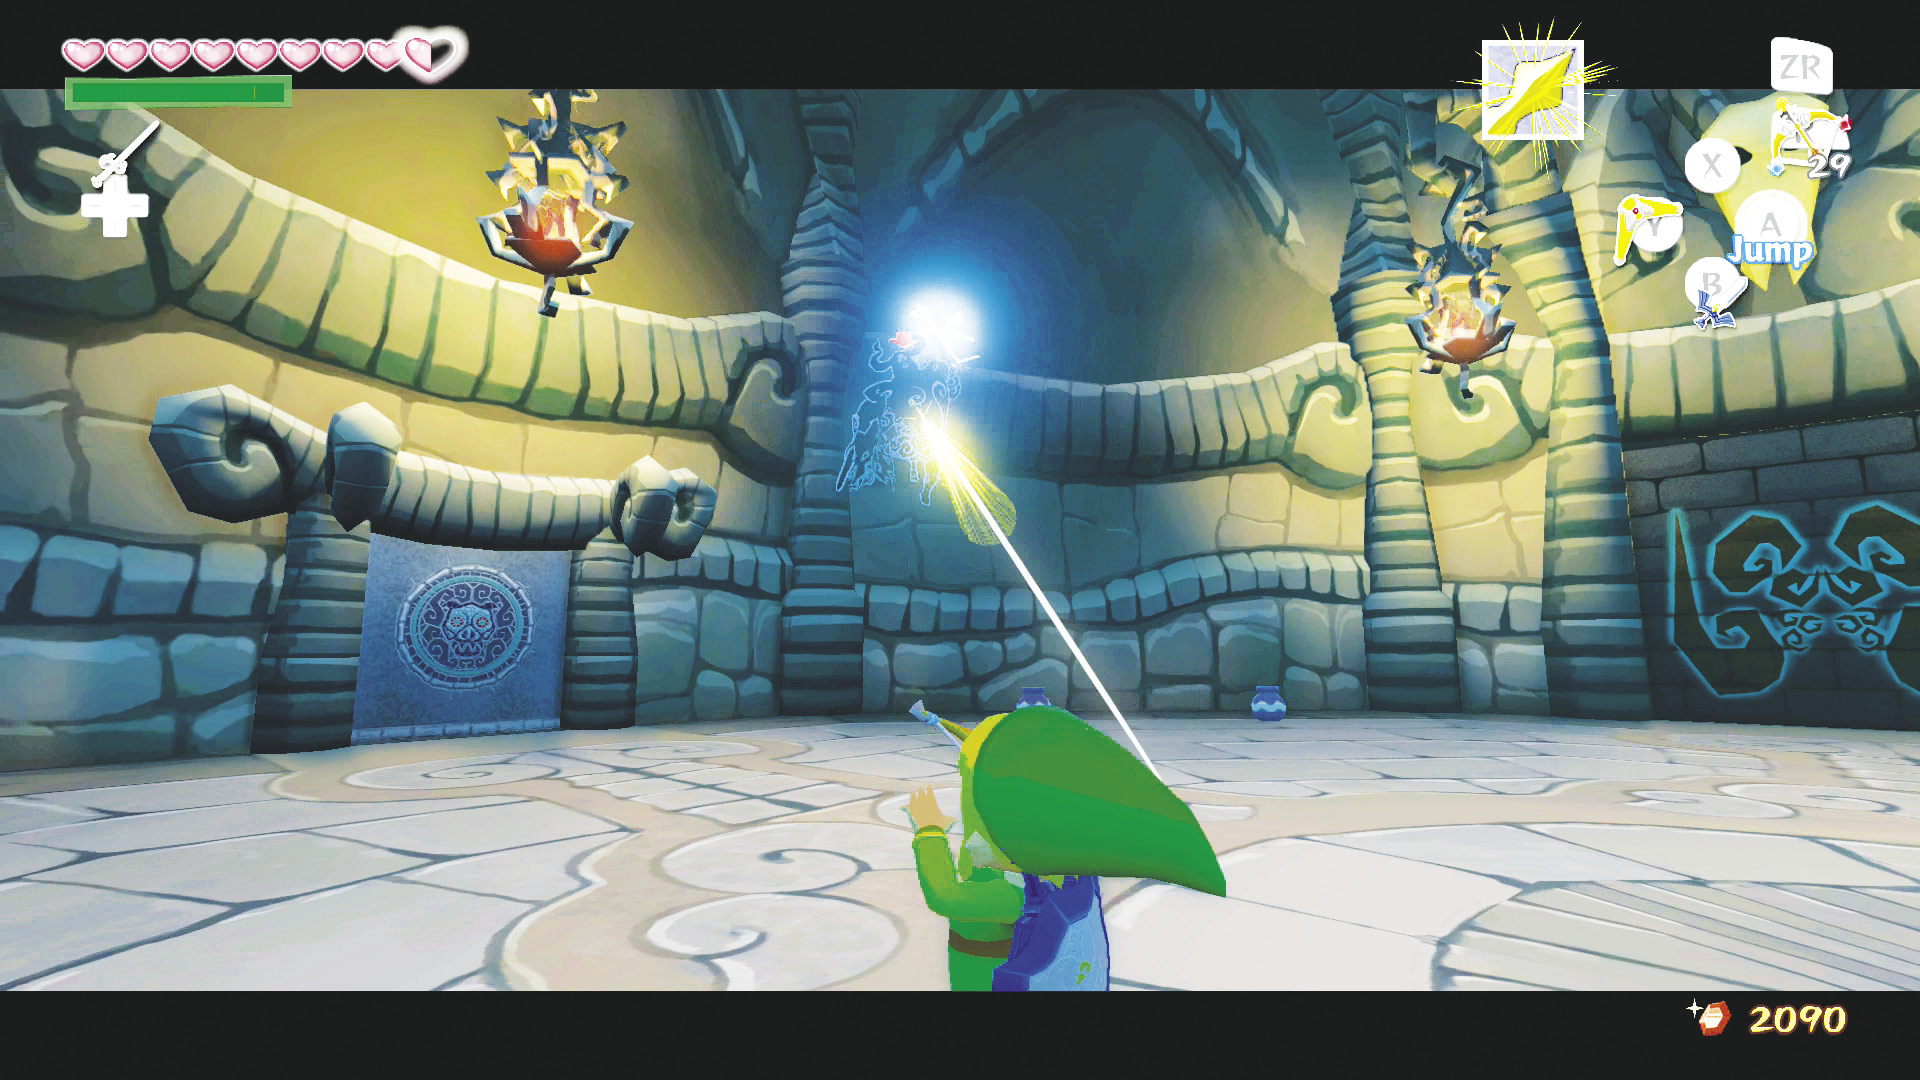 You’ll be taken back to the tower’s main Ganon will appear again to try and take his revenge on Link for defeats he has suffered at Link’s hands. Unfortunately for Phantom Ganon, this will be his last battle. Pull out your Hero’s Bow and cycle to the Light Arrows by pressing 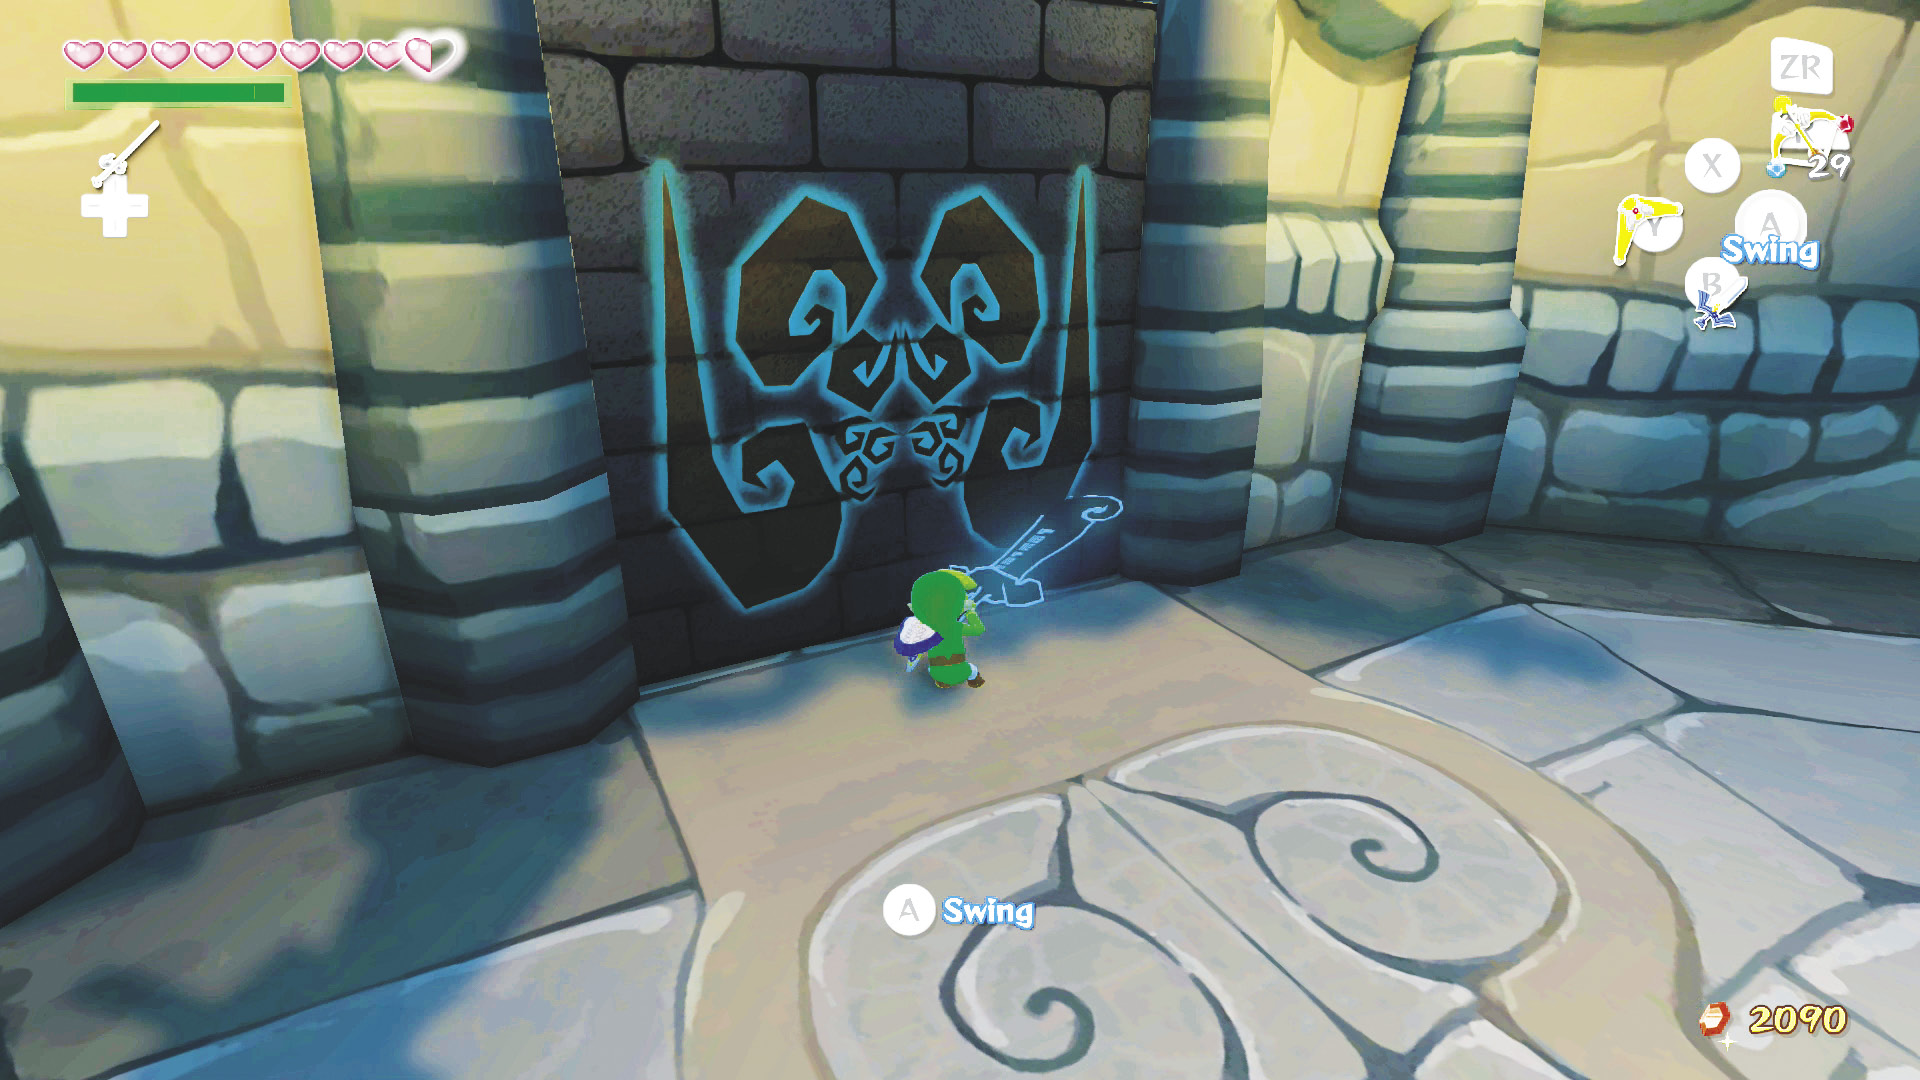 Phantom Ganon will leave his sword behind as he always does, but this time you’ll need to pick it up. The blocked door can be destroyed by a single hit from that giant sword, allowing us to move farther into the depths of the tower. |
 . Next,
  -Target Phantom Ganon and fire to put an end to the shadowy trickster once and for all.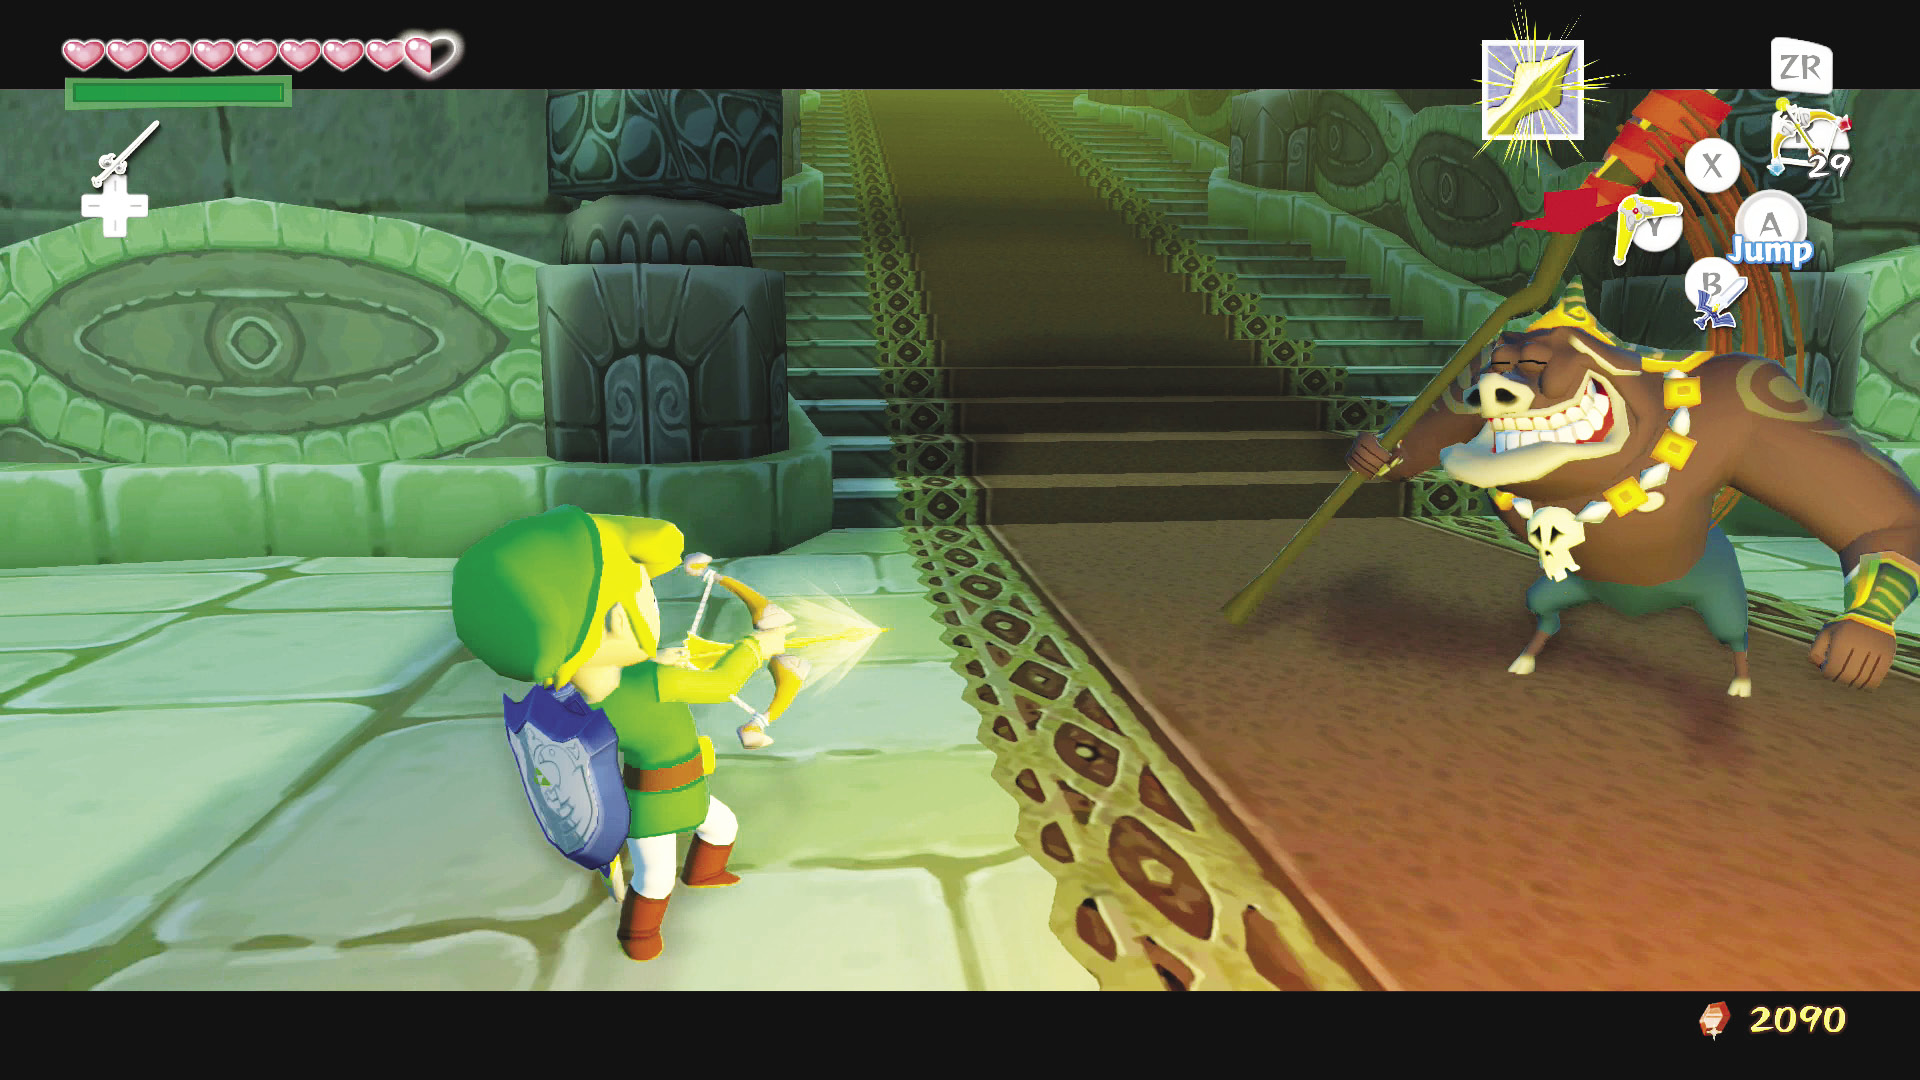
You’ll have to climb another staircase, but this time instead of Miniblins, you’ll find Moblins and Darknuts patrolling the area. To make matters worse, you’ll have to defeat every one of them in order to unblock the door at the top of the stairs. Normally this would be a real pain, but you have the Light Arrows, and as we said before, they carry in them the power to banish evil.
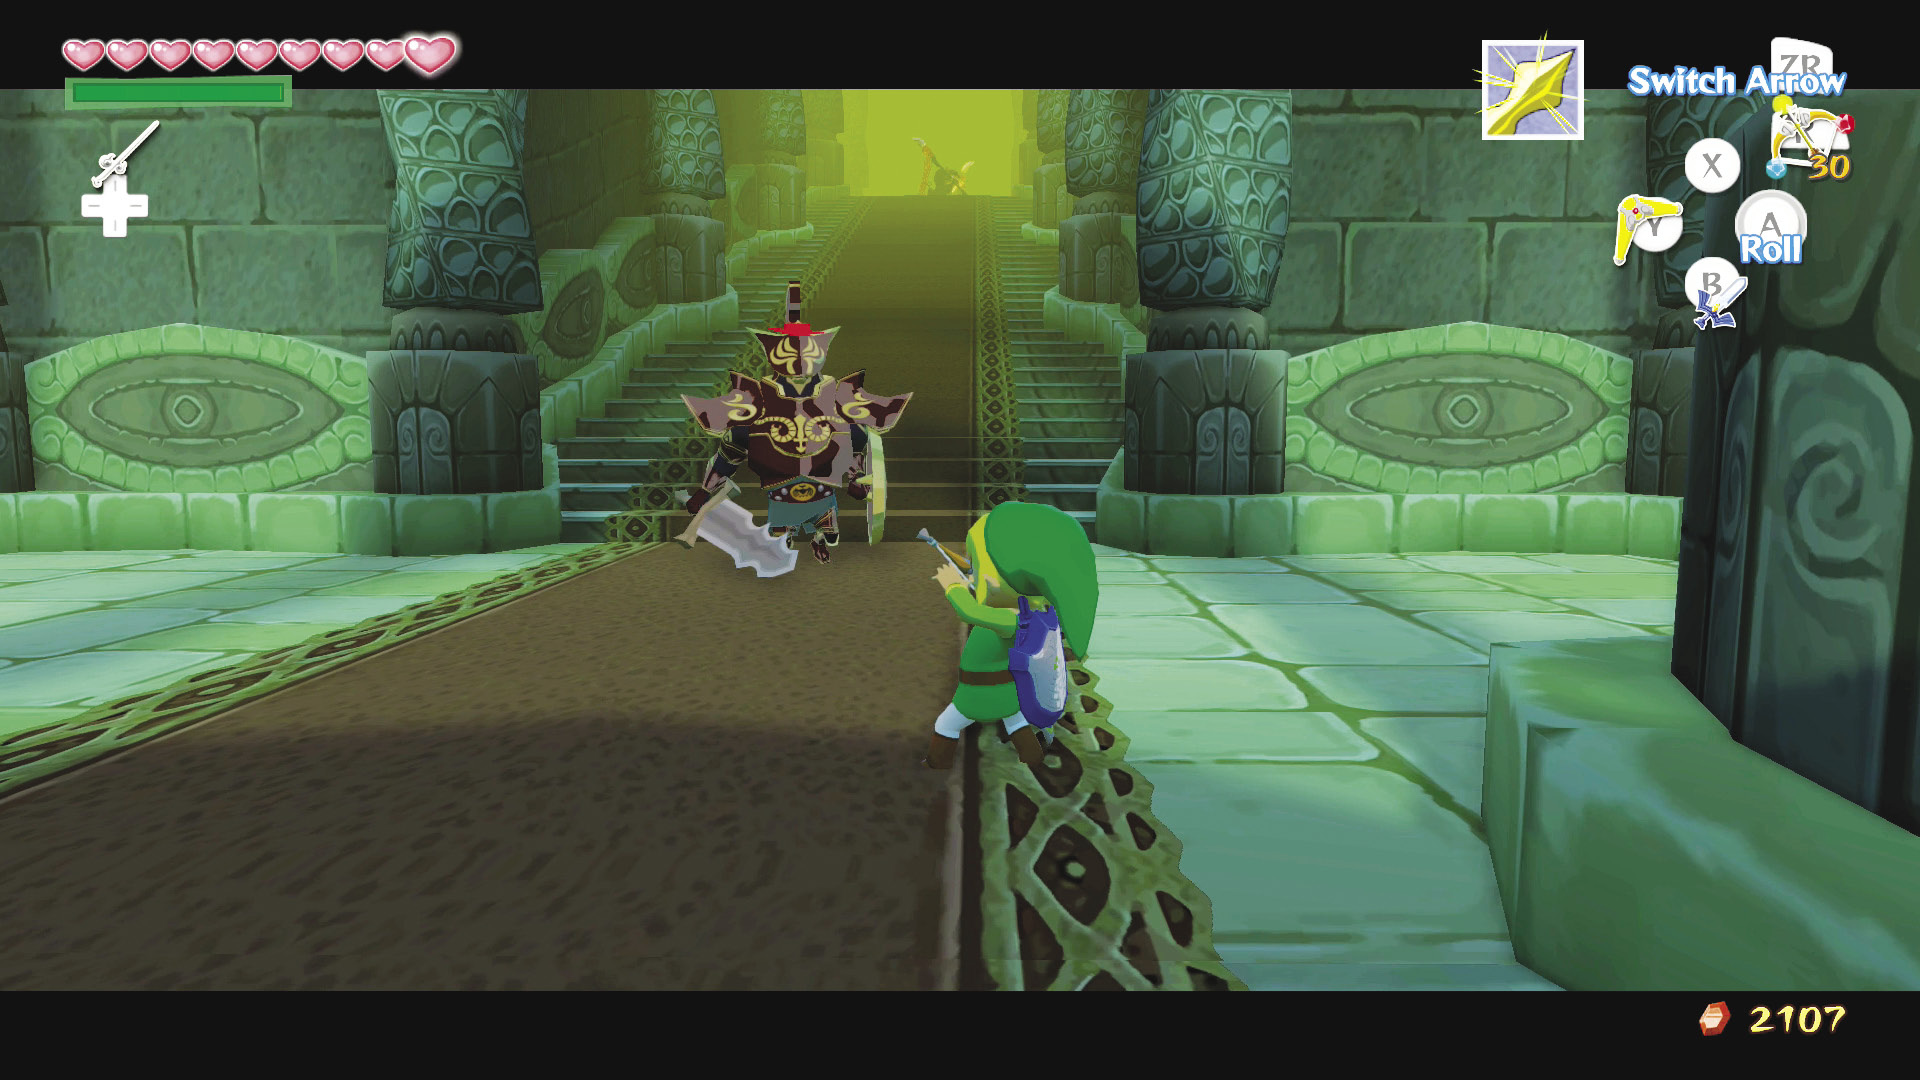
Pull out your Hero’s Bow with the Light Arrows selected and fire at every enemy you encounter to make short work of them. This will even work on the Mighty Darknuts at the top of the stairs. Ganondorf has no idea what’s about to come his way!
After clearing the stairs of enemies, the door will unlock. Save your game and head through whenever you’re ready.
Nintendo Gallery Notice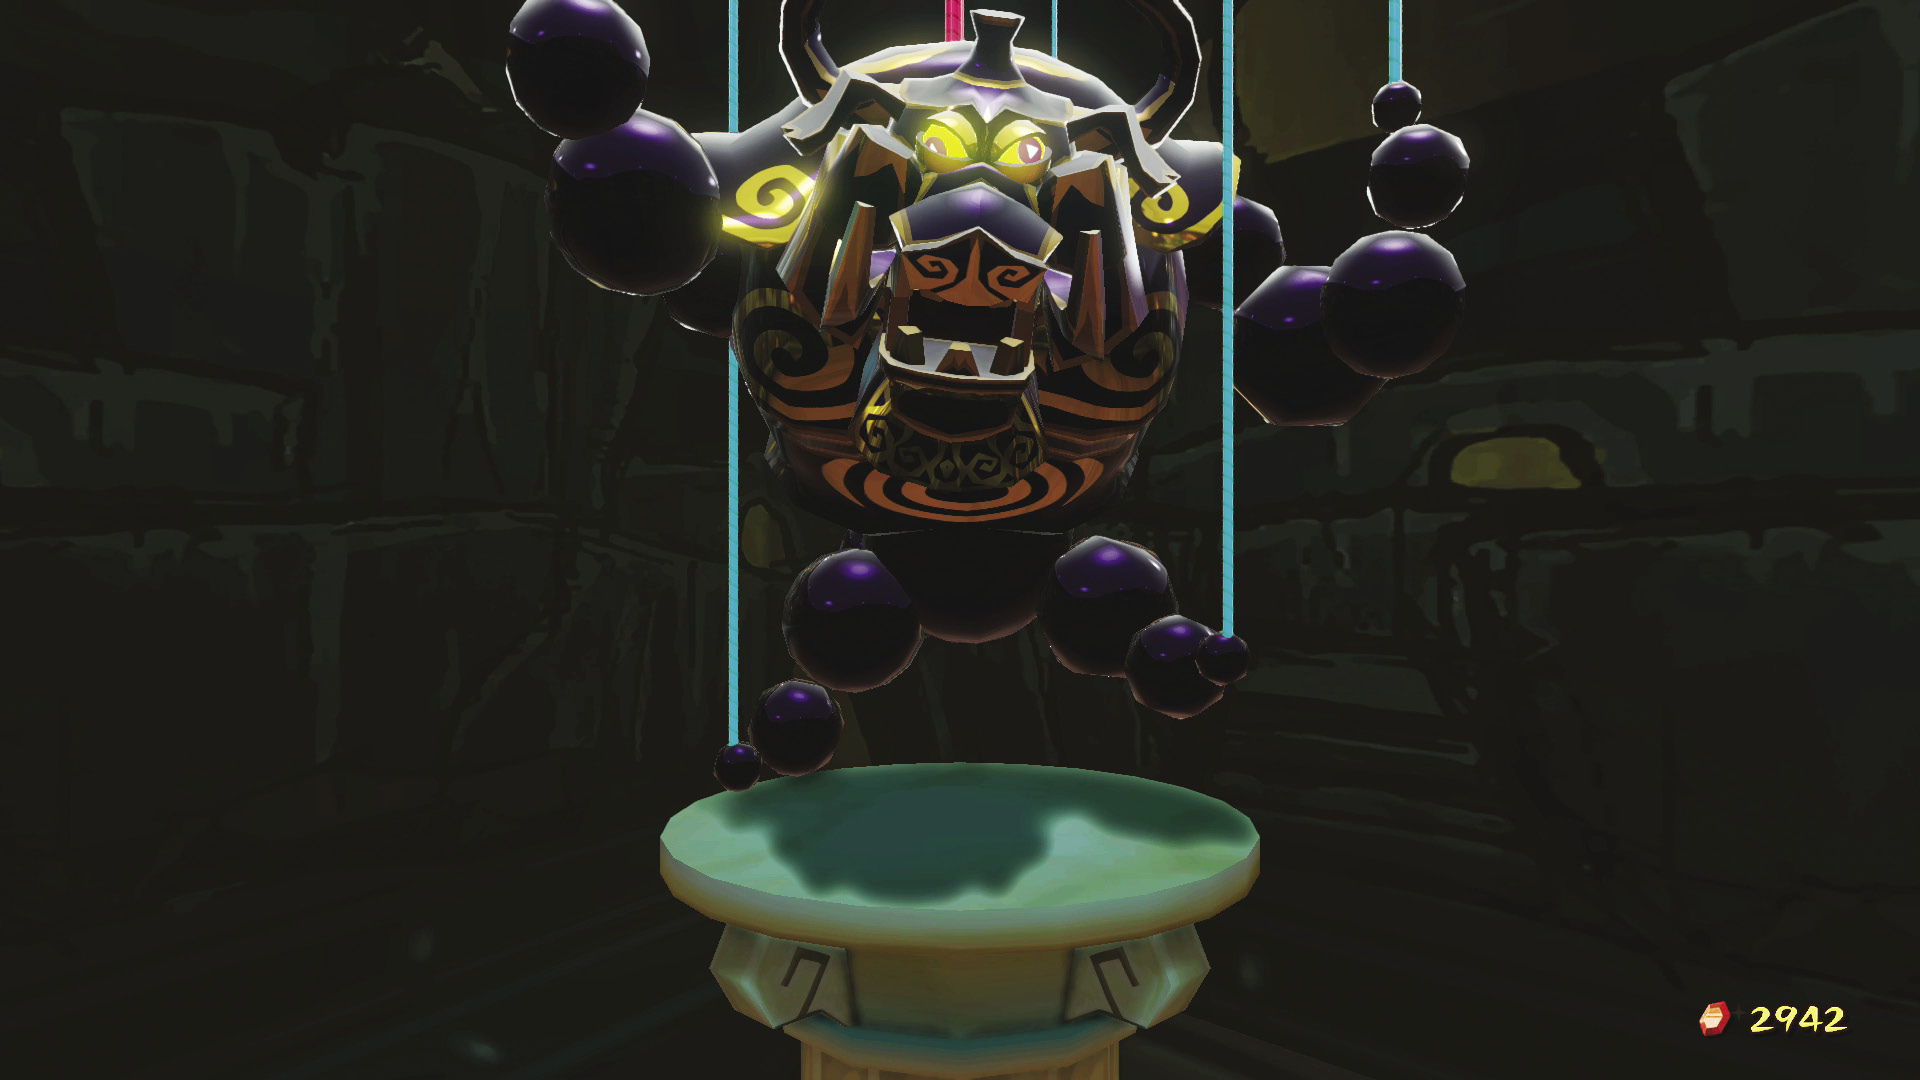 You need to get a little creative at this point if you wish to complete the Nintendo Gallery. First, take Puppet Ganon’s picture while he’s in Humanoid Boar form. After taking his picture and defeating him, save the game and then choose to quit without defeating Ganondorf. When you load your game, you’ll be back in the room where you defeated Phantom Ganon. Hightail it over to the Nintendo Gallery to create your final figurine: Puppet Ganon! |
Boss: Puppet Ganon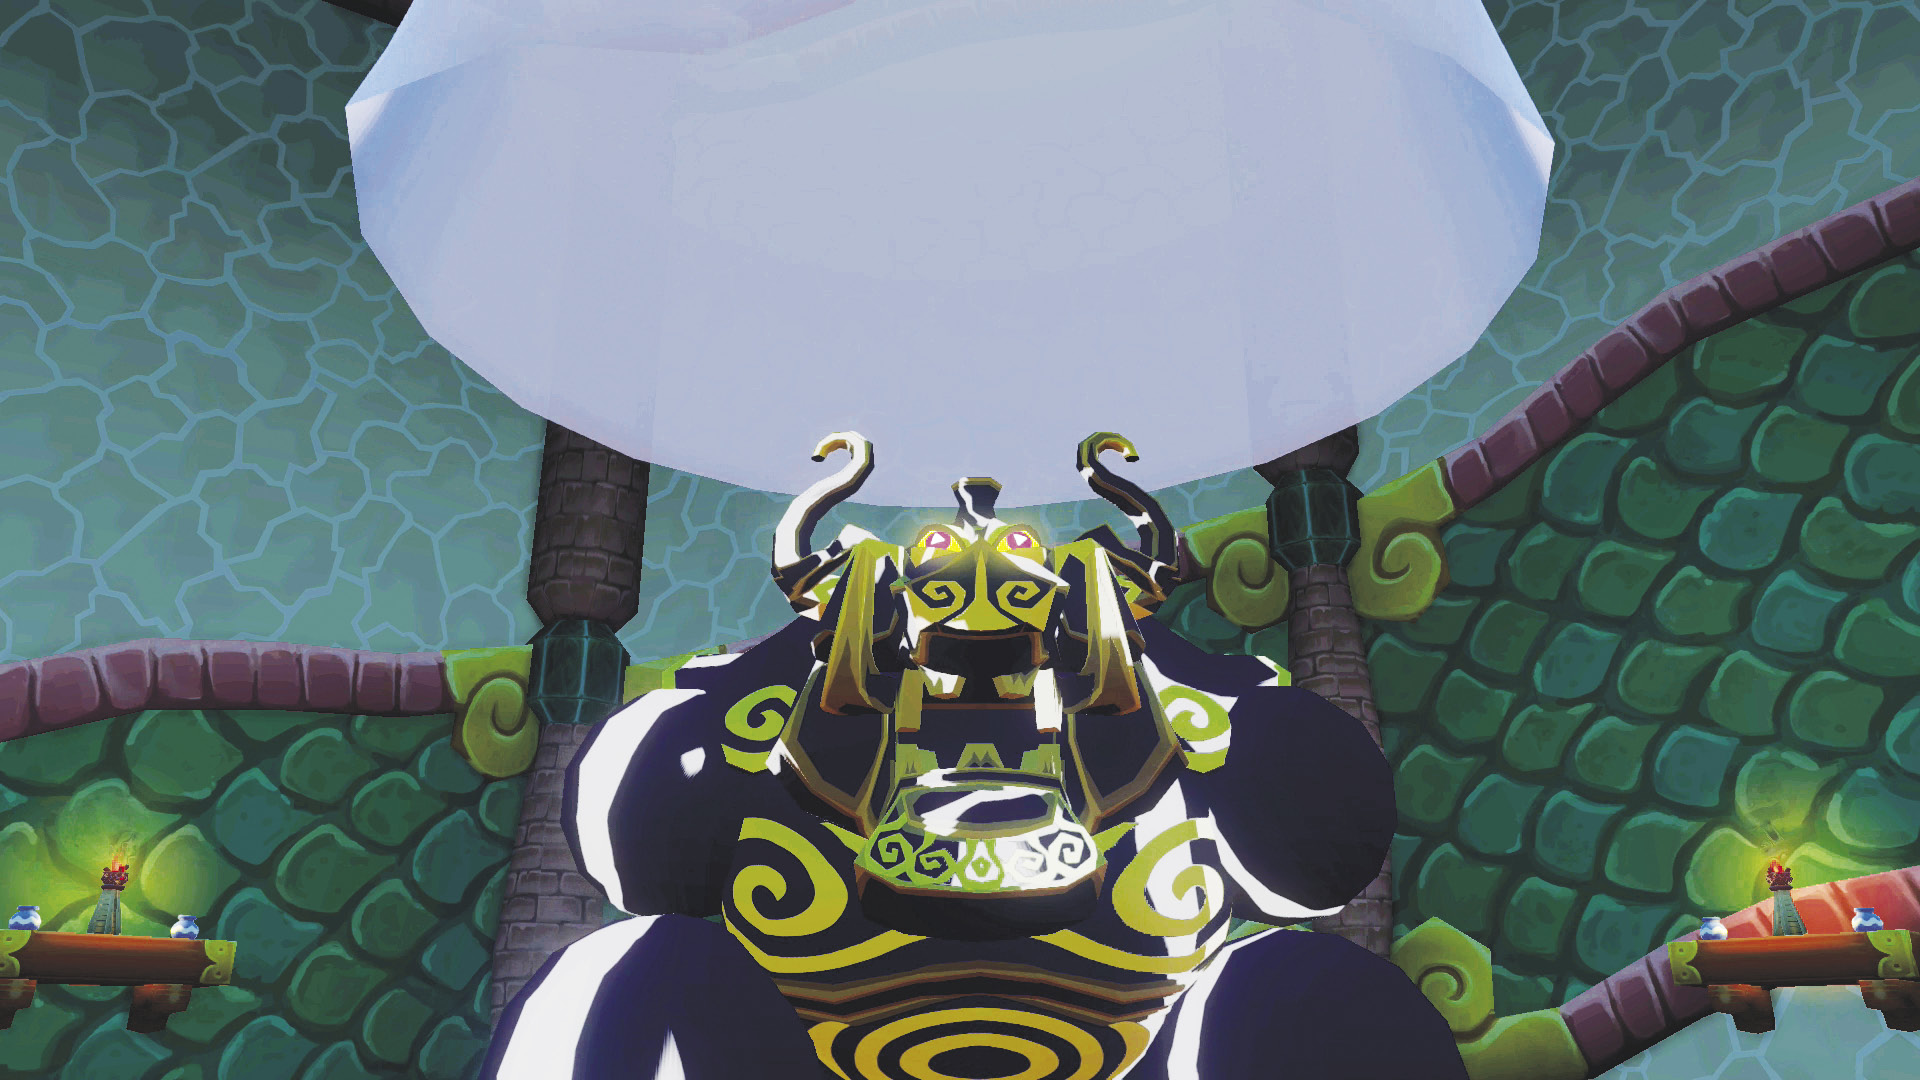 Puppet Ganon has three forms, the first of which reflects the pig monster that he often appeared as in past Legend of Zelda titles. v First Form: Humanoid Boar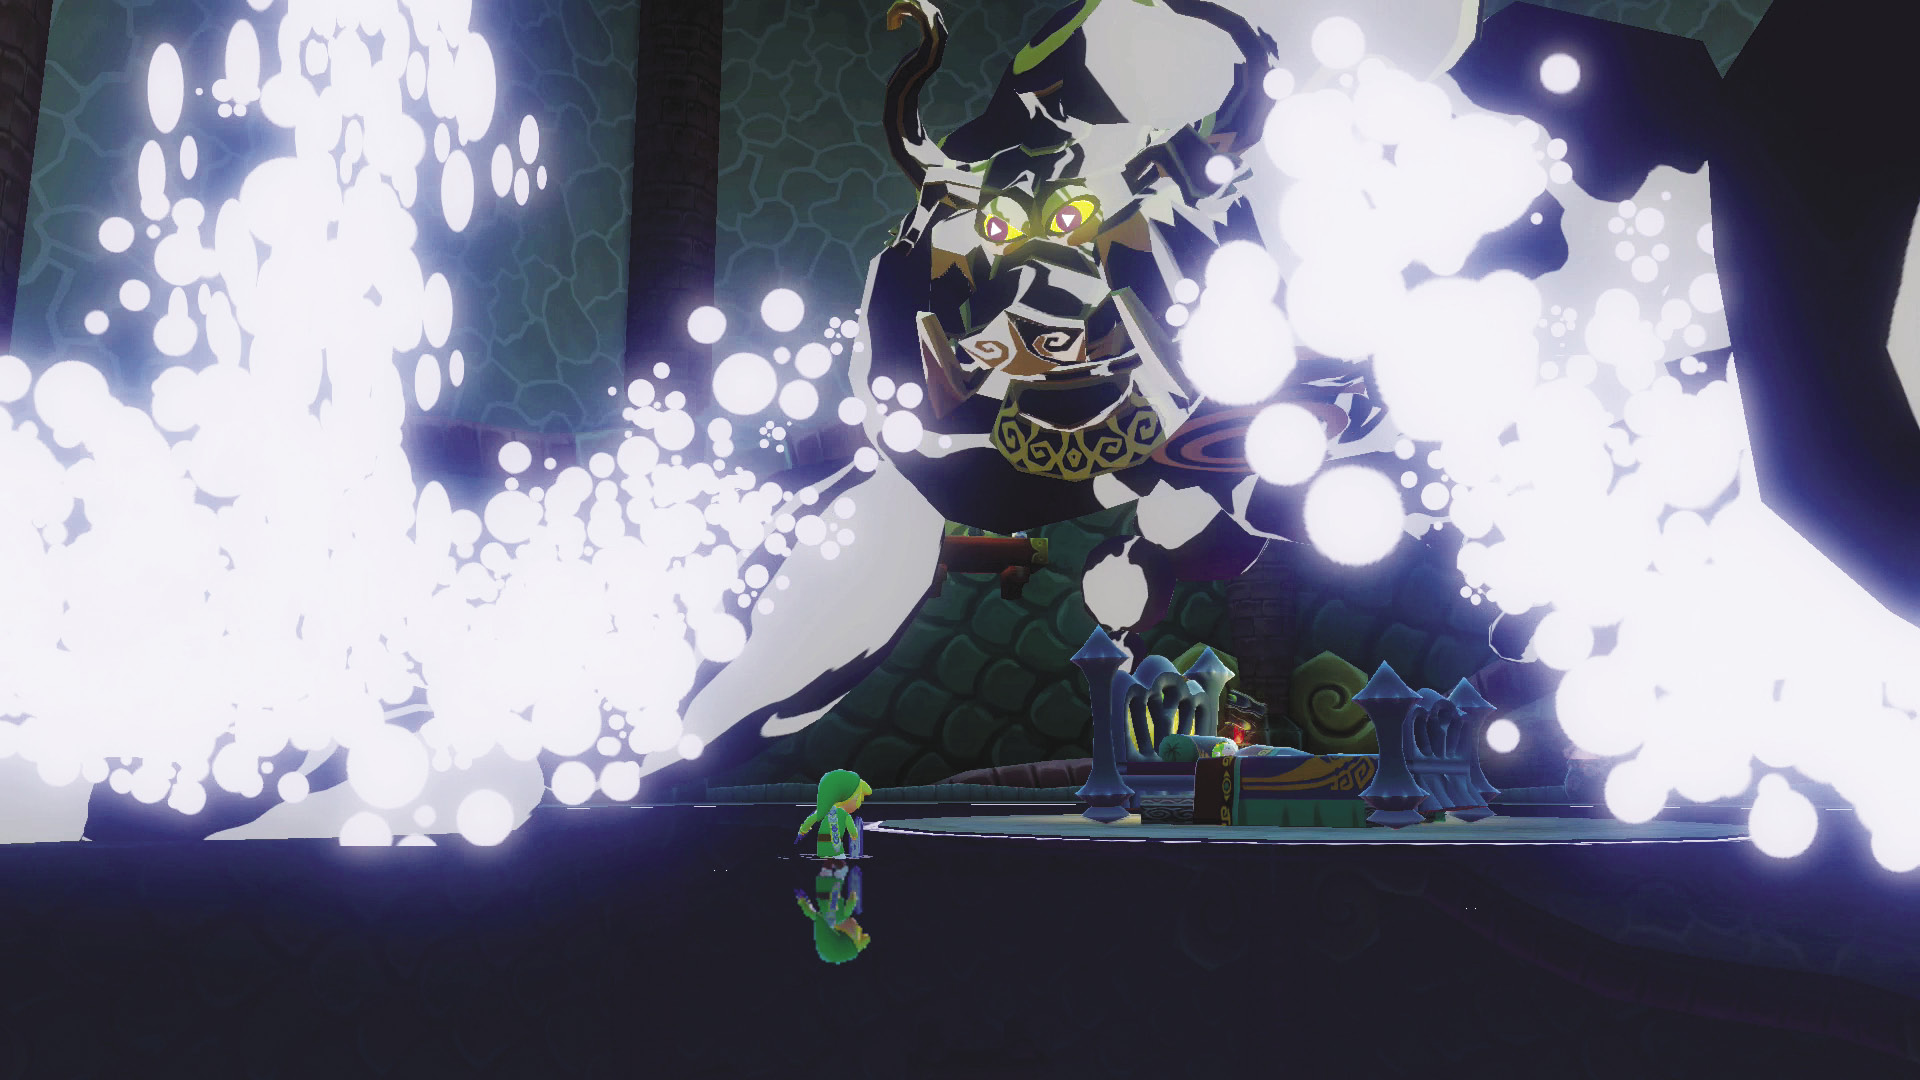 This form of Puppet Ganon is very slow moving and really has only one attack, which you can easily dodge. However, this fight is not a breeze; if you’re not fast enough, you’ll be fighting this form of Puppet Ganon until the end of time! 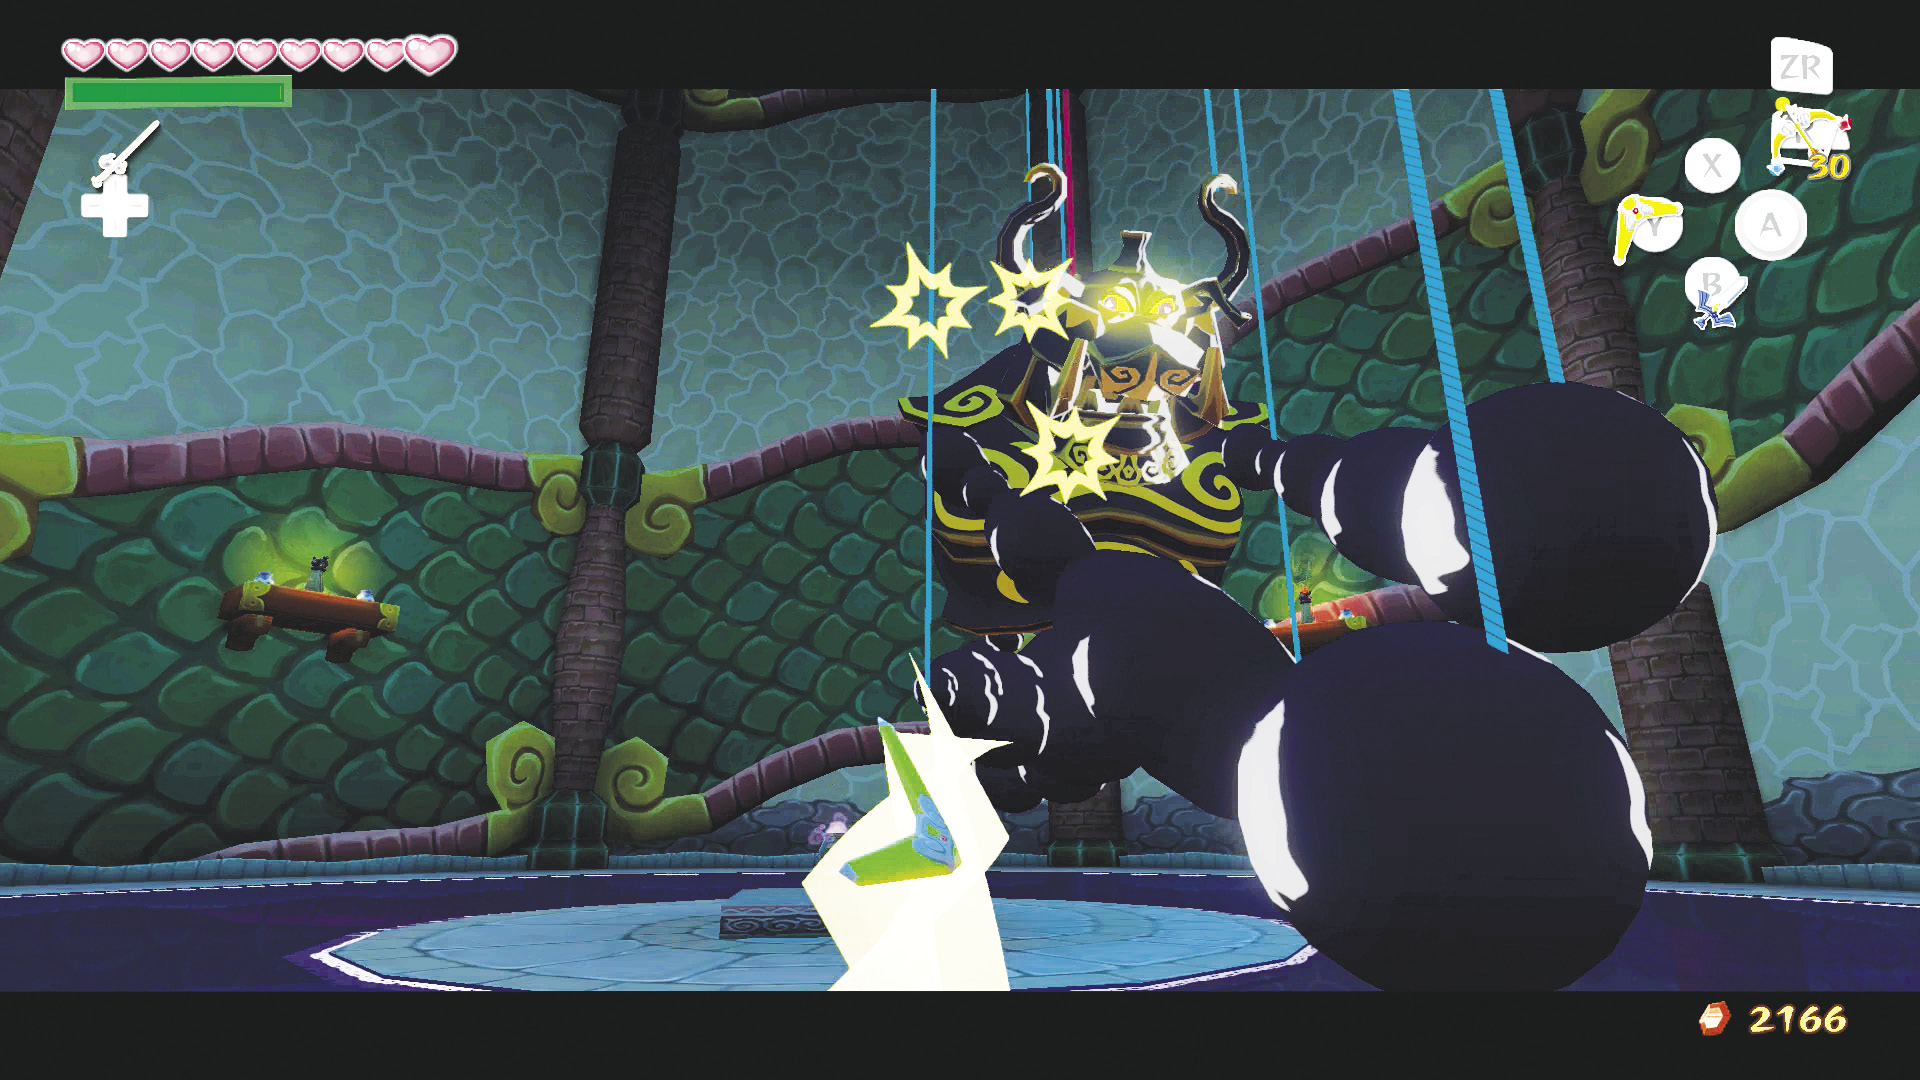 When Puppet Ganon attacks, he shoots both of his fists at you like rockets. Unlike rockets, his fists don’t move particularly fast, but they do have an incredible reach, so roll to the left or right of the monstrous marionette. He will also begin spinning in circles if you’ve cut all of his strings except the one on his tail, but that attack is easily thwarted by cutting the string on his tail. 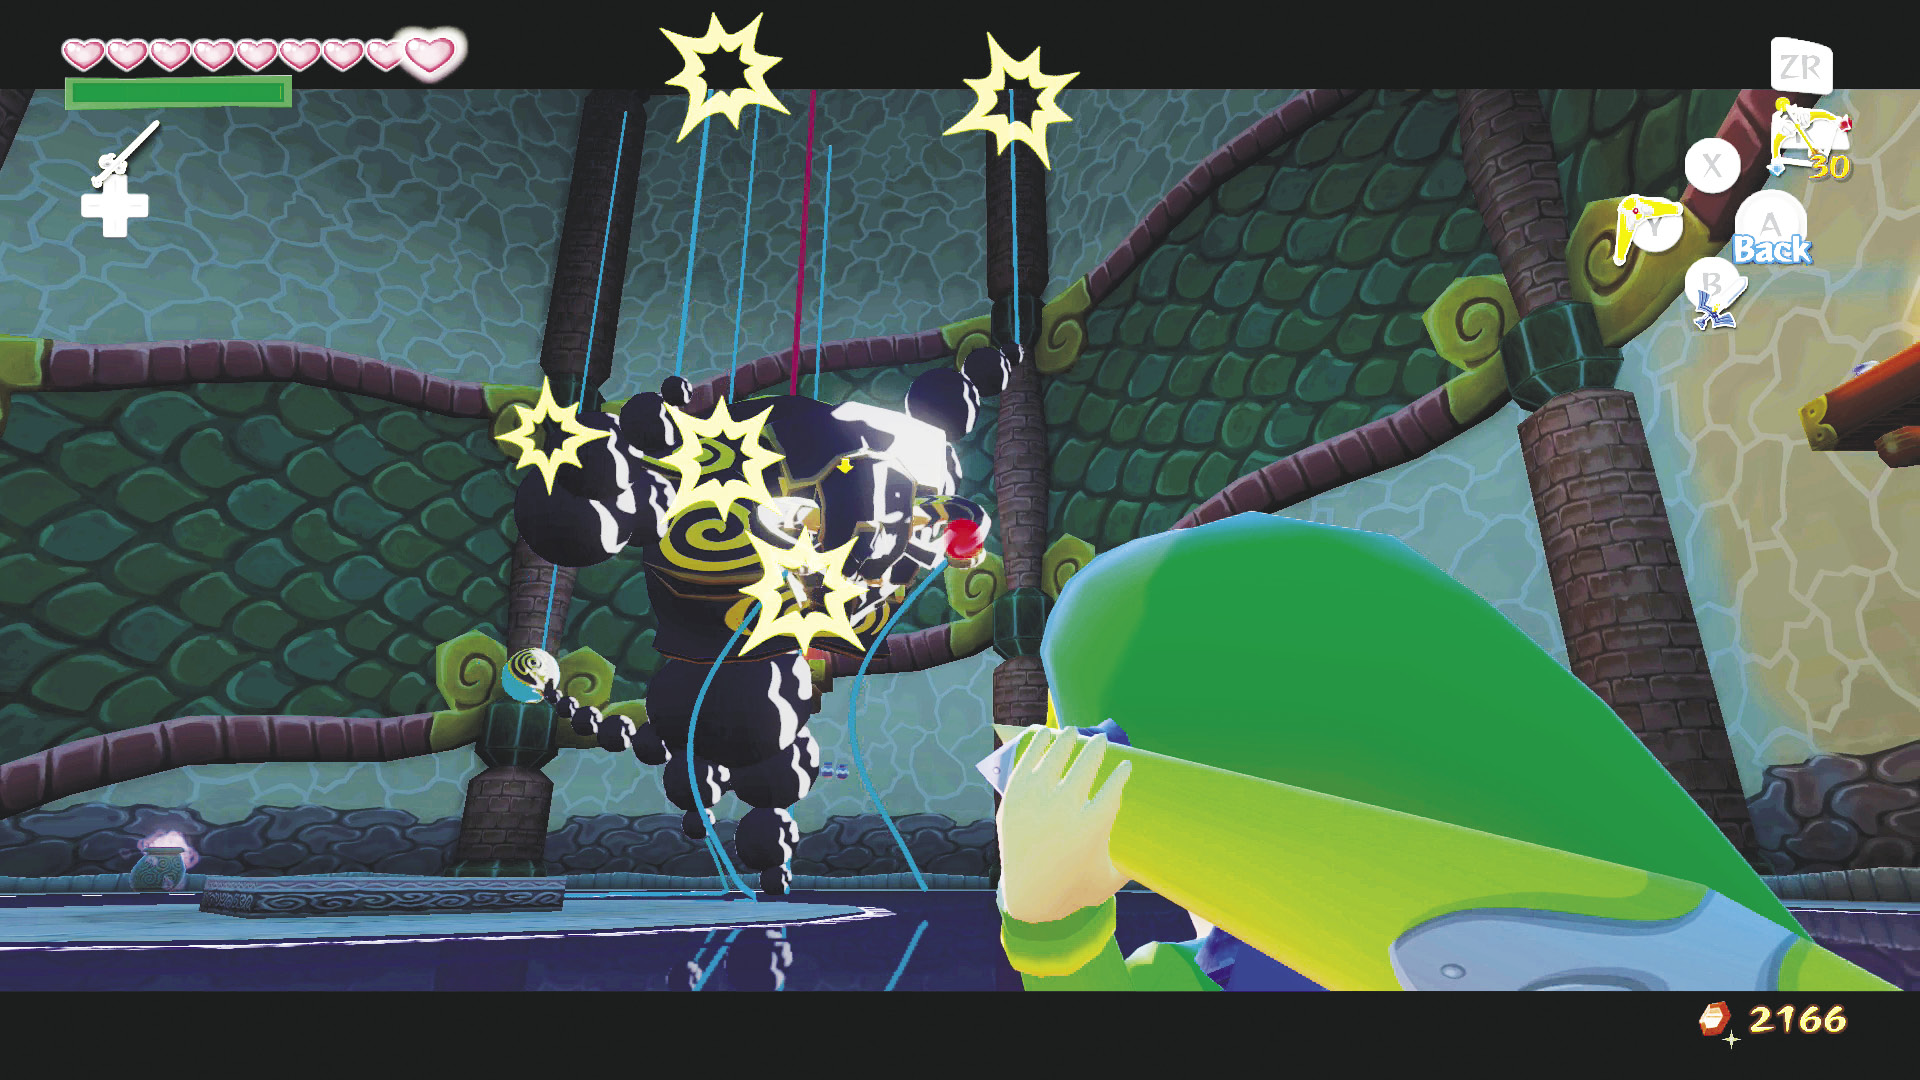 Your goal is to shoot the blue orb on the back of his tail with Light Arrows. Problem is, it moves too rapidly for you to get a clean shot of it. To get the tail to stop moving, you have to cut the blue strings controlling the puppet. Use your Boomerang to target as many strings as you can and then let it rip. The strings will be cut after being hit two times, disabling the body part they were connected to. Once you’ve cut the string on his tail, you’ll have no problem hitting him with a Light Arrow. 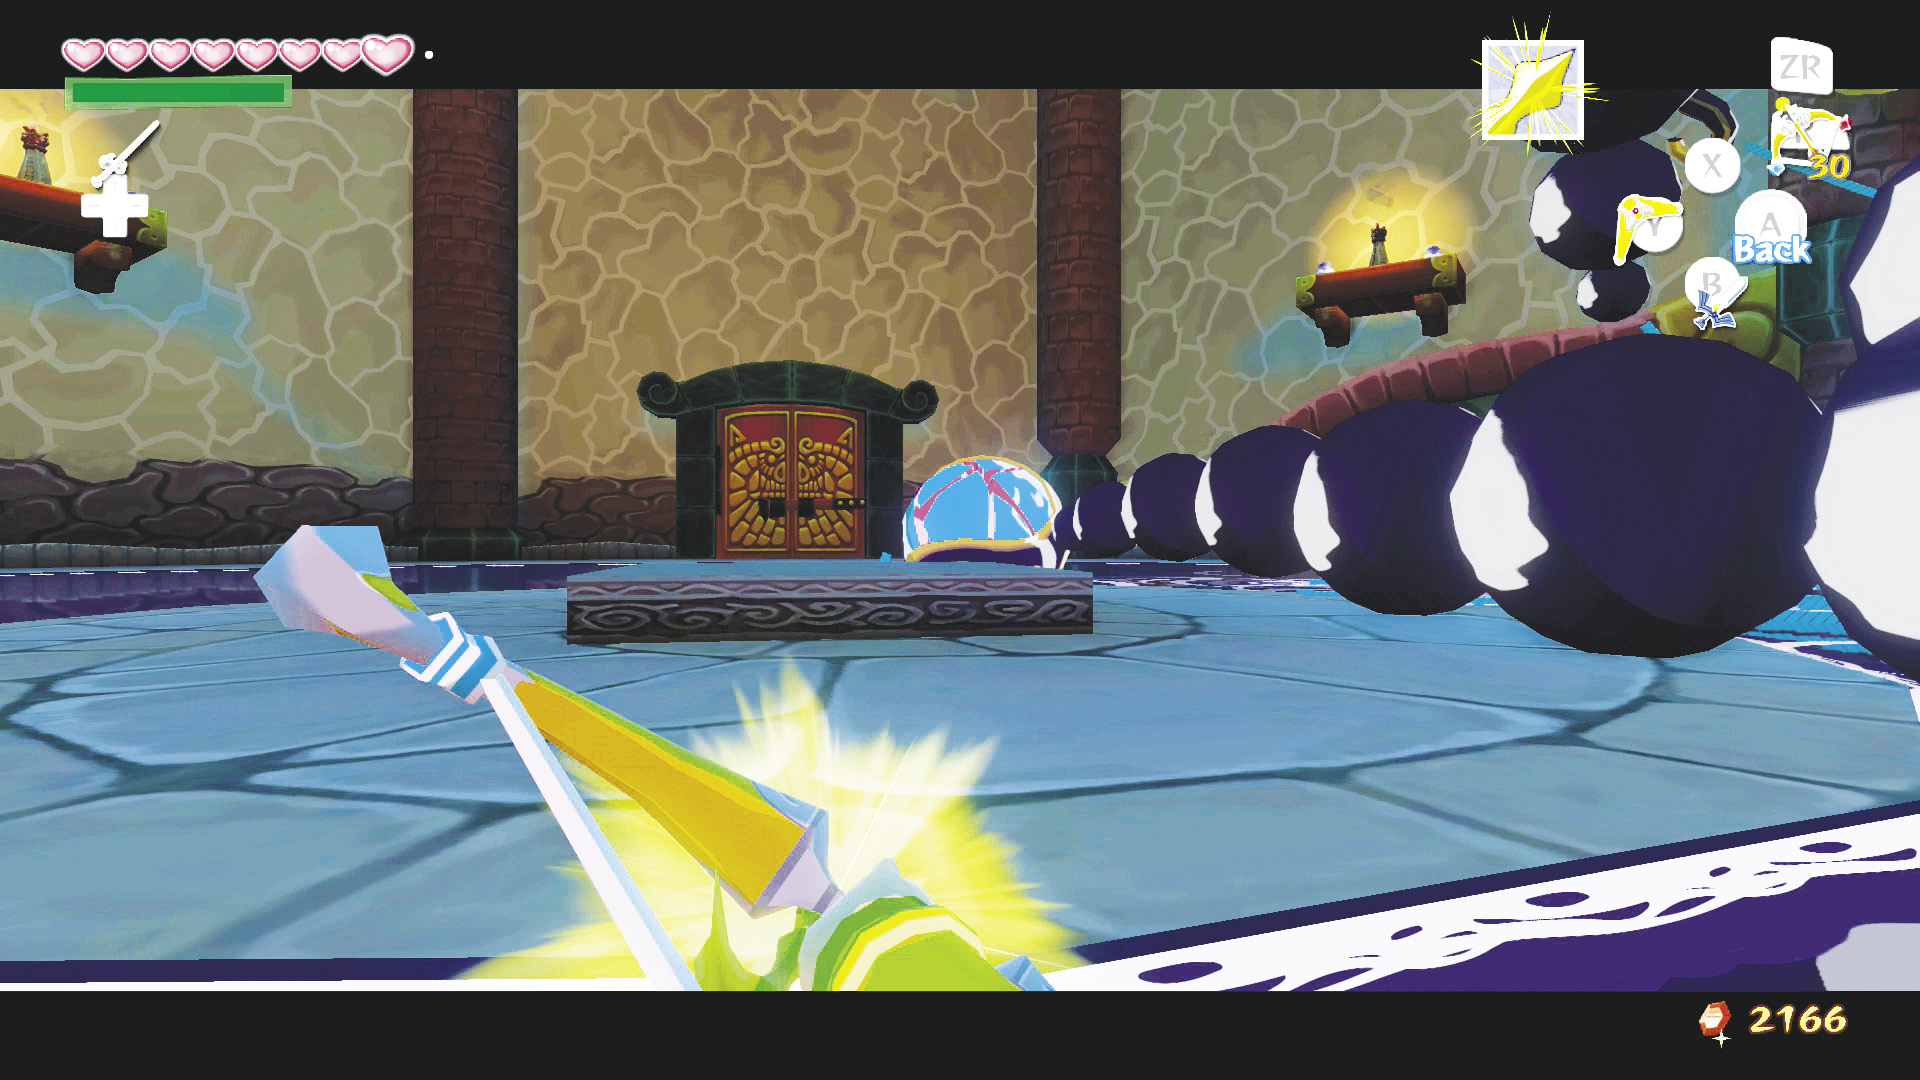 Every time you hit his tail, the monster pig puppet will rise to the ceiling and come back down with his strings reattached. This will also happen if you take too long to hit his tail after cutting some of his strings. Try to avoid or quickly dispatch the waves of Keese that fly down from the ceiling, but make sure not to waste time dealing with them. After three hits, Puppet Ganon will rise into the ceiling and transform into his second form. |
Second Form: Bug-Ganon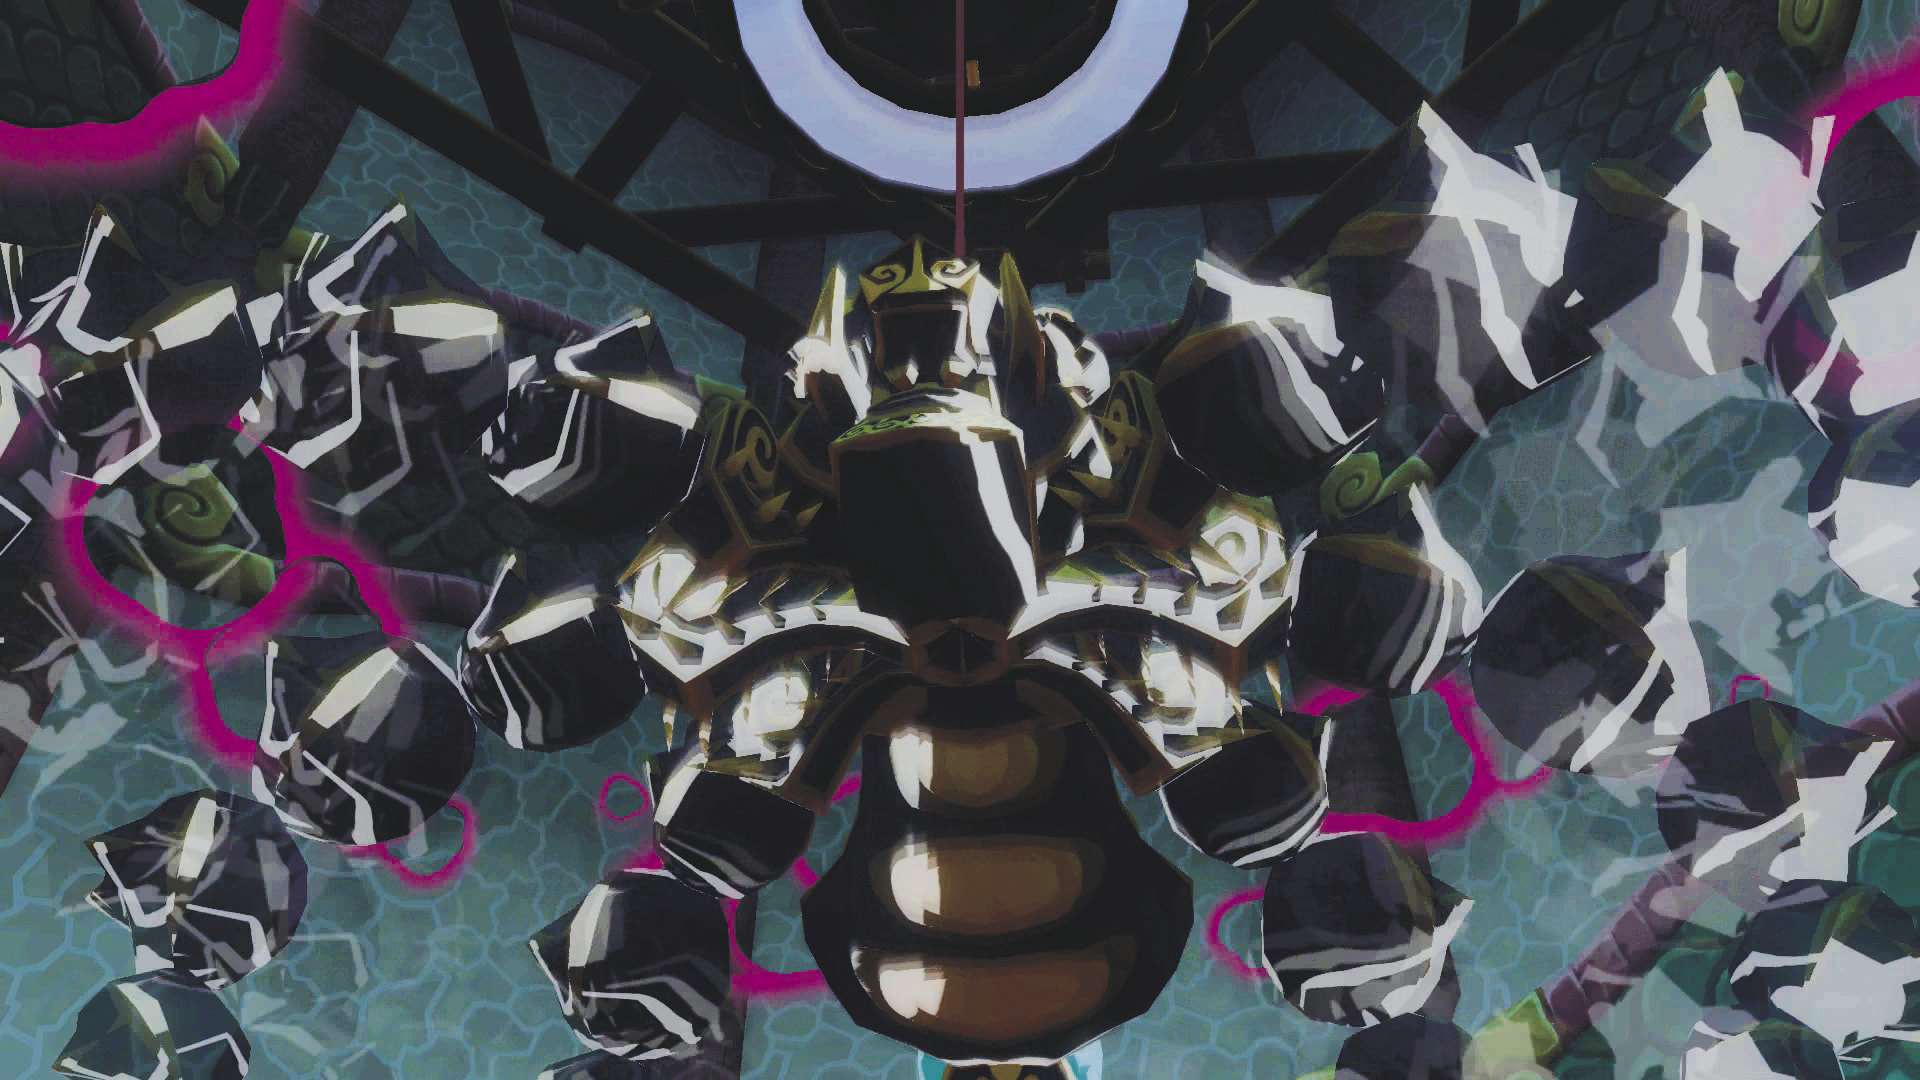 Like the humanoid boar form, the bug form is a bit lacking in the attacks department, but it more than makes up for them by being tricky and fast. 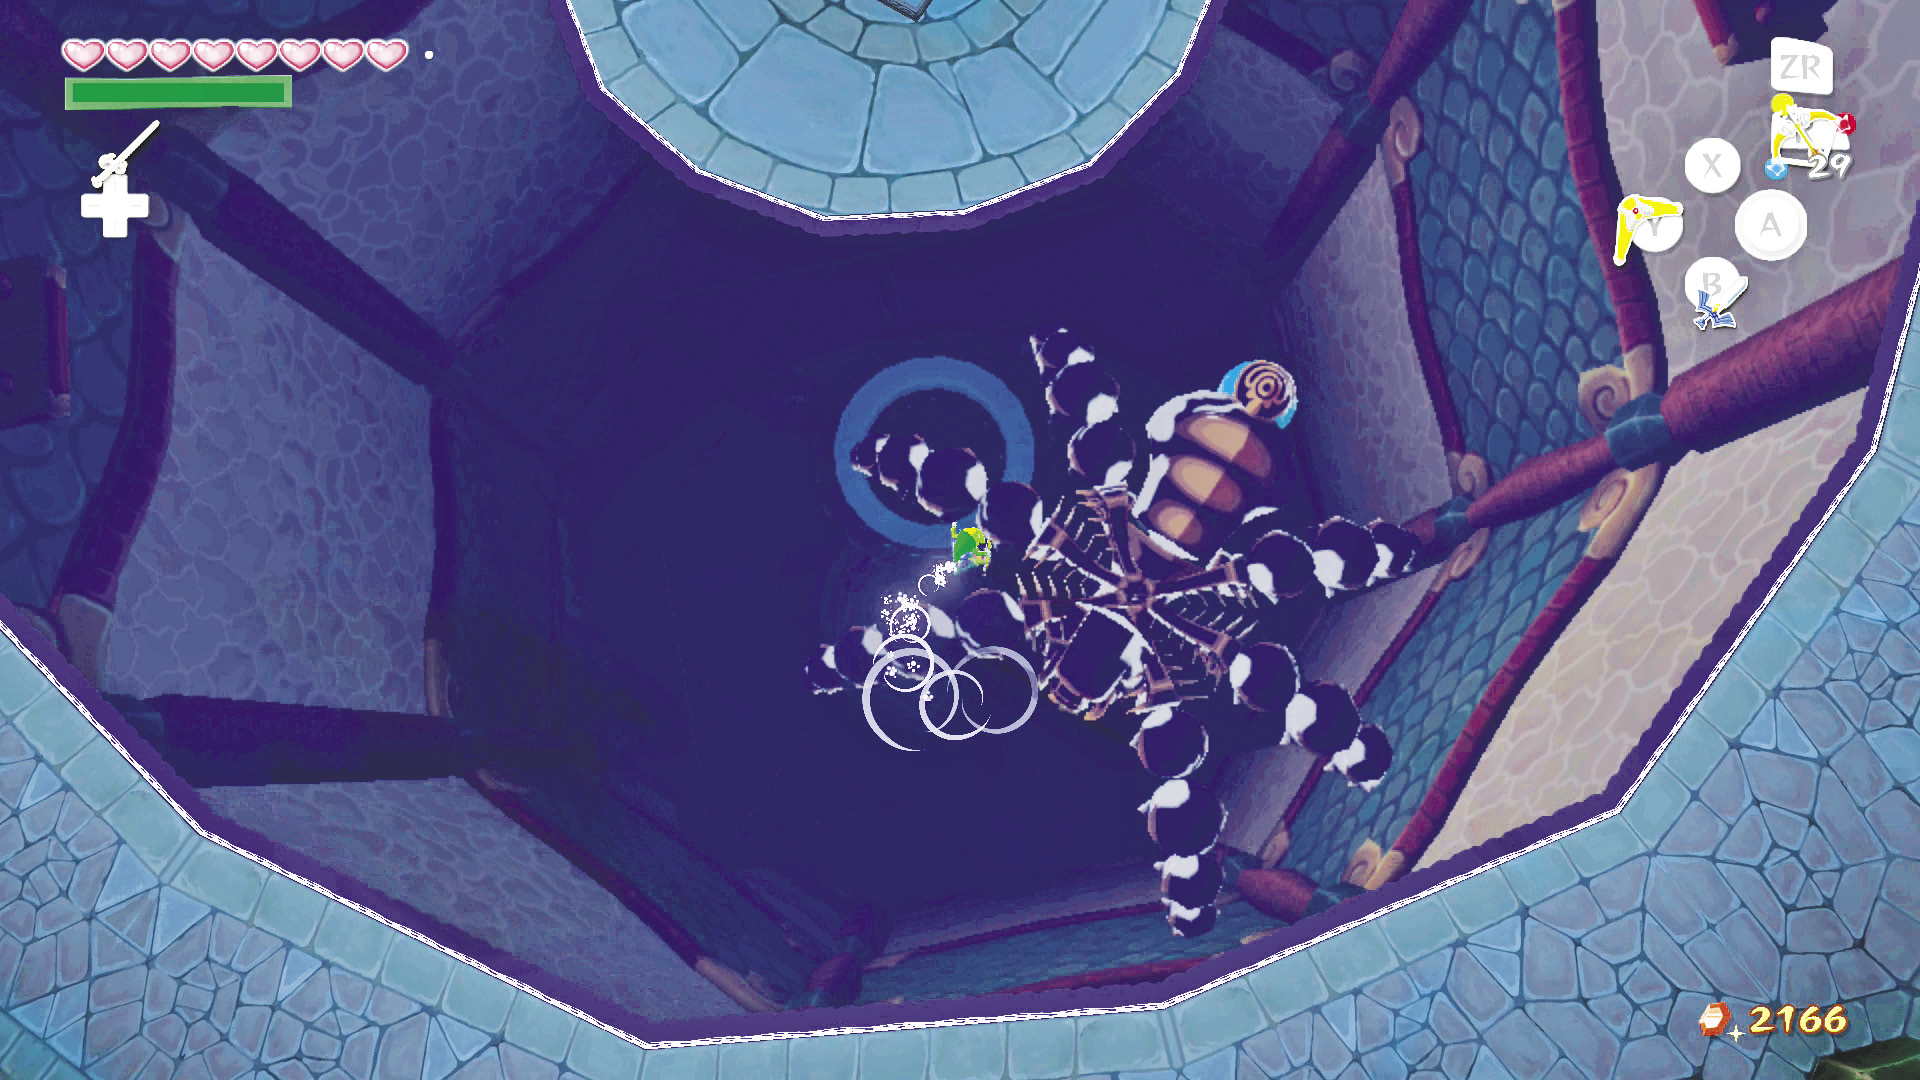 Bug-Ganon spends most of his time spinning along the ceiling of the room, only coming down to the ground to try and smash Link with his body. Every time he draws back to the ceiling, several Keese come down to attack. Just as with Puppet Ganon’s previous form, don’t spend too much time fighting the Keese or you’ll find yourself getting smashed flat by the terrible Bug-Ganon body. 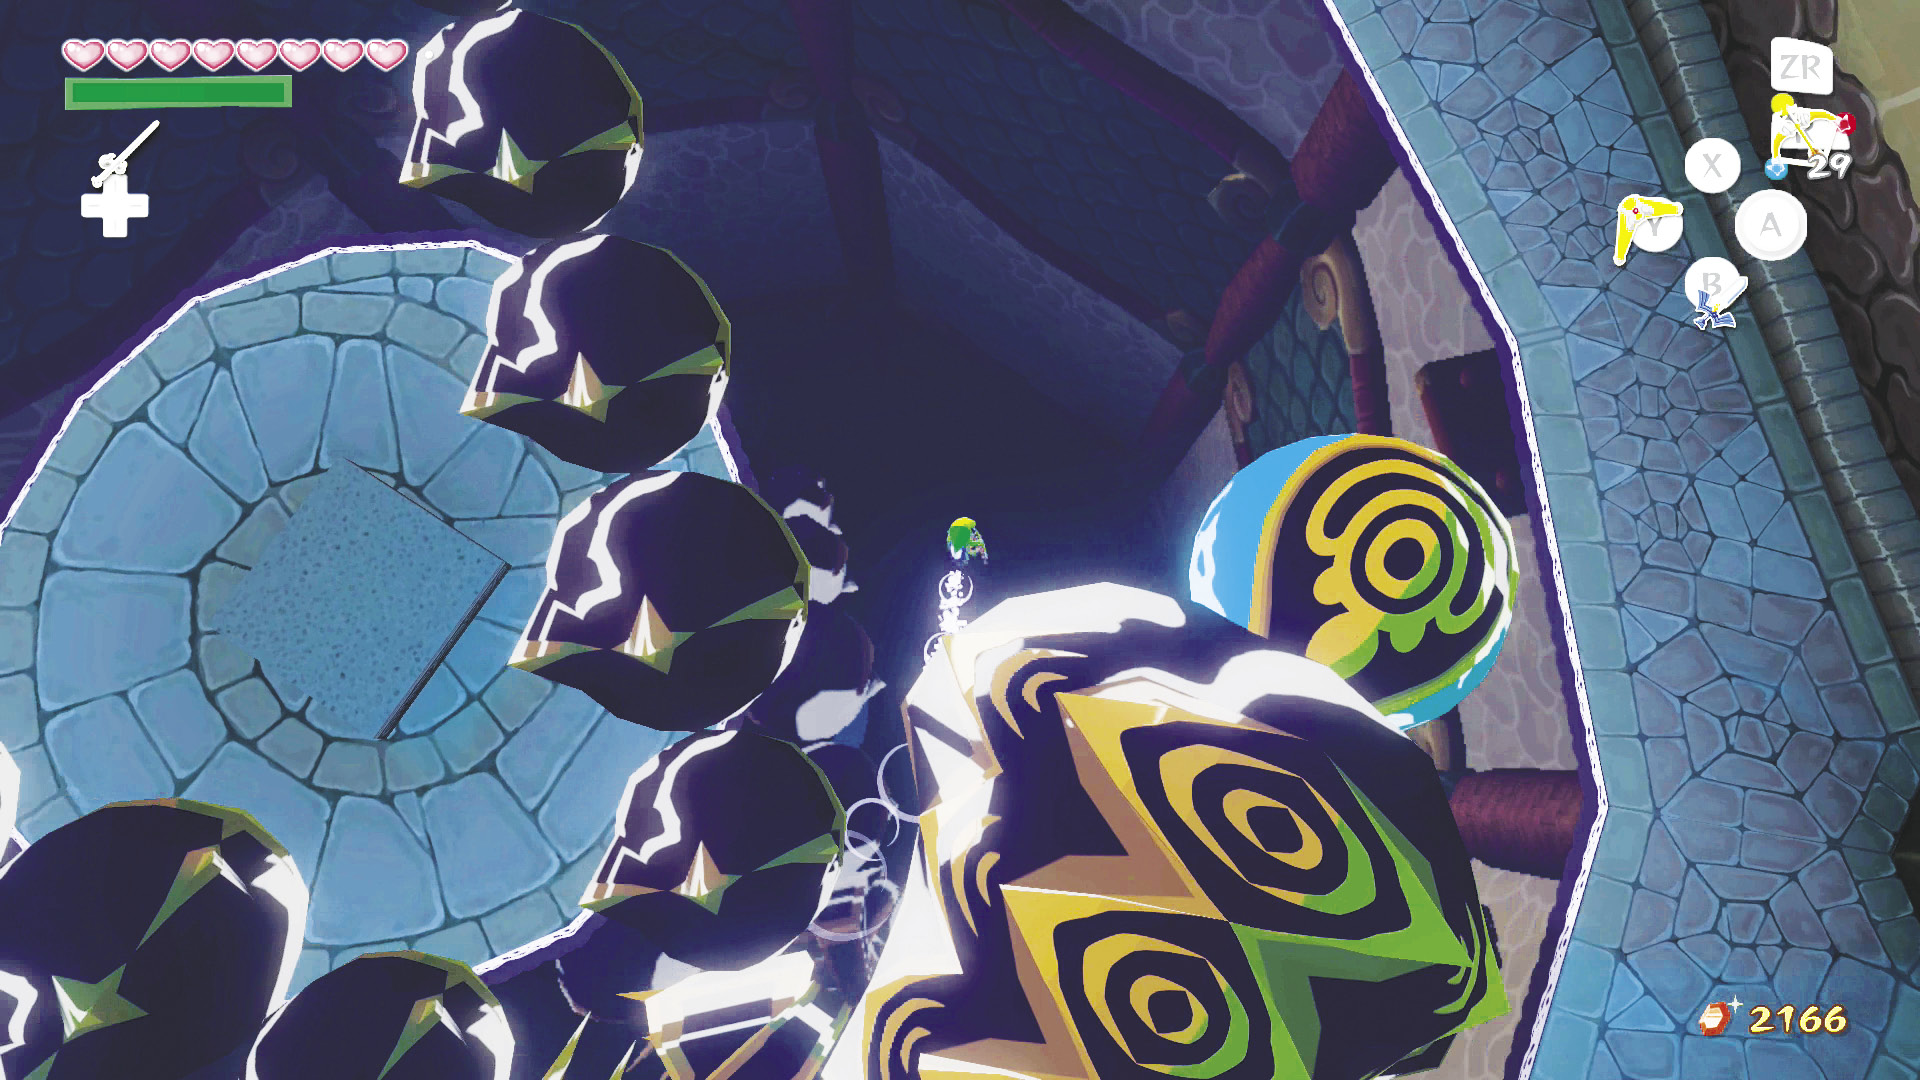 To make short work of Bug-Ganon is to point the camera down at the water surrounding the center of the room using 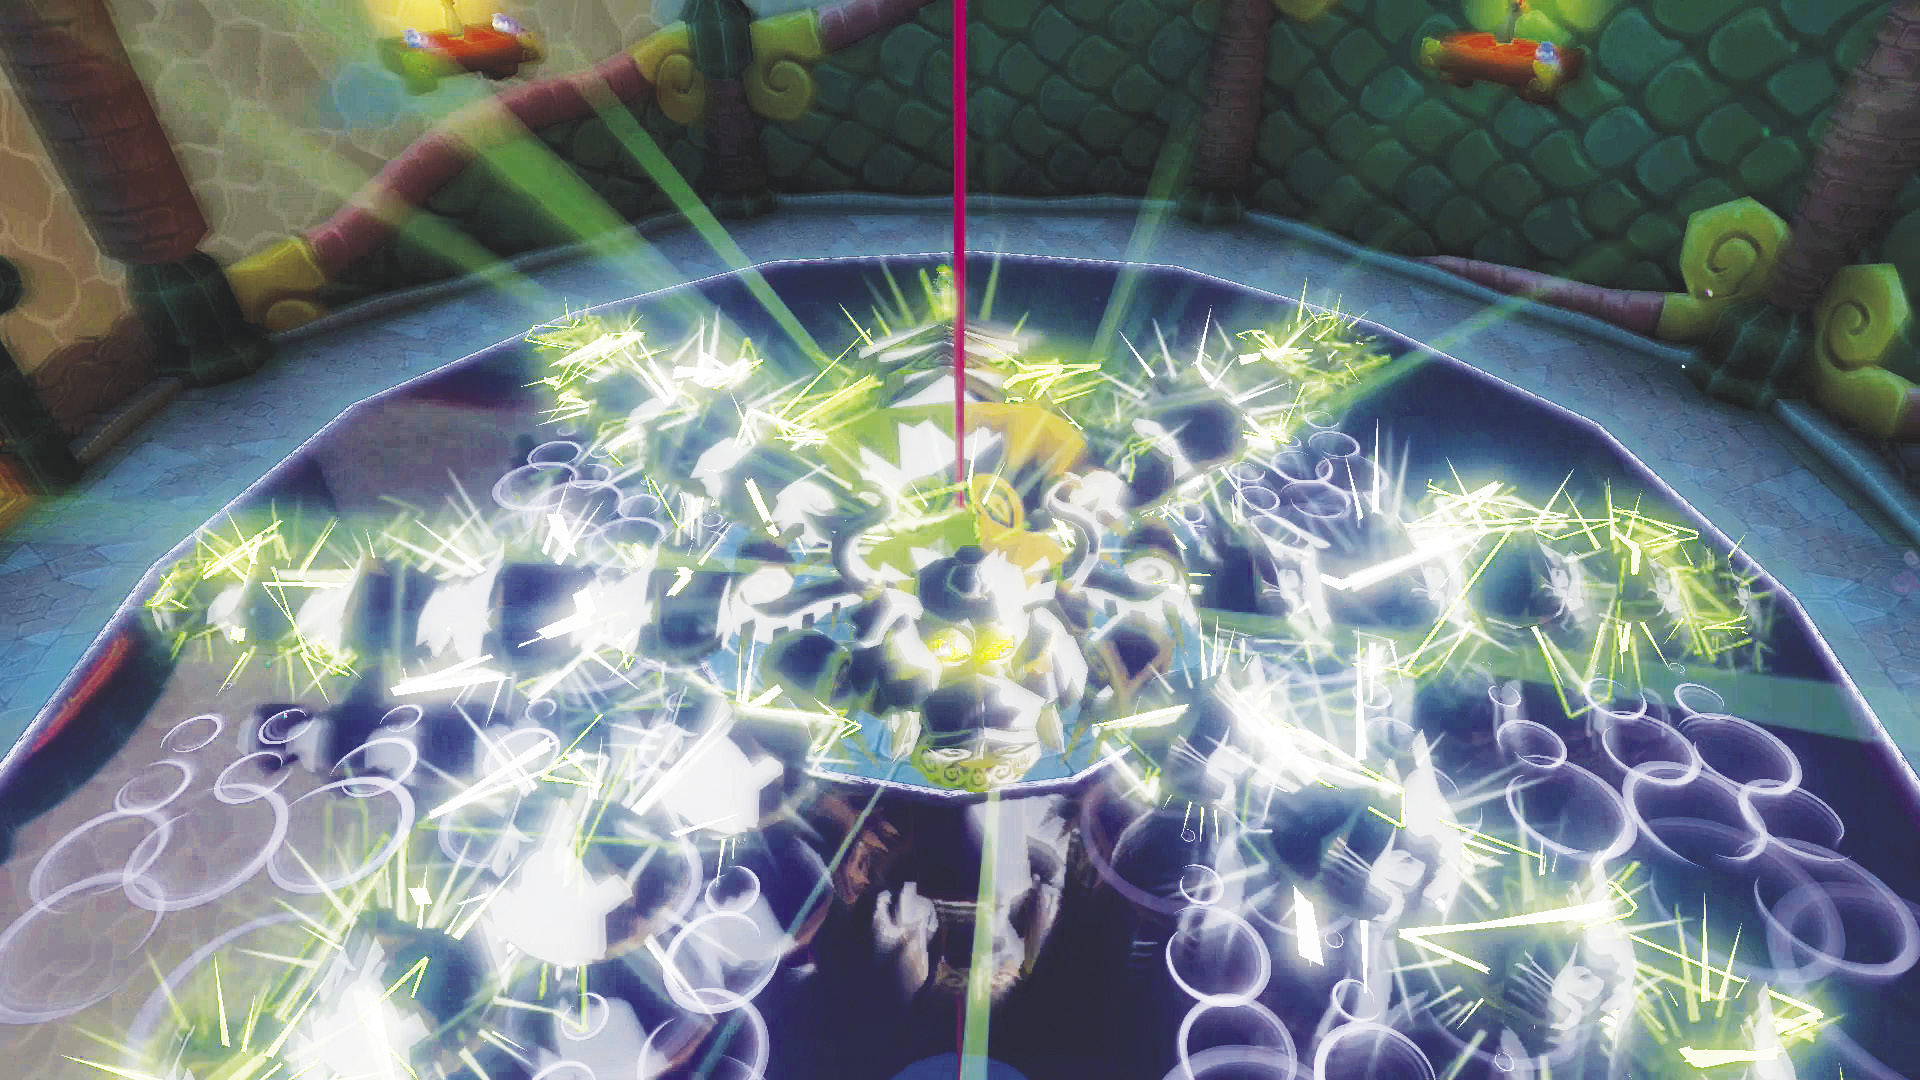 After hitting the blue orb with three Light Arrows, Bug-Ganon will retract his six legs into his body and turn into his final form. |
 . This will allow you to see the Bug-Ganon spinning around on the ceiling. Watch Bug-Ganon until he stops spinning, then run to the side of the room that the blue orb on his hindquarters is facing before he hits the ground. Pull out your Hero’s Bow and shoot the orb with a Light Arrow without delay or else Bug-Ganon will rise back to the ceiling and you’ll have to wait until he drops to get another chance to attack.
Final Form: Worm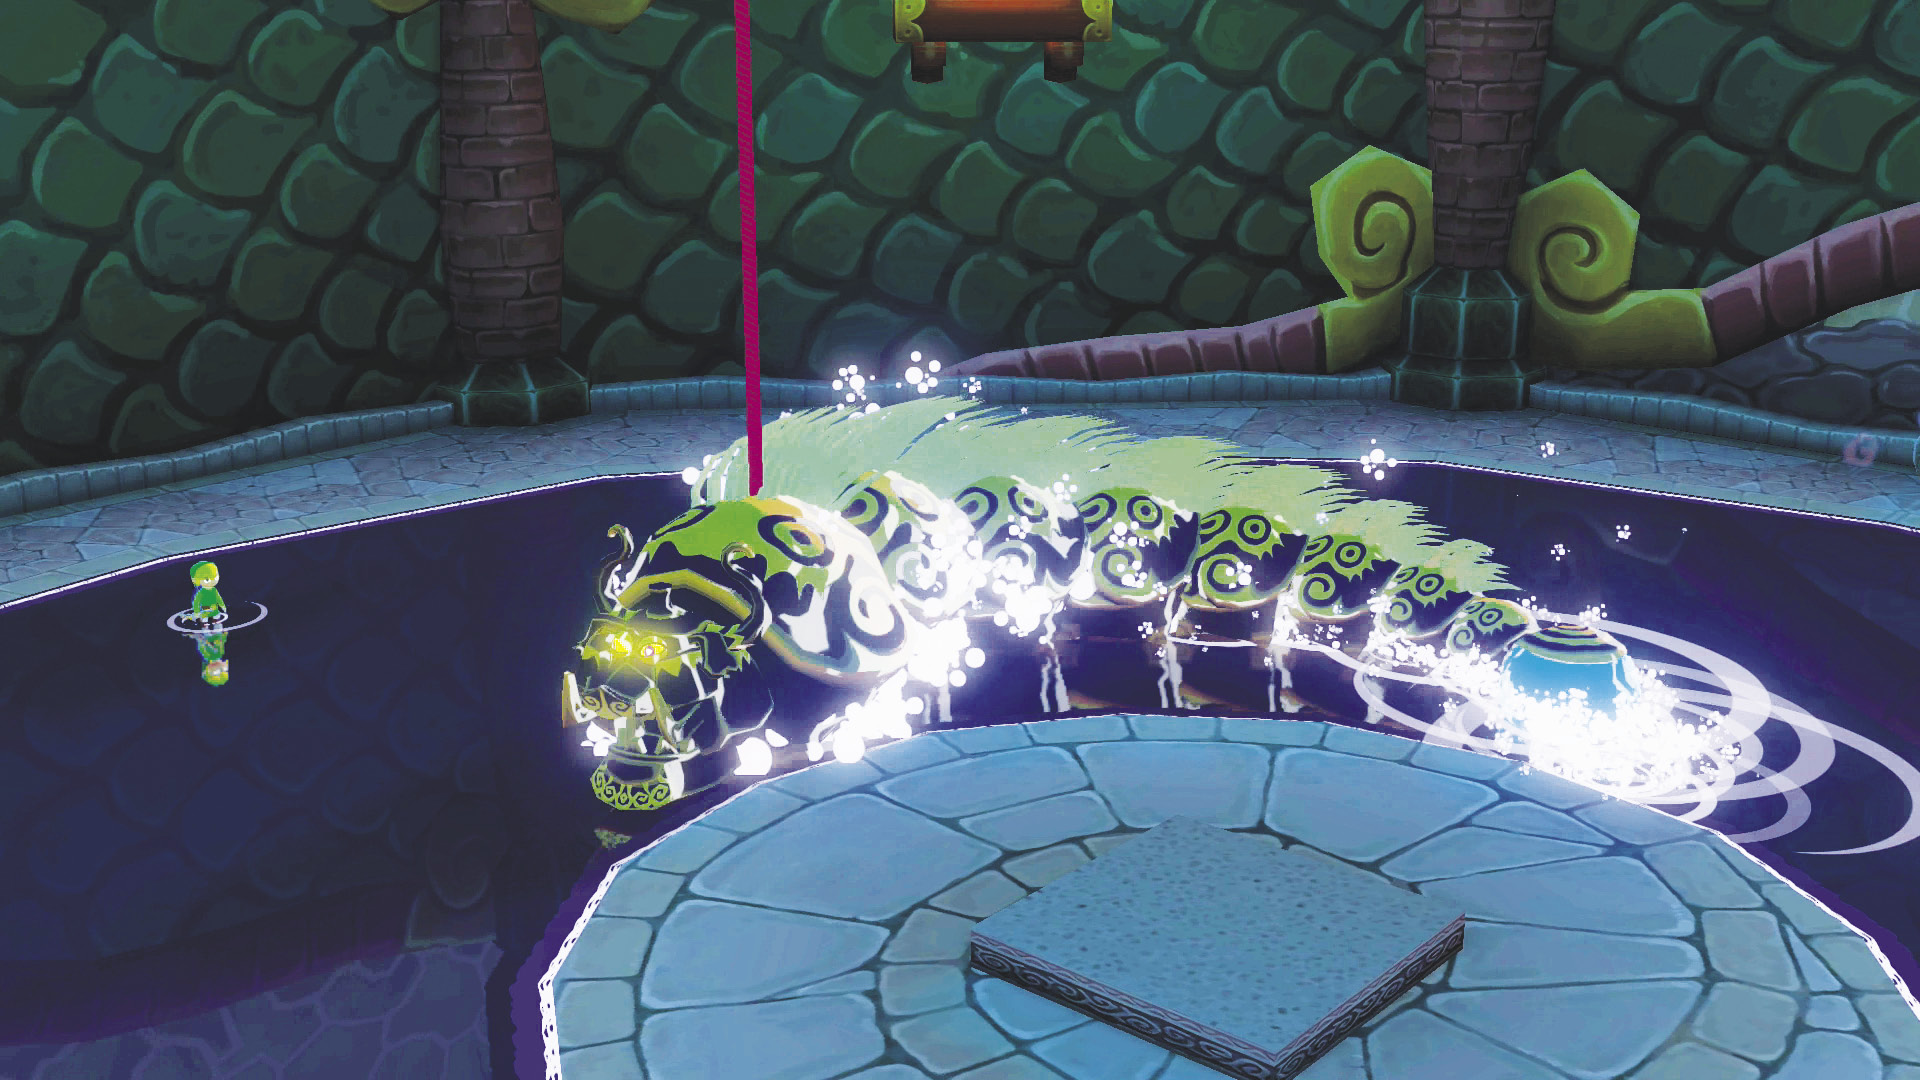 Puppet Ganon’s final form will be familiar to those who played Link to the Past on the Super NES ™. He acts and looks like the yellow worm boss known as Moldorm, whose weak point is his tail. Similarly, Puppet Ganon’s weak spot is the blue orb at the end of his tail. 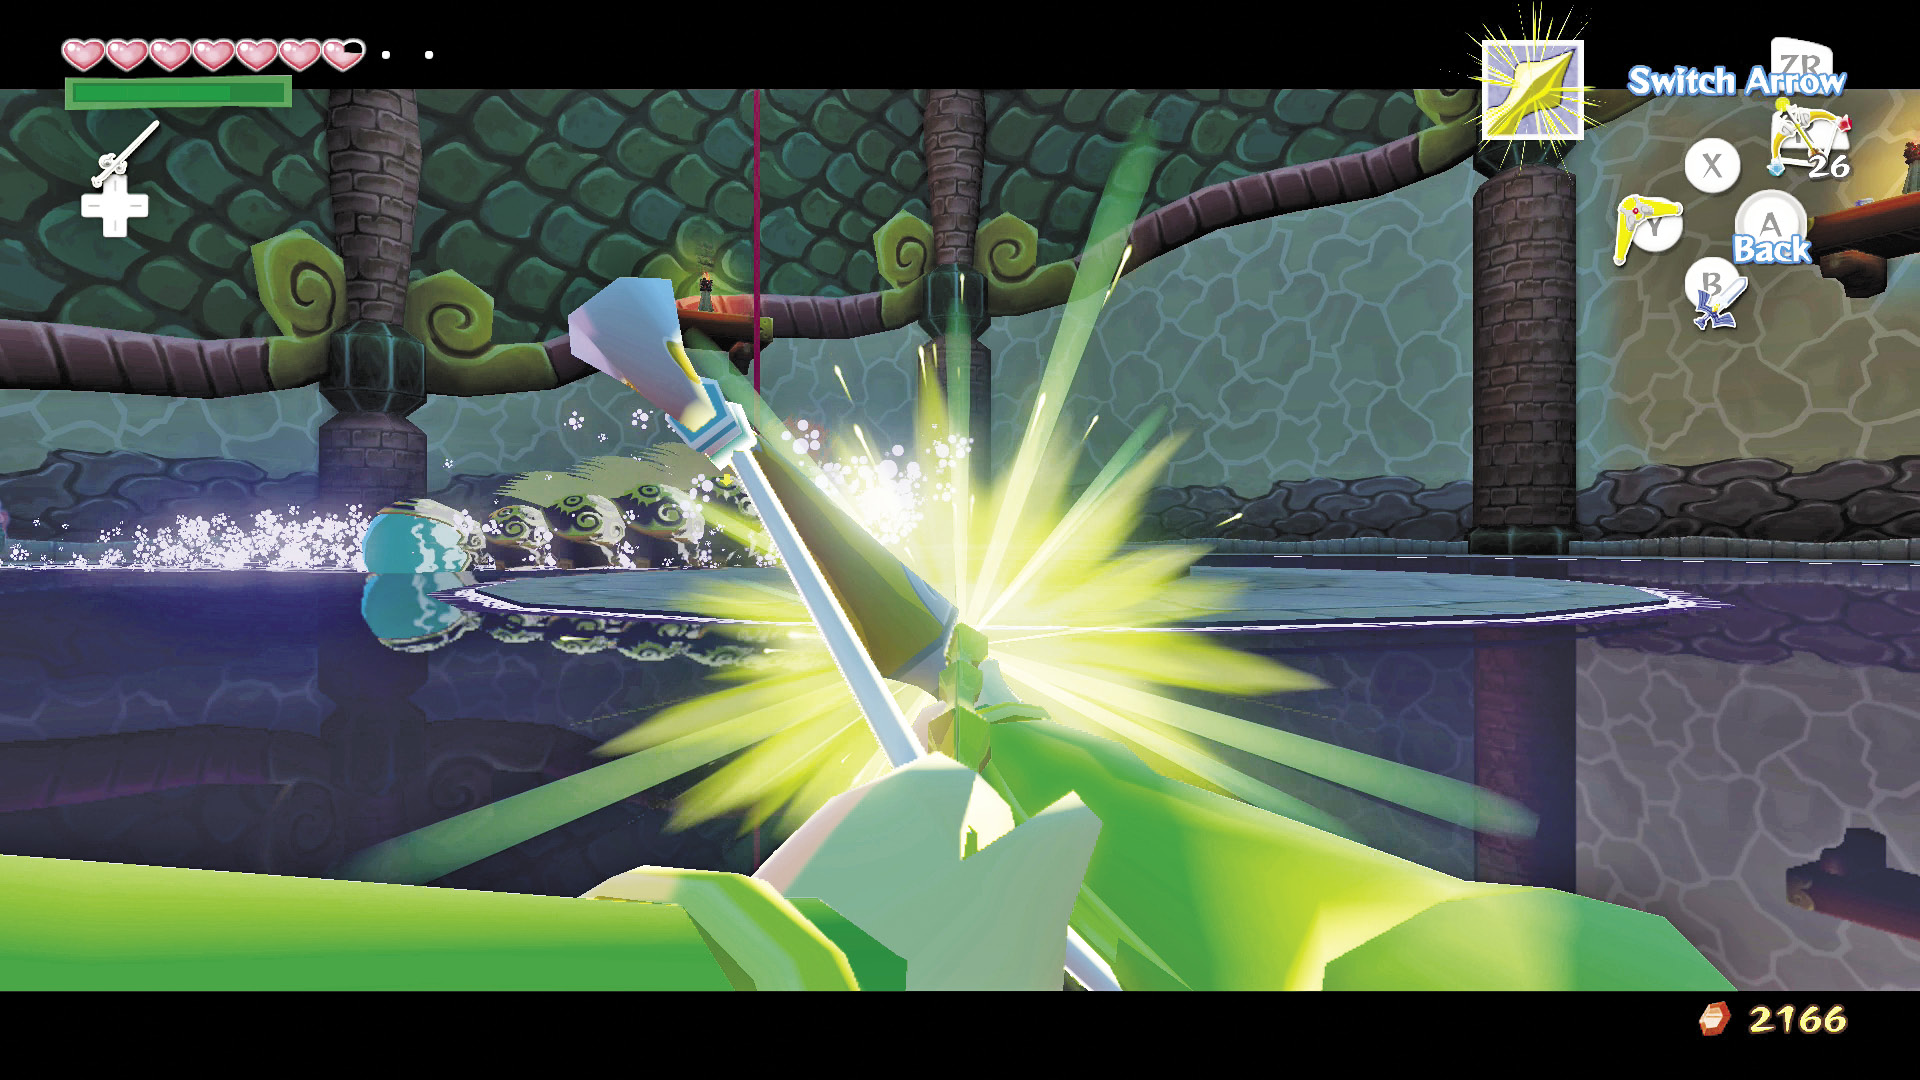 This form has no attacks other than bouncing around the room at a speed that increases every time he takes a direct shot to the blue orb on his tail. He will also drop Morths behind to slow you down, making you an easier target while he rampages around the room. 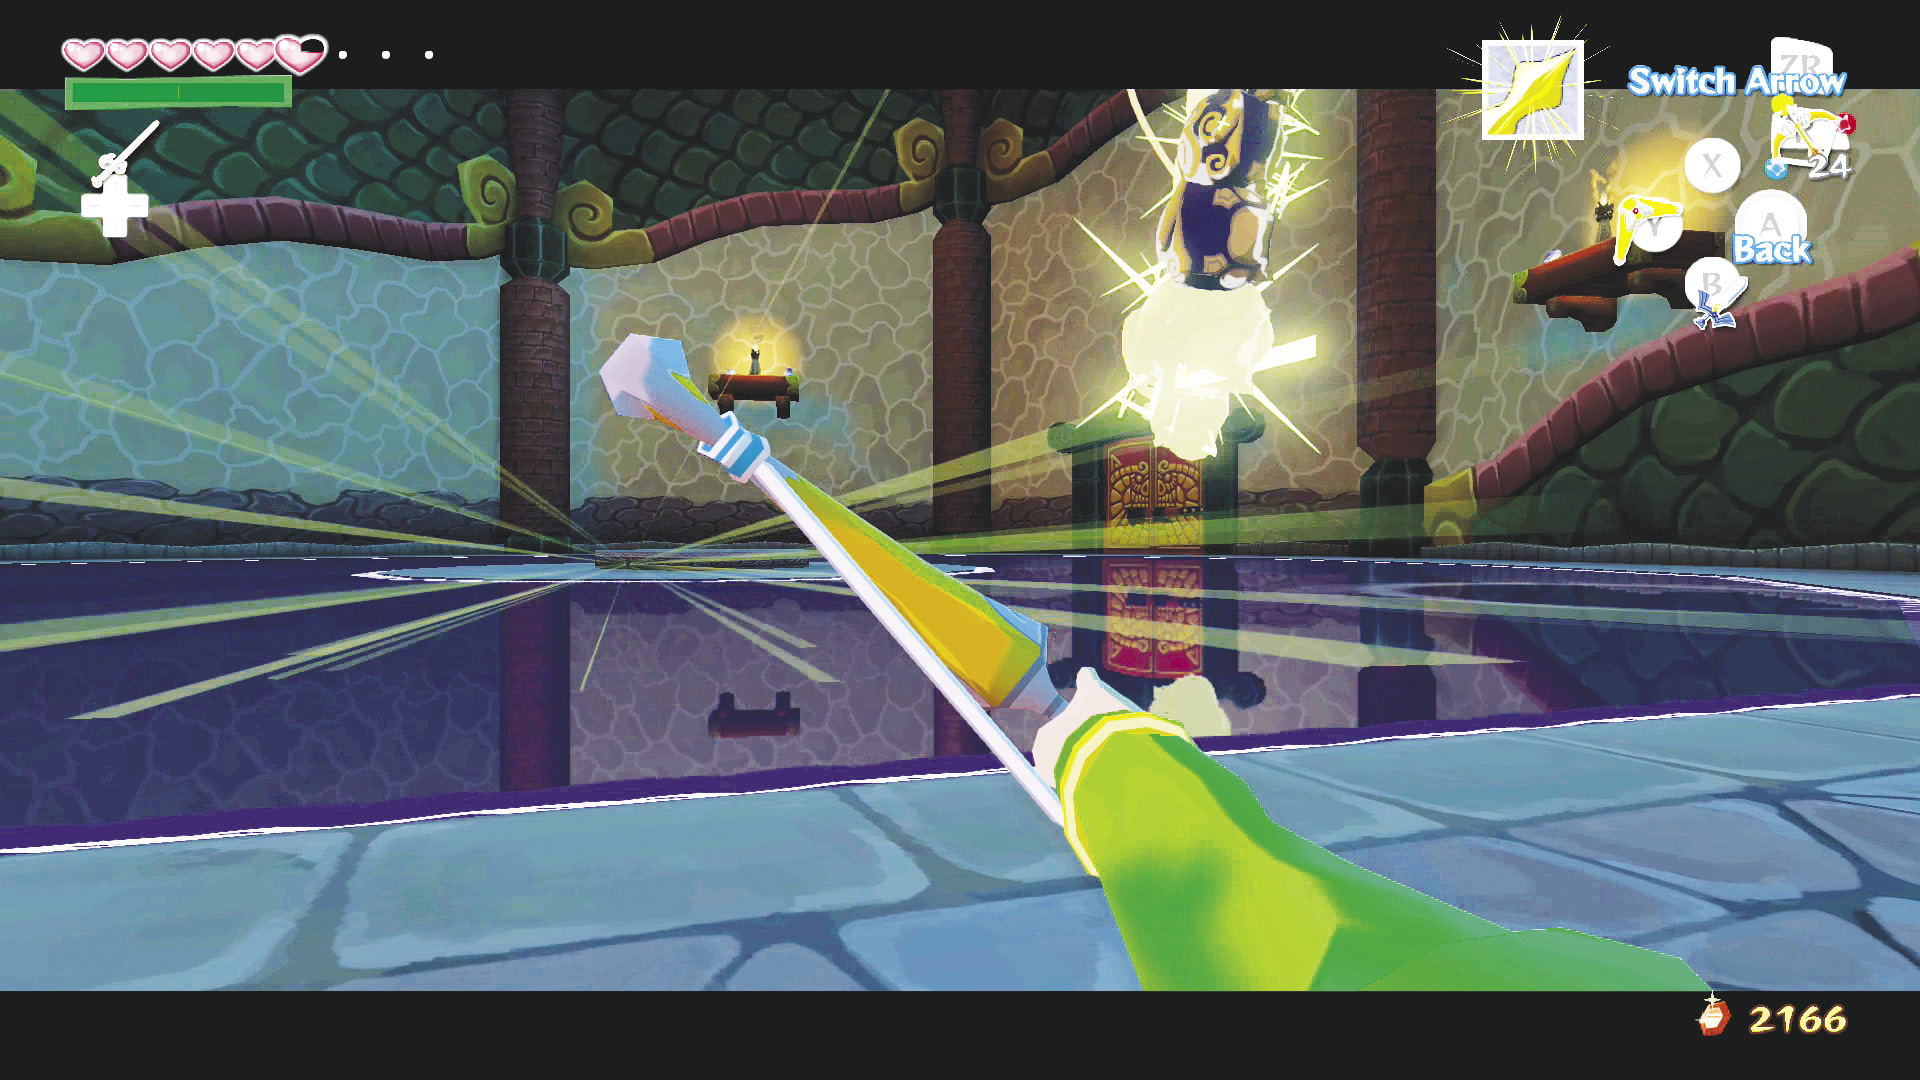 Smacking the worm on the face with the Master Sword or a Bomb will halt the beast in its tracks for a small period of time. This period of time shrinks with each hit to his tail. Alternatively, use the Hookshot to climb up to the platforms that ring the room and fire Light Arrows at a safe distance from the rampaging worm. Every shot will increase his speed a little bit, meaning you’ll have to try and predict where he’s going to be and fire an arrow accordingly. 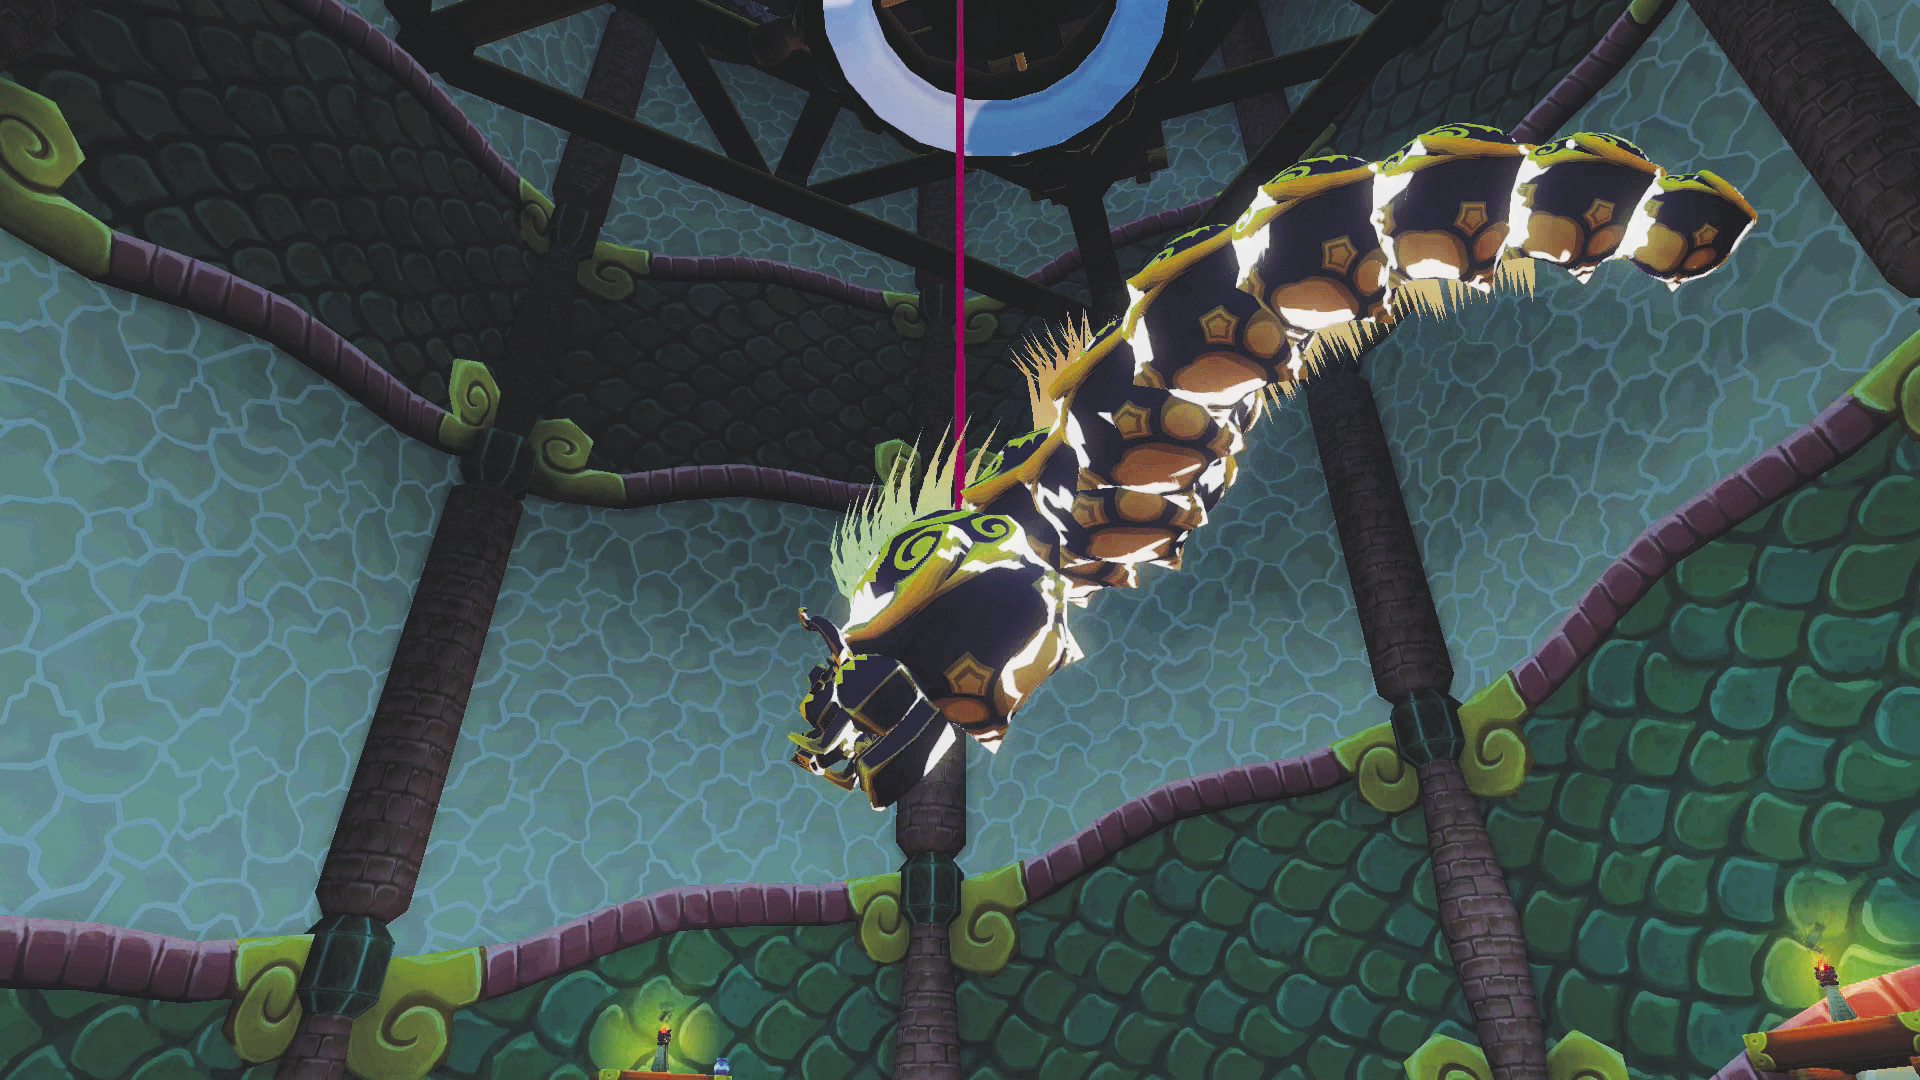 After three direct hits to the blue orb, Puppet Ganon will be no more! The red string that Ganondorf used to control the puppet will drop from the ceiling, giving you a way to climb to the top of the tower. |
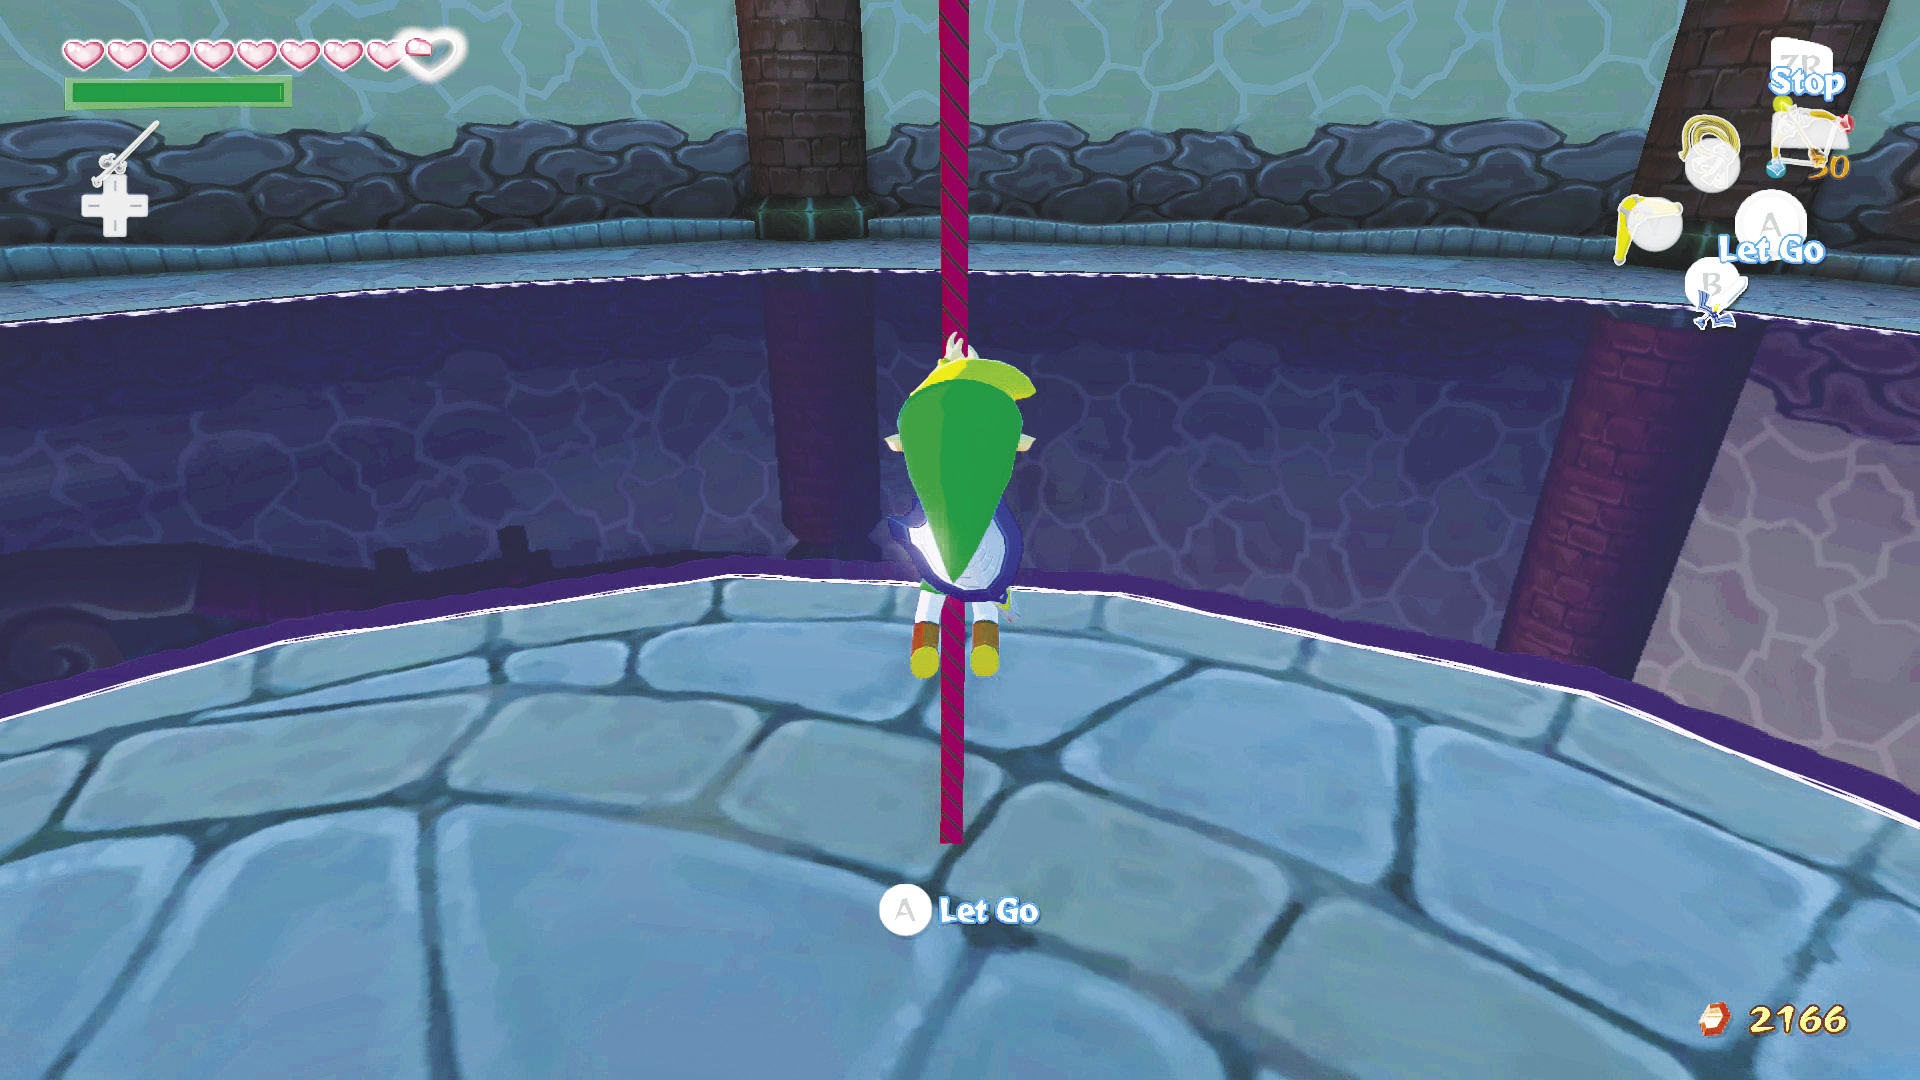
Hop onto the red string and climb it until you reach a platform suspended by chains. Look around the rafters above the platform and locate a post that you can grapple to with your Grappling Hook. Hold  and climb up the rope to the rafters and head to the pots in the center of the platform connected to the rafters. Break the pots to refill any items you’re missing, replenish your Magic Bar, and restore your health.
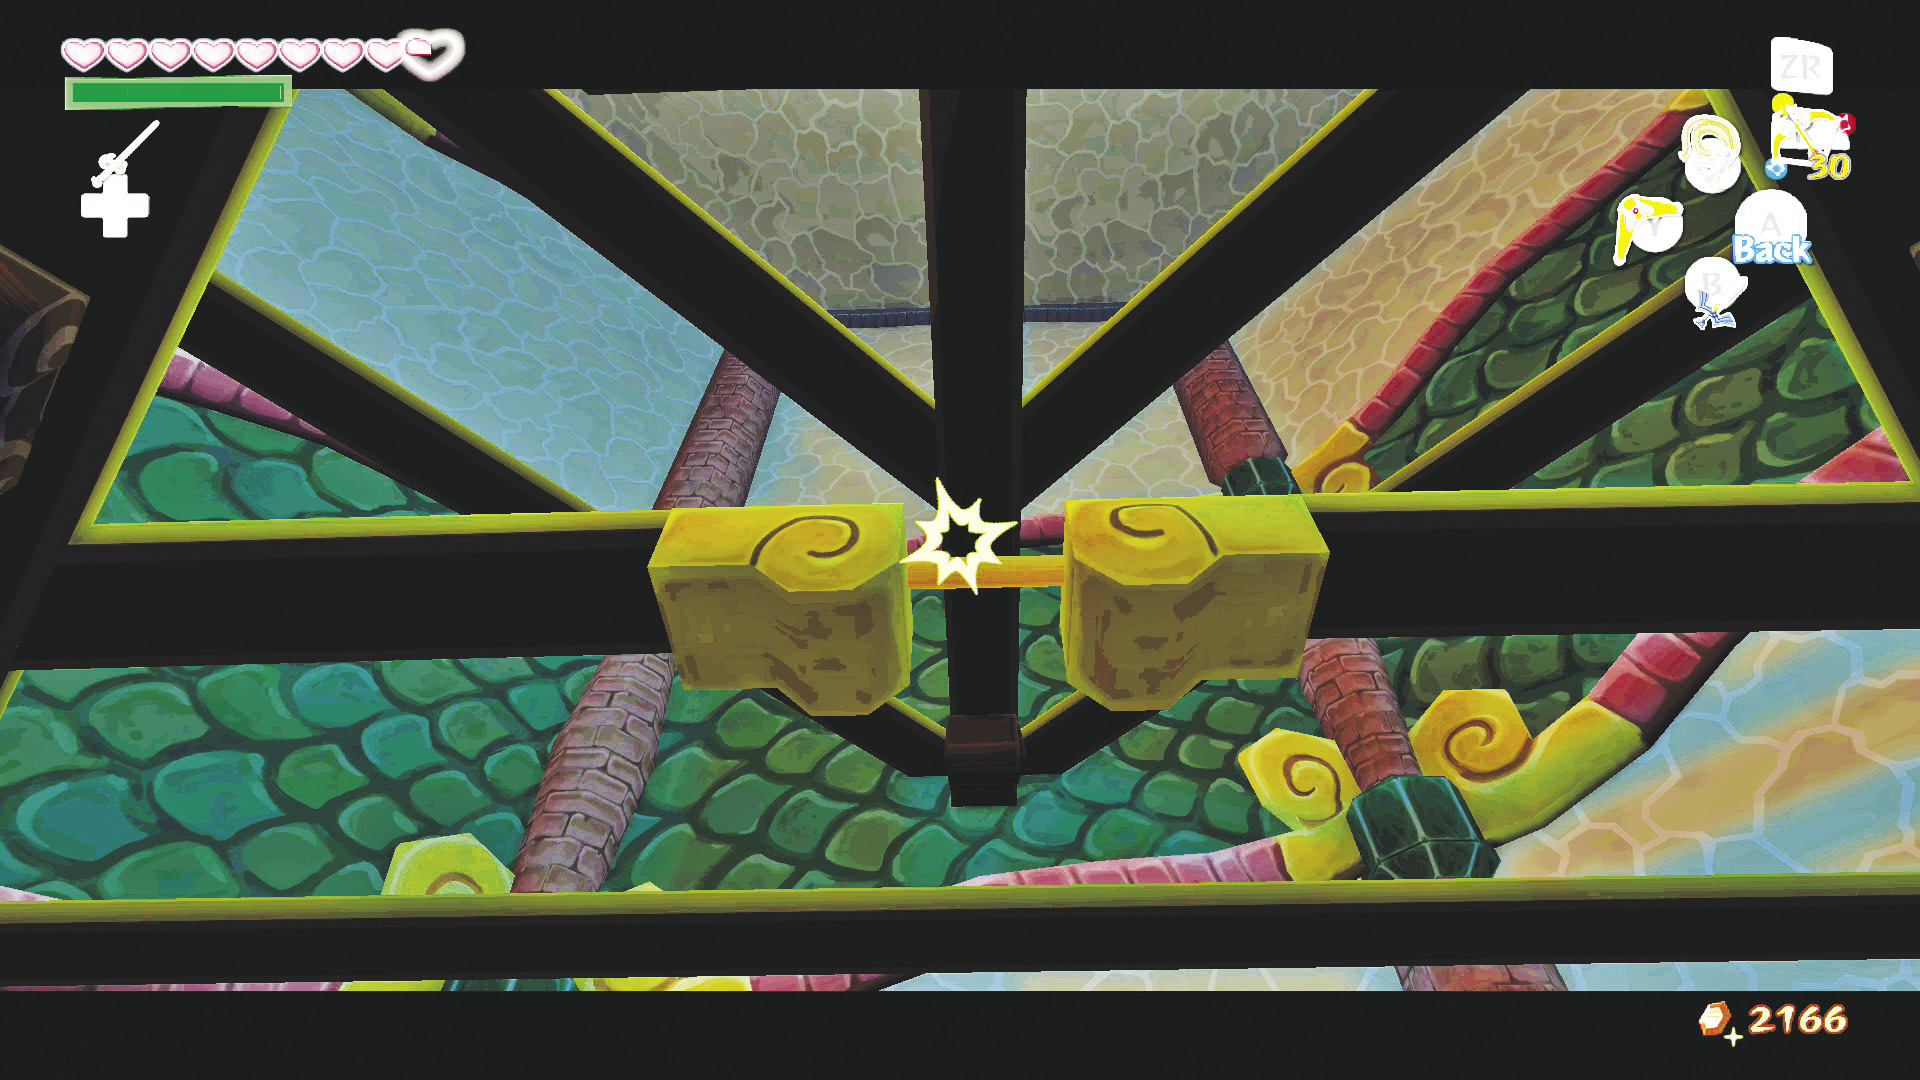
Look around the next set of rafters above you, grapple to the next possible post, and climb to the rafters above. Break the lid on the Warp Pot in the center of the platform, then break the pots around it to refill anything that wasn’t fully refilled by the pots on the rafter below.
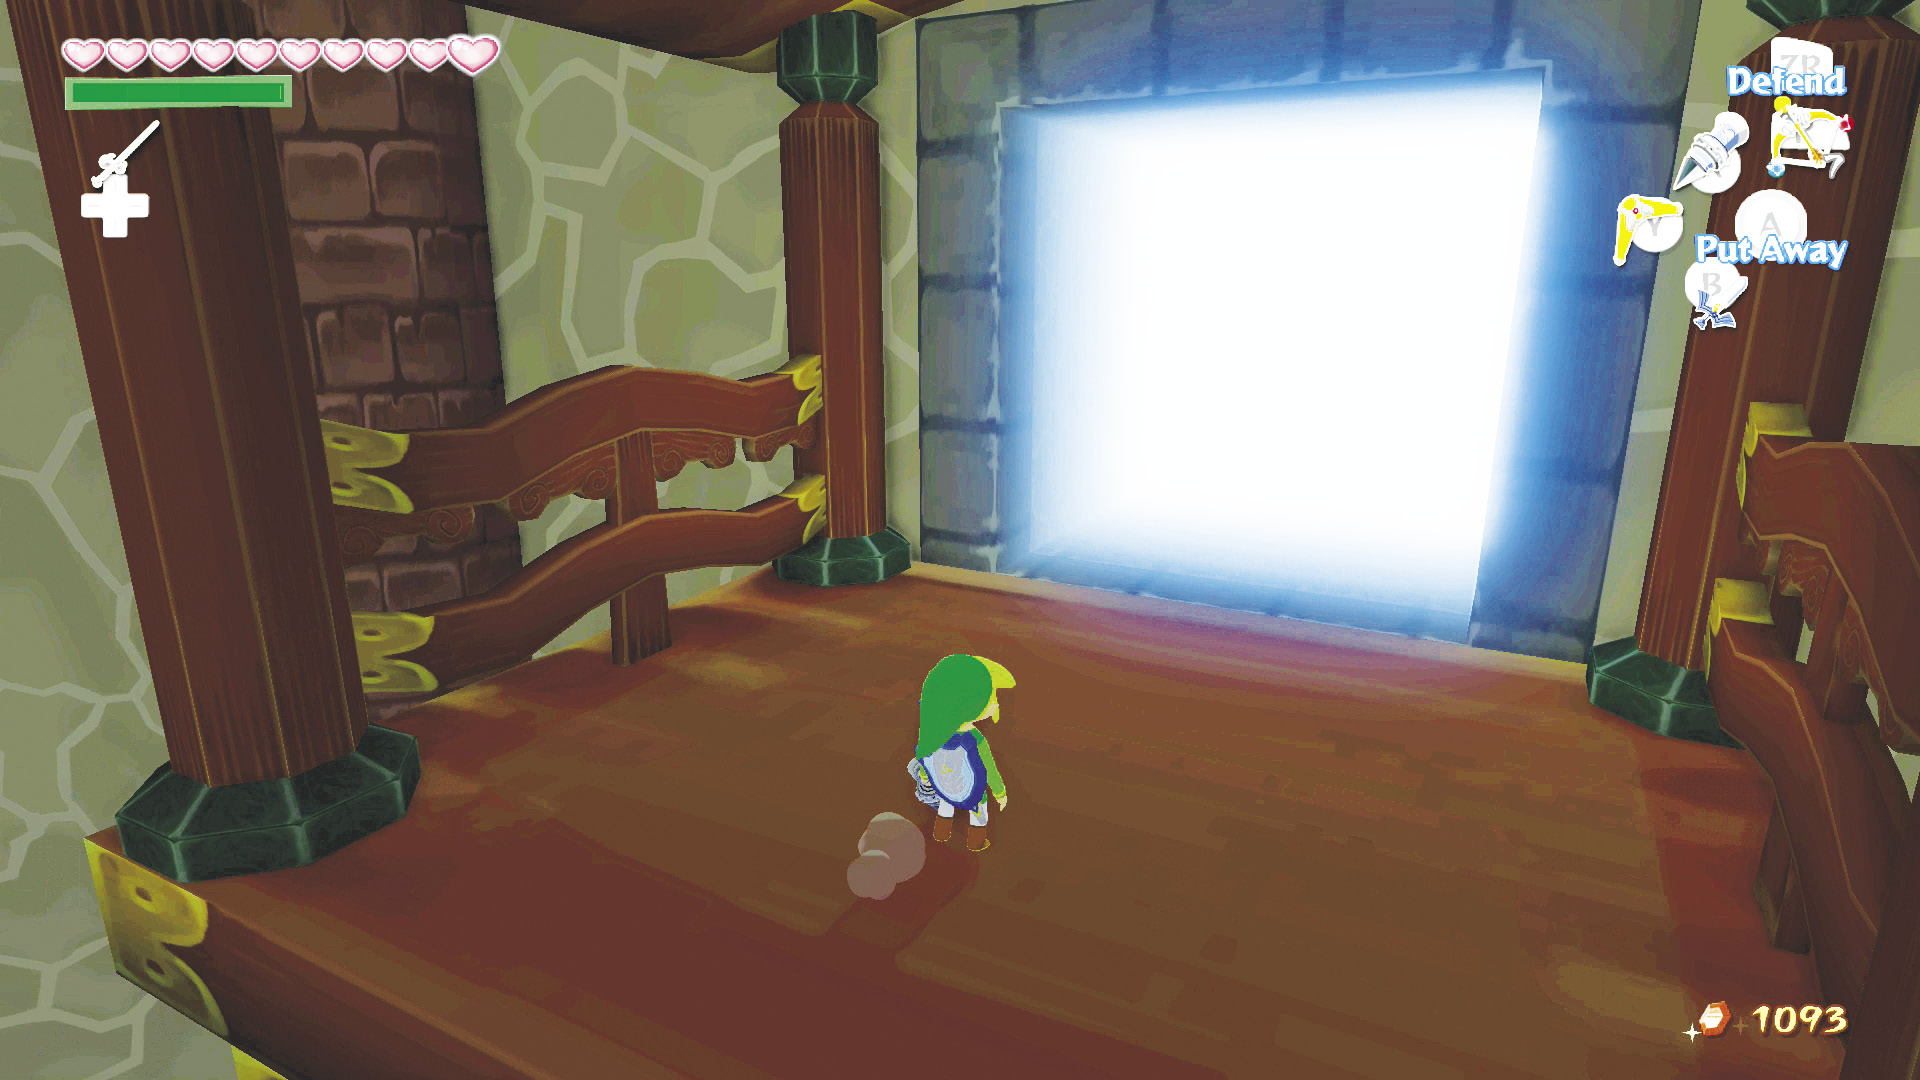
Locate the doorway on the wall of this level, and use your Hookshot on the target panel on the archway to pull yourself up. Head through the doorway to challenge the final boss of the game.
Boss: Ganondorf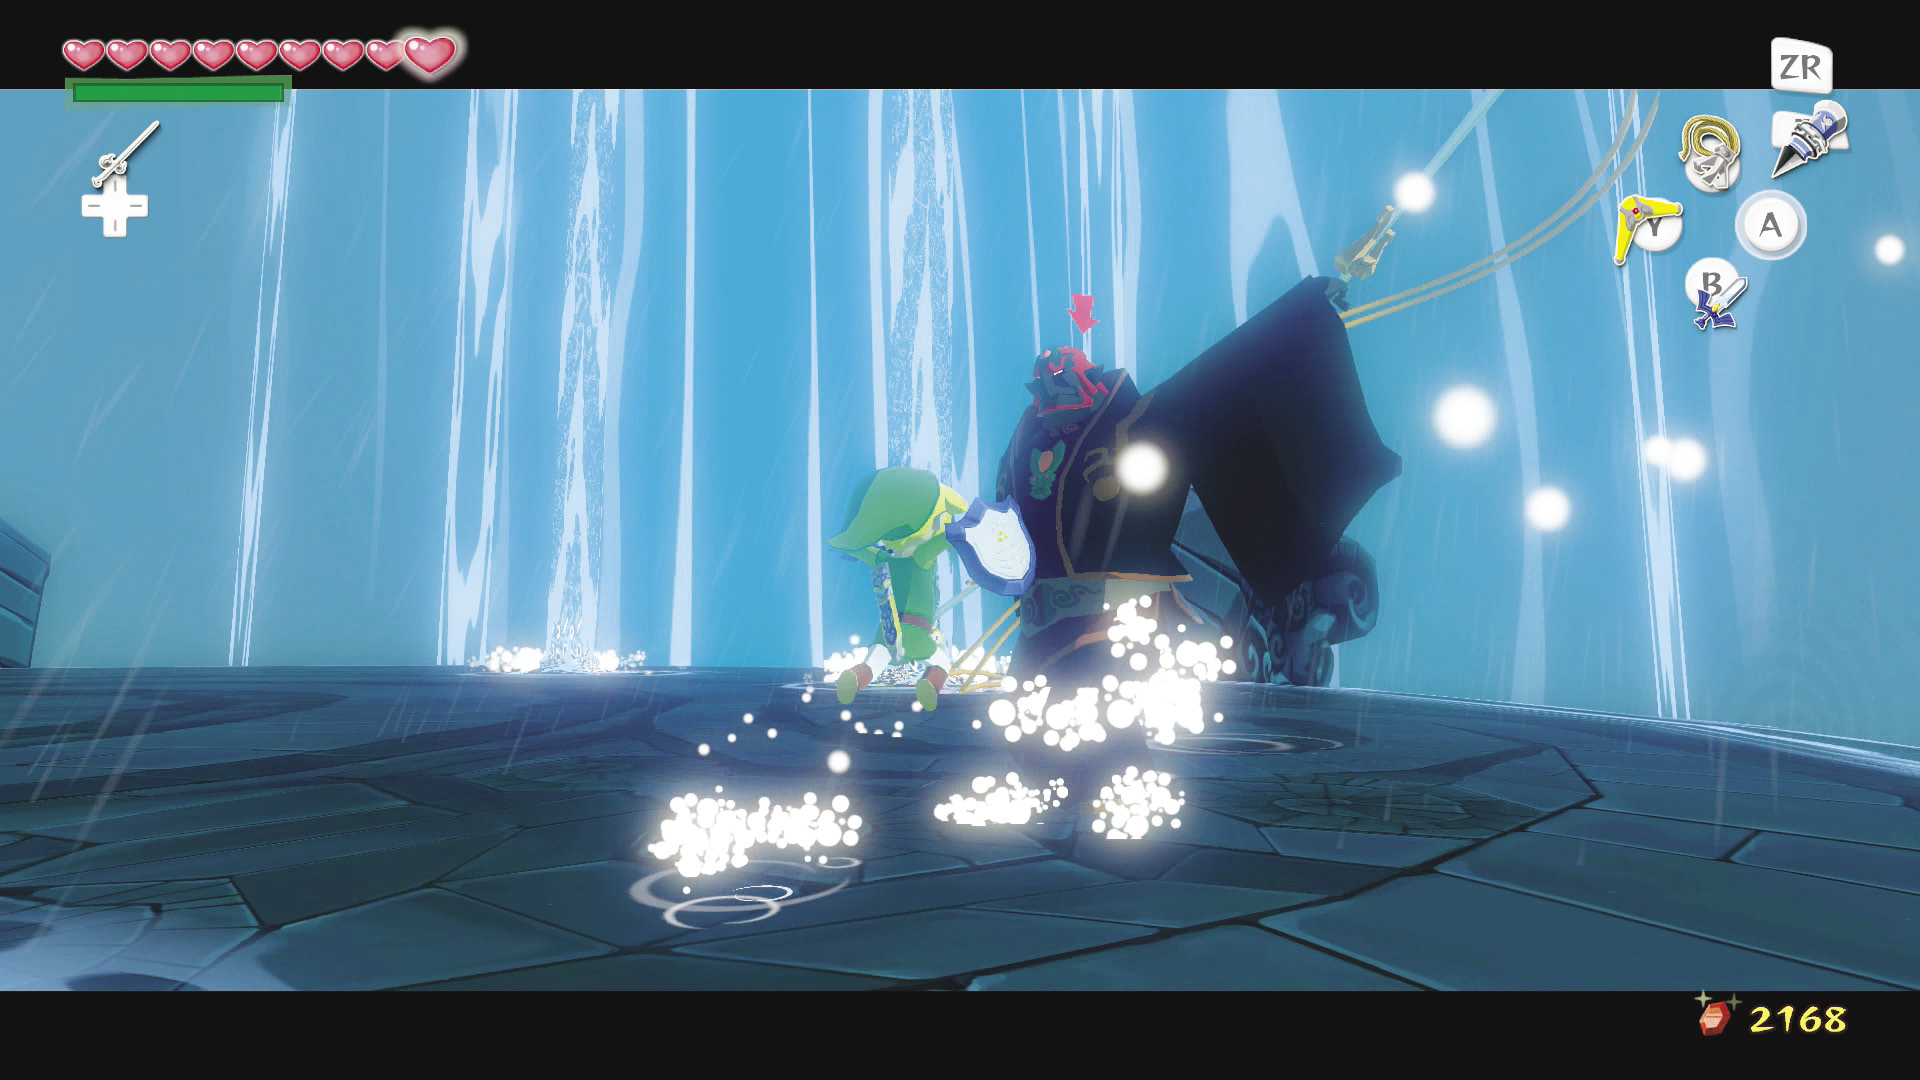 The fight with Ganondorf is a straightforward battle of skill and quick reactions. Ganondorf will stalk along the top of the tower, swinging his swords whenever he gets within striking range of Link. 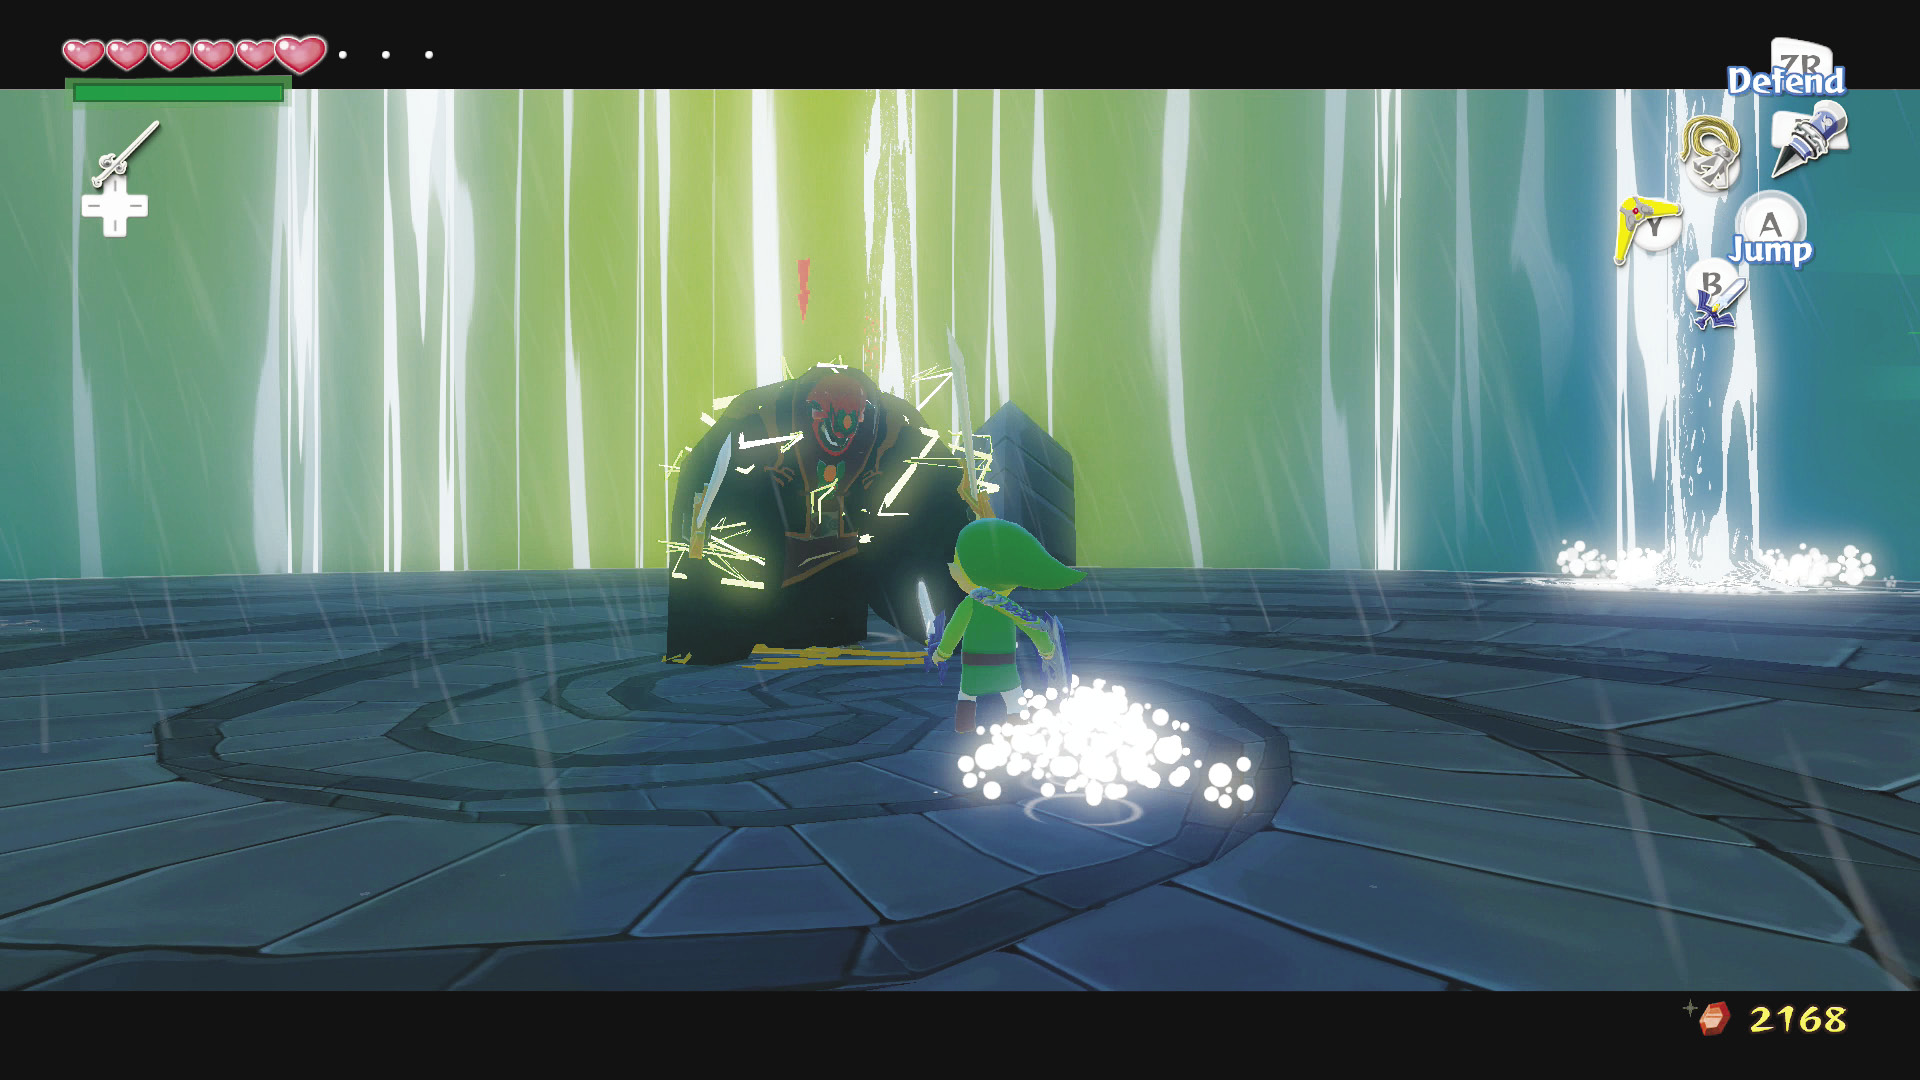 Zelda will occasionally fire Light Arrows at Ganondorf that will stun him. Ganondorf will be vulnerable to sword attacks for a brief moment if hit with a Light Arrow, so capitalize on that whenever he is stunned. Just be careful, because the Light Arrows will also stun Link if they hit him. 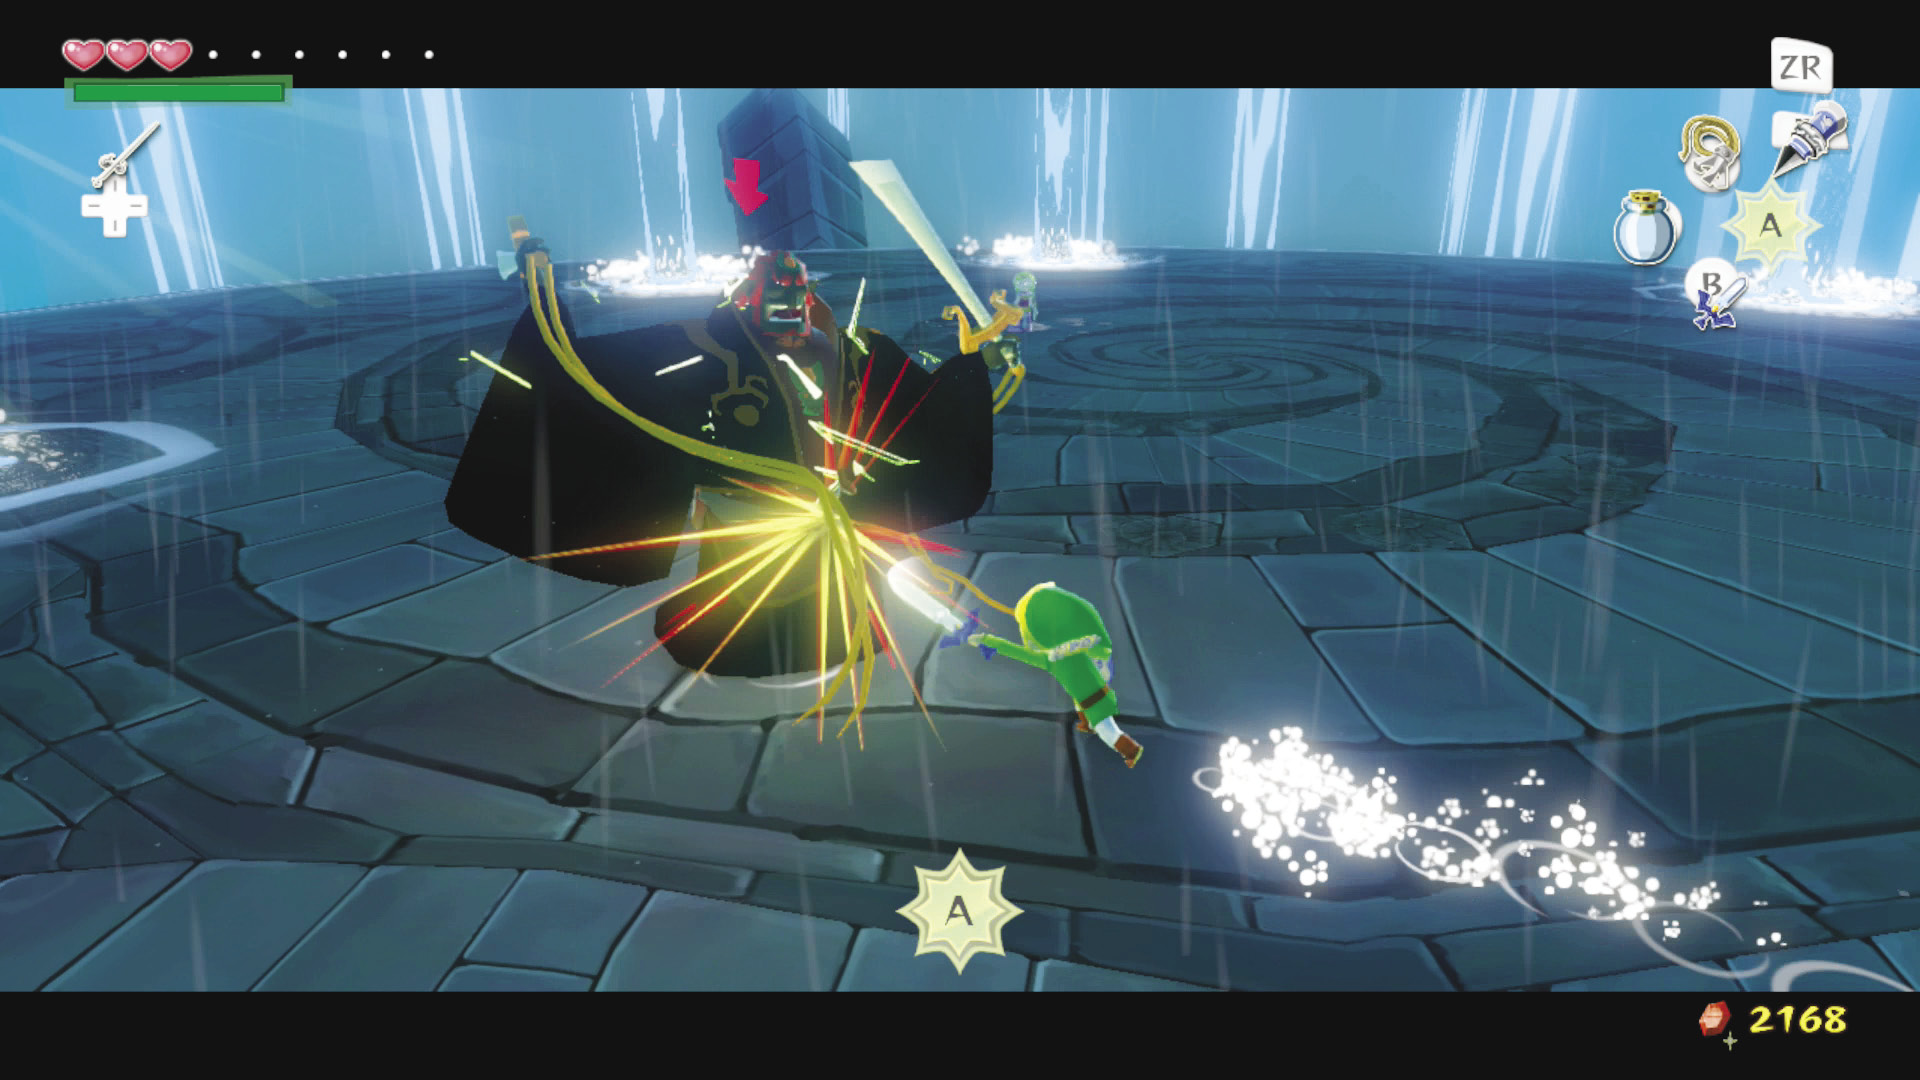 The only way to damage the master of evil is with parry attacks; all other attacks will be effortlessly and dispassionately deflected. You’ll need to be near Ganondorf to get him to initiate his attack combo. Stay just out of range of Ganondorf’s sword strikes or use your shield to deflect them, then parry at the end of his combo to leave him vulnerable to attacks with your sword. You’ll only get in a couple of strikes before Ganondorf recovers and goes on the attack again. 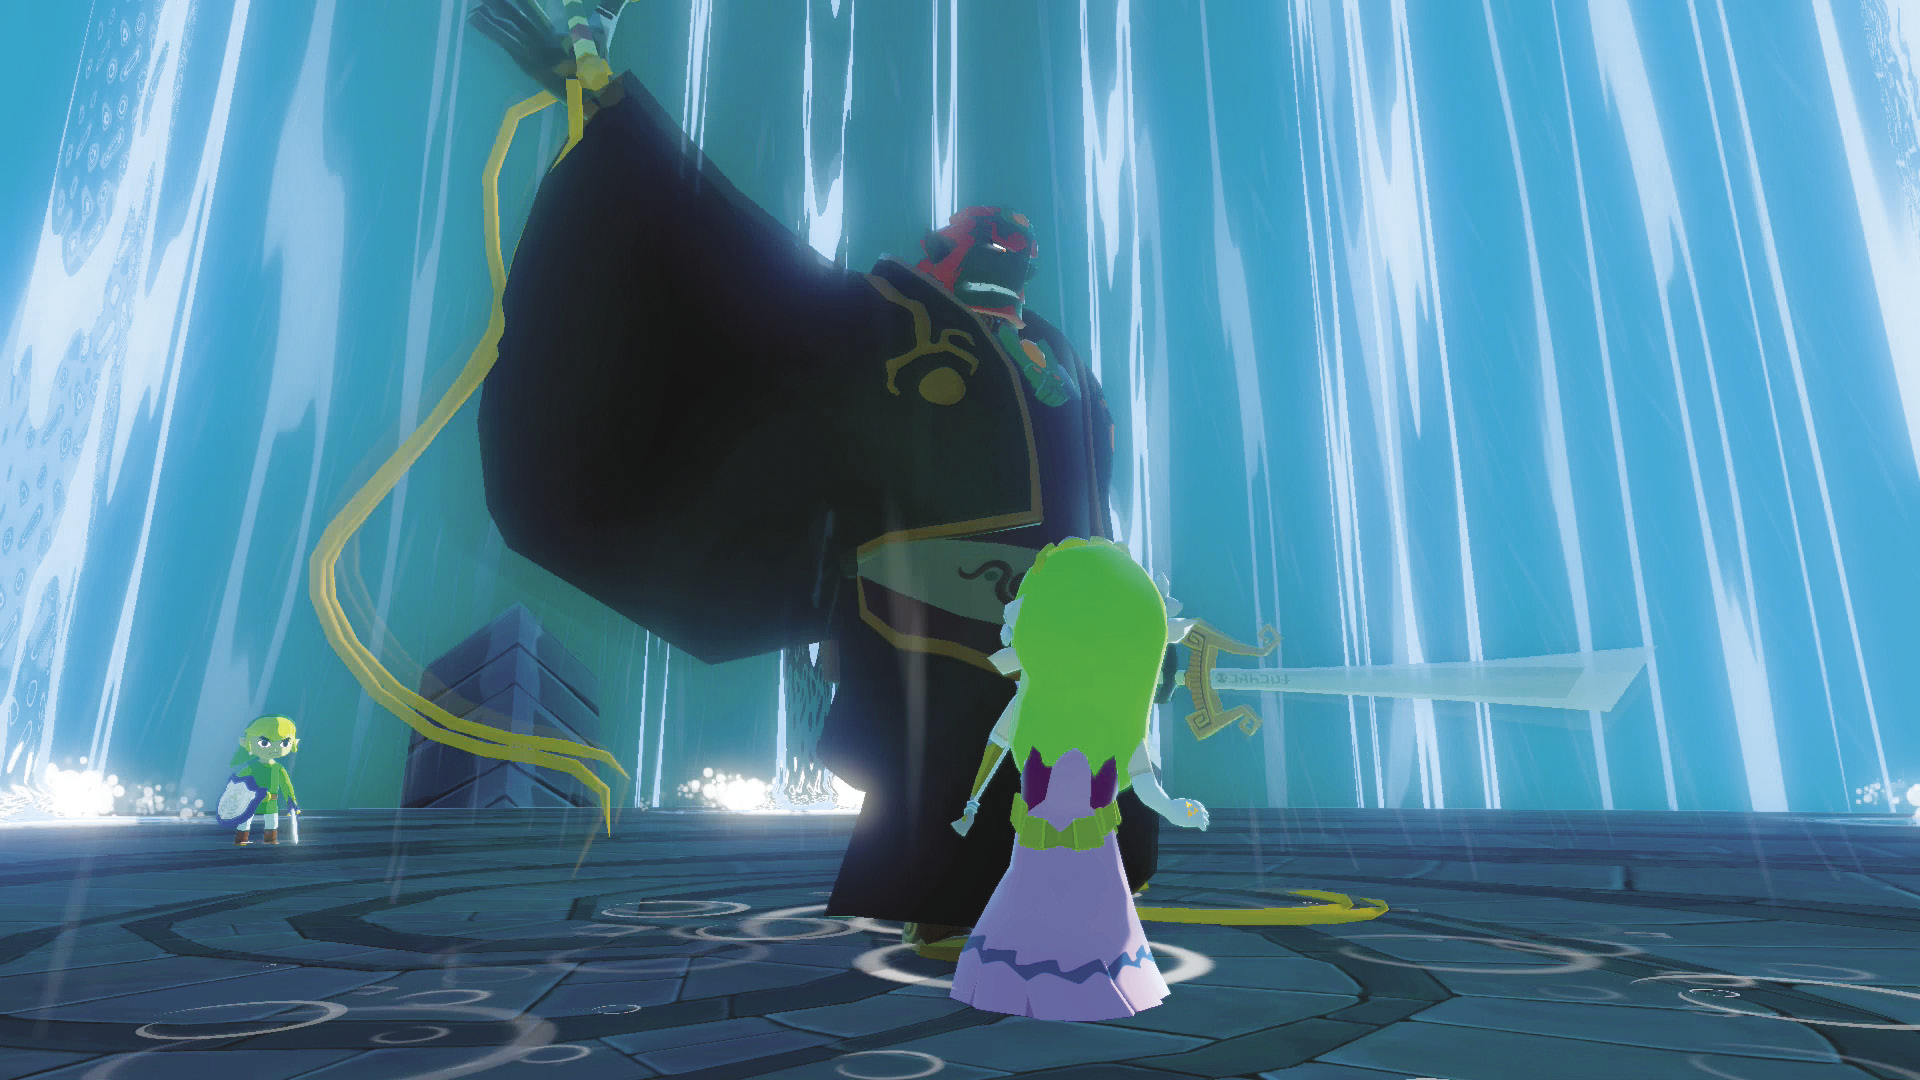 Hit Ganondorf four to five times and he’ll knock Zelda out and change up his attack pattern, becoming much more aggressive and difficult to parry. The method for damaging Ganondorf is still the same: Dodge or block his attacks and wait for him to end his attack combo (this time his combo will end with a jump attack into the air, after which point you’ll have a few seconds to parry attack). 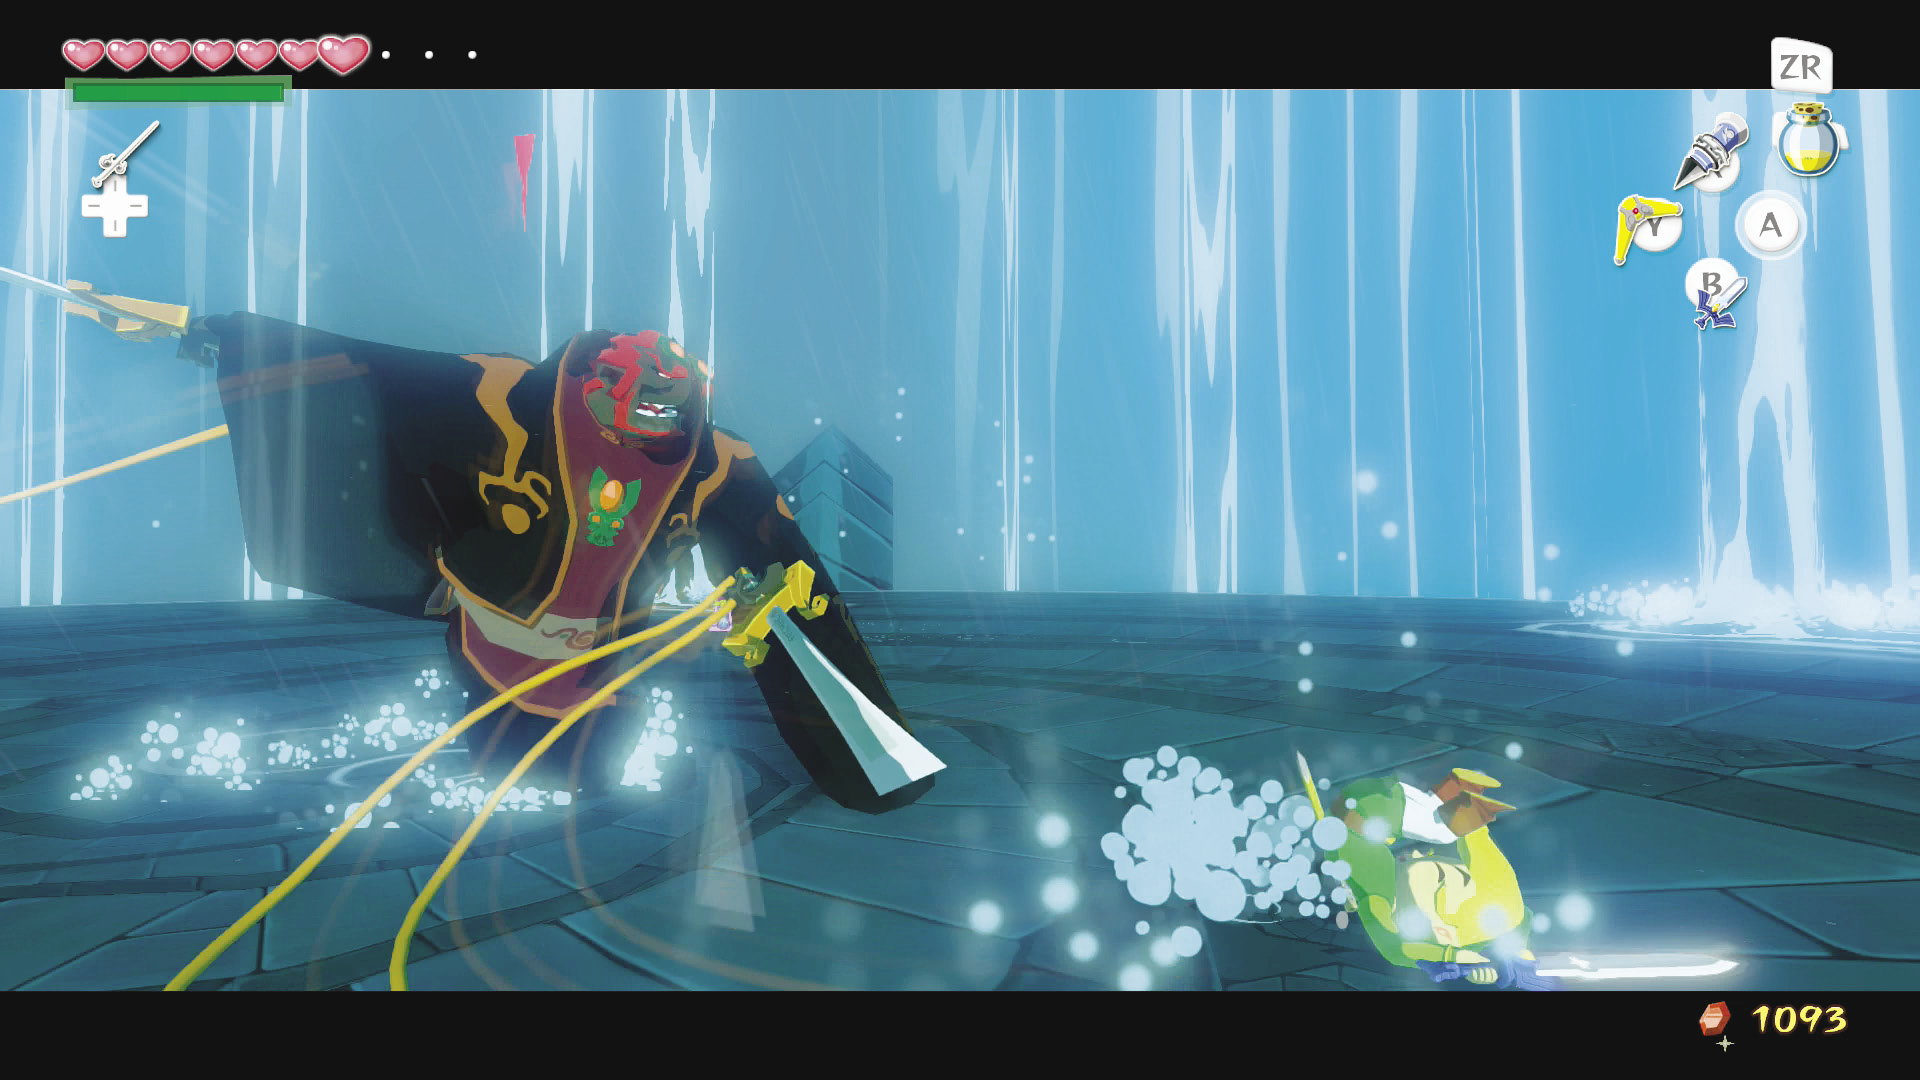 After hitting Ganondorf eight to nine more times, Zelda will get back on her feet and begin firing Light Arrows at Ganondorf again. Ganondorf will change up his tactics one last time, this time deflecting all of your attacks and leaving no opening for a parry attack. 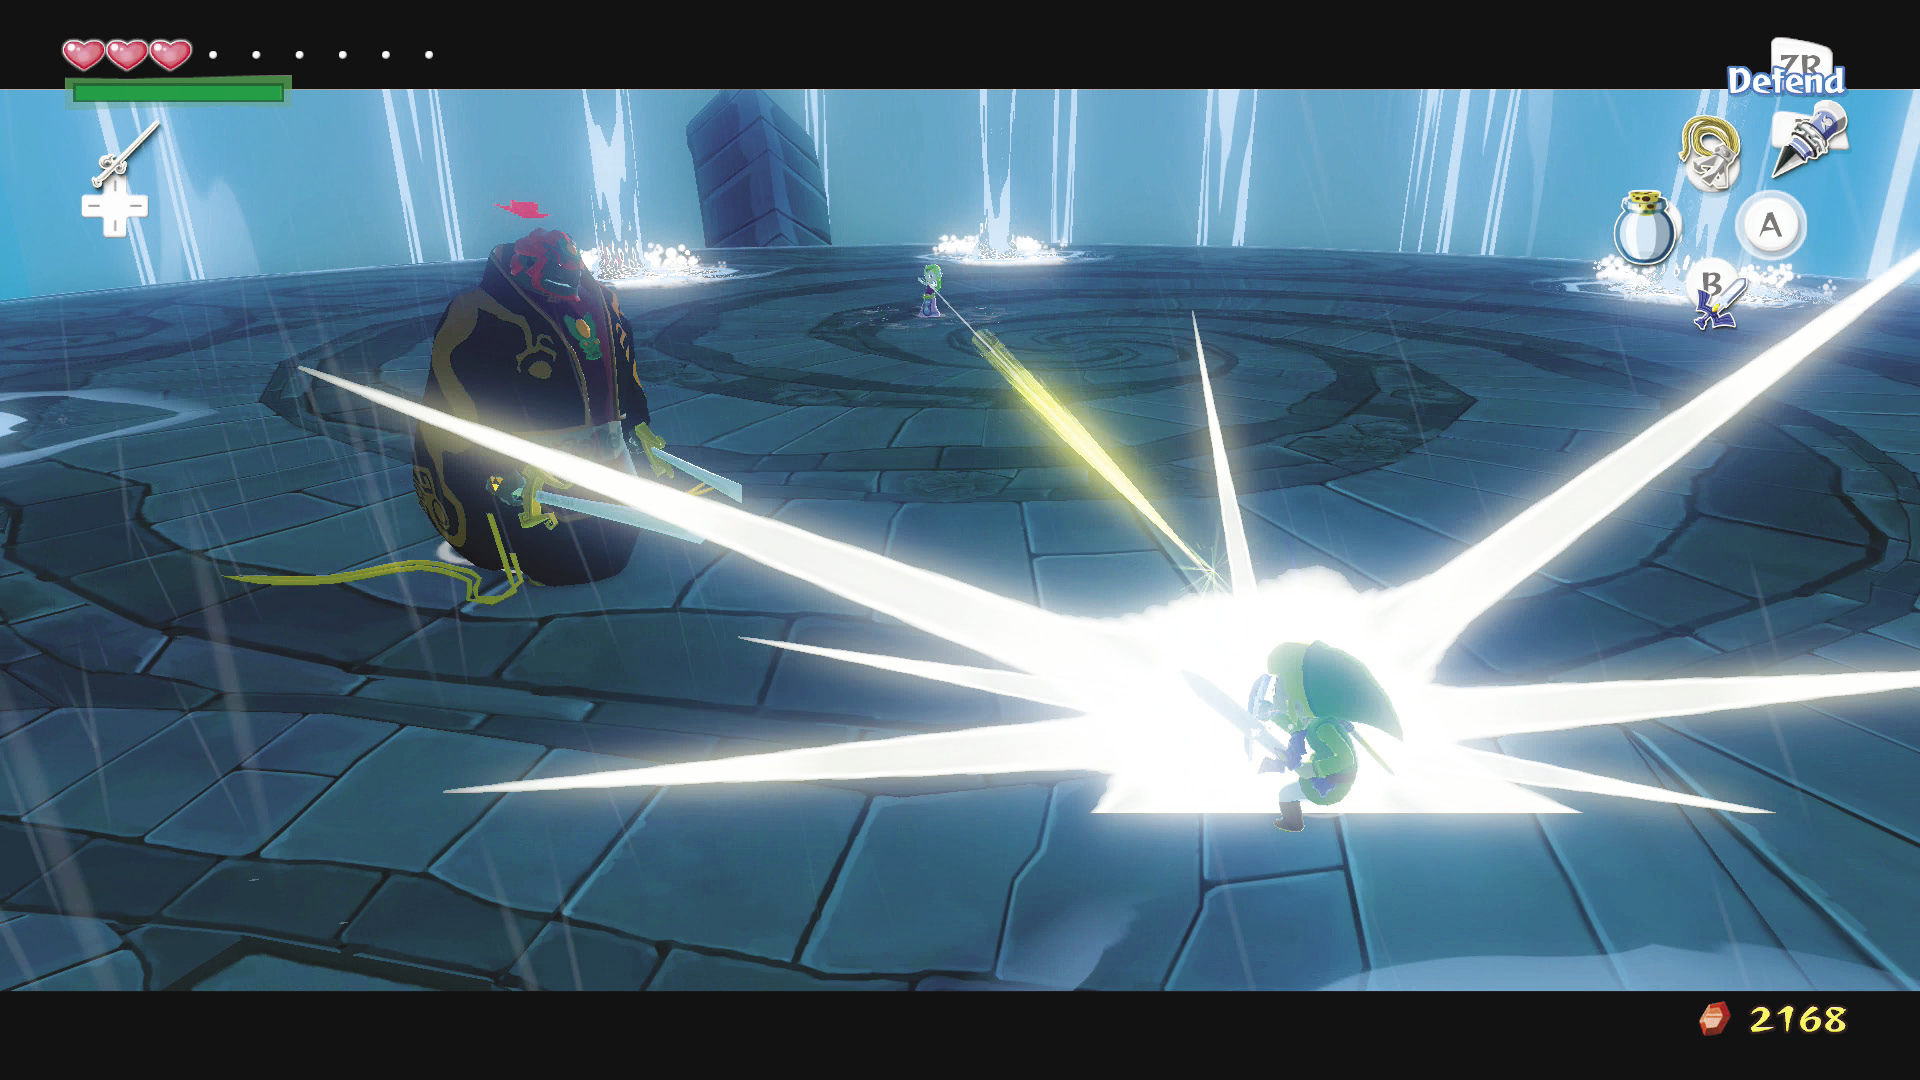 At this point, you need to use your Mirror Shield to reflect Zelda’s Light Arrows back at Ganondorf. In order to do that, you need to keep both Zelda and Ganondorf across from you. Keep your distance from Ganondorf, but don’t stray too far or he’ll jump over Zelda’s Light Arrows. Keep an eye on Zelda and pull your Mirror Shield out when you see light shine off of her bow. If you’ve positioned yourself properly, the Light Arrow will bounce off your shield and into Ganondorf. 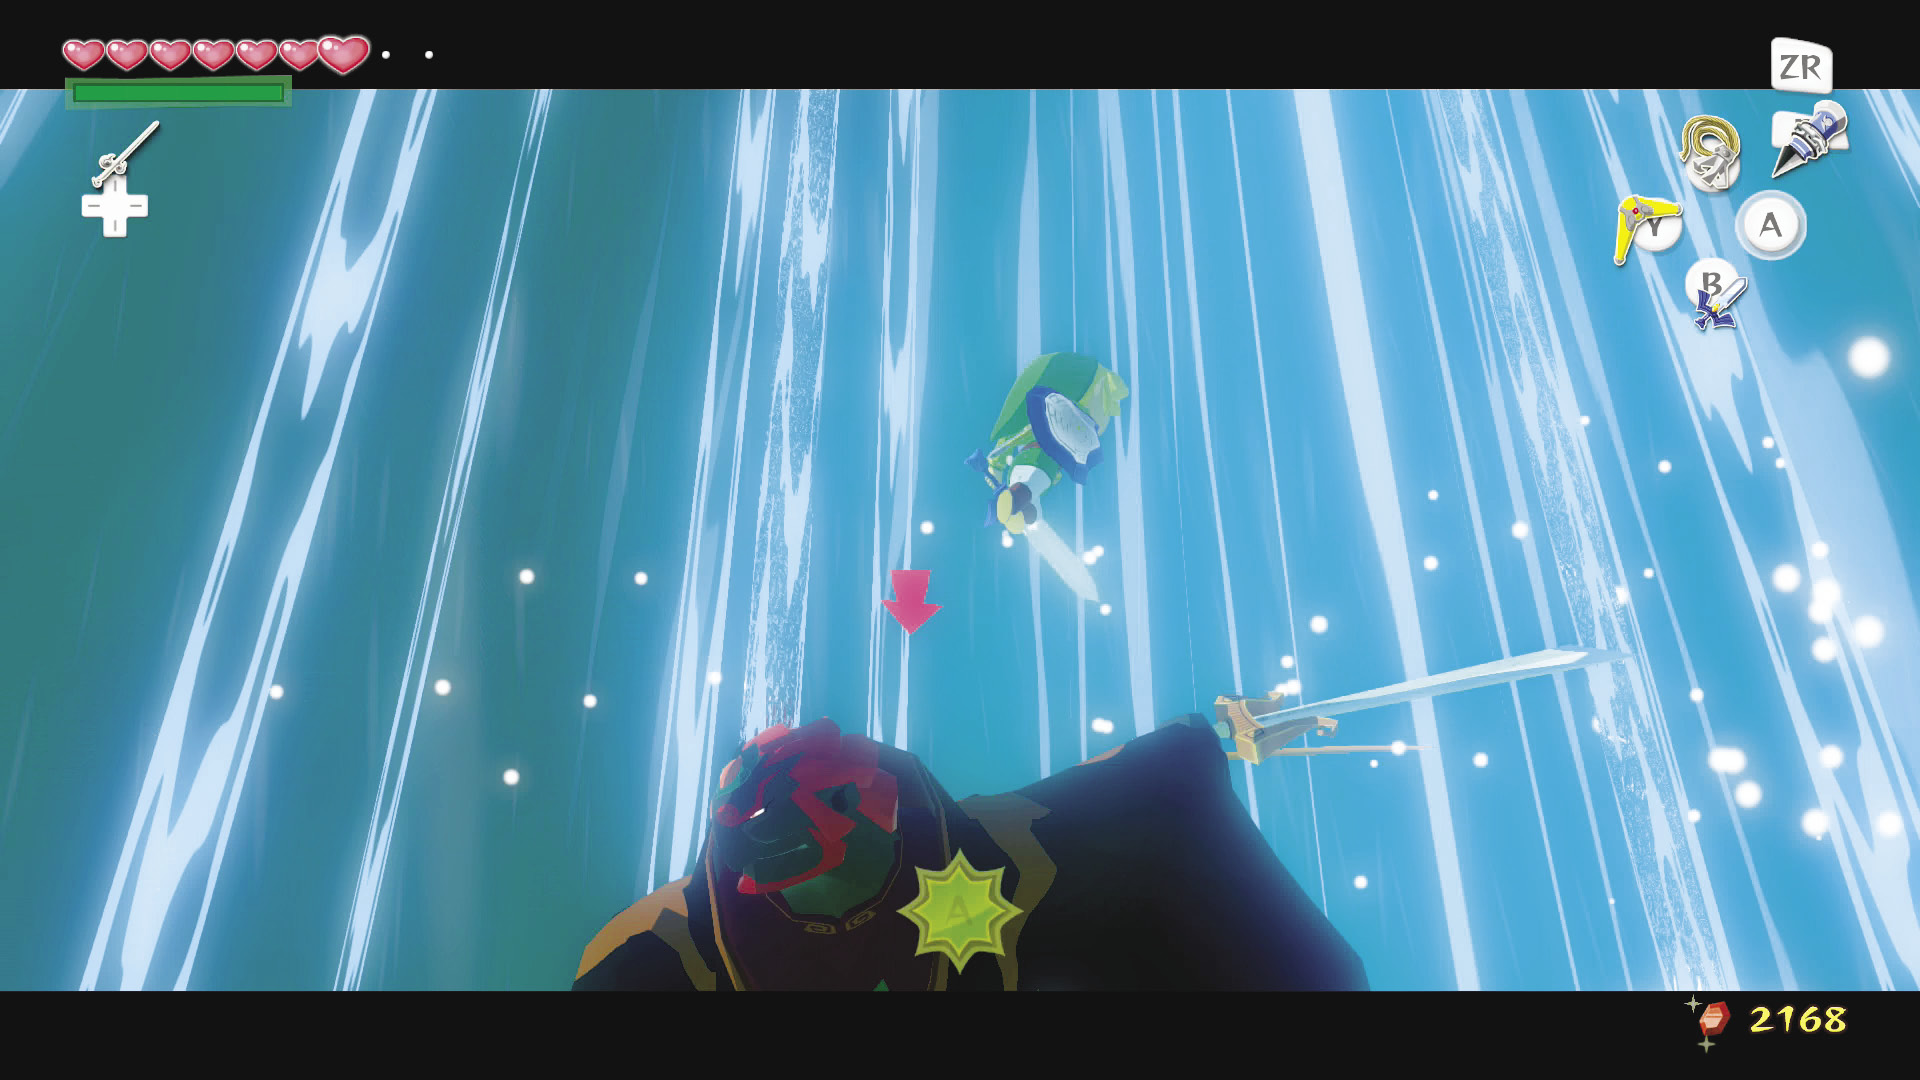 A single reflected Light Arrow will be enough to finish the fight, so stay alert! As soon as the arrow hits Ganondorf, race over to him and hit |
 to deliver the finishing blow.
Congratulations, you just finished The Legend of Zelda: The Wind Waker HD! Now sit back and enjoy the ending of the game.
New Game+
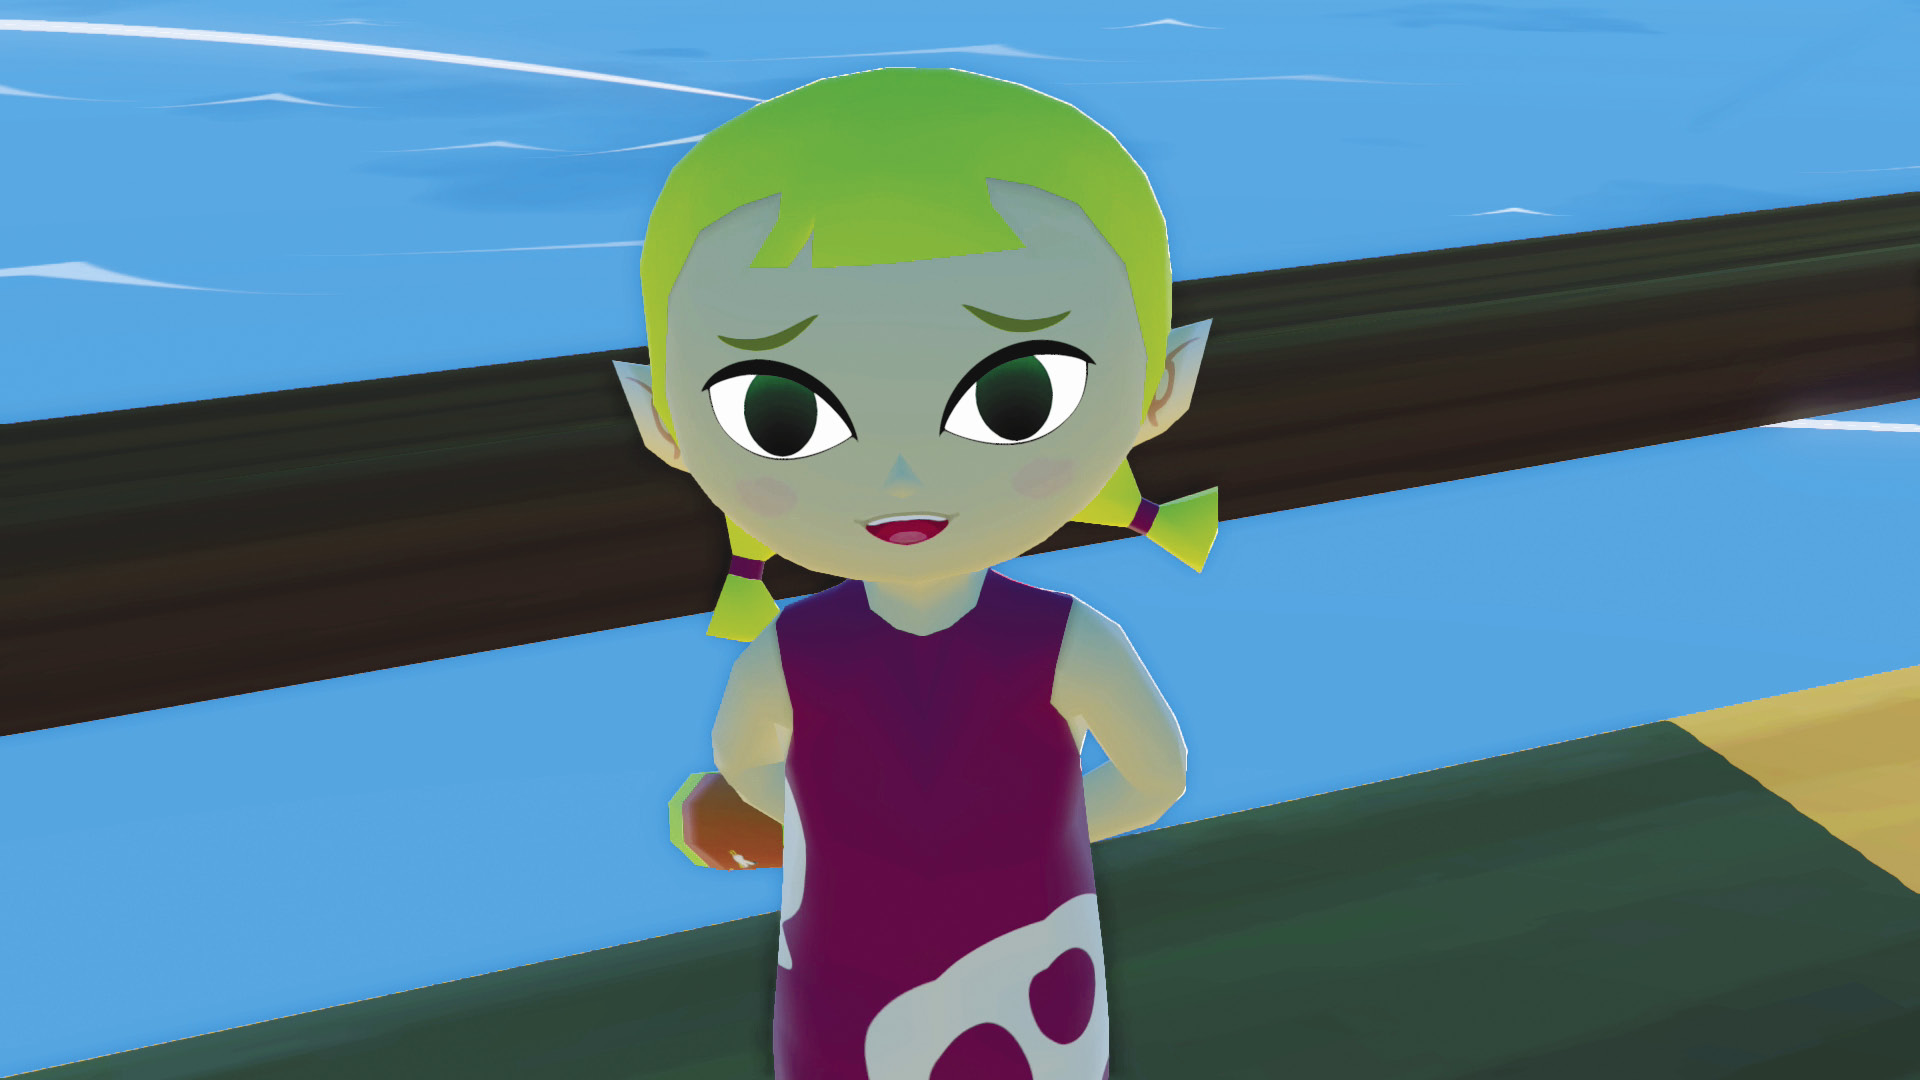
After finishing the game, you’ll be given the option to create a new save file that, when loaded, will start you out with the Deluxe Picto Box. Aryll will also be in the dress she got from the Tetra’s pirate crew and Link will be given the Hero’s New Clothes, an outfit made of fabric that only the honest can see--in other words, Link will be wearing his blue shirt and orange pants from the start of the game.
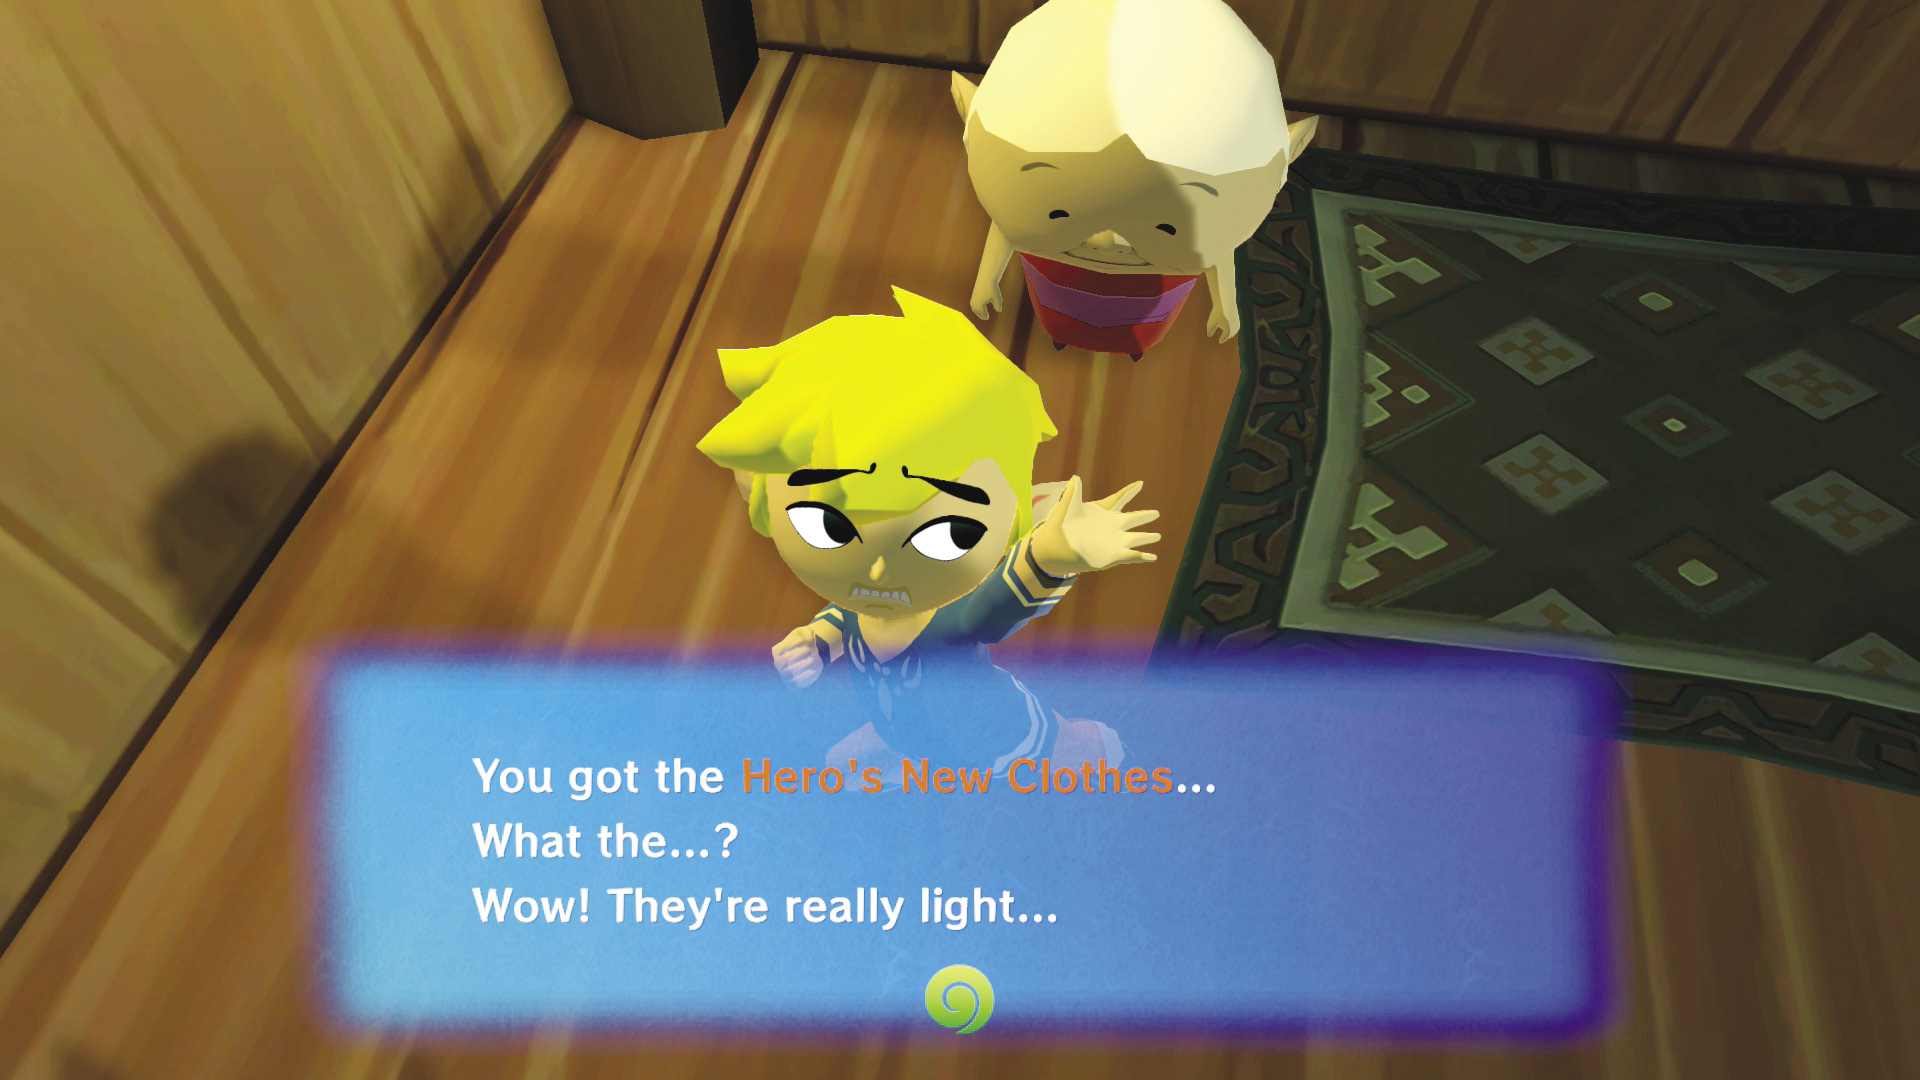
To top it off, Link will now be able to understand the Hylian language--the ancient language of Hyrule that Valoo, Jabun and the Deku Tree speak in.
Enjoy your second playthrough with New Game+!