The Legend of Zelda: The Wind Waker Guide Walkthrough Rebuilding the Triforce of Courage
Triforce Shards #4 and #5: Stone Watcher Island (C5)
Triforce Shard #4
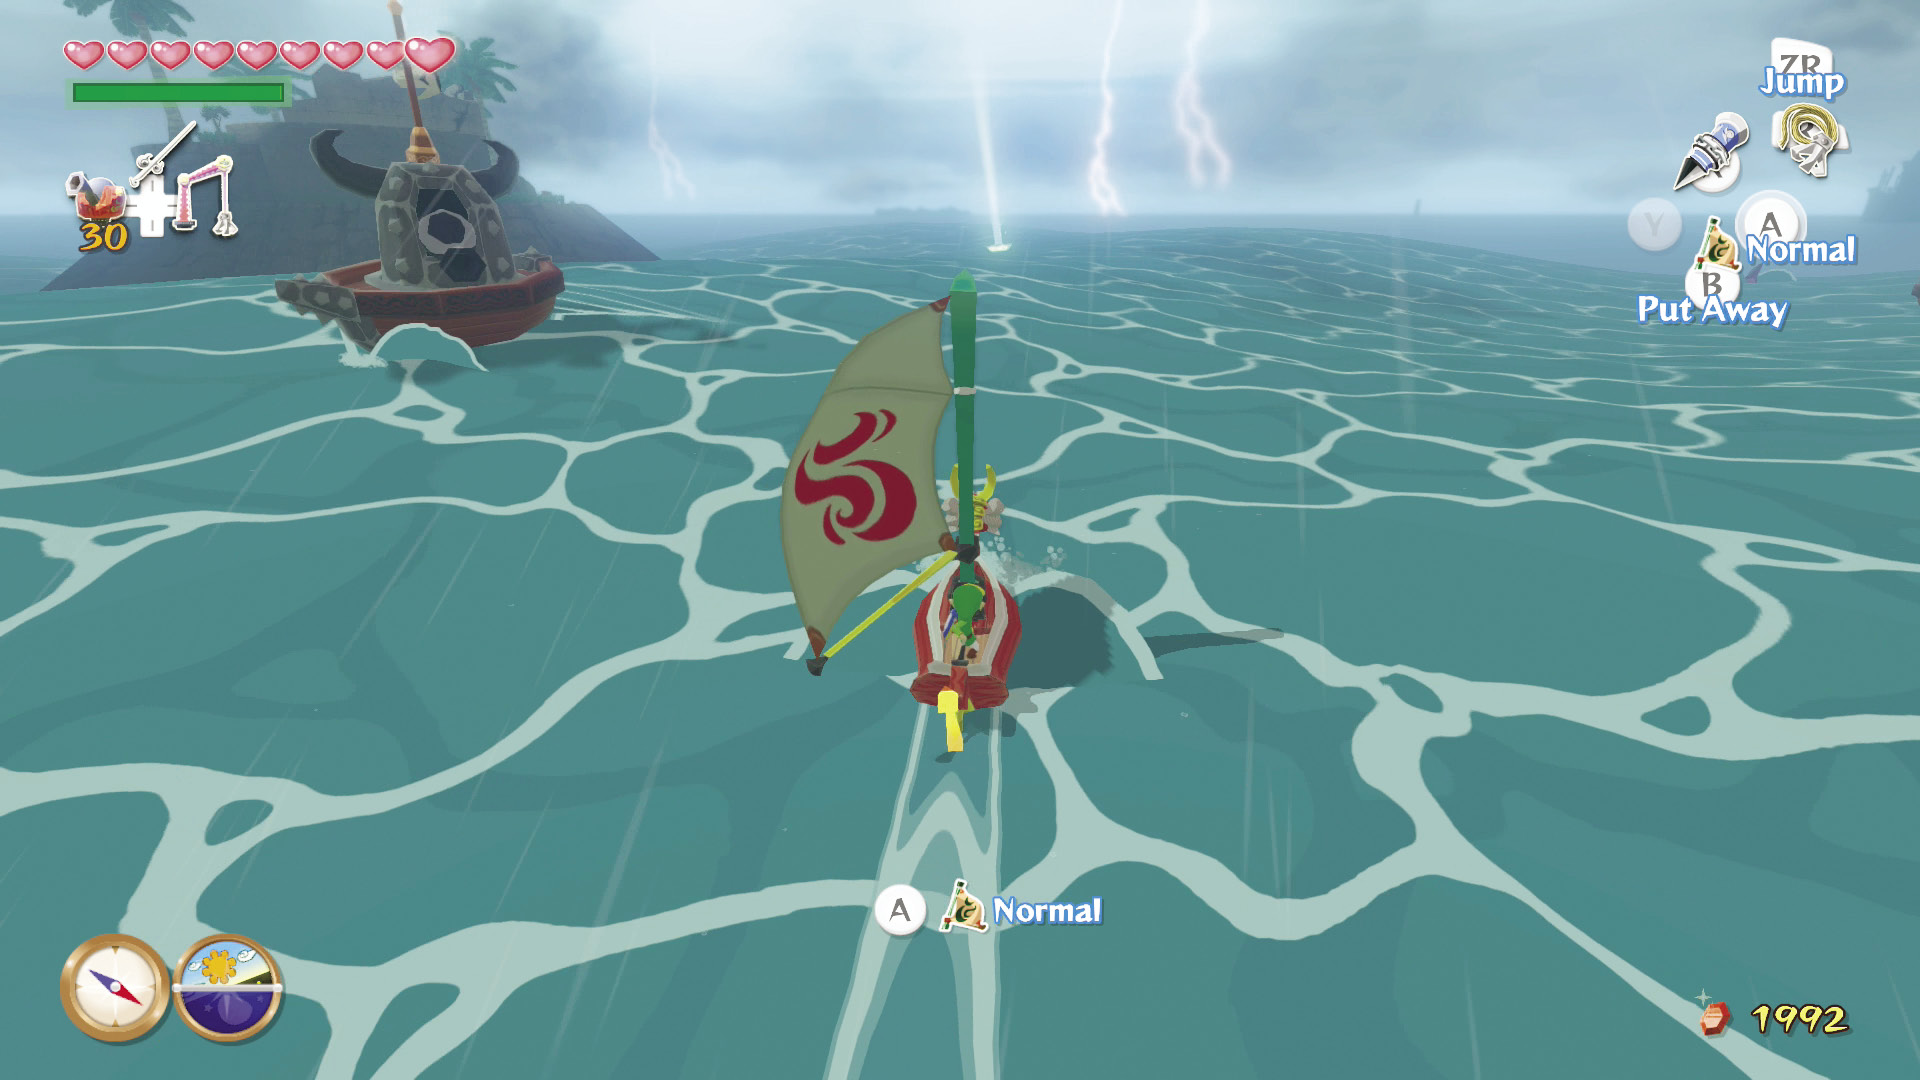
Find Triforce Shard #4 by opening Triforce Chart #2. The location of Shard #4 is on Chart #2’s map. All you need to do is pull it up from the bottom of the ocean.
|
|
133 |
Triforce Shard #4 |
Triforce Shard #5
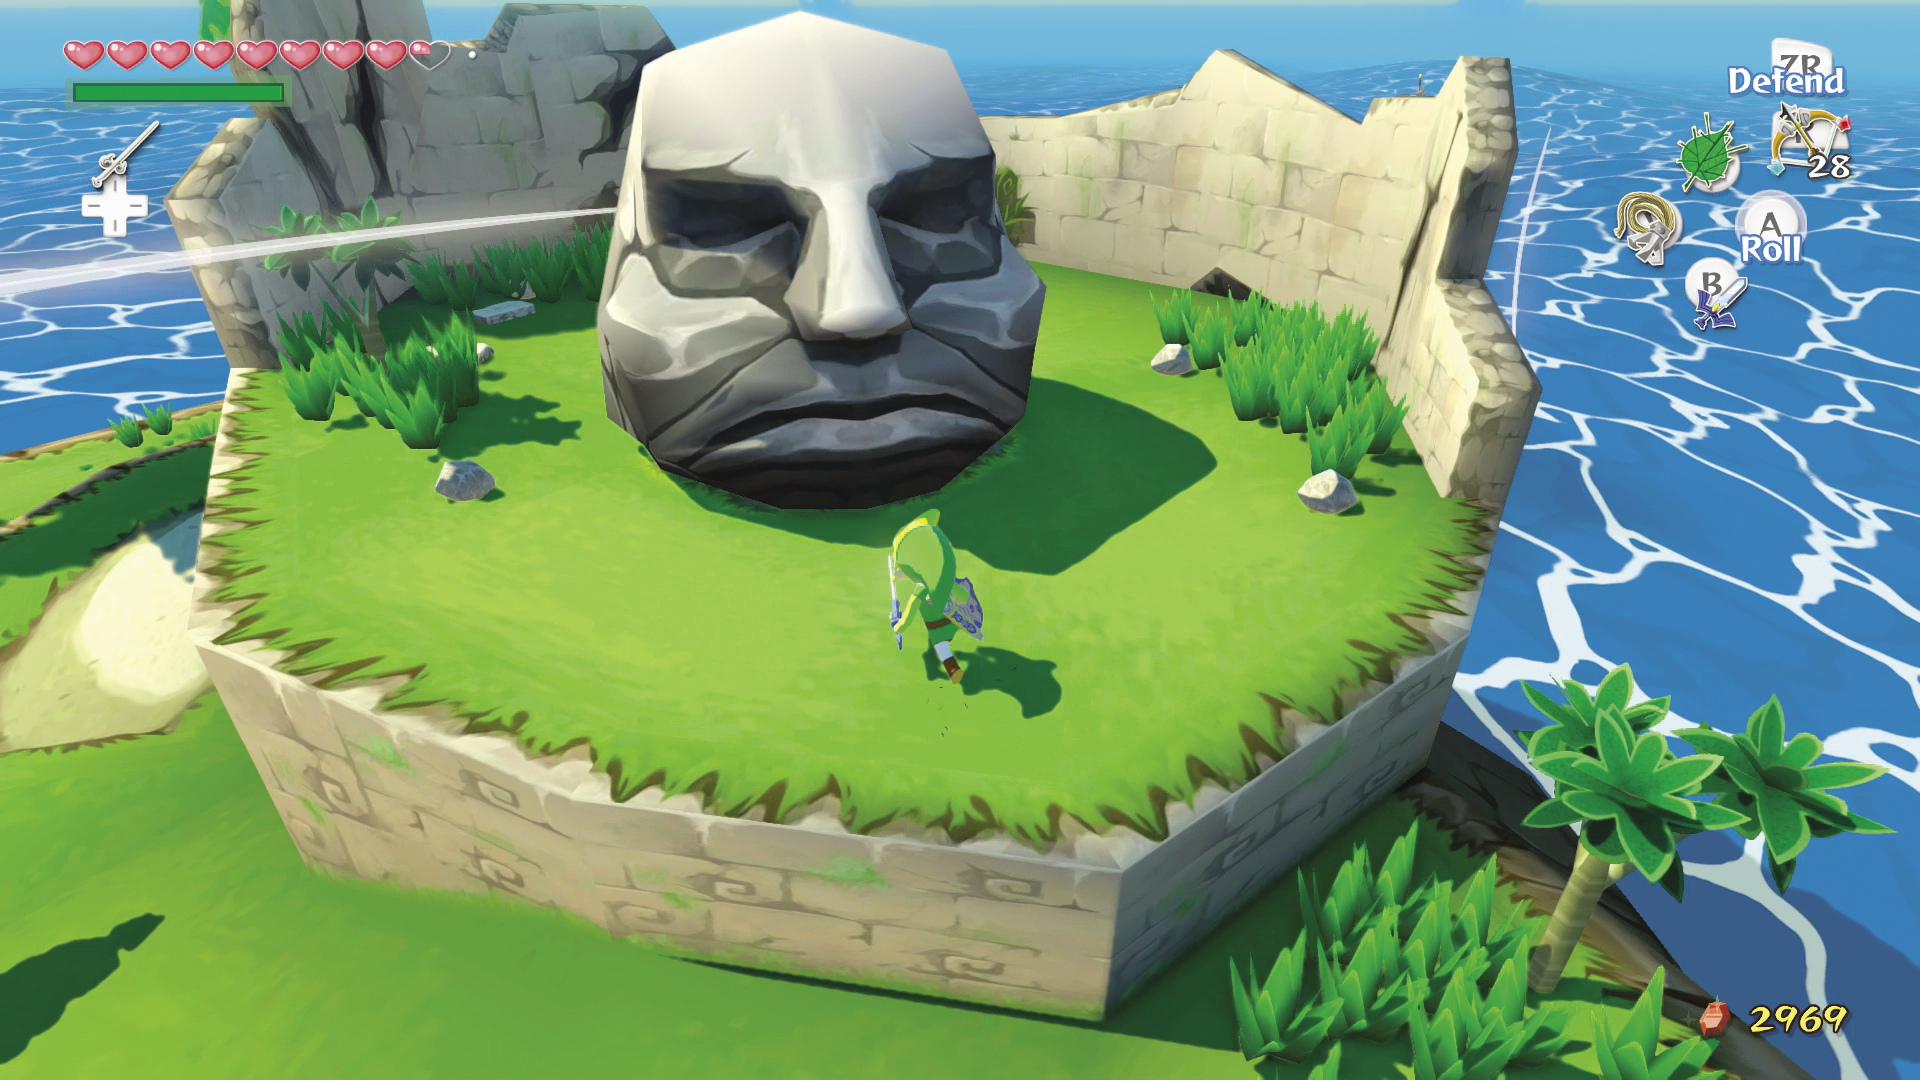
Sail to Stone Watcher Island and lift the huge stone head to reveal a Secret Cave. Fall into the cavern and go through the door in front of you when you land.
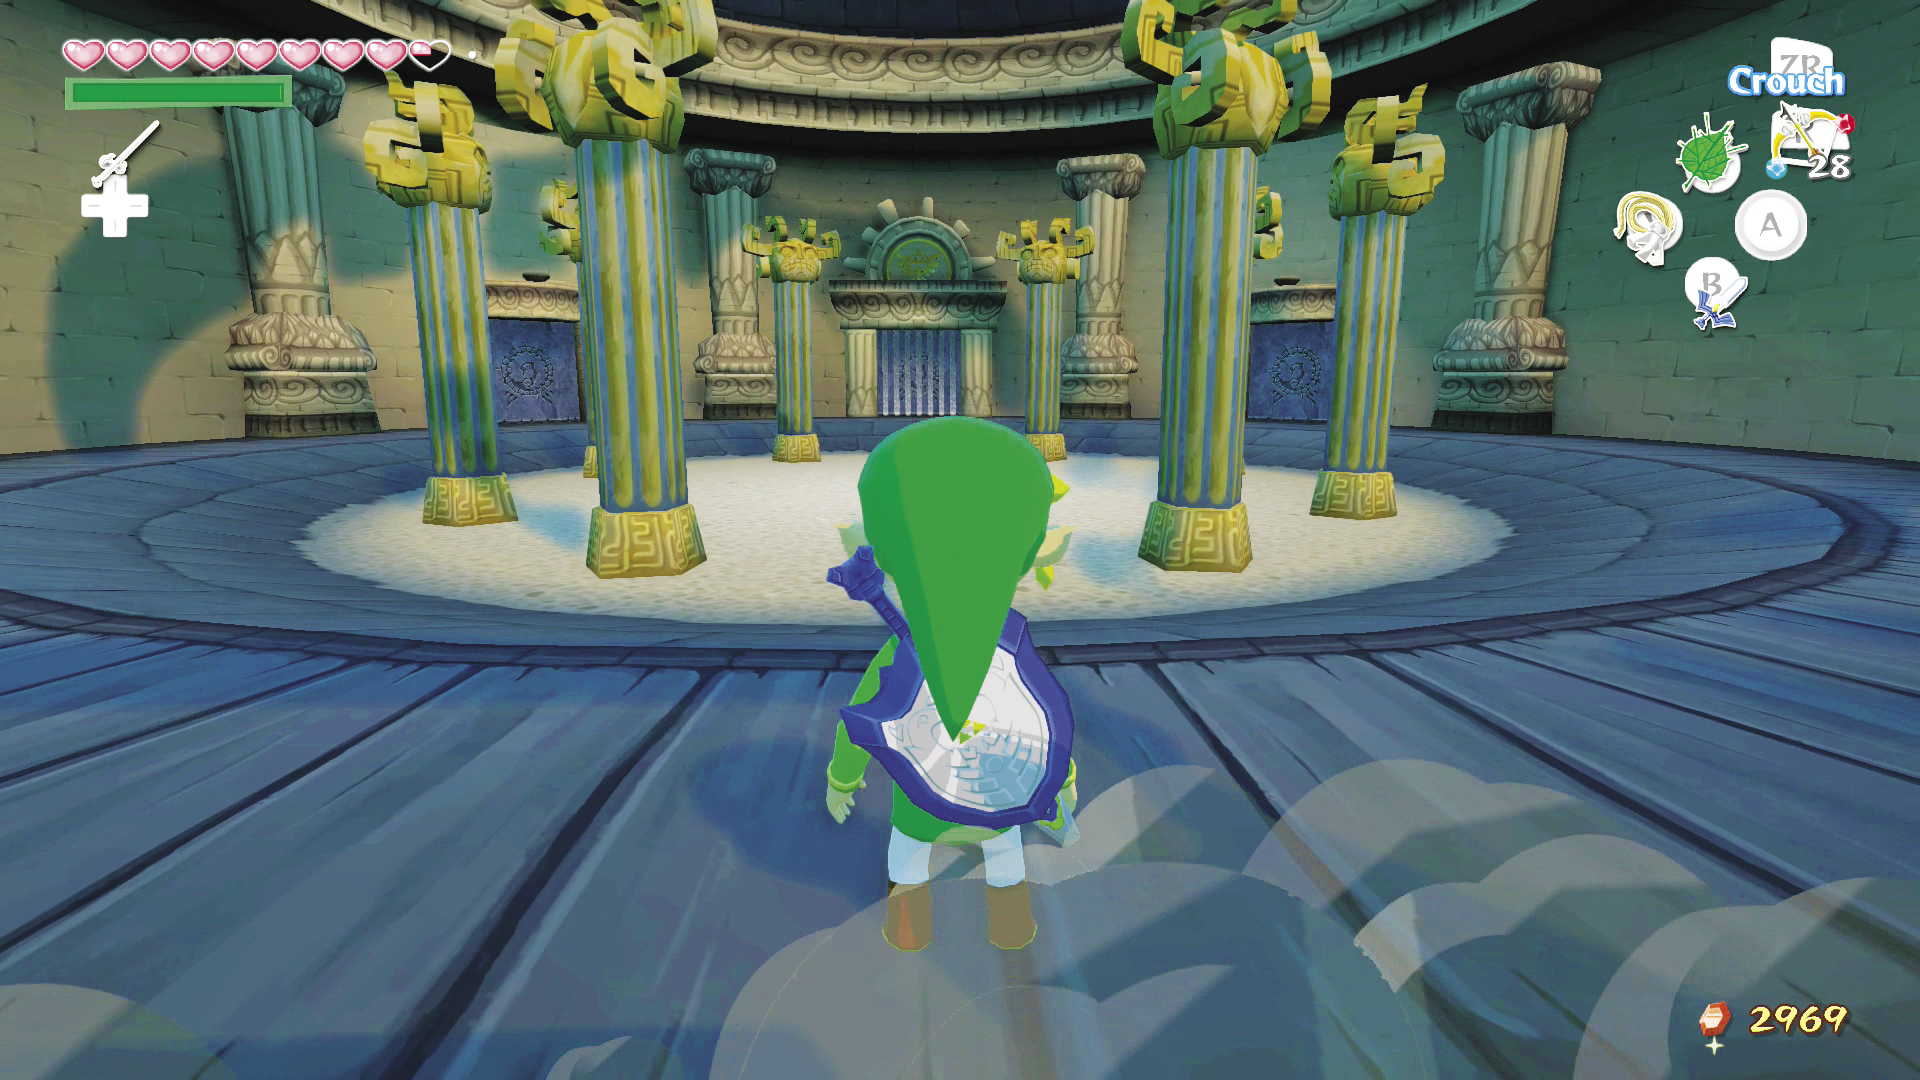
The next room has five doors, not counting the one through which you entered. The one directly across the room from you is sealed. Starting with the door to your immediate left and going clockwise, the four remaining doors lead to rooms that contain:
Four Armos
Two Moblins
Three Blue Wizzrobes
Five Bokoblins
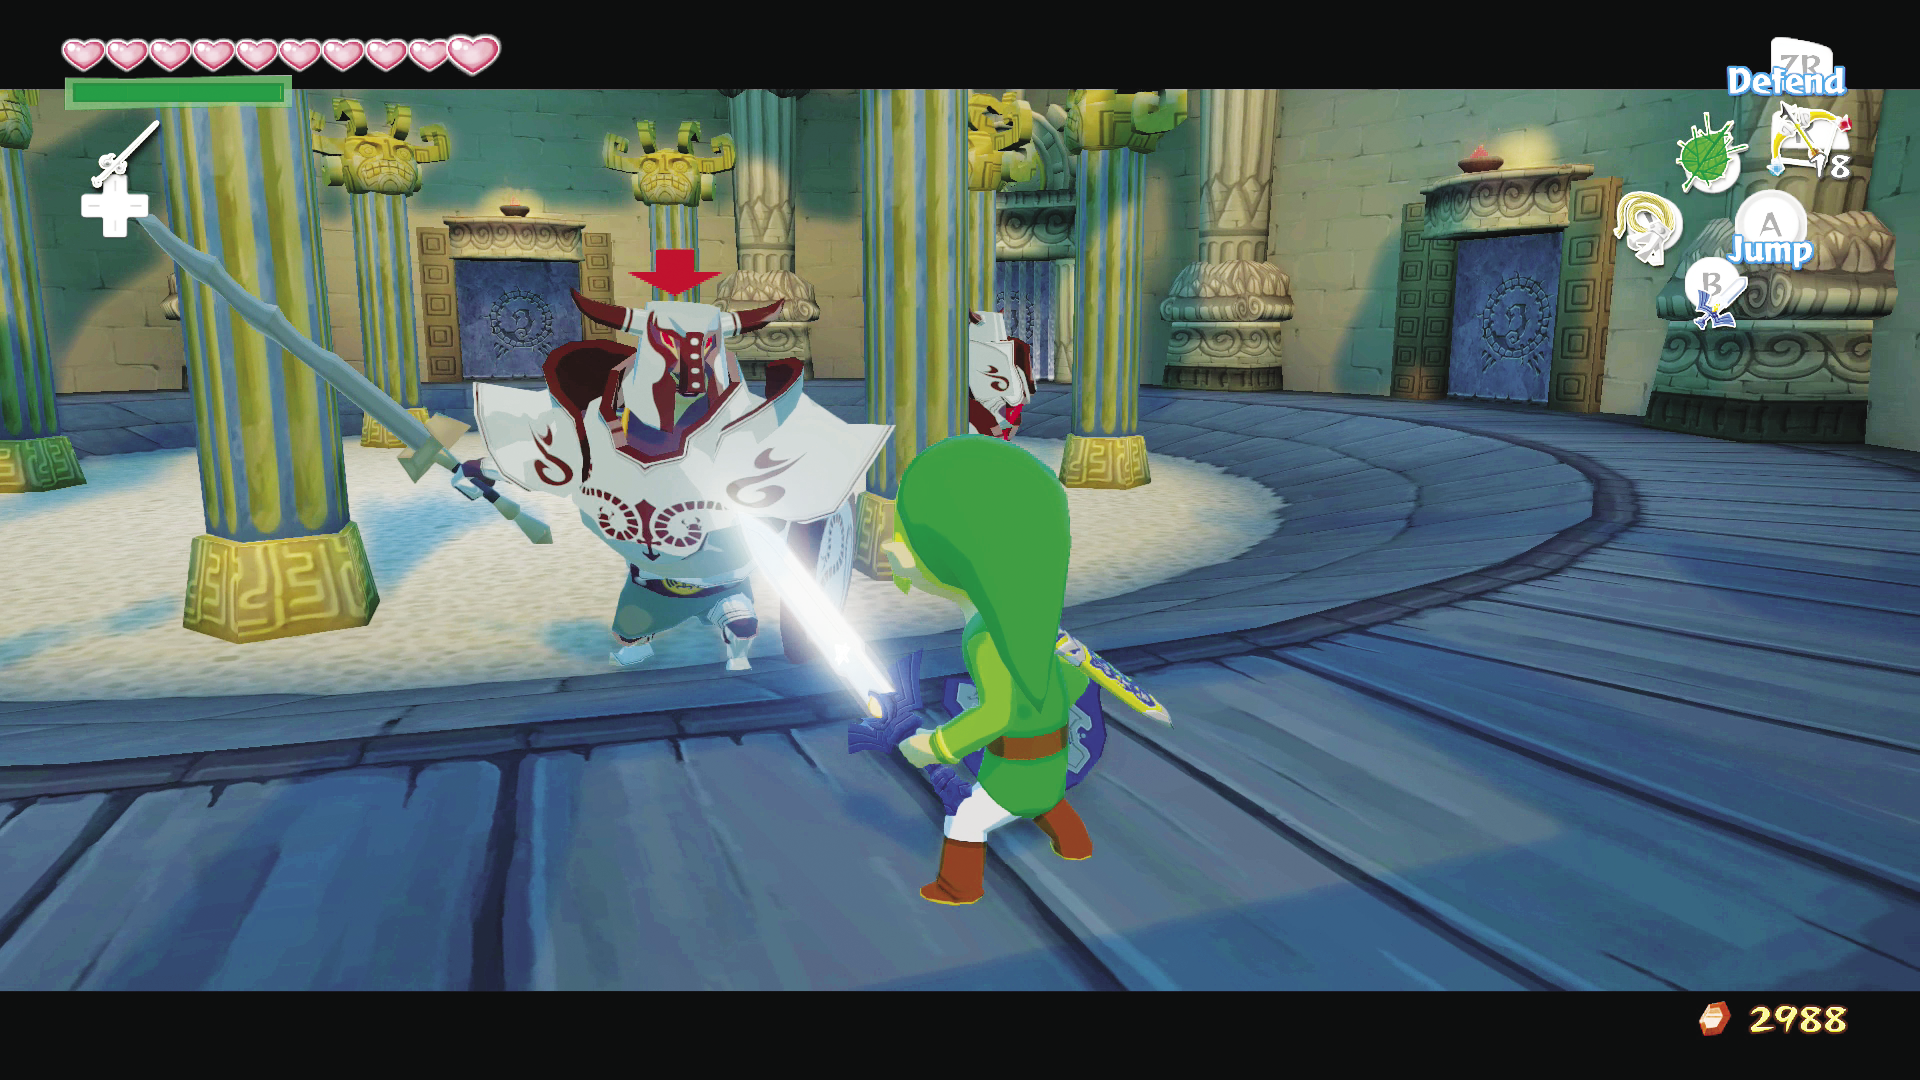
After you clear each room of enemies, a flame appears above the doorway. When all four doorways are lighted with a flame, two Darknuts appear in the large central room. Defeat them to open the sealed door.
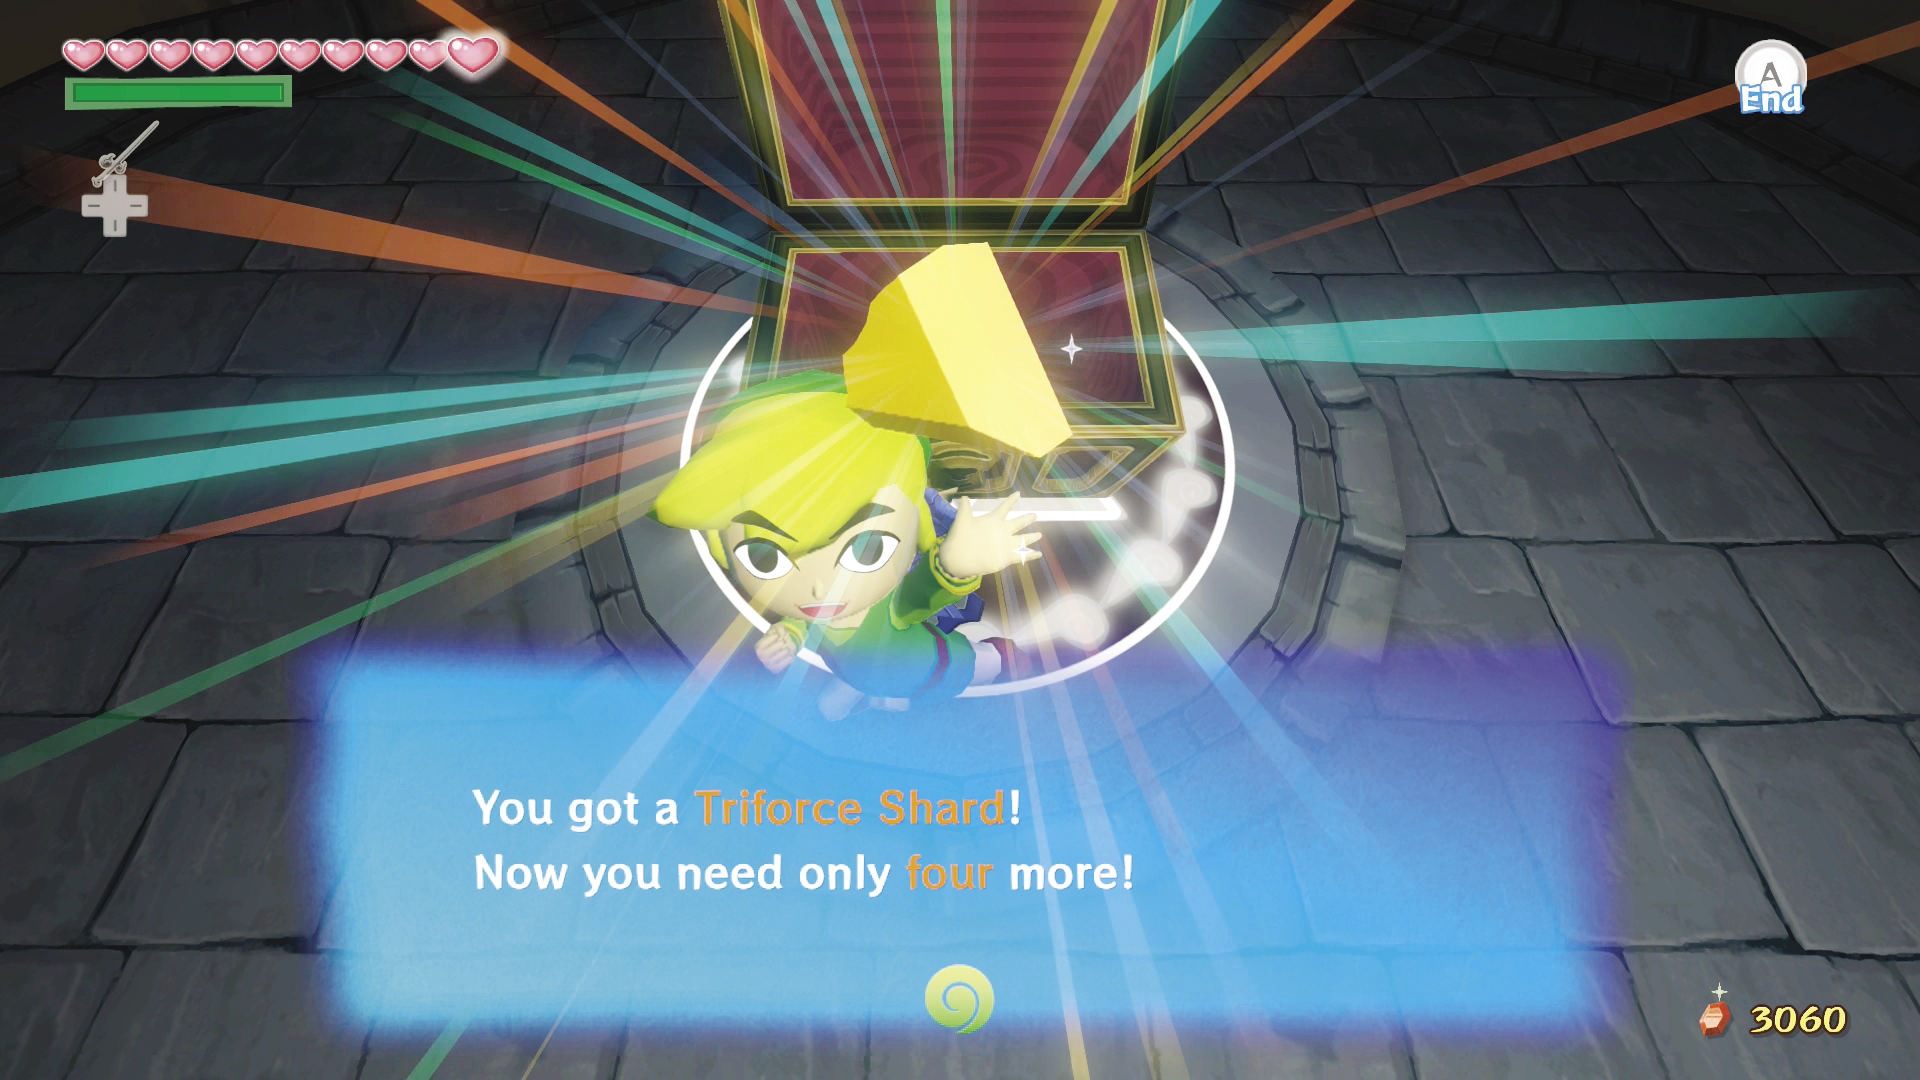
On the other side of the sealed door is a Wind Crest. Stand on it and conduct the “Wind’s Requiem,” and a chest appears. Triforce Shard #5 is inside.
|
|
134 |
Triforce Shard #5 |