The Legend of Zelda: The Wind Waker Guide Walkthrough Rebuilding the Triforce of Courage
Triforce Chart #2: Birds Peak Rock (G5)
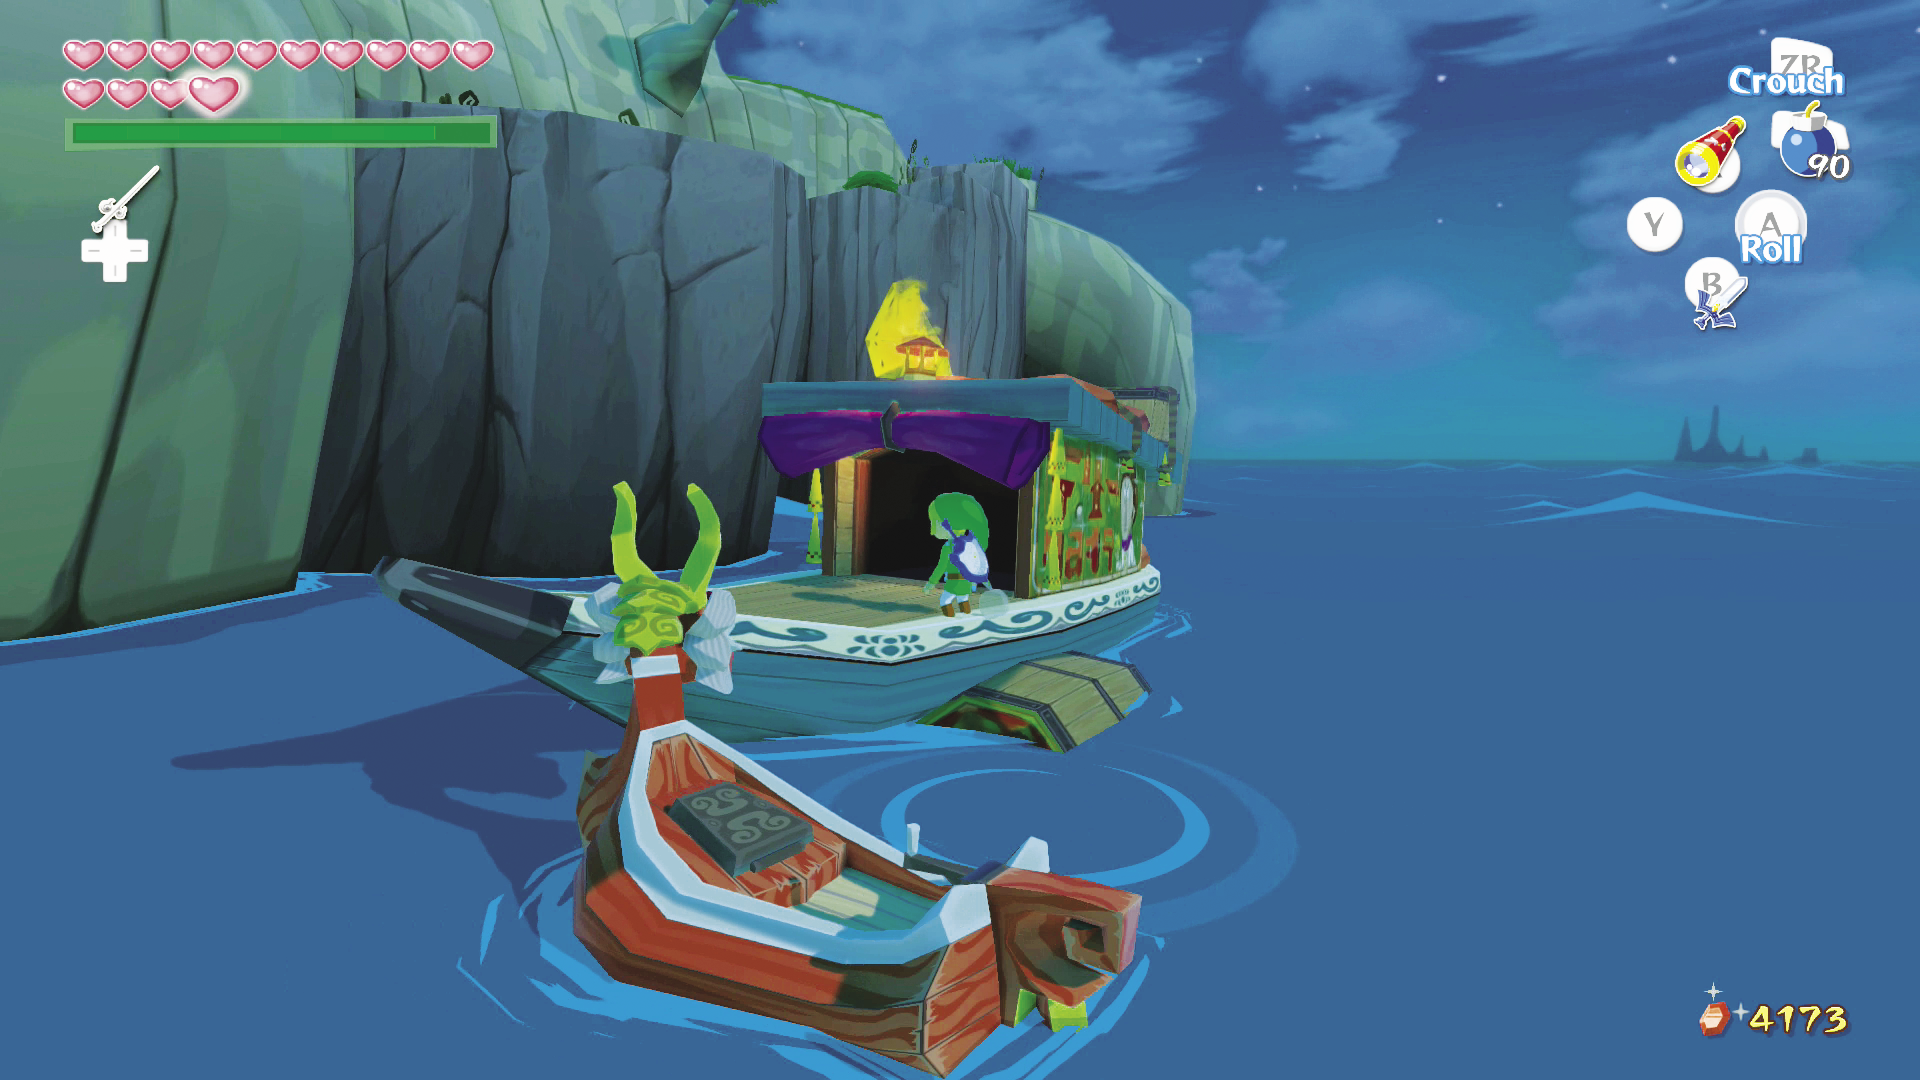
Make sure you have a couple of Hyoi Pears before going for this Triforce Chart—if you’re out, you can buy some from Beedle in front of Forest Haven (F6).
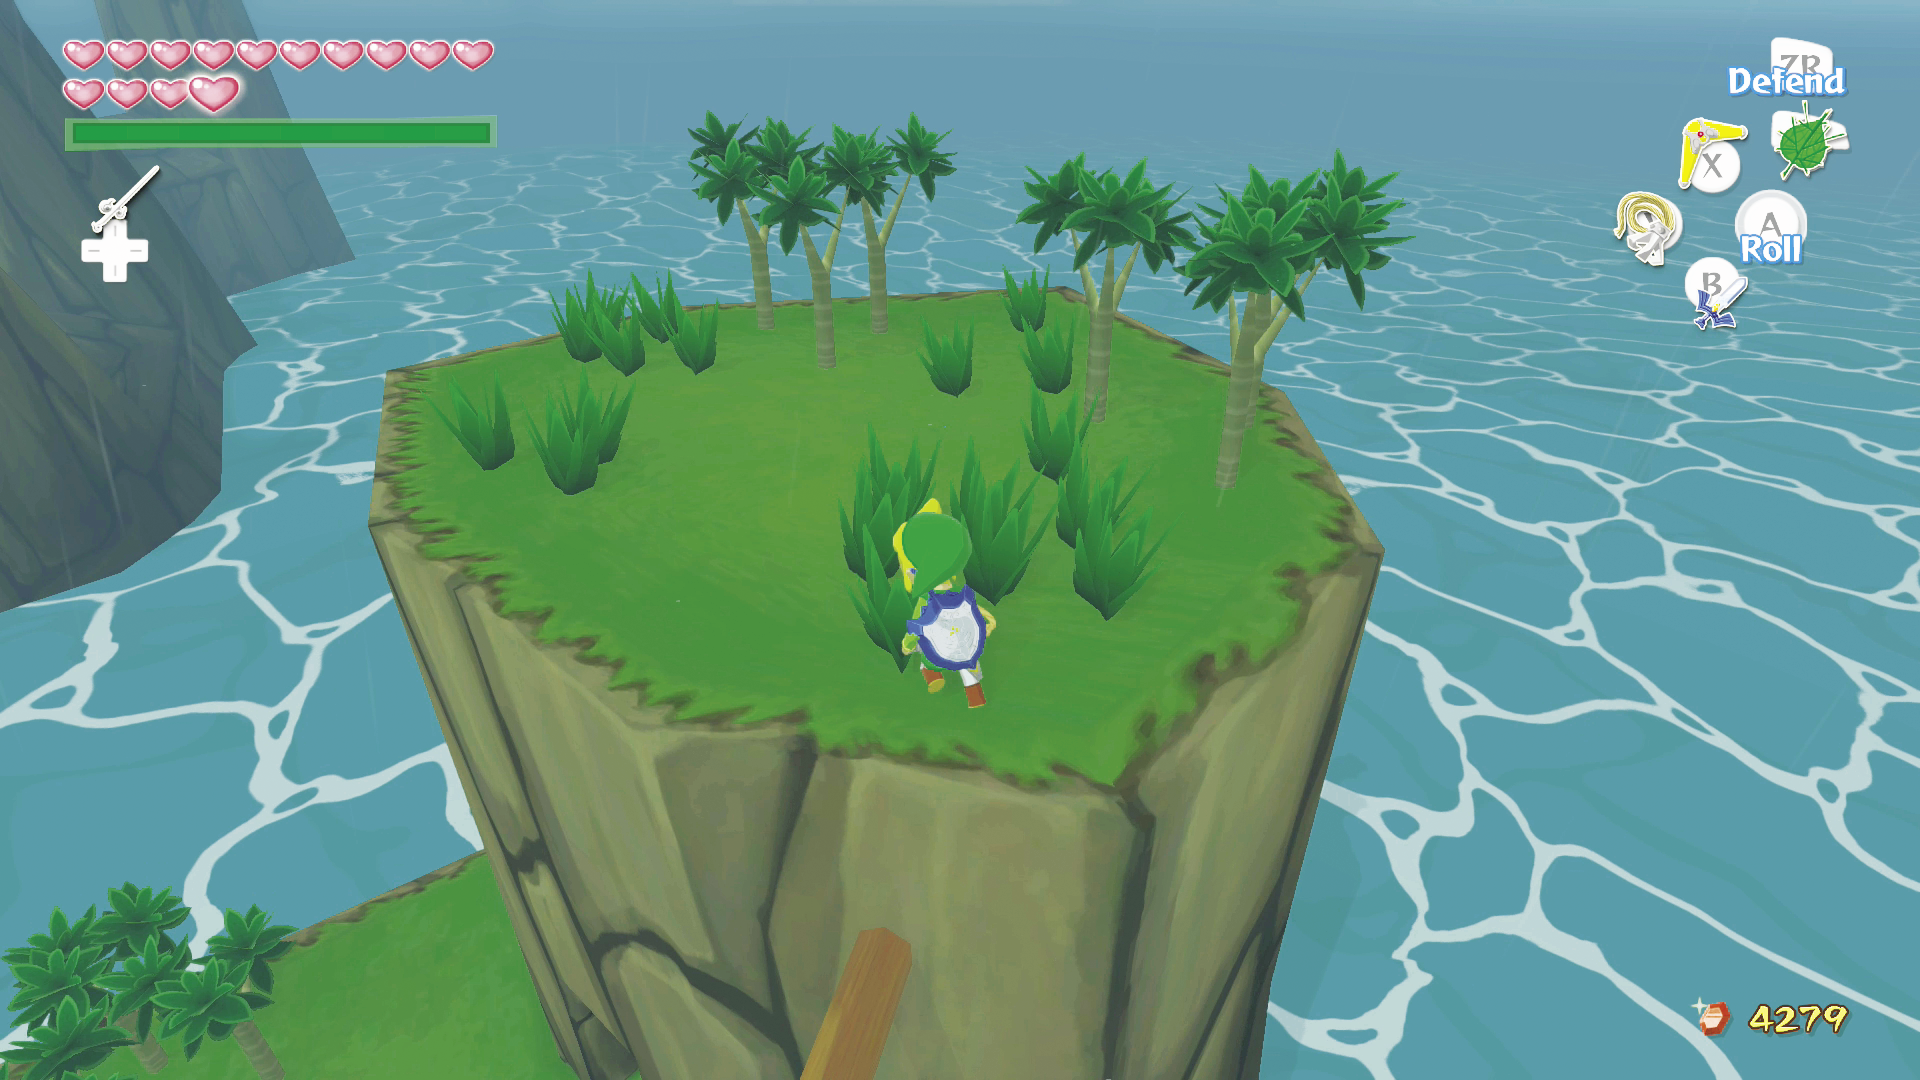
Sail to Bird’s Peak Rock (G5), where you find a cavern sealed by a metal gate. Use your Grappling Hook to reach the top of the short island, and defeat a Blue ChuChu here.
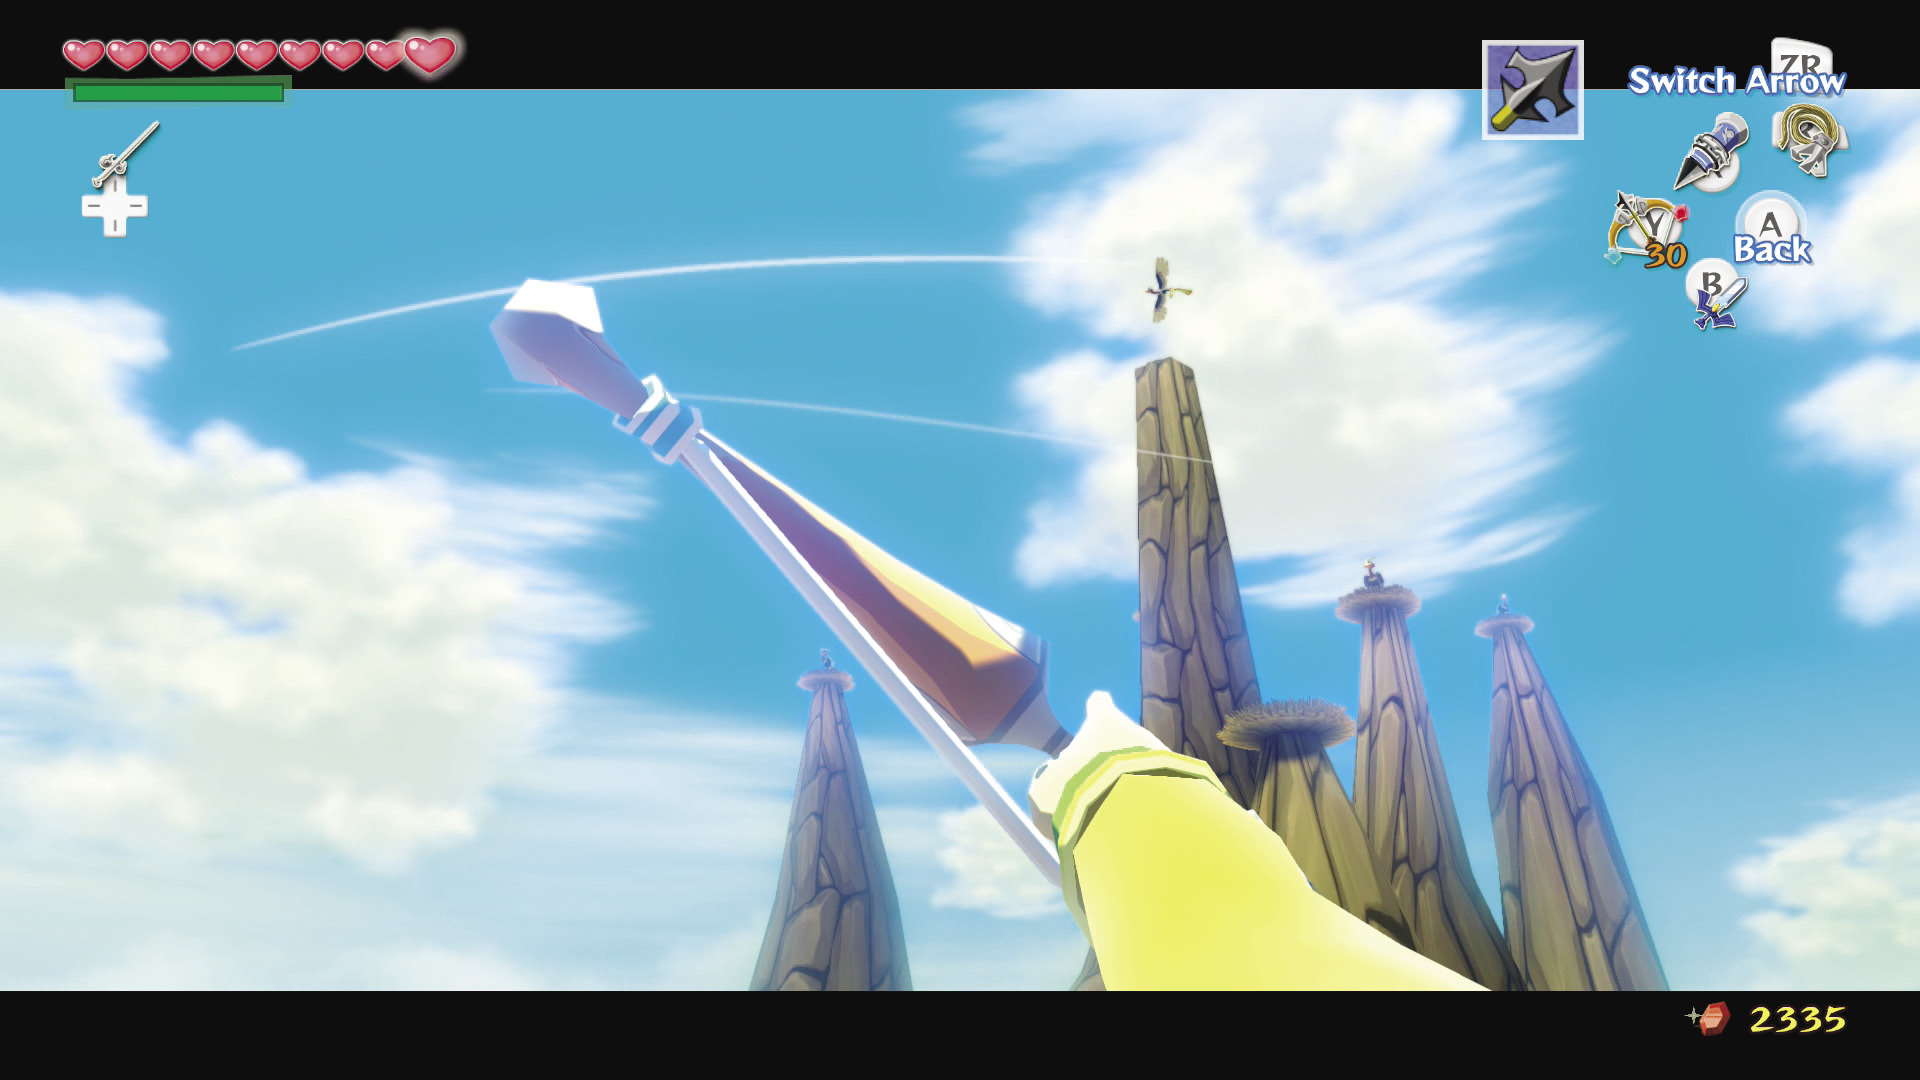
Atop each of the nearby rock spires are Kargorocs sitting in nests that contain crystal switches. Aim your Hero’s Bow to take out each Kargoroc. Scan the peaks with your Telescope to be sure you got them all.
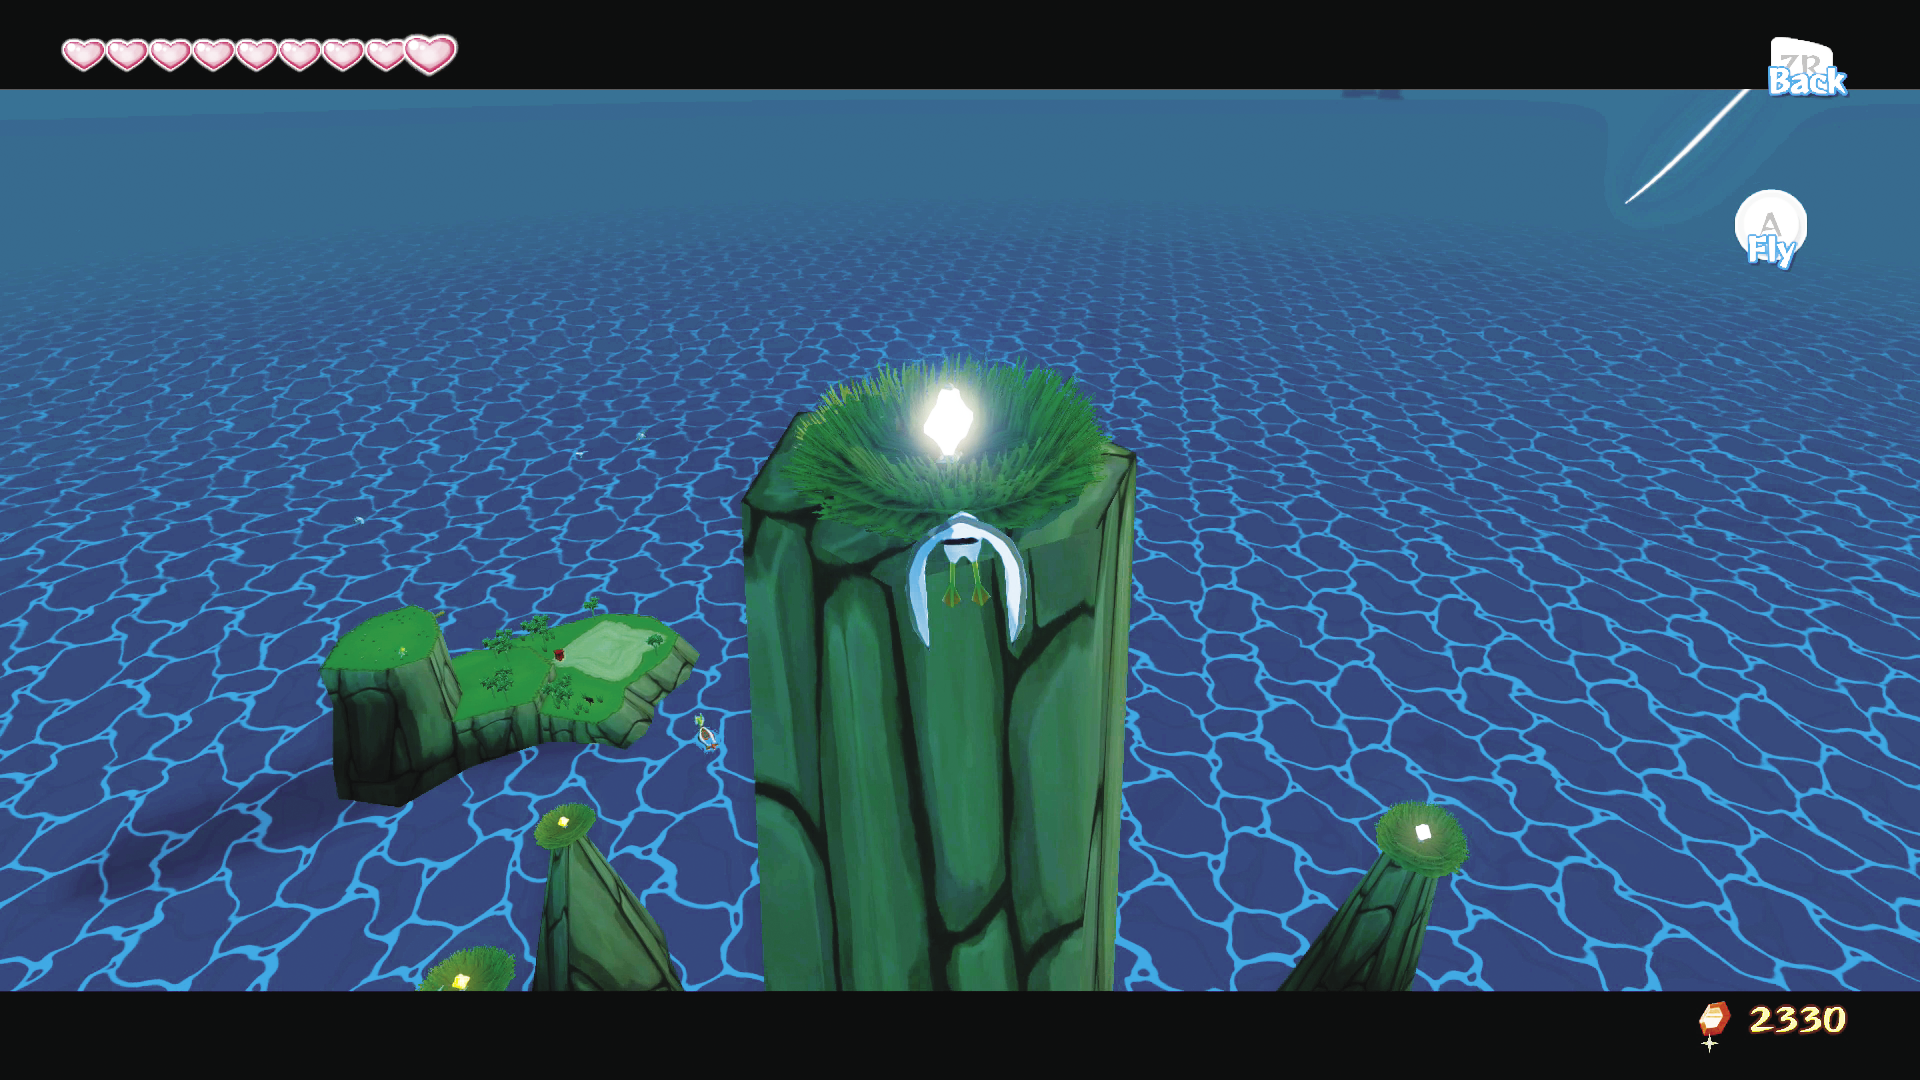
Now, use a Hyoi Pear to take control of a seagull. Fly the seagull around to each of the five peaks of the island and hit the crystal switches.
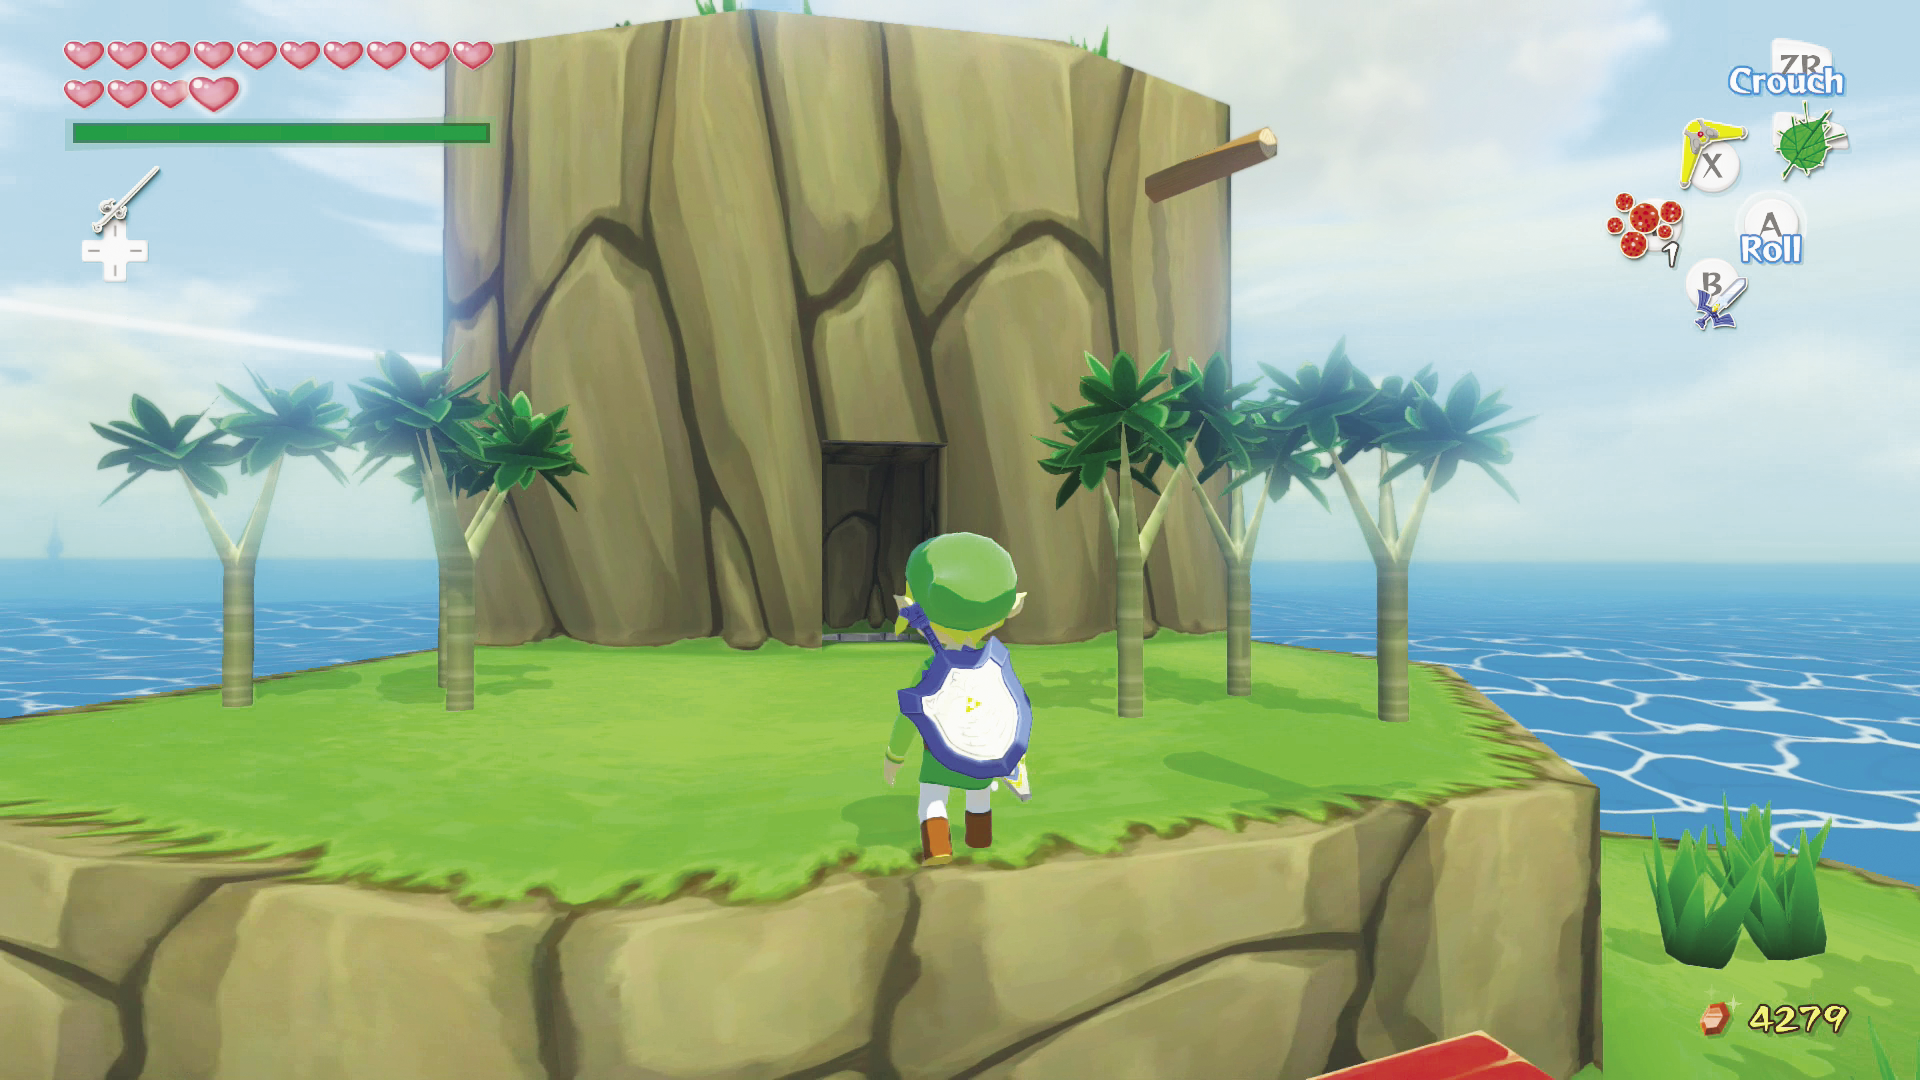
After you trigger all five crystal switches, the metal gate sealing the Secret Cave below you opens. Enter it and drop down the hole to find an altar with the Wind Crest. Stand on it and conduct the “Wind’s Requiem.” A chest containing Triforce Chart #2 appears.
|
|
124 |
Triforce Chart #2 |