
The Legend of Zelda: The Wind Waker Guide Walkthrough Rebuilding the Triforce of Courage
The Triforce of Courage
With the Triforce of Courage complete again, we can now get back into Hyrule Castle to find Zelda. From here, you can warp to the Tower of the Gods (E4) and head through the portal to reach the castle.
If you’ve been following the “Conquering the Great Sea” sections of this guide up to this point, you can follow the “The Great Sea Conquered” section below to finish getting all of the Pieces of Heart, getting all the Treasure Charts, and pulling up all the treasure they hide.
Once you head into Hyrule Castle, it’ll be a near straight path to the end of the game, so if you’re looking to wrap up all the side quests, this is the time to do it.
The Great Sea Conquered
Before heading out of Hyrule Castle to rescue Tetra—or maybe we should call her Zelda—you can head back to the surface of the Great Sea and complete the final side quests. Just a little more and you’ll have seen and done it all!
Private Oasis (E5)
A Complimentary Treasure Chart
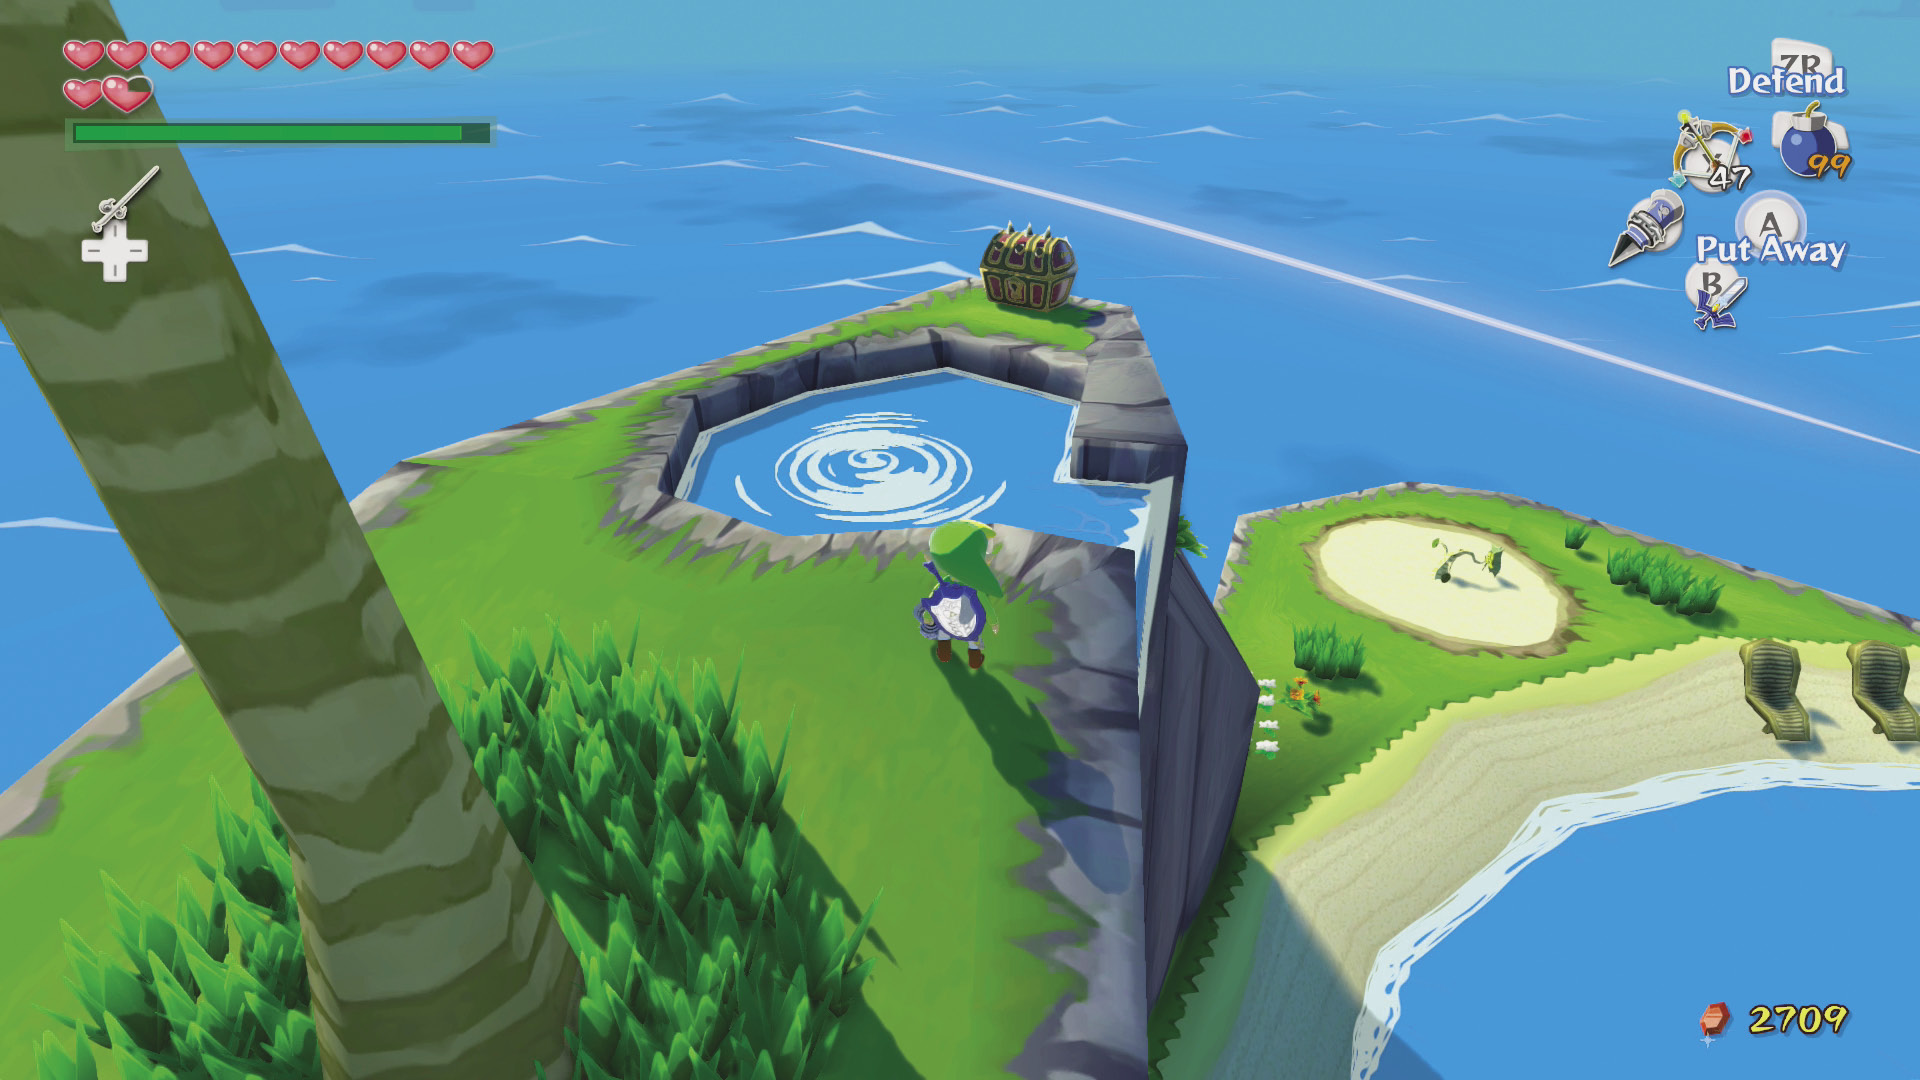
If you use your Hookshot to reach the highest point of the Private Oasis island, you’ll find a chest containing Treasure Chart #27. This island sure has it all, huh?
|
|
136 |
Treasure Chart #27 |
Bomb Island (F5)
Sunken Treasure #20
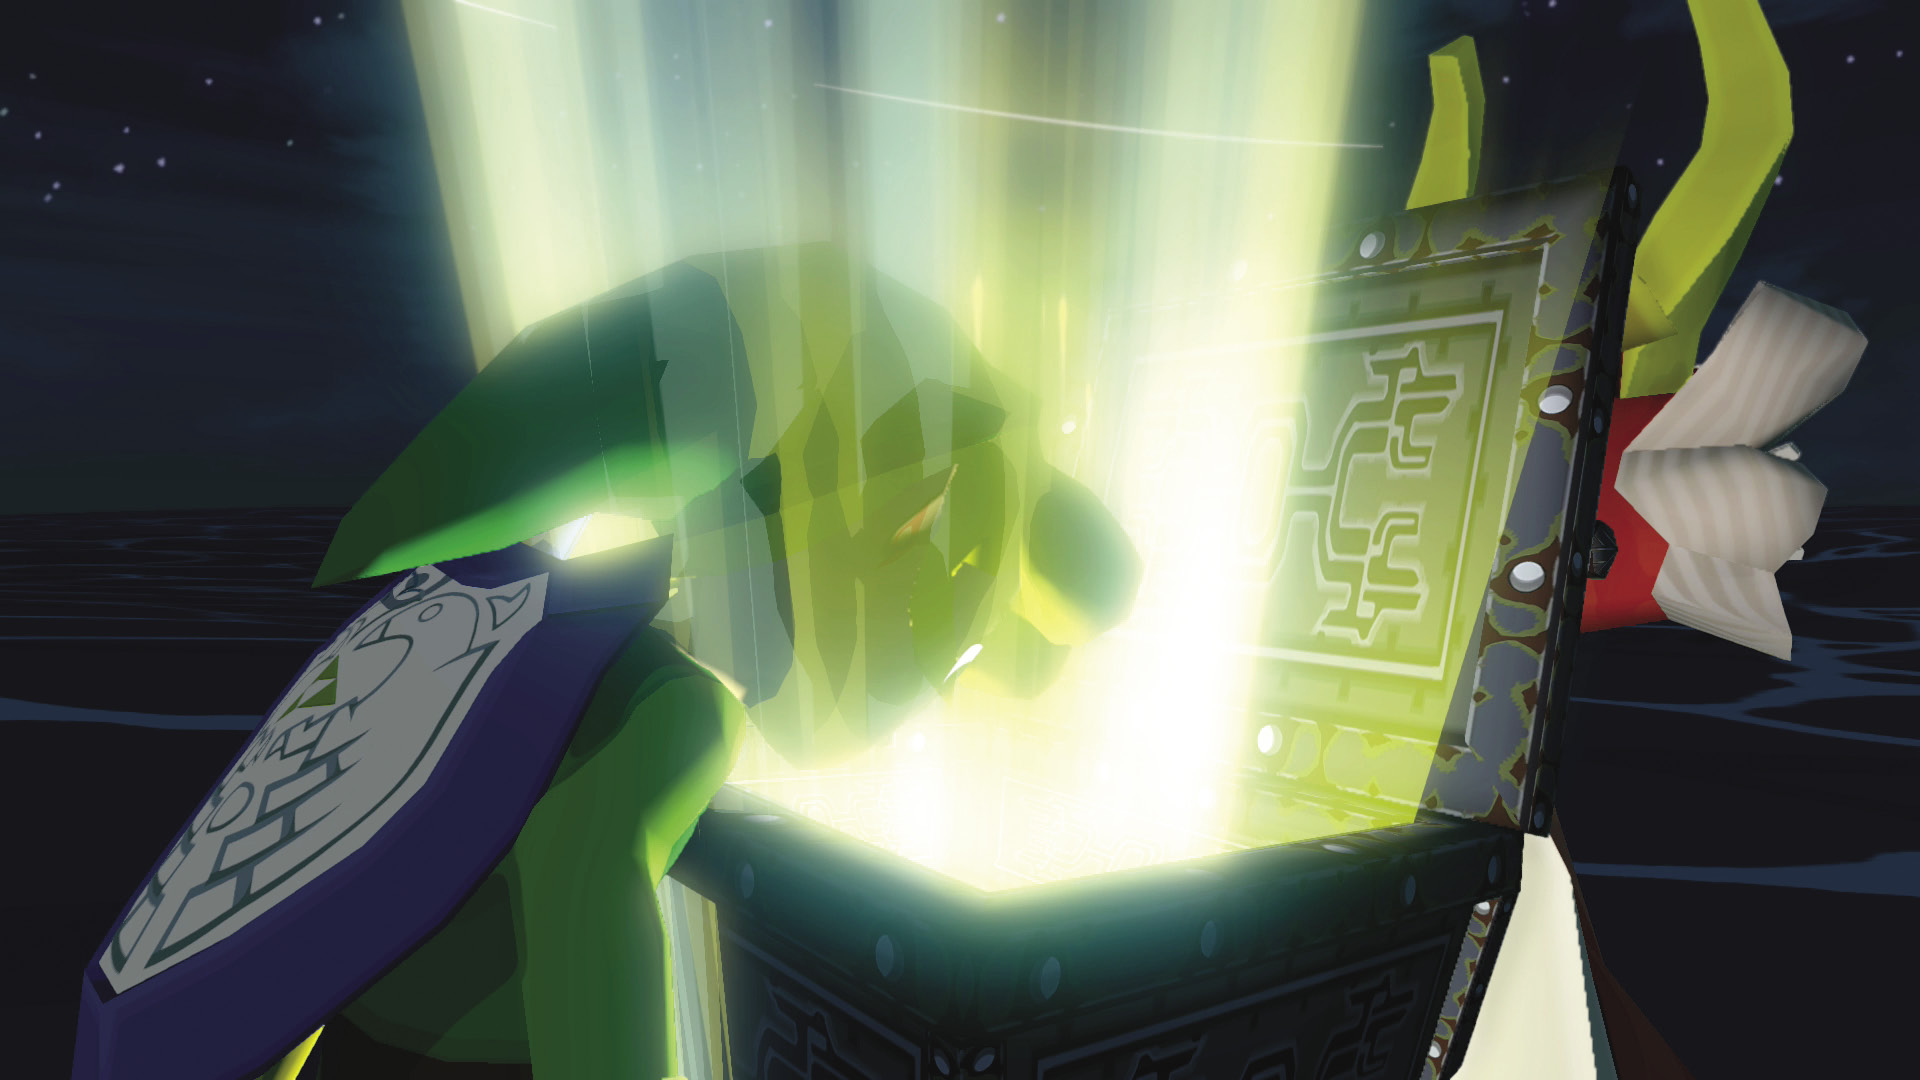
Grabbing Treasure Chart #20 from the Earth Temple is about to pay off big. If you open it in this sector, you can track down Piece of Heart #39. Not only is that one Piece of Heart away from completing your tenth extra Heart Container, but it also means you only need five more Pieces of Heart, period! You’ve been so tenacious up to this point, don’t stop now!
|
|
137 |
Piece of Heart #39 |

Zunari’s Reward
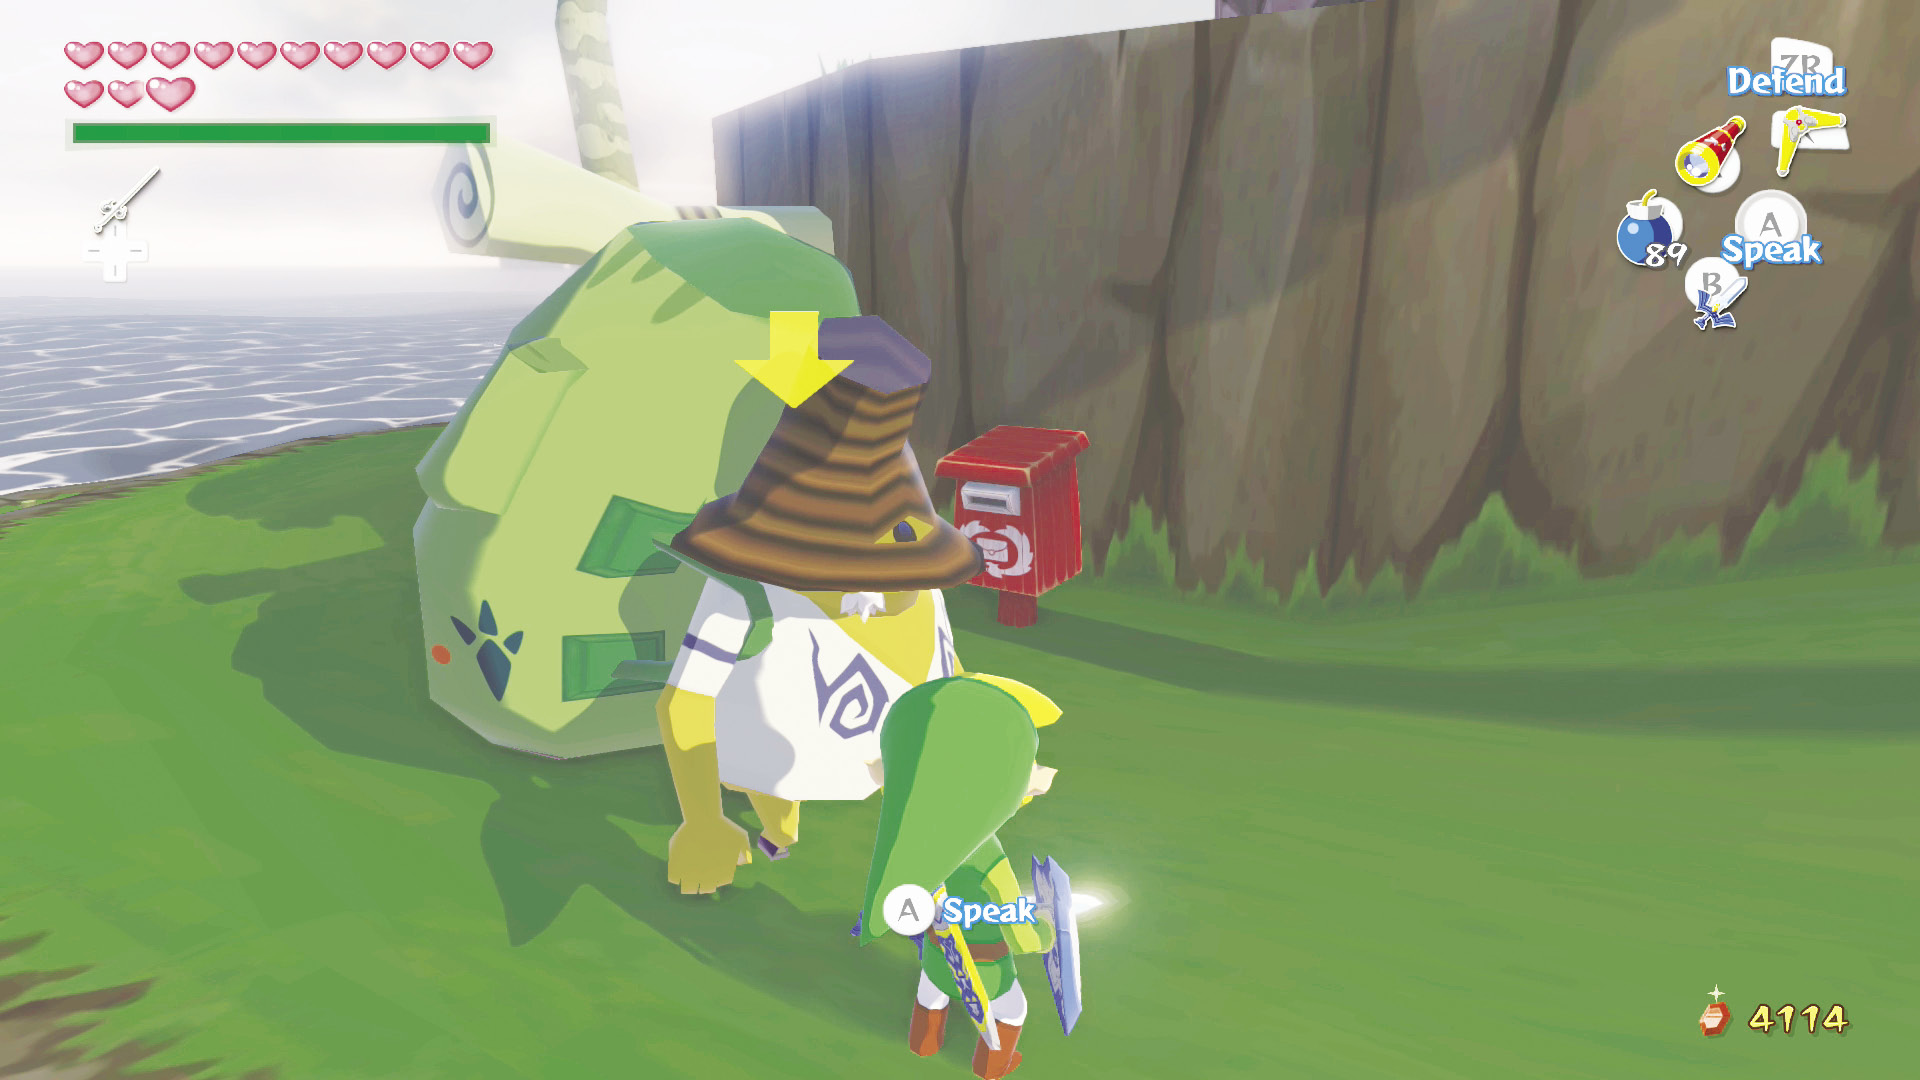
On the Bomb Island is another Traveling Merchant. If you offer him the Exotic Flower, he’ll give you a Sickle Moon Flag.
After having traded with all three Traveling Merchants, you can head back to Zunari to receive a special reward. If you’re willing to wait, we’ll be making a stop at Windfall Island shortly, so you can collect the item then.
Forest Haven (F6)
Withered Deku Trees
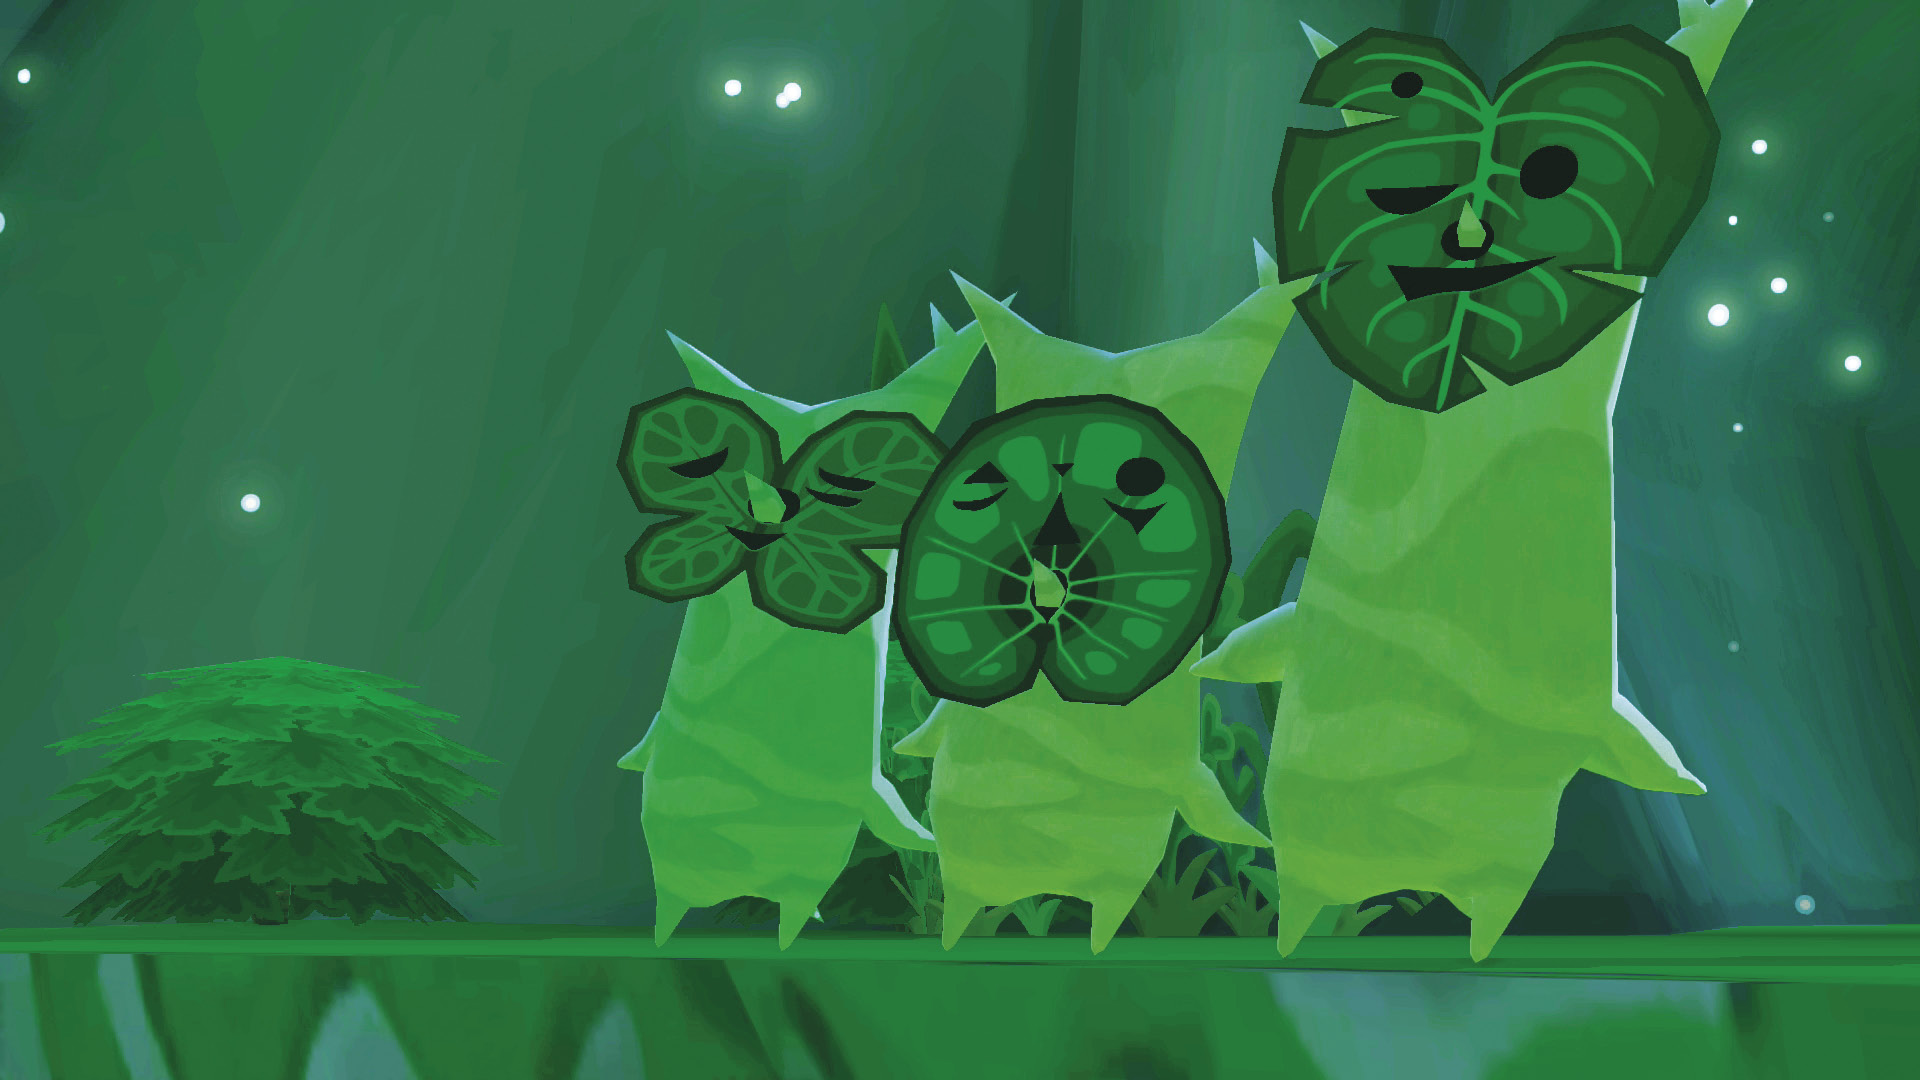
During the cutscene that runs after you clear the Forbidden Woods dungeon and return Makar to Forest Haven, eight Koroks leave the sanctity of the Great Deku Tree’s lair to plant new Deku Trees on eight islands across the Great Sea. However, something has happened to the newly planted Deku Trees—they’re withering away for some reason. Help the Withered Deku Trees to get Piece of Heart #40.
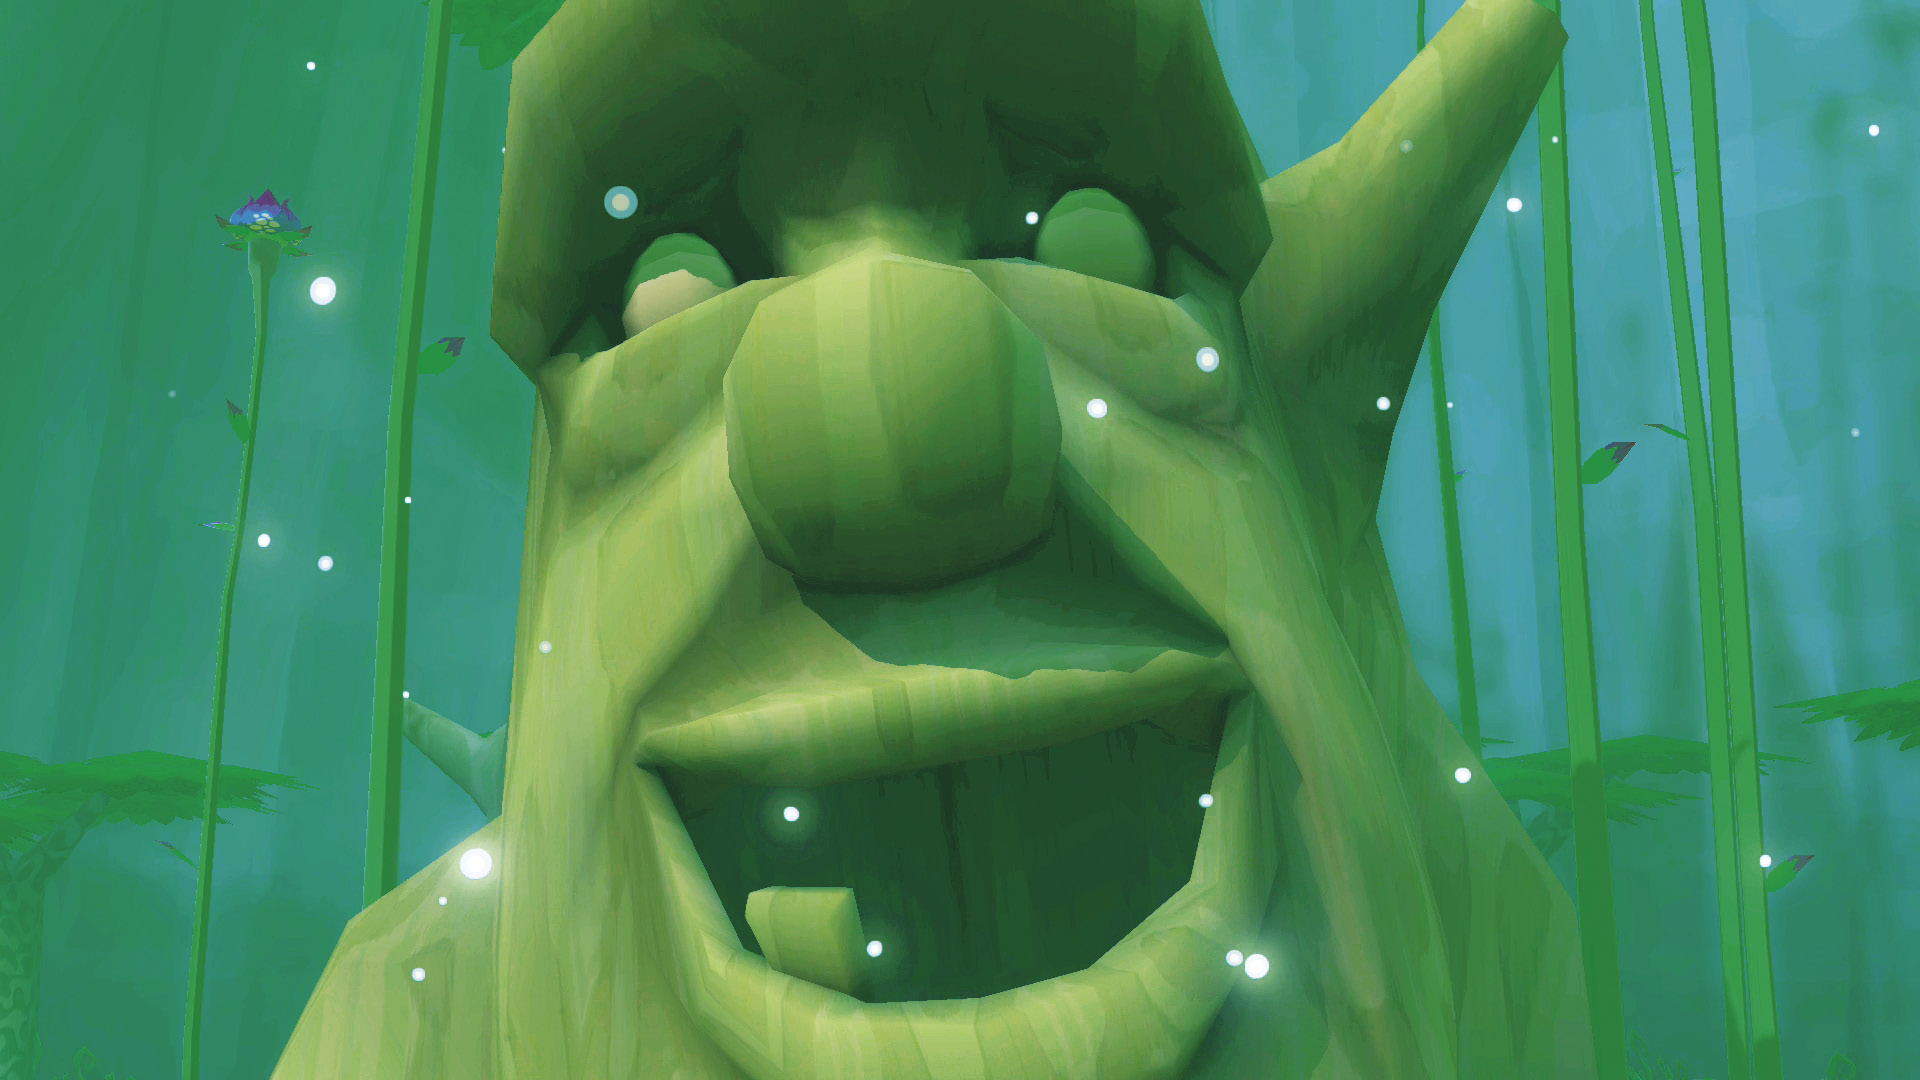
You need an Empty Bottle and the “Ballad of Gales” warping song. Talk to the Great Deku Tree, who explains the entire situation to you. He also marks the locations of the eight Withered Deku Trees on your Sea Chart. They appear as faint Deku Leaf symbols. Now all you need is some Forest Water.
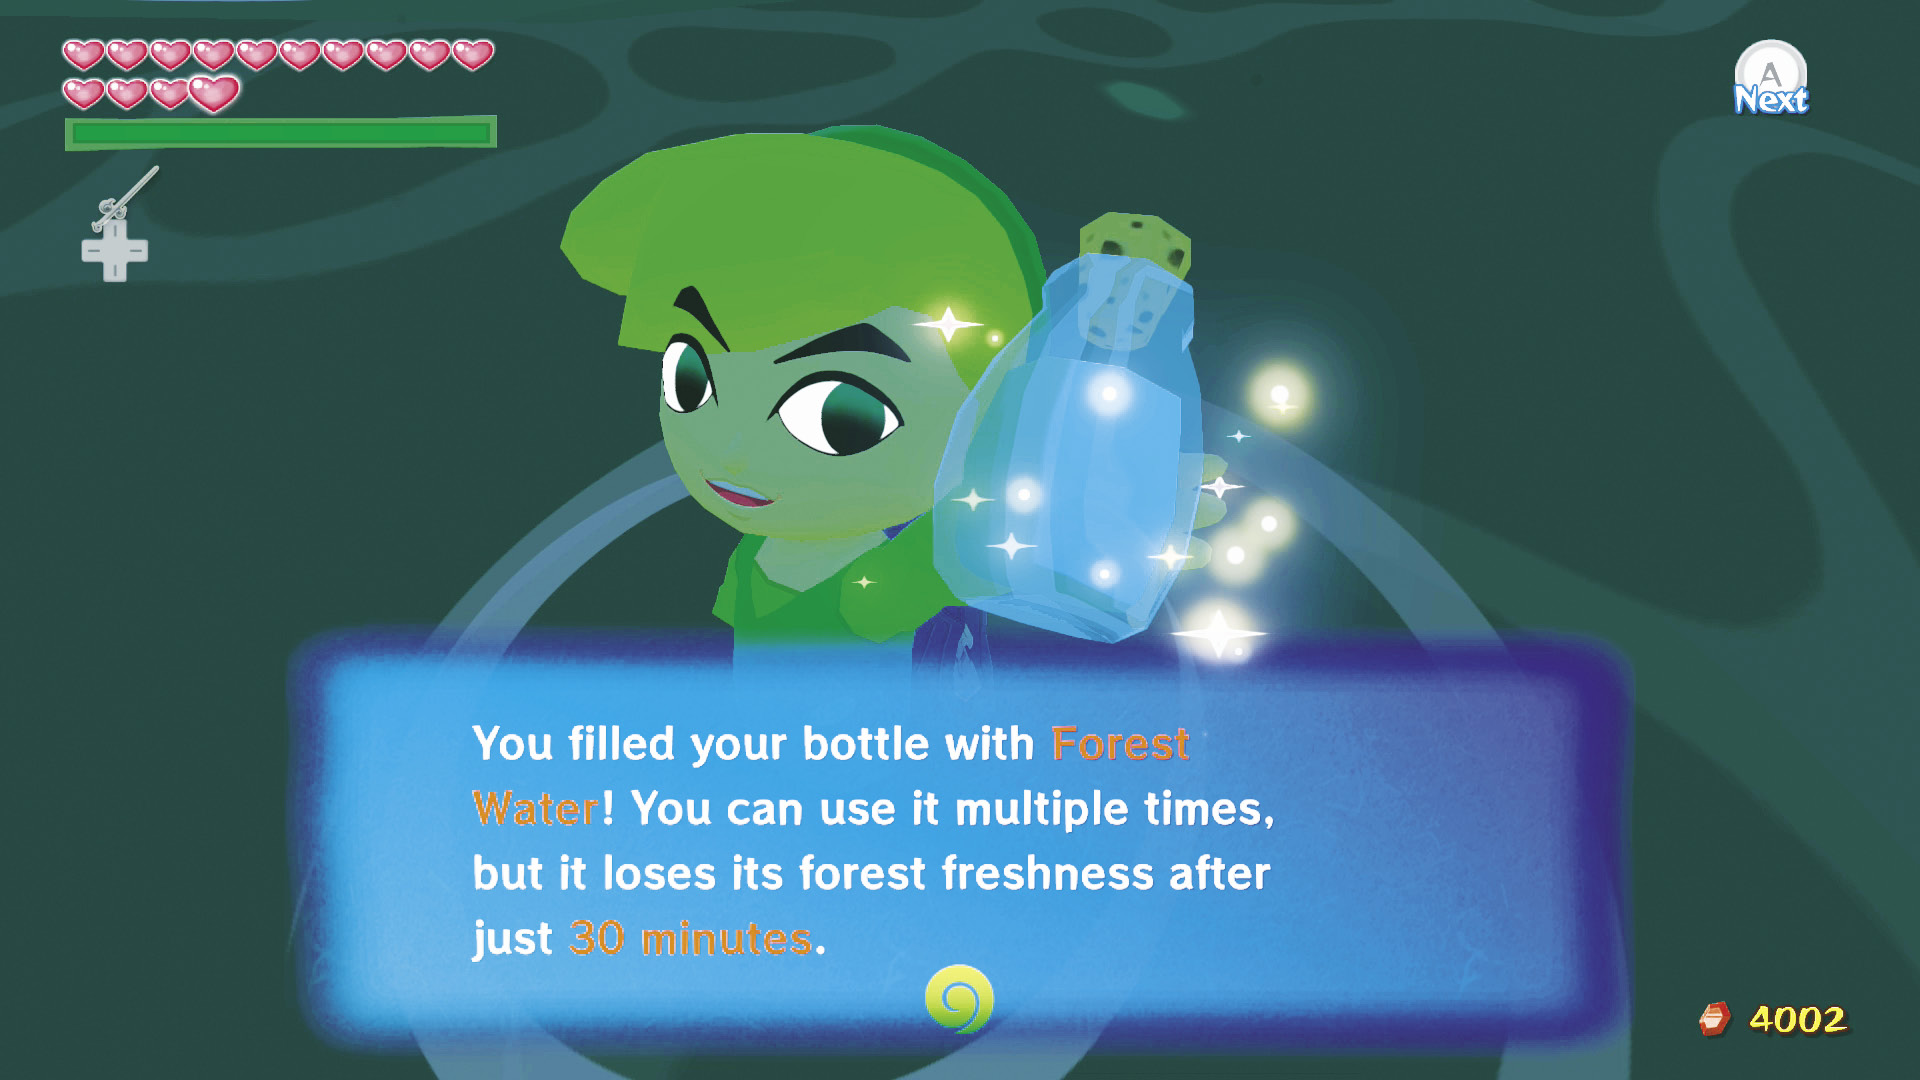
Fill your bottle in Forest Haven with Forest Water, magically purified water with the power to revive Deku Trees. You can fill only one bottle, but it holds an unlimited amount of Forest Water. Forest Water turns into ordinary water 30 minutes after you leave Forest Haven; you must water all eight Withered Deku Trees before that time passes.
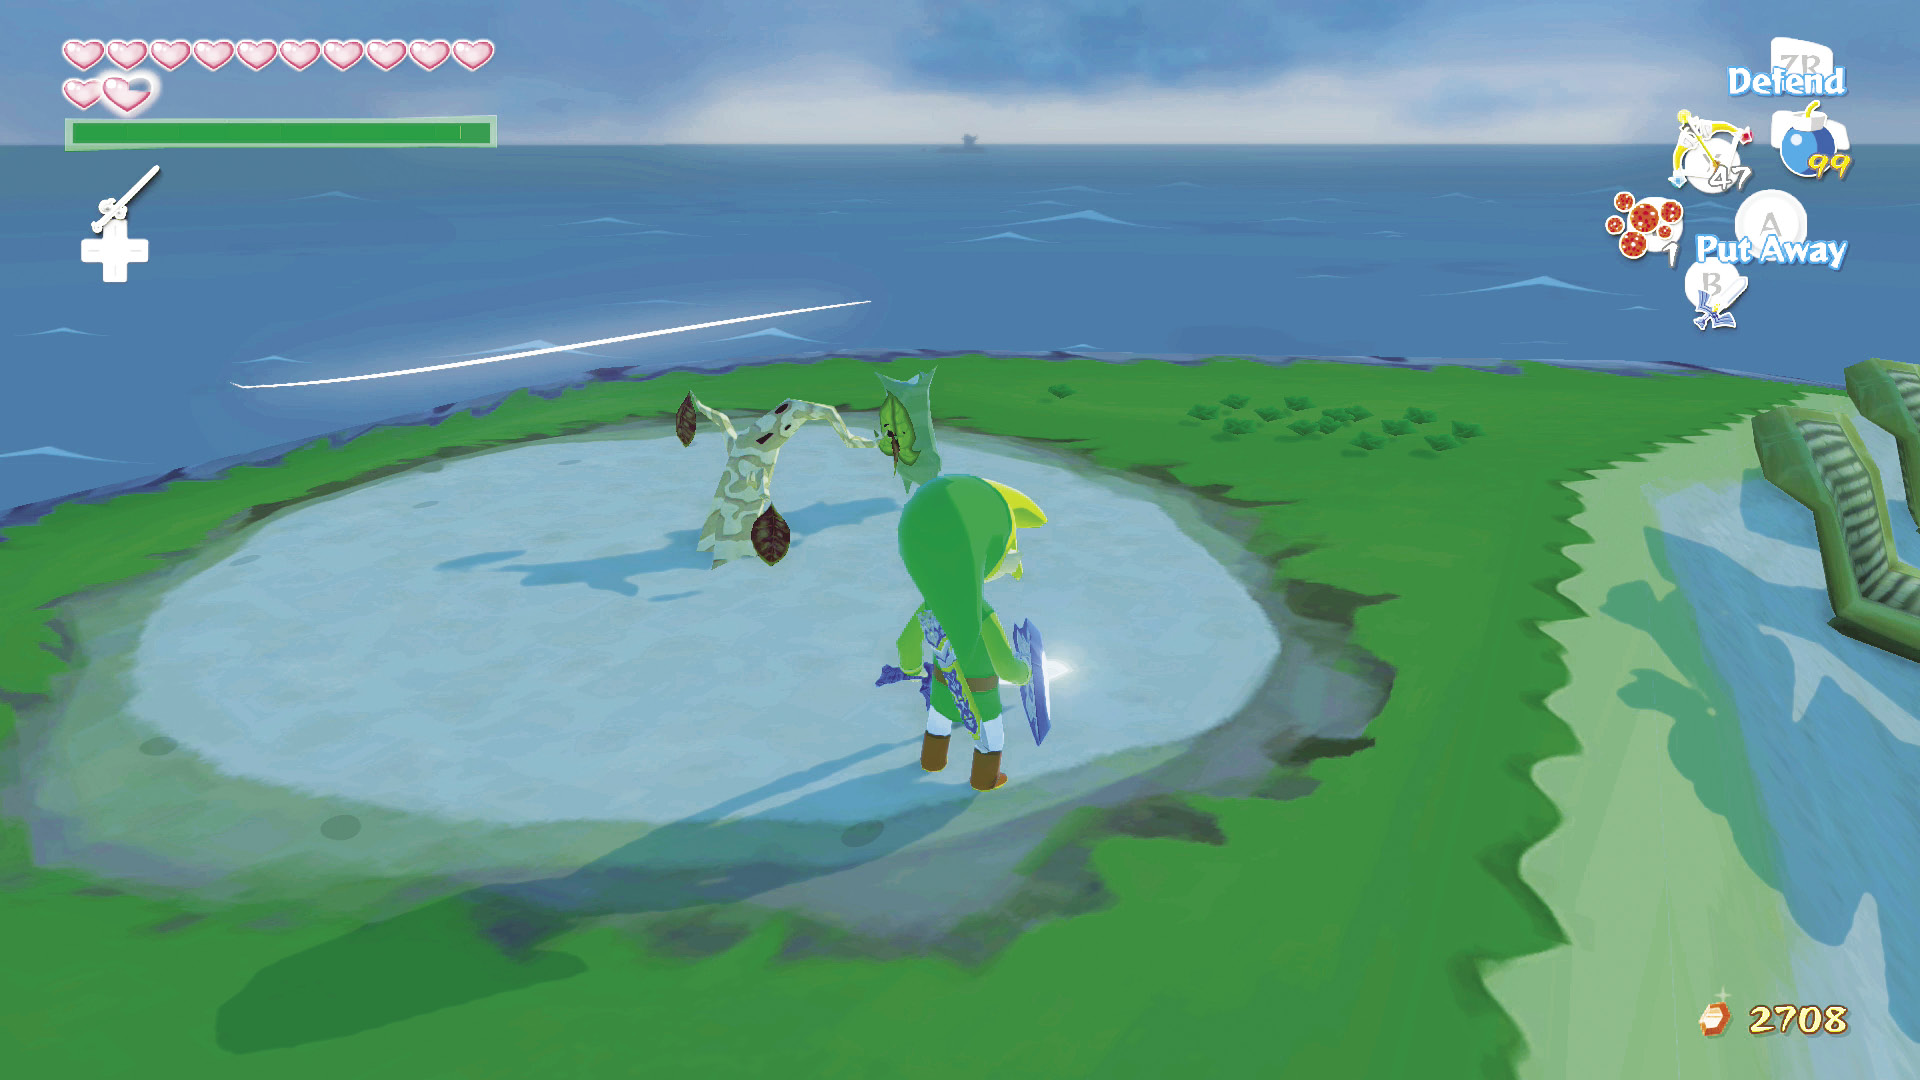
We’ll show you the right strategy for watering all eight Withered Deku Trees with more than 10 minutes to spare:
Cliff Plateau Isles (G6): Sail directly east from Forest Haven. At Cliff Plateau Isles, enter its Secret Cave and use the cavern’s alternate exit to reach the Withered Deku Tree on top of the largest isle.
Shark Island (C6): Warp to Southern Fairy Island (D6) and then sail west.
Greatfish Isle (B4): Warp directly to Greatfish Isle and run up the southeast isle’s corkscrew-like pathway to reach the Withered Deku Tree at the top.
Needle Rock Isle (A5): Sail directly southwest from Greatfish Isle (B4) to reach the next Deku Tree at Needle Rock Isle.
Private Oasis (E5): Warp to the Tower of the Gods (E4) and sail south.
Eastern Fairy Island (E3): Warp back to the Tower of the Gods (E4) and sail north.
Mother & Child Isles (B2): Warp to Tingle Island (C3) and sail northwest (do not warp directly to B2). The Withered Deku Tree is on top of Child Isle.
Star Island (B1): Sail directly north after you finish watering the Withered Deku Tree on Child Isle.
Whatever watering strategy you use, the eighth Withered Deku Tree instantly grows several feet taller, becoming healthy and strong, after you water it. As thanks for your help, you get Piece of Heart #40. If you didn’t make it to every Withered Deku Tree in time, try again!
|
|
138 |
Piece of Heart #40 |

Boating Course (F7)
Sunken Treasure #32
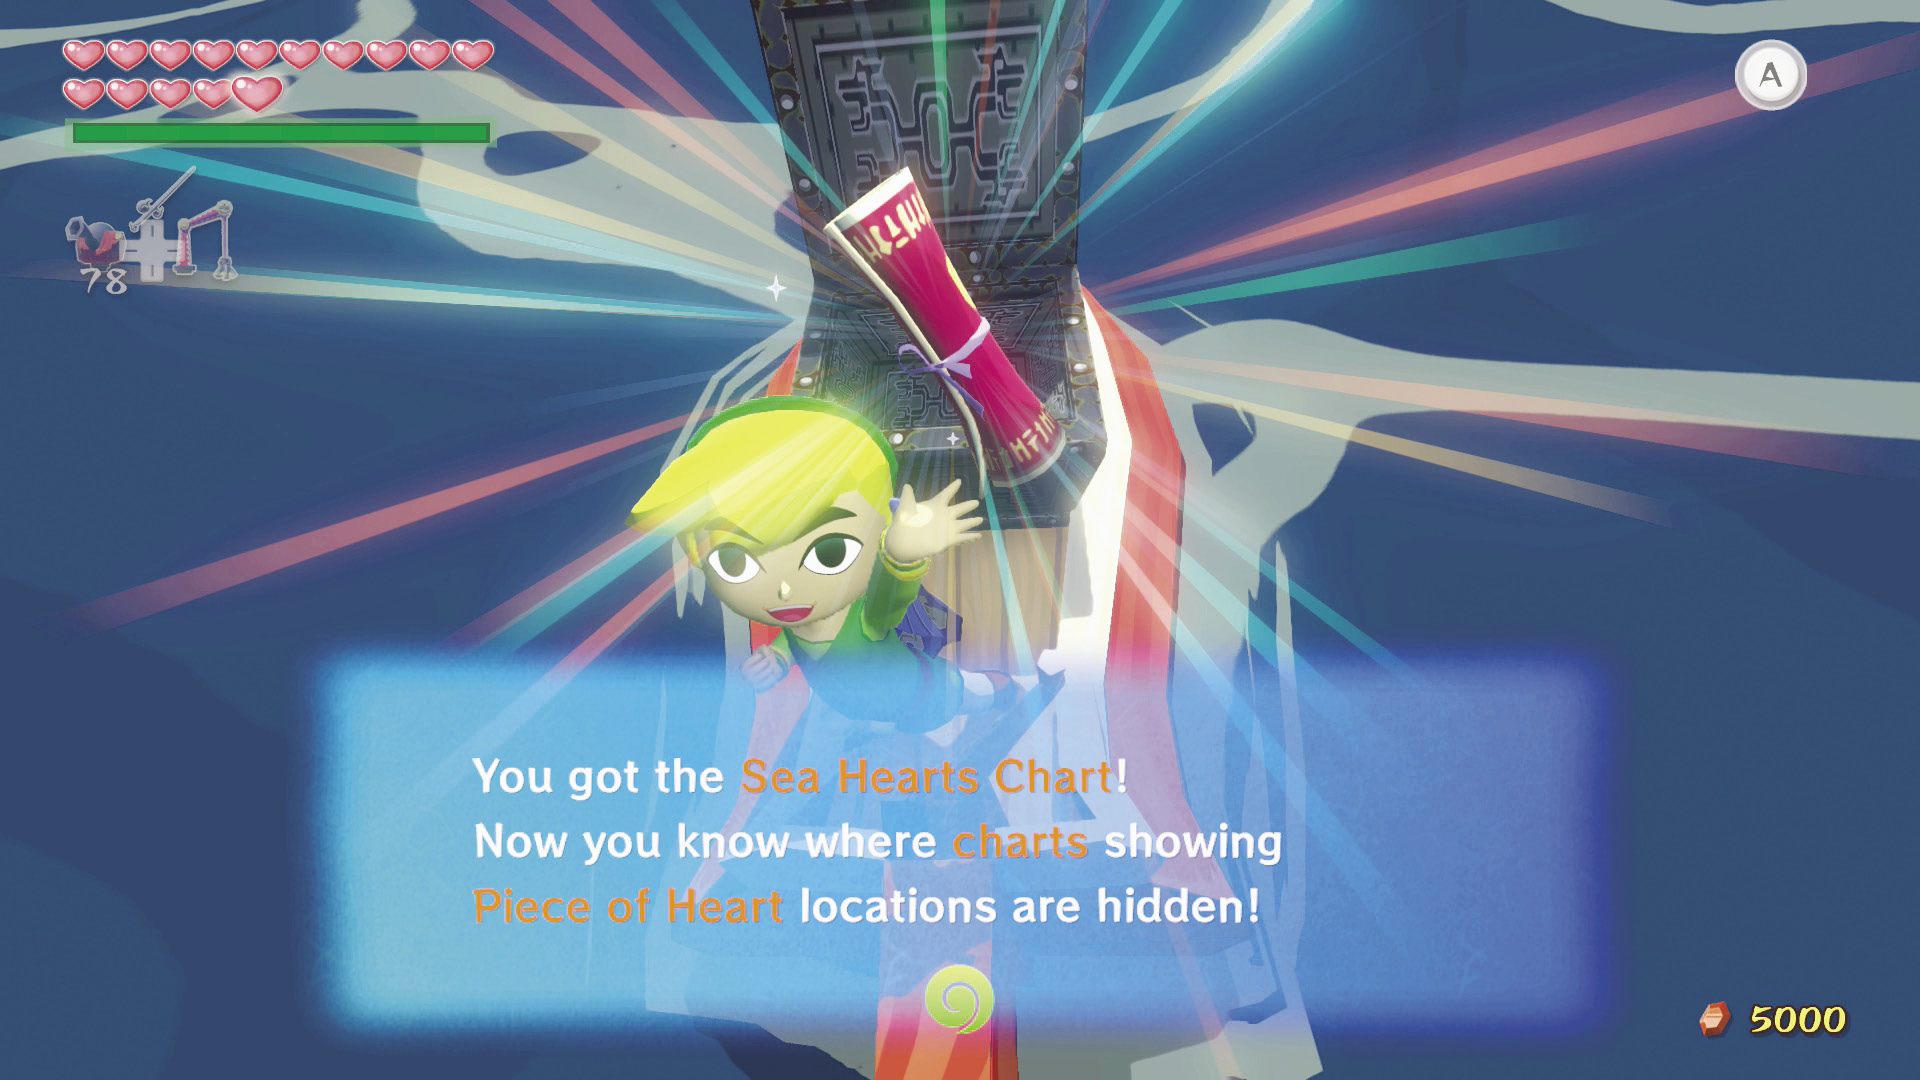
Treasure Chart #32, which you found by sieging Three-Eye Reef (A4), can be opened in this sector to reveal the location of the Sea Hearts Chart. This Chart will show you the locations of every salvageable Piece of Heart on the Great Sea. You of course don’t need this, but the collection of treasures must be complete!
|
|
139 |
Sea Hearts Chart |
Flight Control Platform (G2)
Warp to Dragon Roost Island (F2), then head east to get to the Flight Control Platform (G2) quickly.
Sunken Treasure #19
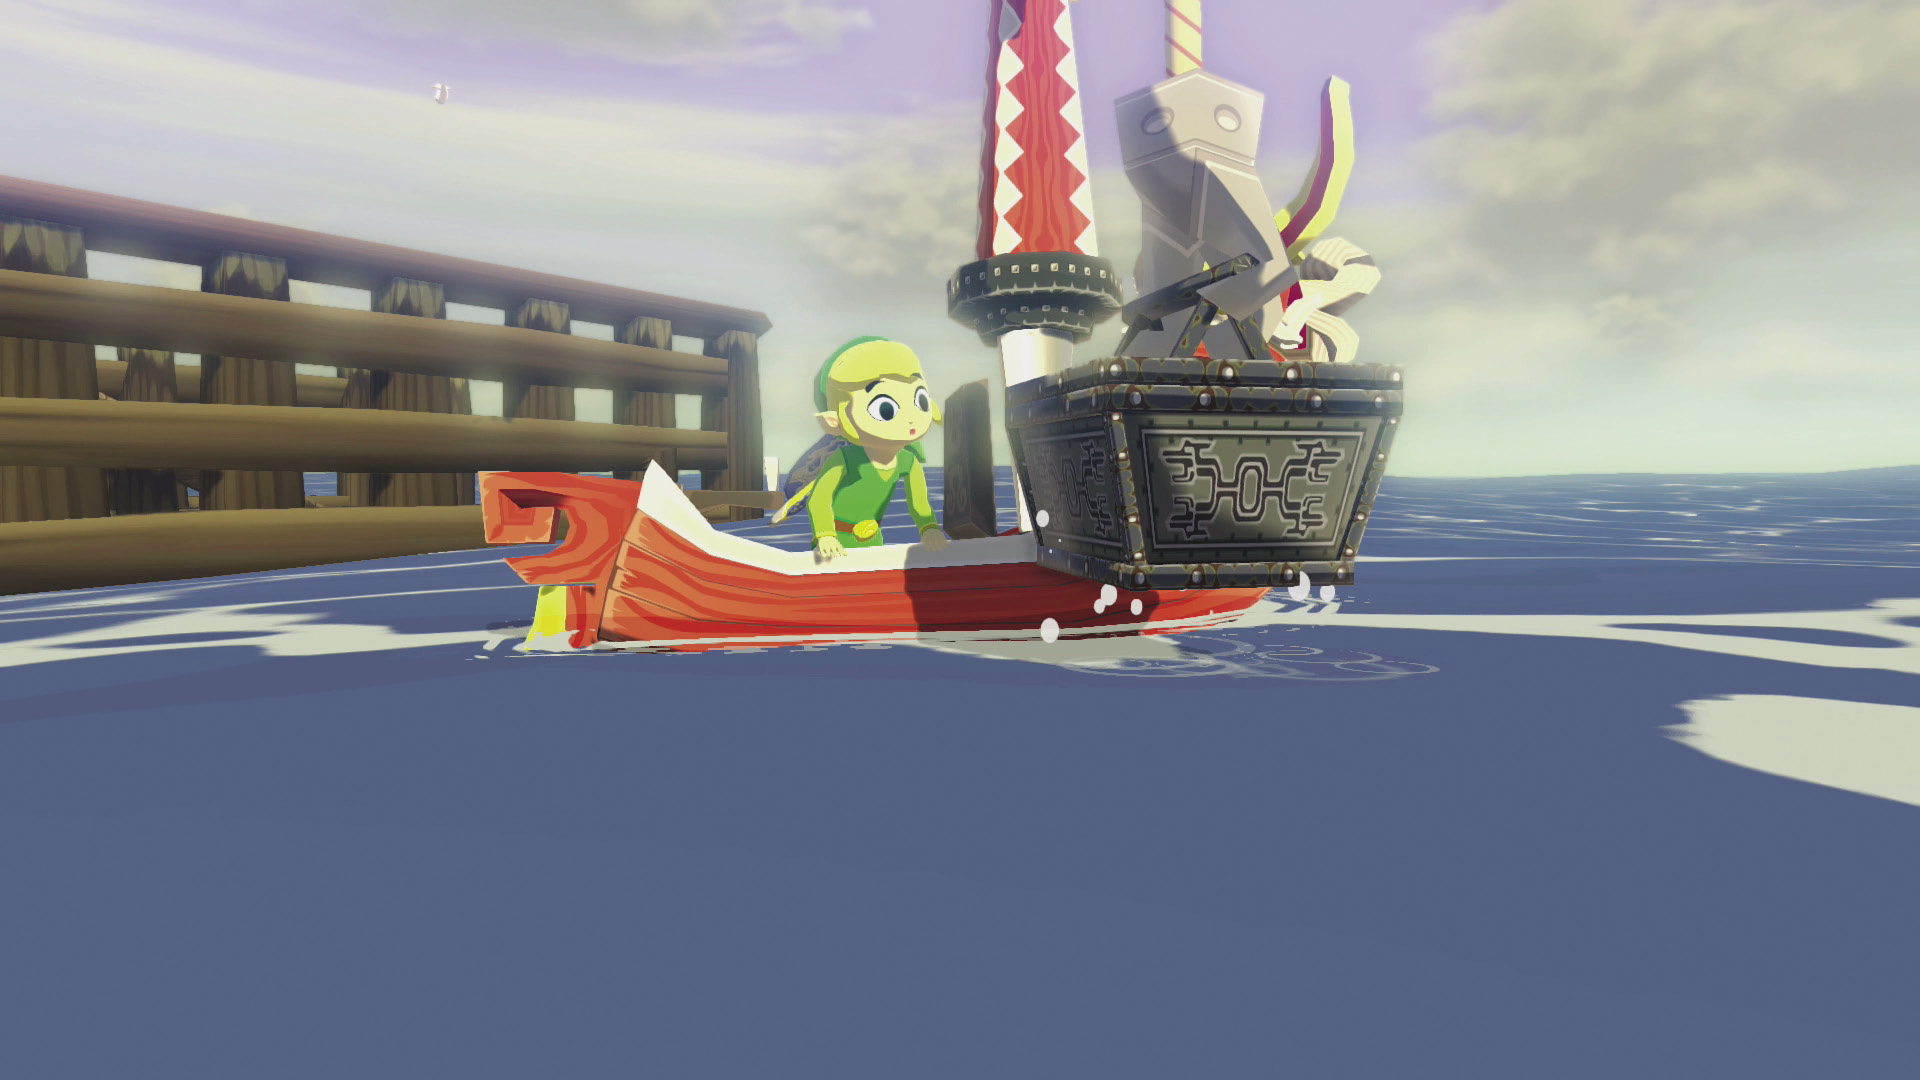
If you grabbed Treasure Chart #19 from Four-Eye Reef (A2), you can open it while in this sector to reveal the location of the Island Hearts Chart. When opened, the Island Hearts Chart will reveal the locations of every Piece of Heart that is on the islands of the Great Sea. It’s not something you necessarily need, but you’ll want it if you’re trying to grab every Treasure Chart treasure.
|
|
140 |
Island Hearts Chart |
Star Belt Archipelago (G3)
Sunken Treasure #27
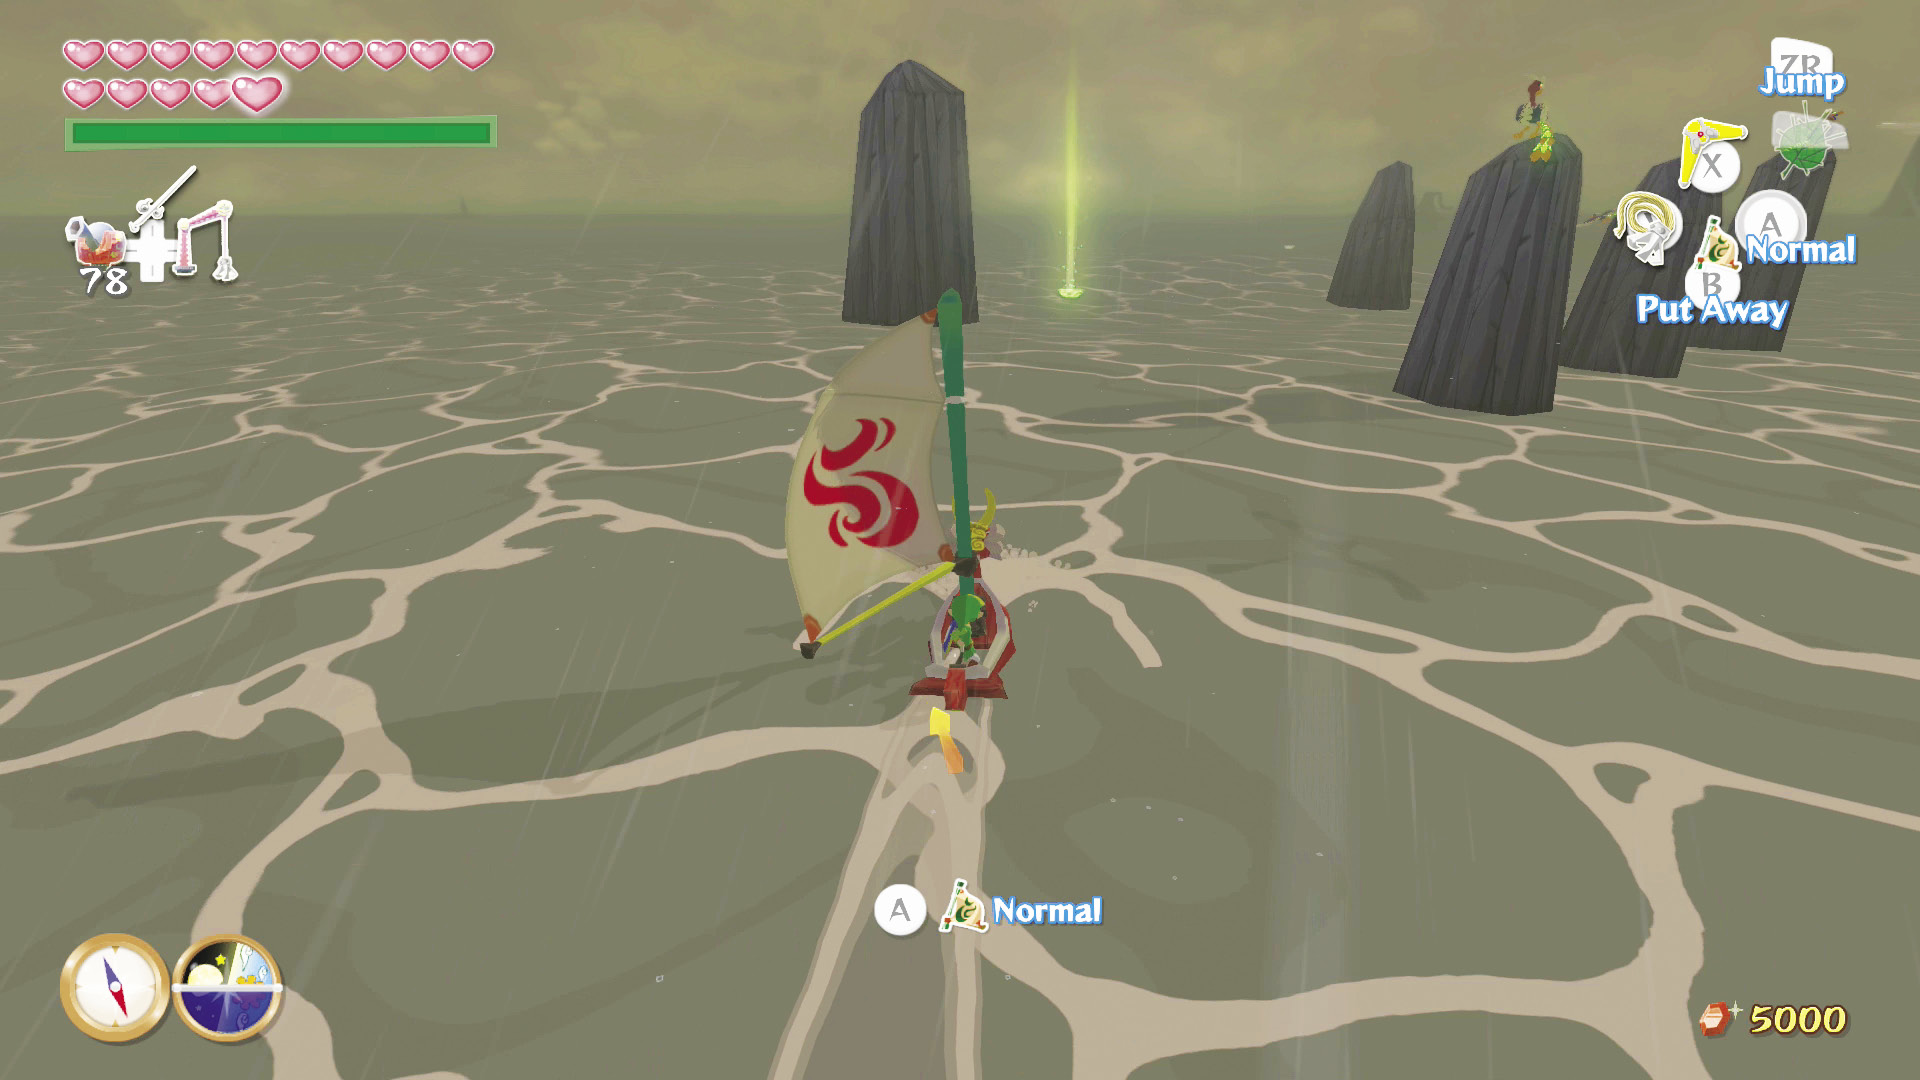
If you grabbed Treasure Chart #27 from the highest point of the Private Oasis (E5), you can open it while in this sector to reveal the location of a Silver Rupee.
Thorned Fairy Island (G4)
Sunken Treasure #5
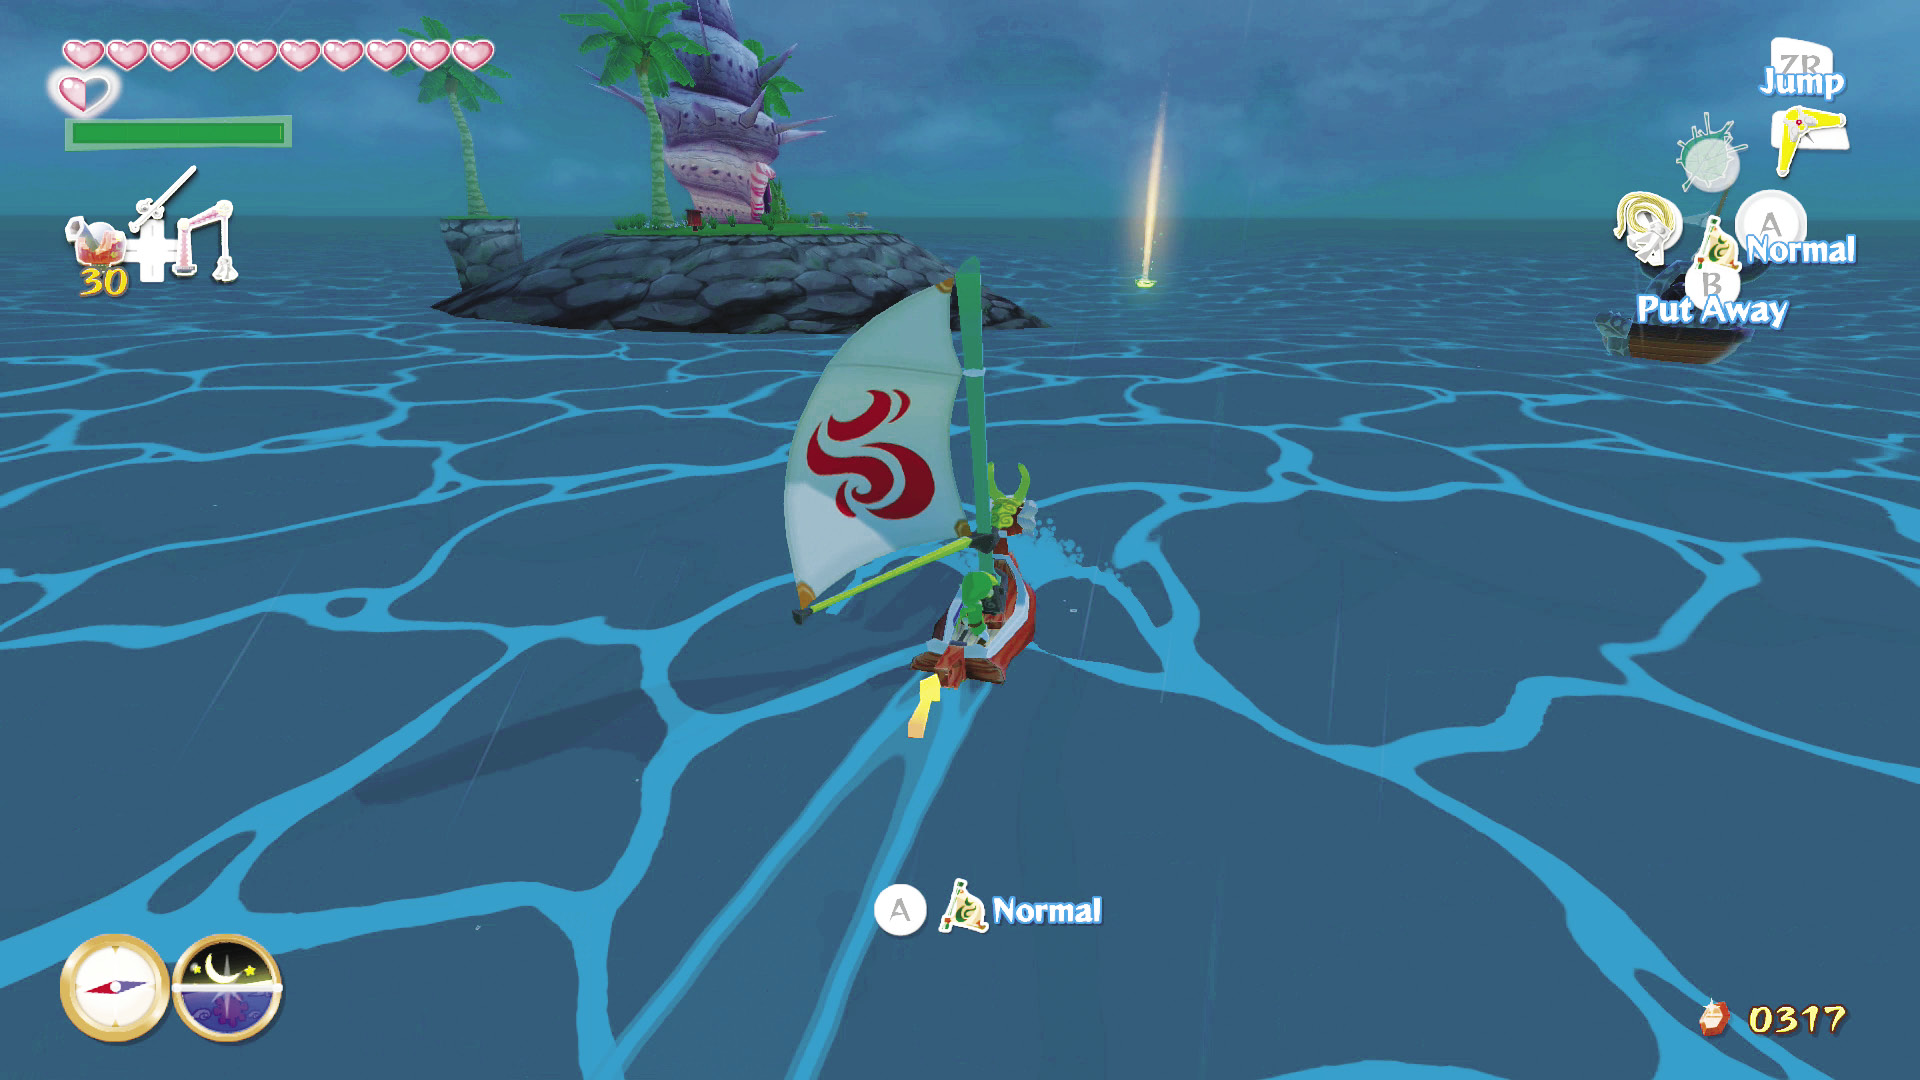
If you grabbed Treasure Chart #5 from the Wind Temple, you can open it while in this sector to reveal the location of Piece of Heart #41. Only three to go!
|
|
141 |
Piece of Heart #41 |

Bird’s Peak Rock (G5)
Sunken Treasure #36
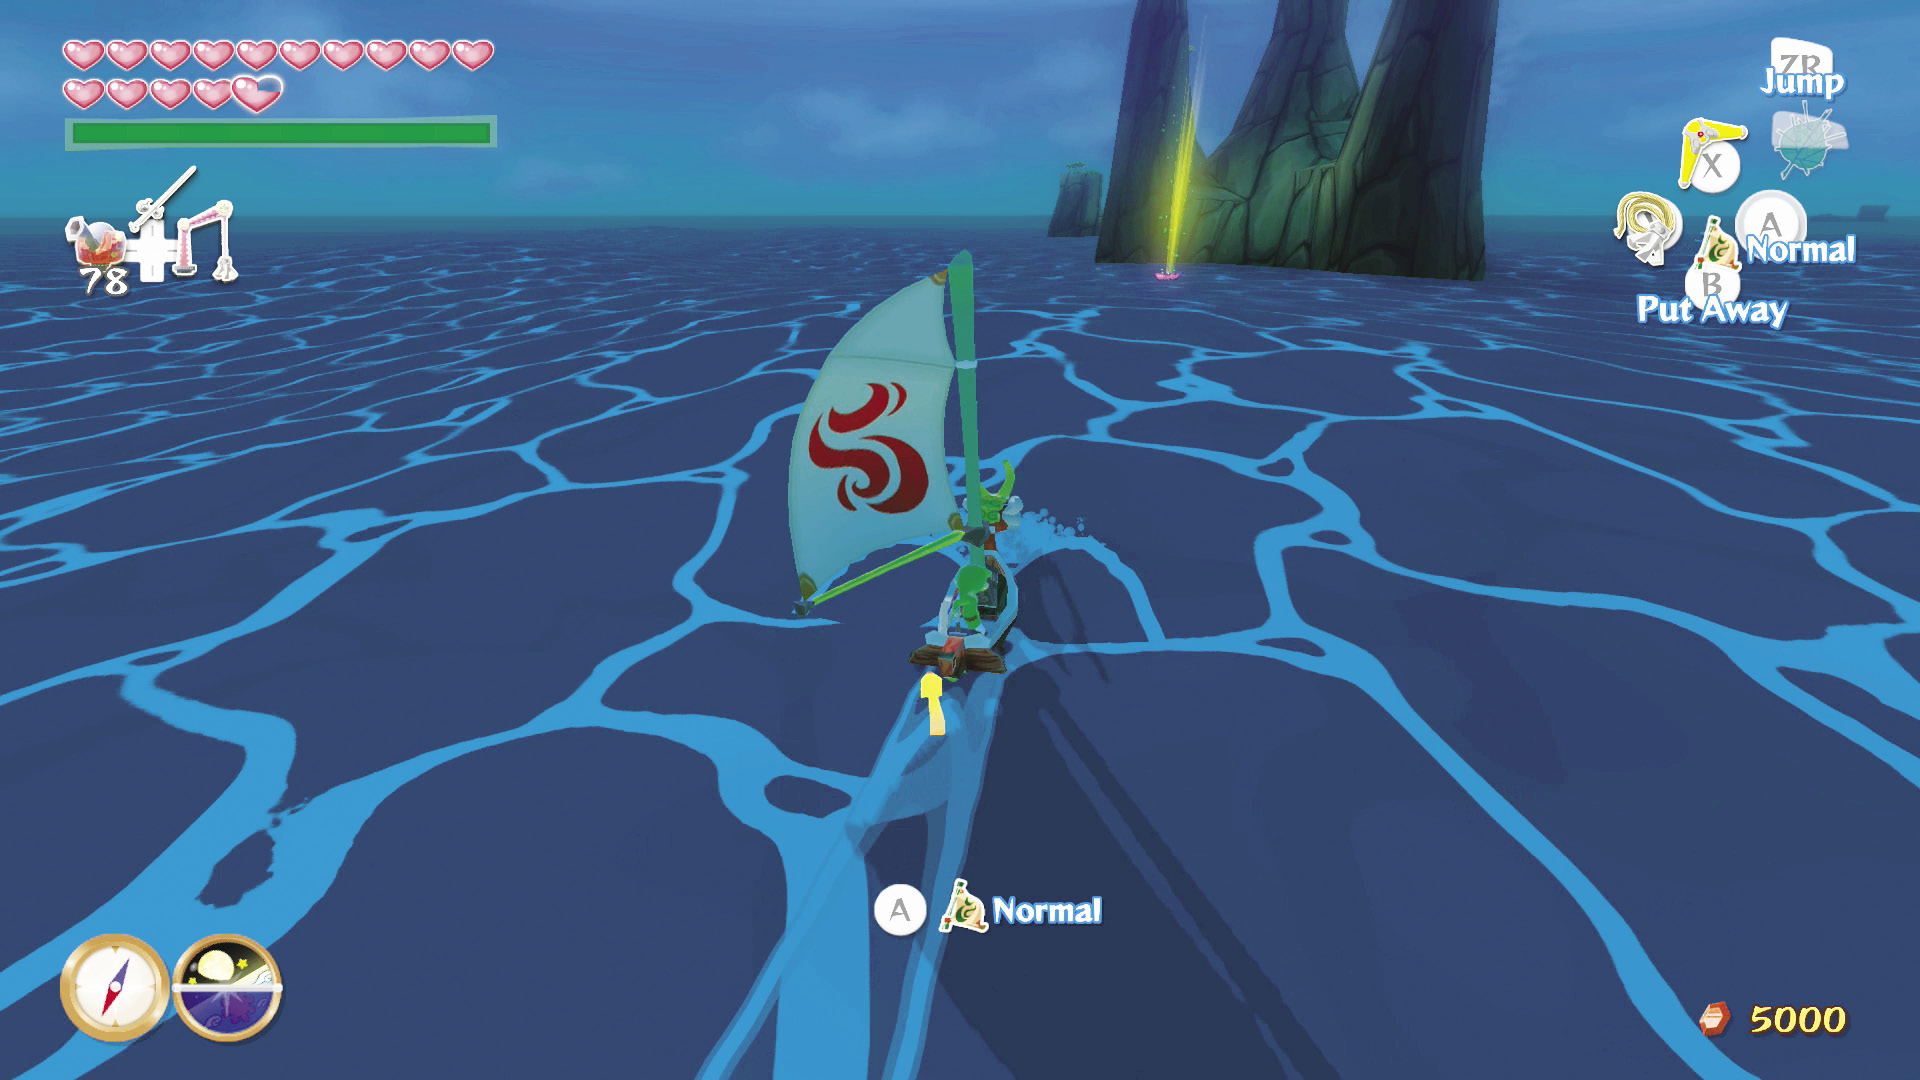
If you grabbed Treasure Chart #36 from Ice Ring Isle (E6), you can open it while in this sector to reveal the location of a Silver Rupee.
Windfall Island (D2)
The Most Expensive Armor
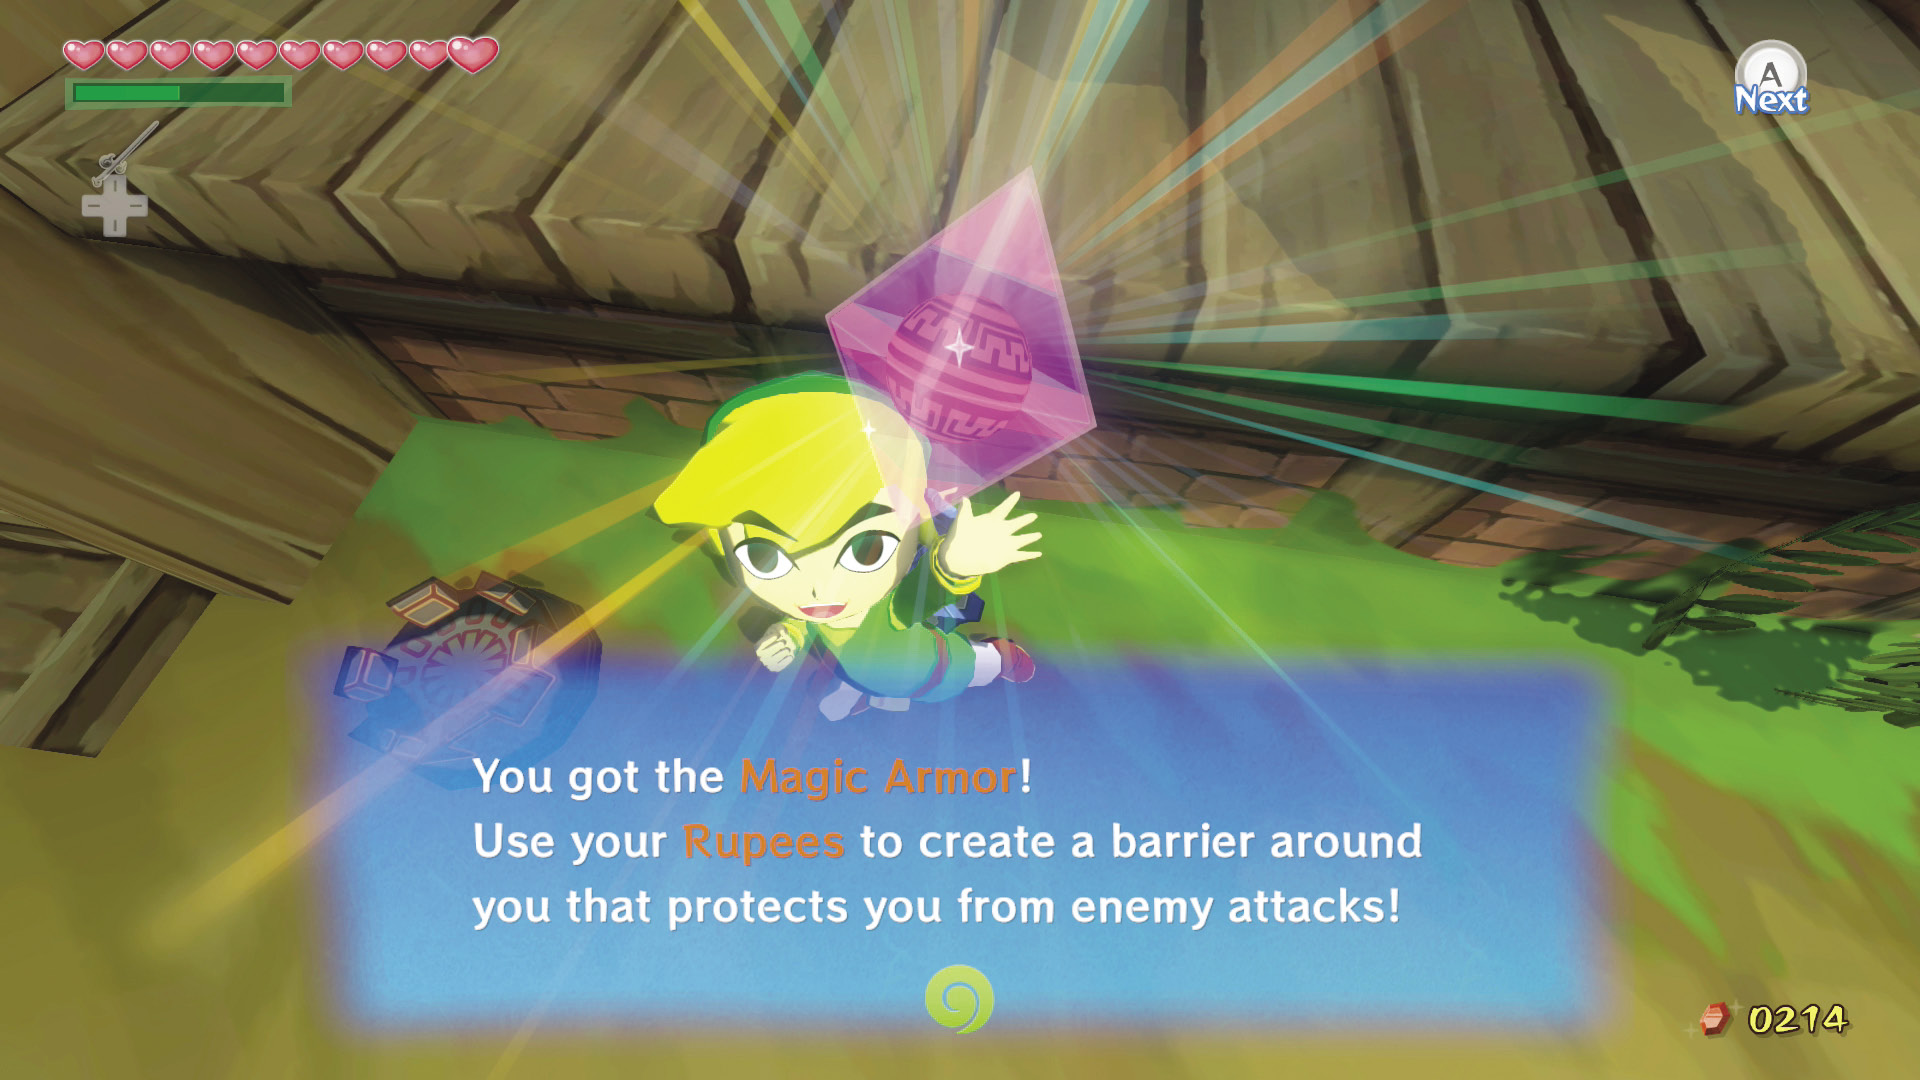
After trading to all three of the Traveling Merchants on the Great Sea, talk to Zunari and he will give you the Magic Armor as a reward for your hard work.
The Magic Armor uses Rupees to make Link invulnerable so long as he’s wearing it. Your Rupees will deplete very quickly while wearing the Magic Armor, so don’t wear it unless you’ve got a hefty amount of money in your Wallet.
|
|
142 |
Magic Armor |

The Shop Guru
If you want to fill up Zunari’s store inventory and also earn yourself Piece of Heart #42, you can continue trading with the Traveling Merchants until you receive the Shop Guru Statue. You can then take it to the Traveling Merchant on Greatfish Isle (B4) and he’ll give you the Piece of Heart.
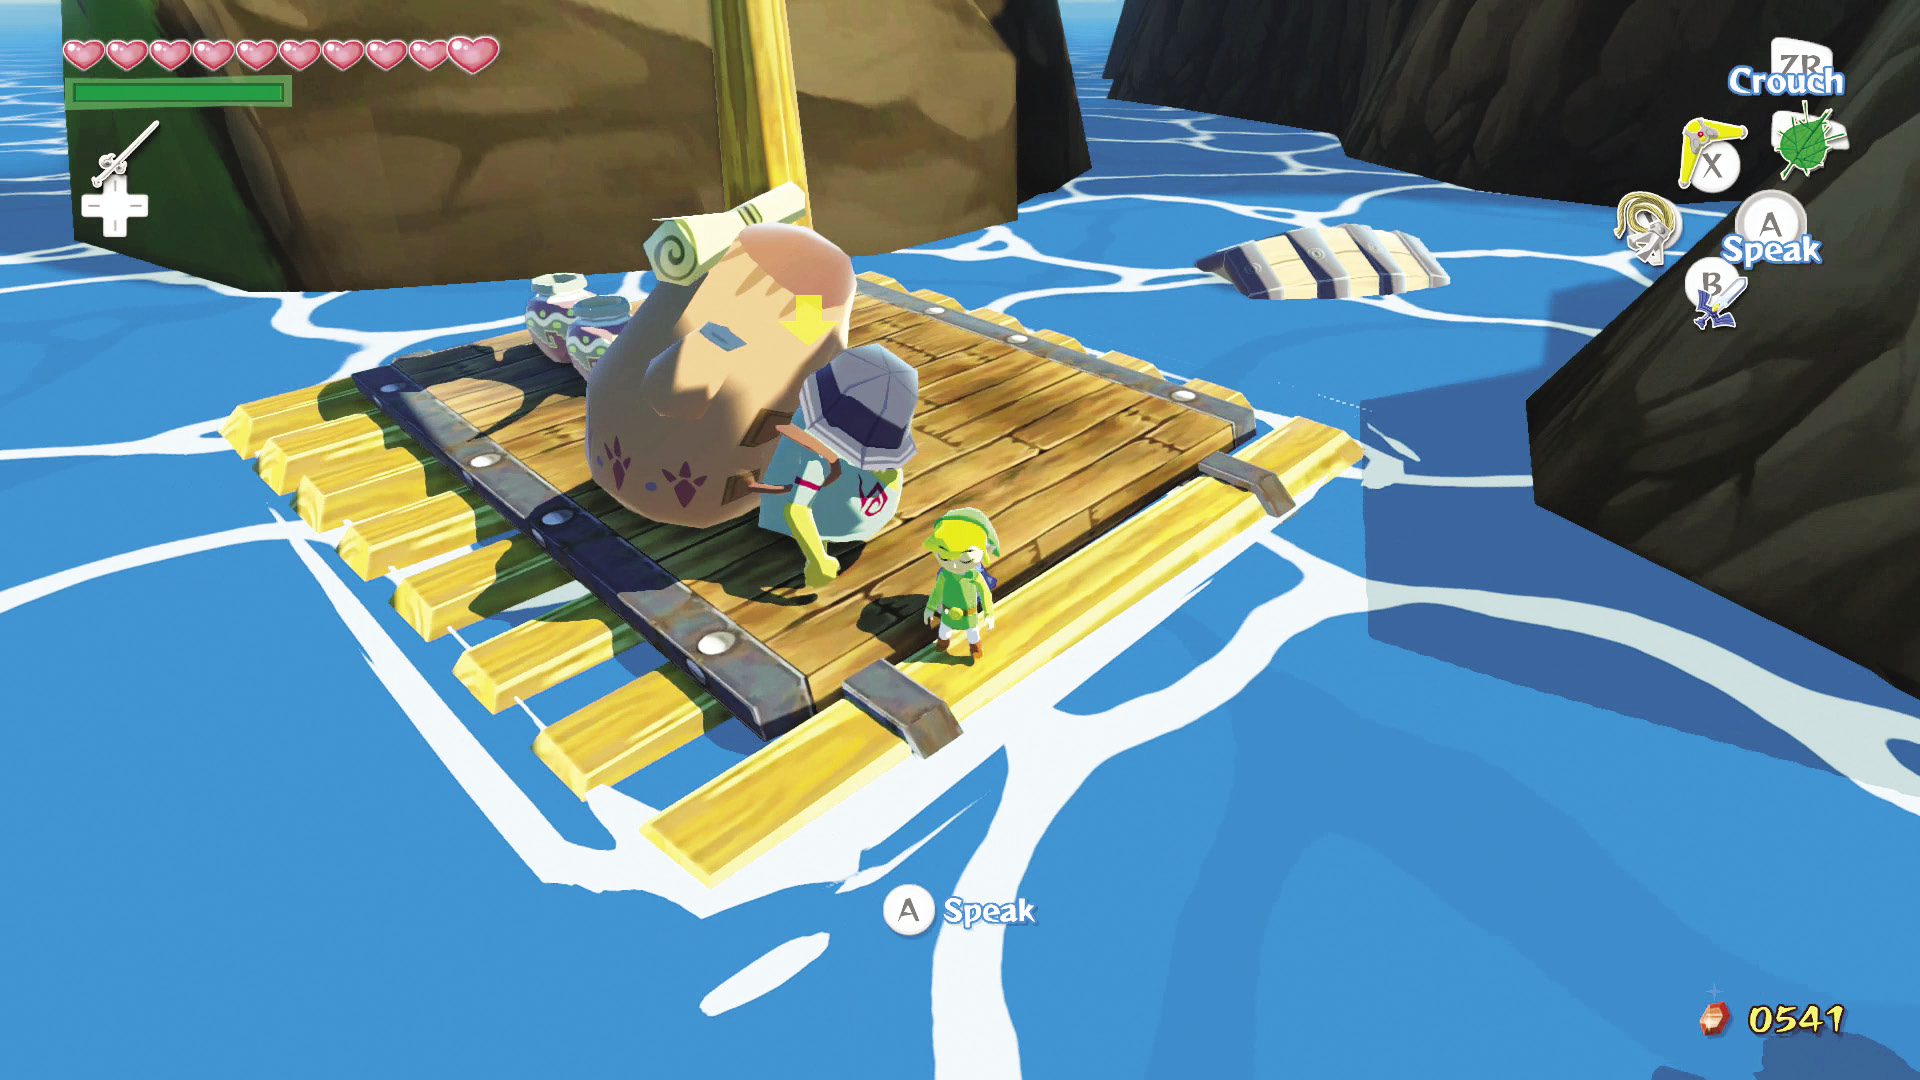
The quickest route to getting just about every item and the Shop Guru Statue is by trading in this order—just make sure not to warp to Mother & Child Isles (B2) when instructed to visit the sector:
Greatfish Isle (B4): Trade the Sickle Moon Flag for the Fountain Idol.
Mother & Child Isles (B2): Trade the Fountain Idol for the Big Sale Flag.
Greatfish Isle (B4): Trade the Big Sale Flag for the Hero’s Flag, then trade the Hero’s Flag right back to the Traveling Merchant for the Postman Statue.
Mother & Child Isles (B2): Trade the Postman Statue for the Shop Guru Statue.
Greatfish Isle (B4): Trade the Shop Guru Statue and the Traveling Merchant will give you Piece of Heart #42.
At this point you’ll have nearly every item you can get from the Traveling Merchants, but if you’re looking to get the remaining three items, read on:
Mother & Child Isles (B2): Trade an Exotic Flower to receive the Pinwheel and trade a Big Sale Flag for a Big Catch Flag.
Greatfish Isle (B4): Trade a Fountain Idol for the Skull Tower Idol.
|
|
143 |
Piece of Heart #42 |

A Joyous Volunteer
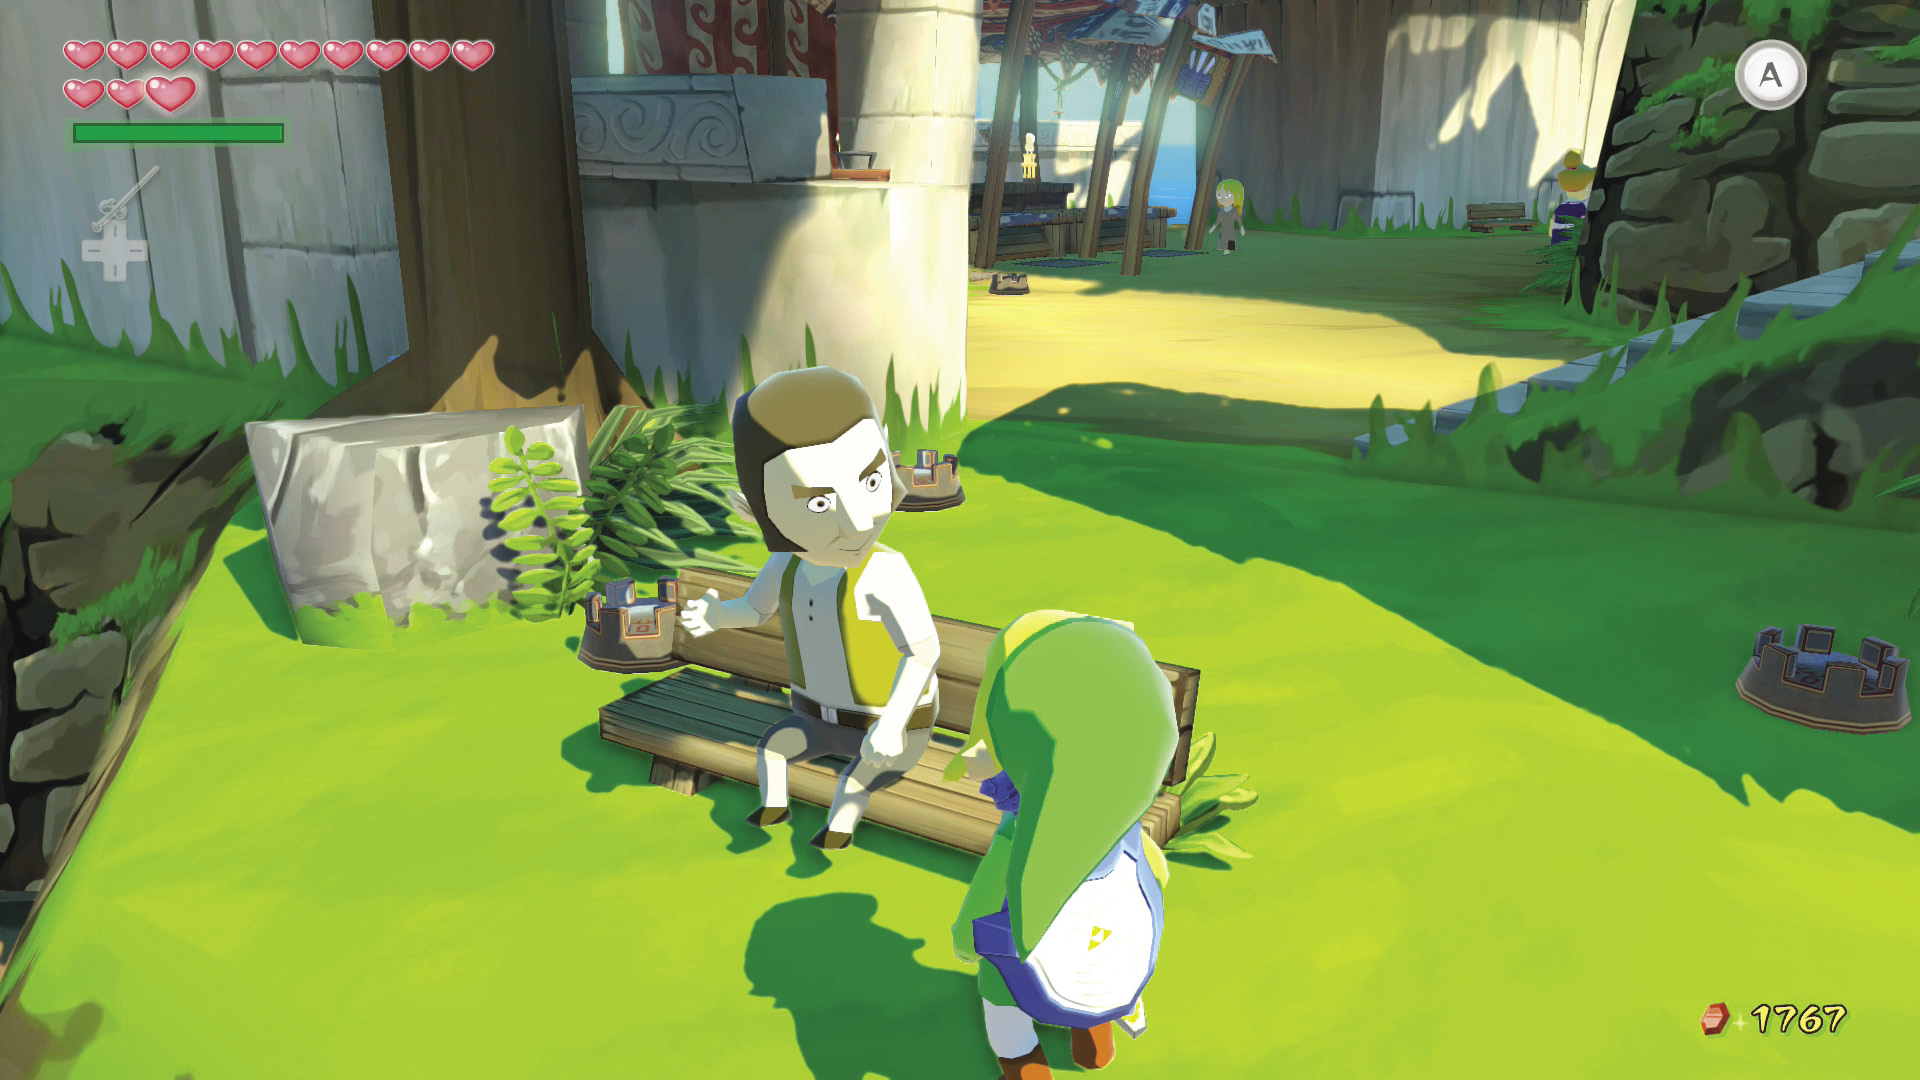
If you’ve taken part in the Trading Quest, you can purchase any of the items you traded the Traveling Merchants for at Zunari’s stall. Decorate Windfall with these Trading Quest items to get a Piece of Heart from Sam, the man who sits on a bench on the cliff near the cafe during the day.
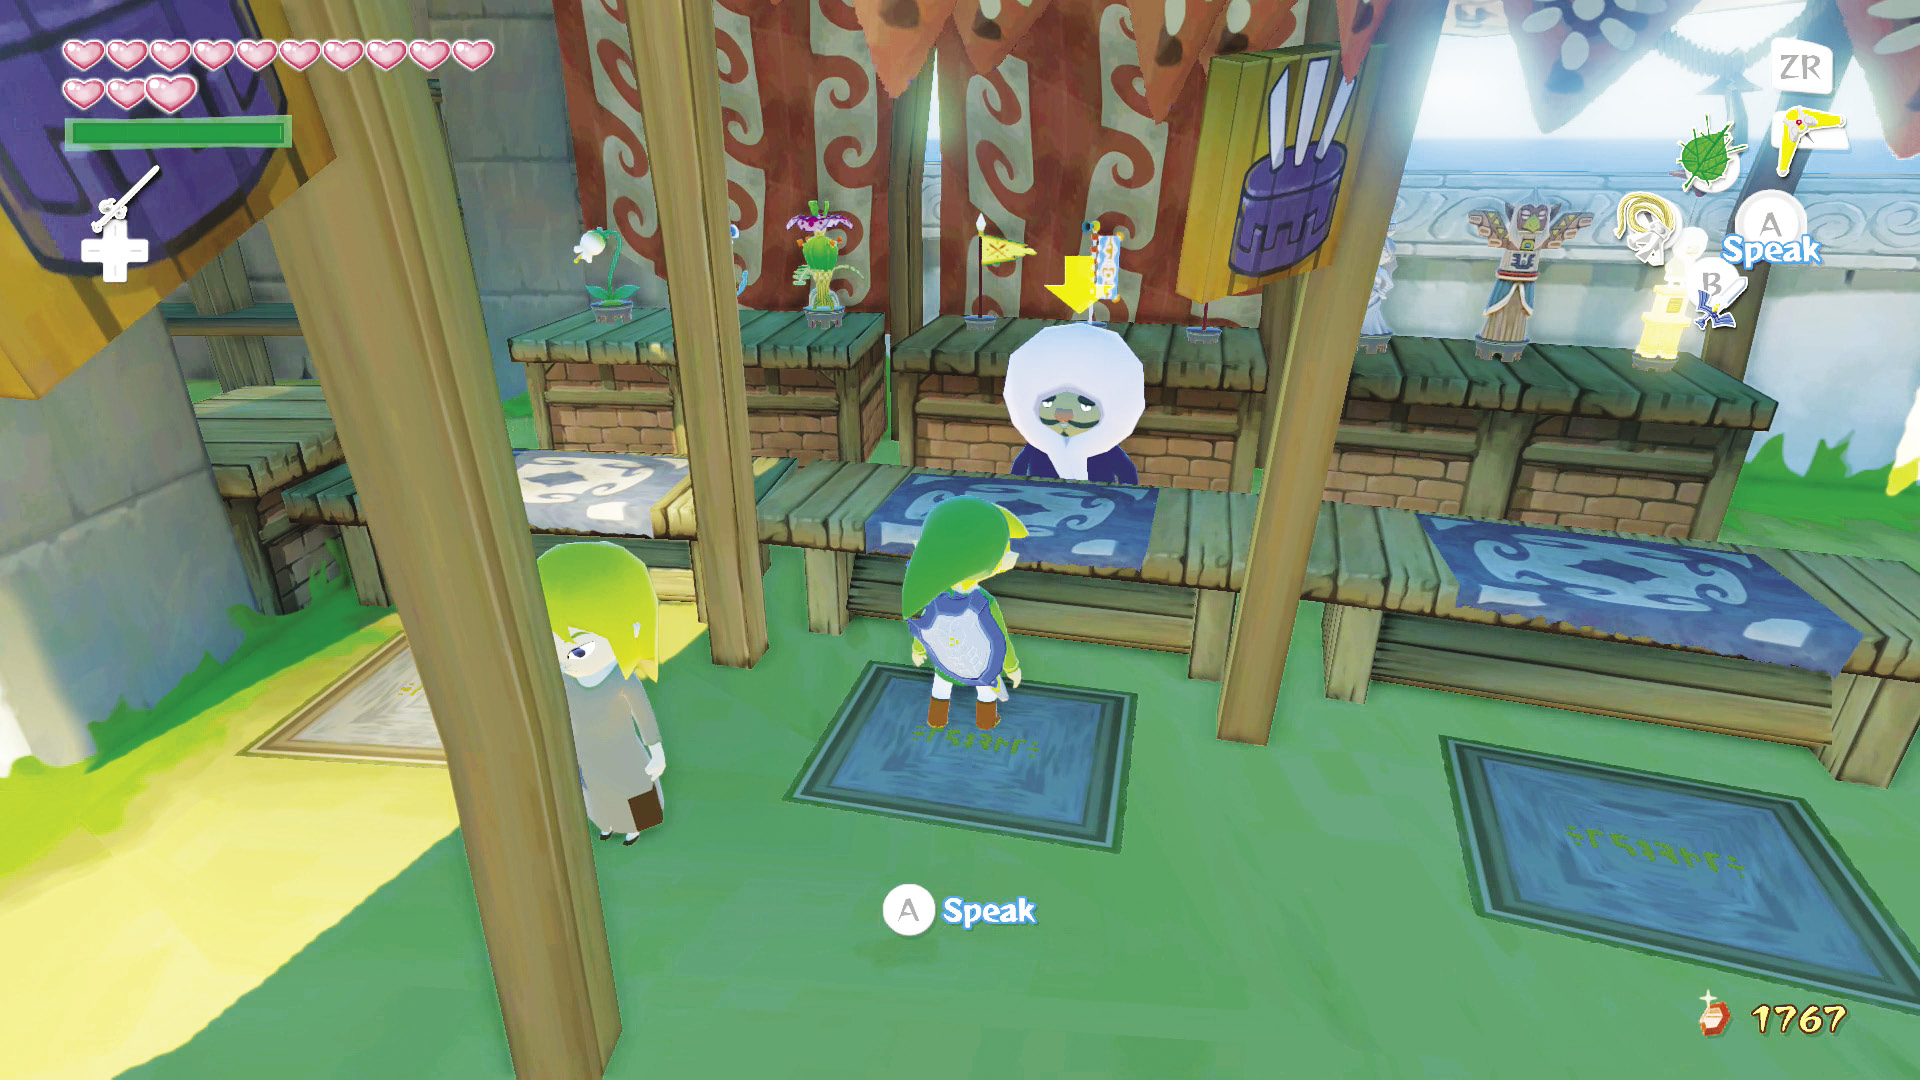
Several Joy pedestals are on the ground all around Windfall Island. These are used to hold the decorative Trading Quest items. Purchase a Trading Quest item from Zunari’s stall—such as a Sea Flower or a Fountain Idol—and then place it on any of these Joy pedestals. Voilà! The town now looks a bit more cheerful!
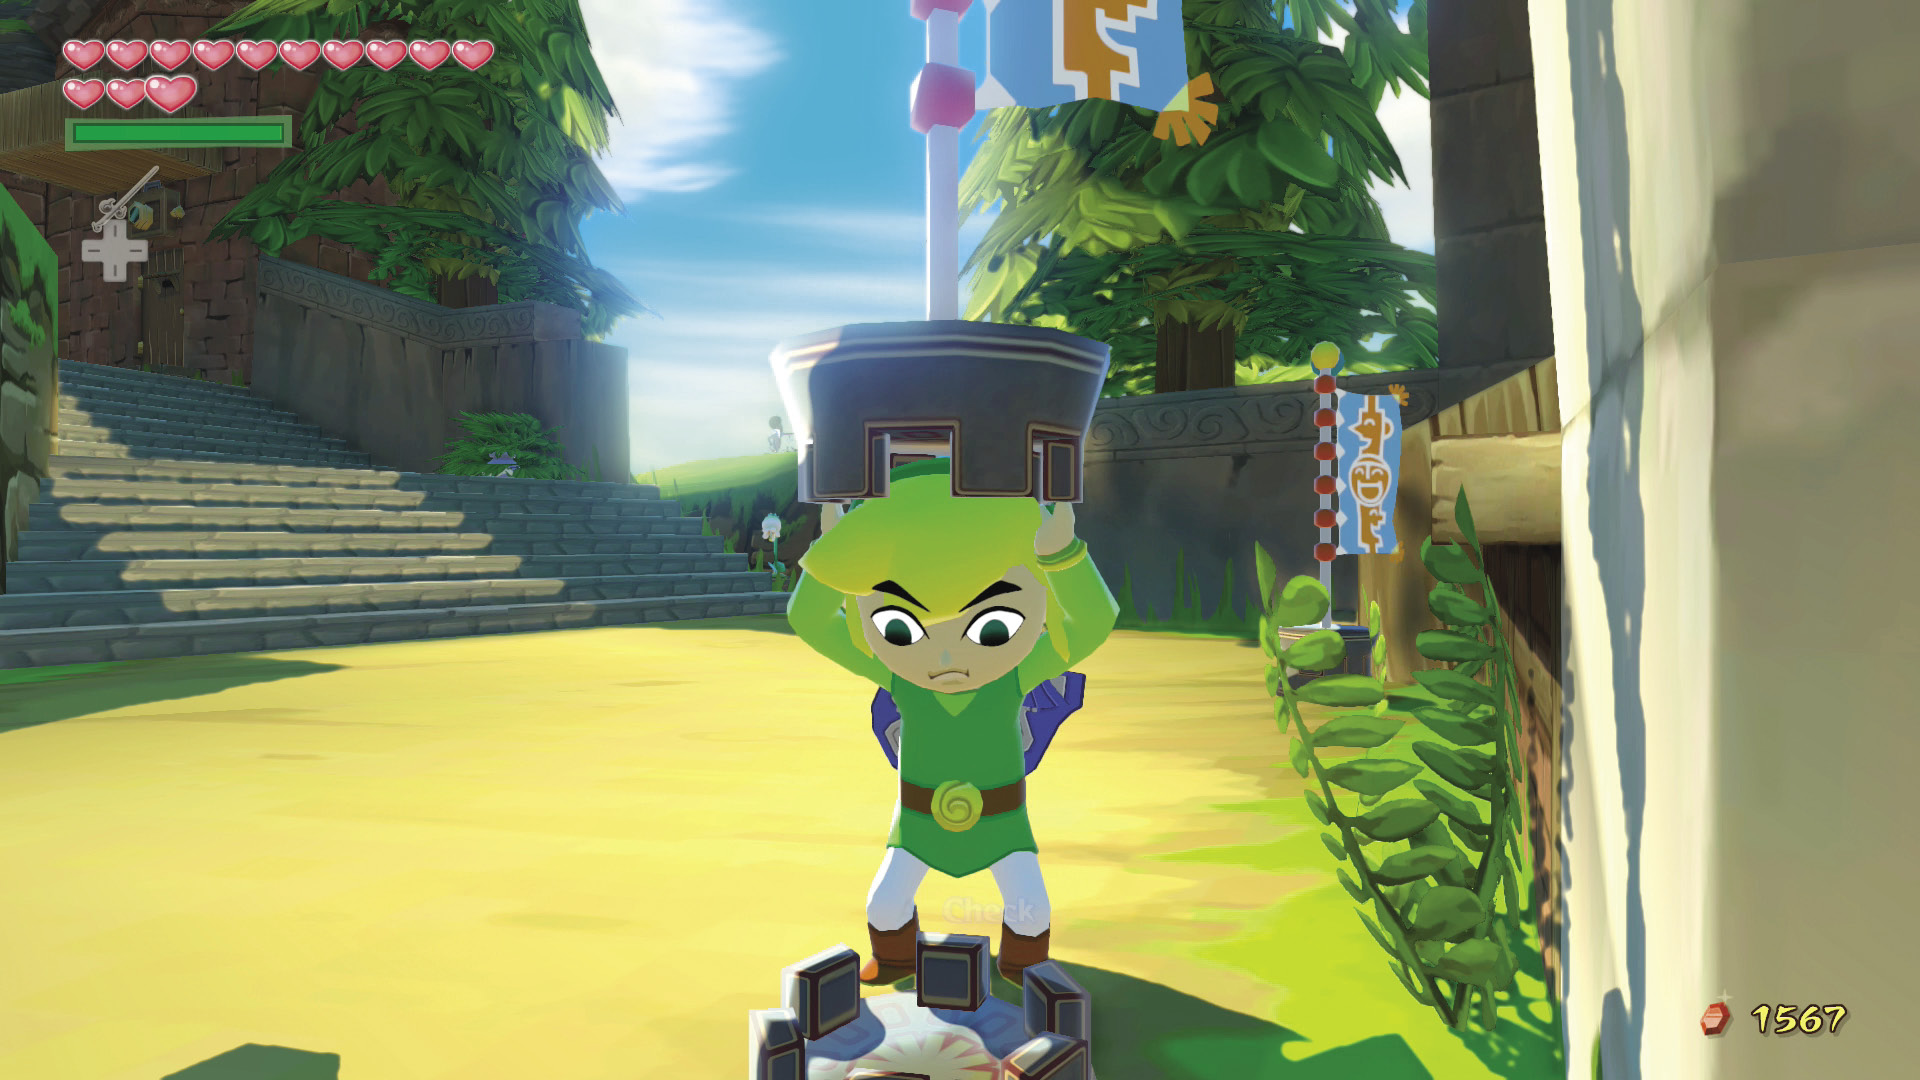
If you put an item in each of the Joy pedestals—not including the ones inside the town’s shops—then talk to Sam. He’ll give you Piece of Heart #43 for being such a great “Joyous Volunteer.”
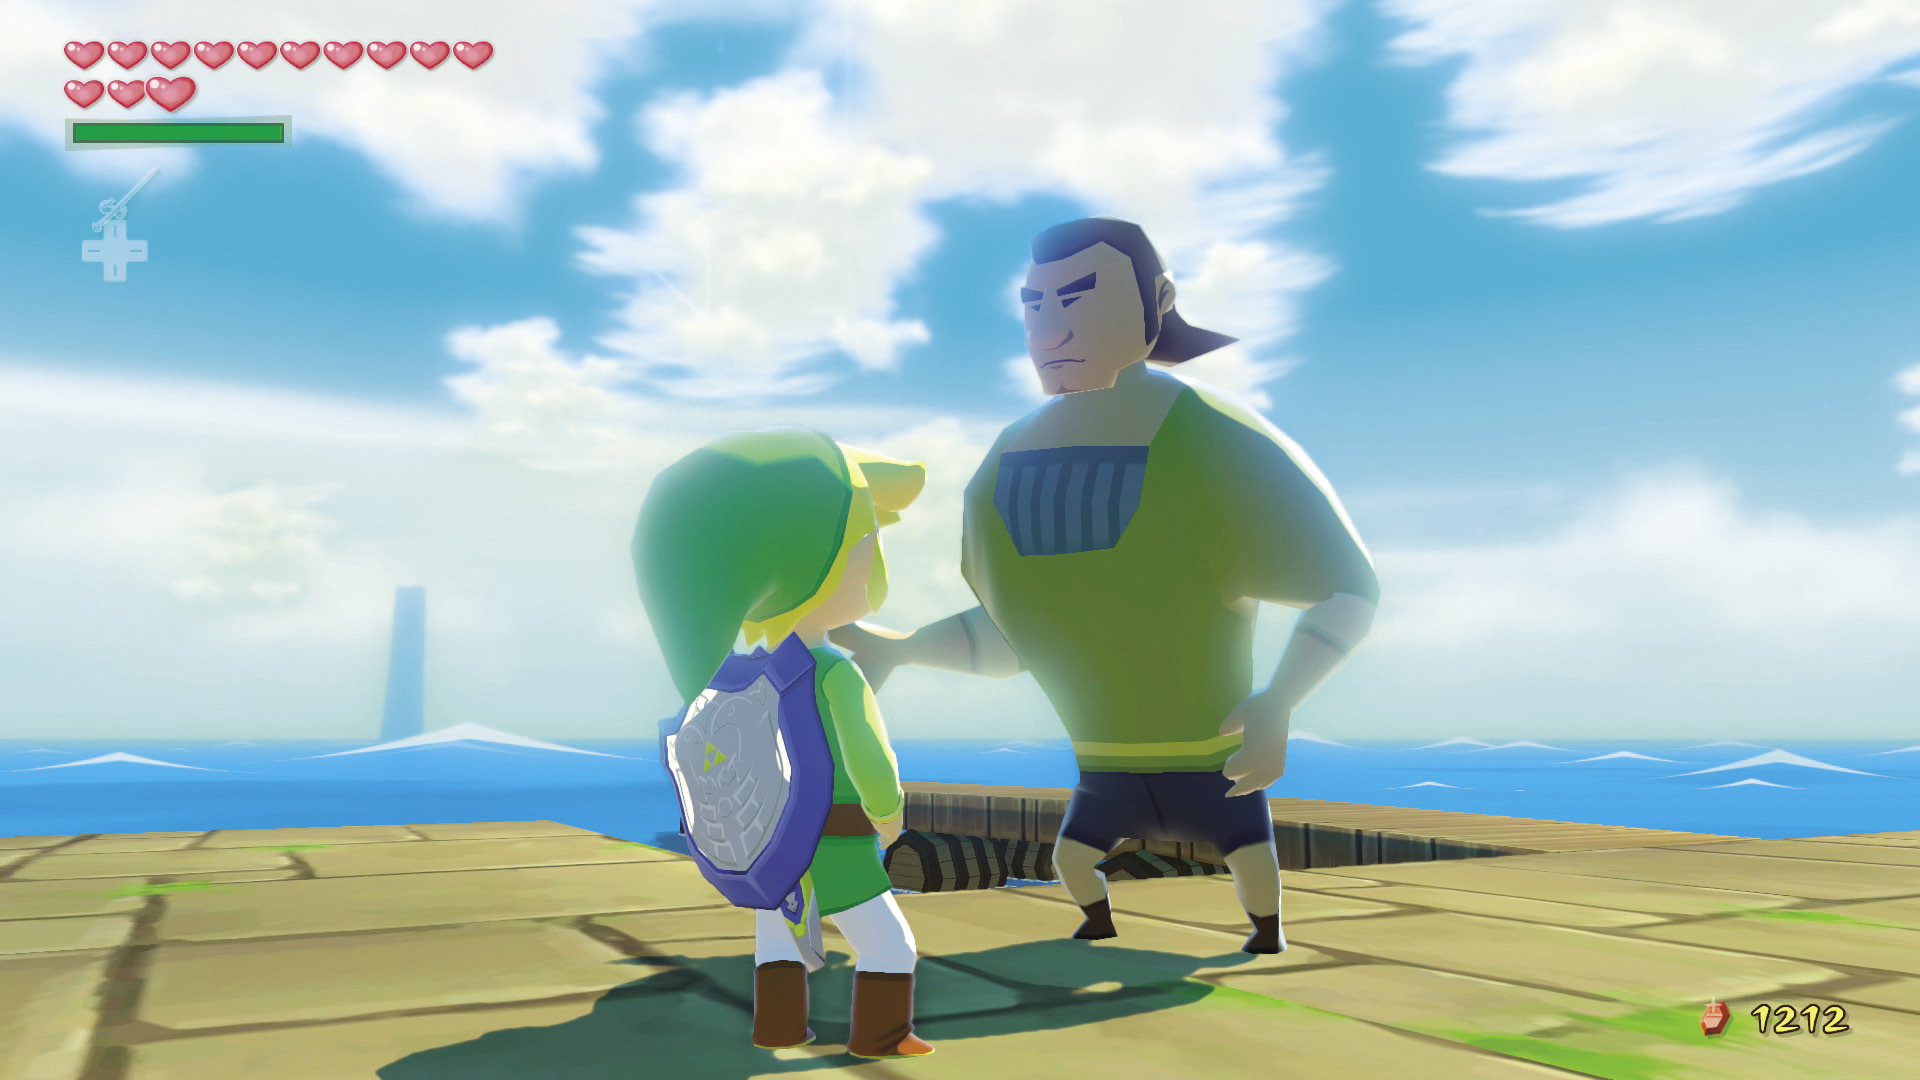
You can also get a Purple Rupee by purchasing a Shop Guru Statue from Zunari and placing it on top of Windfall’s main entrance gate. Afterward, talk to the sailor named Kane, who’s always admiring the main gate. He gives you a Purple Rupee for your stylish decorating skills. This isn’t such a good deal if you think about it—a Shop Guru Statue costs you 200 Rupees!
|
|
144 |
Piece of Heart #43 |

Northern Triangle Island (D3)
Sunken Treasure #26
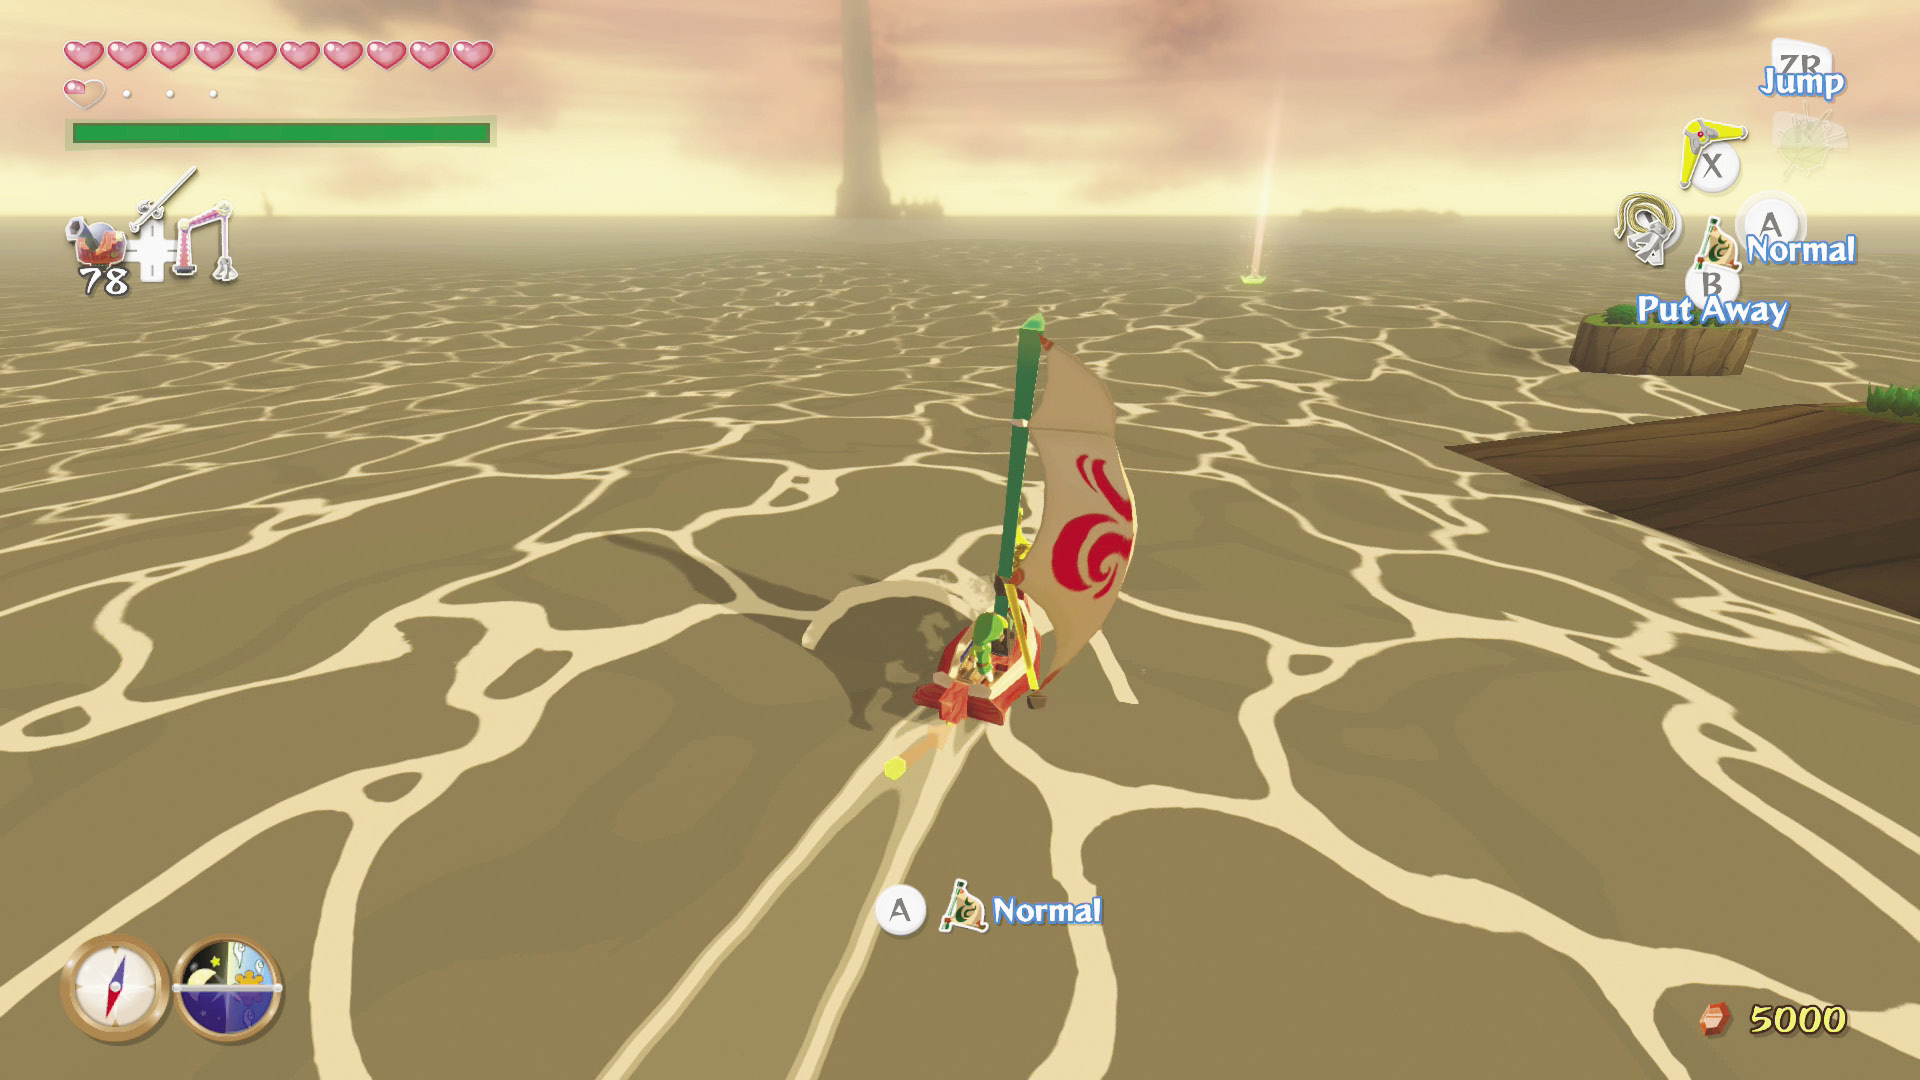
If you grabbed Treasure Chart #26 from Six-Eye Reef (D4), you can open it while in this sector to reveal the location of the Octo Chart. The Octo Chart reveals the locations of all the Big Octos in the Great Sea. You don’t need this Chart, but you should definitely grab it if you’re looking to collect all of the treasure listed on the Treasure Charts.
|
|
145 |
Octo Chart |
Pawprint Isle (E2)
For True Heroes Only
On one of Pawprint Isles’ pad isles is a Secret Cave containing Treasure Chart #46. This Secret Cave contains one of the most difficult—if not THE most difficult—fight in the game, so make sure you’re prepared before entering.
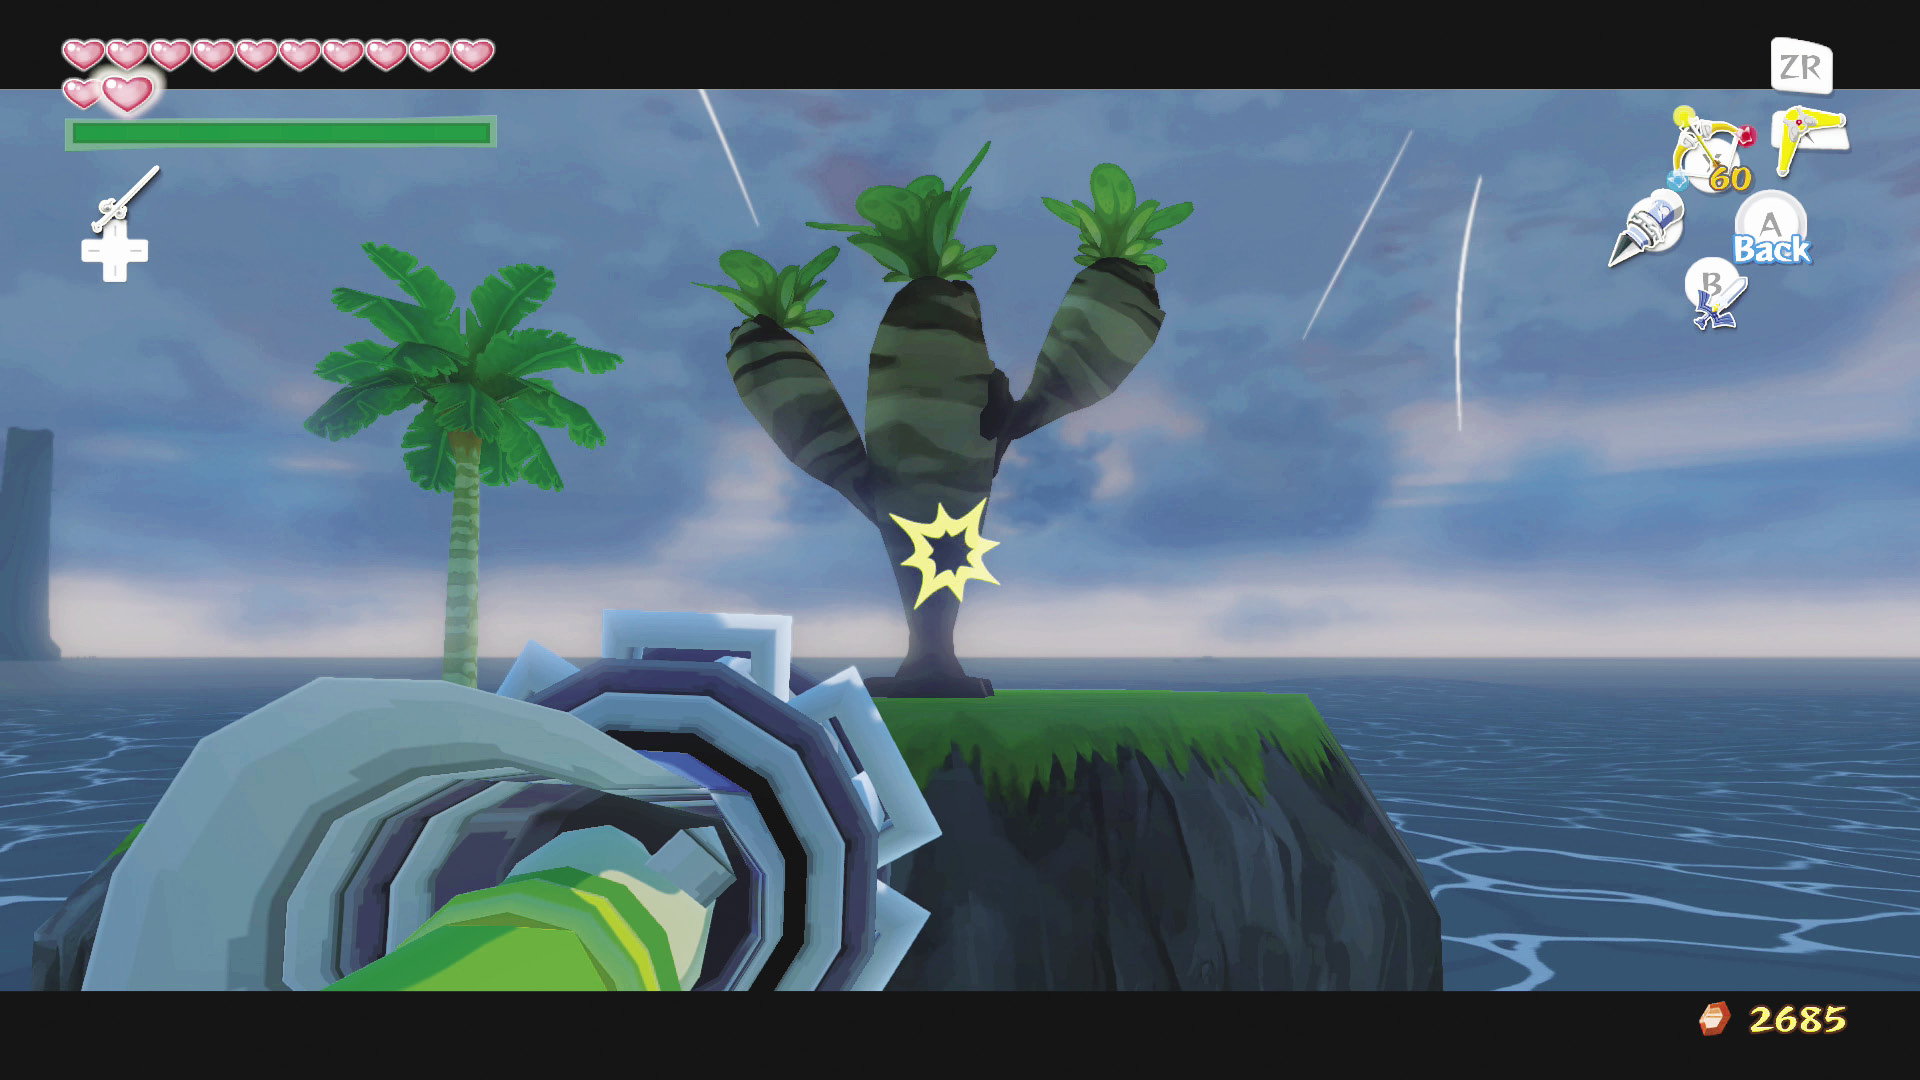
If we haven’t scared you off, you can Hookshot onto the cactus-like tree on the left of the two middle pad isles to find the Secret Cave.
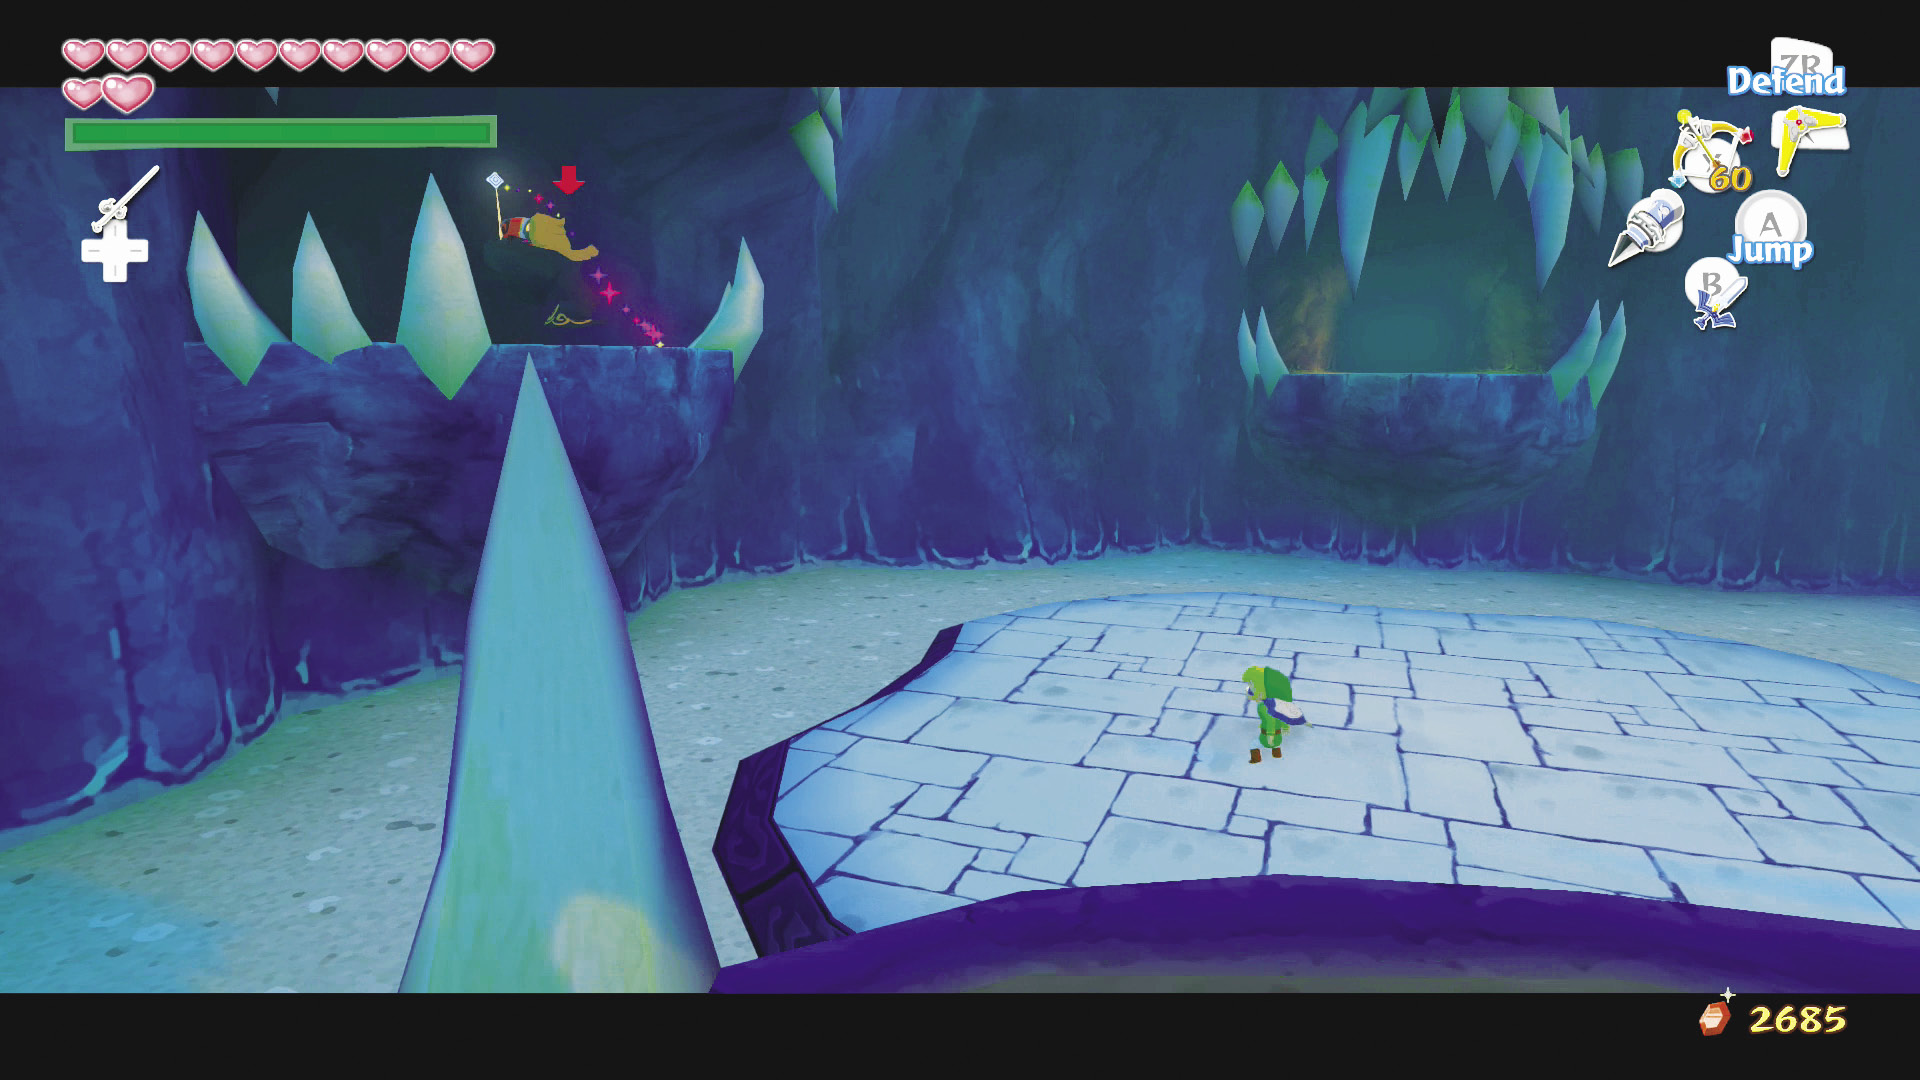
Once inside, head to the center of the room and a Summoning Wizzrobe will appear. After defeating it, and any enemies it summons, three more Summoning Wizzrobes will appear. Do your best to focus on taking out the Summoning Wizzrobes before fighting their creations. Be on your guard: This fight is a taxing one, to say the least.
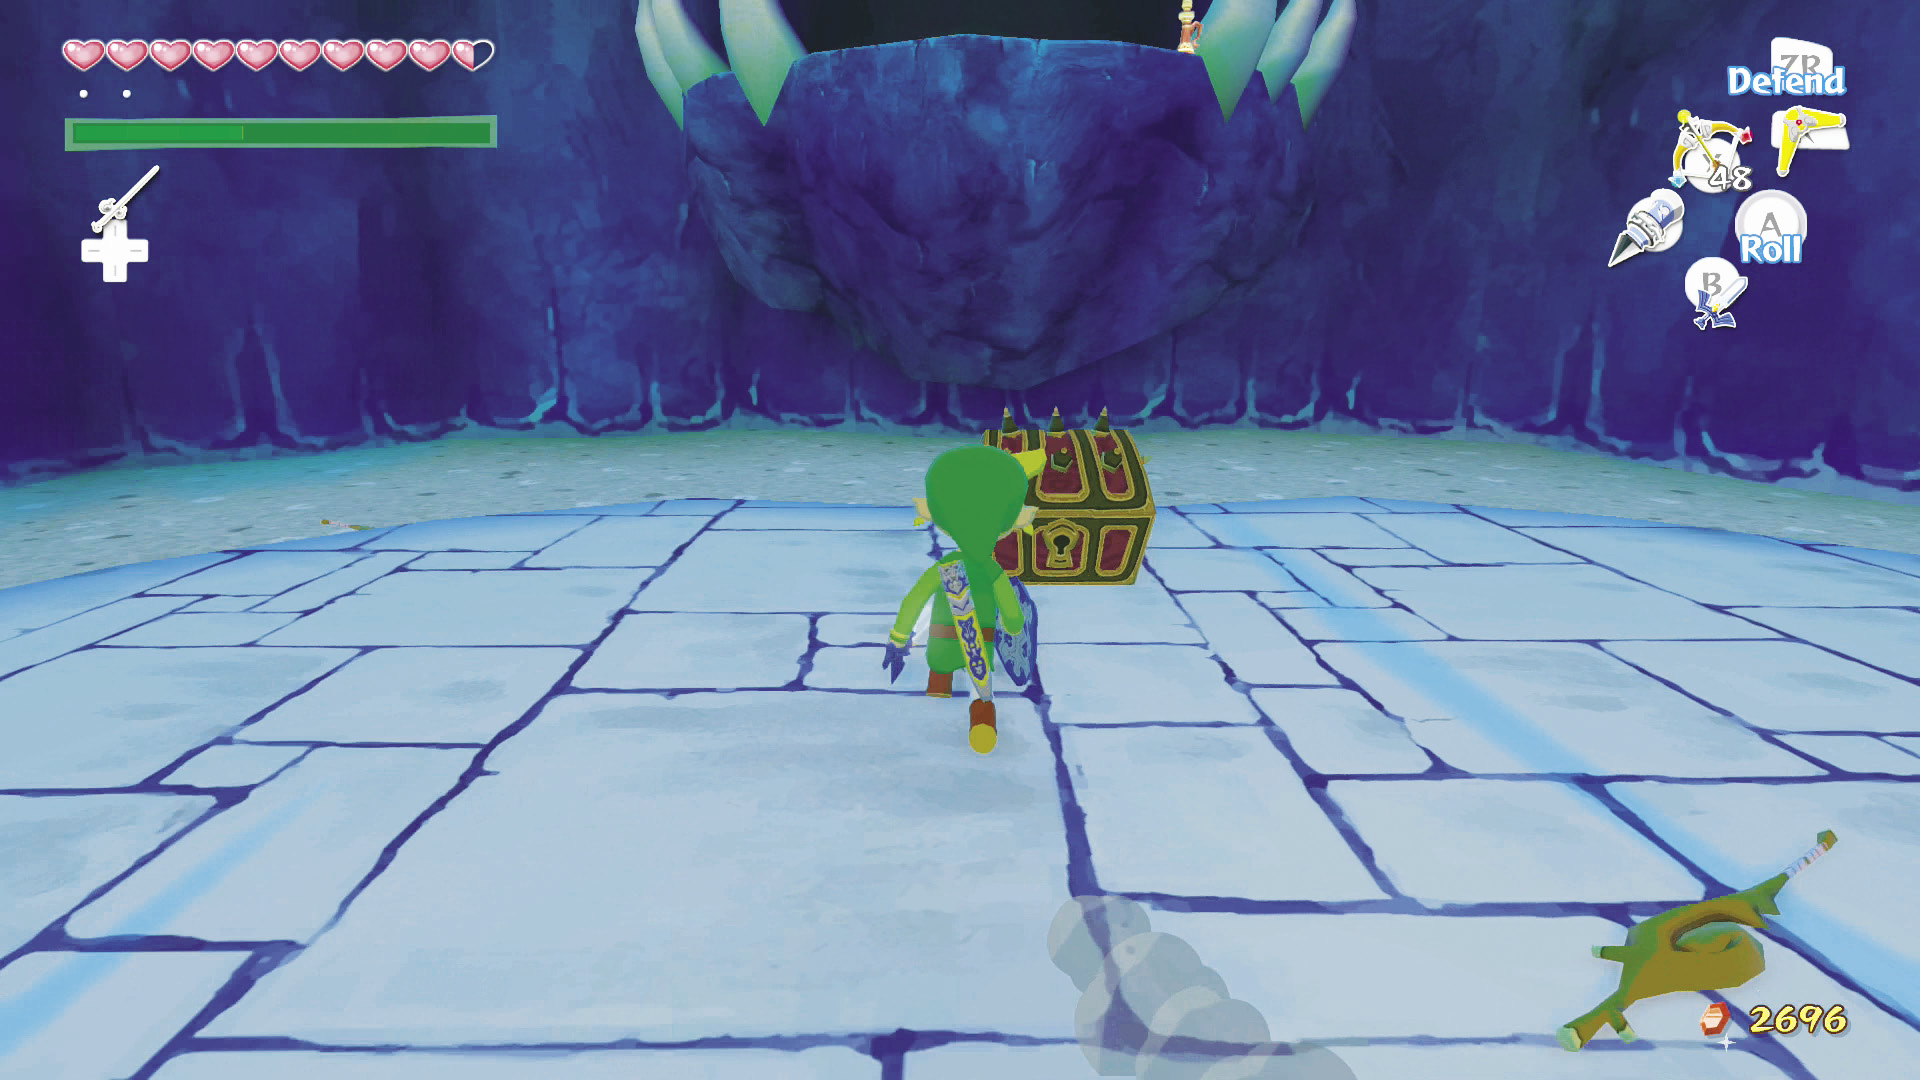
After clearing out all of the enemies in the room, a treasure chest containing Treasure Chart #46 will appear in the center of the room. Claim it, then head through the warp at the room’s entrance.
|
|
146 |
Treasure Chart #46 |
Southern Triangle Island (D5)
Sunken Treasure #44
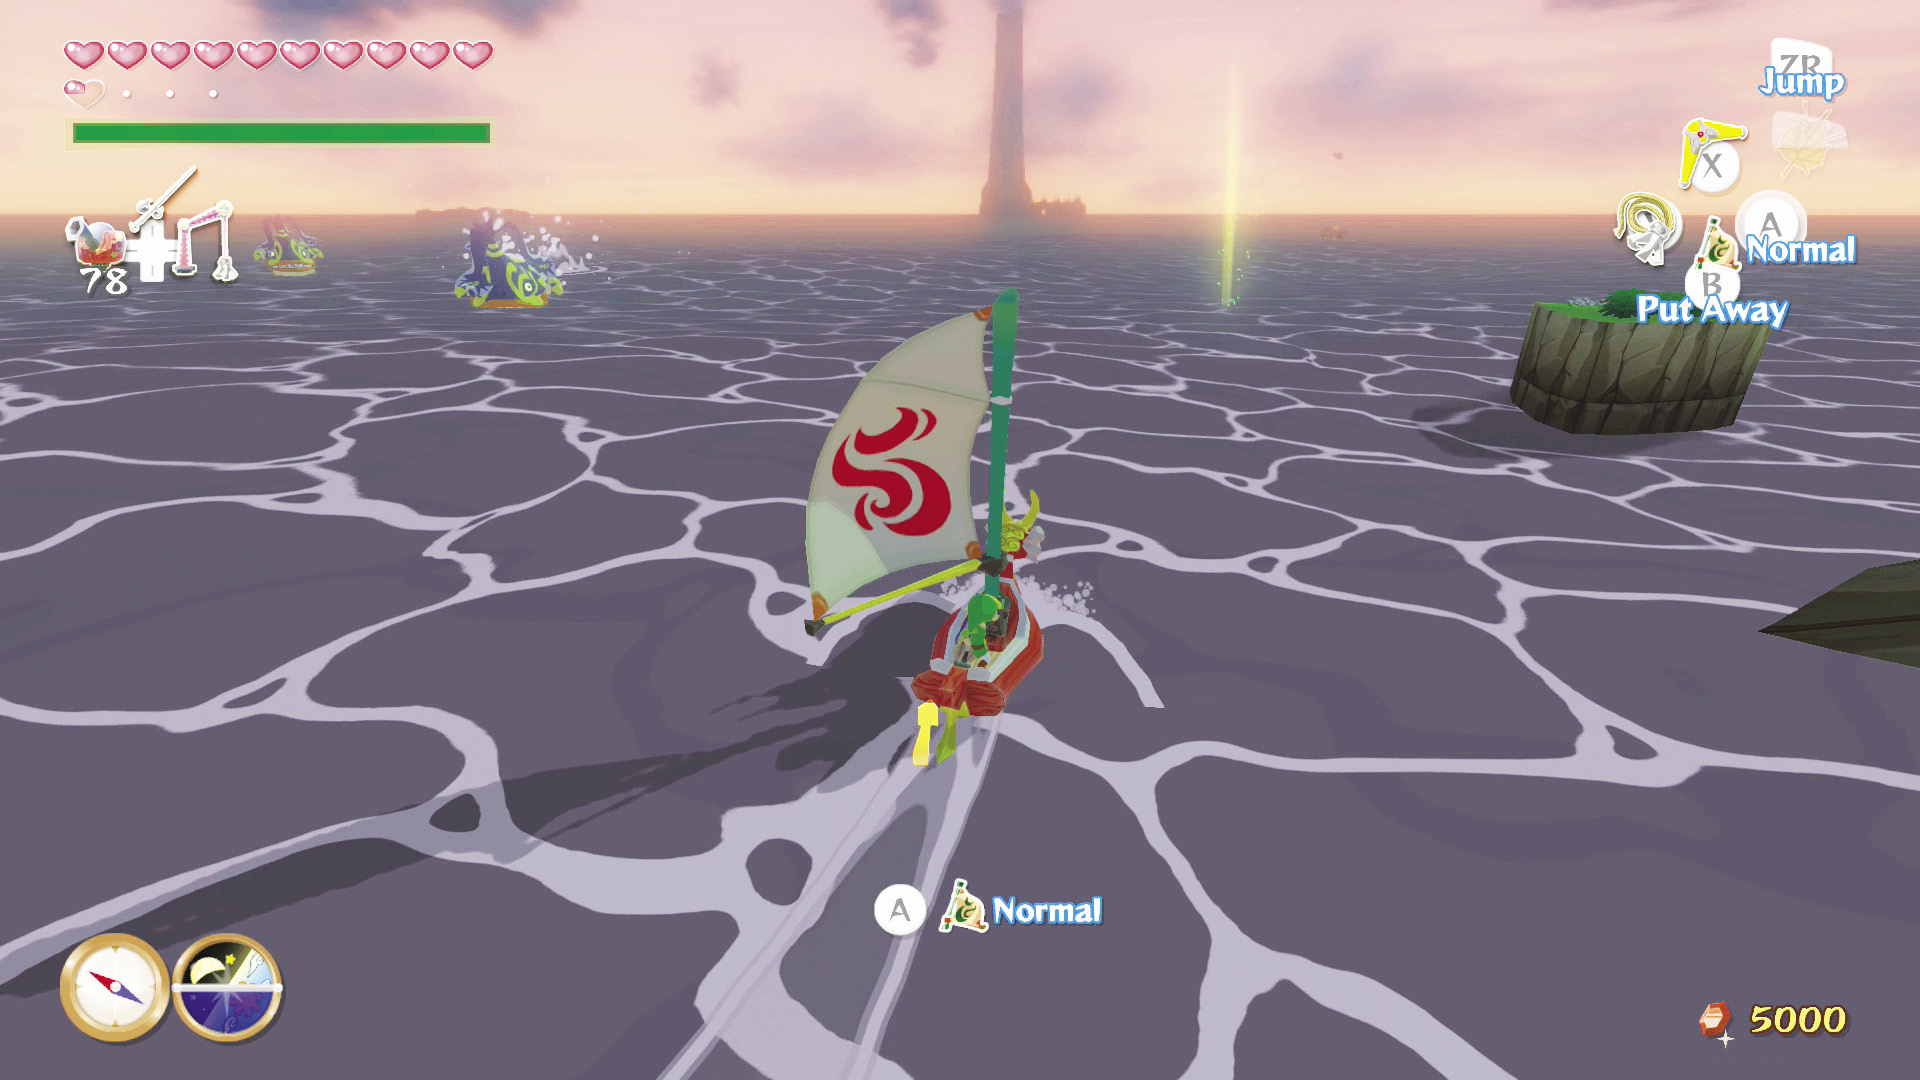
The Treasure Chart you got from Star Belt Archipelago will reveal the location of an Orange Rupee. Just open Treasure Chart #44 and salvage the Rupee from the Great Sea’s surface.
Two-Eye Reef (D7)
Warp to Southern Fairy Island (D6), then head south to reach Two-Eye Reef as quick as possible.
Sunken Treasure #46
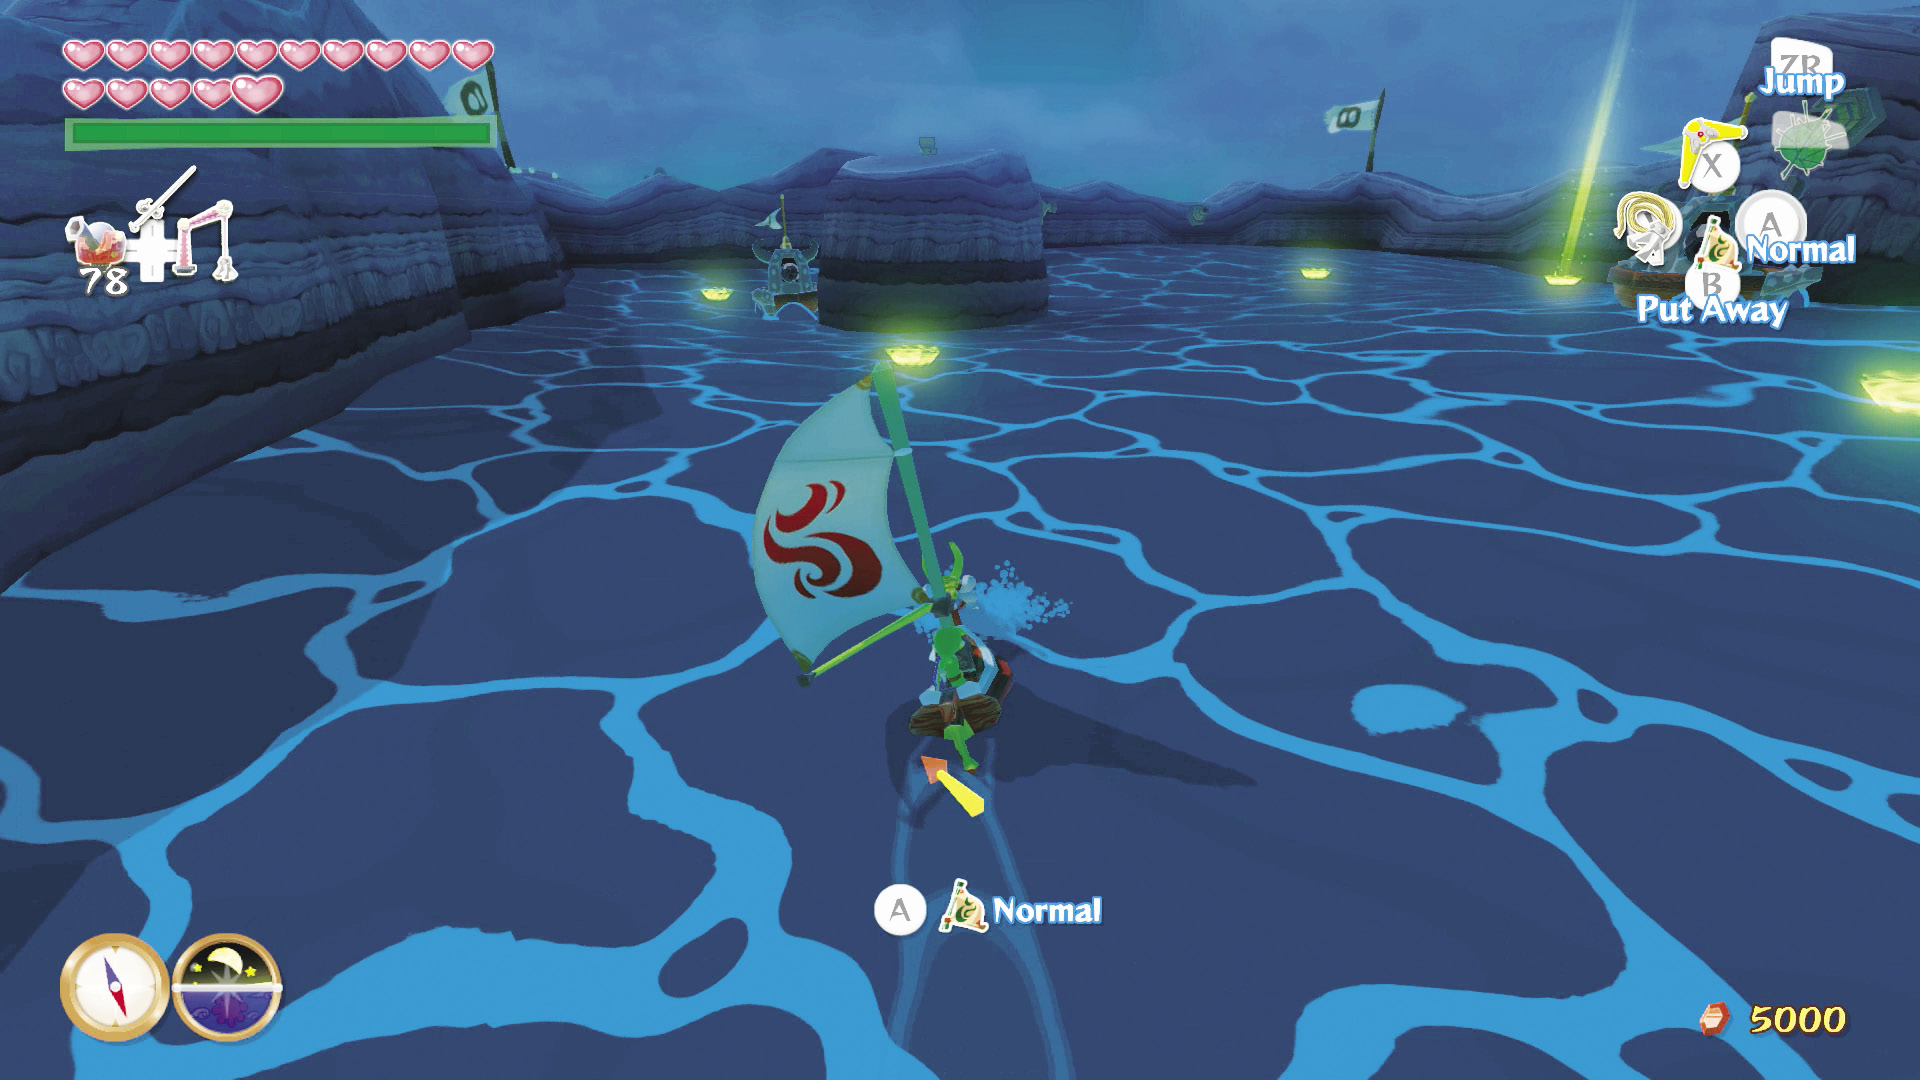
Open Treasure Chart #46, which you received from the extremely challenging Secret Cave on Pawprint Isle (E2), to reveal the location of your 44th and final Piece of Heart.
Congratulations on a job well done! You now have plenty of health to challenge whatever Ganondorf holds for you.
|
|
147 |
Piece of Heart #44 |

Shark Island (C6)
Sunken Treasure #16
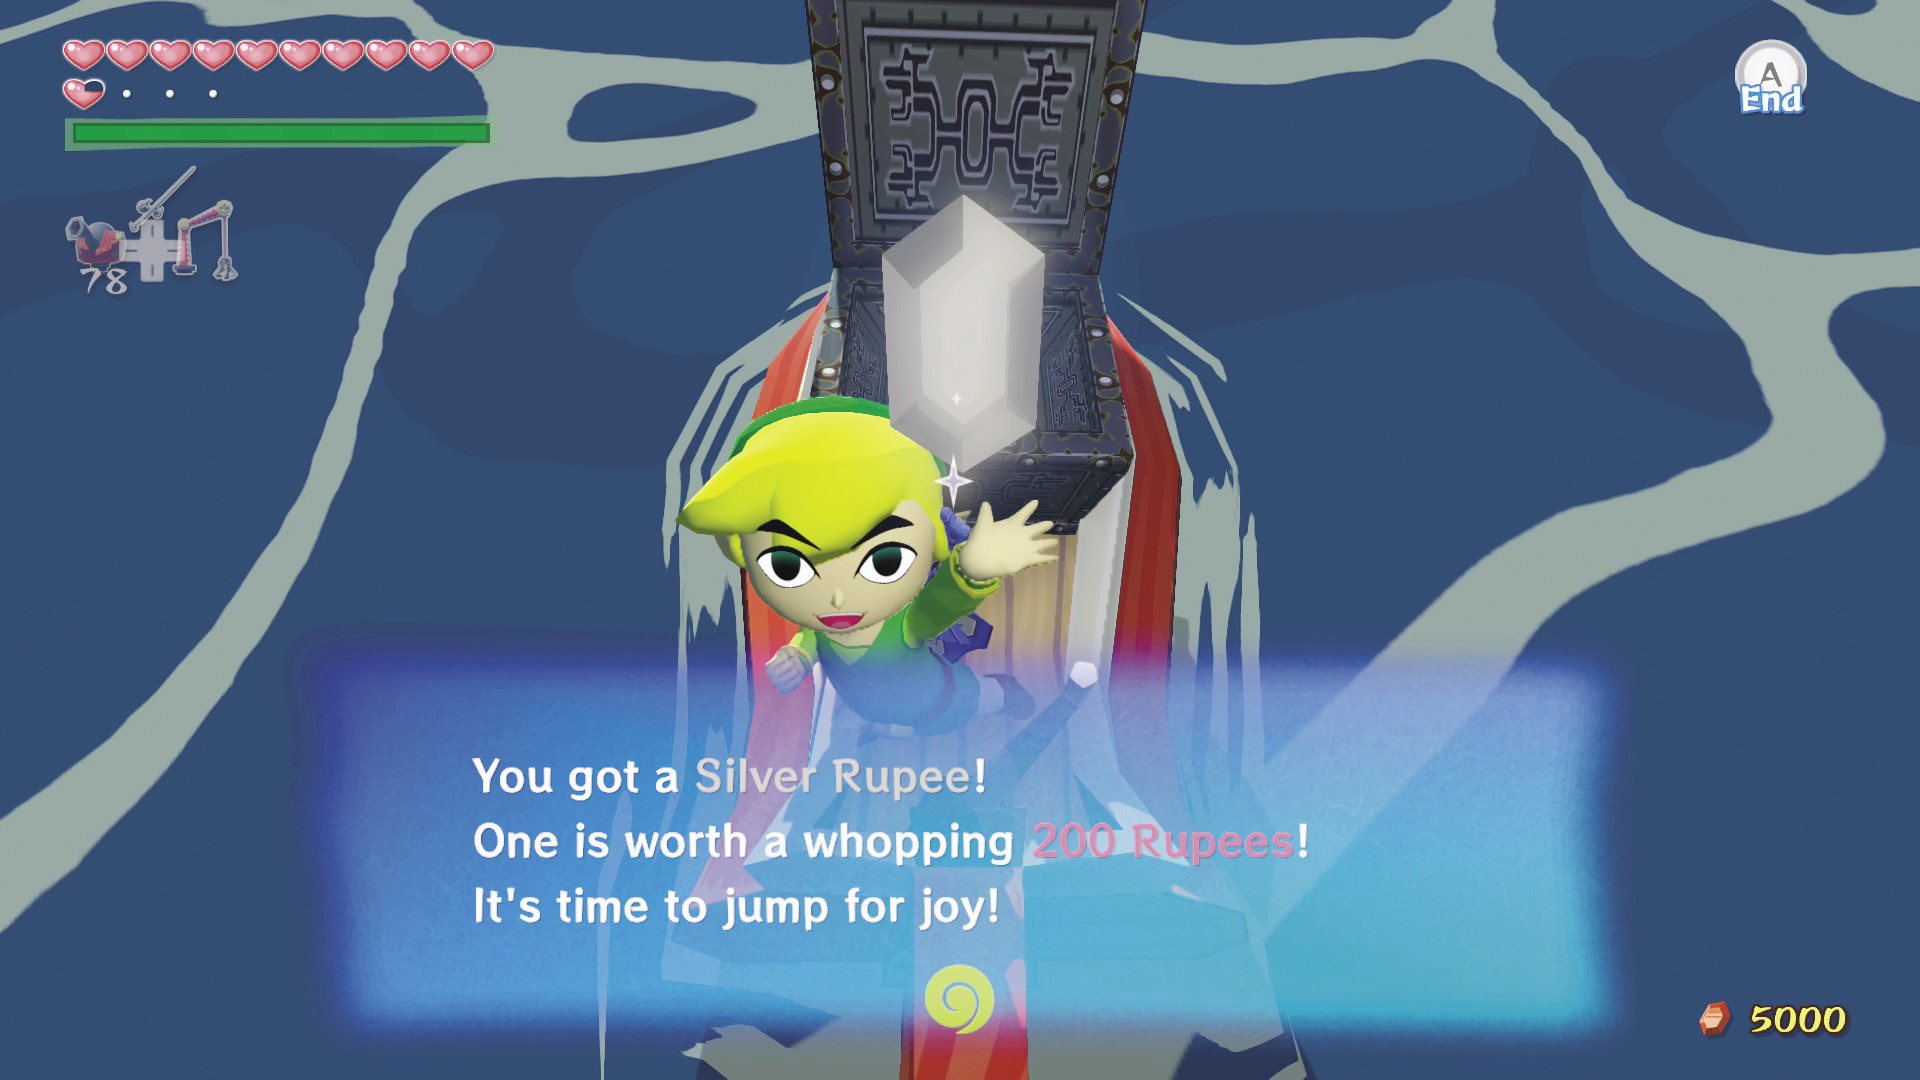
Treasure Chart #16, which you found in the Seven-Star Isles (F1), can be opened in this sector to reveal the location of a Silver Rupee.
Switch Hitter
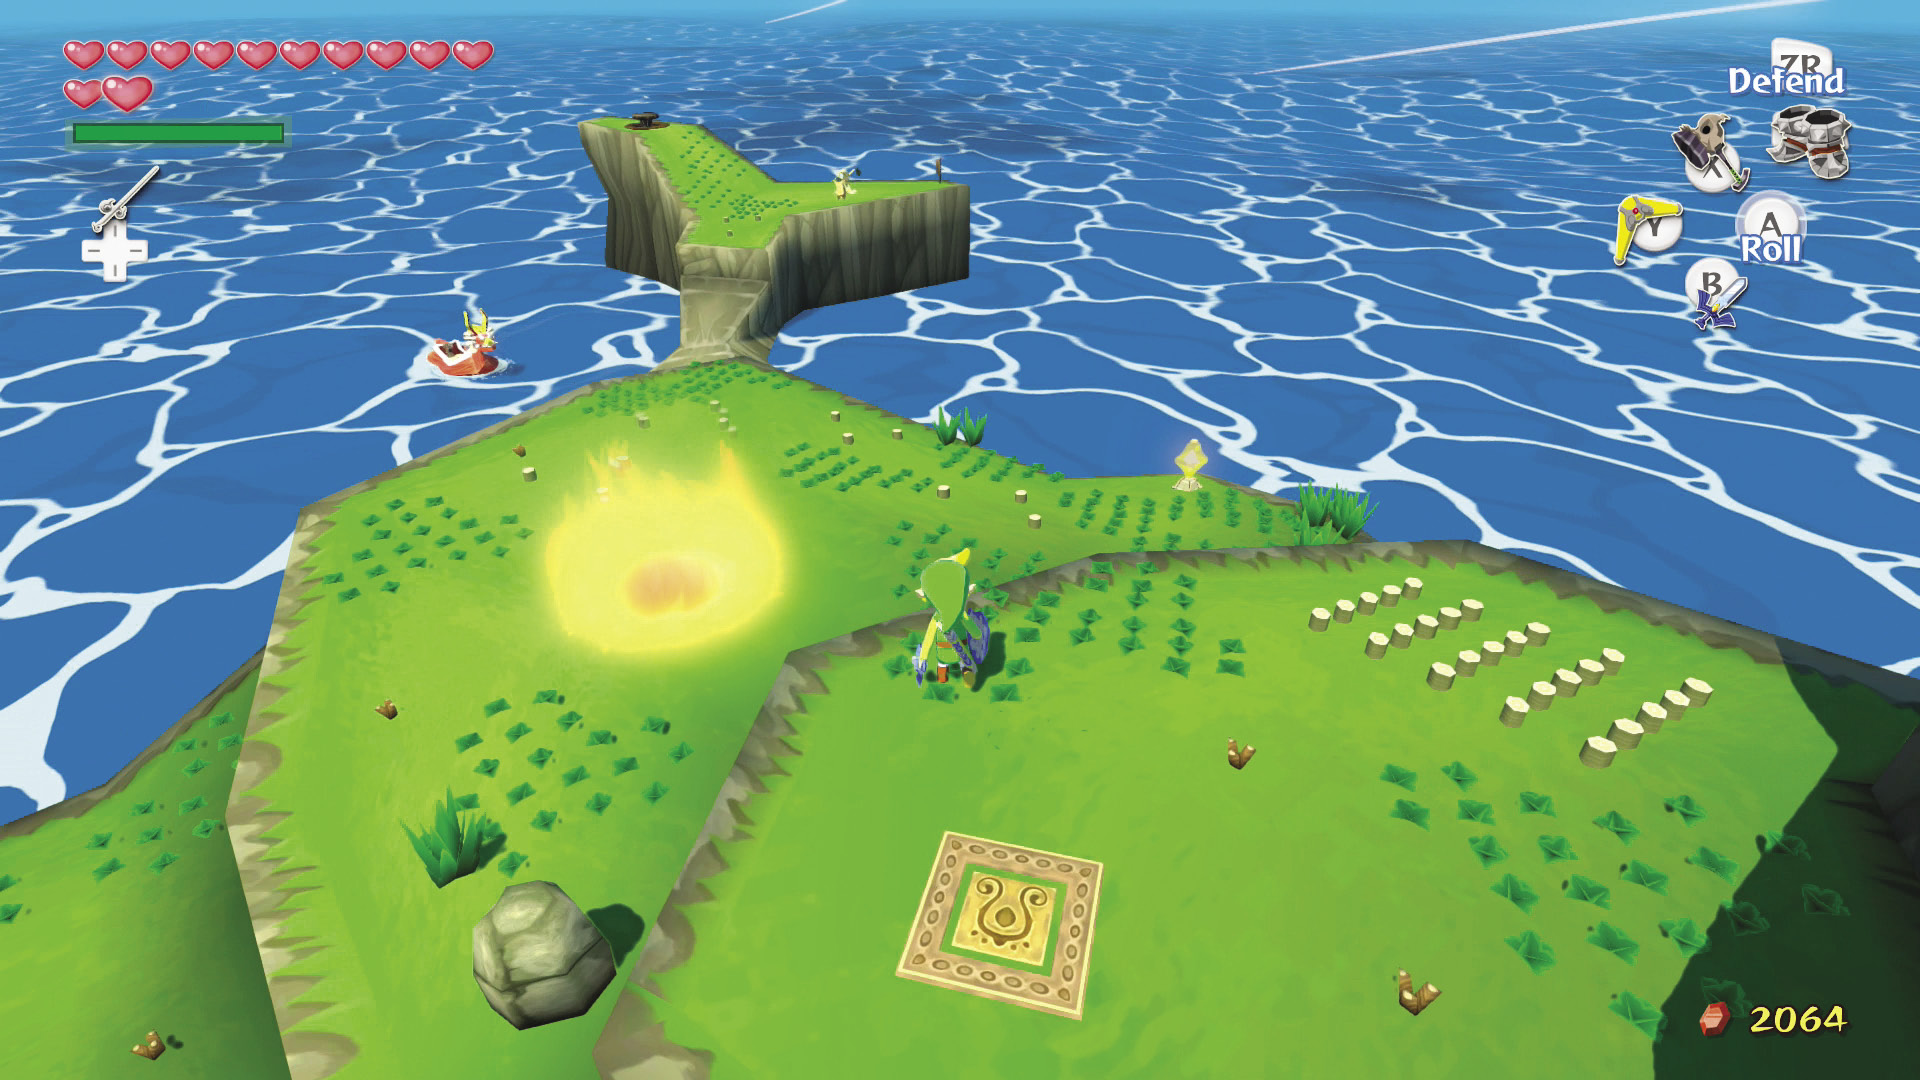
If you have the Iron Boots and the Skull Hammer, you can activate all four switches on the island and lower the flames around the hole, which leads to a Secret Cave. The switches are on a time limit, so you need to hit all four as swiftly as possible.
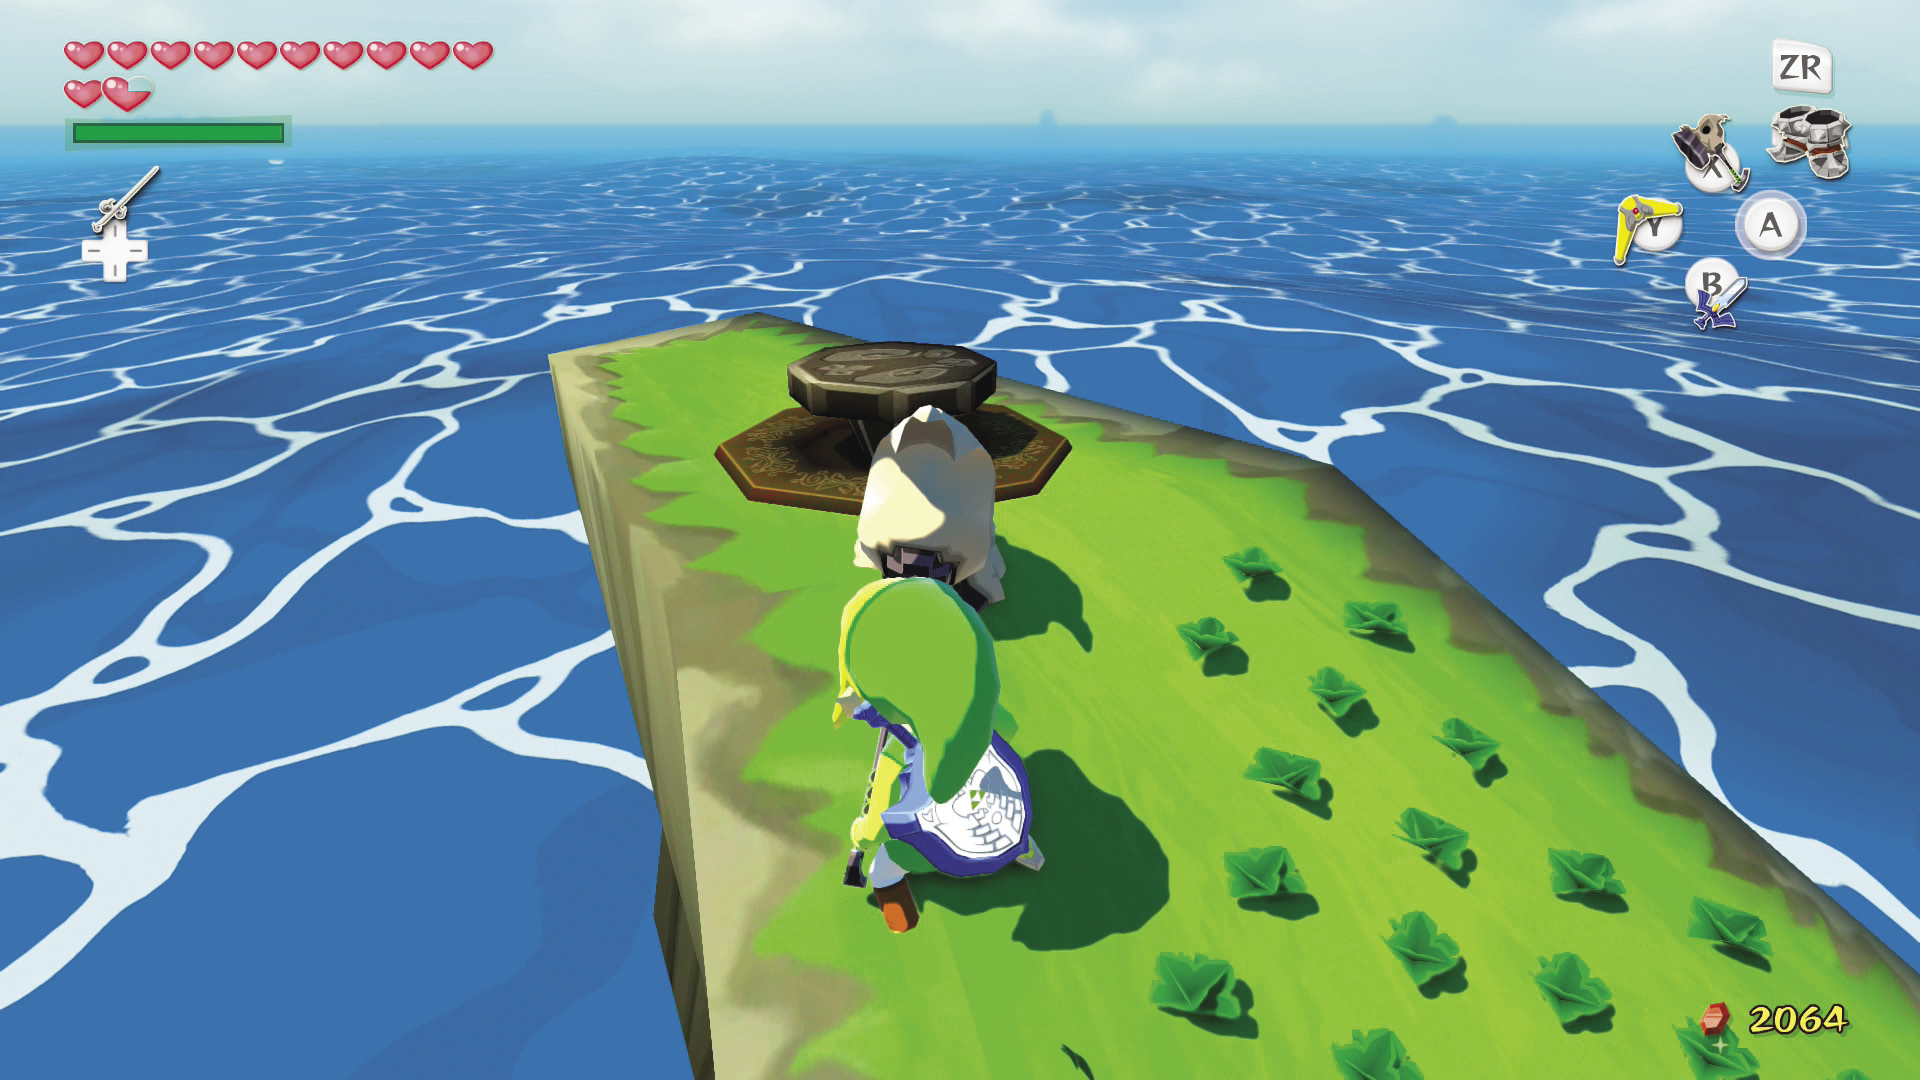
First cut down any saplings and grass tufts around the island; a clear path to each switch saves time. Then head to the “tail” of the island and ready your Skull Hammer and Iron Boots. Stand on top of the switch here and activate it by equipping the Iron Boots. Immediately unequip the Iron Boots and run to the white crystal on the island’s other side, drawing your sword as you go.
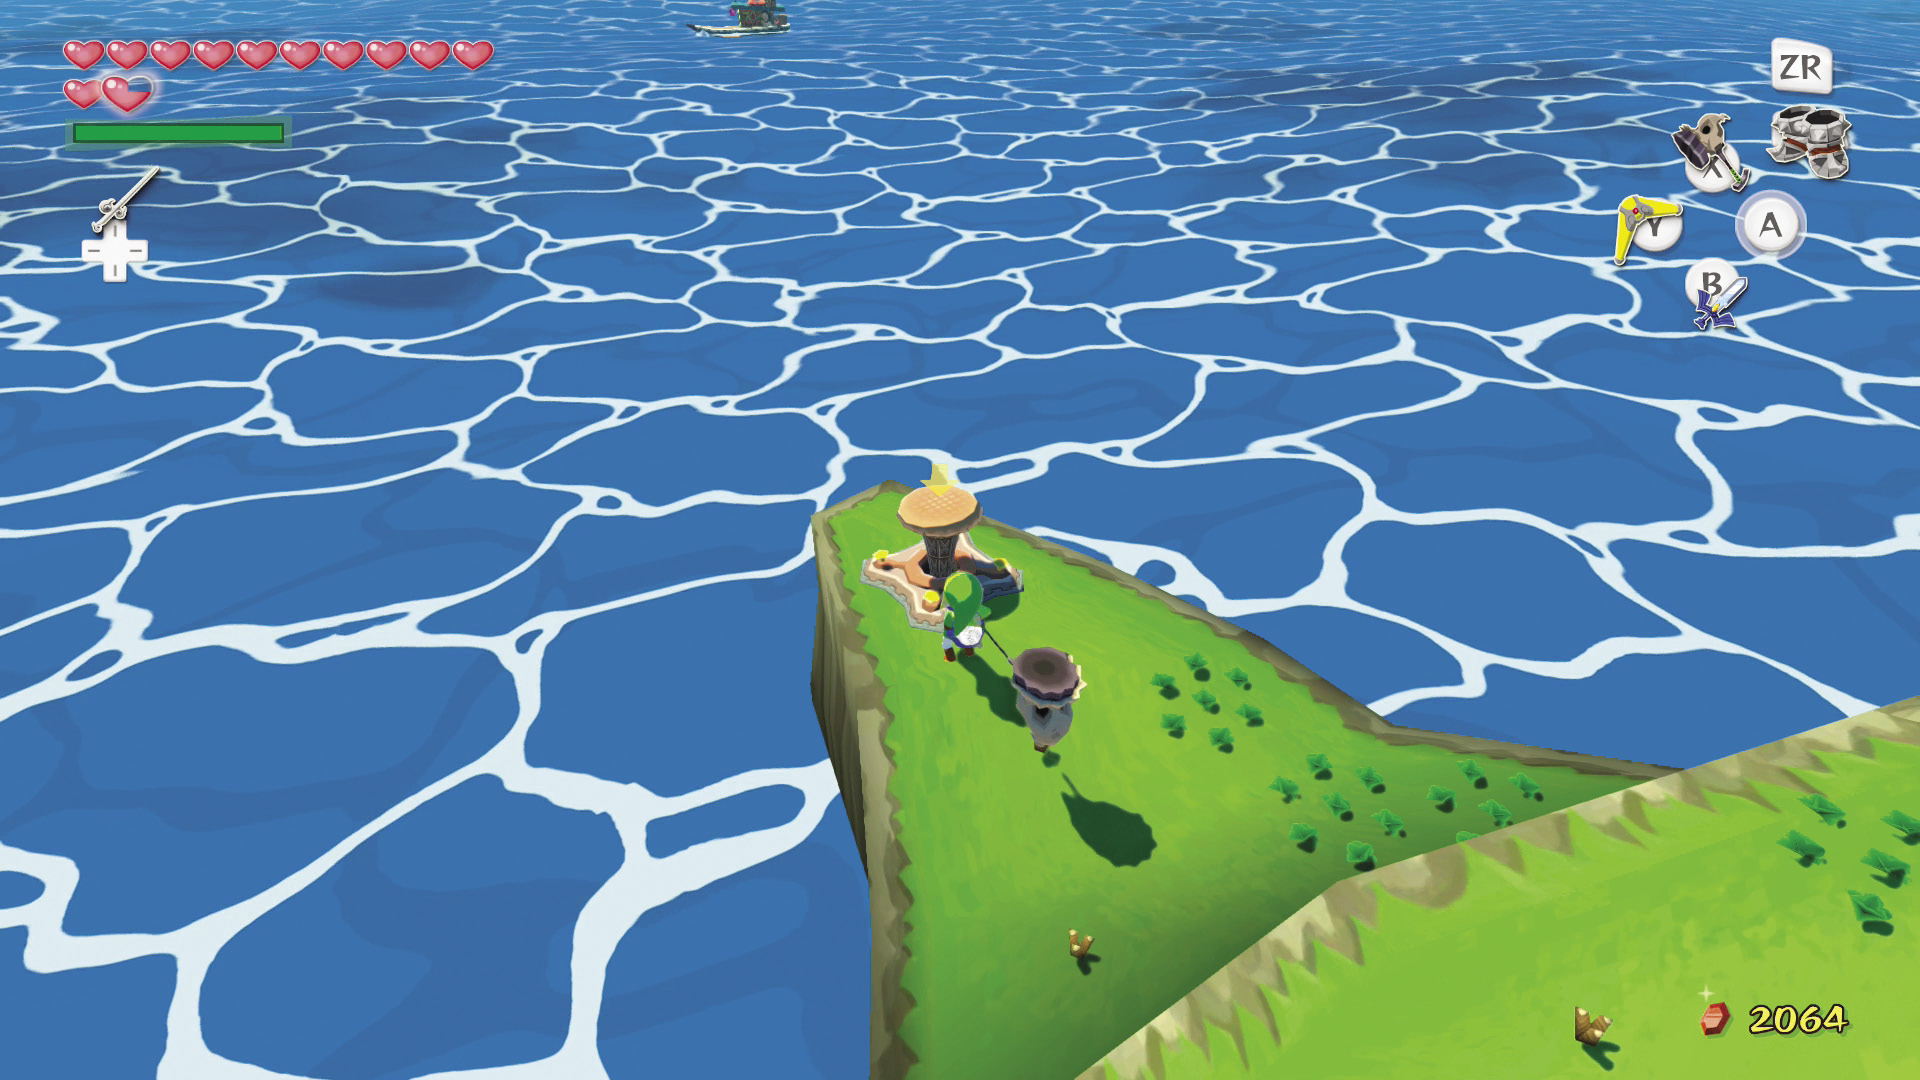
Whack the crystal with your sword or Boomerang and then jump onto the pressure switch on the ledge above the crystal to activate it. Now jump down to the peglike switch, lock on to it, and put the hammer down. A wind vortex appears next to the island and the ring of flames disappears, allowing you to enter the Secret Cave.
Before entering the Secret Cave, read the “Air ChuChu” section below if you want a Blue ChuChu. If you enter the Secret Cave first, you’ll have to rehit all of the switches on the island to make the vortex appear again.
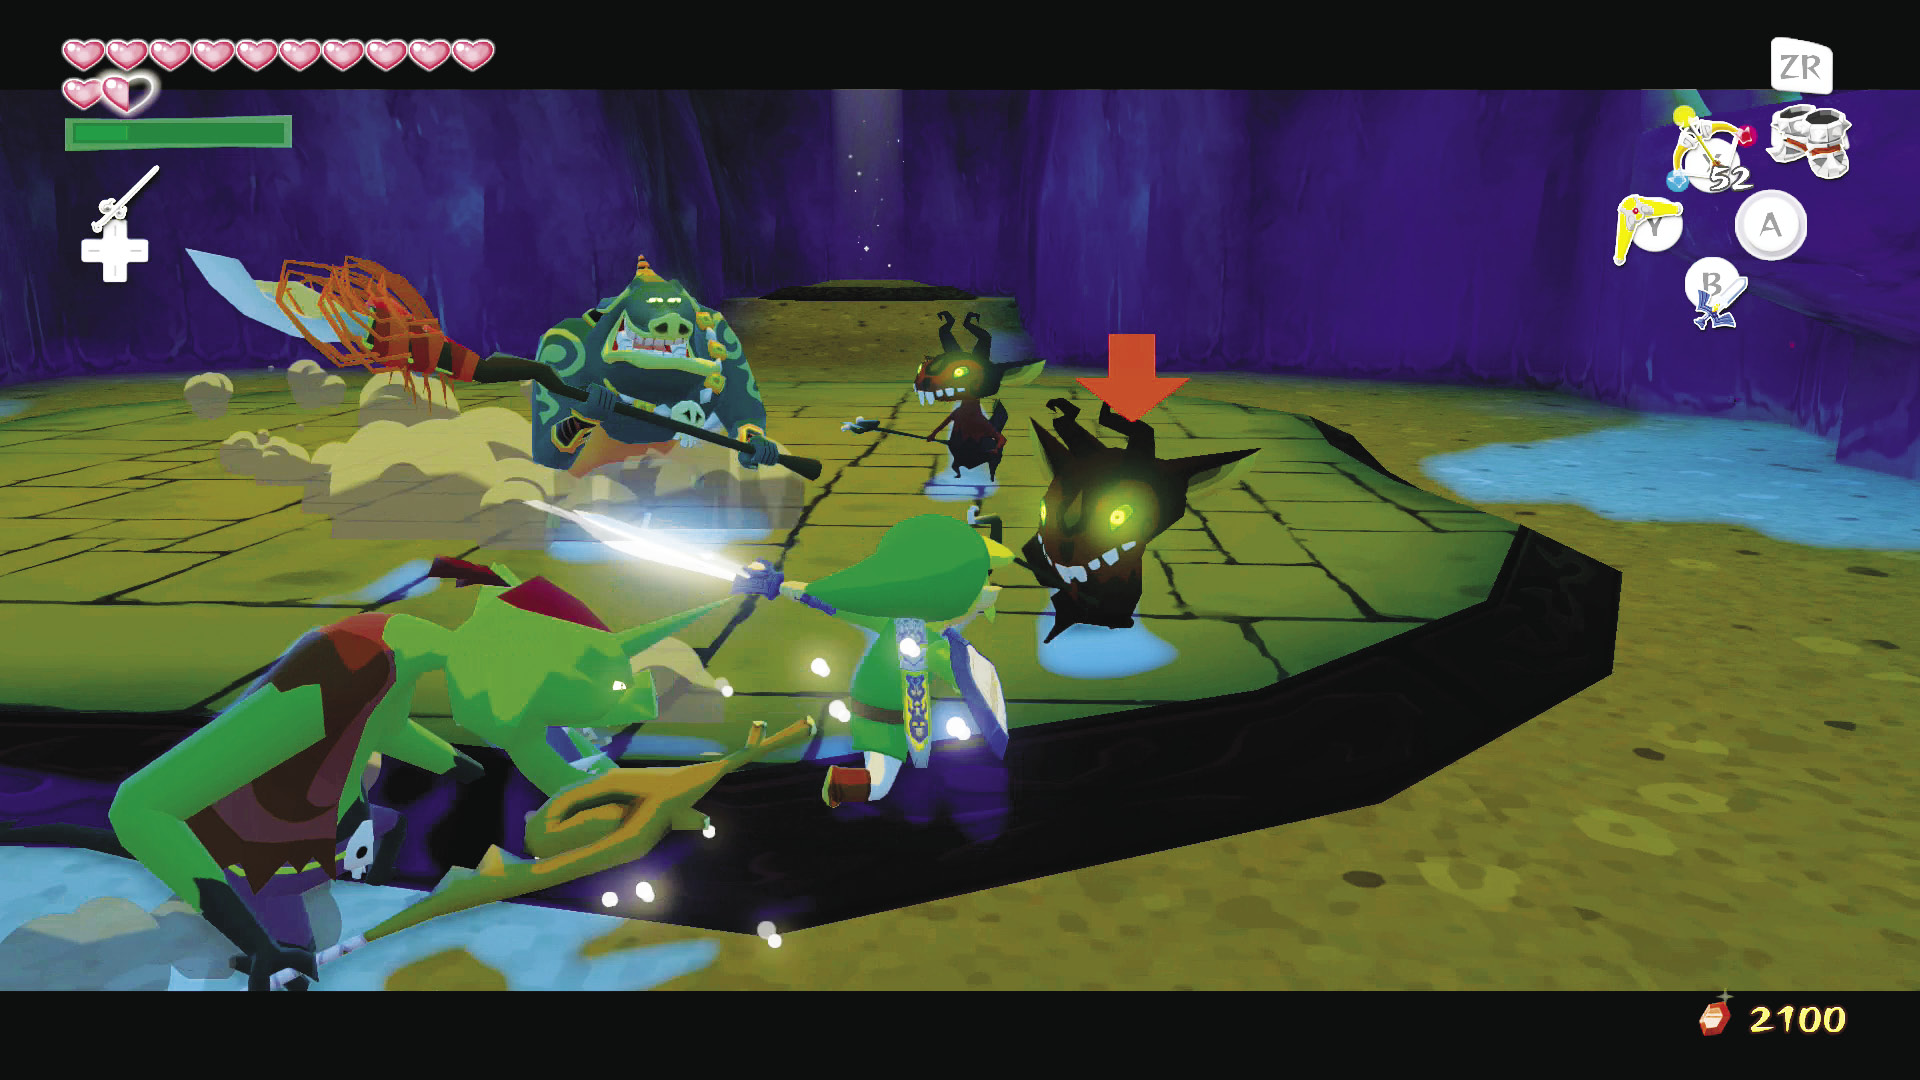
Inside the Secret Cave, you face a tough battle against Moblins, Darknuts, and several other enemies that will come at you in mixed waves. If you defeat them all, a chest with a Silver Rupee appears.
Air ChuChu
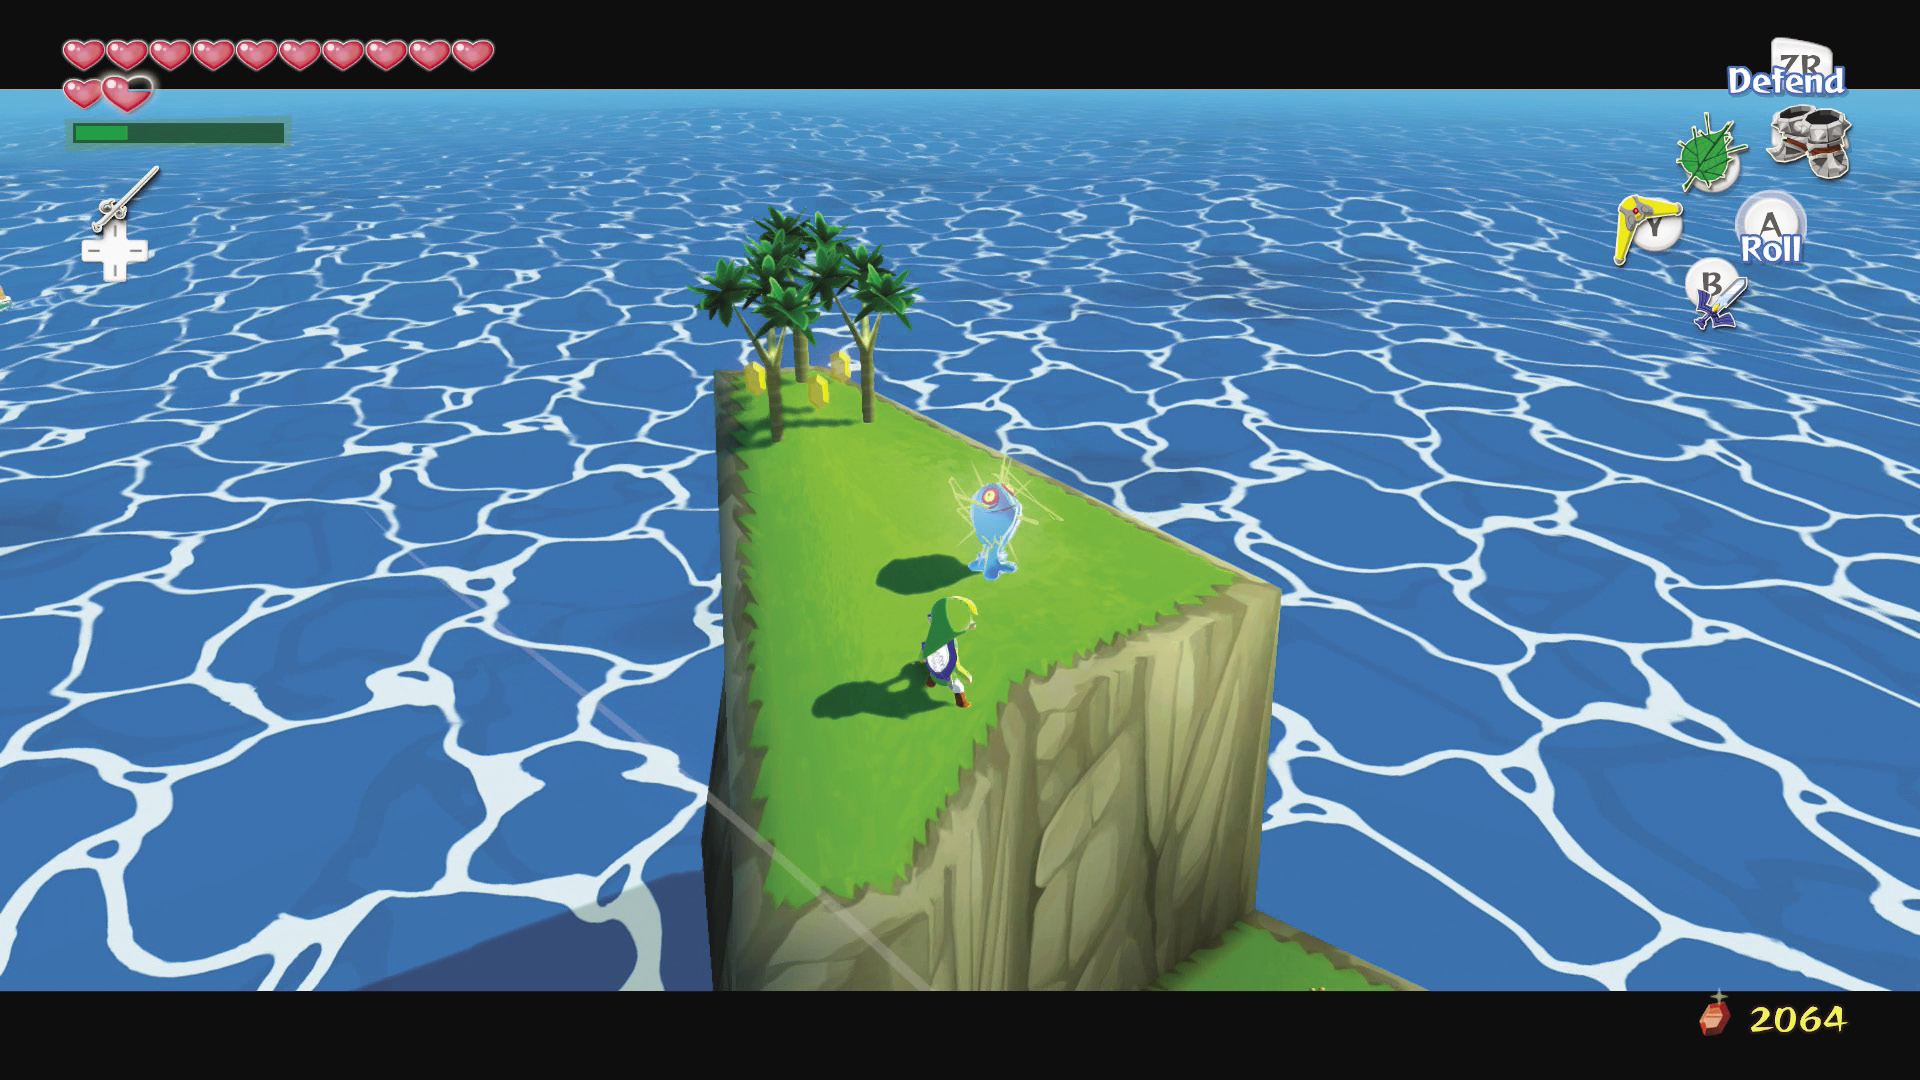
Activating all four switches on this island creates a wind vortex nearby. Use this to glide to the highest part of the island, where a Blue ChuChu can be found.
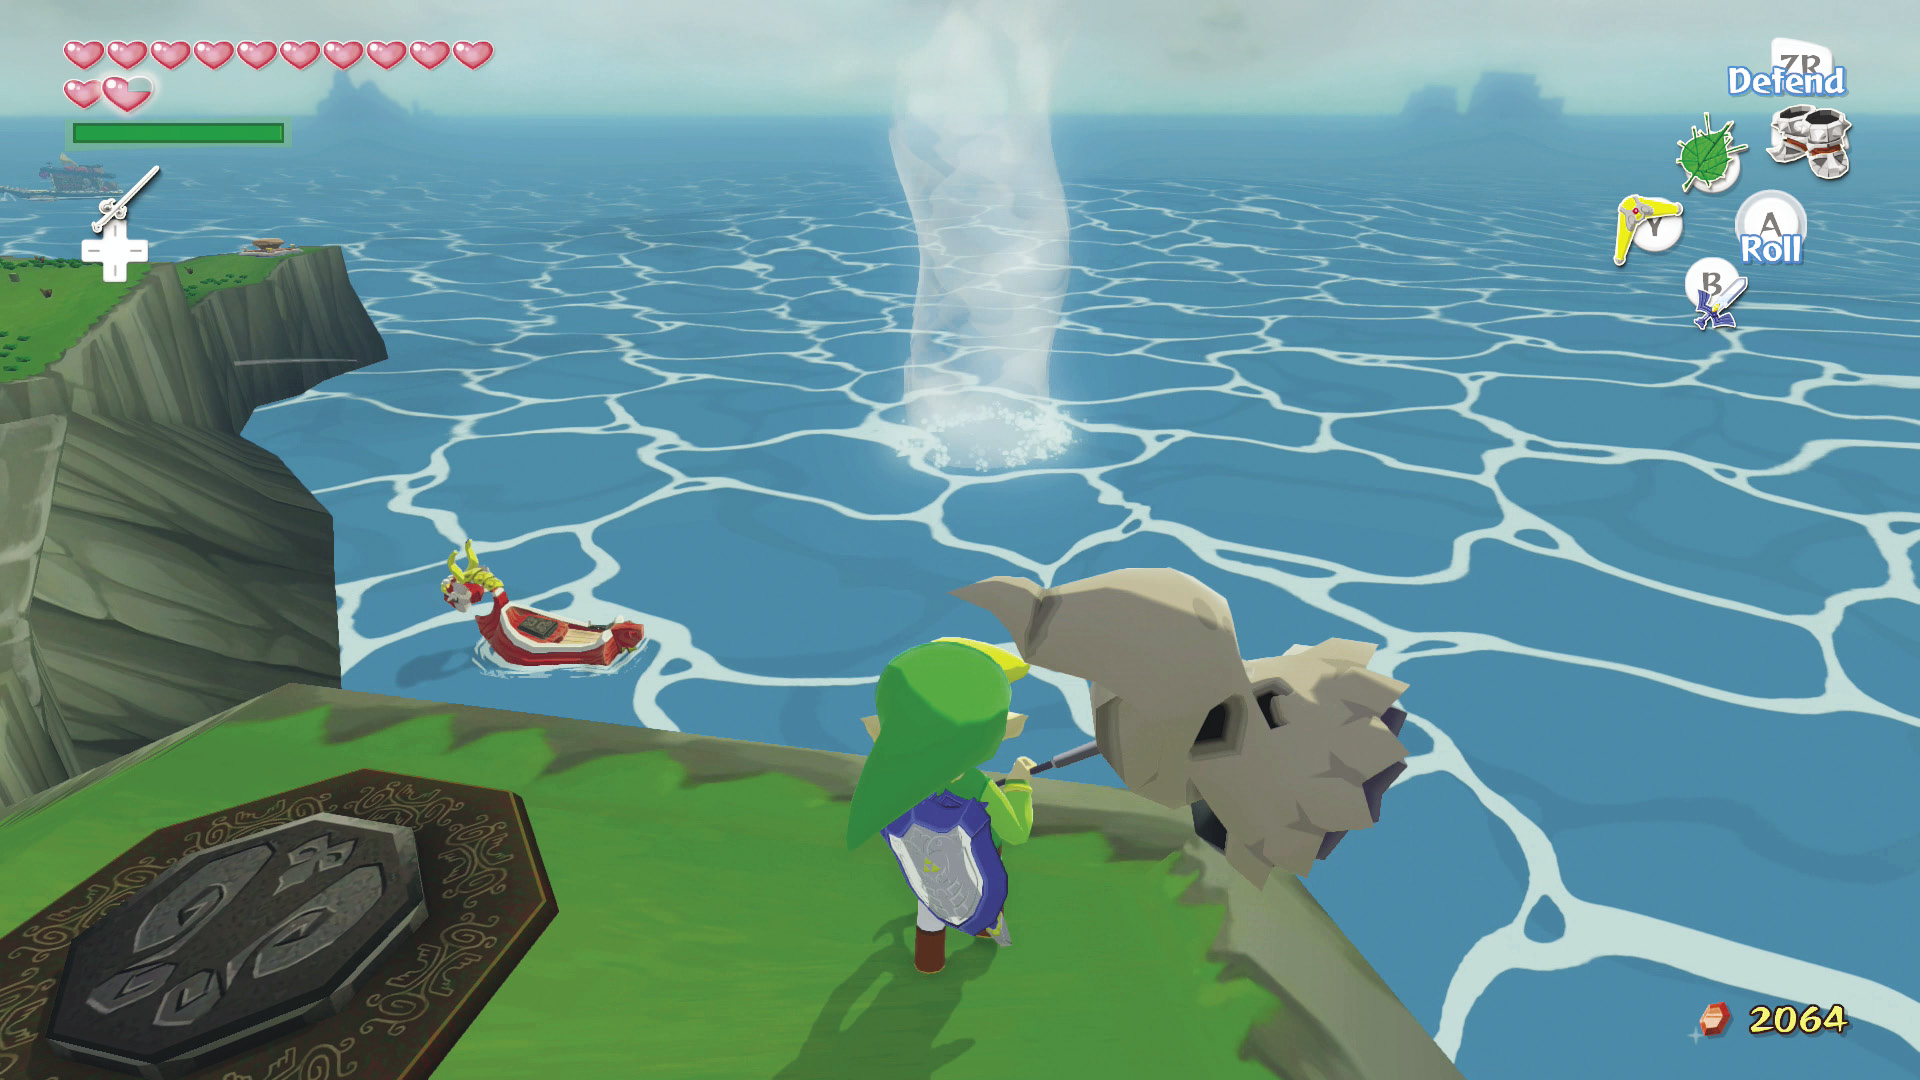
To reach the vortex, head to the “tail” of the island where the Iron Boots switch is, and set the wind to blow southeast. Use the Deku Leaf to glide into the updraft. Be prepared to fight the wind while trying to reach the vortex, then point yourself toward the island’s highest point and glide to reach it.
Five-Eye Reef (B6)
Sunken Treasure #12
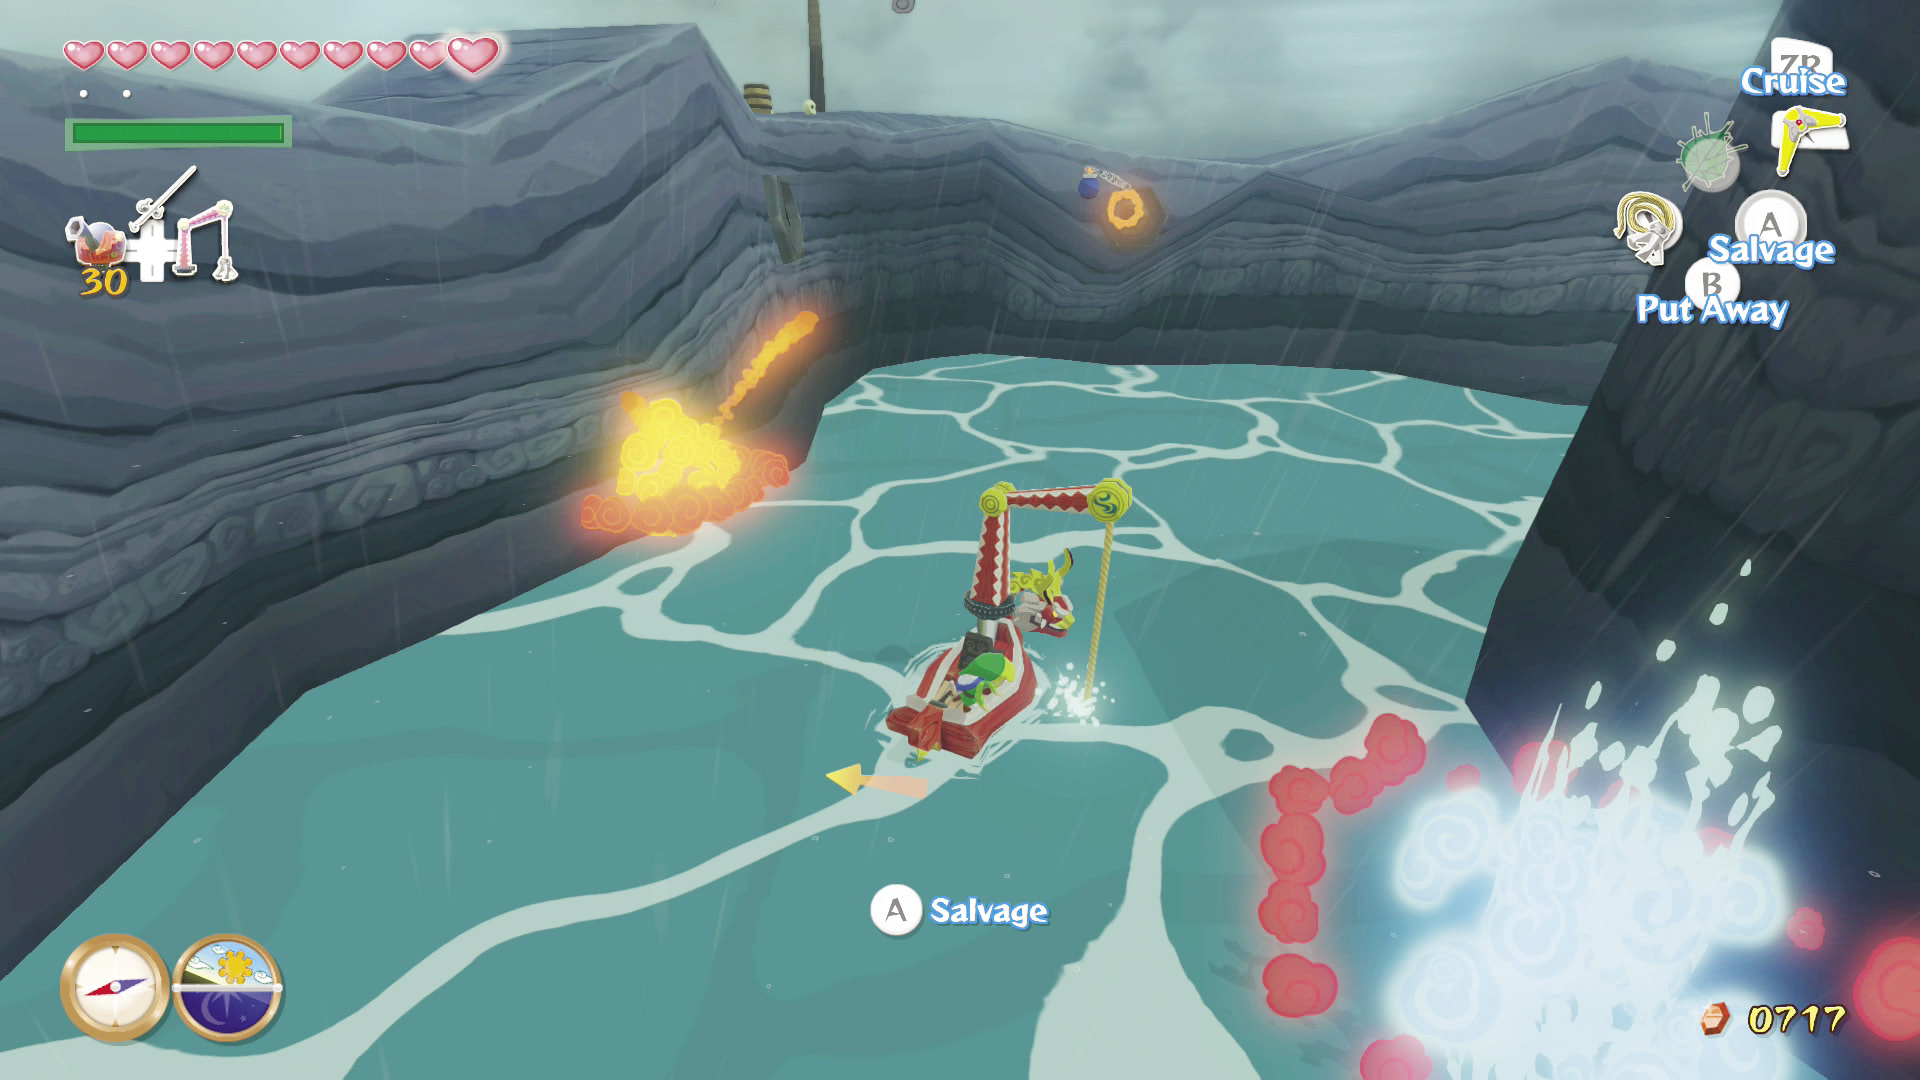
Treasure Chart #12, which you found in the Earth Temple, can be opened in this sector to reveal the location of a Silver Rupee.
Islet of Steel (B5)
Sunken Treasure #35
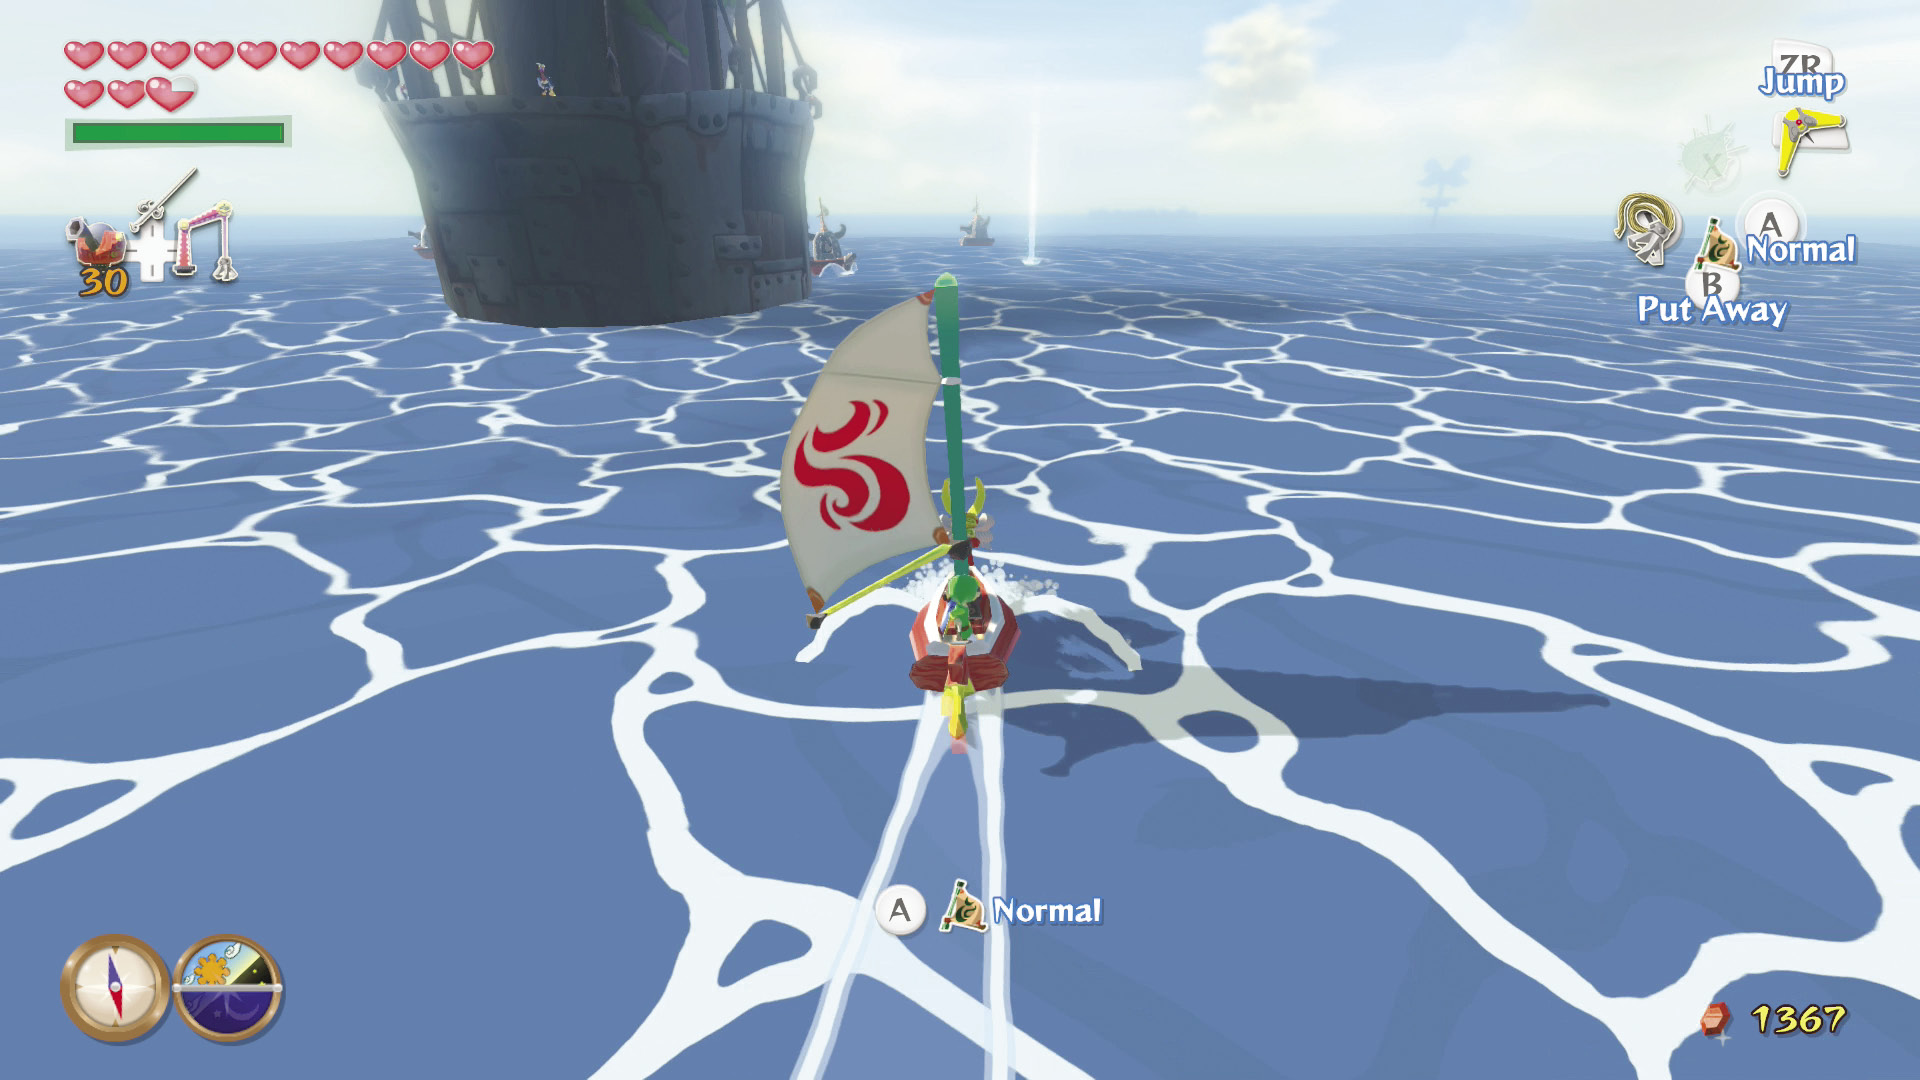
Treasure Chart #35, which you found in the Wind Temple, can be opened in this sector to reveal the location of a Silver Rupee.
Horseshoe Island (A7)
Bait and Switch
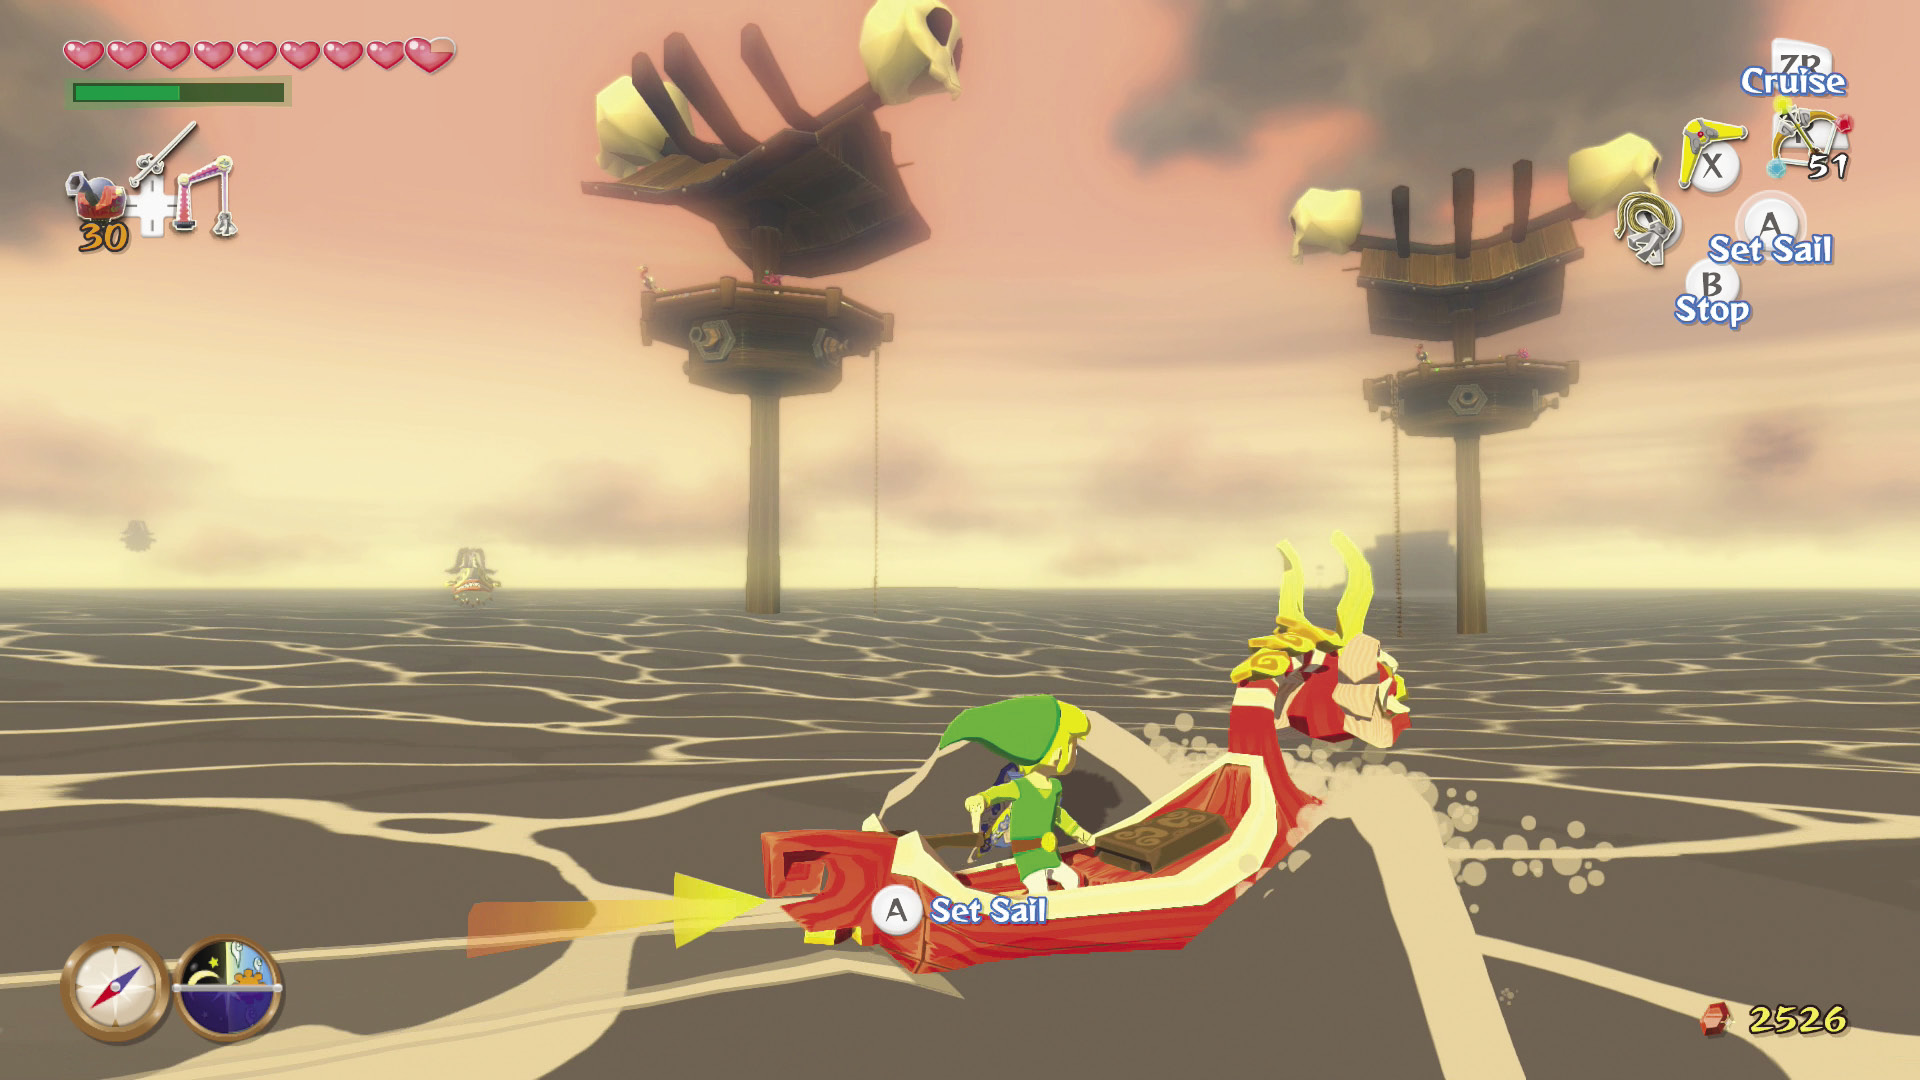
The Sea Platforms in this sector both have switches on them. Hit a switch on one Platform and a treasure chest appears on the other. One of those chests contains Treasure Chart #43.
|
|
148 |
Treasure Chart #43 |
Outset Island (B7)
Sunken Treasure #43
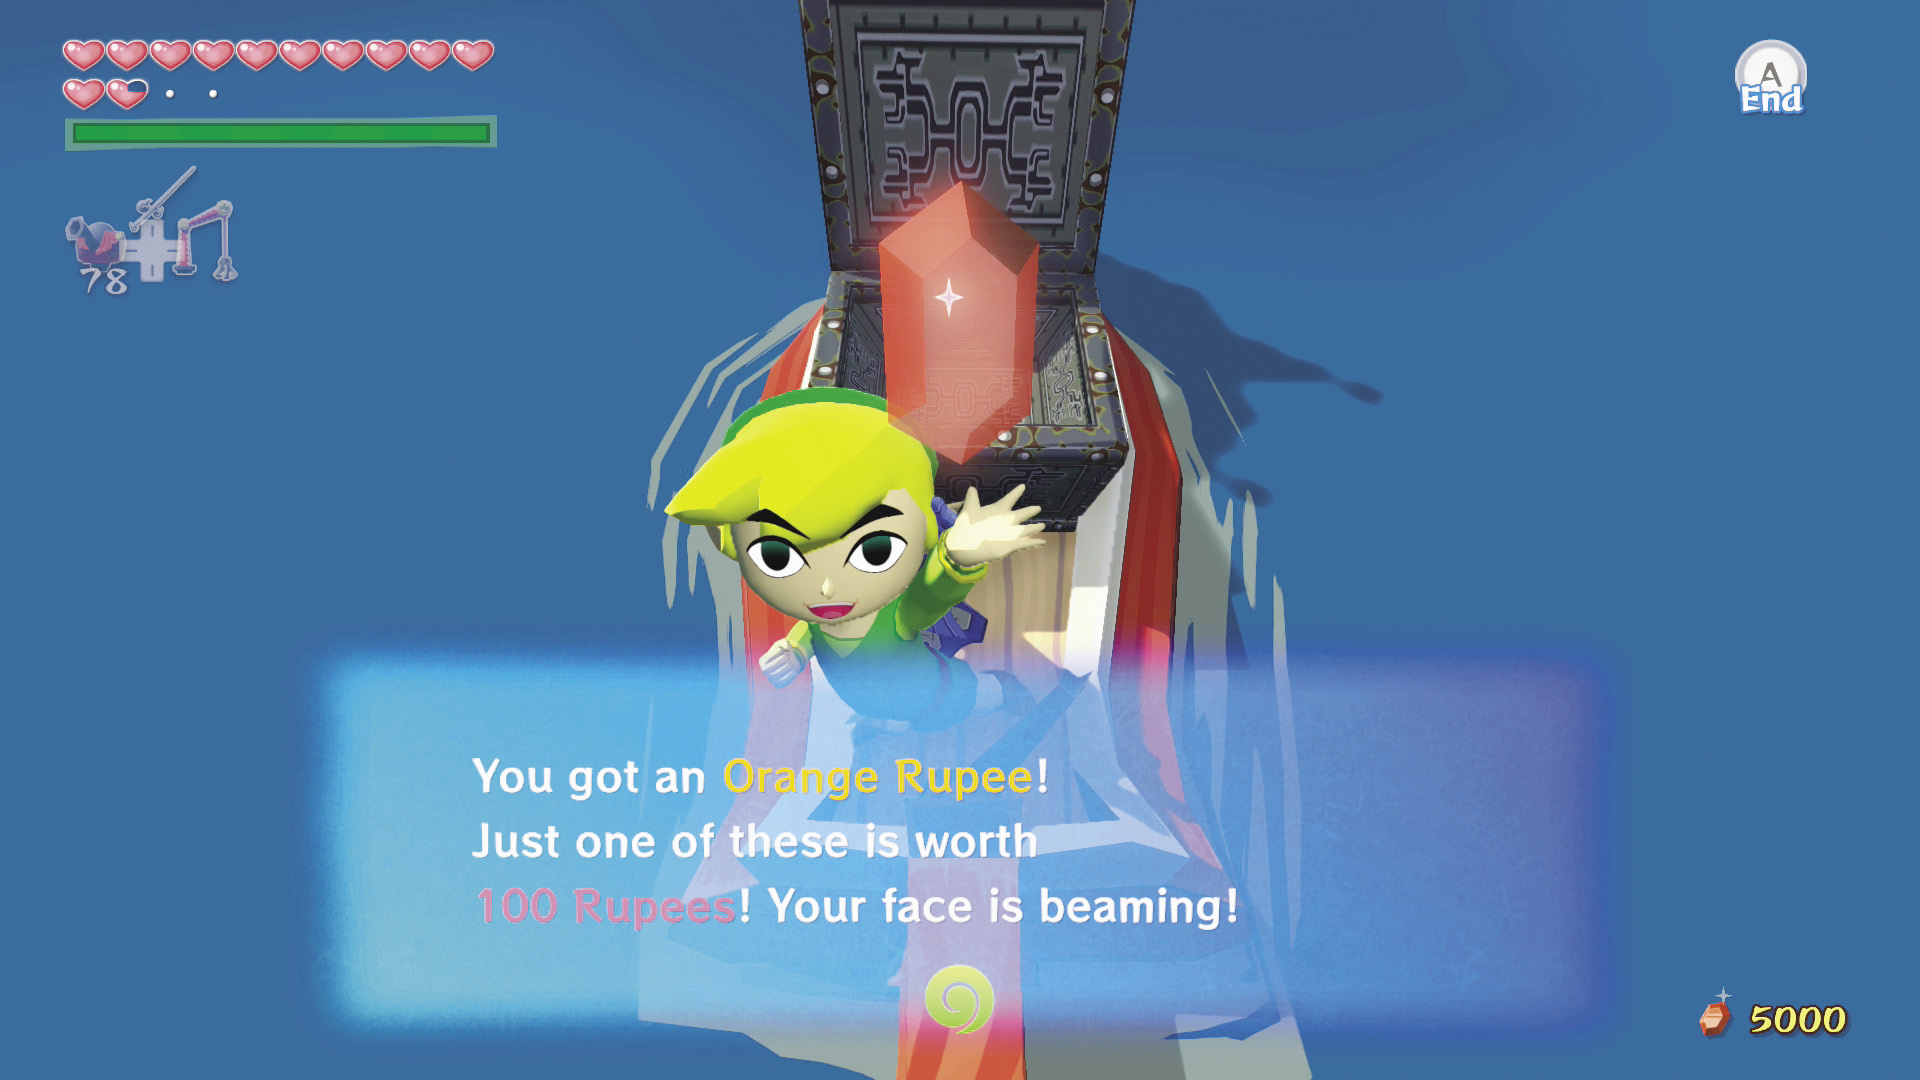
Treasure Chart #43, which you just grabbed from the Sea Platforms in Horseshoe Island (A7), can be opened to reveal the location of an Orange Rupee.
Forsaken Fortress (A1)
Sunken Treasure #25
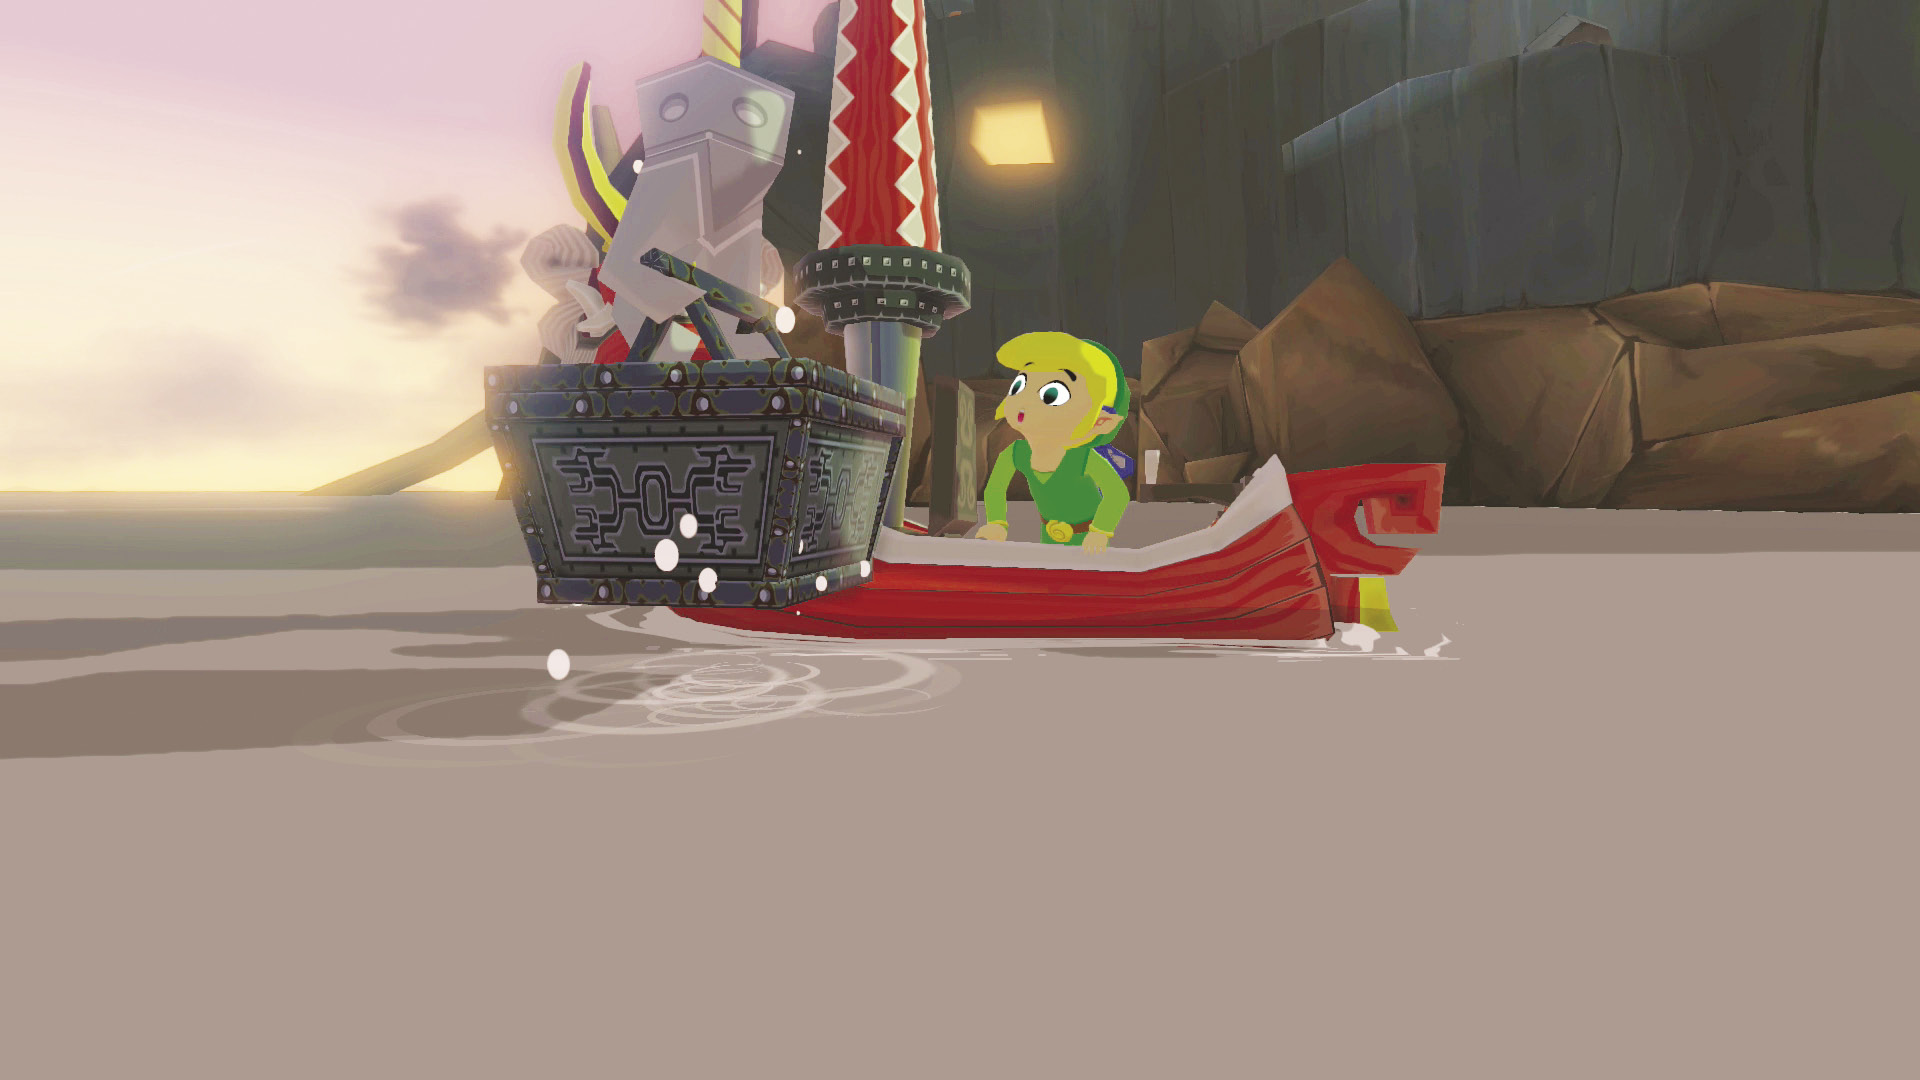
If you grabbed Treasure Chart #25 while in the Cliff Plateau Isles (G6), open it to reveal your final Treasure Chart treasure: a Silver Rupee.
You’ve done it! You’ve seen it all. Now all you have left to do is challenge Ganondorf and come out on top. With all the extra items and Heart Containers, there’s no way you won’t win!