
The Legend of Zelda: The Wind Waker Guide Walkthrough The Spirit of Water and the Third Pearl
Outset Island (B7)
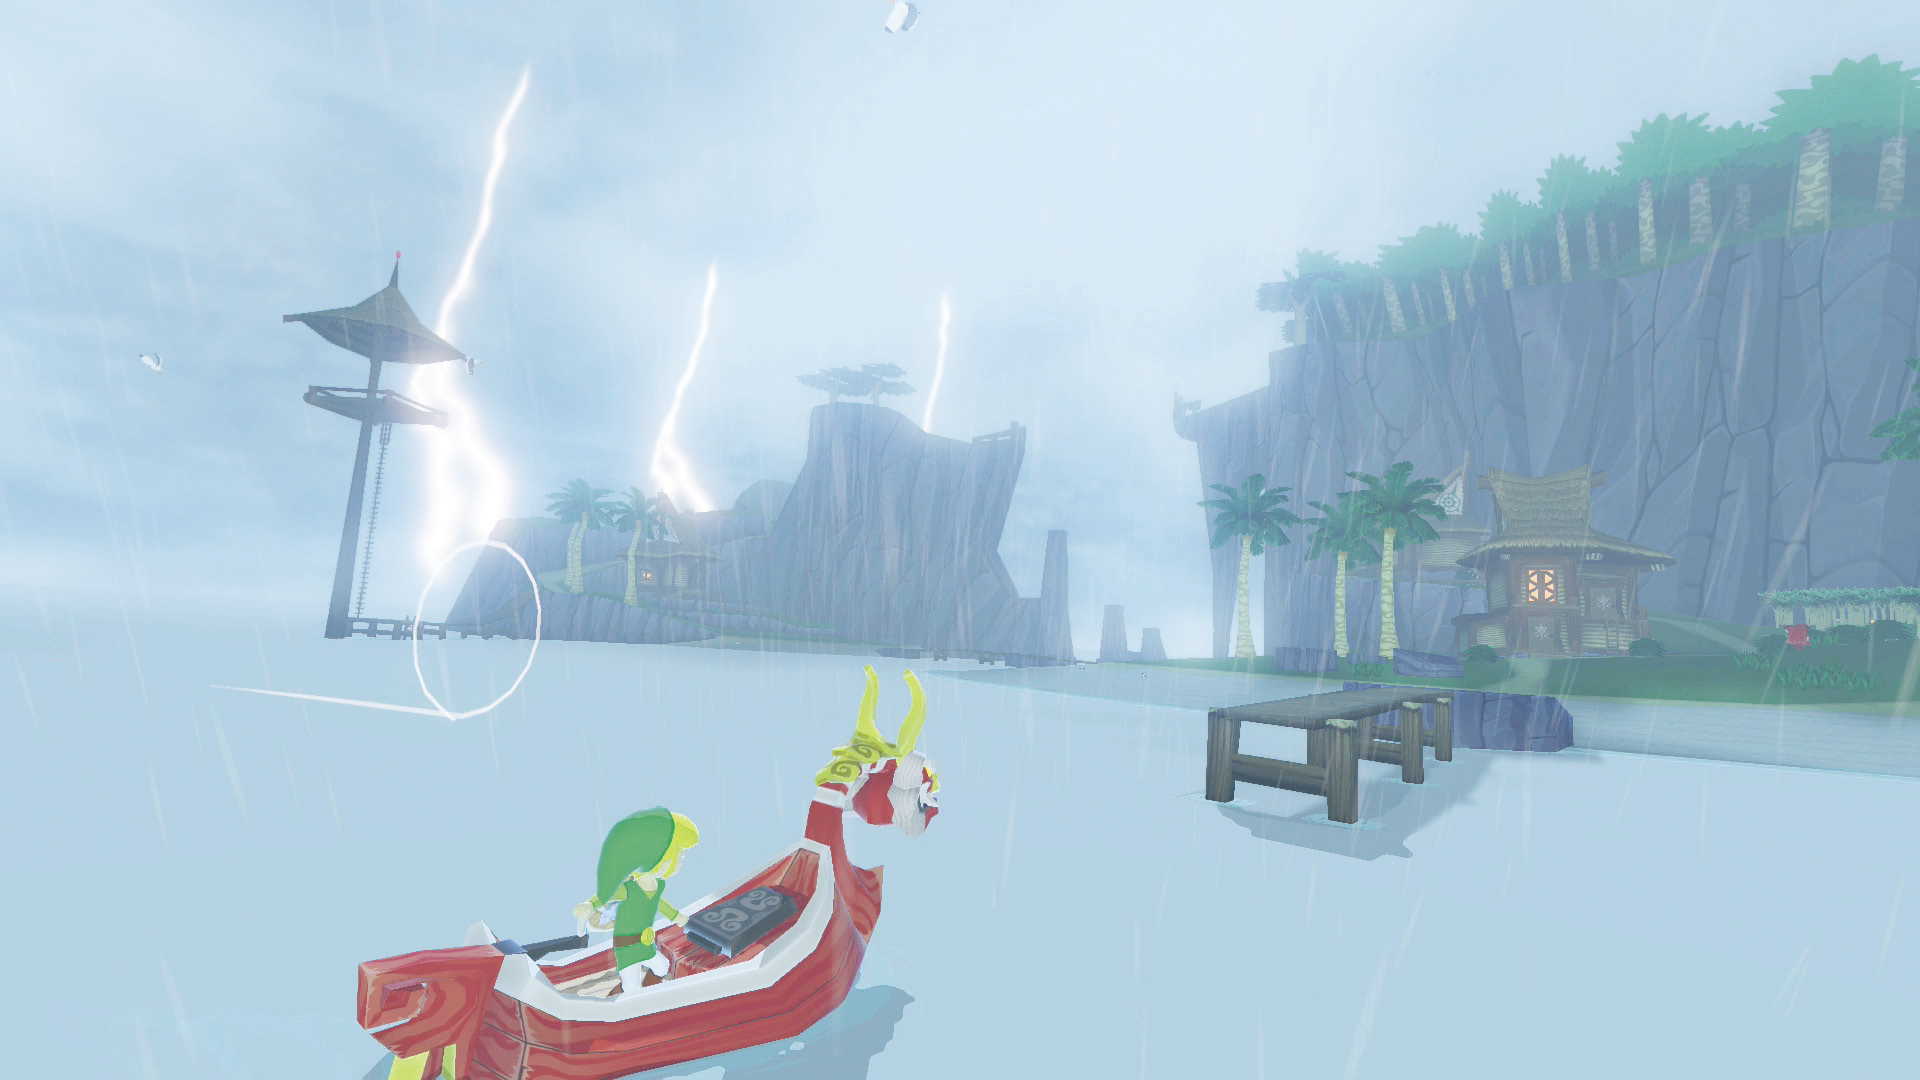
Even Outset Island is not safe from Ganon’s evil magic, as evidenced by the sudden appearance of storm clouds and the ChuChus and Miniblins roaming the once-peaceful island.
Our job is to find Jabun, but we can’t help but worry about Link’s family and friends on his home island. Let’s take a look around and make sure everyone is okay before continuing on.
Grandma’s Been Worried Sick
How about we check in on grandma? She must be lonely without Link or Aryll around to keep her company.
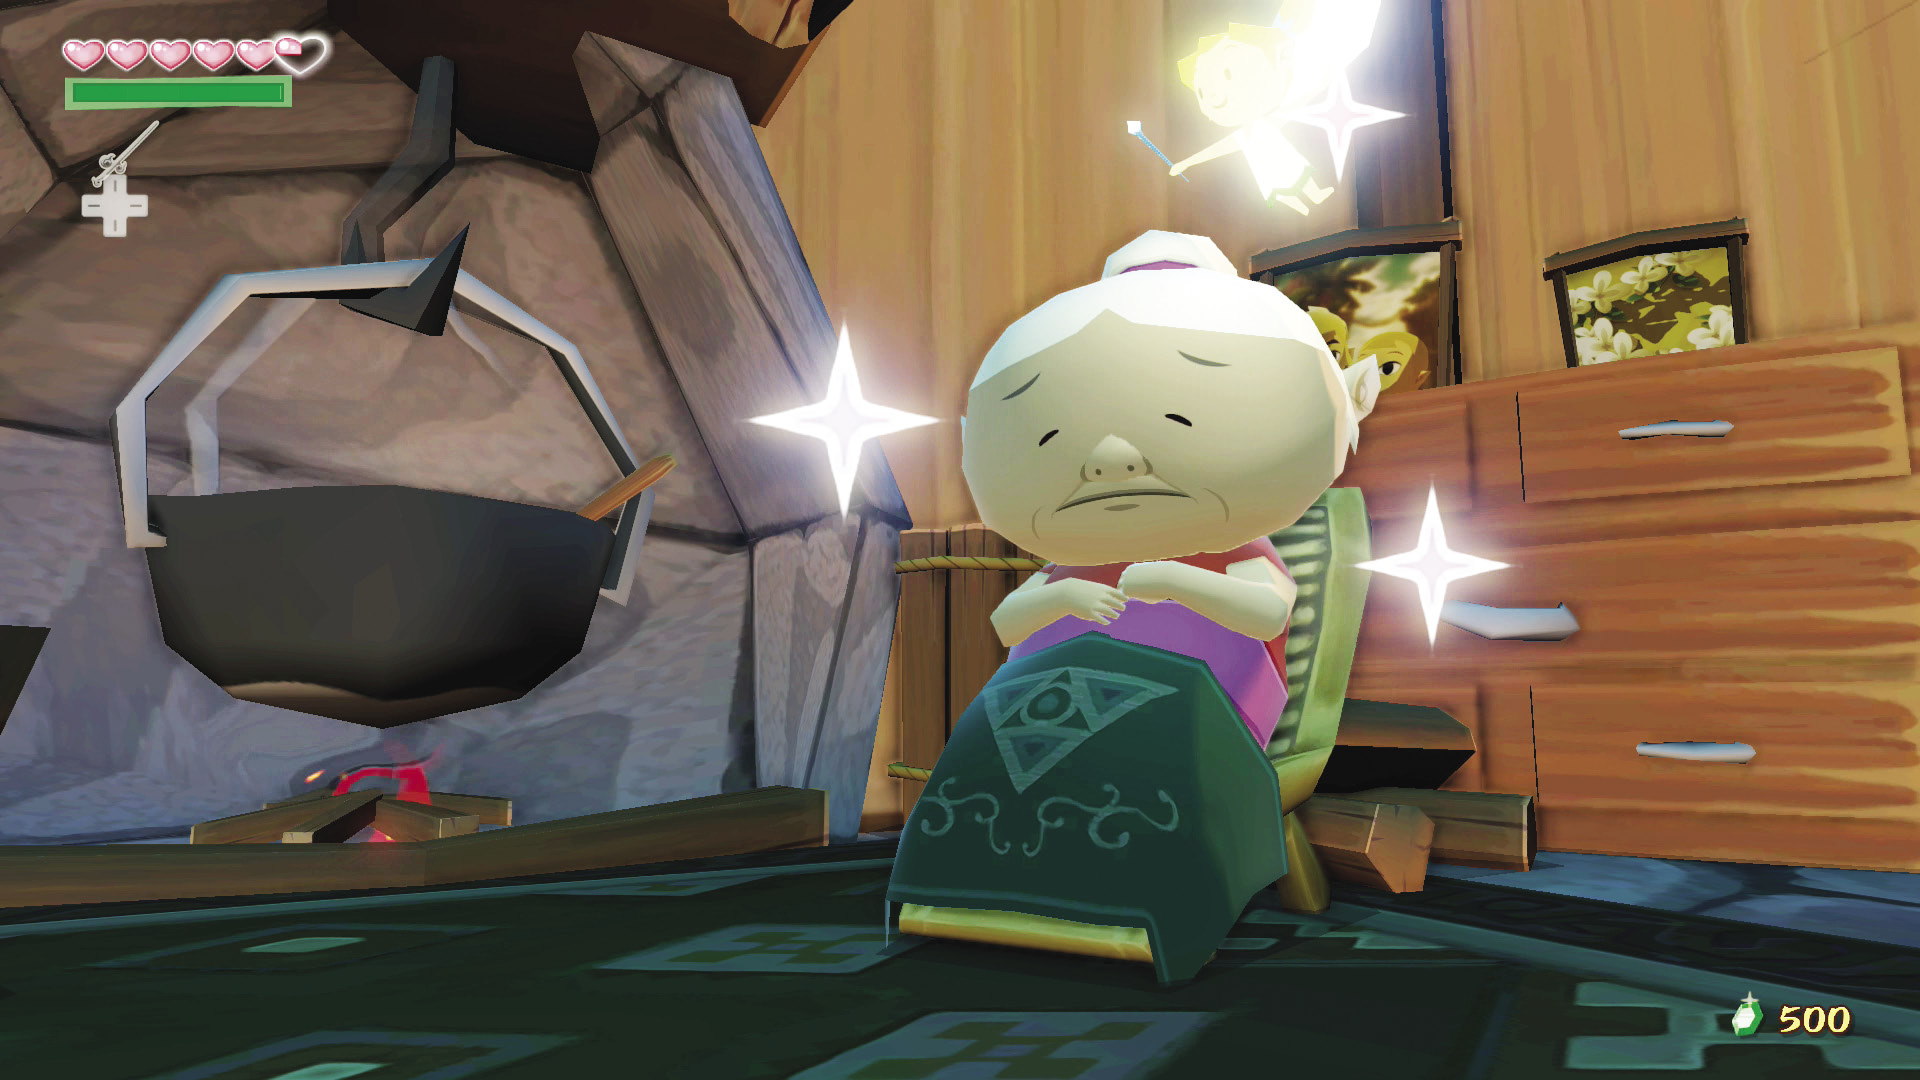
Oh no! She seems to be in a terrible state! If you have a Fairy in one of your Empty Bottles, it will certainly restore her health in much the same fashion as Link’s. Stand near Link’s grandma and use the Red Potion or Fairy to treat her. When she comes to, she’ll offer Link her signature soup, which restores his health and magic back to full and allows him to do double damage until he is hit once. On top of that, an Empty Bottle can hold two servings! Anytime you run out of this miracle meal, you can come back and see grandma to get another two servings. If you don’t have a Fairy or a Red Potion, you can skip to the “Endless Wealth” section below to obtain Fairies from the Great Fairy fountain.
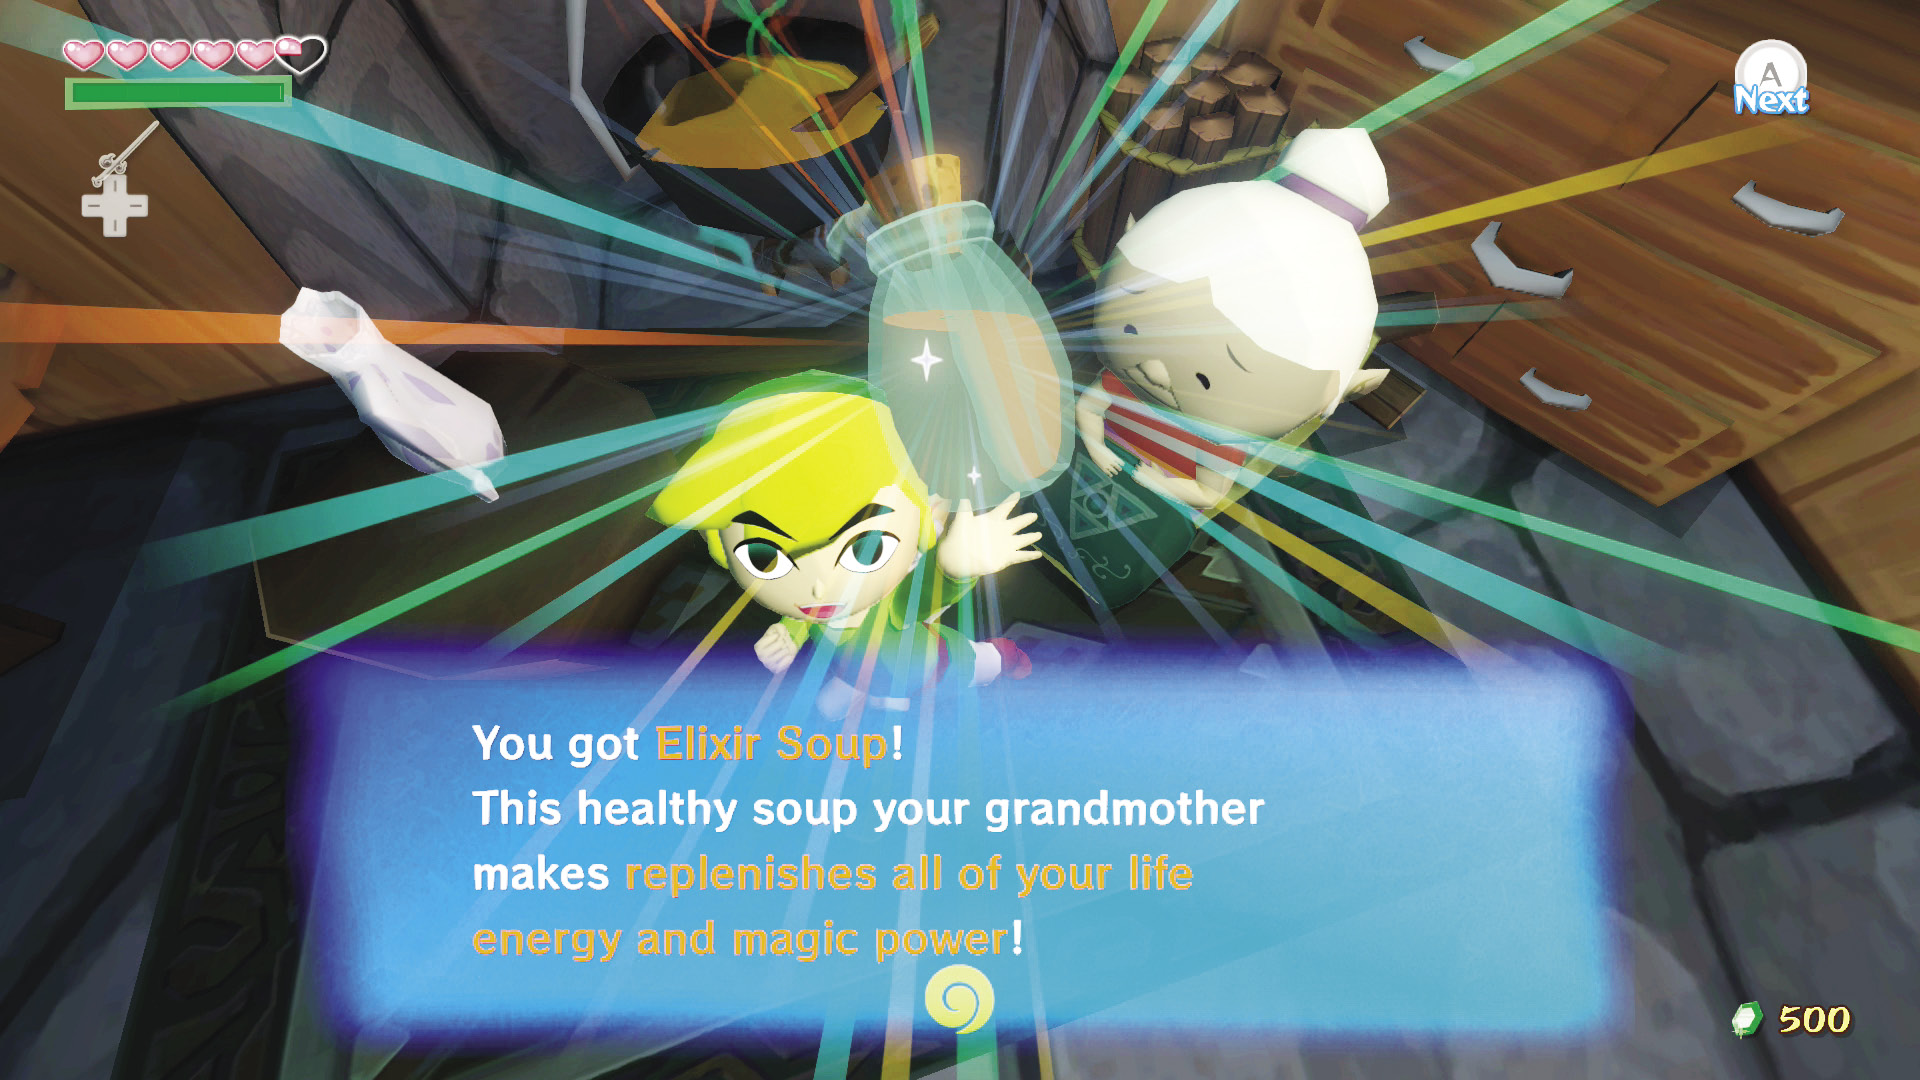
We bet no one stays sick for long when living near Link’s grandma.
Endless Wealth
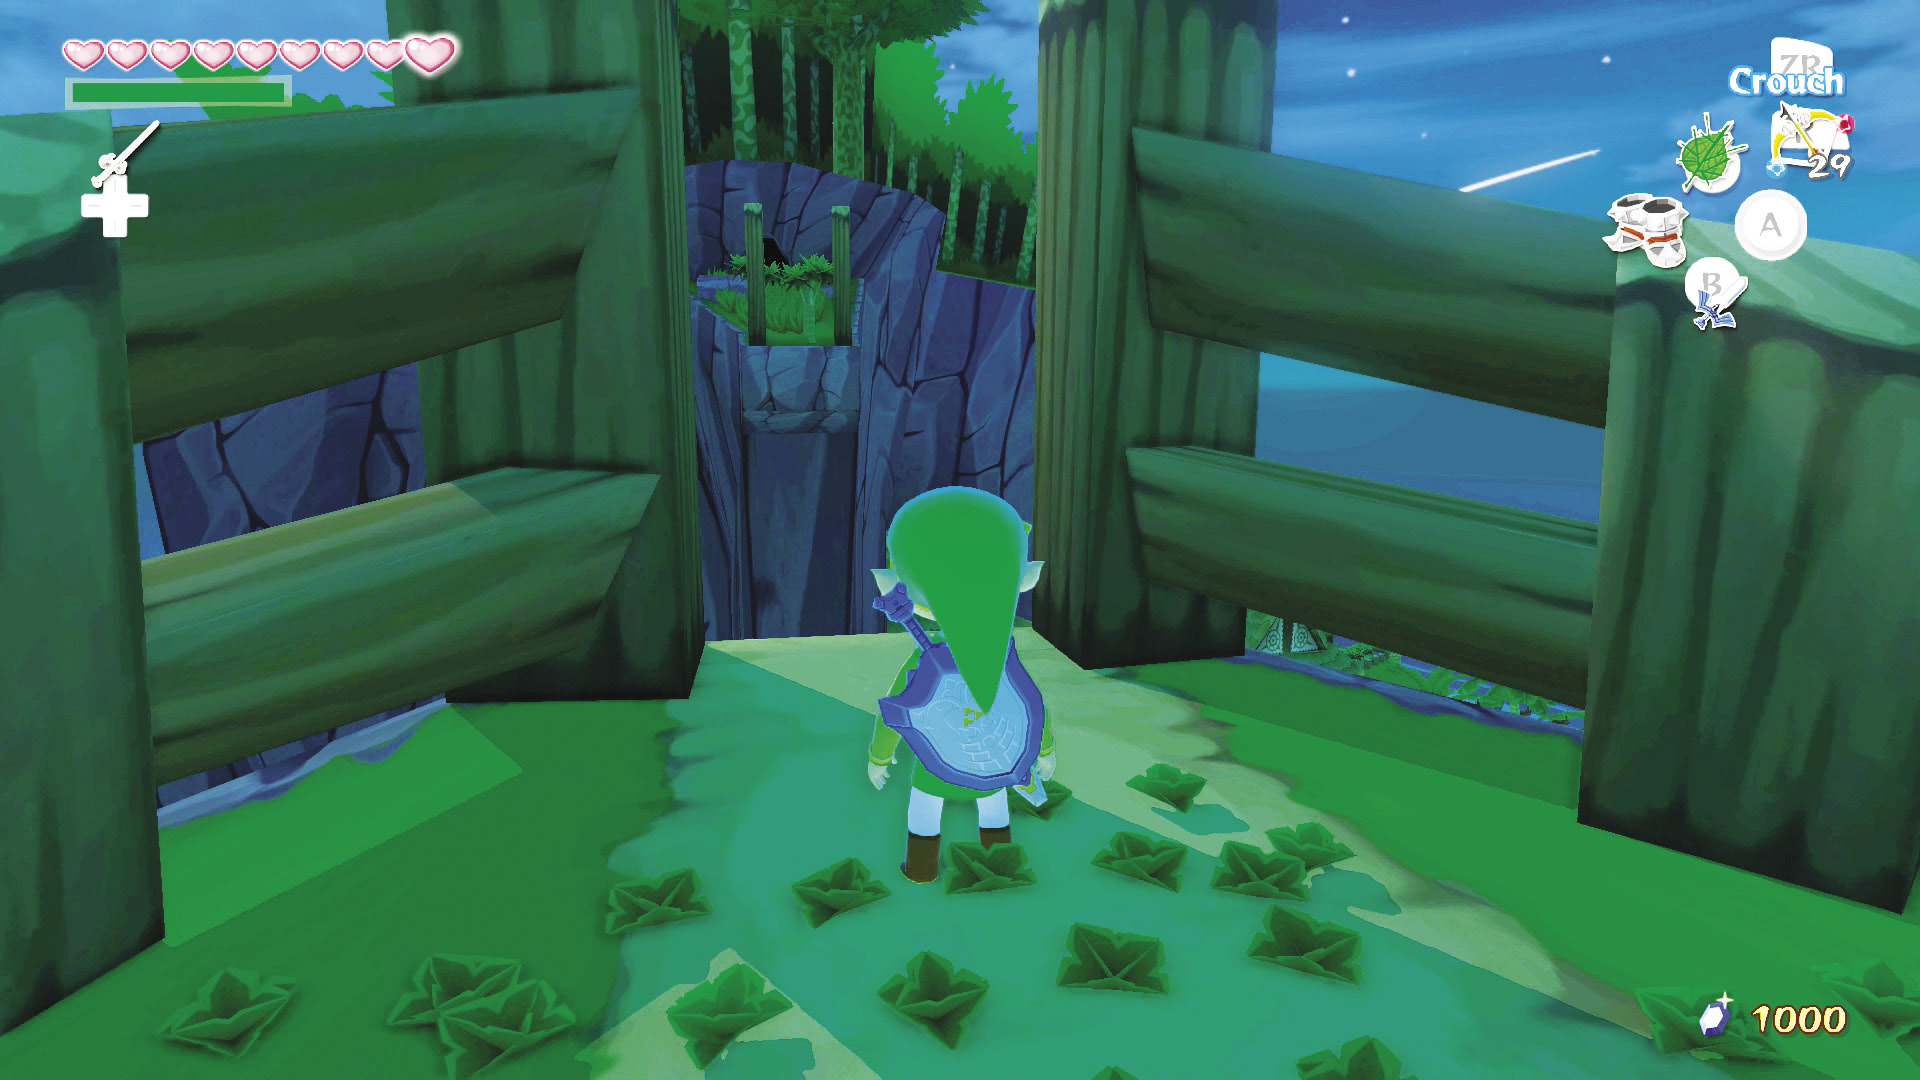
Do you remember that rock in the Forest of Fairies WAAAAAAYYY back at the beginning of the game? You know, back when we were trying to rescue Tetra? Well it turns out that rock is covering the entrance to a Great Fairy fountain.
To get there, head to the other side of the island and head up the slope just past the watchtower (that reminds us of Aryll...we hope she’s all right). It turns out that more damage has been done to the island than we thought; the bridge here is completely out!
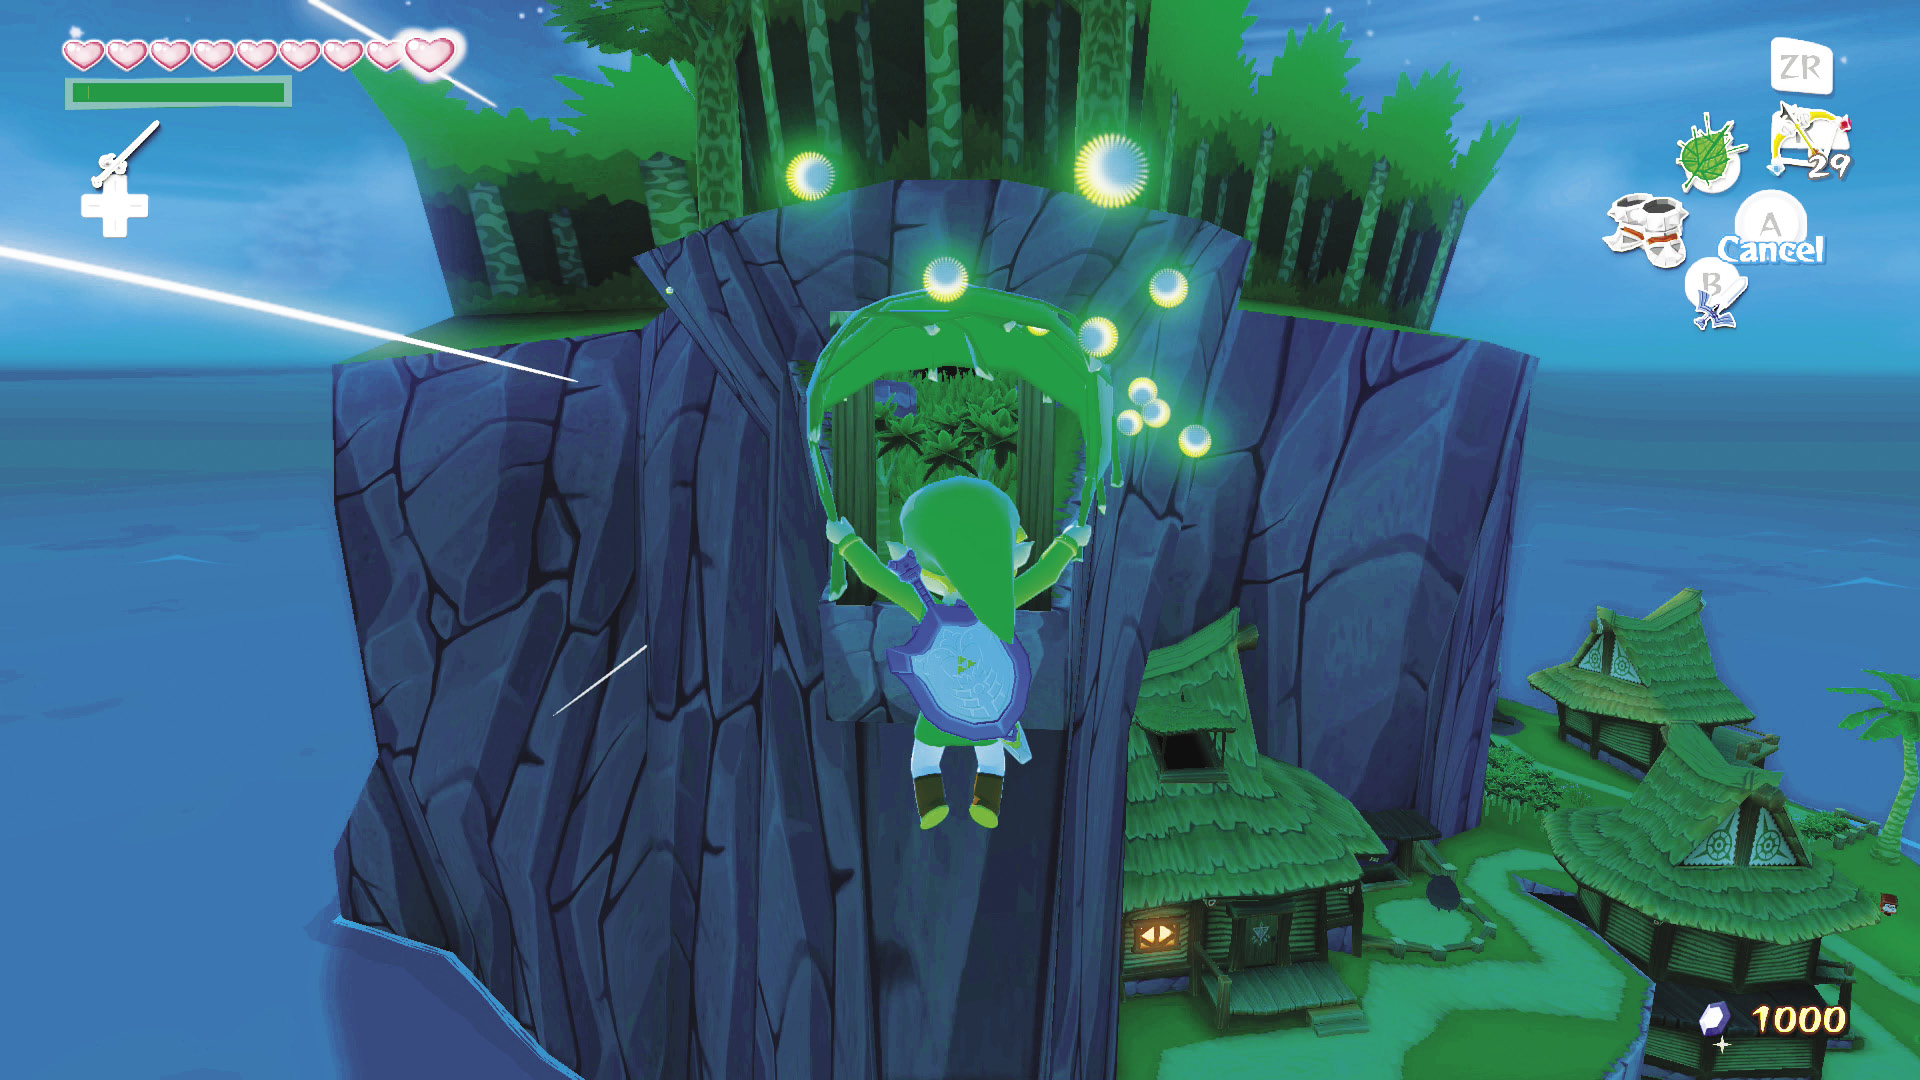
Hop onto the large rock behind you, set the wind west, and use your Deku Leaf to glide to the other side of the bridge. Go through the passage to enter the Forest of Fairies. Head straight, over the ledges, into the nook with the log and the Wingless Mothula, then climb the stump and jump up the ledge.
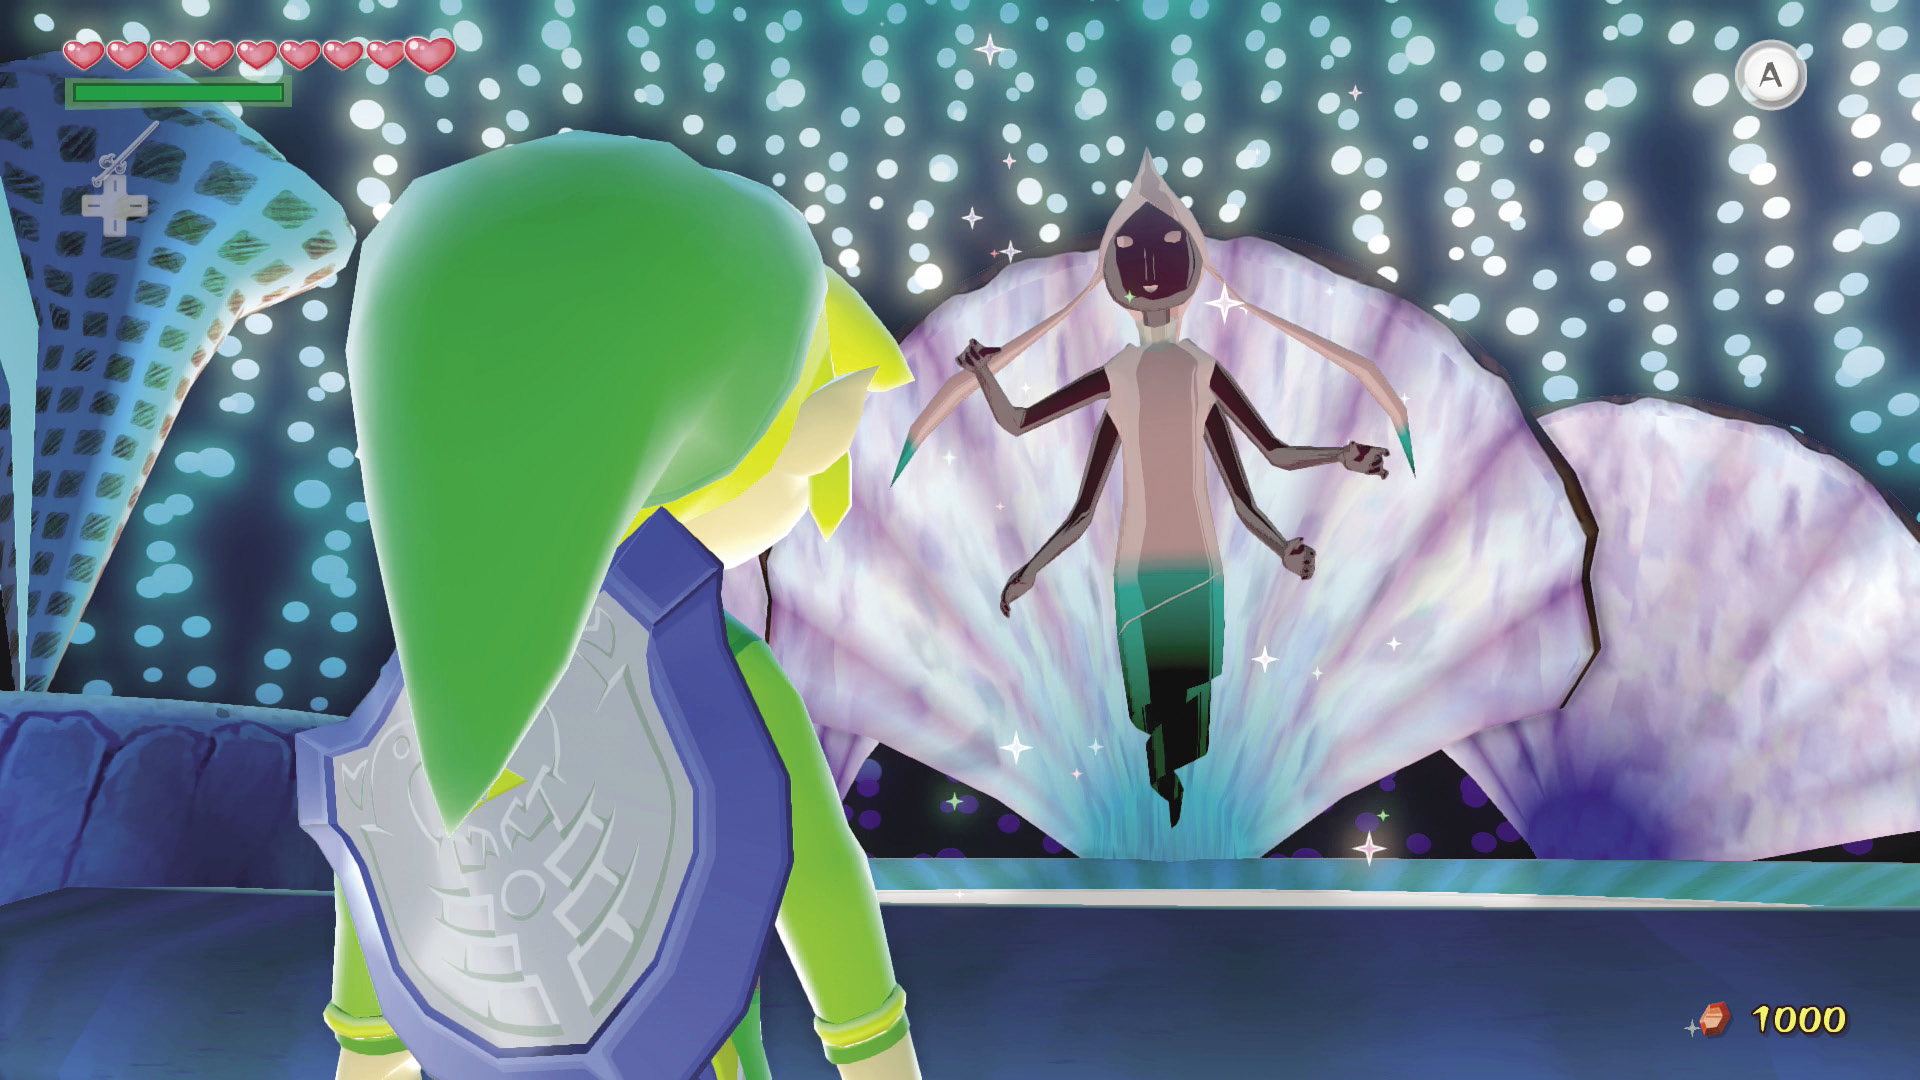
To your right is the boulder we were telling you about. Pull out your bombs and plant one right next to it. After you destroy the boulder, you can hop down the hole underneath it to find the Great Fairy fountain. To thank you for unblocking the fountain’s entrance, the Great Fairy will increase Link’s Wallet to hold 5,000 Rupees!
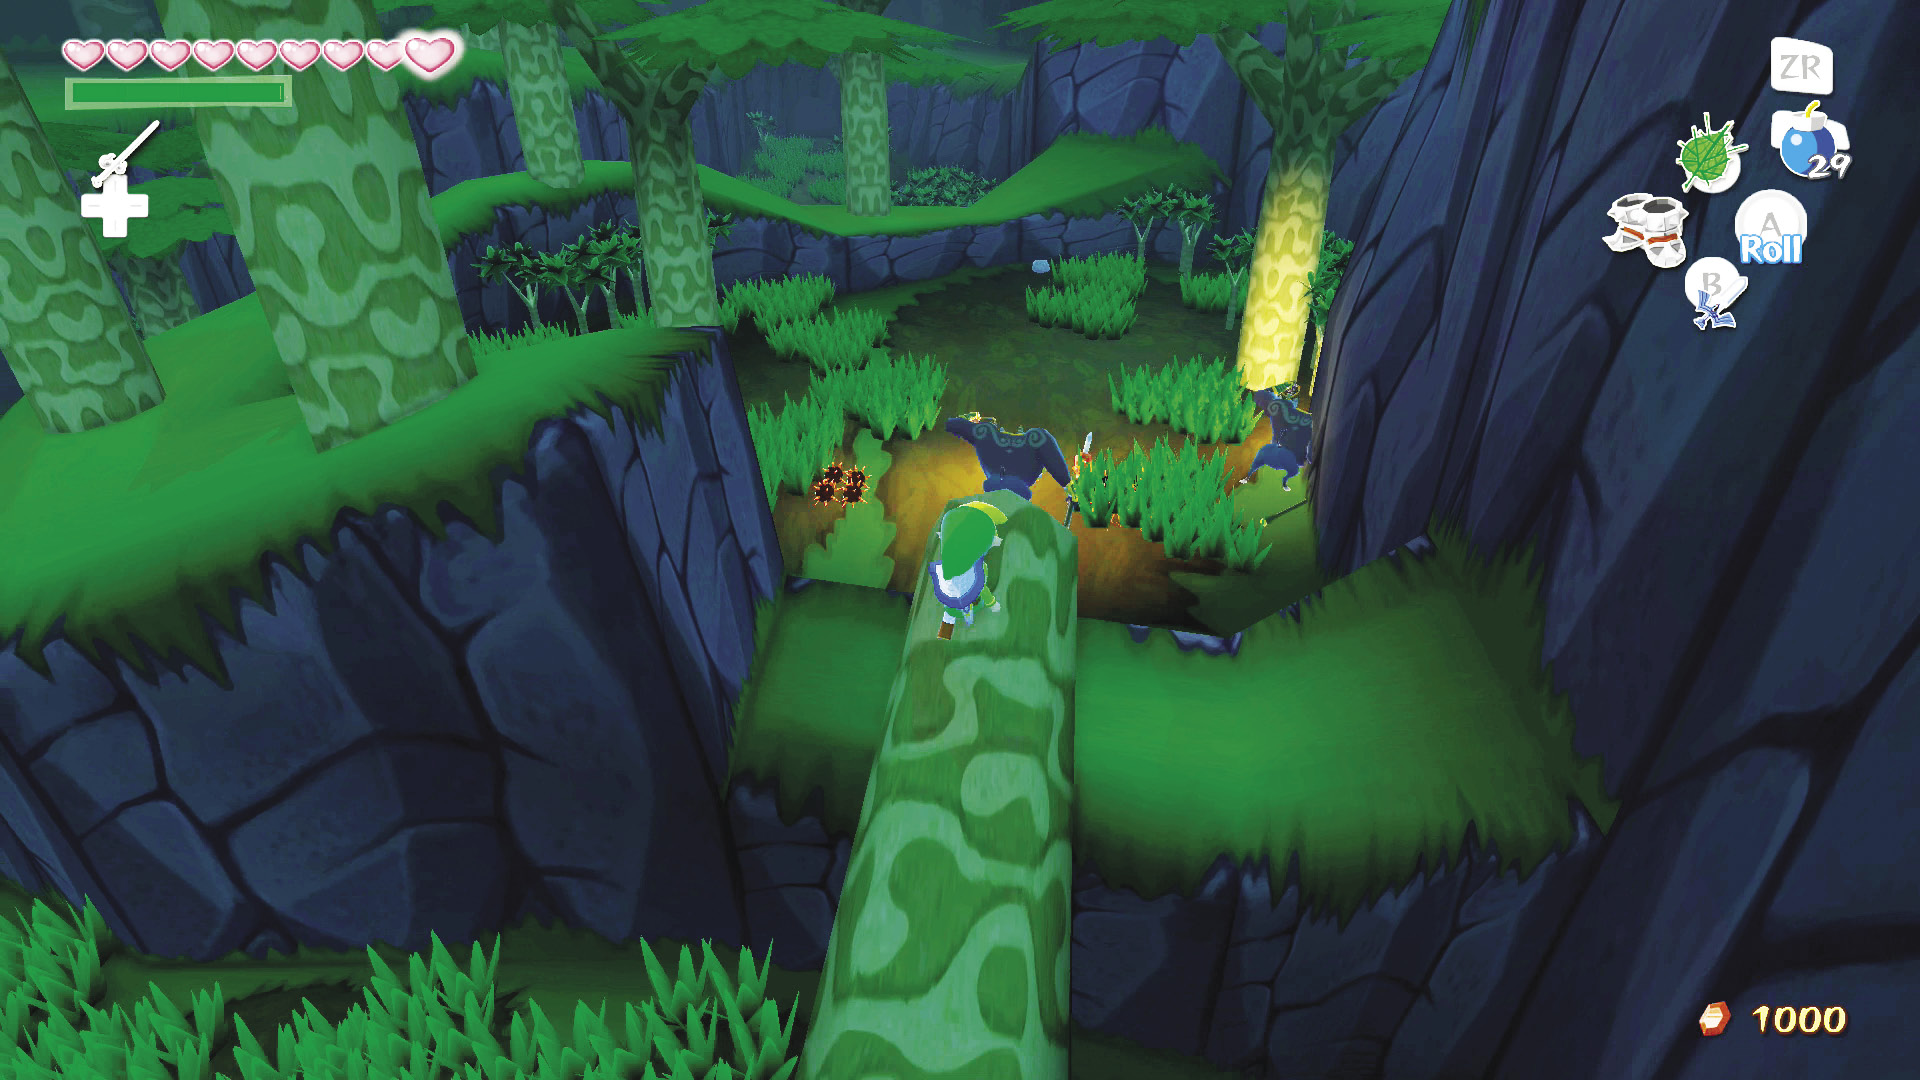
On your way out of the Forest of Fairies, you can climb the log leaning against the ledge ahead of you to find a couple of Moblins roaming around. It’s never a bad idea to stock up on Skull Necklaces, is it?
Once an Apprentice, Now a Master
If you’re up to the challenge, you can stop by Orca’s to have him test your abilities. You’ve learned a lot since the last time you were on Outset Island, so show him what you’re made of!
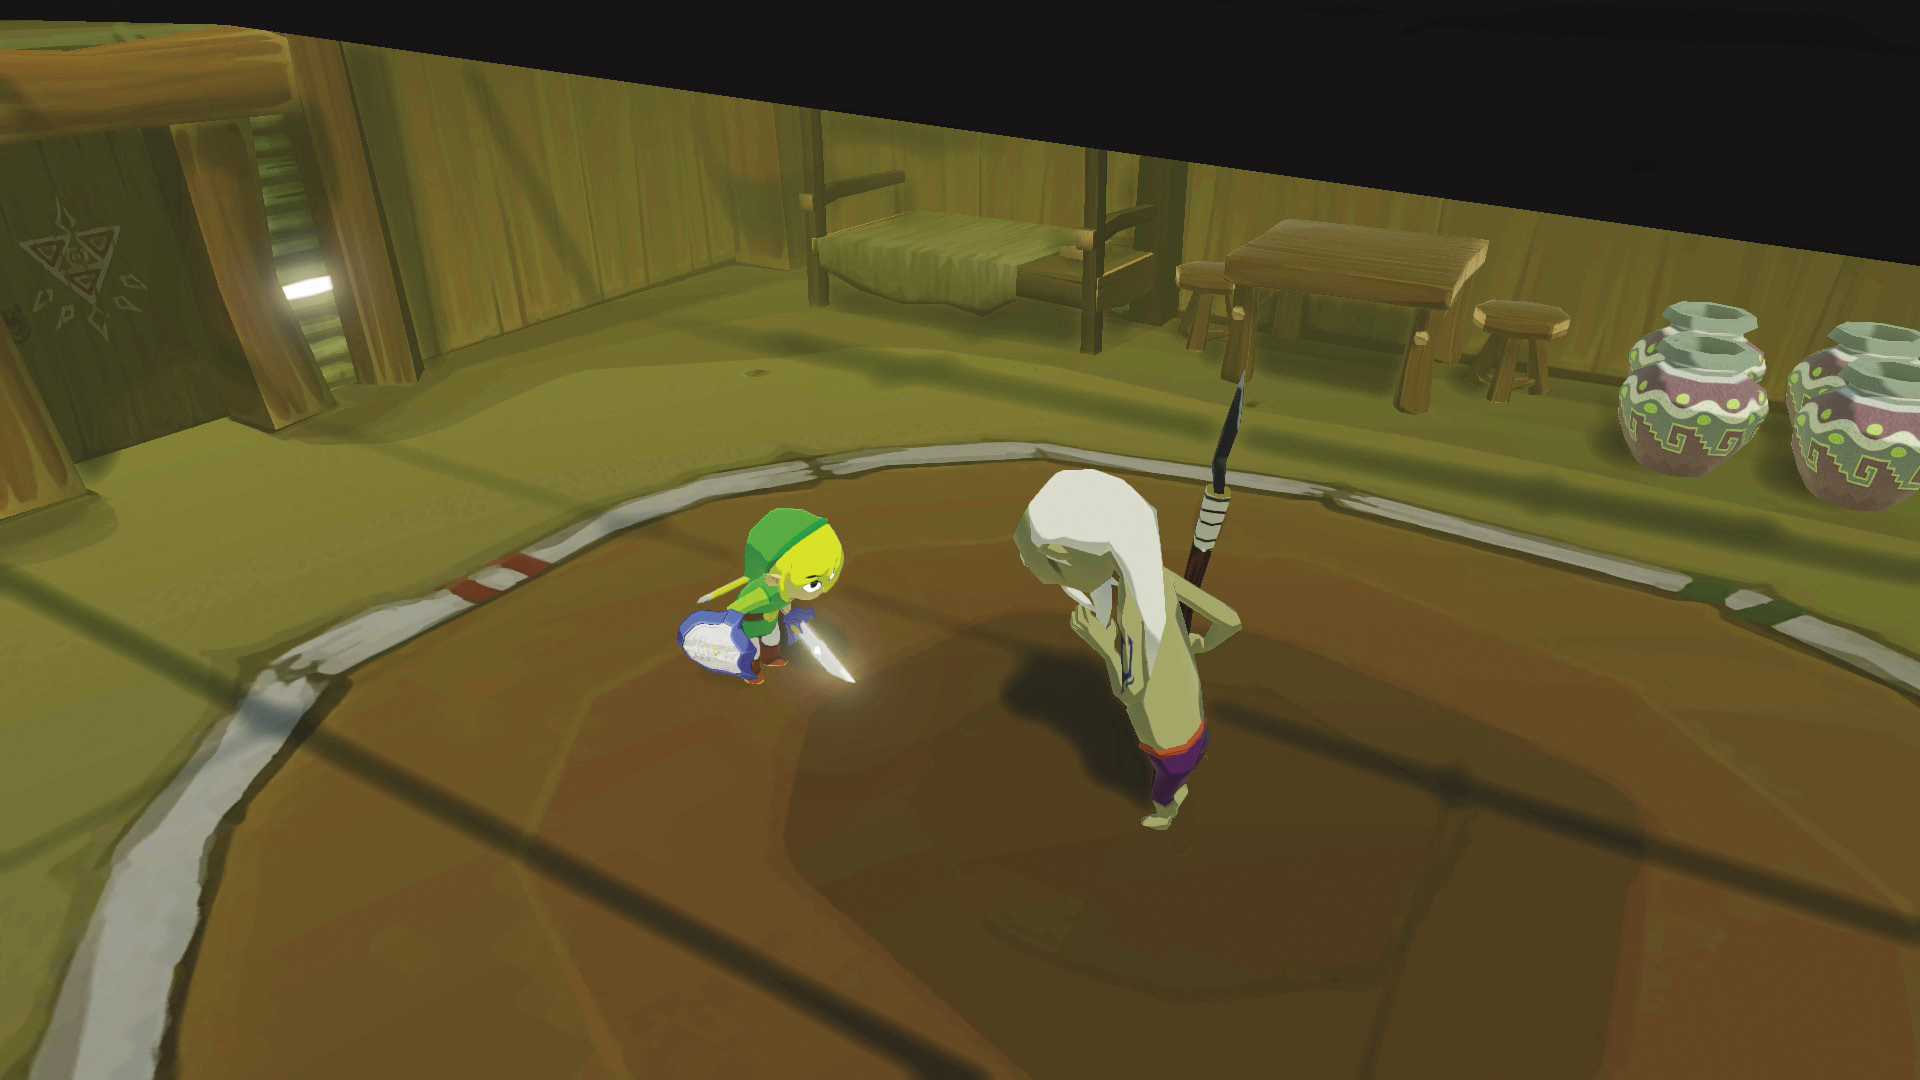
The rules of the “Sword Training” minigame are simple: Hit Orca a set number of times without getting hit by him more than twice. This is a very difficult challenge that will test your reflexes as well as your stamina, but don’t worry! If you follow what we say, you’ll be able to best him in no time.
Orca will ask that you hit him a specific number of times for a prize. Ignore that and try your best to hit him 1,000 times on your first attempt. This will save you the effort of having to do double the hits on Orca while still landing you all the prizes listed below.
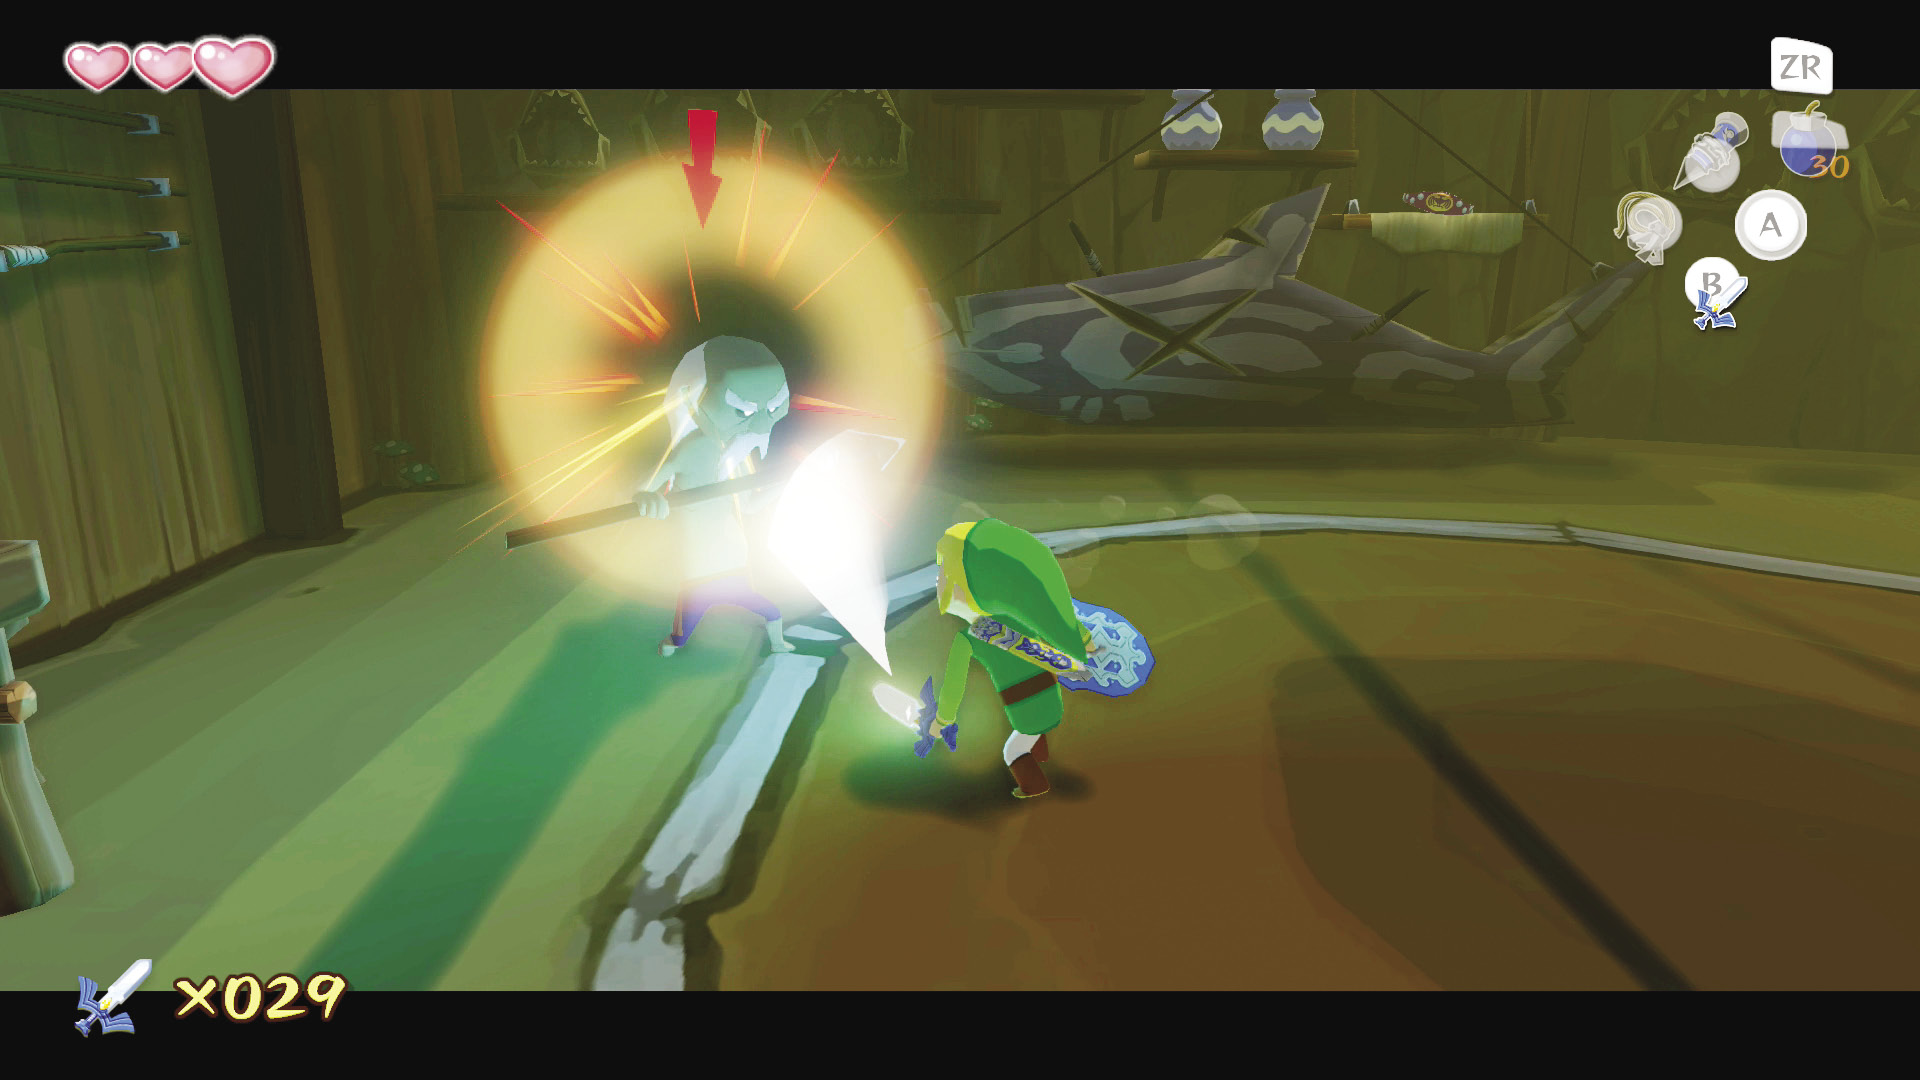
The key to besting Orca is to -Target him and hit while trying not to move unless you absolutely have to. Parry attacks count as two hits, but DO NOT USE THEM. The more hits you get on Orca, the faster he strikes. Using parry attacks will leave you completely open while he strikes, and they don’t always dodge Orca’s attacks. You can almost always get away with three to four strikes before Orca attacks, so get those attacks in before Orca swings at you, then put up your shield until Orca counterattacks. Rinse. Repeat.
The Rewards for each rank are as follows:
- 100 Hits = Knight Ranking + Purple Rupee
- 300 Hits = Swordsman Rank + Orange Rupee
- 500 Hits = Piece of Heart #19
- 1,000 Hits = Master Rank + Silver Rupee

63
Piece of Heart #19
The Third Pearl
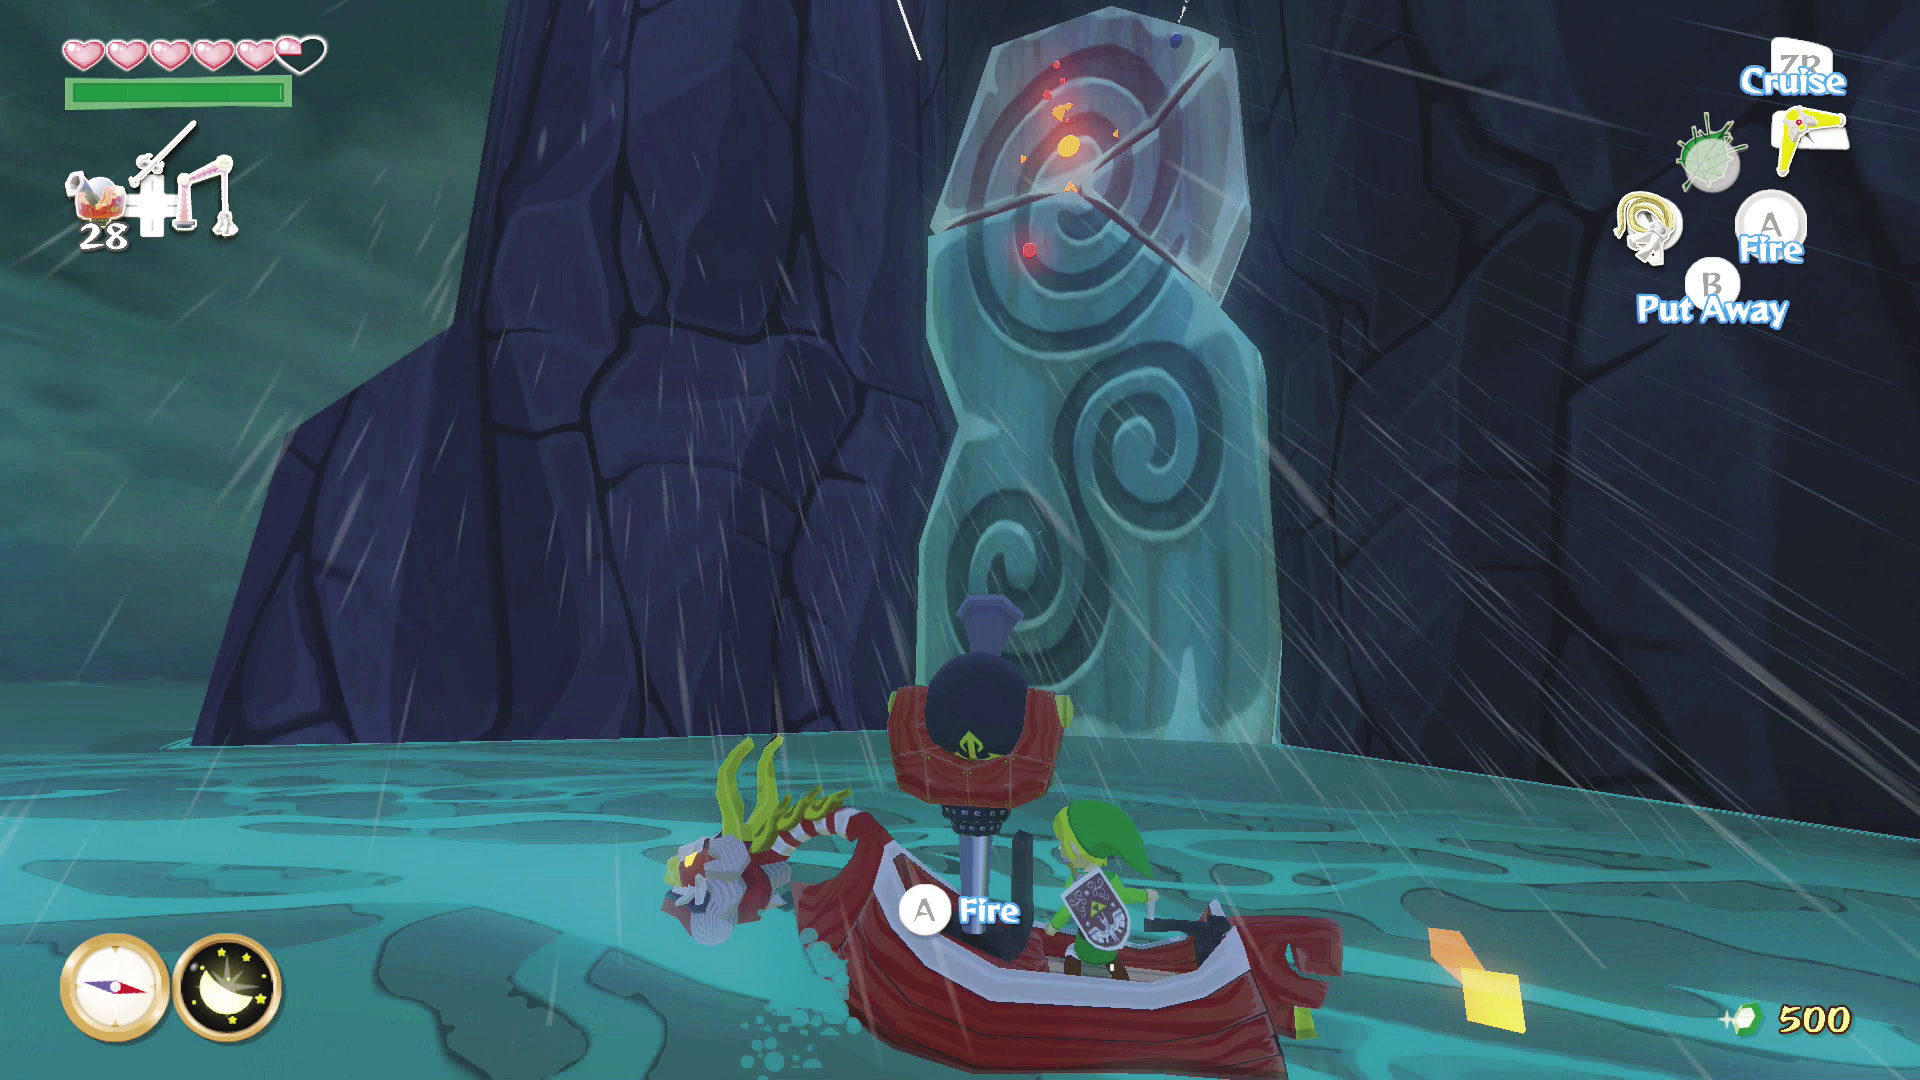
After you finish your business on Outset, hop back onto Red and then return to the island. You’ll find a whirlpool in front of a strange-looking slab of rock that is embedded in the wall of the island. Immediately pull out your Cannon and target the top of the slab, only firing when your targeting reticle is on top of the slab. Work your way down and destroy each piece of the slab, starting from the top.
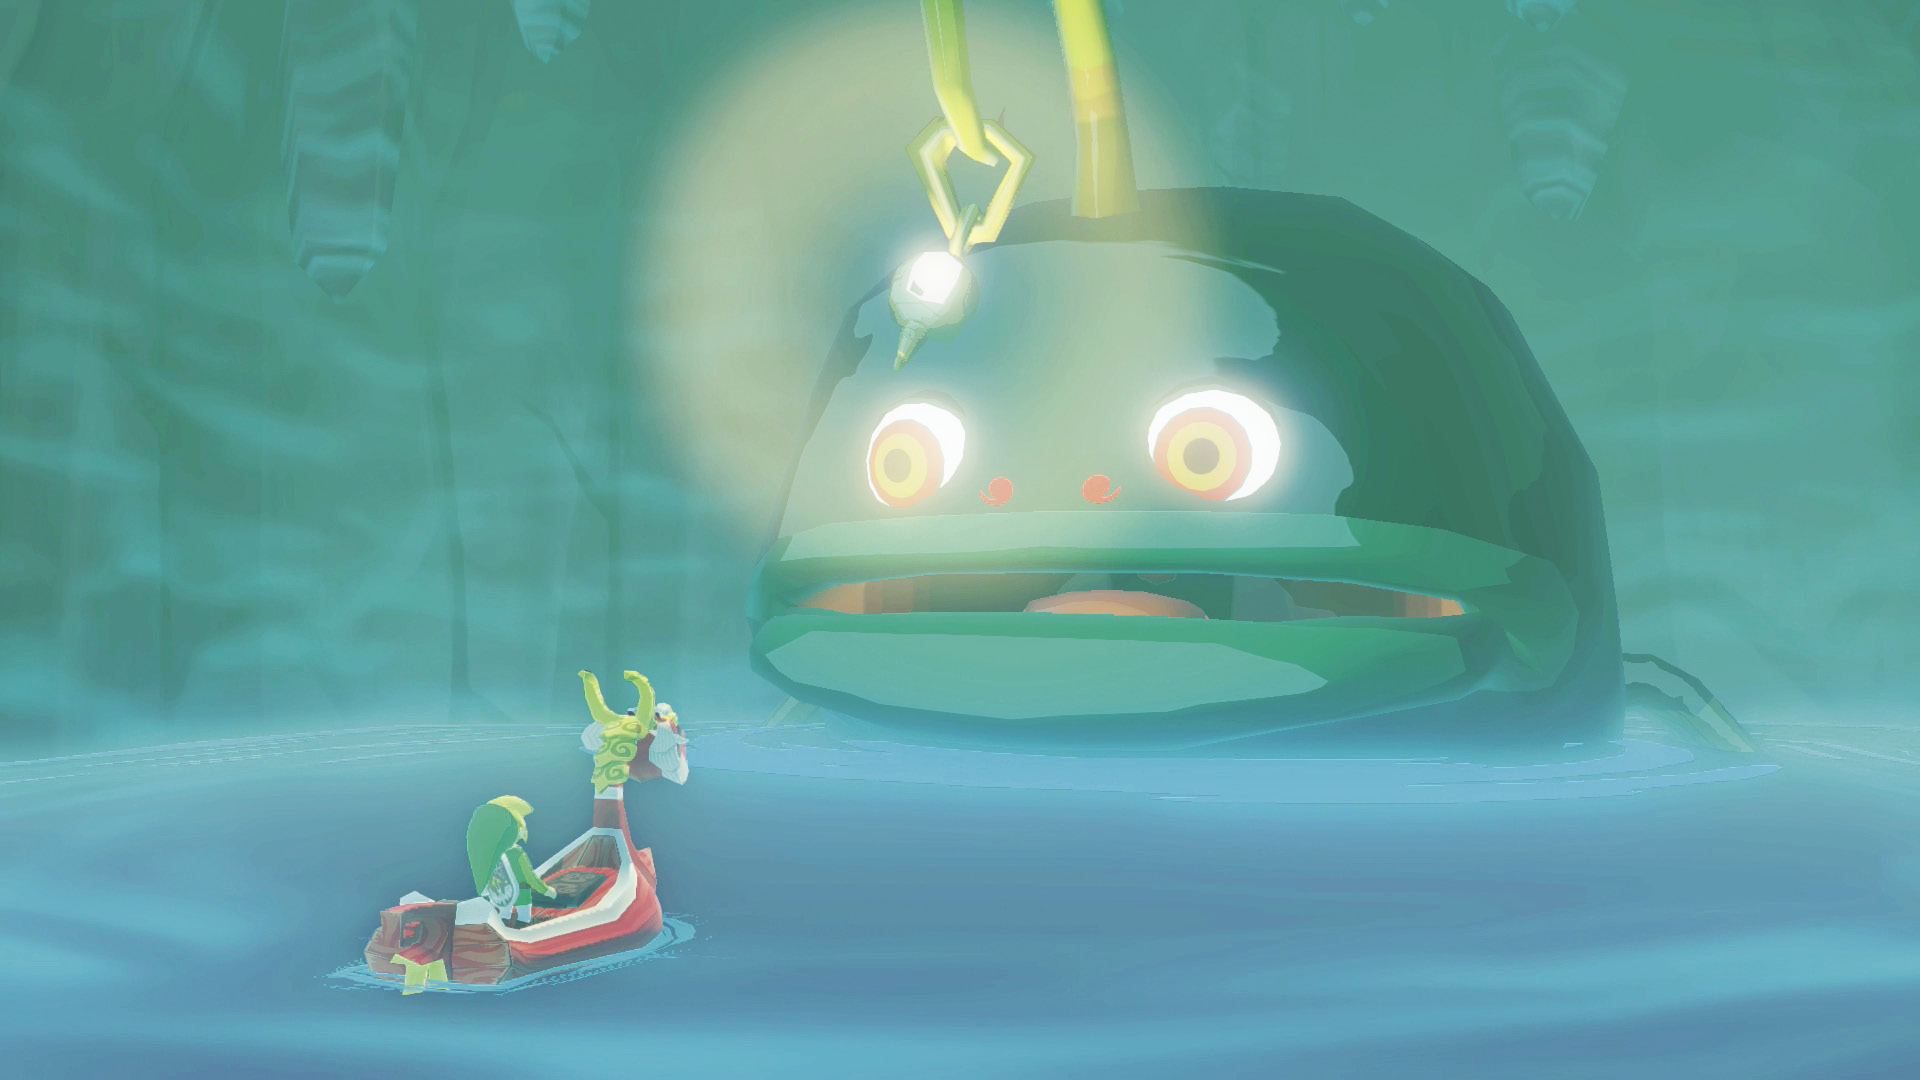
After destroying the slab, Red takes control and pilots Link into the cave that the slab was blocking. Inside is Jabun, a giant angler fish and the water spirit. He, too, speaks the same unintelligible language that Valoo and the Deku Tree spoke, but it seems that Red understands this language. Red is either an excellent negotiator or he and Jabun go way back, because after a few short moments, Jabun offers Link the third and final pearl.
|
|
64 |
Nayru’s Pearl |

Placing the Pearls
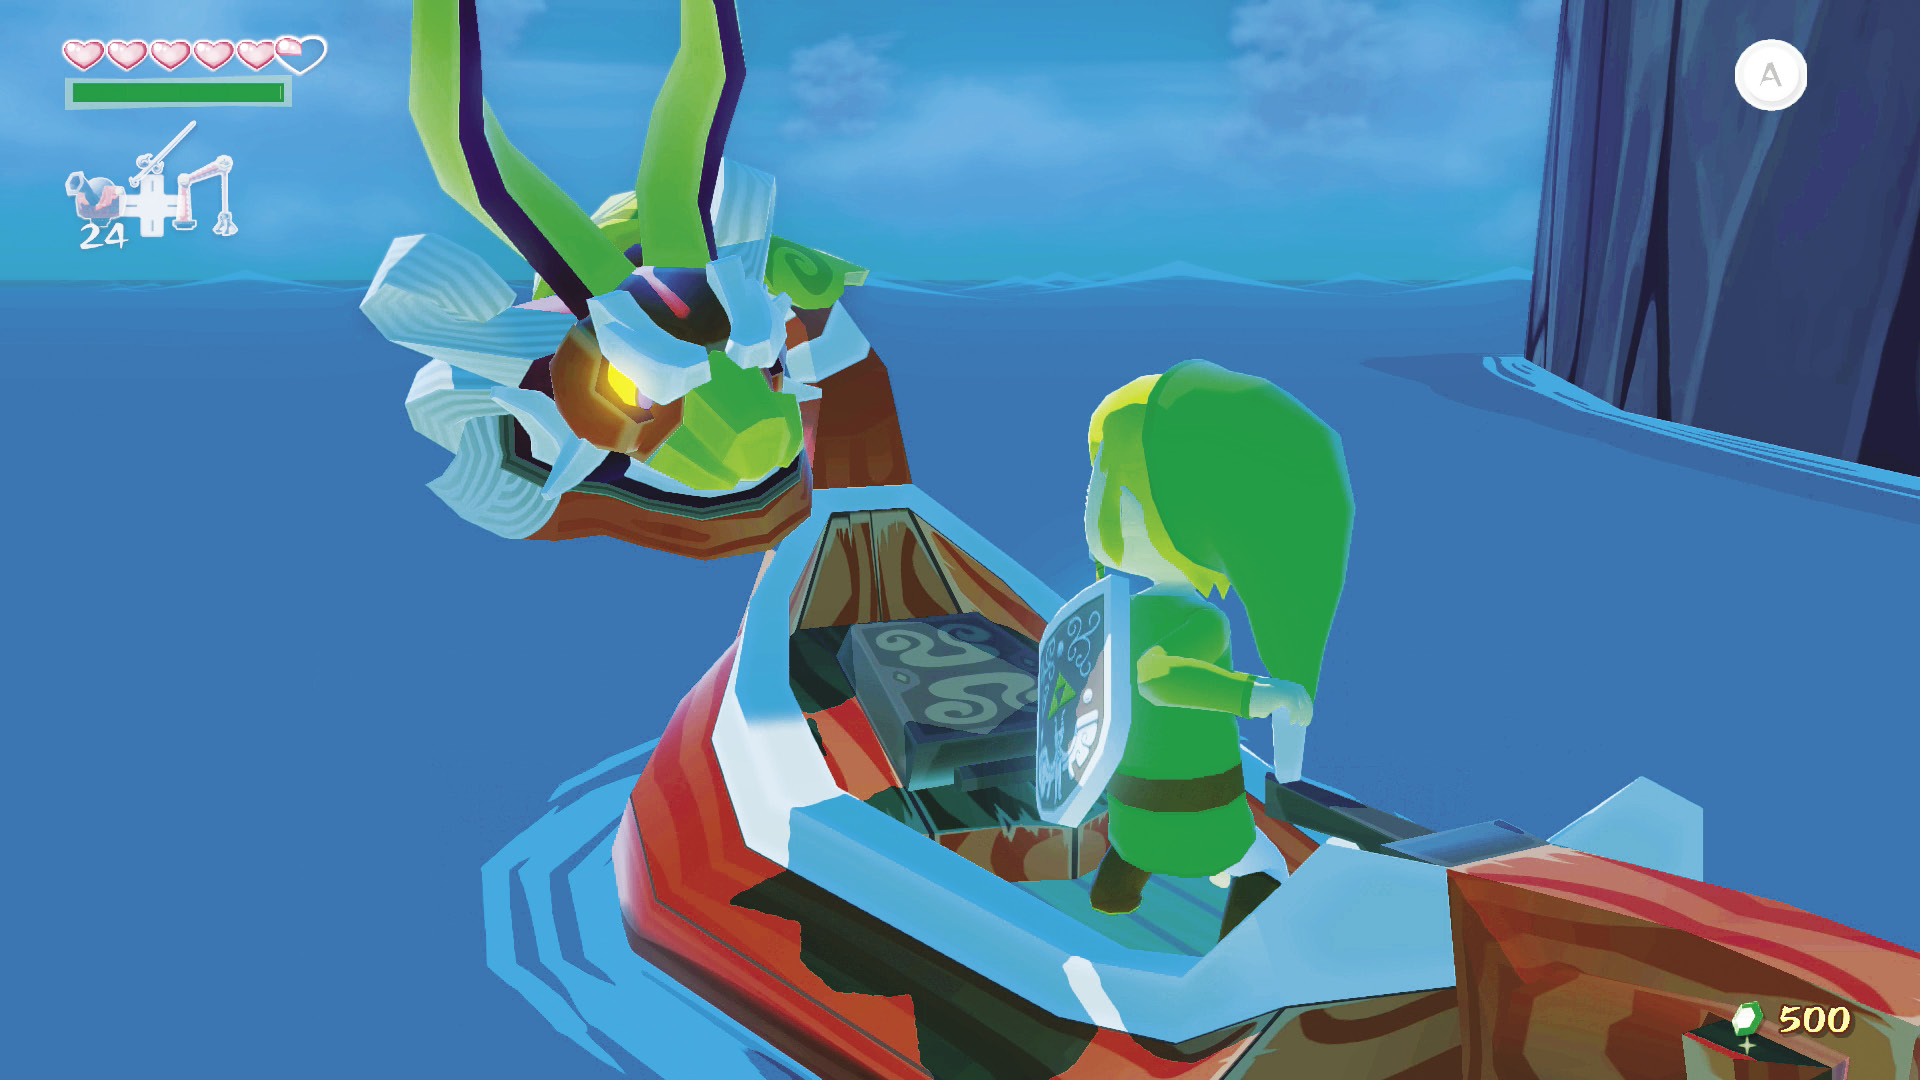
Red has marked our map to show us where we need to place the three pearls. The points are for D3, D5, and F4. We’ve wrapped up our business on Outset Island, so let’s get going and place those pearls!
Conquering the Great Sea
Headstone Island (C7)
Link, Friend of Nature
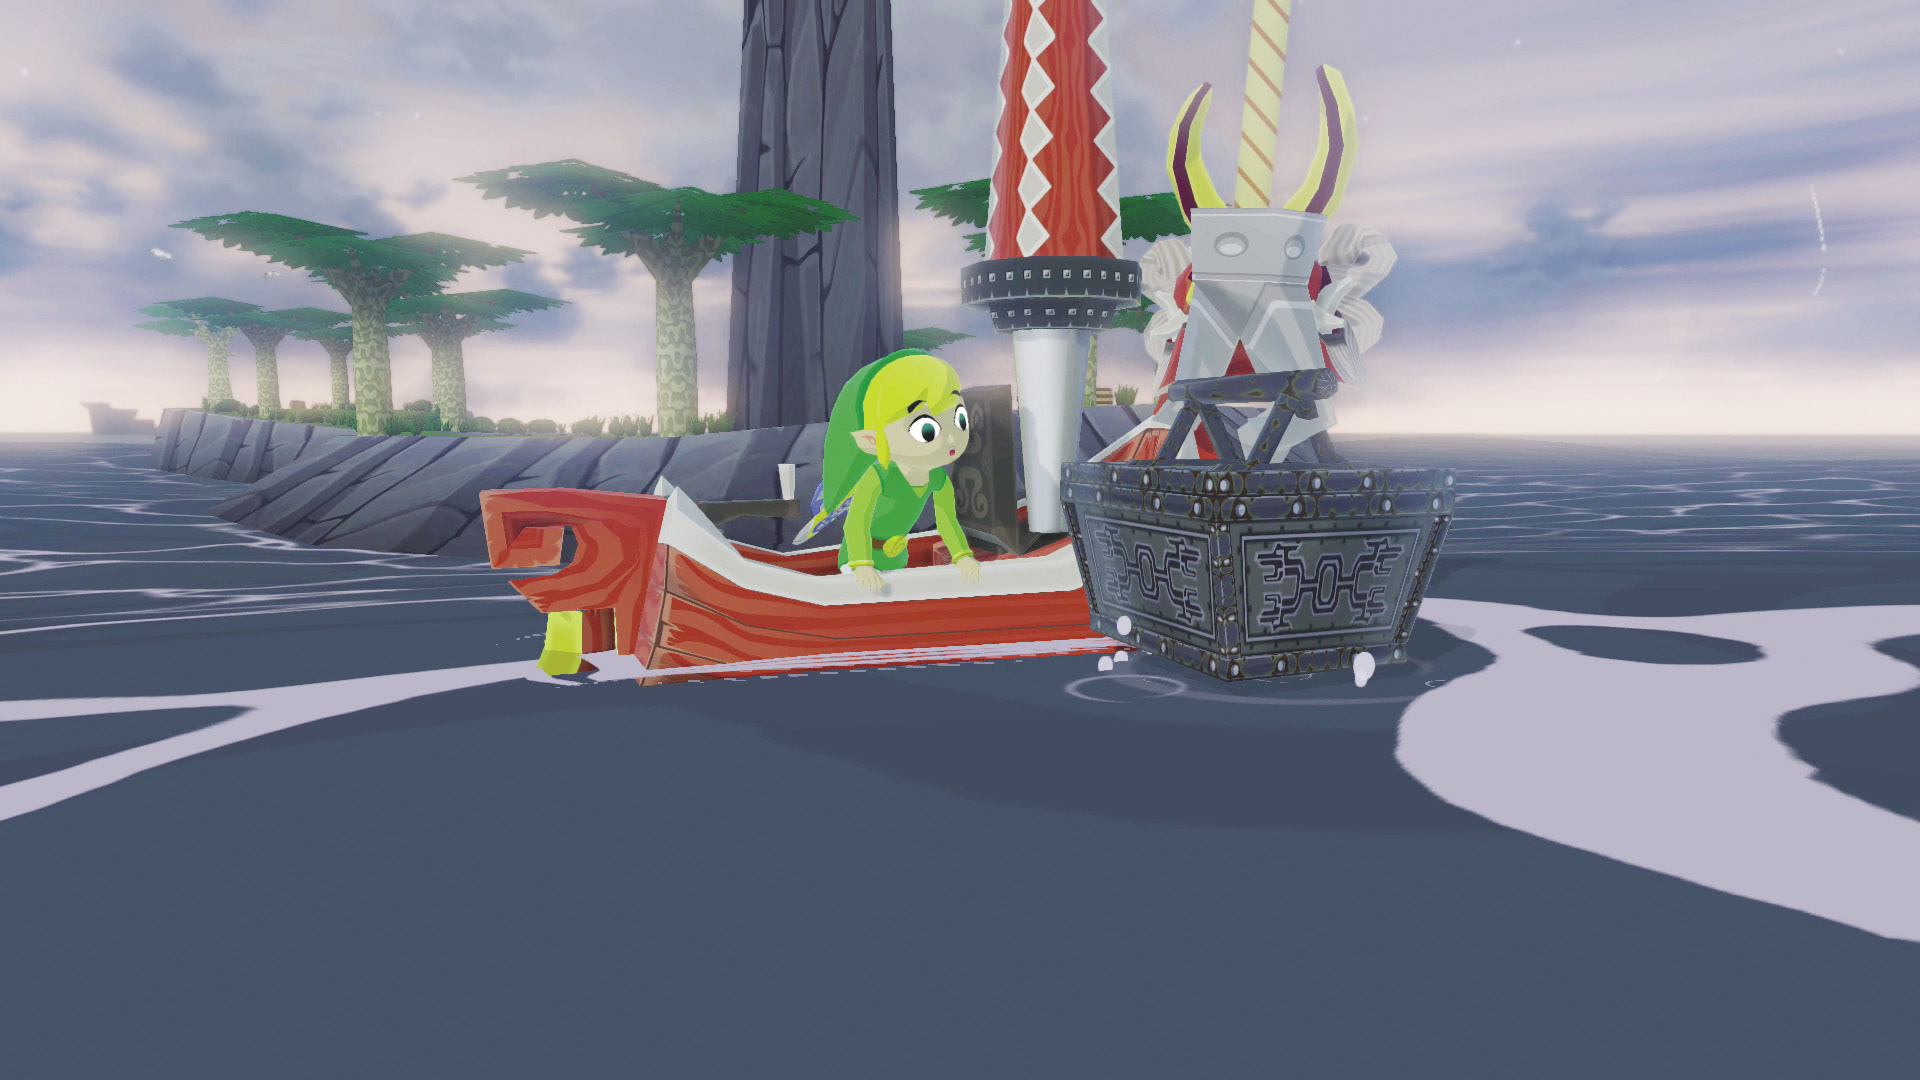
Piece of Heart #20 is located on Headstone Island. You’ll need a Hyoi Pear to accomplish the task of obtaining the Piece of Heart, but barring that, it’s a pretty simple task.
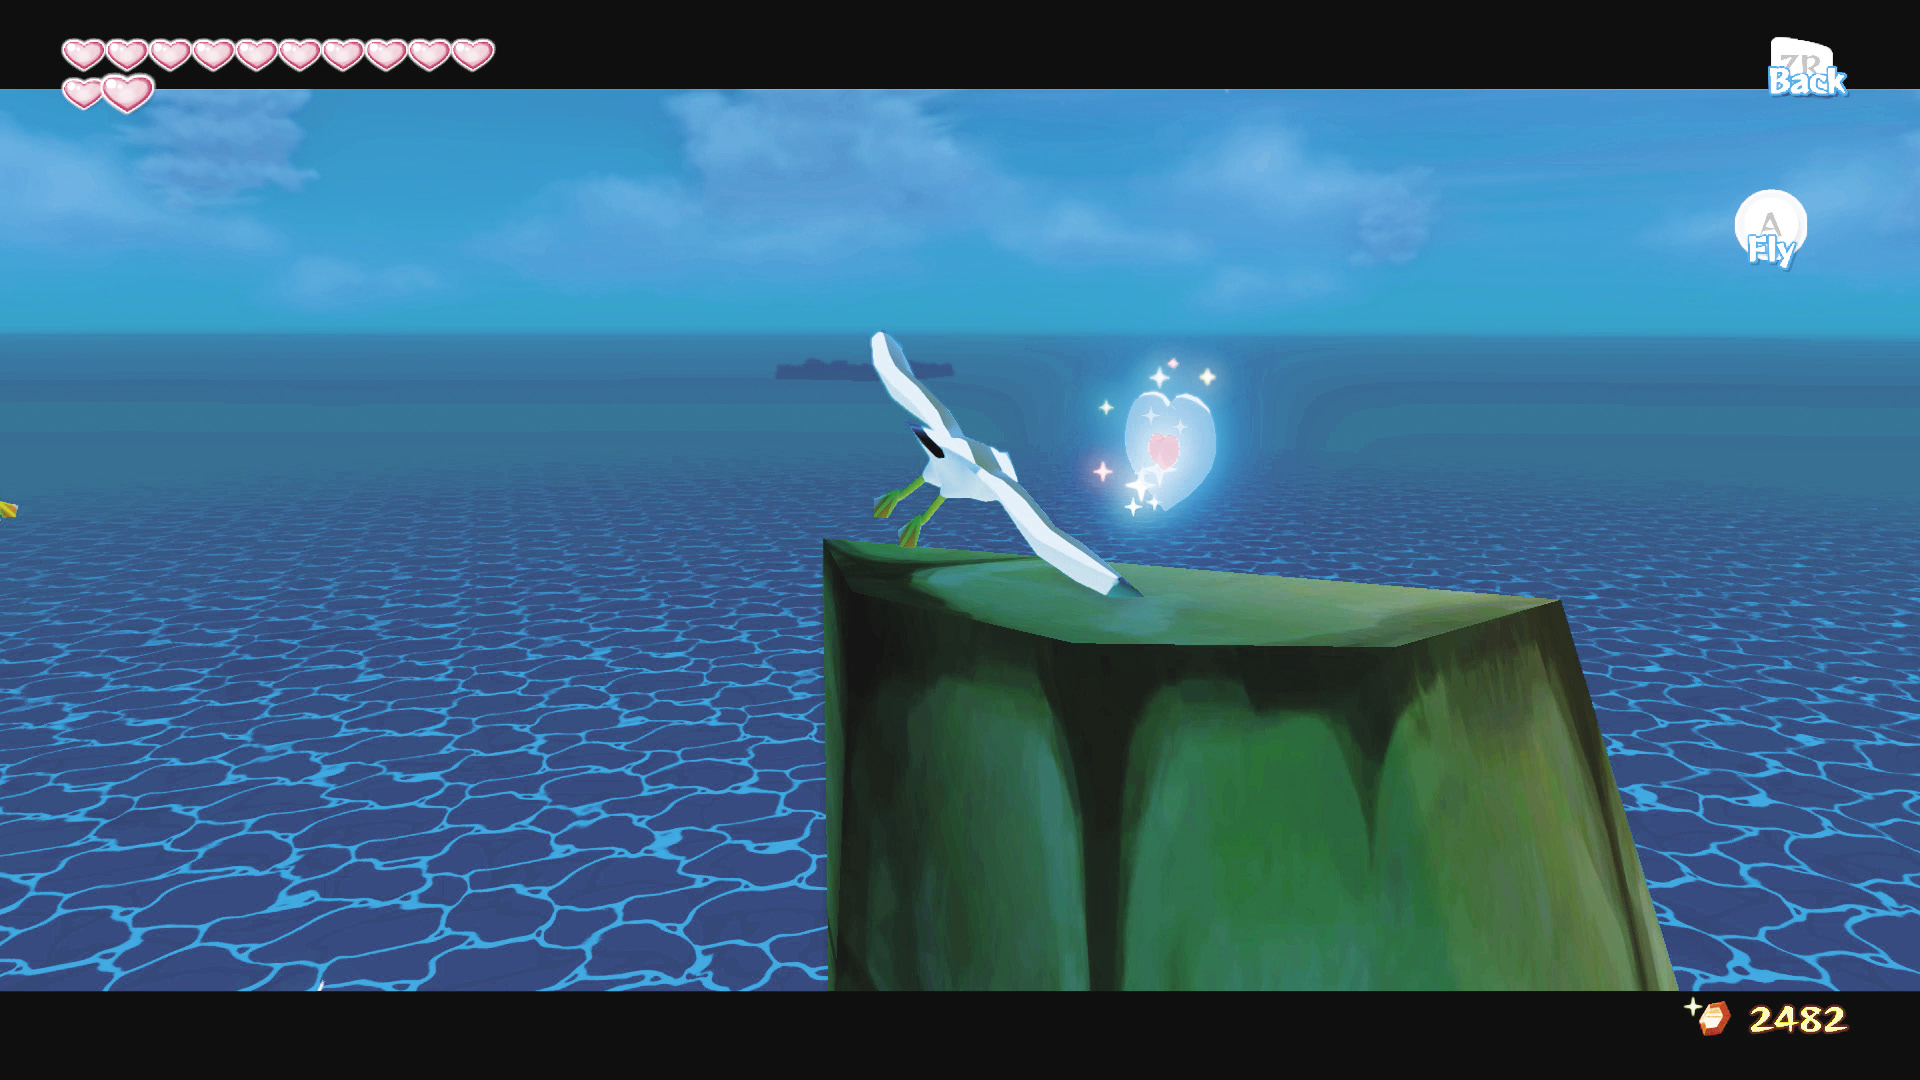
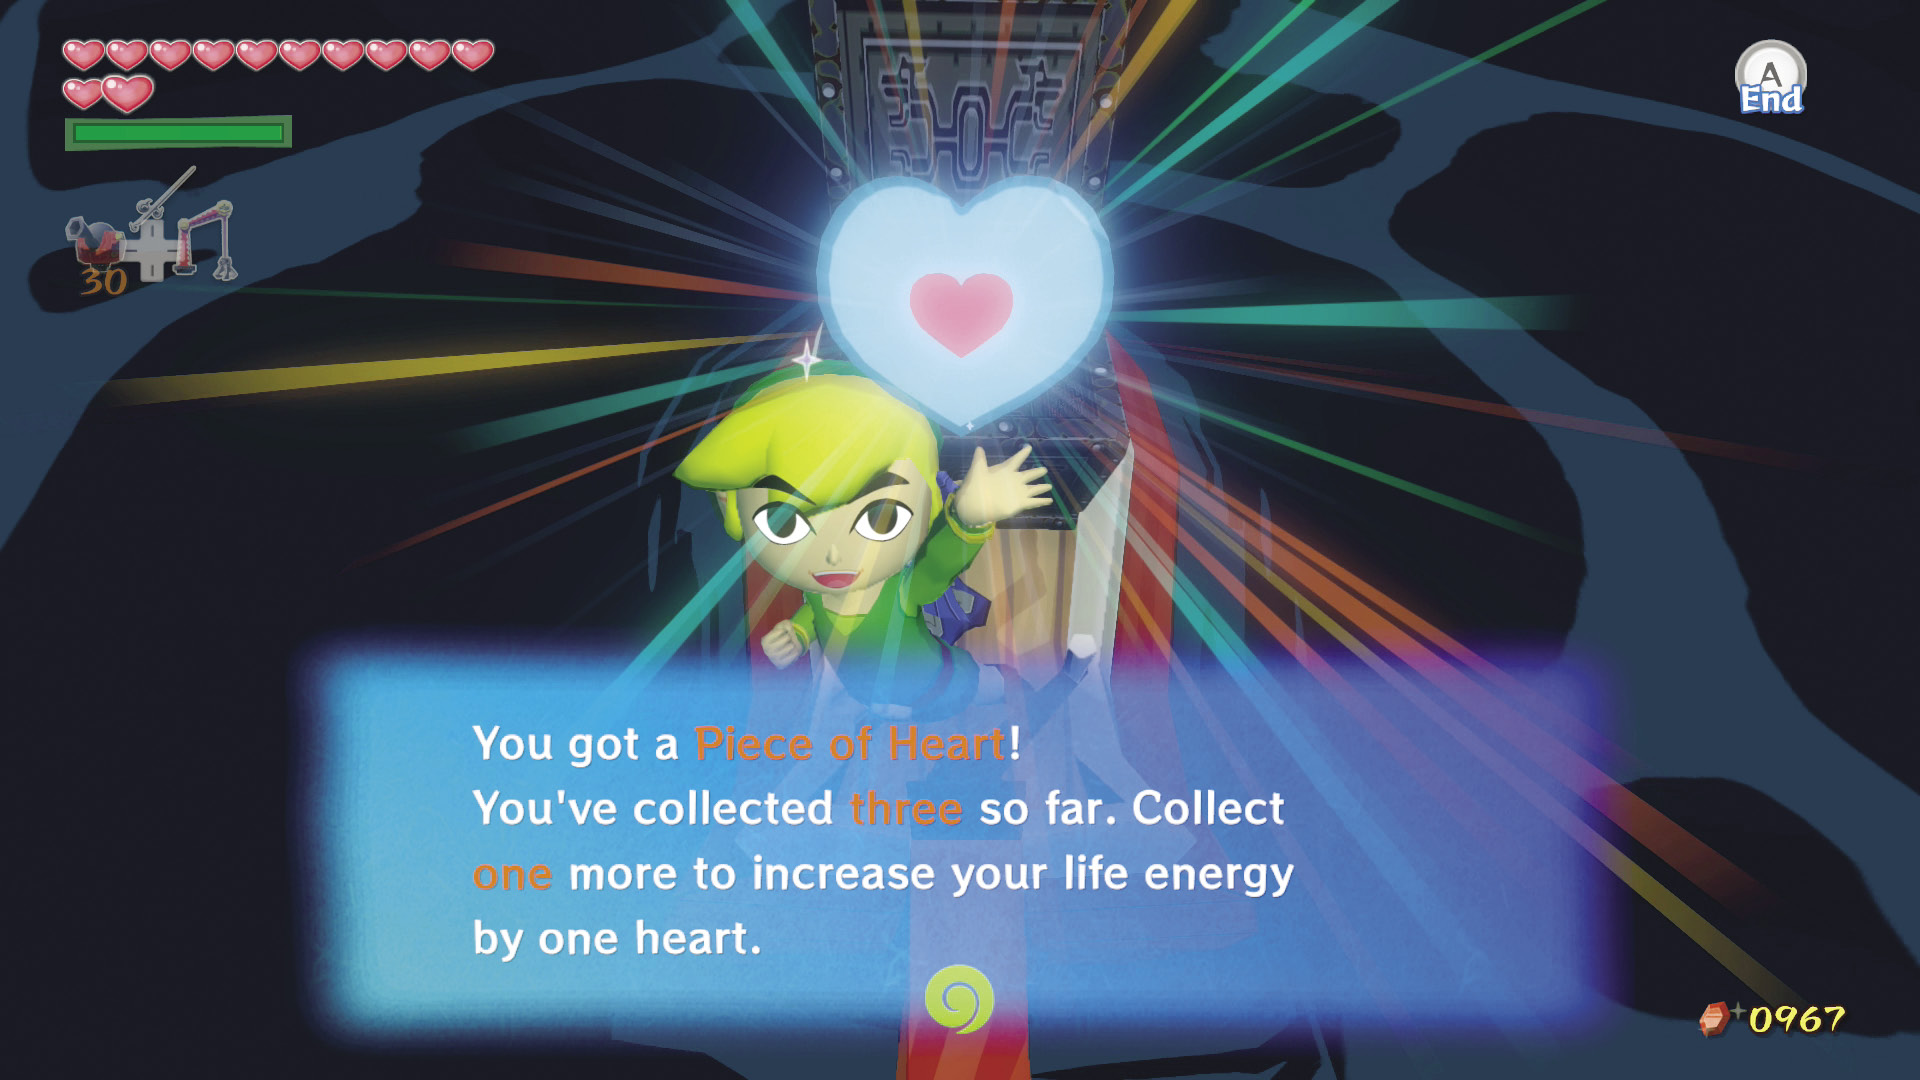
Use the Hyoi Pear to take control of a seagull and then fly it to the highest point on the island. Pilot the seagull into the Piece of Heart and then hit to release control of the seagull, which places Piece of Heart #20 in your possession; you’re halfway to another Heart Container.
|
|
65 |
Piece of Heart #20 |

Treasure Chart Ho!
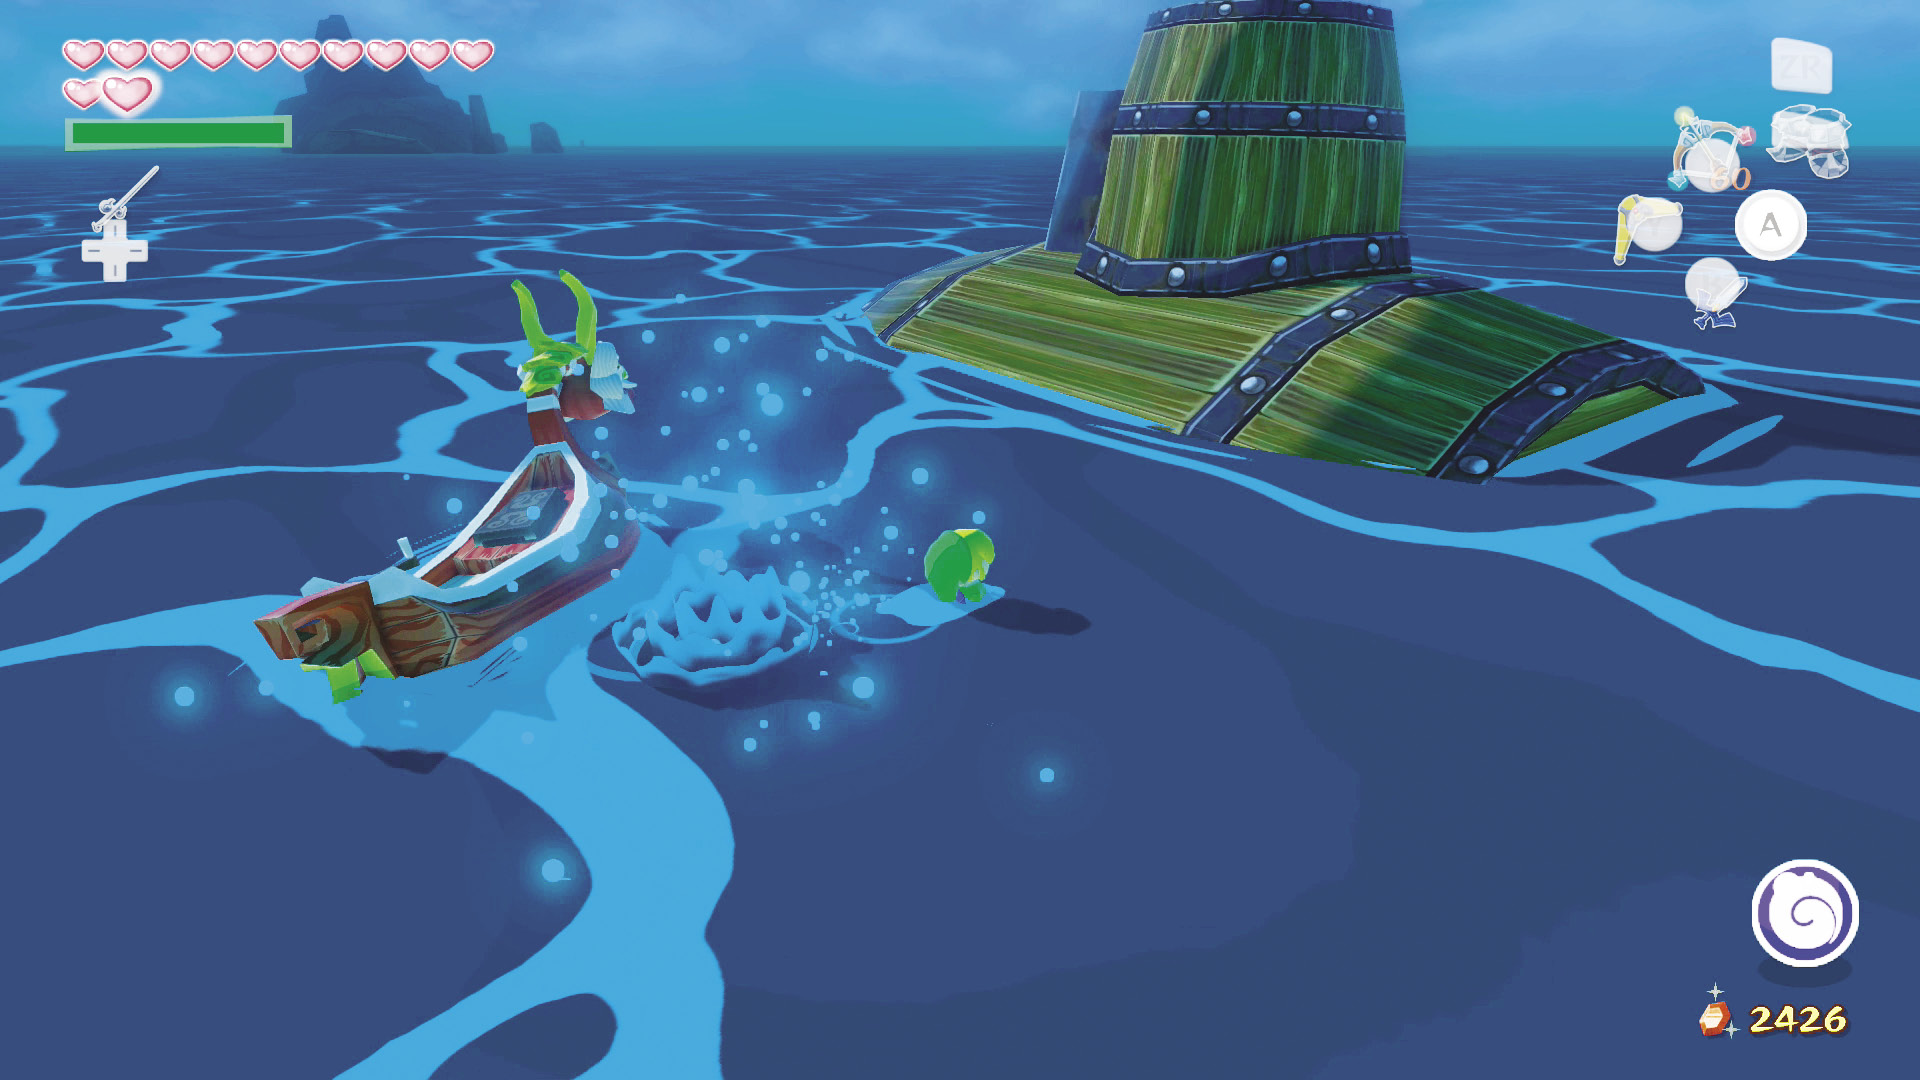
North of Headstone Island is a submarine (Old Man Ho Ho points the way with his telescope, same as he always does; he’s so helpful). Aboard the submarine this time is a large collection of Bomb Flowers and a near-endless supply of Bombchus. Don’t stop moving for anything, and use your Boomerang to take out the Bombchus one by one by -Targeting them.
Enemy: Bombchu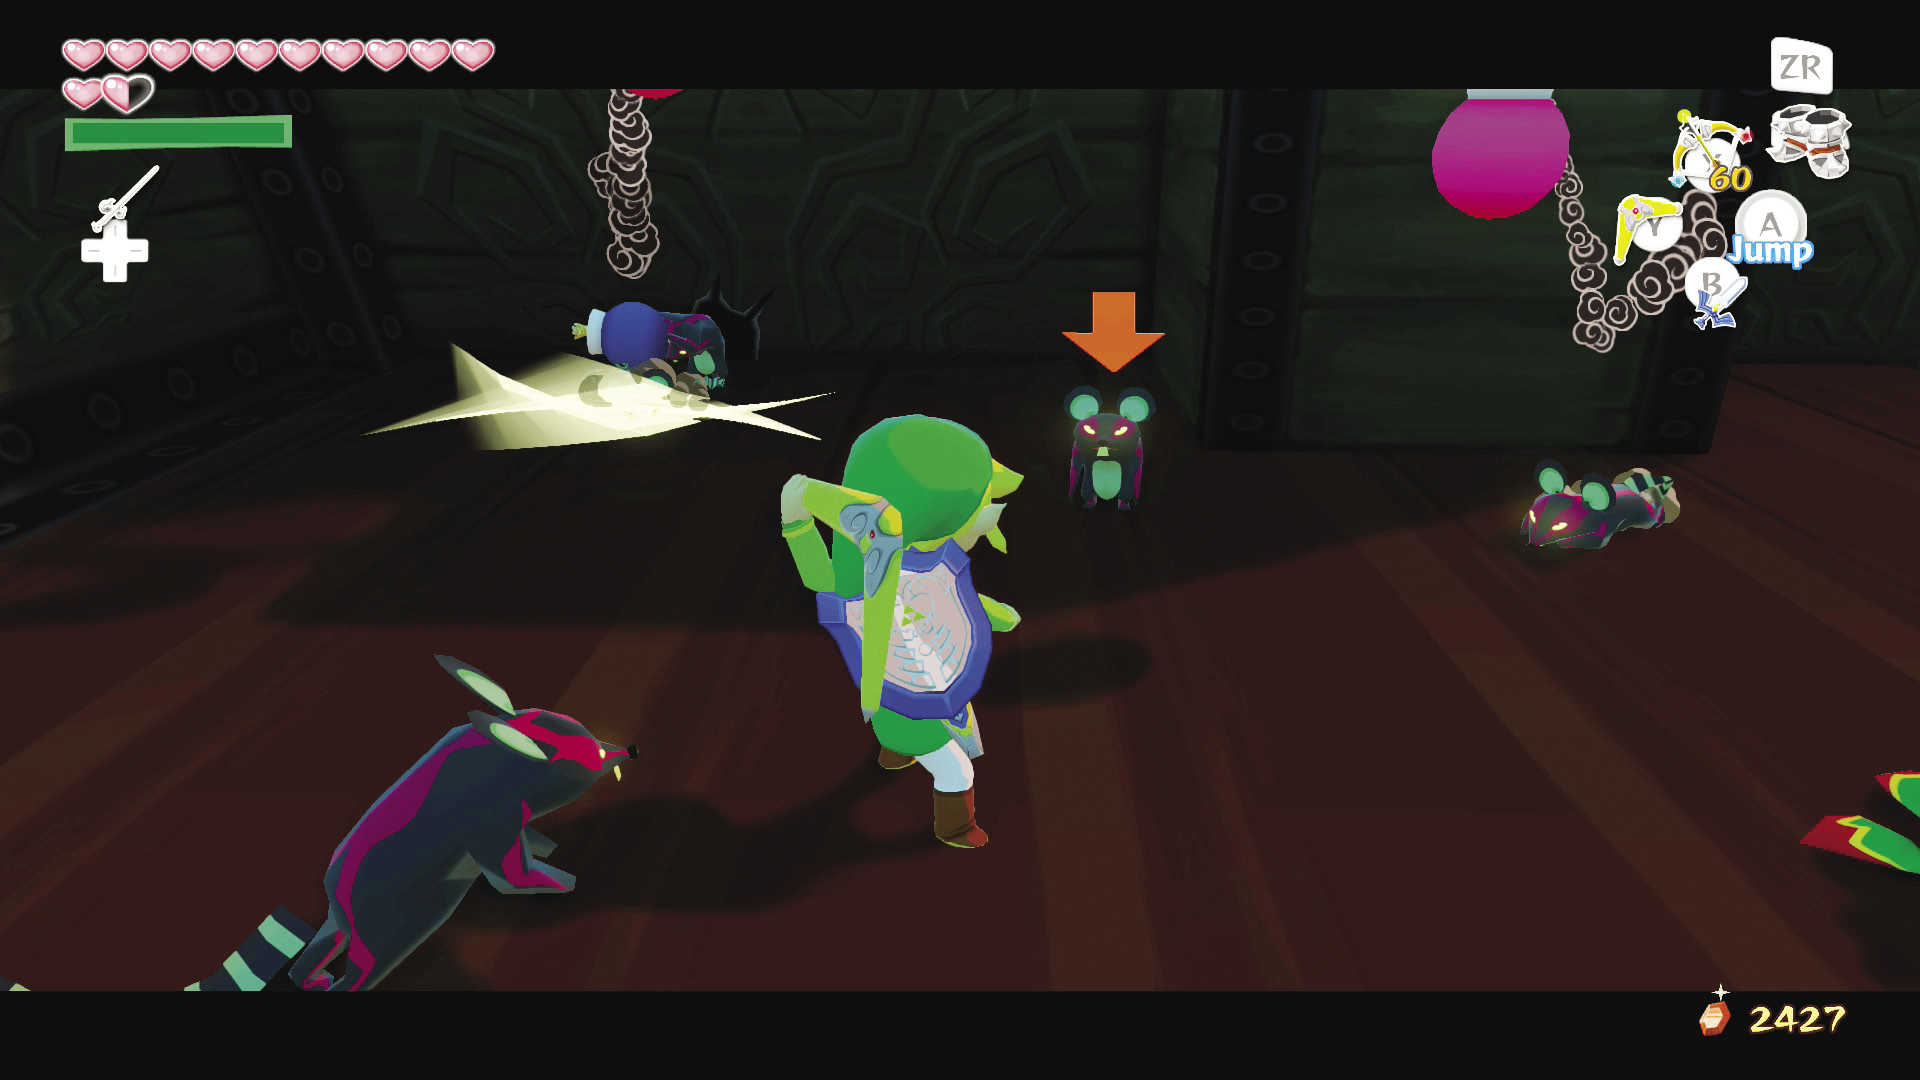 Bombchus are basically Rats that carry bombs. They come out of their hole, throw a bomb, and then retreat back into to it to grab another bomb. A single hit with just about anything will take them out, but their quickness and love of bombs makes them dangerous foes to underestimate. |
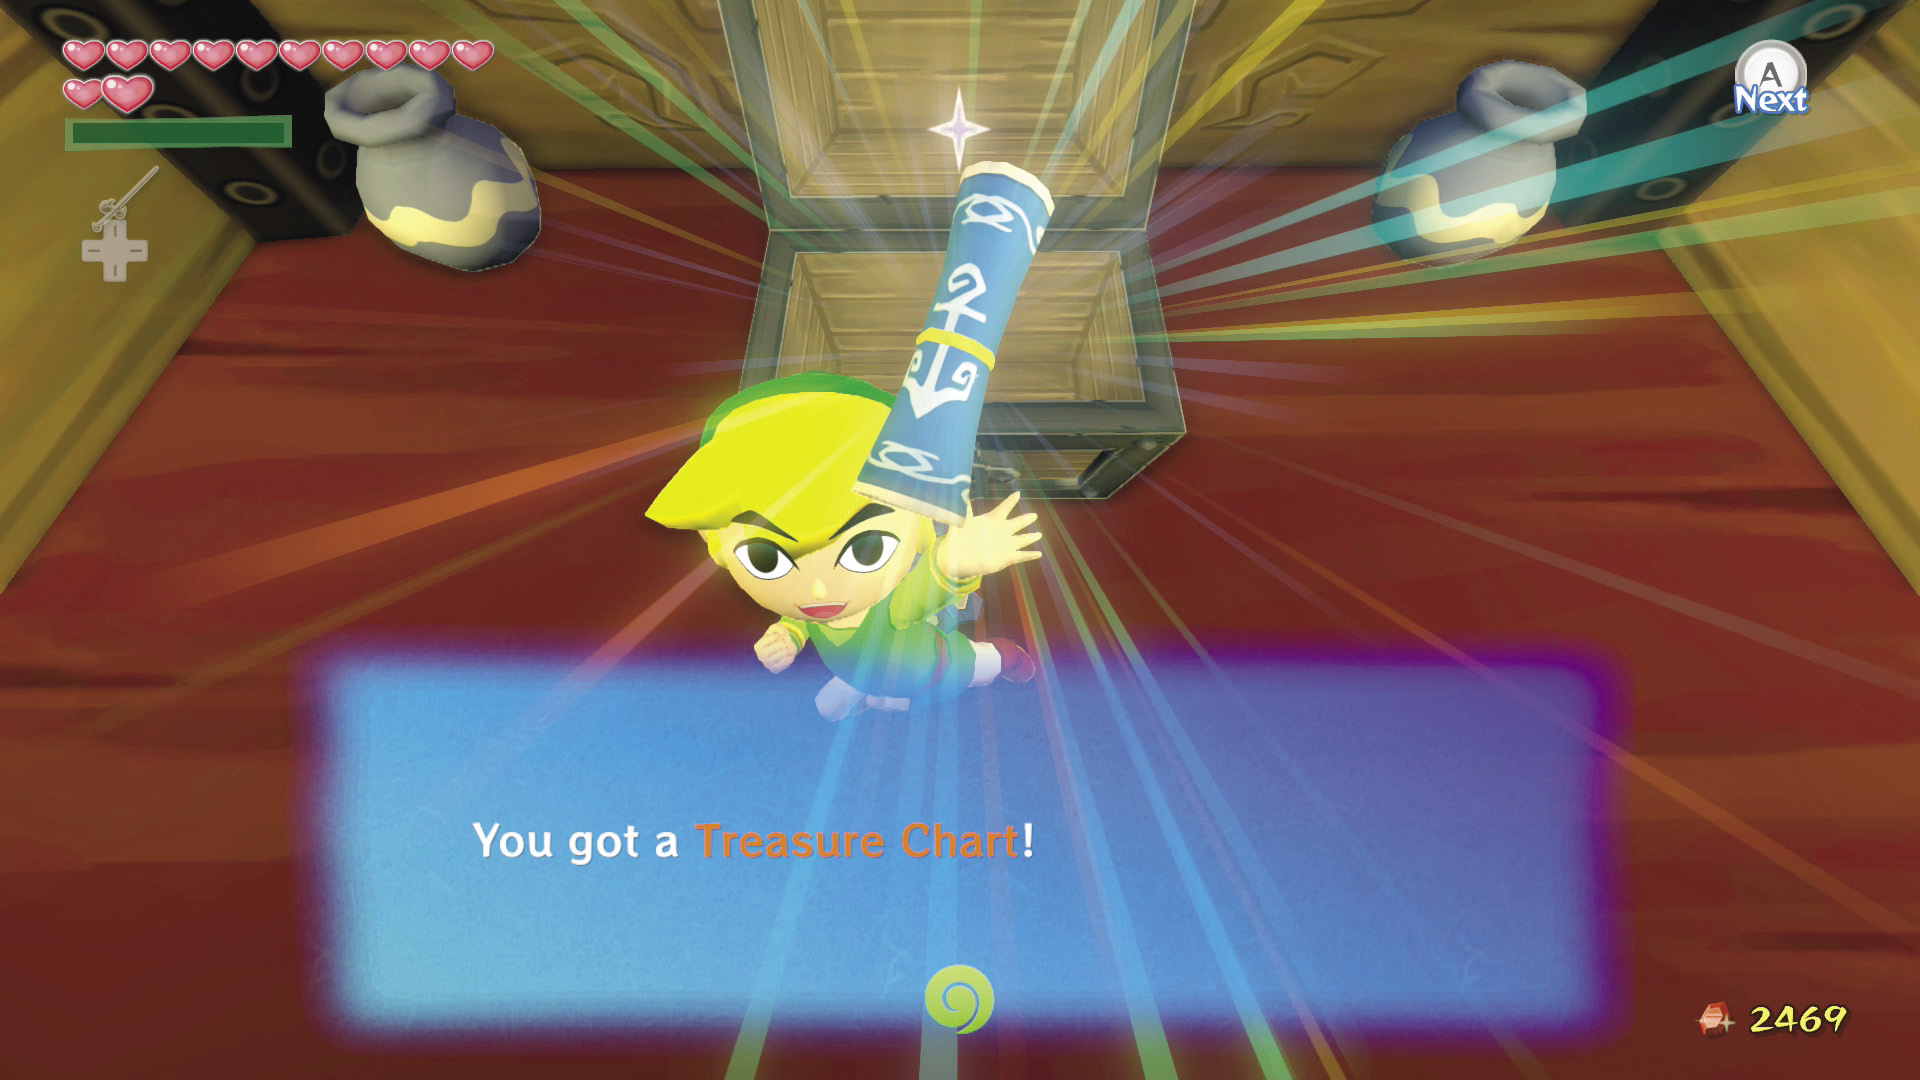
After clearing the room of those perilous pests, a ladder leading up to Treasure Chart #14 will drop. Climb it and claim your hard-earned prize.
|
|
66 |
Treasure Chart #14 |
Horseshoe Island (A7)
Sunken Treasure #9
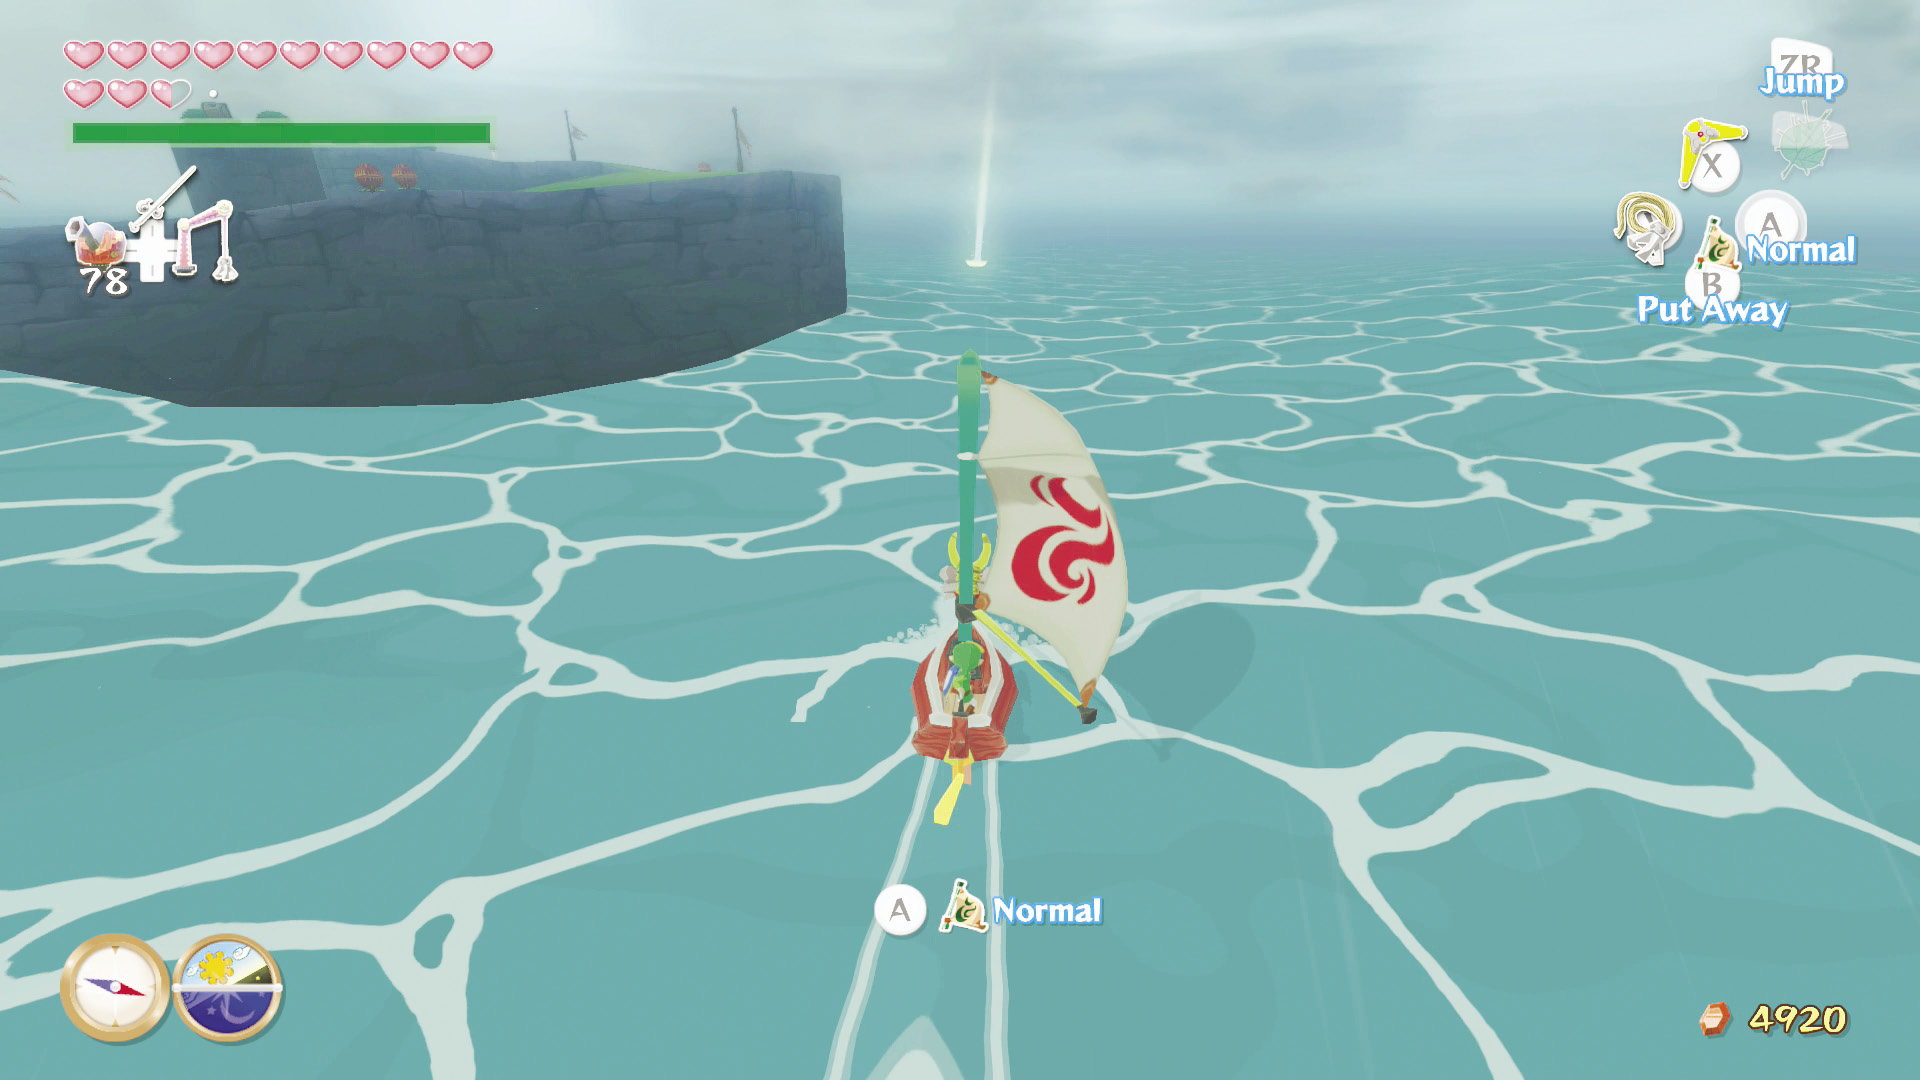
If you acquired Treasure Chart #9 from the submarine near Crescent Moon Island (E1), you can open it to reveal the location of a Silver Rupee in this sector.
Fore!
Horseshoe Island is a bit trickier than other islands on the Great Sea. On the island are three holes, a handful of Deku Nuts, and some of those obnoxious spiked vines that pop out of the ground without warning. If you haven’t guessed from this section’s title, you’ll have to play a bit of golf in order to get the treasures that this island holds.
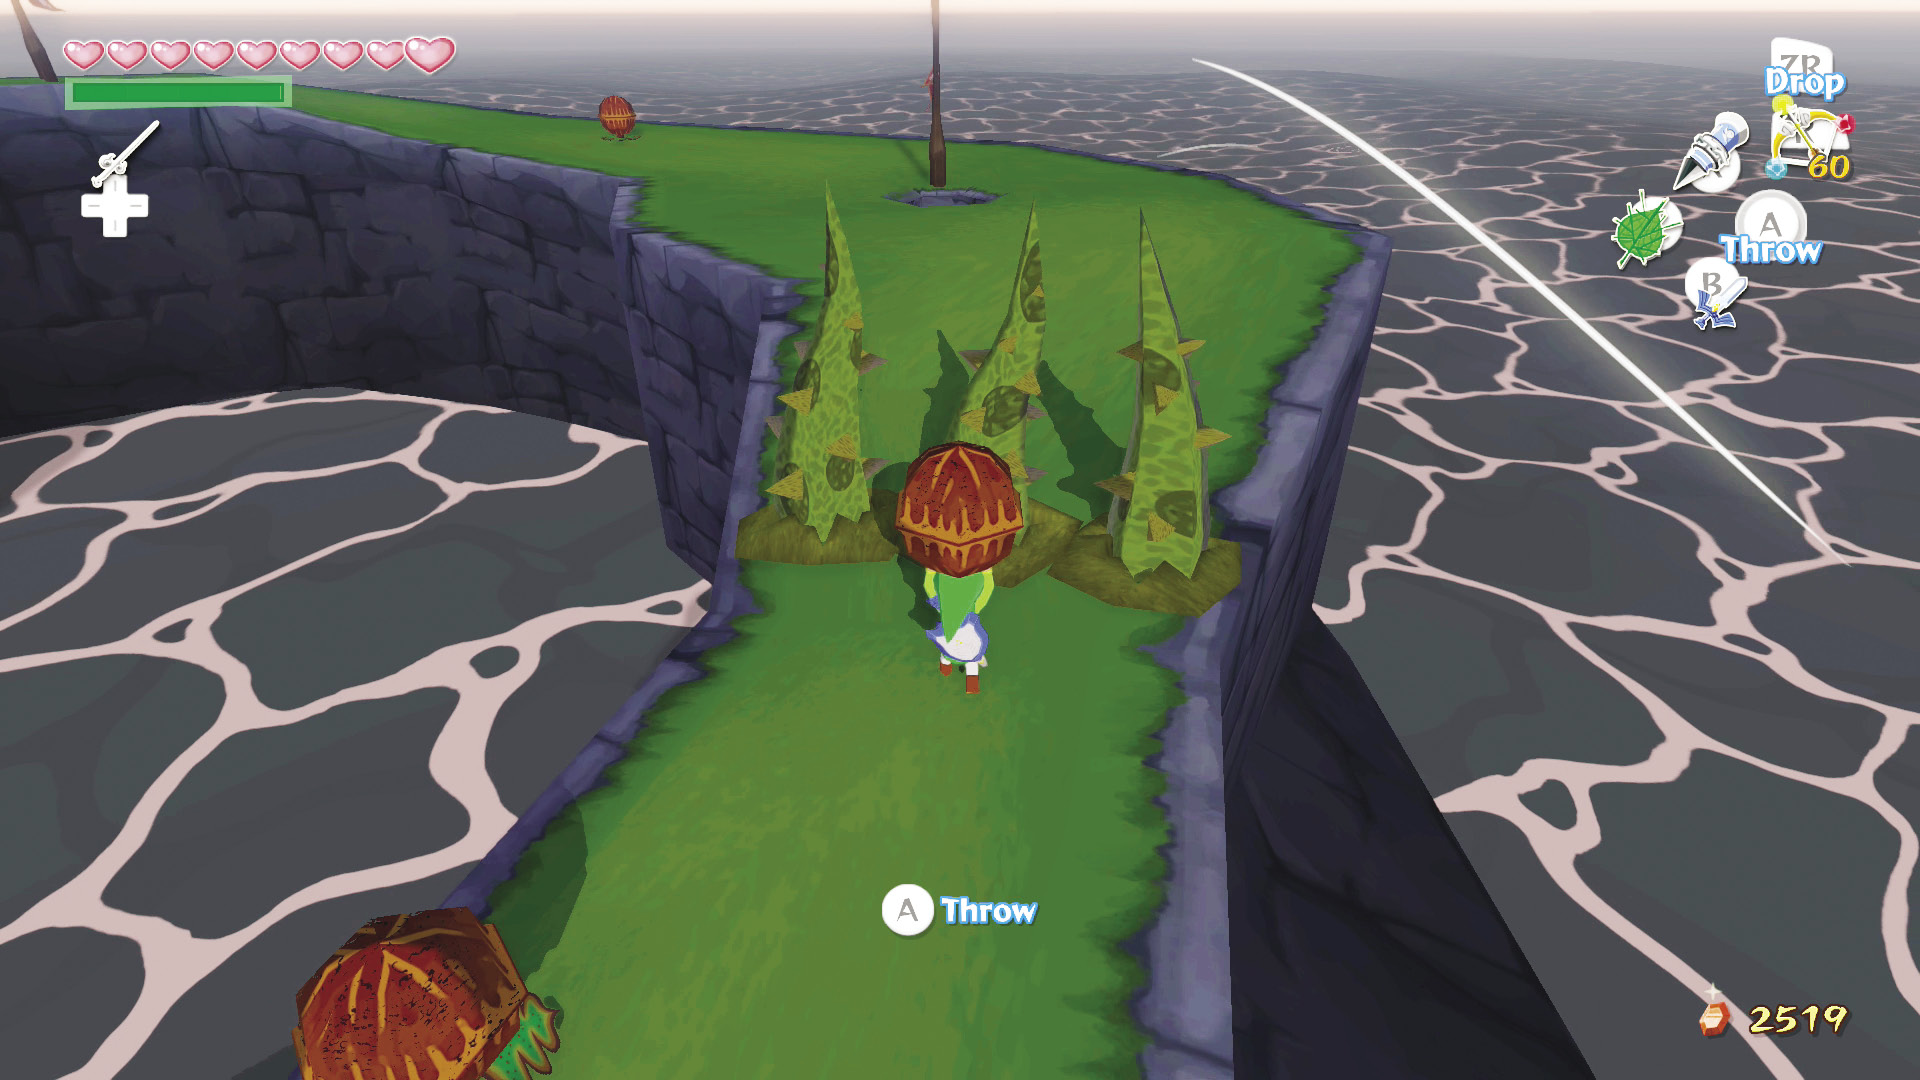
Climb up the only ledge you have access to, and grab one of the Deku Nuts. Slowly make your way to the flag until the spiked vines pop out of the ground. Line yourself up with the flag and throw the Deku Nut into it. If you miss, you can use the Deku Leaf to try and blow it in the hole, but your best bet is to just grab another Deku Nut and try again.
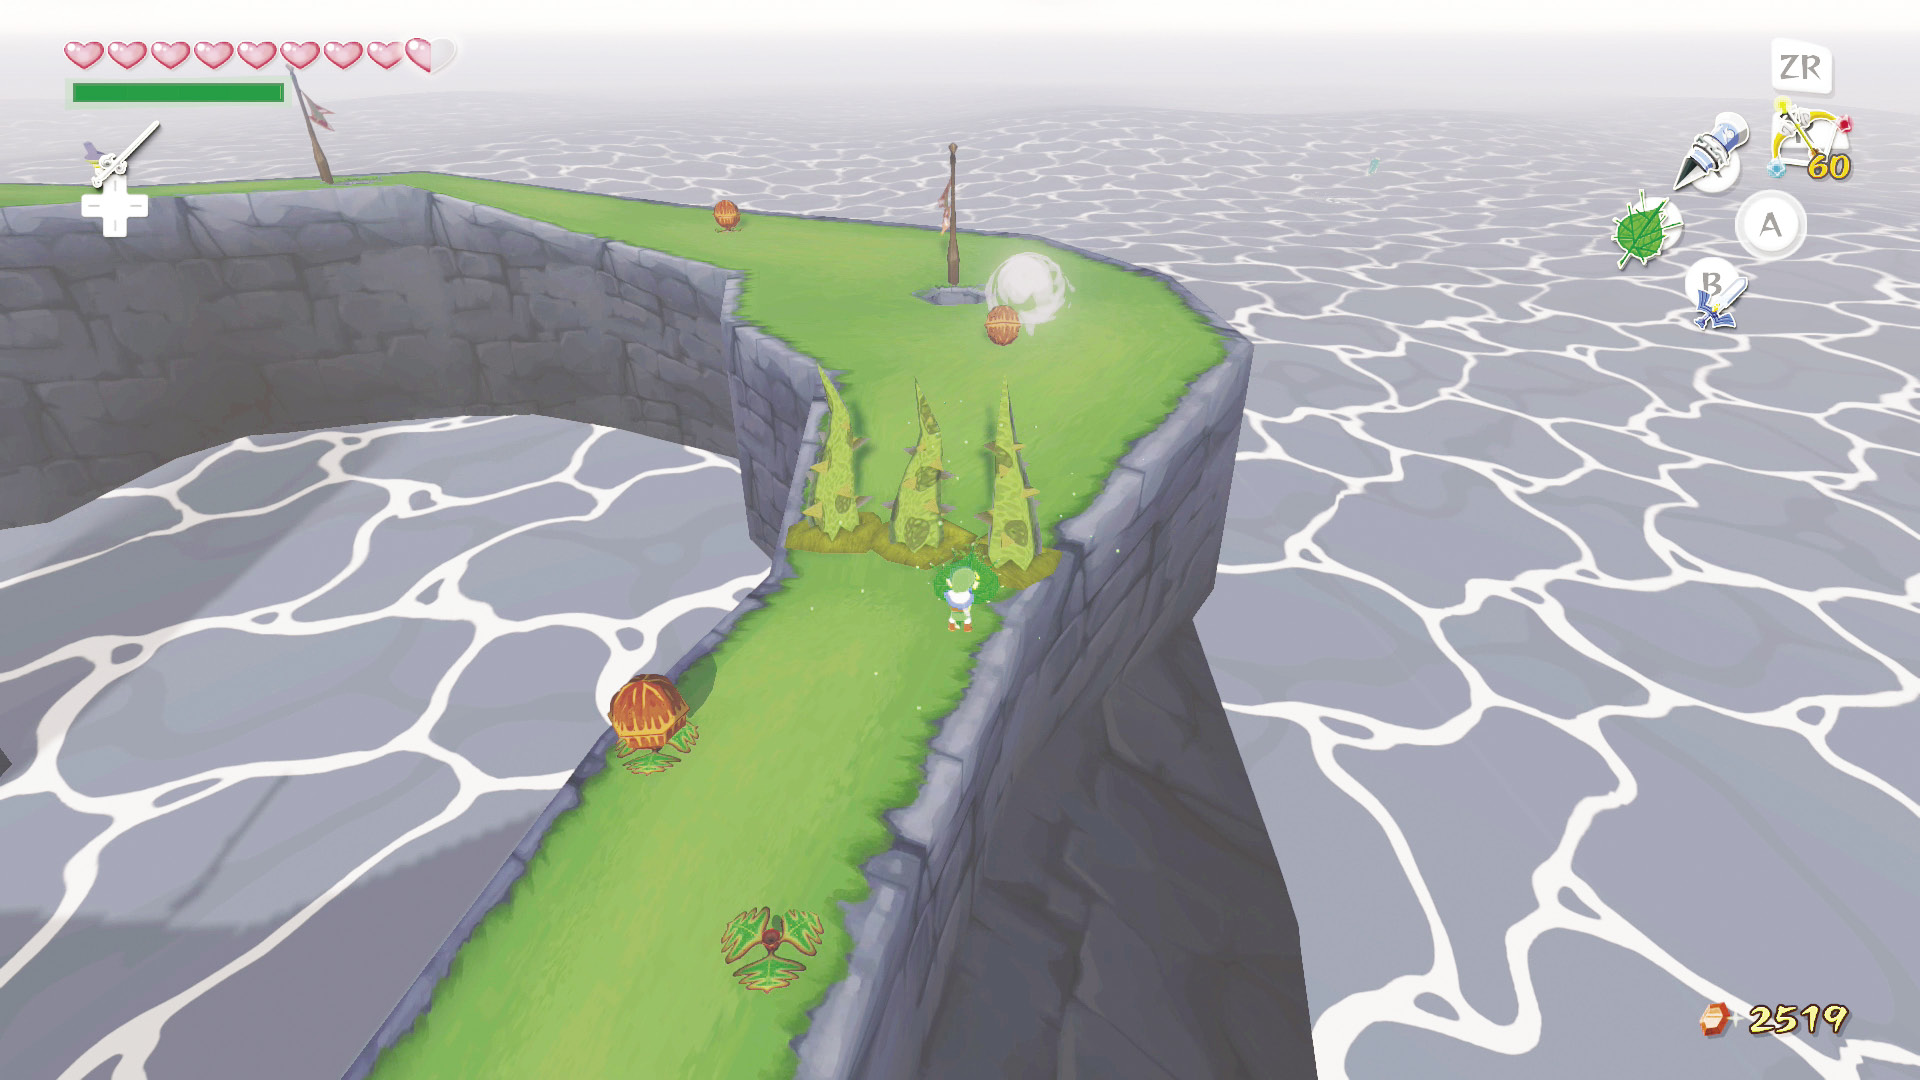
The same rules apply for the second hole, but this time the Deku Leaf will probably come in handy if the Deku Nut doesn’t make it into the hole with your first toss. There is also a Blue ChuChu near the second hole, so don’t forget to nab that.
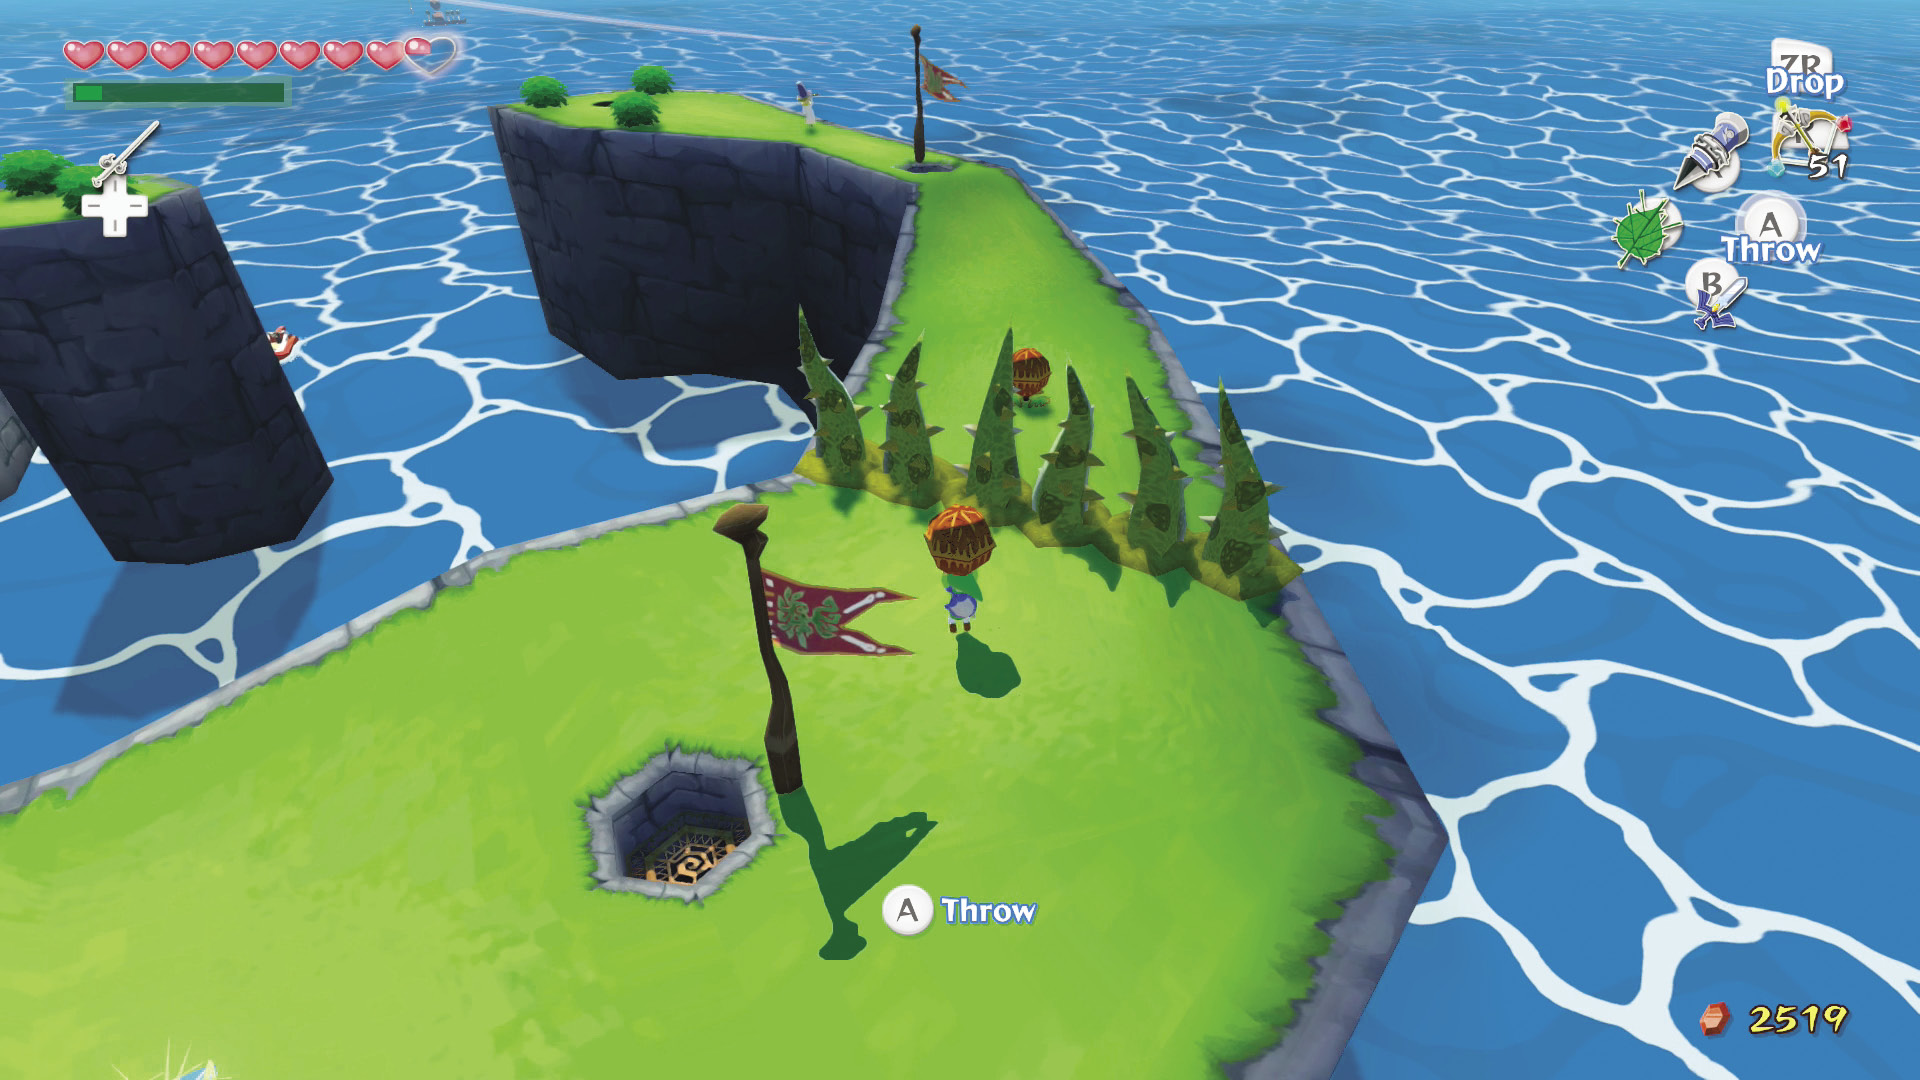
For the third hole, head back to the Deku Nuts that you used for the second hole, instead of trying to blow the third hole’s Deku Nuts with the Deku Leaf. After getting a Deku Nut into the third hole, a treasure chest containing Treasure Chart #28 will appear on the platform in the center of the island.
|
|
67 |
Treasure Chart #28 |
No More Mothulas!
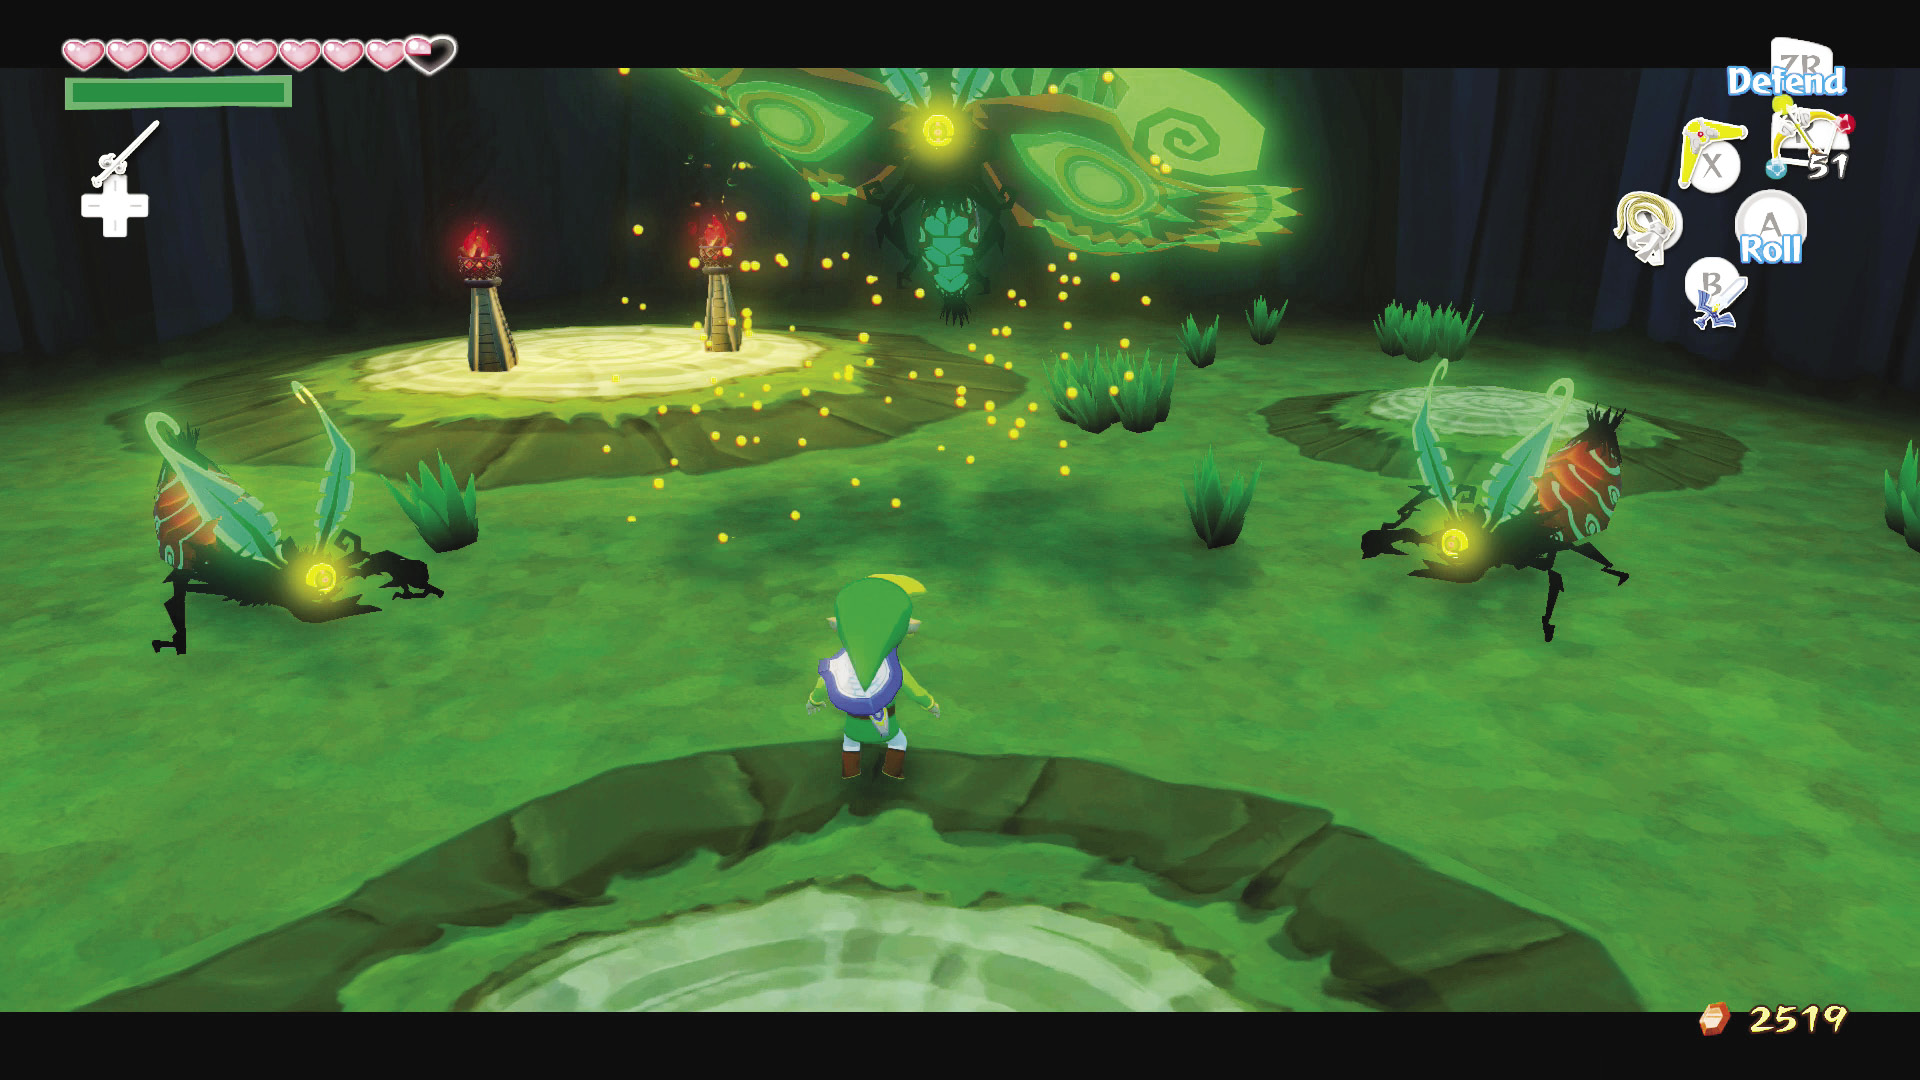
At the top of Horseshoe Island, near Old Man Ho Ho, is the entrance to a secret cave. Inside are two Wingless Mothulas and a Winged Mothula. Defeat them and a treasure chest containing Treasure Chart #8 will appear.
|
|
68 |
Treasure Chart #8 |
Diamond Steppe Island (A6)
Sunken Treasure #23
Did you grab Treasure Chart #23 by beating the high score in the Squid-Hunt minigame while on Windfall Island? ’Cause if you did, you can open it to reveal the location of Piece of Heart #21. You’re really getting good at this pirate thing, aren’t you?
|
|
69 |
Piece of Heart #21 |

Link, Conqueror of Big Octos
East of Diamond Steppe Island is a Big Octo hoarding an Orange Rupee all to itself. Knock it out and you’ll have another 100 Rupees to add to your Wallet.
Needle Rock Isle (A5)
Sunken Treasure #28
At this point, you can open the Treasure Chart you grabbed from Horseshoe Island (A7) to find the location of another Silver Rupee. Man, all that extra wallet space is sure coming in handy right now.
Expert-Level Bird Navigation
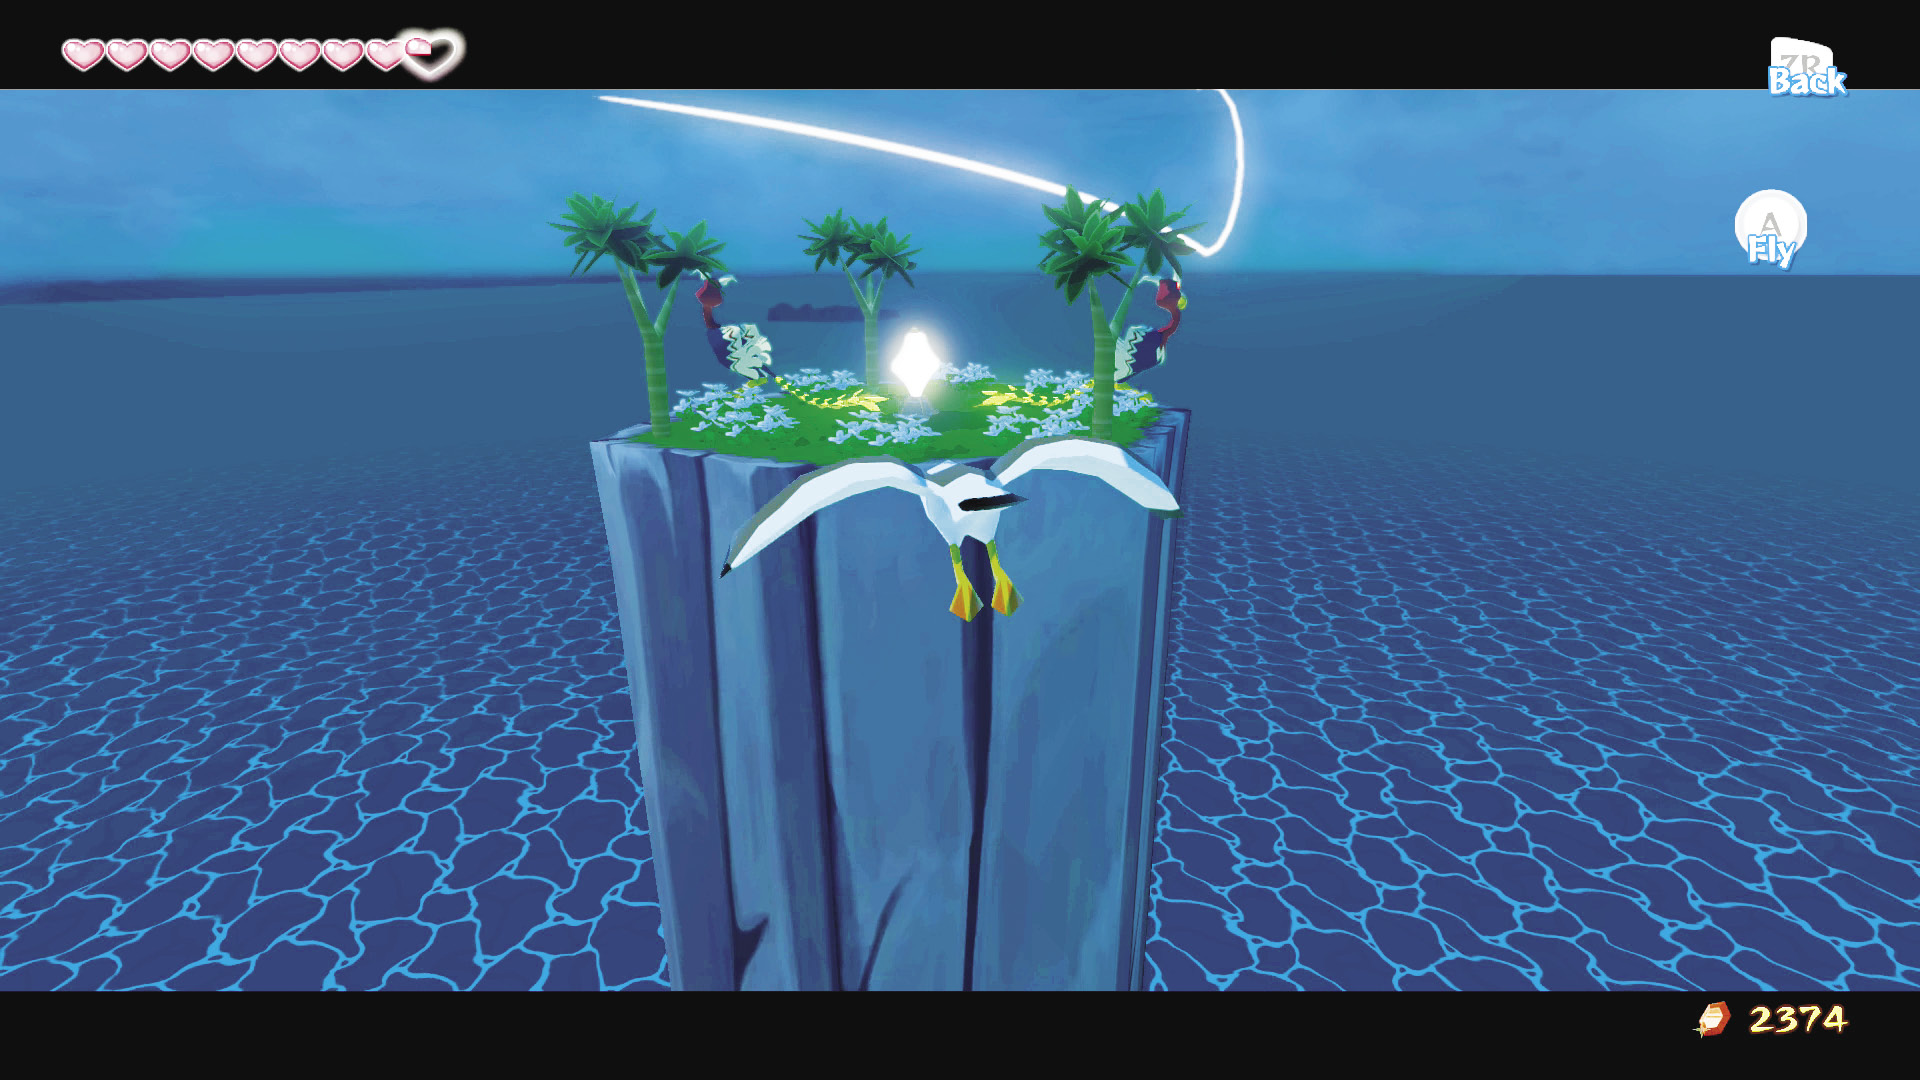
The needle rock of Needle Rock Isle is actually home to a switch that helps you get Piece of Heart #22. If you head to the island’s southern tip, pull out a Hyoi Pear and have your seagull fly up in a circle until you’re level with the switch atop the needle rock. You can navigate the seagull right into it while avoiding most of the Kargorocs that are circling it. If the Kargorocs do catch wind of your scheme and start chasing your seagull, fly straight and mash to get some distance from them. When they are almost offscreen, turn toward the switch. If you turn while the Kargorocs are right on your tail, they’ll get you without issue.
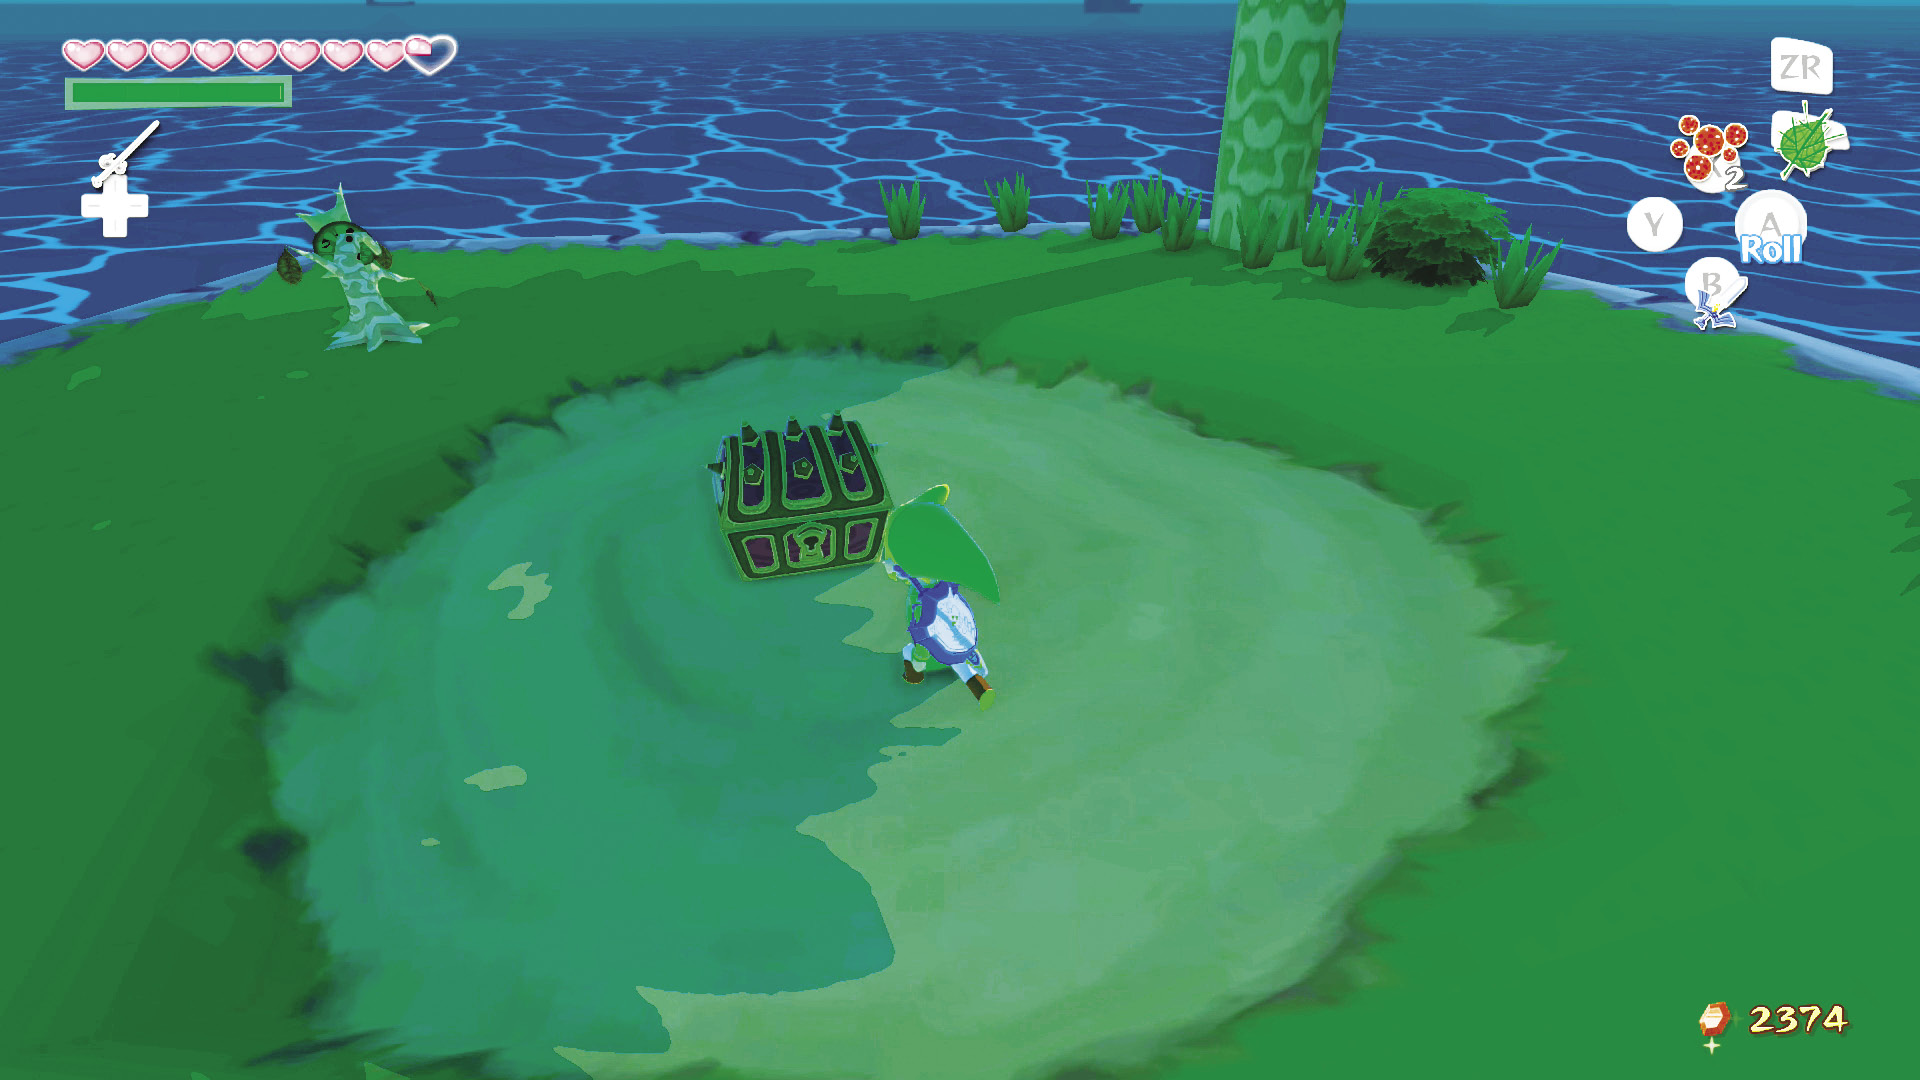
With the switch activated, the flames around the island’s chest lower. Open the chest to claim Piece of Heart #22. Halfway to another Heart Container!
|
|
70 |
Piece of Heart #22 |

What’s a Triumph Fork?
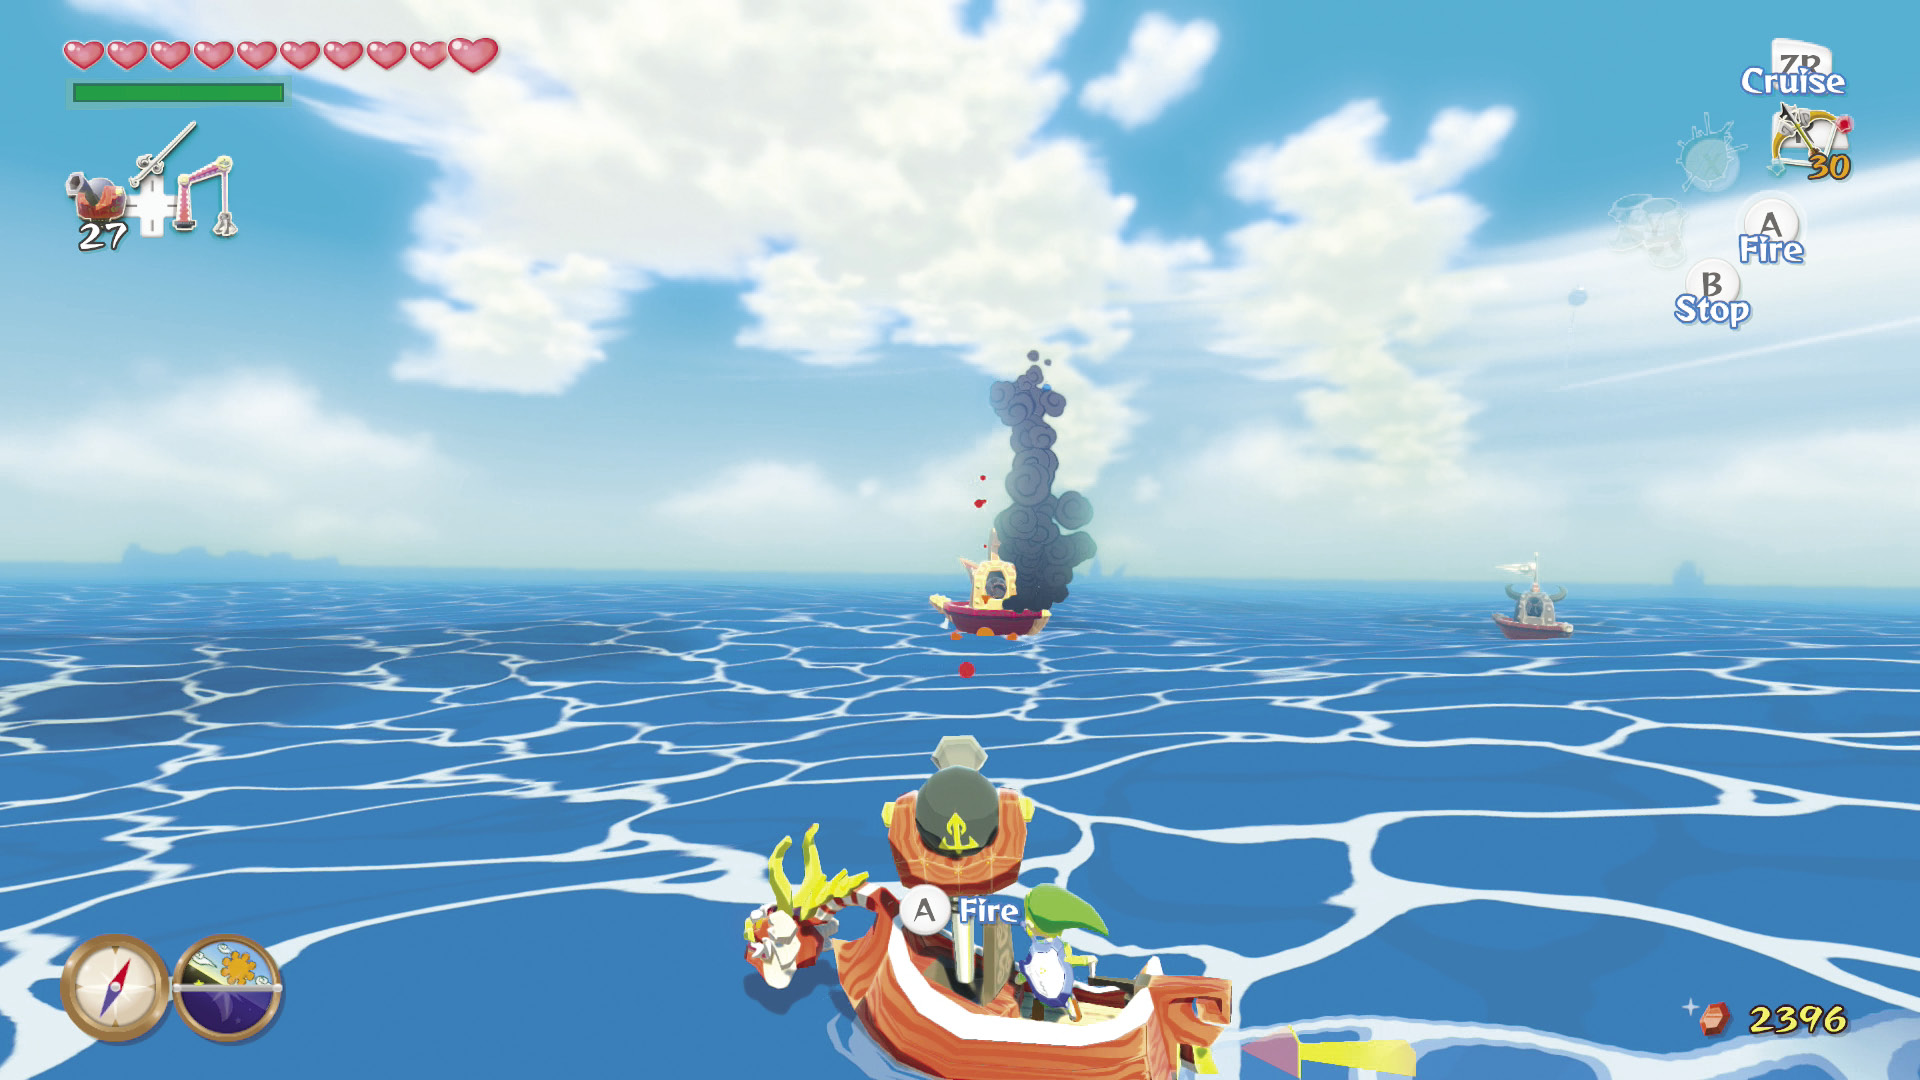
To the left of Needle Rock Isle are three cannon-mounted Warships that you can destroy with your Cannon. The Warships will each leave behind a Ring of Light that holds an item for you to salvage with your Grappling Hook. The Warship to keep track of, however, is the golden one, which will drop Triforce Chart #3. We couldn’t tell you what Triforce Chart #3 is, but we’re sure someone somewhere probably knows somethin’ about it.
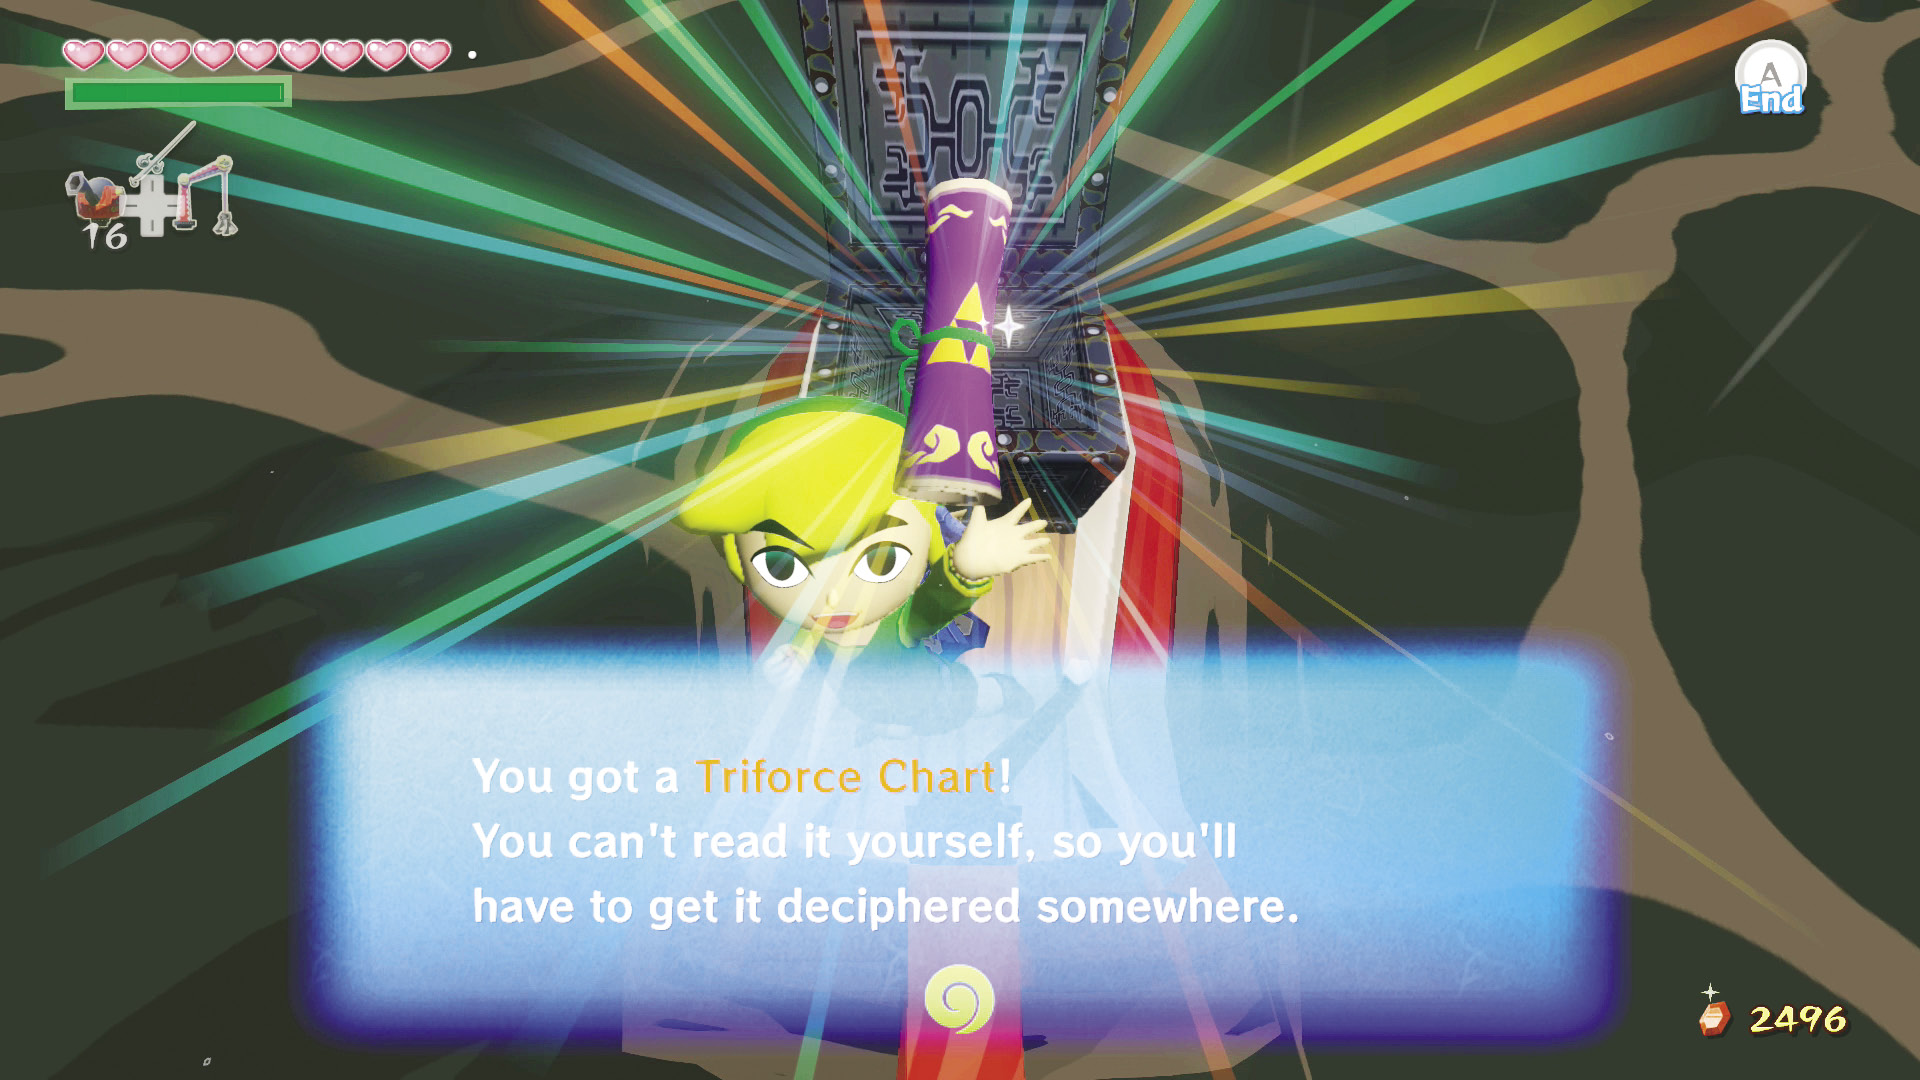
The other two warships drop an Orange Rupee and a Purple Rupee after being destroyed.
|
|
71 |
Triforce Chart #3 |
Enemy: Warship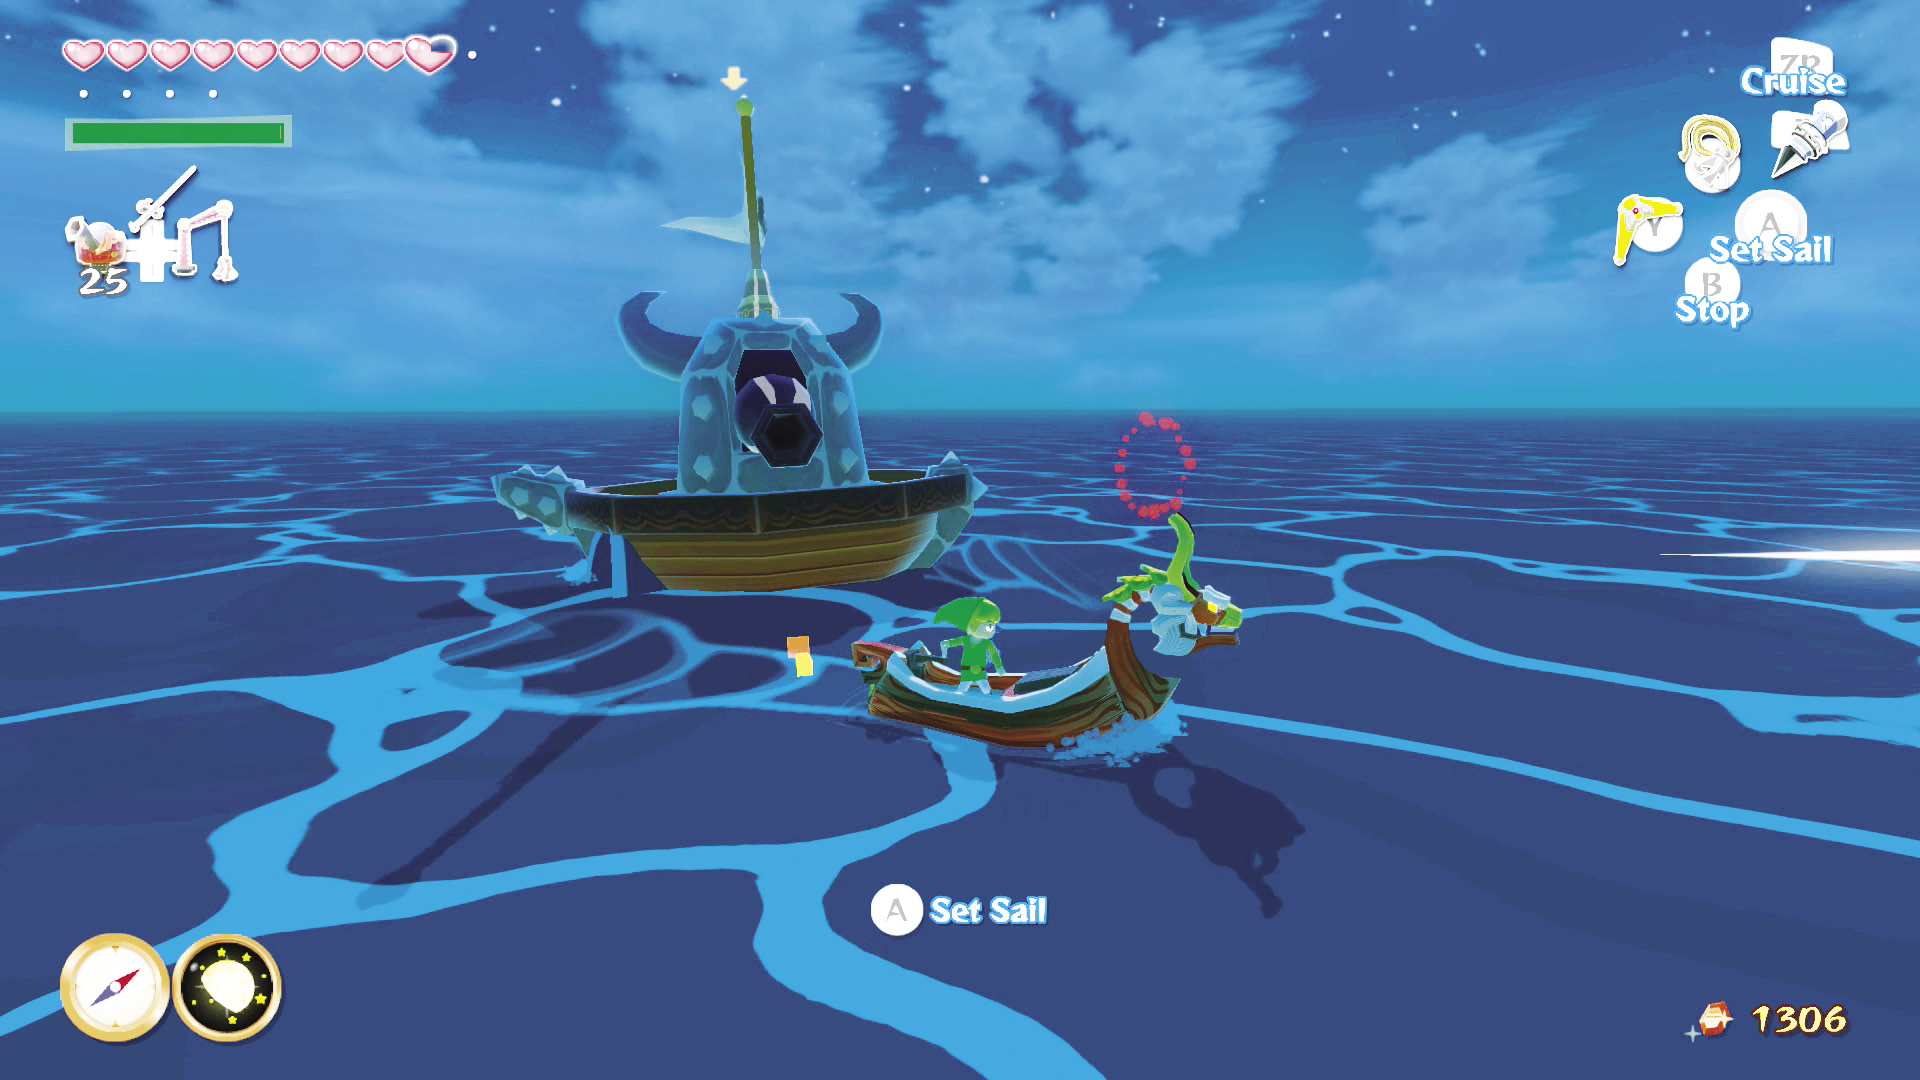 Warships are cannon-mounted boats that shoot bombs at Link whenever he draws near. They aren’t the best shots, and taking them out isn’t too painful. The real danger comes when these ships are in packs. A handful of Warships firing bombs at you at the same time can make for a pretty rough journey. Don’t worry too much, though; you can destroy a Warship with three shots from your Cannon. Just try not to sit in one place when near them and you’ll be just fine. |