
The Legend of Zelda: The Wind Waker Guide Walkthrough Somethings Amiss in the Forest Haven
Forbidden Woods (F6)
First Floor
1. A Whole Lot of ChuChus
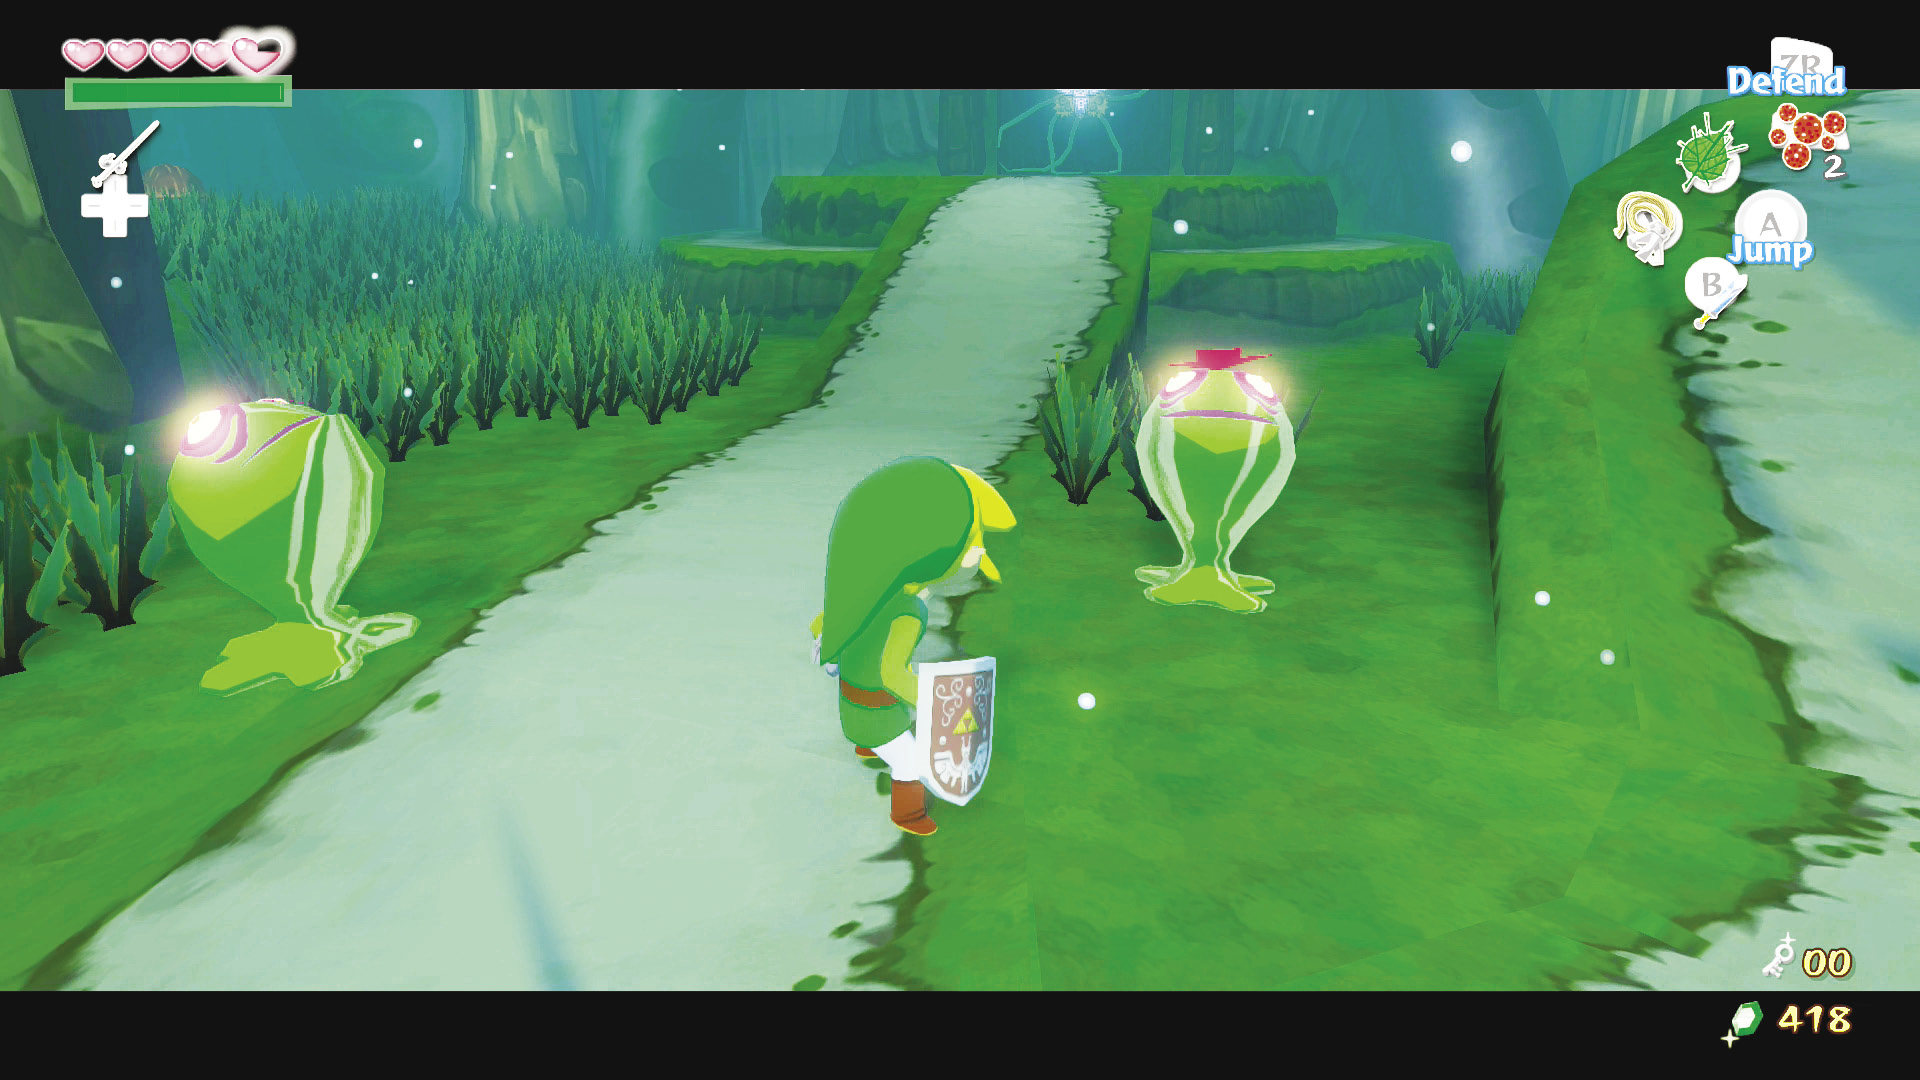
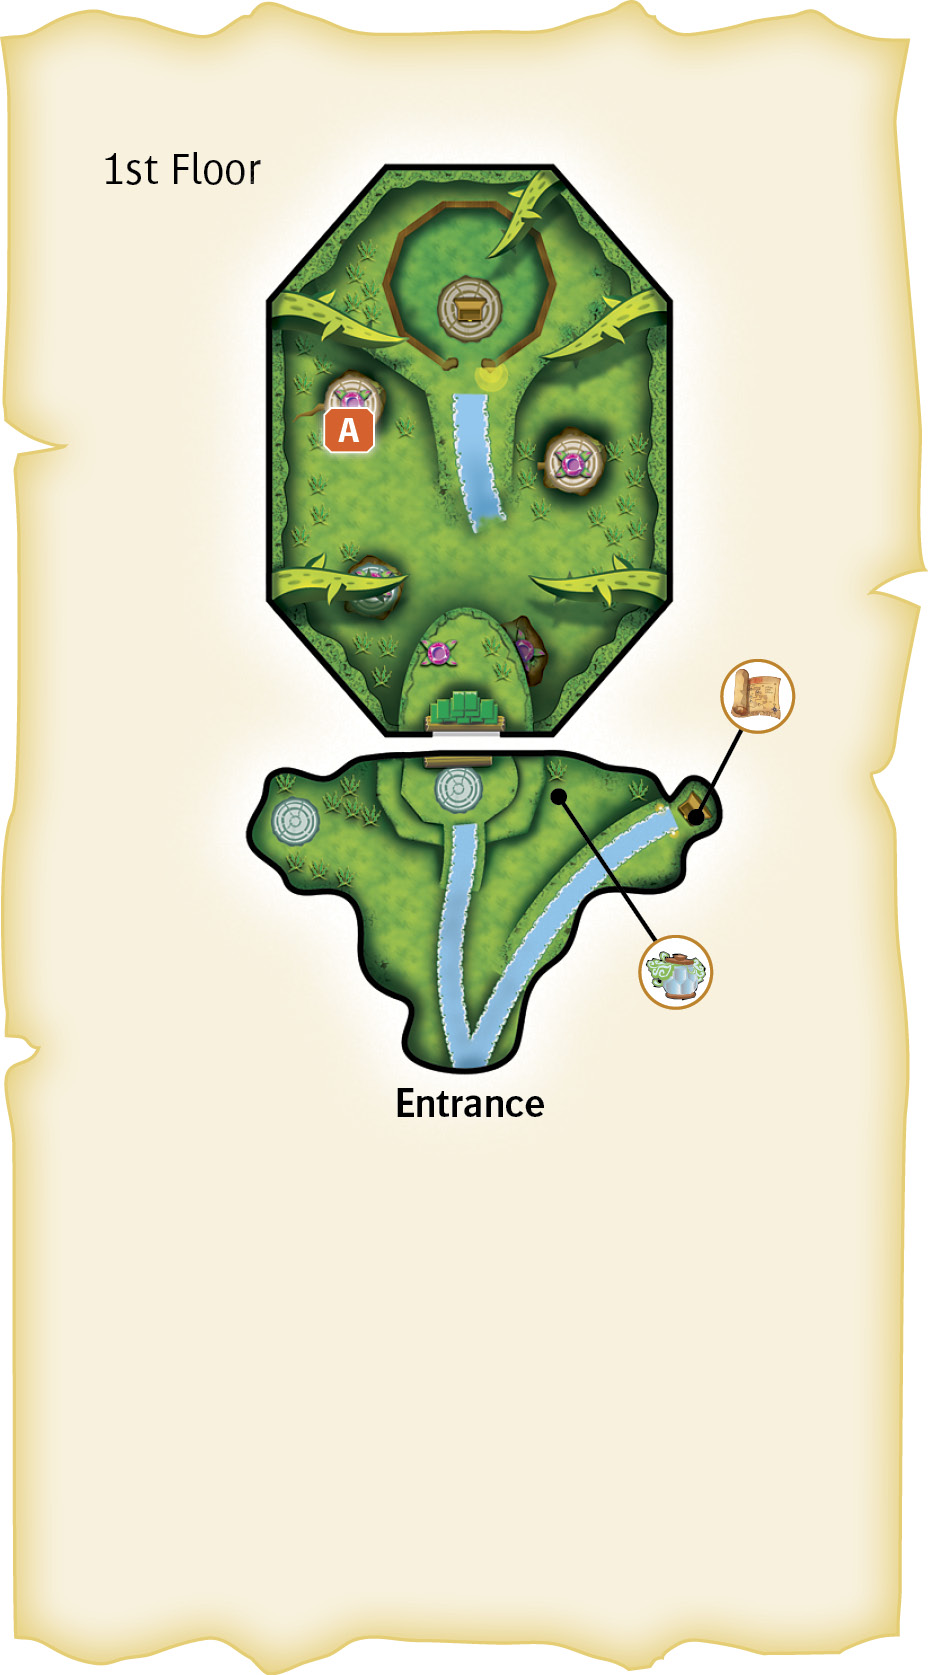
I hope you like ChuChus, because the Forbidden Woods has set up a welcome party chock full of ’em. You’ll find 11 Green ChuChus hiding throughout the first room of this dungeon. You don’t need to defeat all of them, but it will make your life a little easier if you do.
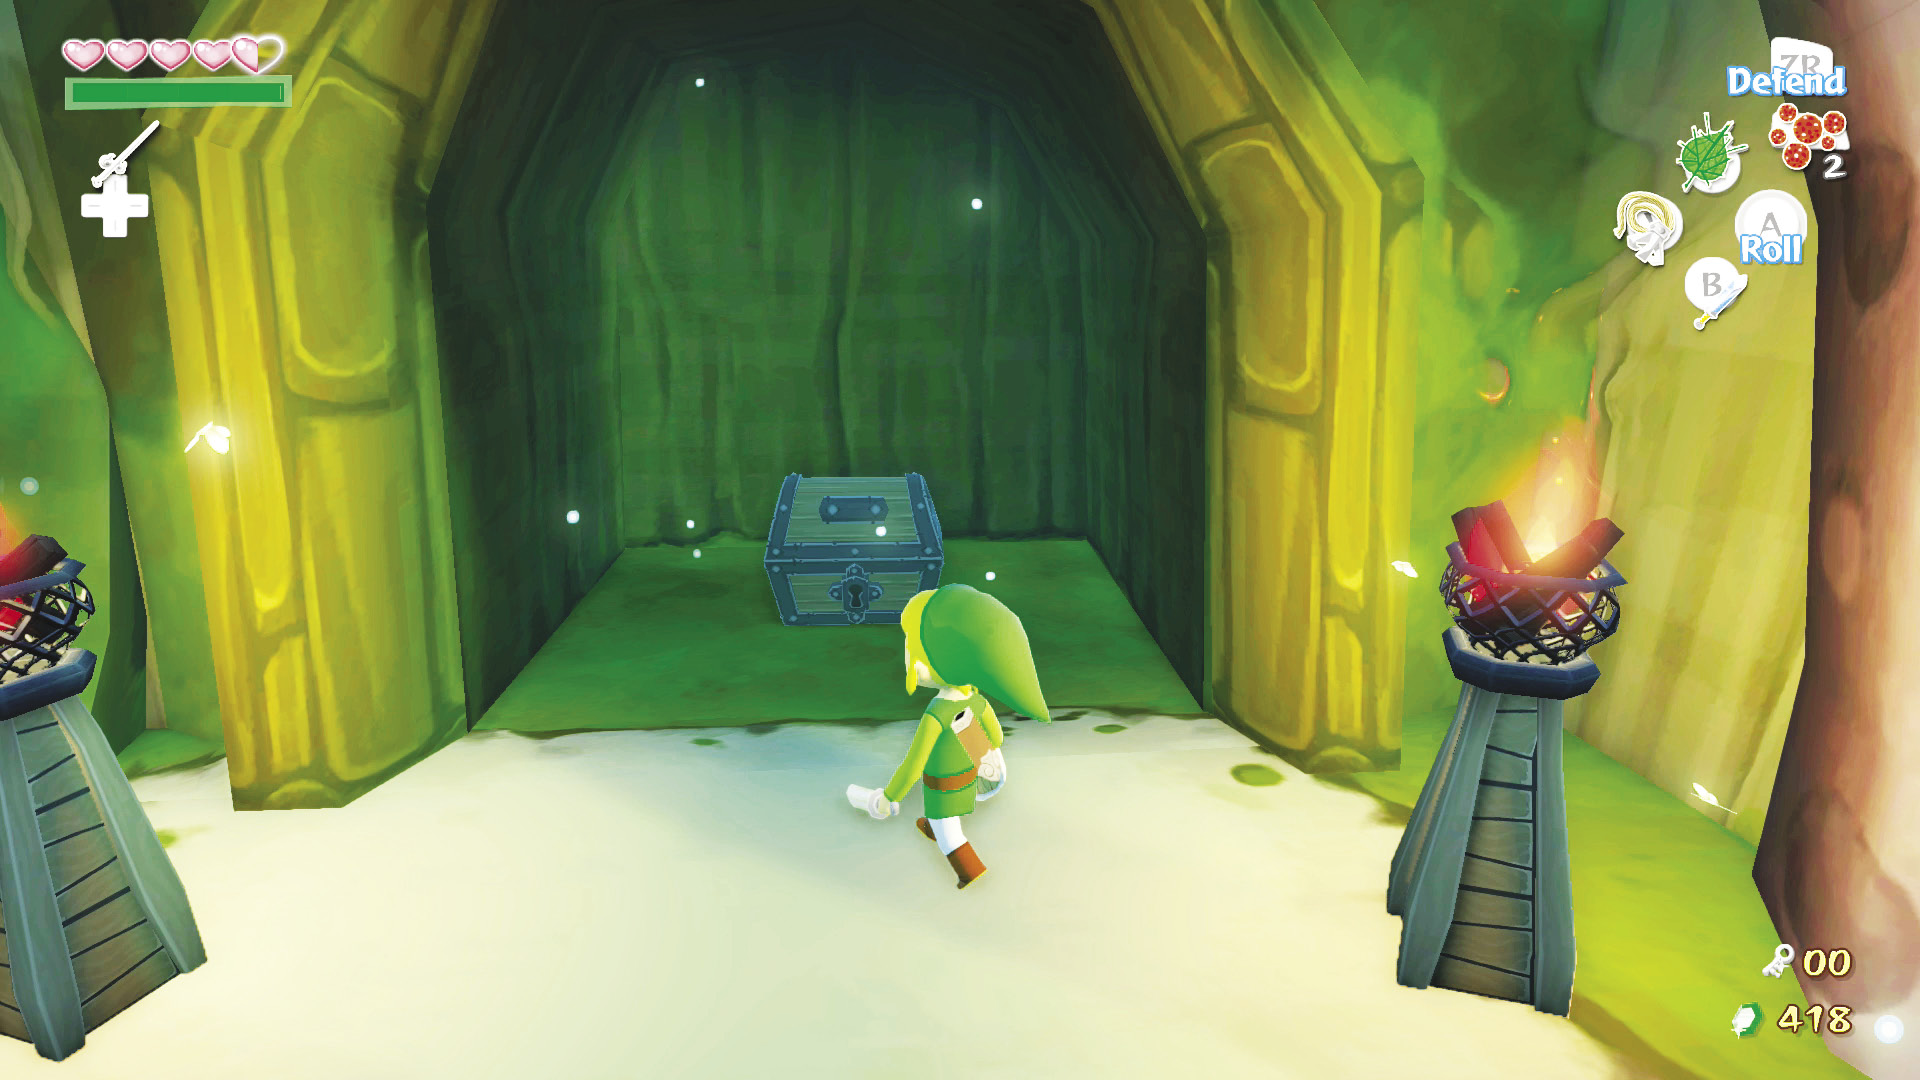
At the room’s top-right corner, just up the slope, is a treasure chest containing the Forbidden Woods’ Dungeon Map. Grab that before you leave the room.
2. Baba Bud Bonanza
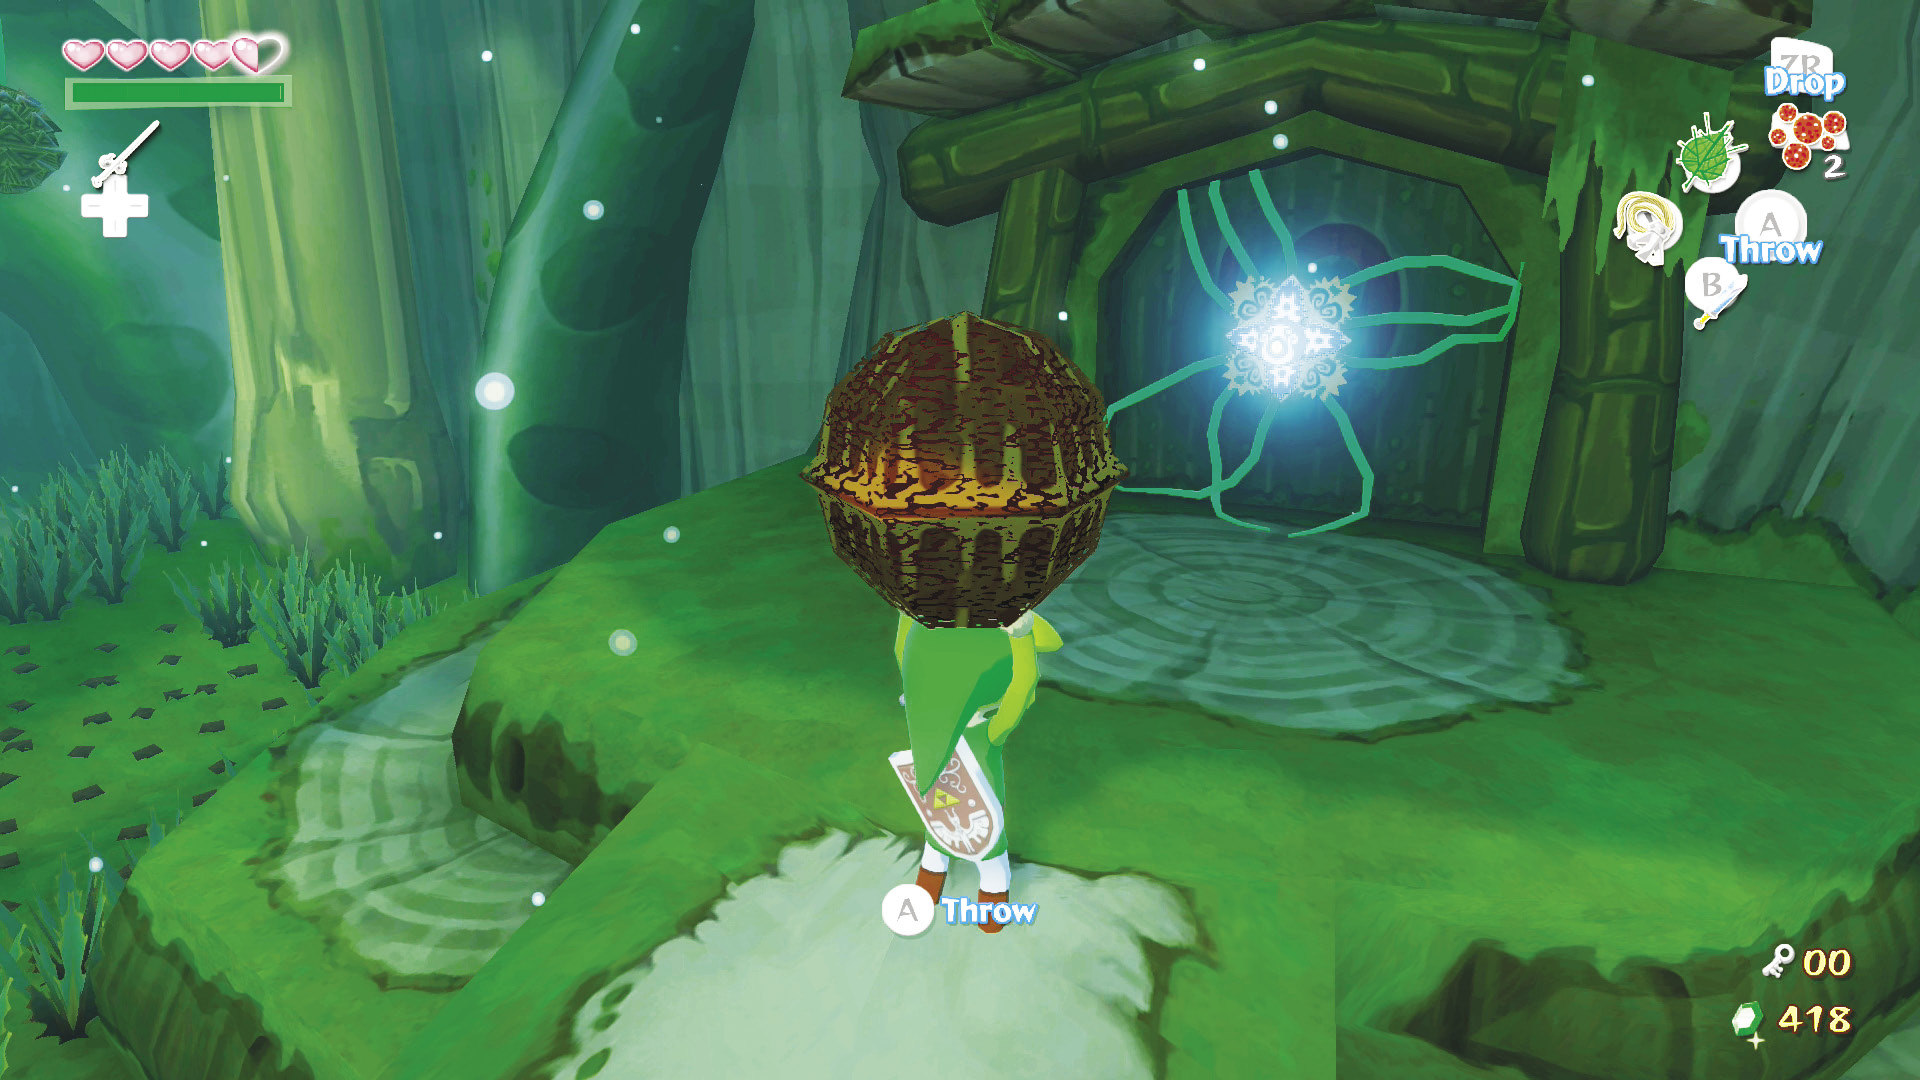
When trying to leave the room, you’ll notice pretty quickly that the door on the room’s north side won’t open. We’re willing to bet that the one-eyed flower is to blame. Head to the room’s far left side and pick up the giant Deku Nut sitting on the ground. Take it back to the door and throw it at the one-eyed flower to remove it and the vines that are holding the door shut, then head through it.
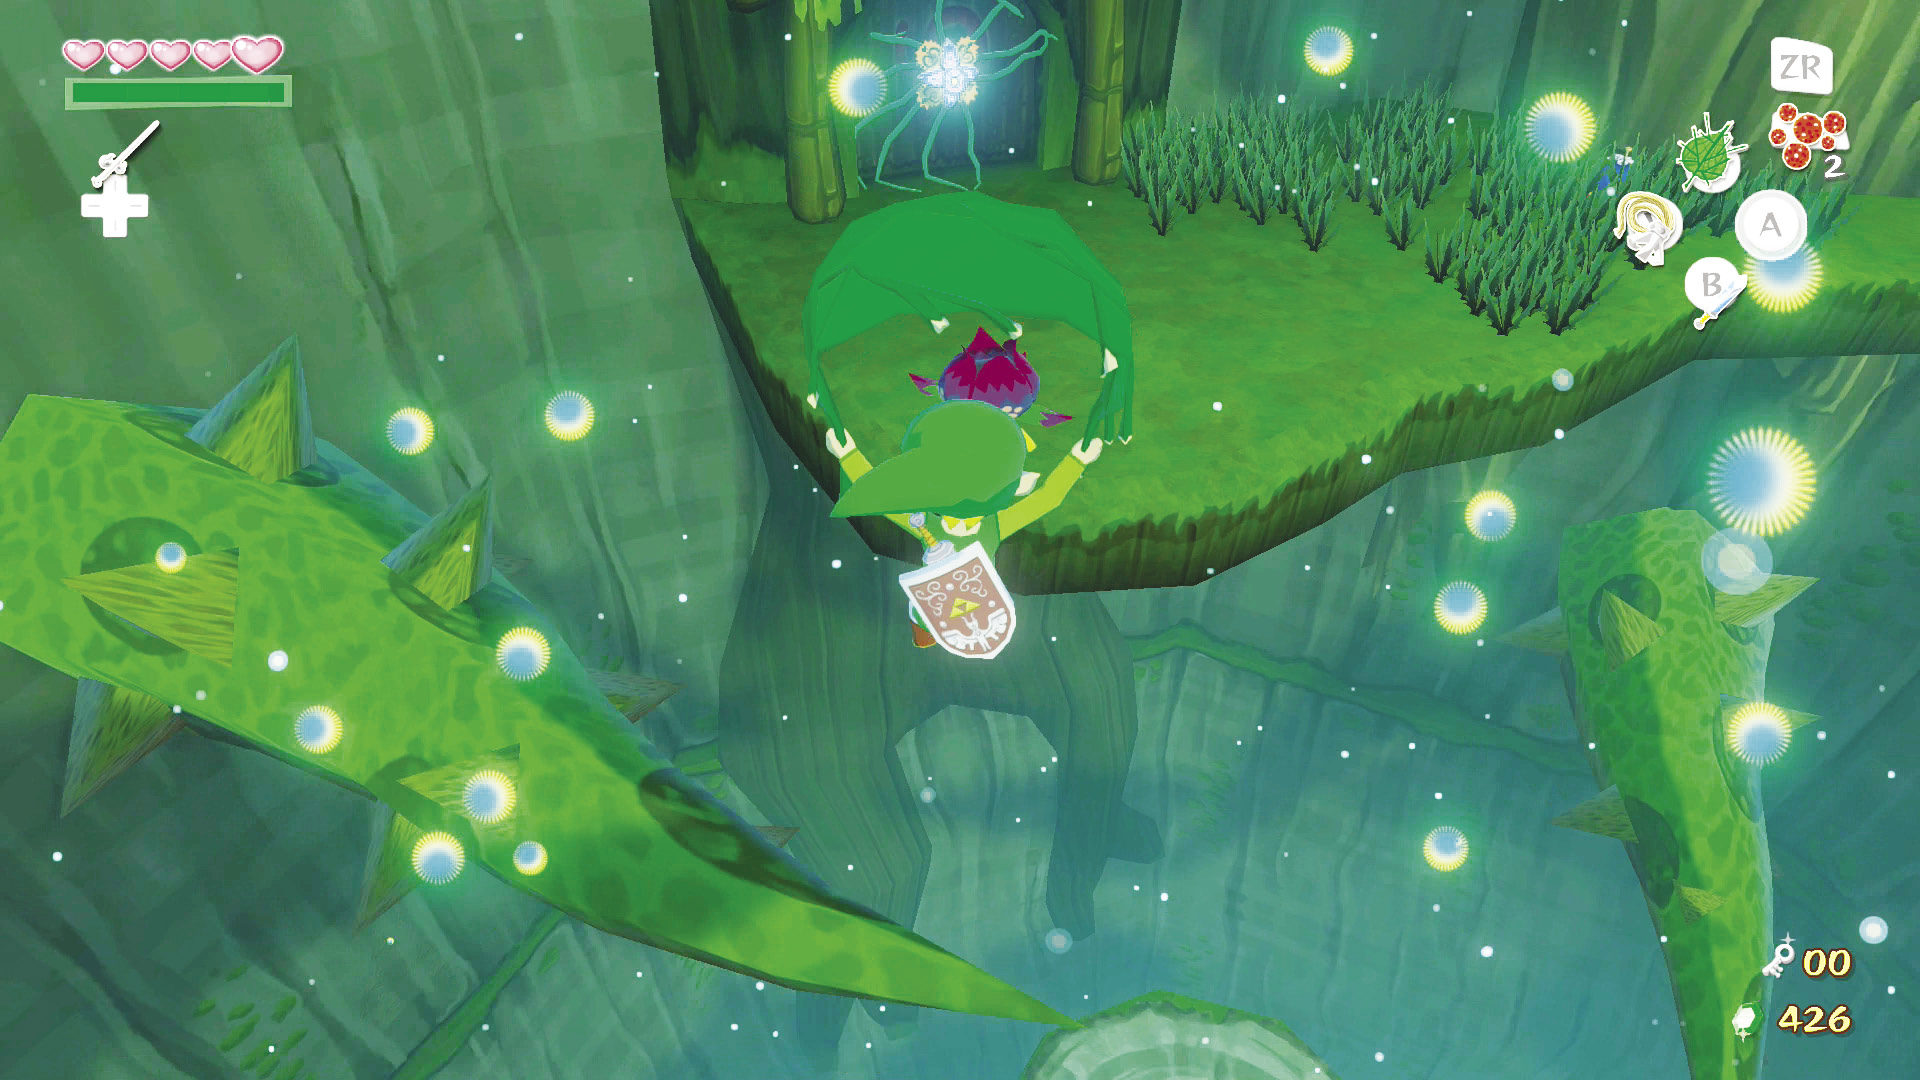
You need to do some gliding in this next room, so have your Deku Leaf equipped. Hop into the Baba Bud ahead and aim to the room’s eastern side. Head toward the next Baba Bud, which is sitting atop a small spire. Now turn to the spire on the room’s west side and glide into the Baba Bud on top of it. Face north, glide to the platform. You are now on the second floor.
Second Floor
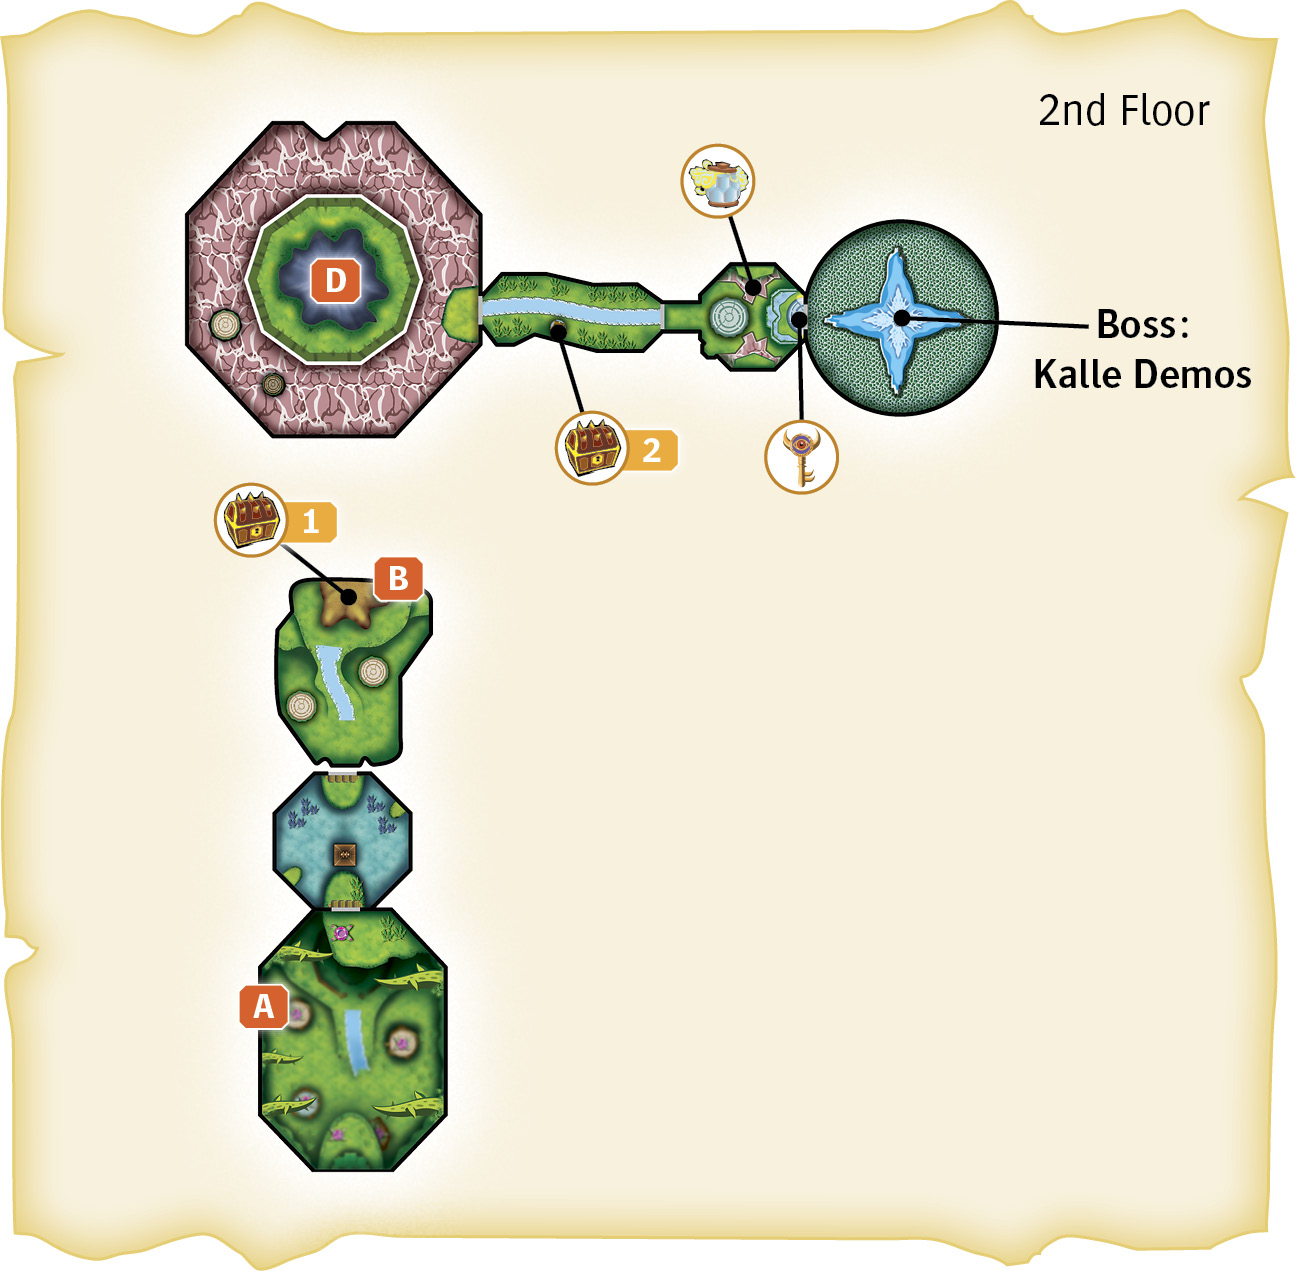
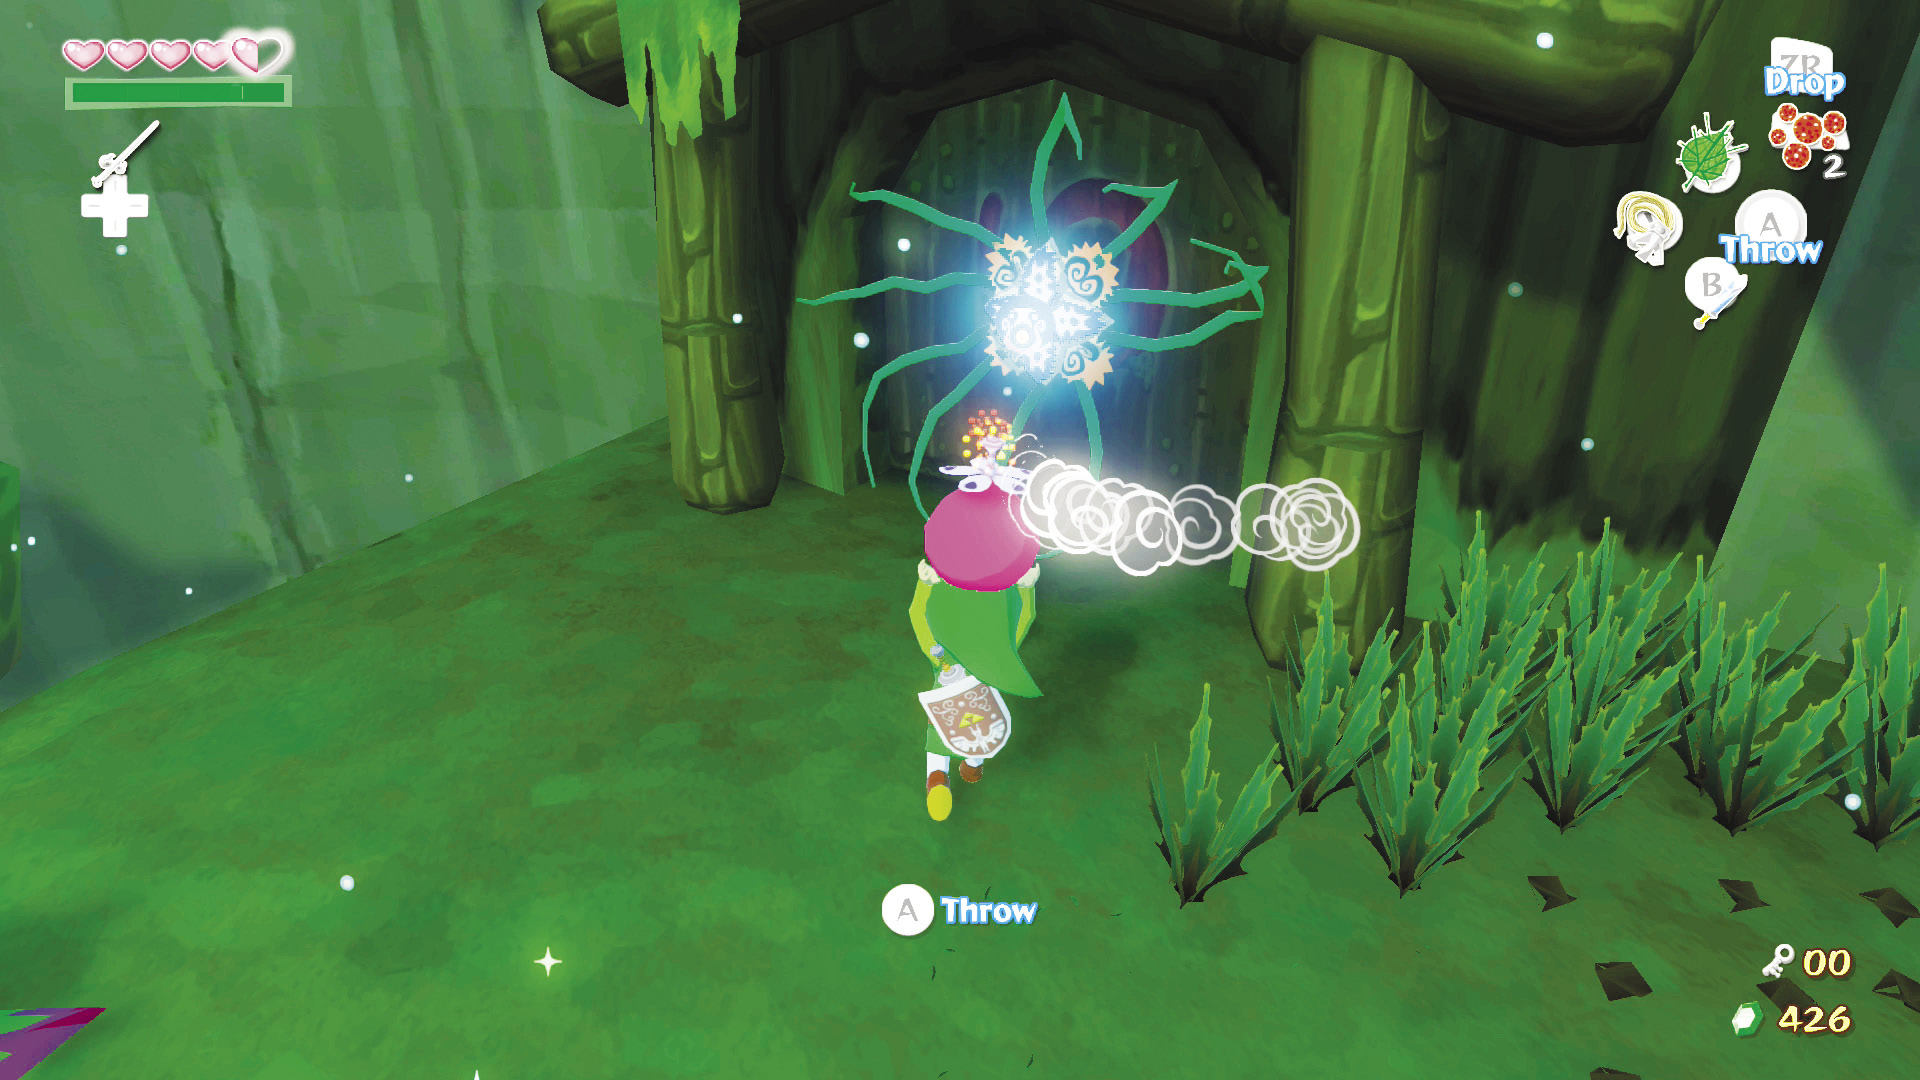
The door leading into the next room is blocked by another one of those one-eyed flowers, but this time there is no torch and Deku Stick to burn it down. Instead, on the platform’s right side is a Bomb Flower you can use to the same effect as the torch. Two Green ChuChus pop up in front of the Bomb Flower. Lure them away from it and then defeat them (if you hit the bomb, it’ll blow up after one or two seconds). Pick up the bomb and throw it in front of the door with the  to make sure the explosion actually hits the one-eyed flower. Afterward, head through the door to the next room.
3. Wind-Powered Transportation
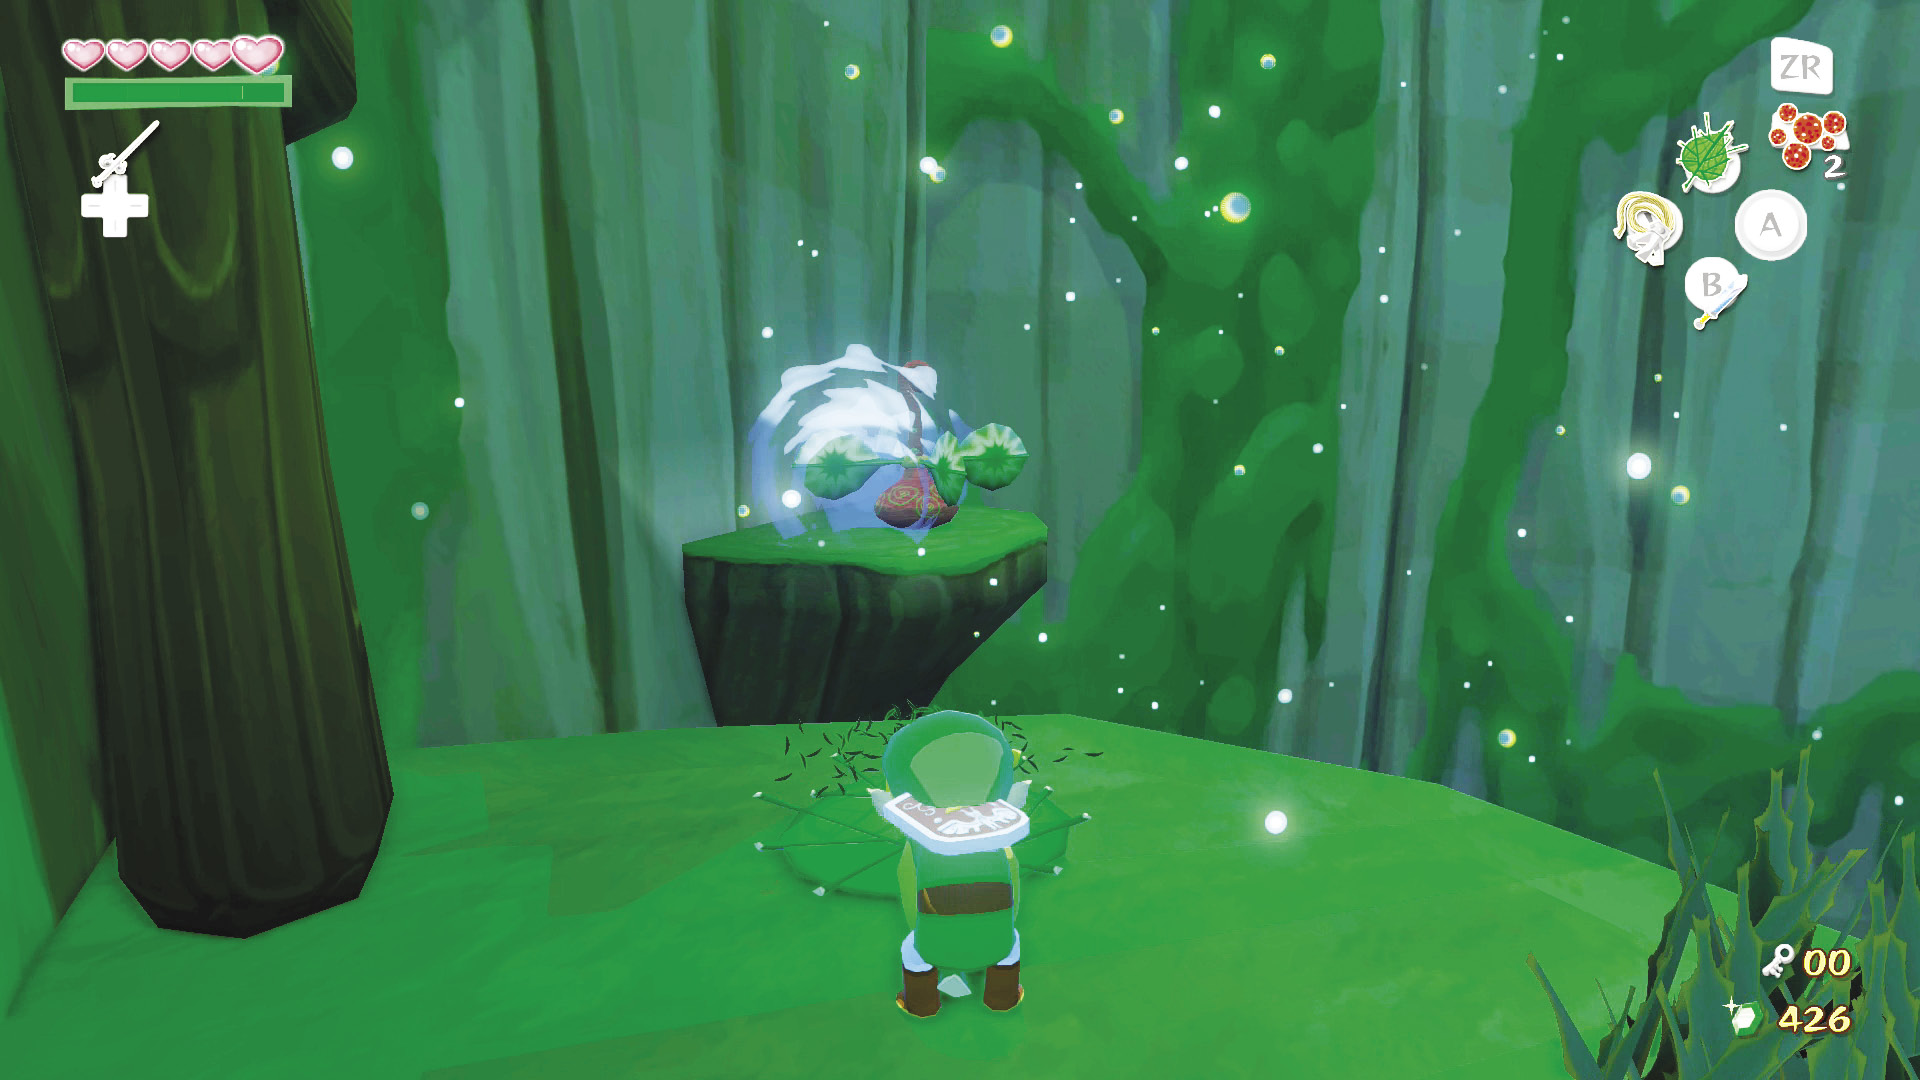
Suspended over the gap ahead is a platform that is currently inaccessible. To move it, turn to your left and use your Deku Leaf on the pinwheel-looking mechanism; it controls the platform. When the platform arrives, hop onto it, turn toward the door you entered through, and use the Deku Leaf to blow a gust of wind toward the door.
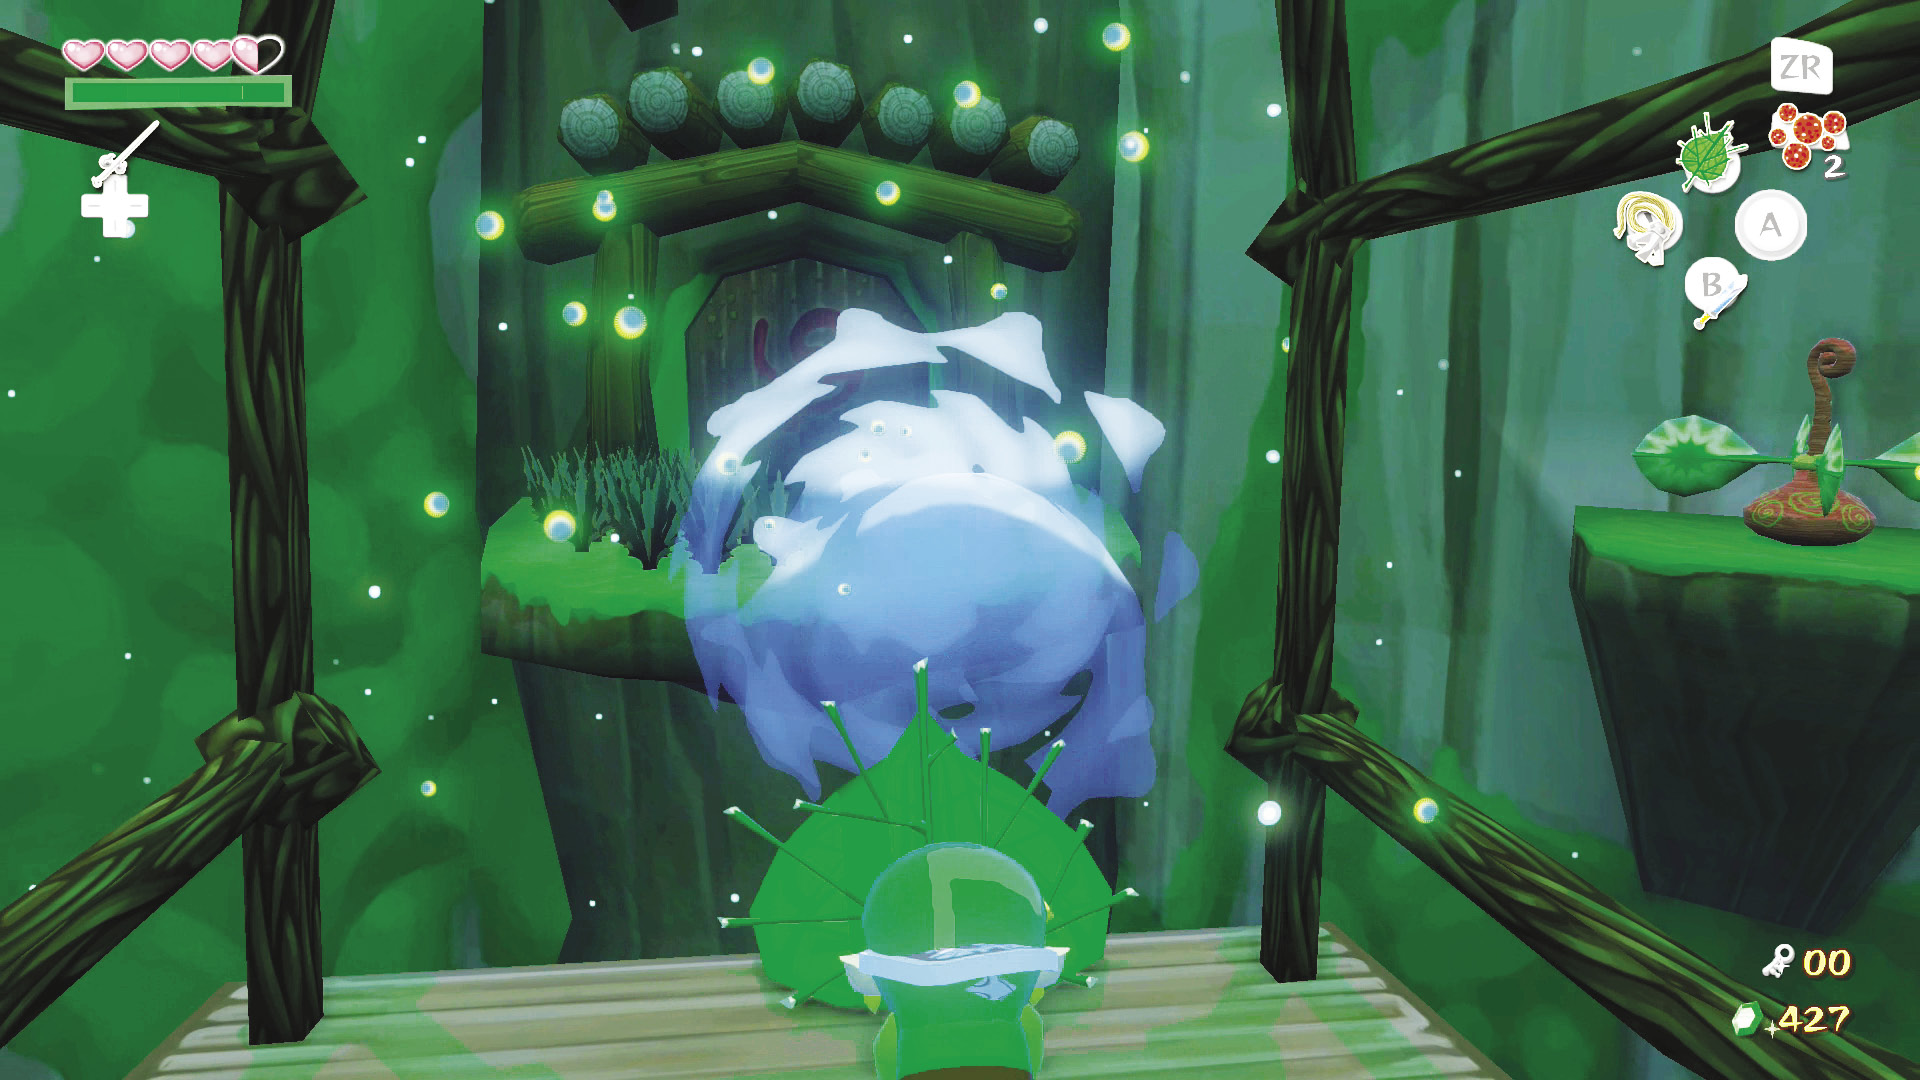
The wind will propel the platform toward the room’s north side, where you’ll find the door leading out of it. If you begin to slow, just create another blast of wind toward the south to get moving again. At the top, jump off the platform and head through the door.
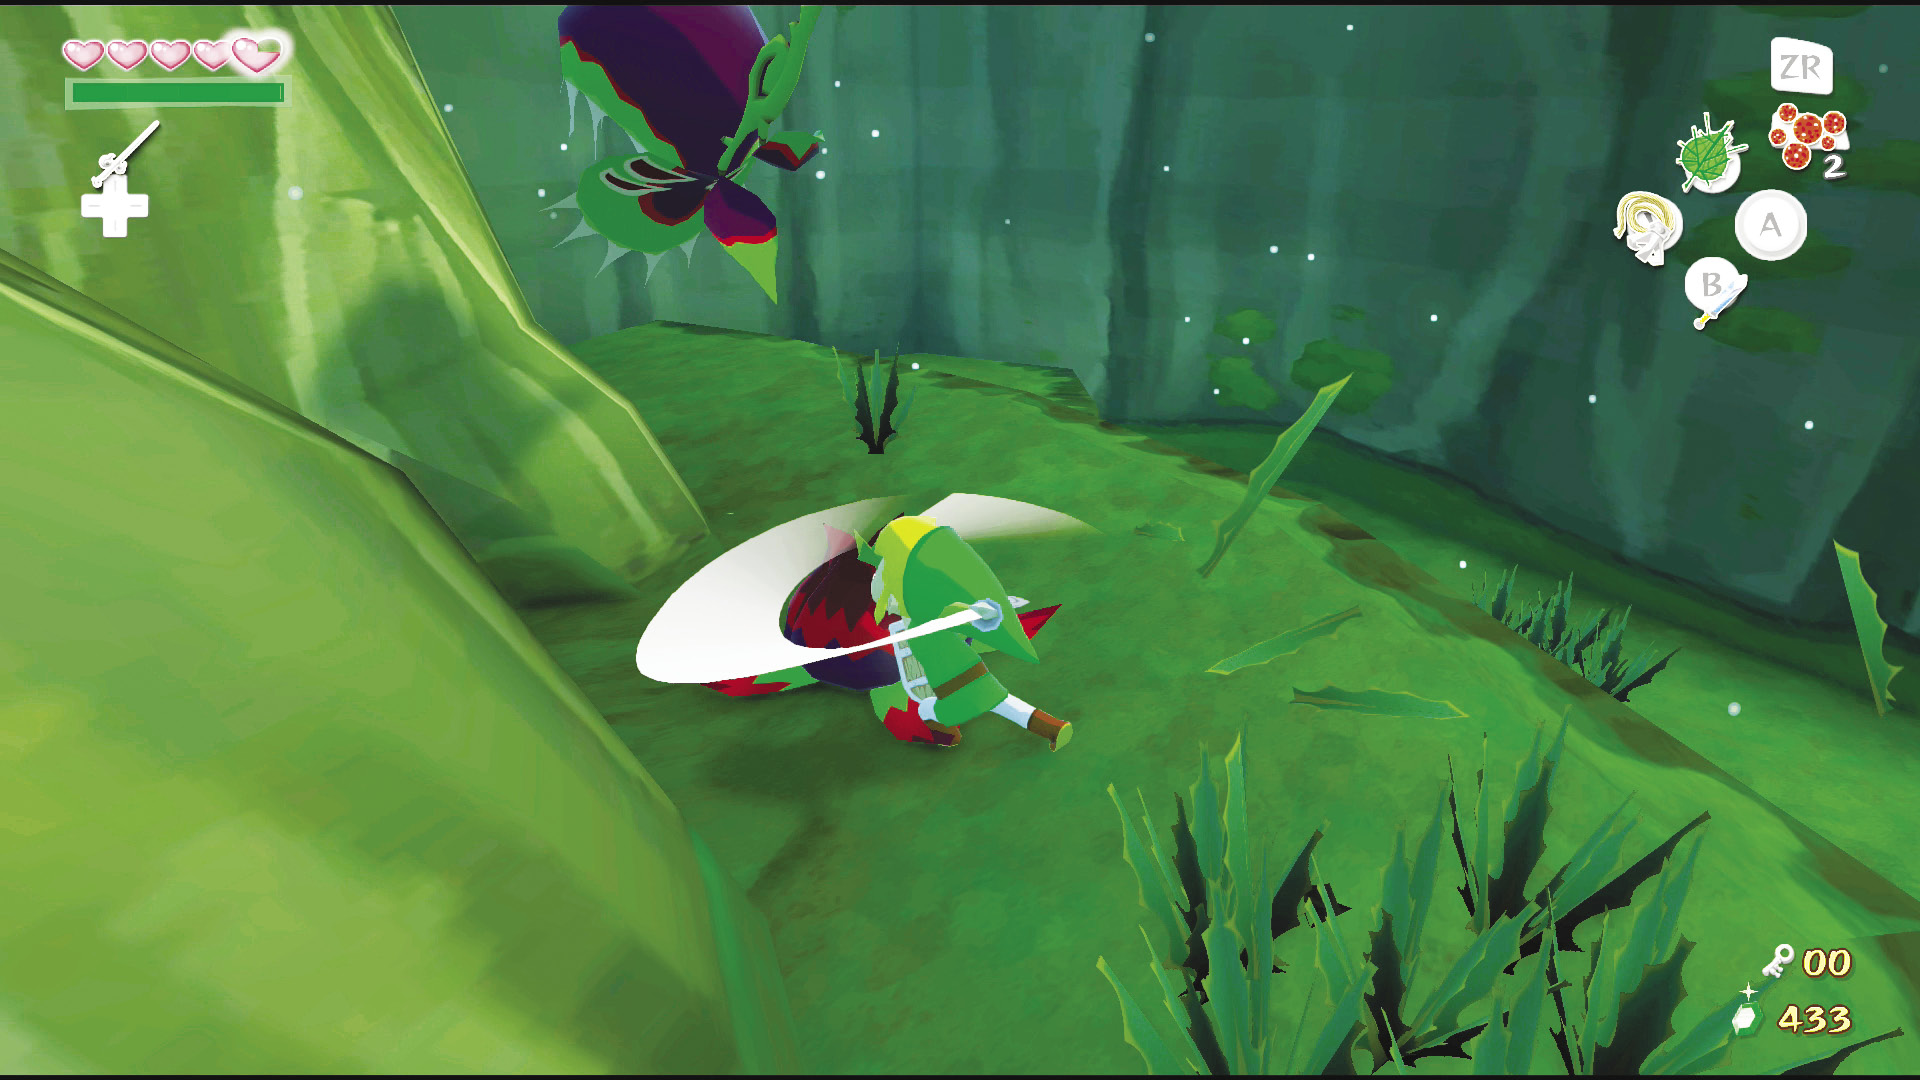
There isn’t much in this room but a couple of Peahats, a handful of Boko Babas, and some leaf piles. Deal with the enemies as you see fit, but make sure to defeat the Boko Baba in the room’s northeast corner. It leaves behind a Baba Bud.
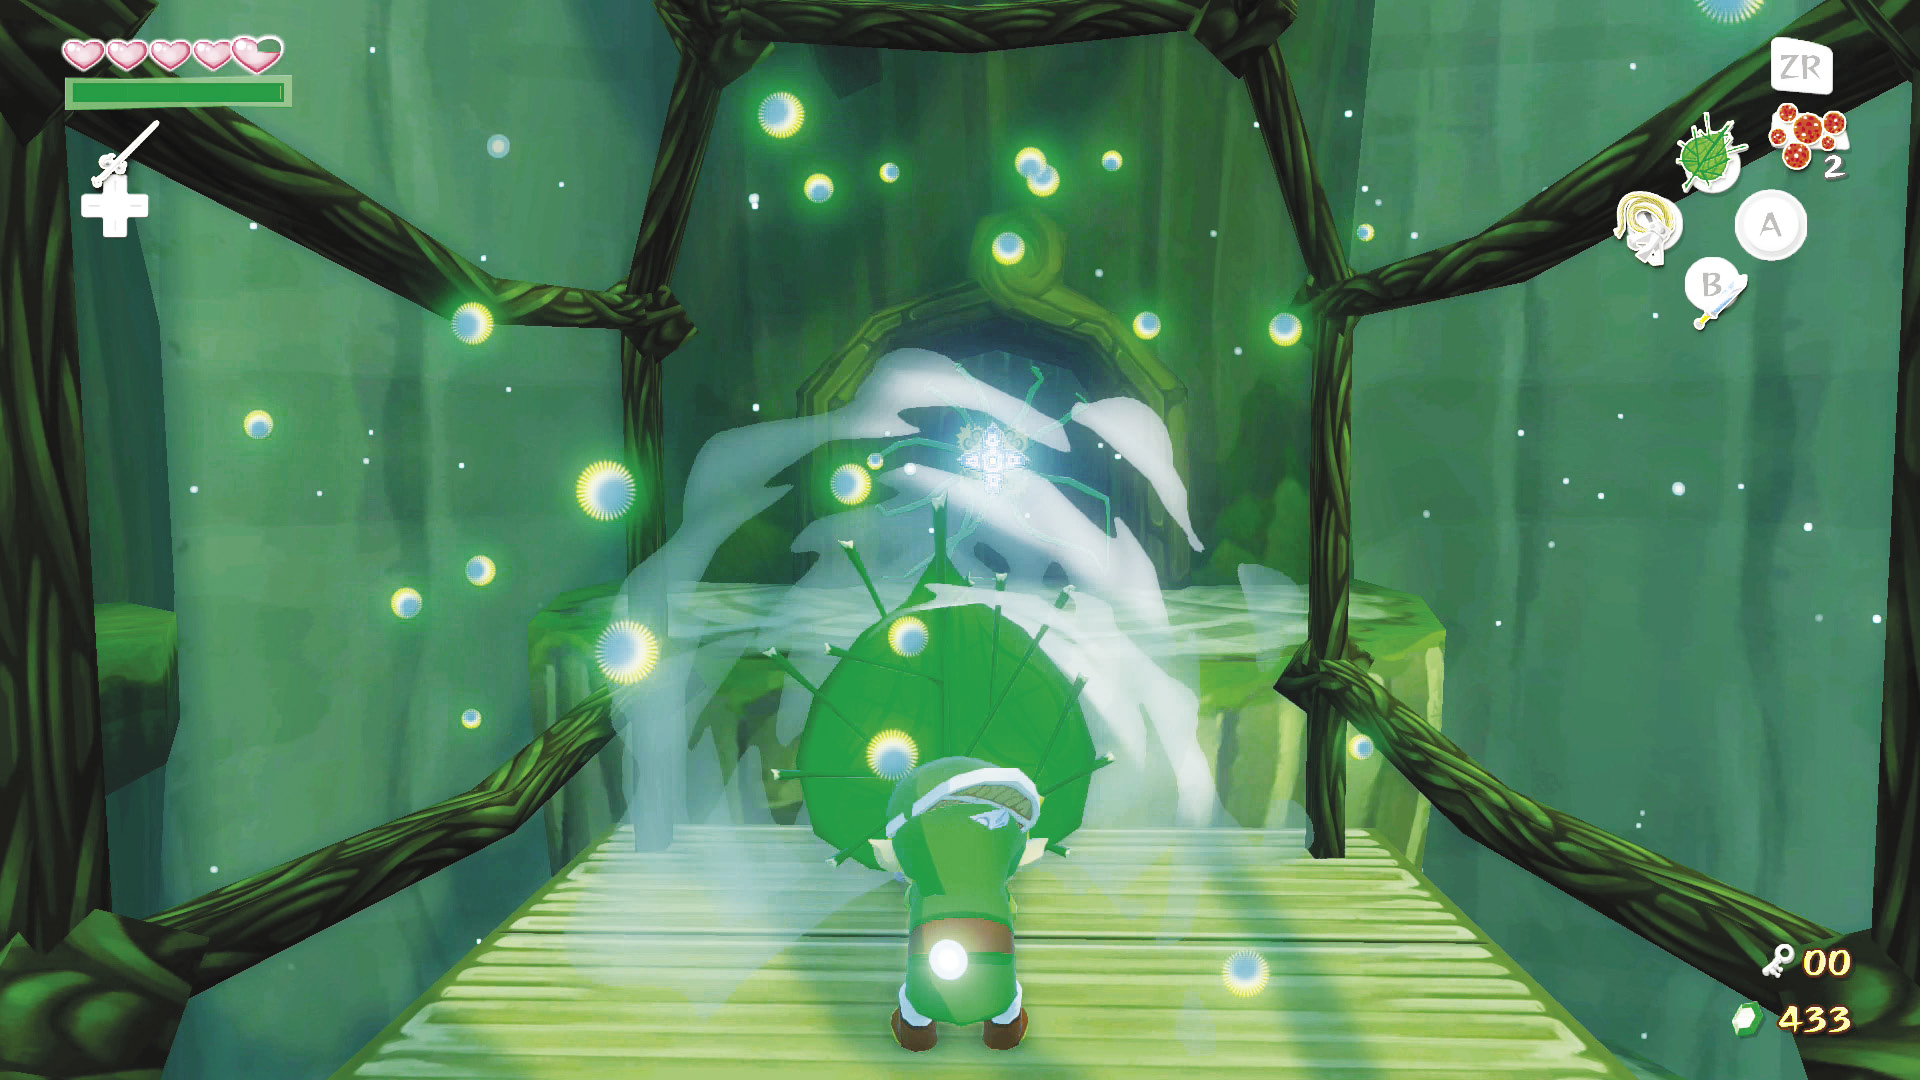
Hop into the Baba Bud and launch north onto part of the large tree’s trunk. Hop into the next Baba Bud and turn left to launch onto the top of the large tree trunk. The door out of the room is blocked by another one-eyed flower. Blow a gust of wind at the pinwheel to the left of the door. This will call another hanging platform to your location. Hop on it and blow some gusts of wind to the north to get the platform moving.
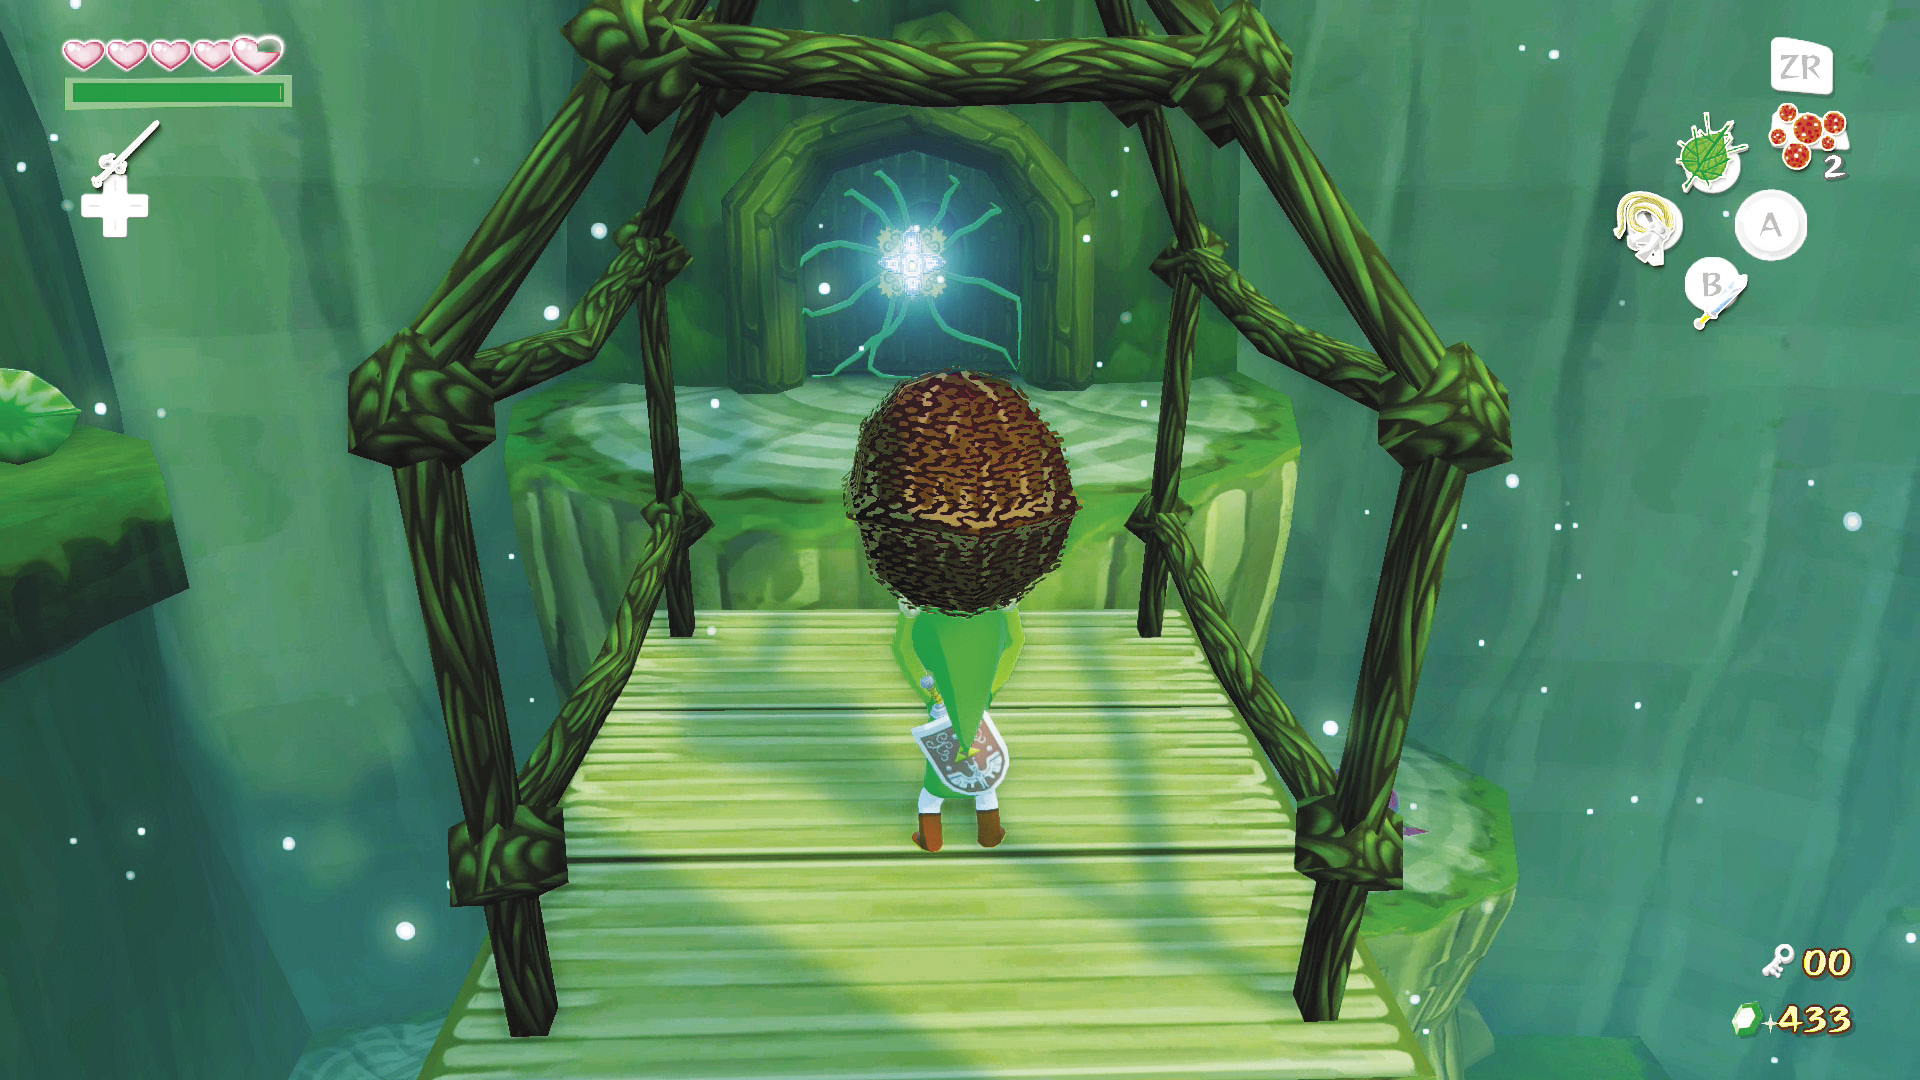
On the ledge on the room’s south side is an boarded-up alcove. Destroy the boards to reveal a Deku Nut. Now, this part can be a little tricky. Deku Nuts only last about 40 seconds off their roots, so being quick is important here. Grab the Deku Nut and hop back on the hanging platform. Put the nut down with  and begin propelling yourself back to the room’s north side with your Deku Leaf. Once on the other side, throw the Deku Nut at the one-eyed flower to unlock the door.
Third Floor
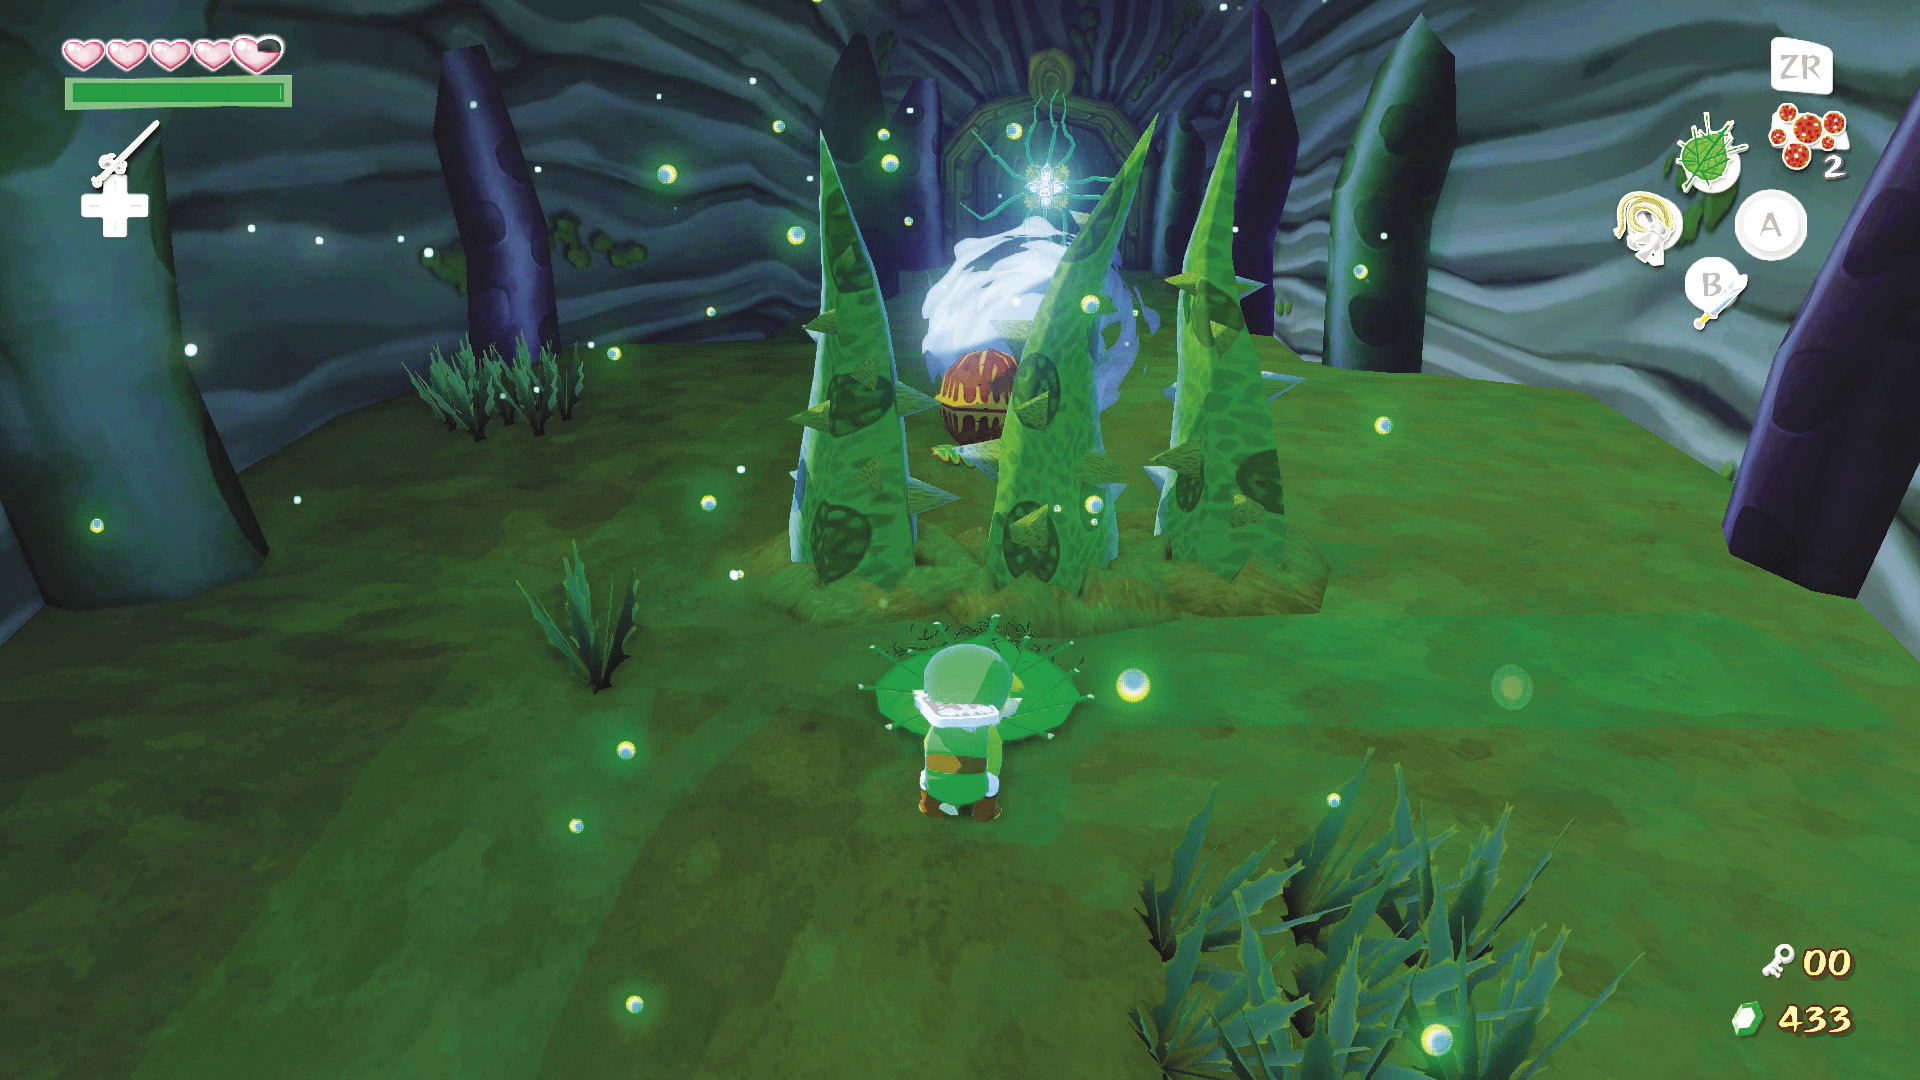
This next room seems innocent enough: a Deku Nut sitting by its lonesome and a door with a one-eyed flower blocking it. Unfortunately, it’s not that easy. As soon as you approach the Deku Nut, indestructible spiked vines begin shooting out of the ground, surrounding the Deku Nut. To free the nut from its perennial prison, you must use the Deku Leaf to blow the Deku Nut toward the room’s north side. Pick up the Deku Nut and throw it at the one-eyed flower to get through to the next room.
4. The Hanging Garden
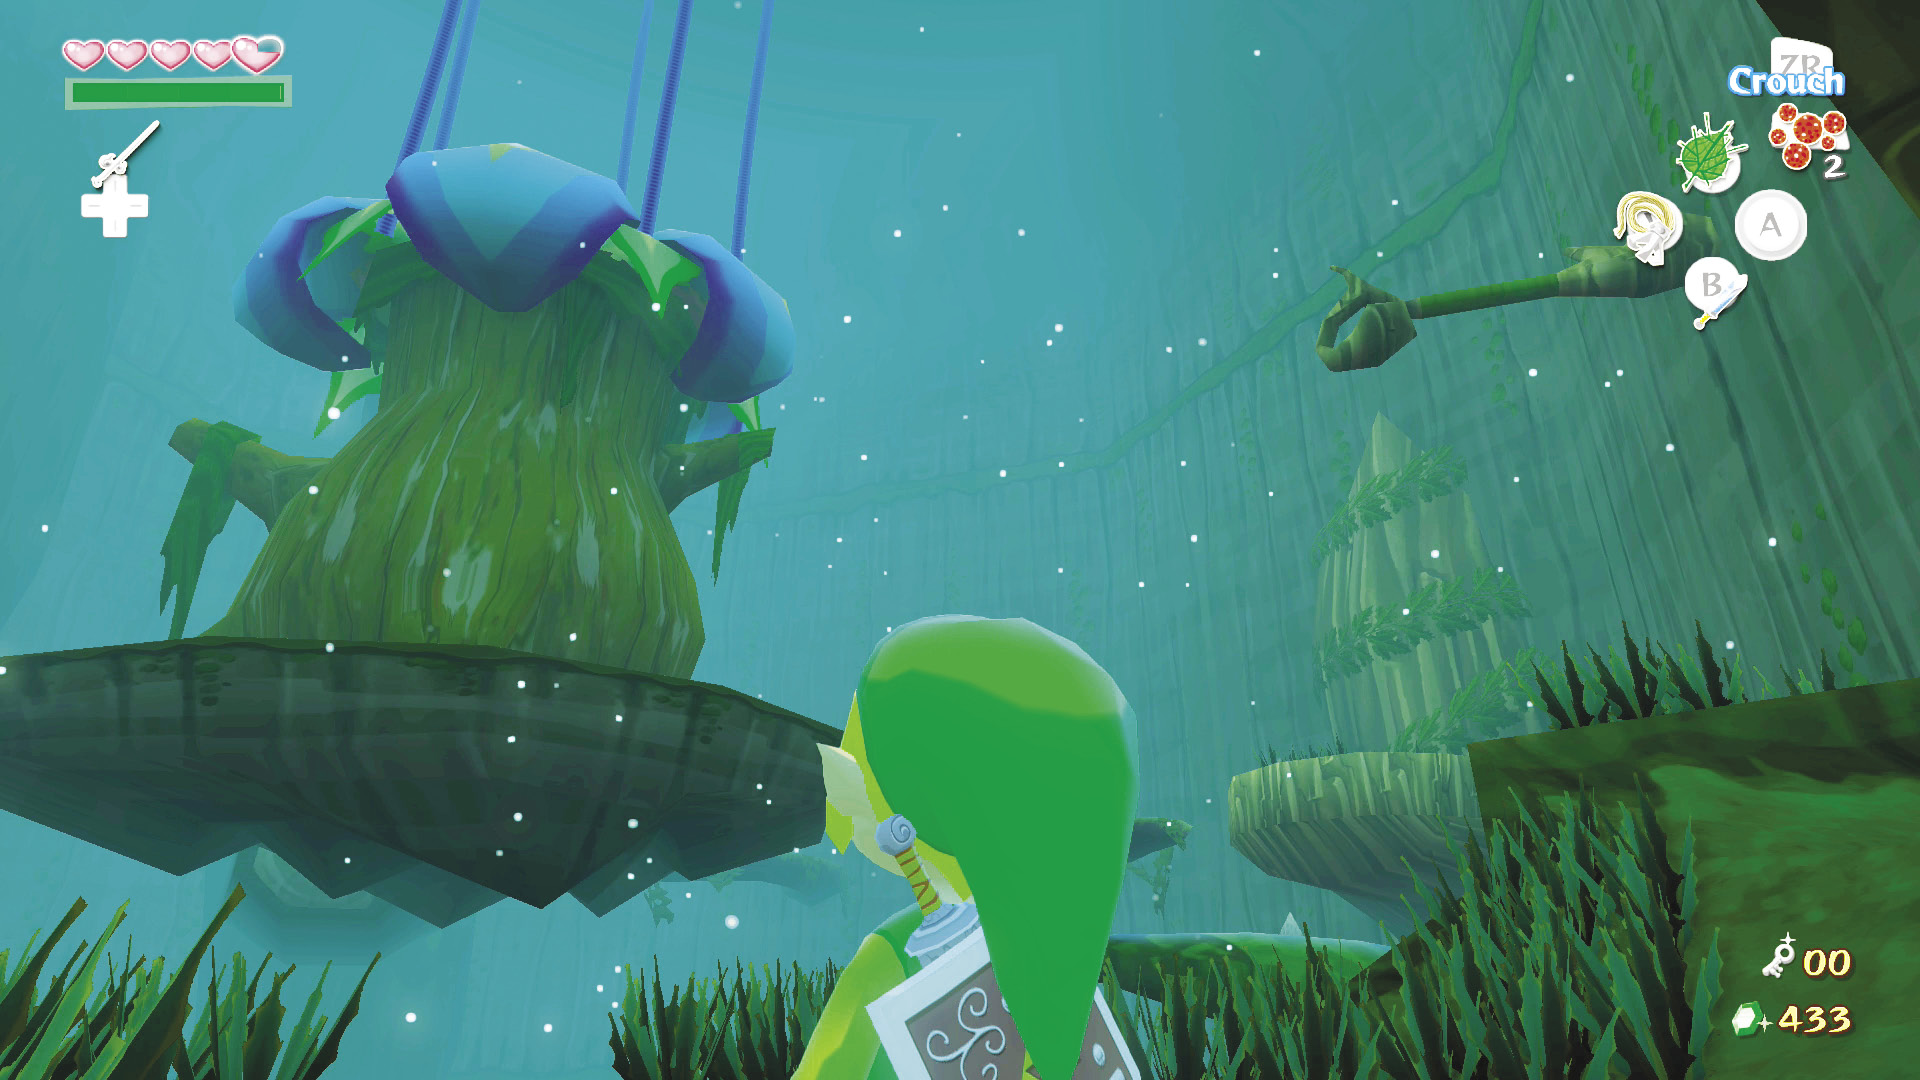
Suspended by vines from the ceiling is a giant flower. Below you is a straight drop to the second floor. Don’t sweat it; though; you can use Baba Buds on the west side of the second floor to get back up to the third floor.
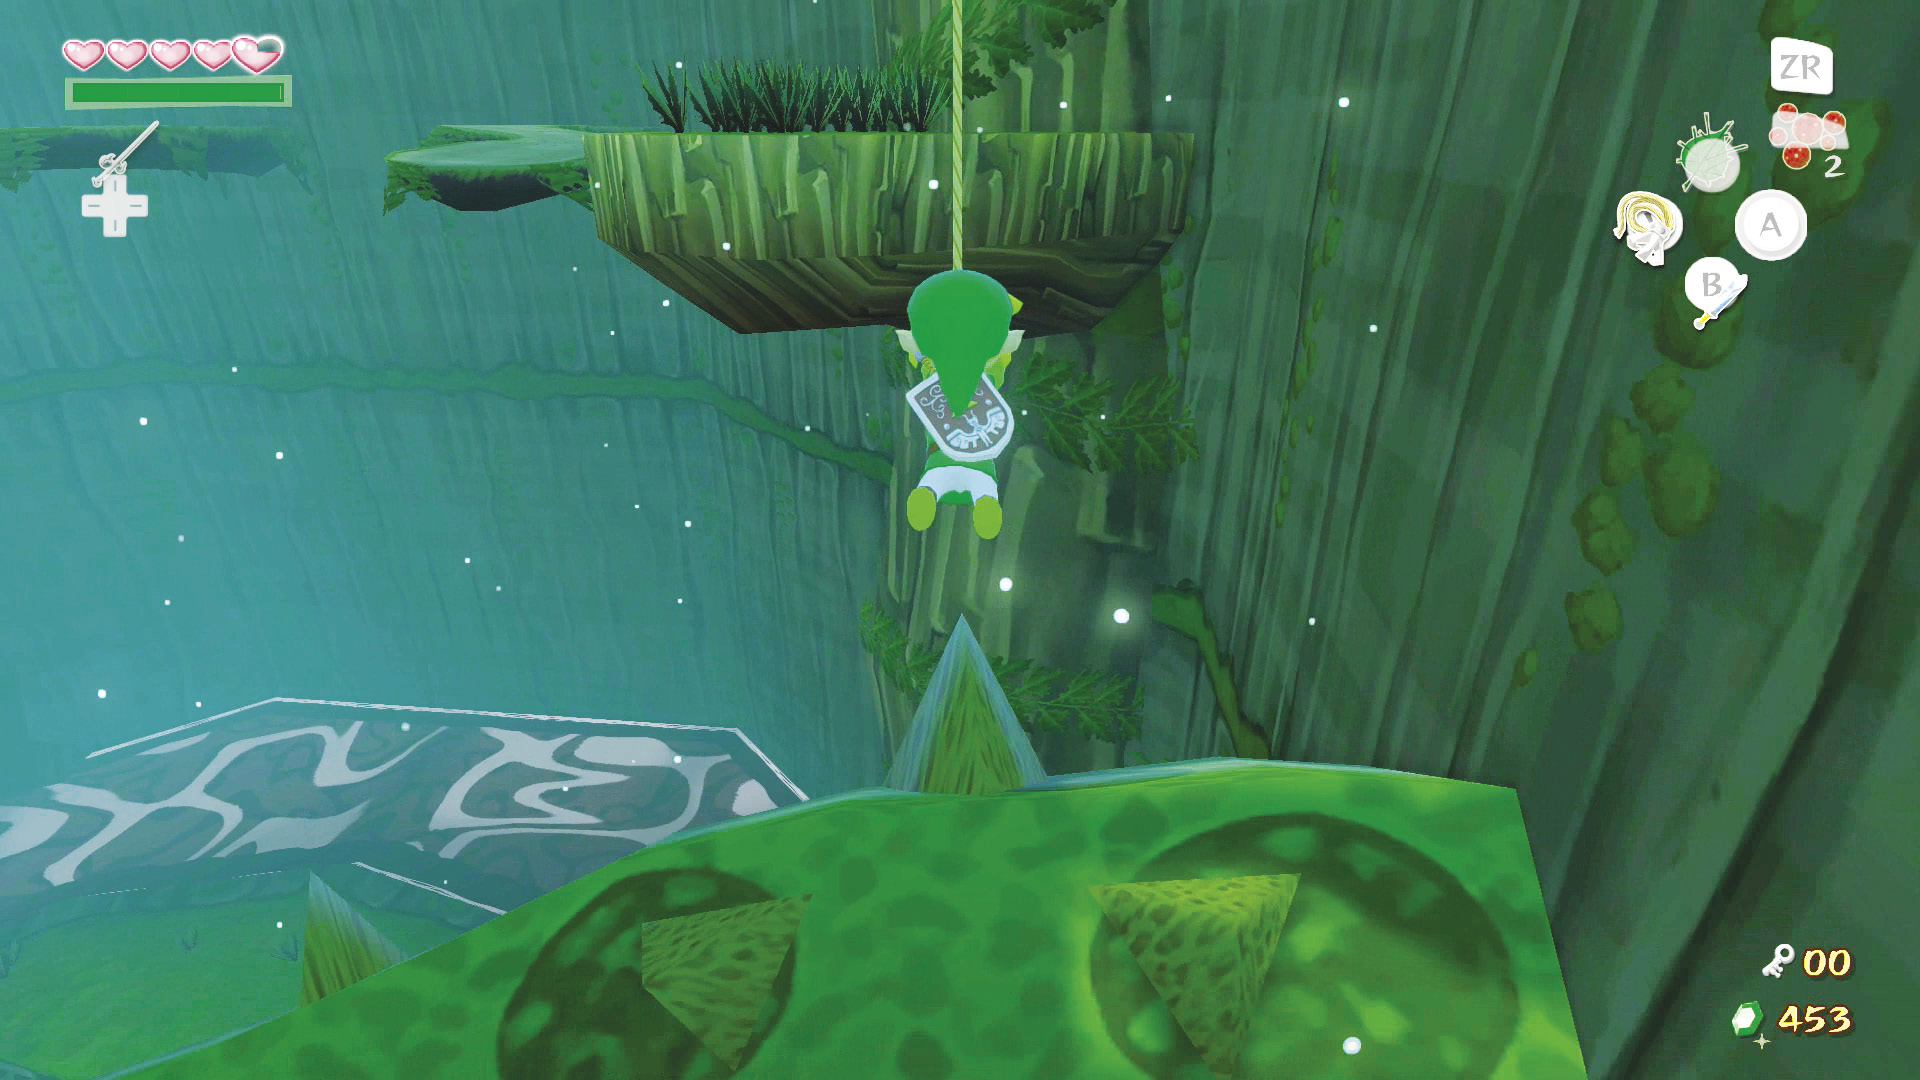
From the door, take a right and climb the ledge ahead. When you reach the gap with the spiky vine in the middle of it, pull out your Grappling Hook and swing from the post directly above the gap. Wait for the snaking platform ahead to move toward the platform you are standing on, then jump on it and wait for it to move toward the snaking platform parallel to it.
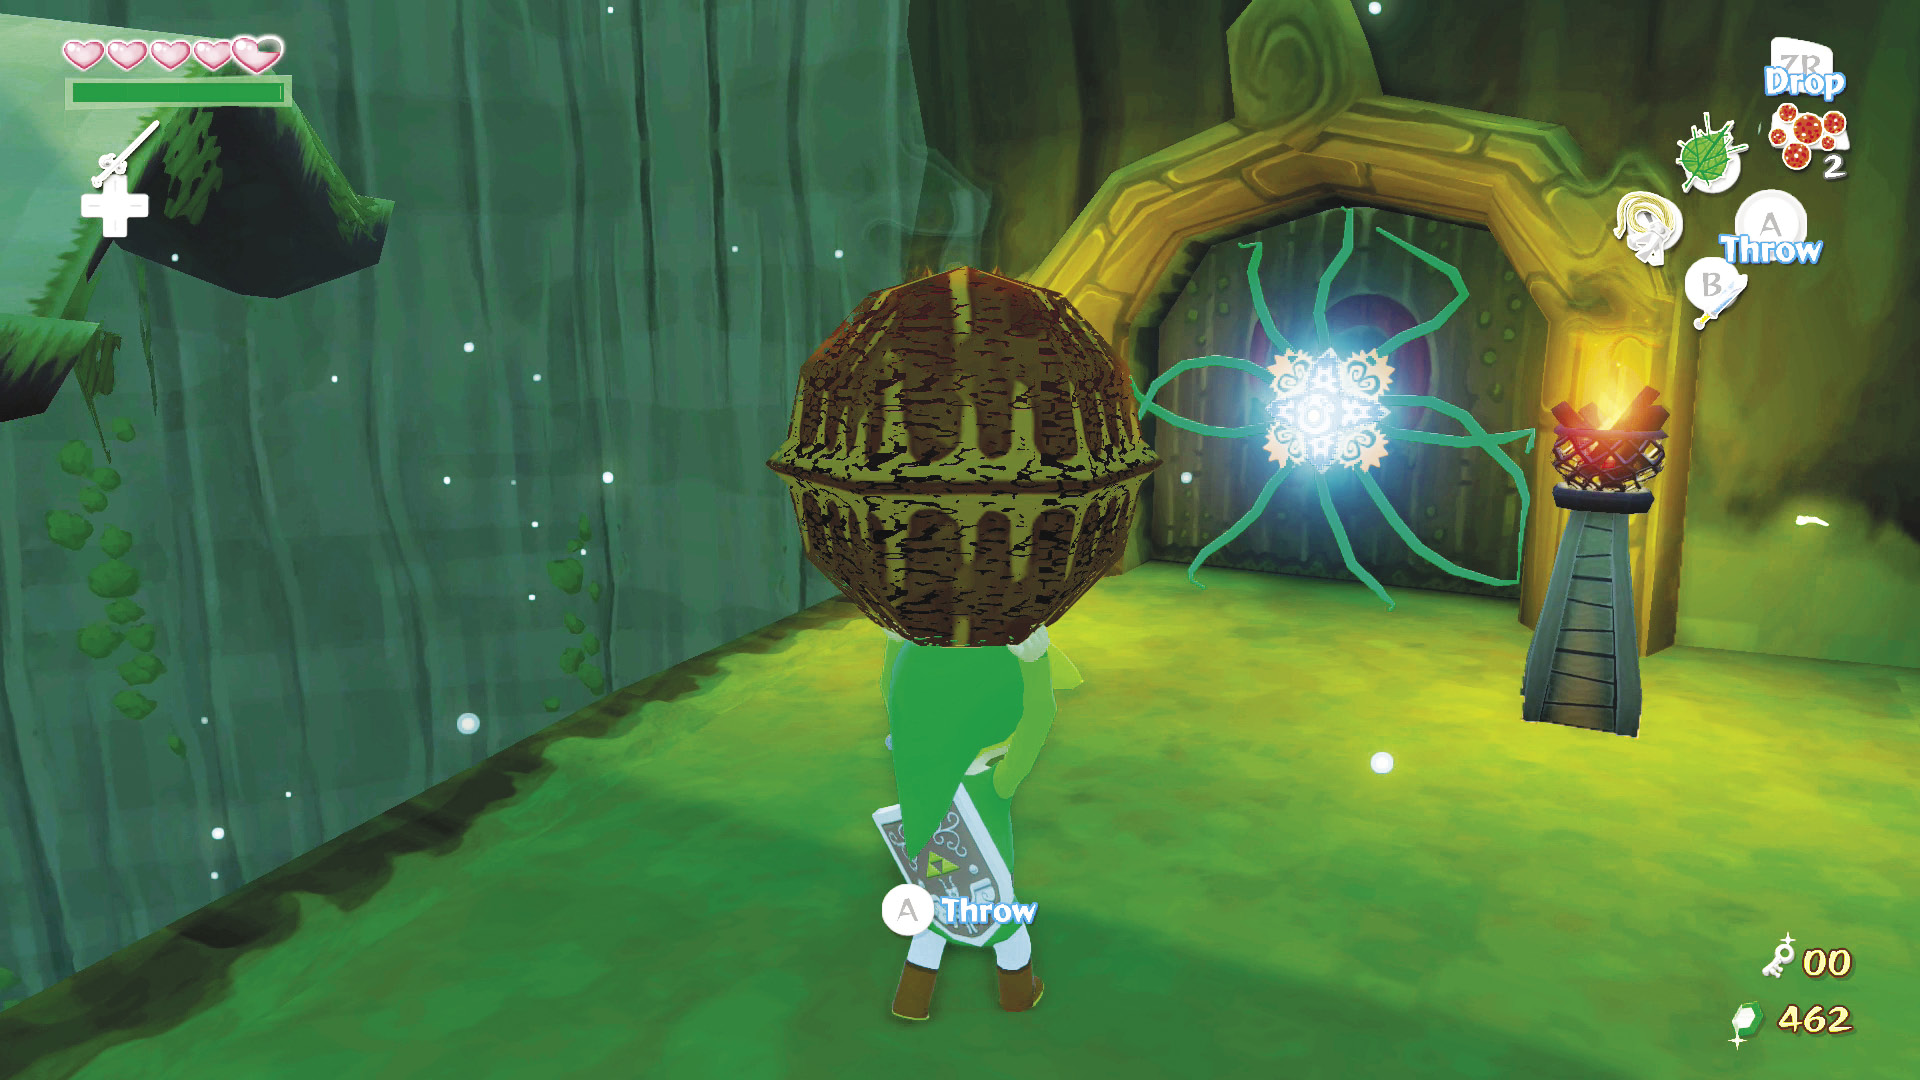
The second snaking platform will move toward the grassy catwalk with the Deku Nut on top of it; jump onto that catwalk. Grab the Deku Nut, then hop onto the flower structure in the center of the room. Run along the side of the flower structure, heading to the western platform. Throw the Deku Nut at the one-eyed flower blocking the door on the western platform to unlock the door.
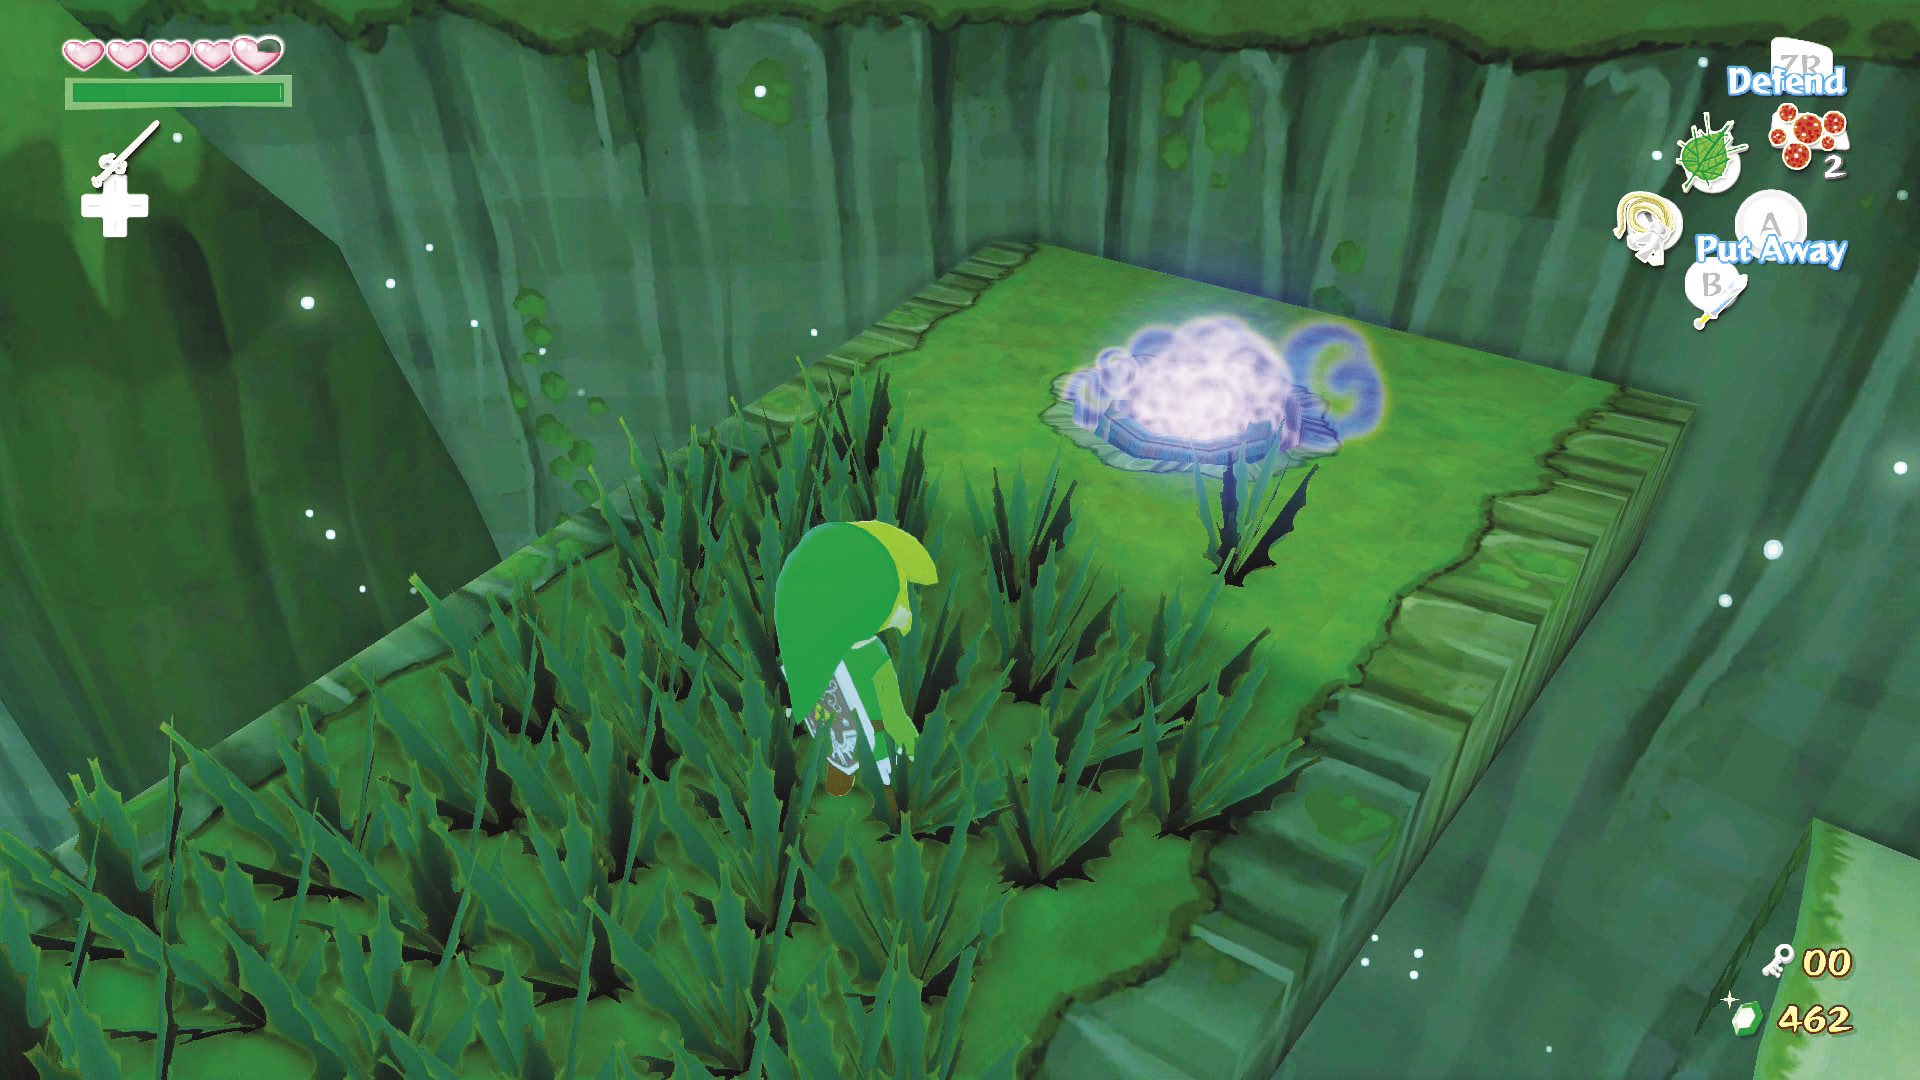
Before heading through the door, jump onto the snaking platform to your platform’s left. Ride it up to the next snaking platform. This second platform will take you up to another grassy catwalk. On the catwalk is a leaf pile. Use the Deku Leaf on it to uncover the Blue Warp Pot (just in case you need a quick route back to this location). Use your Deku Leaf to glide back to the western platform and head through the door.
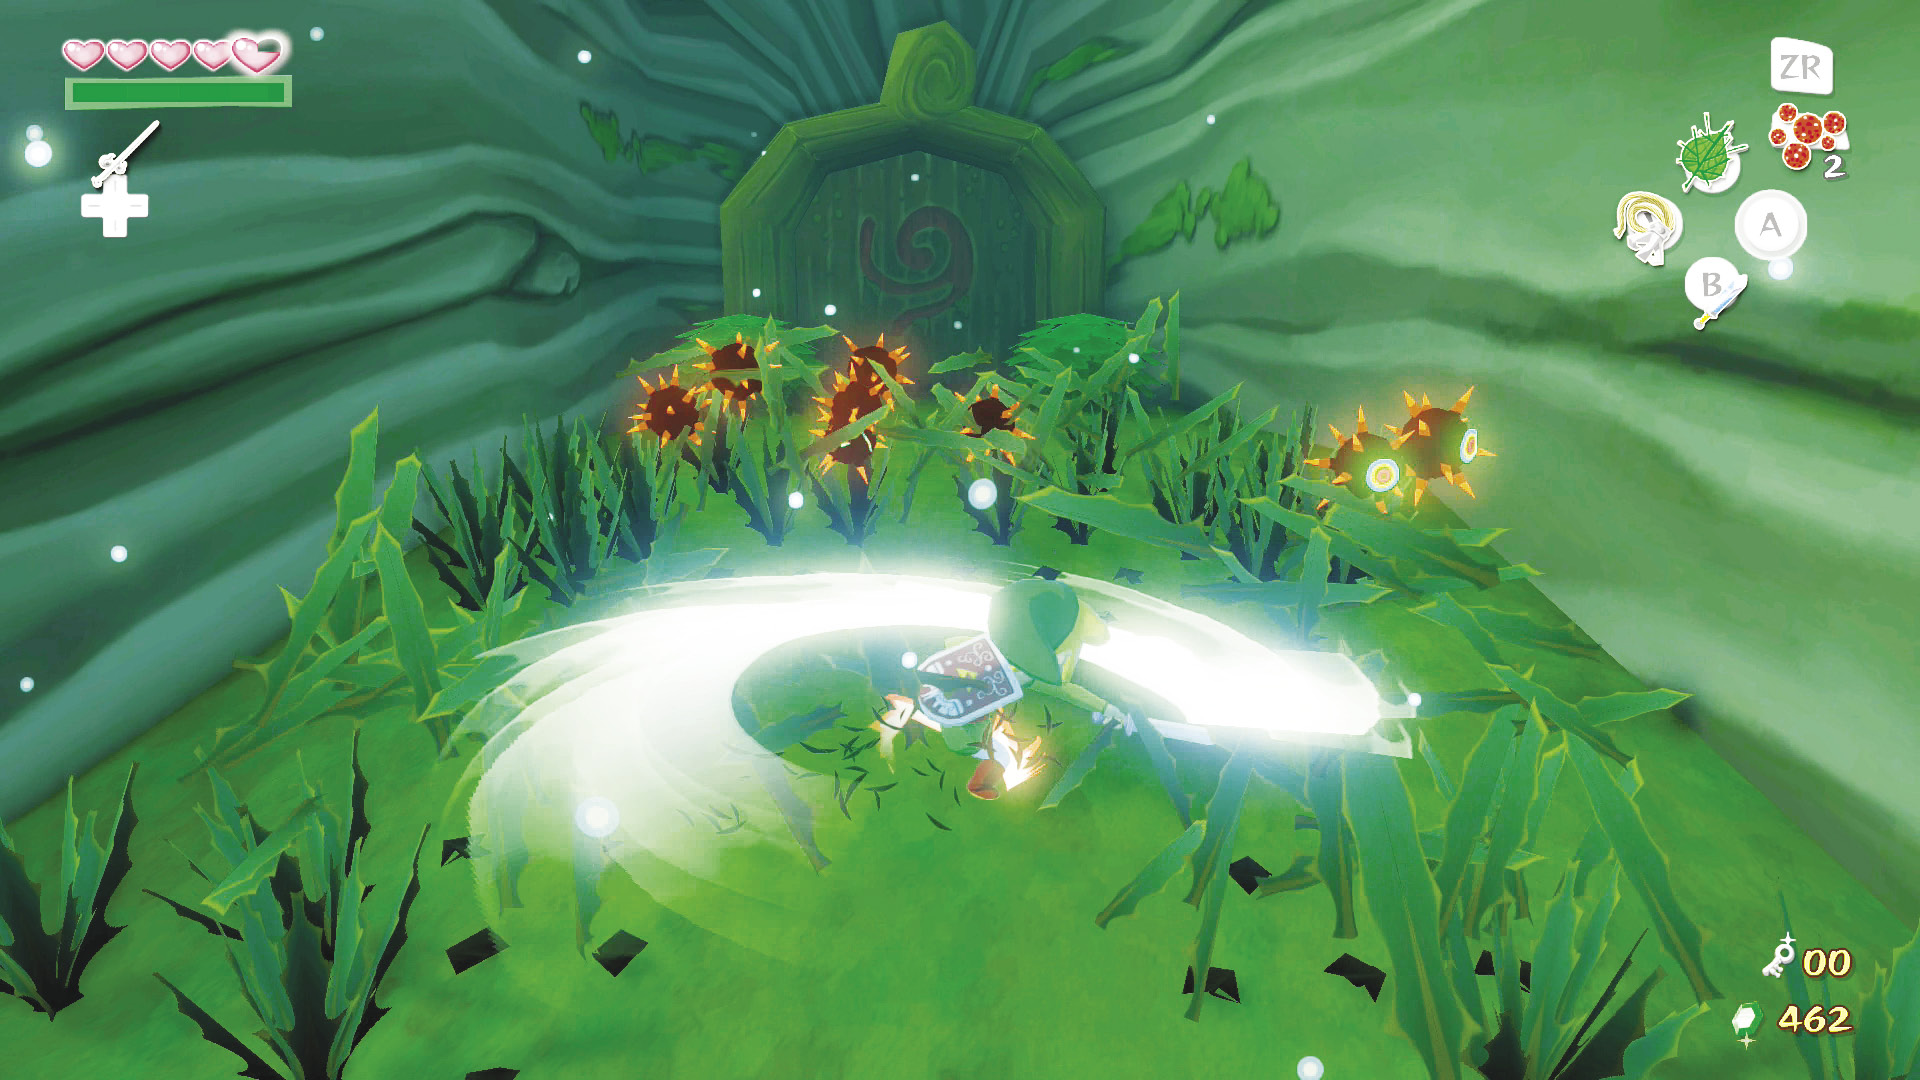
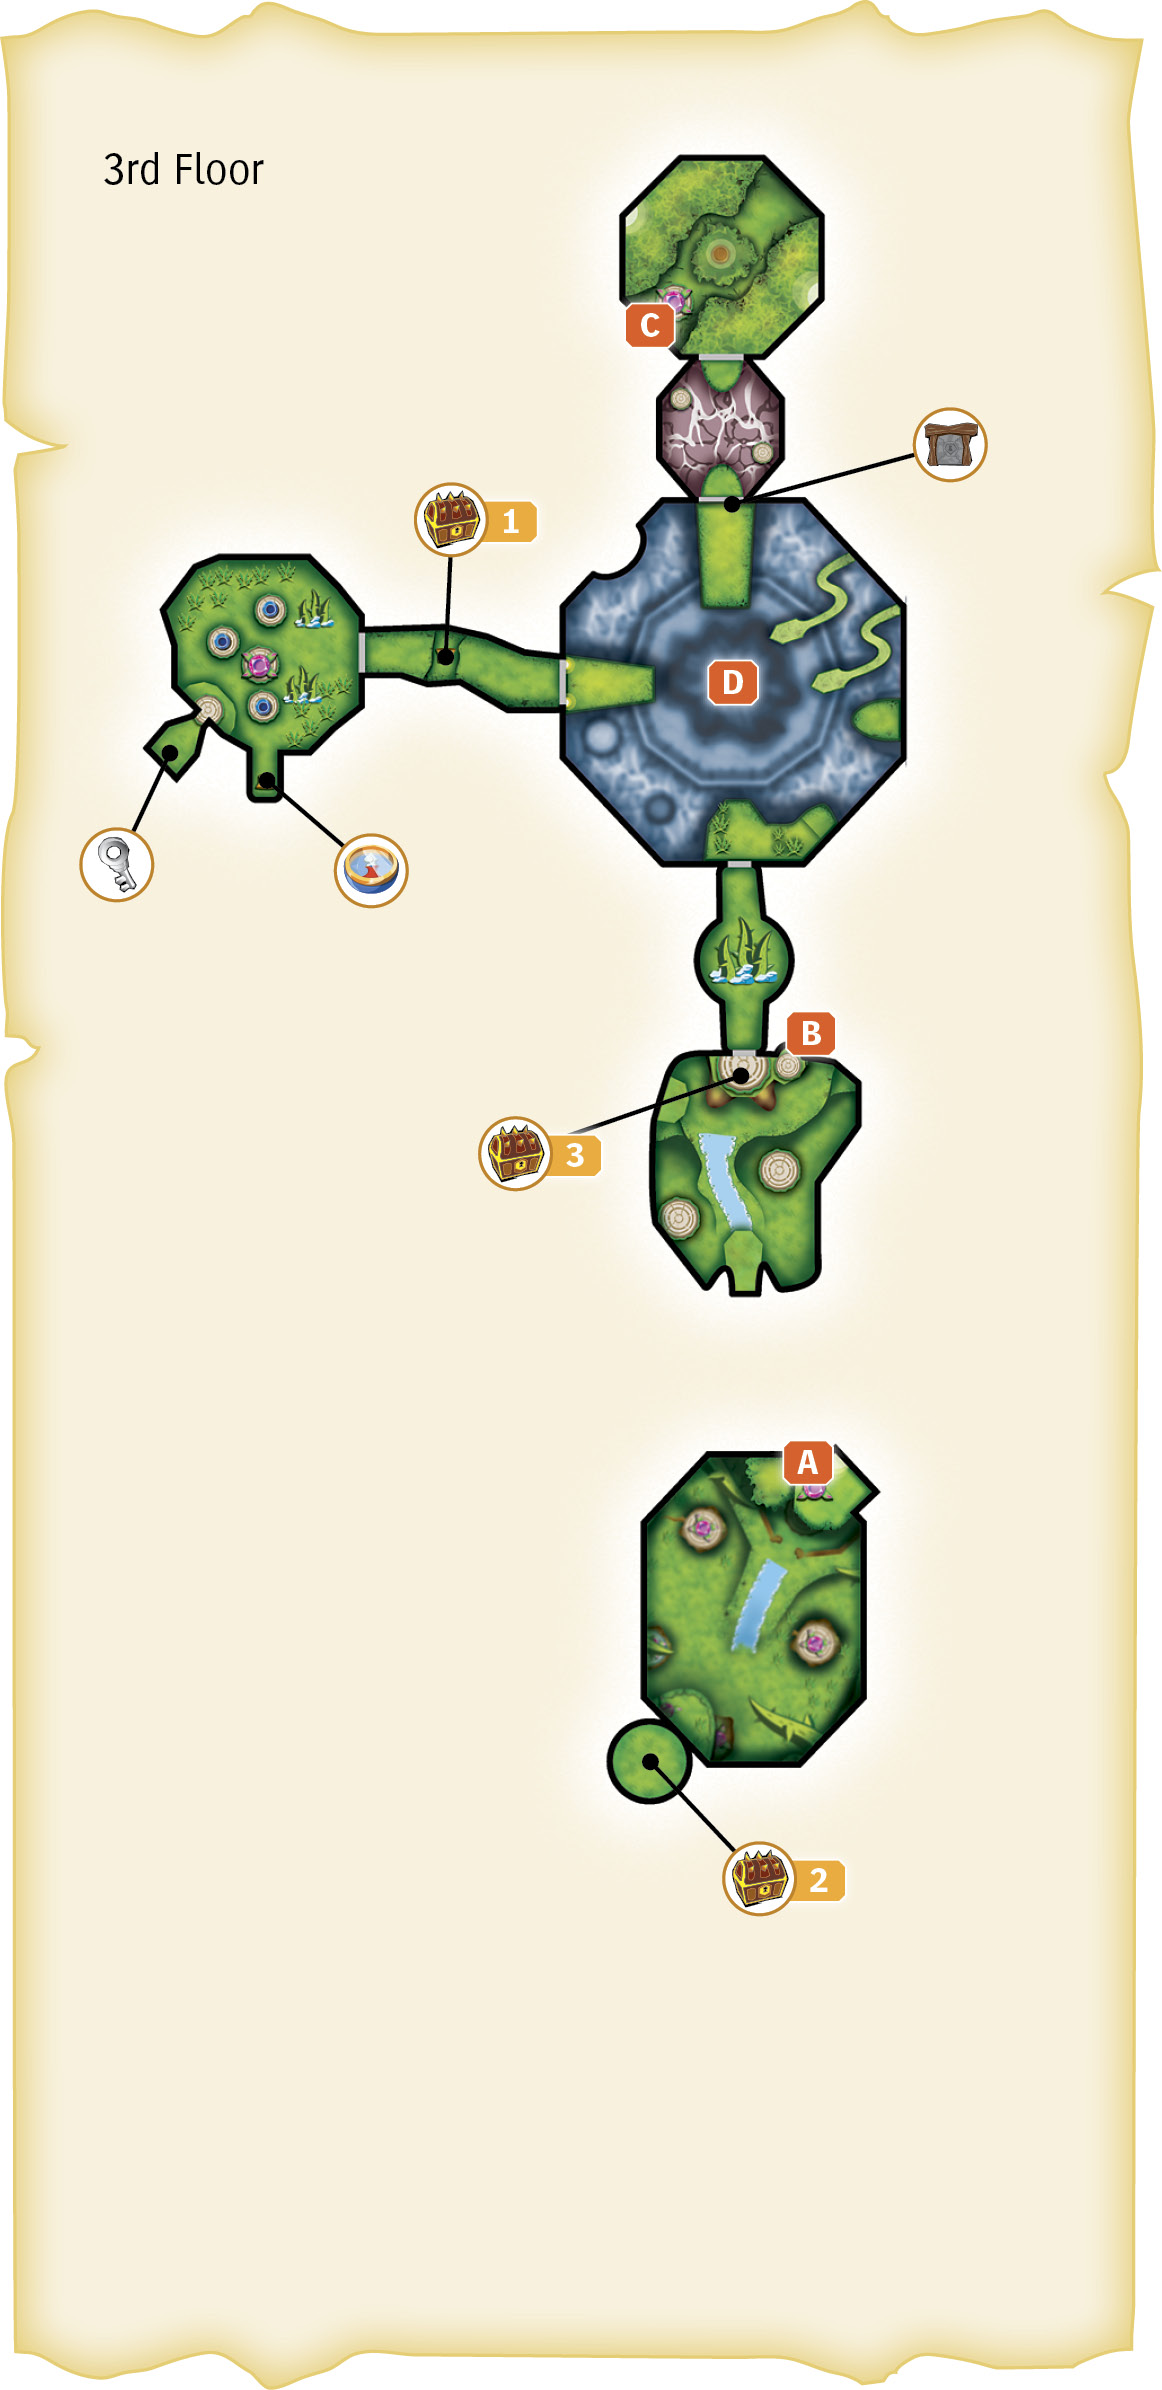
In the center of this room is a gap full of Morths. On the ledge on the gap’s other side are three pinecone objects that are also full of Morths. Jumping across the gap will cause the pinecones to burst open and the Morths will attach to Link, more than likely forcing him into the gap. No problem: spin-attack the Morths off of you and open the treasure chest to nab a Yellow Rupee. Climb up the small ledges on the gap’s south side and then try jumping the gap again. Head through the door on the room’s west side.
Enemy: Morth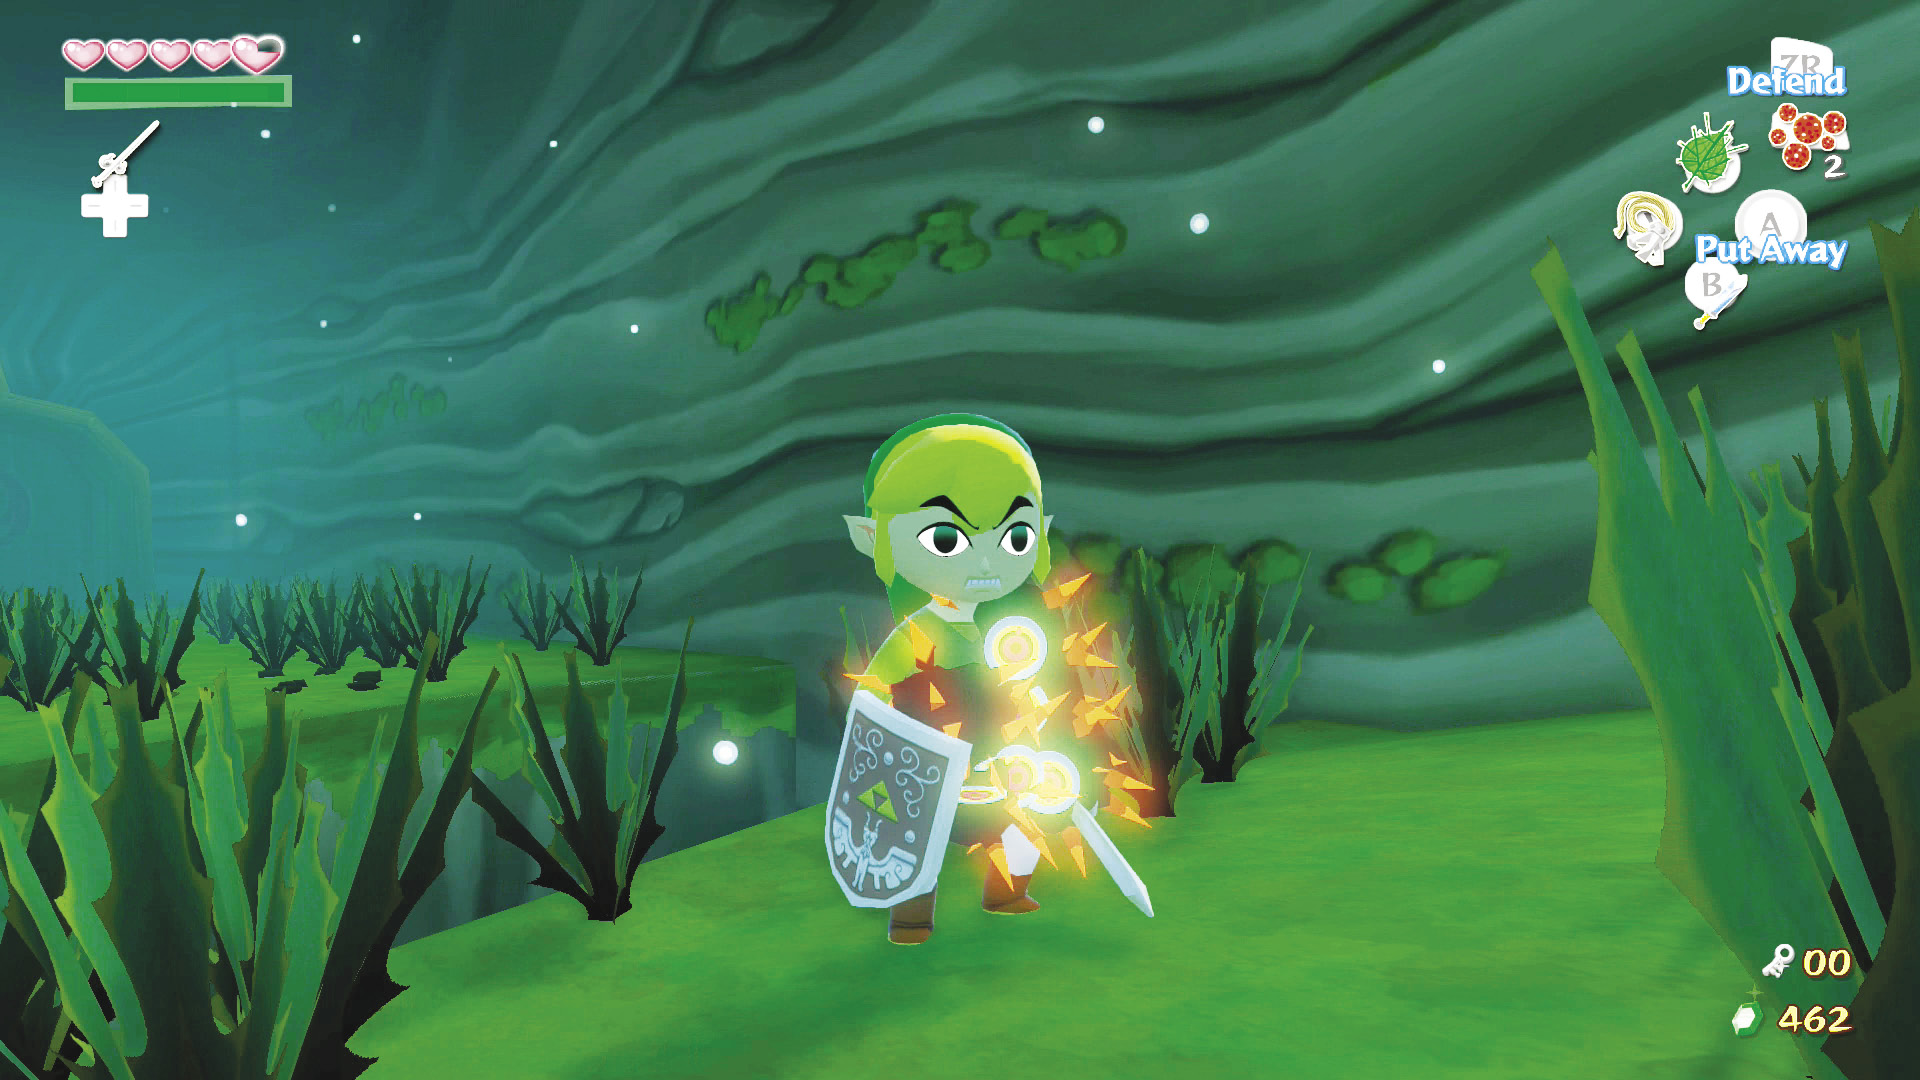 Morths are spiky, one-eyed monsters that don’t damage you in any way. Instead, they latch on to you whenever you make the slightest bit of movement. Every Morth that attaches to you slows you down. To remove them and simultaneously defeat them, use a spin attack to slash them off, destroying them in the process. Any Morth that escapes this can be defeated with one hit from Link’s sword. |
5. Between a Rock and a Whole Lot of Spiky Vines
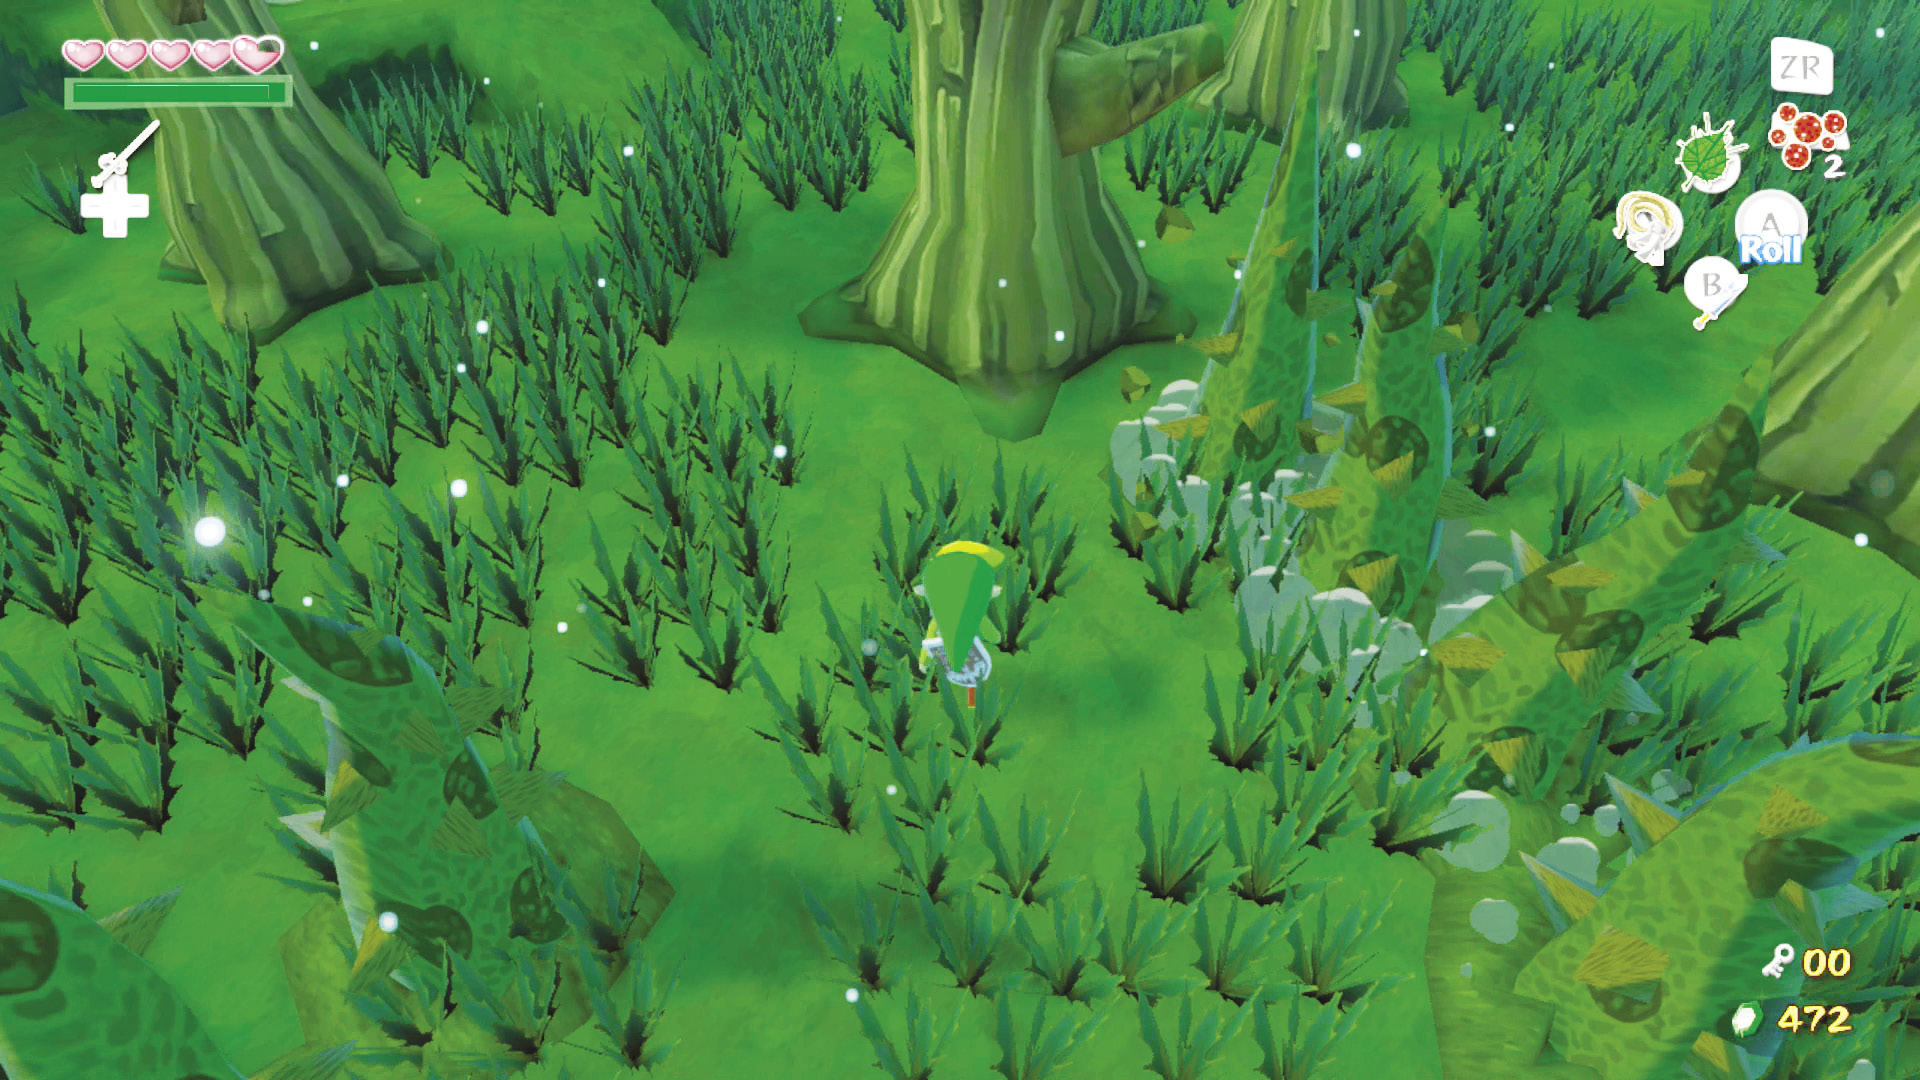
This next room is devilish to say the least. It appears harmless at first, but similarly to the room with the lone Deku Nut, this room is positively filled with spiked vines just laying in wait to gouge you at a moment’s notice. The trick to getting through this room is to walk slowly to avoid the vines. Your goal is the Bomb Flower in the room’s southeast corner.
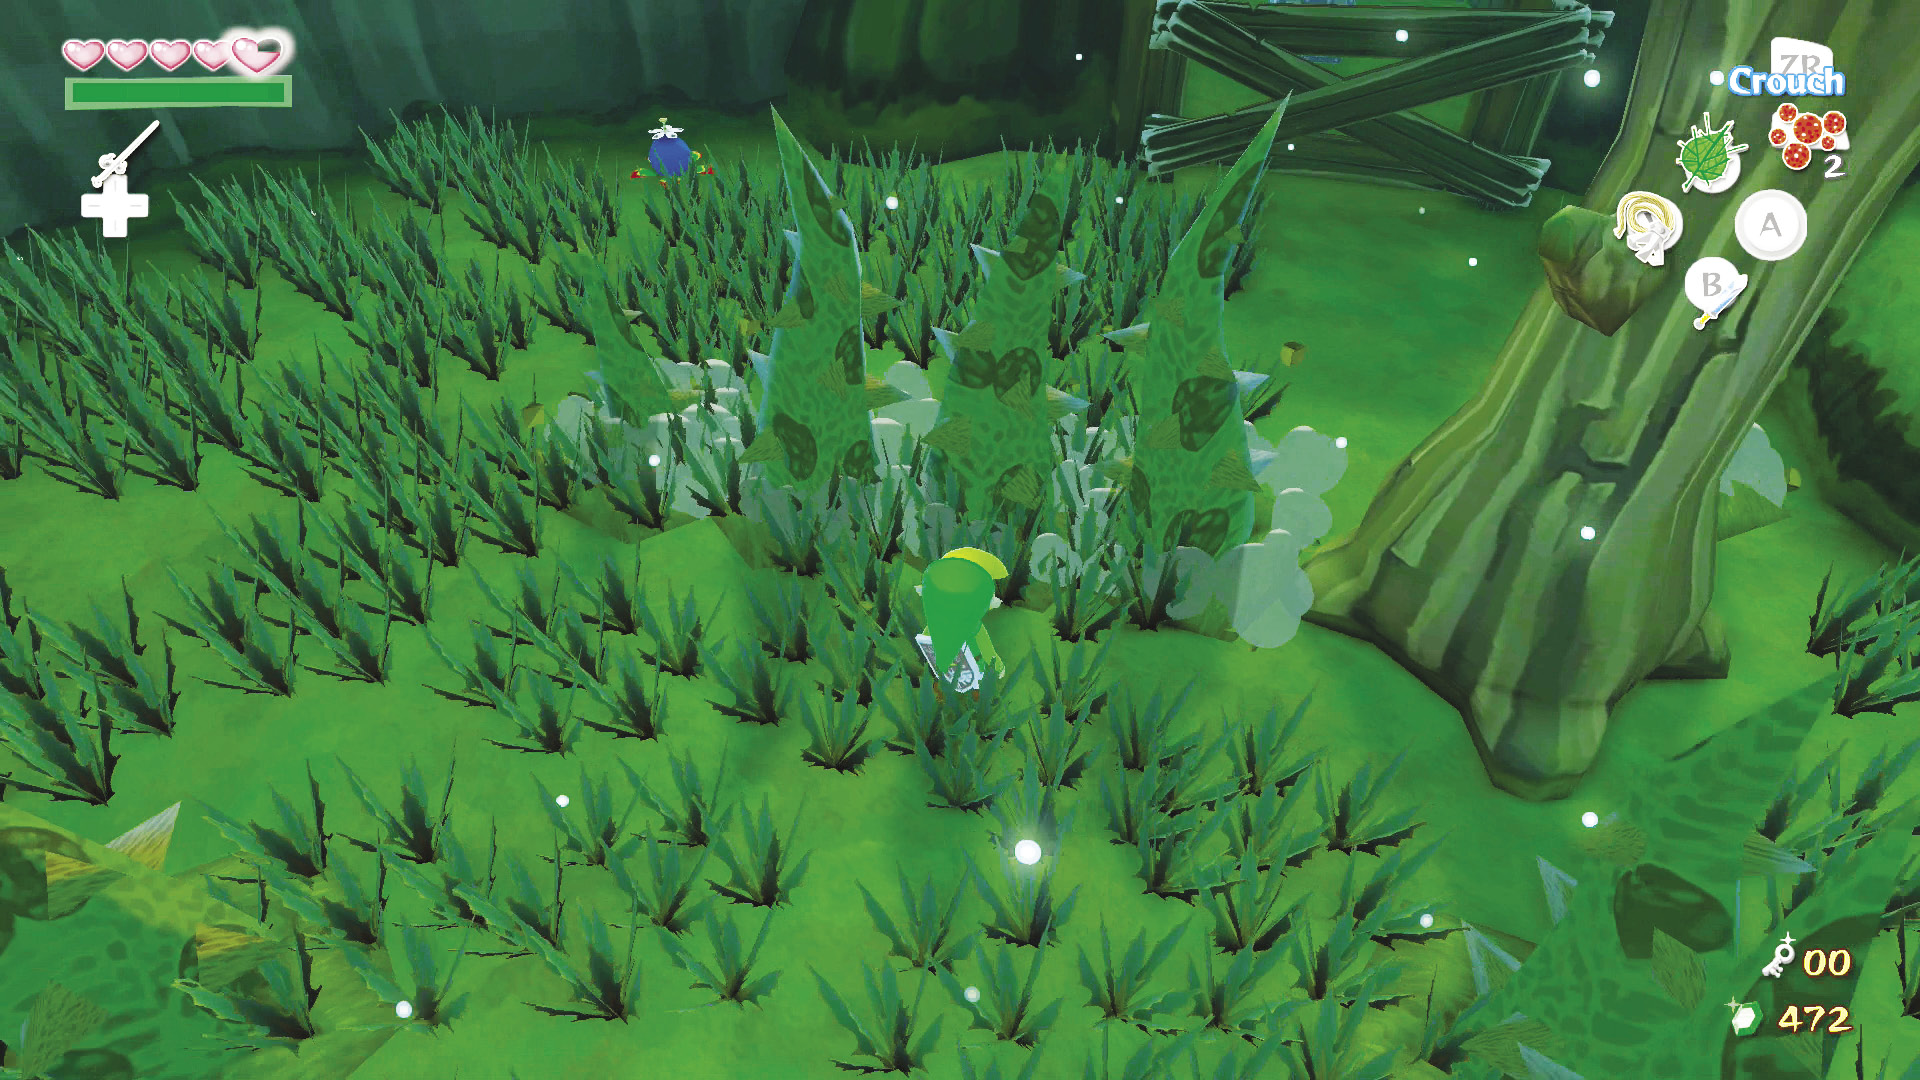
Follow the vines as they pop up, and head through any openings they have yet to block off. To reach the room’s southeast corner, take the first left available to you and follow the path. The vines will force you to make a U-turn in your attempts to turn left. Keep heading straight until you hit the room’s wall, then turn right around the vines. The Bomb Flower is just up ahead.
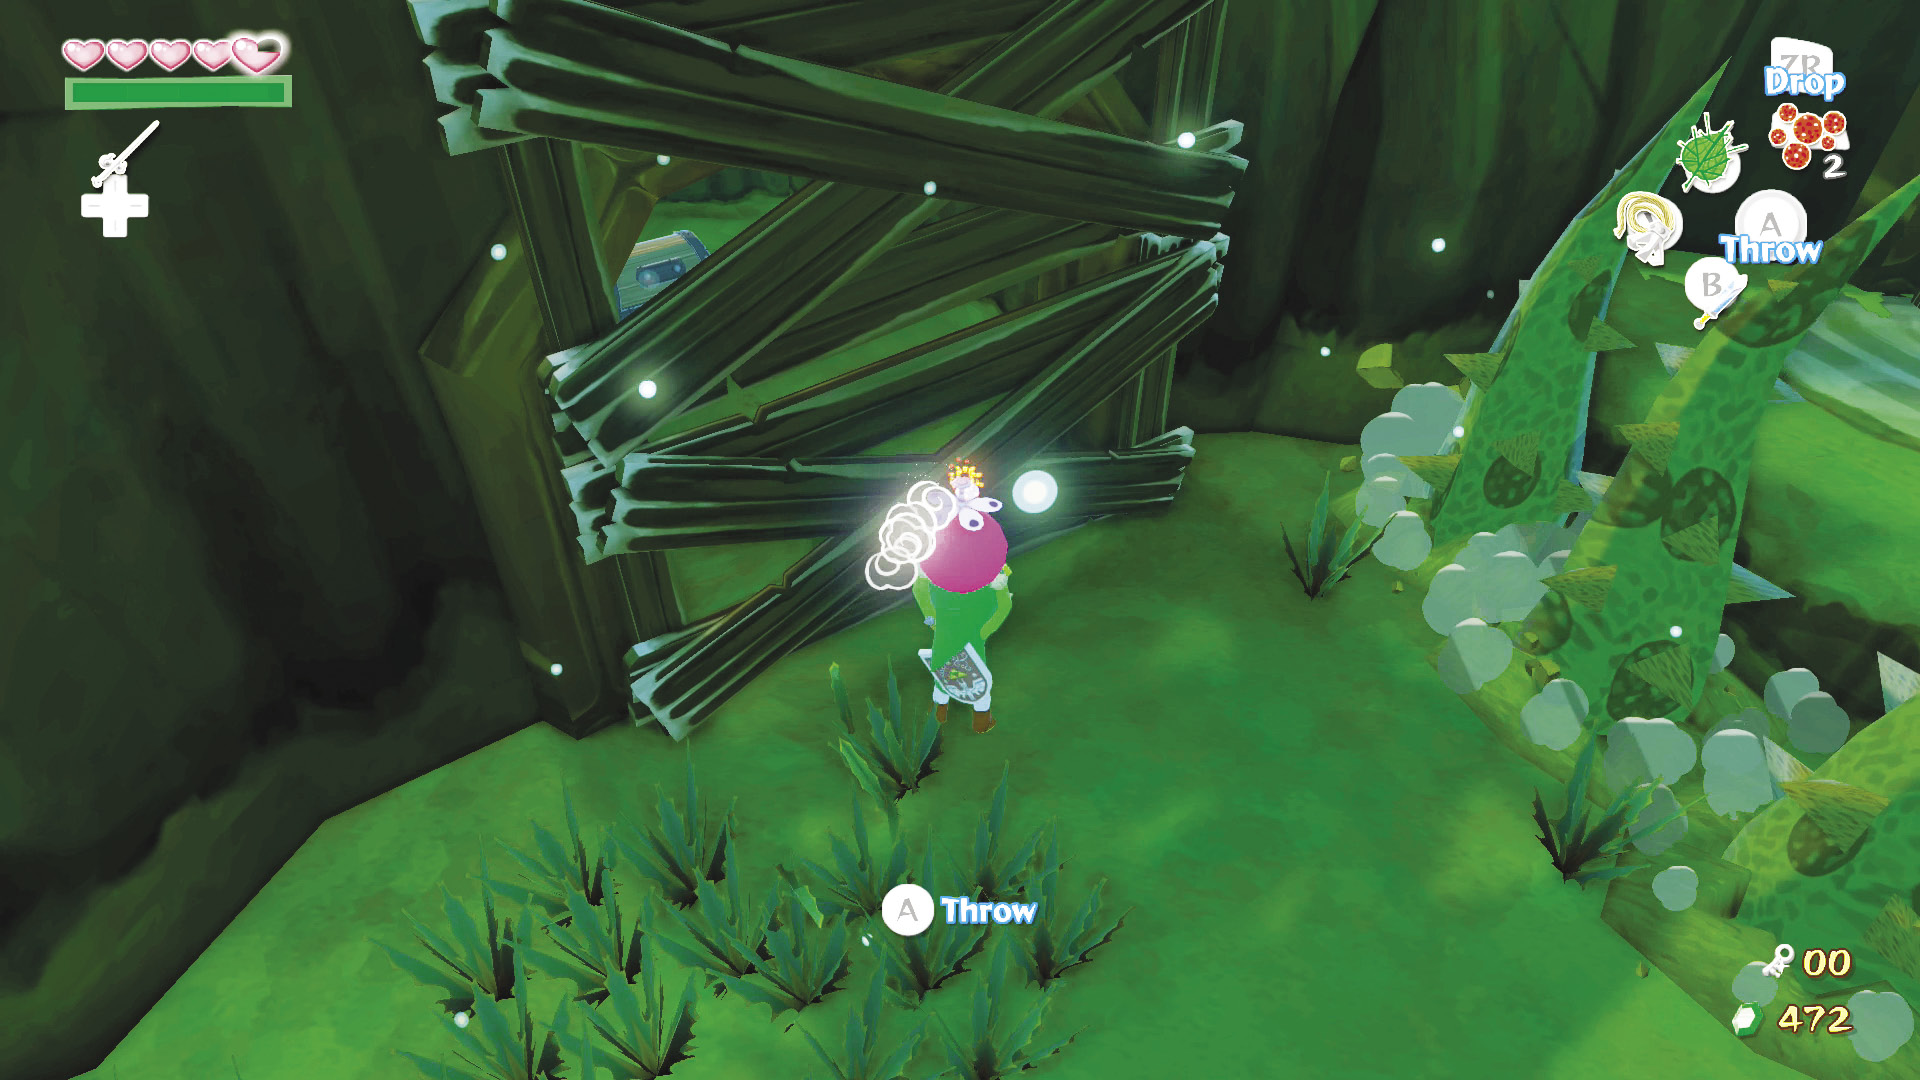
Use the Bomb Flower to destroy the boards blocking both the southern and southwestern alcoves in the room. Head into the southern alcove to get the Forbidden Woods’ Compass. Turn around and follow the vines back to the center of the room.
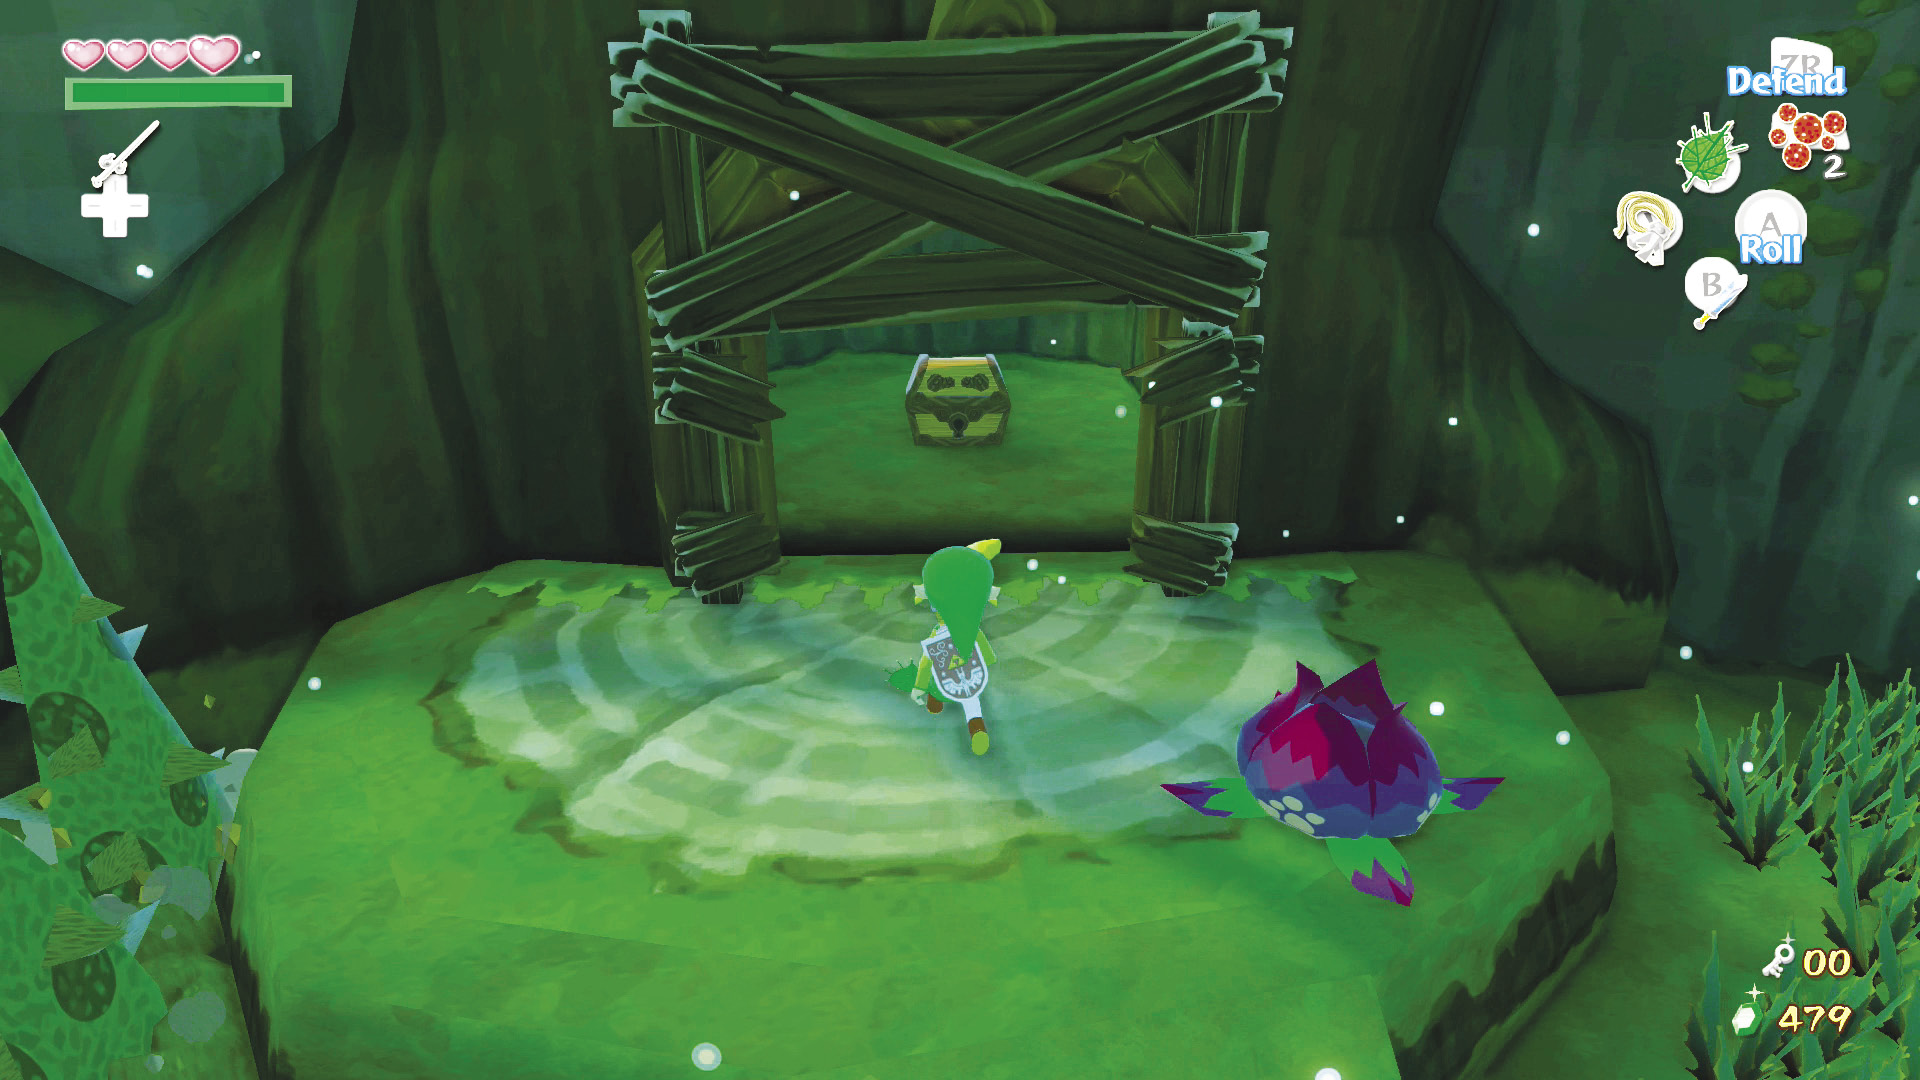
Facing the door, you’ll find the opening to the vine path to the door’s left. Head west down the path, past the tree’s left side. Immediately take a right once past the tree and head toward the northern wall, making a U-turn at the wall. Follow the vine path as it zigzags to the southwestern alcove and open the treasure chest to receive a Small Key.
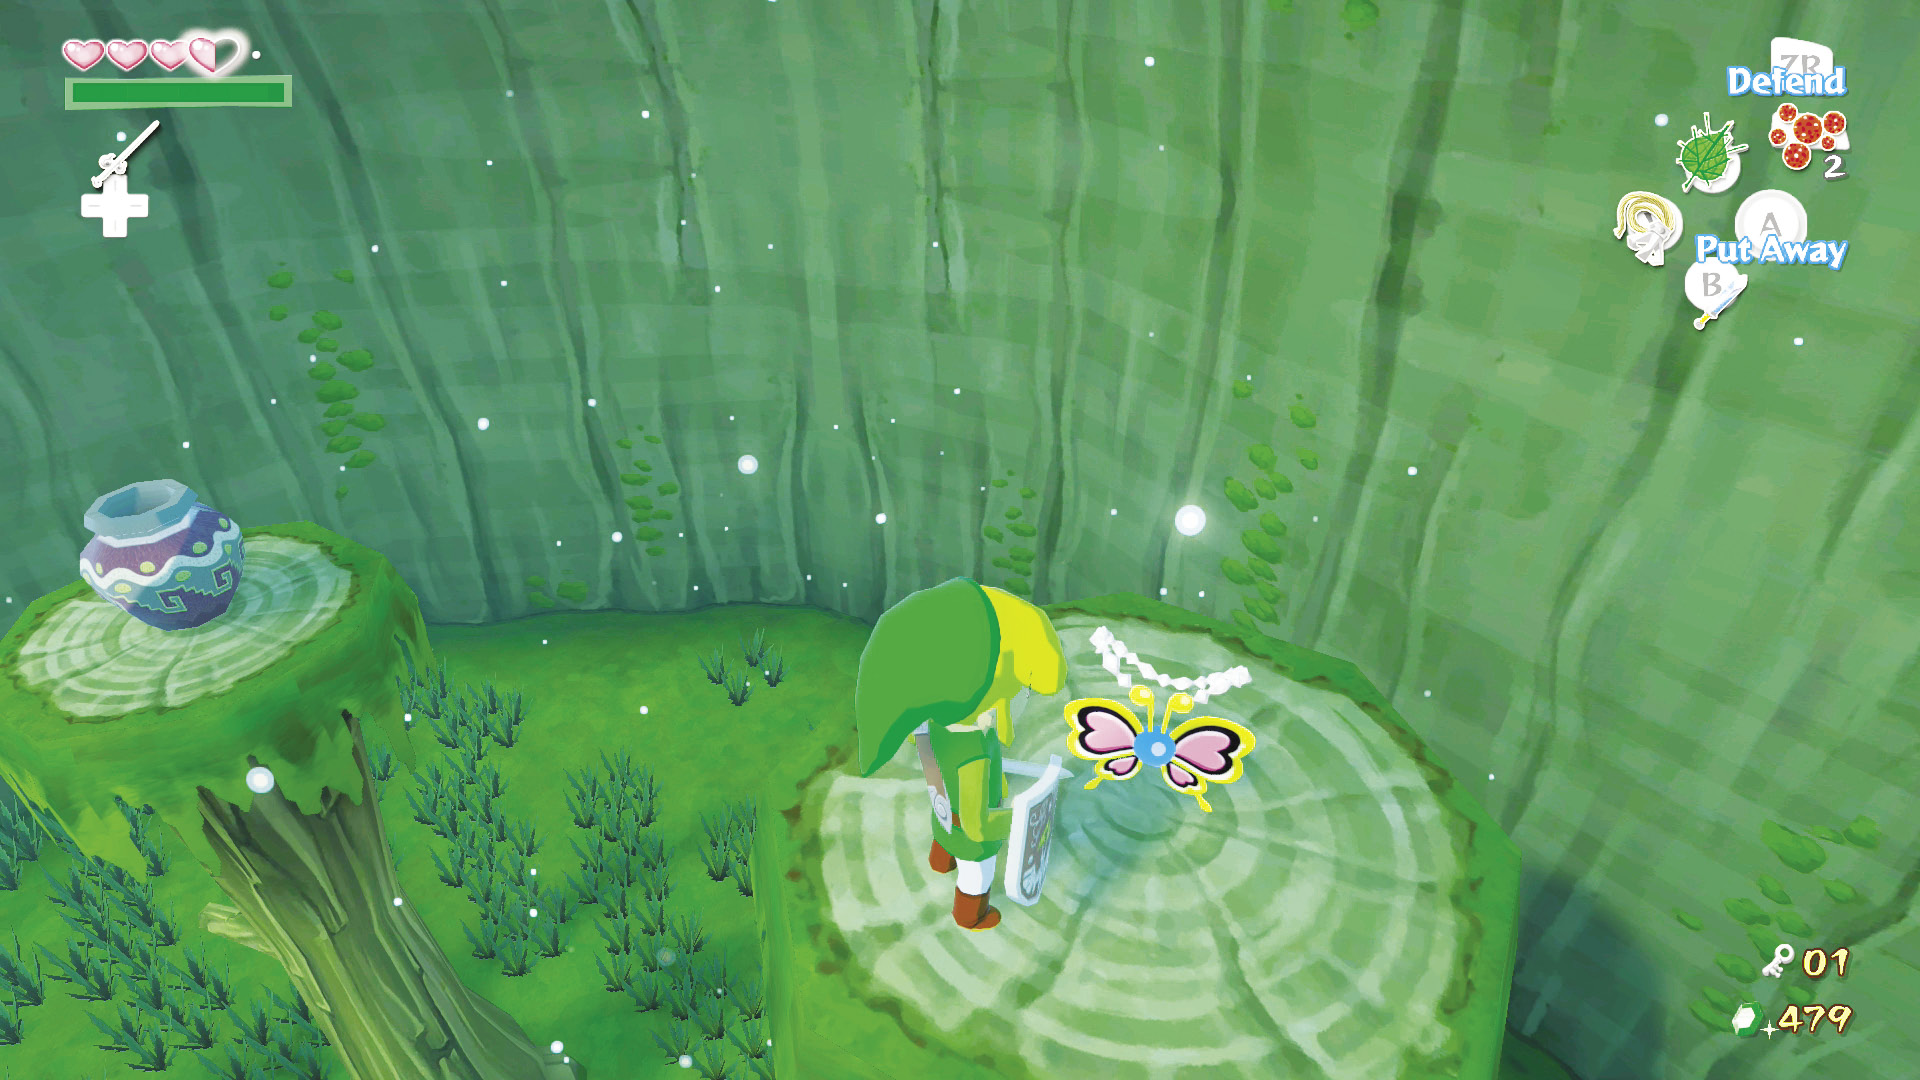
Hop in the Baba Bud in front of the alcove and launch to the elevated platform in the center of the room. There are three pots on top of the three elevated platforms surrounding the center platform. Each one has a small item, but the northern platform has a Joy Pendant. Grab any of them if you want; just make sure to glide back to the door on the room’s east side, using your Deku Leaf to leave the area with ease.
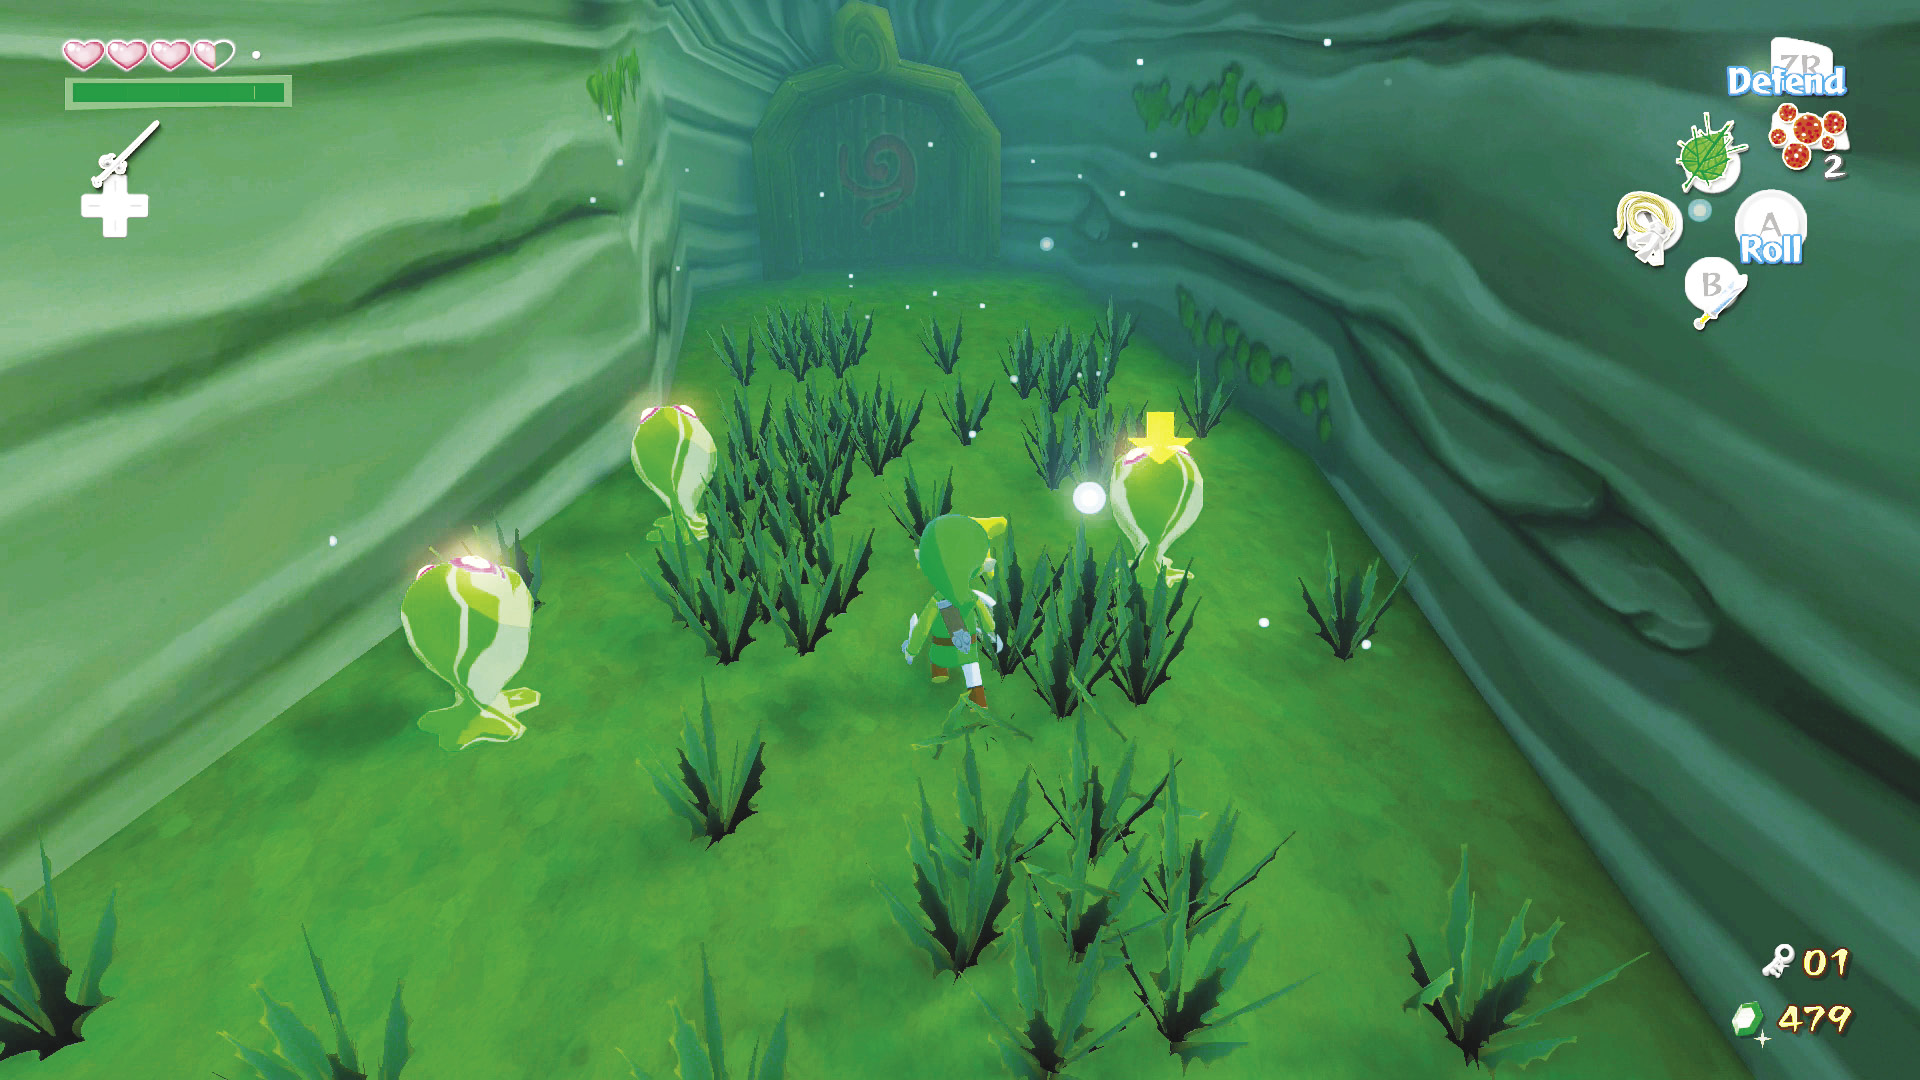
You’ll encounter the same Morths you did when you went through this hall earlier, but this time the room’s east side has many Green ChuChus. Deal with the Morths in the pinecones and then do your darnedest to avoid the Morths in the gap. Sort out the Green ChuChus as you see fit and then head through the eastern door.
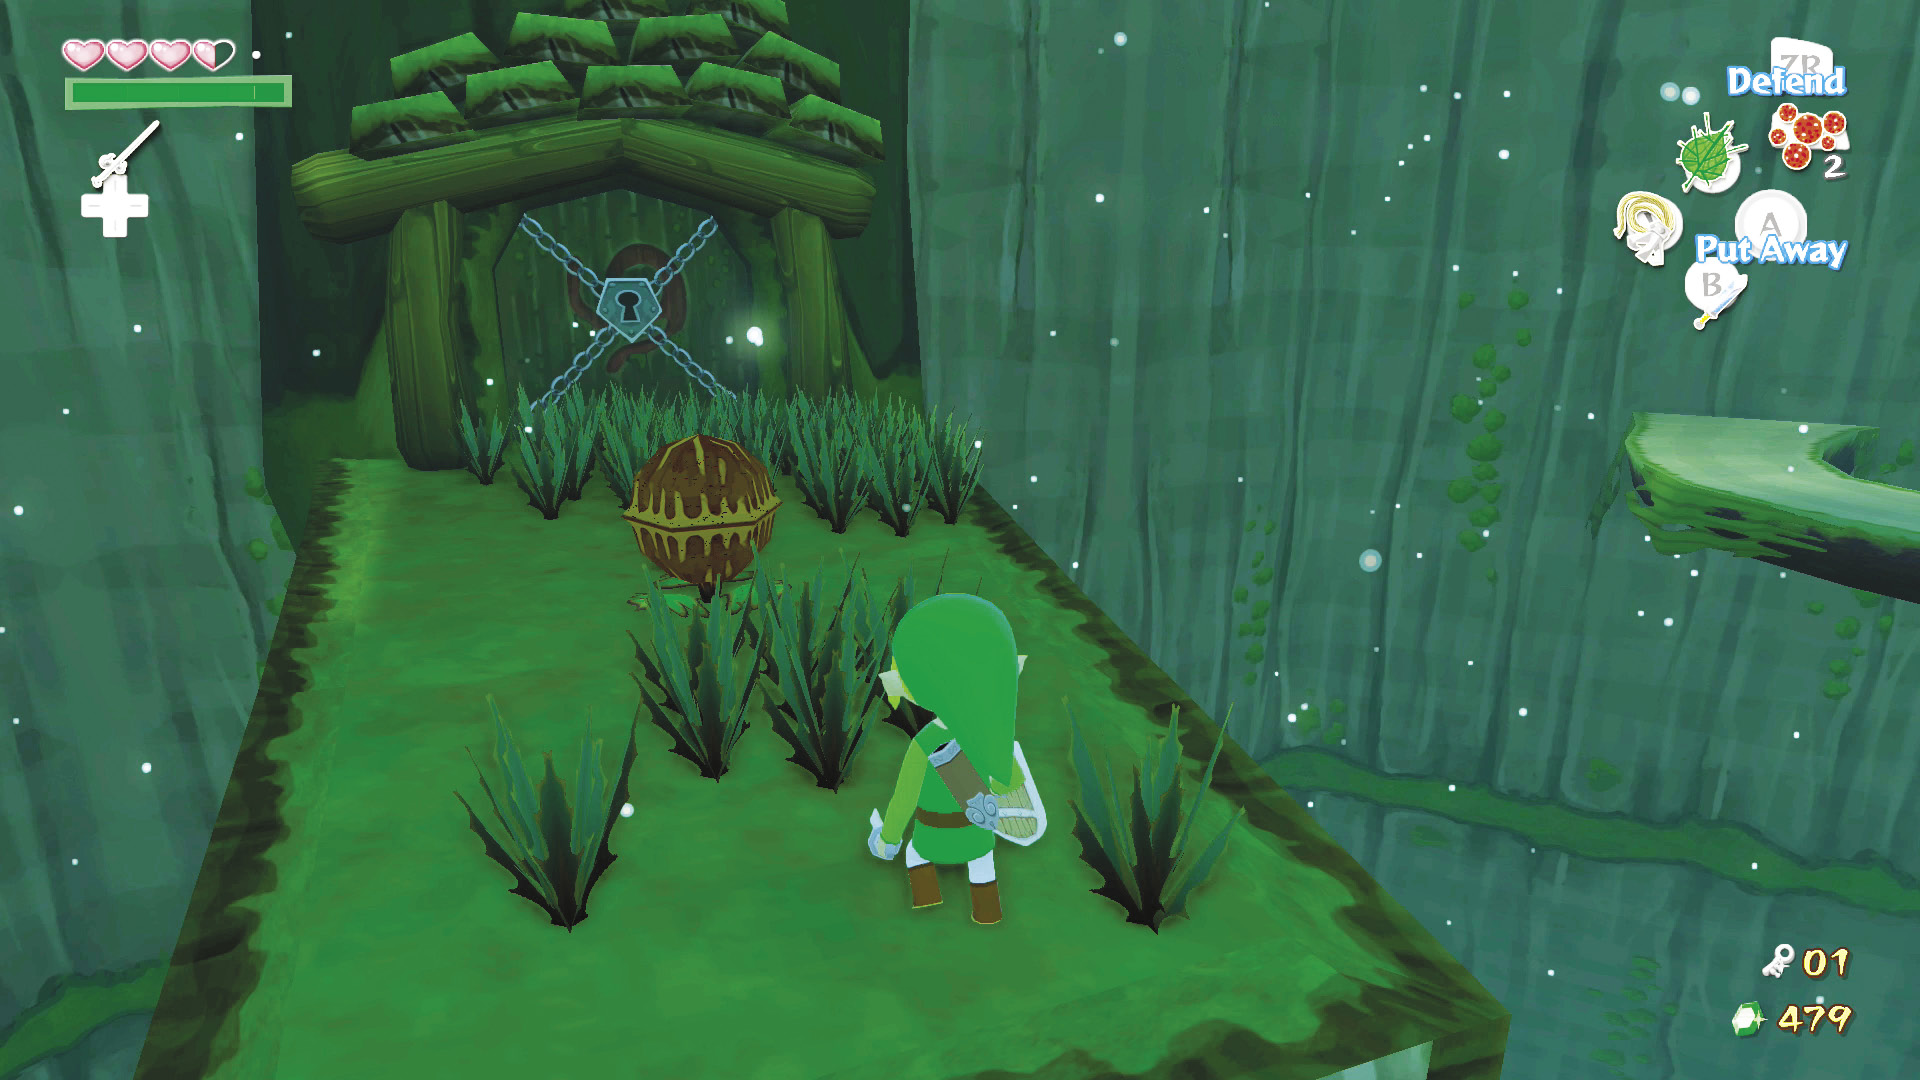
Back in the room with the large flower hanging from the ceiling, head around the flower structure and head through the door on the room’s north side.
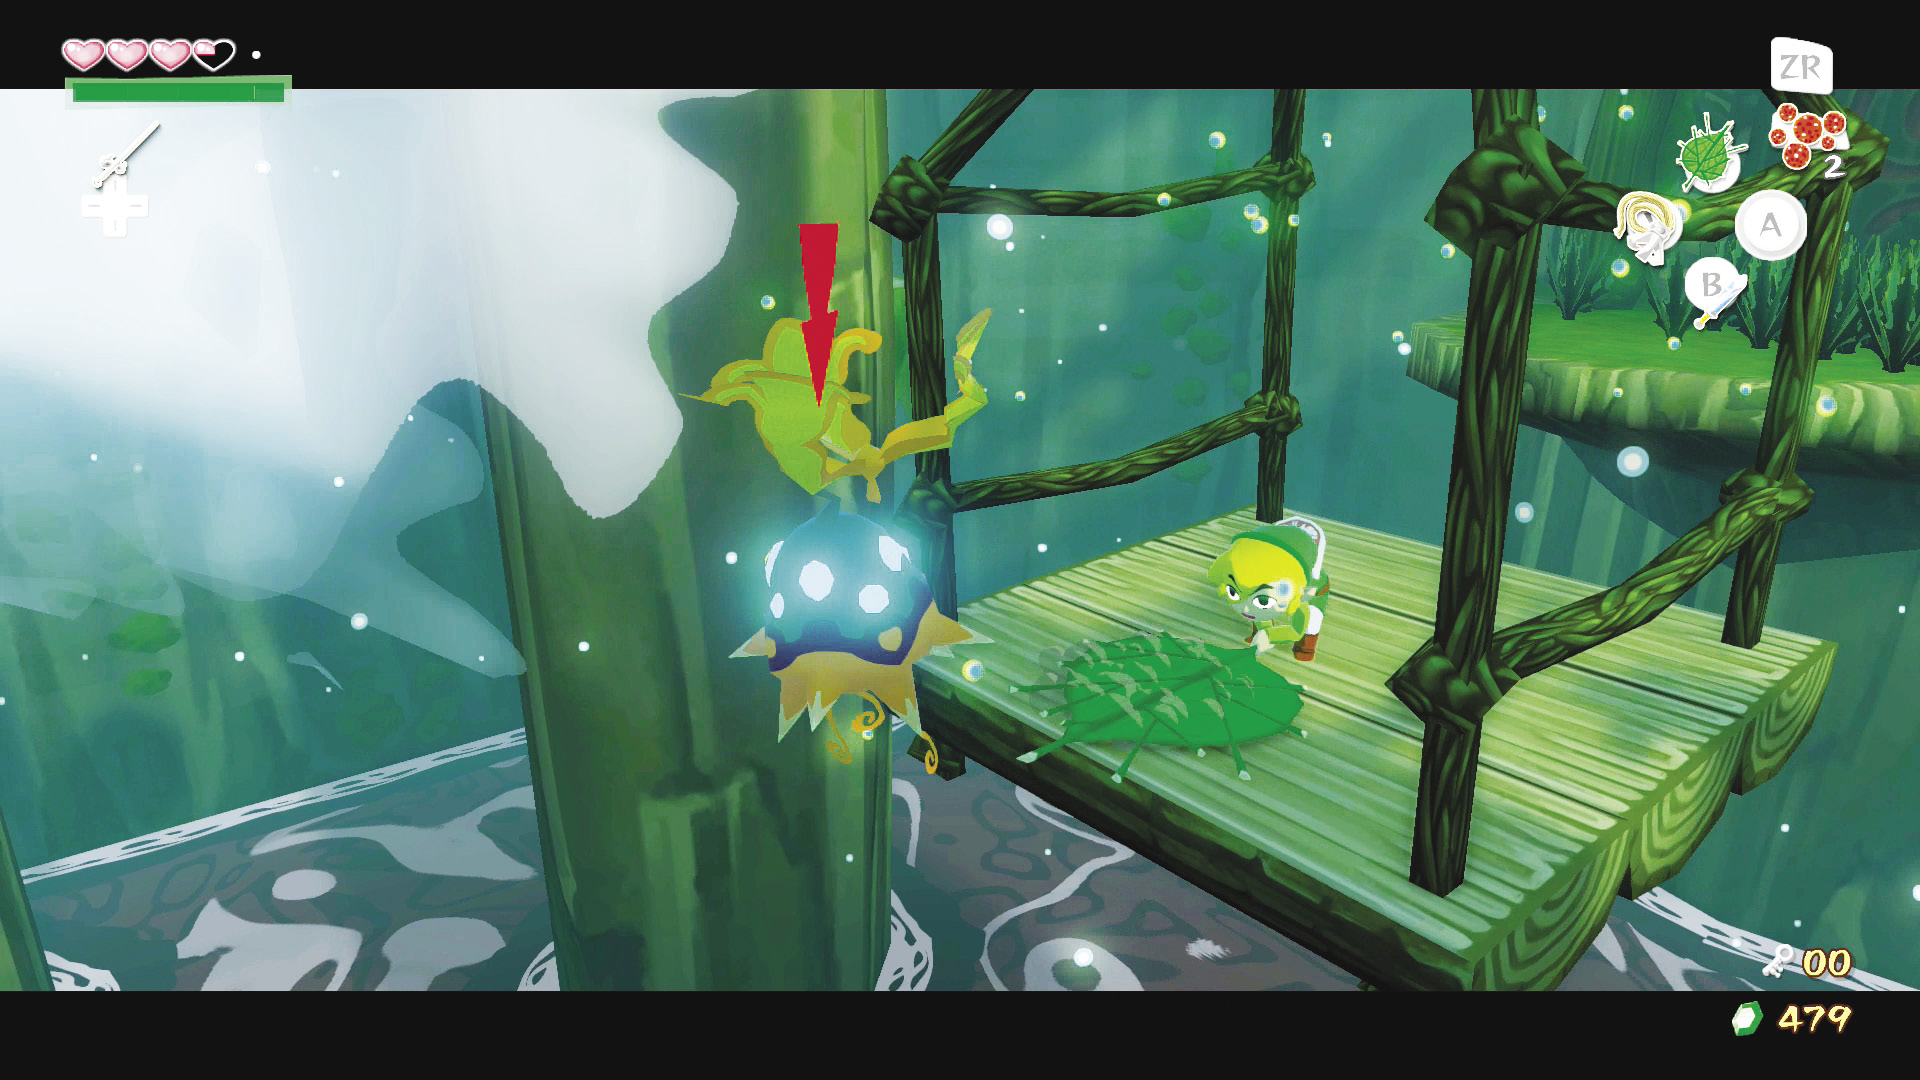
In this room is another hanging platform controlled by pinwheels. There are a couple of Peahats in this room, and the hanging platform is suspended above water that you can safely fall into (but don’t fall into the water just for convenience’s sake). Use the pinwheel to the right of the door to call the platform. Hop onto it and use blasts of wind to propel yourself to the room’s north side, then head through the door.
6. Thrown Straight up, Everything’s a Boomerang
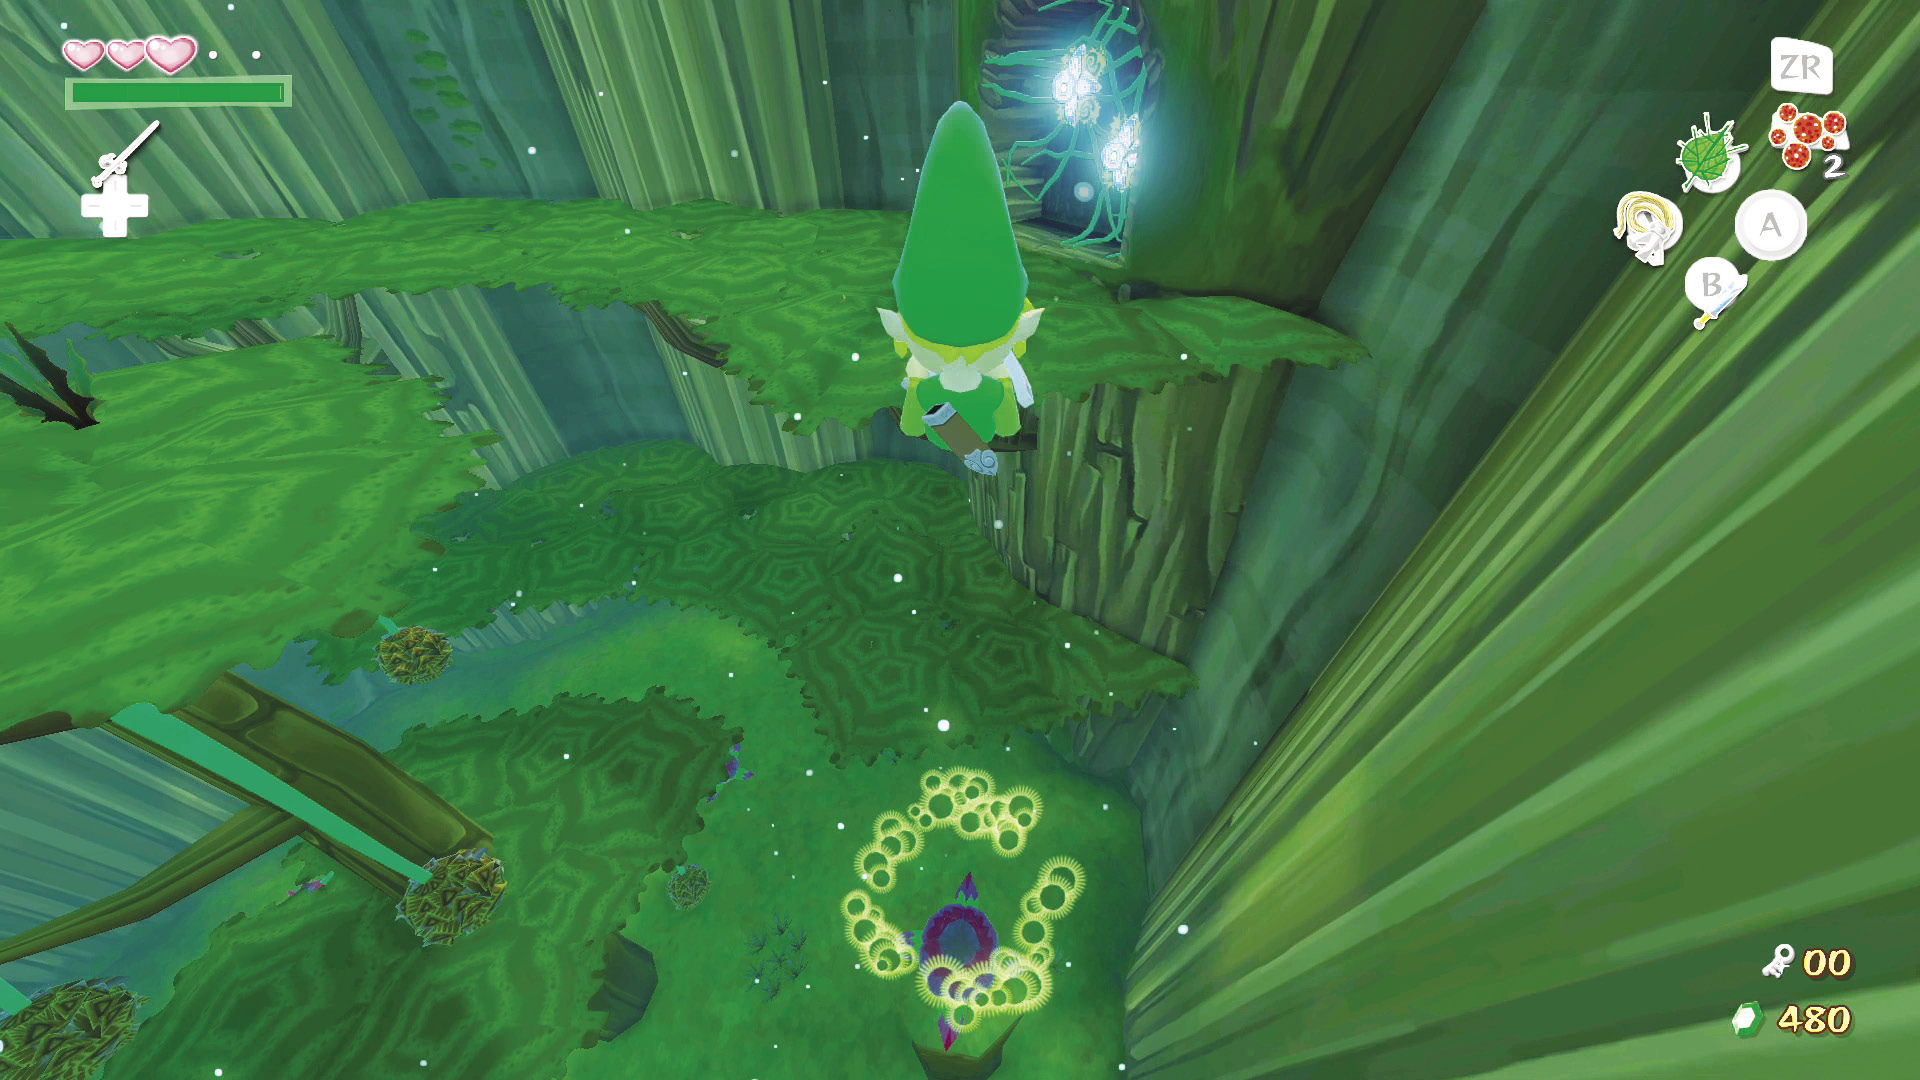
This room will take you to the dungeon’s fourth floor, but first you need to sort out the Wingless Mothula and the Boko Babas. Defeat the Boko Baba in the room’s northeast corner, and it’ll leave behind a Baba Bud. Hop into the Baba Bud and launch to the platform on the room’s north side. Head to the Baba Bud on the room’s southeast side, and take it up to the next level of the room. You are now on the dungeon’s fourth floor.
Enemy: Wingless Mothula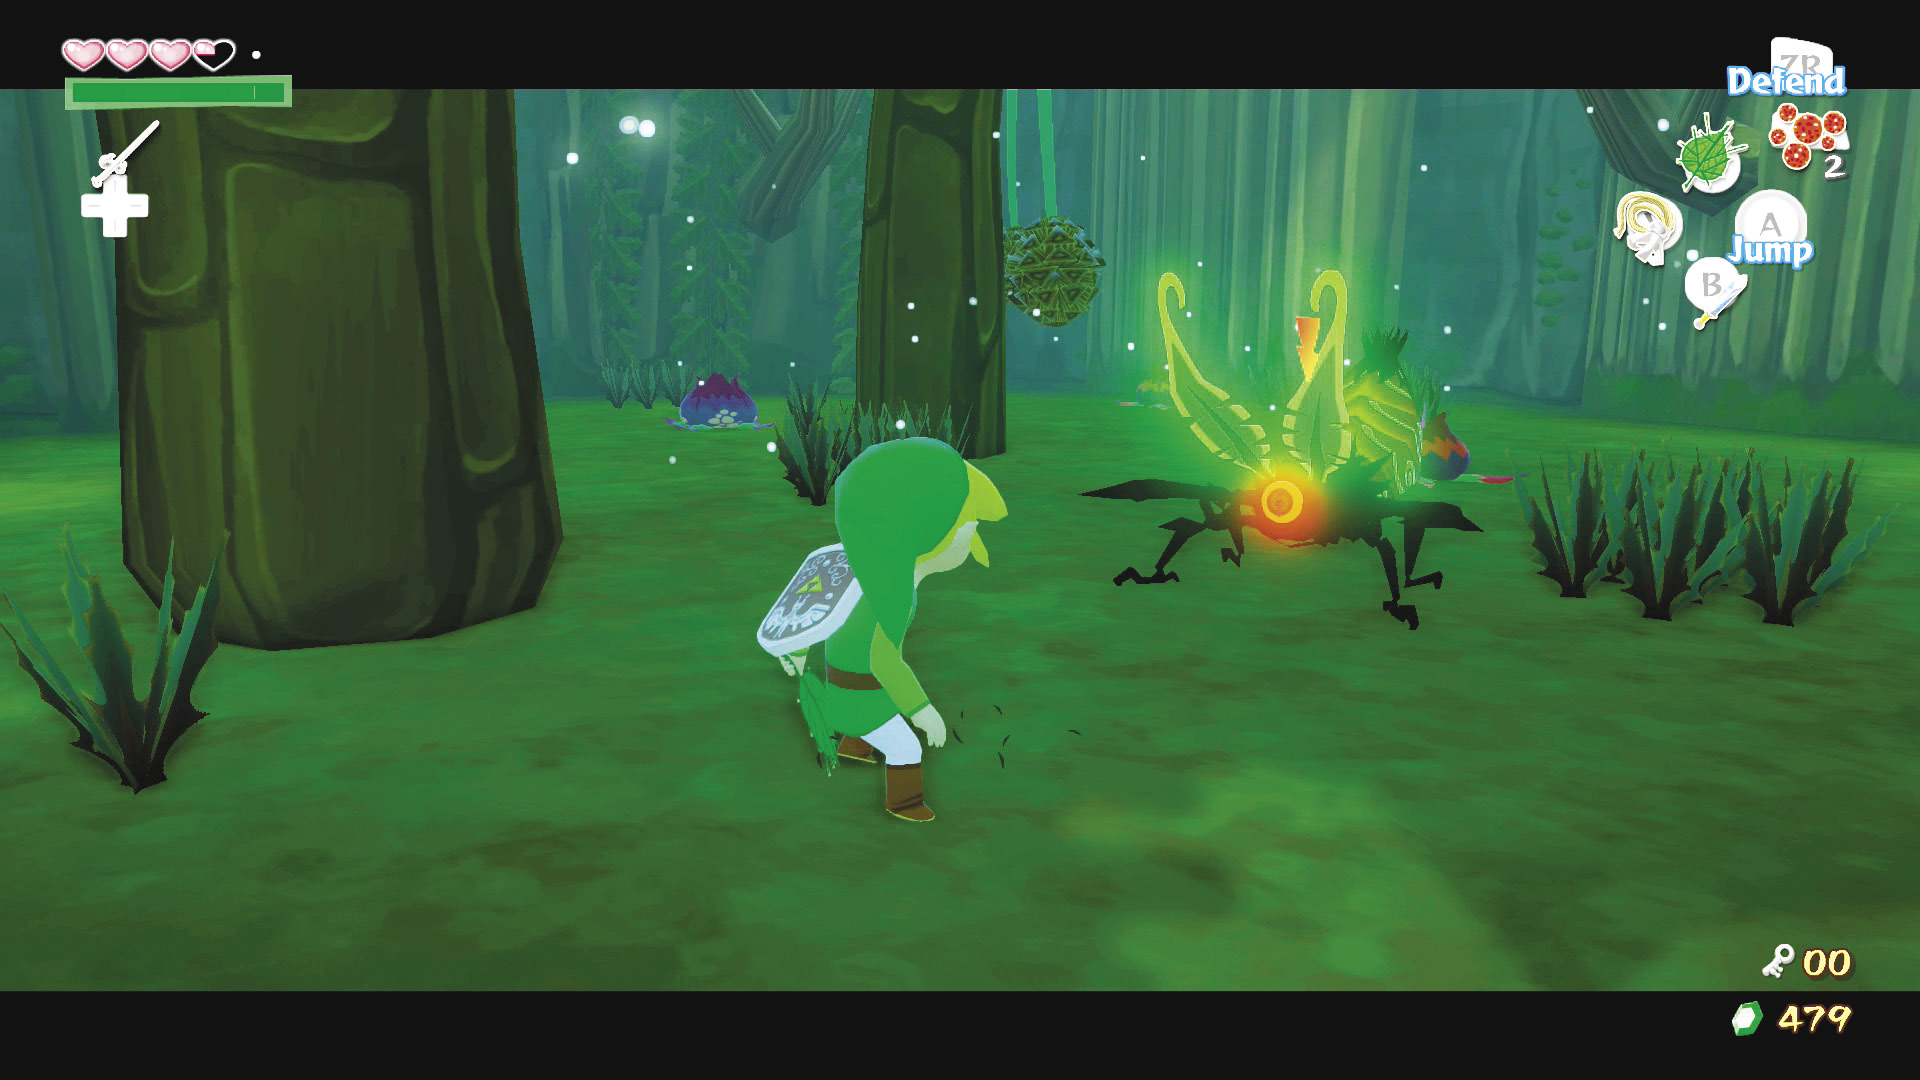 Wingless Mothulas are what you get when you cross a Magtail with a Morth. They are terribly difficult to deal with, due to their speed and their ability to shoot Morths out of their abdomen. This makes them hard to catch. However, it takes only a couple of hits with your sword to defeat them. |
Fourth Floor
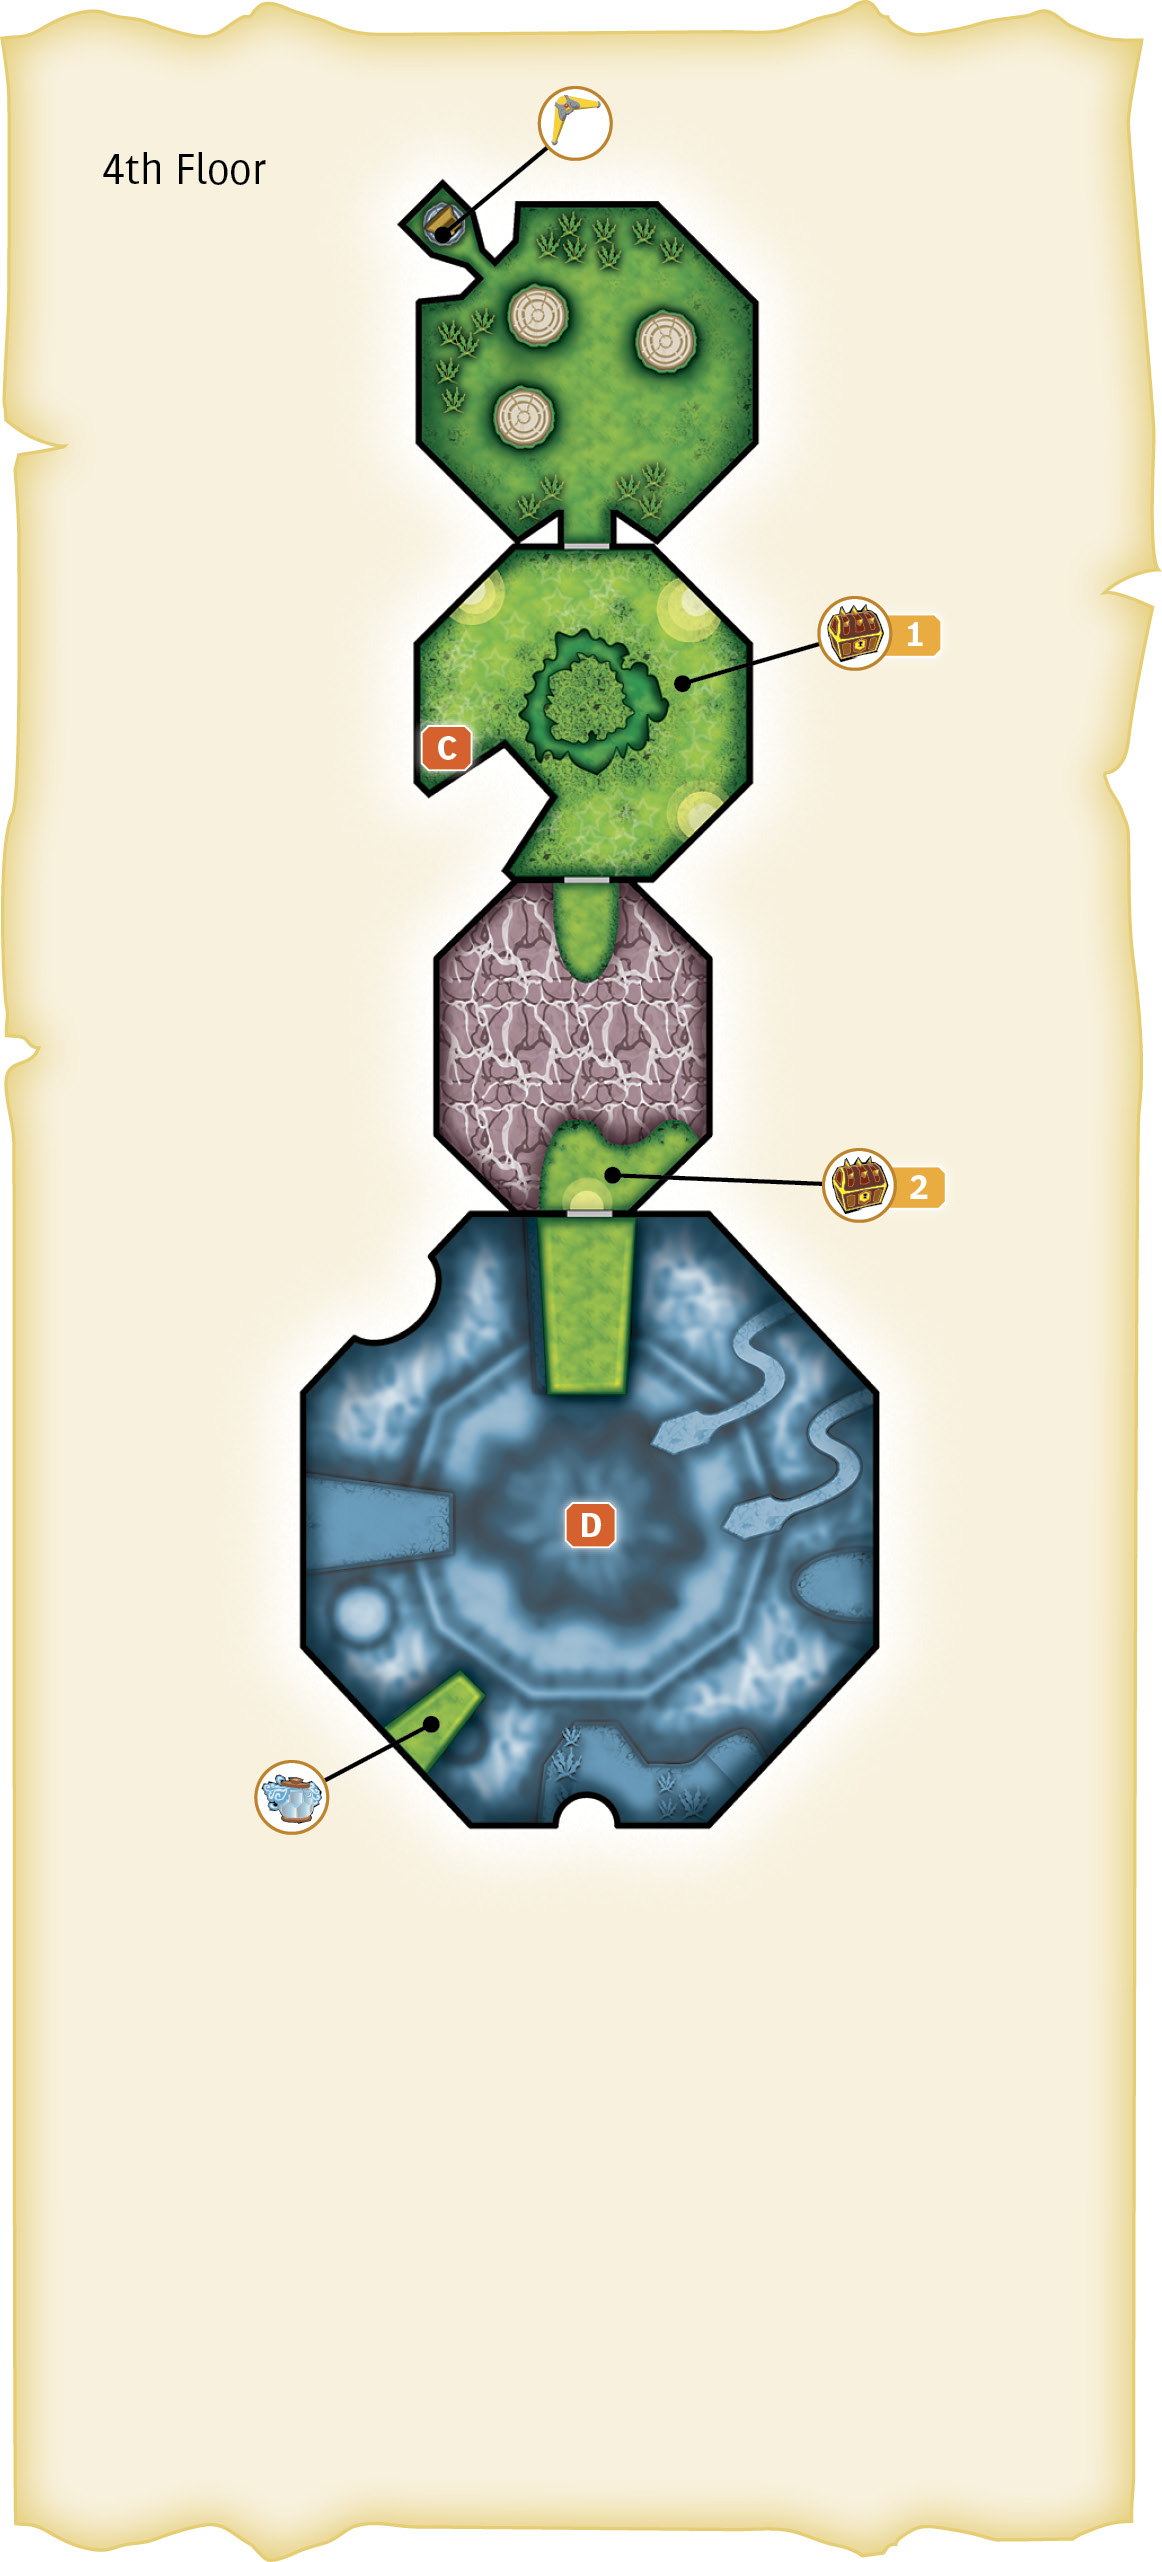
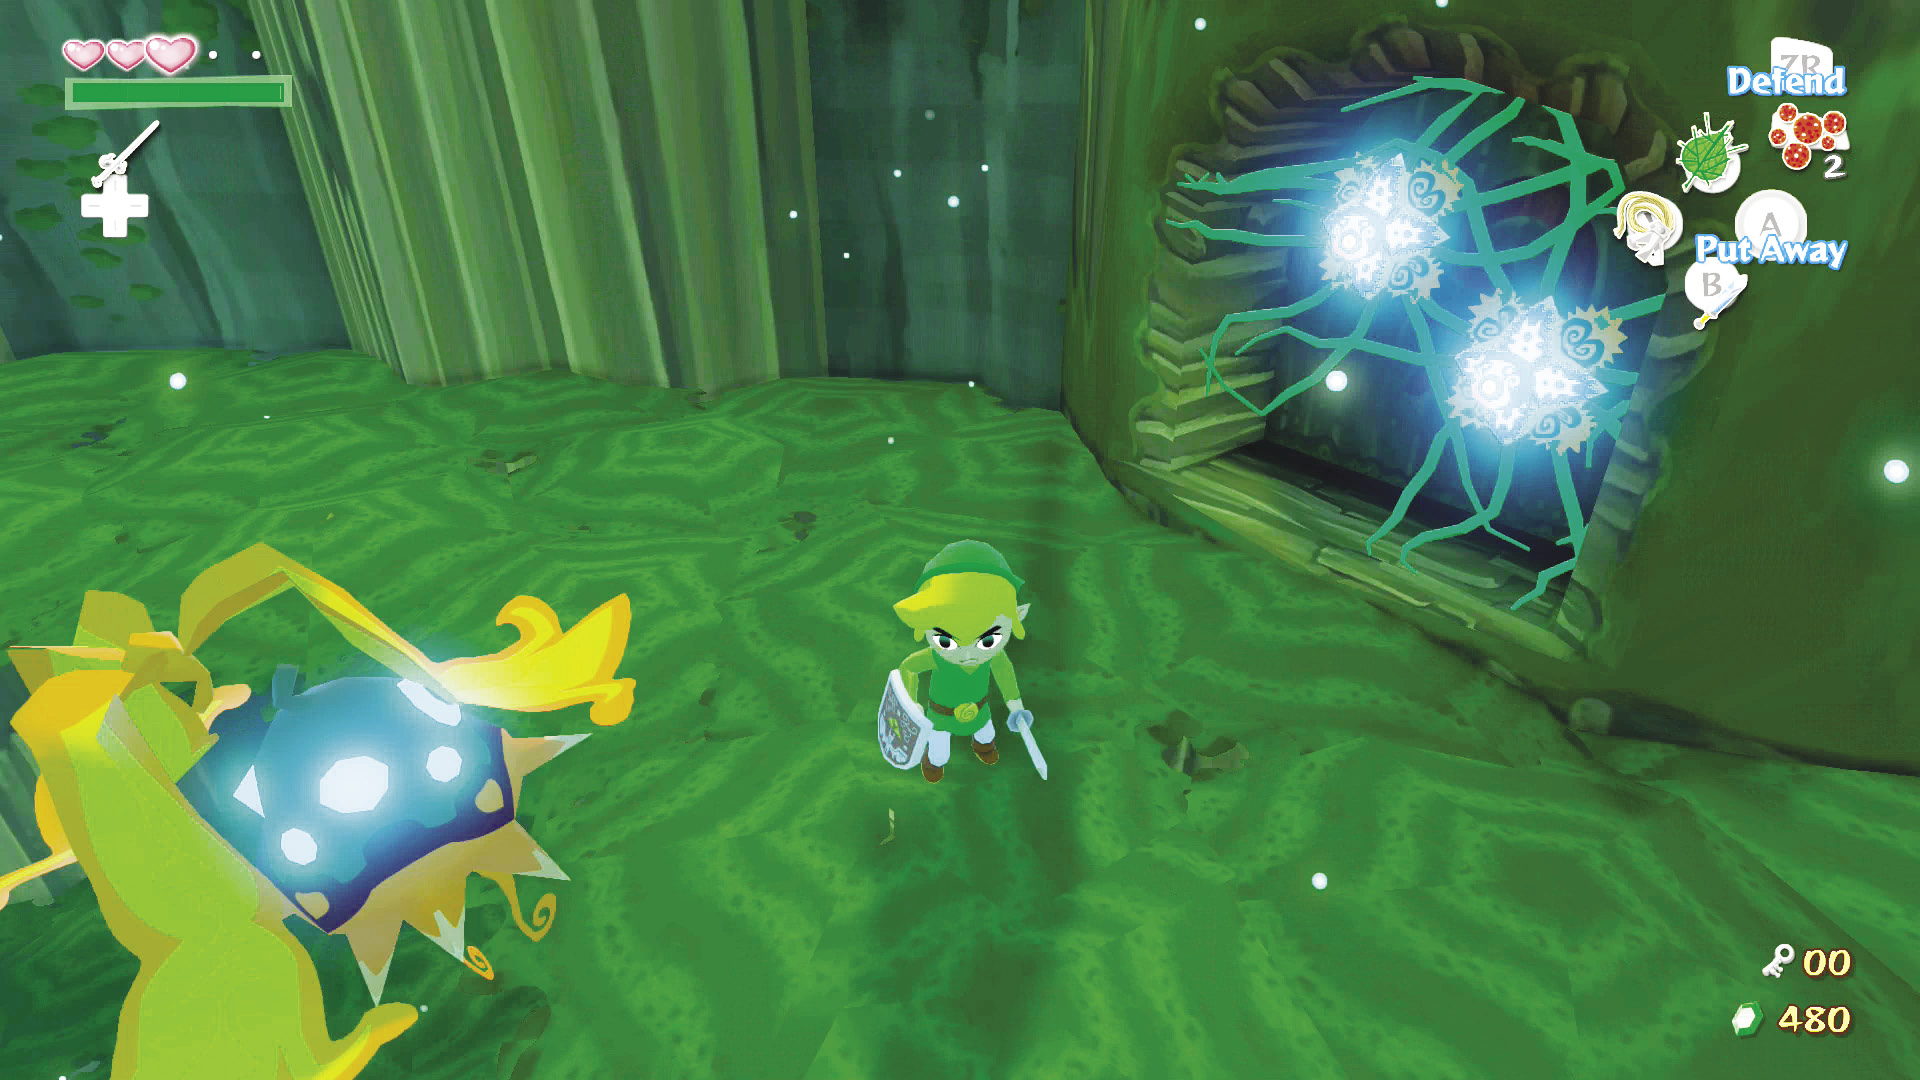
There are three Peahats and two doors on this level of the room. Since the door on the room’s south side is blocked by two one-eyed flowers, you’ll have to head to the door on the room’s north side. Deal with the Peahats in whatever manner you desire and head through the northern door.
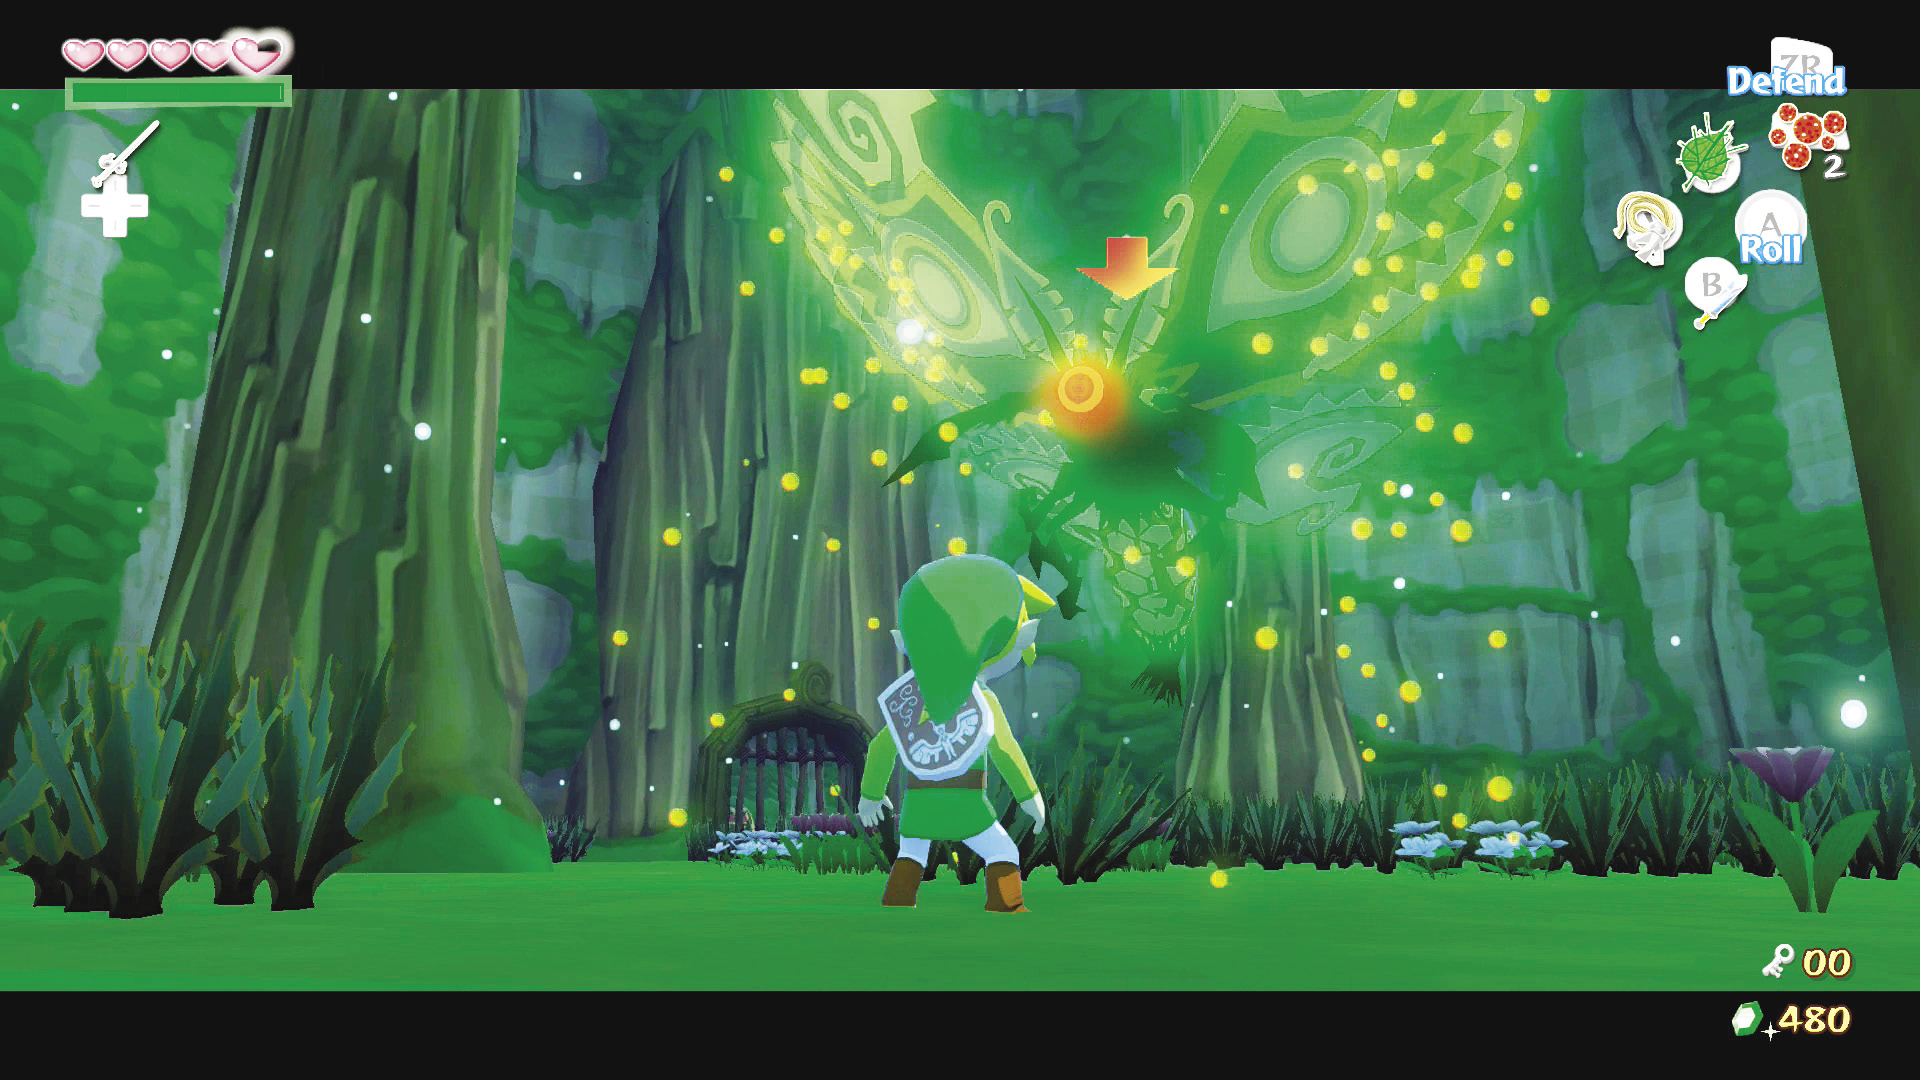
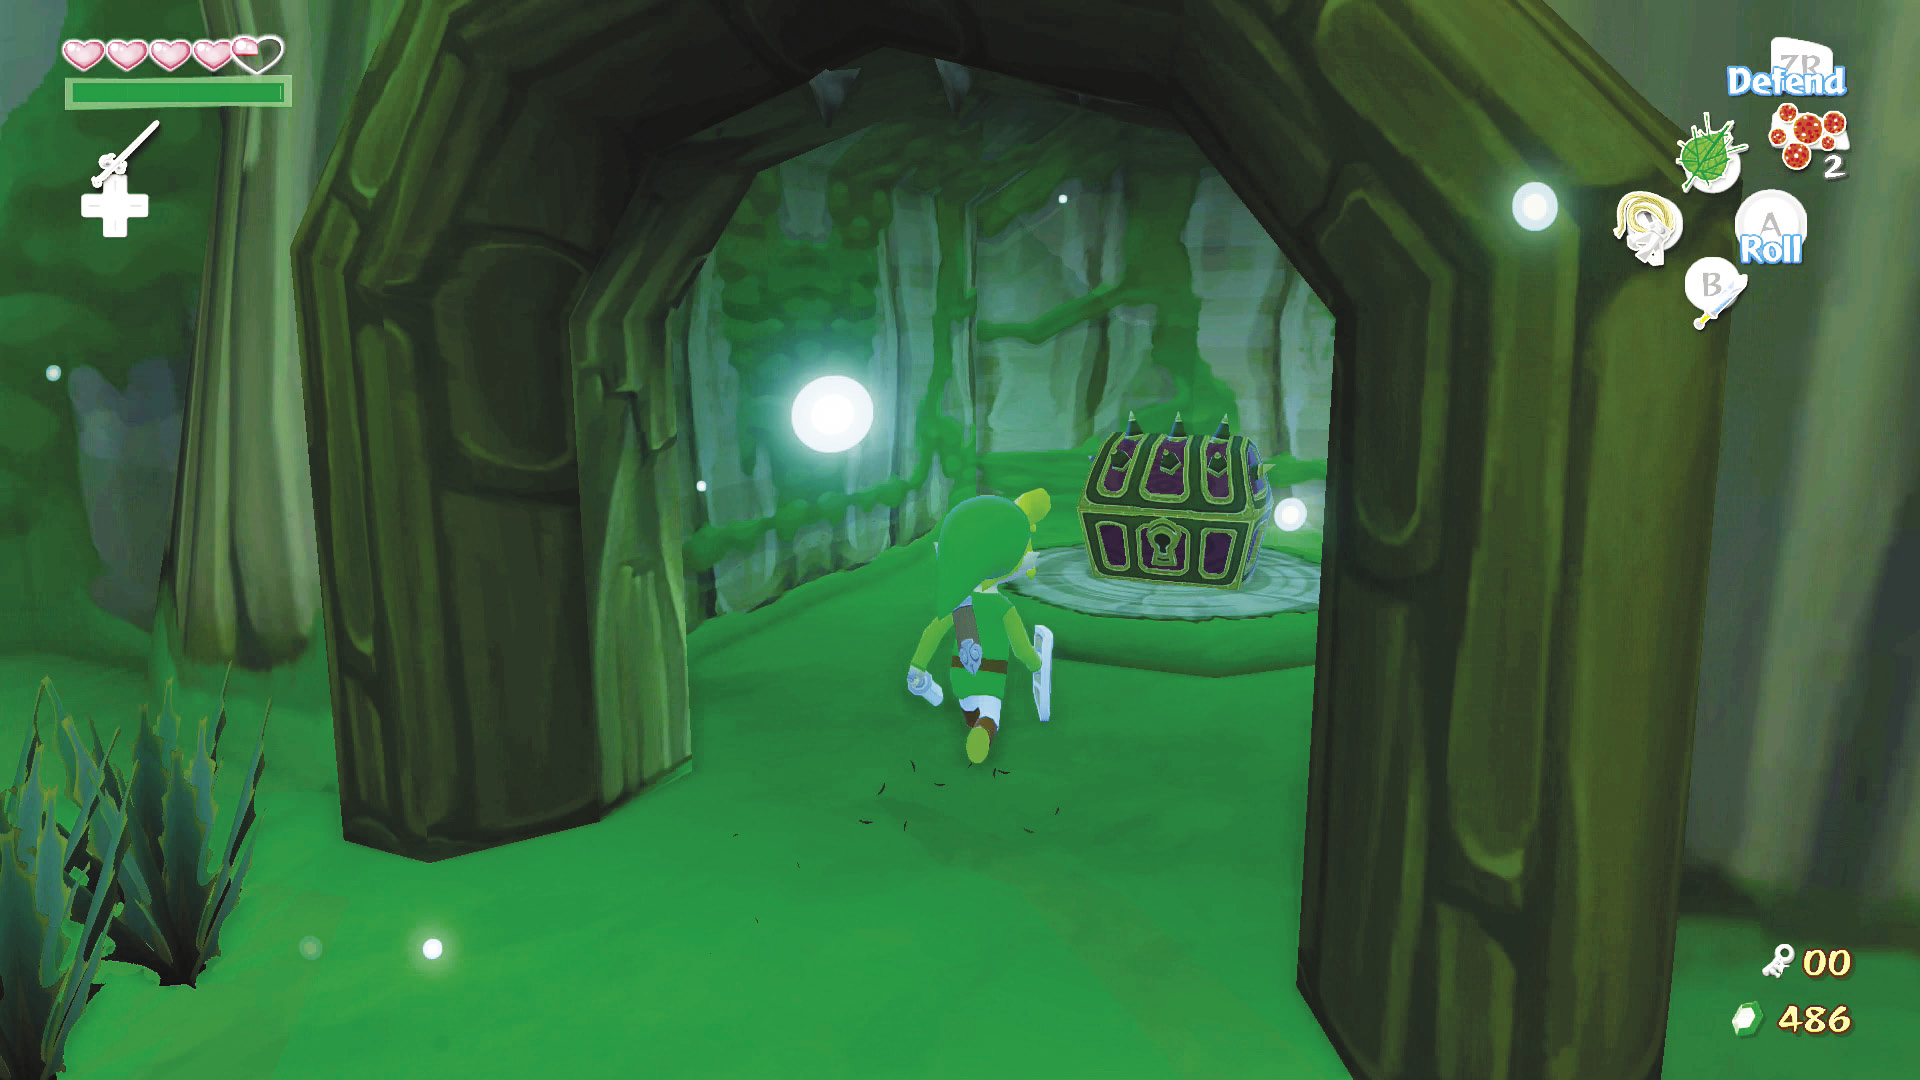
As soon as you walk through the last room’s north door, it’ll slam shut and lock behind you. To get the treasure chest in the room’s northwestern corner and leave through the door you entered from, you’ll have to dispatch a Winged Mothula.
Enemy: Winged Mothula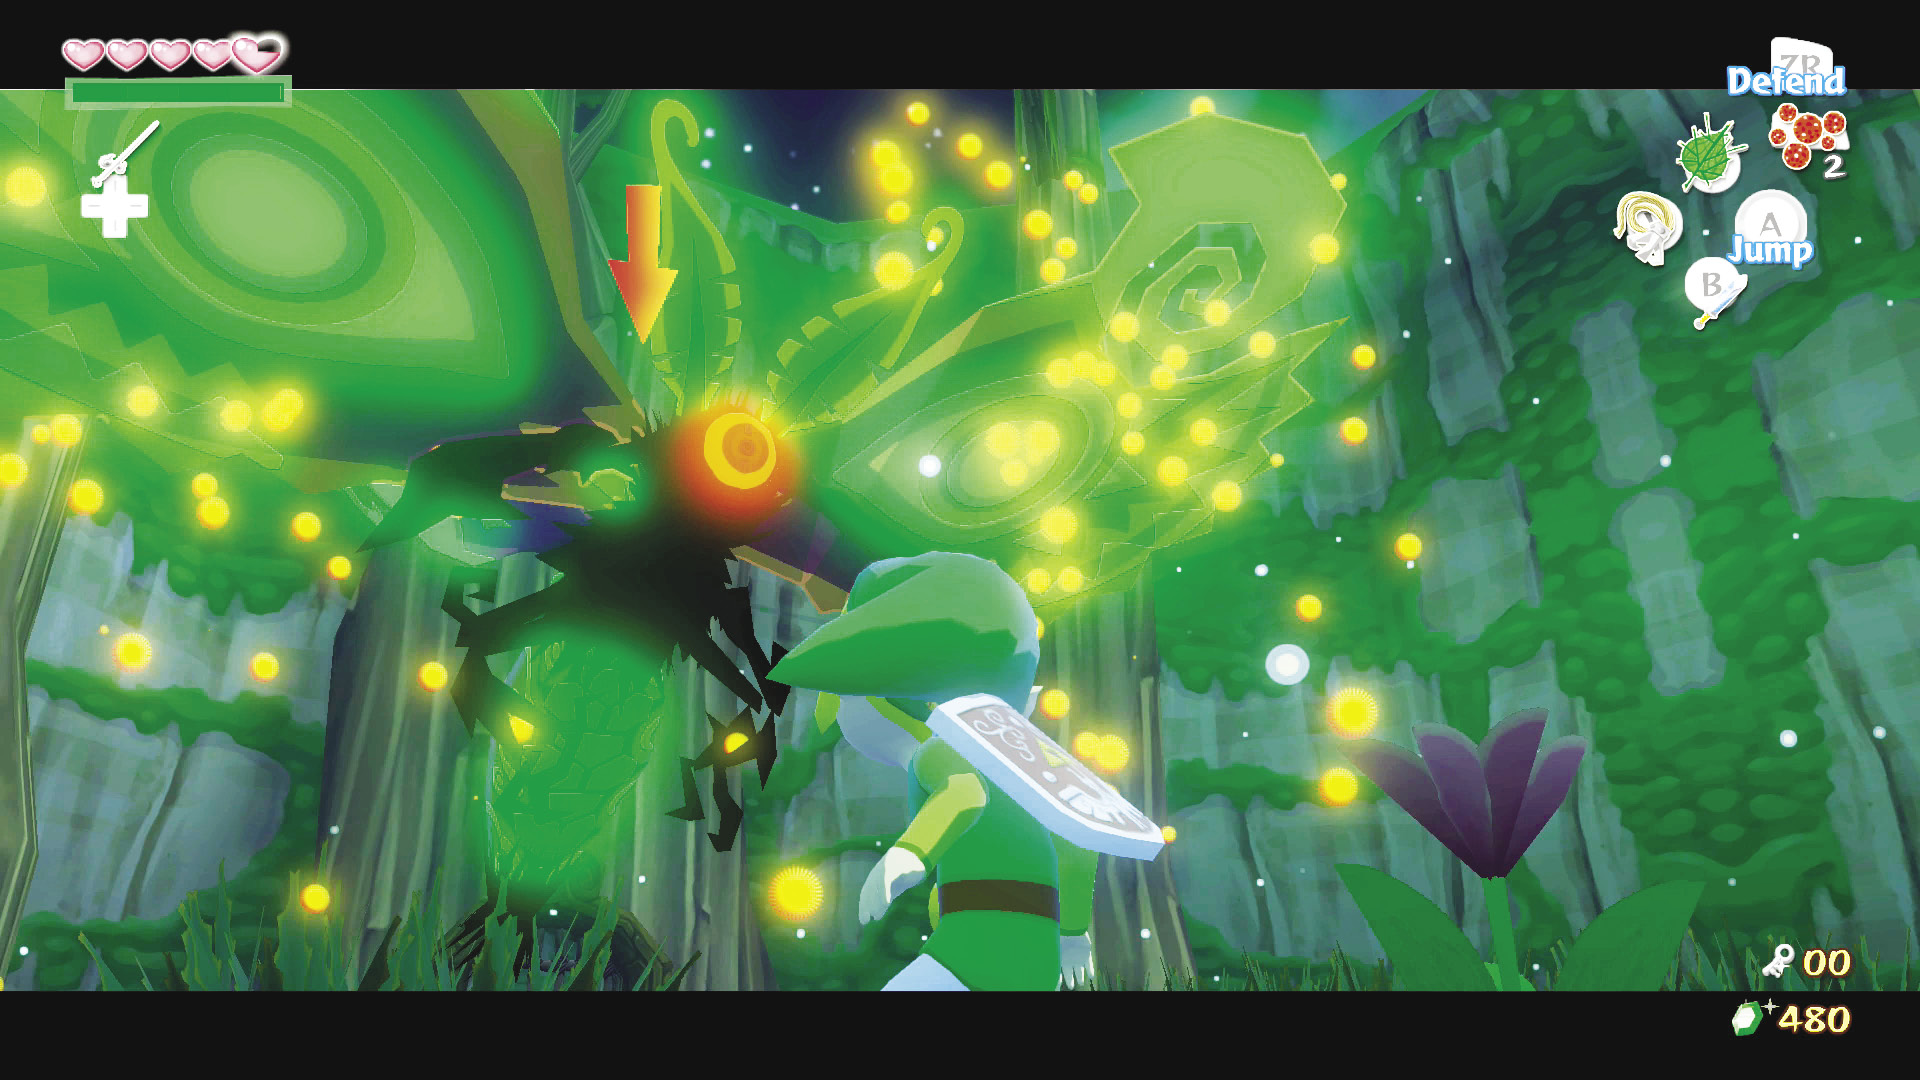 Winged Mothulas are a good deal more aggressive than their wingless counterparts and can be difficult to hit. They fly around the room and will drop Morths out in bursts of four or five. They will use some sort of jet-propulsion system from their abdomen to fly straight at you and ram you. To bring them down, hit them with a blast of wind from your Deku Leaf. This will stop them in their tracks and they’ll begin to slowly fall to the ground before recovering and flying around the room again. Every time you hit them with your sword, they lose a wing. Cut off all four wings and they’ll behave exactly like a Wingless Mothula. You can also grab a Golden Feather from it if you use the Grappling Hook while it still has wings. |
Once you’ve defeated the Winged Mothula, the treasure chest in the northwest alcove will be available for plundering. Open the chest and you’ll receive the Boomerang.
|
|
29 |
Boomerang |
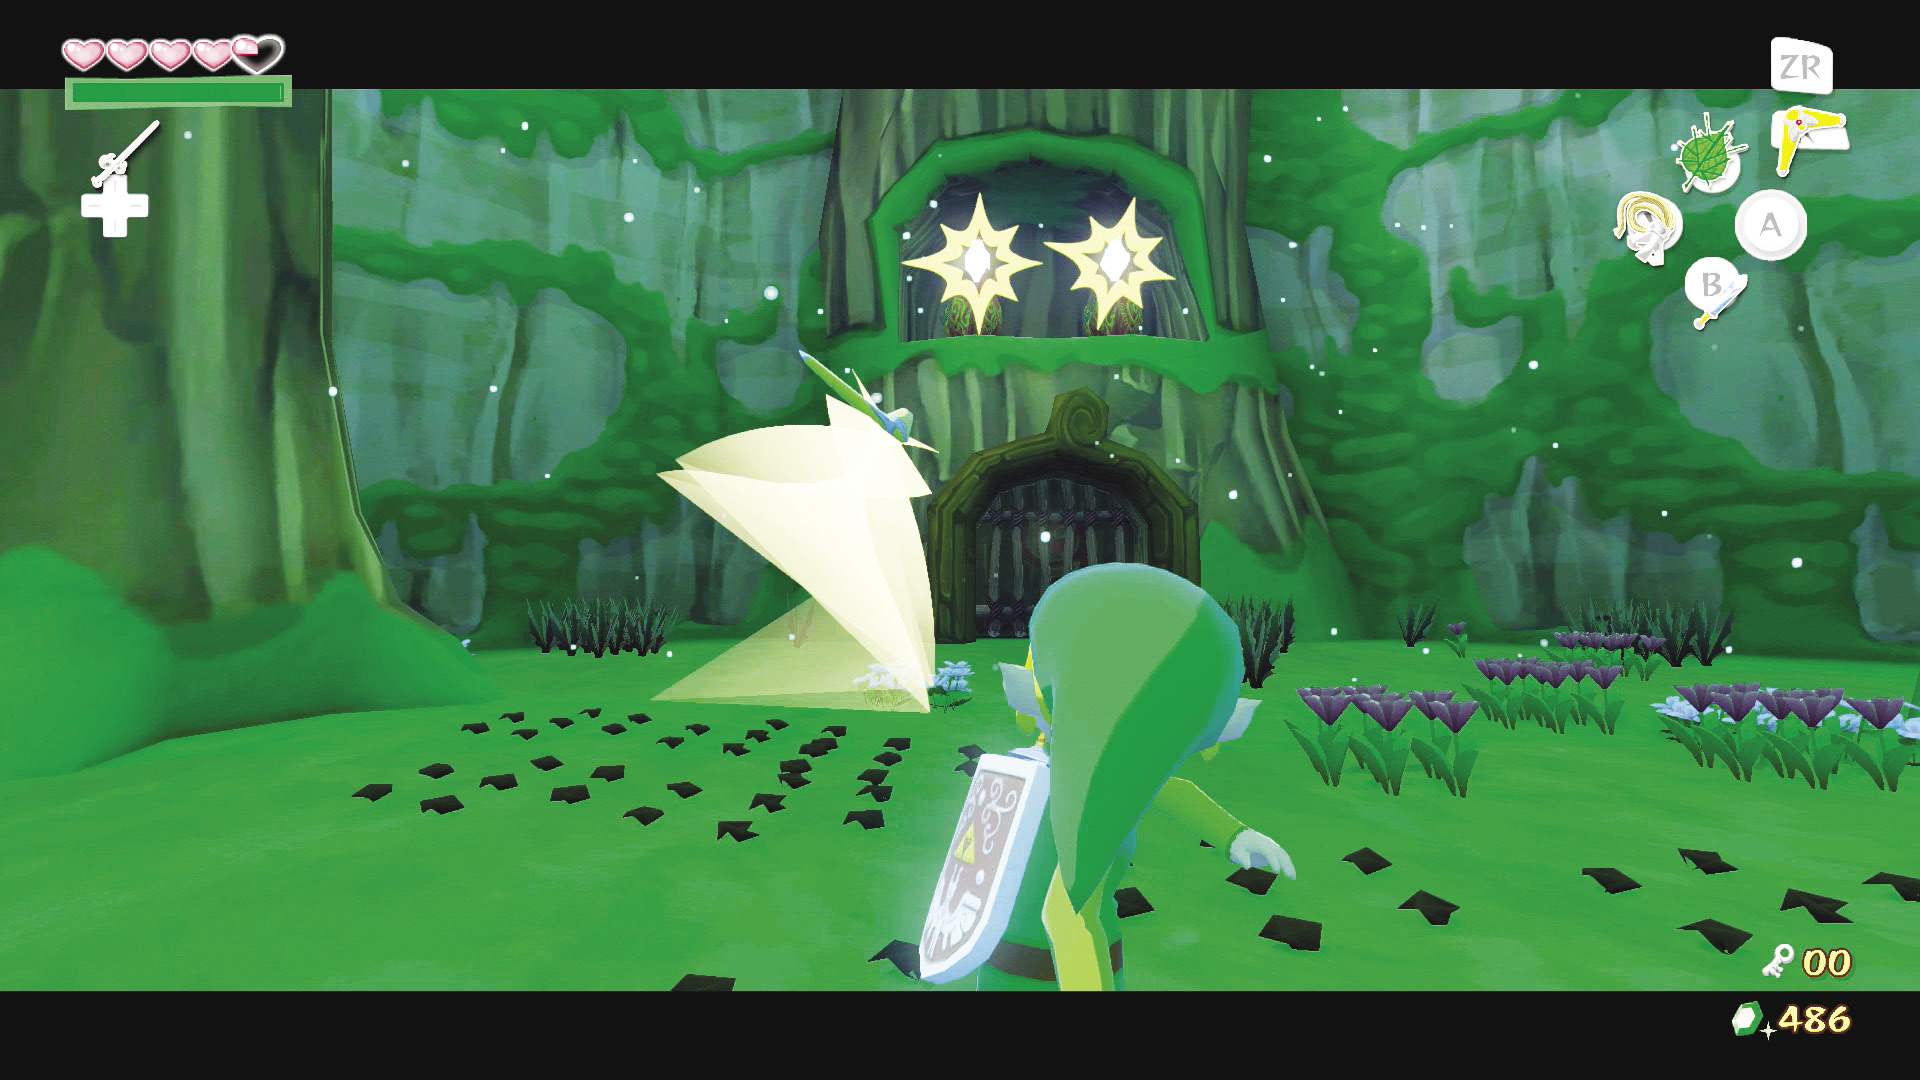
To exit the room, you must hit the two crystals above the door by targeting them with the Boomerang. With both crystals hit, the door will unlock and you’ll be free to exit the room.
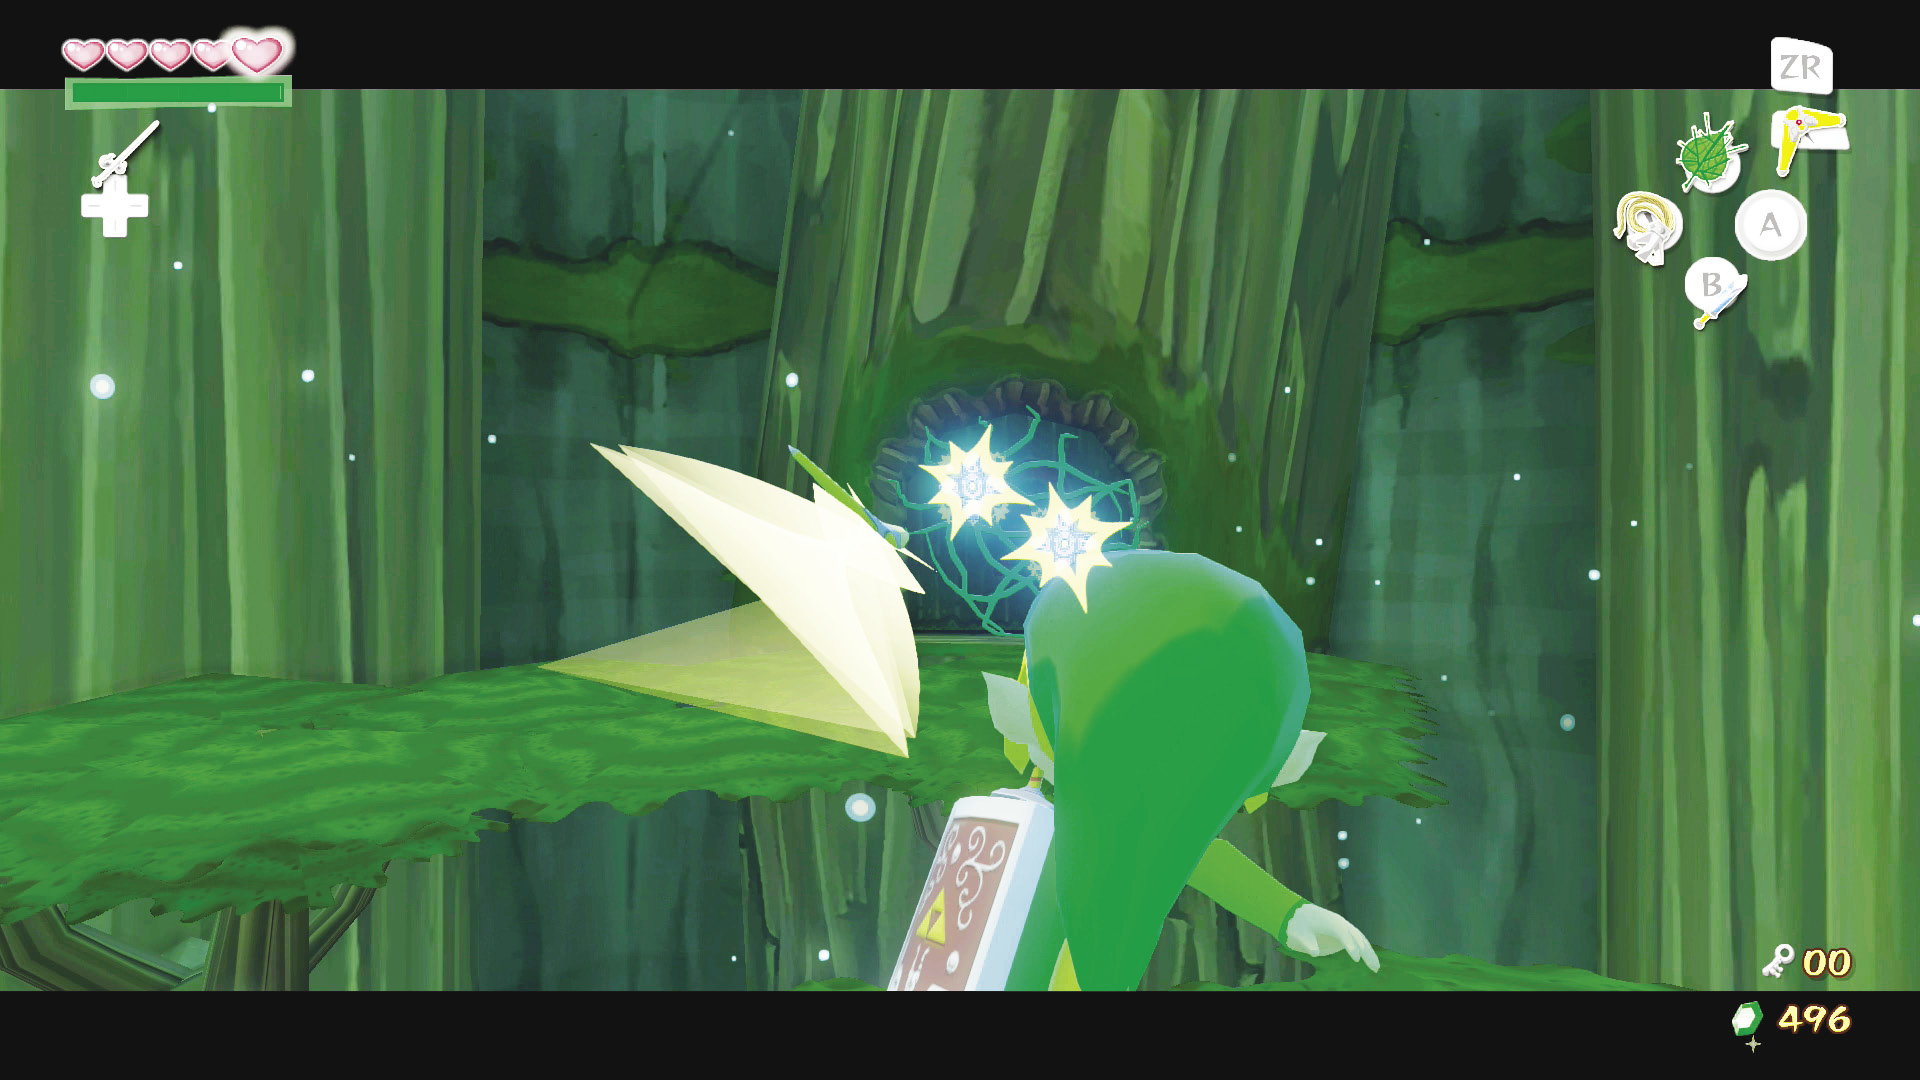
Head to the room’s south side and target both of the one-eyed flowers with the Boomerang, then let the Boomerang loose to take them out and open the door. Now head on through.
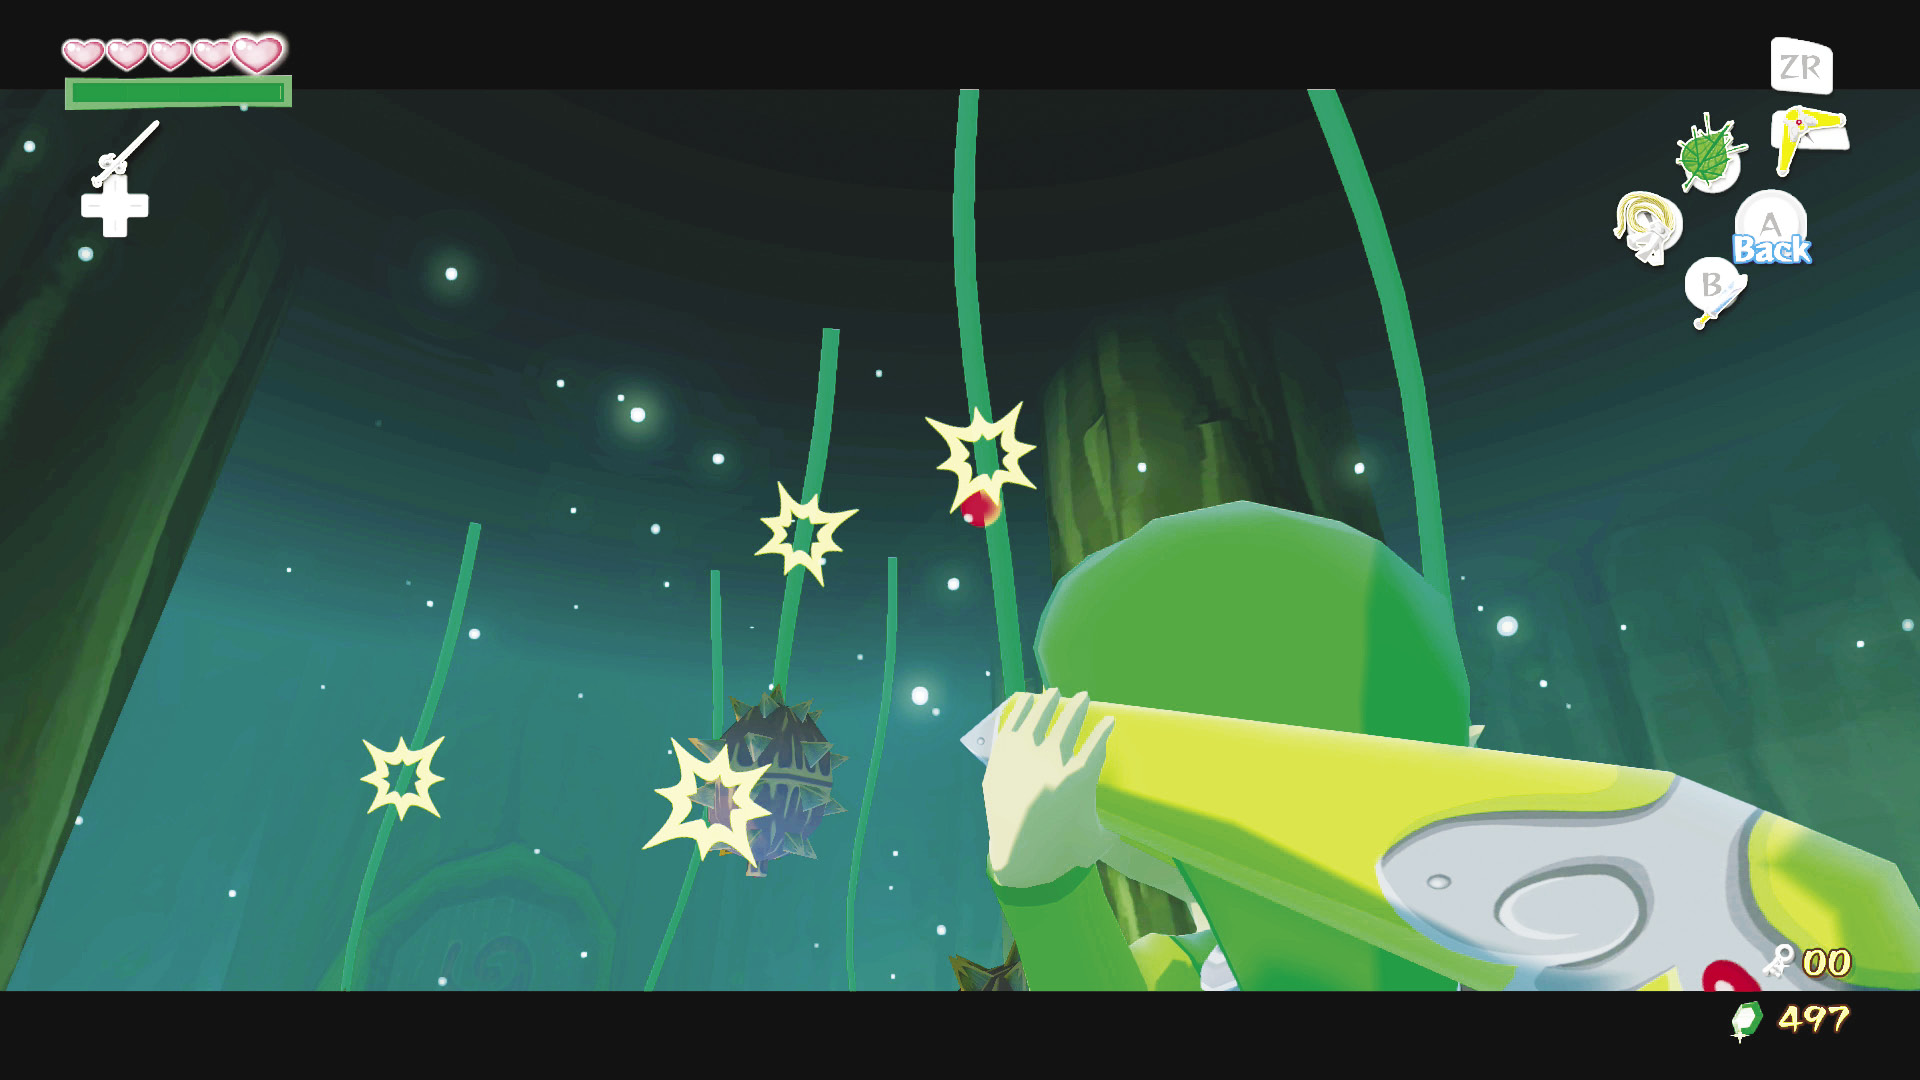
To cross the large chasm in this room to the south platform, you’ll need to use your Boomerang to cut down the pinecone-like objects hanging from the ceiling. Once you’ve cleared a path straight to the room’s south side, pull out your Deku Leaf, hop off the platform you’re currently on, and glide across the chasm. Open the chest to the left of the south door to get a Joy Pendant.
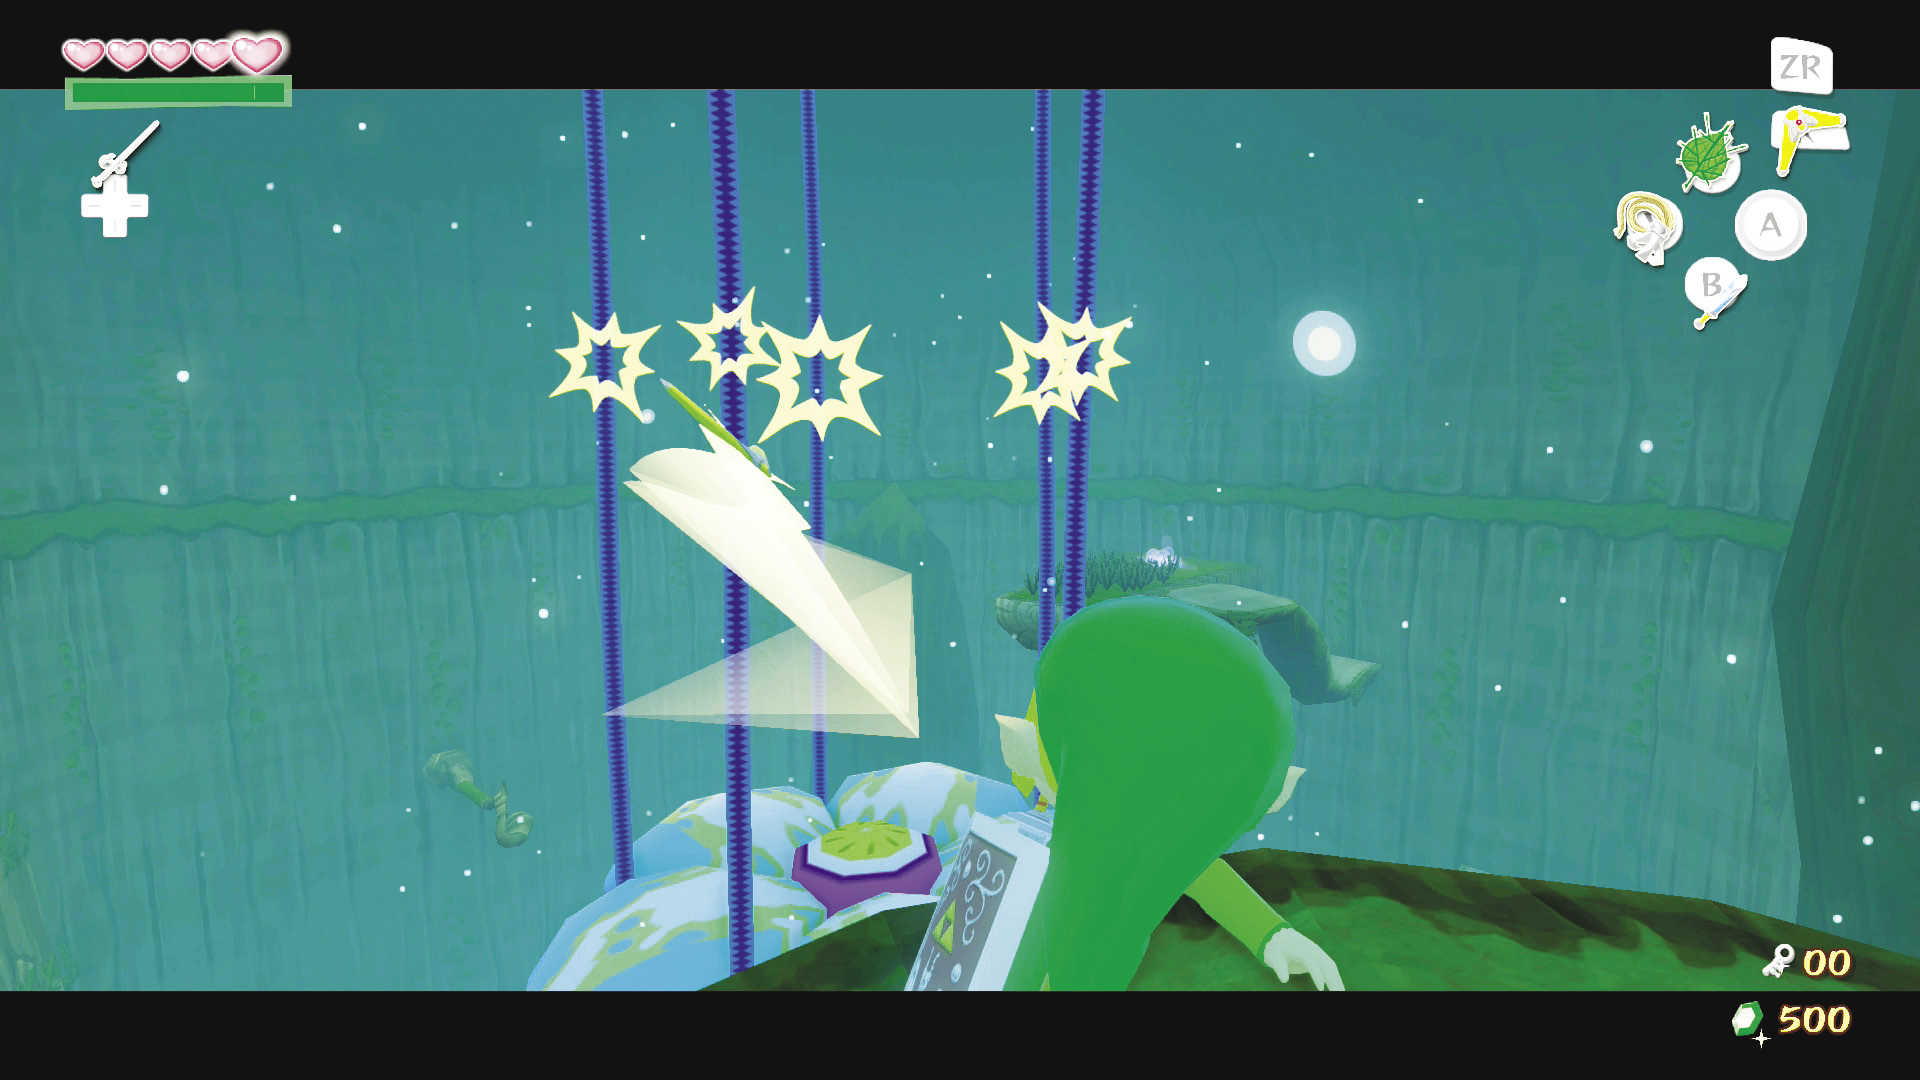
After heading through the south door in the previous room, you’ll end up in the large room with the large flower hanging from the ceiling. Use your Boomerang to cut the five blue vines attaching the flower to the ceiling. It drops through the floor below, giving you access to the basement floor. Jump down into the newly created hole and use your Deku Leaf to break your fall.
Basement Floor
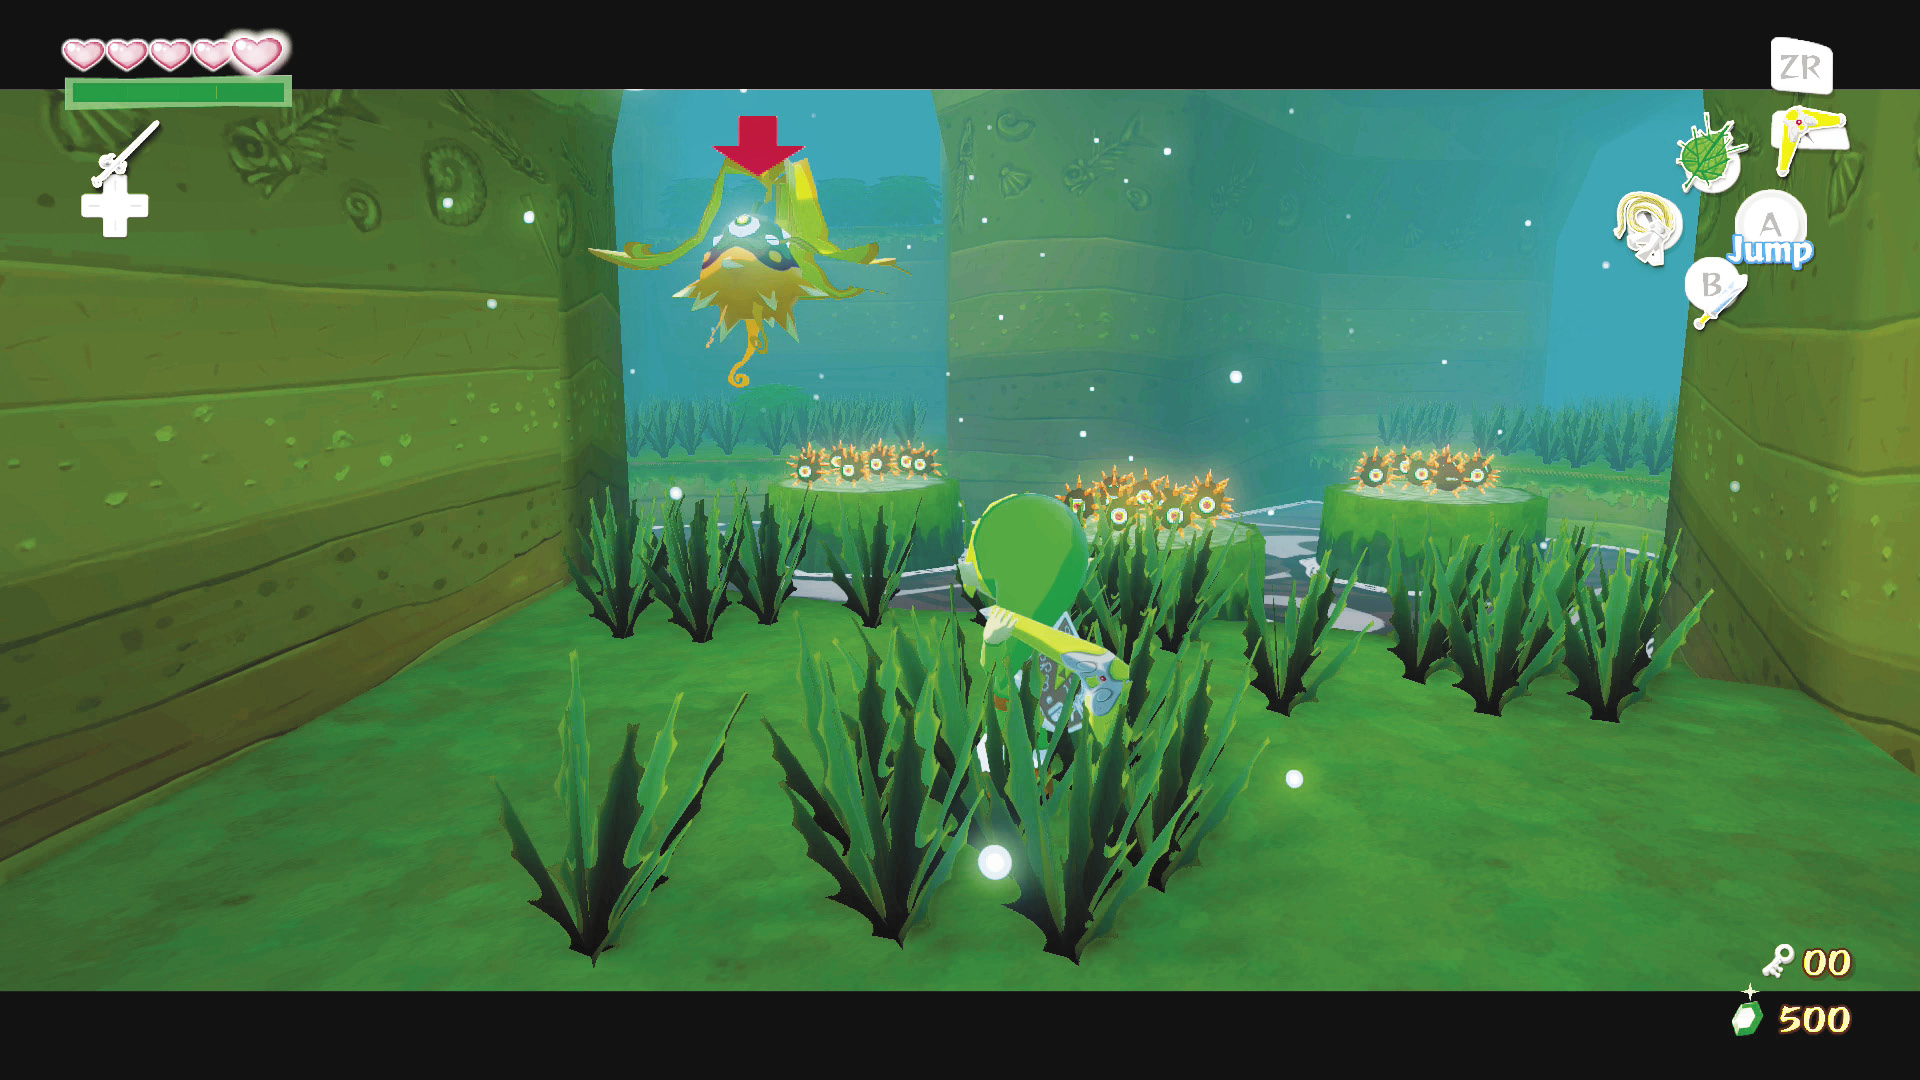
Ahead of you are platforms covered in Morths and a Peahat flying around the room. Use your Boomerang to dispatch all enemies and then head to the room’s north side. You’ll have to deal with several Green ChuChus and a couple of Magic-sapping Dexivines. However, you could just run straight through the door ahead and ignore them altogether, but you will be missing out on Green Chu Jelly. The choice is yours.
Enemy: Dexivines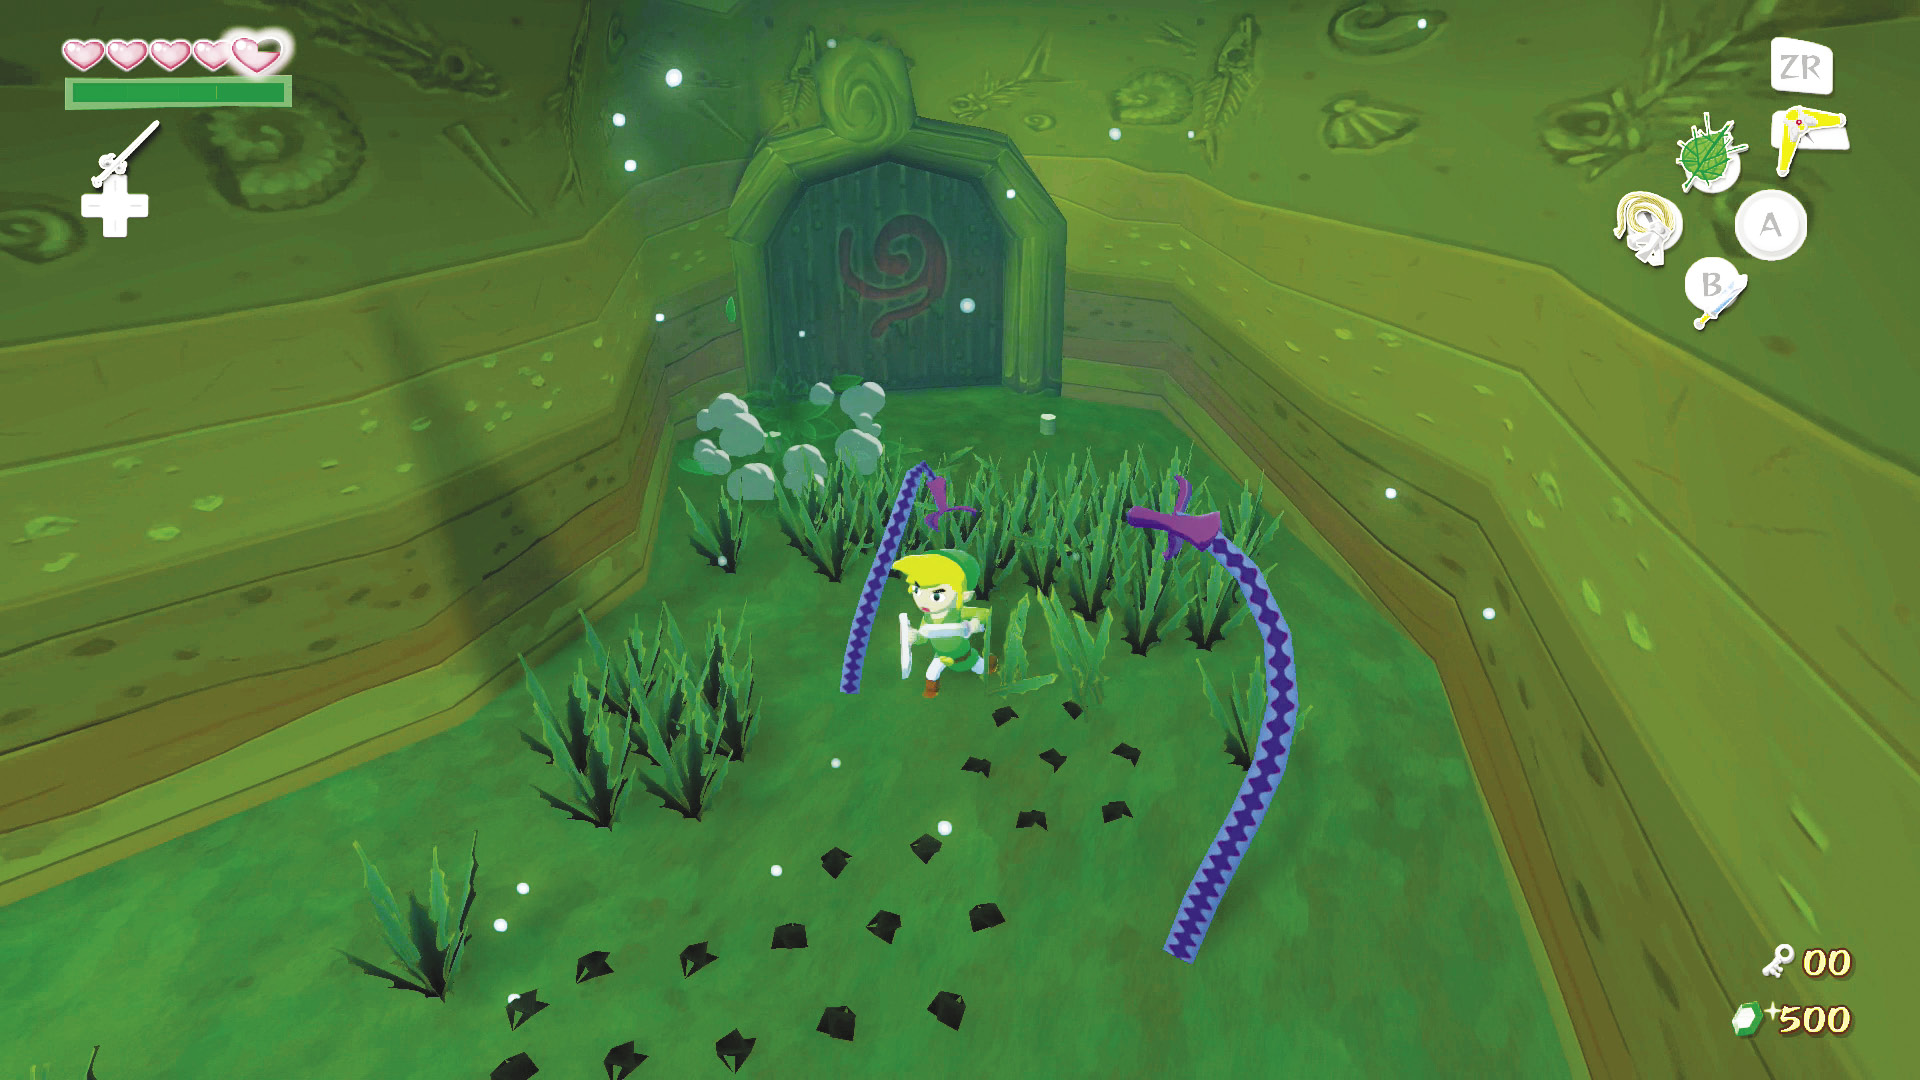 Dexivines are less an enemy and more of an obstacle. Like Morths, they grab on to you and slow your movement. Unlike Morths, however, Dexivines will slowly draw you toward themselves, draining your Magic Bar. A single sword slash of any type will dispatch them, but they’ll just end up sprouting from the ground again moments later. To deal with these volatile vines, do whatever needs to be done in the area they are in and then move along without delay. In other words, cut and run. |
7. Flower Power
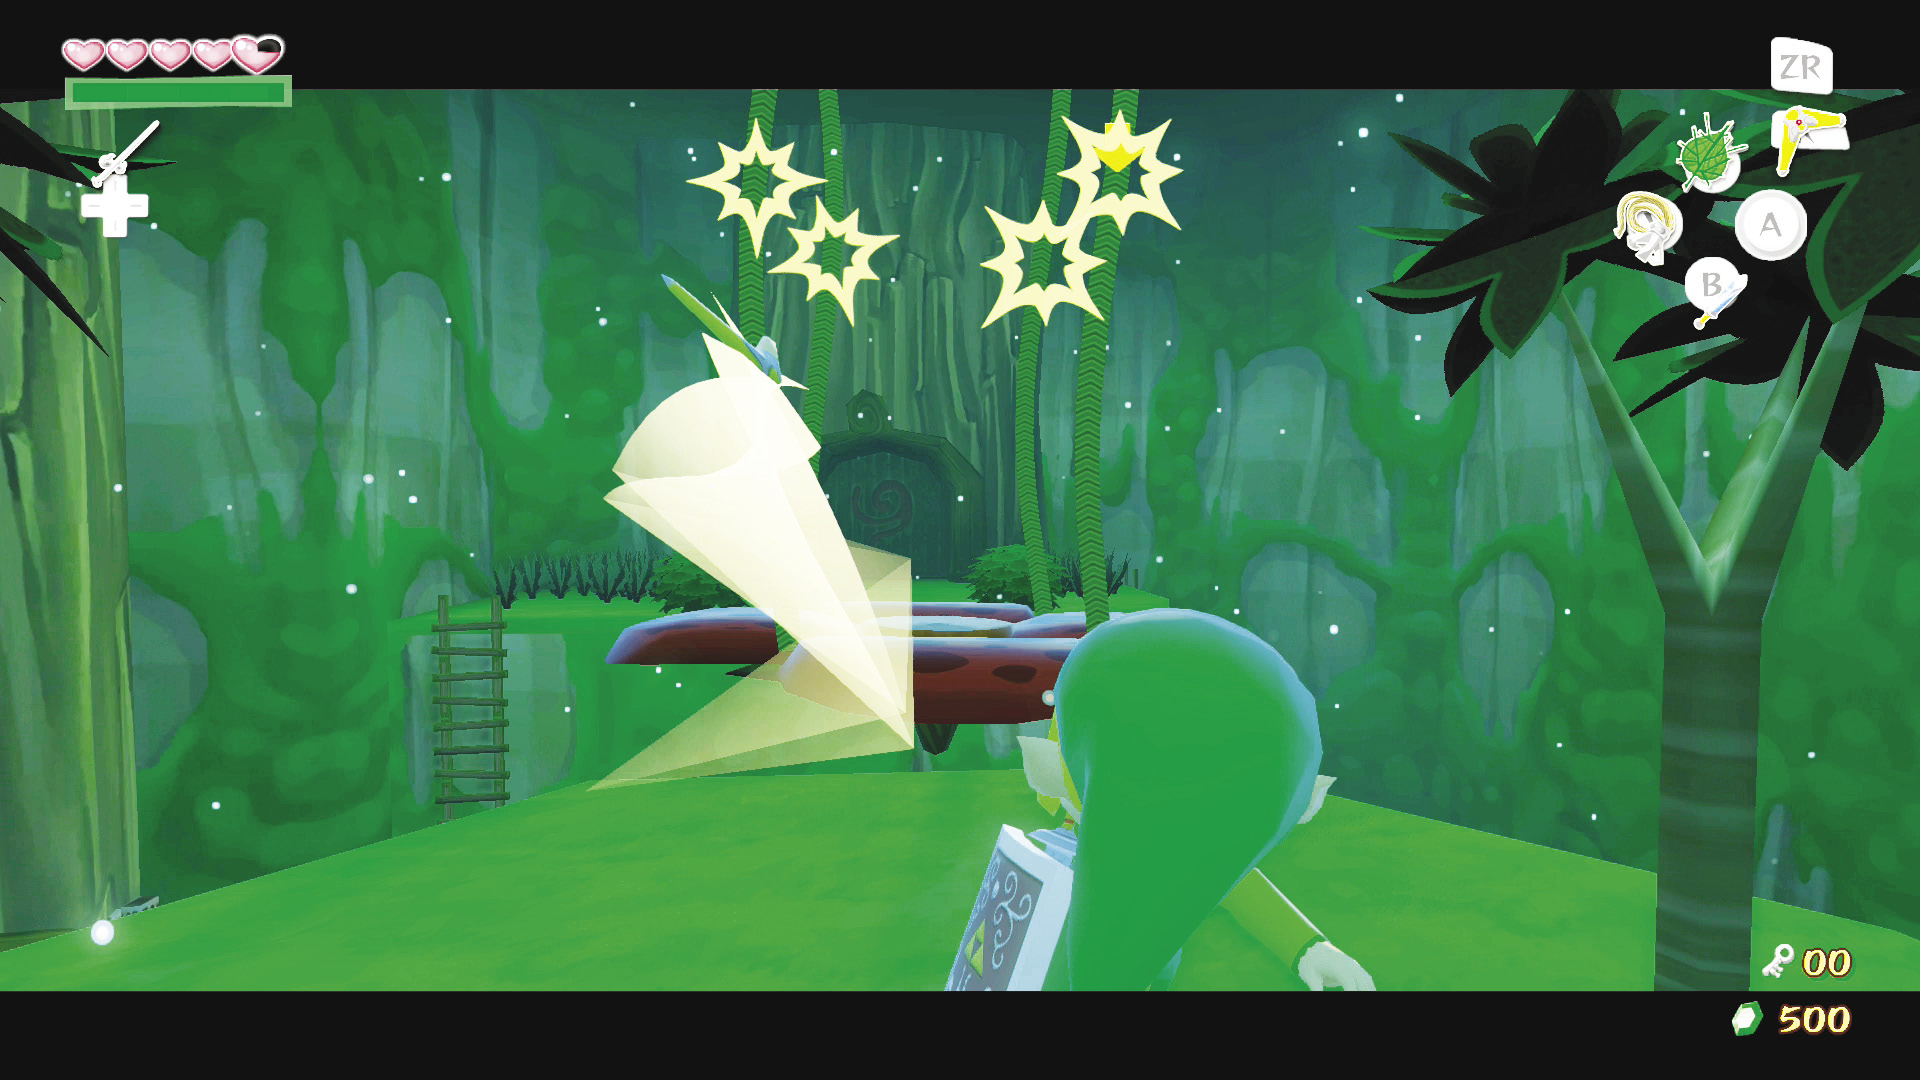
Ahead of you in the next room is another flower hanging from the ceiling. You can jump onto it and then onto the platform ahead to get a Yellow Rupee. When finished, use your Boomerang to cut down the flower from the ceiling, then jump down on top of it. When you land, make sure to immediately face west and hold your shield out; there’s a River Octorok that won’t give you time to find your footing once you land on the flower below.
|
|
30 |
Treasure Chart #1 |

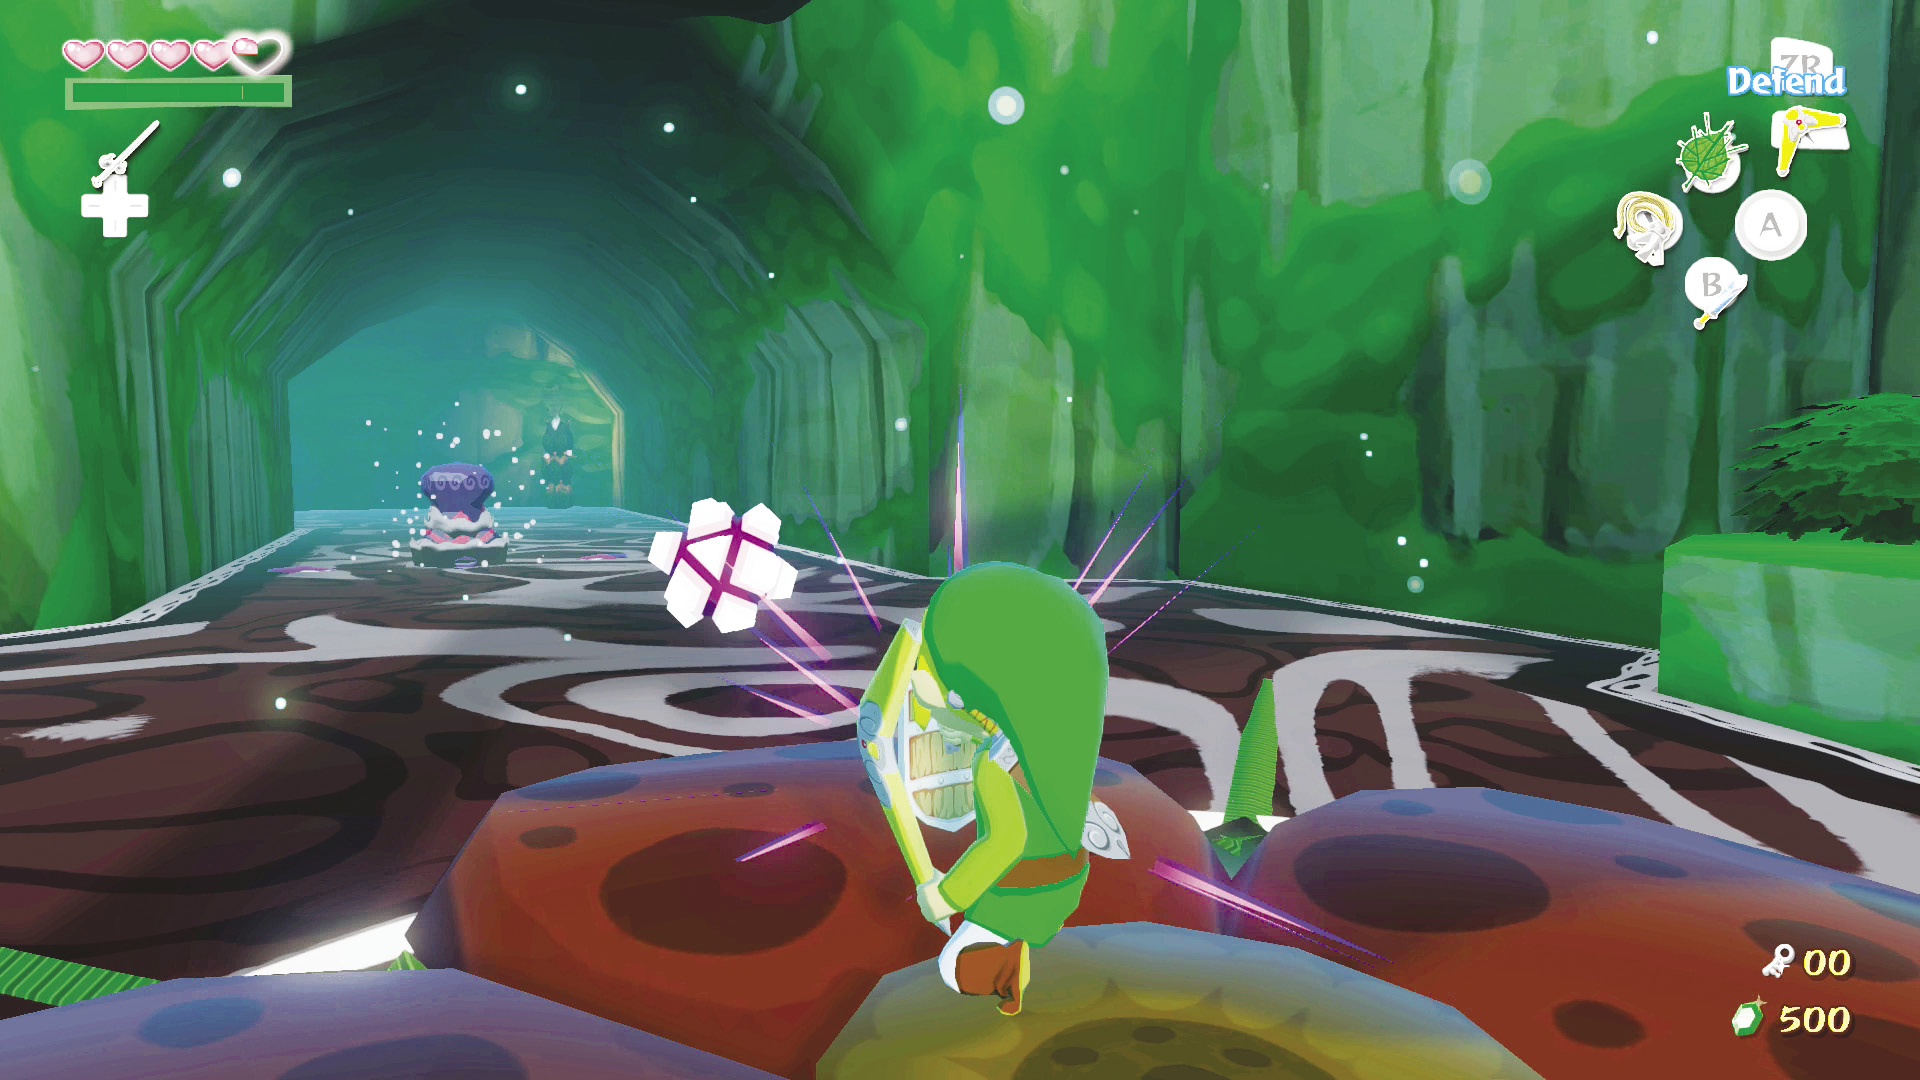
After defeating the River Octorok, use the Deku Leaf to propel yourself west through the hallway. As you reach the point where the hallway turns south, pull out your shield and get ready to deflect attacks from two River Octoroks that’ll be blocking your path. After defeating the Octoroks, blow gusts of wind to the north to propel yourself to the room’s south side.
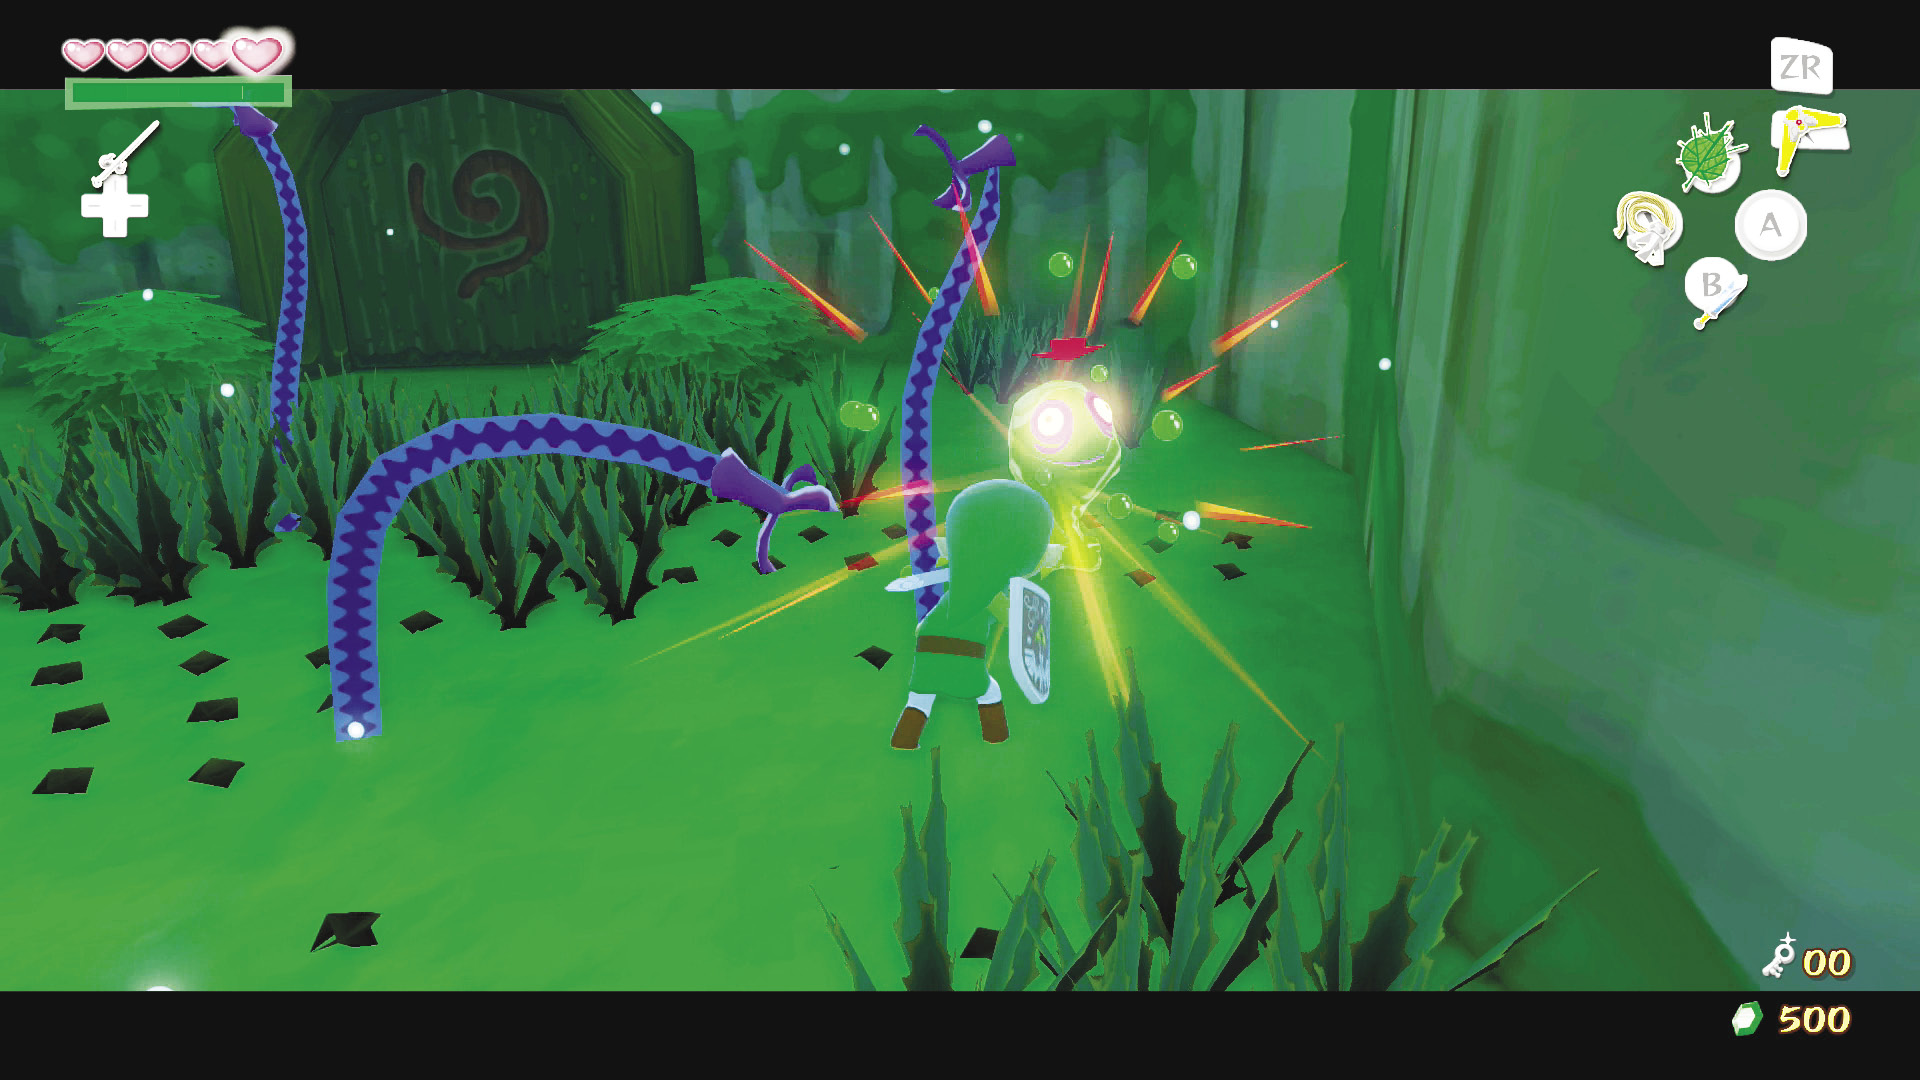
Hop off the flower, avoid or defeat the Chu Chus, watch out for the Dexivines, then head through the door ahead.
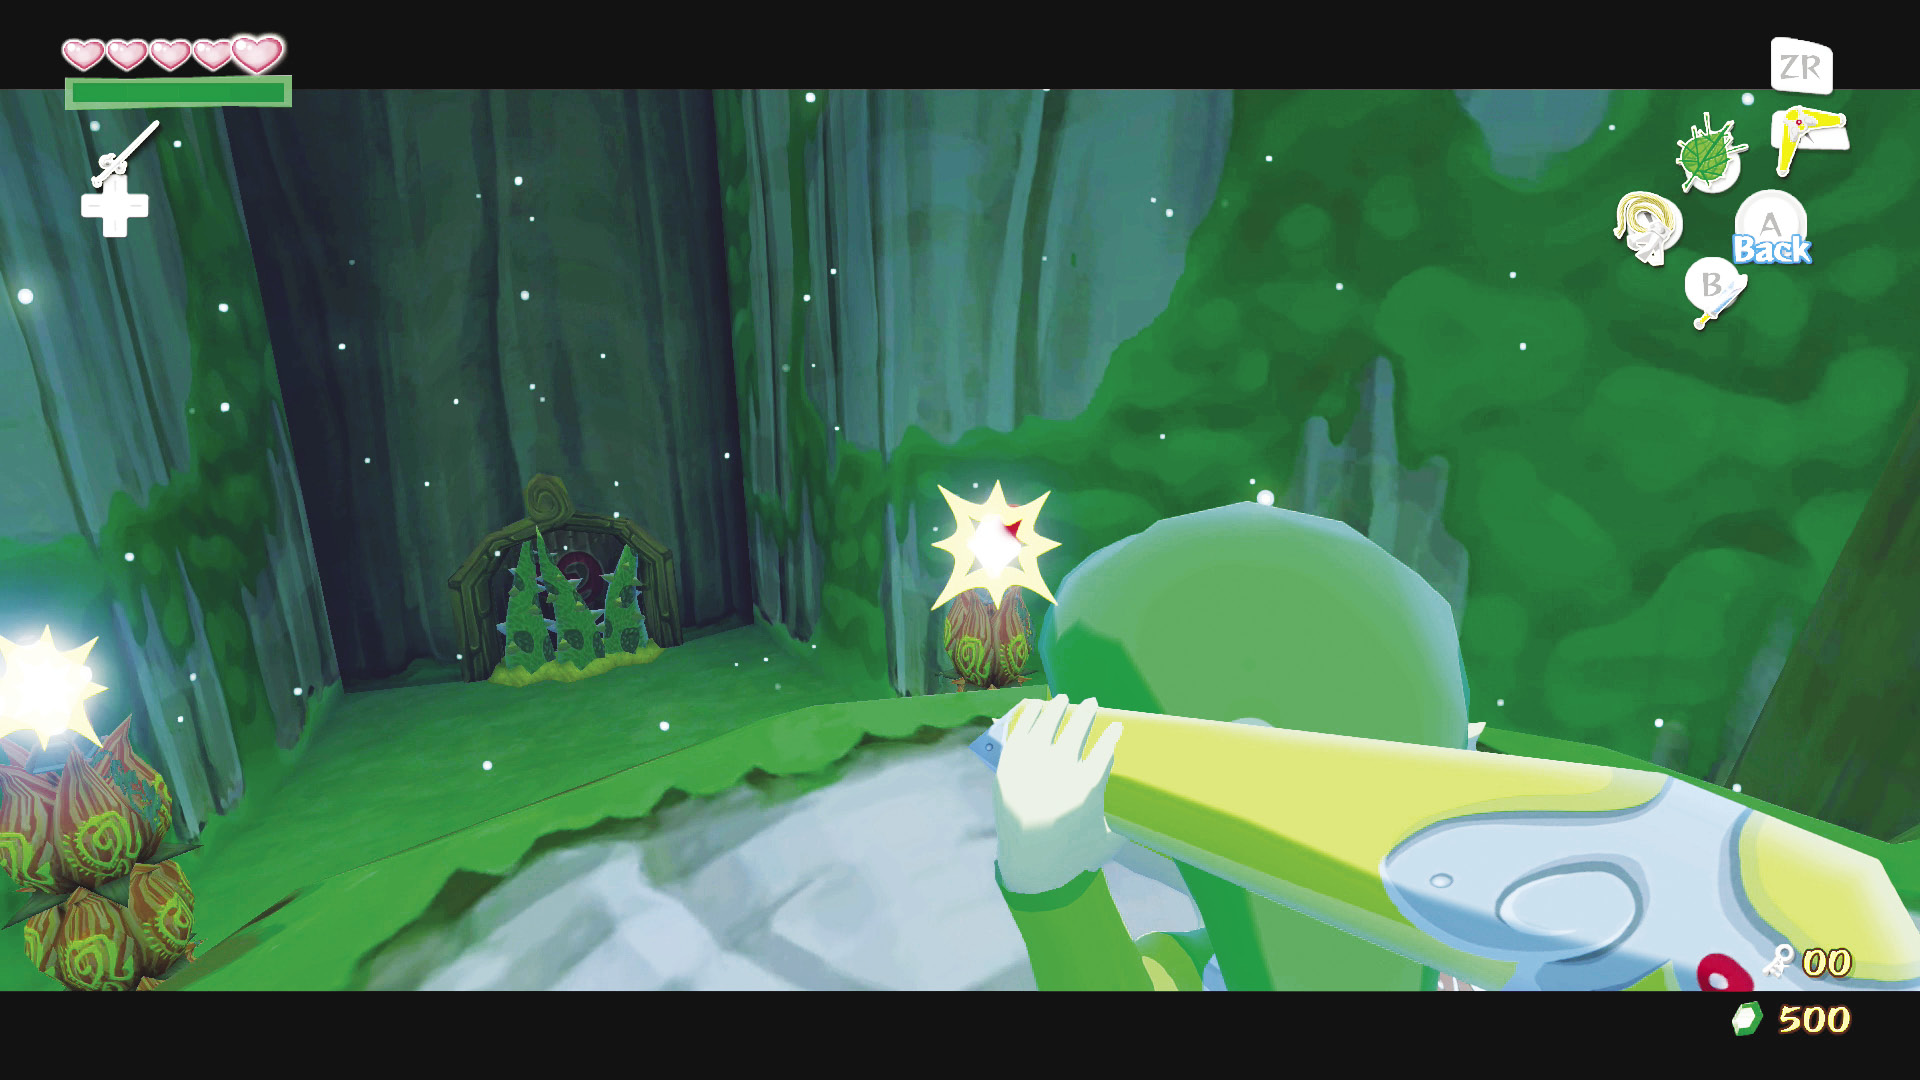
As soon as you enter the room, those venomous vines block the door behind you. To get out, you’ll need to get to the chest in the center of the room. Head to the top of the large tree stump in the middle of the room then use your Boomerang to target the five crystals surrounding the stump and then let it fly. If your Boomerang hits all of the crystals in one throw, the gate at the base of the stump will open. Jump down, head into the stump, and open the chest inside to obtain the Big Key.
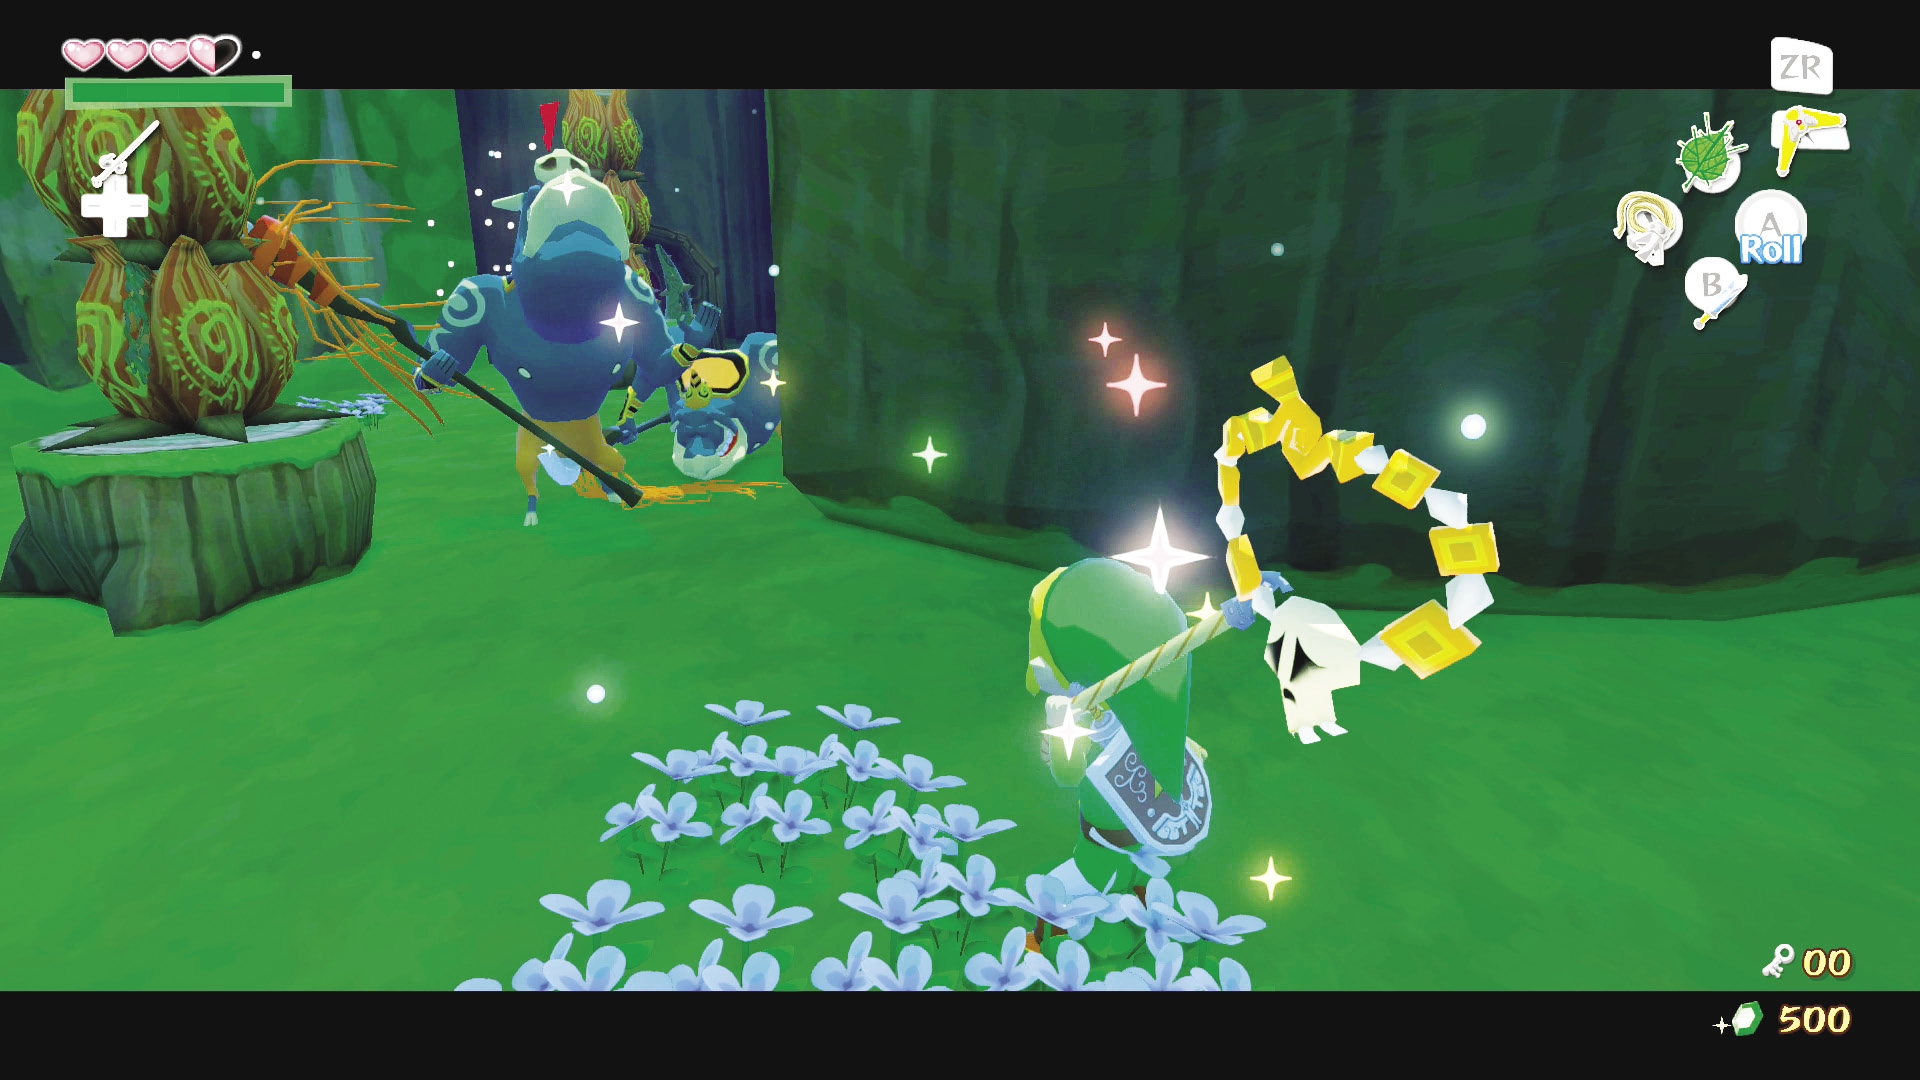
After you grab the Big Key, a couple of Moblins will be air-dropped into the room by Kargorocs. Yank the Skull Necklaces from around their necks with the Grappling Hook, then defeat them to unlock the door on the room’s east side (above the tree stump). Directly above the eastern door is a post perfect for grappling. Swing to the door, then head on through.
8. Let’s Find Makar!
You are now back in the forked room with the Peahat and the platforms covered in Morths. Hop down the ledge ahead and watch out for the Green ChuChus that pop up. Use your Boomerang or your Deku Leaf to clear the Morths off the platforms ahead, and then exit the room through the eastern door.
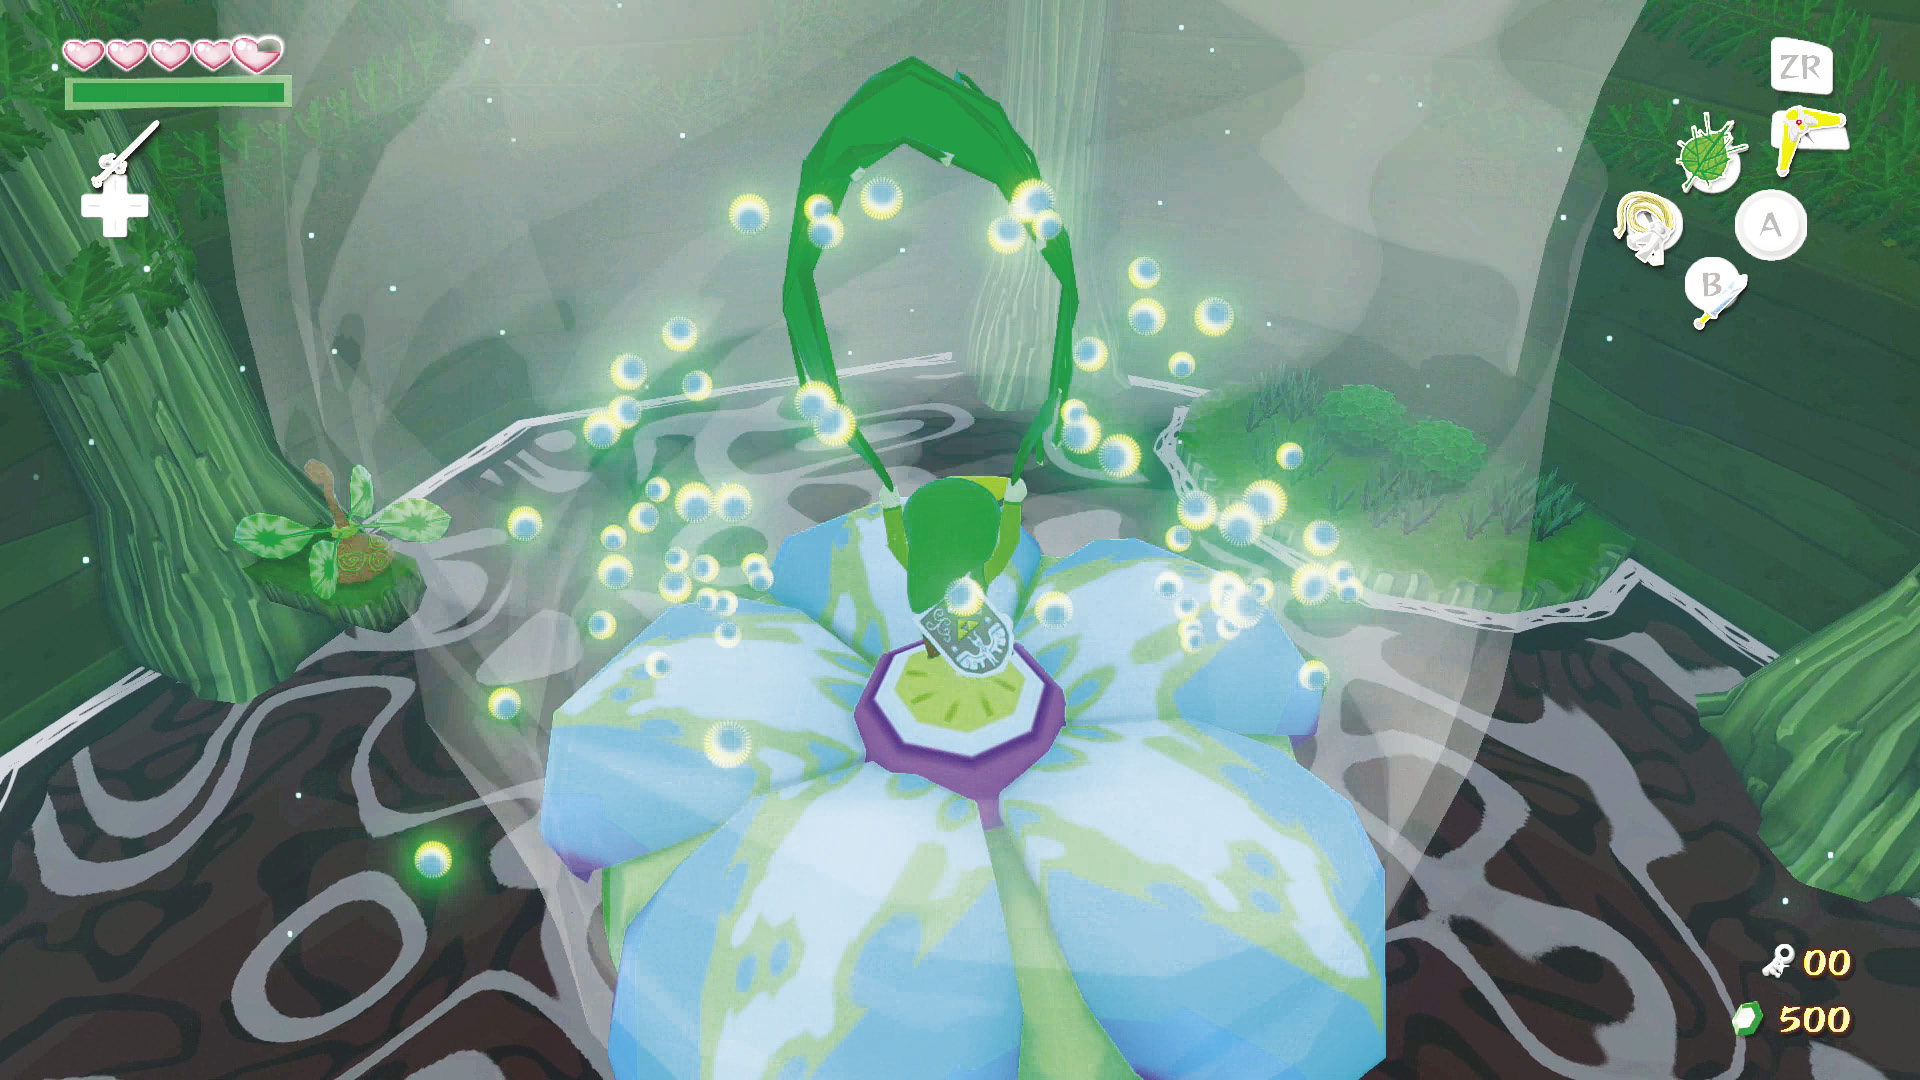
Activate the pinwheel on the room’s north side by using the Deku Leaf to create a wind vortex on the flower in the room’s middle. Hop into the Baba Bud to the right of the door you just came through. Glide into the vortex and float back up to the second floor.
Second Floor
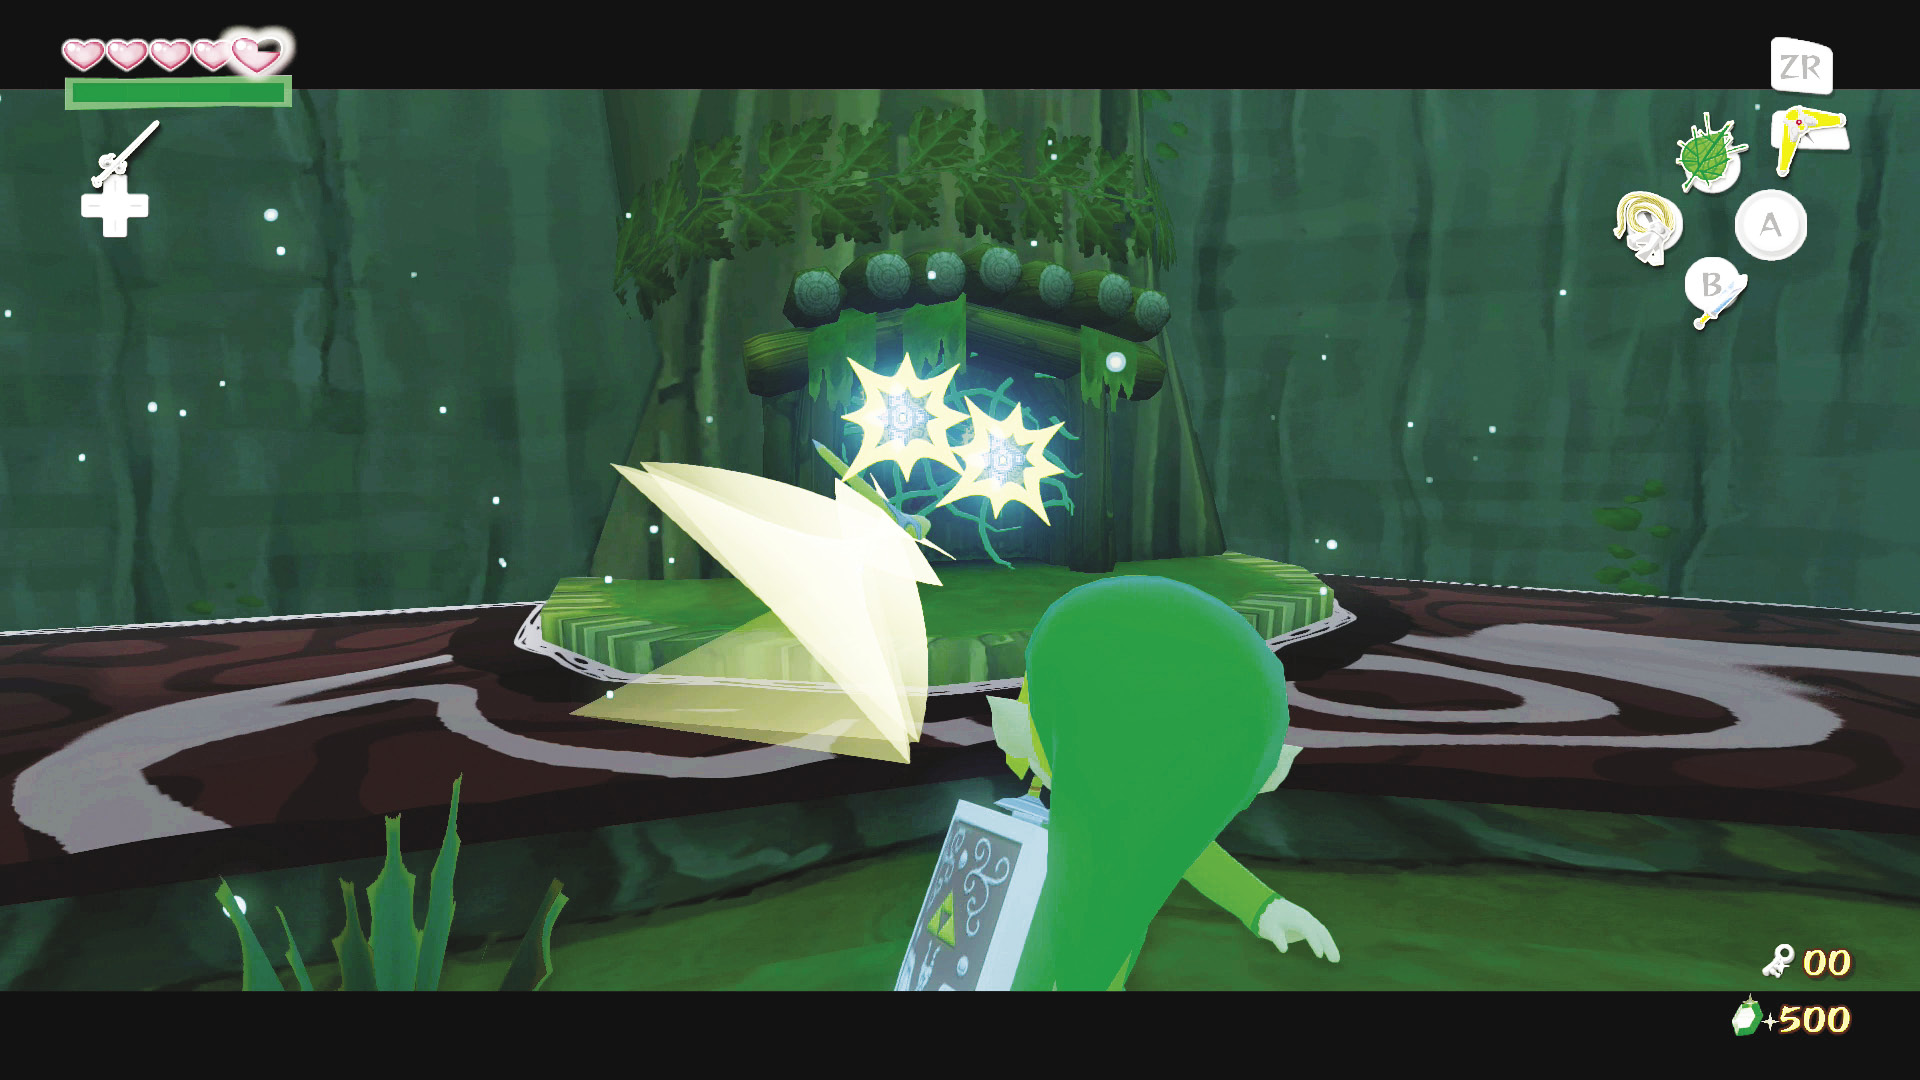
Head to the door on the room’s east side and use your Boomerang to destroy the one-eyed flowers blocking the door, then head on through.
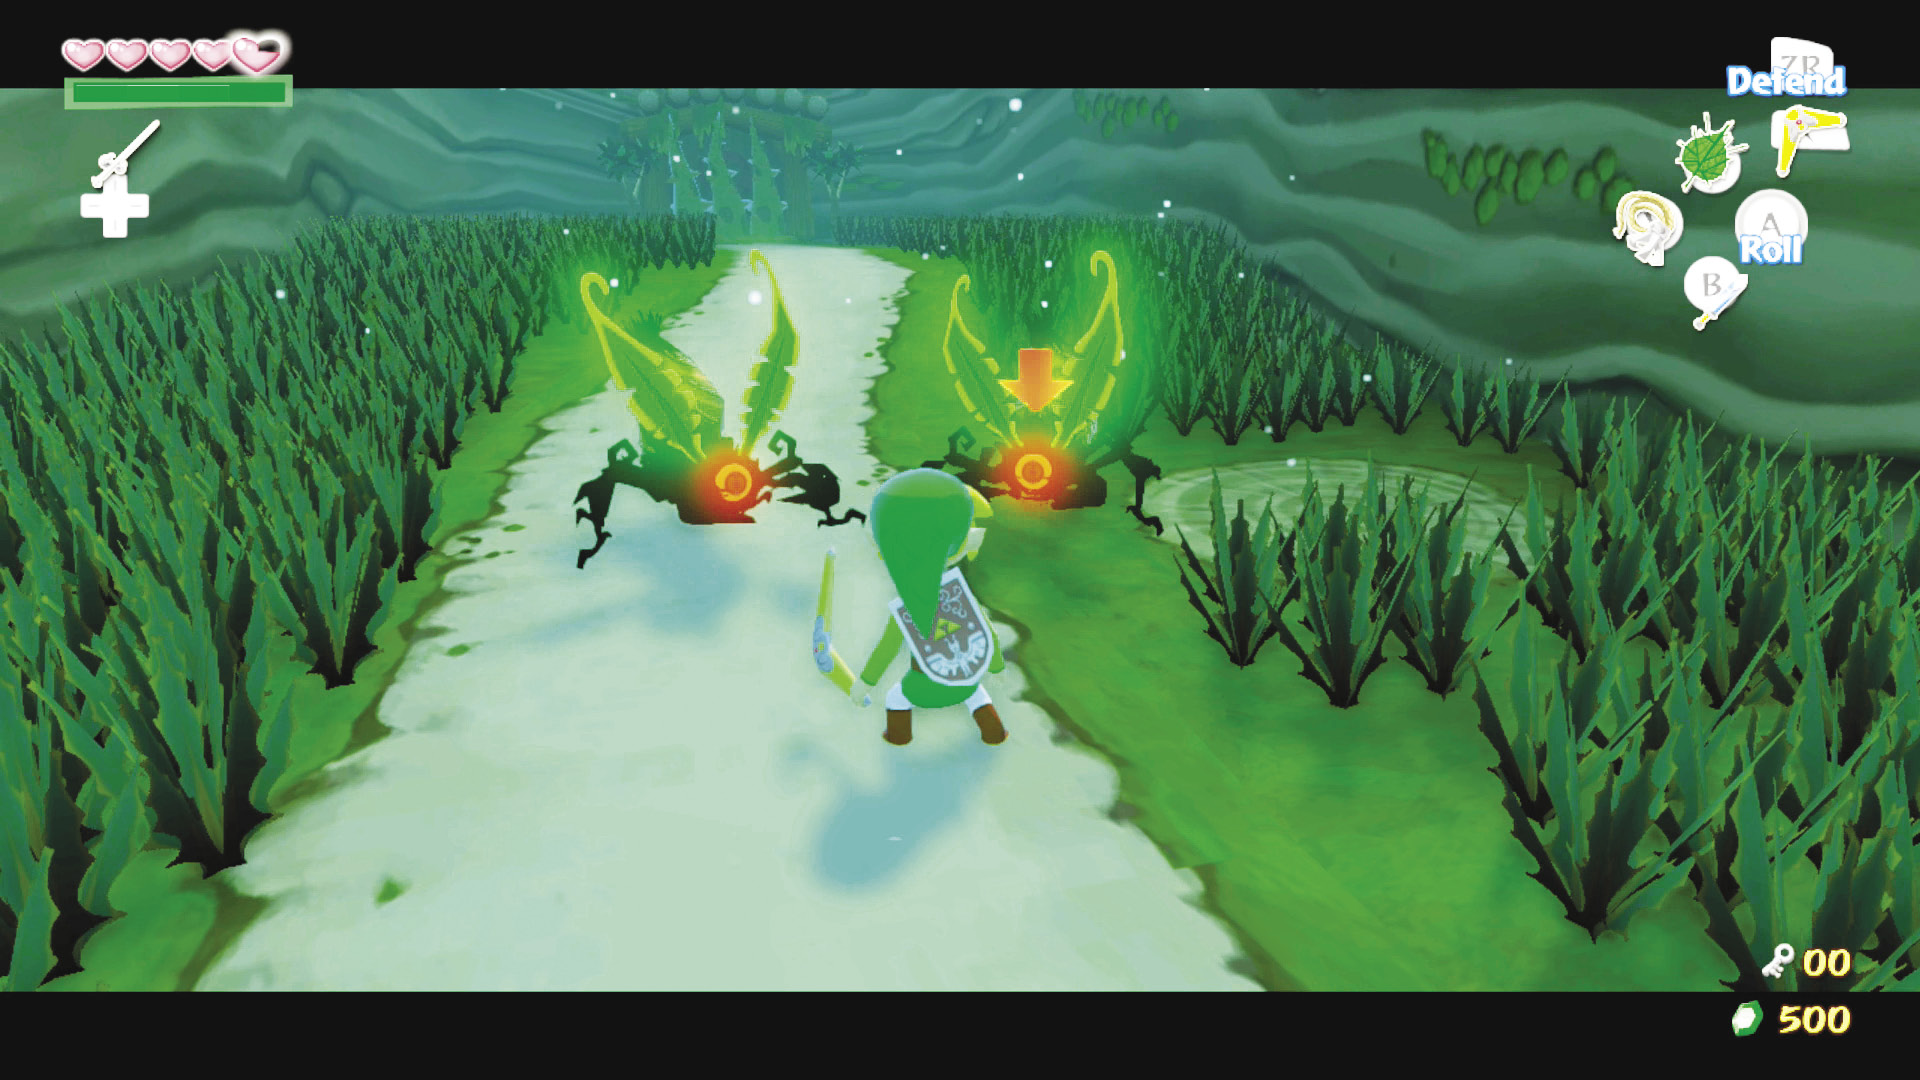
The doors in this next room are blocked off by our favorite spiky vines. To get them to retract, you must defeat the two Wingless Mothulas roaming about. After defeating them, a treasure chest containing a Joy Pendant appears in the room’s center. Grab it, then head through the door on the room’s east side.
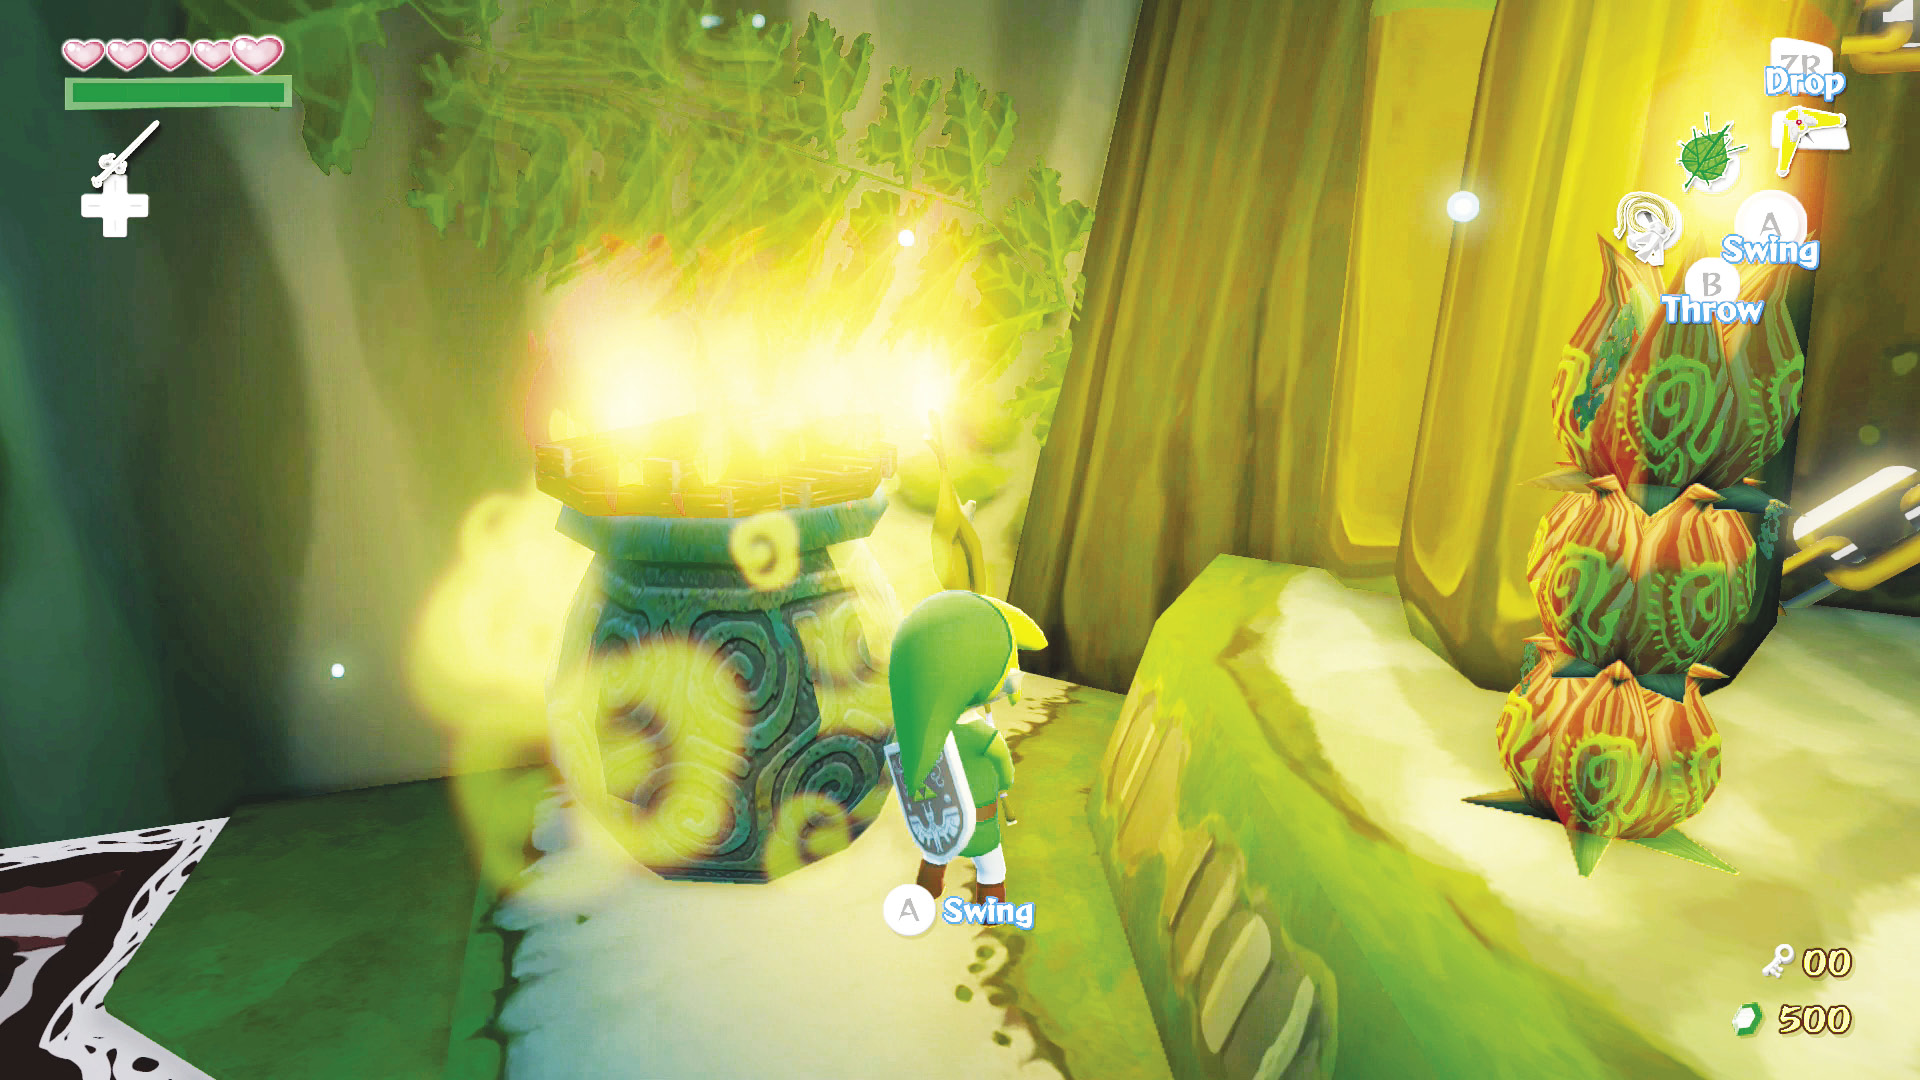
Destroy the pinecones to find restorative items to prepare yourself for battle. Before heading through the boss’s door, open the Yellow Warp Pot with your sword or by burning it with a lit Deku Stick, which can be found to the right of the boss’s door.
|
|
31 |
Treasure Chart #15 |

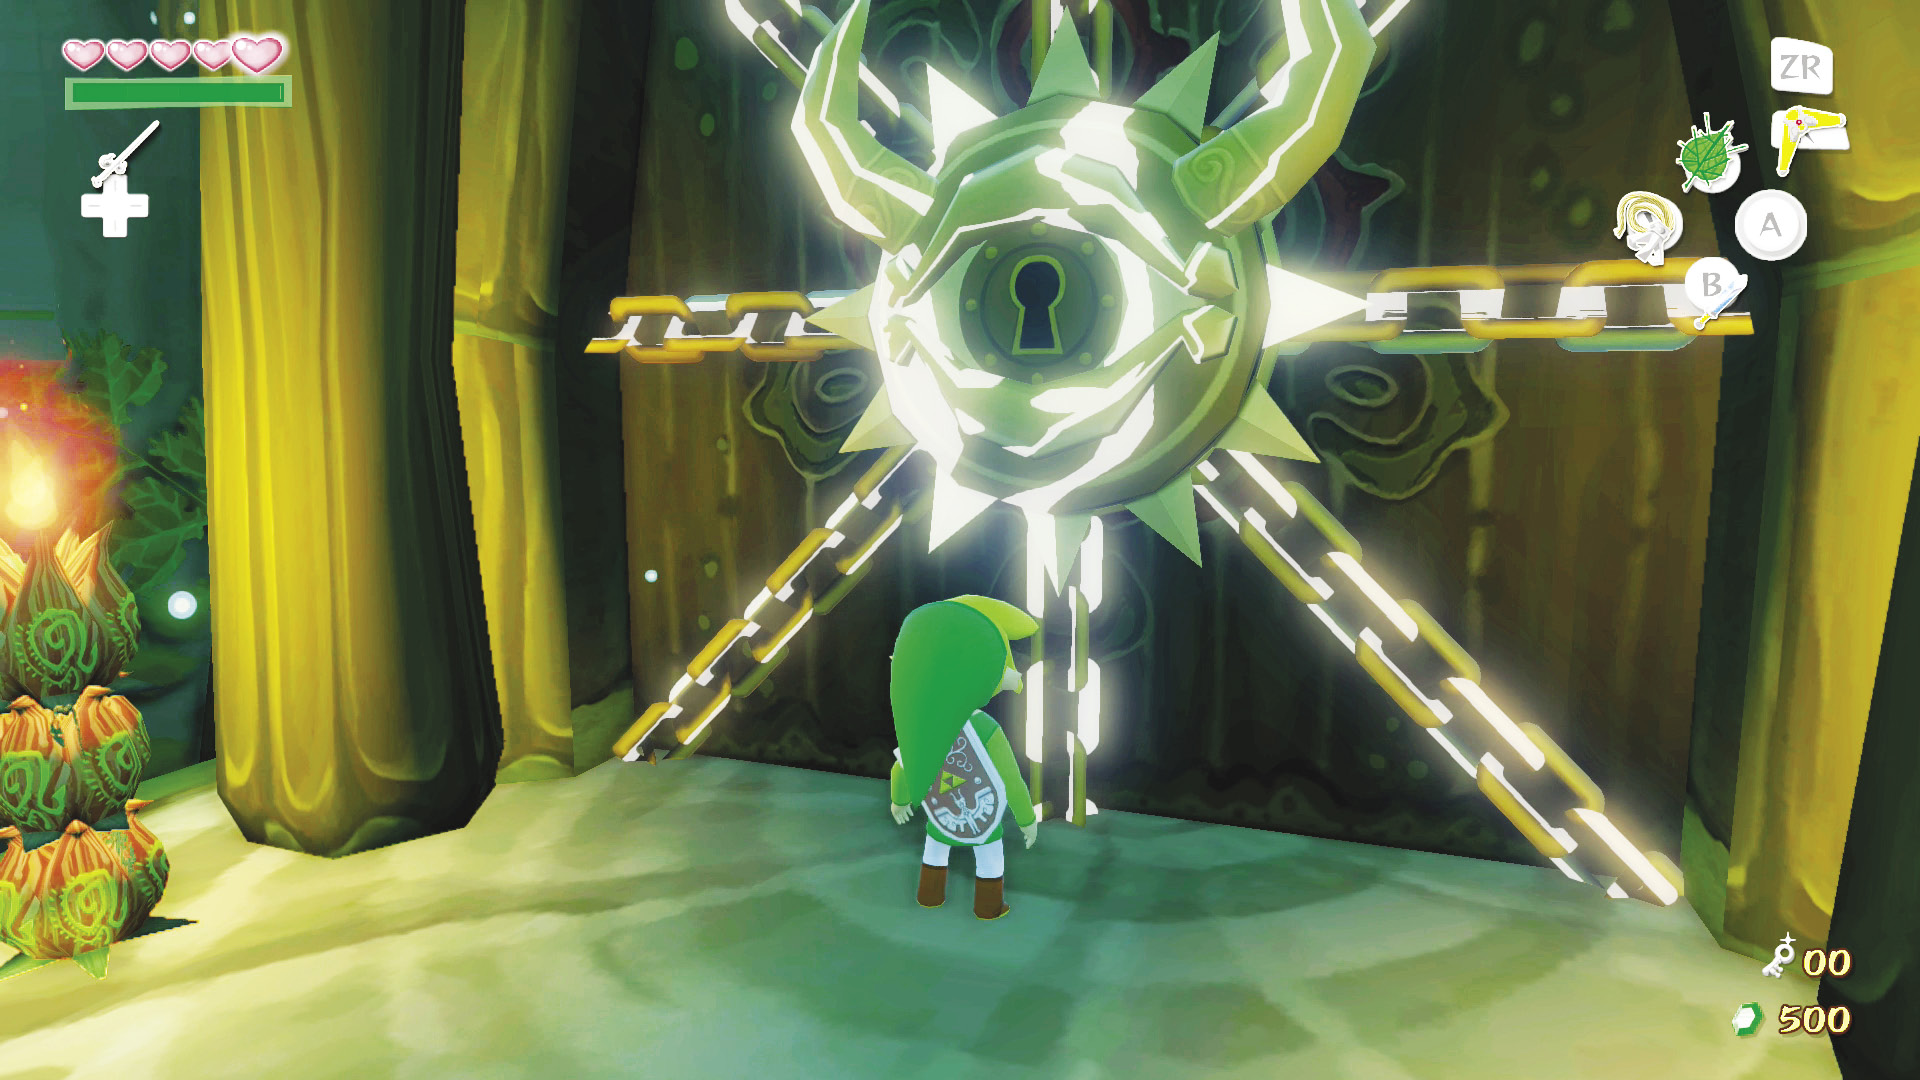
Save your game and head through the boss’s door whenever you’re ready.
Boss: Kalle Demos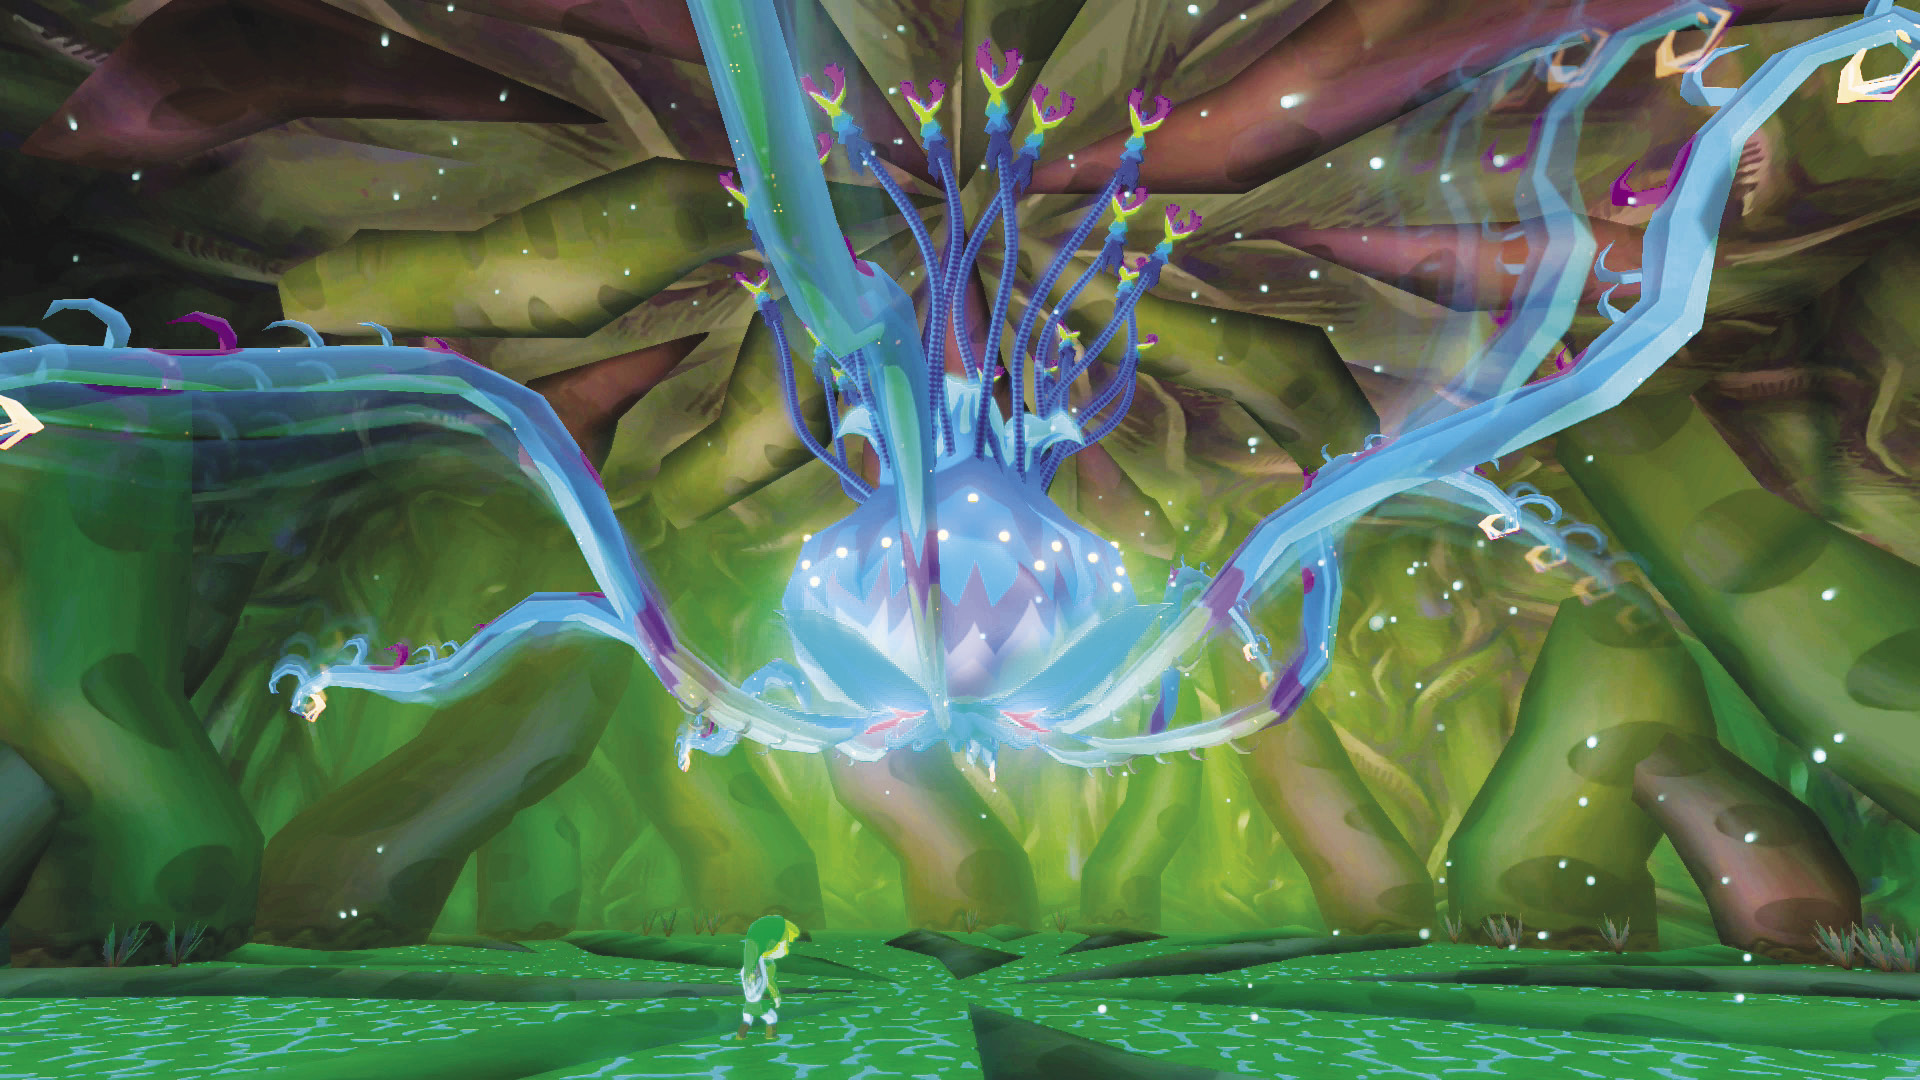 We finally found Makar! Maybe we can get out of this one without actually having to fight a bo— Never mind. This giant Boko Baba is known as Kalle Demos, and despite its colorful, vibrant appearance, it is not a nice creature. It pulls itself up to the ceiling with several Dexivines that are growing out of it, and it uses its tentacle-like roots to attack Link. 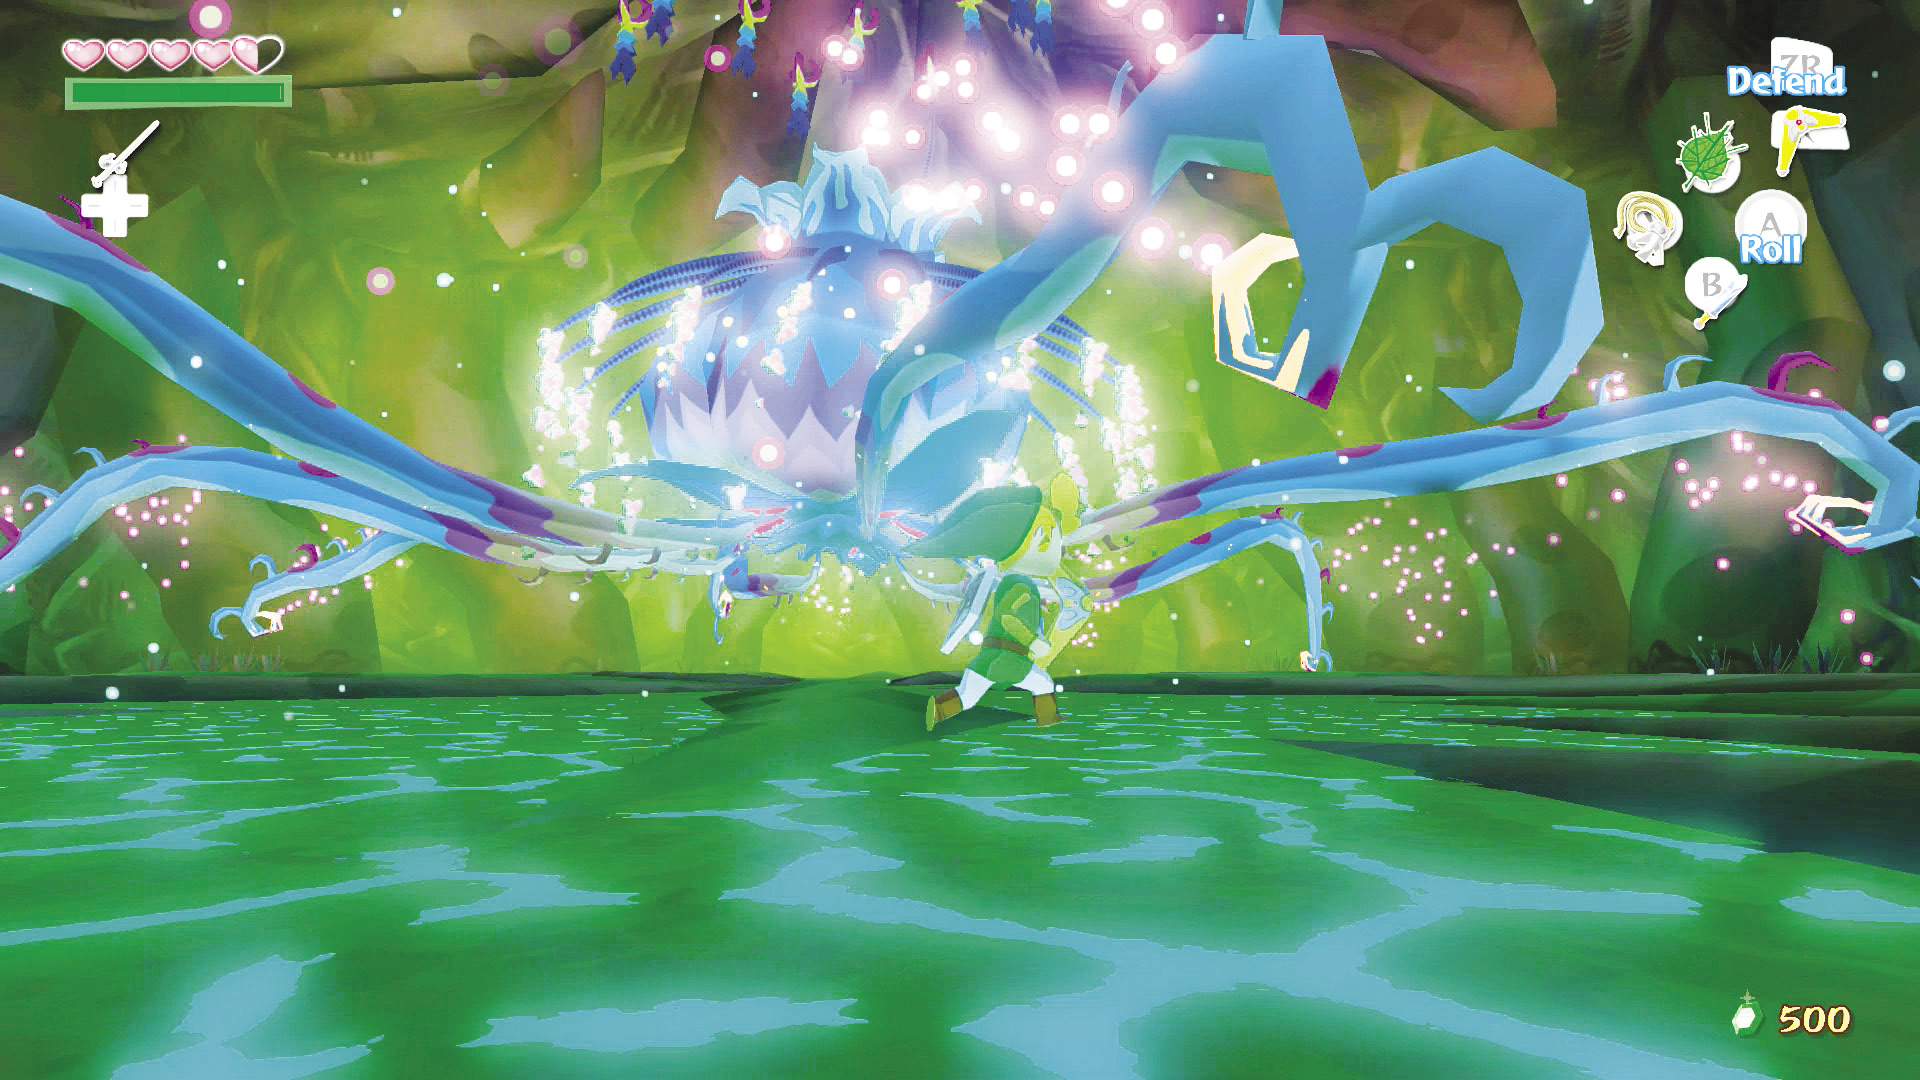 Like Gohma, this is a stick-and-move type of fight. Don’t stay in one place for too long or Demos will definitely swat you. Demos has two attacks: (1) It lifts its roots into the air and slaps them straight down, and (2) it puts all of its roots into the ground and shoots them straight up under your feet in an attempt to stab you. 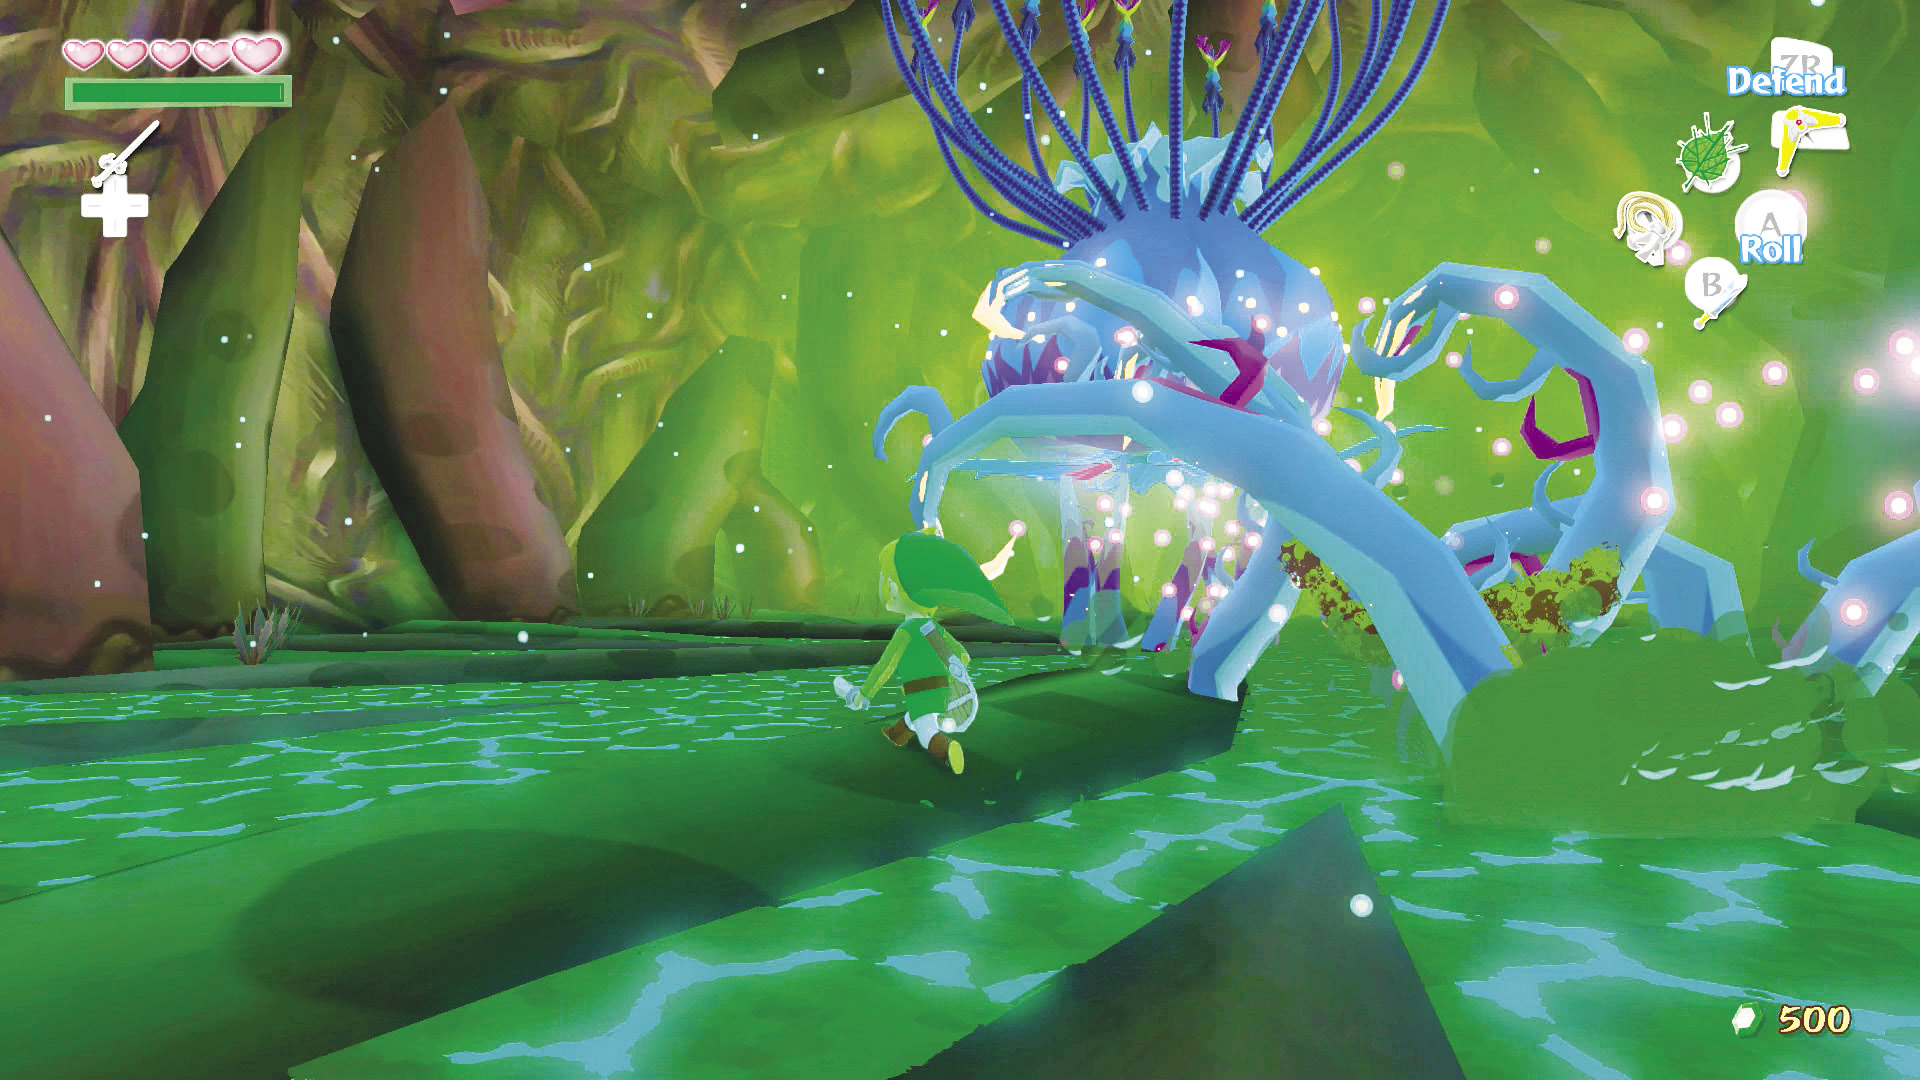 Both of these moves are easily dodged if you keep moving; the roots that slap downward only slap the ground directly under them, so roll away when a root is above your head; the roots that dig under your feet will pop up from under the ground in two or three places, so keep moving and you’ll be fine. 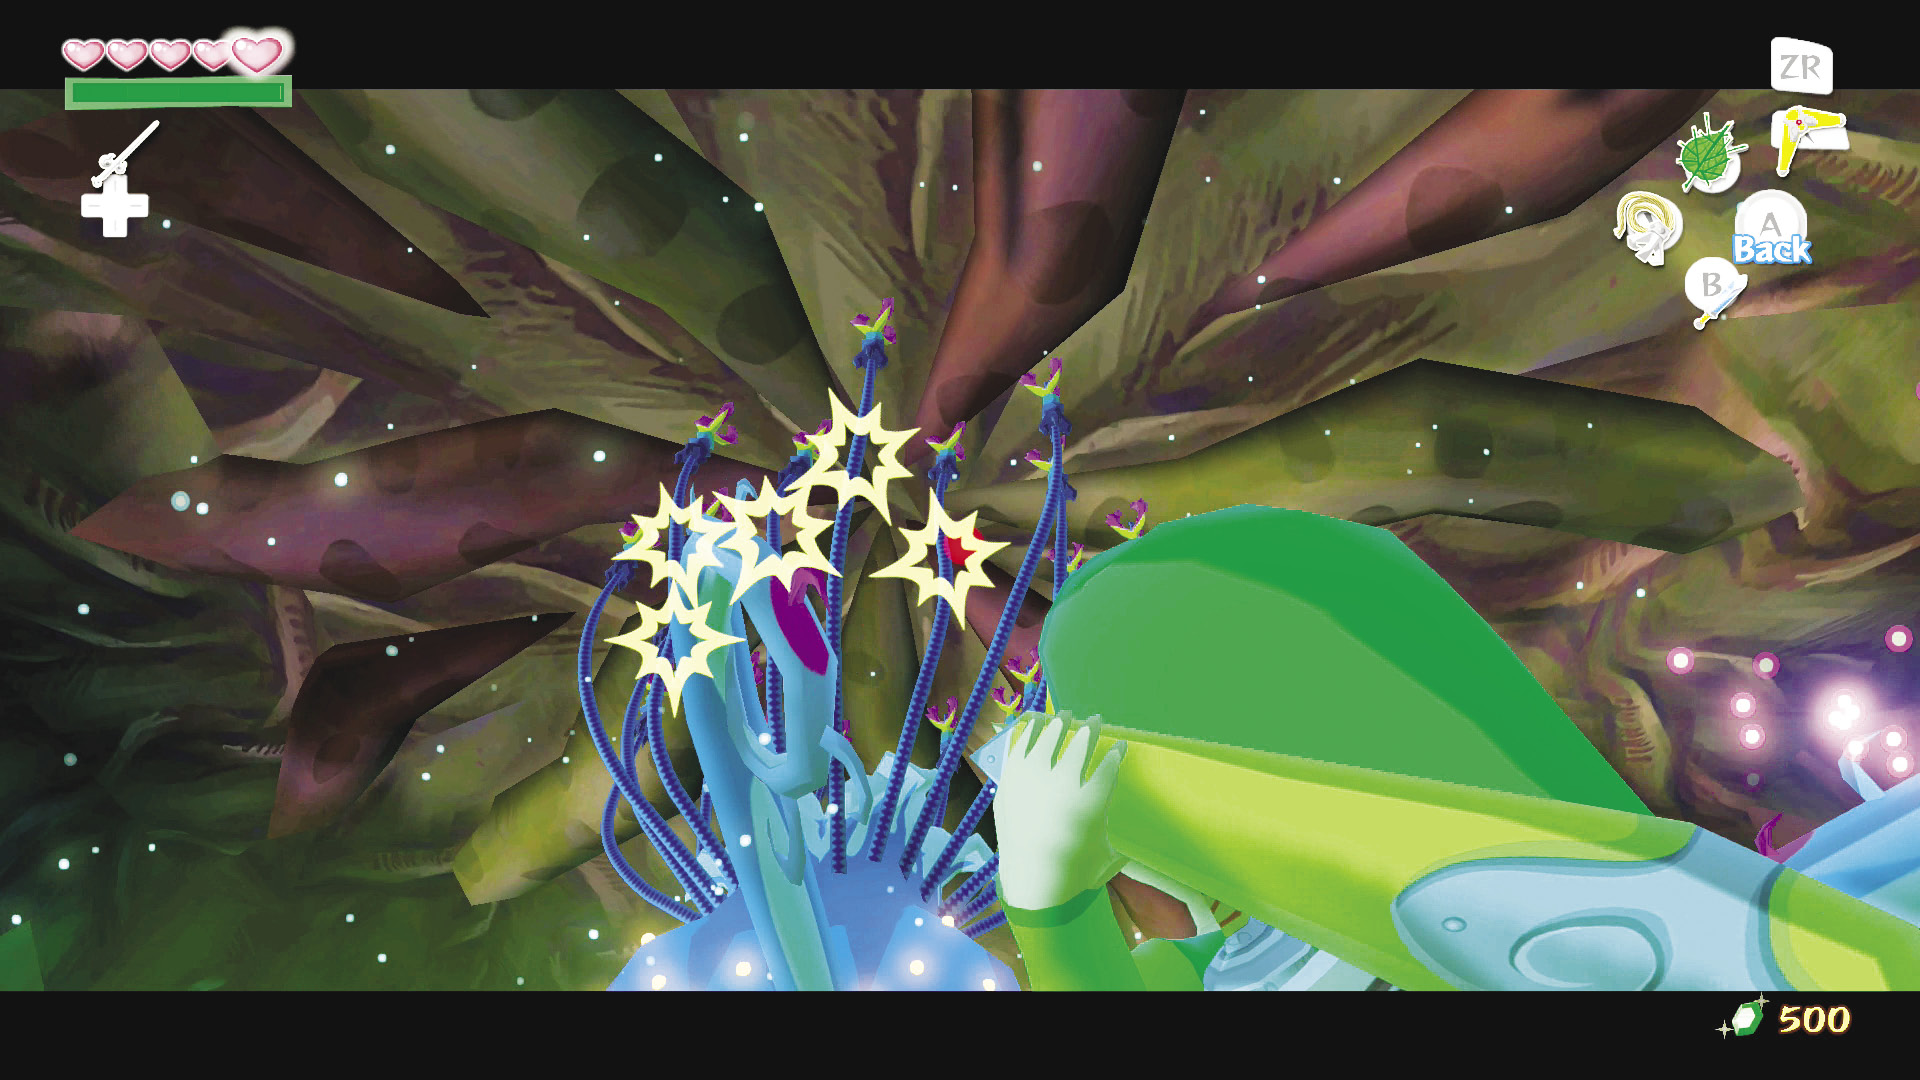 To uproot this weed, use your Boomerang to slice the Dexivines connecting Demos to the ceiling. Target as many Dexivines as you can and let the Boomerang fly. Do this until all the Dexivines are cut and Kalle Demos will fall to the ground, exposing the Boko Baba–like creature in the flower’s center. Get in and swing three or four times, then race back out. If you’re on top of Demos’s flower for too long, it will close up with you in it, taking a bit of health in the process. If you see Demos’s petals began to ruffle and shake, that means you need to stop your attack and get out ASAP. 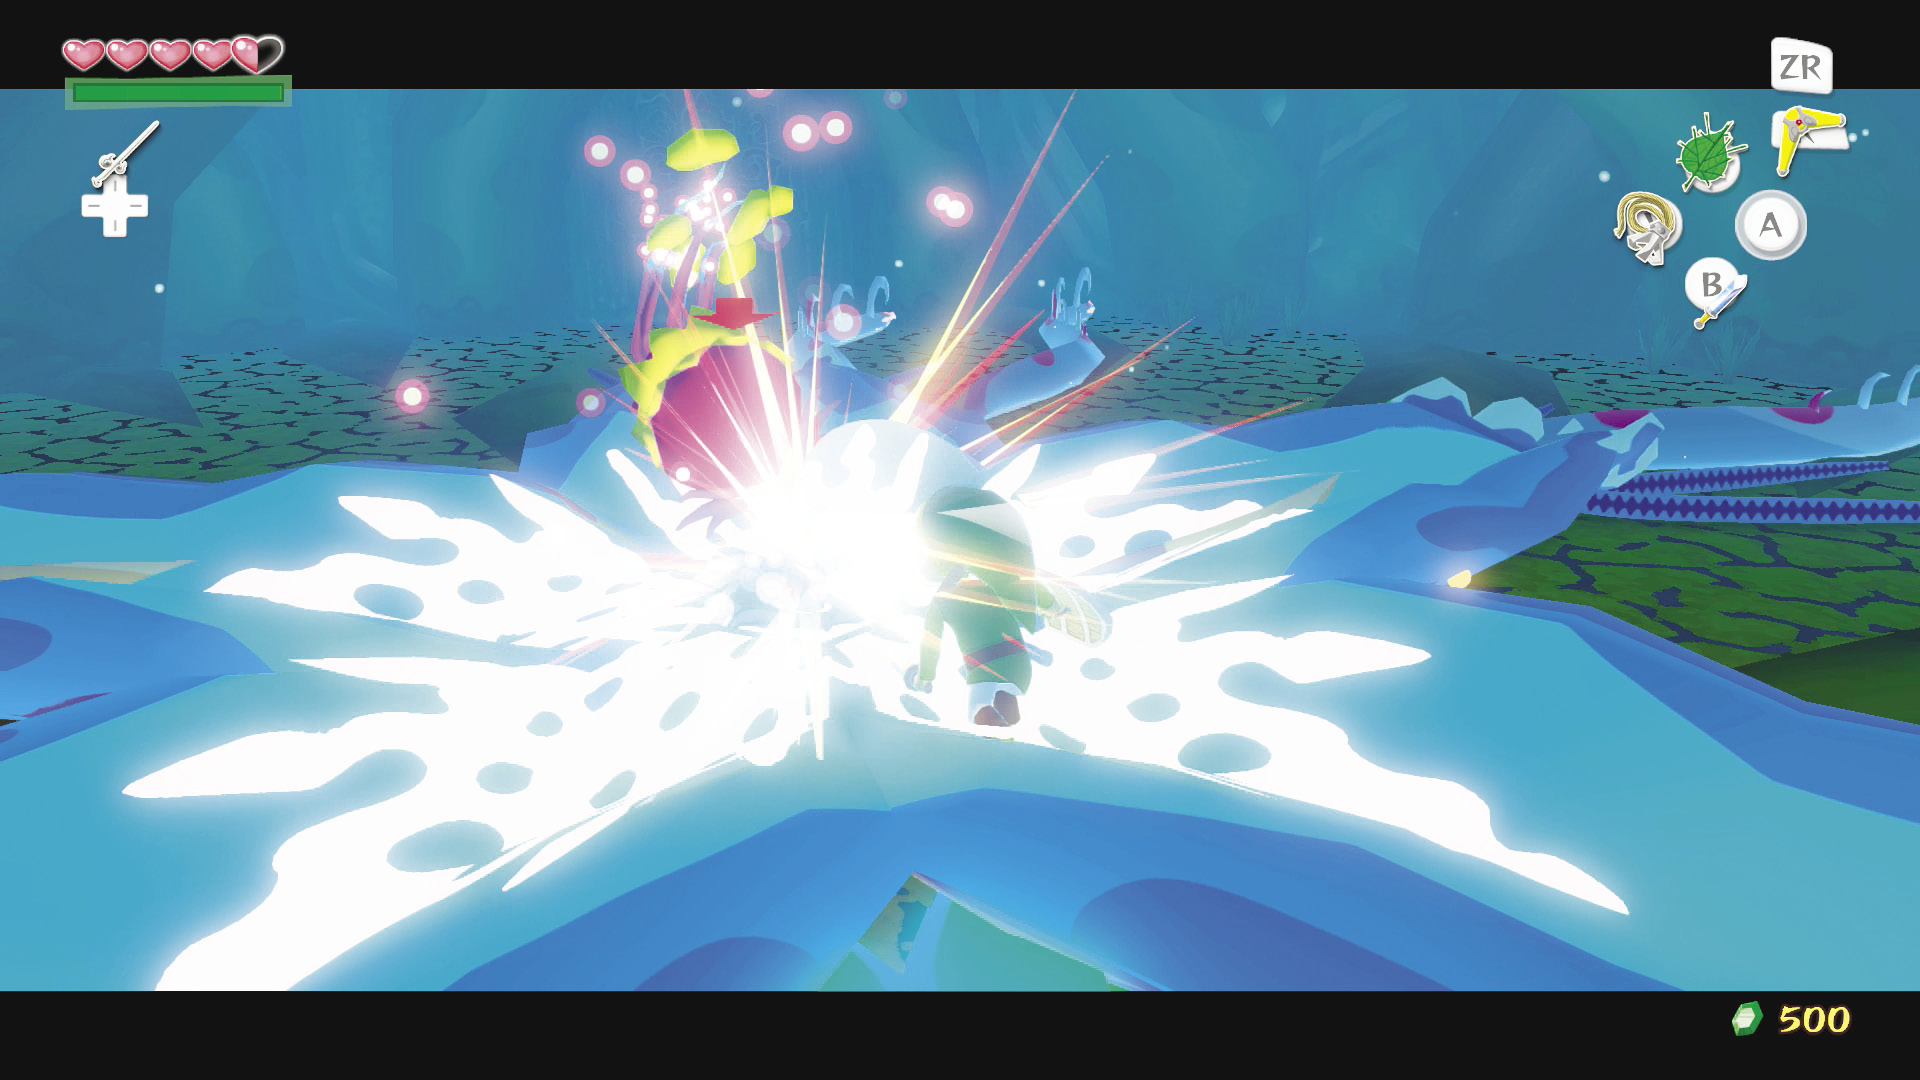 Repeat this process three or four times and you’ll cut down this square root. If you’re ever in need of hearts, cut the outlying grass and smash objects in the boss chamber to discover some. |

Pick up the Heart Container that Demos leaves behind, then head through the portal in the center of the room to return to the Deku Tree.