Prima Games eGuides
primagames.com Browse Redeem a code Help
The Legend of Zelda: The Wind Waker eGuide
Sign in My Guides

Sign in or create an account

We'll email you a link. No password needed, and if you don't have an account yet, the link makes one.

By creating an account or signing in, you agree to our Terms of Service and Privacy Policy.

Have a password?

Had an account on the old eGuides site, or a code from a printed guide? Help and troubleshooting

Sign in with a password

By signing in, you agree to our Terms of Service and Privacy Policy.

Check your email

A sign-in link is on its way. It works once and expires in 15 minutes. Open it and you're in, with an account if you didn't already have one.

Contents

  • Walkthrough
    • Prologue
    • Humble Beginnings
      • Outset Island (B7)
      • Forest of Fairies
    • The Hunt for Aryll
      • Pirate Ship
      • Forsaken Fortress (A1)
    • The Waker of Winds
      • Windfall Island (D2)
      • Dragon Roost Island (F2)
      • Rito Aerie
    • Dins Pearl and the Spirit of the Skies
      • Dragon Roost Cavern (F2)
    • Somethings Amiss in the Forest Haven
      • Introduction
      • Forest Haven (F6) - A
      • Forbidden Woods (F6)
      • Forest Haven (F6) - B
    • The Spirit of Water and the Third Pearl
      • Introduction
      • Greatfish Isle (B4)
      • Windfall Island (D2)
      • Outset Island (B7)
      • Northern Triangle Island (D3)
      • Southern Triangle Island (D5)
      • Eastern Triangle Island (F4)
    • The Heros Test and the Forgotten Realm
      • Introduction
      • Tower of the Gods (E5)
      • The Castle Frozen in Time
    • Return to the Forsaken Fortress: The Hunt for Aryll Continues
      • Introduction
      • Northern Triangle Island
      • Forsaken Fortress (A1)
    • Restoring Evils Bane: The Earth Temple
      • Introduction
      • Headstone Island (C7)-A
      • Dragon Roost Island (F2)
      • Headstone Island (C7)-B
      • Earth Temple (C7)
    • The Sword Shines Again! The Wind Temple
      • Introduction
      • Ice Ring Isle (E6)
      • Gale Isle(D1)
      • Forest Haven (F6)
      • The Wind Temple (D1)
    • Rebuilding the Triforce of Courage
      • A Brief Explanation
      • Triforce Chart #1: Islet of Steel (B5)
      • Triforce Chart #2: Birds Peak Rock (G5)
      • Triforce Chart #3: Needle Rock Island (A5)
      • Translating the Charts
      • Triforce Shard #1
      • Private Oasis (E5)
      • Triforce Shard #2: Outset Island (B7)
      • Triforce Shard #3: Diamond Steppe Island (A6)
      • Triforce Shards #4 and #5: Stone Watcher Island (C5)
      • Triforce Shard #6: Overlook Island (G1)
      • Triforce Shard #7: Greatfish Isle (B4)
      • Triforce Shard #8: Cliff Plateau Isles (G6)
      • The Triforce of Courage
      • Tower of the Gods (E5)
    • Ganons Tower: The Final Showdown
      • Introduction
      • Ganons Tower
  • Equipment and Items
    • Common Items
    • Dungeon Items
    • Quest Items
    • Special Items
  • Characters and Enemies
    • Introduction
    • Characters
    • Enemies
  • Legendary Checklist
    • Quest Items
    • Songs
    • Pieces of Heart
    • Treasure Charts
    • Special Charts
    • Triforce Charts and Shards
    • Great Fairies
    • Big Octos
    • Submarines
    • Sea Platforms
    • Secret Caves
    • Rings of Light
    • Blue ChuChus
    • Withered Deku Trees
    • Beedles Shop Ship
    • Shops and Vendors
    • Minigames
    • Nintendo Gallery
  • Islands of the Great Sea
    • Islands of the Great Sea
    • Forsaken Fortress (A1)
    • Four-Eye Reef (A2)
    • Western Fairy Island (A3)
    • Three-Eye Reef (A4)
    • Needle Rock Isle (A5)
    • Diamond Steppe Island (A6)
    • Horseshoe Island (A7)
    • Star Island (B1)
    • Mother & Child Isles (B2)
    • Rock Spire Isle (B3)
    • Greatfish Isle (B4)
    • Islet of Steel (B5)
    • Five-Eye Reef (B6)
    • Outset Island (B7)
    • Northern Fairy Island (C1)
    • Spectacle Island (C2)
    • Tingle Island (C3)
    • Cyclops Reef (C4)
    • Stone Watcher Island (C5)
    • Shark Island (C6)
    • Headstone Island (C7)
    • Gale Isle (D1)
    • Windfall Island (D2)
    • Northern Triangle Island (D3)
    • Six-Eye Reef (D4)
    • Southern Triangle Island (D5)
    • Southern Fairy Island (D6)
    • Two-Eye Reef (D7)
    • Crescent Moon Island (E1)
    • Pawprint Isle (E2)
    • Eastern Fairy Island (E3)
    • Tower of the Gods (E4)
    • Private Oasis (E5)
    • Ice Ring Isle (E6)
    • Angular Isles (E7)
    • Seven-Star Isles (F1)
    • Dragon Roost Island (F2)
    • Fire Mountain (F3)
    • Eastern Triangle Island (F4)
    • Bomb Island (F5)
    • Forest Haven (F6)
    • Boating Course (F7)
    • Overlook Island (G1)
    • Flight Control Platform (G2)
    • Star Belt Archipelago (G3)
    • Thorned Fairy Island (G4)
    • Birds Peak Rock (G5)
    • Cliff Plateau Isles (G6)
    • Five-Star Isles (G7)
  • How to Play
    • Game File Management
    • Game Screens
    • Controlling Link
    • Environmental Objects

The Legend of Zelda: The Wind Waker Guide › Walkthrough › Somethings Amiss in the Forest Haven

Introduction
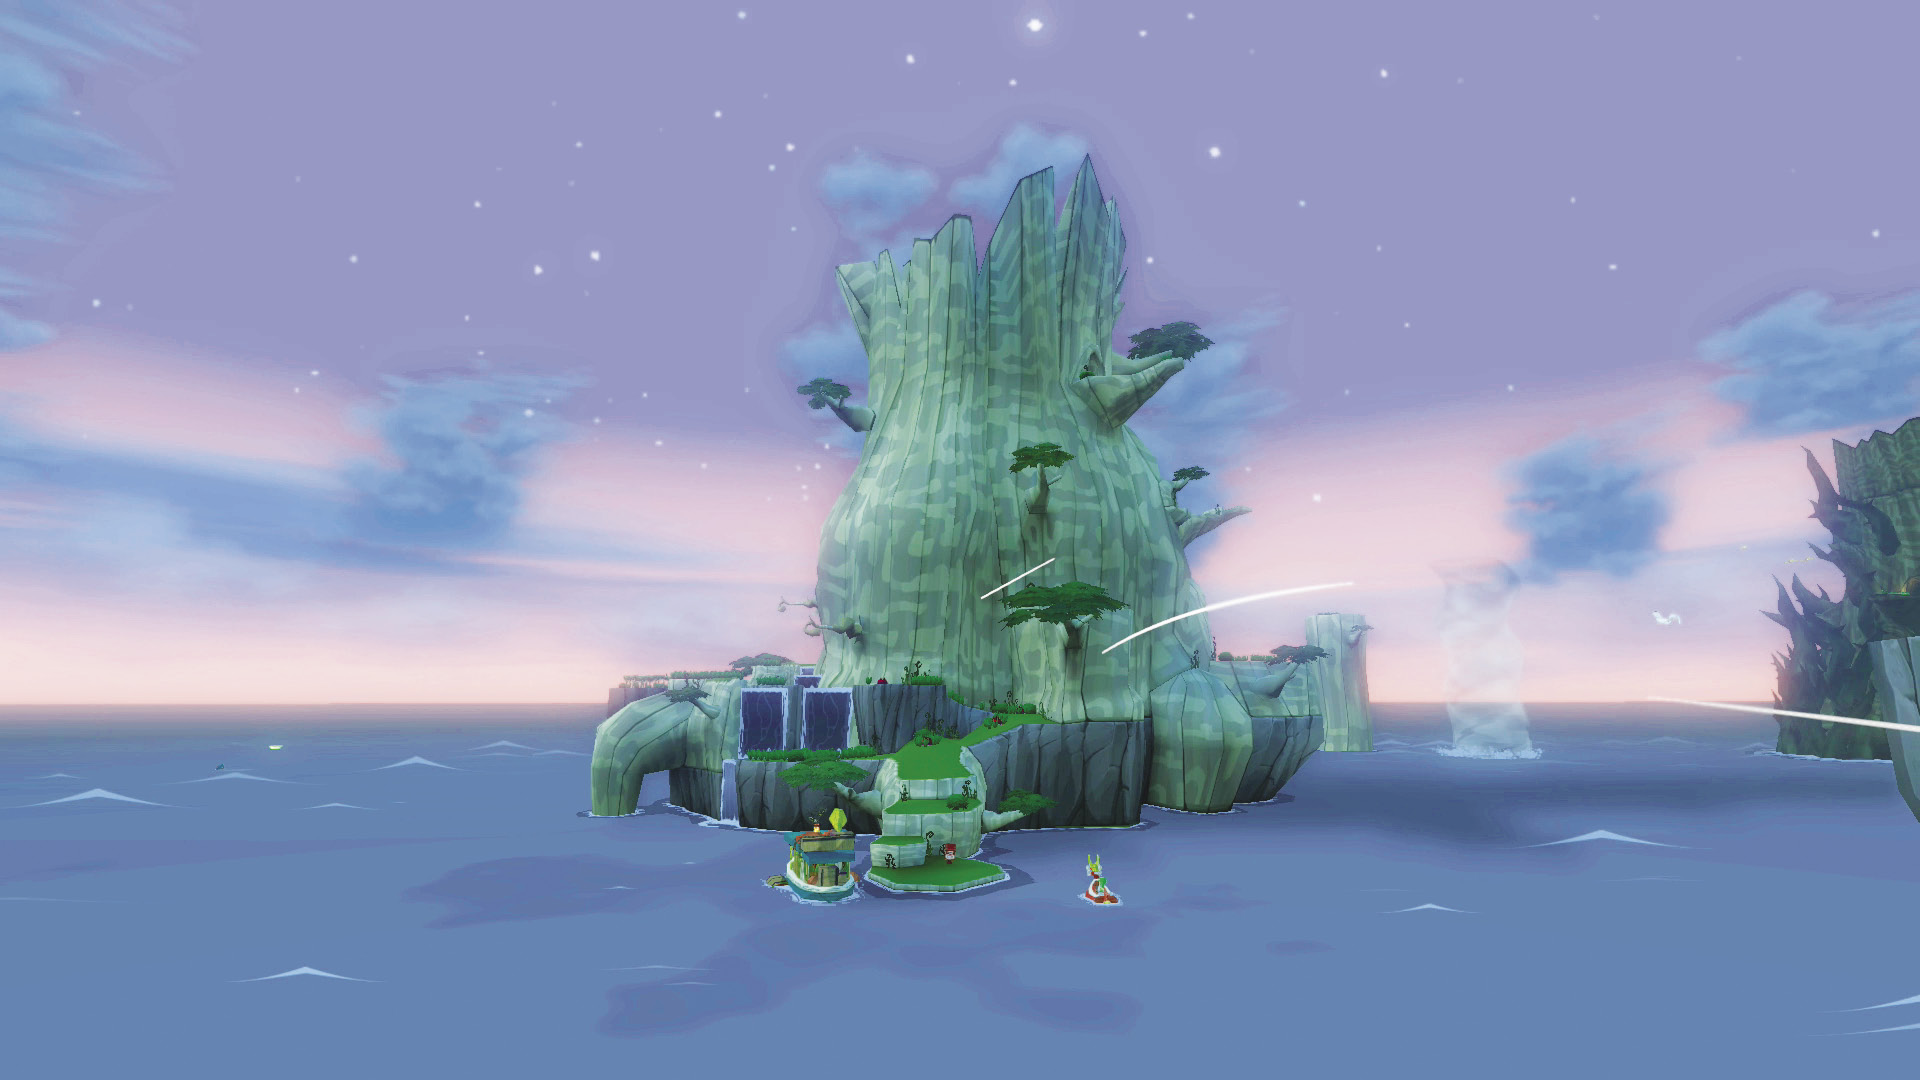
The Forest Haven (F6) is where Red was leading us. This place looks like a giant tree trunk sticking straight out of the water, and across from it lies the Forbidden Woods: a forboding, dark mass of vines and bad feelings. It seems like Ganon might have already beaten us here.
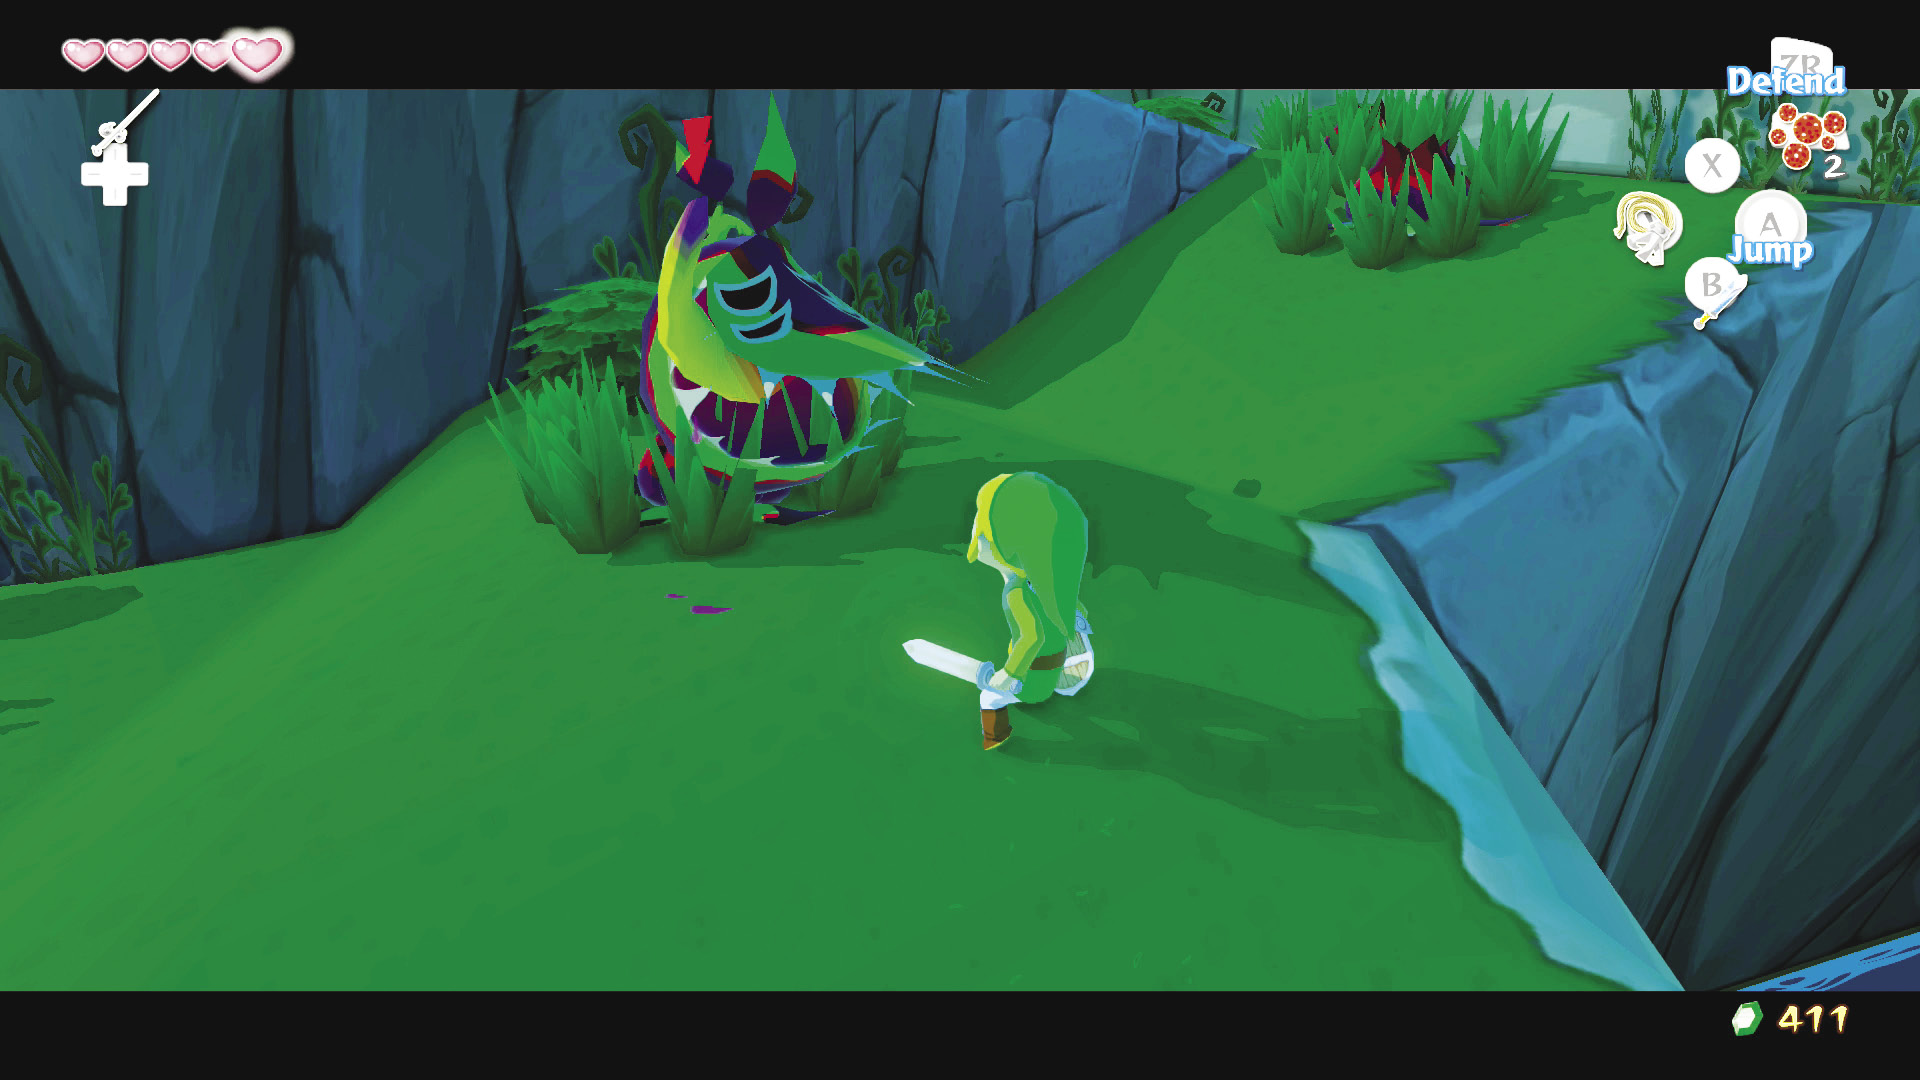
Red will bring you up to the coast where you can set your feet on dry land again. Without delay, hop off your boat and climb up the ledges ahead. Head right after climbing the top ledge and follow the path. You’ll have to deal with Boko Babas, giant man-eating plants that are prevalent in the Forest Haven and Forbidden Woods.

Enemy: Boko Baba
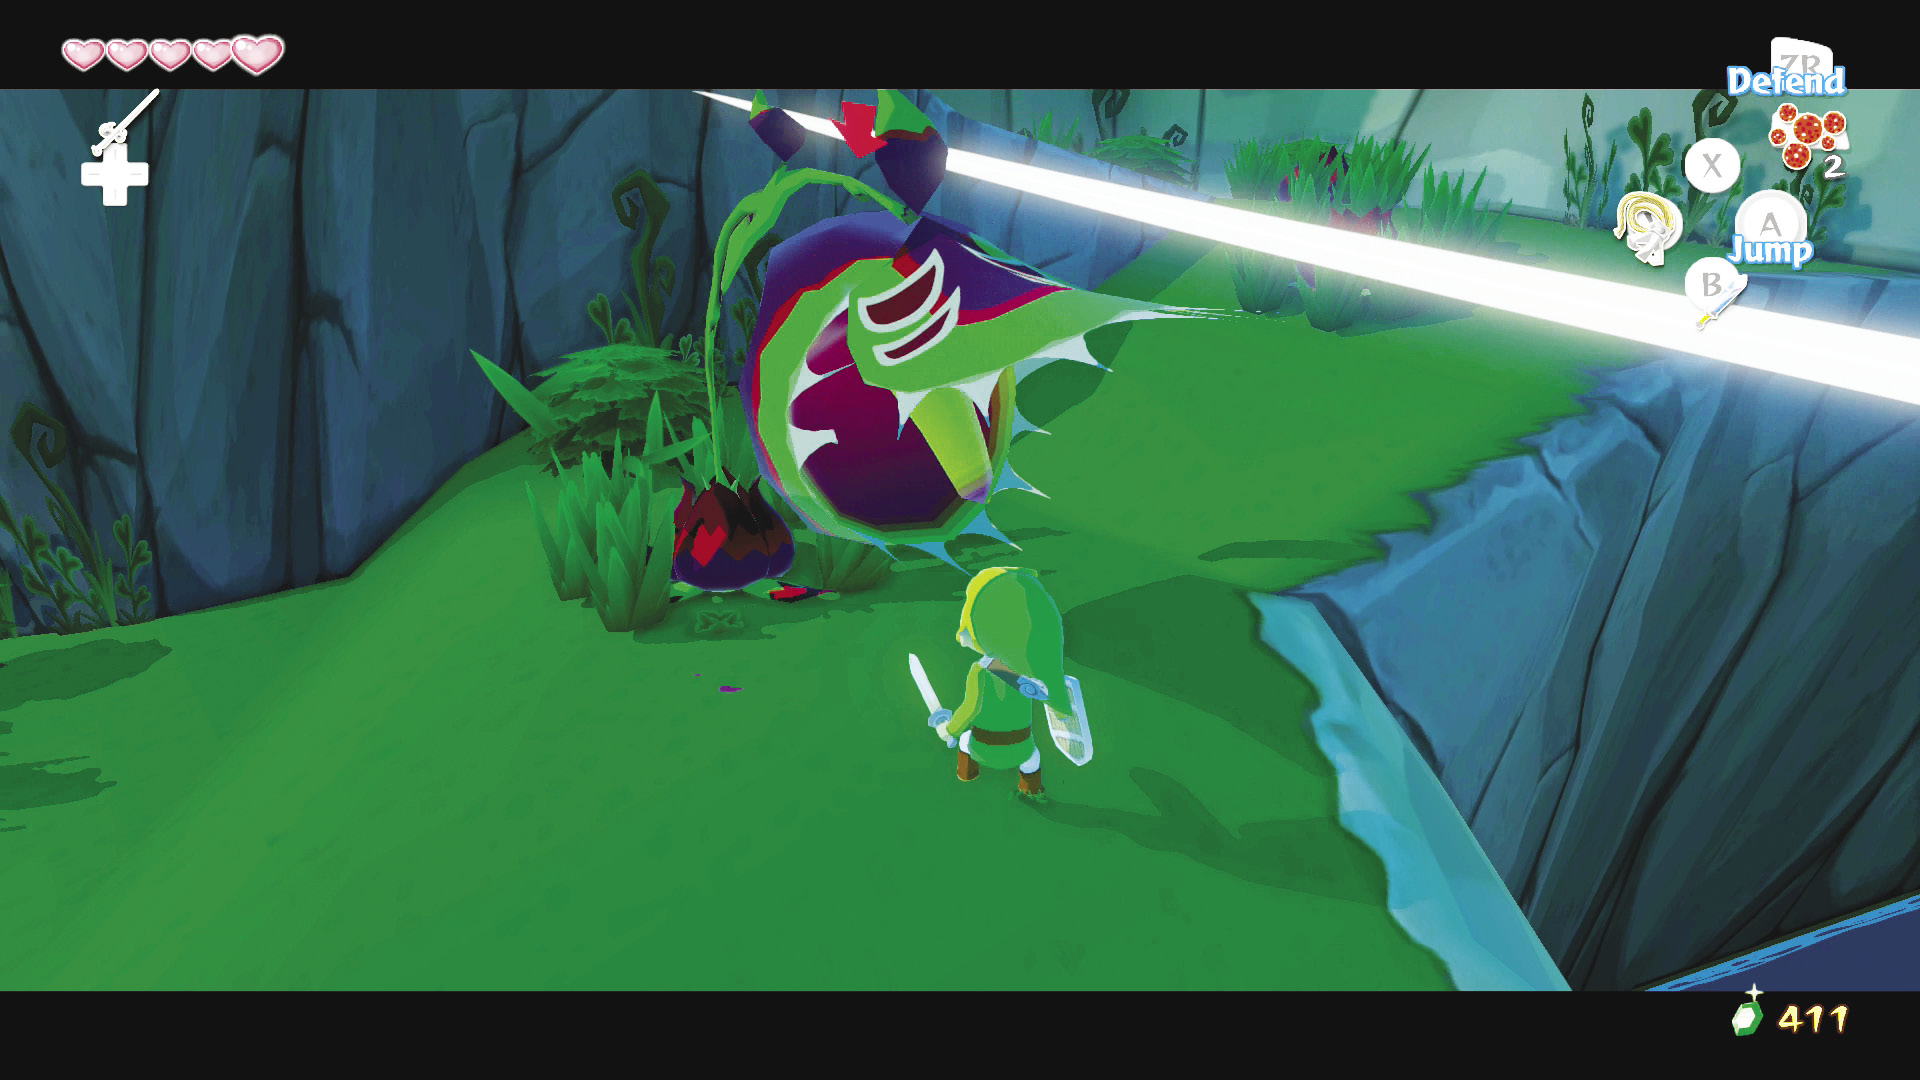
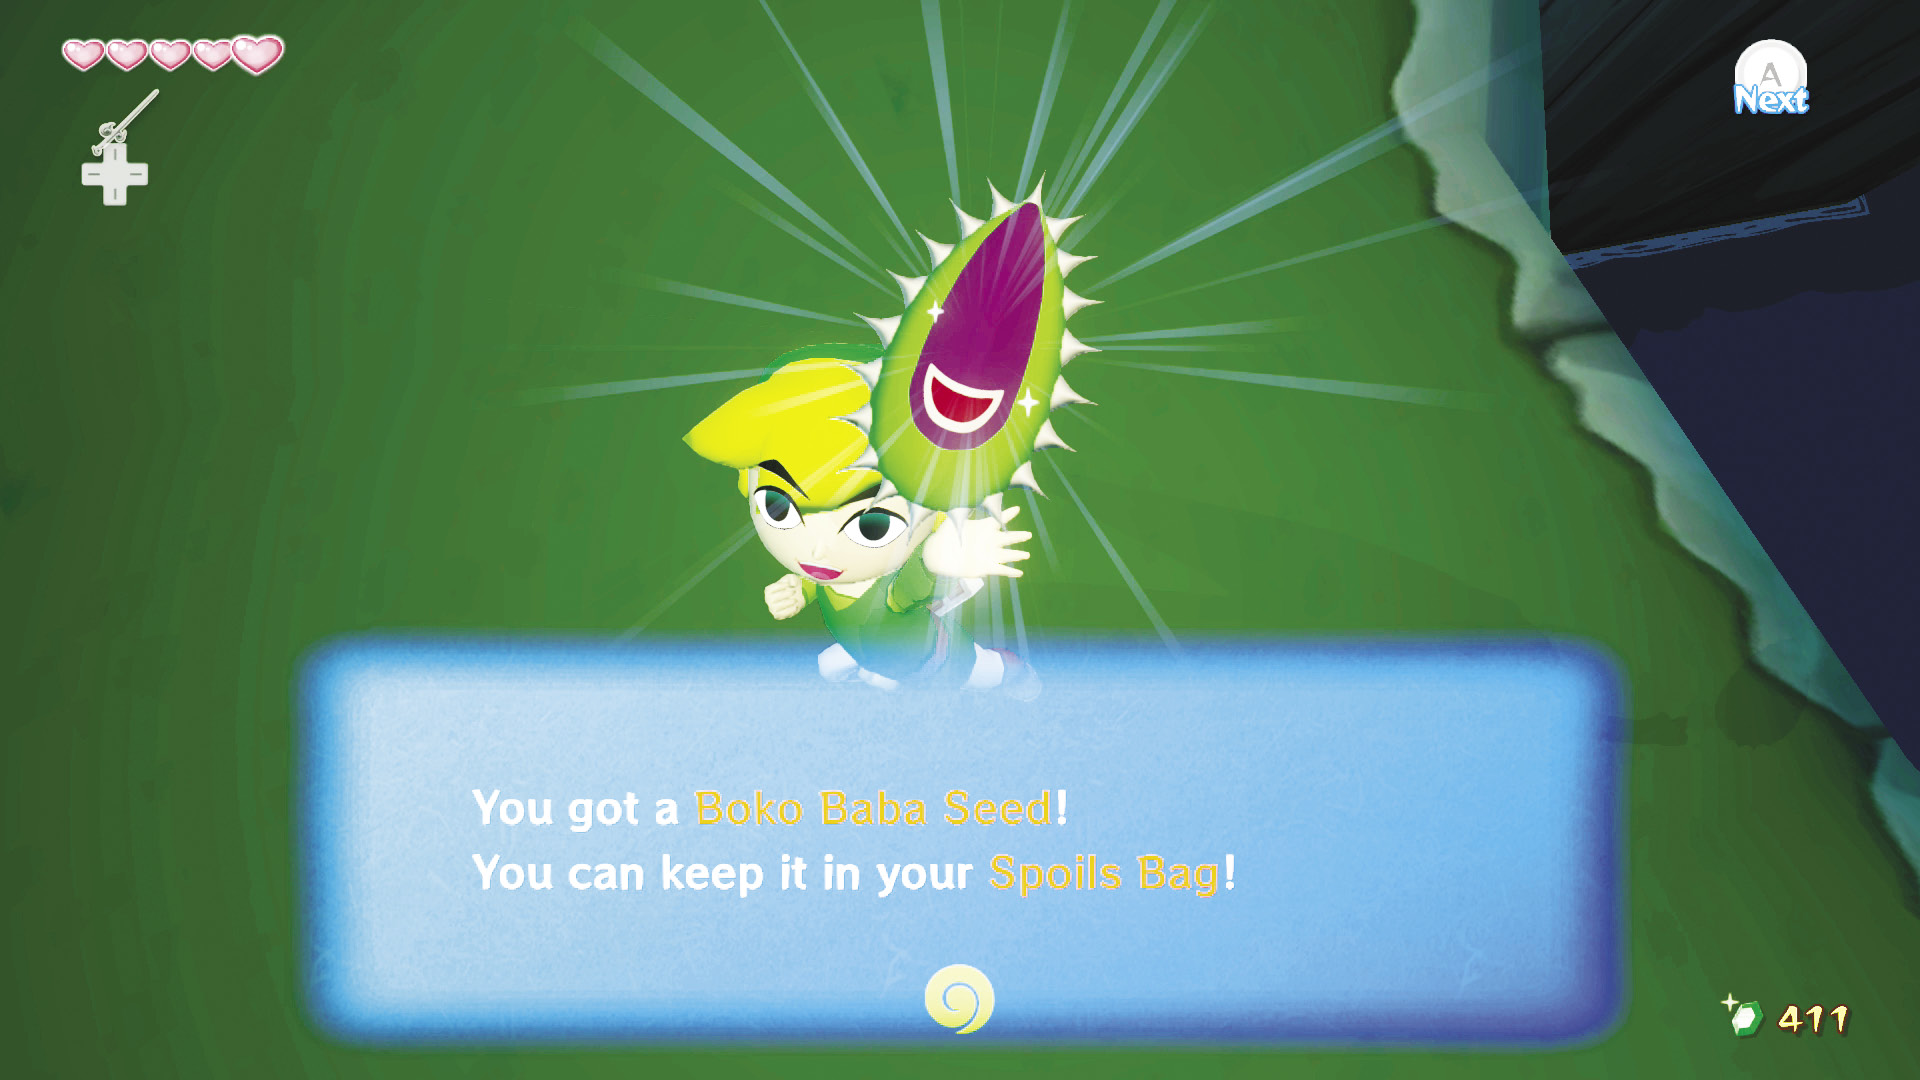
Boko Babas may look intimidating, but their mouths are larger than their attack range; in other words, keep your distance and they won’t be able to damage you with their bite attack. To sort them out, either wait for them to attack while staying just outside their attack range, or hit them with the Grappling Hook to stun them briefly, which will open them up for attack (plus, you can grab a Boko Baba Seed from them by using the Grappling Hook).
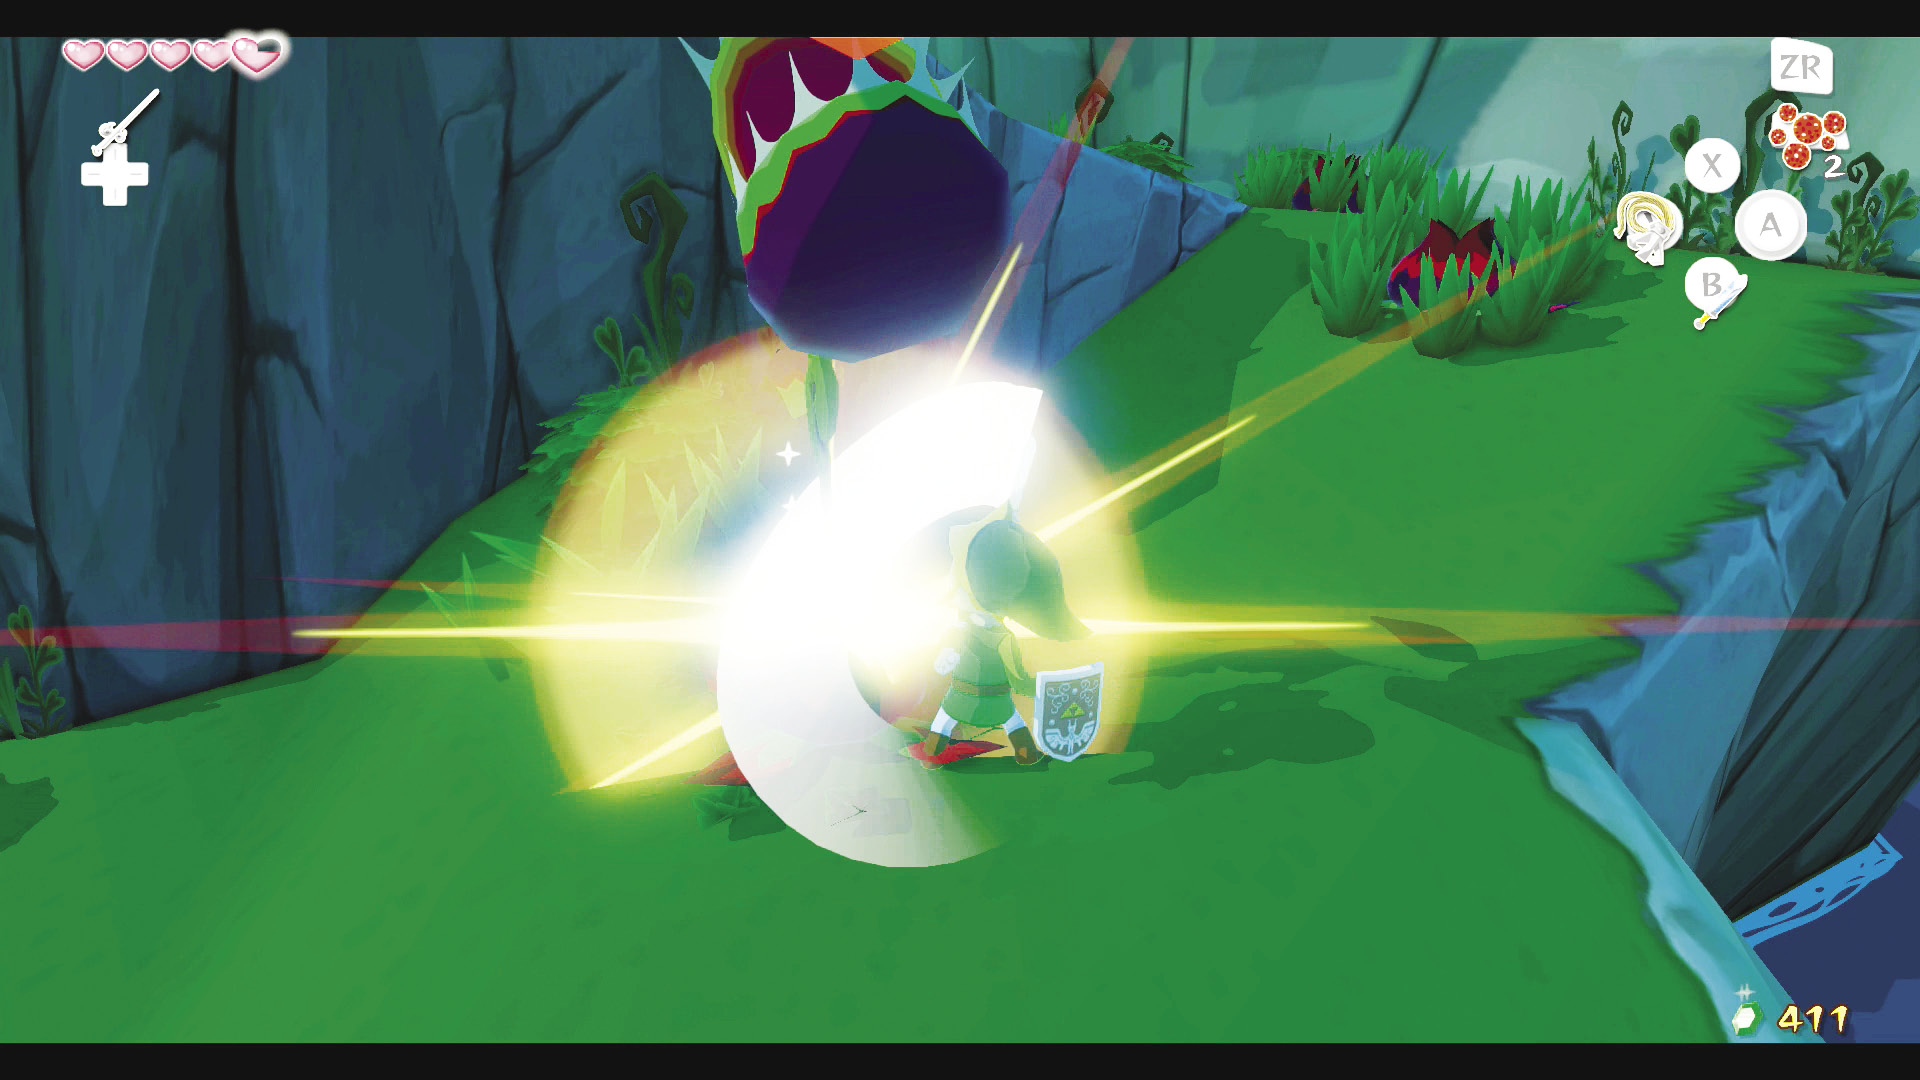
Hit them enough times and they’ll stick their heads straight into the air, leaving their stem completely exposed. A single hit to the stem and you’ll have one less weed to pull. Oh! And every time you defeat a Boko Baba, it leaves behind a Deku Stick.

You’ve Got a Green Thumb

When defeated, Boko Babas drop spiky green and purple seeds called Boko Baba Seeds. Rumor is that someone in the Forest Haven knows just what to do with these. We’ll have to investigate that rumor later. Right now, making sure Ganon doesn’t cause any more damage around the world is a much more pressing issue.

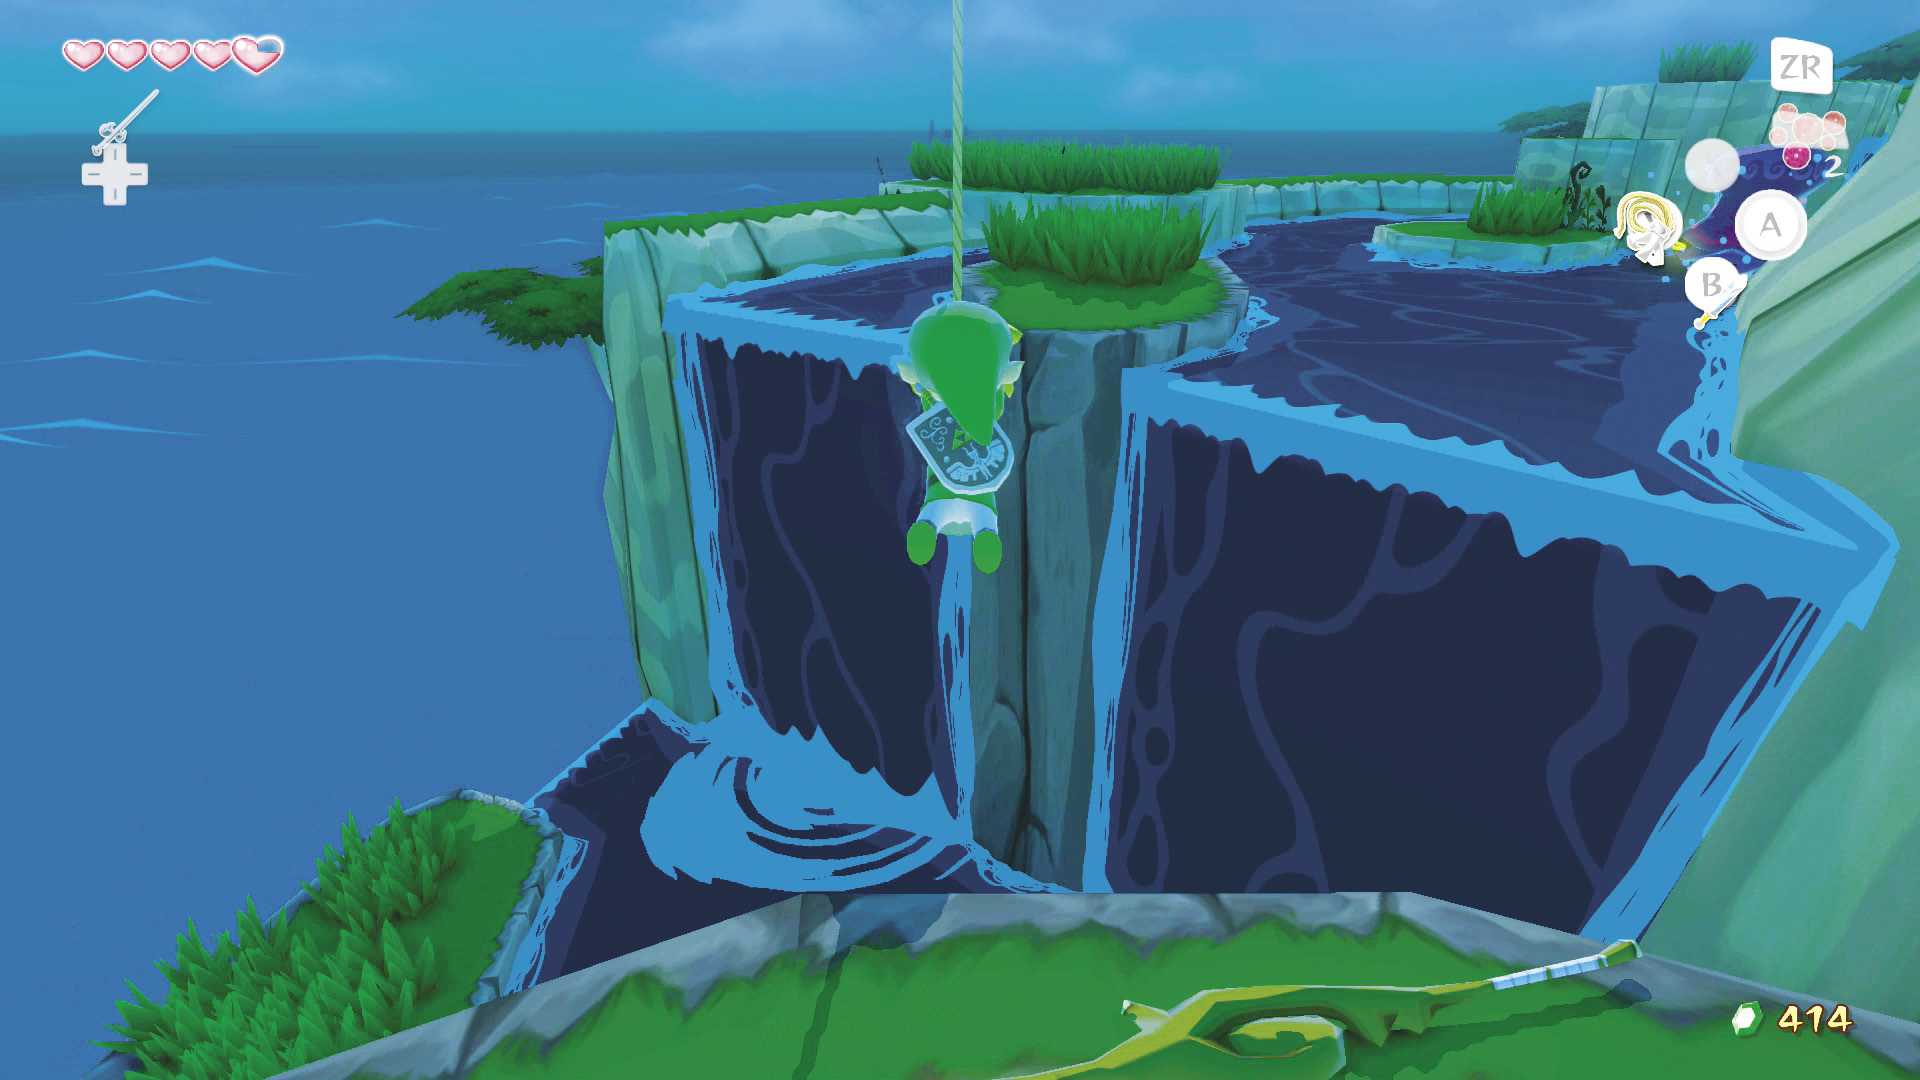
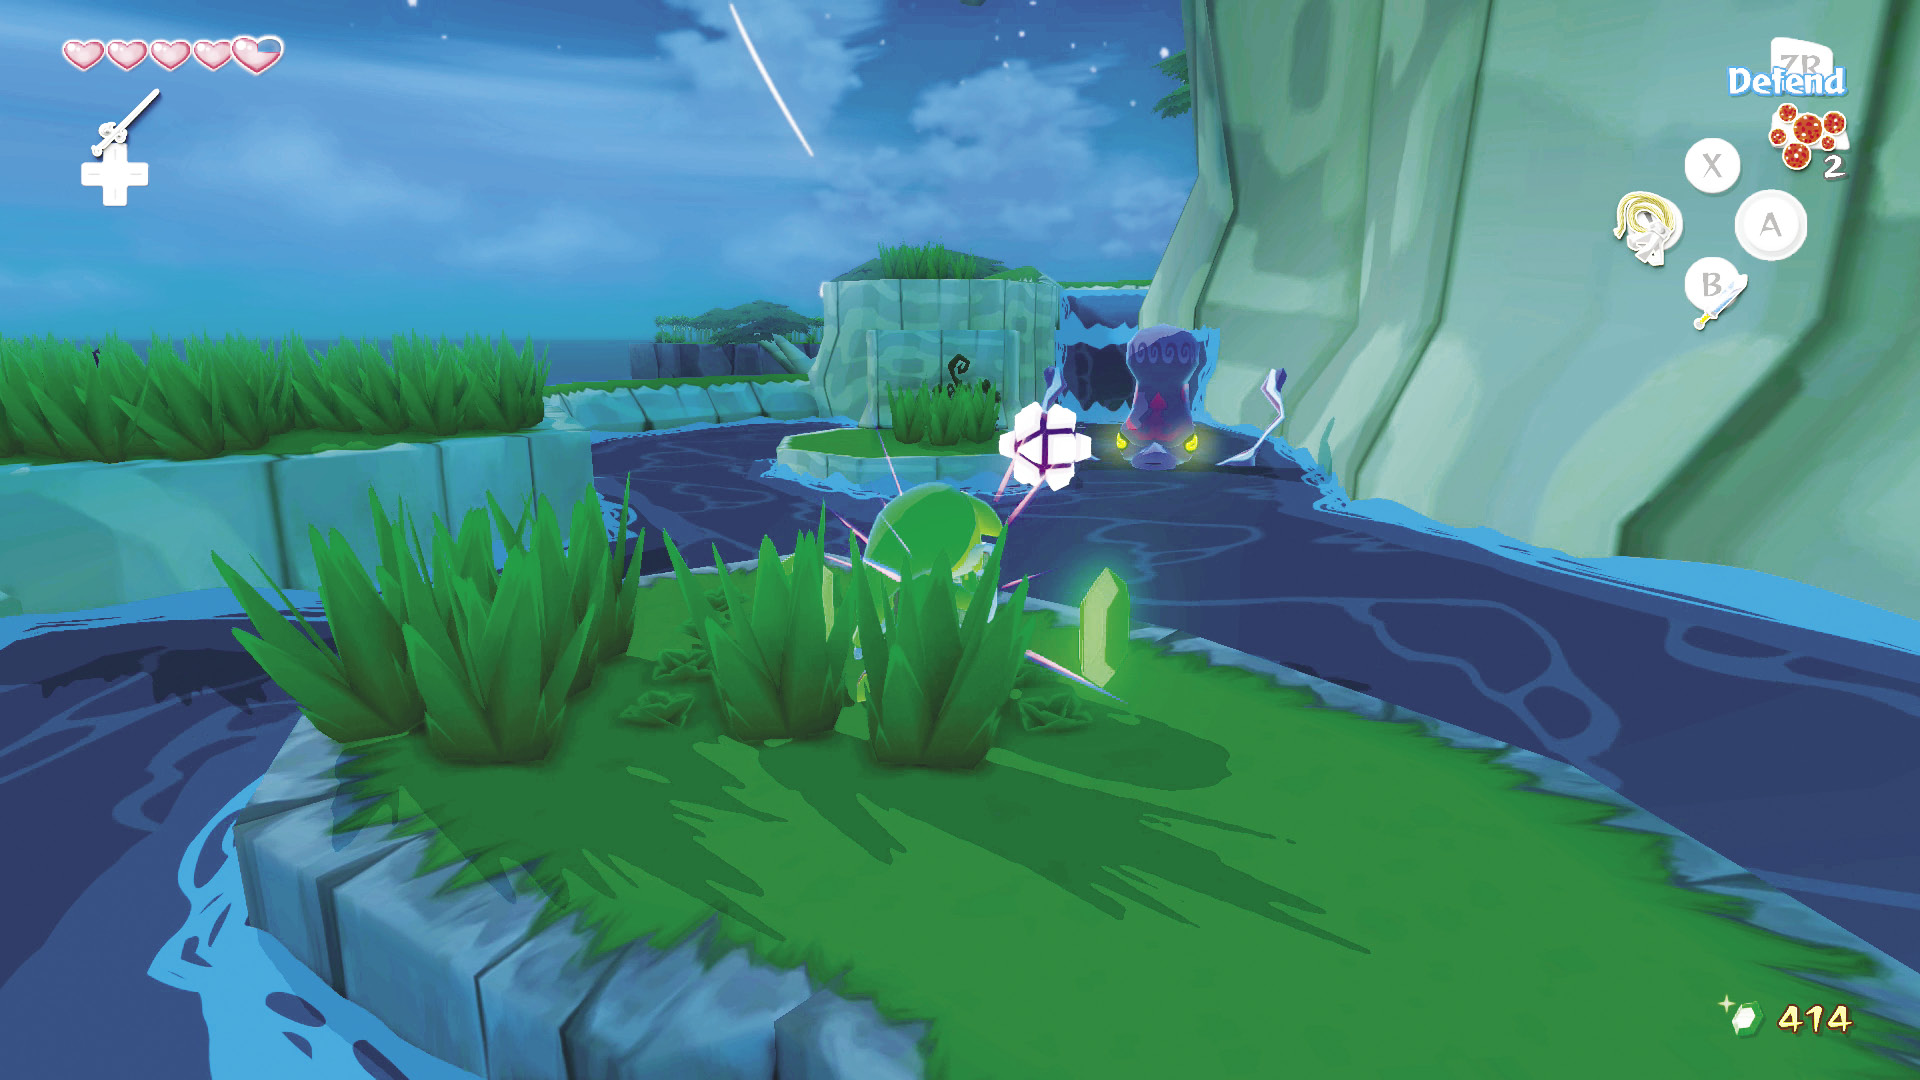
At the end of the path is a dead end with another Boko Baba stationed on top of a dry dirt plot (you’ll know it when you see two waterfalls ahead of you). Dead ends don’t mean much to true heroes, so don’t let this slow you down. Instead, pull out your Grappling Hook and look straight up to find a post sticking out of the wall. Use your Grappling Hook to swing to the small island covered in grass ahead (you may need to adjust your position on the Grappling Hook to make sure you don’t fall into the water surrounding the small plot of land).
Into the Drink

Avoid falling into the water around this area. If you’re unlucky enough to slip in, you’ll be whisked back to the beginning of the path, which would be unpleasant.

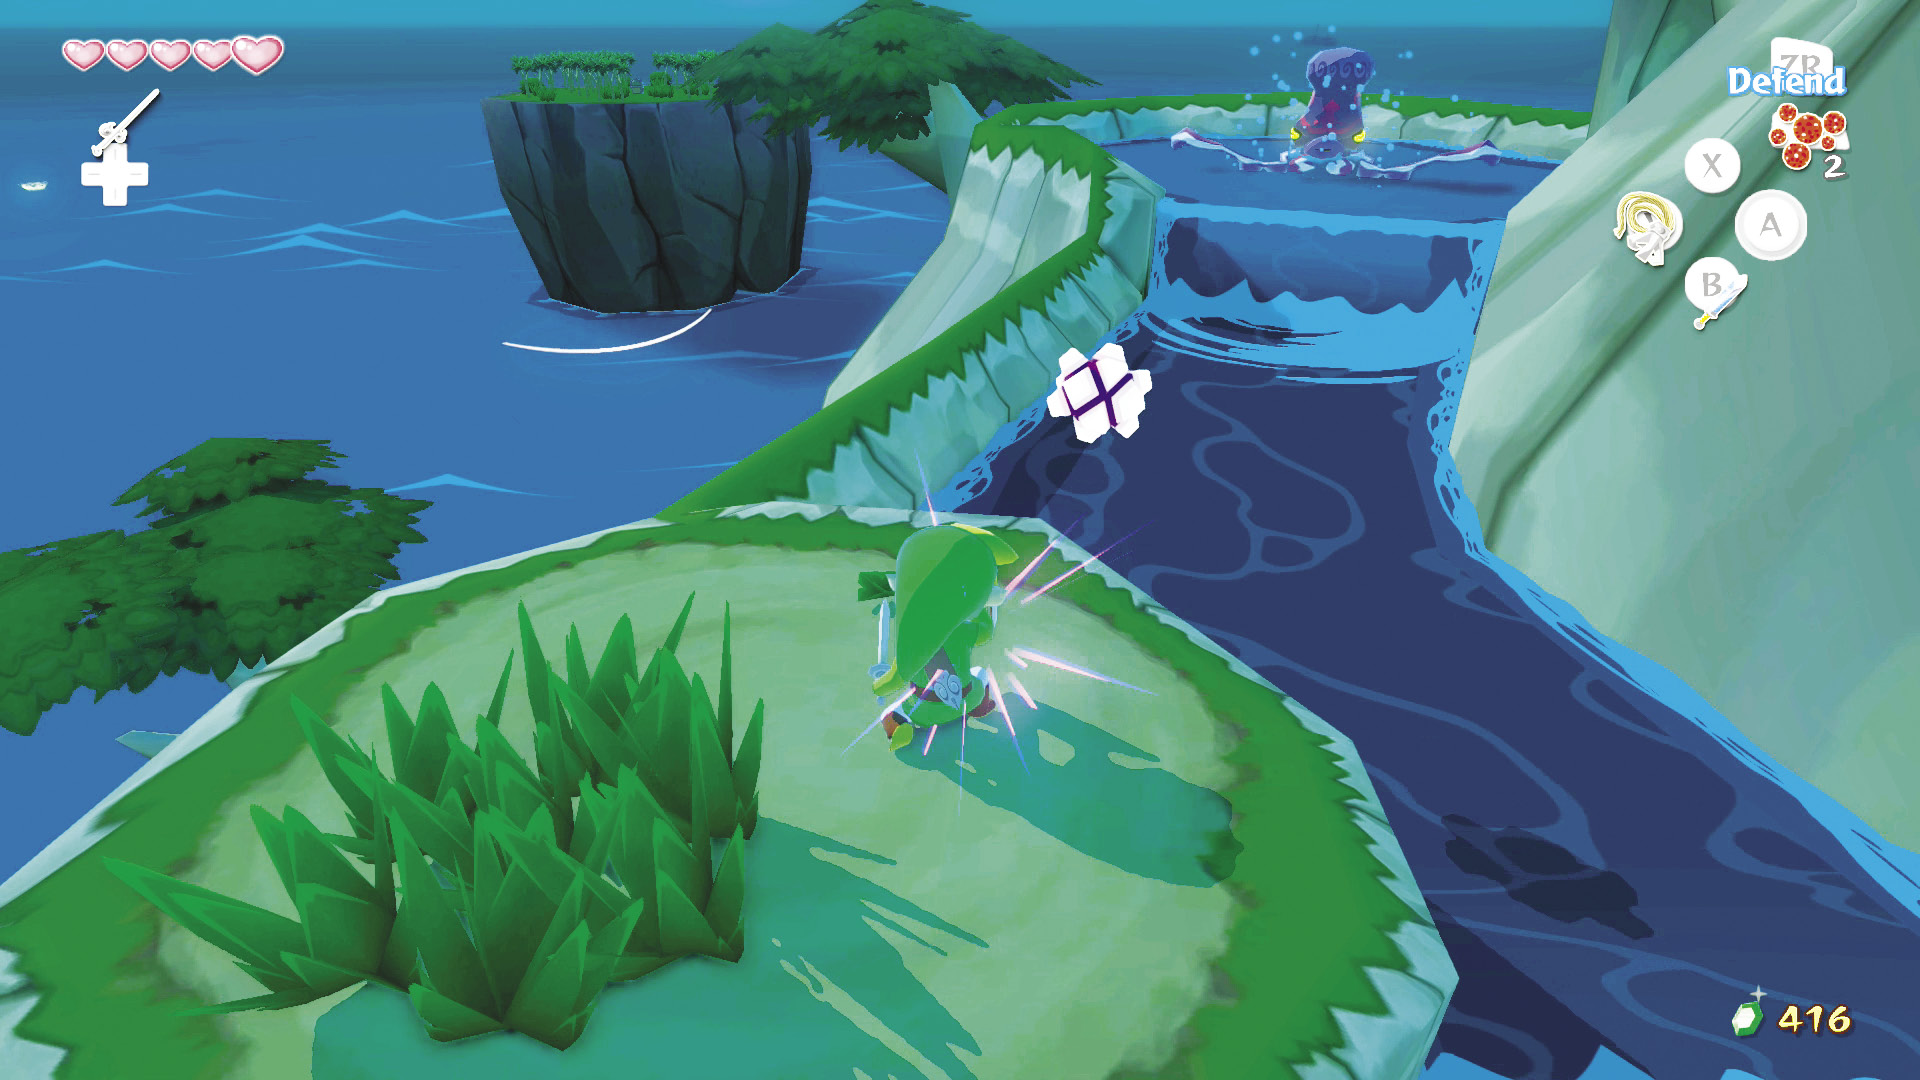
After landing on the small island, immediately hold out your shield—hold the Button while your sword is out—to deflect the projectile launched from a River Octorok’s mouth, just upstream. If you deflected it before getting hit, the projectile will bounce back and hit the River Octorok instead, defeating it on contact.

Enemy: River Octorok
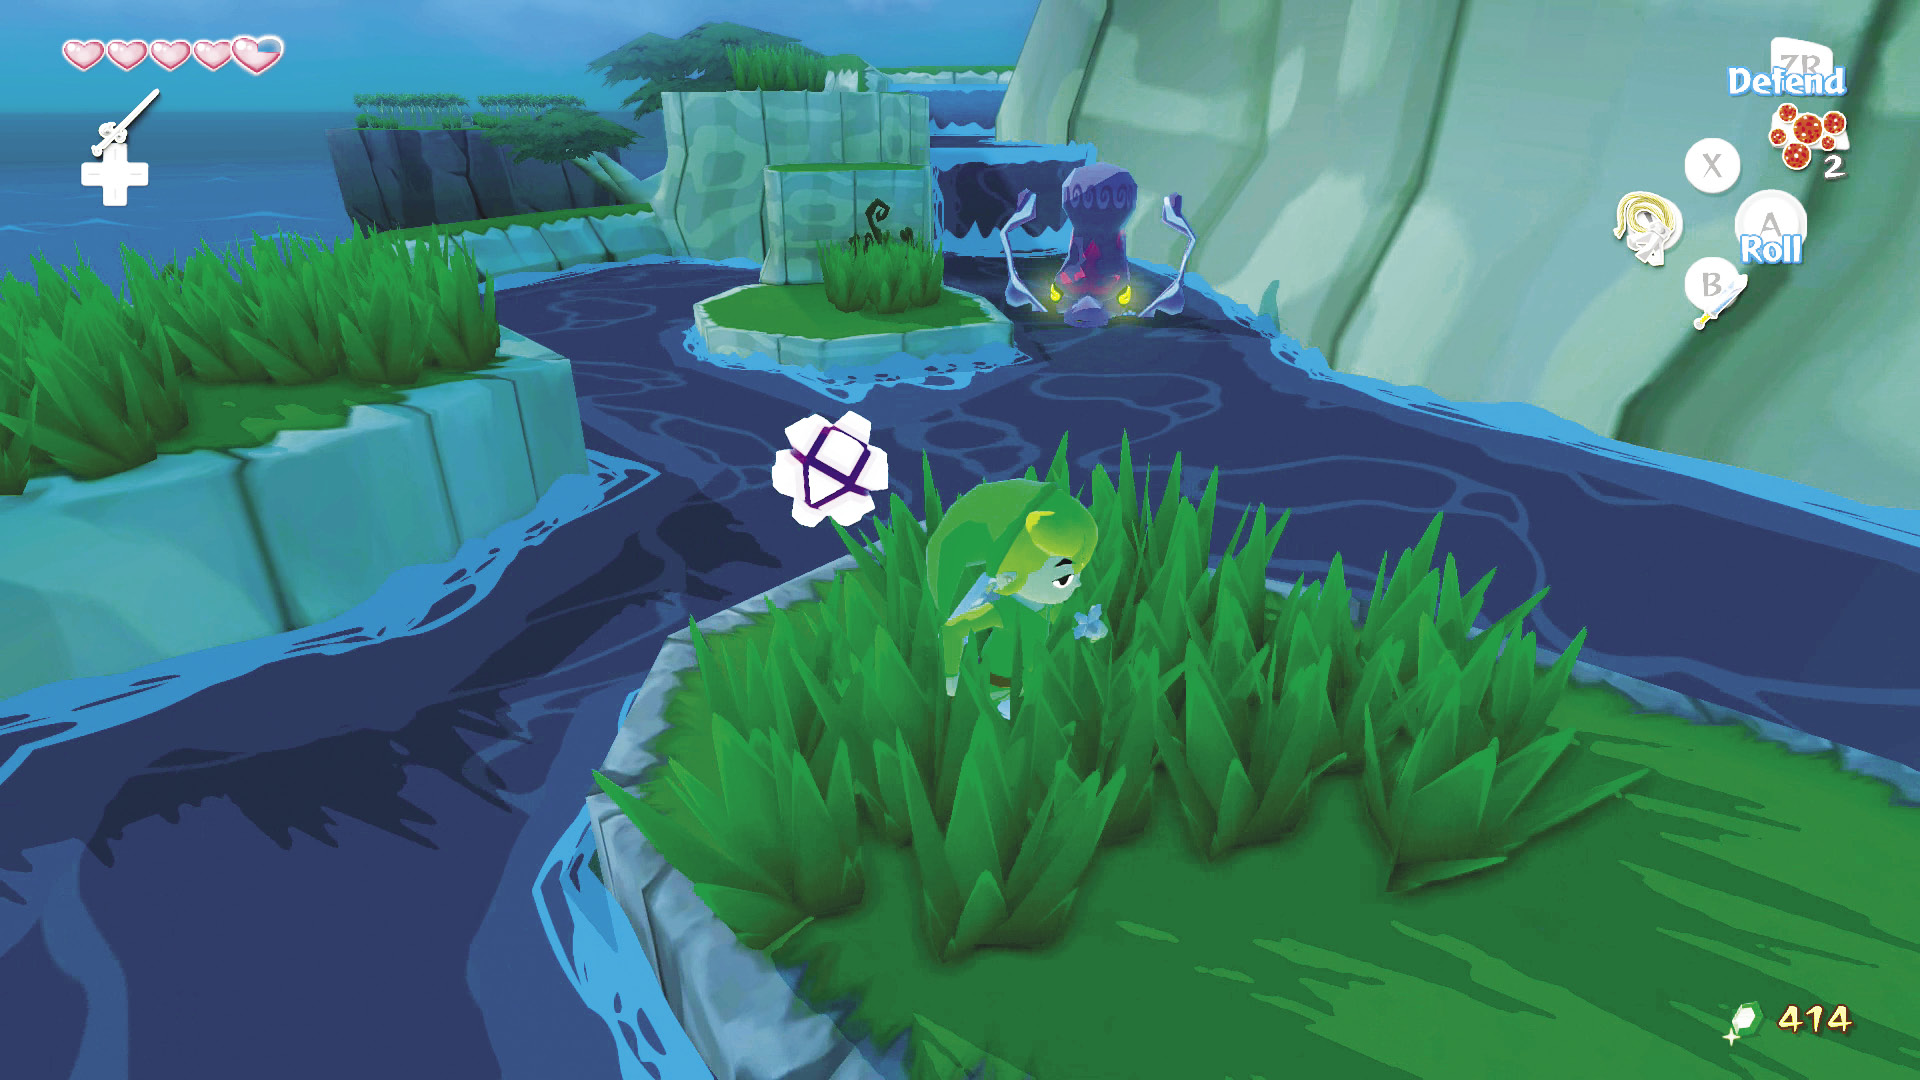
River Octoroks are pretty uncommon, mostly residing in the Forest Haven and Forbidden Woods sector (F6). They can be defeated pretty easily by deflecting their projectiles back at them with your shield or by hitting them with your sword. A single hit with its own projectile will put this killer calamari out of commission.

After defeating the River Octorok, hop onto the plot of land to your left. A Boko Baba resides there, so take it out before moving on. Head onto the next small island on your right in the middle of the stream, climb up the ledge, and jump to the platform ahead. There’s another River Octorok ahead, so defeat it before moving on.
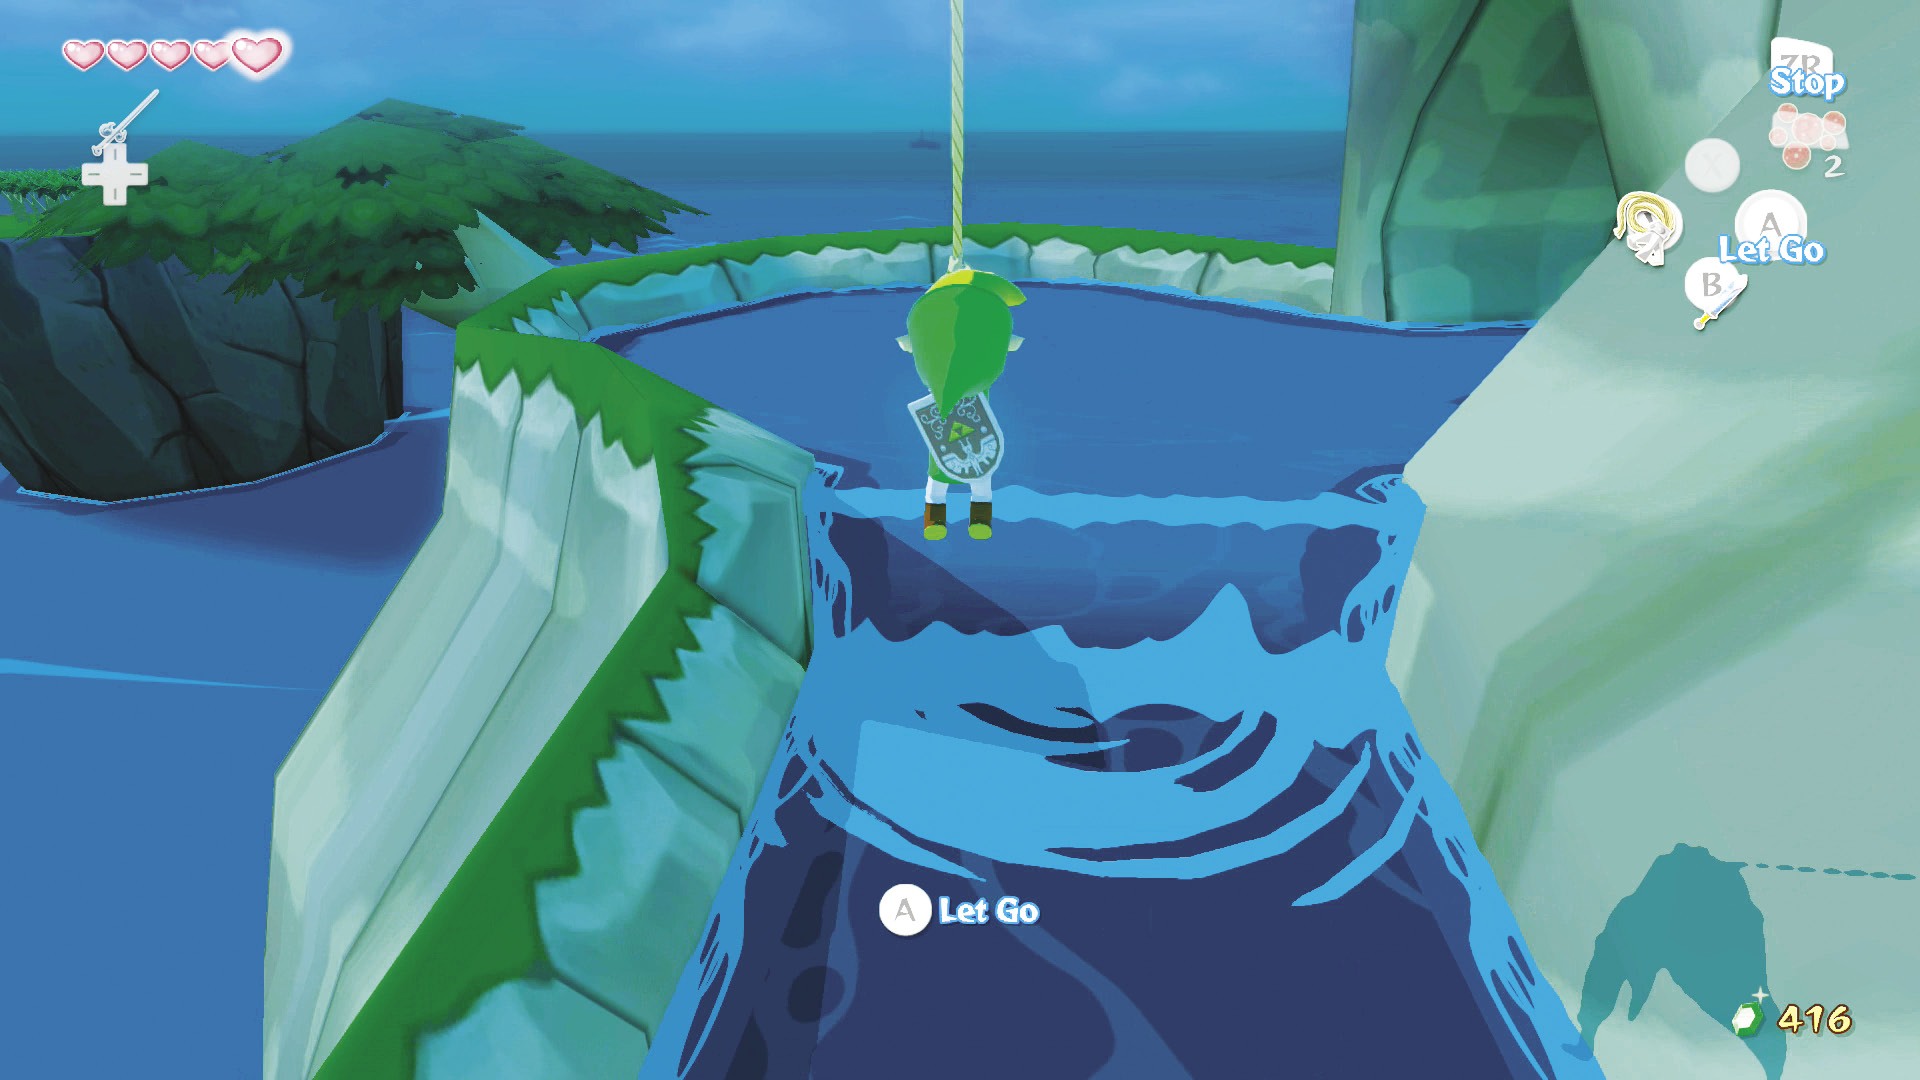
After defeating the second River Octorok, pull out your Grappling Hook and look straight up to find another post. Swing and jump into the pool of water that the River Octorok was in, then head into the passage to your right to officially enter the Forest Haven.

PreviousDragon Roost Cavern (F2) NextForest Haven (F6) - A