
The Legend of Zelda: The Wind Waker Guide Walkthrough Restoring Evils Bane: The Earth Temple
Introduction
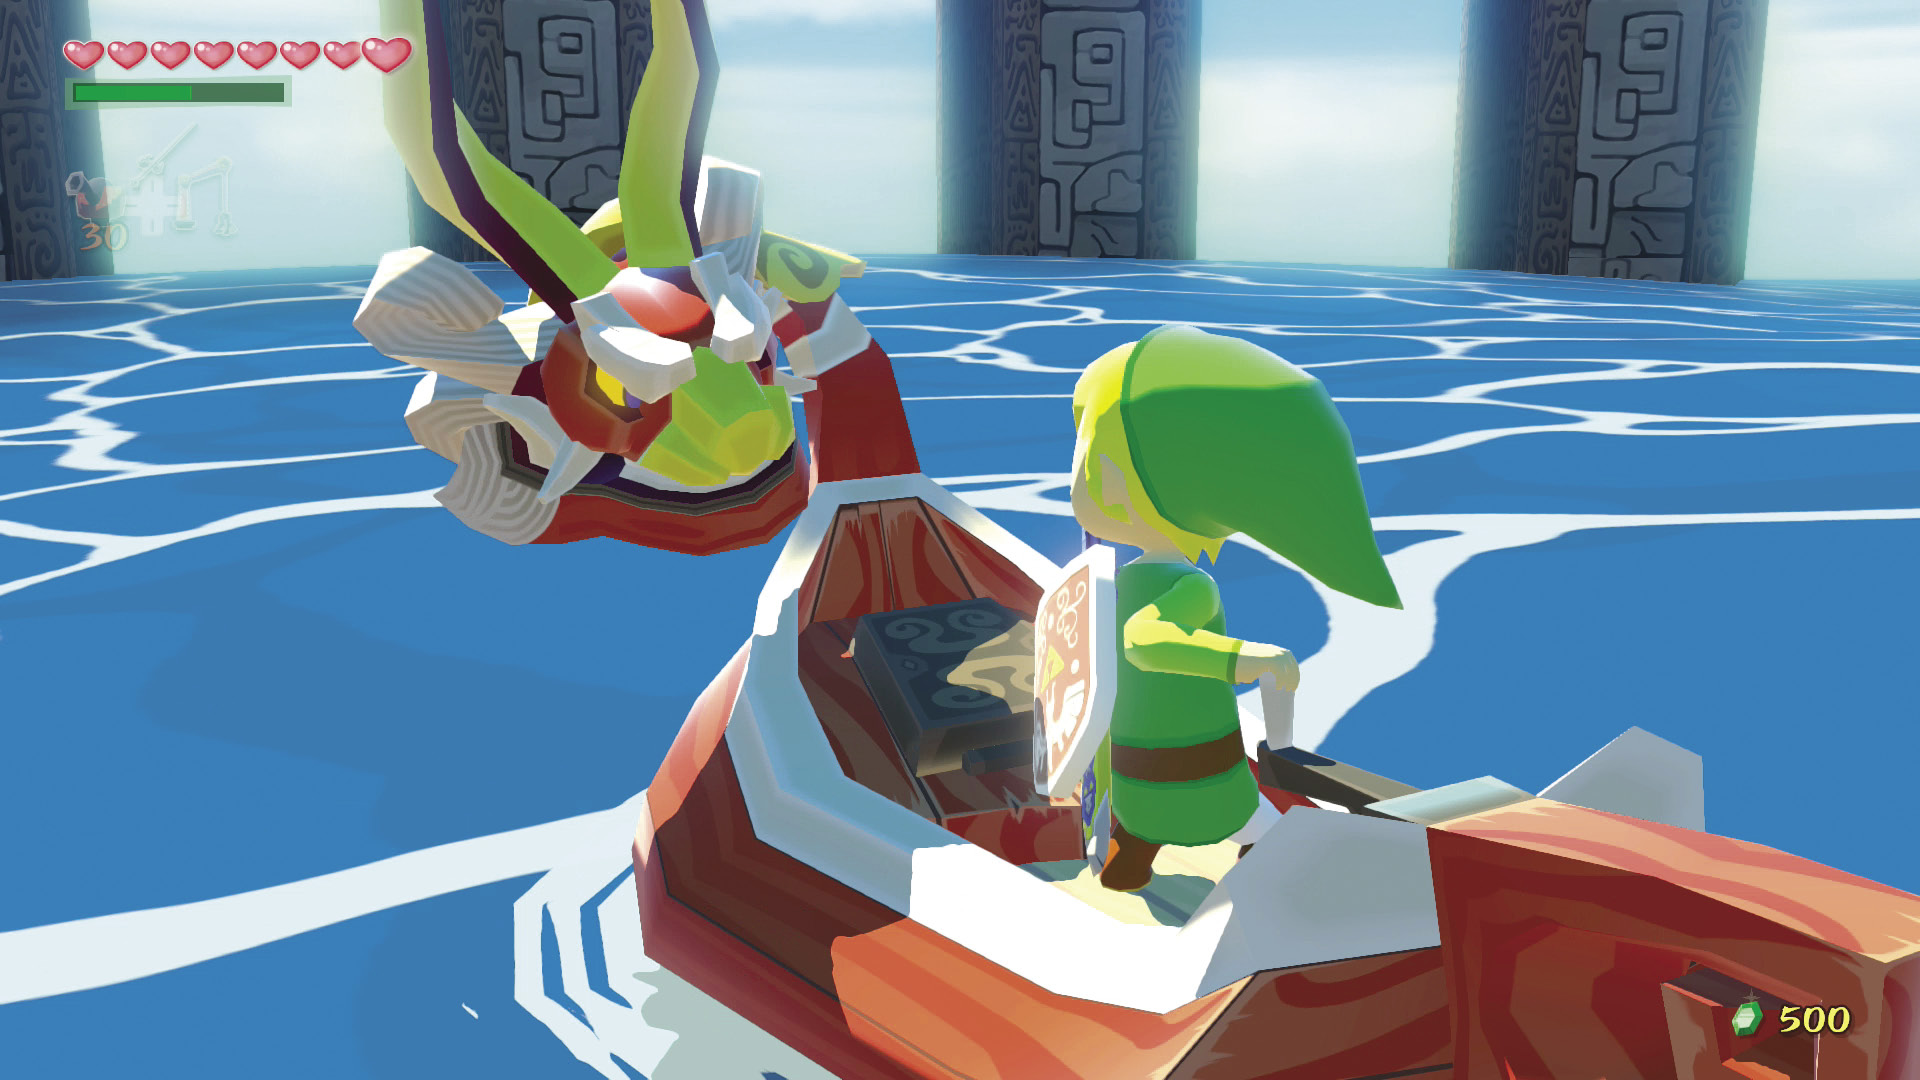
Ganondorf said that a Master Sword without a sparkle will never be able to defeat him. The Master Sword is powered by the gods and the gods only power the sword when they are being prayed to. Red believes that something bad might have happened to the sages of the Wind and Earth Temples. Ganondorf has done his fair share of damage around the Great Sea, and it would definitely be in his best interest to disrupt the Master Sword’s power.
We need to check those temples quickly, but before we can do anything, we have to stop at Mother & Child Isles. Word around the Great Sea is that a Great Fairy living on Mother Isle has something that might be able to help us.
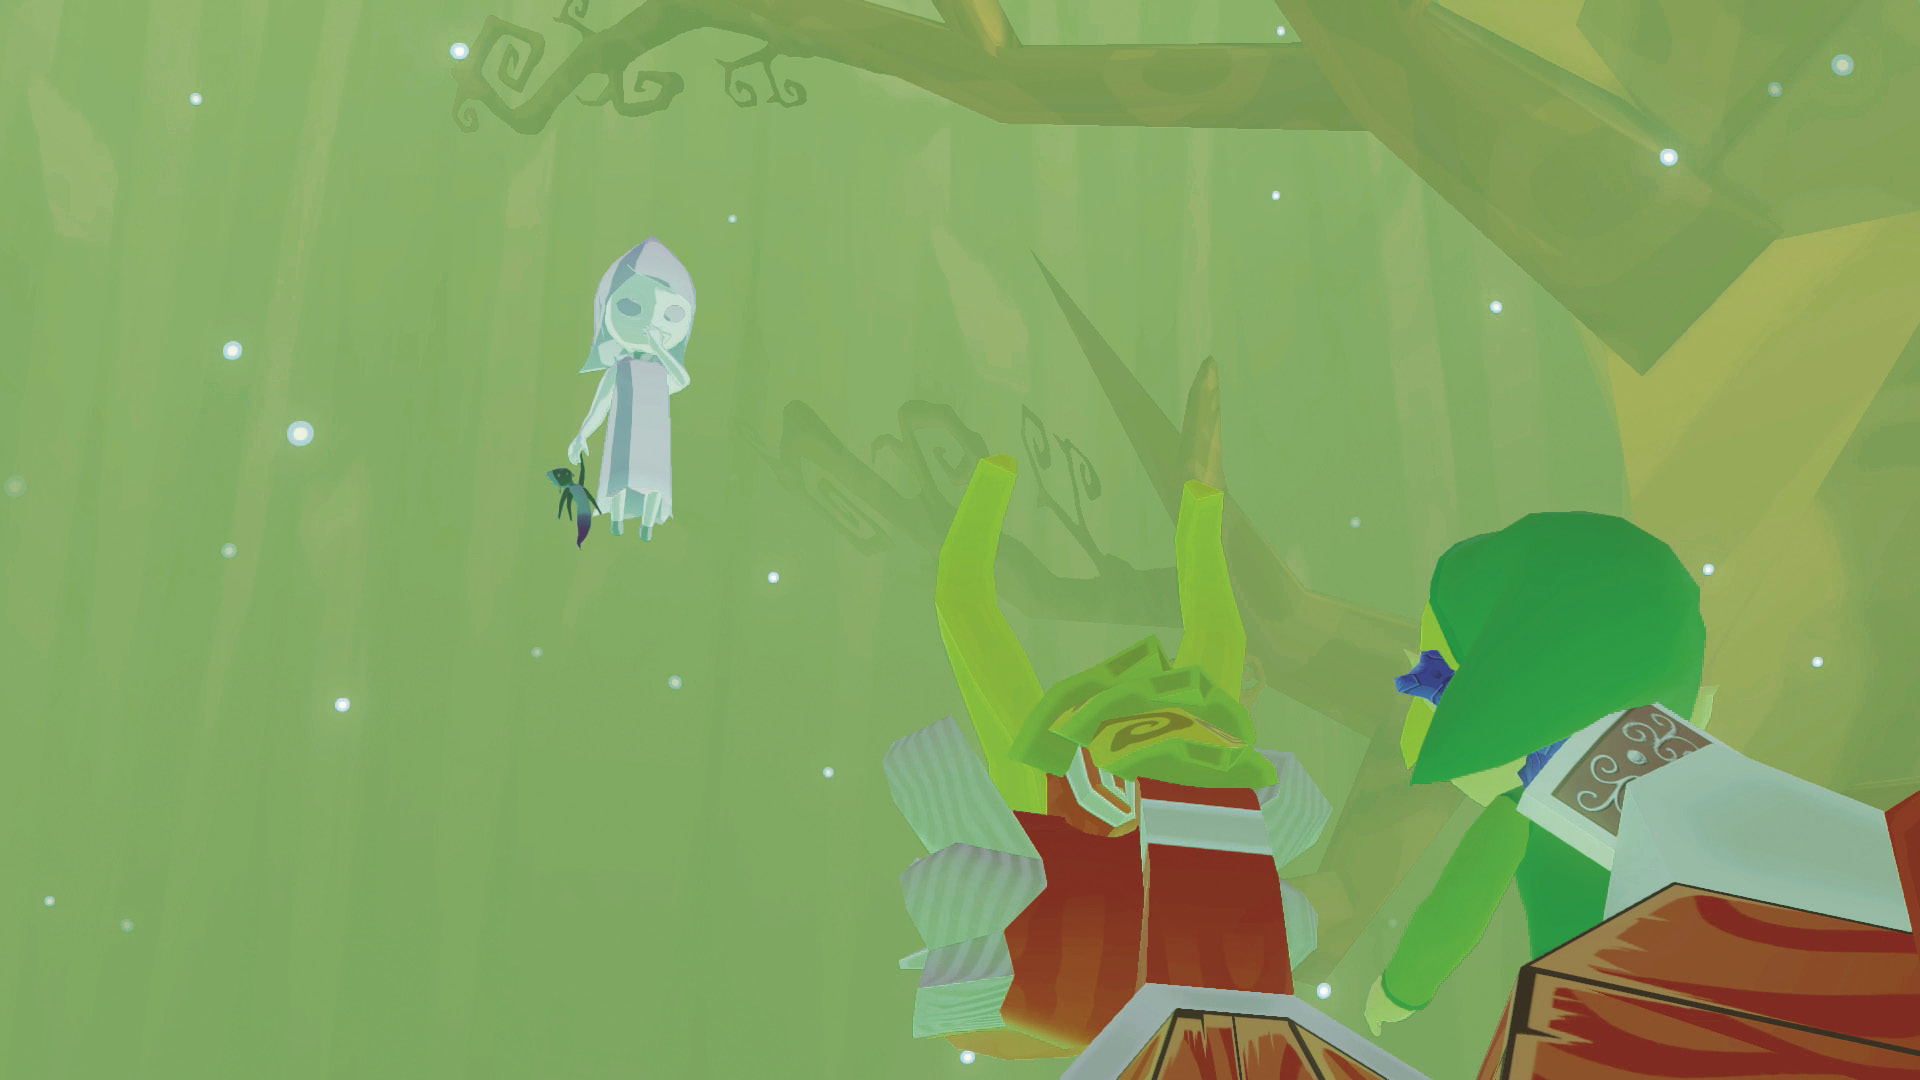
Conduct the Ballad of Gales and warp to Mother & Child Isles (B2). You’ll be warped directly inside Mother Isle, where the childlike Queen of Fairies is waiting to greet you. Aware of your battle against Ganondorf, the Queen offers you the power to change the arrows of your Hero’s Bow to shoot fire and ice. Those will undoubtedly be helpful during your quest.
With the Fire and Ice Arrows in your possession, we’re ready to head to our next destination: Fire Mountain (F3). Items called the Power Bracelets are supposed to be hidden within the depths of the Fire Mountain; surely they can help us along our quest!
Conquering the Great Sea
Windfall Island (D2)
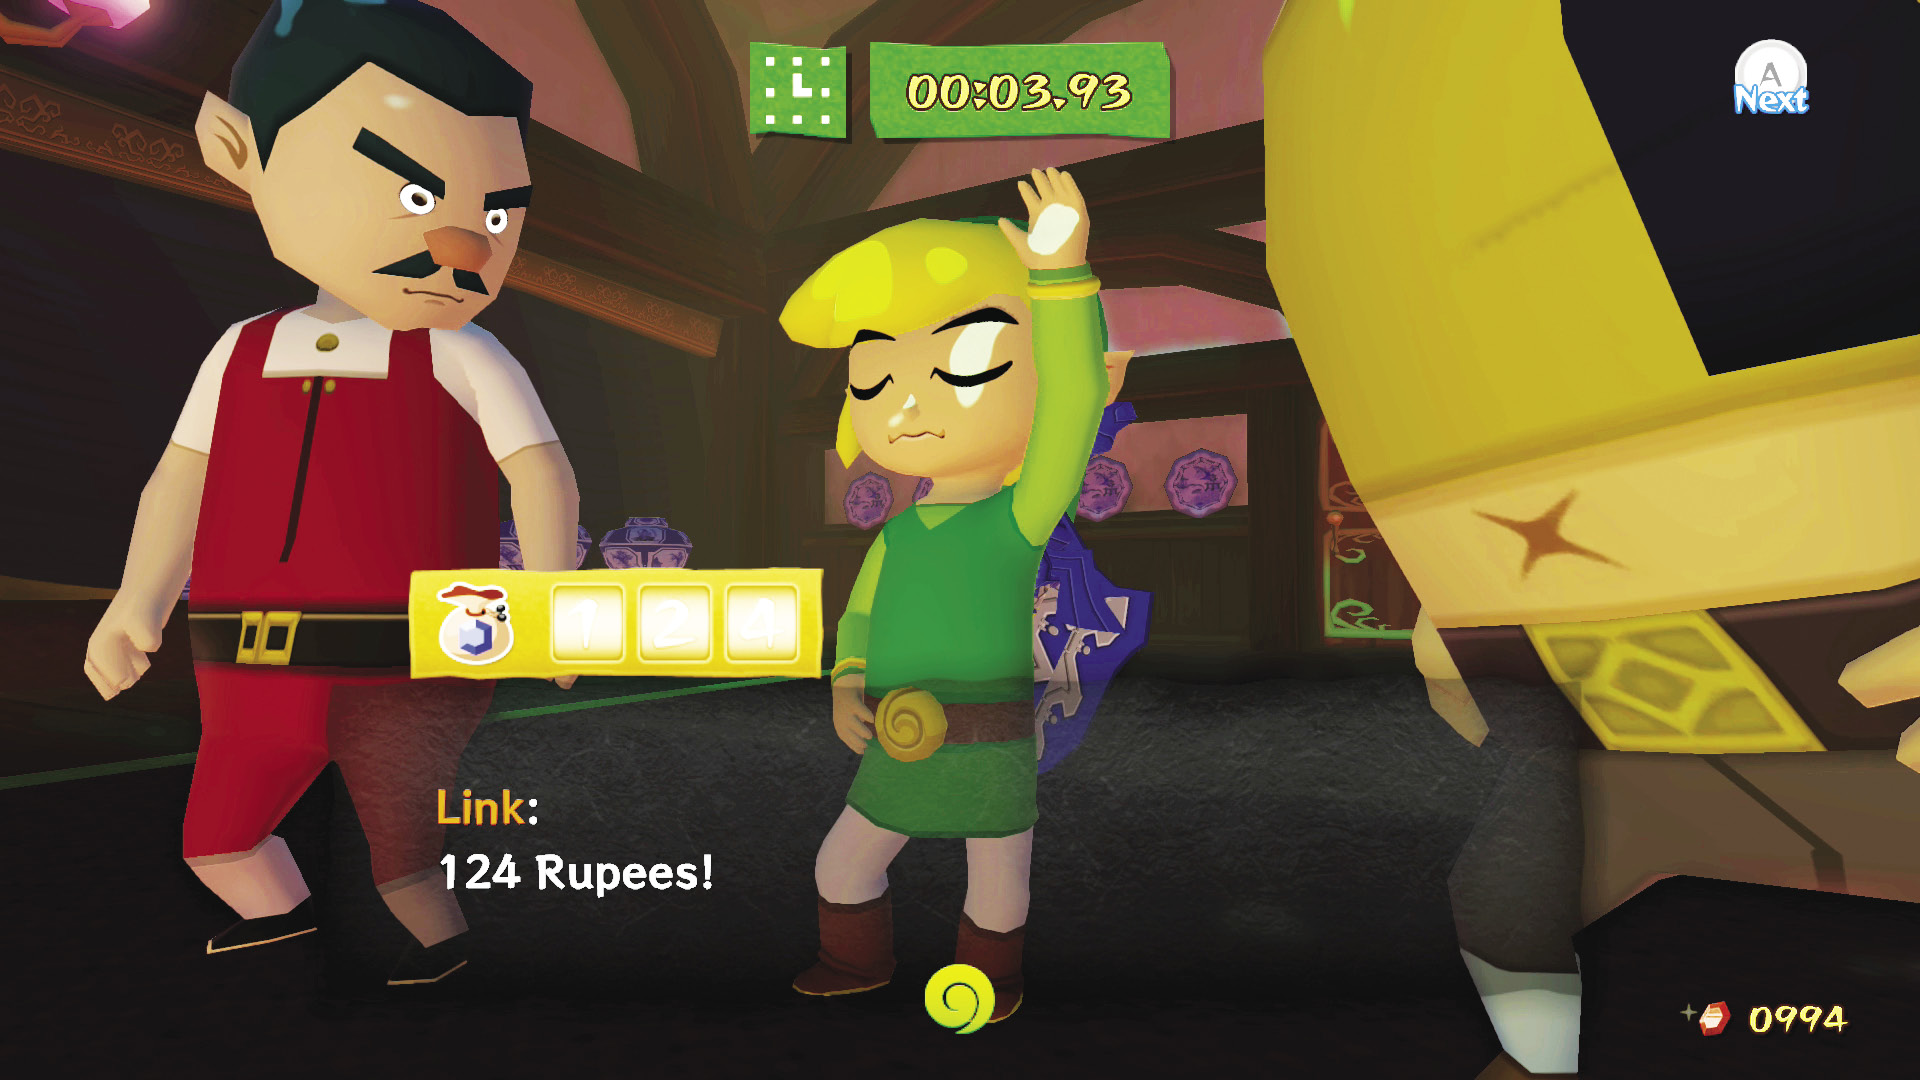
On the Trade Route
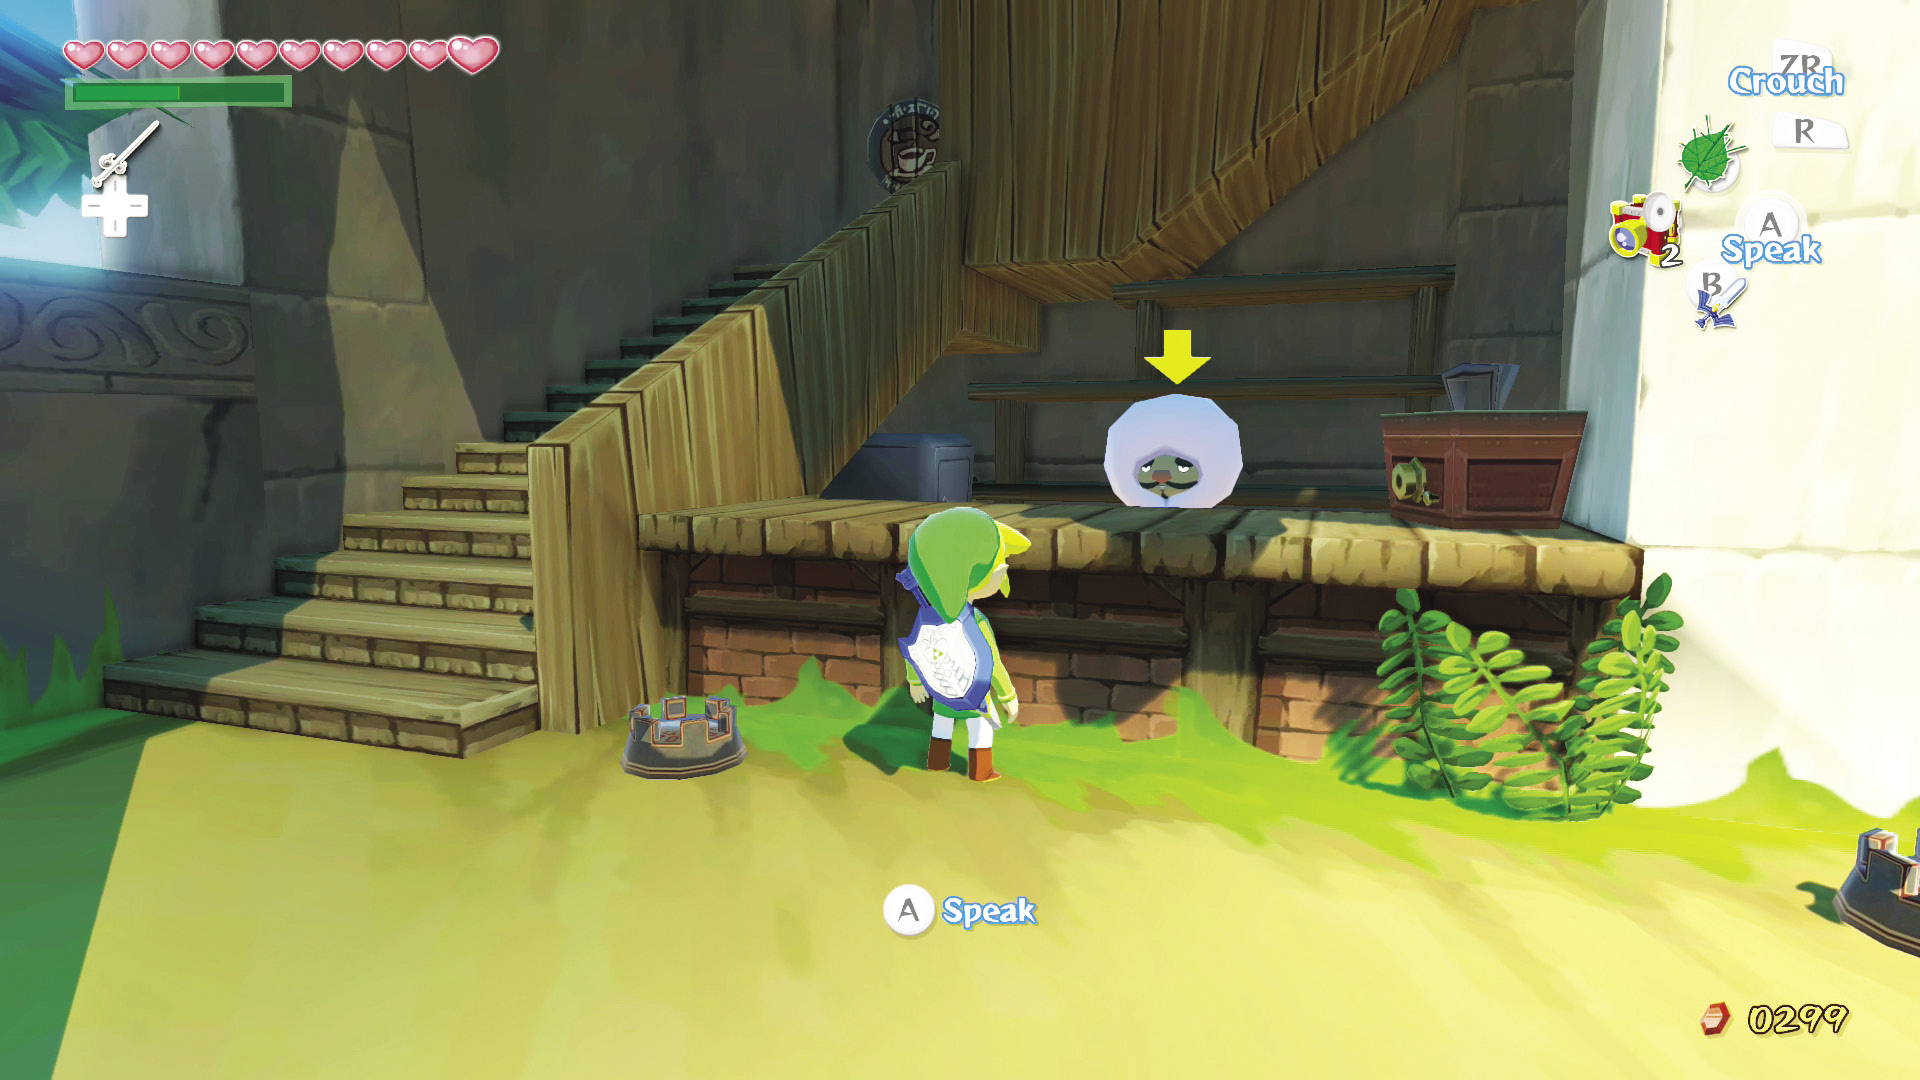
Head back to Zunari’s stall and speak with him on the larger left counter. If you traded the Town Flower to the Traveling Merchant on Mother & Child Isles (B2), Zunari will thank you for your assistance and will tell you that new merchandise is already pouring in.
A Never-Ending Supply of Joy
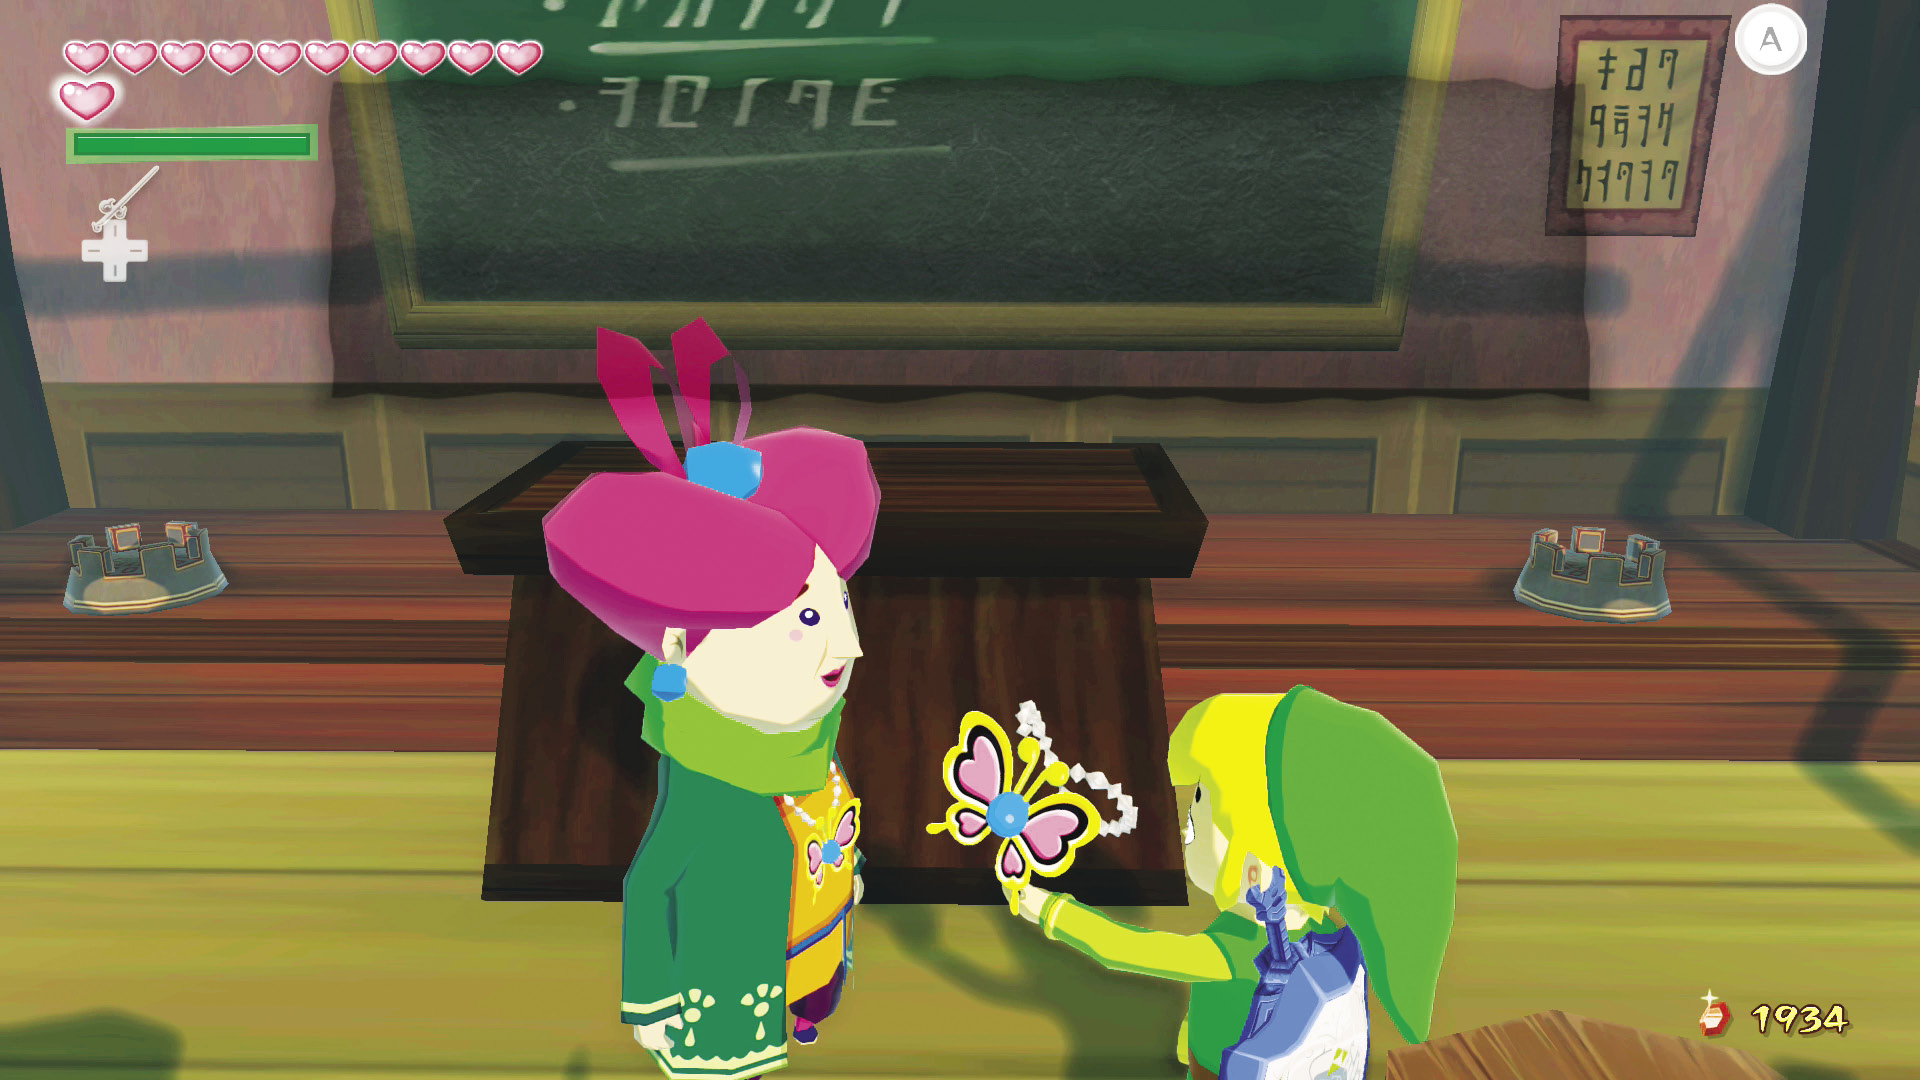
If you’ve been collecting Joy Pendants from all of the Bokoblins you’ve defeated, you should have around 20 more total pendants. Bring these to Mrs. Marie to add to the ones you already gave her, bringing your total to 41.
Overjoyed by your endless pursuit to spread happiness to those you meet, Mrs. Marie will give you Treasure Chart #45 as proof that the pursuit of happiness doesn’t always have to be its own reward.
|
|
85 |
Treasure Chart #45 |

Relighting the Lighthouse
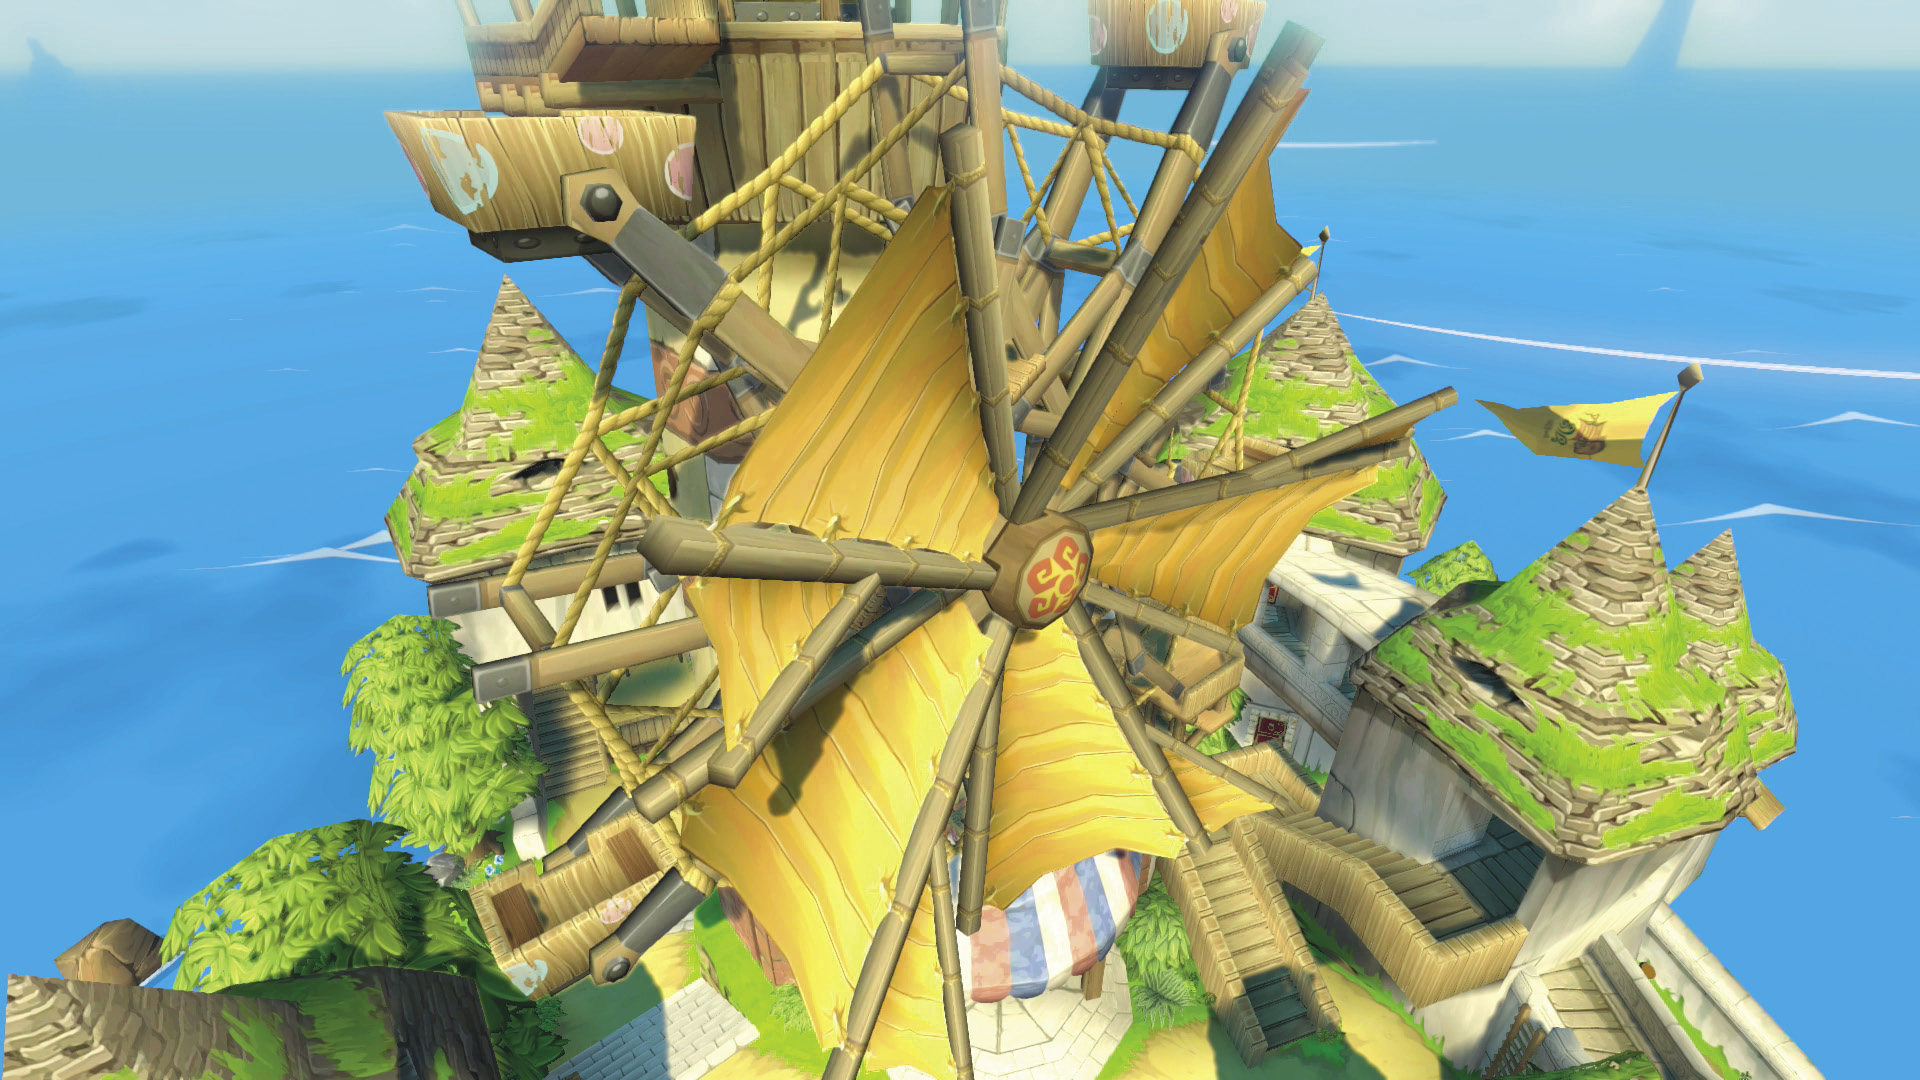
The Windfall Island lighthouse and windmill have been out of commission for who knows how long. If you’re willing to put some time into fixing them up, you’ll earn Pieces of Heart #28 and #29.
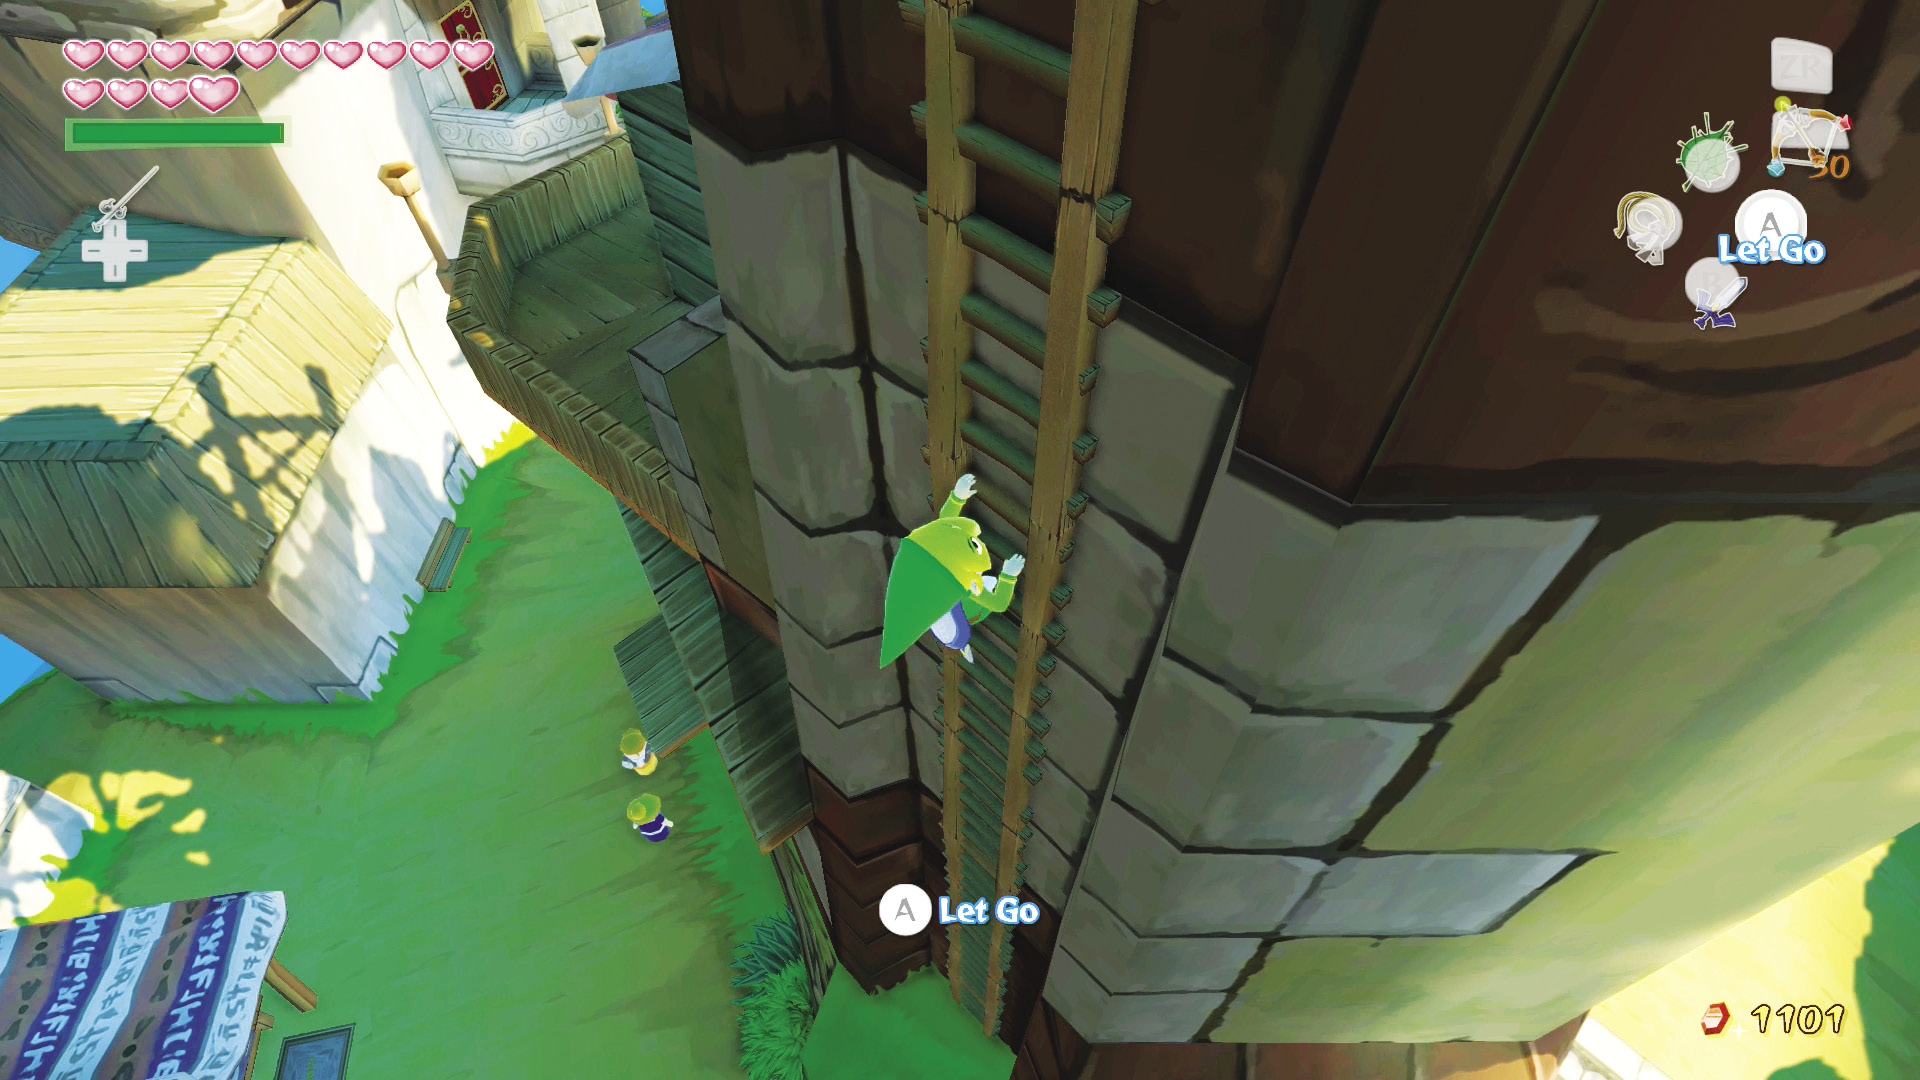
Start by climbing the ladder behind the lighthouse. The lighthouse is on top of the “Squid-Hunt” minigame building and the ladder behind it is up and to the left of the stairs straight ahead of Zunari’s stall (the stairs that lead to the center of town).
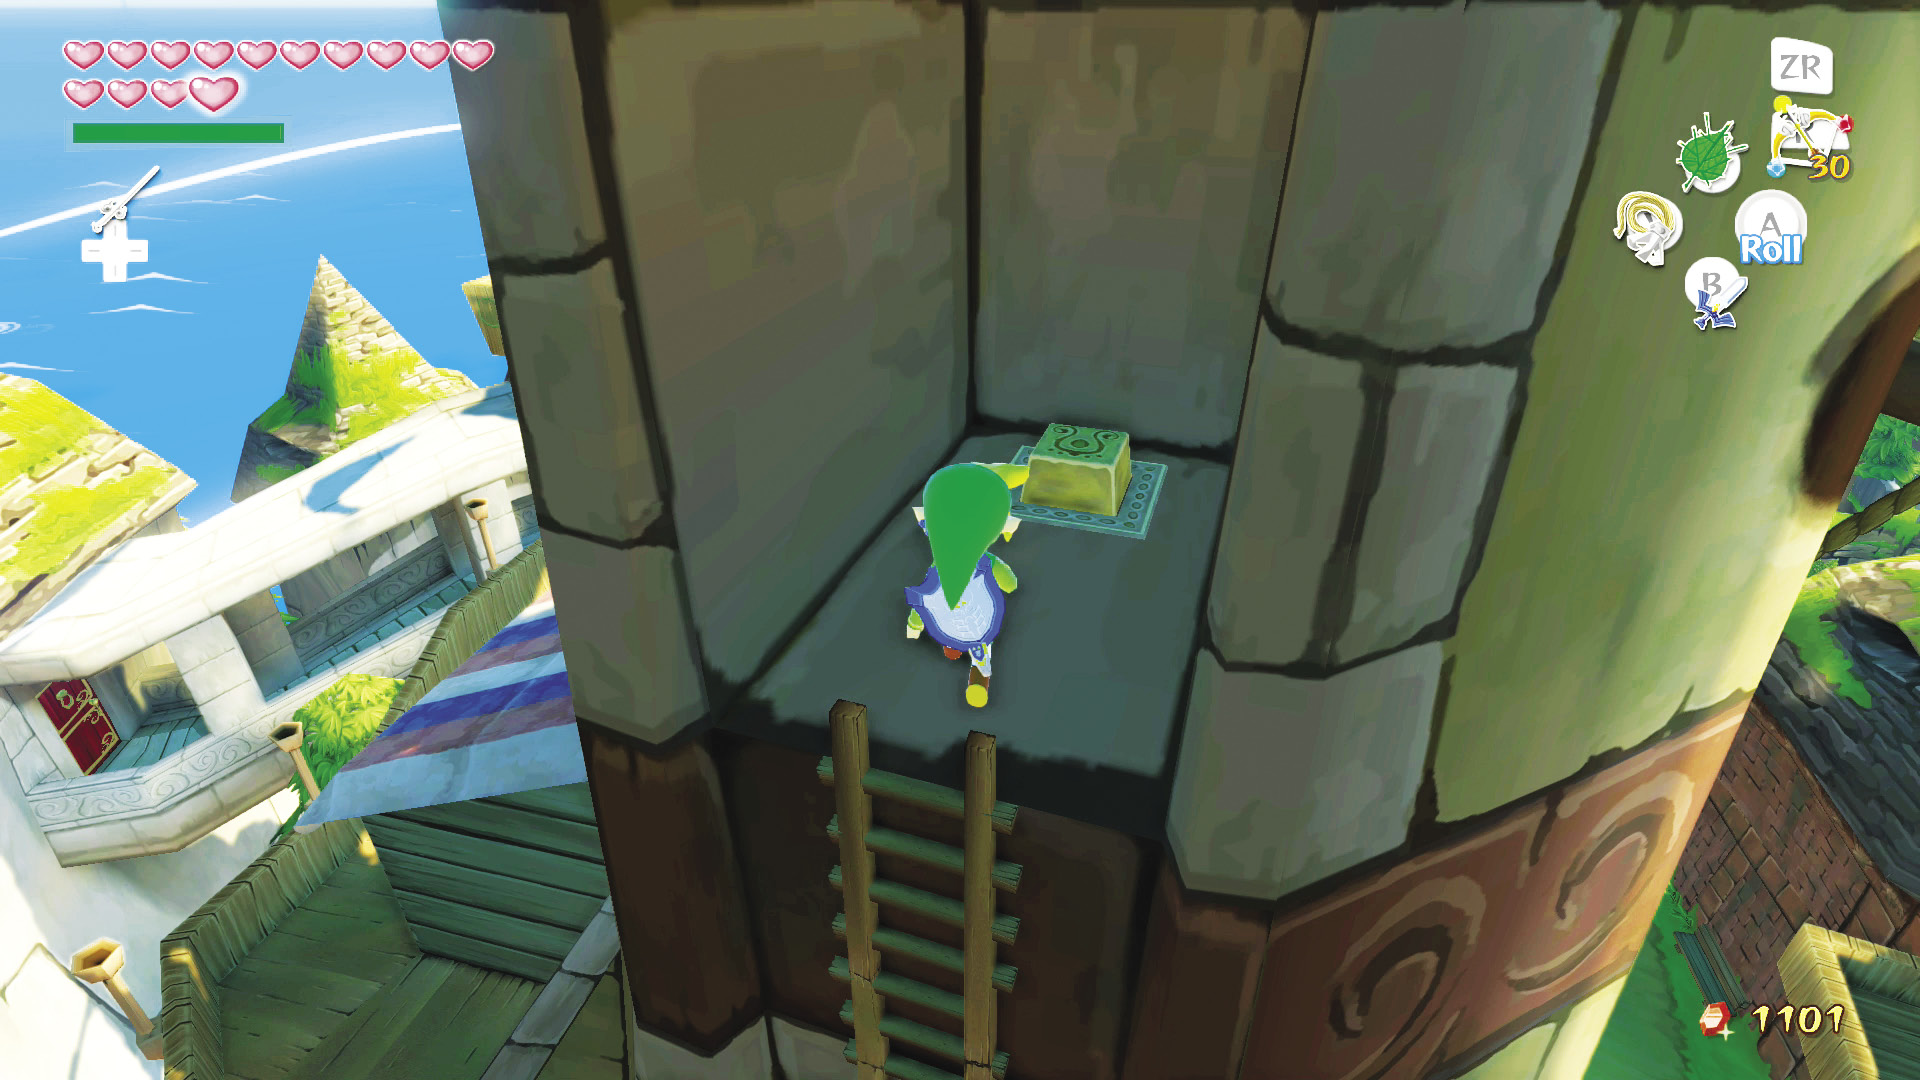
At the top of the ladder is a switch. Stand on it and conduct the “Wind’s Requiem.” Set the wind blowing north and the windmill will reactivate.
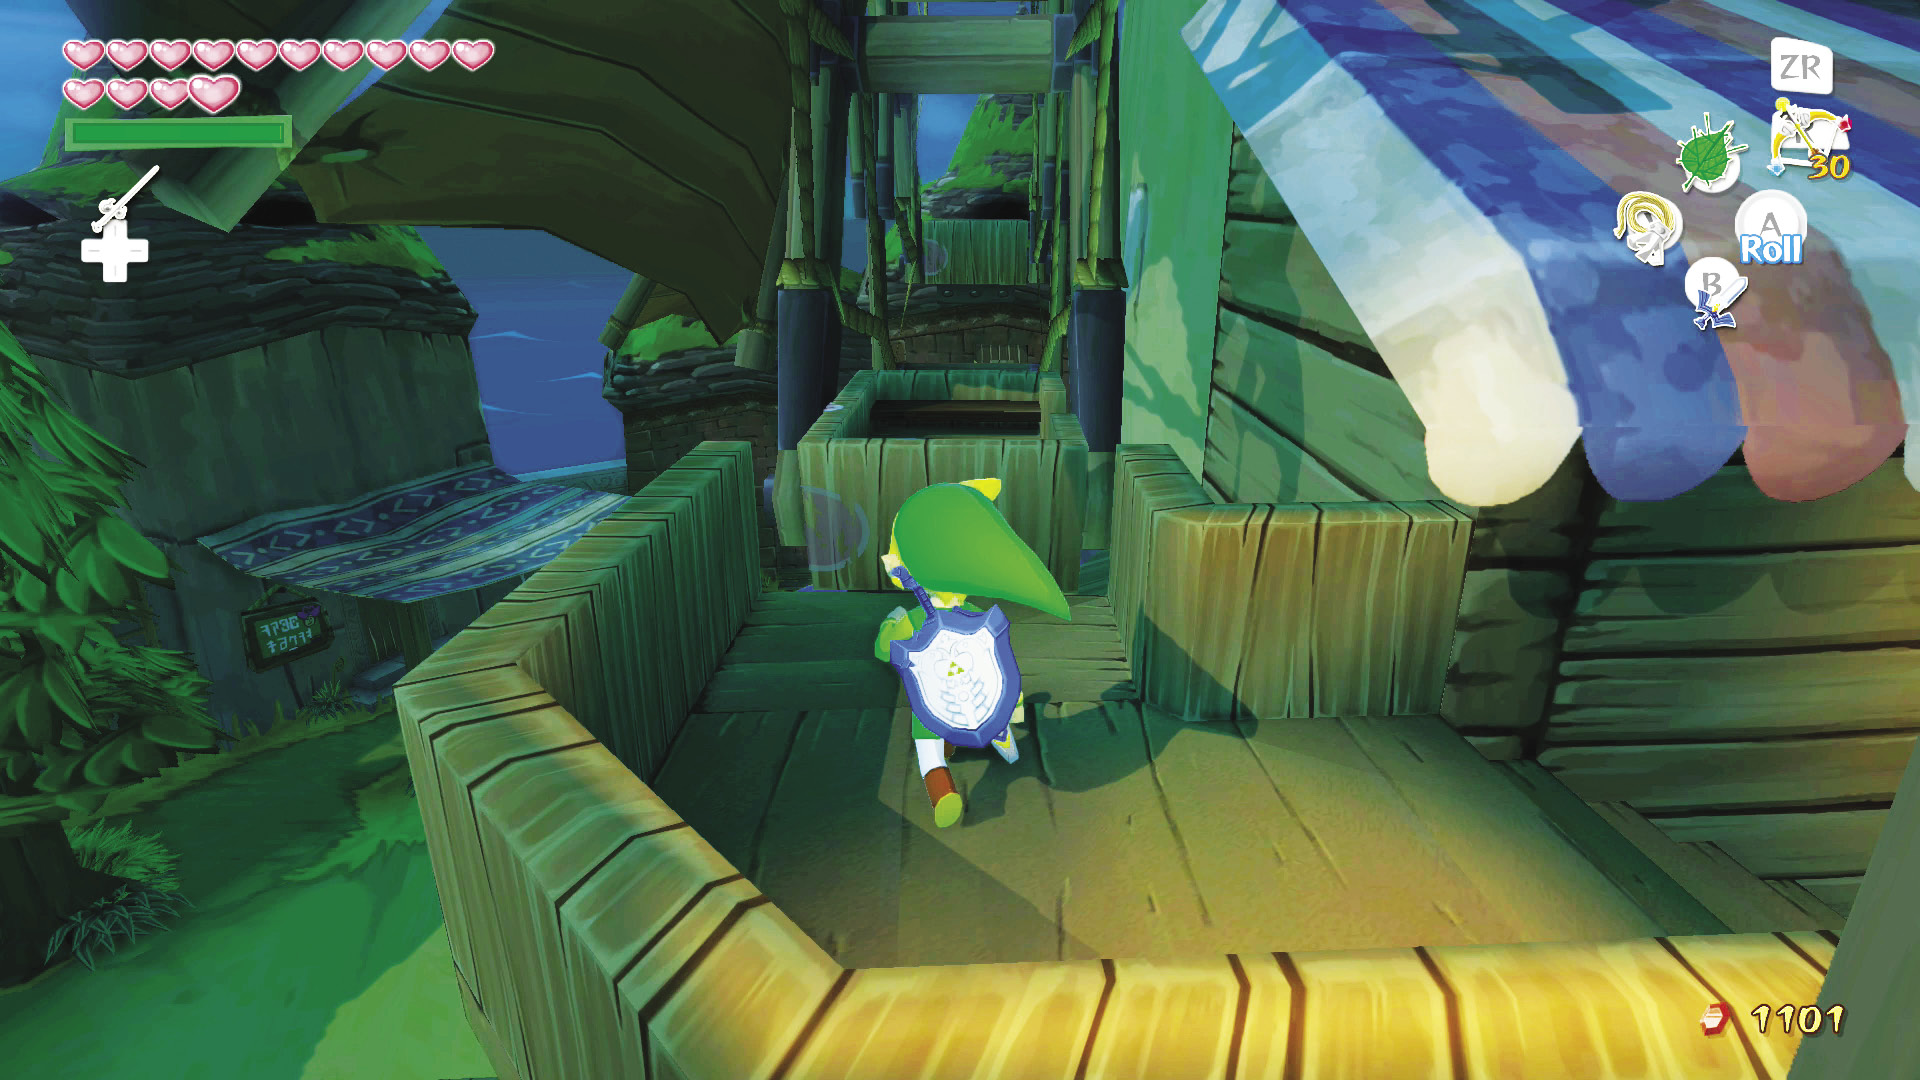
Head through the “Squid-Hunt” minigame building to the door on its second floor. Follow the deck to the platform in front of the windmill carriages, then conduct the Song of Passing to turn day into night.
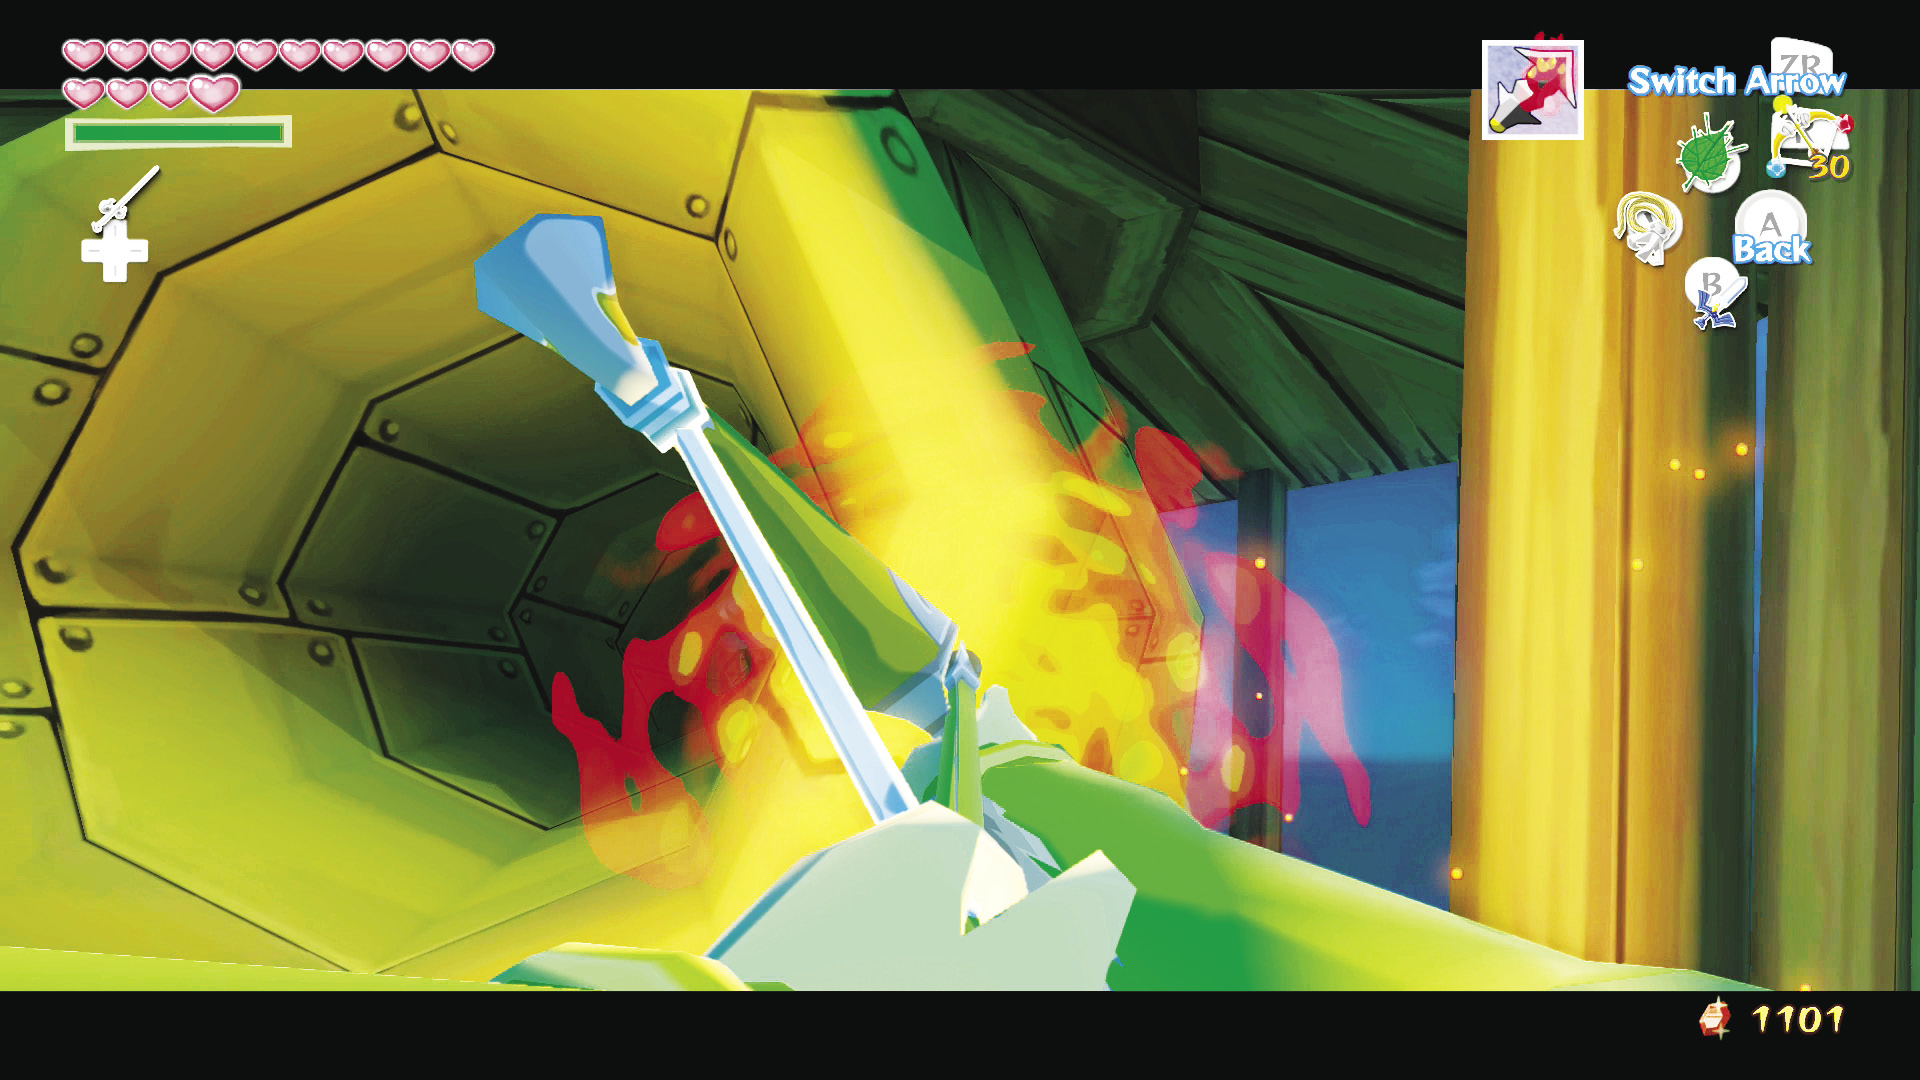
Hop onto one of the windmill carriages and pull out your Hero’s Bow, making sure to set Fire Arrows. At the top of the windmill and to your right is the lighthouse’s unlit torch. Shoot a Fire Arrow into the spinning hornlike object to light the torch at its center.
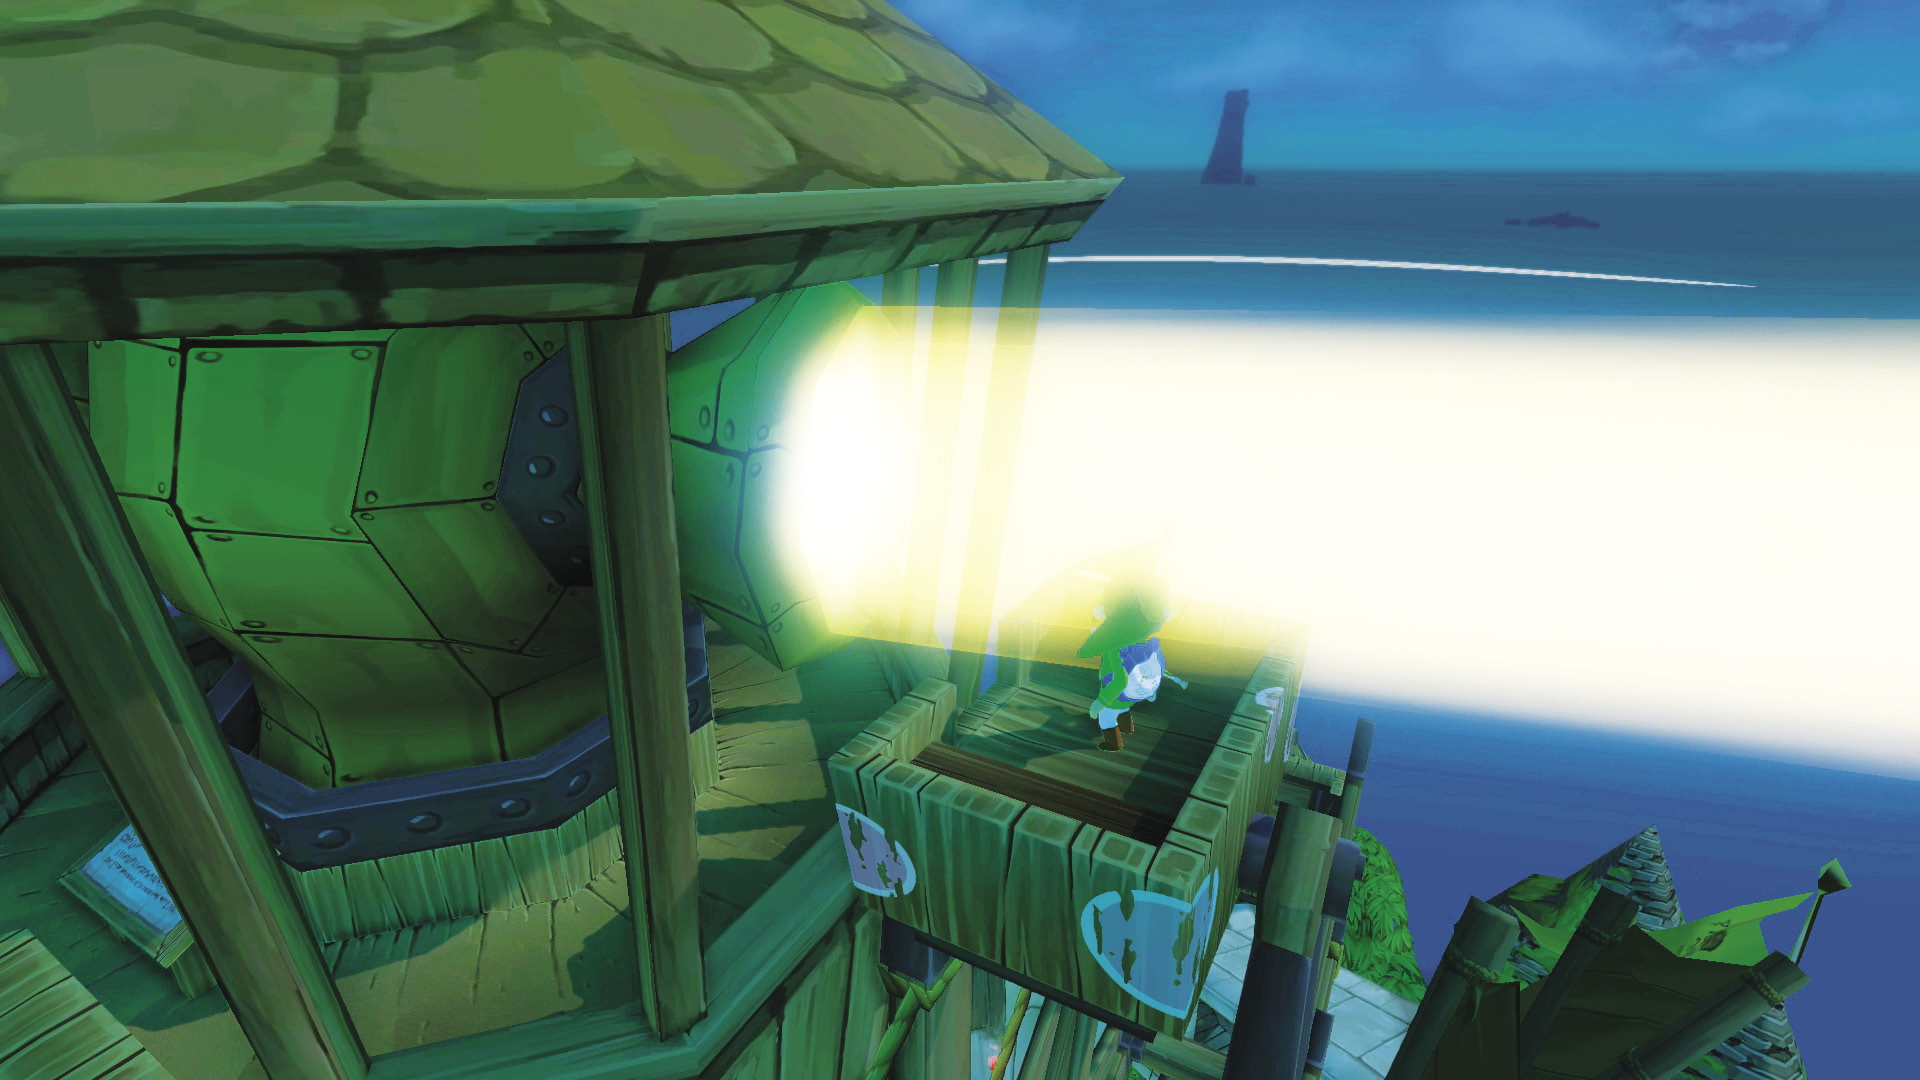
The lighthouse will begin shining again and a treasure chest will appear on a small island southwest of the bomb shop. Talk to Kreeb, who you passed on your way to the windmill carriages, during daytime hours and he’ll give you Piece of Heart #28.
|
|
87 |
Piece of Heart #29 |

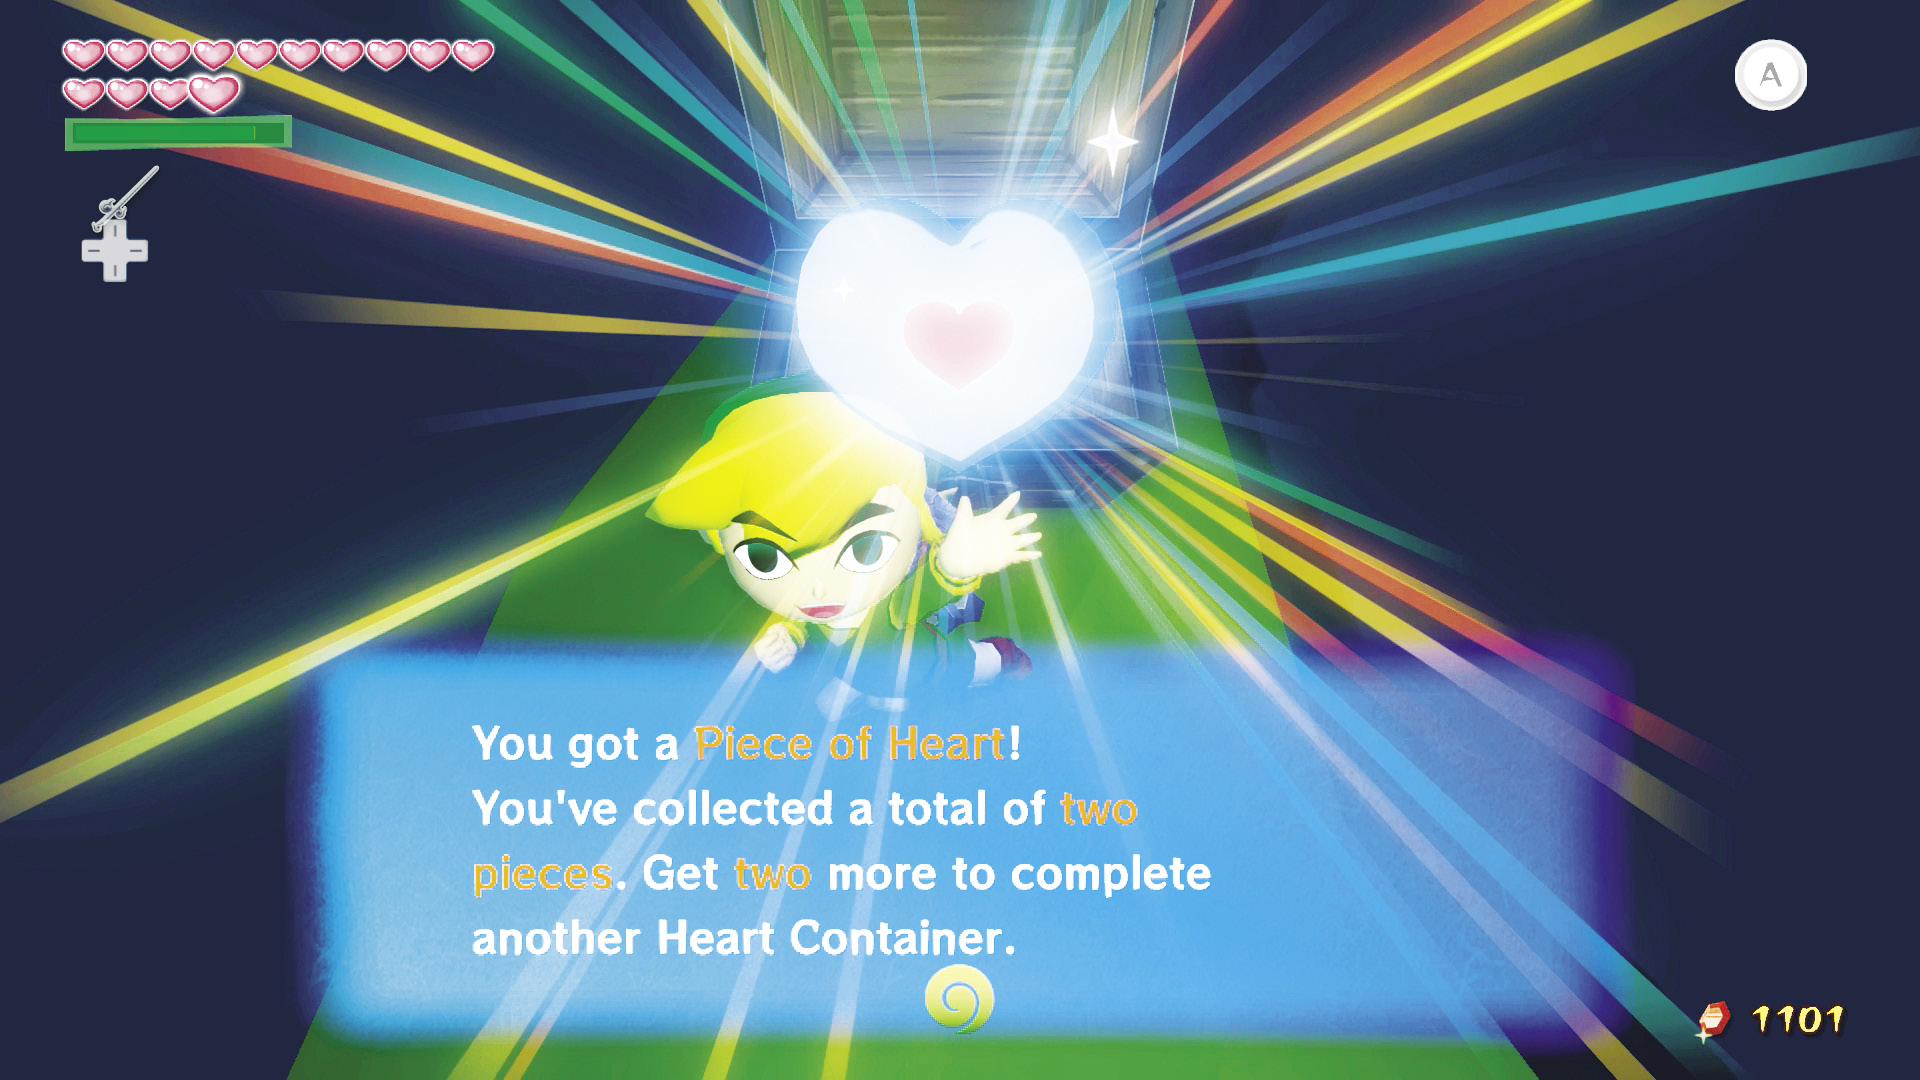
Head to the bomb shop, set the wind blowing southeast, and use your Deku Leaf to glide to the small island that the treasure chest appeared on. Open the chest and you’ll receive Piece of Heart #29.
|
|
86 |
Piece of Heart #28 |

The Power of Blue Jelly
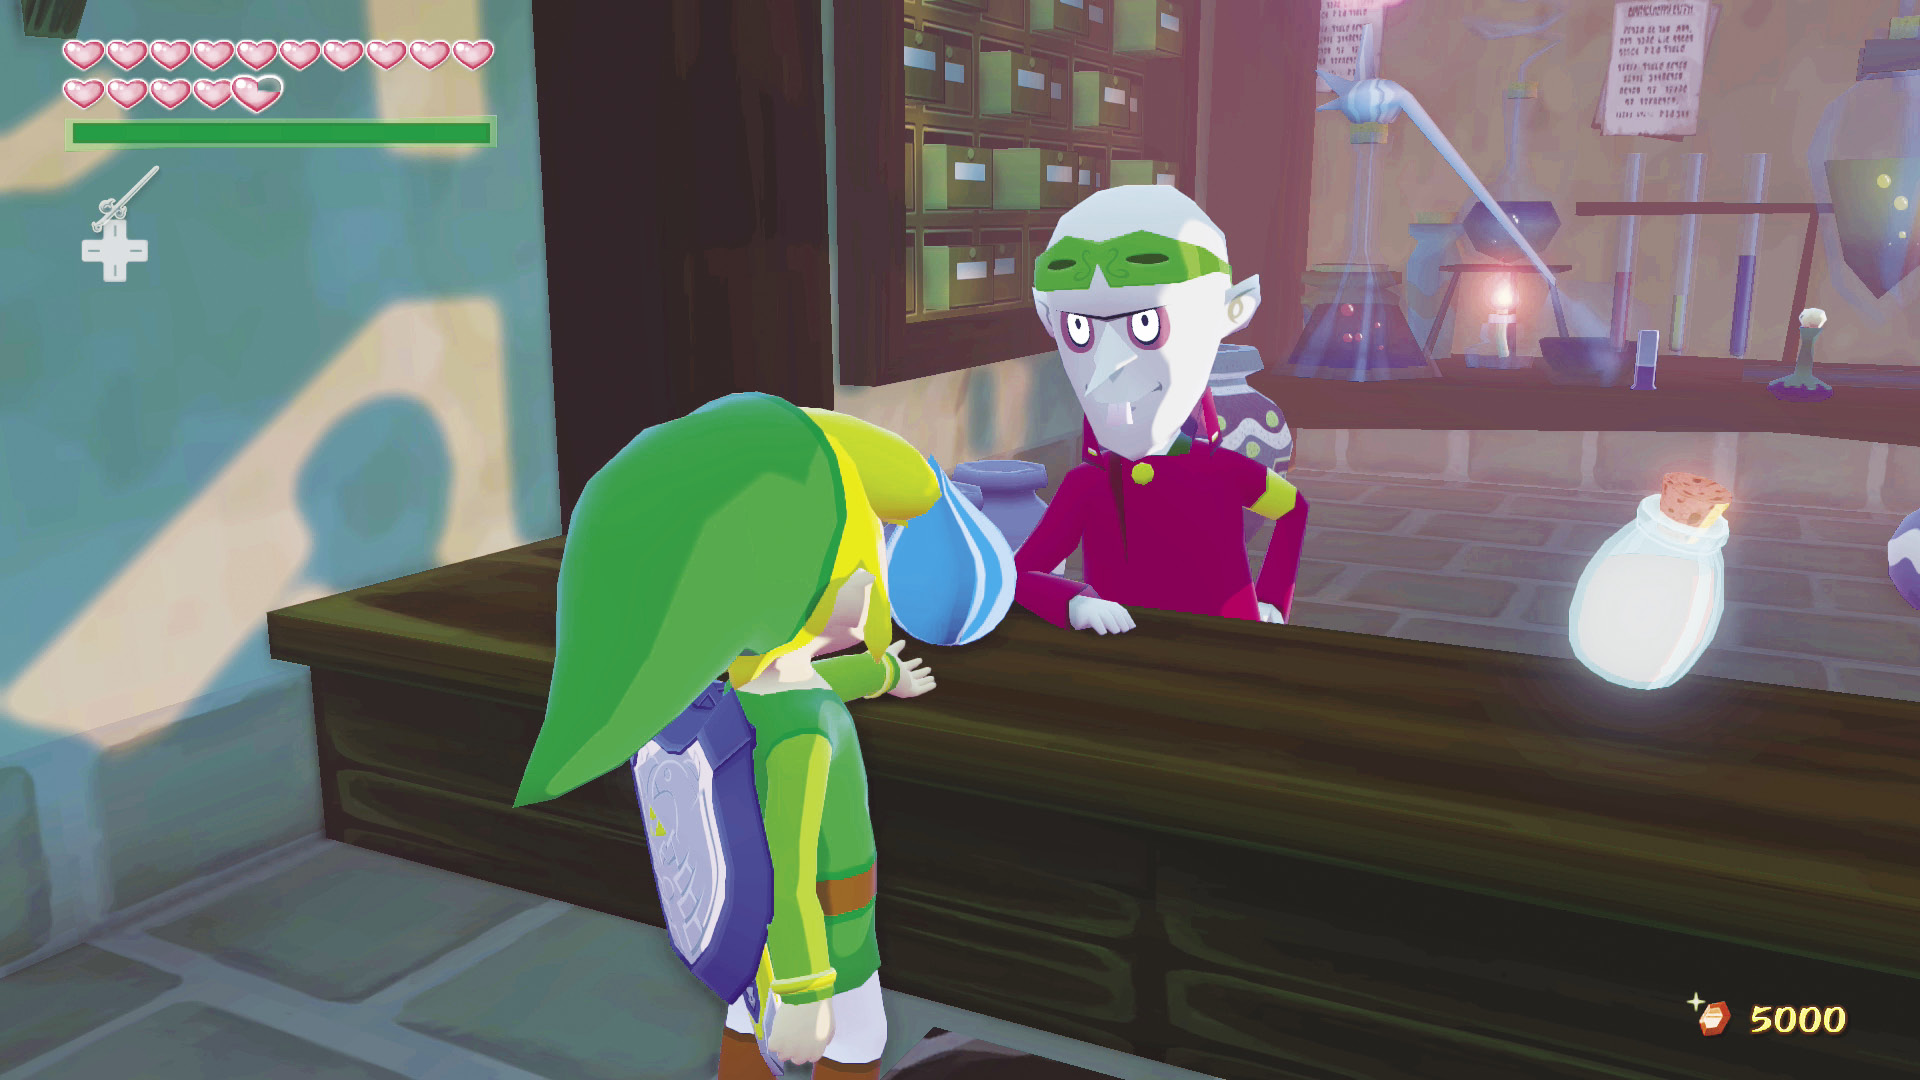
After facing countless Blue ChuChus, you’ve probably collected what feels like an endless supply of Blue Chu Jelly, but your efforts are about to be paid in full! Head to Doc Bandham’s potion shop with an Empty Bottle, then offer him 15 Blue Chu Jellies and he’ll make you an amazing potion that can refill your health and your Magic Bar! On top of that, he will give you a refill for every additional five Blue Chu Jellies you bring him. If you’re low on Blue Chu Jelly, you can just buy a Blue Potion for a measly 60 Rupees.
From Riches to Rags
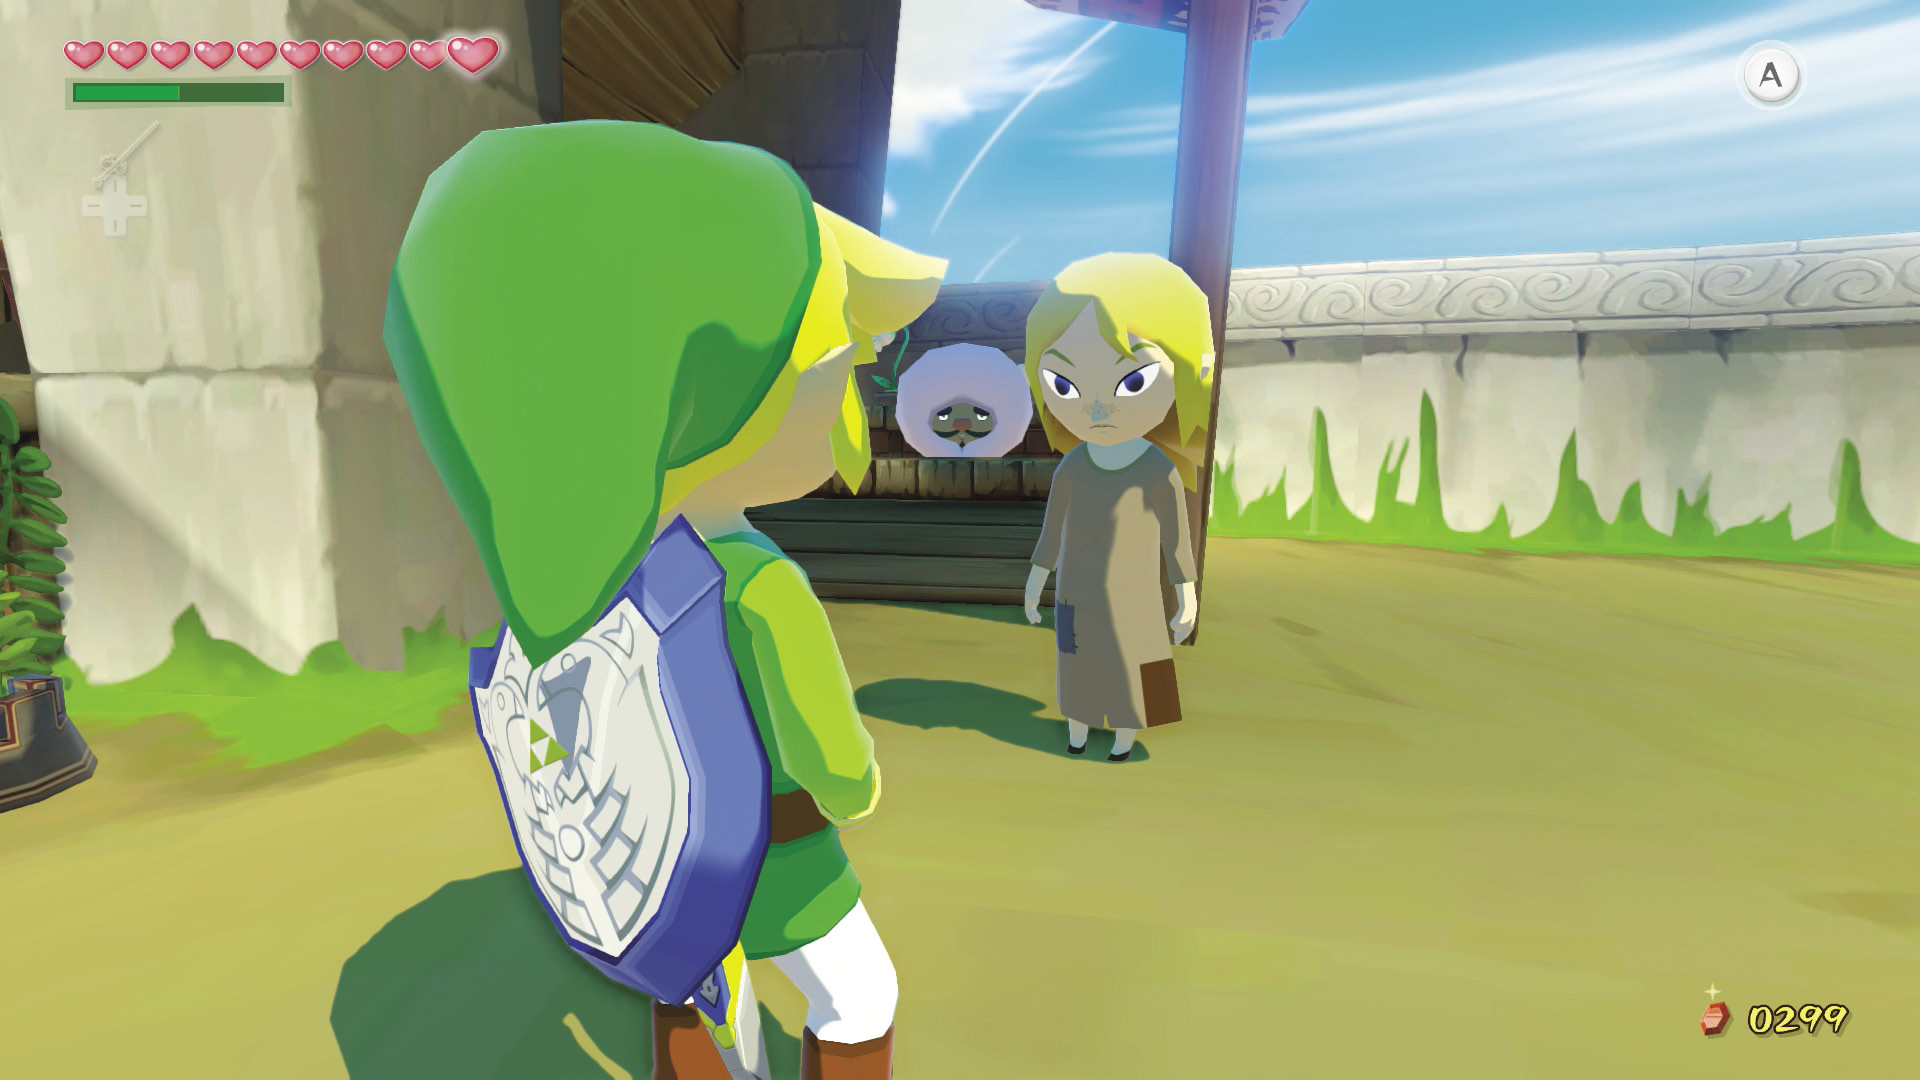
Mila and her father have fallen on hard times. Once the wealthiest family on Windfall Island, they are now among the poorest, after Mila’s father paid Tetra’s enormous “service fee” for bringing Mila back from the Forsaken Fortress. Now Mila spends her days working at Zunari’s stall, which is a lifestyle that doesn’t seem to be suiting her particularly well.
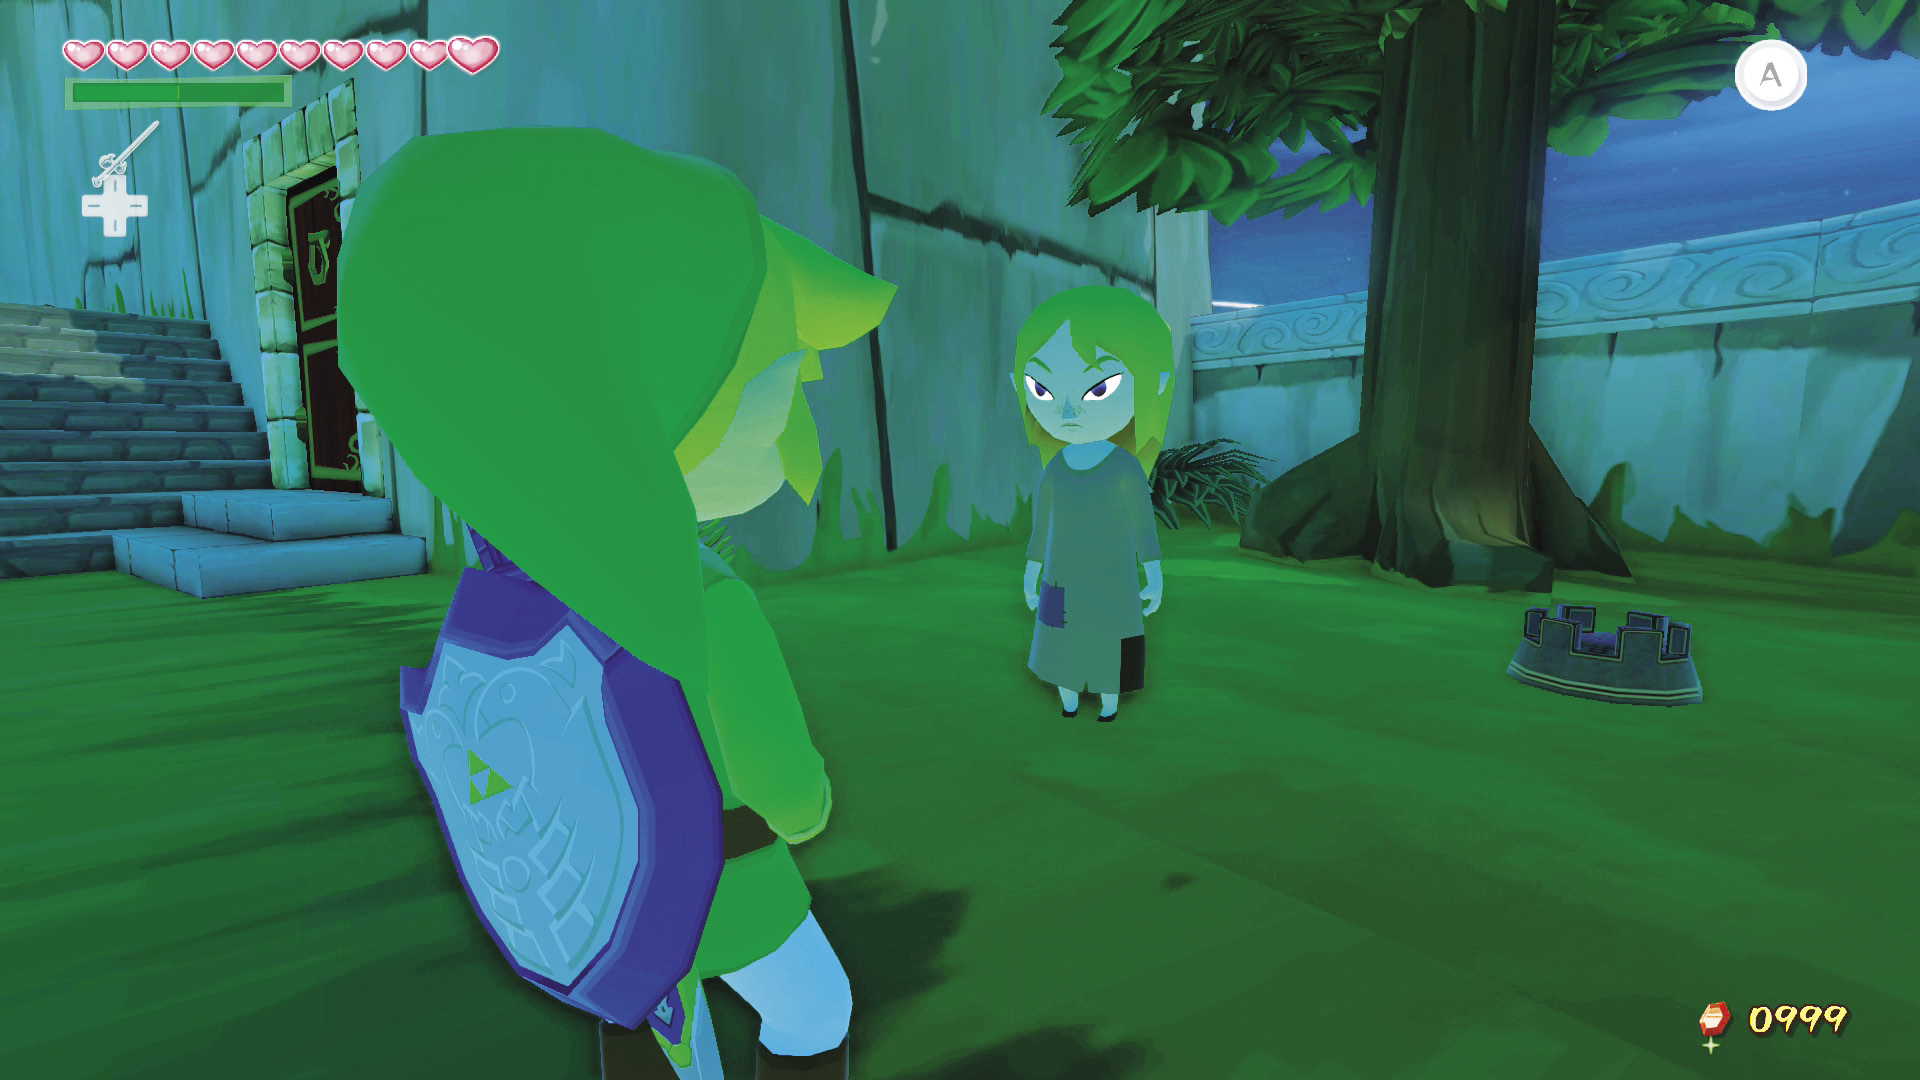
You can find Mila spending her nights standing in the space between the auction house and Doc Bandham’s potion shop. Talk to her and she’ll shoo you away. Head up the stairs leading to Zunari’s stall and Mila will begin suspiciously heading to the entrance of town.
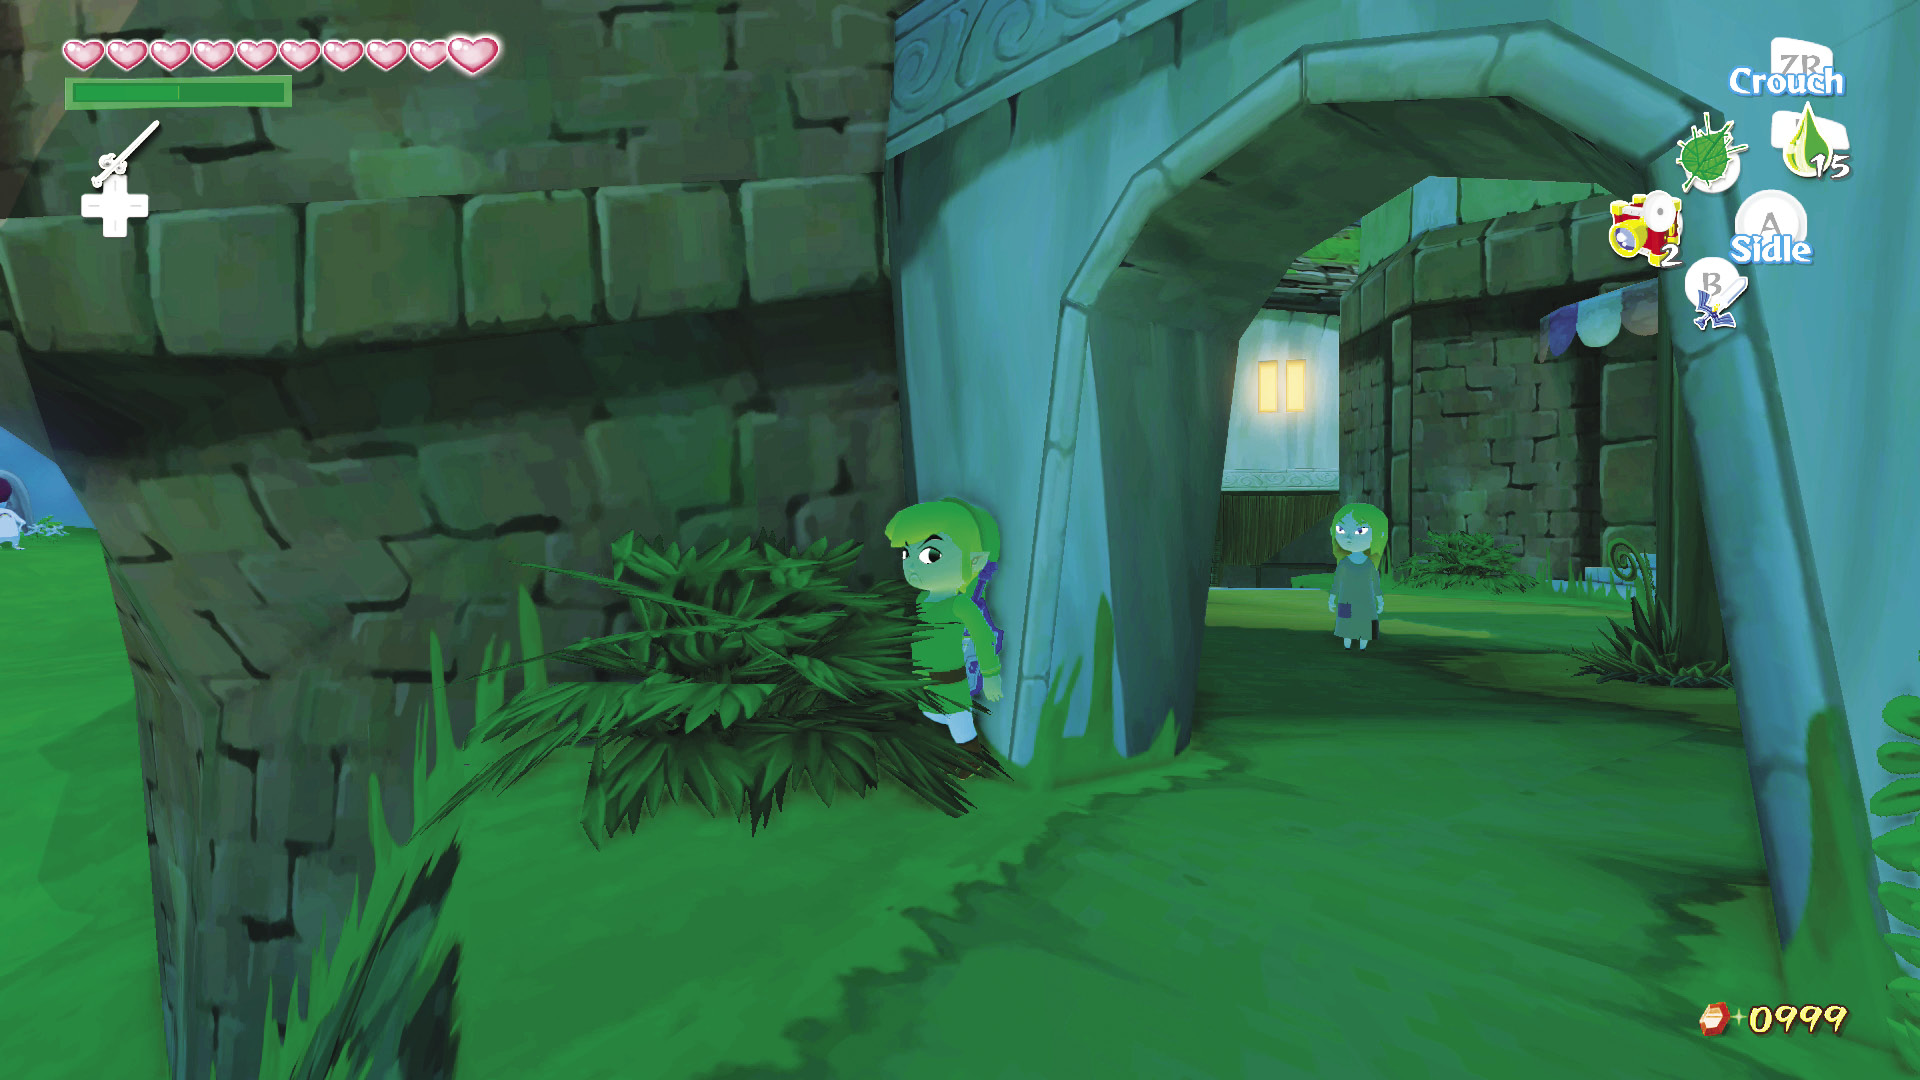
Follow Mila carefully and quietly, jumping from cover to cover to avoid her catching you. She’ll run up the slope toward Tott, then up the wooden slope leading into the center of town. She’ll head to the right of the Squid-Hunt minigame shop and then into Zunari’s stall. Something tells us she’s not trying to get an early start on her work.
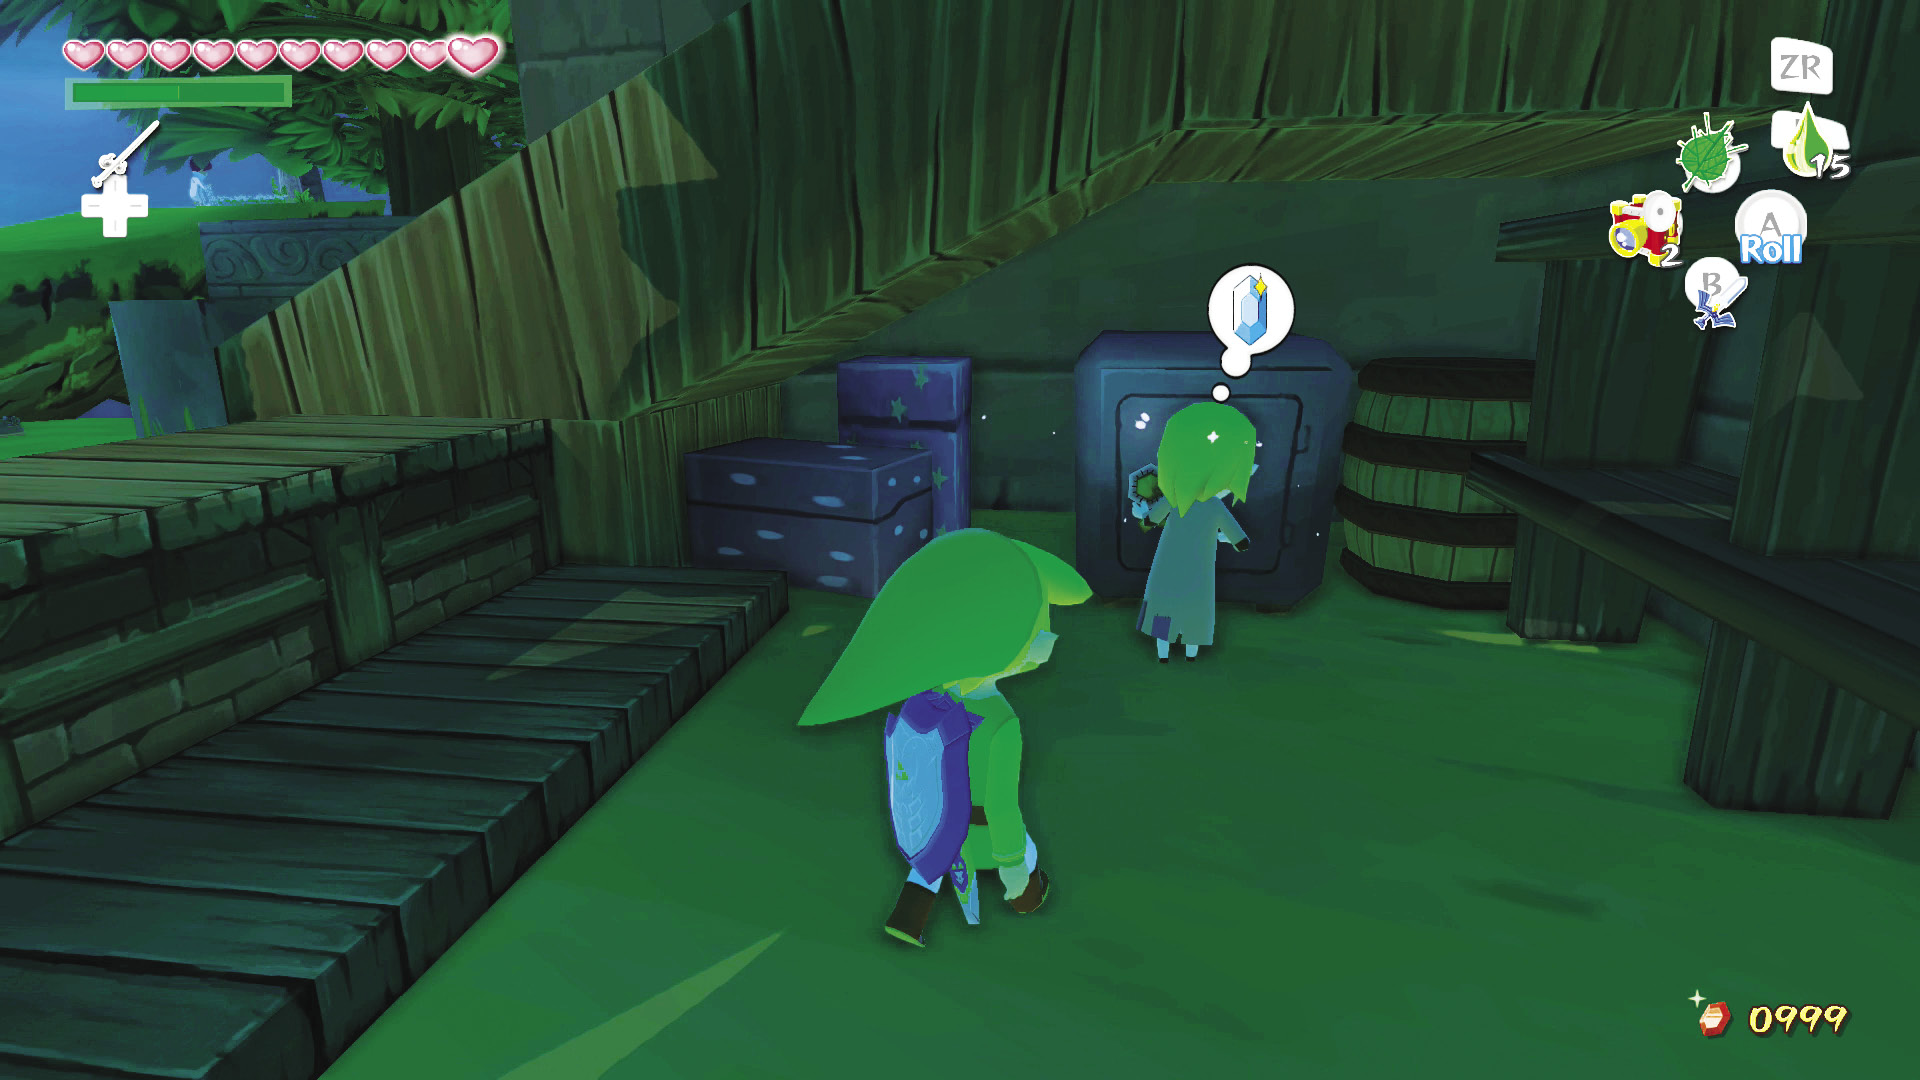
As soon as you see the Blue Rupee icon above her head while she inspects Zunari’s safe, rush toward her and talk to her. Caught red-handed, Mila will plead with Link to let her go. Respond to her pleas by selecting the top response on every question. She’ll eventually realize that stealing is no way to improve her life. She decides that hard work and perseverance are the only methods for getting her back to the lifestyle she’s accustomed to.
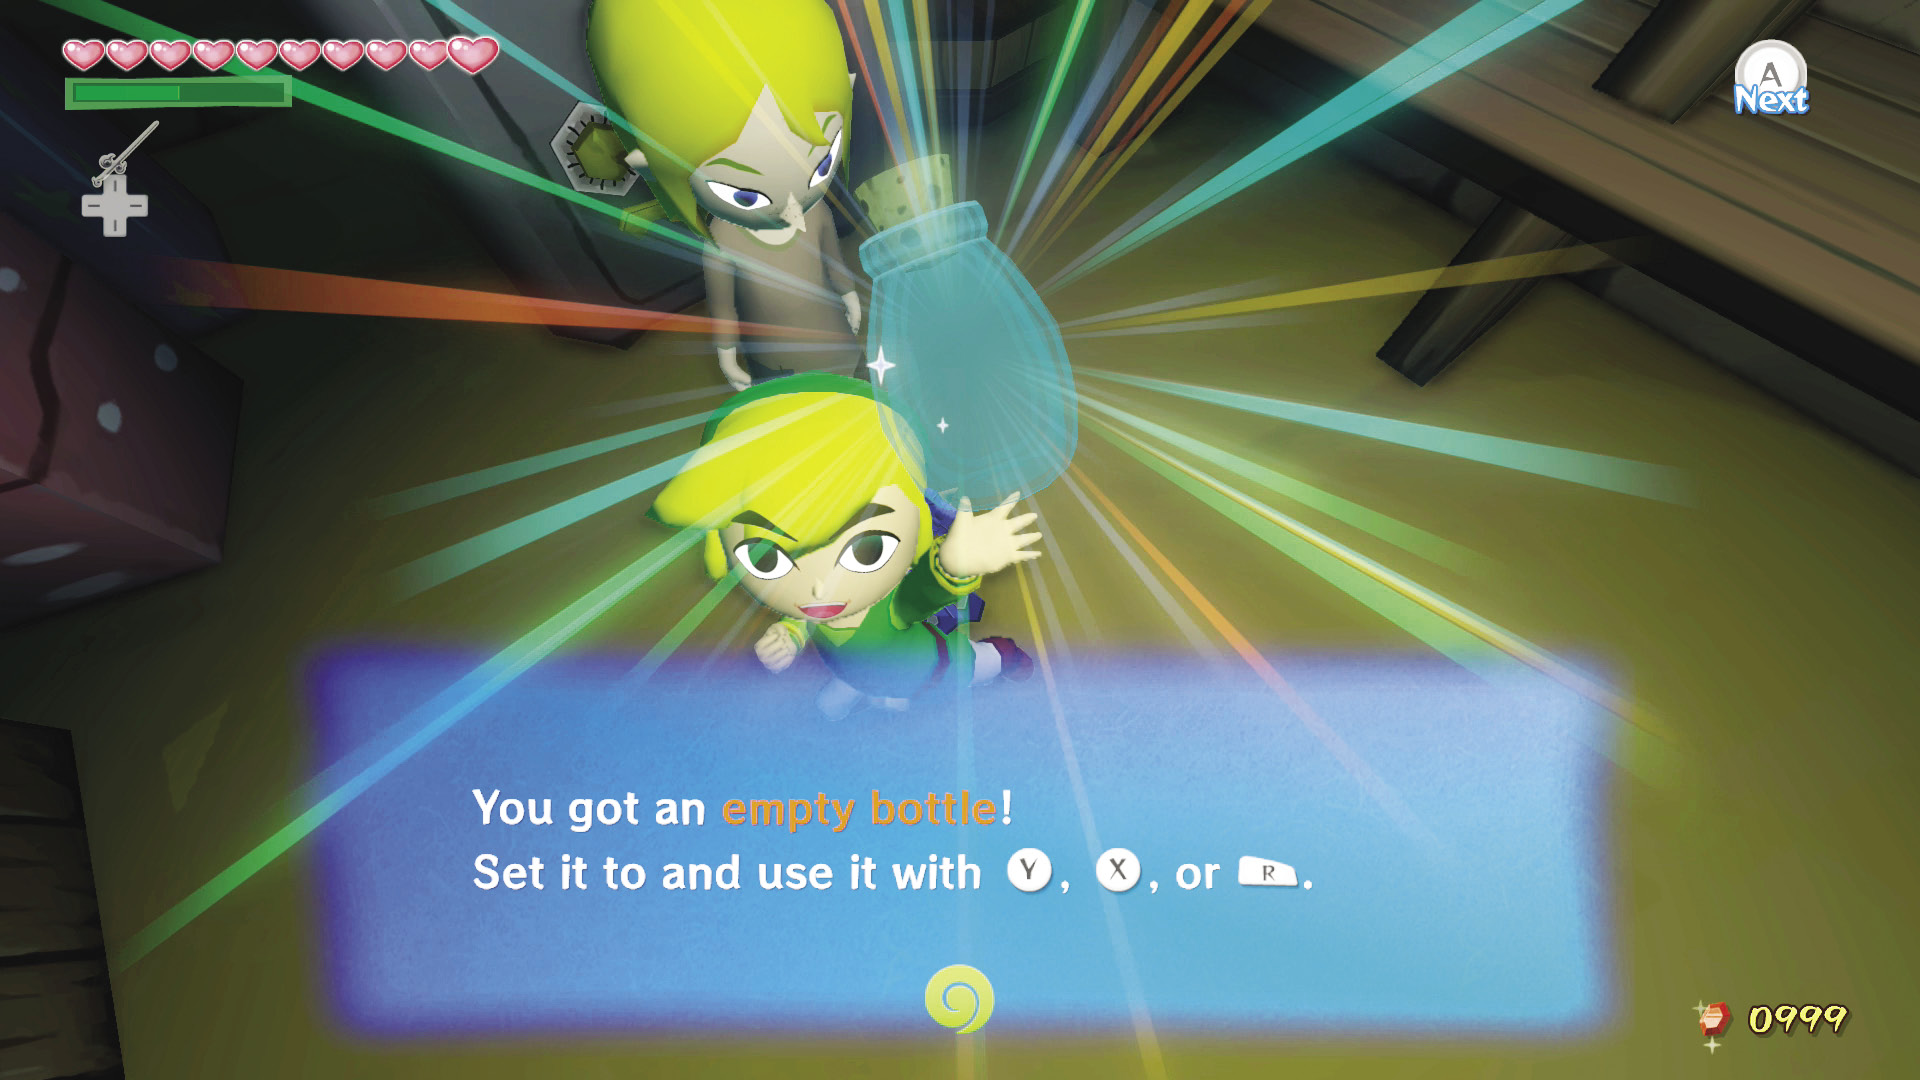
She’ll thank Link for showing her that there is a better way for her to overcome her problems, handing him an Empty Bottle in thanks.
|
|
88 |
Empty Bottle #4 |

The Fastest Way to the Heart Is Through the Stomach
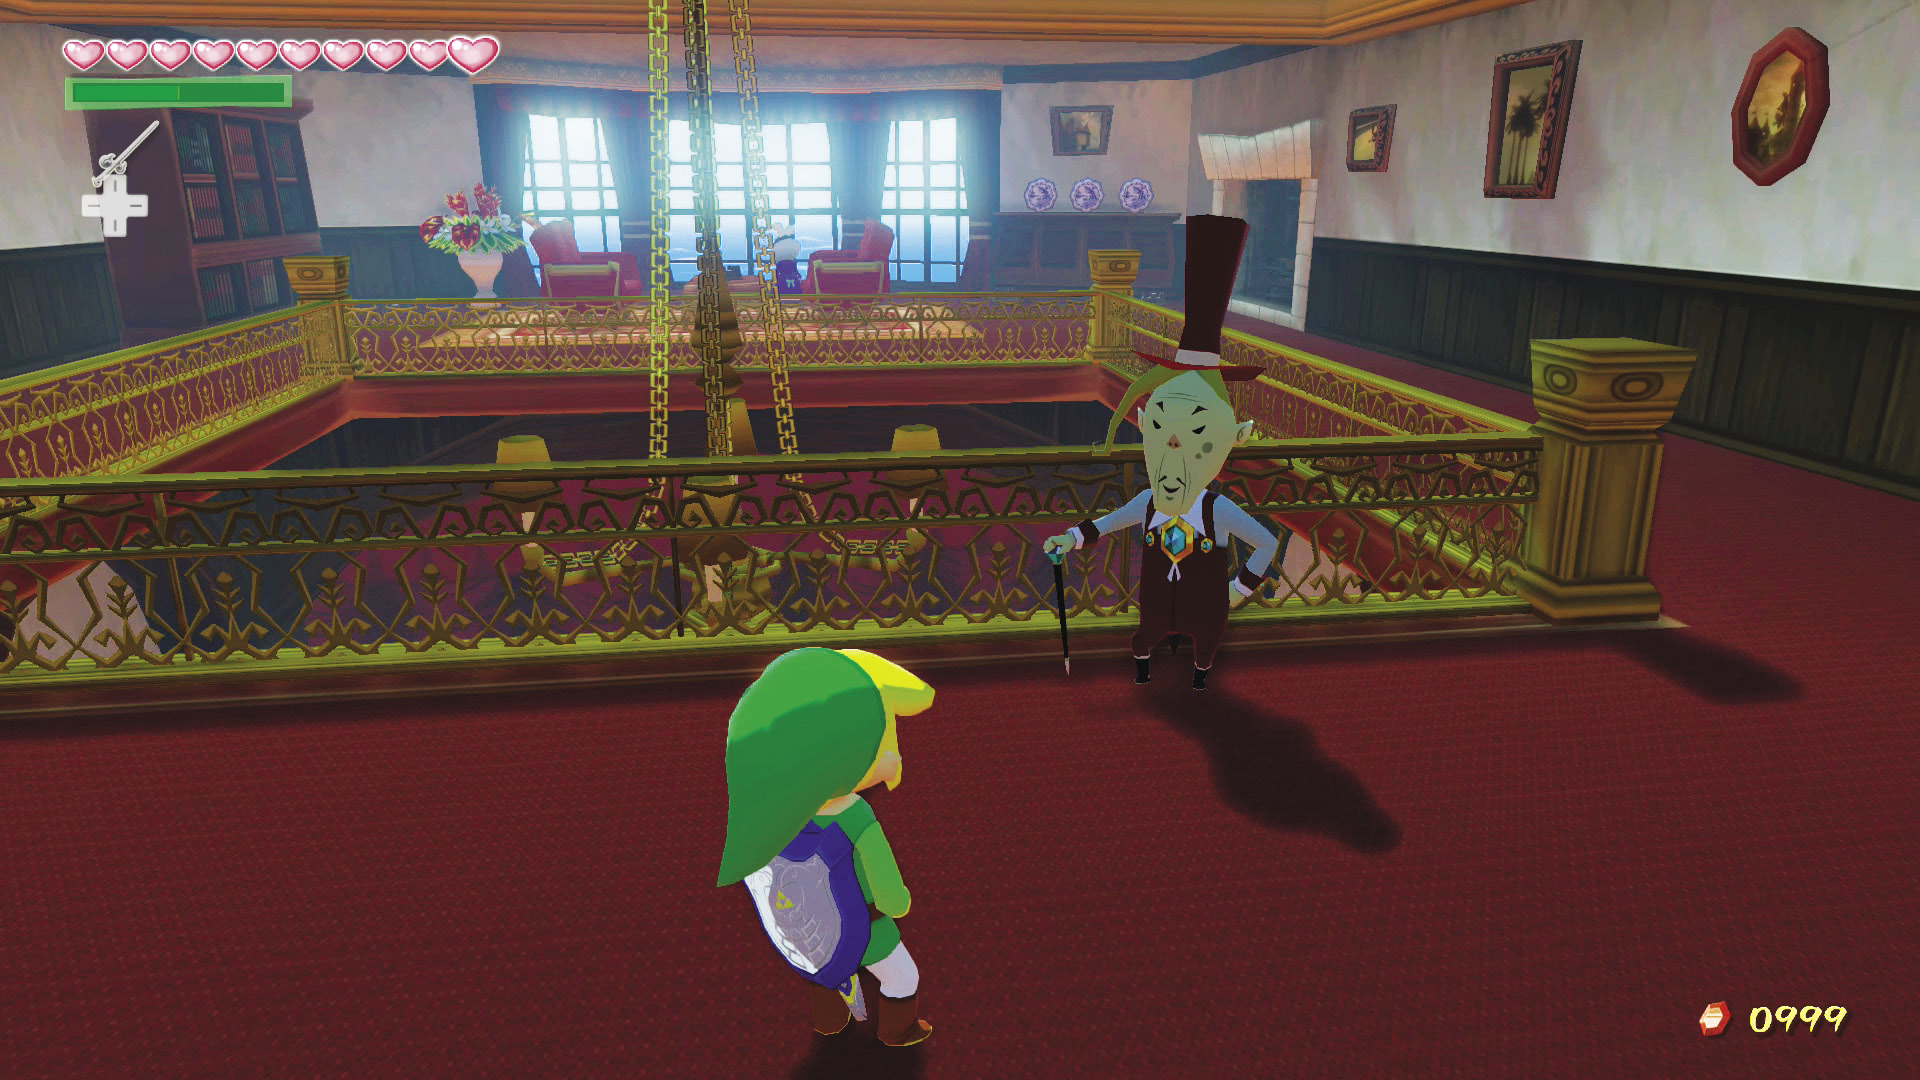
Maggie and her father have replaced Mila and her father as the richest family on Windfall Island. Maggie’s father made a fortune off of Skull Necklaces, which enabled him to move into Mila’s old house as soon as she and her dad moved out.
Maggie seems to be adjusting to her new lifestyle all right, but there is one thing her father’s fortune can’t buy: love. During her time in the Forsaken Fortress, Maggie fell for a kindhearted Moblin named Moe. She sends Moe letter after letter expressing these sentiments, but she never receives mail in return.
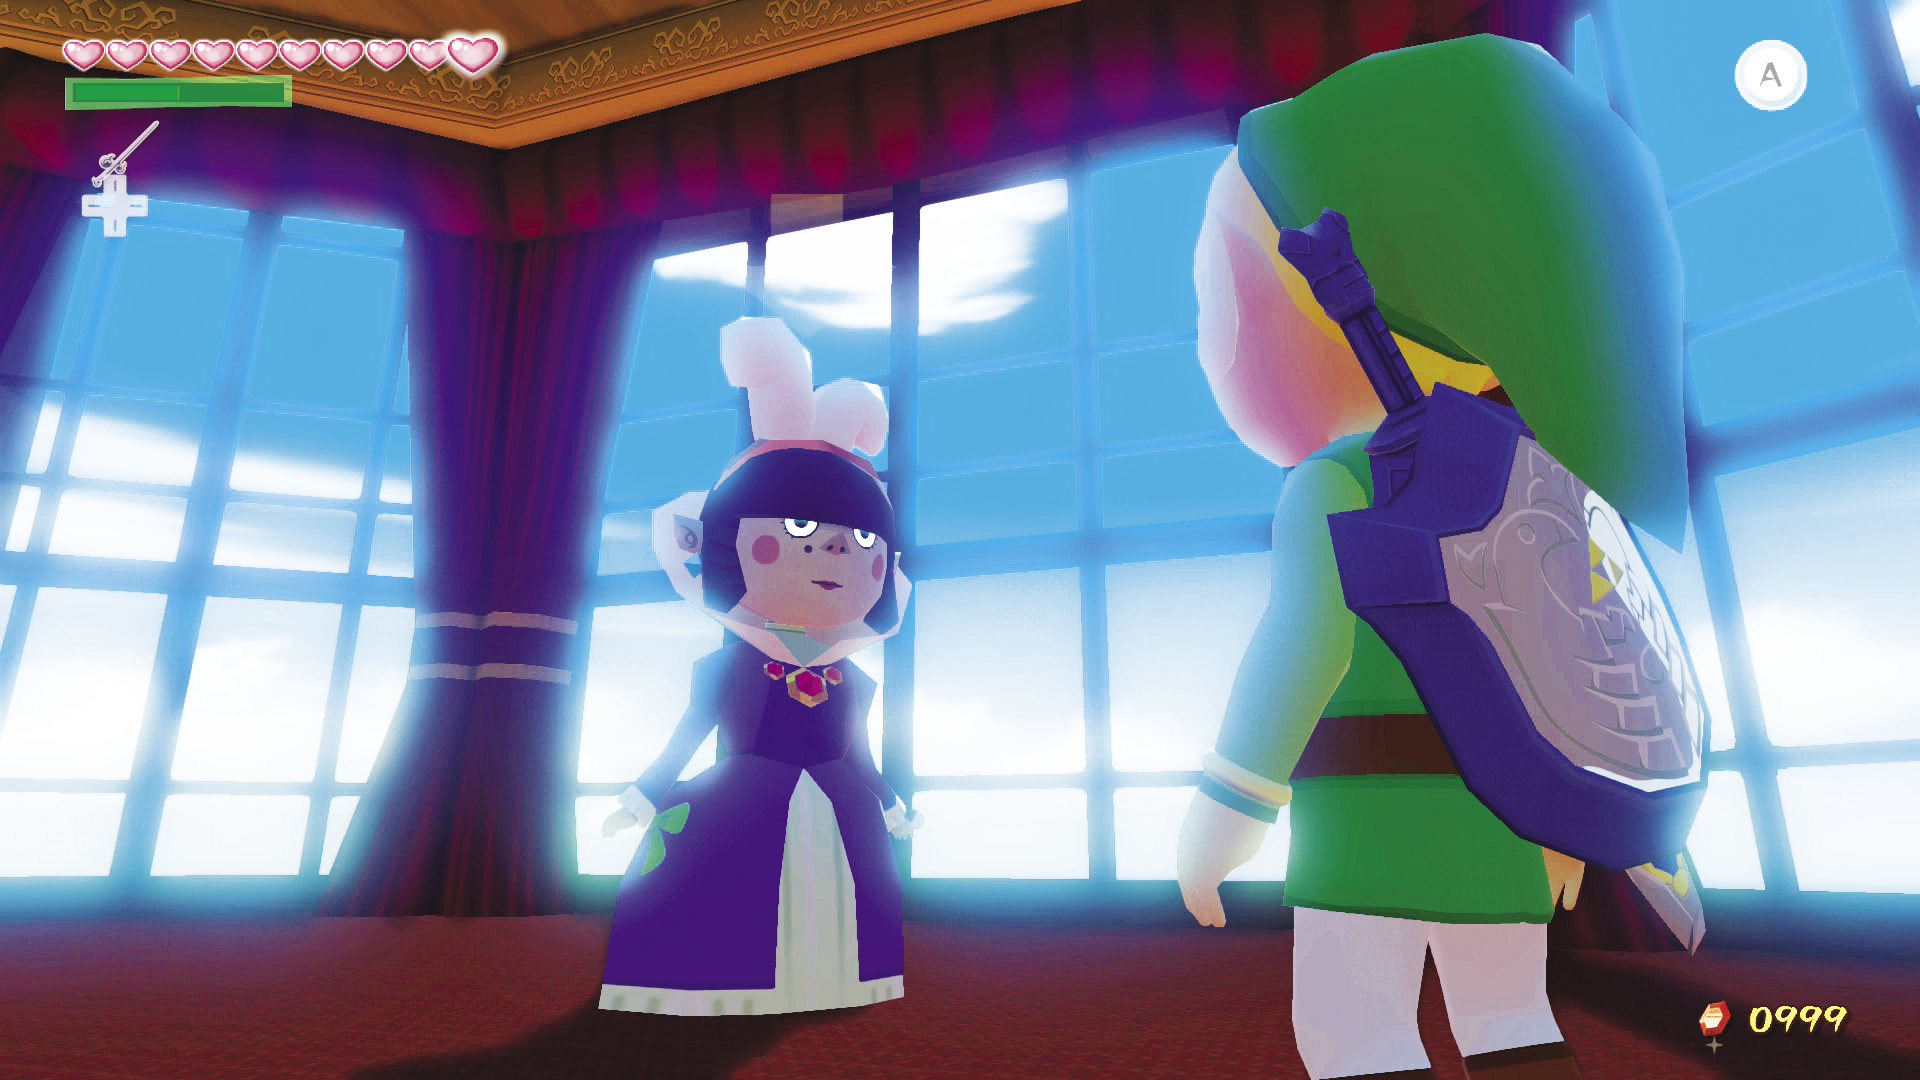
You can find Maggie on the second floor of the auction house, which you can reach by going up the stairs to the right of the “Squid-Hunt” minigame. Talk to Maggie and she’ll ask you to send yet another love letter to her beloved Moe. Deliver the letter to the postbox at the town entrance, then head back to Maggie.
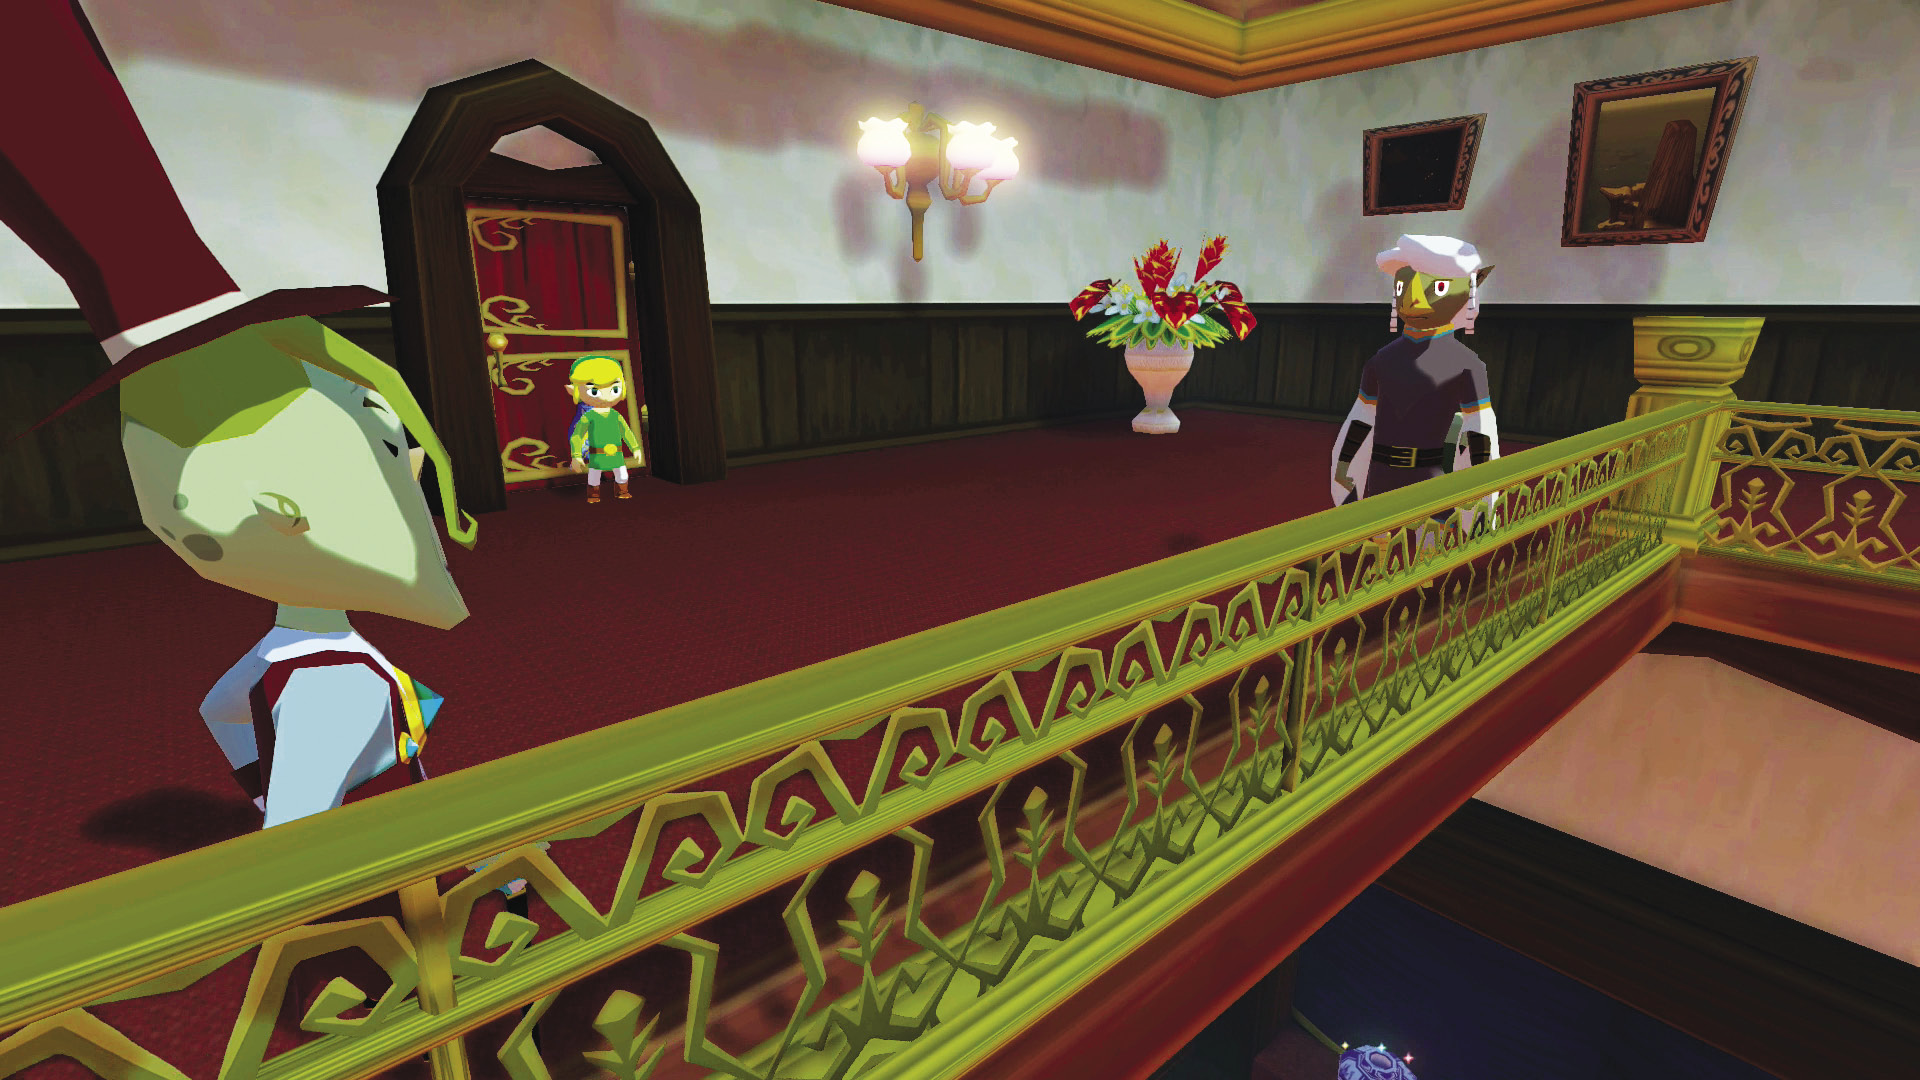
Upon reentering Maggie’s house, you’ll find the Rito postman Ilari arguing with Maggie’s father, who is refusing to let Ilari deliver Mo’s letter to Maggie. He demands that Ilari leave immediately, but Ilari is a postman and a postman always delivers. Ilari, tired of being refused by Maggie’s stubborn father, heads to the cafe to sulk and try to figure out how he can do his job with such a seemingly impassable hurdle in front of him.
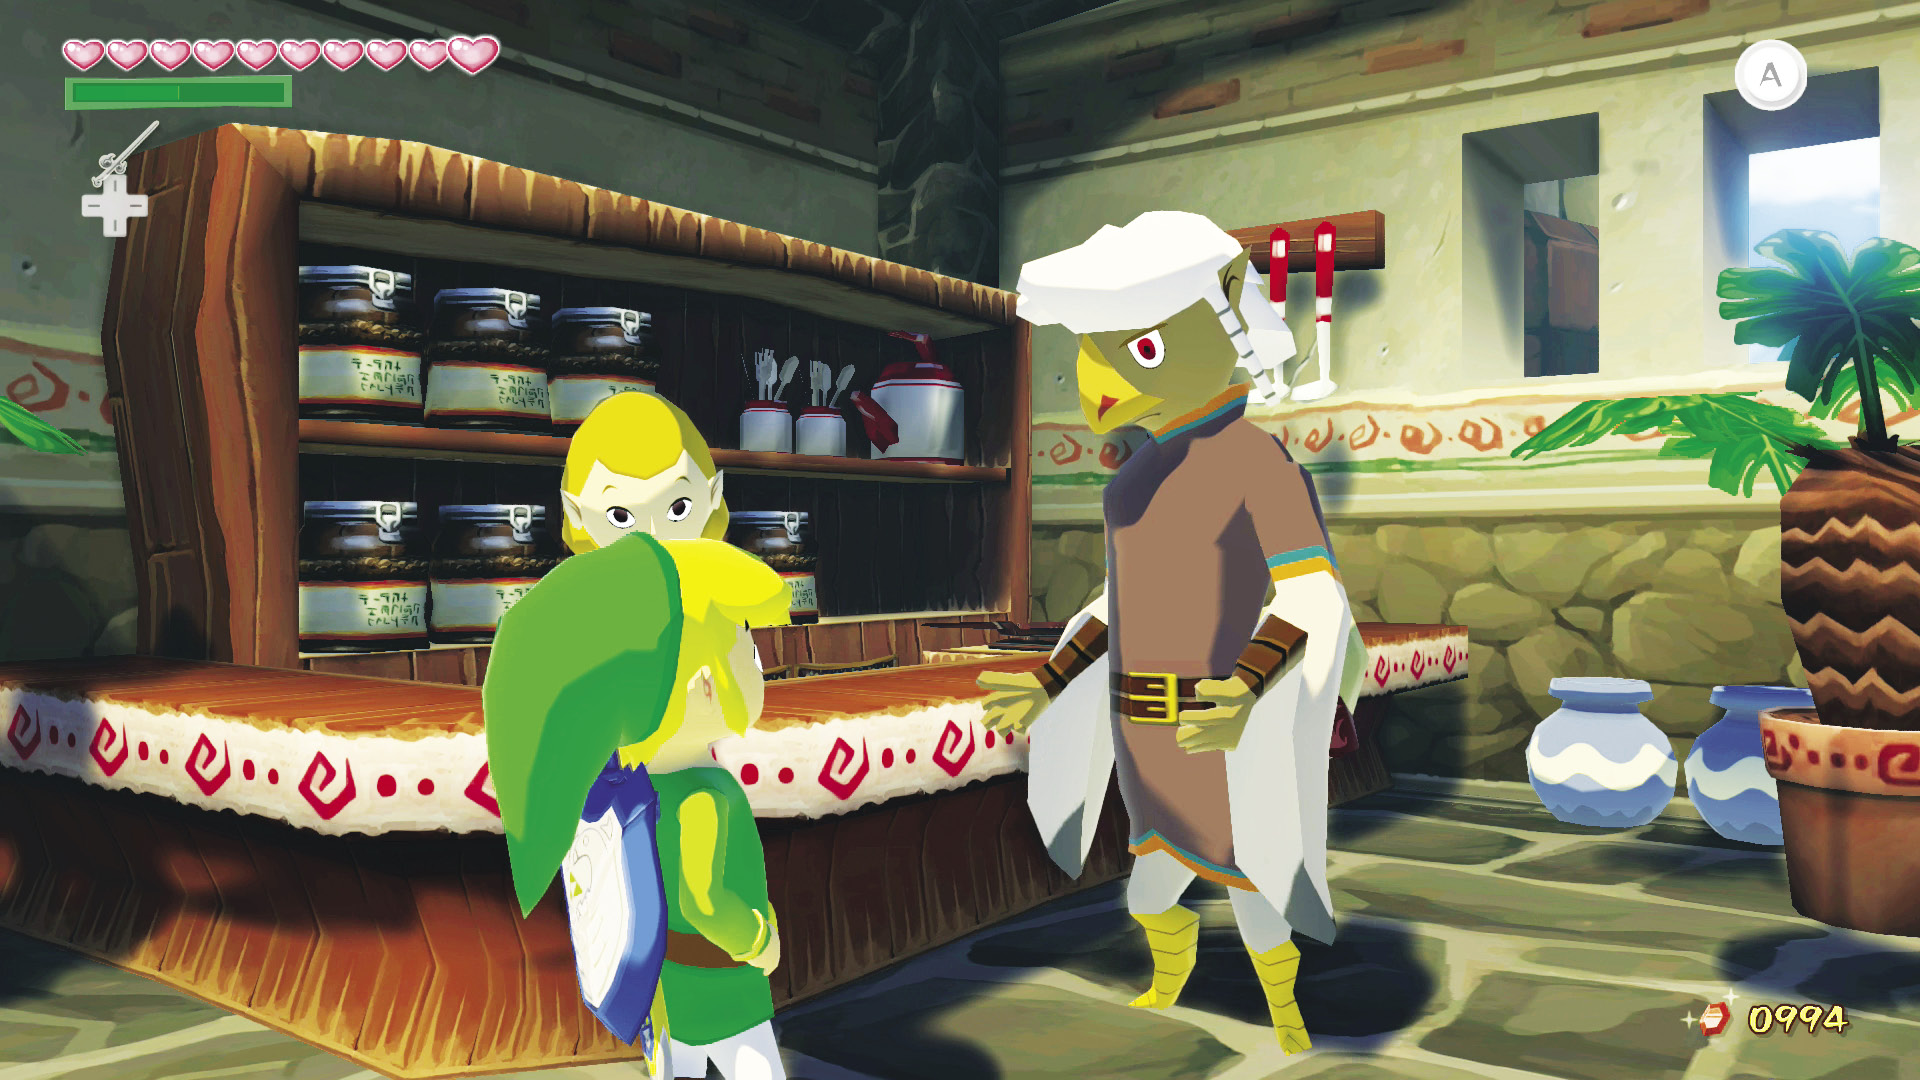
Head to the cafe, which is up the stairs directly above Zunari’s stall. Talk to Ilari and he will ask you to take Moe’s letter to Maggie. Agree to help your Rito pal, then head back to Maggie and do just that. Maggie is so overjoyed that her precious Moe has sent her a letter that she gives you Piece of Heart #30.
|
|
89 |
Piece of Heart #30 |

The Price of Skull Necklaces
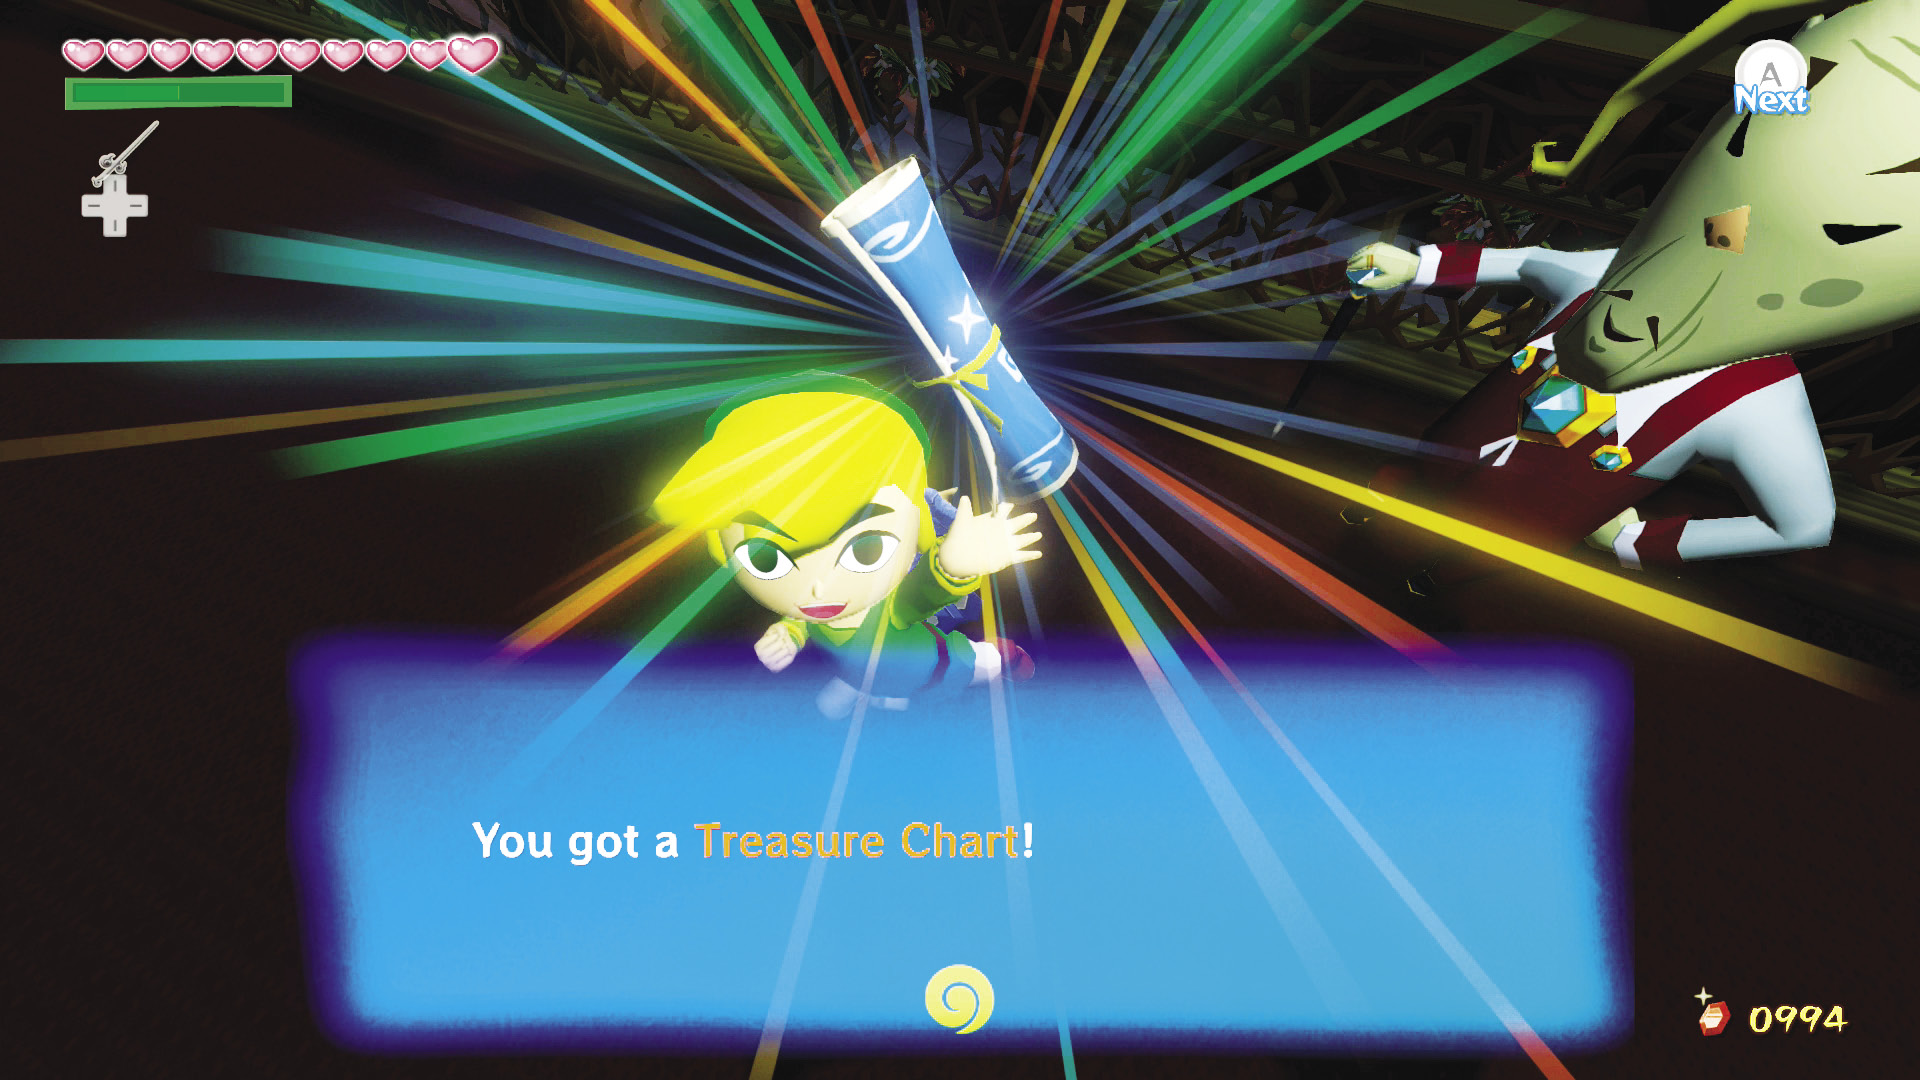
On your way out of Maggie’s home, offer her dad 20 Skull Necklaces and he’ll give you Treasure Chart #2 in return. He’ll then begin to pay you for every Skull Necklace you bring him afterward.
|
|
90 |
Treasure Chart #2 |

The Most IN-credible Letter
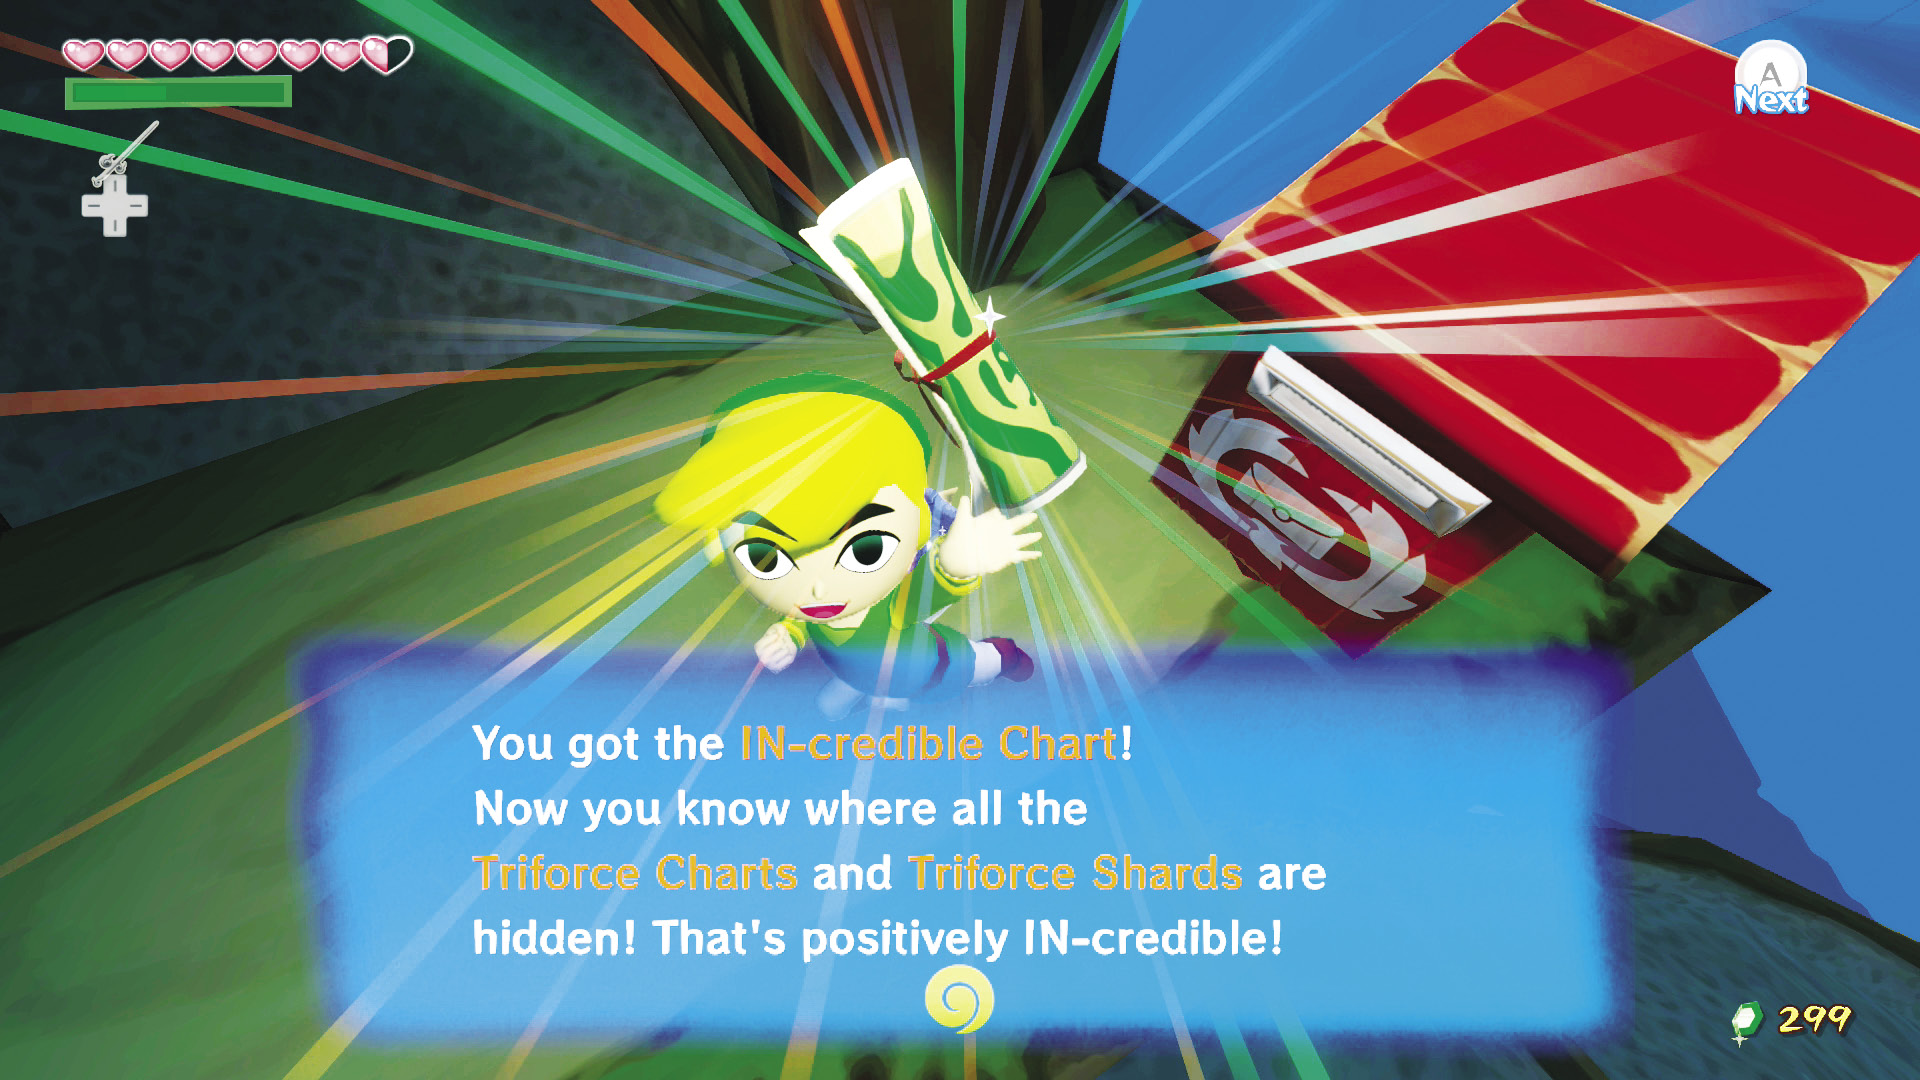
Around this time, you should have a letter from the fairy-man Tingle (the guy you freed from Windfall Island’s jail). Inside the letter is the IN-credible Chart, a mysterious map of the Great Sea that points out the location of Triforce Charts and golden triangles. We’ll have to keep an eye out for these items during our travels!
|
|
91 |
IN-credible Chart |

Sunken Treasure #18
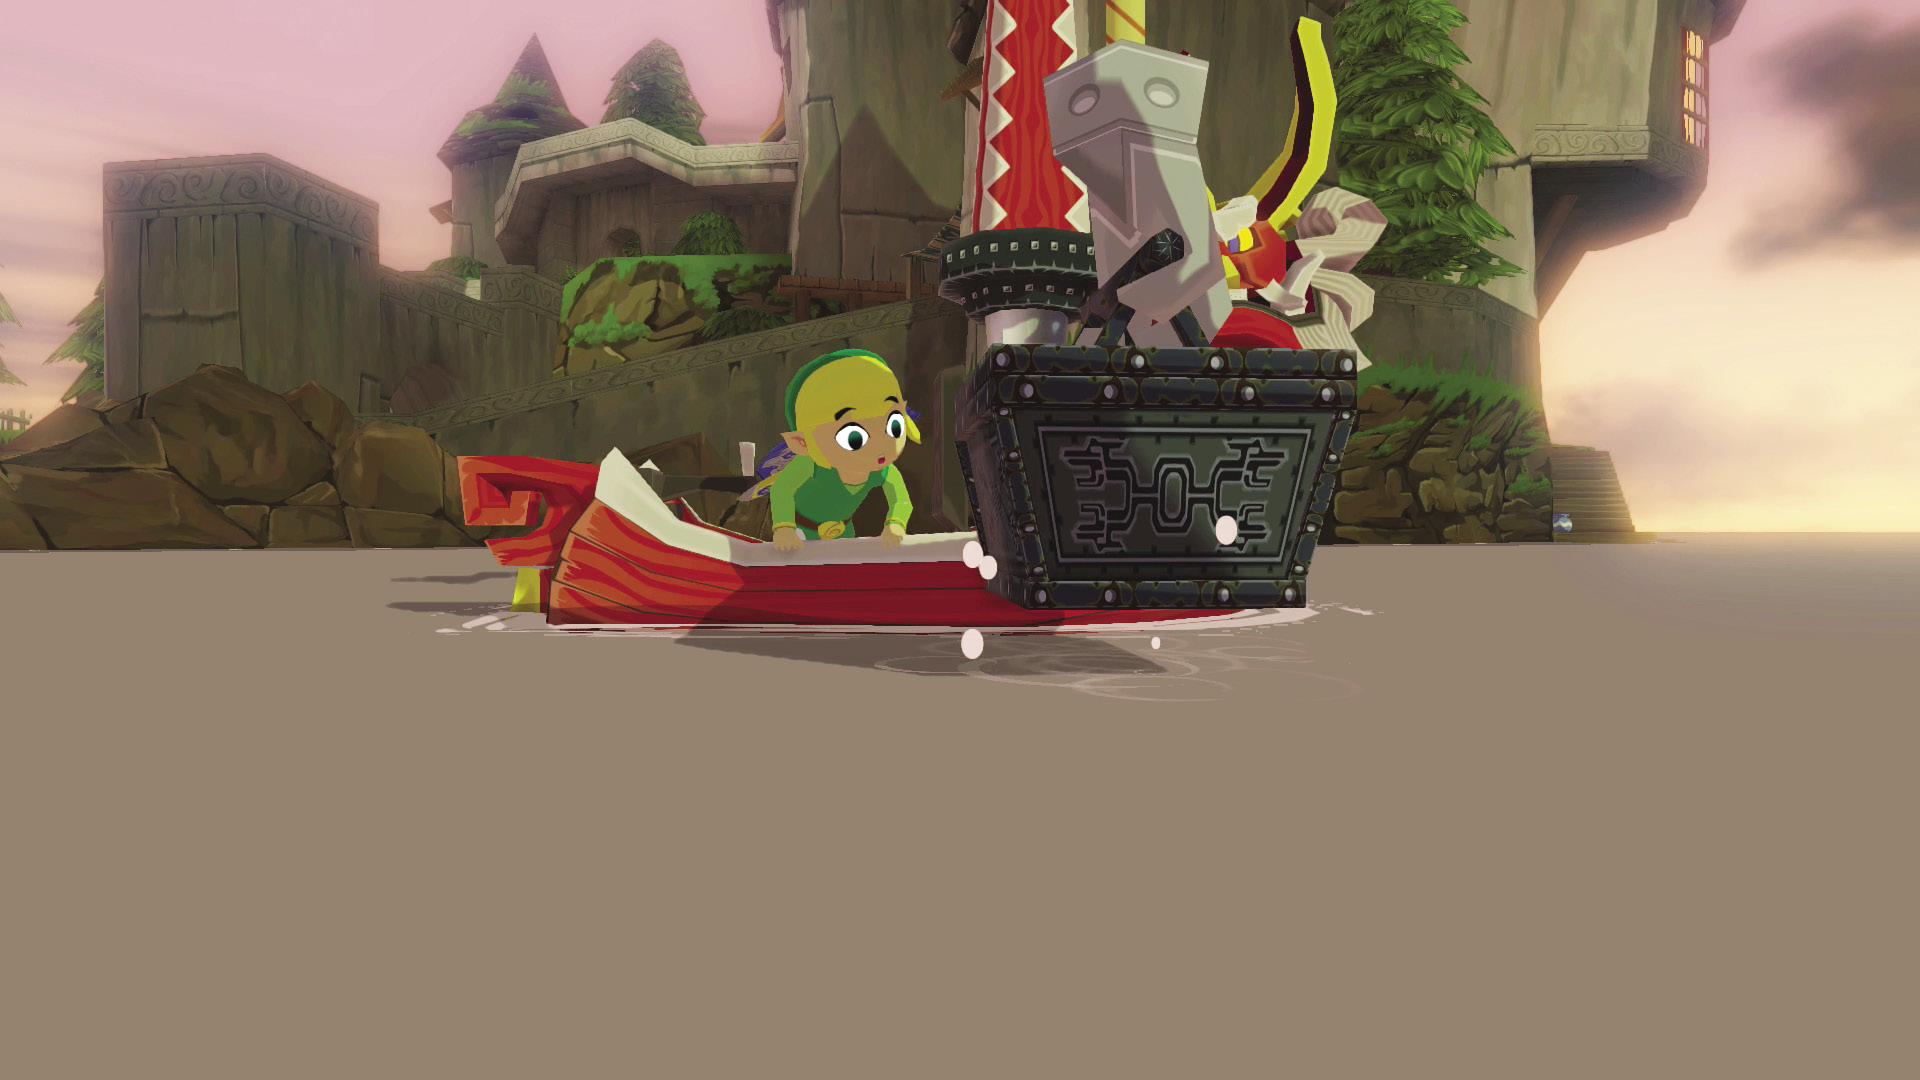
If you won Treasure Chart #18 from the auction house, you can open it while in this sector to reveal the location of a Purple Rupee.
Six-Eye Reef (D4)
Sink Those Ships!
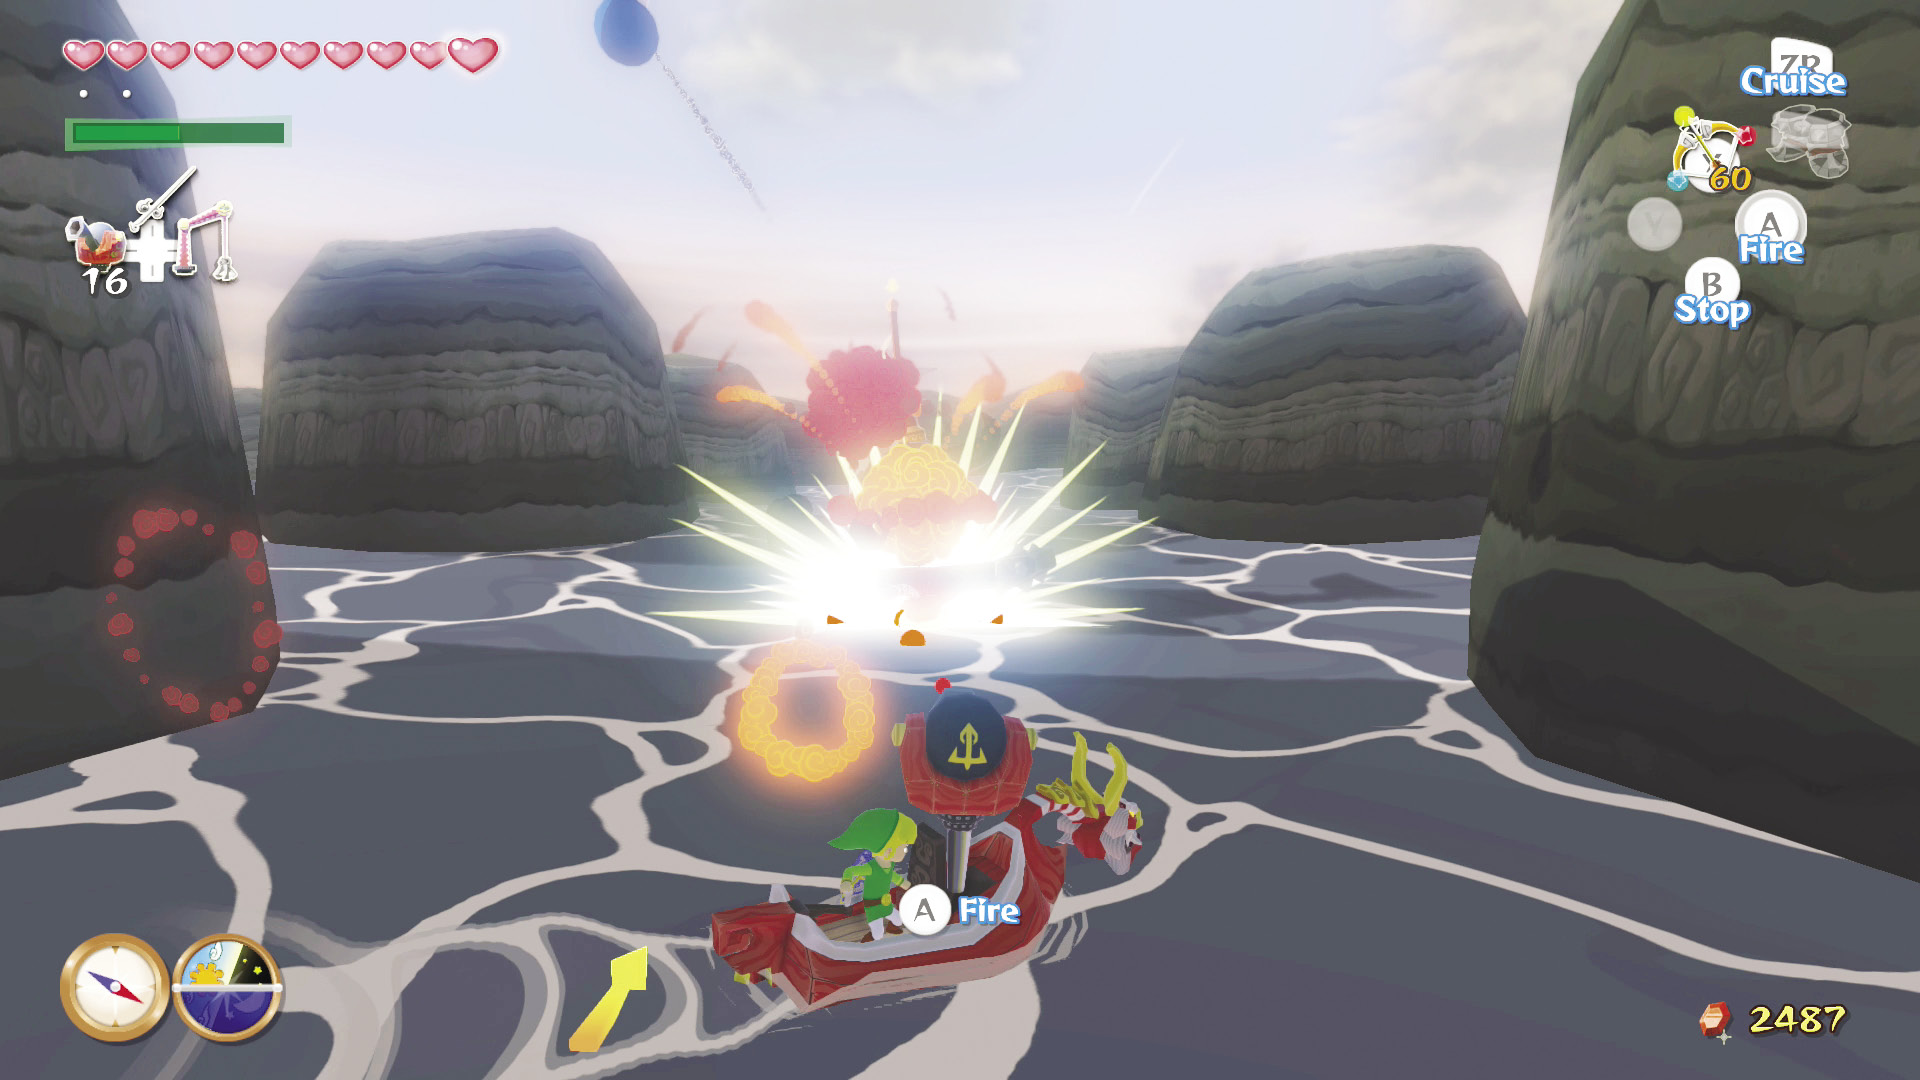
Destroy all of the wall-mounted cannons and Warships that inhabit the inside of the reef, and a treasure chest containing Treasure Chart #26 will appear on one of the reef’s many eyes. To reach the Treasure Chart, walk up the slope near the reff’s entrance, head to the highest point on the wall, set the wind blowing toward the chest, and use your Deku Leaf to glide there.
|
|
92 |
Treasure Chart #26 |

Southern Fairy Island (D6)
A Good Investment
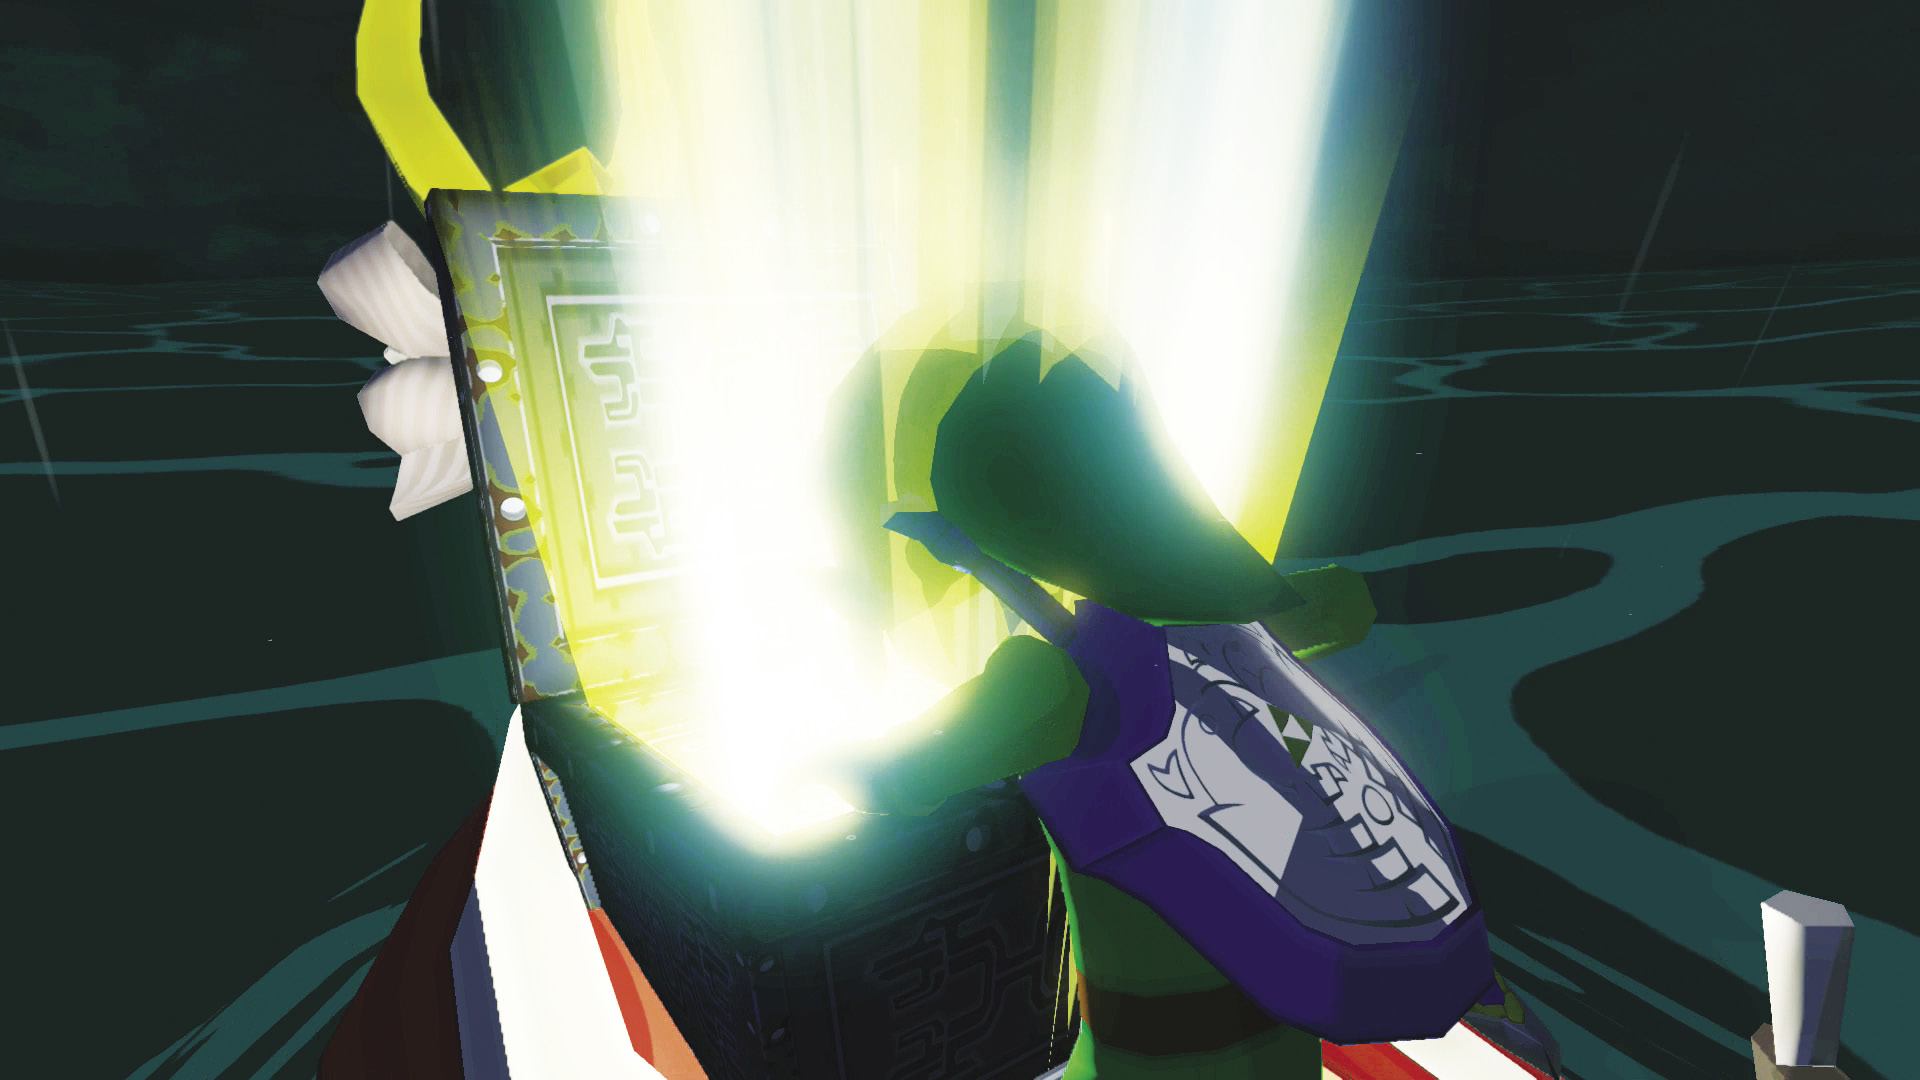
Remember the shop ship run by the Beedle wearing the centurion helmet? It had a Piece of Heart, an Empty Bottle, and Treasure Chart #4. Well, it seems the 900 Rupees you spent on the Chart is about to be money well spent. Open the chart while in this sector to reveal the location of Piece of Heart #31.
|
|
93 |
Piece of Heart #31 |

An Explosive Upgrade
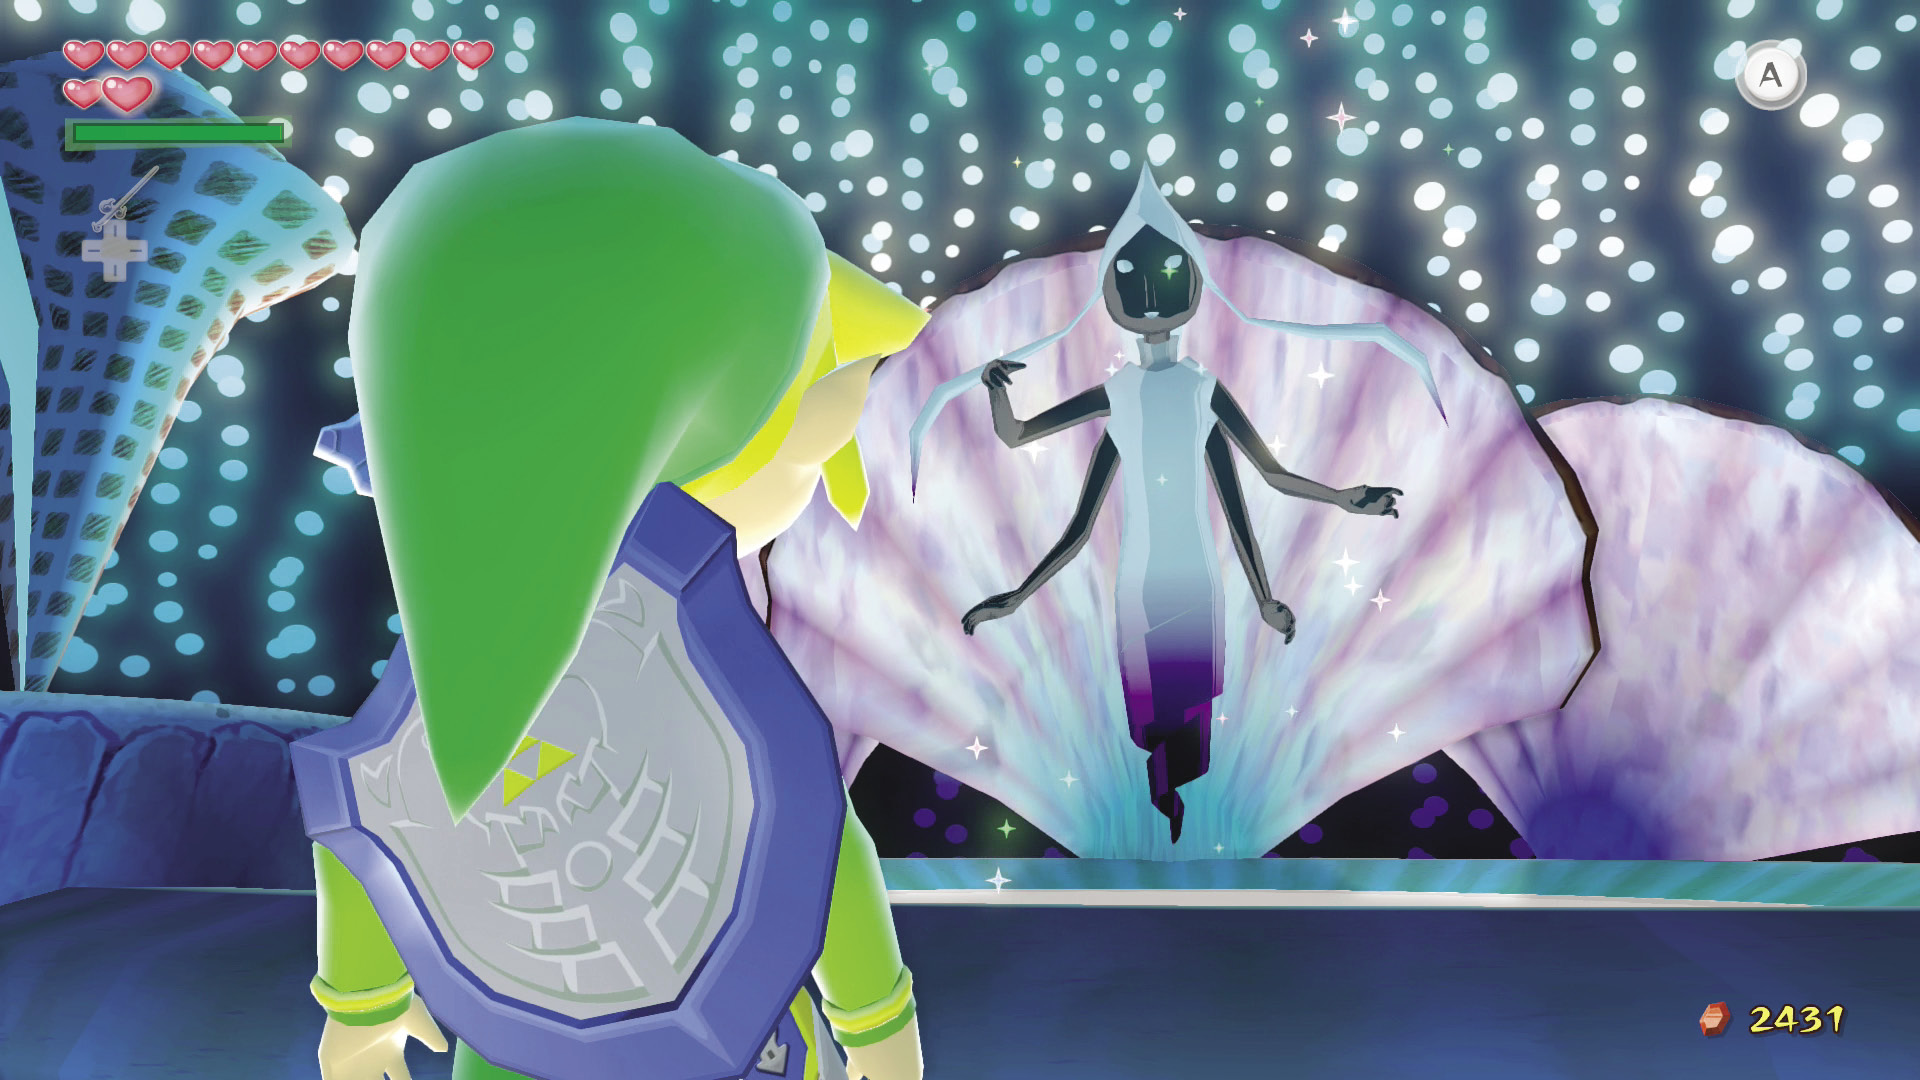
To get into the Great Fairy’s conch house, you’ll need to plant a bomb in front of the boards that are blocking it. After blasting the boards, speak with the Fairy and she’ll upgrade the size of your Bomb Bag as a show of gratitude.
Never Been Chuless
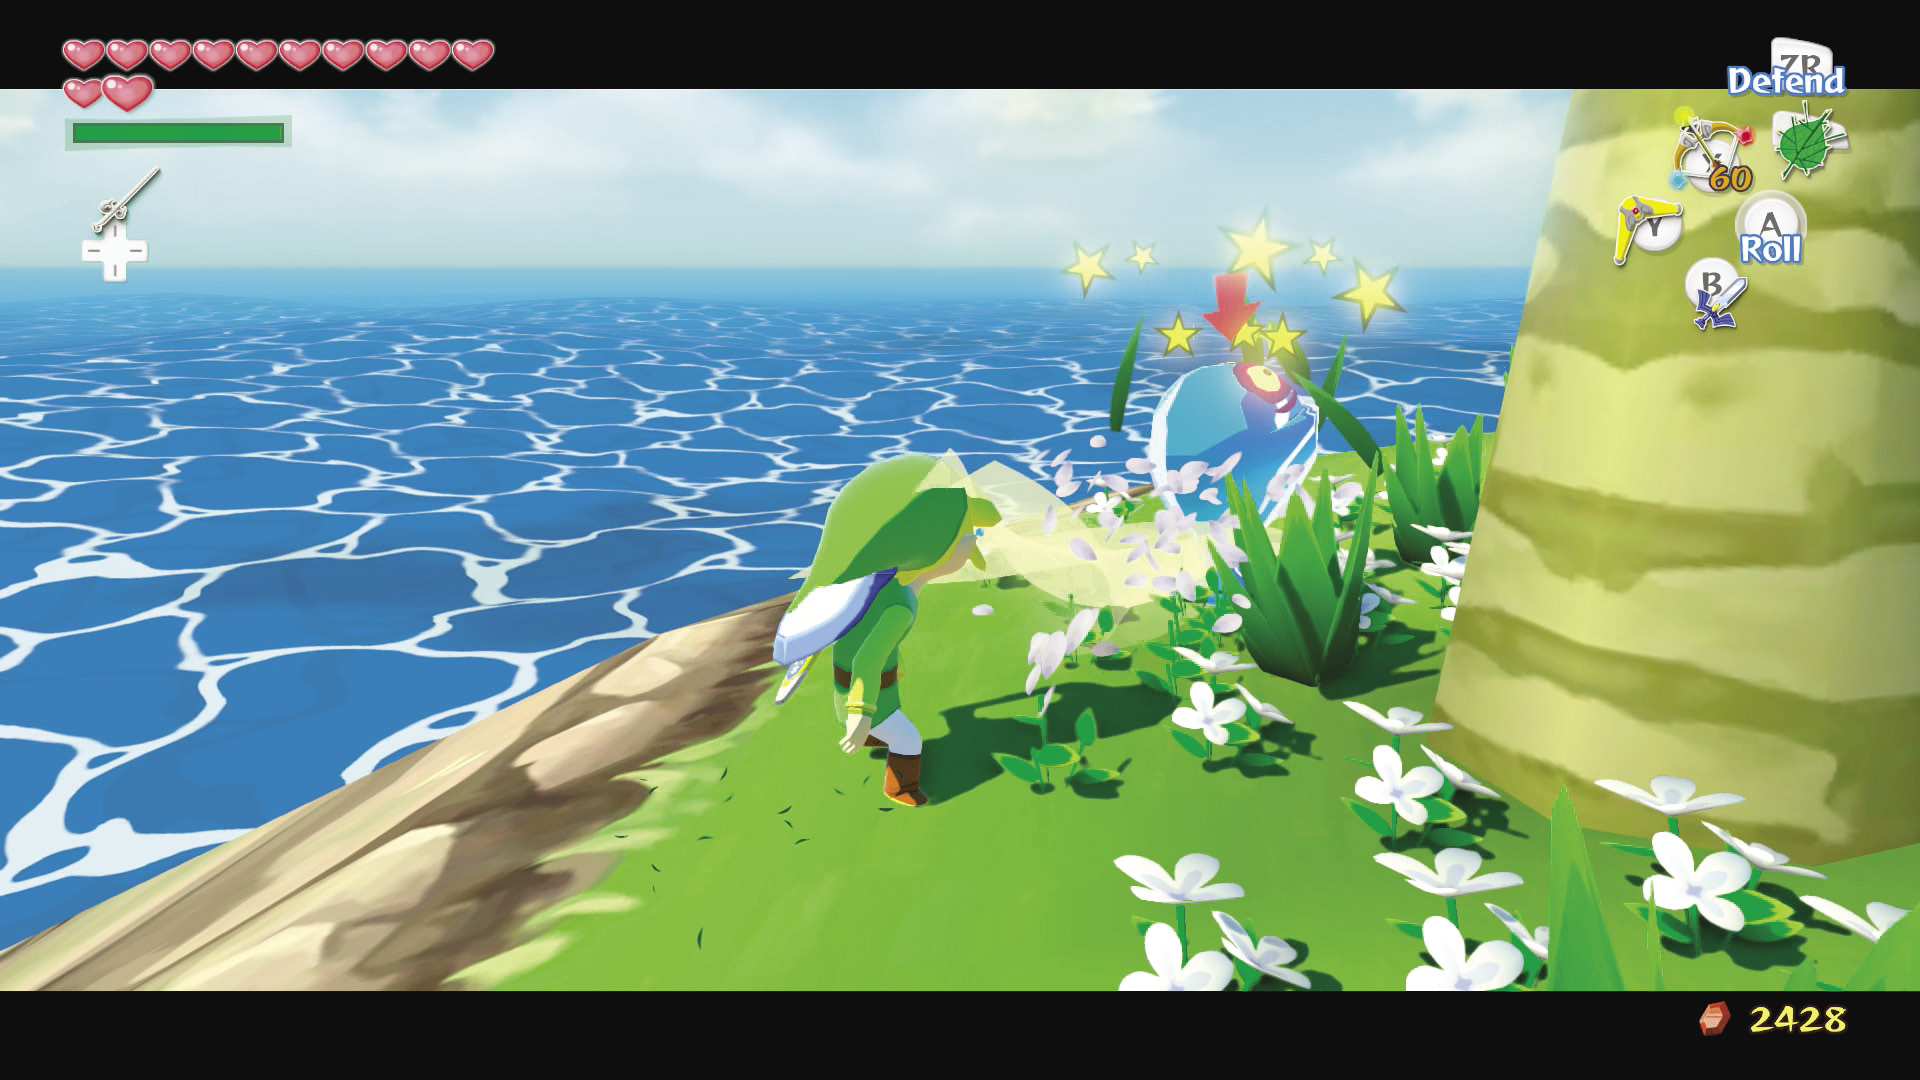
To the right of the Great Fairy’s front door is a Blue ChuChu. The ChuChu is hiding right by the palm tree.
Cannonical Nonsense
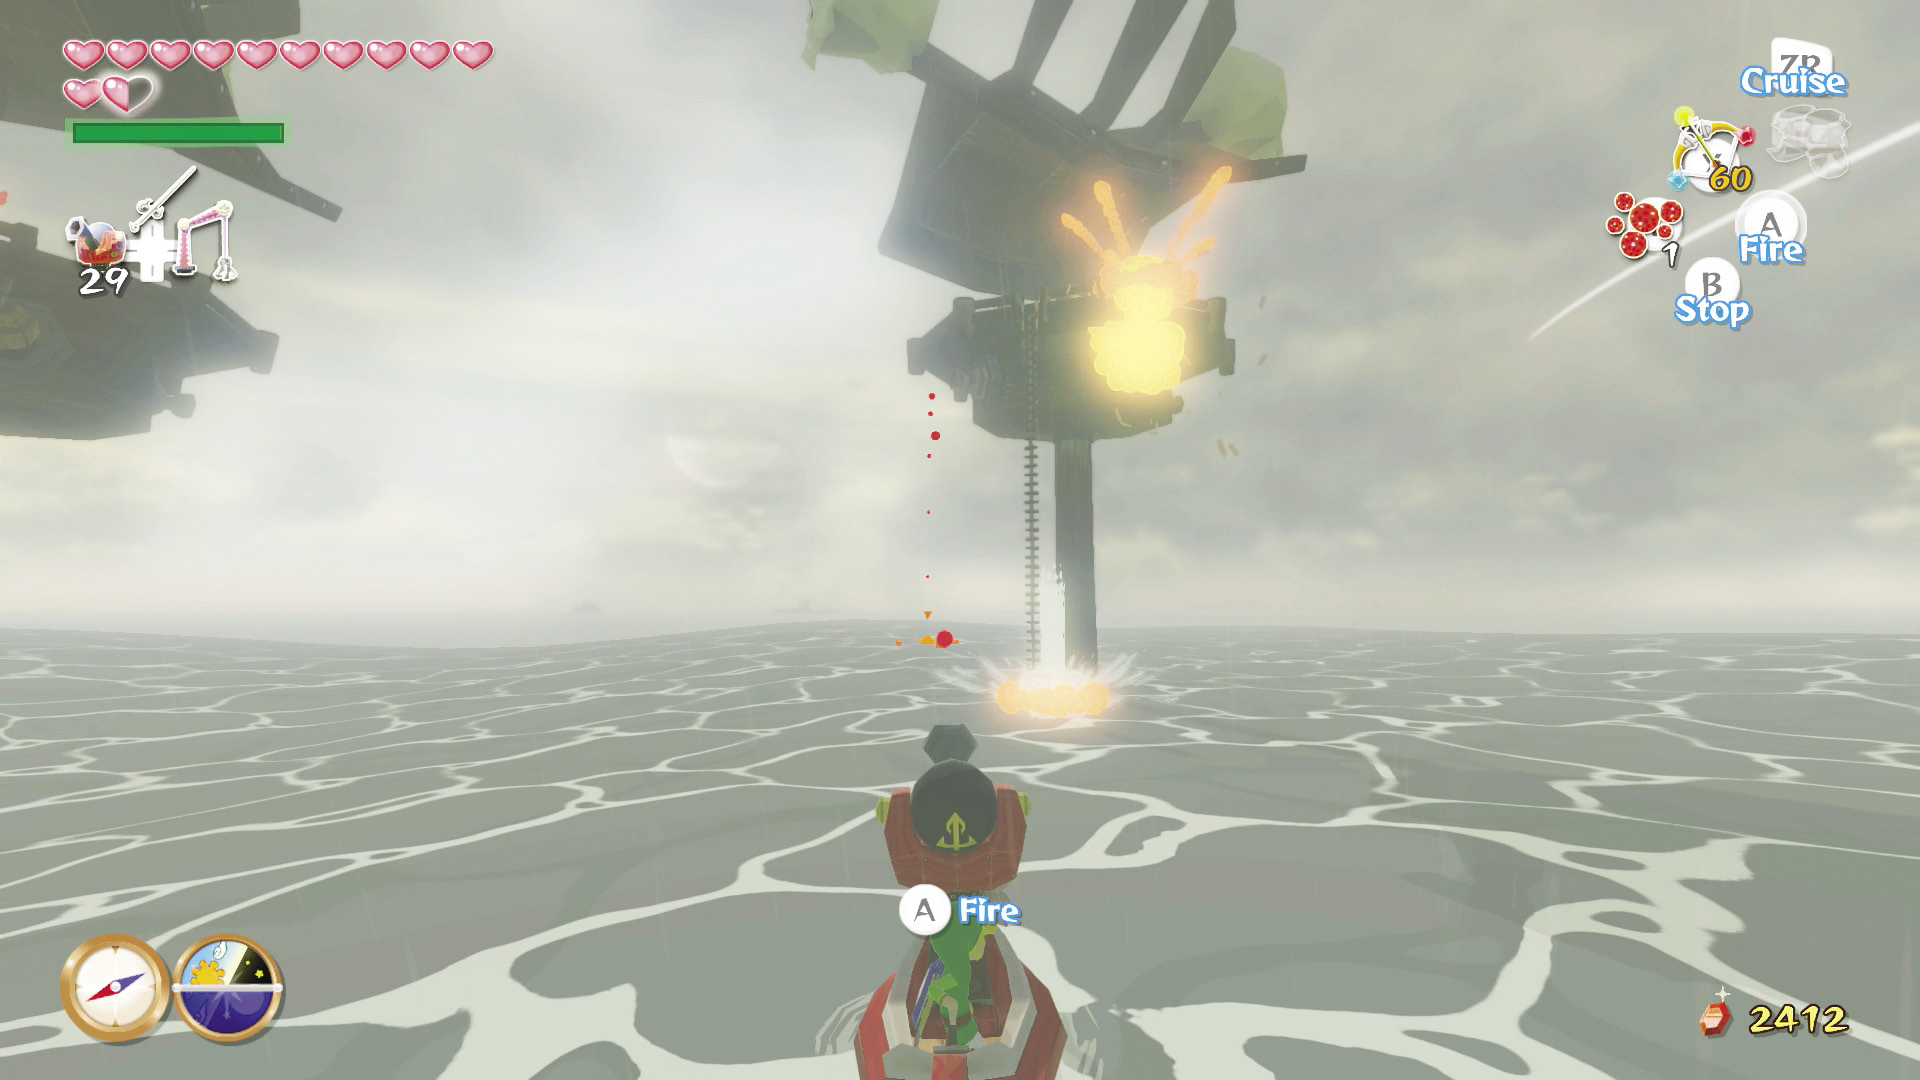
There are three Sea Platforms gathered near each other. Two of them have ladders. Destroy the cannons on the two that have ladders and a treasure chest containing Treasure Chart #40 will appear on the Platform without a ladder. Climb up one of the Platforms and use your Deku Leaf to glide to the treasure chest.
Note: you probably want to destroy the cannons on the ladderless Sea Platform; they can be rather accurate when firing and will easily knock you out of the air while you’re gliding toward the Platform.
|
|
94 |
Treasure Chart #40 |

Private Oasis (E5)
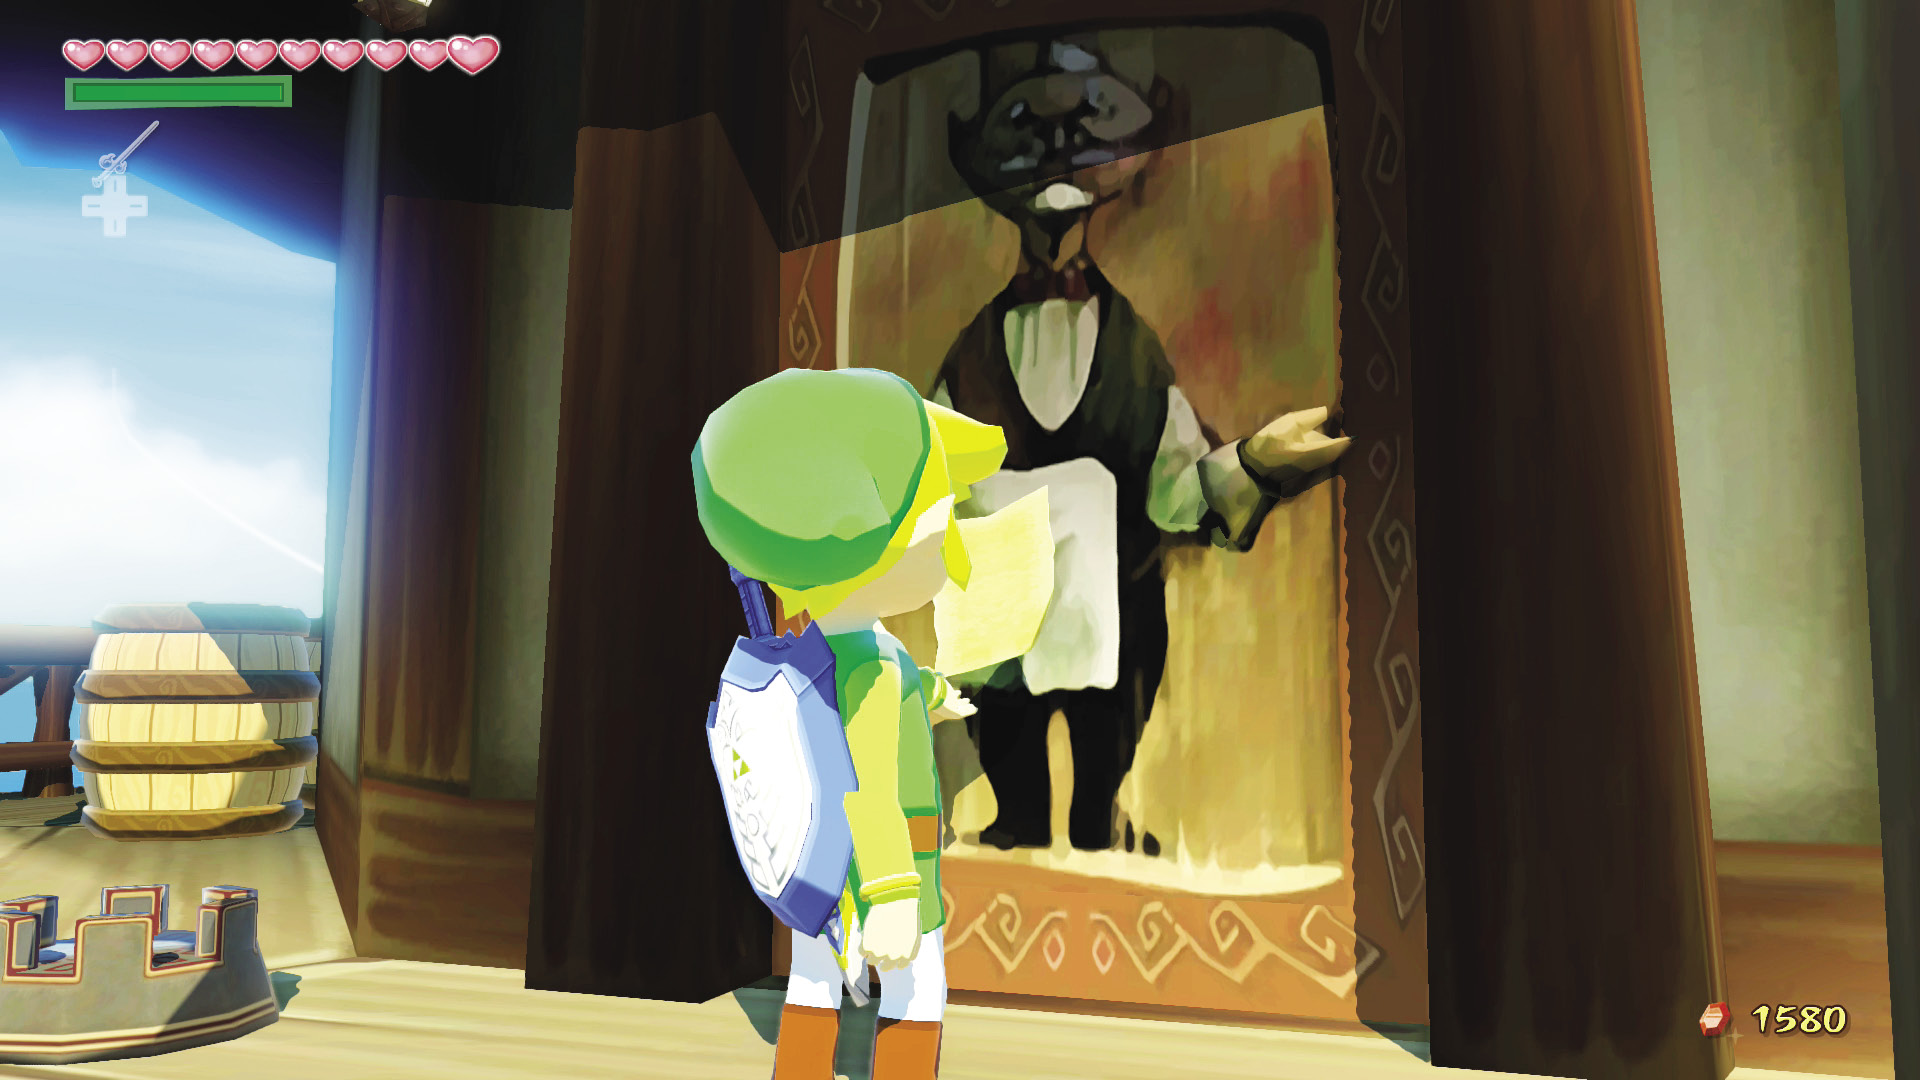
Head to the Private Oasis (E5) and approach the door of the cabana. The snarky door-butler will refuse you entry until you show him your Cabana Deed. Enter the cabana and grapple onto the hook hanging from the ceiling. The fire in the fireplace will go out, revealing a secret passage beneath it. Enter the passage, then take the first right.
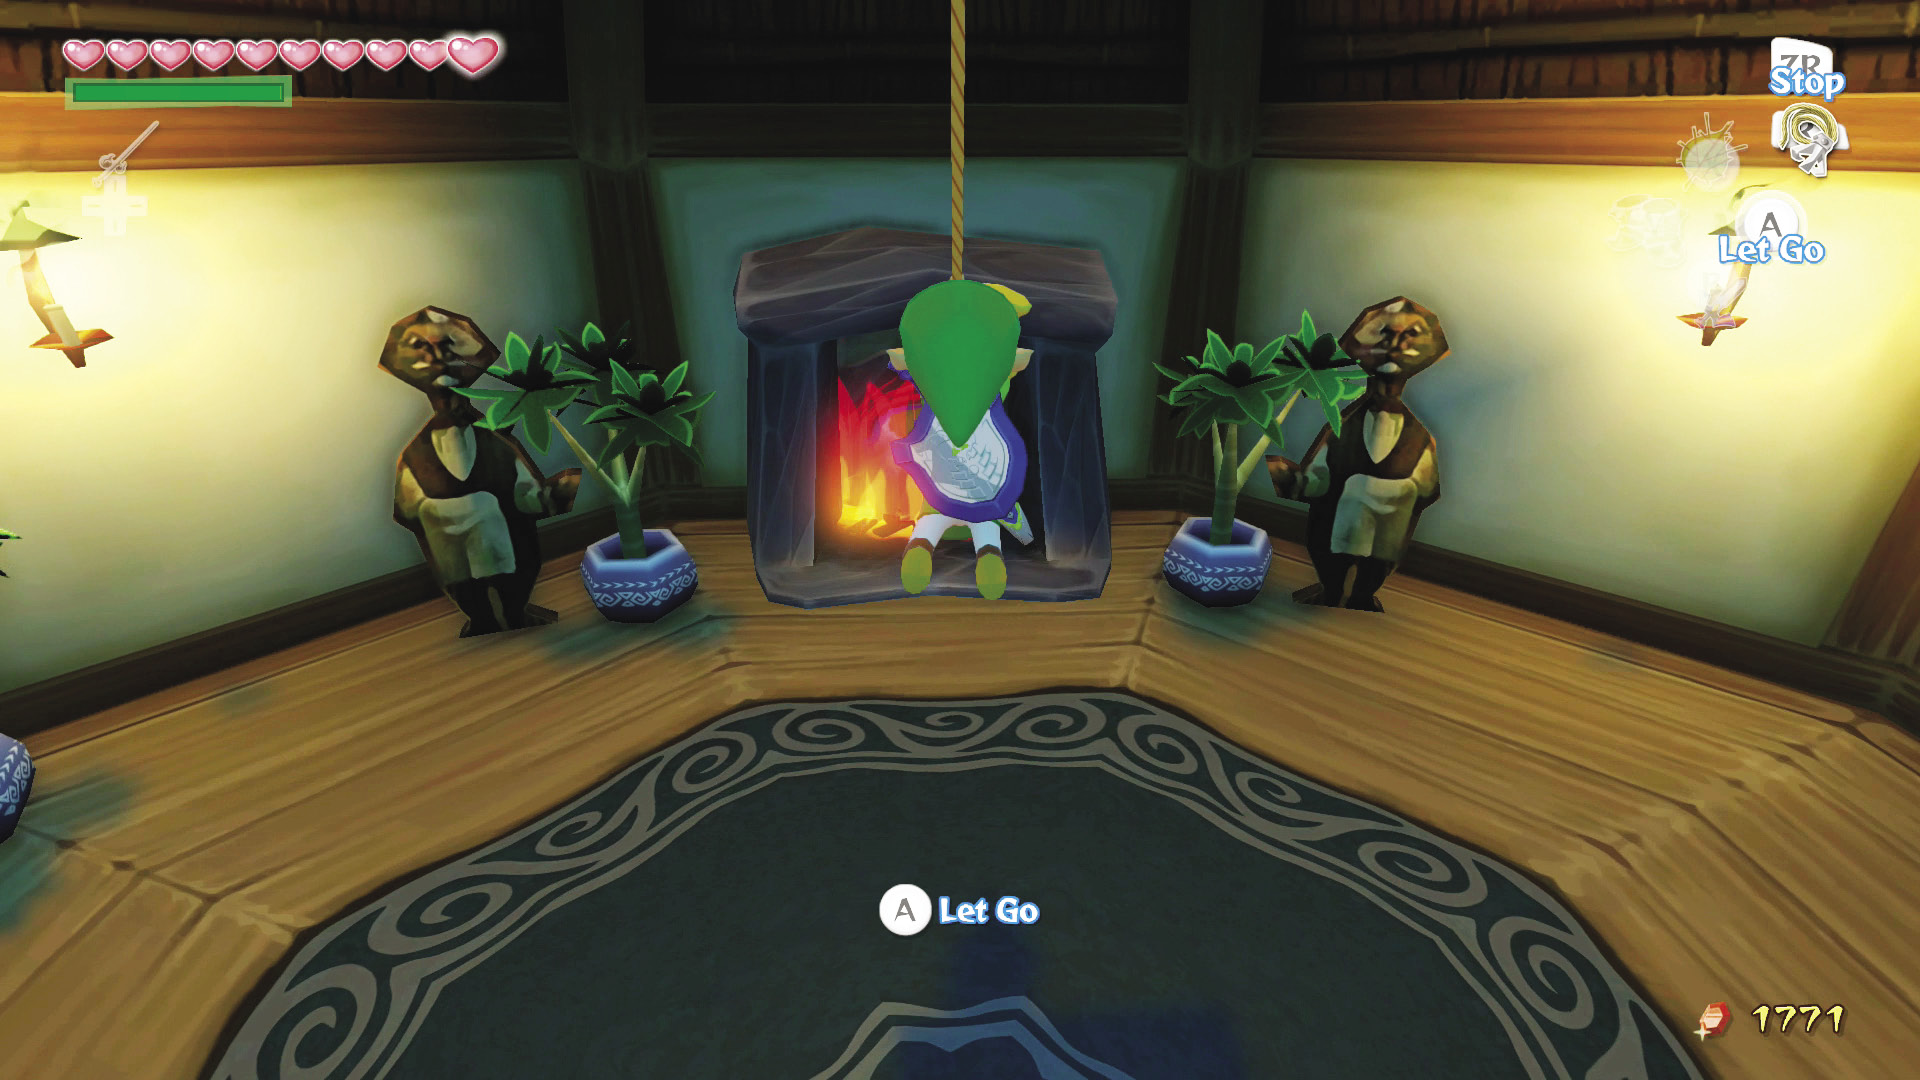
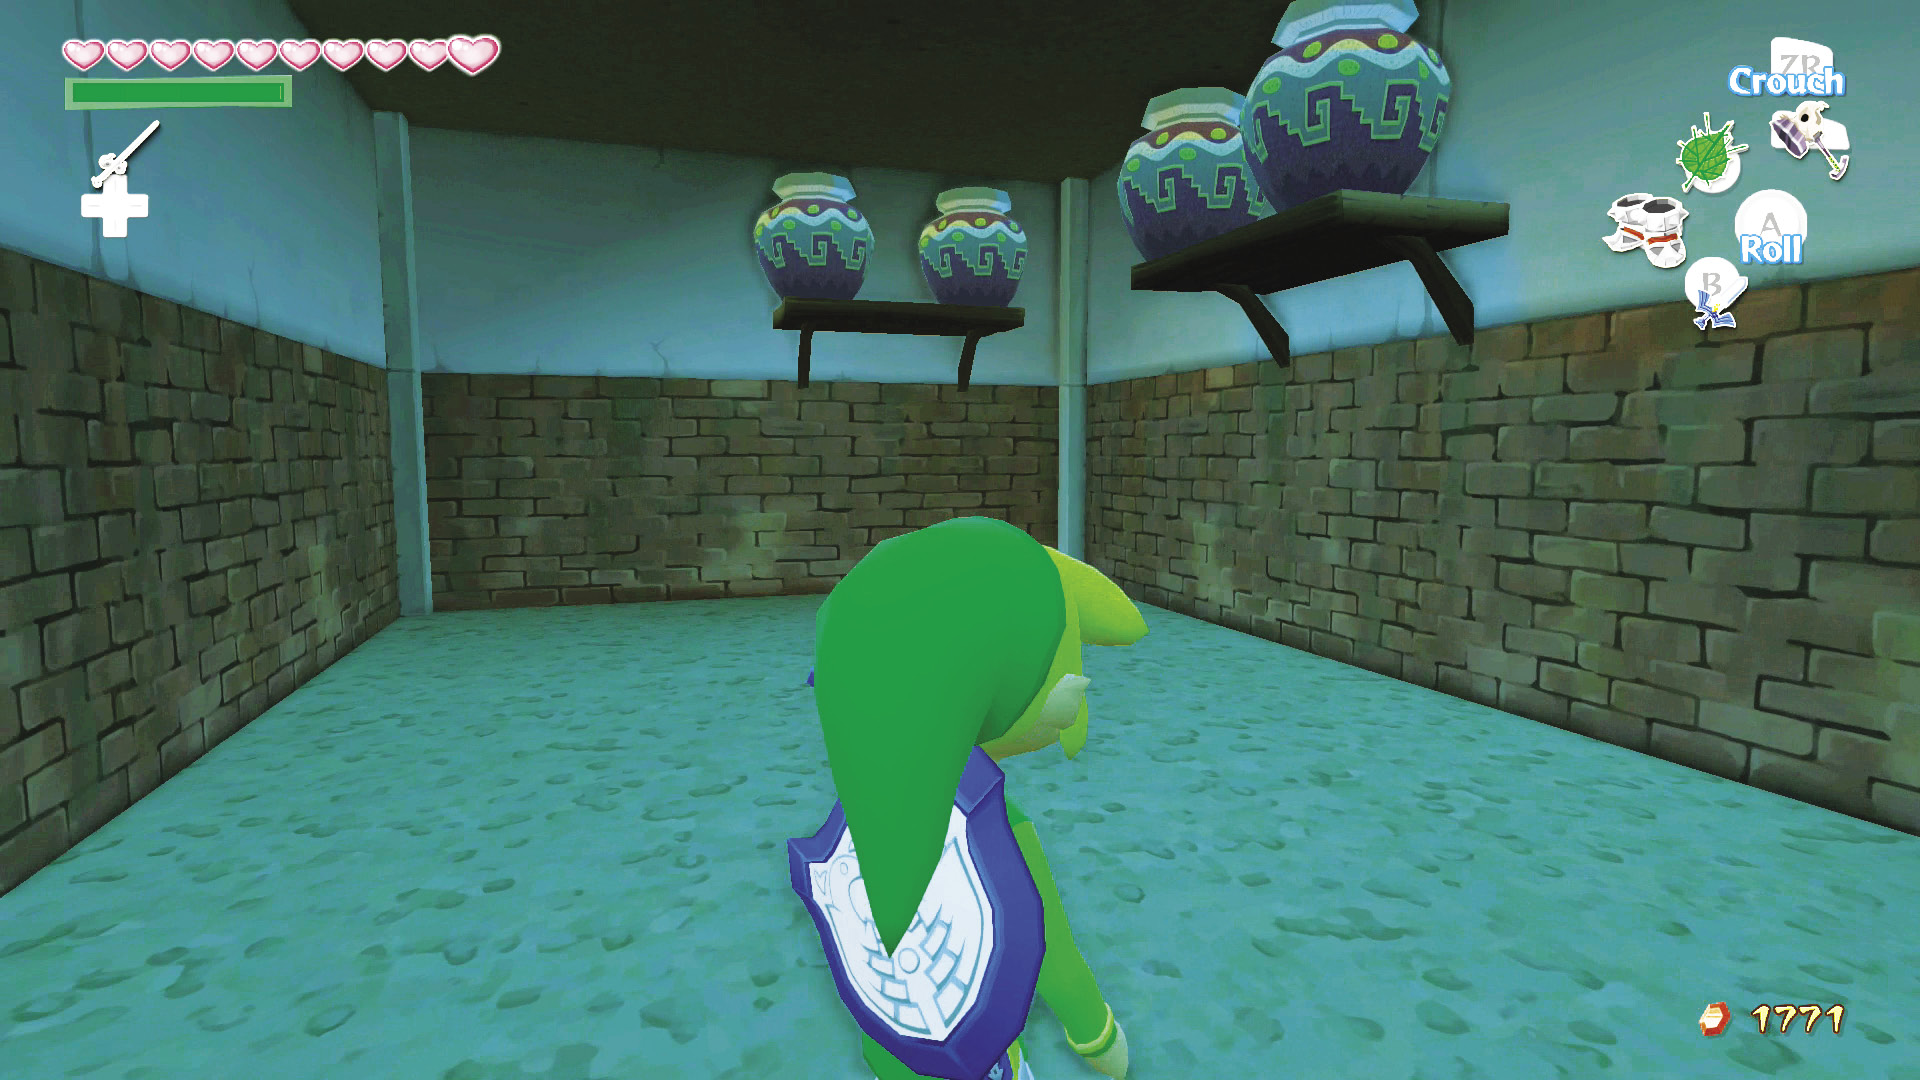
Follow the path until it forks, at which point take another right and drop down the ladder. Enter the hole on the same wall as the ladder, then follow these directions if you want to score some extra Rupees on your way:
Go  ,
,  , then
  again to reach a room full of pots that are full of Rupees. Turn around and crawl back in the hole you entered this room from and go
  ,
,  ,
,  for a second room full of Rupee-filled pots. Now back out of the room and go
  ,
,  ,
,  to reach a ladder leading out of the tunnel system.
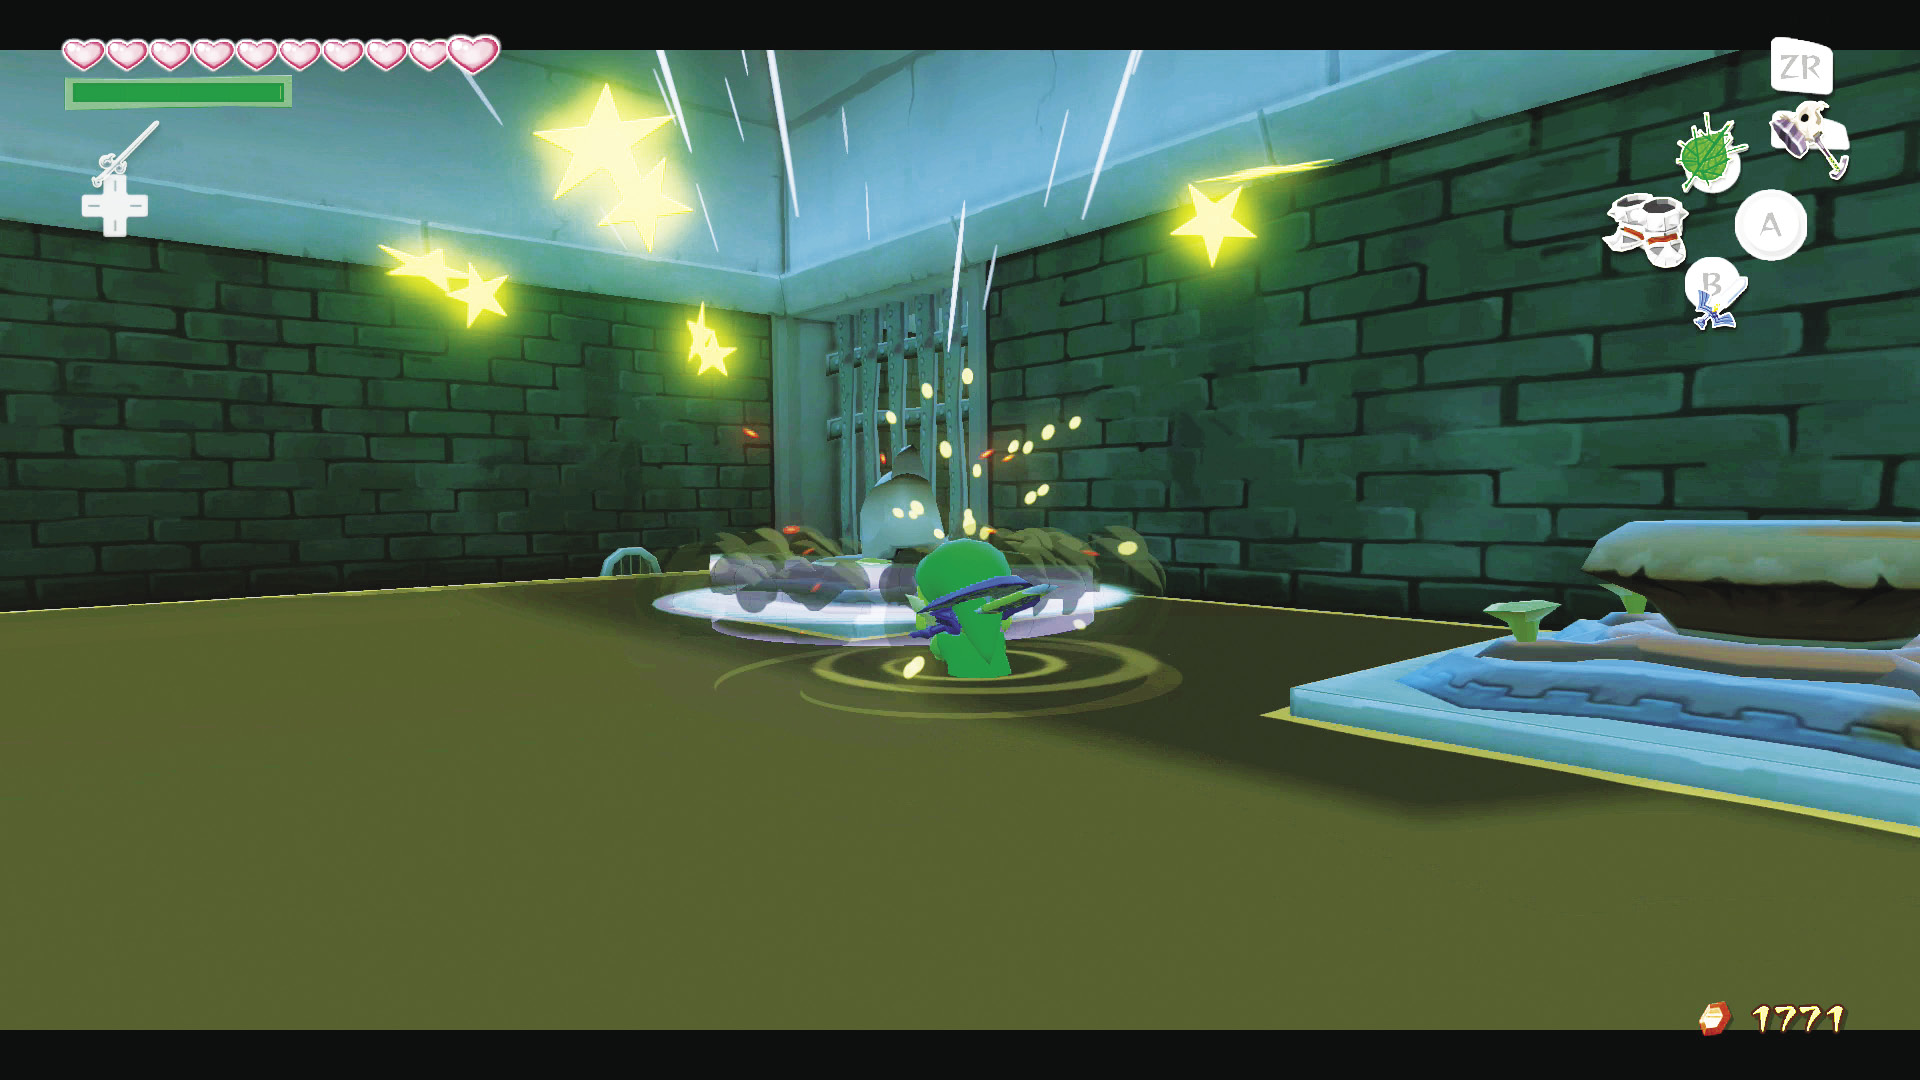
Hammer down both pegs to open both of the gates, then head through the passage on your left and jump down the ladder.
A Quick Stop
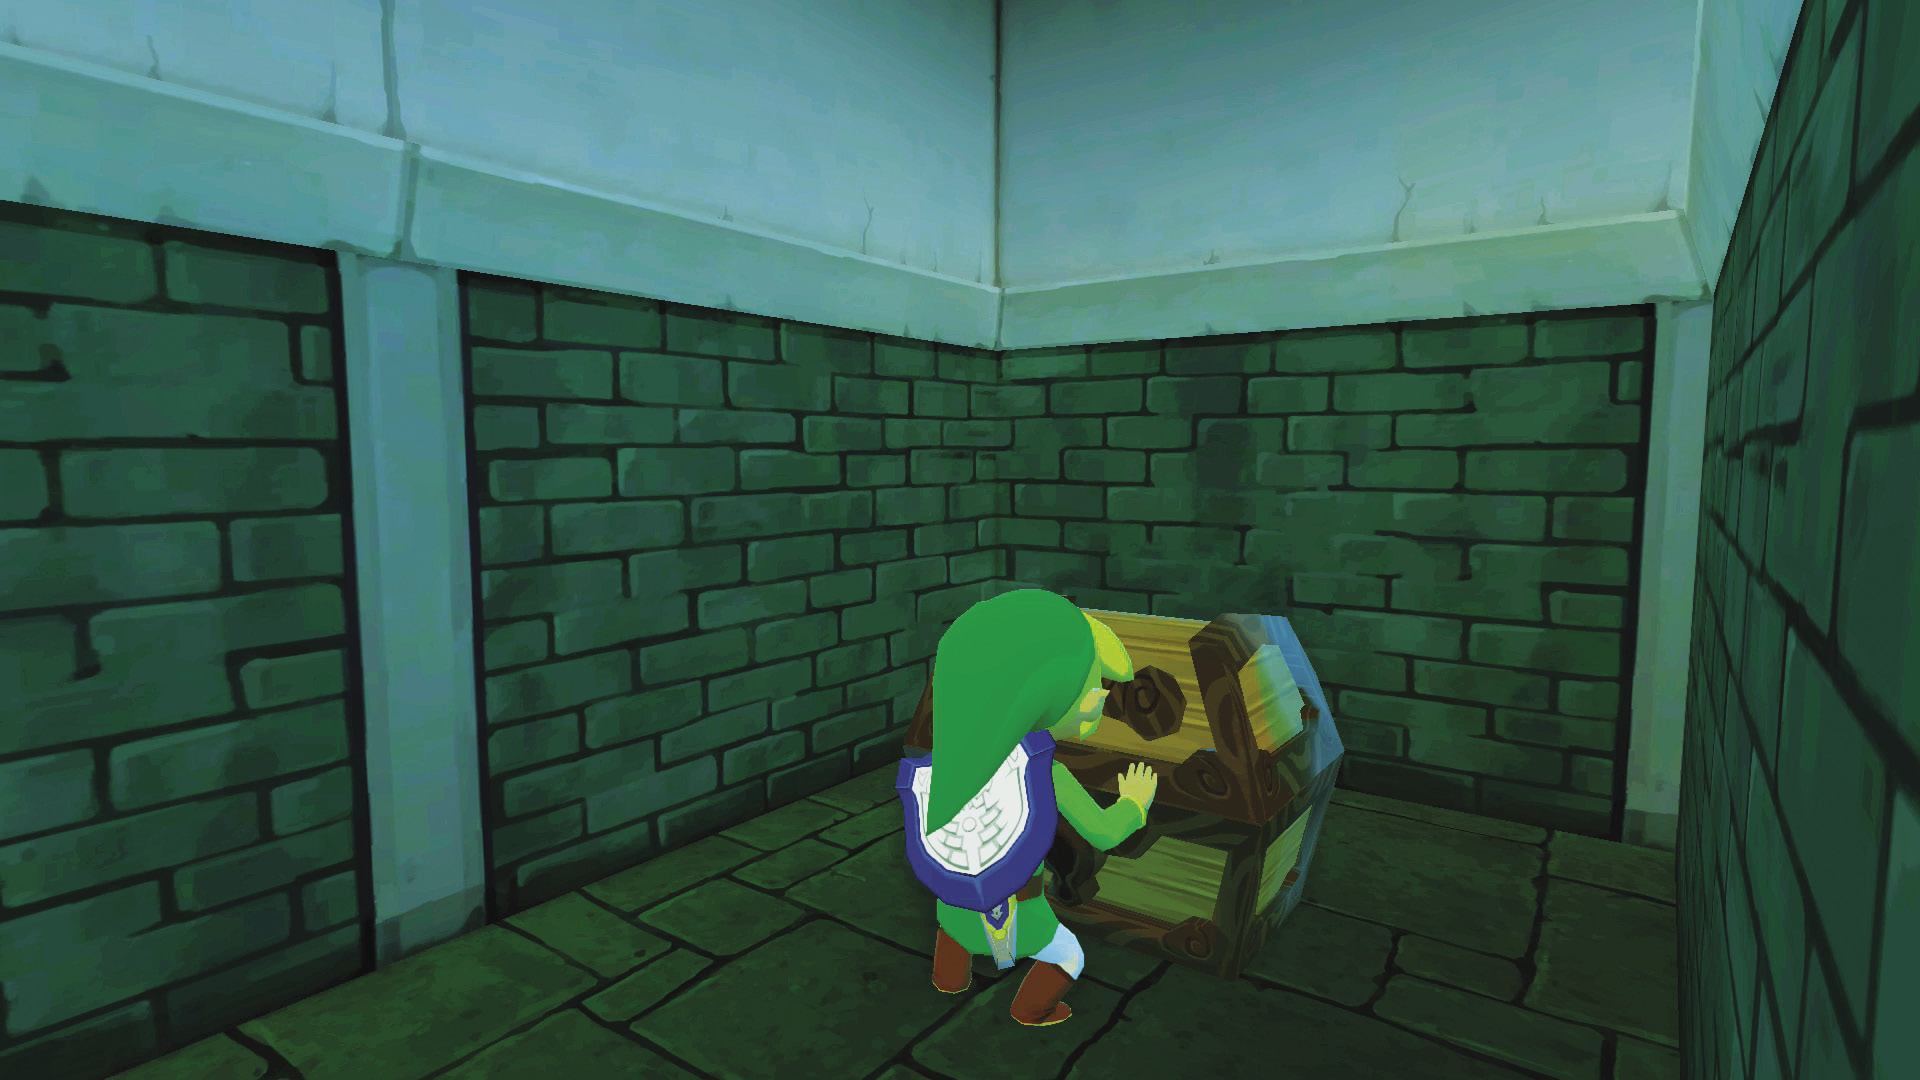
If you head through the hole to the left of the ladder and follow the path to its end, you’ll reach a treasure chest containing an Orange Rupee.
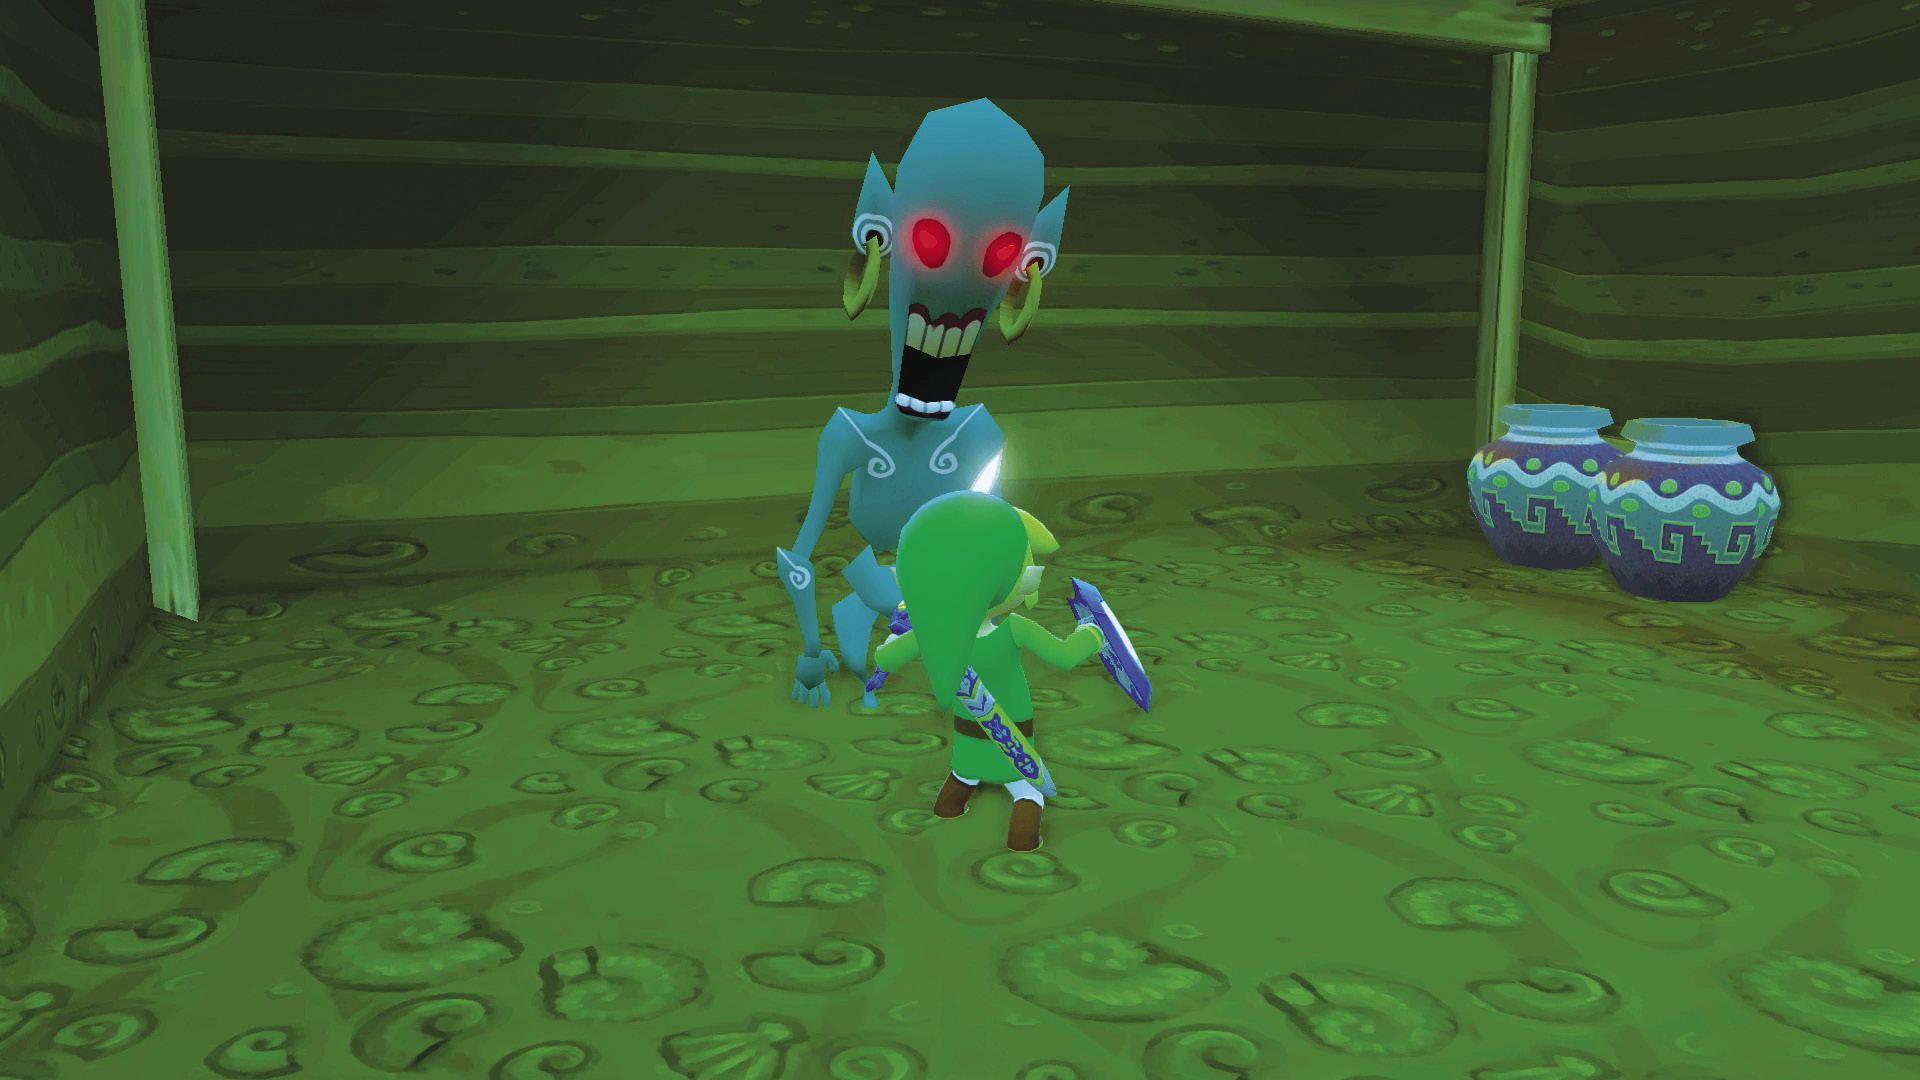
Head through the hole in front of the ladder and follow it to the other side. Climb the ladder and hammer the peg on the room’s right side, then jump down the hole on the room’s north end and defeat the ReDeads. Break the pots in the room to reveal another hole. Crawl into the hole and up the ladder at its end.
Enemy: ReDead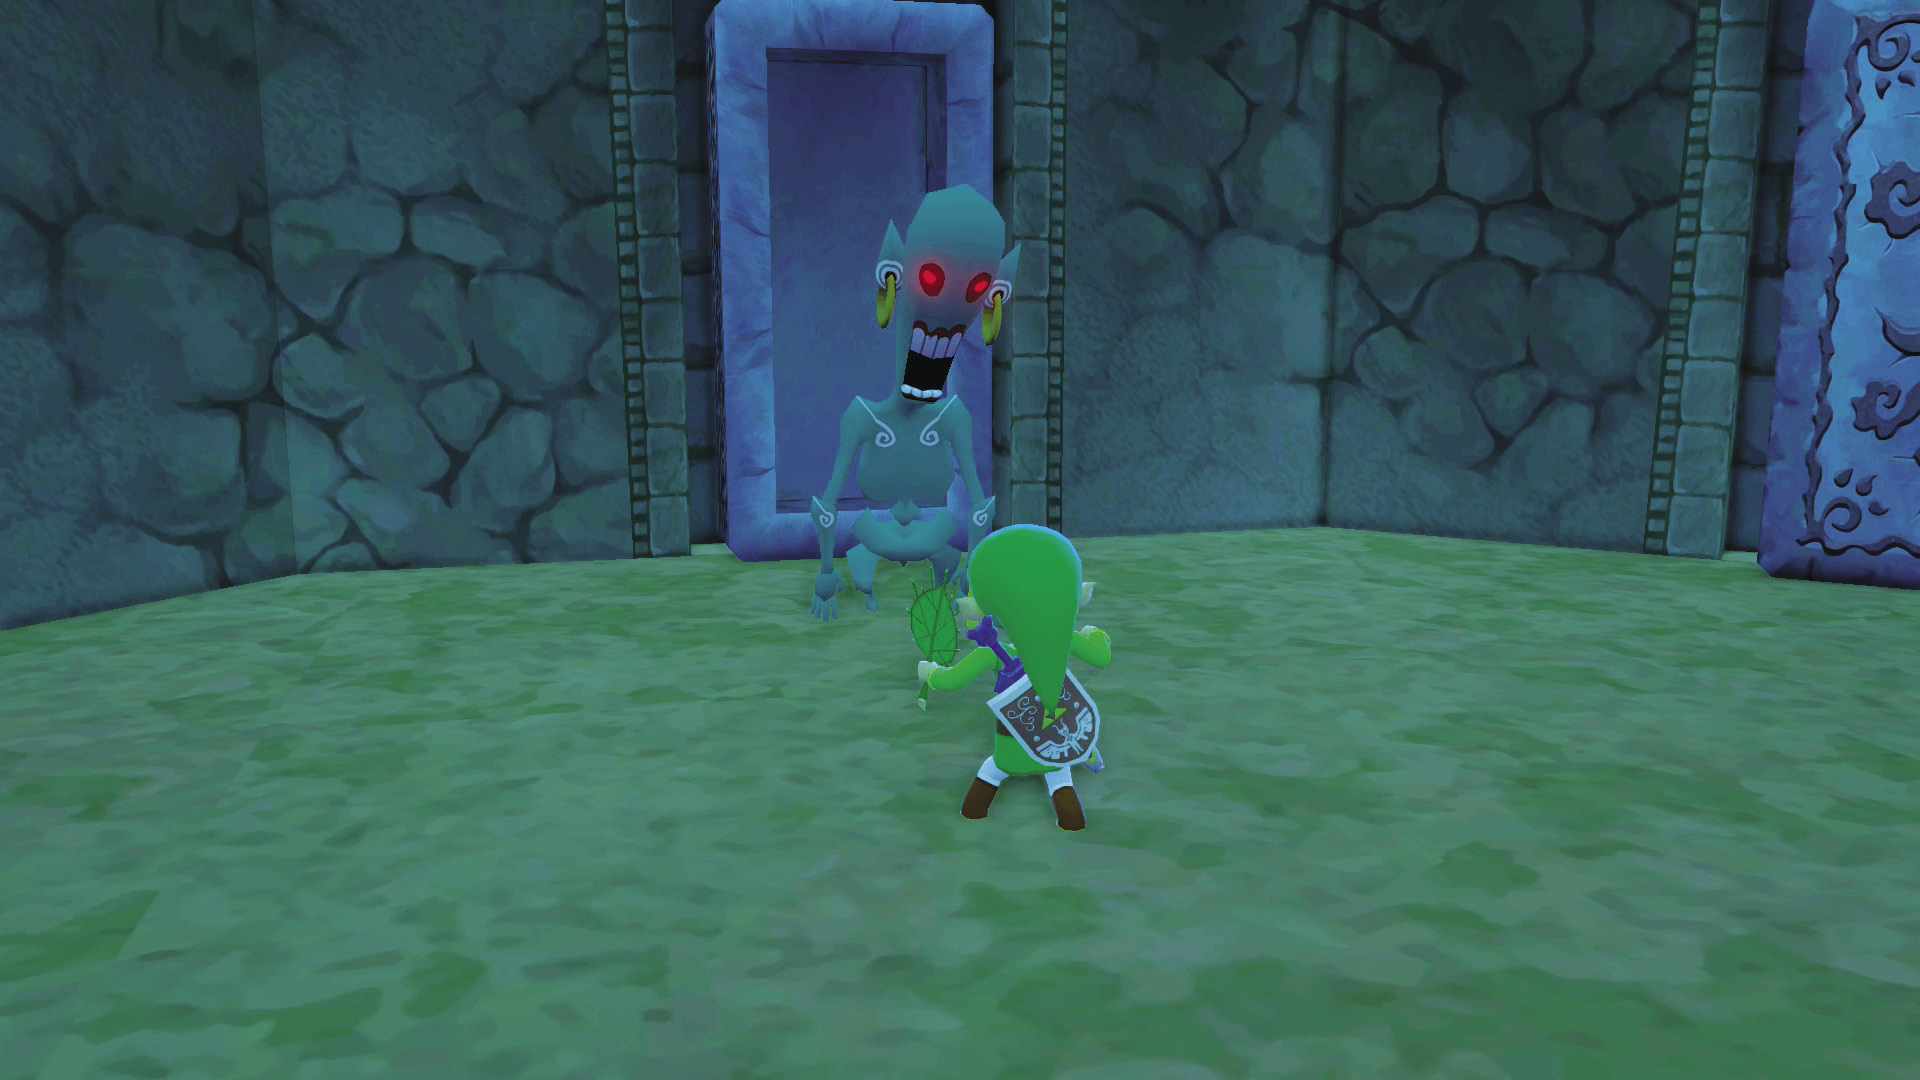 ReDeads are among the spookiest enemies in the game. When Link approaches them, these zombie-like foes move slowly, but they emit a piercing shriek that paralyzes Link as they shamble toward him. If they reach Link, they wrap themselves around him and bite. ReDeads are immune to the Boomerang and any type of arrow, but three bombs defeat them, as do several sword strikes. |
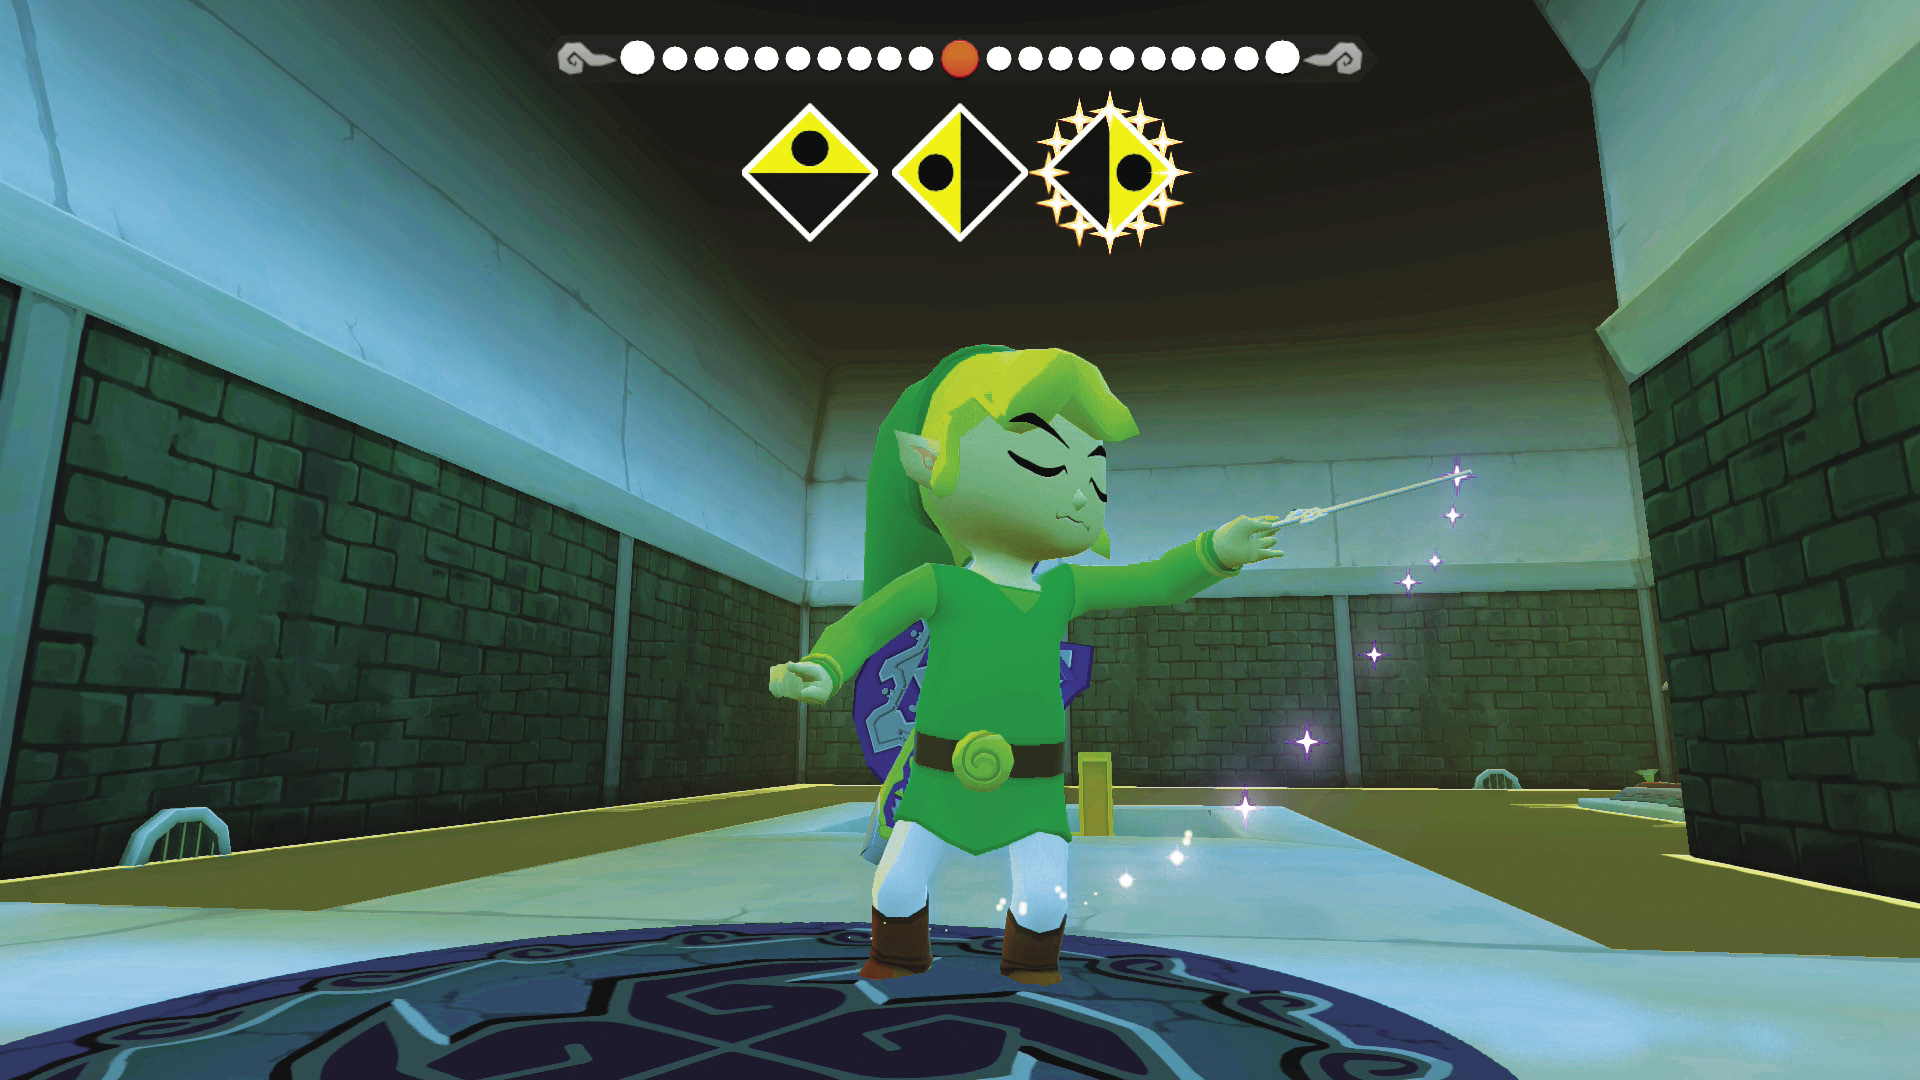
Stand on the Wind Crest and play the “Wind’s Requiem” to make a treasure chest containing Triforce Shard #1 appear. Turn around and hammer the peg to your right, and enter the gate it opens. Head through the opening on the room’s northeast side and take an immediate right.
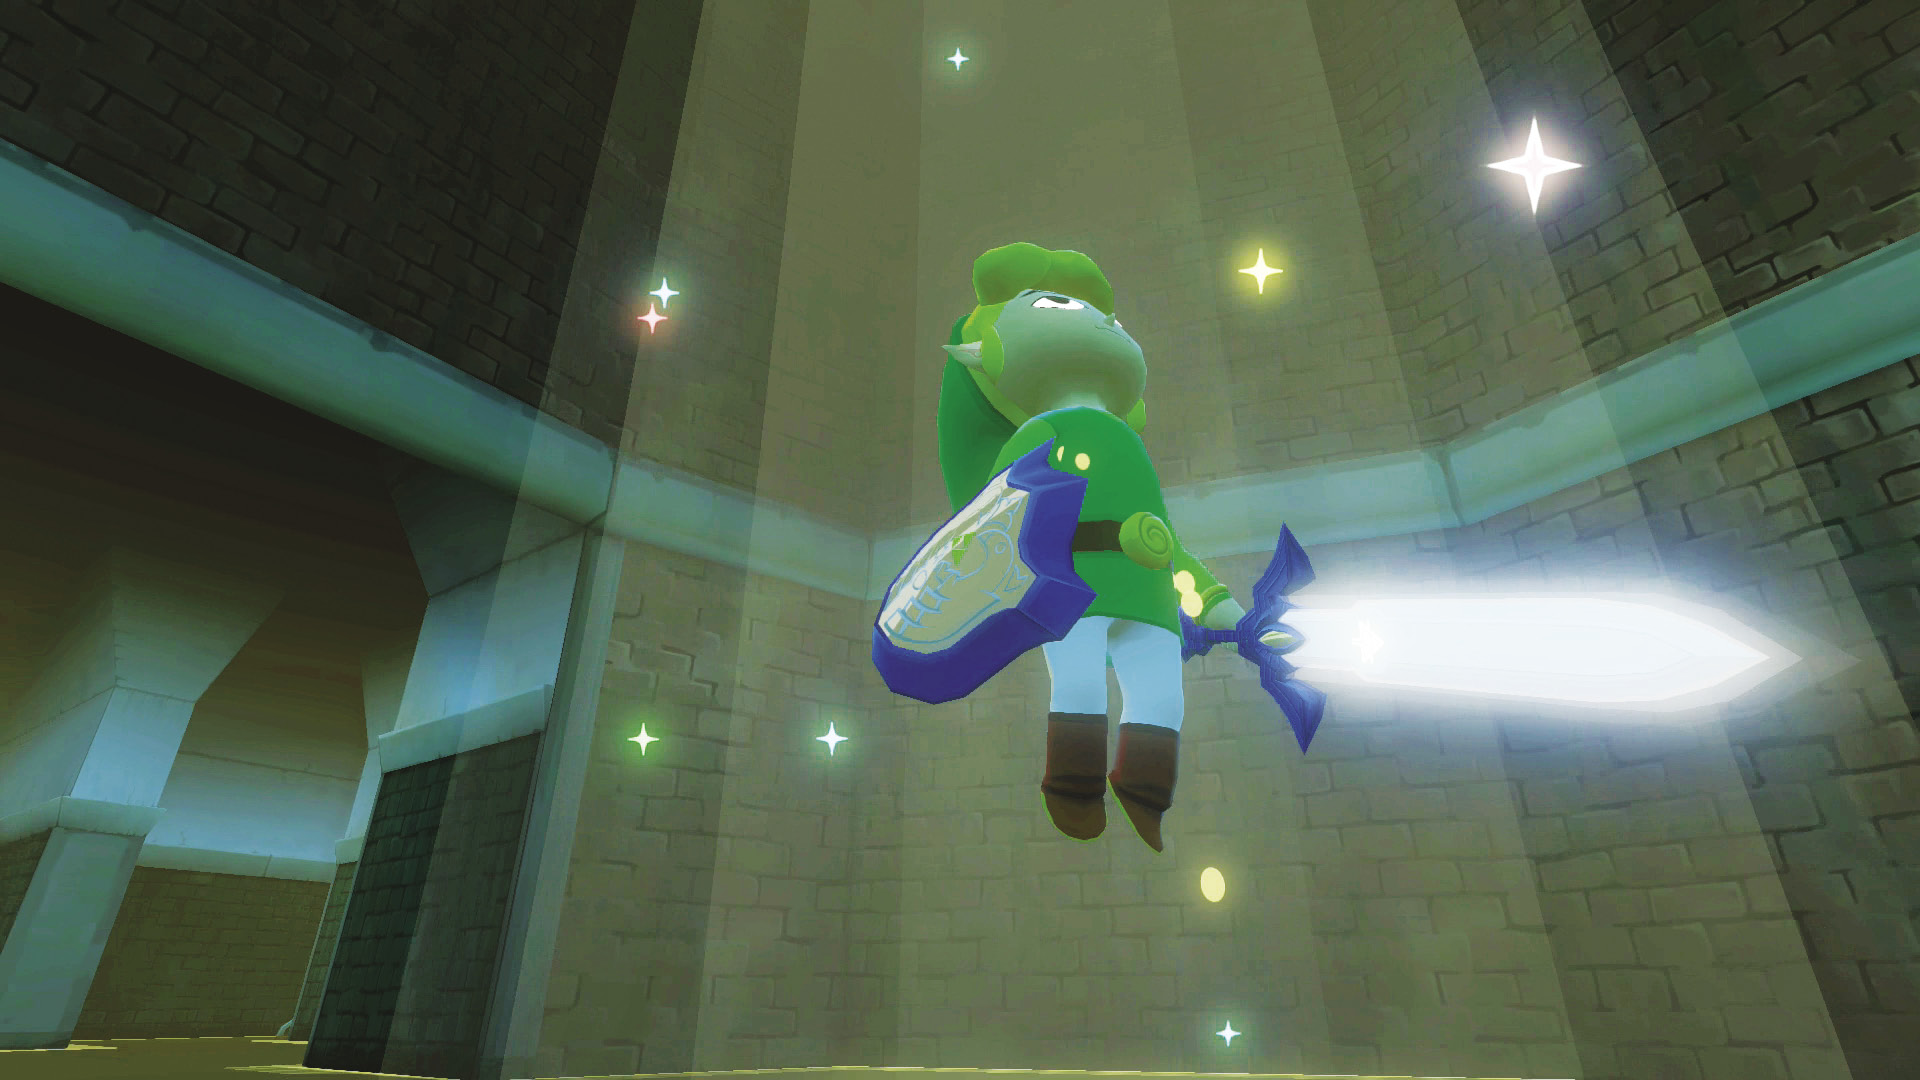
The warp leading out of this maze is in the room ahead.
Personal Sliding Panel Puzzles
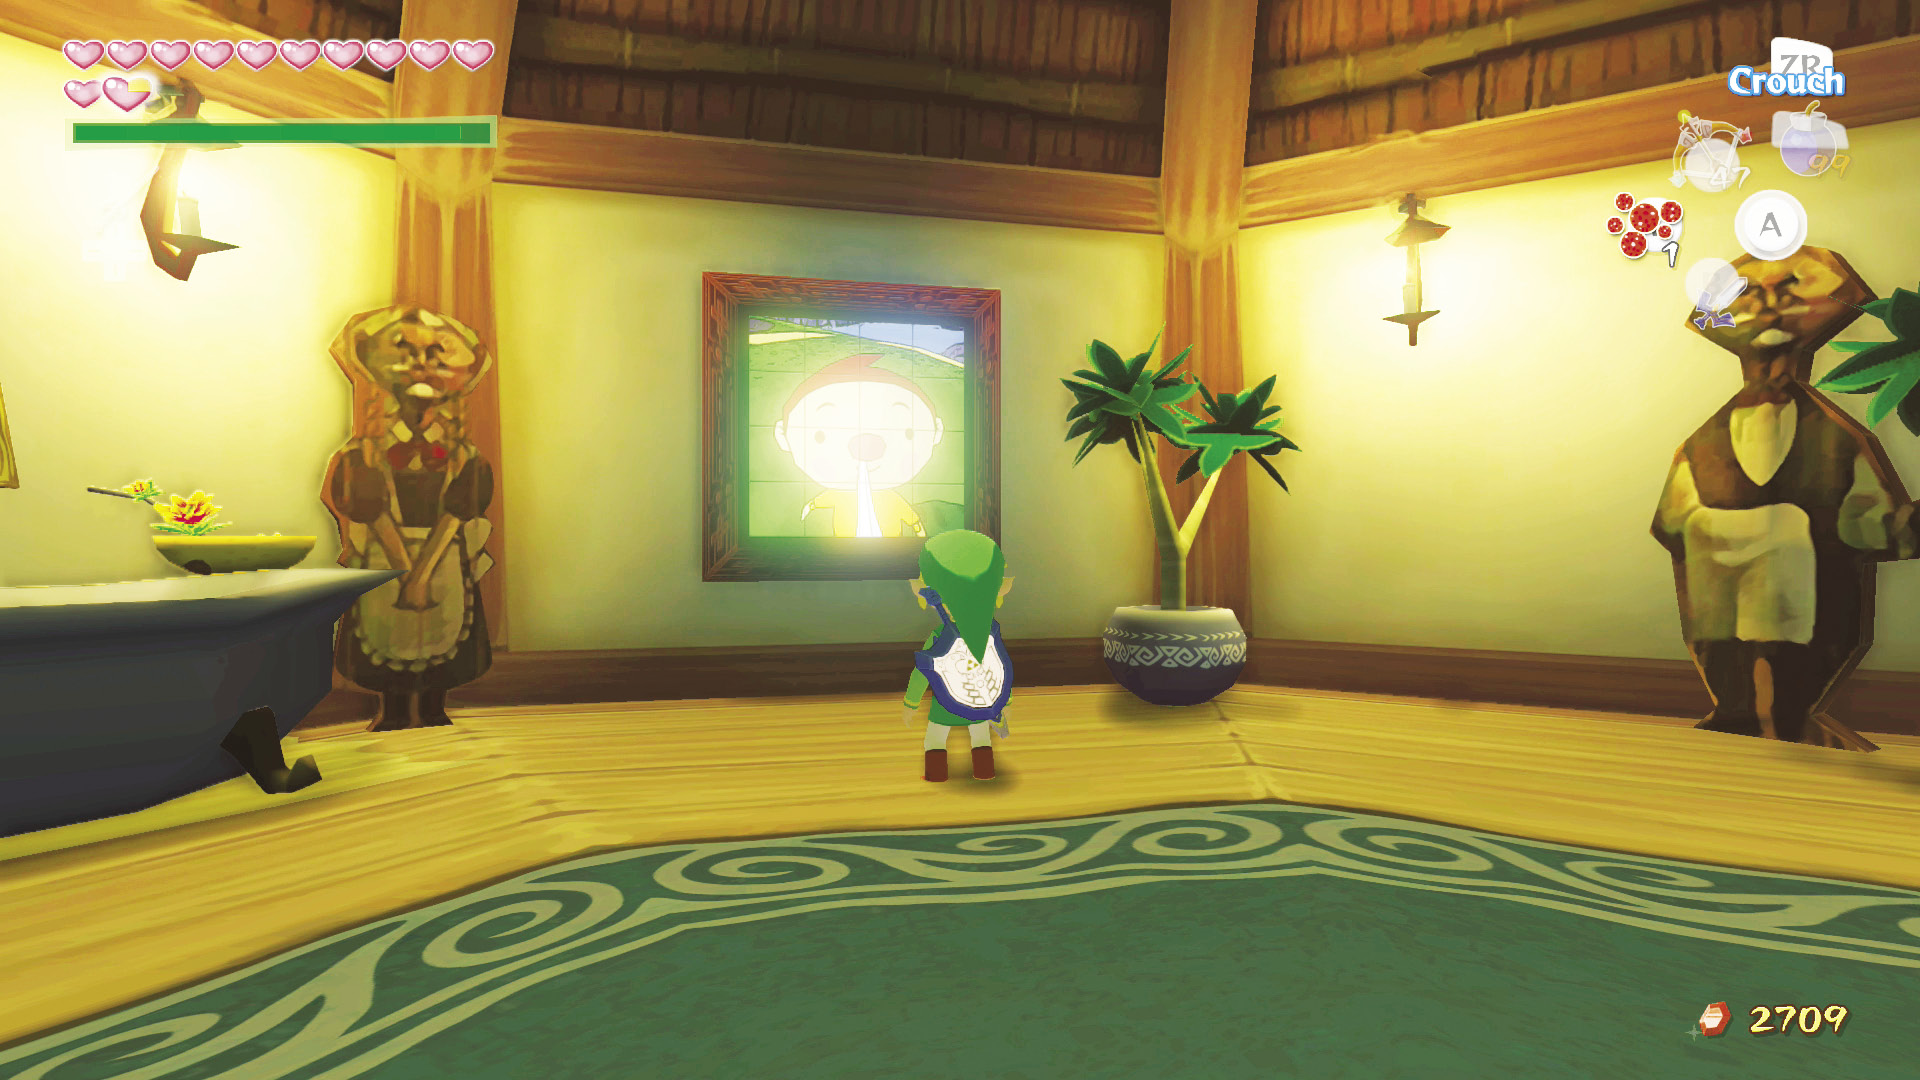
On the wall of the main room of your private cabana are two pictures: one complete and one scattered and confusing. The scattered picture is a sliding panel puzzle that you can play for Rupees; the complete picture is how it should look. Use it for reference.
For every puzzle you solve, you’ll receive 50 Rupees. If you complete all 16 of the puzzles, you’ll receive an additional 200 Rupees.
Greatfish Isle (B4)
Link, Businessman Extraordinaire
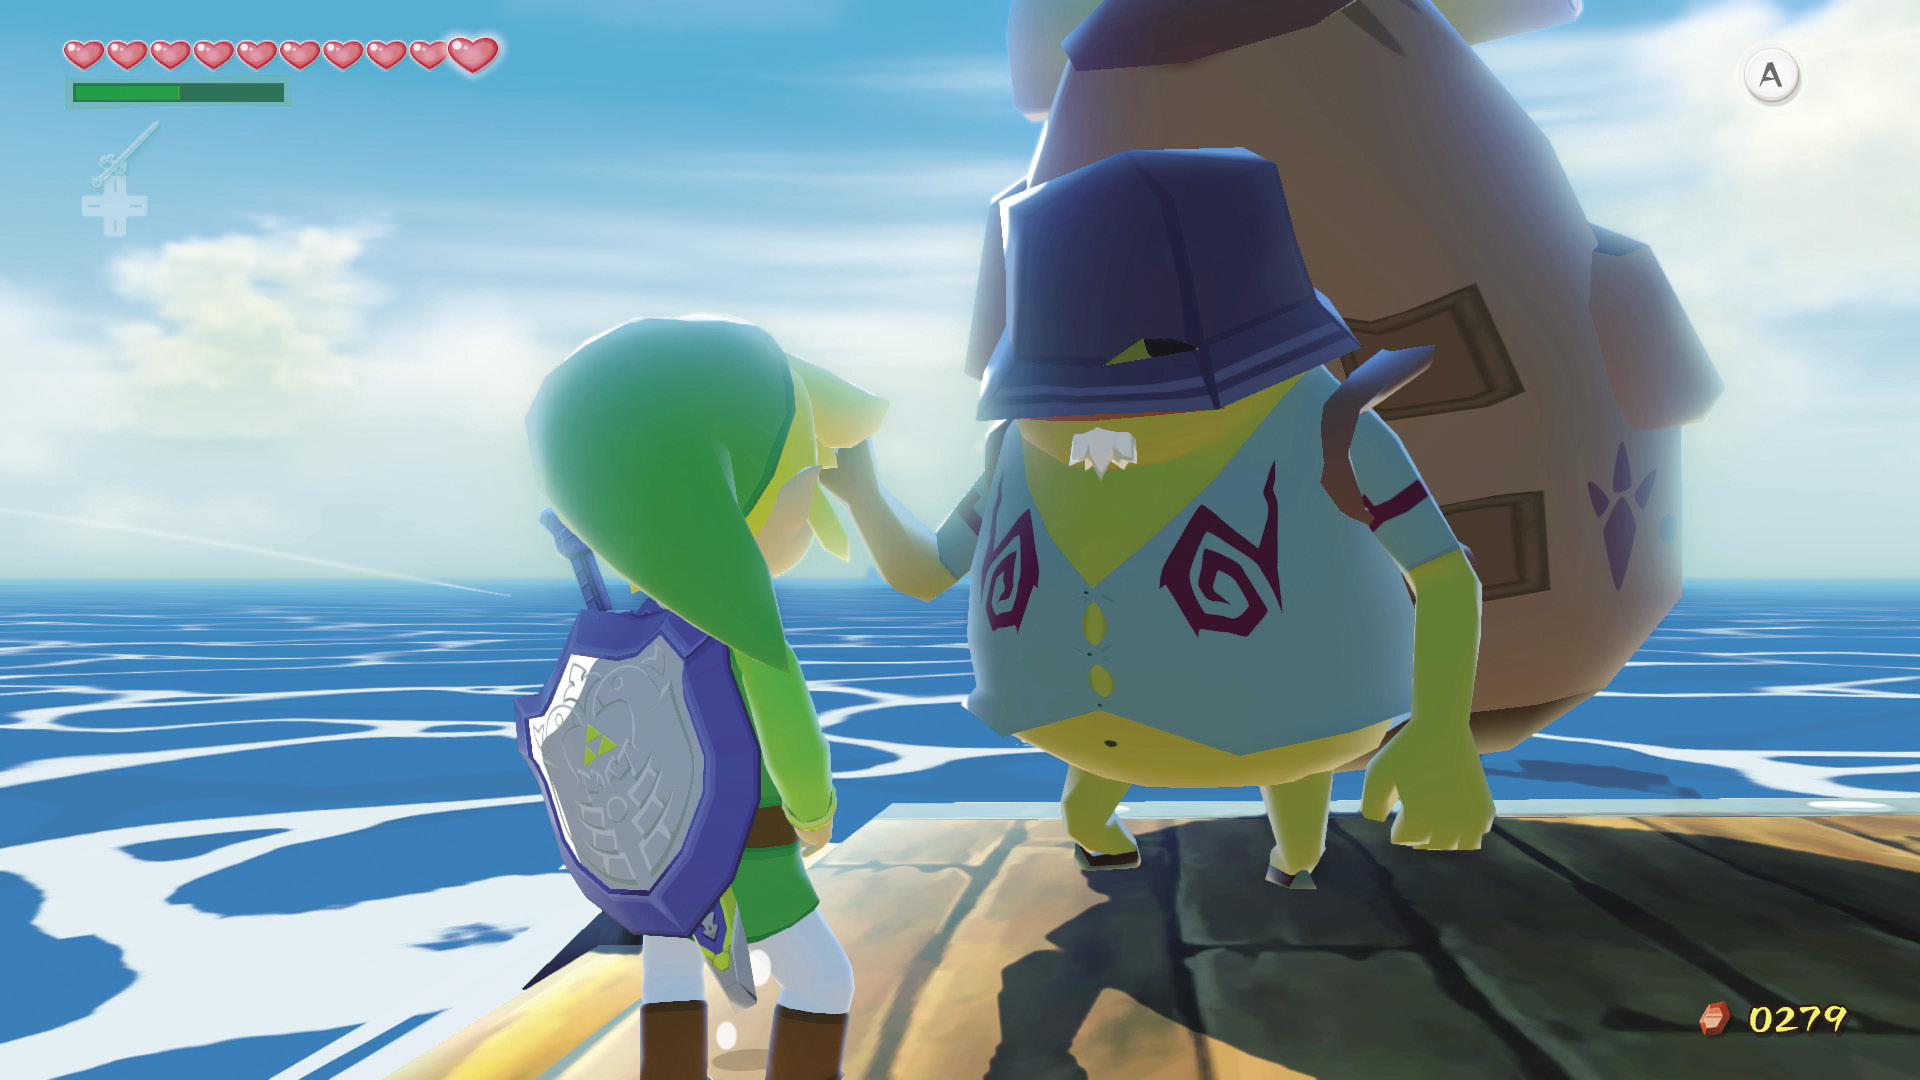
Head to the rear of the Greatfish Isle’s main beach to find another Traveling Merchant. Offer the Traveling Merchant the Sea Flower you traded the Town Flower for and you’ll receive an Exotic Flower.
Rock Spire Isle (B3)
Sunken Treasure #2
If you received Treasure Chart #2 by giving Maggie’s dad 20 Skull Necklaces, now’s your chance to open it and learn the location of Piece of Heart #32. You’ve now completed your eighth Heart Container!
|
|
96 |
Piece of Heart #32 |

Islet of Steel (B5)
The Mysterious Purple Chart
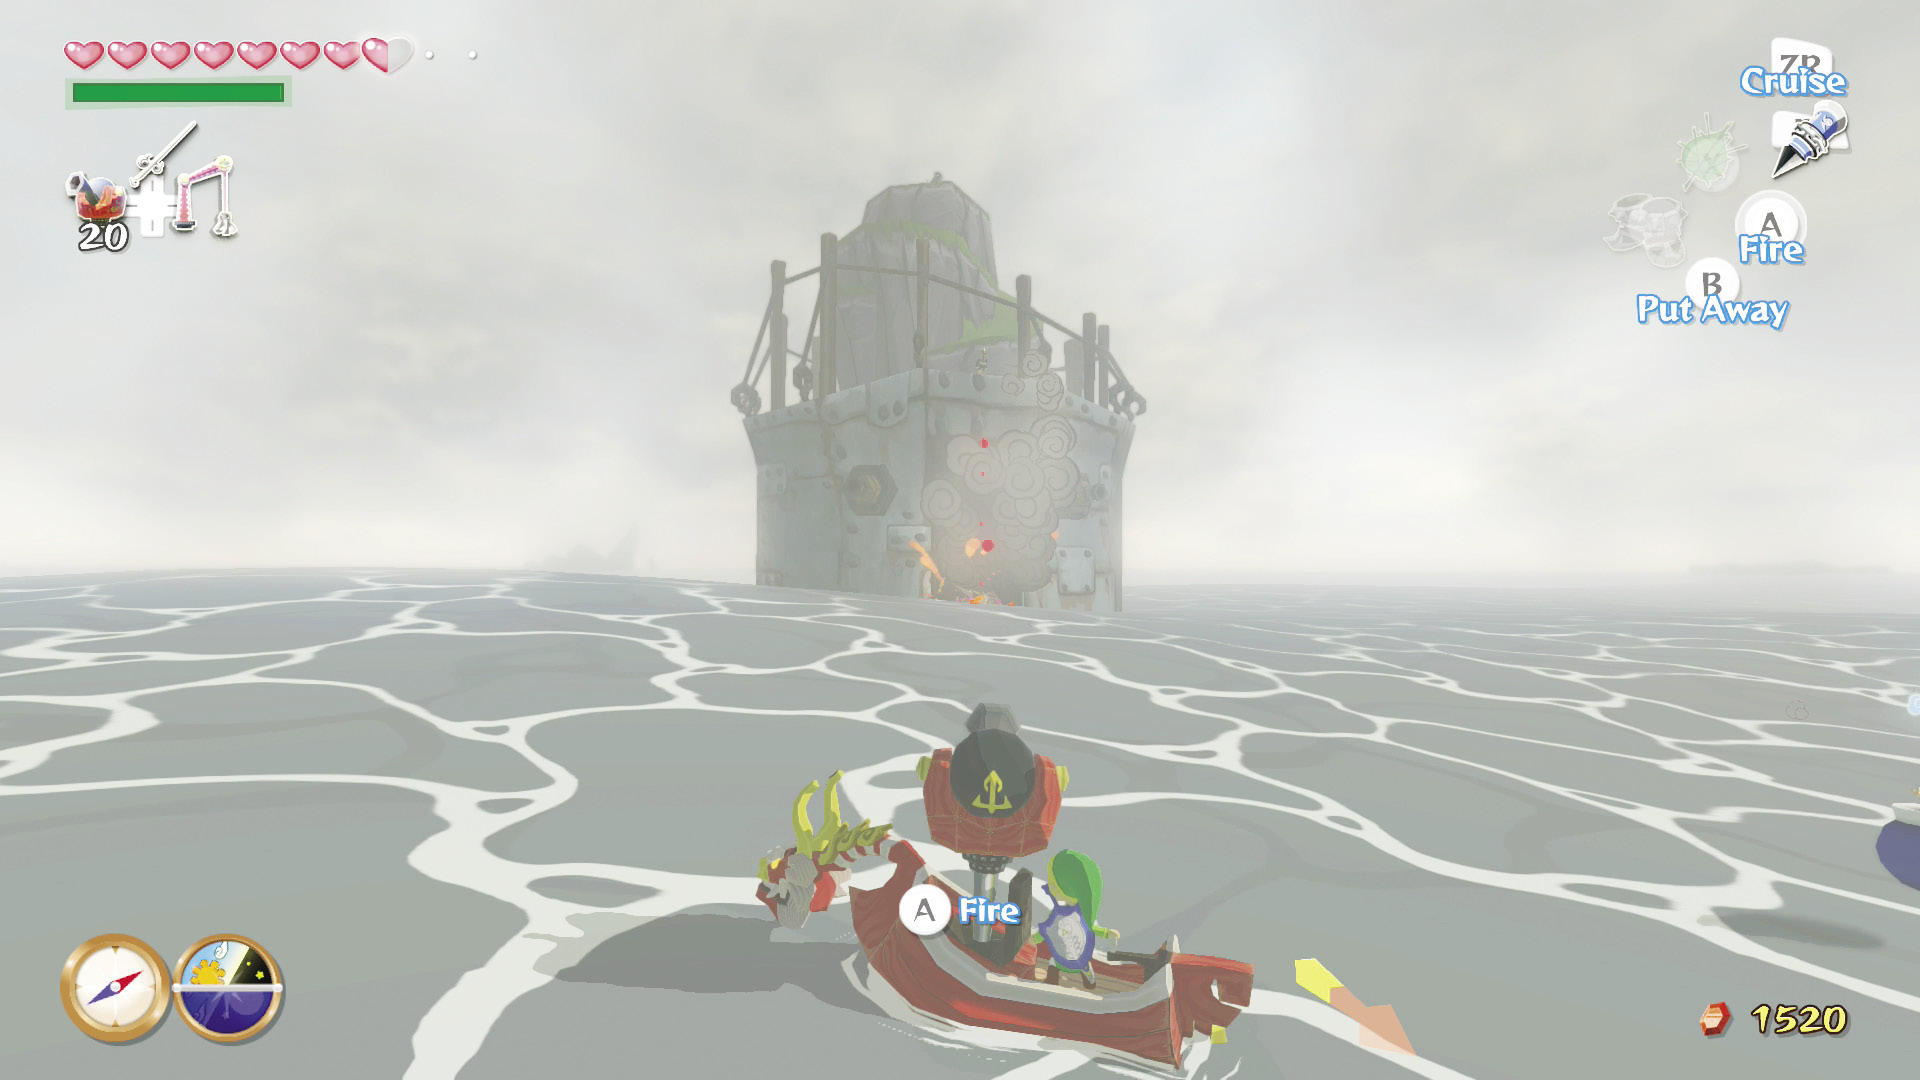
If you head to the Islet of Steel and destroy the Warship that is blocking the entrance, you’ll find a shrine with a crest that has that golden triangle on it. In front of that is another crest that has a symbol that means “wind.”
Play the “Wind’s Requiem” on that Wind Crest. A treasure chest containing another Triforce Chart appears on the golden crest! What’s even more shocking is that one of the purple charts on the IN-Credible Chart has been crossed out. It seems the IN-Credible chart is directly linked to the Triforce Charts.
|
|
97 |
Triforce Chart #1 |
Five-Eye Reef (B6)
Roll the Dice!
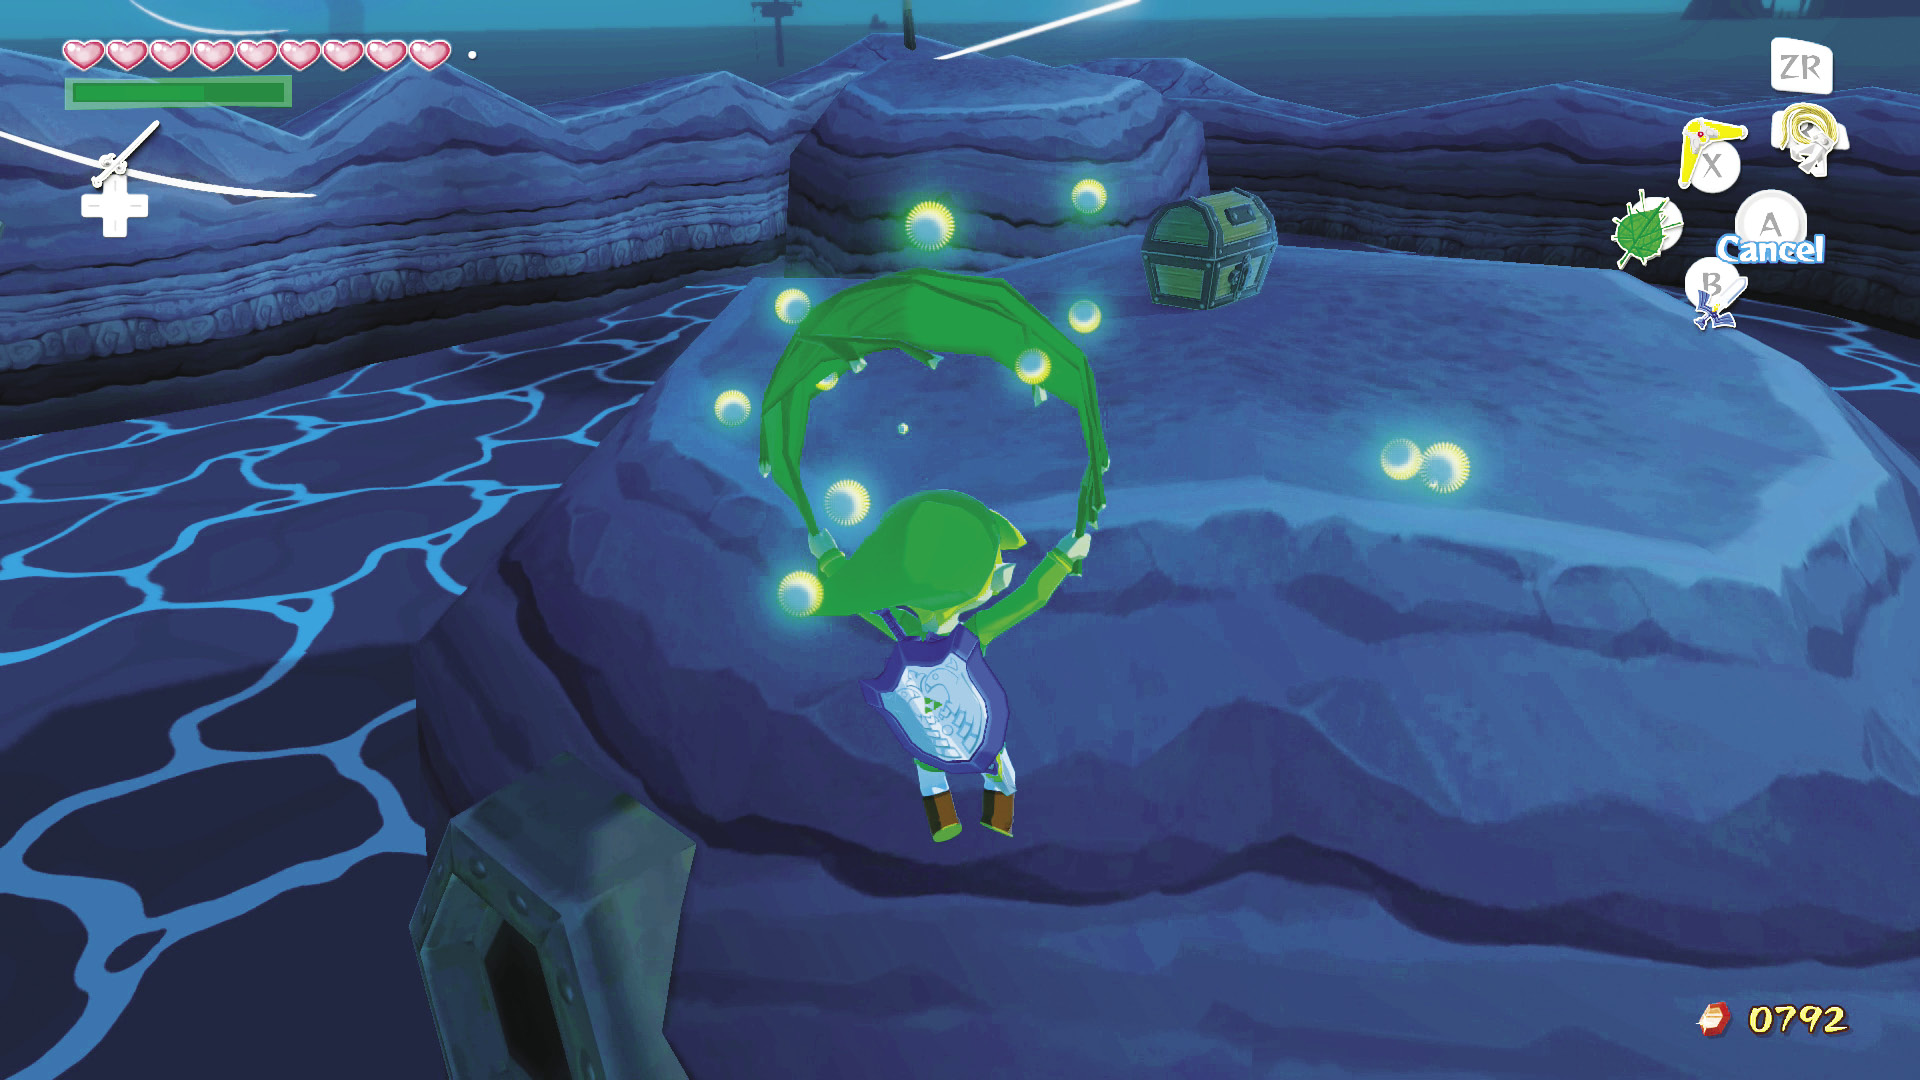
Destroy all of the wall-mounted cannons and Warships inside the reef. A treasure chest containing Treasure Chart #41 will appear on one of the reef’s many eyes. Walk up the slope near the reef’s entrance, head to the highest point on the wall, set the wind blowing toward the chest, and use your Deku Leaf to reach the Treasure Chart.
|
|
98 |
Treasure Chart #41 |

Western Fairy Island (A3)
Cupid’s Cousin
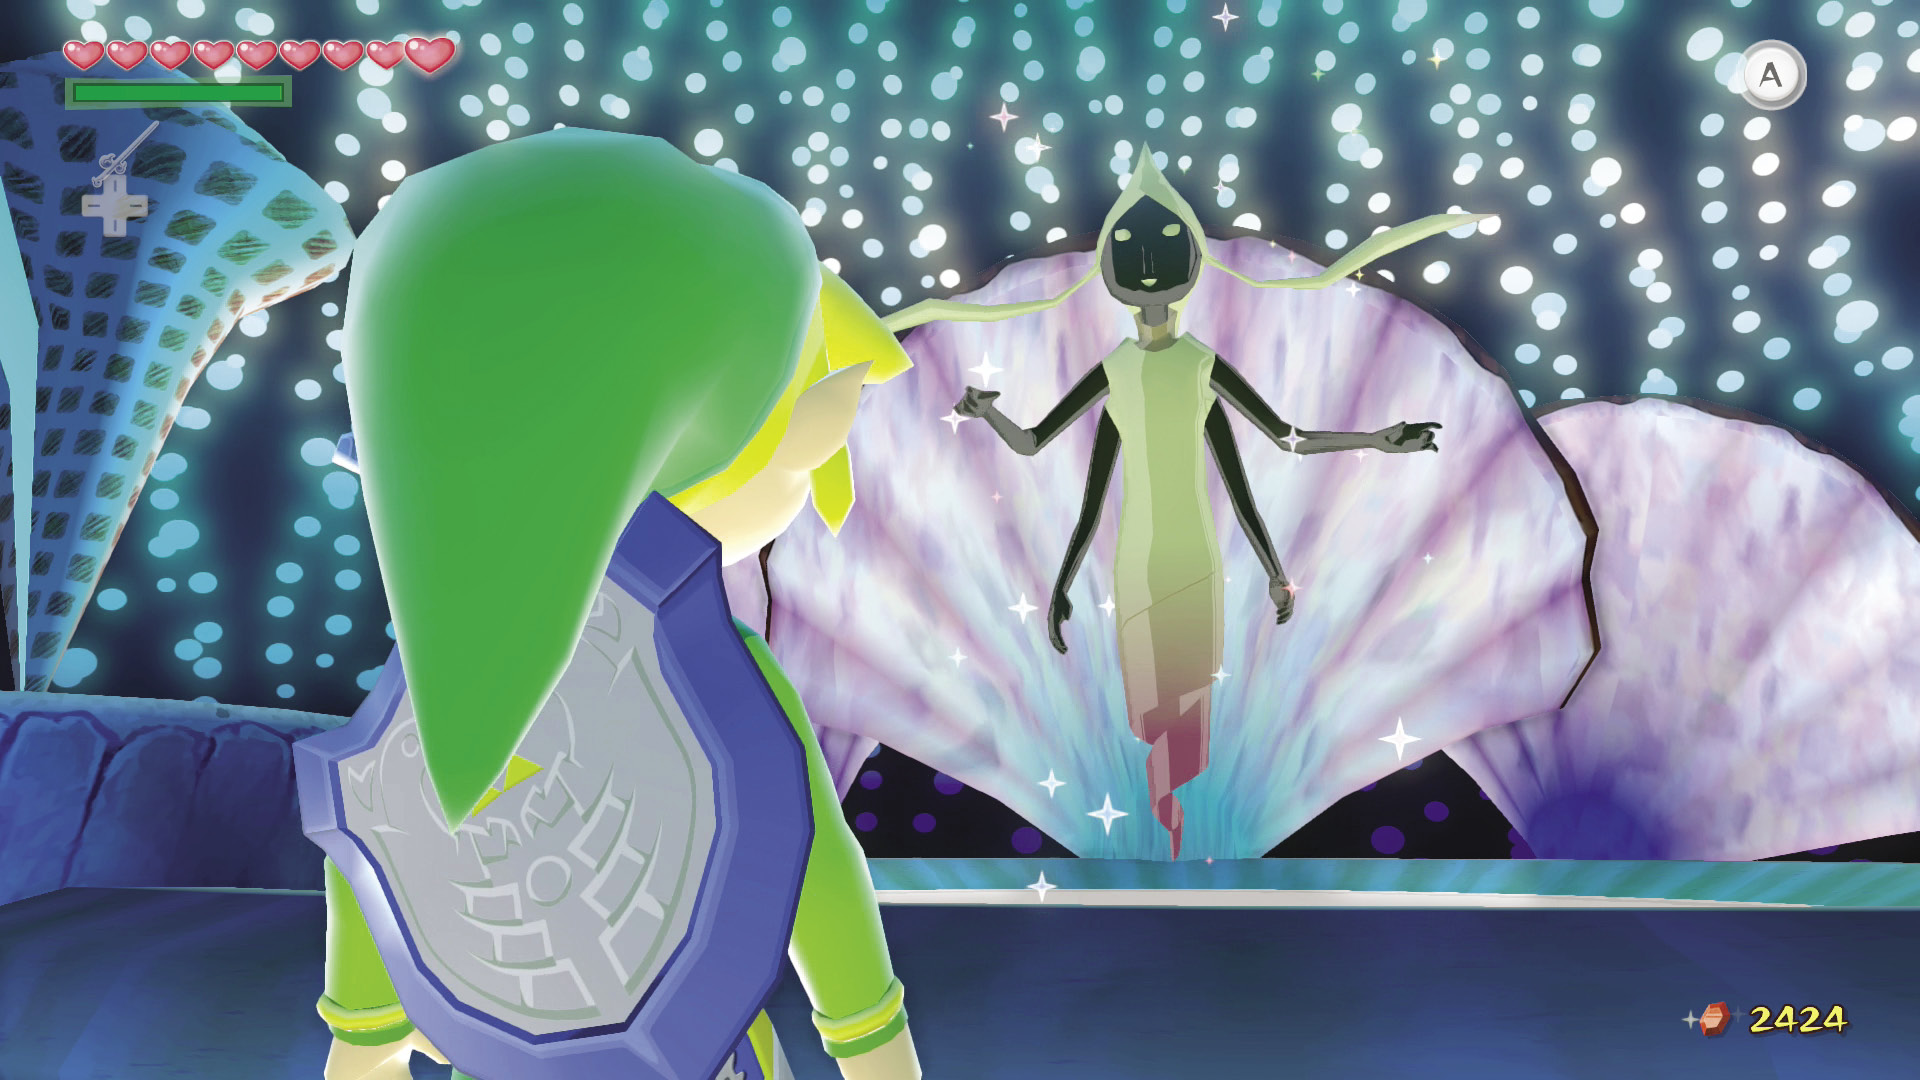
Use your Skull Hammer to pound the peg in front of the Great Fairy’s conch; this makes the flames blocking her door disappear. Head inside and talk to the Great Fairy. As a show of her appreciation, the Great Fairy will increase the number of arrows you can hold. Great Fairies sure are great!
Another ChuChu for You
To the left of the Great Fairy’s front door is a Blue ChuChu. Walk over to the tree and it’ll pop up out of the ground. Defeat it to add another Blue Chu Jelly to your private reserve.
Sunken Treasure #8
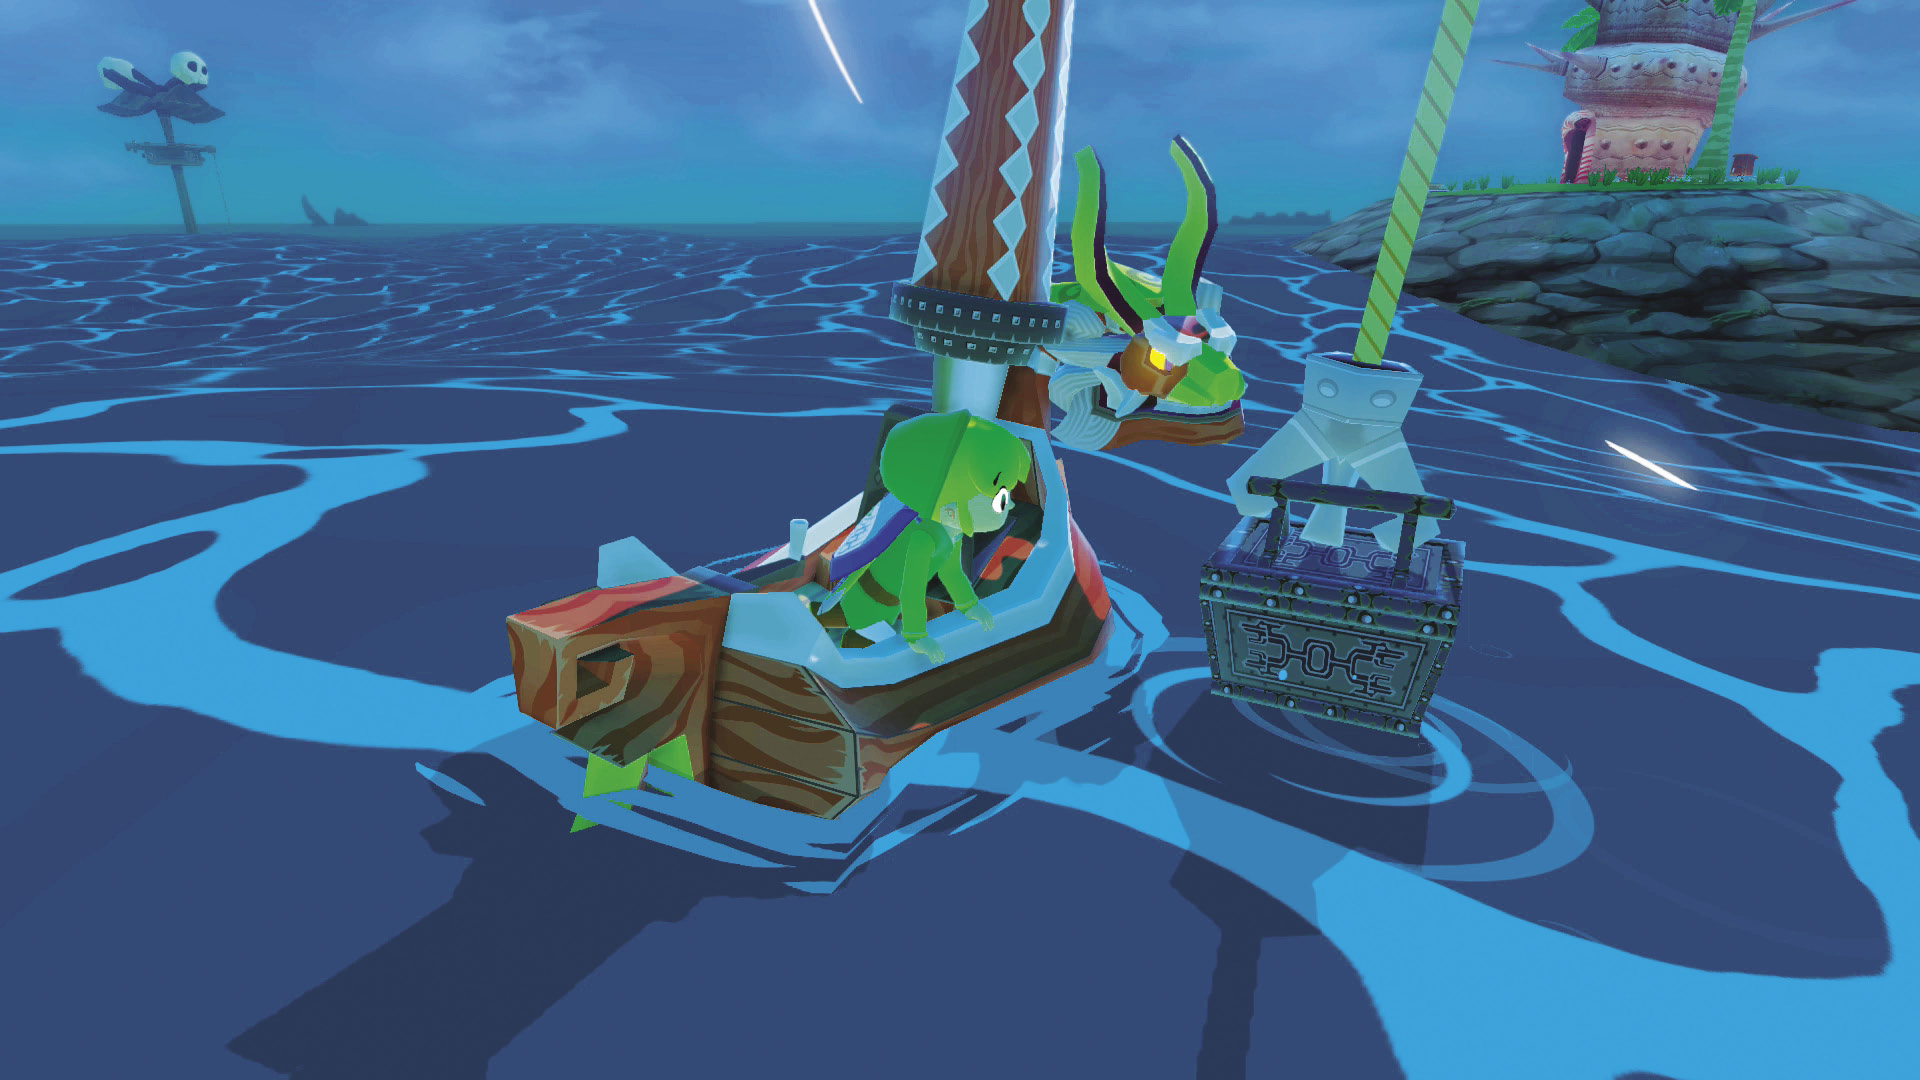
If you grabbed Treasure Chart #8 from Horseshoe Island (A7), you can open it in this sector to reveal the location of a Silver Rupee.
Three-Eye Reef (A4)
Plunder the Treasure!
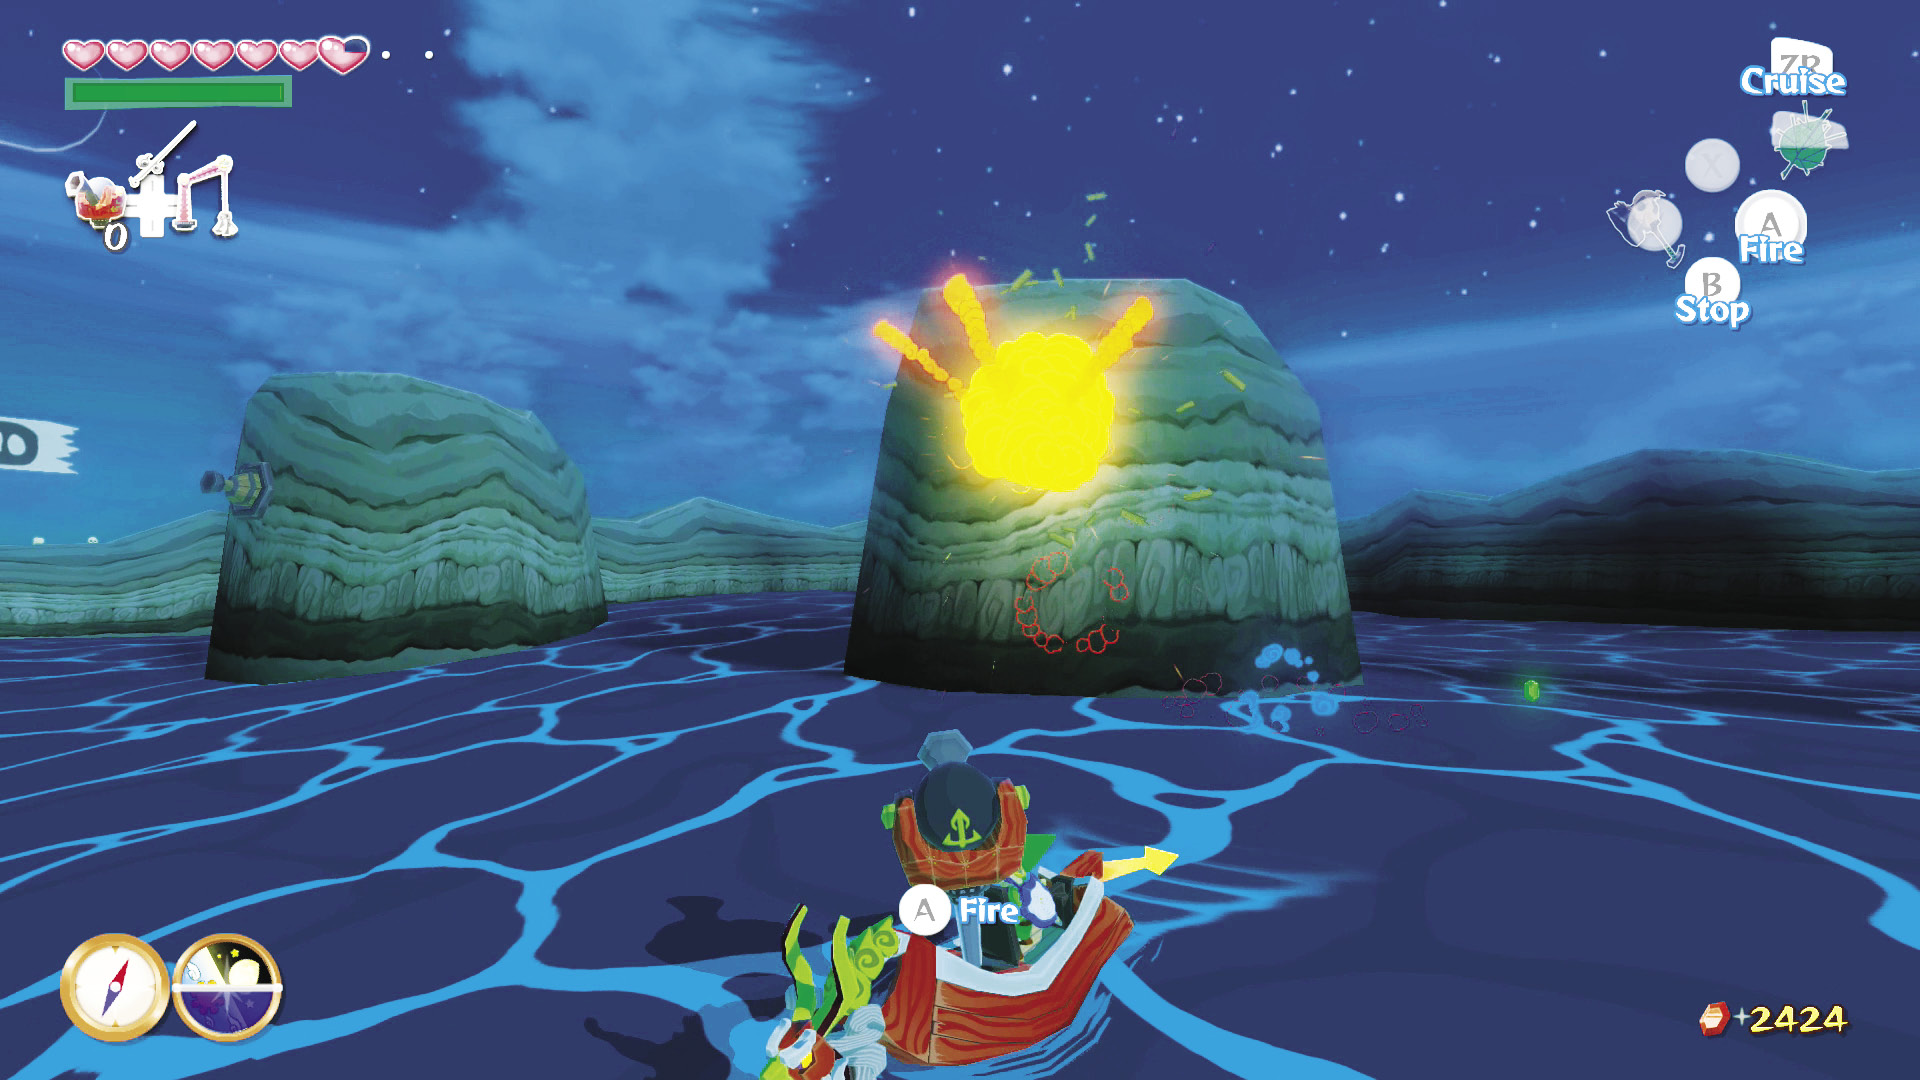
You can find Treasure Chart #32 by destroying all of the wall-mounted cannons and Warships that have taken up residence inside the three-eyed reef. After you’ve cleared out all the enemies from the reef, a treasure chest will appear on one of the reef’s three eyes. On the wall’s base near the reef’s entrance, follow the slope to its highest point. Set the wind blowing toward the treasure chest and use the Deku Leaf to reach Treasure Chart #32
|
|
99 |
Treasure Chart #32 |

Sunken Treasure #38
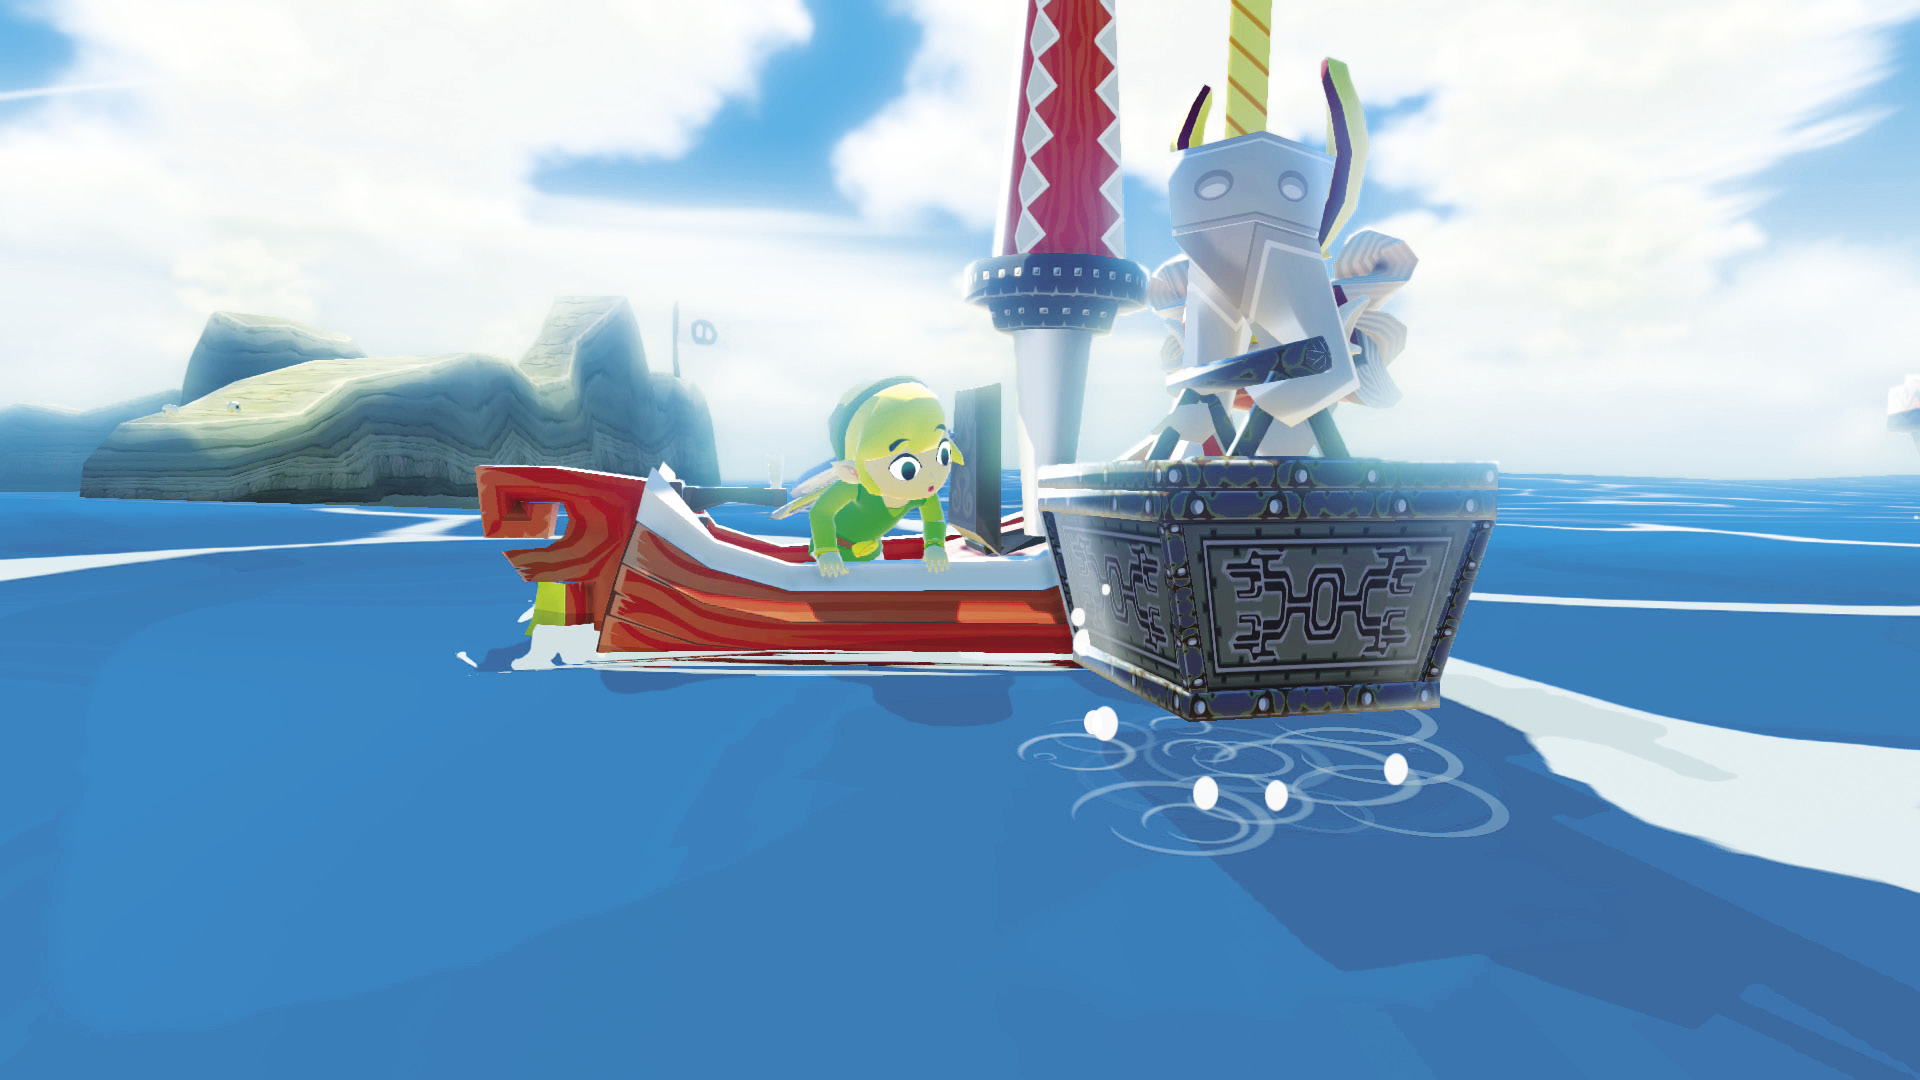
Treasure Chart #38, which you got from the auction house on Windfall Island, can be opened in this sector to find the location of Piece of Heart #33. One down, three to go!
|
|
100 |
Piece of Heart #33 |

Four-Eye Reef (A2)
The Fort Fight Continues!
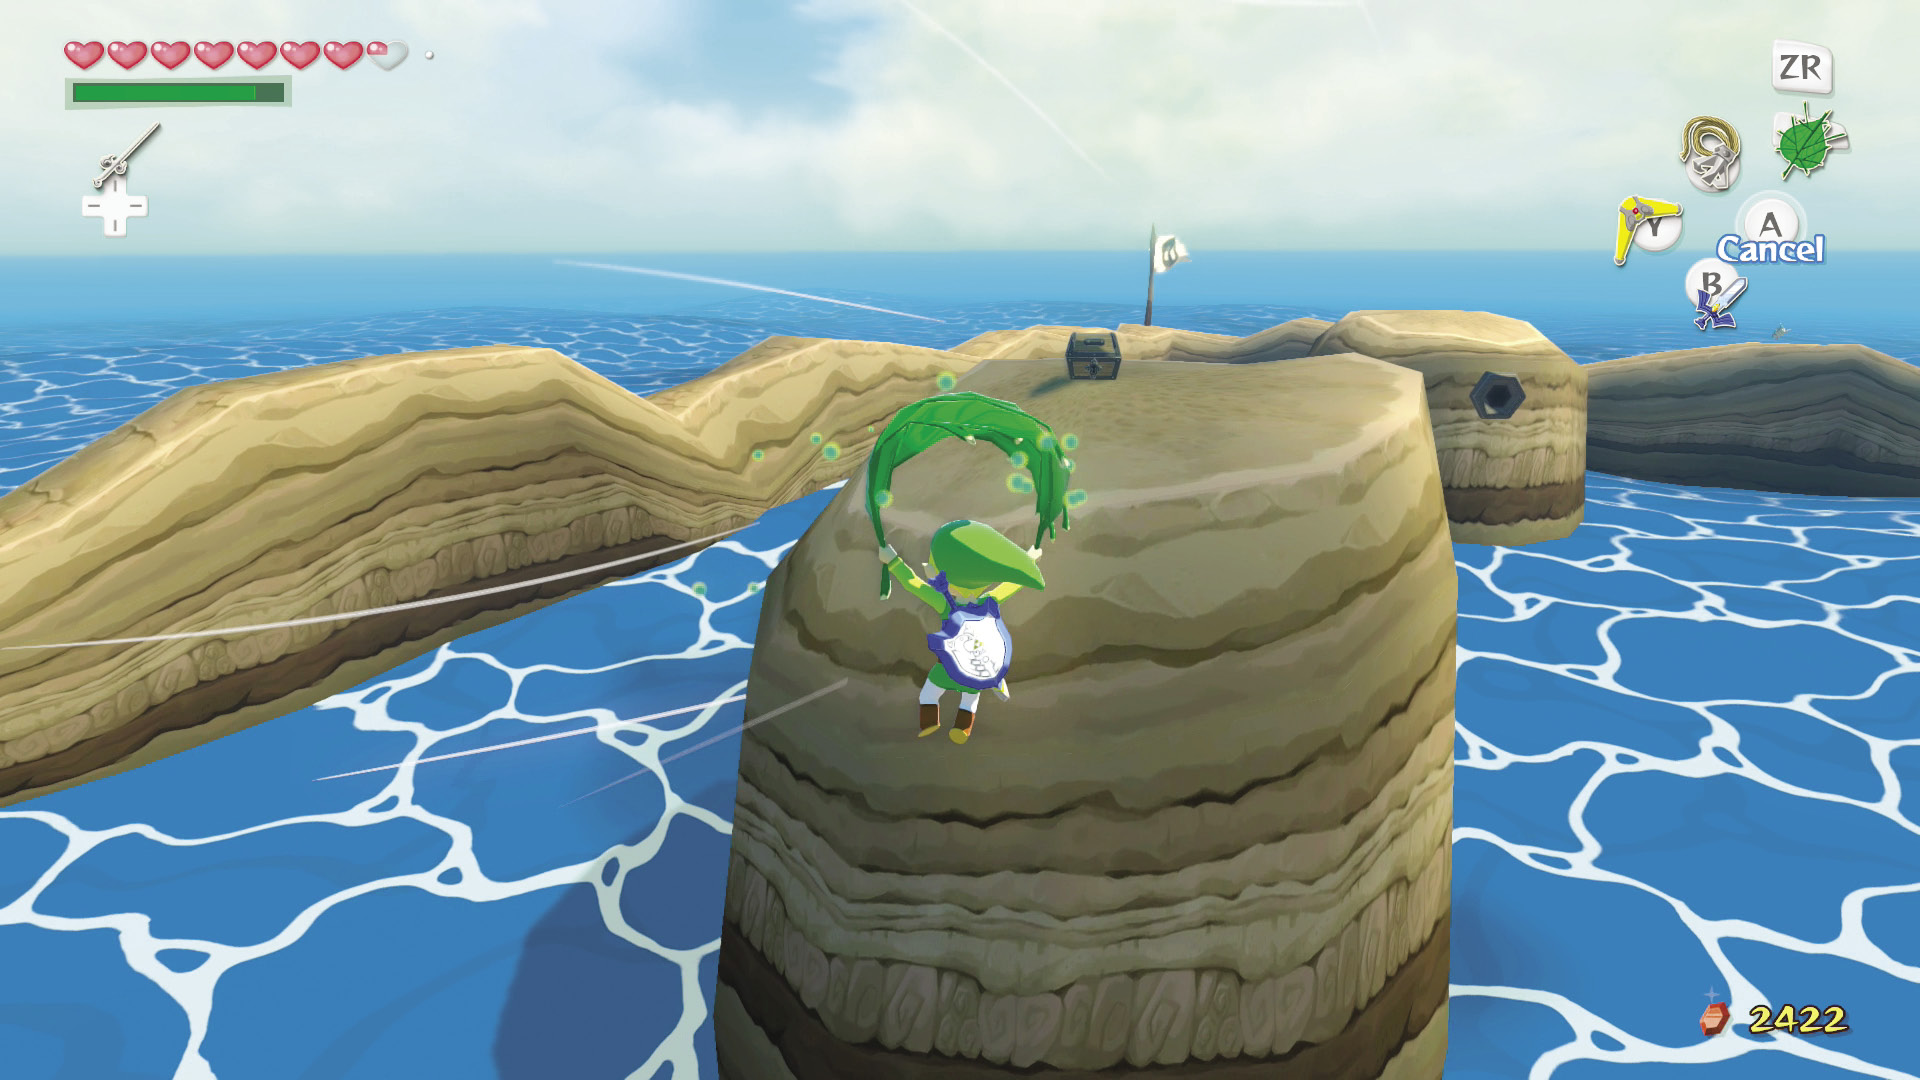
By now you know the drill: Destroy the wall-mounted cannons and Warships that have taken up arms inside the reef, then head up the wall from the slope by the entrance and glide to the eye with the treasure chest on it. Inside the treasure chest is Treasure Chart #19. Ganondorf sure is going to be mad that you destroyed so much of his navy.
|
|
101 |
Treasure Chart #19 |

Sunken Treasure #41
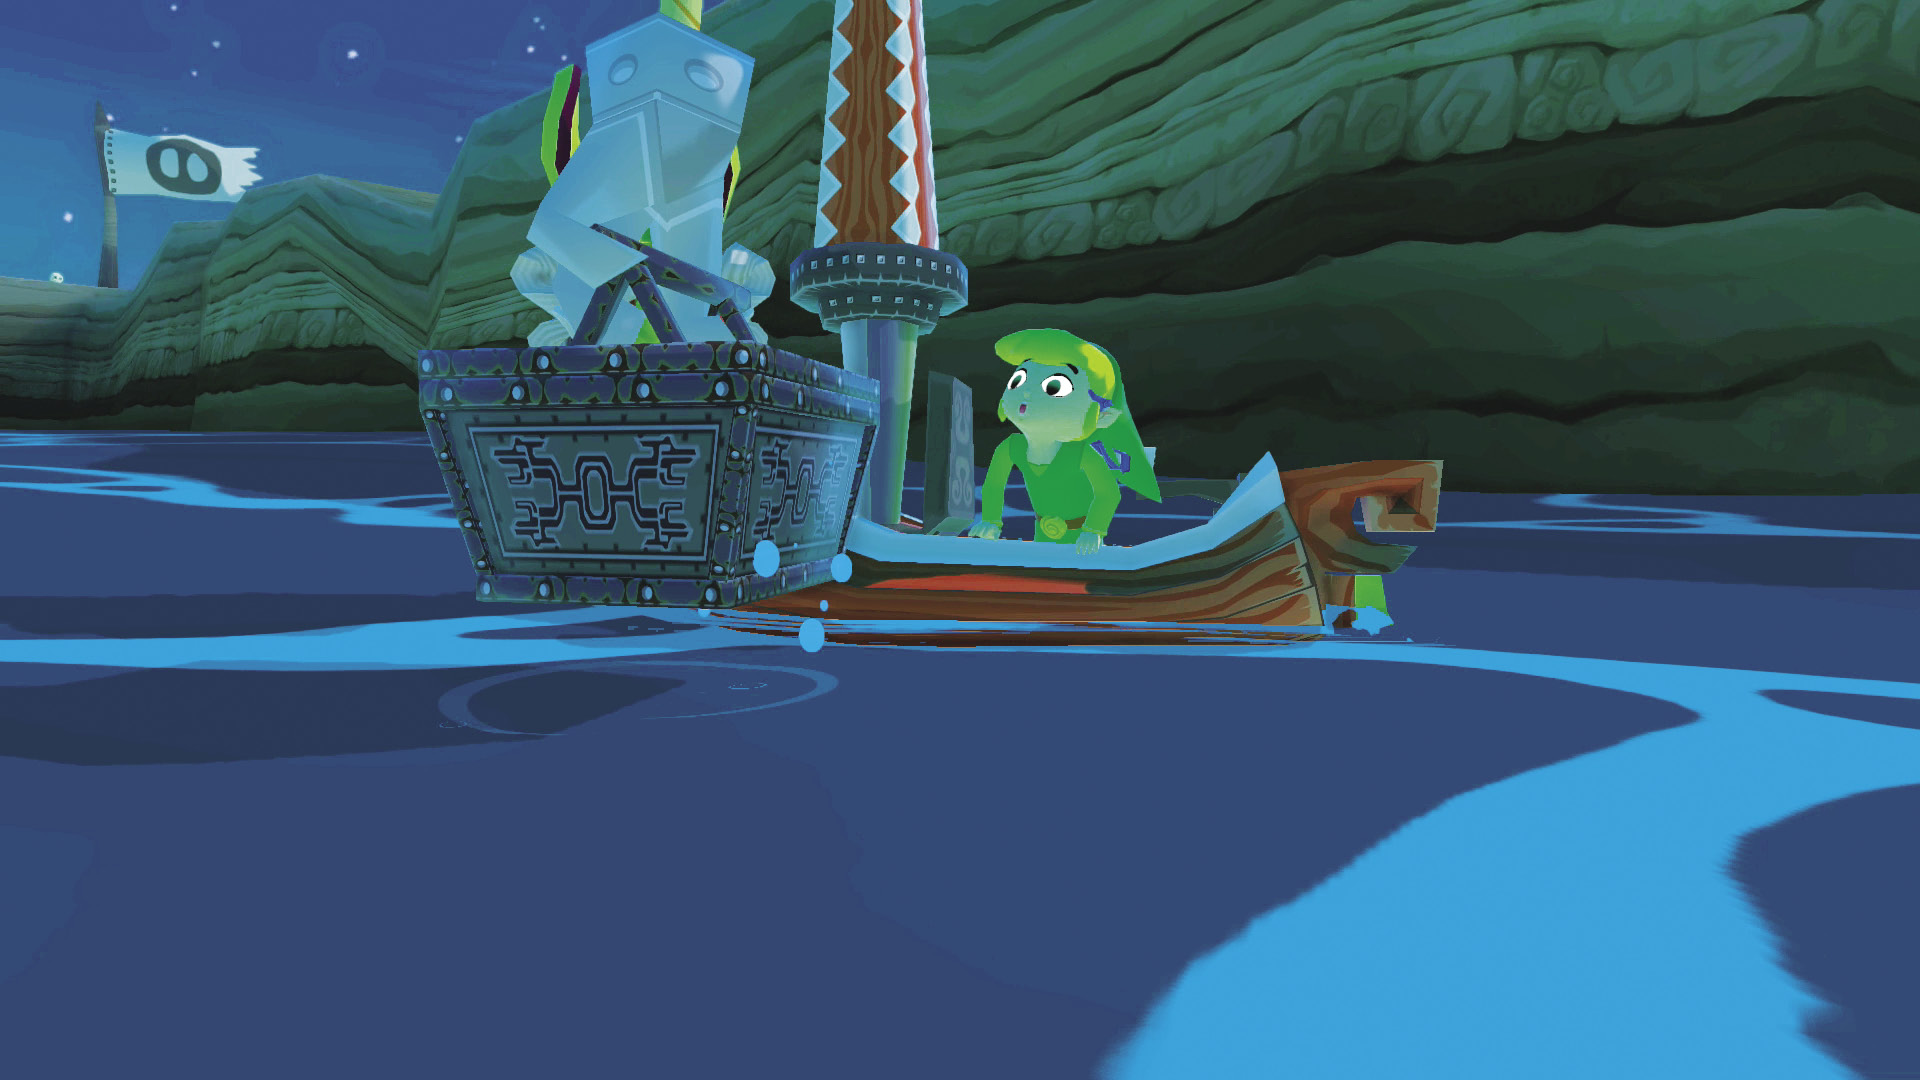
Open the Treasure Chart you snagged from Five-Eye Reef to find the Great Fairy Chart. You don’t need this Chart, since we’ll take you to meet all of the Great Fairies of the Great Sea, but if finding every treasure from every Treasure Chart is something you just HAVE to do, then open Treasure Chart #41 and pull that Great Fairy Chart out of the ocean’s depths.
|
|
102 |
Great Fairy Chart |
Forest Haven (F6)
Sunken Treasure #31
When you showed Kamo the picture of a full moon back on Windfall Island, he awarded you with Treasure Chart #31. Apparently that Chart carried with it a piece of Kamo’s heart, because when you open Treasure Chart #31 and pull up the treasure it revealed, you’ll get Piece of Heart #34.
|
|
103 |
Piece of Heart #34 |

Five-Star Isles (G7)
Sunken Treasure #33
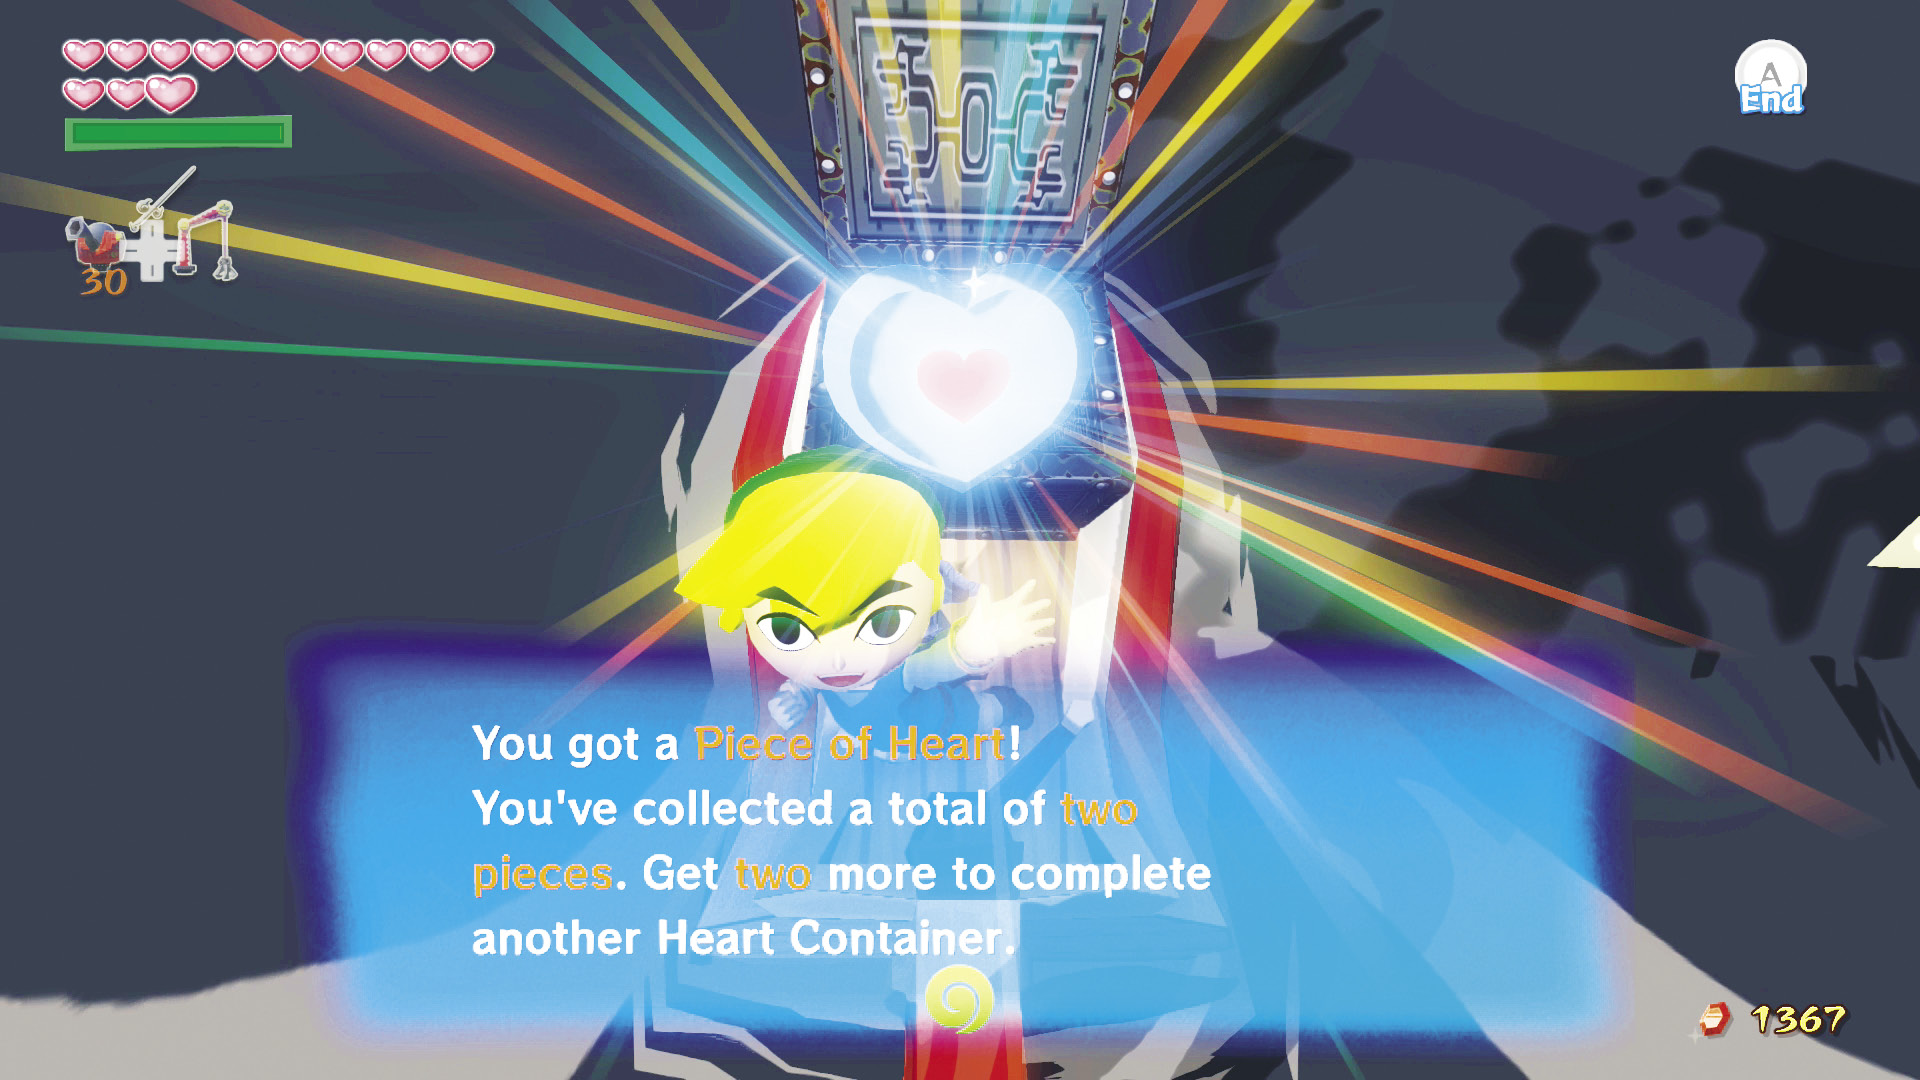
Man, taking pictos for all of those people on Windfall Island was definitely worth it. Treasure Chart #33, which you got from Minenco, reveals the location of Piece of Heart #35. Only one more Piece of Heart to get another Heart Container!
|
|
104 |
Piece of Heart #35 |

Cliff Plateau Isles (G6)
No More Spiked Vines!
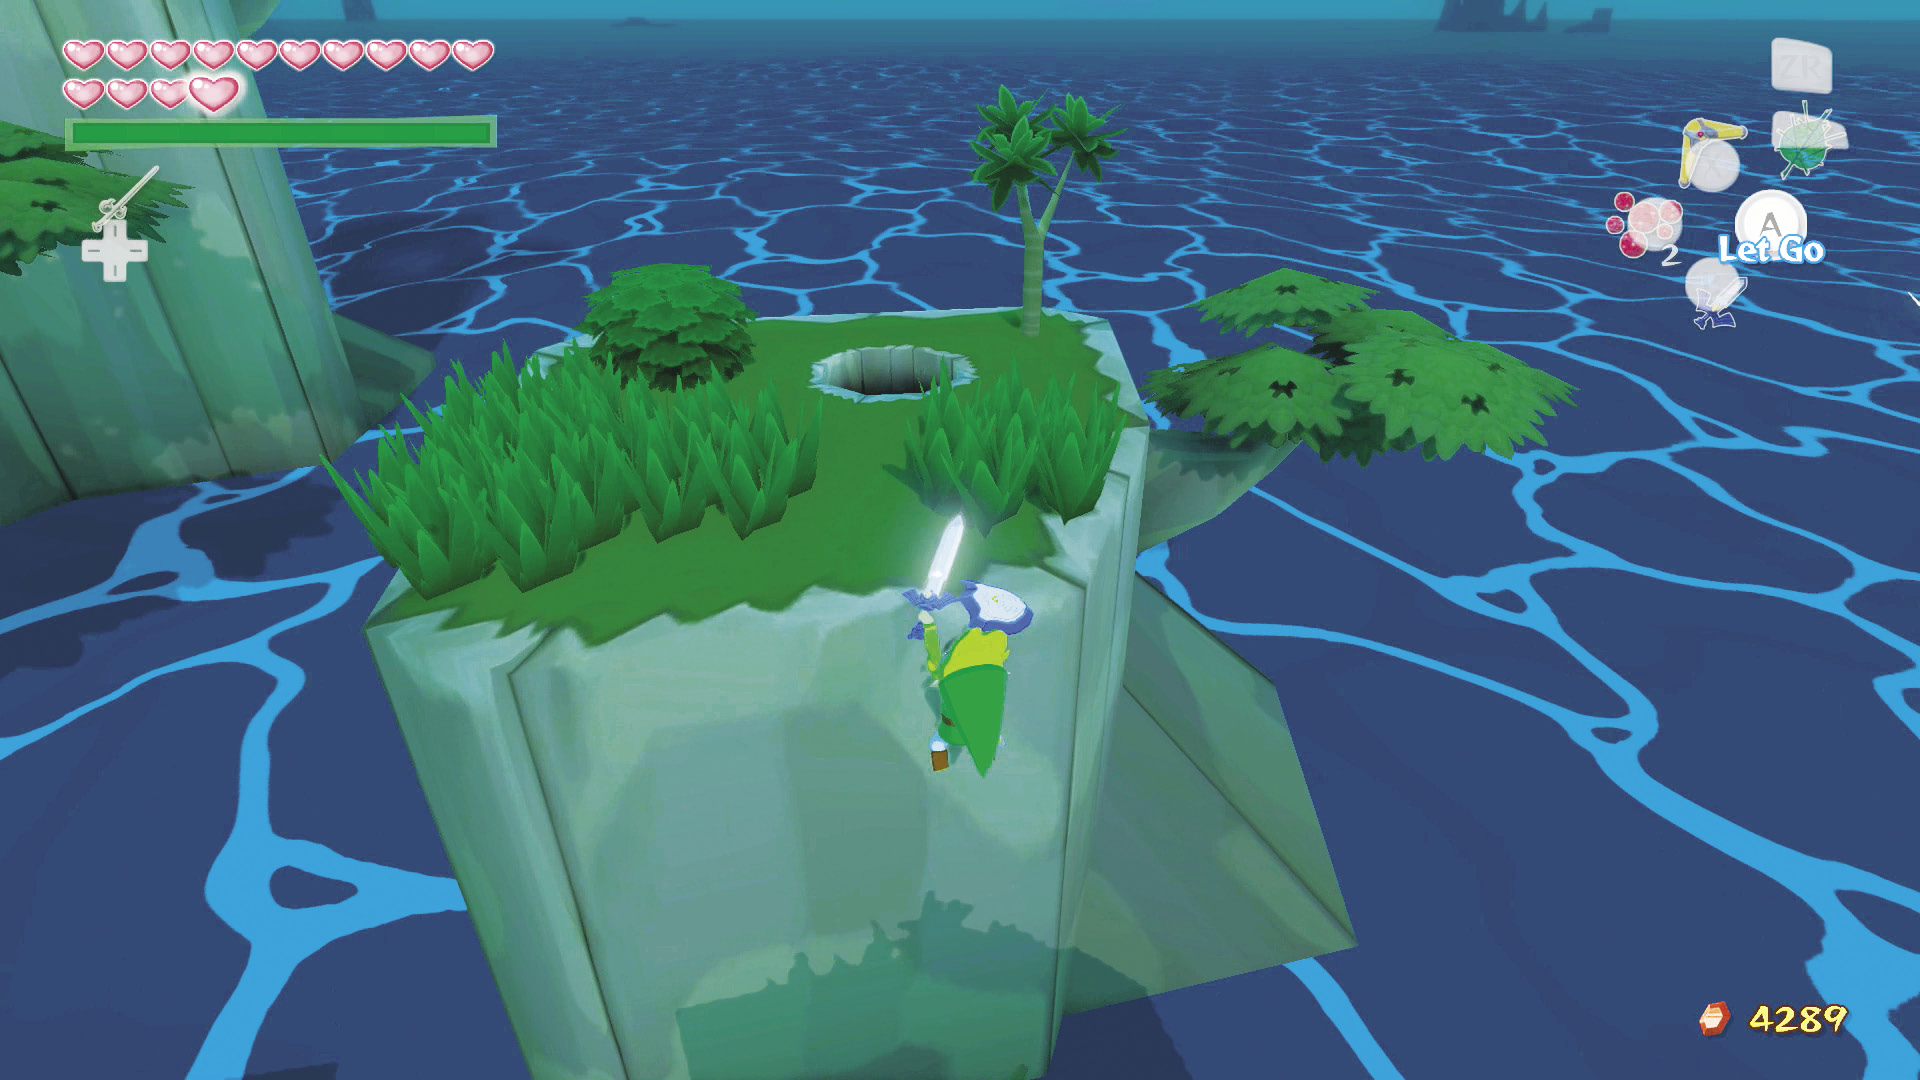
The only way to traverse the Cliff Plateau Isles (G6) and reach the largest isle is through the Secret Cave on one of the smaller isles. Start by walking up the slope of the first of the four smaller isles, then hop across each one until you reach the Secret Cave’s entrance.
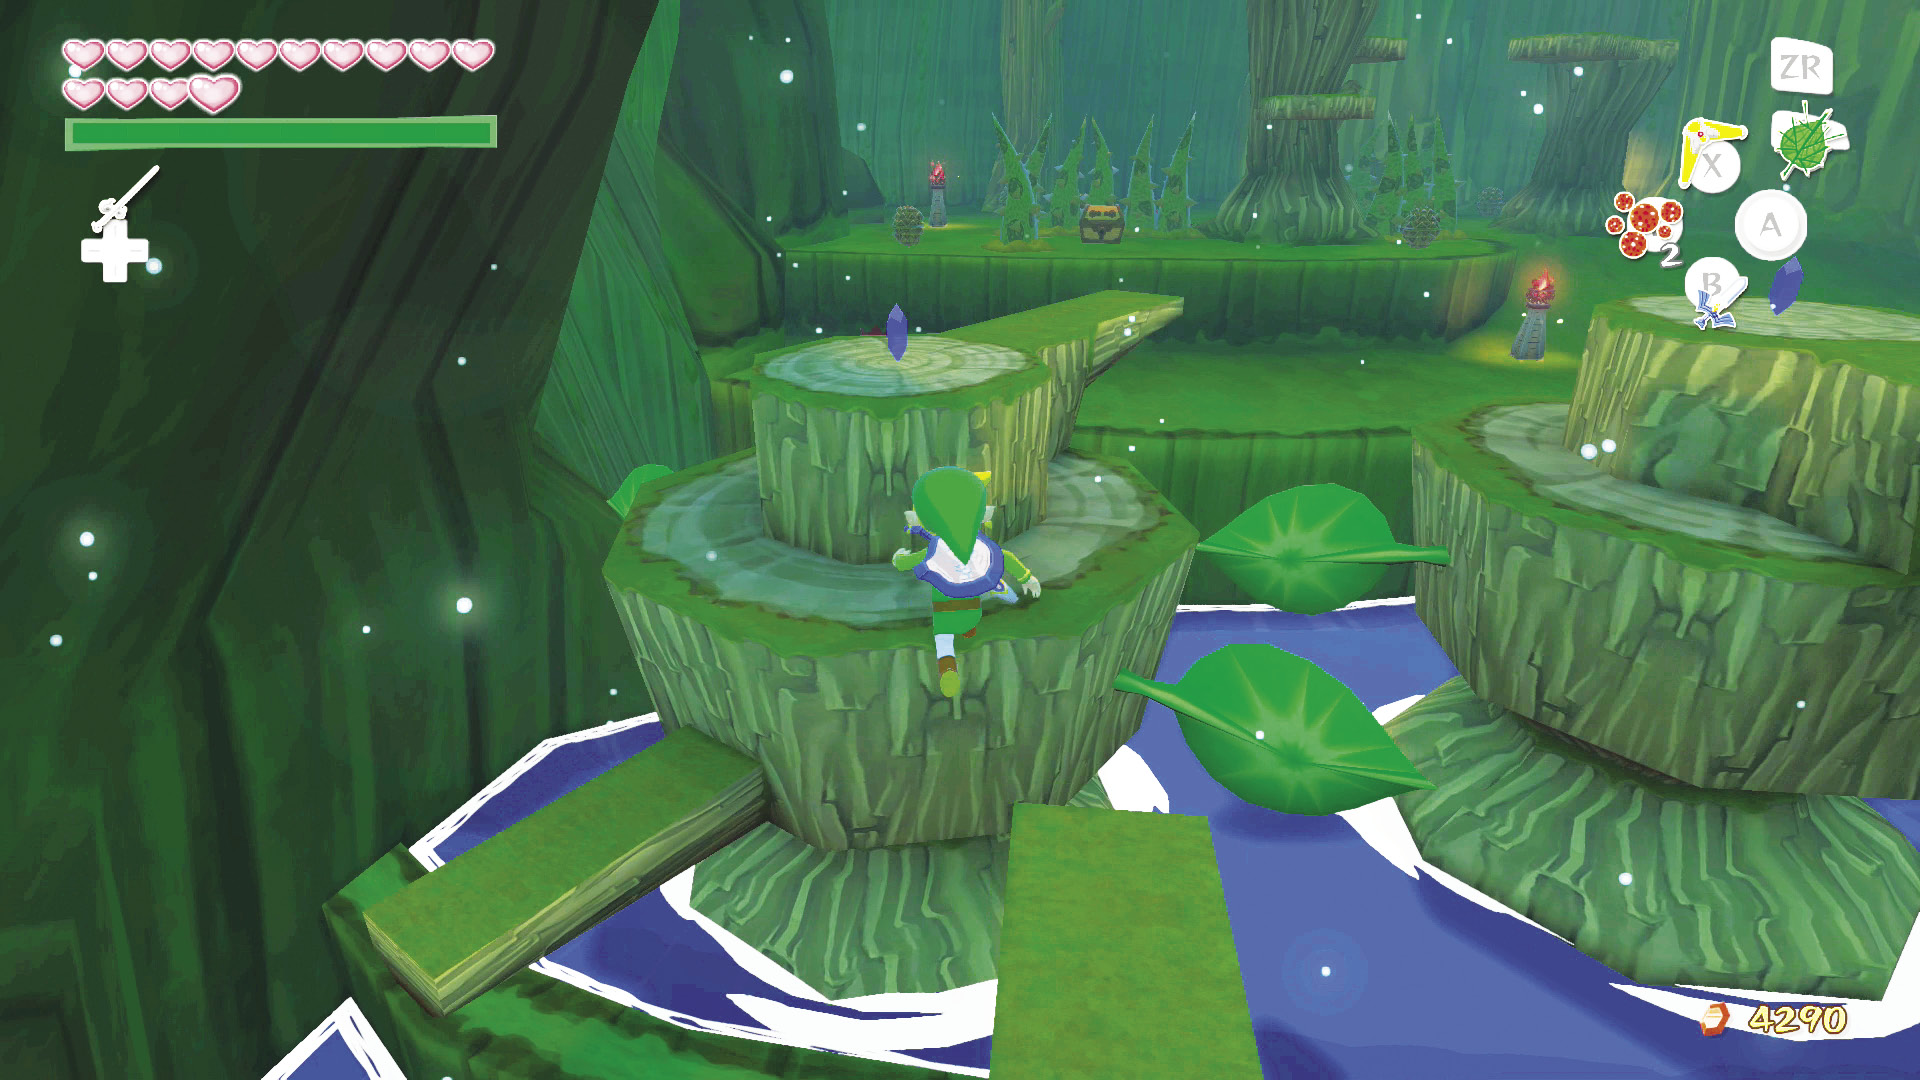
This cave has a few obstacles to overcome as you try to reach the other side. First, jump along the circular platforms to reach the higher part of the cave.
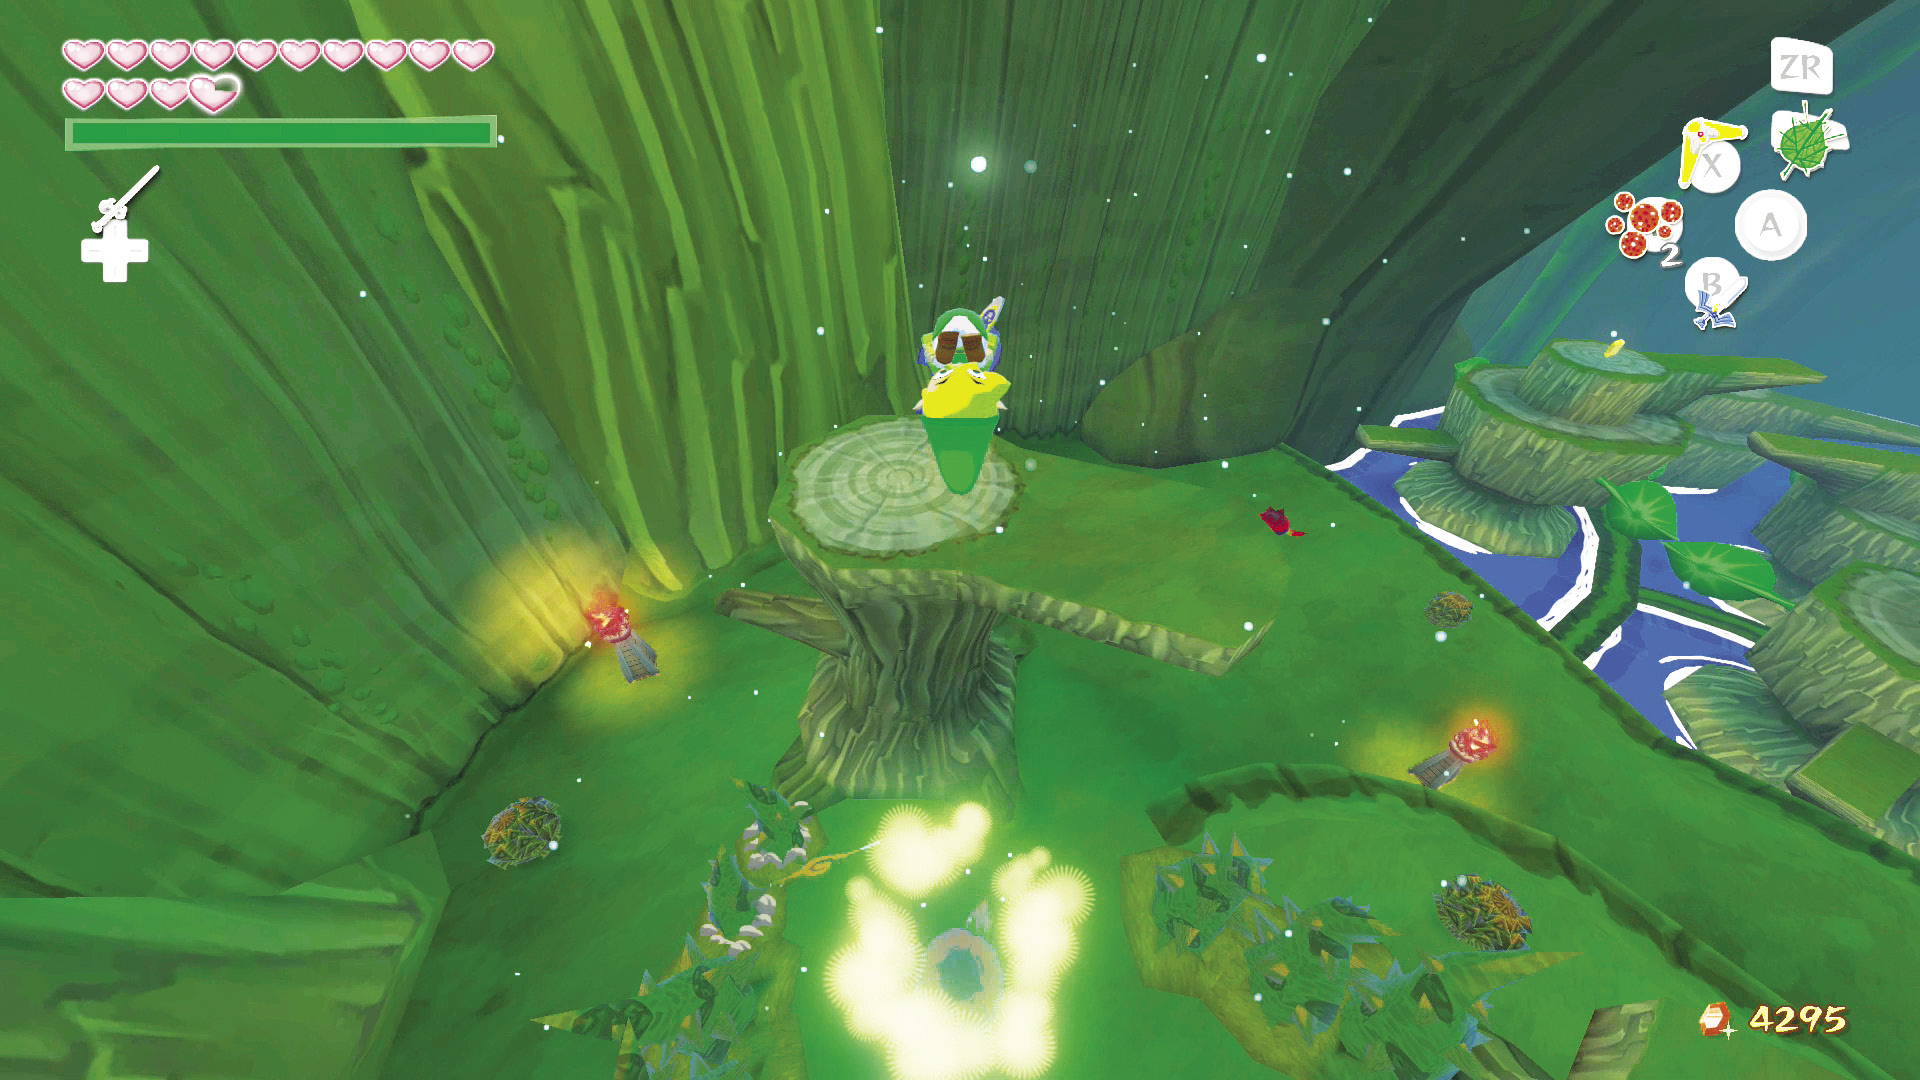
Once past the circular platforms, make your way around a wall of thorns that sprouts from the ground when you get close. Move slowly to avoid charging into them. Defeat the Boko Baba near the two tree stumps, and it will drop a Baba Bud. Use this to reach the tops of the two nearby tree stumps, and then carefully hang and drop to the chest below. The chest will immediately be surrounded by spiked thorns, giving you no way to escape.
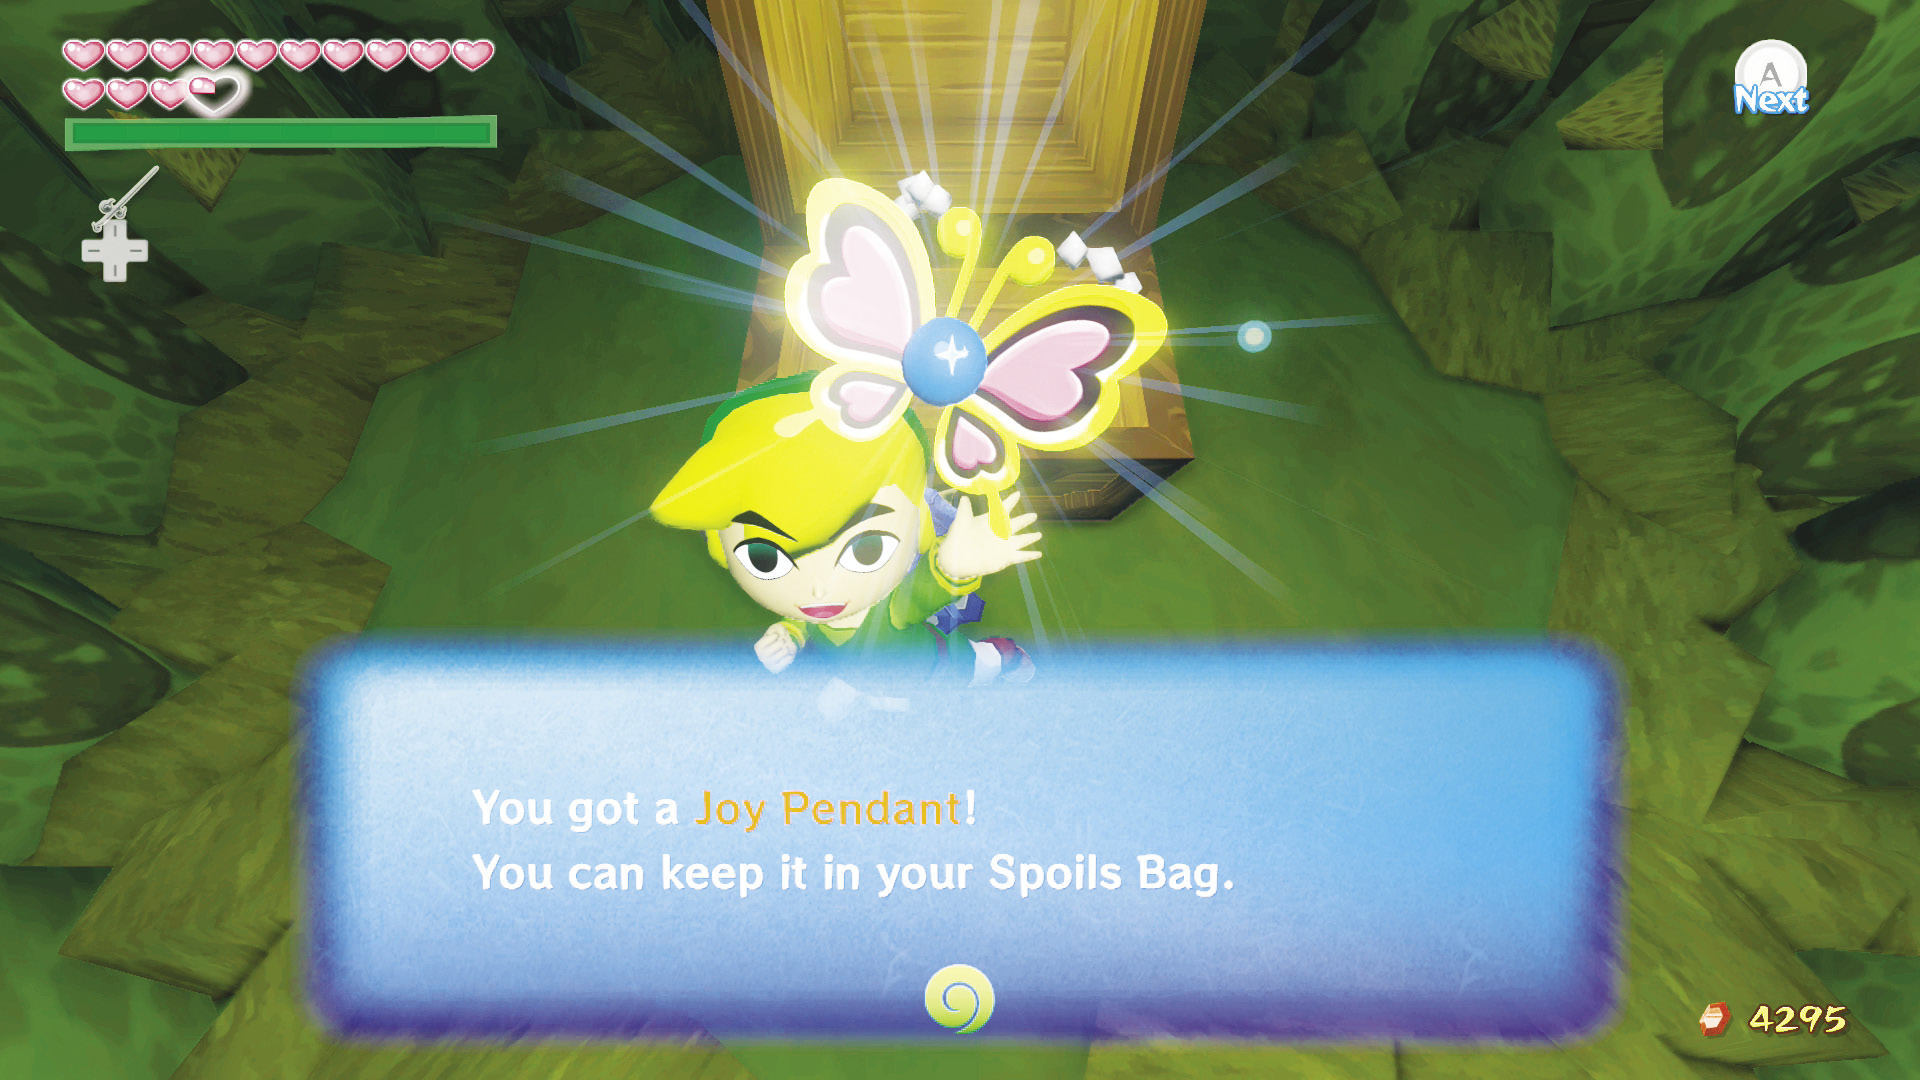
Once you open the chest, you’ll receive a Joy Pendant and all of the vines surrounding you will disappear, allowing you access to the Baba Bud again. Use it to reach the tops of the tree stumps, and then look for a wooden gate nearby. Burn away the wooden gate with Fire Arrows, revealing a ledge and an alternate exit from this Secret Cave.
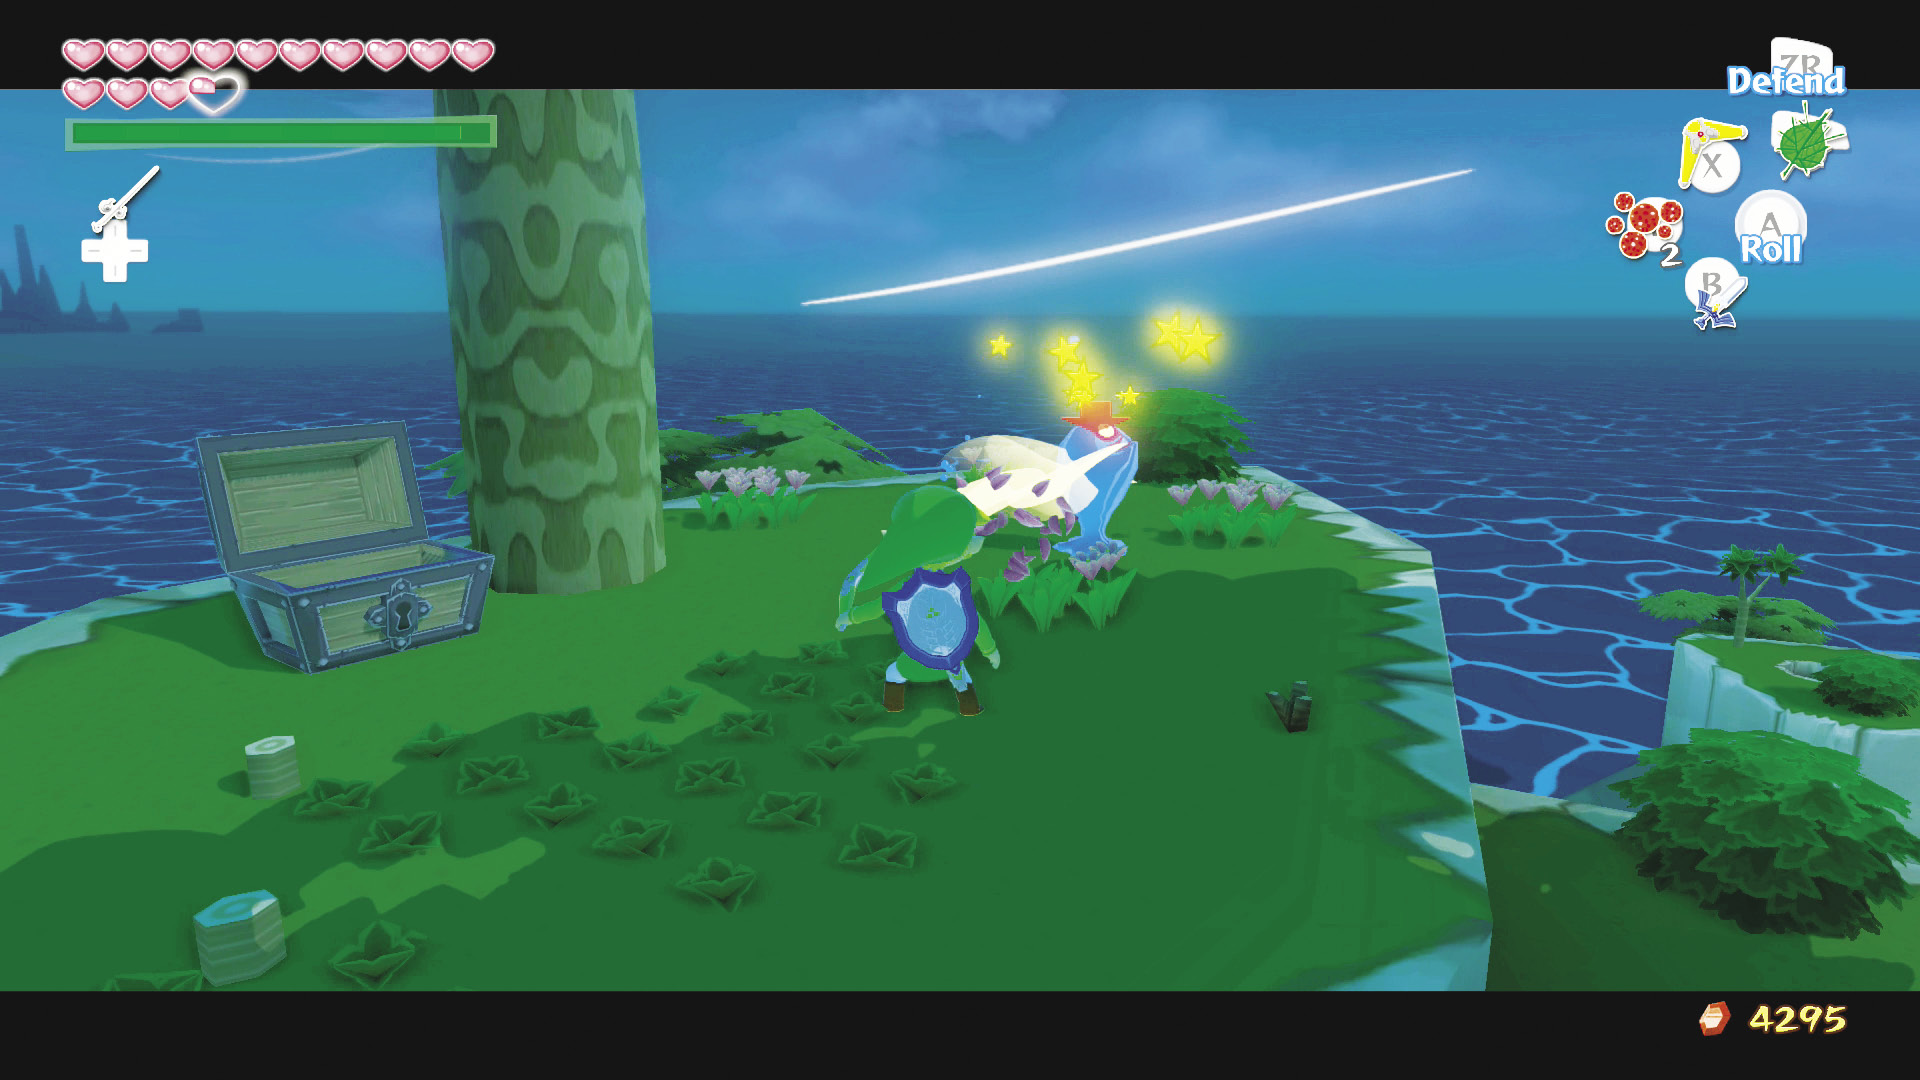
Use the Deku Leaf to glide from the closest tree stump to the ledge. Walk into the shaft of light, and you appear on top of Cliff Plateau Isle. Here you’ll find a Blue ChuChu, a Withered Deku Tree, and a chest containing Treasure Chart #25.
|
|
105 |
Treasure Chart #25 |

Bird’s Peak Rock (G5)
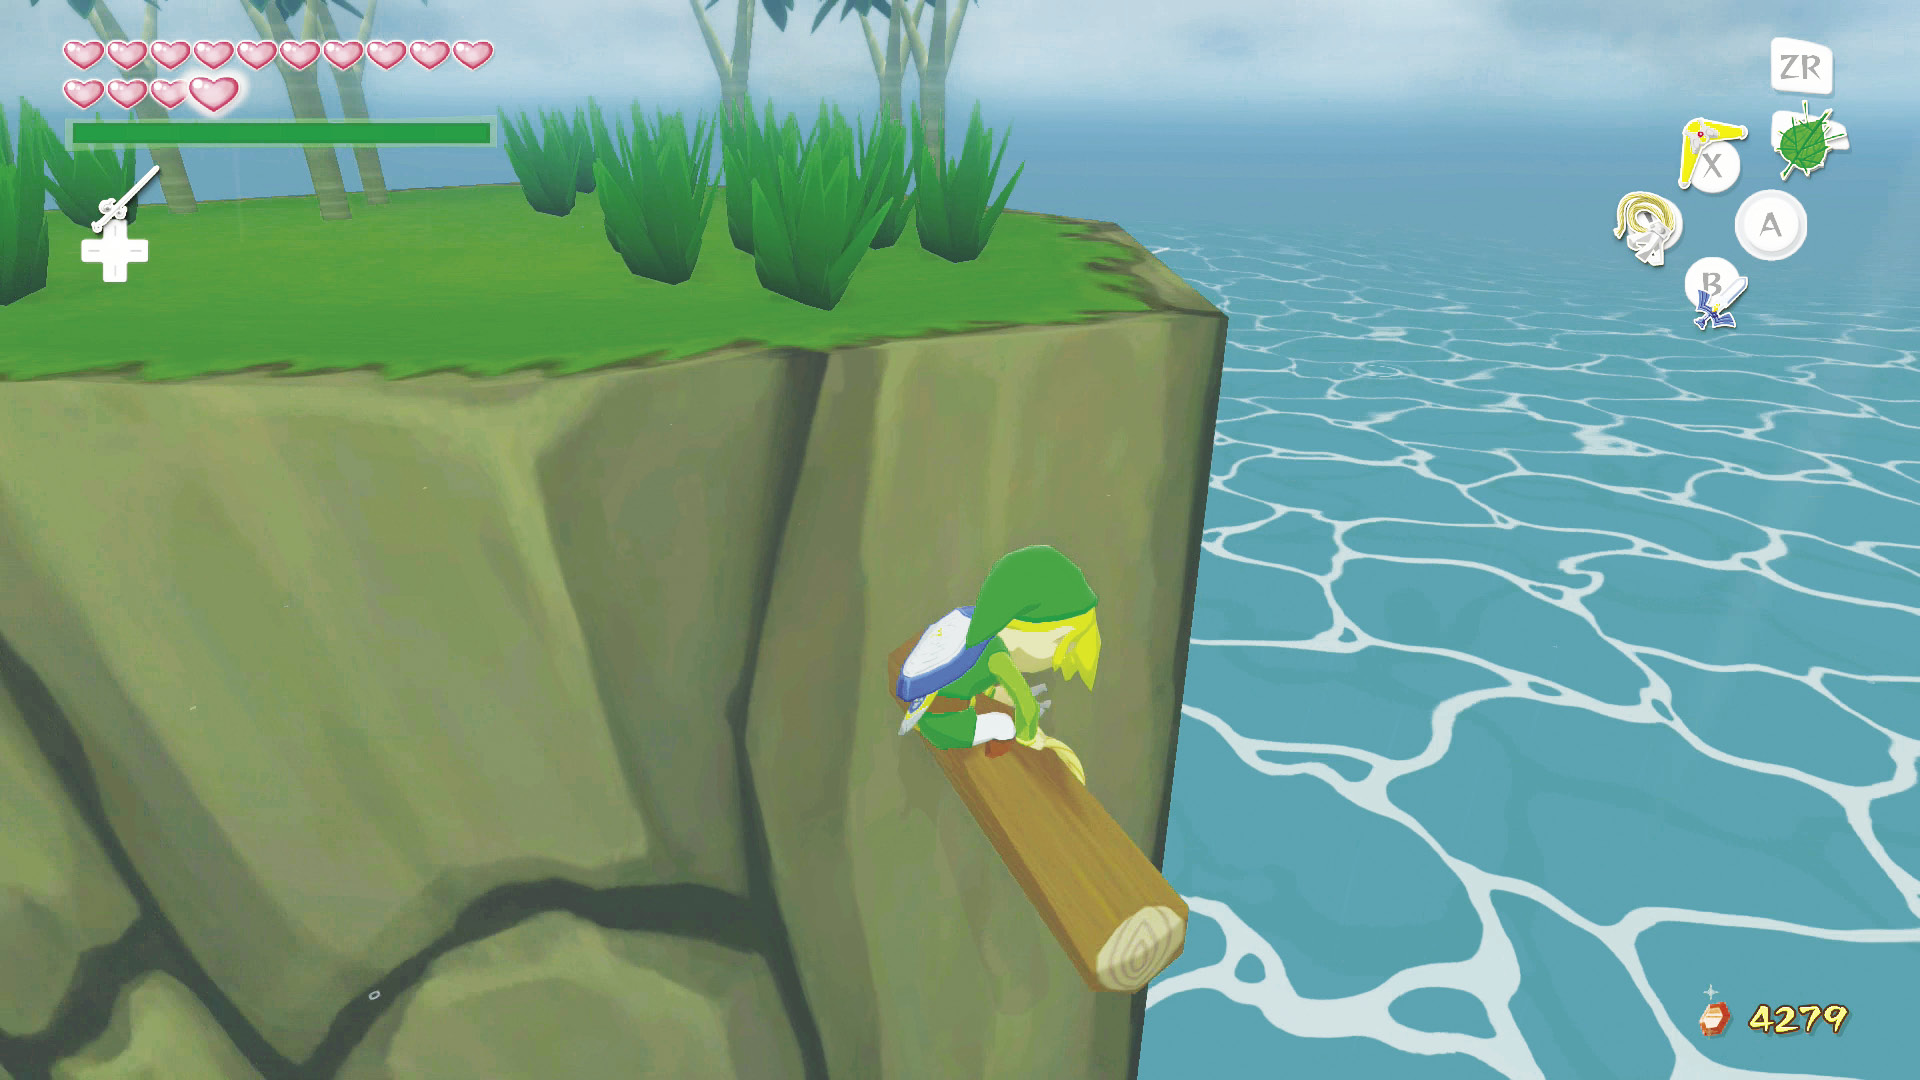
Make sure you have a couple of Hyoi Pears before going for this Triforce Chart—if necessary, you can buy some from Beedle in front of Forest Haven (F6).
Sail to Bird’s Peak Rock (G5). Use your Grappling Hook to reach the top of the short island, where you find a cavern sealed by a metal gate. Defeat a Blue ChuChu here.
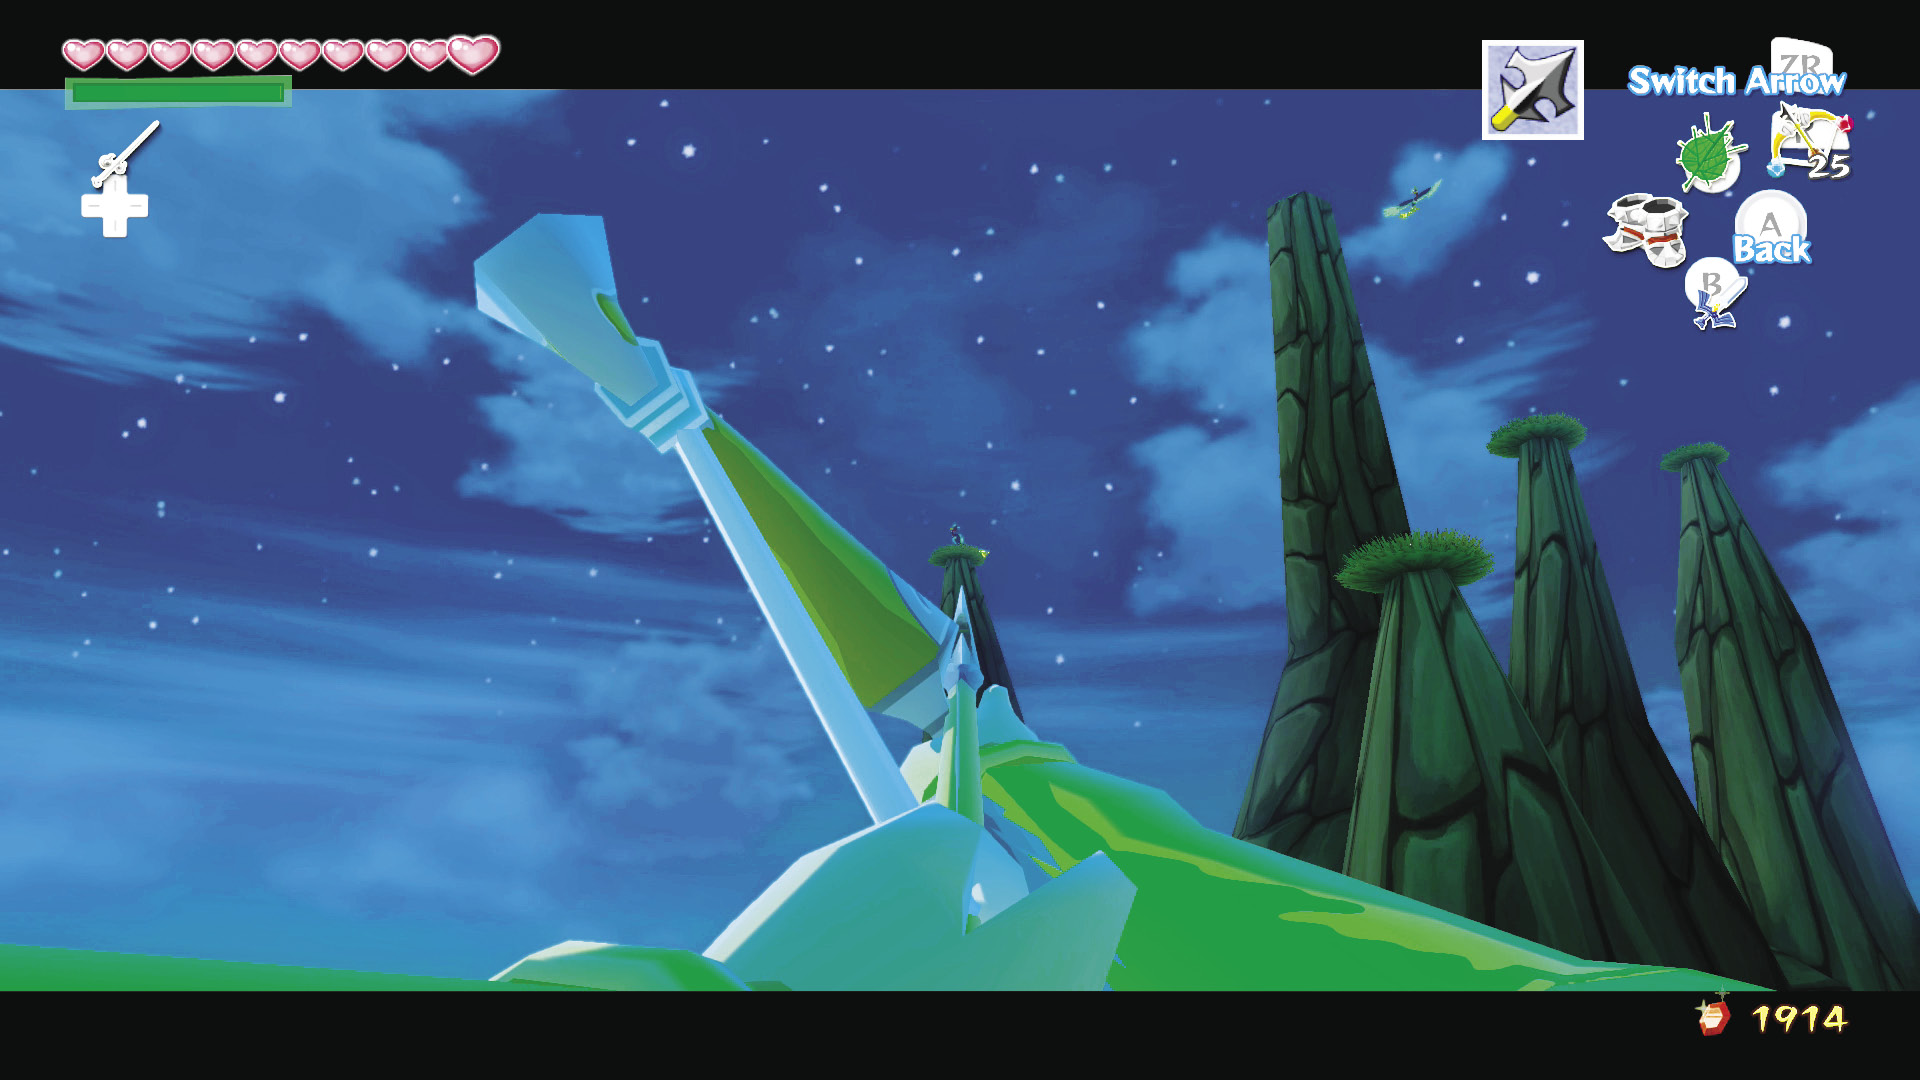
Atop each of the nearby rock spires are Kargorocs sitting in nests that contain crystal switches. Take out each Kargoroc with the Hero’s Bow. Scan the peaks with your Telescope to be sure you got them all.
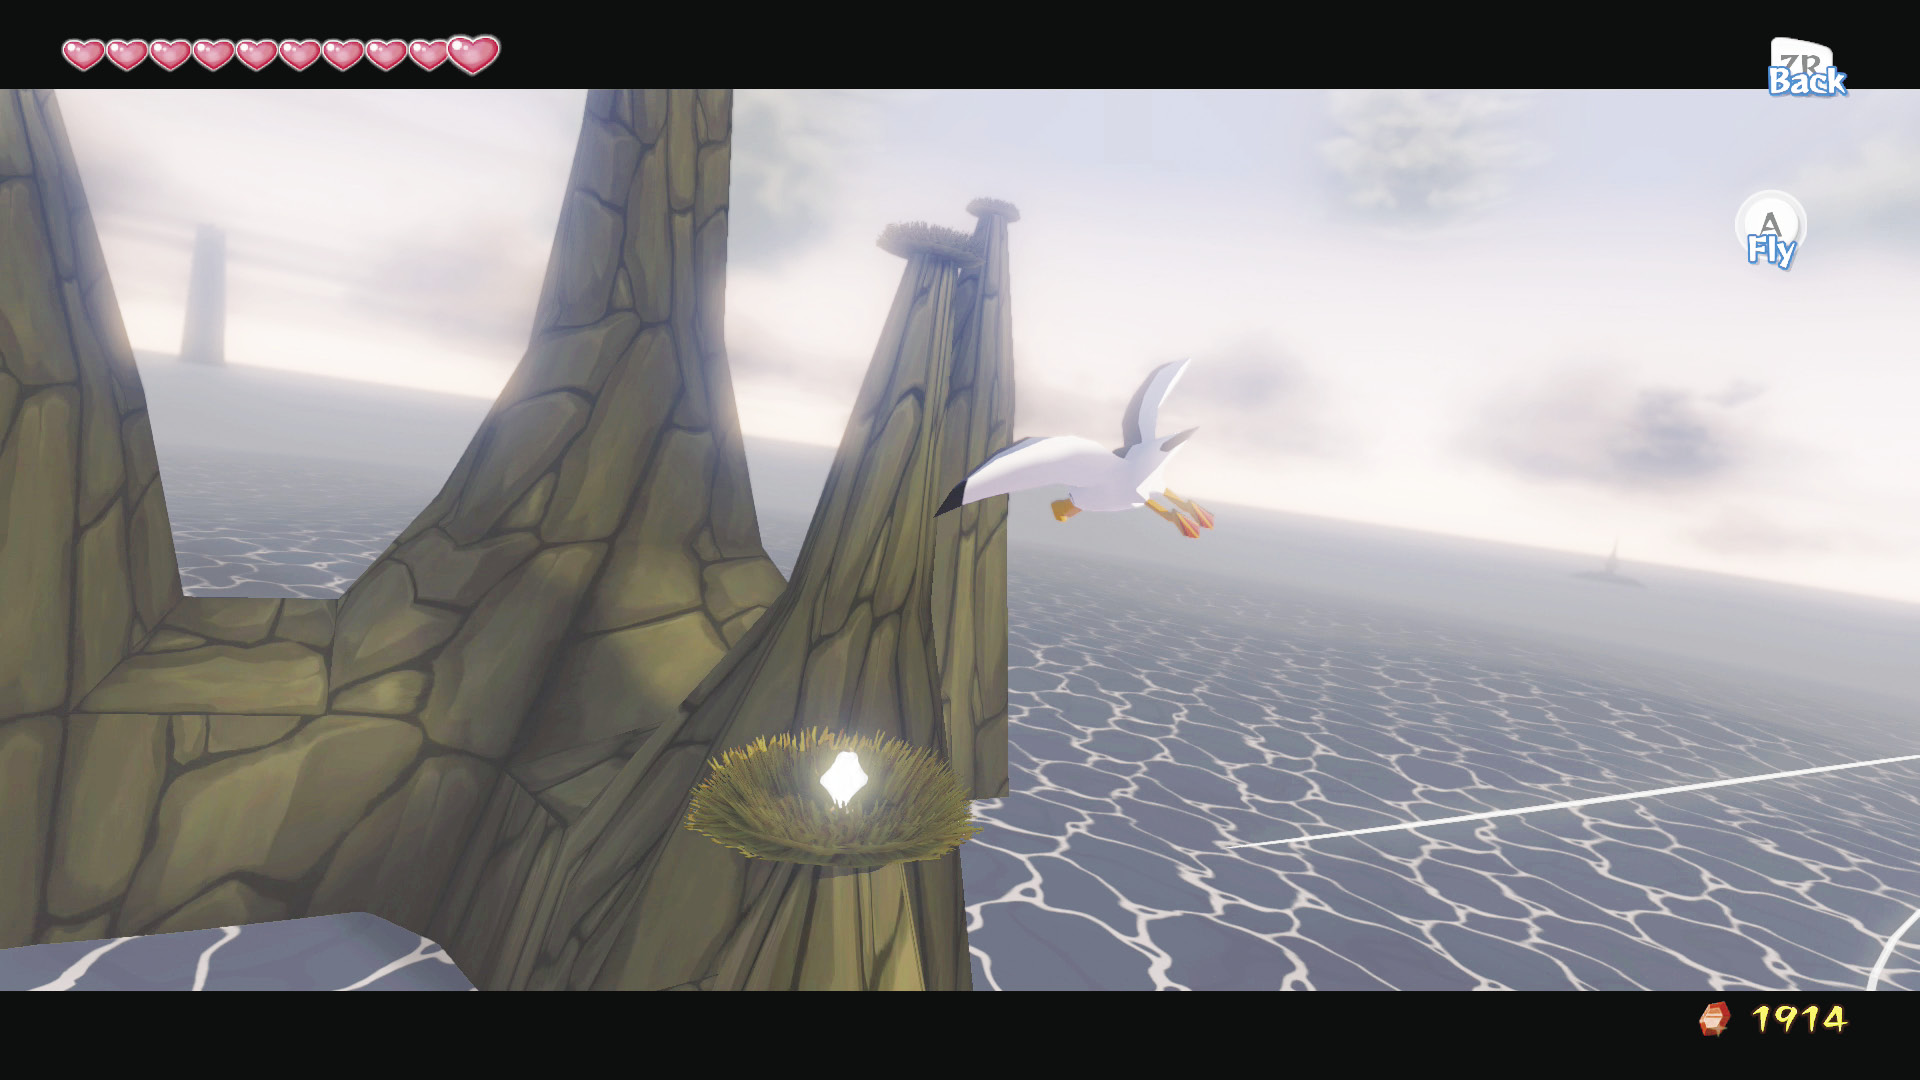
Now, use a Hyoi Pear to take control of a seagull. Fly it to each of the five peaks of the island and hit the crystal switches.
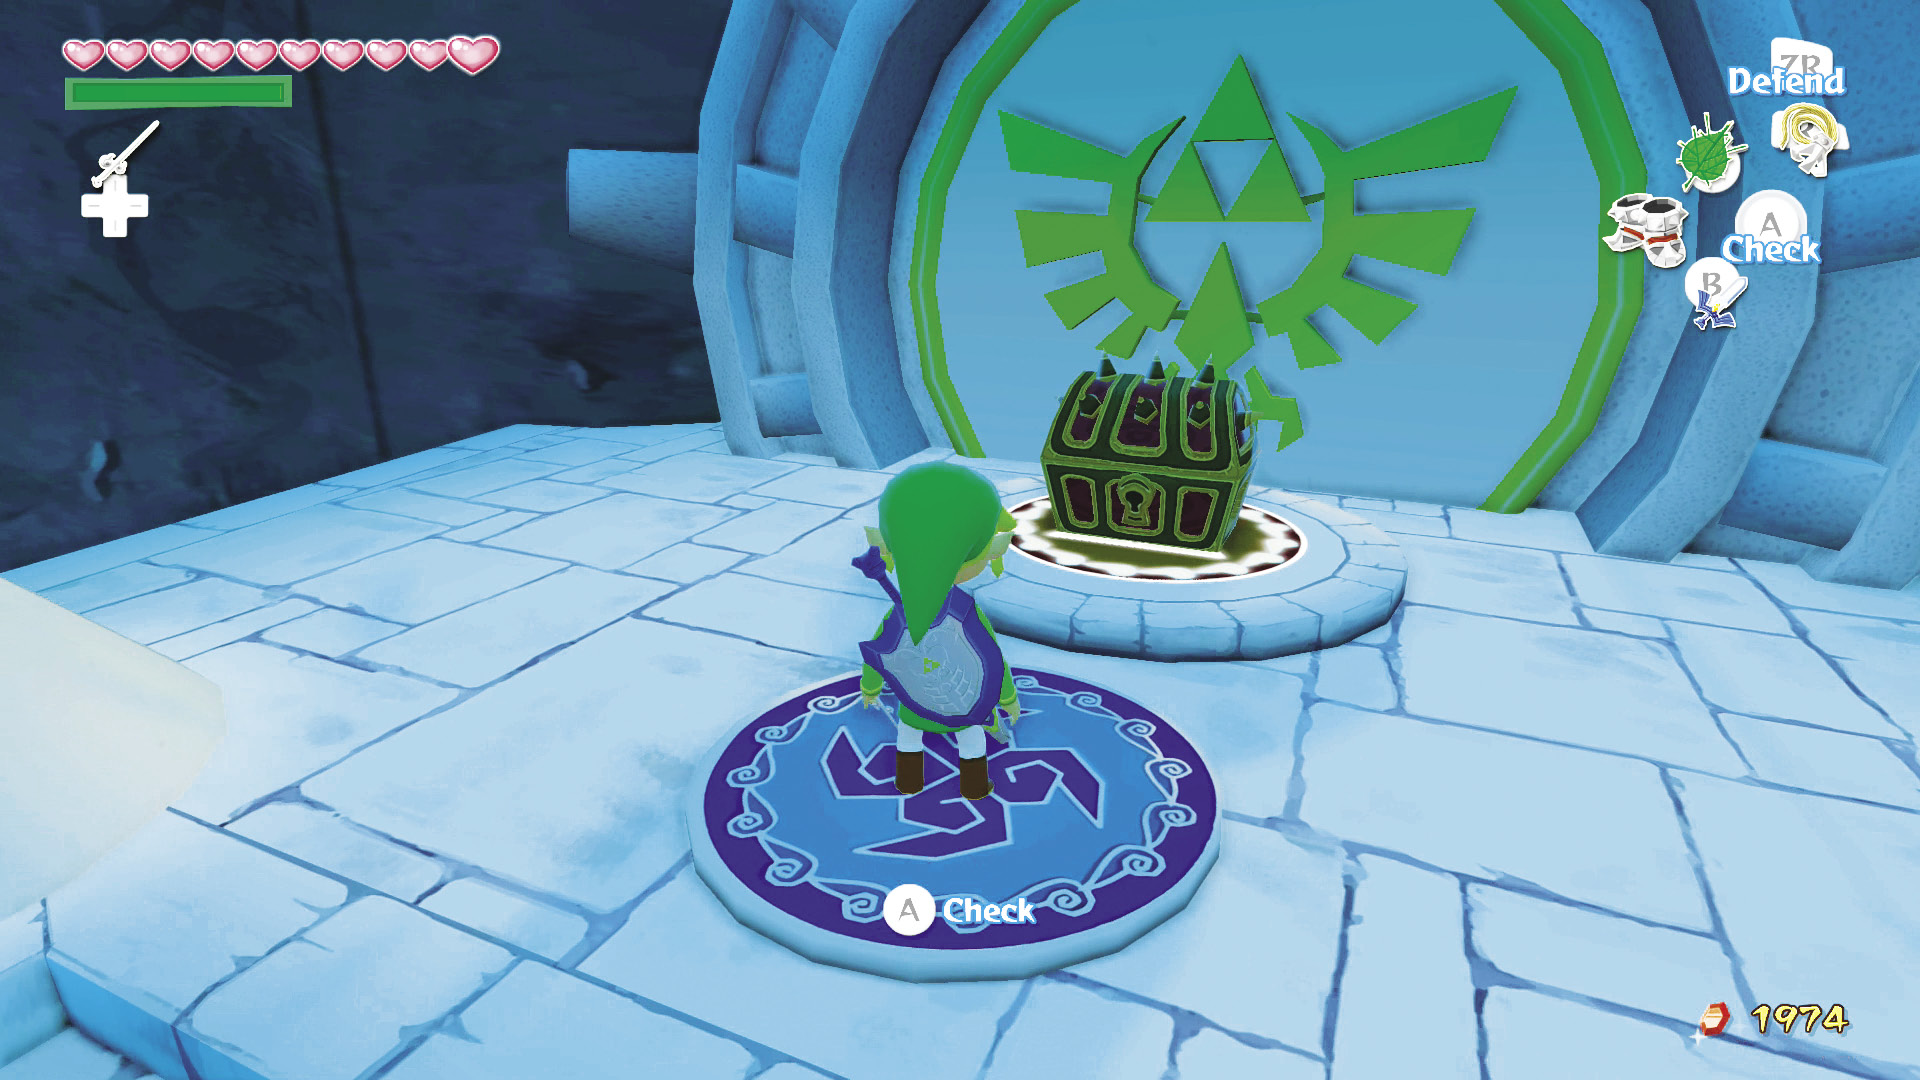
When you trigger all five crystal switches, the metal gate sealing the Secret Cave below you opens. Enter it and drop down the hole to find an altar with the Wind Crest. Stand on the Wind Crest and conduct the “Wind’s Requiem.” A chest containing Triforce Chart #2 appears.
|
|
106 |
Triforce Chart #2 |
Thorned Fairy Island (G4)
A Bit of Weed-Whacking
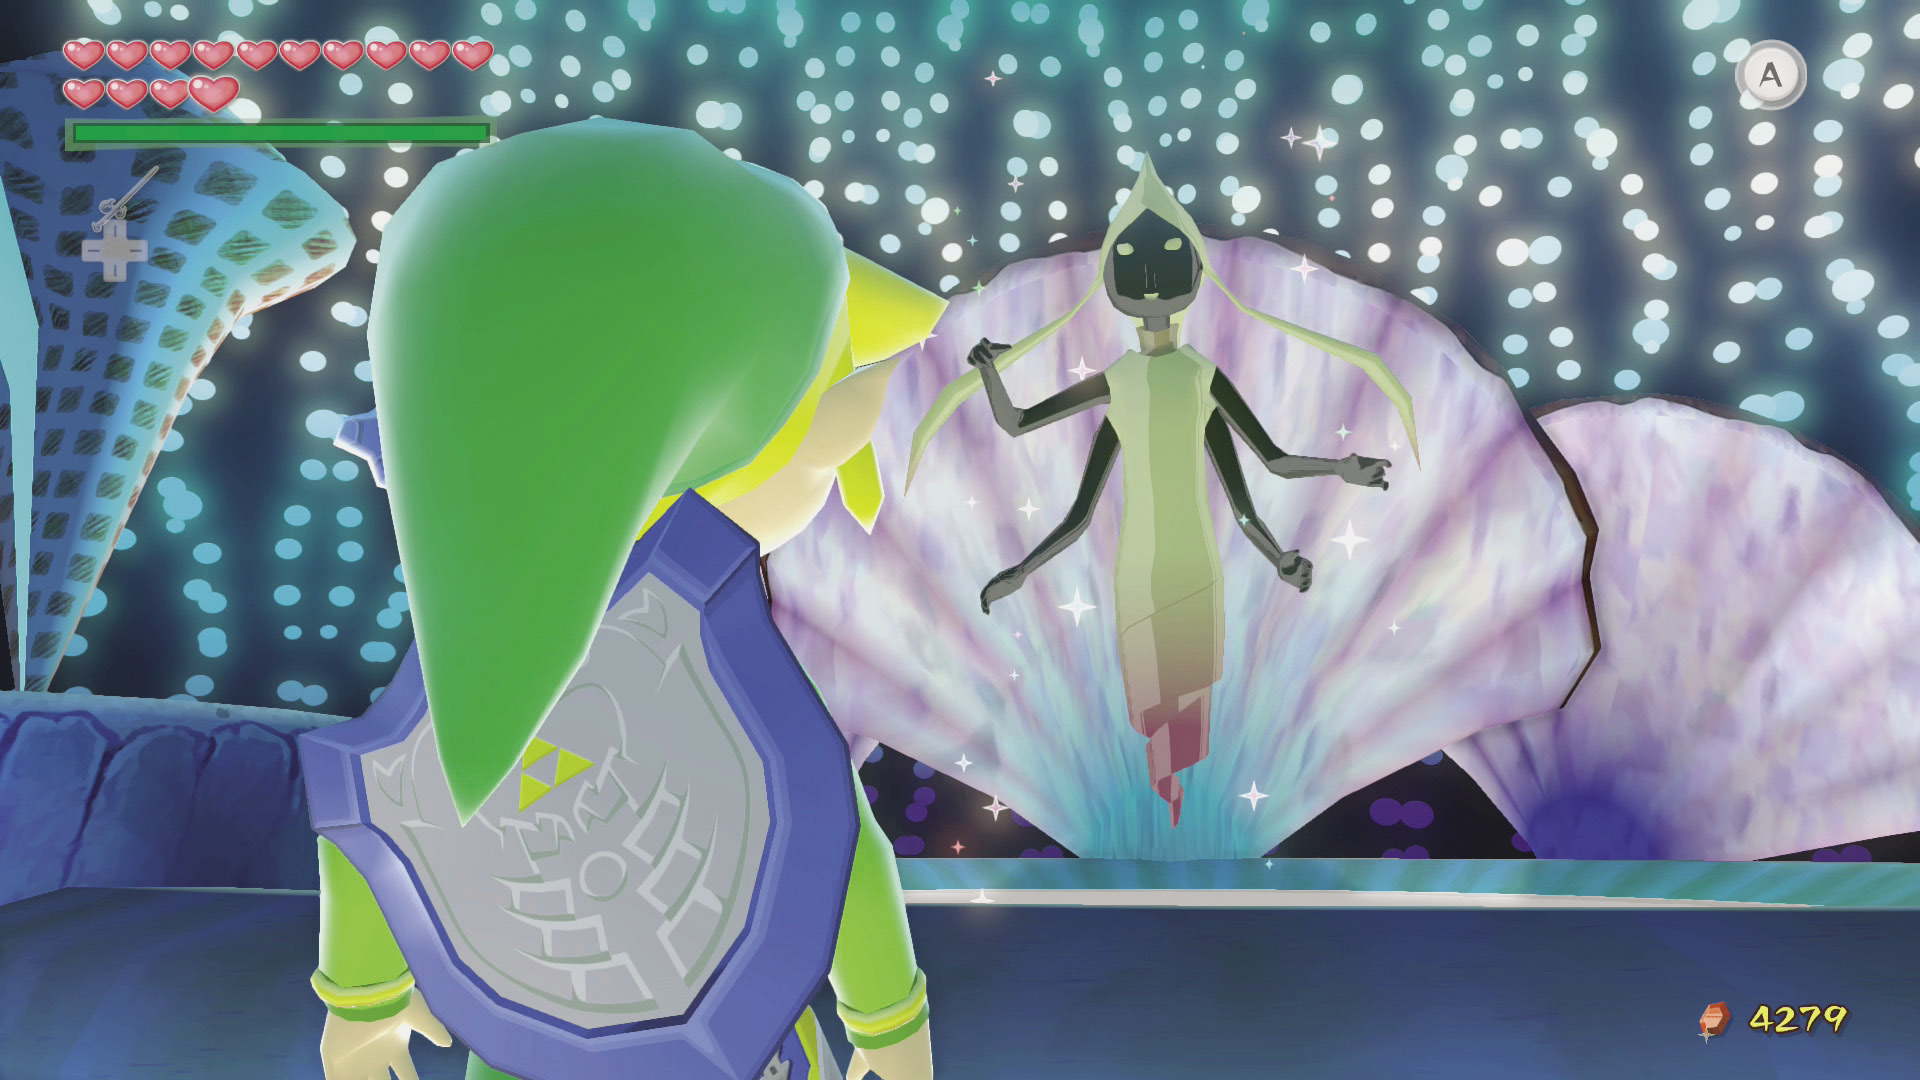
Use the Skull Hammer to hit the three pegs in front of the door. This makes the weeds blocking the Great Fairy’s door disappear. Head inside and speak with the Great Fairy to receive an upgrade to how many arrows you can hold.
More Blue ChuChus for You
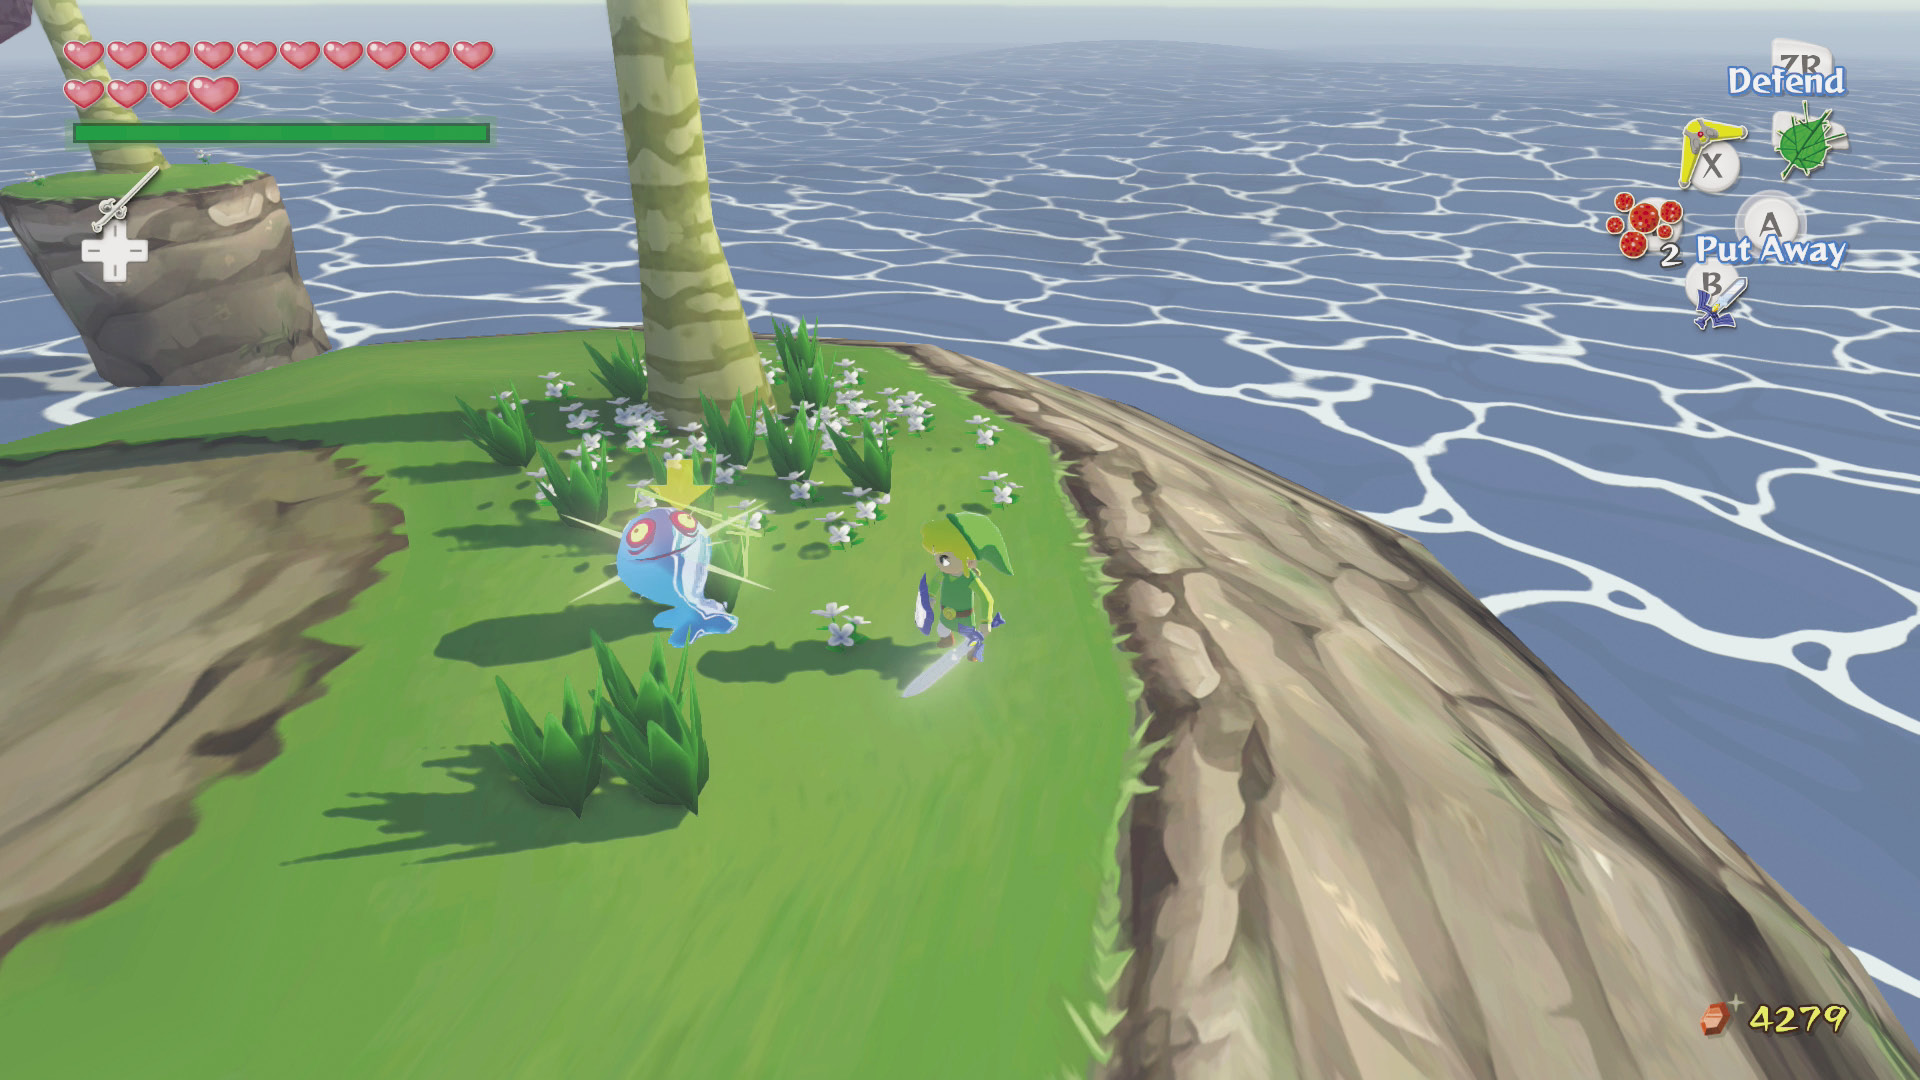
To the right of the Great Fairy’s door, near the palm tree, is another Blue ChuChu.
Tingle Island (C3)
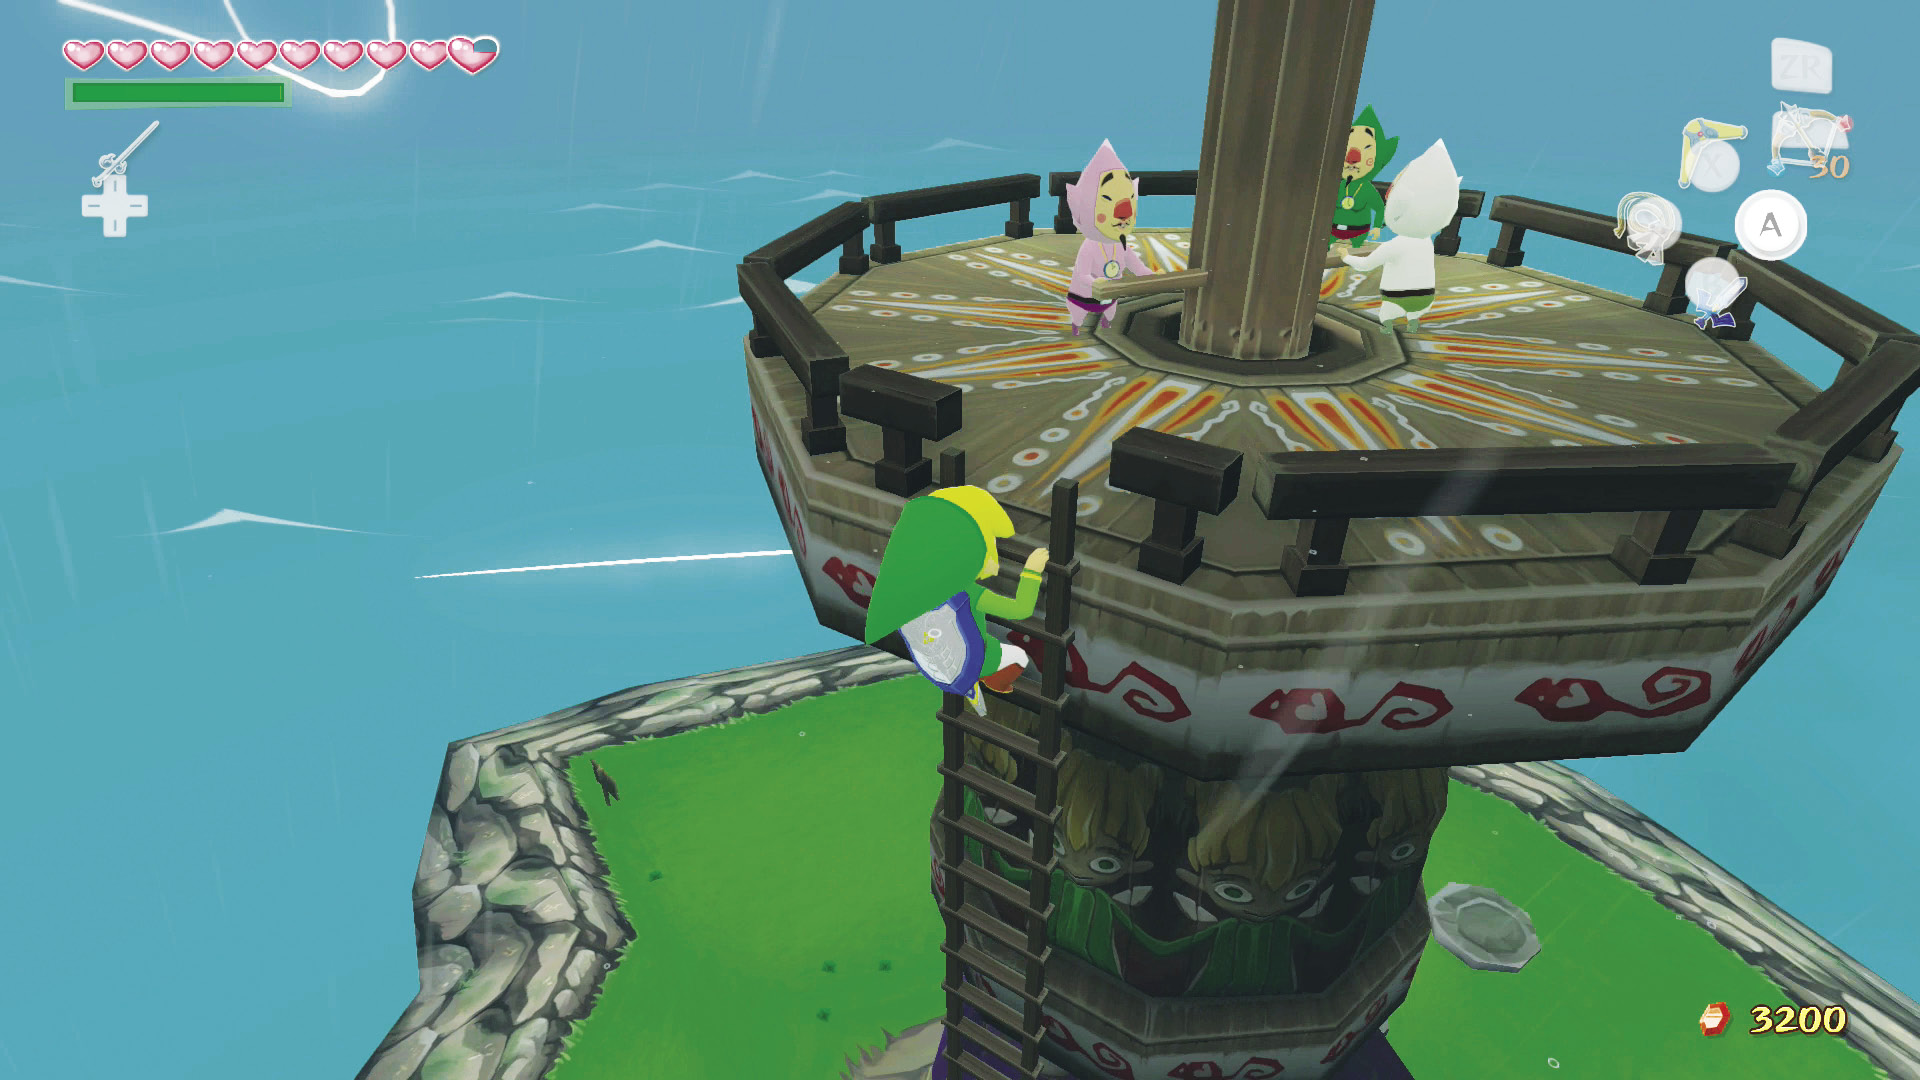
We still have no clue what the Triforce Charts do, but we might know someone who does. Remember that strange man in the fairy costume who we freed from Windfall Island’s jail? He was adamant that we come to him if we ever have any issues with charts of any kind. Well, let’s head over there and see what he can make of these Triforce Charts.
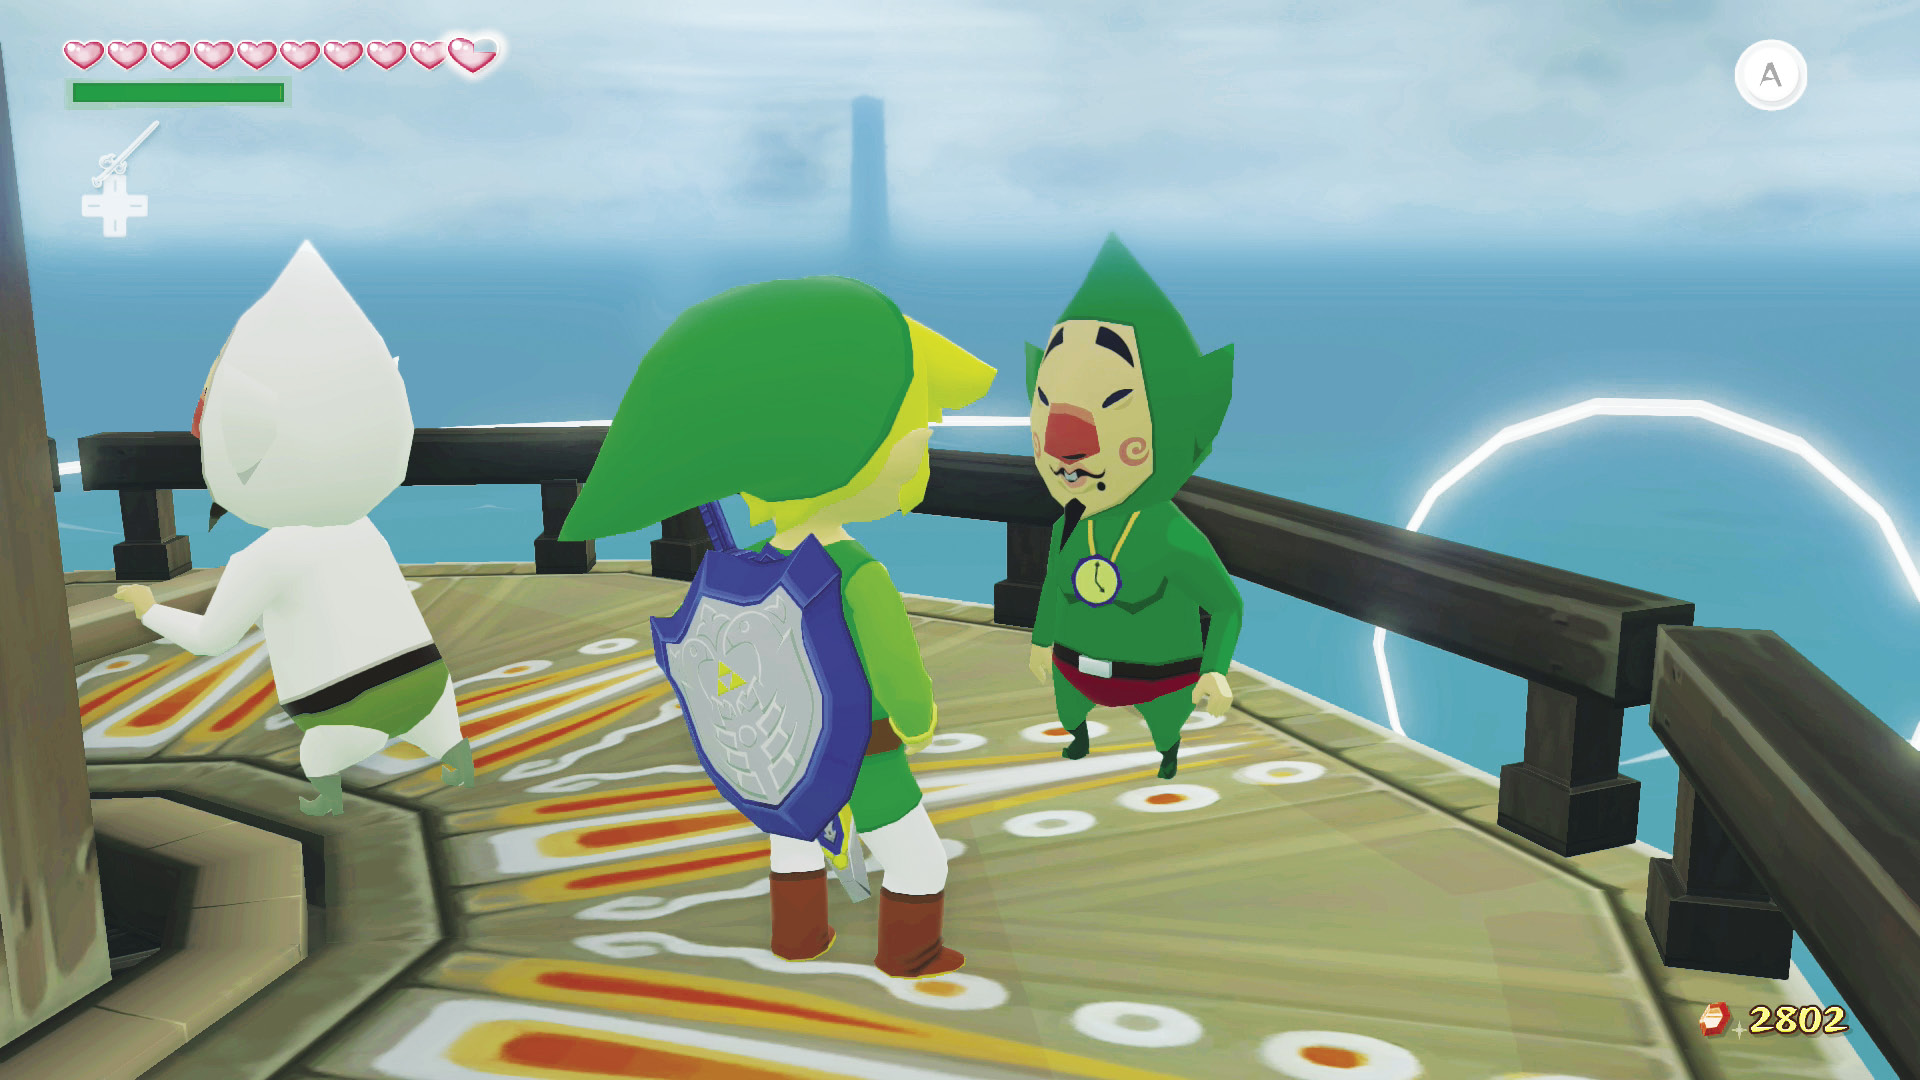
Tingle’s at the top of the tower in the center of the island. He will charge 398 Rupees to translate each Triforce Chart. This is going to be worth the money, so if you have 1,194 Rupees to translate all three Charts, go for it!
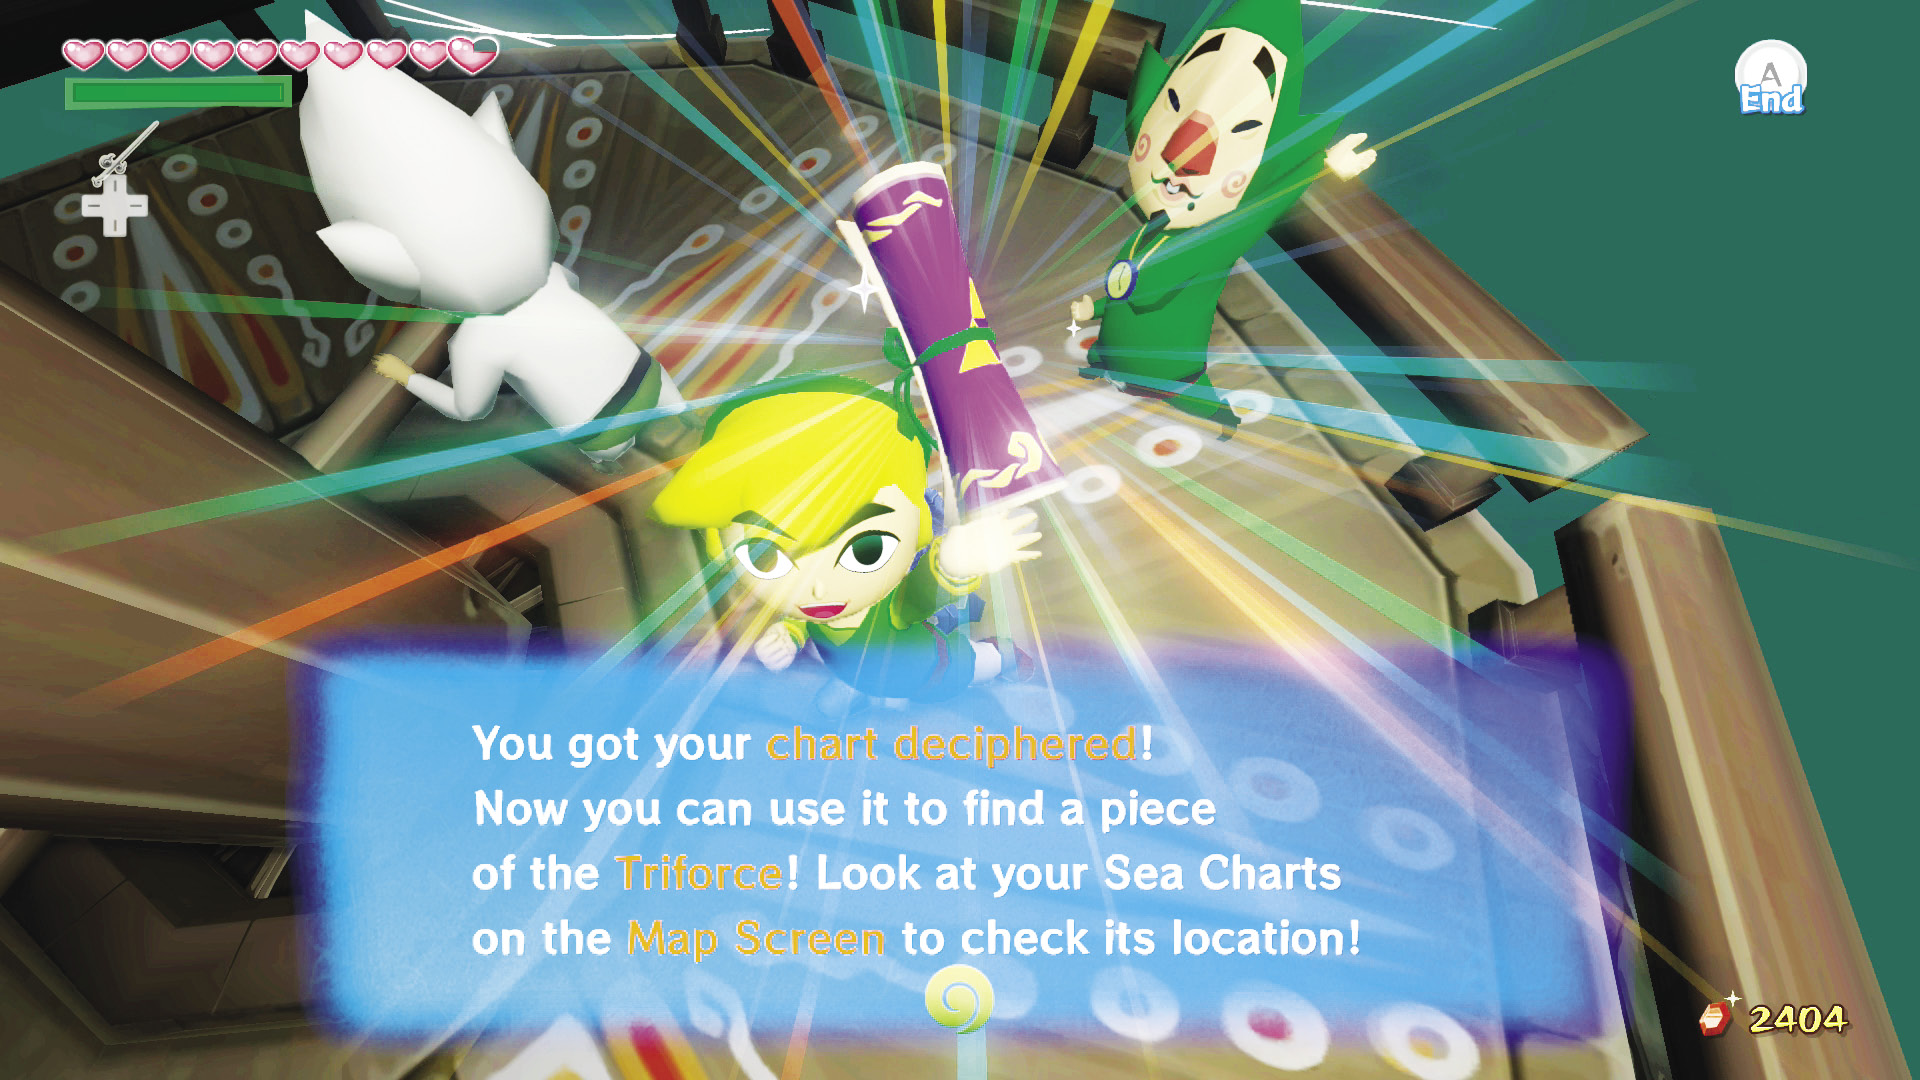
Strange...the Charts seem to point out the location of treasure just like normal Treasure Charts do, but if you look at the IN-Credible Chart that Tingle mailed us earlier, there are more golden triangles on the map. Wait...if Treasure Charts take you to treasure, do Triforce Charts take you to Triforces? We’ll just have to wait and see if anyone else knows anything about this riddle.
Cyclops Reef (C4)
Blast Those Cannons!
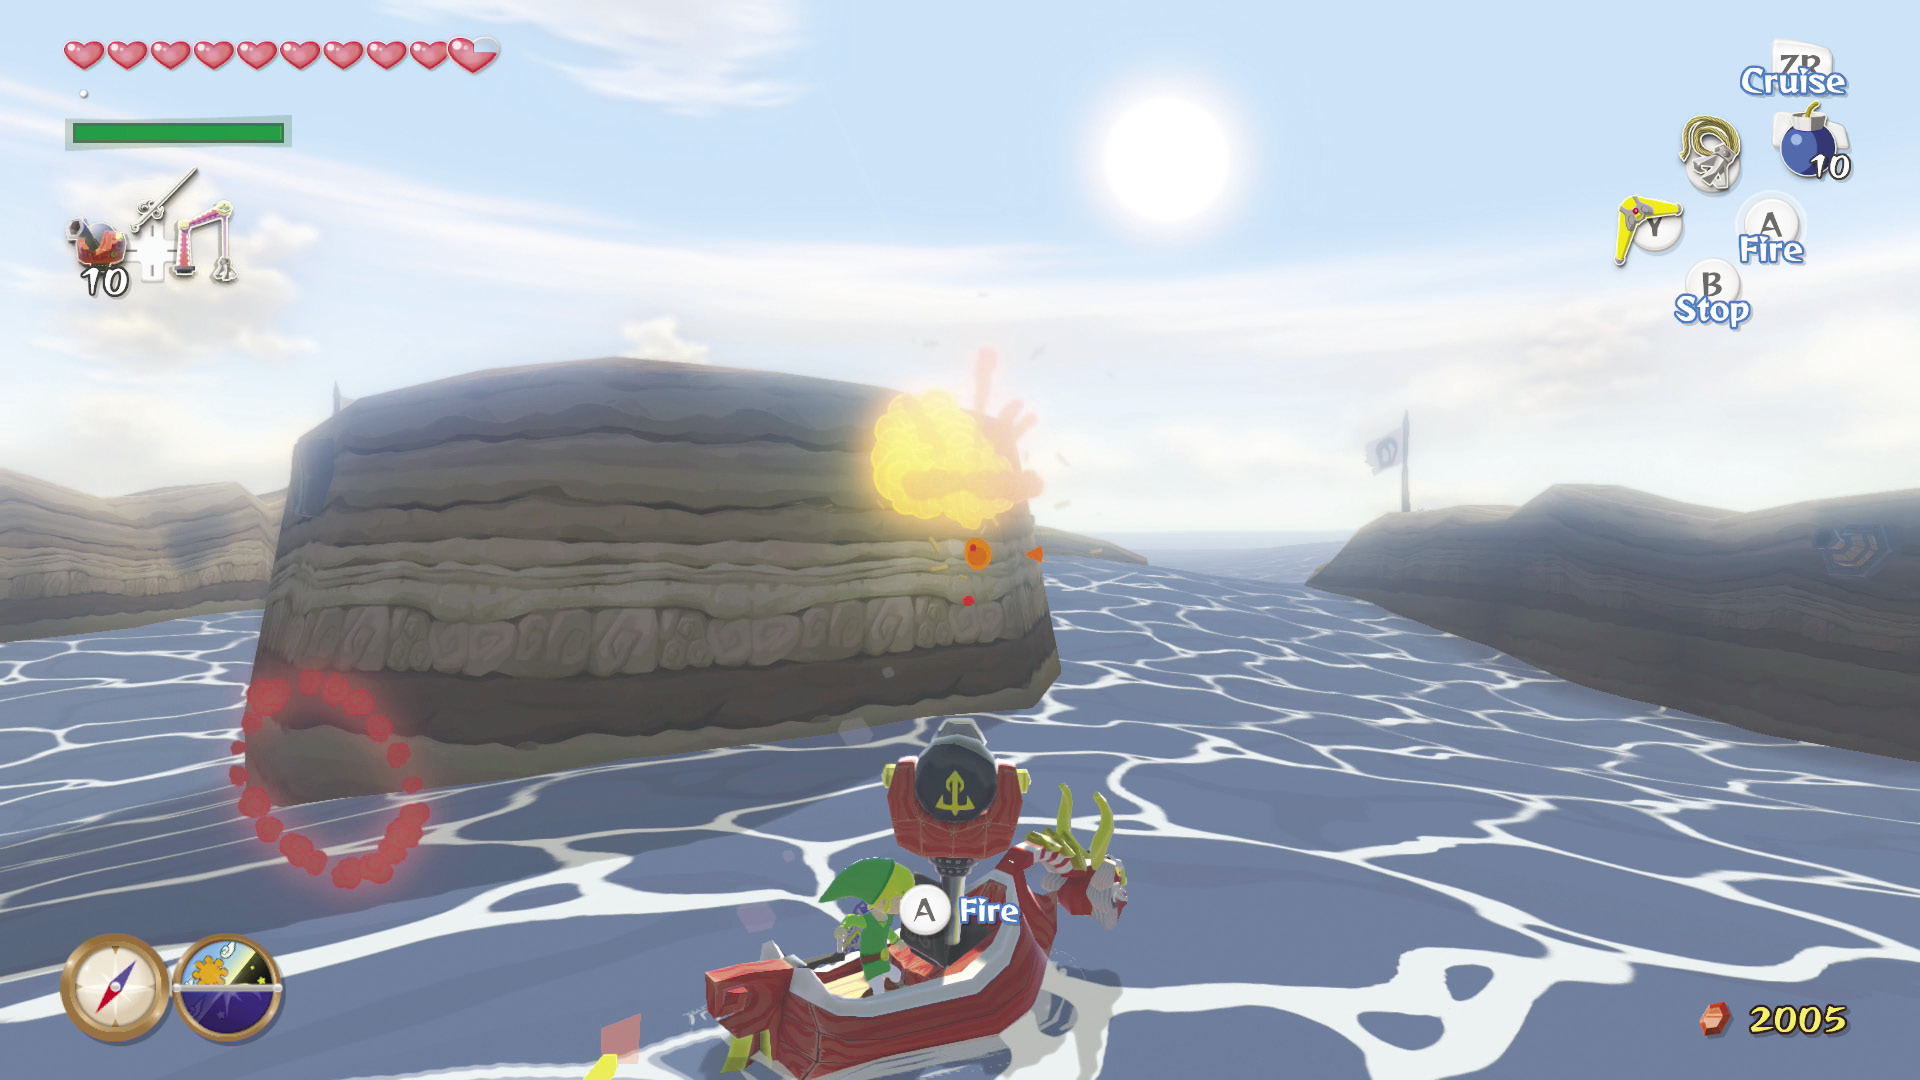
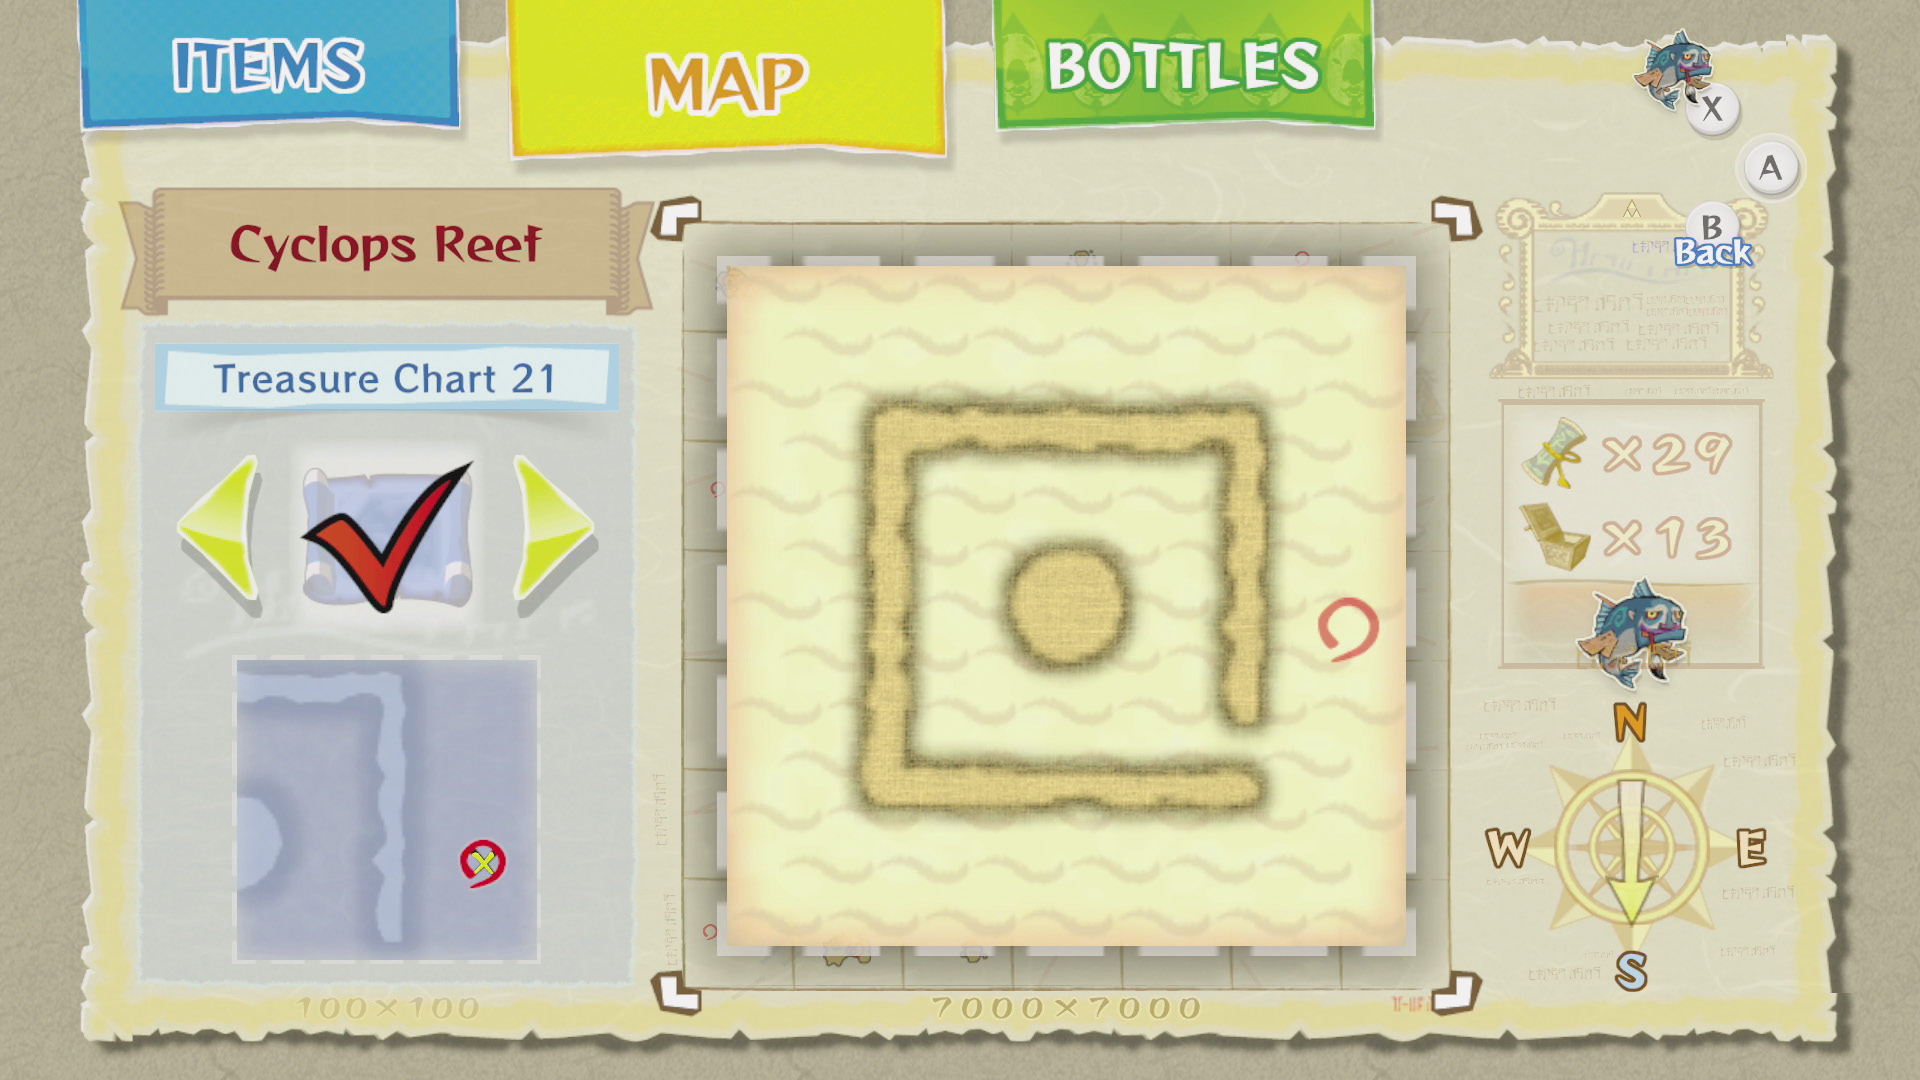
Destroy all of the wall-mounted cannons and Warships inside the reef, just like you did at Six-Eye Reef (D4). The treasure chest containing Treasure Chart #21 will appear on the reef’s only eye. To reach it, head back to the reef’s entrance and walk up the slope at the base of the wall. Head to the highest point on the wall, set the wind blowing toward the chest, and use your Deku Leaf to reach Treasure Chart #21.
|
|
107 |
Treasure Chart #21 |

Instant Gratification
Open the Treasure Chart you just grabbed in this sector to reveal the location of the Light Ring Chart. This Chart will show you the location of the static Light Rings that appear on the Great Sea at night. Track them down if you’re looking to get more Rupees.
|
|
108 |
light ring Chart |
Pawprint Isle (E2)
Sunken Treasure #30
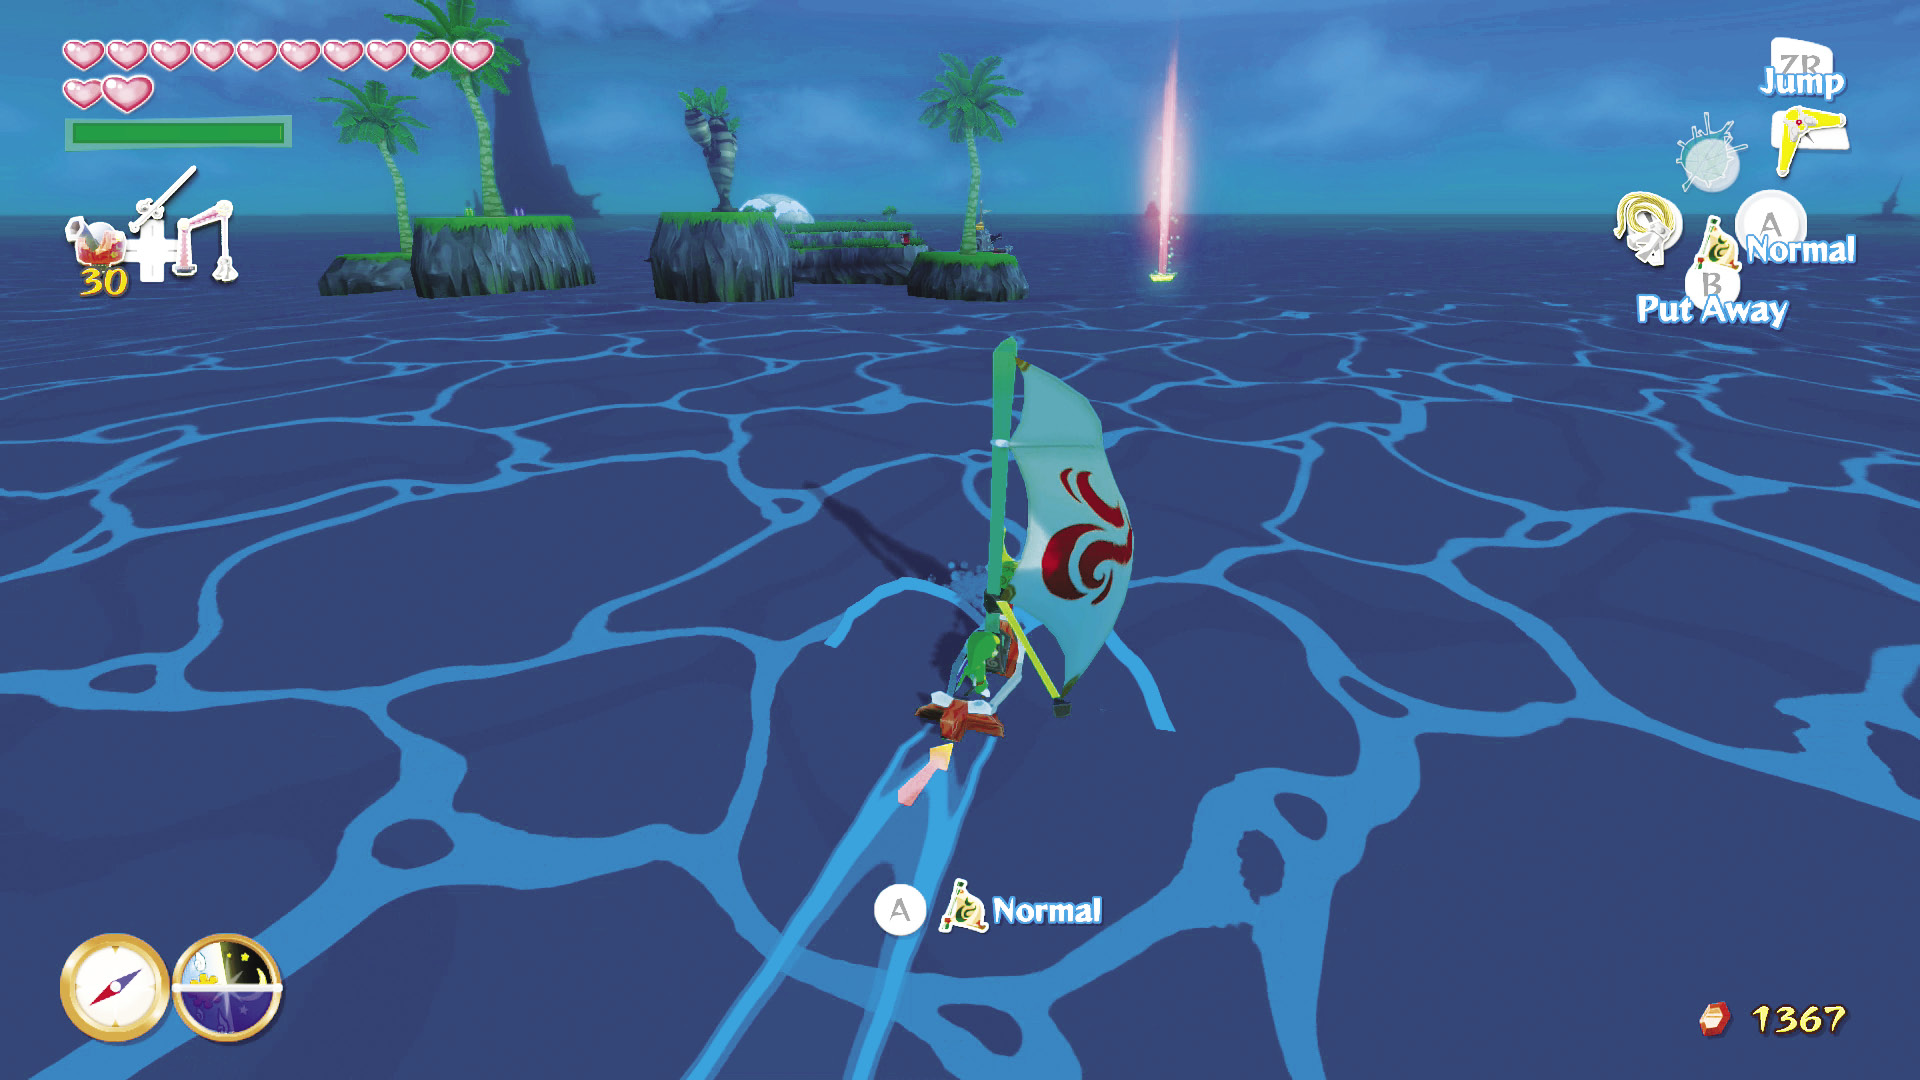
If you grabbed Treasure Chart #30 from the Tower of the Gods, you can open it in this sector to reveal the location of Piece of Heart #36. That makes your ninth extra Heart Container!
|
|
109 |
Piece of Heart #36 |

Back to the Jelly Dome!
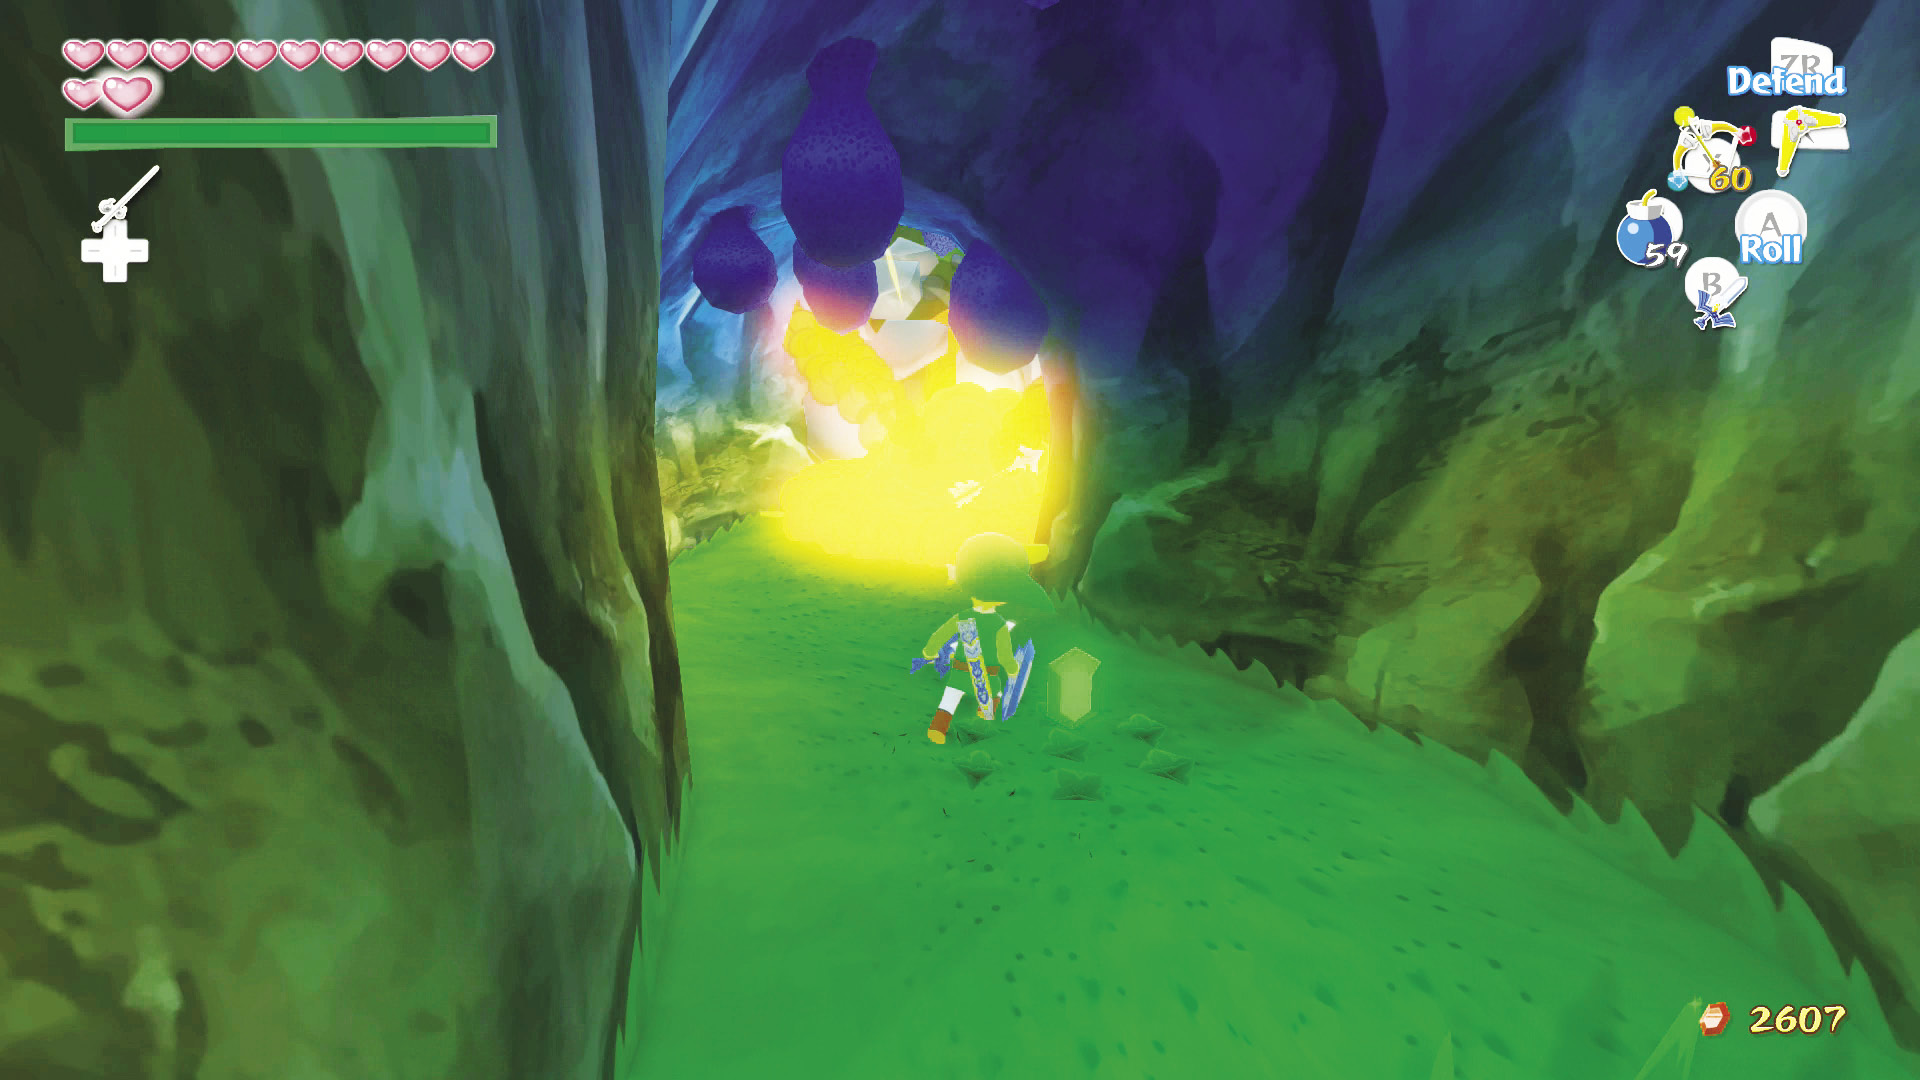
When we first visited the Jelly Dome, there were a few rooms we couldn’t access because giant boulders were blocking them. Now that we have Bombs, you can blow the boulders up to get access to two treasure chests—one contains a Purple Rupee and the other a Joy Pendant.
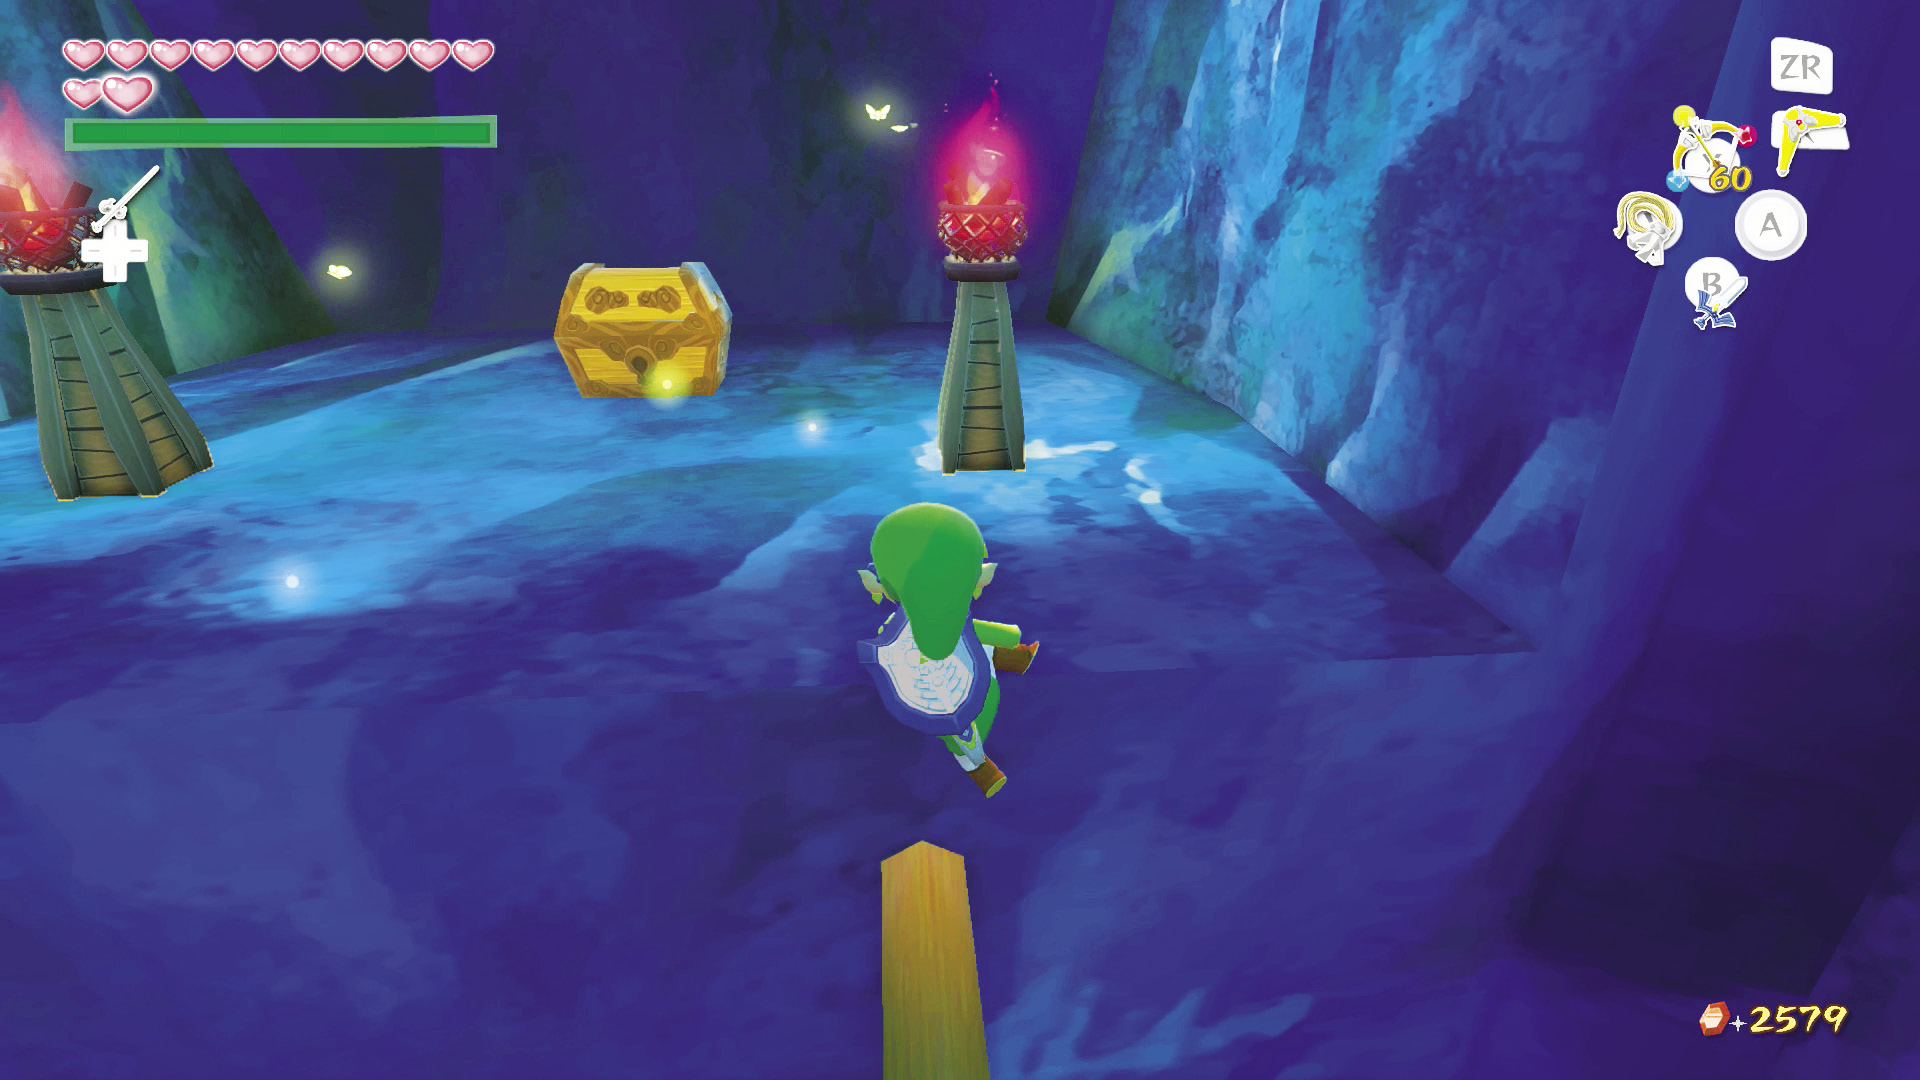
You can also snag a Red Rupee if you grapple the posts on the room’s left wall, just after you enter the area. Climb from post to post until you reach a small alcove at the very top. Inside is a treasure chest containing a Red Rupee.
Seven-Star Isles (F1)
The Wizzrobe Terror Towers
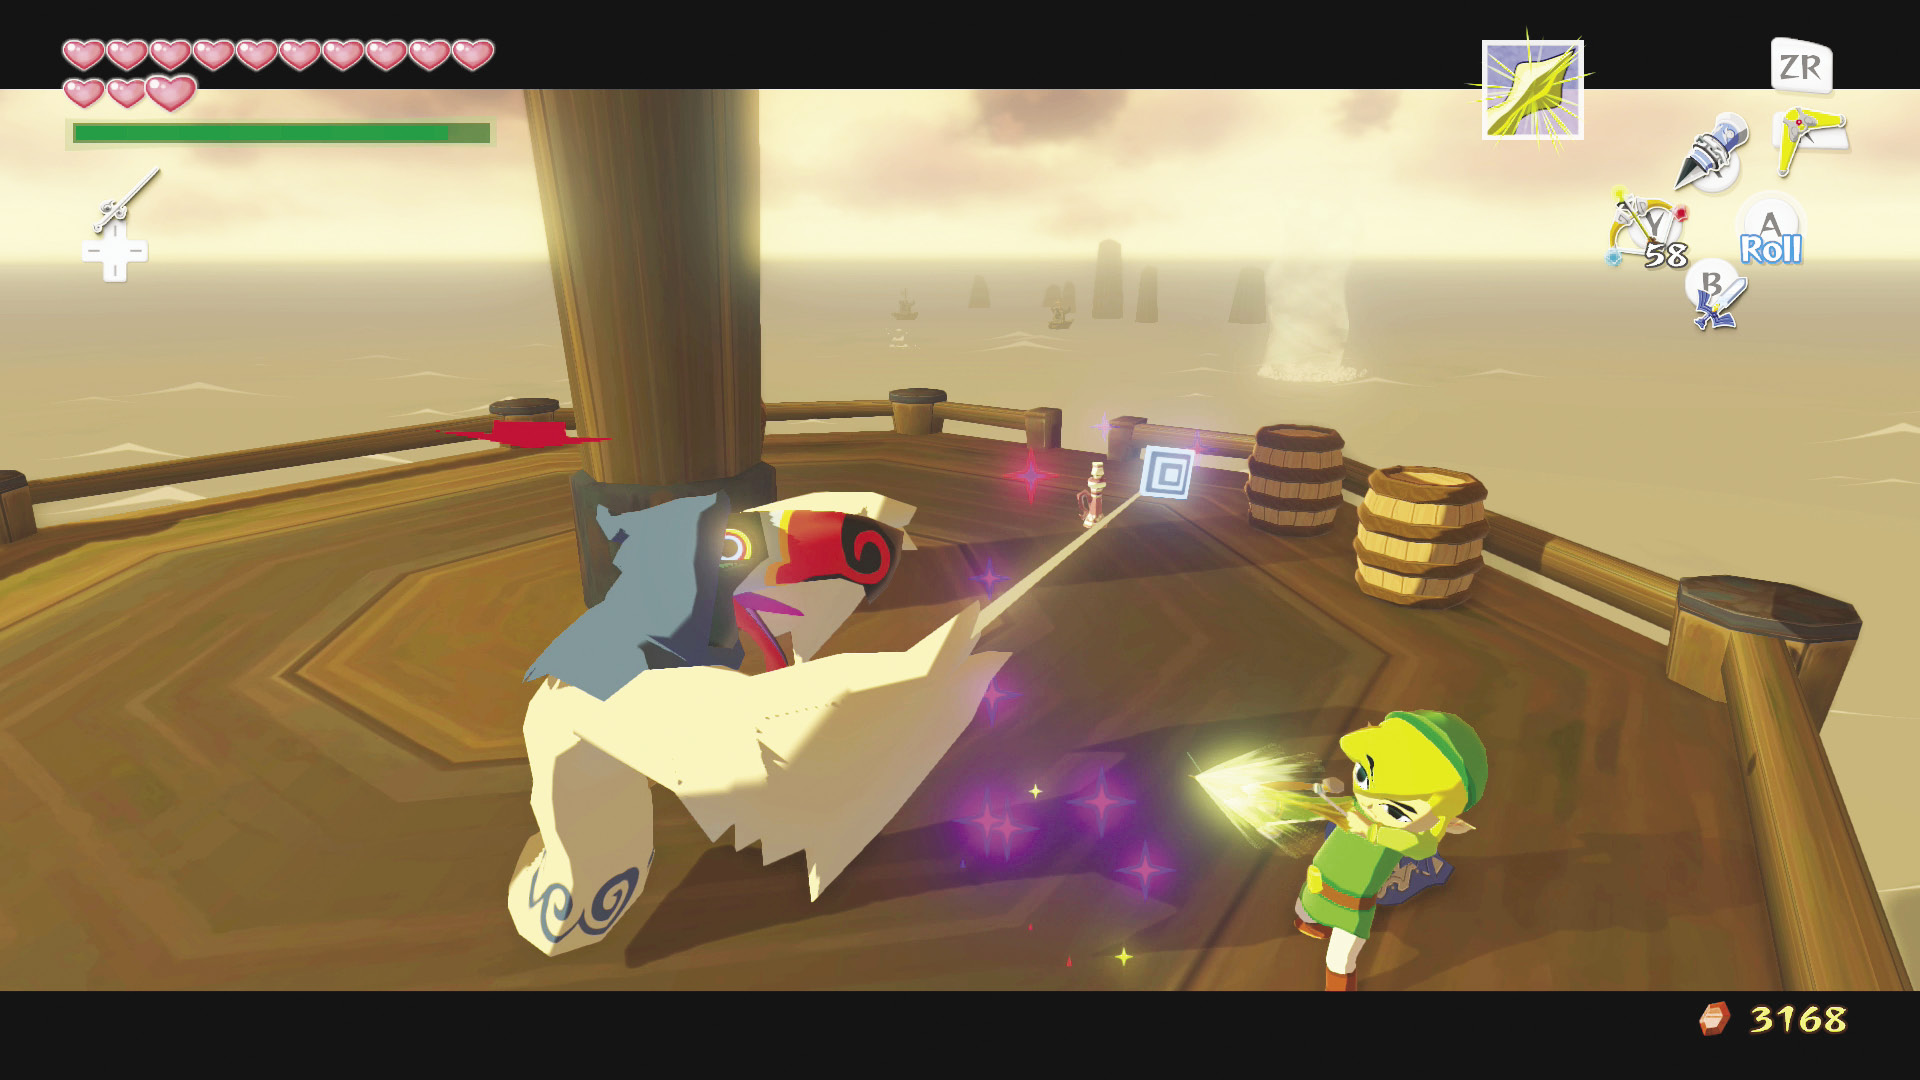
There are three Sea Platforms in a row in this sector. The middle Platform is the only one with a ladder. Climb it and a Blue Wizzrobe will appear. Defeat it and another will appear, then another after that. Defeat all three Blue Wizzrobes to make a treasure chest on each Sea Platform appear, one of which is holding Treasure Chart #16; the others are holding a Golden Feather and a Red Rupee.
|
|
110 |
Treasure Chart #16 |

Sunken Treasure #45
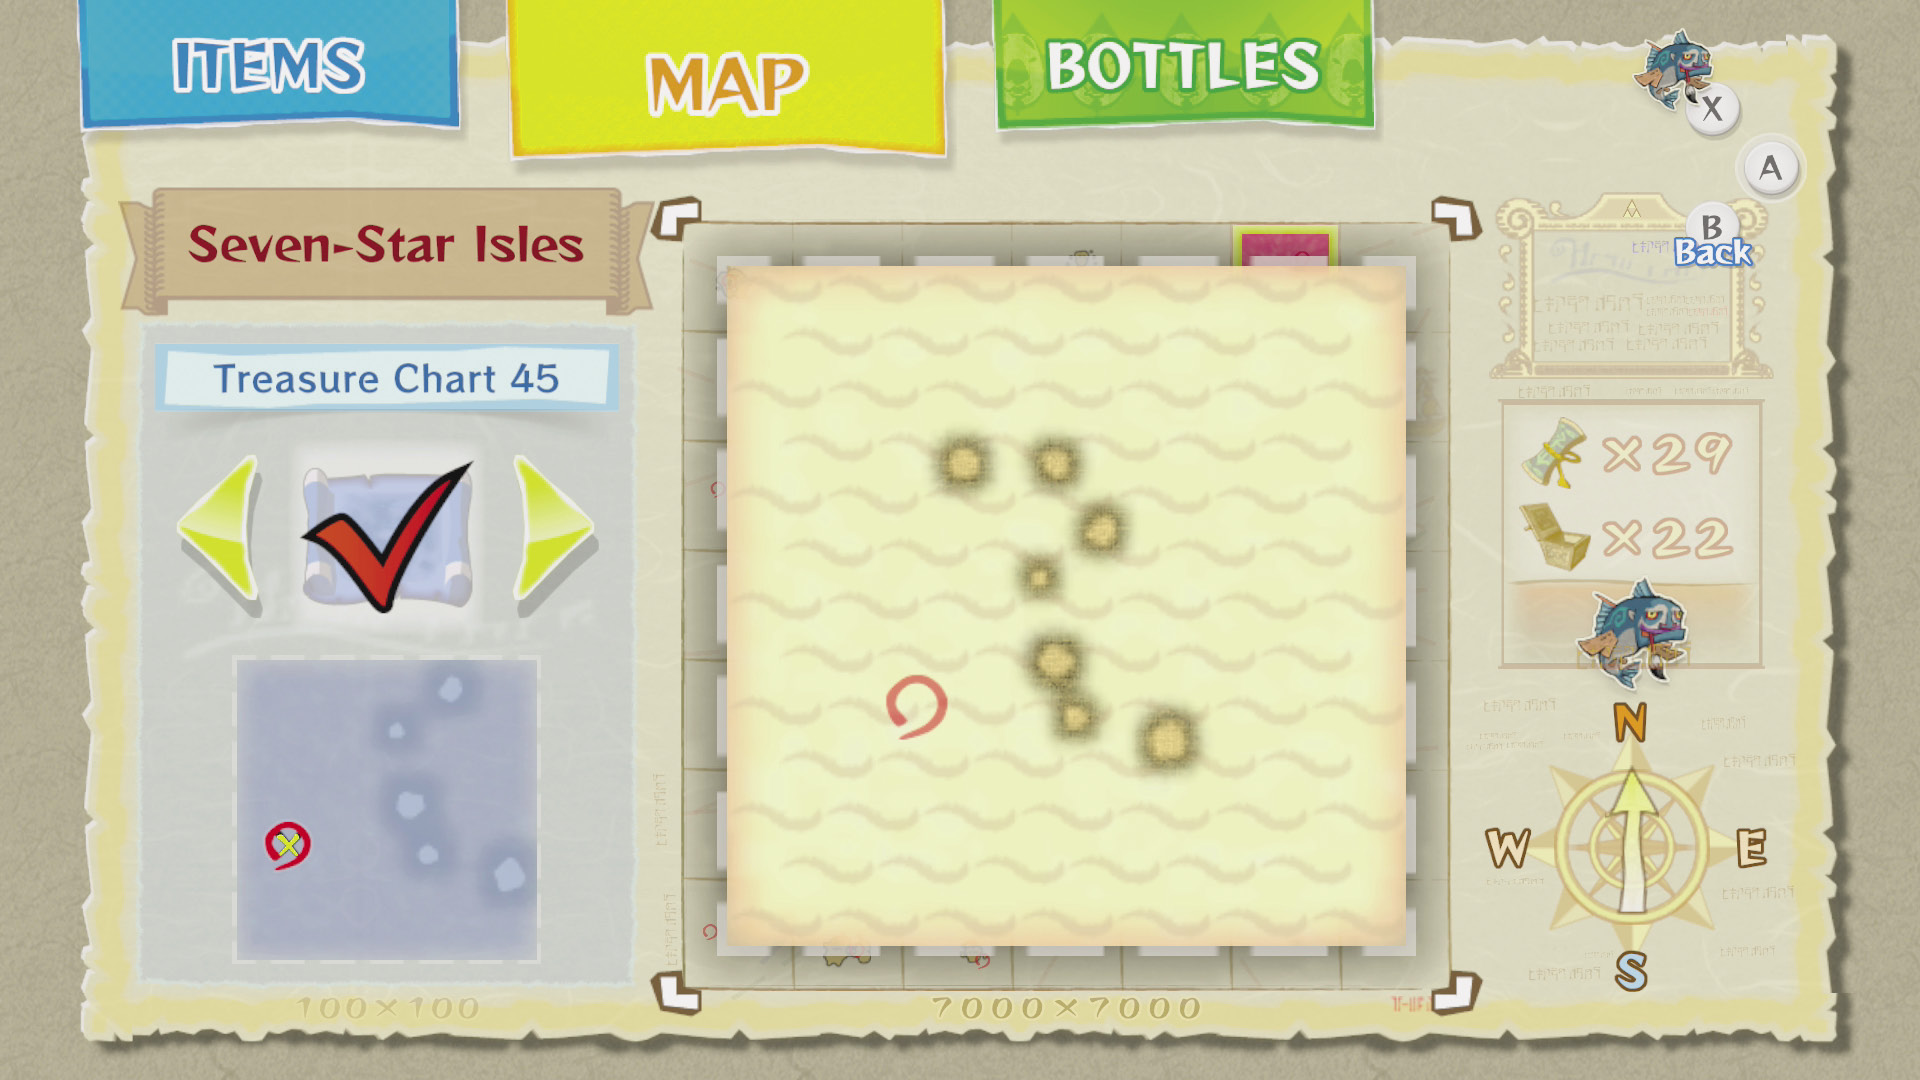
If you gave Mrs. Marie 41 Joy Pendants, you currently have Treasure Chart #45 in your inventory. Open it up while in this sector to find the location of a Silver Rupee.
Fire Mountain (F3)
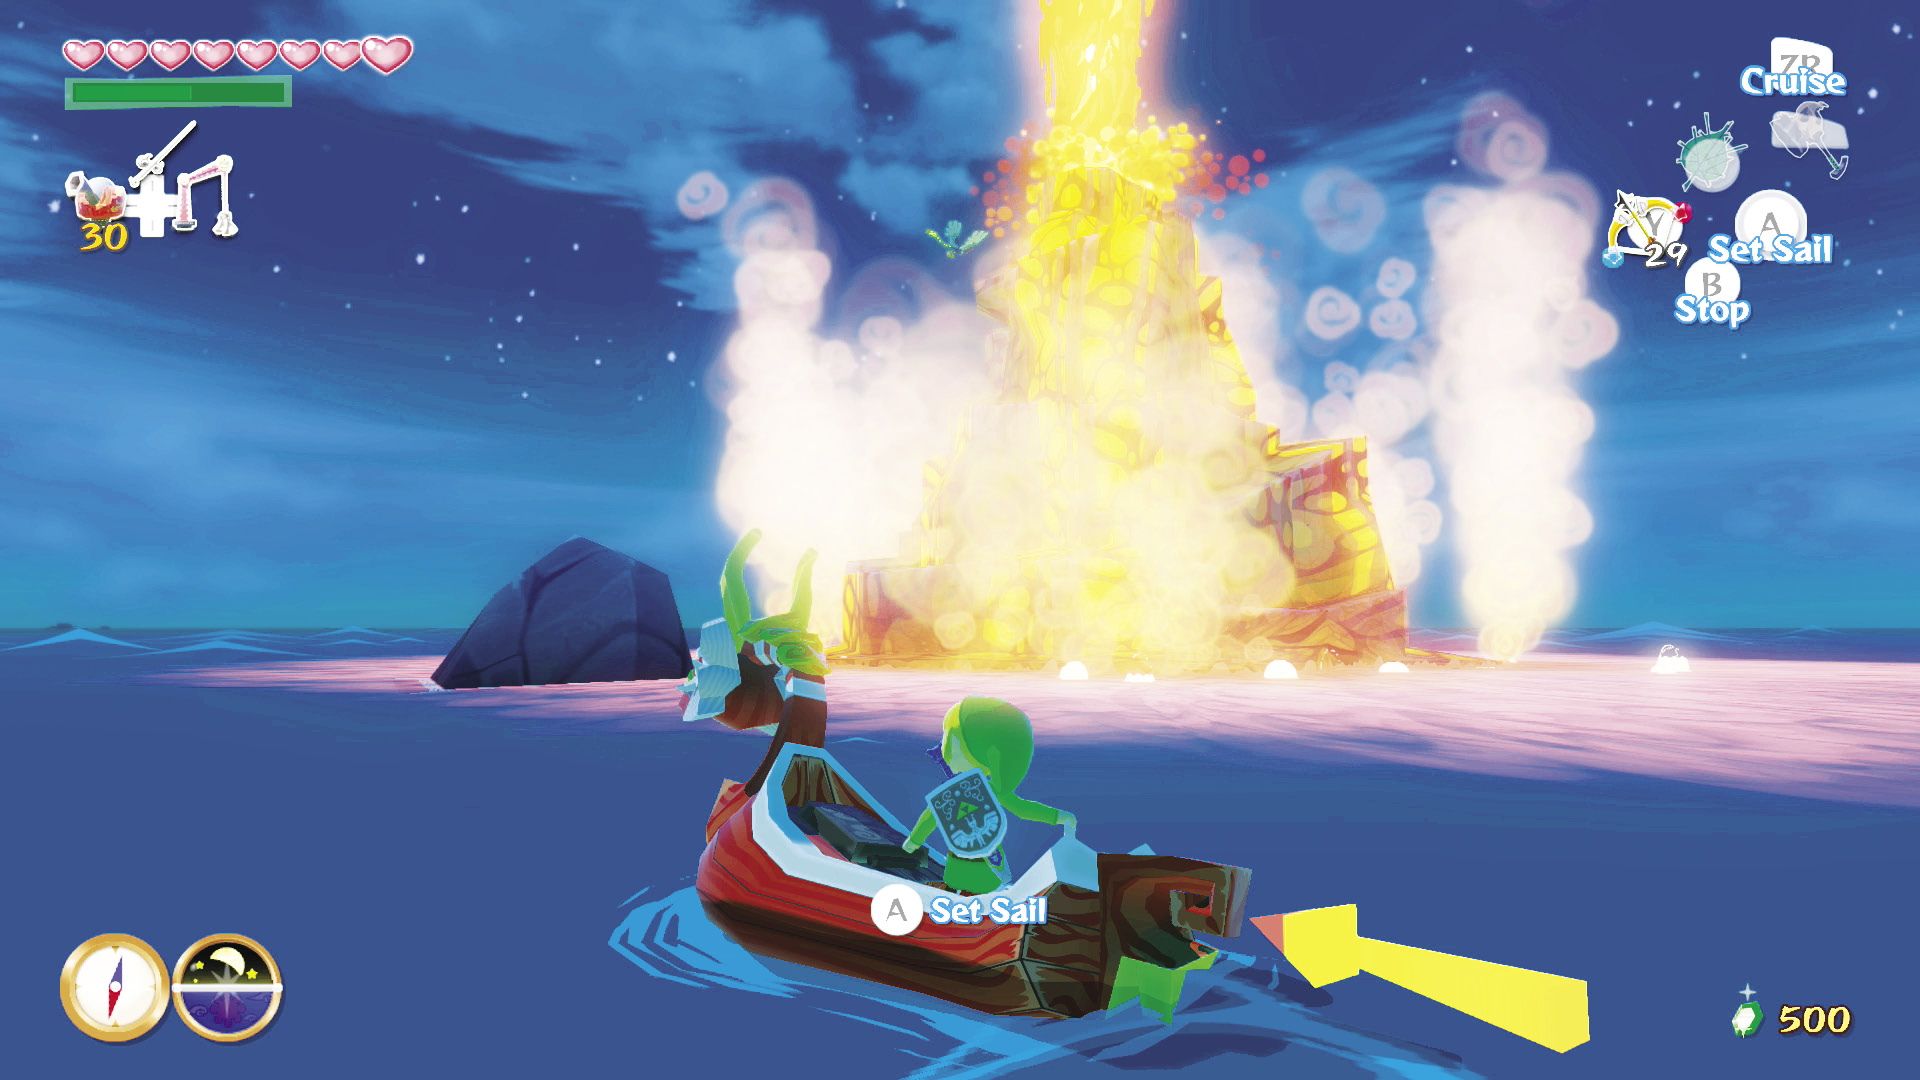
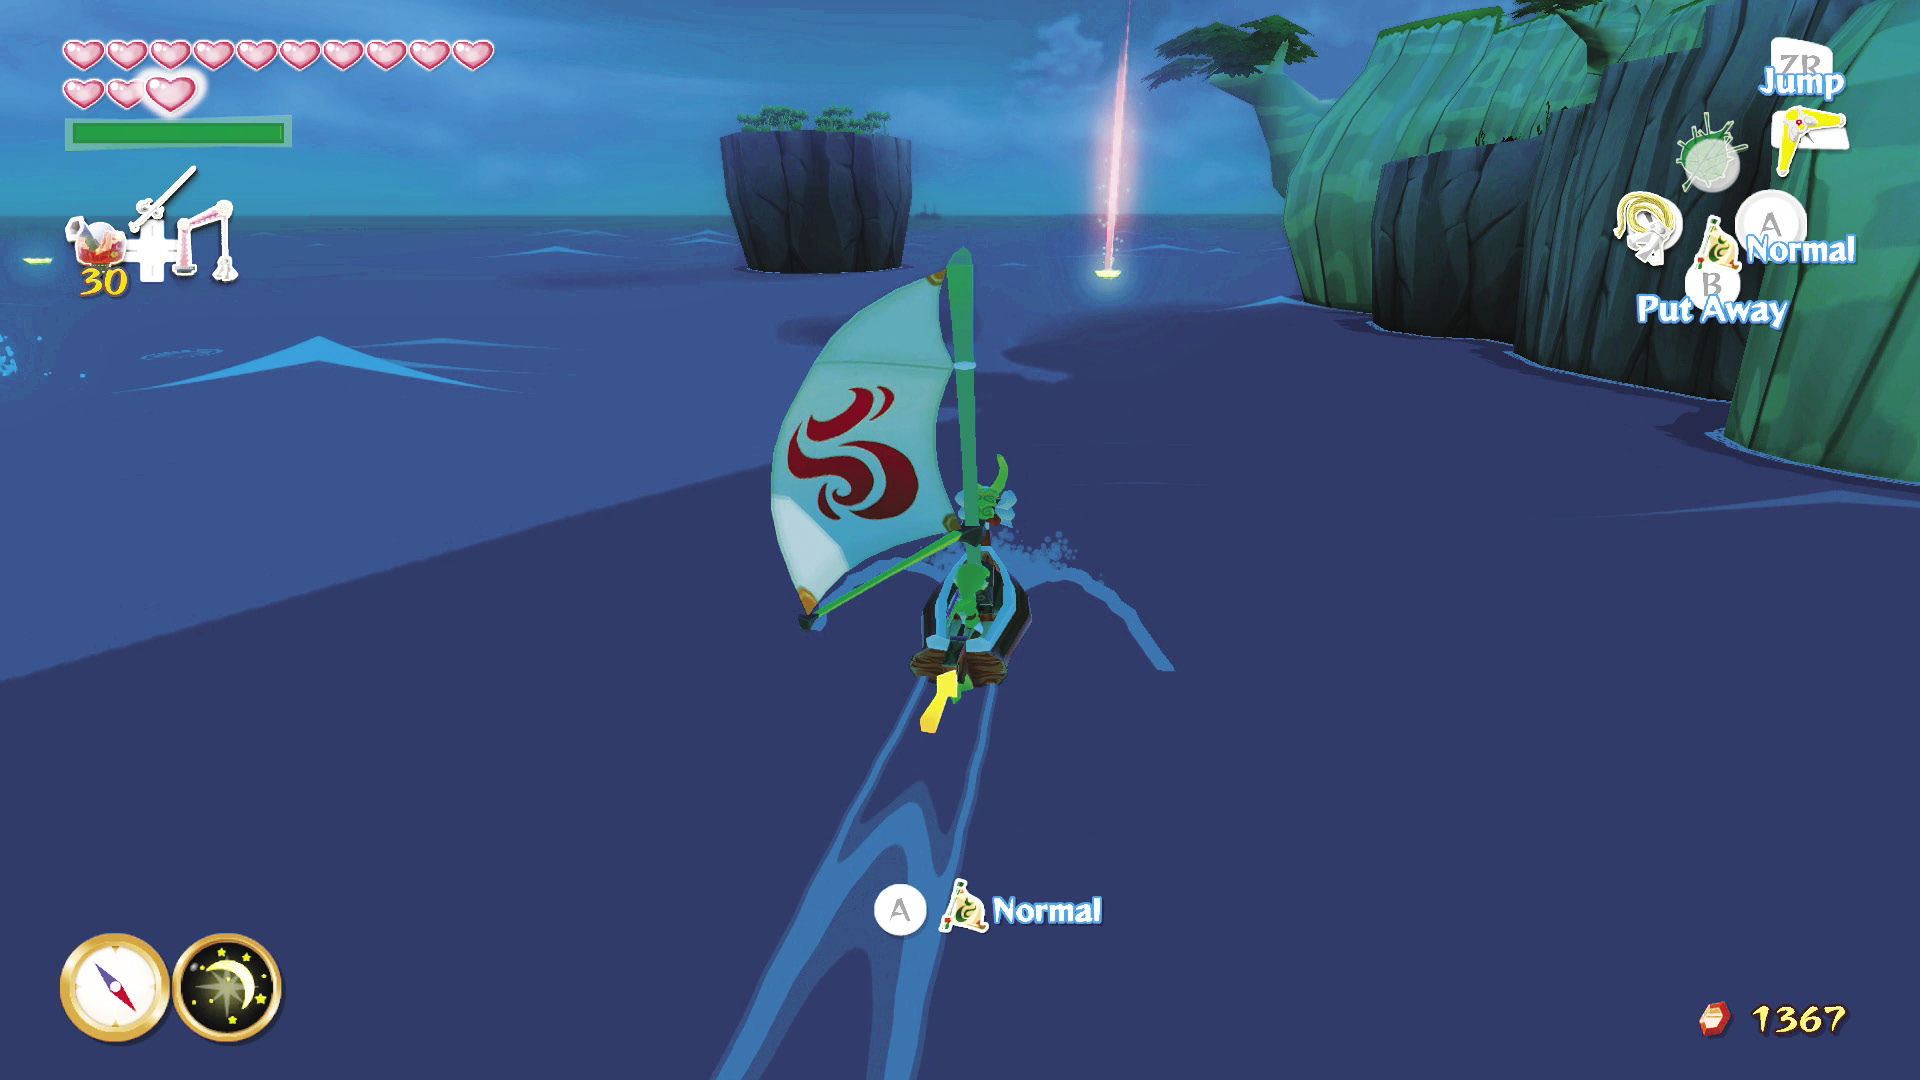
To reach Fire Mountain (F3), conduct the Ballad of Gales and warp to Dragon Roost Island (F2), then head south.
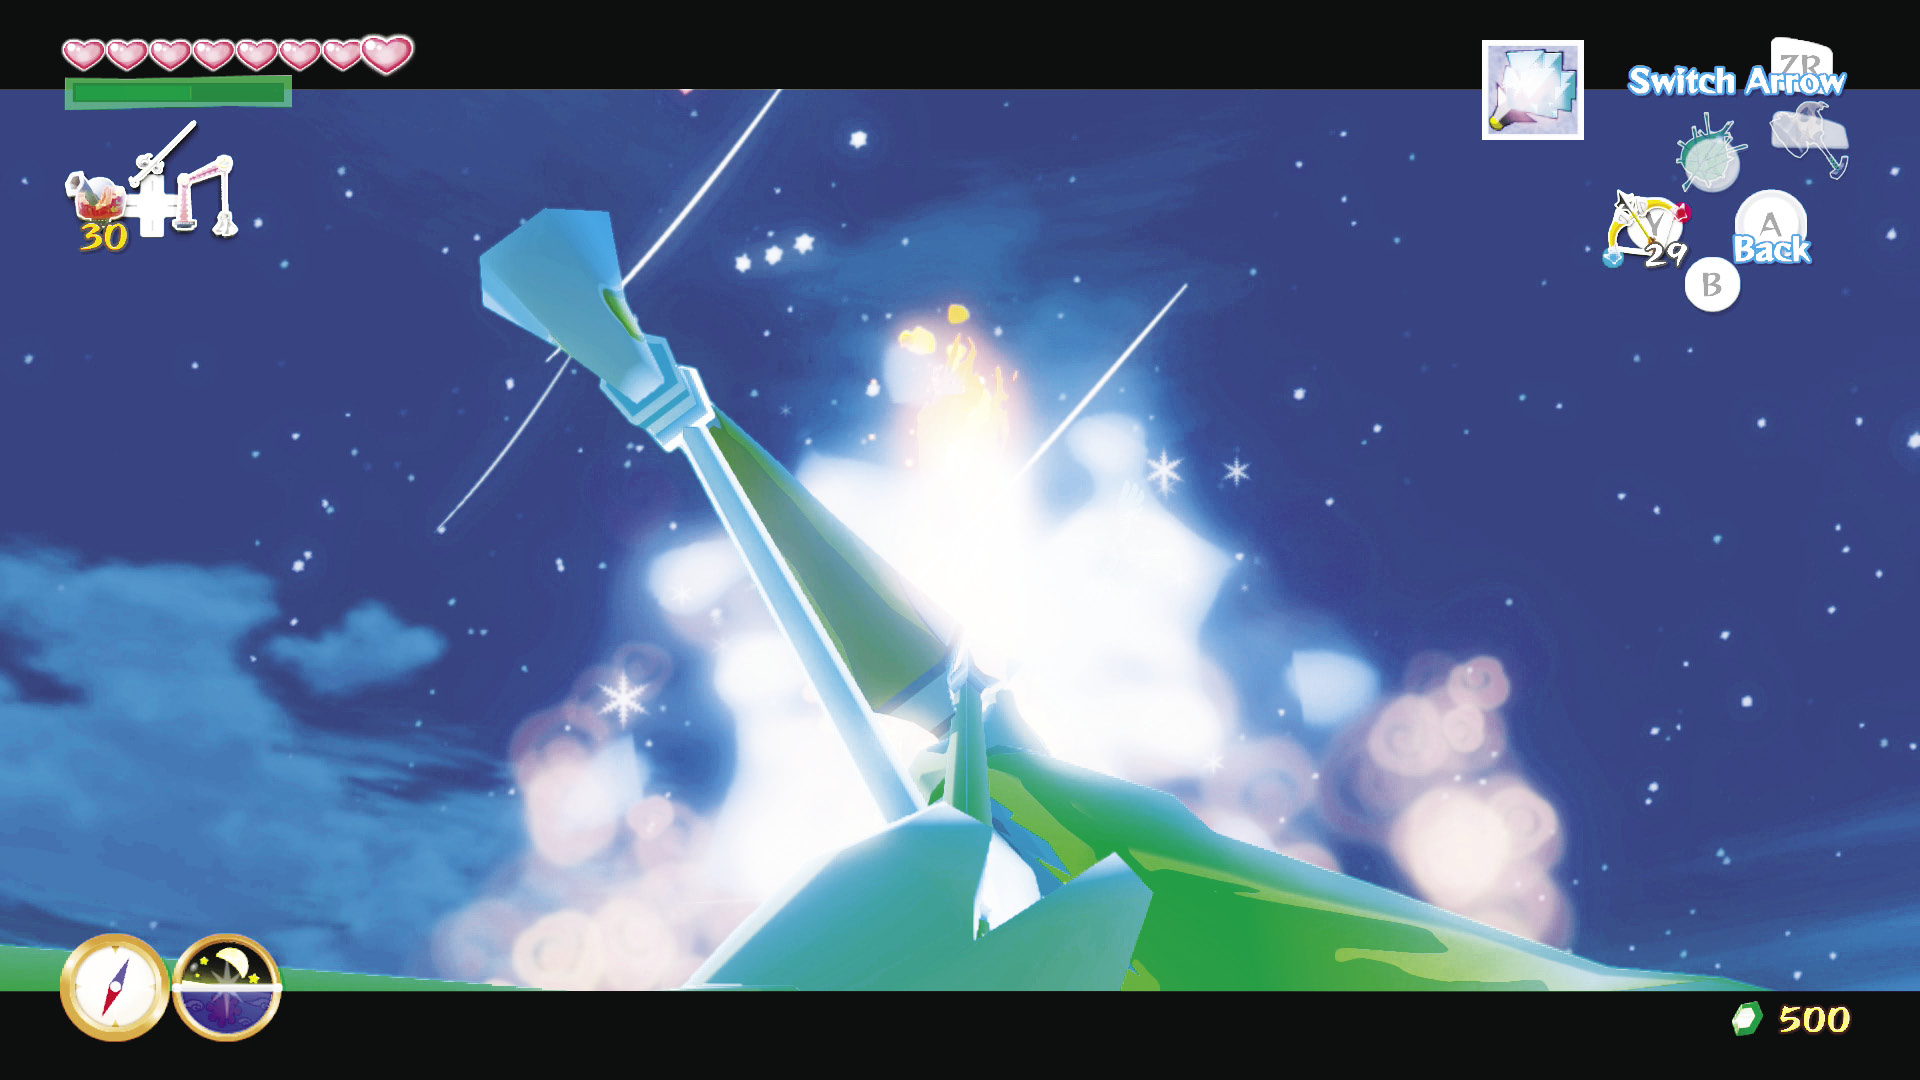
Fire Mountain lives up to its name—it’s a steaming, smoldering volcano. Fire an Ice Arrow at the lava plume atop the island to temporarily freeze its flames.
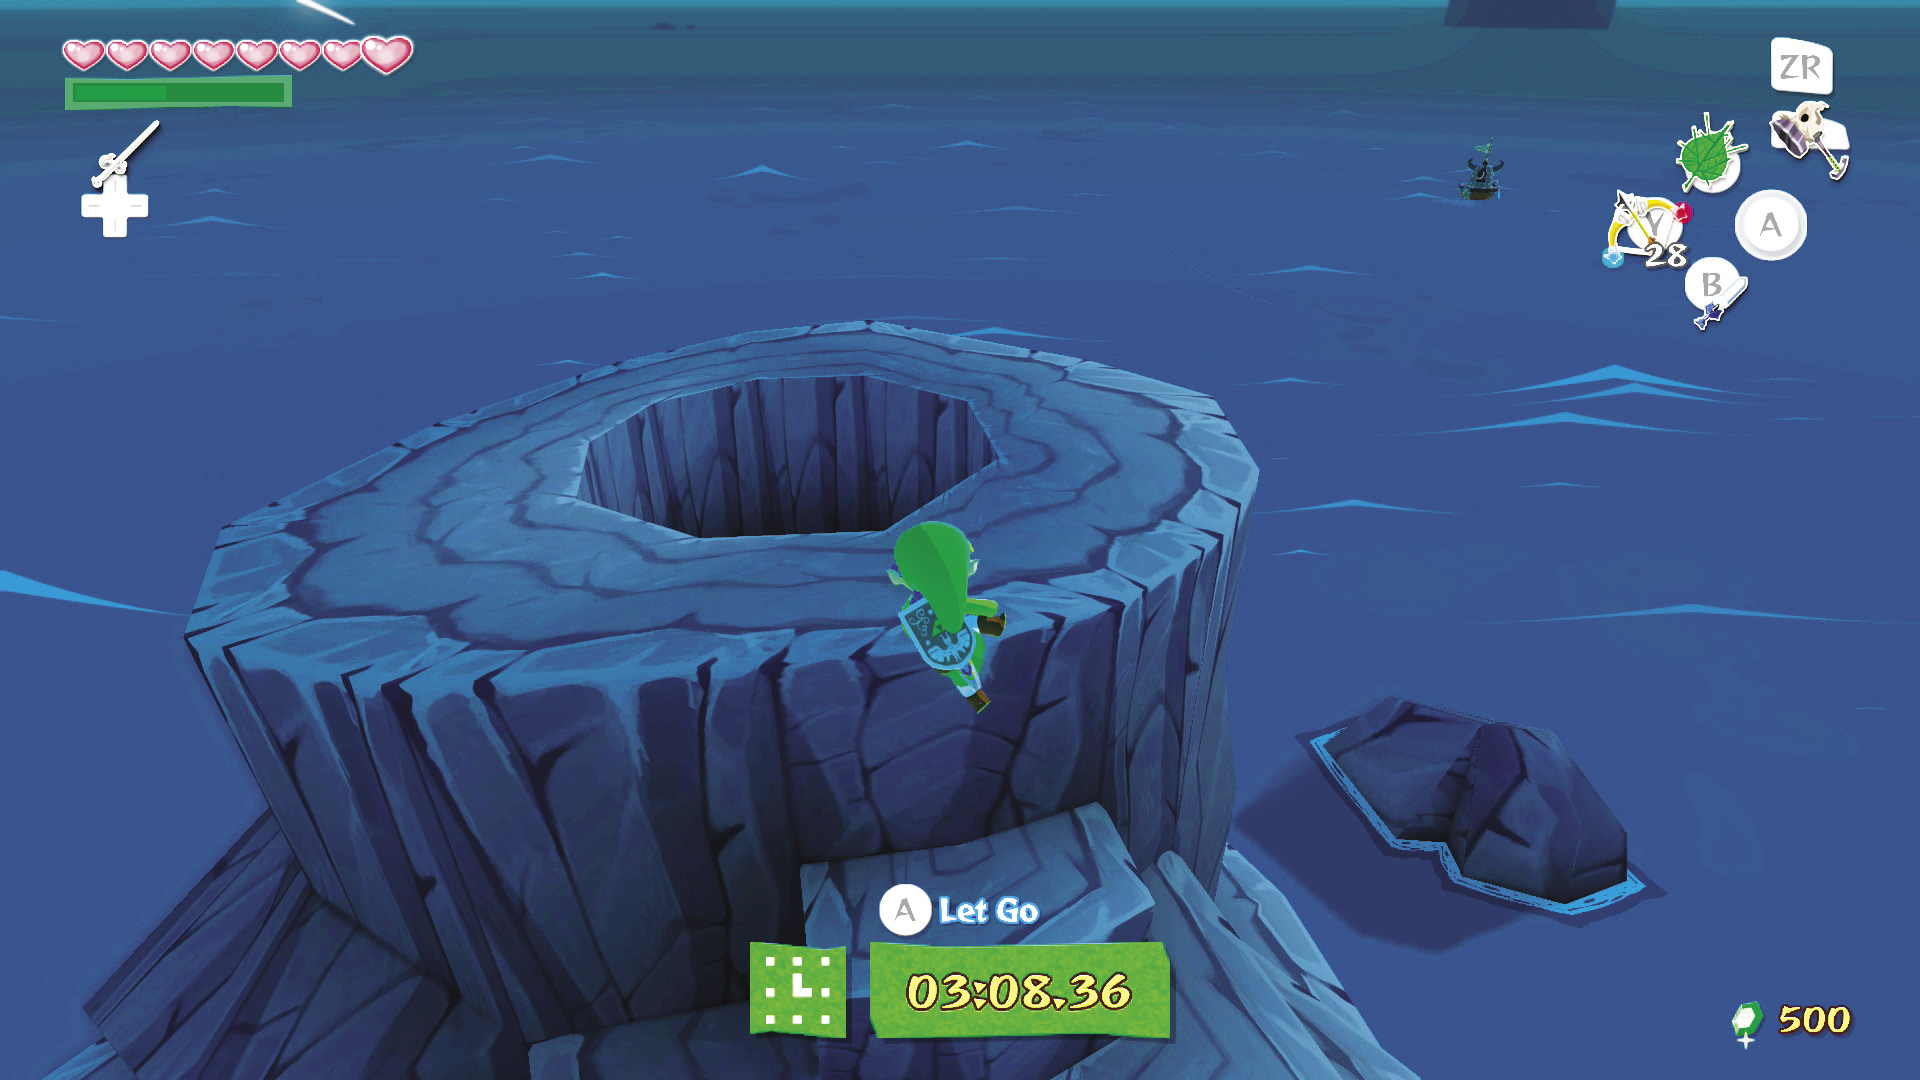
You have five minutes to enter Fire Mountain and get the Power Bracelets before the Ice Arrow’s effect wears off. Sail quickly around to the rocky shore on the island’s northeast side and start climbing the path to the mountain’s summit. Drop into the hole there to enter the mountain.
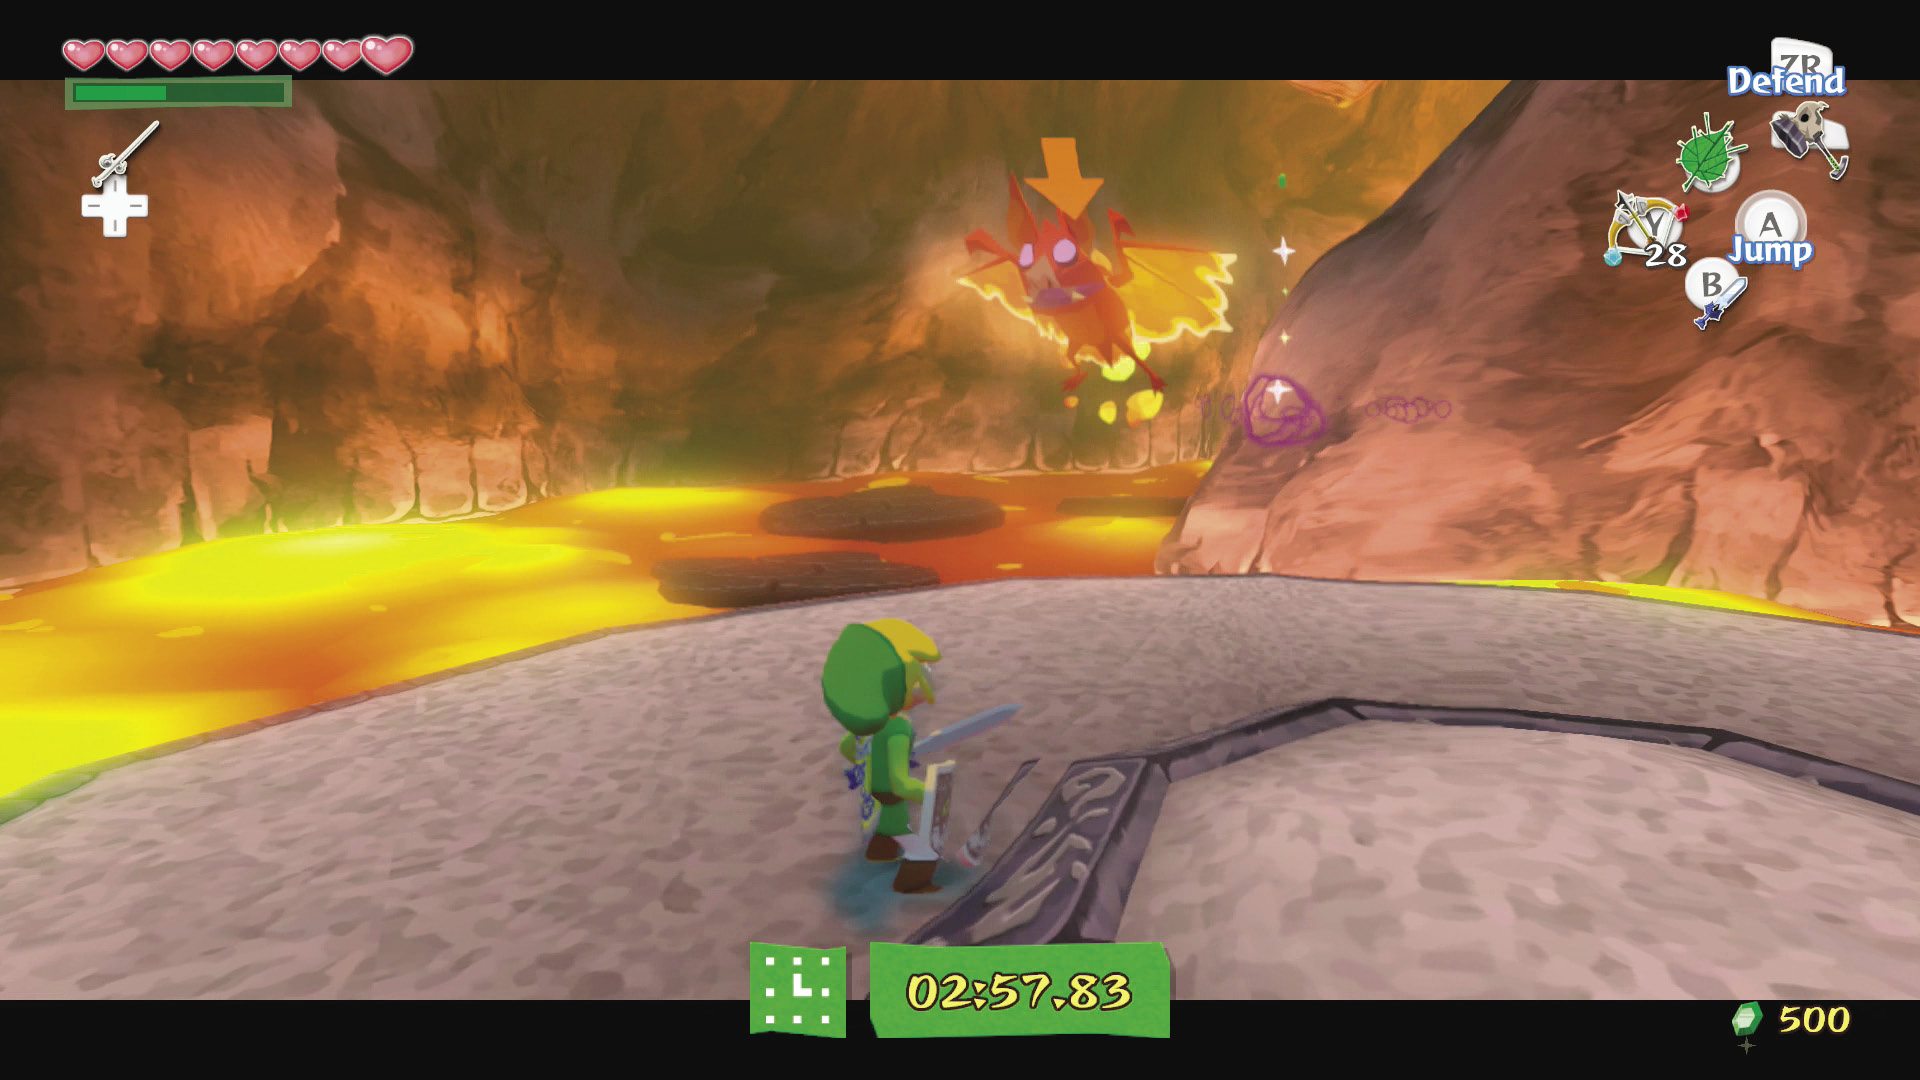
Use your Boomerang to defeat the Fire Keese inside the mountain, then leap quickly across the platforms floating on the lava lake to reach a ledge with two Magtails. The platforms sink a couple of seconds after you land on them.
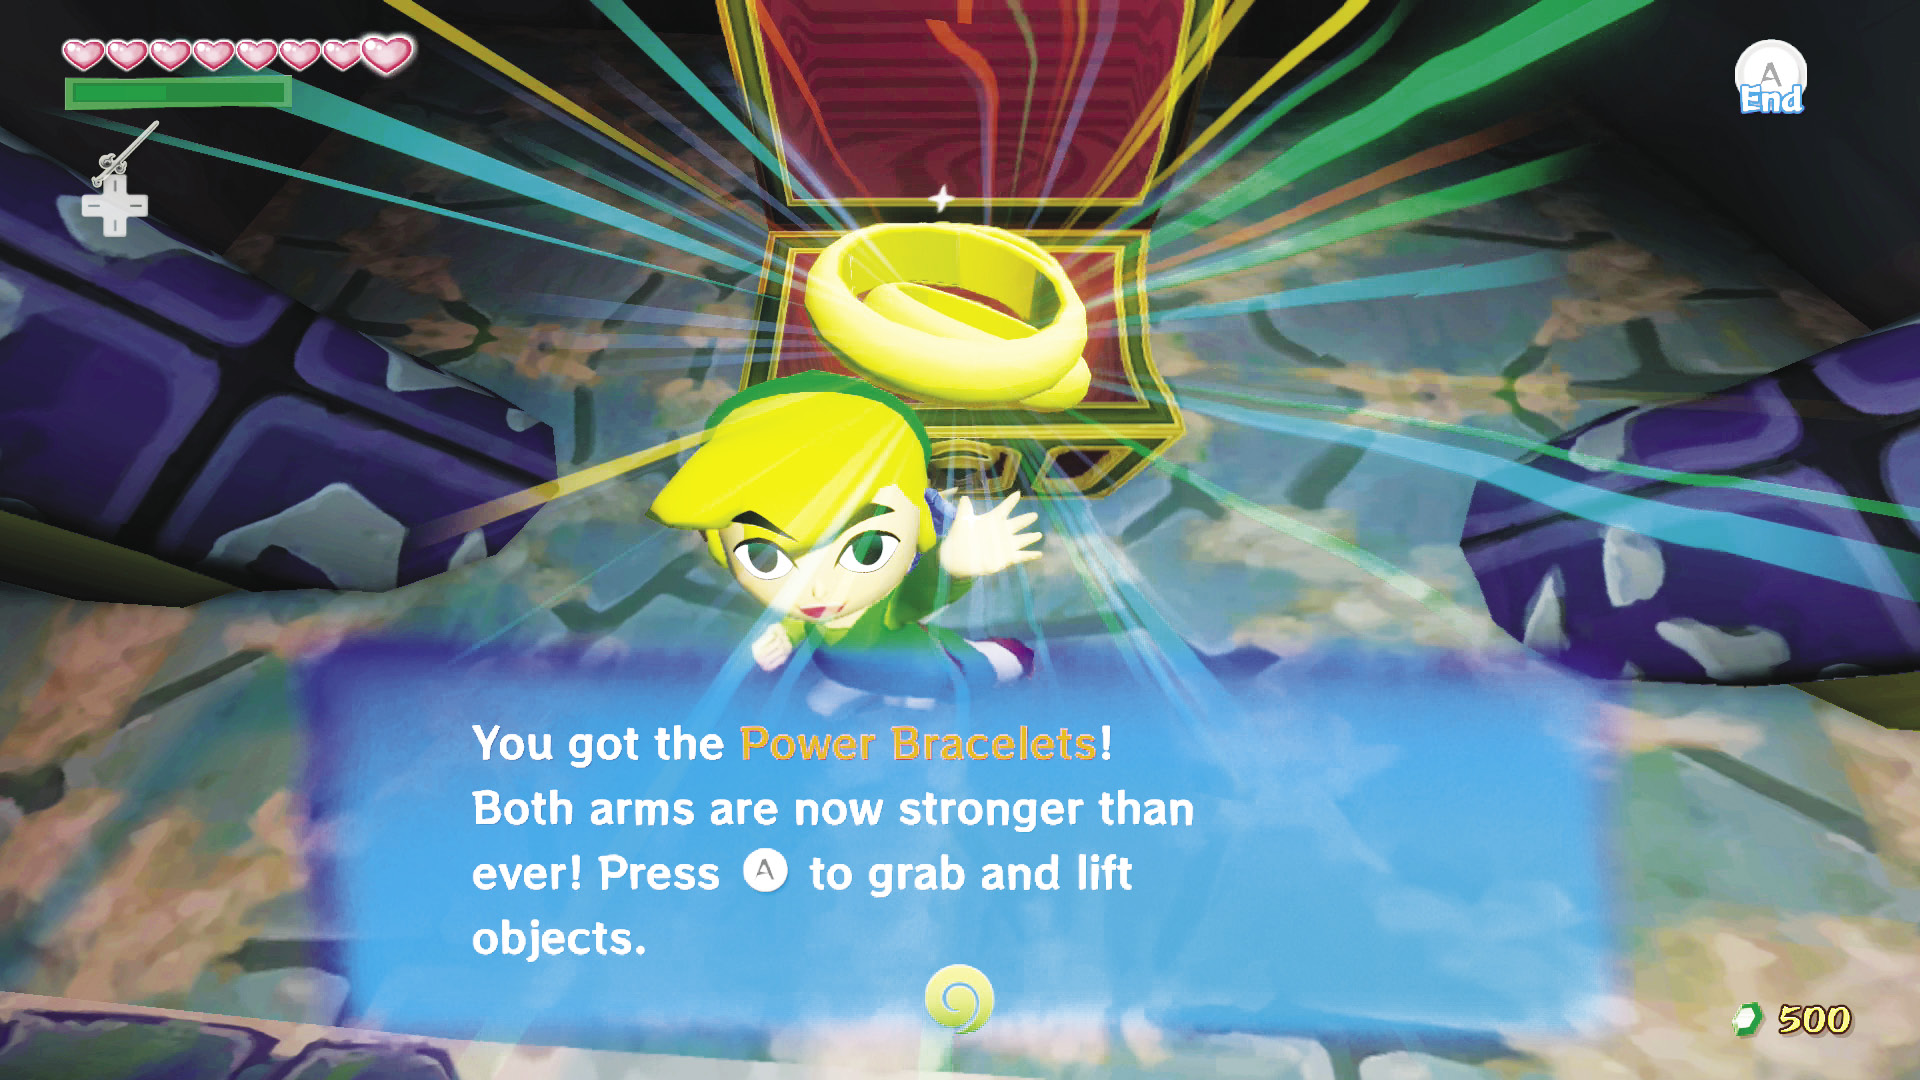
Defeat the Magtails with your parry attack. After all the enemies are gone, a chest appears on a nearby pedestal. Open it to get the Power Bracelets, which allow Link to lift extremely heavy objects. The Power Bracelets are always equipped automatically, so you don’t need to assign them to any buttons.
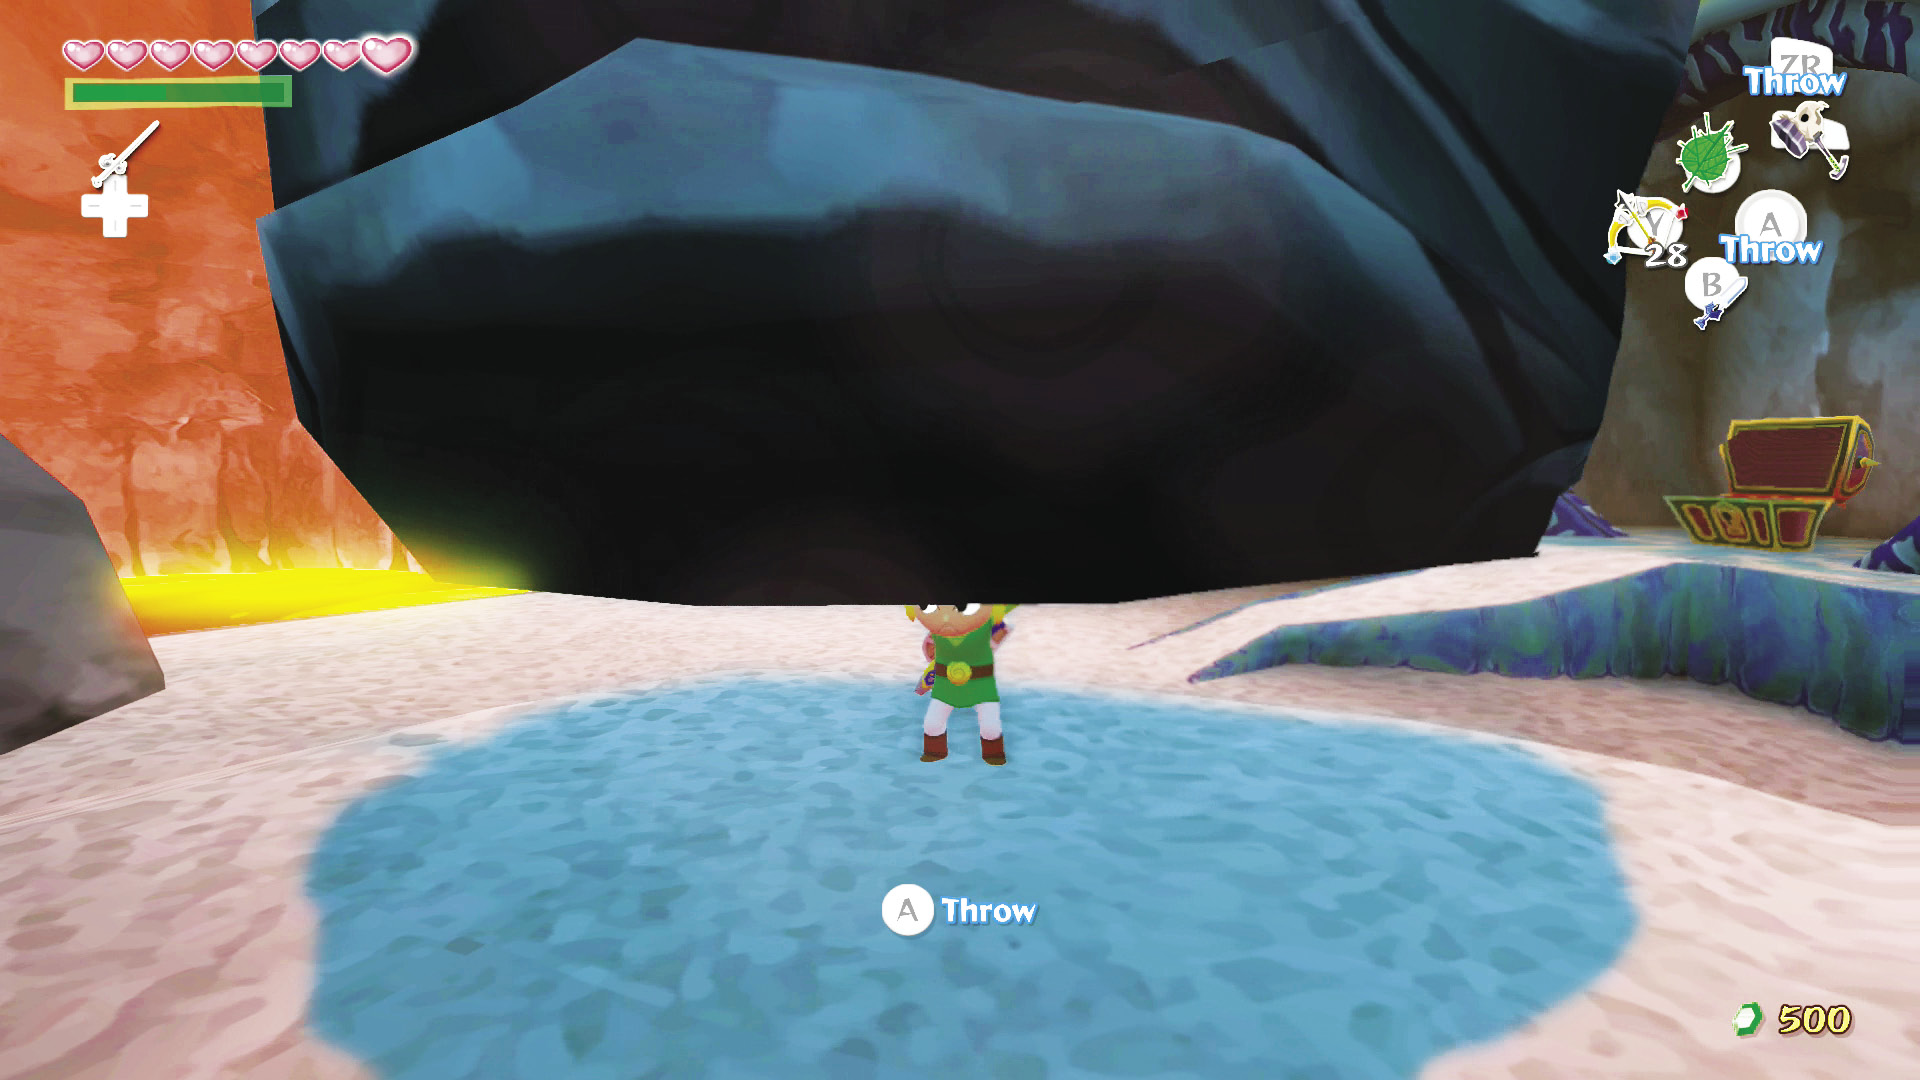
Getting the Power Bracelets also stops the clock, so you don’t have to worry about the temporarily dormant volcano becoming active. Lift the giant stone head next to the chest to reveal a passage that leads to a warp that returns you to the summit of Fire Mountain. Descend from the mountain and hop in the King of Red Lions.
Conquering the Great Sea
Star Belt Archipelago (G3)
A Freebie!
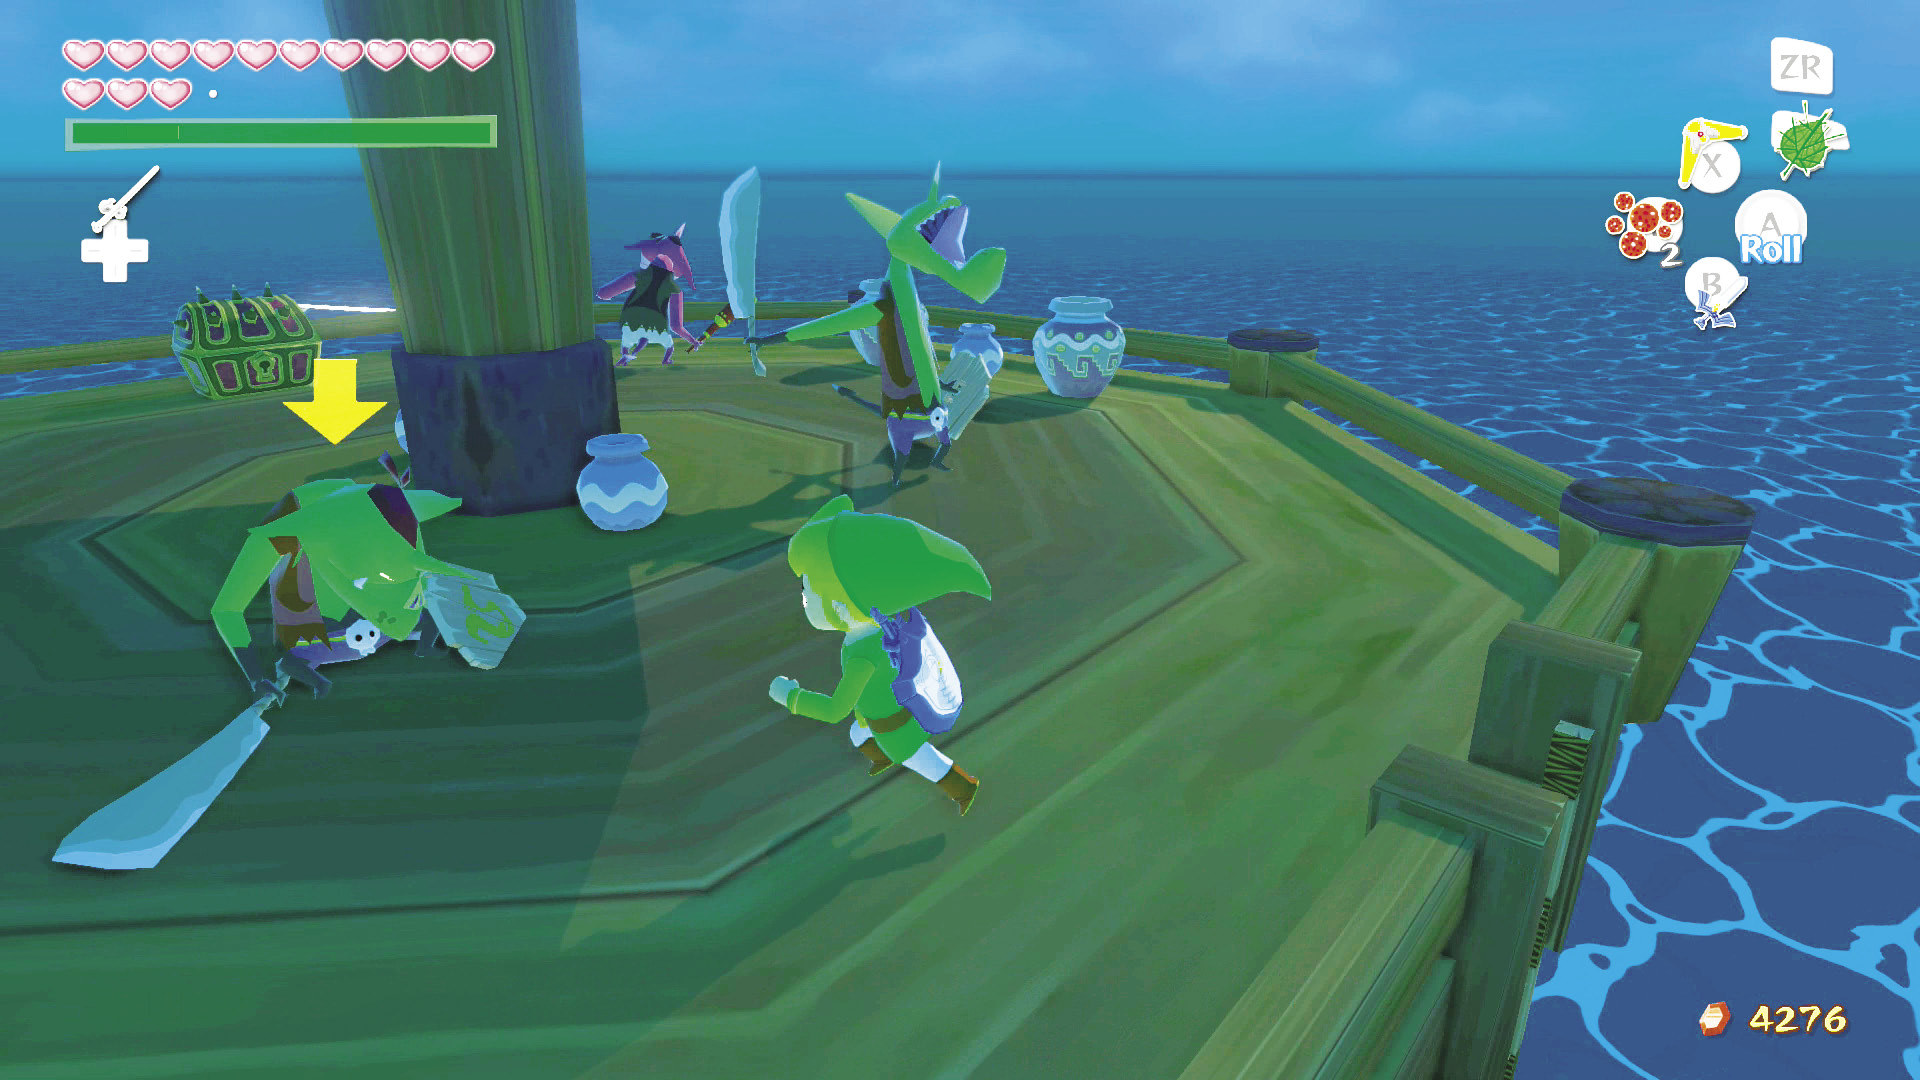
The Sea Platform in this sector has Treasure Chart #44. To claim it, just open the chest on the Platform. You’ll need to contend with cannons and Bokoblins, but you don’t need to defeat these threats to reveal the chest.
|
|
111 |
Treasure Chart #44 |

Outset Island (B7)
That’s a Big Ol’ Pig
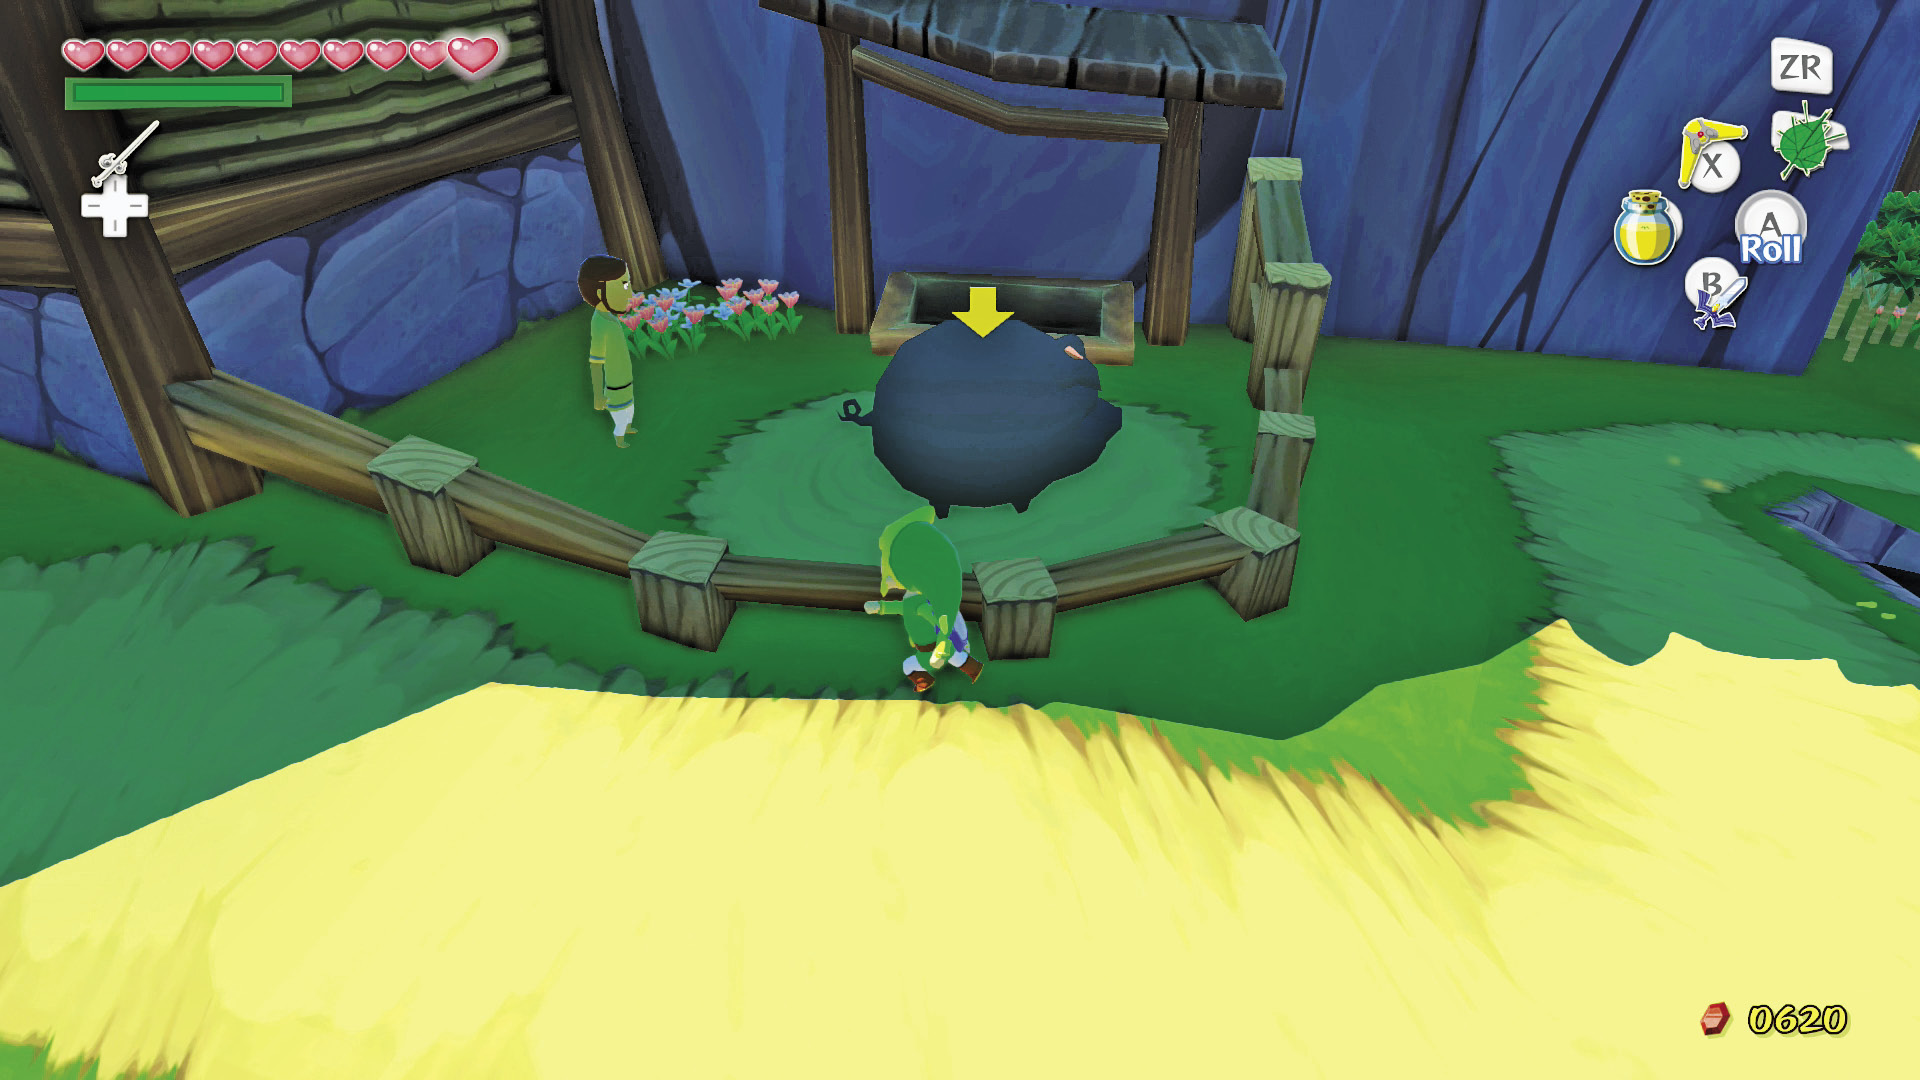
When you return to Outset Island, go up to Rose and Abe’s house. Their pigpen holds an extremely fat, gray pig. Abe hints that the pig, given some All-Purpose Bait, loves to dig in dark soil. Carry the pig to the lower area of the island. Cross the wooden planks to the east side, where you see two patches of dark soil.
Put the pig down on the dark gray patch of soil nearest the rocky wall and then spread some All-Purpose Bait. The pig grunts, eats the bait, and then digs, pulling out Piece of Heart #37.
|
|
112 |
Piece of Heart #37 |

The Hurricane Spin
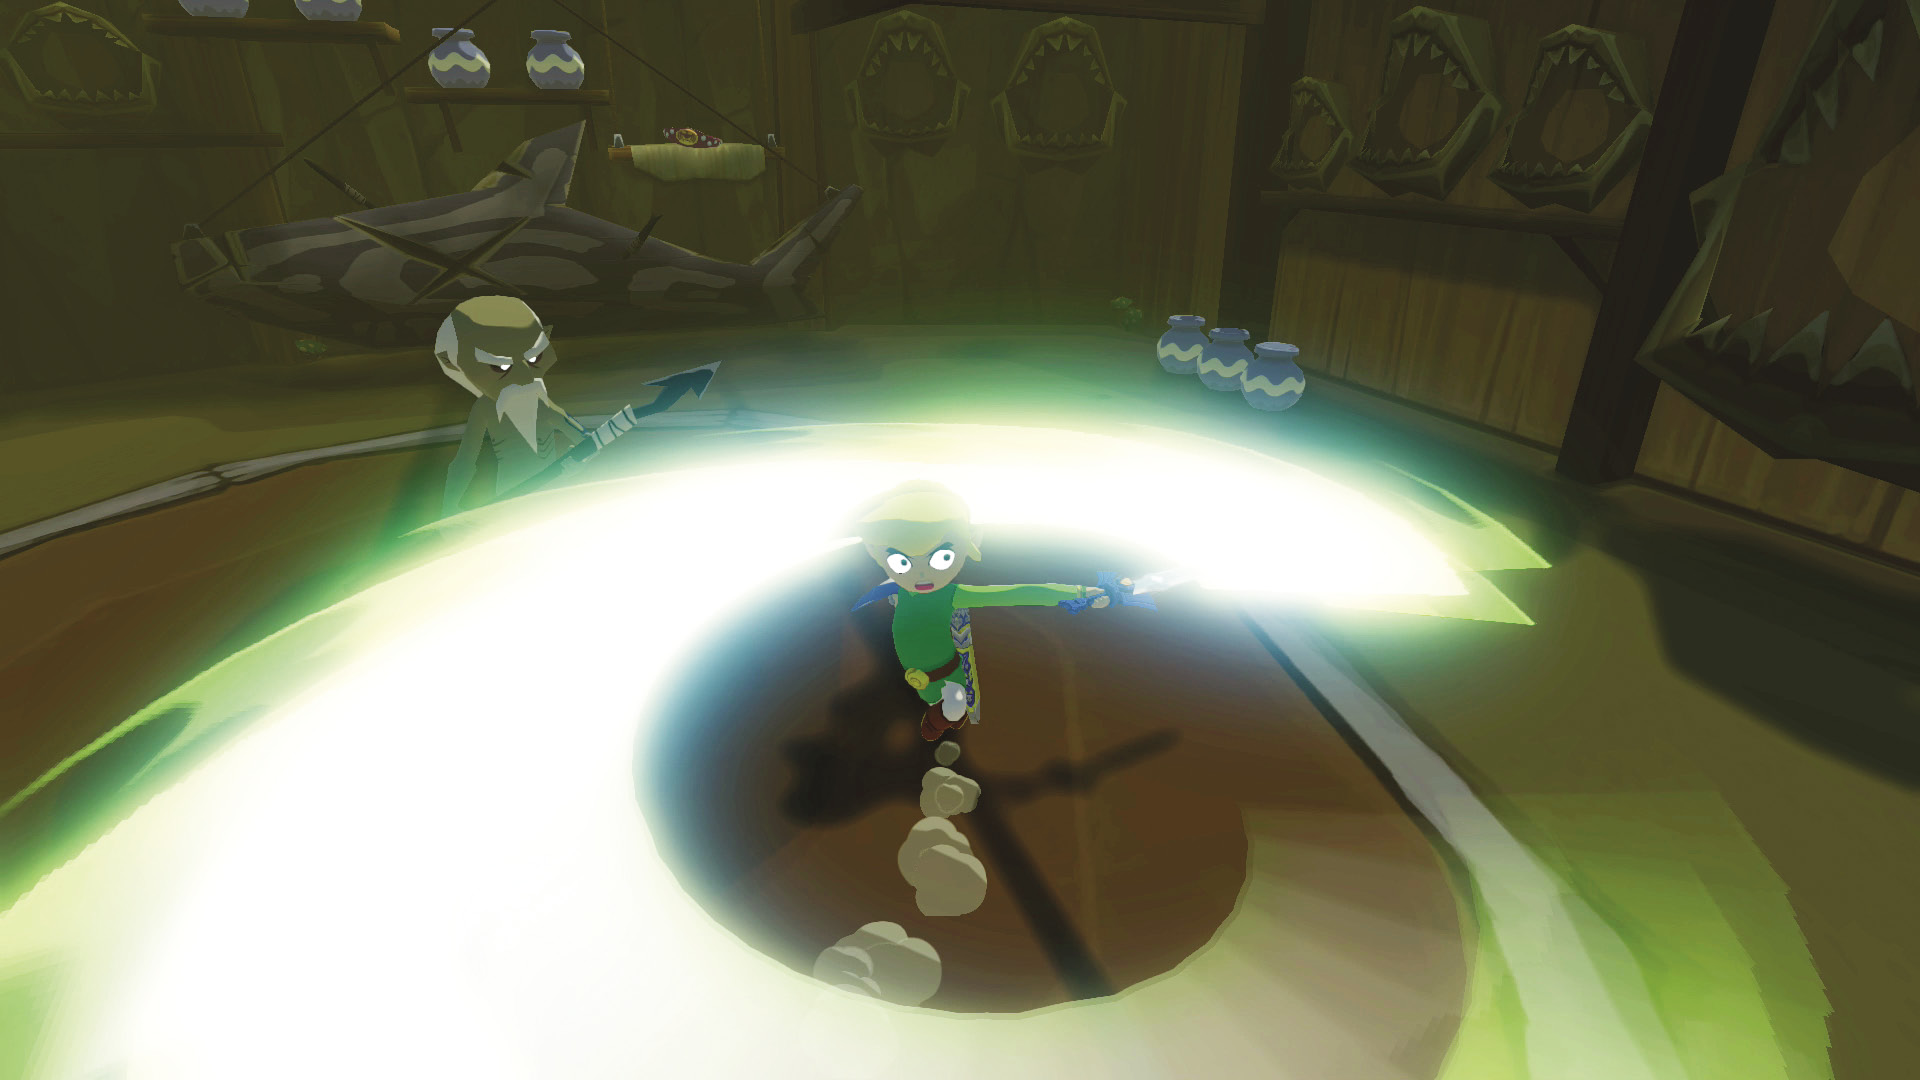
If you currently have 10 Knight’s Crests in your inventory, give them to Orca and he’ll teach you the Hurricane Spin, the ultimate spin attack. Just hold down  for a bit longer than normal and let ’er rip. This move takes a bit of your Magic Bar, but you’ll spin, well, like a hurricane, so it’s probably worth it.