The Legend of Zelda: The Wind Waker Guide Walkthrough Dins Pearl and the Spirit of the Skies
Dragon Roost Cavern (F2)
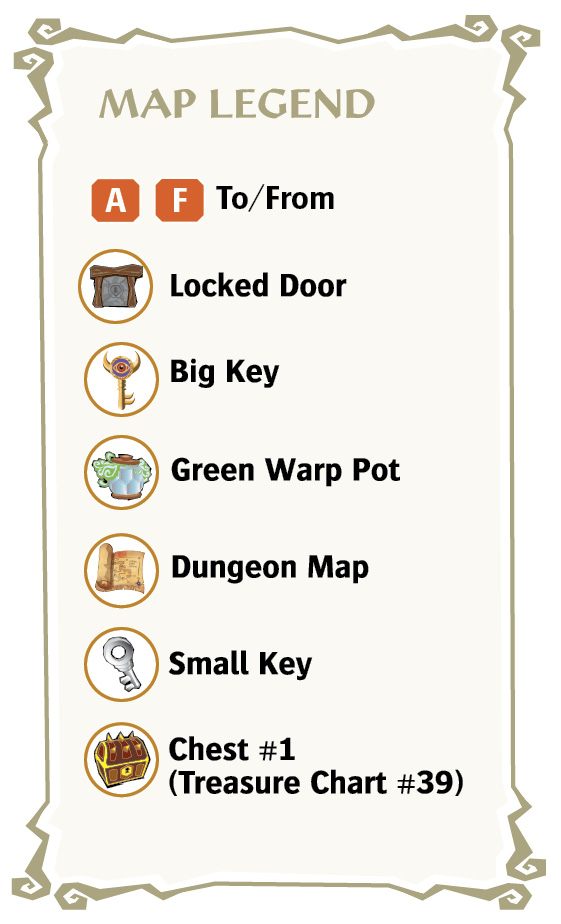
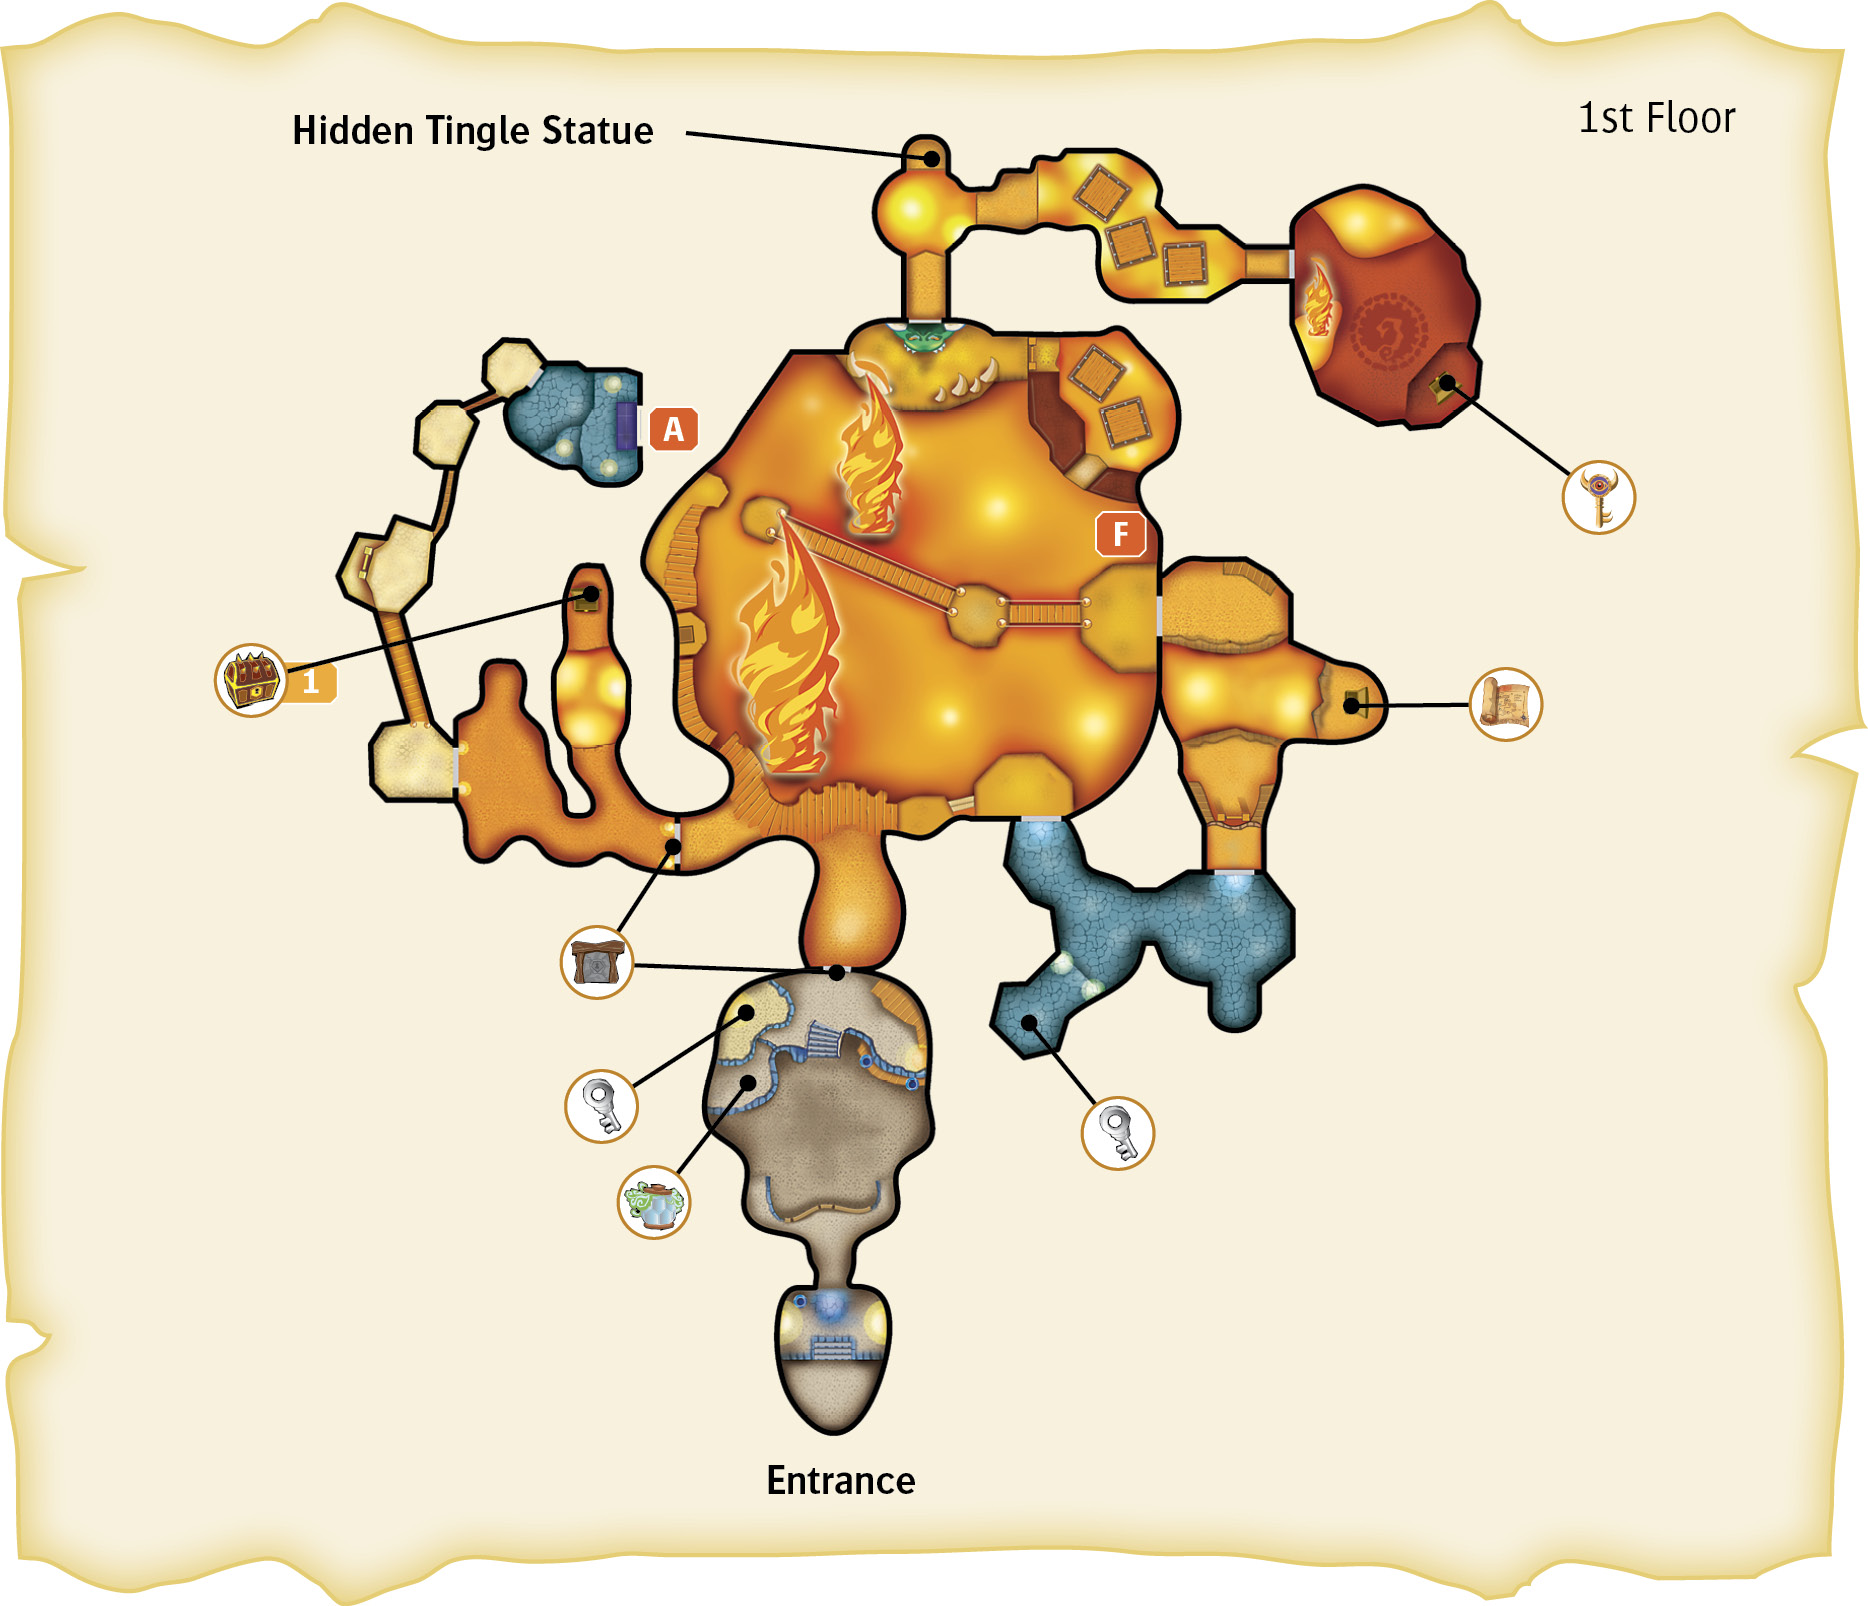
First Floor
1. Is It Hot in Here?
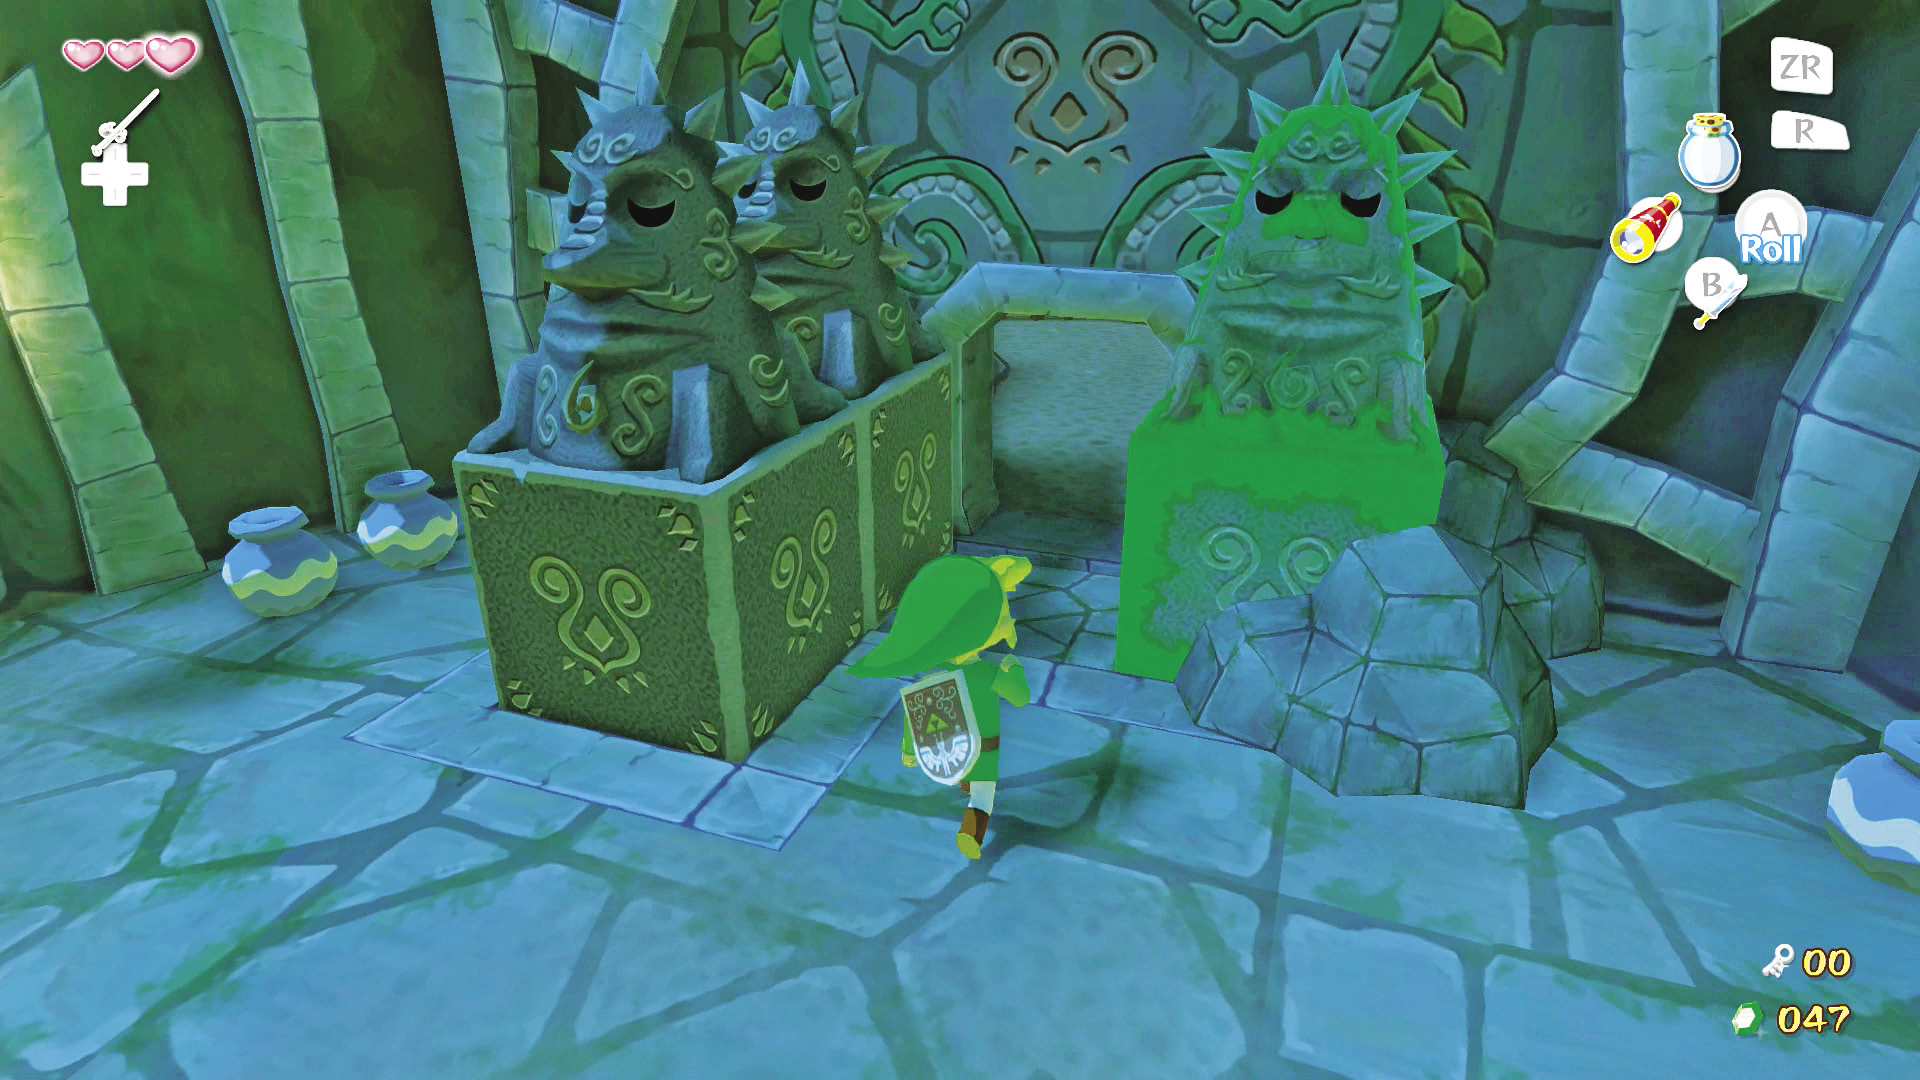
After entering Dragon Roost Cavern, you must find the entrance to the bulk of the dungeon. This entrance resides behind the three statues directly ahead. Pull the statue on the left forward, then pull the middle statue behind the leftmost statue. This will reveal a doorway leading to the room’s main area.
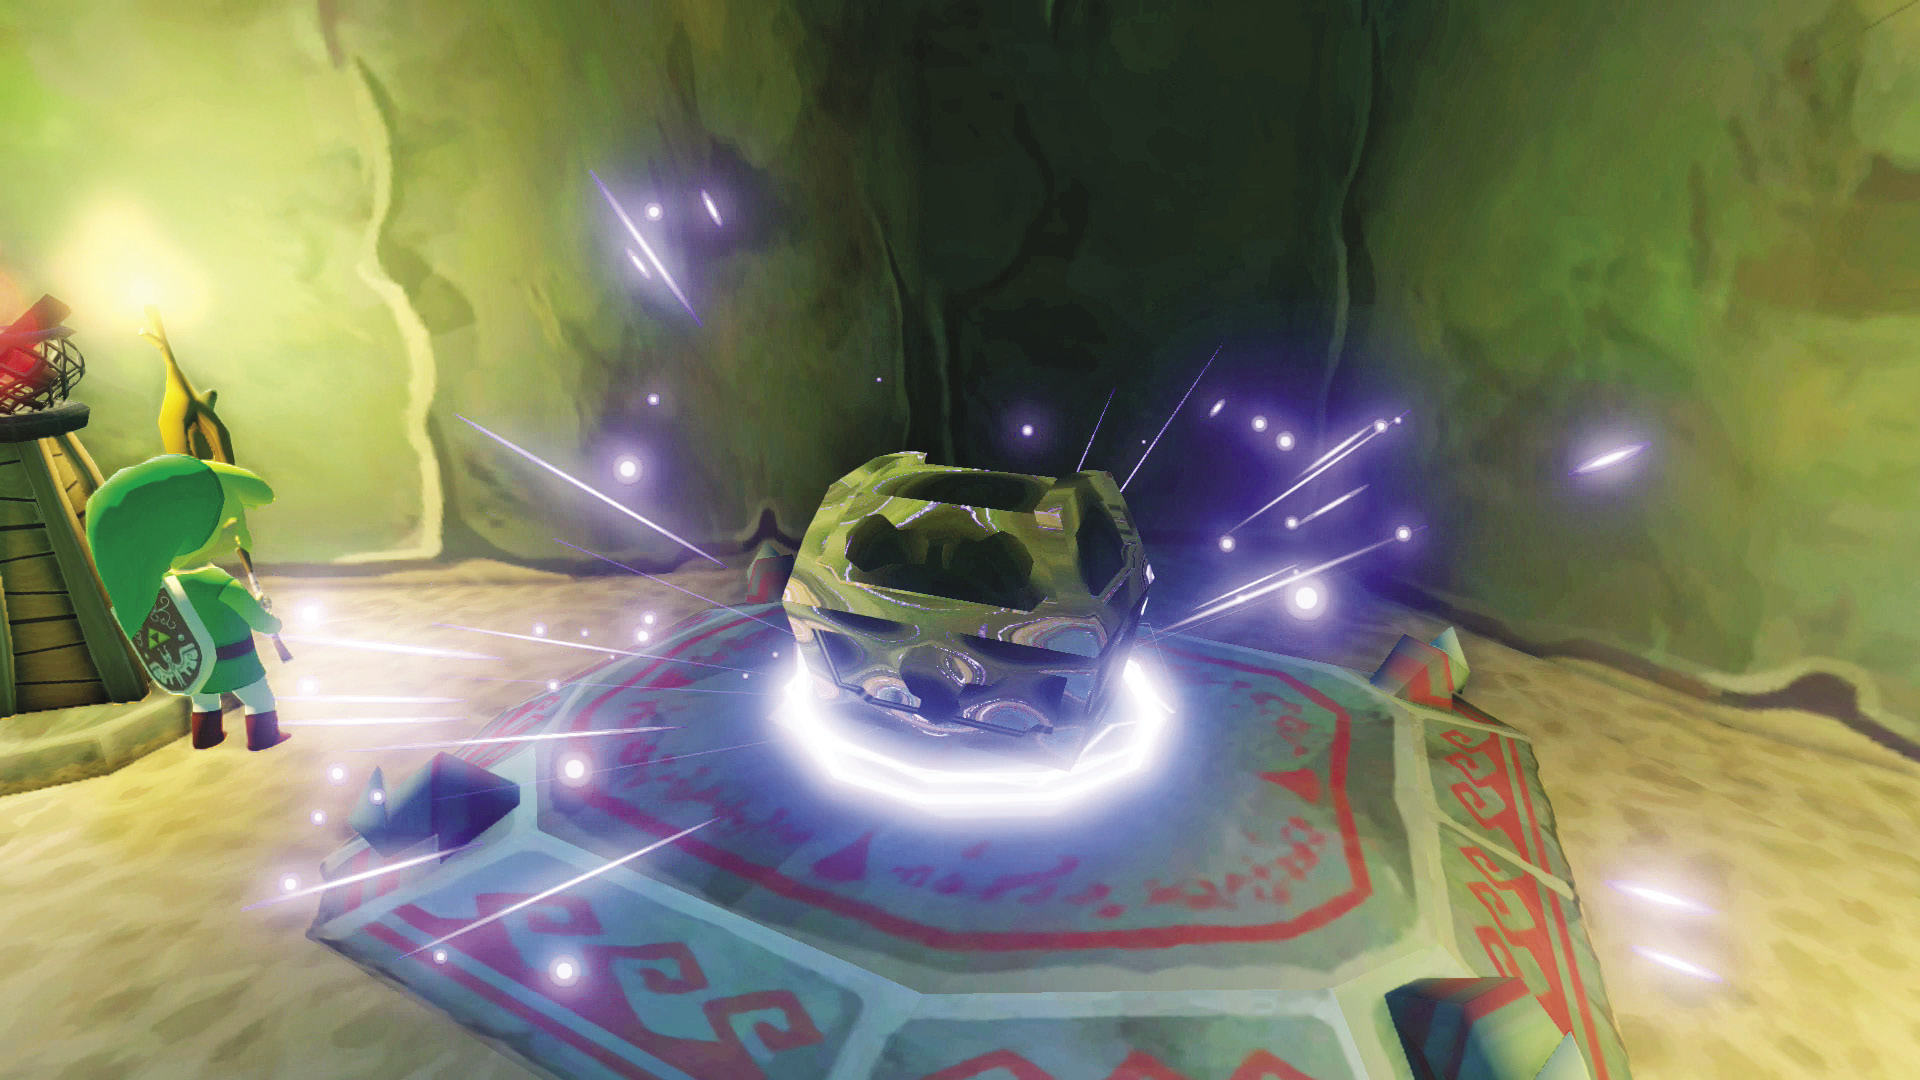
Defeat the two Bokoblins in the center of the room and pick up one of their sticks. Take this to the torch just up the stairs and to the right of the locked door. Light the Deku Stick with the torch, then run to the room’s west side. Light the two torches on top of the elevated platform to reveal a treasure chest containing a Small Key. Use the Small Key to unlock the locked door and head on through.
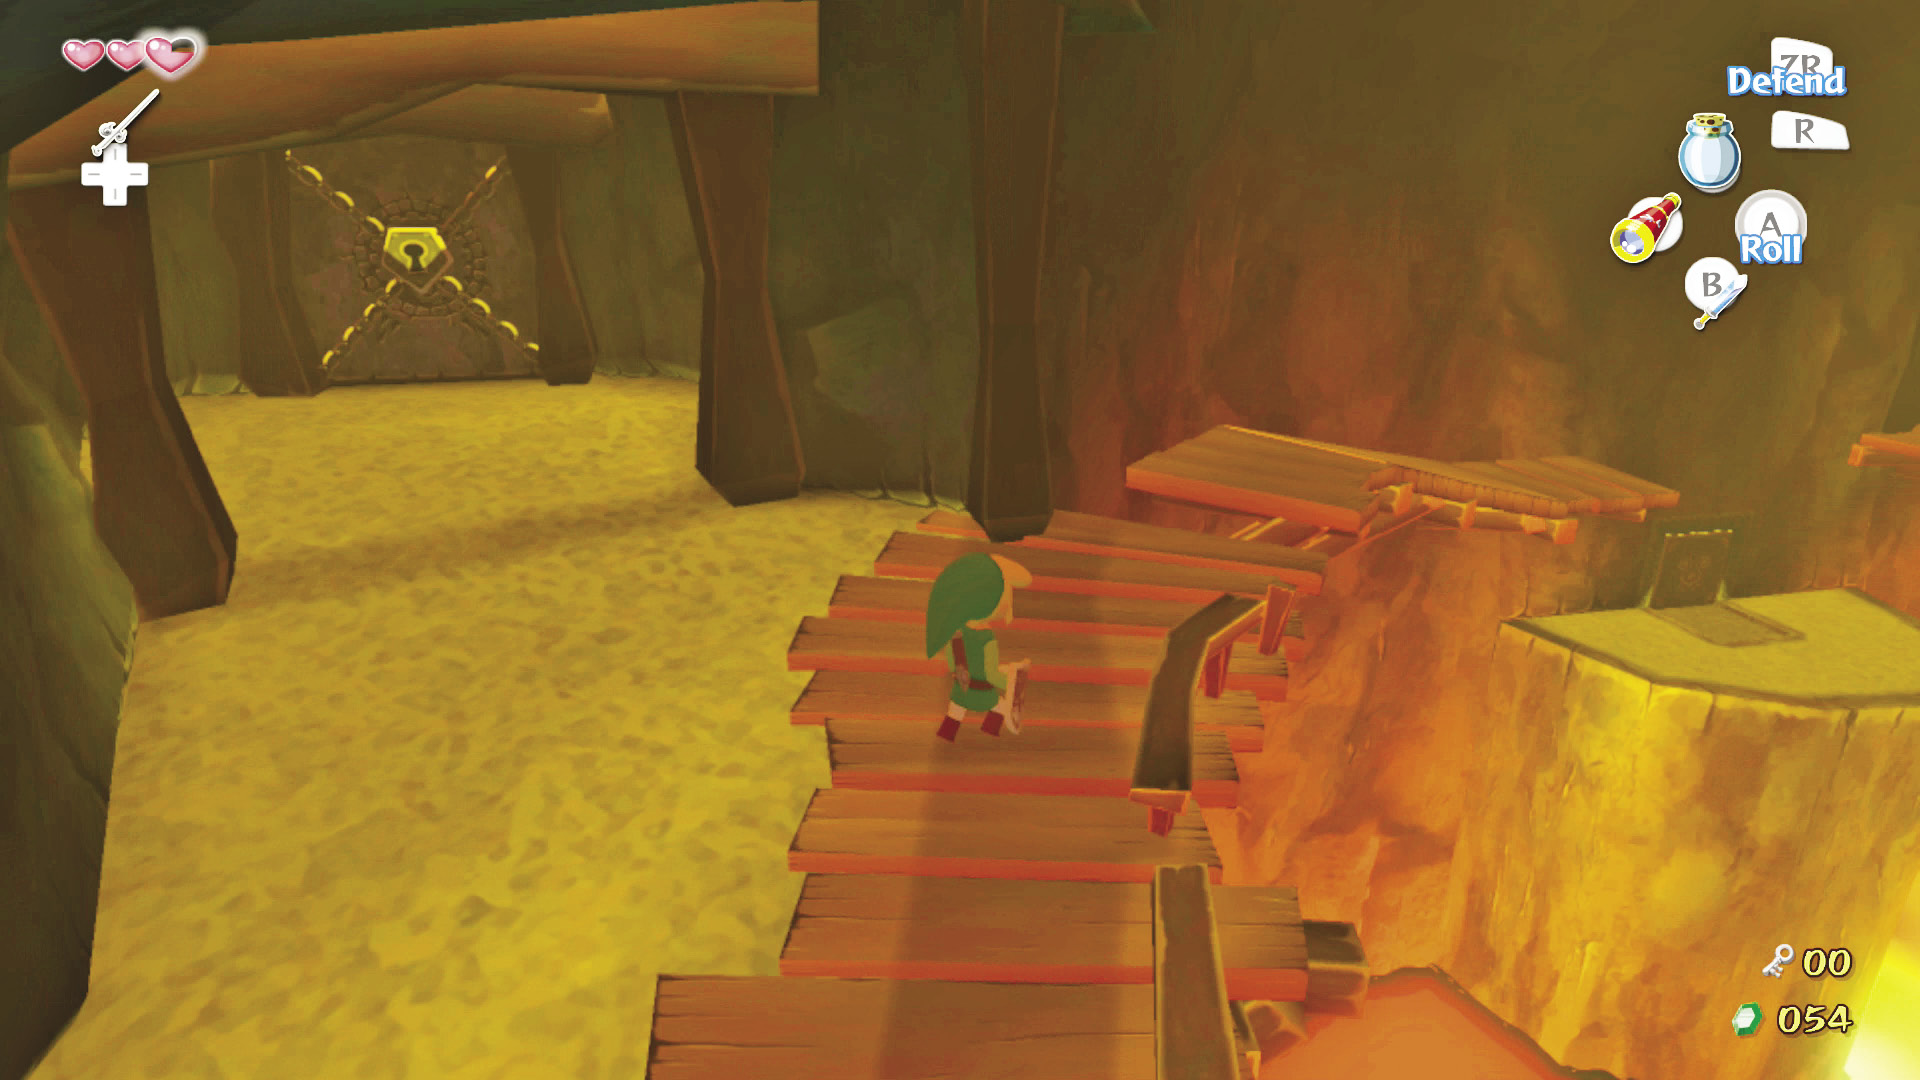
After entering the room, head down the hall and use your sword to destroy the boards blocking your path. Take a left and follow the wooden path that goes along the wall, passing the locked door. Hop over the small gap in the wooden path and continue until you reach another gap in the path.
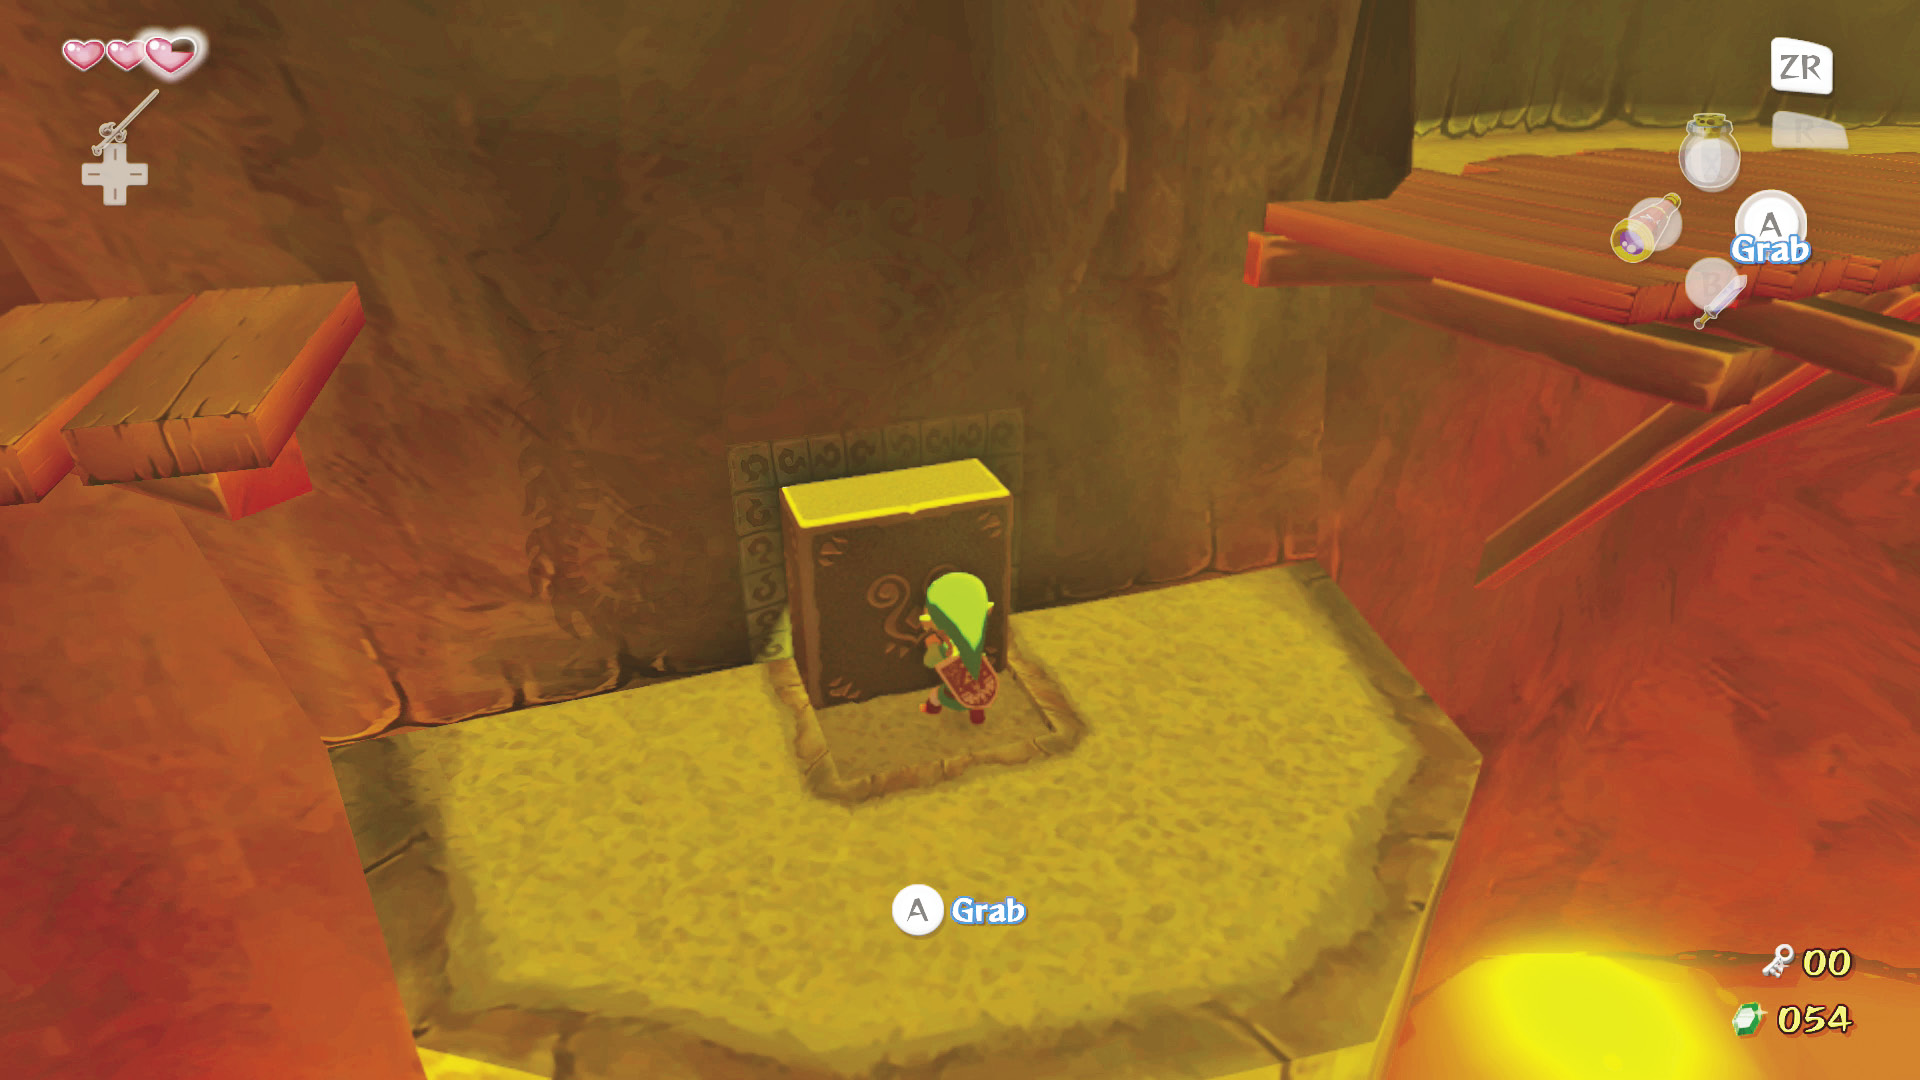
Jump to the platform below the wooden path and pull the cube out of the wall on your left. Climb the cube and hop to the other side of the broken wooden path. Follow the wooden path to its end. To the right is another platform you can jump on and ahead is a suspension bridge. Cautiously jump to the other platform; a pillar of lava will shoot up periodically between where you are standing and the platform ahead. Cross the bridge and defeat any Keese that try to attack you.
Enemy: Keese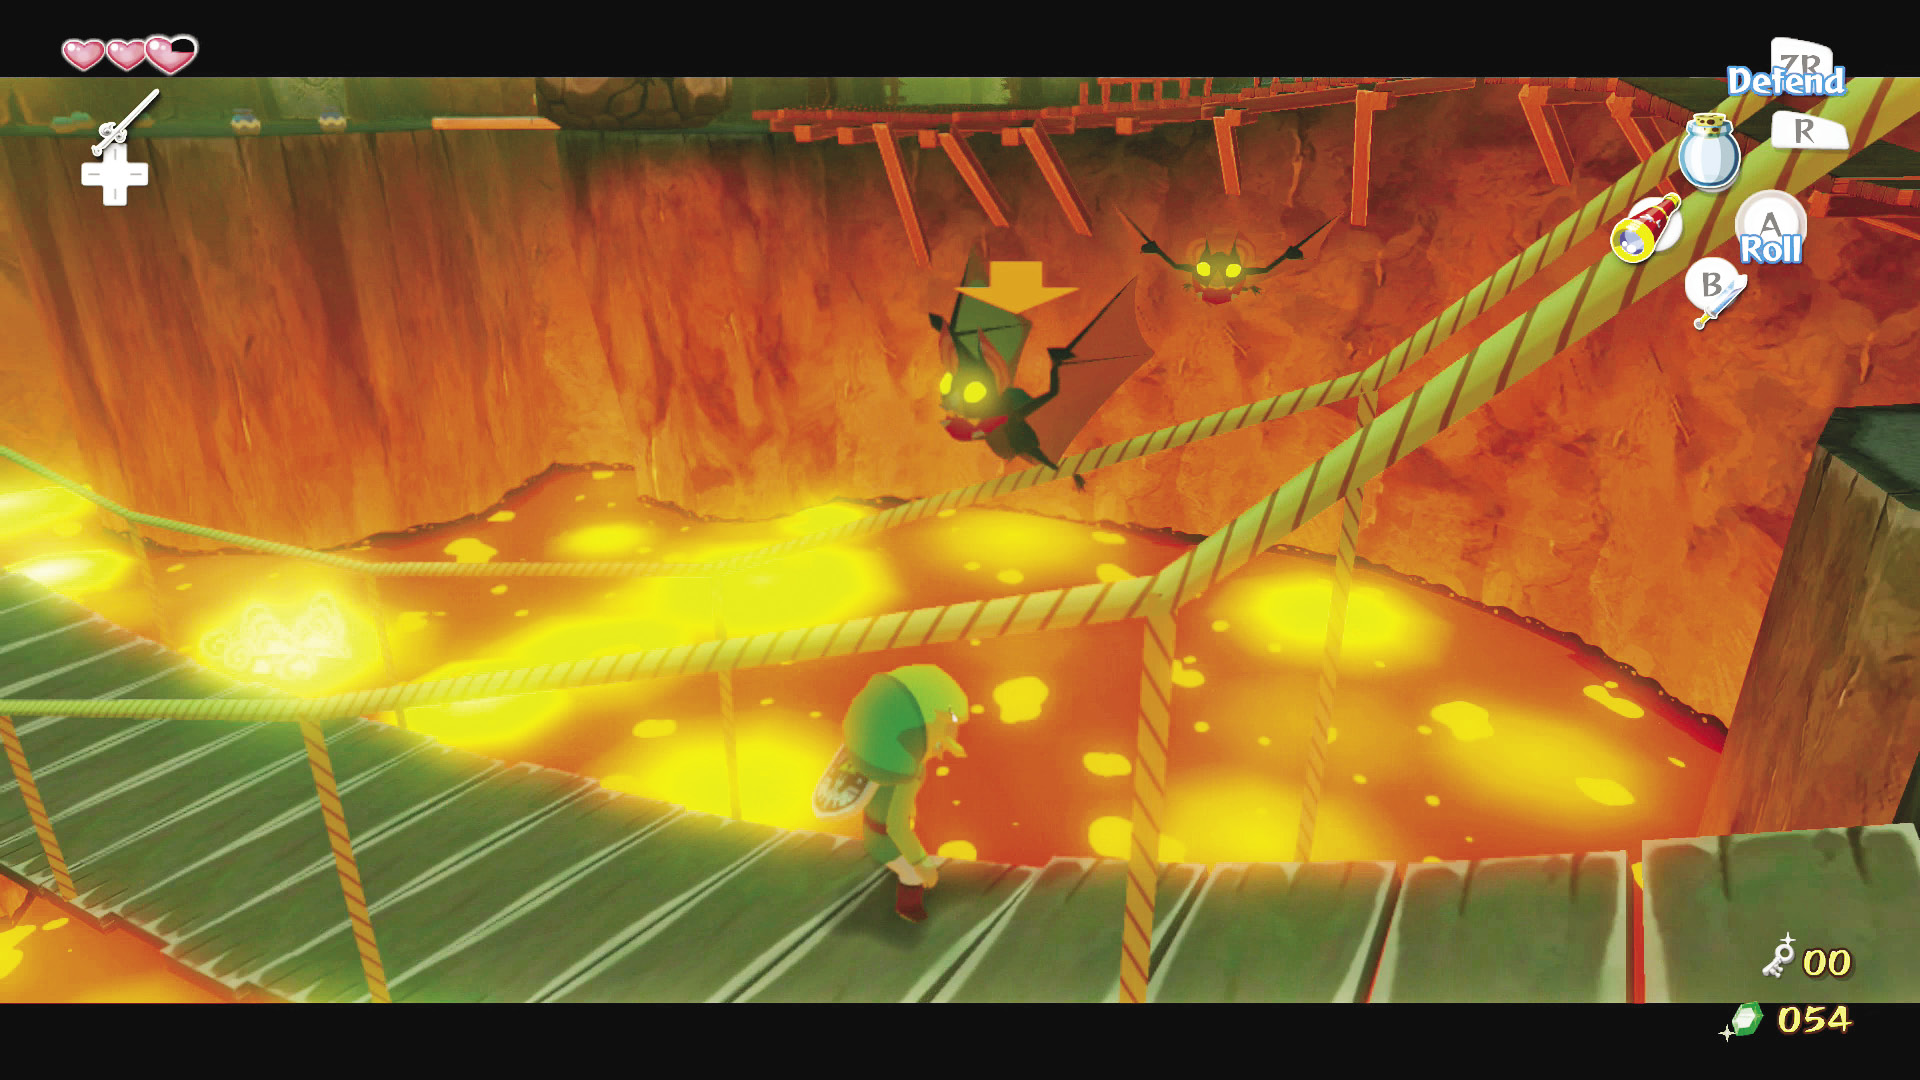 Keese are the batlike creatures that hang about a given room until you walk near them. Once angered, these aeronautical rodents will chase you until you get well away from them or until you defeat them. A single shot from anything will take out one of these brittle bats, but their airborne hijinks make them very difficult to hit without a ranged weapon. Wait for them to come in close, then strike. |
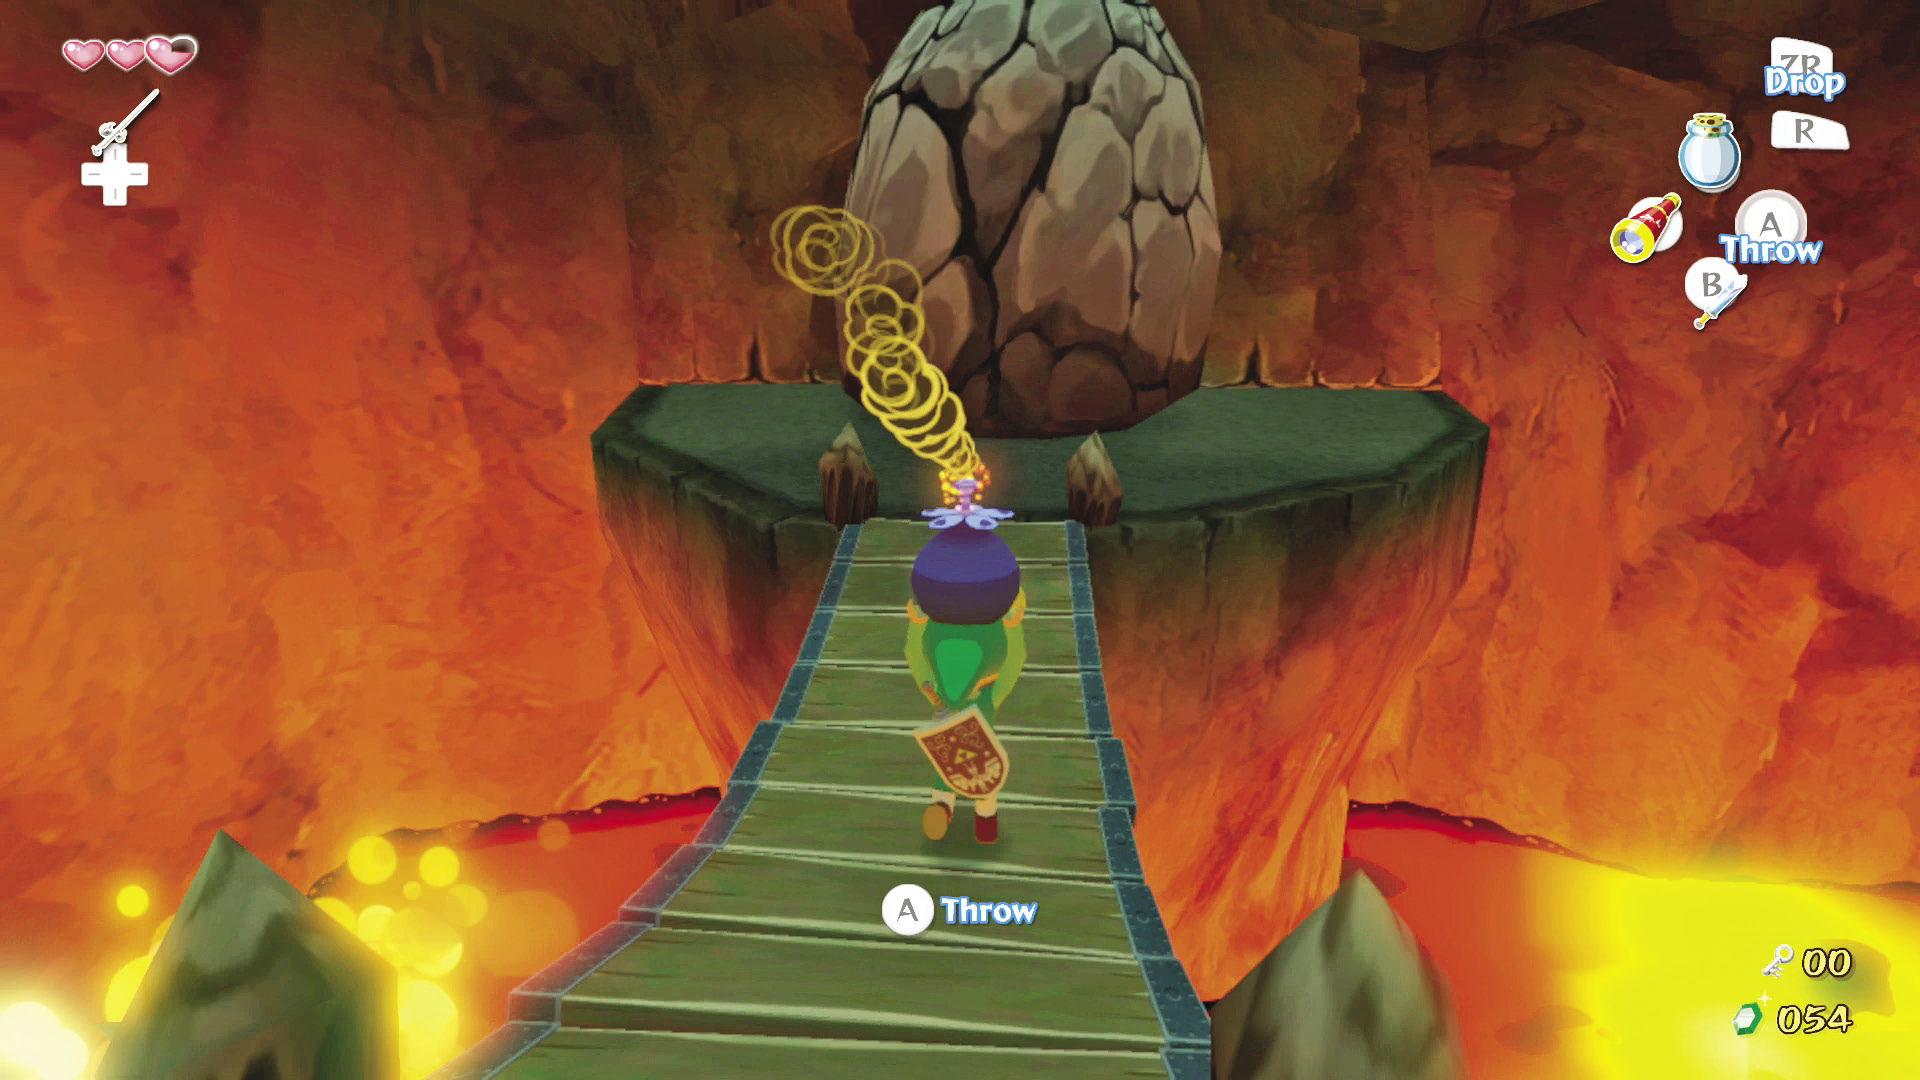
At the end of the bridge are some Bomb Flowers. Pick up a piece of Bomb Flower fruit, hop to the other platform ahead, and throw the bomb at the boulder. Head through the door that was hidden behind the boulder.
2. Firewalker
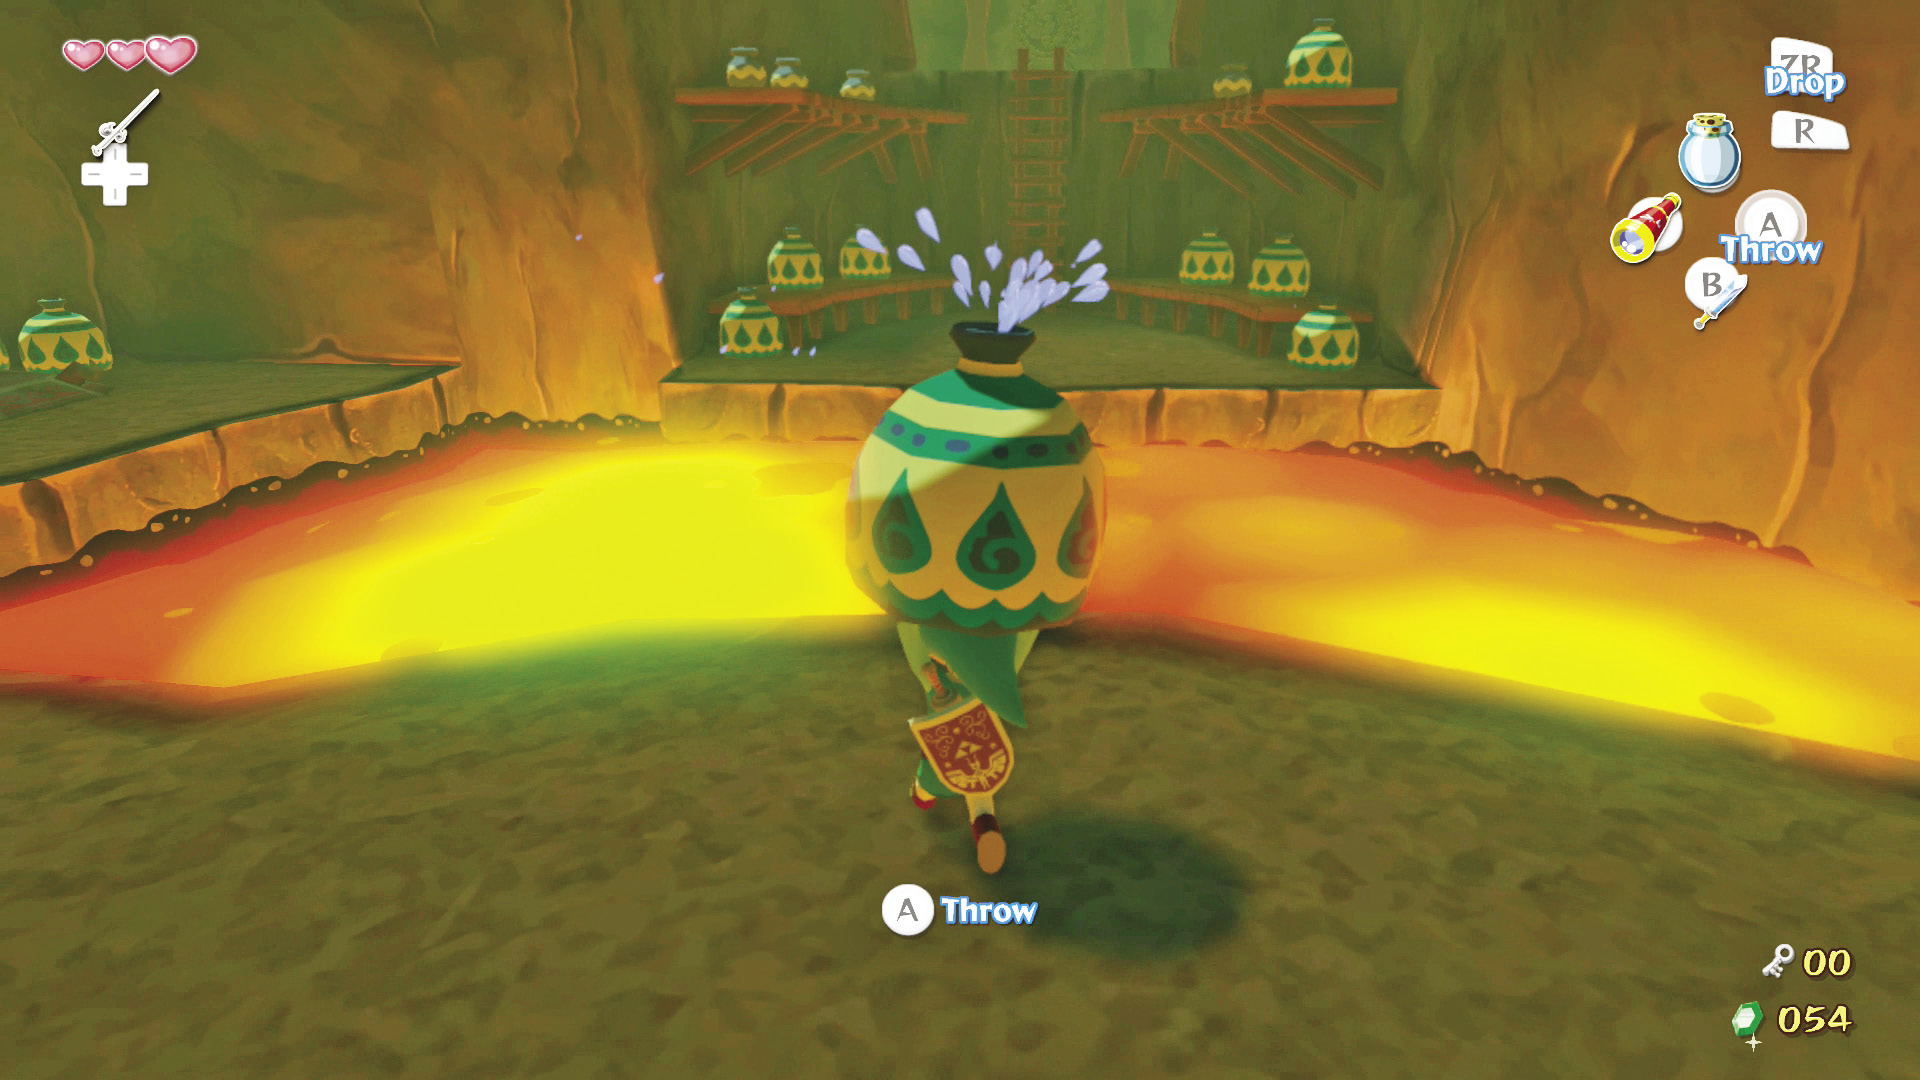
At first glance it seems this room is a dead end, given the pool of lava that separates you from the rest of the room. But the solution for dealing with meddling magma is the pots stationed around the room. Simply pick up one of the pots and throw it into the lava. The pots are filled with water and will create a platform of lava rock that is perfect for crossing the thermogenic pool.
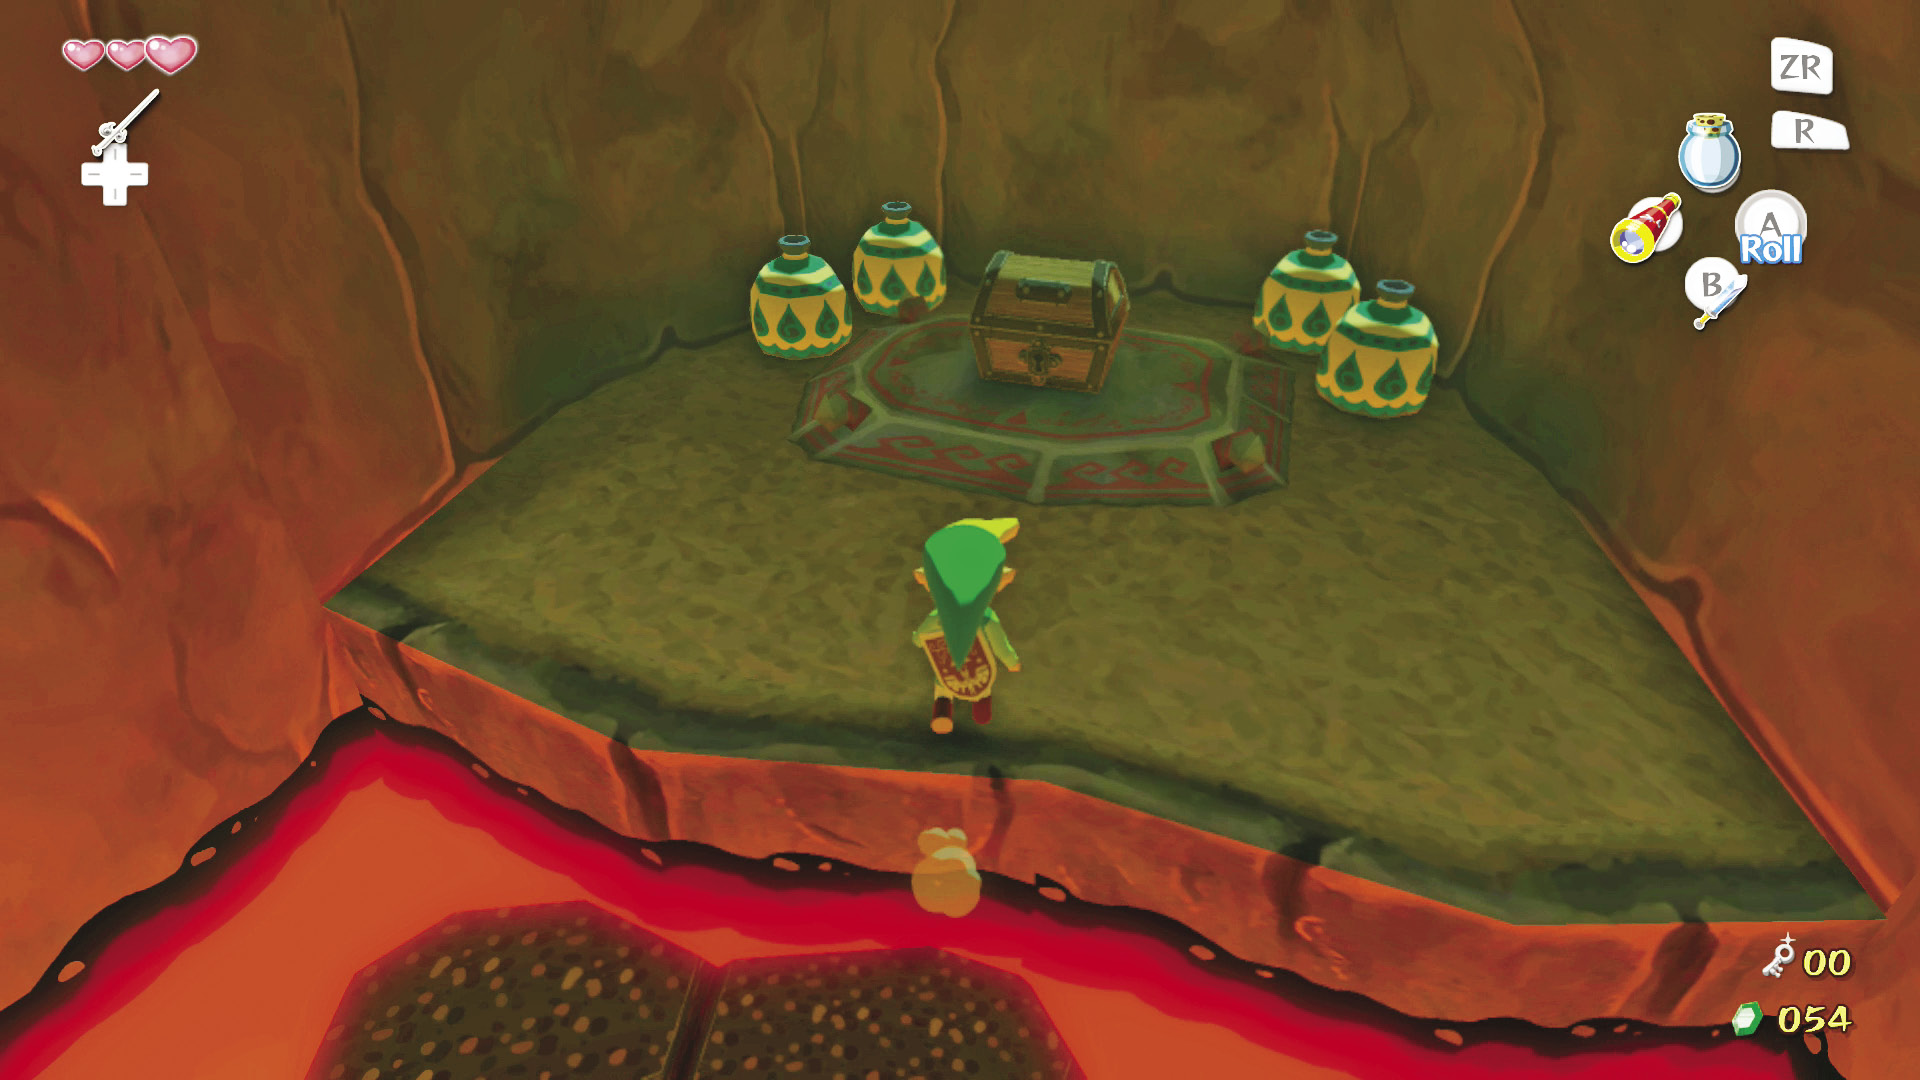
While traversing the lava pool, your first stop is the platform on the pool’s left side. You’ll find a treasure chest containing the Dungeon Map for Dragon Roost Cavern, which will help you keep track of where you are, where you’ve been, and where you want to go. Use the water pots behind the chest to create a path that leads to the room’s south section. Climb the ladder, but stop short of the top. A Red ChuChu will drop onto the ledge at the top of the ladder. Climb back down, wait for it to jump to your level, and defeat it using your sword.
Enemy: Red ChuChu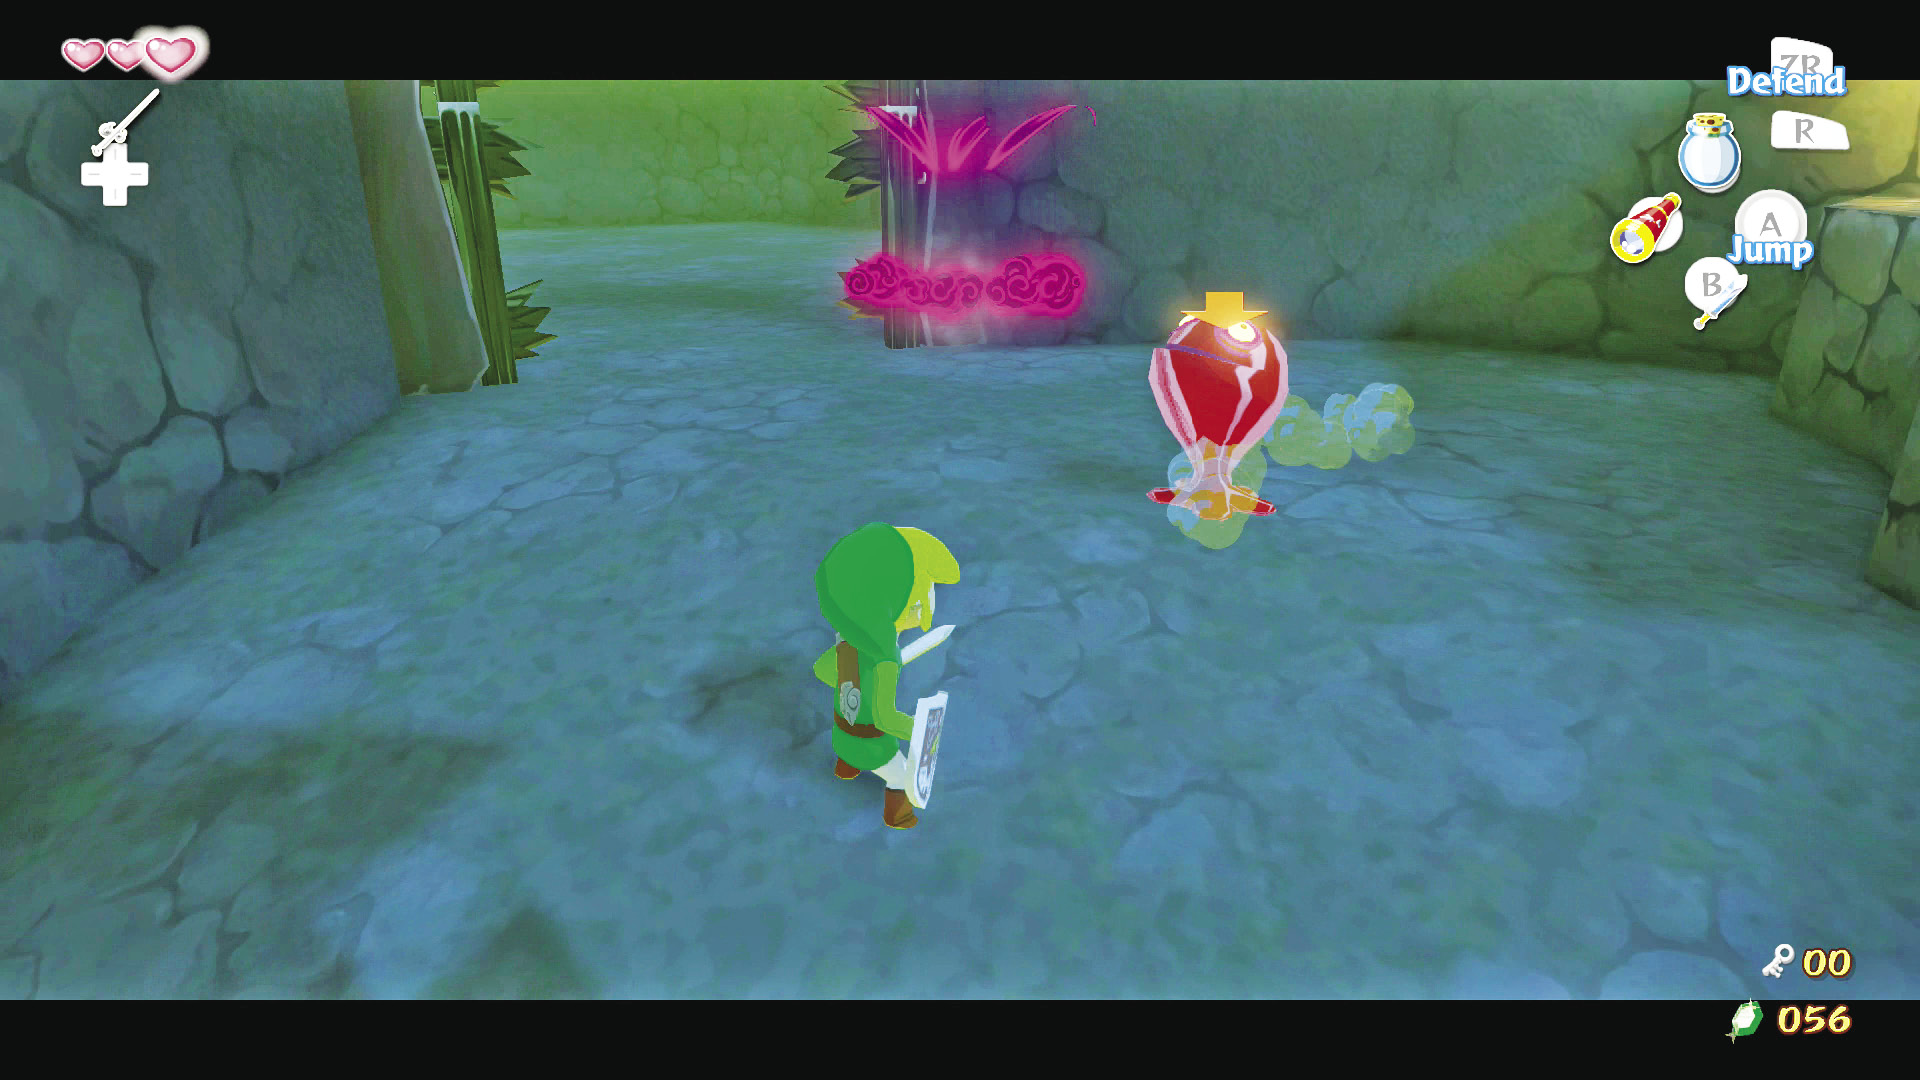 ChuChus come in a variety of flavors, and the Red ChuChu is one of the easiest to face. ChuChus will liquefy their bodies down to a puddle and navigate a room at a faster speed than their normal walking pace. They are untouchable in their puddle form. Wait until they rematerialize, then hit them with your sword to make short work of them. Just be careful: If these gelatinous jigglers touch you while they are in their solid state, you’ll take a bit of damage. |
After defeating the Red ChuChu, head back up the ladder and through the door.
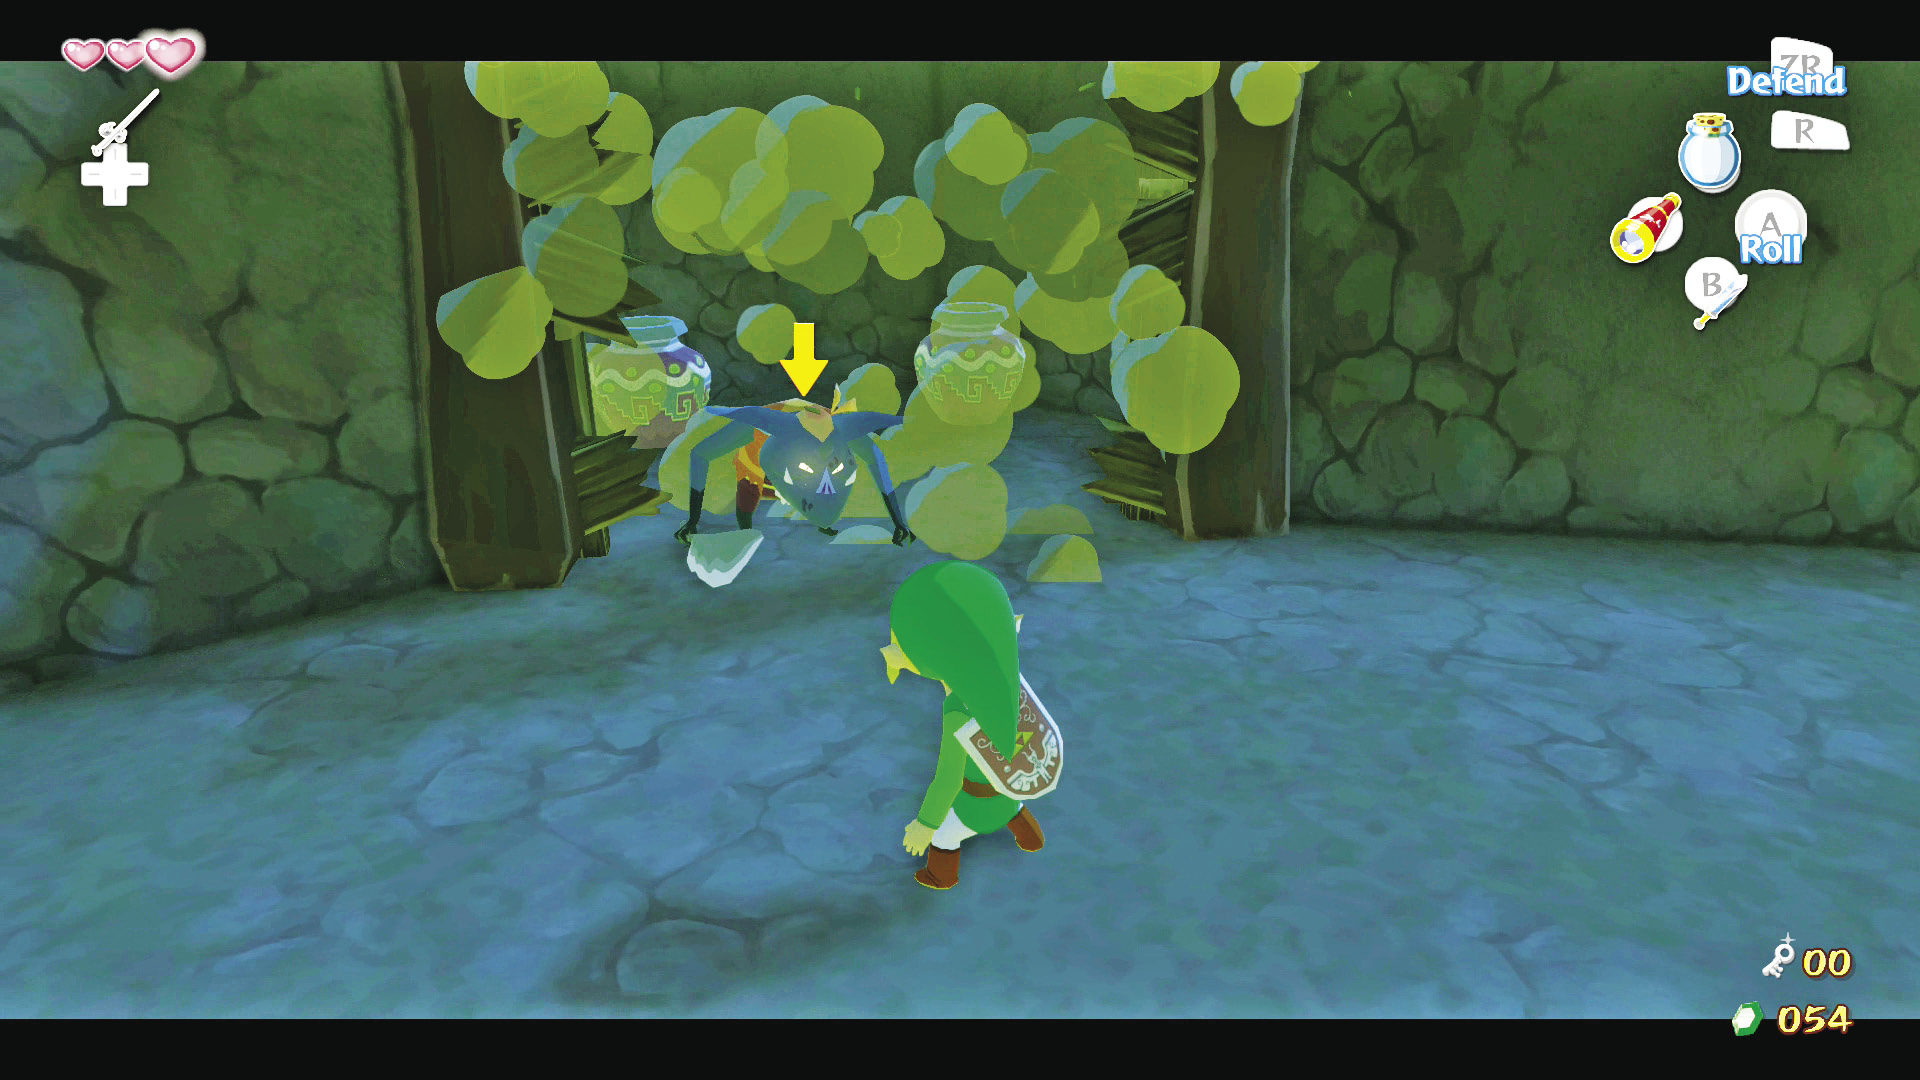
Walk slowly up to the boarded alcove ahead, and a Blue Bokoblin will burst out of the alcove, smashing through the boards. Defeat him and grab his sword. Break through the boarded passage on the room’s right side.
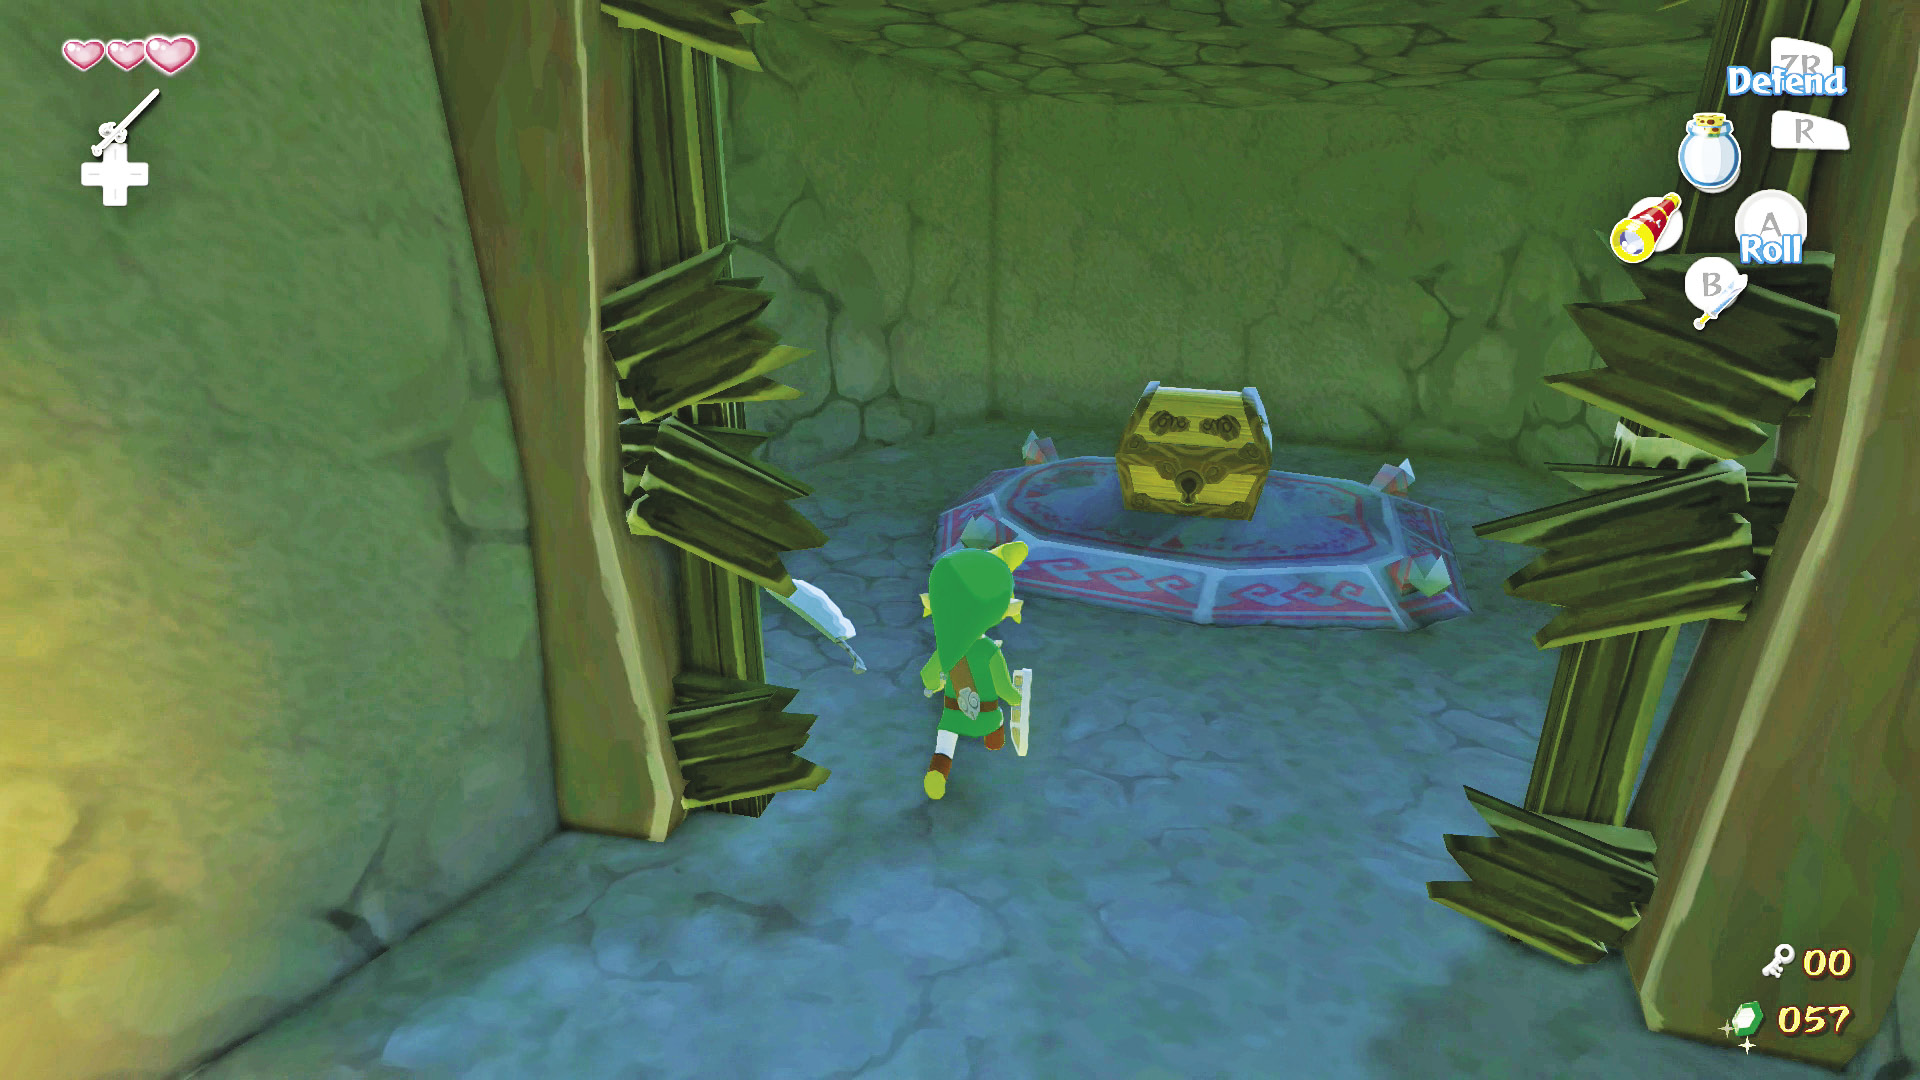
While still holding on to the Bokoblin’s sword, head to the southwest corner of the area. There’s another boarded alcove on top of an elevated platform. Before climbing up the platform, stand at the ledge’s base to bait two Red ChuChus into dropping down. Defeat them, climb up the ledge, and destroy the boards with the Bokoblin’s sword. Inside the alcove is a treasure chest with a Small Key. Head through to door at the northwest corner of the area.
3. In or Out?
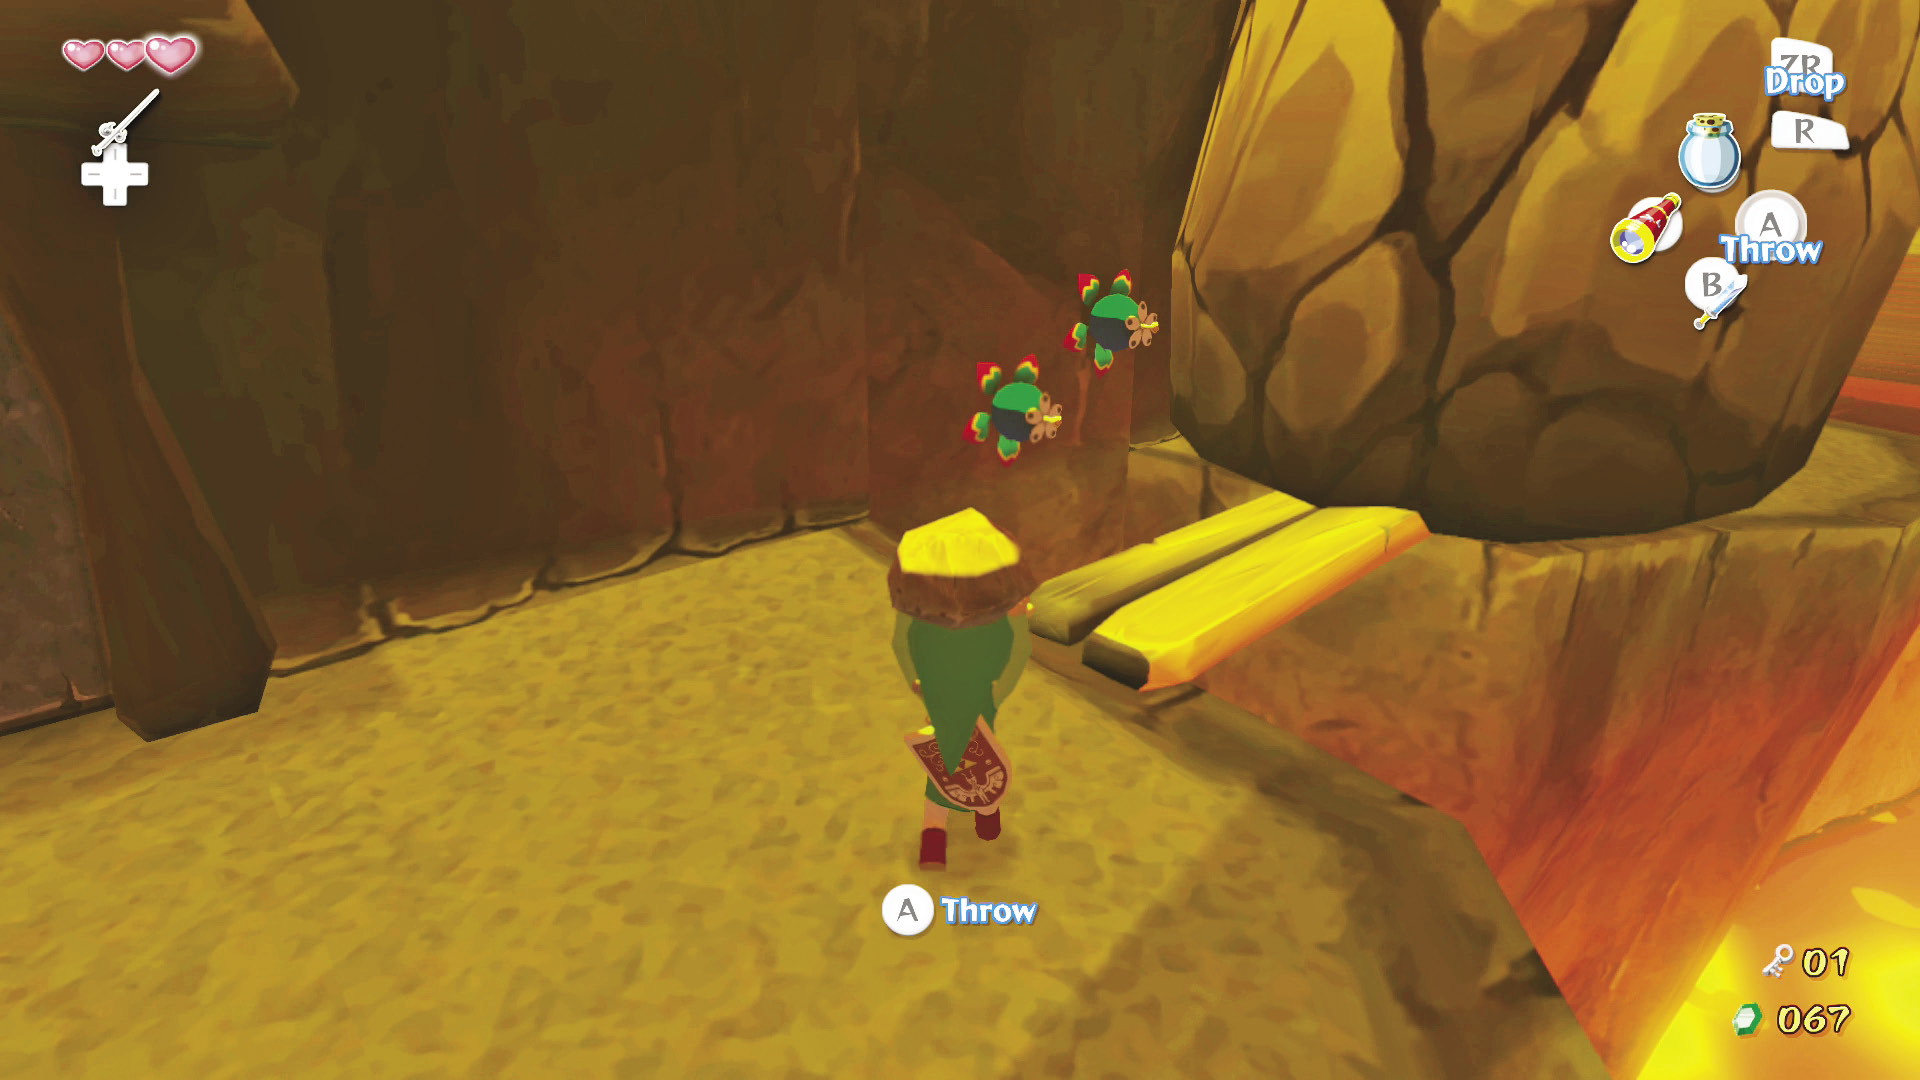
On the other side of the door, look left to see a couple Bomb Flowers growing off the wall near a boulder. Pick up one of the nearby pots or rocks and throw it at the Bomb Flowers. This will detonate the bombs, destroying the boulder and opening up a path ahead.
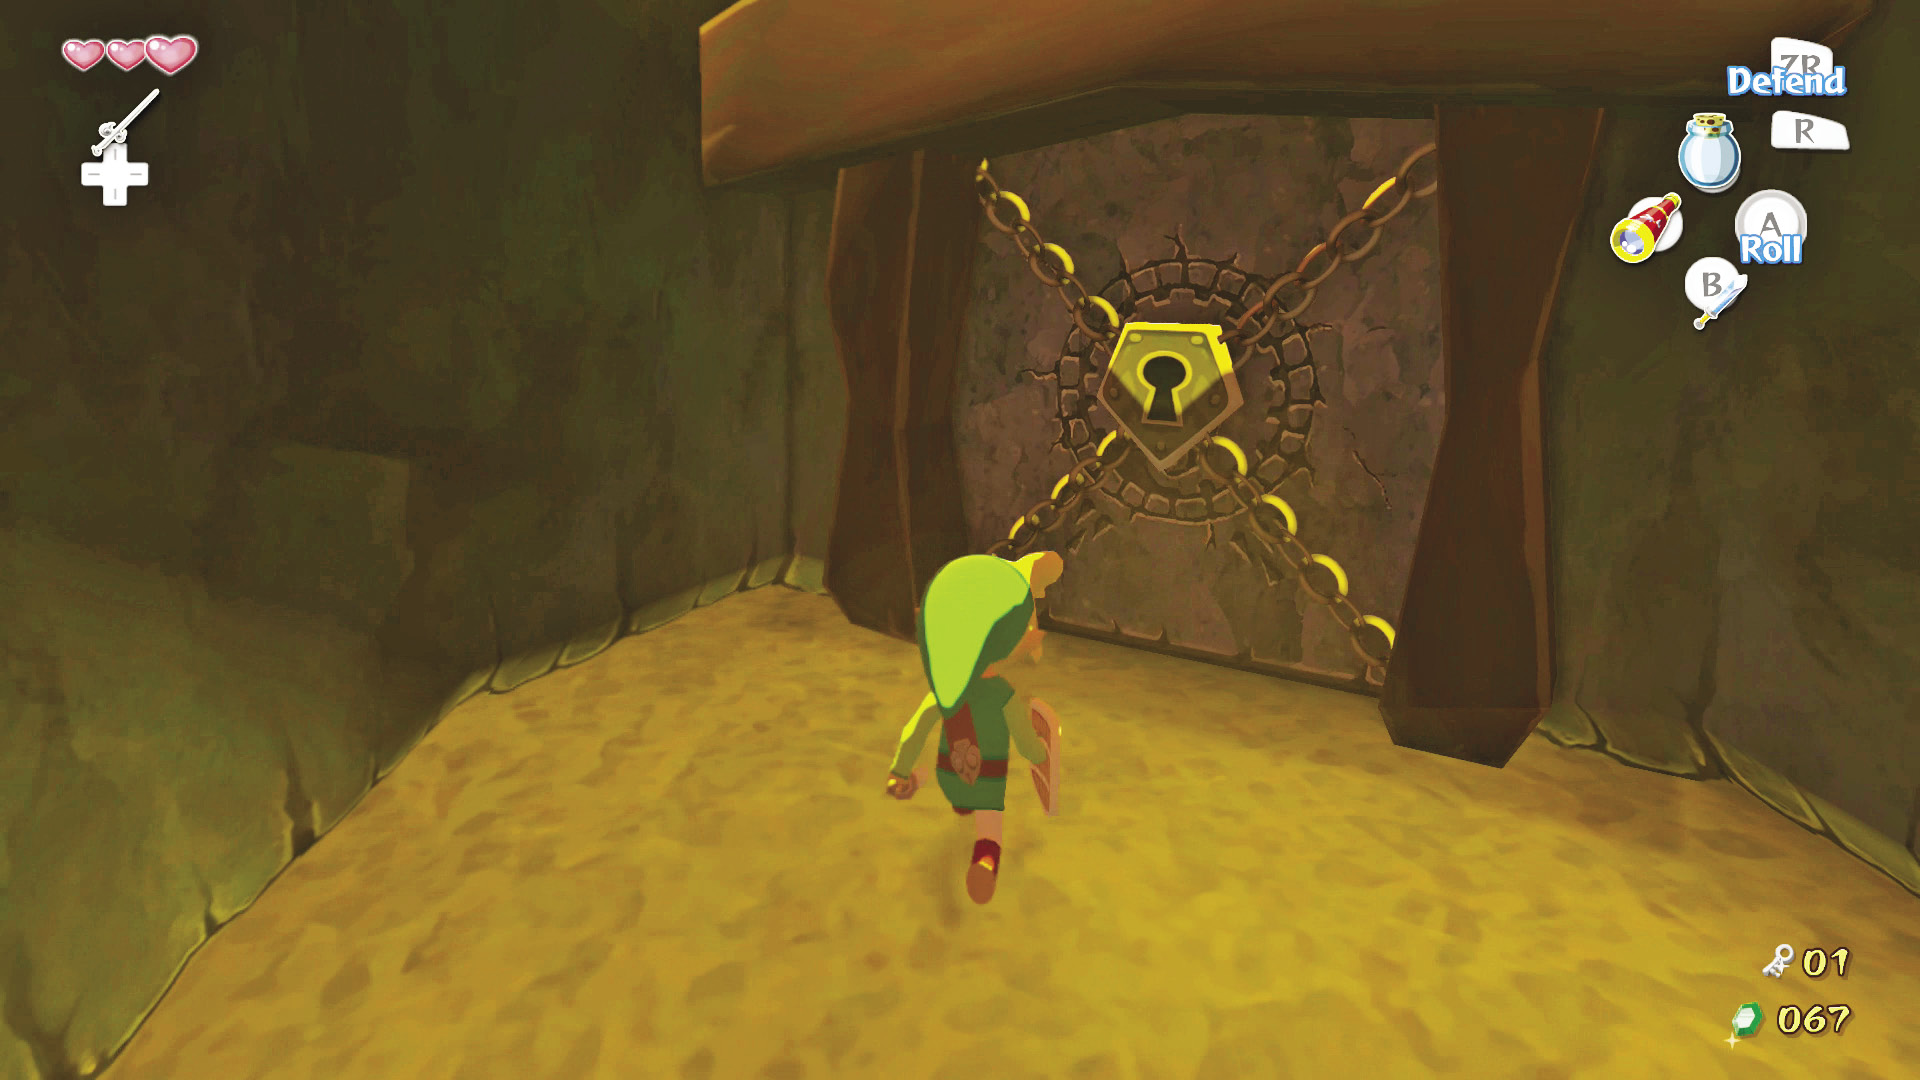
Follow the path until you reach the locked door on the room’s southwestern side. Head through the door.
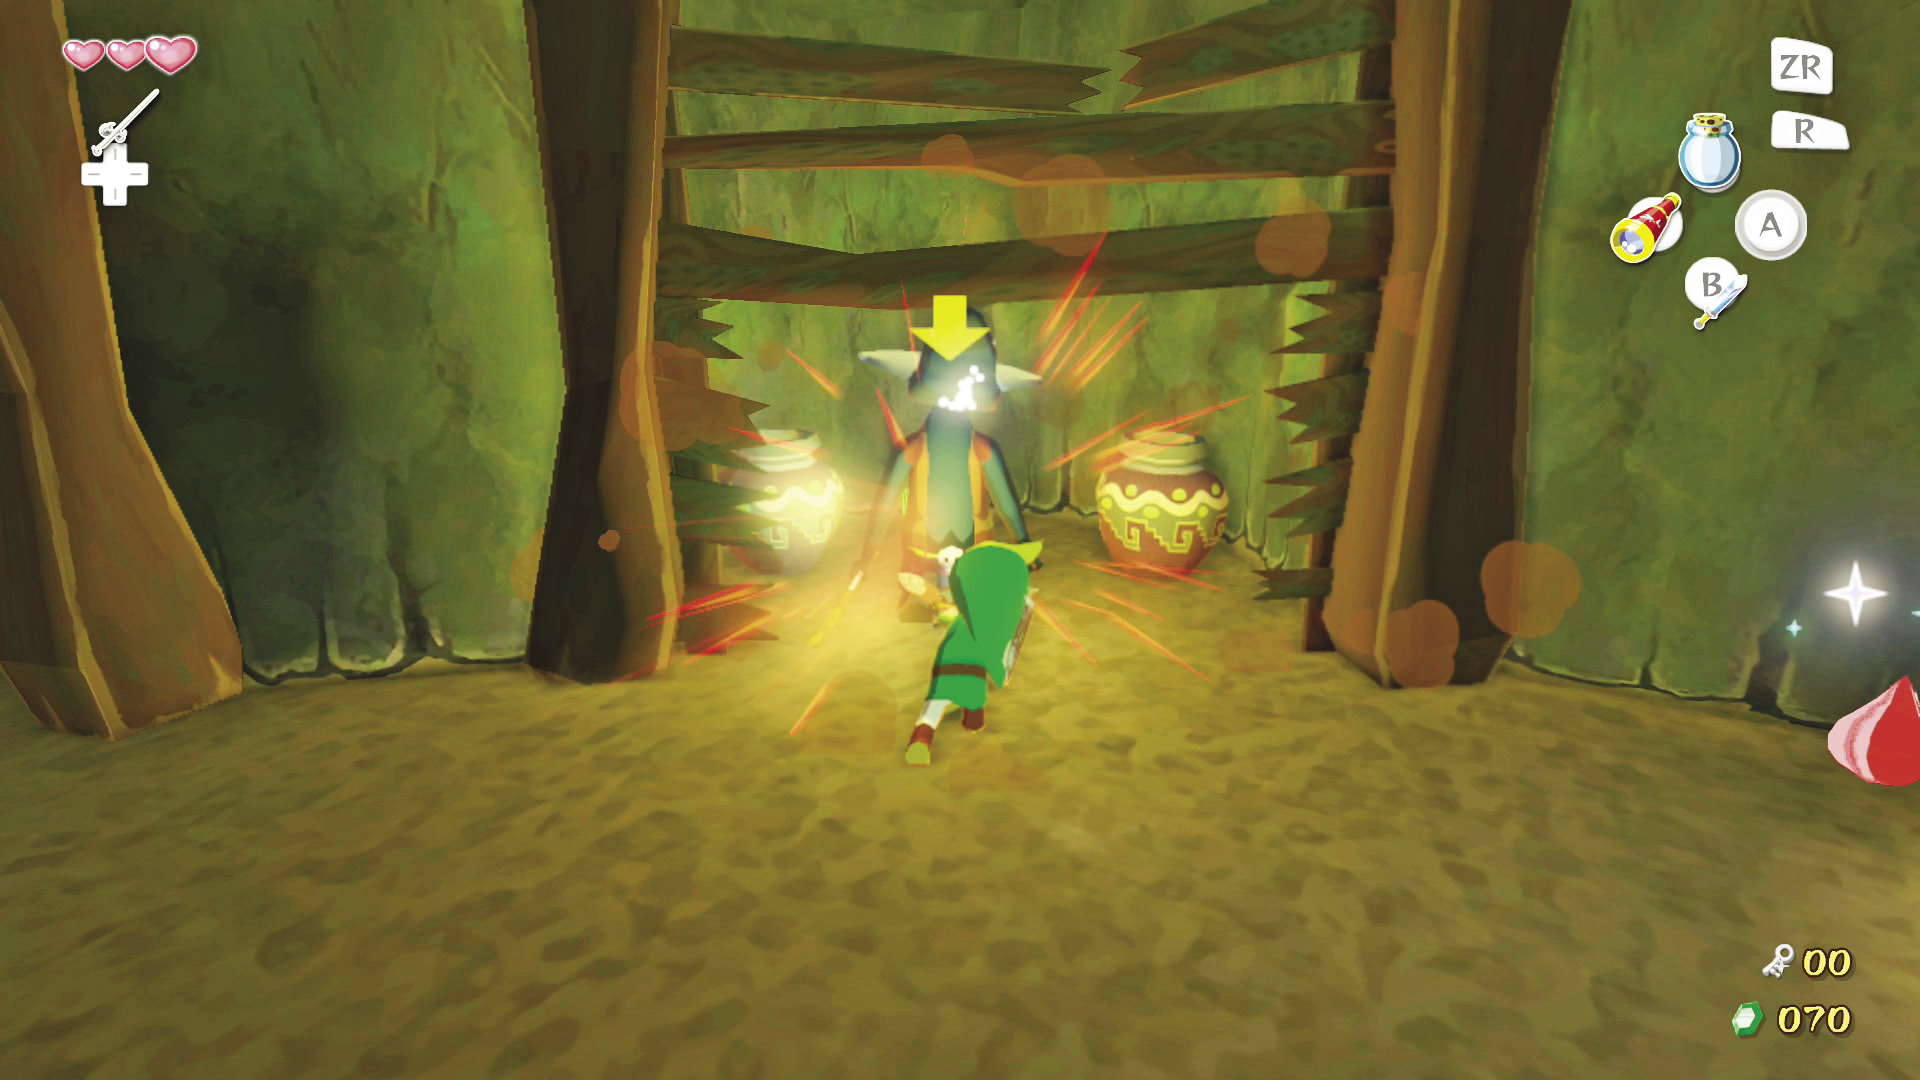
There isn’t much you can do in the northern area of this room (see the “Delayed Gratification” section for more info), so head straight. Take out the two Red ChuChus and go to the boarded alcove on the southern side of the western room. Break through the boards with your sword, but be cautious, as a Bokoblin will burst out of one of the pots when you approach it. Defeat it by attacking its back and pick up its Deku Stick.
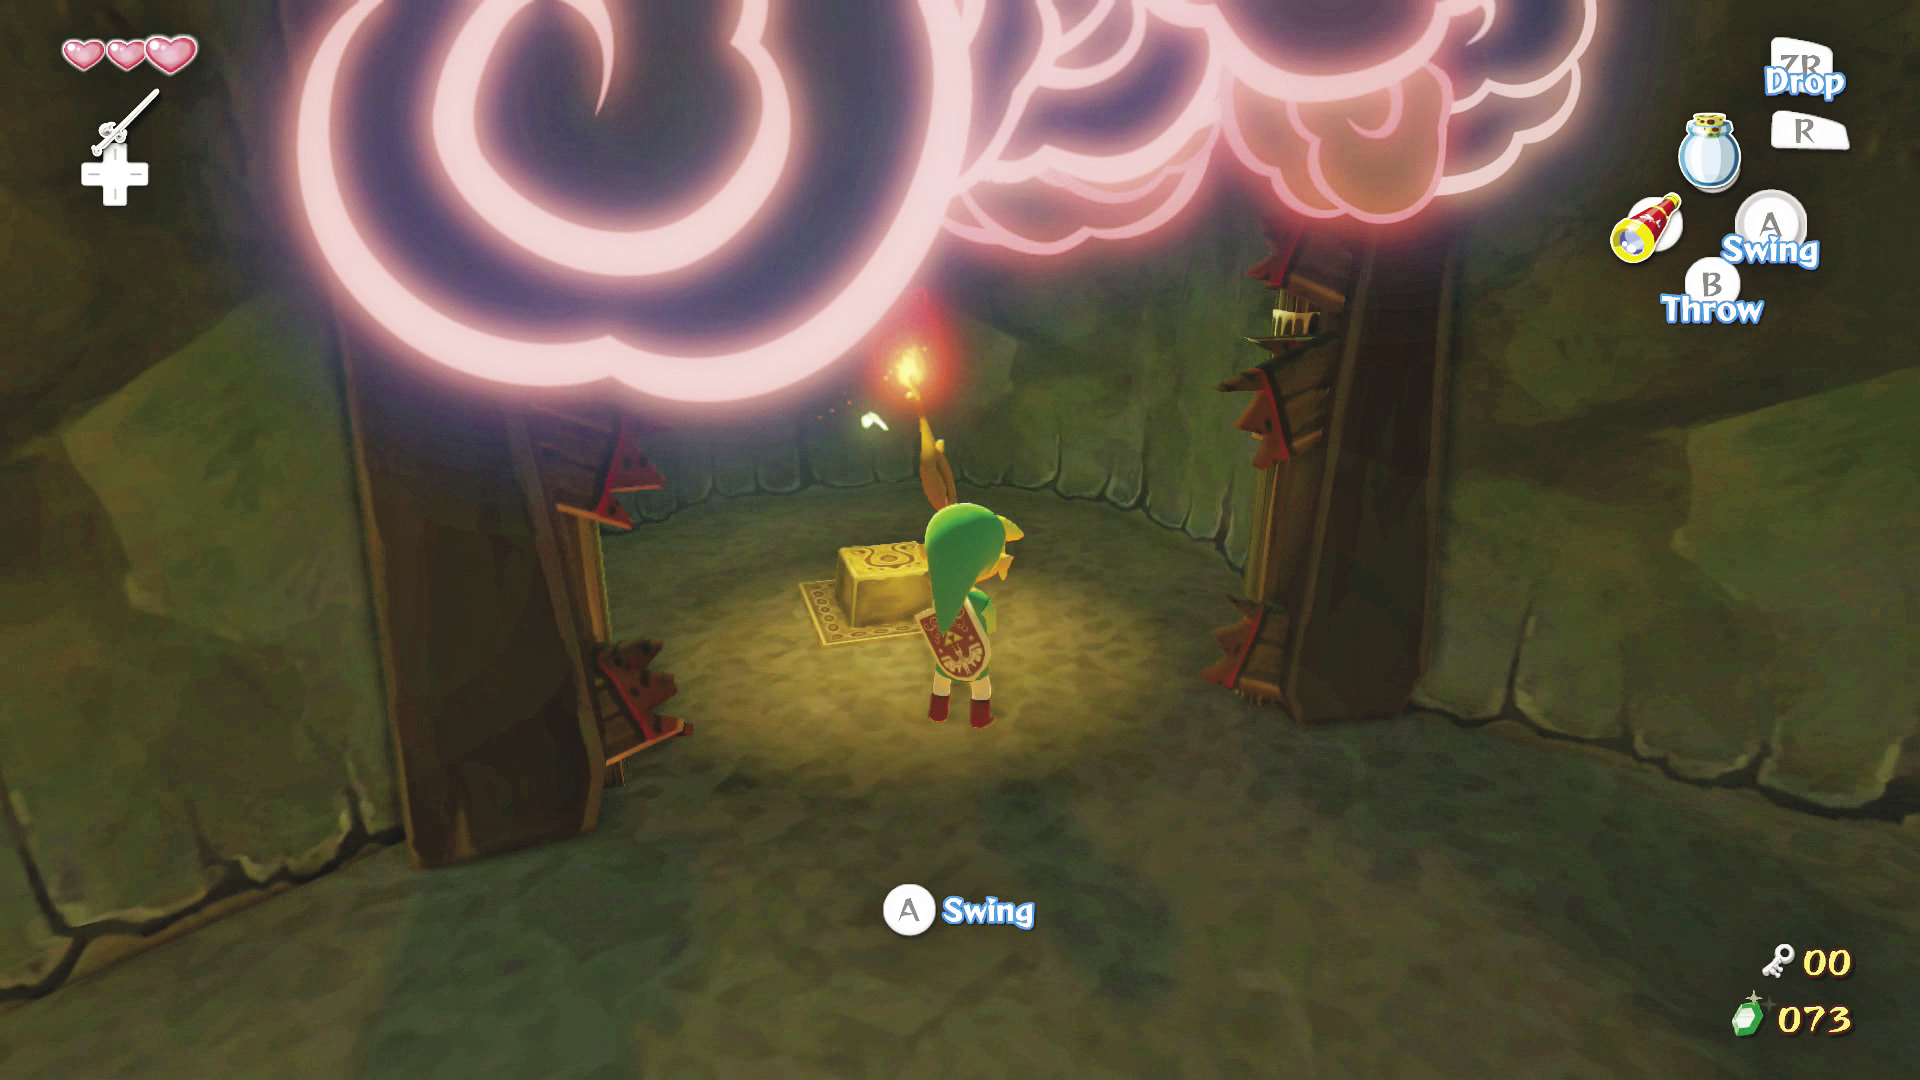
Light the stick with one of the torches in front of the door to your left. Touch it to the second boarded alcove on the room’s northern side. Inside the alcove is a pressure switch; step on it to open the locked door. Now head through the door.
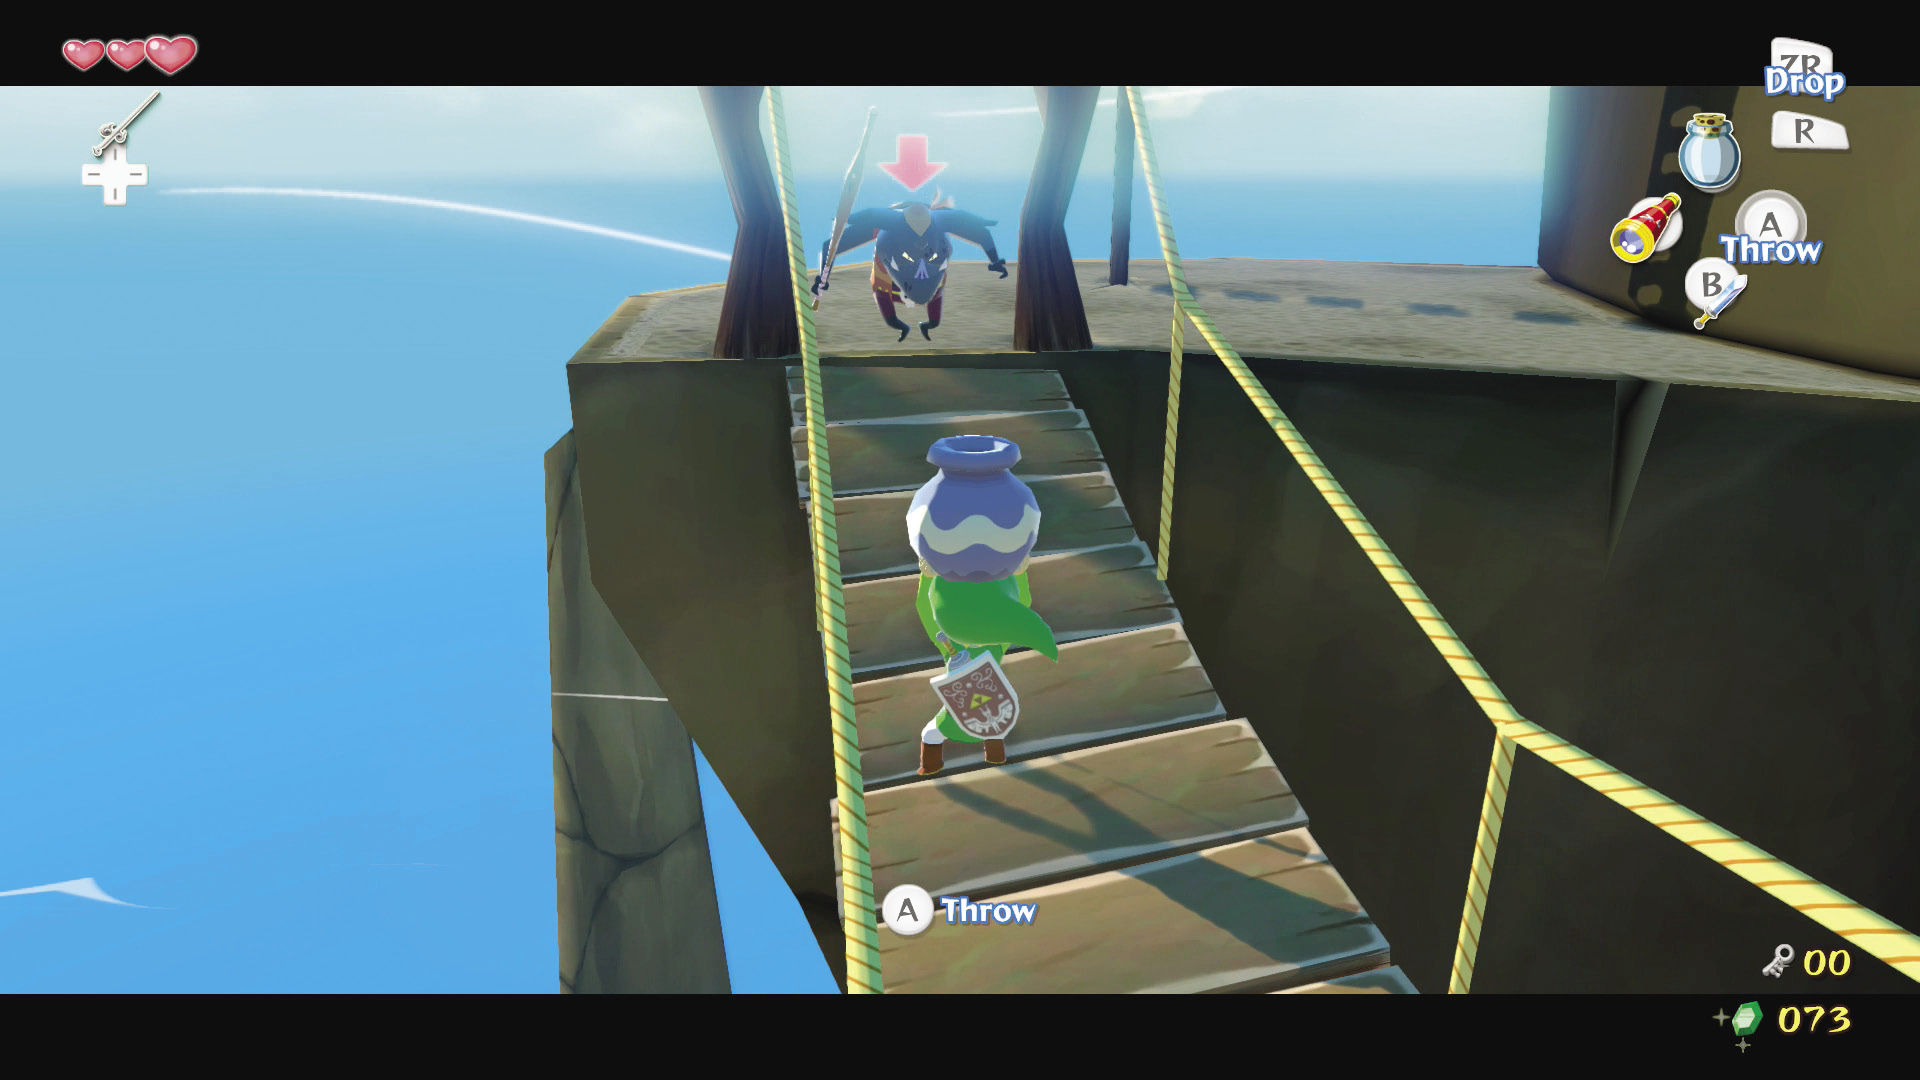
You’re standing under the sun’s warm, shining embrace once more—a nice break from the dark and fiery depths of Dragon Roost Cavern. At the end of the suspension bridge ahead is a Blue Bokoblin. Before crossing the bridge, pick up one of the pots on either side of the door. Walk toward the Bokoblin and throw the pot at it when it gets within sword-swinging distance. This will force the Bokoblin a good distance away from the bridge. Defeat it and climb the nearby ladder.
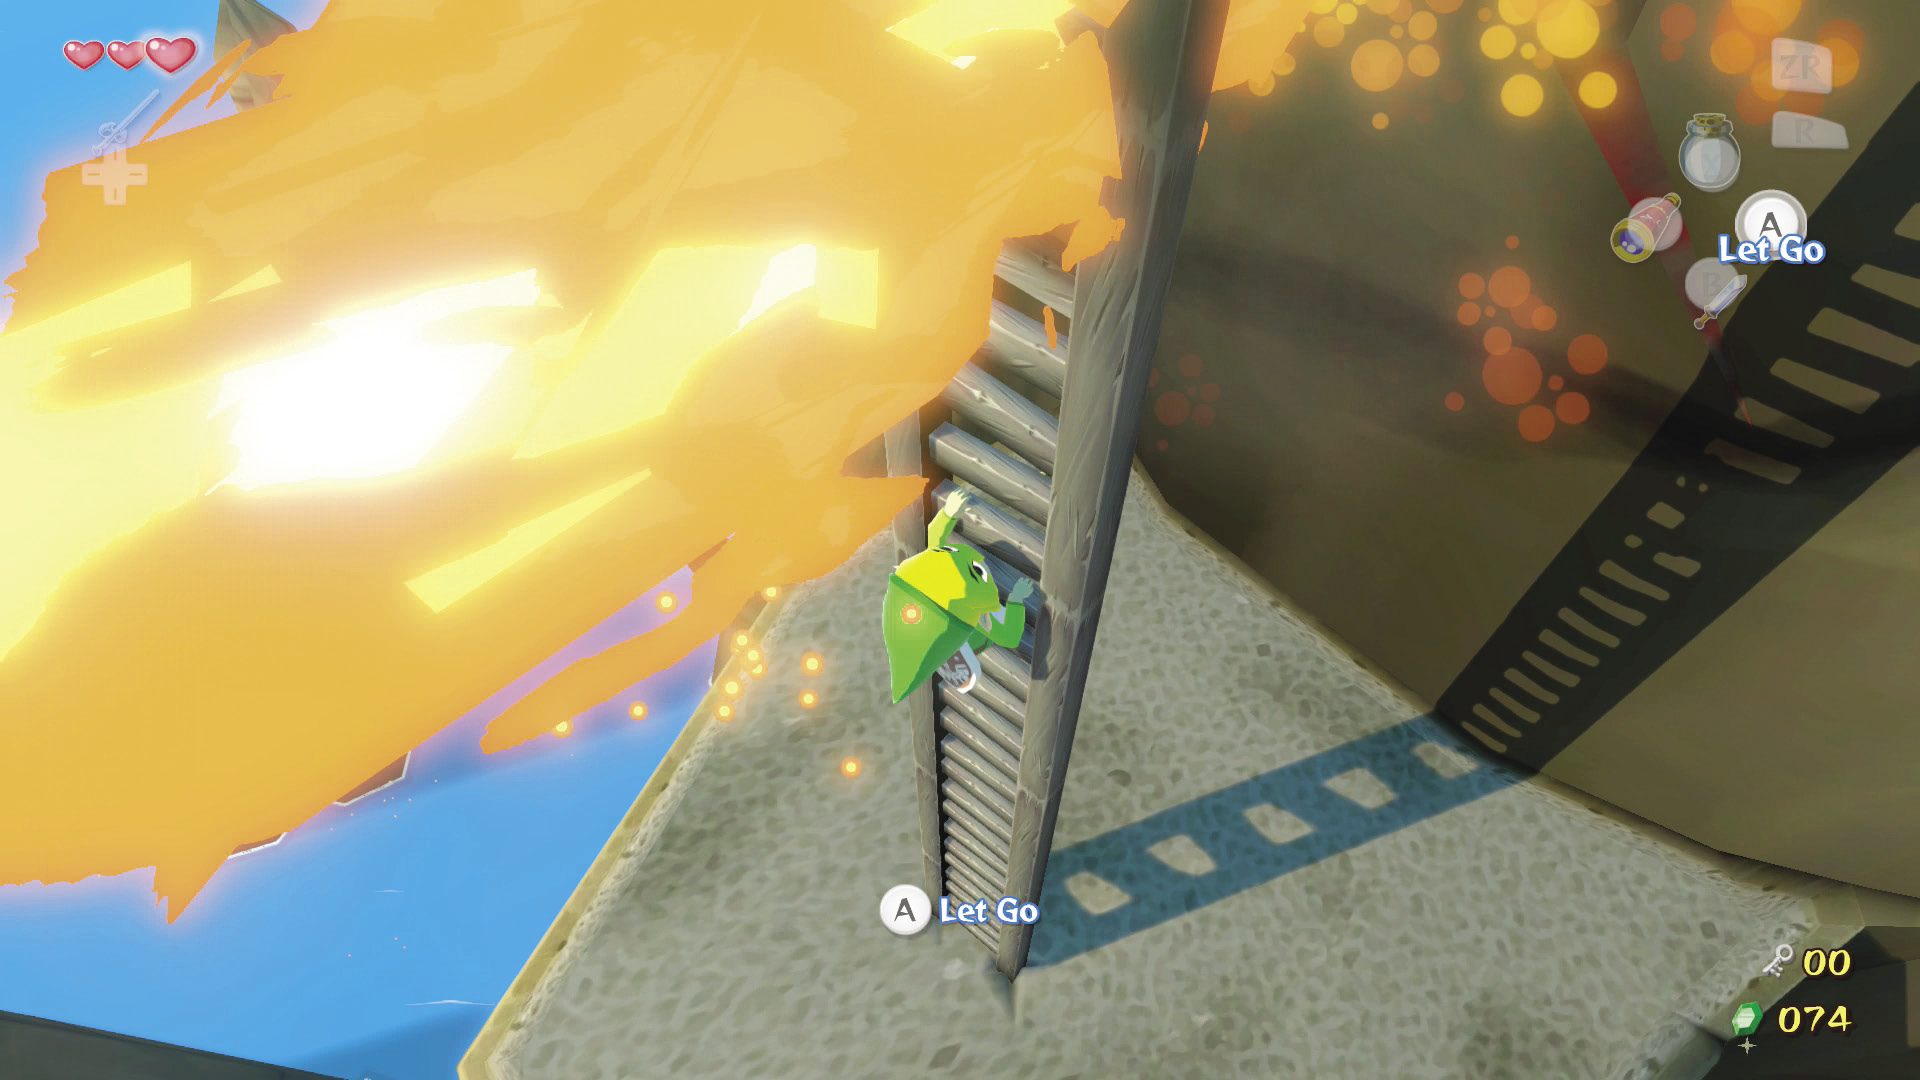
About halfway up the ladder is a lava vent. Be wary of this, as lava will shoot periodically from it at fixed intervals. The lava is going to hit the part of the ladder that has been darkened from being charred. Wait for the lava to finish spraying, then continue climbing.
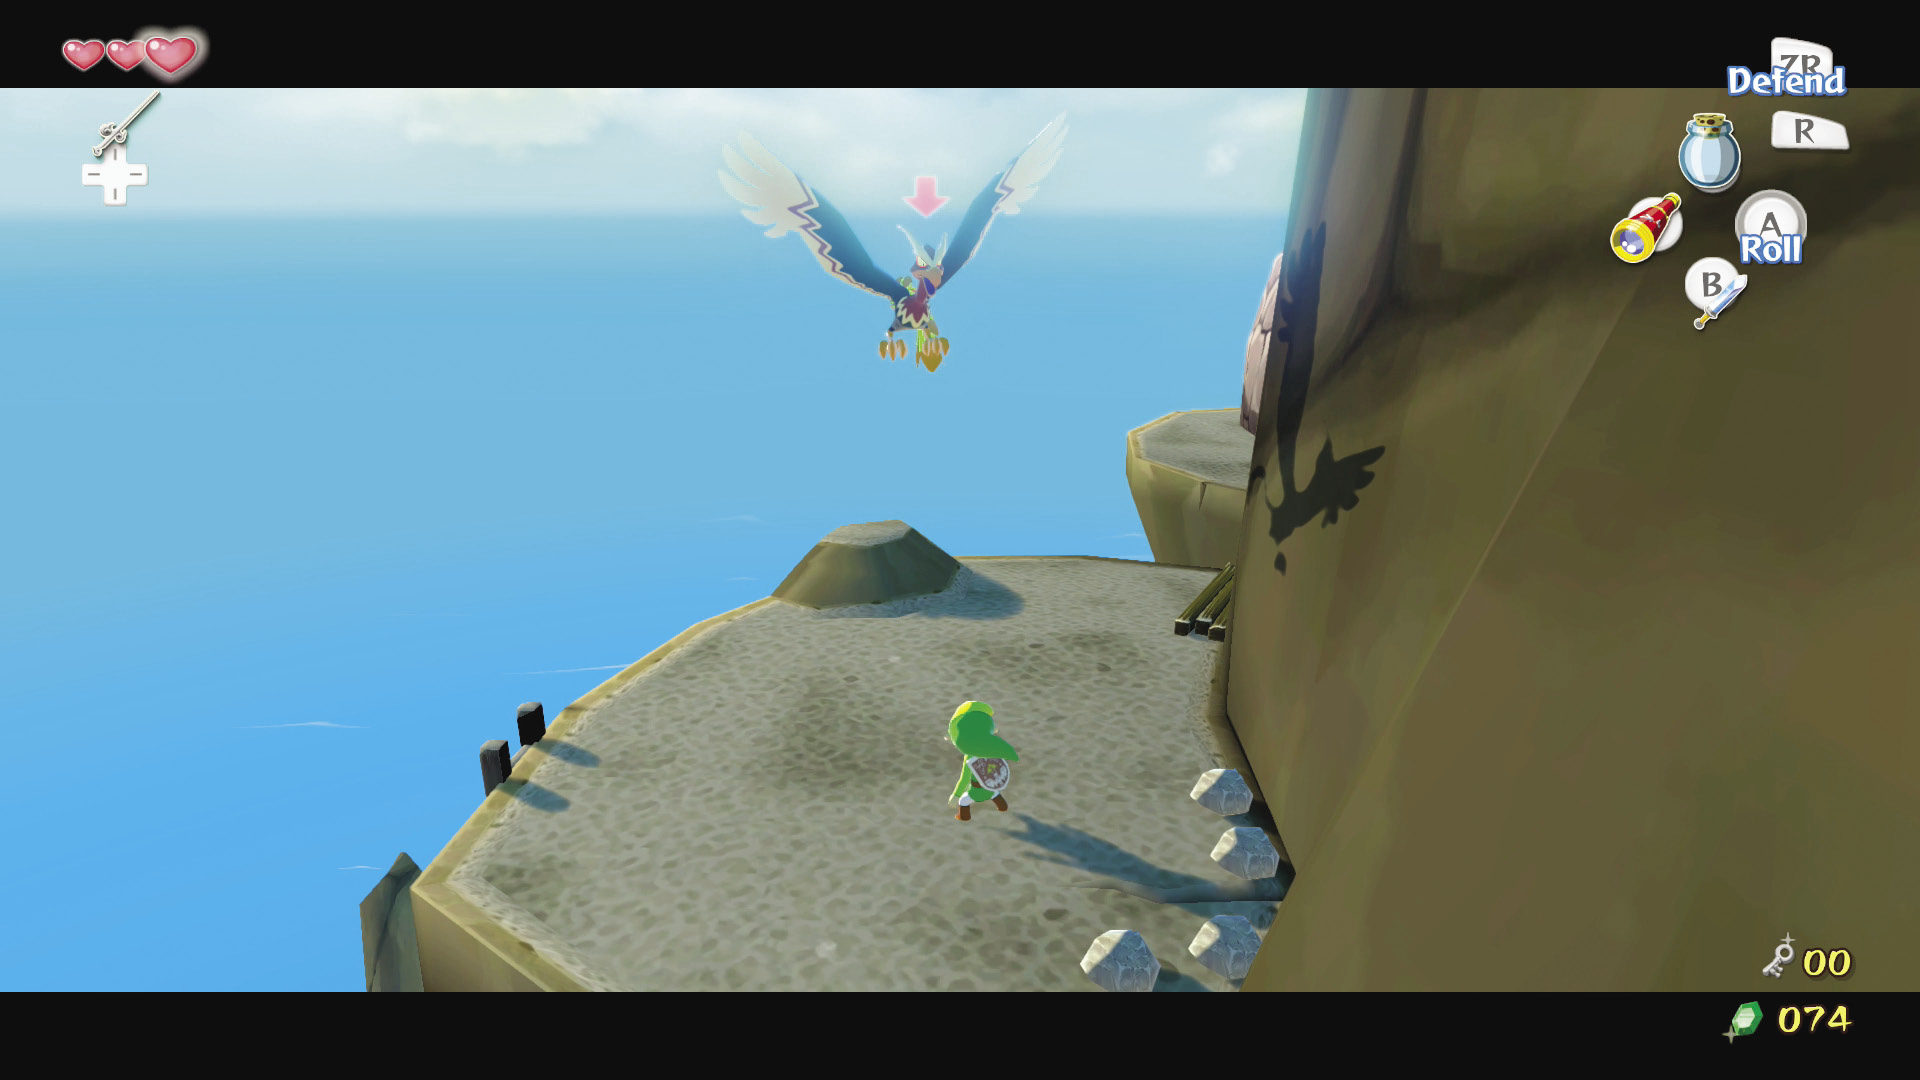
At the top of the ladder is a Kargoroc. Pick up a rock near the wall, wait for the Kargoroc to swoop down to your level, then try to put it between Link and the wall. Hit the Kargoroc with the rock and it’ll go down. If you positioned it properly between Link and the wall, you’ll be able to pick up any items it drops. If you didn’t, well, odds are the Kargoroc went down over the cliff, taking its items into the drink below.
Enemy: Kargoroc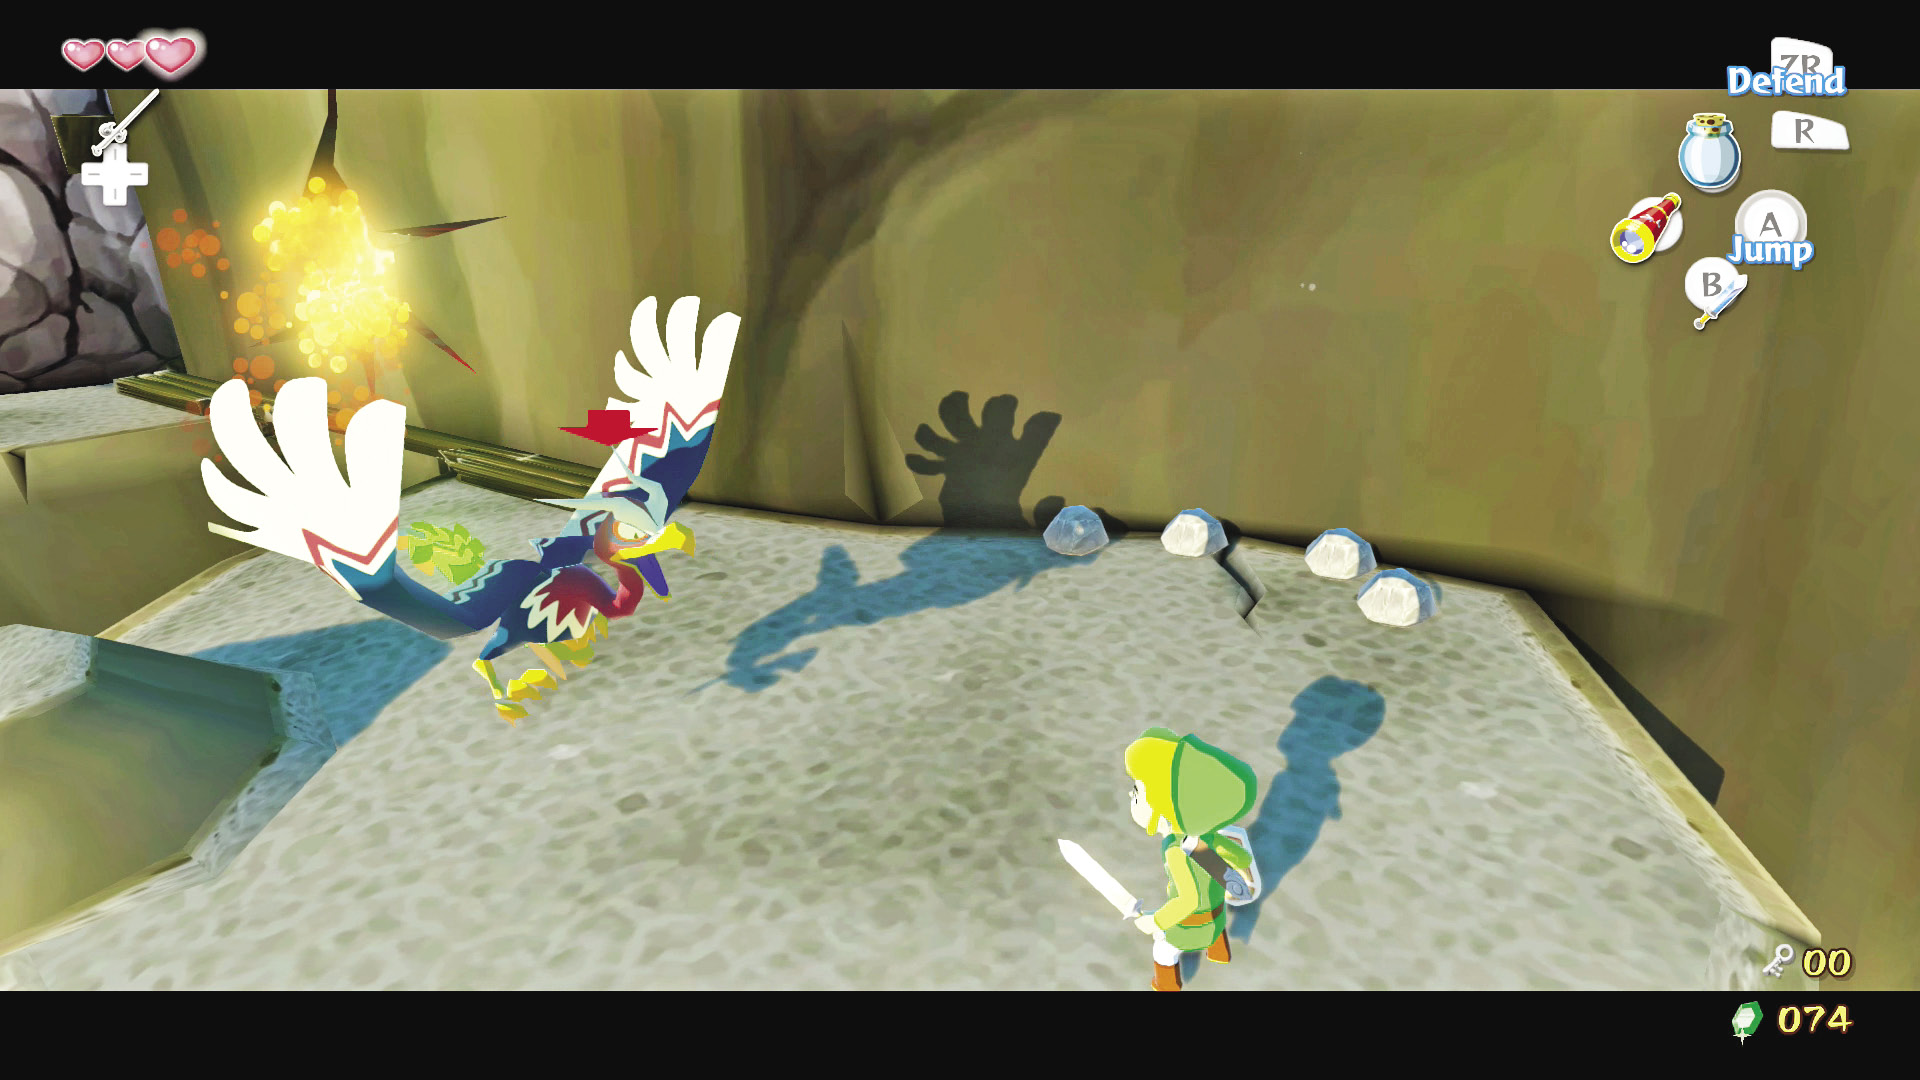 Kargorocs are colorful, vulture-like birds that live on cliff sides and high rocks. They also tend to be very troublesome when not dealt with properly. Take them out by Strange...Don’t they kind of remind you of the giant bird that nabbed Aryll? I wonder if there’s any relation? |
 -Targeting them and waiting until they swoop to strike. This takes a bit of timing, but patience and a keen eye will help you sort out these problematic pigeons without an issue. A couple hits and they’ll go down for good.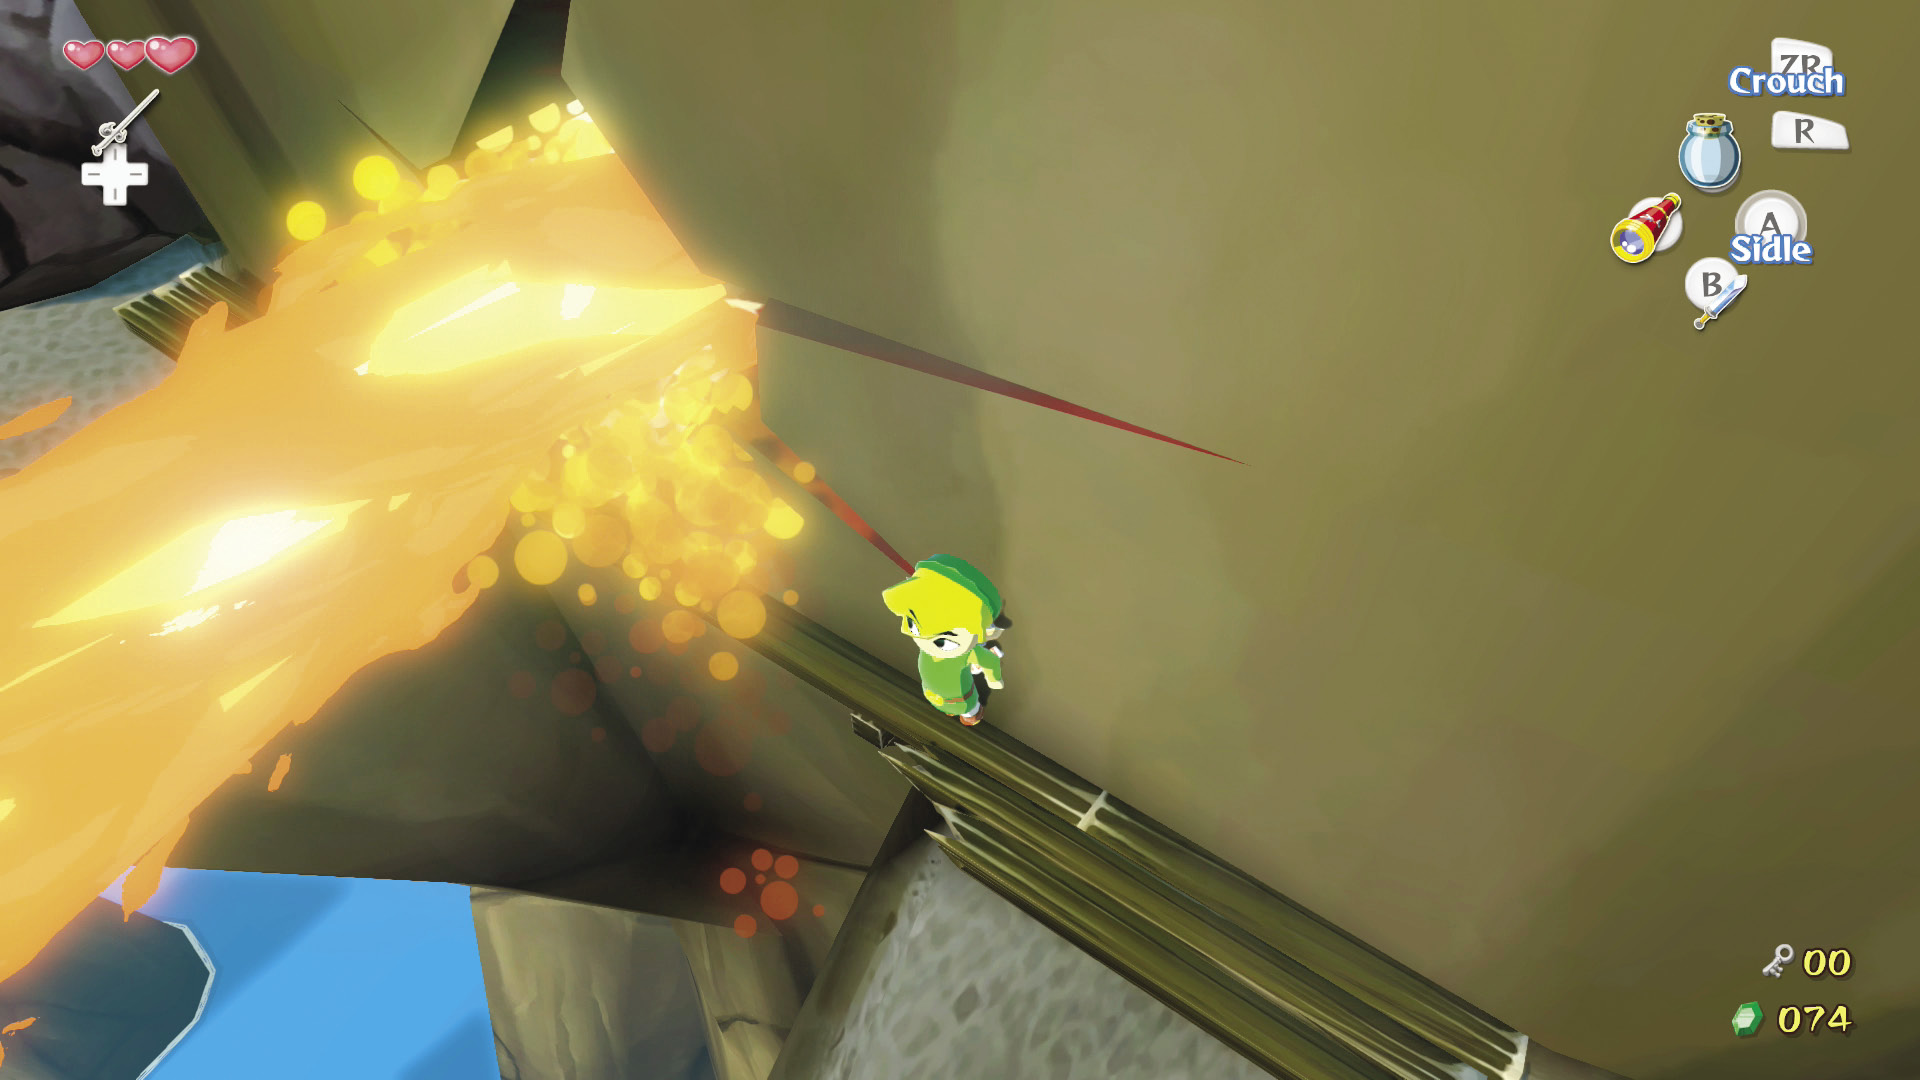
After defeating the Kargoroc, follow the path to a small ledge that you must sidle across. Pay close attention to the lava-spewing cracks; get as close as possible to them without burning yourself and sidle swiftly past them to get out of their fire-belching range.
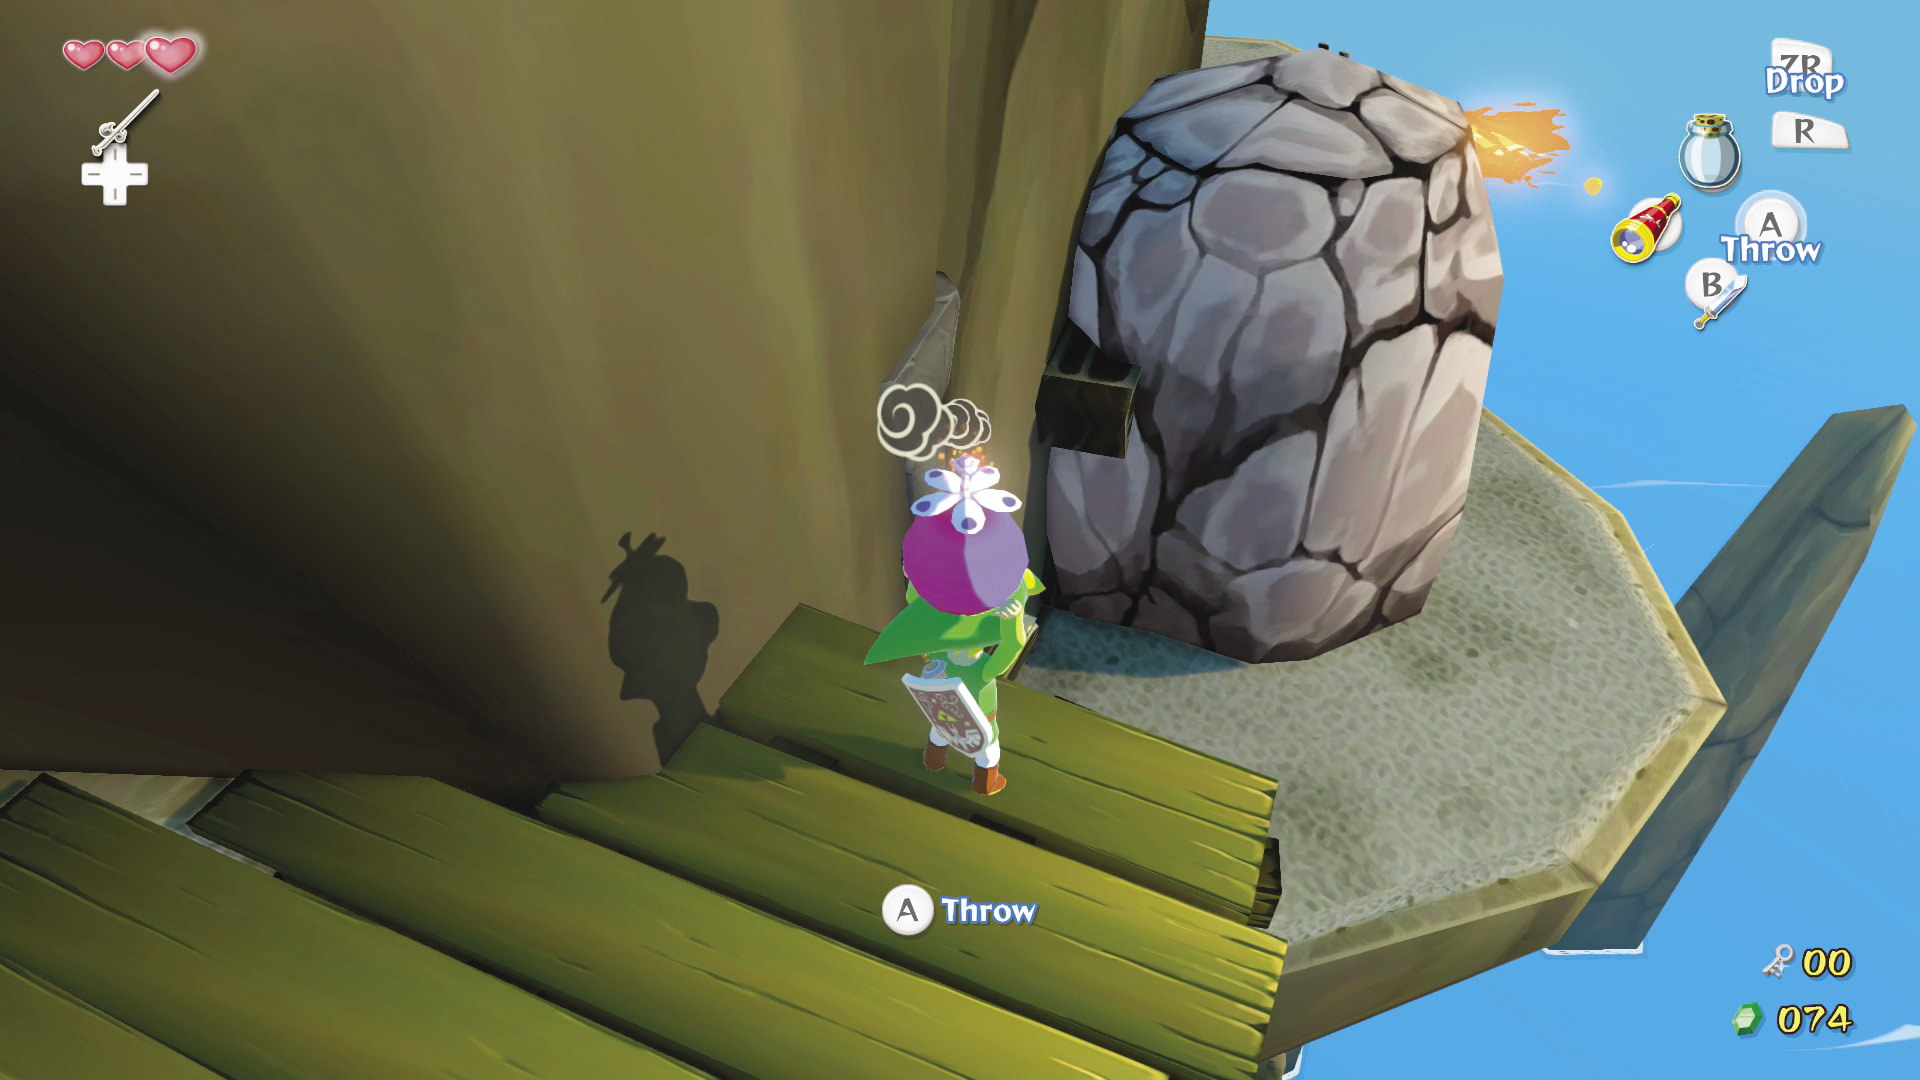
After reaching stable ground again, follow the path until it dead-ends. Above you is a small, wooden ledge—too small to walk or sidle across. Push  up against the wall to jump and hang from the ledge, then push
  or
or  to move back and forth on it. Cross to the other side and climb up the stepped platforms. At the top you’ll find Bomb Flowers. The boulder below the wooden platform ahead is covering a door; use the Bomb Flowers to destroy the boulder, then head on through.
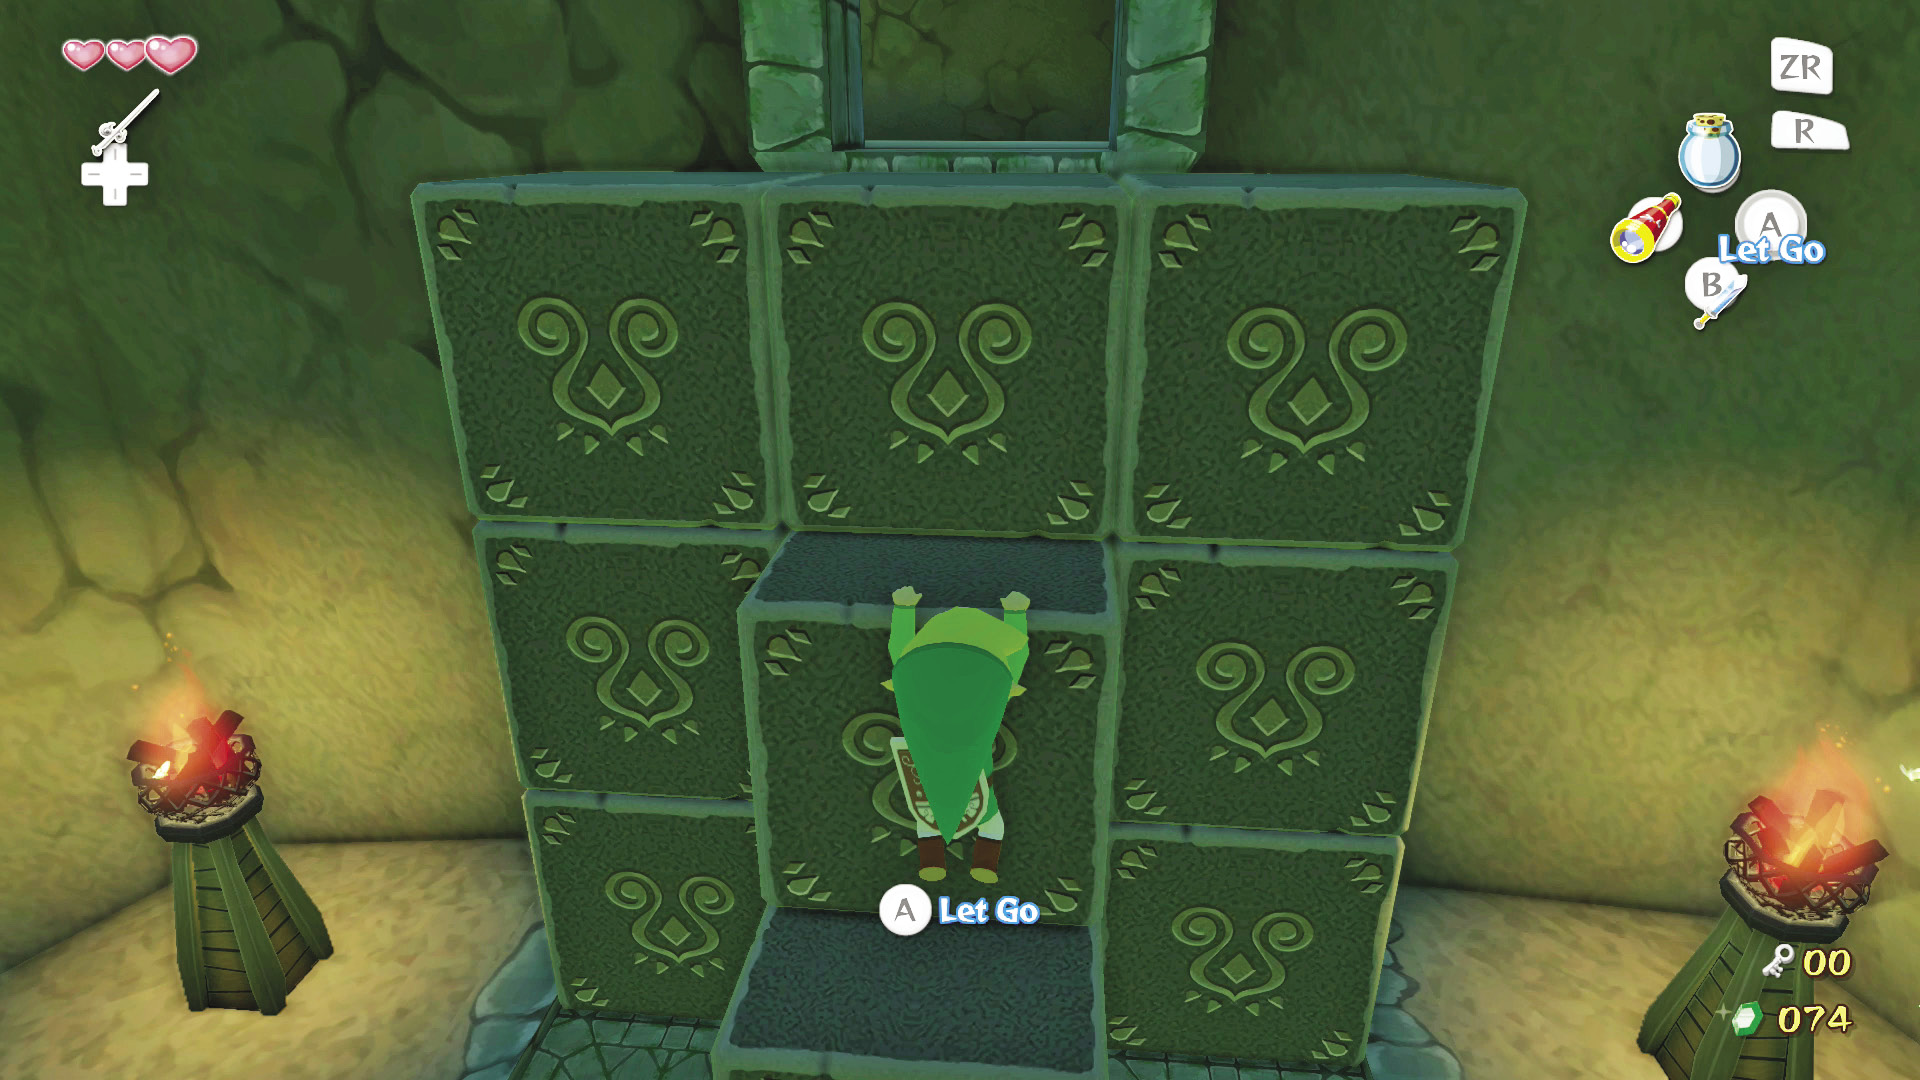
Inside this room are stacks of cubes. Pull out the middle cube and the cube on top of it will follow, lowering the entire column. Climb onto the cube you just pulled out and then pull the next cube in the middle column. This creates a staircase that you can climb to reach the second floor of Dragon Roost Cavern.
Second Floor
4. On Our Way to the Top
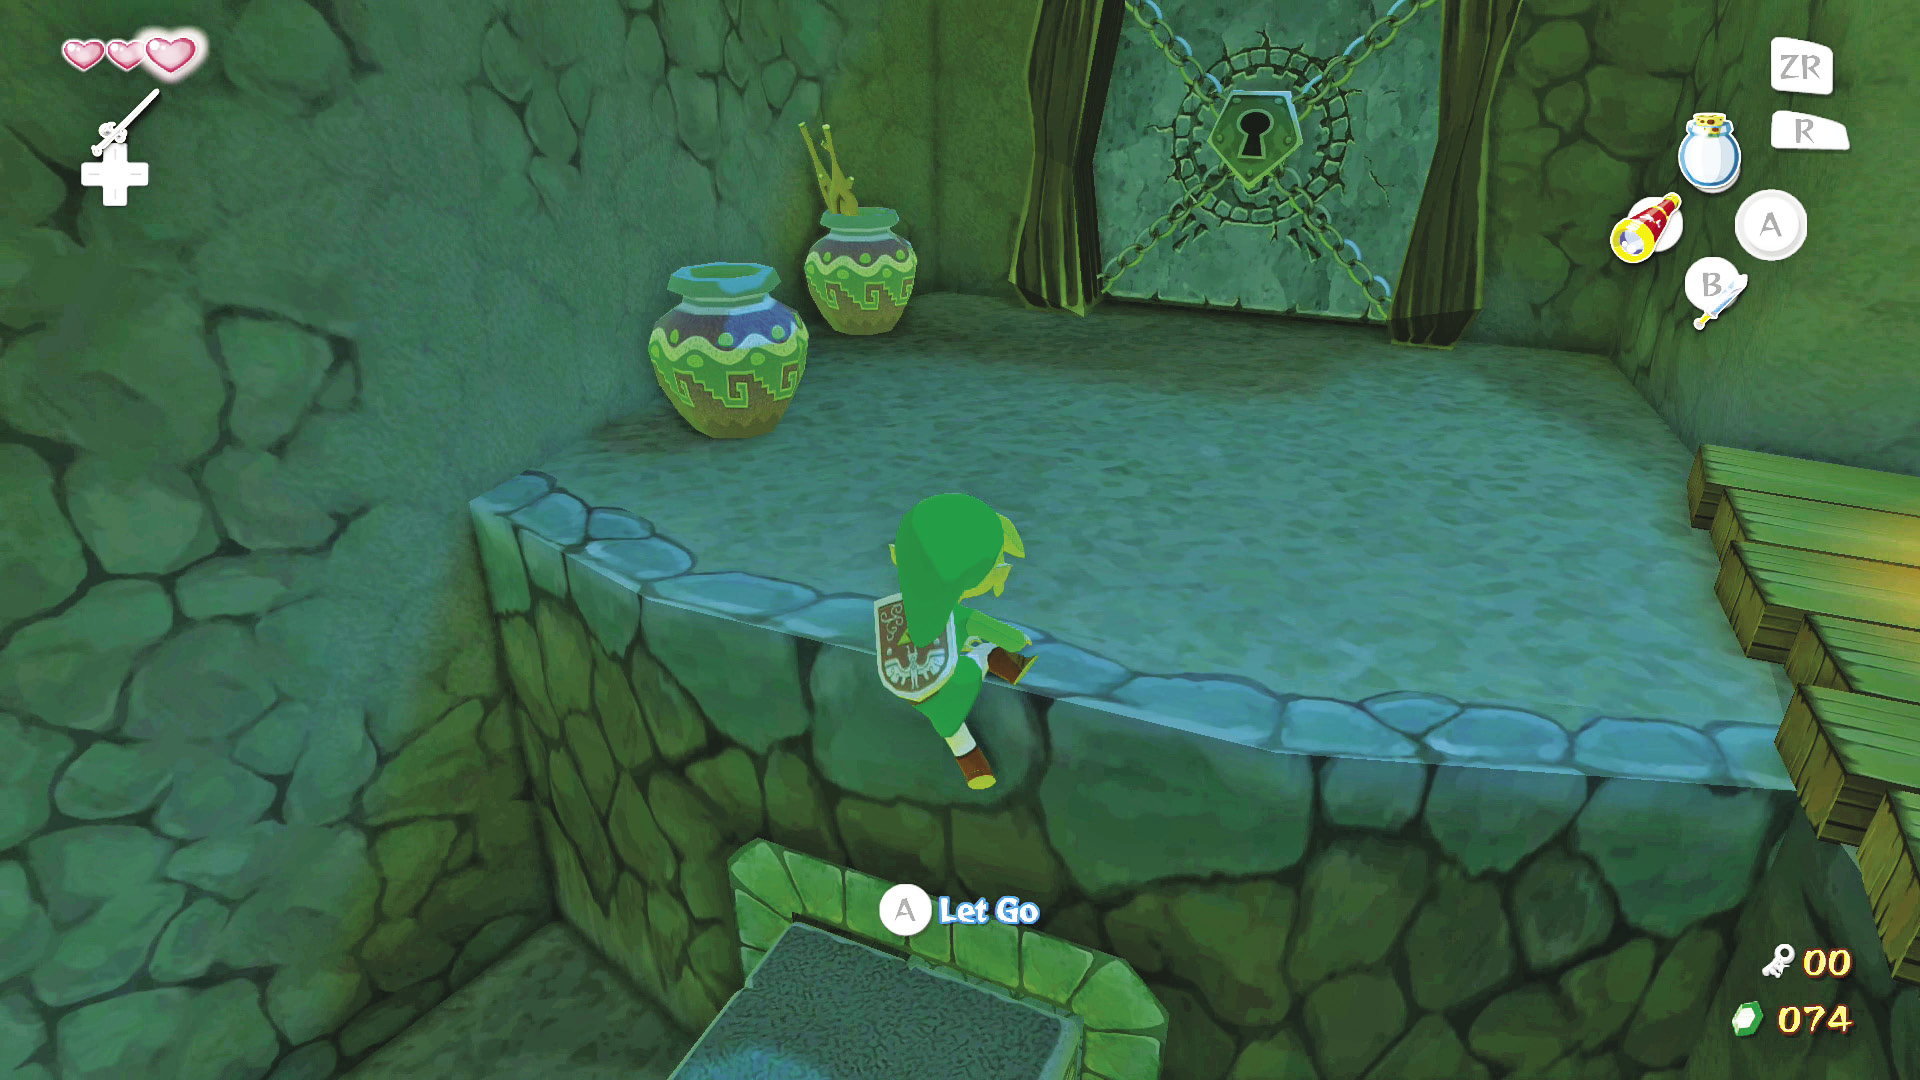
There are a couple of Rats roaming around this room. You can attempt to defeat them, but hitting these grubby rodents is a difficult task, and if they hit you, they’ll knock Rupees out of your wallet and steal them. Your best bet is to throw some All-Purpose Bait in front of their hole; they’ll leave you alone after shopping with them. Pull out the block at the base of the north wall and climb it. Take a right to find a treasure chest containing Dragon Roost Cavern’s Compass.
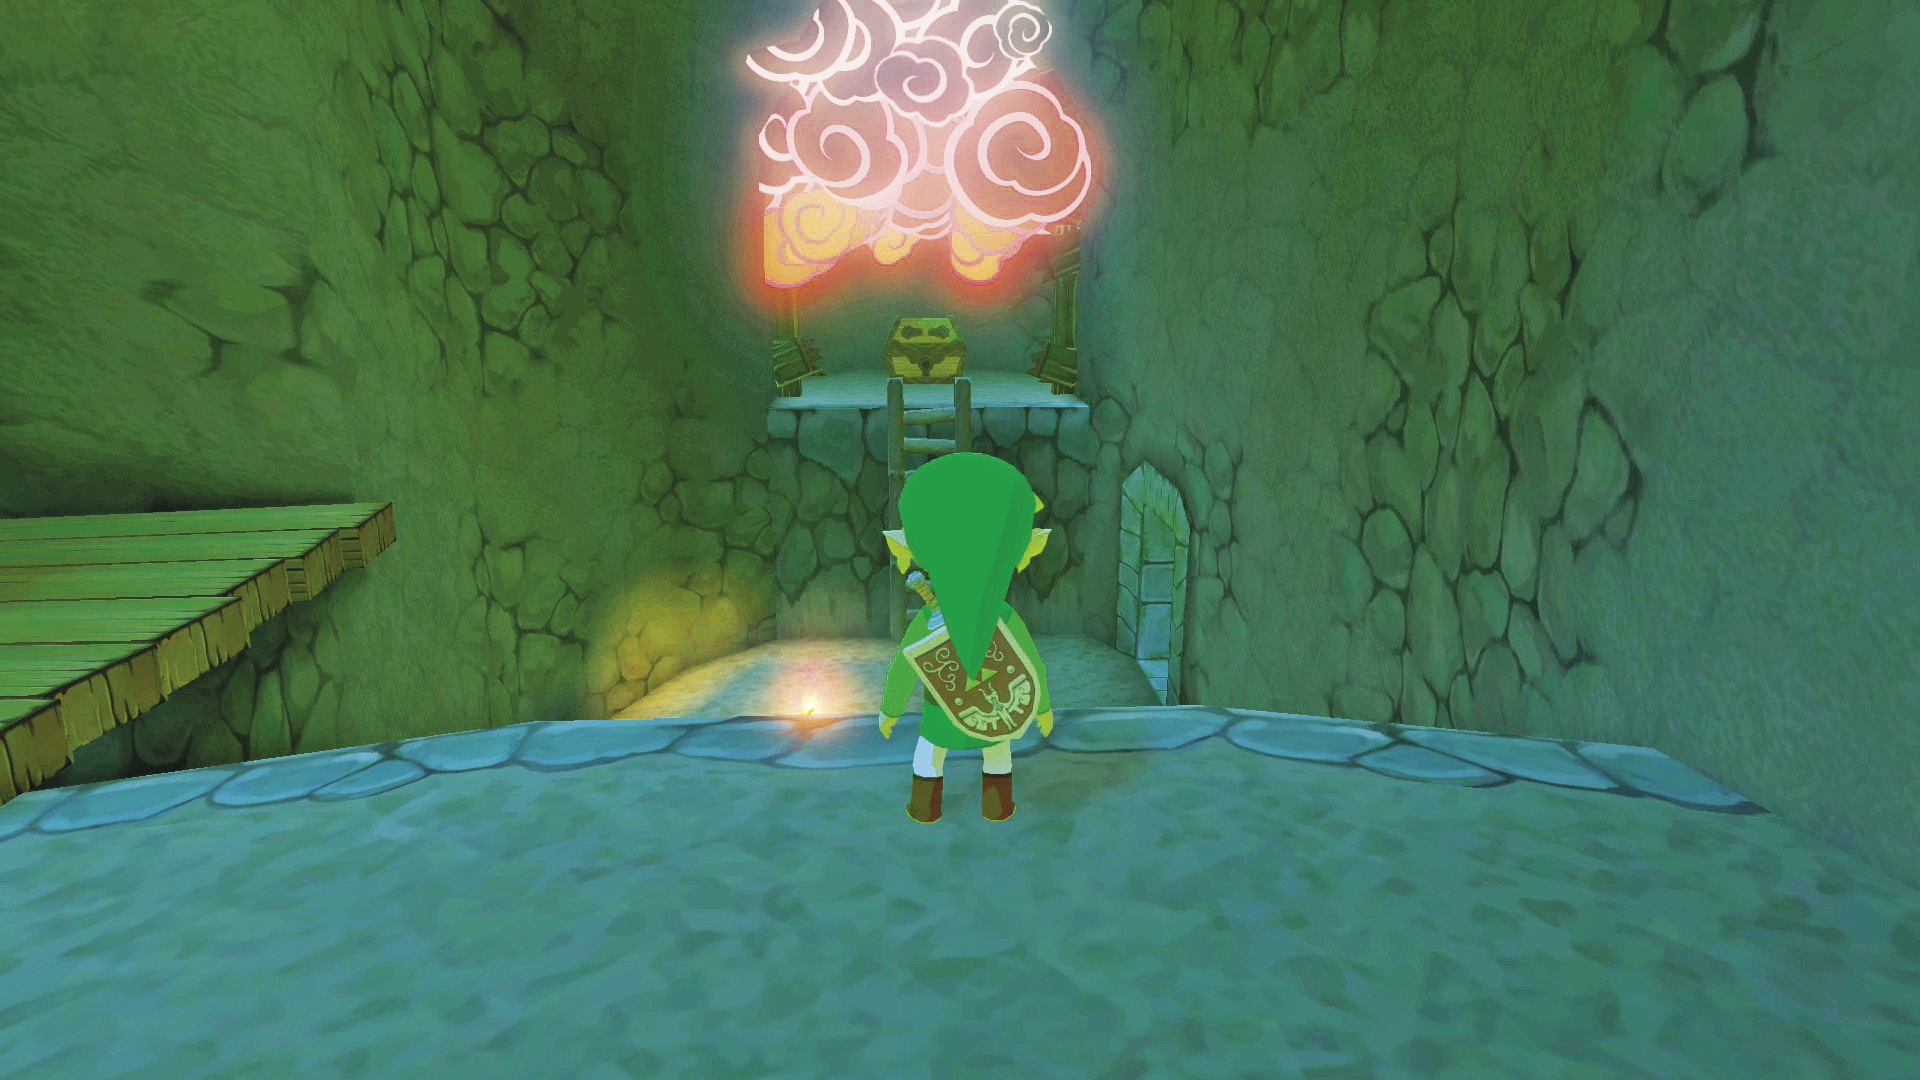
In order to get through the door leading out of this room, you need another Small Key. Fortunately, there is treasure chest containing one on the room’s south side. Unfortunately, the chest is inside another boarded alcove. Do not despair, however, because everything you need is in this room. Near the locked door is a pot full of Deku Sticks. Break it, take a stick, and run it through the nearby torch. Turn and face the boarded alcove and press # to throw the flaming stick across the room. If your aim is true, you’ll hit the boards, igniting them and opening the alcove. Climb the ladder leading up to the alcove, open the chest, take the Small Key, and then head back to the room’s north side to open the locked door.
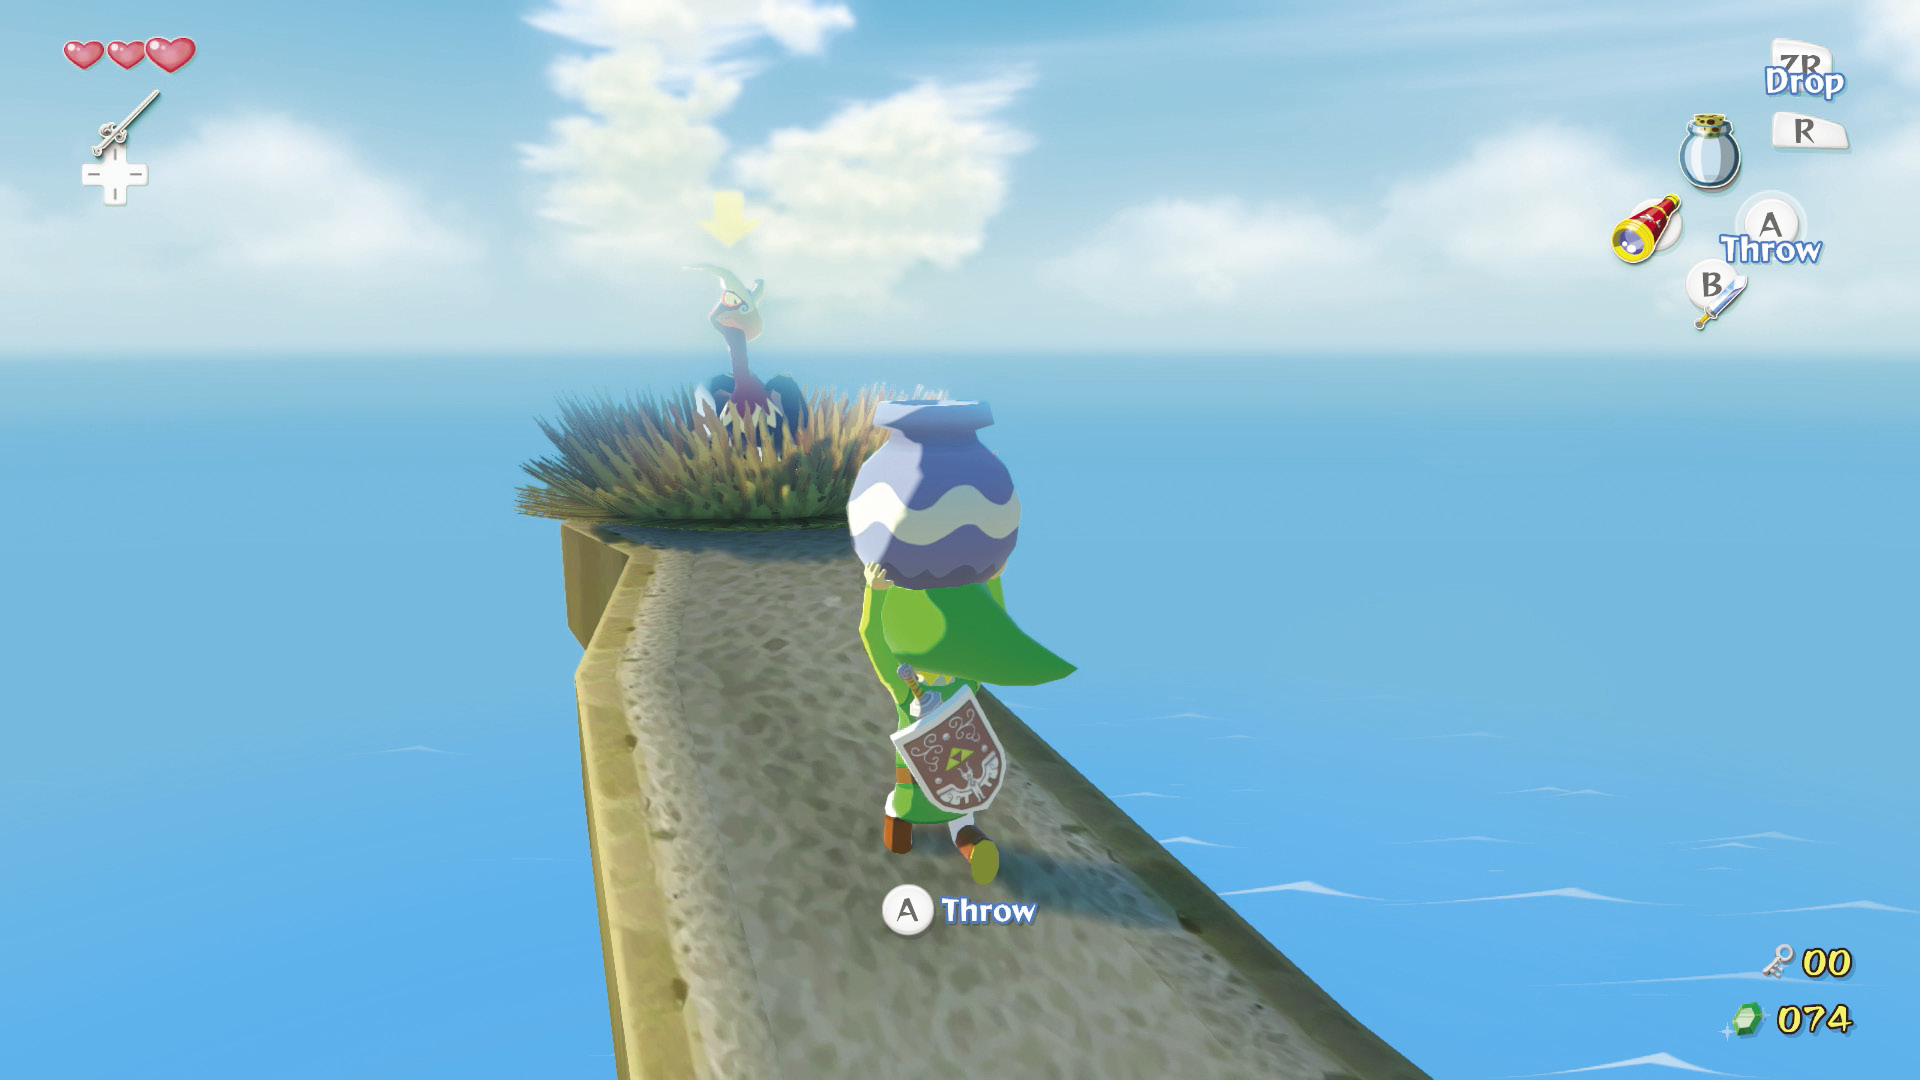
The door leads to another outdoor area. Follow the path until you reach the locked door on your right. Turn around to see a Kargoroc and its nest at the tip of a very narrow footpath. Pick a pot near the locked door, then turn around and get the Kargoroc’s attention. Lead it near the locked door to give yourself better footing to fight it—and to get whatever items it drops when defeated. Put the Kargoroc between Link and the wall, then toss the pot at it. After defeating it, head to its nest slowly to avoid falling. Inside the nest is a Small Key; grab it and head back to the locked door. Unlock it and head through.
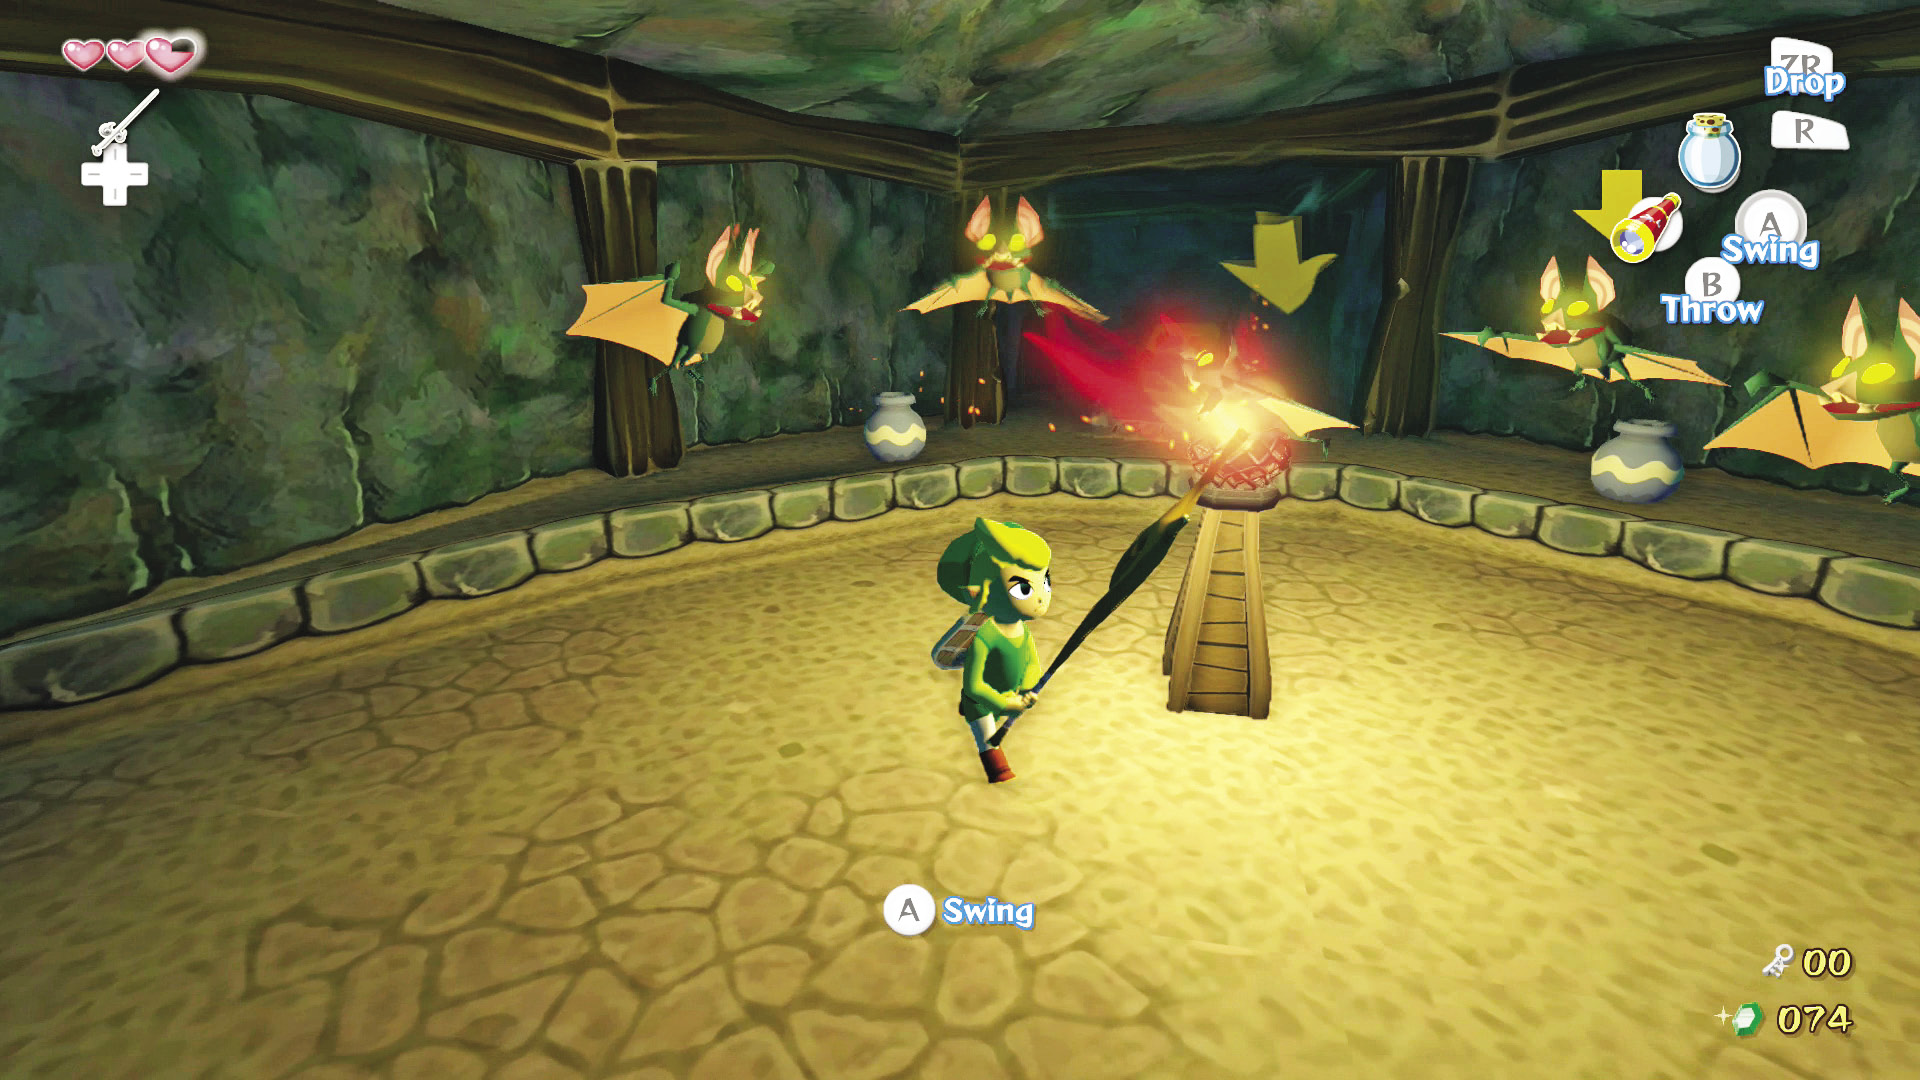
This next room is dark and full of Keese. To deal with both problems simultaneously, break the pot of Deku Sticks near the door you entered through, pick one up, and light it. Head through the east passage and stand in the center of the room. Use the burning stick to defeat the Keese, light the torch in the middle of the room, and the open the treasure chest near the eastern wall to obtain a Joy Pendant (Mrs. Marie will be pleased!).
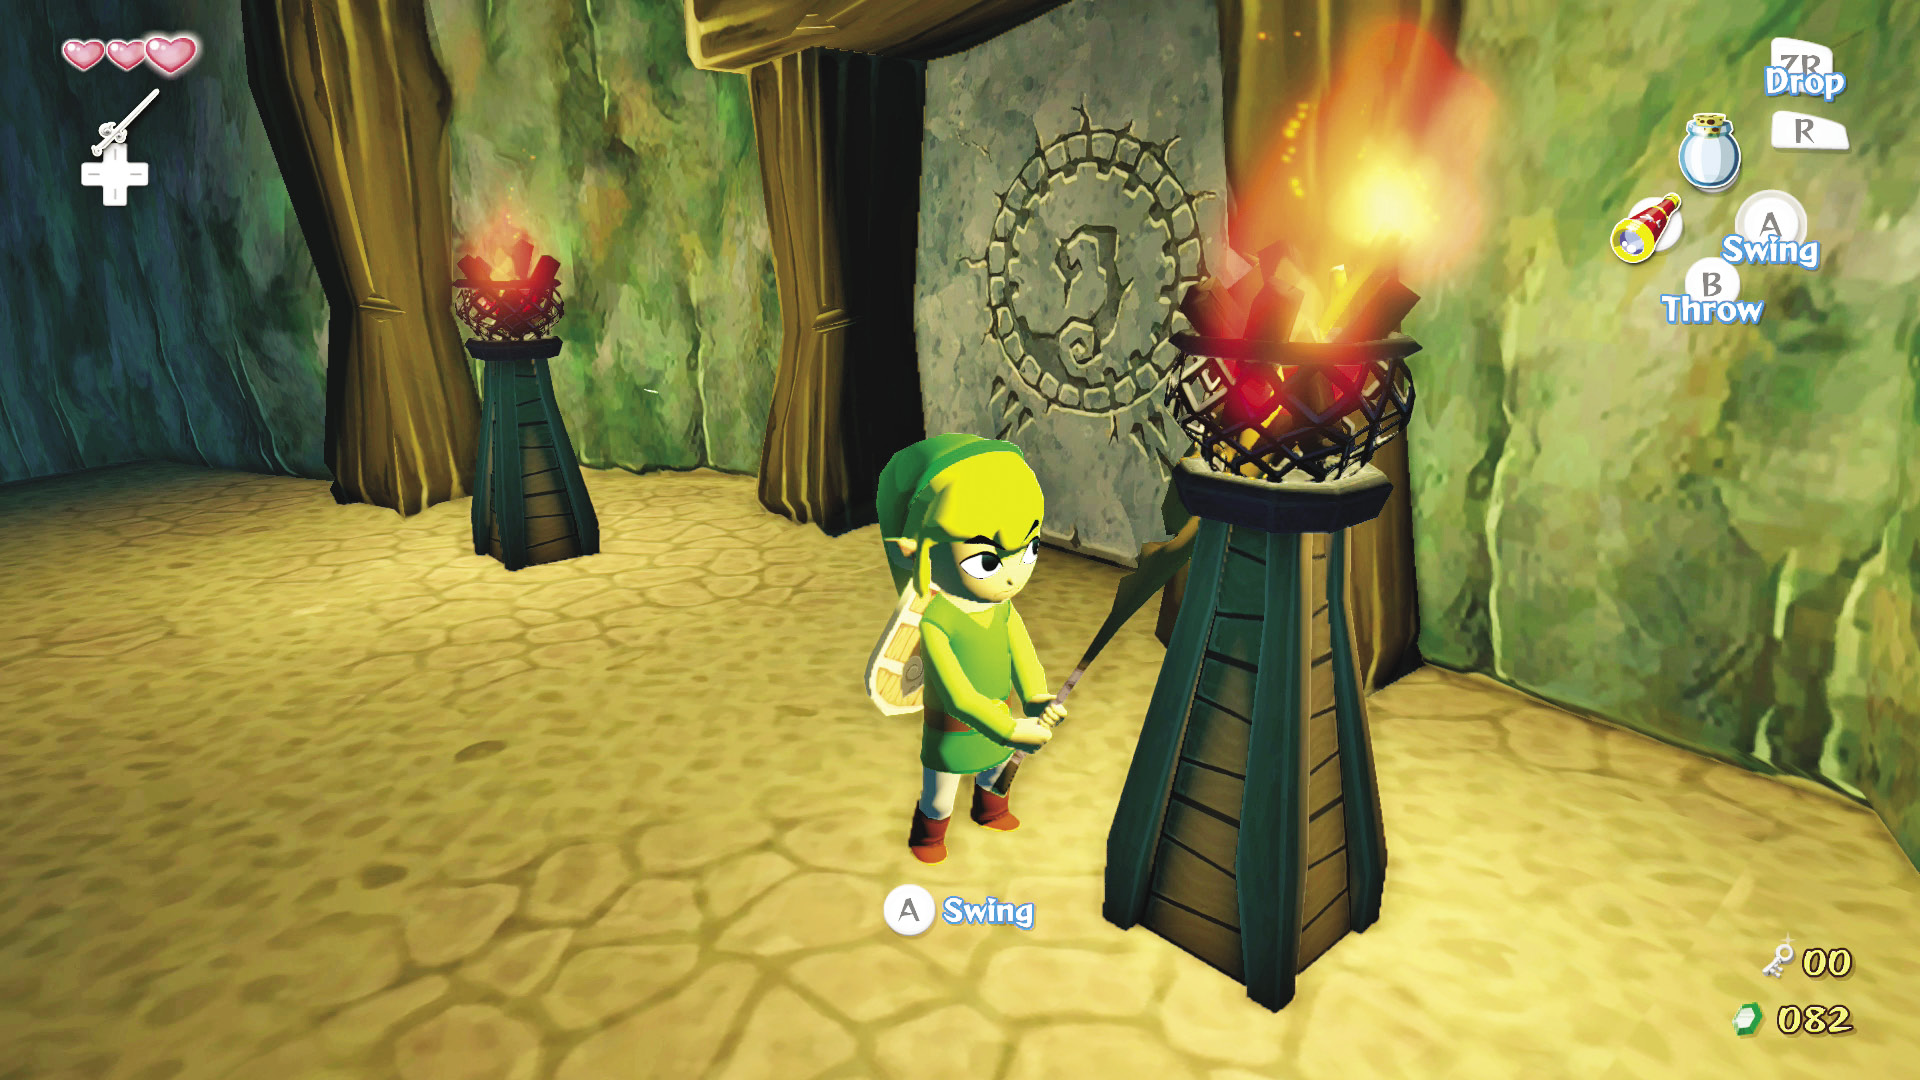
Head toward the southwestern passage and use the flaming Deku Stick to burn the boards blocking your path. Light both of the torches in front of the gated door to unlock it. Head on through once it’s open.
5. Bokoblin Surprise
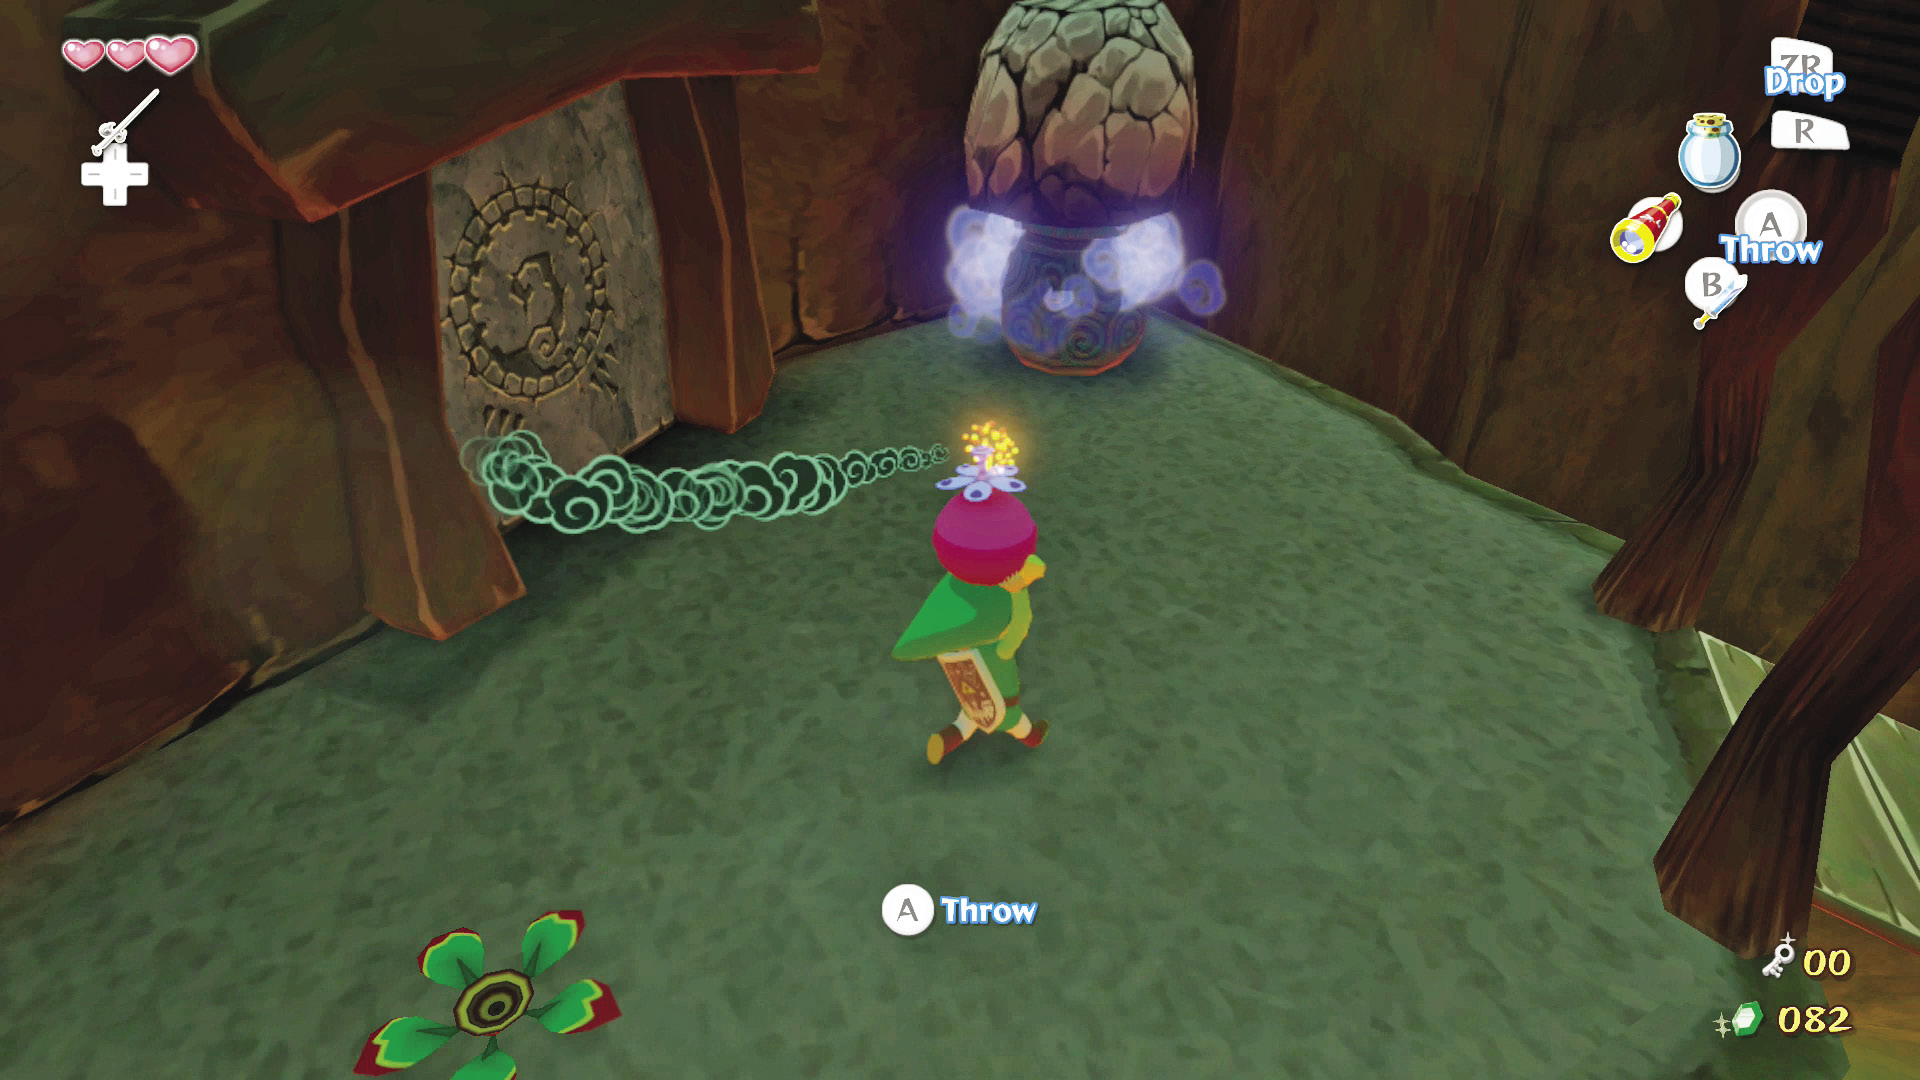
Pick up one of the Bomb Flower’s fruit near the room’s entrance and use it to destroy the boulder on top of the Blue Warp Pot to the left of the entrance. You can now warp to this point and the entrance of Dragon Roost Cavern as frequently as you desire.
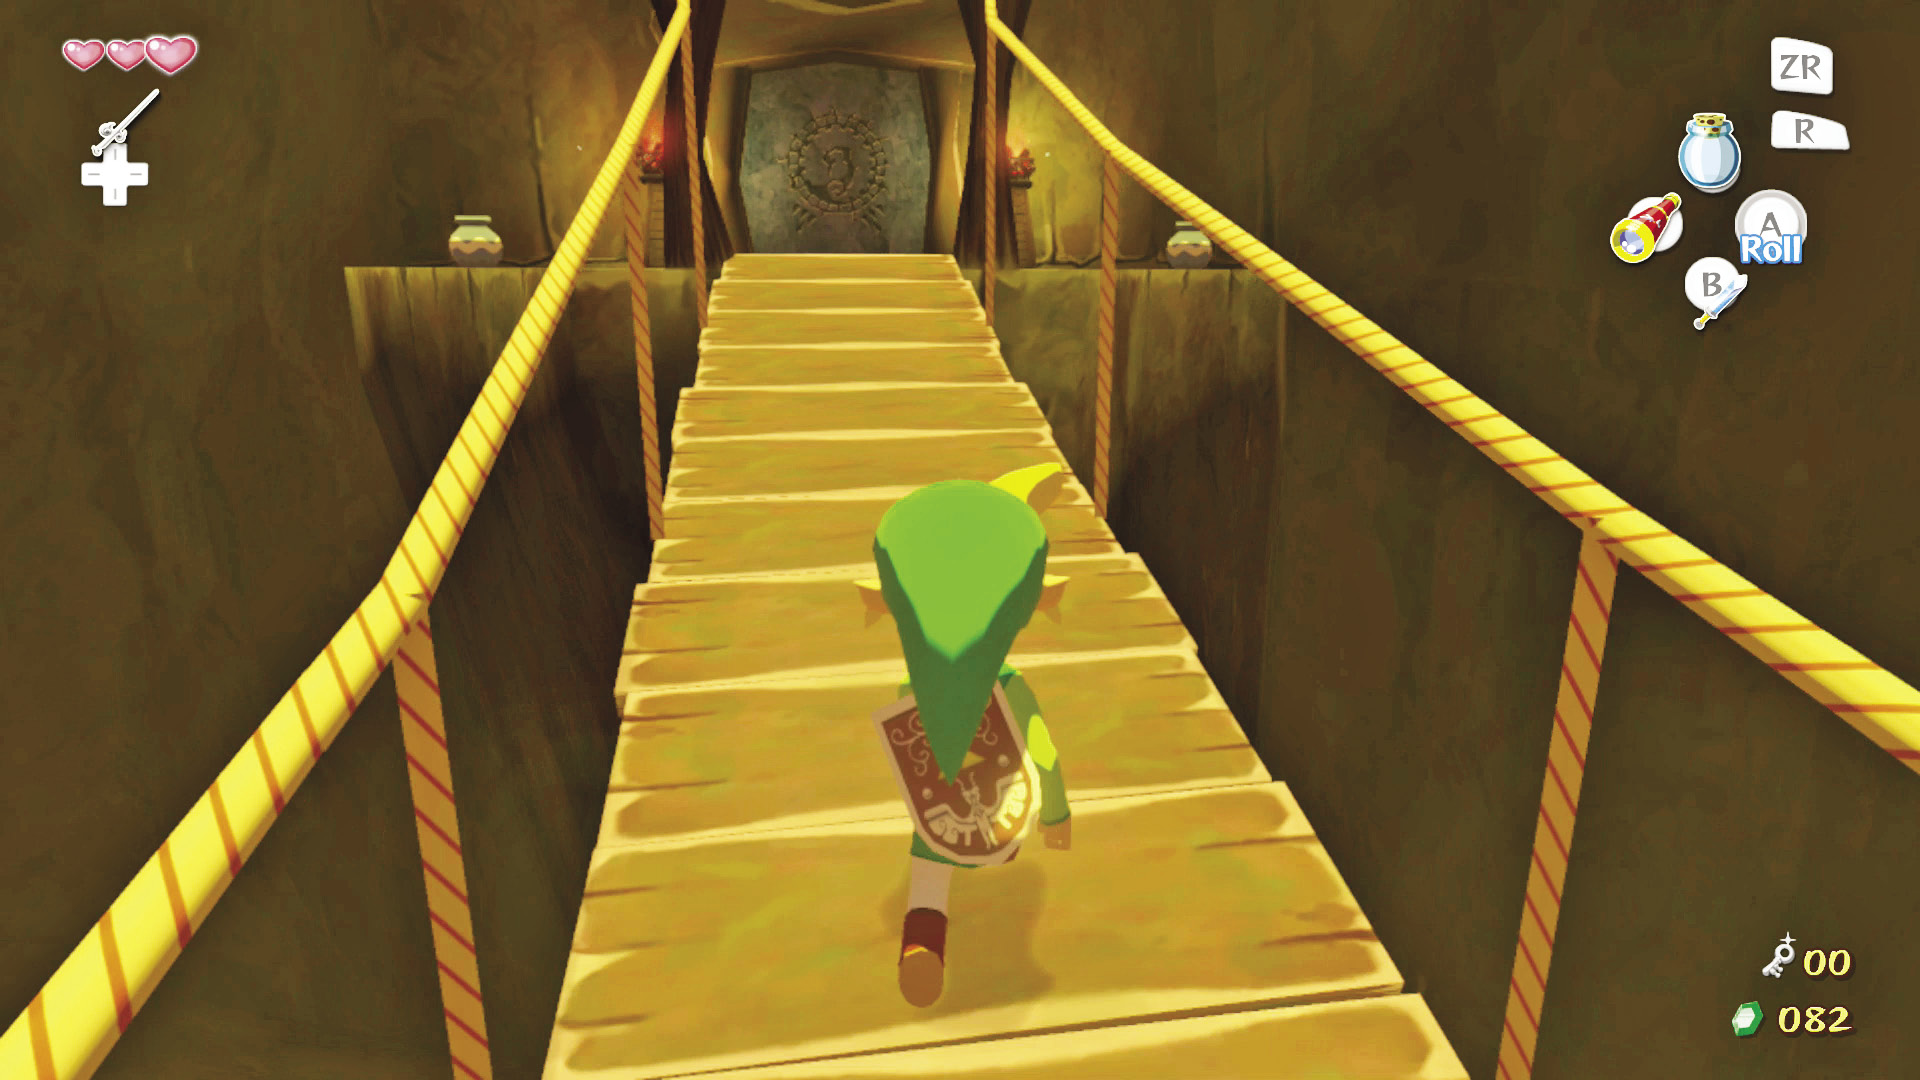
With the Warp Pot now open, head across the suspension bridge and head through the door to exit this room.
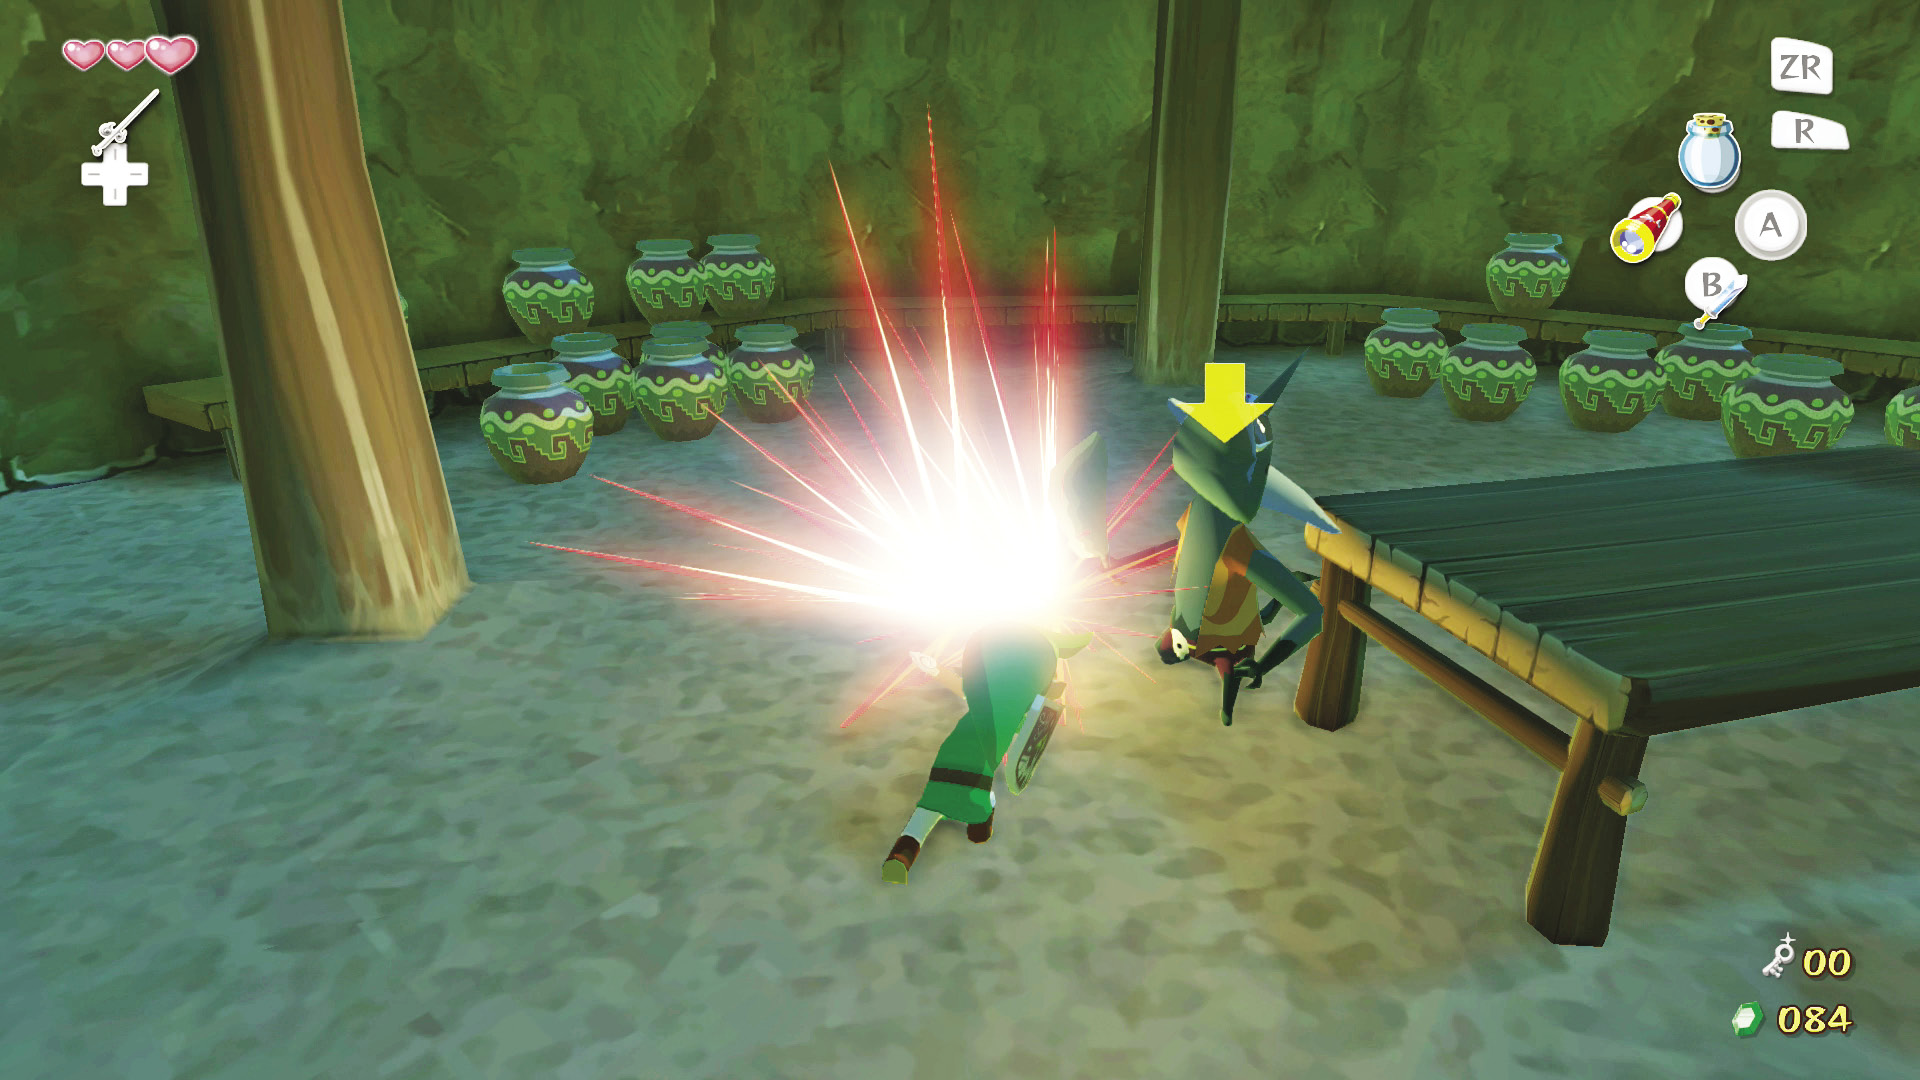
As soon as you enter the room, bars will slam down in front of the door you entered from, locking you in the room. To get out, defeat the Bokoblin in the room’s center, then begin destroying all the pots (roll into the wall with  to knock the pots off the shelves). Inside two of the pots are Bokoblins waiting to strike. Defeat them to open the door on the room’s south side.
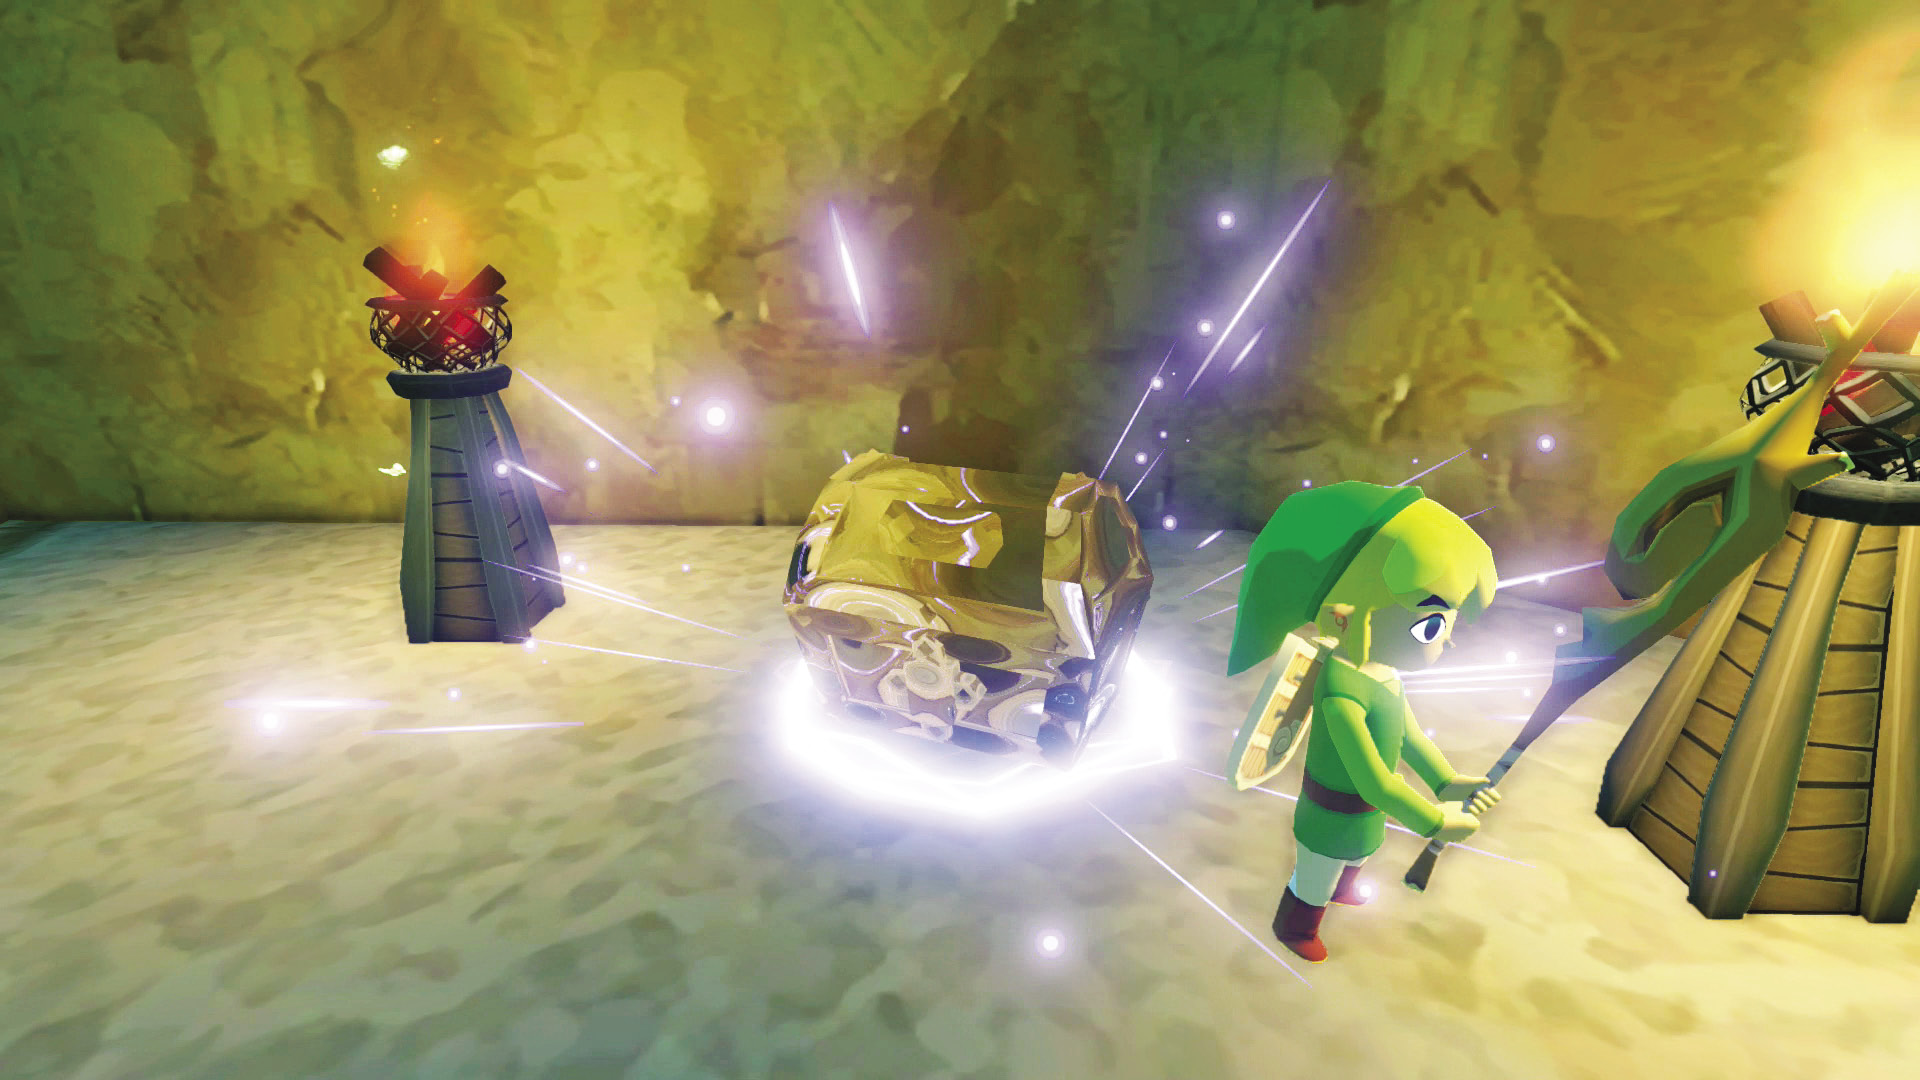
Before heading up the ladder and through the door, pick up a Deku Stick, light it, and ignite the torch on the room’s west side to reveal a treasure chest containing Treasure Chart #11. Grab the Treasure Chart and head through the southern door.
|
|
20 |
Treasure Chart #11 |
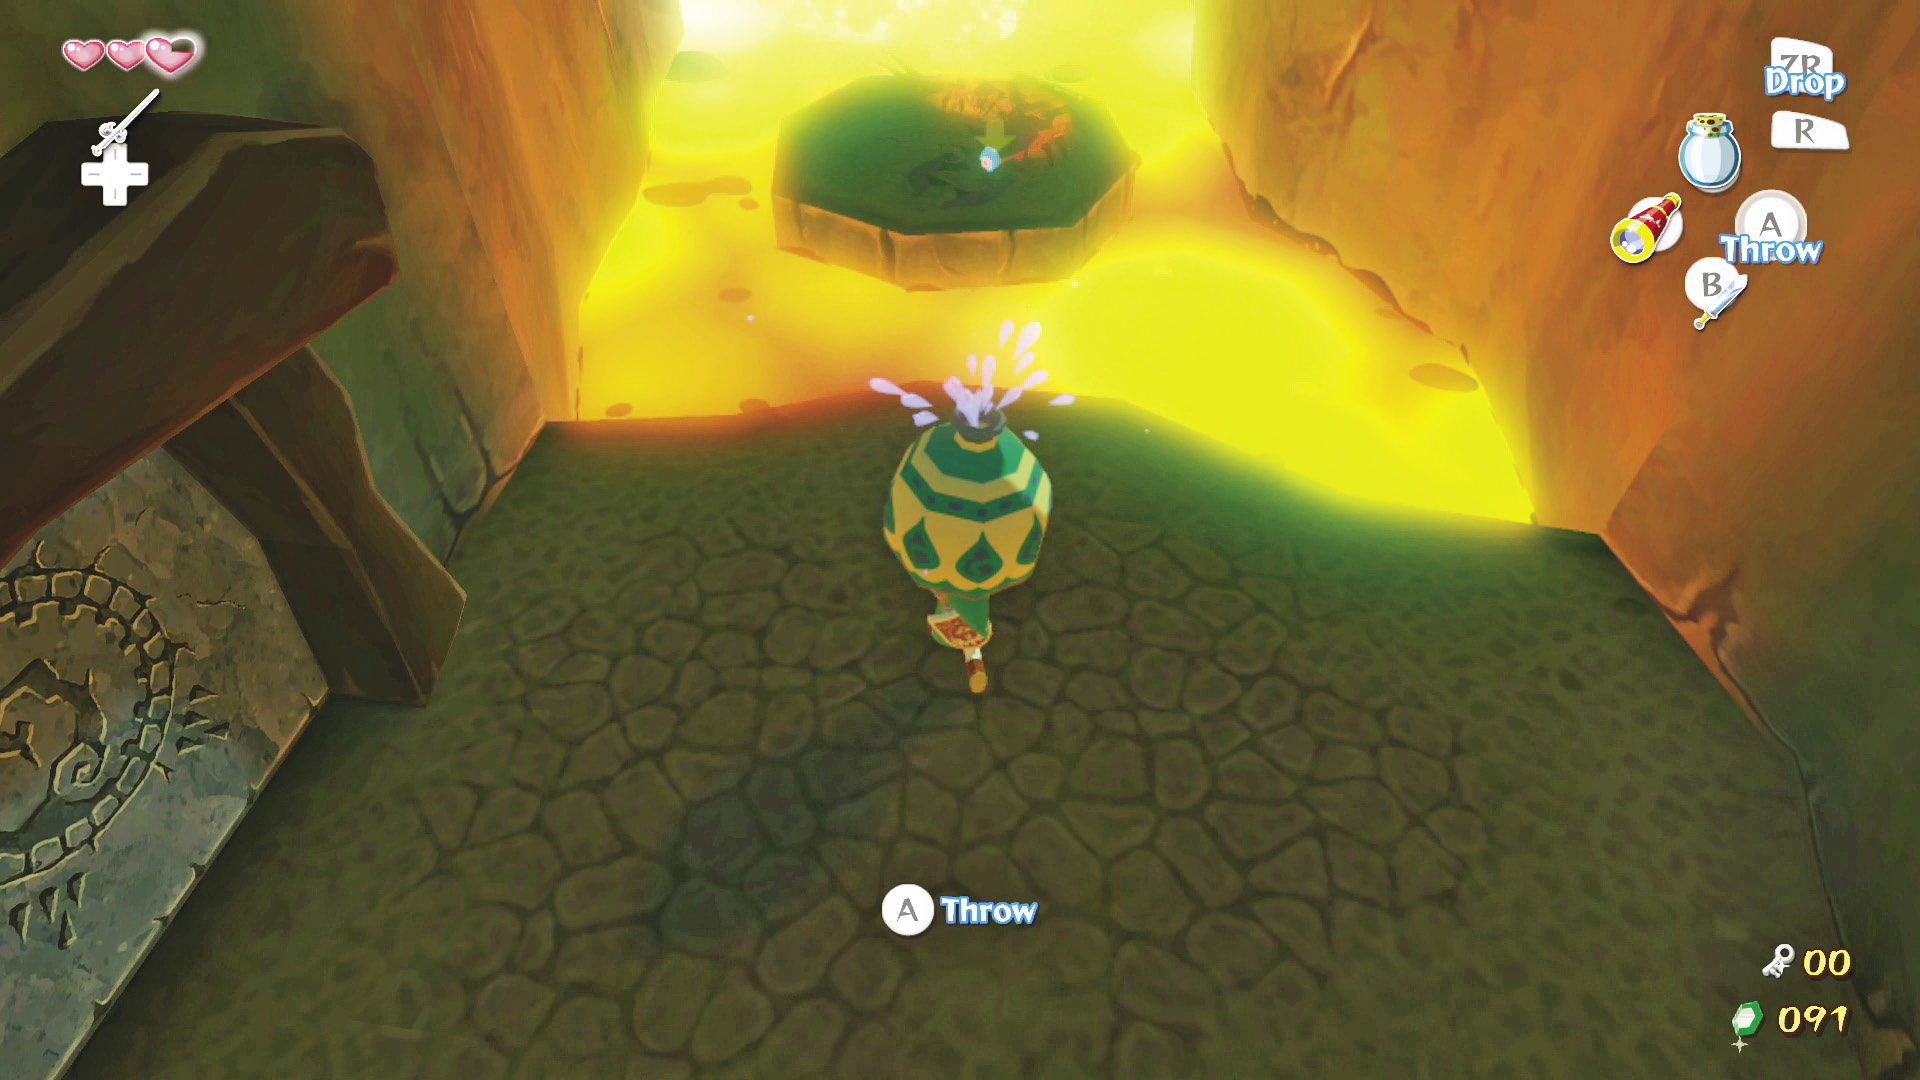
On a platform to the left is a Magtail. Fighting it on its island will be a challenge, especially since you have to use parry attacks to defeat it, and those will just land you in the lava. Instead, try grabbing pots around the area and hitting the Magtail. Magtails aren’t particularly happy when it comes to water; just hitting them with a splash from a water pot is enough to have them curl into a ball.
After the Magtail curls into a ball, jump over to it and pick it up with  , then bring it back to the entrance platform to give yourself better footing. Defeat the Magtail and grab one of the water pots near the room’s entrance. Carry it back to the center platform and throw it so it lands where the fountain of lava shoots off on the room’s eastern side.
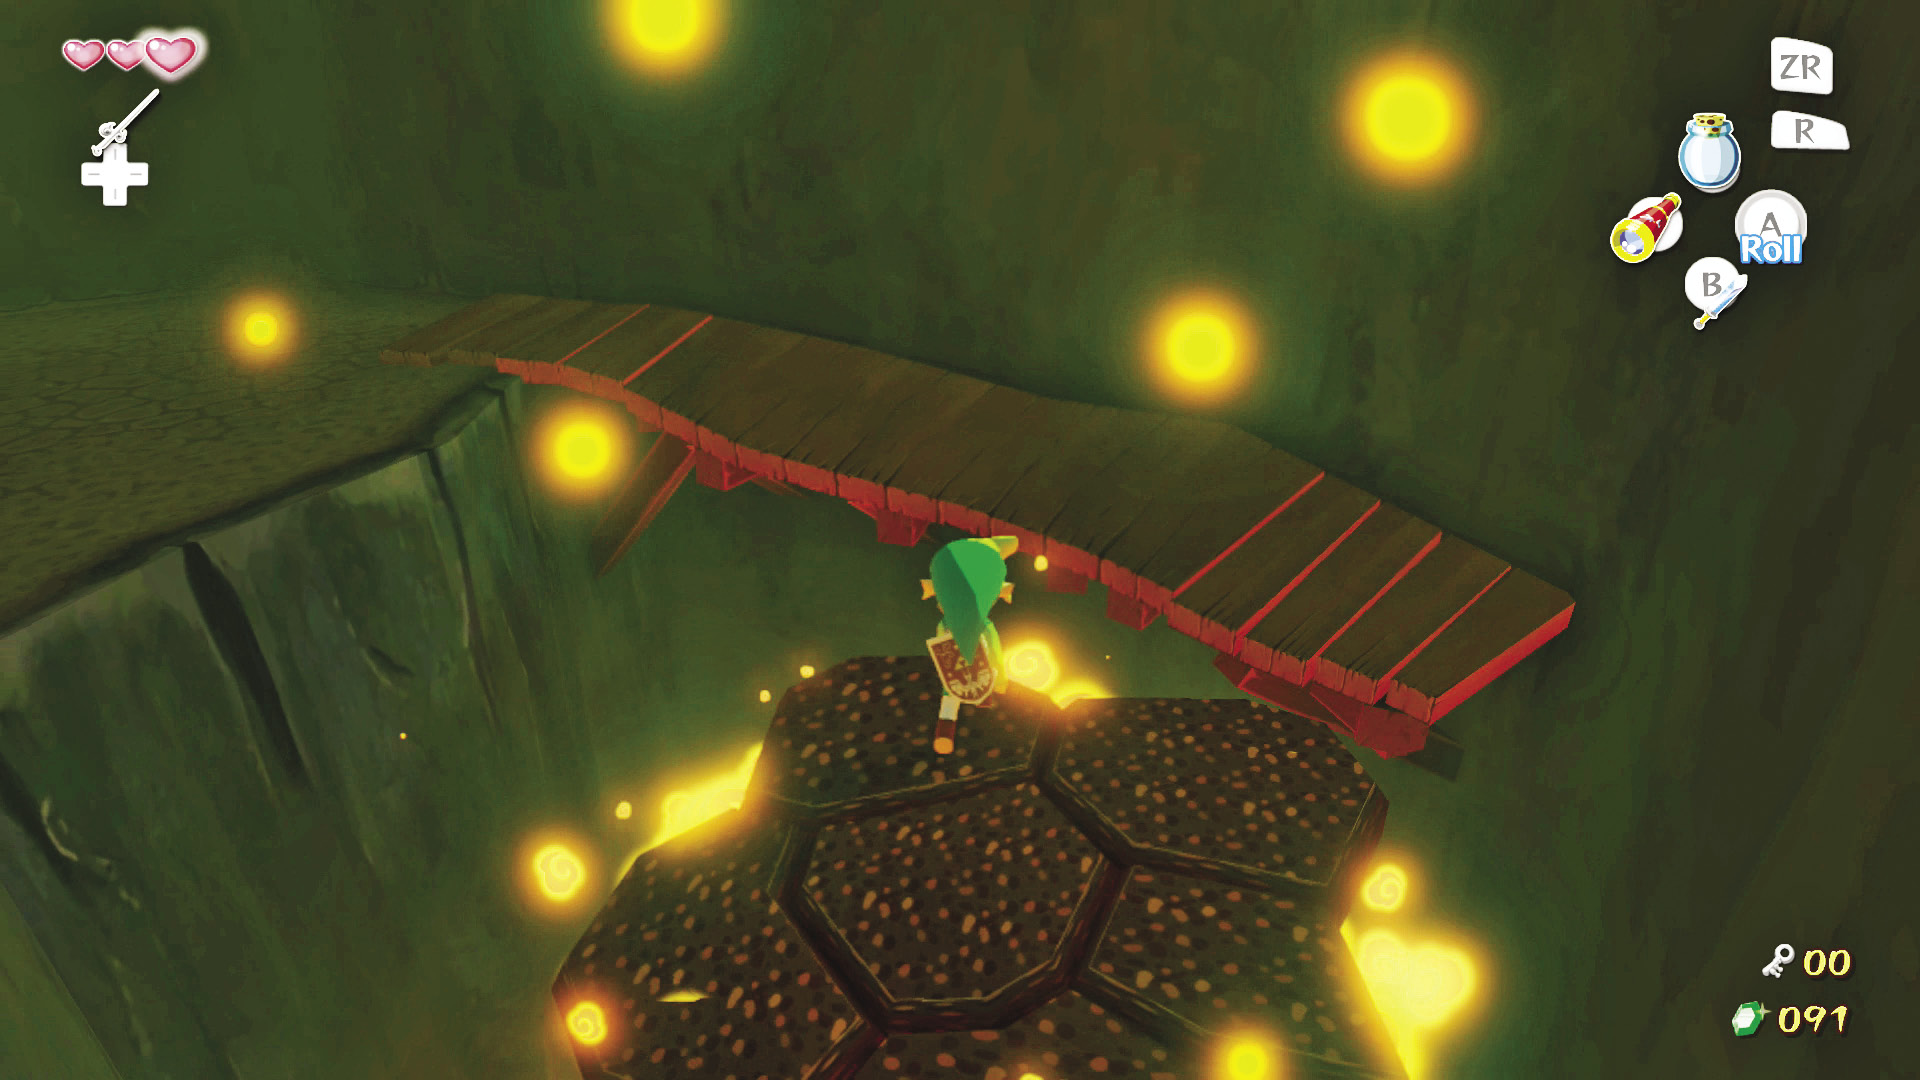
Enemy: Magtail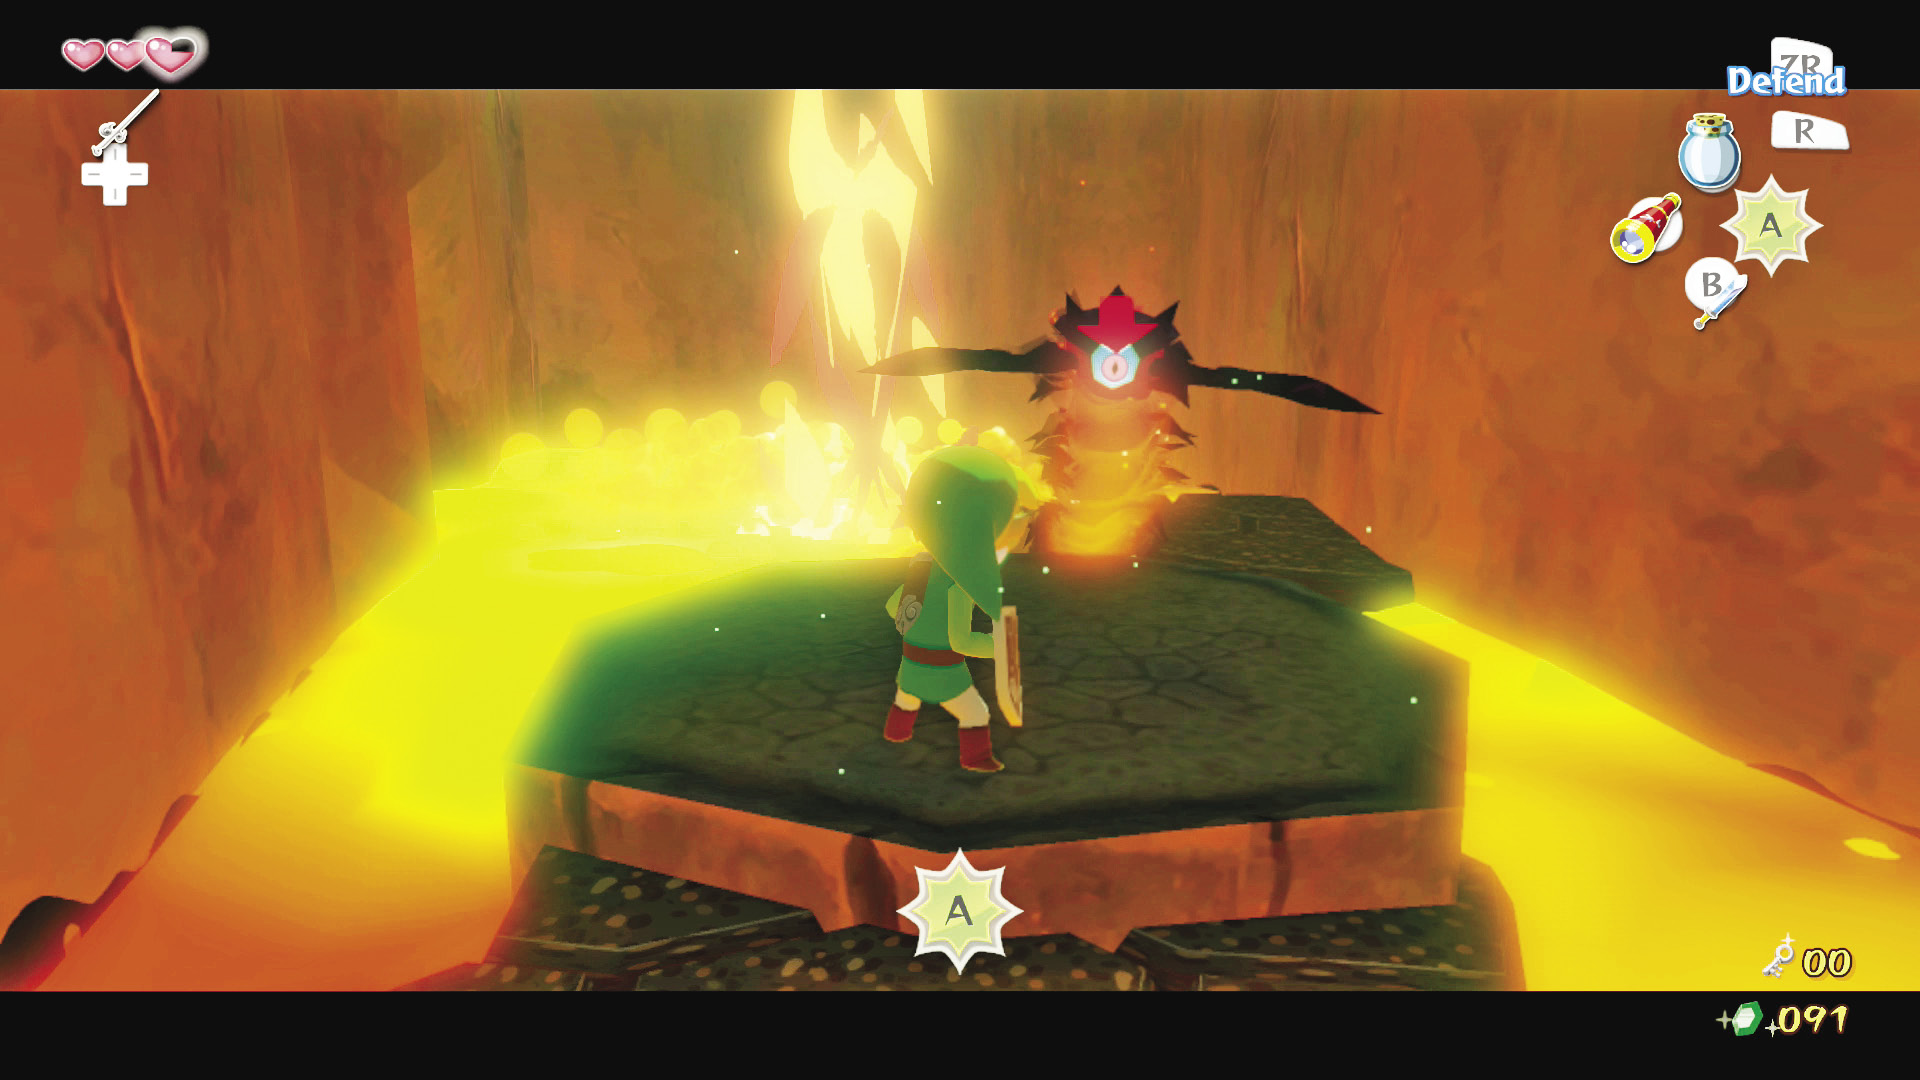 Magtails are centipede-like creatures that live in hot places. They can be very difficult to deal with for the uninitiated, as they cannot be damaged without first hitting the eyeball behind their claws and coming into contact with their long, spiky bodies, which can hurt you. A couple of parry attacks will take them out quickly ( |
 -Target the Magtail and wait until your sword flashes green, then hit
  to damage it), but if you hit them outside of a parry attack, the Magtail will briefly curl into a ball, leaving them open to some simple sword-swing attacks. The choice is yours—just be patient and defensive when fighting these foes.
Jump onto the platform that the water pot creates. Once the lava begins erupting again it lifts you and the platform up to the third floor. Hop off the platform onto the ledge ahead and go through the door.
Third Floor
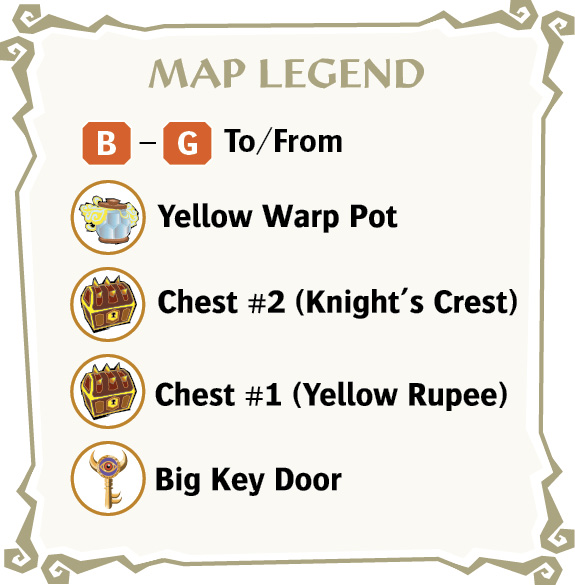
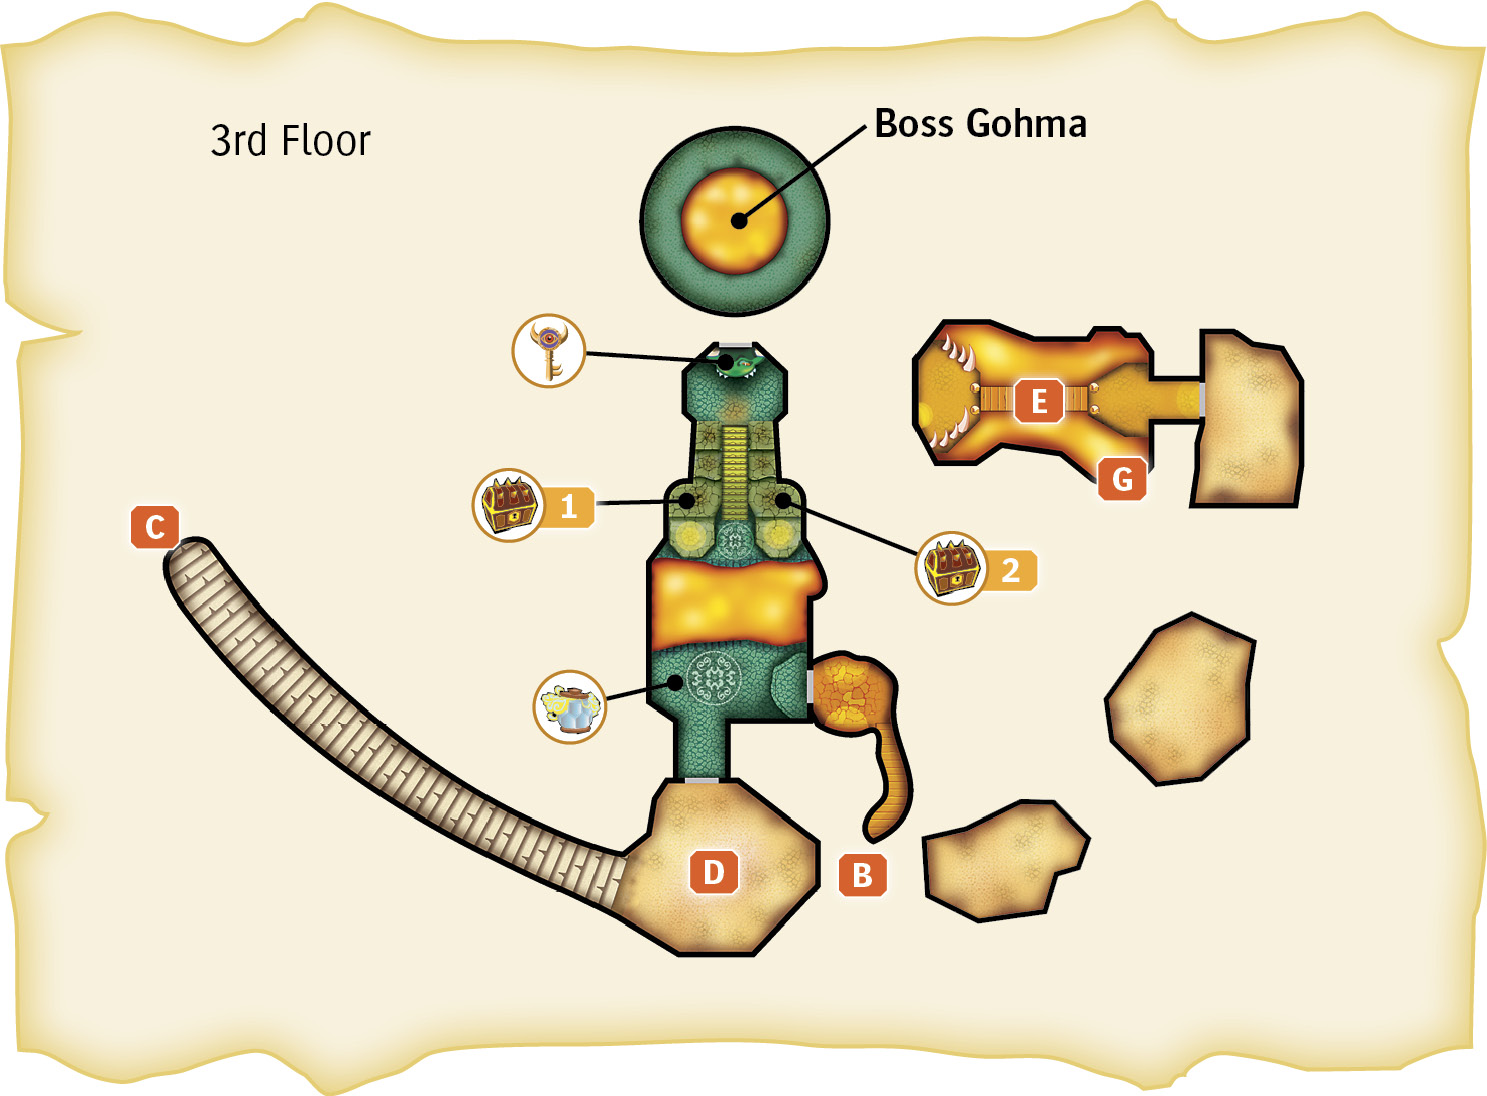
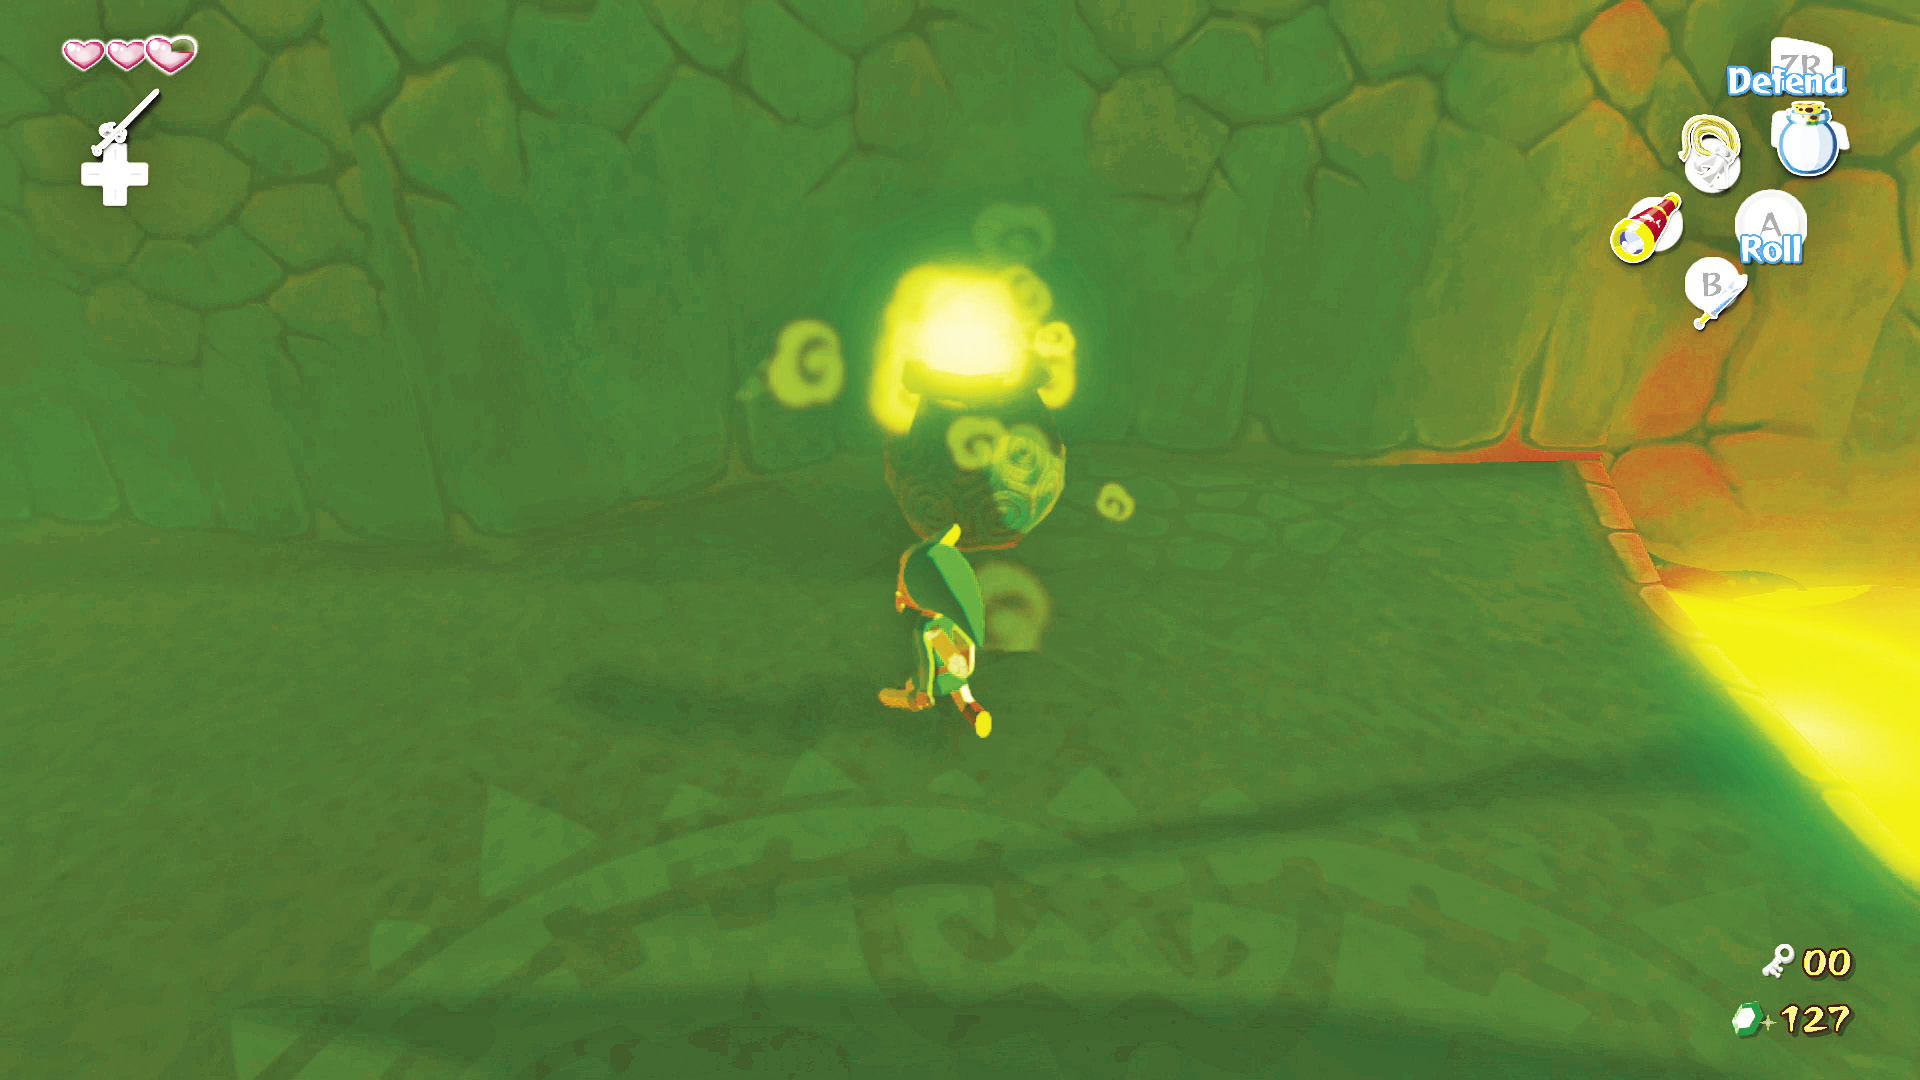
There isn’t much you can do in this room at the moment, so let’s do what we can. Directly ahead of the room’s entrance is a boulder concealing the Yellow Warp Pot. Use one of the Bomb Flowers immediately to the right of the door you entered through to destroy the boulder. You now have Warp Pots on the first, second, and third floors of Dragon Roost Cavern; they will make your life easier if you ever need to quit the game or do any backtracking—which you will shortly, if you want to get that Treasure Chart that’s on the first floor.
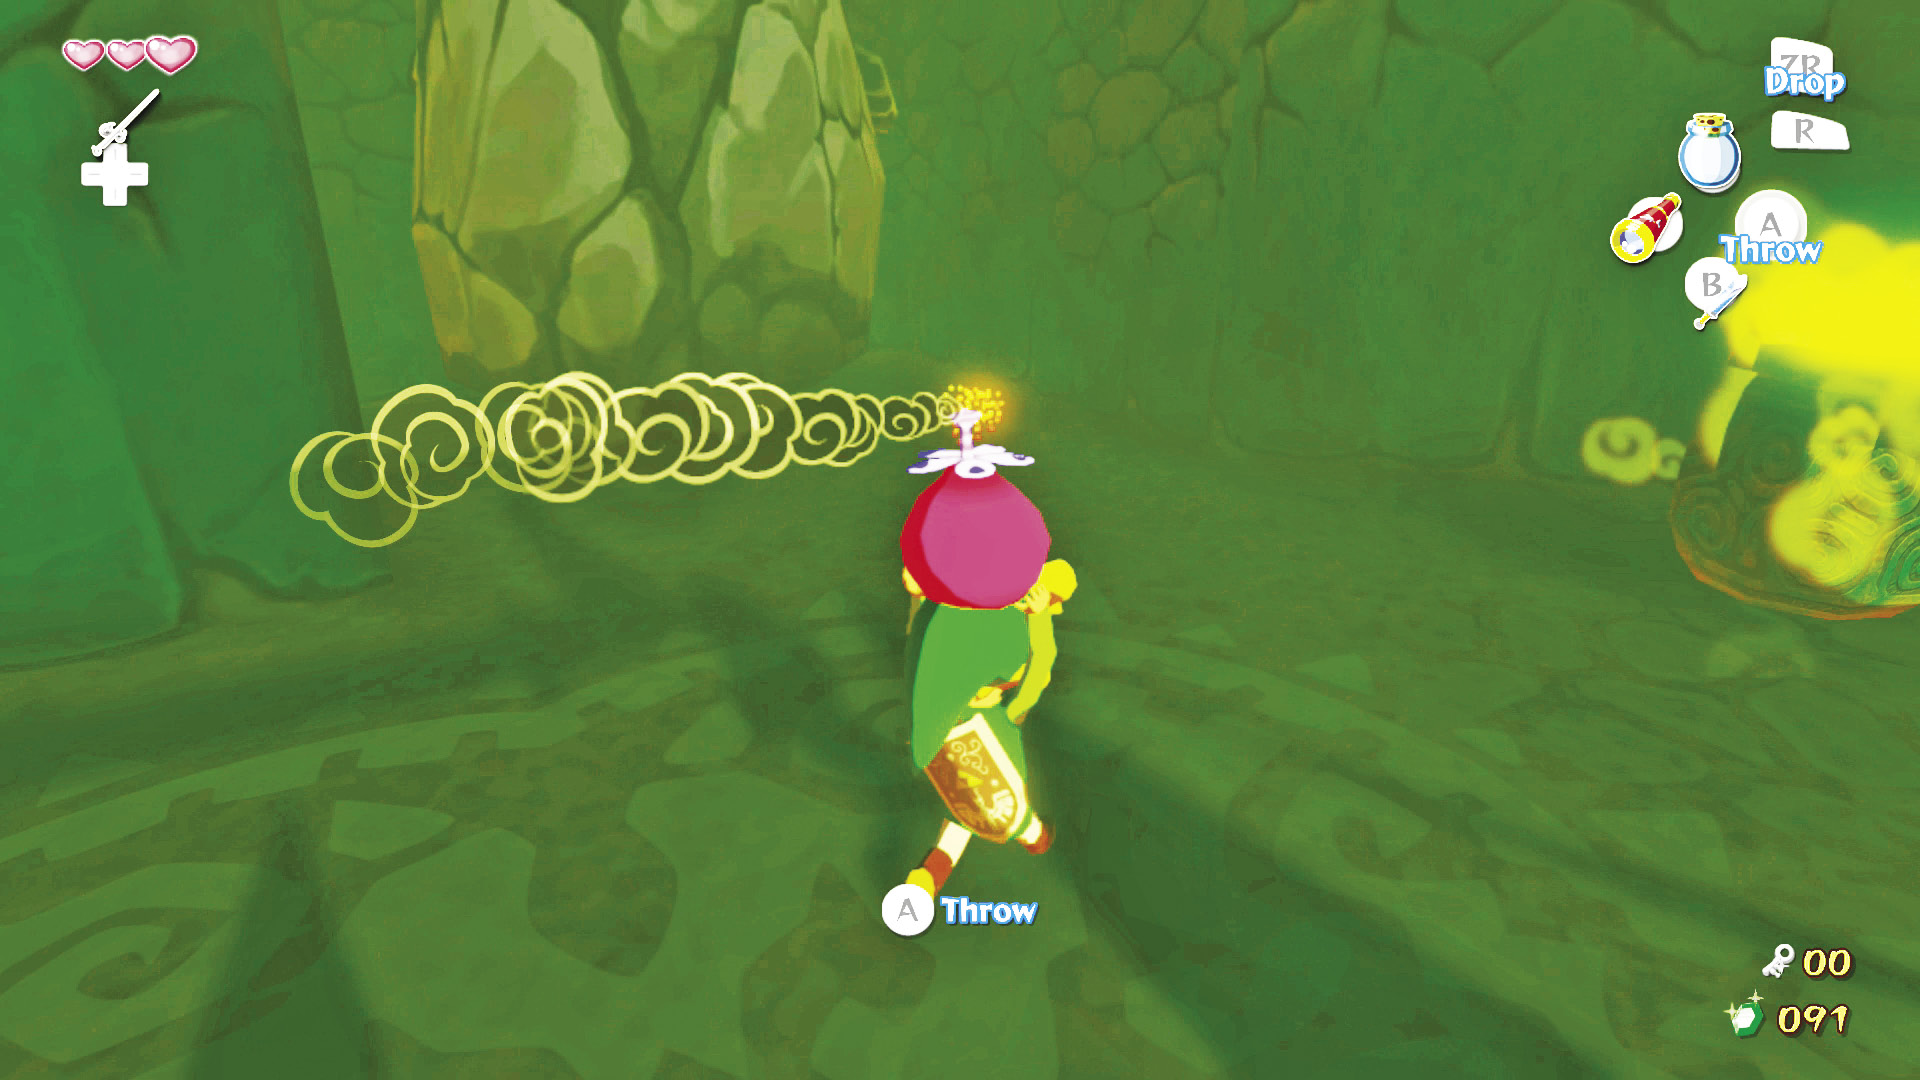
Pick up another Bomb Flower fruit, but this time throw it at the boulder to the left of the Yellow Warp Pot, in the alcove in the southernmost part of the room. Behind the boulder is a door; head through it.
6. What’s Gotten into Valoo?
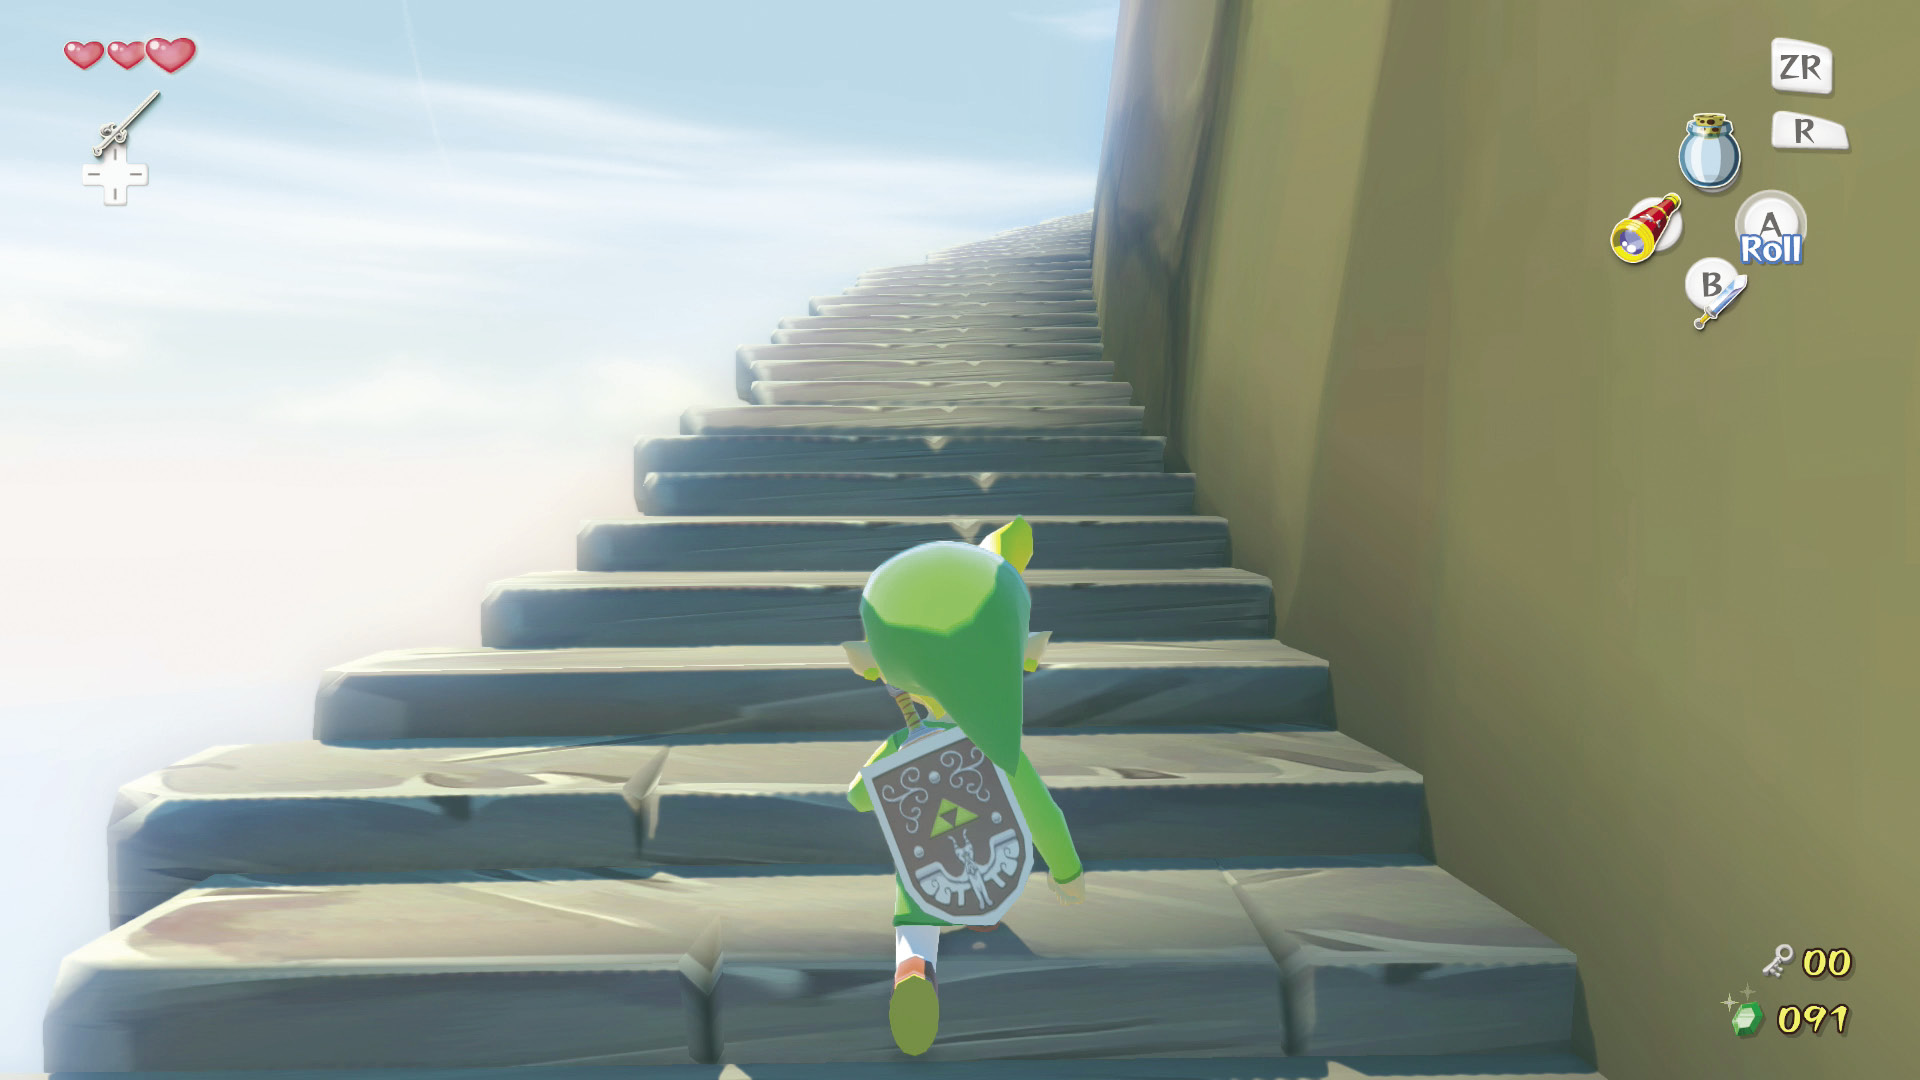
The door will lead you to another area outside of Dragon Roost Cavern, but this time it is just below Valoo’s roost. Head up the path quickly—the stairs will crumble shorty after you step on them. Just don’t roll while running; rolling up stairs is a good way for Link to hit his head, dizzying him and getting him dropped by the crumbling stairs.
Fourth Floor
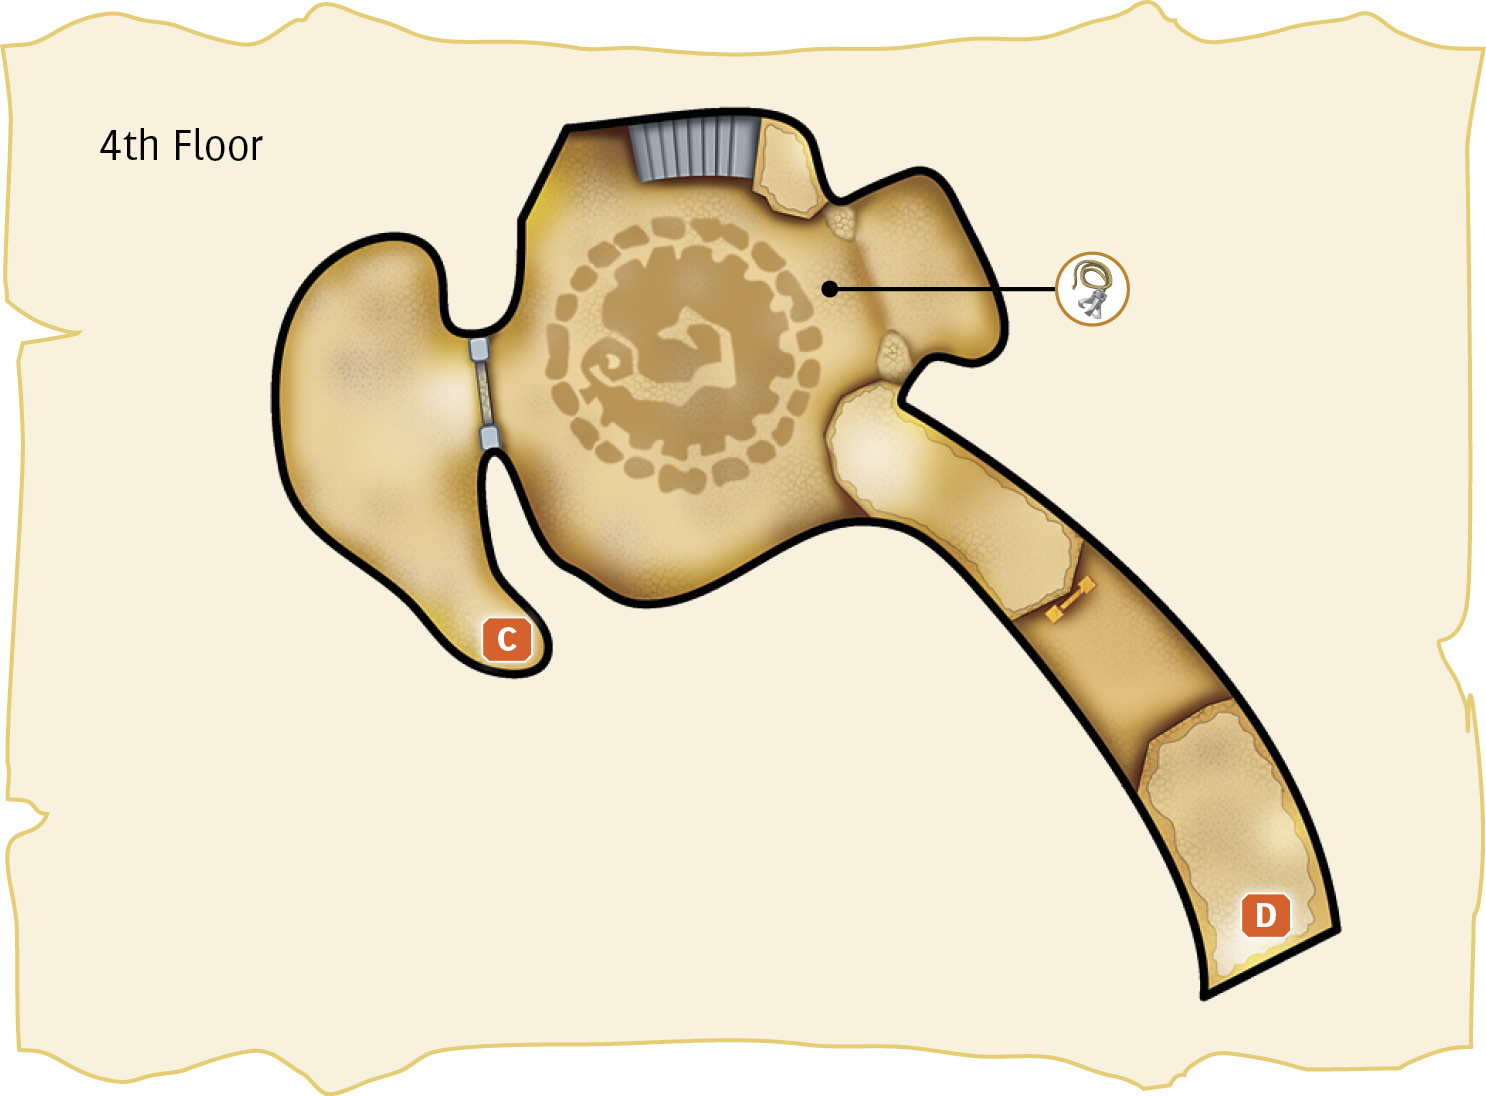
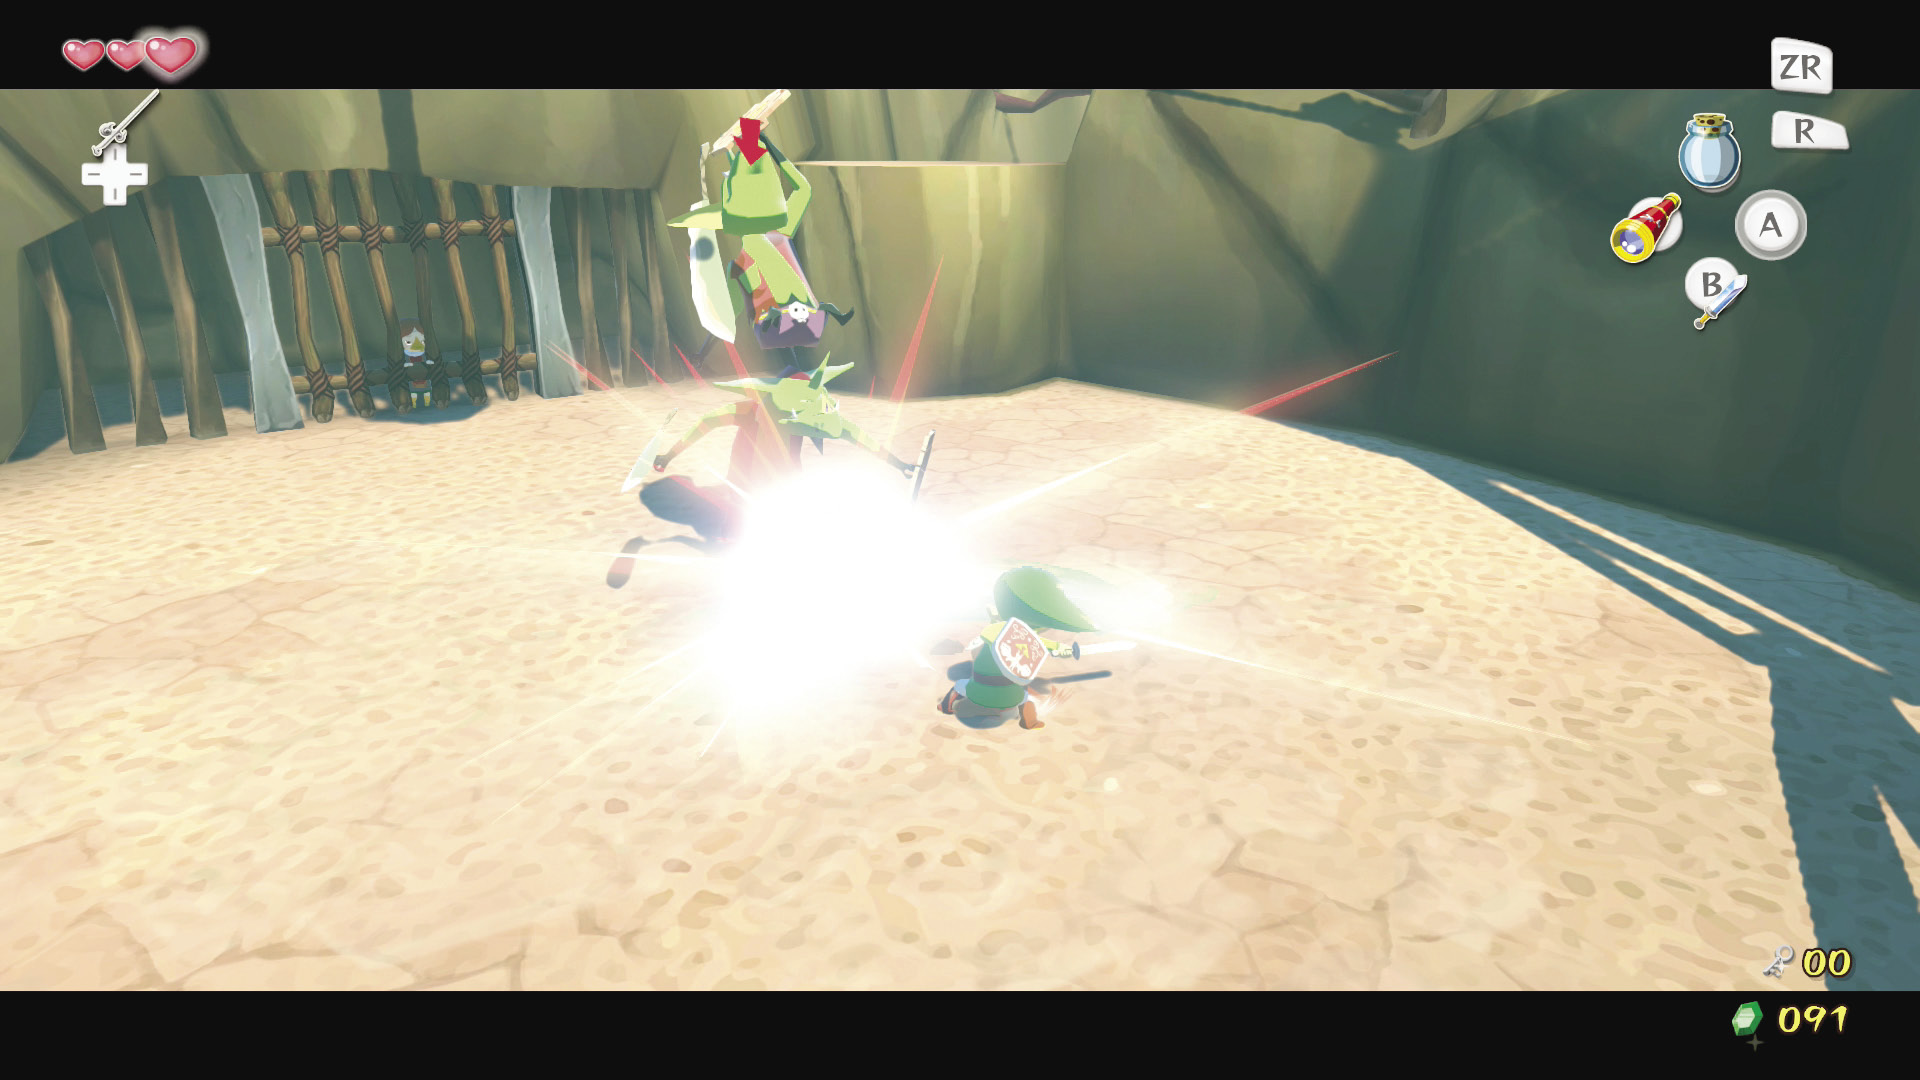
At the top of the steps is where Valoo resides. When Link walks through the passage, he notices Medli trapped in a cage guarded by two Shield Bokoblins. While he stands astonished, a gate slams shut behind him, locking him in the room with the grumpy goblins. Defeat them and a Kargoroc will bring in backup—specifically, a Moblin. Mix up your moves whenever the Moblin blocks your attacks, keep your distance when it gears up for a swing with its lengthy spear and you’ll make short work of the burdensome slab of bacon.
Enemy: Moblin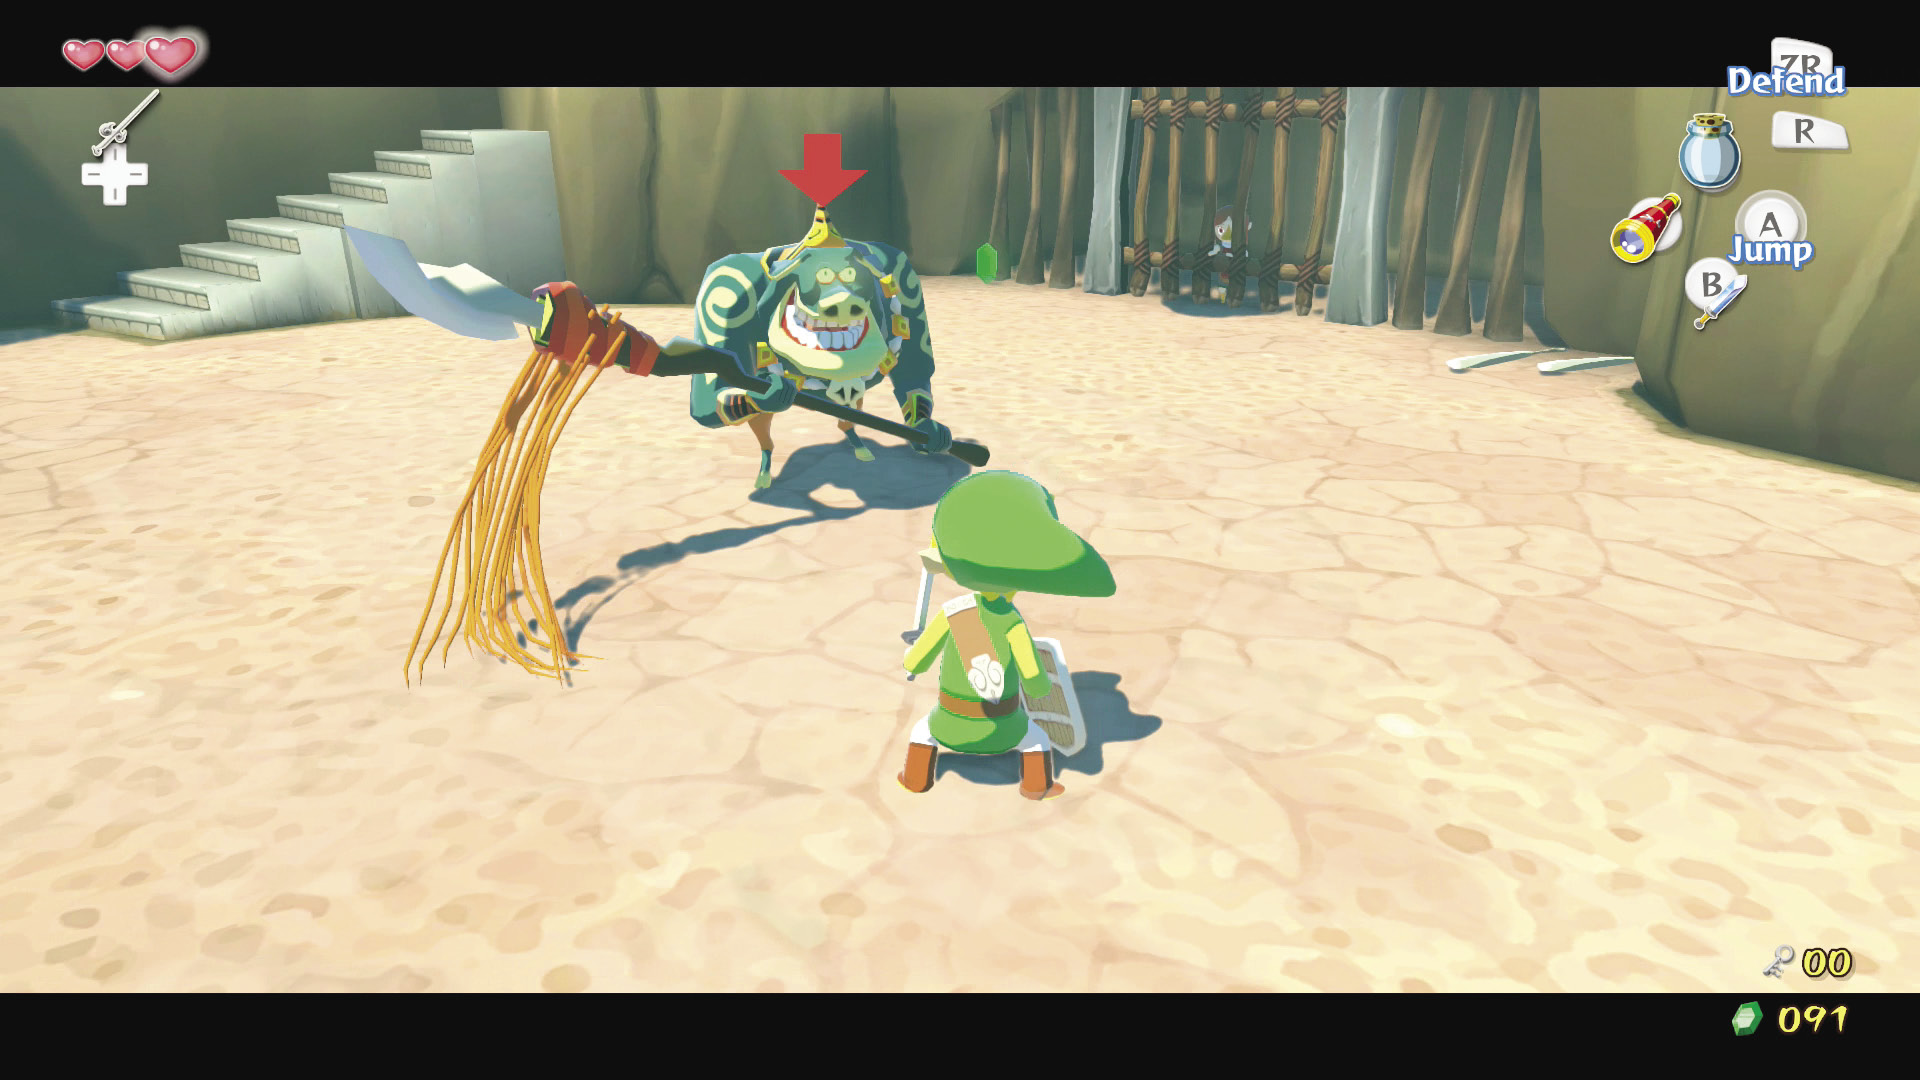 The giant, pig-monster Moblins are no joke. They are some of the toughest adversaries in the game. Defeating them will require that you stay on your toes the entire fight. If it blocks your attack, try a different one. If you land a hit, expect a counterattack for your troubles. Its spear gives it incredible striking range, so always be ready to retreat and dodge; in other words, stay on the defensive. Instead of trying to go for multiple-hit combos, strike it once or twice, then pull back and wait to see if it counterattacks. Rinse. Repeat. Careful attacks, keen observation, and an appropriate use of your shield is your prescription for curing this swine flu. |
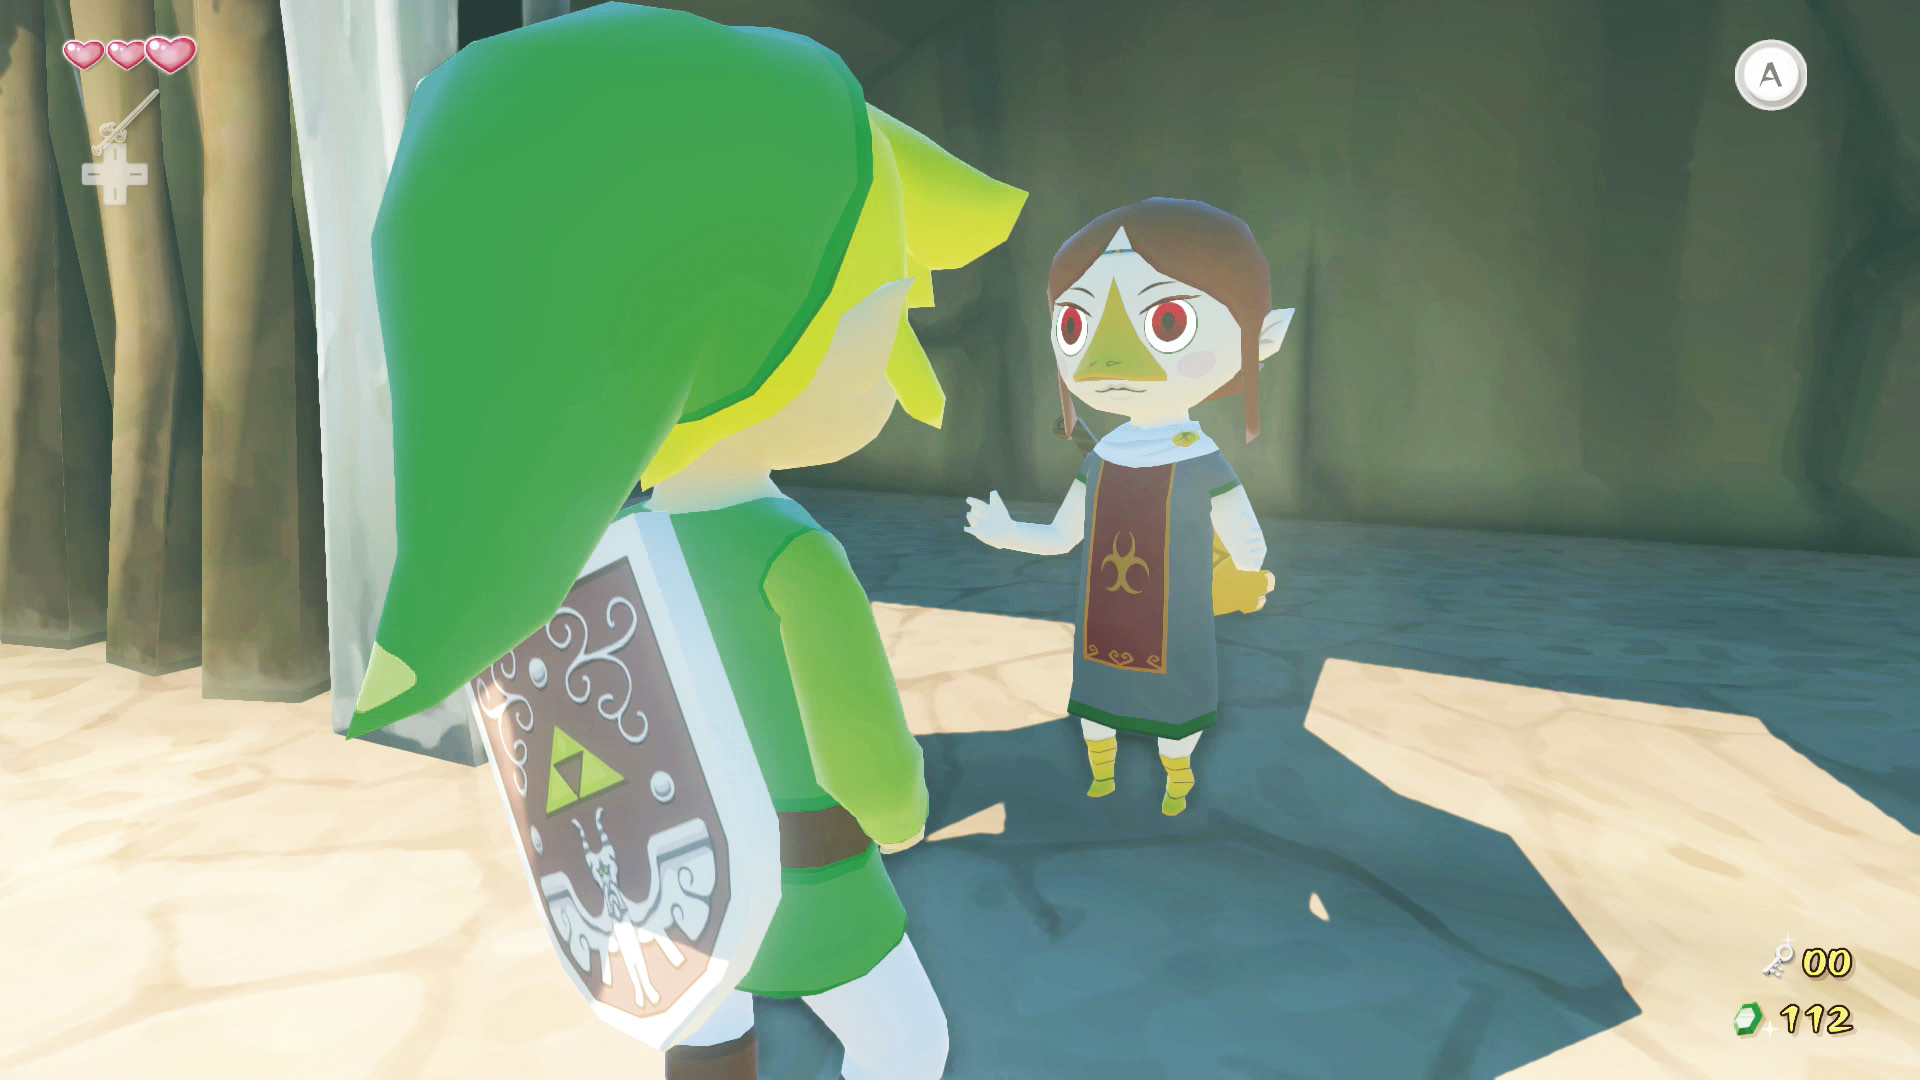
After you defeat the Moblin, Medli’s cage will open, freeing her from imprisonment.
According to her, something has got Valoo’s tail and is doing dastardly things to it just below Valoo’s roost. Medli decides to head back to the aerie and tell everyone what’s going on, but before she leaves, she hands Link the Grappling Hook to thank him for freeing her. As it so happens, before they had the ability to fly, the Rito used Grappling Hooks to take to the sky. Now Link has the same possibilities and we’re going to utilize them as often as we can.
|
|
21 |
Grappling Hook |
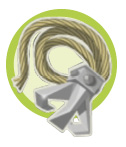
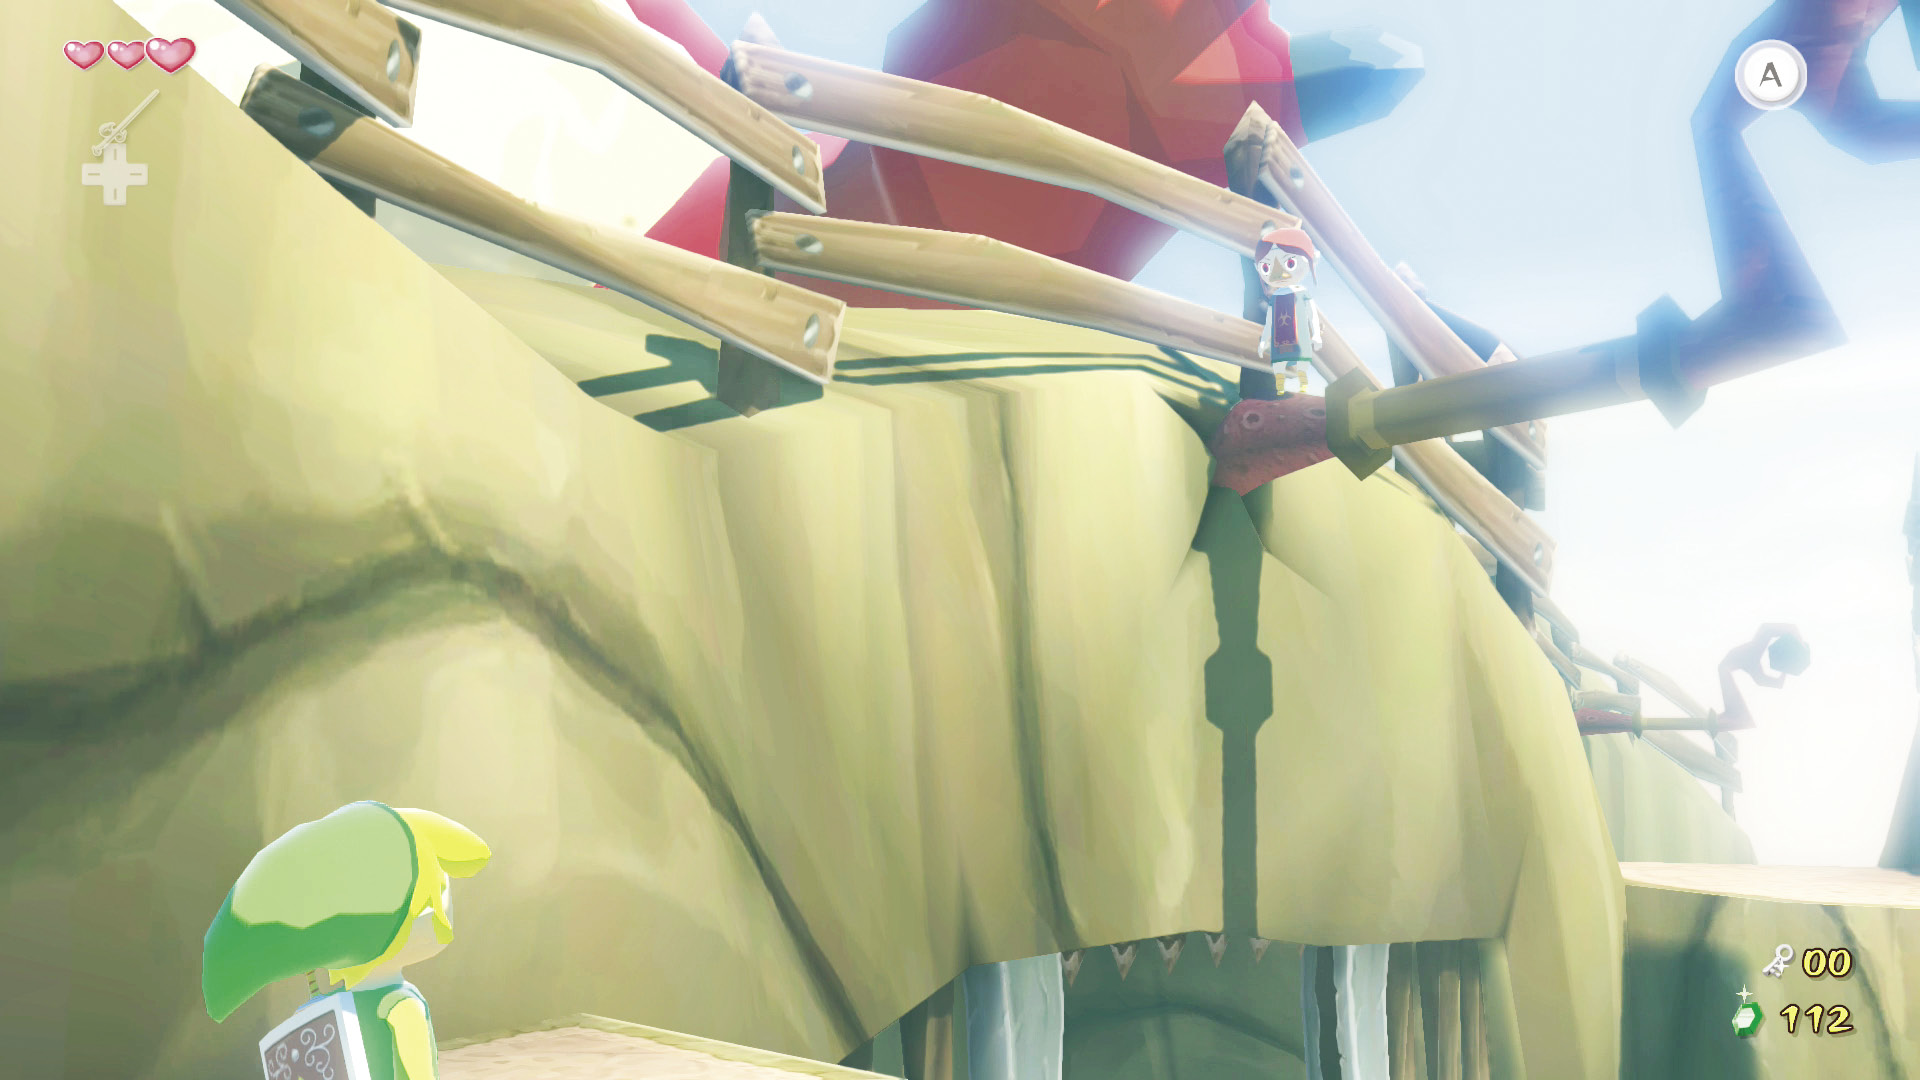
Medli requests that Link head up the stairs so she can teach him a thing or two about the Grappling Hook. Pay close attention to Medli’s instructions. Hook onto the post and swing across the gap to the other side. Swing on the next post ahead, use your sword to destroy the boards blocking your path, then drop off the platform to the floor below.
Third Floor
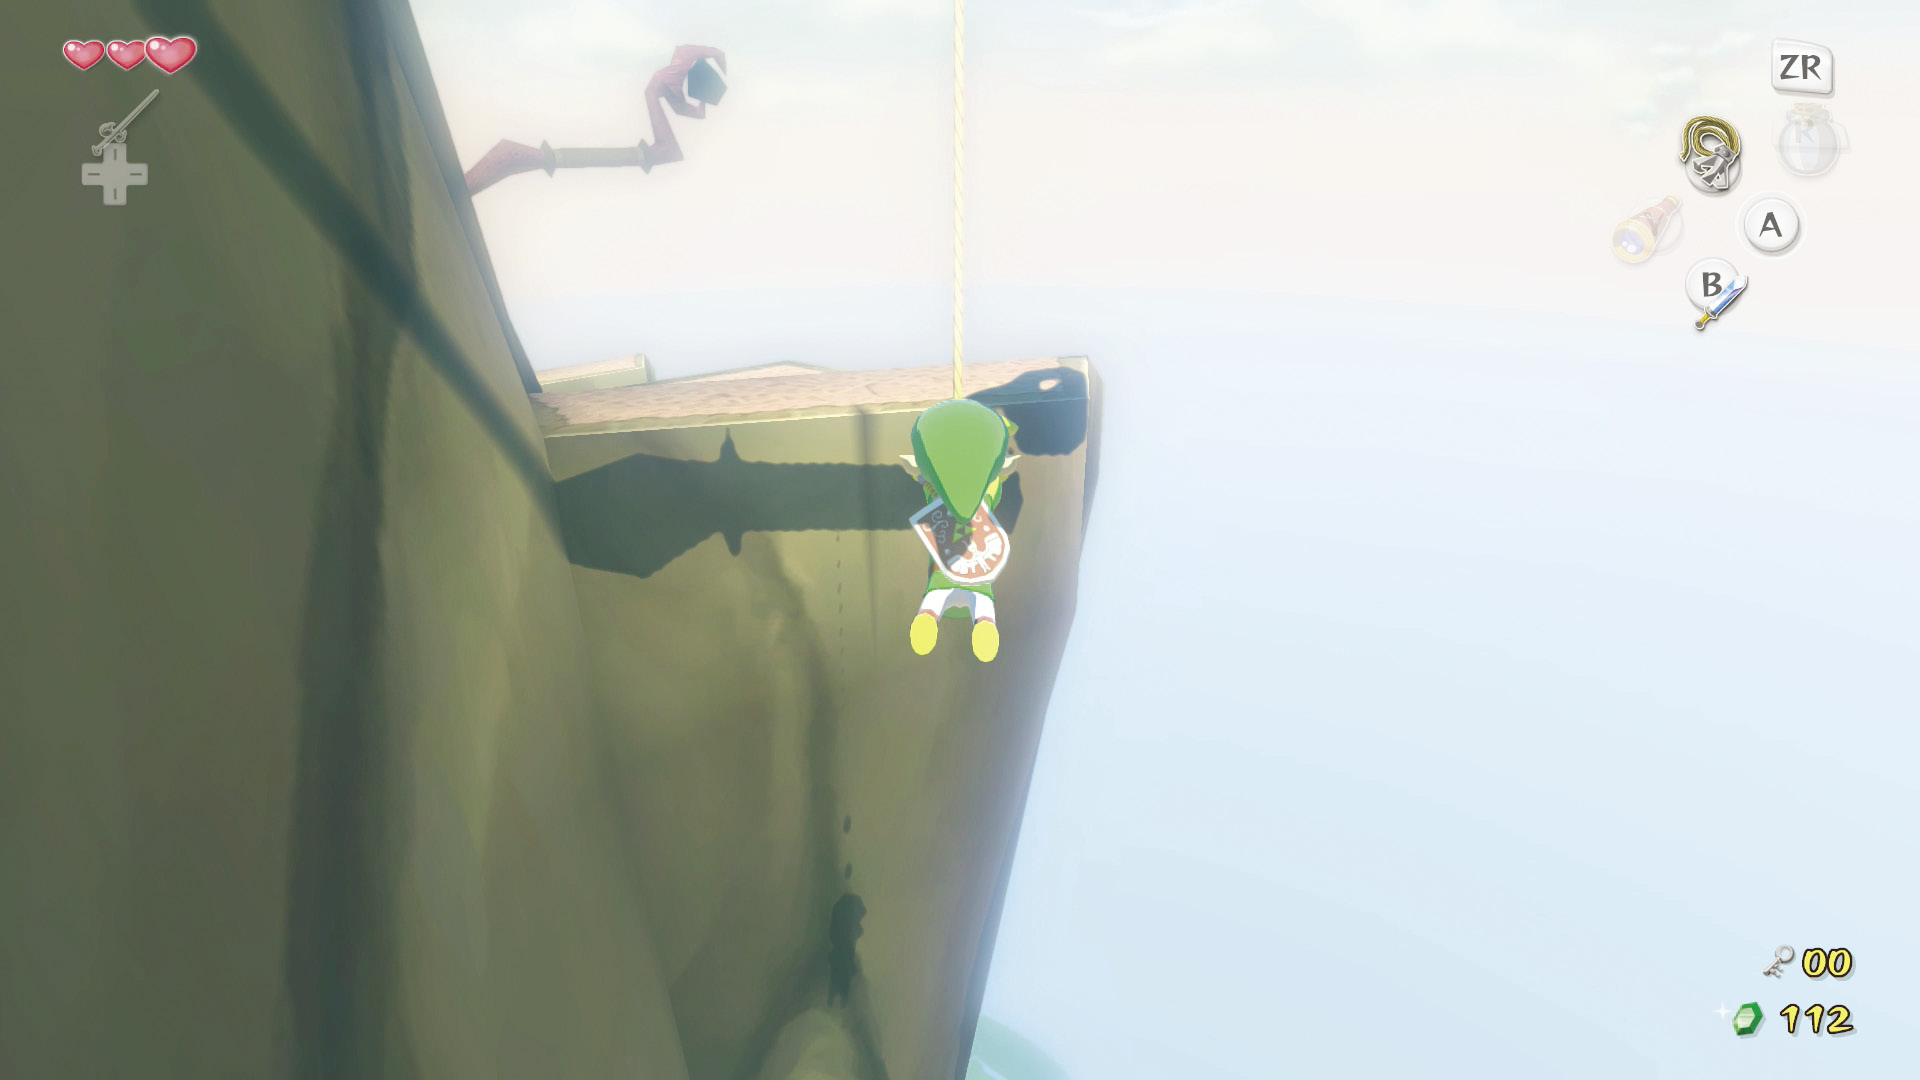
To your left is a line of posts descending around the wall of the peak. Follow the posts until you reach the door at the end of the line. Head through the door.
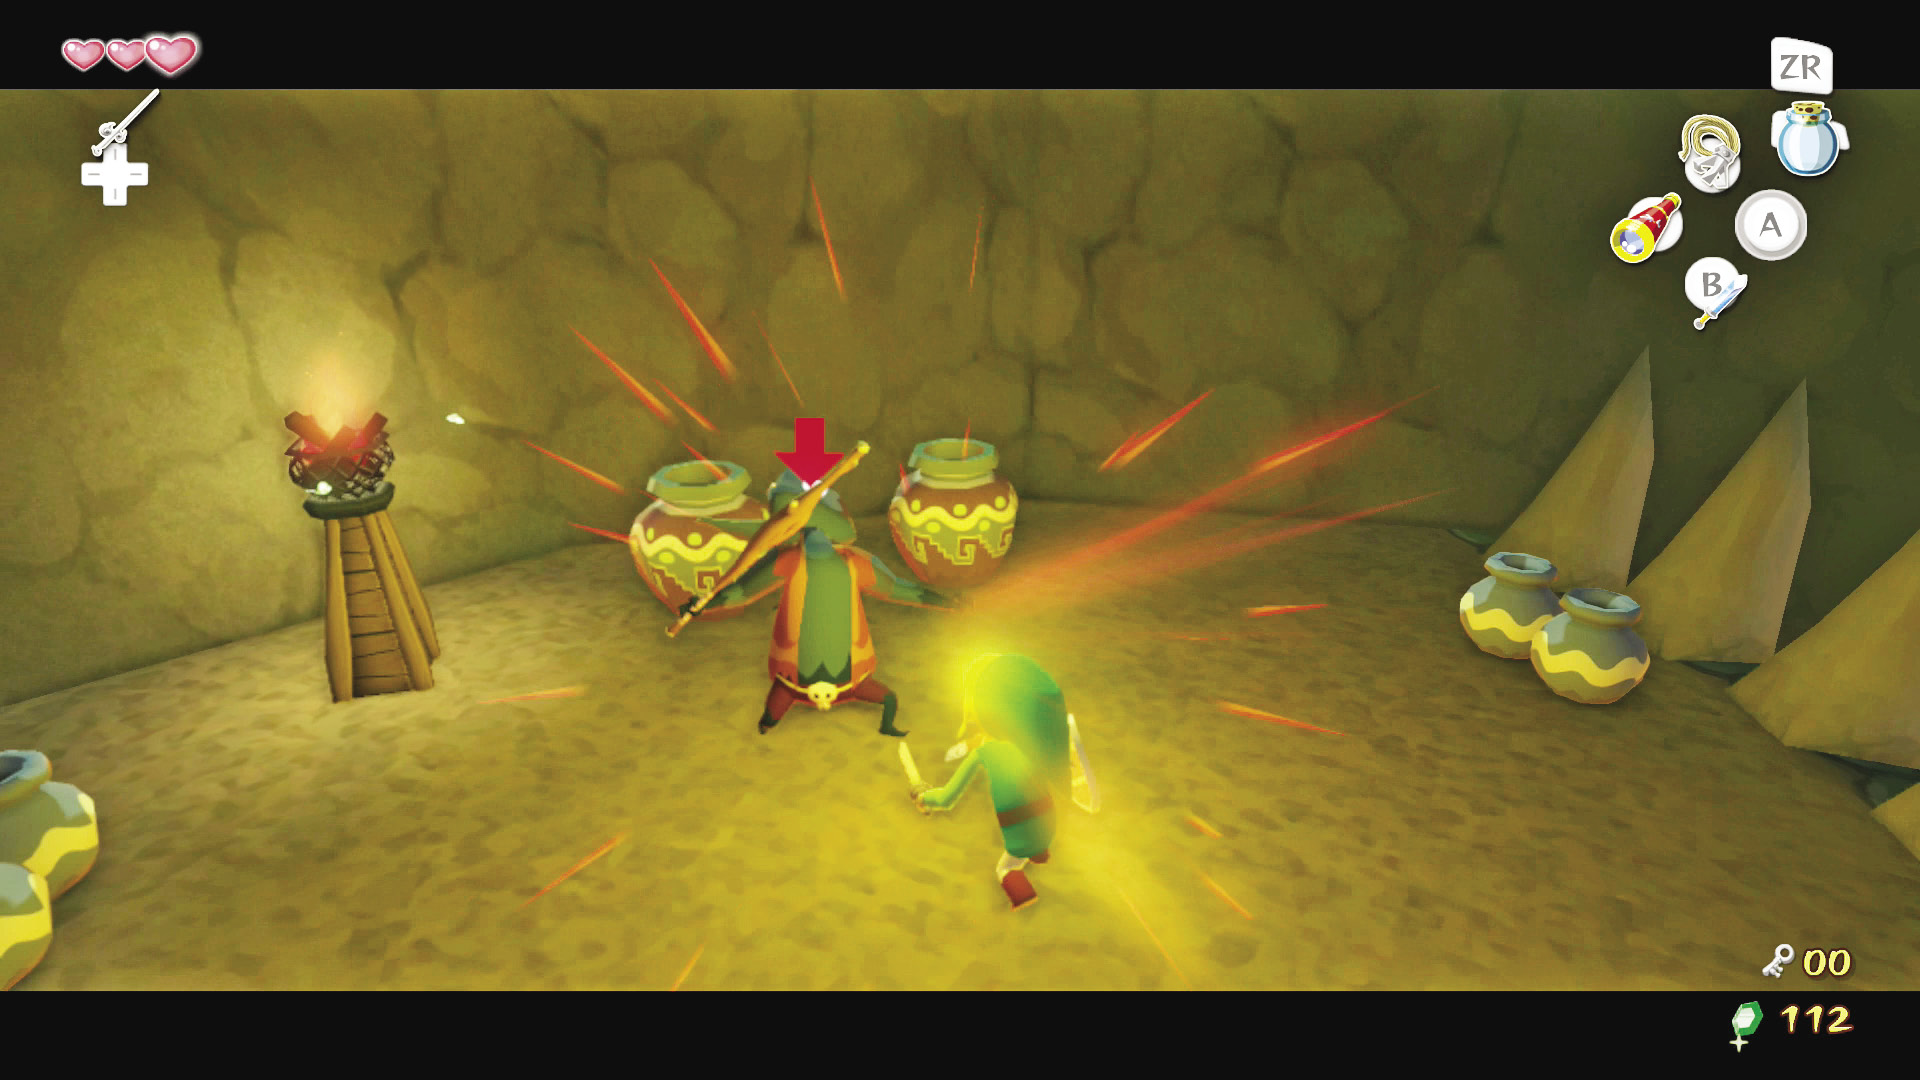
At the end (or sometimes in the middle) of the suspension bridge ahead is a Bokoblin. Defeat it while keeping in mind not to fight on the bridge. Afterward, head to the end of the bridge and cautiously walk up to the pots against the wall. A Bokoblin will burst out of the middle pot. Defeat it and a treasure chest will appear in the room below you. Pick up a Deku Stick, light it, then begin torching the ropes of the bridges with the flaming Deku Stick. After burning all of the ropes, the bridge will fall into the room below, with you on it.
Second Floor
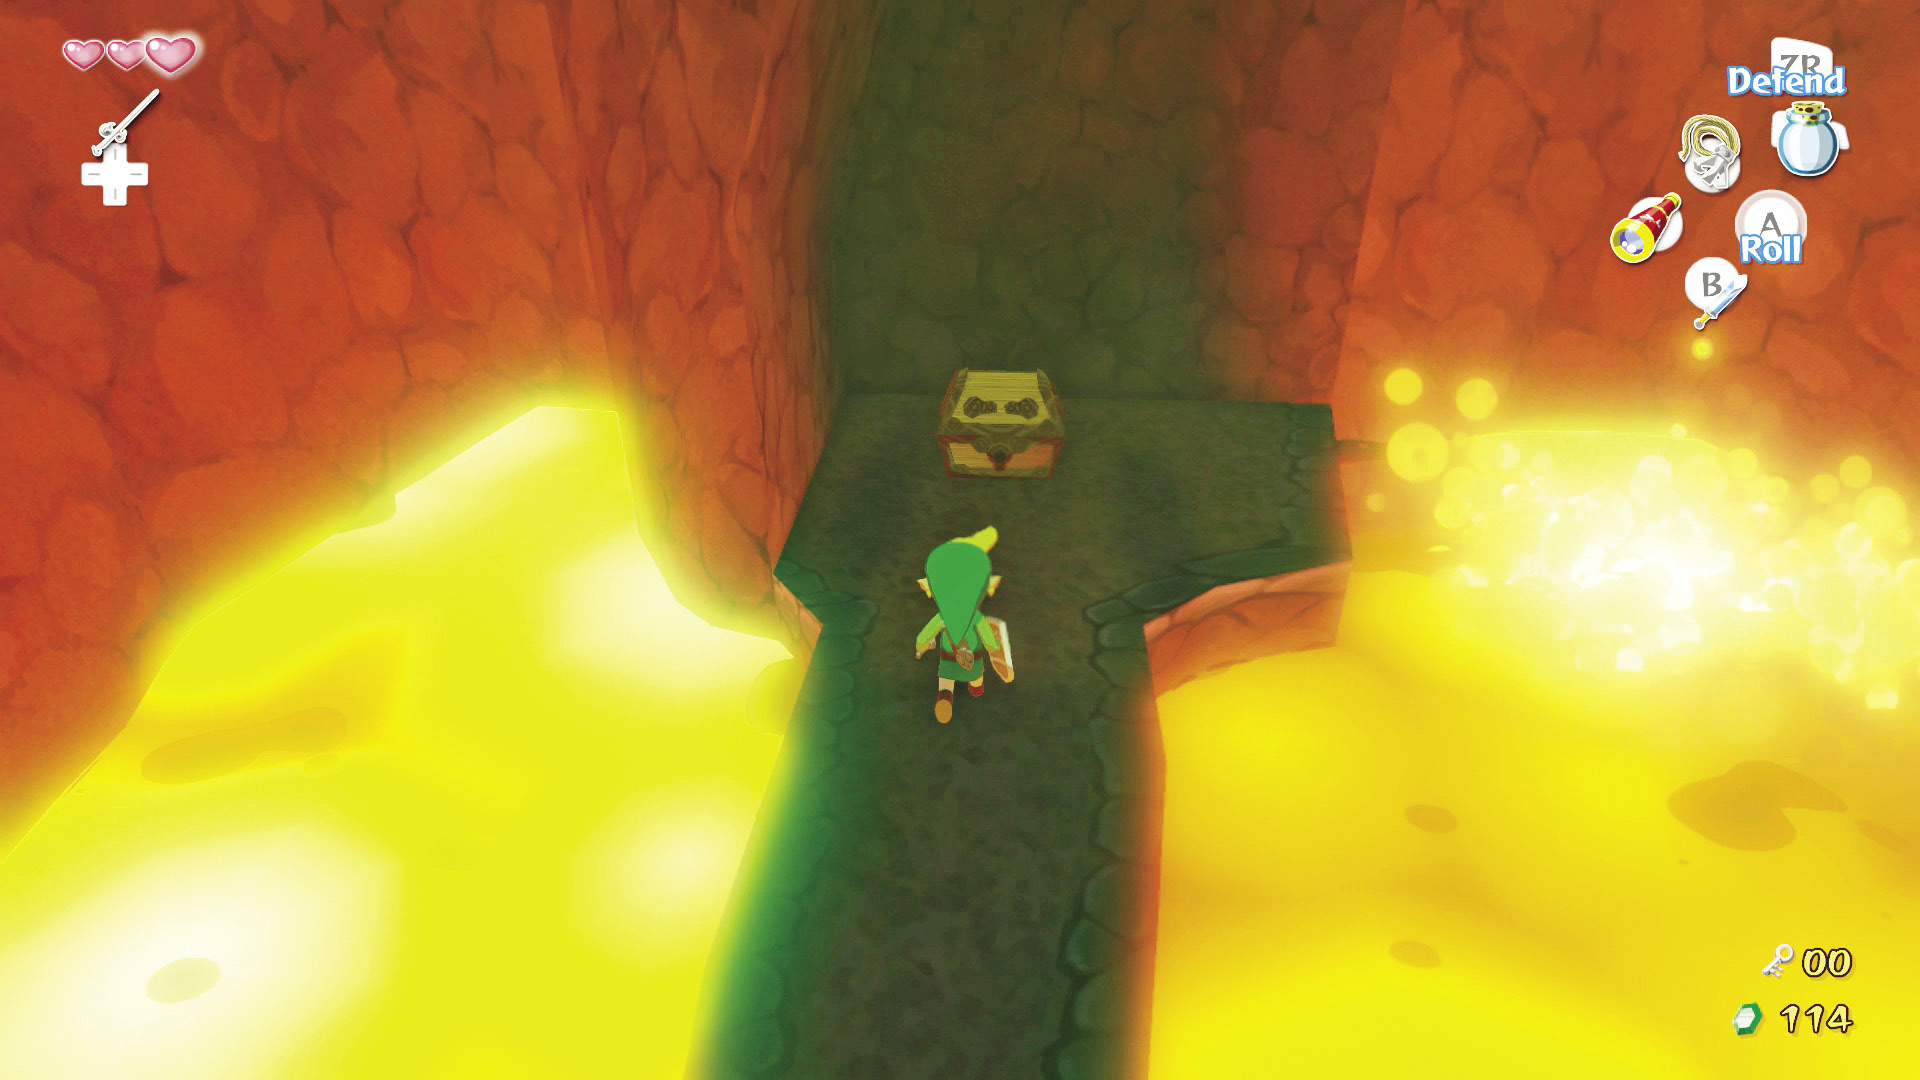
You’ll land safely suspended above the lava below on a narrow land bridge. Head to the bridge’s east side to find the treasure chest that appeared after defeating the Bokoblins on the floor above. Open it to get a Joy Pendant, then head to door at the other end of the bridge.
7. Free as a Bird
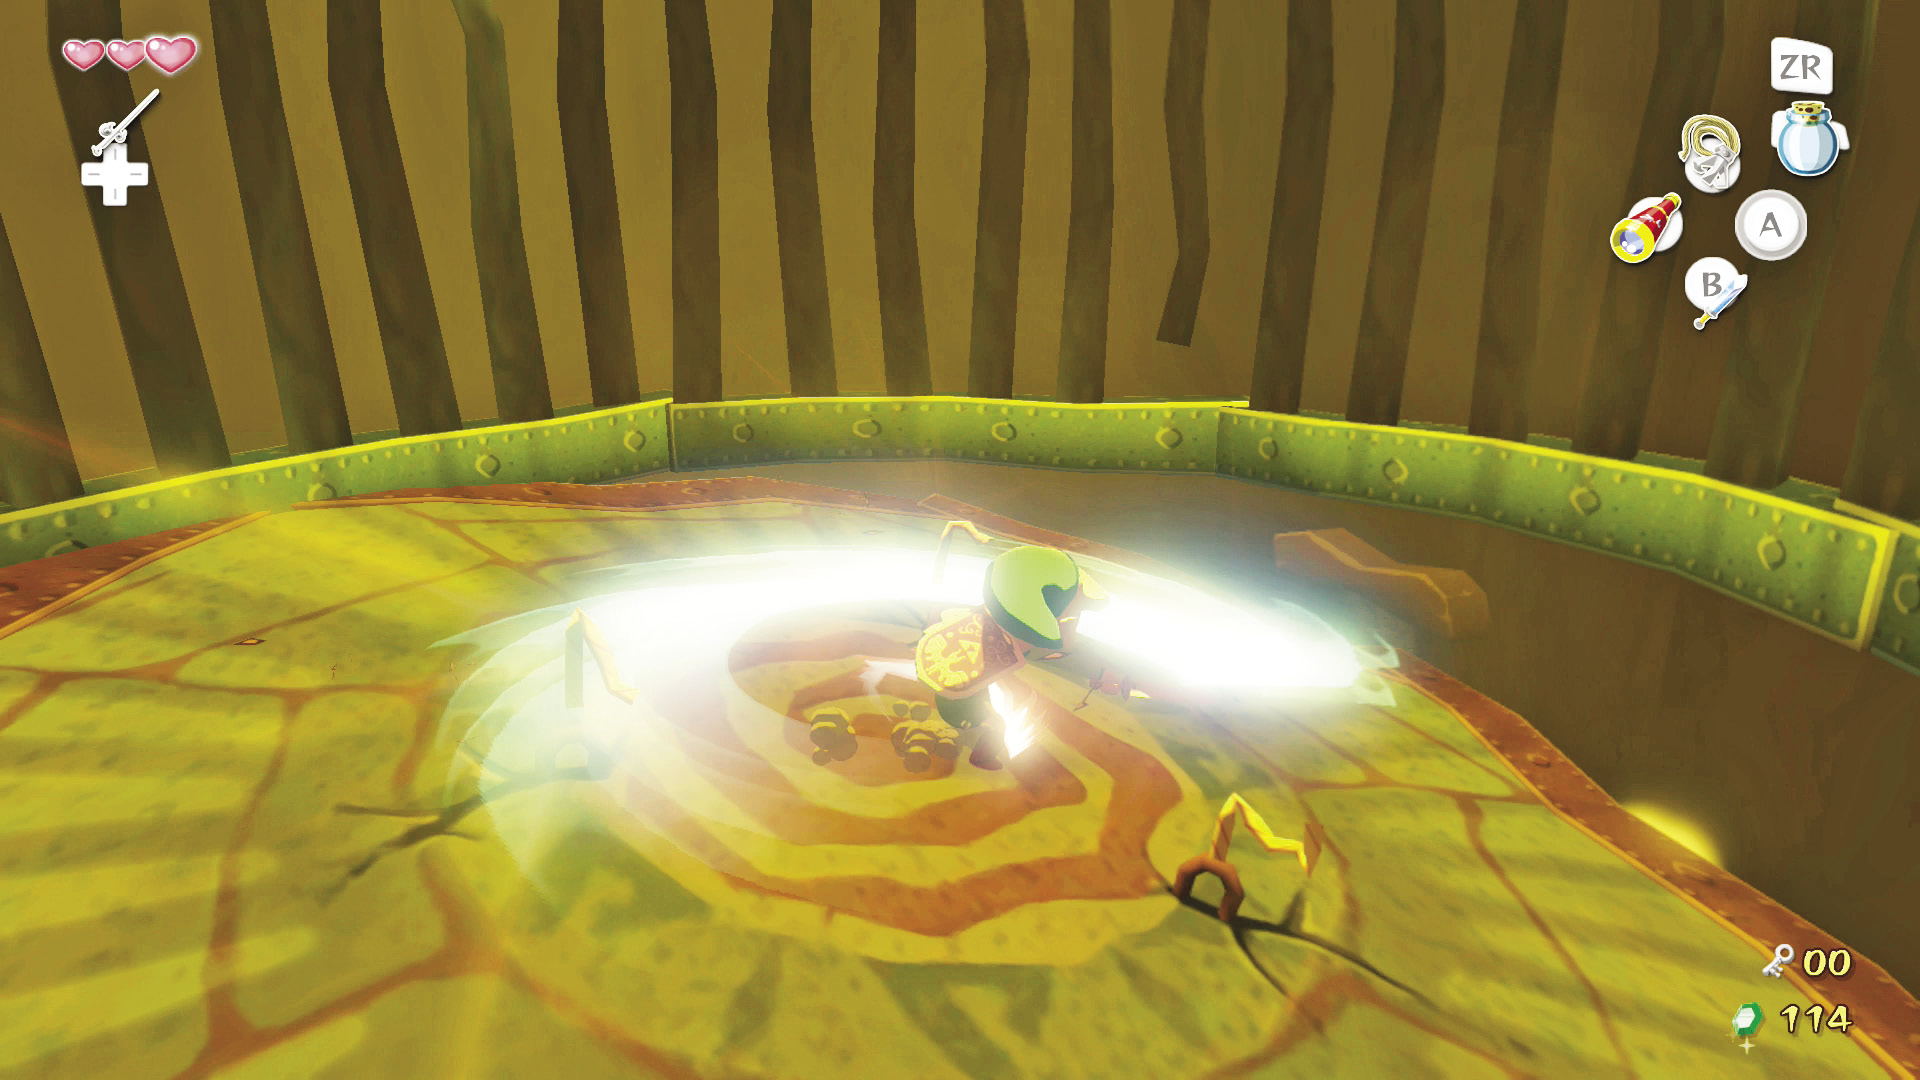
After entering the room, immediately take a right and you’ll see a birdcage-like structure. This cage has a platform that is being held up by three ropes. Jump into the cage, stand in the middle, and use a spin attack (Hold  for a couple seconds and release) to cut all three ropes at the same time. This will drop the platform down to the first floor with you riding shotgun.
First Floor
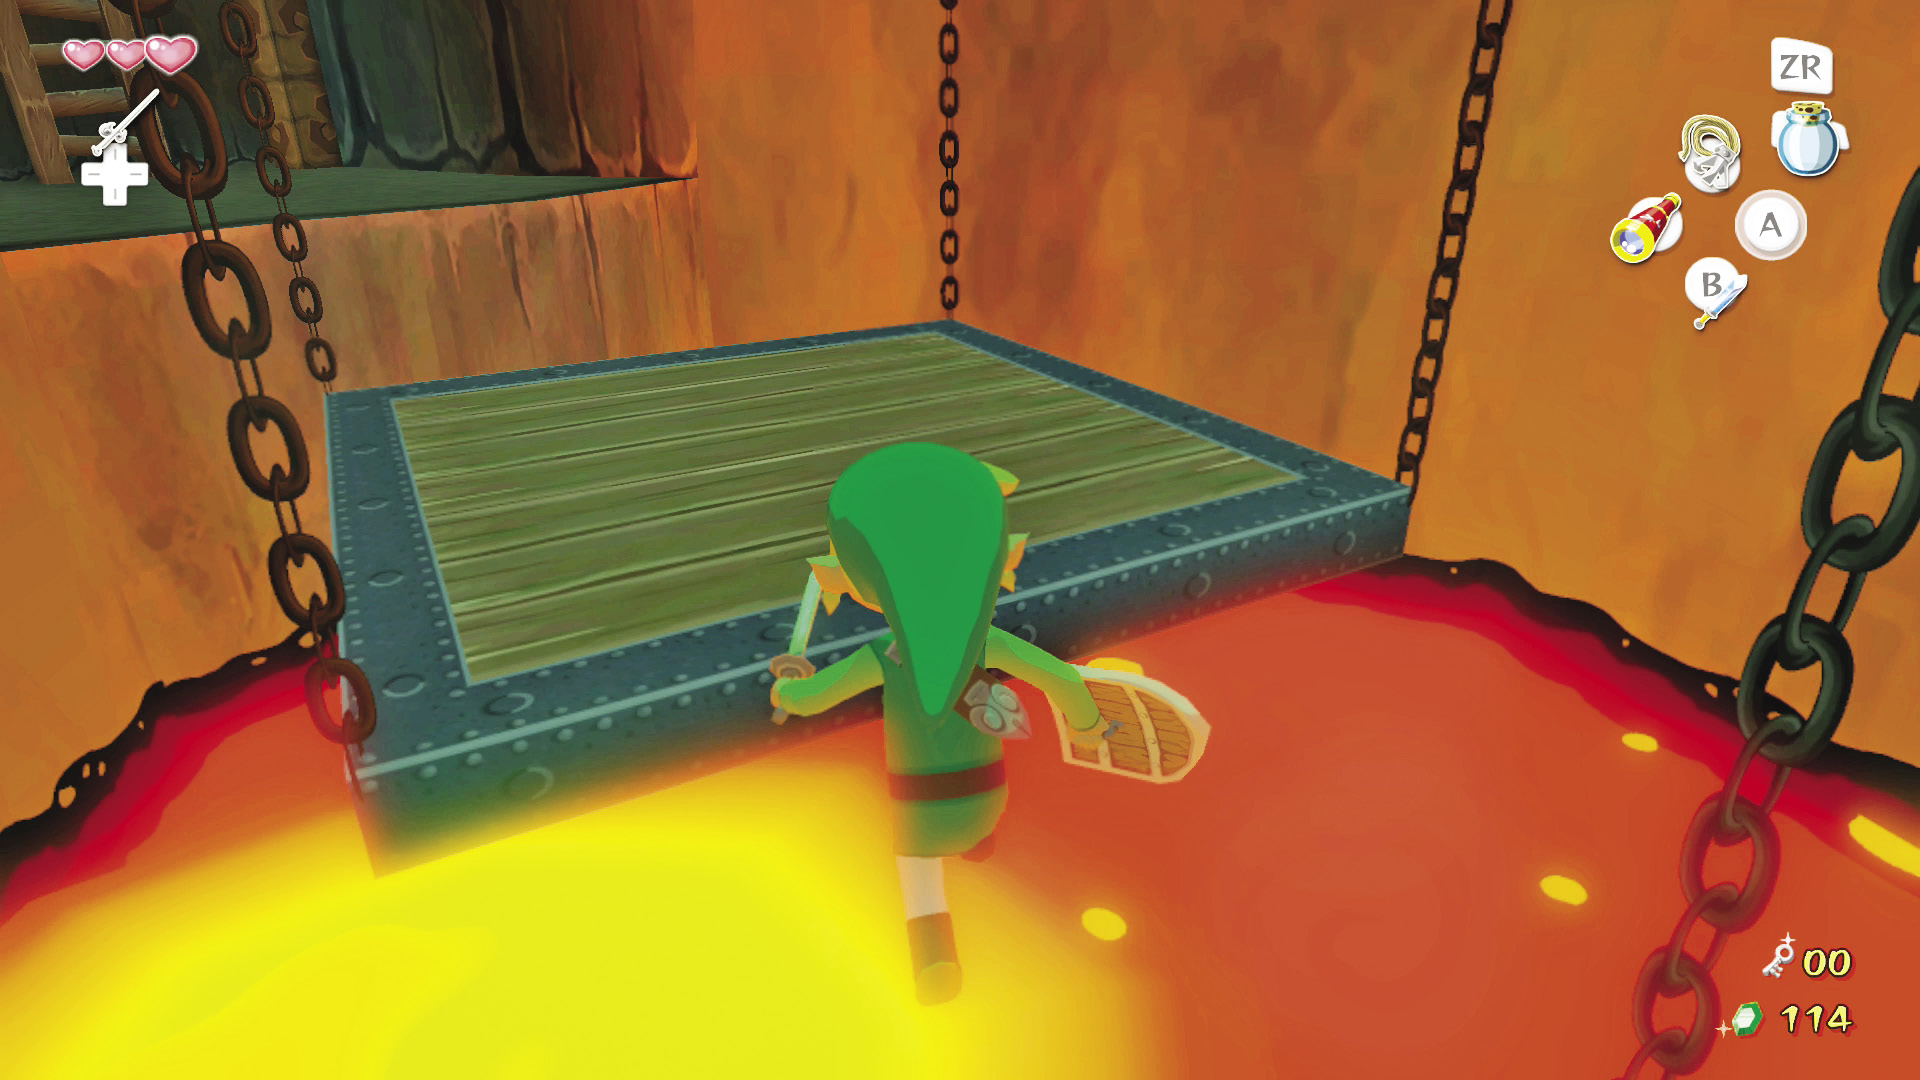
Head through the only passage available to you, then hop across the platforms until you reach a ladder. Climb the ladder and follow the path to the west until you reach a sealed door.
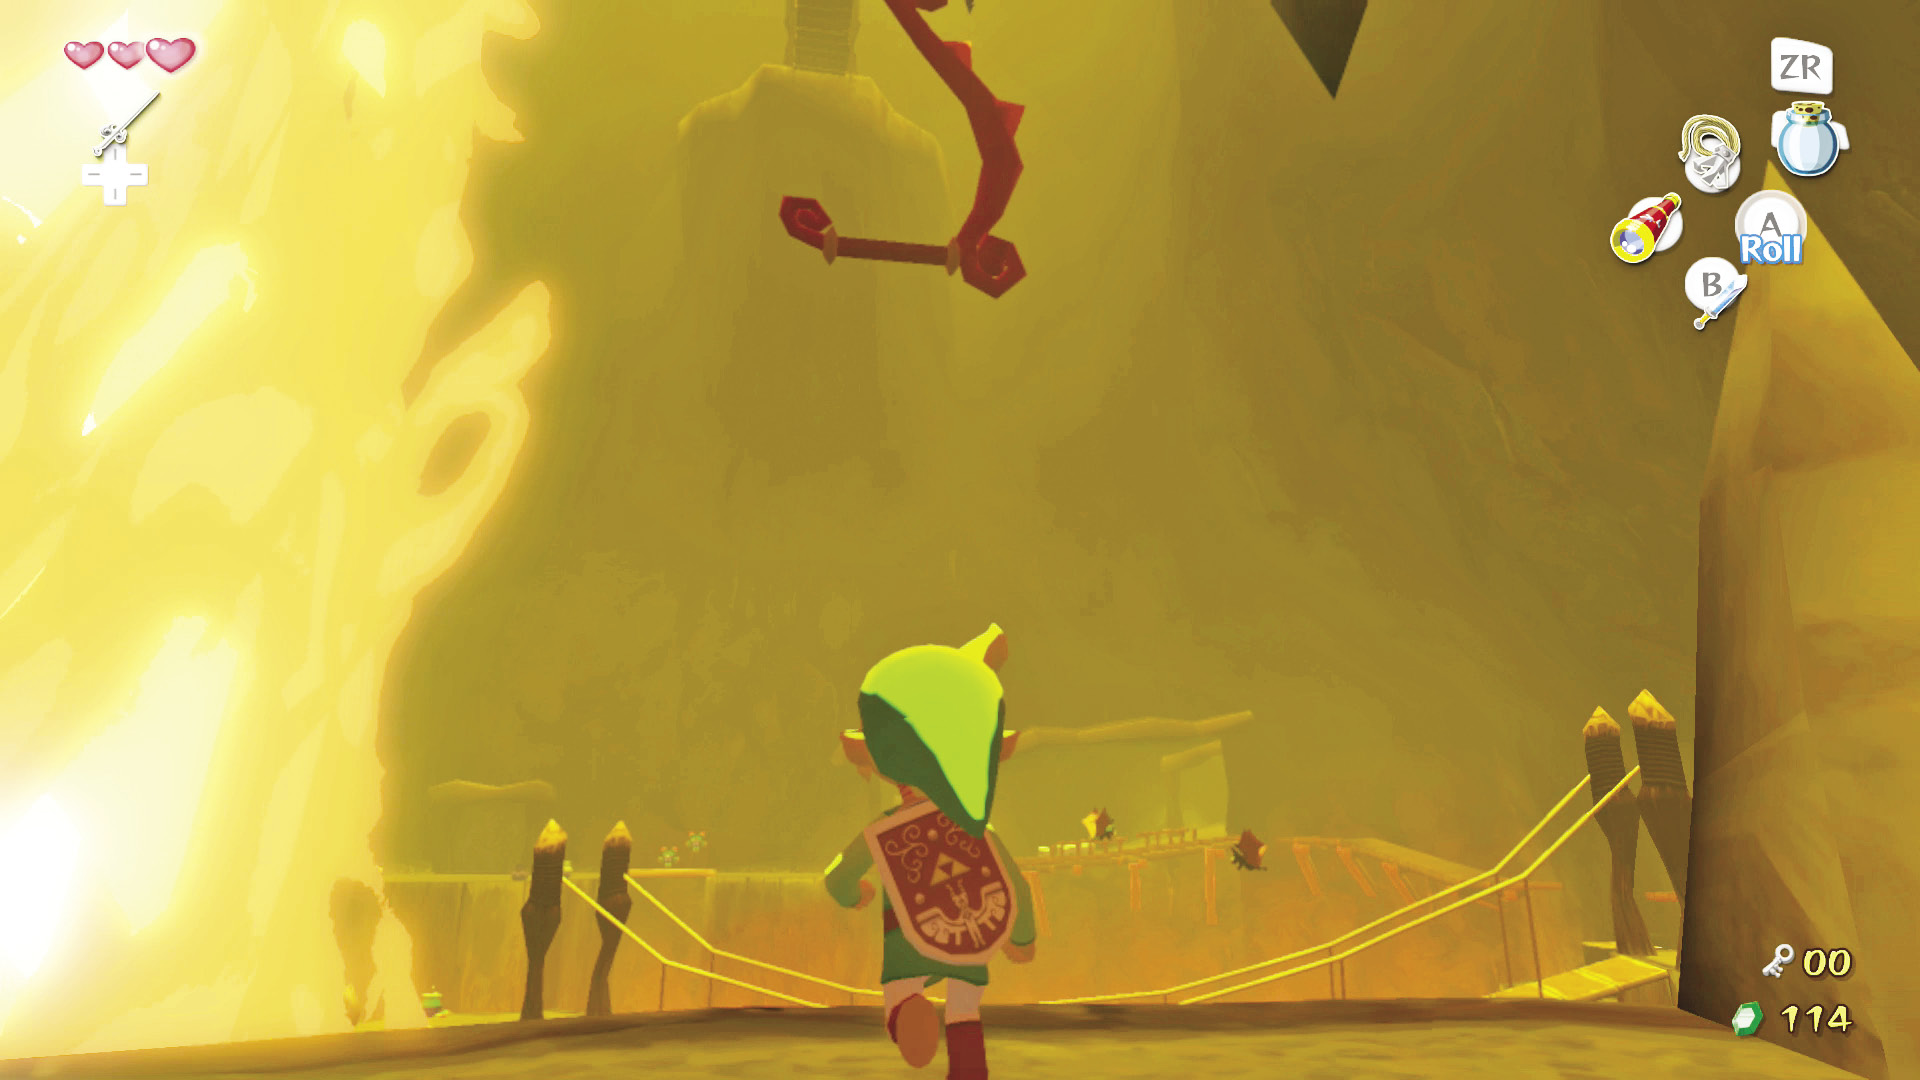
To unseal the door, put the sealed door at your back and look up. A horizontal bar is suspended from the ceiling. Use your Grappling Hook to swing on it. Link’s weight activates the trigger mechanism and unlocks the sealed door. To get back to the door, jump off the rope at the top of Link’s backswing. This will land you right back on the platform you grappled from. You’ll likely have attracted a Keese or two, but that’s no problem for you now that you have the Grappling Hook. Just  -Target them and hit them with your Grappling Hook to end their flappy nonsense once and for all. Now head through the unsealed door.
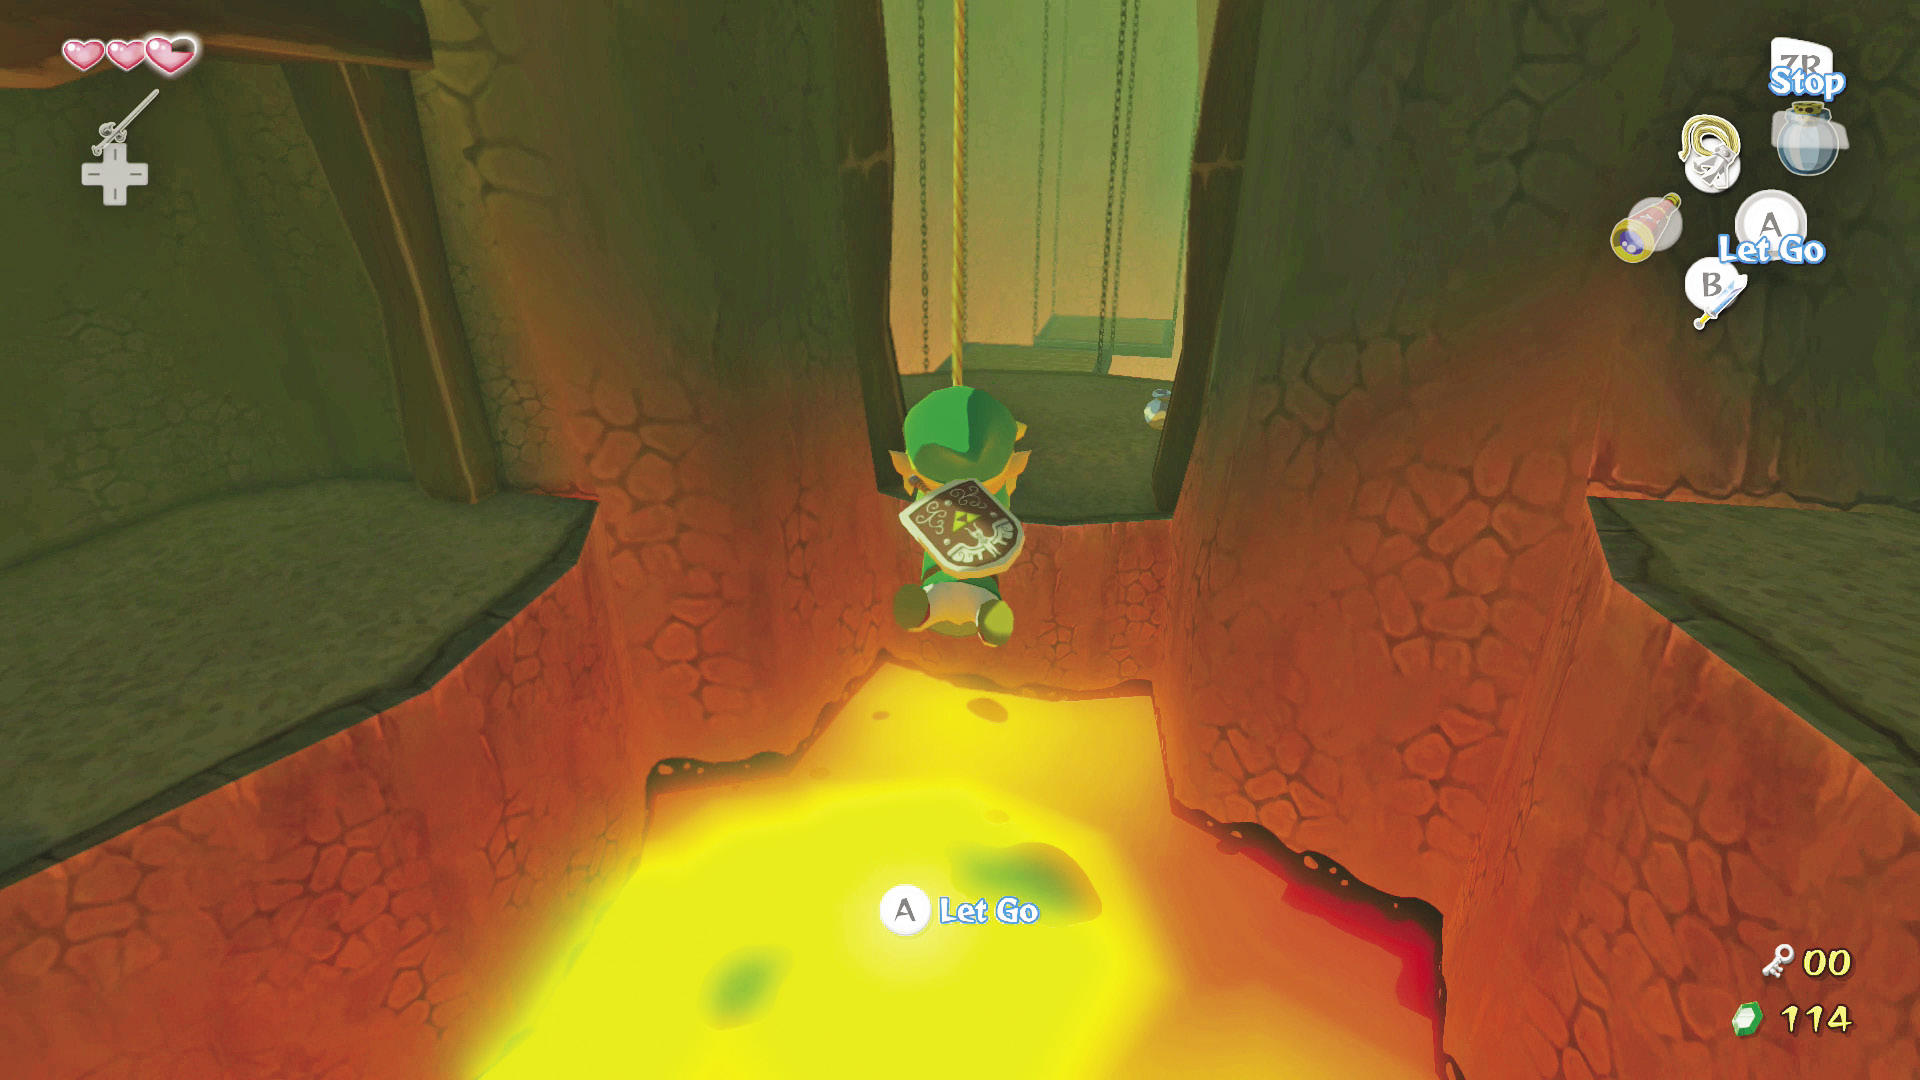
Grapple the overhead pole, stop swinging (hold  ), and turn facing the room’s east side. Swing to the landing on the east side. Now jump across the three wooden platforms suspended from the ceiling by chains, then grapple and swing to the landing to your left and head through the door.
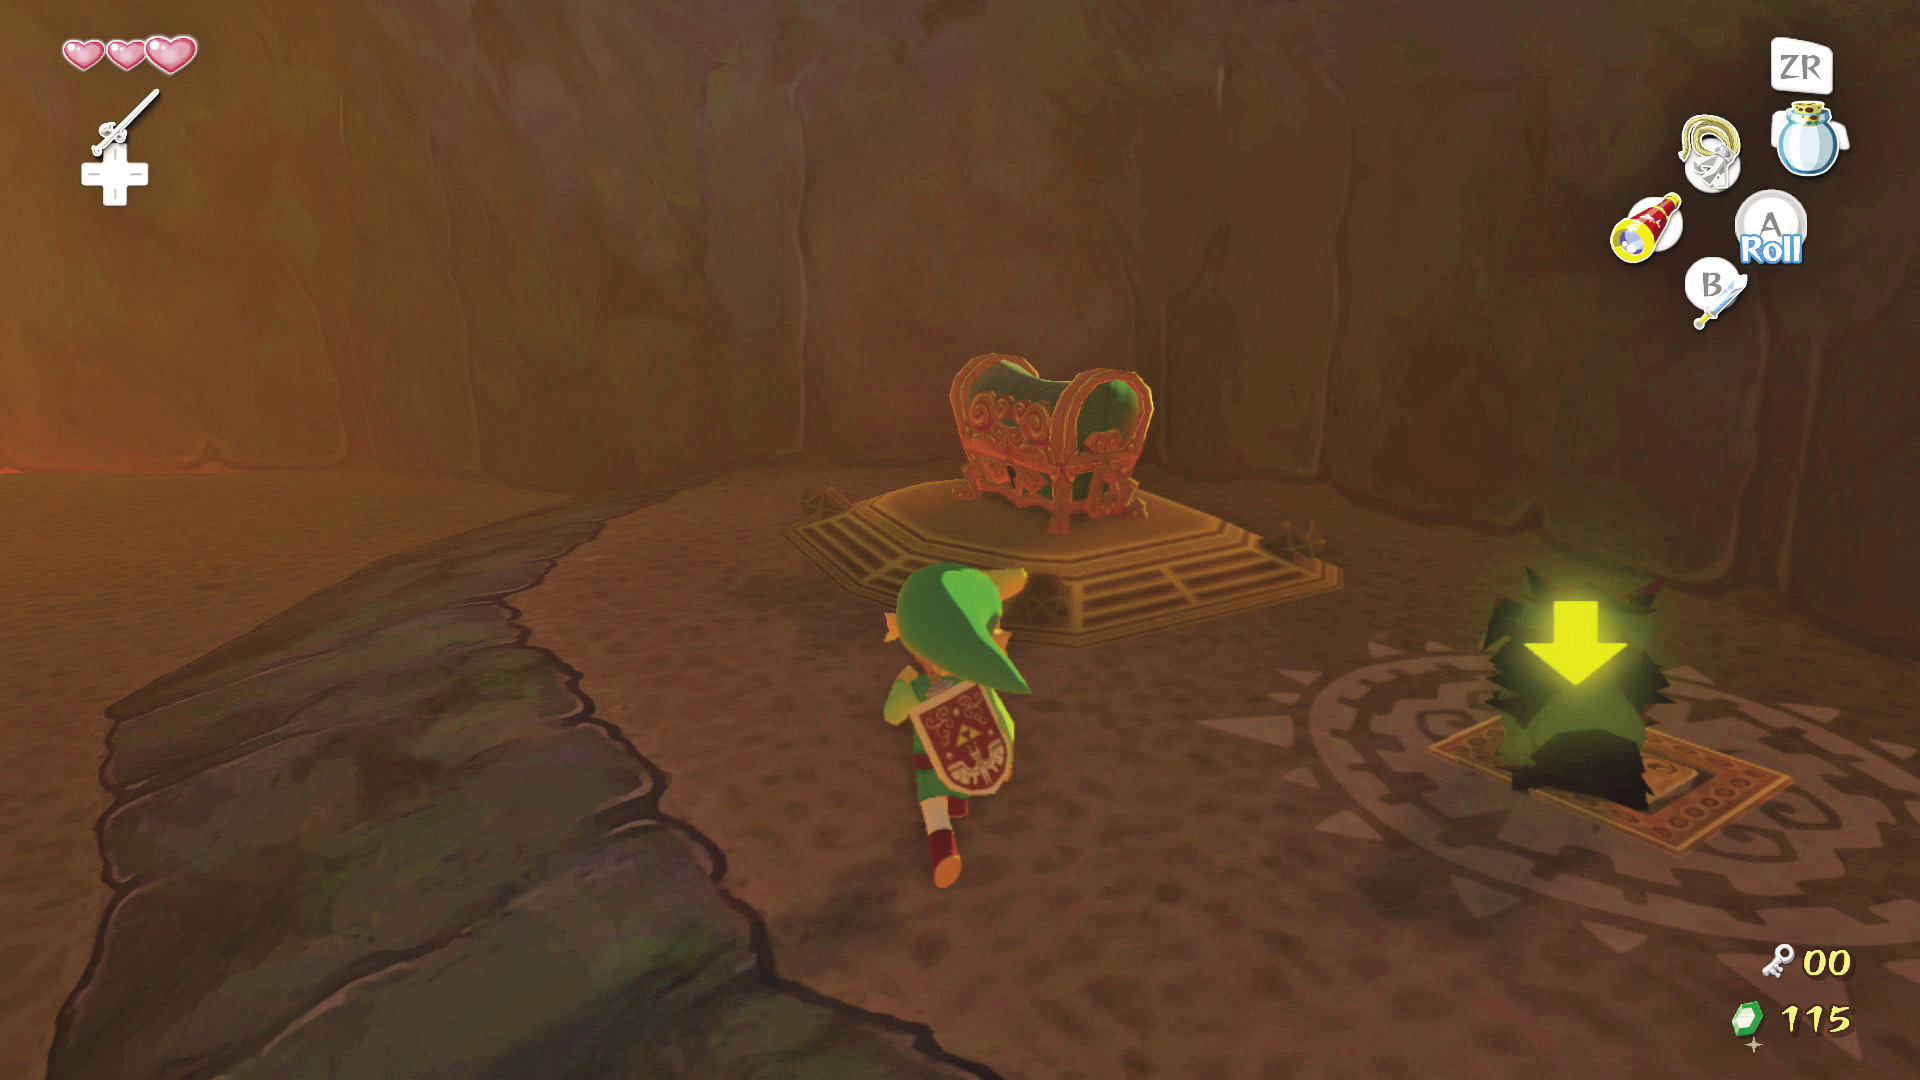
In this room is a chest engulfed in flames and a constant pressure switch. To keep the constant pressure switch constantly pressed, you’ll need to find the Magtail that rises from one of the lava pools in the room. When you do,  -Target the Magtail and hit it with
  when it opens its claws. This will cause the Magtail to curl up in a ball after a couple of hits. Pick up the Magtail and place it on the constant pressure switch to remove the fire surrounding the treasure chest. Open the chest to find the Dragon Roost Cavern Big Key—the key in every dungeon that unlocks the dungeon boss’s room.
8. To the End
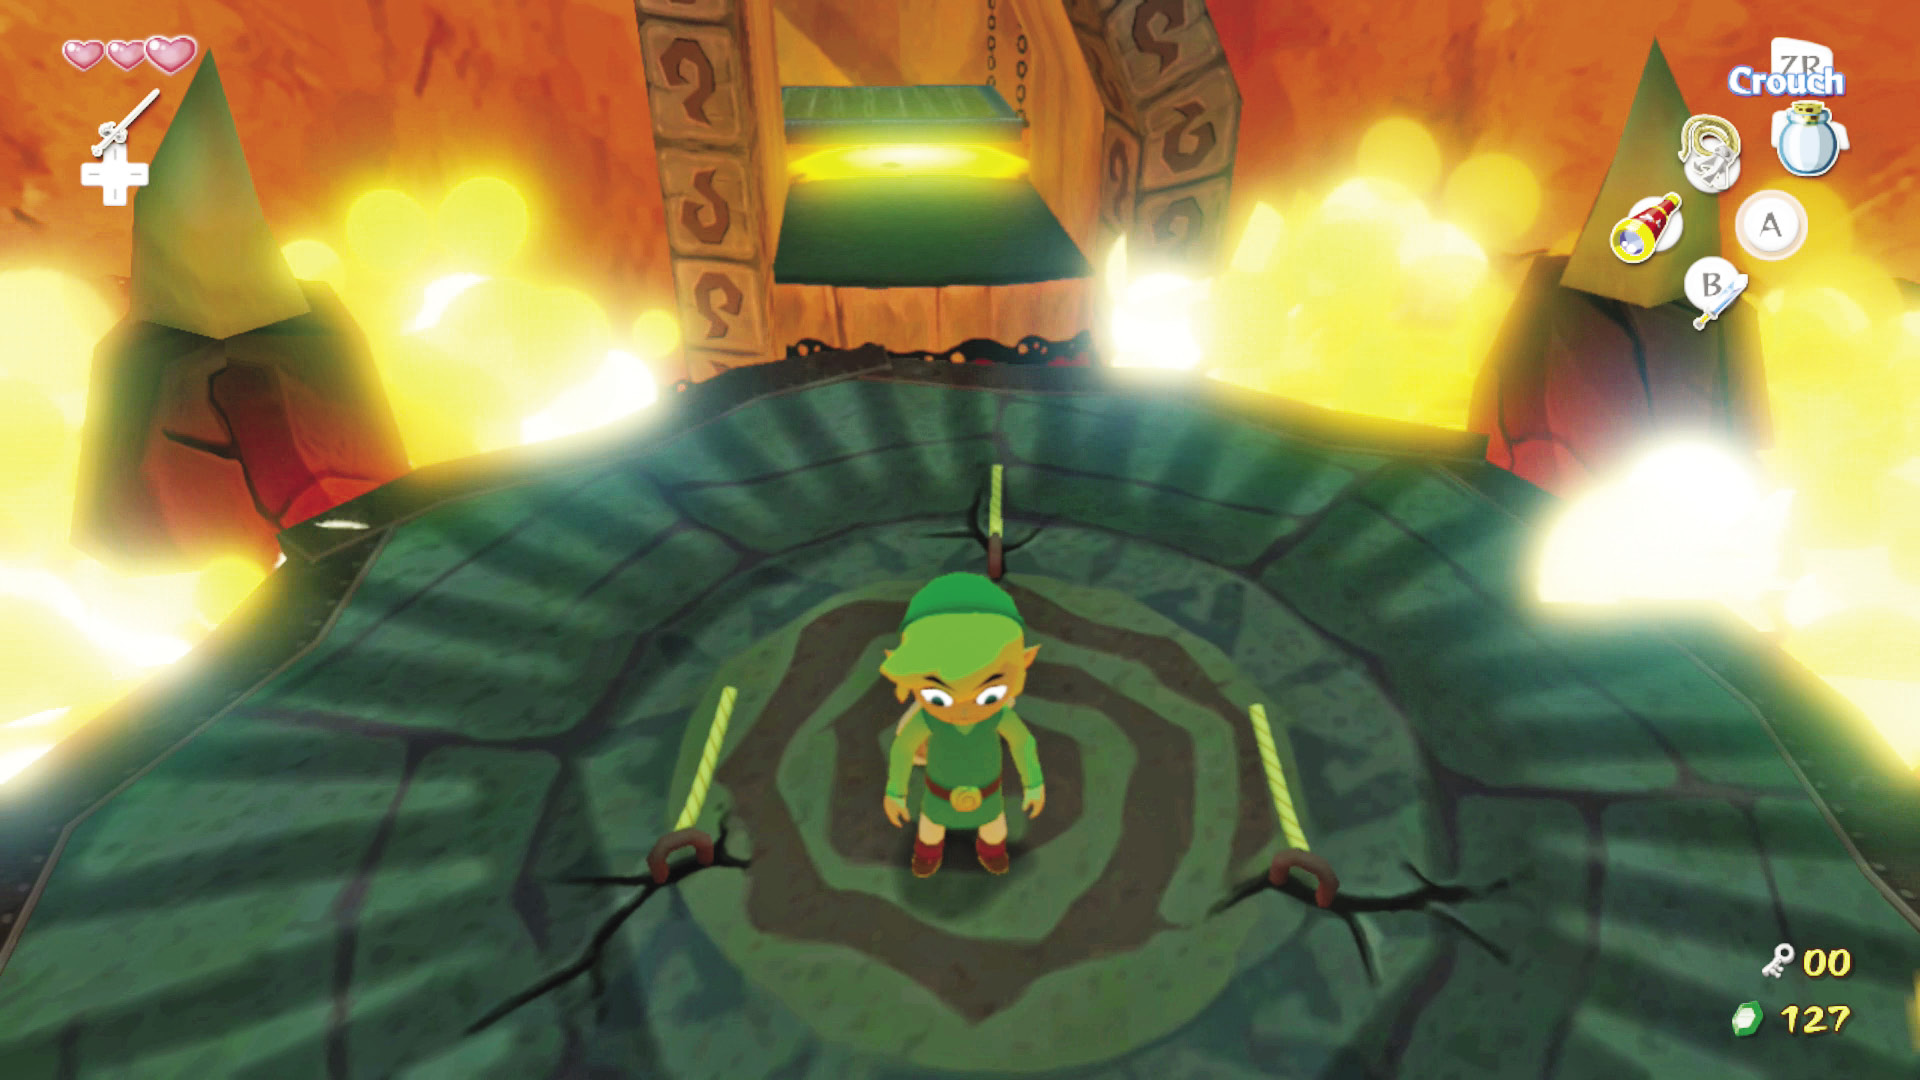
Head back through this room’s entrance, backtrack through the next room, and return to the platform you cut loose from the birdcage. Ride the birdcage platform back up to the second floor and head through the east door.
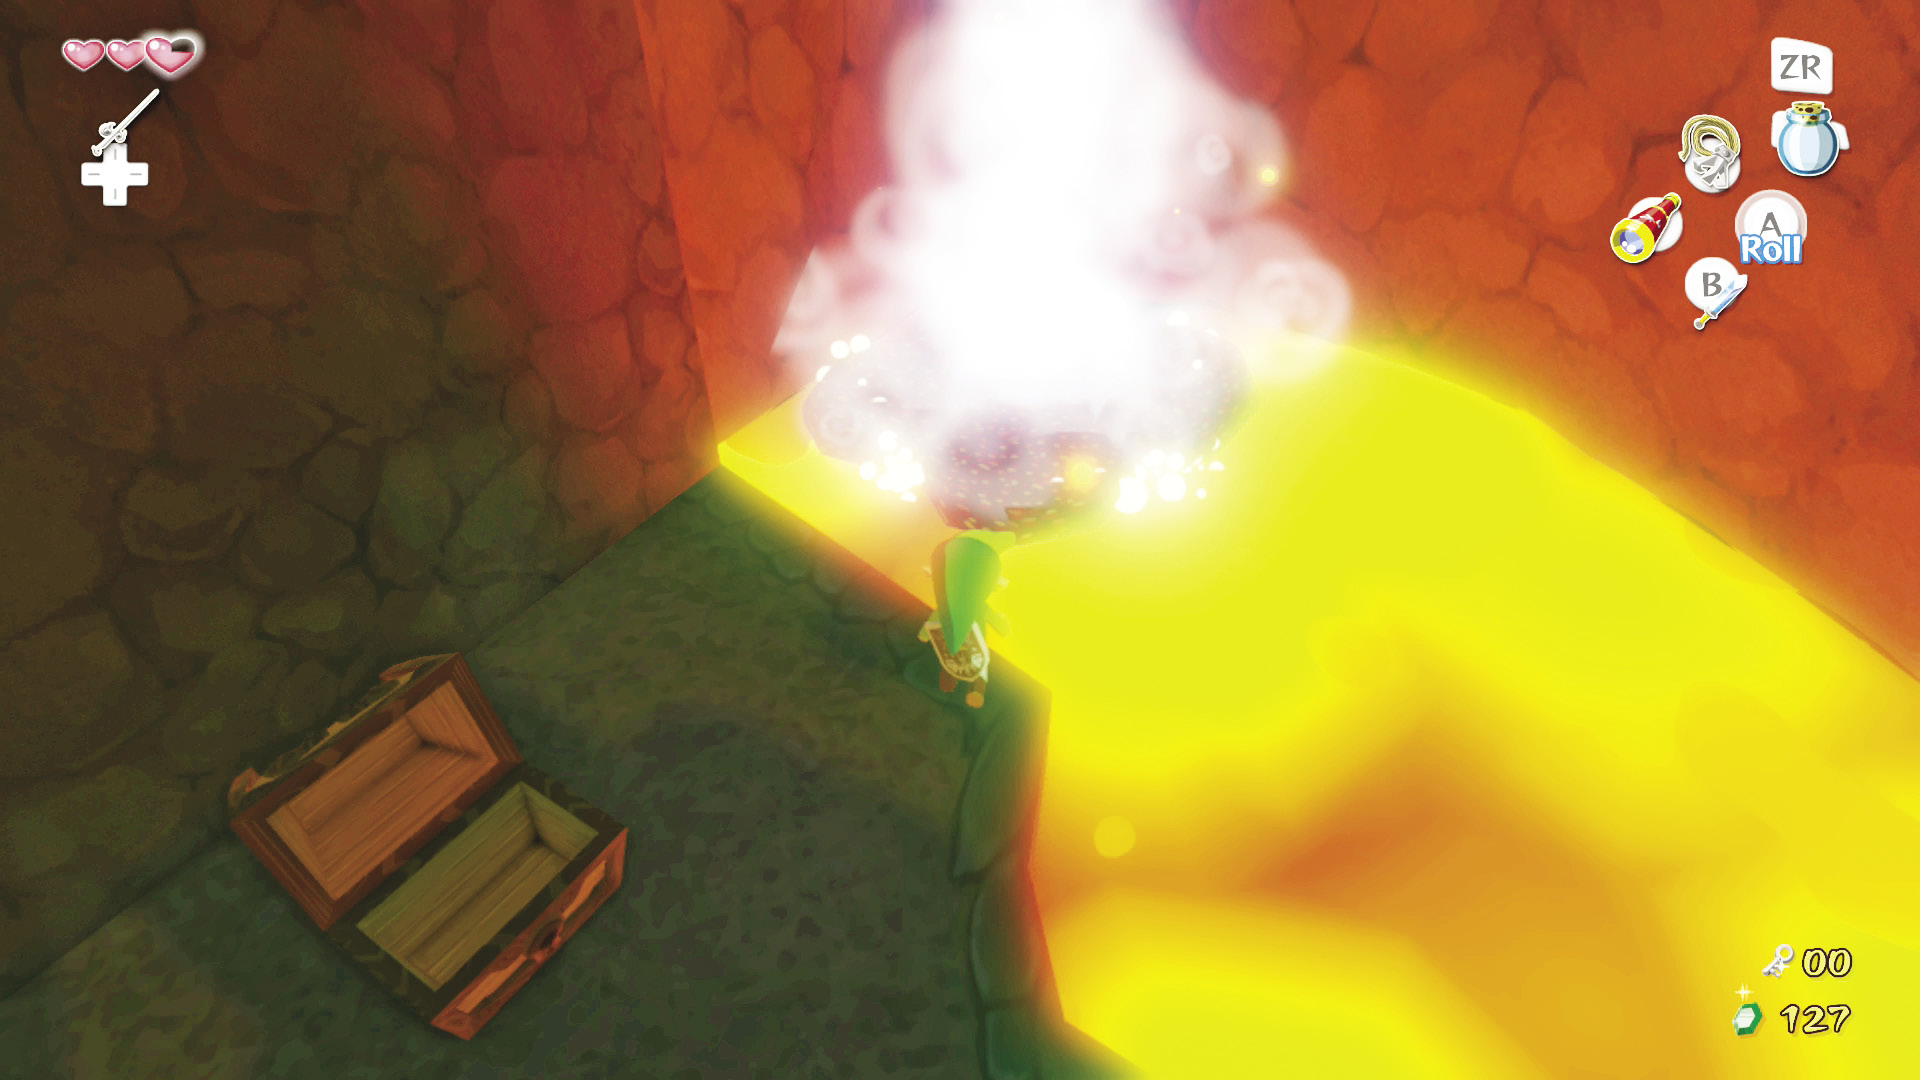
After entering the room, clear up the two Fire Keese flying around the center of the room; then pick up a water jar and create a platform over the lava fountain in the room’s southeast corner. Jump onto the platform and ride it to the third floor. Head through the door on the room’s east side.
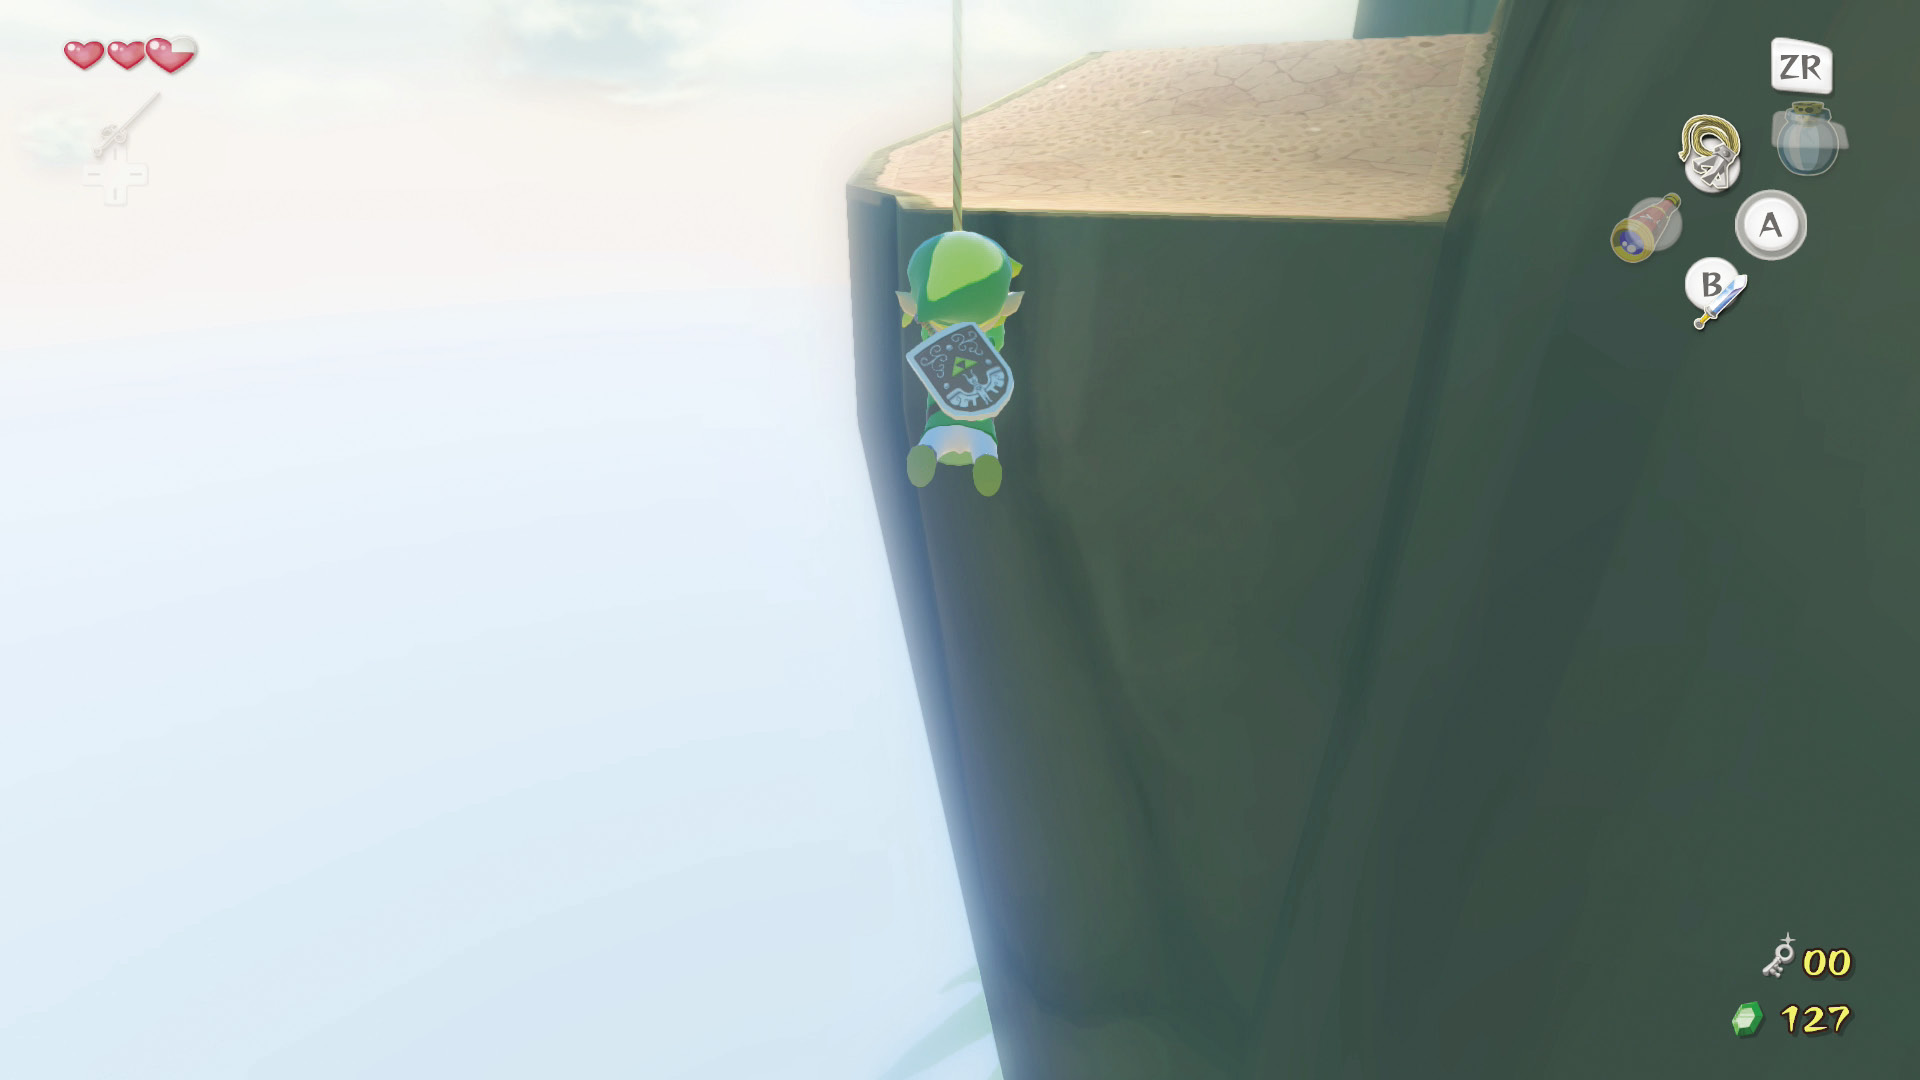
You’re now back to the point you swung to from Valoo’s roost. Swing back up the posts ascending around the wall and head through the door on your right.
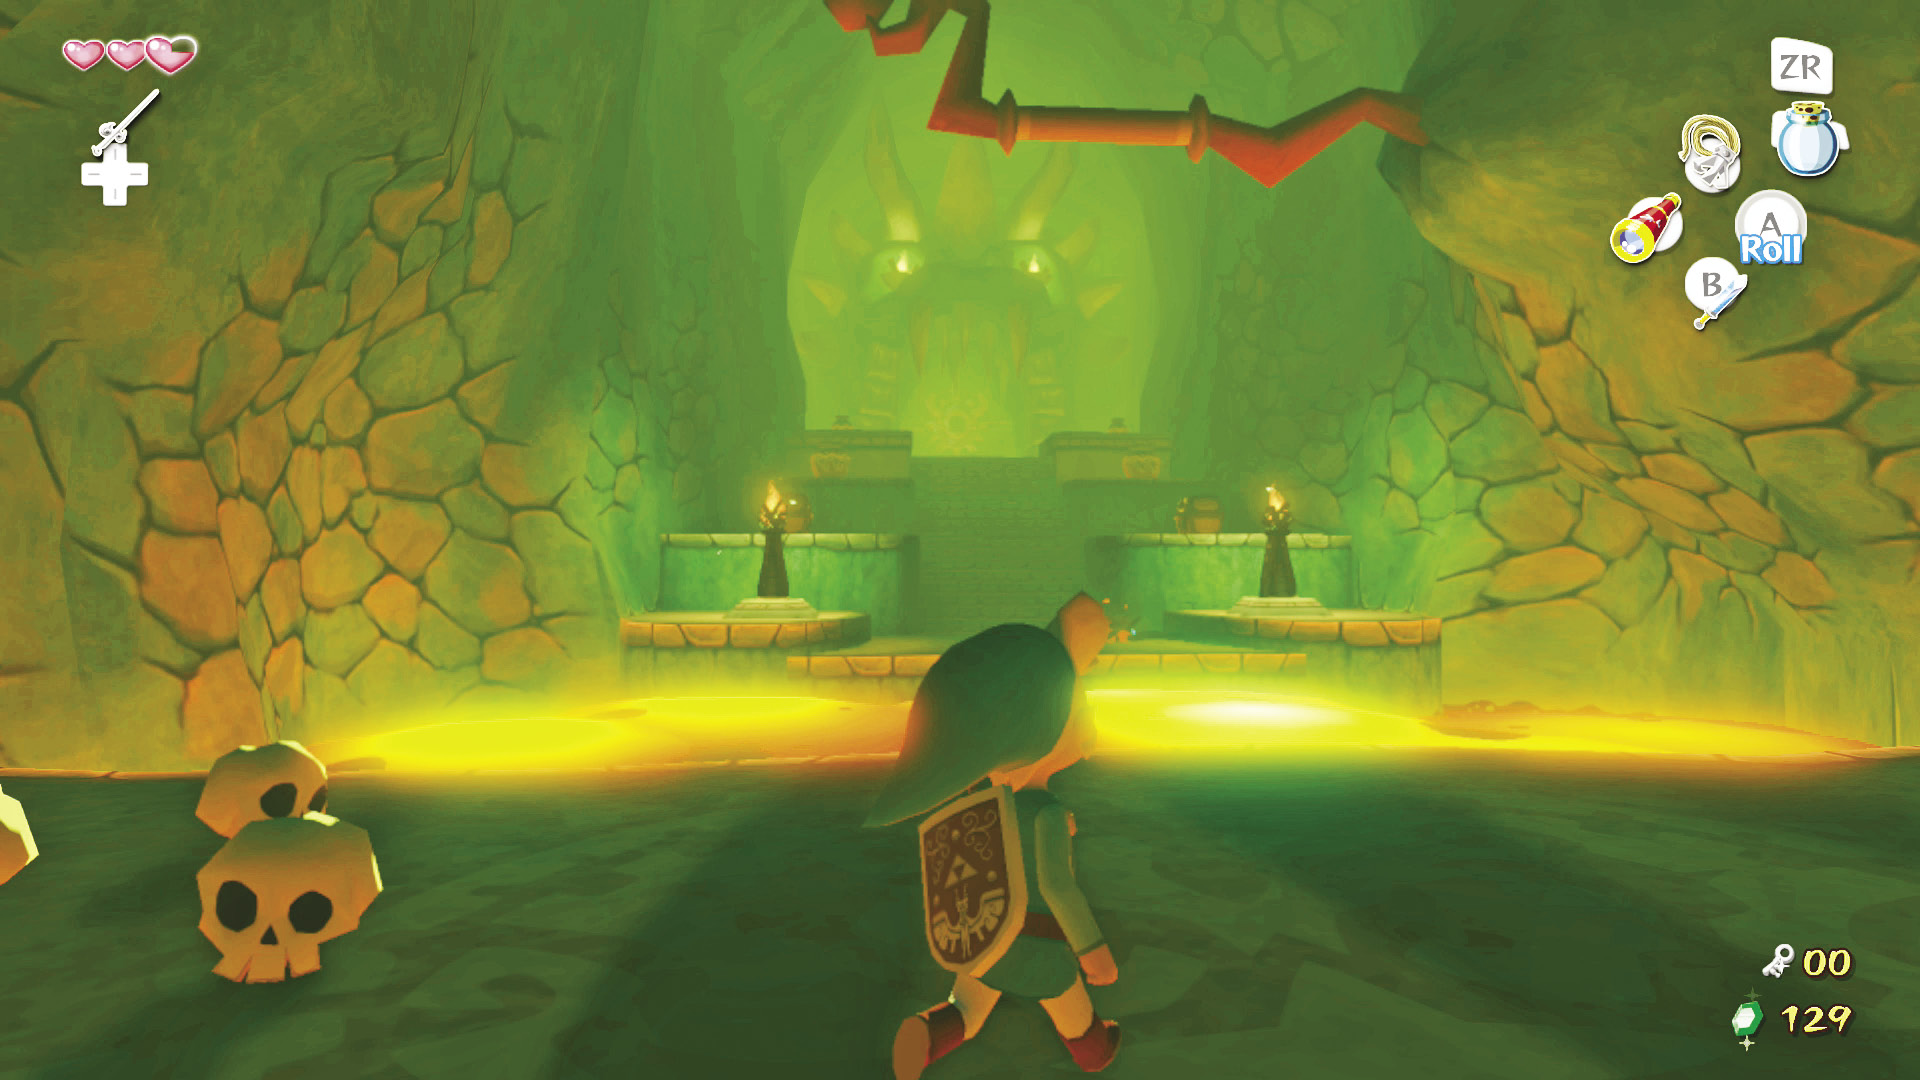
You are now back in the room with the Yellow Warp Pot. When you were here before, you couldn’t cross the gap in the middle of the room, but that has all changed now that you have the Grappling Hook. Grapple across the gap, head up the stairs, and deal with the Magtail. You’re now in front of the dungeon boss’s door.
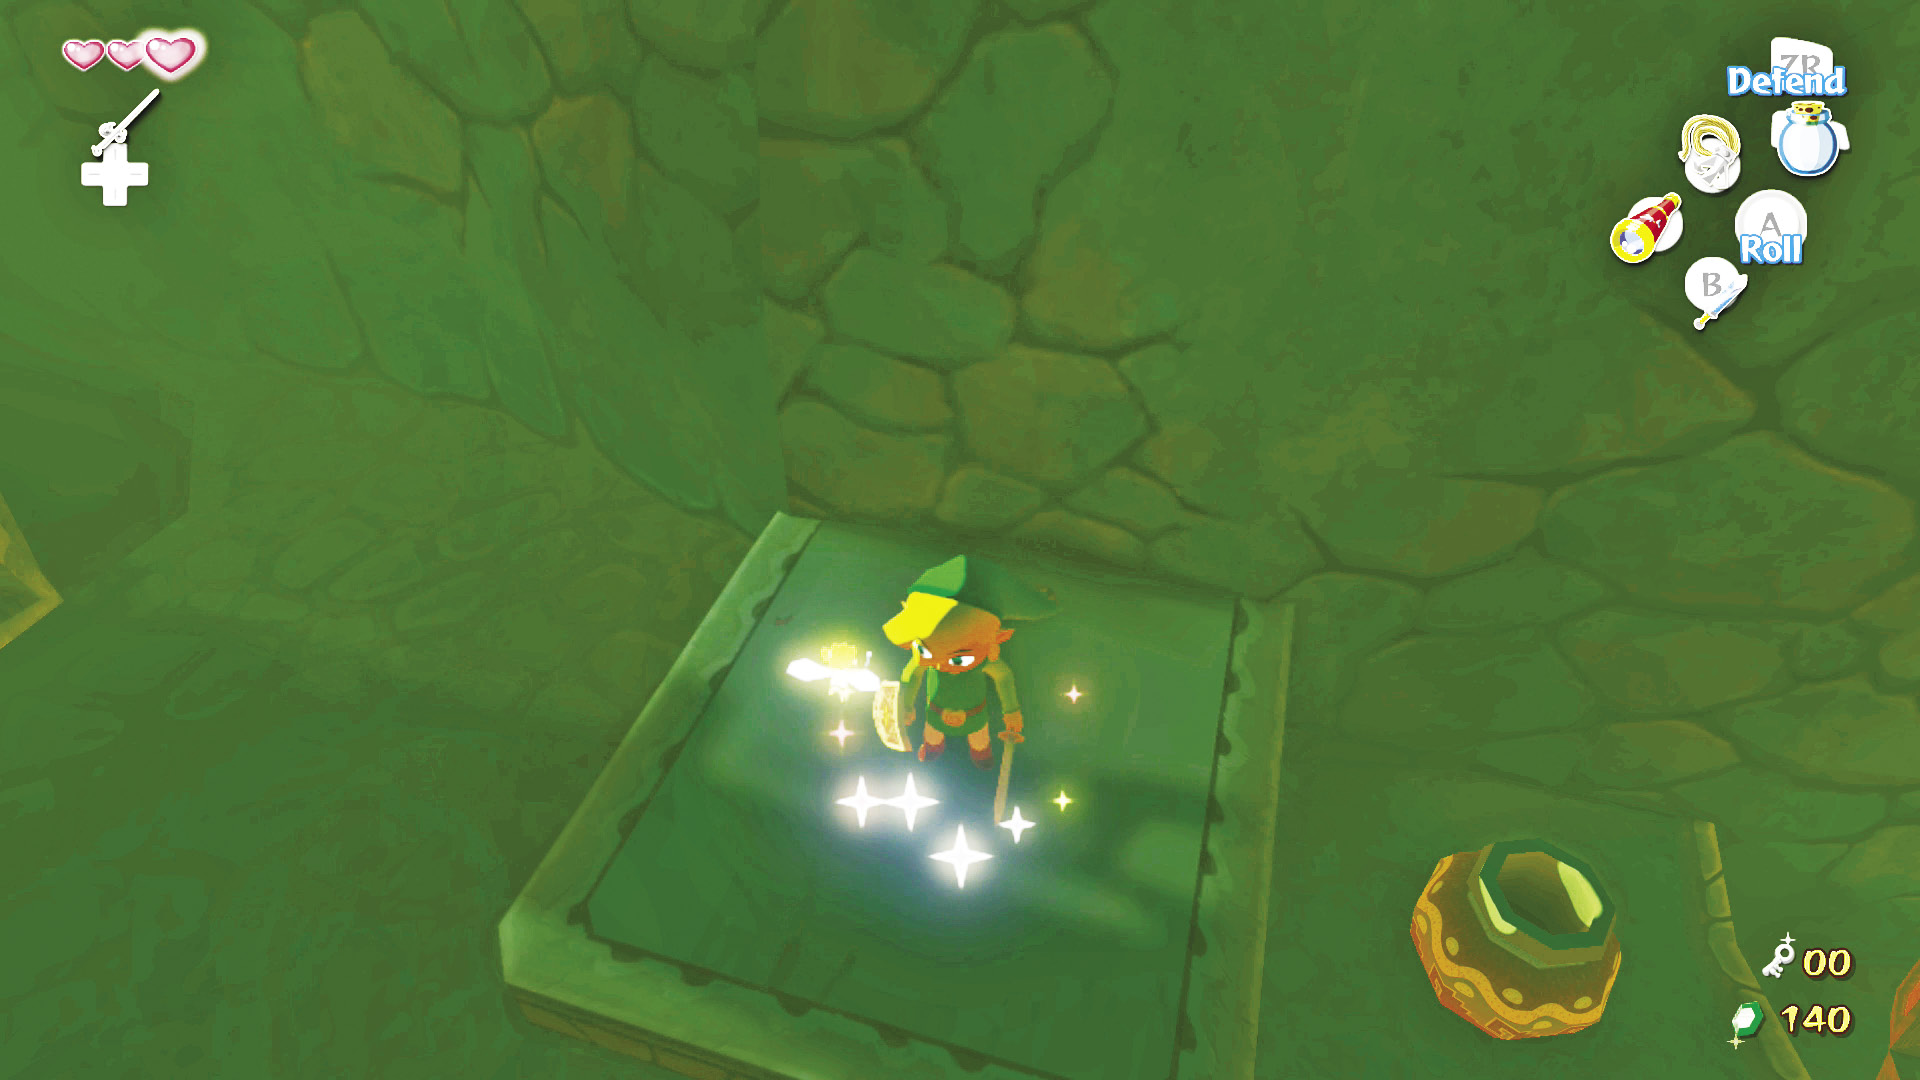
Before you head through, break the pots near the door to find Fairies. Grab one with an Empty Bottle and use the other to get your health back to full. There are also a couple treasure chests on the sides of the staircase that are worth opening. One contains a Knight’s Crest (an important item to hang on to) and the other has a Yellow Rupee.
|
|
22 |
Treasure Chart #39 |
Save your game, then enter the dungeon boss’s door.
Boss: Gohma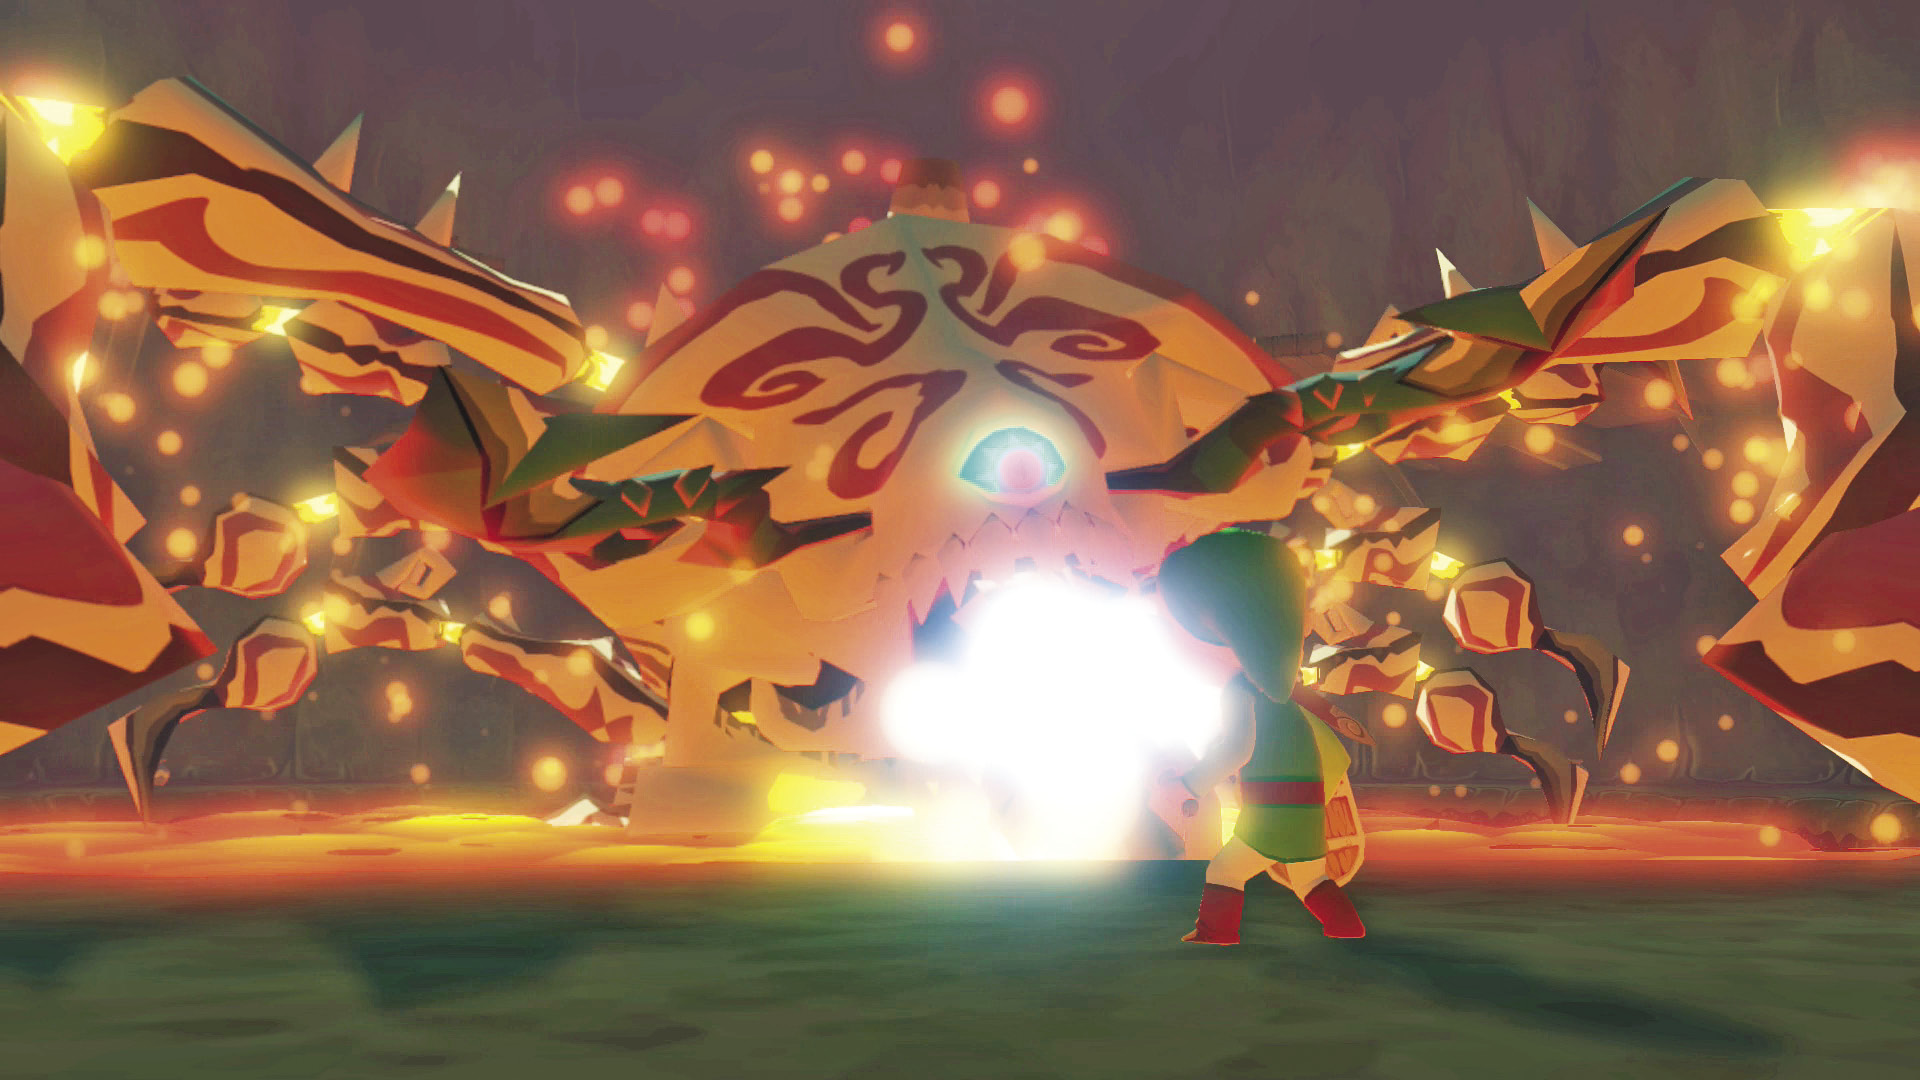 The mystery of Valoo’s rage has been solved: a monstrous, one-eyed centipede by the name of Gohma has trapped Valoo’s tail in the ceiling by throwing magma at it. The magma hardens quickly, making it nearly impossible for the poor sky spirit to get his tail out before it becomes solid. That’s just wrong. Let’s give this fire-breathing creepy-crawly a stern smacking for its misdeeds! 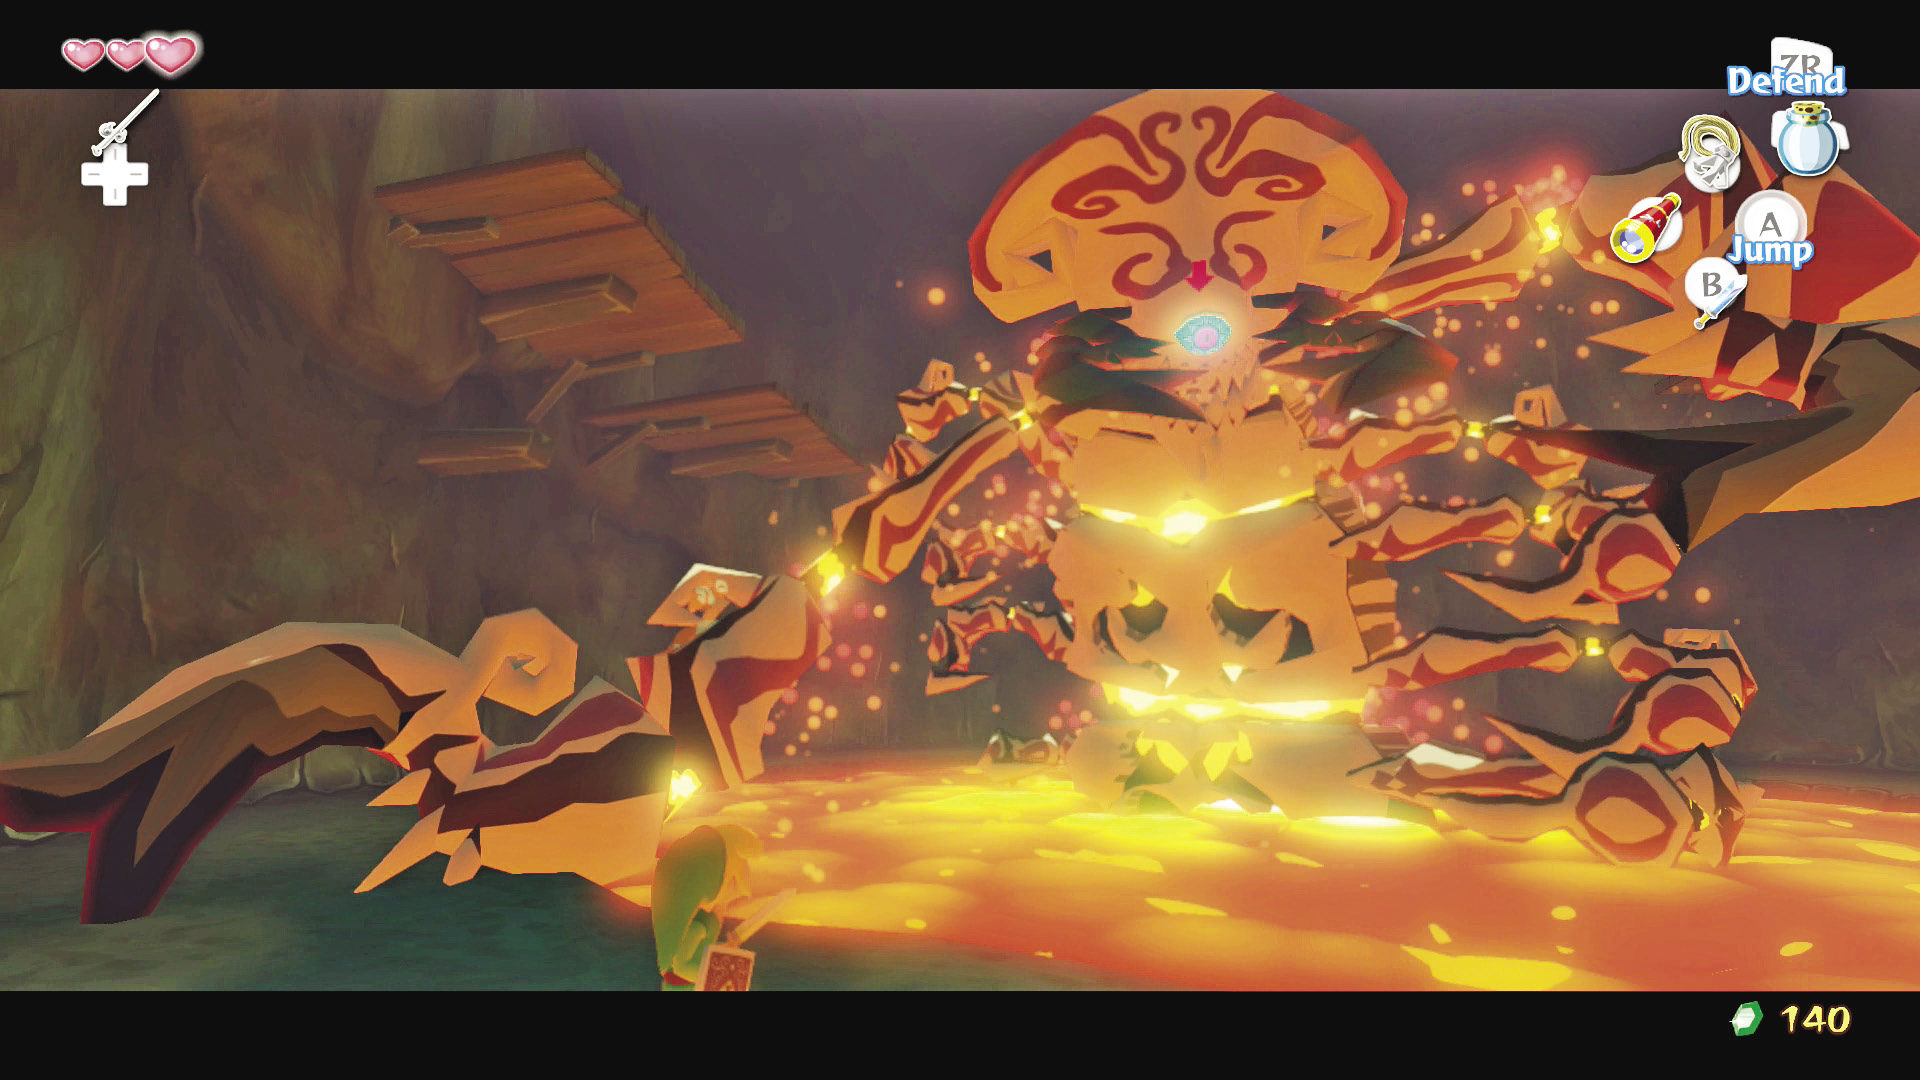 This fight takes place in a circular room with a narrow pathway that circles a pool of lava. Gohma will stay in the pool for the entirety of the fight, so the pathway is your own. Gohma has only two attacks: slamming its claws down on top of you or belching fire from its mouth. You can avoid most of Gohma’s attacks by constantly moving and rolling with 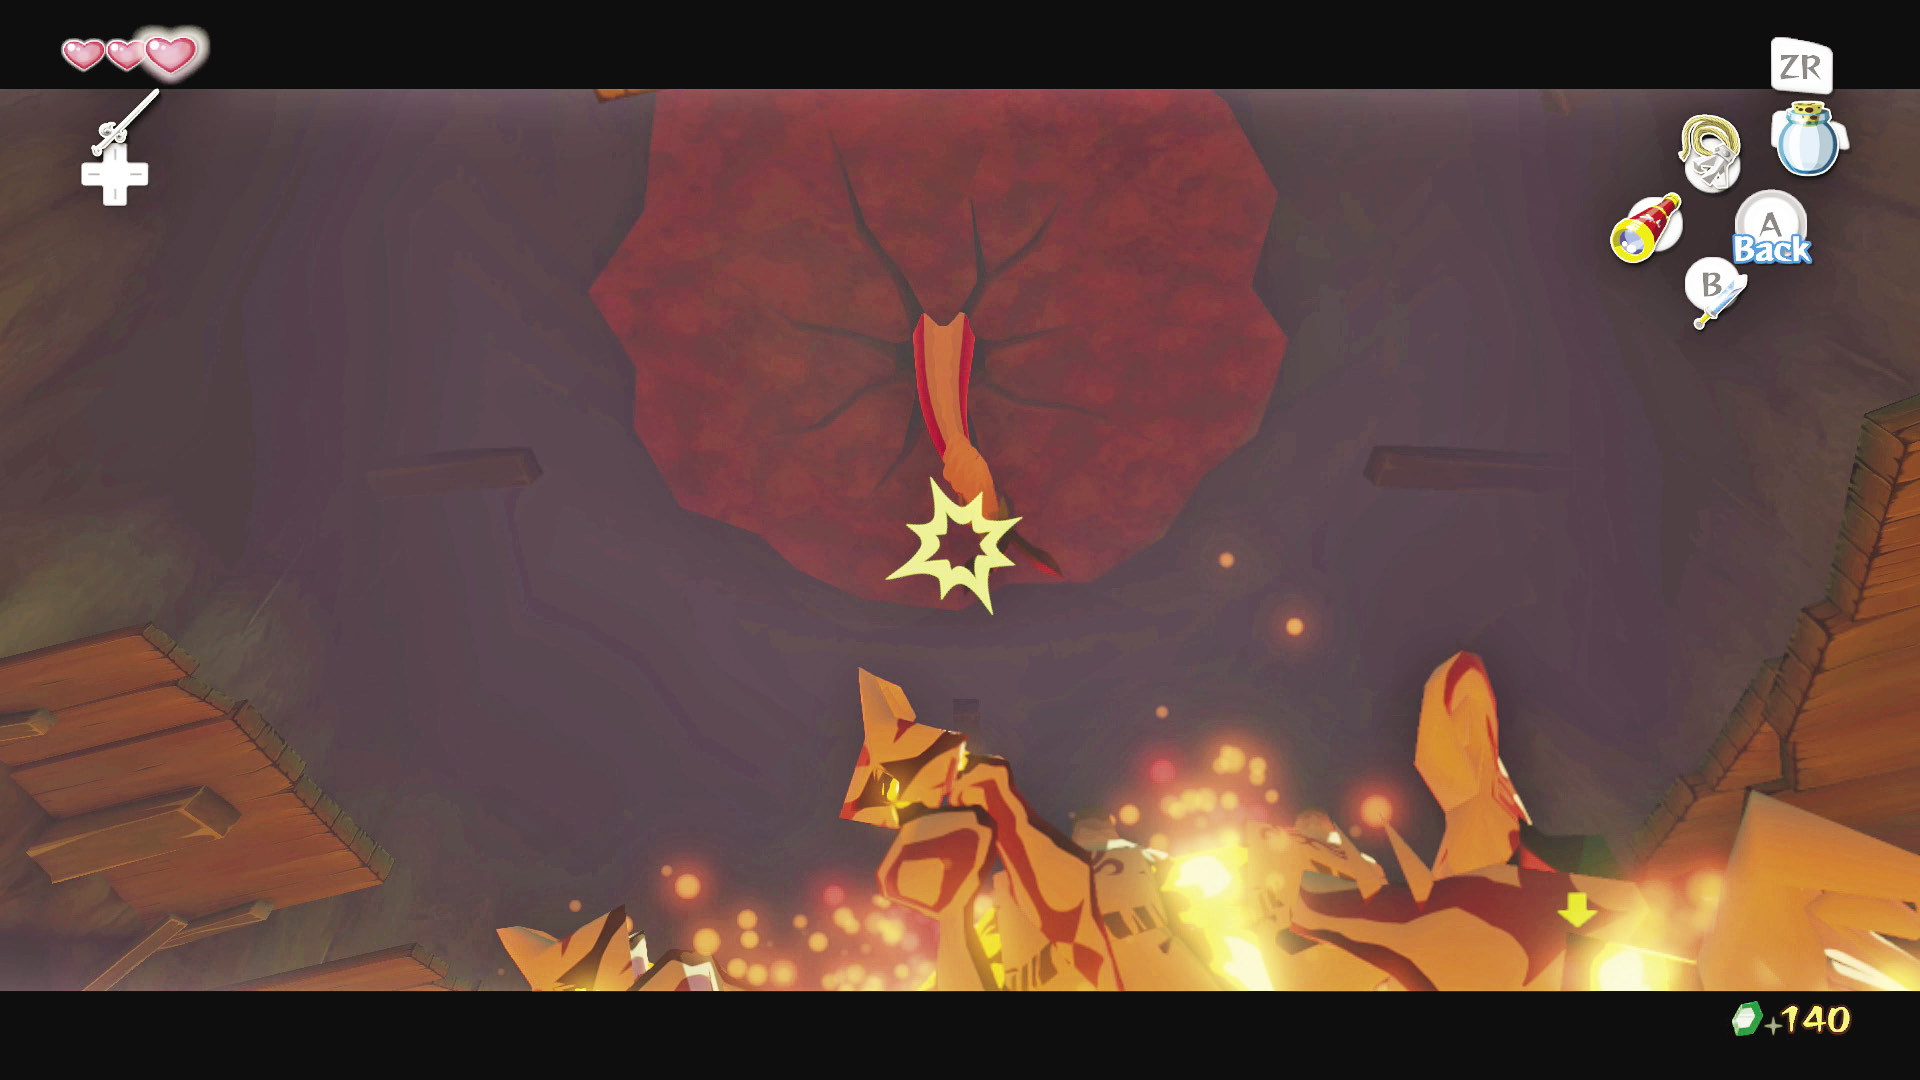 Unfortunately, Gohma is covered in a thick shell of solidified lava and cannot be damage by your sword—at least not at the moment. To break through Gohma’s shell, you must target Valoo’s tail using the Grappling Hook. 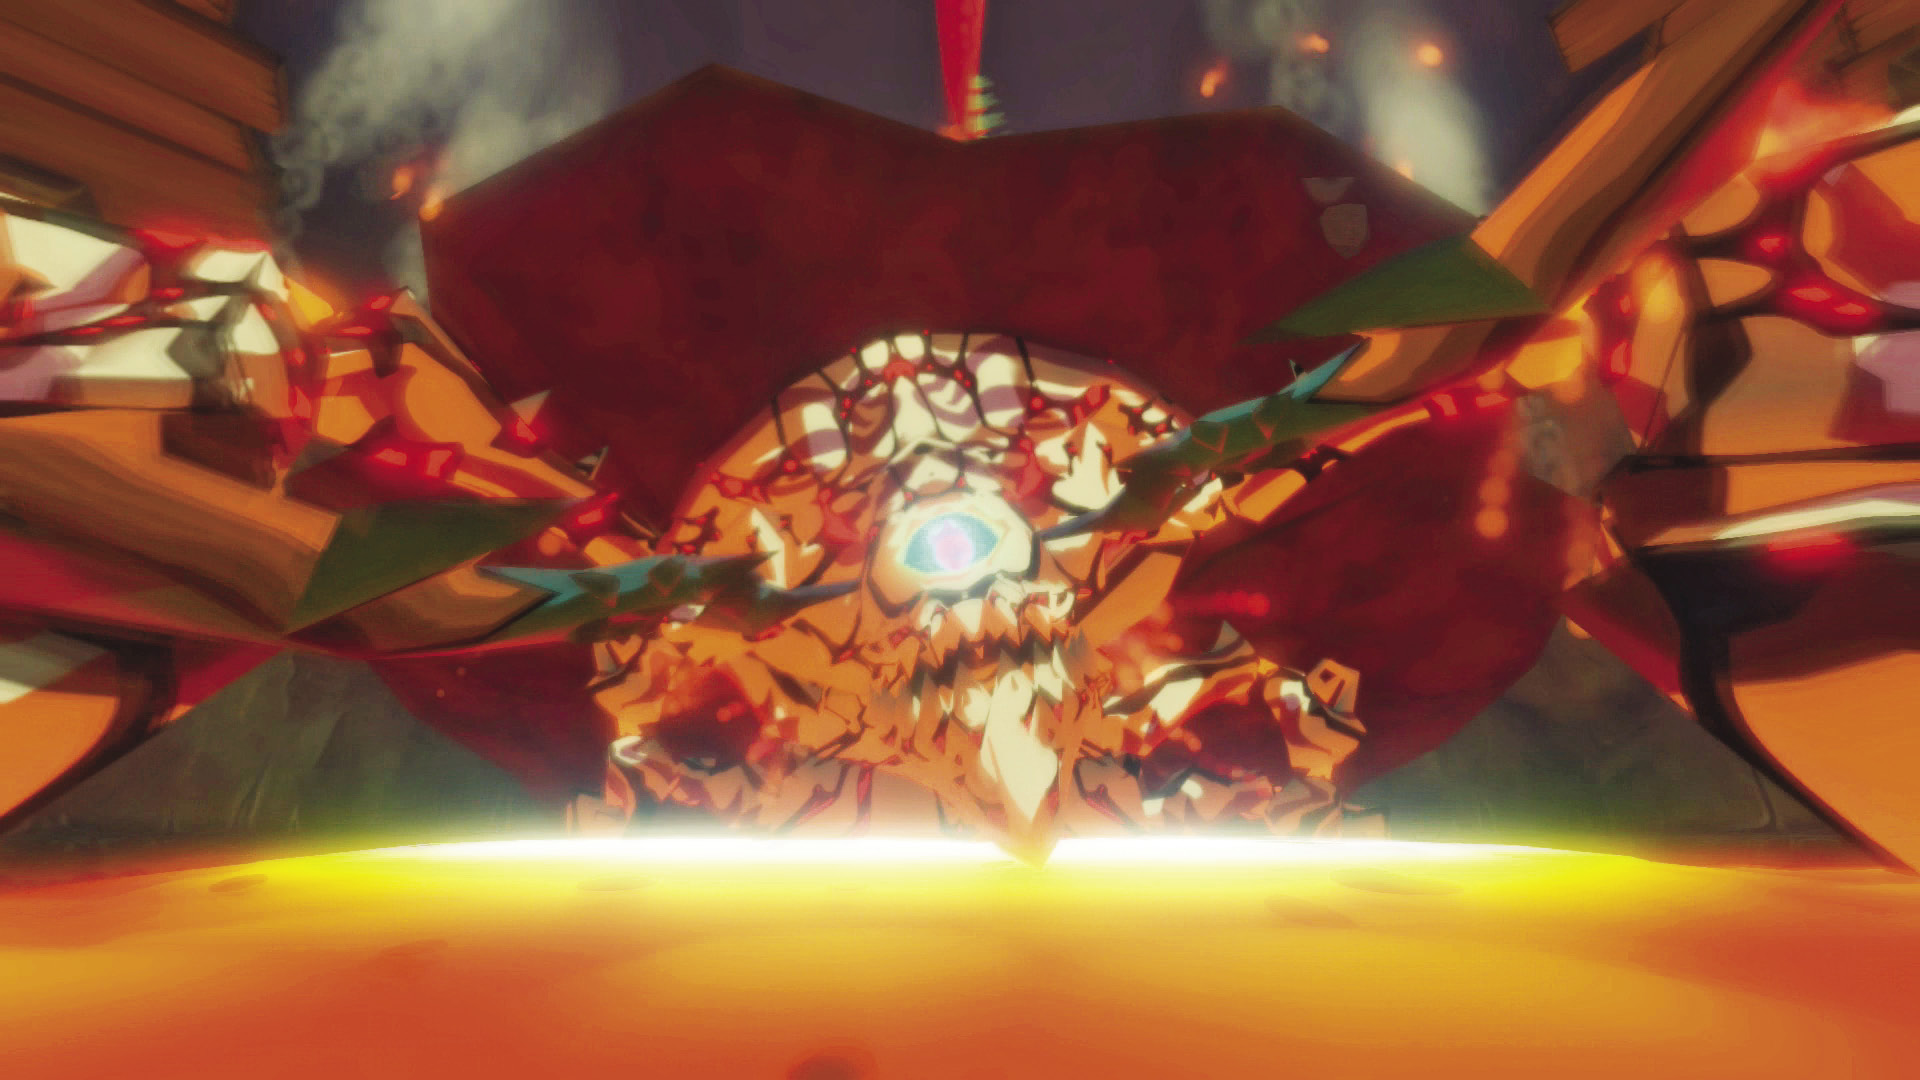 Timing is the big issue here, as it takes a while for the Grappling Hook to travel to Valoo’s tail, and during that time Gohma will have a clear shot of you. Wait for Gohma to slam its pincer down four or five times. Around the fourth or fifth swing, it’ll throw an extra hard pincer smash and will remain still long enough for you to get your Grappling Hook wrapped around Valoo’s tail. Next, jump from the rope, and Valoo will begin to pound and shake, causing the chunk of lava rock attached to his tail to fall on Gohma. Gohma will recover swiftly and lift the rock off of itself and back in place on the ceiling. 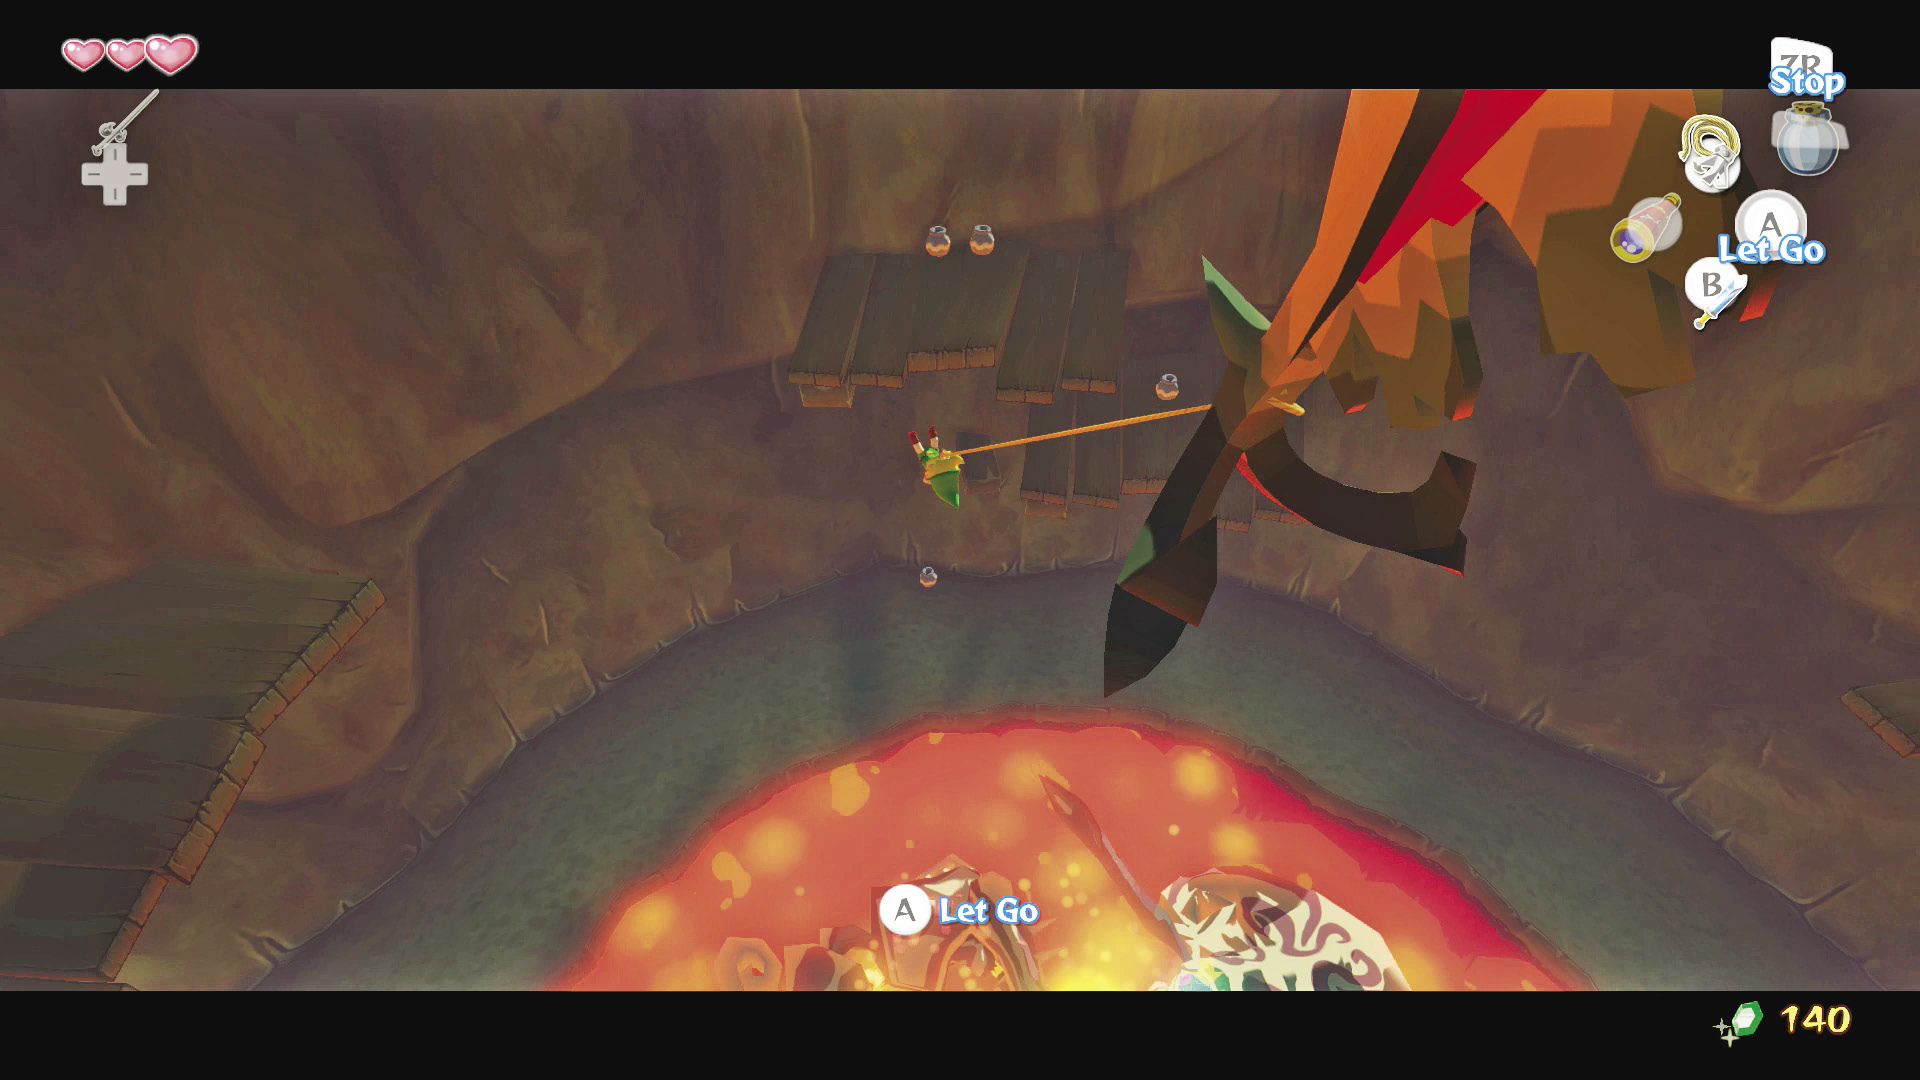 You’ll have to swing from Valoo’s tail three times to break Gohma’s armor. The best way to accomplish this while taking minimal damage is to line yourself up with one of the wooden platforms along the upper walls before swinging on Valoo’s tail. If you land on one of those platforms, Gohma will take longer to reach you, giving you a good chunk of time to swing on Valoo’s tail again. After breaking Gohma’s armor, 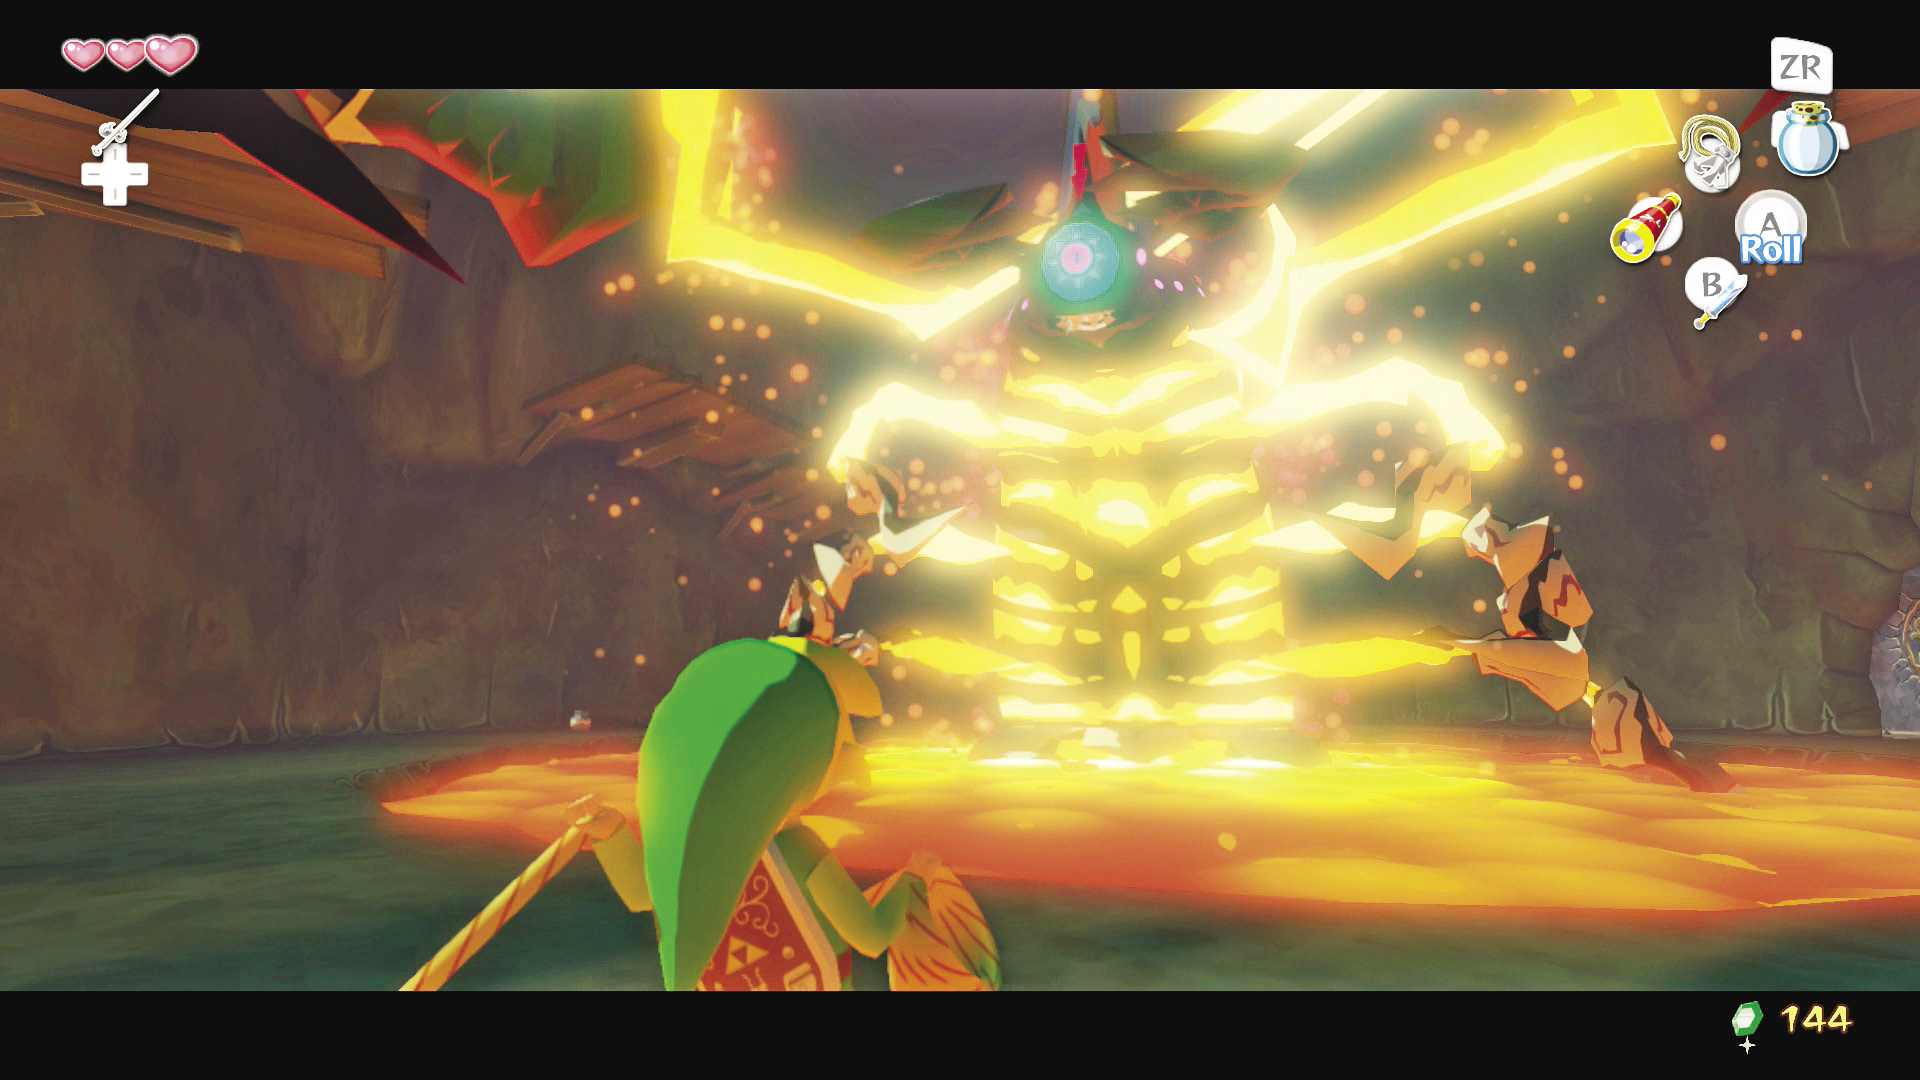 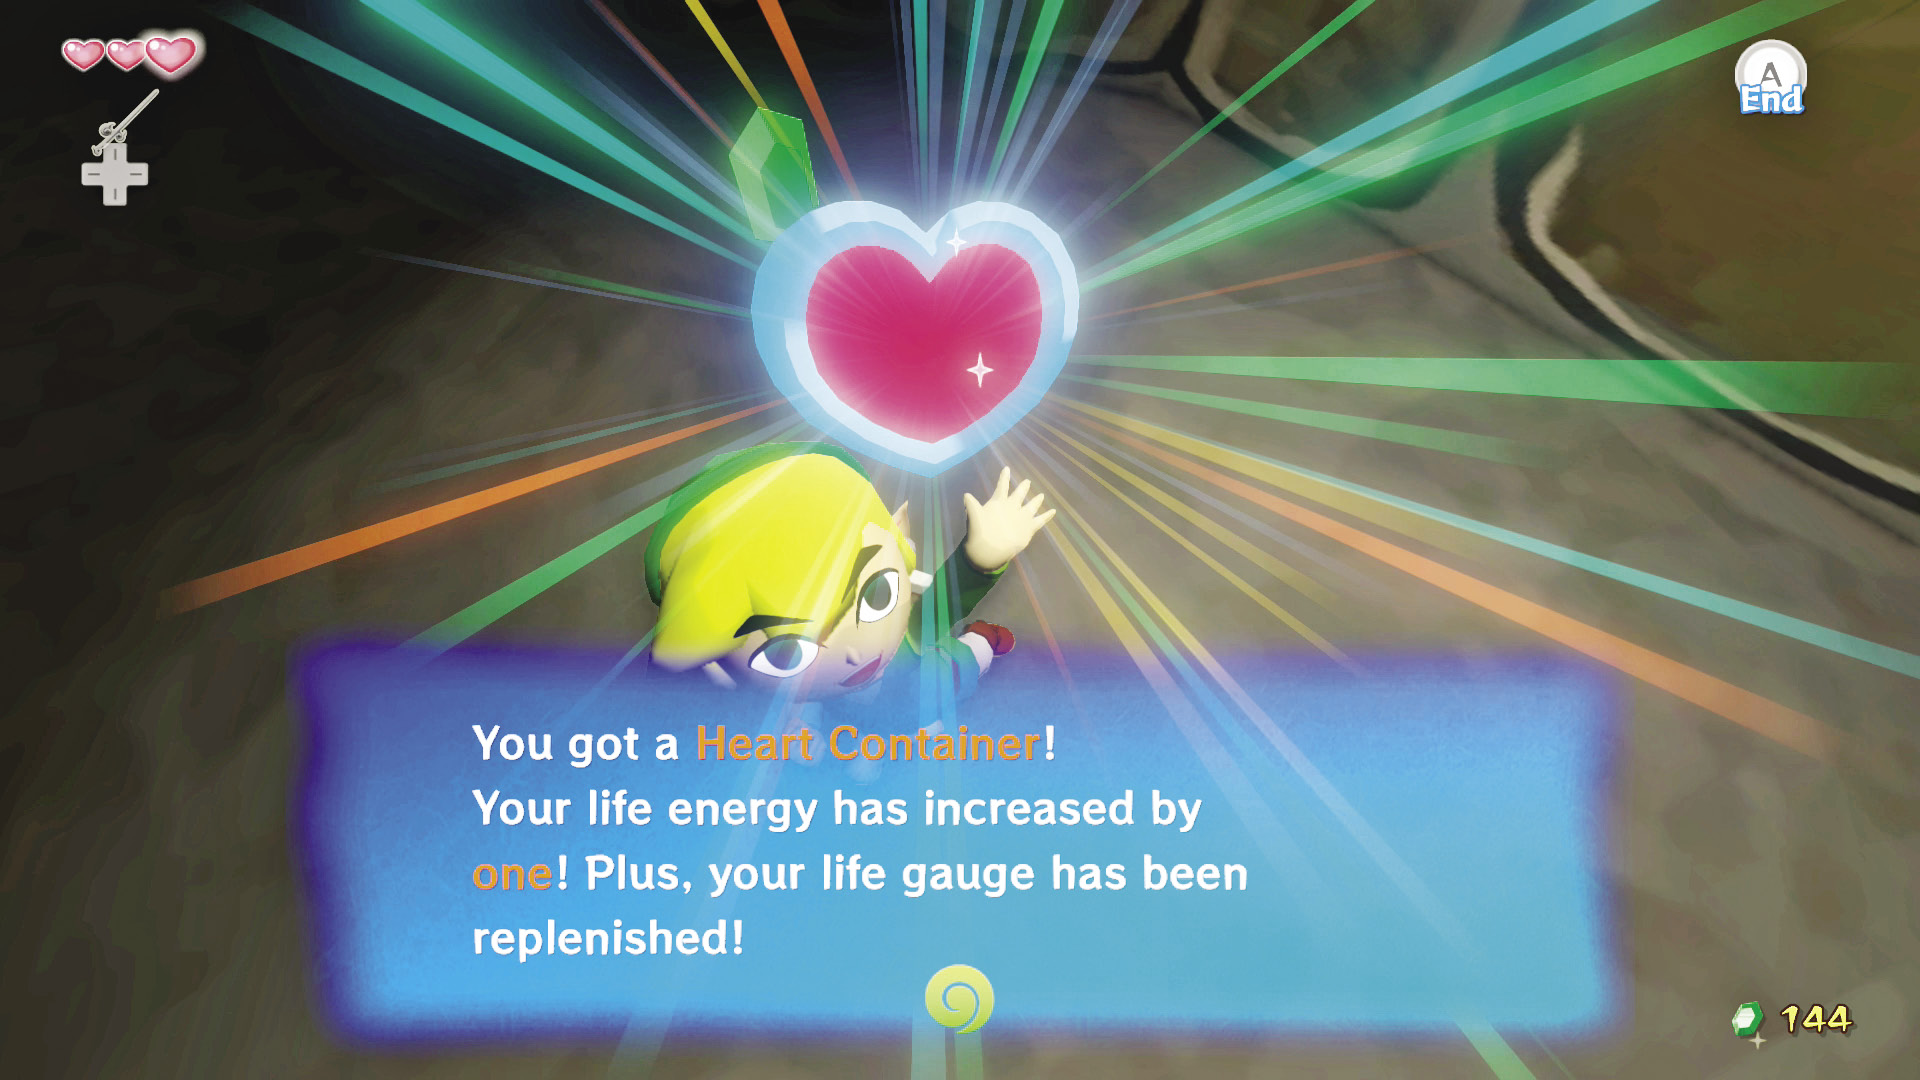 Pick up the Heart Container that Gohma left behind to increase your maximum health, then head through the portal in the center of the now-cooled lava. |
 . Just don’t
  -Target Gohma while trying to avoid it; this will only slow you down and practically guarantee a hit by Gohma’s claws.
 -Target the monstrous centipede and tap your Grappling Hook button. This automatically throws the Grappling Hook at Gohma’s eye, dragging it down to your level and allowing you to attack. Slash the Gohma’s eye seven times to defeat it.
Dragon Roost Island
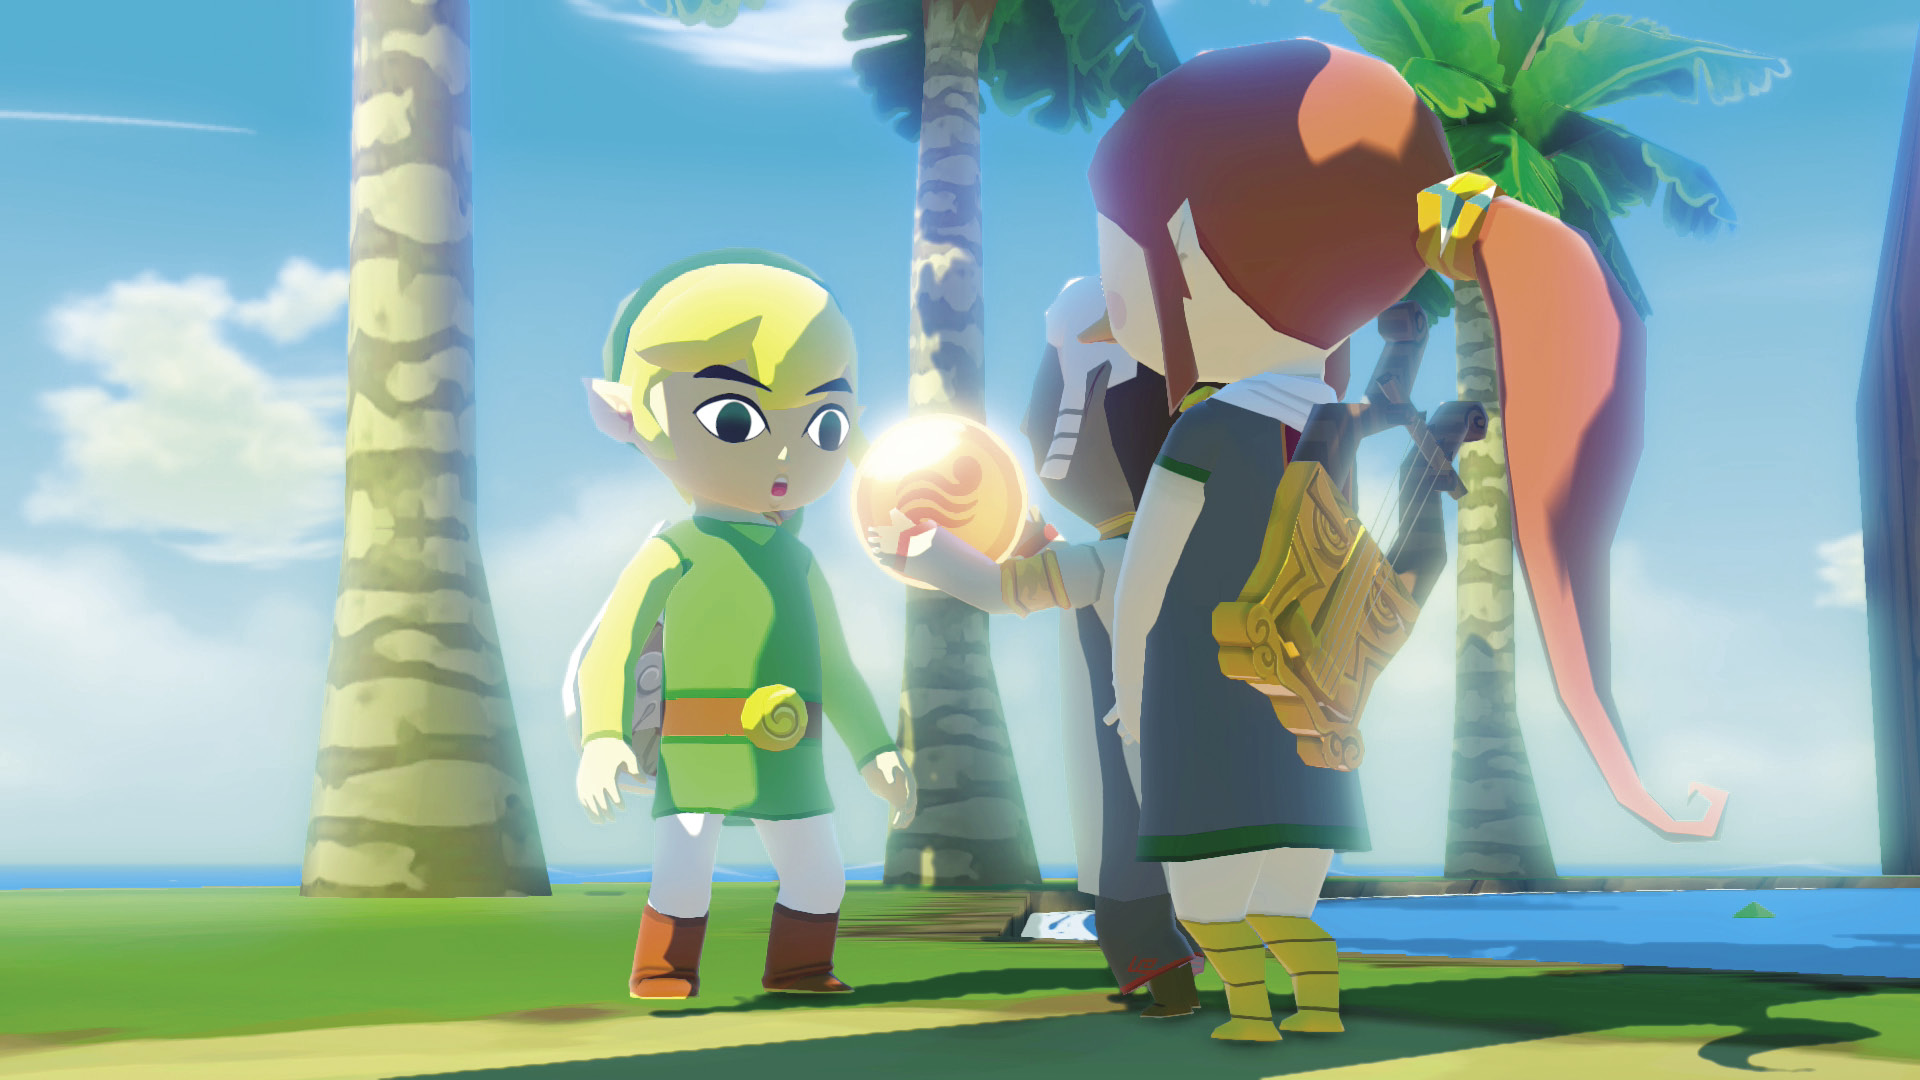
Back outside on the shore of Dragon Roost Island, the clouds clear and all seems to be well with Valoo once again. Komali and Medli wait for Link on the beach to thank him for helping the spirit of the sky. Komali, hoping to one day be as brave as our green-garbed hero, hands Link Din’s Pearl as a show of his admiration and thanks. Valoo also expresses gratitude to Link in a strange language, which Medli translates for him.
|
|
23 |
Din’s Pearl |
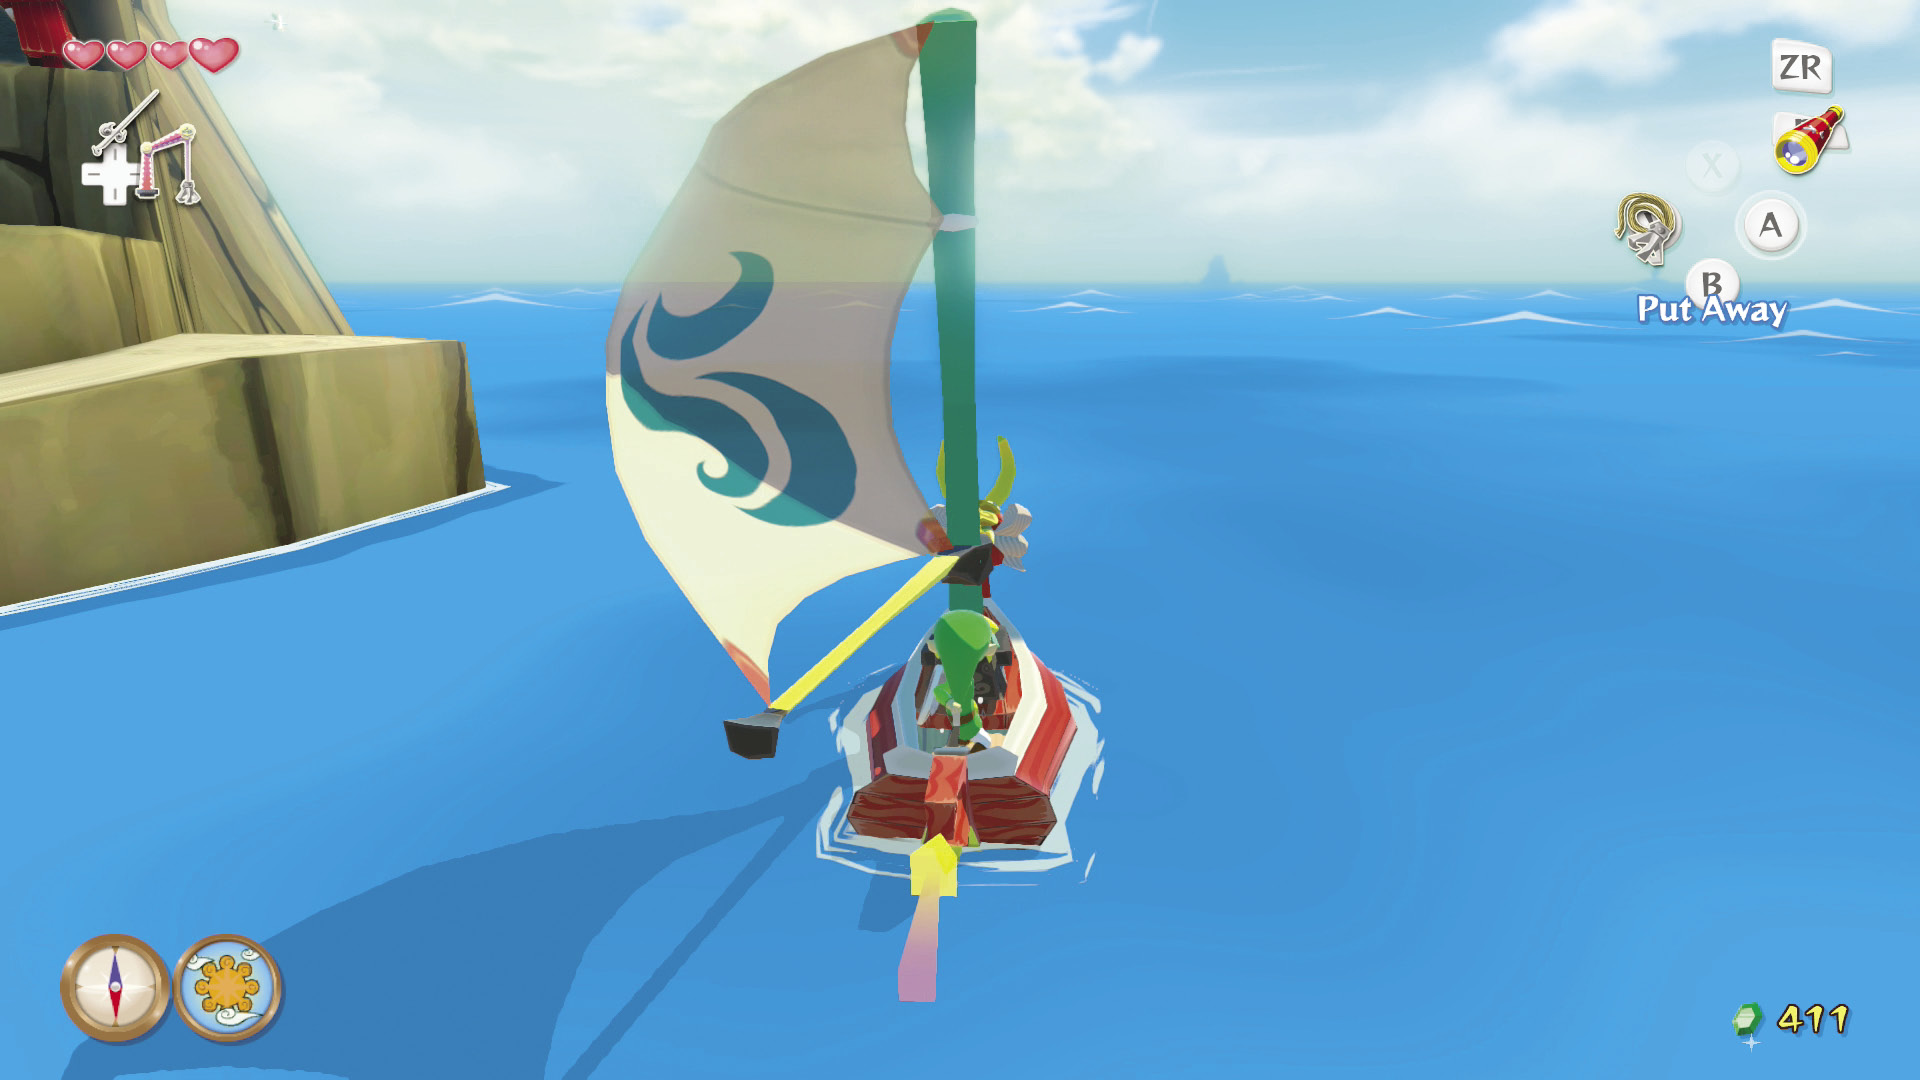
After saying your good-byes, head back to the King of Red Lions. As it turns out, Red seems to think that Ganon was behind Gohma’s appearance; it seems the master of evil’s plans have been in motion longer than we realized, and Red believes that his plans have extended to an island south of here. Use the “Wind’s Requiem” to direct the wind south, hop on your boat, and follow it to the sector indicated on your map—the King of Red Lions won’t let you on his back until you set the wind south.
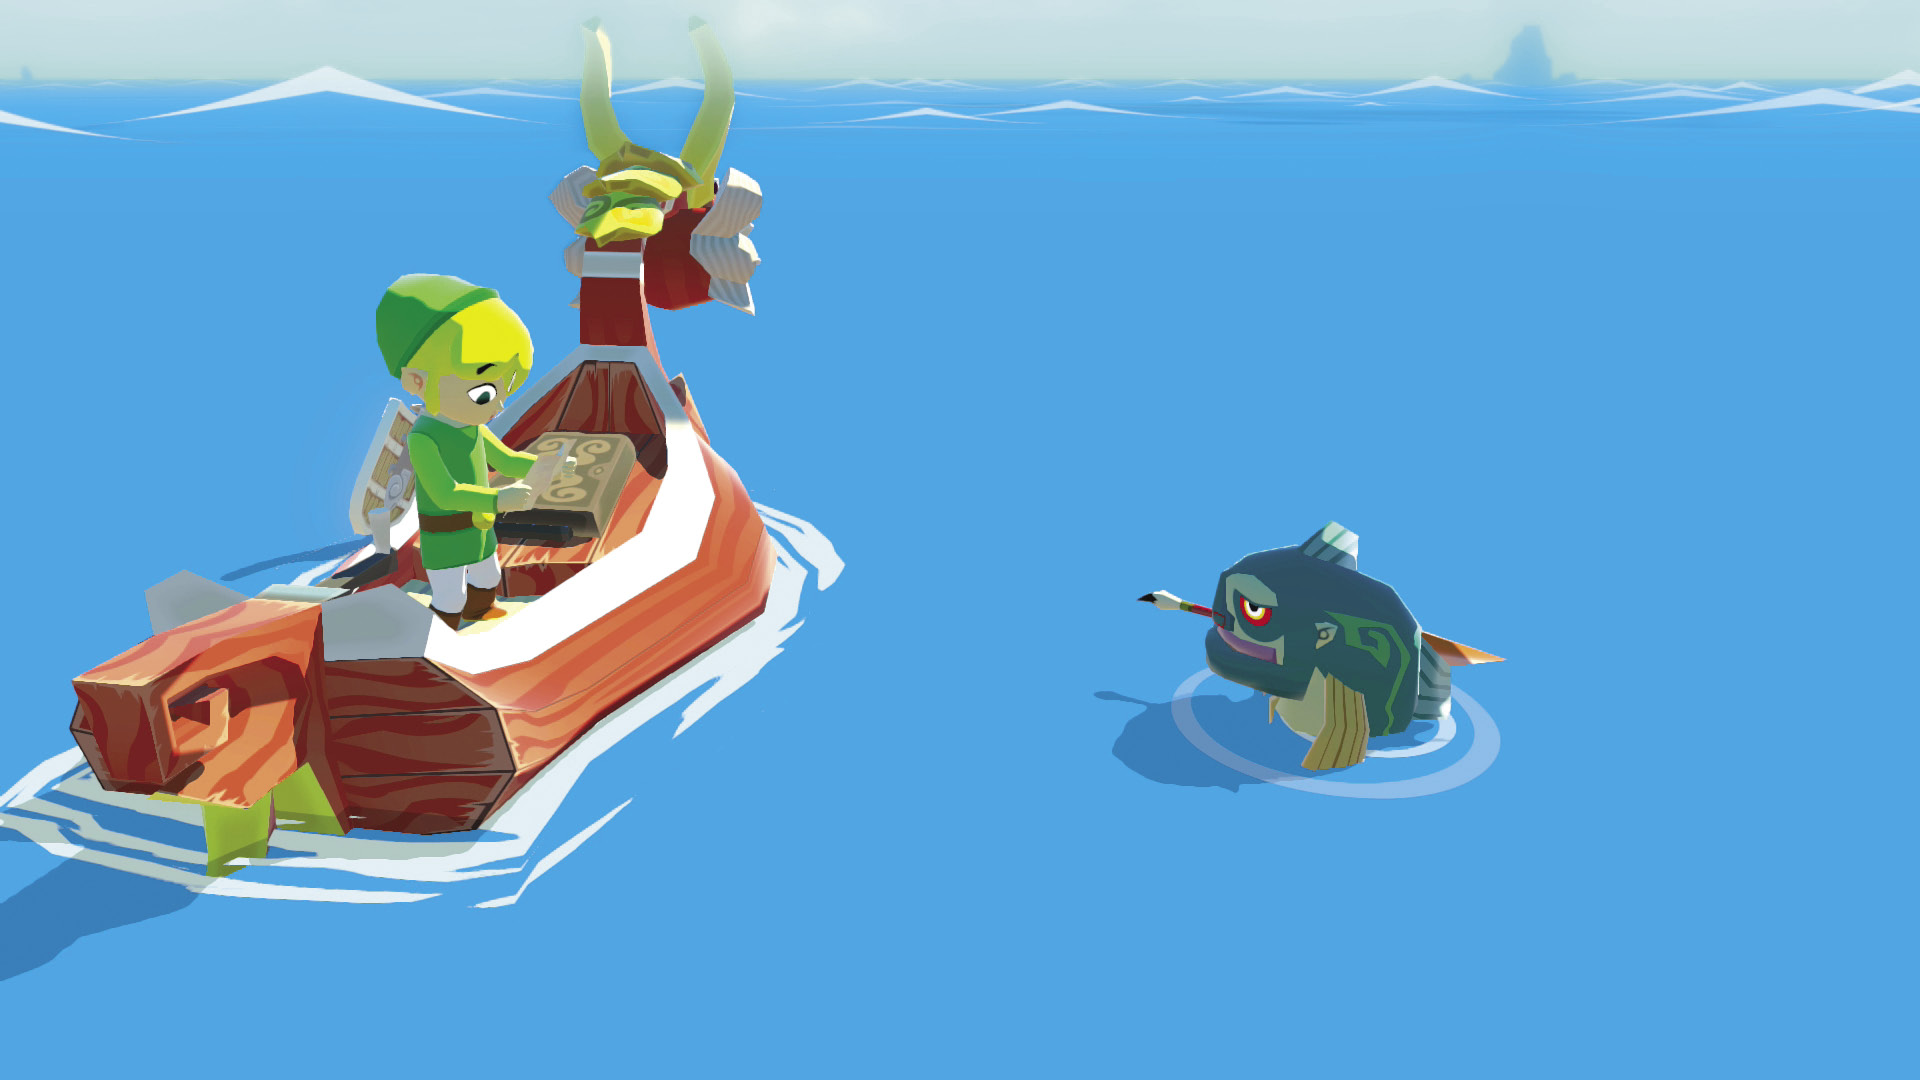
Before you get far from the coast of Dragon Roost Island, a talking fish (we’ve seen a talking boat, bird people, and a dragon; a fish with a love for linguistics shouldn’t come as a surprise to anyone) will swim up and teach you about proper map creation by filling in the Dragon Roost Island sector on your map with a detailed image of the island and its surroundings. He tells Link to throw All-Purpose Bait to any Fishmen he passes on his journey and they’ll fill in the sector that Link is currently in.
In short, anytime you see a fish jumping out of the water, steer toward it and throw it some All-Purpose Bait. This is the only way to get a detailed look at the entire map of the Great Sea, so stop every time you see a Fishman; you’ll be glad you did.
|
|
24 |
Piece of Heart #4 |

|
|
25 |
Piece of Heart #5 |

|
|
26 |
Treasure Chart #34 |
|
|
27 |
Empty Bottle #2 |