
The Legend of Zelda: The Wind Waker Guide Legendary Checklist
Nintendo Gallery
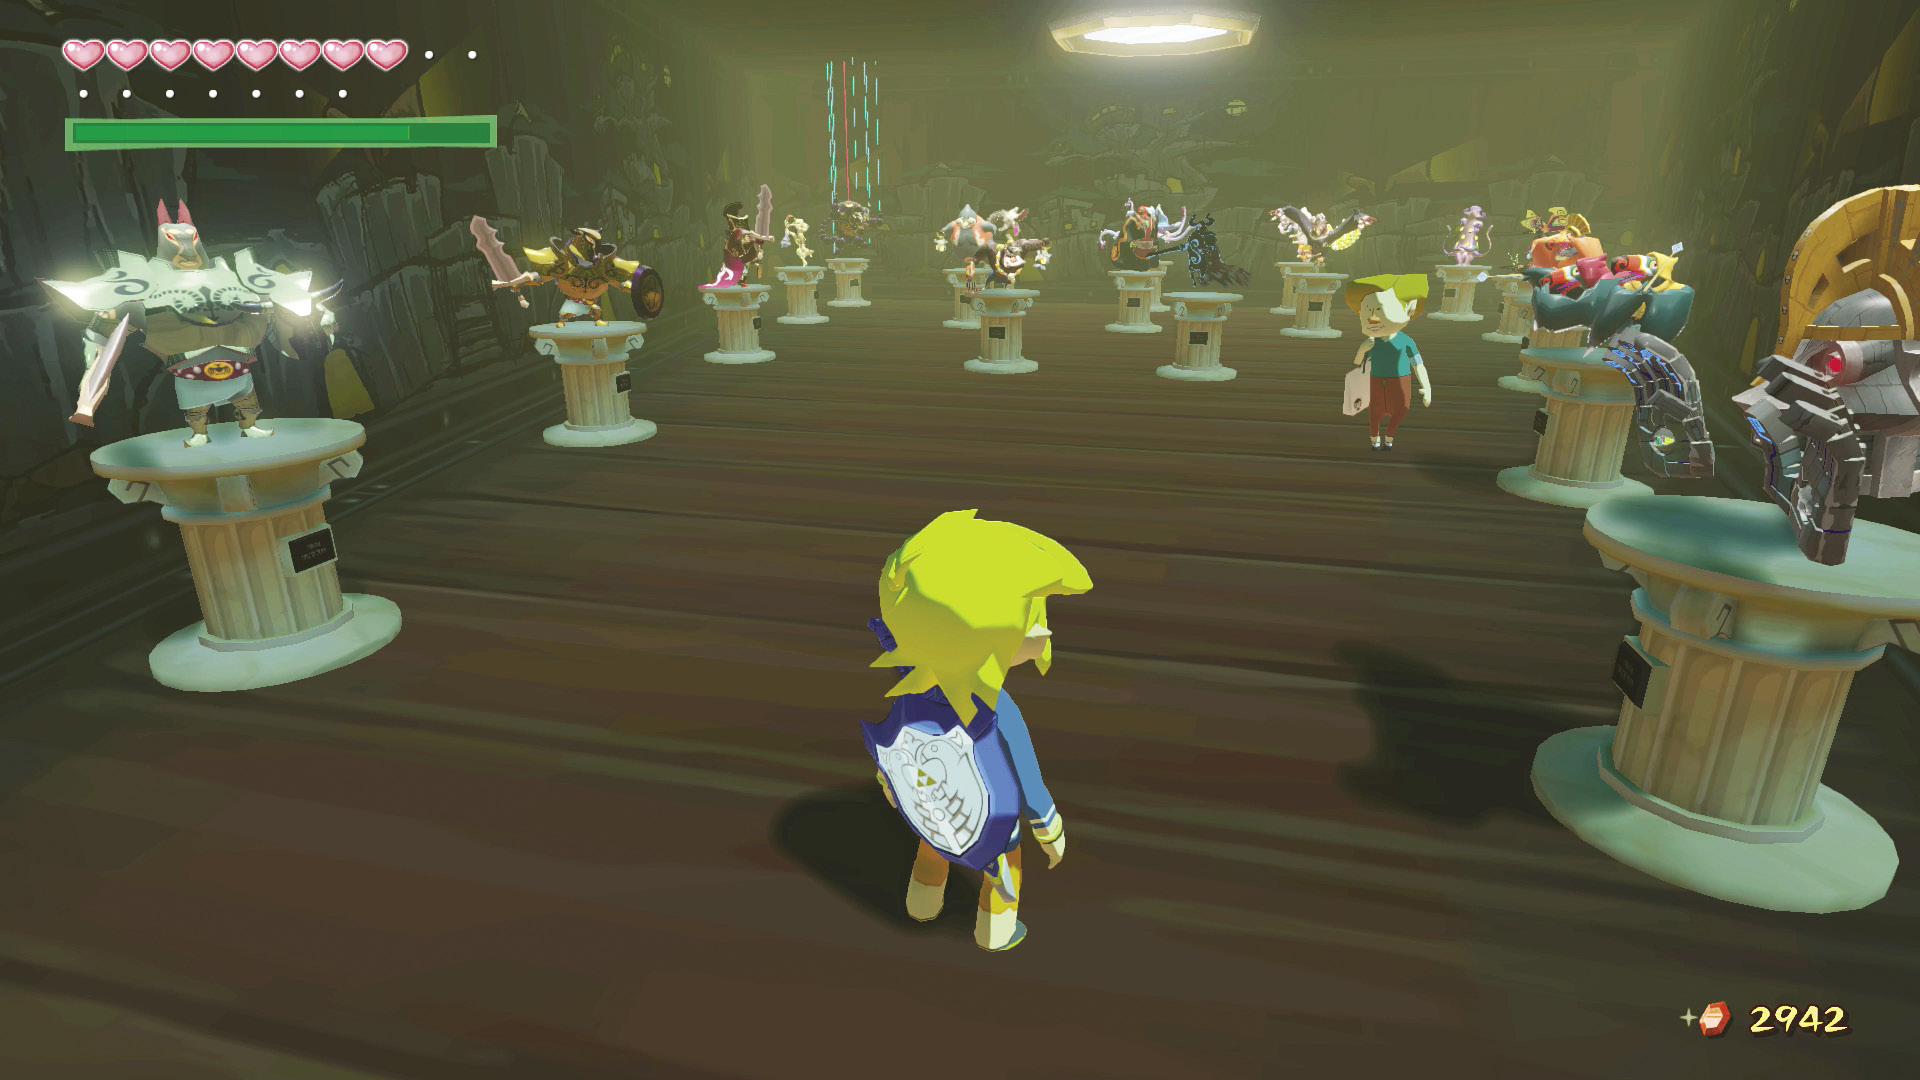
When you get your hands on the Deluxe Picto Box, a whole new world of adventure and excitement is available to you: the Nintendo Gallery!
The Nintendo Gallery, located on the Forest Haven’s northern isle (F6), is where you take your color pictographs to have them made into beautiful, lifelike figurines.
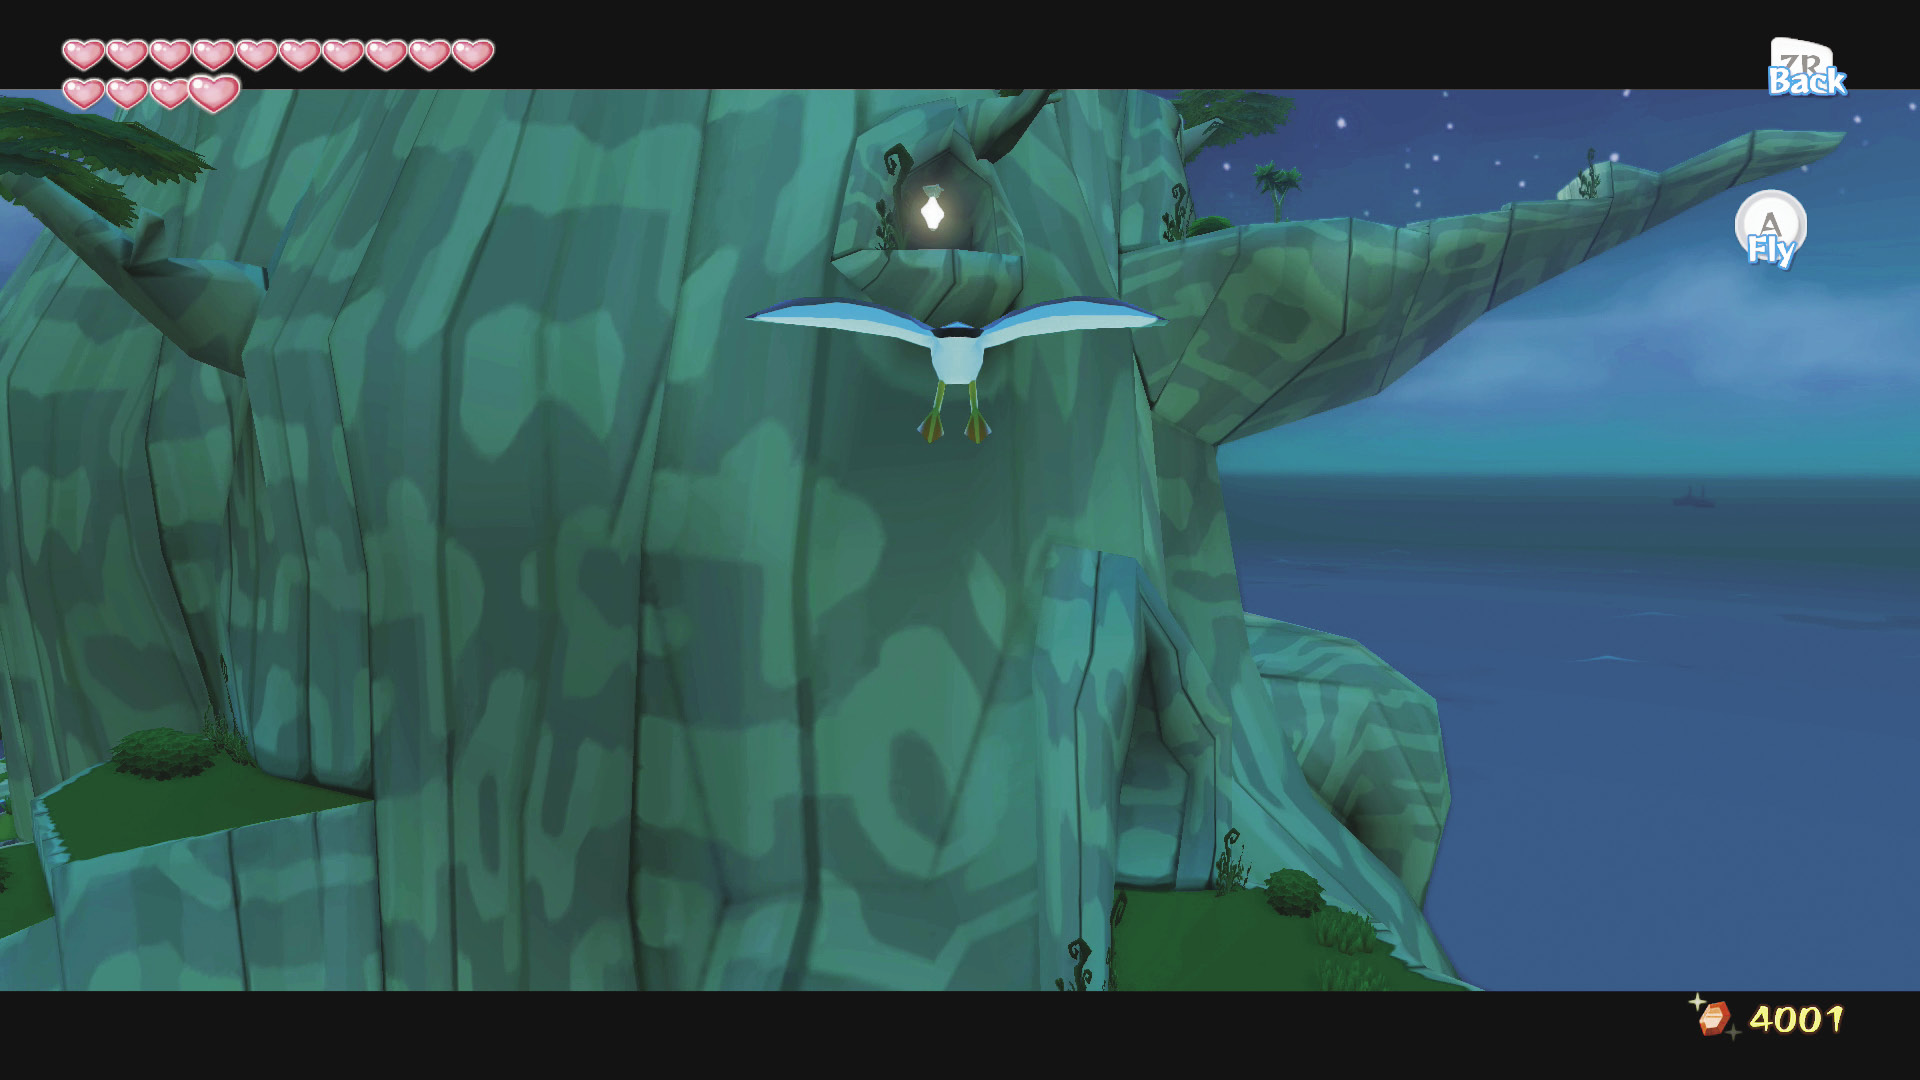
First, open the hatch that leads to the Nintendo Gallery. Do this by flying a seagull into the switch found on the side of Forest Haven. Talk to Manny, who’s standing near the entry hatch, for a hint. While you’re at it, check out the cool design on his shoulder bag.
When the hatch opens, you may enter the Nintendo Gallery. Don’t get too excited—you’re not an official member yet!
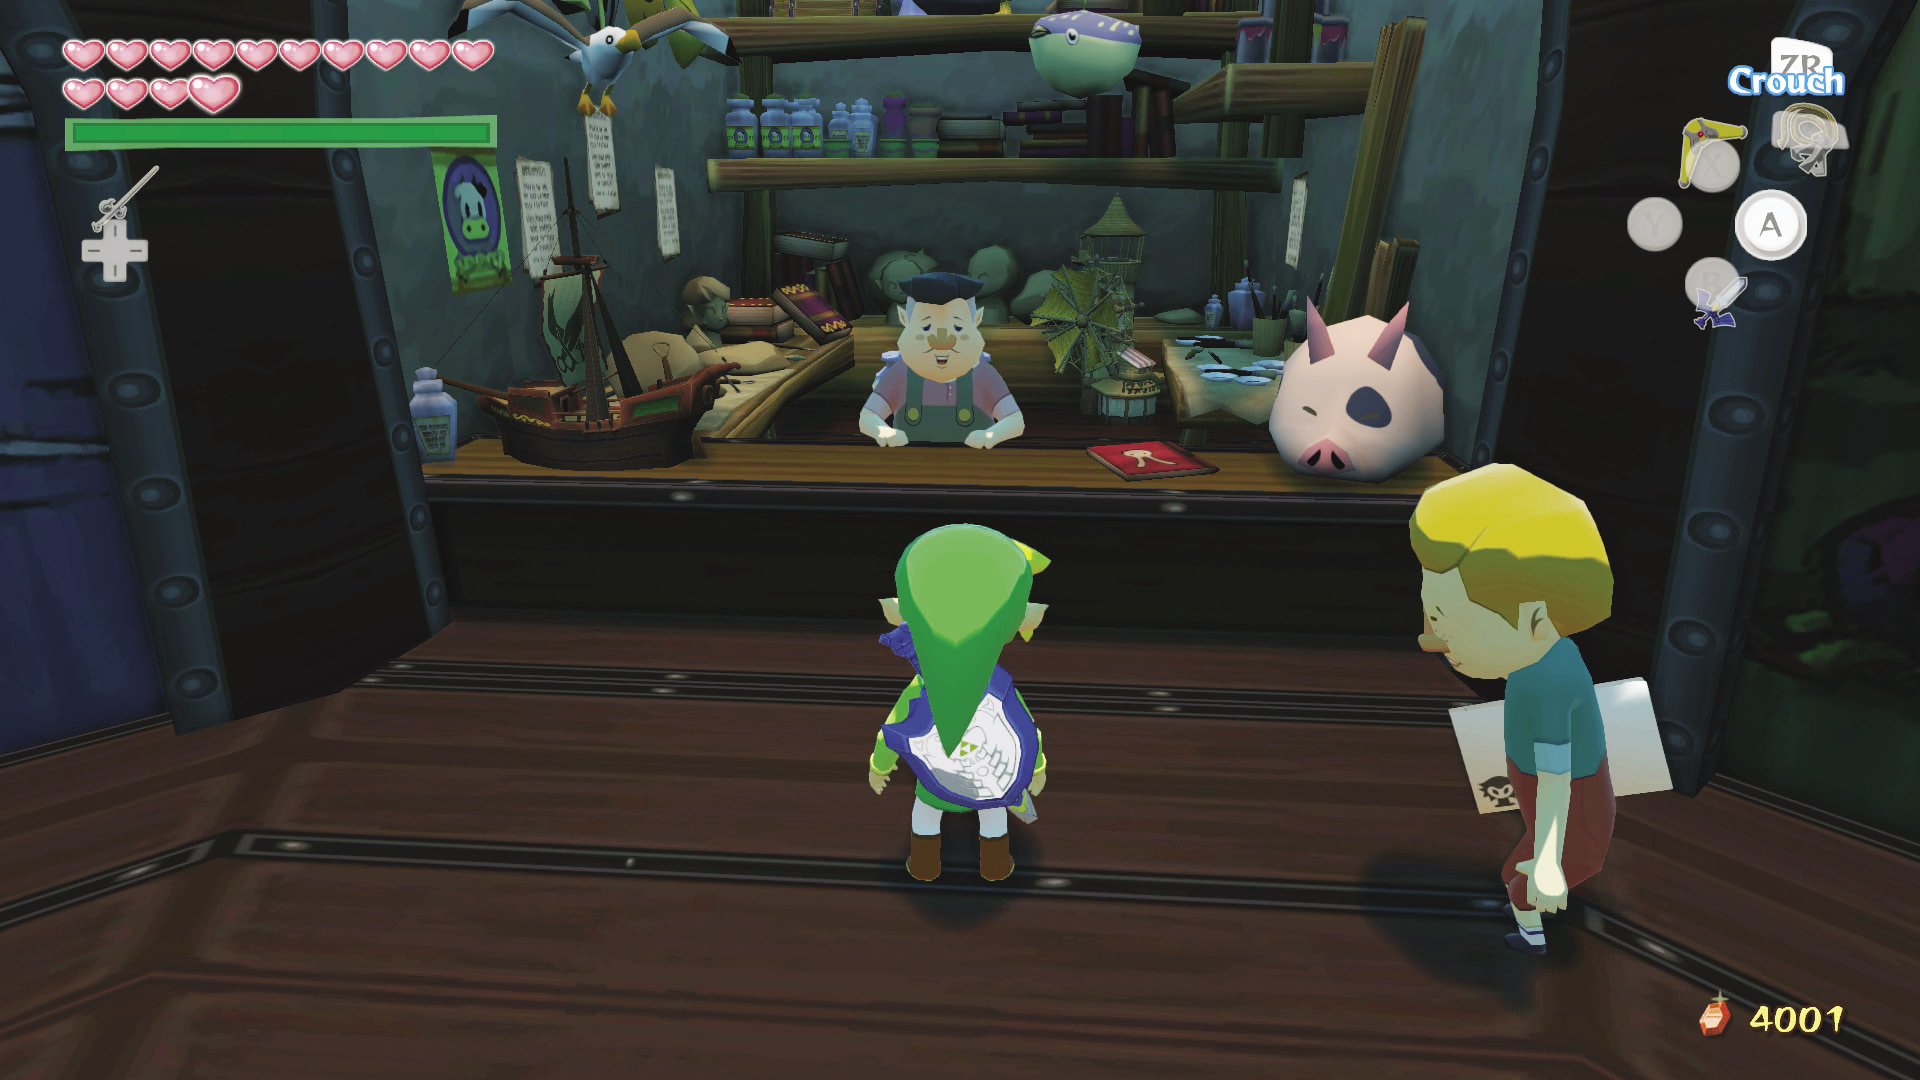
To become a Nintendo Gallery member, show Carlov (the man behind the counter) a well-taken, full-color pictograph of any person or enemy on the following lists. Carlov then makes you an honorary member of the Nintendo Gallery and makes a figurine of the pictograph you’ve shown him.
It takes Carlov one full day to create a figurine, so learn the “Song of Passing” to speed things up!
When the new day dawns, enter the Nintendo Gallery again and talk to Carlov, who informs you that he’s completed his work. Follow his instructions as to which door to enter, then check out your new figurine. Press # to read about each one.
Knuckle’s Figurine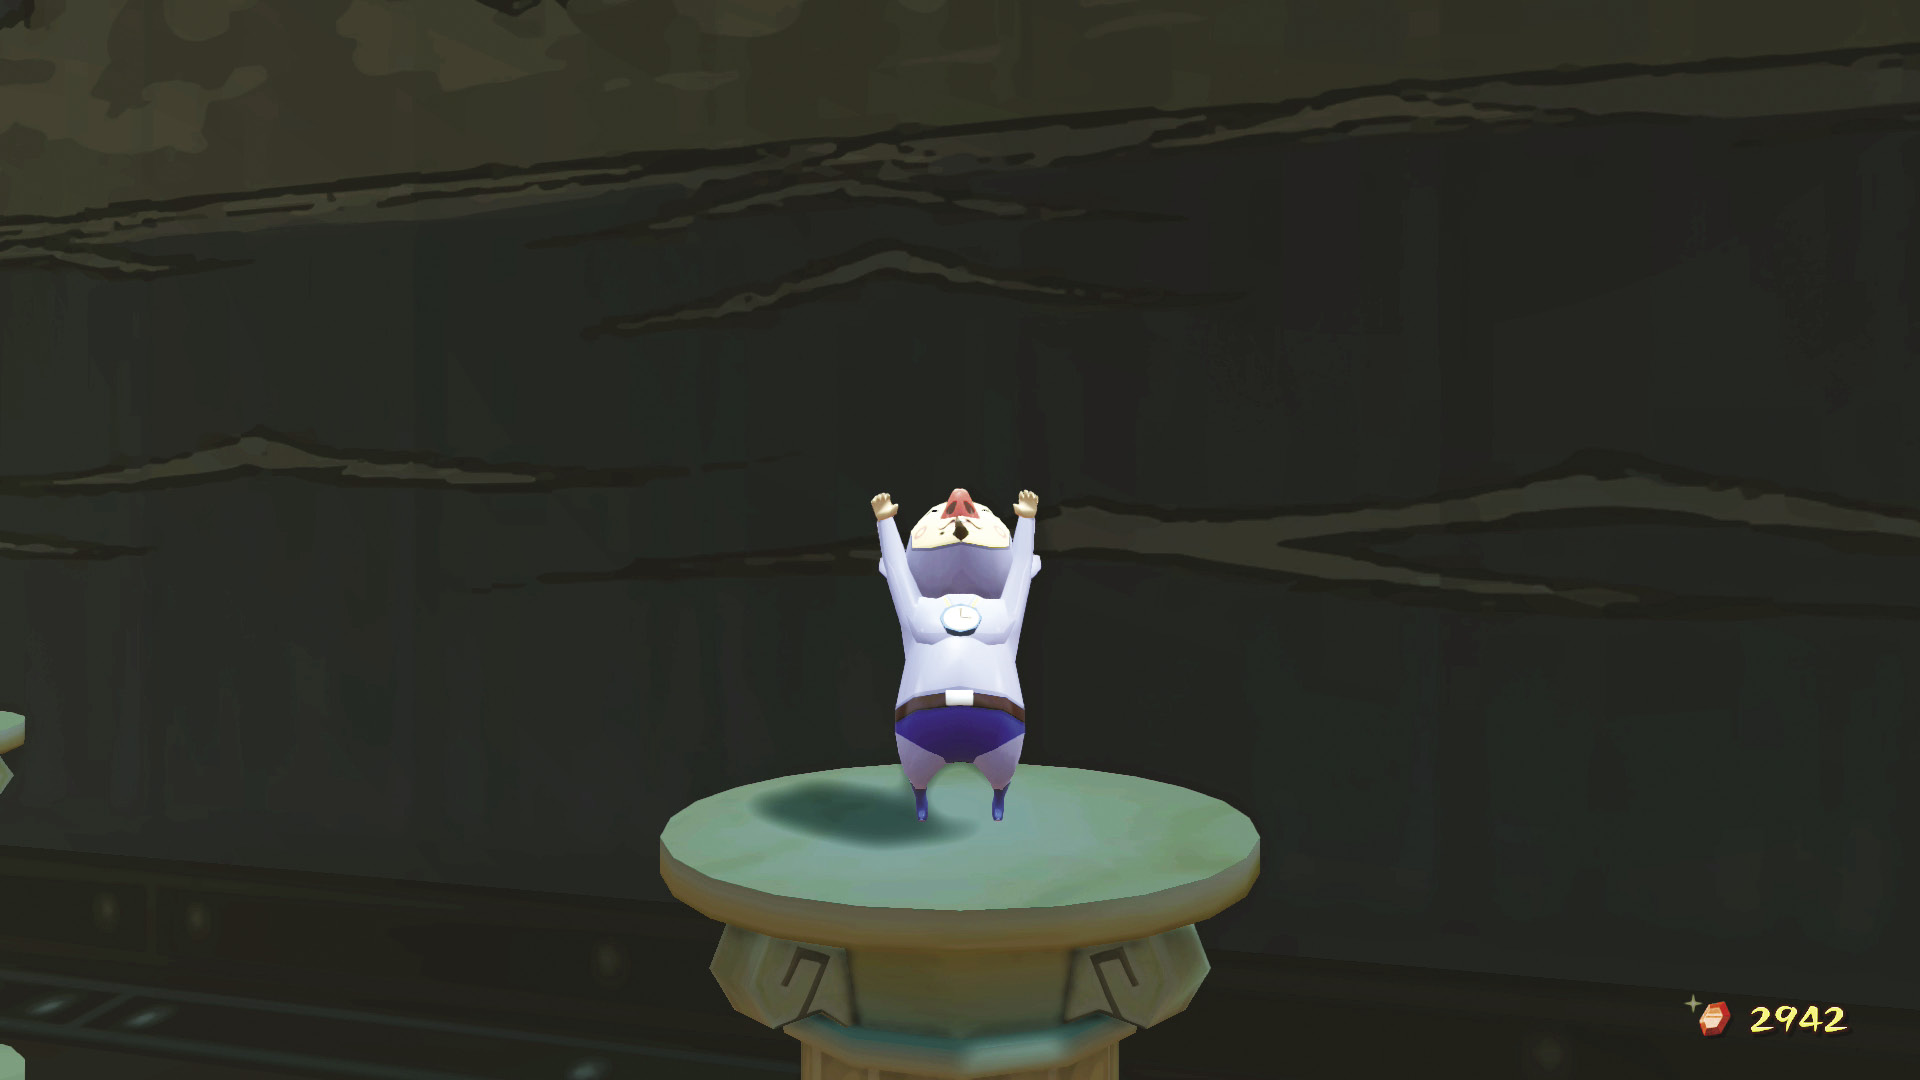 Knuckle’s figurine is one of the more challenging ones to unlock. To find and photograph Knuckle, you must first bomb a specific spot in each of the five major dungeons to expose a super-secret chest that contains a Tingle Statue. Collect all five Tingle Statues (one from each dungeon), and Knuckle will appear on Tingle Island, ready for his photo shoot. For help in locating each Tingle Statue, please refer to the dungeon maps in the walkthrough. |
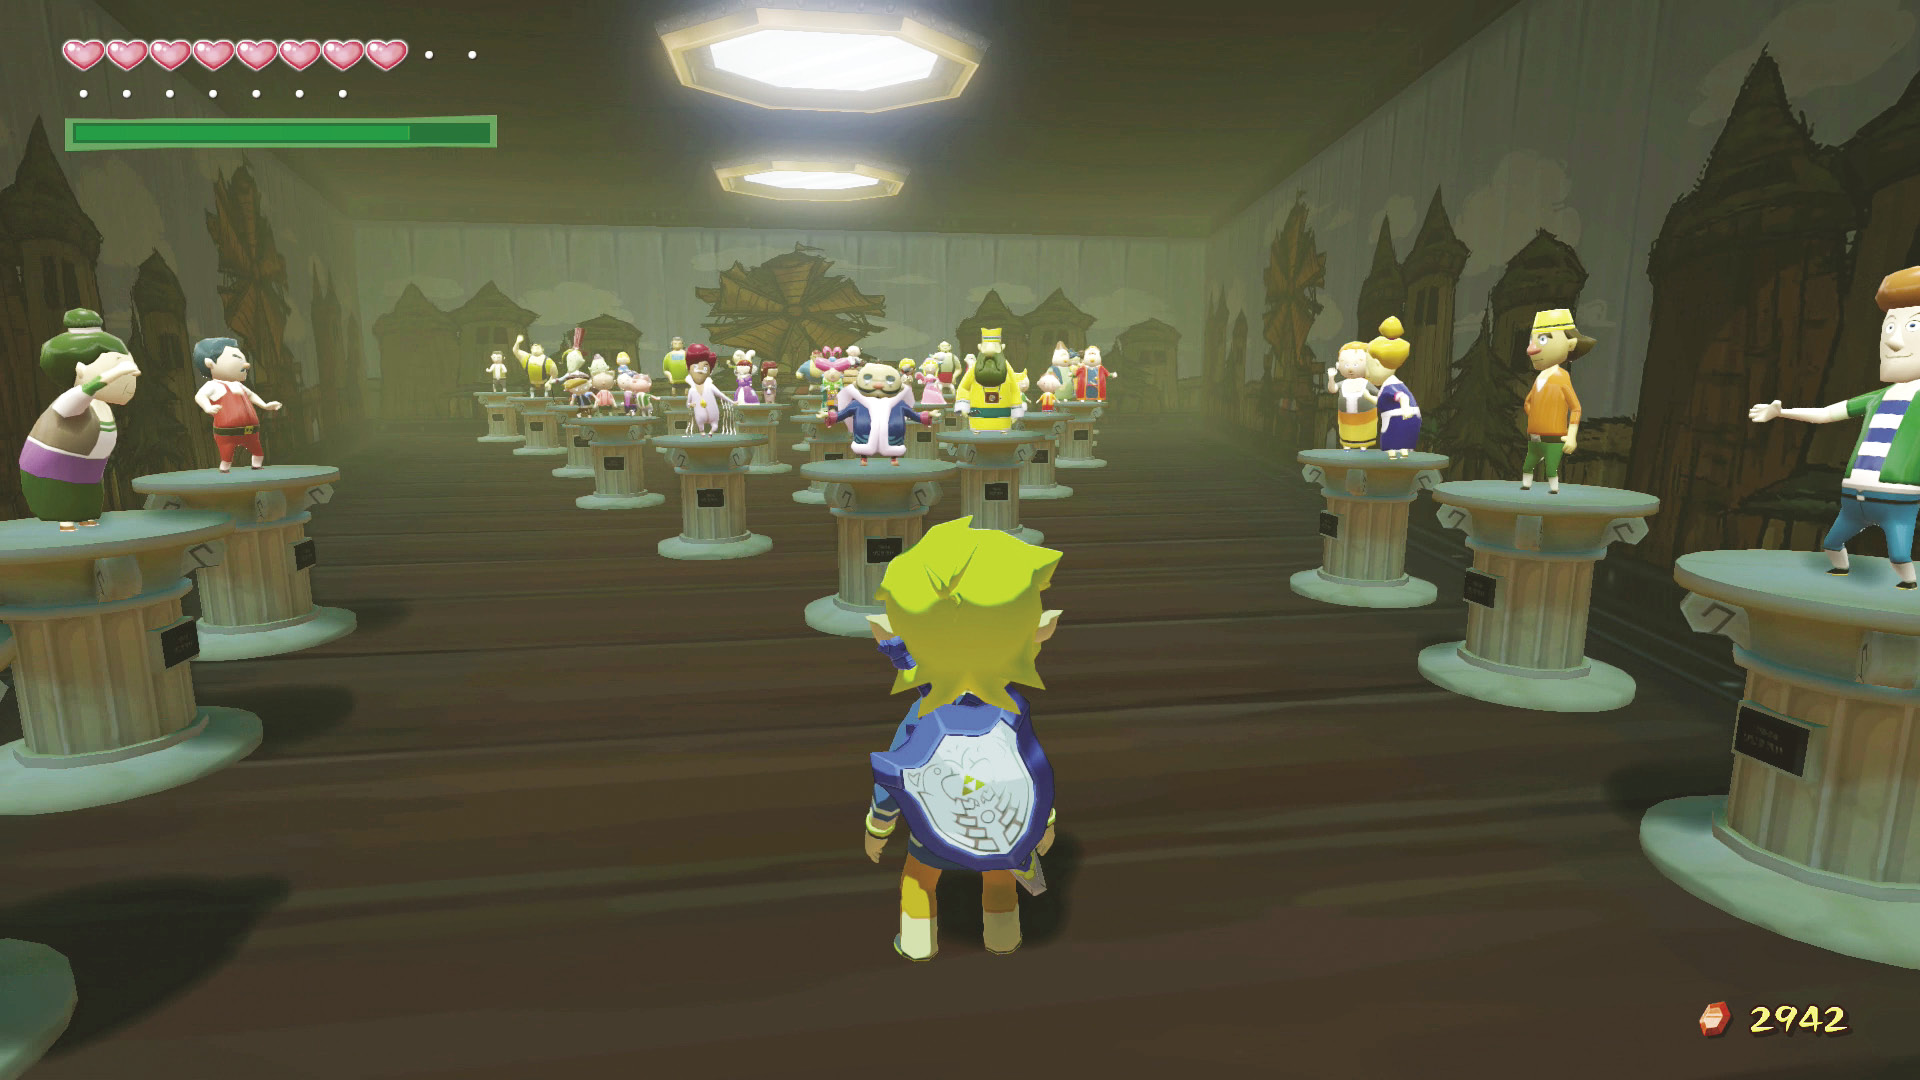
Now that you’re a sworn-in member of the Nintendo Gallery, it’s time to see how devoted to the cause you are. The daunting tables that follow list every figurine you can have Carlov make for you, grouped according to the seven figurine rooms inside the Nintendo Gallery.
If you fill each room of the Nintendo Gallery with figurines, you’ve earned yourself a nap. What are you waiting for? Those pictographs aren’t going to take themselves!
Nintendo Gallery Figurines
Dragon Roost Island Room
| Name | Comments |
|---|---|
|
Baito |
— |
|
Basht and Bisht |
Two-figure set. Take a pictograph of either one. |
|
Chieftain |
— |
|
Hoskit |
— |
|
Ilari |
— |
|
Koboli |
— |
|
Kogoli |
Take a pictograph of Kogoli before exploring Dragon Roost Cavern. |
|
Komali |
Two-figure set of younger and older Komali. Take a pictograph of him. |
|
Laruto |
Purchase Laruto’s Legendary Pictograph from Lenzo at Windfall Island (D2). |
|
Medli |
— |
|
Namali |
— |
|
Obli |
— |
|
Pashli |
— |
|
Quill |
The only way to get Quill’s figurine is to take the Rito Chieftain’s pictograph (you get them both by taking a pictograph of the Chieftain). |
|
Skett and Akoot |
Two-figure set. Take a pictograph of either one. |
|
Valoo |
— |
|
Willi |
— |
|
Zephos and Cyclos |
Two-figure set. To get this figurine, you must take Cyclos’s pictograph as you’re being sucked into his cyclone and before you defeat him with the Hero’s Bow. |
Dungeon Room
| Name | Comments |
|---|---|
|
Armos |
— |
|
Armos Knight |
— |
|
Boko Baba |
— |
|
Bokoblin |
Three-figure set. Take a pictograph of any type of Bokoblin. |
|
ChuChu |
Five-figure set. Take a pictograph of any type of ChuChu. |
|
Floor Master |
— |
|
Gyorg |
— |
|
Kargoroc |
— |
|
Keese and Fire Keese |
Two-figure set. Take a pictograph of any type of Keese. |
|
Magtail |
— |
|
Miniblin |
Four-figure set. Take a pictograph of any type of Miniblin. |
|
Morth |
— |
|
Octorok |
Two-figure set. Take a pictograph of any type of Octorok. |
|
Peahat |
— |
|
Poe |
Four-figure set. Take a pictograph of any type of Poe. |
|
Rat |
Two-figure set. Take a pictograph of any type of Rat. |
|
Red Bubble and Blue Bubble |
Two-figure set. Take a pictograph of either Bubble. |
|
ReDead |
— |
|
Seahat |
— |
Forest Haven Room
| Name | Comments |
|---|---|
|
Aldo |
Appears at Cliff Plateau Isles (G6) after you clear the Forbidden Woods dungeon. |
|
Carlov the Sculptor |
— |
|
Deku Tree |
— |
|
Drona |
Appears at Private Oasis (E5) after you clear the Forbidden Woods dungeon. |
|
Elma |
Appears at Needle Rock Isle (A5) after you clear the Forbidden Woods dungeon. |
|
Fado |
Purchase Fado’s Legendary Pictograph from Lenzo at Windfall Island (D2). |
|
Hollo |
— |
|
Irch |
Appears at Shark Island (C6) after you clear the Forbidden Woods dungeon. |
|
Linder |
Appears at Greatfish Isle (B4) after you clear the Forbidden Woods dungeon. |
|
Makar |
— |
|
Manny |
— |
|
Oakin |
Appears at Star Island (B1) after you clear the Forbidden Woods dungeon. |
|
Olivio |
Appears at Eastern Fairy Island (E3) after you clear the Forbidden Woods dungeon. |
|
Rown |
Appears at Mother & Child Isles (B2) after you clear the Forbidden Woods dungeon. |
Forsaken Fortress Room
| Name | Comments |
|---|---|
|
Big Octo |
To make their figurine, take a pictograph of a Big Octo before you defeat them all. |
|
Darknut |
Normal type. |
|
Darknut |
Carrying a shield. |
|
Mighty Darknut |
Wearing a cape. To get this figurine, take this Darknut’s pictograph between your final visit to Ganon’s Tower and the final boss fight with Ganon at the game’s end. |
|
Ganon |
Either purchase Ganon’s Legendary Pictograph from Lenzo at Windfall Island (D2) or take his pictograph during the final boss fight in Ganon’s Tower. If you chose the latter, save your game after taking the pictograph, then reset to return to the room where you battled Phantom Ganon. |
|
Gohdan |
Take Gohdan’s pictograph while he’s on the wall after you defeat him. |
|
Gohma |
Attempt to take Gohma’s pictograph when you fight it the first time. If you miss it, try again in Ganon’s Tower |
|
Helmaroc King |
Take the Helmaroc King’s pictograph before you defeat him. |
|
Jalhalla |
Attempt to take Jalhalla’s pictograph when you fight it the first time. If you miss it, try again in Ganon’s Tower. |
|
Kalle Demos |
Attempt to take Kalle Demos’s pictograph when you fight it the first time. If you miss it, try again in Ganon’s Tower. |
|
Moblin |
— |
|
Molgera |
Attempt to take Molgera’s pictograph when you fight it the first time. If you miss it, try again in Ganon’s Tower. |
|
Mothula |
— |
|
Phantom Ganon |
Take a pictograph of Phantom Ganon before you defeat him for the last time in Ganon’s Tower. |
|
Puppet Ganon |
Take a pictograph of Puppet Ganon in Humanoid Boar form (during the Puppet Ganon boss fight in Ganon’s Tower). After taking the pictograph, save your game and reset to return to the room where you battled Phantom Ganon. |
|
Stalfos |
— |
|
Wizzrobe |
Two-figure set. Take a pictograph of any color of Wizzrobe. |
|
Wizzrobe |
The mini-boss inside the Wind Temple dungeon who wears a mask. Take this pictograph before you defeat the Wizzrobe. |
Ocean Room
| Name | Comments |
|---|---|
|
Ankle |
— |
|
Beedle |
— |
|
David, Jr. |
— |
|
Fairy |
— |
|
Fairy Queen |
Purchase the Fairy Queen’s Legendary Pictograph from Lenzo at Windfall Island (D2). |
|
Gonzo |
You get Gonzo’s figurine by taking Tetra’s pictograph on your first play through the game. |
|
Great Fairy |
Purchase the Great Fairy’s Legendary Pictograph from Lenzo at Windfall Island (D2). |
|
King of Hyrule |
Purchase the King of Hyrule’s Legendary Pictograph from Lenzo at Windfall Island (D2). |
|
Knuckle |
Find all five Tingle Statues hidden in the dungeons (one per dungeon) and return them to Tingle at Tingle Island (C3) to make Knuckle appear there. |
|
Loot |
— |
|
Mako |
You get Mako’s figurine by taking Tetra’s pictograph on your first play through the game. |
|
Fishman |
— |
|
Niko |
You get Niko’s figurine by taking Tetra’s pictograph on your first play through the game. |
|
Nudge |
You automatically get Nudge’s figurine by taking Tetra’s pictograph on your first play through the game. |
|
Old Man Ho-Ho |
— |
|
Princess Zelda |
You get Princess Zelda’s figurine after you purchase the King of Hyrule’s legendary pictograph from Lenzo at Windfall Island and take it to Carlov. You can also take her pictograph during the final boss fight in Ganon’s Tower. If you choose the latter, save your game after you take Zelda’s pictograph, then reset to return to the tower’s entrance. |
|
Senza |
You get Senza’s figurine by taking Tetra’s pictograph on your first play through the game. |
|
Tetra |
Take Tetra’s pictograph after the Helmaroc King boss fight at the Forsaken Fortress (A1), but before she realizes that she’s Princess Zelda during the cutscene at the Tower of the Gods (E4). |
|
Salvage Corp. |
— |
|
Salvatore |
— |
|
Tingle |
— |
|
Wandering Merchant |
Three-figure set. Take a pictograph of any Wandering Merchant to get this figurine. |
|
Zuko |
You get Zuko’s figurine by taking Tetra’s pictograph on your first play through the game. |
Outset Island Room
| Name | Comments |
|---|---|
|
Abe |
— |
|
Aryll |
You can only get Aryll’s figurine by taking a pictograph of Grandma on your first play through the game. |
|
Crab |
— |
|
Grandma |
— |
|
Jabun |
Purchase Jabun’s Legendary Pictograph from Lenzo at Windfall Island (D2). |
|
Joel |
— |
|
Mesa |
— |
|
Orca |
— |
|
Rose |
— |
|
Seagull |
— |
|
Sturgeon |
— |
|
Sue-Belle |
— |
|
Wild Pig |
— |
|
Zill |
— |
Windfall Island Room
| Name | Comments |
|---|---|
|
Anton |
— |
|
Candy |
— |
|
Cannon |
Two-figure set. Take Cannon’s pictograph any time during the game (whether he’s good or bad) to get this figurine. |
|
Dampa |
— |
|
Doc Bandham |
— |
|
Garrickson |
— |
|
Gillian |
— |
|
Gossack |
— |
|
Gummy |
— |
|
Kamo |
— |
|
Kane |
— |
|
Killer Bees |
Four-figure set. Take a pictograph of any of the kids (Ivan, Jan, Jin, or Jun-Roberto) to get this figurine. |
|
Kreeb |
— |
|
Lenzo |
— |
|
Linda |
— |
|
Maggie |
— |
|
Maggie’s Father |
Two-figure set. Take Maggie’s Father’s pictograph at any time to get both figurines (rich and poor). |
|
Mila |
— |
|
Mila’s Father |
Two-figure set. Take Mila’s Father’s pictograph at any time to get both figurines (rich and poor). |
|
Minenco |
— |
|
Missy |
— |
|
Mrs. Marie |
— |
|
Pompie and Vera |
Two-figure set. Take a pictograph of either Pompie or Vera to get this figurine. |
|
Potova and Joanna |
Two-figure set. Take a pictograph of either Potova or Joanna to get this figurine. |
|
Sam |
— |
|
Tott |
— |
|
Zunari |
— |