
The Legend of Zelda: The Wind Waker Guide Islands of the Great Sea
Overlook Island (G1)
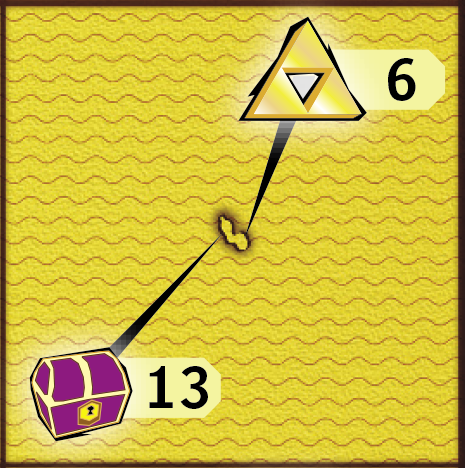
Because Overlook Island sits several feet up from the Great Sea, you need the Hookshot to reach its top. Watch out for a pair of Warships that patrol the waters around the island.
Secret Cave Chart (via Treasure Chart #13)
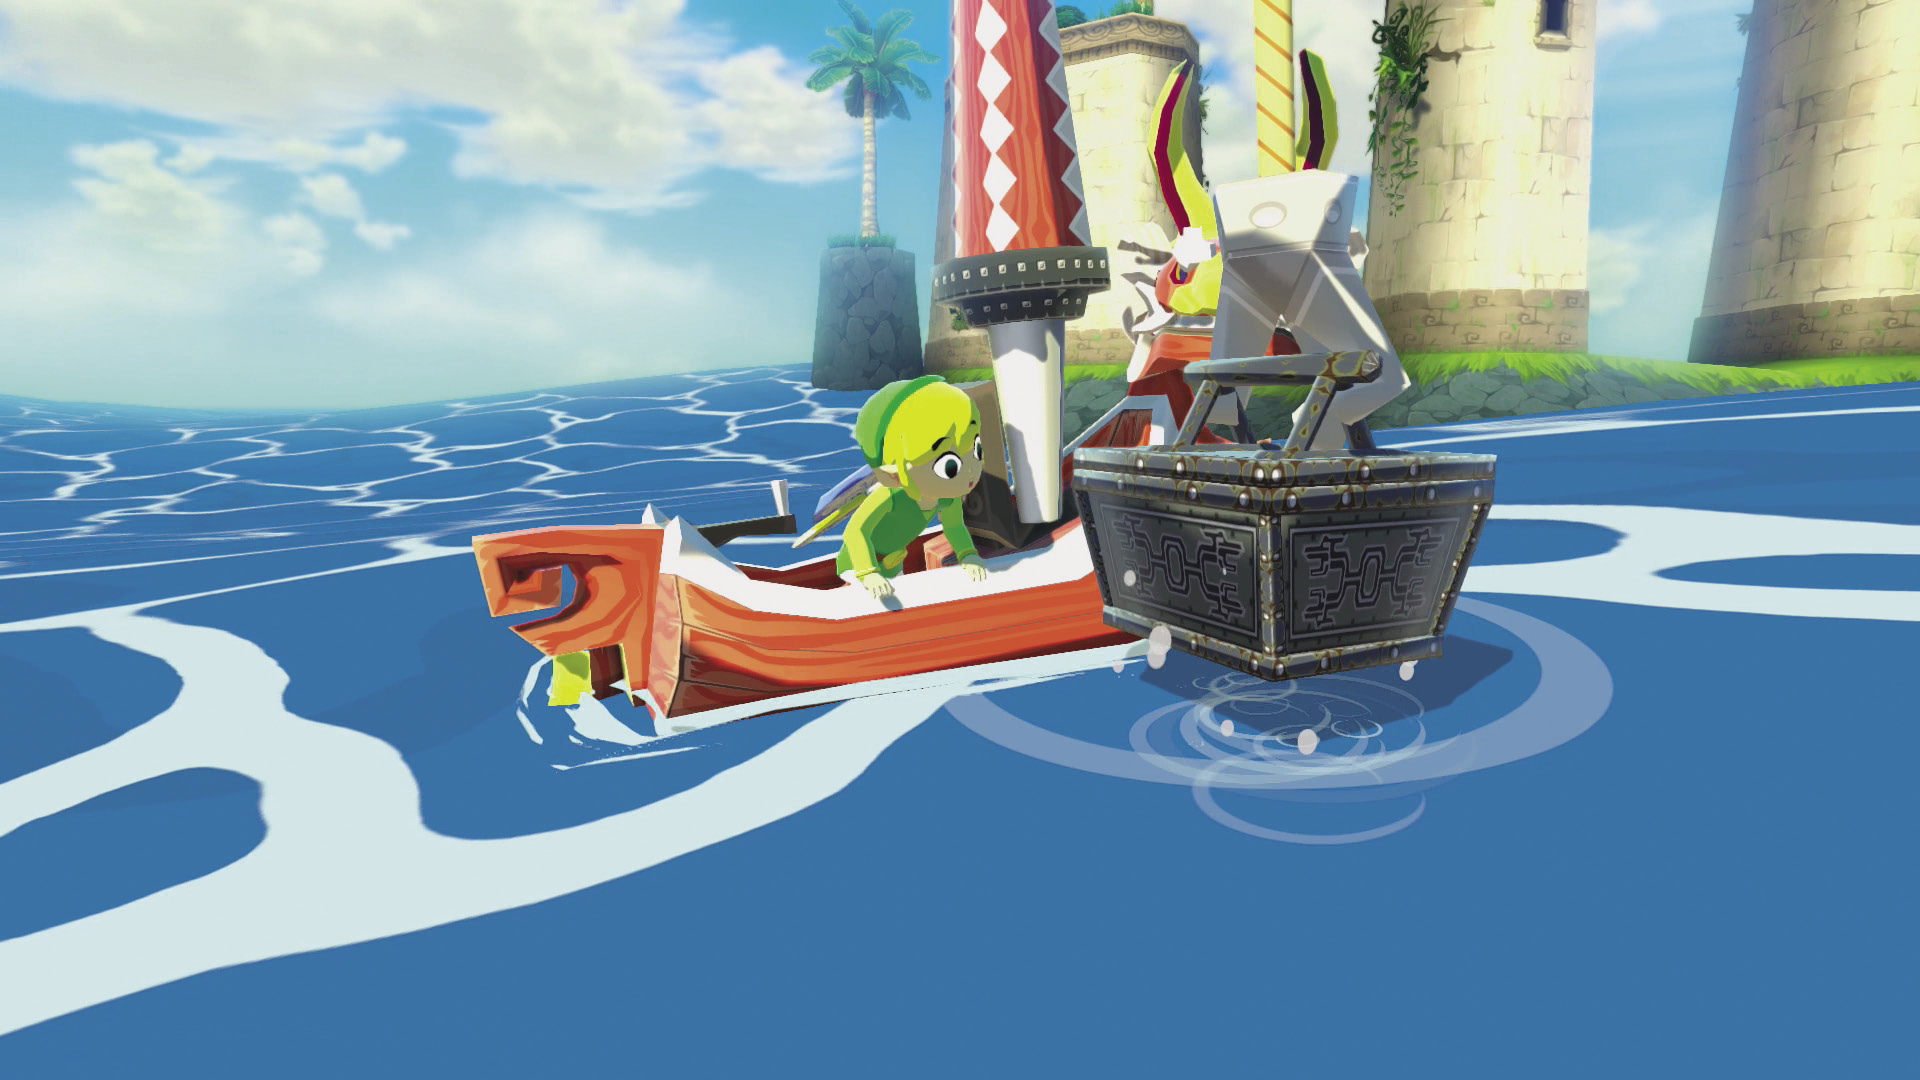
Find and open Treasure Chart #13 (found at the Two-Eye Reef [D7]) to pull a chest from the Great Sea near Overlook Island. The chest contains the Secret Cave Chart.
Blue ChuChu
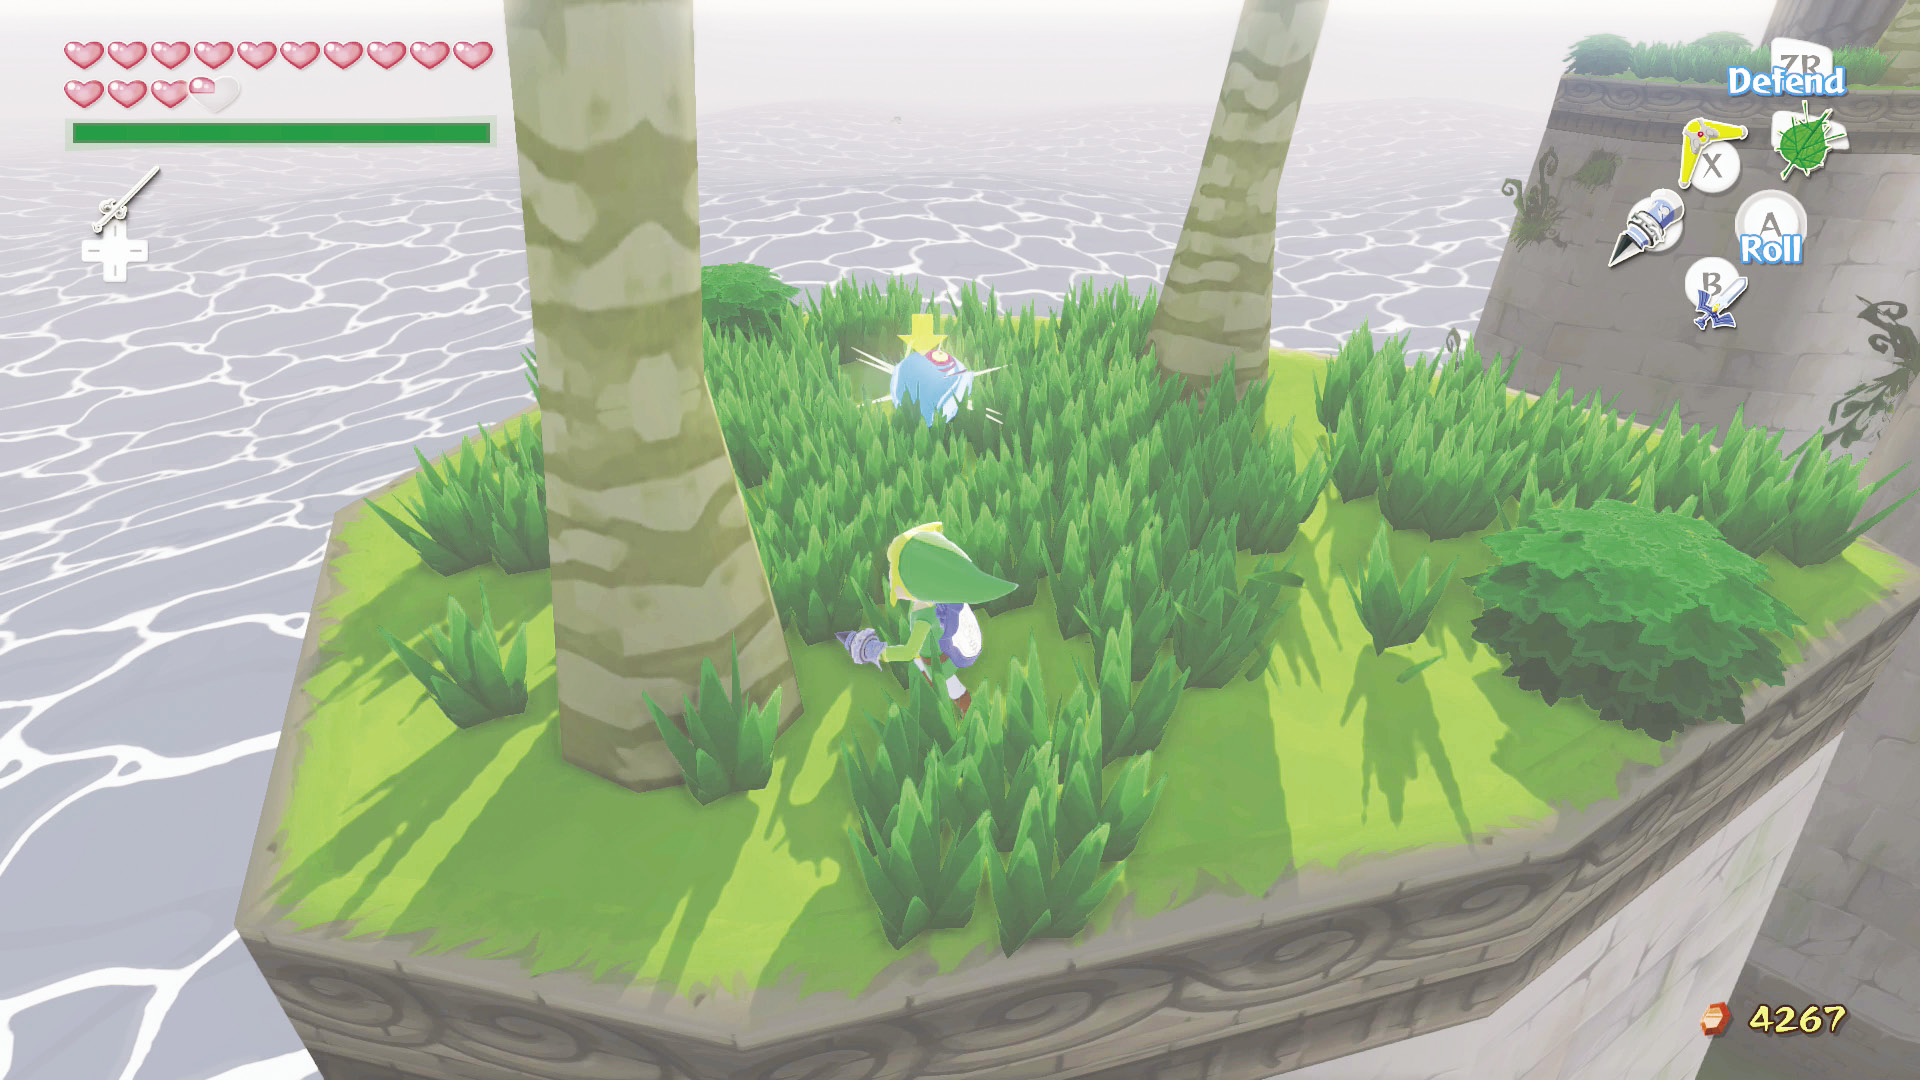
When you have the Hookshot, you can latch on to the palm trees on top of the island and cross to the other side. Defeat the Blue ChuChu on the second ledge for a Blue Chu Jelly.
Triforce Shard #6 (via Secret Cave)
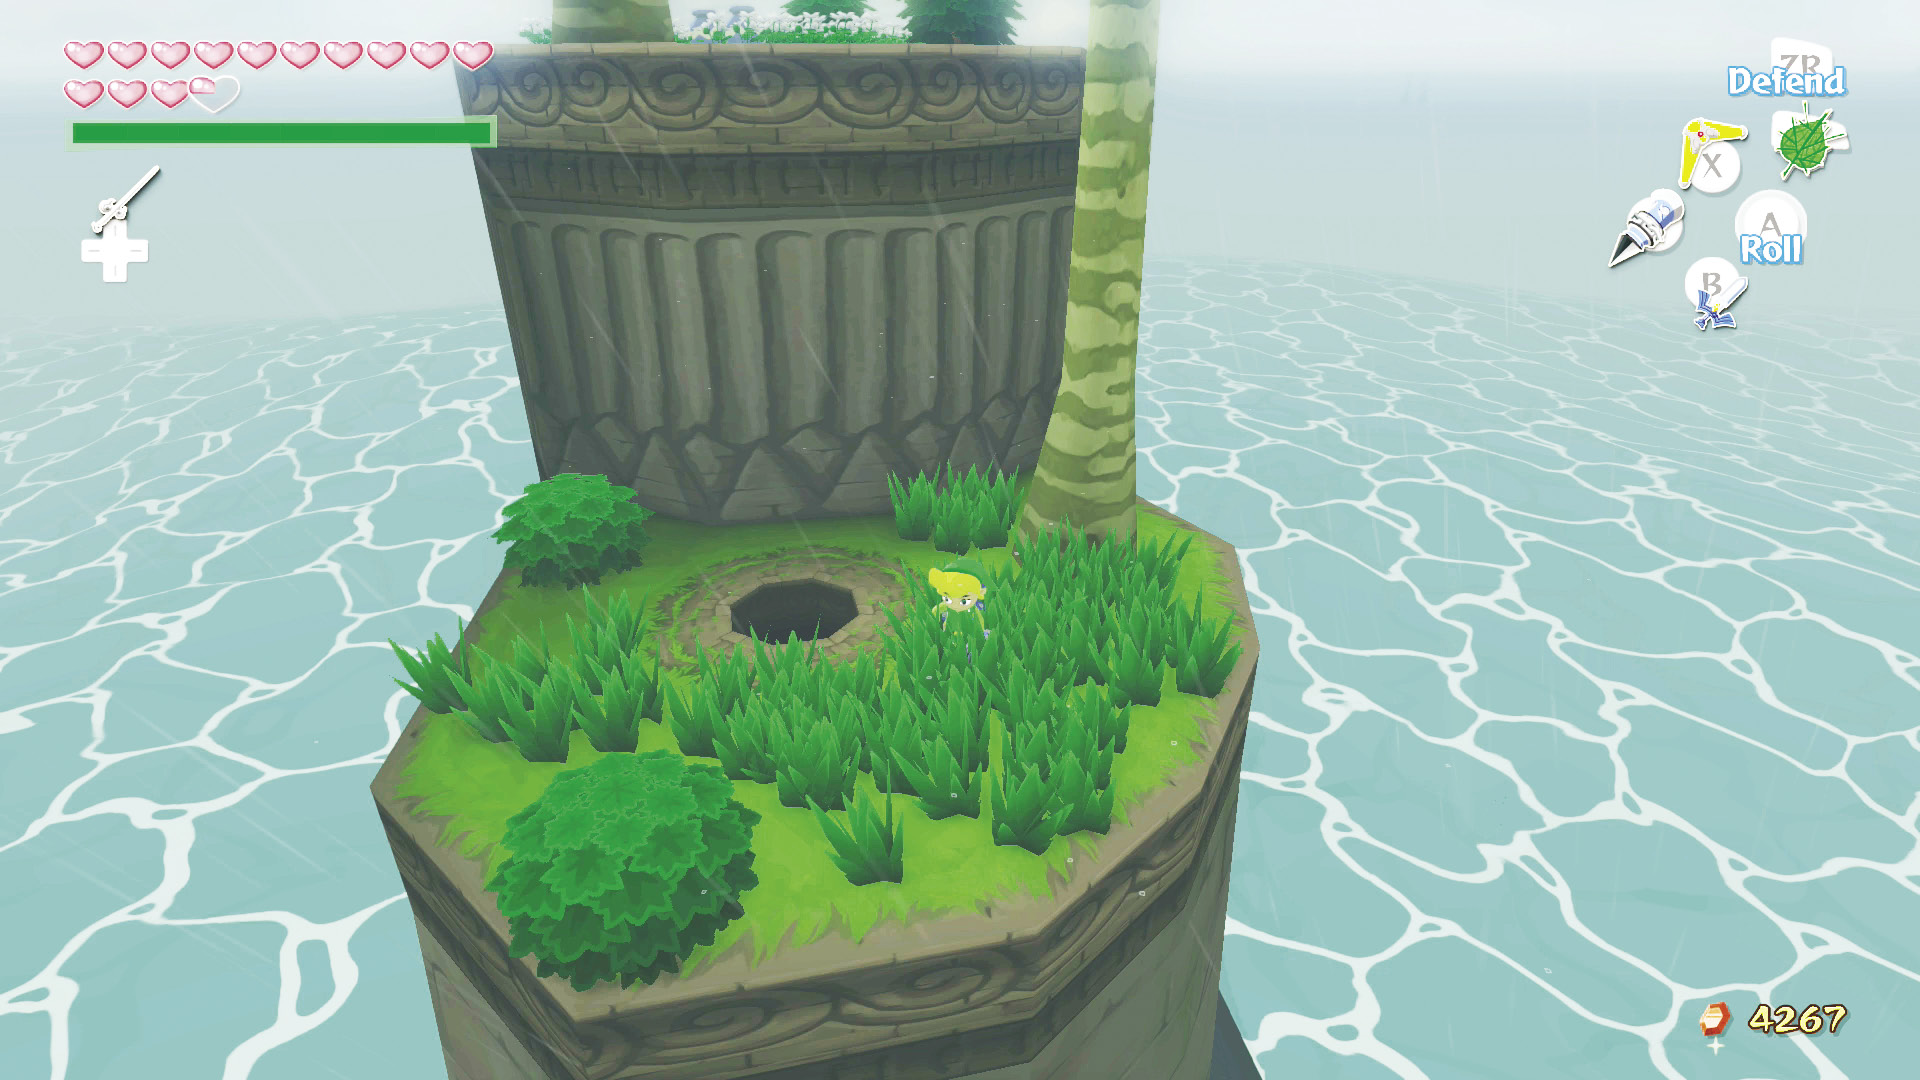
When you have the Hookshot, you can latch on to the palm trees on top of the island and cross to the other side, where you find a hole in the ground. Drop into the hole to enter this island’s (via Secret Cave).
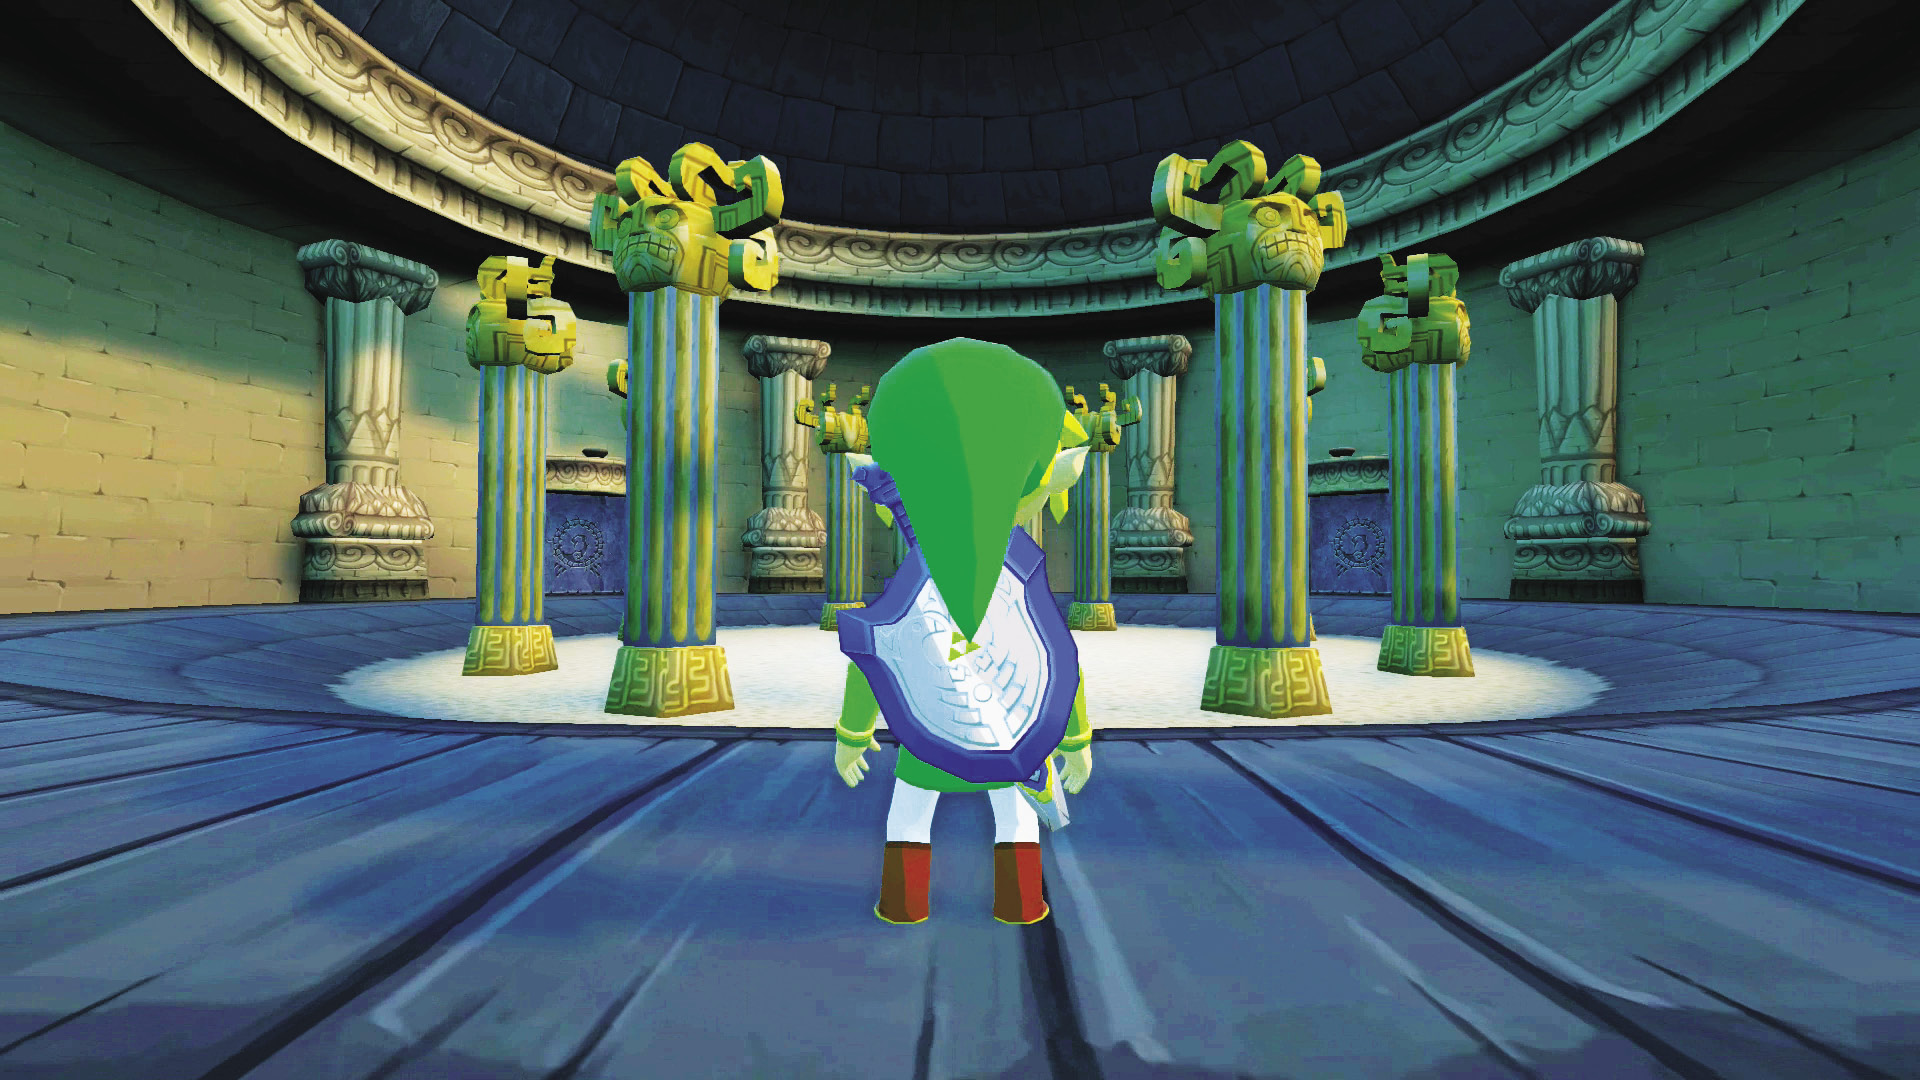
Enter each room and defeat all the enemies. Once you clear a room and return to the main chamber, the torch above the room lights up. Light all four torches to unseal the final door, then play the “Wind’s Requiem” at the Wind Crest to reveal a chest containing Triforce Shard #6. For more information, refer to the walkthrough (p. 239).