
Super Mario 3D World Guide Walkthrough World Star
World Star-6: Honeycomb Starway
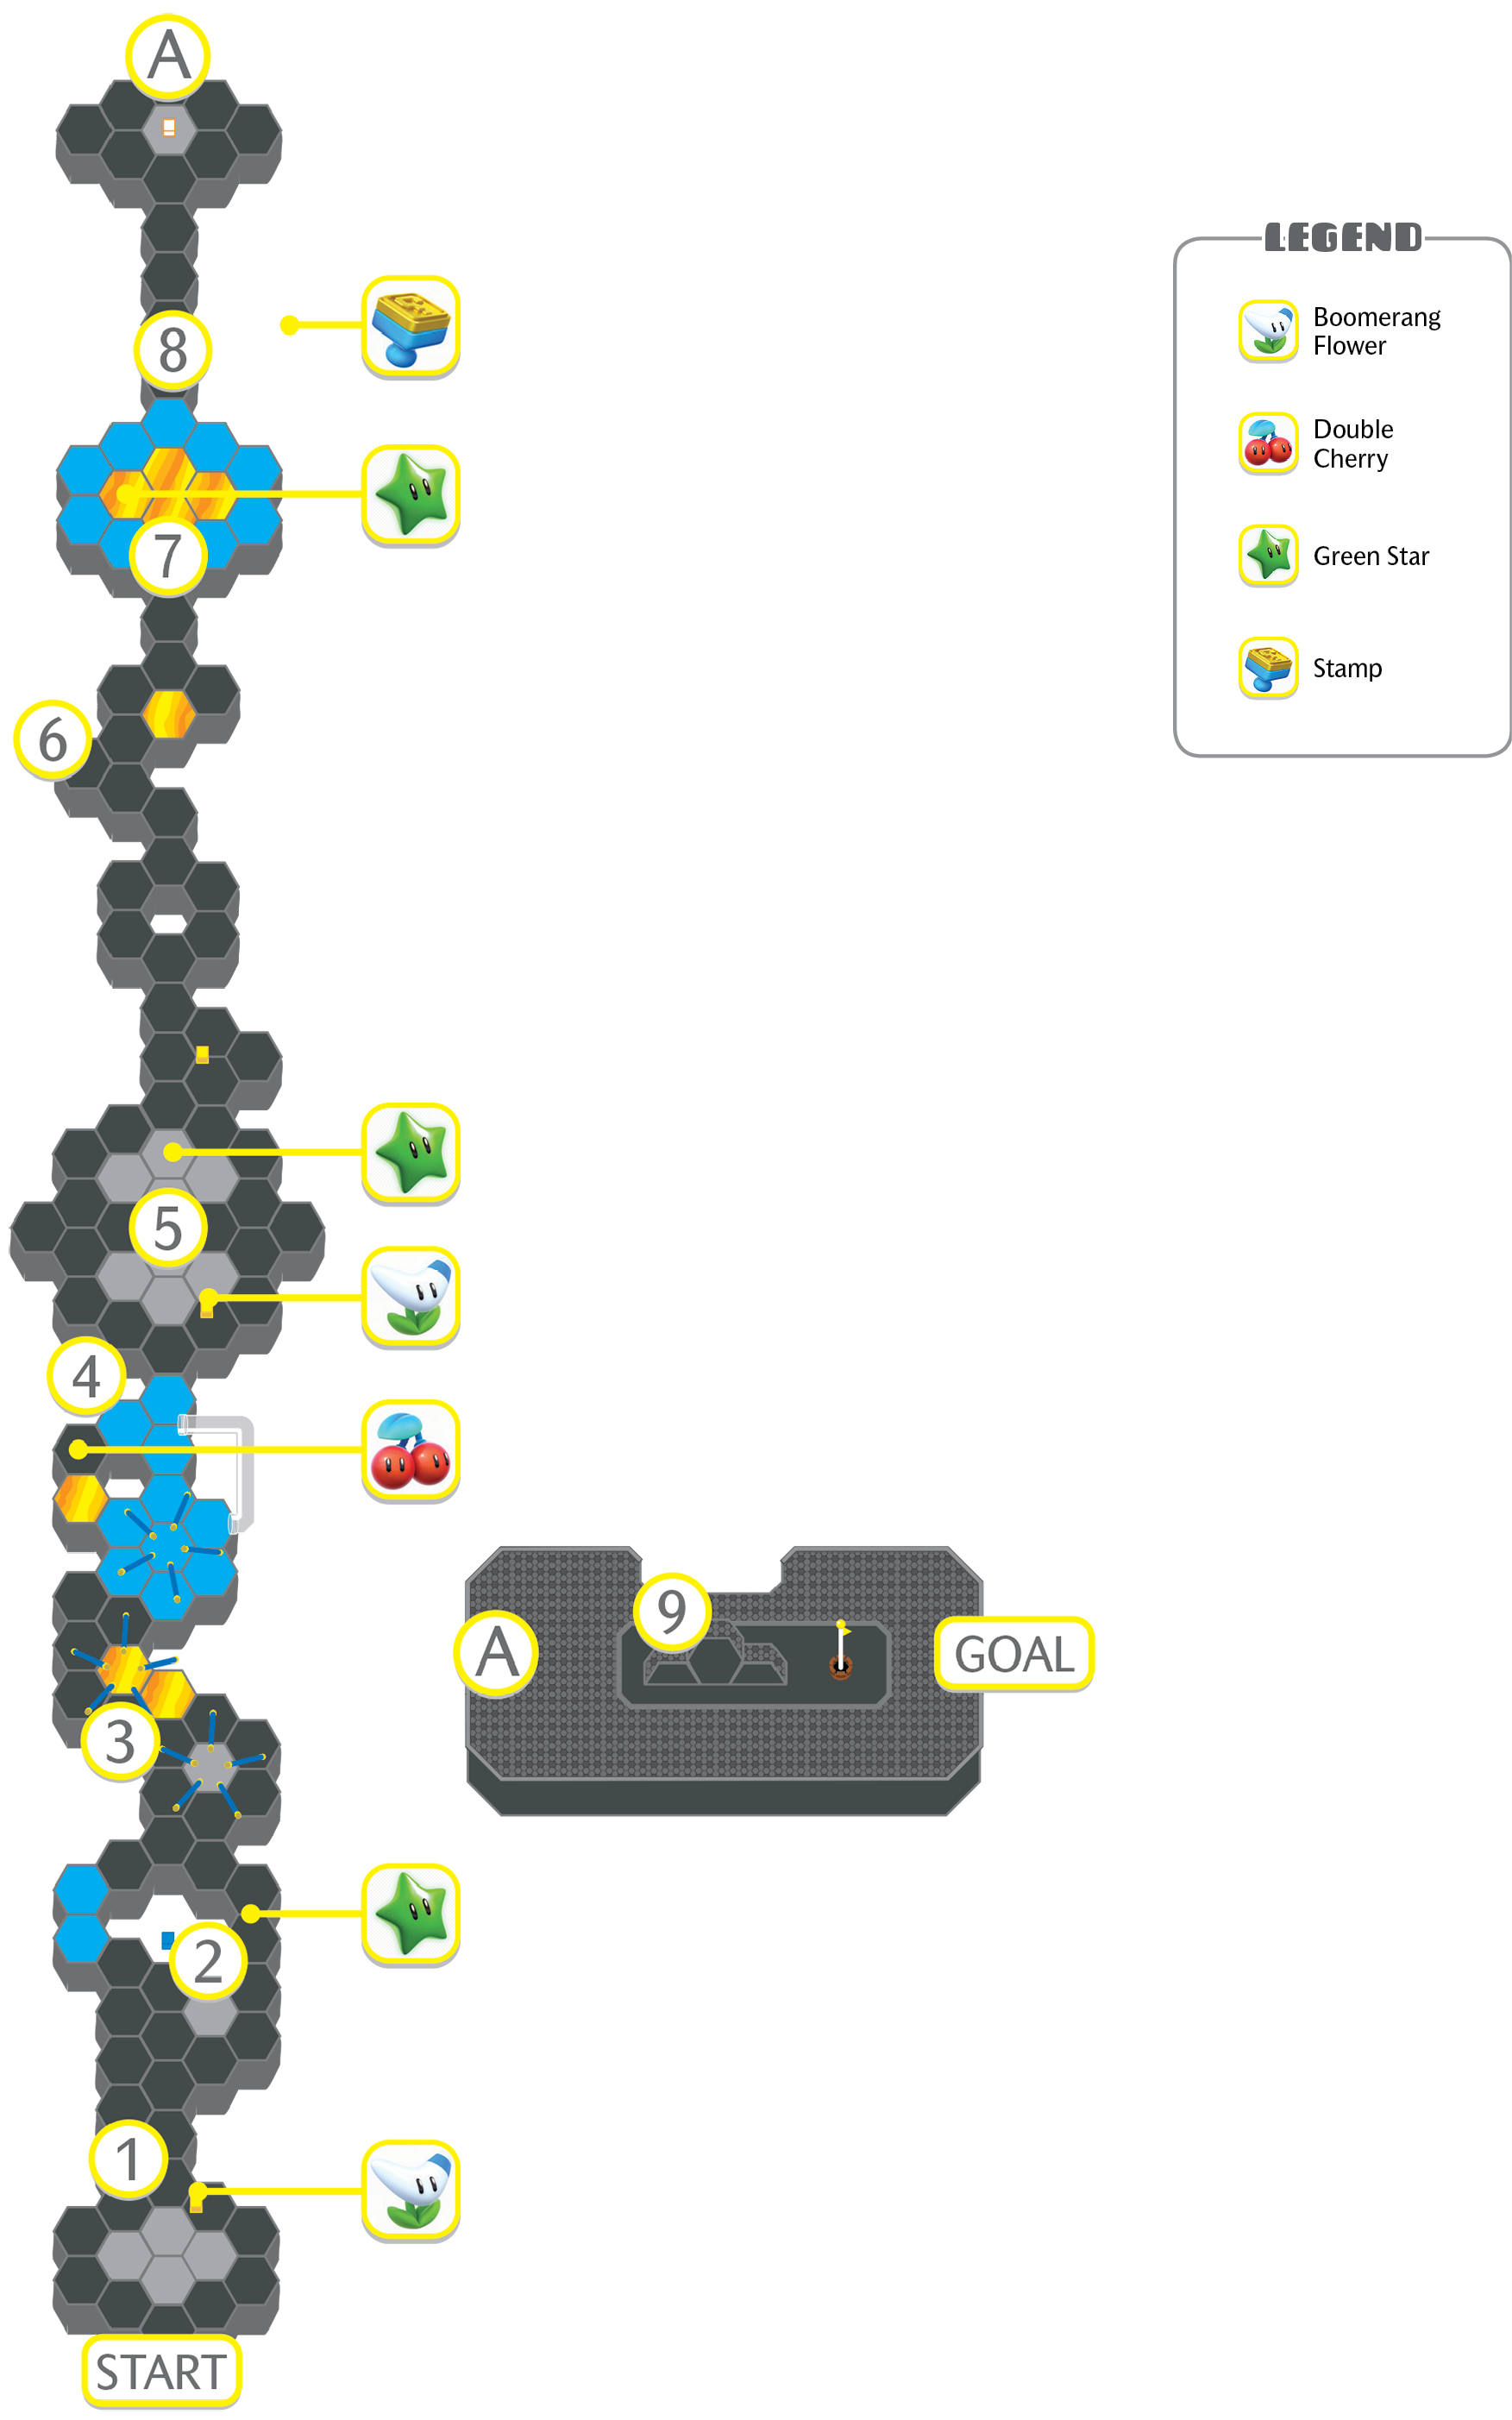
Honeycomb Starway takes a top-down perspective, with the camera constantly scrolling upwards. You must guide your character around enemies and obstacles, sometimes while waiting for the level to create terrain that you can walk on.
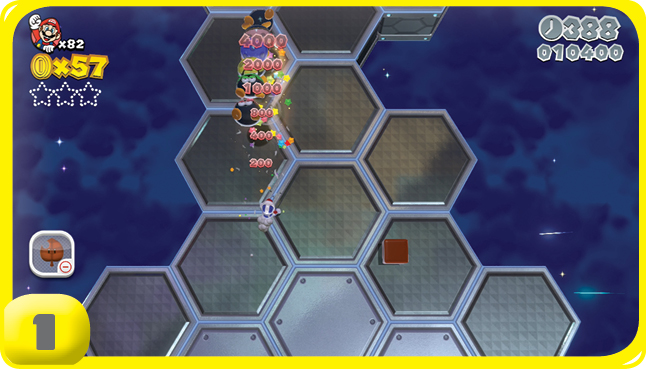
Get the Boomerang Power-Up at the very beginning of this level (and try to keep it). Swarms of Para-Biddybuds are the most common enemies here, and a single boomerang toss can wipe out a whole line of them.
Green Star #1
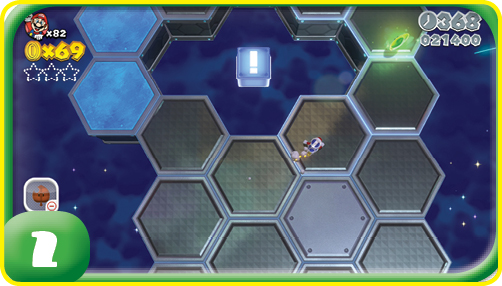
A red ! Block must be hit with a boomerang to create a bridge to the first Green Star.
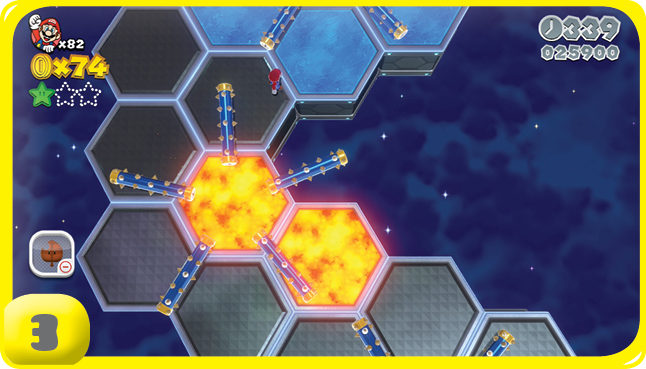
Rotating spiked rollers can make moving through this area difficult. Do your best to avoid them and the lava plat forms. Ice platforms are more problematic, as they can cause you to slip into other hazards.
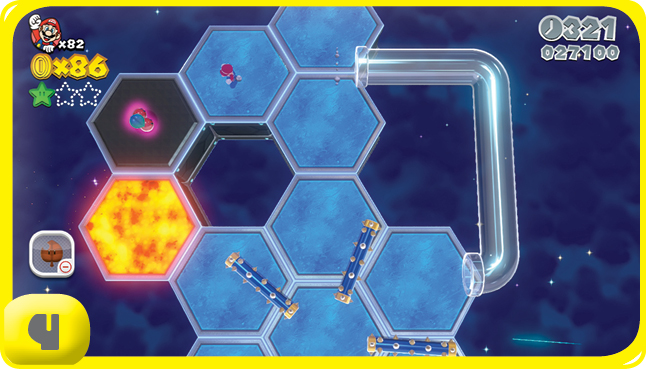
Get this Double Cherry. It, combined with a Boomerang Power-Up, can make fighting off enemies much easier.
Green Star #2
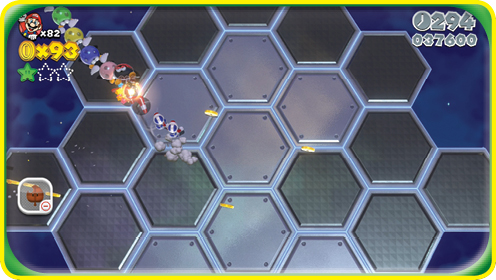

The second Green Star can be found after you wiping out all the Para-Biddybuds on this section of the map. You can’t afford to miss a single group. A Boomerang Flower can make accomplishing this much easier.
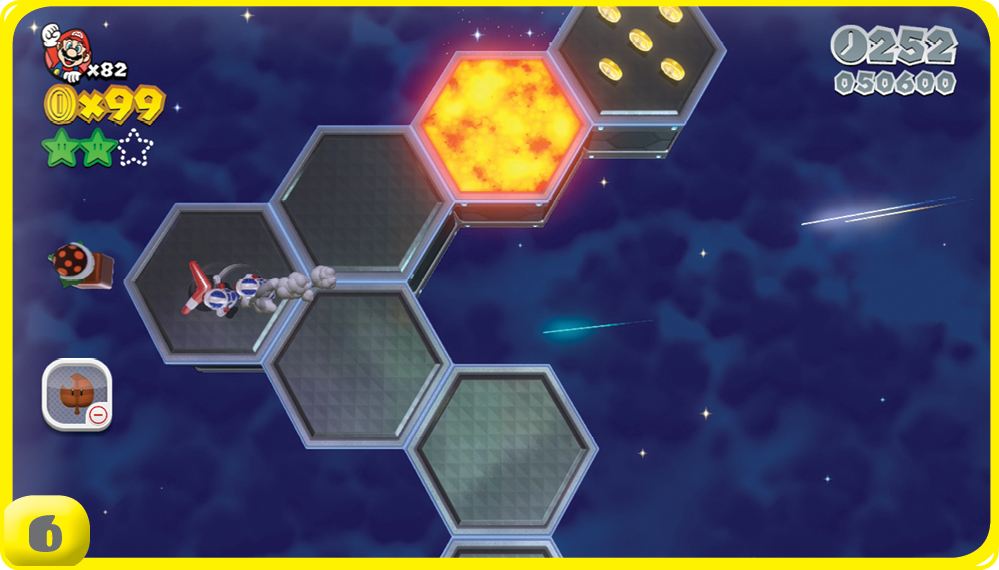
Watch out for Fire Piranha Plants on the sides of this section. While you’re waiting for terrain to create itself, you don’t have a lot of maneuvering room to avoid the incoming fireballs.
Green Star #3
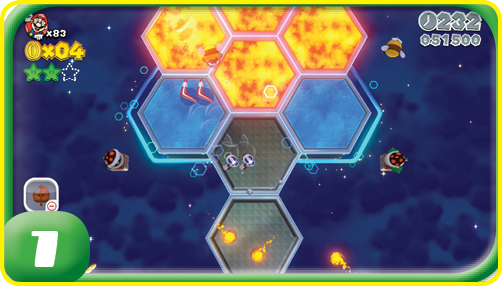
The final Green Star hovers over a lava panel, almost hidden by the bright orange glow.
Stamp
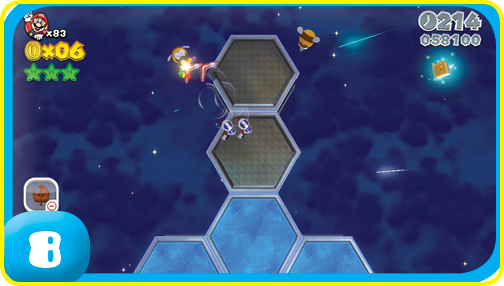
The Stamp is on the right side of the level, not far from the third Green Star. Watch out for the local Stingby population! The Boomerang Power-Up is needed to grab the Stamp. We hope you’ve kept it up to this point.
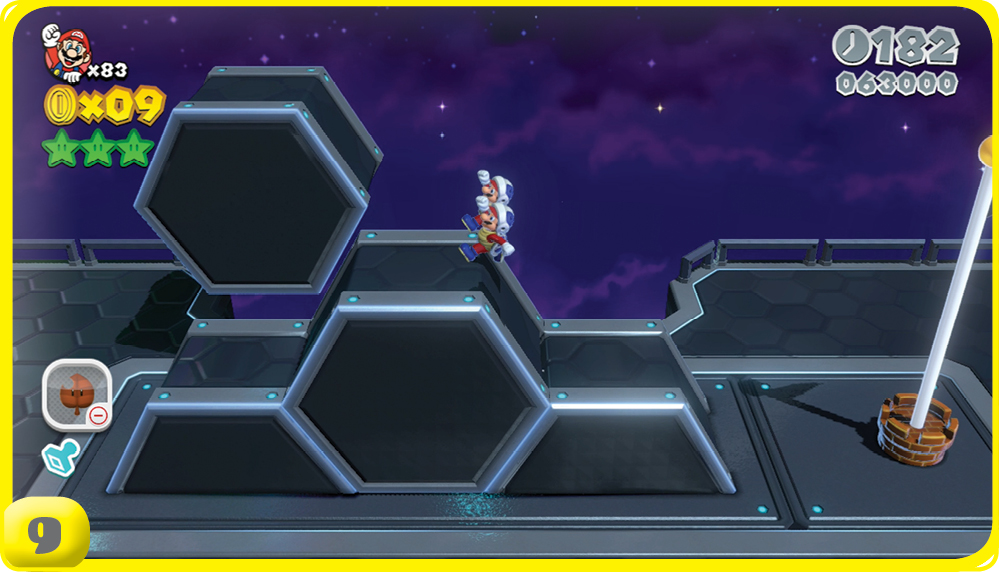
To Reach the top of the Goal Pole you must climb up a set of hexagon platforms as they fly into place in front of the pole. You have only once chance at this, missing it now means you’ll have to retry the whole level!