
Super Mario 3D World Guide Walkthrough World Castle
World CASTLE-Castle: Bowsers Lava Lake Keep
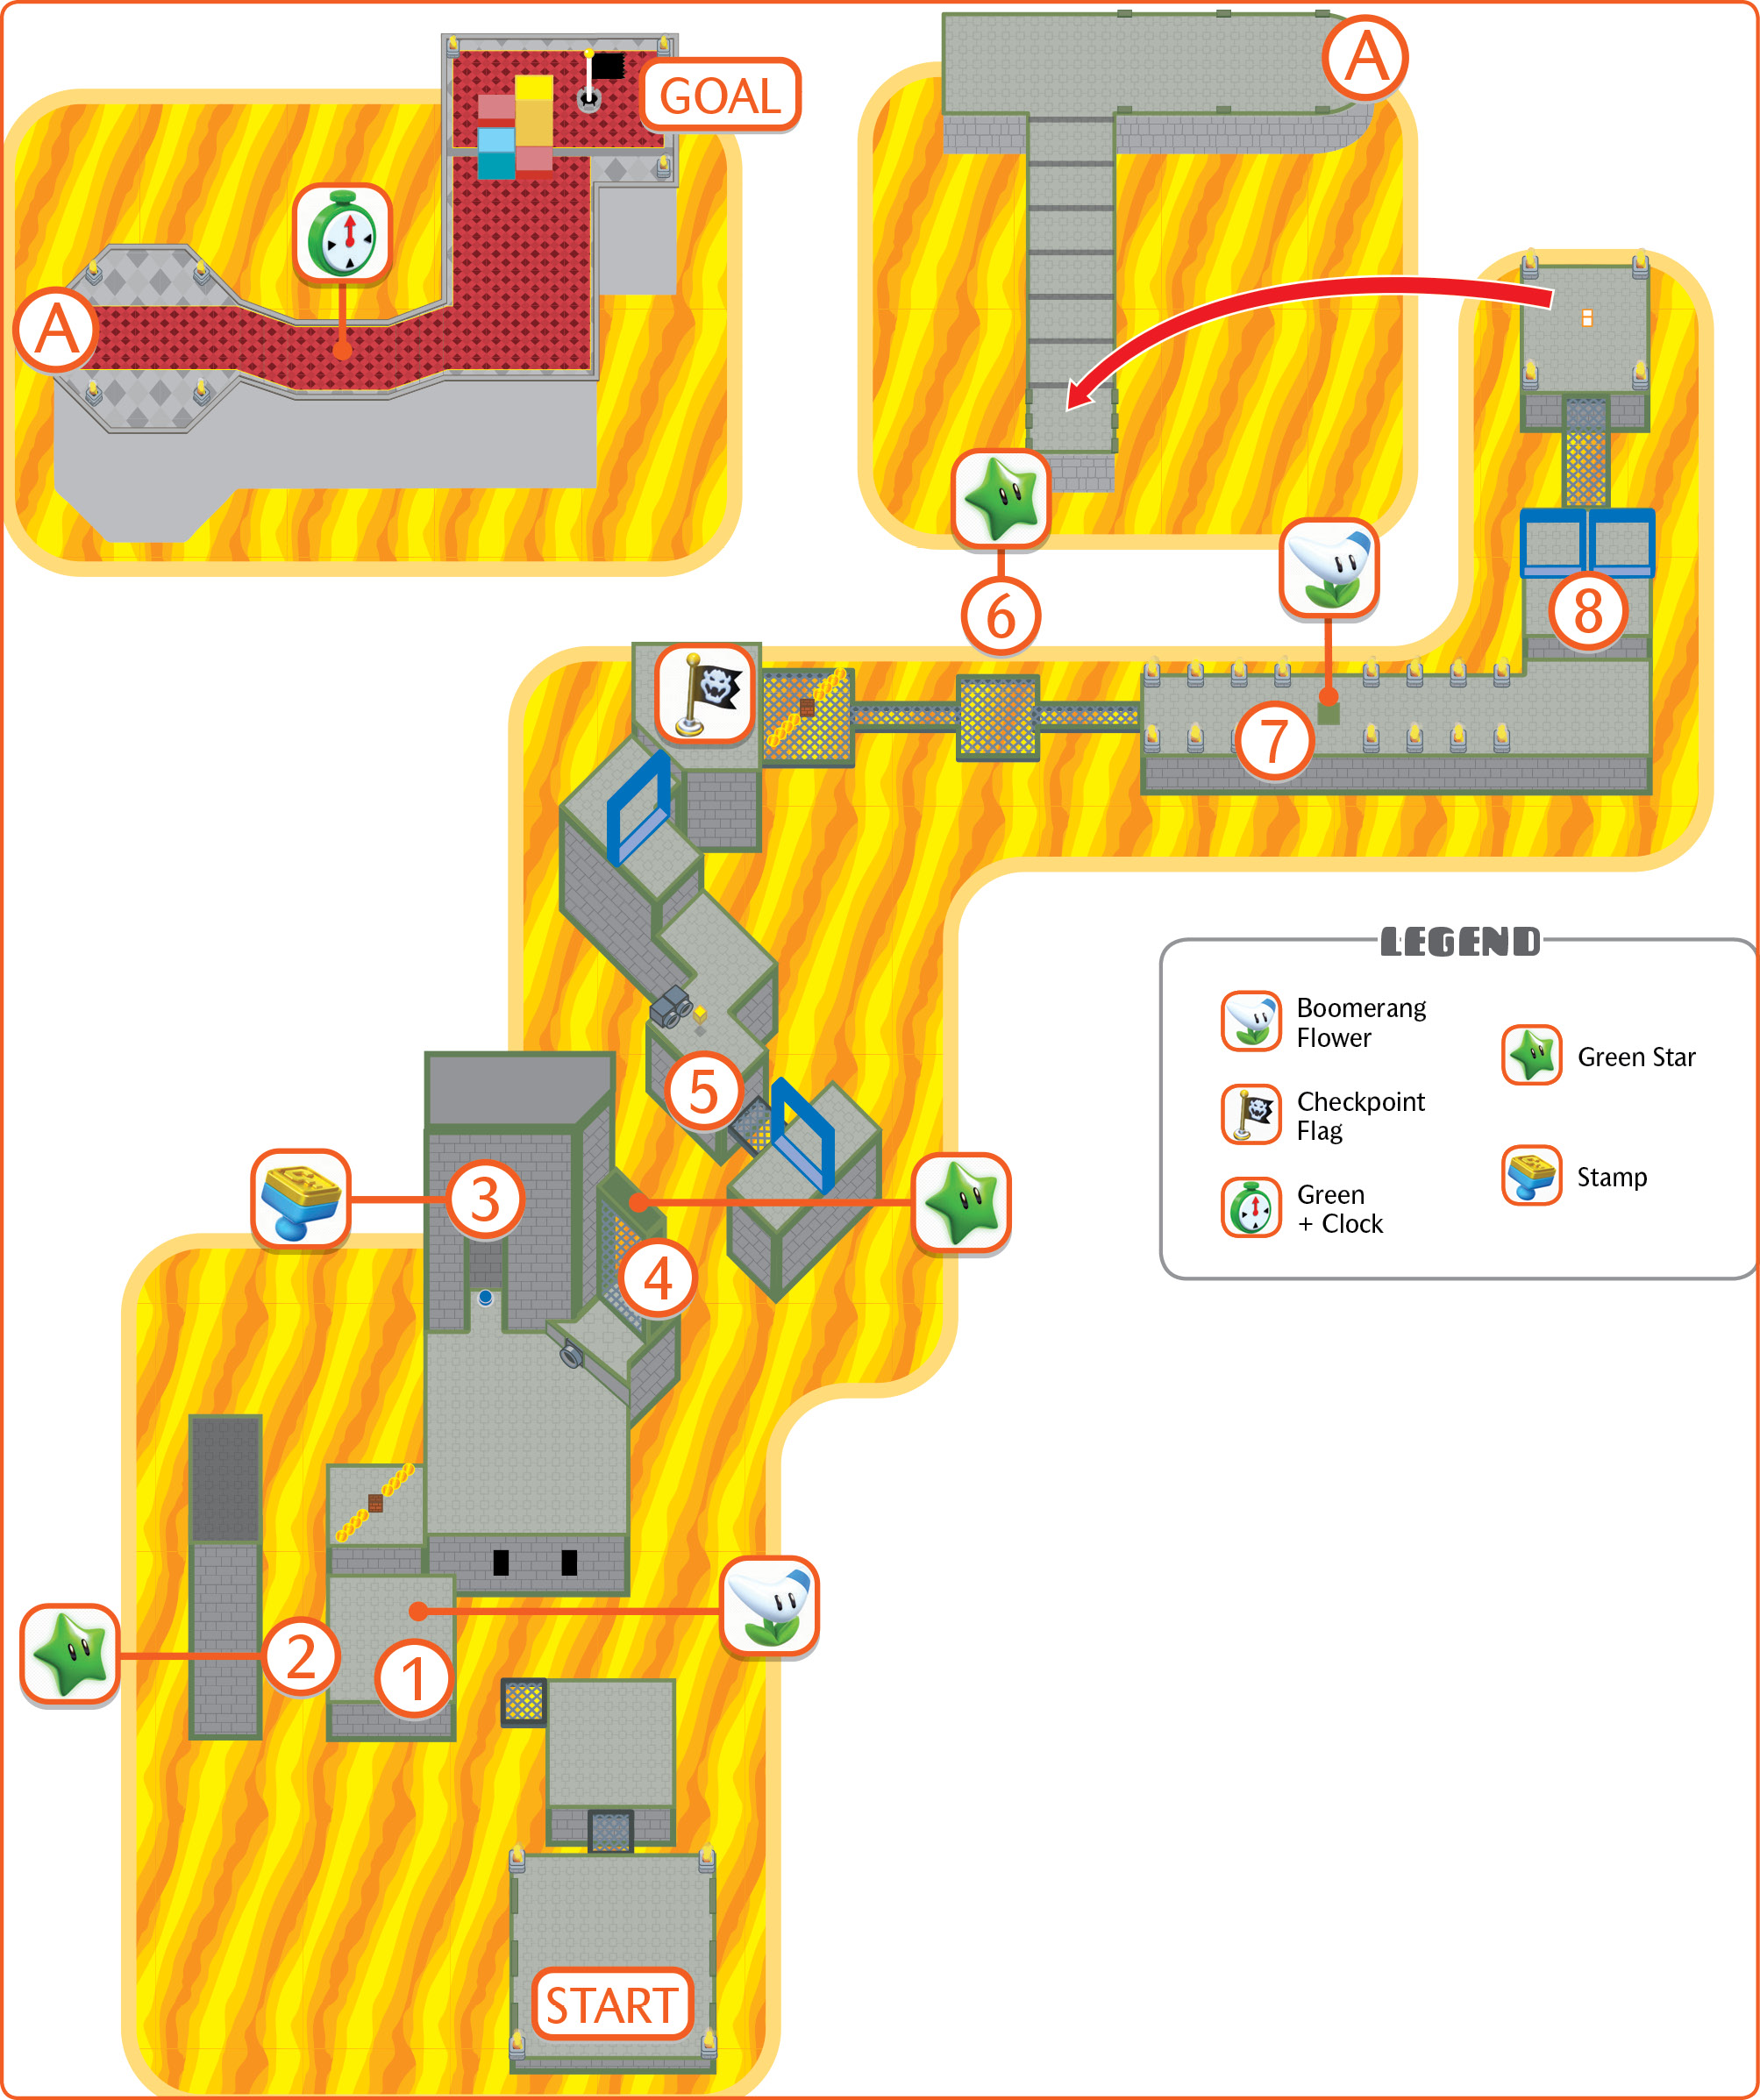
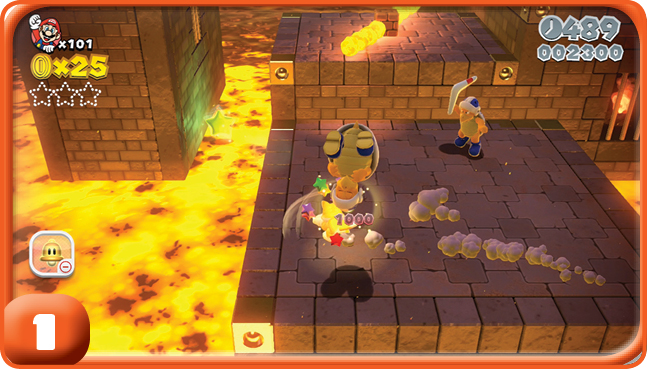
Throughout this level, Boomerang Bros. and Hammer Bros. are a constant presence. Don’t panic while fighting them and throw yourself into the lava by accident.
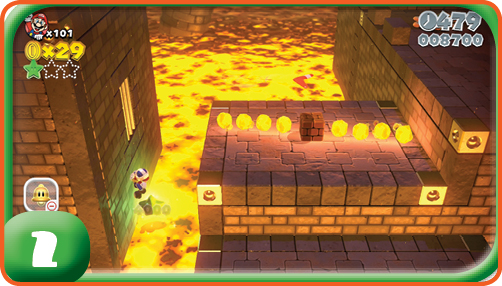
Green Star #1
This can be a tough Green Star to reach. You need to jump to the wall just above the star, allow yourself to slide into it, then wall jump to safety before you touch the lava.
Green Star #2
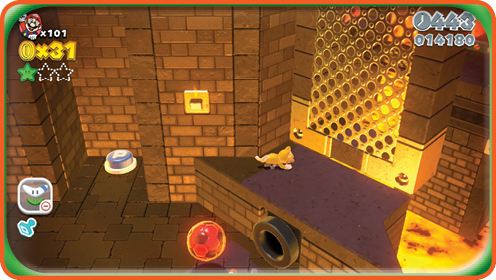
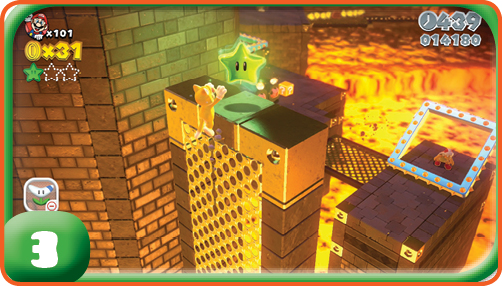
This is a key reason why a Cat Power-Up is needed for this level. The fencelike obstacle is a bridge that lowers into place once you hit the P Switch. You need to climb this bridge before it’s lowered in order to reach the second Green Star.
Stamp
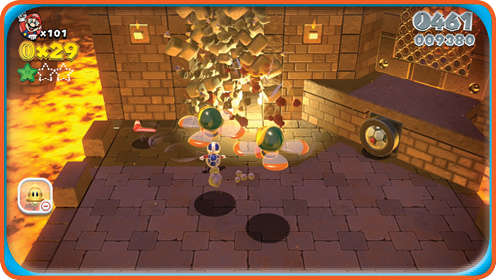
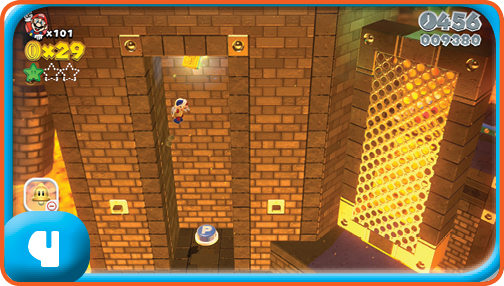
The Stamp is behind a brick wall that you can destroy with Kick Bombs provided by a nearby cannon. Don’t hit the P Switch just yet! Wall jump up the newly revealed alcove until you see the Stamp, then get back to the ground. Don’t hit that P Switch yet!
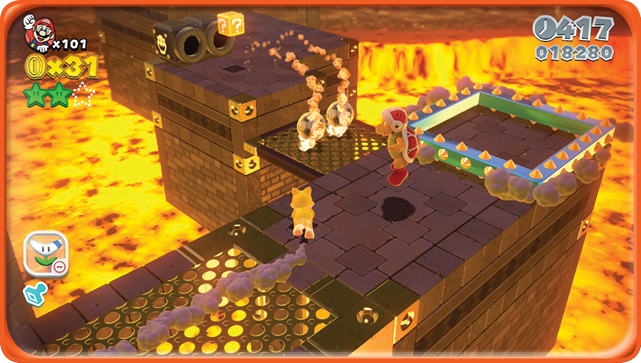
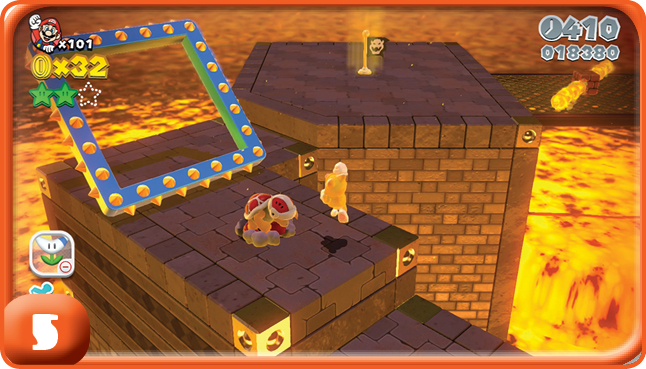
A Fire Bro, Ka-thunk and a set of bomb cannons kick off the start of a short but intense gauntlet of running, jumping, and stomping. This is the other reason why a Cat Power-Up is so good for this level. You can easily cut corners over the lava using the Cat Power-Up’s Claw Drive.
Green Star #3
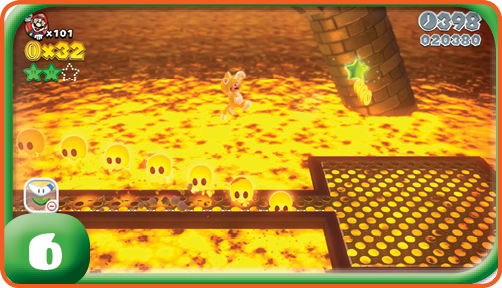
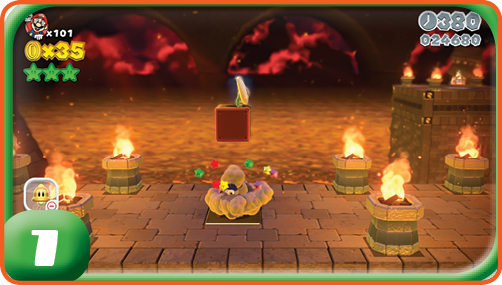
The last Green Star can be reached only with a Boomerang Power-Up, but you may not have one handy. If you cross the narrow bridge into the next section, jump up from the odd tile on the ground, a ? Block with a Boomerang Flower will appear.
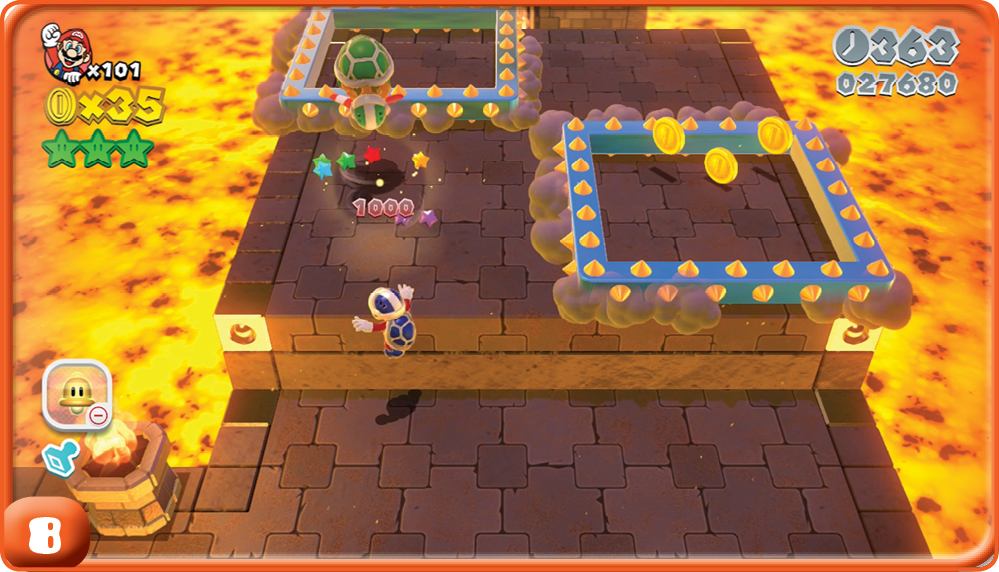
Hammer Bros. and more Ka-thunks bar the way to the boss battle of this castle. Once again, the Boomerang Power-Up shows its worth here. Defeating the Hammer Bros. causes a Warp Box to appear.
Boss Battle:
A Highway Showdown Runback
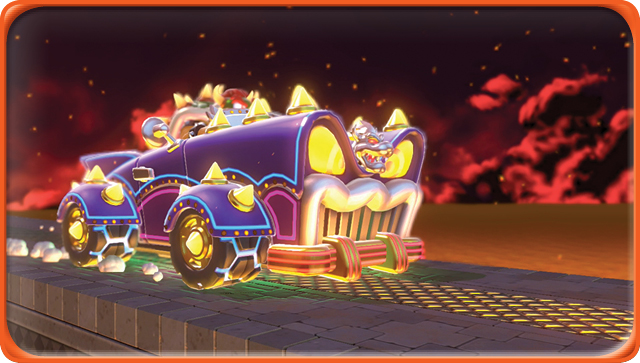
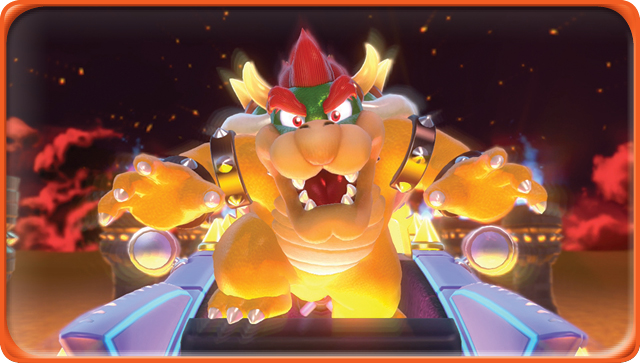
If this were a contest of who had the raddest ride in all of the kingdoms, Bowser would be the uncontested winner. Unfortunately for him, this isn’t the case.
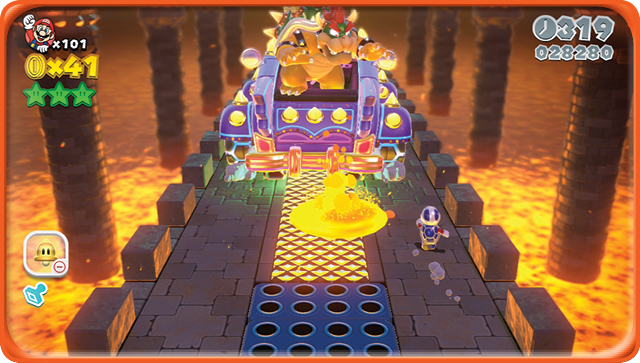
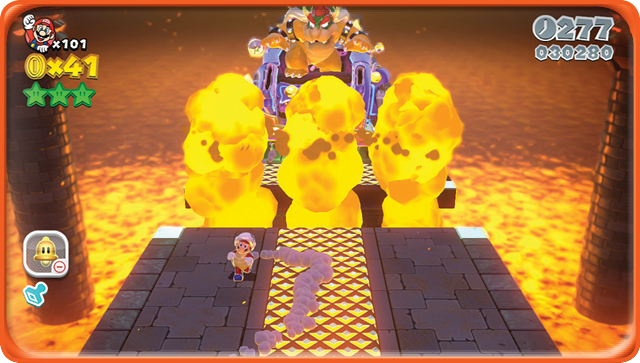
In a lot of ways, this fight is more or less a repeat of the World 1 boss battle. However, Bowser and the road itself work harder to make your life difficult. Expect more pitfalls in the road, along with more spike traps. Oftentimes a gap in the road means a lava geyser is going to shoot out of it. Bowser spits lava more often, too, and he tries to sneak in more primed Kick Bombs into his barrages to catch you off guard.
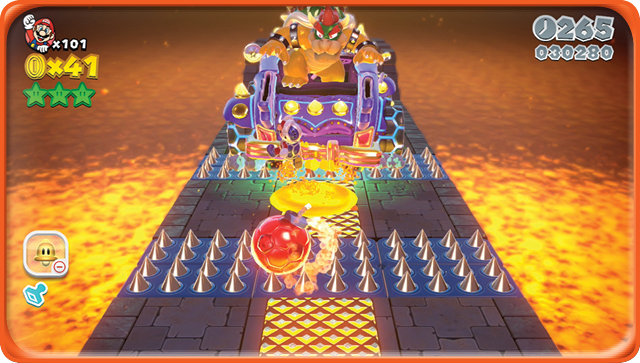
It’s easy to get impatient while waiting for chances to launch Kick Bombs at Bowser, especially after he takes his first direct hit. The track starts throwing more traps your way, and Bowser stalls with constant lava spit barrages, rather than throwing convenient bombs to kick back at him. Stay calm and make every kick of a bomb count. It takes three direct hits to bring the King of the Koopas down. If you keep hitting the car, you’ll only drag the battle out for too long and then you’re sure to run out of time. If you still have a Boomerang Power up, you can deal direct damage to Bowser’s car.
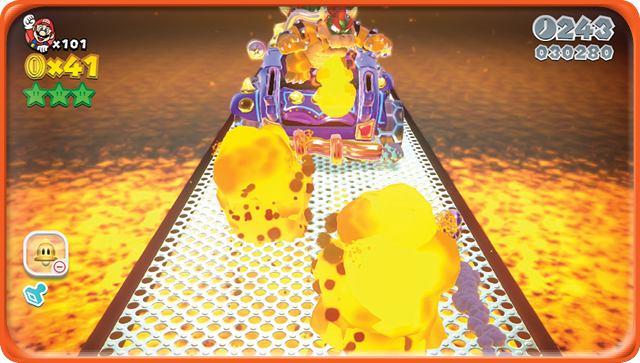
If the battle takes too long, you’ll be forced to take a Warp Box to a new part of the highway that now including sections made entirely of grating. Lava geysers can spew out from anywhere on the track at this point, and they are triggered whenever Bowser’s car hops off the ground slightly.
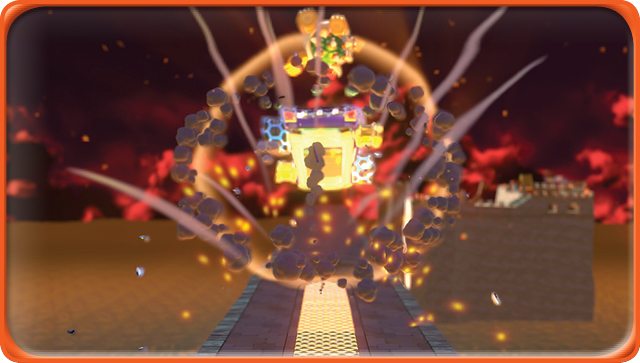
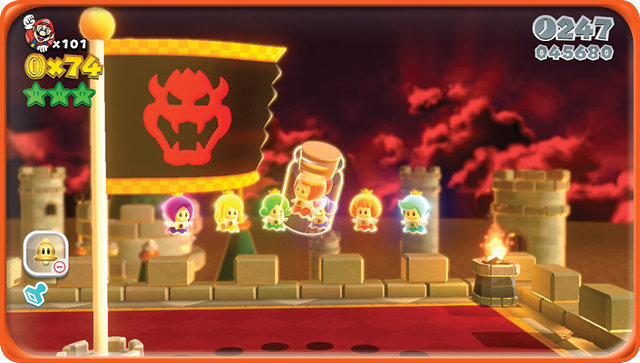
After three hits, though, the battle is over. The King of the Koopas has been laid low, and all of the Sprixie Princesses will be freed after one more slide down a Goal Pole!
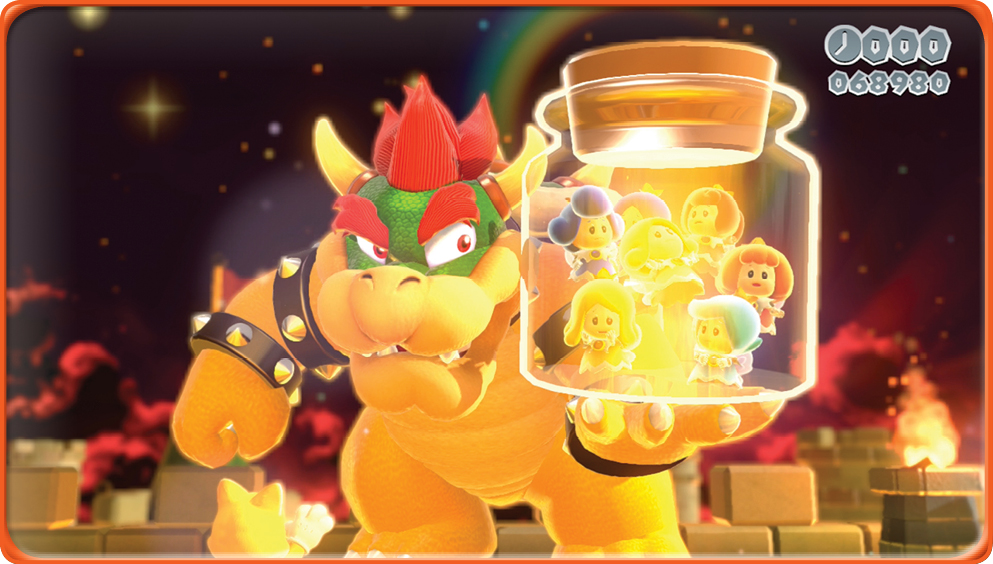
Or not. That’s fine, too.