
Super Mario 3D World Guide Walkthrough World 1
World 1-4: Plessies Plunging Falls
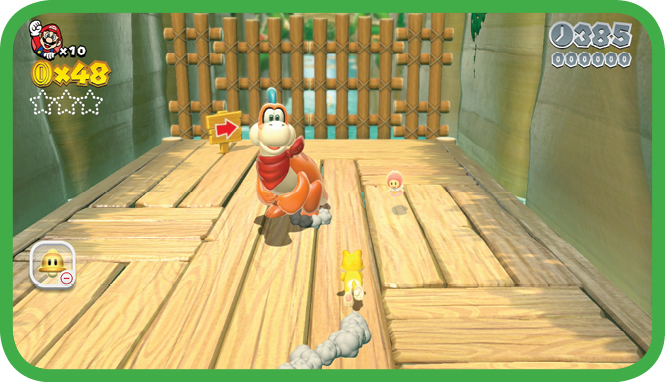
This level is quite different from the others you’ve seen thus far. You meet Plessie, a dinosaur who wants to help you race down this course. Jump onto Plessie’s back to begin the ride.
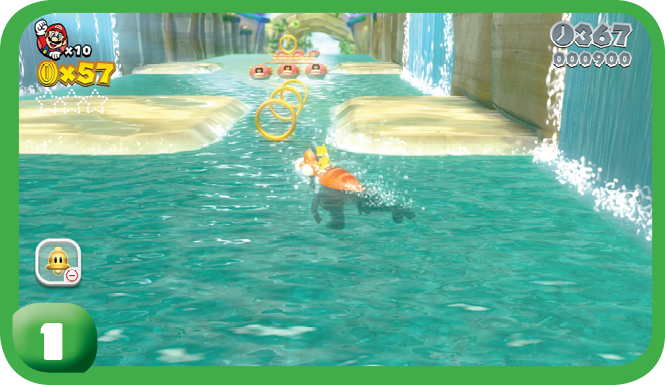
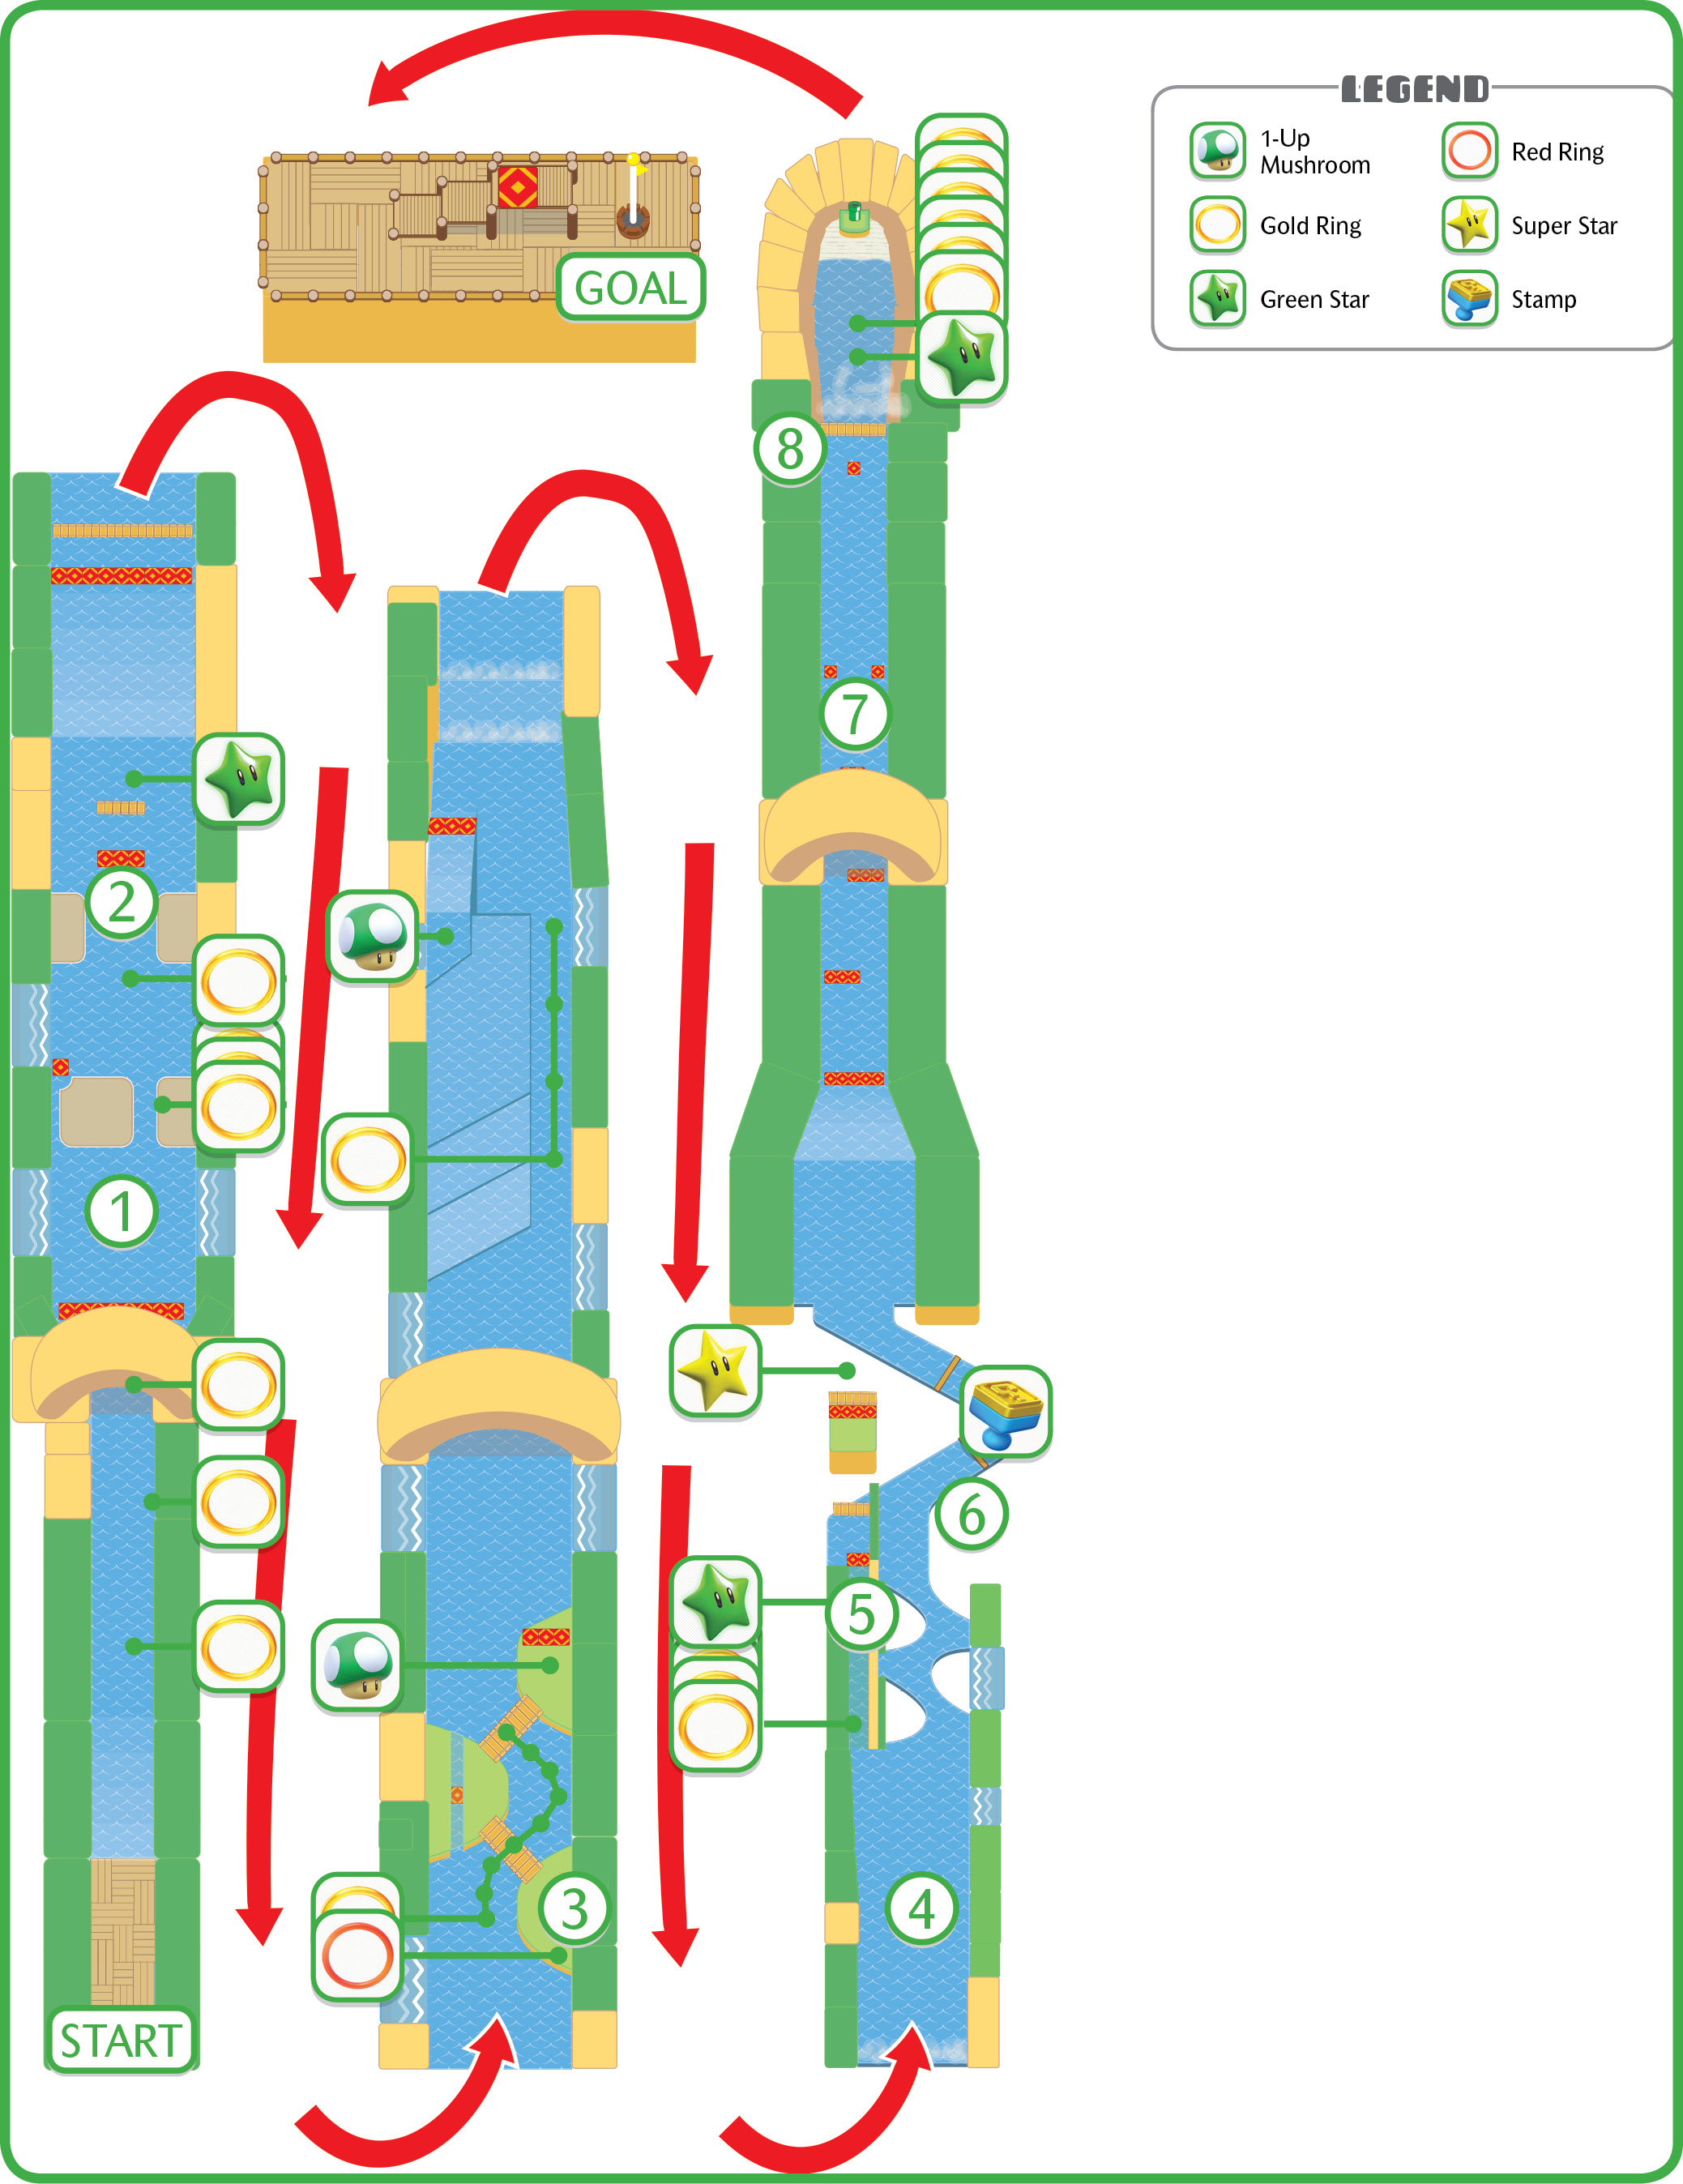
Dash Panels and Gold Rings greet you at the start of the ride. Look out for Splounders you can jump off to reach areas, heights, and items that a regular jump cannot reach.
Green Star #1
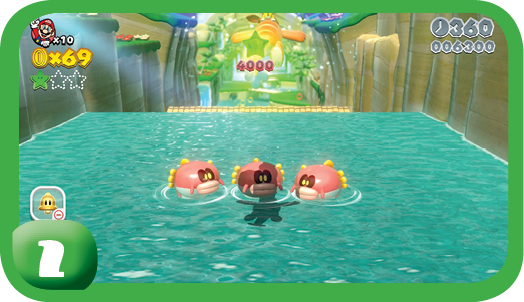
The first Green Star is pretty close to the start, sitting over a trio of Splounders. To reach it, you have to jump off a ramp after hitting a Dash Panel.
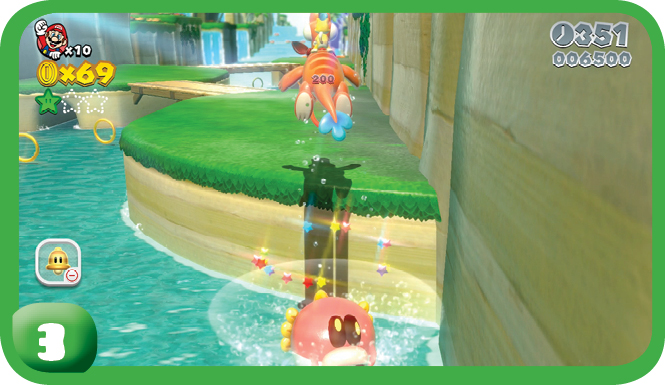
The Red Ring you encounter here triggers a line of Red Coins to appear on the upper levels of this part of the course. You’ll have to jump off a Splounder to get the Red Ring, and then carefully navigate the narrow paths to collect all of the Red Coins. You can earn a 1-Up if you don’t miss a single Red Coin.
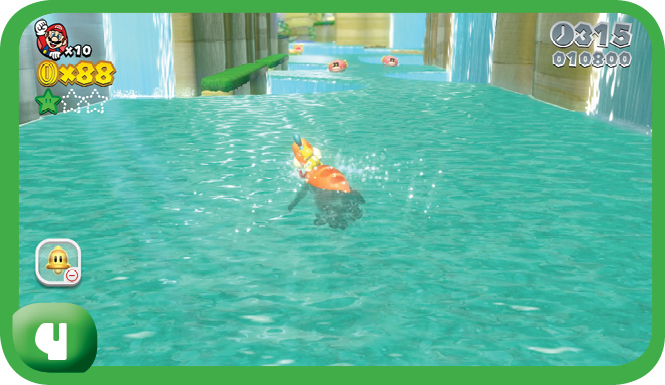
It’s at this point of the ride that you have to make a choice: You can travel through the waterfall on the left to reach a hidden passage that leads to Green Star #2, or you can navigate the winding path guarded by Splounders on the right to reach the Stamp. The star is easier to retrieve.
Green Star #2
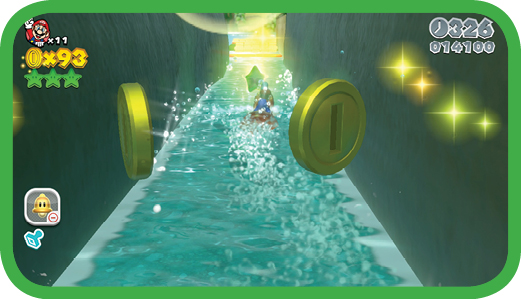
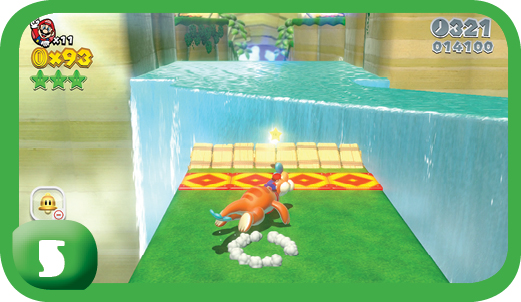
This is pretty much a straight shot. Follow the cave behind the waterfall and you’ll pass through a number of Gold Rings and the Green Star. If you stay centered on the upcoming jumps, you can collect a Super Star on the second jump and make the final stretch of the downhill much easier, crashing through the Splounders with impunity.
Stamp
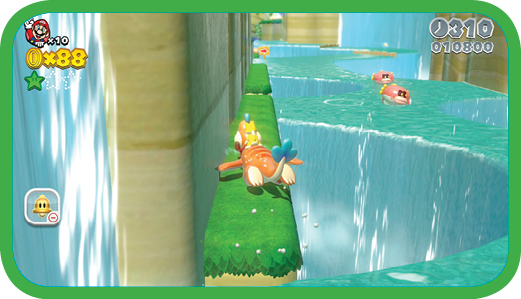
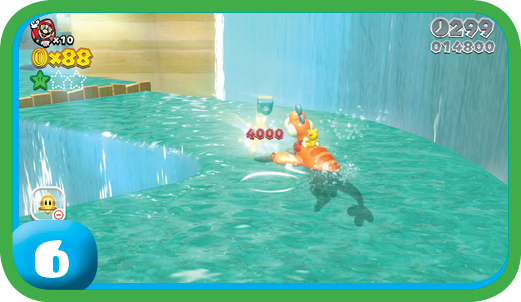
Avoid jumping off the Splounders: That way has a better chance of sending you to your doom. Even after you collect the Stamp, you’re not out of the woods until you jump over the wood barriers that bar your forward progress.
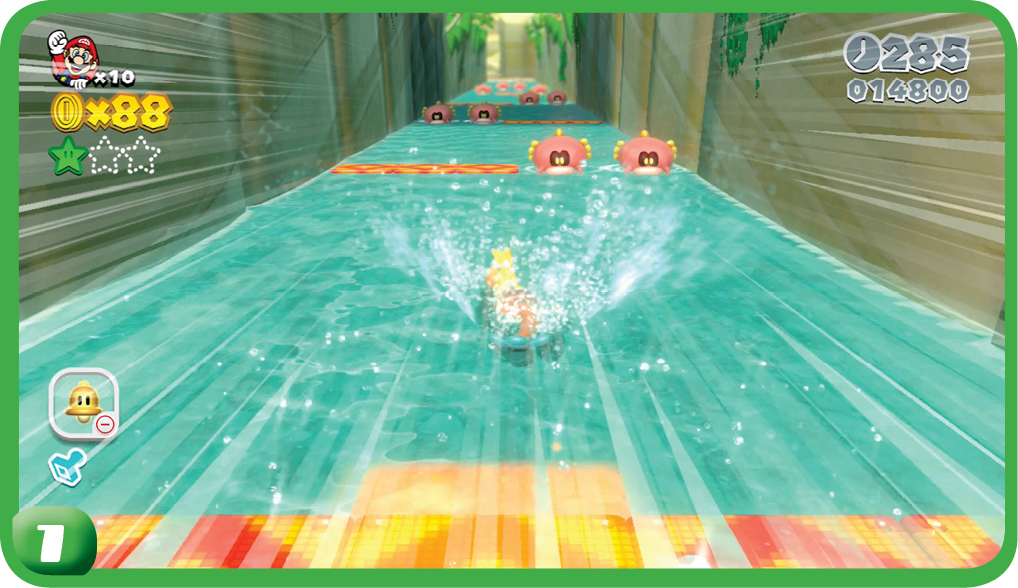
You’re in the home stretch once you reach this downhill slide, which is filled with more Splounders and Dash Panels. It’s safer and easier to just stay centered, jumping when necessary, but if you’re playing for speed, you’ll have to hit every Dash Panel you can.
Green Star #3
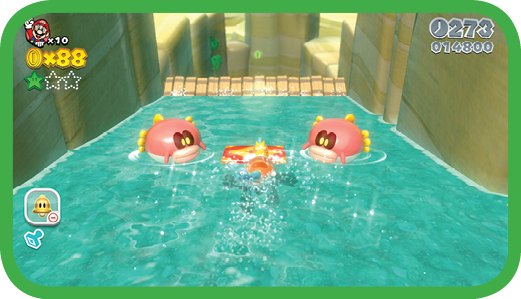
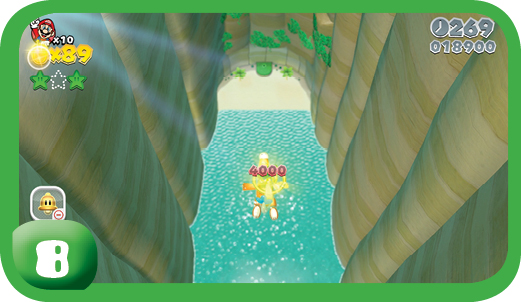
The last Green Star is located dead center beyond the final jump of the home stretch. After making the jump, you have just seconds to adjust to the new camera angle to reach the star. It’s best to approach the final ramp from the center, if at all possible.