
Super Mario 3D World Guide Walkthrough World Castle
World Castle-7: Simmering Lava Lake
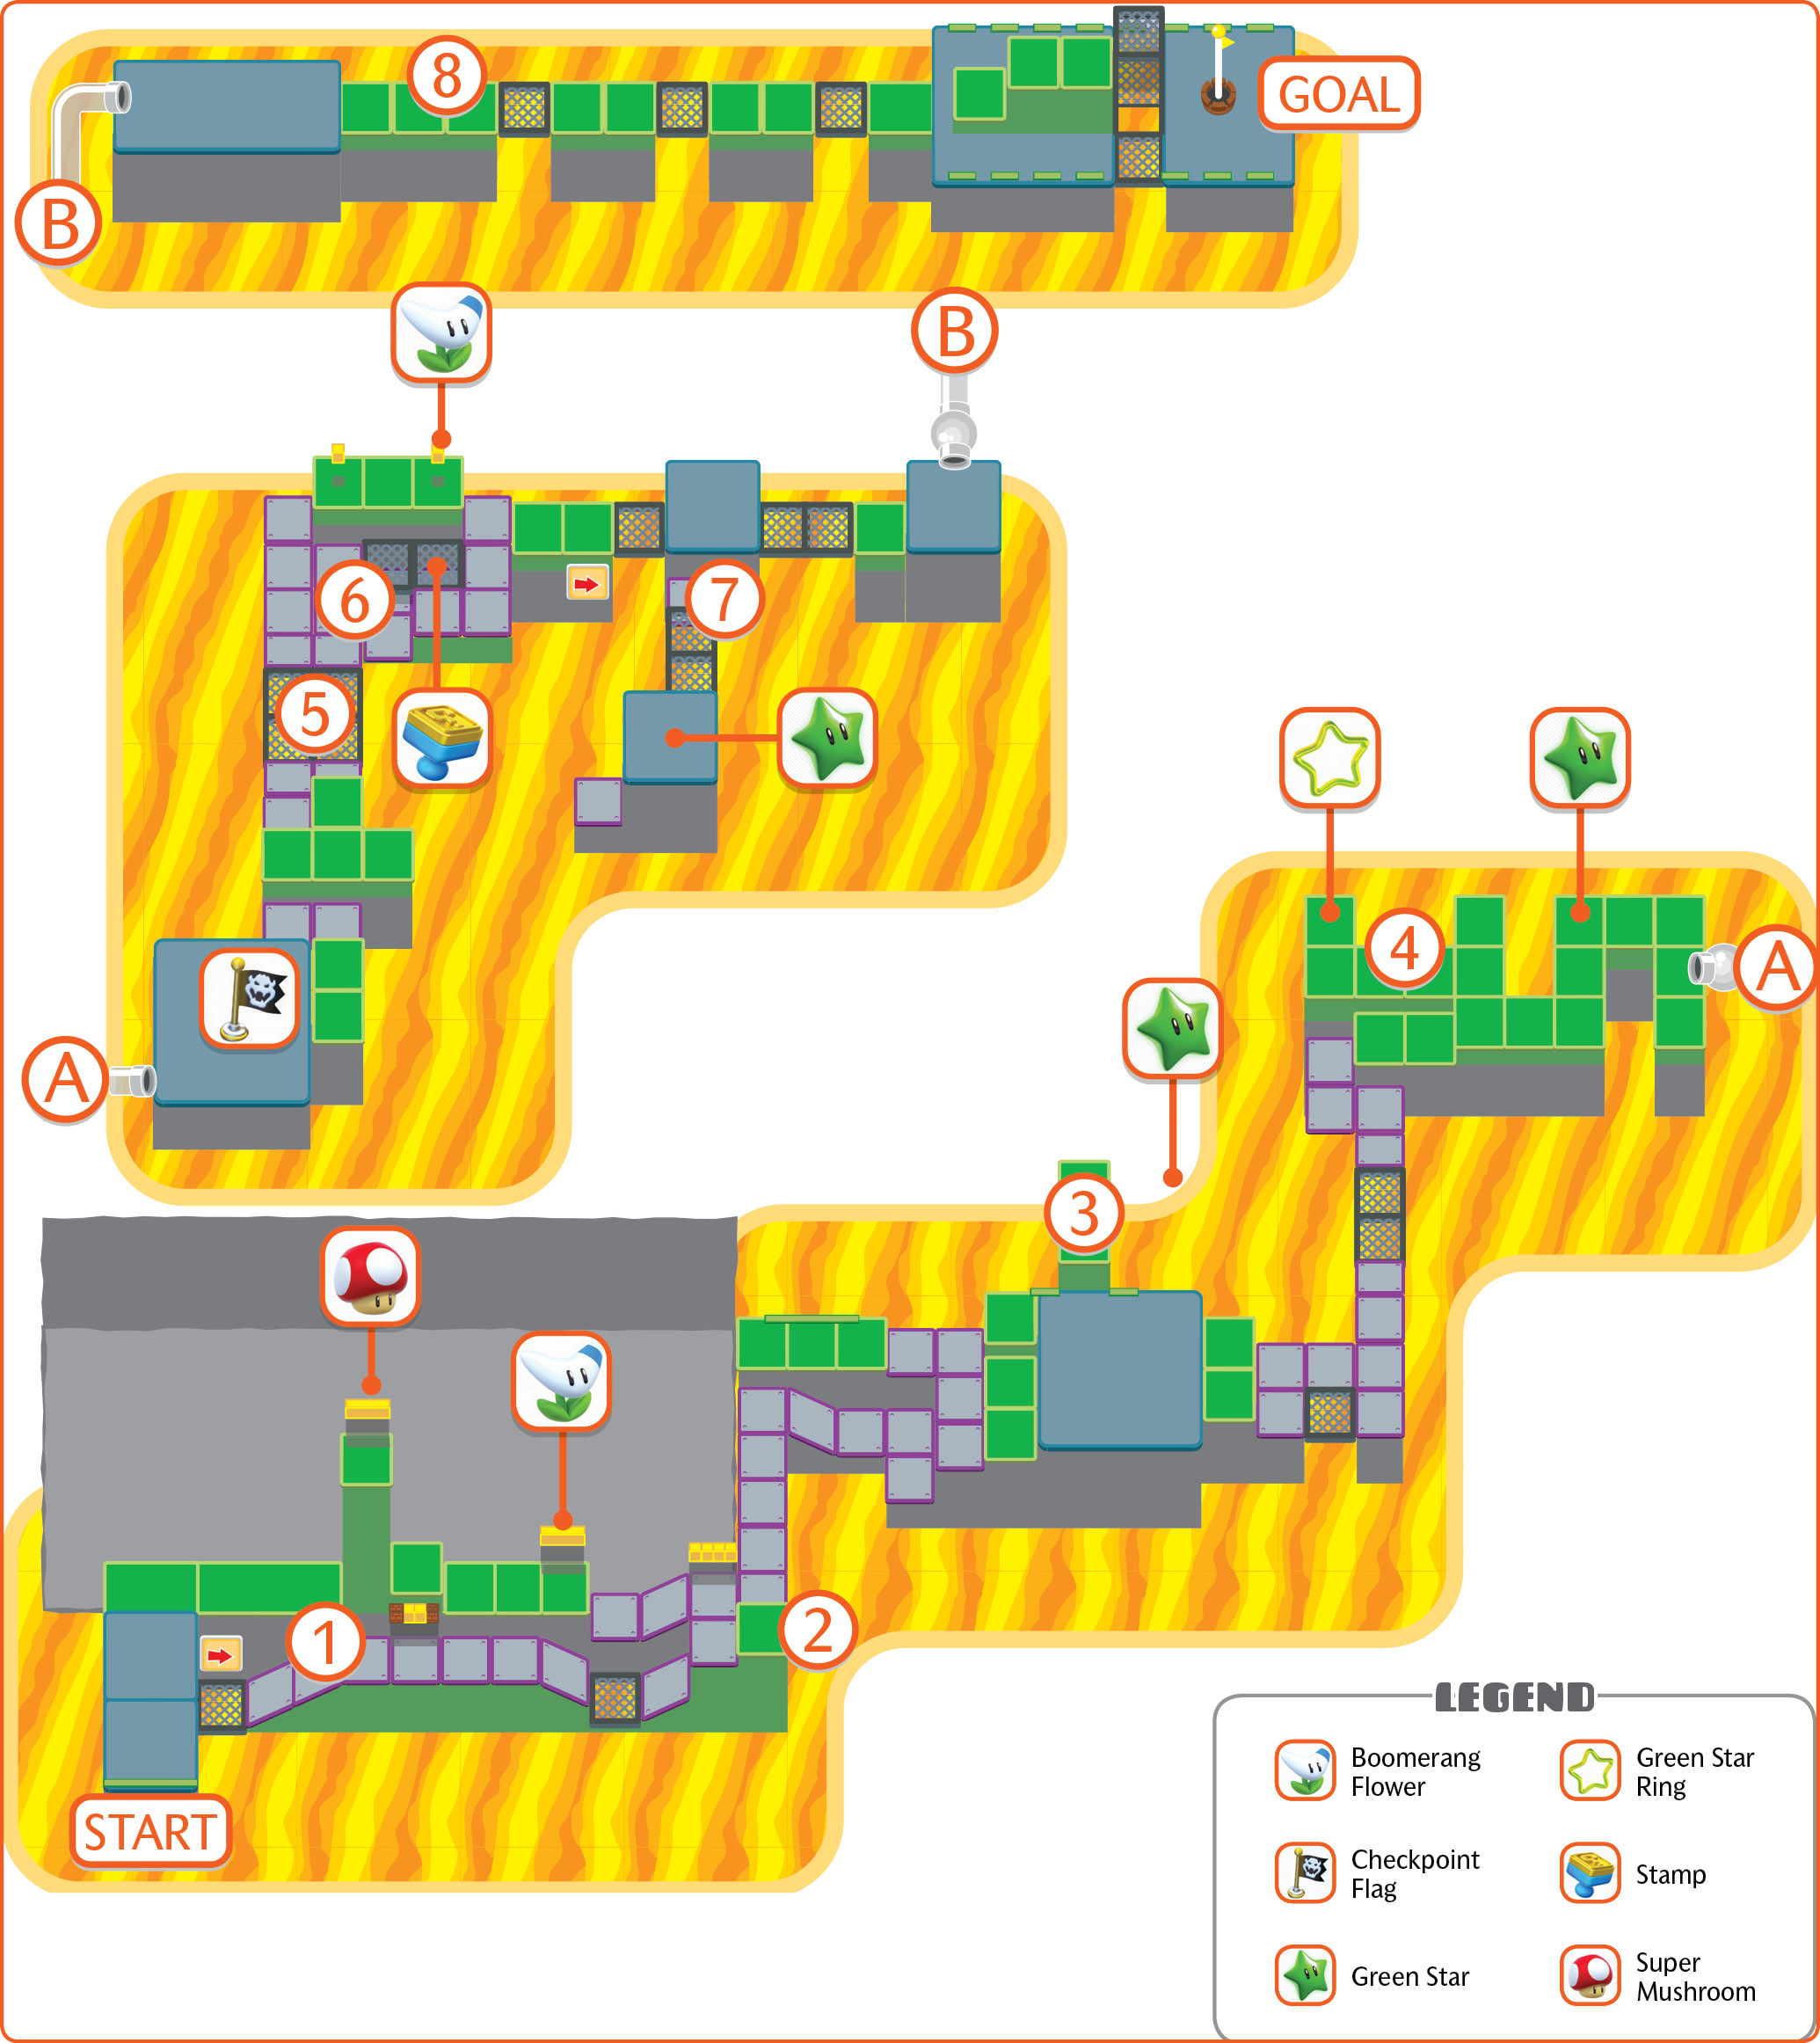
The lava lake in this level regularly rises and falls, engulfing large portions of terrain. Touching means immediately losing a life. If you’re standing on ground that is still glowing in places, you don’t want to be there when the lava comes rising back up.
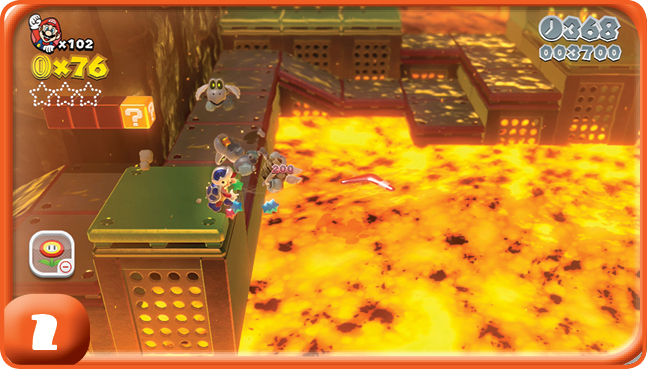
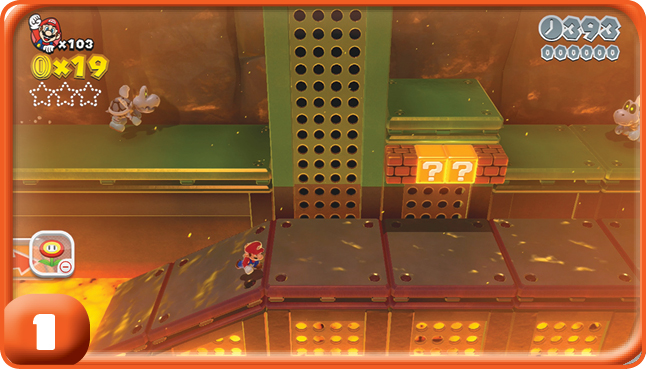
You can get a Boomerang Flower from these ? Blocks, and it’s a vital tool for this level. Drop these annoying Parabones into the lava with a good boomerang toss.
Green Star #1
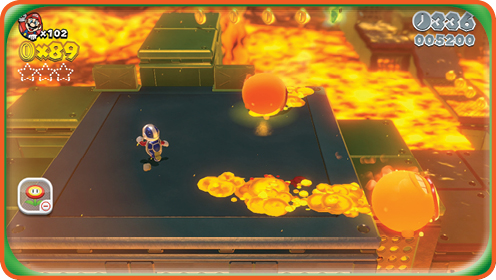
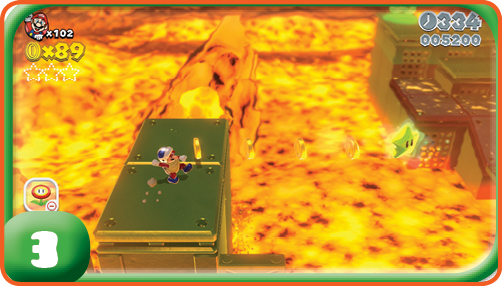
The platform next to the first Green Star is attacked by Splorches, and you must either avoid them or push them into the lava with boomerangs. The star itself can safely be retrieved with boomerangs as well. Peach also is a solid choice, thanks to her floating ability.
Green Star #2
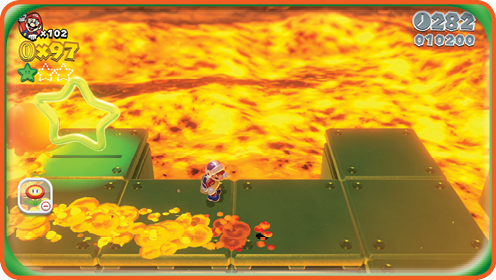
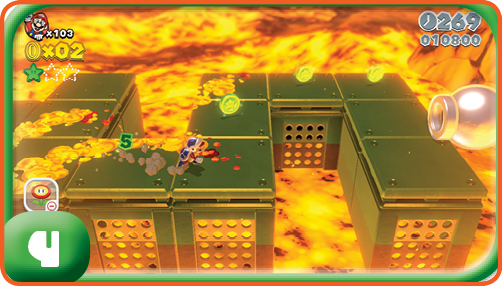
Getting past the Splorch next to the Green Star Ring and then collecting the Green Coins that appear can be very difficult without the Boomerang Power-Up. It pays to keep this Power-Up handy!
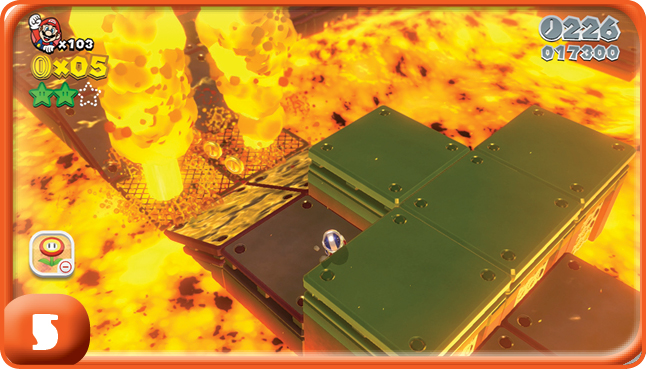
Watch out for lava geysers, even after the lake itself subsides. These typically come from easy-to-spot grating on the ground.
Stamp
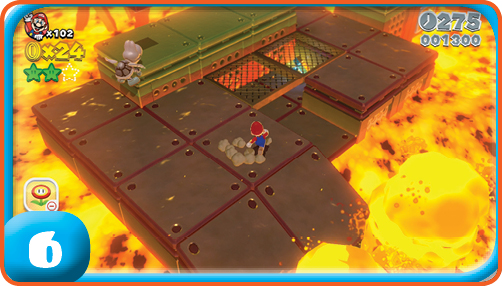
The Stamp is underneath a grate in a section that will clearly be swallowed up by the lava lake. As soon as it’s safe, dash in, get the Stamp, and get out.
Green Star #3
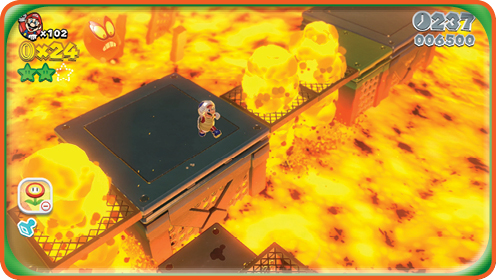
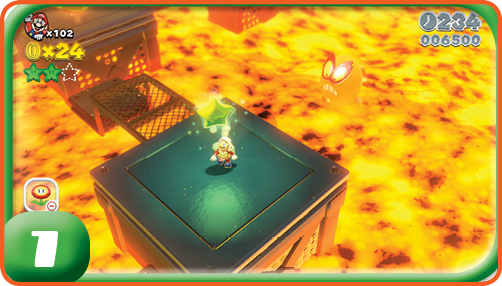
Not far from the Stamp is a platform connected by walkways with lava geysers shooting up through them. The platform itself is attacked by a Splorch. Wait for the lake to subside, then follow a side path up to reach the final Green Star.
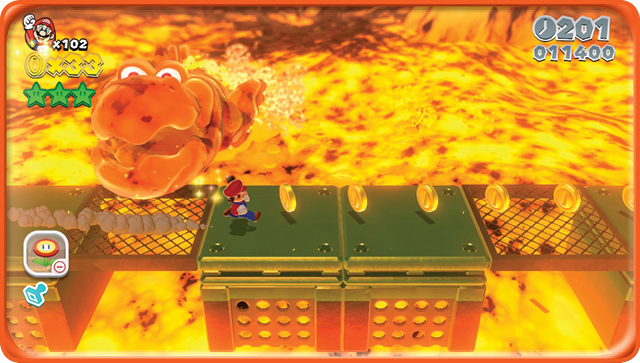
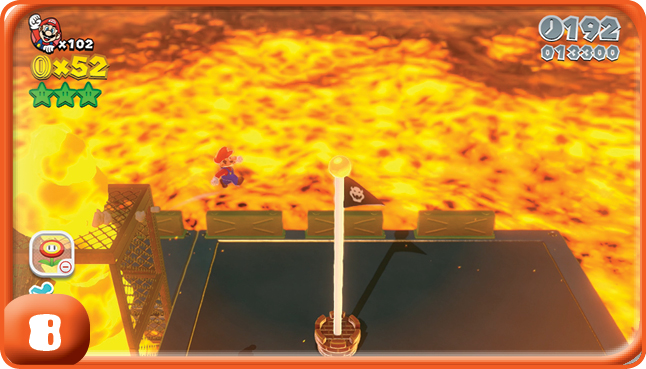
The last dash to the Goal Pole requires you to stay on the run constantly to avoid being hit by the Charvaarghs leaping out of the lava. Unfortunately, Princess Peach is in a bit of trouble here. Even in a full sprint, she’s not fast enough to outrun the Charvaarghs! You’ll have to trick them before crossing the grating.