
Super Mario 3D World Guide Walkthrough World Flower
World Flower-11: Spiky Spike Bridge Sneak
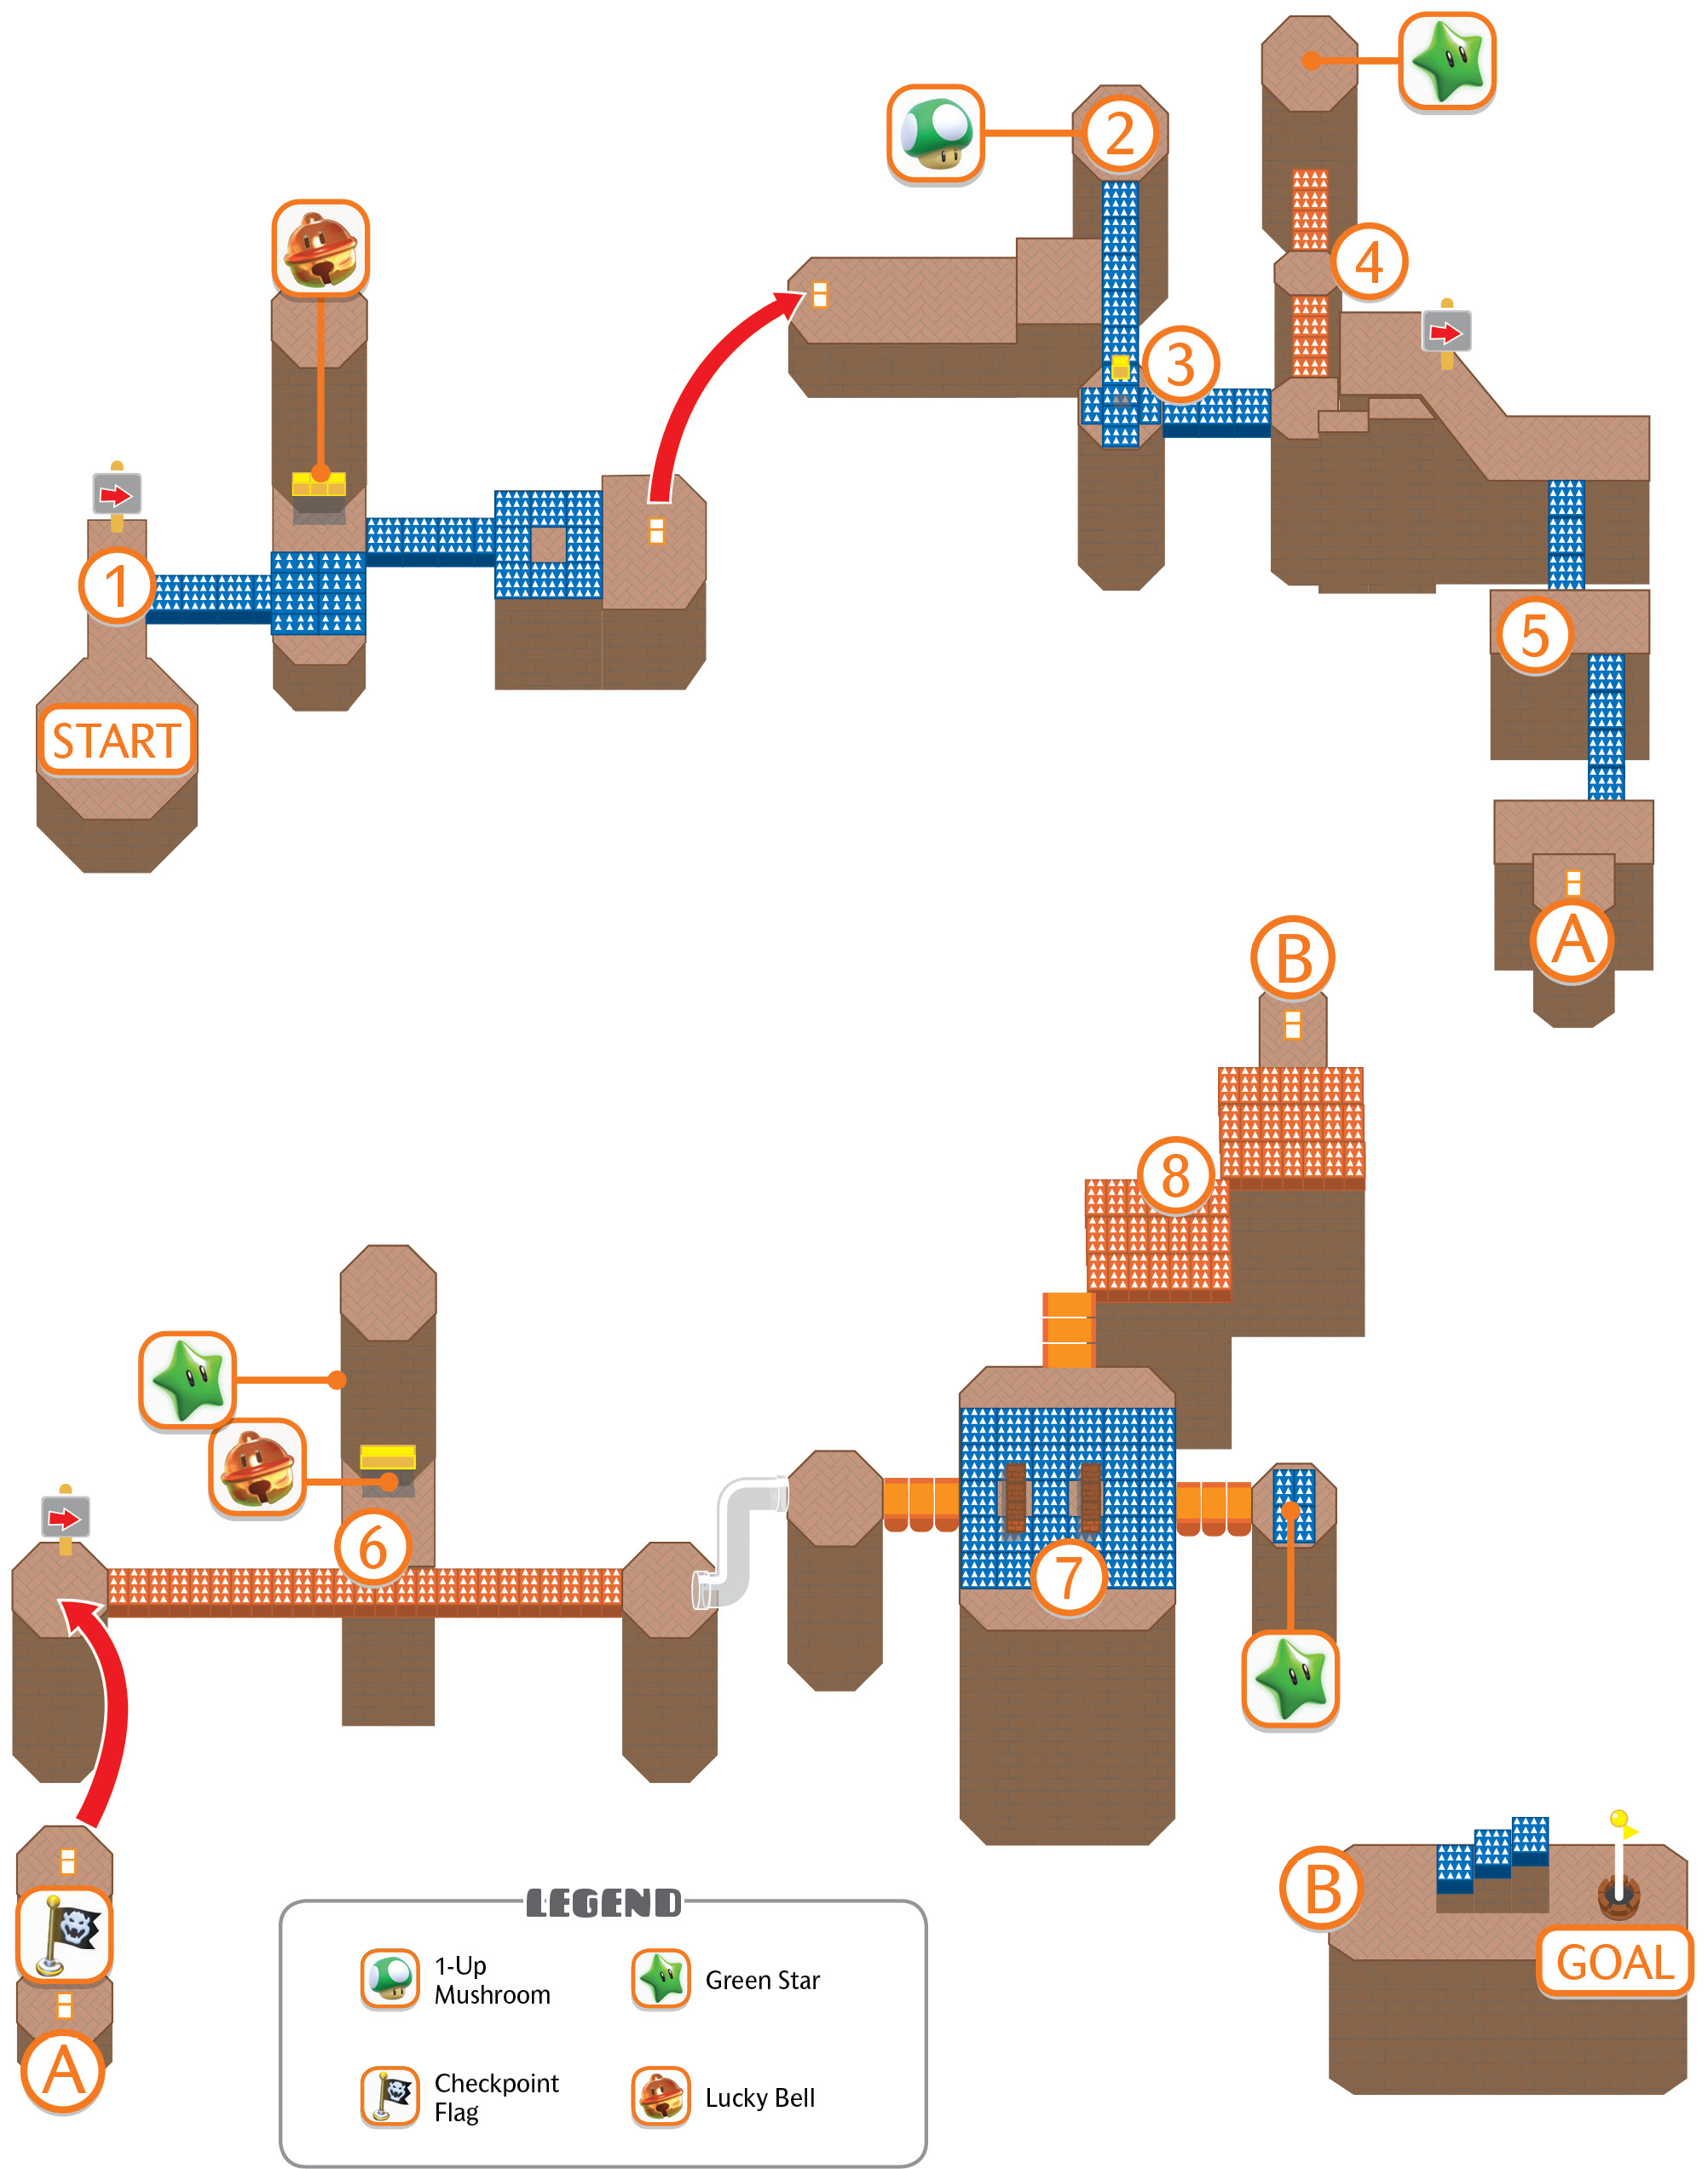
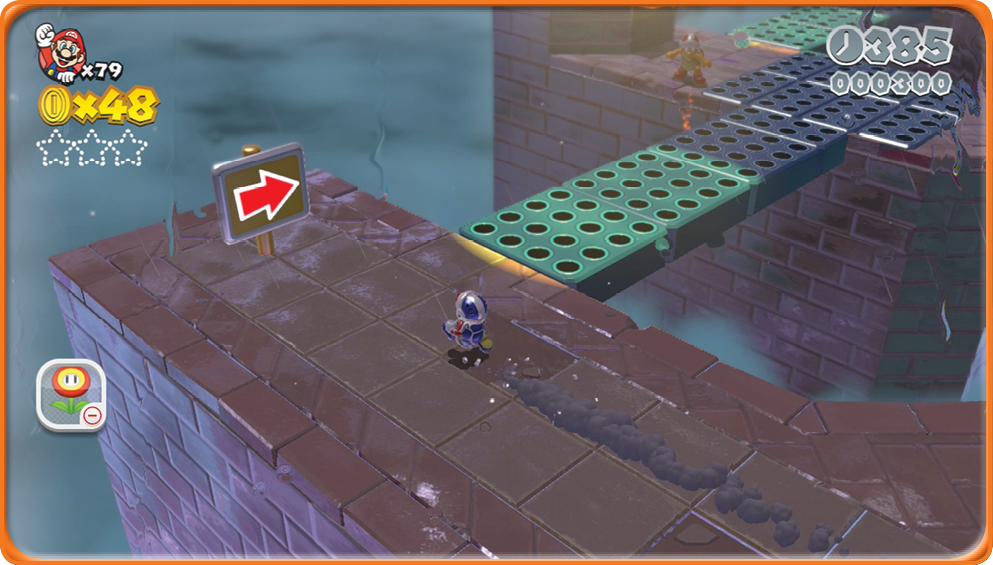
This level remix throws in the hazard of spotlights that cause whole bridges to brim with spike traps. The traps stay active for as long as you’re in a spotlight. Avoiding them requires creative use of Cat Power-Up climbing, Claw Diving, or long jumps if you’ve no other options.
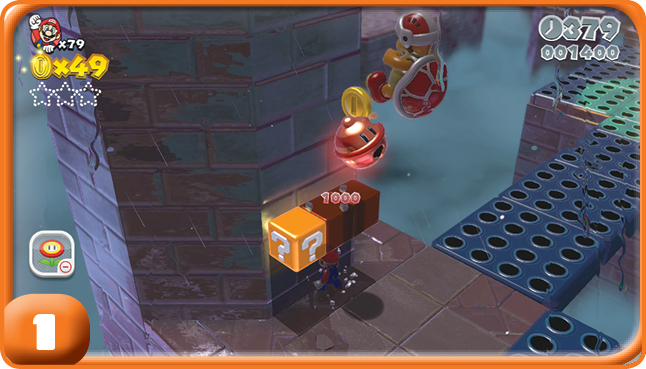
The first Fire Bro you encounter jumps onto a ? Block that contains a Lucky Bell. This item can make large portions of this level much easier, so preserving it should be a high priority!
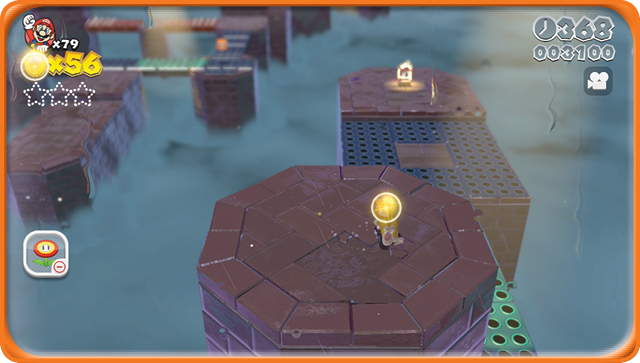
An excellent shortcut can be taken right here: Climb the tower next to the ? Blocks and face the Warp Box at the end of the spike bridge. If you get a good running start, jump while aiming toward that Warp Box, and use the Claw Dive enabled by the Lucky Bell, you can avoid the hassle of the spike traps and the spotlight altogether.
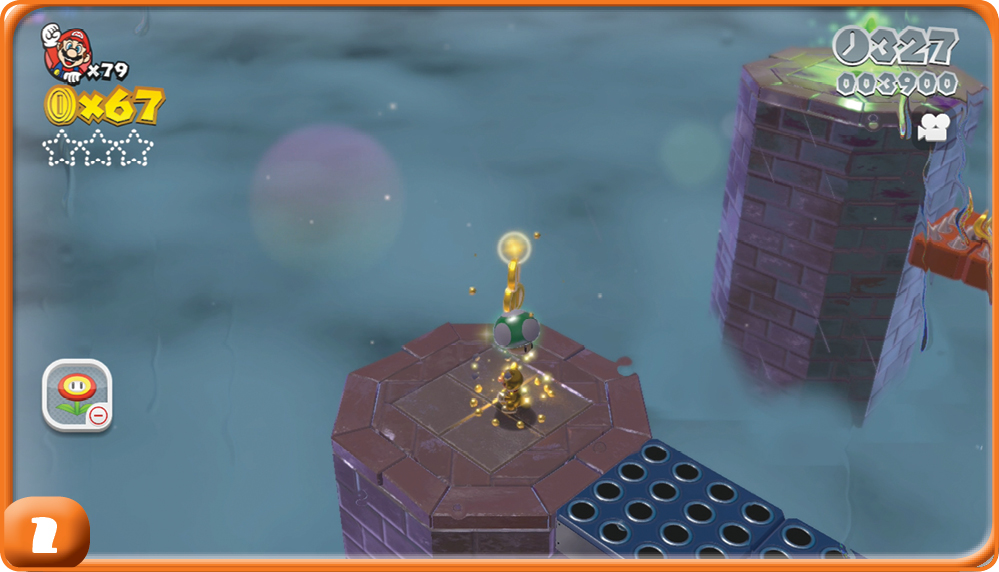
You can ground pound on this platform to cause a 1-Up to appear.
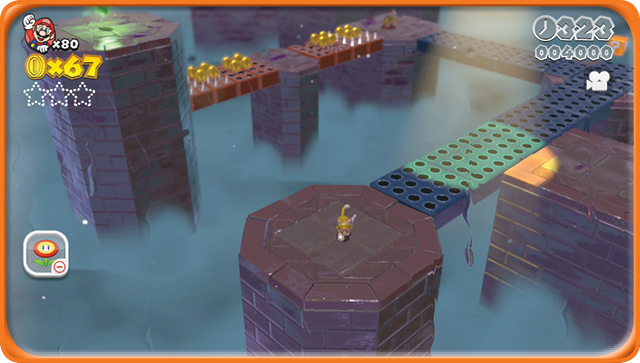
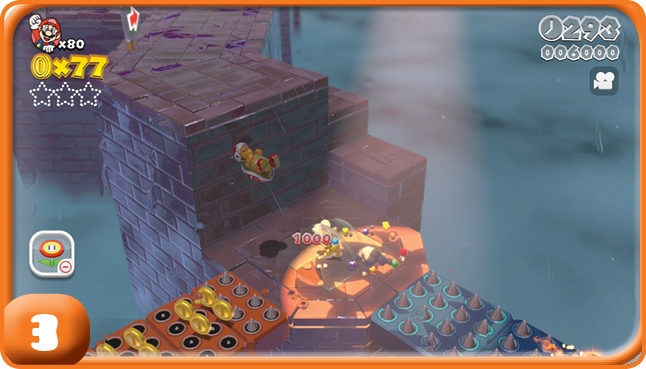
Getting across this spike trap bridge is fairly simple. Try to find an opening that gets you past the roaming spotlight, and run as fast as you can. Beware the Fire Bro that guards part of the section though.
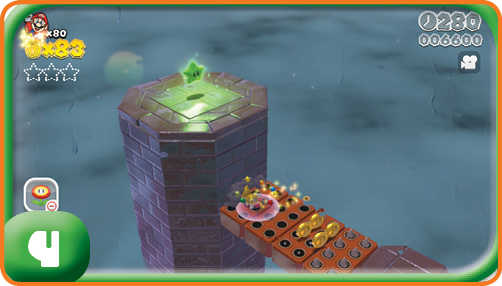
Green Star #1
To the left of the Fire Bro is another spike bridge. This one is constantly rippling its spikes, but there is a safe place to stand at the middle of the bridge, with no spotlights to worry about. Get over the bridge and climb the pillar at the end to retrieve a Green Star.
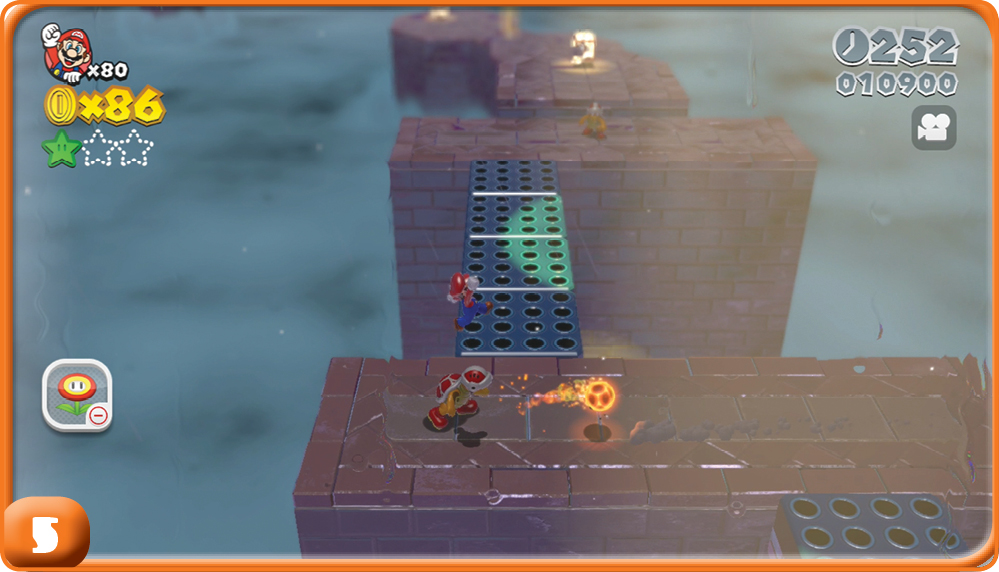
The spike bridges move across these chasms, and a spotlight dominates the center of both gaps. If you want to cross the bridges safely, you must go when the bridges are on the sides of the chasms. Fire Bros. guard the safe platforms in between bridges. A Checkpoint Flag is found just beyond this section.
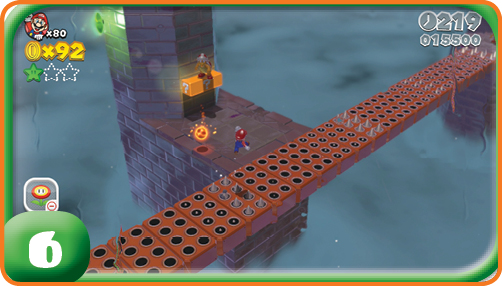
Green Star #2
After the Checkpoint Flag, you encounter a bridge that ripples spikes toward you in a fast but predictable pattern. The first connecting bridge to the left is guarded by a Fire Bro, and behind him is the second Green Star. You need a Cat Power-Up to be able to climb on the side of the pillar to reach the star. If you’re lacking the a Cat Power-Up, the Fire Bro. jumps on to a ? Block that contains a Lucky Bell!
Green Star #3
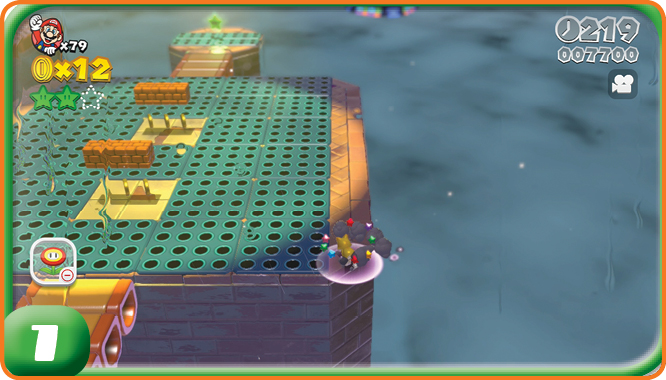
The last Green Star isn’t far from the second. You must navigate a large platform covered in spike traps. A spotlight shines across most of the platform, which gives you very little safe space to work with. Use Cat Power-Up Claw Dives to bypass the danger by sticking to the very edges of the platform, and work your way over to the star’s platform.
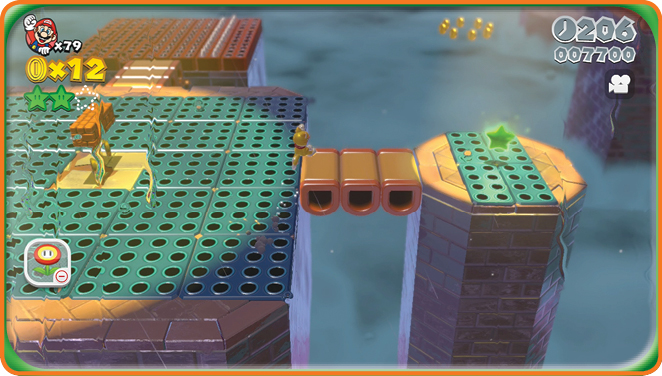
The Green Star’s platform is covered by a spotlight, and more spike traps are below it. Your approach and escape must be swift.
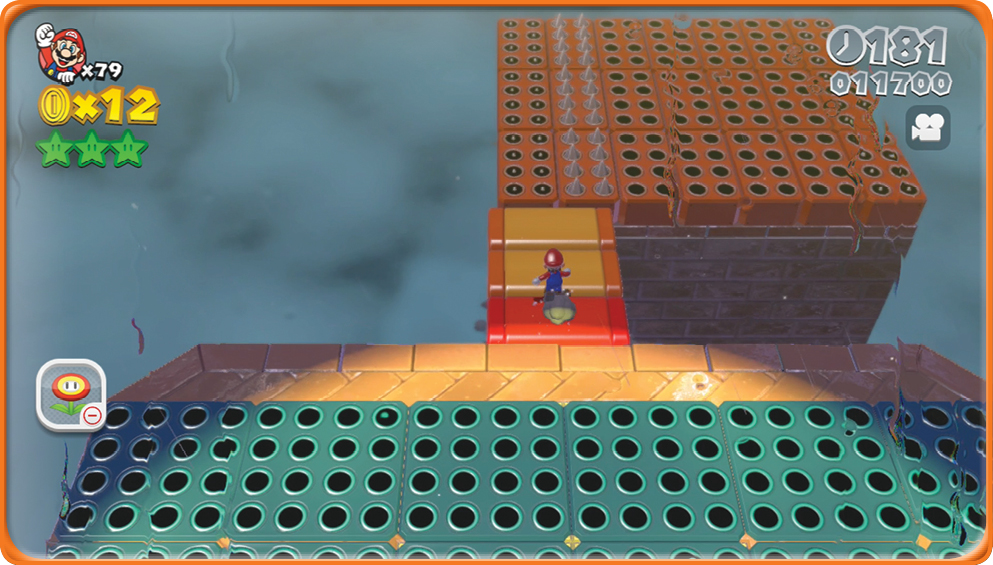
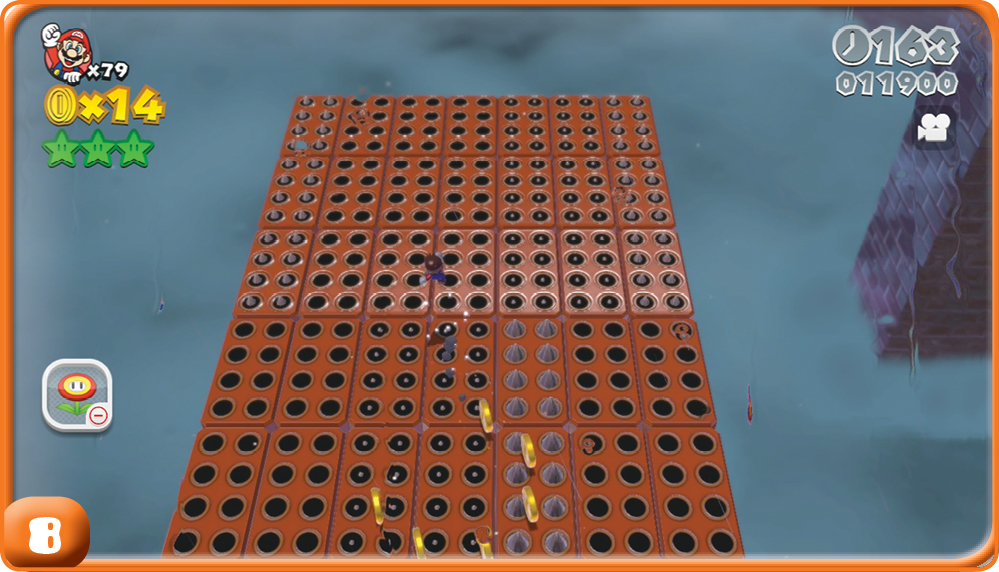
The last obstacle before you can reach the Goal Pole zone is a pair of large moving platforms that ripple with spikes. It’s a predictable pattern once again, but it’s also a very, very fast pattern that you must constantly be jumping to evade. Also, the platforms are not timed the same, so transferring to the second platform means adjusting your timing accordingly, or you’ll take a hit.