
Super Mario 3D World Guide Walkthrough World Star
World Star-4: The Great Goal Pole
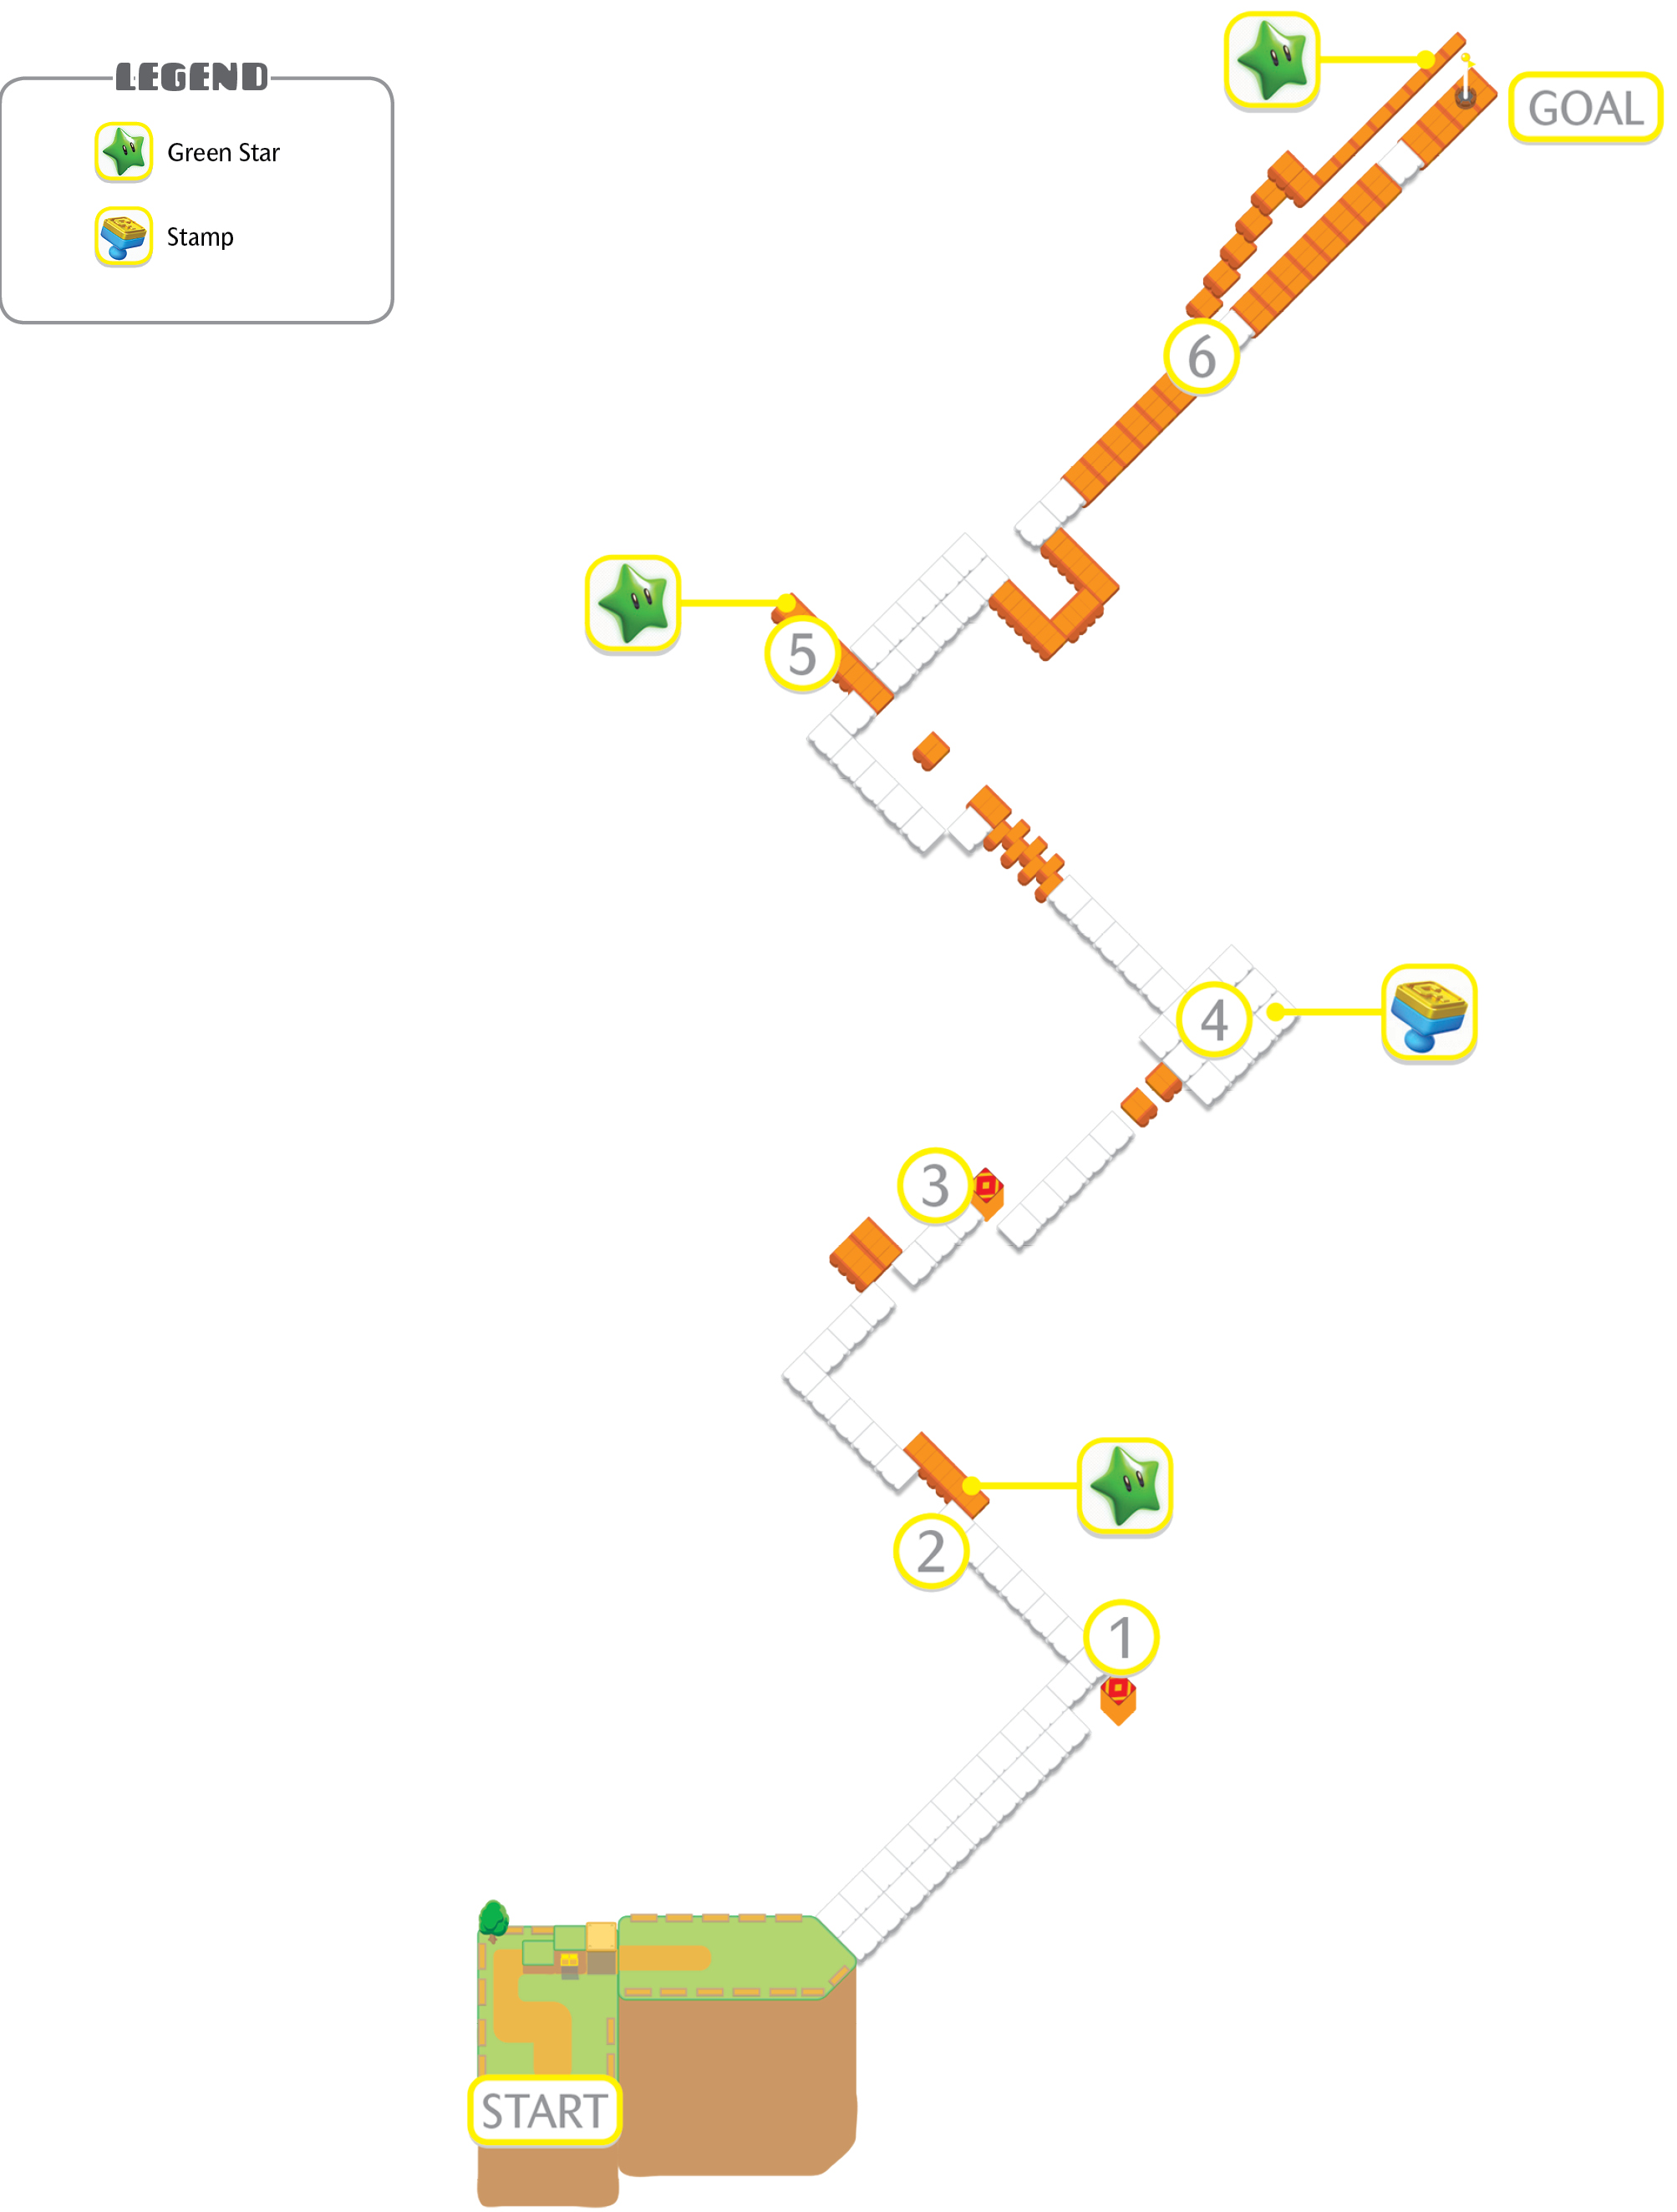
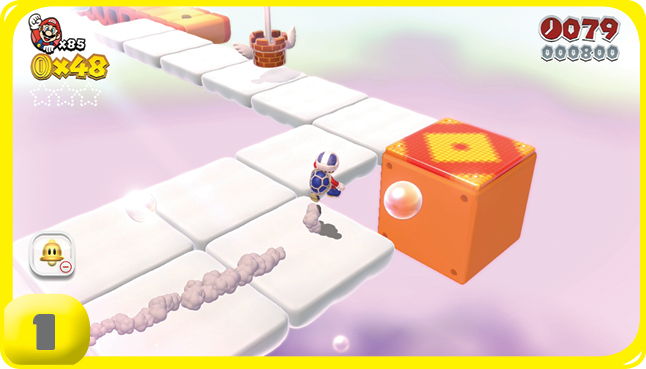
The Goal Pole stands near the start of the level, almost mocking you. You might even wonder why you were given 100 ticks on the clock for this level. All that all changes when the Goal Pole starts running away from you. So it’s gonna be like that.
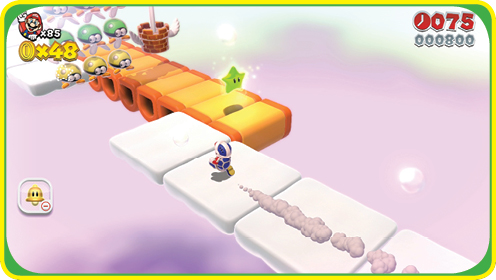
The Goal Pole passes over some cloud platforms and a Dash Panel. You don’t need to use the Dash Panel to keep up, but the extra speed comes in handy, especially if you’re trying to safely collect the first Green Star coming up.
Green Star #1
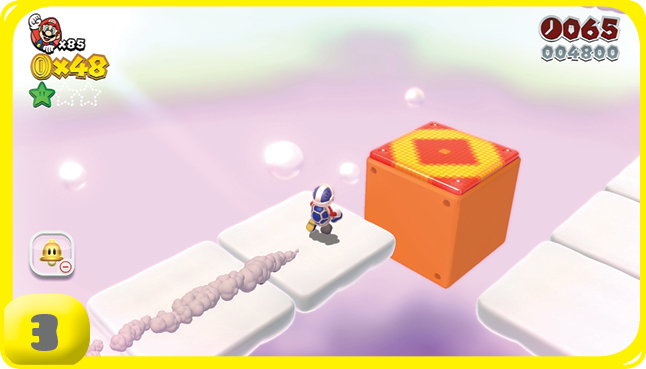
The first Green Star hovers over a Donut Block near a swarm of Para-Biddybuds. If you used the Dash Panel, you won’t have as much time to make the turn and grab it, but you are moving fast enough to safely get around the Para-Biddybuds.
This Dash Panel is a bit of a trap. Trying to reach it requires an unsafe jump, and trying to get back on the main course while avoiding other pitfalls is made more dangerous by its speed boost.
Stamp
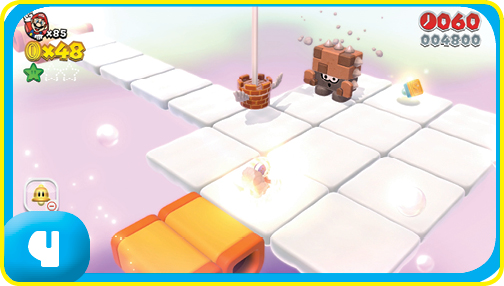
The Stamp is guarded by a Walleye. You don’t have much time to fool it, grab the Stamp, and continue the chase for the Goal Pole.
Green Star #2
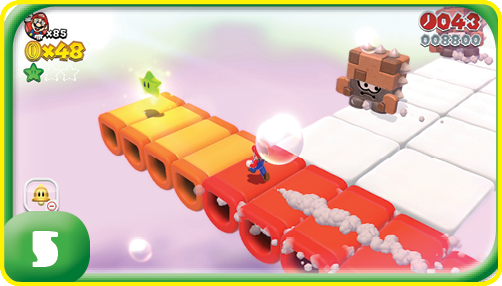
The second Green Star is at the end of a Donut Block bridge. To grab it while also getting back on the main path, which is guarded by more Walleyes, can be tricky. It’s made a lot simpler if you’ve used Dash Panels and a nearby shortcut.
Green Star #3
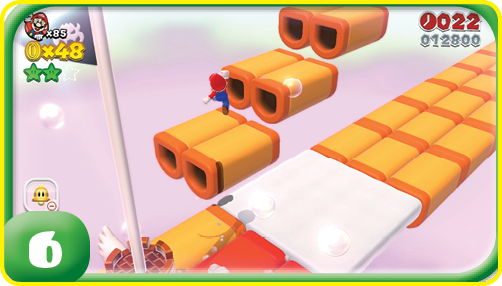
The final stretch is a long bridge consisting of nothing but Donut Blocks. Notice that on the left you can find more Donut Blocks leading to a higher bridge.
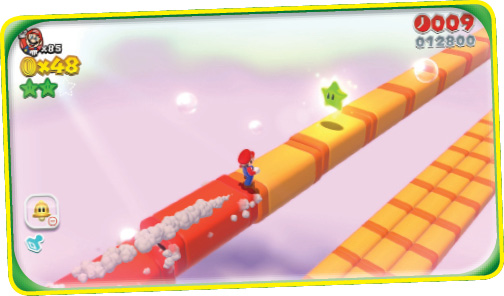
The star can be found along the Donut Blocks. Just keep dashing forward and you’ll see it.
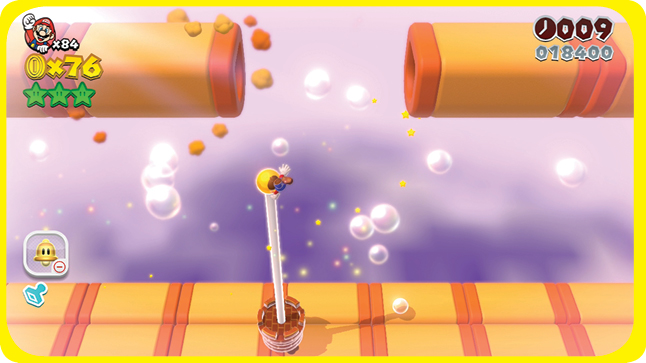
Getting on top of the Goal Pole can be tricky, since it doesn’t stop moving. The best thing you can do is to stop dashing and run along the tops of the Donut Blocks until you can see the Goal Pole getting close, then drop down onto it. You can save yourself a lot of trouble trying to catch the Goal Pole in the end by bringing a Cat Power-Up.