
Super Mario 3D World Guide Walkthrough World Bowser
World Bowser-1: Spiky Spike Bridge
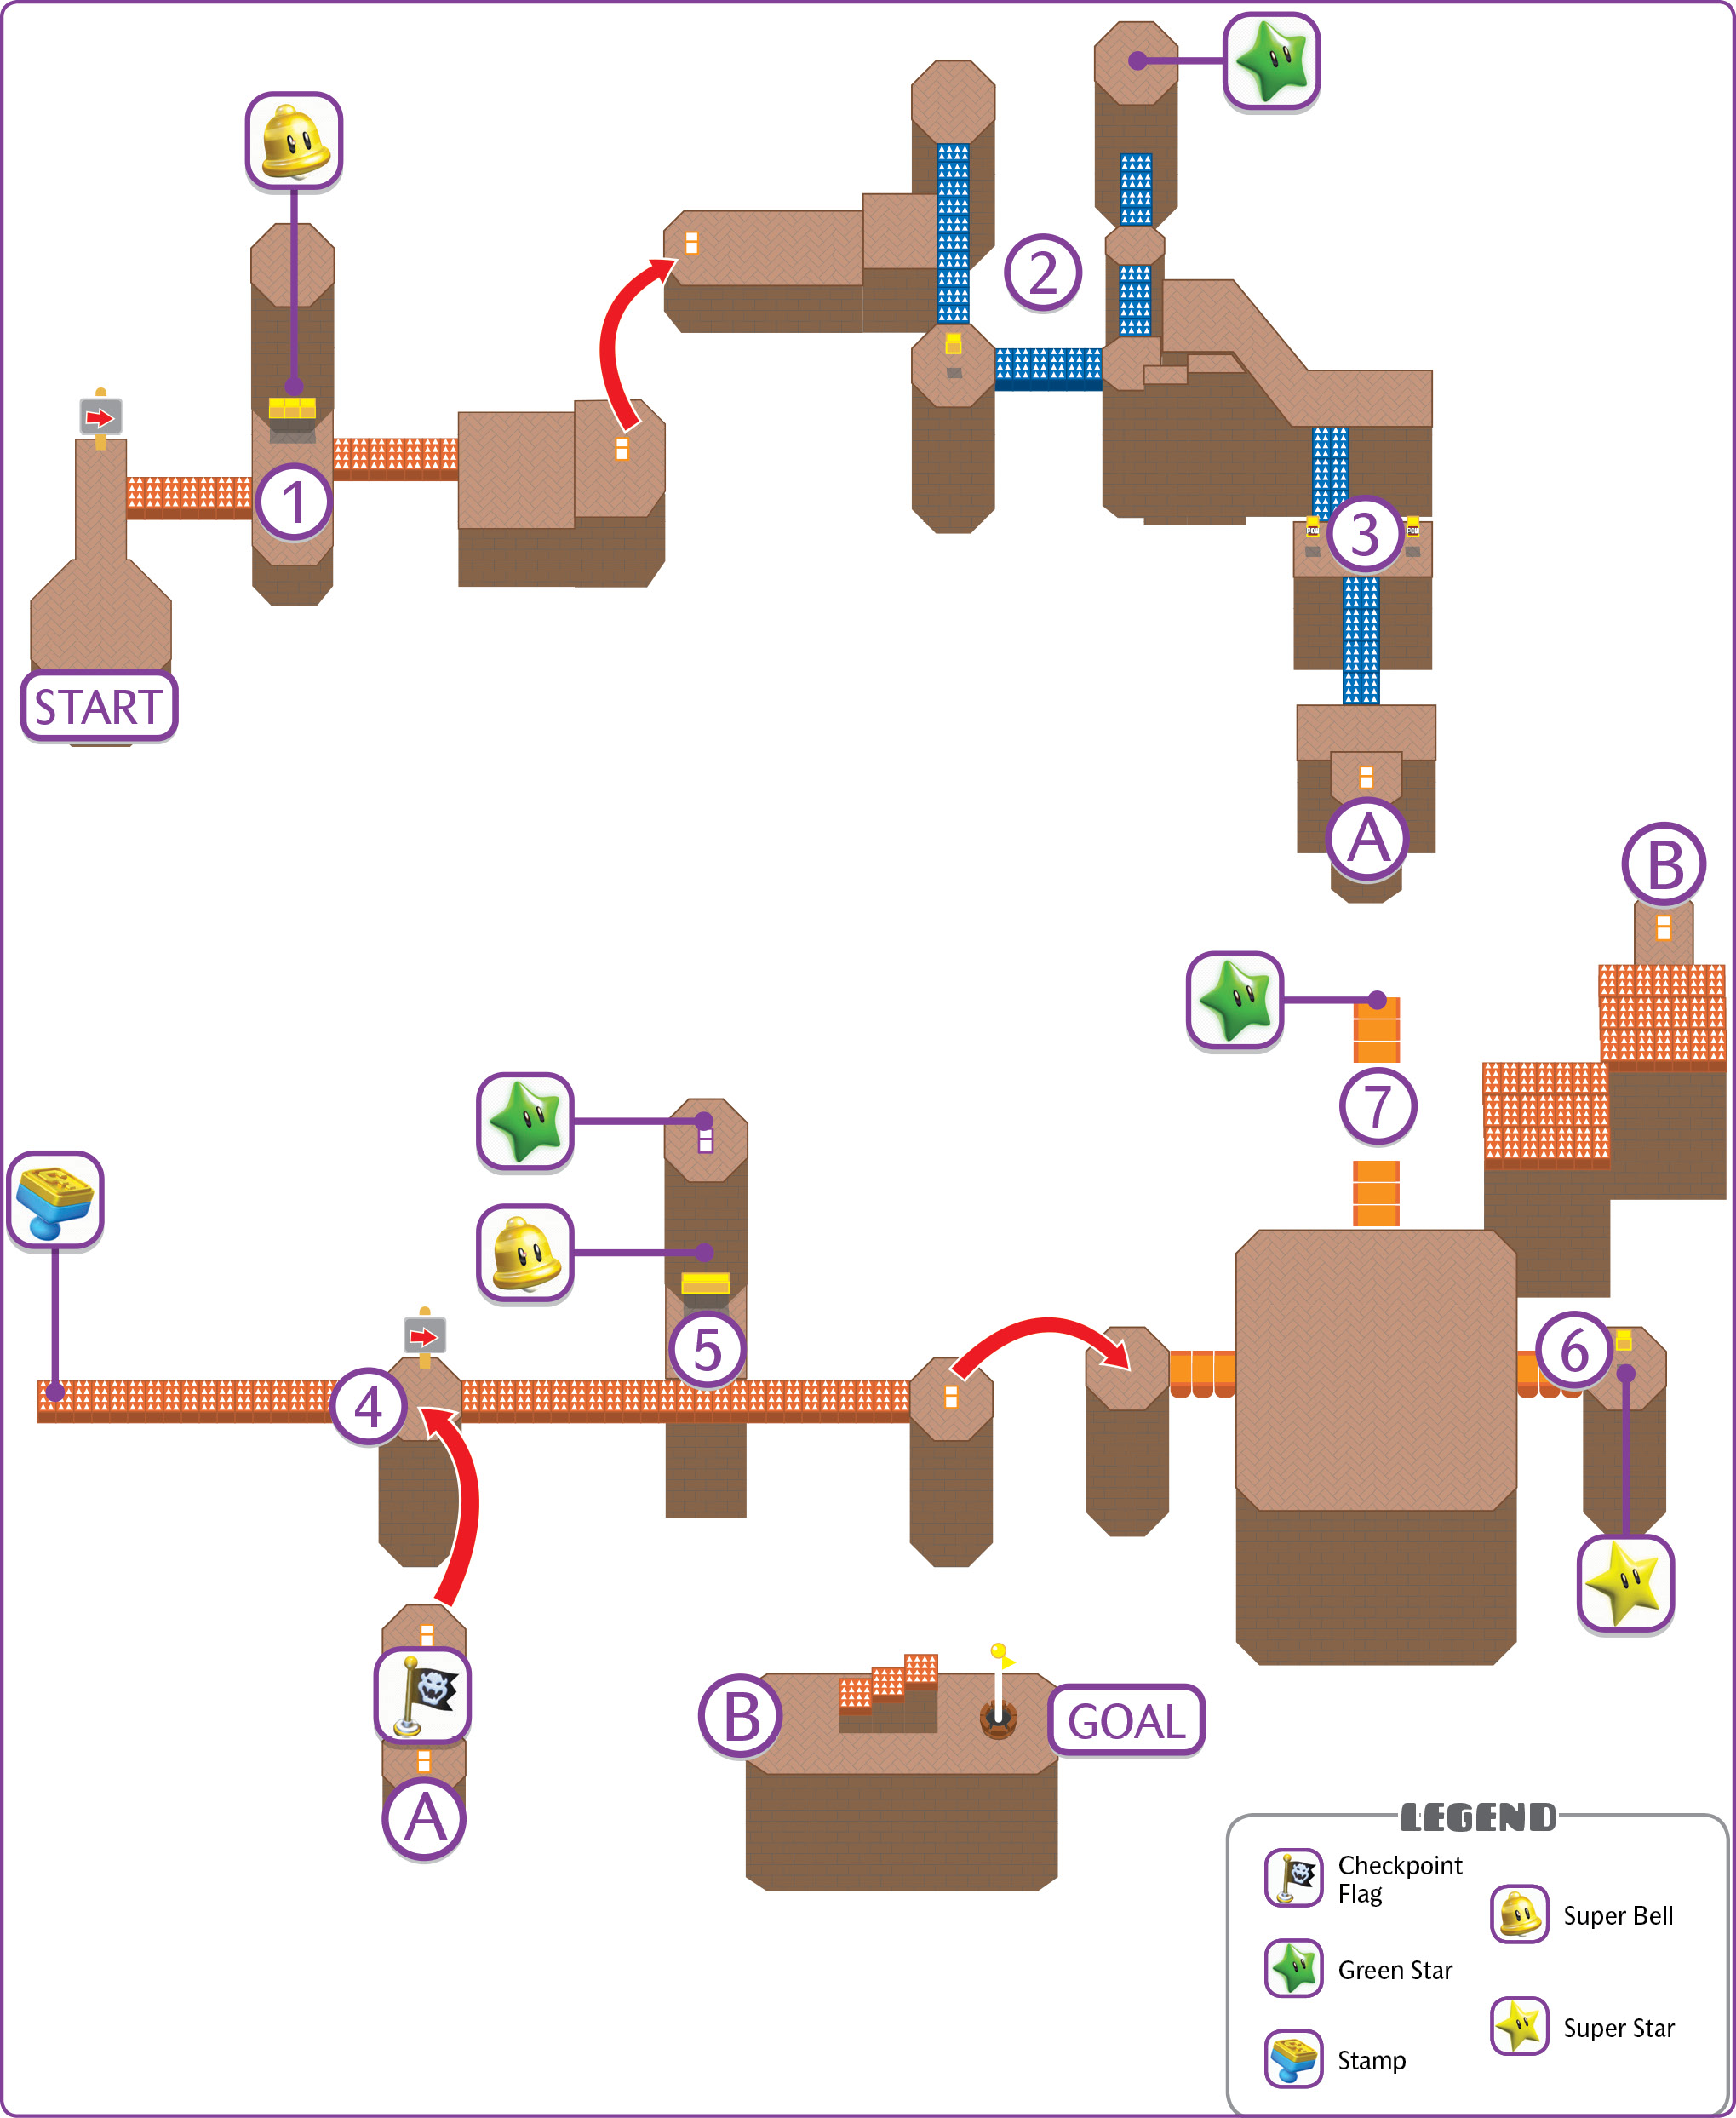
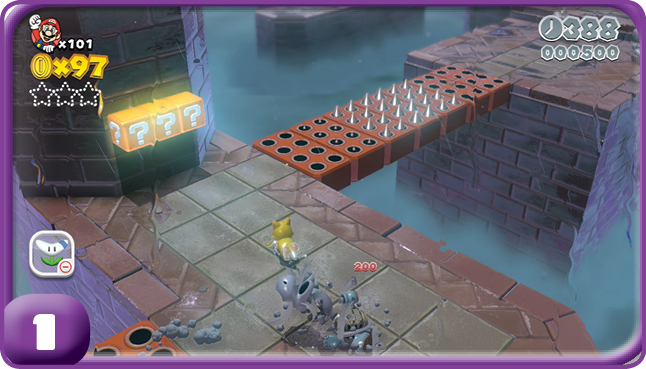
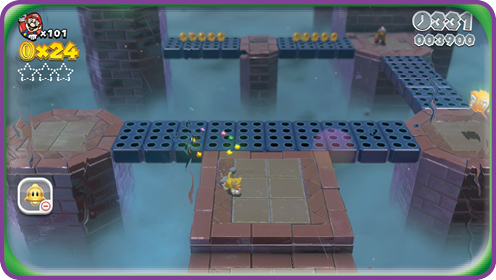
This level is named for the various bridges and walkways made entirely of spike traps. You have to be ready at all times to move and jump over these traps. A Cat Power-Up is immensely useful in this level.
Green Star #1
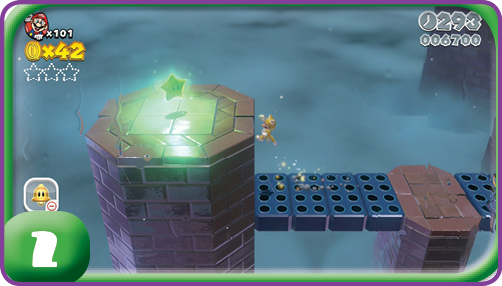
After passing through the first Warp Box, you are close to a Green Star. Navigate the spike bridges while also dealing with the Fire Bro guarding the area. The star is atop a pillar. You need the Cat Power-Up to climb it.
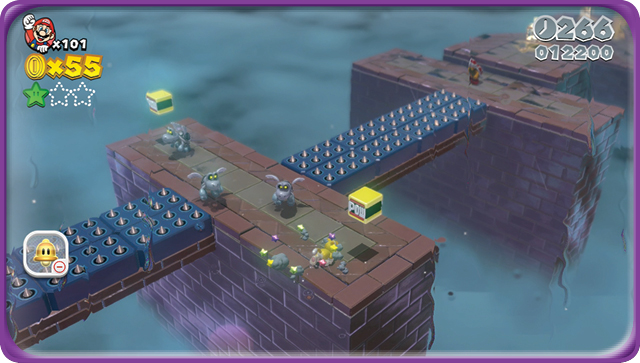
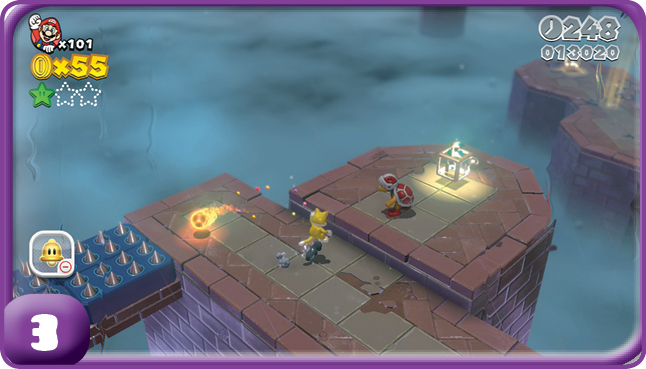
The moving spike bridges here connect to platforms guarded by Parabones and a Fire Bro. When you cross the bridges, move fast and be ready to jump to avoid harm.
Stamp
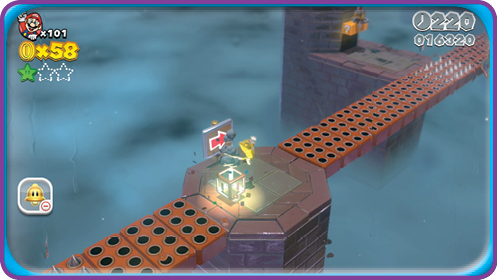
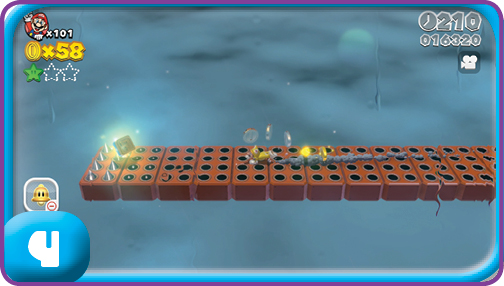
After the Checkpoint Flag, you take a Warp Box to a new part of the level. Rather than follow the arrow sign, follow the bridge in the opposite direction to find the Stamp. Mind the spikes!
Green Star #2
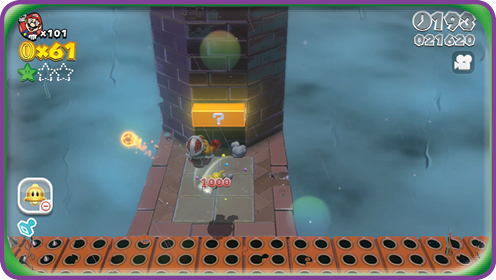
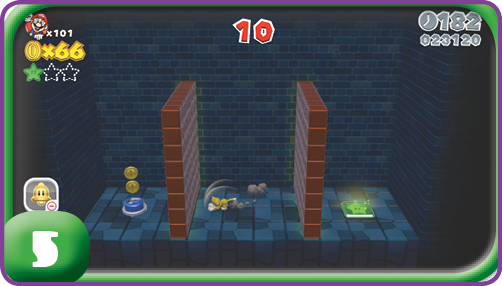
If you follow the sign and cross the spike bridge it points to, you’ll find a platform guarded by a Fire Bro. Defeat him, then climb up the pillar behind him to reach a Mystery Box. In the bonus room that follows, you must hit a P Switch to make the Green Star appear, and then retrieve it before the 10 game seconds are up.
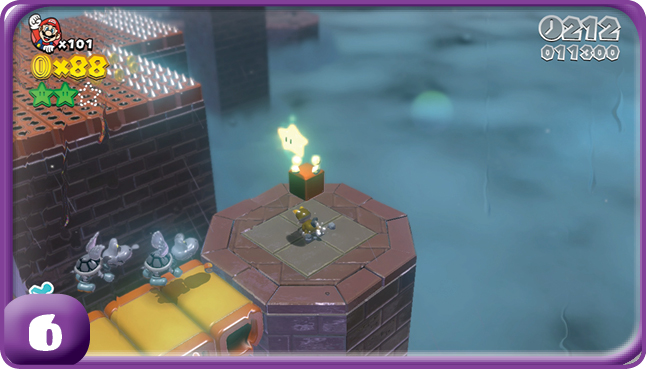
A Super Star in a nearby ? Block can be used against the Parabones.
Green Star #3
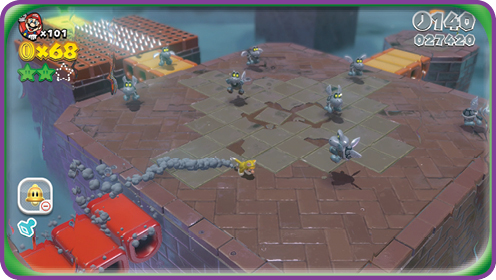
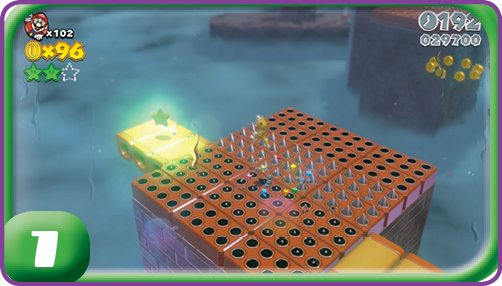
After another Warp Box, you’ll end up on a large platform filled with Parabones. On the left side is a pair of Donut Blocks, with a large gap between them, and another set of Donut Blocks where the third Green Star is. You must wait until a large moving platform filled with spike traps moves into place to bridge the gap to retrieve the star.
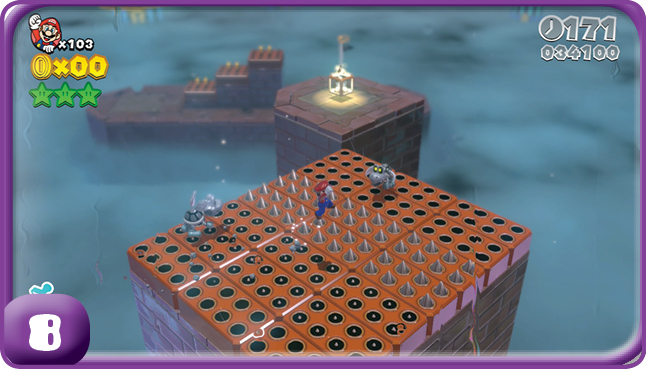
The last stretch to the Goal Pole requires you to evade spike traps and Parabones while a platform takes you to the last Warp Box.