
Super Mario 3D World Guide Walkthrough World Star
World Star-3: Rolling Ride Run
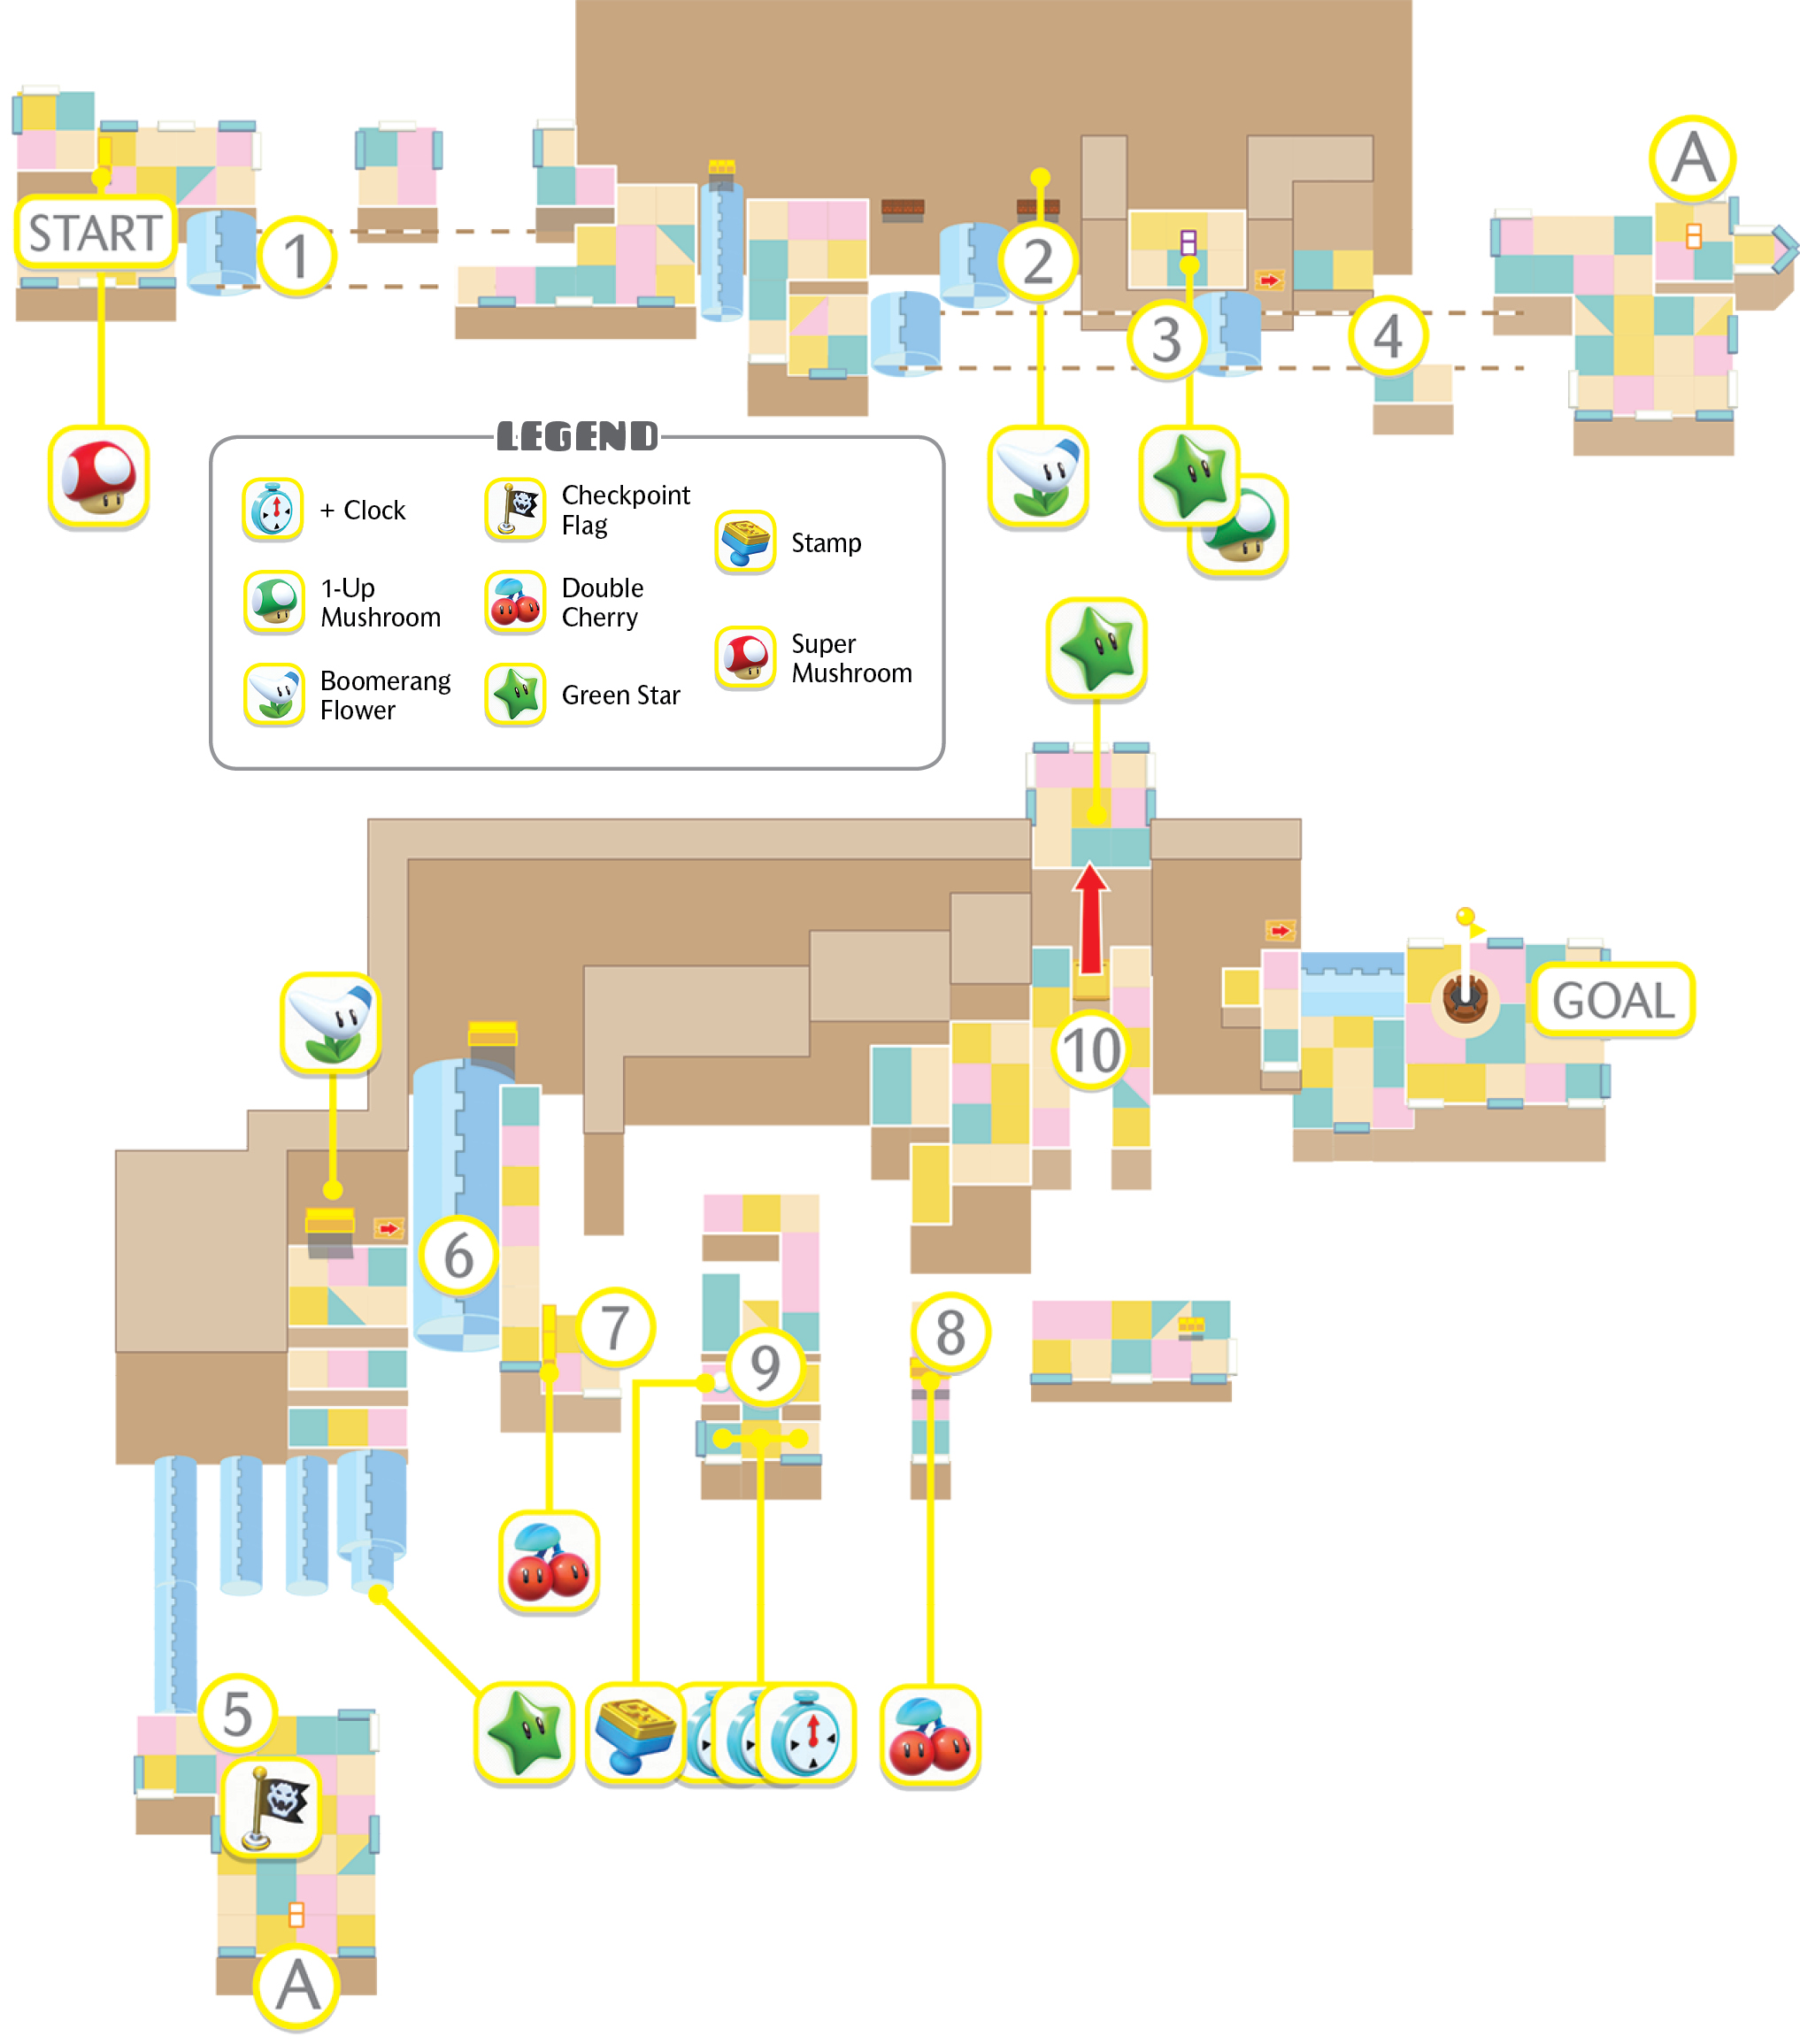
Getting through this level requires you to make use of rolling platforms, placing yourself on the edge of falling to your doom. Always be ready to react to enemies that attack while you roll the platform forward.
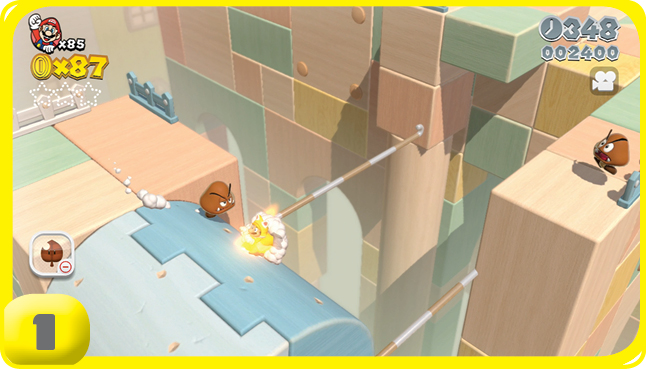
Getting the Boomerang Flower here can be extremely useful for this level; it helps you deal with enemies while you’re on the rollers.
Green Star #1
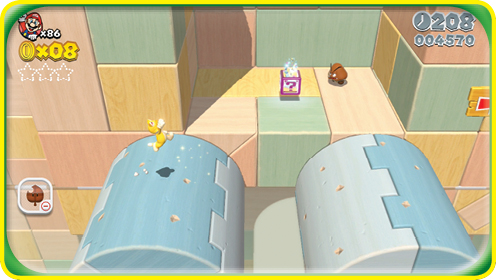
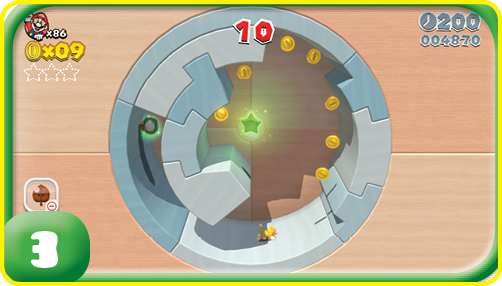
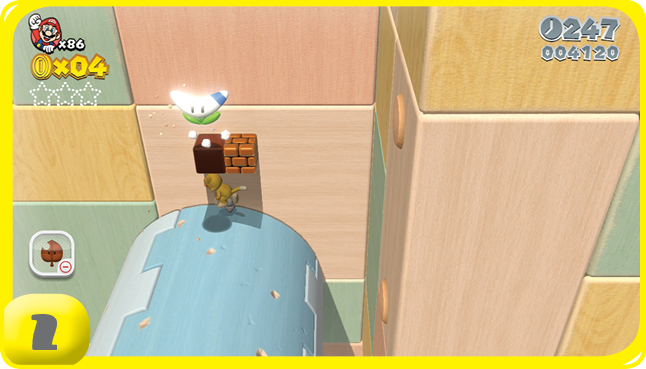
A Mystery Box close to the Boomerang Flower takes you to the first Green Star’s bonus room. Inside the bonus room, you have to rotate the room by running to the right until you’re able to reach the star.
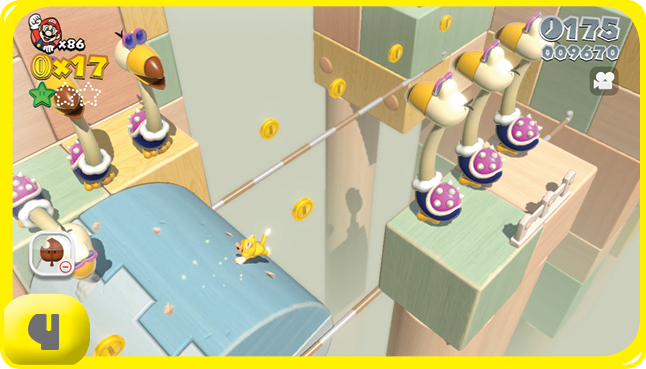
The Conkdors can be a problem, striking the roller as you pass them. This is where the Boomerang Power-Up can really shine.
Green Star #2

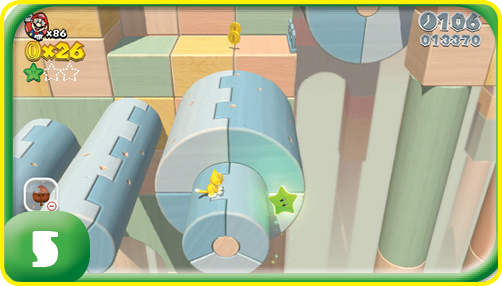
The second Green Star is visible from the Checkpoint Flag. You must rotate the small roller it’s underneath to bring the star up to you for safe collection.
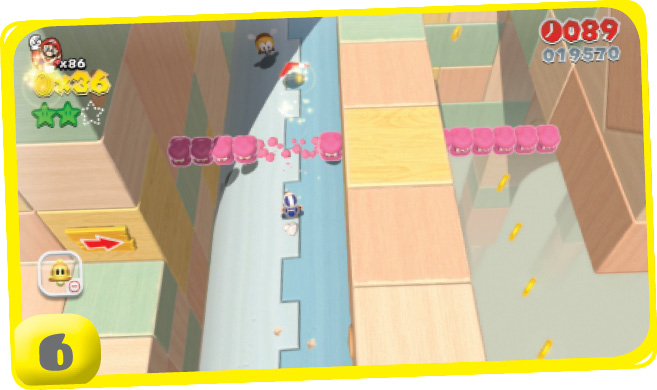
The nearby Boomerang Flower can make navigating this U-shaped corridor on the roller much easier, letting you clear a route through the enemies without having to do too much fancy jumping.
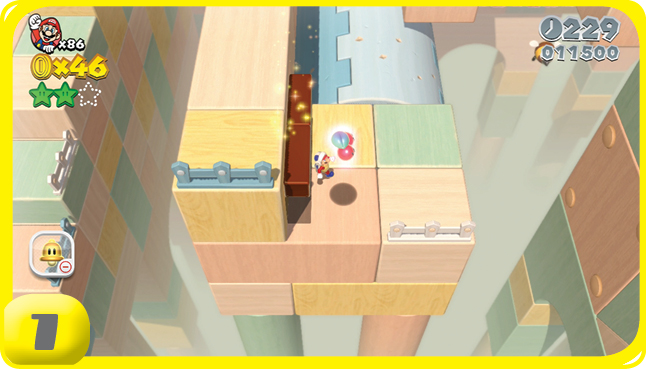
An invisible ? Block contains a Double Cherry on this small side platform, for reasons not immediately apparent. However, if you want the third Green Star, you need to preserve your Double Cherry clone throughout this section.
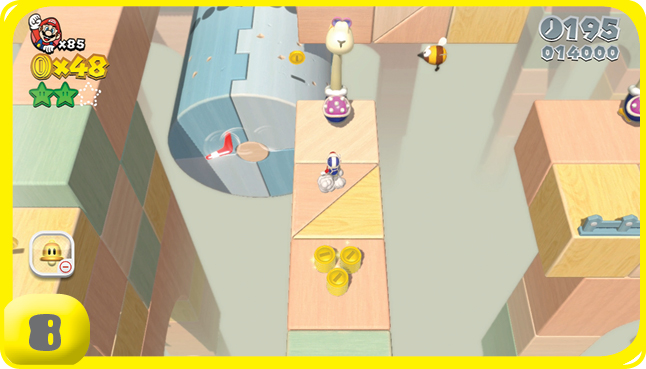
Another invisible ? Block with a Double Cherry can be found on a small island behind a Conkdor farther into this area, near stacks of Coins. It doesn’t hurt to have the extra body if you’re playing alone.
Stamp
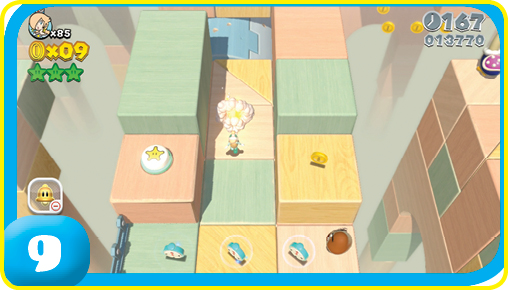
A small side path during this section leads to tthe Character Switch that requires Rosalina. This is where the Stamp can be found, along with some + Clocks, if you’re running short on time.
Green Star #3
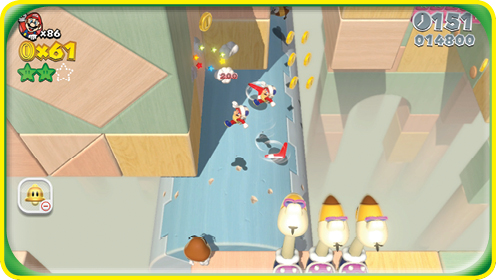
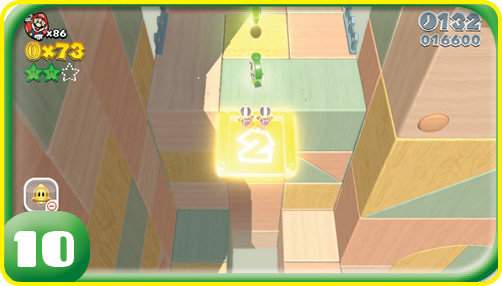
When you see the three Conkdors facing rows of Coins to the north, move the roller to those Coins and work through the corridor there, defeating Stingbies carefully as you go. You encounter a Multi-Vator that requires you to use a Double Cherry clone or have a second player present. This takes you up to the Green Star and a green + Clock.