
Super Mario 3D World Guide Walkthrough World Crown
World Crown-Crown: Champions Road
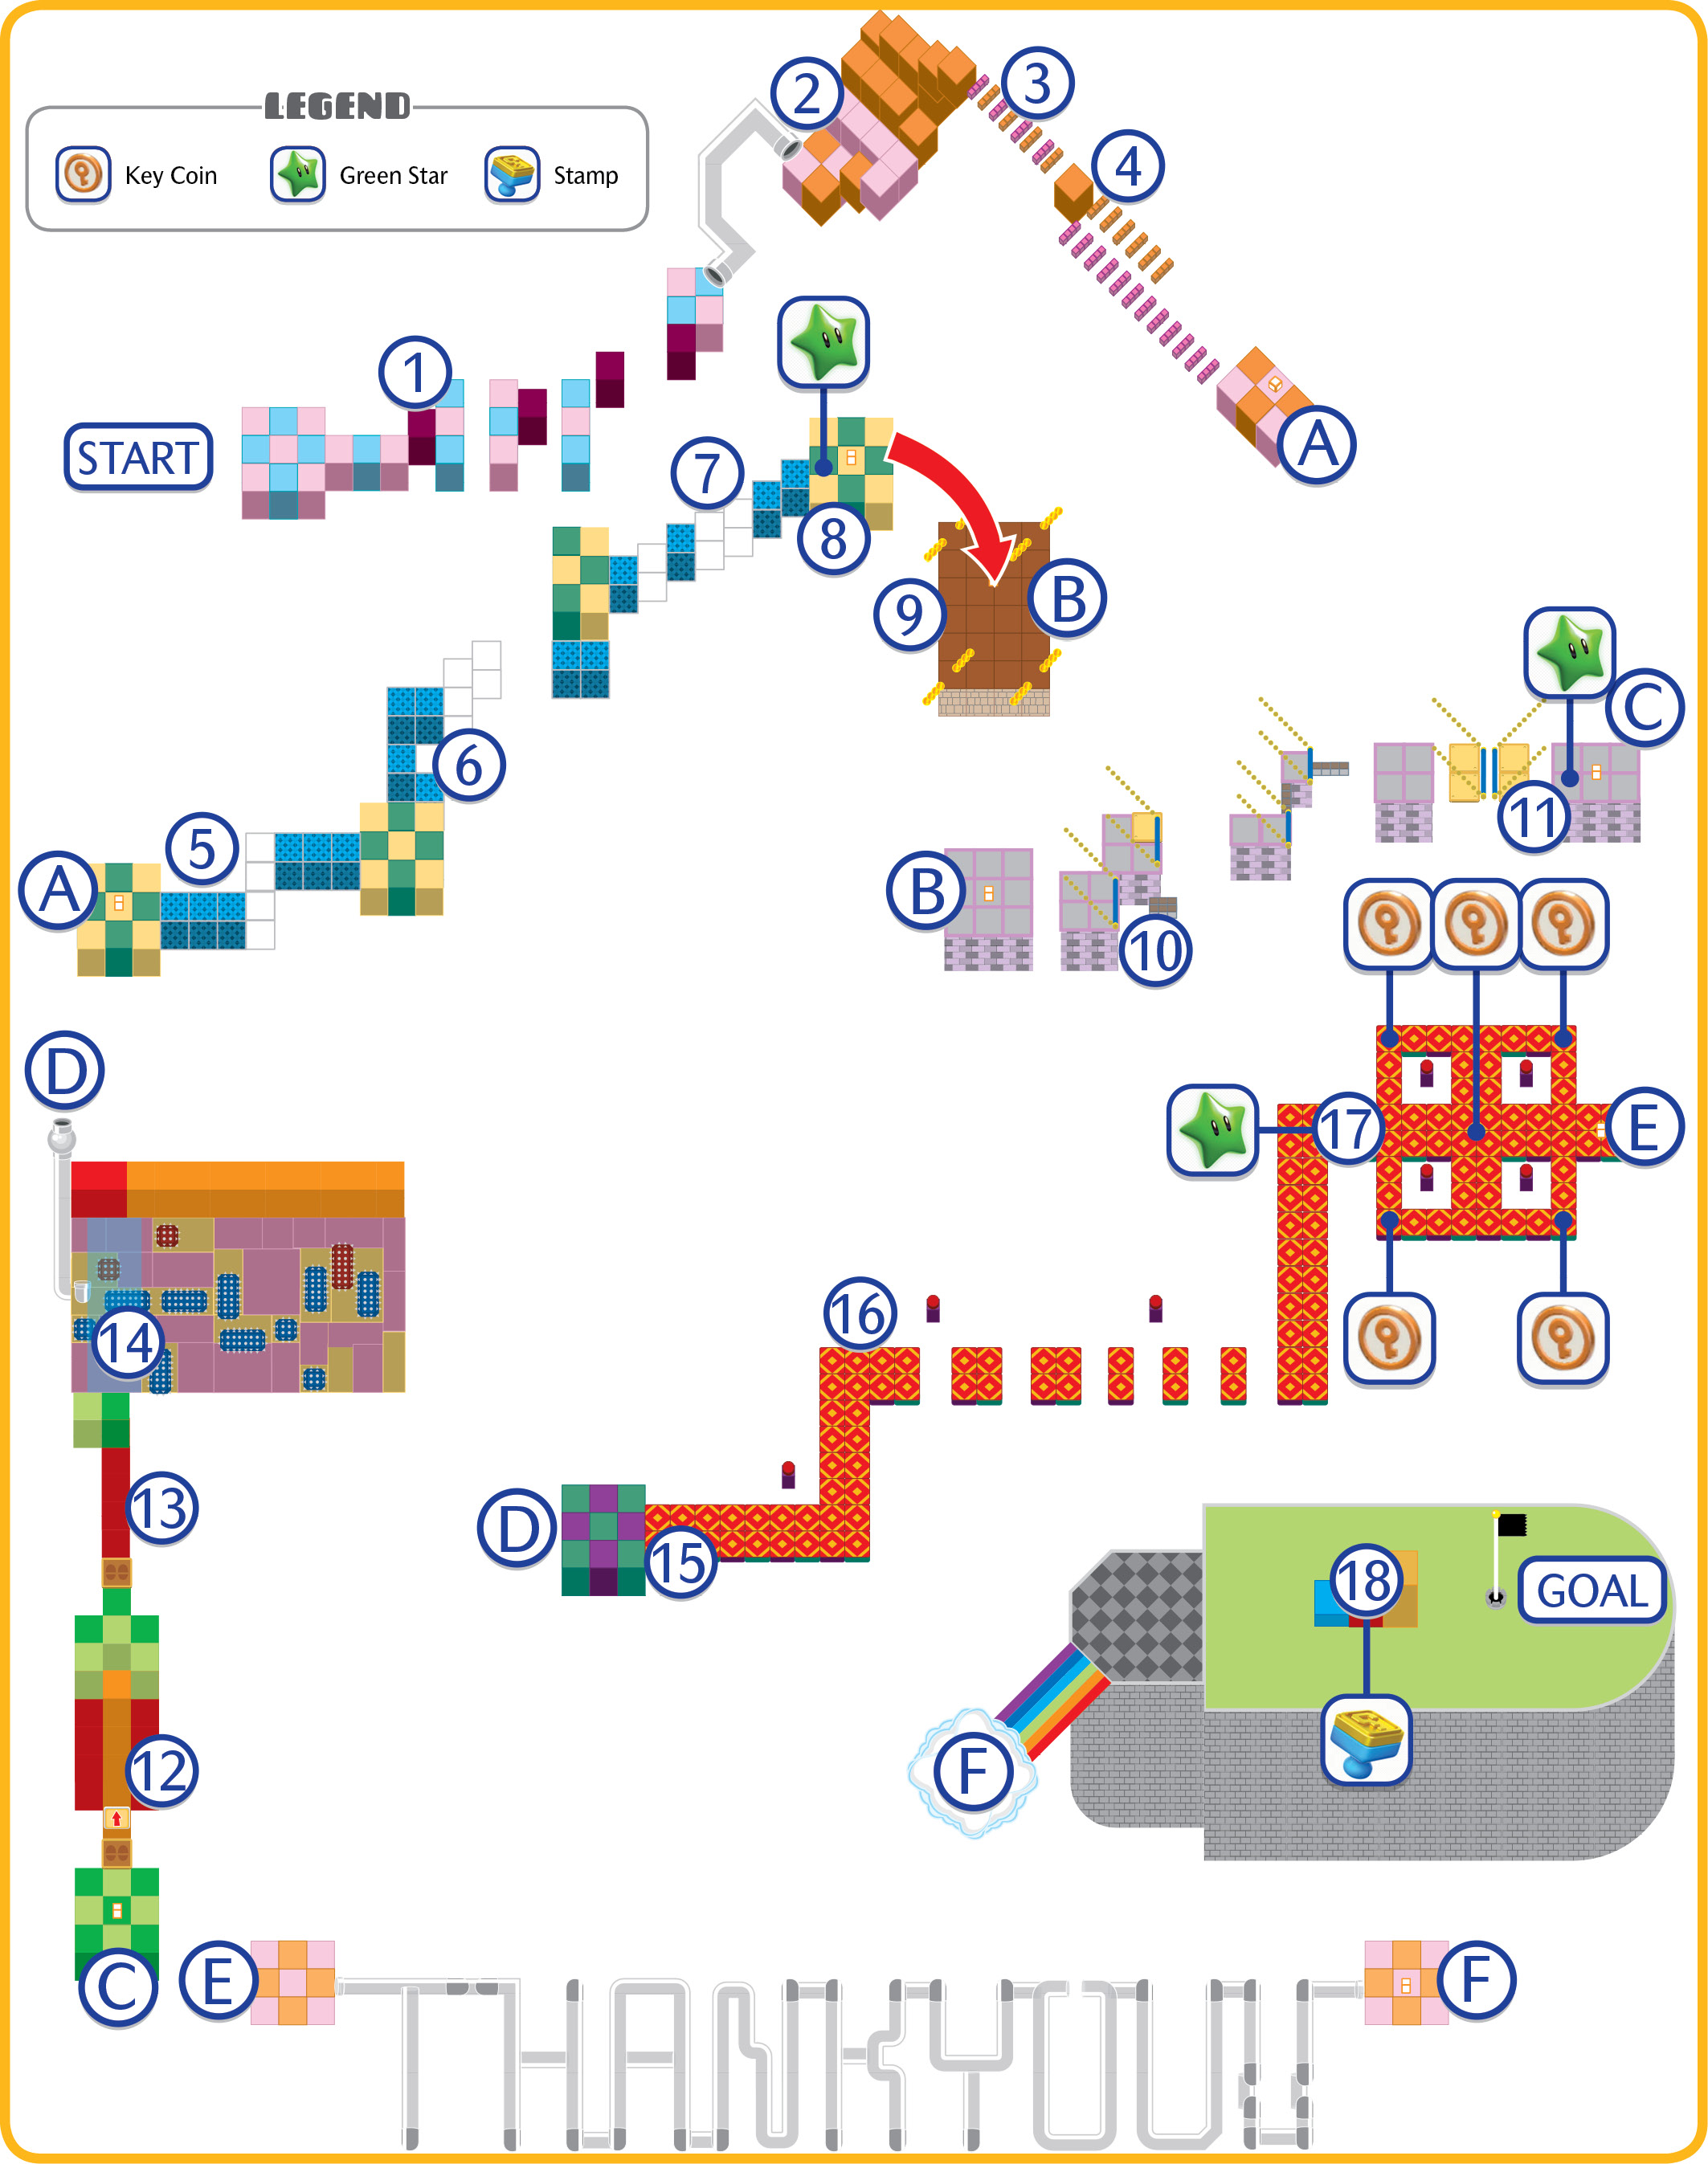
The map for this level does not tell you the full story: this is the hardest level in the game, full stop. Some characters, like Luigi, Peach, and Rosalina, have special advantages to deal with the harder jumps in the level, but even so, it might take you hundreds of attempts to complete this level. You get no Power-Ups to help you if you take a hit, there is no Checkpoint Flag, and you still have to collect three Green Stars and one more Stamp.
We’ll tell you about the hardest parts of this level, but executing the tips here is strictly up to your fingers and reflexes alone. We’d wish you good luck, but this level isn’t about luck, no matter what anyone else might tell you.
Opening Gauntlet
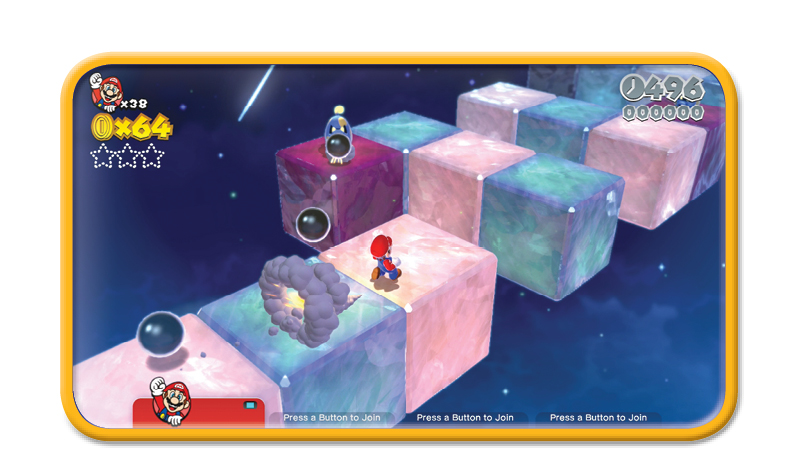
You’ll be seeing this place a lot. Octoombas and moving platform blocks work together to make these early jumps difficult. Mario is the only character who can’t cross the gaps without using the platforms or Octoombas to boost his jump range.
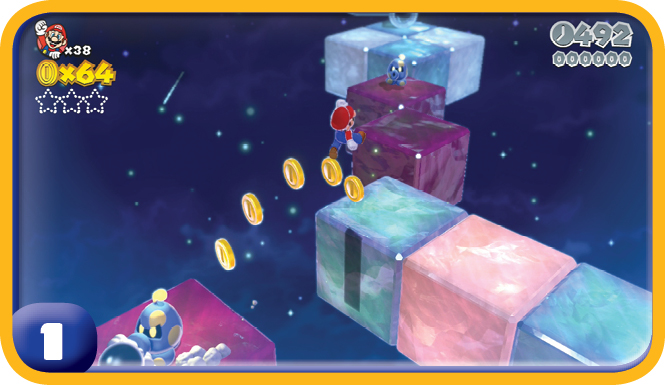
Note that the Clear Pipe that connects this opening area to the next doesn’t necessarily need to be entered. Rather you can jump onto it as a means to clear the gap faster. While Mario and Toad may not make this jump easily, Luigi, Peach, and Rosalina have the hops for it.
Fire Bros. Stairs
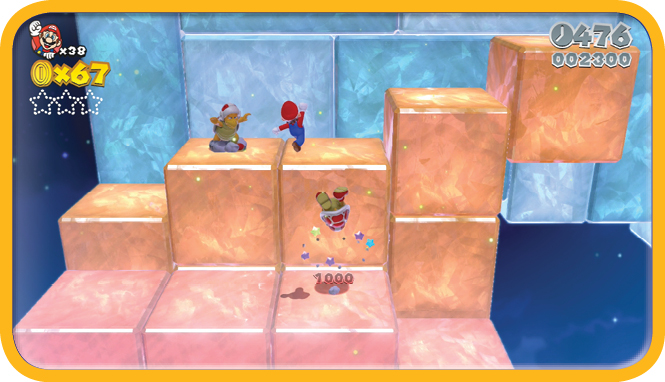
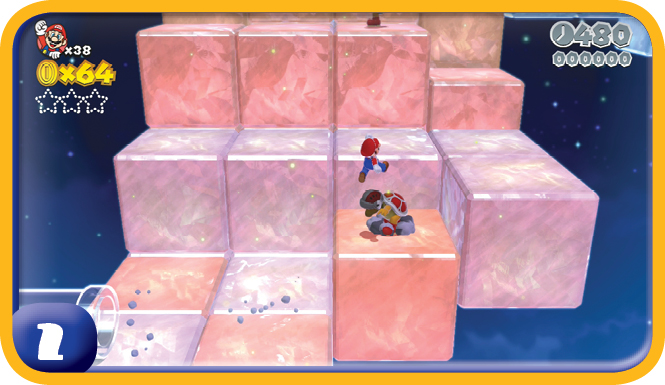
Three Fire Bros. cover these steps leading up to the next section. One trick is to bounce from one Fire Bro to the next, defeating all three while quickly traversing the terrain.
Chargin’ Chuck Get Juked
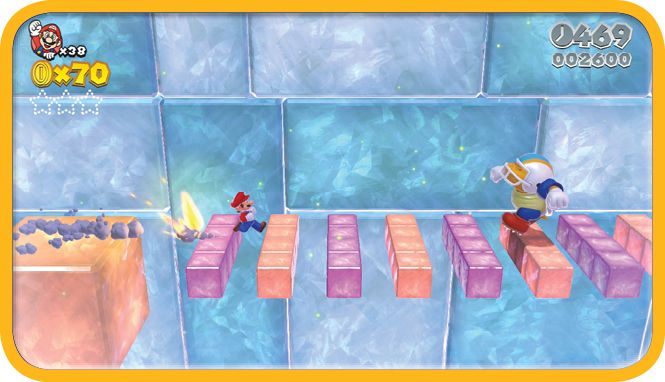
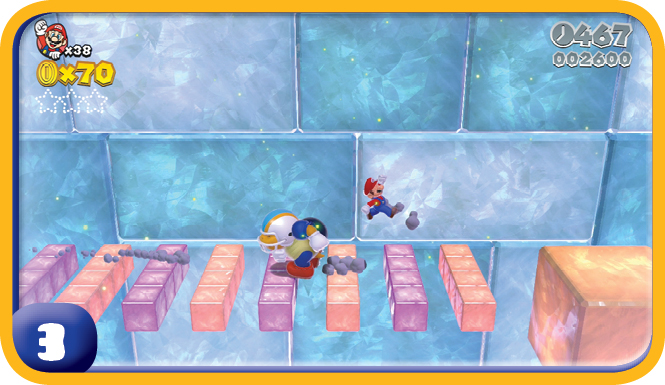
Before you try to jump from narrow platform to narrow platform in this section, build up to a full sprint by running in circles. Then simply dash straight across the small gaps right at the first Chargin’ Chuck. All five characters can do this. So long as you stay moving, even after a jump, your character will skip across the gaps effortlessly.
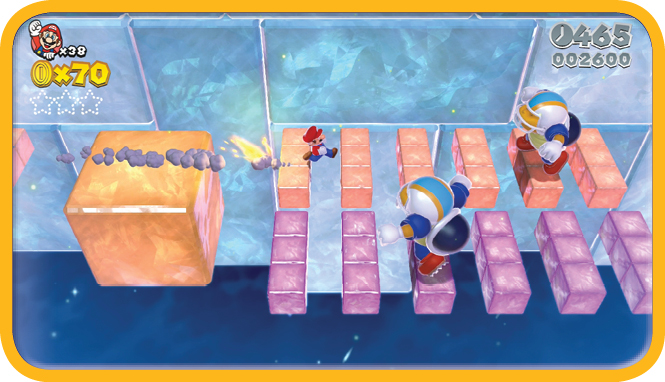
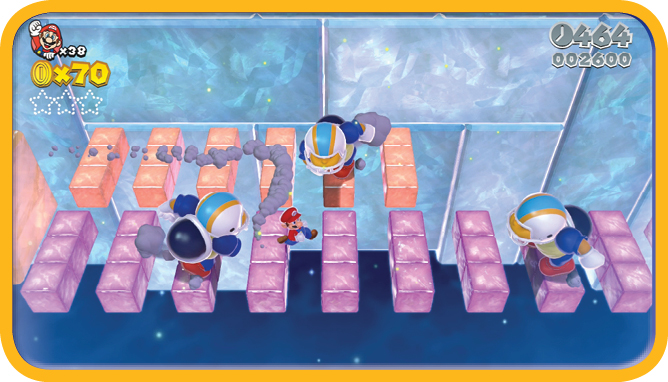
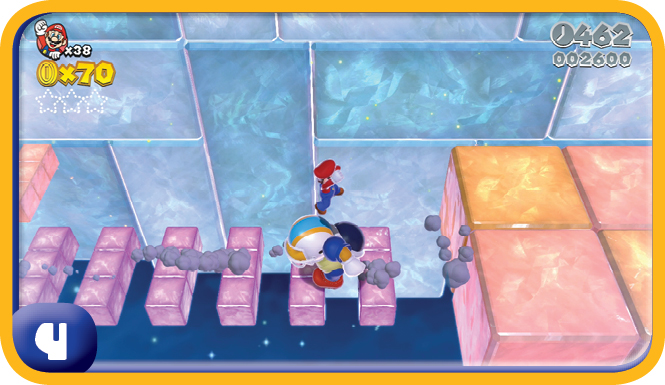
After evading the first Chargin’ Chuck, this section continues with two groups of small platforms to run across, and four more Chargin’ Chucks to evade. Keep running forward toward the Chargin’ Chuck in front of you, then turn down into the next set of platforms, and keep running to the right. Two more Chargin’ Chucks stand between you and the Warp Box to the next section, and they are easily jumped.
The Beep Blocks
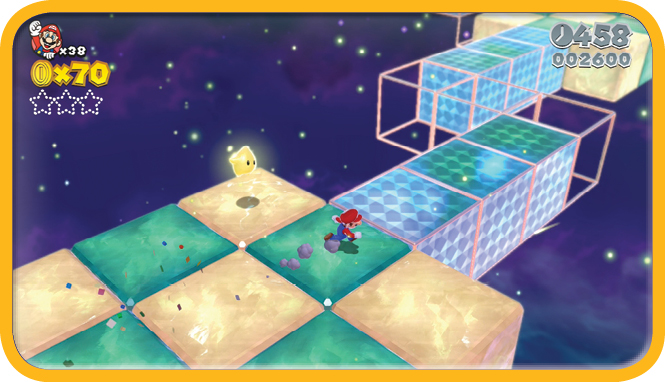
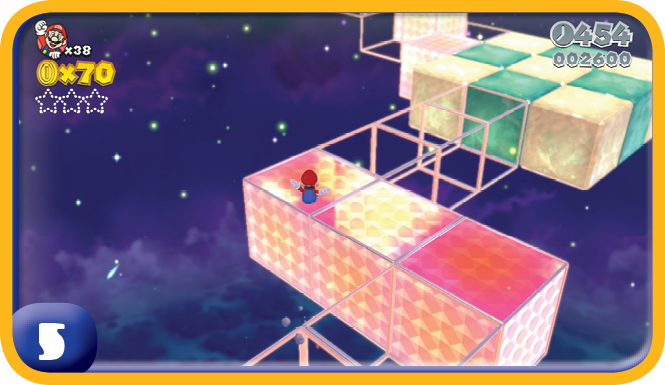
The Beep Blocks here switch every second, meaning you really can’t mistime your jumps throughout this section. Long-jump between the three Beep Block clusters at the start of this area.
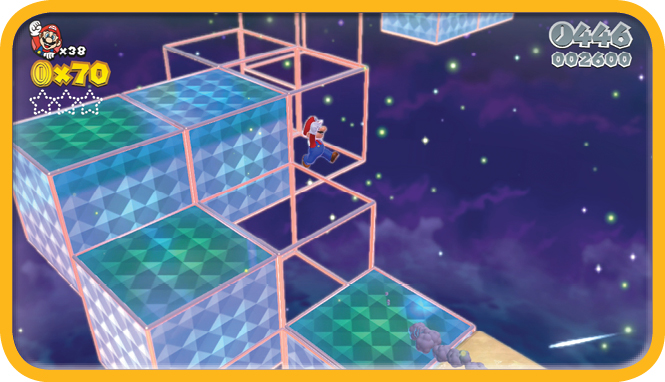
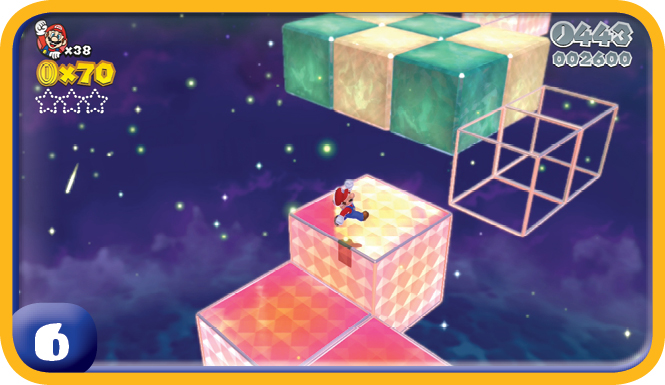
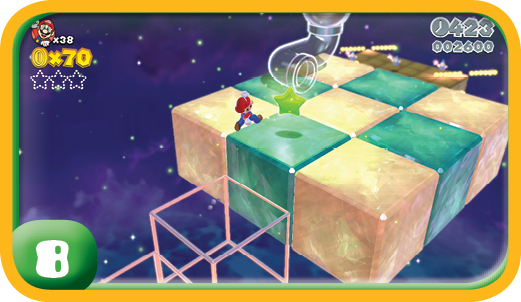
Climbing up this first set of Beep Block stairs is not easy, and you have no safe spot in the middle of your climb to relax. Once you start, you’re not really allowed to stop. The level throws a curve ball at you and expects you to cross a large gap before you can reach a safe platform just before the second Beep Block stairwell. It helps to keep to the Beep Blocks on the right during the first climb, to better position yourself for the long jump you need to perform.
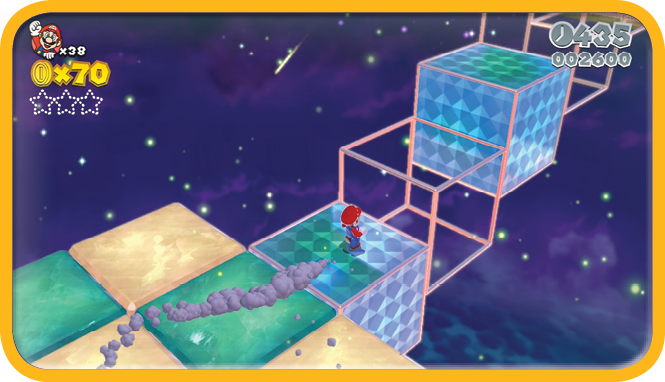
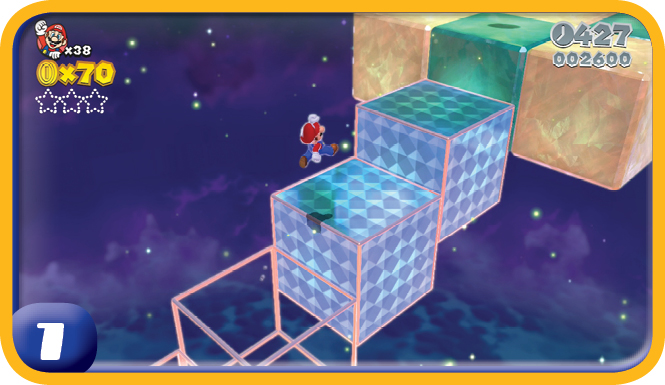
The second stair climb starts off normally, with the block colors alternating every block on the way up. This changes when the last sets of Beep Blocks consist of two of either color before switching, which can throw off your rhythm (though Peach and Rosalina both have the natural abilities to make these climbs a lot easier). You can also use the spin jump to safely stay above the Beep Blocks while they cycle between colors. This can make climbing the stairs much easier if you’re able to execute spin jumps consistently. Don’t be discouraged if this is the part that sends you back to the start repeatedly! At the top of this climb is a Clear Pipe Cannon that launches you into the next section.
Green Star #1
As though it’s a reward for your efforts thus far, the first Green Star is at the top of the second Beep Block climb.
The Magikoopas
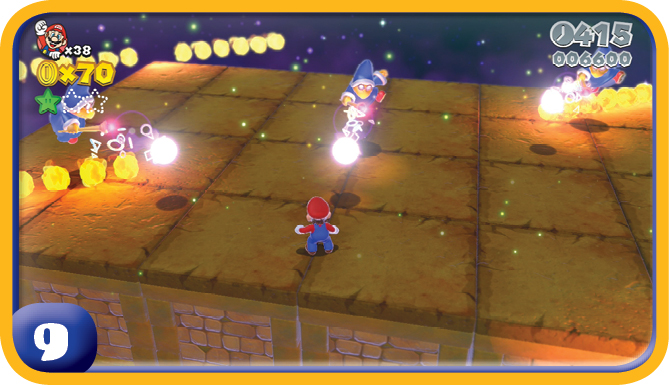
Three Magikoopas ambush you as soon as you land from the Clear Pipe Cannon shot. Jump quickly to avoid getting blasted, as well as to avoid falling into the abyss when your sinking platform disappears. Fortunately these platforms do regenerate. You must defeat all three Magikoopas before a Warp Box appears to move you on to the next section. Watch out for the Fire Bars in the corner of this arena!
Swinging Spiked Rollers, Hungry Piranha Plant
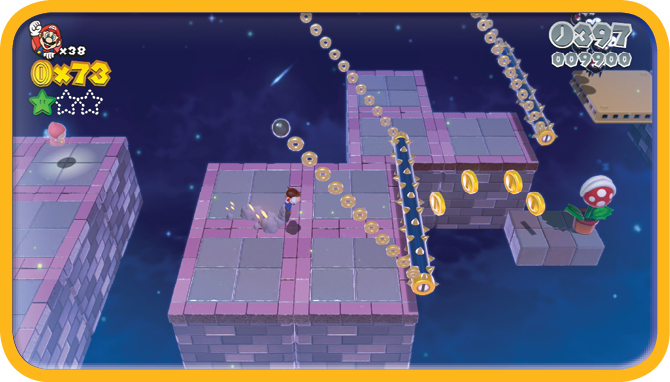
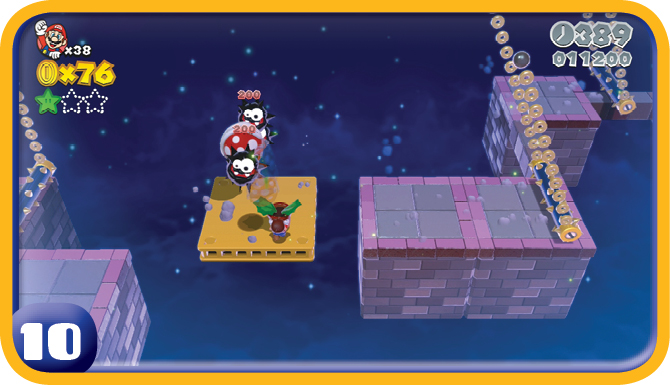
Dangerous spiked rollers swing over the small platforms of this section. On top of that, Fuzzies also patrol parts of the area, further complicating your jumps. It’s very risky to reach, but you can use a Piranha Plant that you find sleeping near the beginning of this area to clear out the Fuzzies, just don’t get so caught up in doing this that you fall off the very narrow pathways, or let a spiked roller hit you.
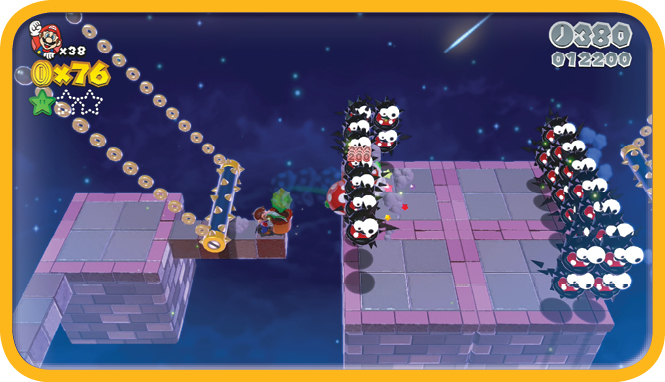
If you clear this square platform entirely of Fuzzies, you get some bonus Coins for your trouble. As fun as the Piranha Plant can be, it’s not required to complete this section, and in fact just trying to pick it up is a significant risk by itself.
Green Star #2
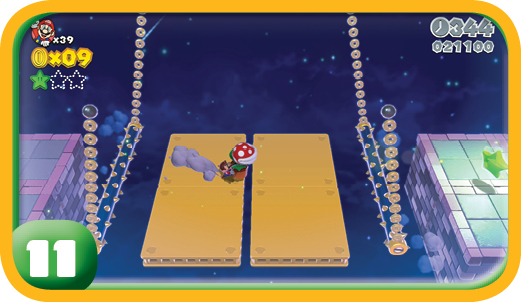
The last jumps across moving platforms lead you directly to the second Green Star and the Warp Box to the next part of the level.
Wall Jumps, Trooper Jumps, Piranha Creeper Jumps
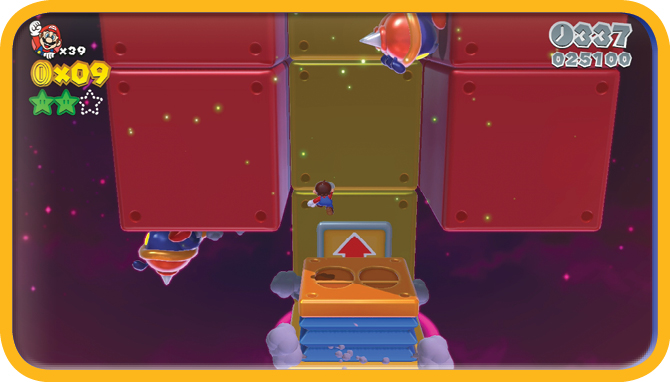
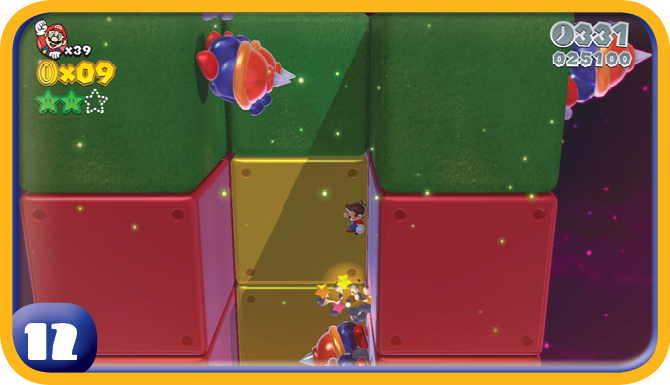
Using the Jump Panel, launch up the narrow passage, and use a combination of wall jumps and bouncing off the rears of Horned Ant Troopers to make it to the top of this section.
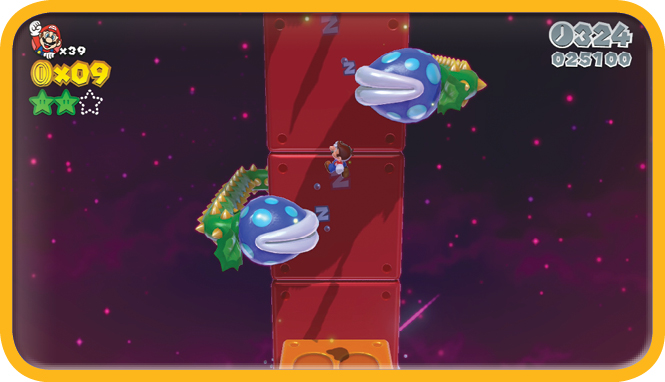
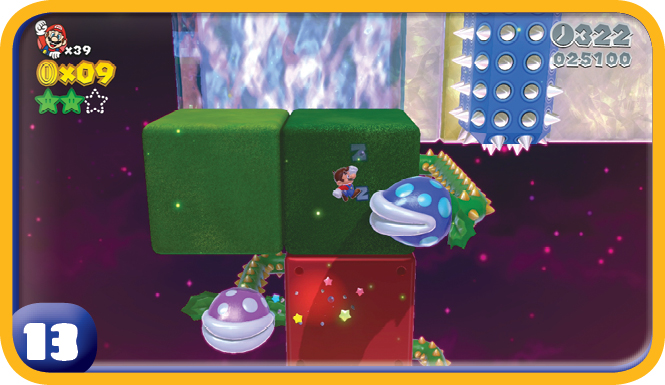
A second climbing sequence requires you to use Piranha Creepers as springboards to reach the next area. Just hold down the jump button and steer your character accordingly to make it. Slow characters, like Peach and Rosalina, or anyone who is small may have to use wall jumps to scale this wall.
A Pleasant Swim
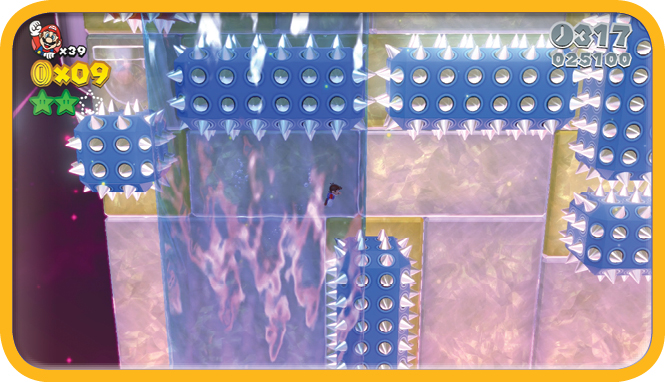
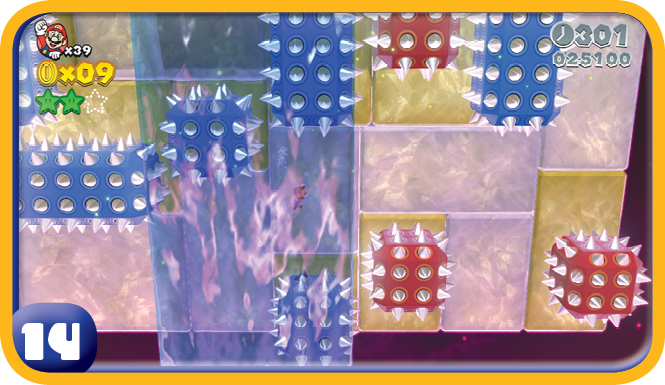
Next, you must swim inside a moving water cube, avoiding all of the Spike Blocks that are in your path until the cube reaches the far right side of the wall. Some of the Spike Blocks are also moving, which can complicate things.
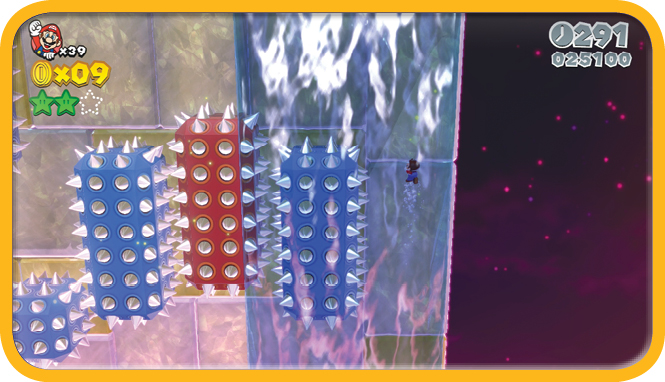
When the water cube reaches the right side of the wall, you should be swimming as fast as you can up the narrow passage to the upper half of the section, before the cube starts its return trip and sends you into the Spike Block or falling to your doom.
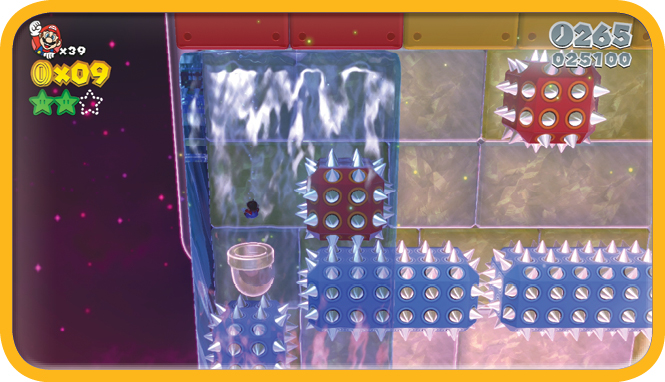
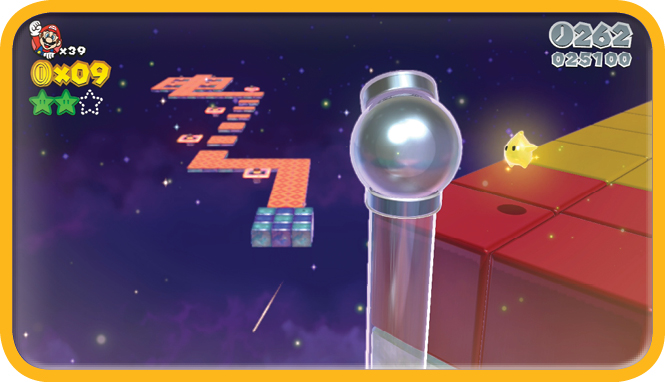
Your destination is a Clear Pipe that sends you to a cannon aimed at the last challenge of the level, protected by one last Spike Block. You can clear the Spike Block faster by using the ground pound to dive right into the Clear Pipe. Behold! You now bear witness to the place where most Champion’s Road runs come to an abrupt end.
Dash Panels, Burners, and Key Coins
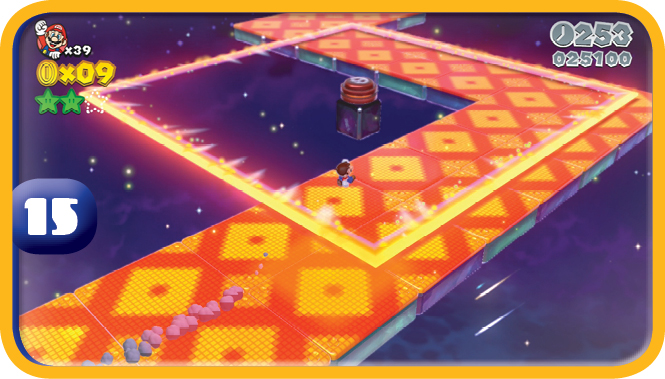
It’s not end of the level, but you can almost see it from here. The entire track is made of nothing but Dash Panels. To make matters worse, Ring Burners line the whole racetrack, and their dangerous rings can force you to make wild jumps and course corrections at the worst times.
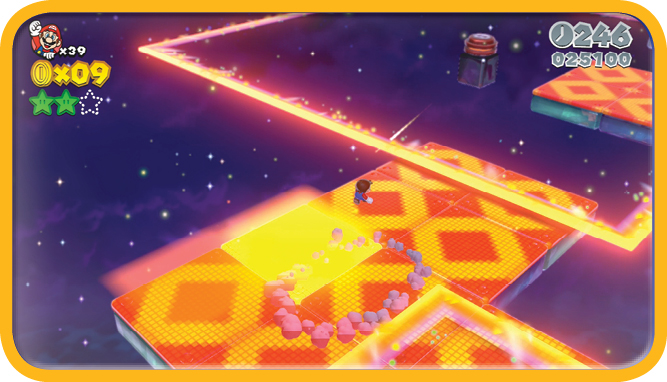
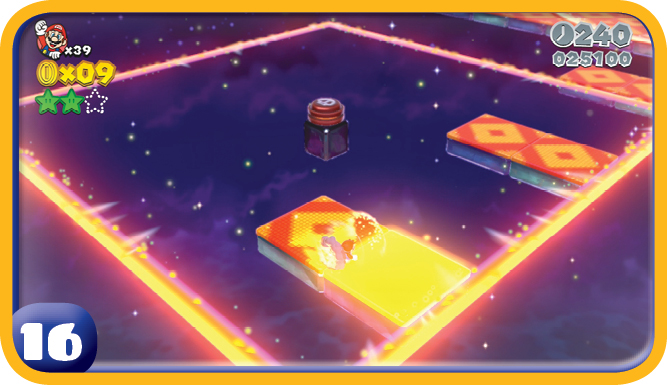
When you get to the section of track that breaks up, we recommend running in a circle at this corner until you see that the Ring Burner shock waves do not appear to be in the way of the platform you are jumping to. The first two platforms are square and easy to land on. The next three, however, are only half the size, and by now another shock from the Ring Burners is inbound. Do not make sudden course corrections in midair at this point; if you do, you’re more likely to fling yourself into the abyss.
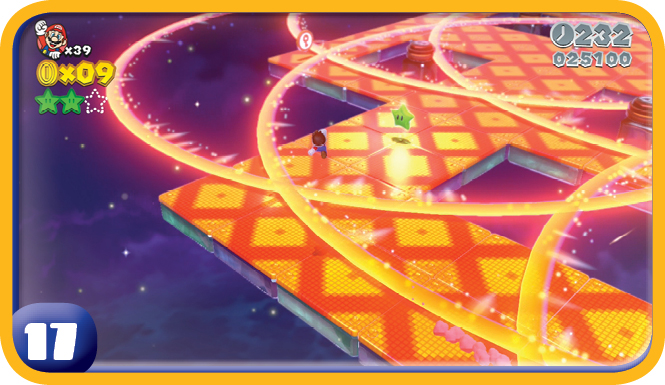
Survive the jump gauntlet, and you’ll run down a wide section of track, and eventually turn into a large square area that has four Ring Burners mounted near the corners. On the edges of this area are four of five Key Coins you need, with the fifth in the center.
Green Star #3
The last Green Star can be seen just as you enter the final section of the Dash Panel speedway.
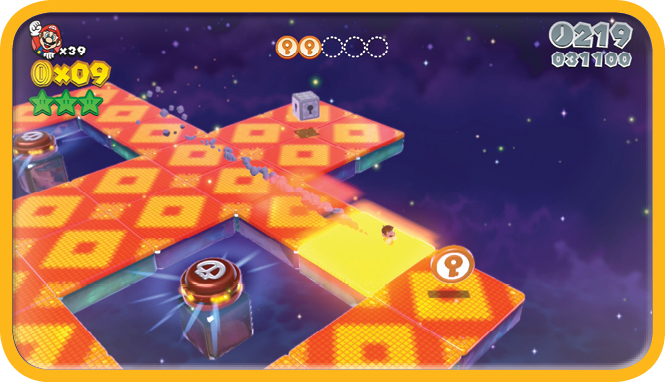
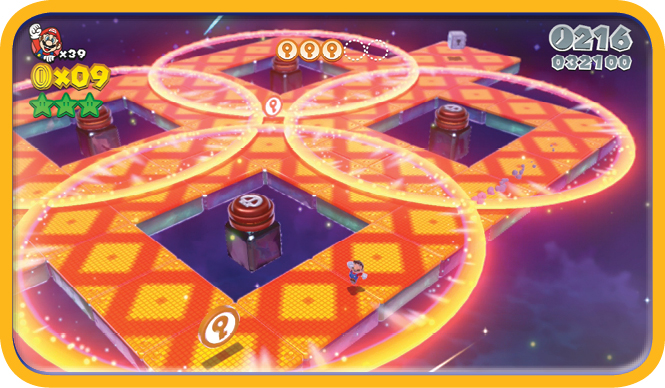
We recommend starting with the two Key Coins on the far left side of the square. If you’ve timed things right, you should be able to grab the Coins before the Ring Burners make the side path too dangerous to use.
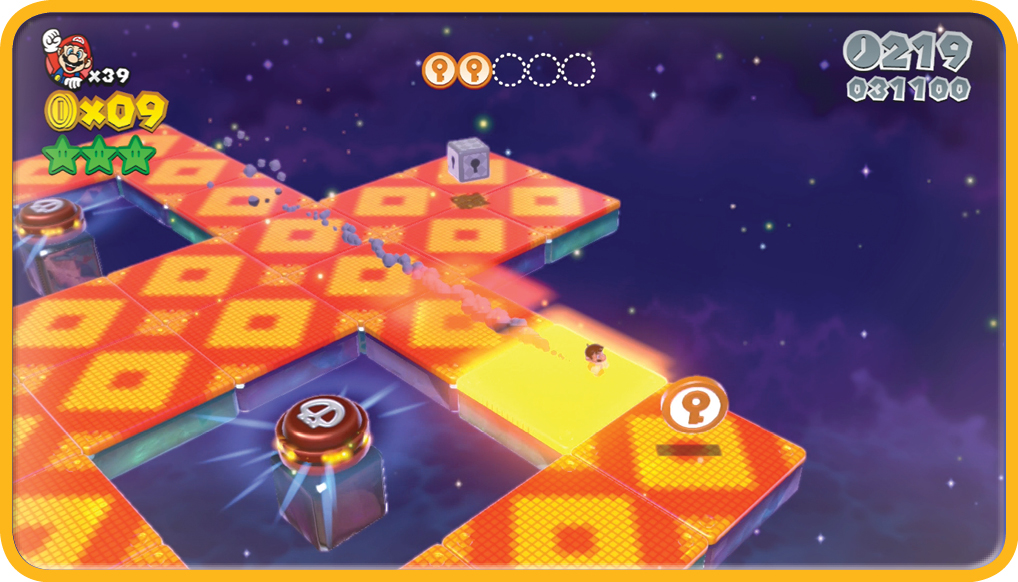
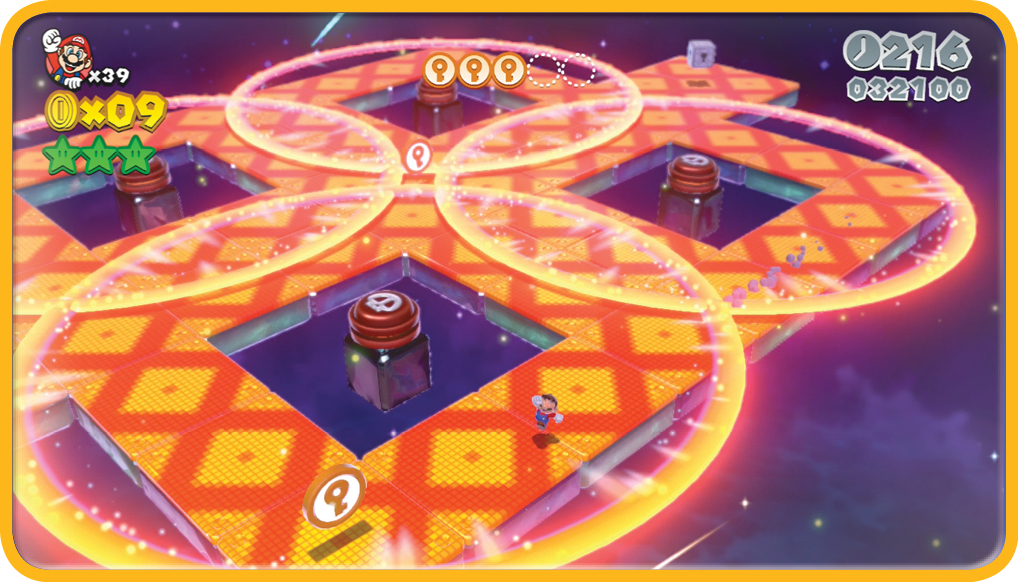
Next, go for the Key Coins on the right side of the square. Be careful, however, as Ring Burners positioned outside the square can still hit you with their shock waves. If you anticipate problems, you can hook back toward the relative safety of the center area. Rosalina, Peach, and Luigi can make this section much easier thanks to their jumping styles.
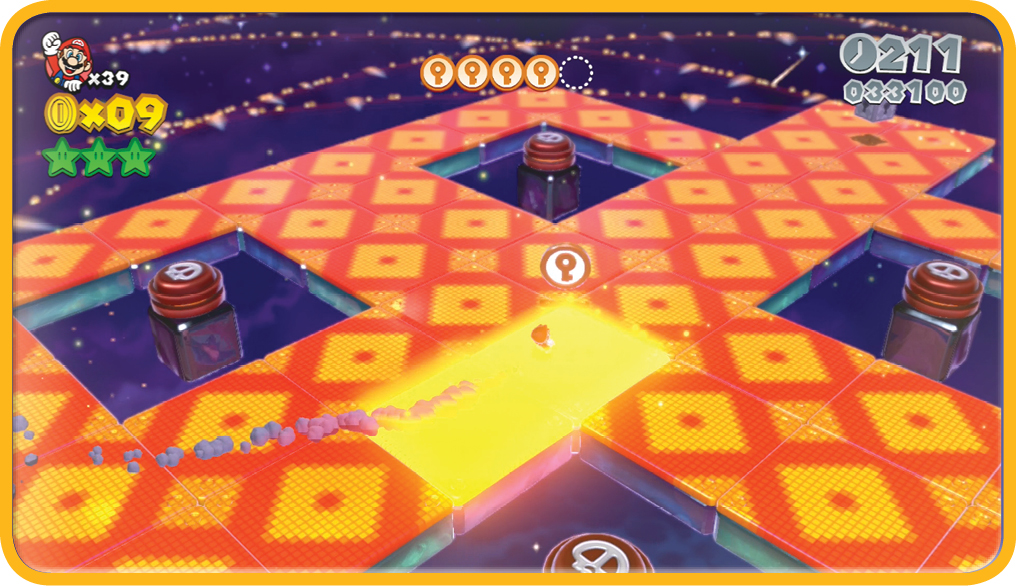
With the Key Coins on the outskirts collected, loop back around and run down the center of the square to collect the final Key Coin, and then aim straight for the unlocked Warp Box. Once you get to the other side, pause the game, and celebrate in the manner you feel is best. The hard part is over.
The End
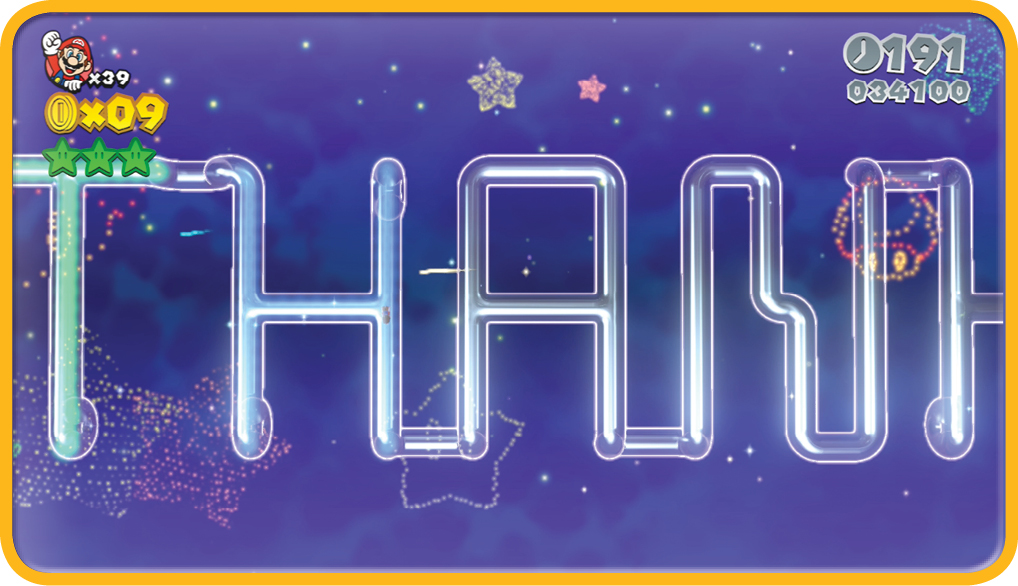
You have earned this. Get inside the Clear Pipe and enjoy the message from the game makers. Then enter the Warp Box at the end of the ride. In the area surrounding the Goal Pole, everyone you’ve helped and been helped by during the adventure is there to celebrate your victory.
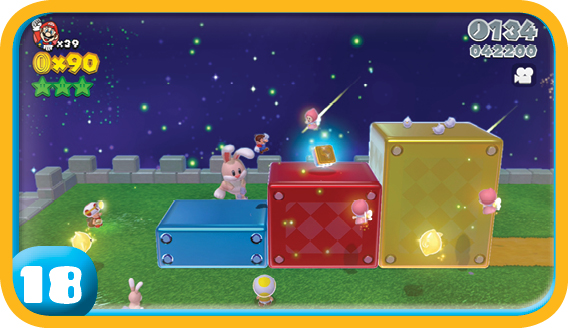
Stamp
The Stamp is on the steps leading up toward the Goal Pole.
Champion’s Road is now your road. Congratulations! Now go run this level with three friends along for the ride.