
Super Mario 3D World Guide Walkthrough World Mushroom
World Mushroom-7: Broken Blue Bully Belt
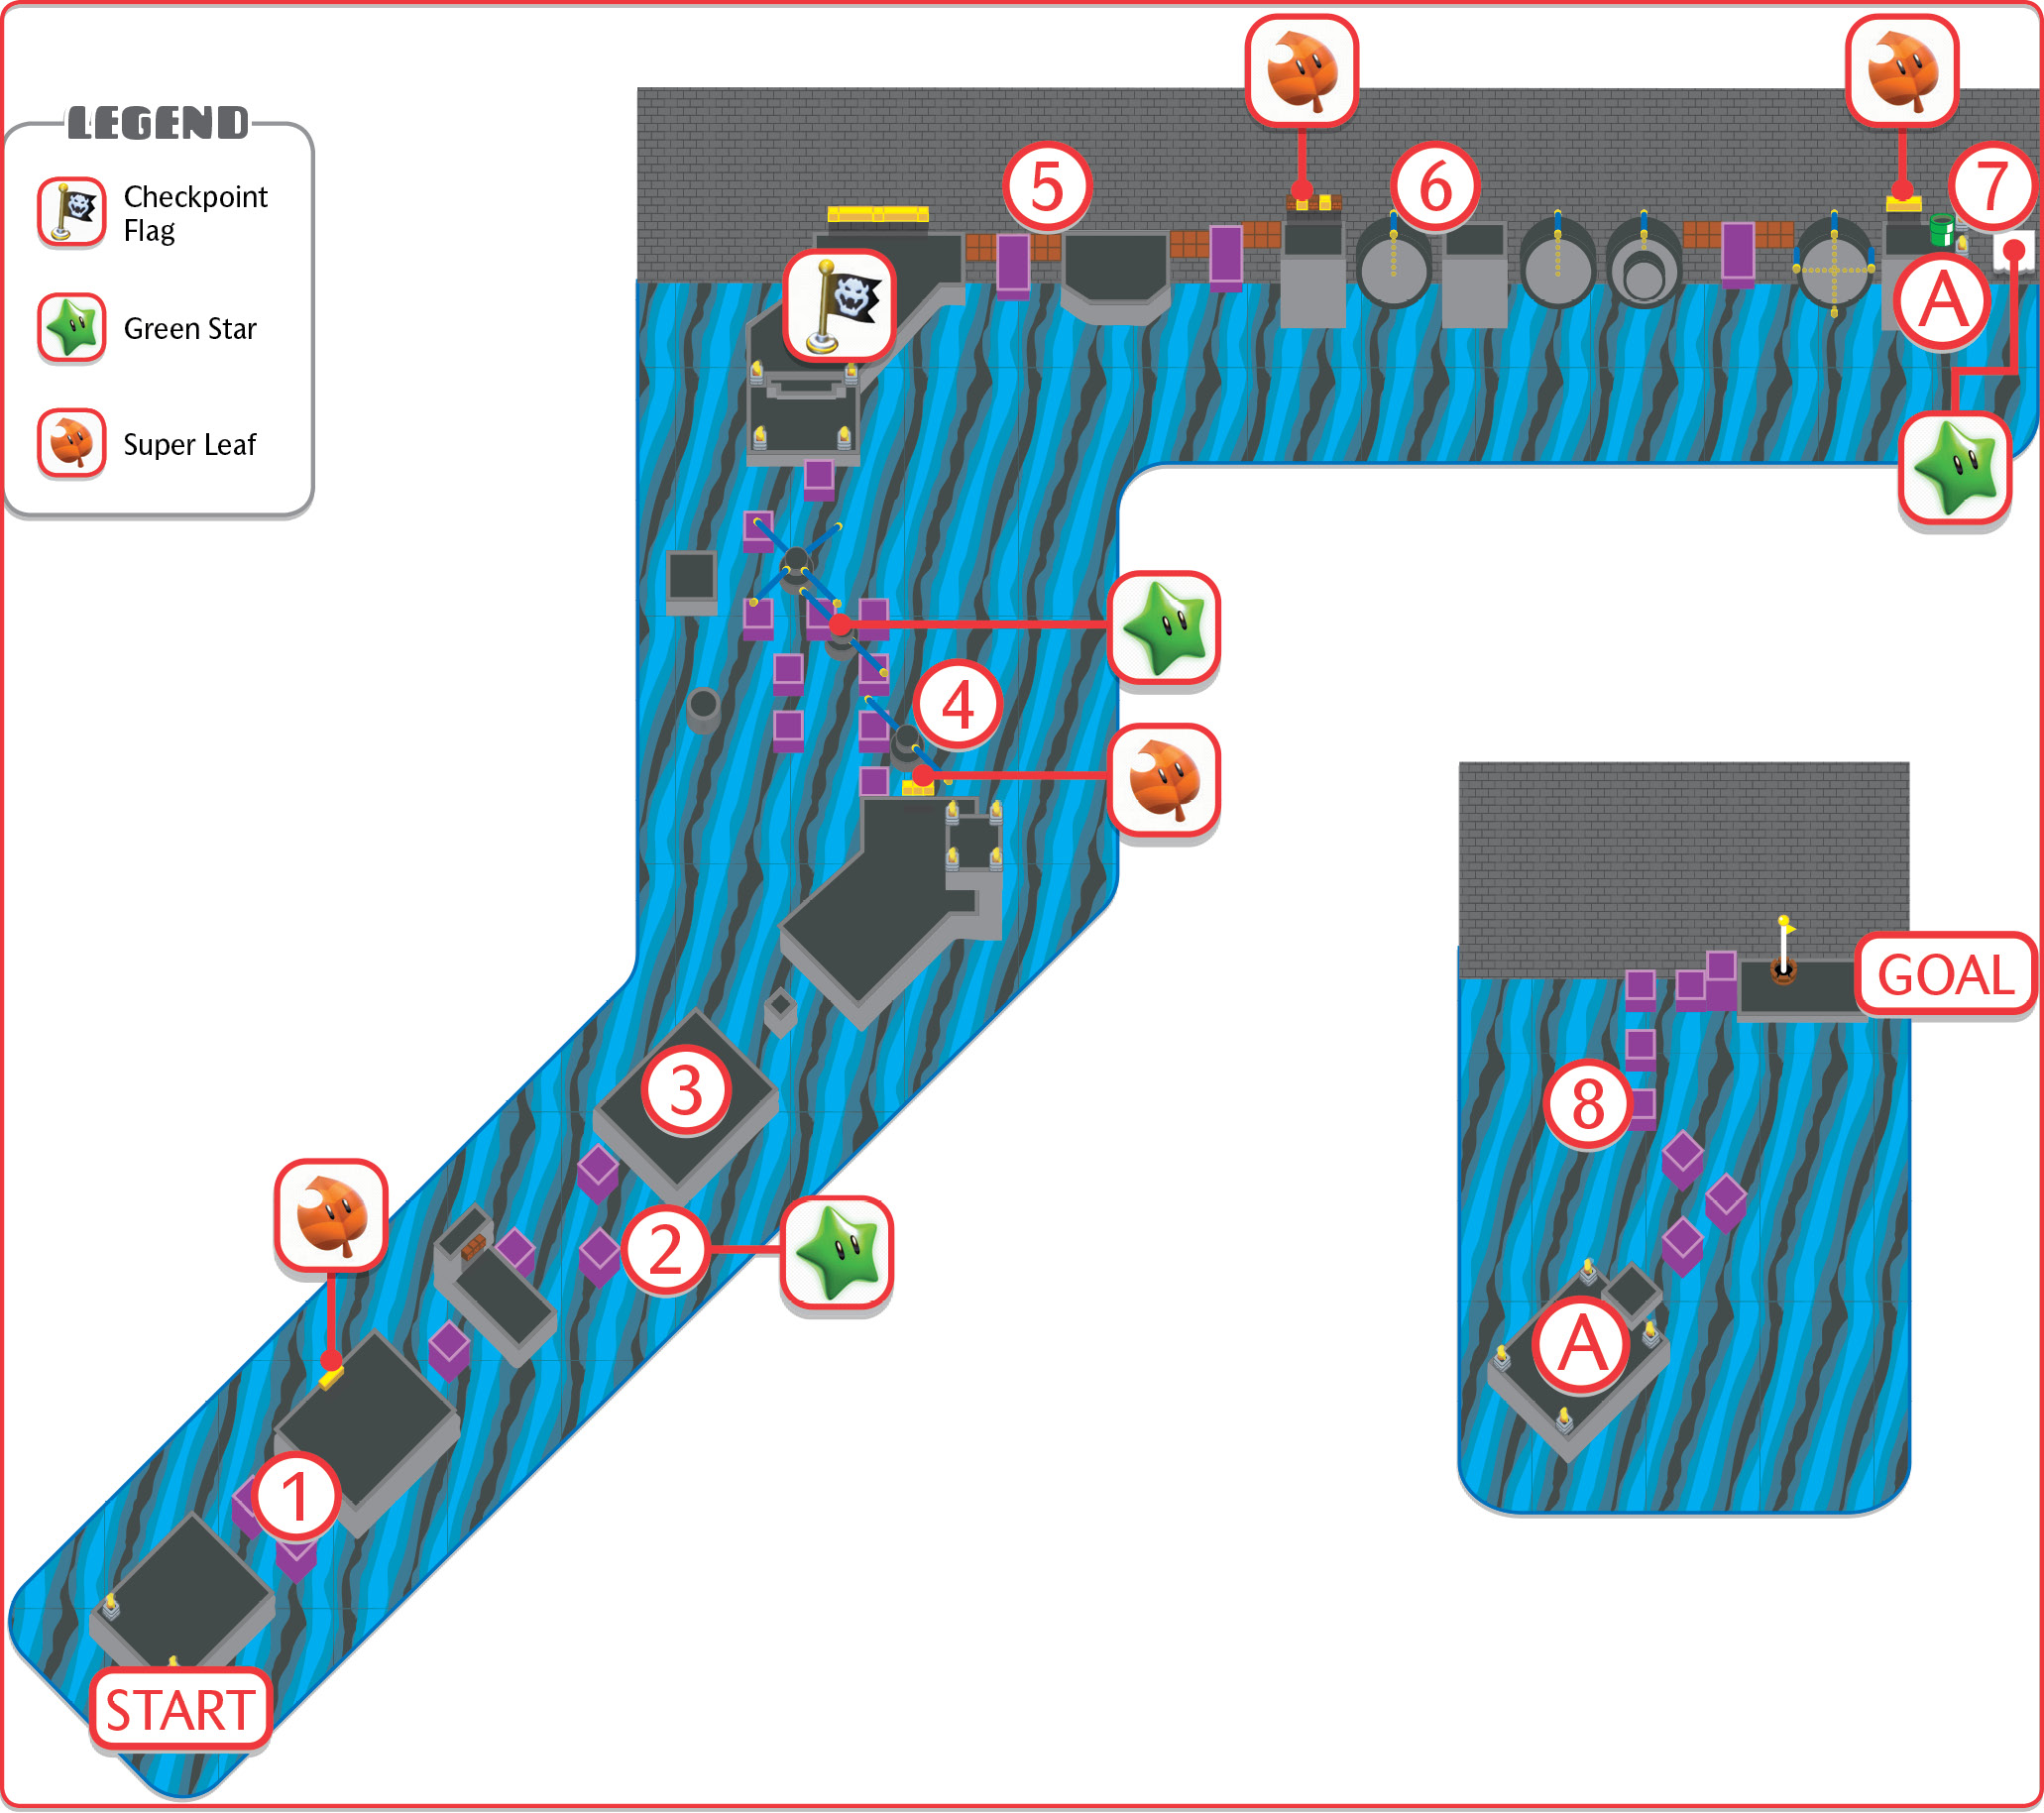
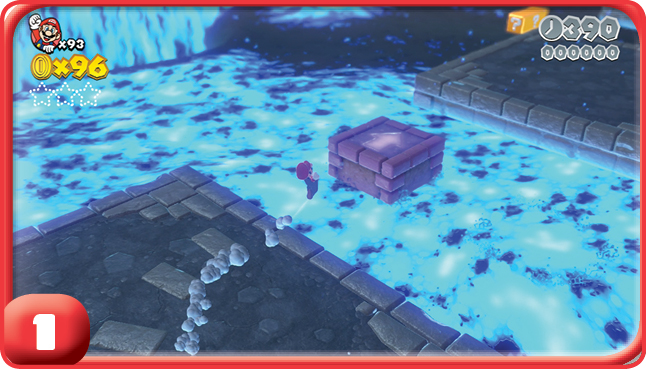
The first thing you should notice about this remixed level is that the platforms rising from the blue lava are somewhat sparse compared to the original version of this level. Well-timed and well-aimed jumps and long jumps are the name of the game here!
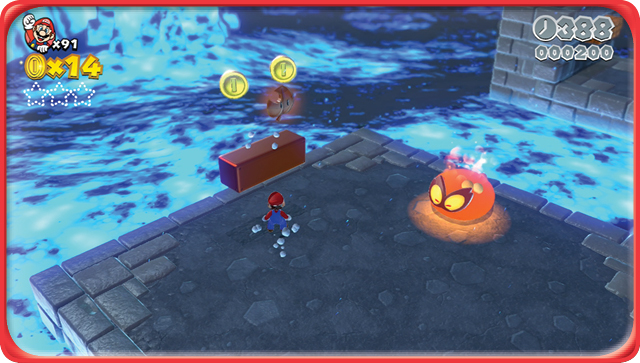
Fortunately, you can pick up a Super Leaf early on. Be careful not to lose it to the nearby Splorch. It’s much too useful to go without.
Green Star #1
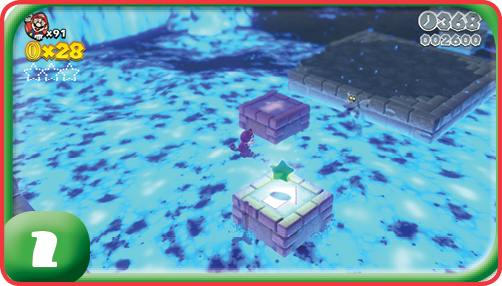
The first Green Star is encountered almost immediately, but actually getting it takes some patience. Study the order in which the platforms rise and fall from the blue lava, then make your jump to the platform under the star just as it rises out of the blue lava.
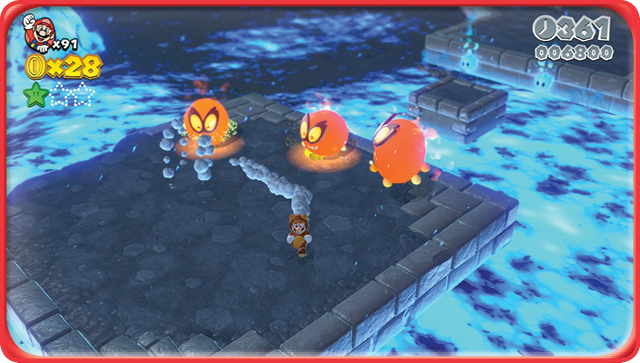
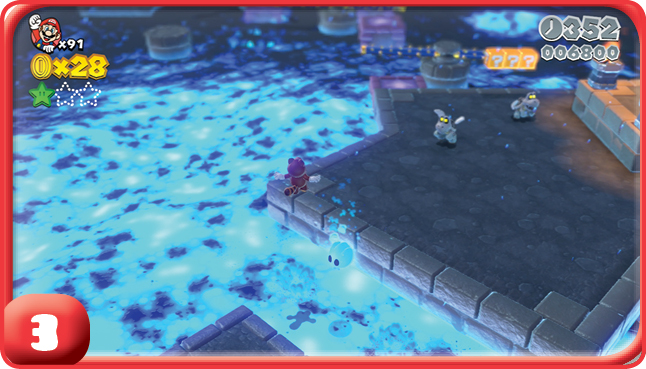
Three Splorches leap onto this platform, which can be very problematic. Get around them and across the next blue lava flow to reach another safe zone, this one guarded by Parabones.
Green Star #2
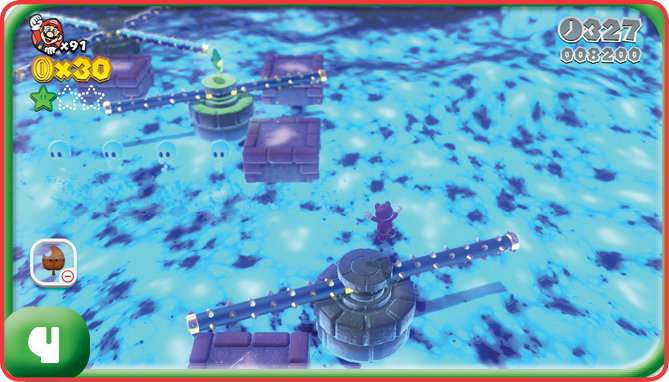
This Green Star is trickier to reach thanks to how few platforms there are to work with. It’s best to stand at the center of the first spiked roller obstacle before making the dangerous crossing over to the second, where the star awaits.
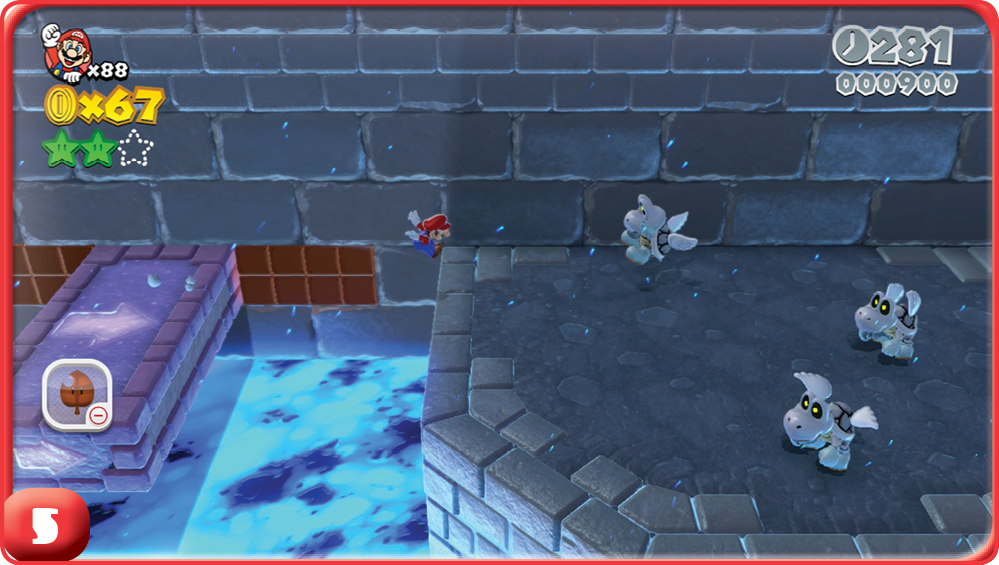
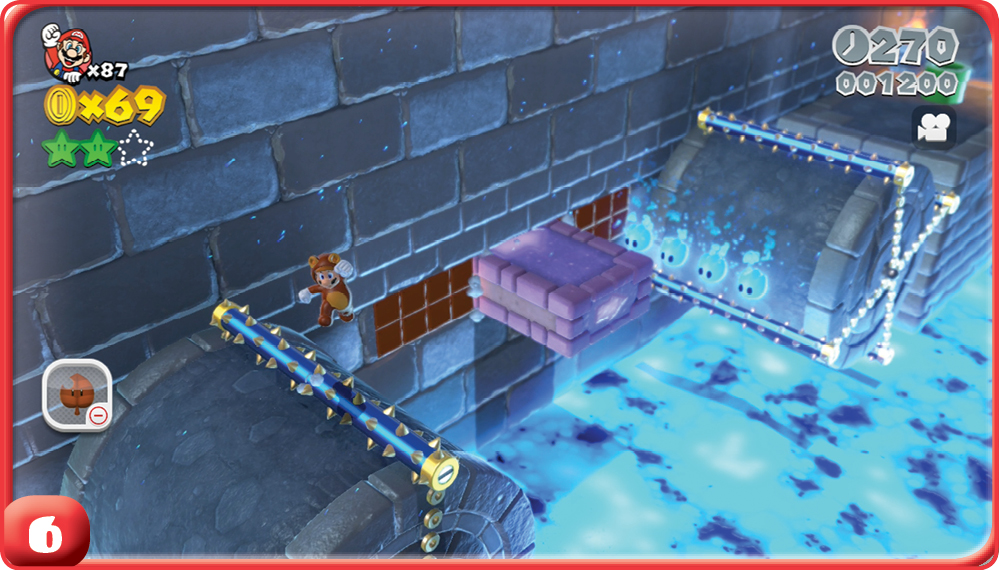
This final stretch can be taxing without the power of a Super Leaf. Fortunately one can be found along the way, just after breaking past a trio of Parabones. The difficulty takes another step upward when you reach the spiked roller platforms, but that also means you’re getting close to the end.
Green Star #3
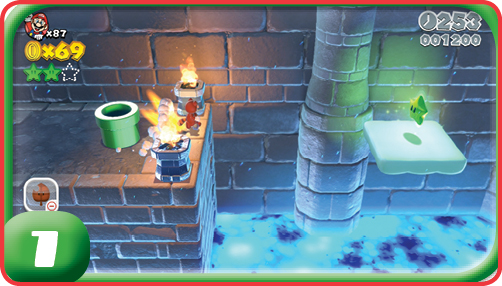
With the Tanooki Power-Up, run past the pipe, and jump over the blue lava to reach the third Green Star’s platform.
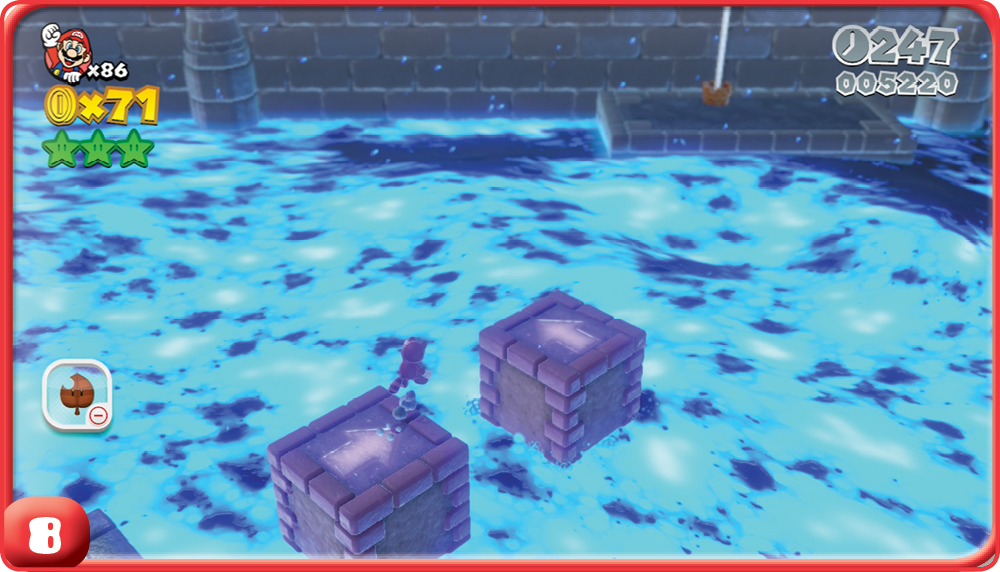
Crossing the blue lava to reach the Goal Pole must be done quickly. In addition to there being fewer platforms to work with, they also sink back into the blue lava after a short amount of time. If you’re slow, you might find yourself falling onto blue lava as opposed to a safe ledge!