Super Mario 3D World Guide Walkthrough World Star
World Star-2: Super Galaxy
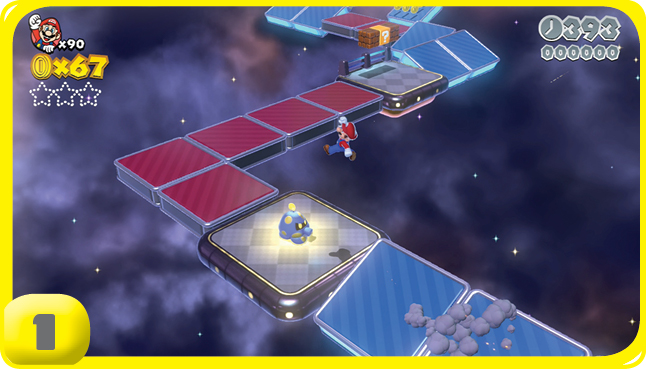
This level has sets of red and blue platforms that rotate, dumping any player standing on them into the abyss. First one set rotates, then the other, as soon as the first completes a rotation. On top of this, Octoombas are scattered throughout the level, shooting cannonballs at you.
Green Star #1
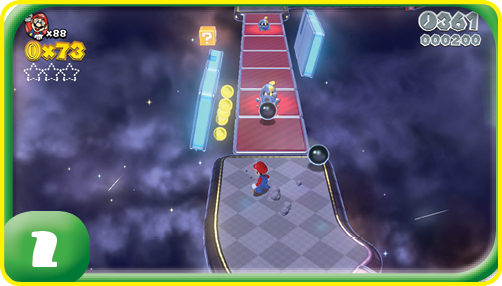
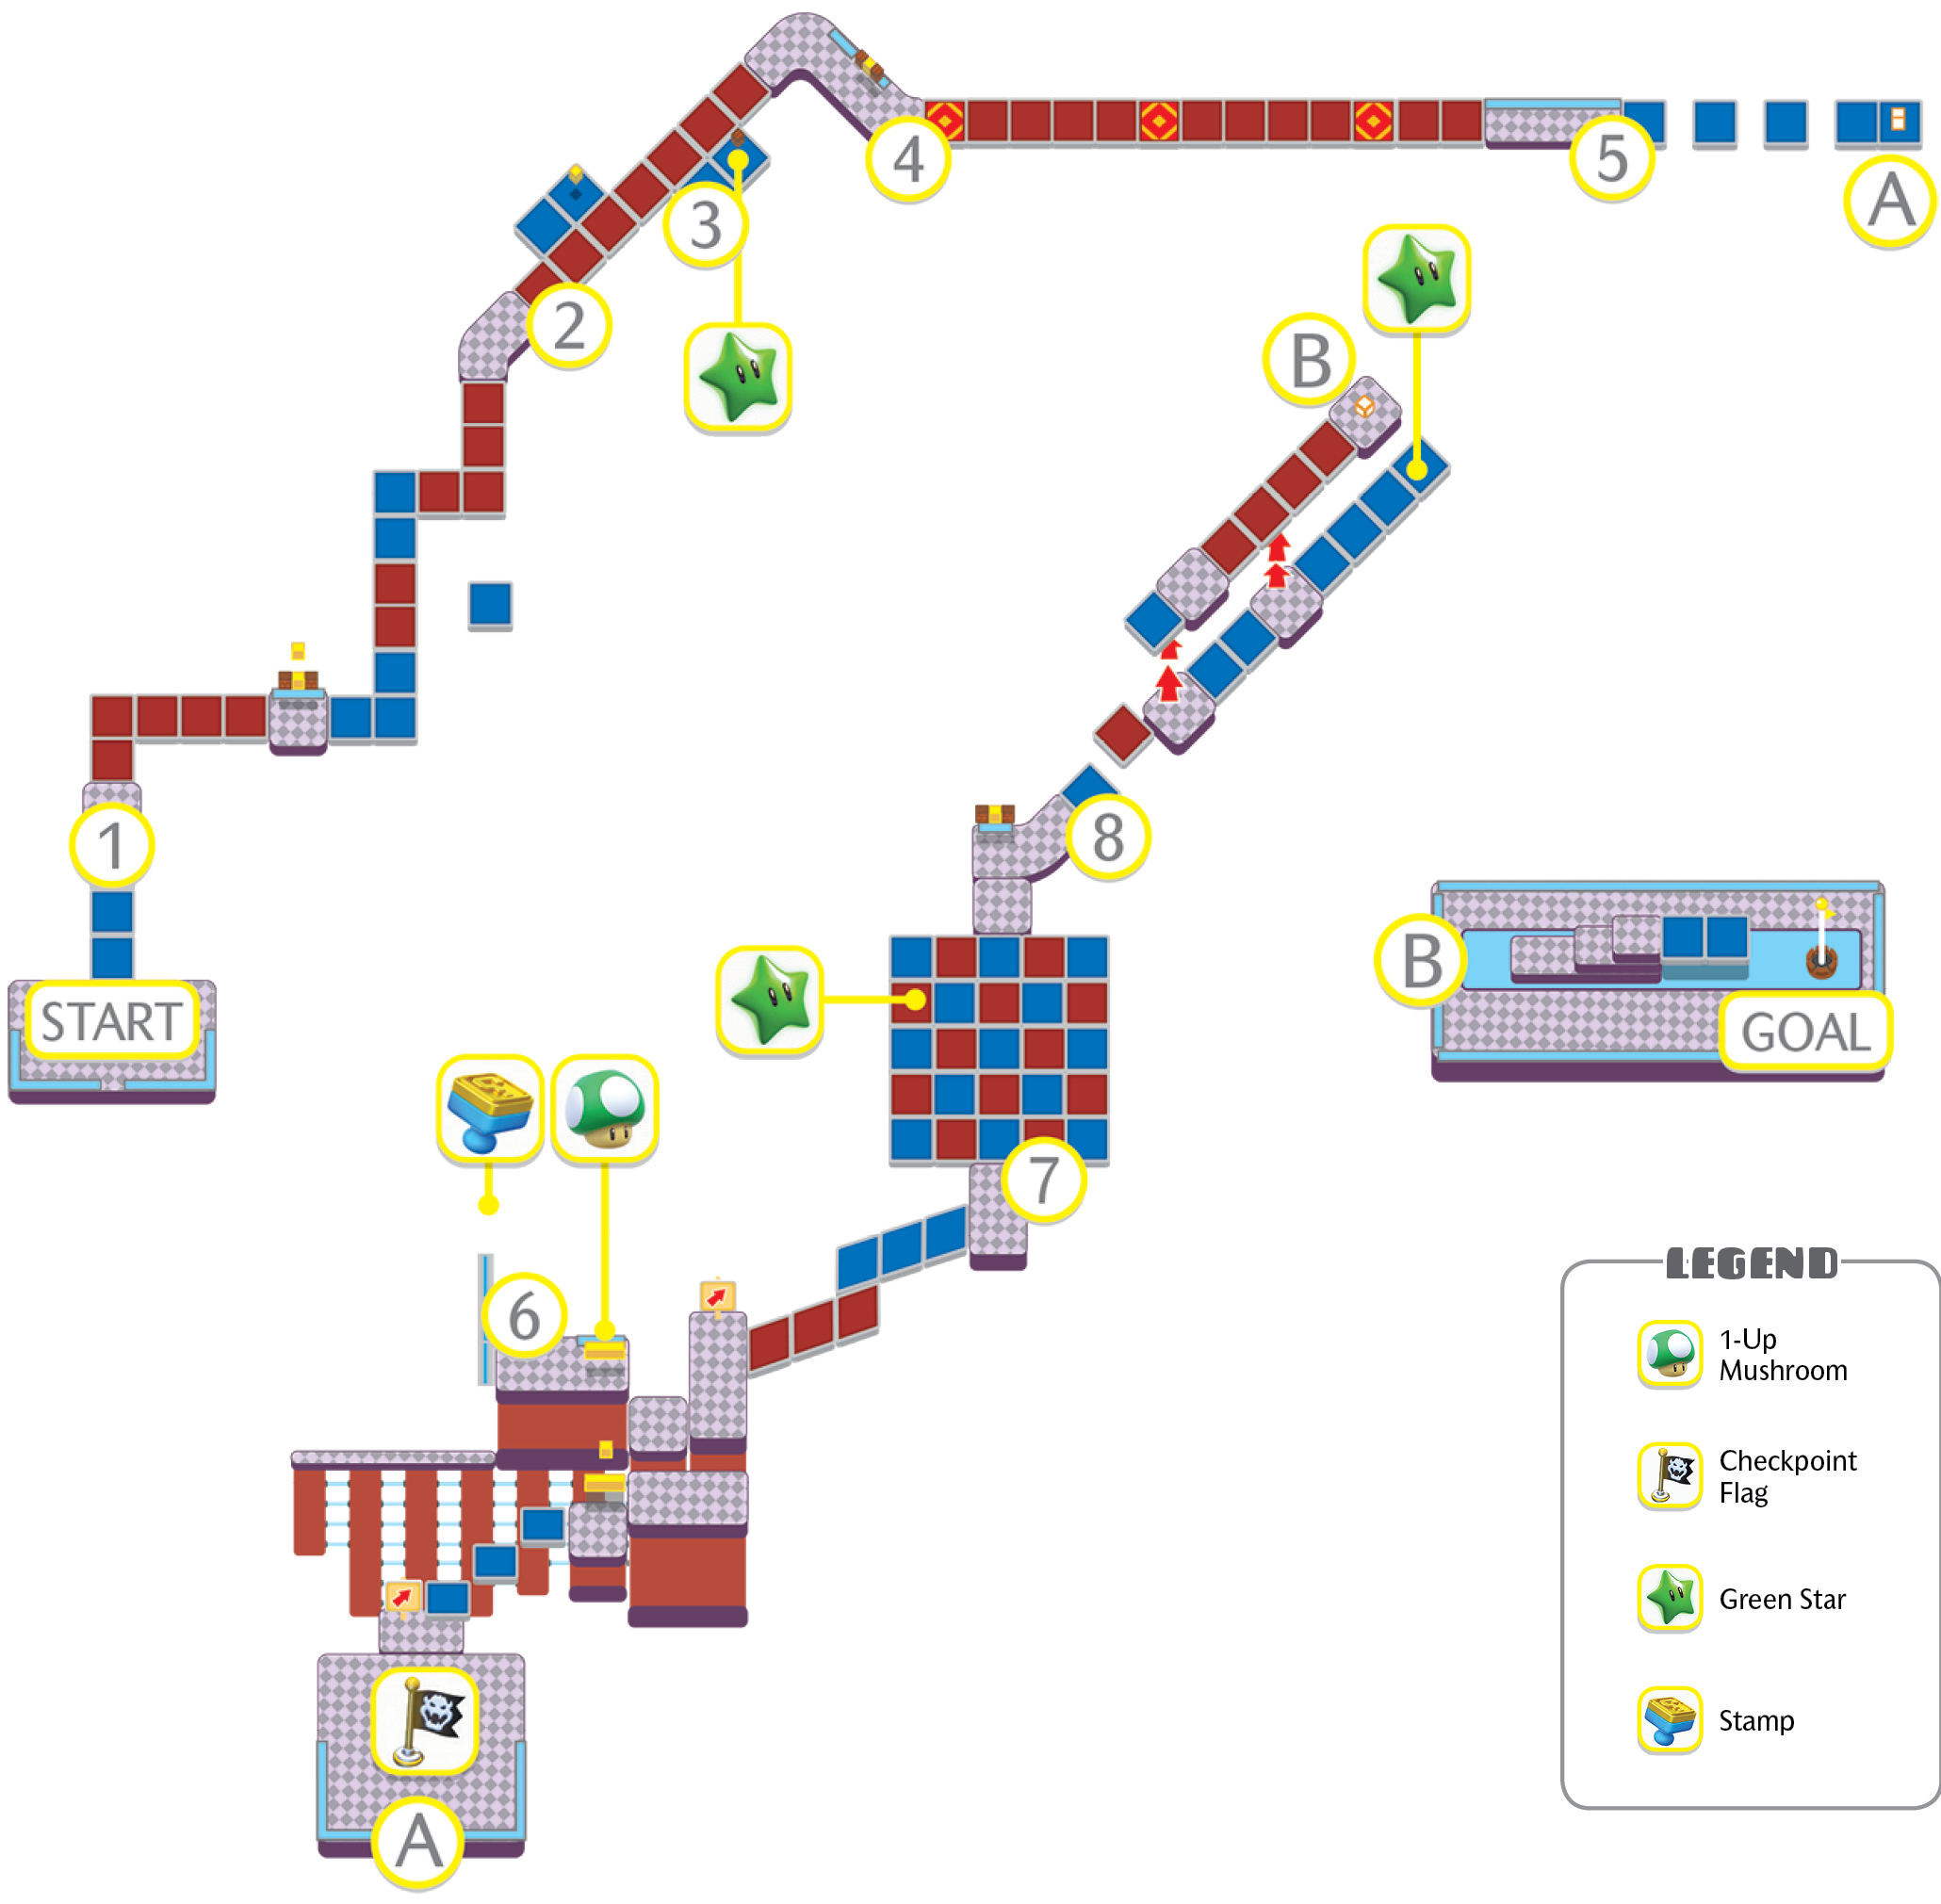
You reach a long stretch of rotating red platforms guarded by several Octoombas. To the left and the right of this bridge are blue platforms.
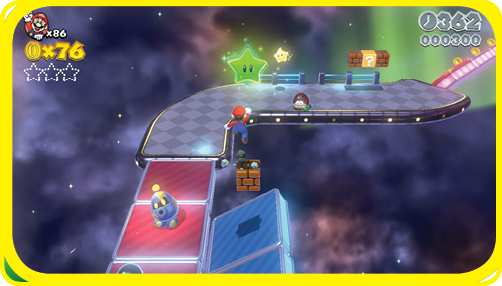
The platform on the right has a block you can stand on to reach the first Green Star. Octoombas can destroy this block and prevent you from getting the star, so watch out.
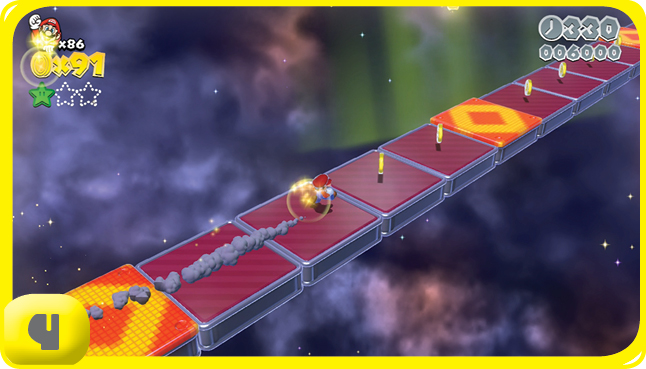
This long rotating red bridge has Dash Panels mounted to it. If you can’t make clever jumps with the Tanooki Power-Up, the Dash Panels are the safest and fastest way across.
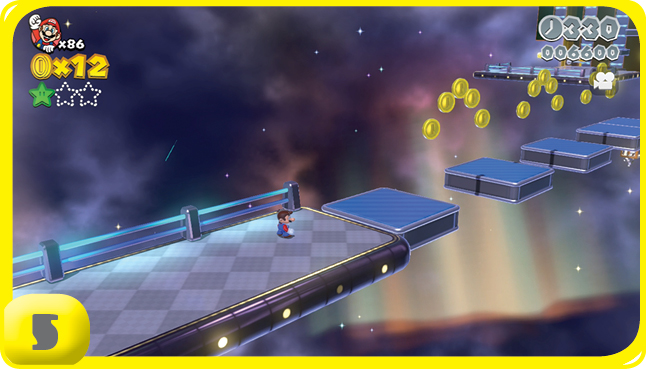
This next set of blue platforms provides a different problem. You have to cross the gaps between them while accounting for the fact that they will rotate. The last set of platforms contains a Warp Box that transports you to relative safety and the Checkpoint Flag.
Stamp
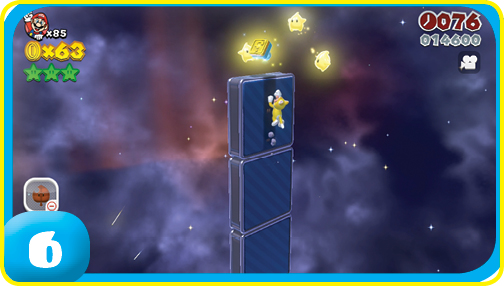
To the left of a trio of Octoombas is a ledge next to a vertical wall made entirely of blue rotating platforms. You must somehow scale that wall to reach the Stamp. Characters like Peach or Luigi have a distinct advantage with the Tanooki Power-Up, and can time their wall jumps to eventually reach the Stamp. It is easier to have a Super Bell ready just for this item.
Green Star #2
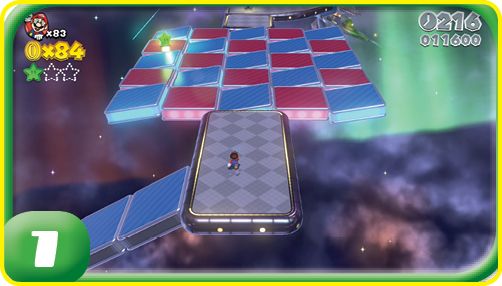
Beyond the bridges to the right of the Octoombas is a checkerboard made of red and blue platforms. You can easily see the second Green Star sitting atop a red platform on the left side of the board.
Green Star #3
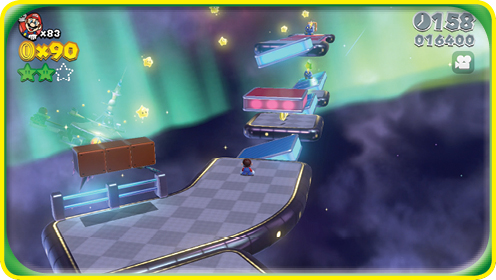
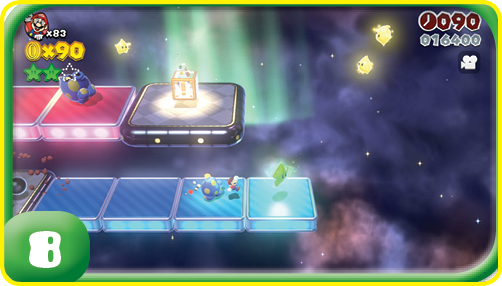
The approach to the final Green Star is across two levels of rotating platforms, both guarded by Octoombas. The upper route leads directly to the Warp Box straight to the Goal Pole, while the star is hanging at the end of the rotating blue bridge on the lower level. Get back to the Warp Box on the upper level, and complete the level.