Prima Games eGuides
primagames.com Browse Redeem a code Help
Super Mario 3D World eGuide
Sign in My Guides

Sign in or create an account

We'll email you a link. No password needed, and if you don't have an account yet, the link makes one.

By creating an account or signing in, you agree to our Terms of Service and Privacy Policy.

Have a password?

Had an account on the old eGuides site, or a code from a printed guide? Help and troubleshooting

Sign in with a password

By signing in, you agree to our Terms of Service and Privacy Policy.

Check your email

A sign-in link is on its way. It works once and expires in 15 minutes. Open it and you're in, with an account if you didn't already have one.

Contents

  • Welcome to the Sprixie Kingdom!
    • Introduction
    • How to Use This Guide
  • How to Play
    • Character Control
    • The Basics
    • Our Four Heroes
    • Power-Ups and Forms
    • Items and Objects
    • Multiplayer (Eight Legs Are Better Than Two!)
    • Enemies
  • Walkthrough
    • World 1
      • Introduction
      • World 1-1: Super Bell Hill
      • World 1-2: Koopa Troopa Cave
      • World 1-A: Chargin Chuck Blockade
      • World 1-3: Mount Beanpole
      • World 1-4: Plessies Plunging Falls
      • World 1-5: Switch Scramble Circus
      • World 1: Captain Toad Goes Forth
      • World 1-Castle: Bowsers Highway Showdown
    • World 2
      • Introduction
      • World 2-1: Conkdor Canyon
      • World 2-2: Puffprod Peaks
      • World 2-3: Shadow-Play Alley
      • World 2: Mystery House Melee
      • World 2-4: Really Rolling Hills
      • World 2-A: Big Galoomba Blockade
      • World 2-5: Double Cherry Pass
      • World 2-Castle: Bowser's Bullet Bill Brigade
    • World 3
      • Introduction
      • World 3-1: Snowball Park
      • World 3-2: Chain-Link Charge
      • World 3-3: Shifty Boo Mansion
      • World 3: Captain Toad Makes a Splash
      • World 3-4: Pretty Plaza Panic
      • World 3-A: Magikoopa Blockade
      • World 3-5: Pipeline Lagoon
      • World 3-6: Mount Must Dash
      • World 3-7: Switchboard Falls
      • World 3-Castle: The Bullet Bill Express
      • World 3-B: A Banquet With Hisstocrat
    • World 4
      • World 4-1: Ant Trooper Hill
      • World 4-2: Piranha Creeper Creek
      • World 4-A: Brolder Blockade
      • World 4-3: Beep Block Skyway
      • World 4-4: Big Bounce Byway
      • World 4: Mystery House Mad Dash
      • World 4-5: Spikes Lost City
      • World 4-B: Fire Bros. Hideout #1
      • World 4: Sprixie House
      • World 4-Castle: Lava Rock Lair
    • World 5
      • World 5-1: Sunshine Seaside
      • World 5: Captain Toad Plays Peek-a-Boo
      • World 5-2: Tricky Trapeze Theater
      • World 5-3: Backstreet Bustle
      • World 5-A: Chargin Chuck Blockade Is Back
      • World 5-4: Sprawling Savanna
      • World 5-5: Bob-ombs Below
      • World 5: Sprixie House
      • World 5-B: Fire Bros. Hideout #2
      • World 5-6: Cakewalk Flip
      • World 5-7: Searchlight Sneak
      • World 5-8 Castle: King Ka-thunks Castle
      • World 5: Coin Express
    • World 6
      • World 6: Sprixie House
      • World 6-1: Clear Pipe Cruise
      • World 6-2: Spooky Seasick Wreck
      • World 6-3: Hands-On-Hall
      • World 6-4: Deep Jungle Drift
      • World 6-A: Prince Bully Blockade
      • World 6-5: Ty-Foo Flurries
      • World 6-6: Bullet Bill Base
      • World 6-7: Fuzzy Time Mine
      • World 6: Mystery House Throwdown
      • World 6-Castle: Bowsers Bob-omb Brigade
      • World 6-B: Fire Bros. Hideout #3
      • World 6-C: Motle Bossblobs Big Battle
    • World Castle
      • World Castle-1: Fort Fire Bros.
      • World Castle-2: Switchblack Ruins
      • World Castle-3: Red-Hot Run
      • World Castle-4: Boiling Blue Bully Belt
      • World Castle-A: Brolder Blockade Is Back
      • World Castle-B: Prince Bully Blockade Is Back
      • World Castle-C: Fire Bros. Hideout #4
      • World Castle-5: Trick Trap Tower
      • World Castle: Captain Toad Gets Thwomped
      • World Castle-6: Rammerhead Reef
      • World Castle-7: Simmering Lava Lake
      • World CASTLE-Castle: Bowsers Lava Lake Keep
    • World Bowser
      • World Bowser-1: Spiky Spike Bridge
      • World Bowser-2: Plessies Dune Downhill
      • World Bowser-3: Cookie Cogworks
      • World Bowser: The Bowser Express
      • World Bowser-4: Footlight Lane
      • World Bowser-5: Deepwater Dungeon
      • World Bowser-6: A Beam in the Dark
      • World Bowser: Mystery House Claw Climb
      • World Bowser-7: Grumblump Inferno
      • World Bowser-A: Motley Bossblobs Encore
      • World Bowser-B: Hisstocrat Returns
      • World Bowser-Castle: The Great Tower of Bowser Land
    • World Star
      • World Star-1: Rainbow Run
      • World Star-2: Super Galaxy
      • World Star-3: Rolling Ride Run
      • World Star-4: The Great Goal Pole
      • World Star-5: Super Block Land
      • World Star-6: Honeycomb Starway
      • World Star-7: Gargantuan Grotto
      • World Star-8: Peepas Fog Bog
      • World Star-9: Cosmic Cannon Cluster
      • World Star: Captain Toad Takes a Spin
    • World Mushroom
      • Introduction
      • World Mushroom-1: Night Falls on Really Rolling Hills
      • World Mushroom-2: Spiky Mount Beanpole
      • World Mushroom-3: Deep-Black Jungle Drift
      • World Mushroom-4: Trouble in Shadow-Play Alley
      • World Mushroom-5: Back to Hands-On Hall
      • World Mushroom-6: Gigantic Seasick Wreck
      • World Mushroom-7: Broken Blue Bully Belt
      • World Mushroom: Mystery House Brawl
    • World Flower
      • Introduction
      • World Flower-1: Switch Shock Circus
      • World Flower-2: Floating Fuzzy Time Mine
      • World Flower-3: Piranha Creeper Creek after Dark
      • World Flower-4: Faster Fort Fire Bros..
      • World Flower-5: Sprawling Savanna Rabbit Run
      • World Flower-6: Shiftier Boo Mansion
      • World Flower-7: Pipeline Boom Lagoon
      • World Flower-8: Blast Block Skyway
      • World Flower-9: Towering Sunshine Seaside
      • World Flower-10: Honeycomb Skyway
      • World Flower-11: Spiky Spike Bridge Sneak
      • World Flower-12: Boss Blitz
    • World Crown
      • Introduction
      • World Crown-Crown: Champions Road
      • World Crown: Captain Toads Fiery Finale
      • World Crown: Mystery House Marathon
  • Secrets
    • Introduction
    • Star Ratings
    • A Fifth Hero: Rosalina
    • Secret Warp Pipes
    • Maximum Lives
    • Locked Levels
    • Stamping Miiverse
    • Luigi Mania!

Super Mario 3D World Guide › Walkthrough › World Flower

World Flower-12: Boss Blitz

Boss Blitz is exactly what it sounds like, a full blitz of all the world bosses you’ve fought throughout the game, Bowser and Meoswer excluded. However, up to now you’ve only ever had to deal with them one at a time. Boss Blitz demands that you take down six bosses, with just 500 ticks on the clock. You might be surprised to learn that some of these encounters may not play out exactly as they did before.

After beating a boss, their Warp Box is replaced by a Key Coin. You must defeat the first five bosses and collect all five Key Coins before the final rematch with Motley Bossblob is unlocked.

Tip

There is no correct order for taking the bosses down. Some players may prefer taking on shorter battles first, like Boom Boom and Pom Pom. Others might feel better off getting the longer fights out of the way early on, in which case we recommend taking on The Hisstocrats or Boss Brolder immediately. There’s only one place to find Power-Ups in this level, and that is while fighting The Hisstocrats. Their pet snakes provide the occasional Super Bell!

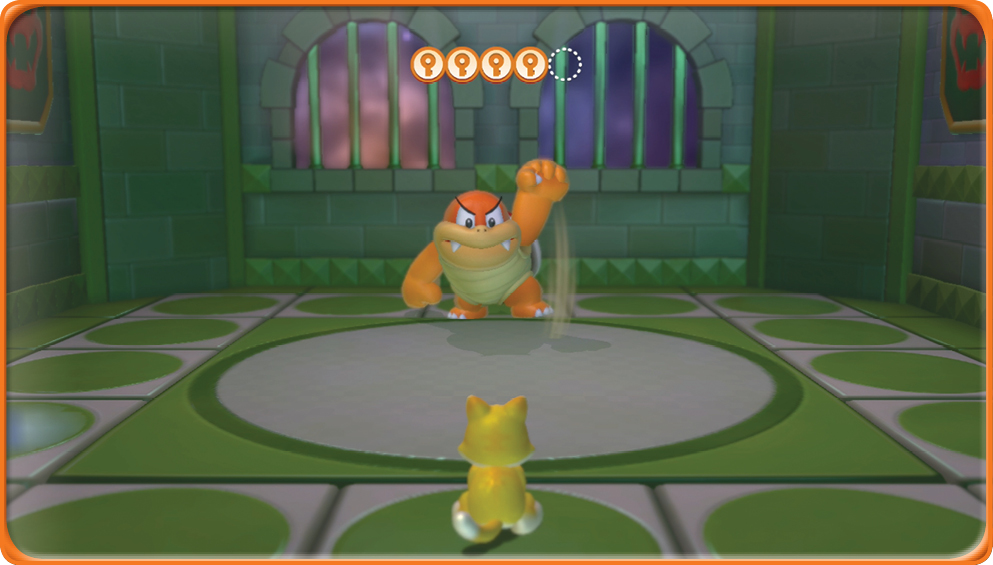
Boom Boom

Boom Boom isn’t the toughest boss, but his bouncing shell attack can stall for time, especially when it turns him invisible. Try to stick close enough to him that within game seconds of him becoming vulnerable to attack, you stomp on him. Like, Pom Pom, you want to blitz through this fight as quick as you can, you need all the time you can get for other fights.

Pom Pom
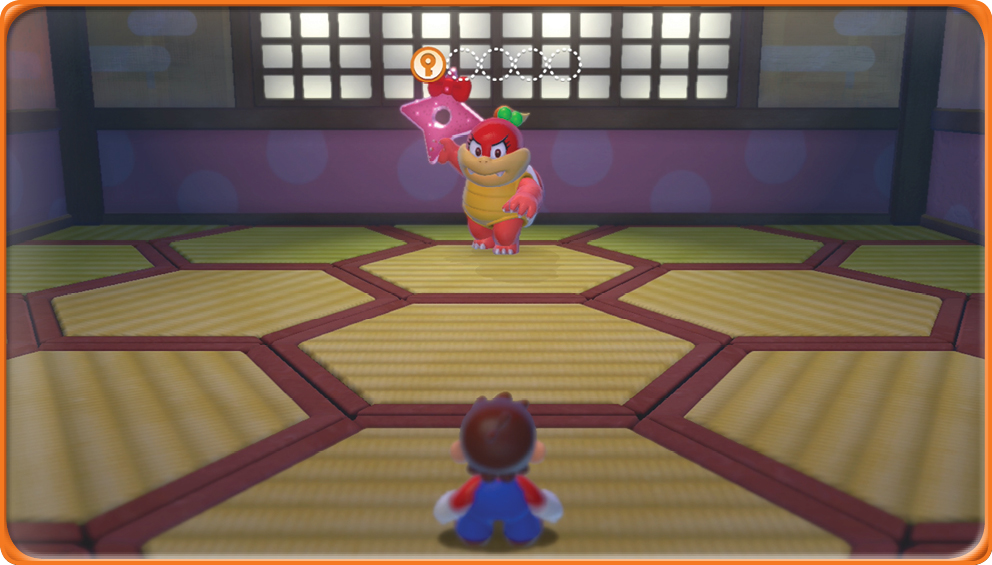
Pom Pom hasn’t learned from her previous trouncings under your heel, but you’ve got to praise her tenacity for being in this lineup. Remember: Look for the bright pink ninja star whenever she creates clones of herself. That’s the real Pom Pom. Hunt her down aggressively; you want to have time to spare for other, more complicated fights.

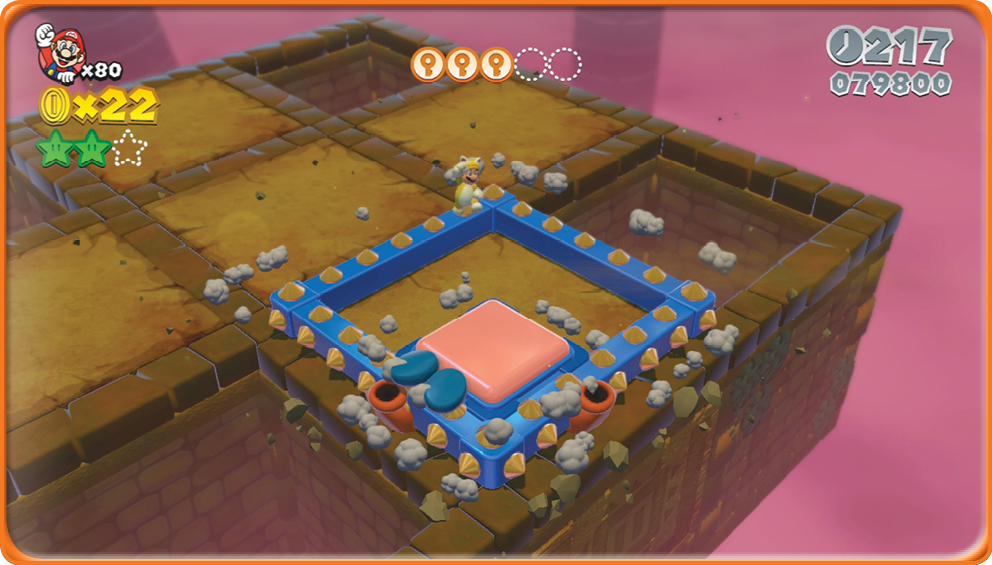
King Ka-thunk
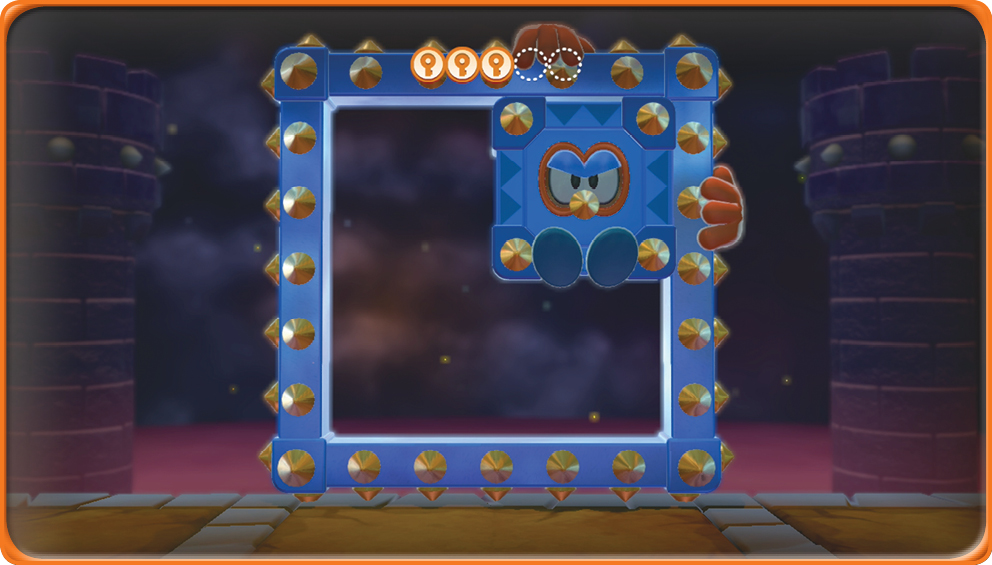
Beating King Ka-thunk fast means staying on the side that has his face. You want to encourage him to flop face first onto the arena as much as possible so you can score three quick stomps on his weak point for the win. Remember, with every successful attack you land, parts of the arena fall away, so don’t get reckless while trying to set up your attacks.

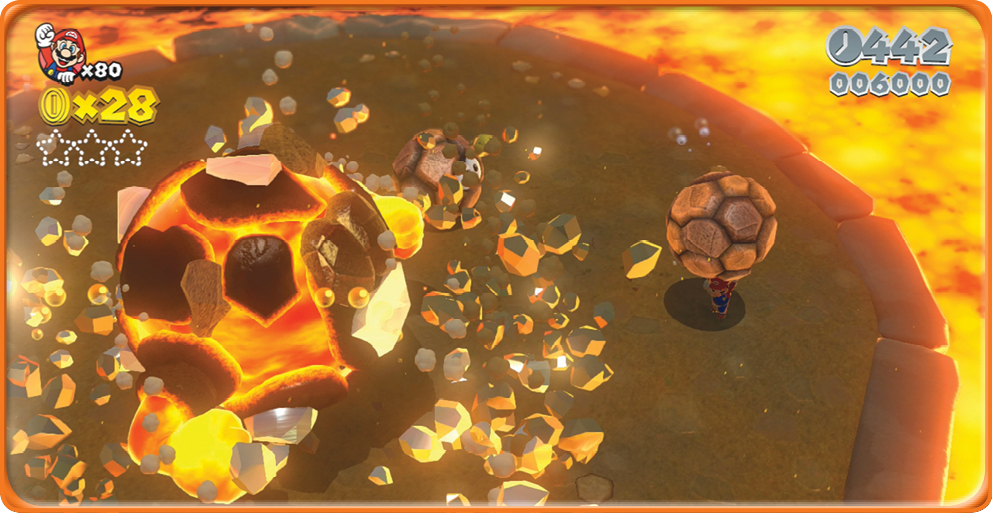
Boss Brolder
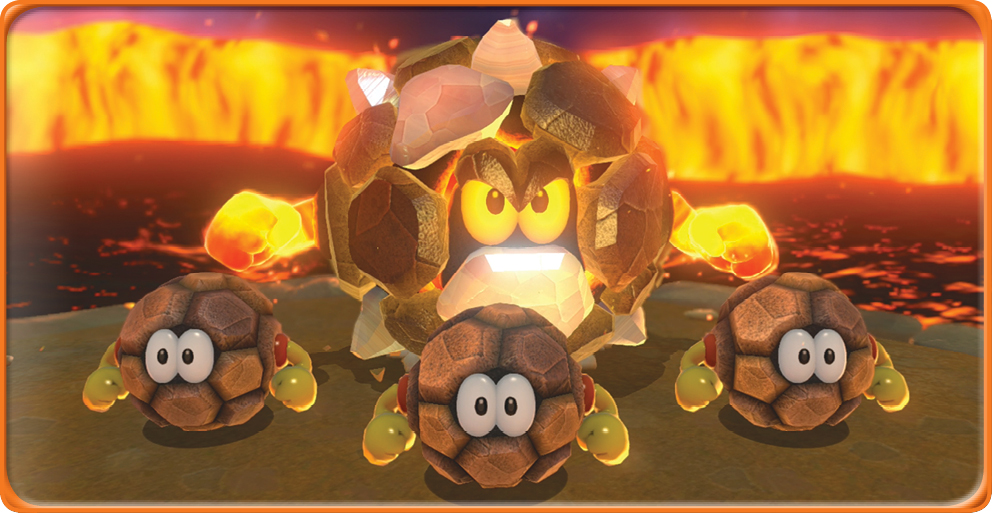
Green Star #1

This star is rewarded for defeating Boss Brolder.

Potentially a very time-consuming boss, Boss Brolder thankfully hasn’t learned any extra tricks. You still have to nail him with three Brolders to defeat him. After you score the first hit, you have a chance to put a swift end to the fight. He does his spin attack and flings lava at you, then he rolls around the arena for a short period before stopping to call reinforcements. What you need to do is quickly hit him with one of the Brolders, then get hold of another and outrun his second spin attack while keeping the Brolder safe. As soon as Boss Brolder stops spinning, hit him again. If you’re quick about getting a hold of Brolders to throw at their boss, you can cut this fight short.

The Hisstocrats
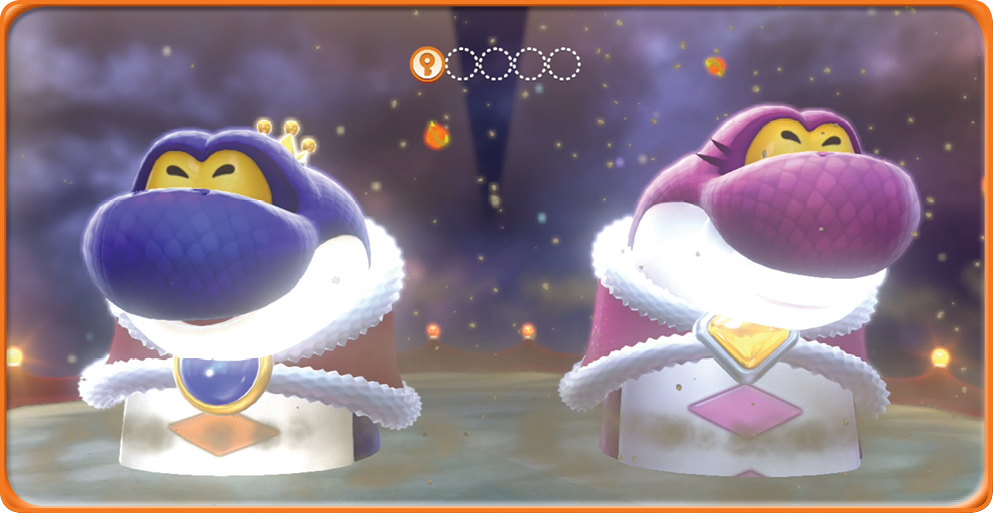
Taking down The Hisstocrats earns you the second star.

You’ve fought both of these giant serpents separately. When they fight as a team, the battle becomes much harder, and you must deal with twice the amount of lava meteors dropping onto the field. The Hisstocrats need three stomps apiece to take them down, and the smaller snakes they summon don’t always have safe plates to stand on.
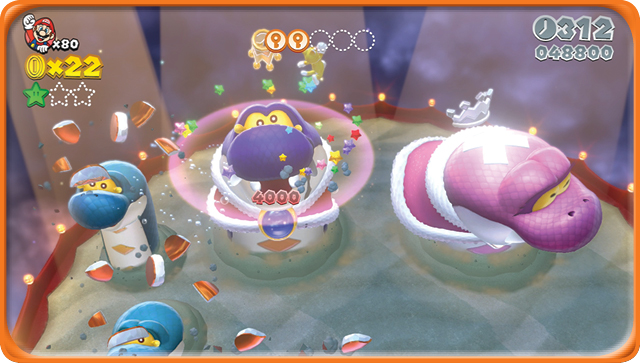
Cat Power-Ups make this battle a lot easier. Fortunately, the lesser snakes will bring up Super Bells occasionally. Remember, after hitting a Hisstocrat, he or she will burrow under ground, and when he or she resurfaces, lava will rain onto the arena. It’s best to concentrate dodging until the lava stops.

When you stomp on one Hisstocrat, try to bounce high enough from the attack that you can land on the second. This can cut the battle time down significantly.

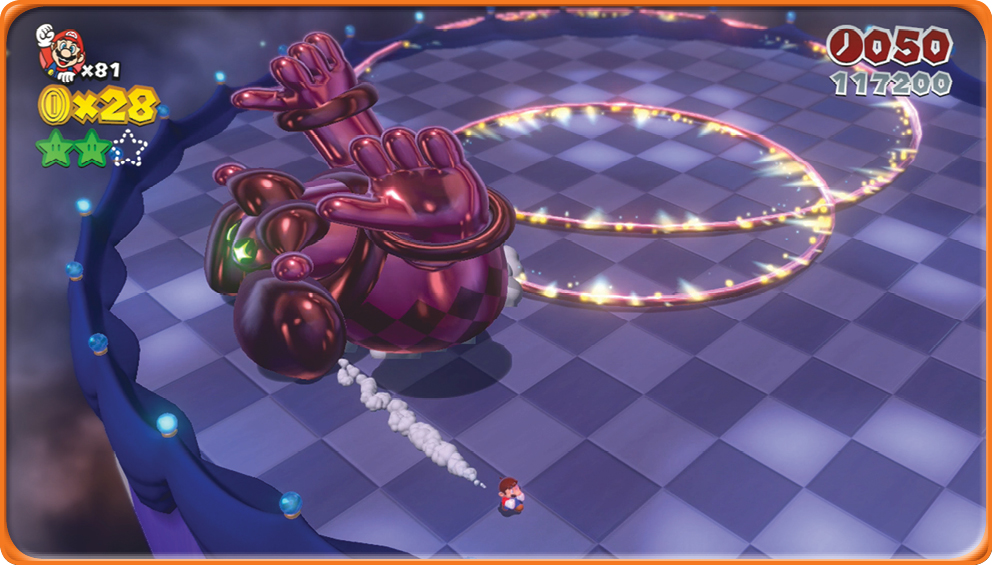
Motley Bossblob
Green Star #3

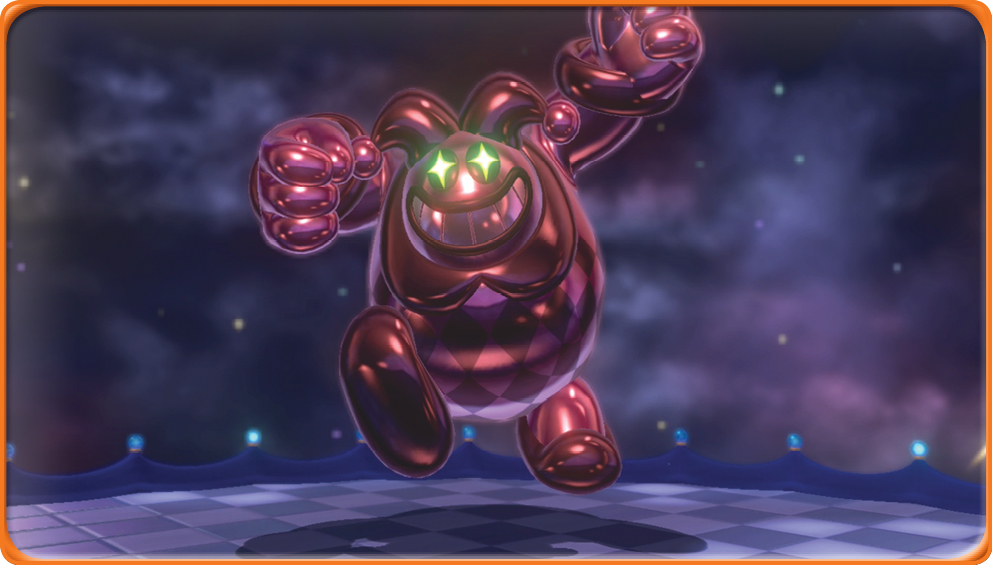
The last star of World Flower comes from putting down Motley Bossblob one last time.

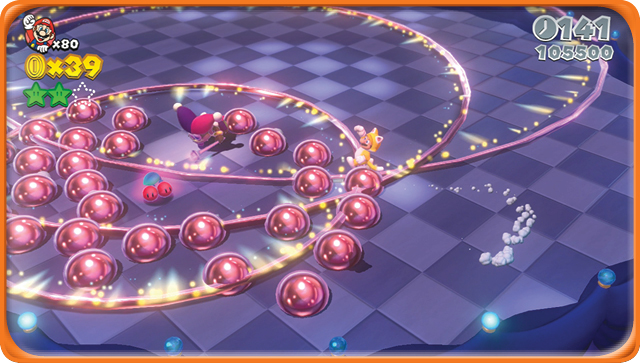
With all five Key Coins in your possession, you get to have your third match against the dangerous Motley Bossblob. Once again, with every stomp on the arena, he emits a shock wave that spreads across the majority of the area, making it challenging for you to get close.
Come with Time to Spare!

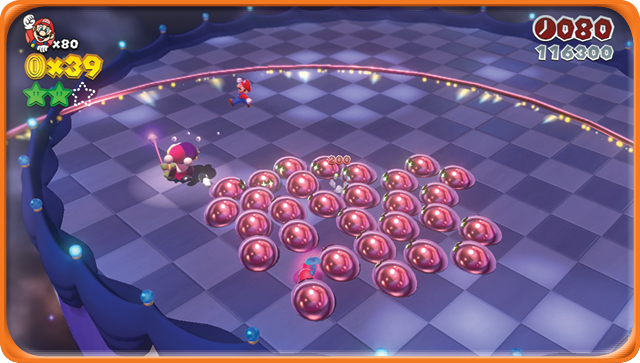
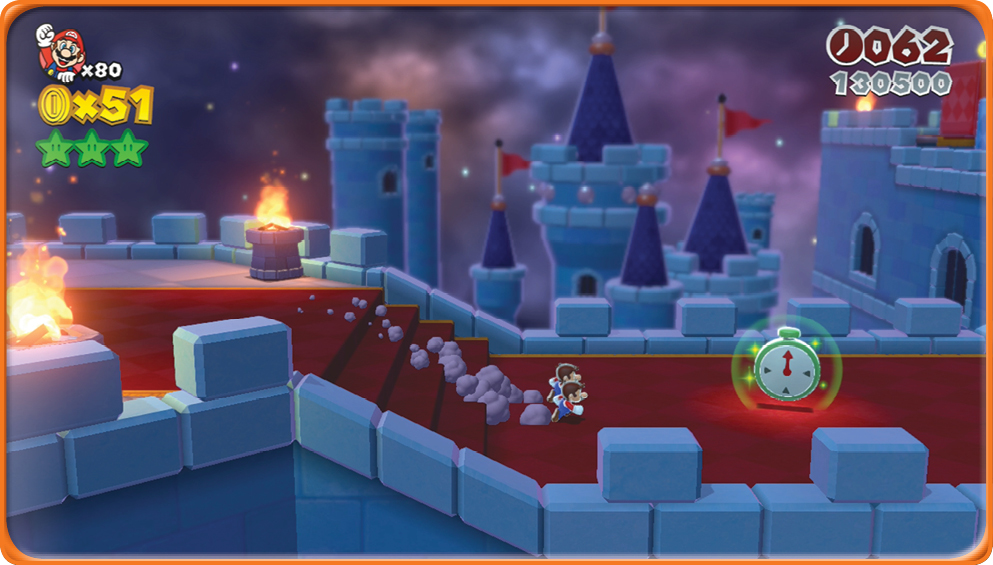
If you don’t have at least a hundred ticks on the clock to go before confronting Motley, you might be out of luck unless you can score your three hits quickly. Even then, you must rush through the Goal Pole zone to get a green + Clock in the aftermath of the battle.

You can predict when he’s about to shed his blobs and become vulnerable. It’s always the last jump in a sequence, where he stays off screen the longest. Don’t forget to pick up the Double Cherries he leaves behind after scattering the blobs; they can give you an extra hit to survive.
The Power of the Claw

If you’ve managed to preserve the Cat Power-Ups from your fight against the Hisstocrats, you can make hitting Motley Bossblob a lot easier. The Claw Dive or Claw work just as well as a stomp, provided you can get close enough.

As soon as you defeat Motley, grab your Green Star prize and rush to the Warp Box. Don’t miss collecting the green + Clock on the other side of the warp, and make your way to the final Goal Pole of World Flower!

One more world—your ultimate challenge—awaits.

Keep reading with a free account

The first 3 sections of Super Mario 3D World are open to everyone. An account opens the rest of it, and every other guide in the archive. It's free, and there's nothing to buy.

Bought guides on the old Prima Games site? Your account and every guide you own moved here, so there's nothing to buy again. Sign in.

Create a free account Or browse our free guides

PreviousWorld Flower-11: Spiky Spike Bridge Sneak NextIntroduction