
Super Mario 3D World Guide Walkthrough World 3
World 3-7: Switchboard Falls
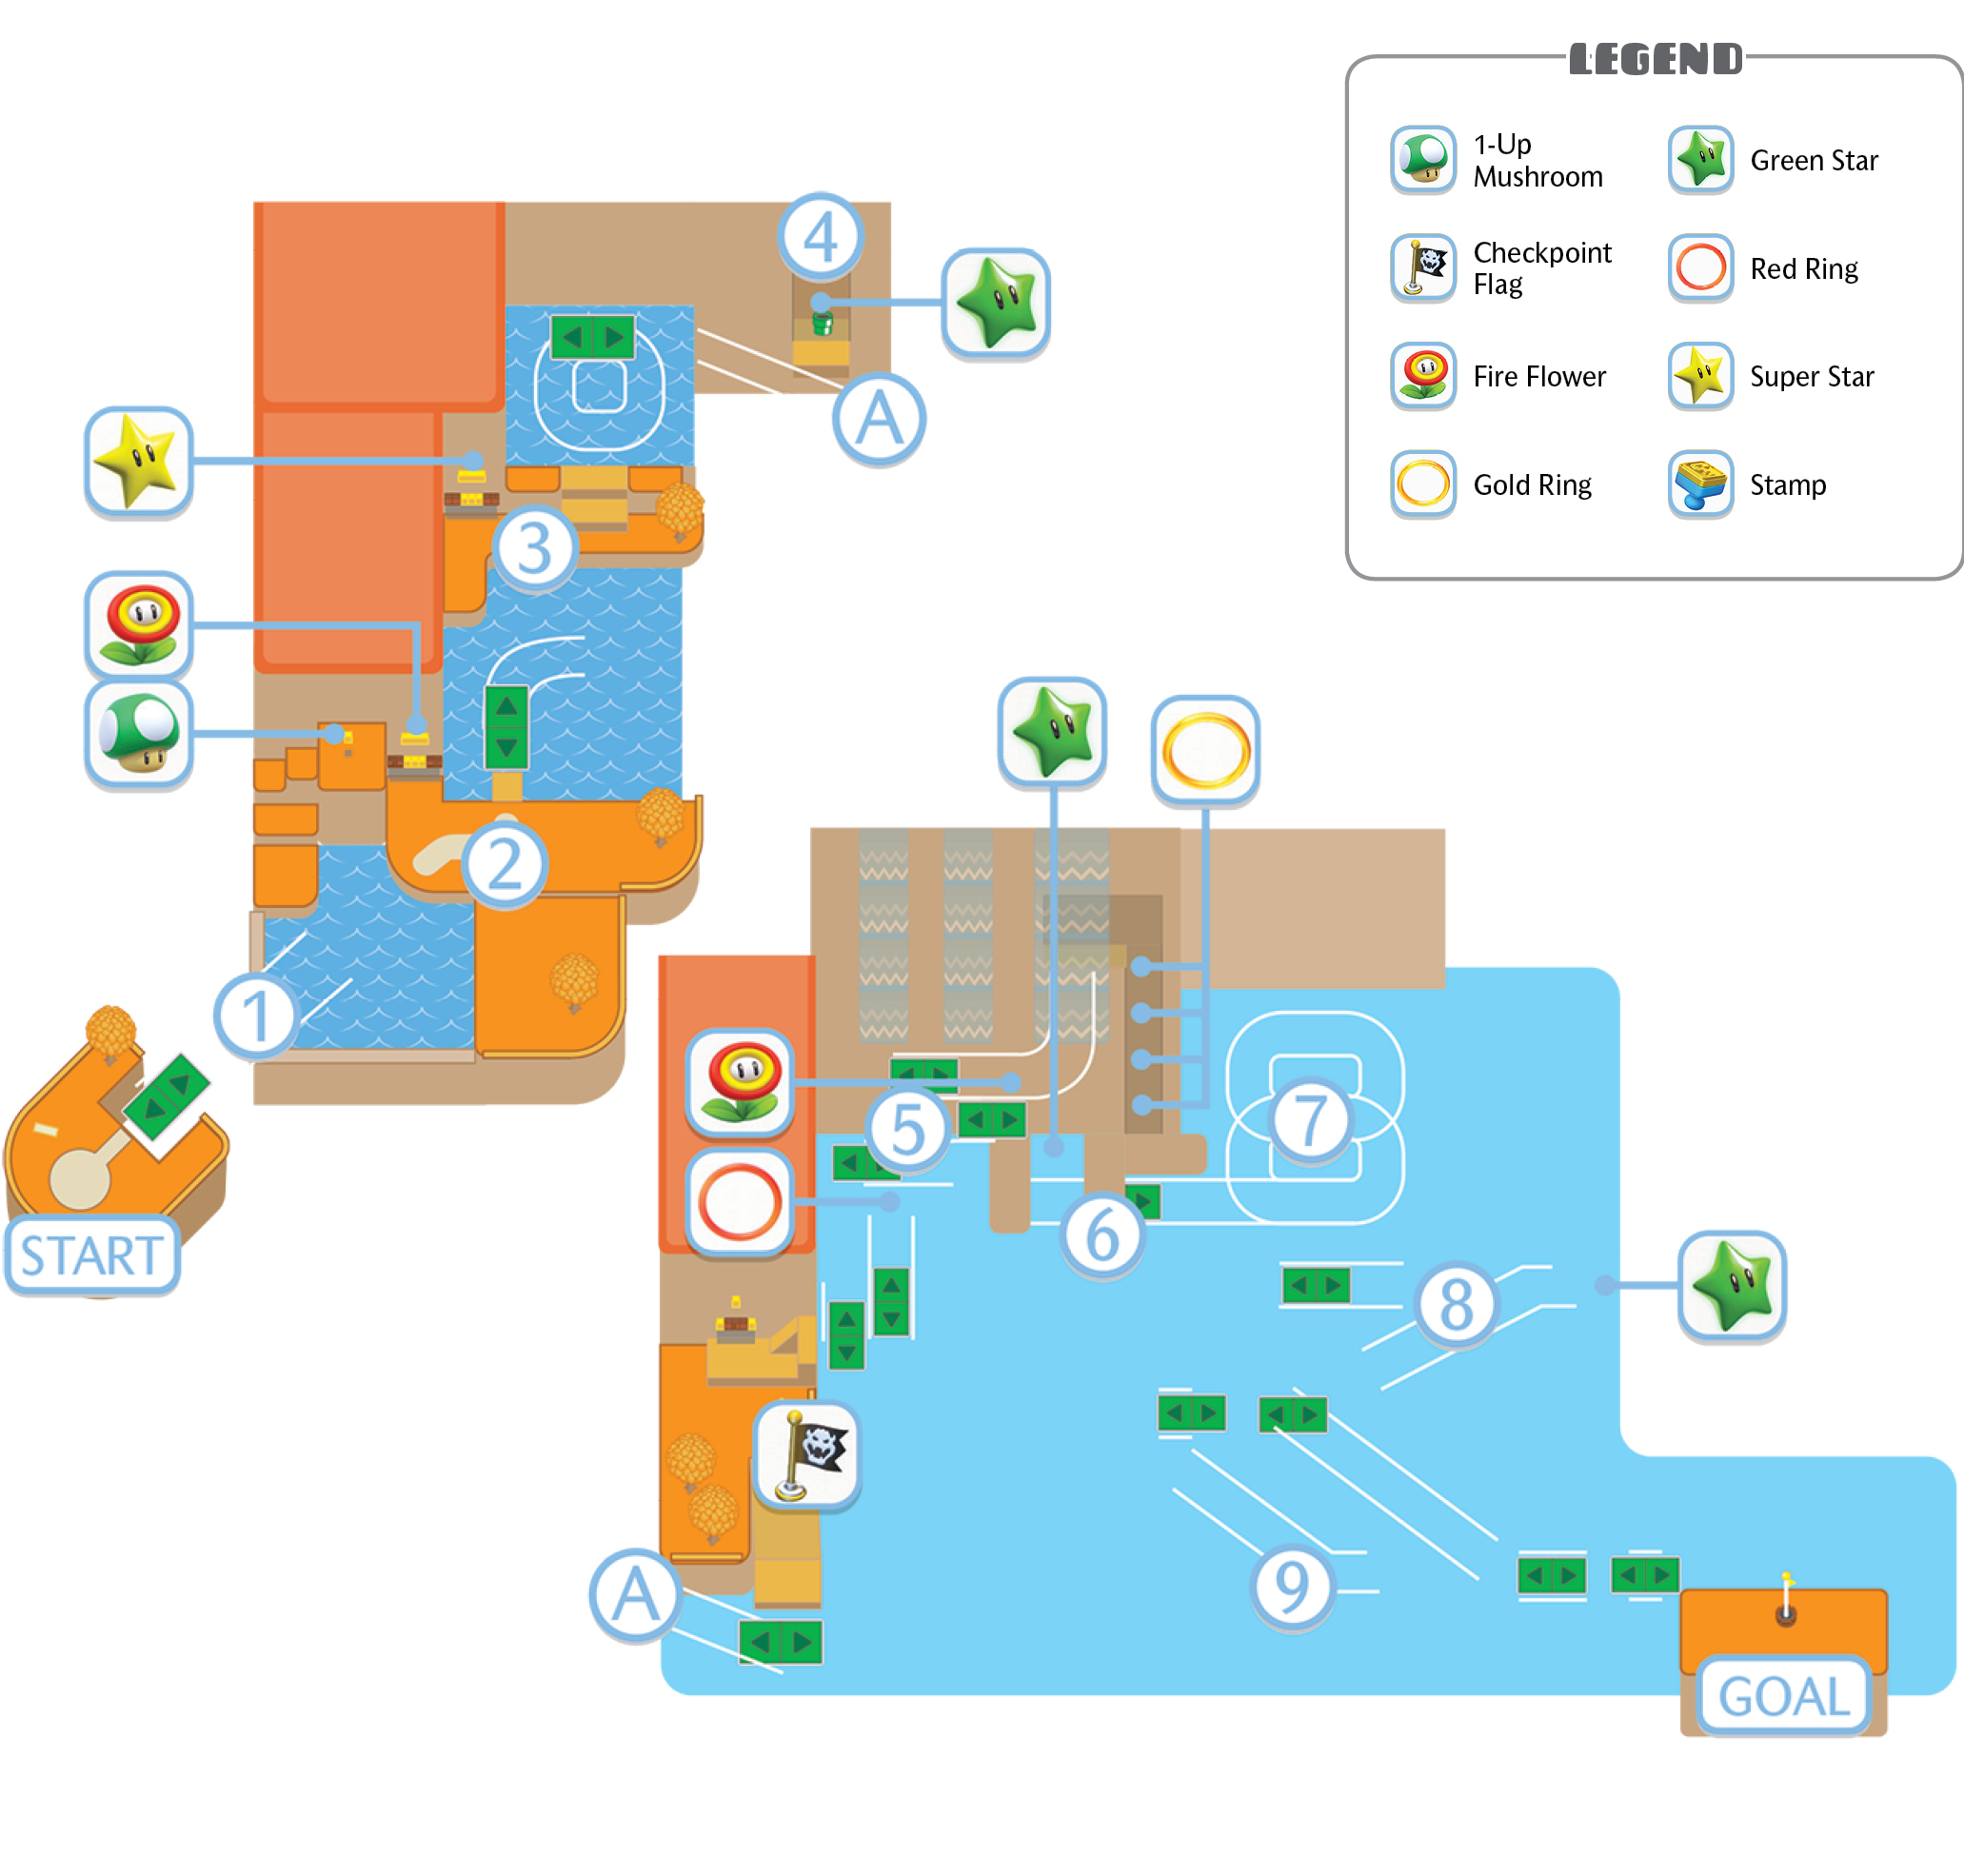
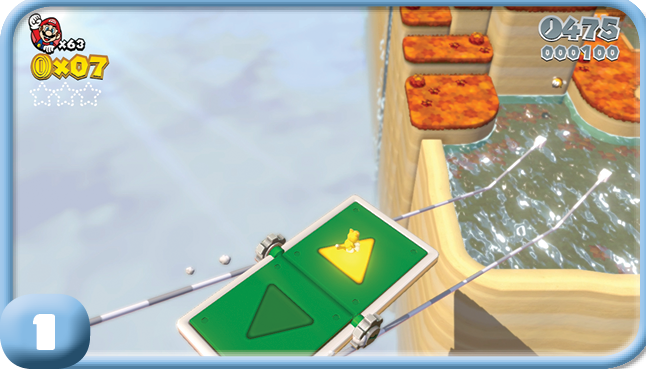
Brace for some frustration: You’ll be navigating large portions of this level by Switchboard, and for a good part of that you’ll be over bottomless chasms. You control the direction you want to go on the tracks by standing on the appropriate arrow. Of course, when you’re trying to go up hill, the Switchboards are slowed down immensely.
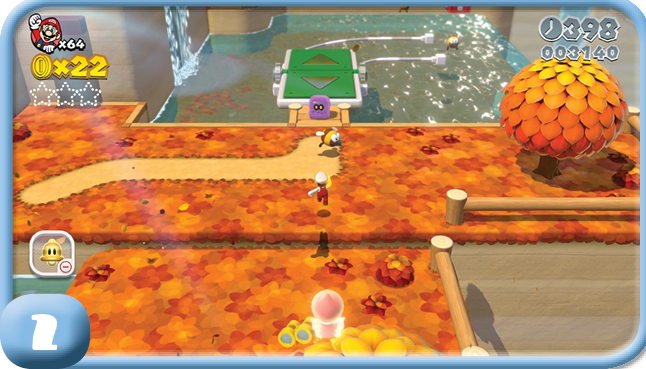
As you approach the second Switchboard, watch out for the Fizzlits. When they flatten themselves along the ground and turn yellow, they can stop any jump attack. Use a Fire Flower to beat them in that state.
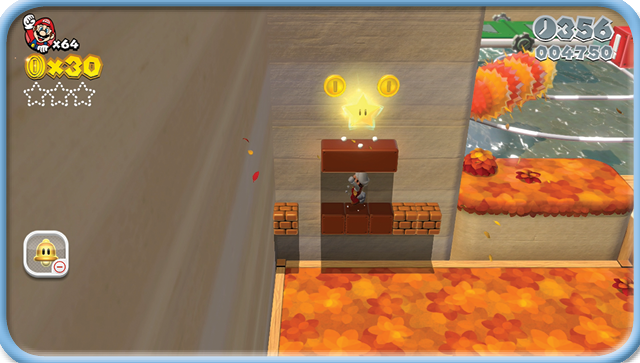
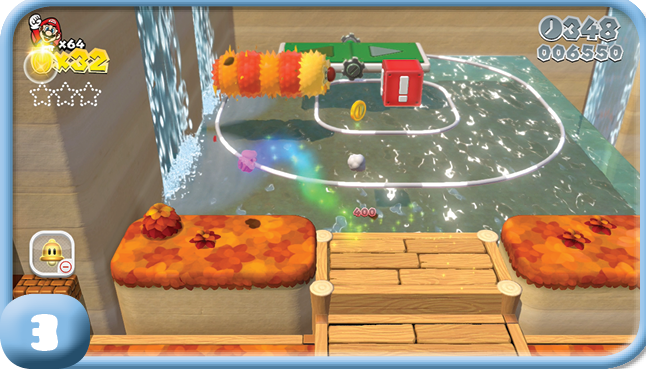
Eventually you have to use a Switchboard to hit a Switch Block that creates new tracks that you use to move farther into the level. Watch out for the Fuzzlers also on the tracks. It’s possible use a nearby Super Star to destroy the Fuzzler.
Green Star #1
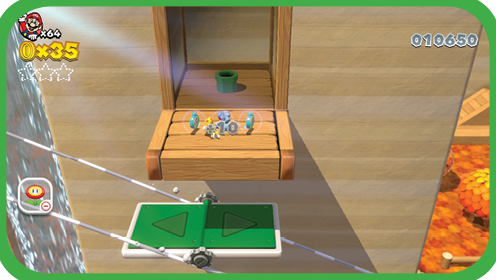
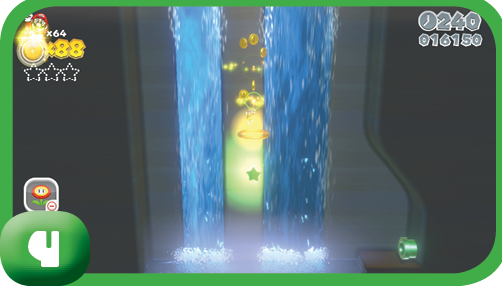
The third Switchboard you use is directed onto a downhill track. On the way down you can jump into a small alcove with a pipe to dive into. Inside the mountain, you land on a set of Donut Blocks that inevitably fall. Follow the trail of Coins down this chasm so that you can make sure you collect the Green Star. You land safely in a pool of water next to the pipe that will get you back outside.
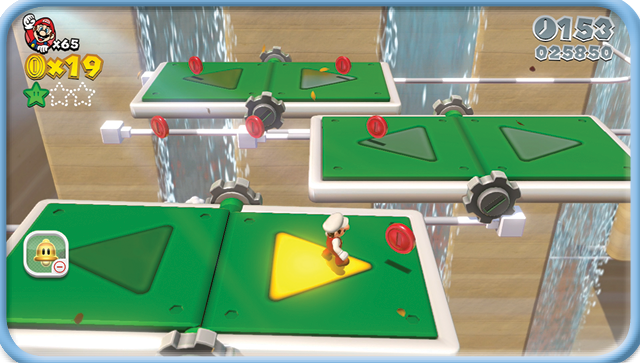
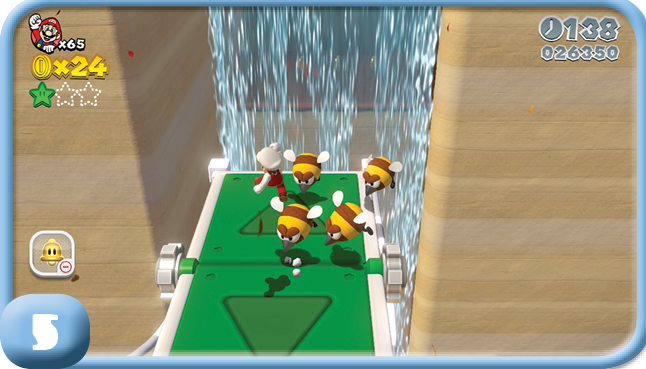
This series of Switchboards can be tough to navigate, especially while trying to collect all the Red Coins from the Red Ring. It’s best to take this section cautiously at first. Be mindful of the Stingbies that populate the last set of tracks leading to the next section.
Green Star #2
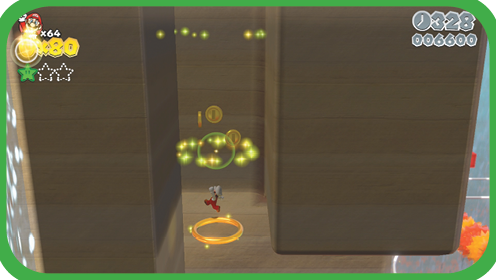
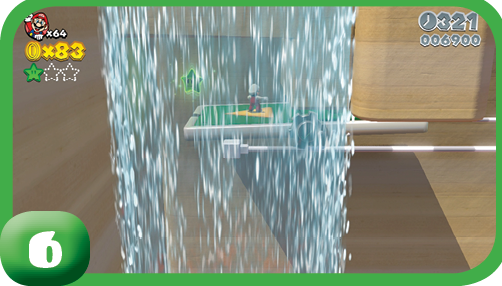
After the Stingbies swarm, you enter a cave beyond a waterfall. Fall down the shaft on the right, through all the Gold Rings, until you land on a Switchboard. You can actually head to the left, ducking under the wall as the Switchboard moves, to reach Green Star #2.
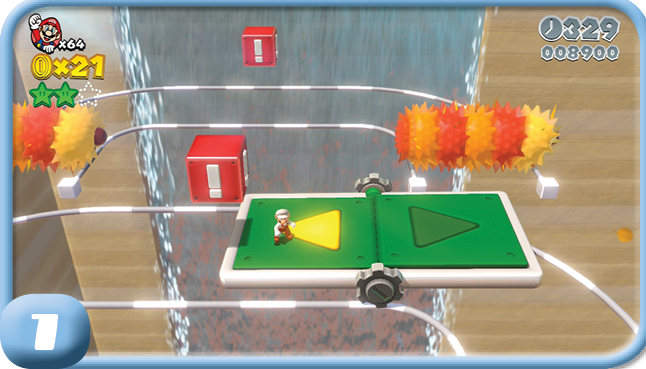
This can be a tricky section. You’ve got to hit the Switch Block switches to bridge the tracks that your Switchboard will follow, all the while avoiding Fuzzlers.
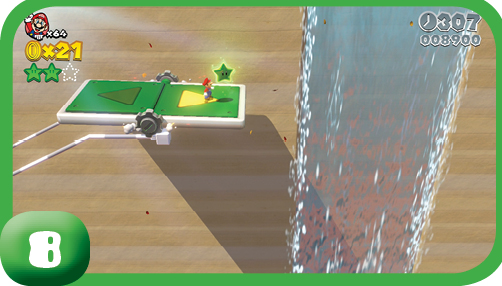
Green Star #3
After you hit the third switch, the track deposits your Switchboard onto another set of tracks far below. Keep pressing onward until you reach a sloped set of tracks. Force the Switchboard to make the climb, dodging the Fuzzler that tries to ram you, until you reach the third Green Star.
Stamp
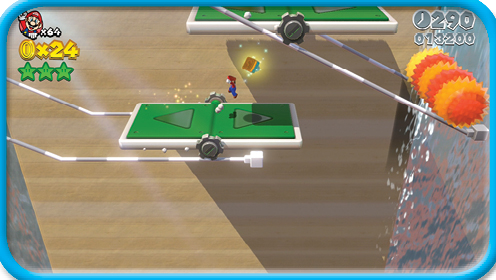
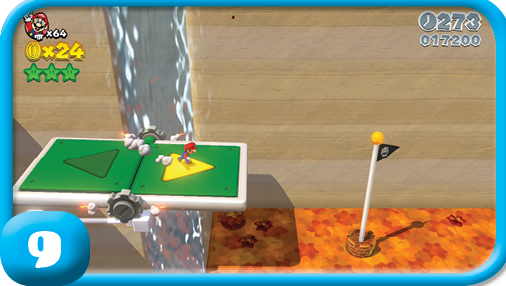
With the last Green Star collected, control the Switchboard so that it goes as far to the left as possible. Eventually you reach a set of tracks that you might accidentally pass over. This low set of tracks delivers you straight to the Stamp, and also leads you close enough to another Switchboard where you begin the final stretch. It’s a tricky last set of jumps, but patience and precision will get you to the top of the Goal Pole.