
Super Mario 3D World Guide Walkthrough World 4
World 4-4: Big Bounce Byway
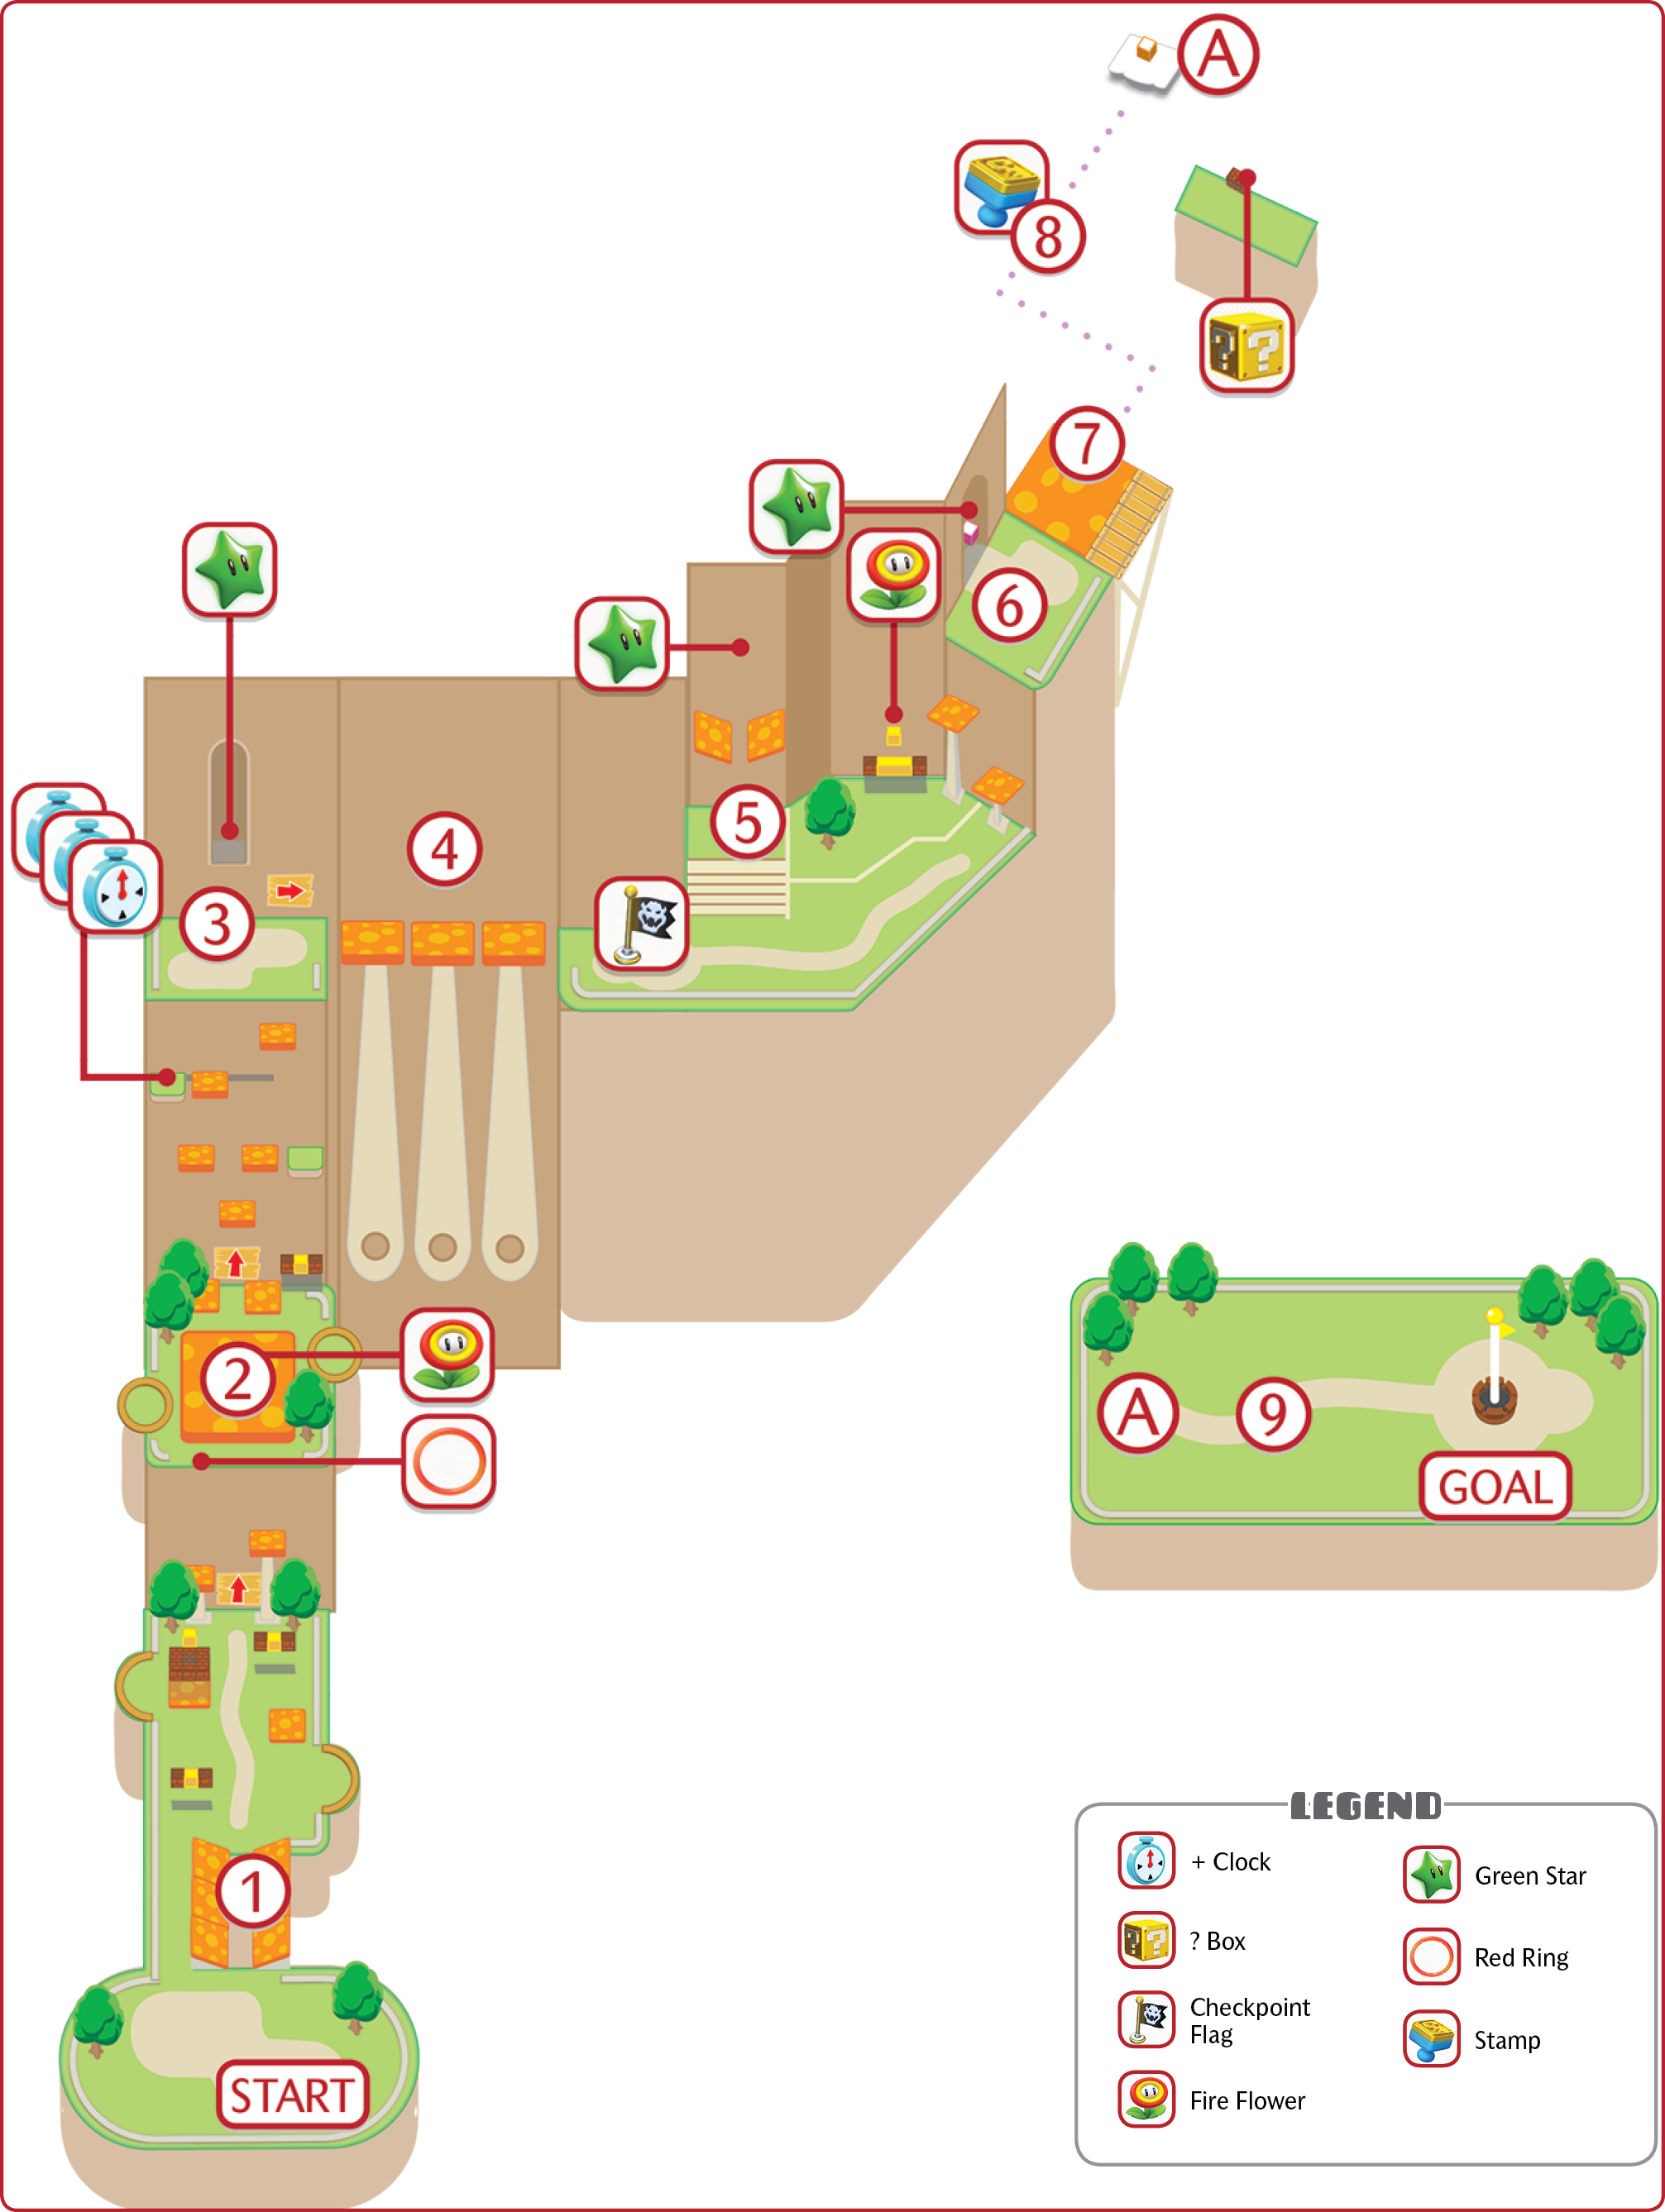
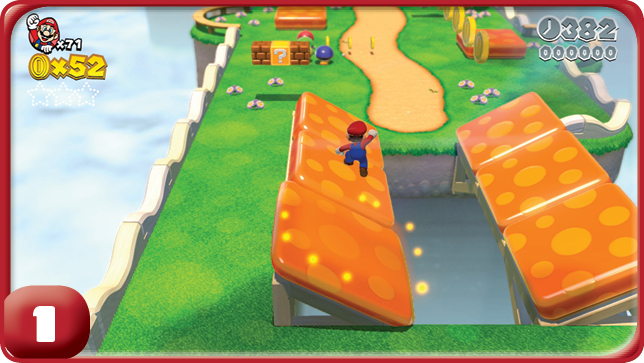
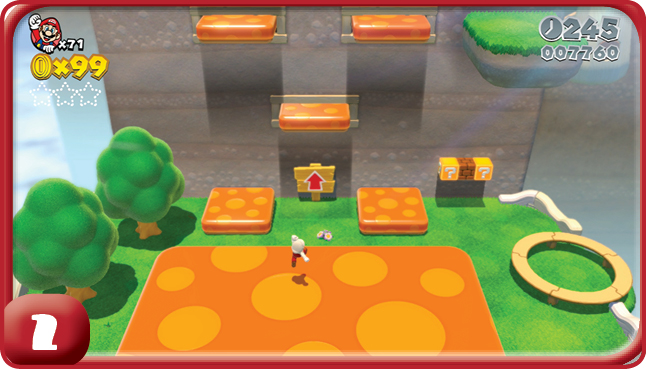
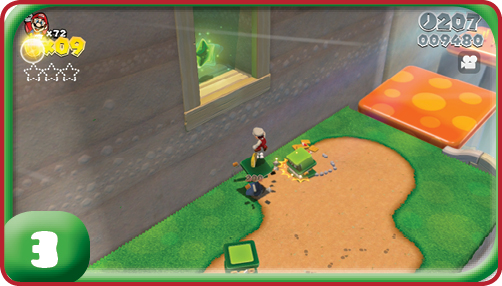
Many Mushroom Trampolines populate the level, and are necessary to progress forward past obstacles and enemies, or to collect items. The large Mushroom Trampoline before a vertical wall that can only be scaled by using smaller moving Mushroom Trampolines is something of a trap: Crossing it directly is slower than just running on the sides and can cost you lots of time.
Green Star #1
After climbing up the wall using the Mushroom Trampolines, you’ll encounter a trio of Hop-Chops. One of them turns into a springboard when stomped, and you can take it to the wall to reach the first Green Star’s alcove.
Green Star #2
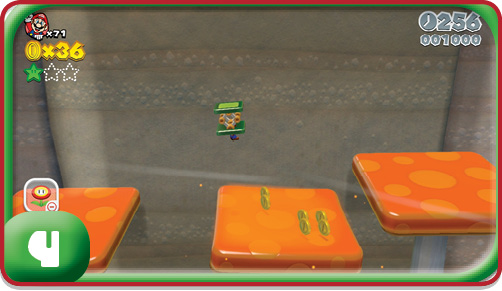
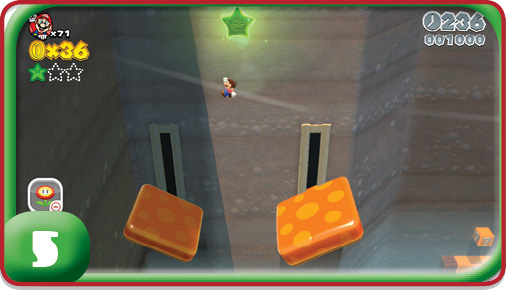
Take the Hop-Chop that turned into the springboard with you as you cross the chasm using the giant Mushroom Trampolines. You’ve got to work fast, as the Hop-Chop will eventually recover and then you’ll drop it into the chasm. Cross the Checkpoint Flag, then go north from there and take the Hop-Chop with you up the steps; drop it at the center of the grass. Use the springboard now to launch yourself up toward one of two Mushroom Trampolines scrolling up and down the side of the mountain, and eventually reach the second Green Star.
Green Star #3
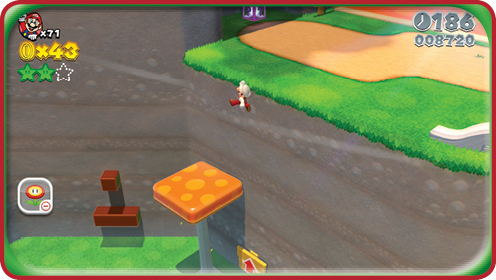
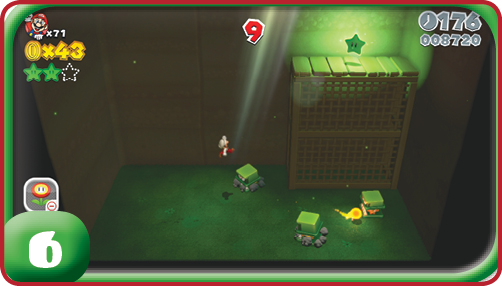
After collecting the second Green Star, scale the wall to the right using the Mushroom Trampolines. You end up next to a Mystery Box leading to a bonus room, where you have 10 game seconds to use the Hop-Chops (or Cat Power-Up, which is much easier) to reach the final Green Star. If you’re having trouble making the jump without the Cat Power-Up, a ground pound on the springboard should get you enough height.
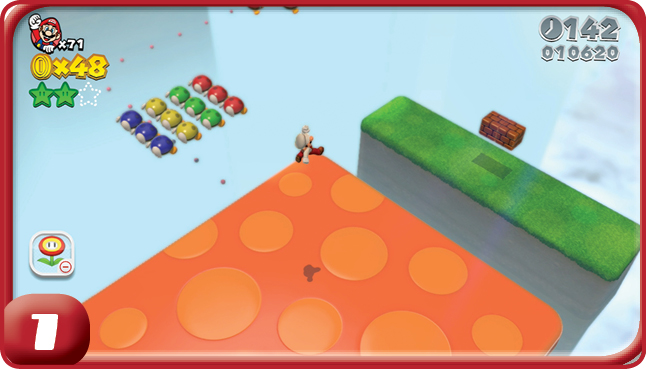
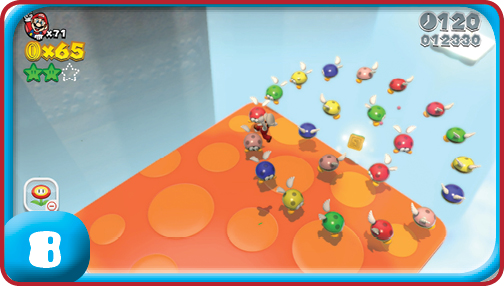
The final chasm must be crossed by using a massive Mushroom Trampoline, and all the while you must deal with large formations of Para-Biddybuds. Don’t get so caught up trying to score extra lives from stomping the Biddybuds that you’re left behind by the Mushroom Trampoline.
A ? Hat is found on the small island that the Mushroom Trampoline moves past, hidden among the two blocks. Just don’t get left behind while you try to grab it.
Stamp
The Stamp is at the center of a huge swarm of Biddybuds. Don’t let potential 1-Ups from the Biddybuds distract you from it! The Warp Box leading to the Goal Pole area is just beyond the Stamp.
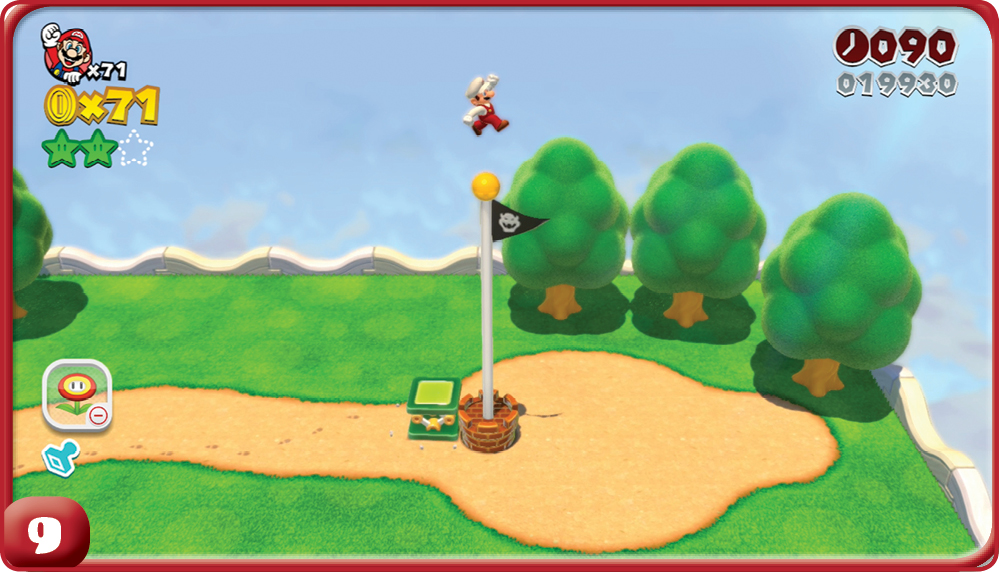
To reach the top of the Goal Pole, you need the Cat Power-Up or you can use one of the Hop-Chops to get the necessary height.