
Super Mario 3D World Guide Walkthrough World Flower
World Flower-6: Shiftier Boo Mansion
Green Star #1
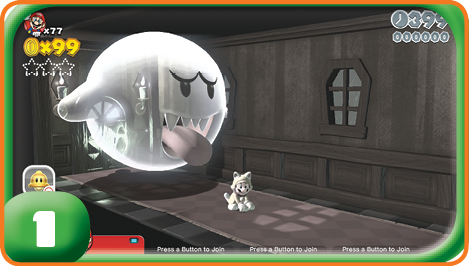
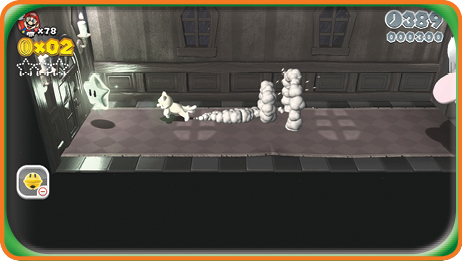
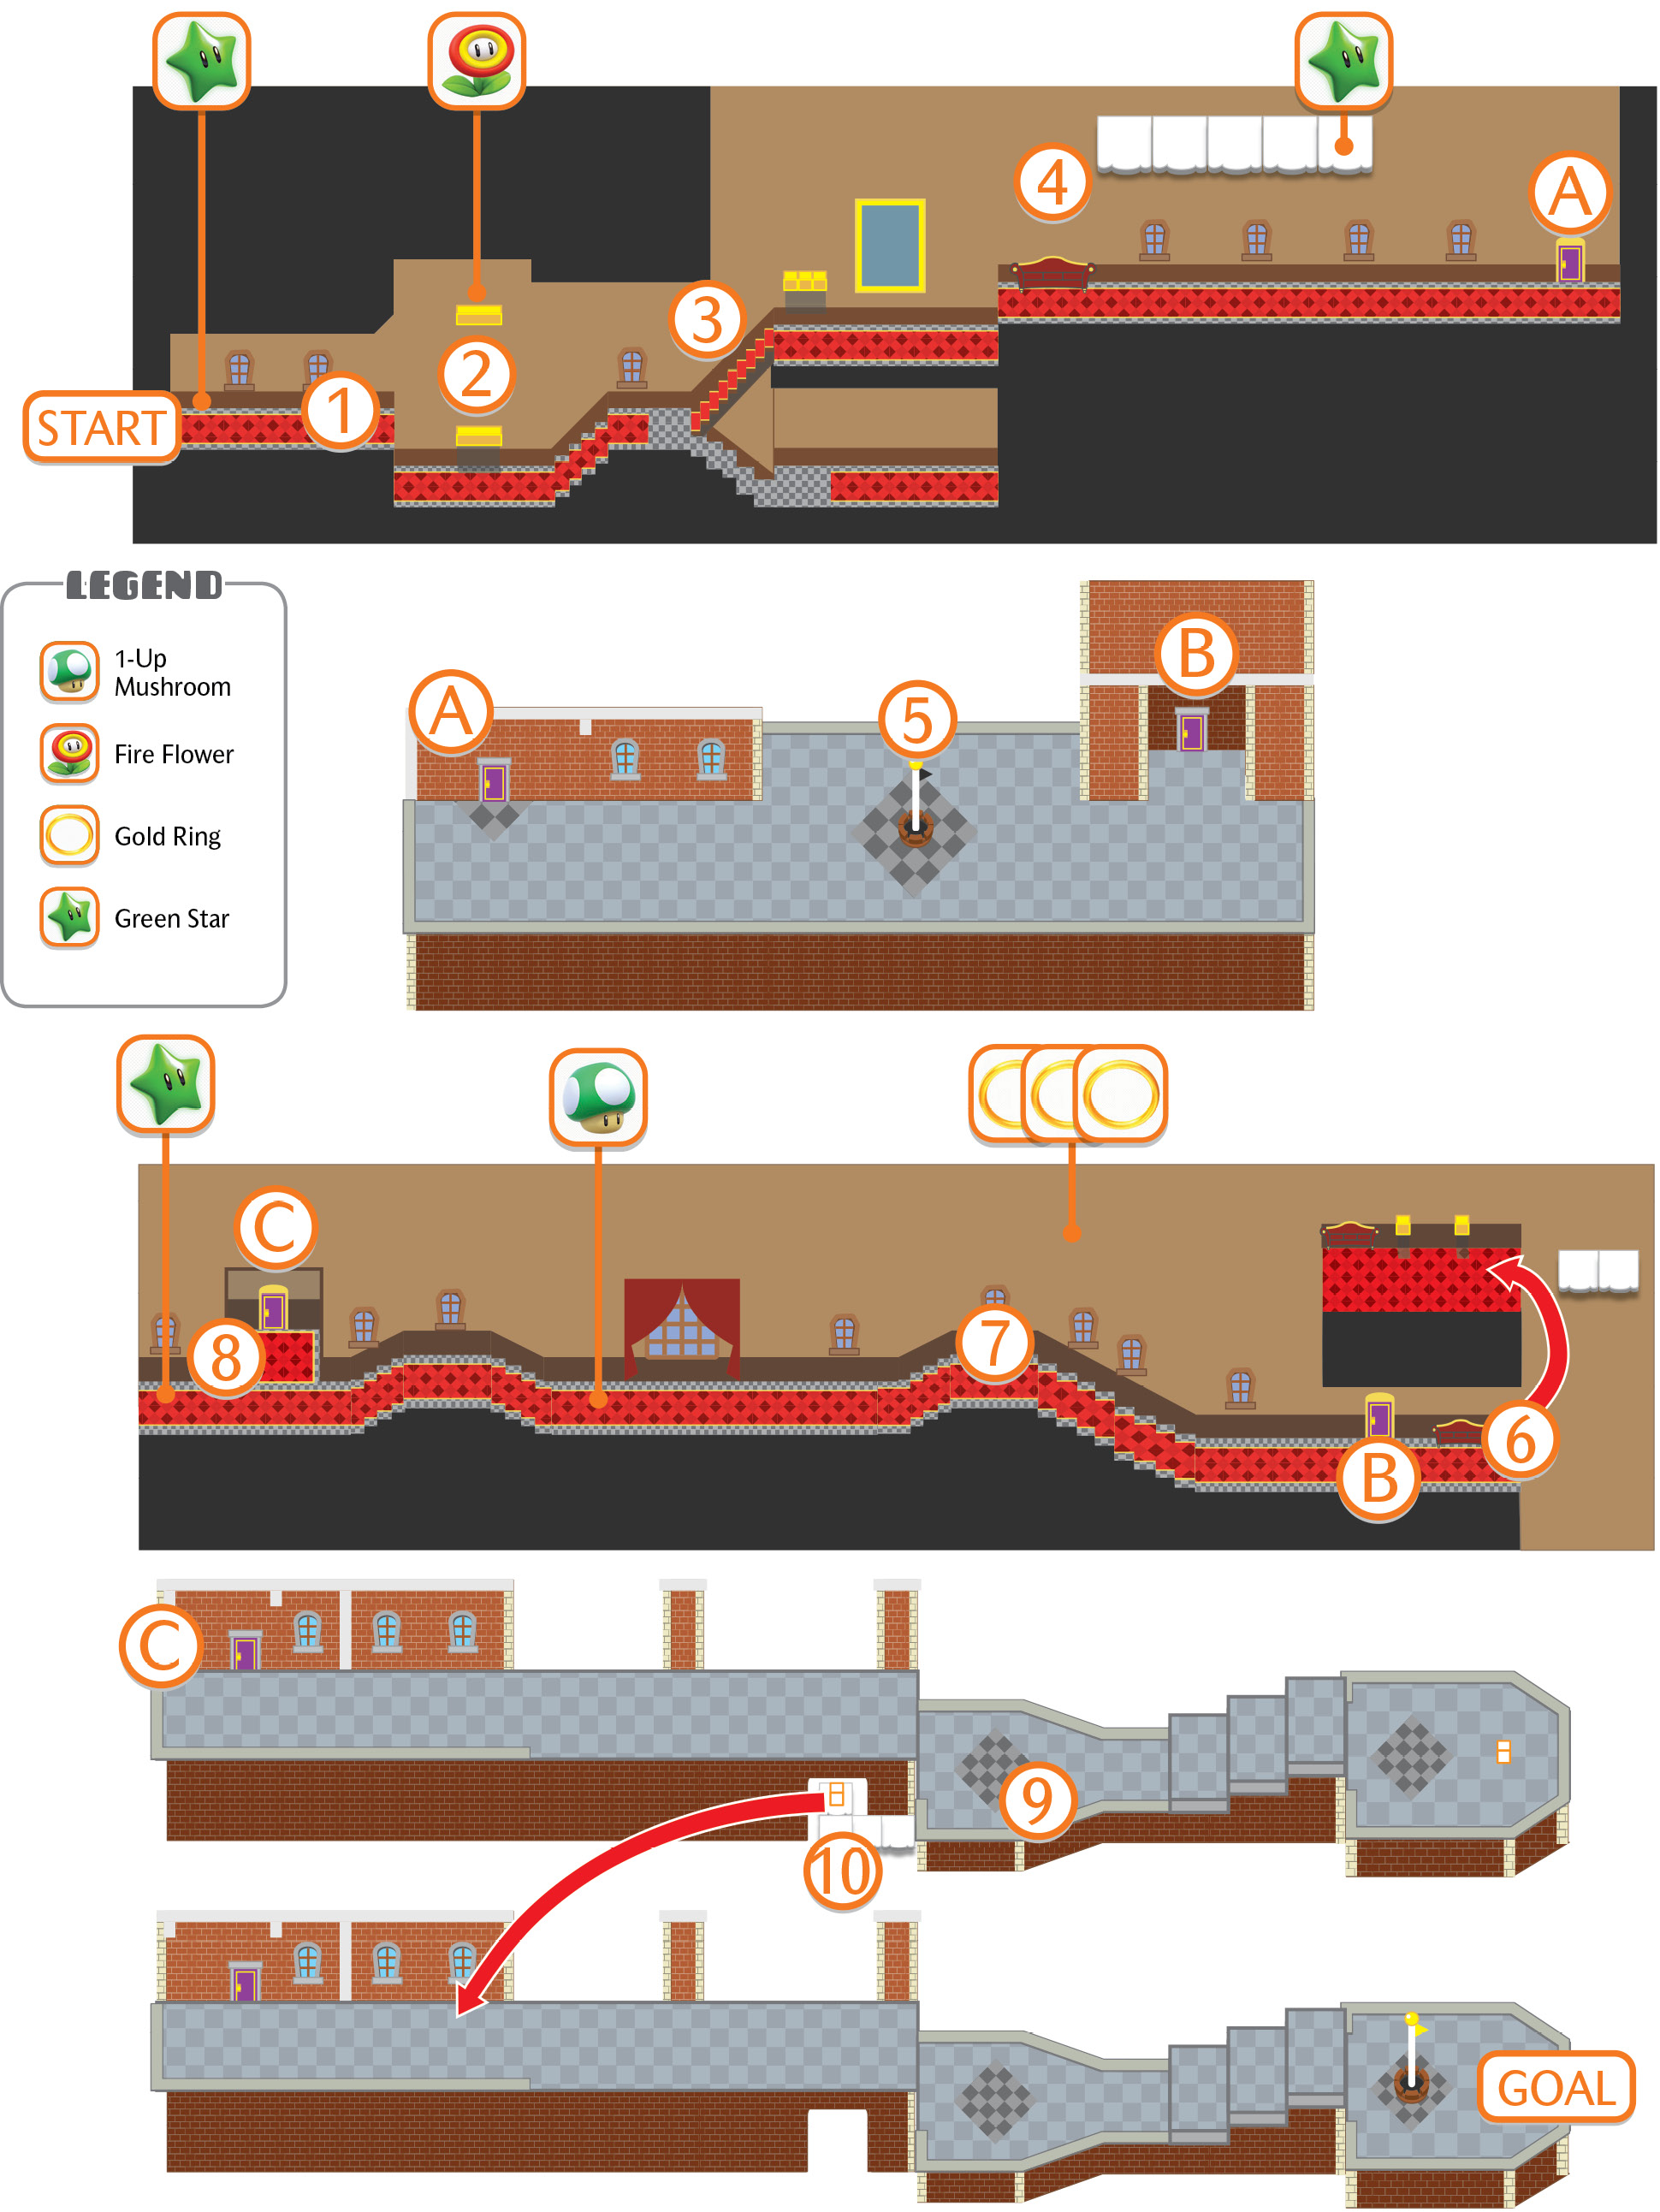
The level begins with a bit of a scare: A Big Boo rushes at you from behind! Draw the ghost forward toward the larger room, then double back to the start to find the first Green Star waiting for you.
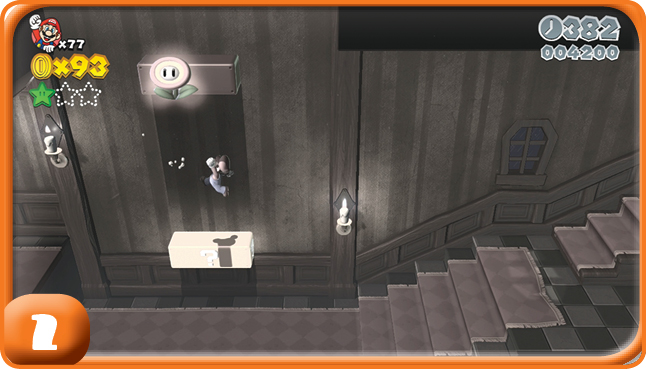
You can pick up a Fire Flower early on, and it’s definitely a recommended Power-Up for this level. Disrupting the Big Boos with fireballs makes it easy to get past narrow passages that they fill up.
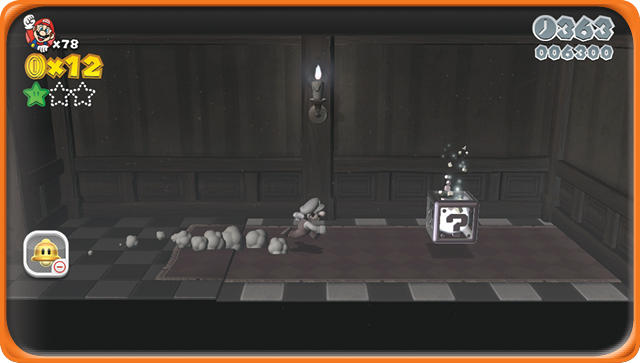
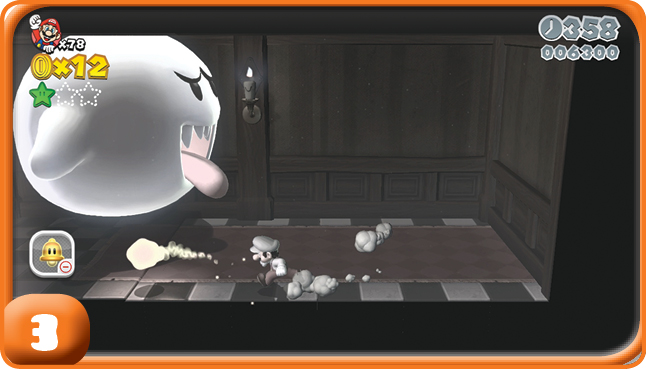
When you get to the stairs leading up or down, the correct path is the upper route. The lower route leads to a dead end, a fake Mystery Box, and a Big Boo ambush.
Green Star #2
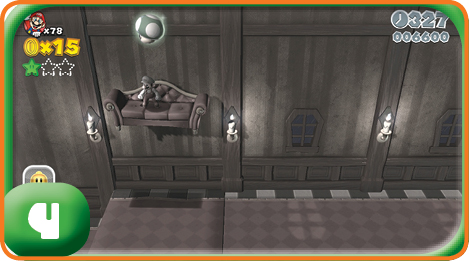
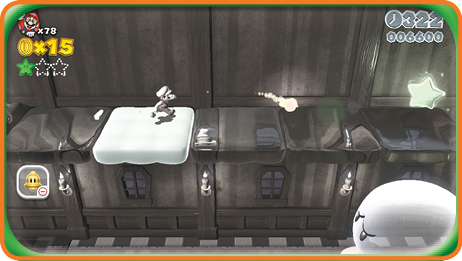
You see a couch just past a blank painting on the upper route. Stand on the couch to be taken up to a 1-Up, and more importantly, to the right of the couch is an invisible bridge leading directly to the second Green Star.
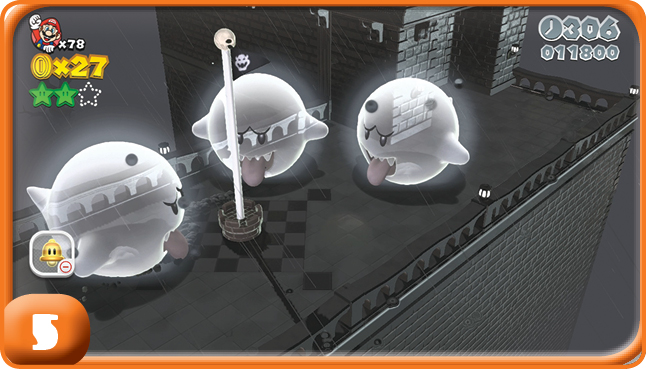
The first Goal Pole you find is a fake, and approaching it only summons a trio of Big Boos to attack you. Dash past them and get to the next door!
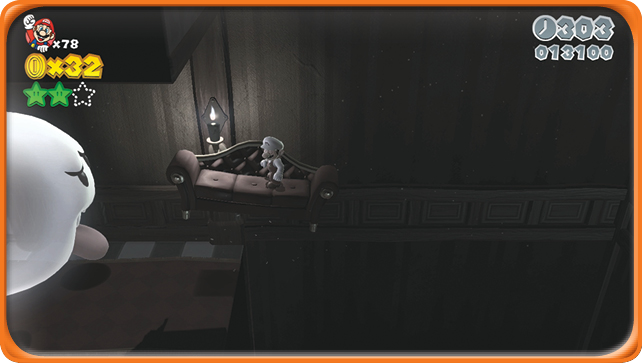
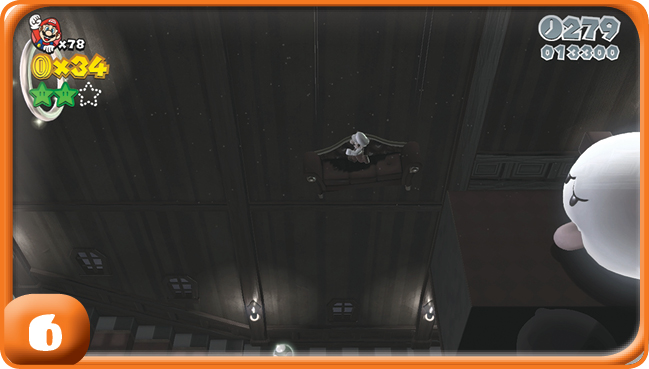
After you get back inside the mansion, you can take the couch elevator to the right of the door to bypass the nearby Big Boo via an upper route, but you’ll have to contend with another Big Boo there as well. You can use the couch you find next to the second Big Boo and bypass a lot of ghostly trouble on the lower floor.
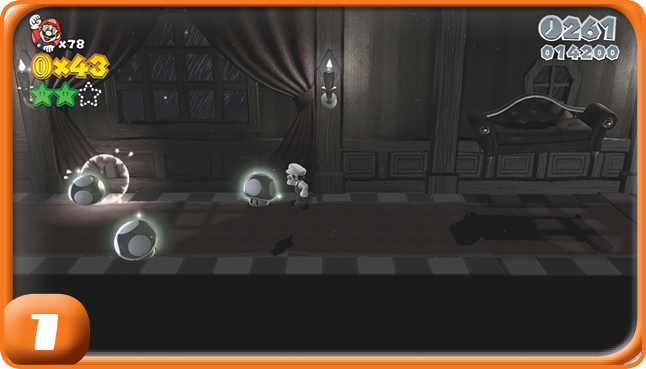
The trip to the left looks to be filled with 1-Ups. Sadly, most of these are fake.
Green Star #3
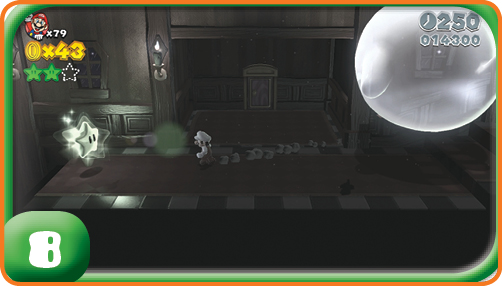
You can see the third Green Star near the exit door at the end of this corridor. However, the ground beneath it is constantly falling into the abyss bellow. You have to swoop in quickly to grab it and leap to safety, despite the floor’s efforts to shove you into oblivion.
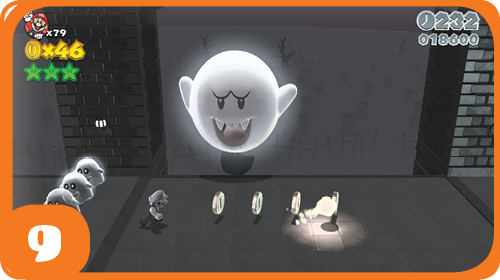
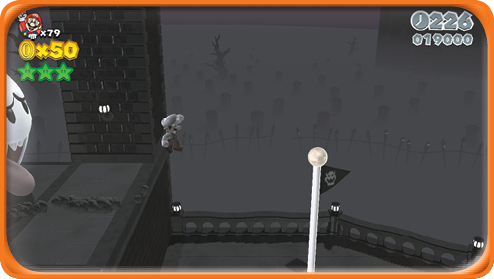
The final stretch to the Goal Pole will seem familiar: After evading waves of Peepas and attacks from Big Boos, the first Goal Pole you find is a fake! There’s a dead end with a Warp Box that takes you back to the start of this last run!
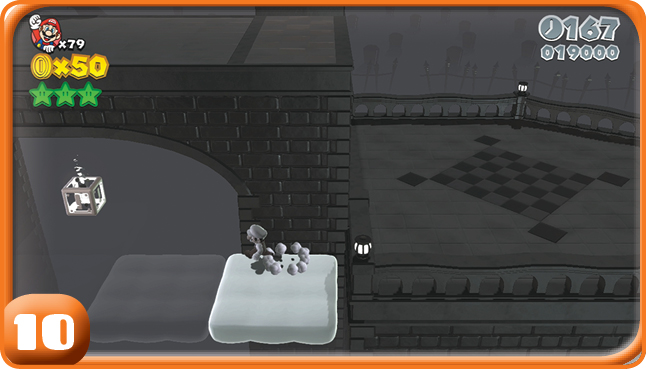
The true path to the exit is closer than you think. Investigate the pictured balcony near the fake Goal Pole’s location, and you can reveal another Warp Box, along with invisible platforms leading to it. This warps you to one last area where the true Goal Pole awaits.