
Super Mario 3D World Guide Walkthrough World 5
World 5-6: Cakewalk Flip
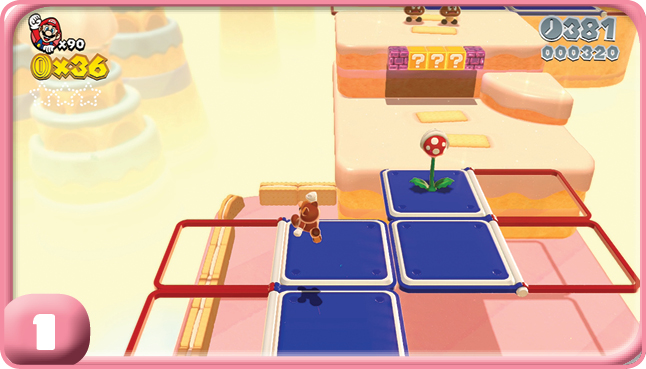
Every time you jump in this level, the Red-Blue Panels will switch between their red or blue sides. If you mistime your jumps, you can suddenly find yourself jumping into a bottomless pit! It really helps to have a Tanooki Power-Up or to use Peach for her floating ability.
Green Star #1
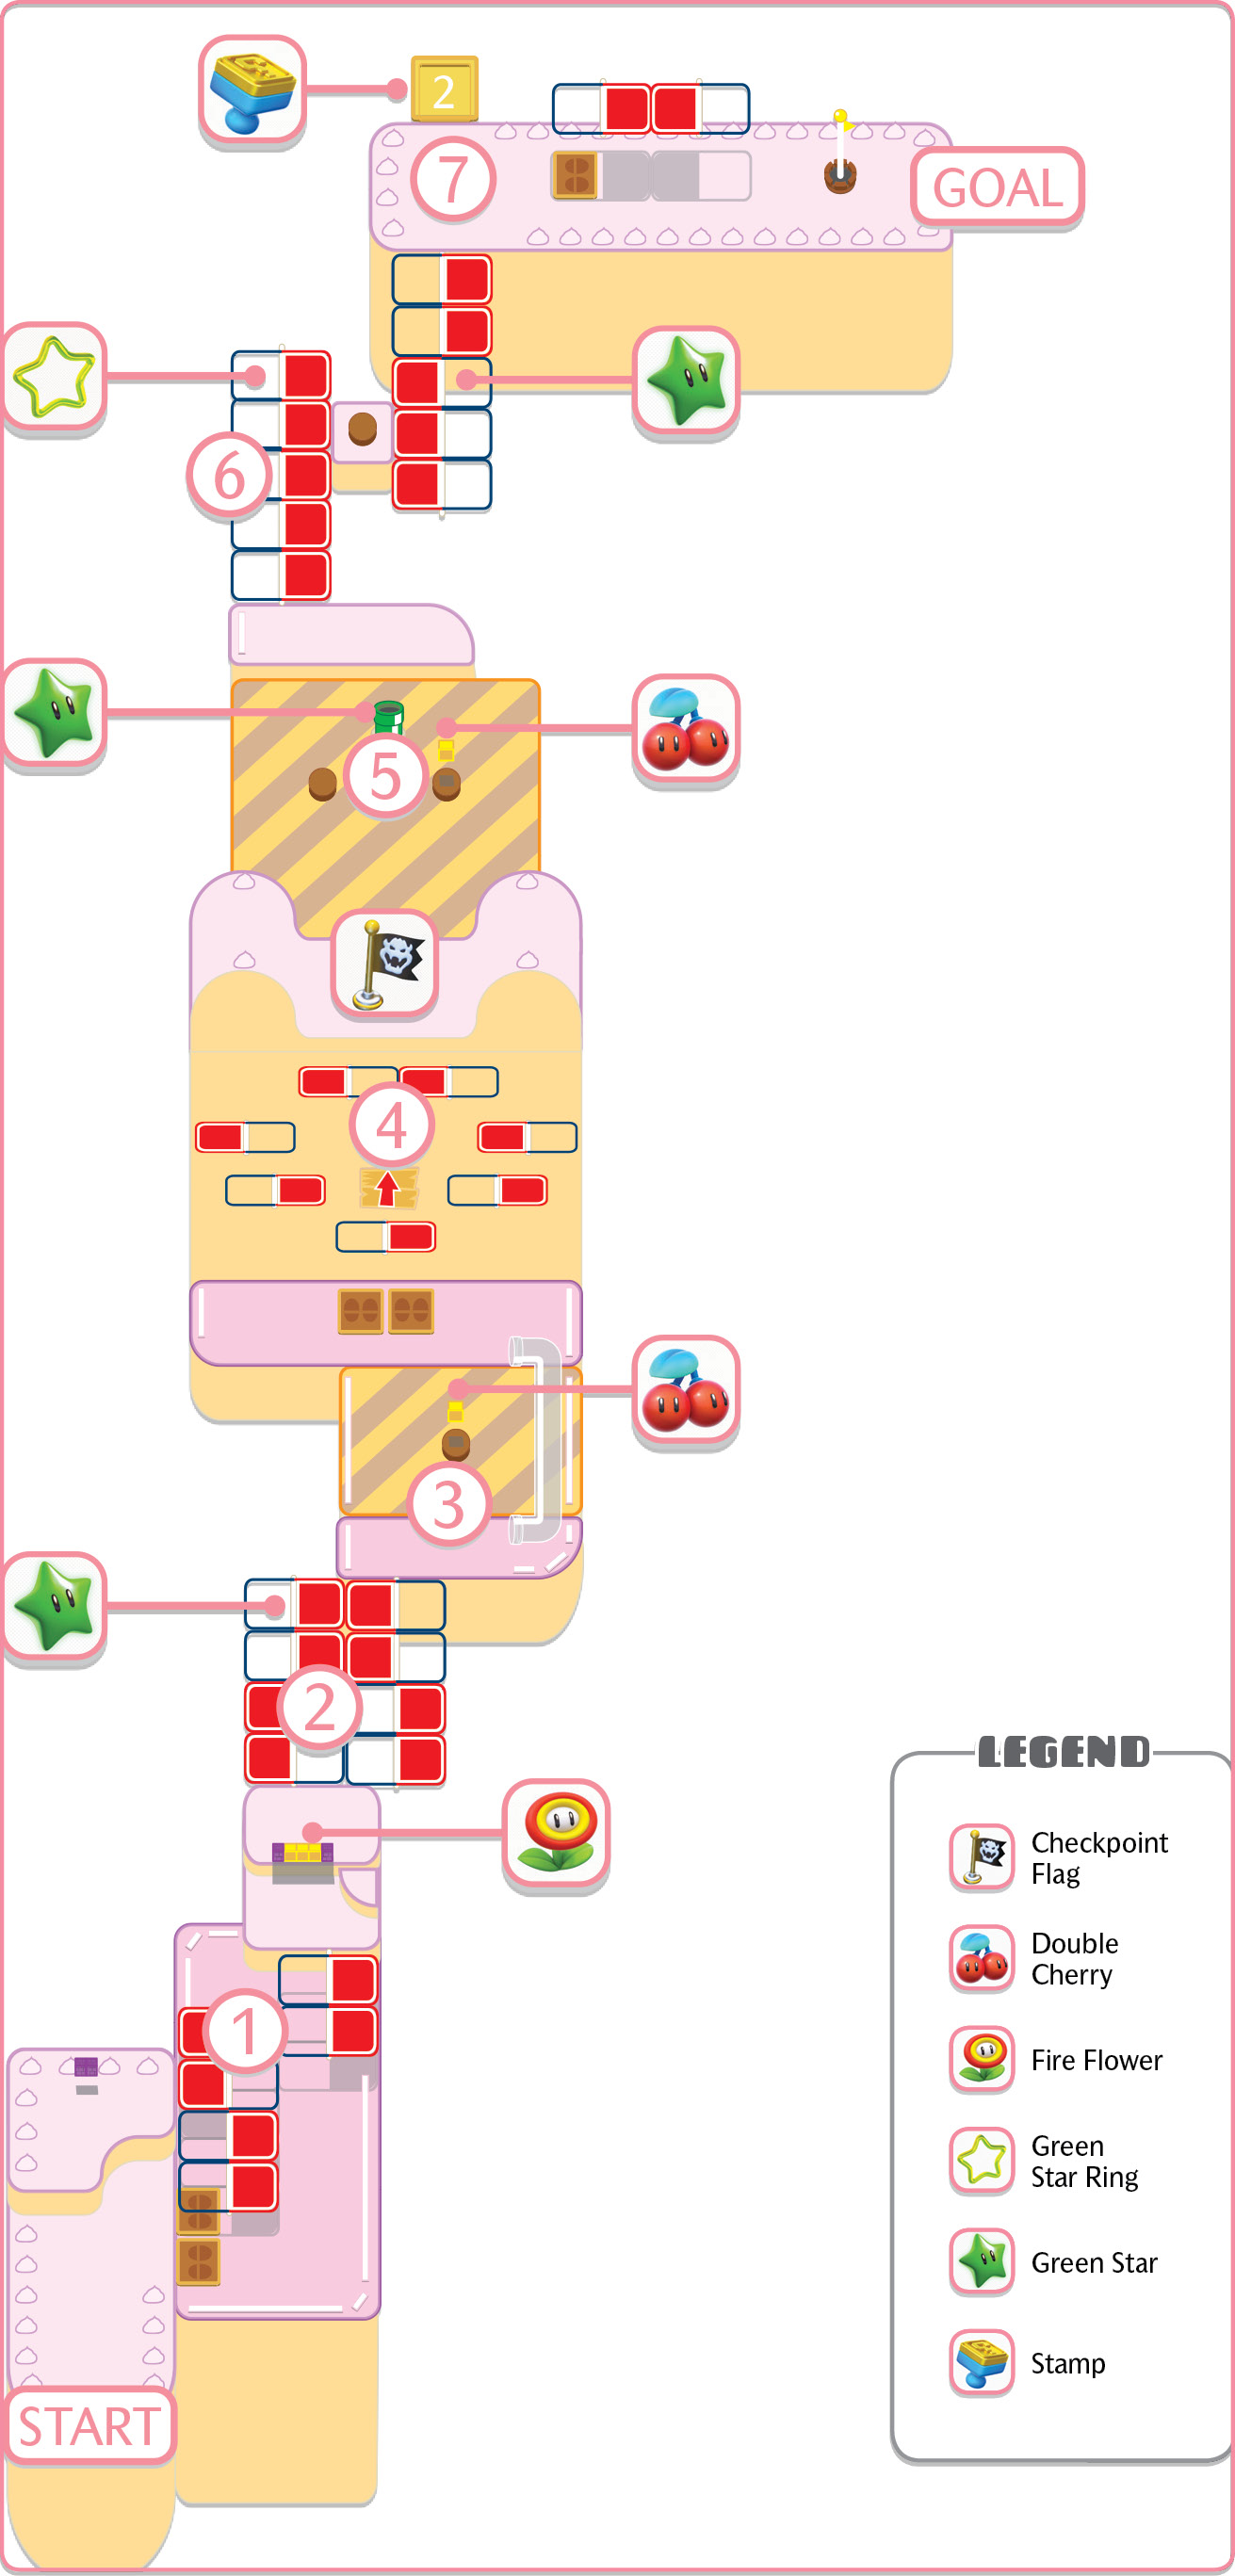
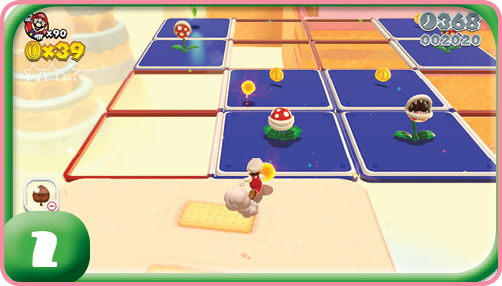
The first Green Star is encountered pretty close to the start of the level. You’ll have to manipulate a series of Red-Blue Panels to reach the star while also dealing with Piranha Plants.
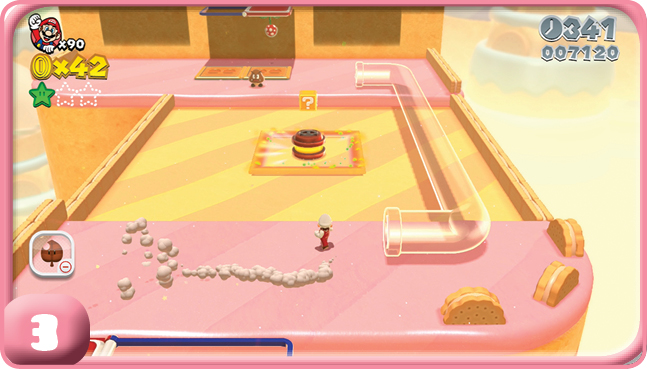
Be careful around Ring Burners. Make sure that when you’re leaping over the rings, you clear them with room to spare. You can stand on Ring Burners safely, so you can get the Double Cherry from the ? Block above it.
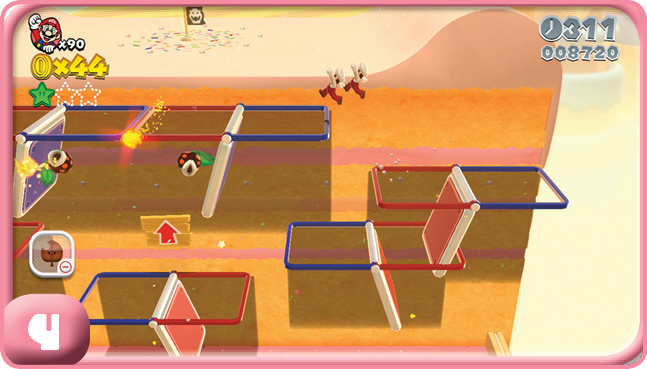
Scaling this wall with the Red-Blue Panels can be frustrating, particularly with Piranha Plants involved. The Fire Flower can help you easily clear the enemies.
Green Star #2
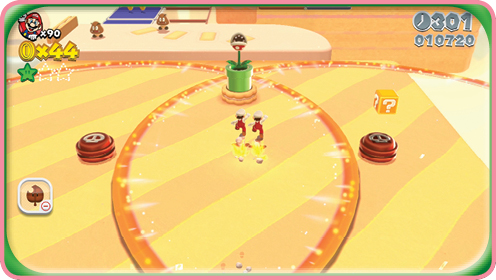
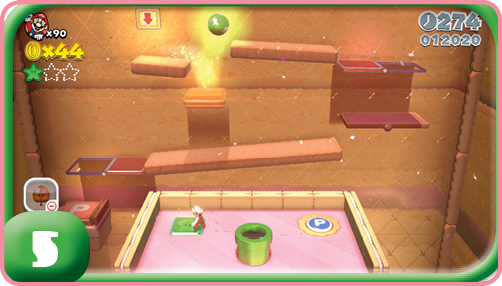
After the Checkpoint Flag, you come across a pipe with a Piranha Plant inside it, flanked by two Ring Burners. Defeat the Piranha Plant, then dive into the pipe to enter a puzzle room. Here, you must hit a P Switch to cause a ball to fall into place on the track in the distance. Then guide the ball to a P Switch, manipulating Red-Blue Panels to ensure its safe arrival. Now the second Green Star is yours!
Green Star #3
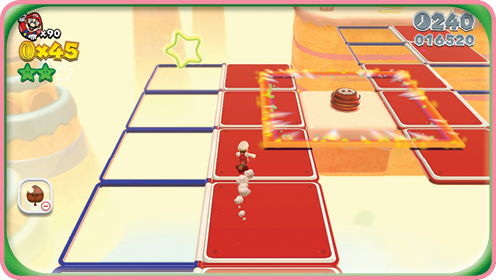
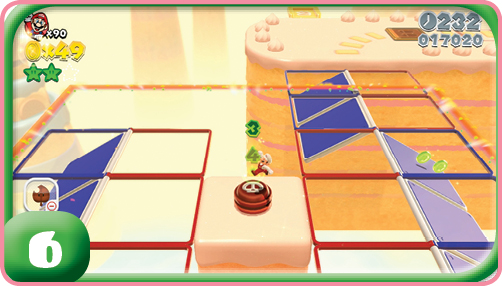
Just past the pipe for the second Green Star is a gauntlet of Red-Blue Panels protected by a Ring Burner. A Green Star Ring is located in this perilous zone. Don’t be surprised if you’re forced to retry collecting the Green Coins several times before you can finally claim the third Green Star.
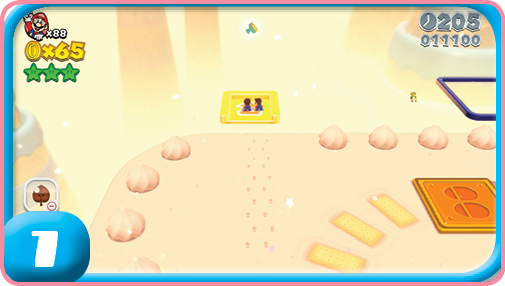
Stamp
The Stamp is in the air next to the final island with the Goal Pole. You’ll only reach it you have two clones or players standing on Multi-Vator.