
Super Mario 3D World Guide Walkthrough World 2
World 2-Castle: Bowser's Bullet Bill Brigade
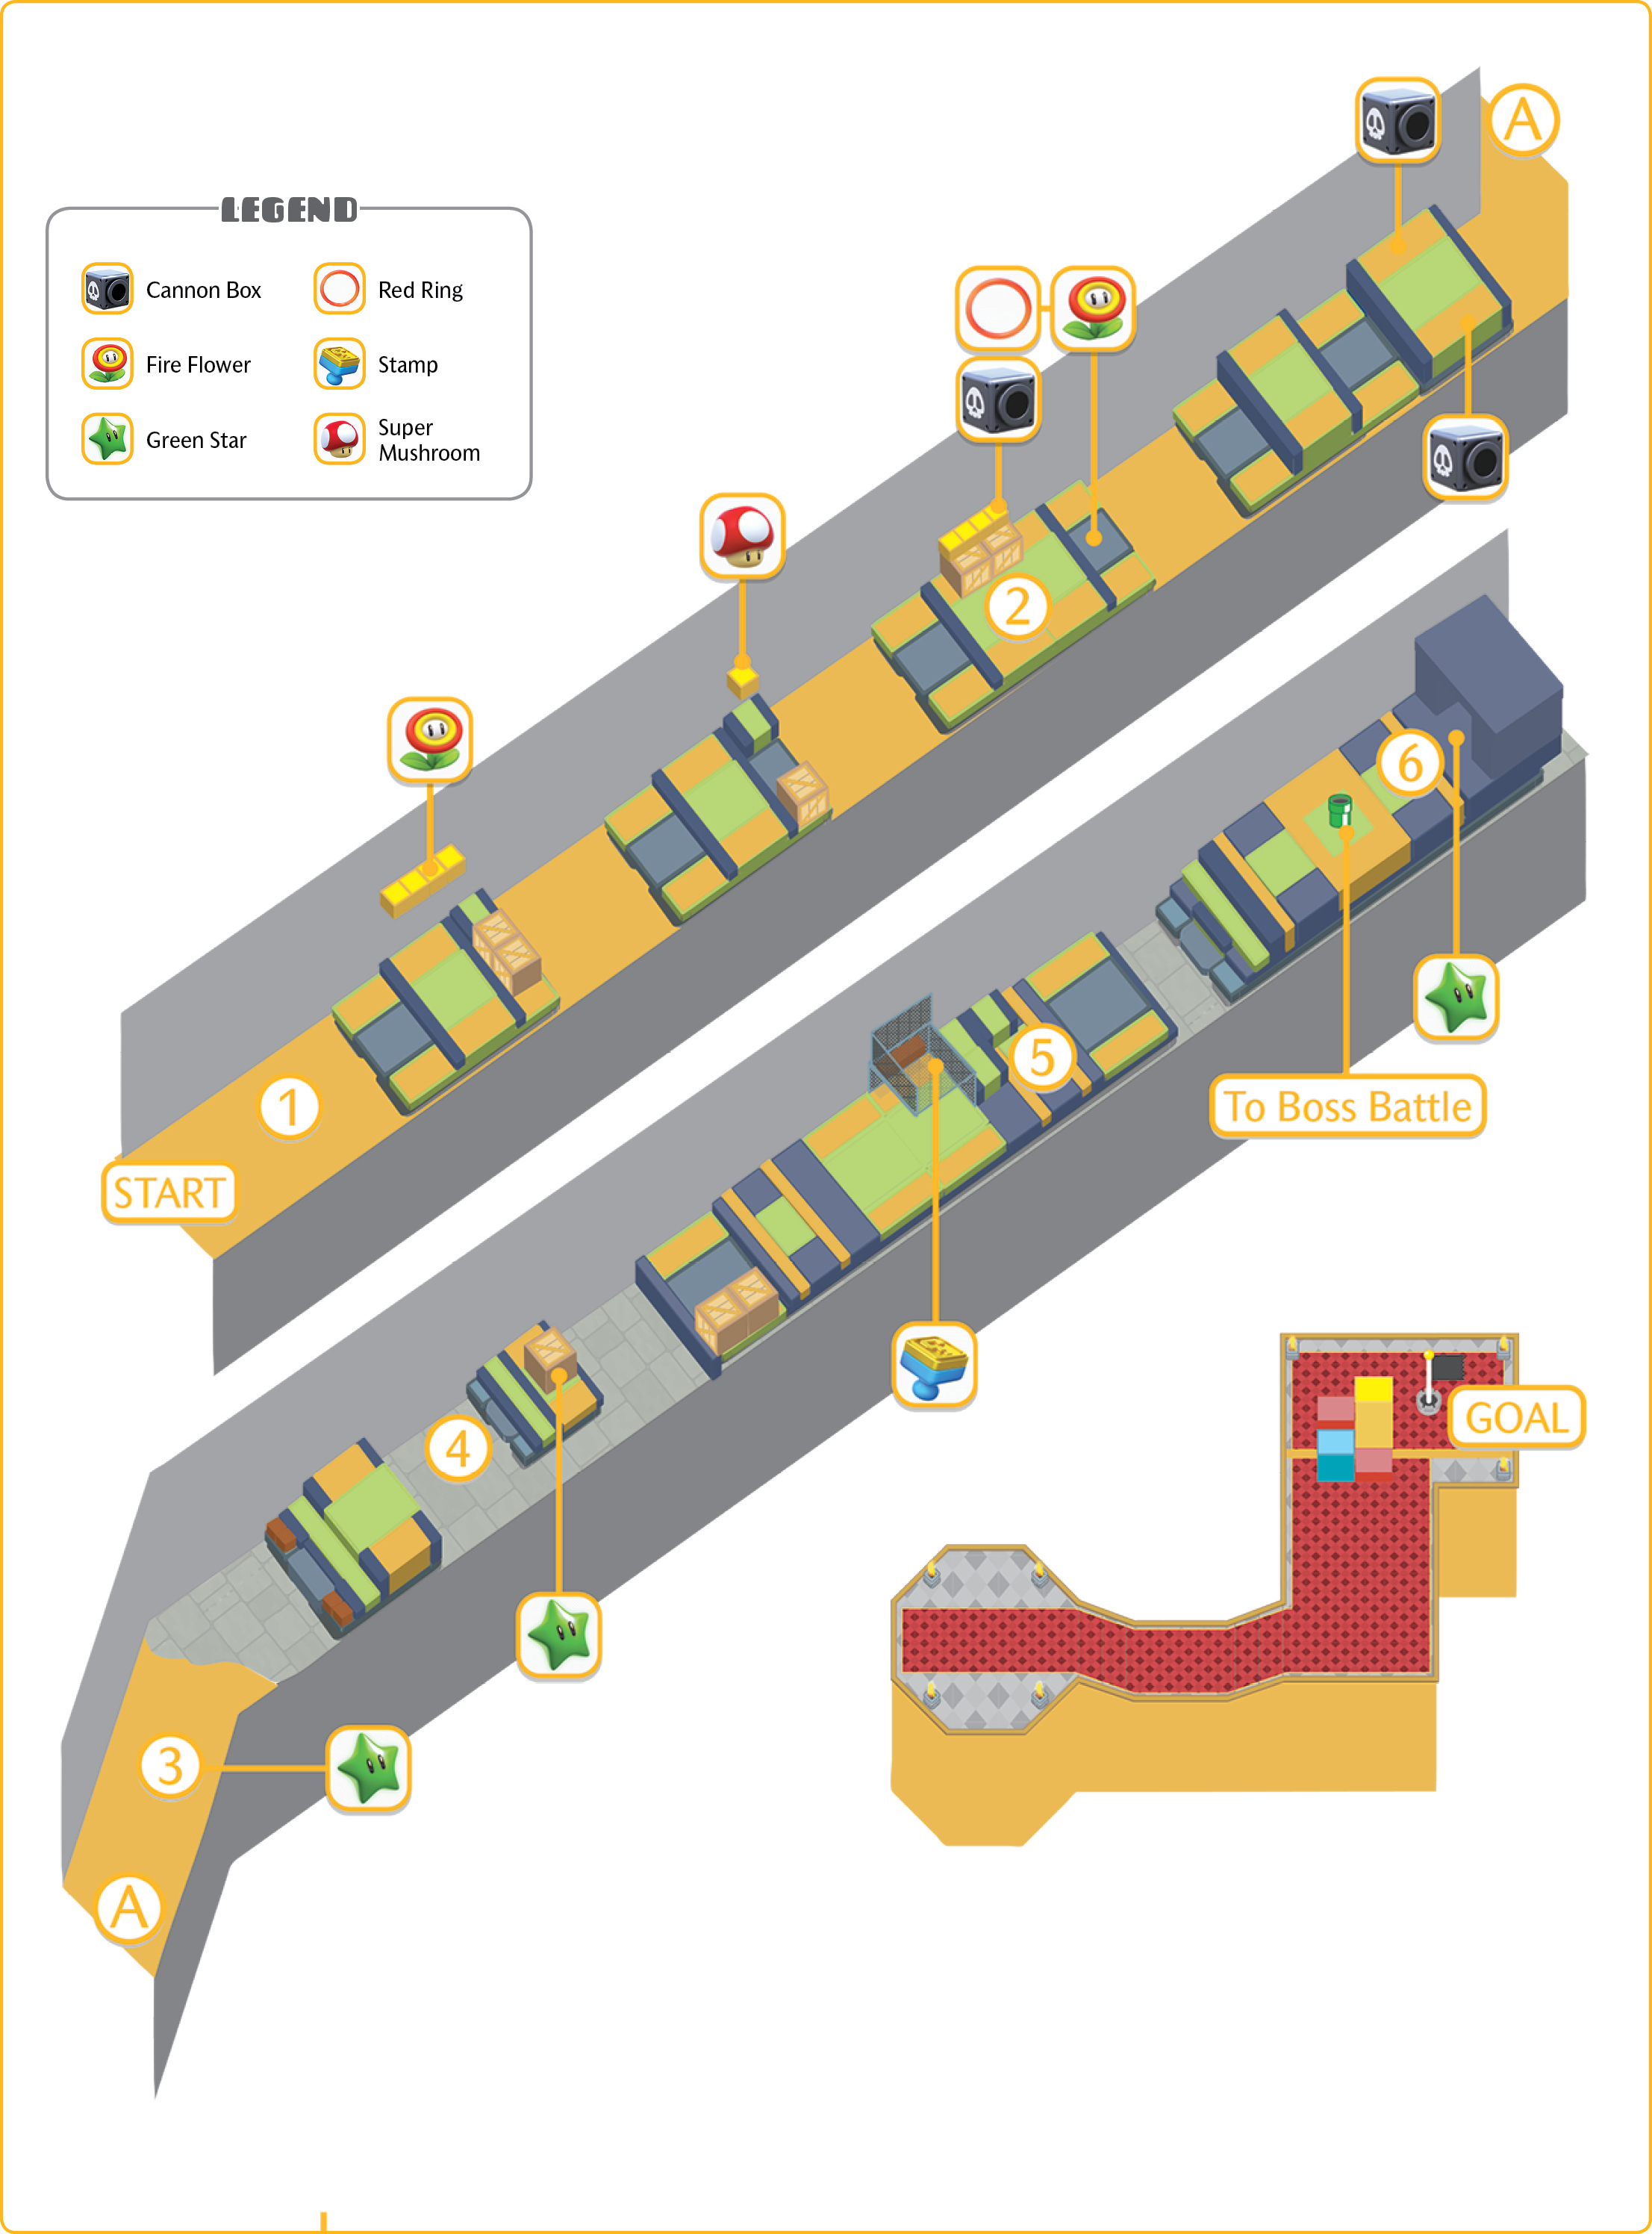
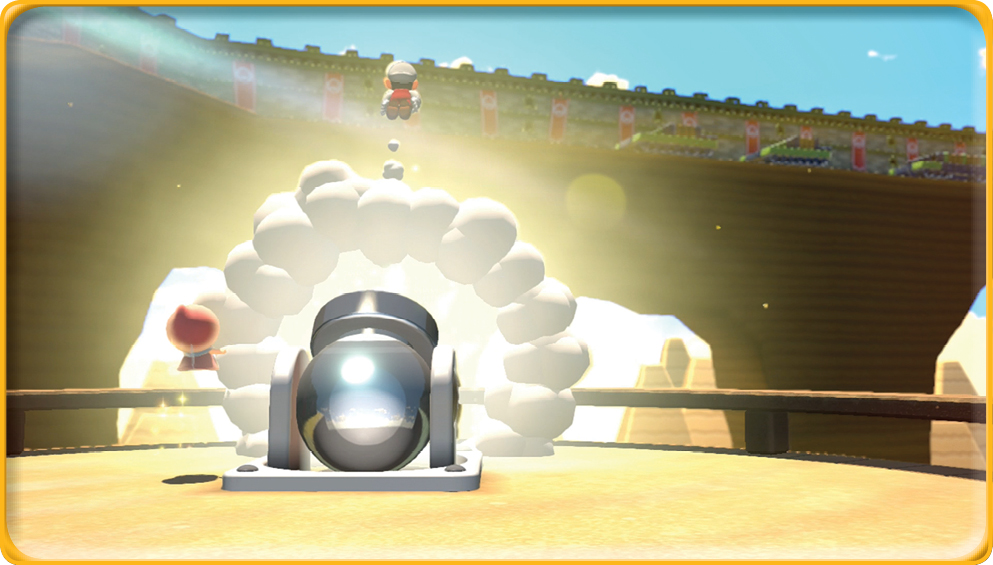
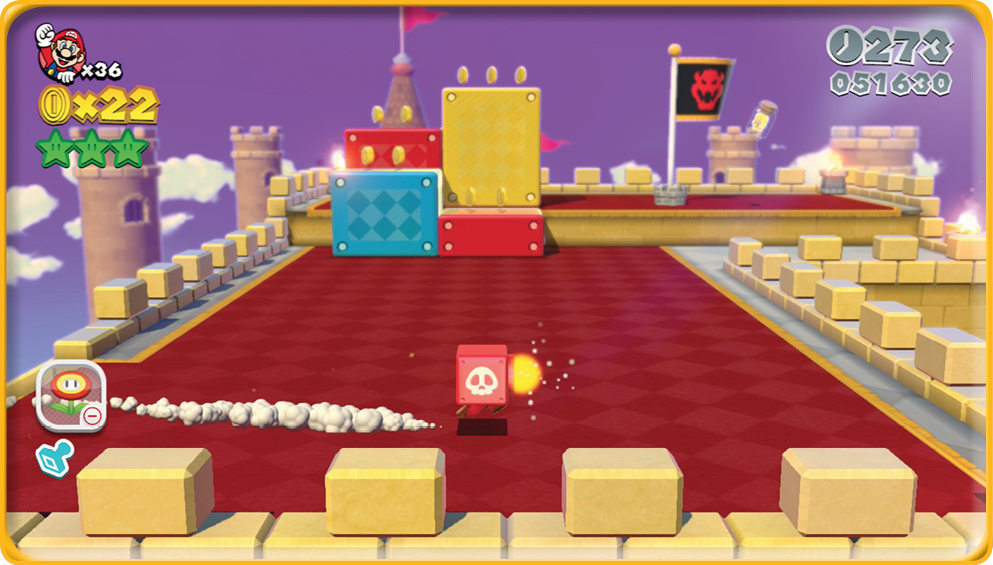
This level is different from the World 1 Castle. Here, you’re launched (literally) into battle against a group of tanks that are constantly moving forward, along with the whole level. If you want to collect everything, you’ve got to work fast and avoid getting hit if at all possible!
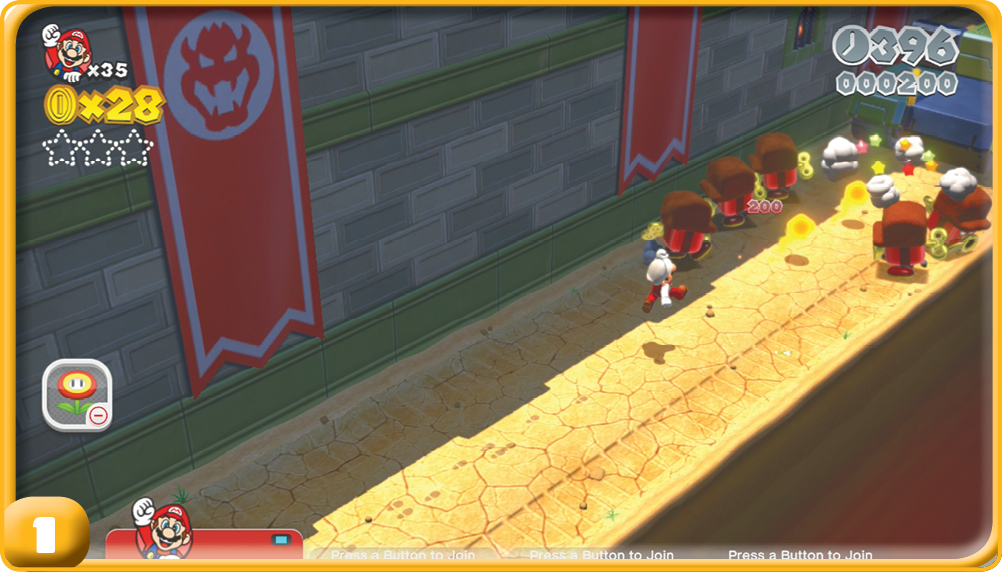
Blocksteppers greet you immediately at the front of the tank column. Remember, beating one of them causes the whole formation to go crazy, so be careful about fighting them. Be on the lookout for Bullet Bills throughout this mission, many of the tanks have the ability to fire them.
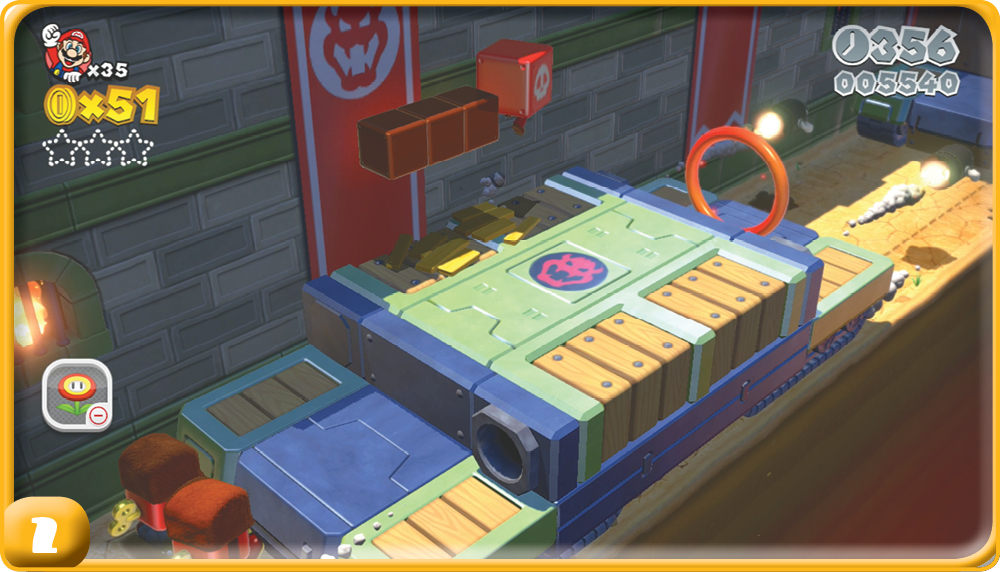
The third tank you come across has ? Blocks, one of which is actually a Cannon Box. You must try to keep this Power-Up to the very end of the level!
Green Star #1
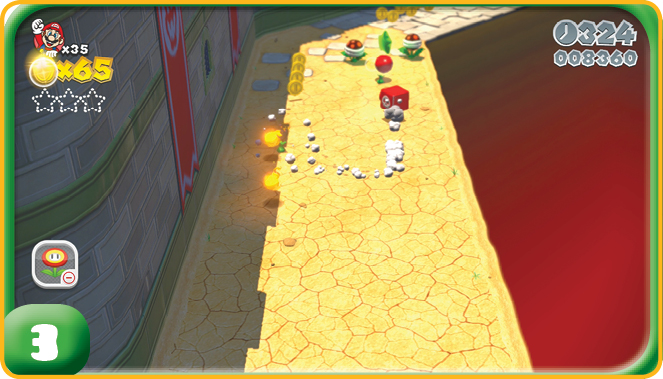
The path beyond the first set of tanks is guarded by Fire Piranha Plants. Among these vicious weeds is the first Green Star.
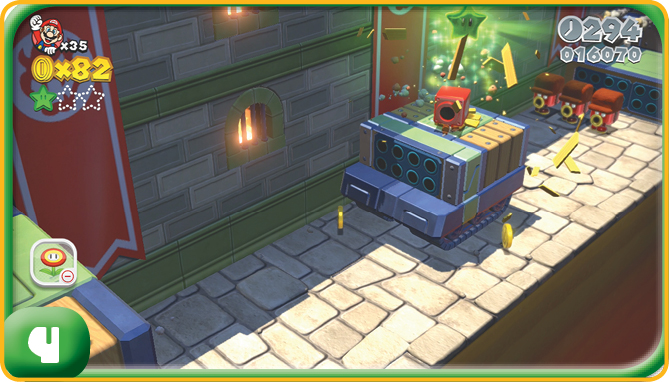
The second Green Star is located in a crate in the second tank you encounter in the second tank group. Be careful jumping up to it, as the front of the tank has spikes that pop out occasionally.
Stamp
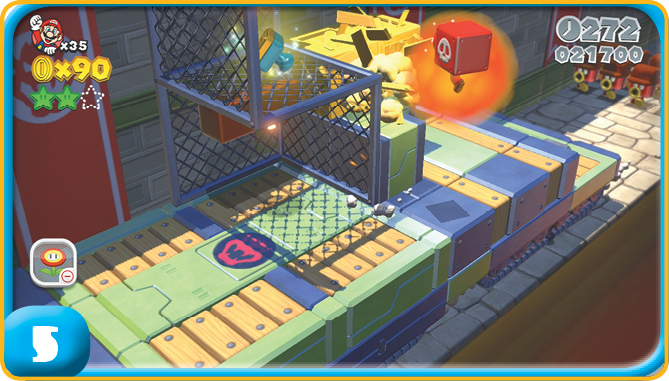
Not long after the second Green Star, you have a chance to reach the Stamp. Work fast to bust the wooden crates that are blocking the ledge you need to use to get to the Stamp!
Green Star #3
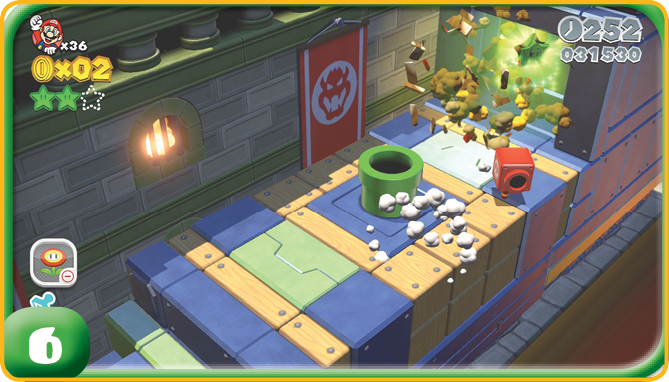
The last tank has the pipe leading to the boss battle. If you managed to get this far with the Cannon Box, use it to blast open the wall behind the pipe to recover the last Green Star. Now jump in that pipe and get ready to face the boss!
Boss Battle:
Boom Boom, Round One!
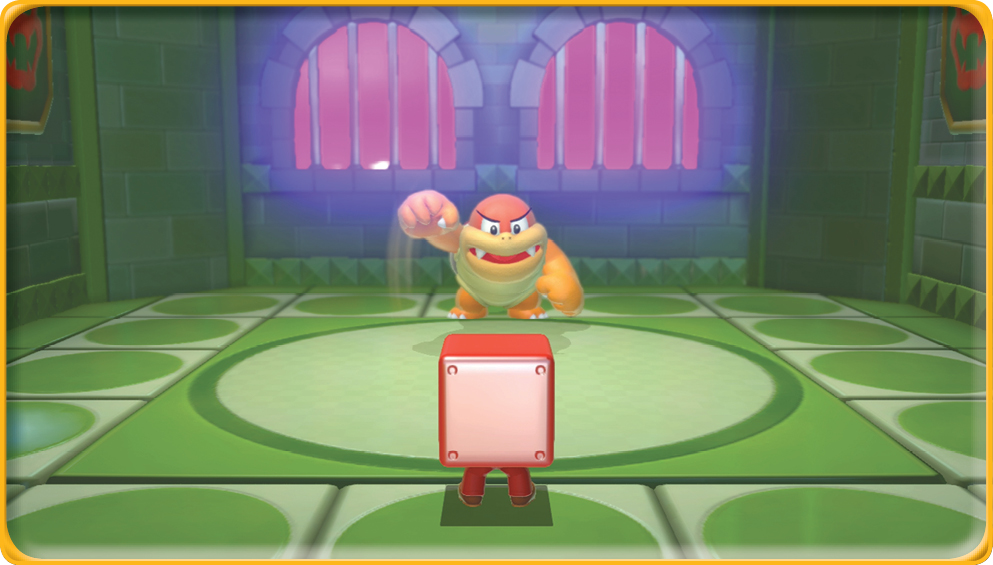
Boom Boom returns to give Mario and friends more grief. Unfortunately for him, he’s up against Mario and friends, and if you’ve played your cards right, you’re coming into the battle with either fireballs or the Cannon Box.
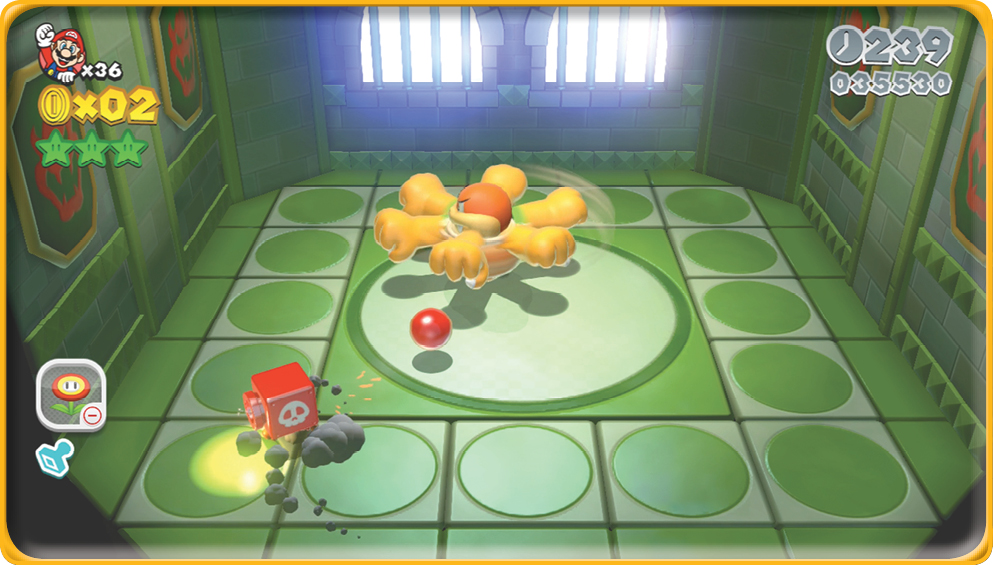
Boom Boom tries to spin around and hit anyone nearby with his arms. You can easily jump on his head, or blast him with any ranged attacks you have available once he stops spinning. If you wait long enough, Boom Boom stops spinning on his own, dizzied by his own attack. Exploit this opening!
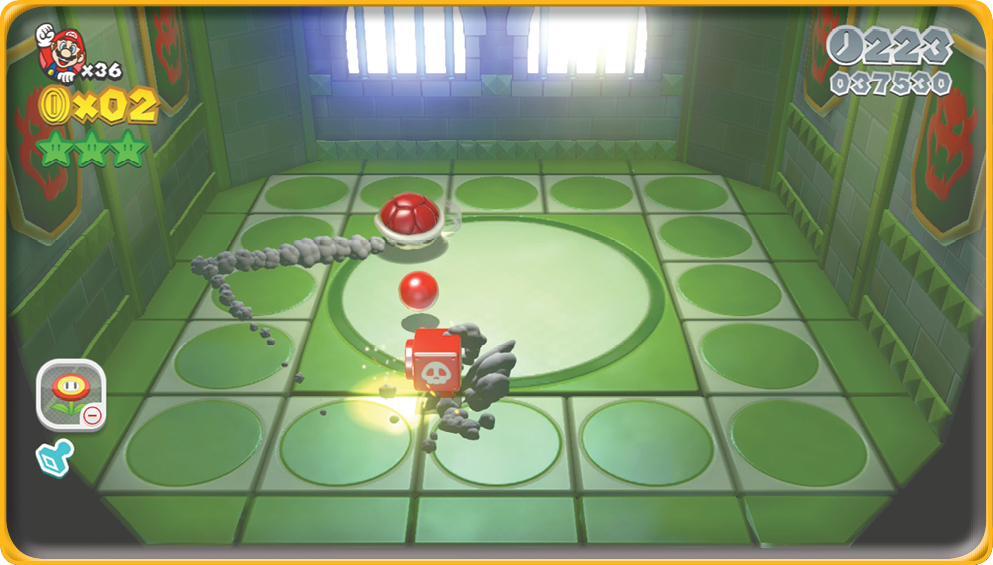
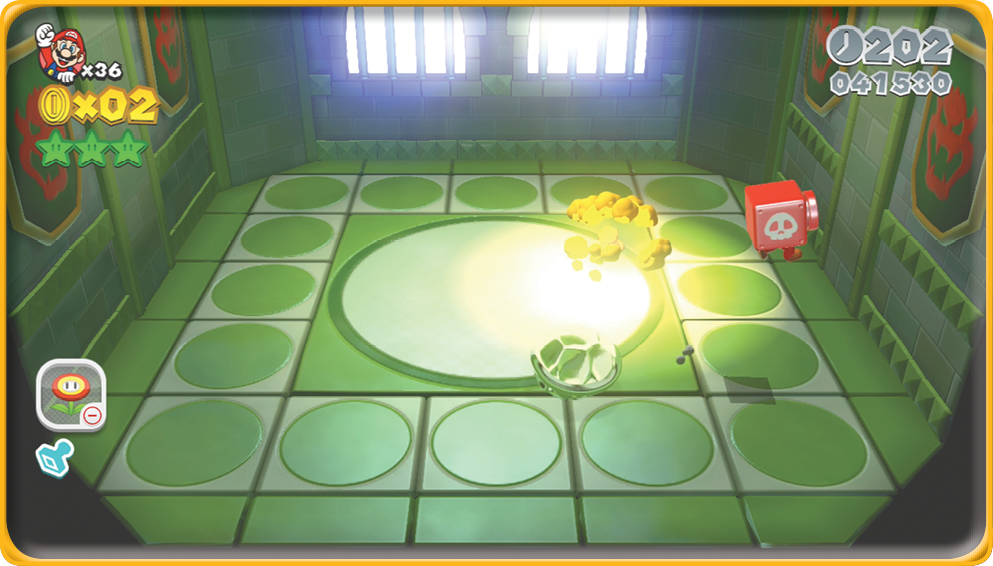
After Boom Boom takes a hit, he slips into his shell and starts bouncing around the room. Avoid him while he does this. Eventually, he stops moving and you can use this opportunity to attack him before he starts spinning again. After the second time he gets knocked down by your attacks, he changes things up, turning his shell invisible while he bounces around the room. Pay attention to the slight outline and stay on the move to avoid taking damage. Eventually he reappears when he stops bouncing, giving you one last opening to take him down!
With Boom Boom out of the way, the only thing left to do is to hit the Goal Pole and save another Sprixie Princess. On to World 3!