
Super Mario 3D World Guide How to Play
Items and Objects
You’ll find a number of items to interact with in Super Mario 3D World. Most of them can be used to help in your adventure. However, some can be hazardous to Mario’s health. Make sure you know the difference by reading on!
Power-Ups
Whenever you see a Power-Up, it’s a good idea to grab it. The powers and abilities that they grant are the key to accessing your different forms, and thus defeating Bowser with as little trouble as possible.
Super Mushroom

The Super Mushroom turns Small Mario into Super Mario. You’ll find a few of these in predetermined locations, but they have a real knack of showing up when Mario is at his most vulnerable. When you’re playing as Small Mario, blocks that would otherwise contain more advanced Power-Ups usually provide Super Mushrooms instead.
1-Up Mushroom

The 1-Up Mushroom is among the most important Power-Ups you can find. Instead of granting new abilities, a 1-Up Mushroom provides you with an extra life. These valuable items are spread all throughout the game, so make sure you grab each one you find, especially if you’re playing multiplayer where it’s easy to lose multiple lives frequently.
Fire Flower

The Fire Flower turns Mario into Fire Mario. This useful Power-Up is fairly rare, so take full advantage whenever you’re lucky enough to find one: You get ranged offensive power against enemies.
Boomerang Flower

This Power-Up turns Mario into Boomerang Mario. Boomerang Flowers are as rare as Fire Flowers, and they’re always worth collecting for the ranged offensive and item-retrieval capabilities that they grant.
Super Bell
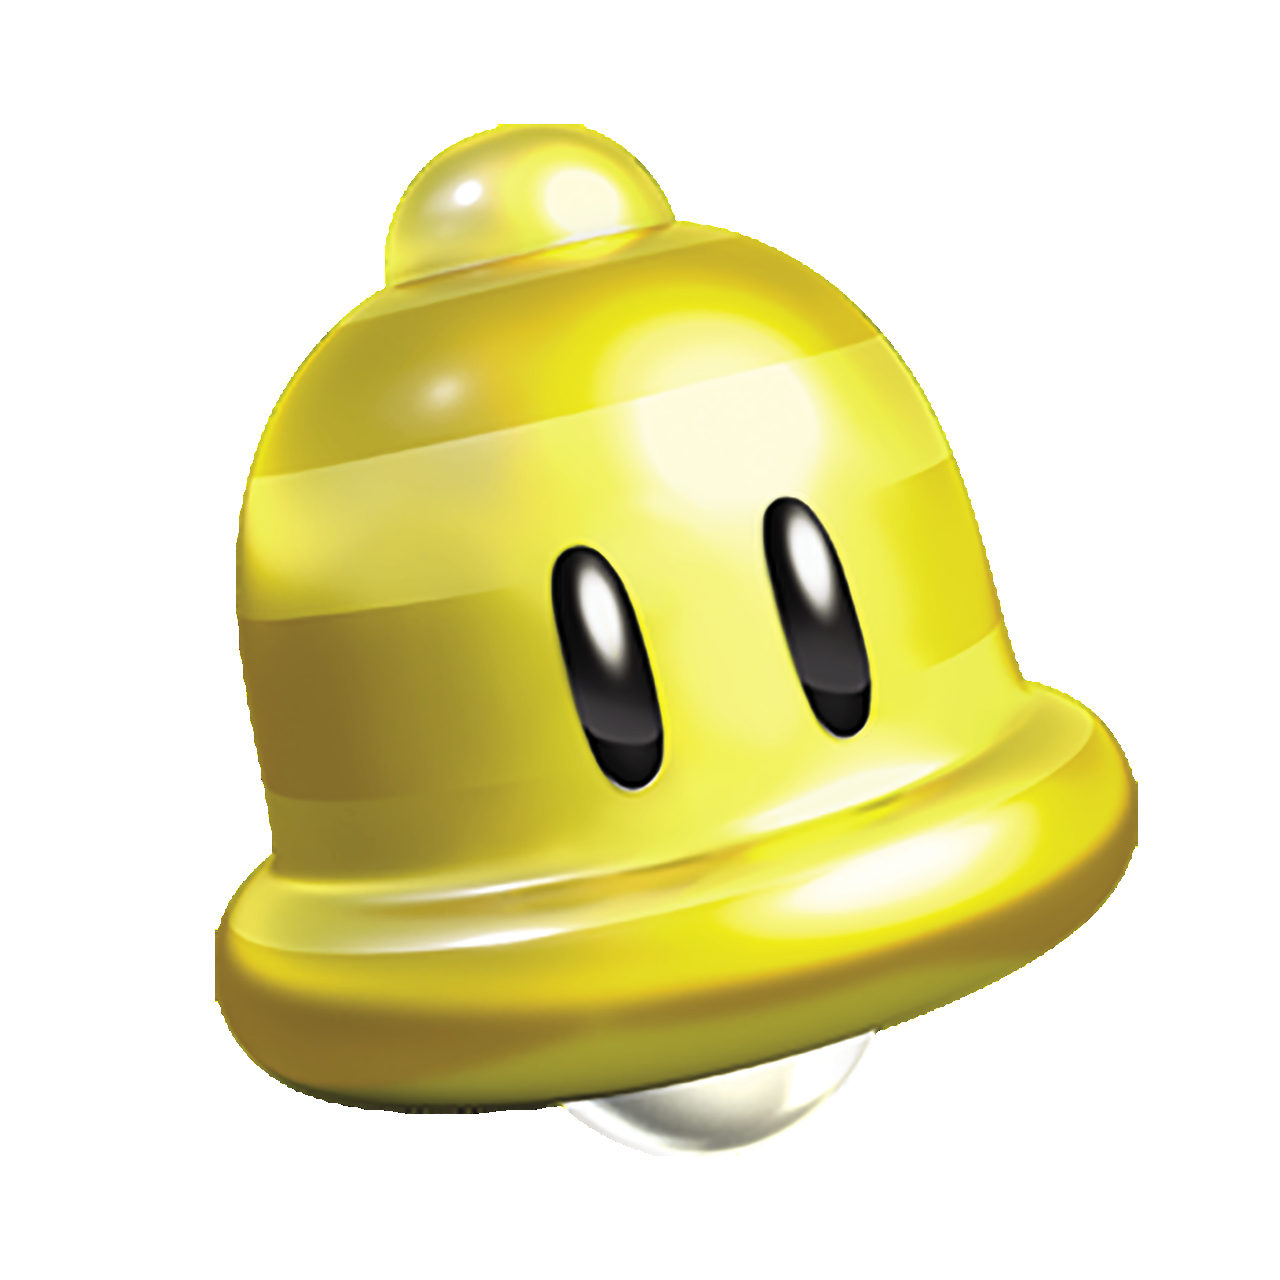
The Super Bell grants Mario the Cat Power-Up, and is one of the Power-Ups you’ll come across most frequently. With it, Mario and company can do whatever a kitty can: climb walls, Pounce, and Claw at enemies. Always look around for a Super Bell so you’ll be better equipped to find secret areas, as well as have a well-rounded, close-quarters offense ready to go against enemies.
Super Star

Super Stars make our heroes temporarily immune to all damage. While your character enjoys the Super Star’s effect, you can defeat enemies simply by running through them, and can touch or walk on hazardous terrain such as spikes. These rare Power-Ups cannot be stored, so make sure you’re ready to use it before you collect it.
Super Leaf

Super Leaves turn Mario into Tanooki Mario, who can attack enemies with his tail and stay airborne for long stretches. The Super Leaf is one of the rarest yet most useful Power-Ups, so it’s always a good idea to grab one when you can, or even tuck one into your item storage slot.
Gold Leaf

If you lose five lives on a single level, a golden Assist Block will appear with a Invincibility Leaf inside. Picking this up transforms Mario into White Tanooki Mario, who is effectively invincible (though can still lose lives by falling down pits). Keep in mind that Assist Blocks do not appear in levels you’ve already cleared, nor do they appear in Worlds past World Bowser.
Propeller Box
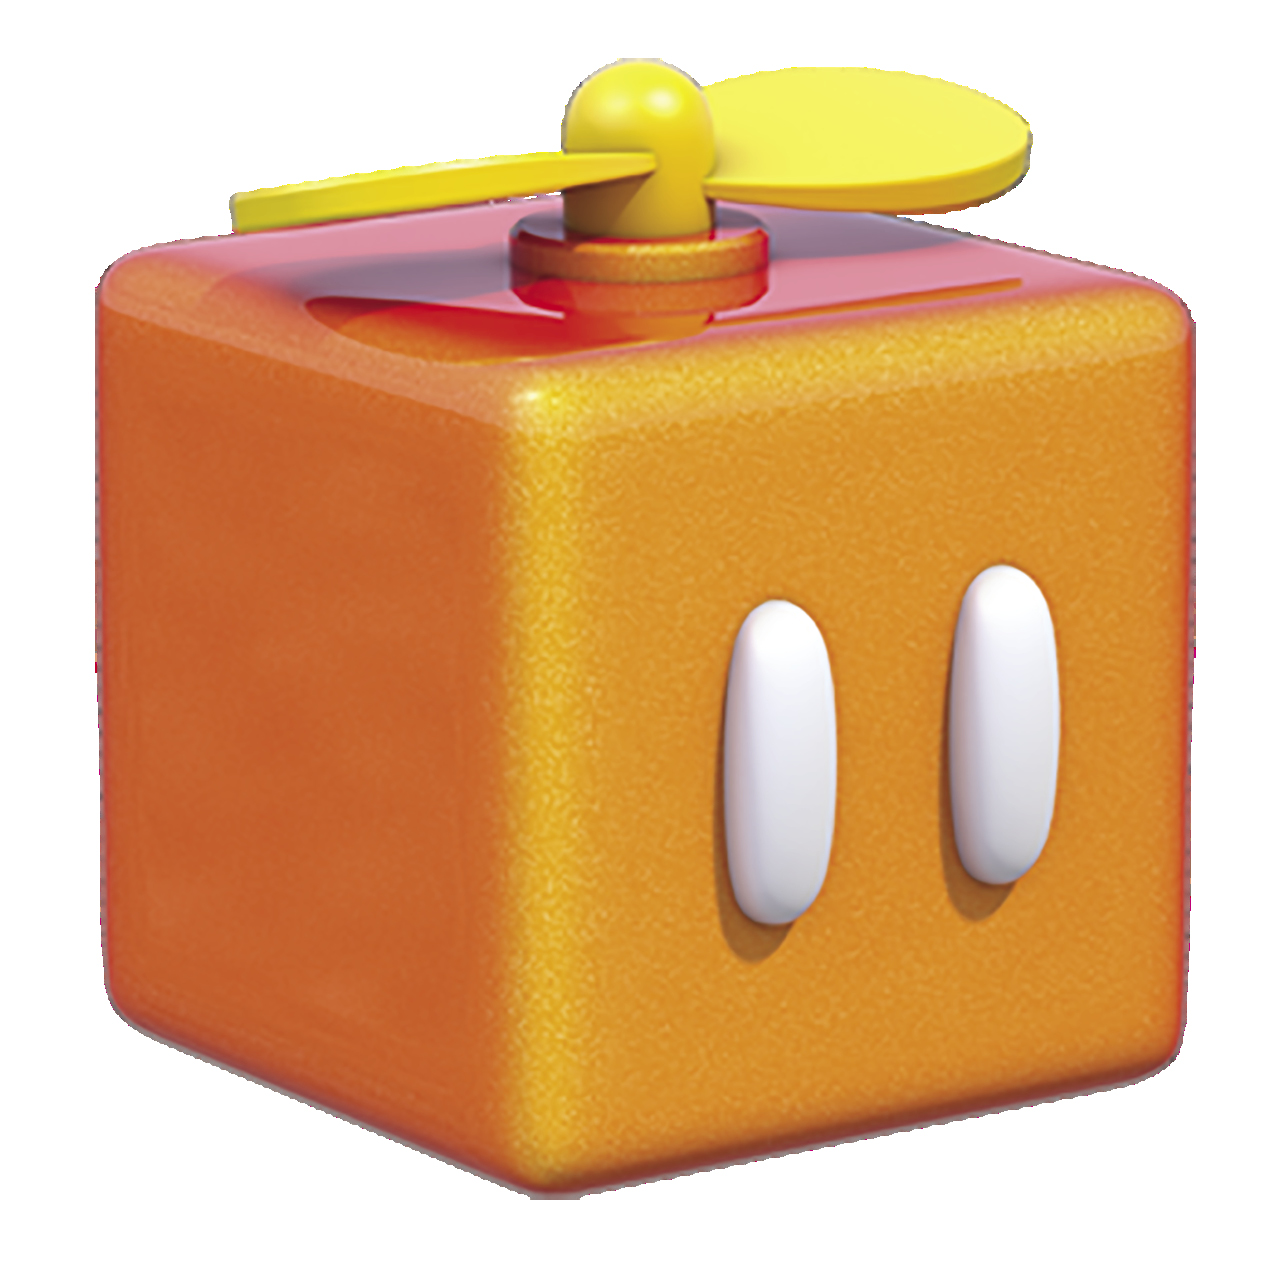
Using the Propeller Box, Mario can launch himself to amazing heights and float gently to the ground. This allows him to explore areas that would otherwise be impossible to reach. The Propeller Box acts as a temporary Power-Up that characters can slip right over their current outfit. When they suffer damage, the Propeller Box is destroyed.
While in the air, press  (or
(or  ) to launch yourself upward with a burst of speed. You must return to the ground before you can use the ability again. After each launch, hold
  (or
(or  ) to slow your descent. This ability can be used anytime before you land. Each Propeller Box can only be used while you’re in the level—once you reach the Goal Pole, you’re rewarded with an extra life.

? Box
? Boxes look just like ? Blocks, but they behave very differently. If Mario hits one of these rare items repeatedly and rapidly, the ? Box breaks free and encases Mario’s upper body! Like Propeller Boxes, ? Boxes act as temporary Power-Ups. As Mario moves, the ? Block generates Coins. When he takes damage, the ? Box is destroyed. Like the Propeller Box, if Mario reaches the Goal Pole while wearing the ? Box, the reward will be an extra life.



Mega Mushroom
The ultra-rare Mega Mushroom temporarily turns Mario into Mega Mario! Run over enemies and even destroy parts of the stage in your awesome rampage! Be careful not to destroy pipes that may lead to secret areas while you’re busy stomping around.
Double Cherry
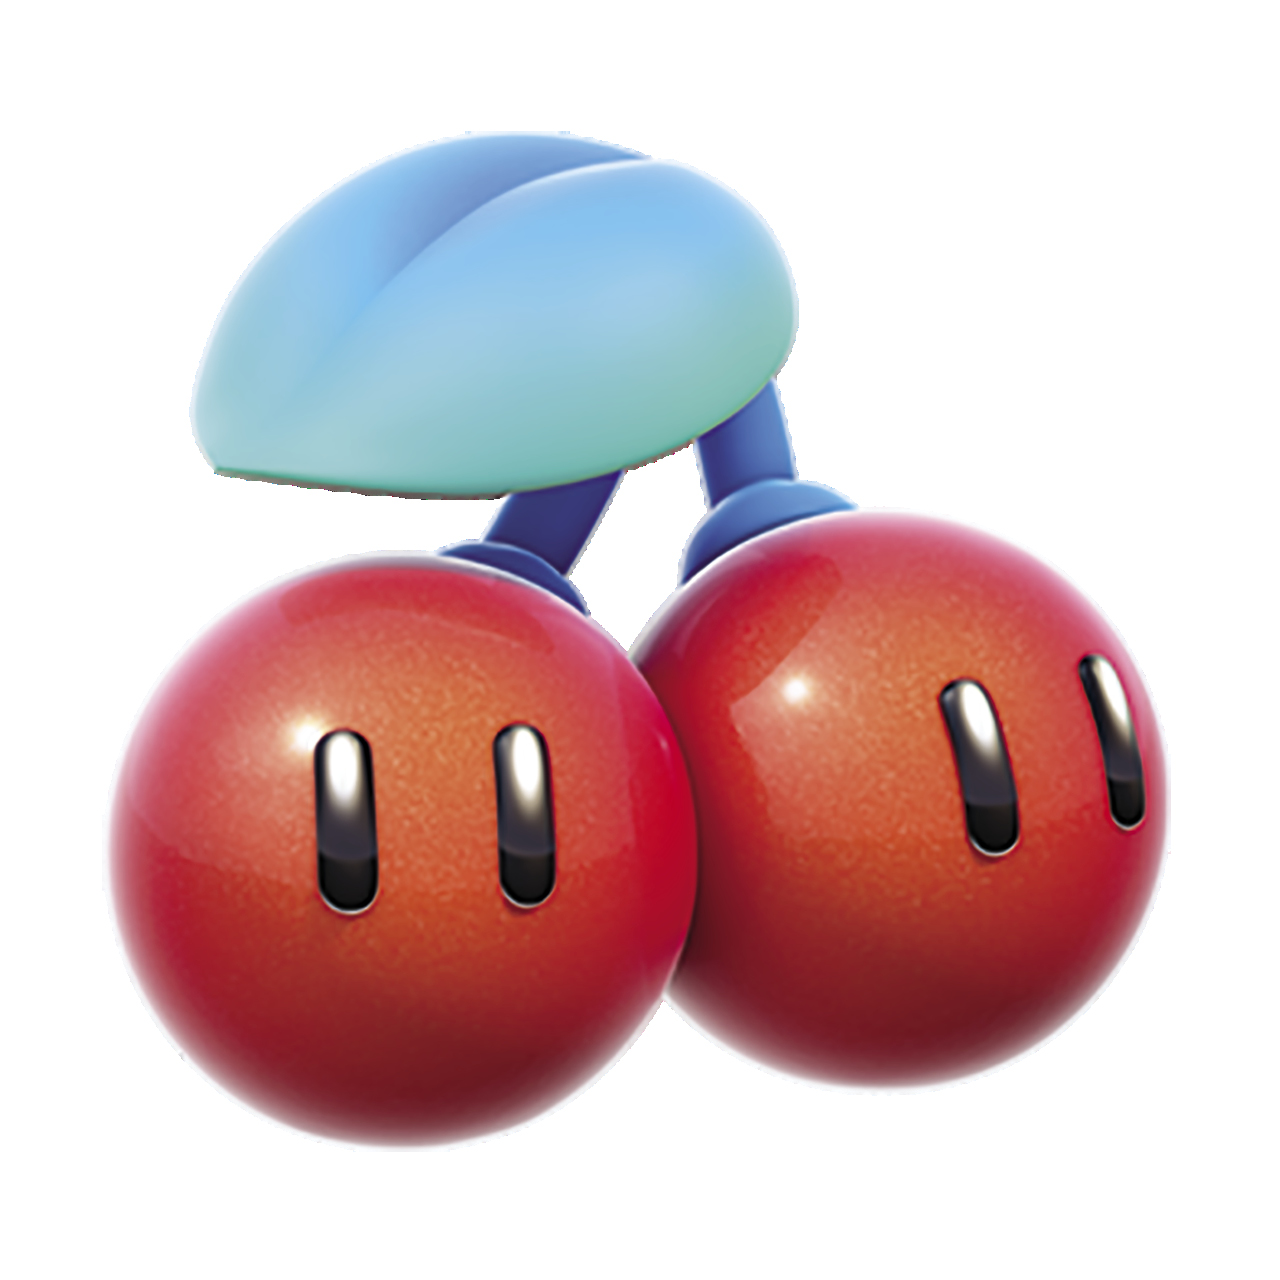
Two Marios are better than one! The Double Cherry creates a clone of Mario that mimics his movements exactly, and has the exact same equipped powers. Better yet, you can collect up to four Double Cherries in a stage to have a maximum of five Marios to do your bidding. Set up coordinated attacks, or explore with efficiency.
Lucky Bell
Found only in latter parts of the game, the Lucky Bell gives you the Lucky Cat Power-Up. Mario and company will be able to do everything the Cat Power-Up allows, with the added bonus of being able to turn into an invincible golden statue.
Koopa Shell
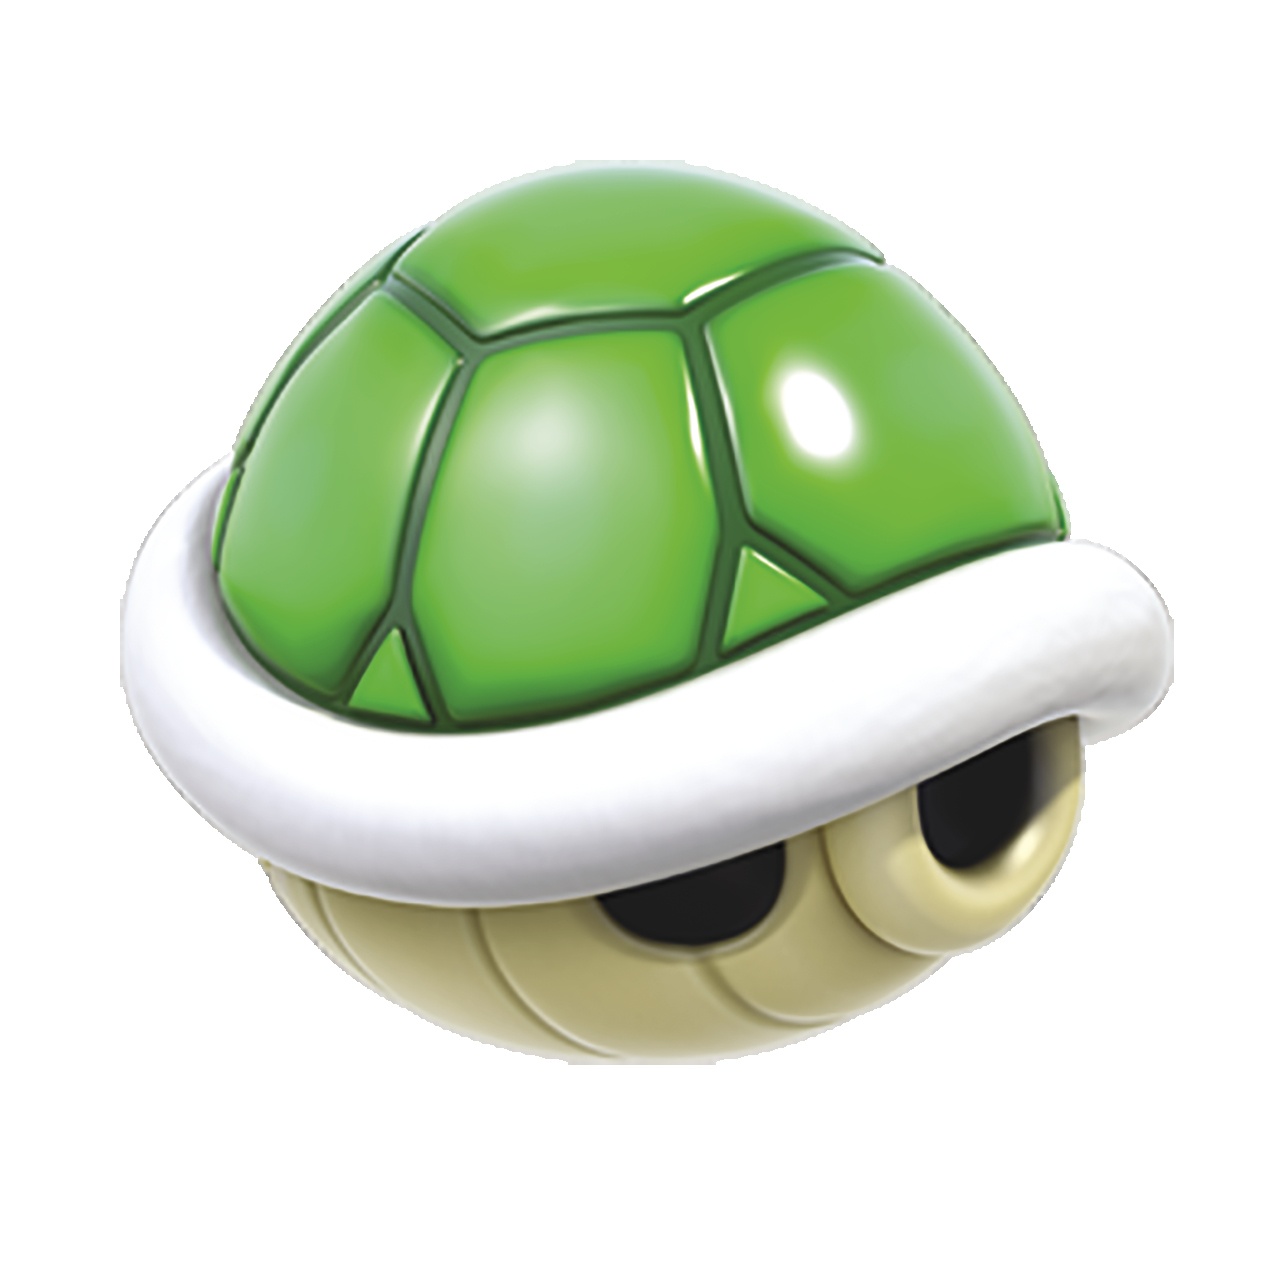
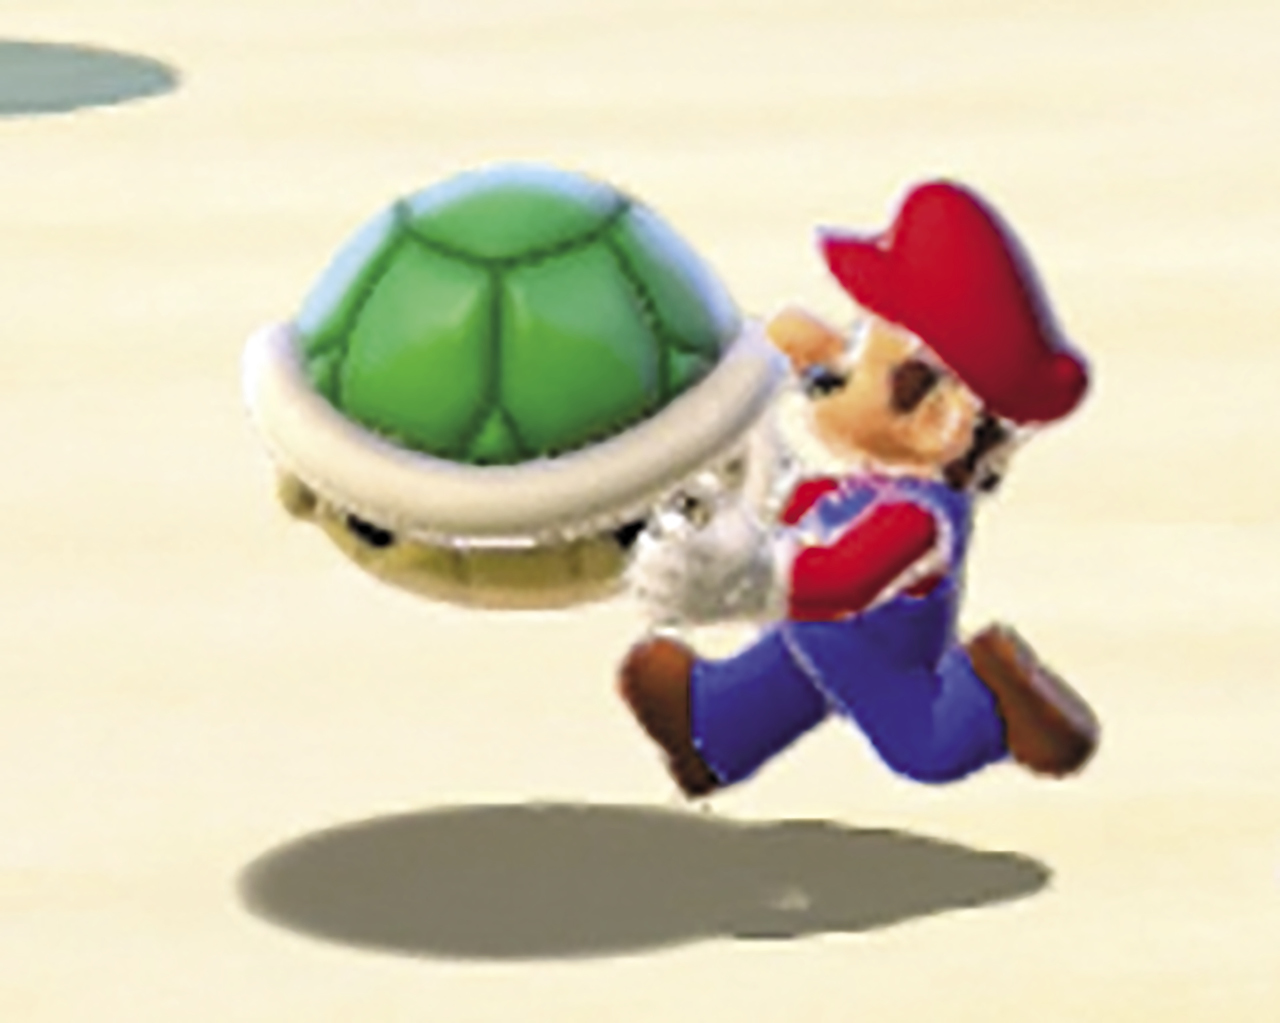
These aren’t exactly Power-Ups per se, but they’re still very helpful! Stomping Koopa Troopas will eject them from their Shells, which can then be picked up with the  (or
(or  ) button. Mario can then ride inside of it by holding the ZL (or ZR) button, smashing against all comers! Careful—don’t do so for too long or you’ll become dizzy and vulnerable for a few game seconds! You can control the Shell to a small extent with
  . Rare gold Shells also exist. Ride inside of these to generate Coins.
Ice Skate

Found in some of the game’s more wintry stages, the ice skate allows for super-fast movement, at the cost of mobility and jump height. Barrel into enemies with ease, but make sure you watch where you’re going so that you don’t accidentally end up falling down a pit or colliding with a stage hazard.
Goomba Mask
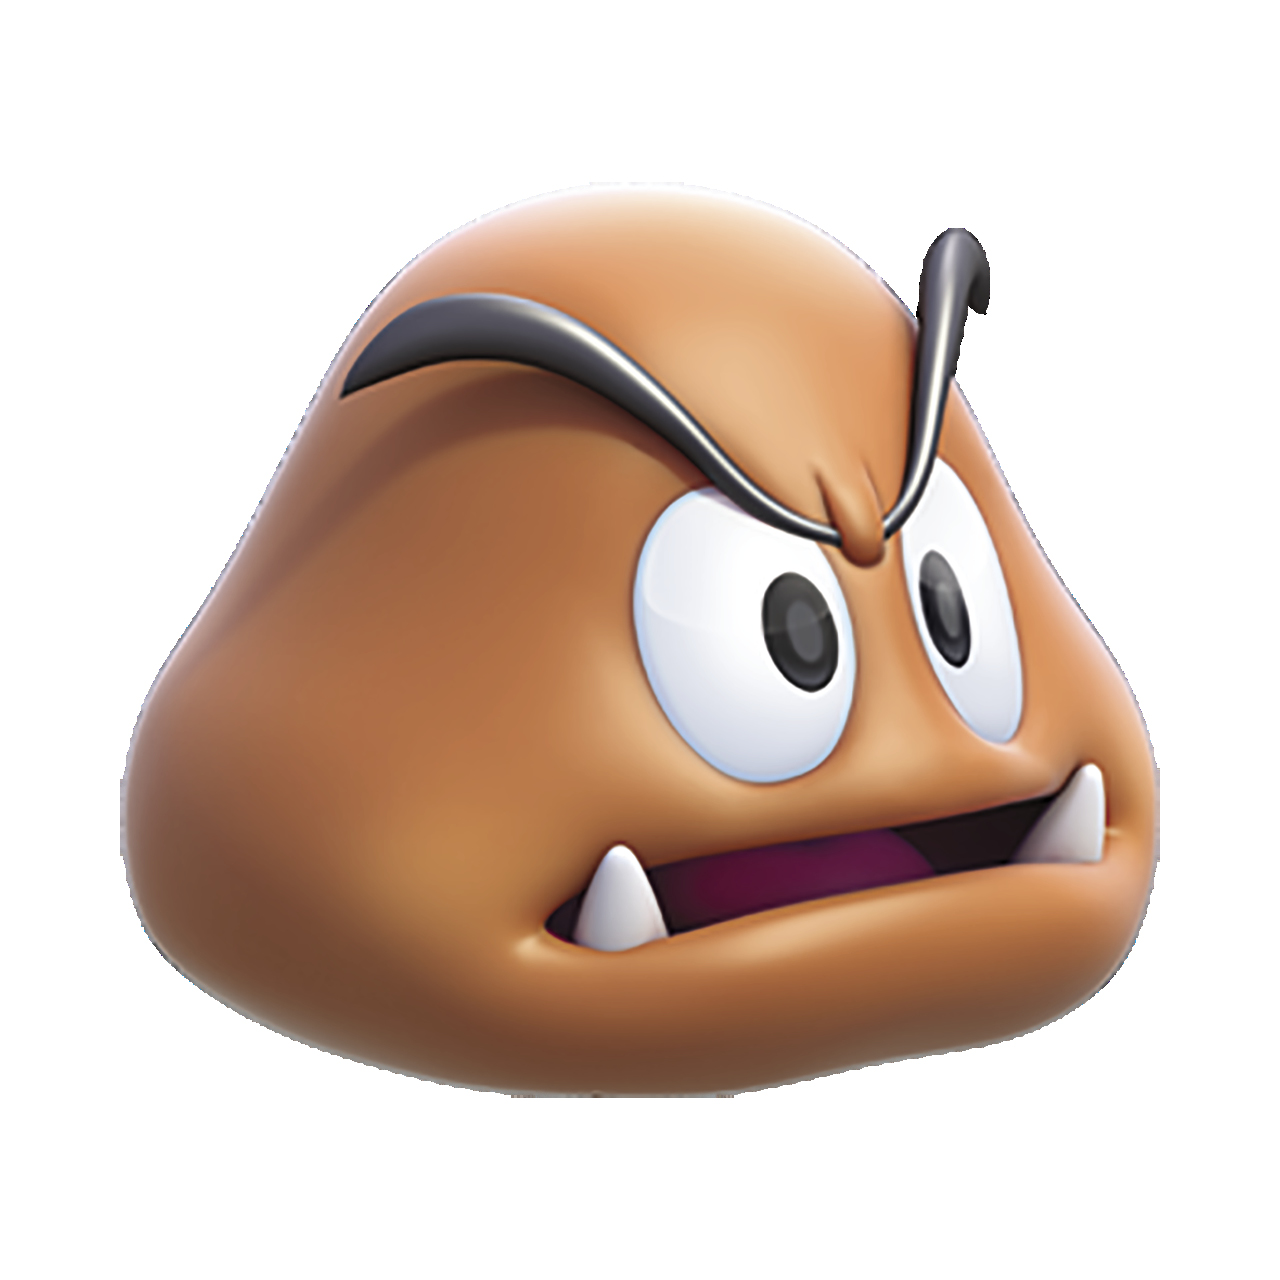
Pick one of these up and most enemies will think you’re one of their ranks, allowing you to sneak by them without being chased. It’s handy, if not attractive.
Cannon Box
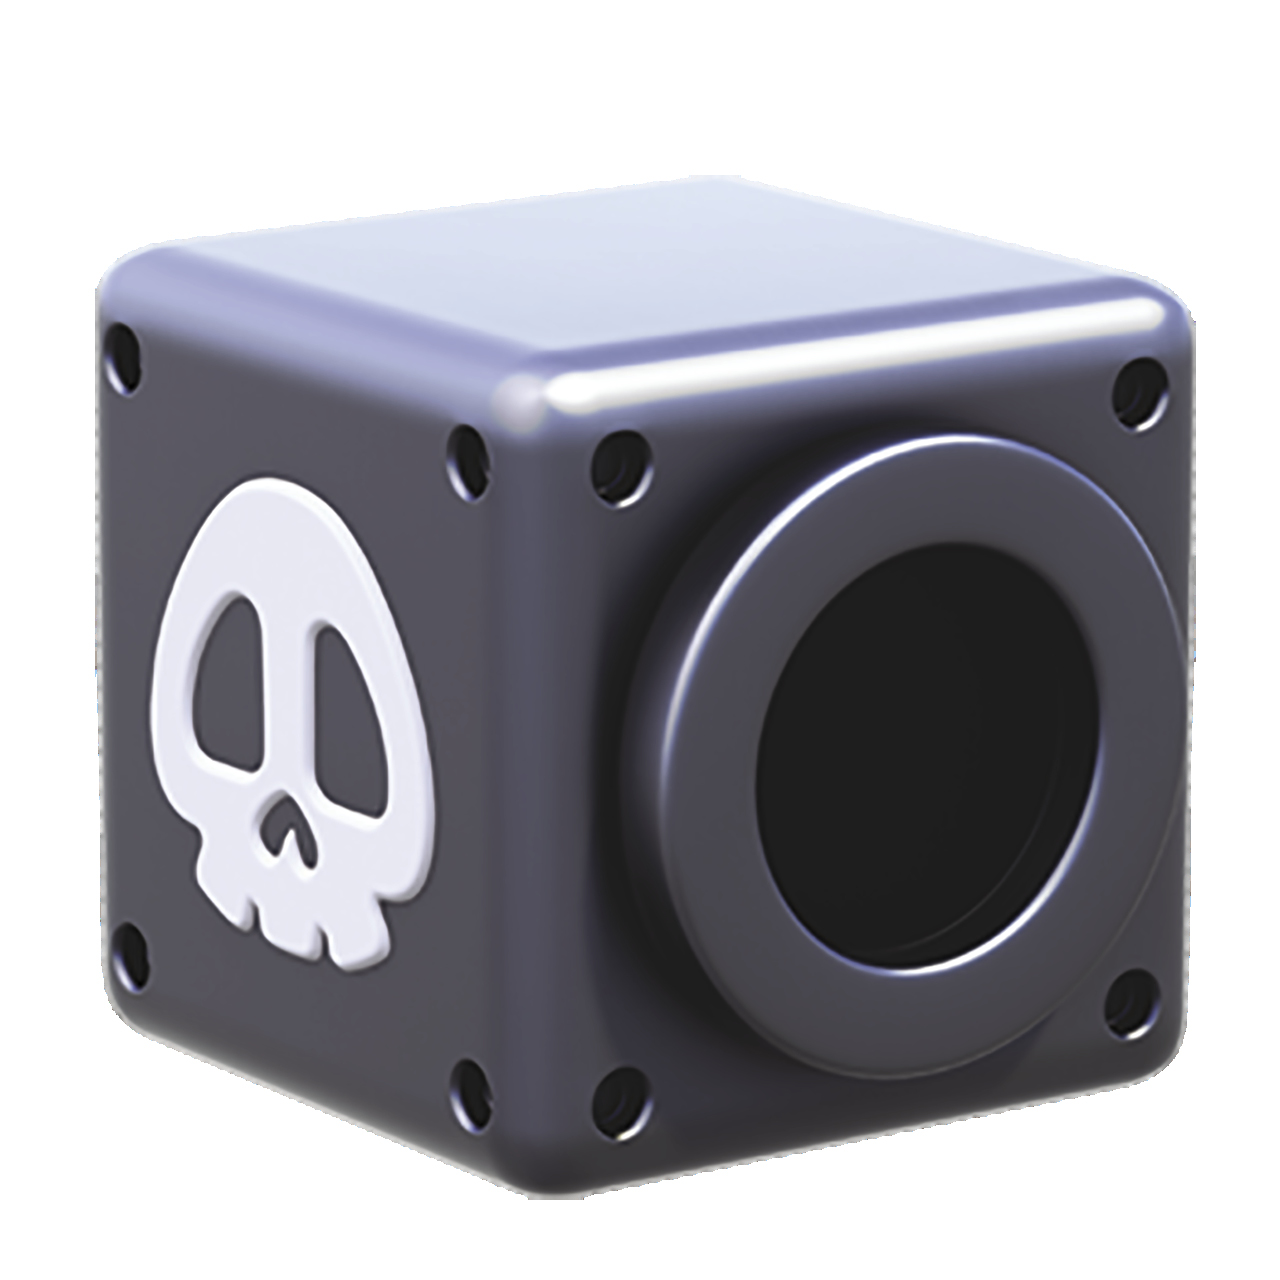
Pick up the Cannon Box and become a living turret and shoot cannonballs at your foes from all directions! The Cannon Box constantly shoots cannonballs anywhere you face, unless you hold ^ (or %) for a few game seconds to fire with a supercharged shot.
Beam Box
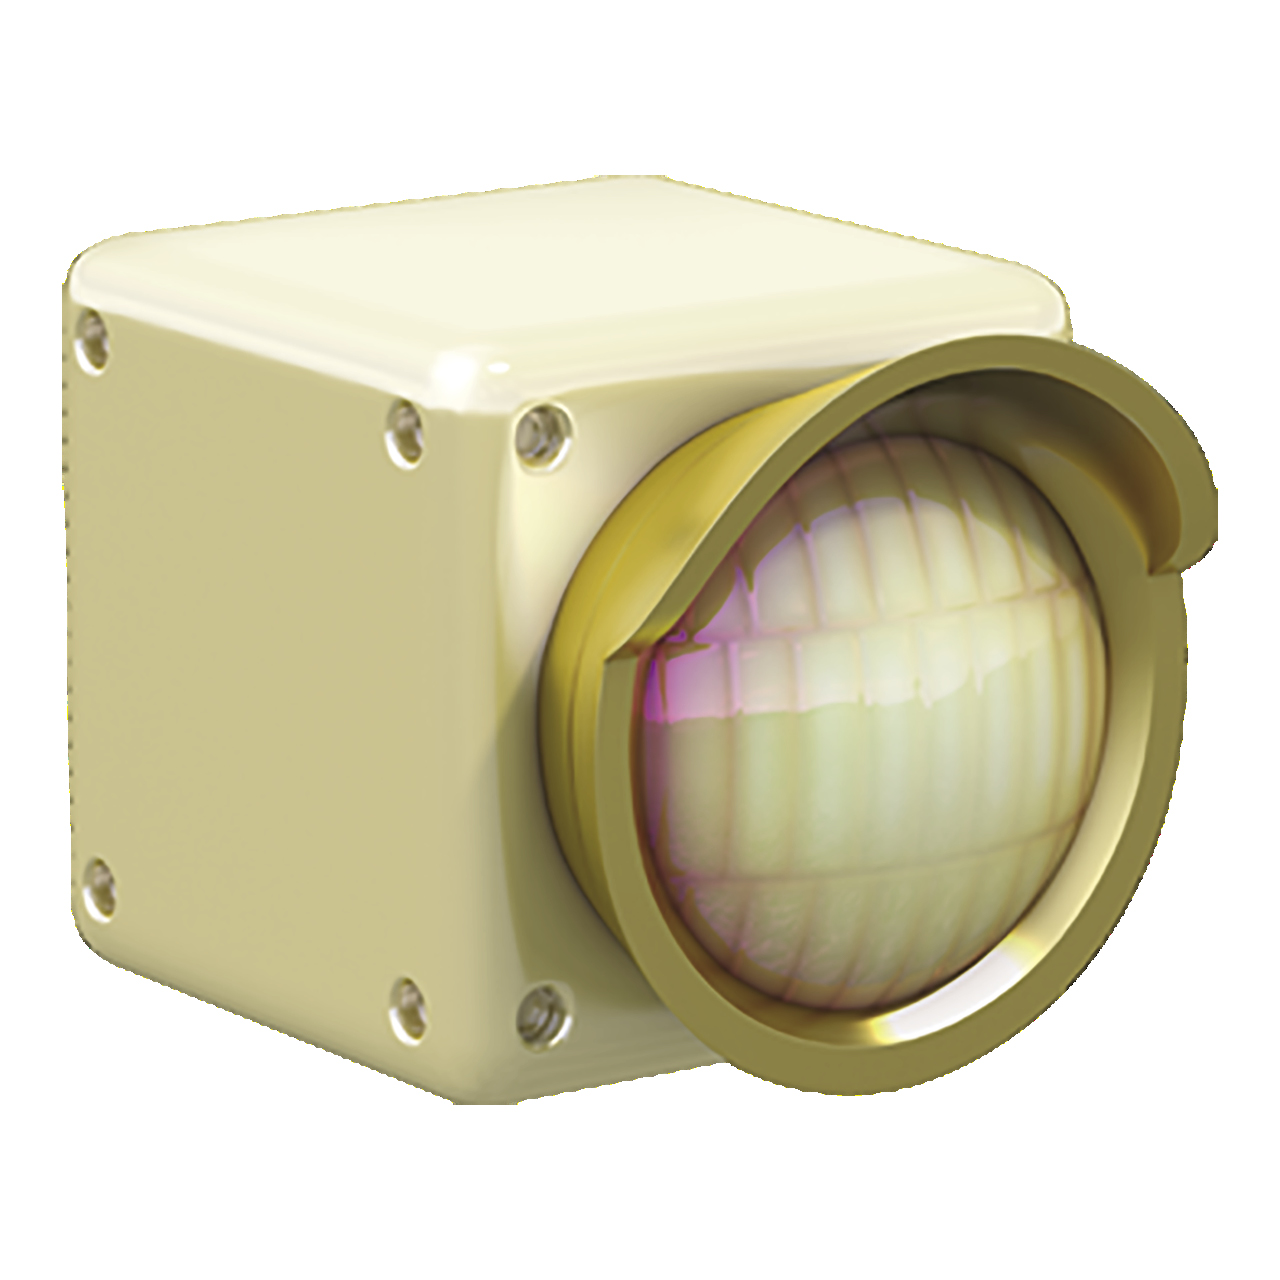
Only found in a couple of stages, this shines a beam of light wherever you face. This Power-Up is the only way to defeat ghosts for good, which makes it extra special. Boos, Big Boos, and Peepas are suddenly nothing to worry about.
Collectibles
Collectibles may not grant special powers, but they can support Mario in other ways, or even unlock parts of the game you haven’t seen yet. Be sure to grab as many of these as you can, too!
Green Star

Green Stars are, hands down, the most important collectibles you’ll come across. Each level has three Green Stars, and you’ll need to collect all of them to earn the maximum star rating in your save file. Locked levels can also only be accessed after you’ve collected the required number of Green Stars. You’ll have to do a lot of footwork to track them all down, but your effort will be rewarded. Collecting all Green Stars is required for 100 percent completion of the game.






Stamp
Collect Stamps to fill out the Stamp Collection. Stamps can be used to decorate posts to Miiverse made from the game. One Stamp is hidden in each level, and you can also retrieve stamps at Sprixie Houses. Collection of all Stamps is required for 100 percent completion of the game.
Coin
You’ll find Coins scattered throughout every level. Whether they’re hidden in blocks or out in the open, Coins are the most common collectible you’ll find. Each time you collect 100 Coins, you’ll earn an extra life.pickup_Coin.jpeg
Blue Coin
Blue Coins typically appear in bonus rooms reached by Mystery Boxes. They disappear after a set amount of time, but collecting all of them will often result in the appearance of a Green Star for Mario to collect.
Red Coin
Red Coins appear after you pass through a Red Ring. They vanish after a short time, so you must move quickly if you hope to collect them. If you manage to get them all, you’ll be rewarded with a Power-Up.
Green Star Coin
Green Star Coins appear after you pass through a Green Star Ring. Like Red Coins, they vanish after a short time. Managing to collect all of these will nab you a Green Star.
+ Clock
Your character is always racing against the clock, and + Clocks allow you to stay one step ahead. Blue + Clocks grant 10 additional game seconds, while Green + Clocks provide 100 additional game seconds!
Objects
The myriad objects you come across in the game can do anything from changing your character to changing the world around you. Knowledge of how they work will allow you to manipulate levels to your advantage, so be sure to study up!
Block
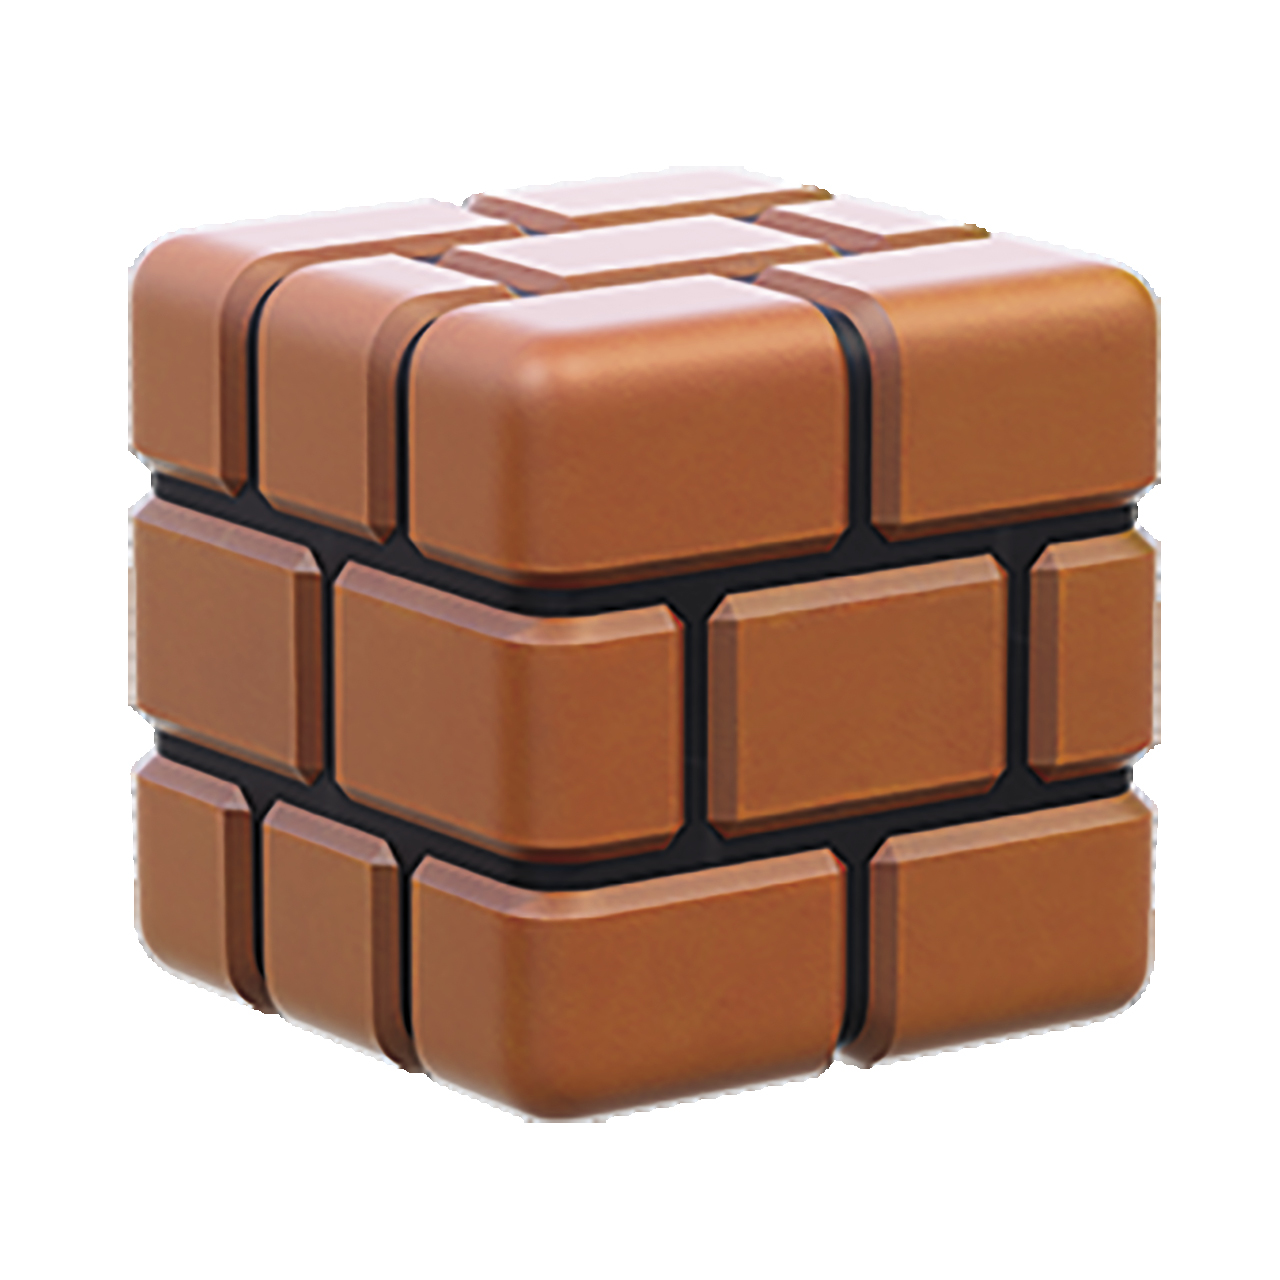
Blocks are common objects in nearly every level, but they serve a variety of purposes. Some Blocks form platforms or ledges to help you reach new areas, while other Blocks form obstacles that slow your progress through a level. Most Blocks can be smashed, but occasionally you’ll find one that contains a collectible or a Power-Up.
Crystal Block

These look and behave just like blocks, but are purple in color. They are most easily found in some underground levels.

? Block
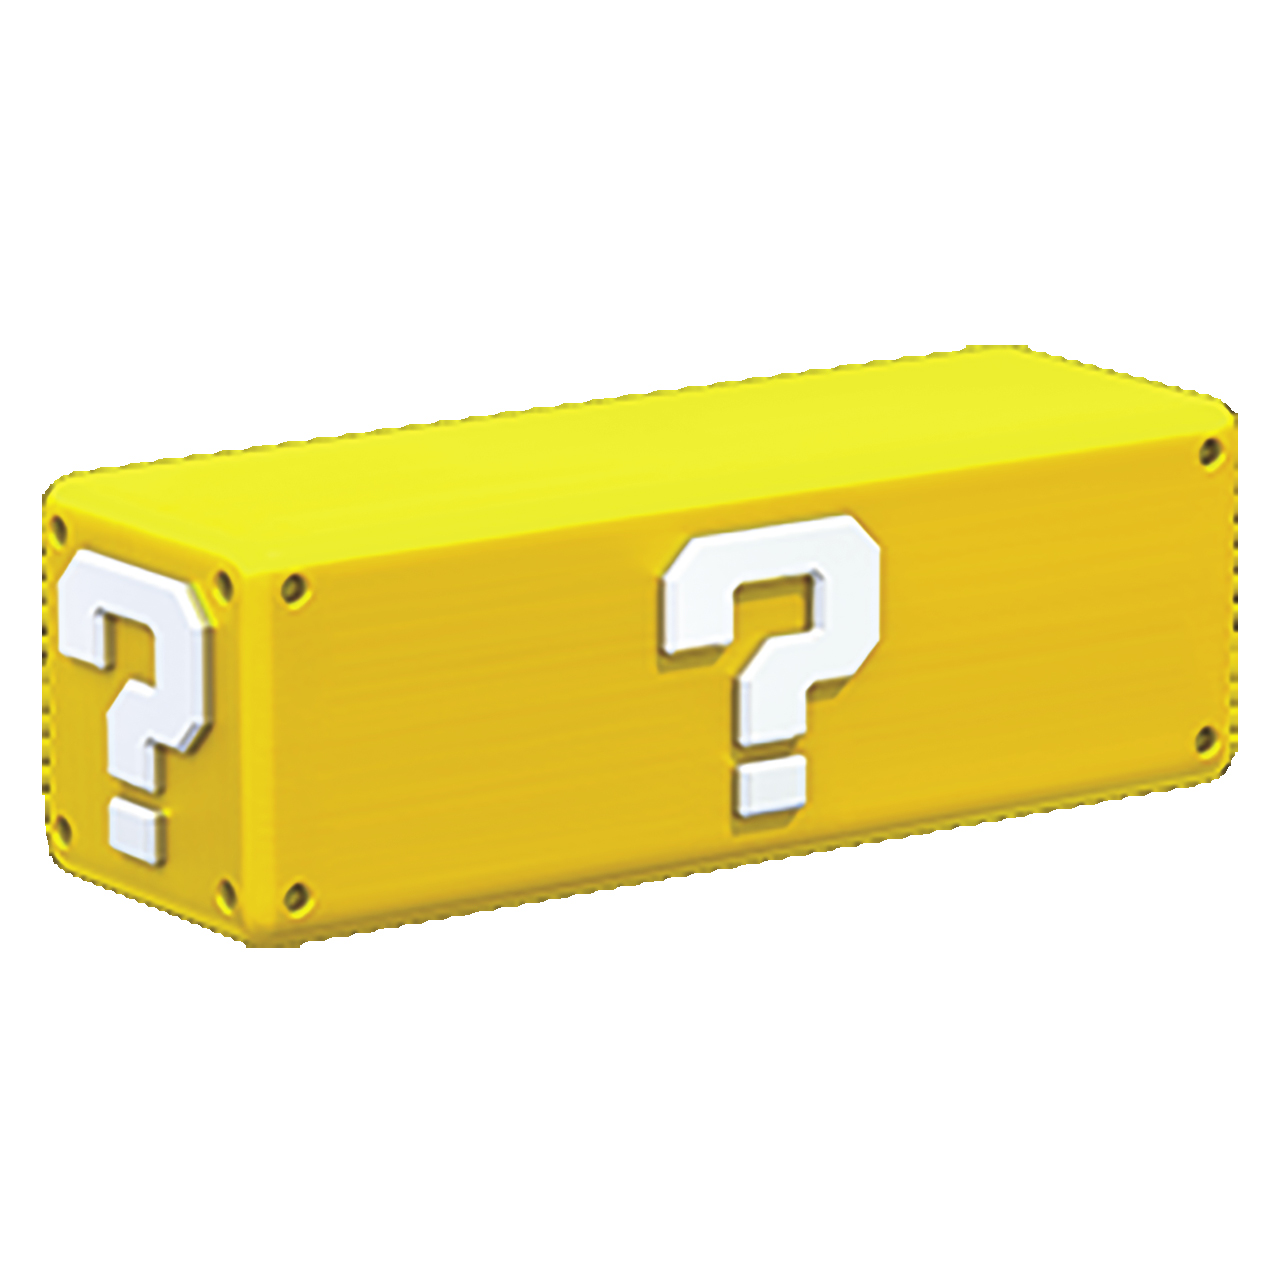
? Blocks always contain an item of some kind. Most ? Blocks contain Coins, but they’re also the most common source of Power-Ups. As a rule, never pass by a ? Block without checking its contents. Once you’ve done so, these become Empty Blocks, which are still useful as platforms if not much else.
Touch Screen Platform
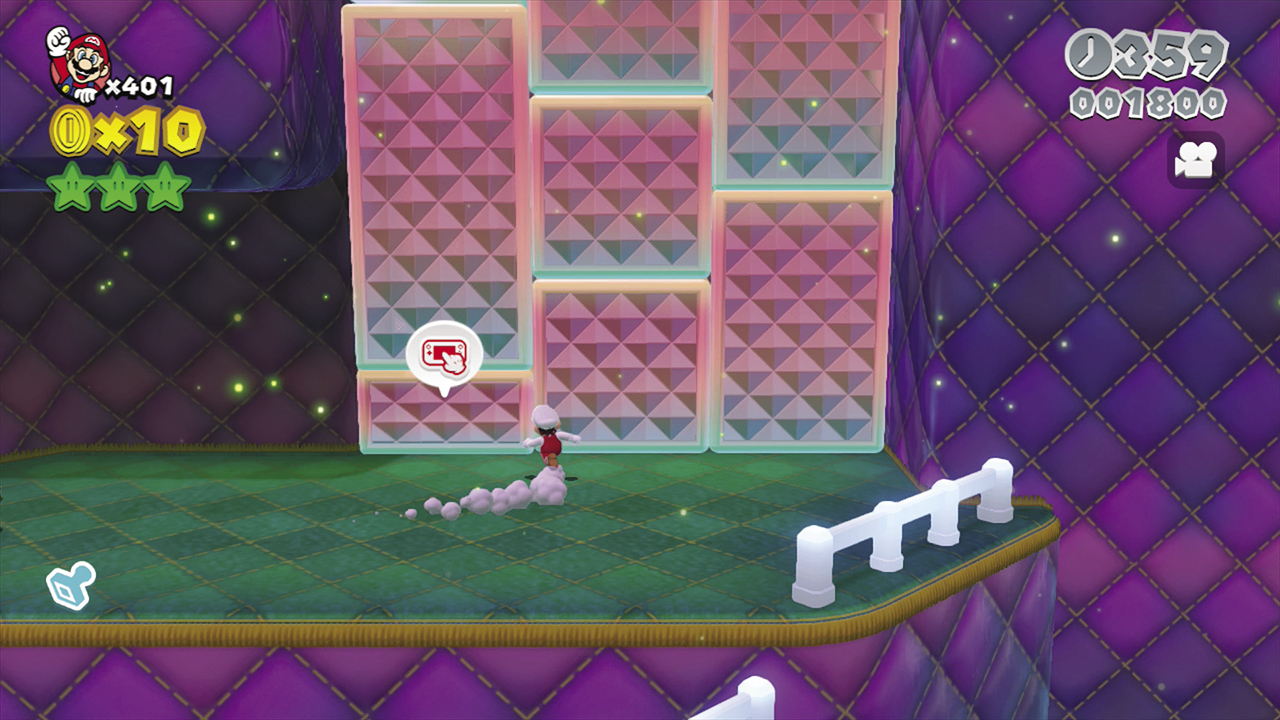
When you see a block that has a picture of the Wii U GamePad next to it, you’ve happened upon a touch screen platform! Tap this block on the touch screen of the Wii U GamePad to extend it, and allow your hero to continue on their journey.


Roulette Block
A Roulette Block quickly cycles through a number of Power-Ups. When you hit a Roulette Block, it stops cycling and rewards you with whatever contents are displayed on it at that moment.
Warp Box
When you touch a Warp Box, you’re whisked away to a predetermined location. Although some Warp Boxes allow you to move freely between areas, others disappear once you use them. If you’re not sure where a Warp Box leads, take care of any unfinished business before you enter it.
Baddie Box
Beware the boxes with Bowser’s face on them! When you approach a Baddie Box, enemies pop out at a rate of one every few game seconds. Baddie Boxes contain an endless supply of foes, so it’s usually best to run right past them. However, depending on their payload (many contain Bob-ombs) they can also be a great supply of fodder to use against other enemies.
P Switch
Step on a P Switch to uncover secret Coins, reveal hidden trails, or move platforms into place. Most P Switch effects are temporary, so make sure you move quickly! Orange P Switches tend to come in pairs or more, and must all be activated at the same time.
Trample Switch
A larger variety of P Switch. Orange Trample Switches tend to come in pairs or more, and must all be activated at the same time.
Red Ring

Before you pass through a Red Ring, make sure you check for nearby enemies. After you trigger the Red Ring, you have a short time to collect the revealed Red Coins and reap the Power-Up reward afterwards.
Green Star Ring

Green Star Rings act the same as Red Rings. You’ll have a limited amount of time to gather Green Star Coins, with a Green Star as a reward. Due to this fact, make sure to be both extra cautious and extra quick, as the chance to grab a Green Star is valuable!
Gold Ring

Step through a Gold Ring to instantly snag three Coins without having to worry about a time limit at all.


Checkpoint Flag
Touch a Checkpoint Flag to mark your progress through a level. If you lose a life later in the level, you’ll be returned to the Checkpoint Flag. This is a real time saver, so make sure you have plenty of extra lives on hand to be able to start from the Checkpoint Flag if needed.
The Goal Pole signals the end of a level. To claim victory, you must reach and jump onto the Goal Pole before time runs out. If you manage to jump to the very top of a Goal Pole, you’re rewarded with 10,000 points and the flag atop the pole will turn gold.


Binoculars
Binoculars can provide useful information about the path ahead of you. Occasionally you’ll find valuable items and alternate routes that can’t be seen from the main path. Sprixies in certain levels hold binoculars, and they are either hovering over trees or on small platforms that have good views of a level.
Pipes
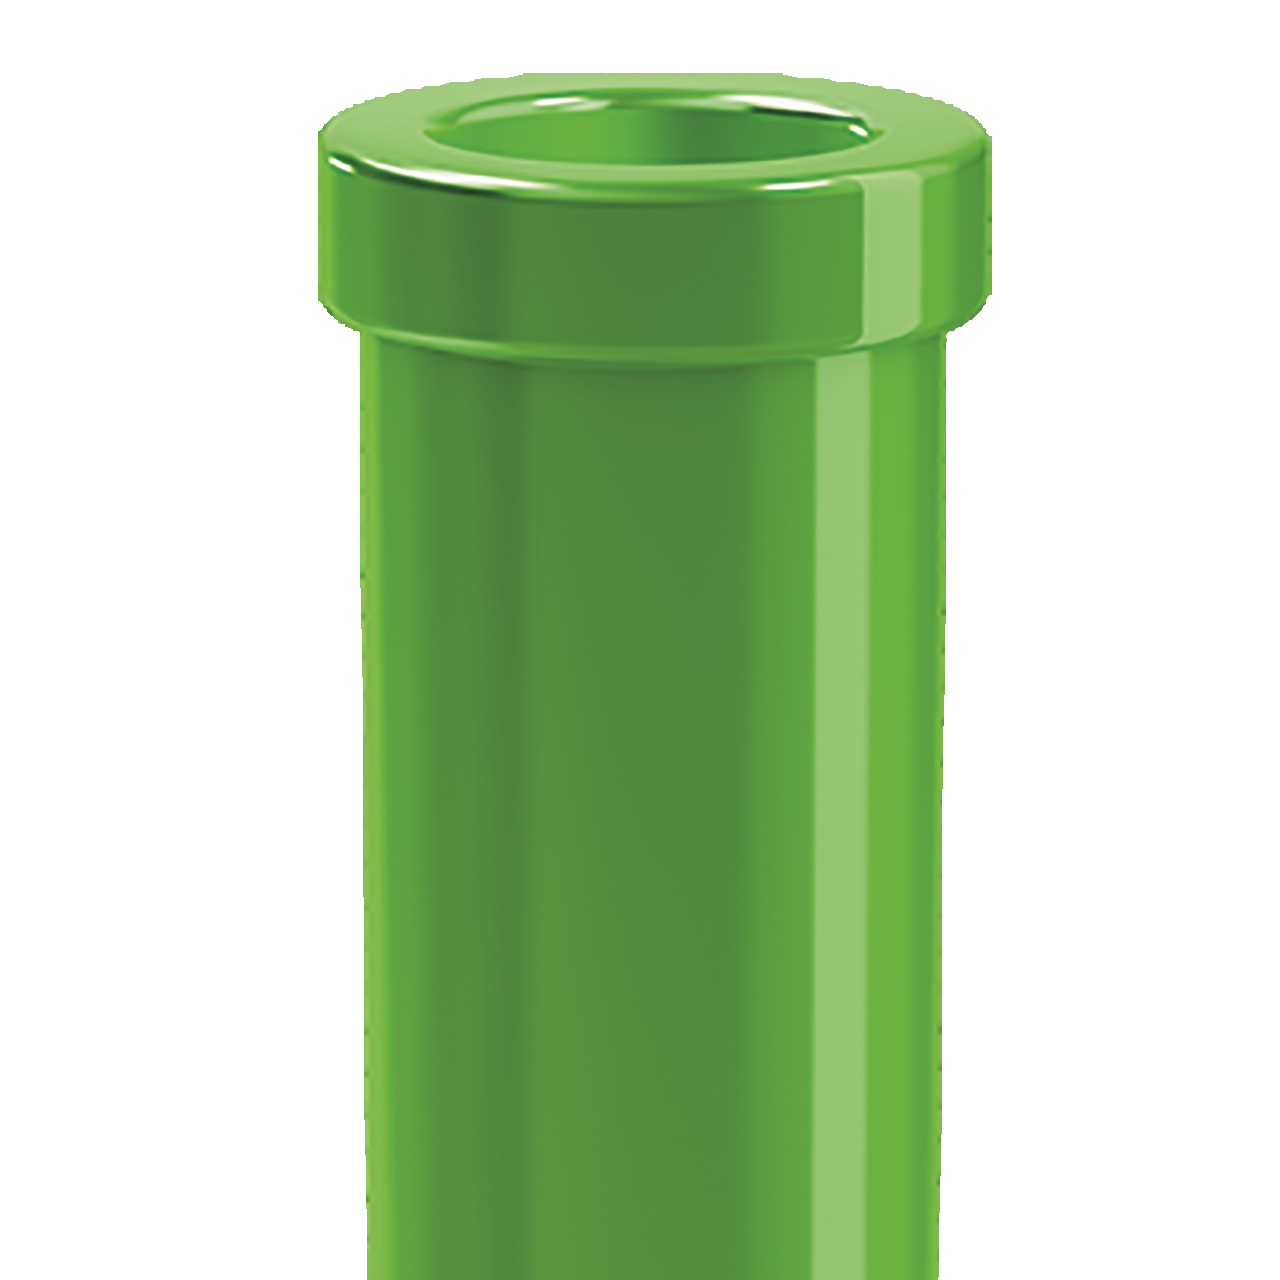
Pipes offer a quick and easy way to move between areas. Some pipes simply allow you to proceed through the level, but many of them lead to secret rooms. Every pipe leads somewhere, so make sure to keep an eye out for them.
Clear Pipe
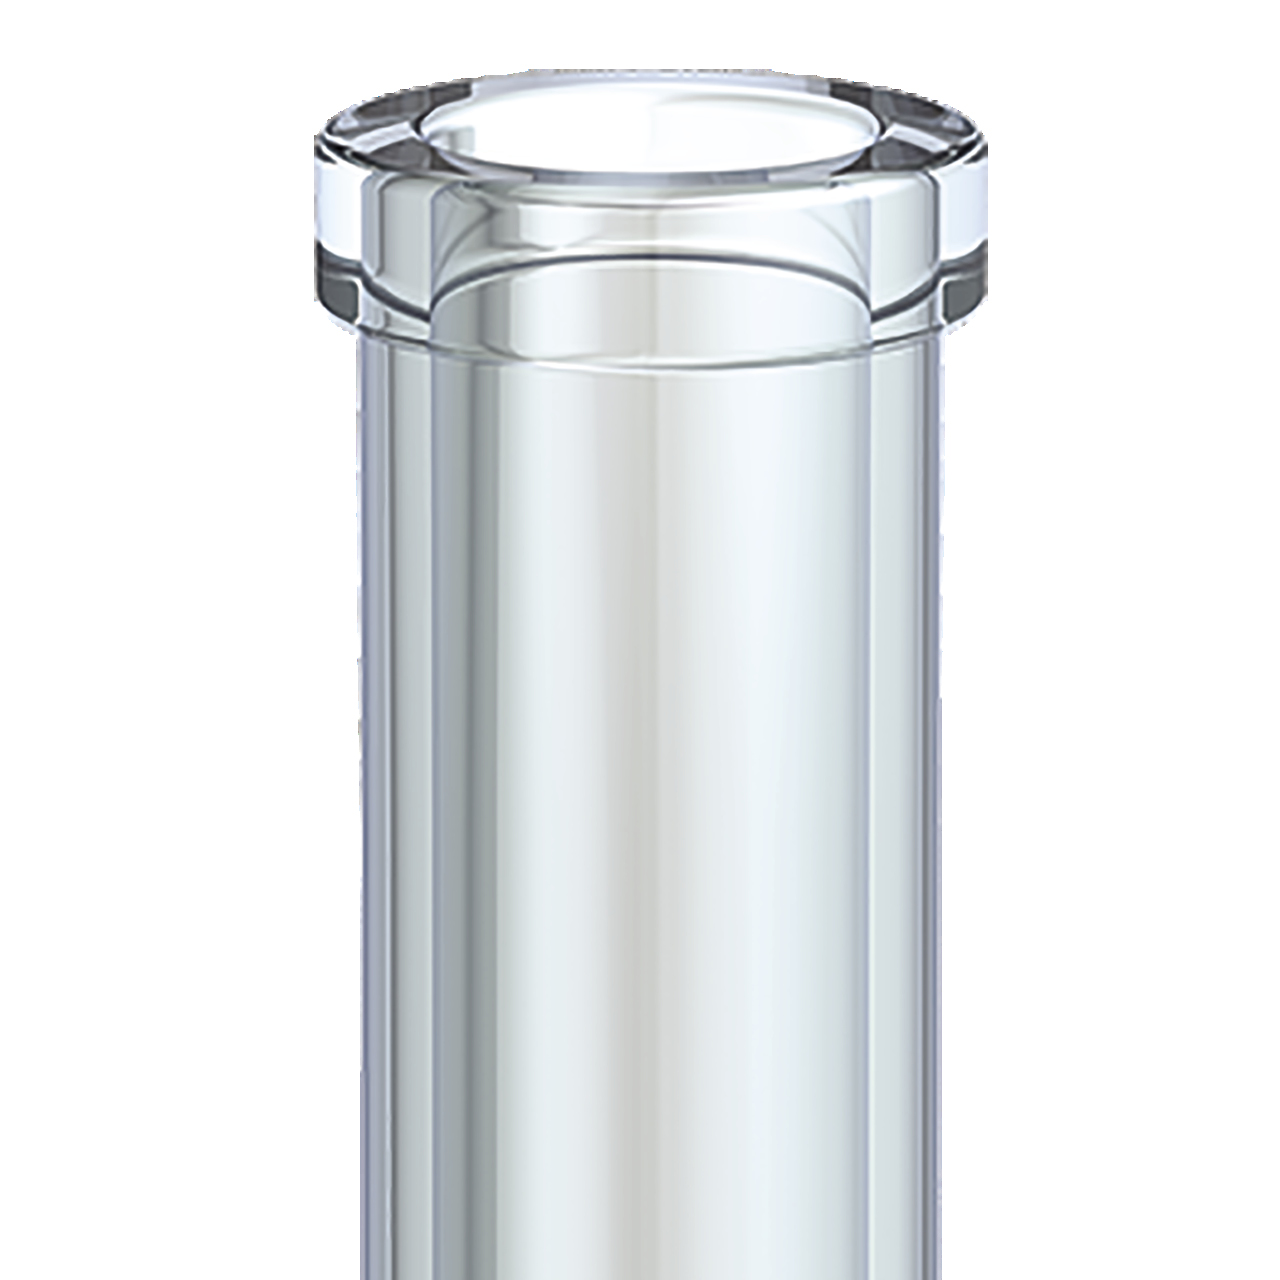
True to its name, enter one of these Clear Pipes and you can see your character’s traveling path. Some Clear Pipes can split off into branching paths; use  to steer as you travel through them. Watch out, though, because some enemies can live in or travel through Clear Pipes themselves!
Cat Wheel

When you see a Cat Wheel, you can bet it will activate a hidden path or reveal a valuable item nearby. Claw at the Cat Wheel repeatedly to activate it. Of course, only characters with the Cat Power-Up can do this, so you’ll have to find one.
Switchboard

When you find a Switchboard, hop on to go for a ride. Switchboards have two arrows on them, and whichever one Mario hops on is the direction that the Switchboard will travel. The trip is rarely a smooth one, however. Always be ready to reverse direction or jump to safety.
Baseball

Baseballs can be picked up and thrown anywhere—at enemies, or at parts of the stages. If you see a baseball, chances are you’ll need it for something in the area, so take a look at your surroundings!
Big Block

Seen in the latter parts of the game, Big Blocks look just like Blocks, except they’re, well, big! They also take more hits to break than normal blocks.
Gift Box

You can see Gift Boxes most often in Toad Houses. Touch them to receive their contents—usually a Power-Up.
Slot Block

In Lucky Houses, you’ll be bumping these from below to try and win Coins. See the Lucky House entry on page 7 for tips on how to use these blocks to their fullest!
Red POW Block

POW Blocks come in two varieties: Red POW Blocks, and one giant-sized Super POW Block seen late in the game. Either way, the result is the same. Hit one of these to stun or defeat all enemies in the immediate area. They’re perfect for when you find yourself surrounded or just want a clear path to the next area.
Rock Block

Rock Blocks are stronger than your average block, and can’t be destroyed by normal means. It takes the power of a bomb or Mega Mario to break one. Breaking these tends to be worth the effort, however, as they almost always hide secrets.


Bombs
Bombs come in two varieties: normal and the soccer-ball-painted Kick Bomb. You’ll often find these in castle levels. When they’re launched at you, kick them to send them back in one direction. They will then explode upon the first thing they hit.
Be careful—if you see one of these flashing, it means they’re about to explode! Get out of the way before that happens.
Cloud Cannon

On your journey you’ll find clouds simply sitting out in the middle of nowhere. These are hidden in some levels. If you see one, be sure to jump in! The Cloud Cannon will take you to a realm high in the clouds filled with bonus collectibles, and (usually) a Green Star.
Dash Panel

Step on these to go rocketing off in whatever direction you face at high speed for a limited time! You can change direction as you’re zooming around, so use this to your advantage and make sure you don’t fall into a pit or crash into a stage hazard.
Grumblump

As a rule, Grumblumps aren’t very happy to see you. As soon as you step on a Grumblump, it will start rolling around the stage. You’ll have to continuously run on top of it if you want to stay on for the ride. Once the ride’s over, the Grumblump you’re on will calm down again, but then there’s the next one...
Jump Panel

Jump Panels do exactly what they say: Place your feet onto the plate, then press  (or
(or  ) and prepare for liftoff!
Springboard

High-jumping the old-school way! Jump onto one of these, then jump off with the right timing to bound extra high. These have even more uses than the Jump Panel since they can be picked up and carried anywhere you wish.
Propeller Platform

Propeller Platforms can be raised only by blowing into the microphone of the Wii U GamePad. Leave the microphone alone and the Propeller Platform will return to its original position.
Plessie

This helpful little dinosaur shows up in some levels to provide you safe passage. You can steer Plessie with  and jump with
  (or
(or  ).
).
Rabbits

These little guys bounce around, usually holding or hiding something helpful. Catch them to make them give it up. Be careful, though—they’re fast!
Multi-Vator

This platform moves only when two or more characters stand on top of it. You can achieve this with multiple players or with the Double Cherry Power-Up. Check the number imprinted on any Multi-Vator to see how many are required to activate it.
Color Panel
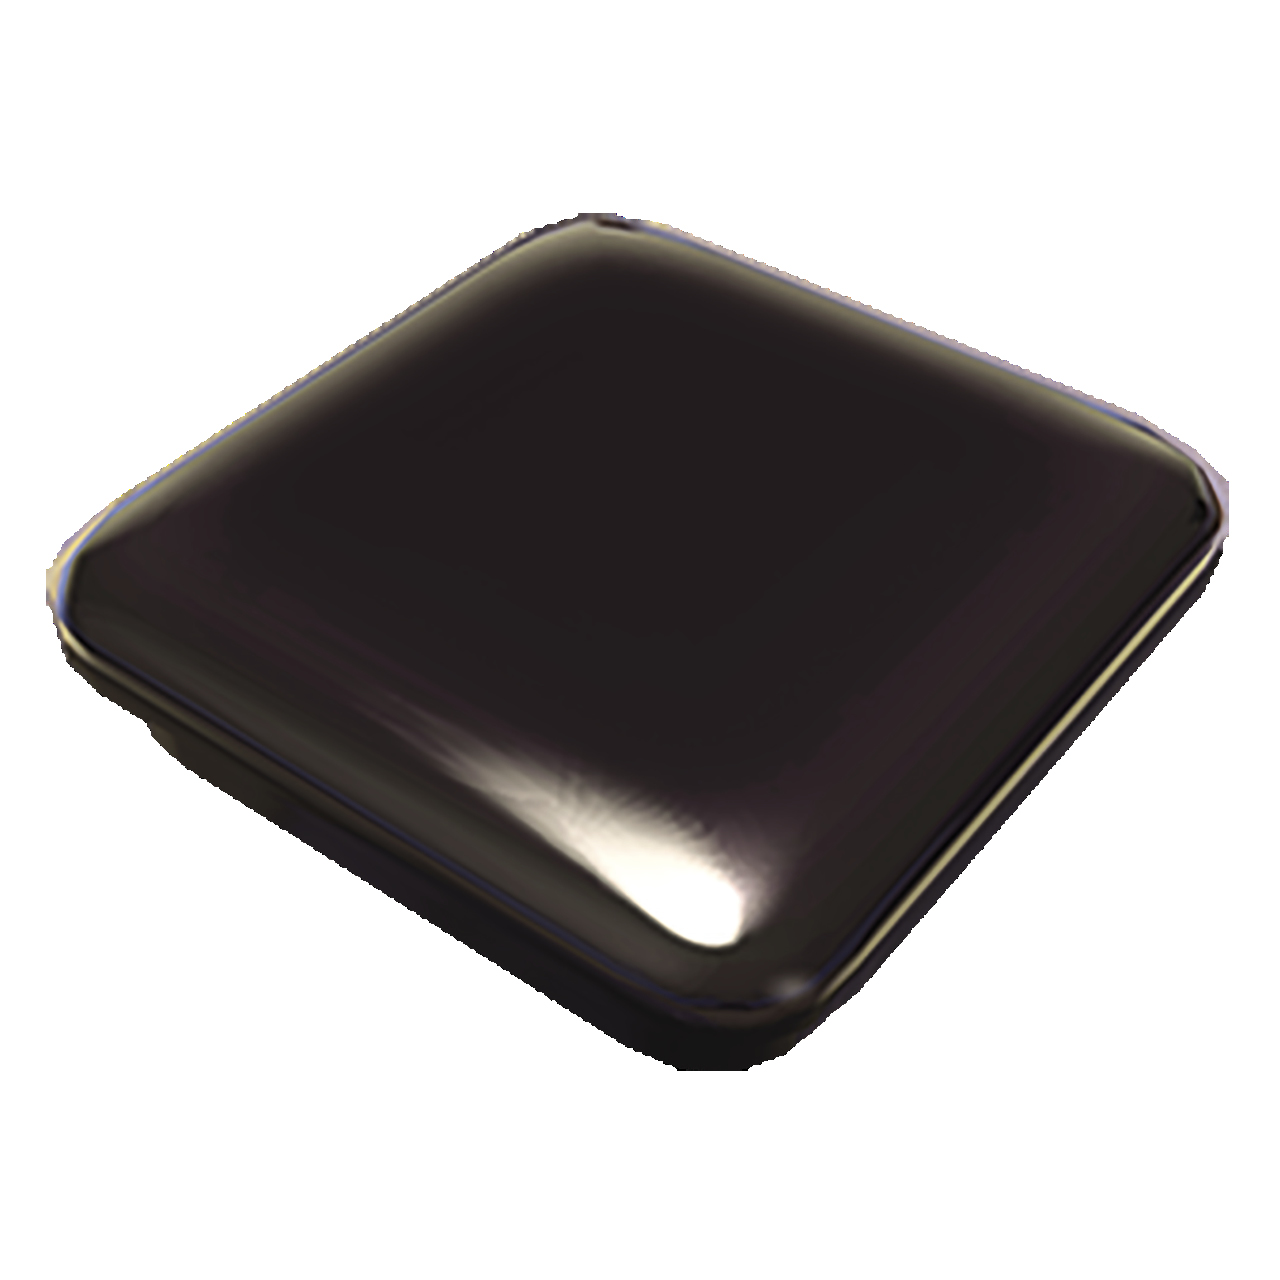
Step on Color Panels to light them up! These are usually arranged to show a picture and unlock secrets once you step on several that are next to each other.
Switch Panel

Step on these to change their pictures from “?” to “!”, and their color from blue to yellow. You’ll usually see these lined up in some sort of formation in a blocked-off area, and have to step on all of them to progress. Once you do, they will turn green.
Clear Pipe Cannon

Simply put, this is a cannon built into a Clear Pipe. Entering one of these will launch you to the next area, or sometimes to a secret one.
Rotating Panel

Rotating Panels slowly spin, switching between being platforms that are easily walked upon, and narrow strips that are tough to navigate. Both can be traveled upon, but for the easiest time, you’ll naturally want to wait for the former.
Red-Blue Panel

These panels make for some tricky platforming—they’ll flip around every time Mario jumps. The key to navigating these is to anticipate where the panel will flip to next, then make a leap of faith toward it!
Character Switch

This switch looks and works much like a P Switch, with one major difference: It bears the logo of a specific character. You’ll need to have that character stand on it to activate it.
Mushroom Trampoline

As its name would suggest, simply step on the Mushroom Trampoline (that looks like a mushroom) to jump extra high. Boing!
Key Coin

In some stages you will have to collect a number of Key Coins to unlock a Warp Box to the next area. Be sure to explore every nook and cranny!
Wooden Crate

A longtime staple of video games, just like Mario. What’s inside? It could be nothing ... or it could be everything. The only way to find out is to bust it open with an attack. You could also just jump on top of it to get a boost to high platforms, but that would be boring.
Mystery Box

Jump into a Mystery Box for a chance to earn a Green Star! Just like in Mystery Houses, you’ll have 10 game seconds to figure out the task before you, and accomplish it to claim your prize.
Switch Block

Switch Blocks act as switches for Switchboard rails and other stage mechanisms. Whenever you see one, make sure that pushing it is the best course of action, as activating these mechanisms can either save your life or endanger it!
Beep Block

These platforms disappear and reappear after a certain number of beats. Use your inner rhythm to tell yourself when they’re safe to step on, and when you should jump off!
Chain Link

Shifting gates that move vertically or horizontally. Many of these can be climbed on, so have your Super Bells ready!
Donut Block

Get on one of these blasts-from-the-past, and they’ll start to shake when trying to support your weight. Stay on too long and they’ll fall to oblivion, taking you with it! Be light on your feet when using Donut Blocks as platforms.