
Super Mario 3D World Guide Walkthrough World Castle
World Castle-3: Red-Hot Run
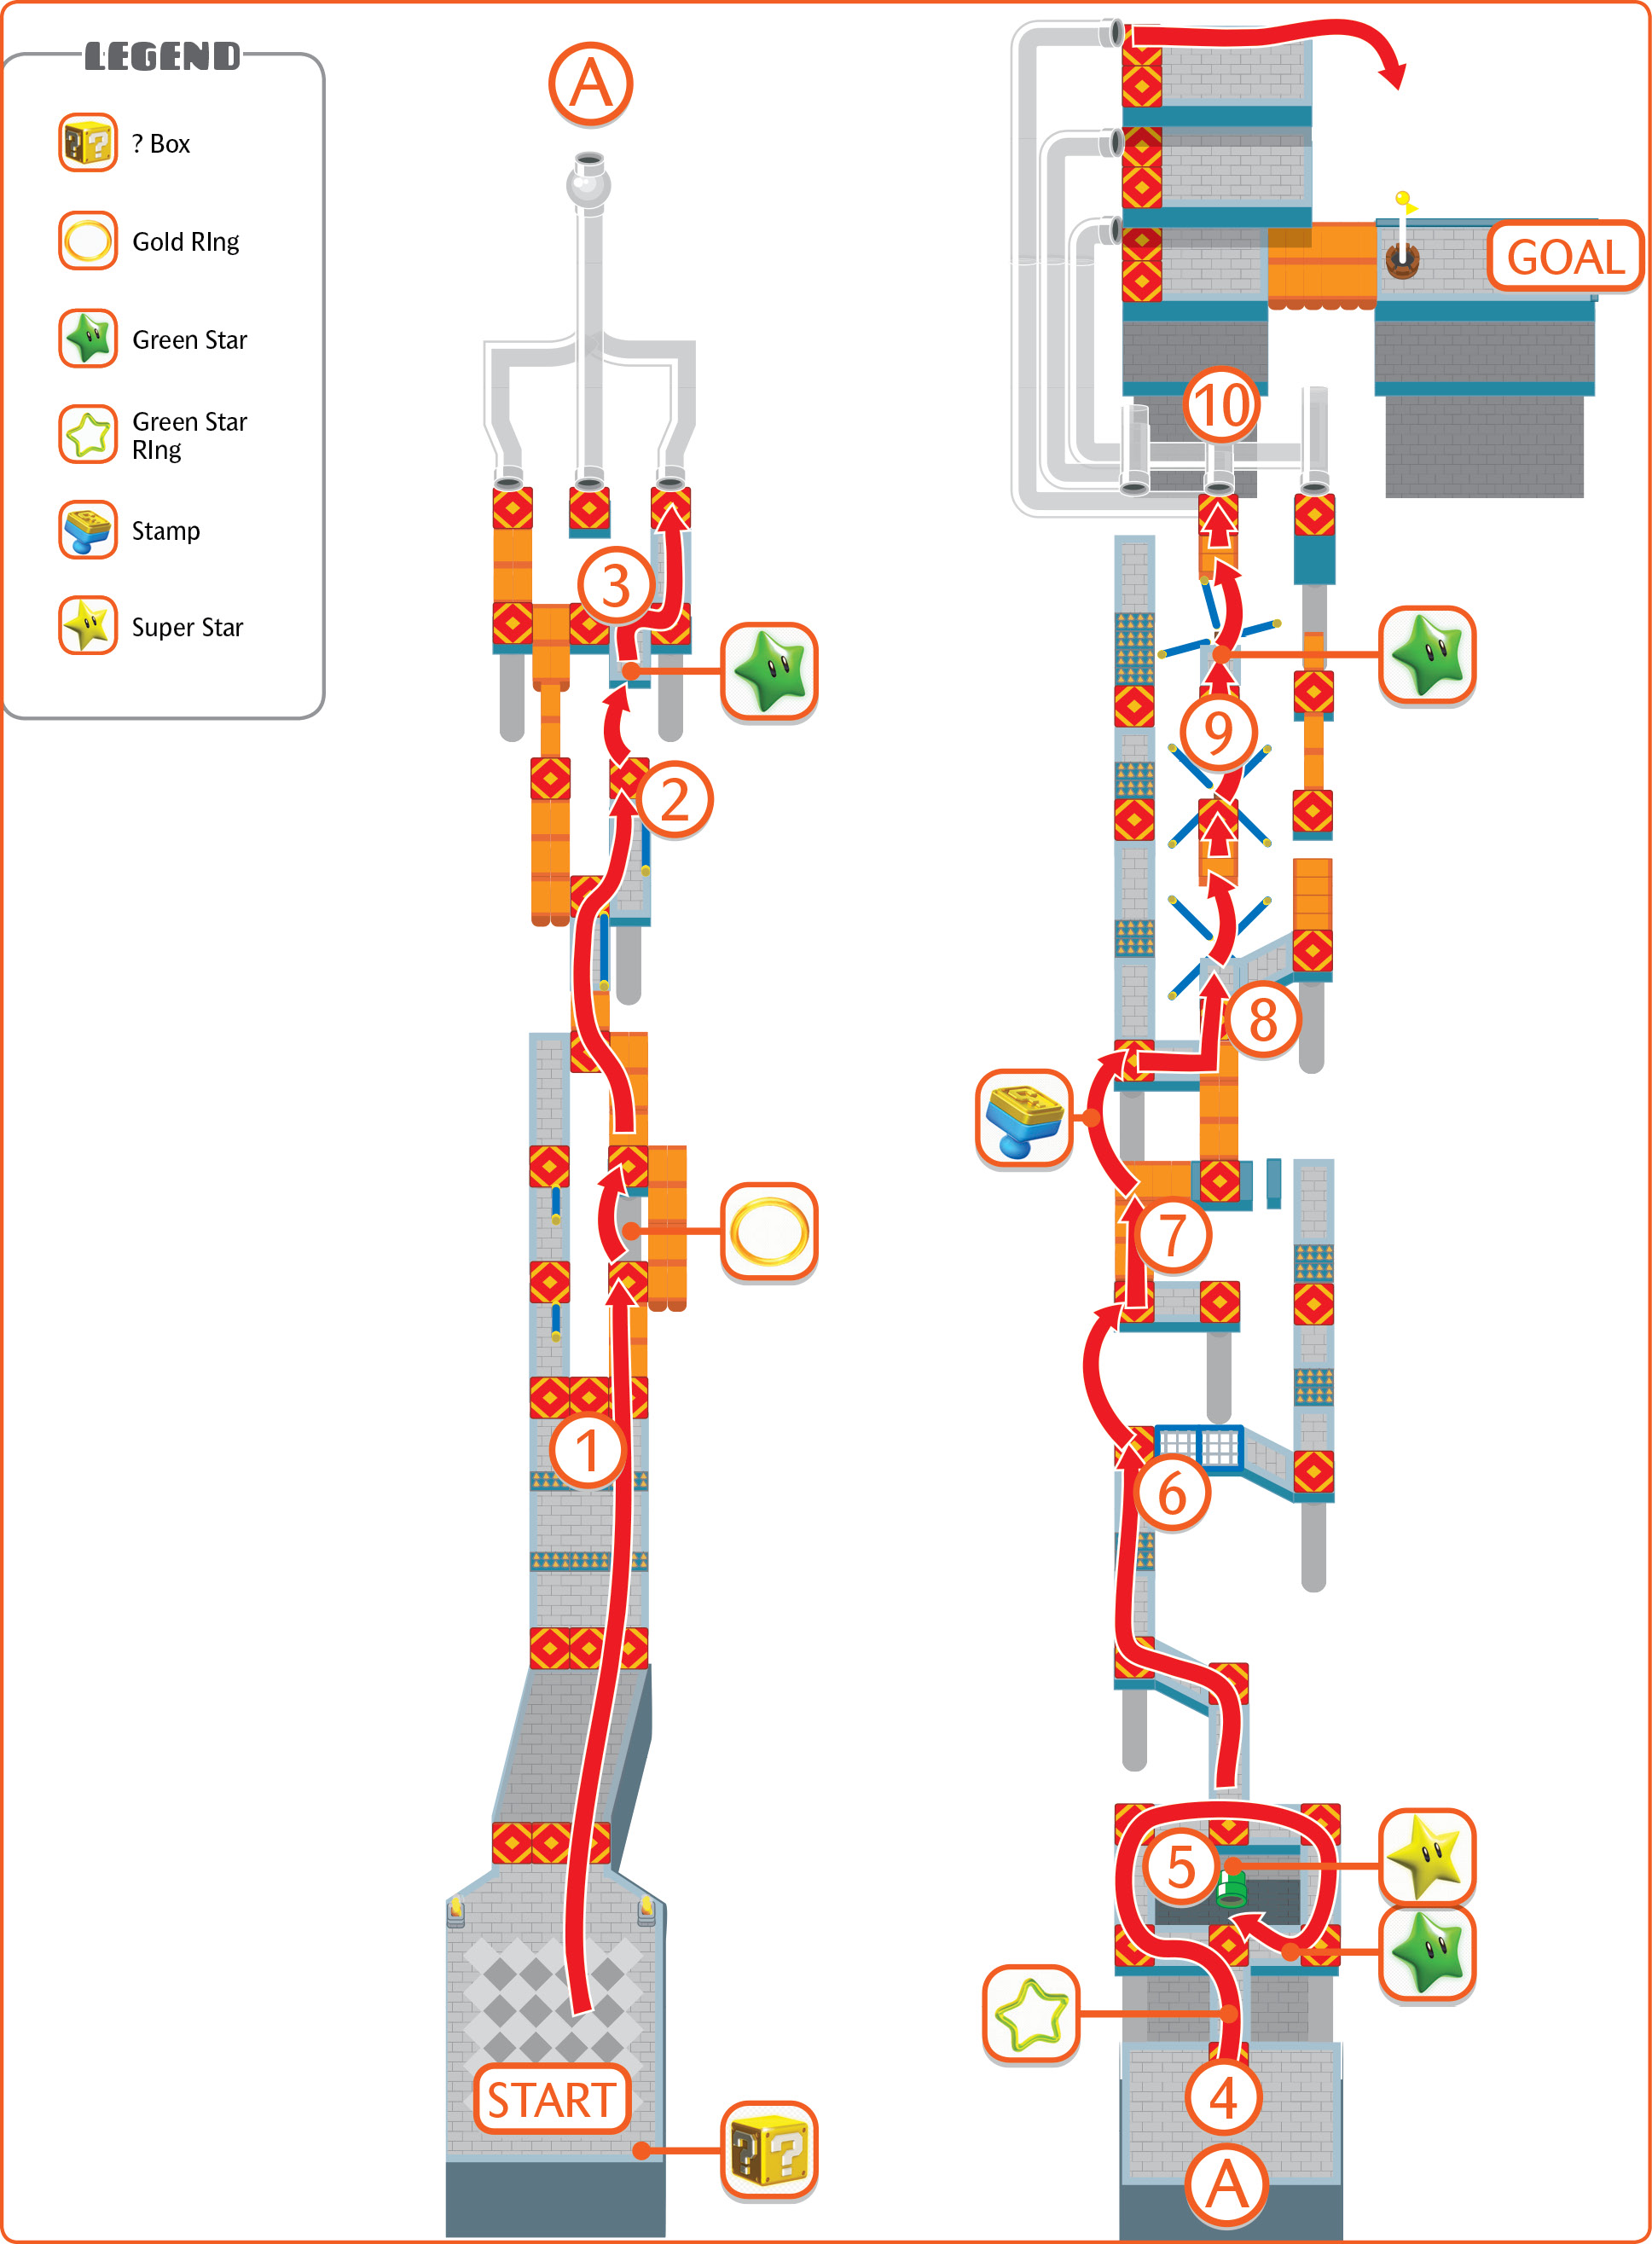
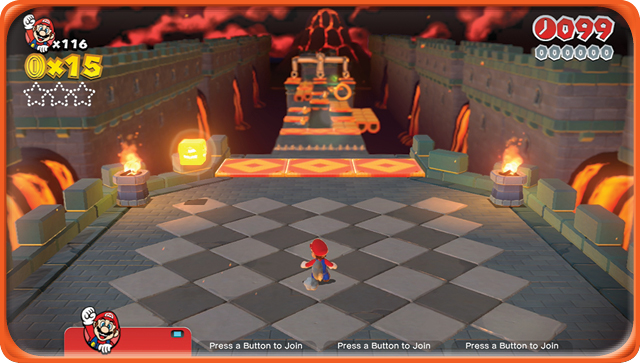
The opening shot of this level should give you an idea of what you’re in for. You have to clear a dangerous and oftentimes narrow Dash Panel-ridden course within 100 ticks of the clock. Worse yet? No Checkpoint Flag. If you want every collectible, you either do it in one run, or you keep coming back to this level to pick up what you’ve missed. All of the collectibles here demand precisely controlled running or jumping, far more so than any other level that has come before it, and arguably many of those that follow.
The Dash Panels make it so that you’re moving extremely fast, and the paths to each collectible are tough to follow and fraught with danger all around. Remember, even while boosting from a Dash Panel, you can make hard turns in 90-degree angles, but not suddenly reverse direction. This is the key that will get you through this challenge.
This part of the walkthrough is written from the perspective of someone trying to reach all of the collectibles in one pass. Each collectible call out will describe the setup leading to each collectible.

Green Star #1
The path forward splits in two very quickly. You can take either route, but the right-hand route does have a Gold Ring for those attempting to max out their score.
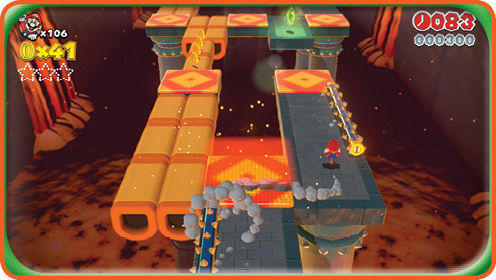
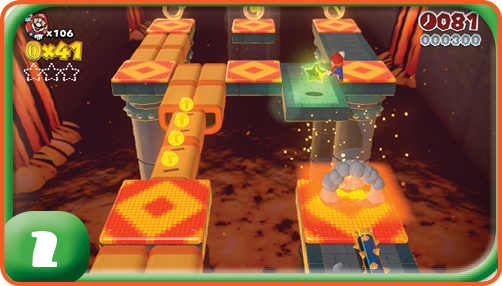
The paths reconnect very briefly before splitting once again. You want to take the right route to reach the Green Star. The danger comes from two spiked rollers as well as a drop-off just before the star, which make the approach difficult. Carefully timed short jumps should take you over the obstacles safely thanks to the speed from the Dash Panels.
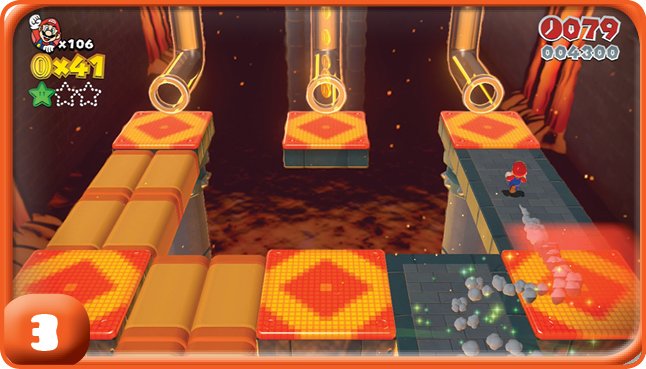
The three Clear Pipes here all lead to the same exit. The central pipe does contain some Coins, but it is also the hardest to reach. As a rule, unless you are certain you can make the jump, it’s best to ignore it and line up for one of the pipes on either side of it.
Green Star #2
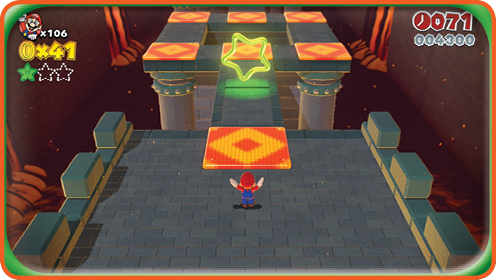
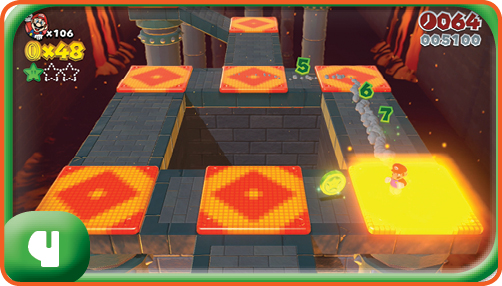
You encounter the Green Star Ring just past the Clear Pipes. The Green Coins appear on the square section of the course, surrounding what appears to be a bottomless pit. So long as you remain centered on the track, you should be able to collect all the Green Coins in one pass.
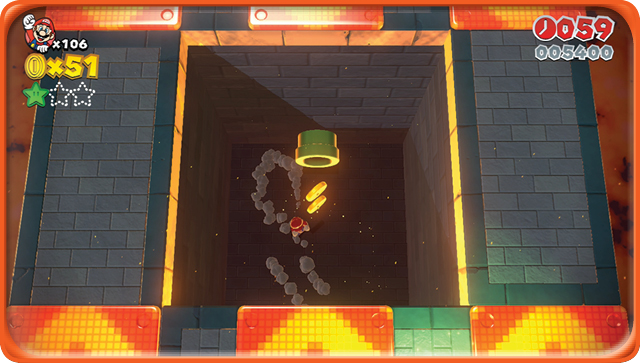
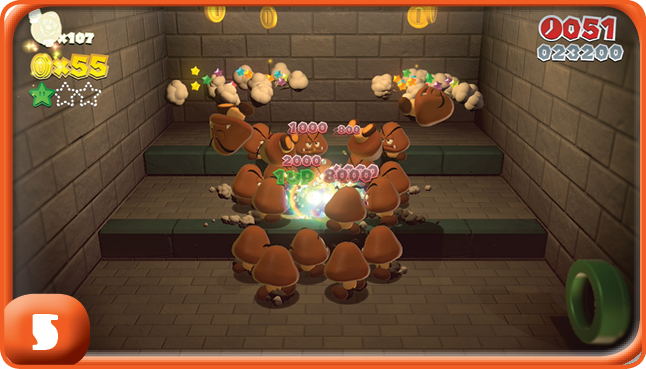
The pit at the center of the Green Coin section is actually safe to fall into because it contains a pipe leading to a hidden room. Inside this room is a mass of Goombas and a Super Star, which can help win back some of the lives you’ve probably lost getting through this level. You can also venture into this place without the Super Star and try stomping on all the Goombas for even more extra lives.
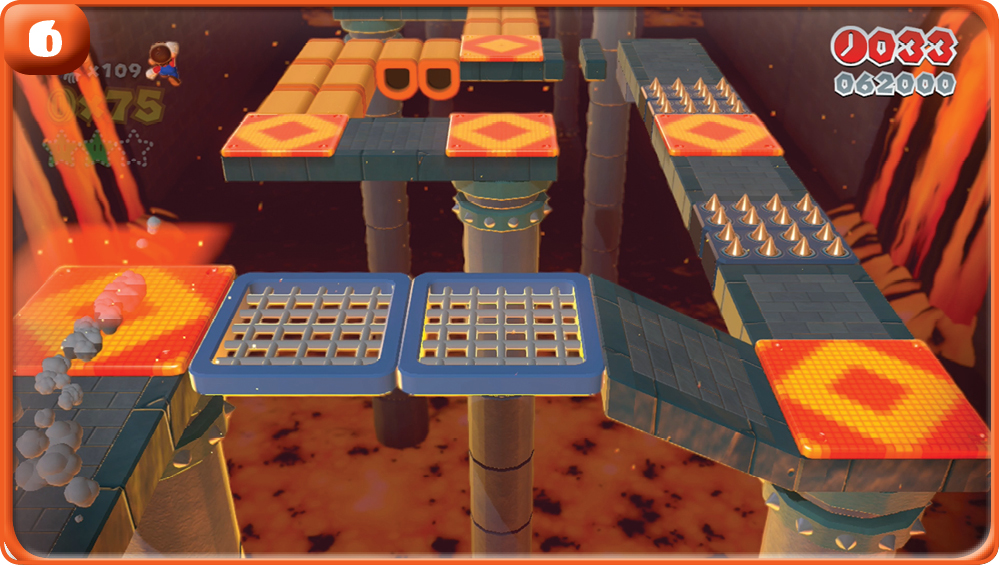
It helps to look for shortcuts as you move through this level. Pictured here, Mario could have taken the longer, more difficult route on the right, but a Dash Panel-assisted jump on the left side bypasses all of that hassle and lines him up for the Stamp.
Stamp
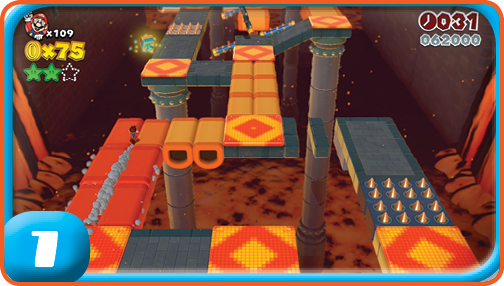
If you’ve followed the route outlined earlier, you are now on a path made of Donut Blocks, perfectly aligned to jump another gap and claim the Stamp.
Green Star #3
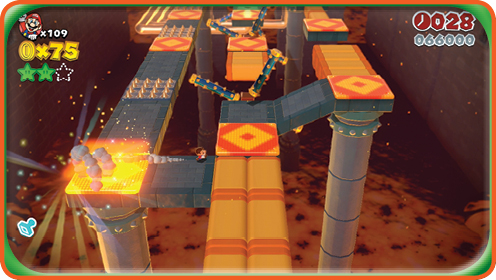
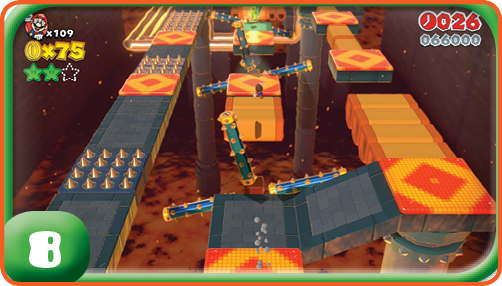
Grabbing the third Green Star after collecting the Stamp requires an immediate right turn upon landing from that jump, then another sharp turn to stay on the central path..
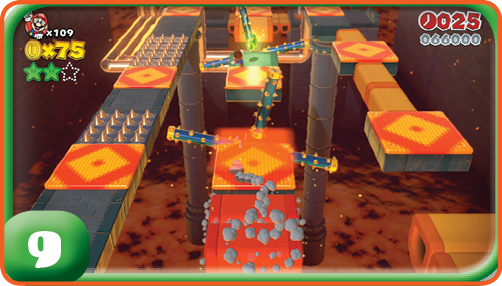
You must now run and jump past gaps in the track and rotating spiked rollers, and react to potential damage with small corrections and well-timed jumps.
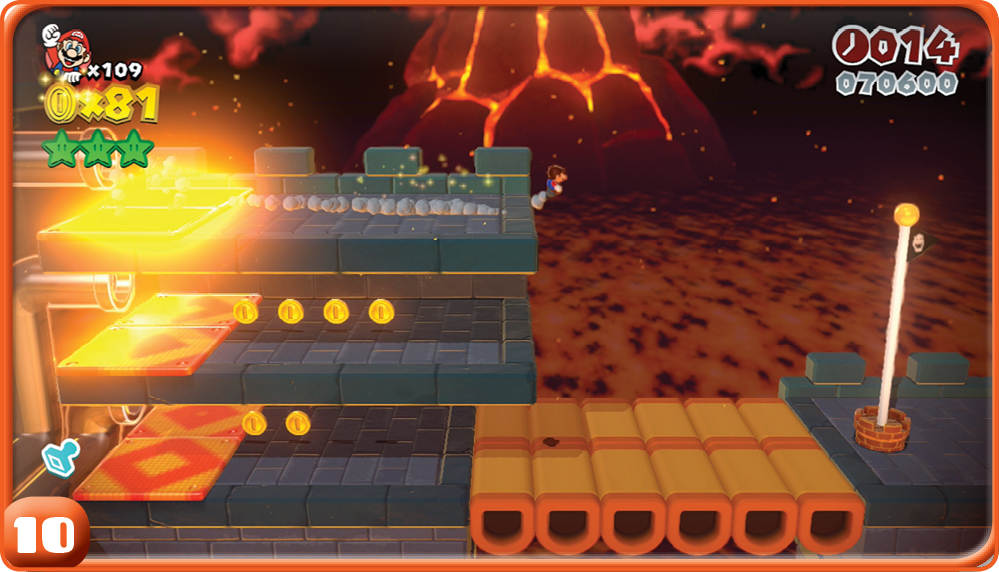
Collecting the last Green Star puts you in line to reach a Clear Pipe that gives you the best shot at reaching the top of the Goal Pole.
Stamp
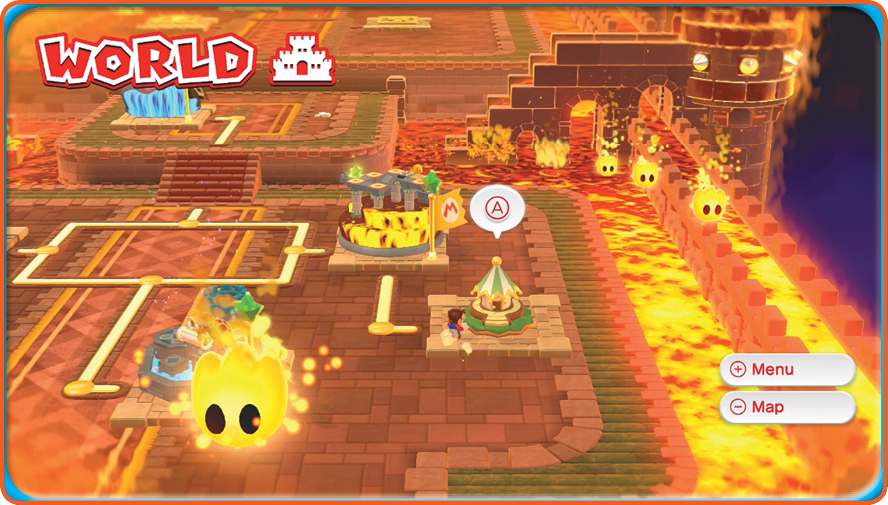
This Sprixie House appears after beating 7-3.