
Super Mario 3D World Guide Walkthrough World Bowser
World Bowser-2: Plessies Dune Downhill
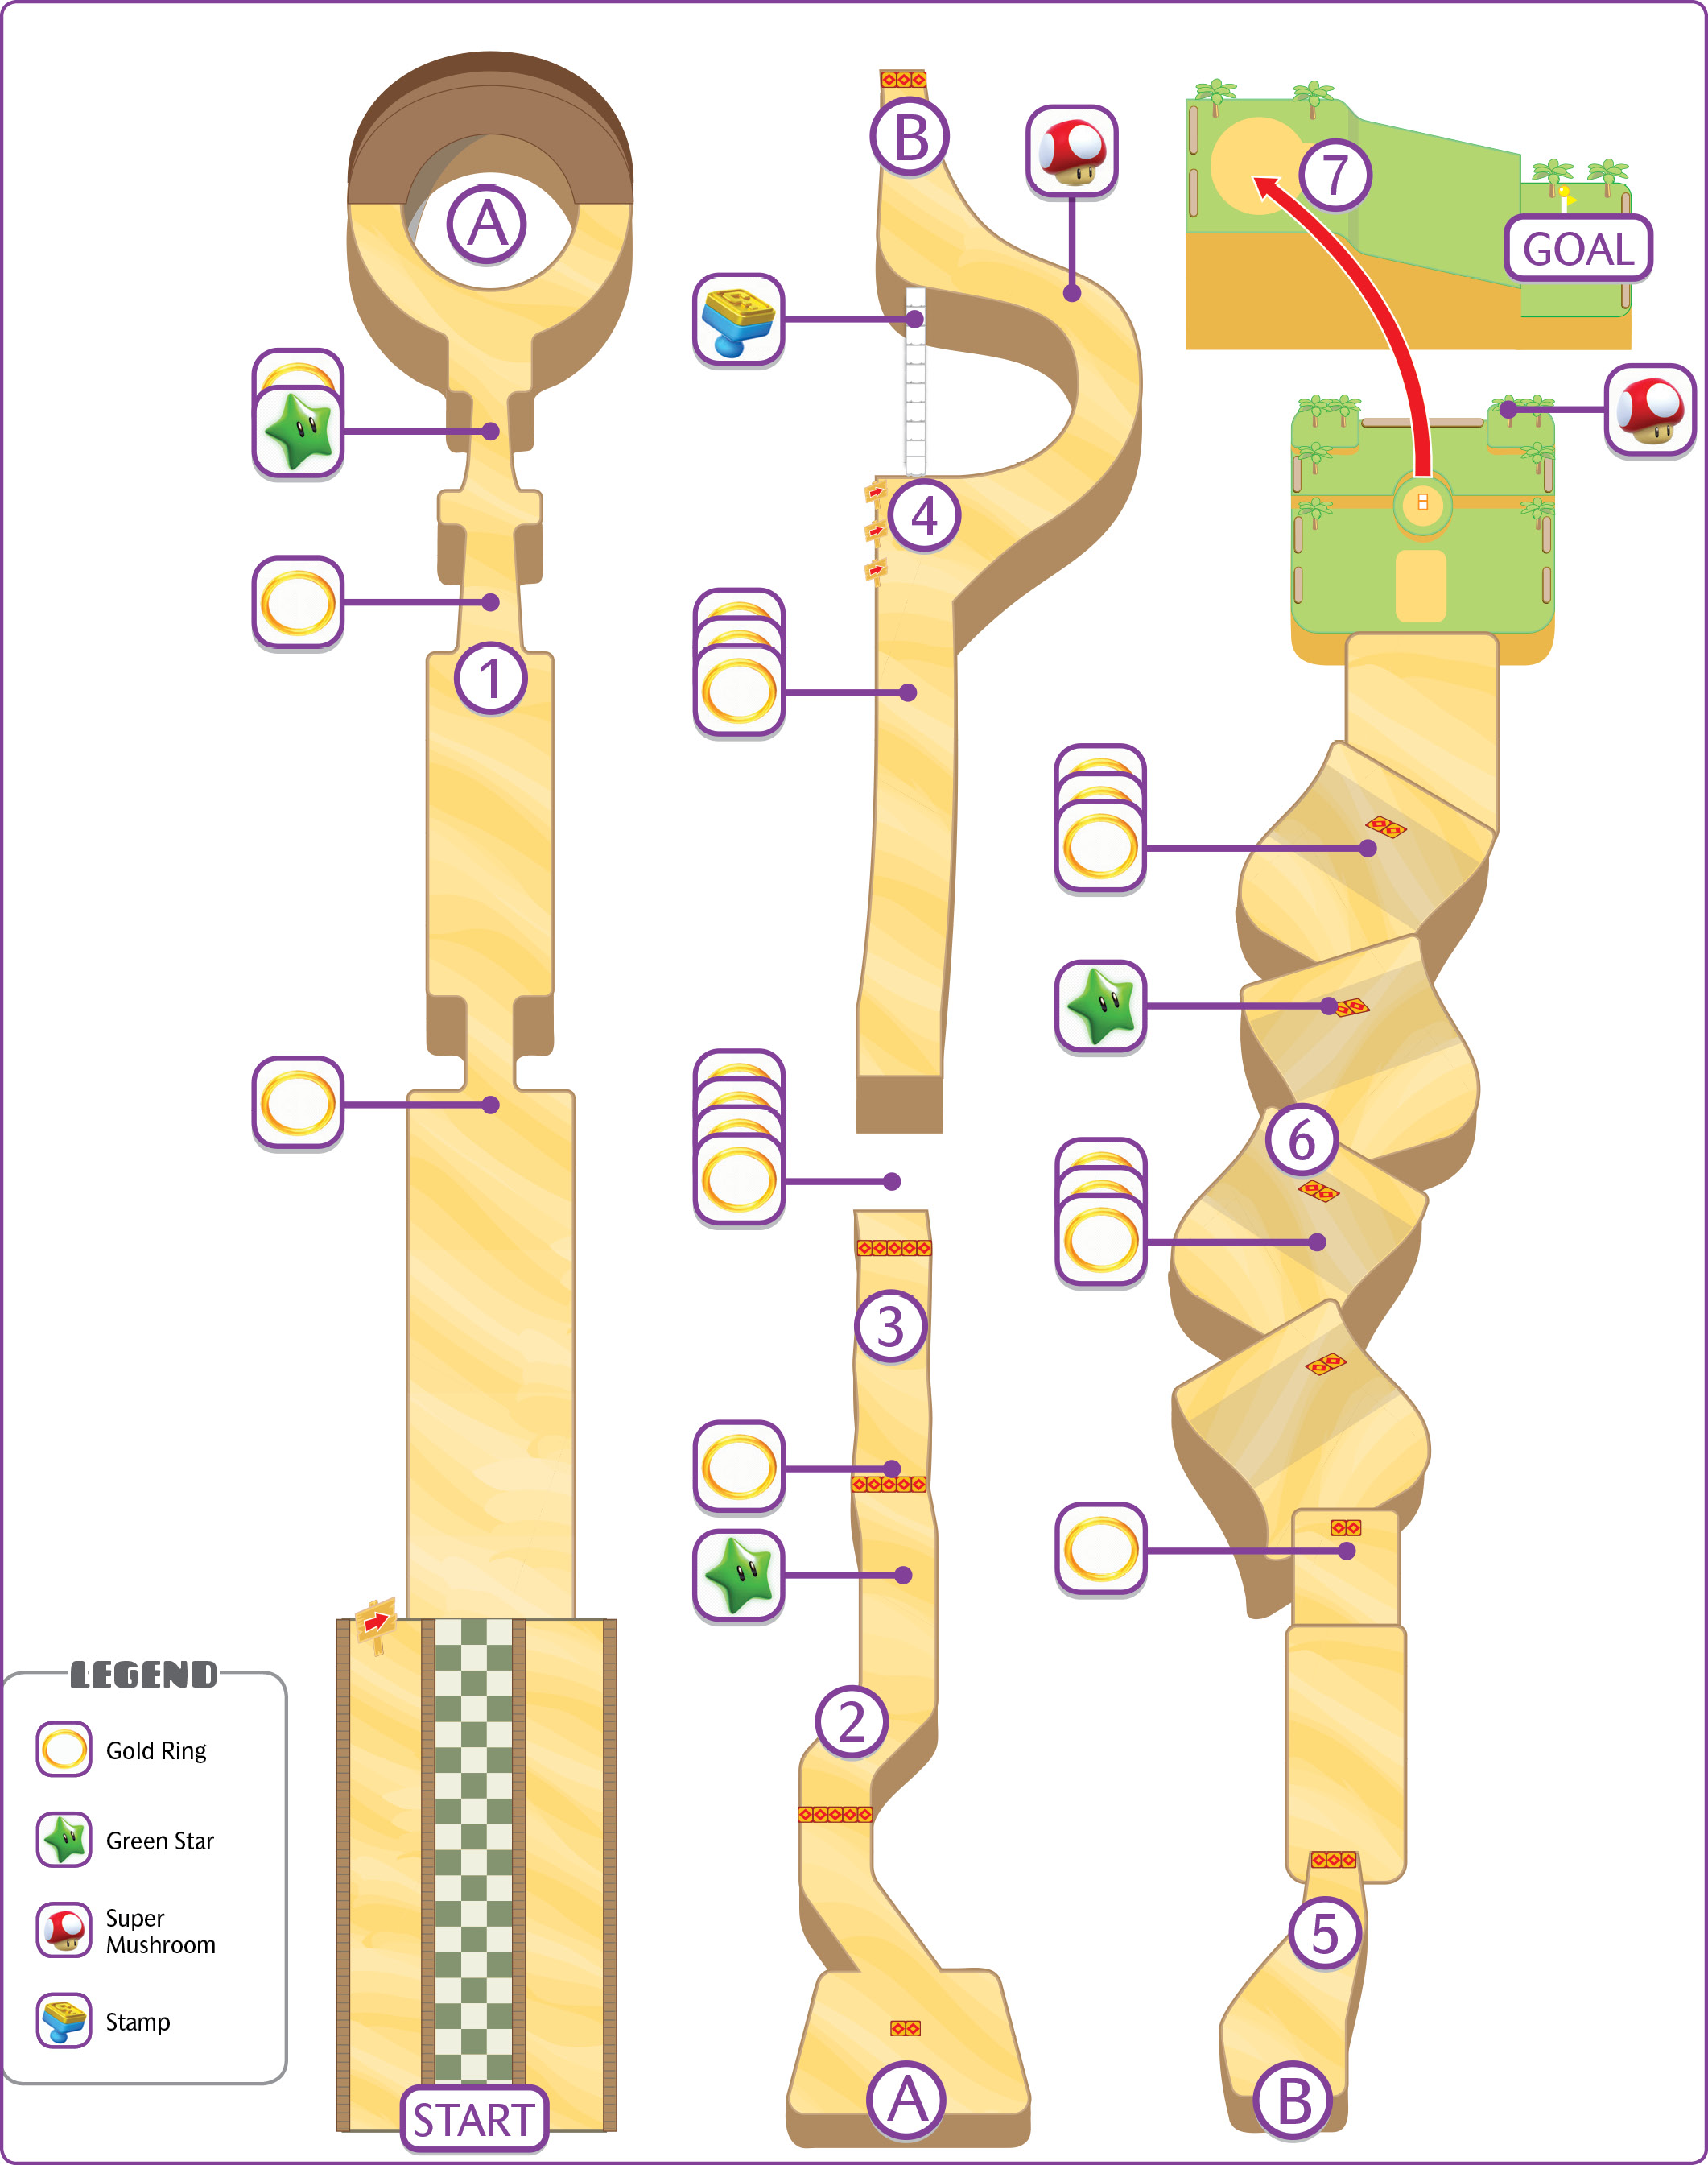
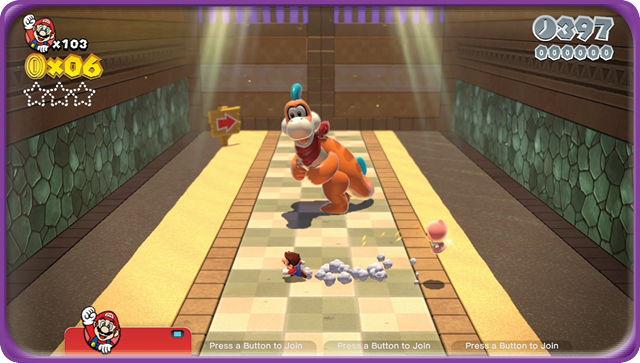
Plessie greets you at the start of this level. Prepare for a long ride down a very fast sand course. Unlike your first race with Plessie back in 1-4, here you can retrieve every single collectible in one run, so long as you’re in the right place at the right time.
Green Star #1
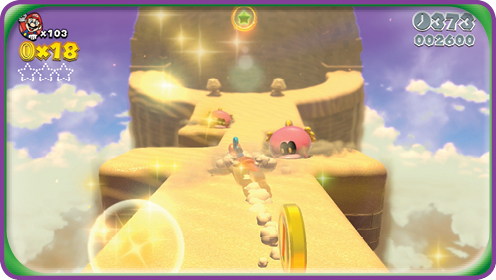
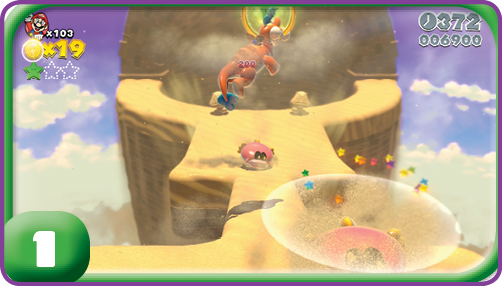
You see the first Green Star in the distance as soon as you and Plessie hit the track. You have to use the Splounders to launch yourself into the air high enough to grab the star.
Green Star #2
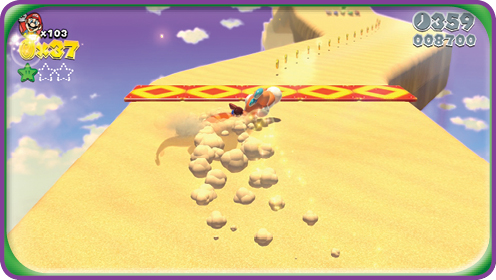
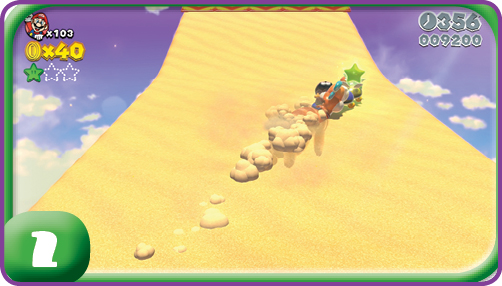
Not long after the first Green Star, you’ll fall down toward an S-shaped section of track, with a line of Coins at the center and Dash Panels to boost you forward. In the distance you see a group of Para-Biddybuds carrying the second Green Star.
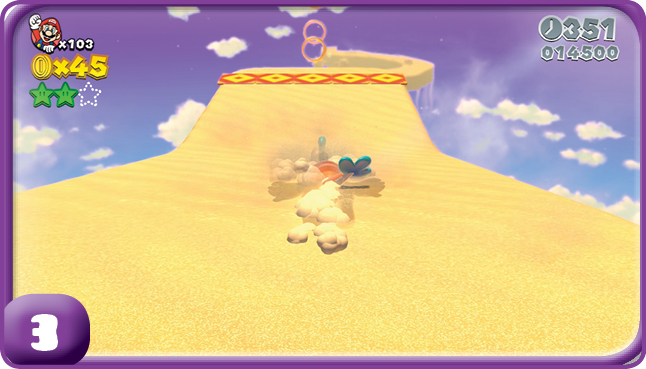
Try to maintain a straight course when hitting these ramps with Dash Panels on them, you can easily launch off the side of the track. There are no guardrails here!
Stamp
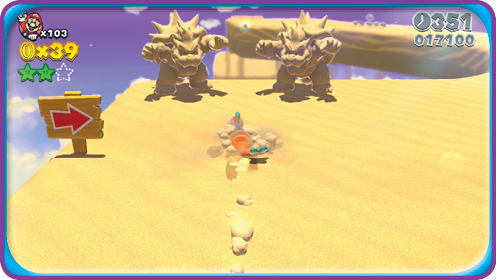
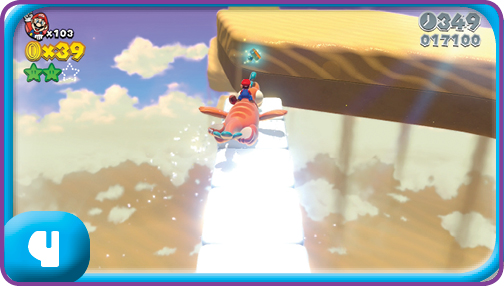
Aim Plessie between these two Bowser sand statues. It looks like a bottomless pit with no way to cross, but there is actually a narrow bridge of invisible cloud platforms that will take you right into the Stamp.
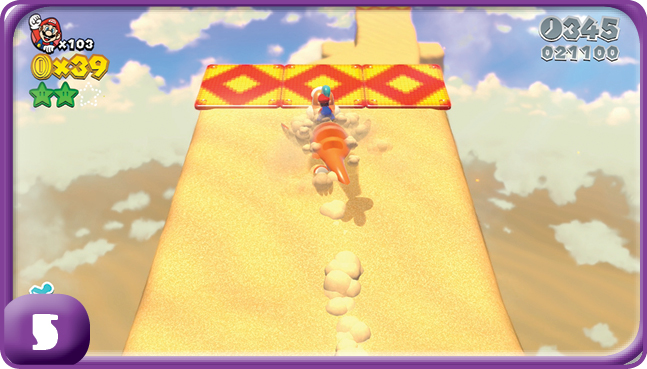
For these Dash Panel ramps, try to always position yourself in such a way that you’ll land aligned for the jump that follows. The track here features some interesting kinks that can dump you into the chasm below.
Green Star #3
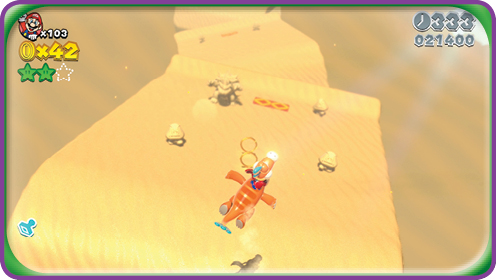
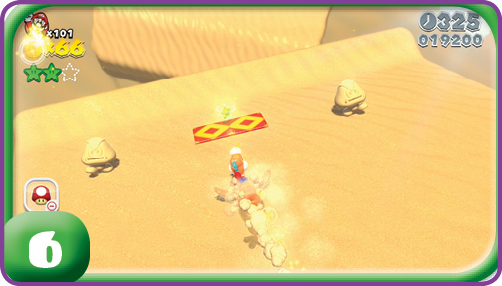
You’ll see this Bowser sand statue pictured here with little time to react to it. You must crash through it to cause the last Green Star to appear on another track section farther down. You’ll see the star at the center of a pair of Dash Panels.
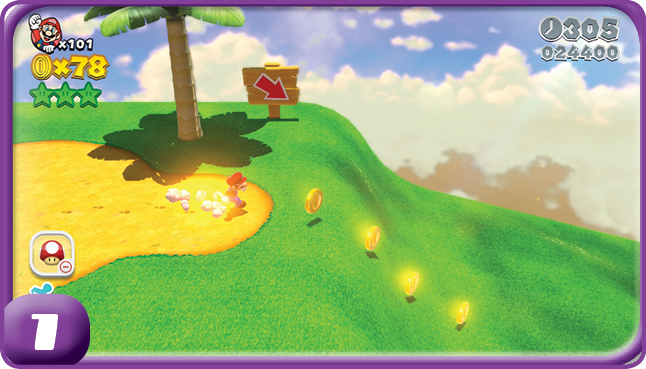
The slide leading to the Goal Pole is filled with bumps that can throw you off course. It helps to aim for the lines of Coins on the slide itself, as they lead right toward the Goal Pole.