
Super Mario 3D World Guide Walkthrough World 4
World 4-5: Spikes Lost City
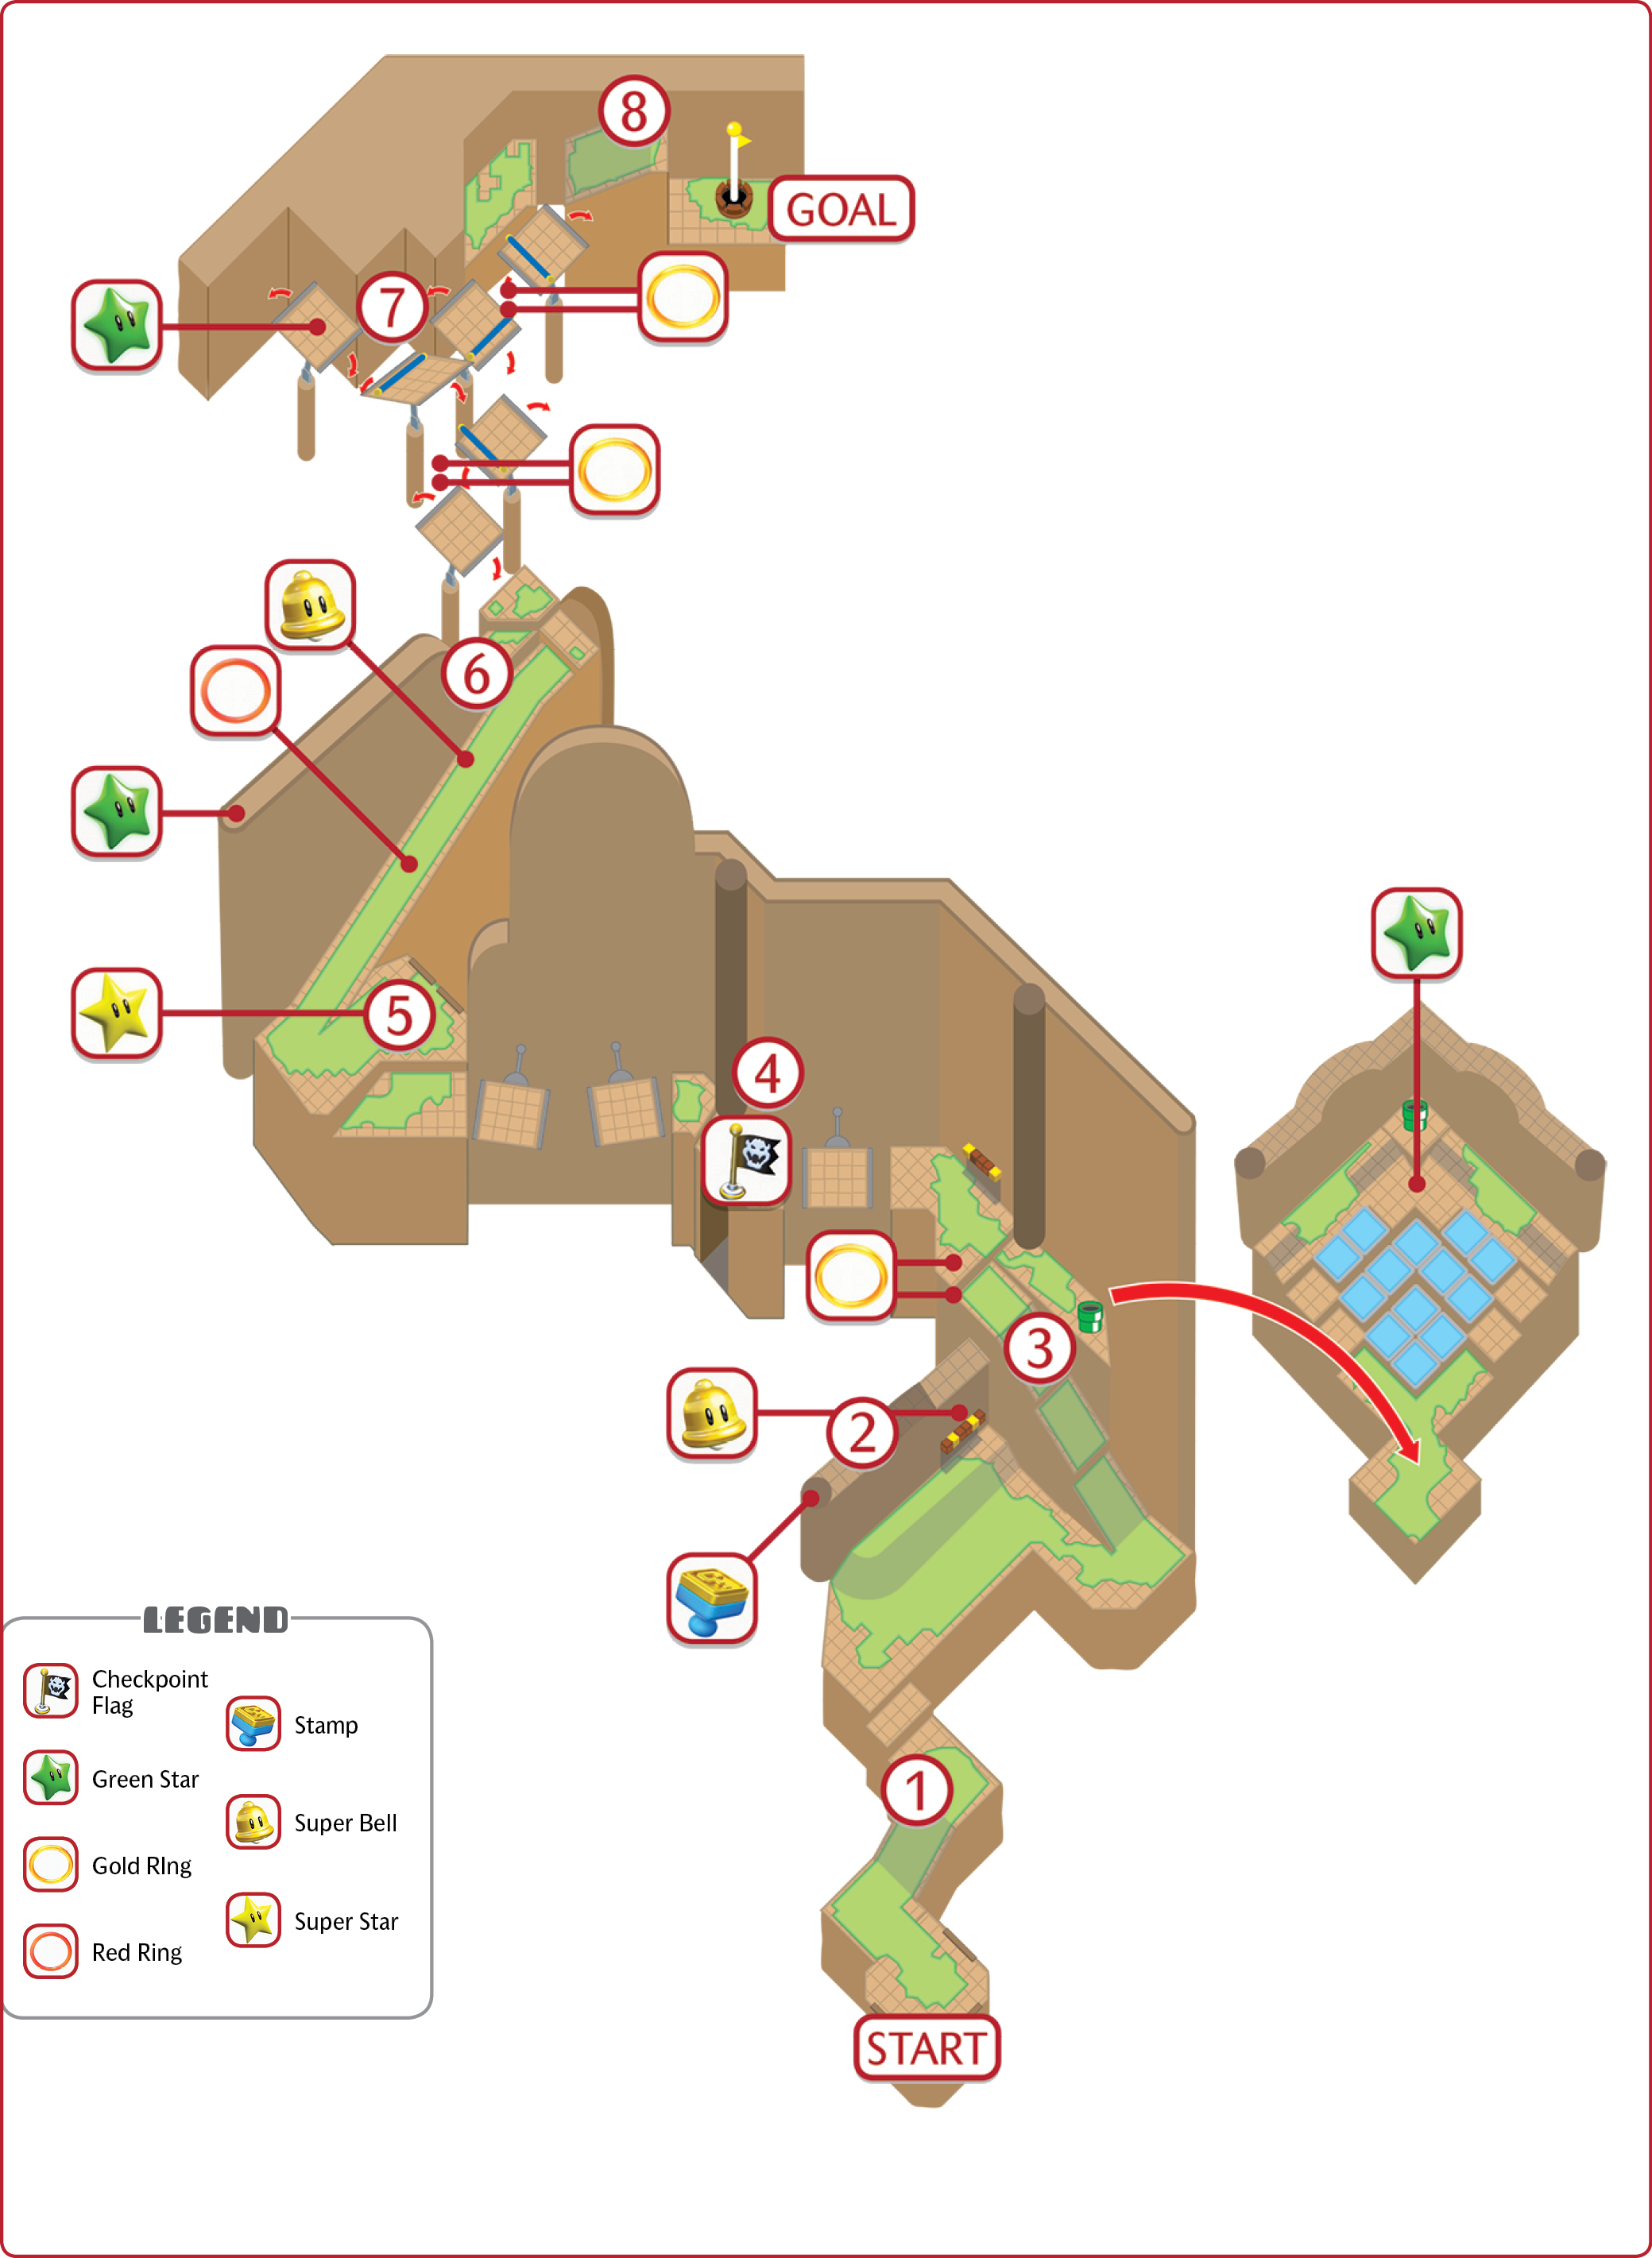
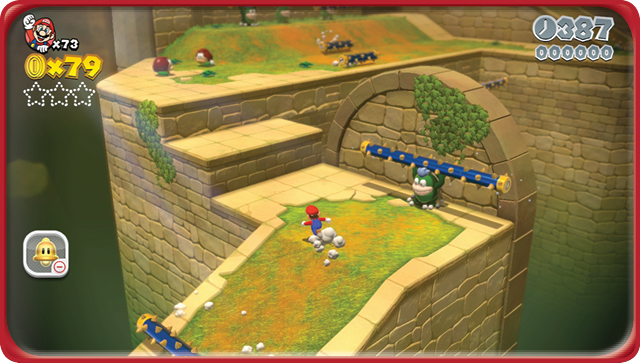
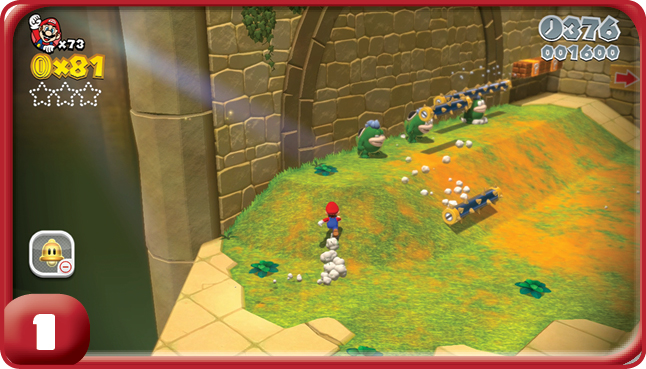
Spikes are a devious members of Bowser’s army. They produce long, spiked rollers that take up the majority of any path a Spike is defending. You’ll have to deal with Spikes and Galoombas in the opening section of the level.
Stamp
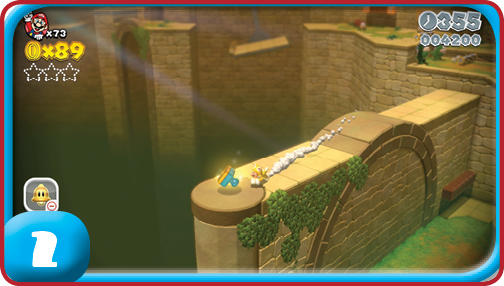
The Stamp can easily be collected if you have a Cat Power-Up, which is conveniently provided by ? Blocks next to a trio of Spikes. It’s not a requirement, though. Climb onto the wall the Spikes were next to, and run along the wall until you locate the Stamp.
Green Star #1
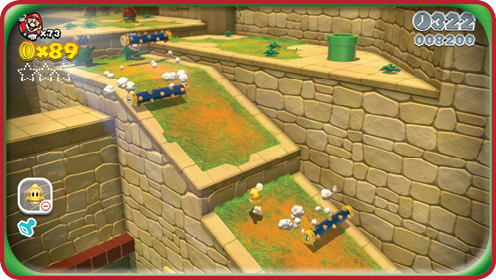
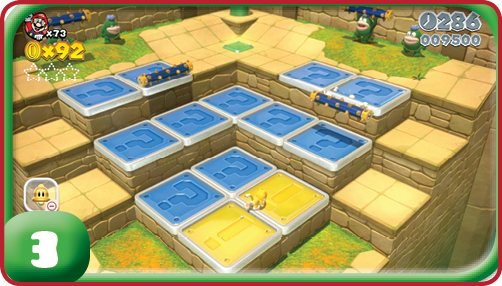
The hill next to the Stamp wall is guarded by more Spikes. Next to that hill is a pipe that takes you to a side chamber filled with Switch Panels you need to press to reveal the star. More Spikes will be tossing rollers across the panels, making this a bit more challenging.
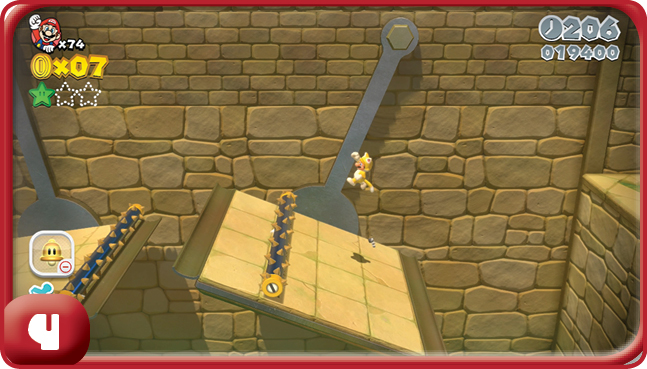
The chasms before and after the Checkpoint Flag must be crossed by using pendulum platforms. However, there’s an added twist: the spiked rollers on these platforms.
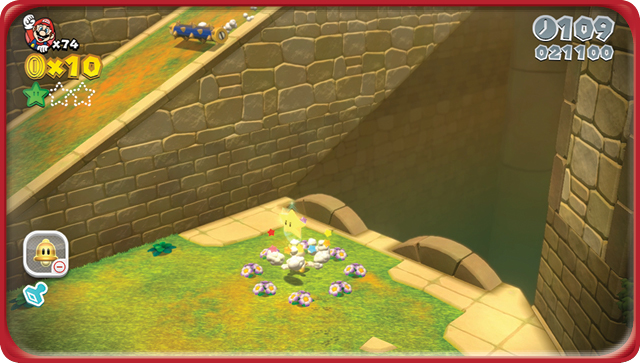
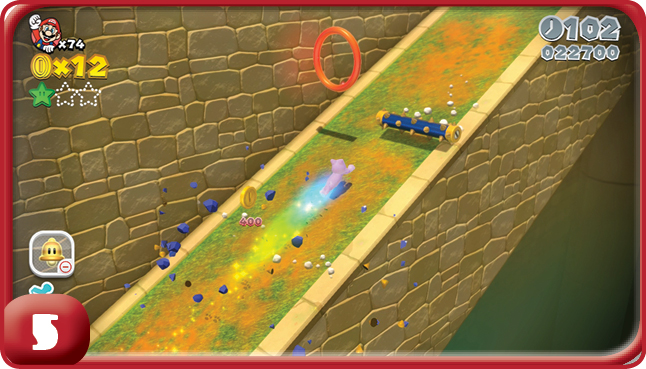
Ground pound the circle of flowers after crossing the chasms to reveal a Super Star. This will make the climb through the spiked rollers that are being tossed down the nearby hill much easier.
Green Star #2
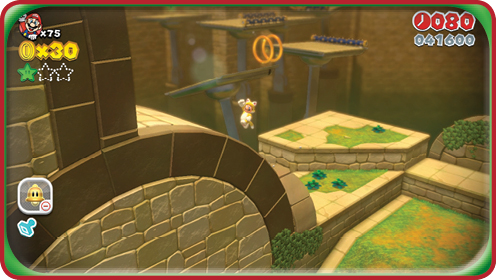
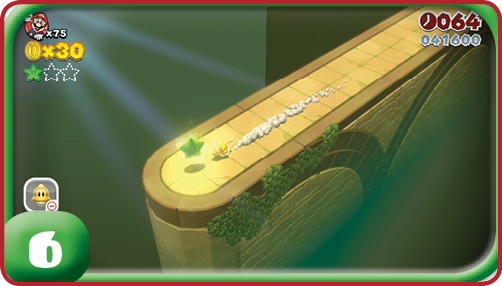
At the top of the hill, deal with the Spikes, then look at the nearby curved wall that flanks the hill. You can climb up this wall, then dash along the top of it to reach a Green Star. You must have a Cat Power-Up to reach this Green Star.
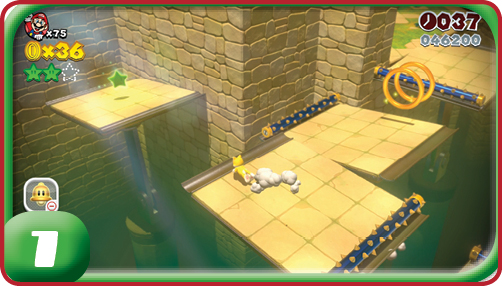
Green Star #3
The last Green Star is in the middle of a tricky section filled with swaying platforms and spiked rollers. It’s not a tough jump, just show some patience at let the platforms come to you rather than tryingto make risky long jumps.
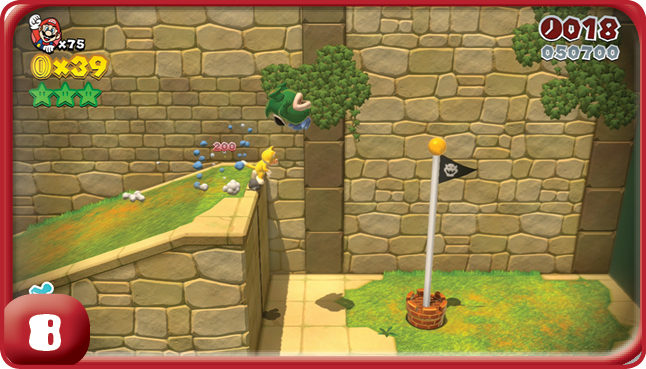
The last run to the Goal Pole is guarded by a lone Spike. It’s best to take him out, then make a second run to make sure you don’t lose momentum for reaching the top of the Goal Pole.