Super Mario 3D World Guide Walkthrough World Bowser
World Bowser-Castle: The Great Tower of Bowser Land
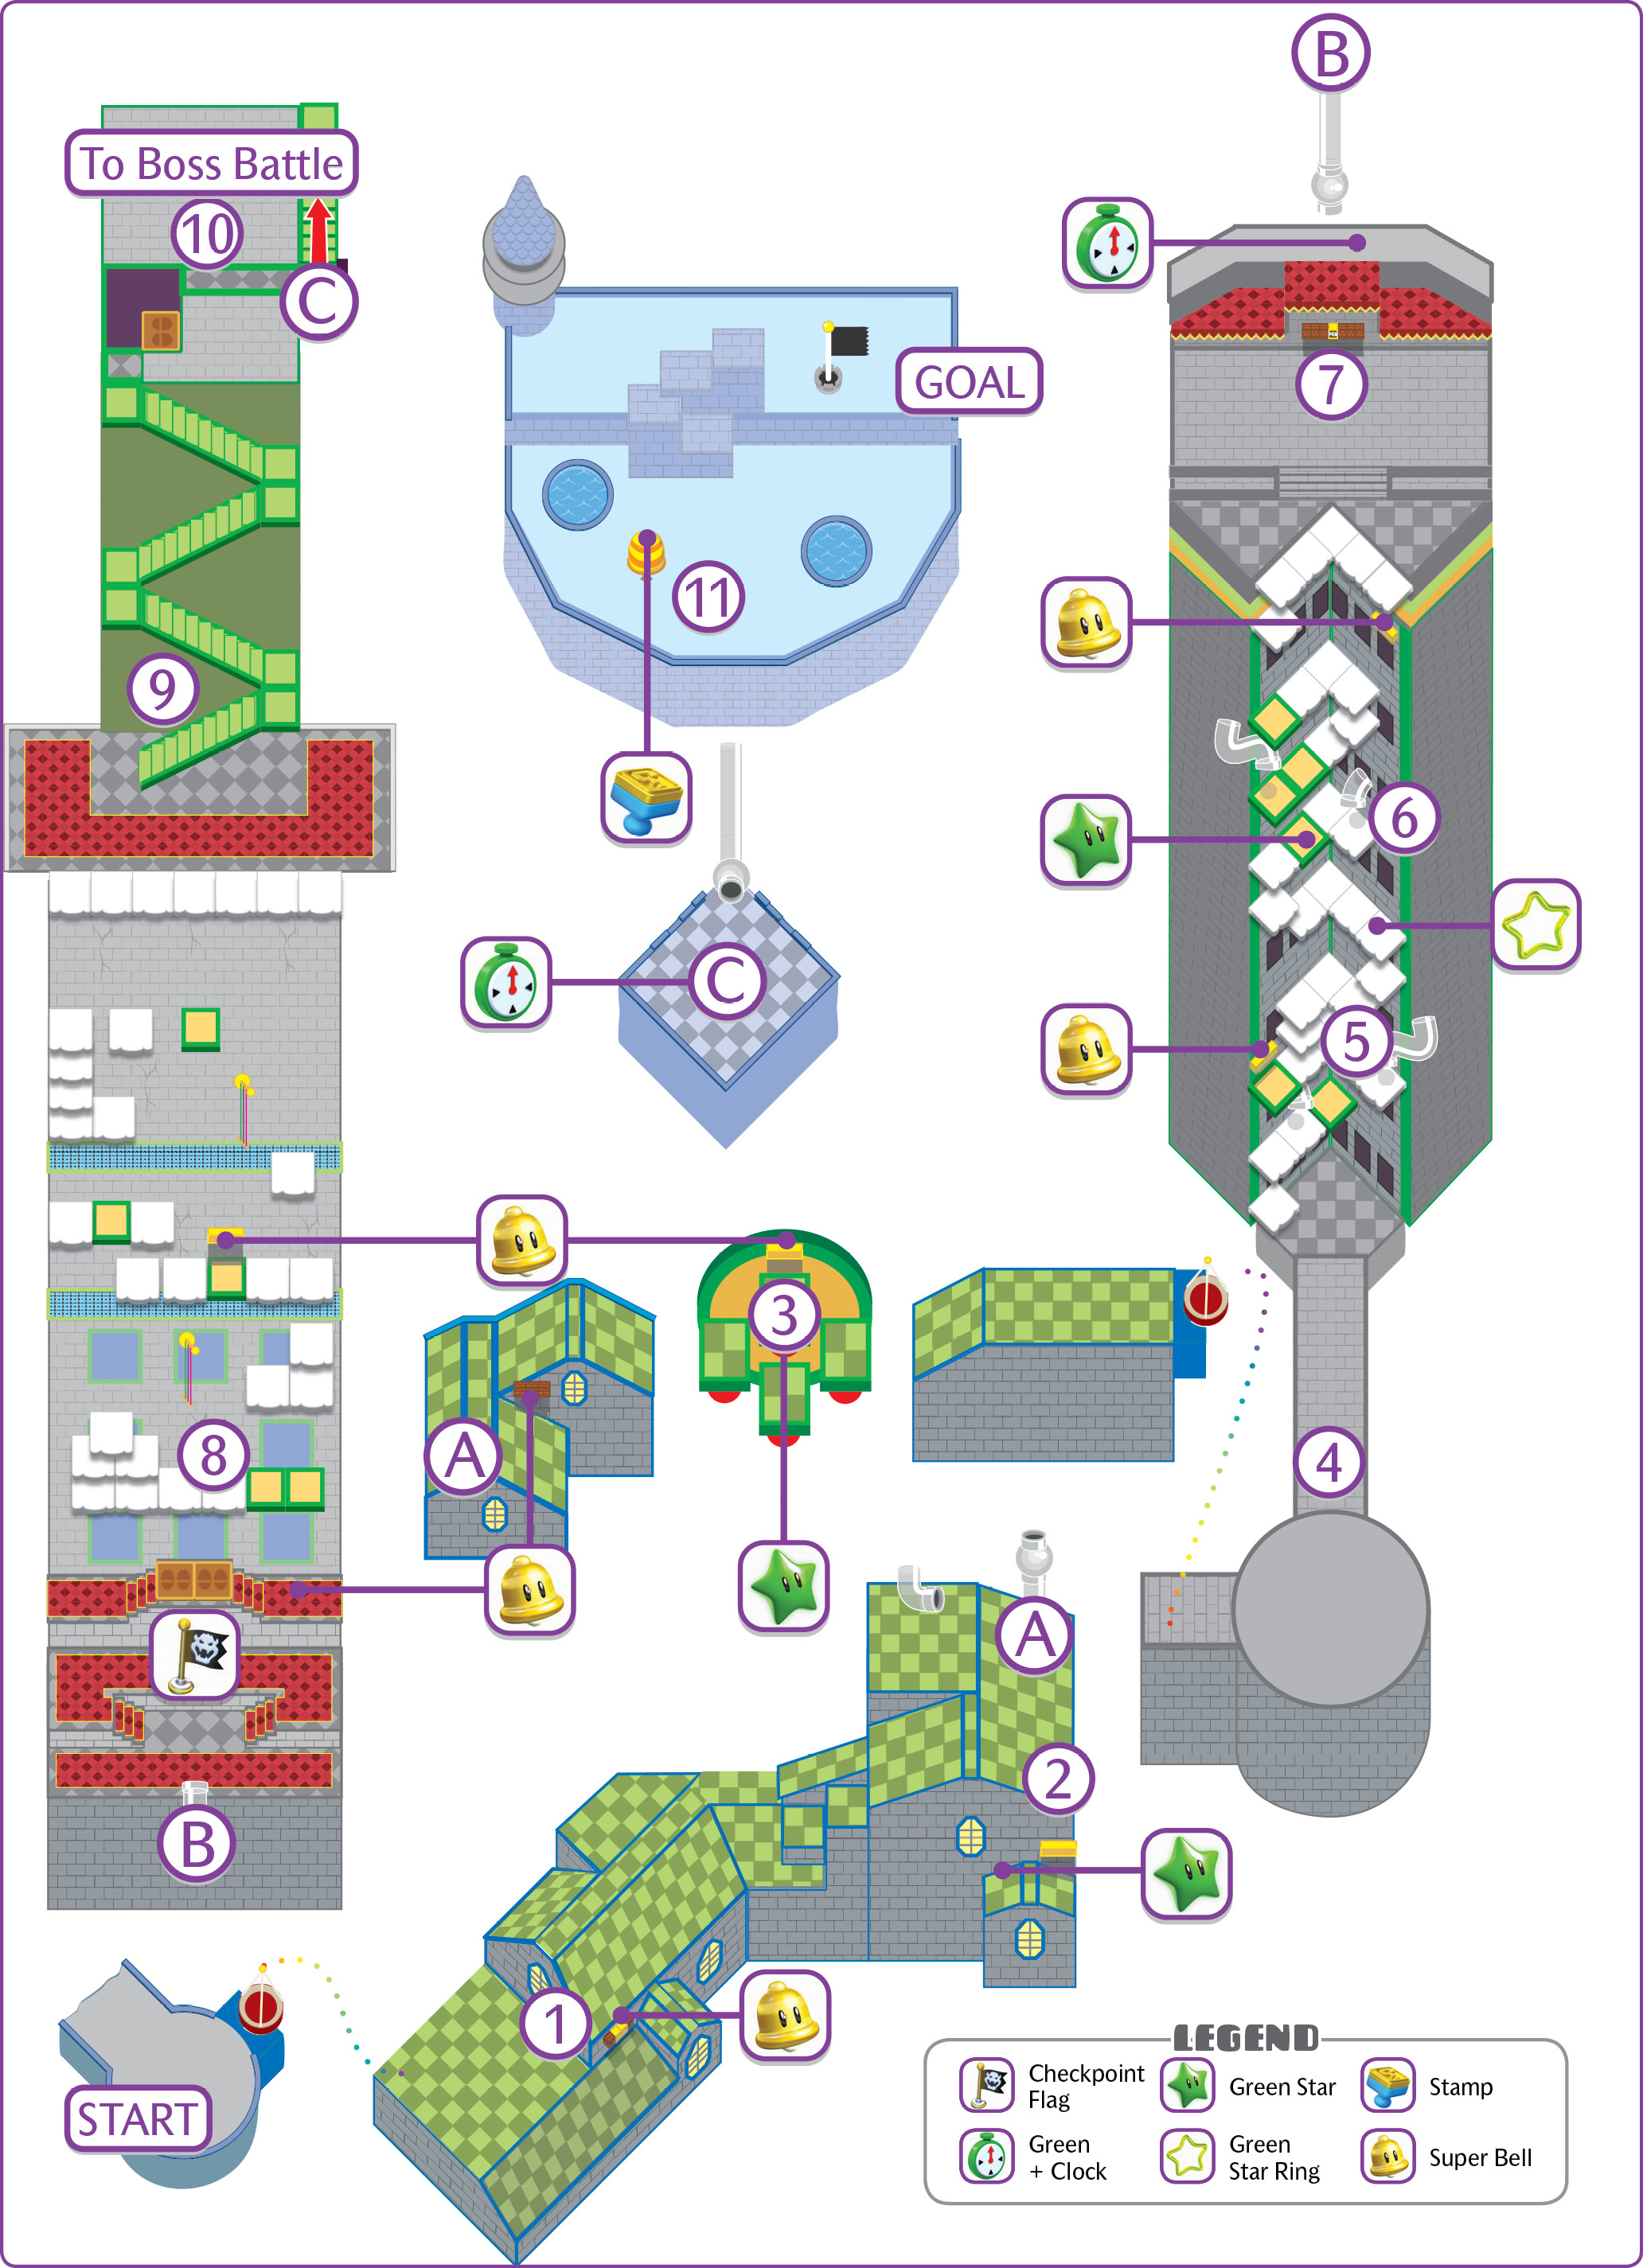
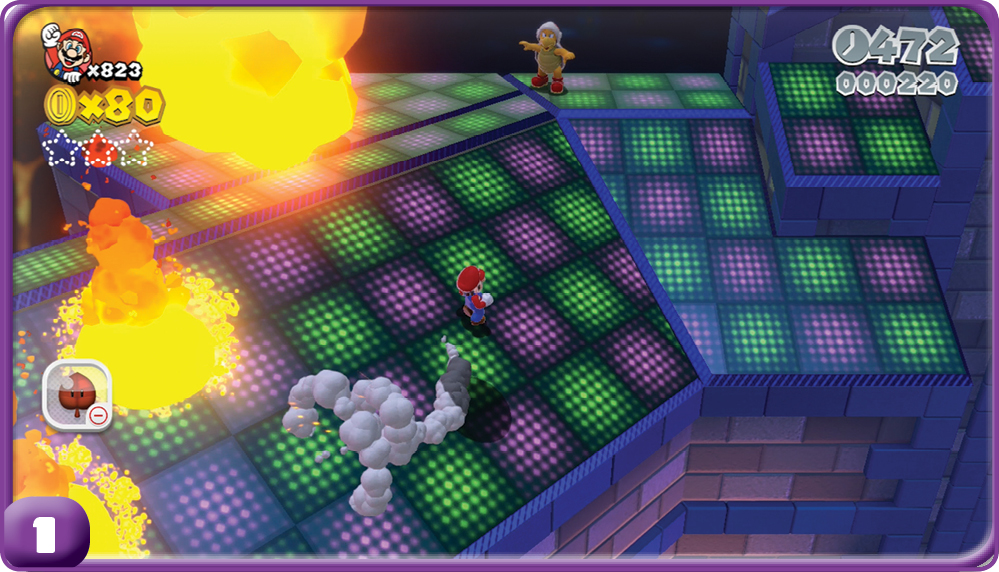
After taking the gondola from the start point down to the base of Bowser’s tower, you end up on a roof that is being bombarded by lava. In addition to that, Fire Bros. are positioned around this starting area. You can get a Super Bell early on, and you should do everything you can to keep it for this level!
Green Star #1
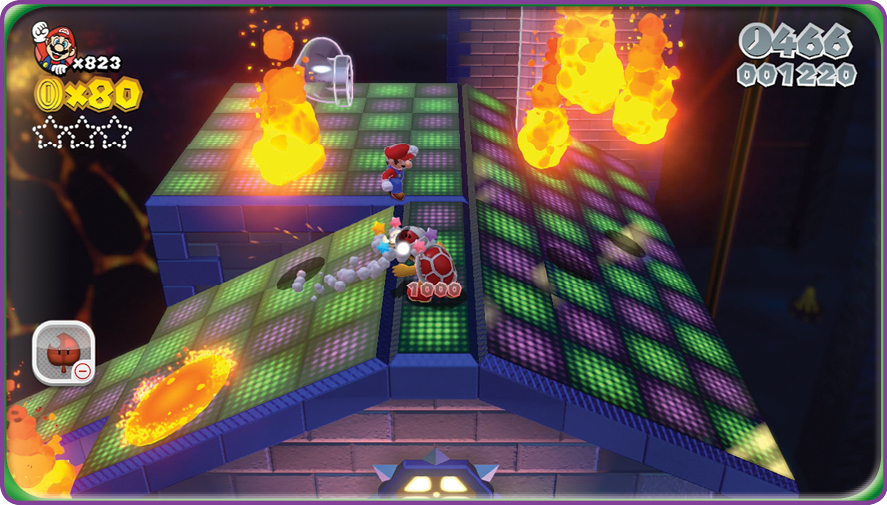
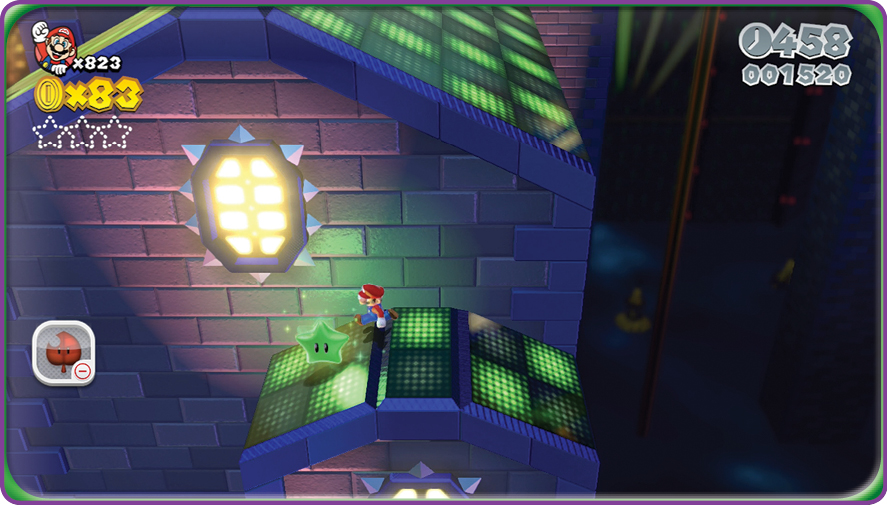
Before taking the Clear Pipe off of this rooftop run, you can drop onto a small side ledge to collect the first Green Star. There’s a nearby invisible ? Block that you can hit to get back onto the roof easier.
Green Star #2
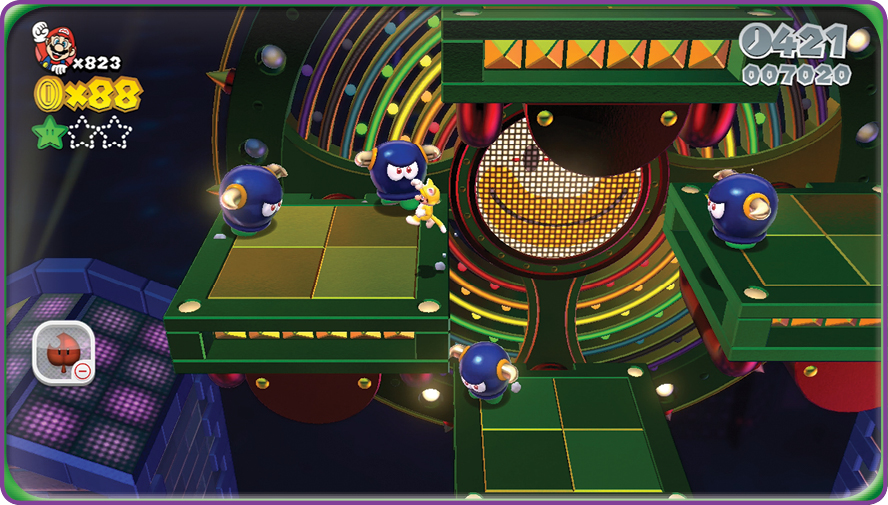
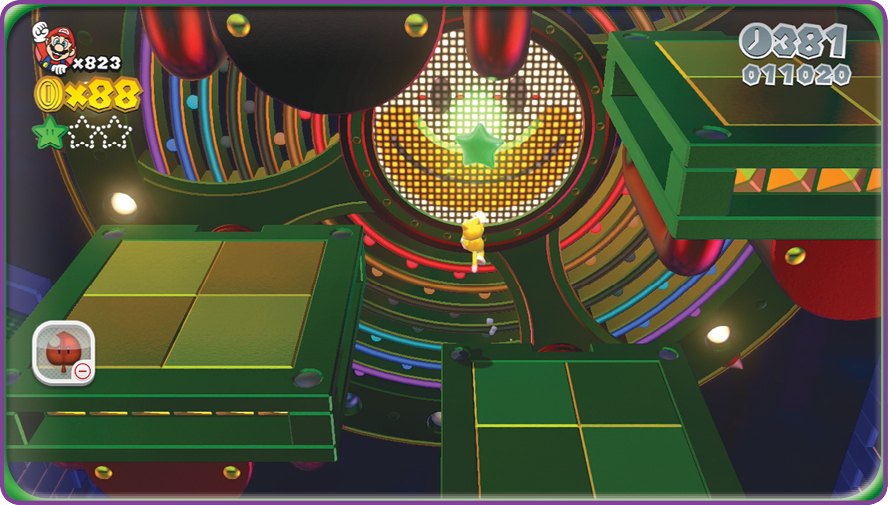
You find the second Green Star by knocking off all the Bullies from this Ferris wheel. Retrieving the star can be tricky, as it appears on the center of the wheel, away from the immediate comfort of a platform. The Cat Power-Up is valuable here.
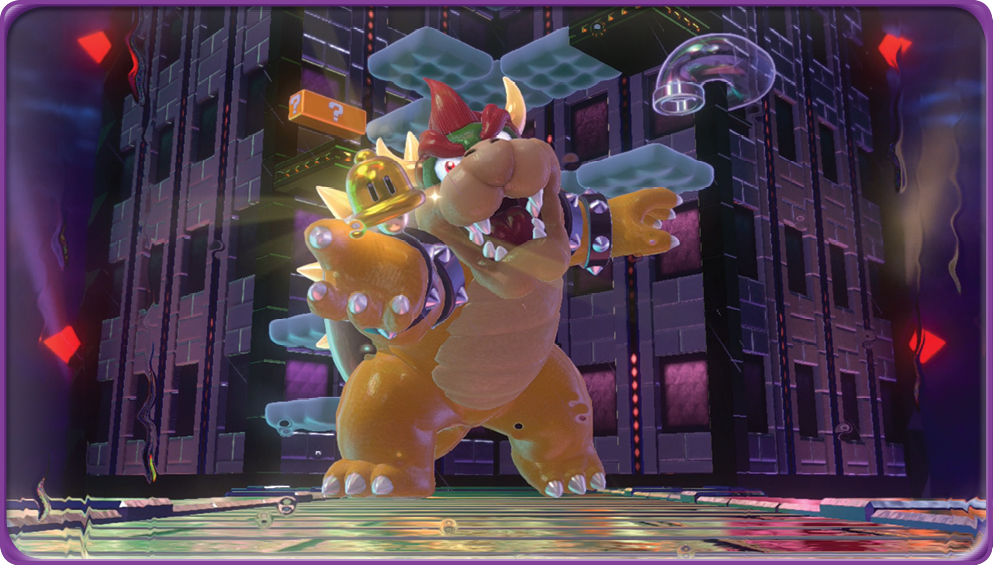
After another gondola ride, Bowser confronts you at the foot of his tallest tower, brandishing a Super Bell.
Boss Battle: Meowser
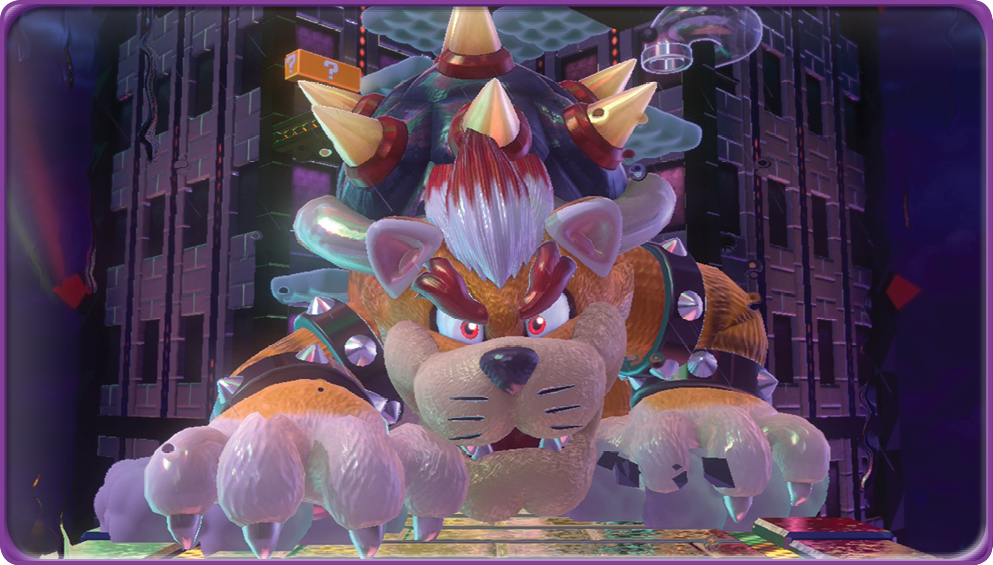
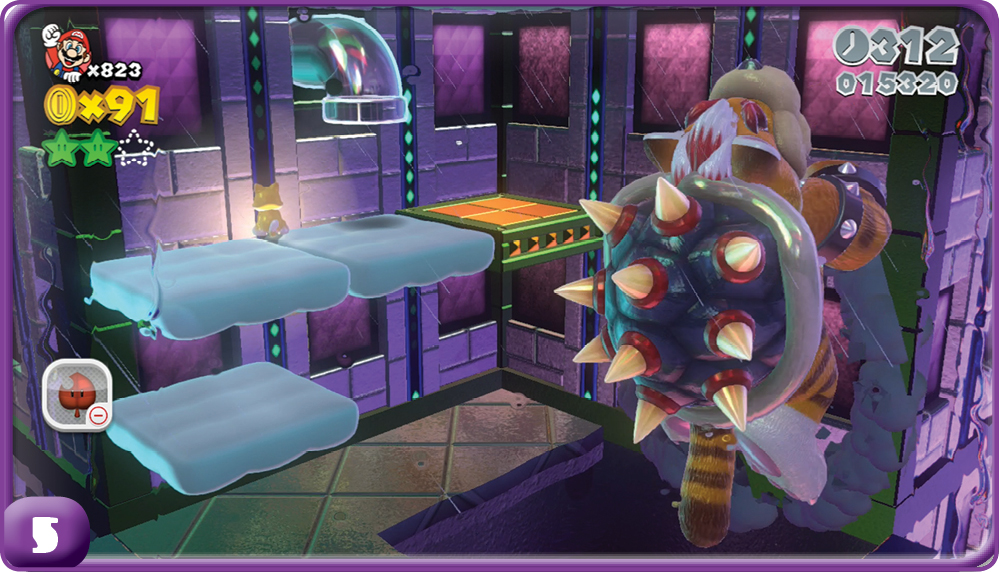
After his astonishing transformation, Bowser, now Meowser, leaps away from the bridge, and you’re forced to climb the tower behind him using the various platforms on the wall. The camera scrolls automatically upward, so missing a jump can cost you a life.
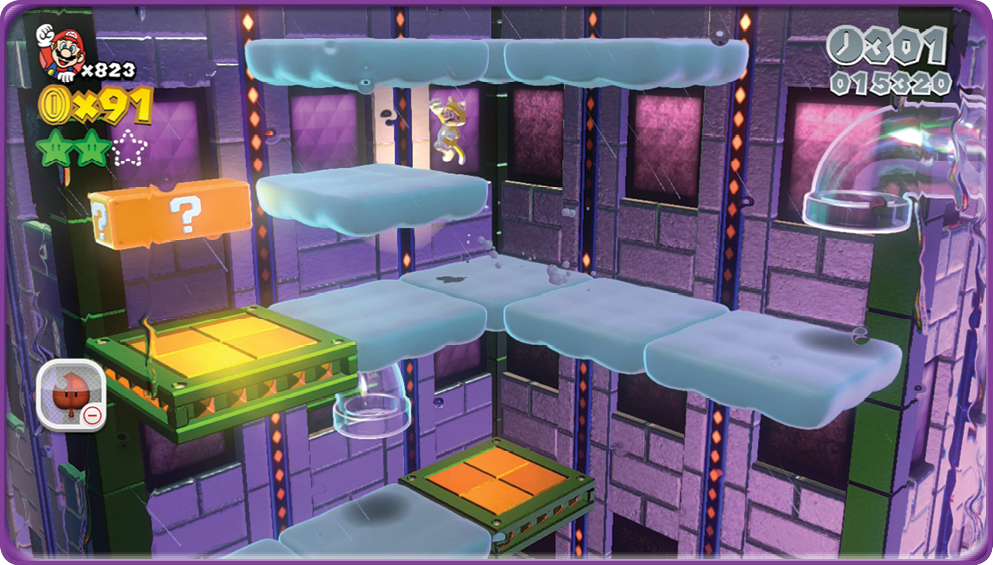
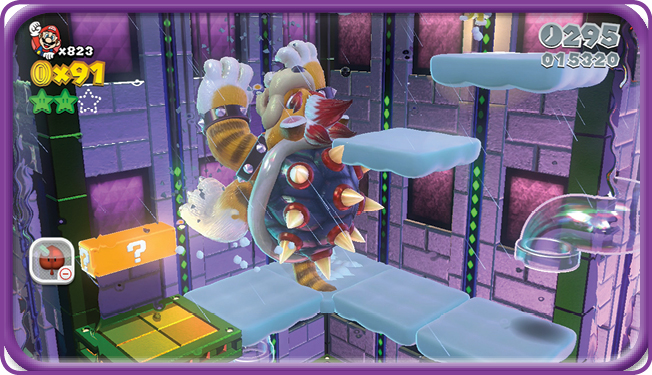
During this part of the battle, Meowser climbs up the tower, destroying platforms in his path, and then slides down the side of the building to destroy more platforms. You can see when this is about to happen by paying attention to the top of the screen for a rain of debris to fall, indicating where he’s coming from. Fortunately, the cloud platforms regenerate after a short delay, so you’re not totally out of luck if they are taken out.
Green Star #3
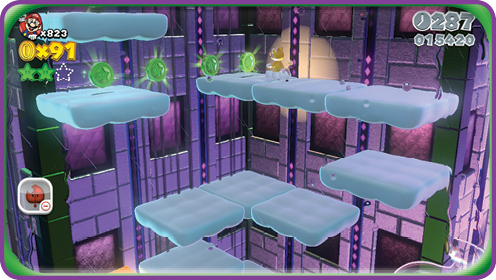
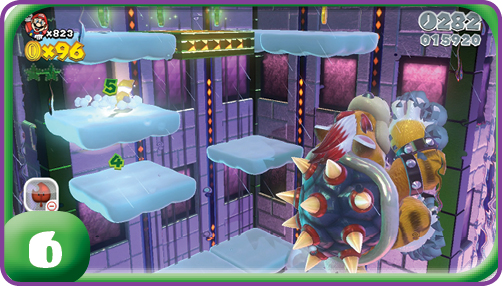
The last Green Star requires you to collect a Green Star Ring, and the Green Coins that appear afterwards. during this precarious climb up the tower. Don’t feel discouraged if you lose a few lives trying to retrieve this star, as Meowser’s destruction of platforms can make it challenging.
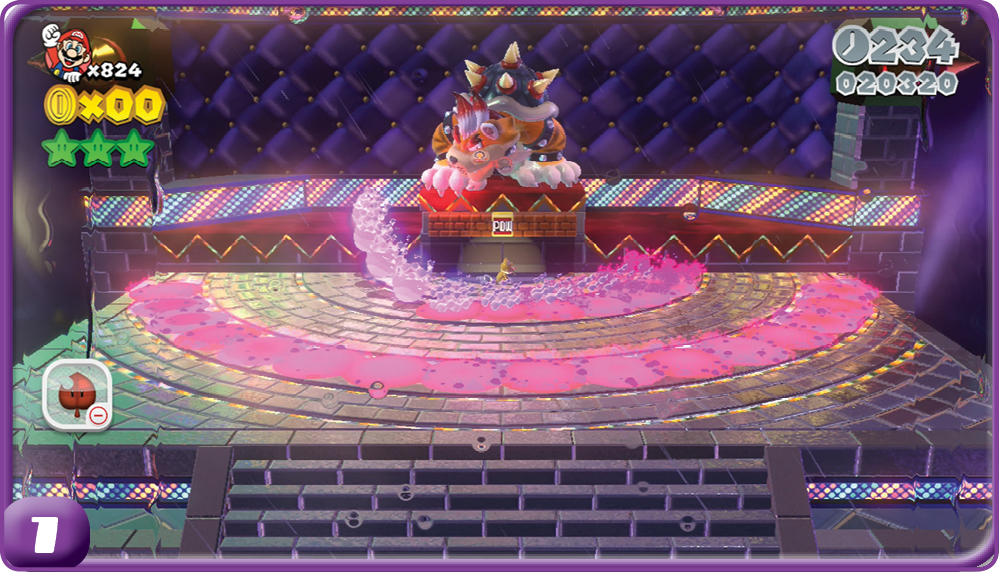
Survive the first part of this climb, and Meowser will stand on a platform that can be destroyed by striking a Red POW Block. He tries to stop you by spewing large waves of fireballs in your direction. The Red POW Block launches Meowser off the tower, and reveals a hidden room behind him with a Clear Pipe leading to the next part of this encounter. There’s a green + Clock near the Clear Pipe, if you’re short on time.
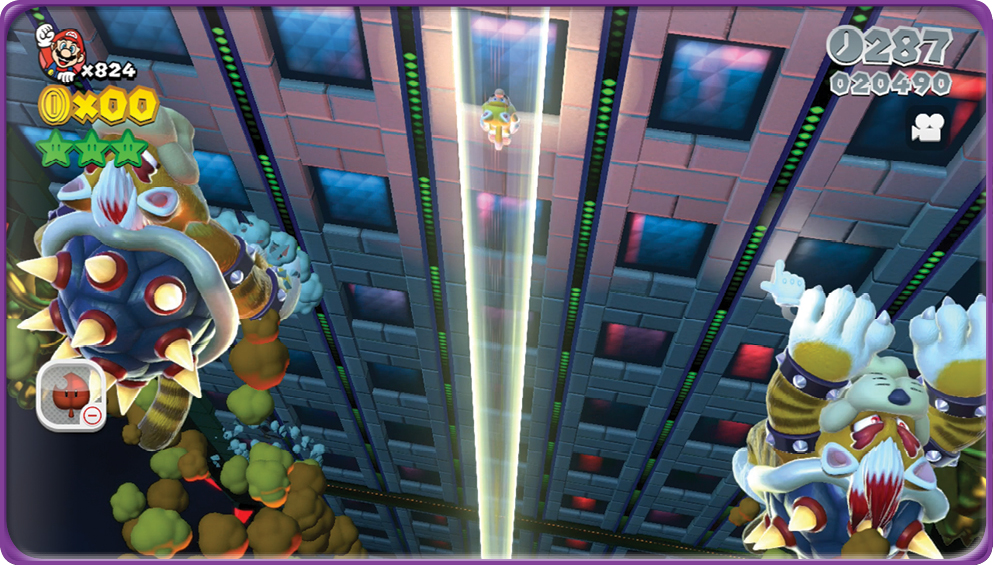
As you travel up the Clear Pipe, it becomes apparent that Meowser has gotten his hands on a stash of Double Cherries, which has obvious results. Fortunately, there is a Checkpoint Flag just after the pipe ride. If you need a new Cat Power-Up, one of the nearby Cat Goombas can provide Super Bells.
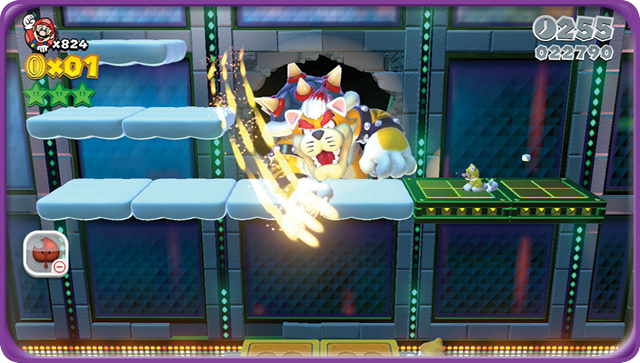
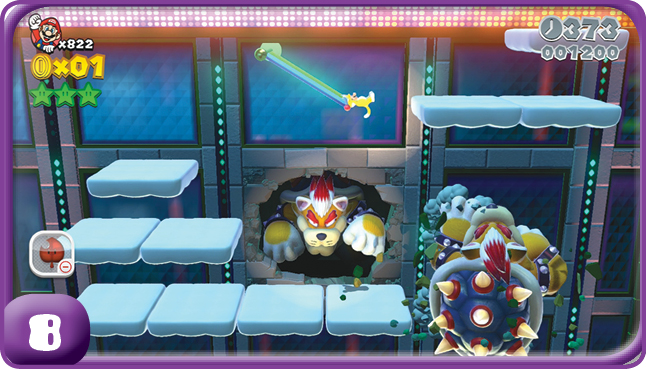
Early in the second half of the climb, you see cracks on the walls lit up by spotlights. A Meowser clone will burst through these cracks to claw at you, so be careful around them. You also see a trapeze above this first crack, but don’t be too hasty to jump to the next set of platforms, as another Meowser clone destroys them in short order. Let him pass first!
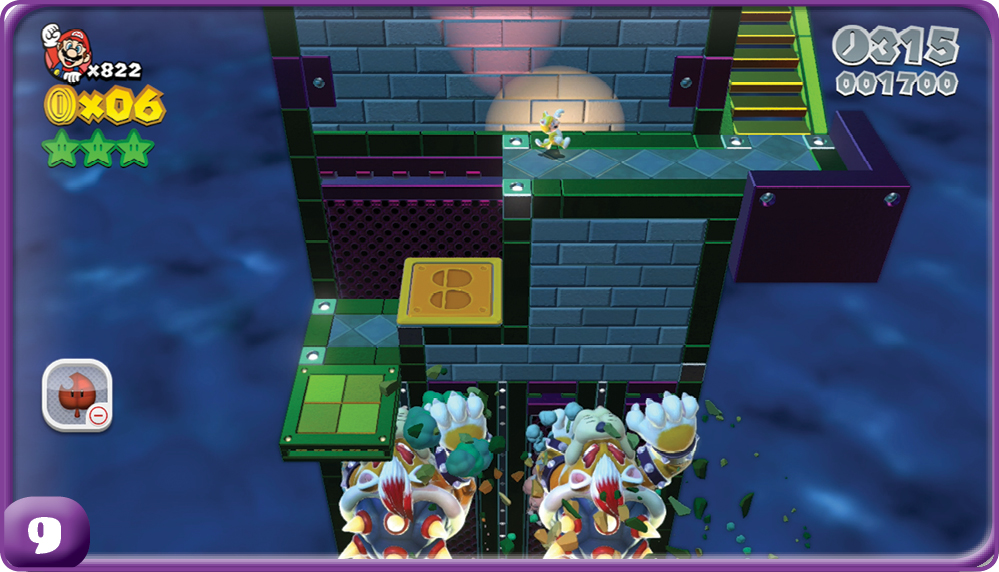
After a very brief respite, you are forced to run up a set of ramps while Meowsers destroy them from below. Move fast—a fall at this point is fatal!
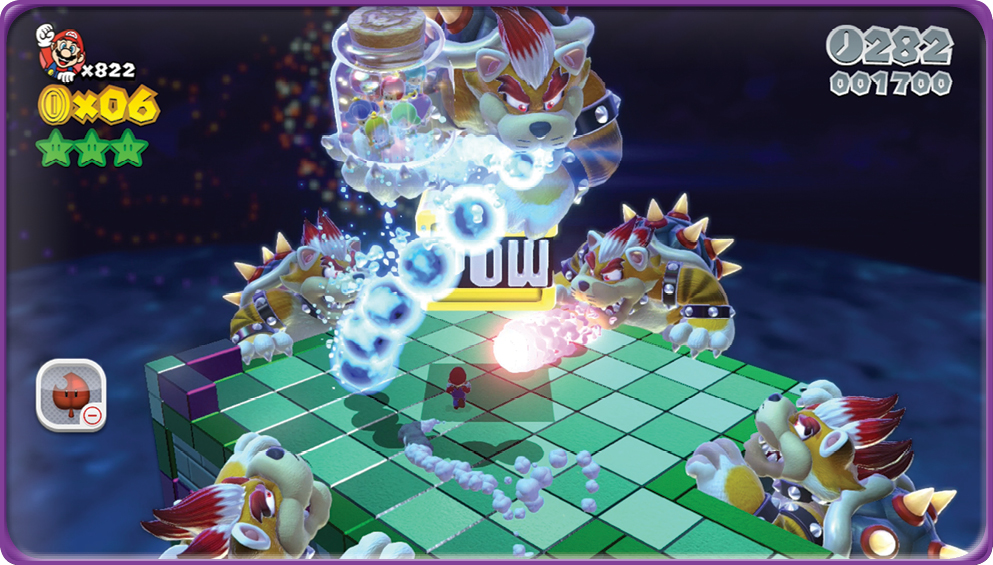
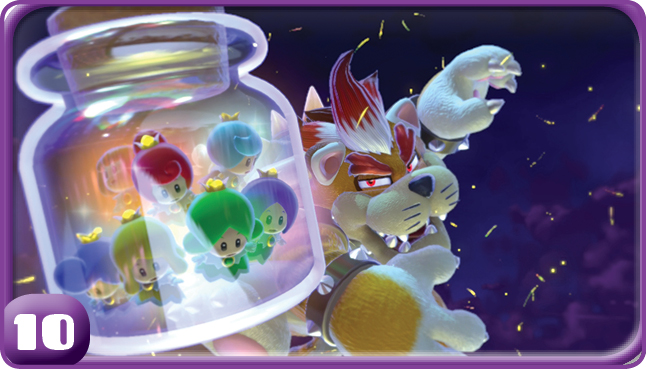
At the top of this tower, a Meowser stands atop a Super POW Block. You must bash it four times while evading the fireballs other Meowsers on the sides of the tower spit at you. After the Super POW Block is hit for the last time, Meowser is sent flying away in defeat, and more importantly the Sprixie Princesses are freed! Take the Clear Pipe that appears on the tower to reach the Goal Pole zone.
Stamp
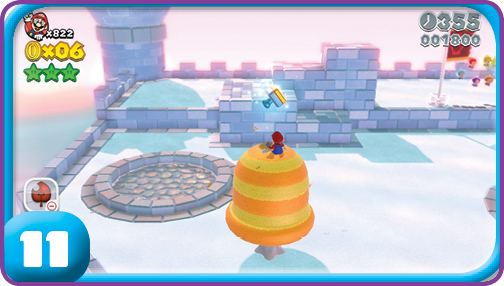
The Goal Pole zone contains the Stamp. It’s hidden in plain sight, atop one of the trees close to where the Clear Pipe sends you.
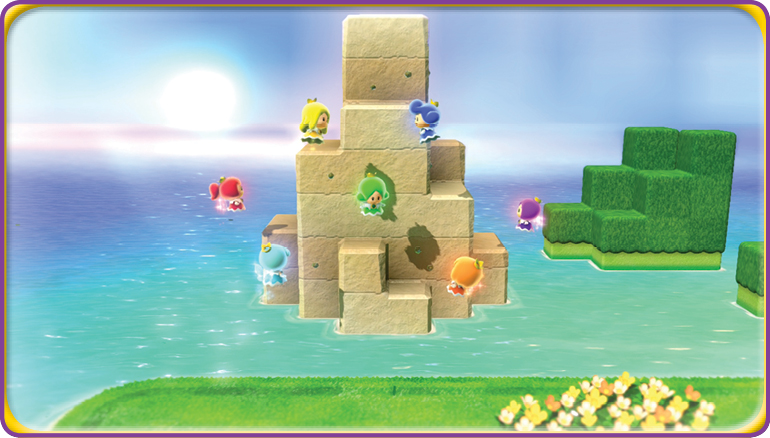
Congratulations on a job well done! The Sprixie Kingdom is saved! Enjoy the credits and pat yourself on the back, you’ve certainly earned it!