
Mario & Luigi: Dream Team Guide Welcome to Pi'illo Island Getting Started
Basic Controls
Getting around Pi’illo Island is easy enough with the use of the Circle Pad. But occasionally Mario and Luigi will need to do much more than run around. Here’s a brief rundown of some of the basic moves and Bros. Moves they can perform to overcome obstacles during their journey.
Jump
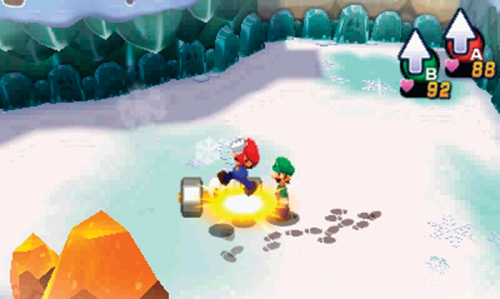
It should come as no surprise that jumping is a big part of Mario and Luigi’s repertoire. Press
 to make Mario jump and
 to make Luigi jump. Jumping serves a variety of applications during this adventure. Jump to reach ledges or jump over short obstacles. But jumping is also a critical action in battles. When approaching an enemy, jump on them to perform a preemptive attack, prior to a battle. This inflicts damage on enemies at the outset, giving Mario and Luigi a significant advantage during the battle. As Mario and Luigi acquire hammers and learn new Bros. Moves, these new actions can be prepped by pressing
 , altering the icons in the upper-right corner. Press
 to quickly switch back to the jump action.
Hammer
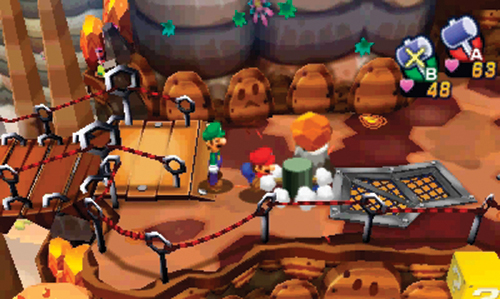
- Unlock Location: Mushrise Park
Once Mario and Luigi obtain hammers, you can use them in a variety of situations. Boulders can be destroyed with a single hit from a hammer, but you must strike them along their cracked side. Press
to switch to the hammer, then give a boulder a whack by pressing
. Like jumping, hammer strikes can also be used to initiate a battle with enemies, inflicting impressive damage at the outset. Hammers are also instrumental in pulling off the Mole Mario and Mini-Mario Bros. Moves learned in Dozing Sands.
Bros. Moves
Bros. Moves are special combos requiring Mario and Luigi to work together. These moves are learned at different points during their Pi’illo Island adventure.
Mole Mario
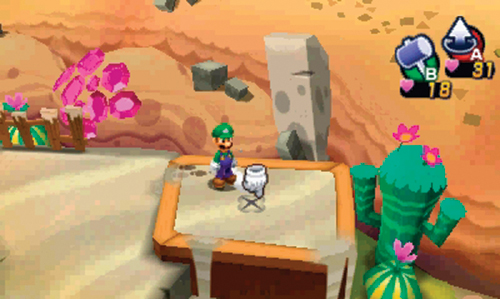
- Unlock Location: Dozing Sands
Luigi can use his hammer to send Mario underground. Once underground, Mario can move around, his position indicated by a white gloved hand icon. This allows Mario to go under fences and other objects. Press
to change the action icon to the hammer, then press
to make Luigi whack Mario with his hammer. Now use the Circle Pad to make Mario move around underground. When Mario’s ready to return to the surface, press
. Use Mole Mario to retrieve beans from beneath the ground. Simply surface when directly beneath a beanhole, appearing as an X on the surface.
Mini-Mario
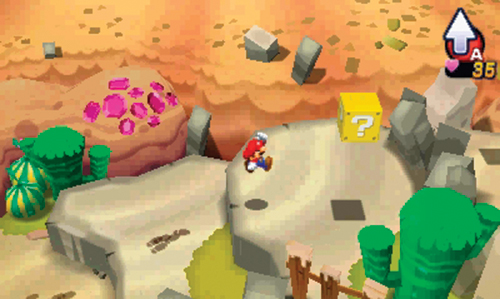
- Unlock Location: Dozing Sands
If Mario is standing on a hard surface, like a rock, he won’t go underground when struck by Luigi’s hammer. Instead he gets squished, allowing him to go through small openings. Luigi must strike Mario with his hammer again to return him to normal size. When wandering around as Mini-Mario, look for small archways and tiny openings in walls to access areas that are otherwise off limits.
Spin Jump
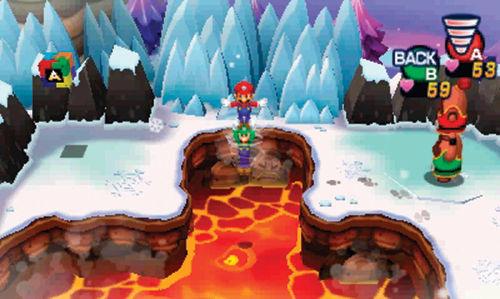
- Unlock Location: Mount Pajamaja
To perform a Spin Jump, press
twice, until the Spin Jump ability is selected, shown in the upper-right corner. Next, initiate a Spin Jump by pressing
, so Mario hops on Luigi’s shoulders. Finally, press
again to initiate the Spin Jump. During the Spin Jump, Mario and Luigi hover just above the ground, like a helicopter. While airborne, use the Circle Pad to move. The Spin Jump allows Mario and Luigi to reach new areas. Once learned, consider backtracking to previous regions and exploring areas that were previously inaccessible.
Side Drill
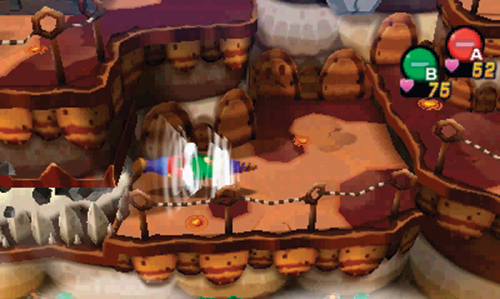
- Unlock Location: Mount Pajamaja
By using the Side Drill move, you can pass through narrow crevices, small holes, and gaps. This works similar to the Spin Jump—press
twice to change the icon to the Side Drill, then move in front of the object or area you wish to drill through. Press
to initiate the Side Drill move, sending Mario and Luigi spinning through the nearby object or crevice. In addition to fitting though tight spots, the Side Drill move can also be used to break boulders, much like your hammer.
Ball Hop
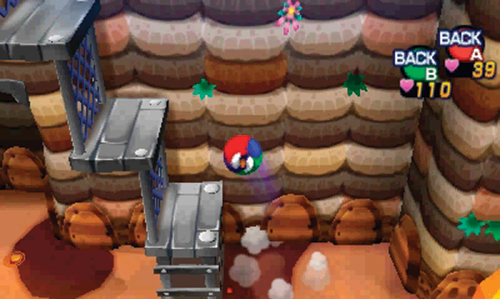
- Unlock Location: Mount Pajamaja (2nd Visit)
Some ledges are too high to reach with a normal jump. But with the Ball Hop move, Mario and Luigi can work together to bounce their way to greater heights. Press
three times to change the action icon to Ball Hop. Next, press either
or
to initiate a Ball Hop. While hopping, use the Circle Pad to move. Maneuver Mario and Luigi toward the ledge while using the Ball Hop to reach the top. Press
to return to normal. Once the Ball Hop move is unlocked, there’s few places you can’t reach. Consider backtracking to other regions and exploring those ledges you weren’t able to reach earlier.
Luiginoid Formations
In the dream world, Dreamy Luigi can call on his clones (called Luiginoids) to create three different formations, each capable of performing unique and powerful actions. Cycle through the different formations by pressing
.
Luiginary Stack
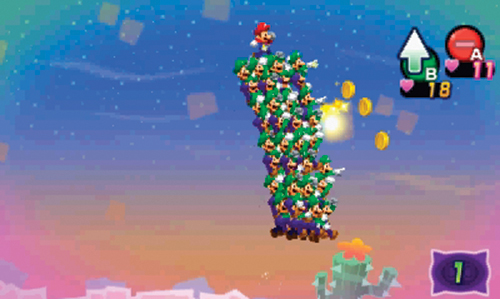
- First Use: Dreamy Dozing Sands (F)
In this formation, the Luiginoids create a towering Stack, allowing Mario to ride on top. While in this formation, press
to compress the Stack—press
again to perform a Spring Jump, taking the Stack to new heights. Or jump up and then press
to Ground Pound, smashing through rocks and other fragile objectives beneath the Stack.
Luiginary Cone
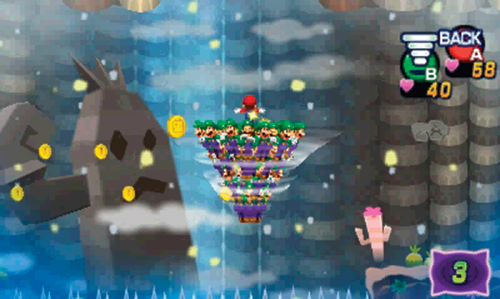
- First Use: Dreamy Mount Pajamaja (A)
When the Luiginoids form a Cone, you can move with the Circle Pad and perform a Hover Spin by pressing
. Or press
to trigger a powerful Tornado, useful for clearing away debris and snow drifts.
Luiginary Ball

- First Use: Dream’s Deep (B)
When the Luiginoids form a Ball, you can roll it around with the Circle Pad, while Mario rides on top. Press
to perform a Ball Hammer strike, capable of smashing blocks and other fragile items. Or press
to perform a Hookshot, critical for attaching the Ball to Hooks, Line Hooks, and Spin Hooks.
Luiginary Works
During dream world sequences, Luigi’s imagination (or Luigination) bridges the real and dream worlds through objects called Luiginary Works. Press
followed by
to initiate a Luiginary Work. This causes Dreamy Luigi to become one with the dream world, allowing you to perform a wide range of actions.
Luiginary Stache Tree
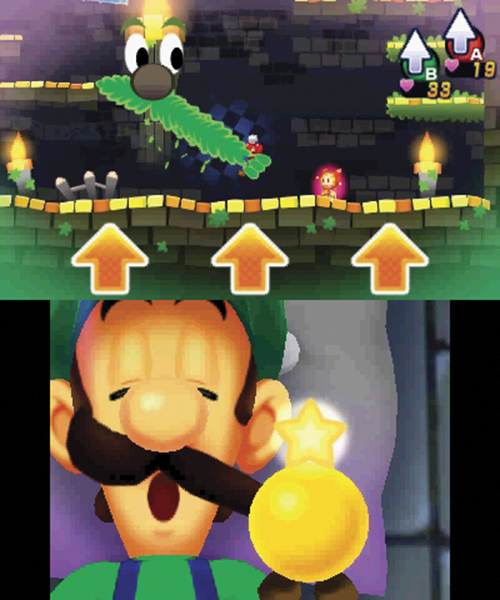
- First Encounter: Dreamy Pi’illo Castle (D)
Use Luiginary Stache Trees to launch Mario upward to platforms and other hard-to-reach places. On the Touch Screen, pull either side of Luigi’s moustache and watch as the branch on the Stache Tree extends. Grab Mario with the branch, then extend the branch even further, stretching it like an elastic band—the further the branch is extended, the further Mario will travel through the air. When you’re ready to launch Mario, release Luigi’s moustache on the Touch Screen. This causes Mario to fly through the air.
Sneeze Wind
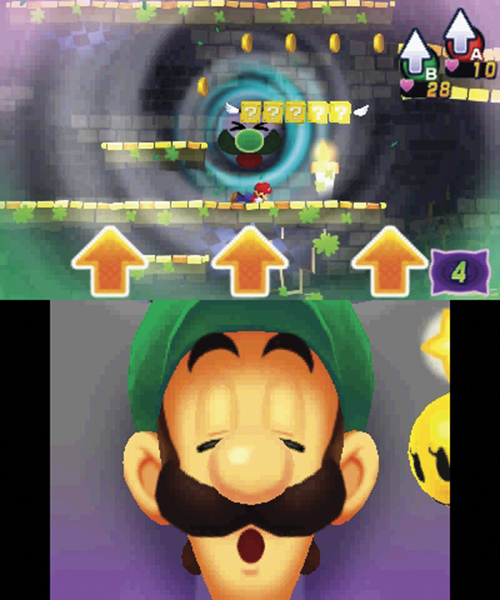
- First Encounter: Dreamy Pi’illo Castle (B)
Touch Luigi’s nose on the Touch Screen to make him sneeze. The Sneeze Wind creates a wind gust in the dream world, causing objects in the background to move to the foreground, including blocks. The Sneeze Wind is also instrumental in altering dream world landscapes filled with Rotating Terrain and Switching Terrain.
Luiginary Cylinder
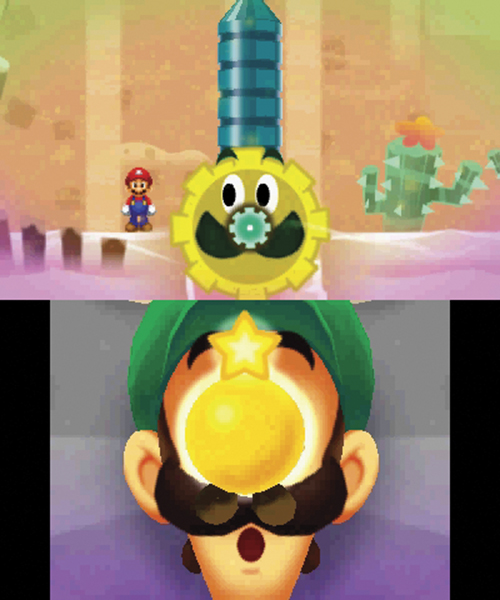
- First Encounter: Dreamy Dozing Sands (B)
As Mario jumps onto the Cylinder, spin Luigi’s nose on the Touch Screen— this rotates the Cylinder in the dream world. Some Cylinders function as elevators, allowing Mario to ascend or descend while clinging to them. If a Cylinder is spun quickly, jumping off will cause Mario to travel greater distances through the air, sometimes necessary to reach distant ledges.
Luiginary Speedometer
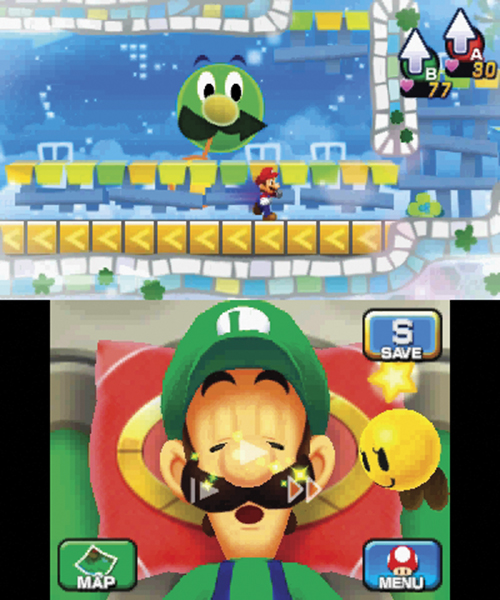
- First Encounter: Dreamy Wakeport (A)
The Luiginary Speedometer allows Mario to move faster or slower. Touch the slow icon on the left side of the Touch Screen to make Mario move in slow motion. The fast-forward icon on the right side of the Touch Screen makes Mario move faster. The play icon in the center, on Luigi’s nose, returns the speed to normal. While moving fast, Mario can zip past Conveyors and complete timed challenges quickly. But when moving slow, Mario can jump higher, with greater accuracy and distance.
Luiginary Ice
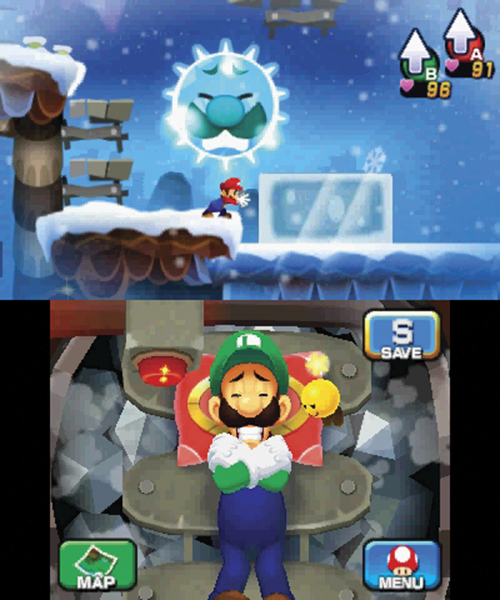
- First Encounter: Dreamy Mount Pajamaja (E)
When this work is triggered, Luigi can be seen shivering in his sleep on the Touch Screen. Touch the red button on the upper-left side of the Touch Screen to alter the climate in the dream world, turning it from icy to warm. This causes frozen pillars in the dream world to melt, transforming them into Geyser Platforms. Touching the red button again freezes the dream world, causing the Geyser Platforms to turn back into a frozen pillar—with careful timing you can freeze Geyser Platforms to forge the frozen step-like terrain.
Luiginary Gravity
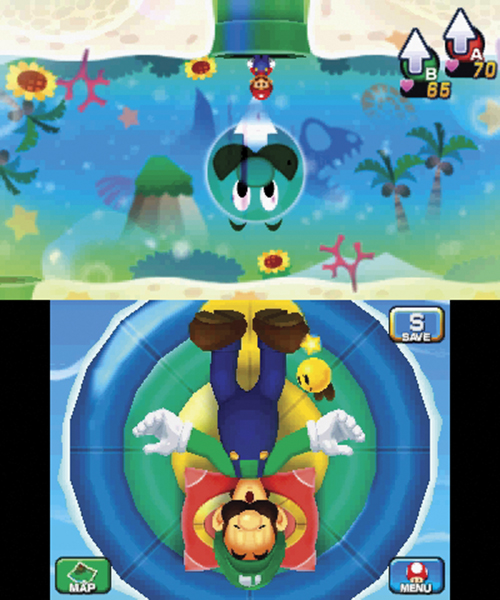
- First Encounter: Dreamy Driftwood Shore (B)
Luiginary Gravity works by rotating the Float Bed on the Touch Screen—this alters gravity in the dream world, determining which surfaces Mario can move across. You can rotate the Float Bed in four different configurations, allowing Mario to move along the floor, ceiling, and walls of the dream world.
Luiginary Antigravity
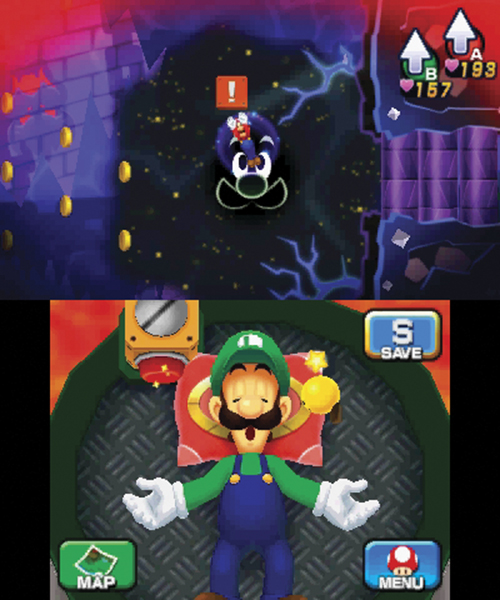
- First Encounter: Dreamy Neo Bowser Castle (A)
On the Touch Screen, touch the red button just above Luigi’s shoulder to activate Luiginary Antigravity. In the dream world this allows Mario to swim through rooms, using the Circle Pad to alter his heading and
to perform a breast stroke. Push against surfaces with the Circle Pad, then press
to launch Mario at high speed, allowing him to crash through bricks.