
Mario & Luigi: Dream Team Guide Walkthrough Neo Bowser Castle 2F
Neo Bowser Castle 2F
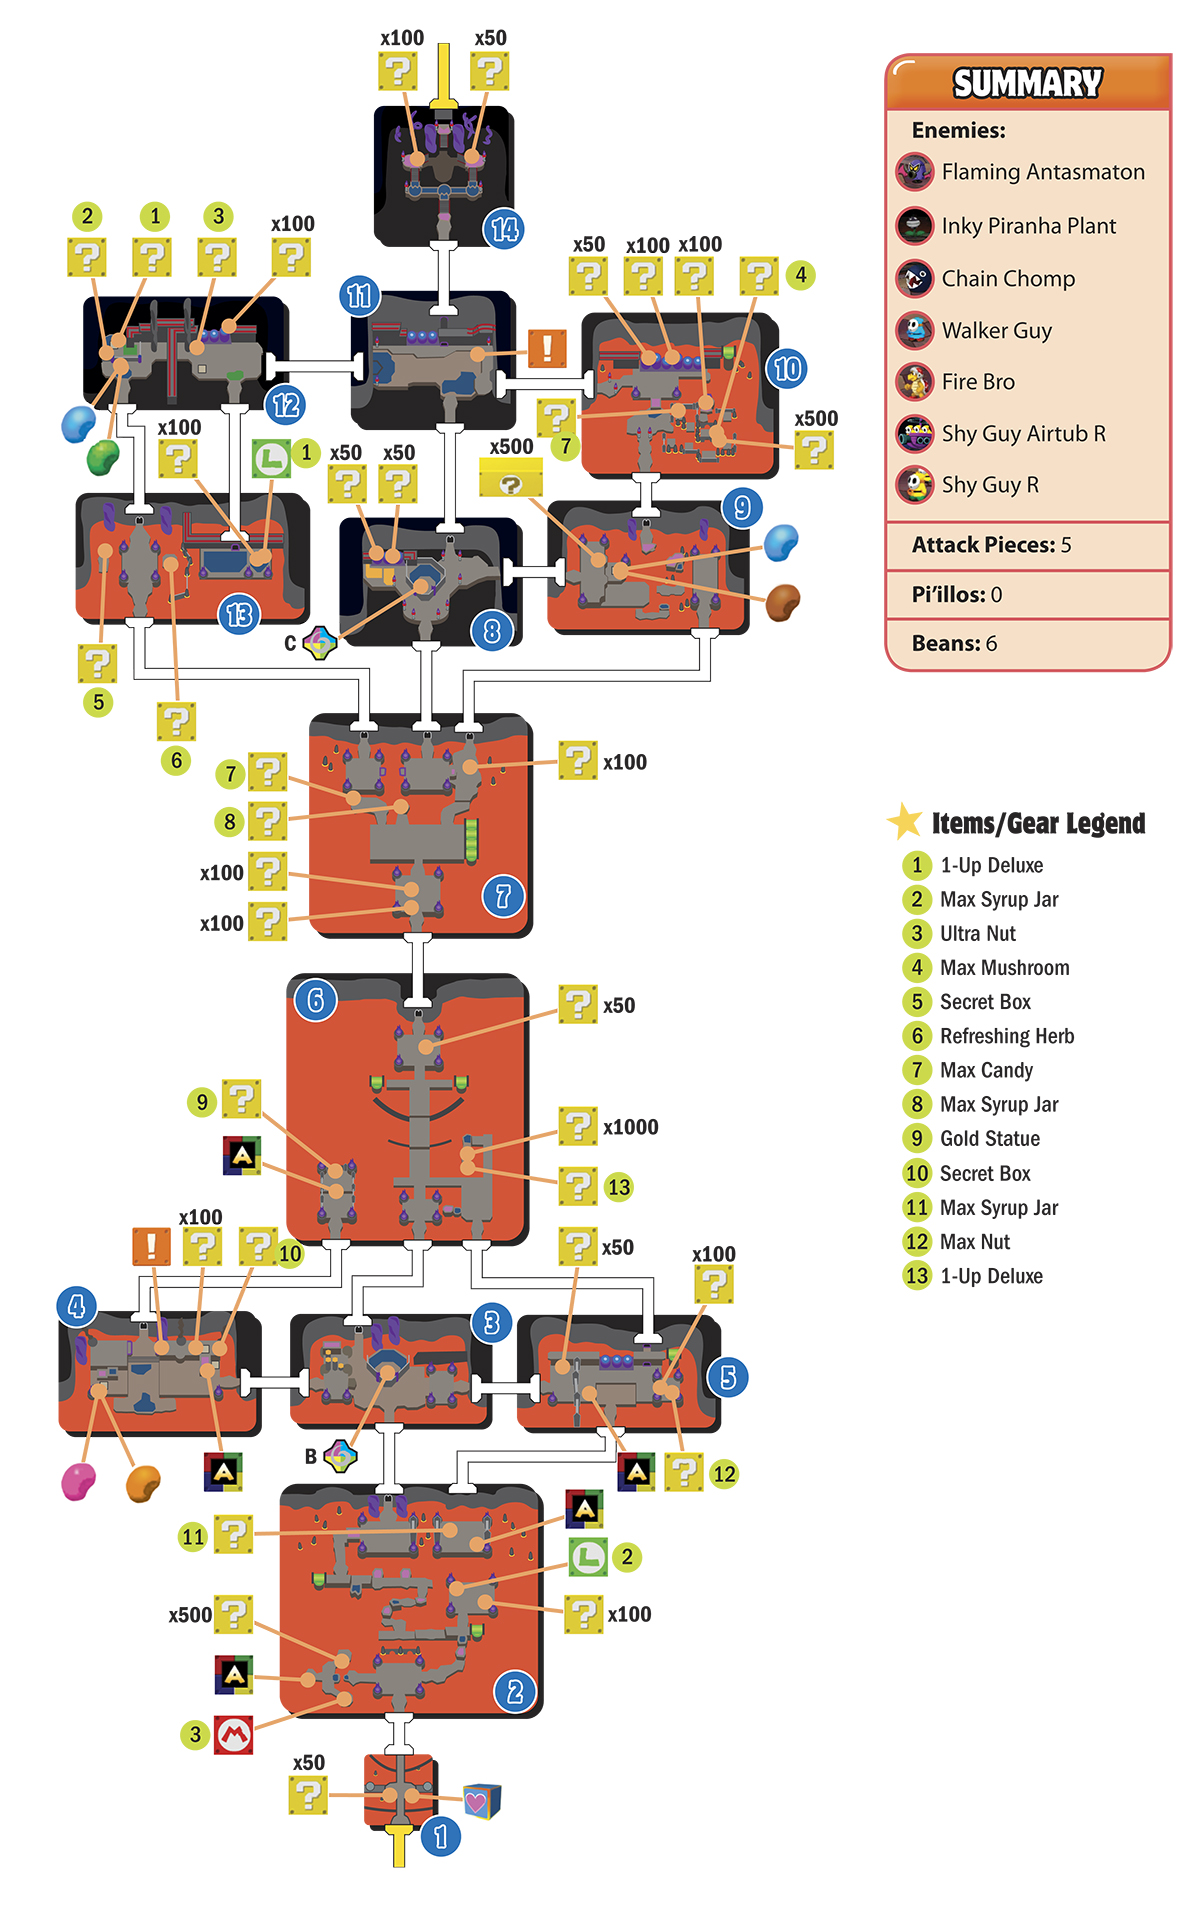
 South Lift
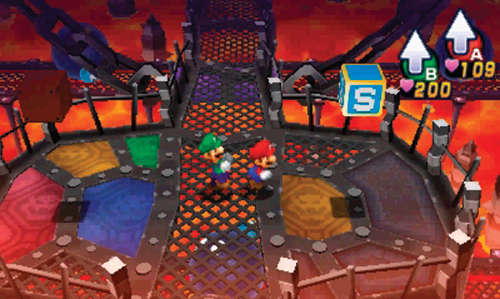
The sight of Mega Bob-ombs rolling along the catwalks below definitely sets the tone for this floor of Neo Bowser Castle. Strike the ? Block ahead to retrieve coins, then save your game at the Save Block before exiting to the north.
 Mega Bob-omb Conveyance (South)
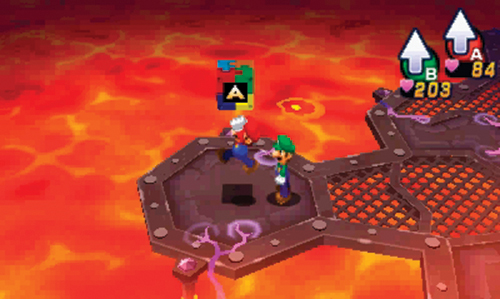
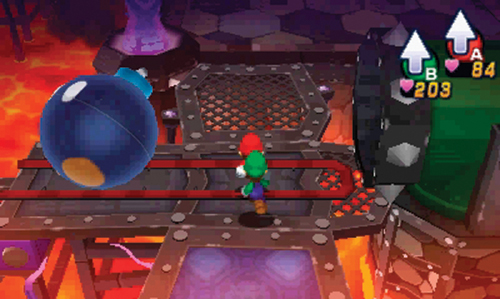
Engage the Flaming Antasmaton near the entrance, then head west. The platform in the southwest corner holds a coin-filled ? Block, an M Block containing a Max Nut, and another Attack Piece. After gathering these goodies, move back toward the entrance and follow the catwalk to the east. When you come to the first intersection, avoid contact with the Mega Bob-ombs, but keep moving north. The platform on the east side of the room holds an L Block with a Max Syrup Jar and a ? Block with more coins.
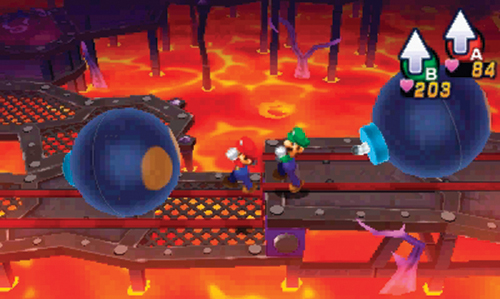
Now it’s time to follow those bombs, moving west along the next catwalk. Step onto the catwalk just behind one of the rolling Mega Bob-ombs and keep up the pace—another bomb follows just behind you. Keep moving in synchronization with the two Mega Bob-ombs until you can reach the catwalk heading north.
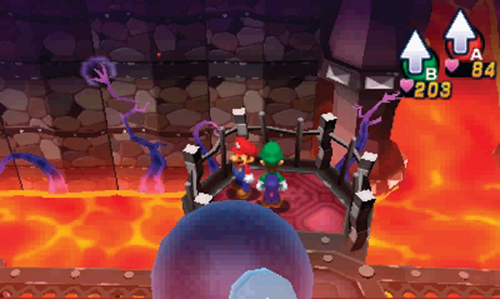
On the next catwalk, you face an incoming flow of Mega Bob-ombs. Inch your way along this catwalk, moving west. As a Mega Bob-omb heads in your direction, step onto the alcoves to the north or south and wait for the Mega Bob-omb to pass before resuming your advance. There are occasional gaps in the flow of Mega Bob-ombs here—wait for two Mega Bob-ombs to pass by, then make your move to the west. Keep moving west until you can reach the next catwalk, heading north. Ball Hop up to the next platform, then battle another Flaming Antasmaton before exiting to the north. The Attack Piece on the northeast platform in this room can only be reached from area 5—come back later to collect it.
 Dreampoint Chamber (South)
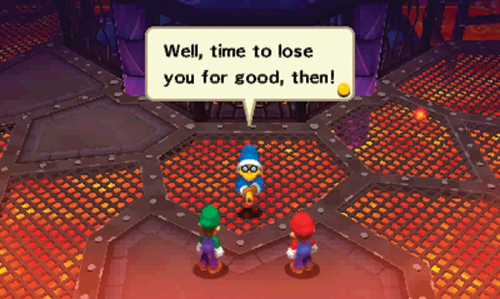
Mario and Luigi run into Kamek. Despite his cowardly retreat from the battle, Kamek seems overly confident, issuing more taunts before scrambling the nearby doorways. After scrambling the doorways, Kamek enters a dream portal in the center of the room, created by Antasma. The Dreampoint here is caged. But this time the switch operating the cage is located within the cage—you’ll need to find a way to drop something on this switch.
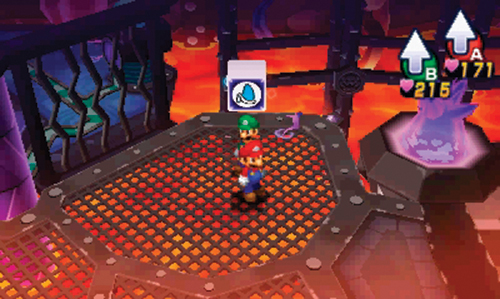
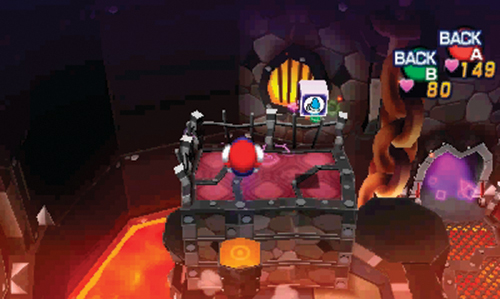
Approach the east side of the cage and strike this Kamek Block. This causes a blue square to appear on an unexplored area of the map on the Touch Screen. As on the previous floor, you must find more of these Kamek Blocks to decipher the doors here. Another Kamek Block can be found on the platform in the northwest corner—Ball Hop across a series of pillars to reach it. Striking this Kamek Block marks two doorways with pink triangle icons. For now, exit through the unscrambled door to the west.
 Southwest Chamber
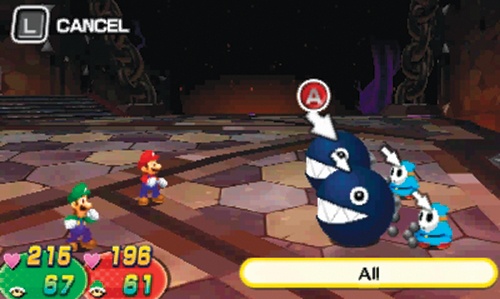
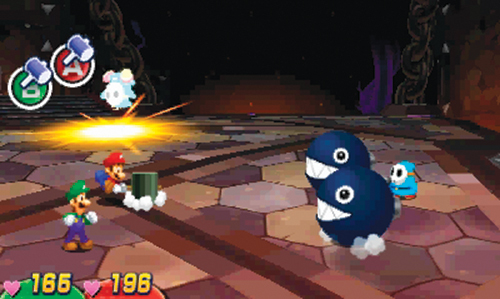
Defeat the Flaming Antasmaton here, then engage the Chain Chomp and Walker Guy—jump on them to initiate a battle. These enemies always appear in pairs, as a Walker Guy tries to maintain control of their giant Chain Chomp. In these battles target the Chain Chomps first, as they pose the biggest threat—the Walker Guys don’t even attack. Fire-based attacks aren’t very effective against the Chain Chomps. So consider hitting them with standard Jump attacks or Bros. Attacks, like Bomb Derby, Dropchopper, or Slingsniper. But be ready to counter the Chain Chomps as they come charging at Mario and Luigi, dragging their Walker Guy along the way. Instead of jumping over the charging Chain Chomp, jump on them to inflict moderate damage. You can even jump on the Walker Guy, potentially defeating him. Chain Chomps also fling their Walker Guy at Mario and Luigi—knock the Walker Guy out of the air with your hammer, then be ready to smack the charging Chain Chomp as he approaches. Once a Chain Chomp has been defeated, the Walker Guy is defenseless, passing every opportunity to attack.
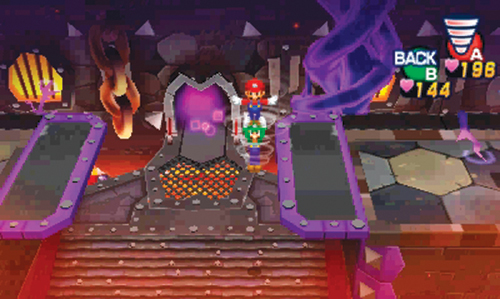
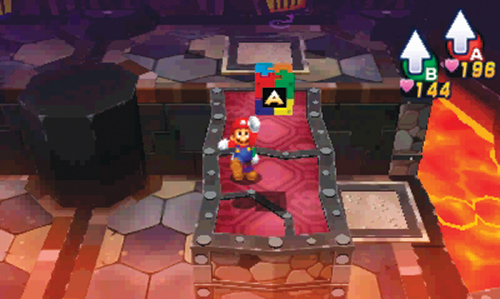
Move to the west side of the room. Here you can find a Heart Bean and Power Bean in the soil. Afterward, hop up the steps to reach the room’s upper platform on the northwest side—here you encounter another Chain Chomp and Walker Guy. Spin Jump across the gap to the east to reach the platform in the northeast corner. Strike the Kamek Block here to mark two scrambled doorways with a green inverted triangle icon on the Touch Screen map. On the same platform, strike a pair of ? Blocks to obtain coins and a Secret Box. Next, follow the narrow path south of the platform to obtain another Attack Piece. Once you’ve gathered these items, return to the ground floor and exit through the scrambled door to the north, marked with a pink triangle—this transports you to the chamber east of the Dreampoint.
 Southeast Chamber
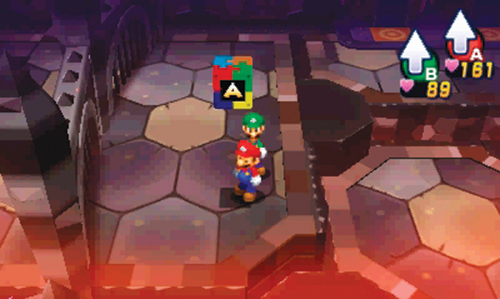
Battle the Flaming Antasmatons here, then grab the Attack Piece to the west—only two more to go before you unlock the next Bros. Attack. There are also two ? Blocks on the platform to the east, containing a Max Nut and coins.
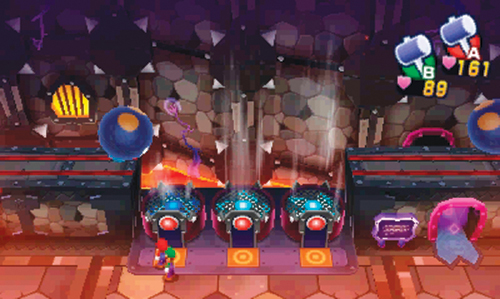
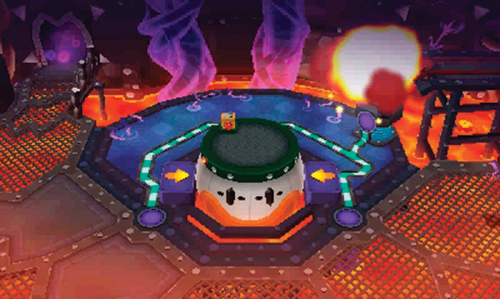
On the north side of this room, Mega Bob-ombs travel across a track before encountering a series of three fans—apparently these explosive devices must be air-dusted before they can be deployed. But in the current configuration, the Mega Bob-ombs are exploding, failing to reach the track on the west side. Strike the middle and eastern red switches to increase the flow of air from the corresponding fans. This helps cushion the Mega Bob-ombs, preventing them from exploding before they reach the track to the west. The first Mega Bob-omb that makes it across the western track rolls into the room in area 3, striking the switch behind the cage. This causes the cage to lower, giving you access to the Dreampoint. Enter the scrambled doorway to the north to magically return to area 3.
Dreampoint Chamber (South)
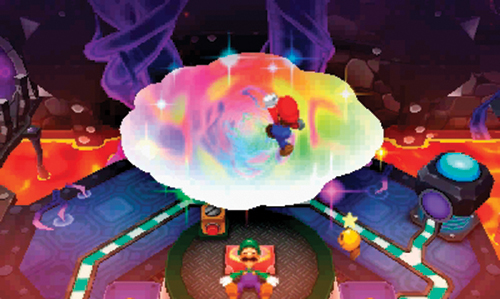
Now that the cage has been lowered, it’s time to enter the dream world and hunt down Kamek. Approach the Junior Clown Car Dreampoint to send Mario through the dream portal.
Dream World (B)
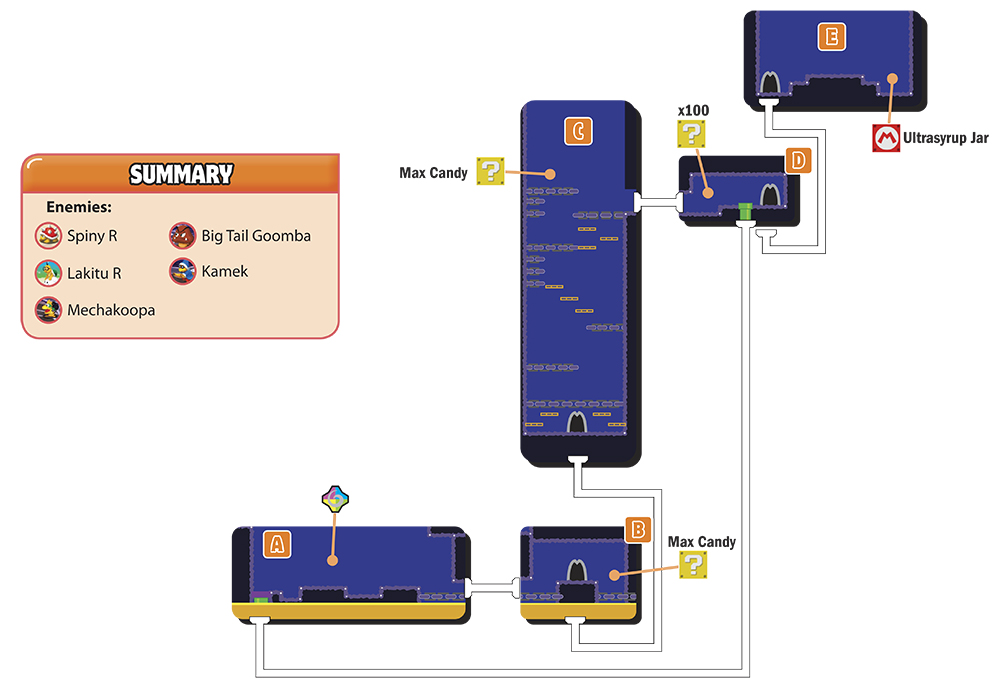
A
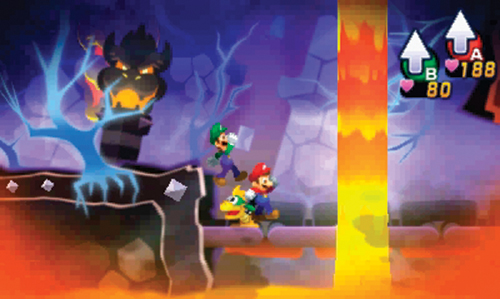
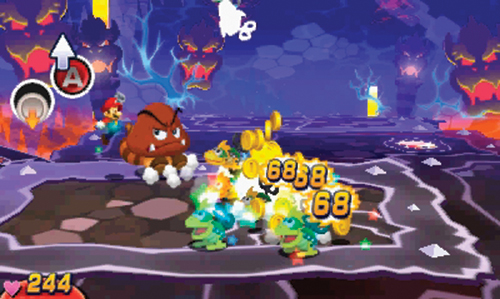
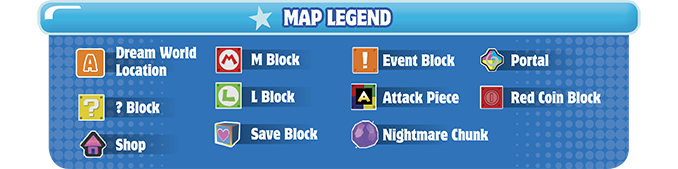
Upon entering this dream world, advance to the right side, engaging a Lakitu R and a Mechakoopa along the way. The Mechakoopas may be joined by a Big Tail Goomba. These large enemies perform a spinning attack, whipping their long, striped tail along the floor. As the Big Tail Goomba begins his attack, lure him toward you by moving up and down—do this to guide him through the large group of Mechakoopas. After the Big Tail Goomba crashes through the Mechakoopas, jump on his head to counter. Big Tail Goombas are pretty durable, but they don’t pose a huge threat. So when it’s your turn to attack, use Jump attacks to finish them off. But wait until all the Mechakoopas are gone before actively targeting any Big Tail Goombas—their reckless attacks actually benefit you, so it’s best to keep them around as long as possible. Once you’ve defeated these enemies, exit to the right.
B
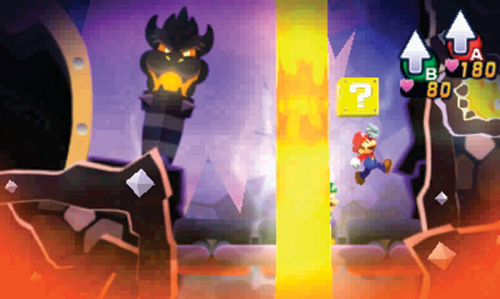
At first glance, there’s only a door here. But step past the door and strike the ? Block concealed in this corner to grab a Max Candy. You can now pass through the door to reach area C.
C
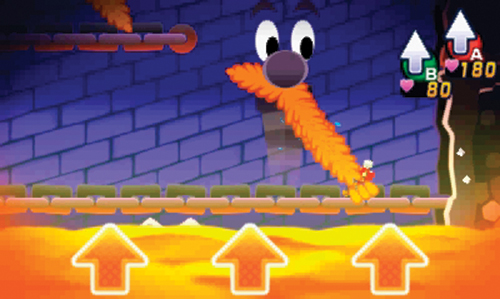
Mario and Luigi notice the lava is rising in this room—time to move out, and fast! Use the Luiginary Stache Trees here to launch Mario upward, sending him flying from one platform to the next. But don’t linger on the hollow platforms—these platforms eventually fall into the lava below after Mario touches them. So keep moving to the exit on the upper right, but before exiting, grab the Max Candy in the ? Block on the platform to the left.
D
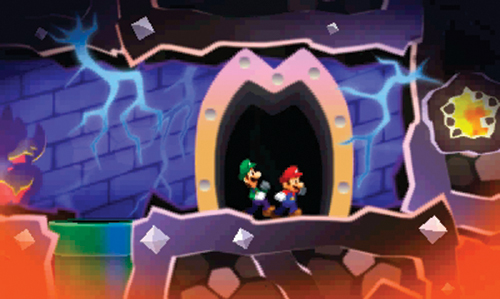
Strike the ? Block here to retrieve some coins, then enter the doorway on the right—the green pipe here leads back to area A. Replenish your HP and BP before exiting this area and facing Kamek in the next room.
E
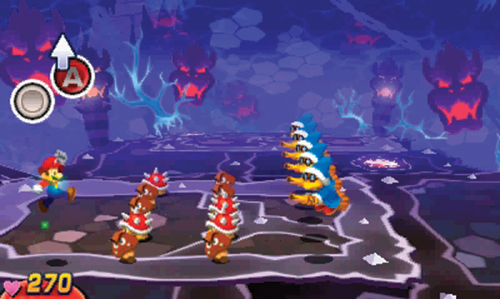

Here Kamek appears in disguise as Princess Peach—but Mario isn’t falling for this ruse again. As the battle commences, get ready to counter a set of marching Goombas and Spinies conjured by Kamek and his clones. Line yourself up with the charging Goombas and jump on them to counter—hitting the first Goomba is key, causing Mario to bounce across the next Goomba in line, finally striking the Kamek in the back of the line. As in the previous battle with Kamek, when it’s your turn to attack, use Luiginary Attacks exclusively—the Luiginary Wall and Luiginary Typhoon yield the best results.
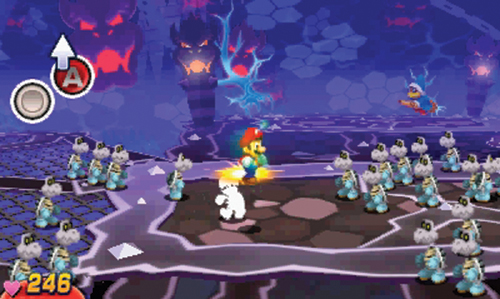
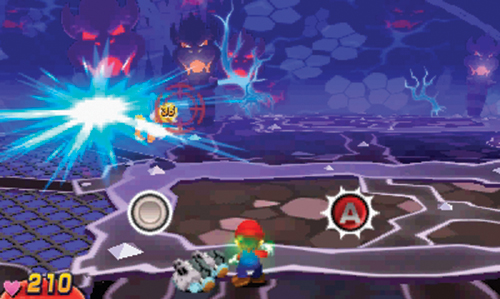
Kamek utilizes the same attacks as he did in the previous battle. By now you should know all of his tricks and be able to counter (or at least dodge) them. But when Kamek conjures a large group of Dry Bones, be ready to dodge or counter them as they surround Mario. Jump on the heads of the Dry Bones to turn them into a pile of bones. After all the Dry Bones have completed their attack, target Kamek in the background—use the Circle Pad to adjust your aim, moving the red reticle at the top of the screen. When you have Kamek targeted, press
 to make Mario kick a pile of Dry Bones at Kamek. Keep kicking the Dry Bones at Kamek until there are none left. As the Dry Bones reanimate and resume their attack, counter again using the same method—remember, the more Dry Bones you jump on, the more ammo you have to target Kamek.
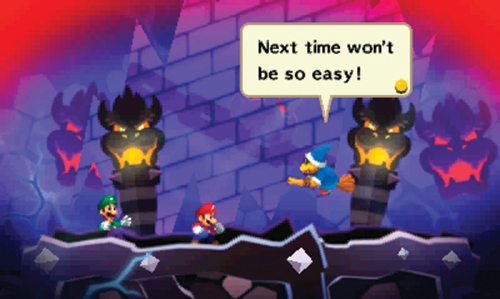
As you deal more and more damage to Kamek, he retreats once again, depriving Mario and Luigi of a victory…and EXP. After Kamek flees, search the right side of this room for an M Block containing an Ultrasyrup Jar. Now backtrack to the dream portal in area A. Return to area D and enter the green pipe to quickly make your way back to the portal, then return to the real world.
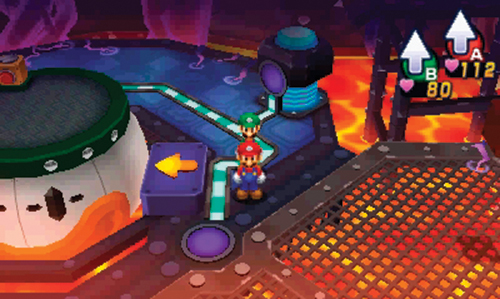
Back in the real world, the doorways in this area become unscrambled, allowing you to access rooms that were previously off limits. Now’s the perfect time to hunt down the last two remaining Attack Pieces, unlocking a new Bros. Attack. Start by moving west, into area 4. Then head north, into area 6.
 Mega Bob-omb Conveyance (Central)
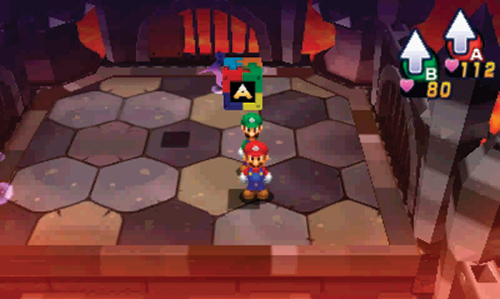
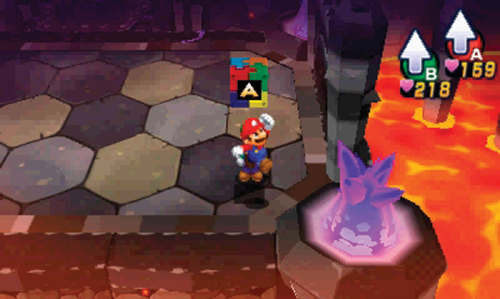
This platform in the southwest corner can only be accessed through area 4’s northern doorway. Defeat the Chain Chomp and Walker Guy guarding this isolated platform, then grab the Attack Piece. A ? Block to the west contains a Gold Statue—if you don’t want it, this accessory can be sold at a shop for a handsome profit. After collecting these goodies, backtrack to area 3 and enter the door to the north to access the central platform in this room.
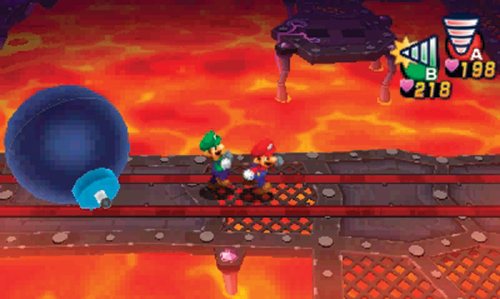
Once on the central bridge, follow the tracks to the east, carefully avoiding the Mega Bob-ombs while moving toward the platform in the southeast corner. Defeat the Flaming Antasmaton here, then exit through the southwest doorway to return to area 5. Pass directly through area 5 and exit to the south to return to area 2.
Mega Bob-omb Conveyance (South)
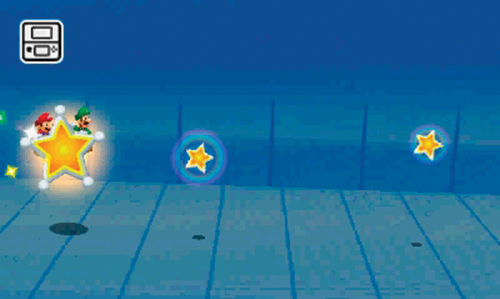
To reach this northeast platform, you must approach from the east side of area 5, exiting to the south. Defeat the Chain Chomp and Walker Guy patrolling this area, then grab the Attack Piece. This unlocks the Luigi’s Star Rocket Bros. Attack. Take a moment to practice this new attack before deploying it in battle. As Mario and Luigi sit on the Star Rocket, it’s your responsibility to steer it by tilting the 3DS up and down. Collect the little stars along the way to gain more power. At the end of the attack, press
 as Luigi lands on top of the targeted enemy. Follow up by pressing
when Mario lands to inflict even more damage. This is another powerful attack and it’s relatively easy to perform. But it costs 12 BP per use, so use it sparingly. Once you’ve practiced the Star Rocket, strike the ? Block on this platform to obtain a Max Syrup Jar. Now backtrack to area 6 to resume your advance through this floor.
as Luigi lands on top of the targeted enemy. Follow up by pressing
when Mario lands to inflict even more damage. This is another powerful attack and it’s relatively easy to perform. But it costs 12 BP per use, so use it sparingly. Once you’ve practiced the Star Rocket, strike the ? Block on this platform to obtain a Max Syrup Jar. Now backtrack to area 6 to resume your advance through this floor.
Mega Bob-omb Conveyance (Central)
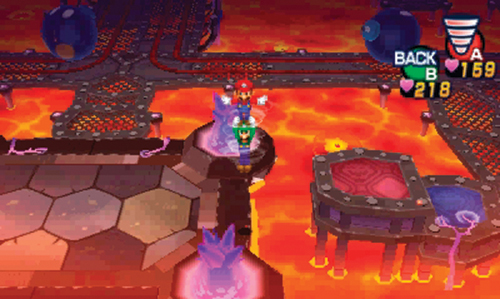
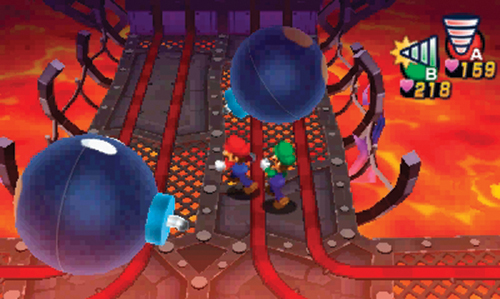
Upon your return to this area, don’t travel along the track to the north. Instead, climb the small platform to the west and Spin Jump toward the central path. Now it’s time to advance along the central Mega Bob-omb track to the north. Zigzag left and right to avoid the incoming Mega Bob-ombs while continuing north. To complicate matters, there are a few steps you must jump up. But just keep moving, weaving in and out of danger until you reach the platform to the north. Battle the Chain Chomp and Walker Guy here, then exit through the doorway to the north.
 Mega Bob-omb Conveyance (North)
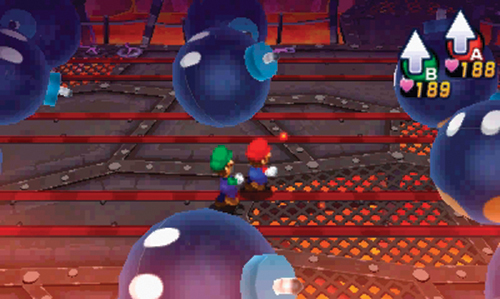
Defeat the Flaming Antasmaton upon entering here and then proceed north, where multiple Mega Bob-ombs roll along the tracks from east to west. You need to reach the platform to the northeast, forcing you to move against the flow of these Mega Bob-ombs. There are gaps in each row of Mega Bob-ombs that you must exploit while moving to the east. At times you may need to backtrack a little to avoid getting struck by a Mega Bob-omb, but do your best to keep pushing east. Once you reach the path to the northeast, head to the west and exit through the middle door to the north to enter area 8.
 Dreampoint Chamber (North)
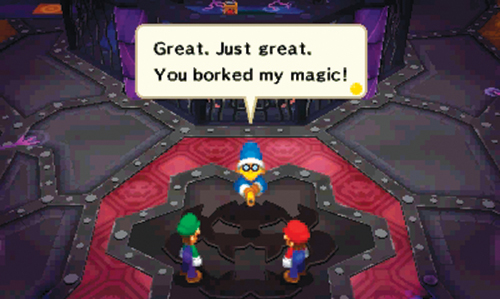
Here’s another caged Dreampoint overseen by Kamek. He didn’t get a chance to scramble the doors here as much as he would’ve liked, but he’s still confident Mario and Luigi won’t be able to overcome his magic. As in the previous instances, Kamek retreats behind the cage and enters a dream portal created by Antasma. The cage here is operated by a switch from within. Perhaps you can find a way to drop a Mega Bob-omb on this switch too? Start by heading through the unscrambled door on the east side.
 East Chamber
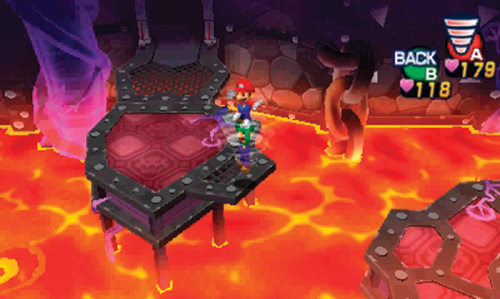
Defeat the Flaming Antasmaton and Fire Bro while working your way to the east side of the room. Use a series of Spin Jumps or Side Drills to cross the gaps in the catwalks here, flying over the lava below. The far east side of this room is inaccessible from this side of the large fence. To access this area you must approach through the northeast doorway in area 7. But for now, simply head north to reach area 10.
 Northeast Chamber
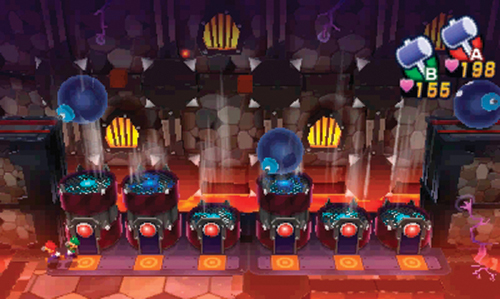
A massive array of fans line the north side of this room, installed to air-dust Mega Bob-ombs. Battle the enemies, collect some coins and a Max Mushroom from ? Blocks on the east side, then approach this impressive array of fans. In the original configuration, the Mega Bob-ombs are exploding. Use your hammer to adjust the fan speeds to strike the ? Blocks above—both contain coins. Now work on getting the Mega Bob-ombs to the track on the west side. Adjust the fan speeds as follows, from right to left: high, high, low, high, low, high. Now that the Mega Bob-ombs are traveling along the track, enter the doorway to the east to reach area 11.
 North Chamber
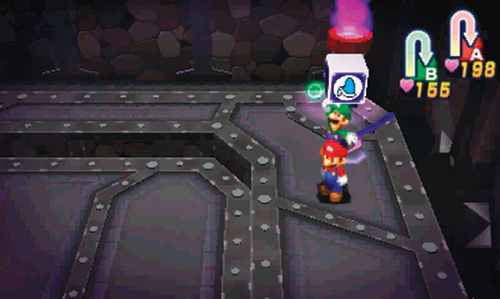
The Mega Bob-ombs you sent along the track in area 10 continue into this room, approaching another small array of air-dusting fans. Before tampering with the fans, strike the Kamek Block in the northeast corner—this causes a pink diamond icon to appear on the Touch Screen map, just over the door to the north. Battle the Flaming Antasmaton, Fire Bro, Chain Chomp, and Walker Guy here, then approach the fans.
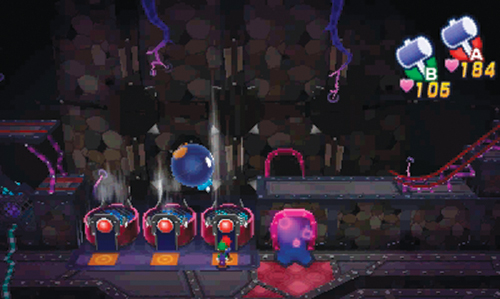
As in the previous room, the fans here are out of alignment, causing the Mega Bob-ombs to explode. You only need to strike the switch on the east side to fix this problem. This causes the bombs to strike a switch to the west side, causing the gate on the west side to lower, providing access to area 12.
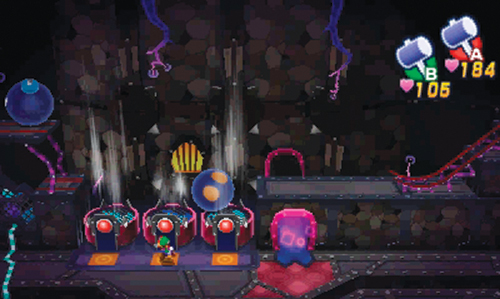
But before passing through the doorway to the west, tweak the fans one more time so the Mega Bob-ombs can safely reach the track on the upper west side without exploding. Set the east and west fans on high, while the middle fan is set to the low setting. This allows the Mega Bob-ombs to move along the track into area 12. Follow them by passing through the door on the west side.
 Northwest Chamber
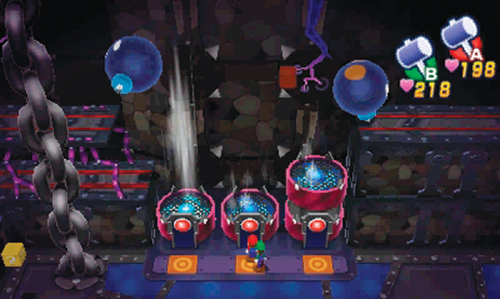
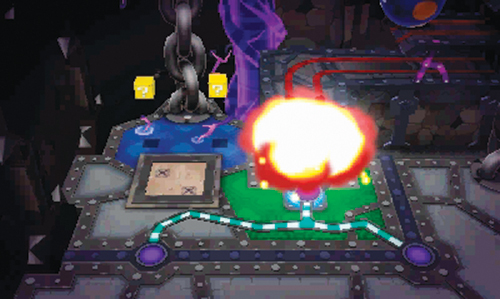
Clear out the enemies here, then approach the three fans on the north wall. Once again, these fans are out of alignment, causing the Mega Bob-ombs to explode. There are two tracks on the west side you need to get Mega Bob-ombs on. Focus on the top track first. Set the west fan on high, while the middle and east fan are set to low. Once a Mega Bob-omb reaches the top track, watch as it travels to the west and strikes a blue switch, lowering a cage.
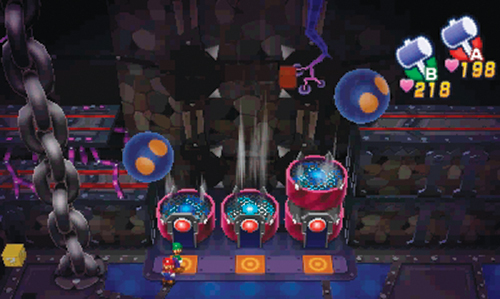
Now adjust the fans once again so the Mega Bob-ombs travel along the lower track to the west. Set the west fan to low, the middle fan to high, and the east fan to low. This allows the Mega Bob-ombs to continue their journey along the tracks into area 8. But for now head south into area 13.
 West Chamber
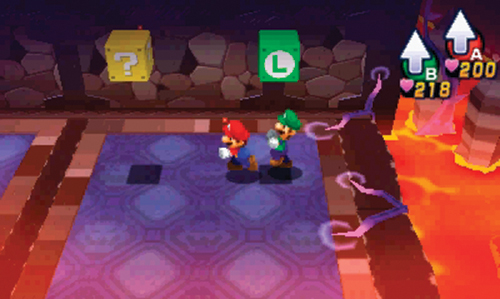
Only half of this room is accessible by entering from the east side in area 12, but it’s still a worthwhile detour. The L Block here contains a 1-Up Deluxe and the ? Block contains coins.
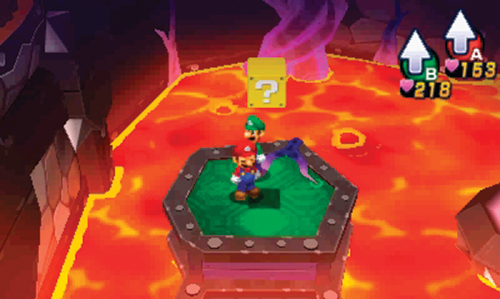
To reach the west side of this room, you must enter from area 7, using the northwest doorway. The ? Block on the west island here contains a Secret Box while the ? Block on the east island contains a Refreshing Herb. Now head north to access the west side of area 12.
Northwest Chamber
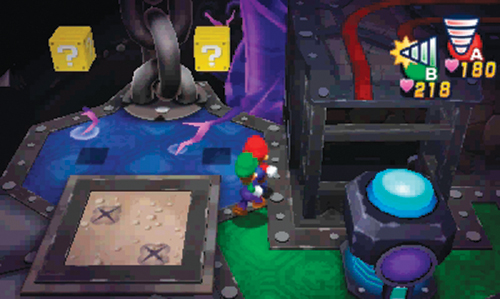
Striking the switch with a Mega Bob-omb earlier caused the cage in the northwest corner to lower, offering access to two ? Blocks containing a 1-Up Deluxe and Max Syrup Jar. Enter the nearby plot of soil as Mini-Mario to retrieve a Speed Bean and Bros. Bean. Now backtrack to area 8–it’s time to enter the dream world again.
Dreampoint Chamber (North)
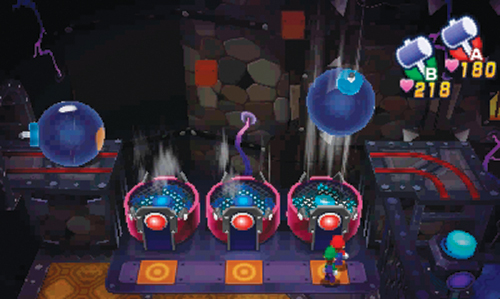
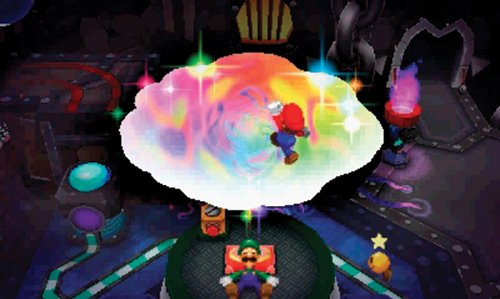
The cage is still in place around the Dreampoint upon your return. However, Mega Bob-ombs are now flowing into the room along the track to the northwest. Approach the fans on the east side and adjust them so they can reach the piece of track to the east. First, turn the fans on high to strike the ? Blocks above, both containing coins. Next, set the west and middle fans to low and the east fan to high. This allows a Mega Bob-omb to reach the switch, causing the cage to lower around the Dreampoint. Step up to the Junior Clown Car Dreampoint and enter the dream world.
Dream World (C)
A
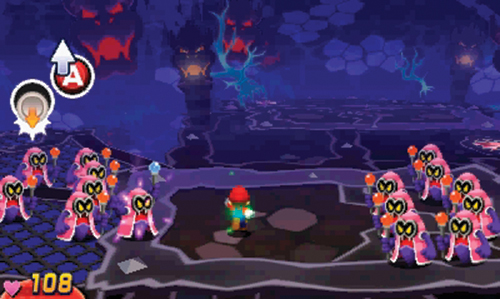
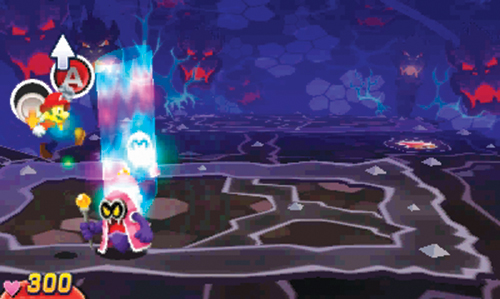
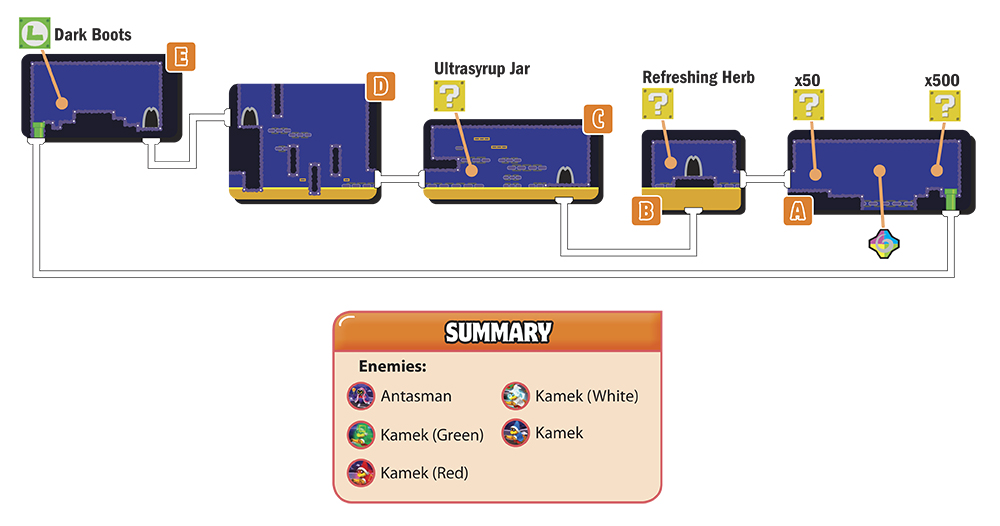
Strike the ? Block on the right side to retrieve several coins, then advance to the left, engaging a Antasman along the way. These cloaked figures perform a variety of powerful attacks. As a result, you don’t want to let them linger—take them out as fast as possible, preferably with a Luiginary Attack, like the Luiginary Wall or Luiginary Typhoon. In one of their most common attacks, they flank Mario on both sides. Move out of the way as one of the Antasmans steps forward and raises his wand—jump over the purple bolt of energy that shoots from the wand, causing it to strike other Antasmans on the other side. Antasmans also have a charging attack, approaching Mario with impenetrable energy barriers—don’t let these hit you. Instead, maneuver to avoid the energy barrier, hopping on one of the Antasmans on its flanks. Keep hammering the Antasmans with Luiginary Attacks until they’re all defeated, netting Mario and Dreamy Luigi plenty of EXP. After the battle with the Antasmans, exit to the left.
B
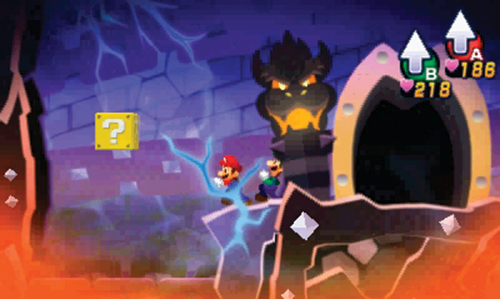
Pass the doorway here to strike a ? Block on the left side containing a Refreshing Herb. Once you’ve obtained this item, pass through the doorway to enter area C.
C
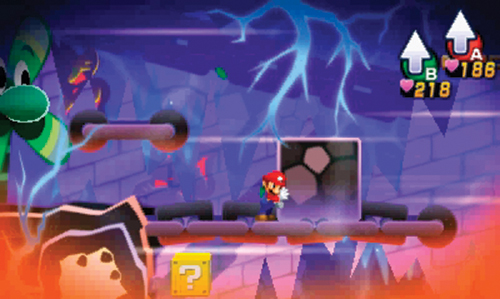
Initiate the Luiginary Propeller here to navigate through this room. Move to the platform on the upper-left side and push the stone block here to the right, causing it to land in the lava below. Drop down onto the block and move to the left, striking a ? Block on the way out to obtain a Ultrasyrup Jar.
D
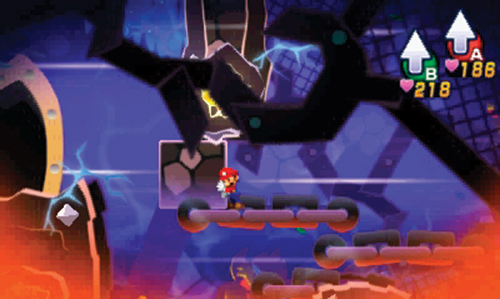
The Luiginary Propeller is also necessary to navigate this challenging room. Use the powerful air currents to scale the walls while working your way to the doorway on the upper left. As you near the doorway, push the stone block off the ledge to the left, then leap to the doorway. If you fall during the jump, cling to the wall on the left and scale it to reach the doorway. Before entering the door, replenish your HP and BP—Kamek is waiting on the other side.
E
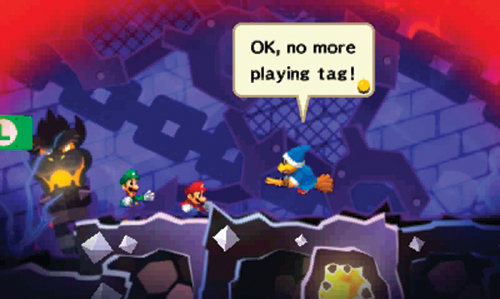
It’s time to face Kamek one last time. You’ve had some practice fighting Kamek so far, but this time the battle will end with a clear victor. Plus, Kamek has nowhere left to run.
Kamek Battle (Finale)
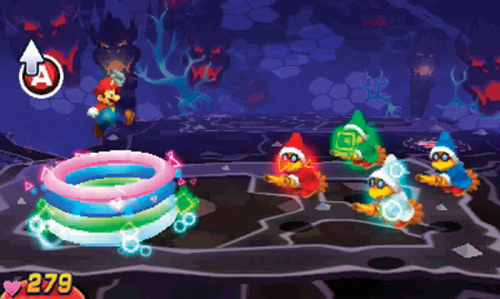
At the start of the battle, Kamek conjures three clones, designated with colors: green, white, and red. Start off the battle by performing a powerful Luiginary Attack—this is a great way to reduce each of the Kameks’ HP. But watch for their upcoming ring attack. When Mario is encased in four rings, watch as the rings expand and contract—jump up as the rings contract to avoid taking damage.
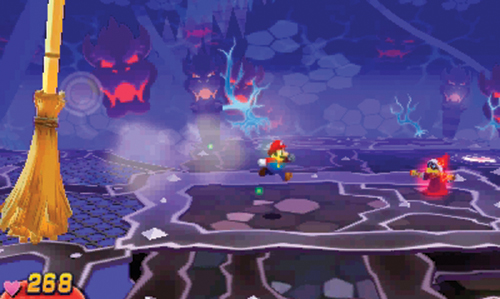
Kamek (Red) performs a giant broom attack, requiring Mario to move around to avoid getting swept away. Use the Circle Pad to move up, down, left, or right—Mario automatically returns to the center of the floor after each evasive maneuver. Watch the erratic movements of the broom and do your best to avoid getting struck with it. When it’s your turn to attack, keep the Luiginary Attacks flowing, dishing out as much damage as possible with each—the Luiginary Wall and Luiginary Typhoon yield the best results.
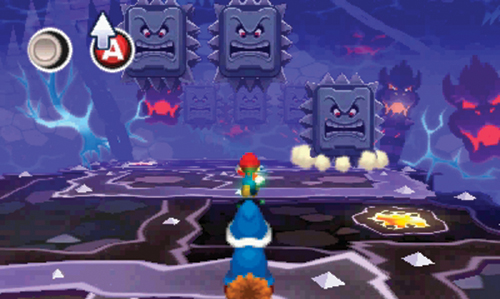
In another unique attack, Kamek chases Mario toward a set of falling stone blocks. Start by moving toward the block that struck first—by the time you reach it, it will rise, creating an opening. After passing the first set, move to the middle and watch the next set ahead. Once again, make a beeline for the stones that just struck. But keep an eye on Kamek too and be ready to jump over the blasts emitted from his wand.
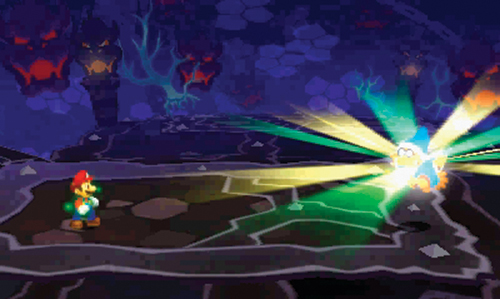
Kamek, in the blue robe, has much more HP than his red, green, and white clones. As a result, he’s often the last one standing at the end of the battle. But don’t let up. Keep hammering him with Luiginary Attacks until he’s defeated. Beating Kamek in battle nets you Mushroom Gloves and 500 coins. After the battle, strike the nearby L Block to retrieve Dark Boots, then exit through the green pipe to the left. As Mario and Luigi exit, Kamek can be seen picking himself up off the ground and disappearing into a blue puff of smoke. The green pipe leads back to area A–enter the dream portal to return to the real world.
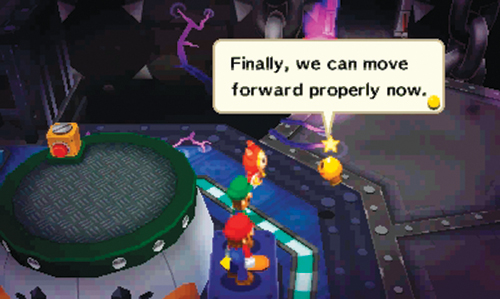
Back in the real world, the scrambled door to the north has been restored, allowing access to area 14. Despite your recent successes, Dreambert advises Mario and Luigi to keep their guards up. Head north through area 11, then continue north into area 14.
 North Lift
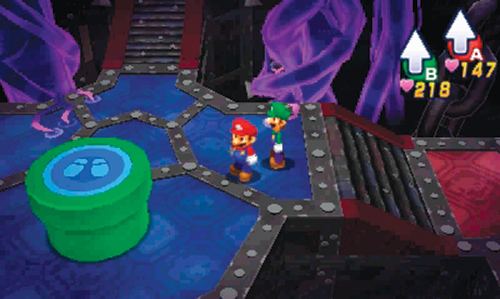
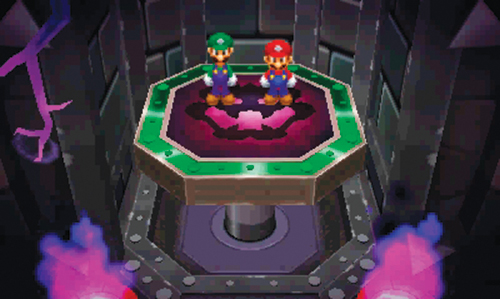
The lift on the north side of this room leads up to the castle’s third floor. But before boarding the lift, strike the ? Blocks here to retrieve coins. There’s also a green pipe here leading back to area 2 on the first floor. Now might be a good time to return to the shop outside the castle and stock up on items. But if you’re feeling ready for the challenges ahead, board the lift to the north.