
Mario & Luigi: Dream Team Guide Walkthrough Mushrise Park
Mushrise Park
 Shop ‘N Save
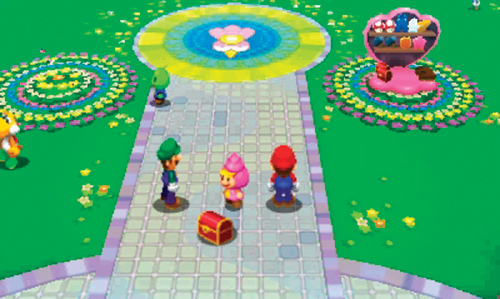
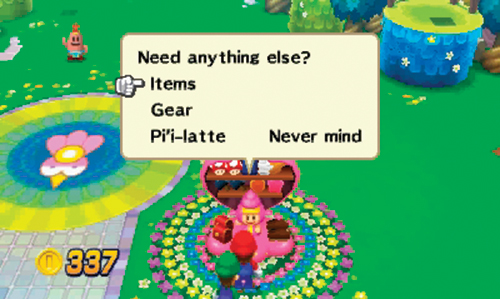
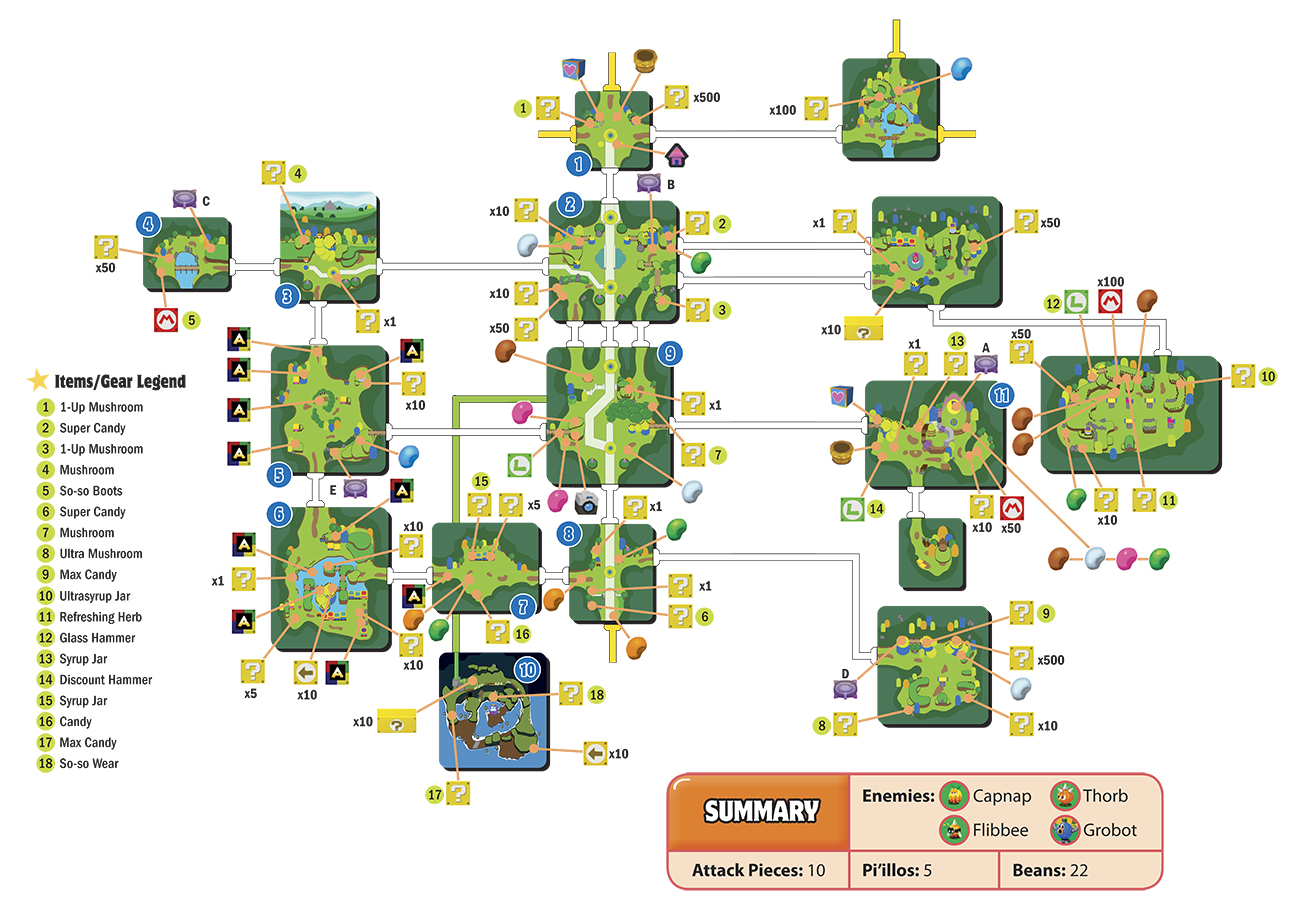
Following your climb out of the Pi’illo Castle Underground, it’s a good time to save your game. Fortunately, there’s a Save Block right here, as well as a shop. Save your game and then head over to the shop to check out the inventory. Initially the shopkeeper isn’t present. Move toward the box on the southern path to summon the shopkeeper—apparently this box blew away during a wind gust. But now that the shopkeeper has gathered the strewn about merchandise, the shop is open for business. In addition to selling items and gear, the shop also sells a restorative drink called Pi’l-latte—it only costs 10 coins and restores both Mario and Luigi’s HP and BP. But since you’re new customers, the shopkeeper gives Mario and Luigi a sample for free. Check out the shop’s gear and consider upgrading to Picnic Boots or So-so Wear. When you’re finished shopping, head south.
Mushrise Park Shop Inventory
Items
| Merchandise | Coins |
|---|---|
| Mushroom | 10 |
| Nut | 25 |
| Syrup Jar | 20 |
| 1-Up Mushroom | 50 |
Gear
| Merchandise | Coins |
|---|---|
| Discount Boots | 100 |
| Picnic Boots | 190 |
| Picnic Wear | 70 |
| Cozy Wear | 90 |
| So-so Wear | 140 |
| Thick Gloves | 20 |
| Discount Hammer* | 100 |
| Picnic Hammer* | 190 |
| Celebrity Boots** | 2,000 |
| Celebrity Hammer** | 2,000 |
| Metal Wear** | 1,500 |
| HP Scarf DX** | 3,750 |
| BP Scarf DX** | 4,500 |
| BP Bangle DX** | 4,500 |
* = available after visiting Dozing Sands
** = available after visiting Somnom Woods
 Windmill Repair
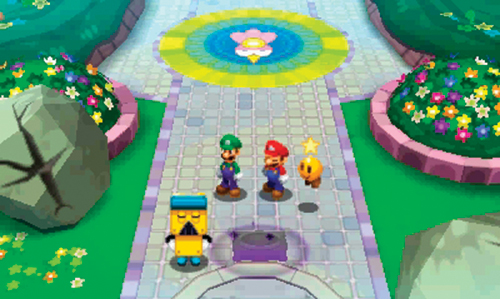
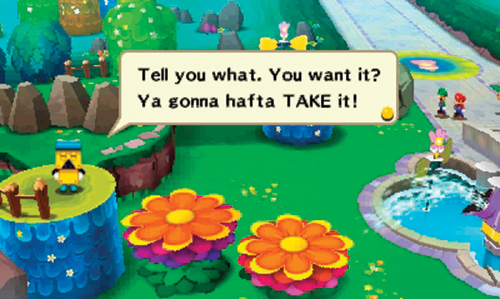
As you enter this area, two Brocks are busy discussing the unsightly appearance of several massive boulders—apparently the same gust of wind that scattered the shop’s merchandise also moved these rocks. As Mario and Luigi approach Boss Brickle, the supervisor, Starlow appears and asks if he’s seen a special pillow inside the park. Brickle immediately produces a pillow and says there’s many of them in the park. But Brickle isn’t ready to give up his pillow just yet—he darts off to the west with the pillow.
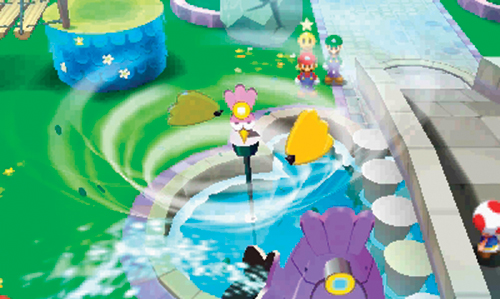
Before Mario and Luigi can chase after Brickle, a sudden gust of wind blows through the park and scatters the yellow feathers attached to the bird-like windmill by the fountain—one lands on a rock to the east and another lands in an area to the southwest. The windmill powered the fountain responsible for watering the Bounce Flowers to the west. Without water, the Bounce Flowers retract, preventing Mario and Luigi from chasing down Brickle. You’ll need to retrieve those feathers before you can find Brickle.
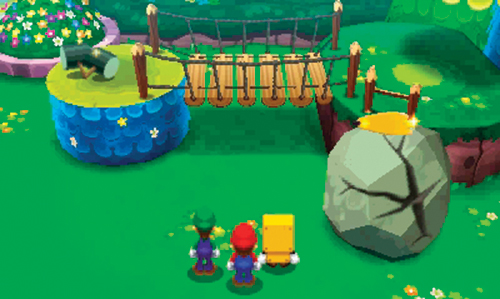
Focus on retrieving the feather to the east first—it’s located atop a boulder. You’ll need to find a way to break that boulder. Speak to the Brock by the boulder for a hint—he says he could break the boulder but has misplaced his hammers. His hammers are located on the western side of the nearby bridge—you need to find a way to get up there…and you can’t make that jump.
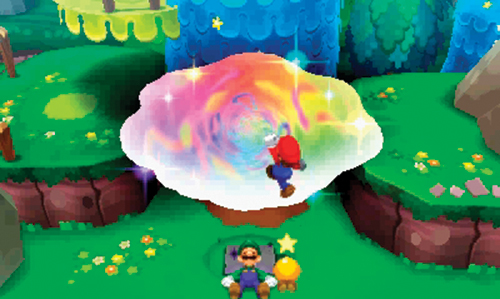
Move to the east of the boulder to locate this pillow on the ground. Immediately enter the dream world to free another Pi’illo Folk.
Dream World (B)
A
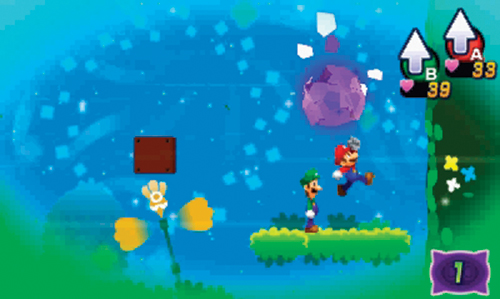
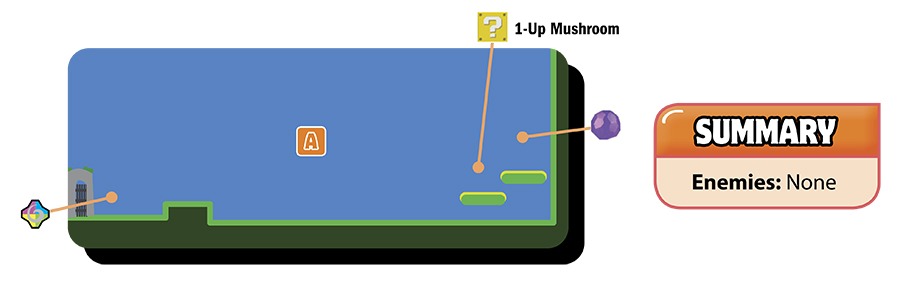
This is a very small dream world with only one nightmare chunk. Jump over the boulders while moving to the right. Strike a ? Block along the way to acquire a 1-Up Mushroom, then proceed to the nightmare chunk and break it. That’s it—you saved another Pi’illo Folk!
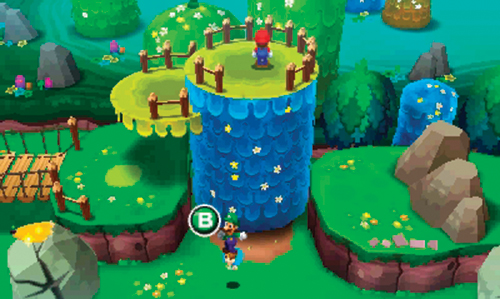
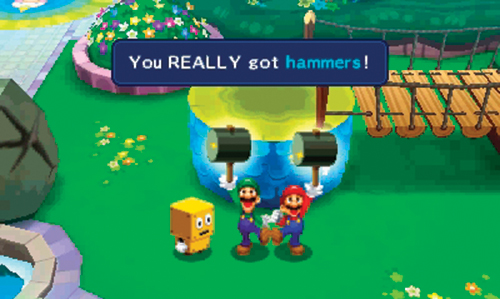
When you return to the real world, speak with the newly freed Pi’illo Folk to get a boost up to the nearby plateau-like platform to the north. From there you can cross the bridge to the west and retrieve the Brock’s lost hammers. The Brock is overjoyed at your success and decides to let Mario and Luigi keep the hammers as a reward.
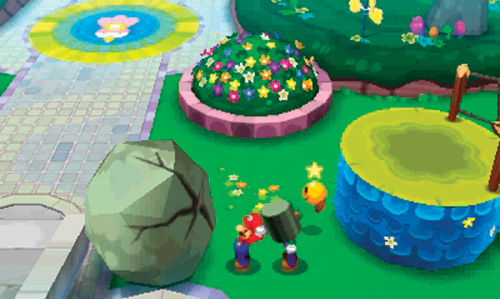
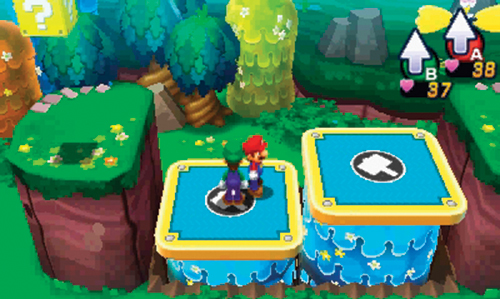
Now that you have hammers, put them to use by breaking the nearby boulder, as instructed by the Brock. Boulders can be destroyed with a single hit, but you must strike them along their cracked side. Press
 to switch to the hammer, then give the boulder a whack by pressing
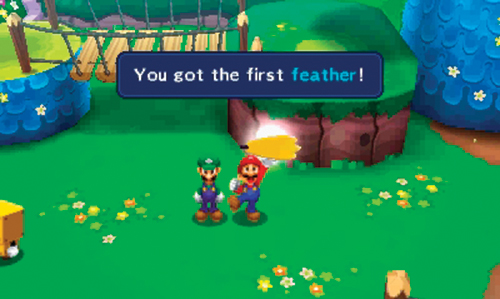
 . There are numerous boulders in this area that can be smashed. But the most important one now is the one to the west, holding one of the windmill’s feathers—strike the boulder to retrieve the first feather.
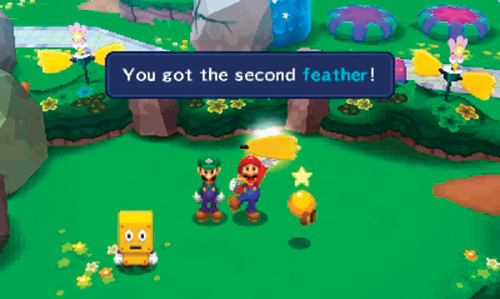
Now it’s time to find that second feather. It’s located on the southwest corner, in an area blocked by a boulder. You know what to do! Smash the boulder with your hammer and then approach the feather. But before Mario grabs the feather, Mario and Luigi notice a Brock laying face down—Starlow theorizes that the feather must have hit him on the head. But it turns out he was just napping in this isolated area. Grab the feather and return to the fountain.
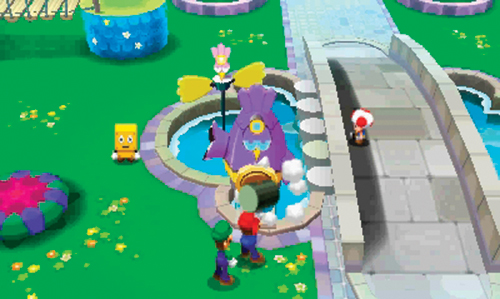
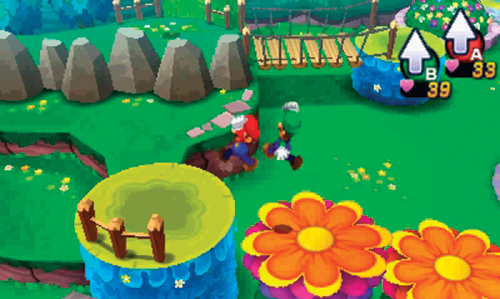
Return to the Brock by the fountain and hand over the feathers—he can now fix the windmill. Once the windmill is repaired, strike the large red switch on the fountain using your hammer. As water spews from the fountain, the nearby Bounce Flowers open back up, allowing you to proceed to the west. Jump across the Bounce Flowers to reach the west side, then smash a boulder blocking the western path—this restores access to this area from the west. When you’re done breaking boulders, exit the area by moving west.
 Lookout Restoration
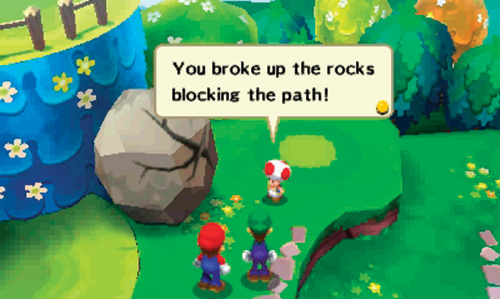
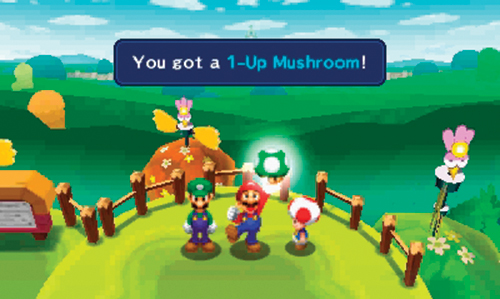
The entrance to this area is blocked by more boulders. Equip your hammer and smash away. Strike more boulders to the north to clear a path to the lookout, pleasing a Toad. Follow the Toad to the lookout—you can see Pi’illo Castle from all the way up here. The Toad thanks you by rewarding you with a 1-Up Mushroom. From the lookout, head to the west side of the area and break more boulders. Next, head to the area to the west.
 Pond Clean-up
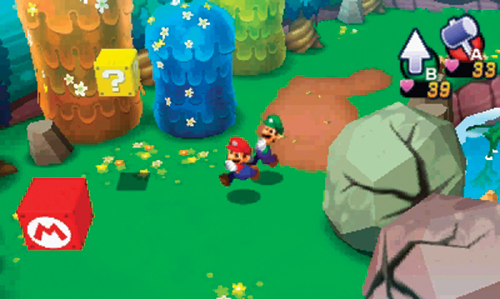
This small dead-end area features a pond surrounded by several boulders. Use your hammer to smash the boulders and retrieve a few coins in the process. On the west side you can also strike a ? Block and an M Block. The ? Block contains coins and the M Block holds a pair of So-so Boots.
 Attack Piece Primer
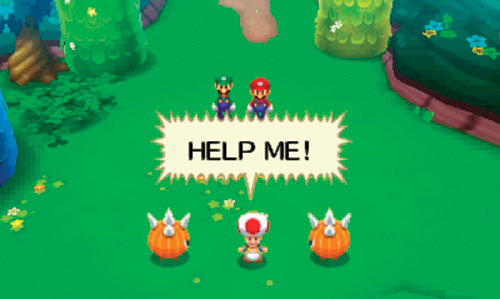
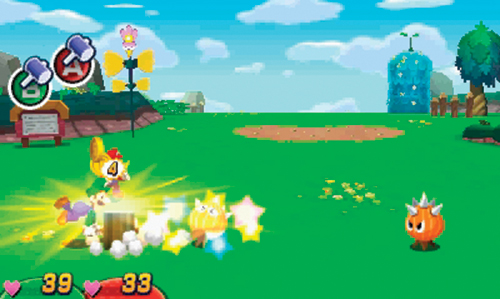
Upon entering this area a Toad has come under attack by two Thorbs. Mario and Luigi jump into battle to help. Starlow interrupts the battle to advise using hammers against these spiky enemies—you definitely don’t want to jump on these guys. Successfully using a hammer in battle is a bit tricky, so listen carefully to Starlow’s advice during this tutorial. He even offers some useful hints when it comes to performing counterattacks with your hammer. Keep hitting the Thorbs with your hammers until you’re victorious.
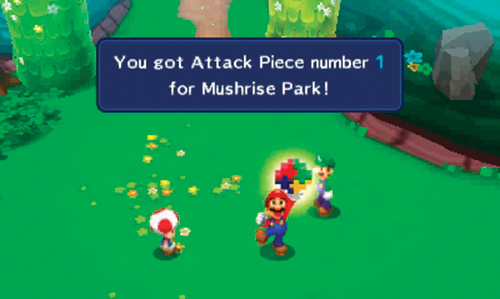
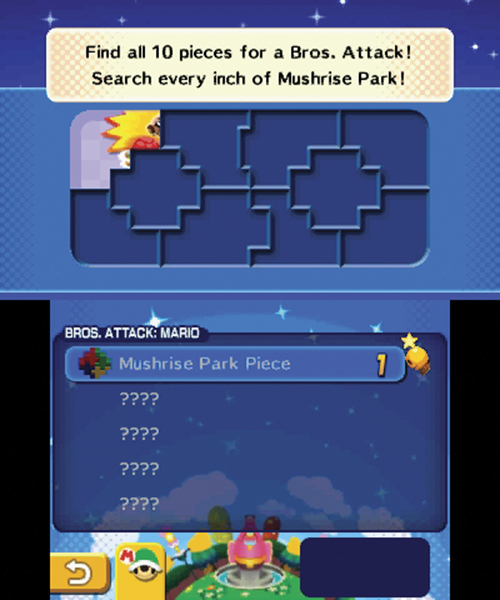
Following the battle, the grateful Toad you saved offers an Attack Piece as a reward. Attack Pieces can be found in special blocks scattered around Mushrise Park and other regions on Pi’illo Island. The guide map on the Touch Screen shows the location of four more Attack Pieces in this area. You can see the number of Attack Pieces you currently have in the menu—select Guide followed by Attacks. Here you can see the number of Attack Pieces you have for each region. Attack Pieces are like puzzle pieces, with ten total in each region. Upon finding all ten Attack Pieces in each region you unlock a new Bros. Attack. The Toad promises to turn over any other Attack Pieces he finds.
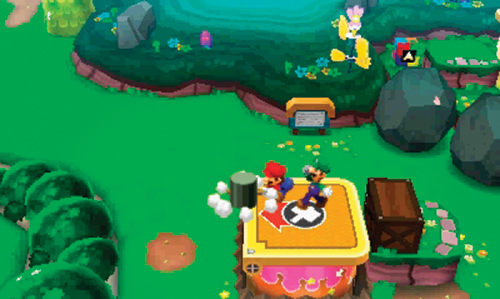
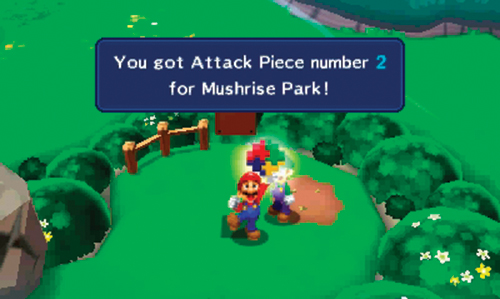
Take time out from your search for Brickle to gather a few Attack Pieces in this area. Start by standing atop the Slingshroom to the east. Give the Slingshroom two whacks with your hammer and watch as it launches Mario and Luigi toward the cordoned-off area in the center. Here you find yet another Attack Piece. Smash your way through the boulders to escape and move toward the next Attack Piece in the northwest.
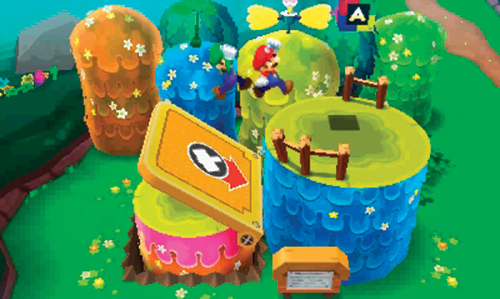
Stand atop this other Slingshroom and strike it once with your hammer to reach the Attack Piece on this high plateau in the northwest.
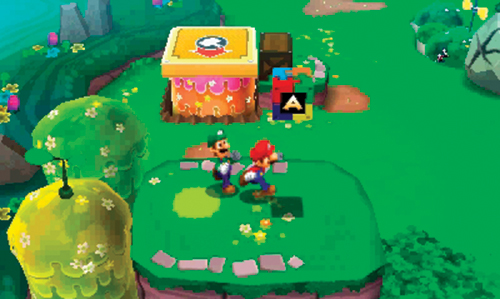
The next Attack Piece is located in the southwest. Use yet another Slingshroom to reach this one. This is all the Attack Pieces you can retrieve now—the one in the northeast corner can be retrieved later. So once you’re finished exploring this area, head south.
 Attack Piece Round-up
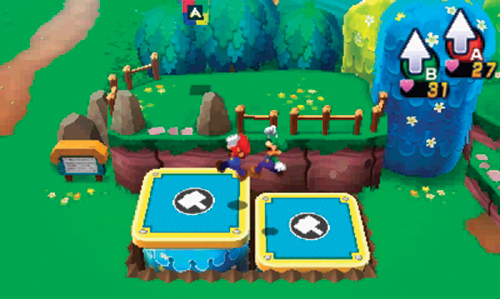
There are four more Attack Pieces in this area. Start by retrieving the one on the north side, using a Seesawshroom to reach it. Smack the Seesawshroom on the right to create a set of steps leading up to the northern plateau where the Attack Piece is waiting.
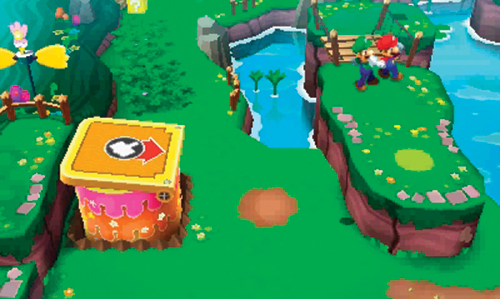
Next, use the Slingshroom on the west side to reach the nearby plateau and bridge where you can retrieve another Attack Piece.
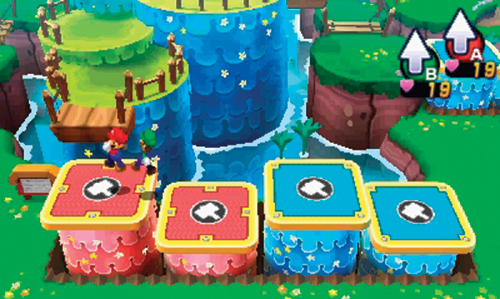
On the south side, arrange the Seesawshrooms into this configuration so you can reach the next Attack Piece, located on a high plateau near the center. After obtaining the Attack Piece, strike the Bros. Block to the immediate east before returning to the ground.
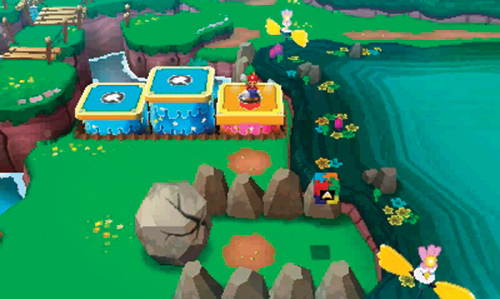
Now move to the southeast corner and arrange the Seesawshrooms so you can reach the adjacent Slingshroom. Strike the Slingshroom twice with your hammer to launch yourself into the blocked area in the corner. Grab the Attack Piece here, then smash the boulder to the west to escape.
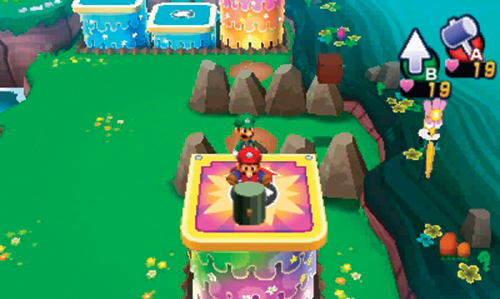
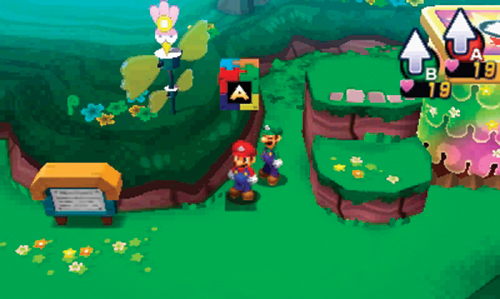
Return to the Slingshroom you just used, but this time strike it three times for increased distance. This time you’re launched to the far southeast corner, landing atop another Slingshroom. Hit this Slingshroom once with your hammer to send Mario and Luigi sailing through the air, back to the area to the north. Mario and Luigi smash through a pair of boulders and land in the area previously inaccessible, next to another Attack Piece. Grab the Attack Piece. Starlow reports that you’ve found all the Attack Pieces in the area, but you’re still missing one. Maybe it’s in a different area? Use the nearby Slingshroom to return back to the area to the south. There’s a ? Block that contains coins on the east side of this Slingshroom. Once back in the area to the south, exit on the east side.
 Bros. Attack Primer
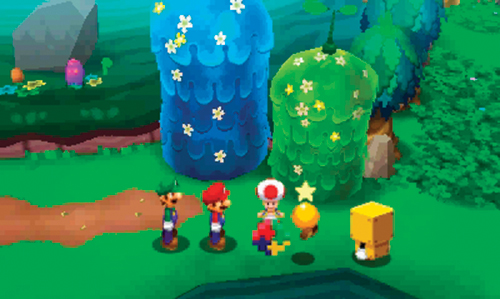
Upon entering this area, a Brock reports that Boss Brickle passed through here a while ago. But this Brock is reluctant to let Mario and Luigi enter this area due to the high concentration of monsters. Take a moment to demonstrate your expertise with jumping and hammers. But the Brock still won’t let you through. Suddenly, the Toad you saved earlier appears and hands over another Attack Piece. If you’ve gathered the Attack Pieces in the previous areas, this is the 10th and final Attack Piece in Mushrise Park, unlocking a new Bros. Attack!
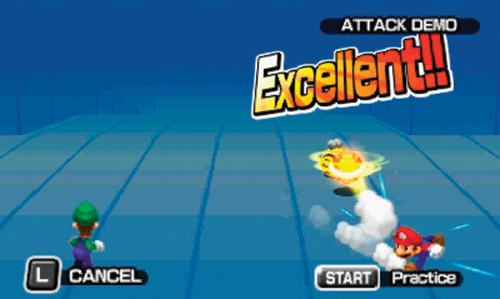
Now that you’ve unlocked a new Bros. Attack, Starlow guides you through how to perform and practice it—from the menu, select Guide, then Attacks. In this menu you can see that the 3D Red Shell Bros. Attack is now available. Highlight 3D Red Shell in the list and press
 to see a demonstration. The demonstration shows exactly how the attack is performed. After watching the demonstration, press
 to practice it. During practice you’re in complete control. As Mario produces a red shell, alternate between pressing
and
to practice it. During practice you’re in complete control. As Mario produces a red shell, alternate between pressing
and
 , causing Mario and Luigi to kick the shell at targets in the distance. Timing and rhythm is important, particularly as the attack commences into its latter stages. Keep practicing until you score an Excellent. When you’re finished practicing, exit out of the menus.
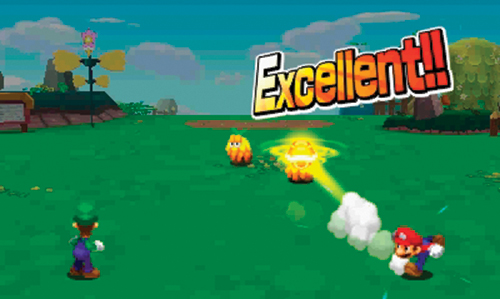
Show the Brock that you can handle yourself in this monster-infested area by using your new Bros. Attack in a battle against some Capnaps. As Mario, select the Bros. Attack Block, then choose the 3D Red Shell. Just as in practice, kick the shell at the enemies, alternating by pressing
and
. Each time a Capnap is struck by the shell, it incurs damage. Bros. Attacks like this allow you to inflict damage on multiple enemies, ideal when facing off against large groups. But each Bros. Attack consumes BP, shown beneath Mario and Luigi’s HP in the bottom left corner. So keep an eye on each character’s BP before initiating Bros. Attacks. BP can be restored by consuming Pi’latte and Syrup-based items purchased at shops or found throughout the world. Following one 3D Red Shell attack, finish off the remaining Capnaps with simple Jump attacks, saving Mario’s BP for future battles.
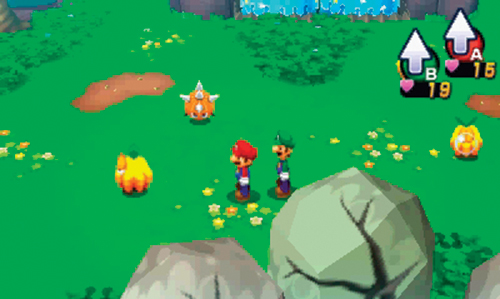
This area is filled with a mix of Capnaps and Thorbs. Initiate battles with all the monsters here to gain EXP. When you’re not busy fighting off monsters, smash the boulders in this area and use the Seesawshroom to reach the high plateaus to the north, each hosting a ? Block. The ? Block on the western plateau contains a Syrup Jar, ideal for restoring BP—have Mario consume it if his BP is low due to all those Bros. Attacks. Once you’ve defeated all enemies here and struck all ? Blocks, exit on the eastern side.
 Southern Park Path
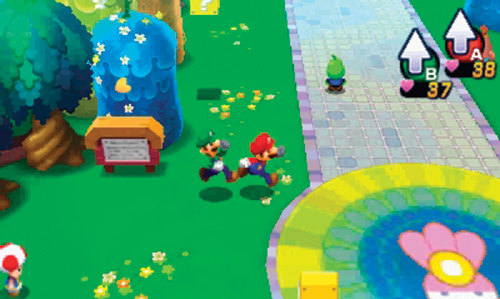
With the exception of striking a couple of ? Blocks, there isn’t much to do here at the moment. Feel free to speak to the other tourists, then exit to the north—the southern and eastern paths are currently blocked.
 The Fountain of the Zeekeeper
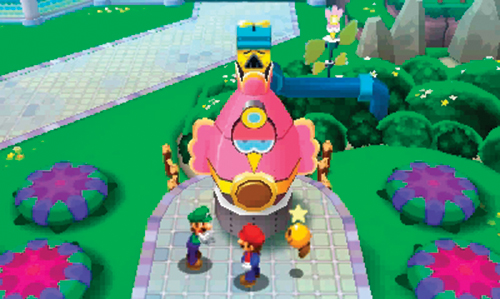
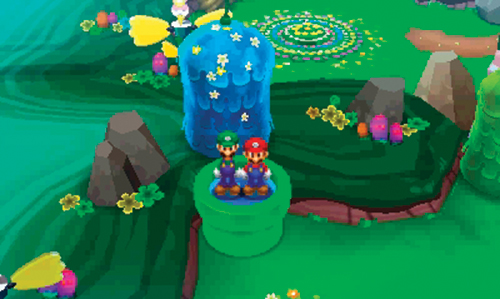
As Mario and Luigi enter this area they spot Boss Brickle standing atop a large Zeekeeper-themed fountain. He hold outs the pillow, taunting Mario and Luigi. But just as Brickle is about to leave, he trips and falls into the fountain’s spout, interrupting the flow of water and causing the nearby Bounce Flowers to close. Brickle struggles to break free, but is stuck. Starlow suggests helping him get out, otherwise you’ll never get the pillow. The Brock to the west of the fountain offers some clues. Apparently the park’s pipe system is fed by an underground reservoir, and an underground pump feeds water to the fountain. Locate the green pipe on the west side and use it to reach this underground area.
 Underground
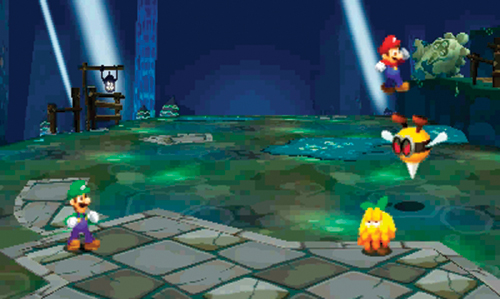
Be prepared to encounter a few Flibbees, Capnaps, and Thorbs in this underground area. Battle all the monsters you encounter down here to boost your EXP. Like the Thorbs, Jump attacks are not advisable against Flibbees due to the large spike on their head. Instead, use your hammers to hit these enemies while they’re on the ground. Flibbees are only vulnerable to Jump attacks when they’re in the air and their spike is pointing down—hammer attacks will miss against an airborne Flibbee.
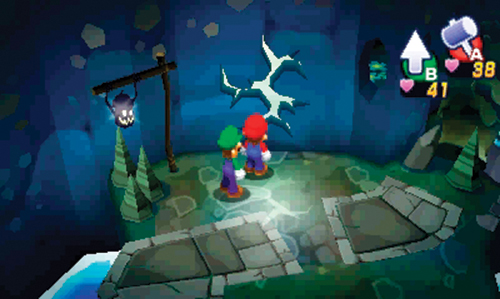
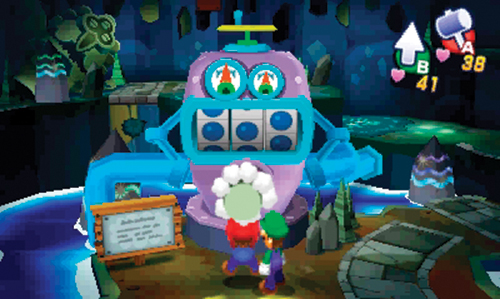
The path through the underground area is relatively linear. Work your way to this cracked wall on the lower north side and smack it with your hammer to reveal a hidden passage. Step into the passage and follow it to the east, eventually working your way toward the pump at the center. You need to find a way to increase the pump’s water pressure with the hopes of dislodging Boss Brickle from the fountain. The pump functions like a slot machine—you need to get three big blue circles in a row to increase the water pressure. Study the rotating dials on the pump’s face, then strike the big red button with your hammer to stop the first dial on the left. Continue striking the red button to stop the other two dials—get three big blue dots in a row to increase the pump to maximum pressure!
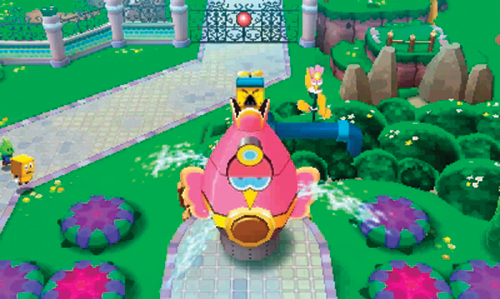
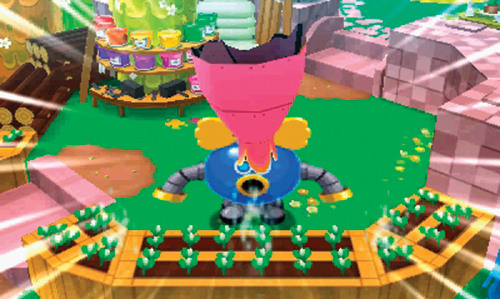
Back on the surface, the fountain begins to rumble, spewing water in all directions. Suddenly Boss Brickle is shot skyward as the fountain explodes. Elsewhere, at Brickle’s Maintenance Hut, Grobot (Brickle’s own park maintenance robot) is struck by falling debris from the fountain. What was once a peaceful plant-watering robot suddenly turns evil—it looks like you’ll need to deal with this problem later.
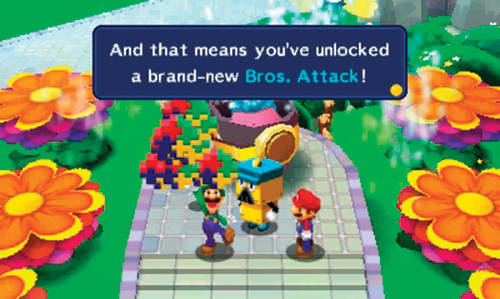
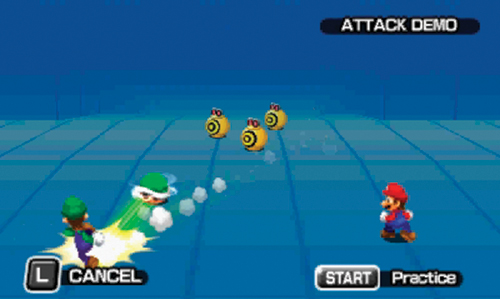
Although he’s no longer stuck in the fountain, Boss Brickle is somewhat distraught over the destruction of his prized Zeekeeper fountain. But he gets over it quickly and describes his new watering machine. Grateful for Mario and Luigi’s assistance, Brickle finally shows off his pillow, containing Eldream. But Brickle will only let Mario and Luigi use the pillow at his Maintenance Hut. In addition, Brickle hands over ten Attack Pieces, instantly unlocking another Bros. Attack! Take a moment to practice the new 3D Green Shell attack! This works almost identically to Mario’s 3D Red Shell attack, only this attack is initiated by Luigi. After practicing the new Bros. Attack, follow Brickle across the Bounce Flowers to the east to reach his Maintenance Hut.
 Maintenance Hut
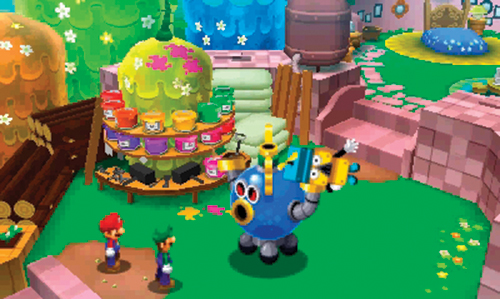
Some alarming screams and shouts can be heard in the distance upon entering this area. Before moving any further, strike the Save Block to save your game. As you near the Maintenance Hut to the east, Grobot is on a rampage, tossing Boss Brickle through the air before initiating a battle with Mario and Luigi.
Grobot Battle
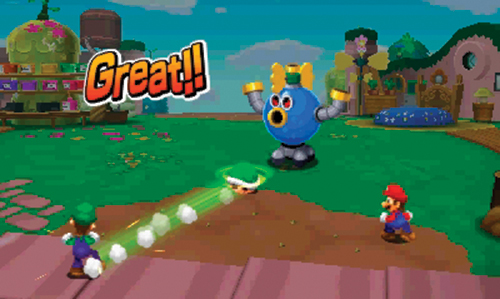
Grobot is one tough customer, so pull out all the stops when it comes to attacking. Use your 3D Red Shell and 3D Green Shell Bros. Attacks to dish out some serious damage. If necessary, consume Syrup Jars to restore BP, allowing you to perform more Bros. Attacks—these attacks are the quickest way to whittle down Grobot’s HP.
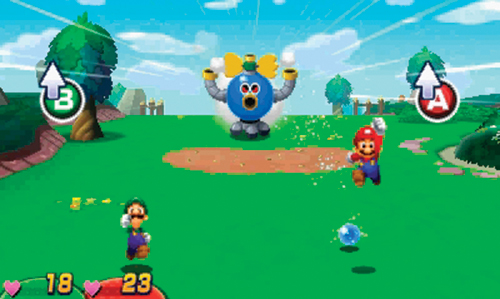
Grobot has a few attacks up his robotic sleeves, so pay close attention. When he charges at you, use your hammers to knock him back. When he blows small blue bubbles, hop over them—avoid jumping when large blue bubbles come your way. In another sequence Grobot comes charging after Mario and Luigi, requiring them to jump over the blue orbs fired from his arms. Keep jumping over the incoming projectiles until Grobot eventually trips over a rock, bringing an end to this particular attack.
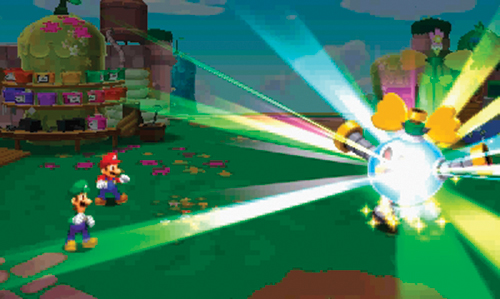
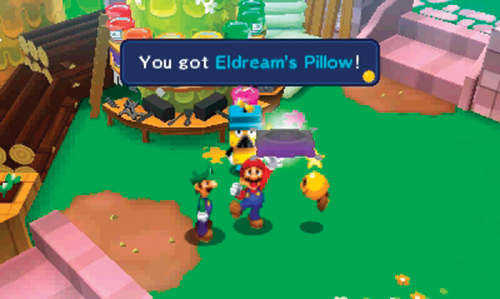
Continue hitting back at Grobot with Bros. Attacks. If you’re out of BP (and Syrup Jars) resort to Jump attacks to finish off this mechanical menace. Defeating Grobot rewards you with a So-so Hammer, not to mention plenty of coins and EXP. Boss Brickle is saddened by the loss of his Grobot, but realizes this is all his fault. To apologize, he hands over Eldream’s Pillow.
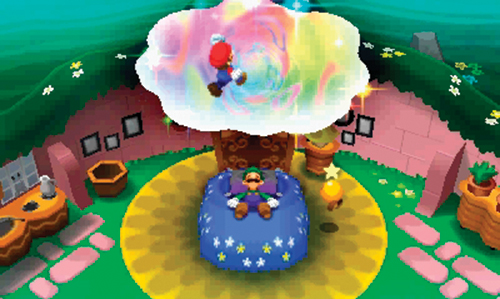
Boss Brickle offers to let Mario and Luigi use his bed, located in the Maintenance Hut to the east. As you approach, Luigi automatically hops on the bed and uses Eldream’s Pillow. Before entering the dream world, Prince Dreambert appears and confirms that Eldream is definitely located beyond the portal. At Starlow’s suggestion, Mario leaps into the portal in an attempt to rescue Eldream from his long imprisonment.
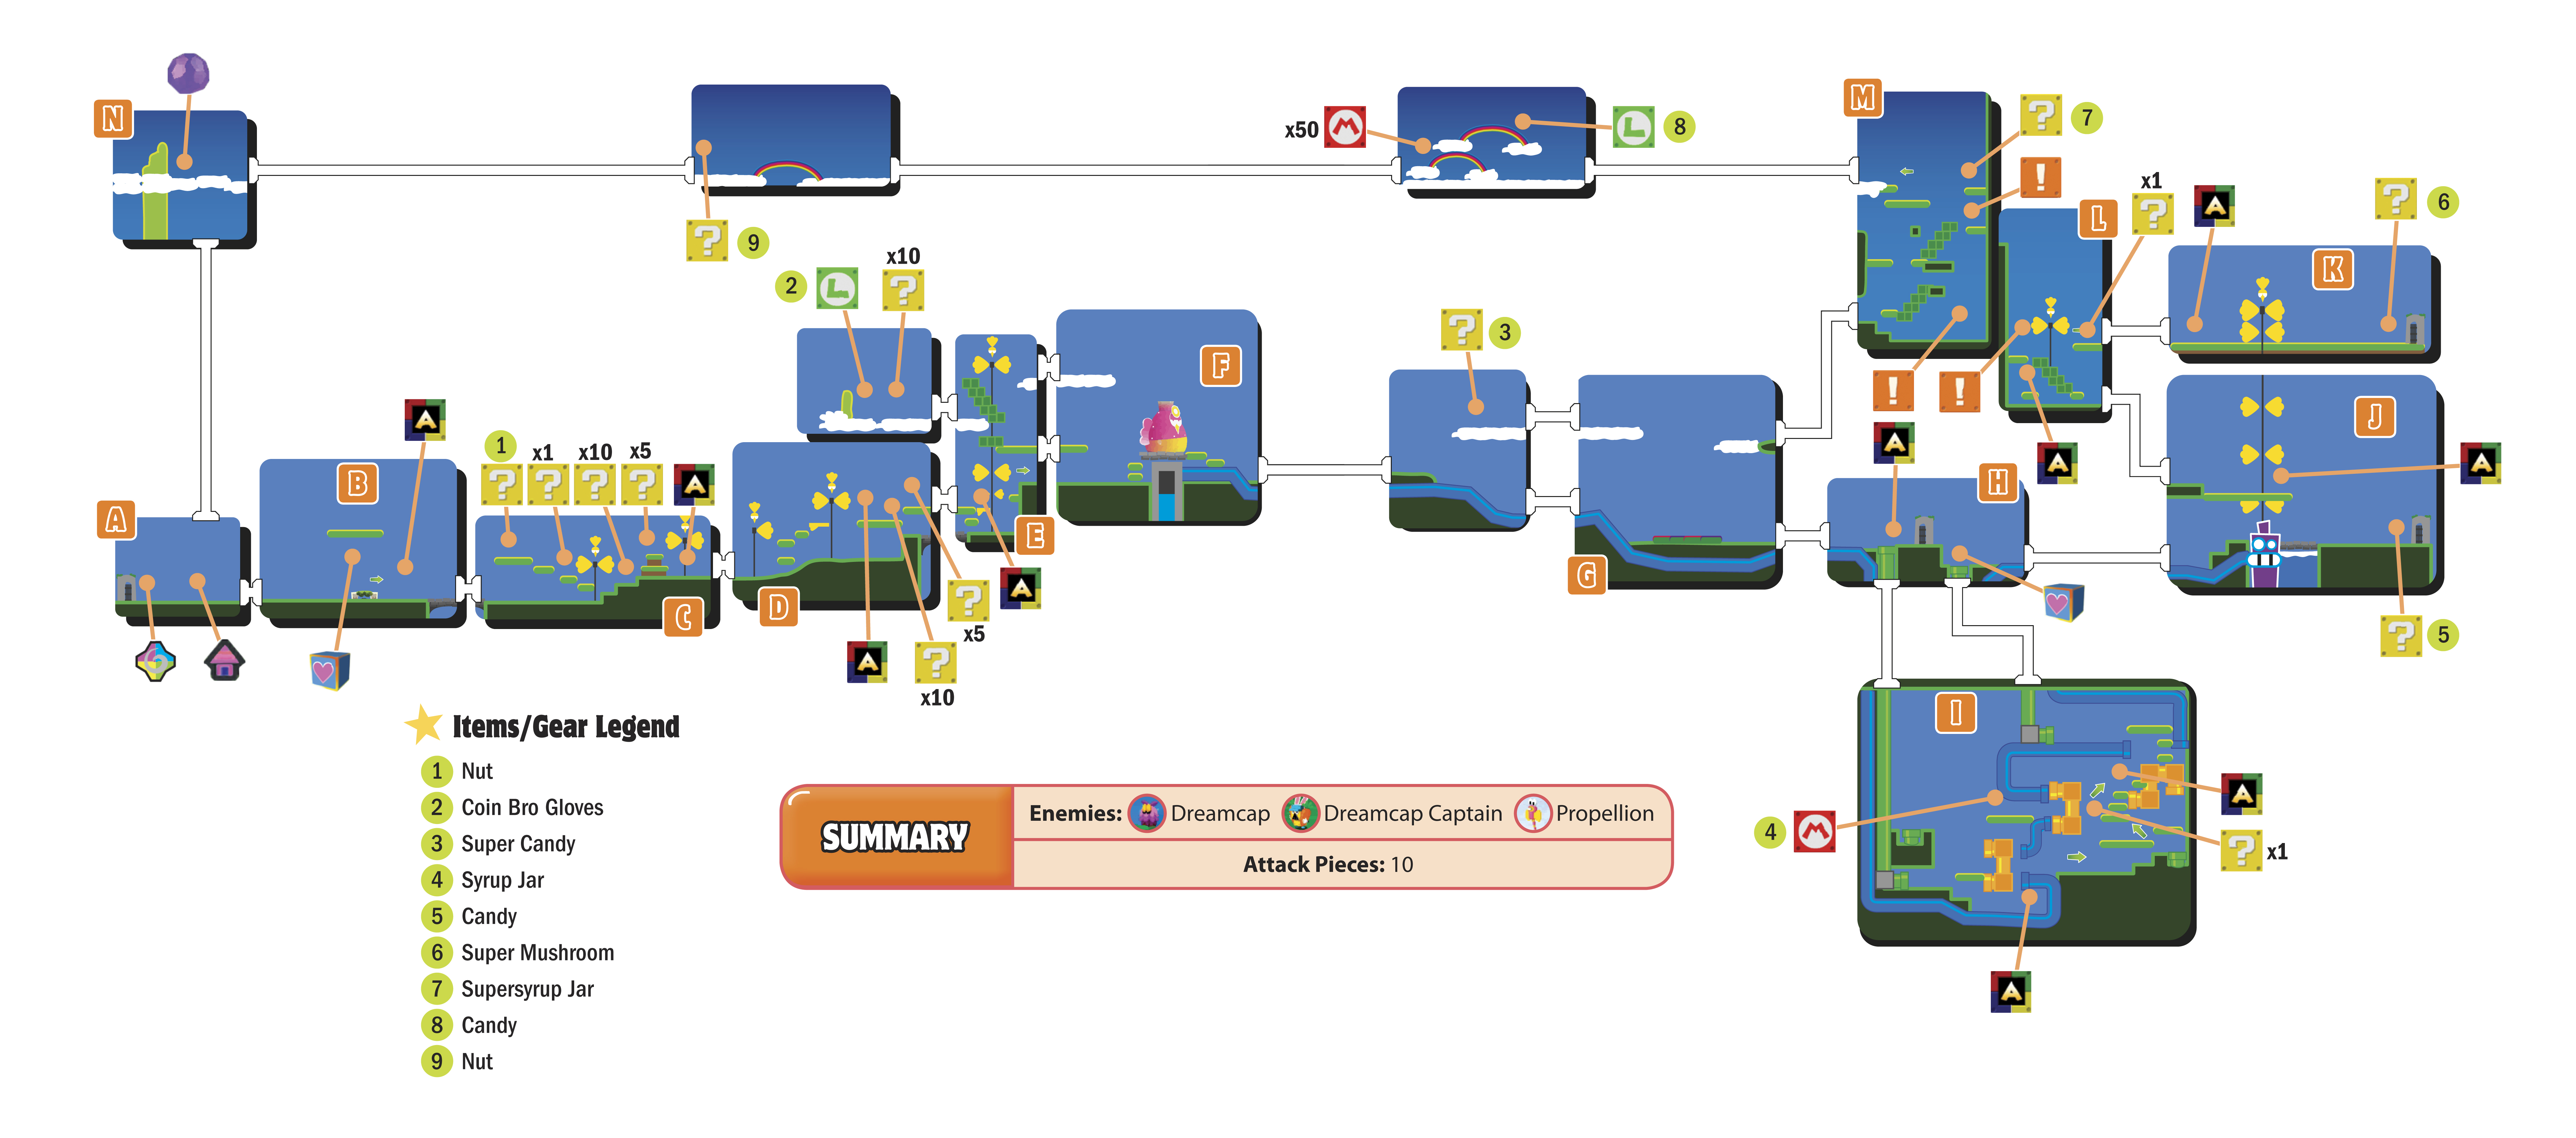
Dreamy Mushrise Park (A)
A
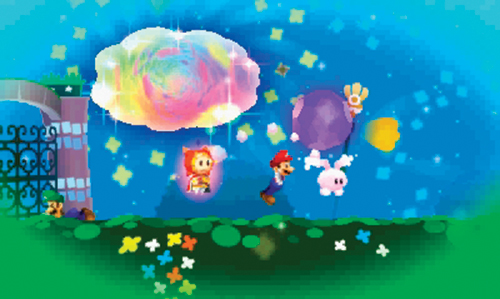
Upon arriving in the dream world, Mario is soon joined by Dreamy Luigi and Dreambert. Dreambert is certain Eldream is being held somewhere nearby. Suddenly, a bunny-like creature appears carrying a nightmare chunk. Mario and Dreamy Luigi both try to grab the bunny, but it gets away, along with the nightmare chunk. Dreambert implores Mario and Dreamy Luigi to chase that bunny. As they prepare to move out, a dreamy version of Boss Brickle appears—apparently he’s the supervisor of this park too. But oddly, he doesn’t seem to recognize Mario or Dreamy Luigi. Shortly after appearing and greeting his new guests, Brickle disappears. Follow Dreambert’s advice and follow the path taken by the bunny to the right.
B
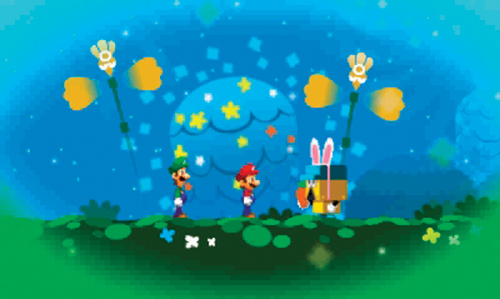
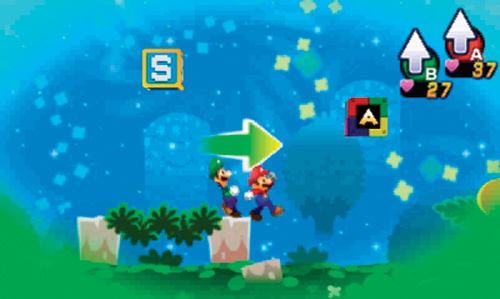
Once again, Mario tries to dive after the nightmare-chunk-carrying bunny upon entering this area, but fails. Brickle reappears—he feels that bunny is the key to drawing more tourists to the park. When Brickle realizes Mario and Dreamy Luigi are after the same bunny, he’s determined to catch it first. Just ahead is a Save Block and the first of ten Attack Pieces for Dreamy Mushrise Park. Save your game, then grab the Attack Piece.
C
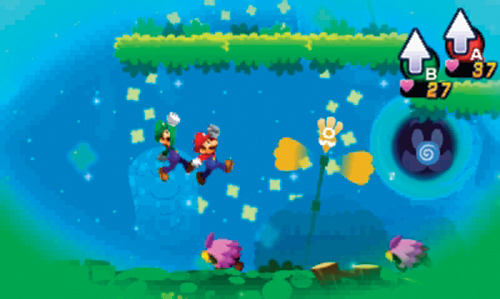
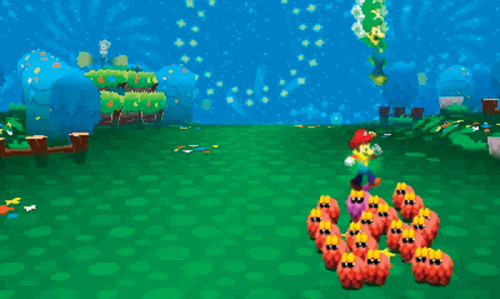
This area is filled with Dreamcaps and Dreamcap Captains. When entering a battle with these enemies, always target the purple Dreamcap Captains first—the orange Dreamcaps won’t attack once the Dreamcap Captain has been eliminated. But as long as the Dreamcap Captain is around, prepare to dodge (and counter) the herd of Dreamcaps as they come rushing toward you during their attack phase. Time your jumps carefully to land on top of them.
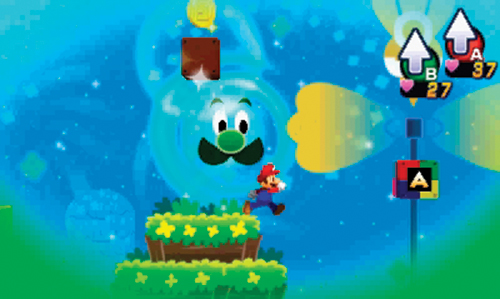
When you’re not fighting Dreamcaps and Dreamcap Captains, use the Sneeze Wind Luiginary Work to blow several Flying ? Blocks to the foreground. Strike the ? Blocks to gather coins and items, then continue to the right to grab another Attack Piece.
D
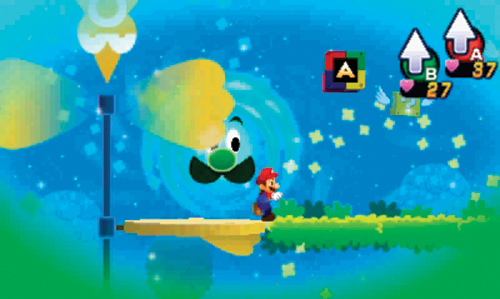
Advance onto the raised yellow platform, and then use the Sneeze Wind to rotate the platform, allowing you to reach the grassy platform to the right. Here you can gather another Attack Piece as well as blow a few Flying ? Blocks to the foreground using the Sneeze Wind.
E
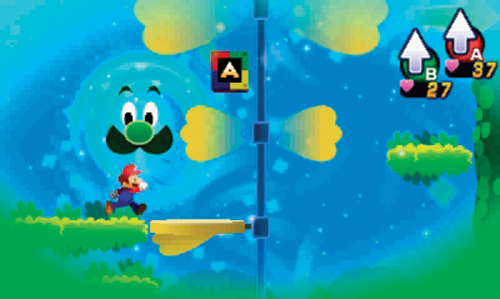
Grab another Attack Piece upon entering this area, then use the Sneeze Wind to rotate the yellow platform in the center. Riding on the yellow platform allows you to reach the exit on the right. Don’t worry about exploring the upper portion of this area on your first visit—you can backtrack to this area from area F later on.
F
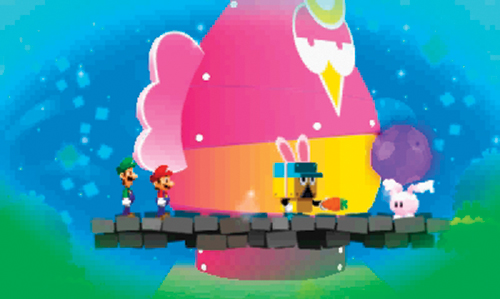
Boss Brickle is close to catching the nightmare-chunk-toting bunny when Mario and Dreamy Luigi arrive here—but the bunny doesn’t fall for his carrot bait and takes off, traveling deeper into the dream world. Brickle chases after the bunny. Follow him, as there isn’t much else to do here at this point.
G
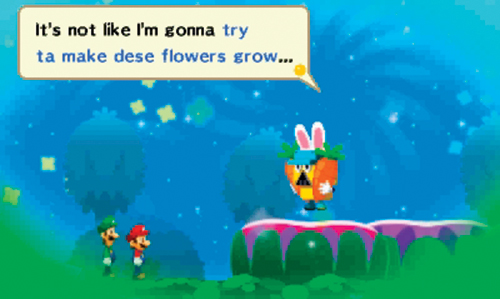
This time Boss Brickle has a two large carrots in his attempt to lure the bunny, located on a cloud in the upper right corner. With the bunny out of reach, Brickle is concerned about the Bounce Flowers. He says he needs to find a way to make the flowers grow so he can reach the bunny. Once Brickle moves on, follow him across the closed Bounce Flowers and exit on the right.
H
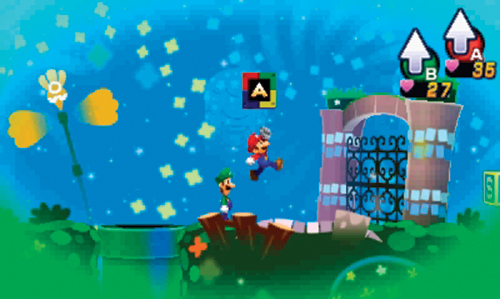
Enter this area and grab the Attack Piece near a gate—five down, five more to go! The gate is closed, blocking all access. But there is a green pipe nearby. Take the green pipe down to the next area.
I
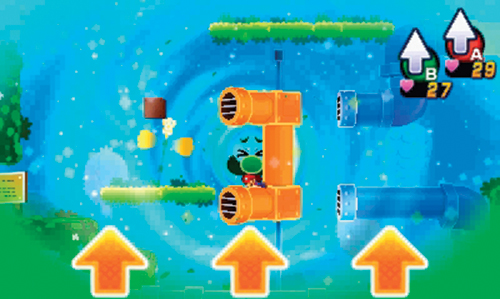
This area is filled with a large network of water pipes, but currently the pipes are not connected. Using the Sneeze Wind, work to rotate the orange pipe sections into place to restore the flow of water in Dreamy Mushrise Park. There are also a couple of Attack Pieces here, including one near the first orange pipe. Initiate a Sneeze Wind near each section of orange pipe to rotate it into place. When you reach the first section of orange pipe, stand on the pipe, then initiate a Sneeze Wind to rotate it.
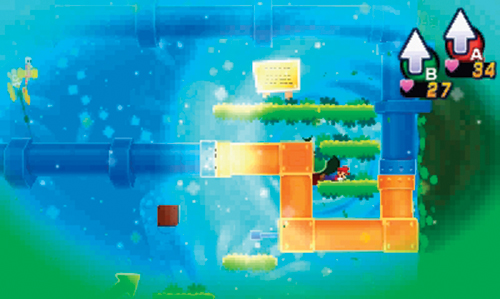
Grab this area’s second Attack Piece prior to advancing onto the third orange pipe section on the far right—the center pipe section is already in the proper position. Move to the grassy platform just above the orange pipe and initiate another Sneeze Wind. This arranges all three pipe sections into the proper alignment. But water isn’t flowing just yet. Exit this area by moving up through the green pipe nearby.
J
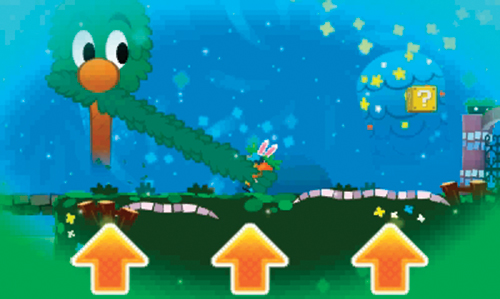
You catch up to Brickle here. He finally decides it’s time to work together to catch the bunny, as he needs Mario and Dreamy Luigi’s help to start the water pump. Use the Luiginary Stache Tree nearby to launch Mario and then Brickle upward to the platform just above the pump. As a reward for your help, Brickle hands over another Attack Piece. Exit to the left to enter the next area.
K
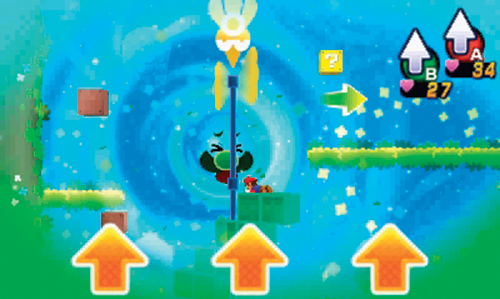
Before doing anything here, grab the next Attack Piece, visible from the entrance. Next, strike the Event Block just above to extend the Windpetals attached to the nearby Rotating Terrain. With the Windpetals extended, use a Sneeze Wind to cause the Rotating Terrain to spin, giving you access to the platform on the right.
L
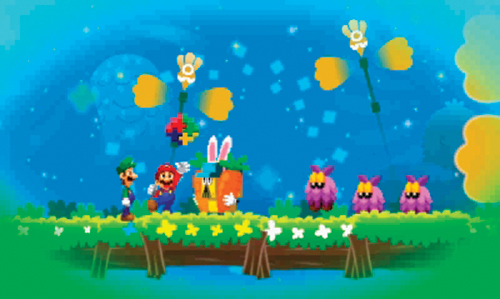
Here you find Brickle once again, still lugging around those two massive carrots. But the path ahead is blocked by several Dreamcap Captains. Realizing he needs Mario and Dreamy Luigi’s help once again, Brickle hands over the tenth and final Attack Piece, unlocking a new Luiginary Attack!
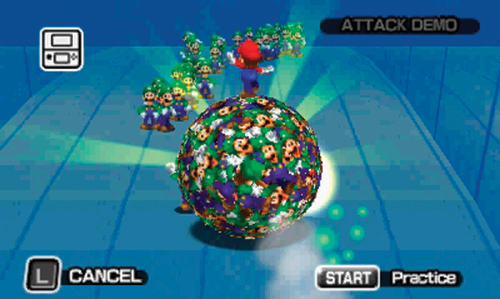
The Luiginary Ball is the new attack, accessible only during dream world battles. Take a moment to practice it before taking on the Dreamcap Captains. This attack places Mario atop a ball comprised entirely of Luiginoids. Tilt the 3DS left and right to steer the ball as it automatically travels forward. Along the way, run over more Luiginoids to increase the size of the ball. The larger the ball gets, the more damage it inflicts upon striking an enemy. Once the ball reaches critical mass, press
to kick it toward a group of enemies.
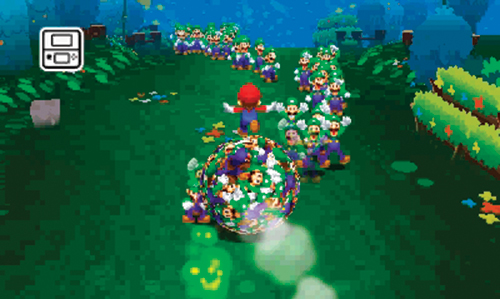
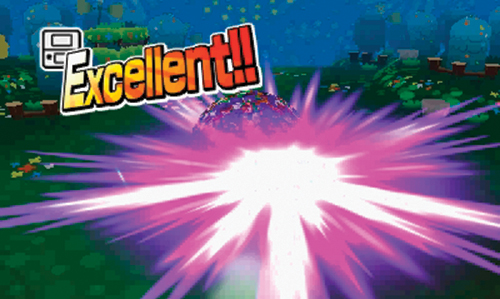
Now you can give the Luiginary Ball a try against the group of Dreamcap Captains and Dreamcaps. Before you can attack, Brickle interrupts, advising you to use the Luiginary Ball. He also completely restores Mario’s HP and BP. Choose the Luiginary Attack Block followed by the Luiginary Ball. As the attack commences, guide the ball over the winding road of Luiginoids ahead, finally kicking the massive sphere toward the group of Dreamcap Captains and Dreamcaps. The damage dealt by this attack varies based on how large the Luiginary Ball was at the time it made contact with the enemies. But in any case, damage is spread across the entire group, potentially wiping out all the enemies at once. If some of the enemies remain standing, target the Dreamcap Captains first, eliminating them with either Jump attacks or another Luiginary Ball attack.
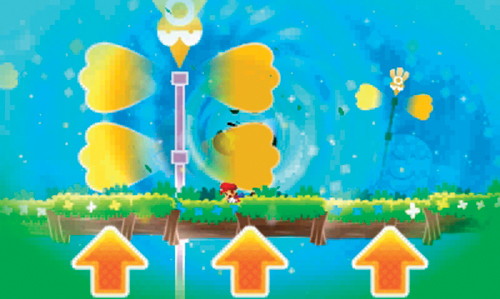

Now it’s time to get that pump running—the nearby Windpetals are ready for a Sneeze Wind! Upon initiating the Sneeze Wind, the Windpetals rotate, pumping water out of the pipes and into the Zeekeeper fountain-like watering device back at area F. As water falls across Dreamy Mushrise Park, the Bounce Flowers open and small trees begin to grow.
M
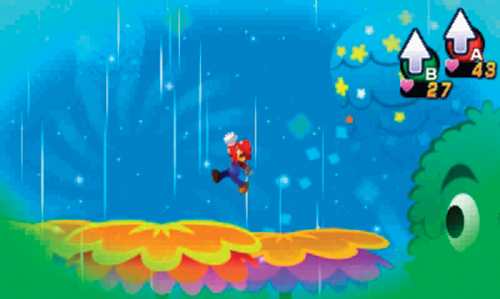
Return to area G and use the Luiginary Stache Tree to reach the Bounce Flowers. The Bounce Flowers give Mario enormous lift, allowing him to reach the cloud on the far right, where the bunny once rested. Once on the cloud, move to the right.
N
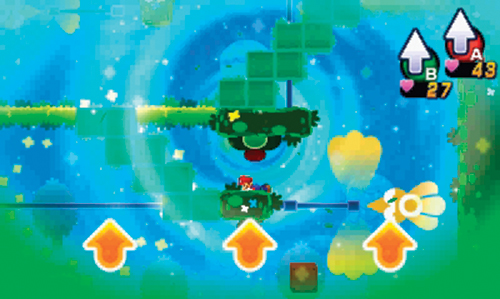
Strike the Event Block here first to extend the Windpetals attached to the Rotating Terrain. Using the Sneeze Wind Luiginary Action, rotate the terrain in this area to reach the upper cloud platform on the left to continue your pursuit of the bunny.
O
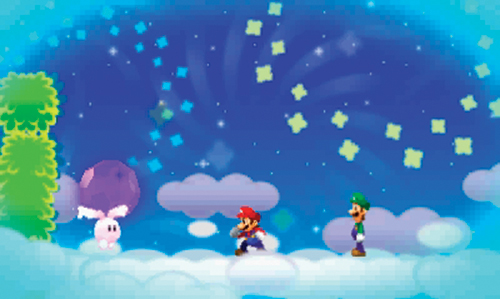
Cross over the sky sections and engage a few Dreamcap Captains and Propellions along the way. Once you reach this area, the bunny carrying the nightmare chunk is finally cornered. With nowhere left to go, the bunny drops the nightmare chunk and scurries off. Mario grabs the nightmare chunk just as Brickle makes an appearance, this time dressed as a giant carrot. But realizing the bunny has escaped again, Brickle doesn’t hang around for long.
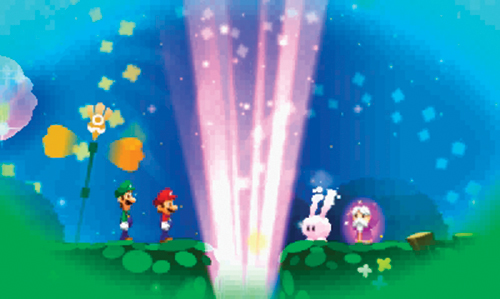
Drop down to area A below, then break open that nightmare chunk to set Eldream free. Once Eldream gets his bearings, he reveals that Princess Peach is probably down in Dream’s Deep. Eldream agrees to help find Princess Peach, much to Mario and Dreamy Luigi’s delight. Eldream summons Fluffykins, the very bunny you’ve been chasing around Dreamy Mushrise Park. On command, Fluffykins jumps into the air and begins spinning. Eldream hops atop Fluffykins and together they burrow a hole straight down into the ground—they’ve created a path to Dream’s Deep! After Eldream and Fluffykins exit, jump into the light emanating from Dream’s Deep and press down on the Circle Pad to begin the descent.
Dreamy Mushrise Park Shop Inventory
Items
| Merchandise | Coins |
|---|---|
| Mushroom | 10 |
| Nut | 25 |
| Syrup Jar | 20 |
| 1-Up Mushroom | 50 |
Gear
| Merchandise | Coins |
|---|---|
| Discount Boots | 100 |
| Picnic Boots | 190 |
| Picnic Wear | 70 |
| Cozy Wear | 90 |
| So-so Wear | 140 |
| Thick Gloves | 20 |
| Discount Hammer* | 100 |
| Picnic Hammer* | 190 |
* = available after visiting Dozing Sands
Dream’s Deep
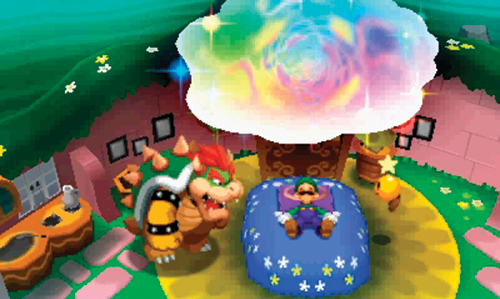
As Mario descends into Dream’s Deep, Starlow is paid a visit by Corporal Paraplonk, Private Goomp, Sergeant Guy, and Kamek in the real world. Apparently they invited themselves to Pi’illo Island. Bowser isn’t far behind, upset that someone else has captured Princess Peach. When he notices the portal above Luigi, Bowser catches a whiff of Peach’s perfume and decides to go find her himself.
A
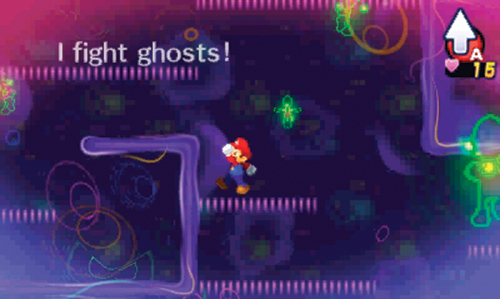
Prince Dreambert joins Mario in Dream’s Deep, but Dreamy Luigi is nowhere to be found. Dreambert suggests continuing without him. As you advance through this area, messages from Luigi’s subconsciousness appear. Advance upward through this area and proceed to the exit on the upper right.
B
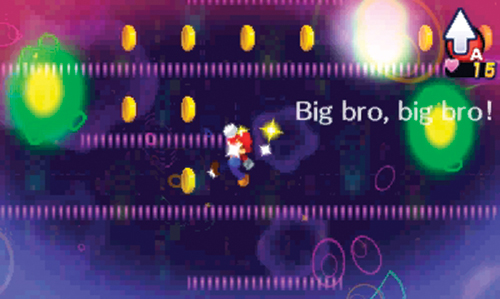
After catching a glimpse of Luigi in the background, move to the ledge on the upper left and exit. This transports Mario to the bottom of this area, allowing him to grab some coins on his way back up. When you’ve collected all the coins here, exit this area on the right.
C
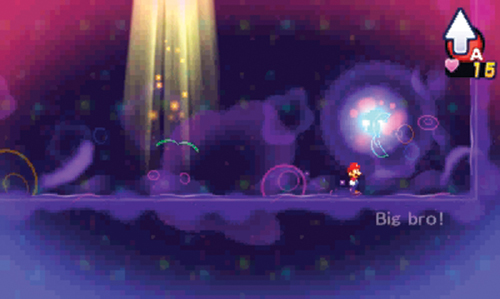
At the end of this long passage are two lights. Jump into the purple-colored light on the right—Peach’s voice can be heard coming from this direction.
D
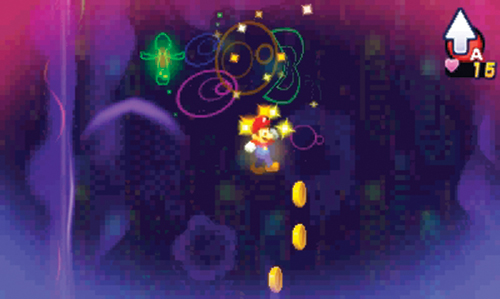
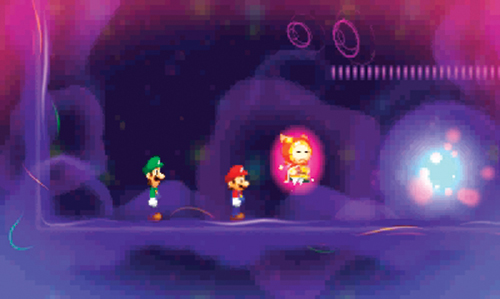
Mario slowly descends down this shaft-like area. During the descent, move Mario left and right to retrieve a trail of coins leading to the bottom. As Mario touches down at the bottom of the shaft he’s finally joined by Dreamy Luigi. Reunited, Dreambert urges the brothers to find Peach—enter the purple light on the right!
E
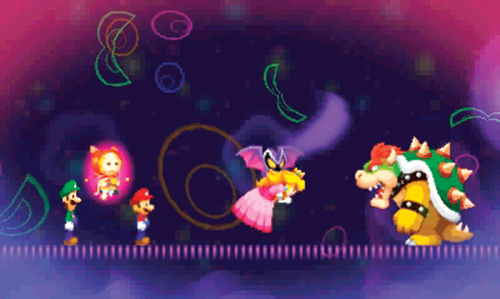
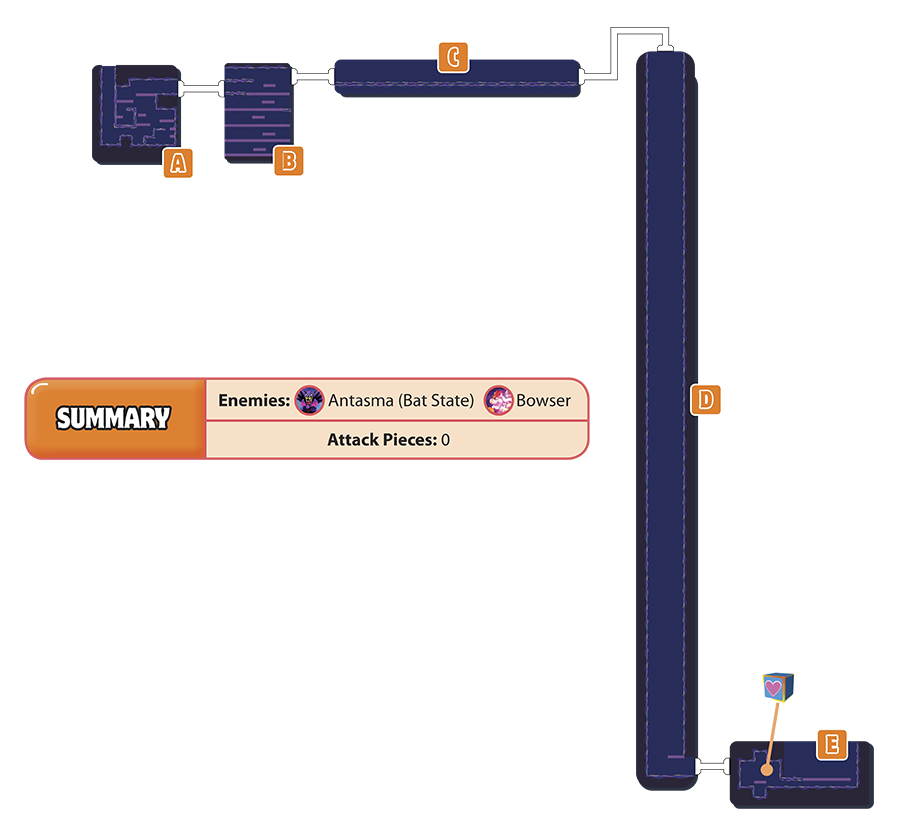
As Mario and Dreamy Luigi enter this area, a Save Block is visible just ahead—make sure you have full HP and BP before saving. Just ahead, Princess Peach is being held by Antasma, who is in bat form. Suddenly, Bowser appears out of a portal, making for an awkward gathering. While Antasma is distracted, Mario dives to rescue Peach. This gives Bowser the opportunity to punch Antasma, knocking the purple bat out of the way. But Antasma returns, covering Bowser’s eyes. At this point, Antasma realizes Peach’s power is far inferior to Bowser’s. Antasma suggests the two of them join forces, enticing Bowser with even greater powers. Unfortunately, it’s a deal Bowser can’t refuse. Eager to try out his new powers, Bowser initiates a battle.
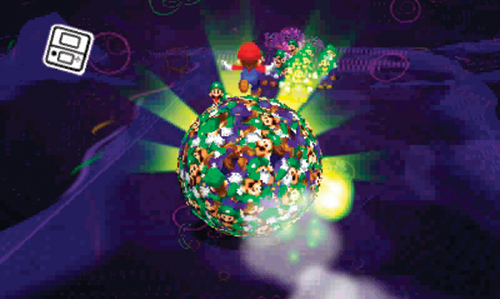
As usual, Bowser is no slouch when it comes to battles. He’s made even more powerful by Antasma. So when it’s your turn to attack, don’t hold back. Your most powerful attack is the Luiginary Ball. Use it repeatedly to inflict heavy damage on both Bowser and Antasma. When you run low on BP, consume a Syrup Jar to get more BP and resume with the Luiginary Ball attacks.
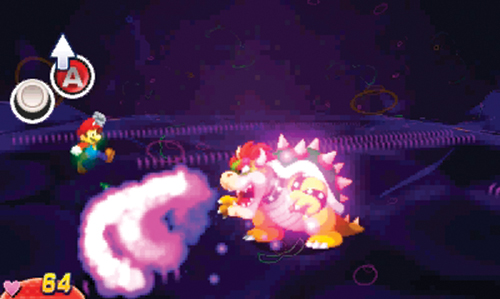
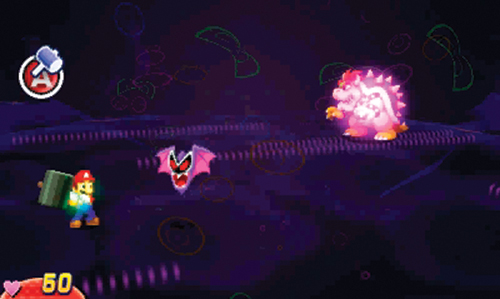
When you’re not attacking, get ready to evade and counter Bowser’s attacks. Leap over the flame attacks and be ready to strike back with your hammer when Bowser comes charging at you—he leads with his fist when he’s about to strike. Antasma attacks as well, sending a swarm of bats in your direction. Strike them with your hammer to avoid taking damage.
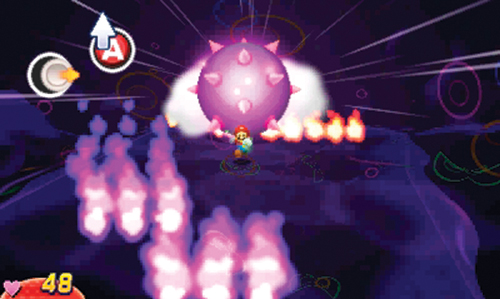
When Bowser turns into a spiky ball and begins rolling toward Mario, pay attention to the lines of flames ahead. As Mario runs away from Bowser, move left and right to step around the flames. It’s possible to leap over the orange flames. But the purple flames are too high to leap. So make a habit of jumping over the orange flames while moving around the purple flames. Making contact with any of the flames inflicts damage and slows Mario. If you strike two flames, Mario trips and is run down by Bowser, inflicting even more damage.
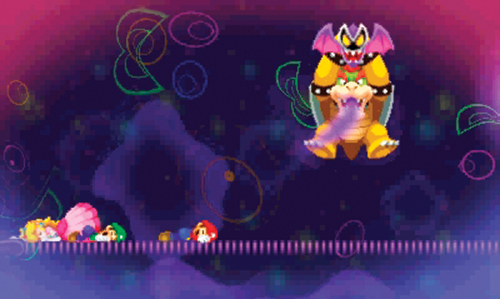
After dealing enough damage, Bowser and Antasma retreat—but you get lots of EXP and an Iron-Ball Hammer for your efforts. Following the battle, Antasma infuses Bowser with even more power, causing him to emit bright purple flames from his mouth, rendering Mario, Dreamy Luigi, and Princess Peach unconscious. While the heroes slumber, Bowser and Antasma agree to return to the real world and devise more evil plans. Eldream (along with Fluffykins) arrives after Bowser and Antasma’s departure. Realizing the dangers of falling asleep during a dream, Eldream rescues Mario and Princess Peach from the dream world.
Destination: Dozing Sands
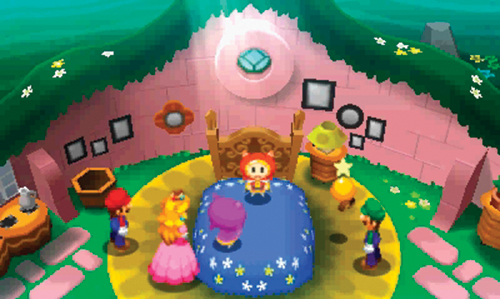
Back in the real world, Starlow is shocked to see Antasma and Bowser emerging from the dream world together. But Starlow is relieved to see Mario emerge from the portal with Princess Peach. Suddenly, the pillow beneath Luigi’s head begins to stir as Eldream returns to the real world after his long internment. But Prince Dreambert arrives to announce there’s little time to celebrate. Now that Antasma has combined forces with Bowser, the future of Pi’illo Island is at great risk. Eldream theorizes that Antasma will attempt to go after the Dream Stone next. Dreambert urges everyone to head for Dozing Sands next, where the Dream Stone is located. Princess Peach agrees, asking Mario and Luigi to stop Antasma and Bowser.
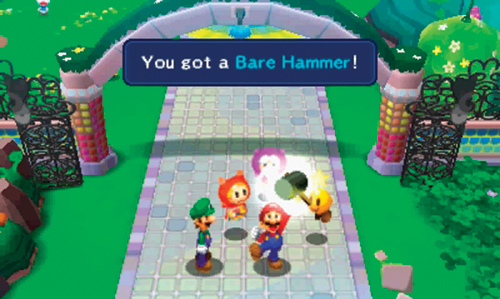
After the quick meeting, Boss Brickle unlocks Mushrise Park’s southern gate, providing access to Dozing Sands. While Mario and Luigi move out, Starlow suggests Princess Peach head back to Pi’illo Castle. Peach wishes the brothers luck and then returns to the castle. Before Mario and Luigi leave, Eldream asks them to rescue more Pi’illo Folk during their journey—he offers gifts in return for rescuing Pi’illos. You can find Eldream at Brickle’s Maintenance Hut in Mushrise Park. Since you’ve helped at least five Pi’illos up to this point, Eldream hands over a Bare Hammer—rescue more Pi’illos to get more gifts from Eldream. But for the moment, head south to enter Dozing Sands.