
Mario & Luigi: Dream Team Guide Walkthrough Mushrise Park
Mushrise Park
 Fountain of the Zeekeeper
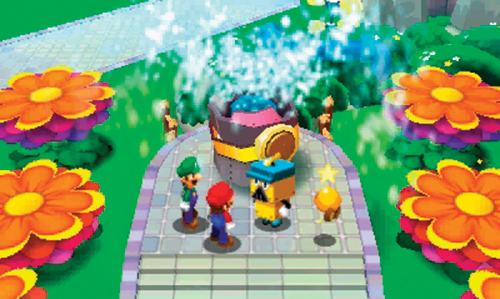
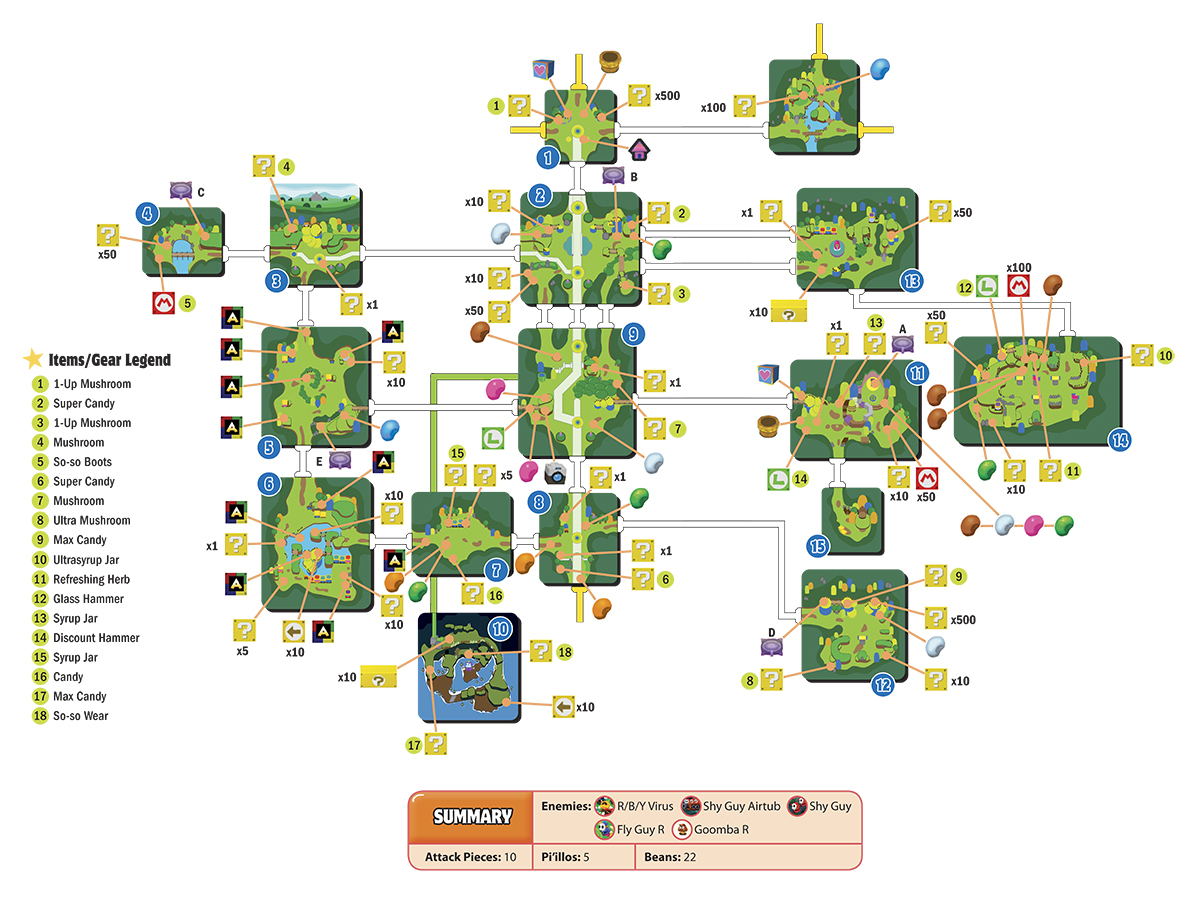
Meet Boss Brickle here near the malfunctioning fountain. He knows exactly where the Mushrise Tree Board is…but he needs you to do him a favor first. He needs Mario and Luigi to break rocks in three different areas (12-14) of Mushrise Park. He suggests starting in the southern area before heading east.
 Southern Park Path
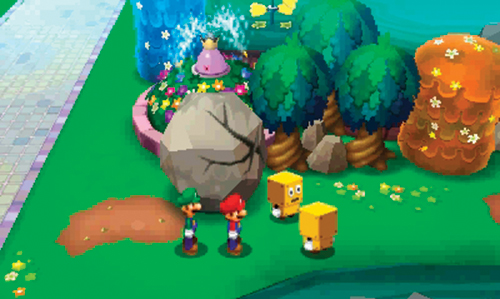
Enter this area by heading south, then approach the path on the east side. The Brocks here have removed the tree that was blocking this path—grab the Bros. Bean nearby. After speaking to the Brocks, they allow you to pass.
 Southeast Rock Field
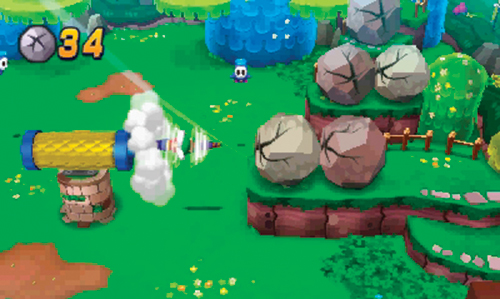
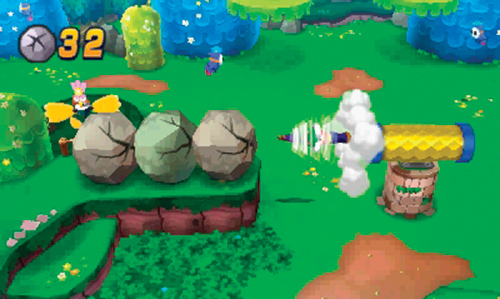
You must smash a total of 10 rocks in this area—two of them are on the ground level, and easy to reach. However, watch out for the Fly Guy Rs and R/B/Y Viruses here. The Fly Guy Rs perform just like the standard Fly Guys you encountered earlier, only they’re a bit tougher and joined by their equally more durable Goomba Rs—you should have no problem defeating them. When you’re finished battling the enemies here, jump onto the plateau to the south, then Side Drill into the rotating Rolling Pipe in the center. As the Rolling Pipe rotates in the desired direction, press
 to send Mario and Luigi shooting out. Use this method to destroy the five rocks to the east and west.
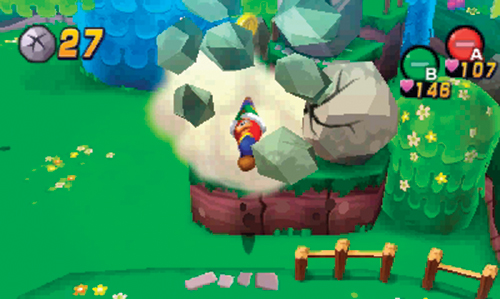
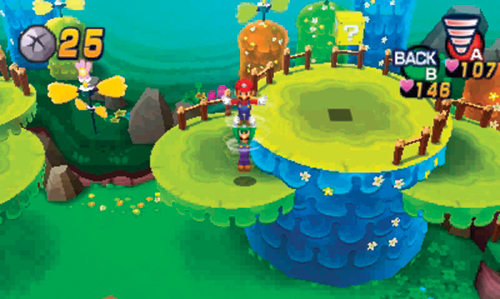
To smash the remaining three rocks in the northeast corner, use the Side Drill, approaching from the south. The Side Drill destroys the first rock in this cluster. Next, use your hammer to smash the next rock. Finally, Side Drill to the north to destroy the tenth and final rock here. While you’re in this area, use the Spin Jump to access the round platform to the far north—the ? Block here contains coins.
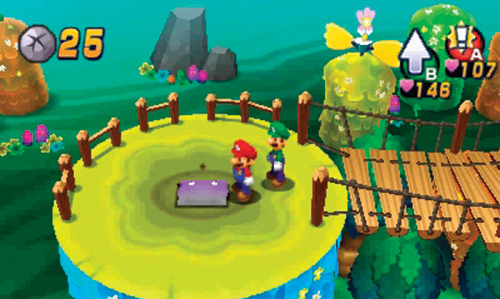
Continue Spin Jumping to the west to obtain Max Candy from another ? Block. Then cross the bridge to the west to find a pillow—take a moment to rescue this Pi’illo (D) before exiting this area.
 Northeast Rock Field
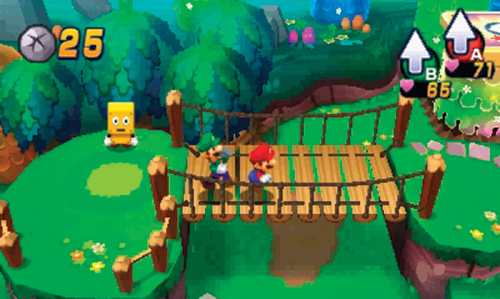
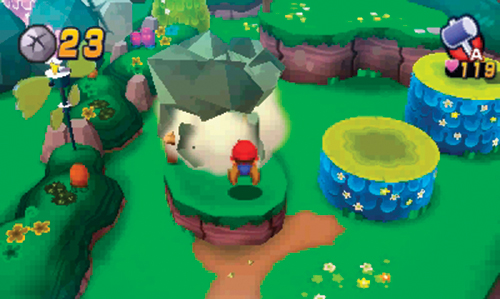
Enter this area from the east side of area 2. There are nine rocks to smash here as well as some coins contained within a Random Block and ? Block. Use the Ball Hop to reach the bridge on the east side. This bridge is guarded by a Brock. But upon hearing that Mario and Luigi are operating under orders issued by Boss Brickle, the Brock steps aside. Just watch out for the R/B/Y Viruses on the other side. Smash the rock blocking a small gate, then pass though the gate as Mini-Mario to smash two more rocks on the other side.
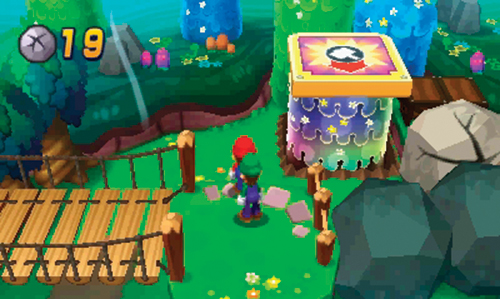
With the exception of the three rocks next to the Slingshroom in the northeast corner, the rest of the rocks here are pretty easy to break. When you’ve broken six out of the nine rocks, exit to the south. Don’t worry about those last three rocks here—you can come back and take care of them later.
 East Rock Field
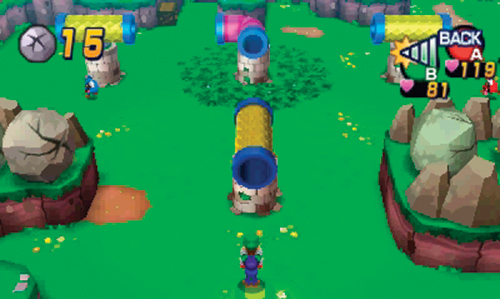
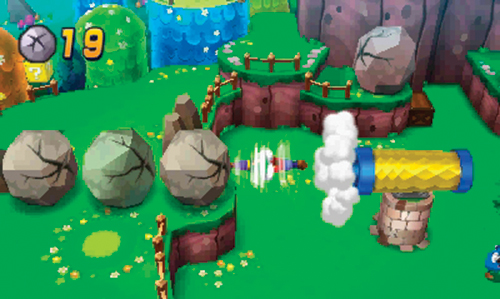
There are a whopping 16 rocks to smash in this large, monster-filled area. When you’re not battling Fly Guy Rs and R/B/Y Viruses, move to the platform to the south and Side Drill into the nearby Rolling Pipe. In this area there’s a large network of three Rolling Pipes and two L-Shape Pipes. Upon entering the first Rolling Pipe, wait for it to rotate in the desired direction, then press
to send Mario and Luigi flying toward the rocks on the west side. Continue using the network of pipes to launch Mario and Luigi in different directions, smashing rocks along the perimeter.
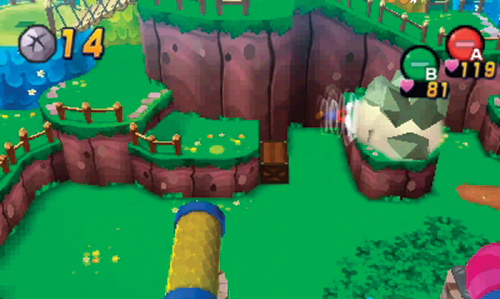
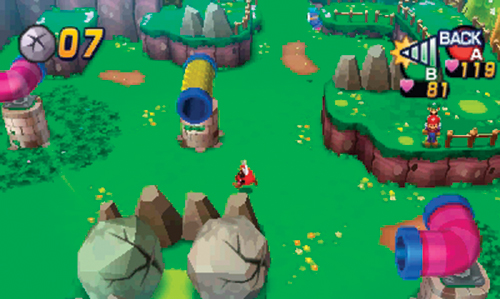
The Rolling Pipes and L-Shape Pipes aren’t necessary to destroy all the rocks here. The use of your hammer and Side Drill moves is also effective. And remember, you don’t have to enter the pipes from the south. Enter the eastern L-Shape Pipe from the north to destroy two rocks on the southeastern plateau.
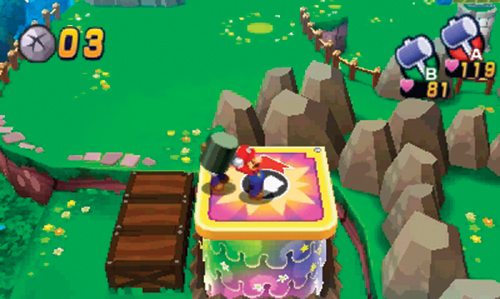
When you’ve smashed all the rocks here, approach the Slingshroom to the southwest—stand atop and give it a good whack with your hammer to launch Mario and Luigi north, back into area 13.
Northeast Rock Field
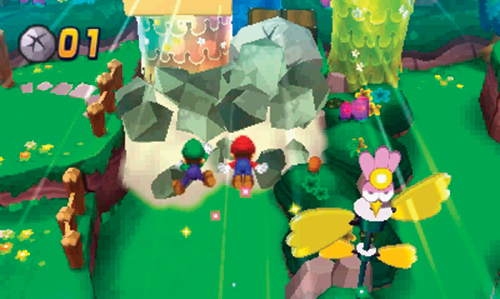
Launched from the Slingshroom in area 14, Mario and Luigi slam into two rocks in the northeast corner here, only leaving one rock to be smashed—strike it with your hammer. That’s the last of the rocks. Starlow advises checking in with Boss Brickle to inform him of your success.
Fountain of the Zeekeeper
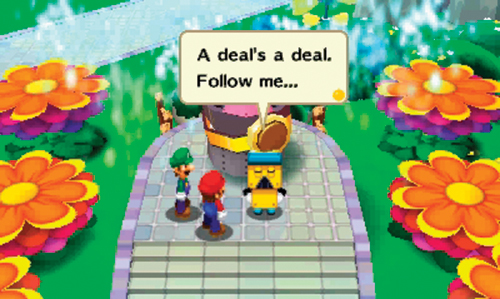
Return to the fountain to find Boss Brickle. He’s very happy with Mario and Luigi’s rock-smashing skills. A deal’s a deal—he asks you to follow him to the east. Hop across the Bounce Flowers and exit on the east side.
 Maintenance Hut
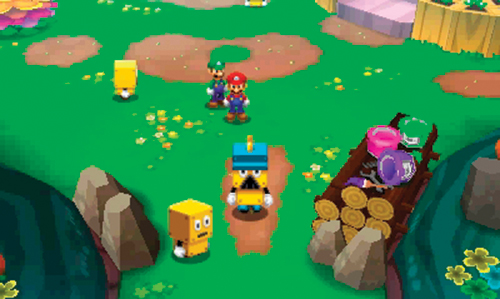
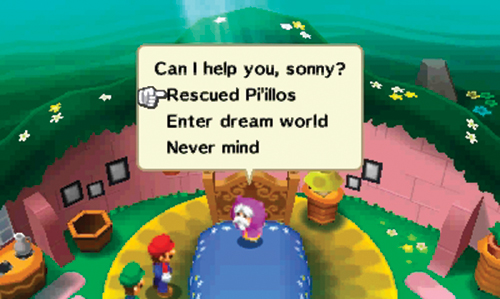
Upon entering this area, Boss Brickle urges Mario and Luigi to follow him to the south. But before following Boss Brickle, check in with Eldream in the nearby hut. If you’ve been rescuing all the Pi’illos you’ve encountered during your adventure, Eldream has some rewards for you. If you haven’t paid Eldream a visit in a long while, now’s a good time to stop by and collect your rewards. When you’re finished speaking with Eldream, exit to the south to find Boss Brickle.
 Hidden Grove
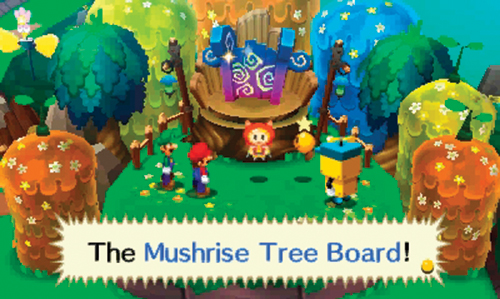
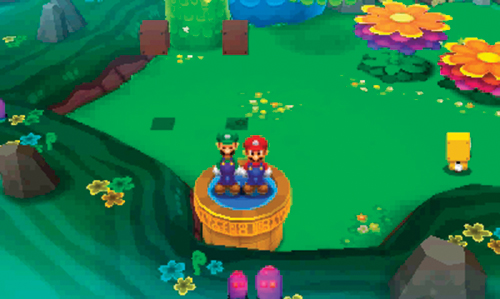
As promised, Boss Brickle leads Mario and Luigi to what he believes is the Mushrise Tree Board…though he’s not certain. But upon close inspection, Dreambert confirms that this is the real Mushrise Tree Board. But there’s no time to rest. There are still two more Ultibed parts to be found. Return to the Warp Pipe in area 11 and set a course for Dozing Sands.