
Mario & Luigi: Dream Team Guide Walkthrough Neo Bowser Castle 3F
Neo Bowser Castle 3F
 North Chamber
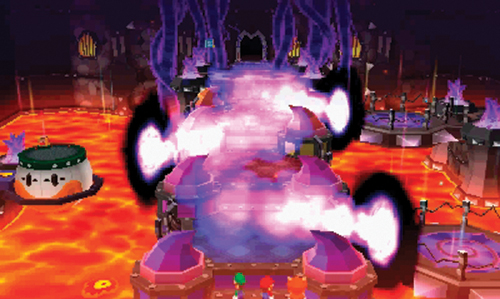
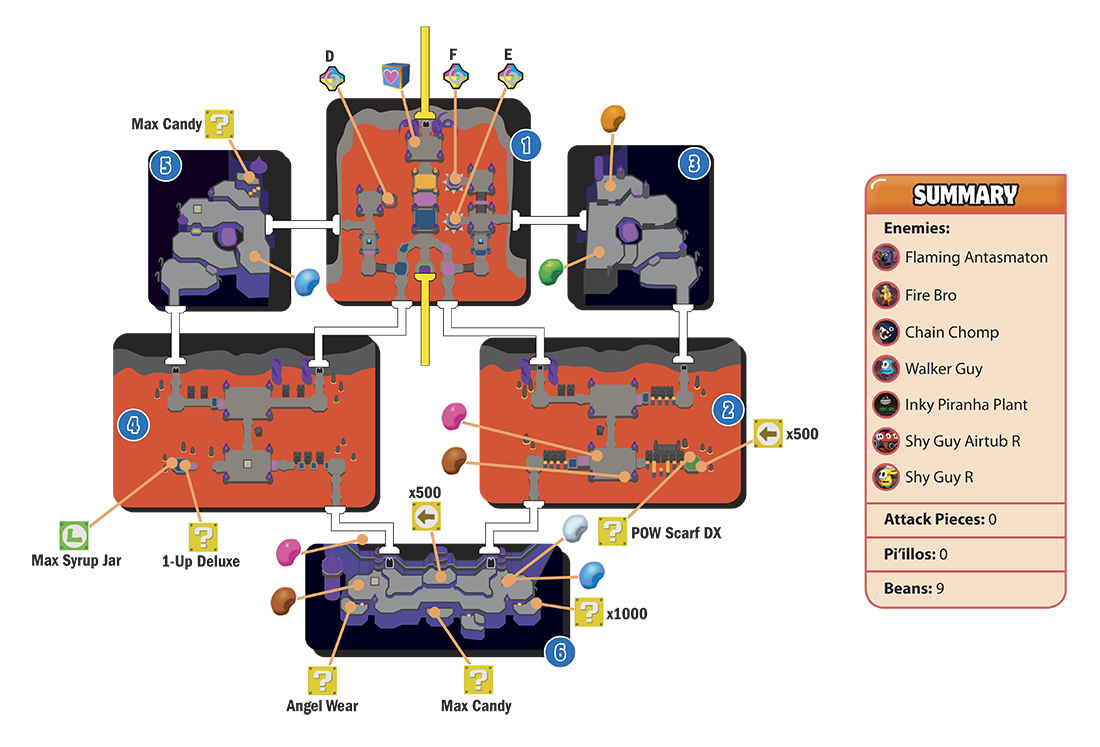
As Mario and Luigi step off the lift, Dreambert can sense Antasma’s presence through the doorway to the north. But the path ahead is blocked by three purple flames, originating in the dream world. Dreambert suggests looking for Dreampoints near each of the flames—you’ll need to enter the dream world to extinguish all three flames, clearing the path to Antasma. Start by moving to the east side, exiting through the door to the southeast.
 East Chamber
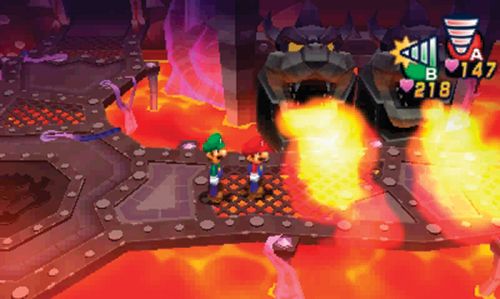
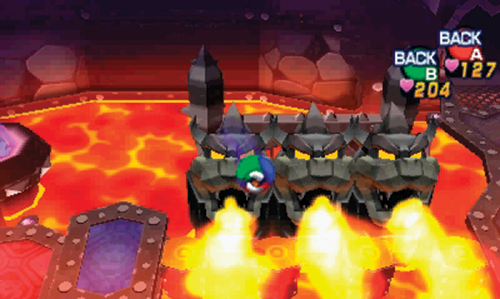
The path leading east here is blocked by flames spewing from the wall to the north. But the flames aren’t constant—wait for them to stop, and then Side Drill to the east. This is the quickest method to cross this area before the flames reactivate. Engage the Flaming Antasmaton on the adjoining platform, then continue east. The constant flame barriers here move up and down. Ball Hop between the flames as they move downward, landing on a small pillar. After landing, wait for the flames to go down again before making your next move. Continue in this fashion until reaching the catwalk in the northeast corner—exit to the north. Come back to this room later to search the south side.
 Northeast Ramparts
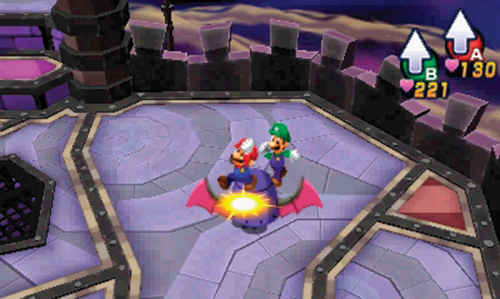
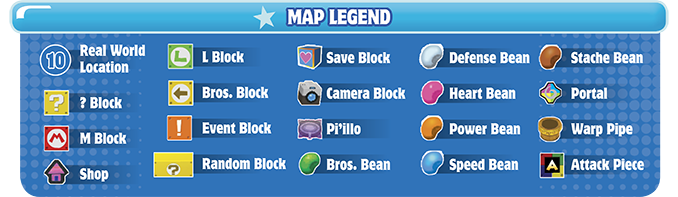
The exterior rooftop portion of the castle is crawling with enemies, ideal for gaining EXP. Battle the Flaming Antasmatons, Fire Bro, Chain Chomp, and Walker Guy here, then search two plots of soil here for a Power Bean and Bros. Bean. Once this area is clear of enemies (and beans) exit to the west, returning back to area 1.
North Chamber
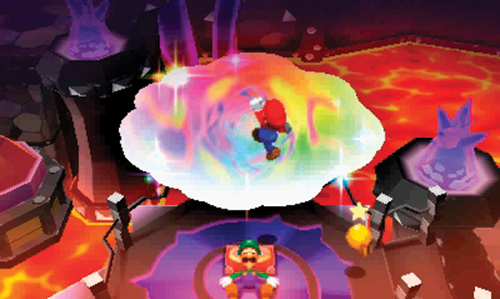
It’s time to extinguish one of those flames. Approach the Dreampoint on the northern end of the eastern platform and enter the dream world.
Dream World (F)
A
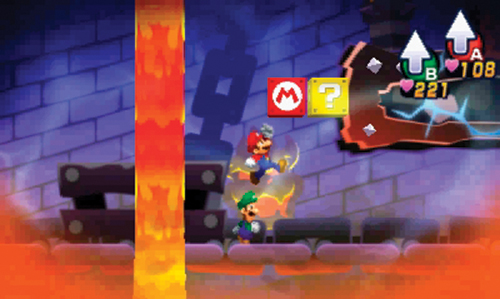
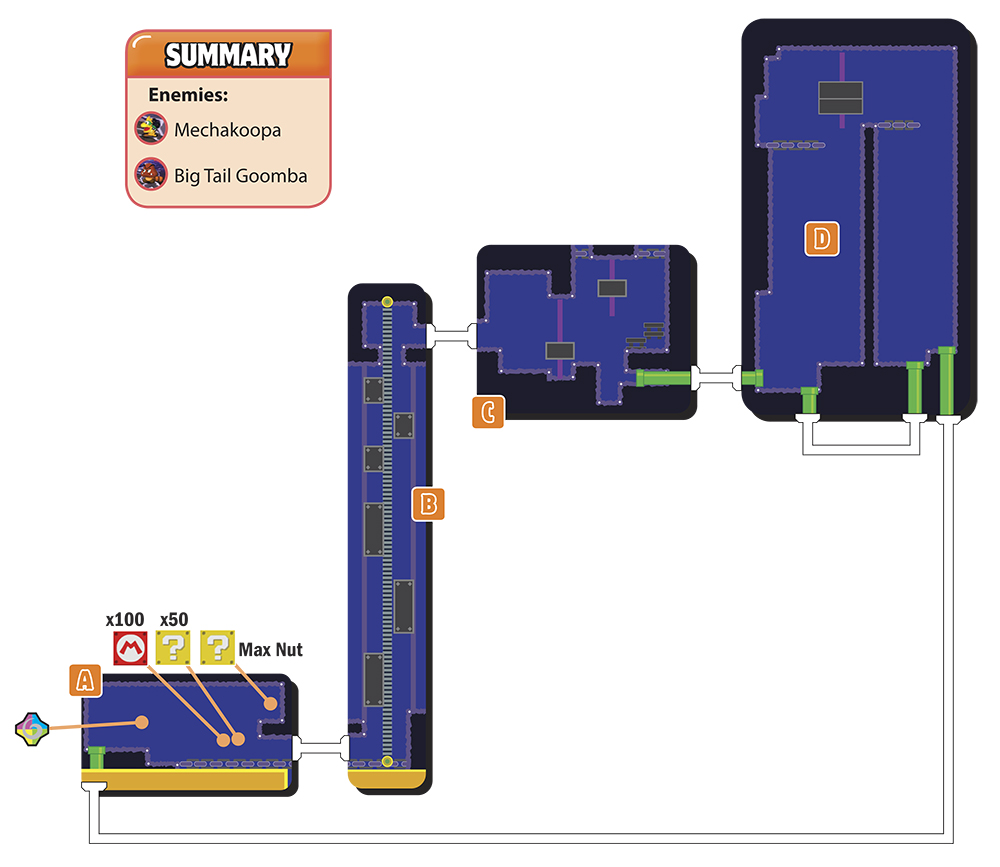
Upon entering the dream world, head to the right, defeating some Mechakoopas and a Big Tail Goomba along the way. Strike the M Block and ? Block to obtain some coins, then hop on these blocks to reach another ? Block located on the upper right—this contains a Max Nut. Now that you’ve collected everything, exit to the right.
B
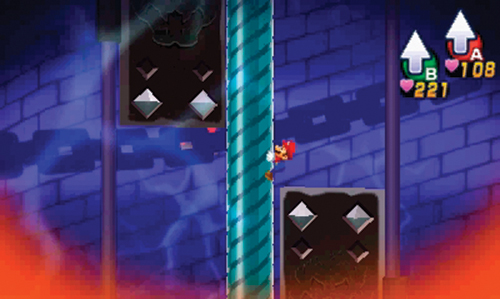
Remember the Luiginary Cylinder? It’s time to use it again to ascend to the top of this room. However, pay close attention to the rotating metal flaps on the left and right—avoid contact with these pieces at all costs. Wait until these pieces swing outward, then zip past them by rotating the Luiginary Cylinder. But if there’s not enough time, orient Mario so he’s on the front side or back side of the Cylinder—the rotating metal flaps can’t touch him here. The key here is to move slowly, passing one set of metal flaps at a time. If you get knocked off the Cylinder, you must start over from the bottom of the room. When you reach the top of the room, carefully jump off the right side of the Cylinder and exit.
C
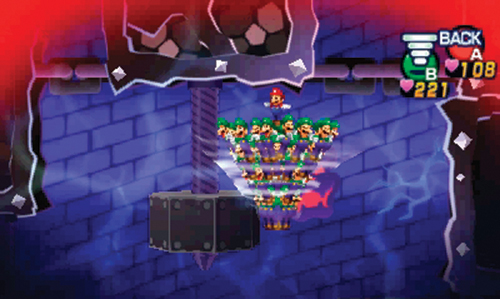
Form a Luiginary Cone here and perform a Hover Spin to rotate the Nuts & Bolts here. On the far right side, rotate the Nut & Bolt until the Nut falls off, extinguishing the flames below and opening a path to the green pipe. Disassemble the Luiginary Cone and exit through the green pipe.
D
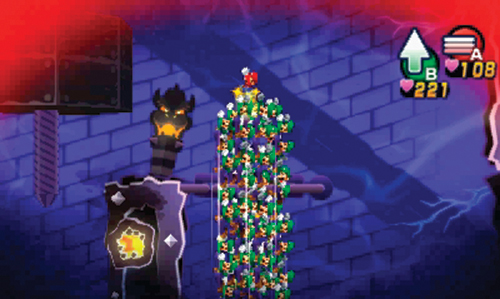
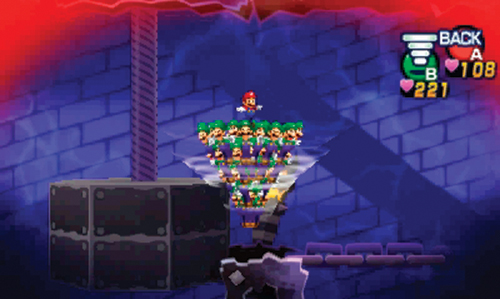
You’ve located the source of one of the flames projected into area 1 of the real world. Descend through the nearby green pipe to reach the right side of the room. Next, form a Luiginary Stack and Spring Jump to the top of the room. Once on the platform at the top of the room, form a Luiginary Cone and Hover Spin toward the Nut & Bolt attached to the ceiling. Keep spinning the Nut until it falls, crushing the flames below. This in turn extinguishes one of the three flames back in the real world. Exit through the green pipe in the bottom-right corner of the room to return to area 1, then hop through the dream portal to return to the real world.
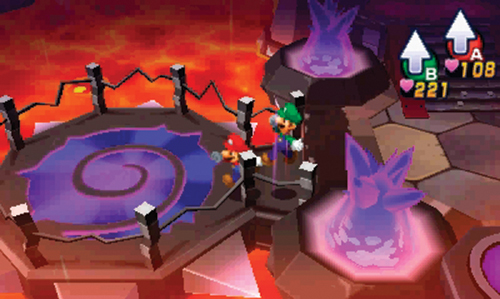
Back in area 1, head south along the eastern catwalk and approach the next Dreampoint on the west side—it’s time to snuff out another flame. Enter the dream world!
Dream World (E)
A
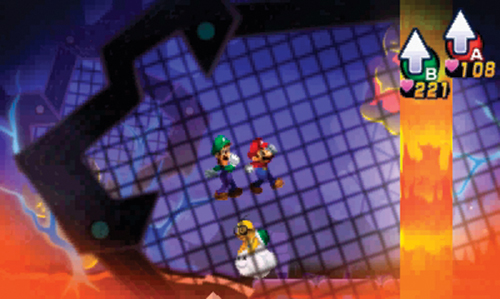
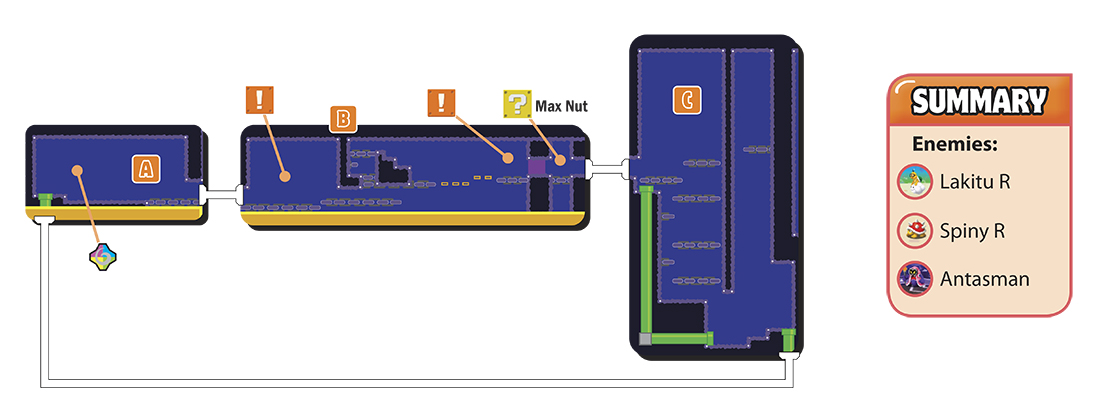
After entering the dream world, move to the right and engage a Lakitu R and his Spiny R friends. Don’t pass up the opportunity to battle enemies like this—they’re worth a lot of EXP, helping you level up and grow more powerful in preparation for your confrontation with Antasma and Bowser. Following the battle, exit to the right.
B
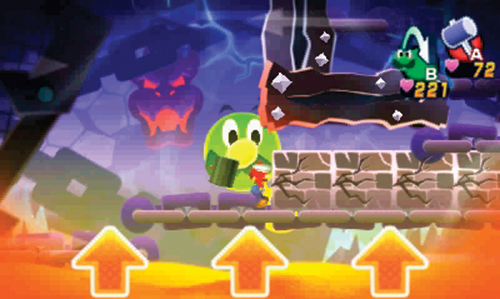
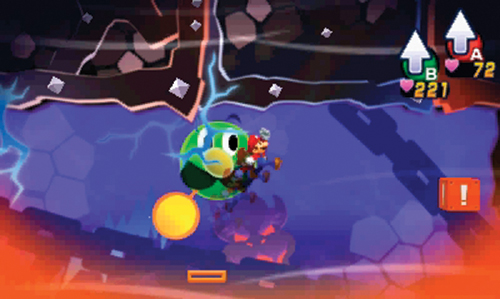
It’s time to use the Luiginary Speedometer to get through this room. When you’re ready, strike the Event Block to start—there’s no timer, but the lava in the room begins to rise. Increase Mario’s speed through the first part of the course. Then whack a series of blocks with your hammer before jumping up through a series of platforms. But slow down Mario’s speed when he reaches the small, hollow platforms on the right side—you’ll need to perform long, controlled jumps to reach the Event Block on the right side. Strike the Event Block to open a gate—grab the Max Nut in the ? Block on the other side, then exit to the right.
C
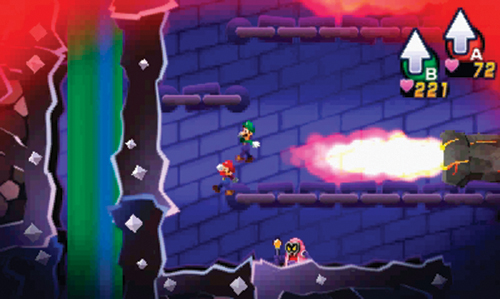
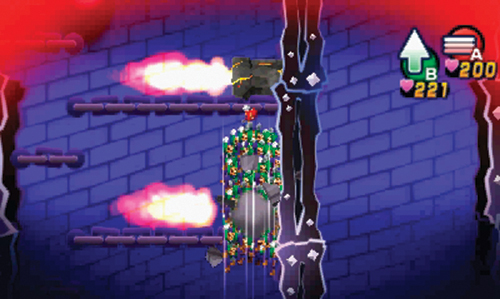
This room is filled with more purple flames, projecting themselves into the real world. Carefully descend to the bottom of the room careful to avoid contact with any of the flames—at the bottom you’re ambushed by an Antasman. Following the Antasman battle, move to the lower-right corner of the room and form a Luiginary Stack. Spring Jump through the blocks above to collect a few coins. Return to the bottom of the room and move the Stack just beneath the flames to the left. Spring Jump again to smash through the flames above, extinguishing one of the flame barriers back in the real world—two down, one to go! Exit through the green pipe in the bottom-right corner to return to area A, then hop through the dream portal to return to the real world.
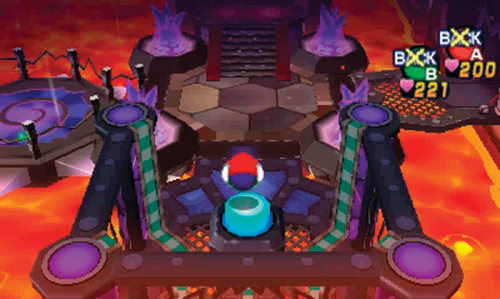
Back in the real world, head south along the eastern catwalk and Ball Hop on the blue switch—this lowers the surrounding cage, making it easier to navigate this side of the room. Once the cage is lowered, return to the central catwalk, then exit through the southwest doorway to enter area 4.
 West Chamber
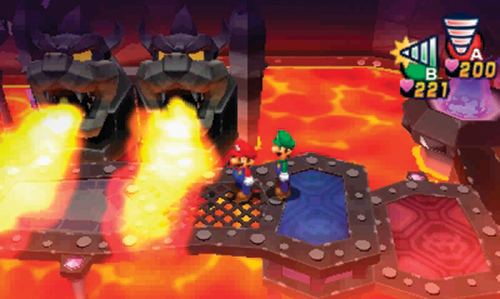
This room is a near mirror image of area 2. Side Drill past the two sets of flame barriers on the northern catwalk, engaging a Fire Bro on the northern platform along the way. Once past these threats, exit through the doorway to the northwest. Like area 2, return to this room later to explore the south side.
 Northwest Ramparts
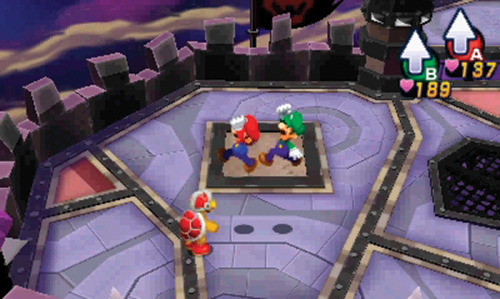
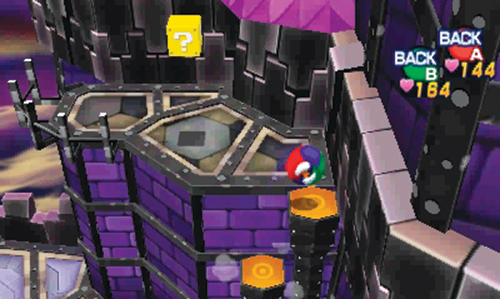
Like the ramparts in area 3, this outdoor area is crawling with enemies. Battle the Fire Bros., Flaming Antasmatons, Chain Chomps, and Walker Guys here to score more EXP—leveling up is critical before your final battle with Bowser and Antasma. Once you’ve cleared the area of threats, Ball Hop along the pillars on the north side to reach a high platform—strike the ? Block here to obtain a Max Candy. You can also find a Speed Bean in the soil to the southeast. Exit through the door on the east side to return back to area 1.
North Chamber
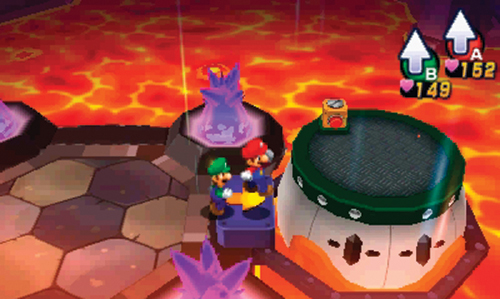
Mario and Luigi emerge on the west side of this chamber, only a few steps away from the third (and final) Dreampoint. Enter the dream world in an effort to extinguish the last flame blocking the path to the north.
Dream World (D)
A
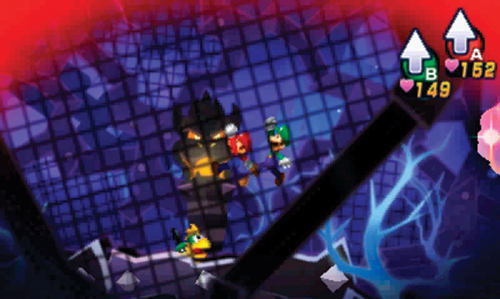
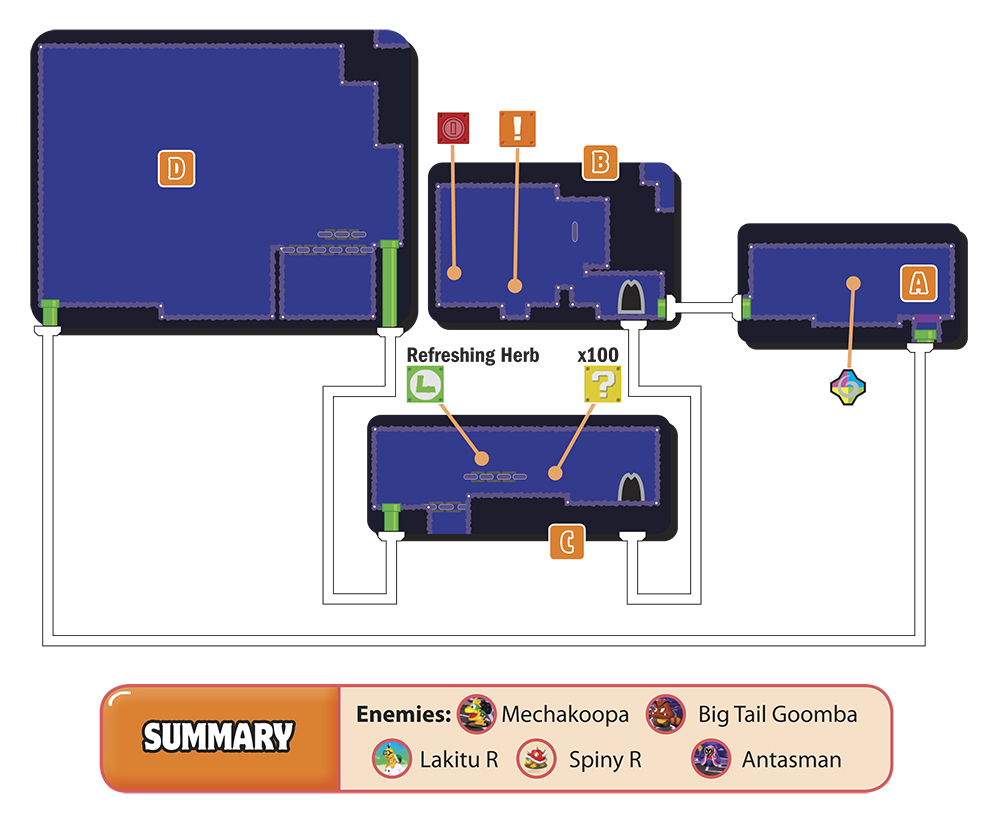
Upon emerging from the dream portal, move to the left, engaging some Mechakoopas and a Big Tail Goomba along the way. Afterward, exit on the left side.
B
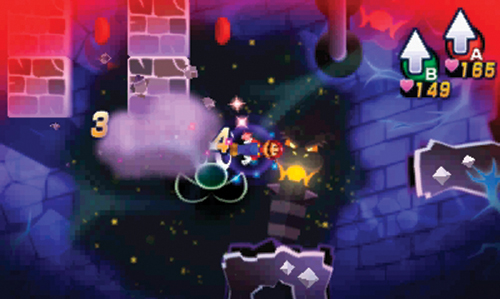
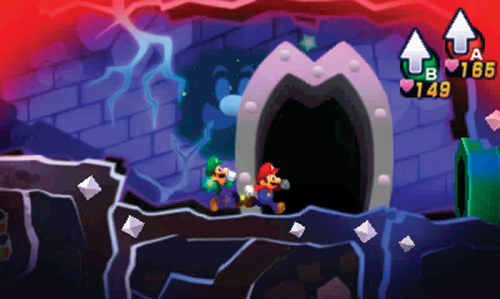
Activate Luiginary Antigravity here by pressing the red button on the Dreampoint. Next, swim to the Red Coin Block on the left side. The quickest way to collect all eight Red Coins here is by pushing off the perimeter walls and smashing through the bricks. After gathering all eight Red Coins, strike the Event Block to open the gate over the doorway to the right. Deactivate Luiginary Gravity, then pass through the new doorway.
C
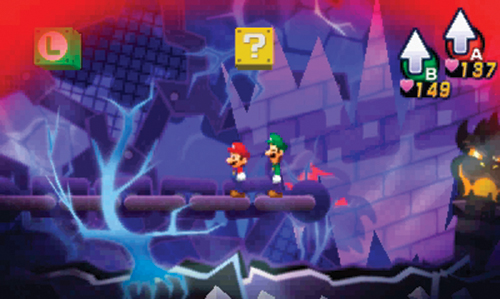
Battle the Lakitu R and his Spiny R friends here, then move to the left—defeat more Mechakoopas, a Big Tail Goomba, and Antasmans as well. Strike the ? Block and L Block here to obtain coins and a Refreshing Herb before entering the green pipe on the left side.
D
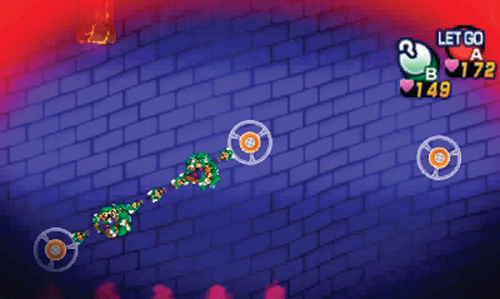
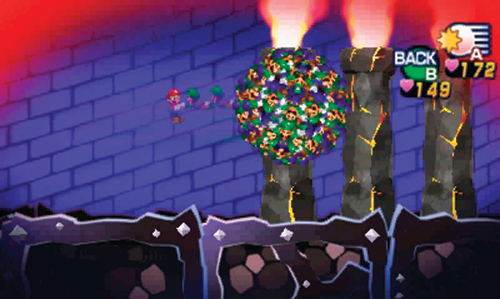
More flames are waiting to be extinguished in this room. Form a Luiginary Ball here and perform a Hook Shot toward the nearest Spin Hook above. Continue using the Spin Hooks to navigate through this room. But when moving between the second and third Spin Hook, wait until the flame above stops to secure a safe transition. Once you make it to the bottom of the room, use the Ball Hammer to smash the flames on the floor. Perform another Ball Hammer to extinguish the last flame in the lower-right corner—you can strike it through the wall from the left side. Destroying these flames extinguishes the third and final flame back in the real world, leaving the central path in area 1 open. Enter the green pipe on the left side to return to area A, then hop through the dream portal to get back to the real world.
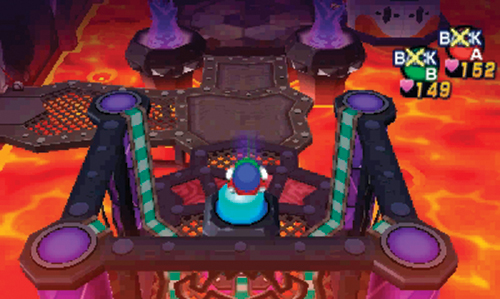
When you return to the real world, head south along the western catwalk and Ball Hop on the switch to lower the cage blocking your path. At this point, you can travel north to reach the fourth floor of the castle. But there’s still a few areas on this floor left to explore. So if you want to score some more loot, head through the doorway to the southwest to return to area 4.
West Chamber
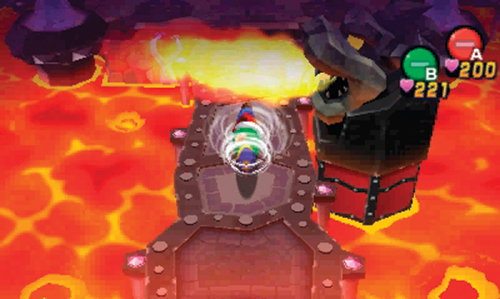
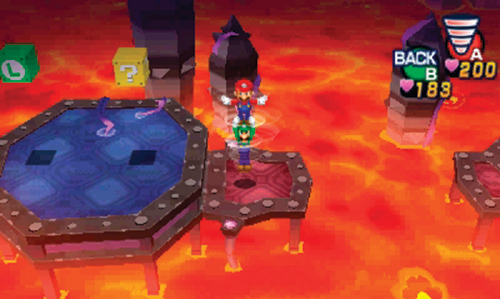
Upon your return to this room, head for the south side. When you come to the fire barrier south of the northern platform, Side Drill beneath the flames, but be ready to fight a Fire Bro on the other side. From the southern platform, Spin Jump to the west to reach the southwest platform—get a 1-Up Deluxe from the ? Block and a Max Syrup Jar from the L Block.
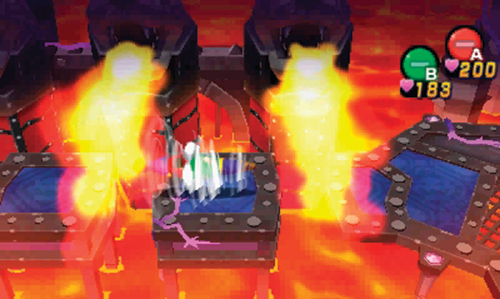
Spin Jump back to the southern platform, then head east. Ball Hop over the ascending and descending flame barriers here. Wait for the flames to descend, then hop across. Alternatively, you can Side Drill beneath the flames as they rise. Once on the other side, exit to the south.
 South Ramparts
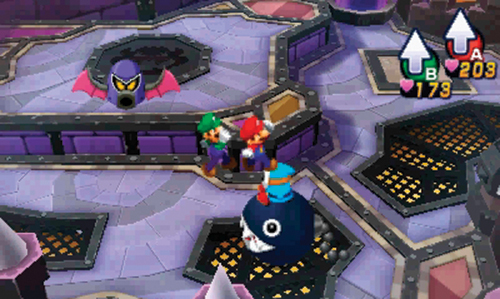
This large outdoor area offers more opportunities to rack up some EXP through battles. Fight the Chain Chomps, Walker Guys, Flaming Antasmatons, and Fire Bros here, then set your sights on loot. Strike the Bros. Block to the north, then go underground as Mole Mario to retrieve a Defense Bean and Speed Bean to the east as well as a Heart Bean and Stache Bean to the west.
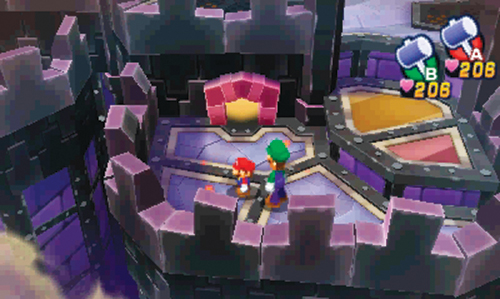
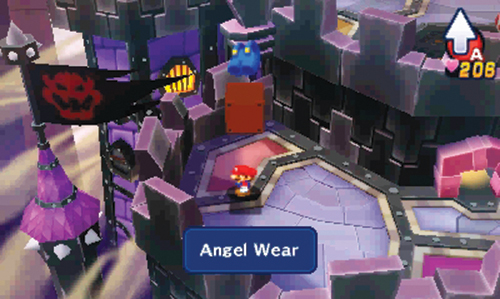
Look for this tiny doorway on the south side—pass through this doorway as Mini-Mario to enter a secret passage. Head east first to reach the coin-filled ? Block in the southwest corner. Next, return to the passage and head to the far west, obtaining Angel Wear from the ? Block in the southwest corner. Finally, return to the passage and exit on the south side to strike a ? Block, containing a Max Candy. After retrieving these items, make your way back to the passage’s entrance and have Luigi restore Mario to his natural state. You can now exit to the northeast, returning to the south side of area 2.
East Chamber
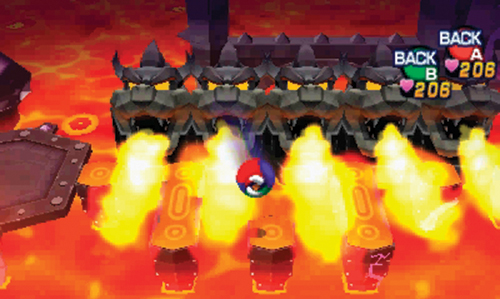
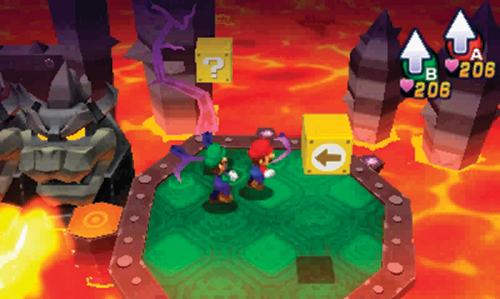
Ball Hop over the descending flame barriers here to reach the southern platform. Retrieve the Heart Bean and Stache Bean from the southern platform, then head east, approaching another set of ascending and descending flame barriers. Once again, Ball Hop over these flames, but pay attention to the platforms between each set—the path here isn’t linear, requiring you to adjust your position before landing on the next platform or pillar. Keep hopping until you reach the green platform on the east side. Strike the Bros. Block here to obtain coins, then hit the ? Block to get a POW Scarf DX. This is a very powerful accessory, increasing Mario or Luigi’s POW by 30% when equipped. Once you’ve obtained these items, backtrack to area 1 and prepare to enter the castle’s top floor.
North Chamber
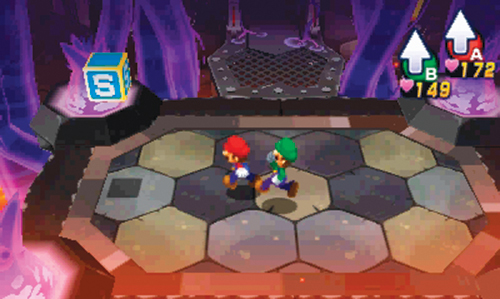
With the three sets of purple flames extinguished, the central path is now clear. Cross the path to the north and consider saving your game at the Save Block. When you’re ready to move on, enter the doorway to the north to access the next room.